Hi Everyone,
Really seeing some spectacular builds coming together! This campaign has really produced some nice completions, with more to come!
So, around the 27th of June, it hit me that I wouldn’t finish the Mosquito, I’d come close and have an opportunity to share a neat little technique I use. Given that I’d been off grid for a few weeks and not checking the site or making updates, I was content to let this build move off to the Hangar Queen XIII campaign. Imagine my surprise to see that there was an extension! So, back to the paint bench I went while neglecting to do any updates. Now that I’m back with the living, here’s my update!
My last update took me through the bomb bay painting. Since then much has been accomplished. I wrapped up the bomb bay, and will admit that it looks great when painted and built as instructed.
I then moved topside and completed the cockpit, again, following the instructions. Little did I know that the pilots seat would be giving me grief in the future. Therefore, I recommend a secure welding it in or holding off on installation until after the fuselage is closed up.
I test fitted the fuselage halves several times prior to committing to glue.

Once satisfied with the fit, I proceeded to glue the interior onto the right half of the fuselage.
Triple checking everything as went along.
I then moved onto what for me was problem area of the build. The canopy. It’s fiddley, with the side windows needing to be attatched. My first attempt involved using Crystal Klear to attach these parts, and all seemed well. This was then attached to the fuselage.
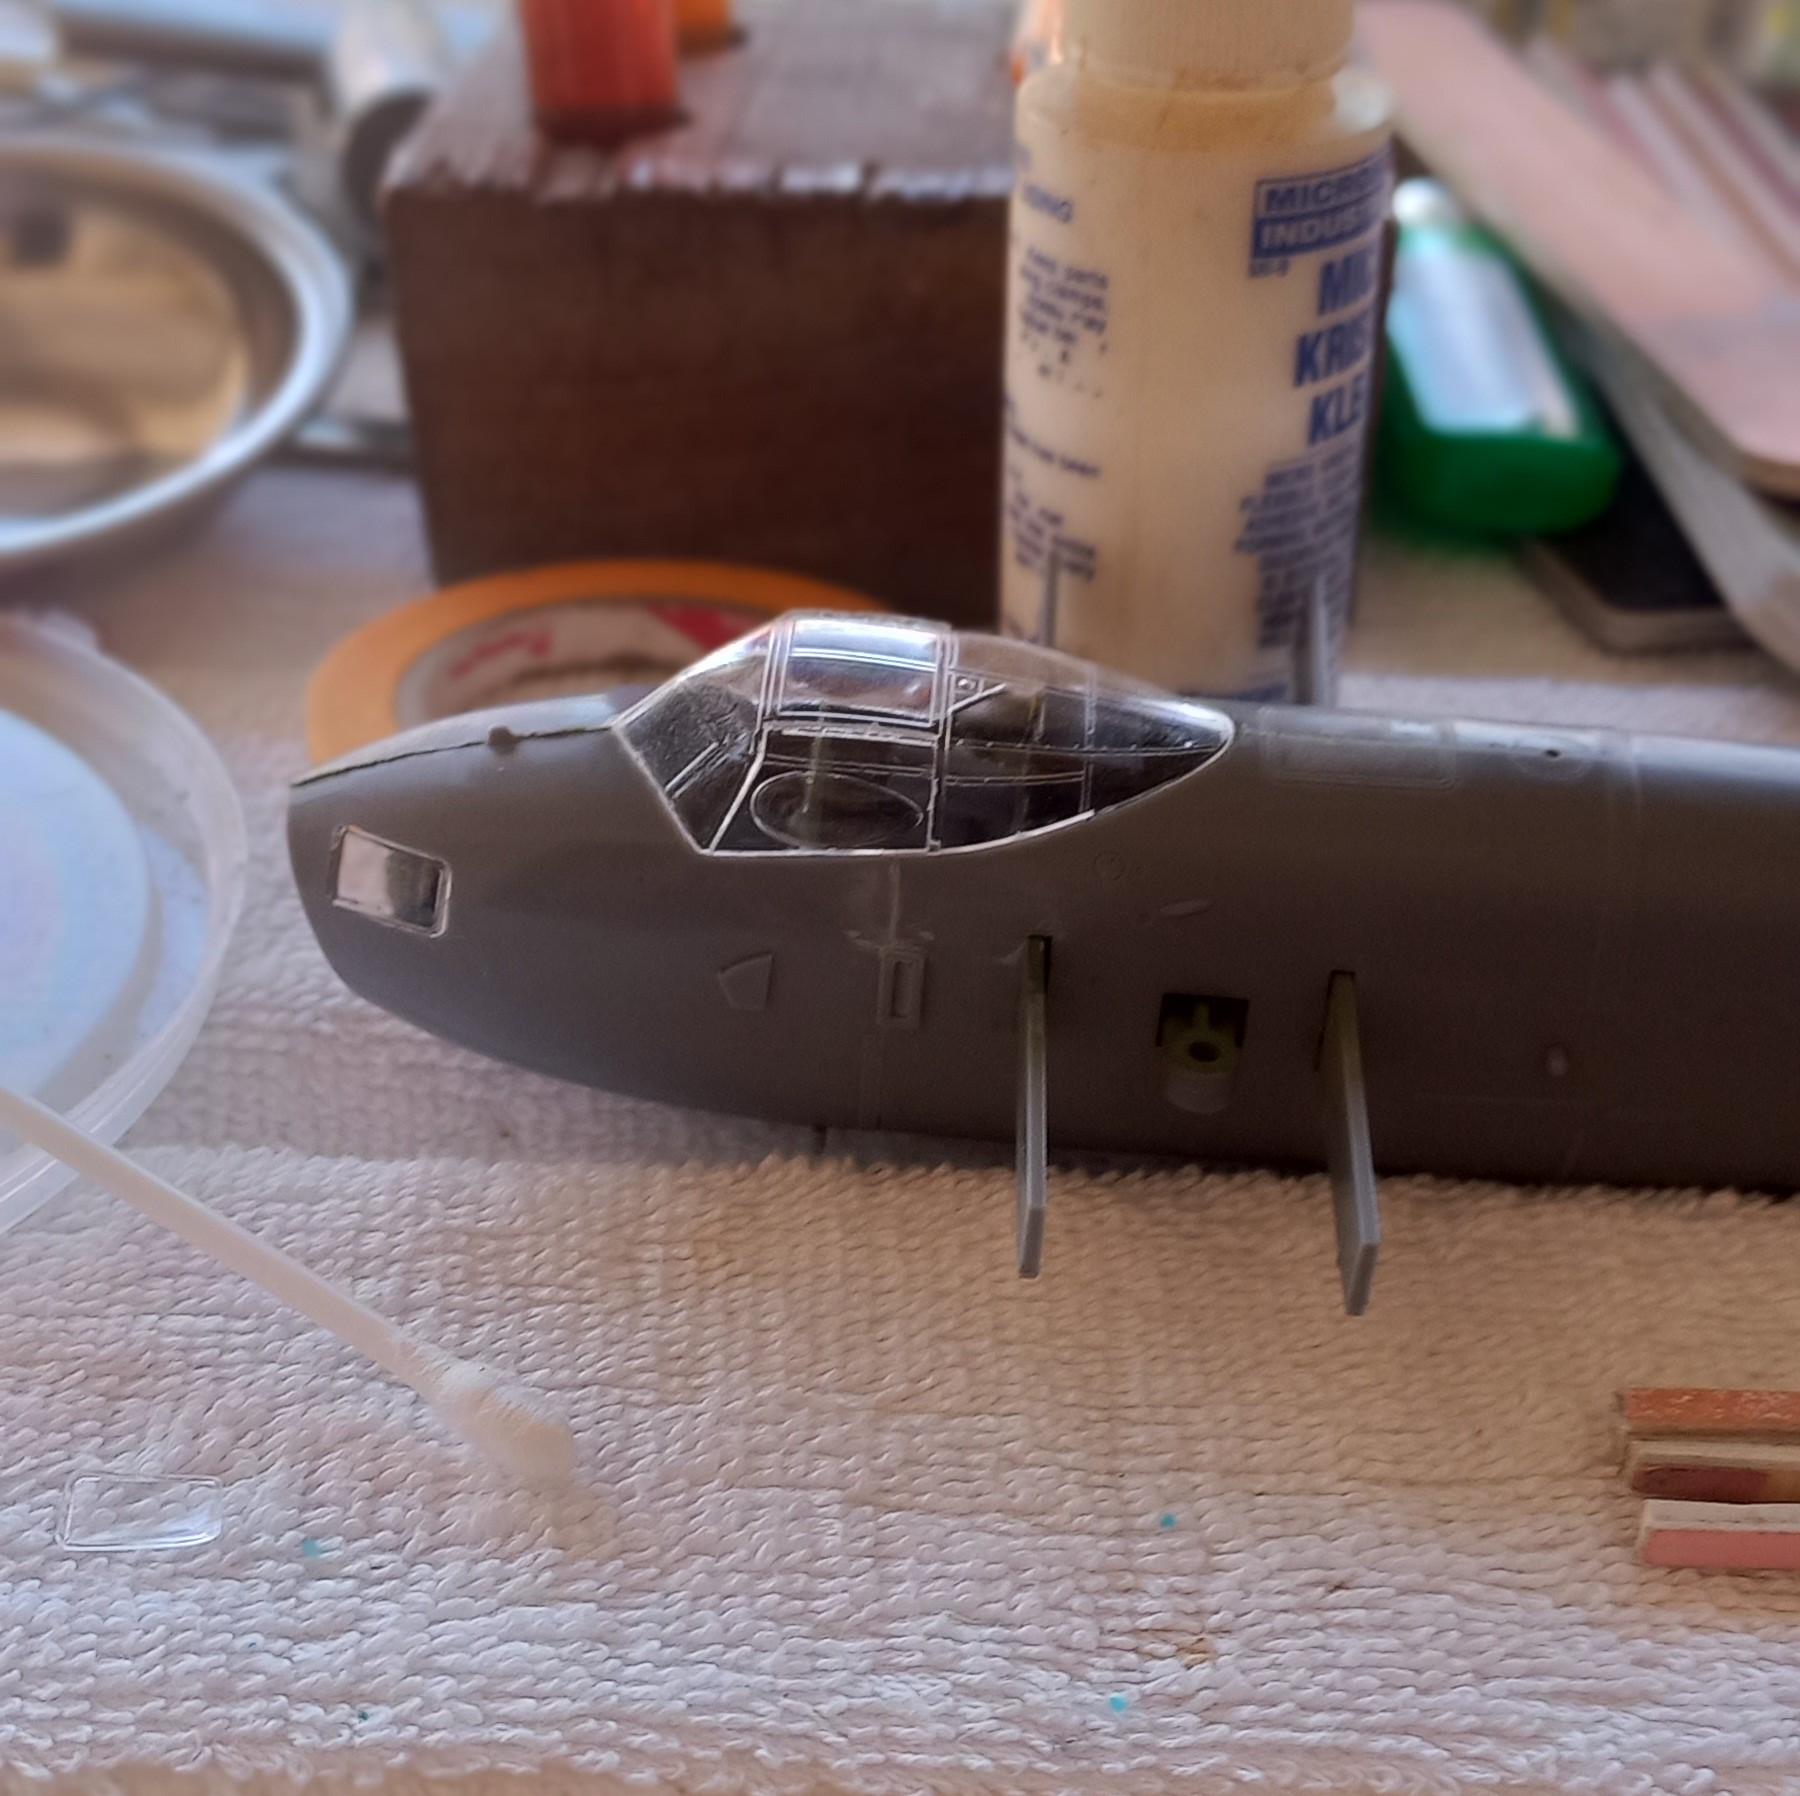
I then moved onto the wing tips to address the navigation lights. I’ve used this technique for some time, though I’m thinking I haven’t shared it. So, I’ll take this opportunity to share a simple technique to get really nice navigation lights onto your bird.
First, prepare the areas for the lights. Painting the wing portion with the appropriate color, in this case I used Tamiya cockpit color (the same for the whole build). Next, put a drop of clear red or green into the premolded hole on the wing side of the light (if there isn’t one drilling this out is fairly easy). Note that for navigation lights remember “Big word, big word. Little word, little word”. Starboard (right) is green and Port (left) is red (shout out to the Sea Scout handbook!). Then using CA glue, glue the light onto the wing such that there is no air trapped under the clear part.

Sand the clear part flush with the wing. Typically I’ll start off with a grit of 400, and then progress to finer grits. Remember that CA glue is strong but has a low tinsel strength, so sand perpendicular to the area glued so as to not cause stress on the glue joint.

Once things are sanded smooth, polish the lights with an ultra smooth polishing stick (I use the ones for fancy fingernails available where nail polish is sold).

This area can be reworked if one doesn’t like the inital results, once satisfied, rescribe any lost detail on the wing. Finally I use some Tamiya tape to cover the area of the light to protect it through the rest of the building process. Ta Da! Hope you all enjoyed that!
It was at this point that I decided to go ahead and put the troublesome canopy together and install the clear parts. Using white glue, I assembled the canopy and using an Eduard mask set for the kit masked the canopy (for canopy’s that have a greenhouse style I usually will purchase these masks as the time they save is well worth their price). I should note that the canopy of this kit was quite troublesome as to not want to stay in place while gluing. I used some tape to hold things down while getting to do what it was designed to do. I then attached it to the fuselage.
I then went on to assemble the airframe. Typical of Tamiya, the wings and stabilizers went on without a hitch, and good fit.
I should note that while doing the minimal seam removal and basic sanding the pilot seat broke free. I found this rather odd though later determined that some paint had not been completely removed, which I believe that this was the reason. I’ve seen modelers online that simply glue parts on over painted areas, and have asked them about this, the answer has been “because it’s lacquer paint and the same as the glue it makes no difference.”. I’m call doo doo from a bull on this reasoning, dried paint will result in a poor glue weld, one should remove it, and double check if you got it all (I neglected the last part).
Needless to say, I had to remove the canopy to re-secure the seat, augmented with glue and CA! Of course during this repair the canopy came apart, which had me repair the canopy, this time using minimal amounts of thin liquid glue and didn’t smear or goof it up! Then it was back to the build.
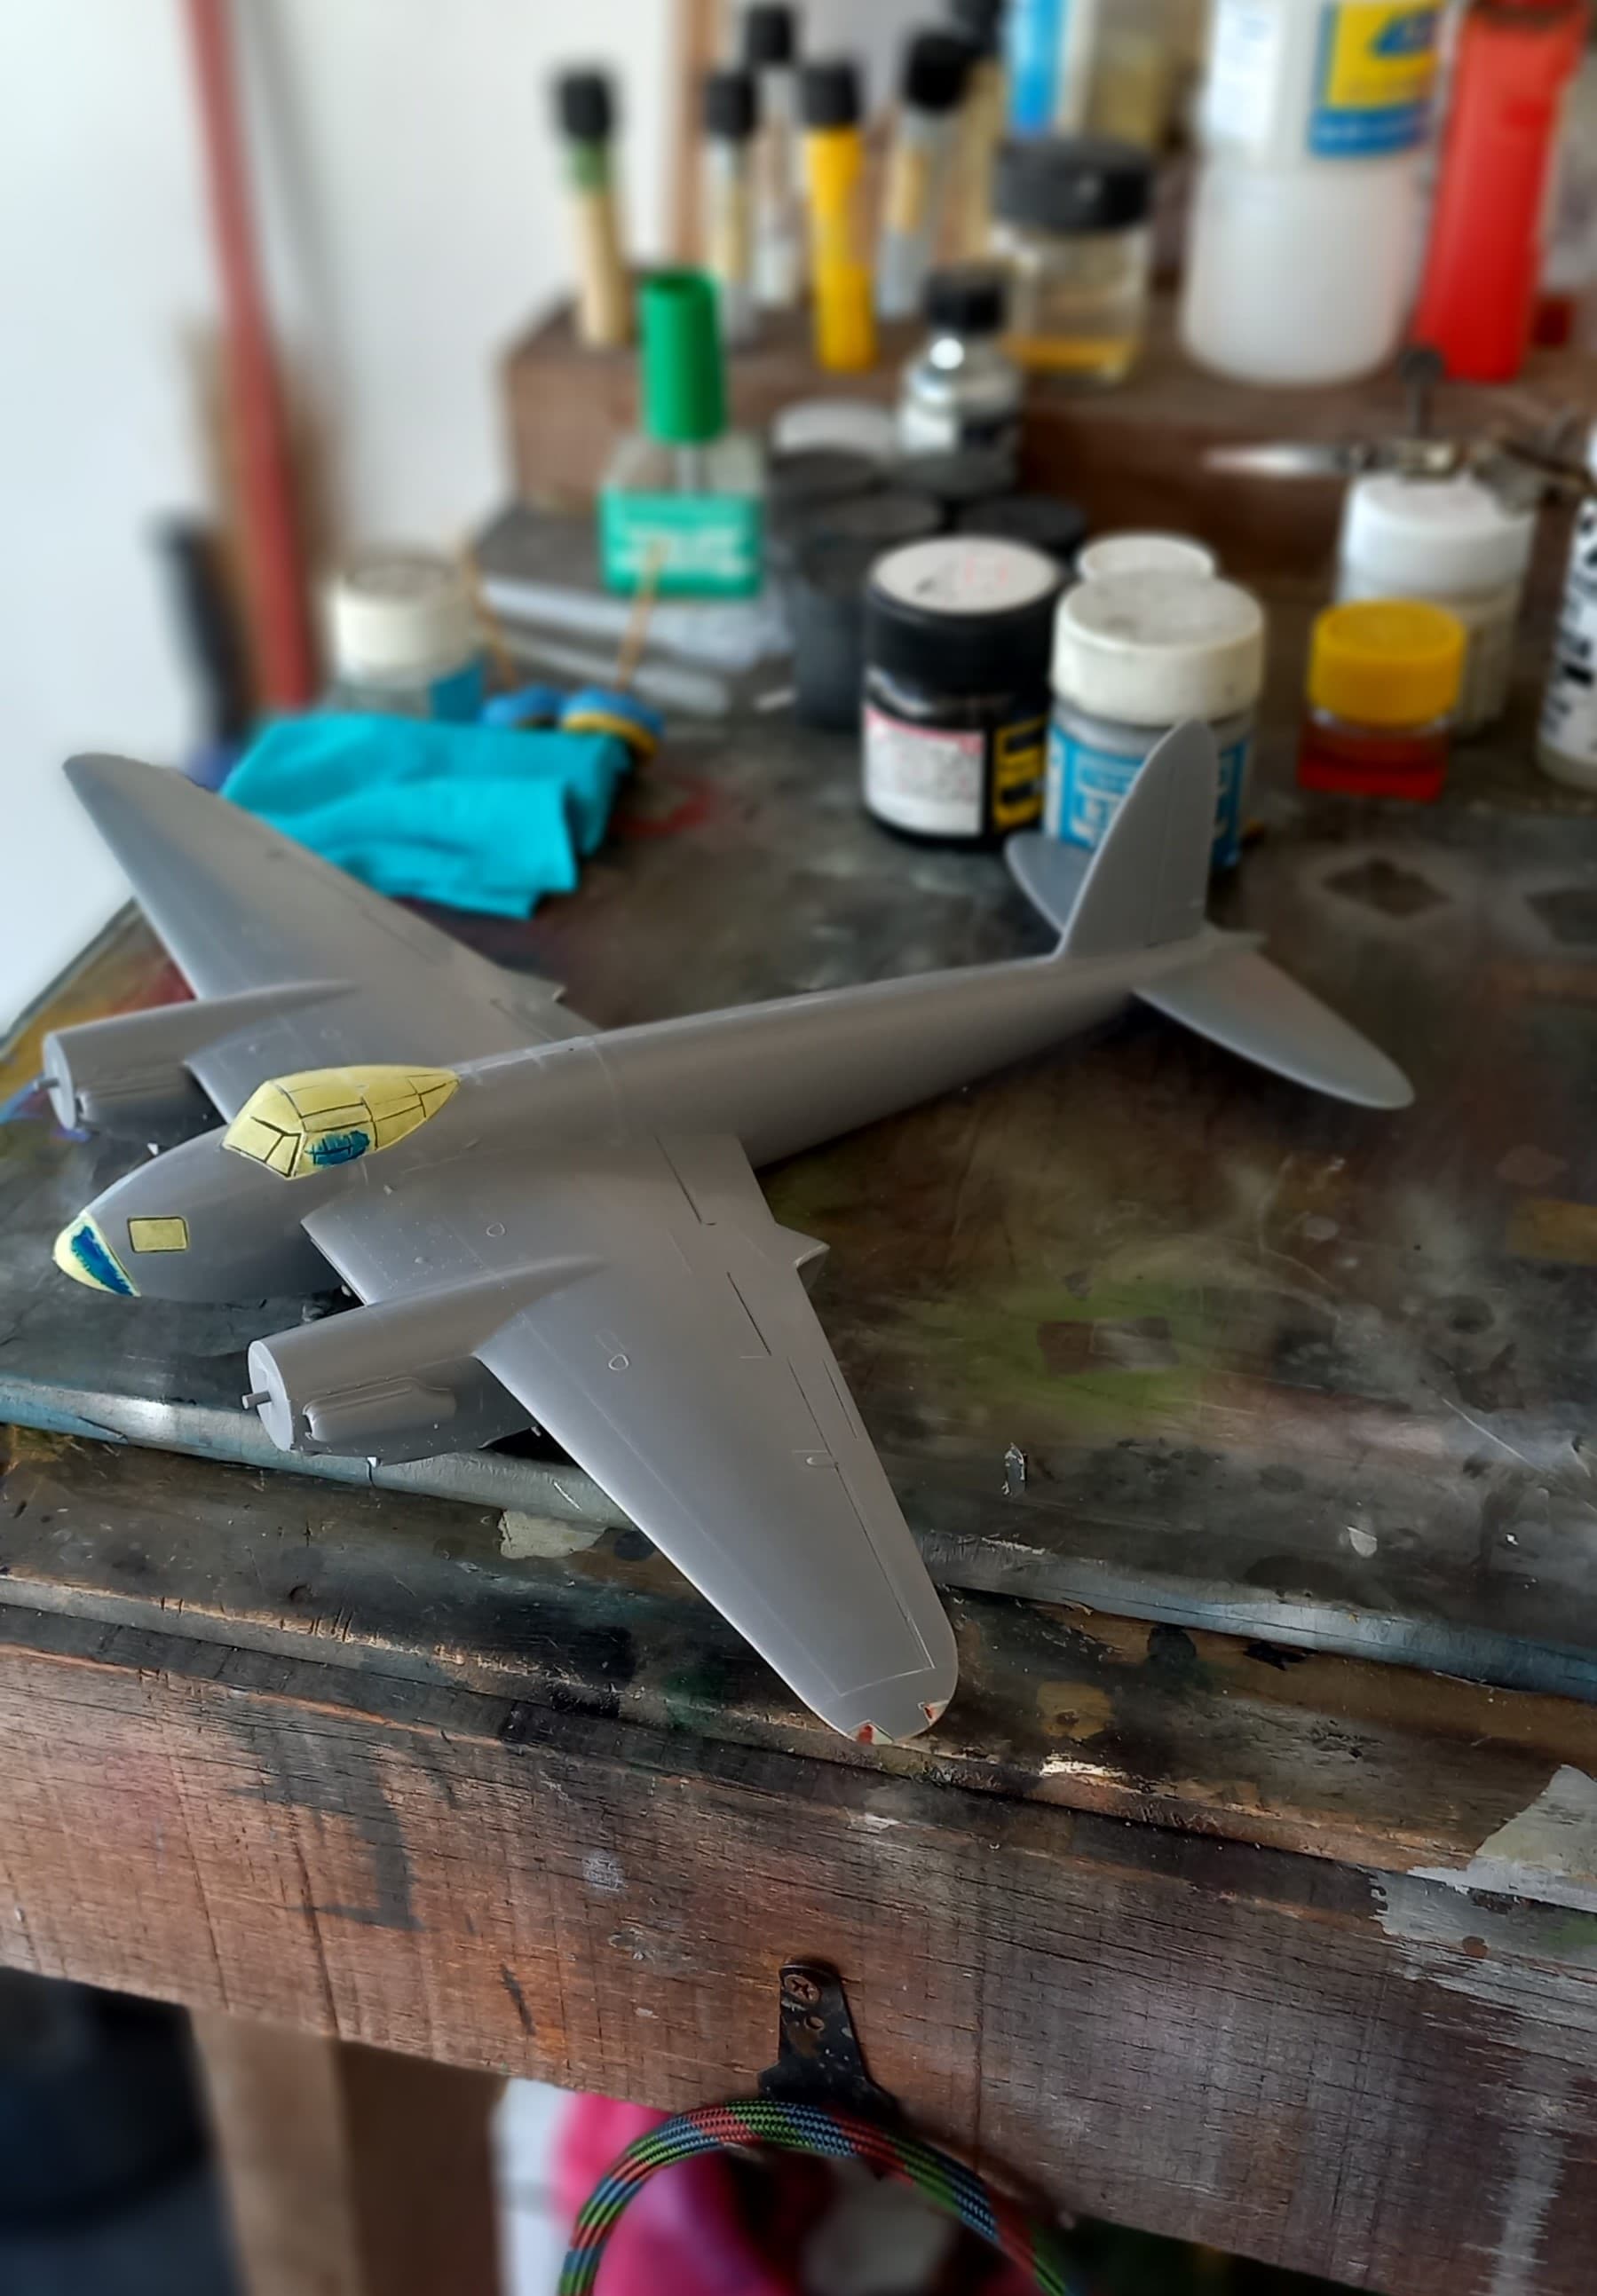
I completed all the seam work, and things looked pretty good. Now it looks like a mosquito!
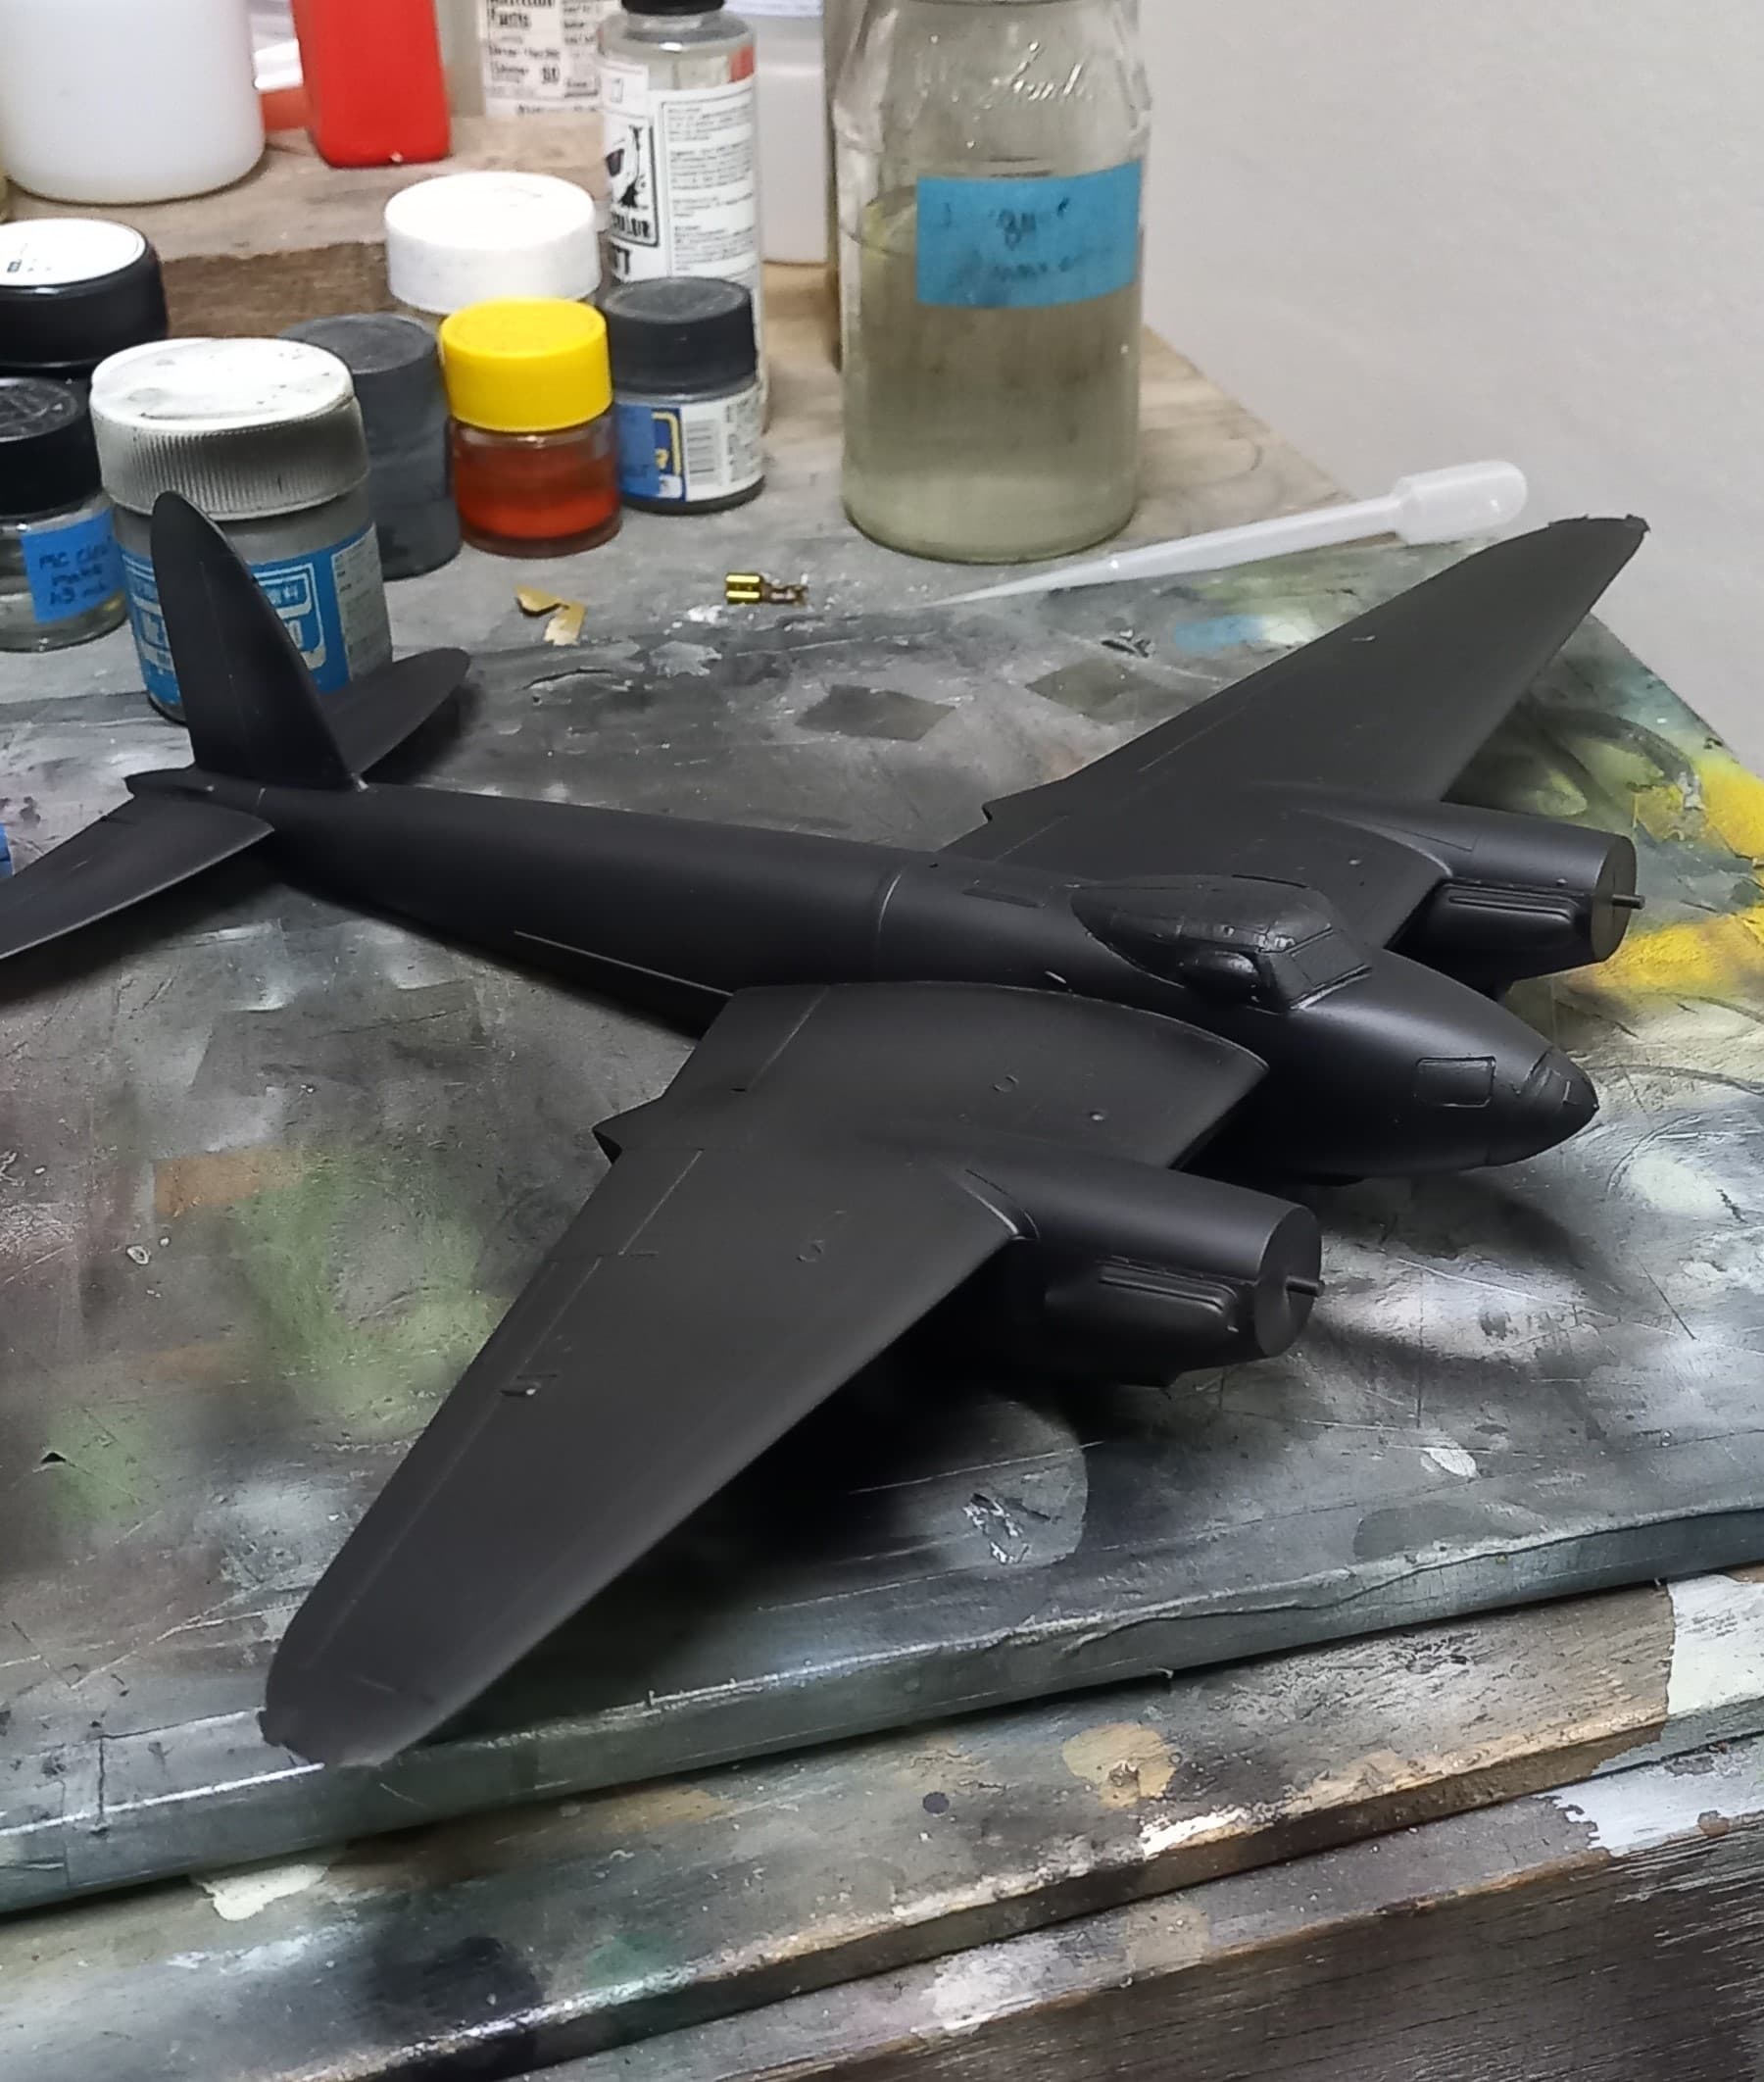
The airframe was then primed with Mr. Surfacer 1500 black and any hidden seams looked for and repaired.

Initially I was going to just free hand the camo job, but the kit comes with full size drawings and it’s been a while since I did a true mask job, so I set about cutting the tape for the camo.
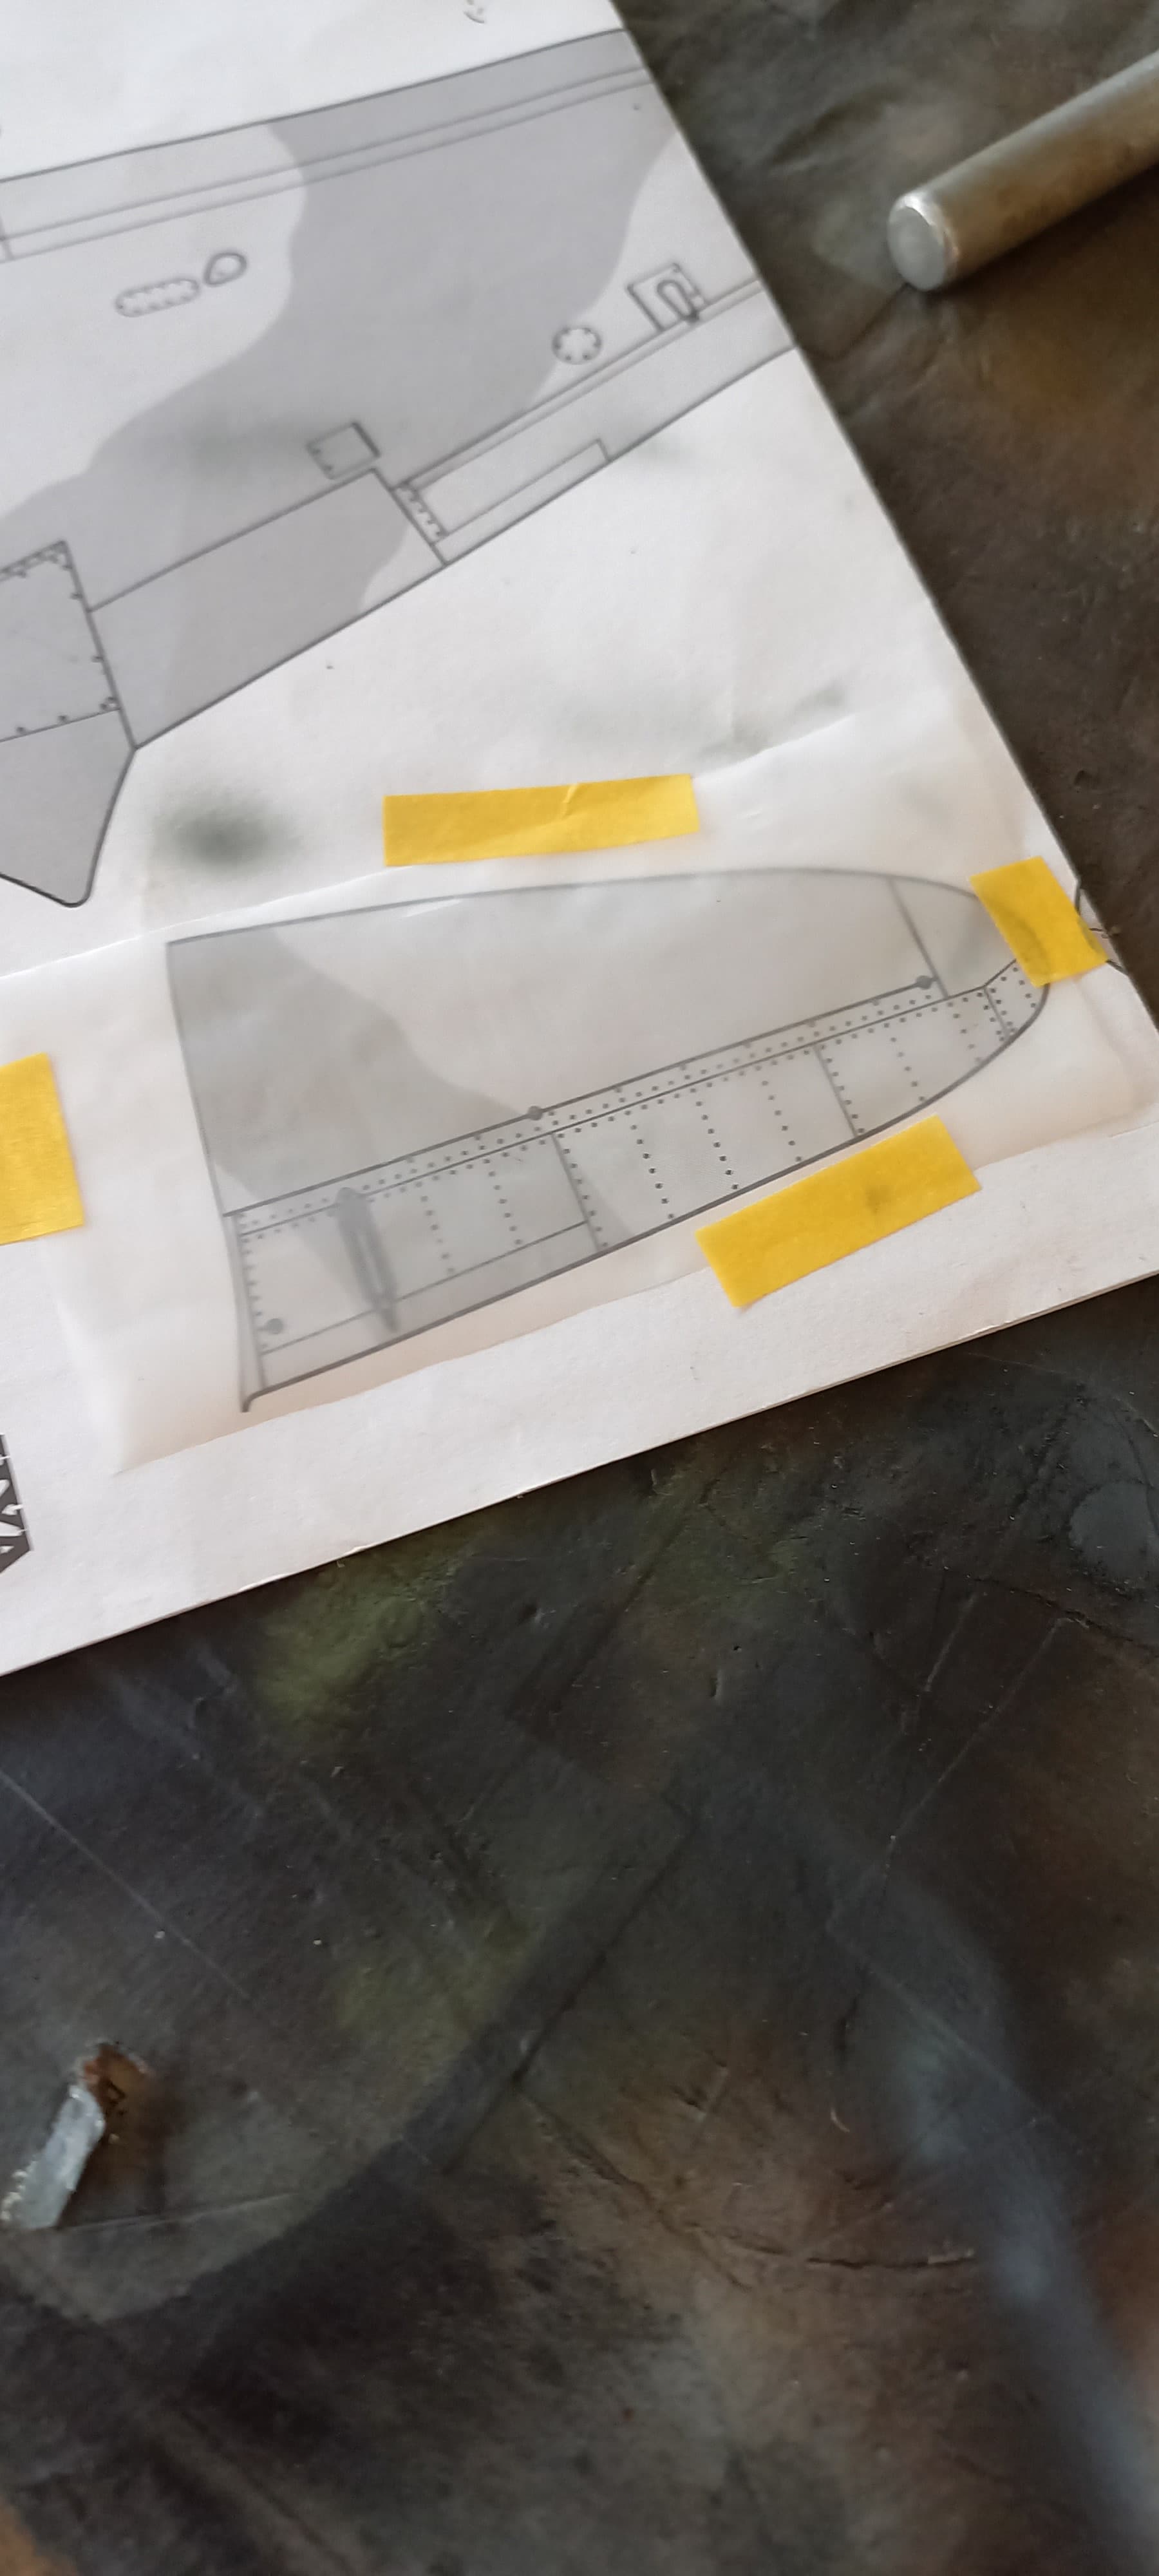
I still did a bit of free hand stuff to lay down the black based colors, and then added the masking tape to fill in the voids.
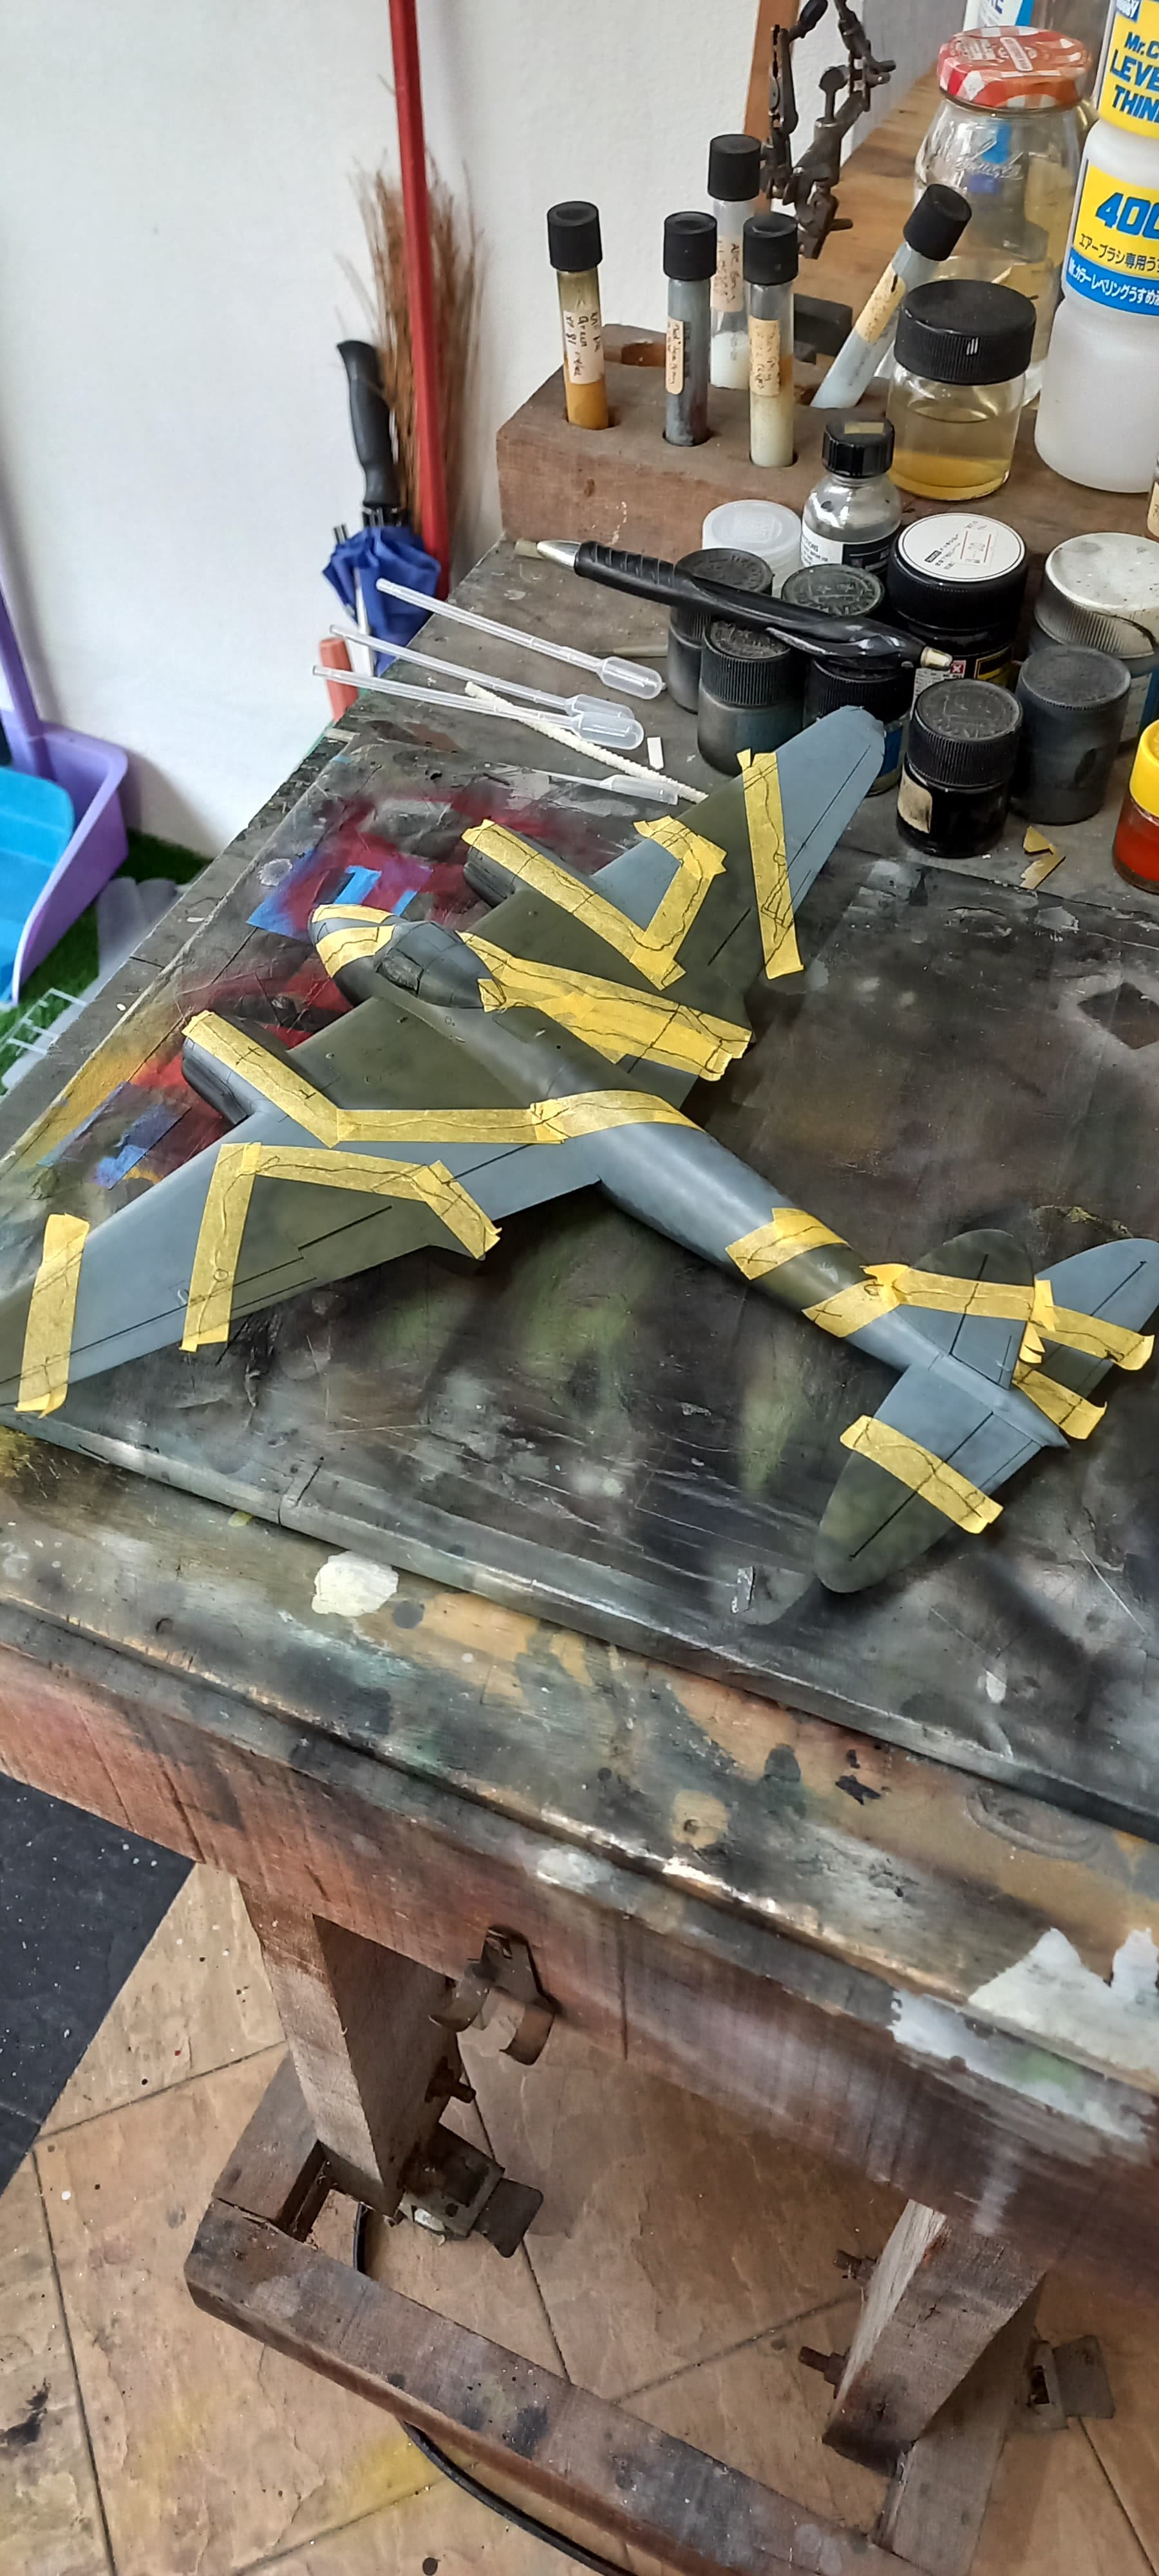
The underside is a breeze, and I got a nice black basing effect to boot!

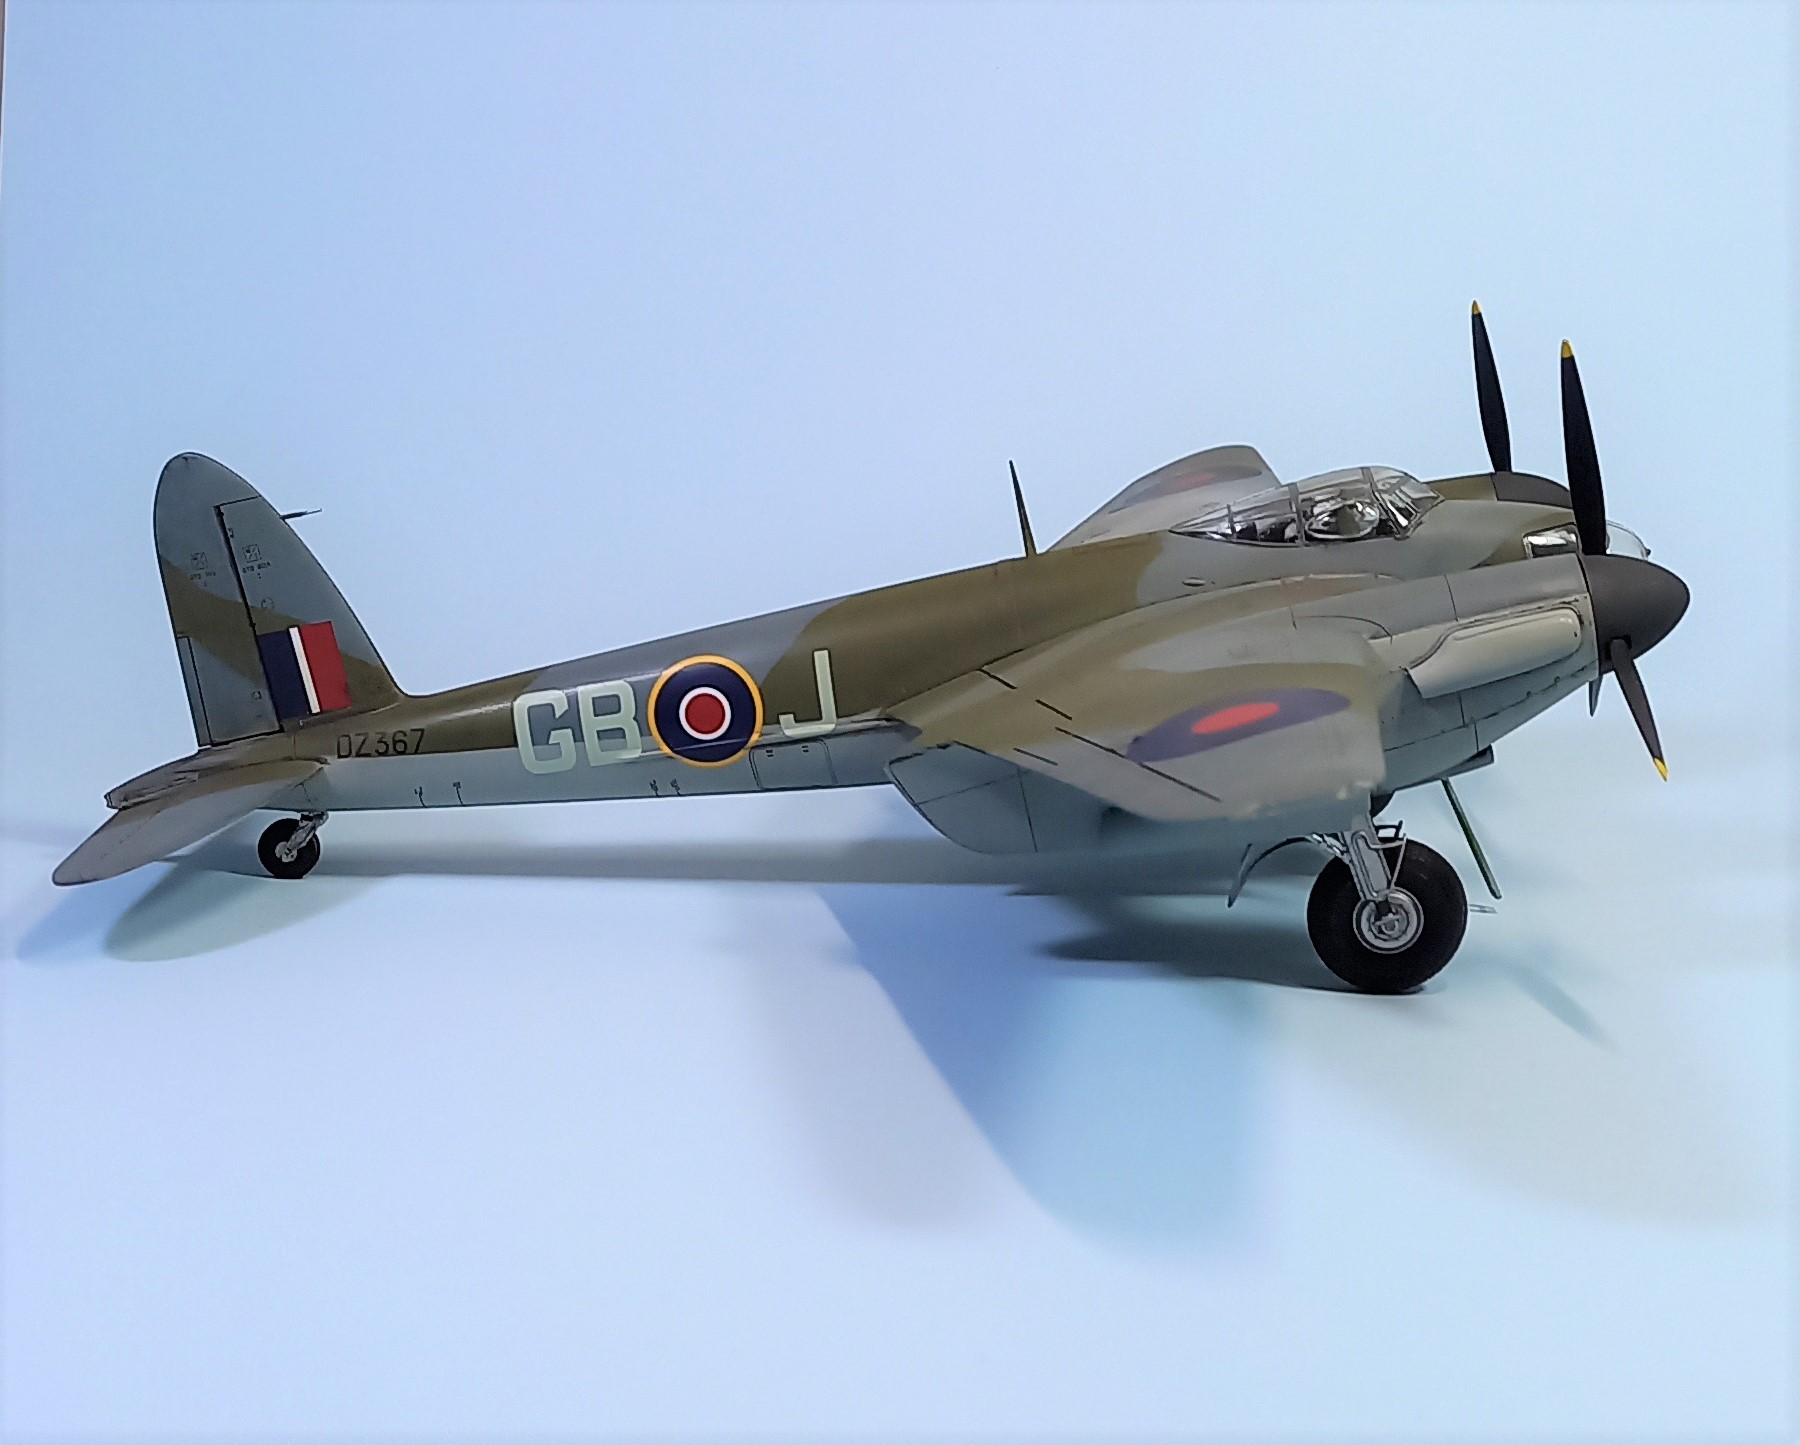
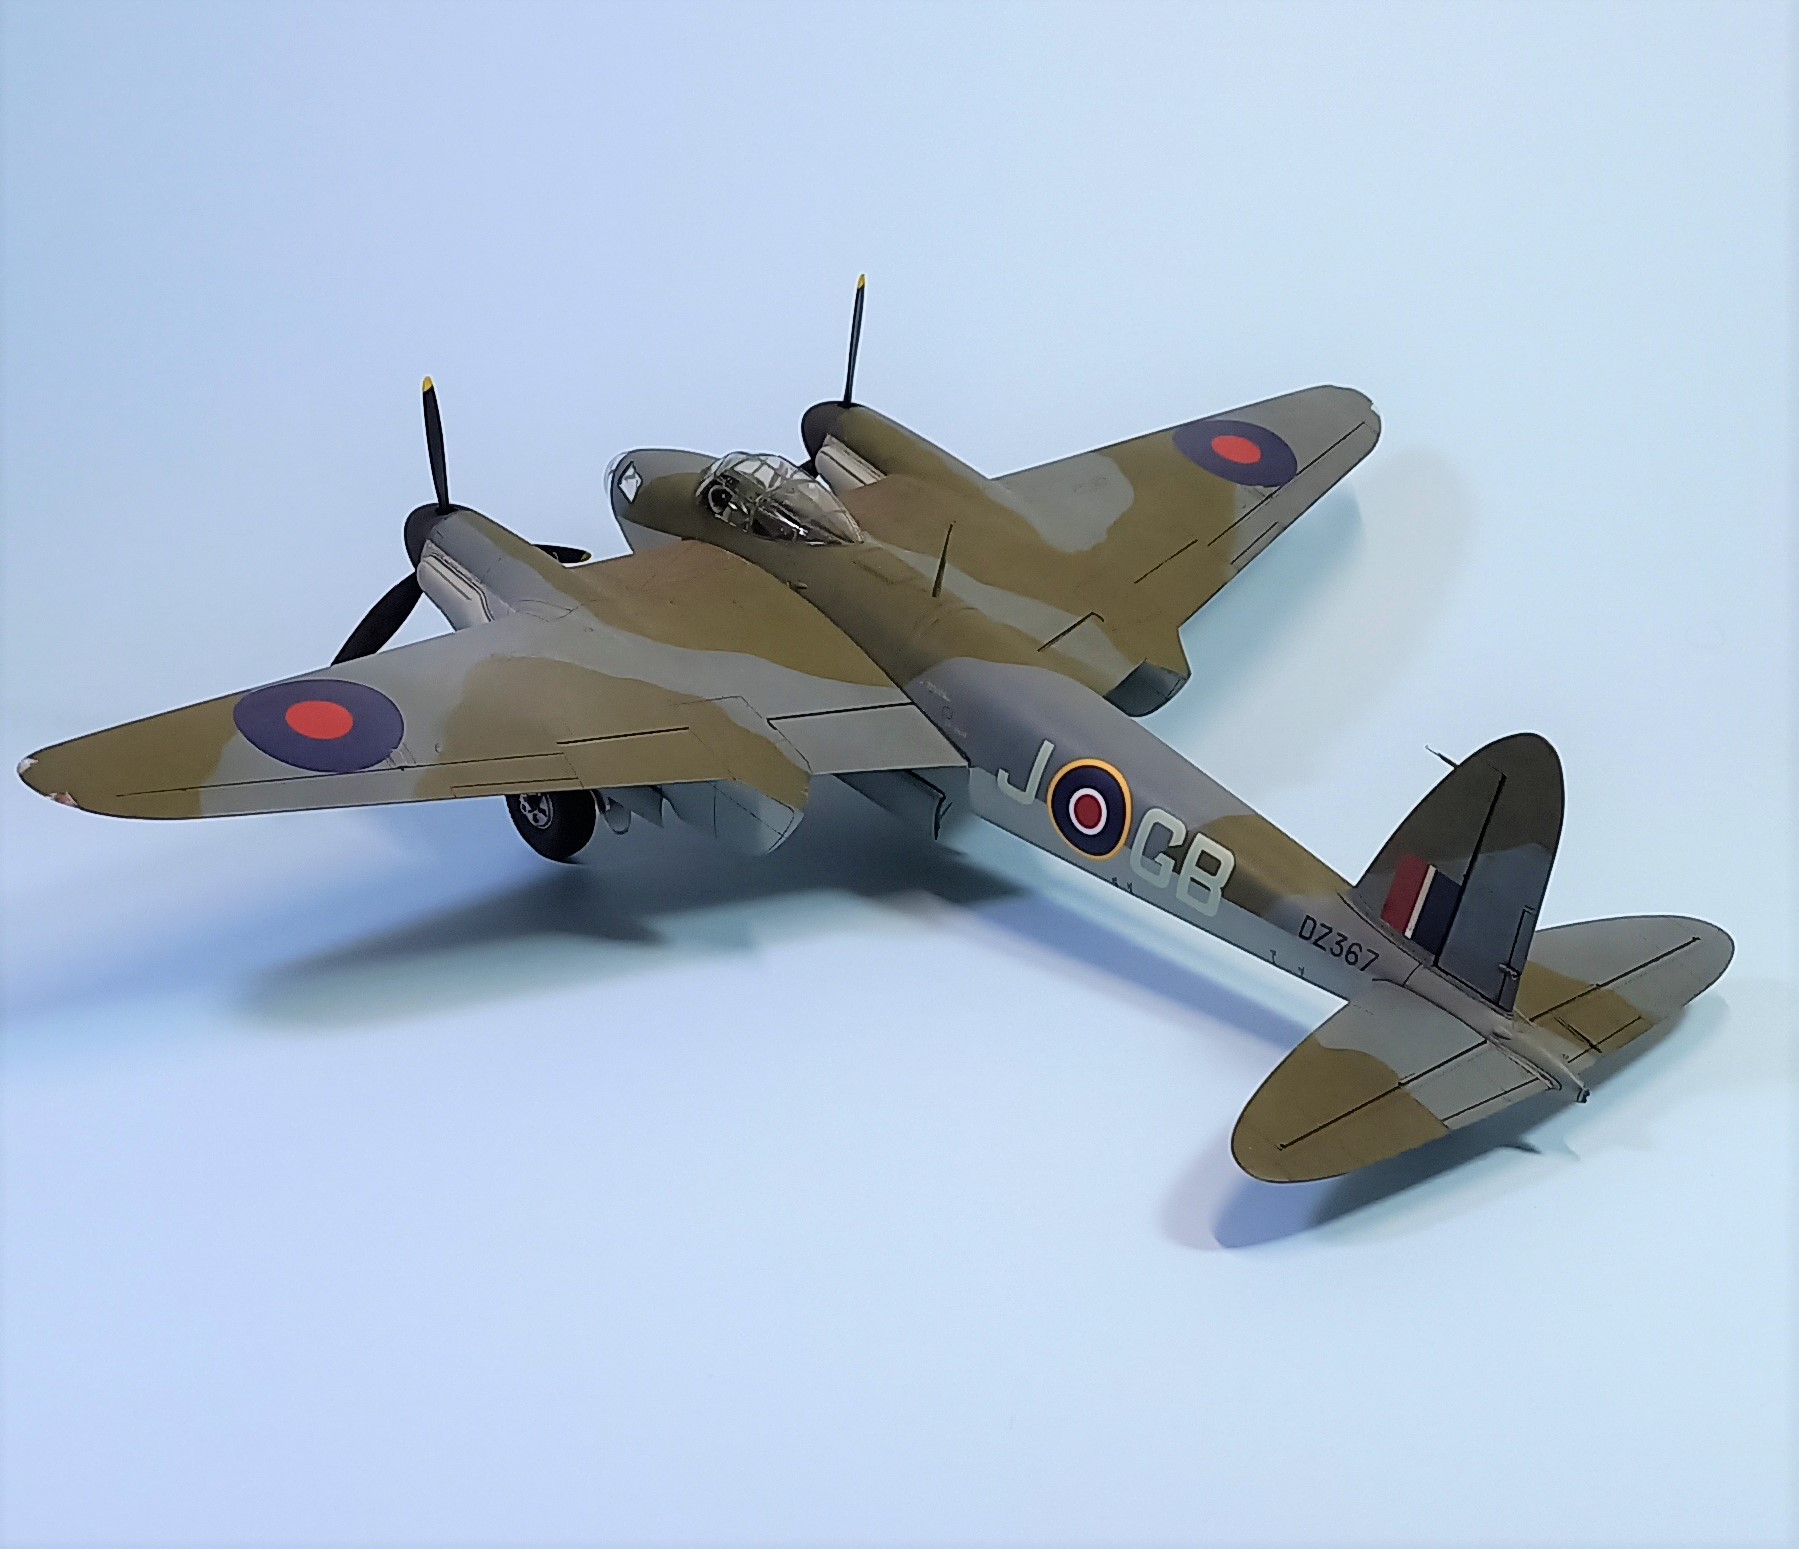
While all this was underway, the props and the landing gear were assembled, painted, given a wash and set aside for final assembly. I then gave the entire airframe a nice gloss coat of Mr. Color clear, though my 1:4 dilution did cause some of the green upper to fade, requiring a little post retouching, though not a big deal. I used the kit decals and did the plane for the 105 Squadron. The decals went down without any trouble and a light flat clear sealed the deal.

I then attached the fiddly bits, in this case the landing gear, two antennae, the crew hatch and the boarding ladder. With that I called her done, and proceeded to have a nice photo session!
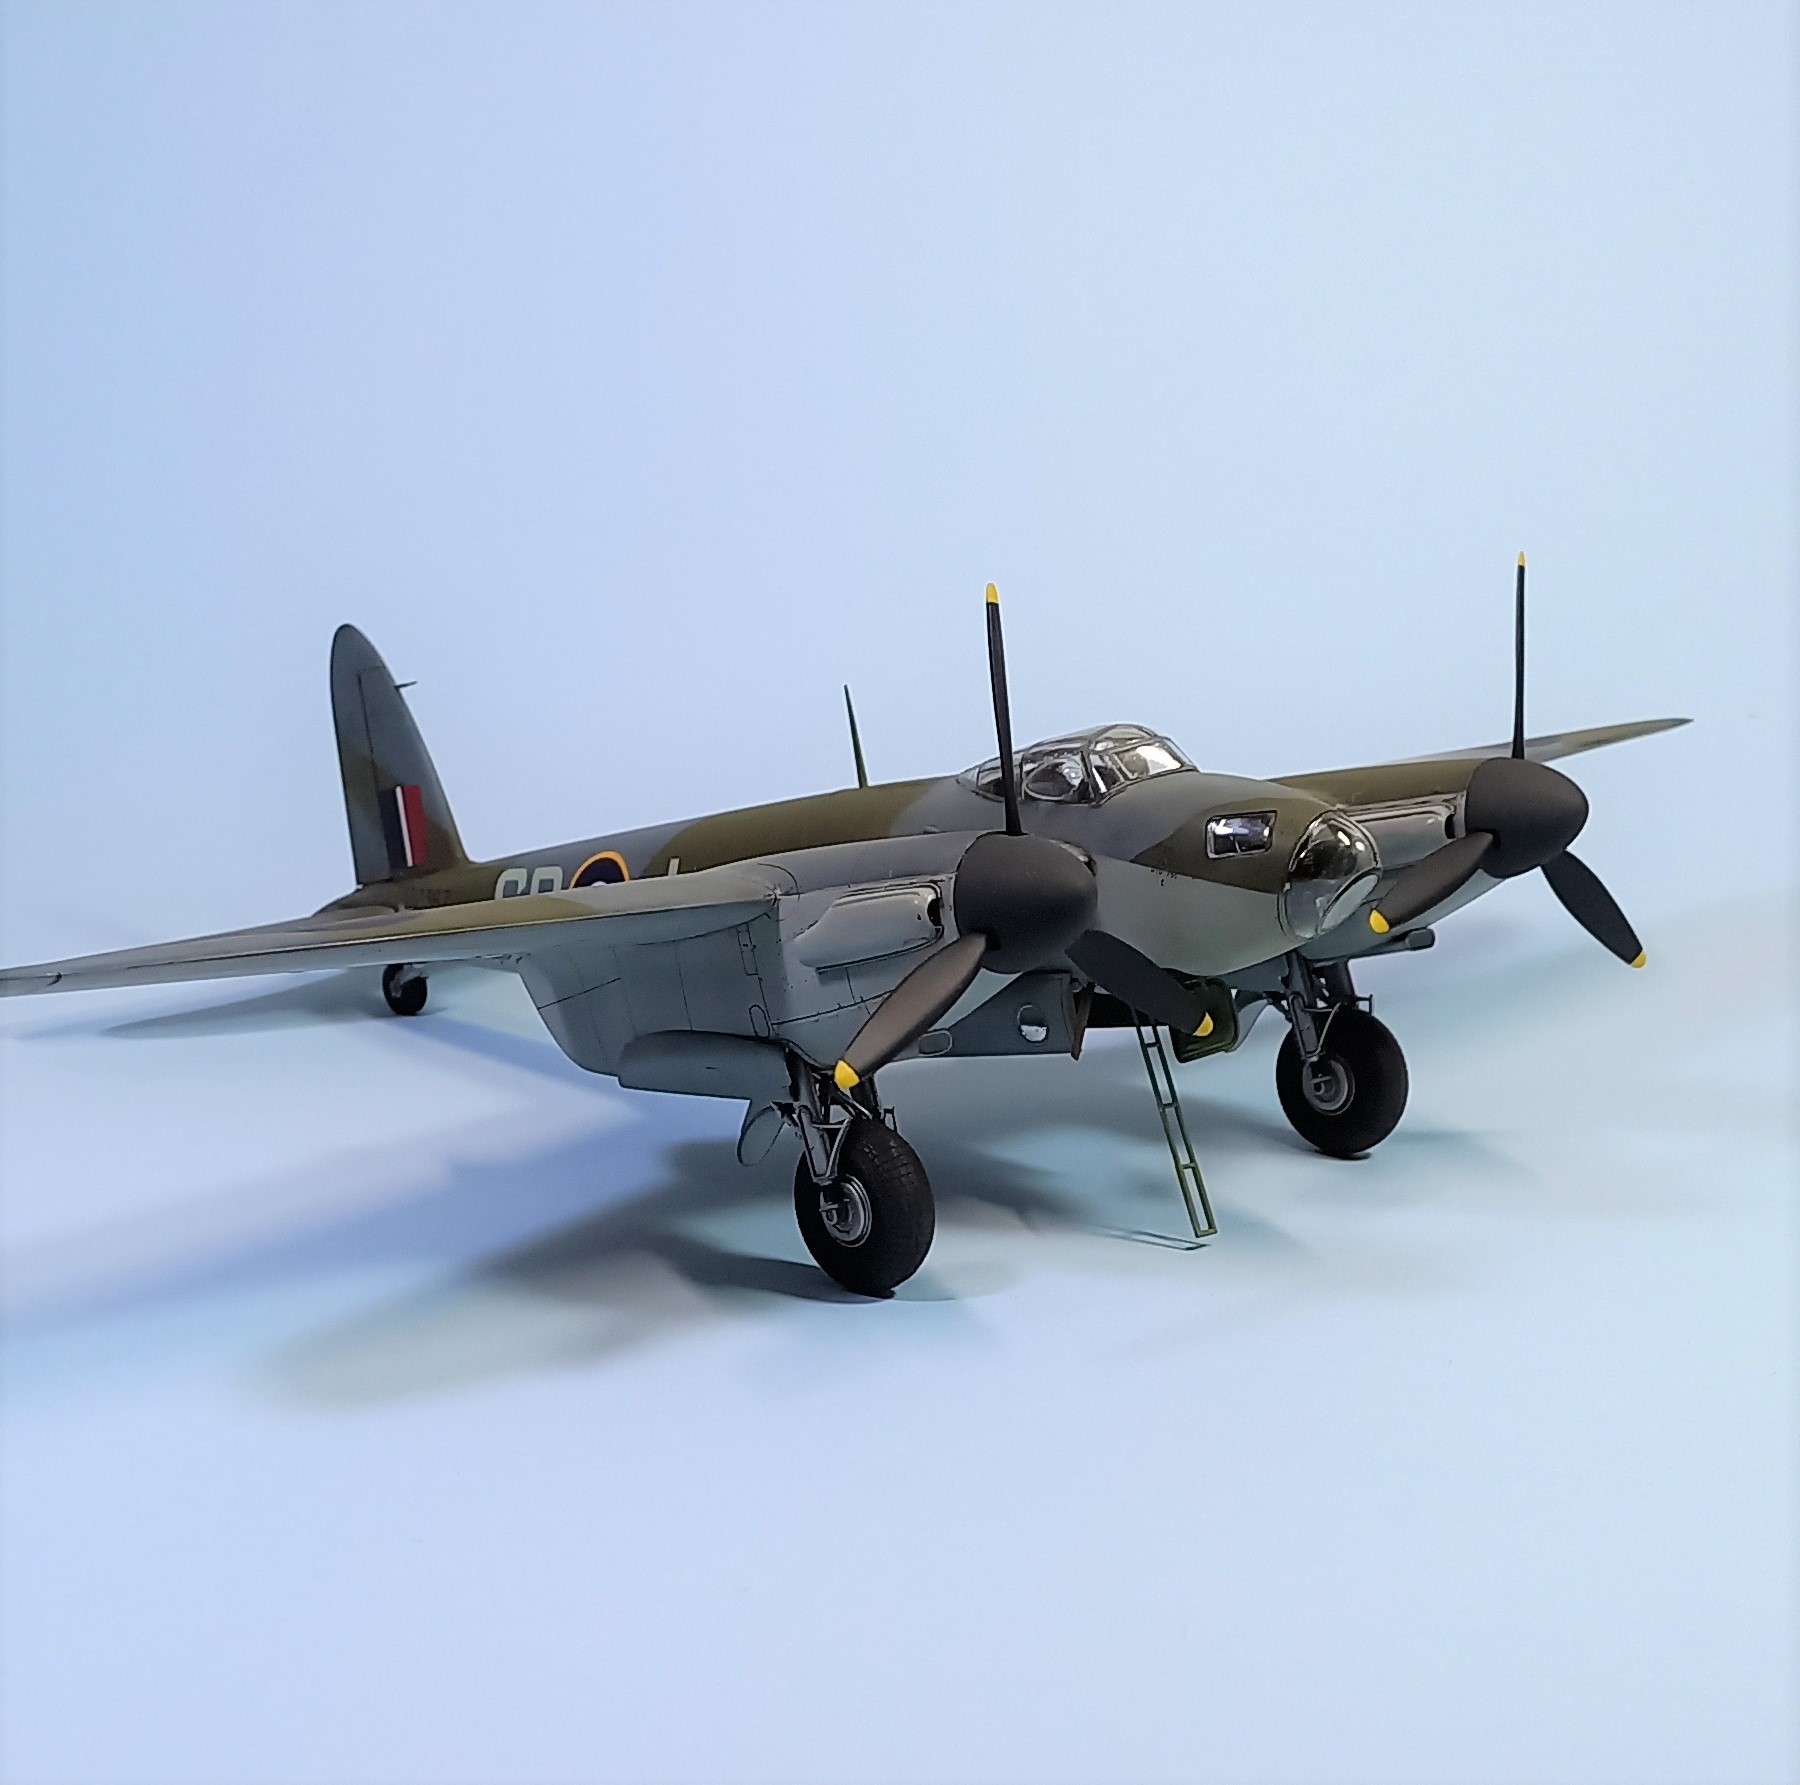

While not like the shake and bake kits Tamiya did 1996, this one does require one to pay a bit more attention to the instructions, and even doing that I managed to mess up the direction of one of the main landing gear wheels. Still this is a well made kit with most everything needed in the box, plus it was lots of fun to build! I recommend it any modeler with a few single engine birds under their belt looking to expand their horizons with a twin engine one.
Thanks to all that participated in this campaign, there’s some truely beautiful builds here. Also, thanks for the extension, for otherwise this would have ended up in Hangar Queen XIII! Speaking of that, if you didn’t finish, you can wrap up and show off your work on the Hangar Queen XIII campaign going on through the end of the year.
Stay safe and have fun!