You da man!
Thanks much.
You da man!
Thanks much.
Thanks, much appreciated.
Thanks for the extension. Hoping I don’t need it. ![]()
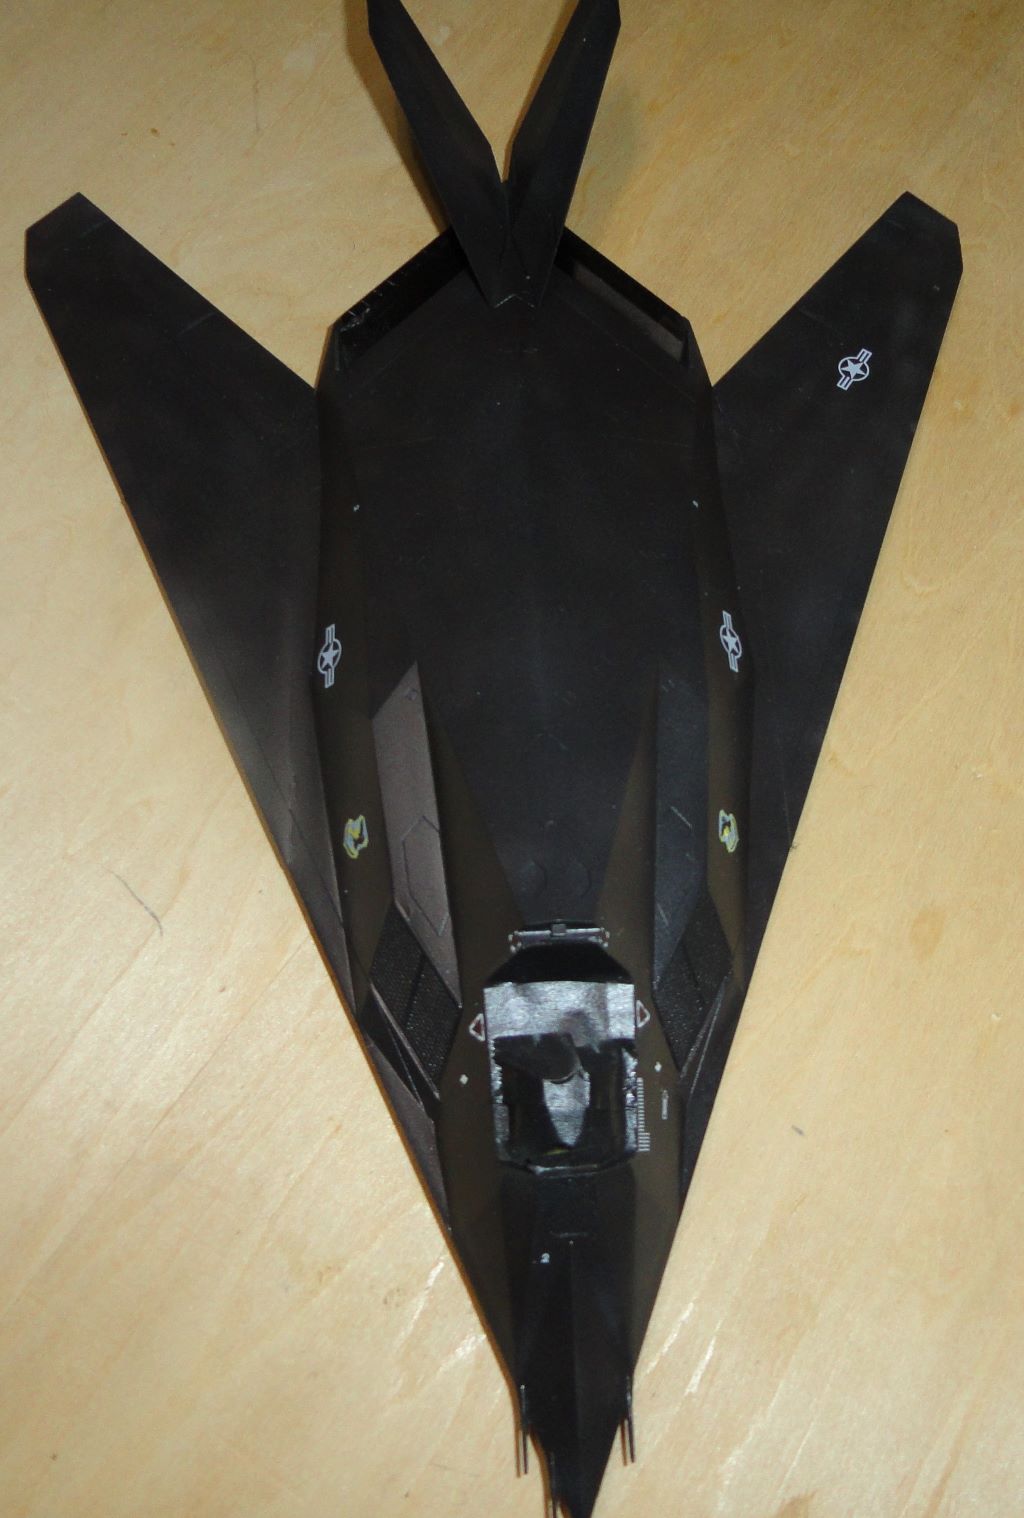
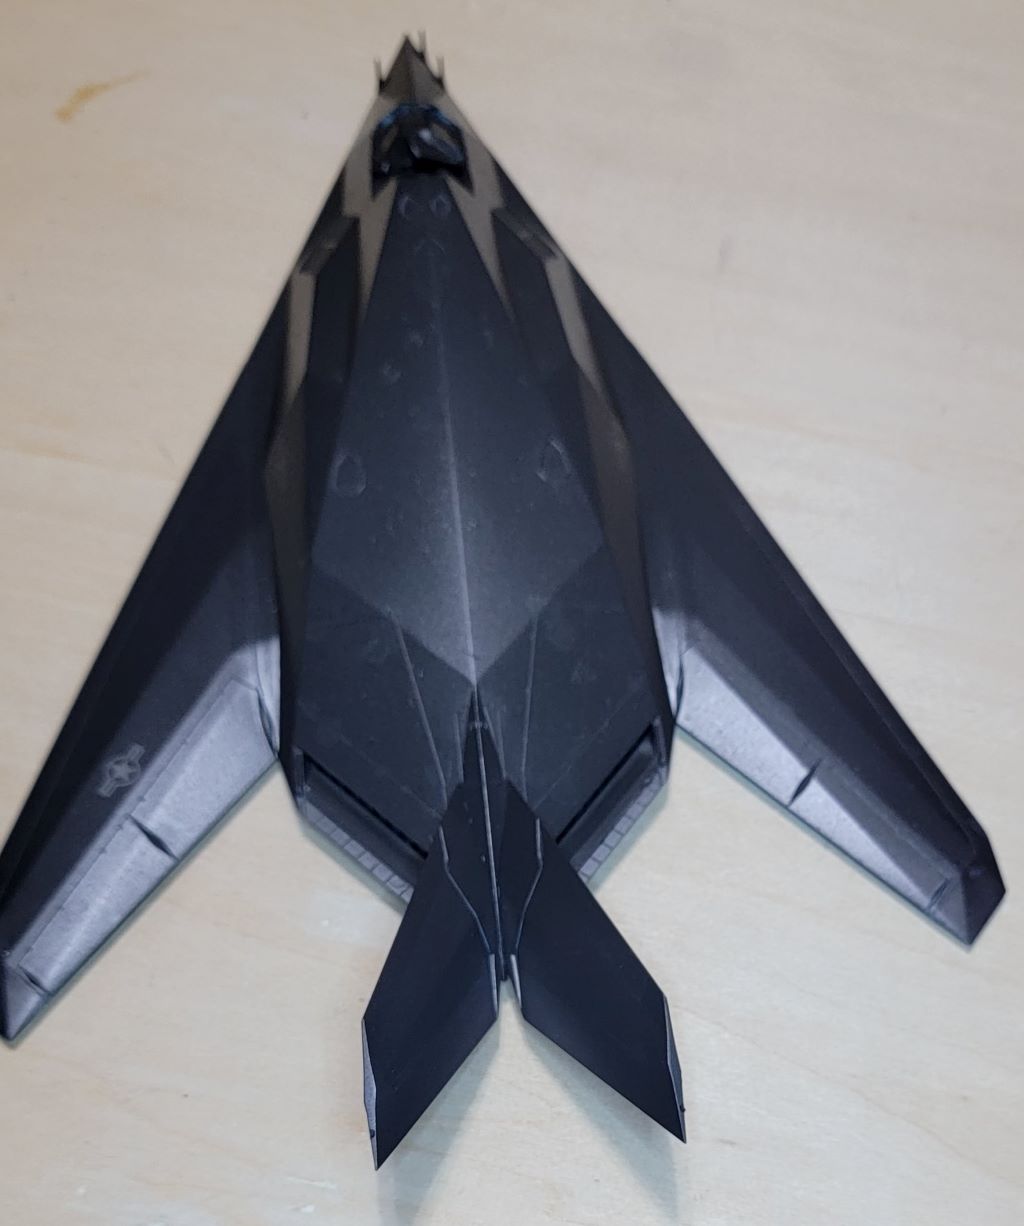
Got the base coat and a clear coat on the Nighthawk.
yes much appreciated since i ran into unexpected issues last night.
anyone know of the best way to remove glue residue from canopies after removing the mask without ruining the shine from the layer of future? other than using goo gone. i was surprised that the eduard masks left such residue.
Joe
I would use a piece of Tamiya Tape. Carefully press it to the residue spot, then remove the tape. Keep doing that–press and remove–and see how much residue the Tamiya Tape can pull up. I would not recommend trying the same thing with Blue Painter’s Tape because that tends to have more grip and may pull up paint.
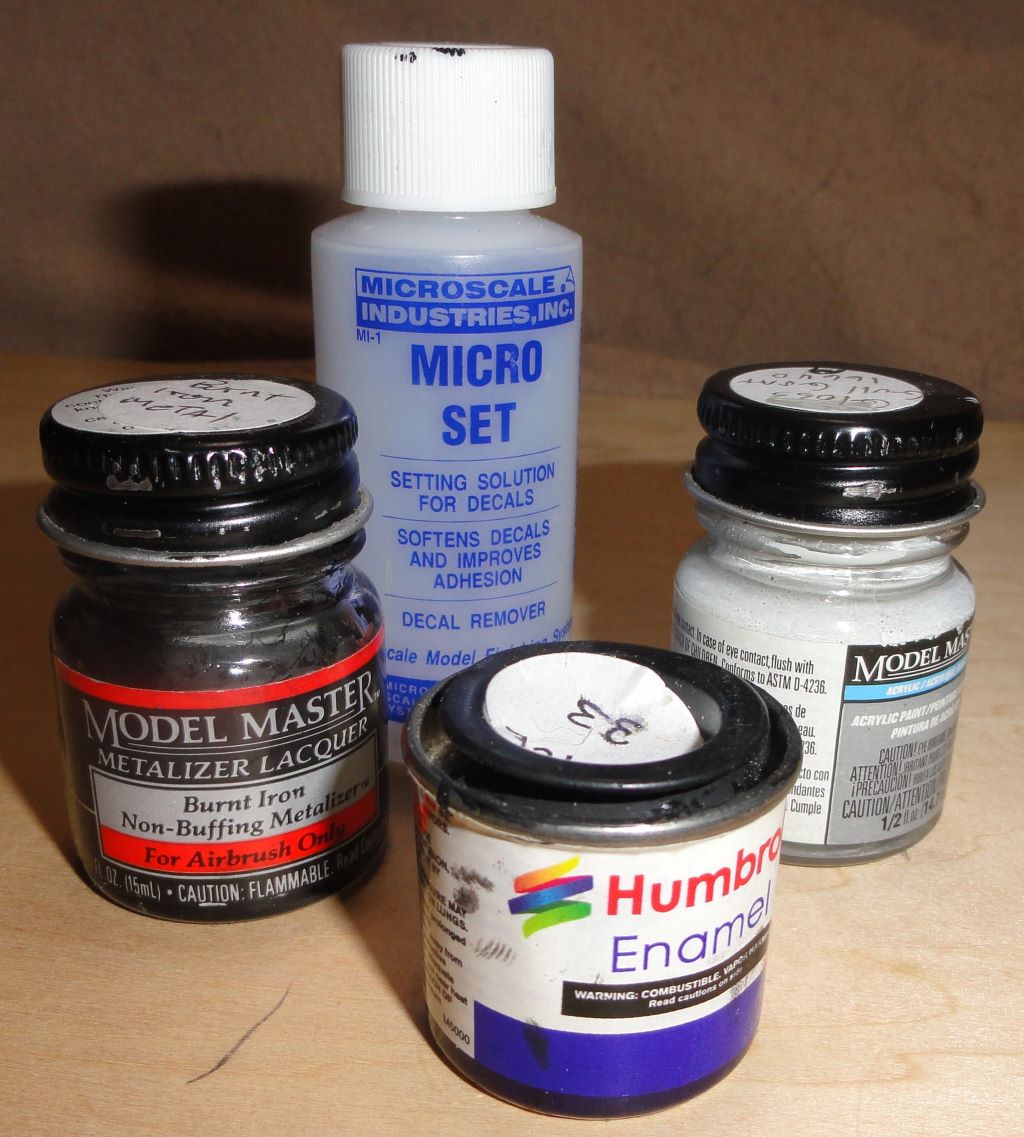
Future is acrylic so anything with alcohol or acetone will attack it. I regularly use Mona Lisa odorless mineral spirits on Vallejo acrylic paints and clear coats without any issues. That may also work, but I would first test any product you intend to try on a piece of scrap. Brush some Future on a piece of clear plastic throw away packaging, let it dry, then test on that.
Looks great, Jesper! I like the loadout you chose…don’t want to be on the receiving side… ![]()
Wow, 3 nights to get so few decals placed. Glad we got the extension. ![]()
Thanks for all the comments on my SU-25. Much appreciated. ![]()
Mark, nice progress on the nighthawk. Such an iconic aircraft. Looking forward to see more.
yes i think it was you i warned about those printscale decals a while back. they are so thin and stretchy you can easily ruin them and they are impossible to move around on the model for positioning. they just roll under themselves or stretch and get distorted.
How did you work them, did you come up with a technique to get them on the model without ruining them? One thing i found is if they fold over on themselves drop them back in the water and use a toothpick to help unravel them. then you can float them back onto the backing for another try.vOther than that i can’t offer much else.
Joe
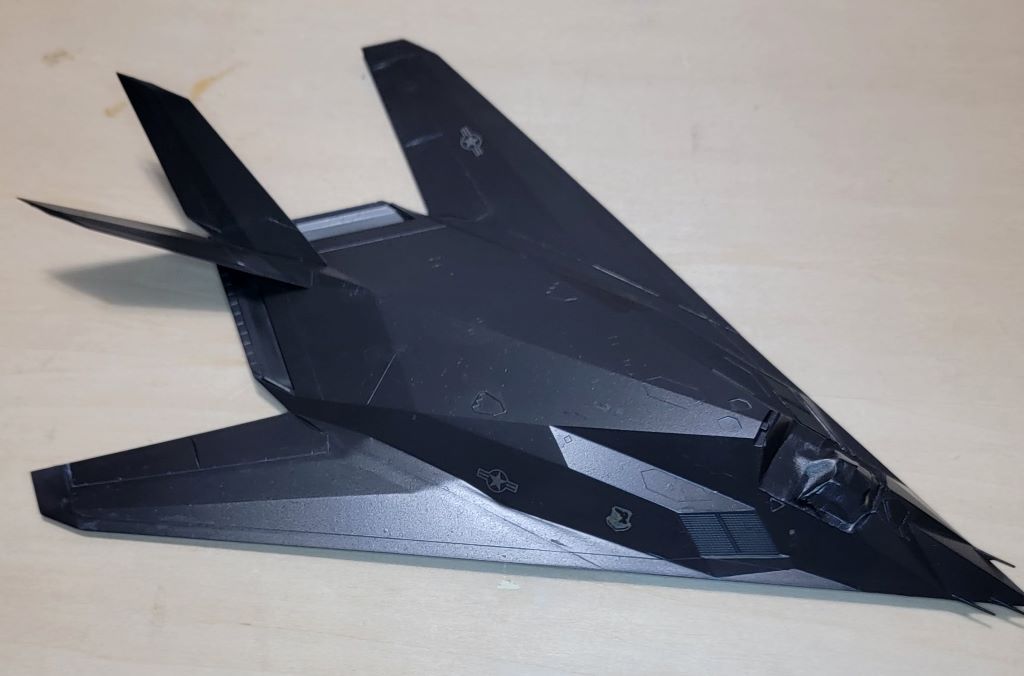
Sorry, I missed the warning. But I was determined to have Gulf war aircraft. All of the kit decals were for pre-war commander schemes. About the only thing I didn’t try was putting them back into the water. I did try unwrapping them with a needle that almost worked. I had my best luck trying to float them off of the backing onto a puddle of water on the plane. And I had some luck repositioning them with a wooden cuticle pusher. If you look closely, you can see the last mission marker or two is curved over under itself. ![]()
I’ve got several of their sets I haven’t tried yet. I wonder if coating with a clear coat like Tamiya’s X-22 would give them a bit more backbone?
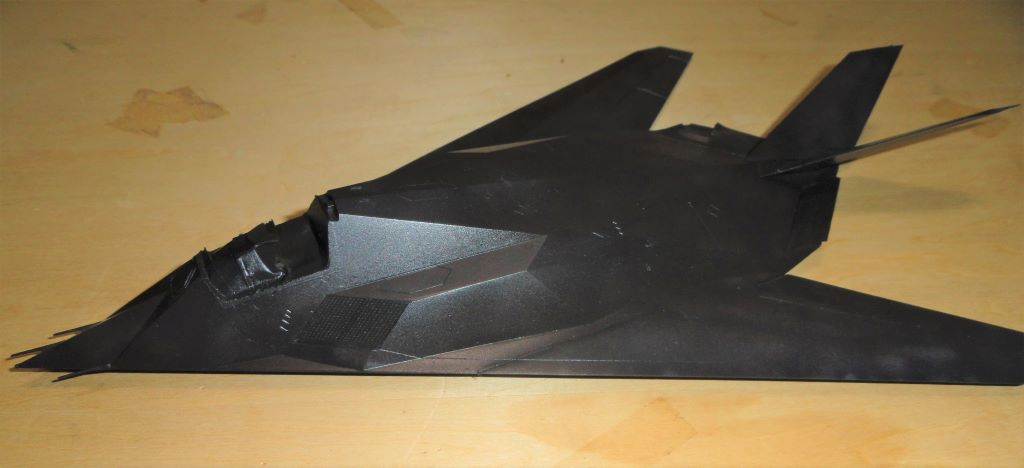
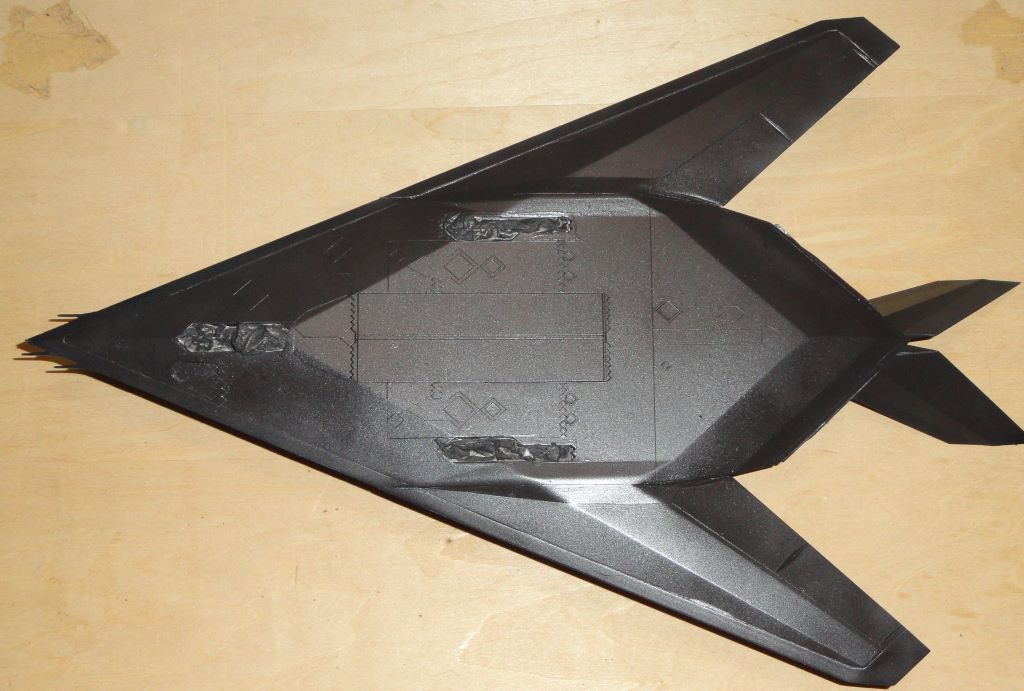
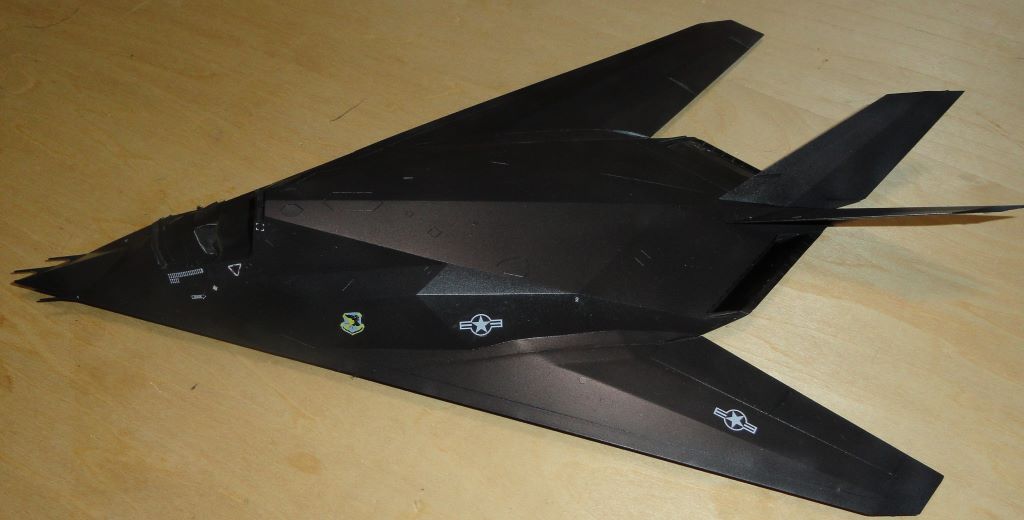
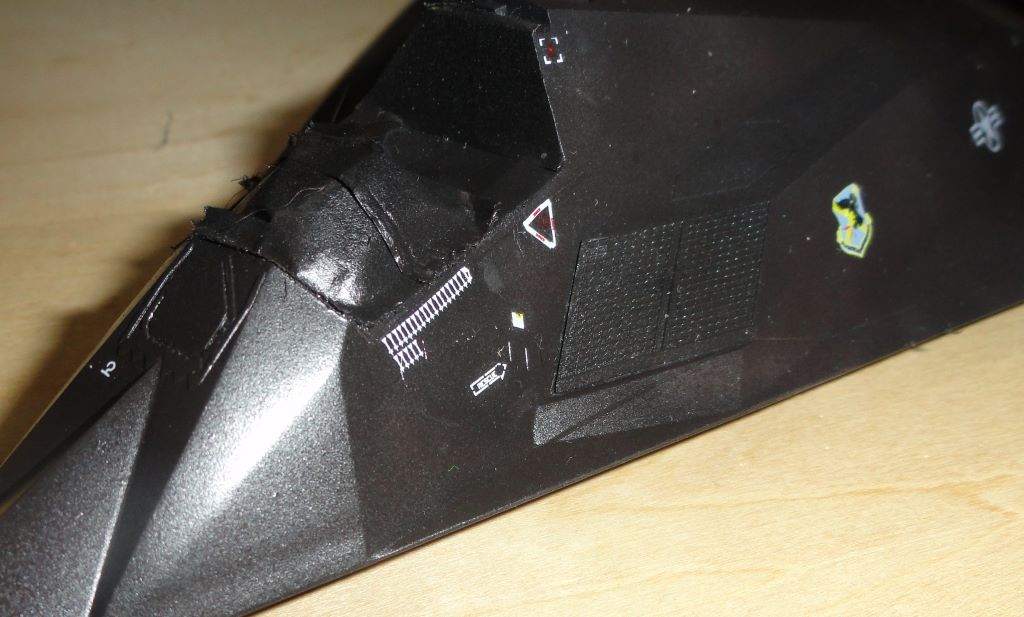
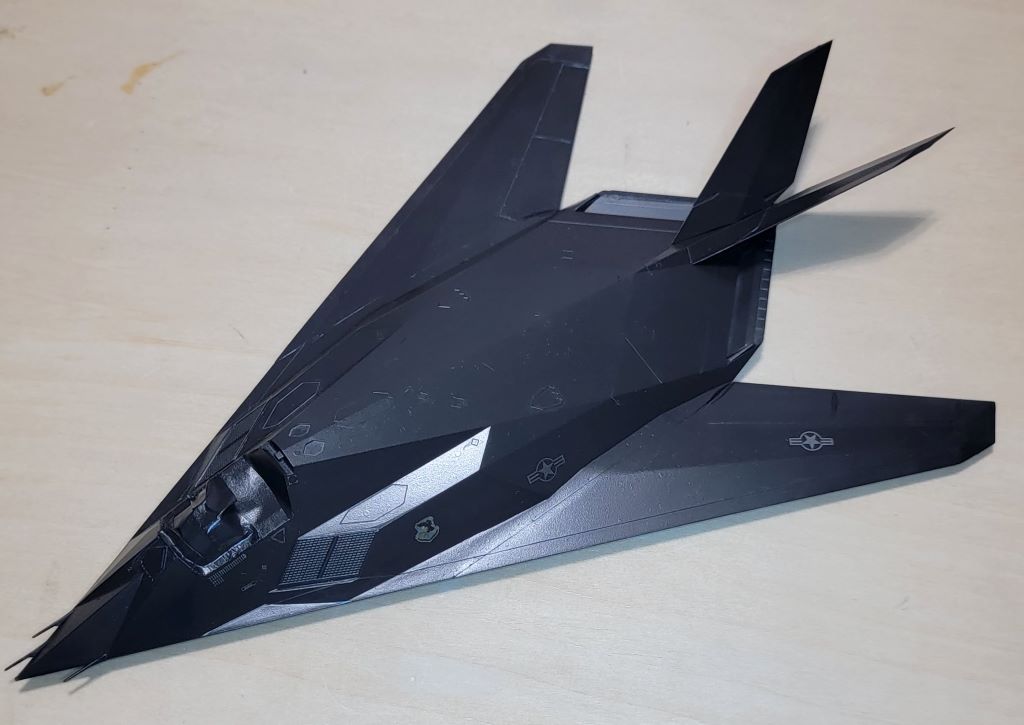
Fantastic work on the F-117. For such an iconic aircraft it’s funny we don’t see many being built? Must rectify that myself soon.
I might build another one, after all I have plenty of decals left. ![]() But probably not another Hasegawa. Fits were a bit funky and there’s no bomb bay to detail.
But probably not another Hasegawa. Fits were a bit funky and there’s no bomb bay to detail. ![]()
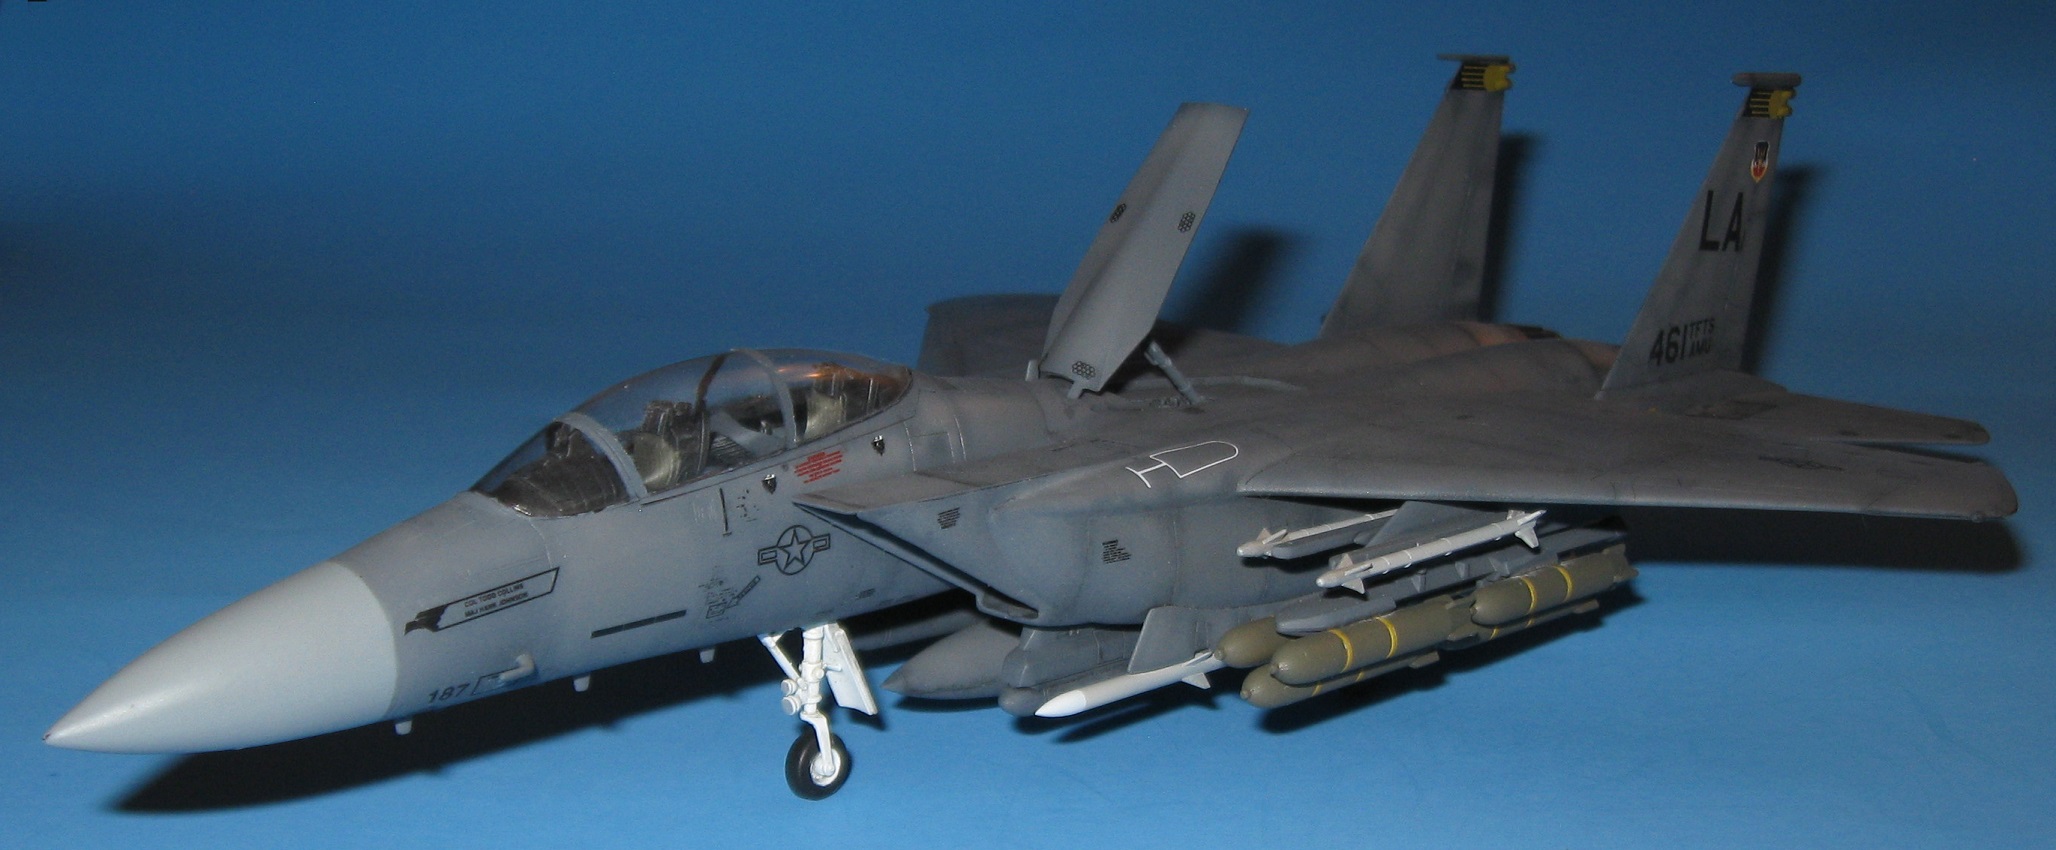
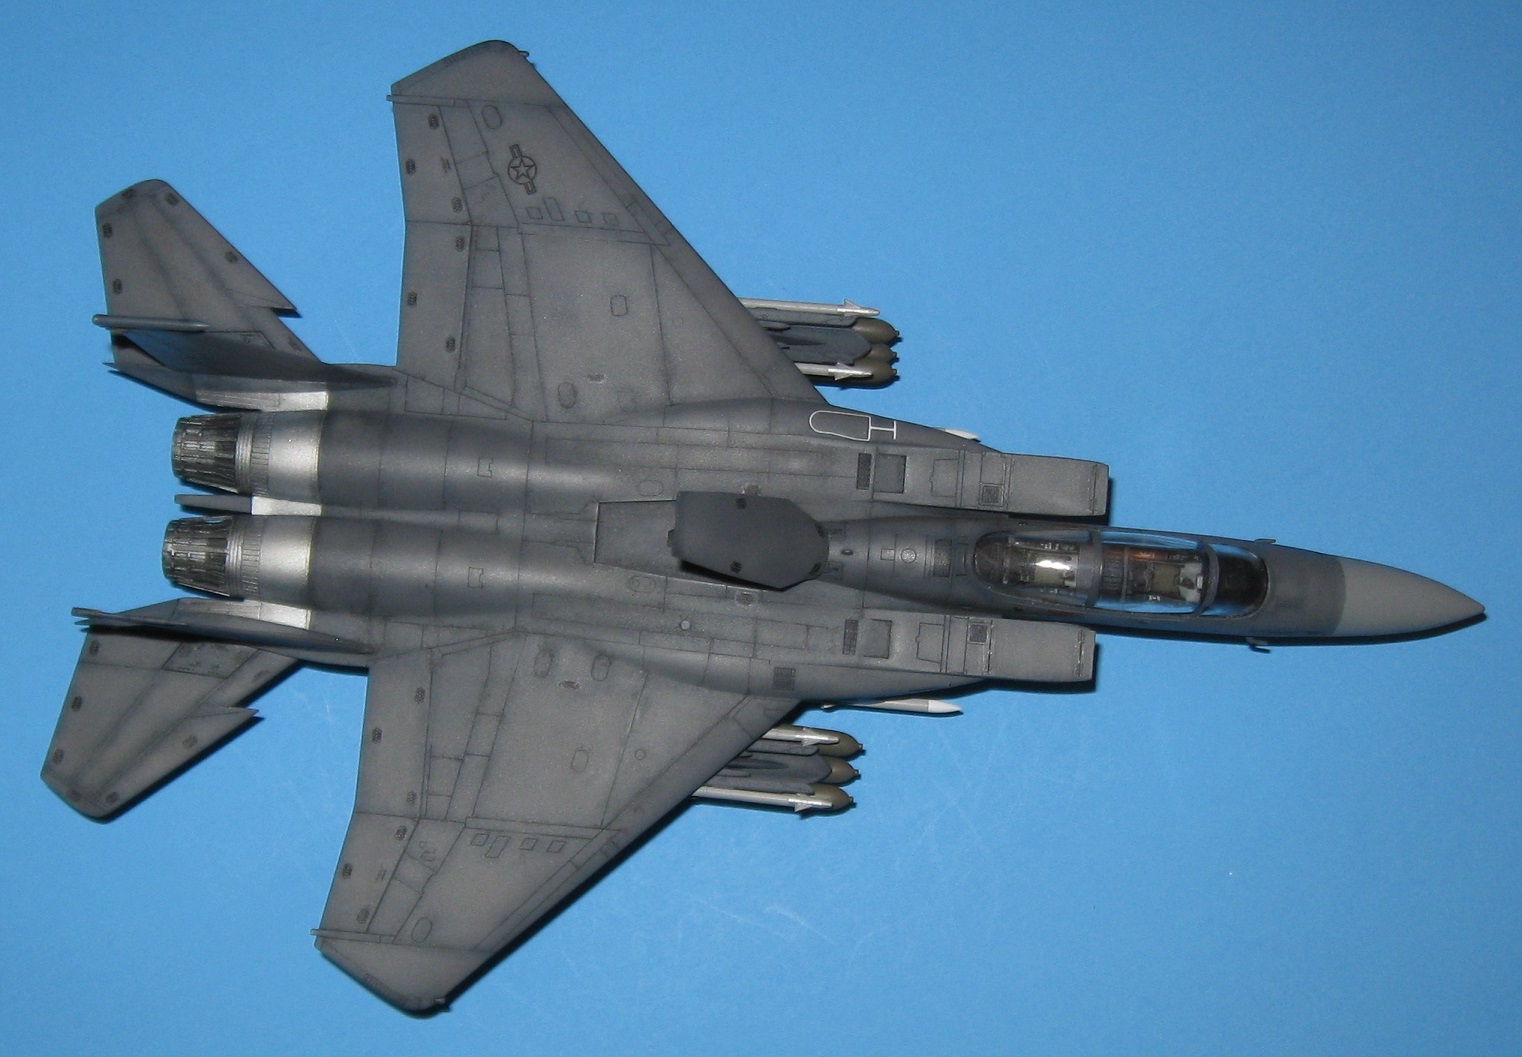
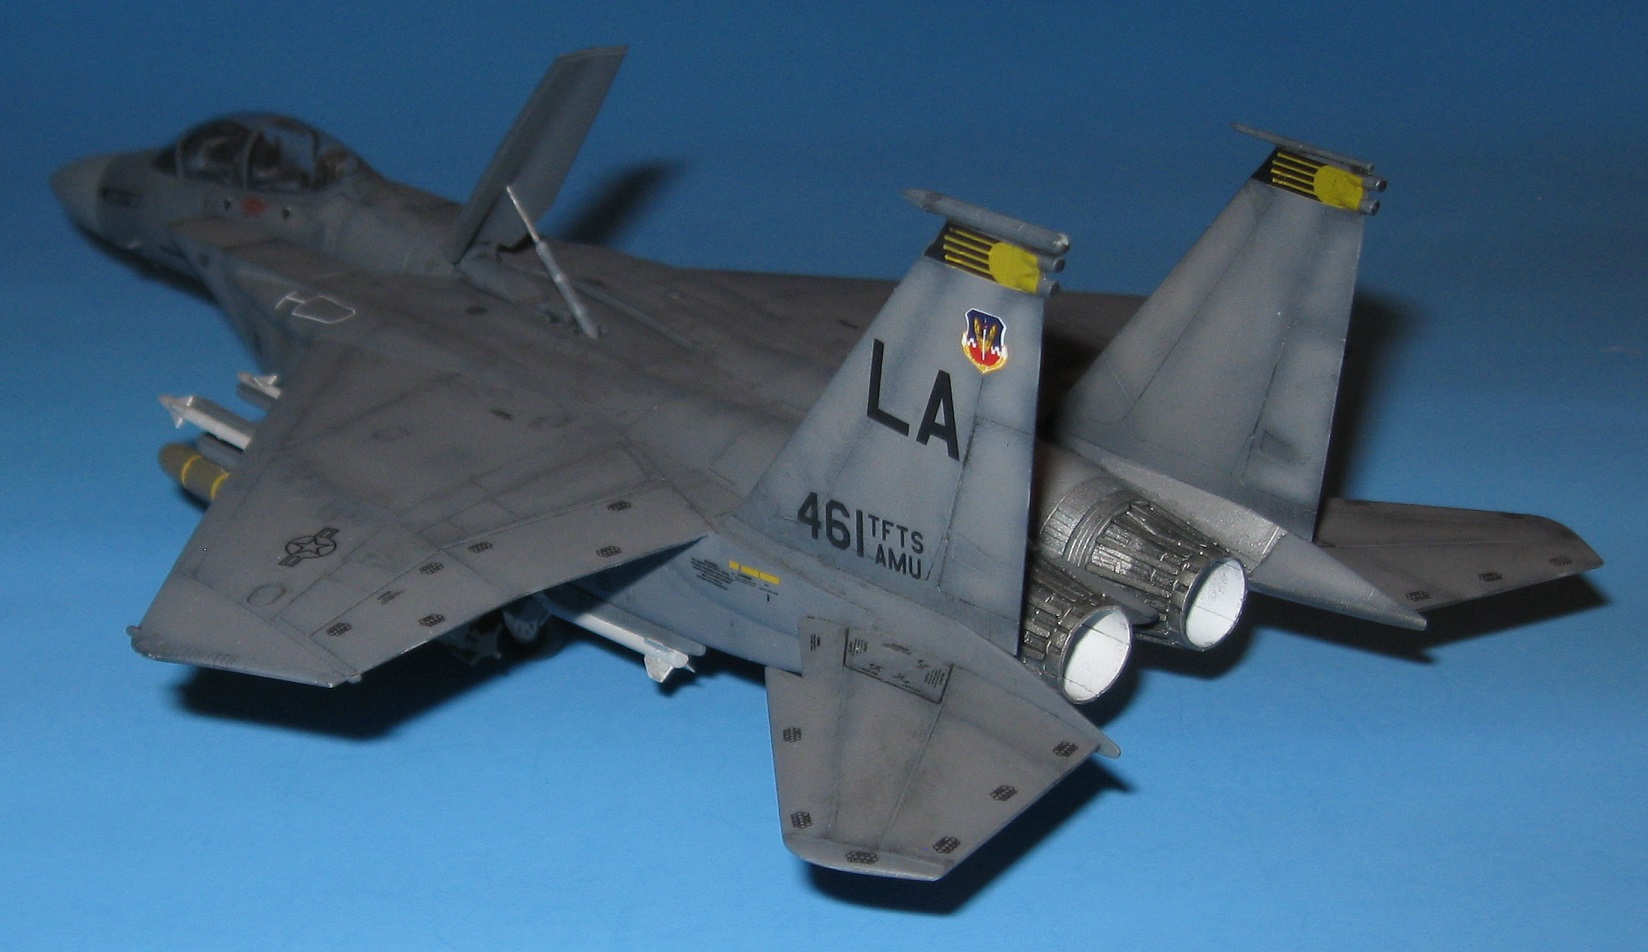
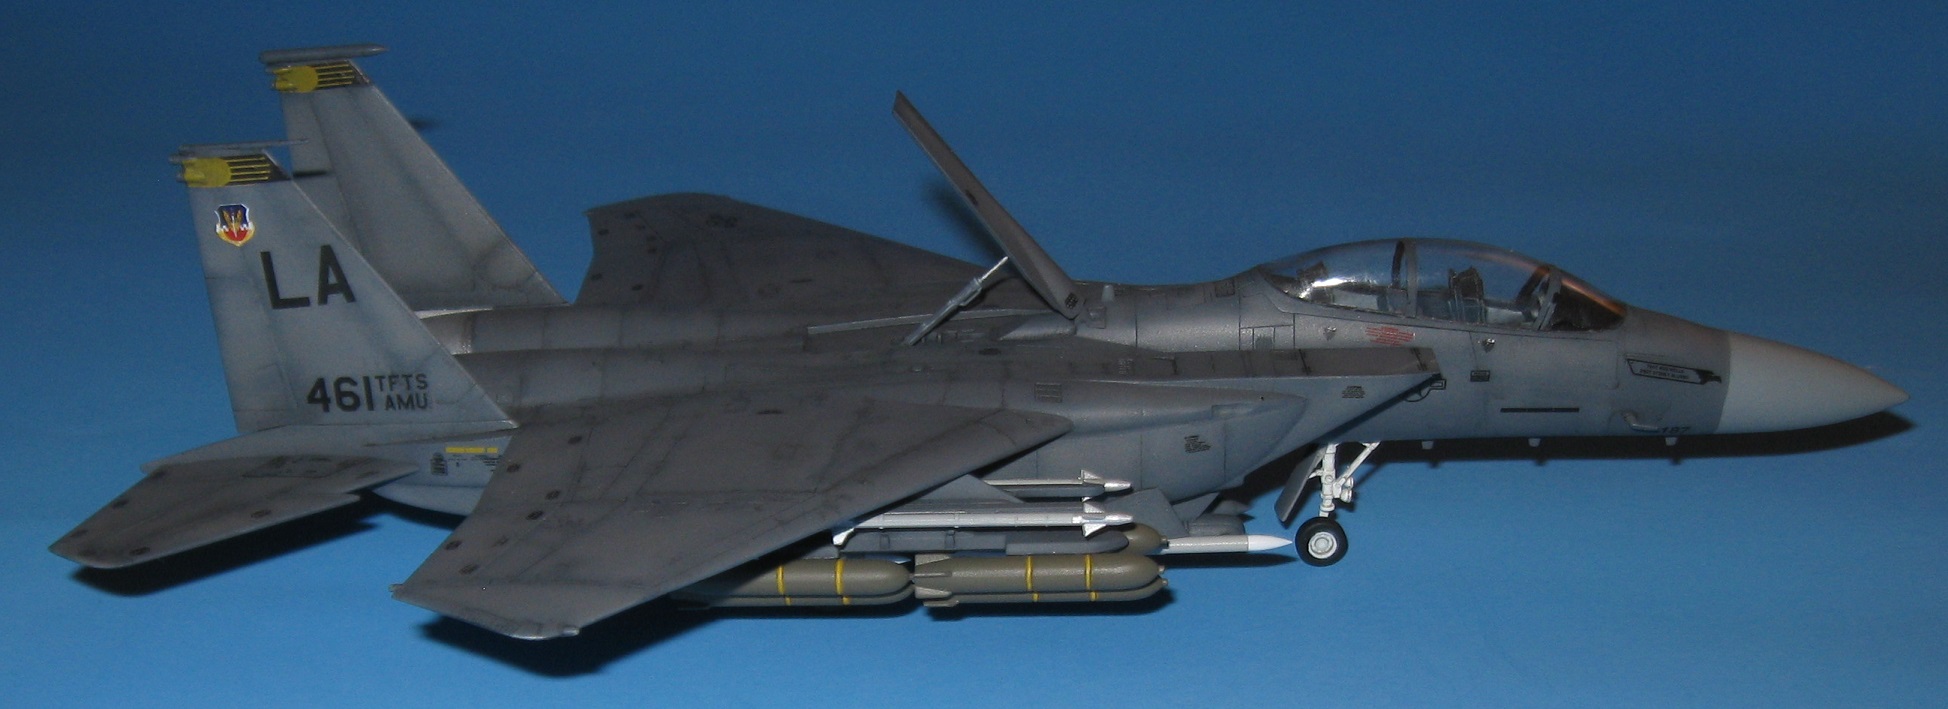
Finished: Academy 12478 F-15E Strike Eagle
This project served as an excellent learning exercise for many techniques. Some worked. Some did not.
Panel shading worked far better than expected. Controlling the single pin wash proved extremely difficult and resulted in many errors.
The use of metallic colors on the engine turned out better than expected. Decal placement was very problematic and failed in a few places. Due to inexperience, the model ended up with too many clear coats. A last minute experiment with sanding resolved the worst of the issues associated with that.
In the final days of the project I lost patience and rushed to finish, resulting in even more avoidable errors. ![]() Fit problems plagued the model right until the very end. Almost all final assembly was done using super glue, a first for me, with surprisingly good results.
Fit problems plagued the model right until the very end. Almost all final assembly was done using super glue, a first for me, with surprisingly good results.
Even with all the errors, I am very happy with the final model. It looks pretty good from most angles and the lessons learned were extremely useful.
Thank you for allowing me to participate in this campaign. It was fun trying something very different and I hope to build another plane in the not too distant future. ![]()
Great work everyone. Some fantastic builds rolling out of the hangers here.
Beautiful build, Doug. Looks outstanding - perfect finish!
It looks really awesome!
Inching towards the finish line. Decals are on, but my sealcoat went a little awry. It’s too dark and glossy, it even overpowered the gray weathering on the exhausts. ![]()
Great to see the last few builds coming along.
Haven’t been able to do much of the Lily until today. The long and tedious process of canopy masking.
Yeah, I’m masking my Blenheim starting in a little bit. If I get done with the masking today, I can paint it tomorrow and get the decals on in time. … I hope
That’s another bomber with a big masking job!
All I can say is thank god for Eduard!