We’re at 40 hours/80% as of now. The scrapped print was 22-23 hours in.
For the first time, I’m attempting to design wheel assemblies, inclusive of the tyres/tires.
Version 1 yielded enough lessons for me to be confident that version 2 will be test-print worthy.
In the meantime, remedial details & ancillary design is underway.
Thanks for looking in.
3 Likes
After almost 52 hours, the upper hull print is done. I’ll let it drain overnight before starting the post print processing.
Hopefully any defects or issues are of the minor or non-existent varieties.
Thanks for looking in.
5 Likes
Looks like I hoped in vain. For some reason, the print is “creasing”, rendering the resultant print unusable.
I’m trouble shooting atm, with options including splitting the upper hull roughly in half so there’s sufficient room to orient the model to the built plate more aggressively.
That said, there’s an opportunity to further refine the model before hitting “go”, so there’s that.
Thanks for looking in.
2 Likes
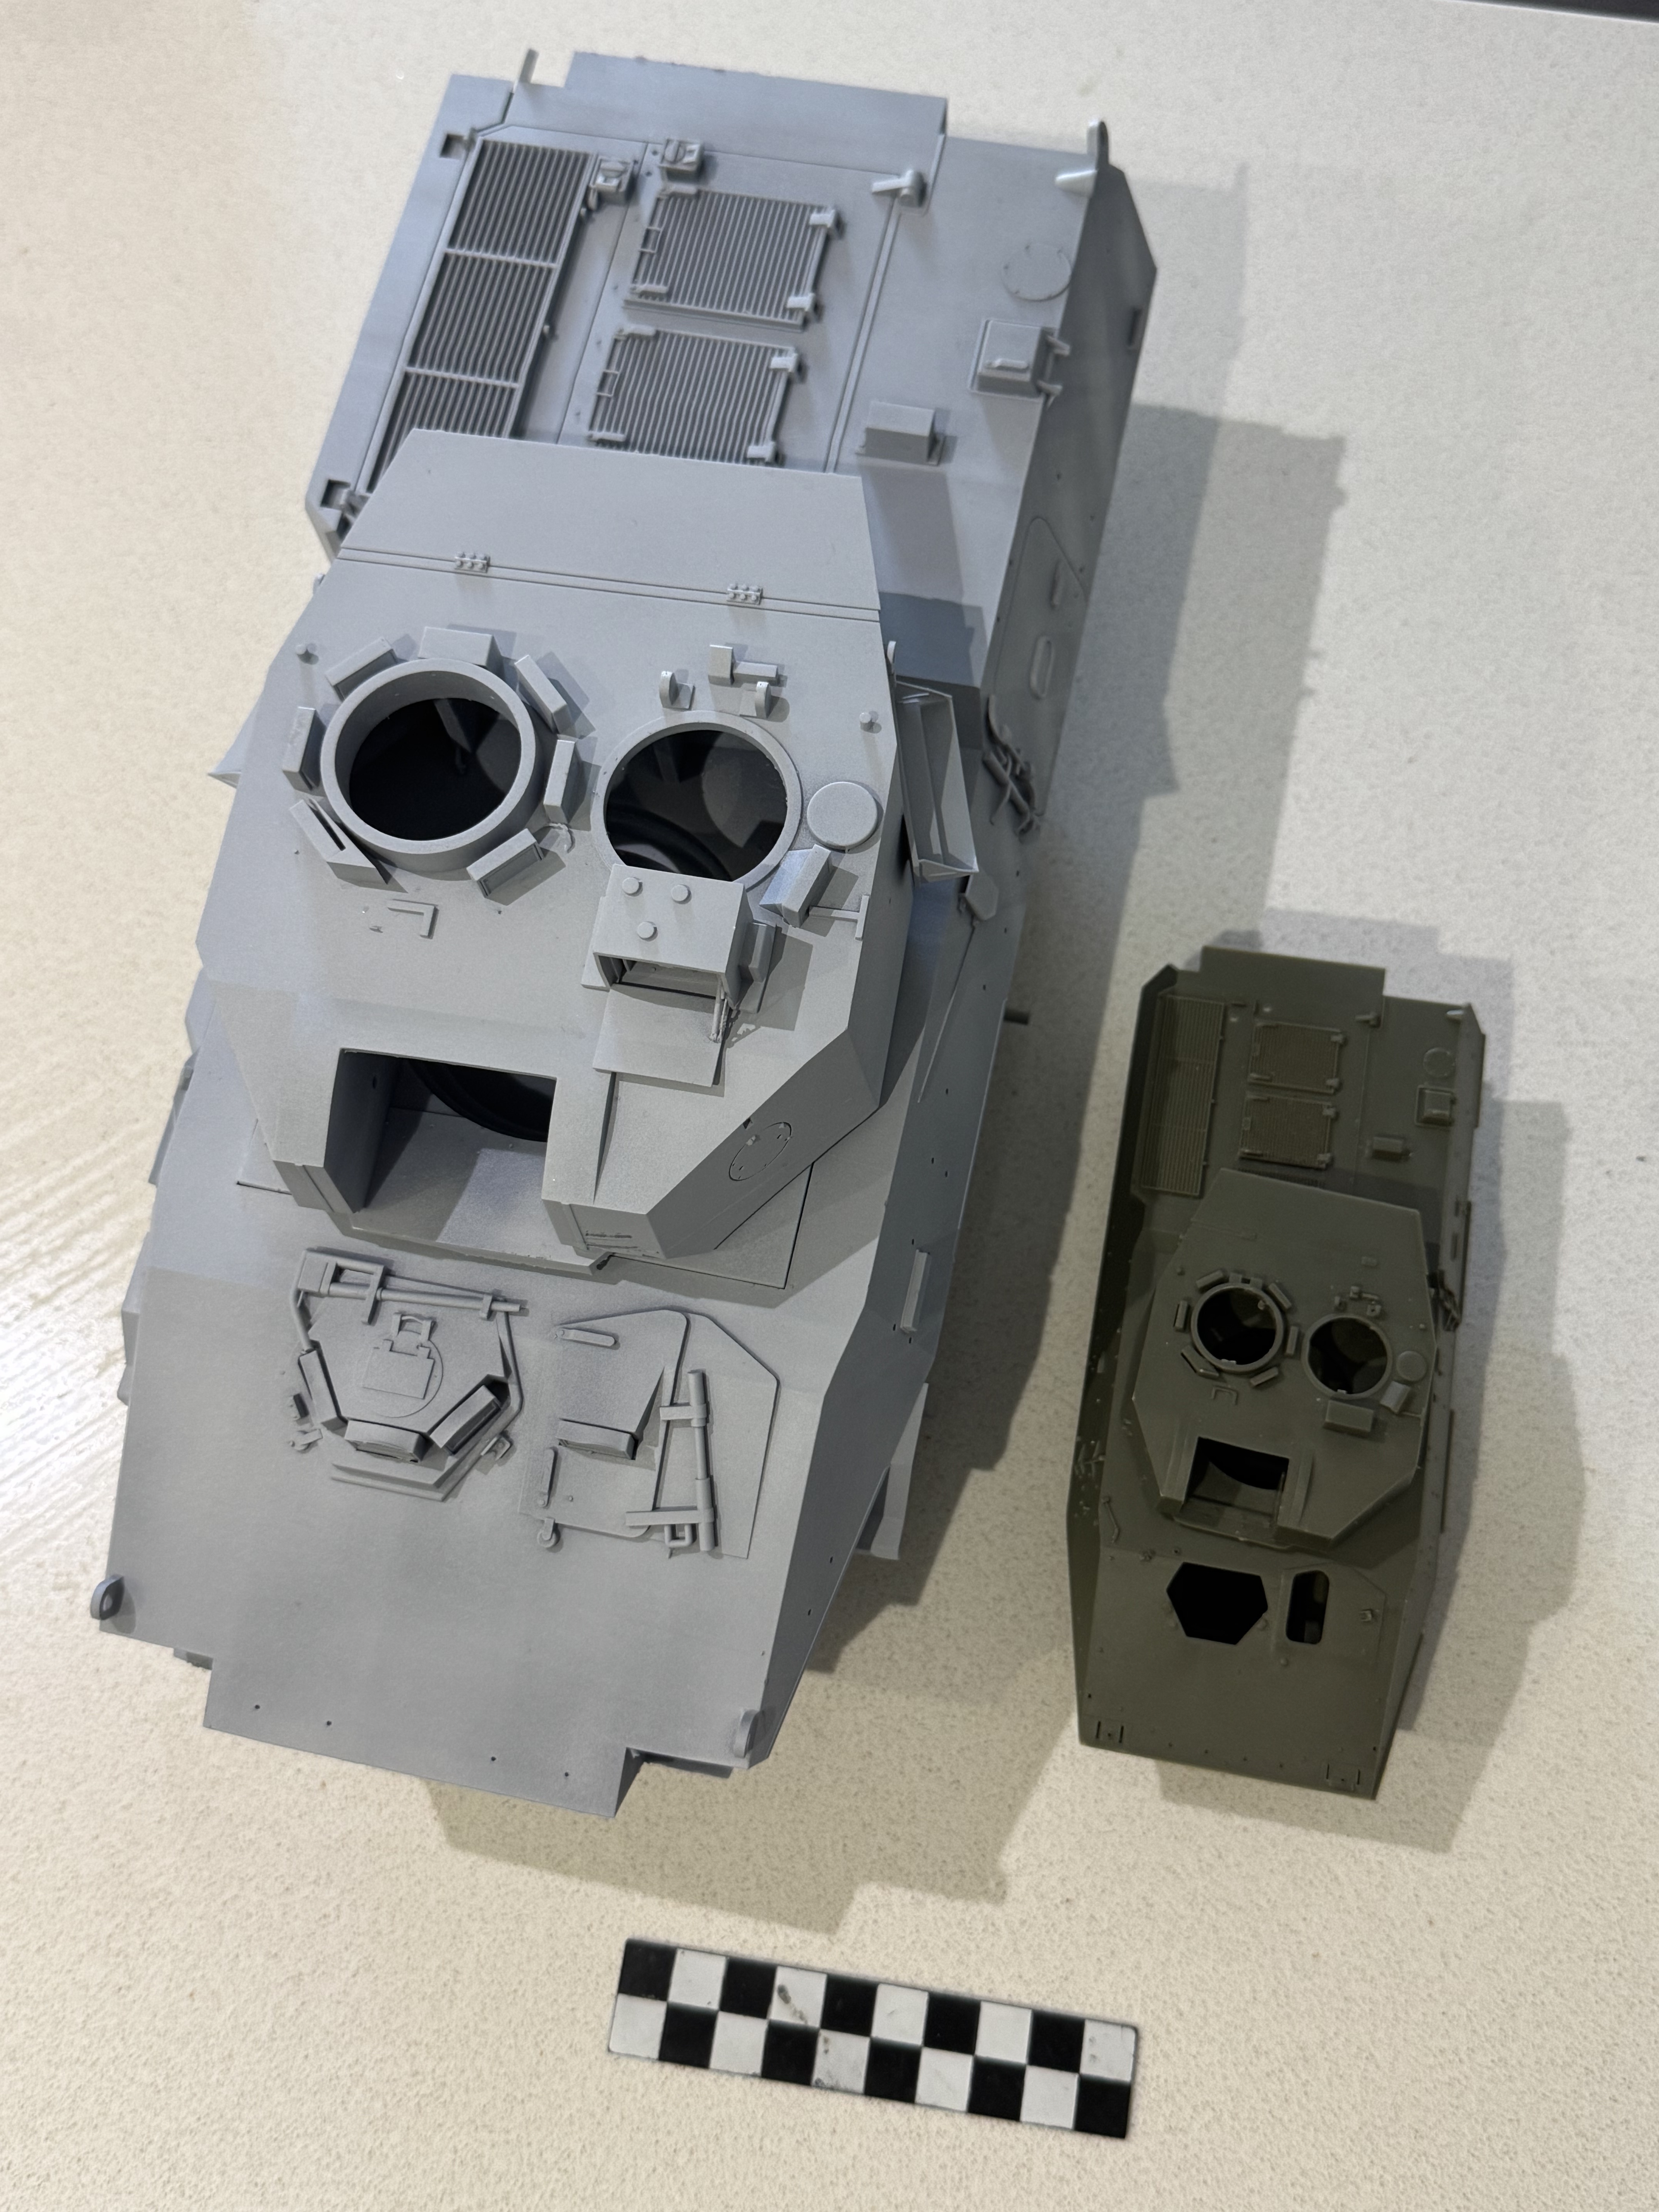
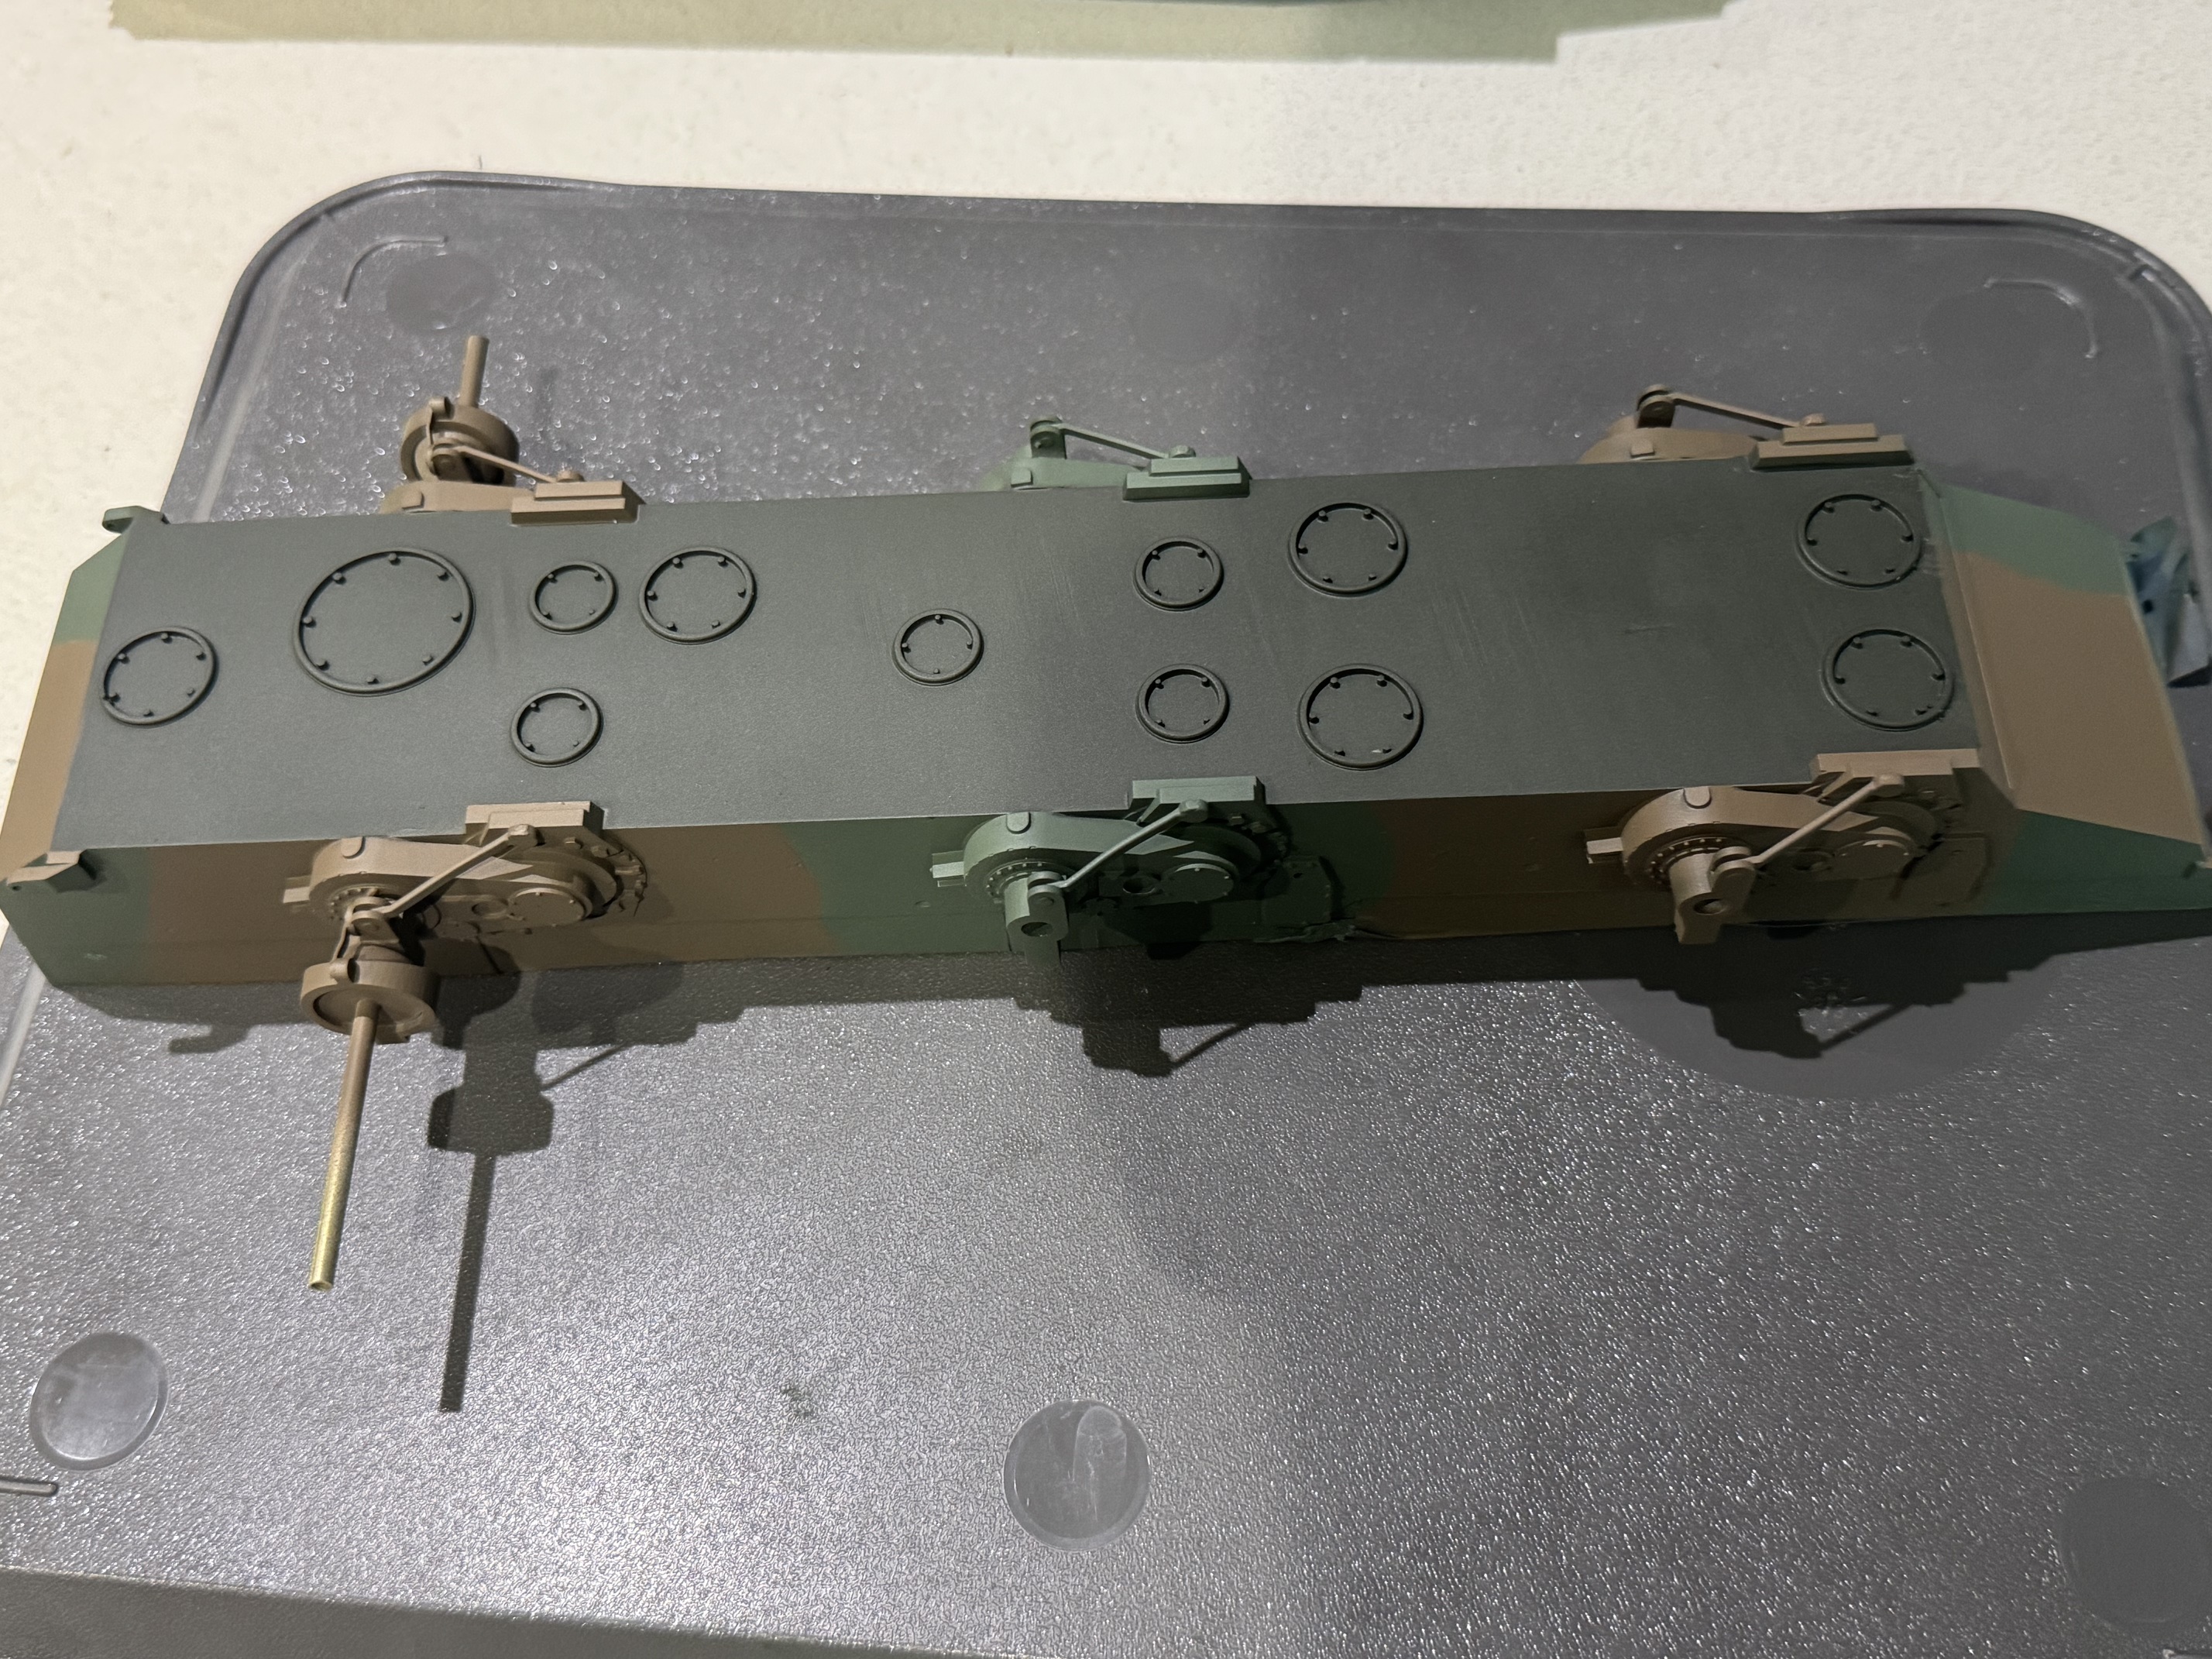
Regardless of the fail, I finished cleaning up the upper hull & threw together the parts I’ve printed to date.
The Pit Road/Trumpeter 1:35 kit is there for reference, as is the 20mm x 100mm reference card.
Thanks for looking in.
3 Likes
Wheel & tyre design is ongoing.
Hopefully I can bring the tyres to a satisfactory conclusion in the next session.
Thanks for looking in.
3 Likes
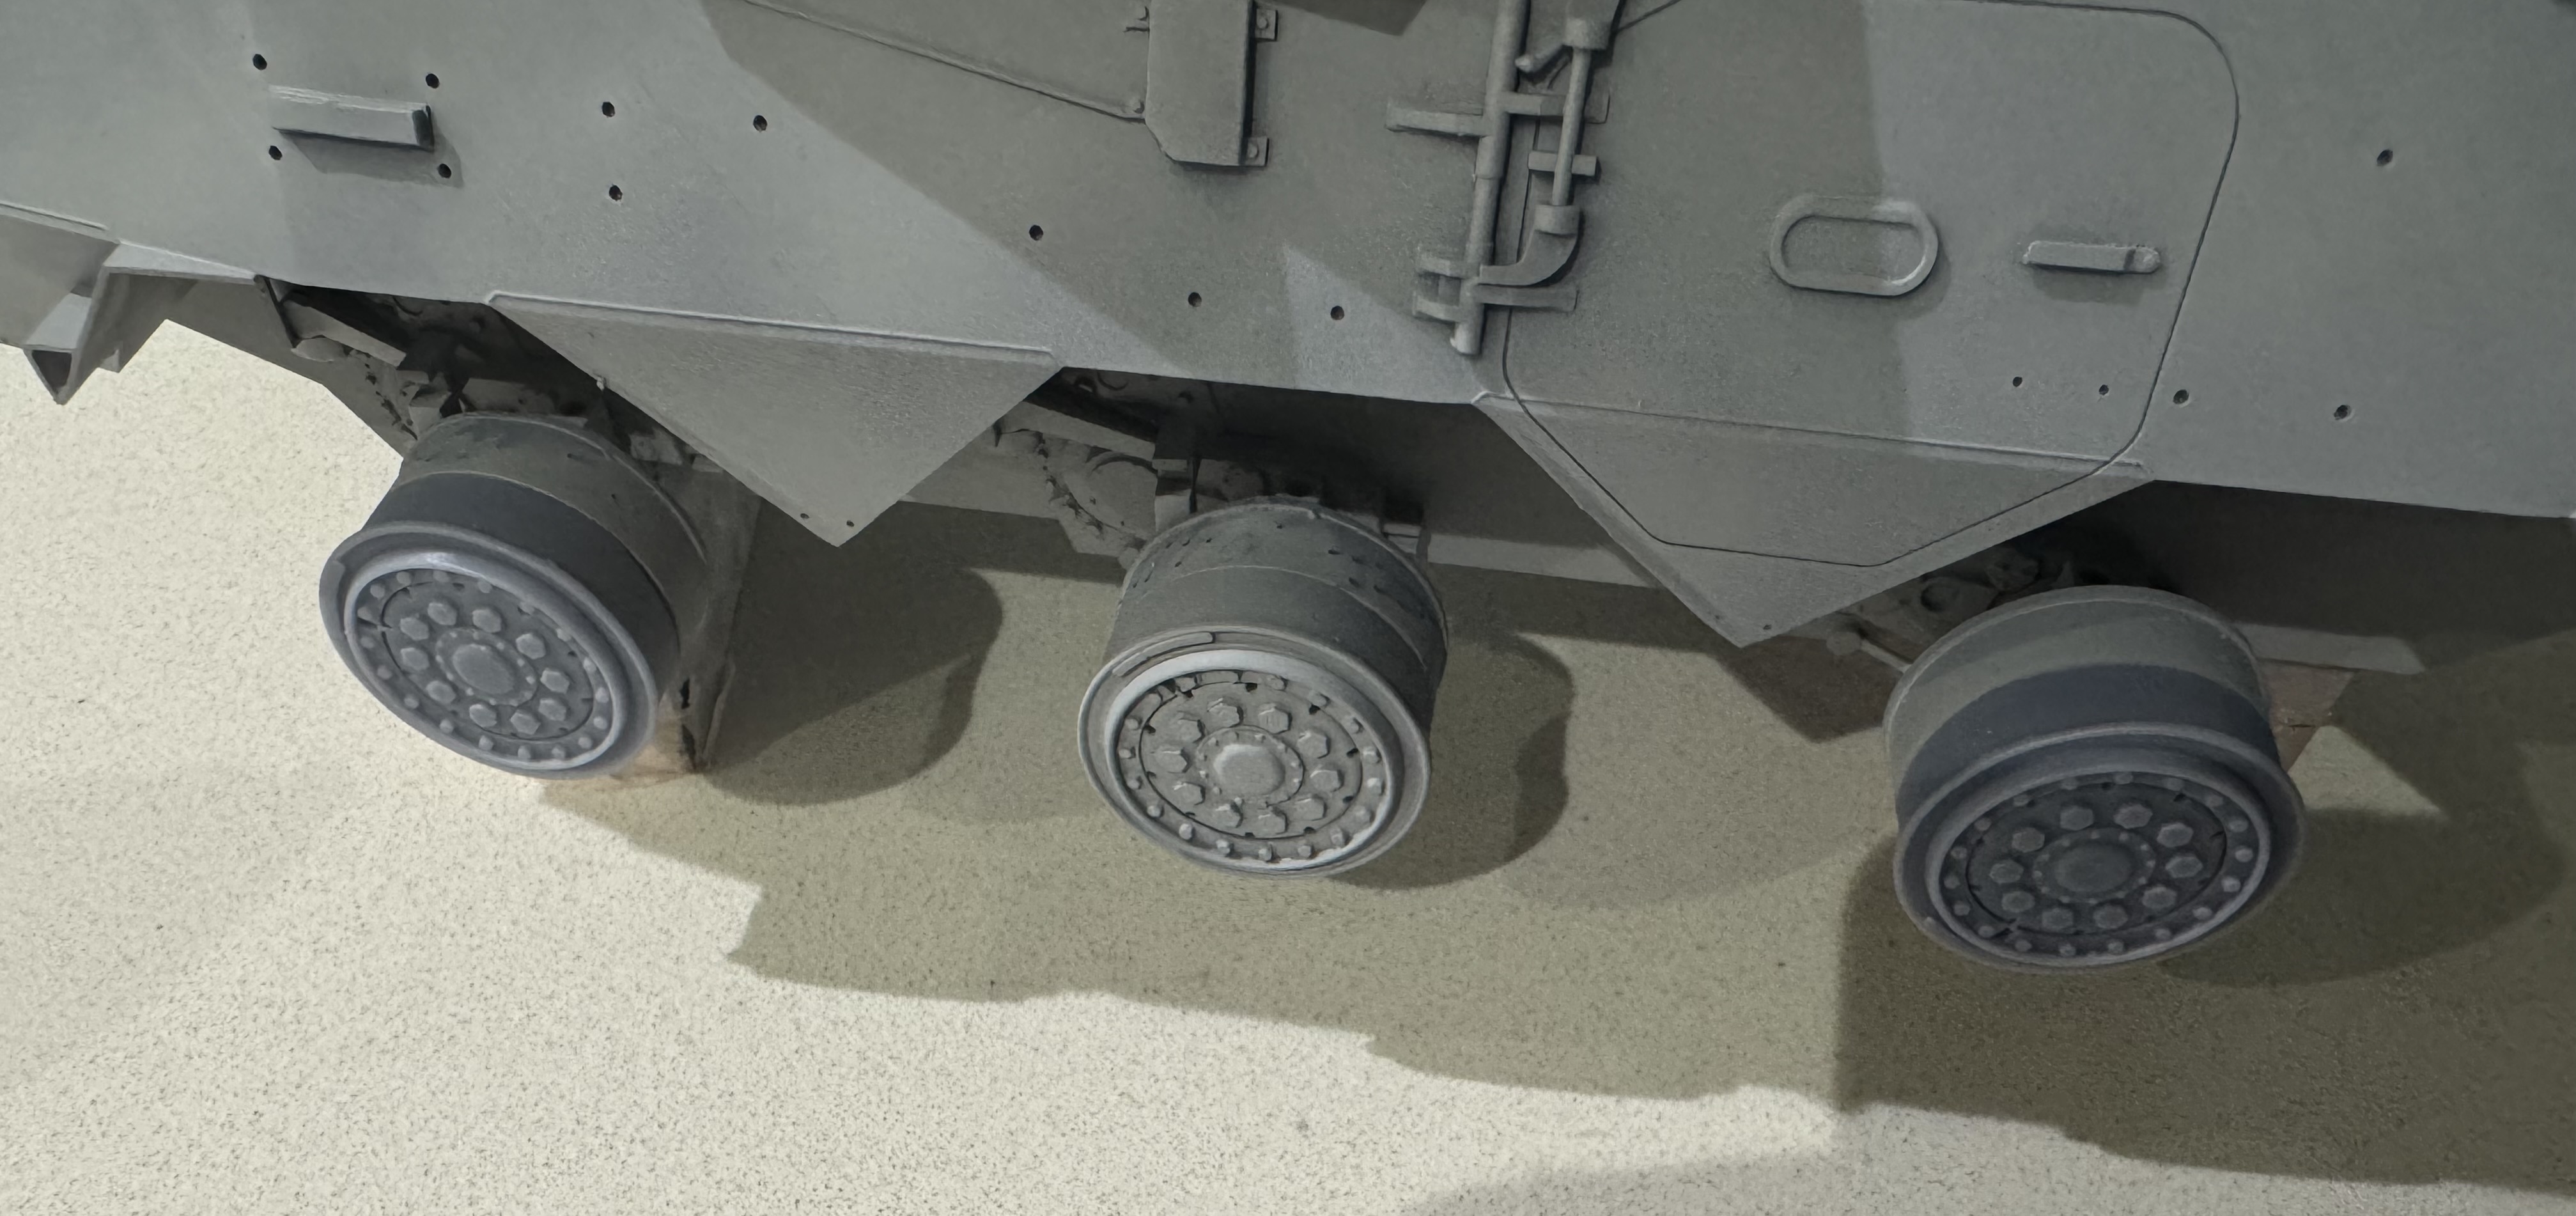
As the upper hull reprints were progressing, the wheel hubs & tyres were designed.
A test of solid tyres showed that their weight would induce print faults, so at the suggestion of a mate, I changed the design to take out weight.
Ten, evenly-spaced braces should be enough to take the weight of the finished model.
The hub print went well, but I’m not happy with the beefiness of the lug bolts. They’ll be corrected on a subsequent print.
Still, good opportunity to test fit onto the model as-is.
Thanks for looking in.
3 Likes
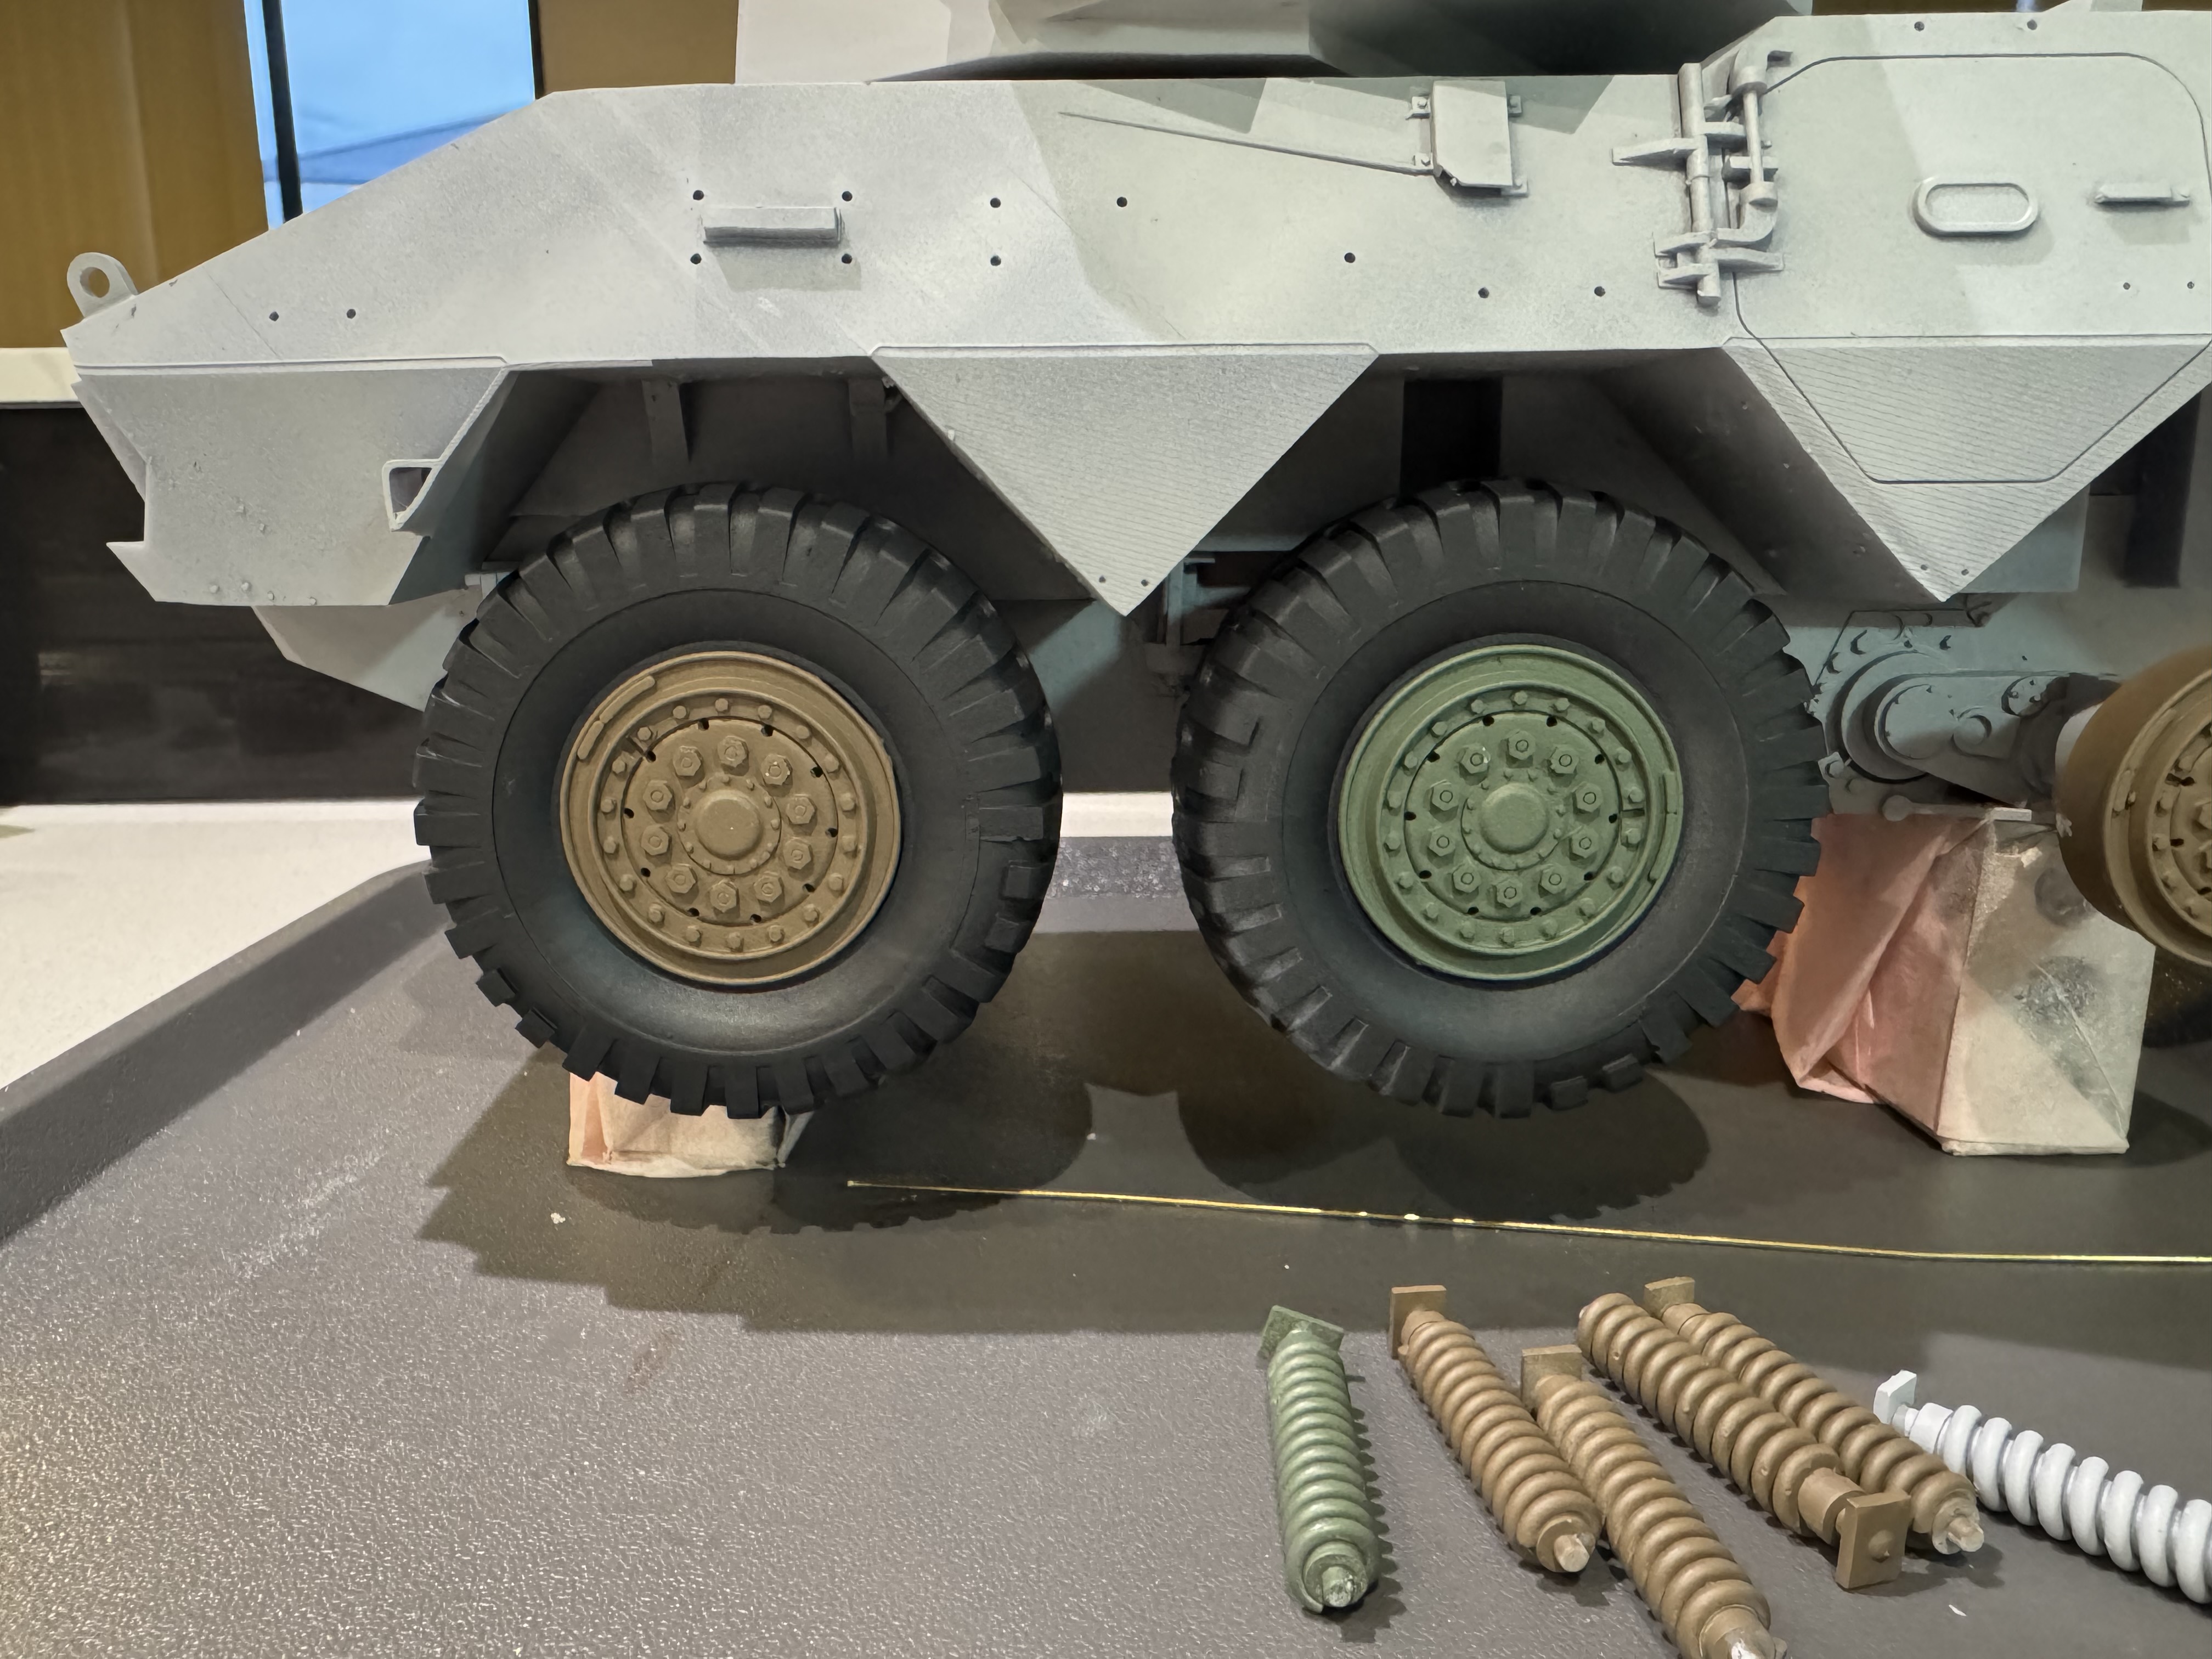
With v2 of the tyres printed, time to fit check on the v1 hubs.
In the event I can’t refine them further, these should still be workable.
Thanks for looking in.
5 Likes
Not happy enough with the v3 wheels.
Here’s where they’re at.
With a quick go from a rattle can.
Clean sheeted v4, today.
Far happier. Just needs some detail.
Thanks for looking in.
6 Likes
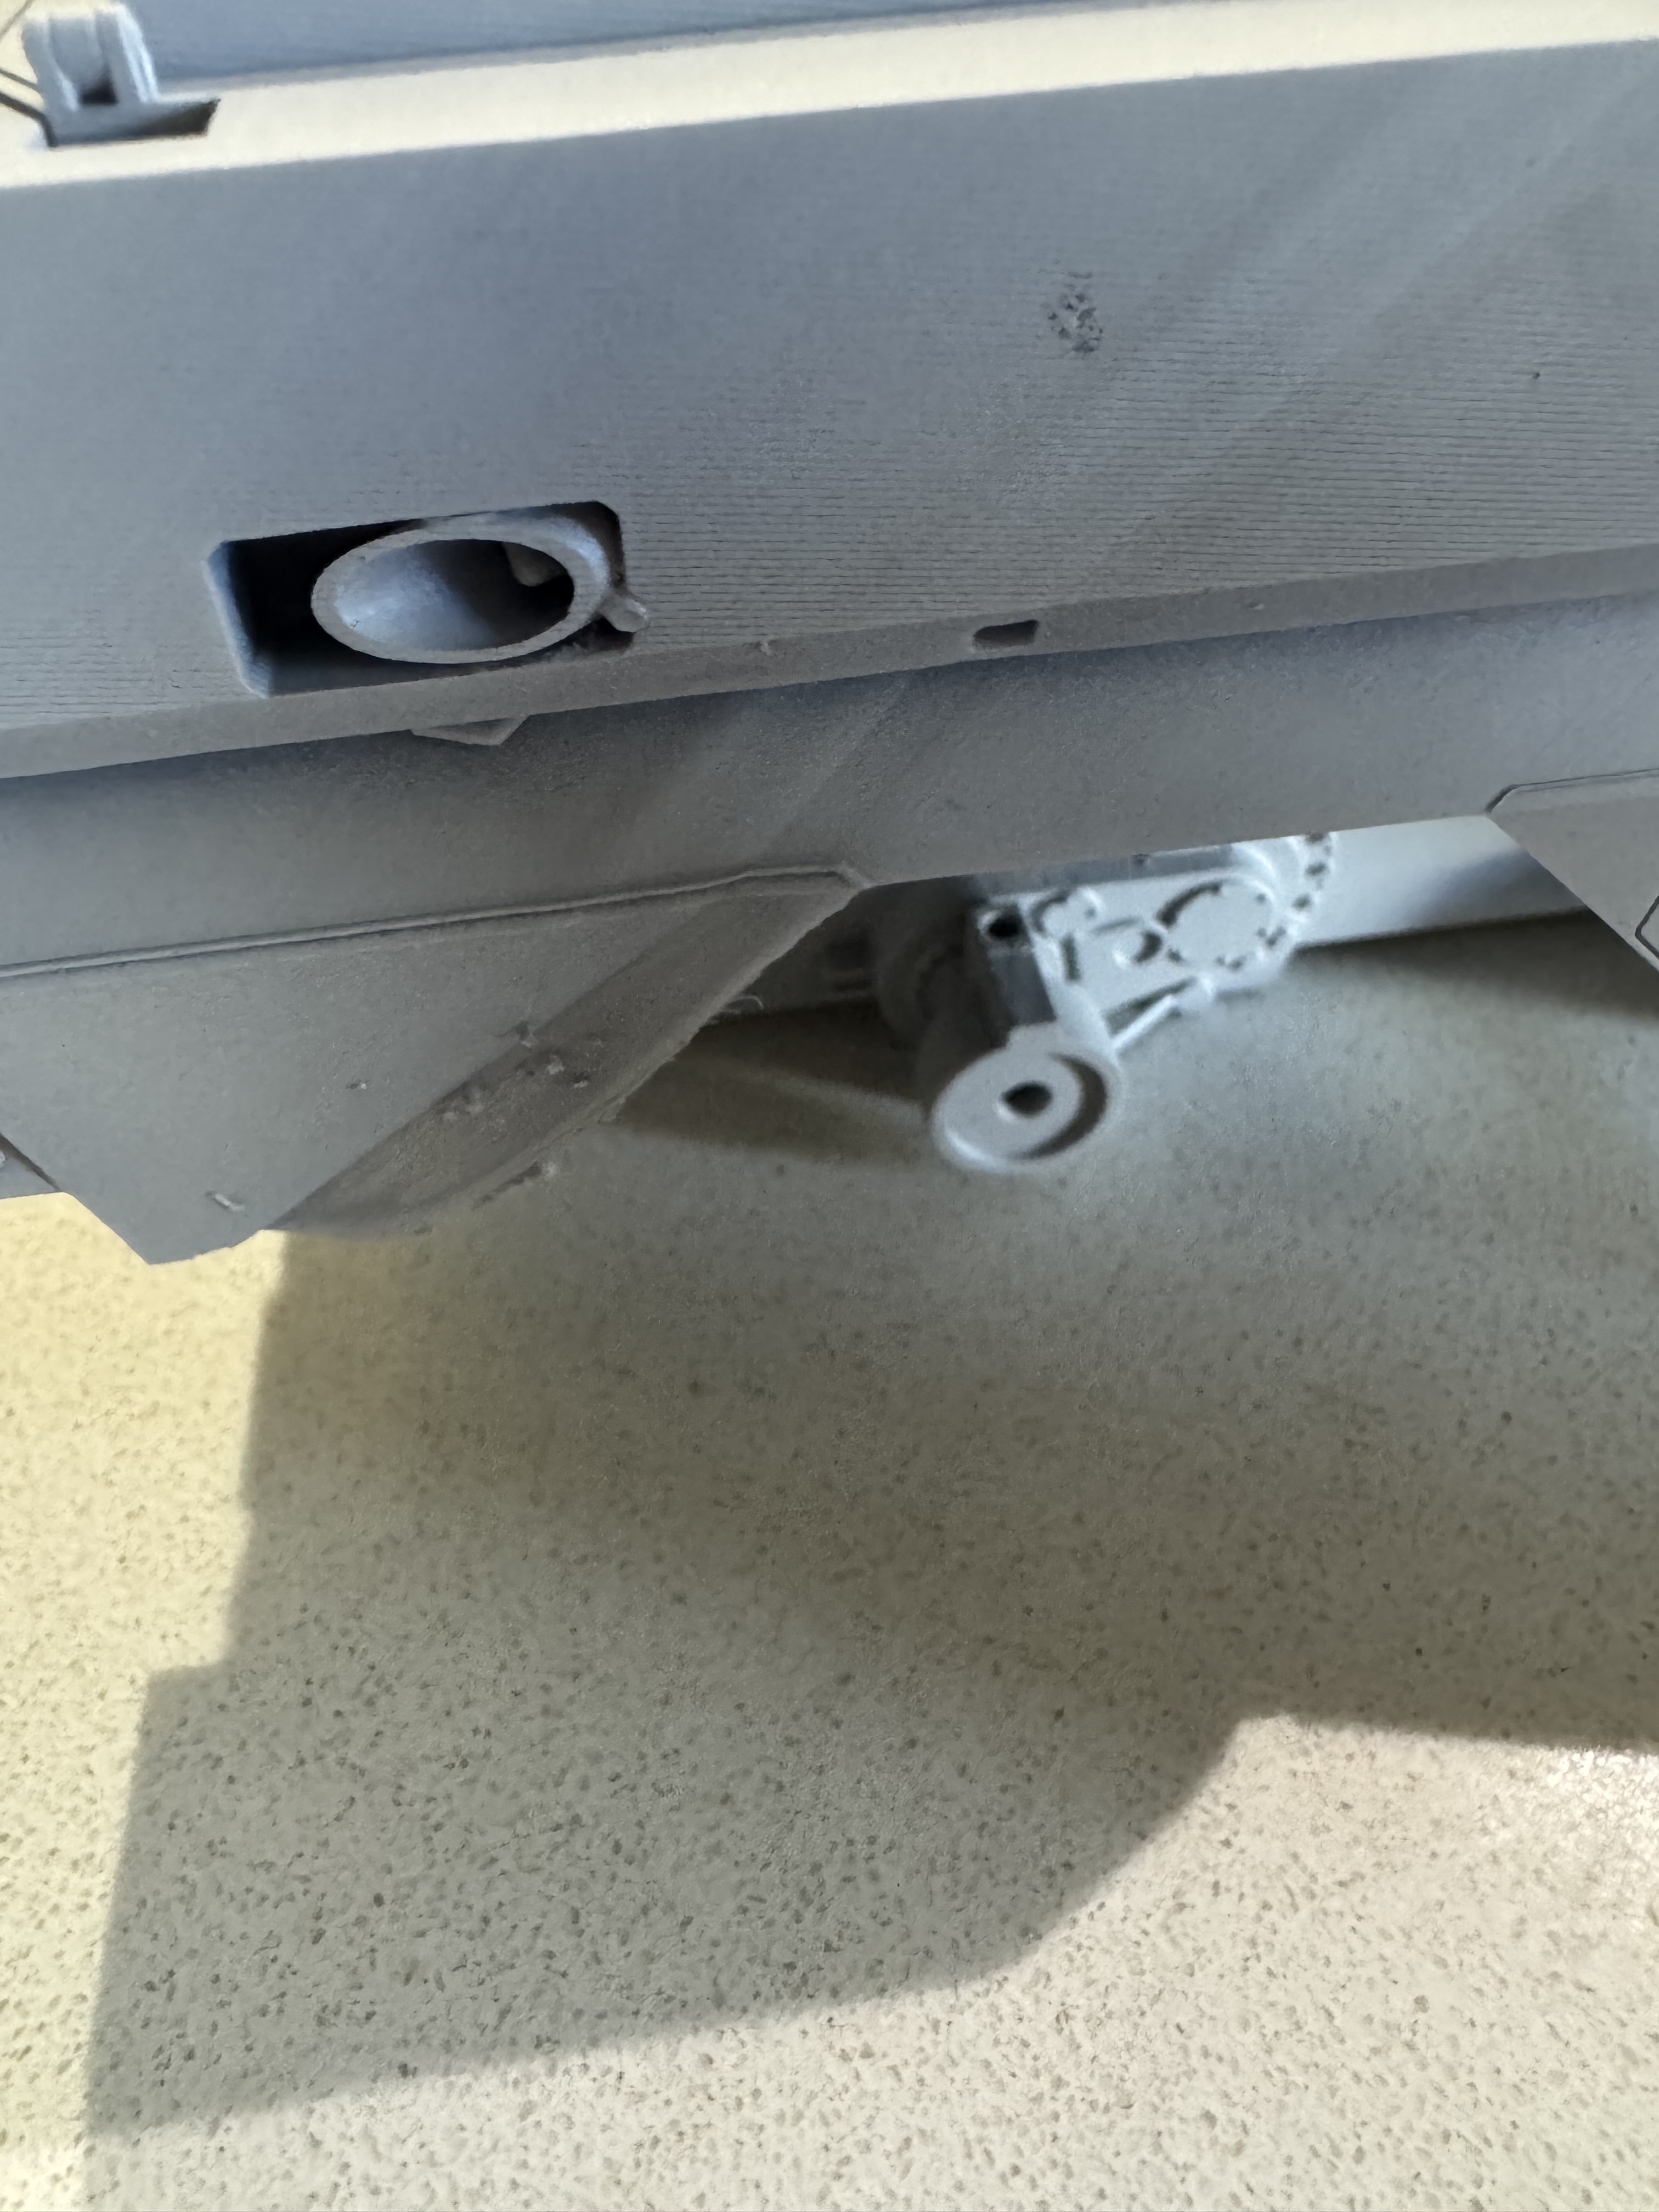
After further examination of the physical model, I checked the ride height/ground clearance with references. Should’ve been a scale 450mm/17.7”, turns out it was 506mm/20”. As I’d merged the suspension swing arms with the hull, this took some work to fix, as well as an entirely new suspension skateboard print.
I think I’ve solved this.
I’ve used a superseded upper hull print as a paint mule so I can confirm the colours.
Last cab off the rank is the fittings & fixtures work.
Turns out the JGSDF POL jerry cans are virtually identical to US WW2 cans.
Thanks for looking in.
8 Likes
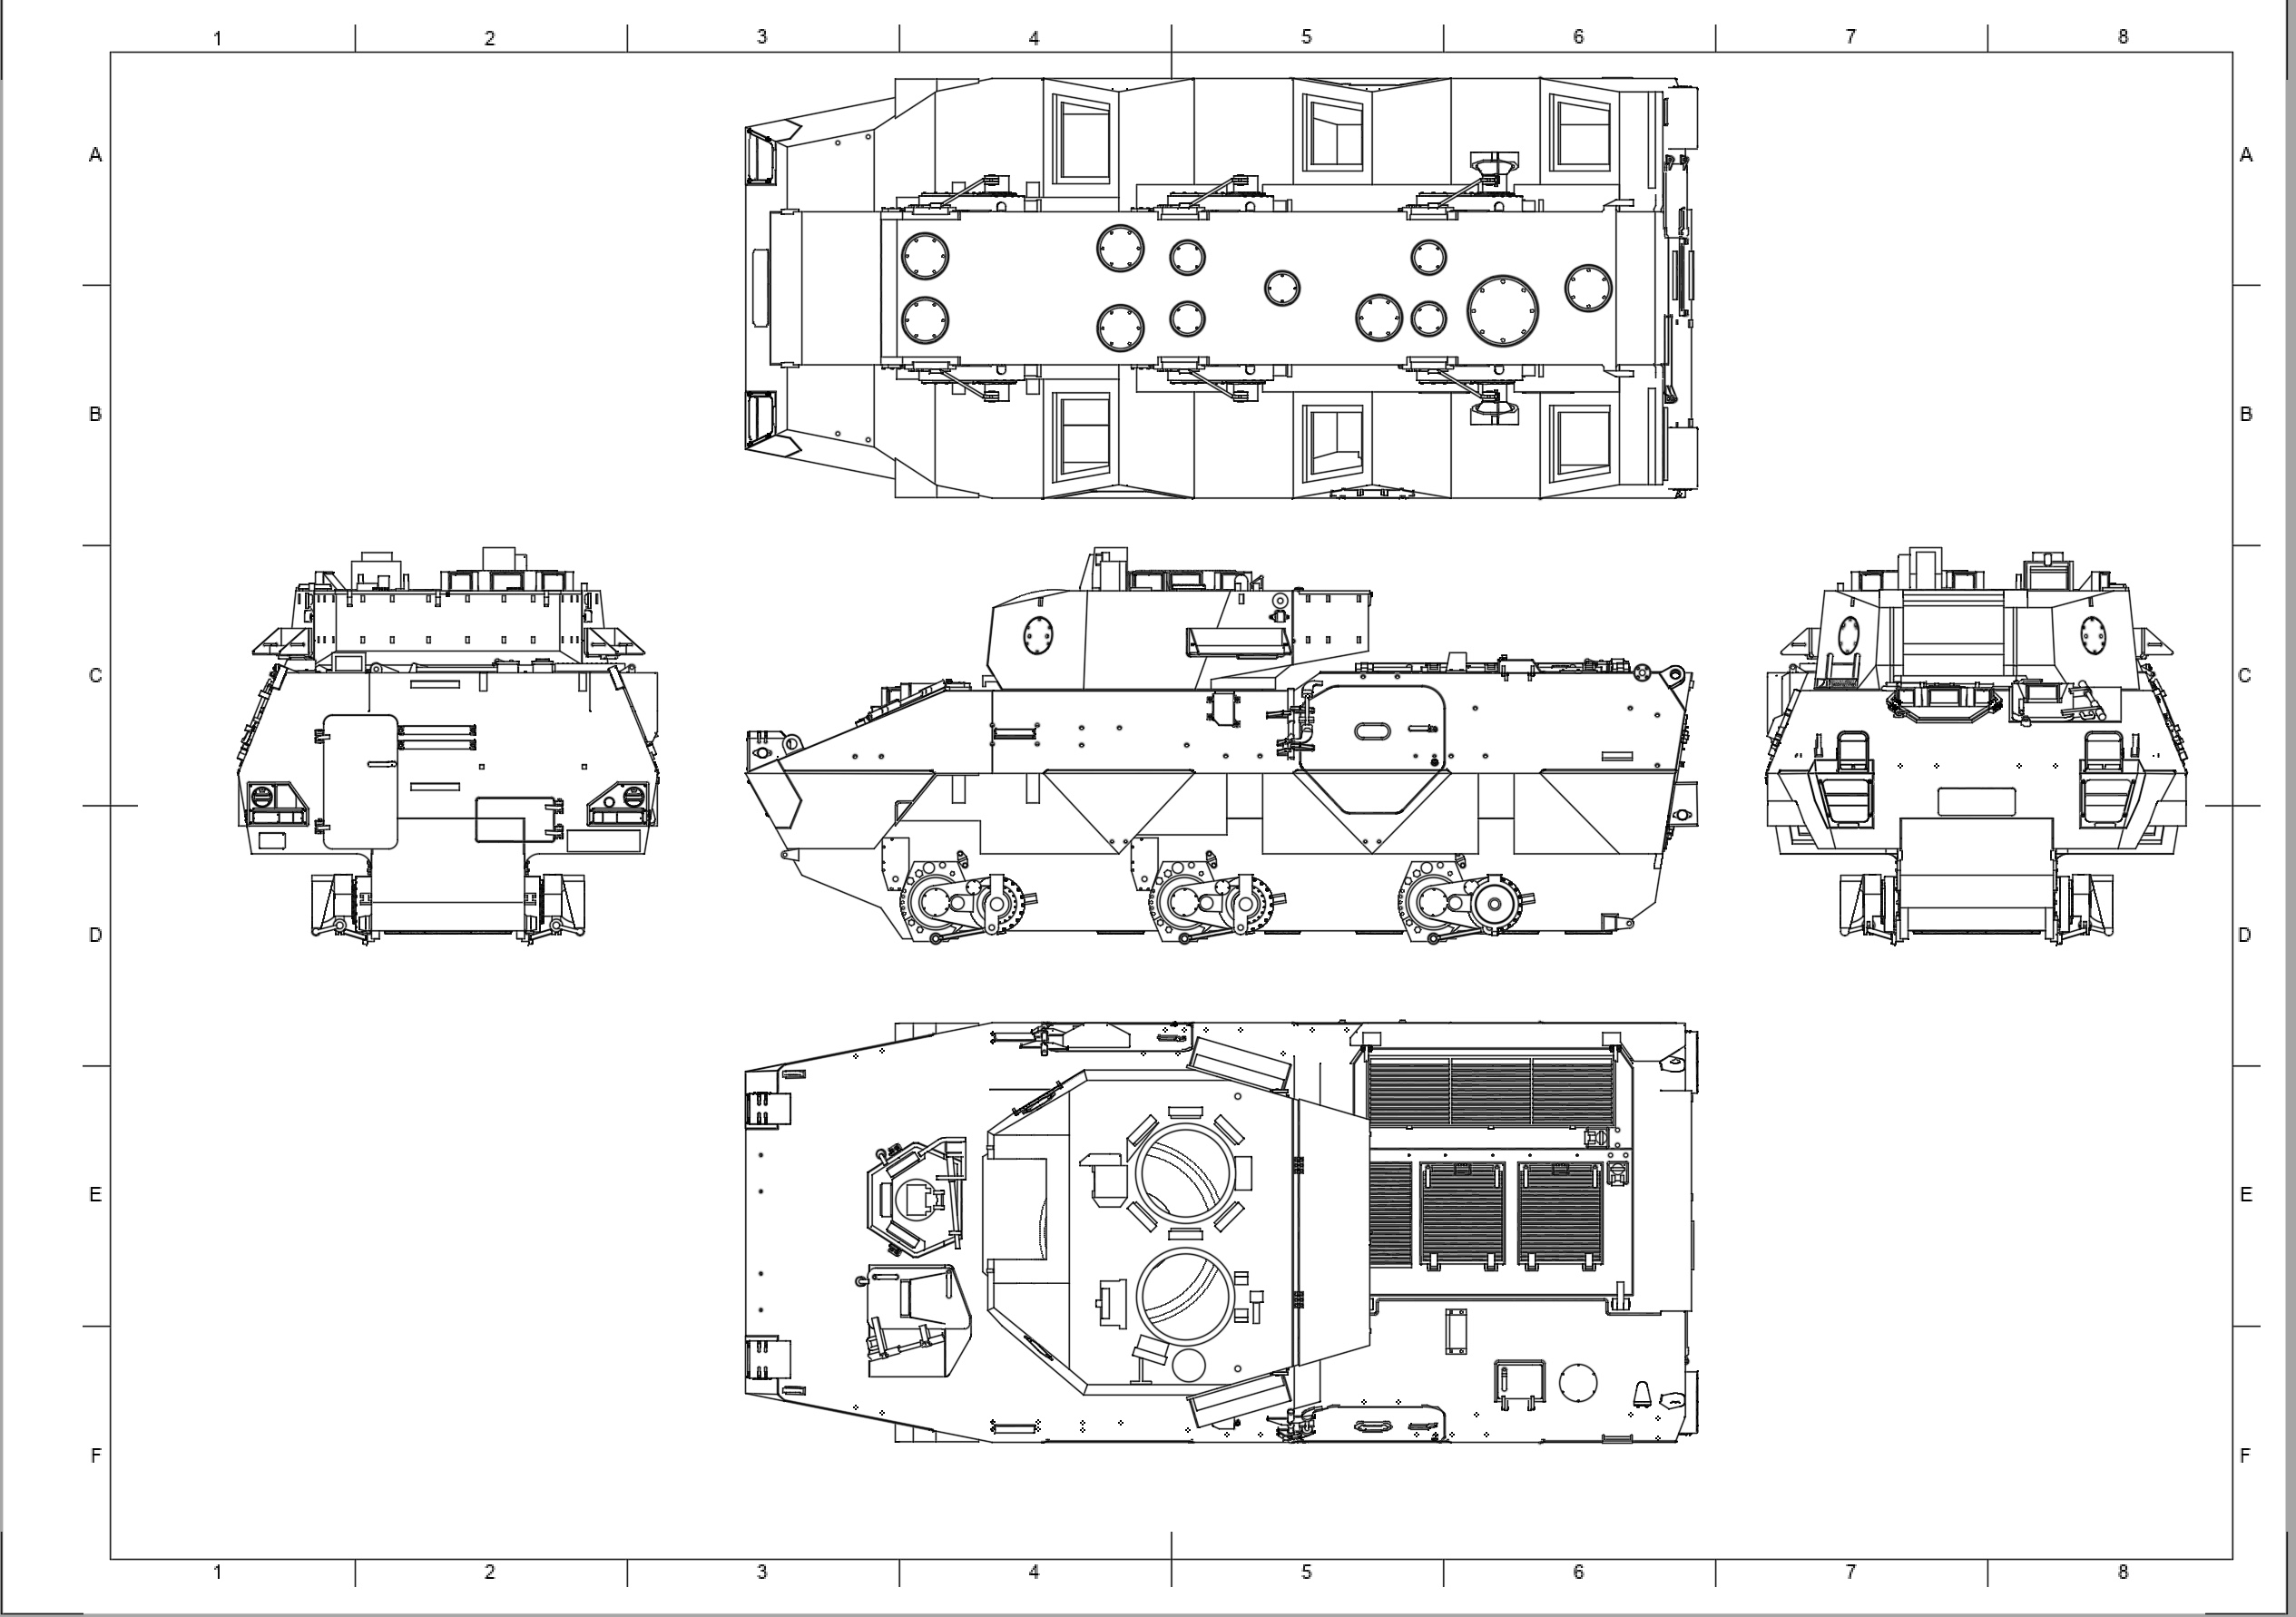
Time to generate a five view drawing as the last big check.
Looks like I have two shapes to modify. Ah well!
5 Likes
Awesome! Do you do your own files?
Cool subject as well
2 Likes
Thanks. I created the files, so, yep, they’re mine.
3 Likes
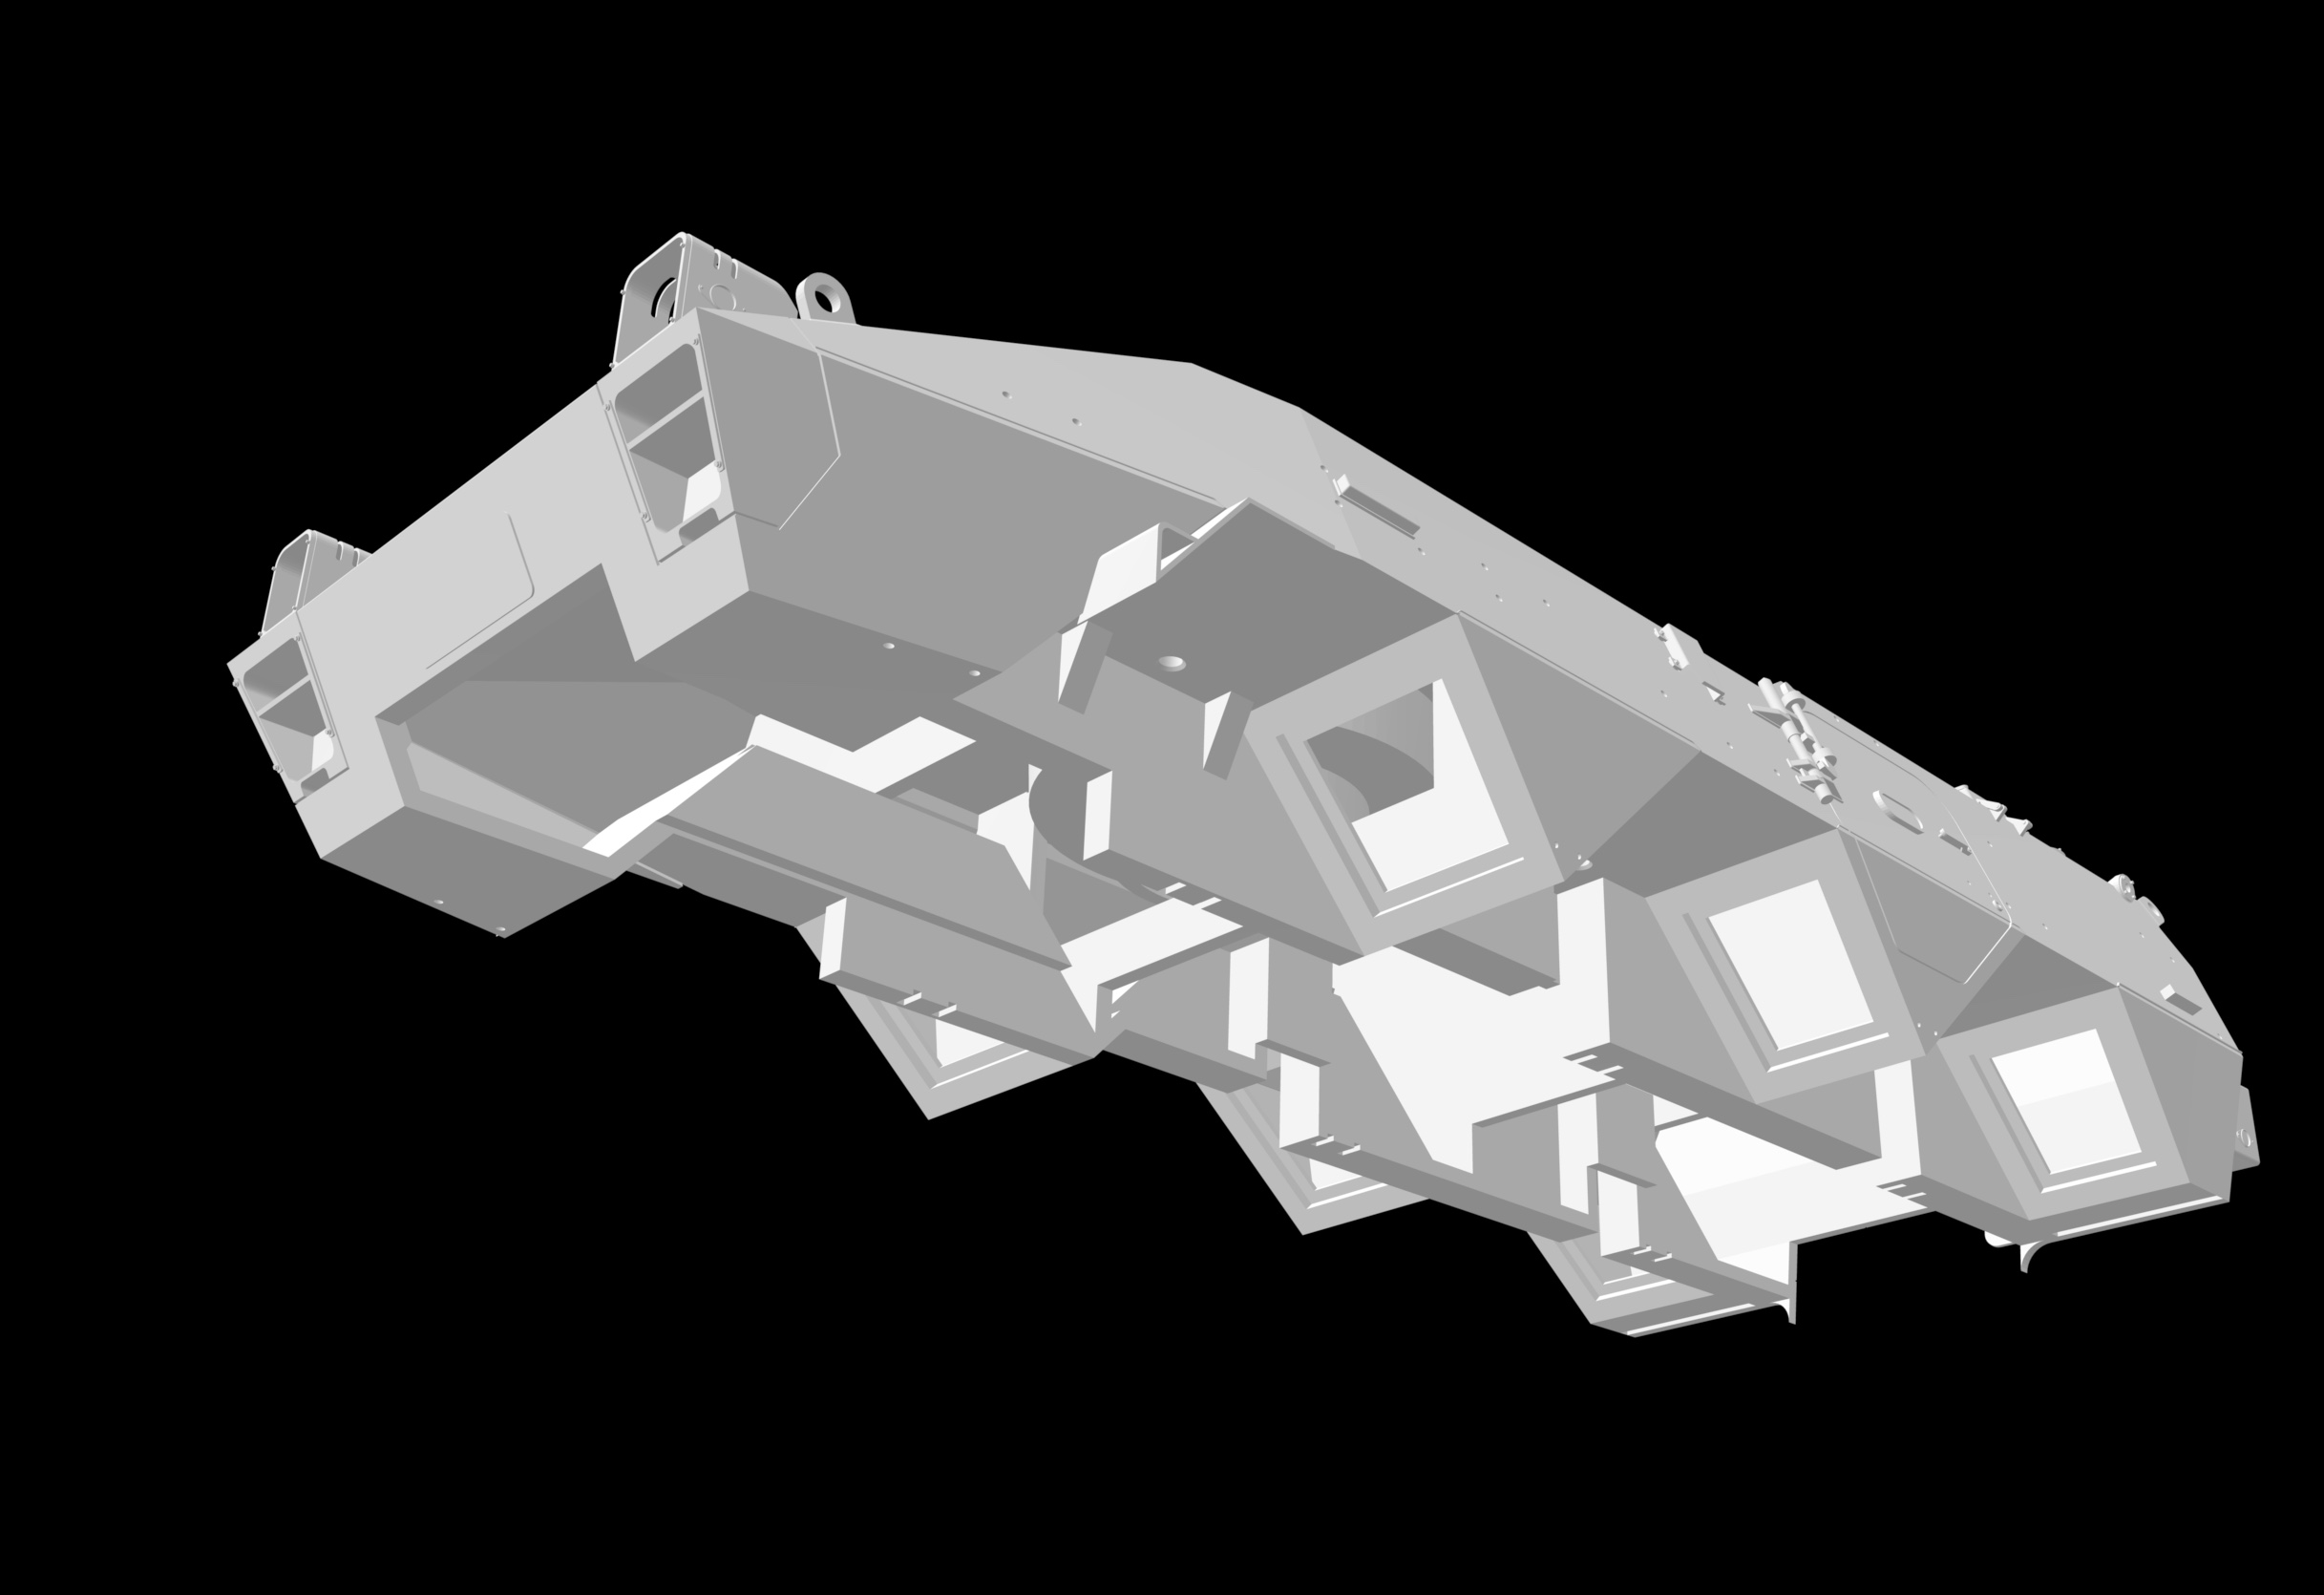
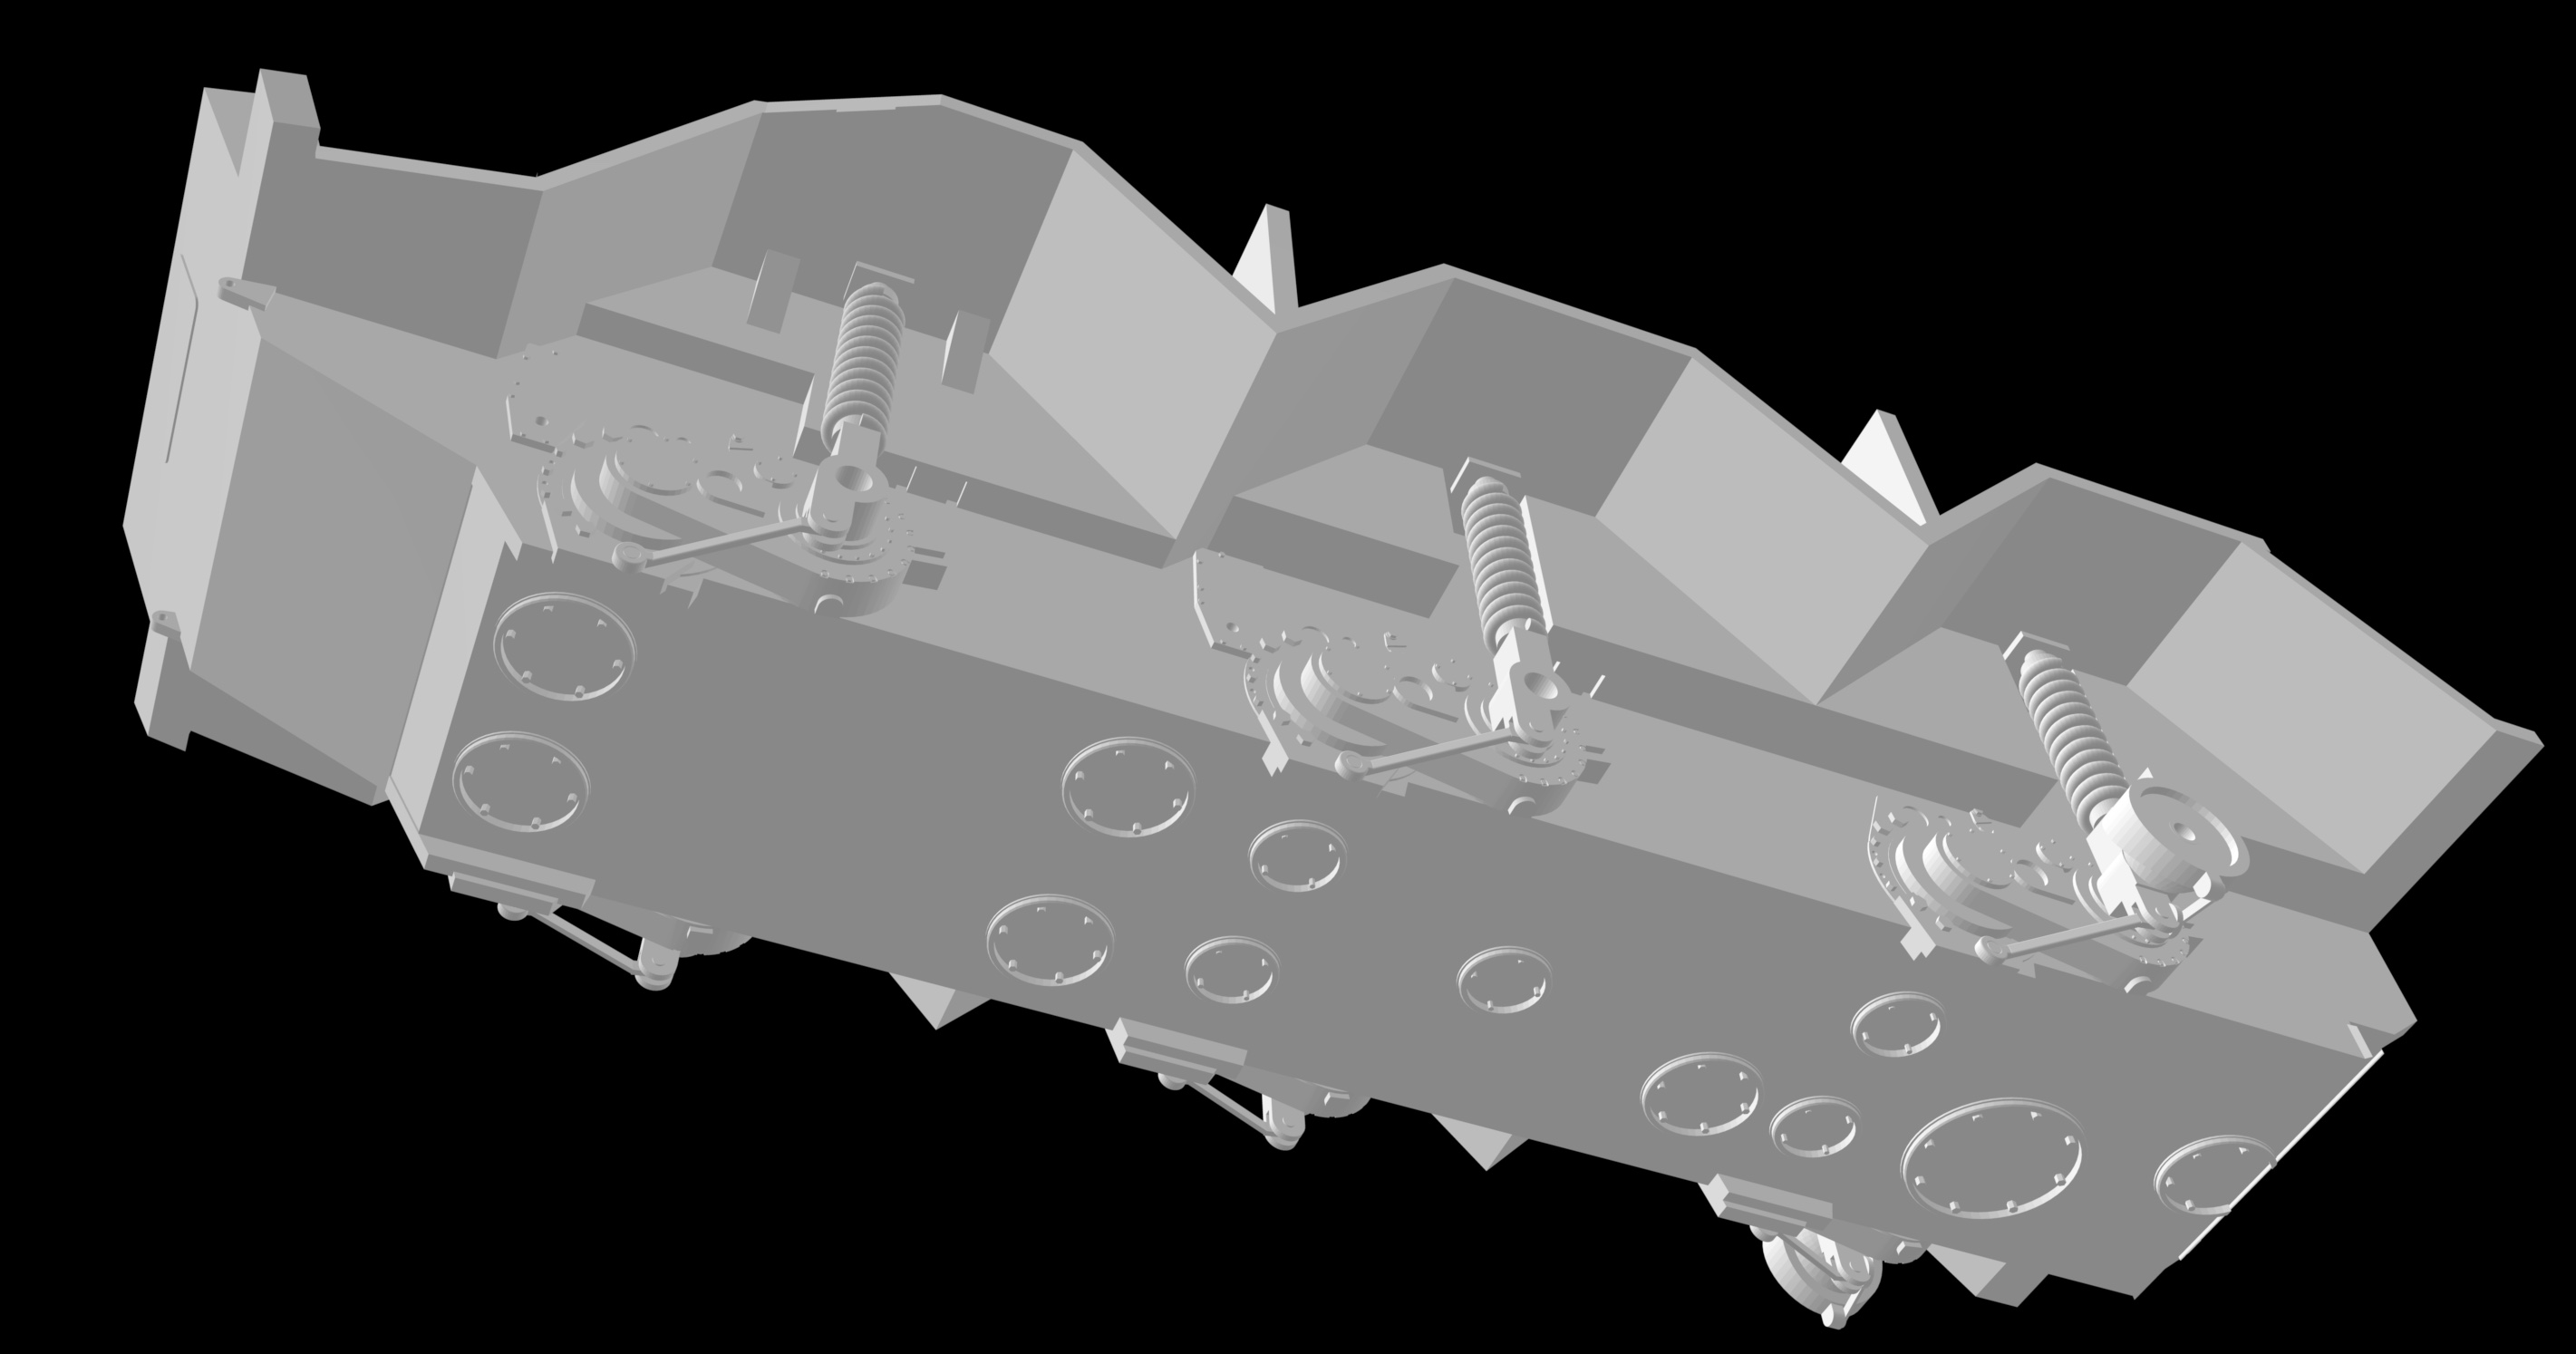
This whole activity has been incredibly educative. By drawing up the entire vehicle in CAD, I’m effectively designing a kit. Part of kit design is “manufacturability” for want of a better term.
The overall size of the upper hull in relation to the print bed imposes orientation constraints, which, in turn, affects the whether a successful print is possible.
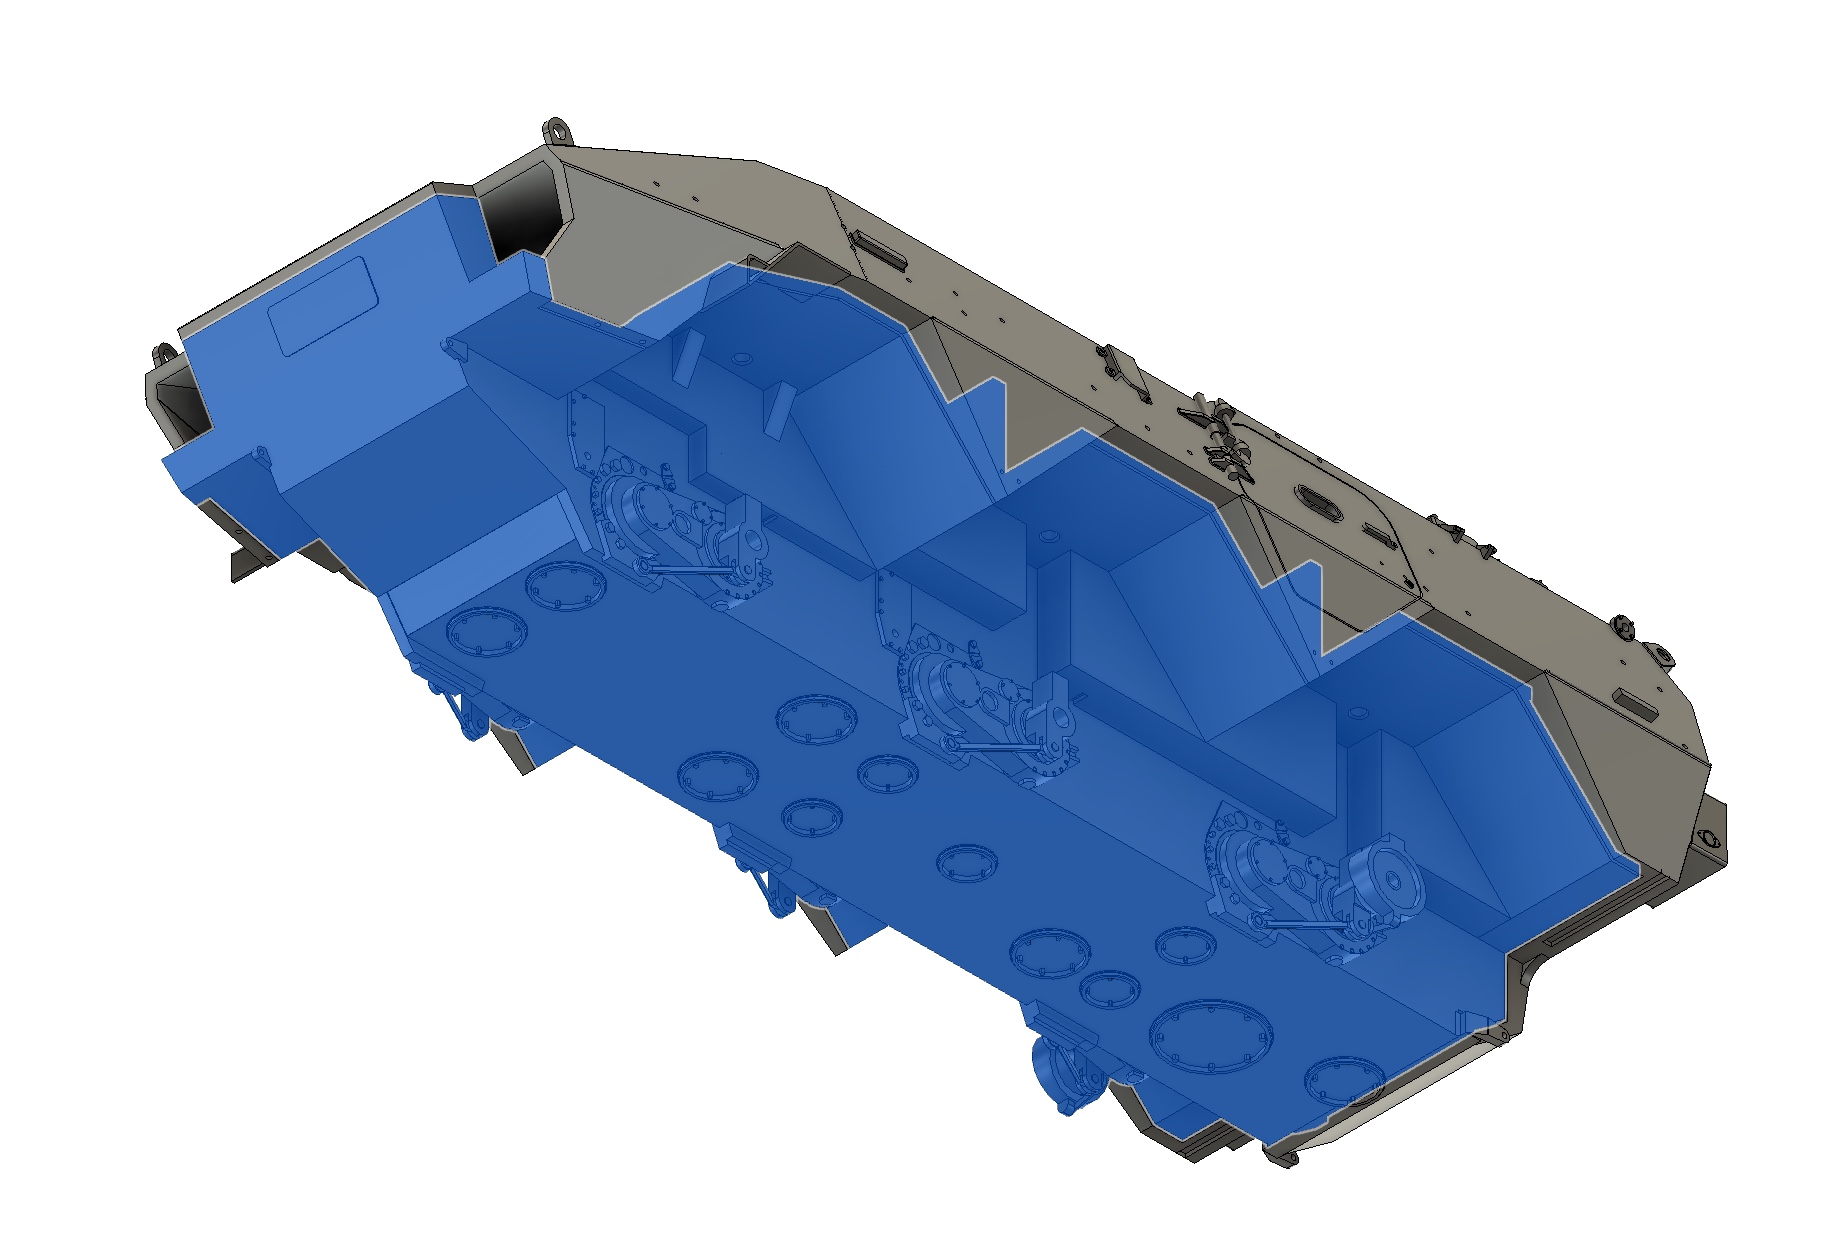
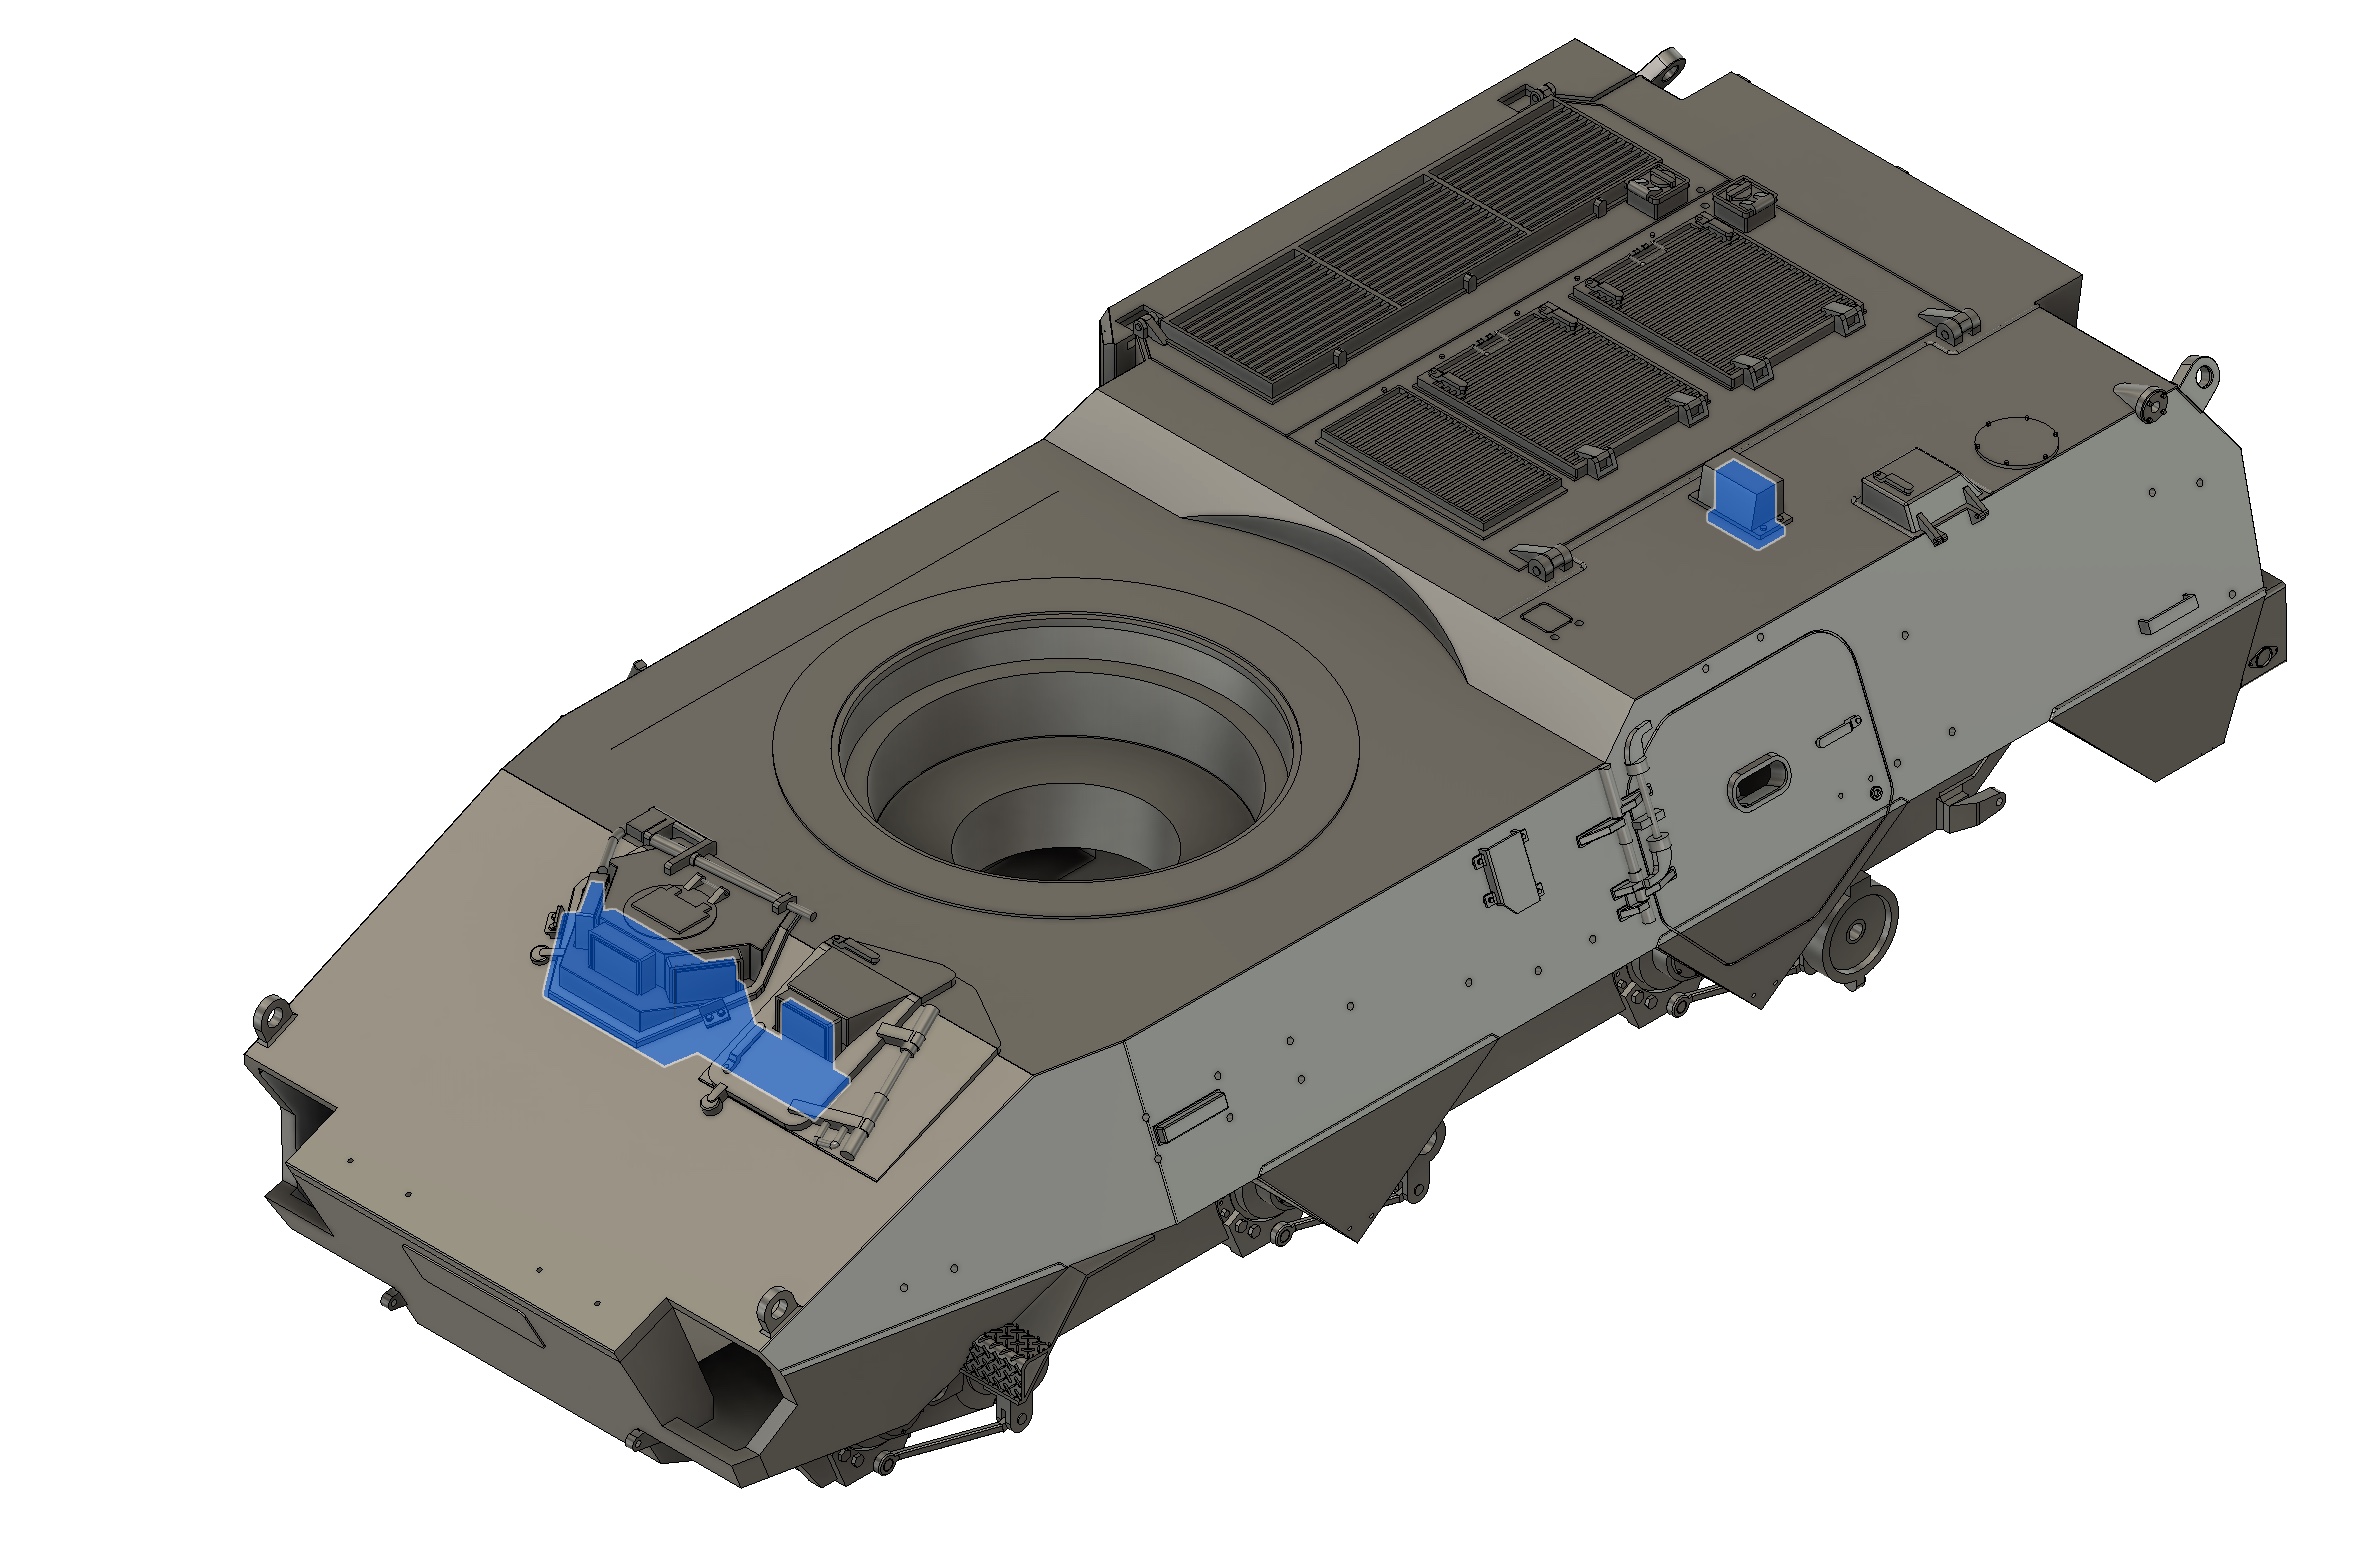
The suction the upper hull was causing wrinkles & creases in the part, rendering them unusable. After some consideration, I cut rebated openings in the affected areas to relief the suction effect during printing.
These six holes will be closed off by using parts designed to plug them.
This change to the model means I could integrate the previously separate turret interface.
Thanks for looking in.
5 Likes
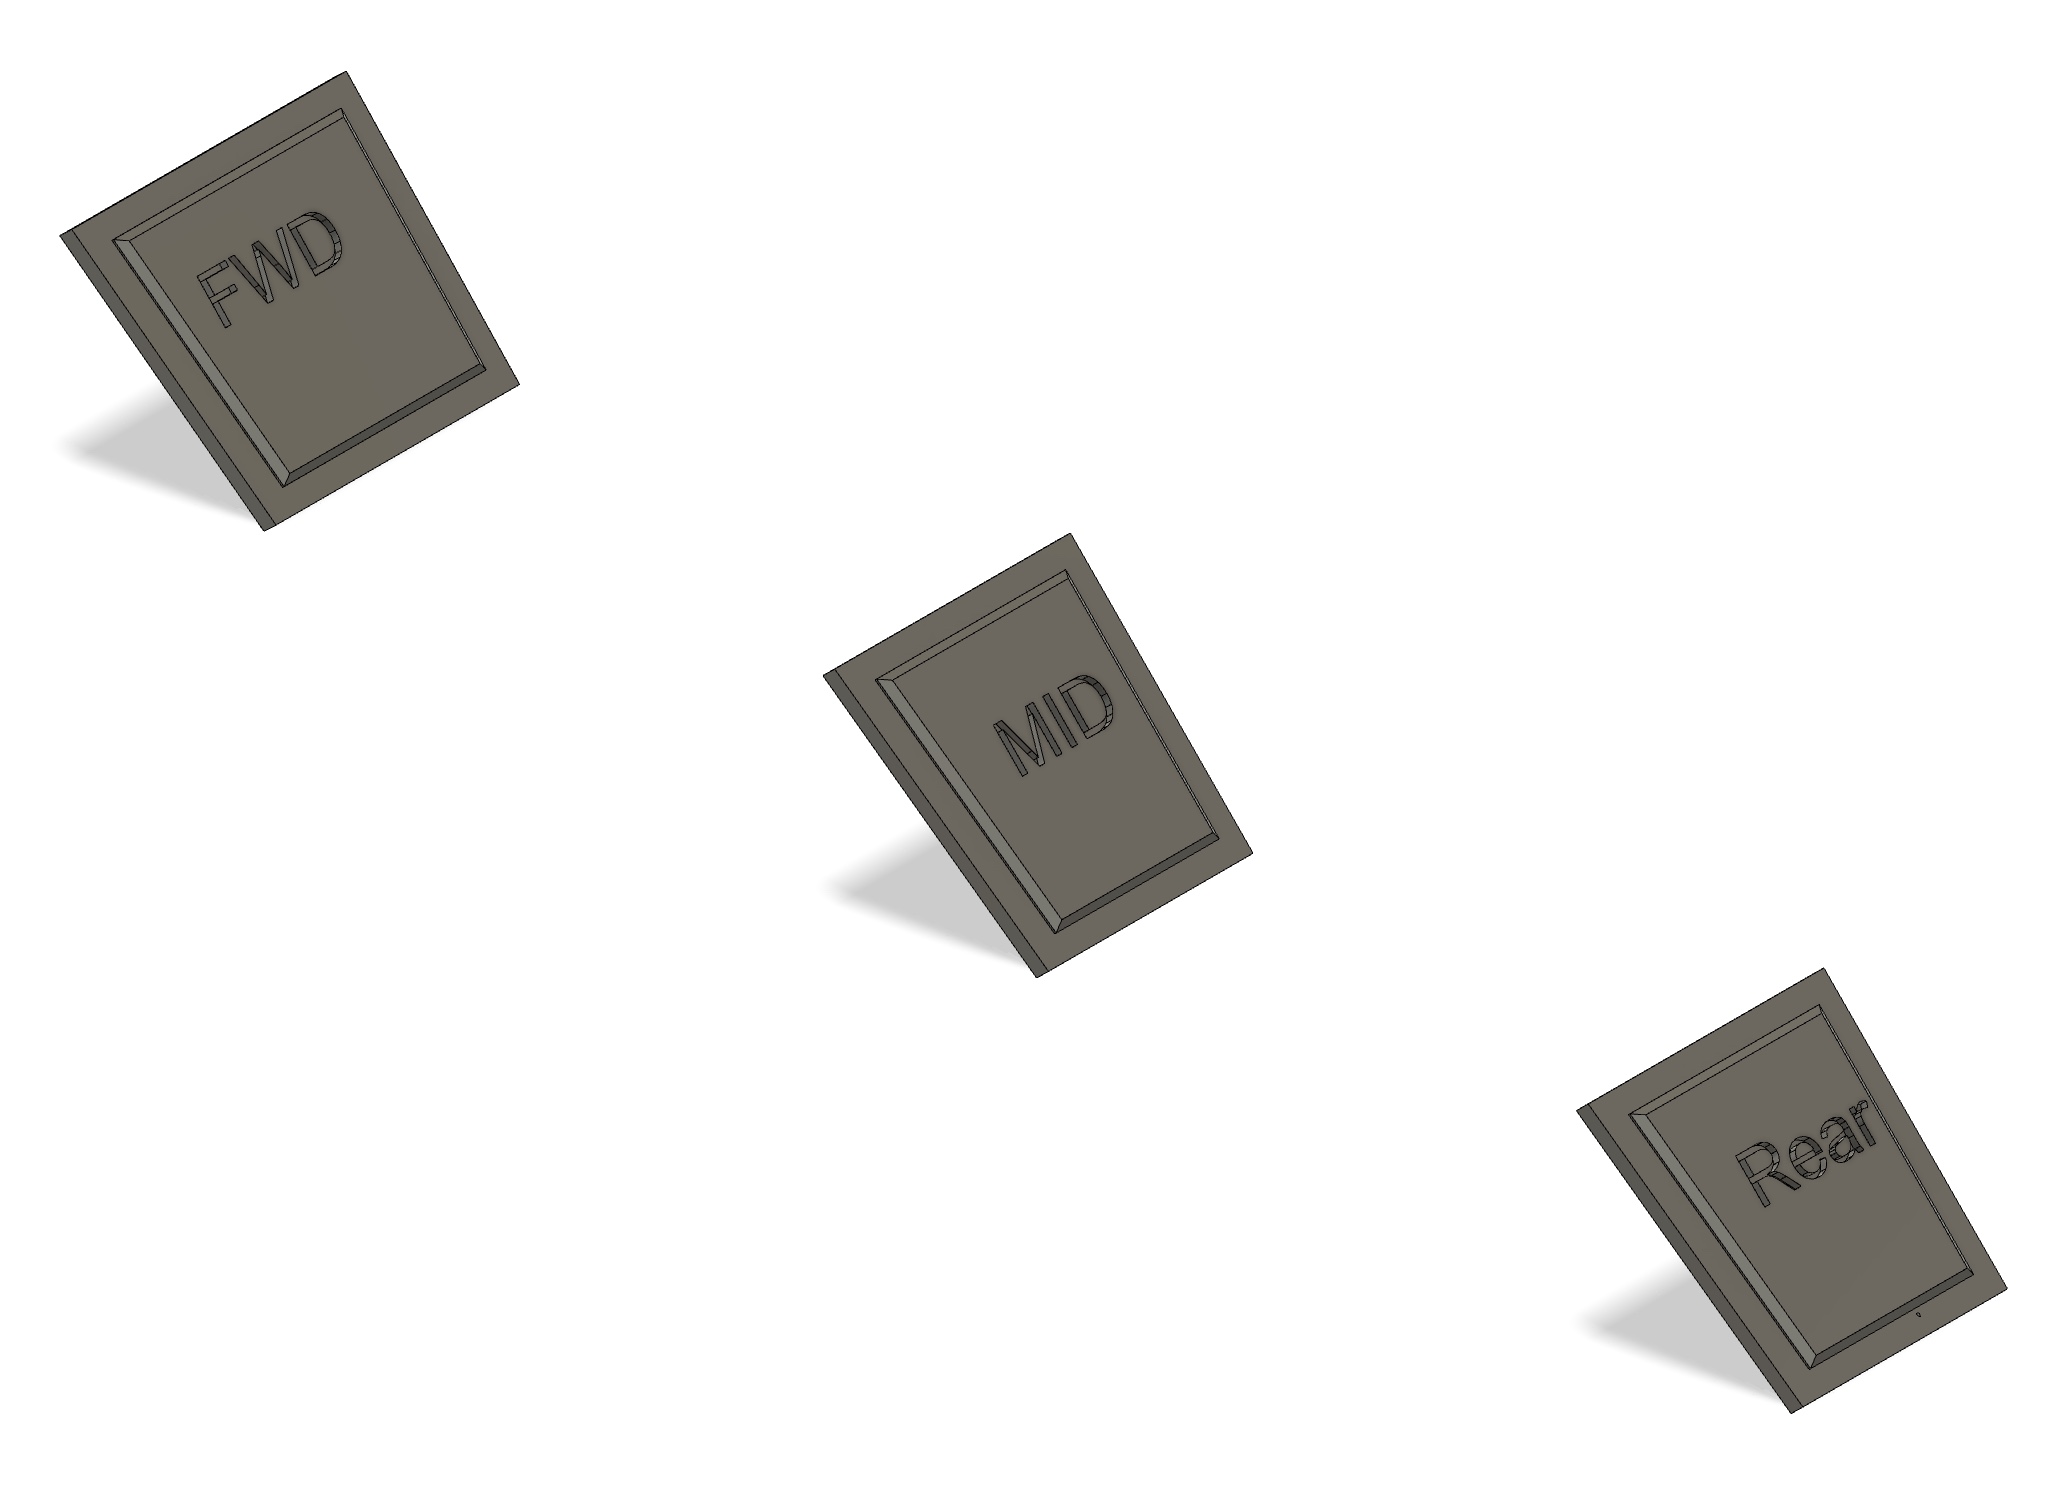
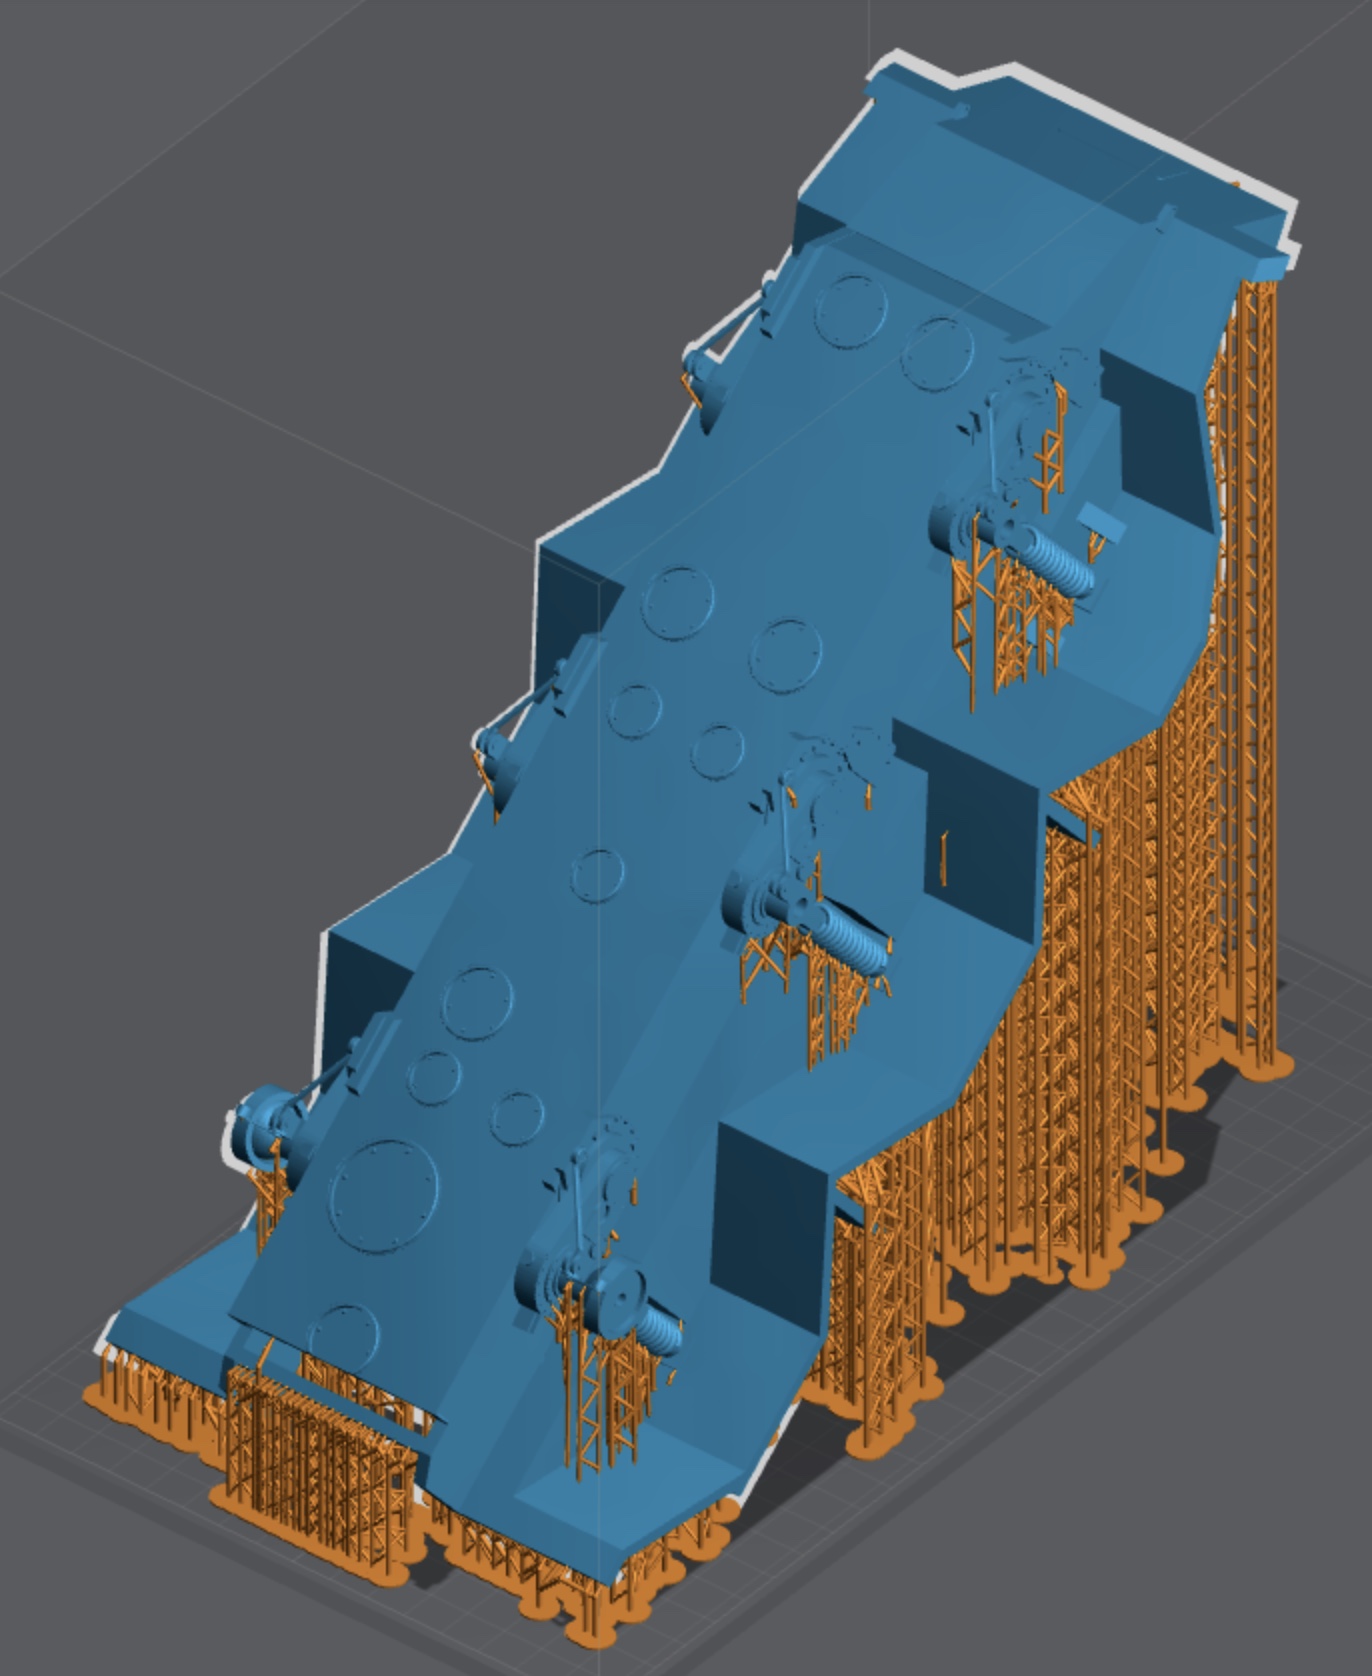
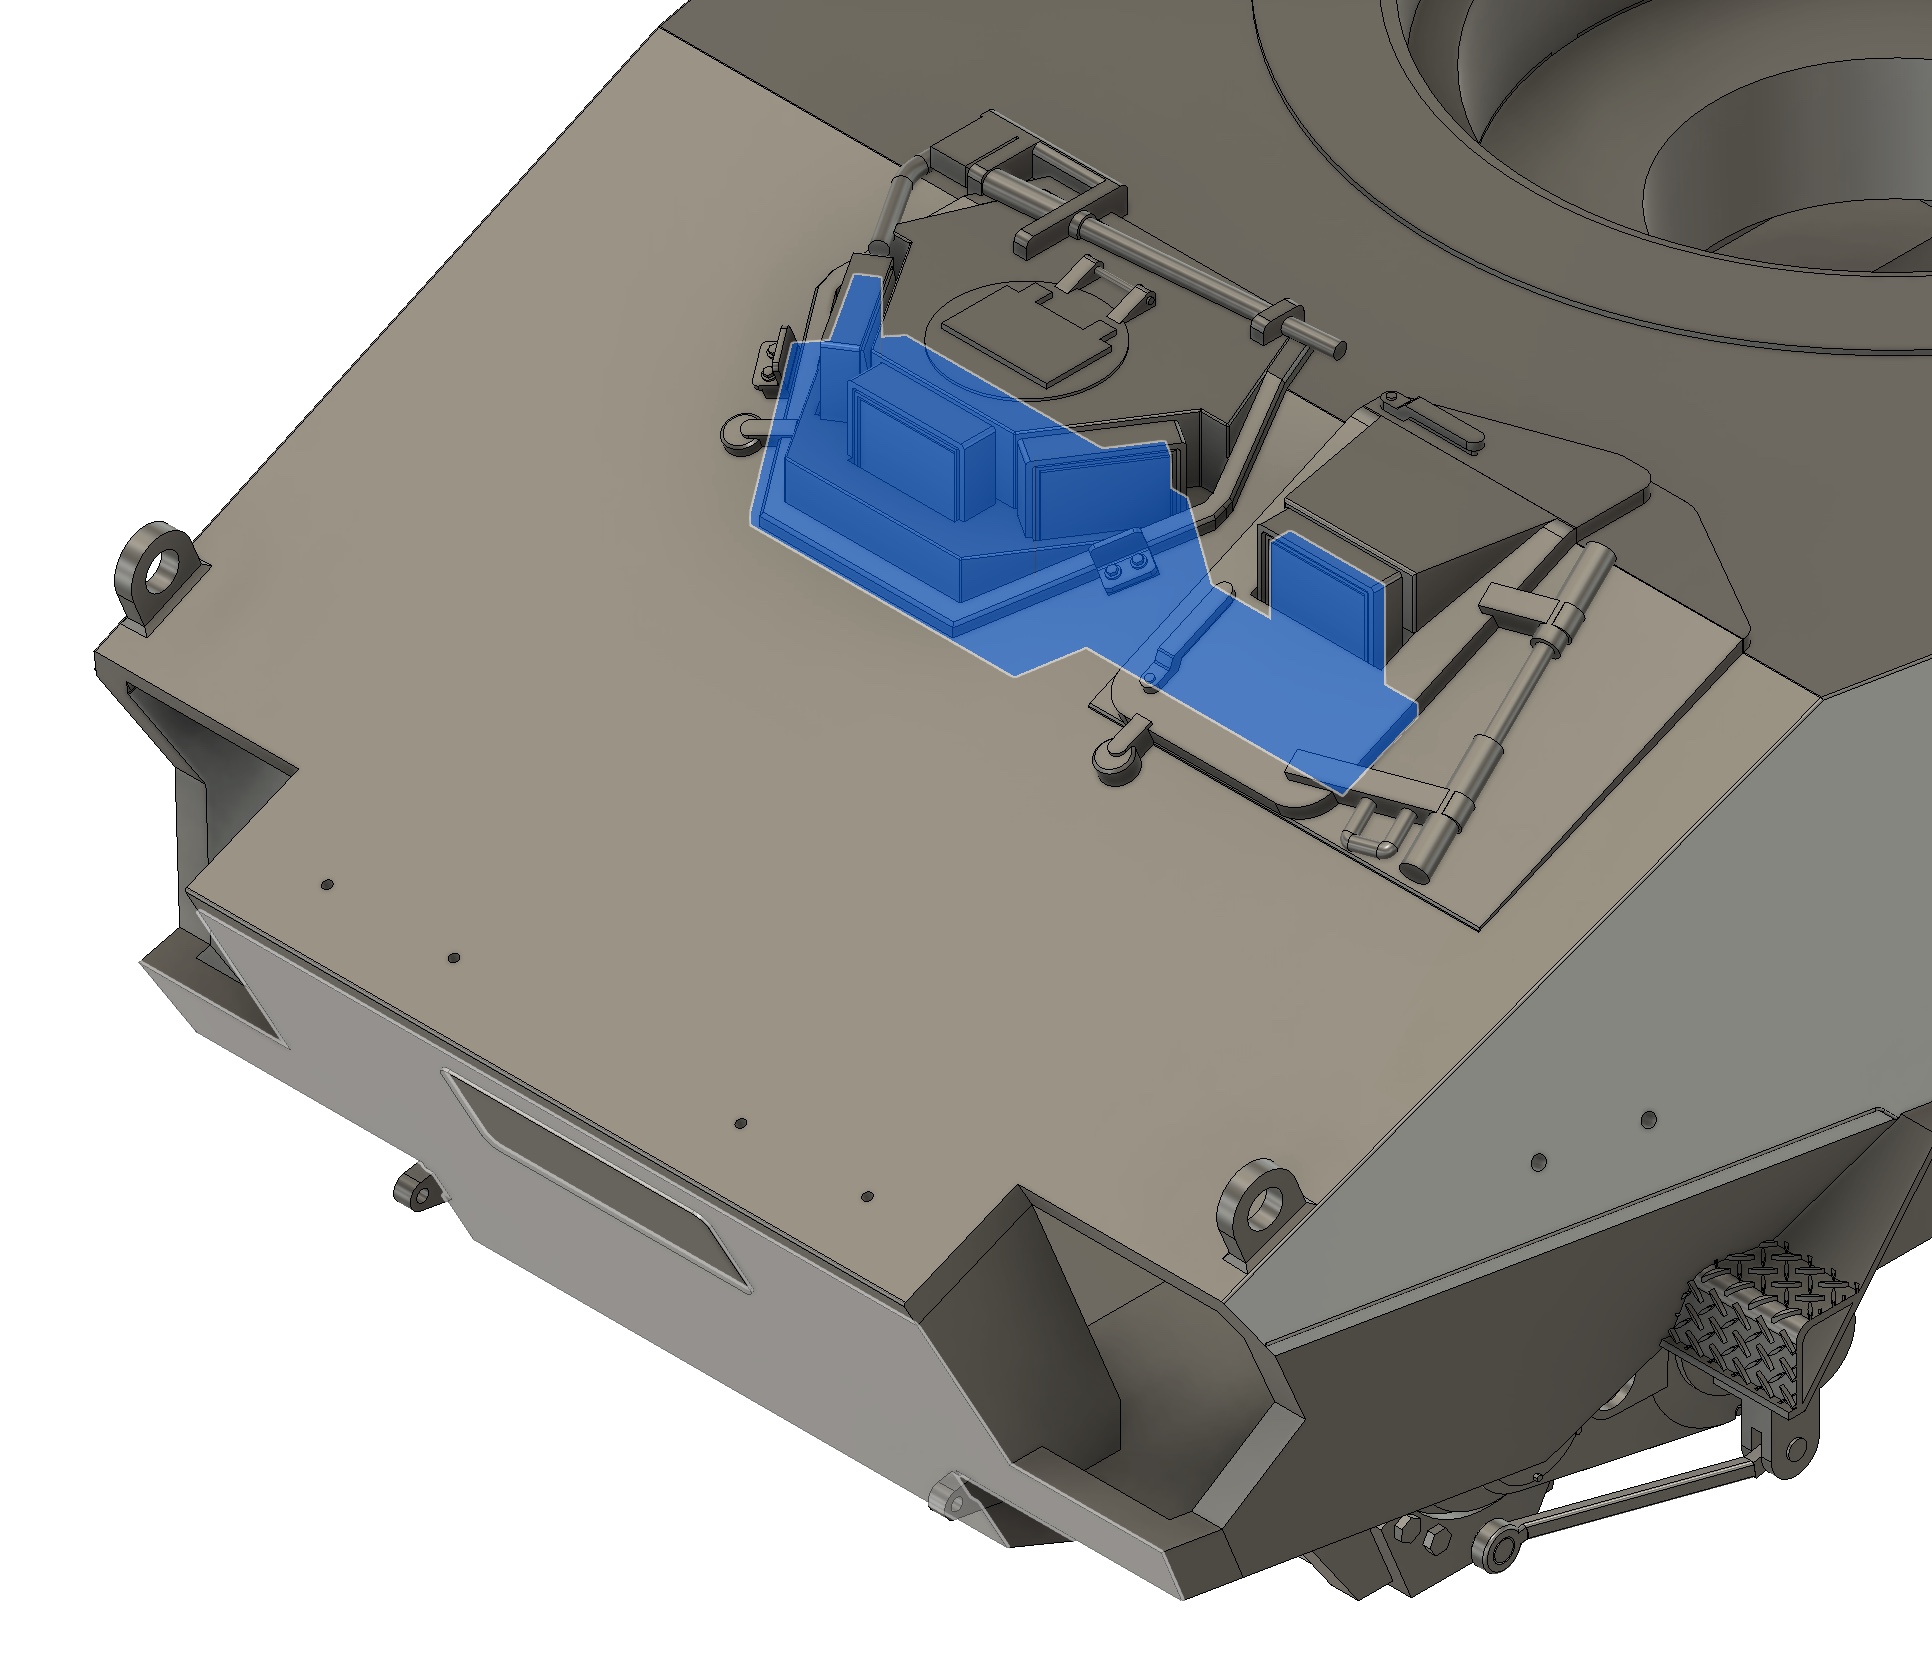
To better illustrate the suction relief holes, the attached image shows the plugs highlighted in blue.
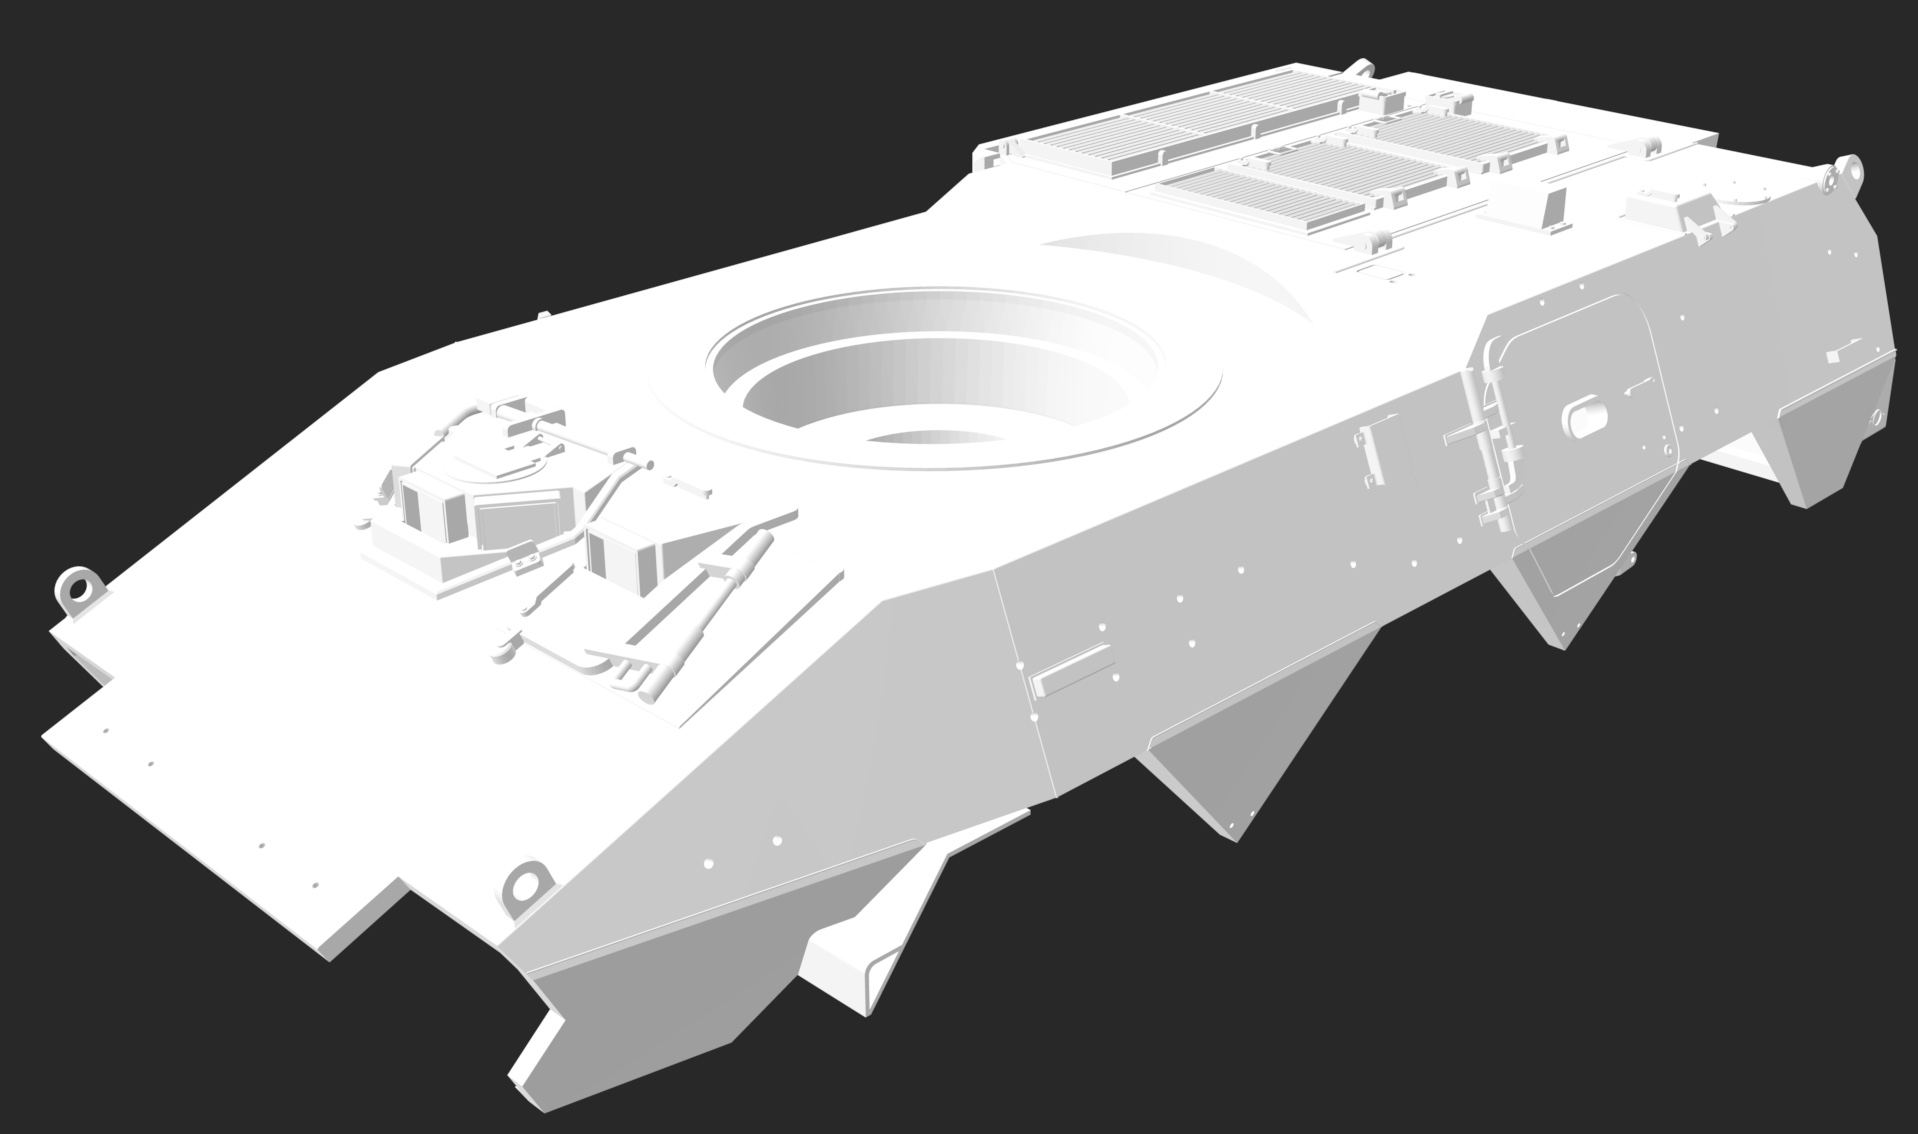
Here’s what the plugs will look like.
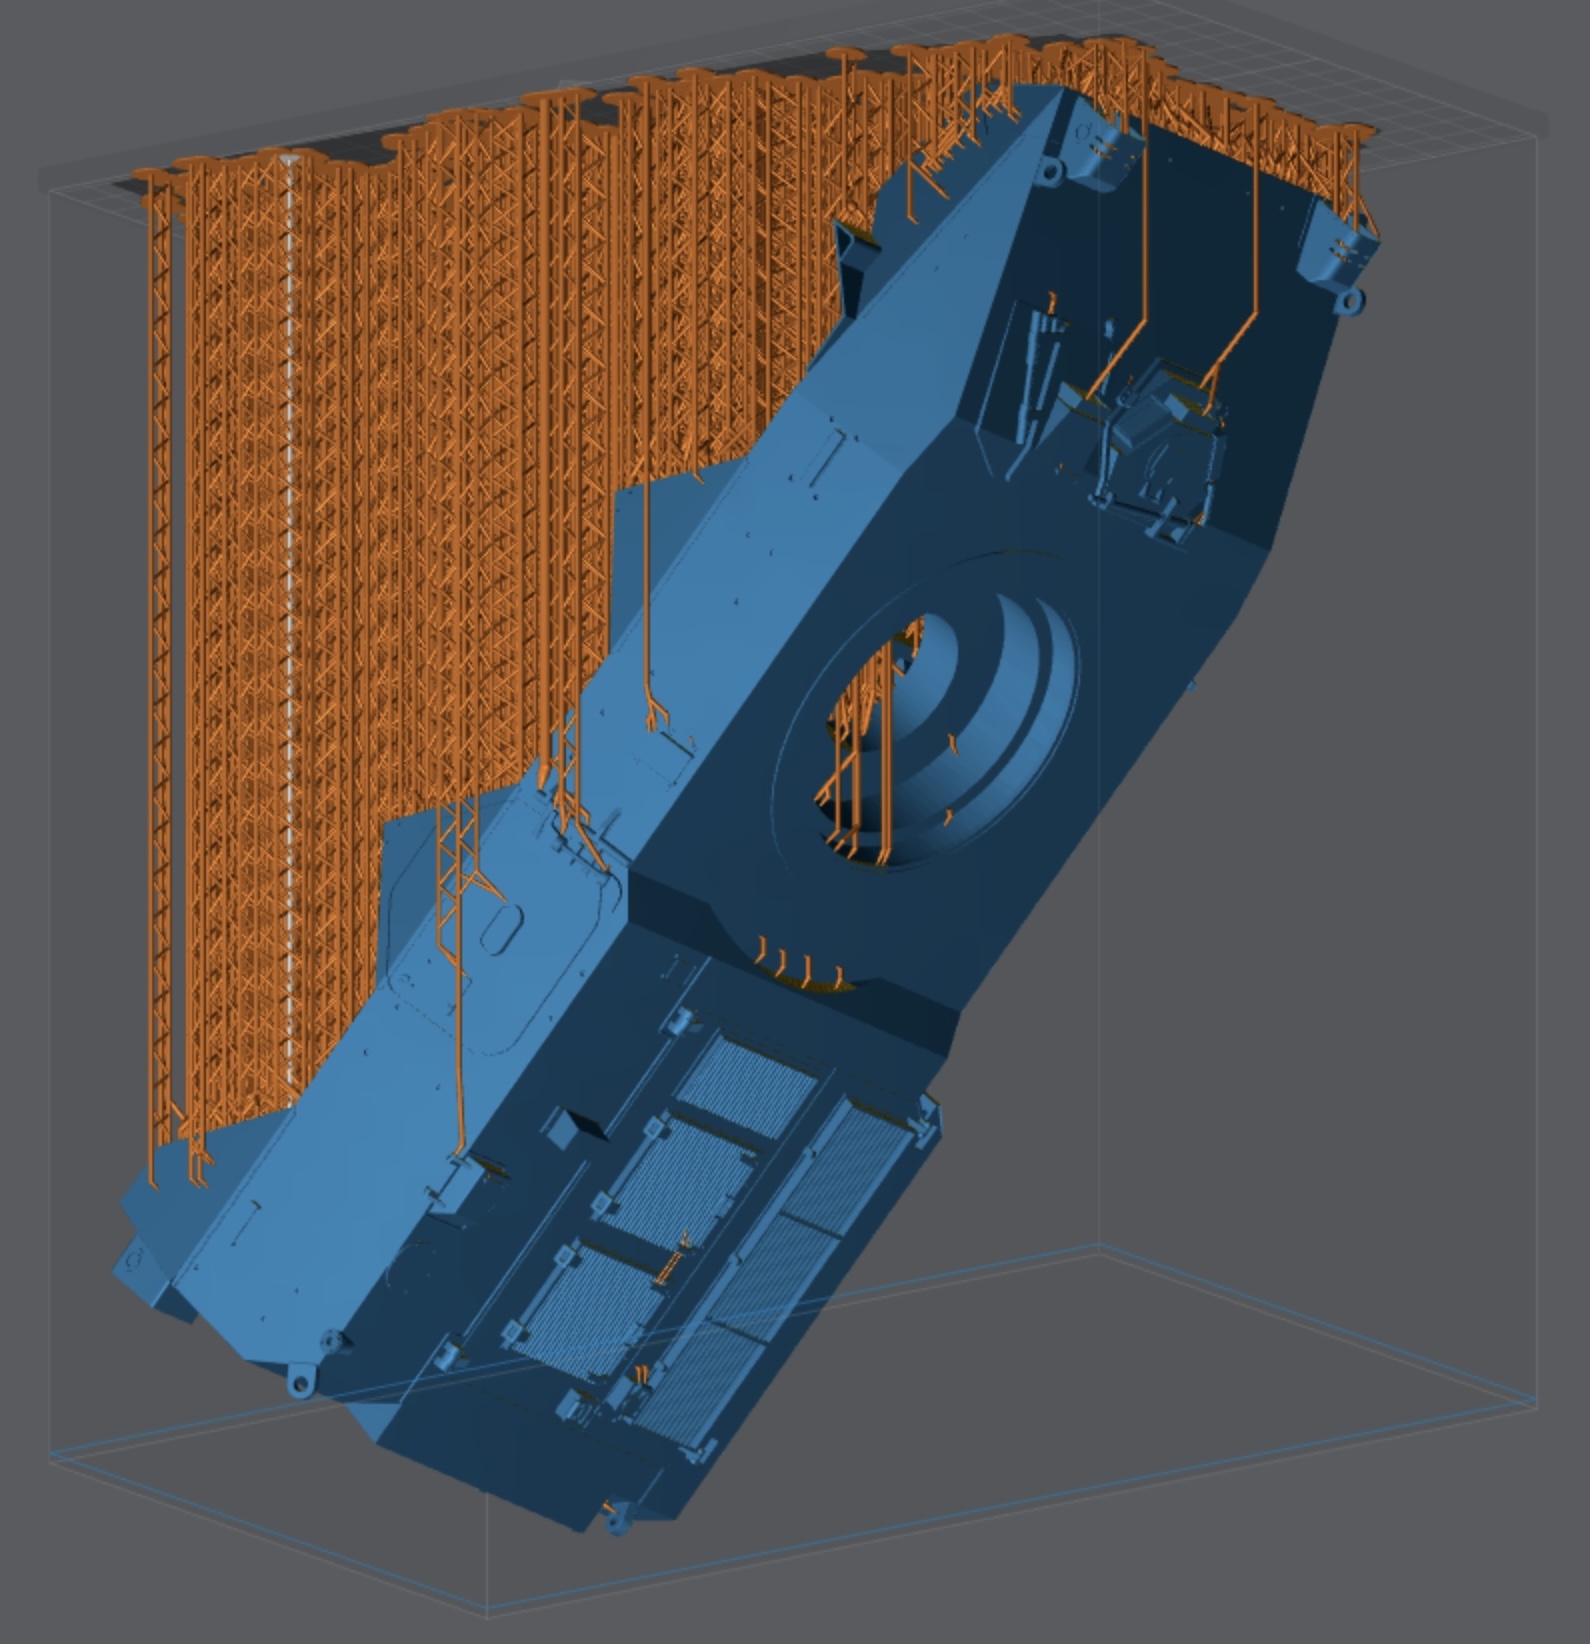
This is what the print will look like after 54 hours or so.
Thanks for looking in.
5 Likes
Reprofiling the chamfer of the rear of the hull has dramatically improved to look; crazy that such a small mod makes such a difference.
After some setbacks, mainly from the manufacturability POV, I think I’m back on track!
5 Likes
After consulting someone with much more experience than me in 3D design - thanks, Mark - I’ve broken the hull back into two main pieces, upper & lower.
The design was further refined for test printing in 1:48 to validate how it’d go.
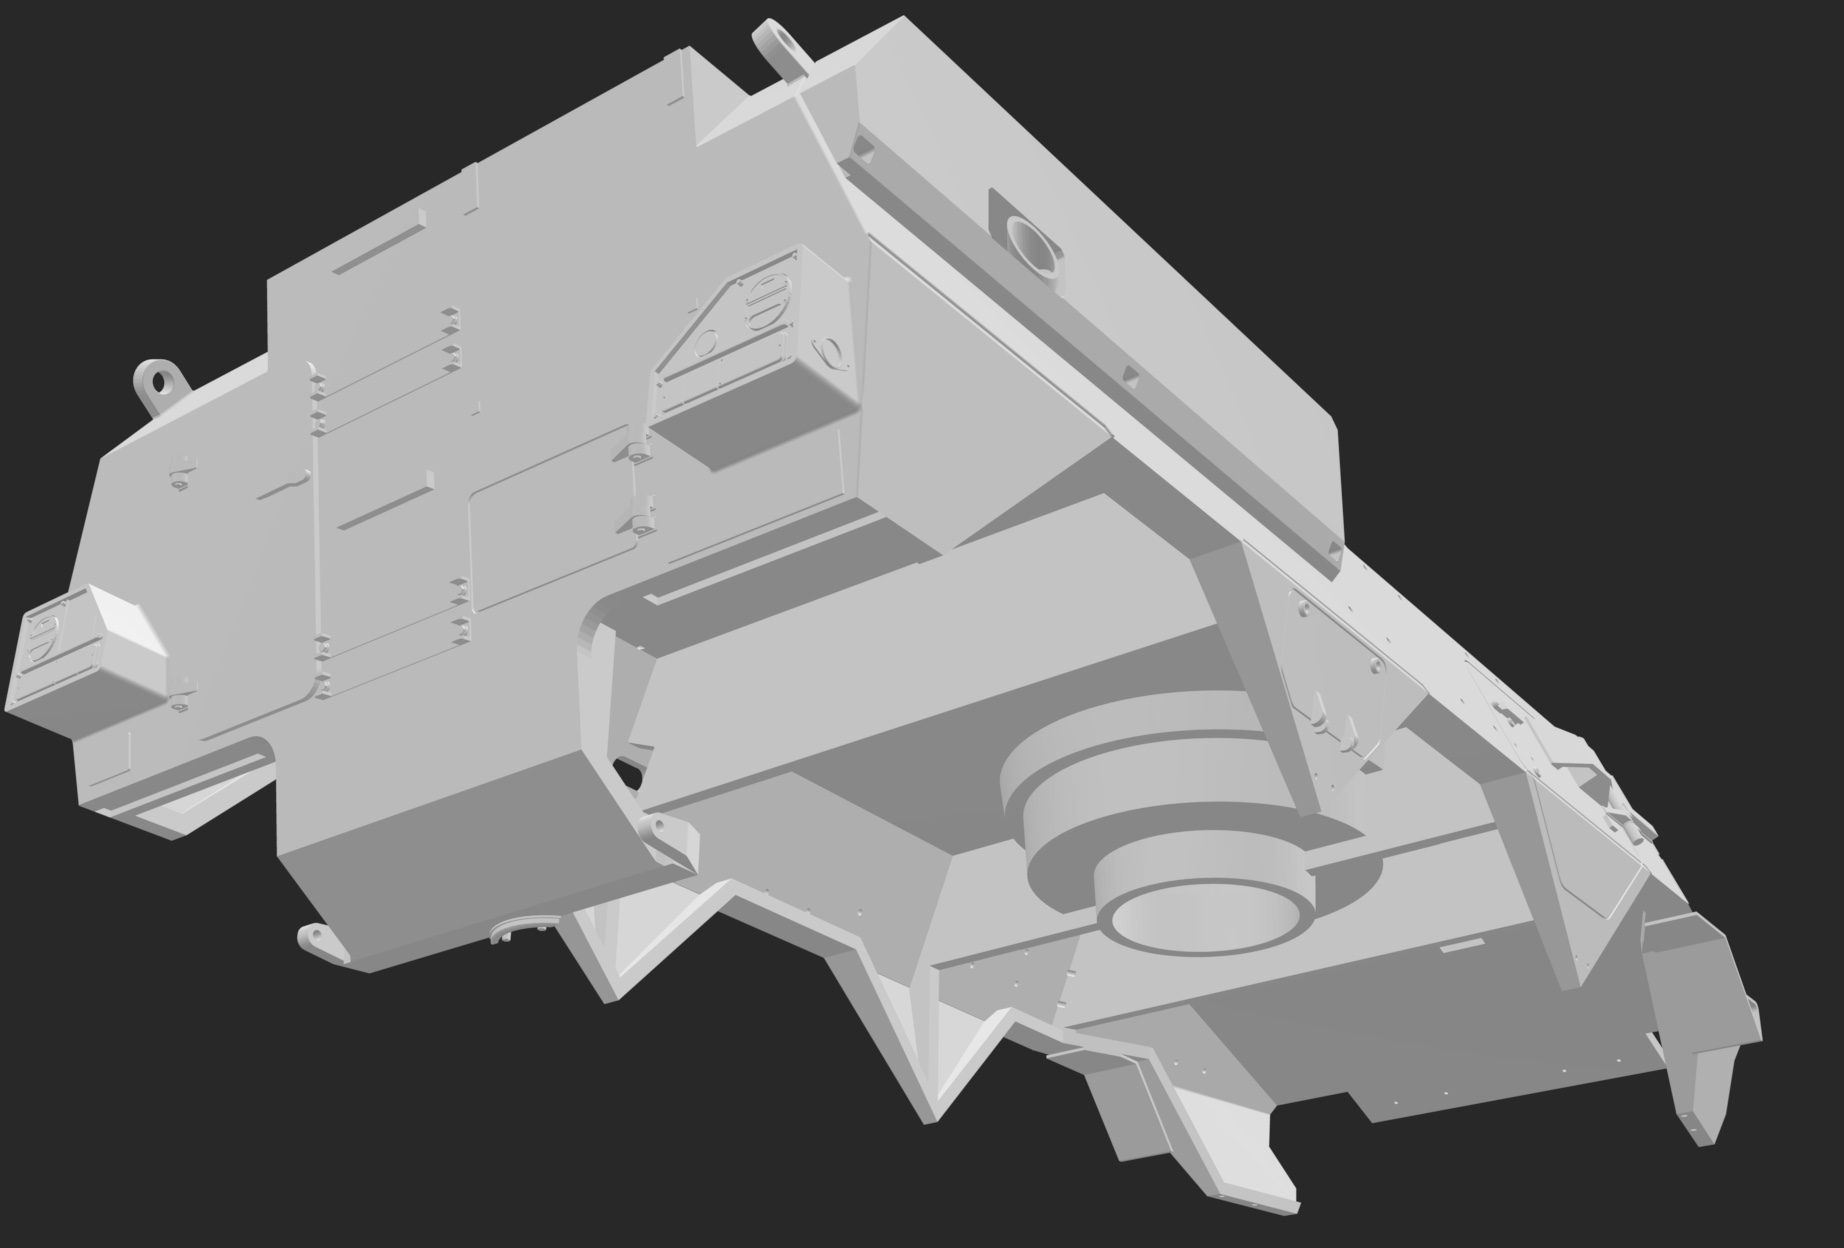
This is the lower hull, ready for printing.
Let’s see how we go.
5 Likes
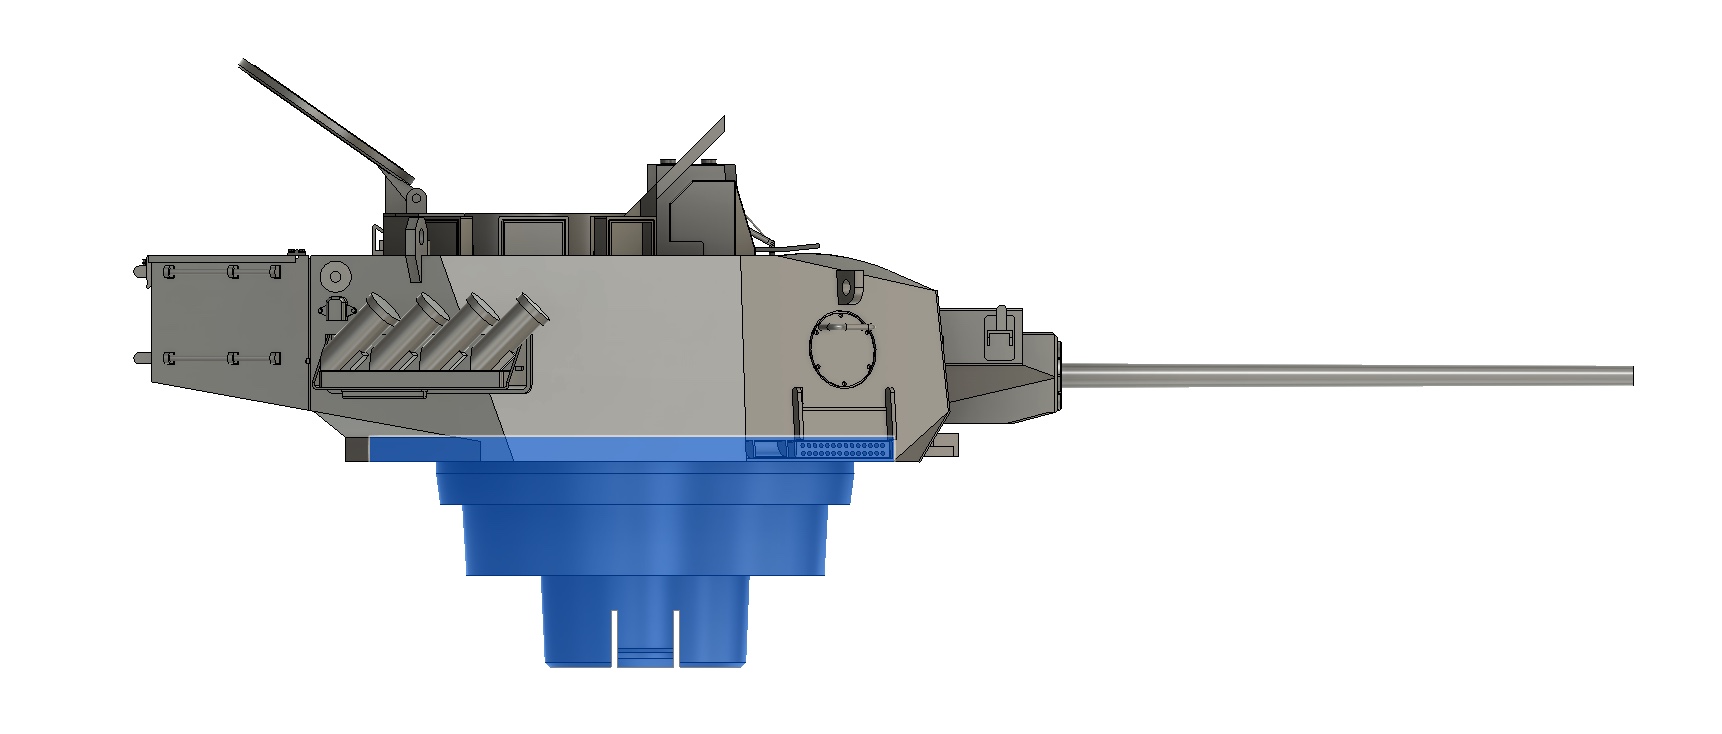
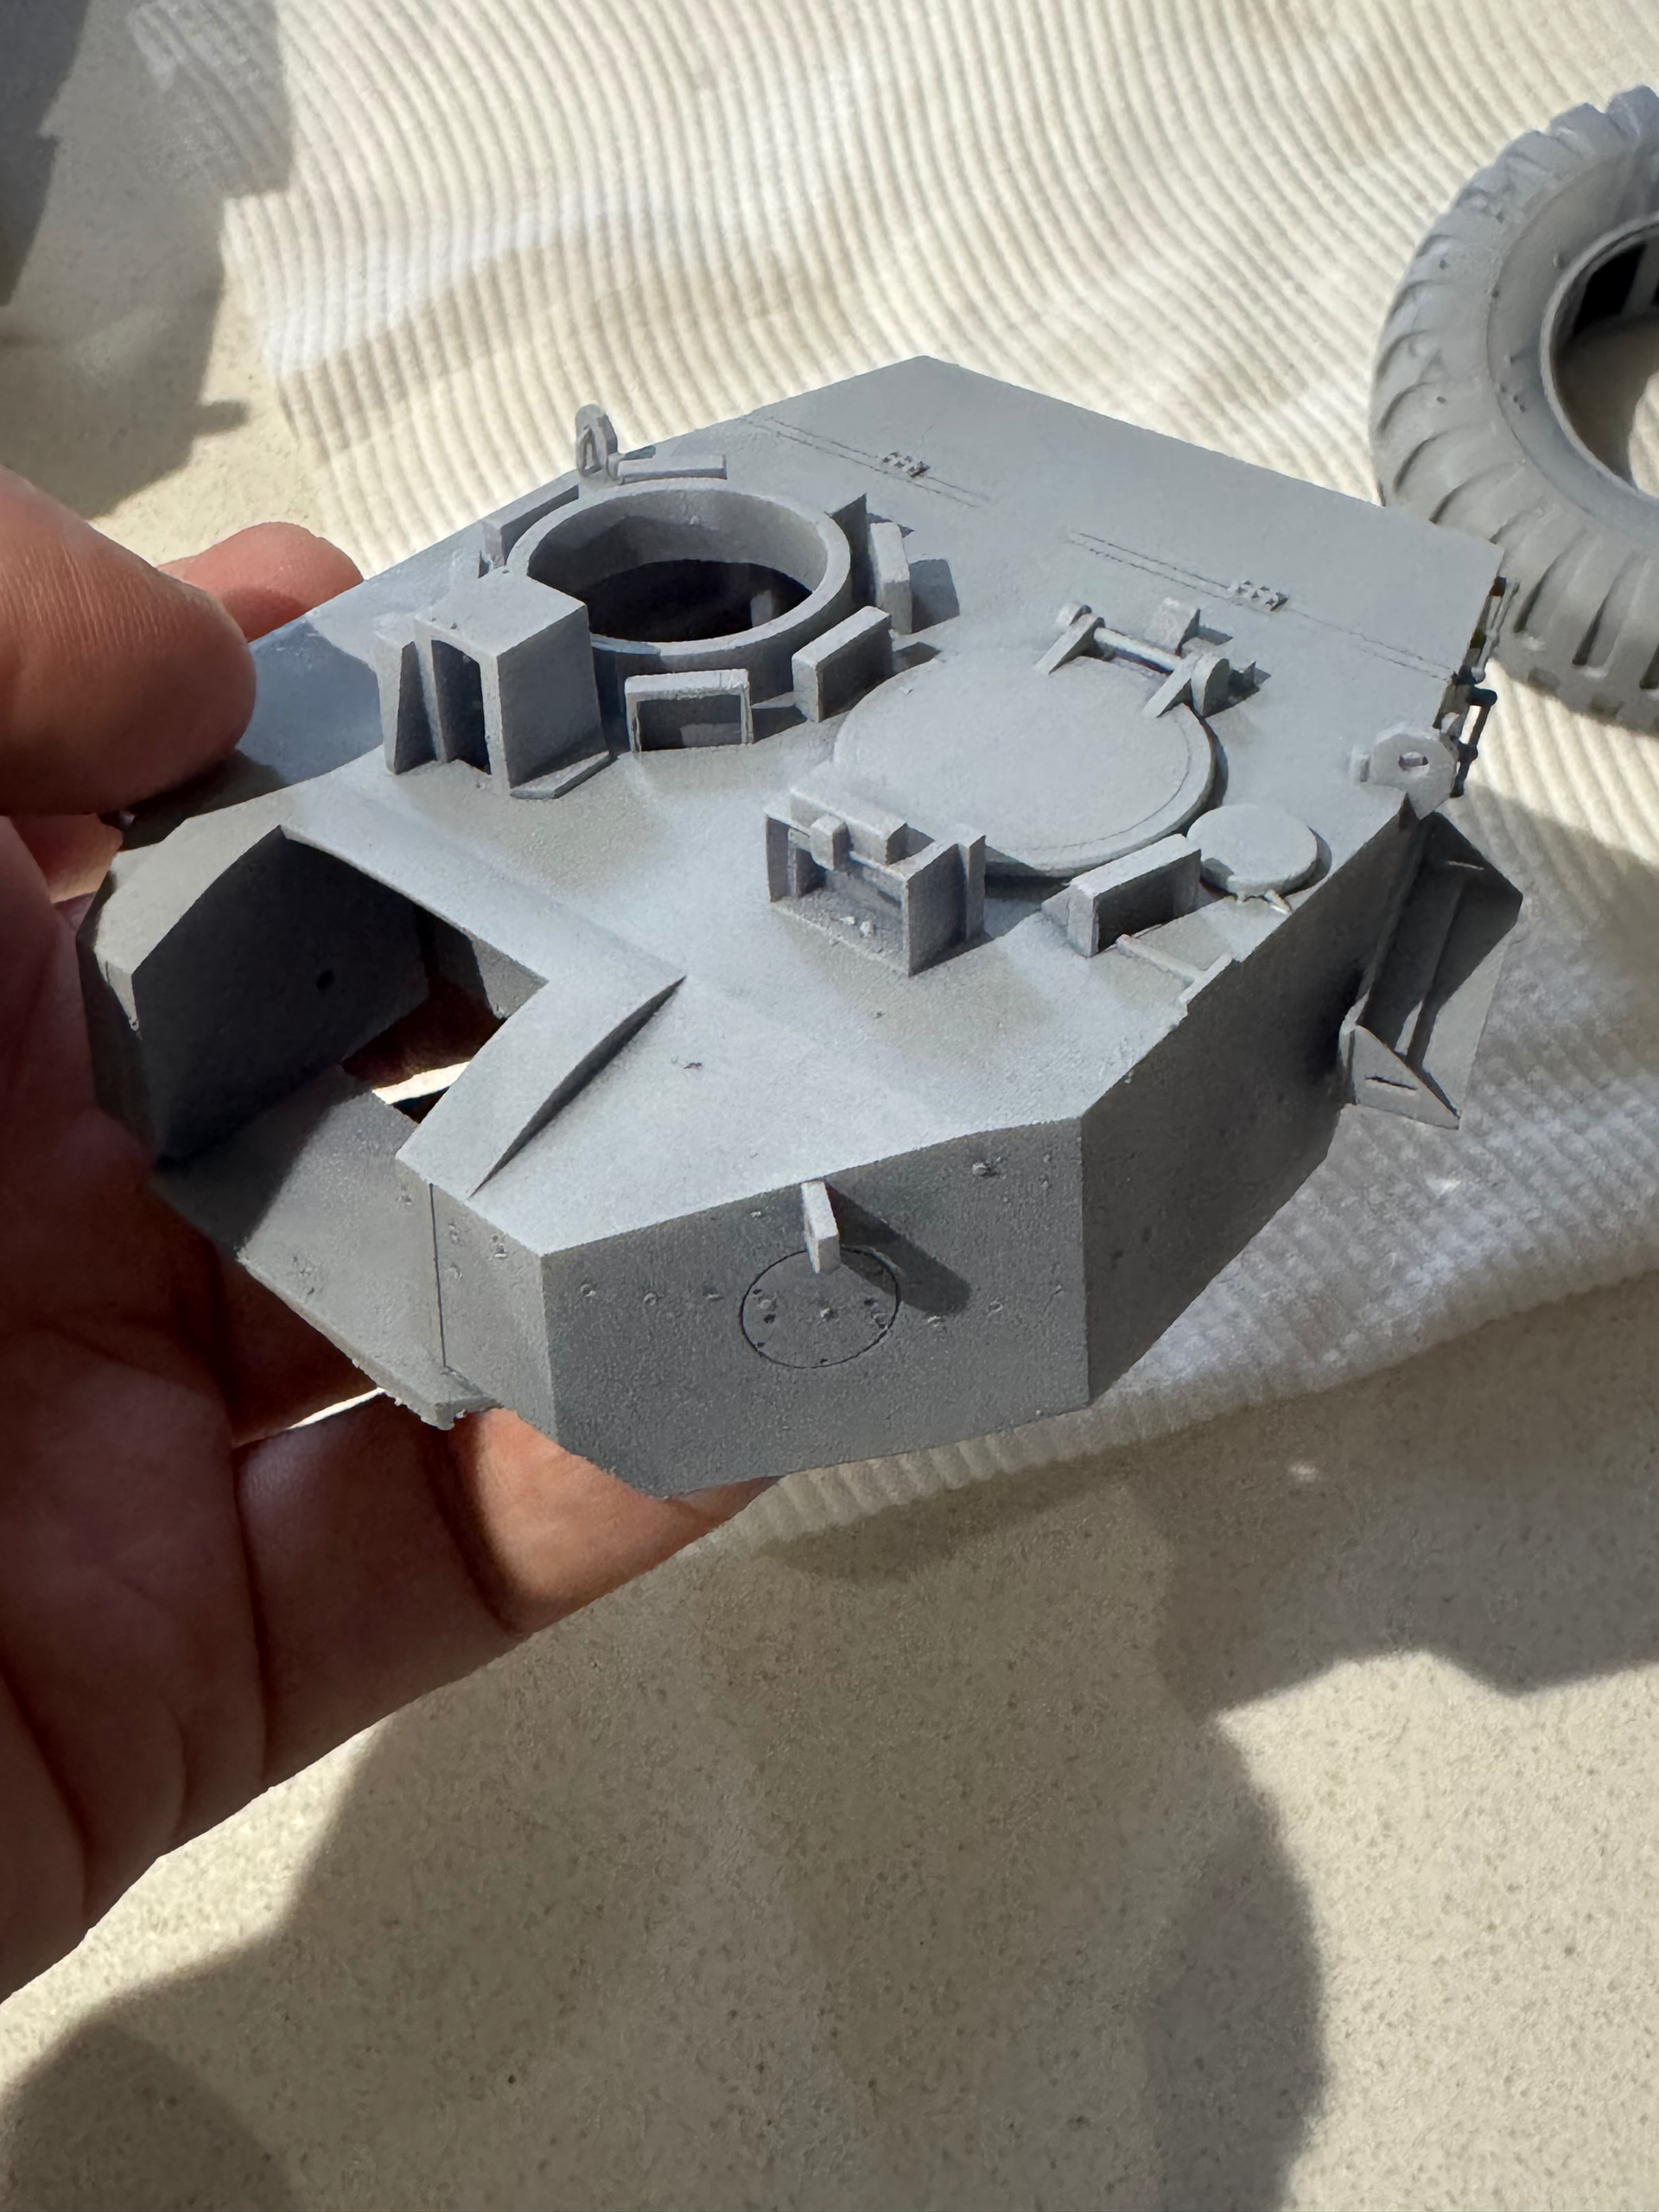
Time to revisit the turret layout. I suspect re-formatting the one piece turret into two pieces will be a little trickier.
The blue part is the lower turret piece. May have to extend the lower piece to include the underside of the bustle.
2 Likes
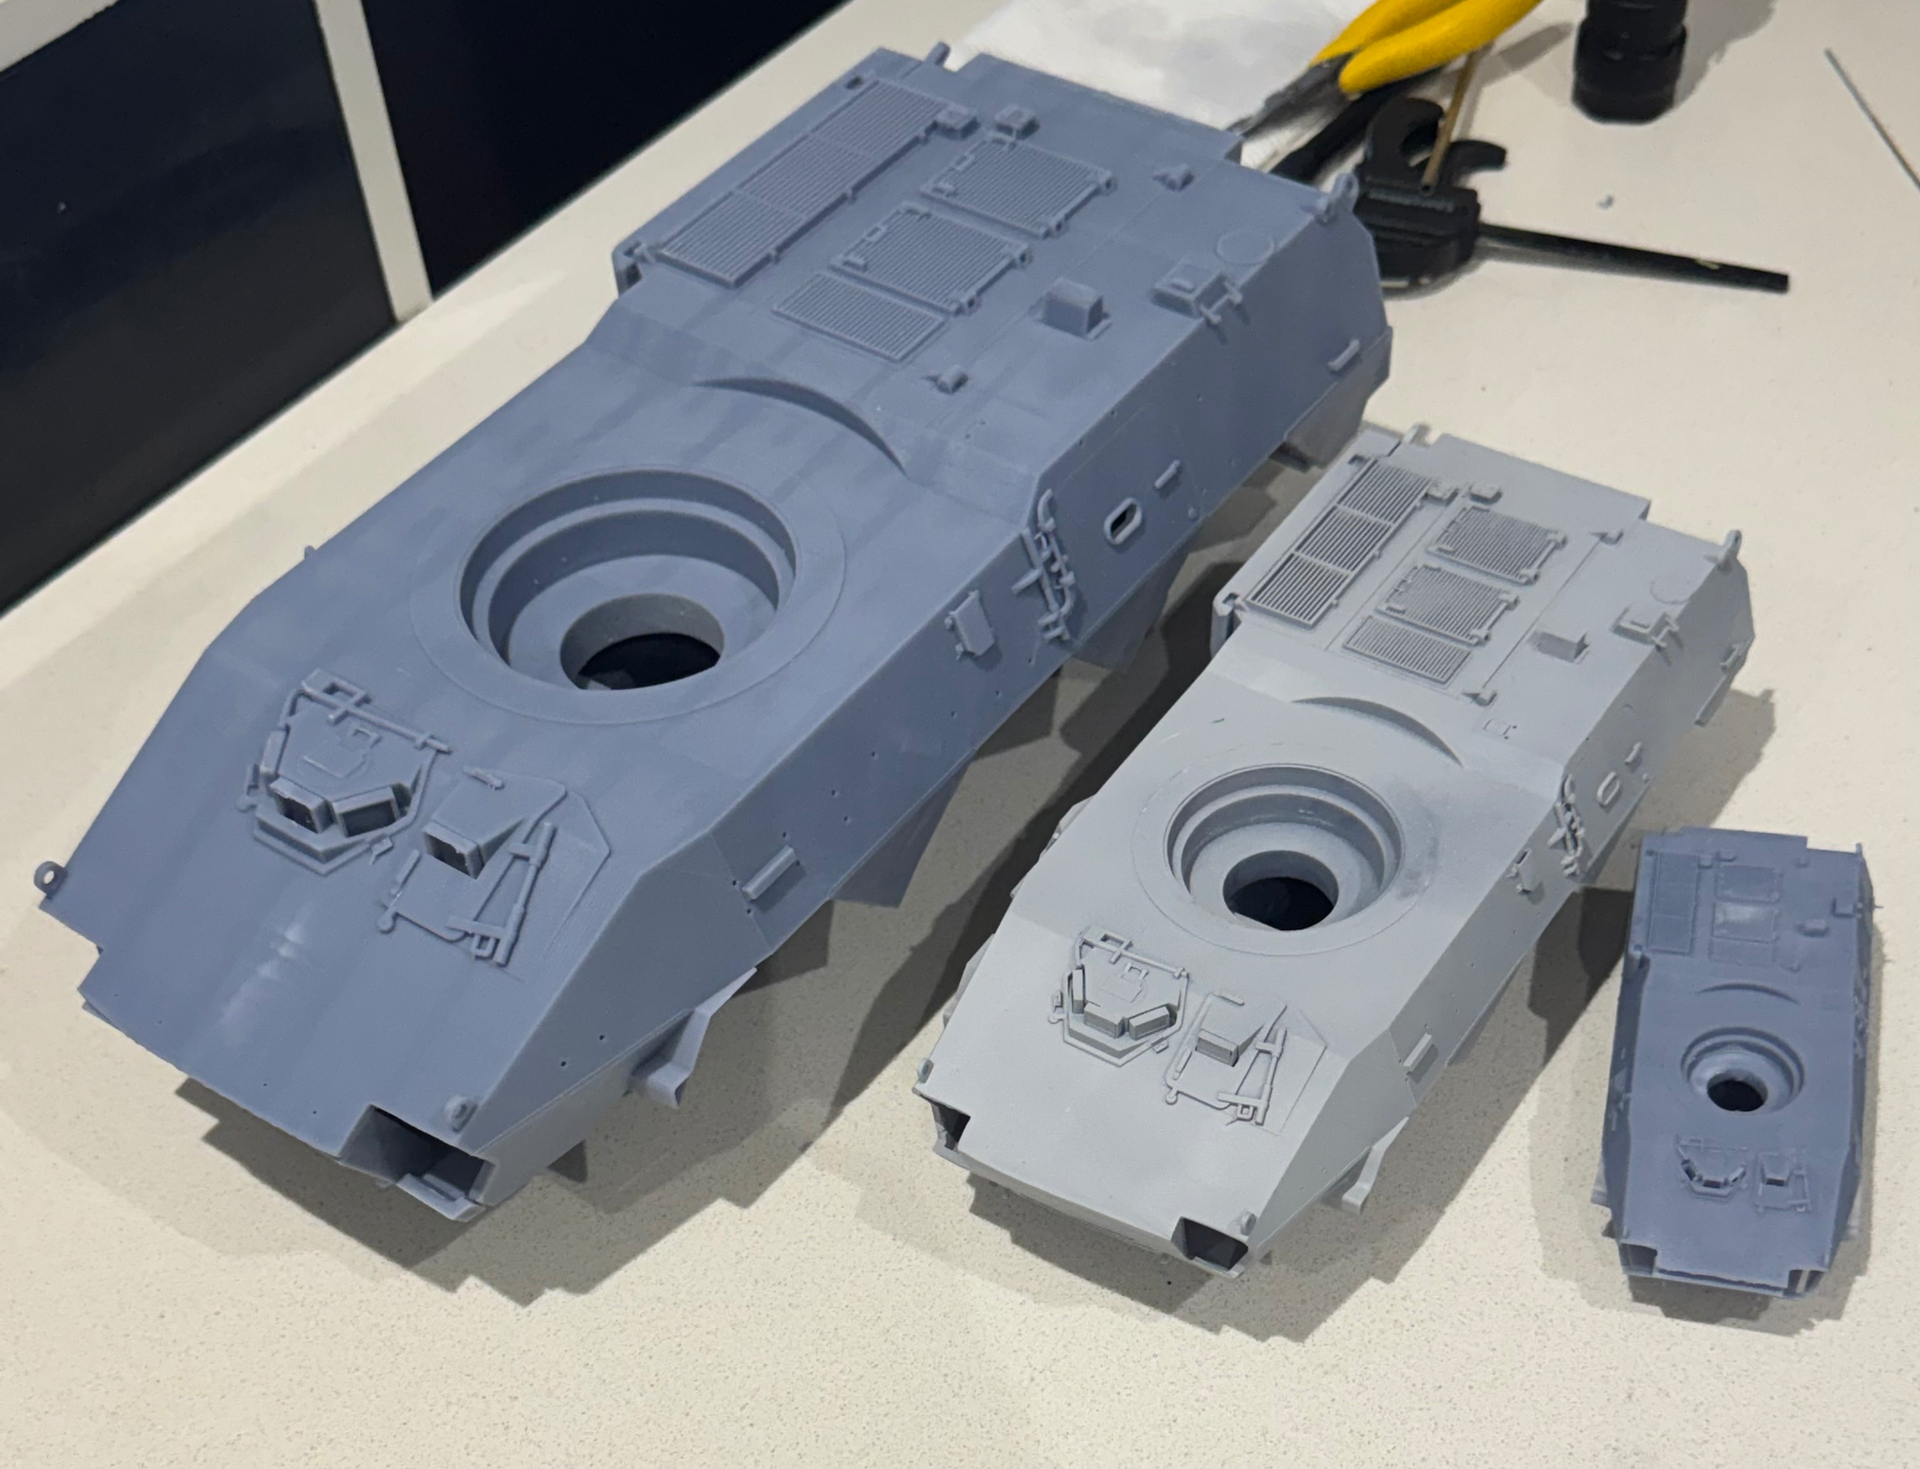
First two piece print in 1:16 of the hull. Some minor mods required, but an absolutely massive improvement over the initial one- & two-piece attempts.
Here are the 1:16, 1:24 (superseded one piece), & 1:48 test prints.
2 Likes
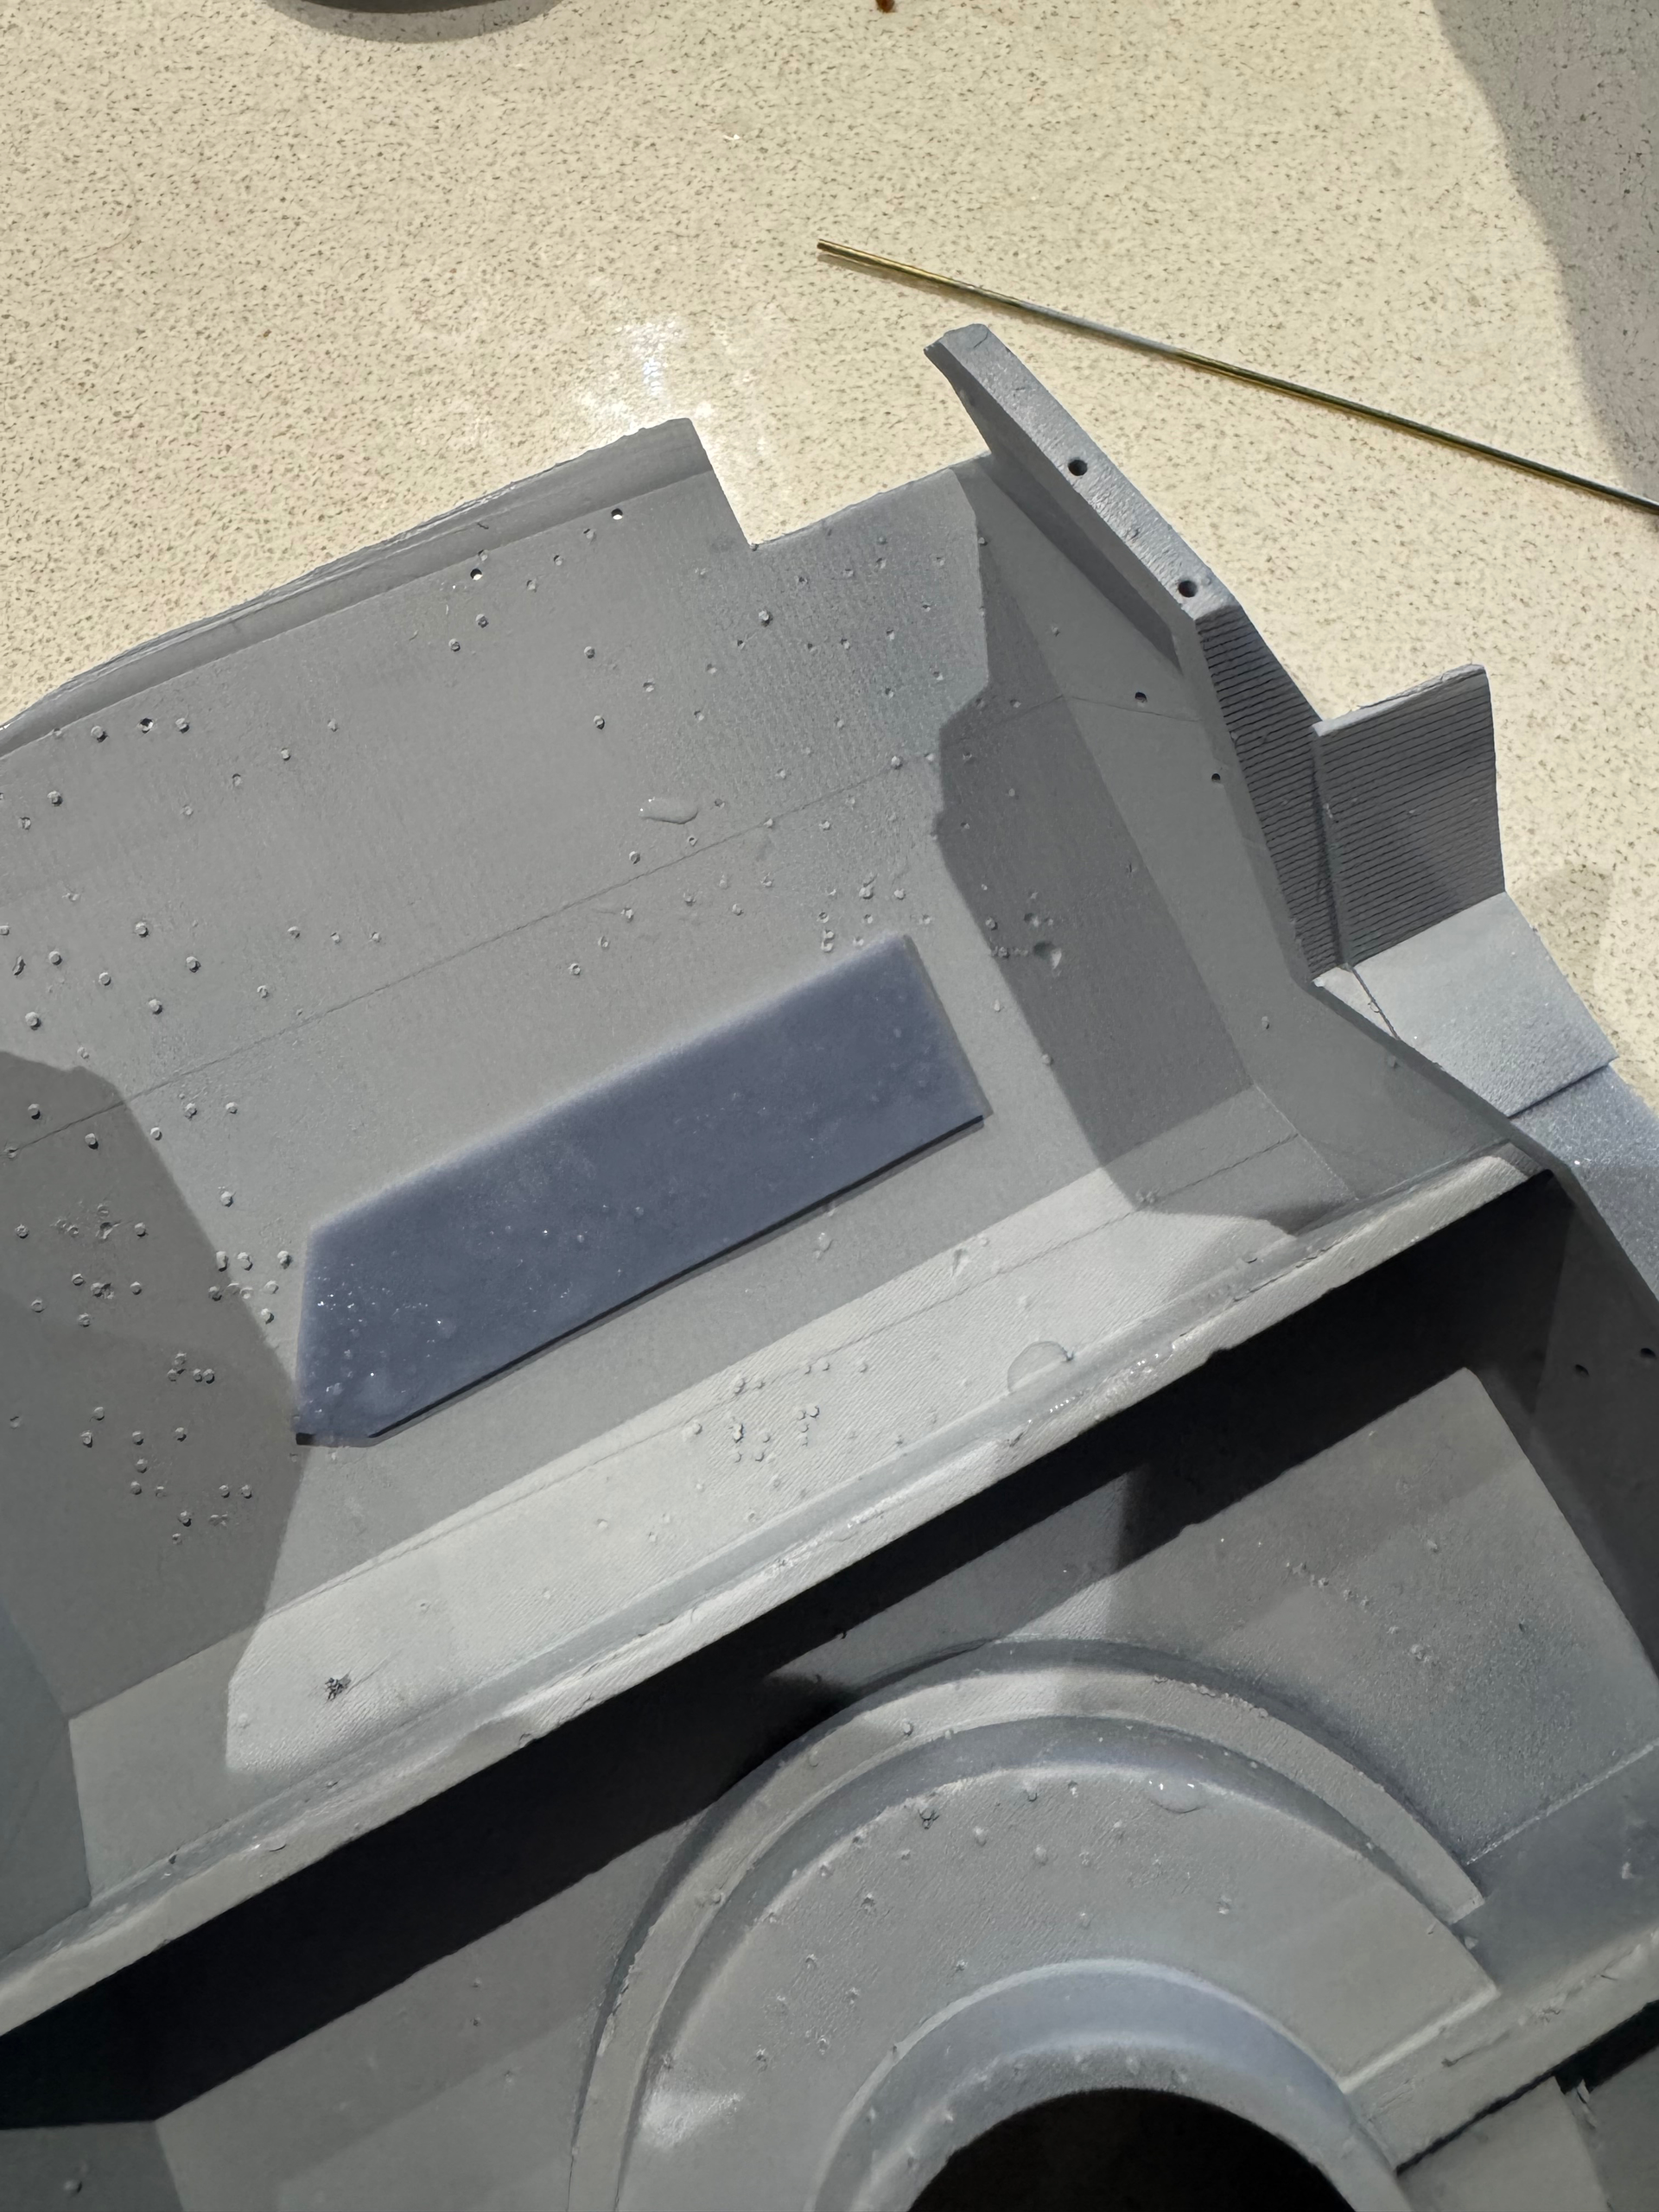
By splitting the hull & turret into uppers & lowers, I was able to reverse some design compromises baked into my one piece designs. More specifically, I can now easily add clear/translucent vision blocks/episcopes/periscopes from underneath.
Here’s a test fit of the parts, printed in grey resin.
Some screenshots to provide context.
Moving on to the turret episcopes.
3 Likes
Having test printed the two piece turret in 1:24, I figured a comparison to the previous one piece turret.
One piece - note the prominent crease across the front of the turret.
In comparison to the two piece.
Print orientation for the upper turret requires a bit of a tweak, but it is a massive qualitative improvement.
3 Likes