Thanks Eddy.
Please post that pic of your dad’s!
By the time Japanese were fighting against the Americans at Iwo Jima these tanks were out of date, for sure…
Thanks Eddy.
Please post that pic of your dad’s!
By the time Japanese were fighting against the Americans at Iwo Jima these tanks were out of date, for sure…
So now I am going to the get on to the painting… which is a story in itself.
The world of Japanese tank colours is a rabbit-hole all of its own and I am not going to take you all down it with me on this post, but most of us are familiar with the fact that most IJM armour was painted in fairly elaborate camouflage schemes throughout the war.
In this regard they were far ahead of the German late war camo patterns, although it is worth remembering that all the major combatants of the Second World War experimented with disruptive schemes to some extent. The Japanese were, of course, preparing for fighting in sun-dappled jungle environments, although I cannot help thinking that they were also influenced by the French, who used particularly striking camouflage (it is a French word after all) on their early war tanks.
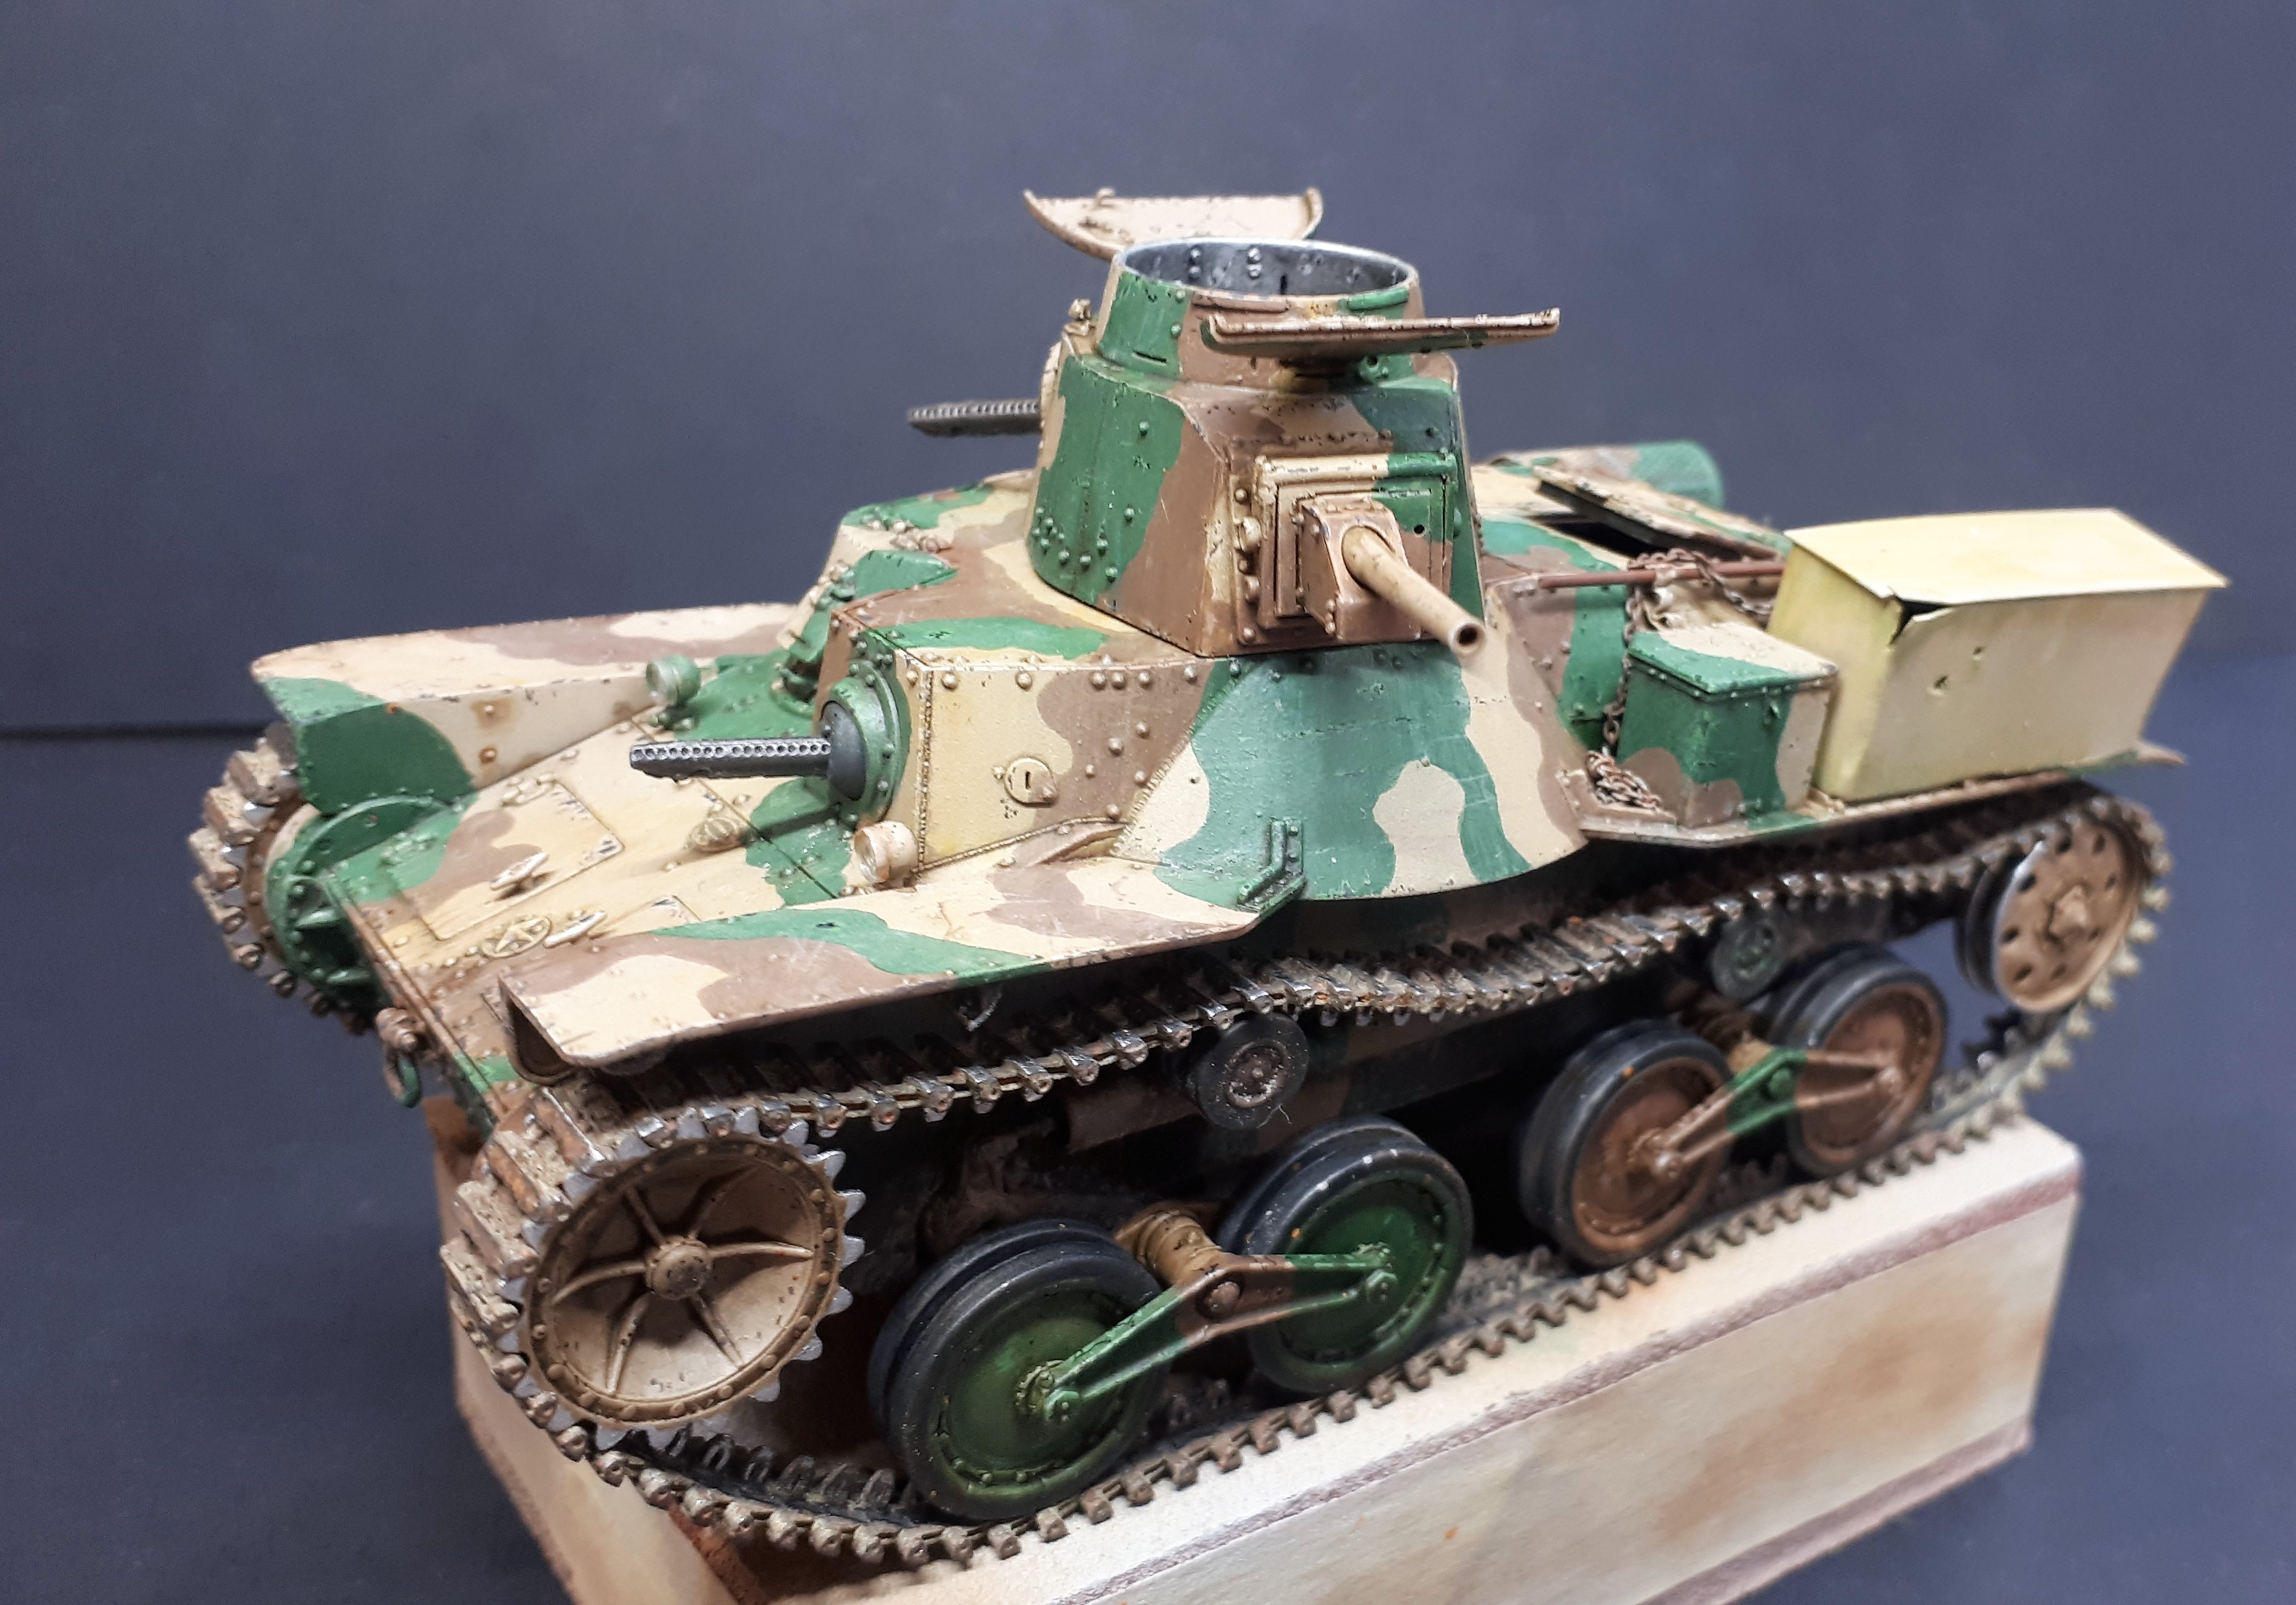
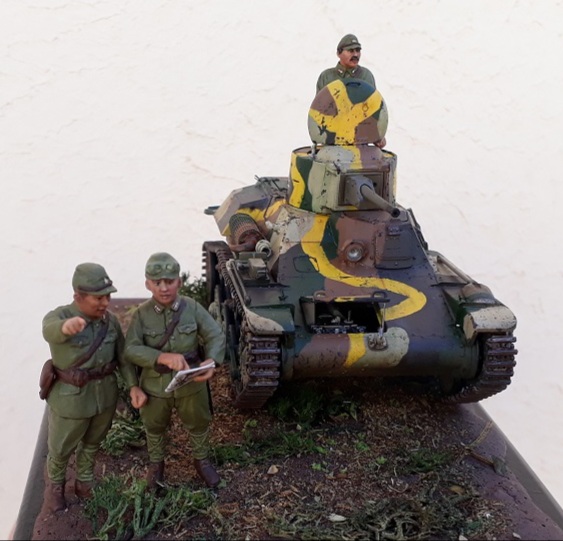
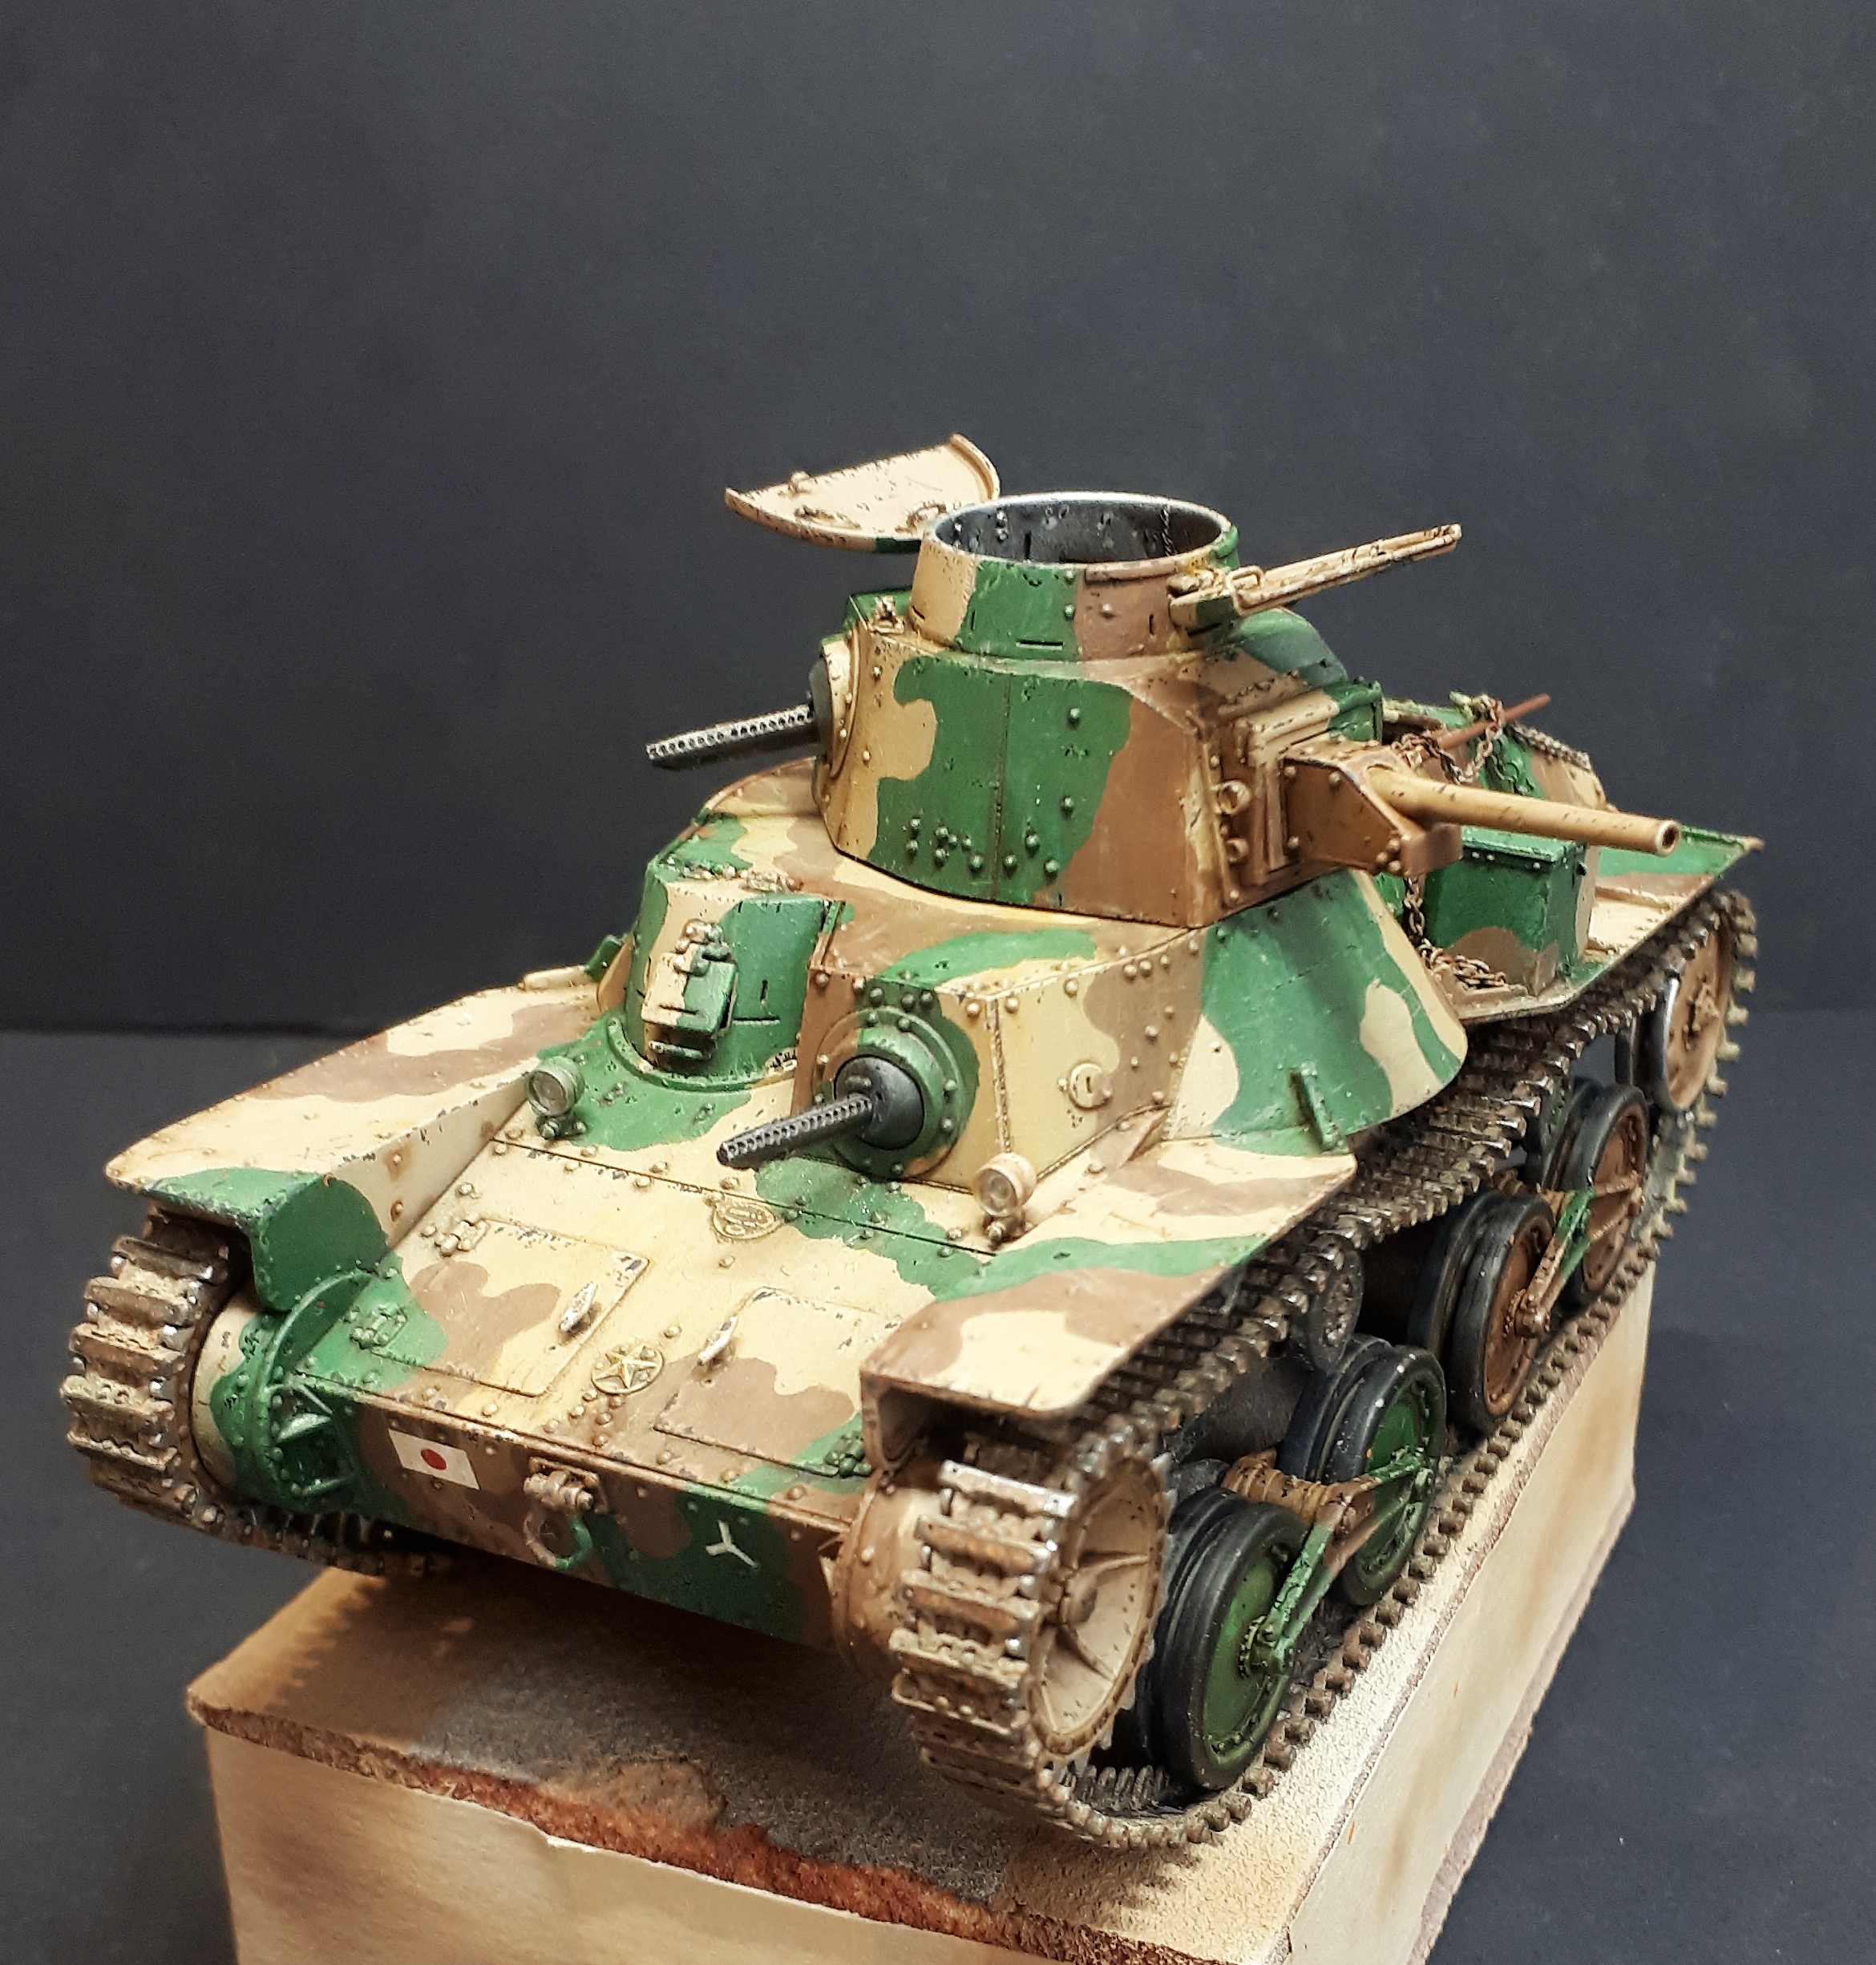
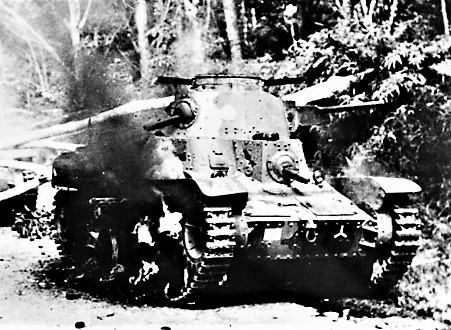
Undoubtedly the most iconic pattern is the one where the three main colours were disrupted with a fourth: yellow stripes painted in a wavy cross which subdivided the vehicle into four quarters. However, after intensive study of the photos of the Bakri Ha-Gos it became apparent that they did not have this fourth element.
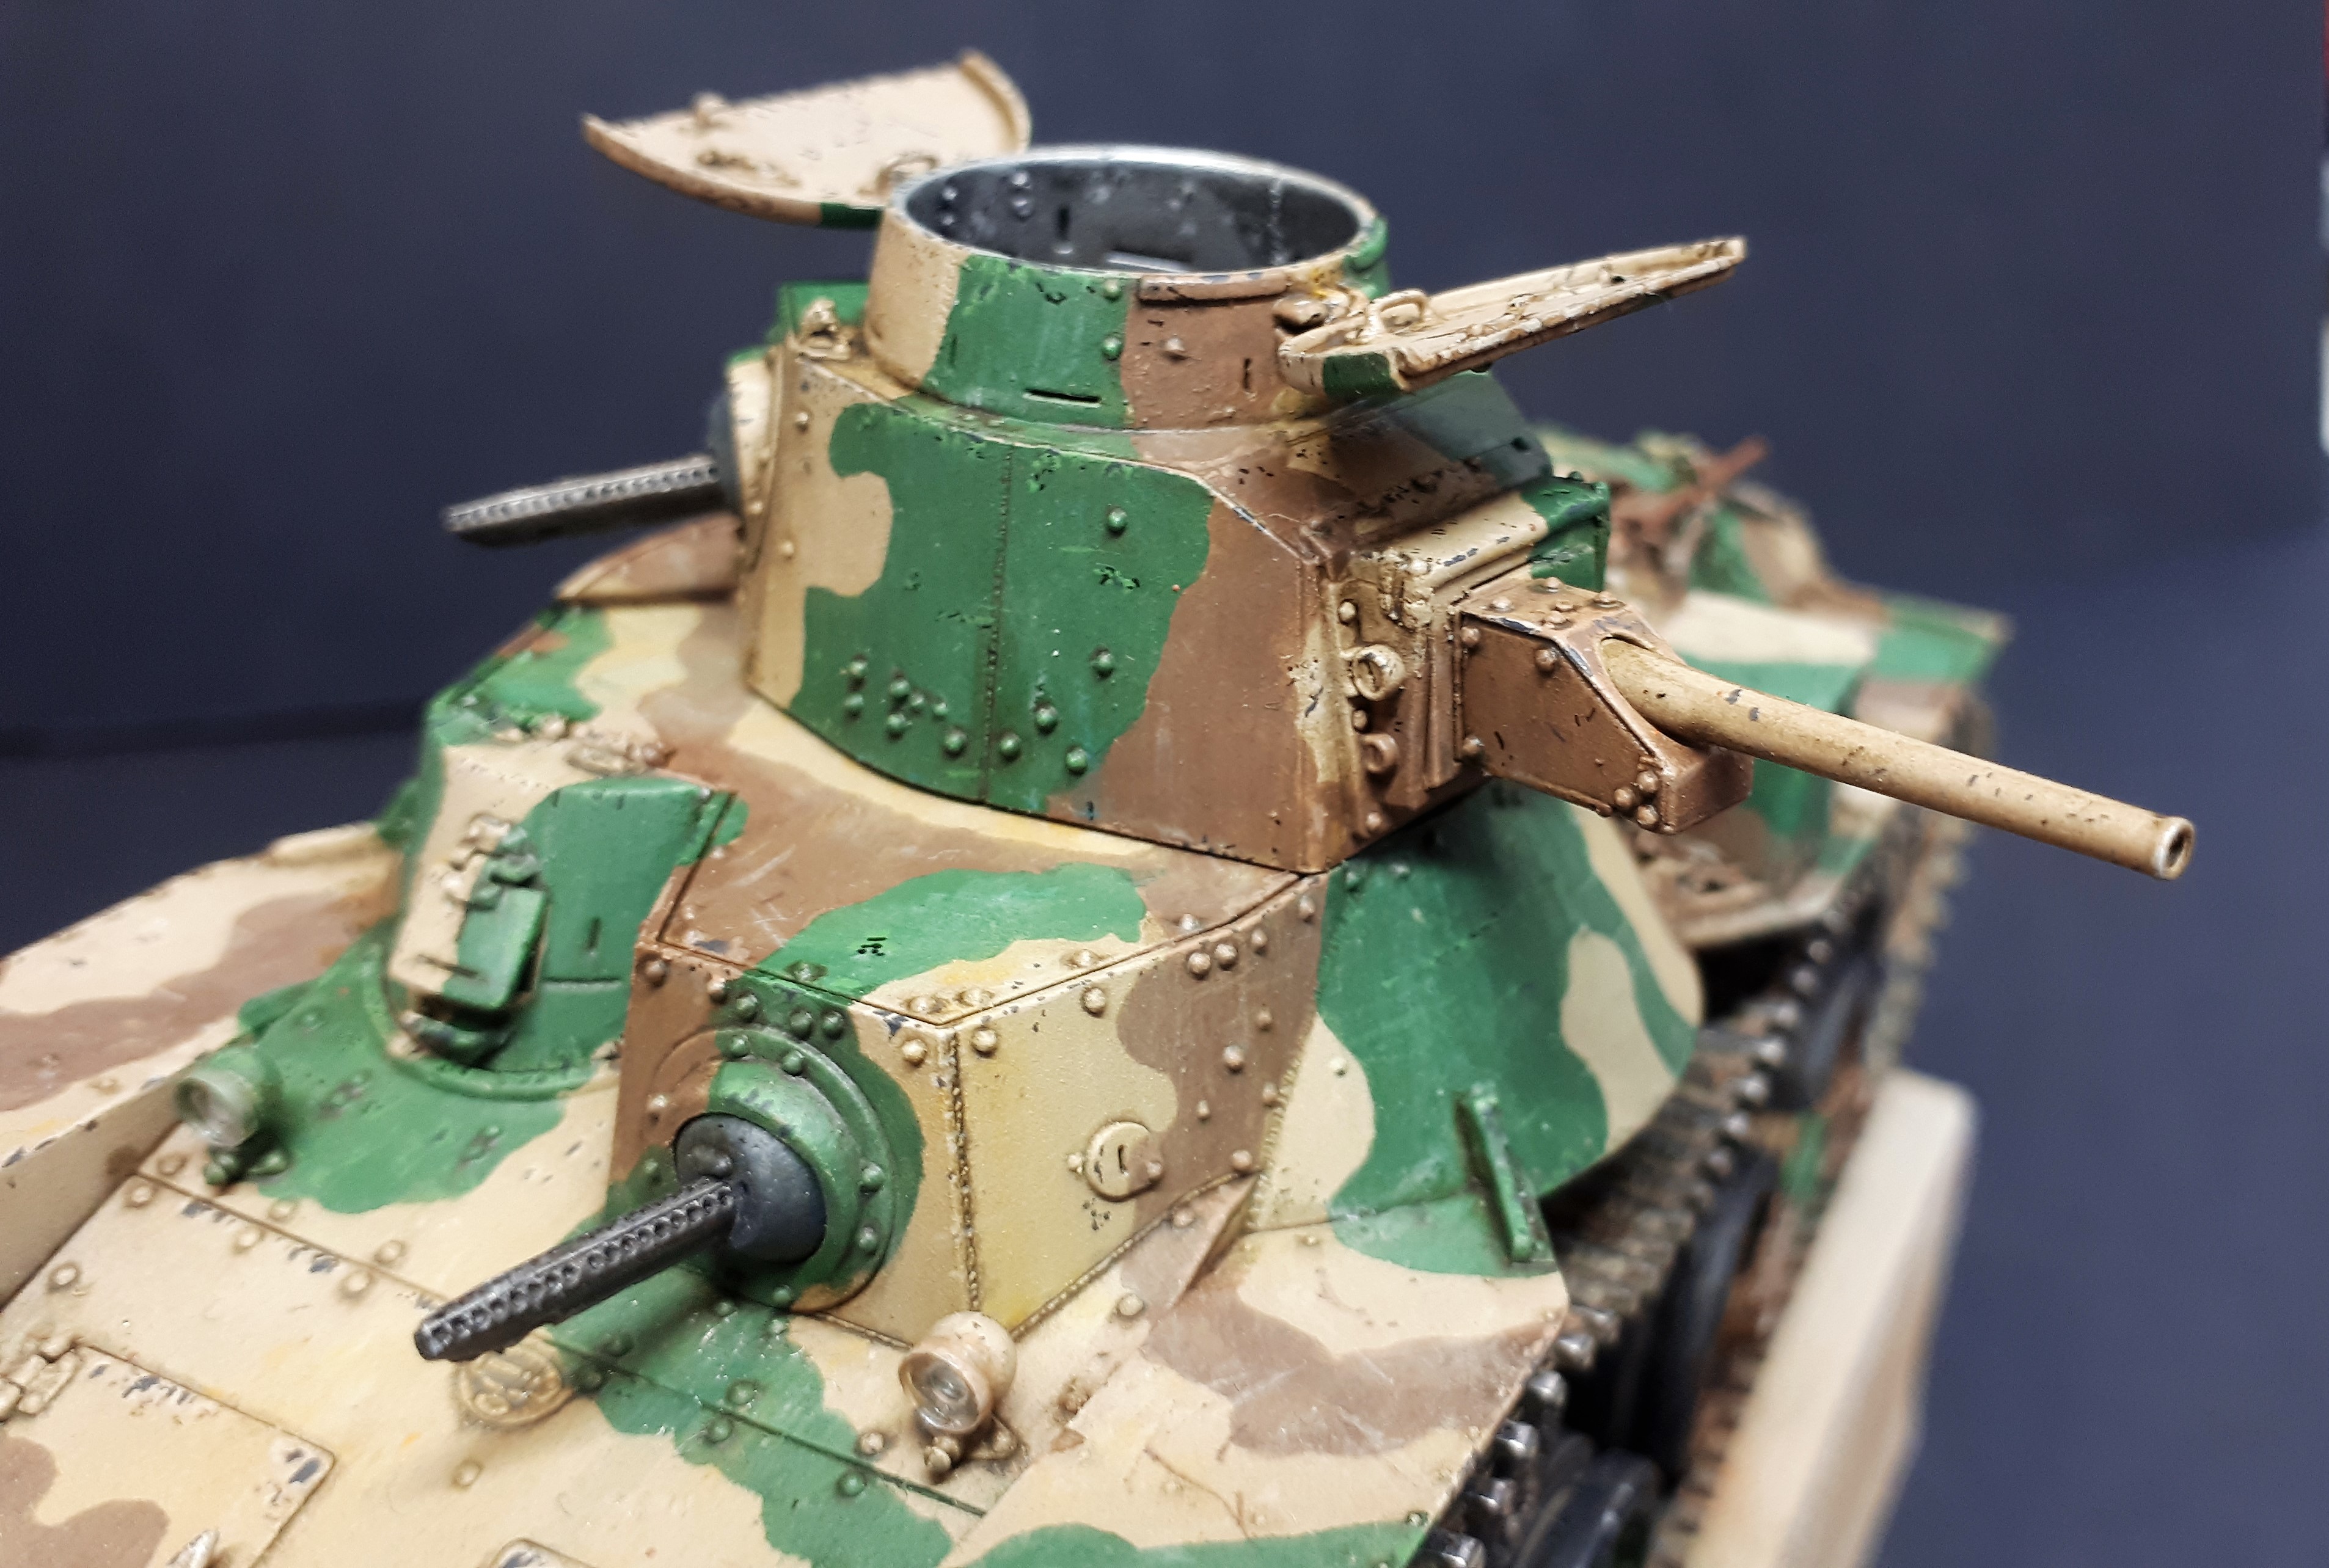
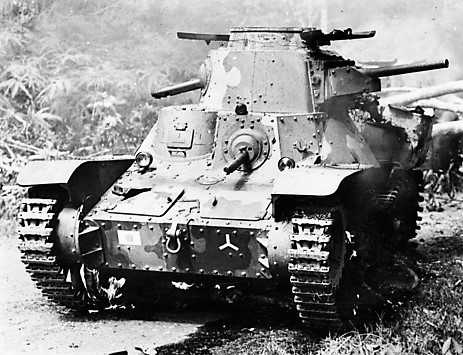
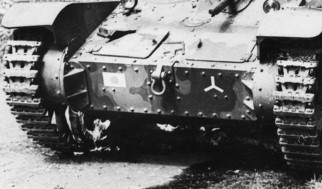
Despite the fact that the images are in black and white, you can, however, clearly see that they were painted in three colours contrasting shades. These are also hard-edged, suggesting that the tanks were hand painted. From what I have read this is consistent with early war Japanese armour. The camo was also painted in a distinctive cloud pattern - almost like jigsaw pieces. You can see this very clearly on these close ups of the leading tank which is the one my model represents…
However, when I looked for colour plates on line I was surprised that I couldn’t find any that matched this scheme - or the markings (which I will come to a little later). Since the tanks from the Bakri action are probably the most photographed Japanese tanks of the entire war I must say that I find this a bit odd… so I had to ad lib.
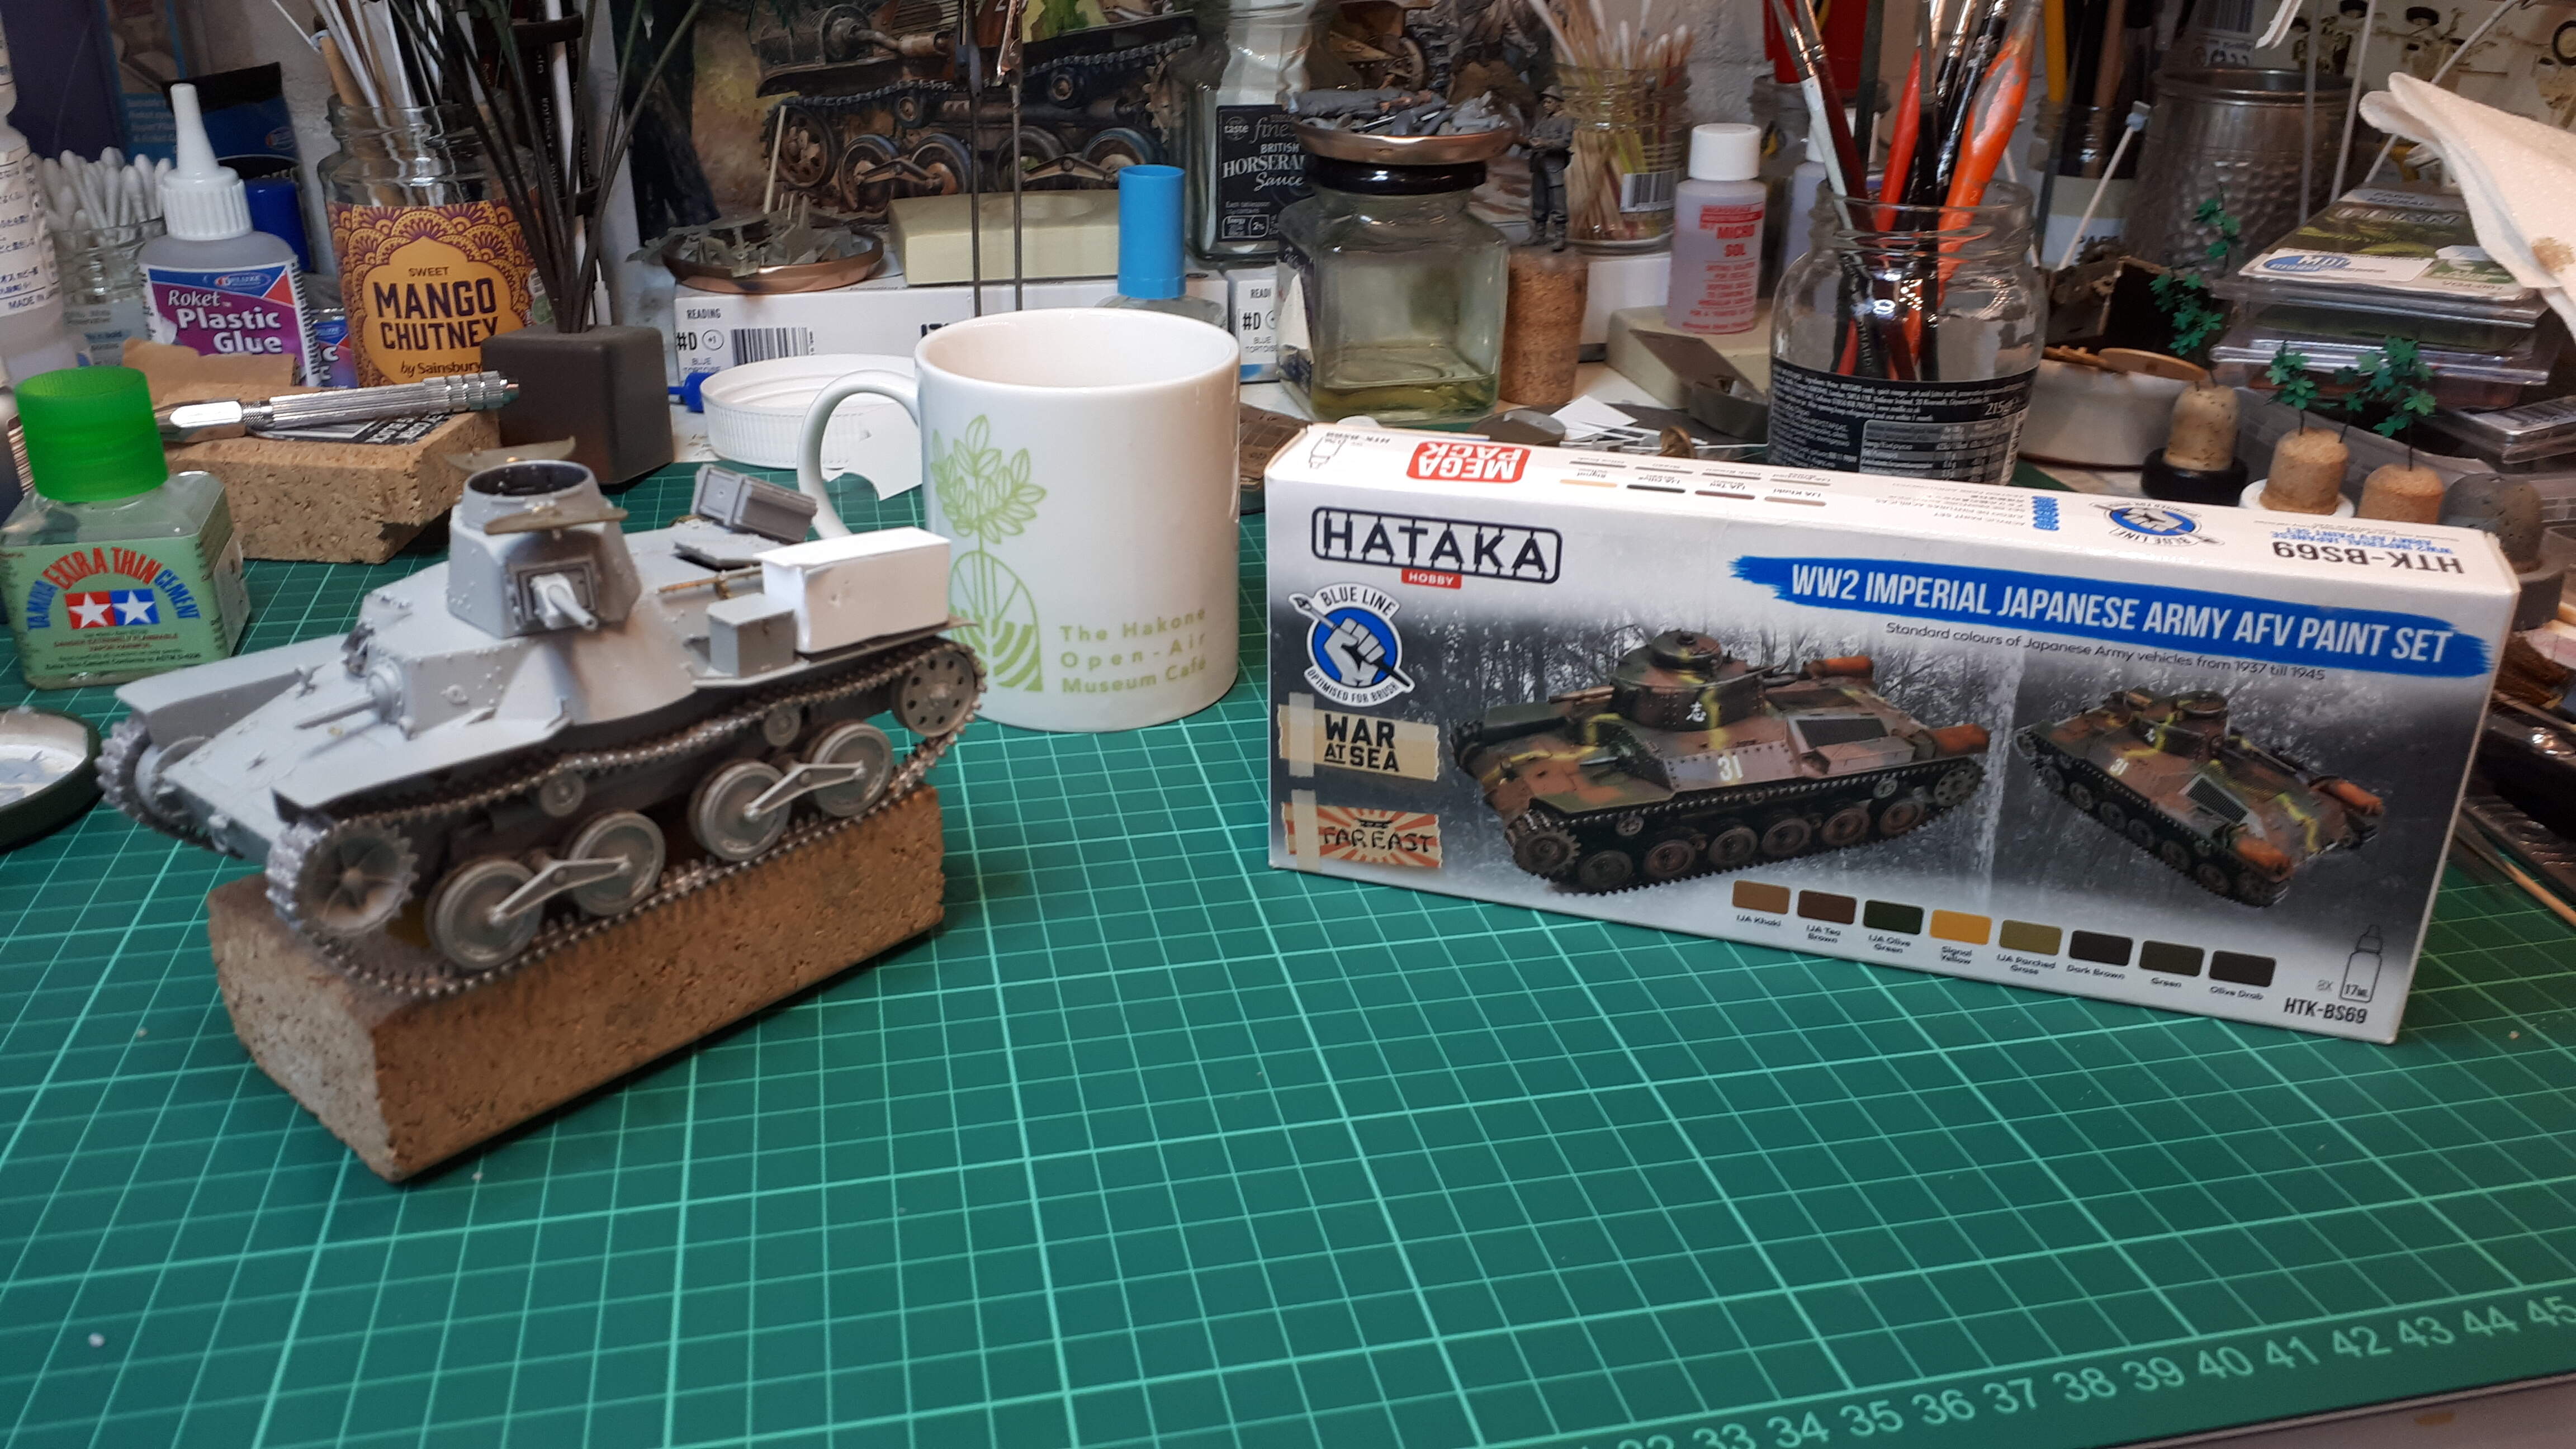
Some time ago I bought these Hataka paints.
Something I didn’t notice at the time was that these sets come in at least two types: brush (blue) and airbrush (red) varieties (there are also lacquer sets for some colours). I had acquired the blue brush painting set. As things turned out this was probably a fortunate choice…
The Hataka paints were odd compared to my usual experience with Tamiya and Vallejo. Once I realised that I had the brush painting set I assumed that they would need a decent amount of thinning for airbrushing. But even though I used their own brand of thinner, the first mix was much too ‘wet’. They also have an odd, milky sheen when diluted - although this disappears as they dry. Worst of all, they end up with a chalky feel on the model’s surface which doesn’t adhere to the layer underneath particularly well (the odd edge or corner would rub off slightly as I handled the model even after it had been left to dry for a considerable time).
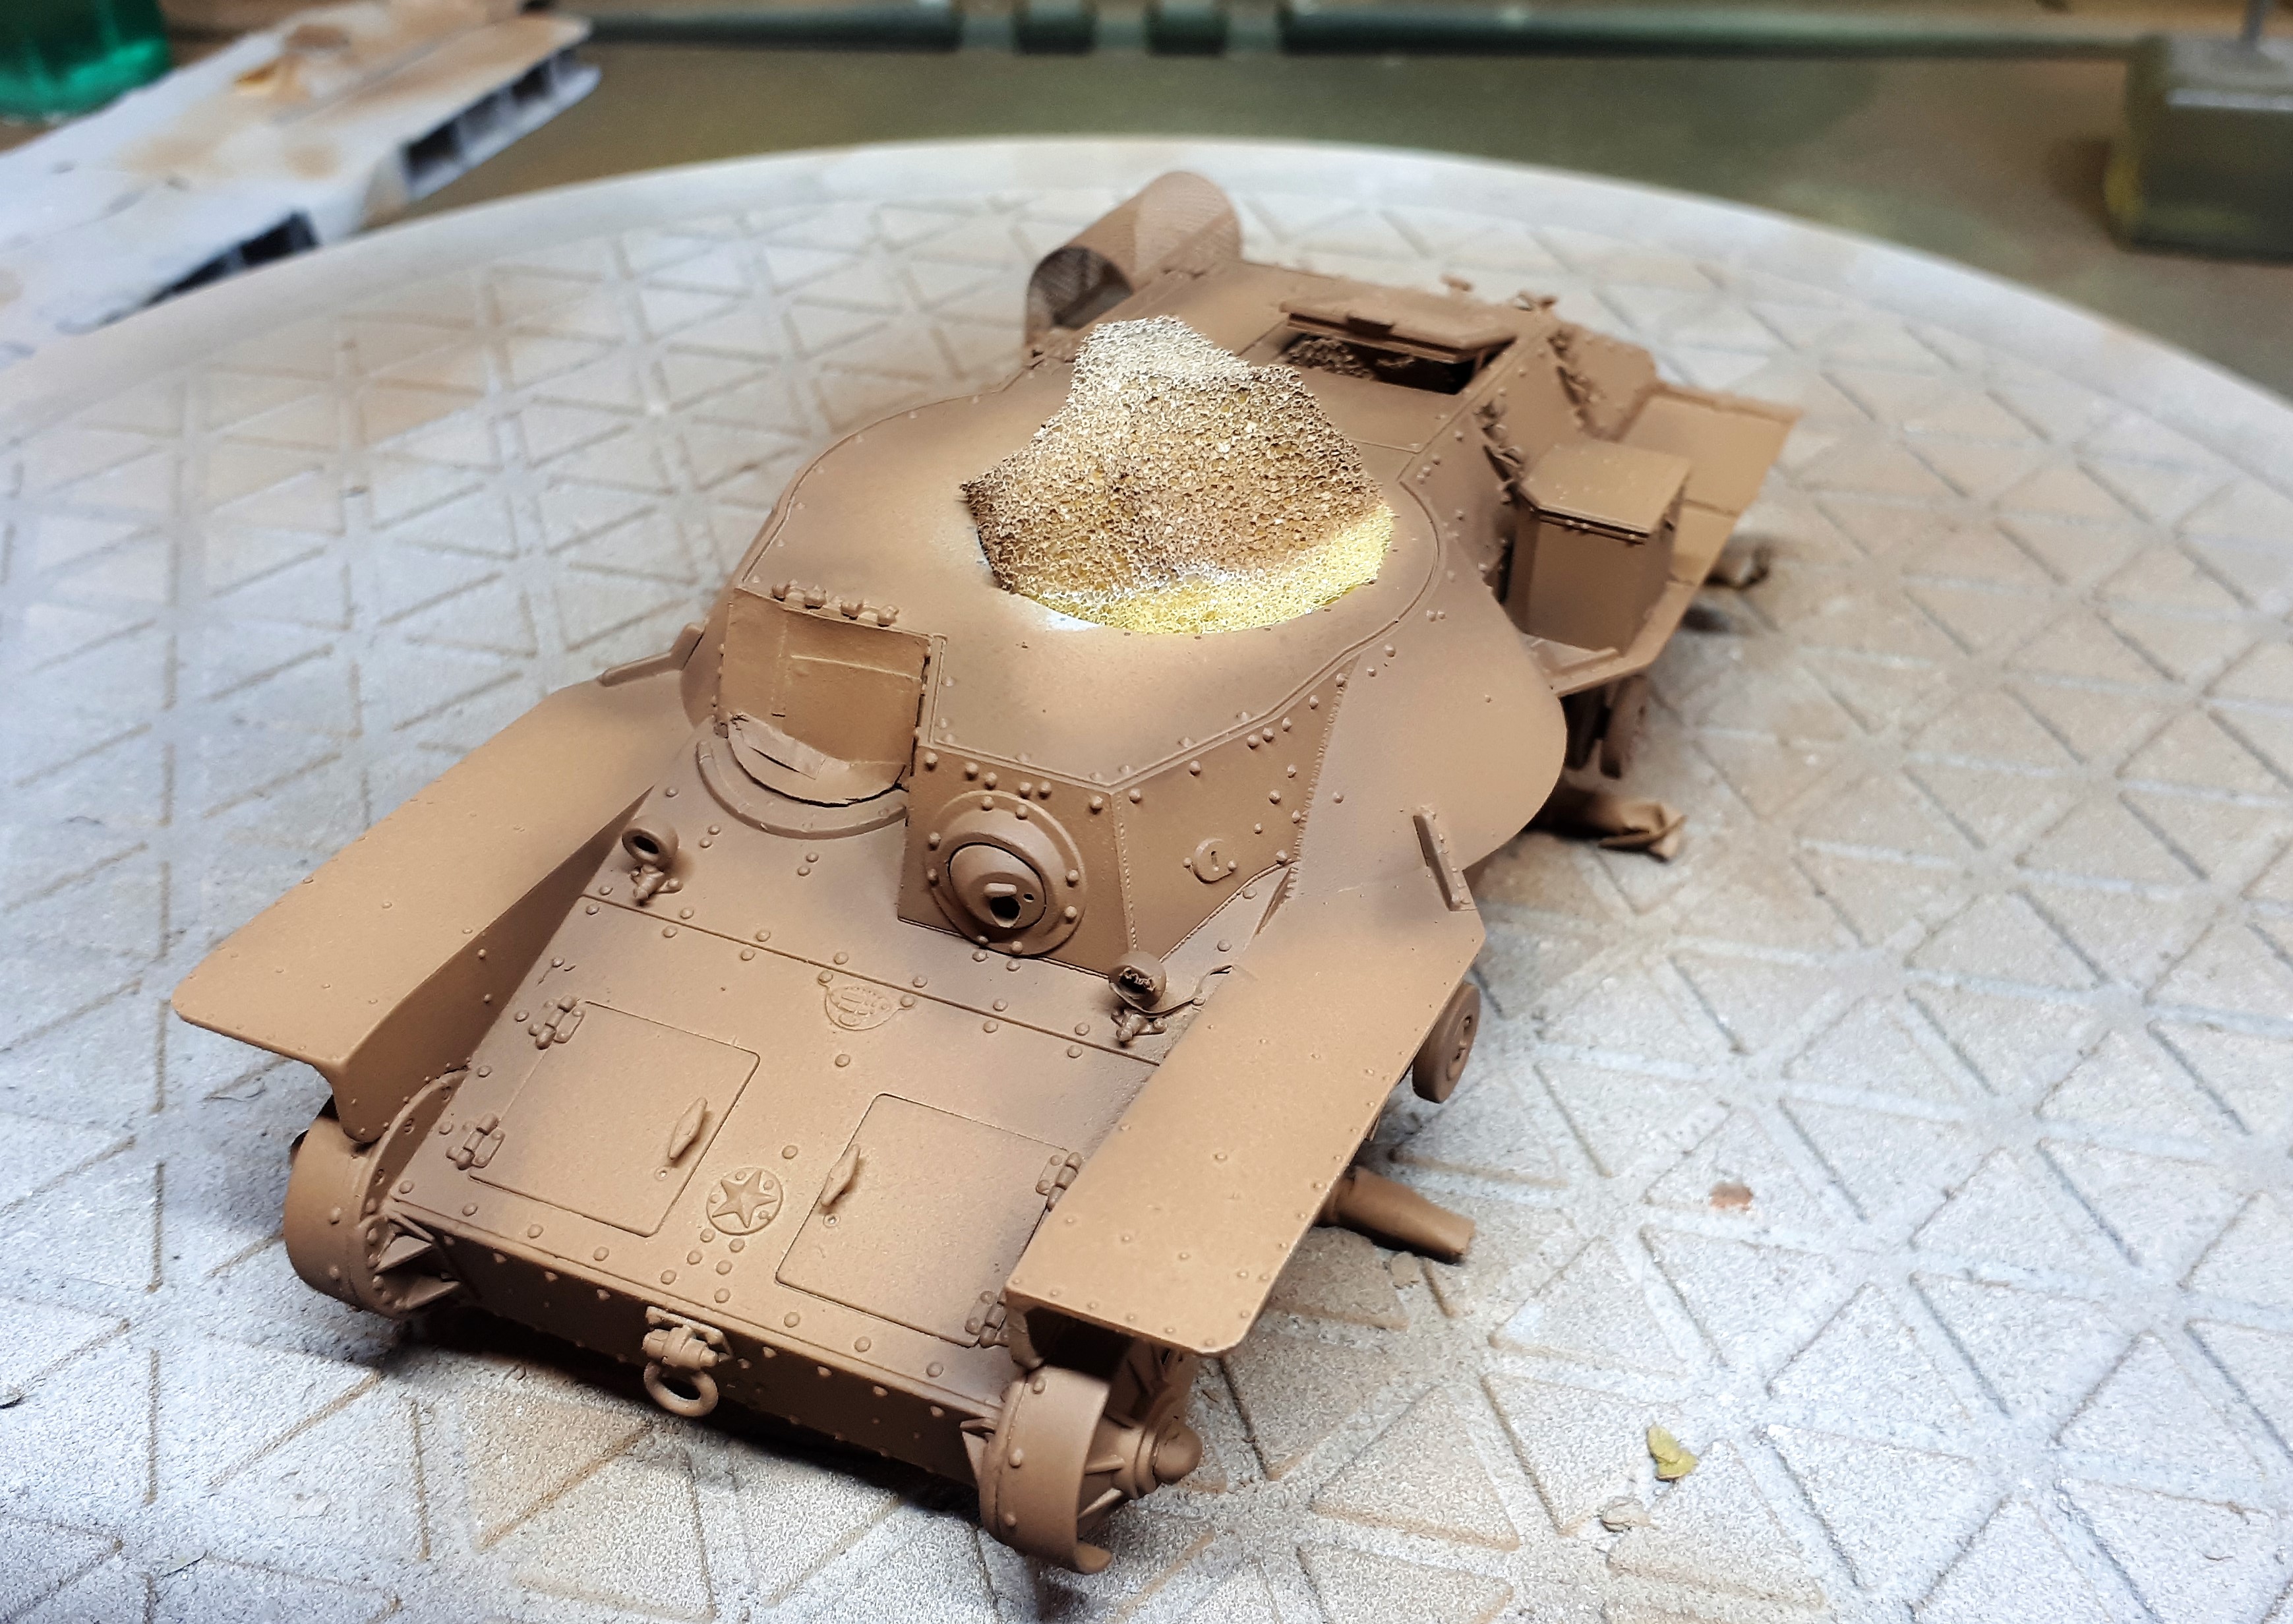
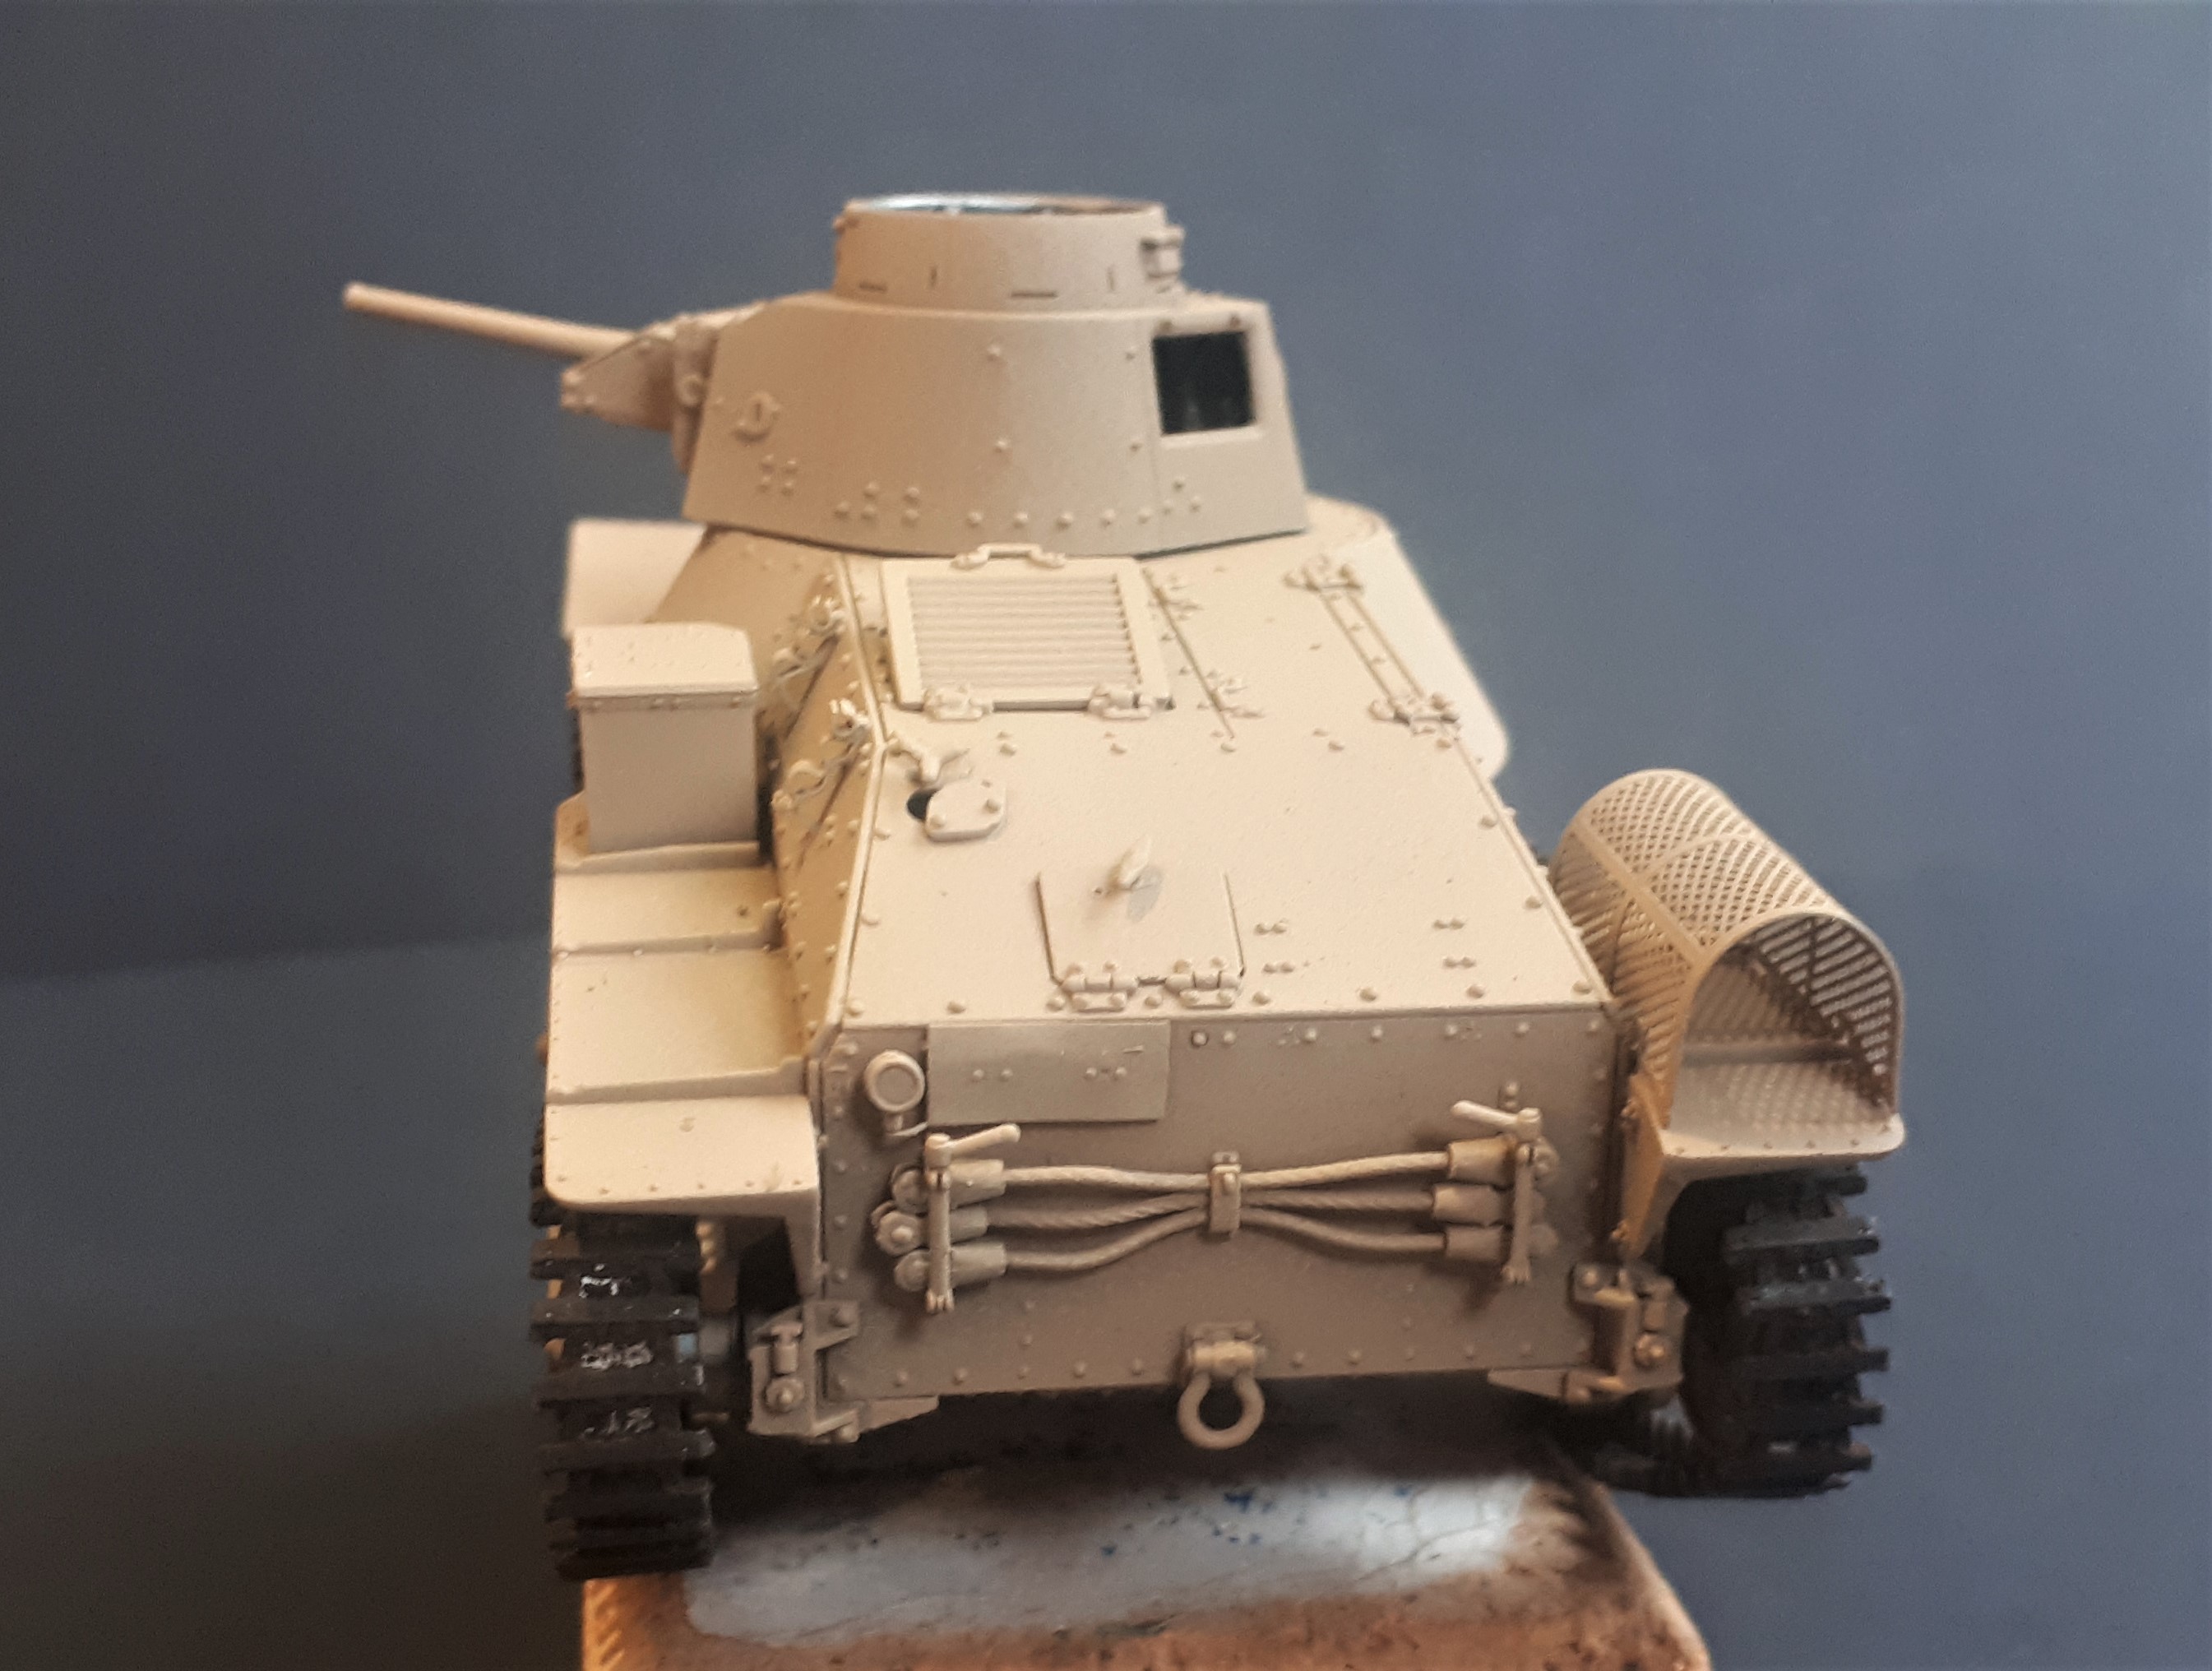
Anyway, I persevered. I began with a base coat of Khaki-Iro, which is not dissimilar the British khaki in that it is noticeably a lot more brown than green. This was then lightened with a little yellow and white for a sort of pre-shading - although it worth remembering that all colours should be lightened for true scale effect.
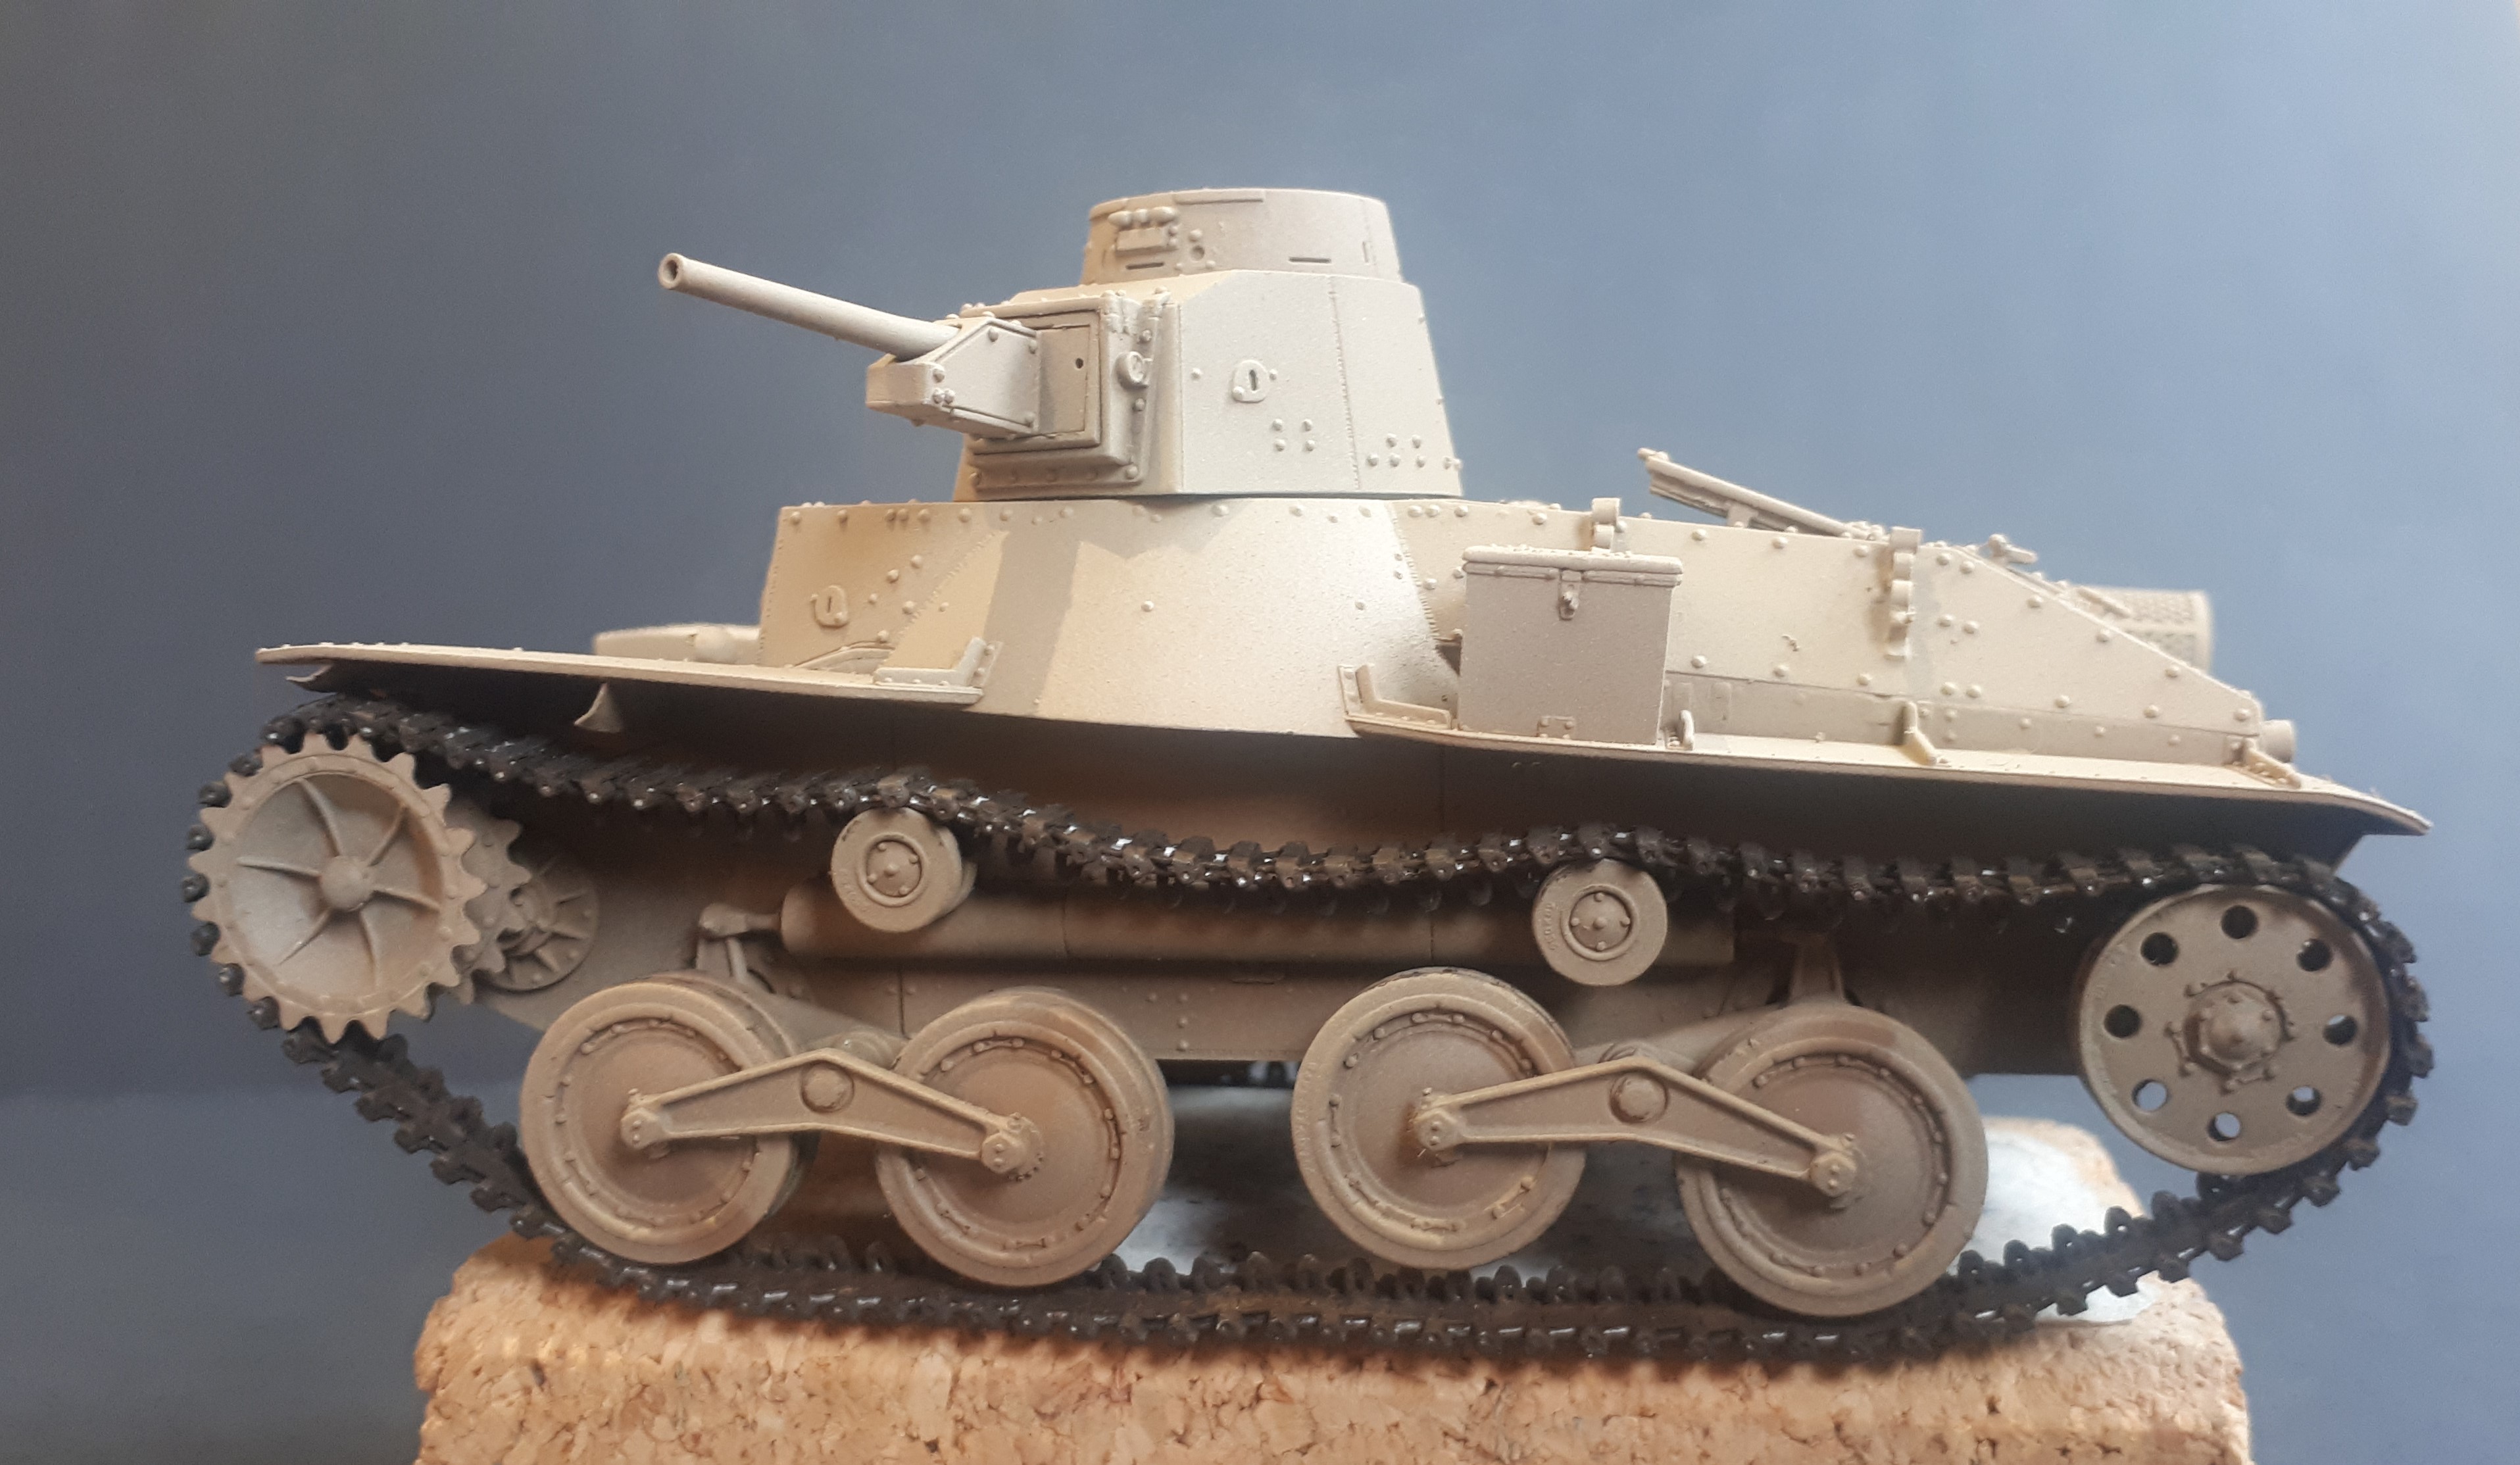
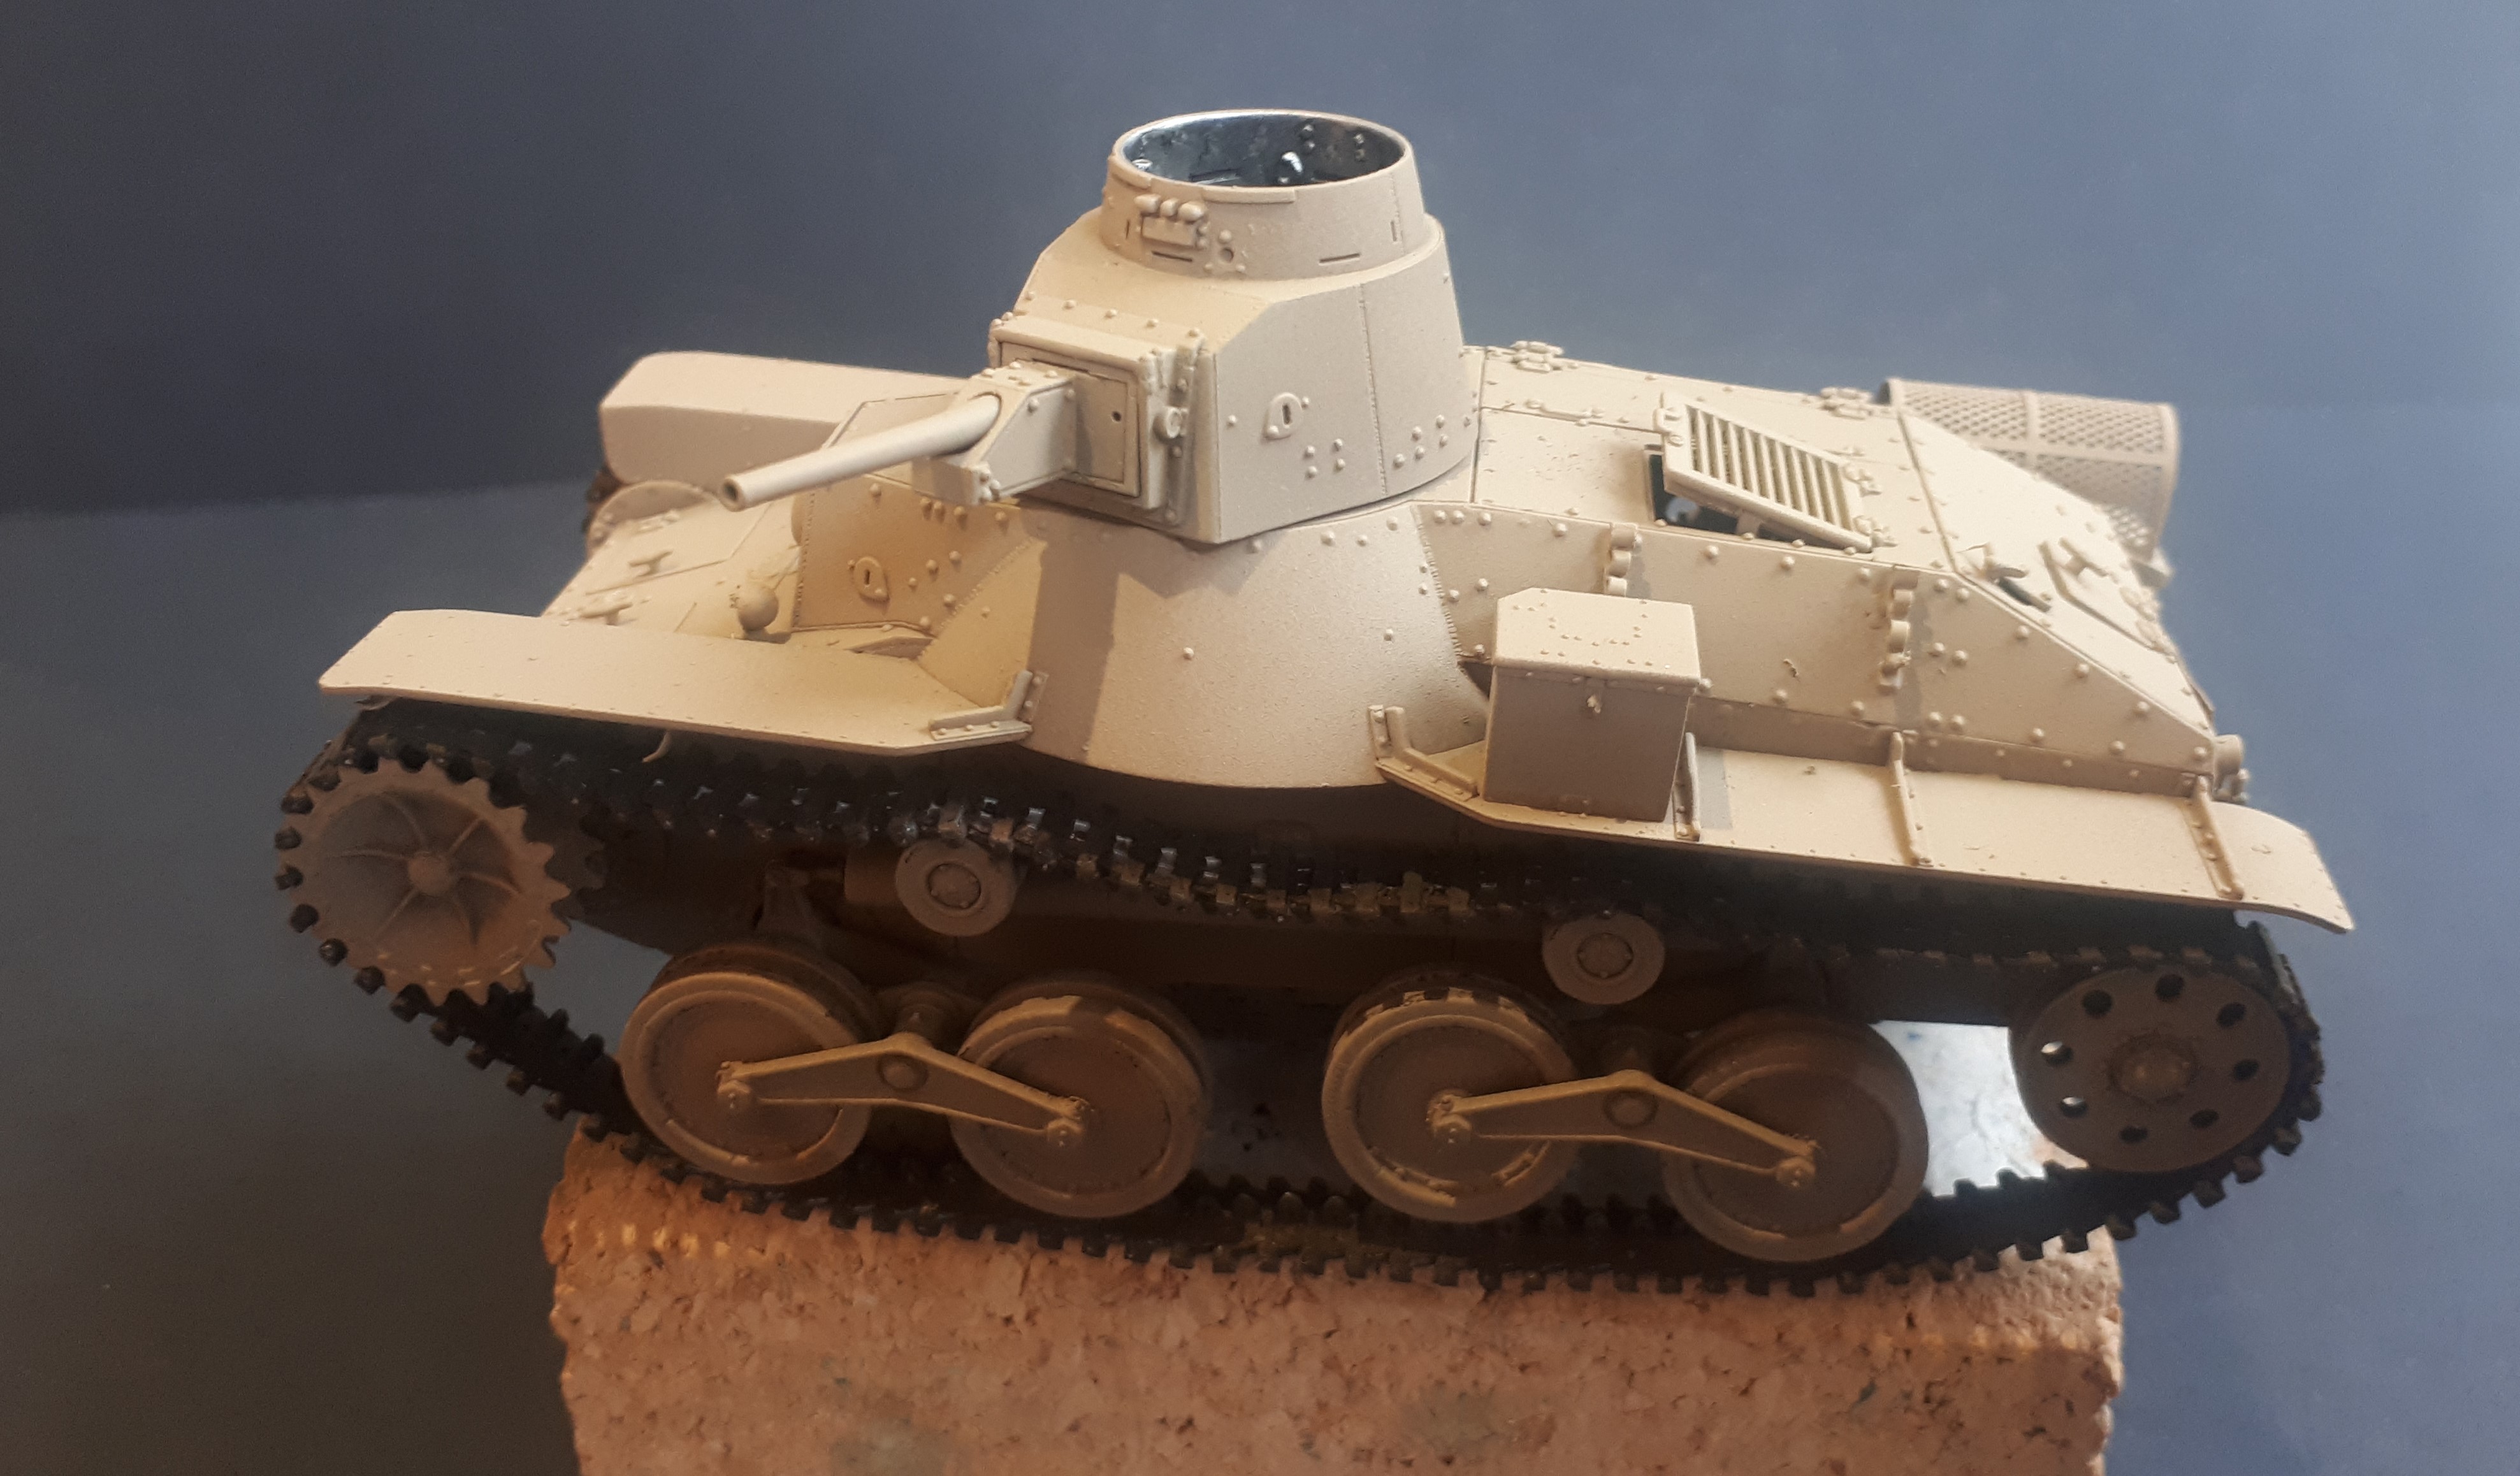
So here is the model after I had finished the base coat…
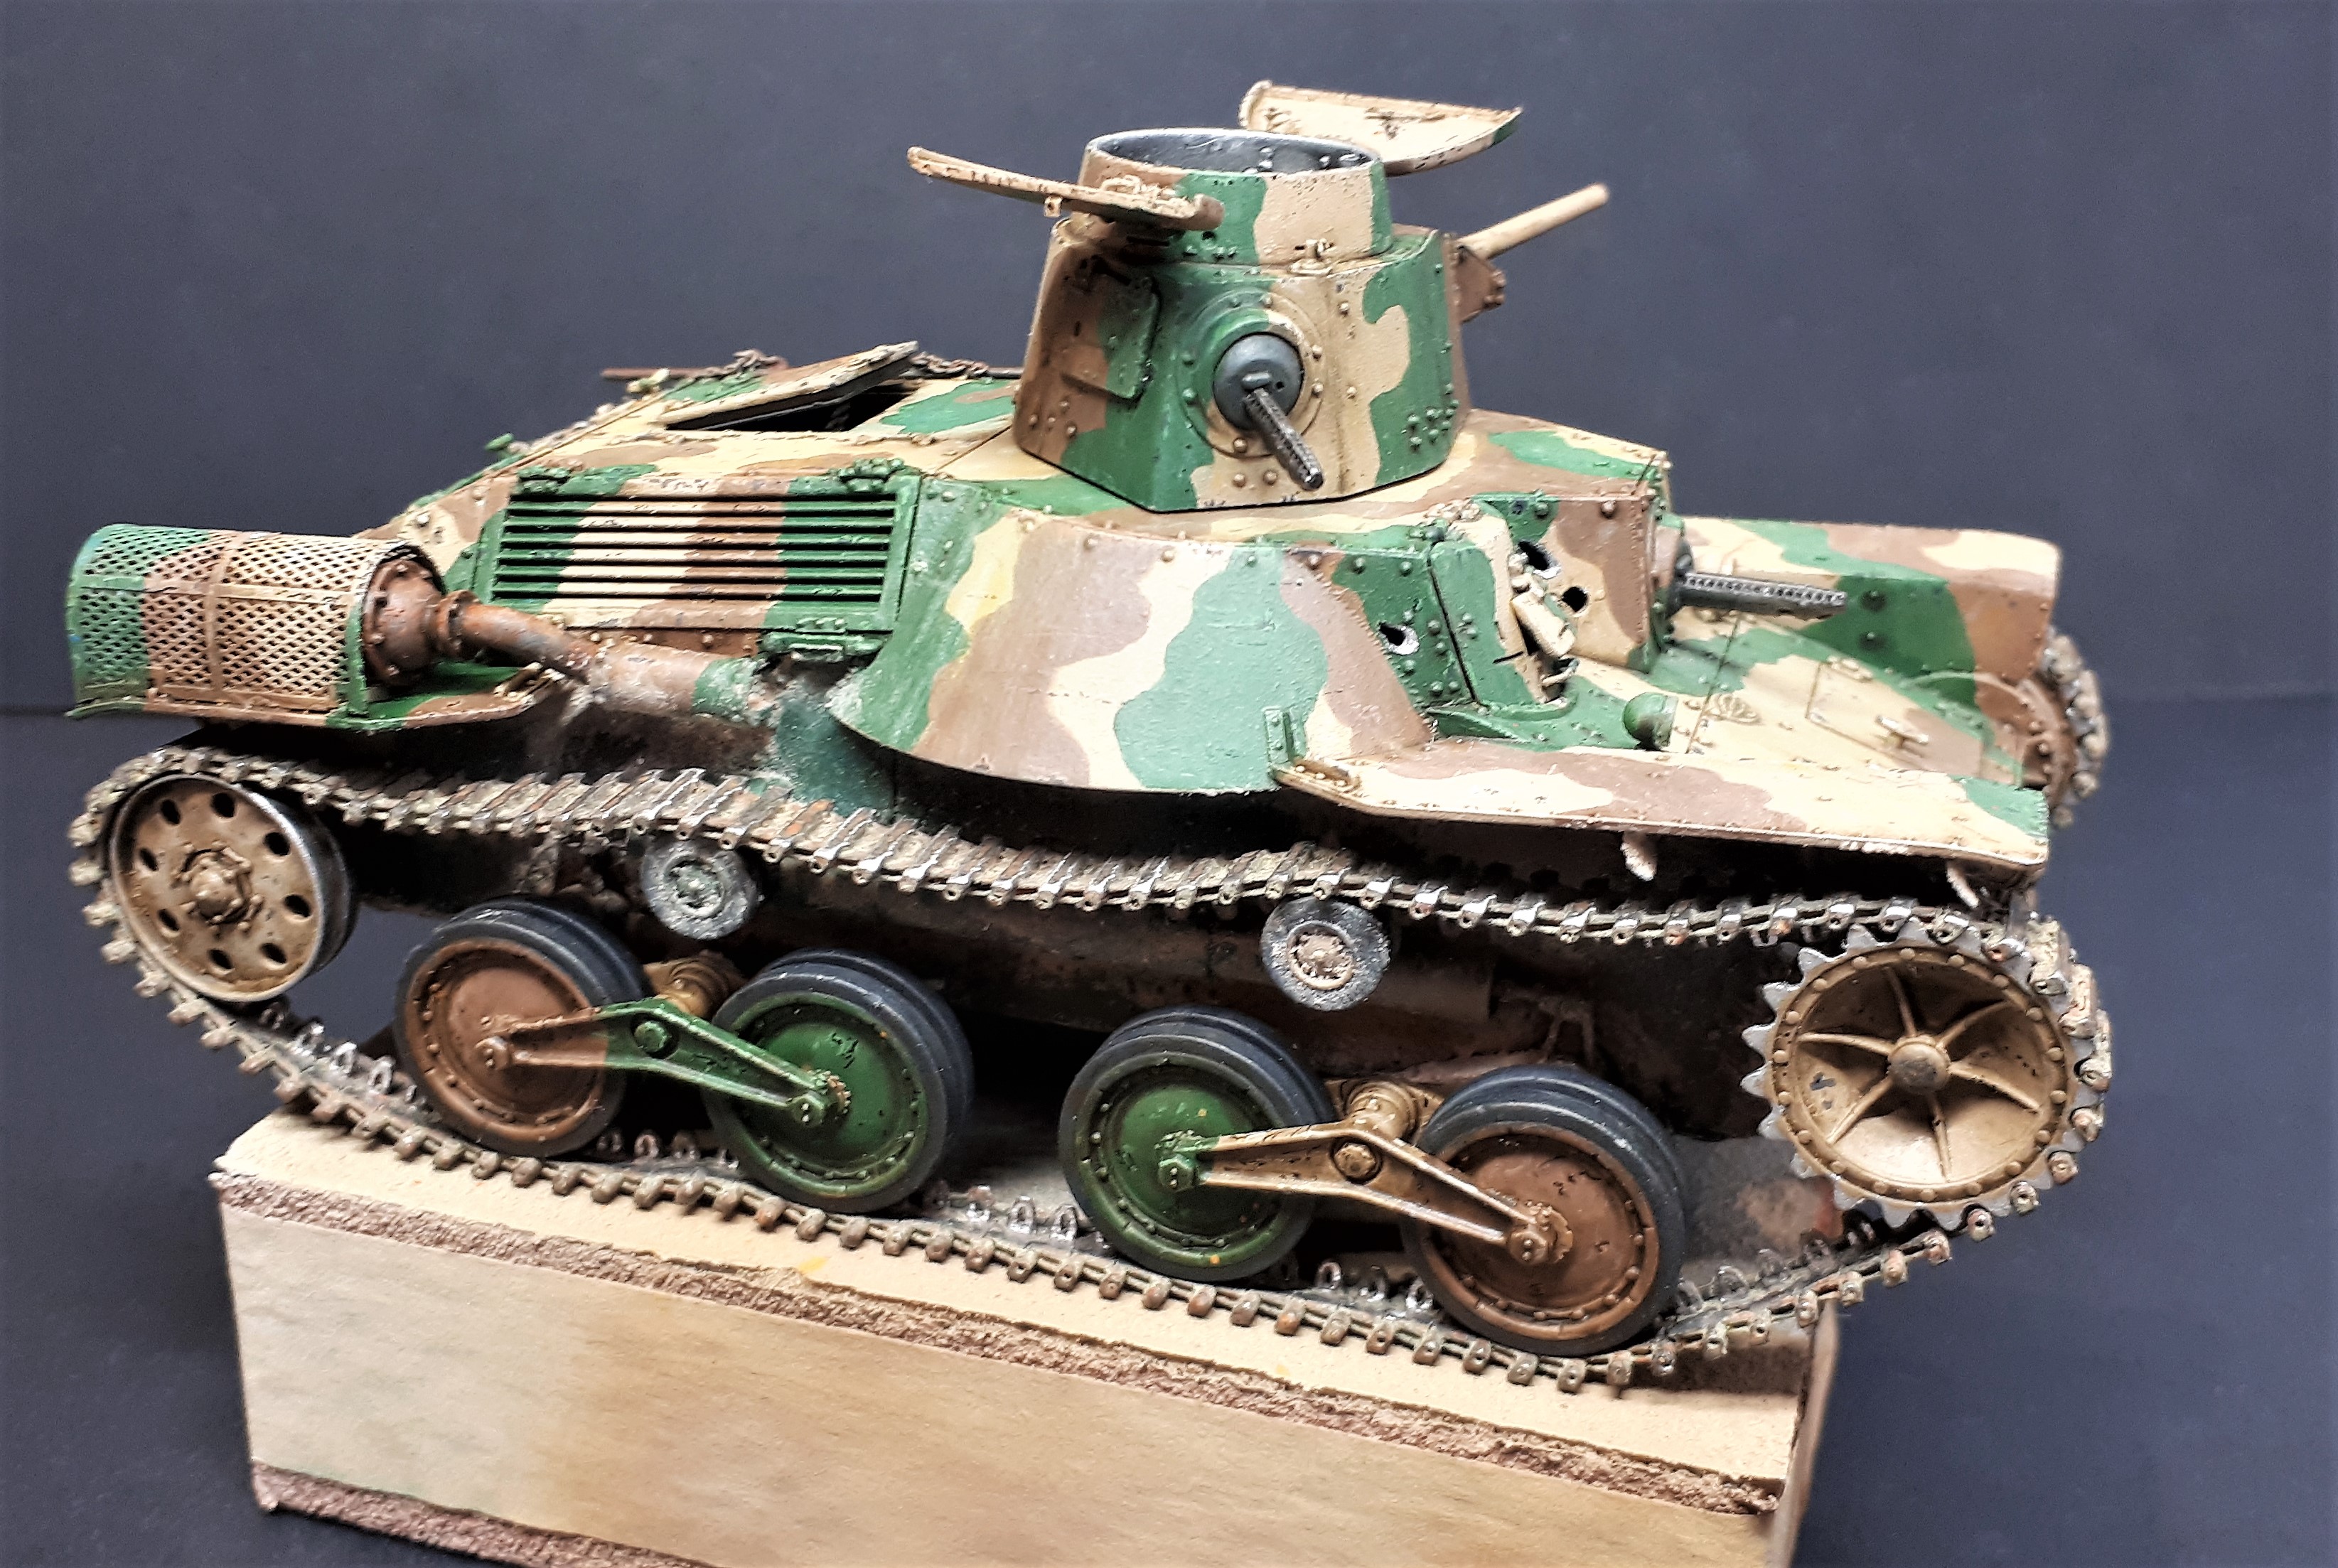
One fortunate aspect of the Dragon kit is that I was able to keep the complete exhaust assembly as a seperate assembly for painting - it just fits beneath the photoetch exhaust shroud once the latter has been fixed in place.
I made the comment to you since when I put it together, I did not leave the interior visible as you do, and your work really looks very good, mine was this, perhaps I can add to what you have been doing:
Regards, omar
Thanks Omar.
Your transmission detail is also very impressive. I notice that the Japanese often drove their armour with engine hatches open - presumably to help keep everything cool - although I imagine not in combat!
The next stage was definitely the most daunting. Hand-painting camouflage is something I don’t believe I have tried since I was about twelve… and that would have been either an Airfix plane or a Matchbox tank.
There are other ways, of course. The most popular these days seems to be to use ‘crazy putty’ to mask the different layers of camo one after the other and then apply the colours with a airbrush. Or you can try and mask each area with multiple layers of masking tape.
However, both of these involve a lot of pre-planning and, it seems to me, an awful lot of work before you even get to put paint on the model. Plus this was, after all, a hand-painted pattern and I had a set of paints that were designed (apparently) for brush painting.
So who was I to argue?
That didn’t stop me from trying to be clever in other ways. Initally I printed out some line drawings of the Ha-Go and started to map out the pattern on those with felt tip pens. But then I thought: “Just get on with it!” So I did…
As I have said, the Type 95 I am depicting here must be one of the most comprehensively photographed examples of the Second World War, so at least I had something of a head start. However, the difficulties with old black and white photos are many and various. First off, we do not have a nice walk-around to show the tank from all angles. Secondly, even when we have what looks like a decent shot (like some of those above), the tricks of light and contrast simply make some of the tones simply disappear.
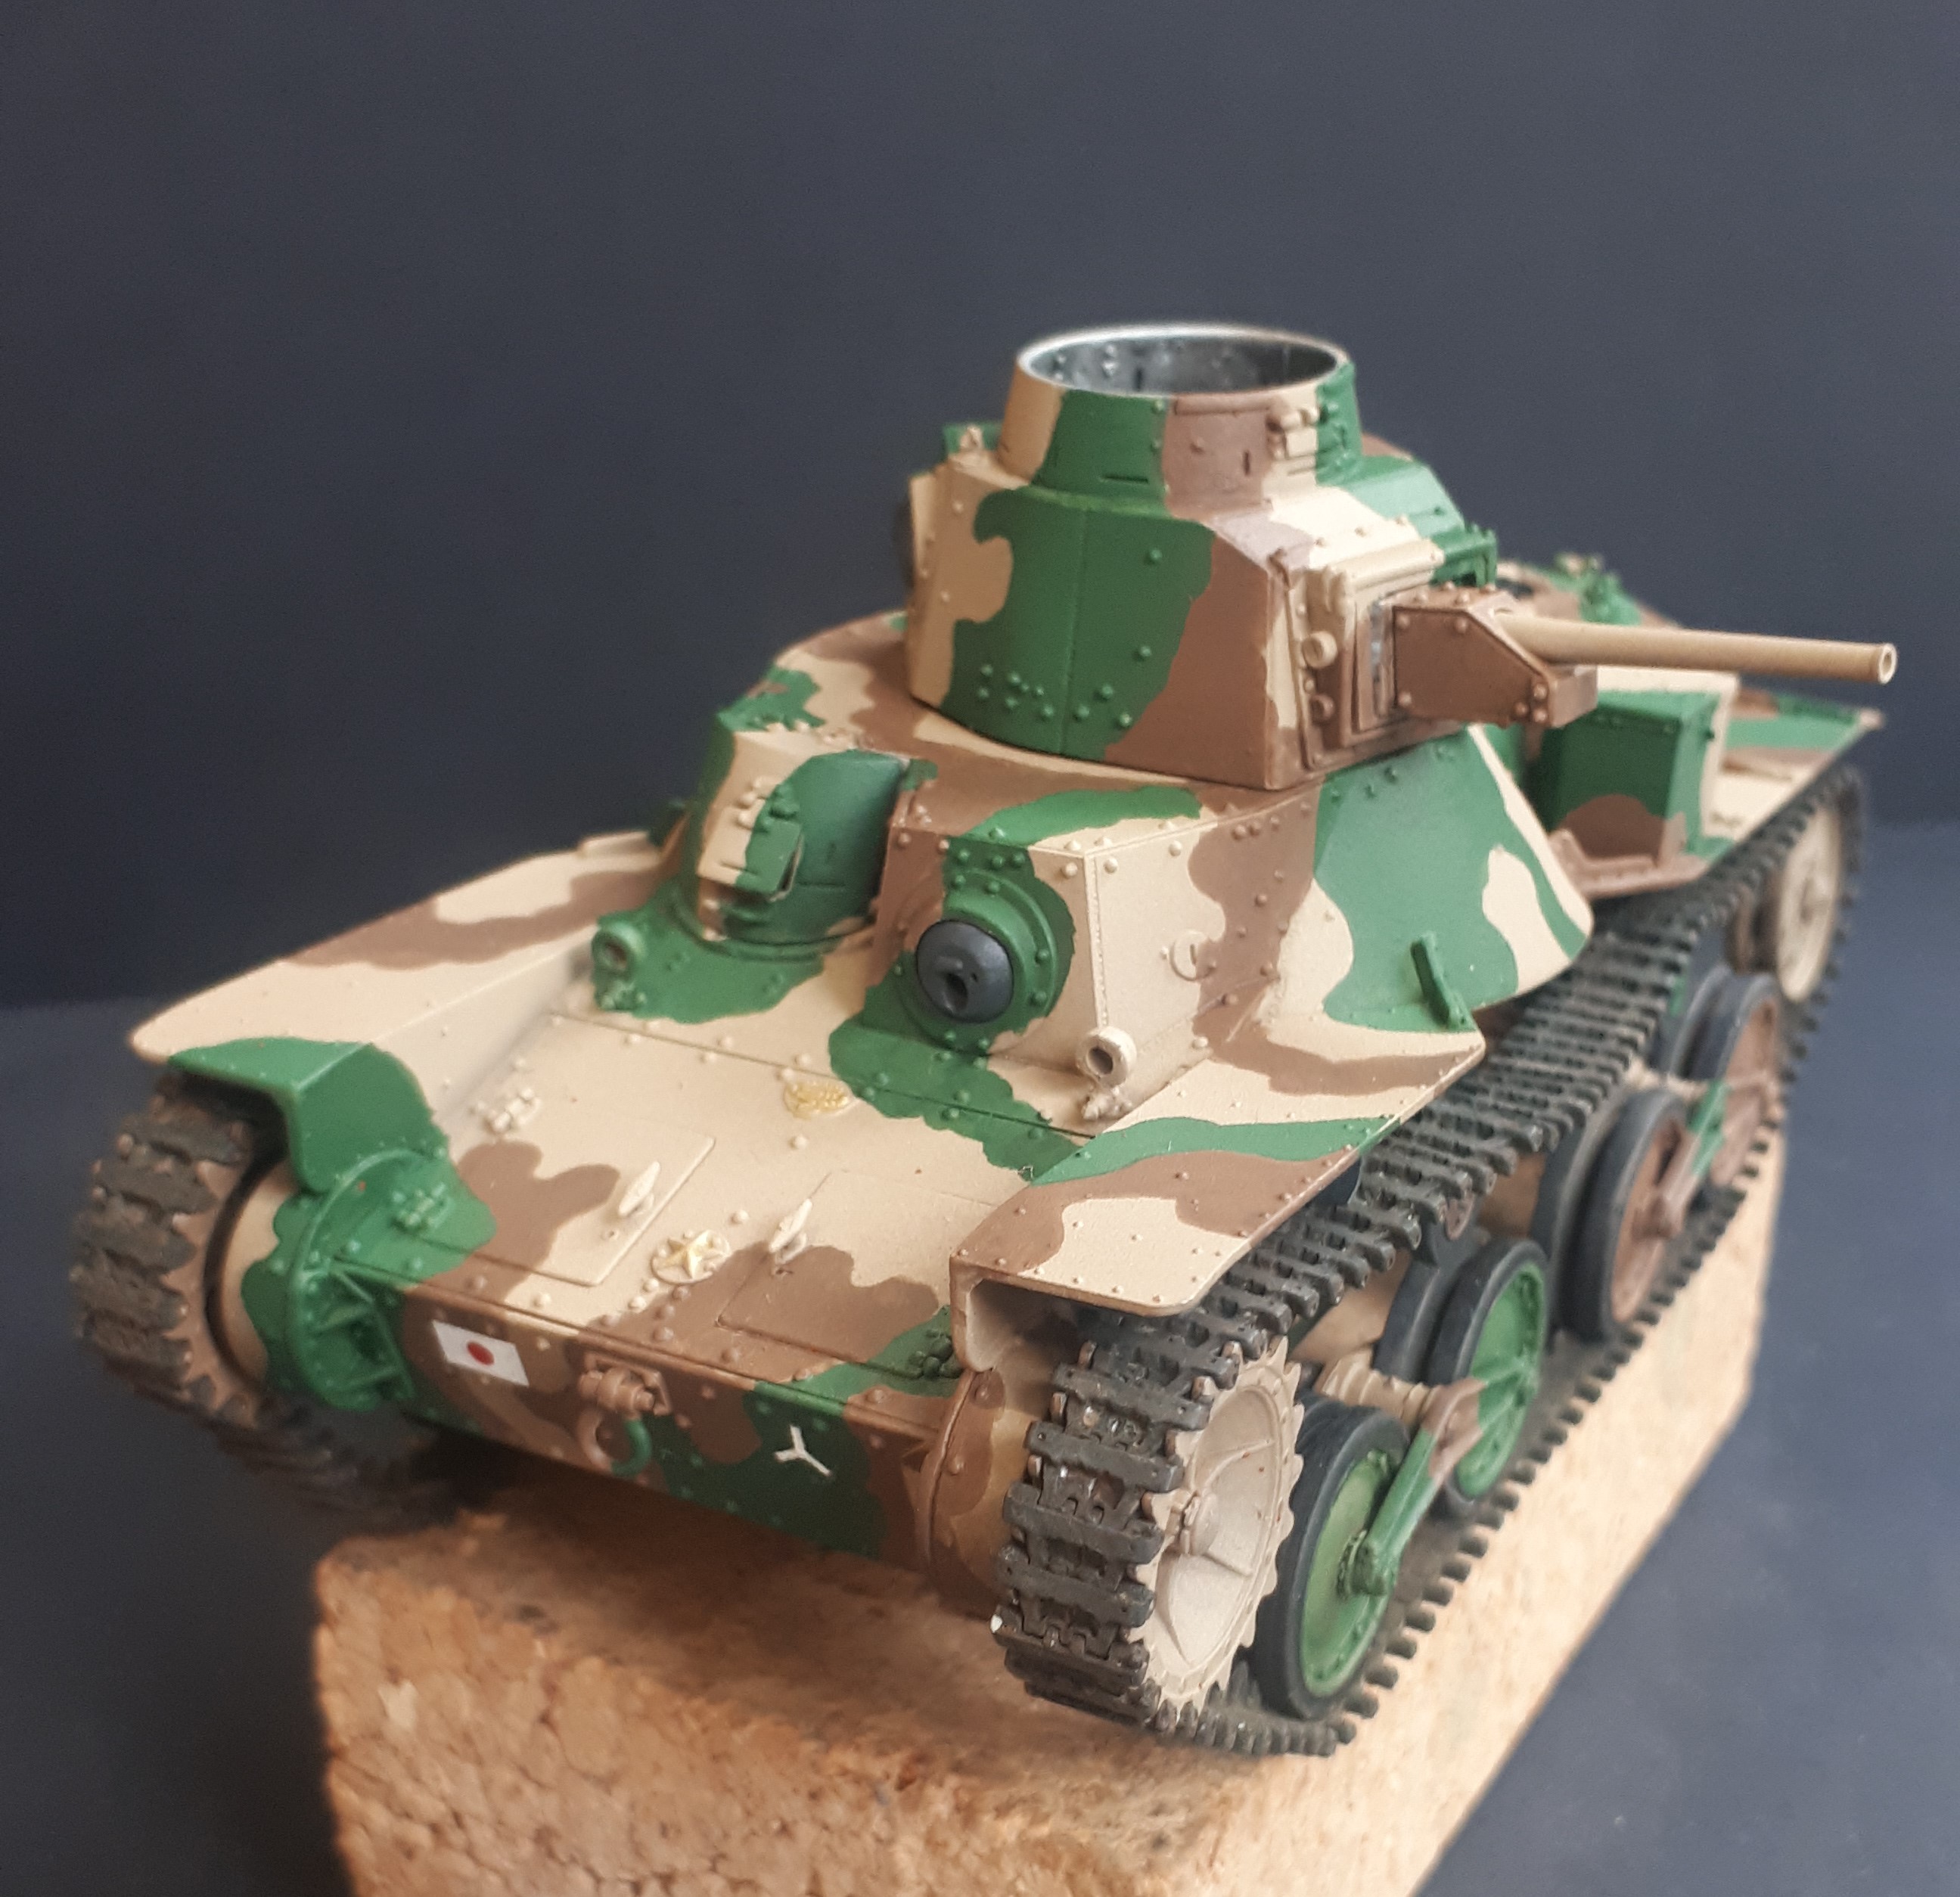
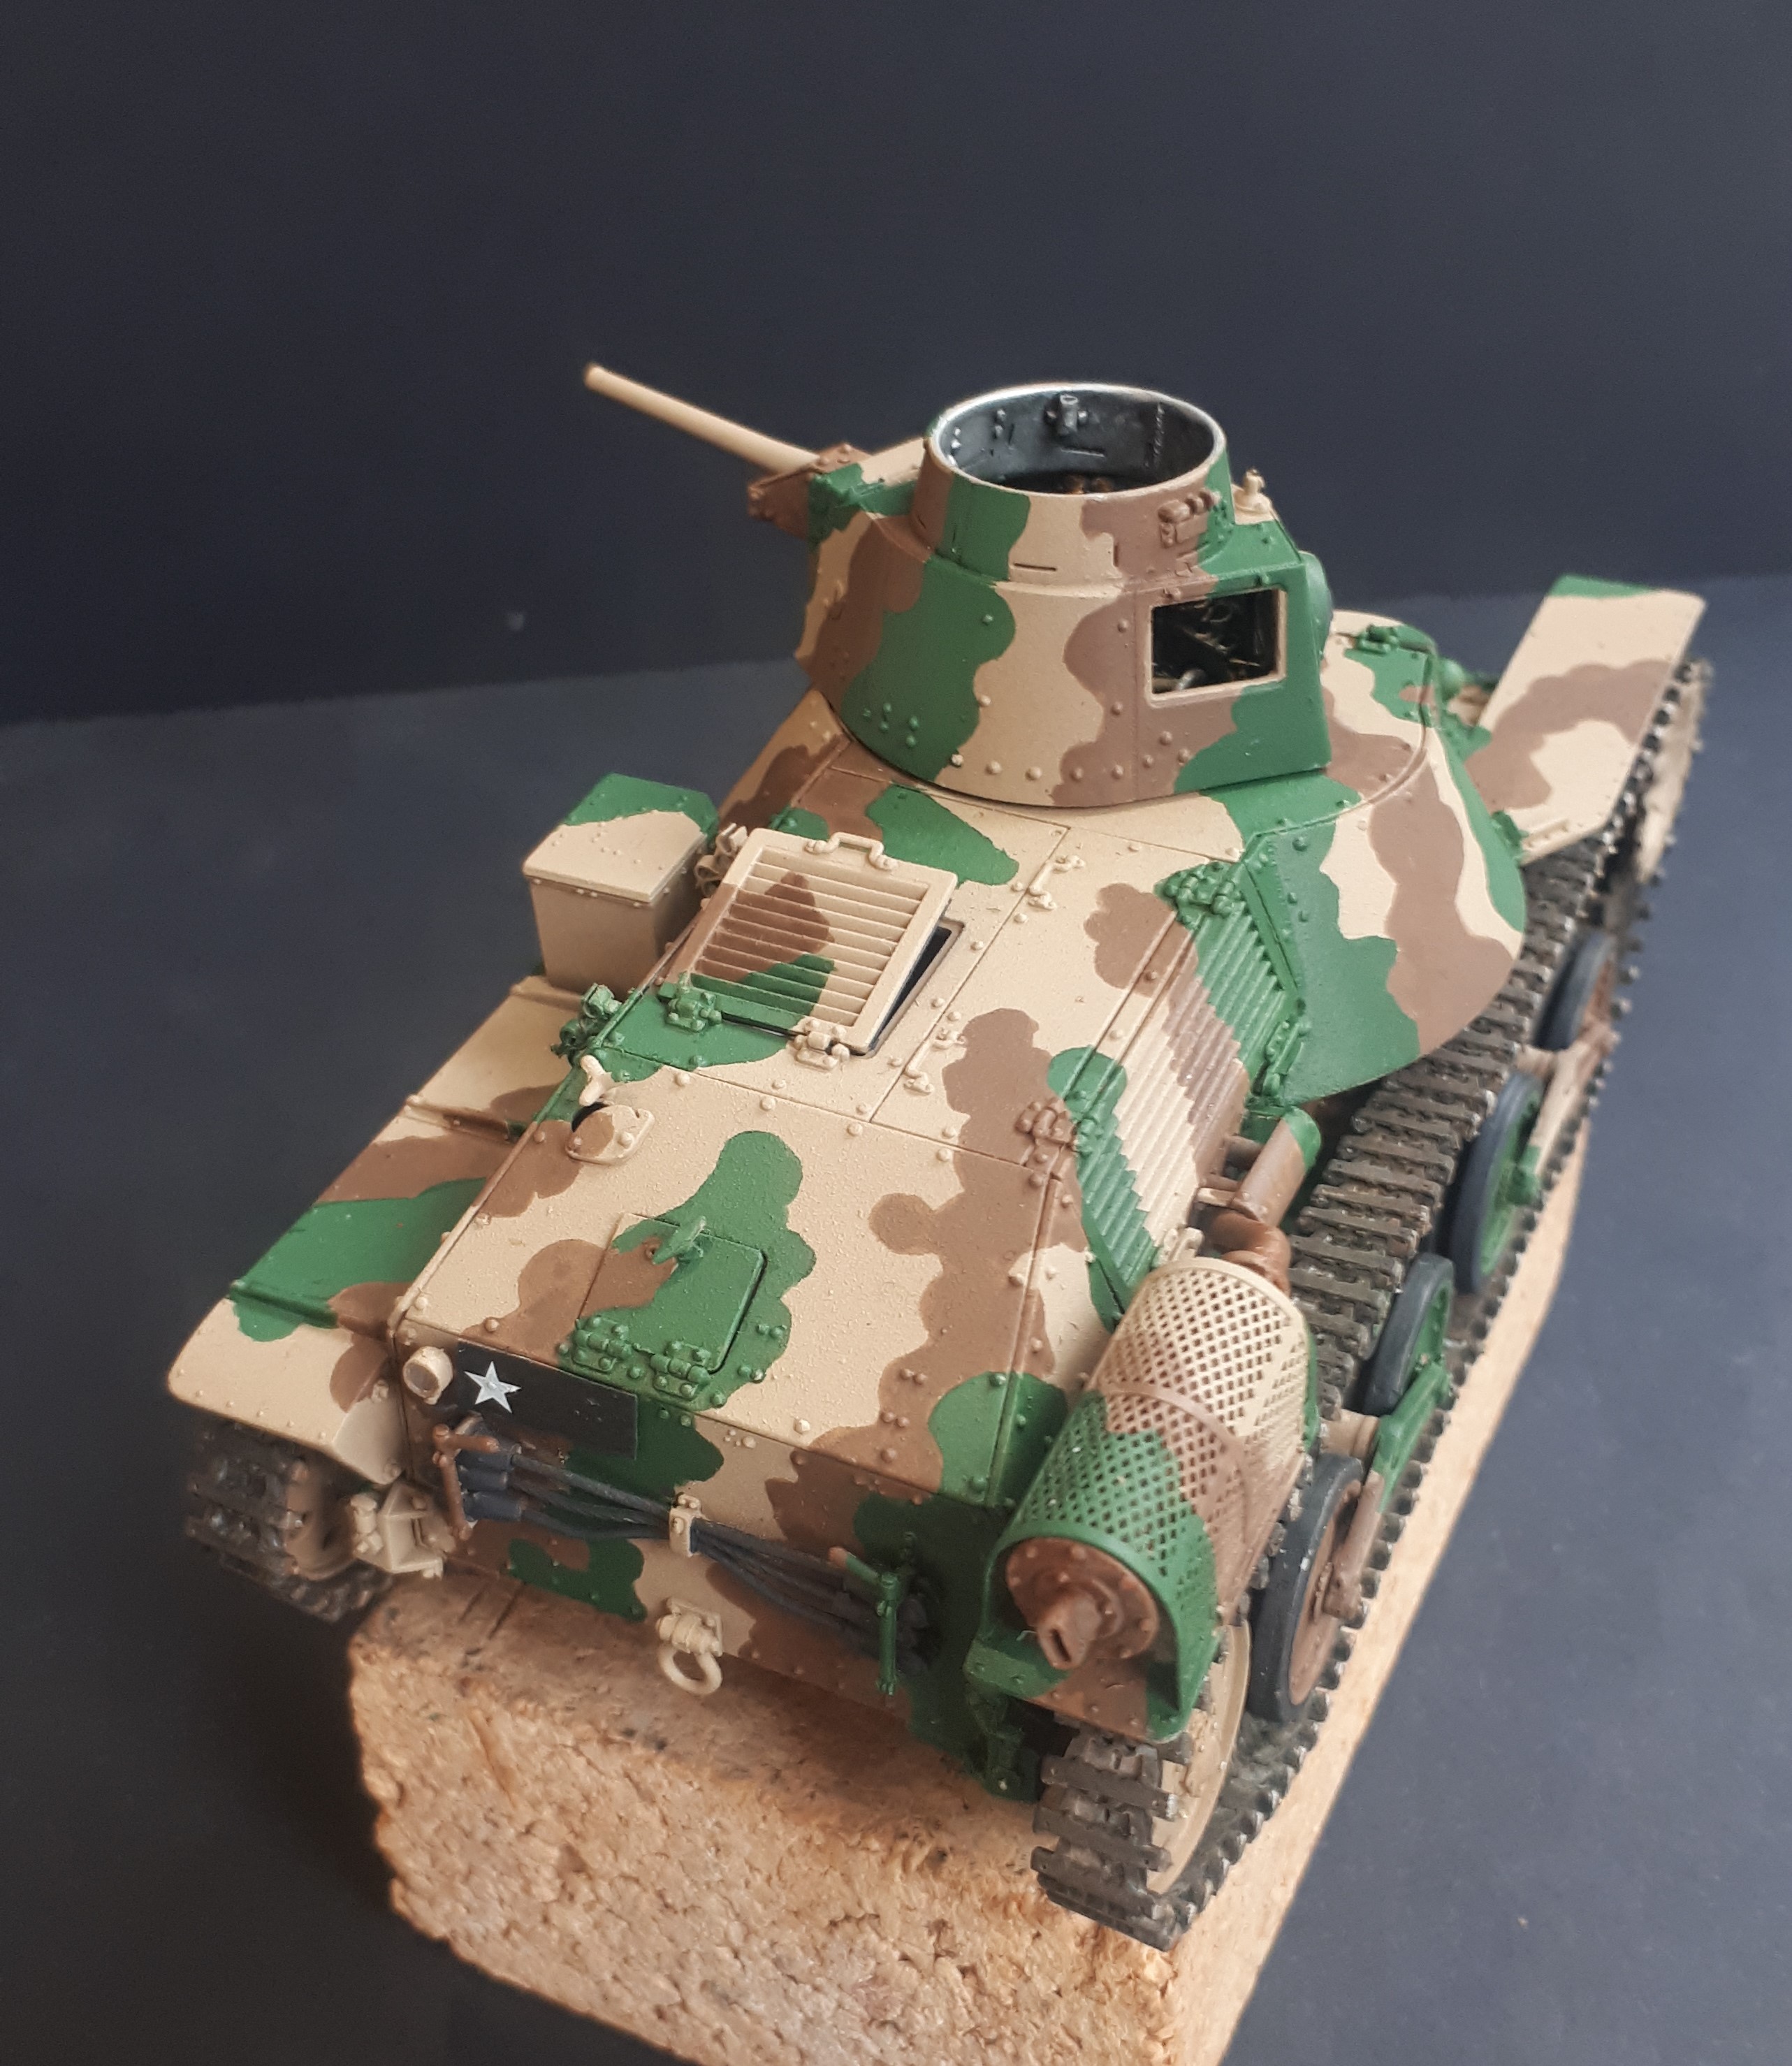
However, using the parts of the pattern which are visible - most notably the front of the hull, the turret side and the port side of the fighting compartment - I did my best to guess what else was going on. So I am certainly not suggesting that this is anything like 100% accurate…
At this stage, with no washes, etc or weathering, the results are a bit toy-like I admit. But then that is what the next stage is all about - making this look more like the real thing, albeit in miniature.
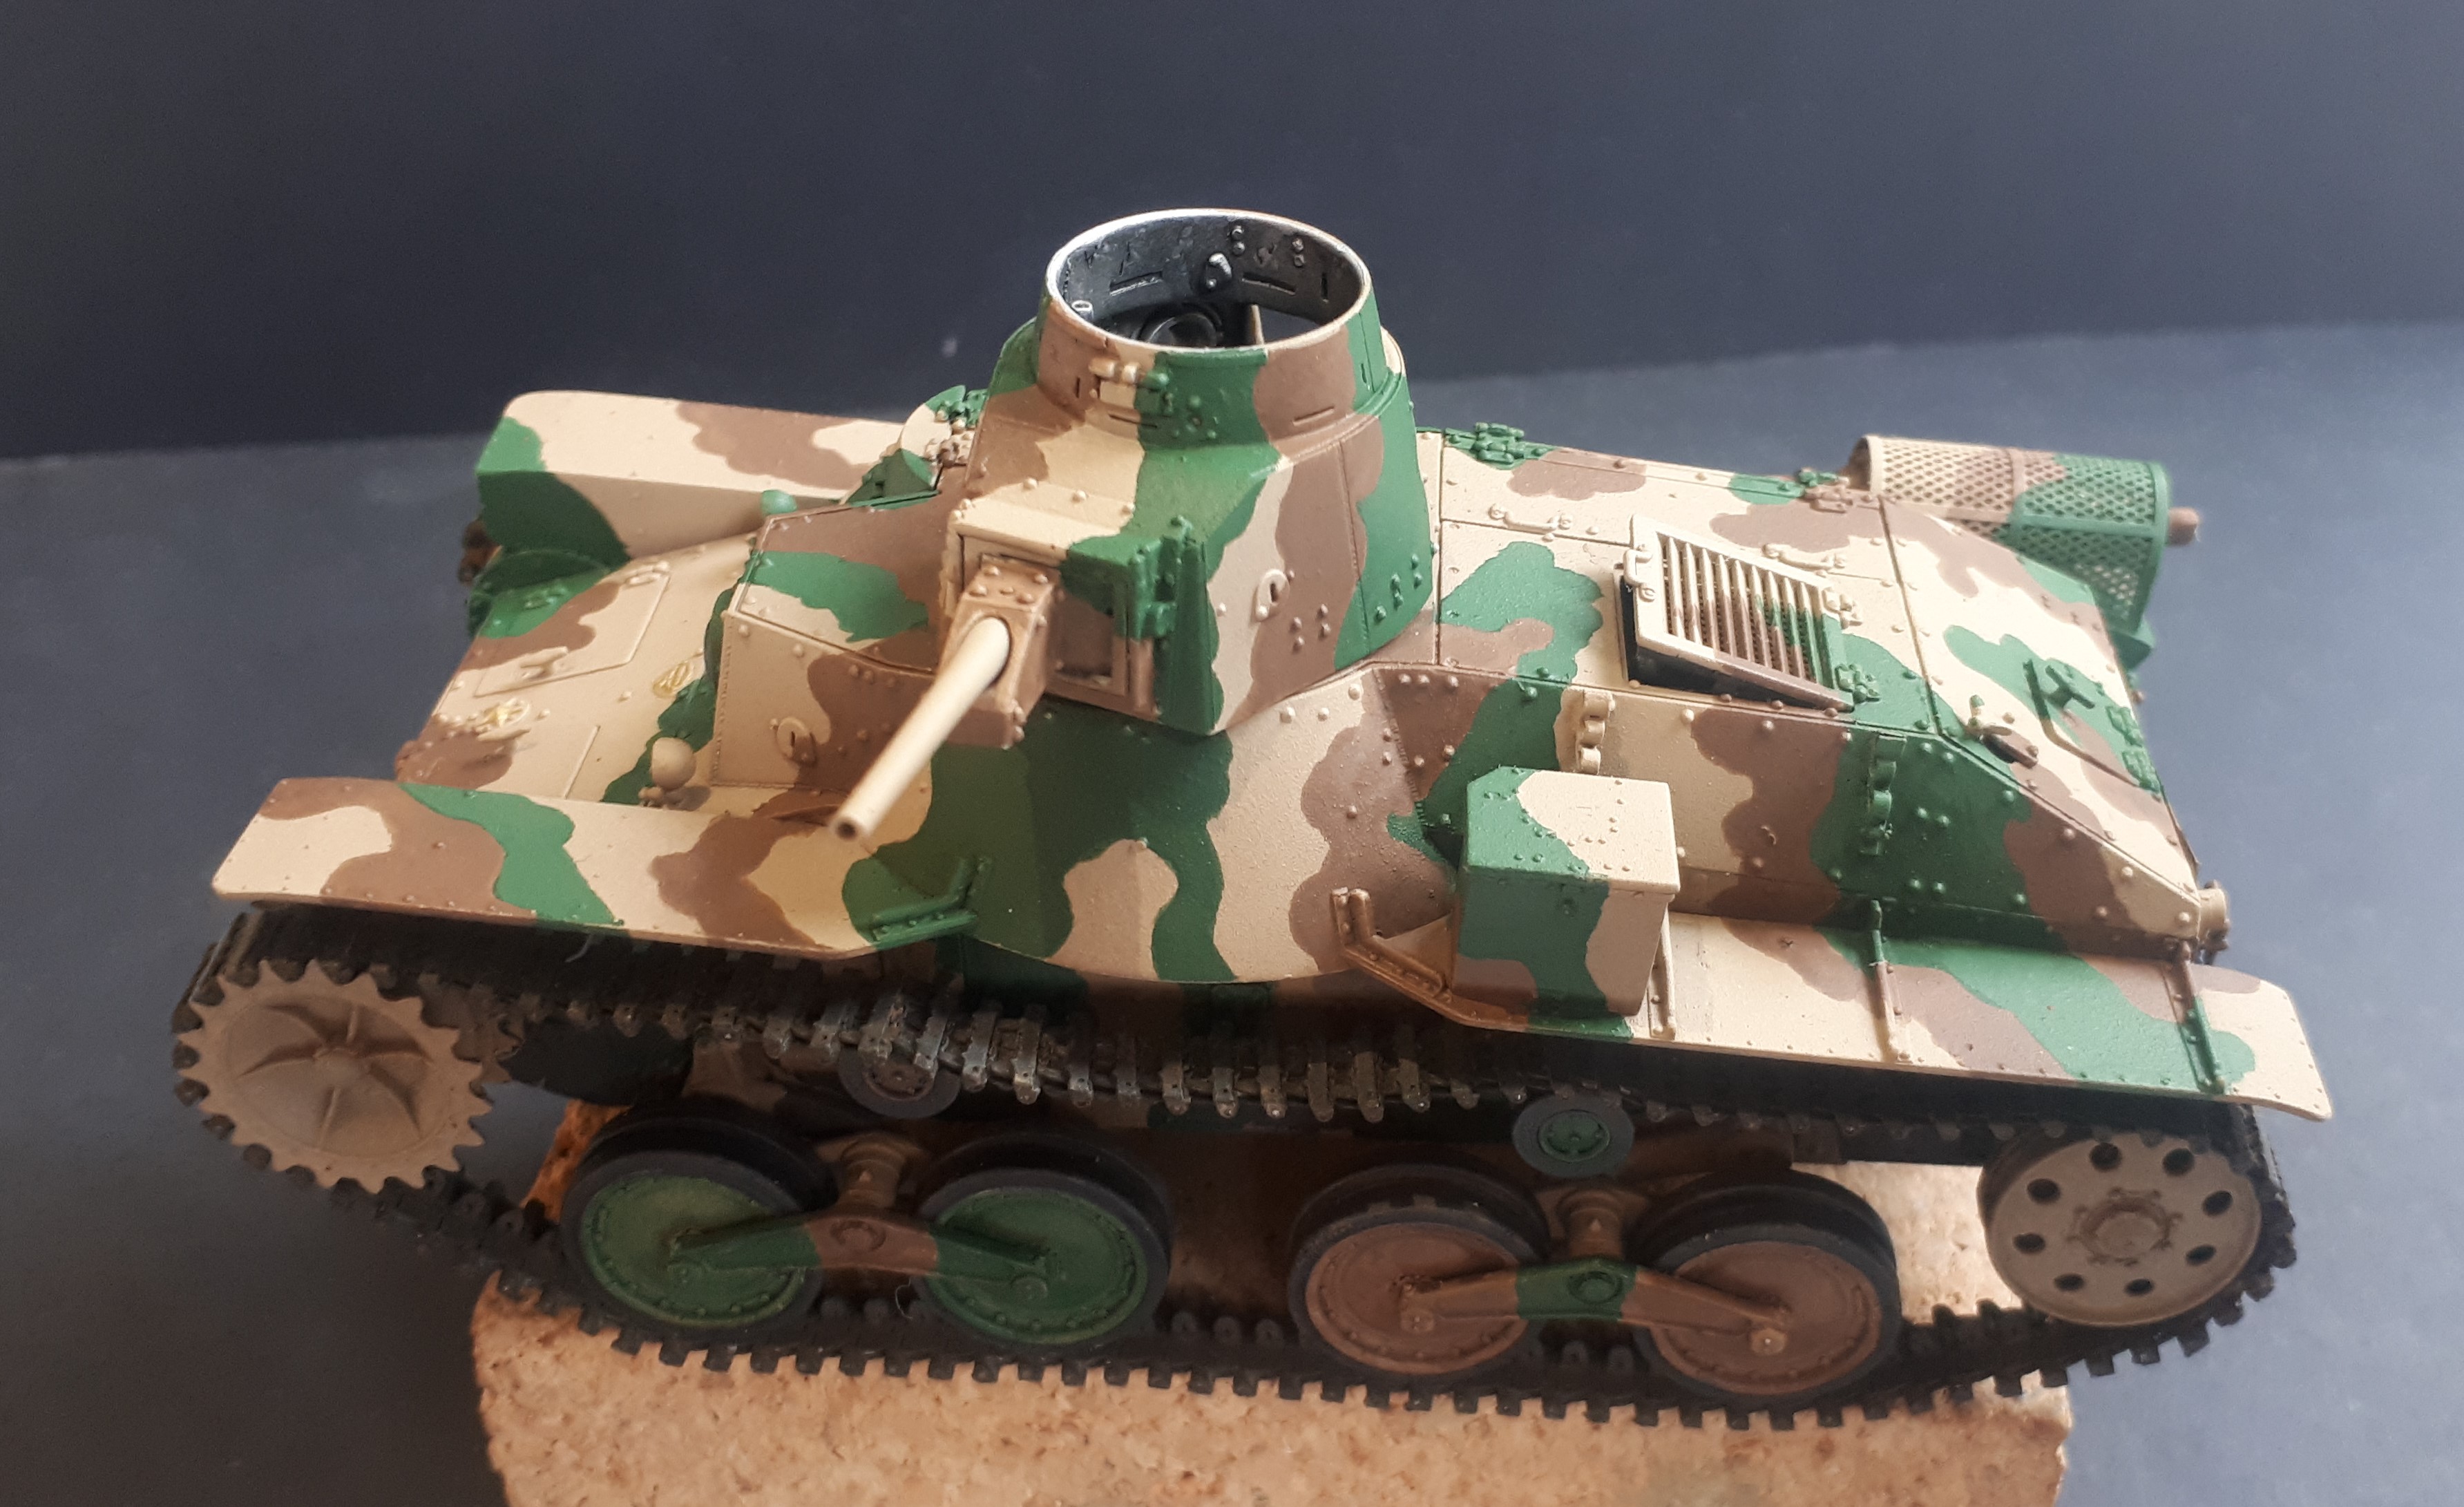
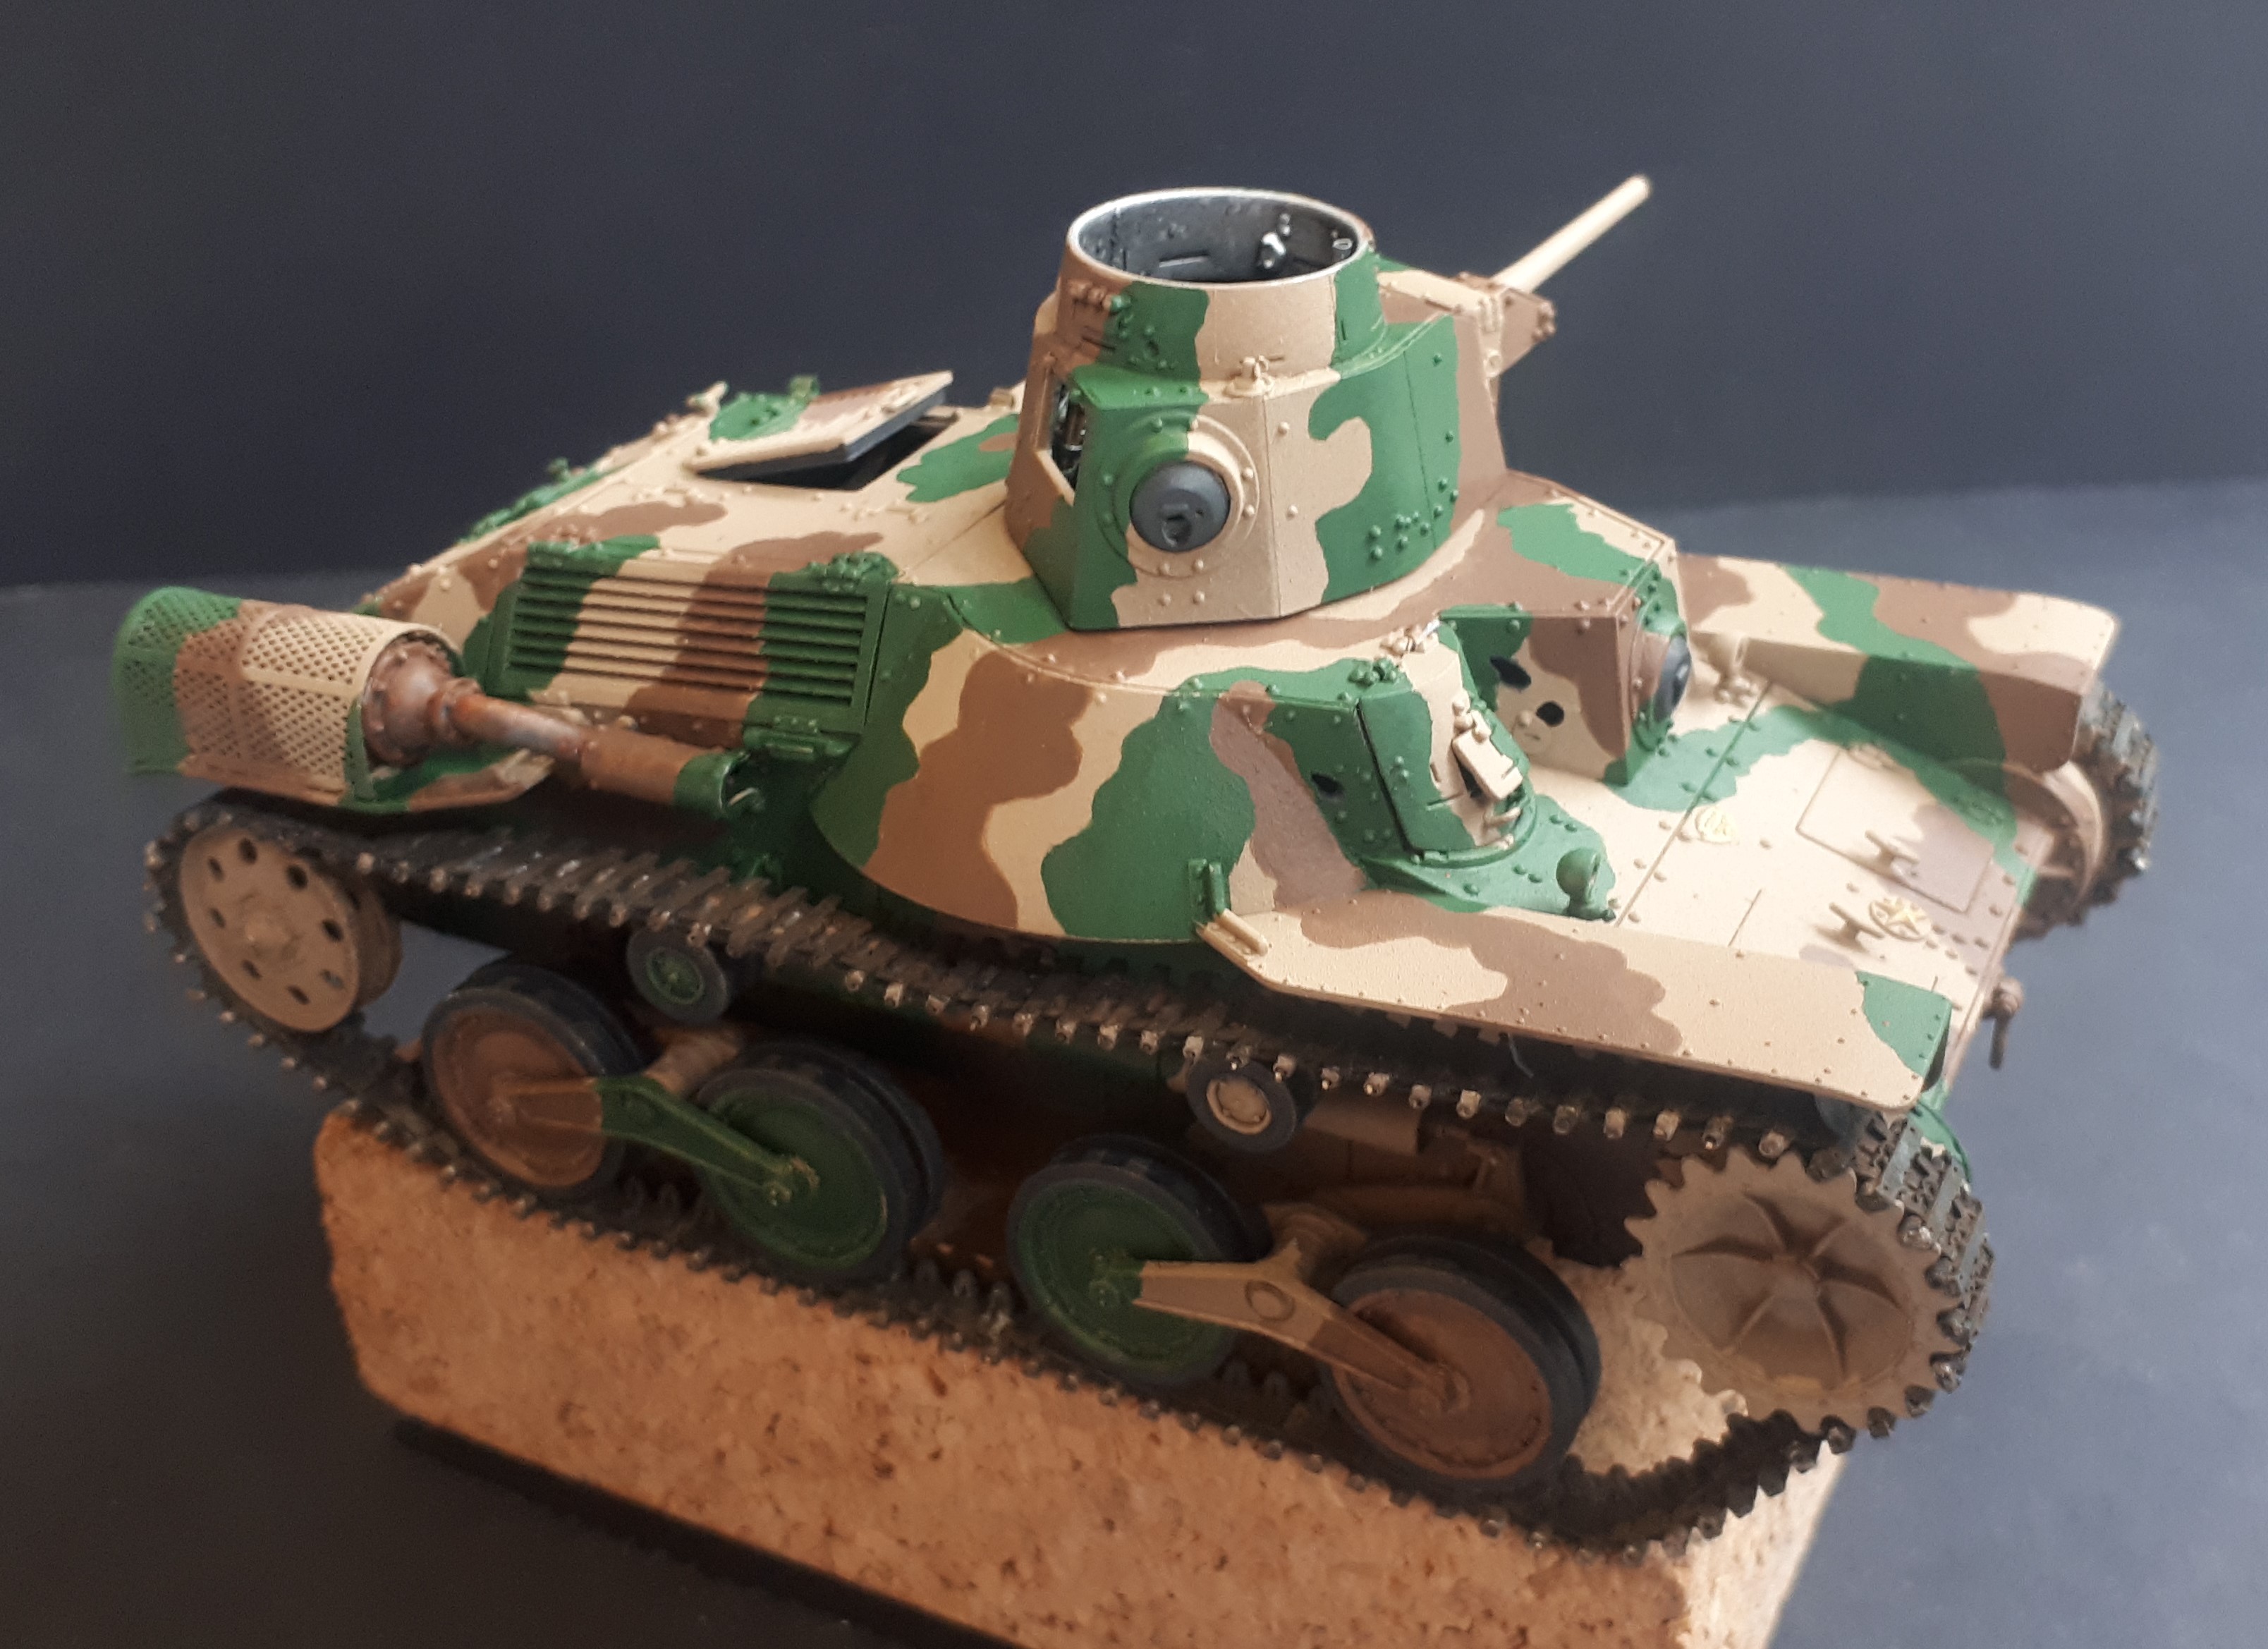
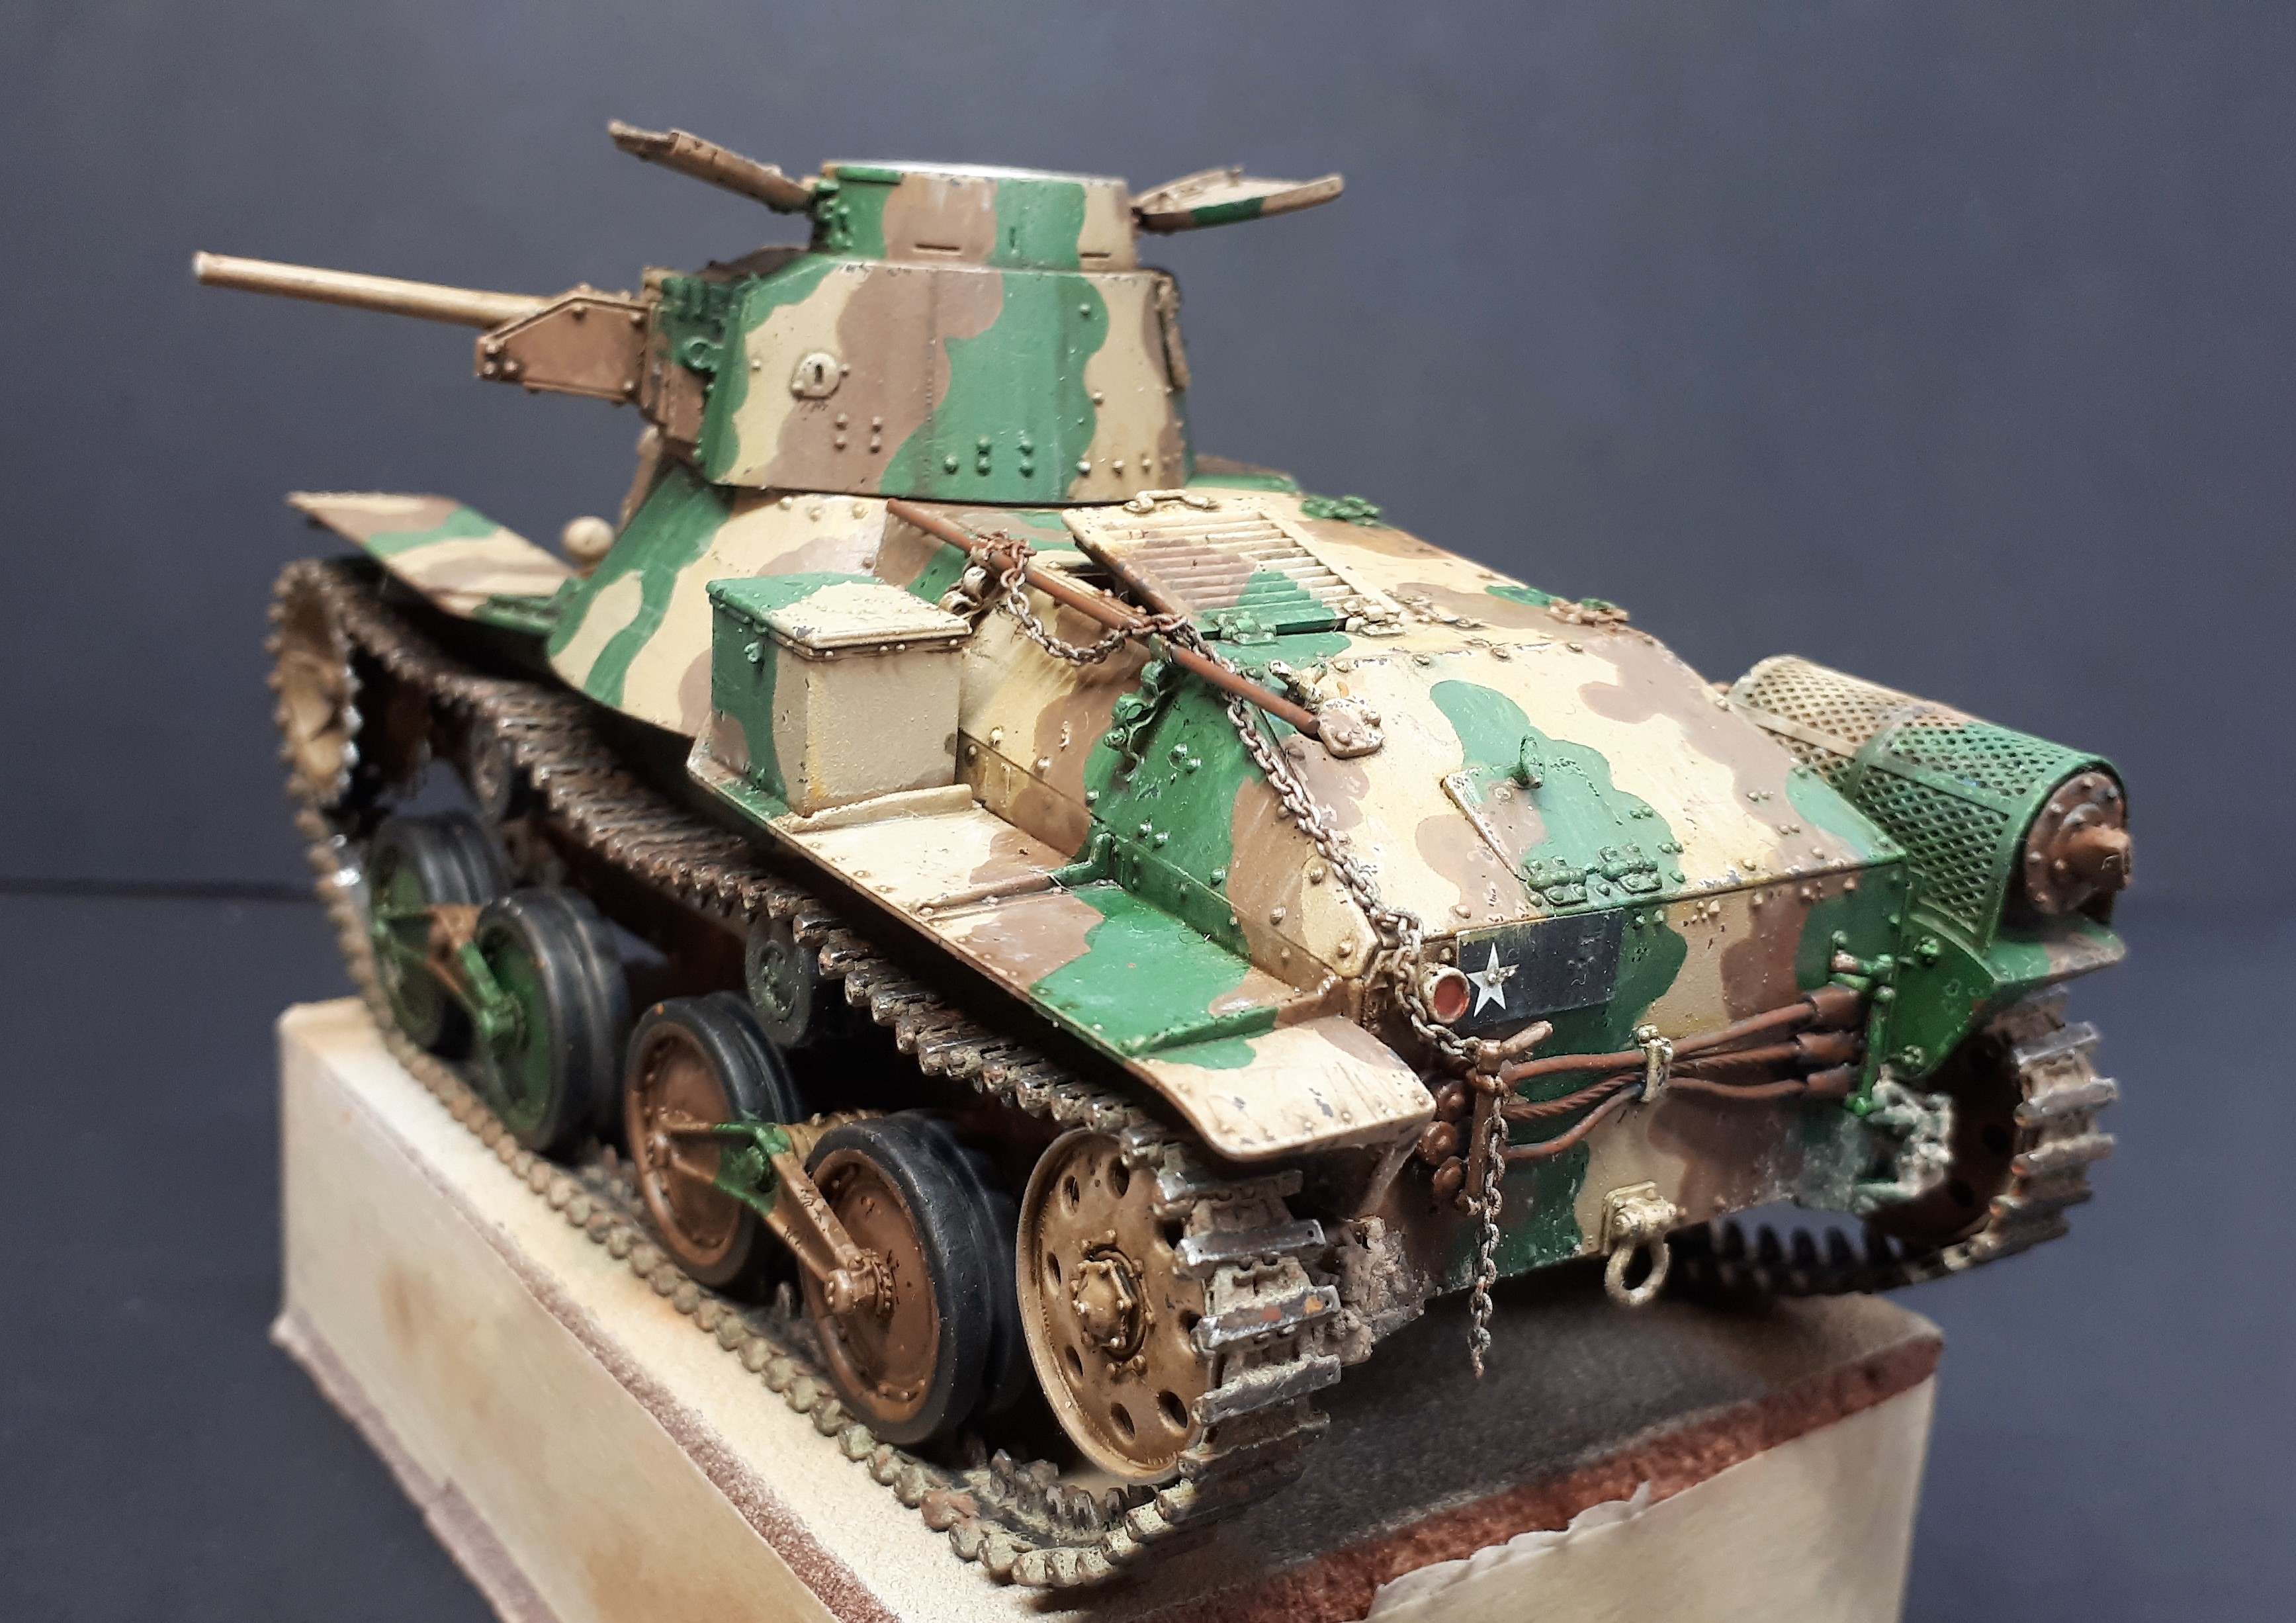
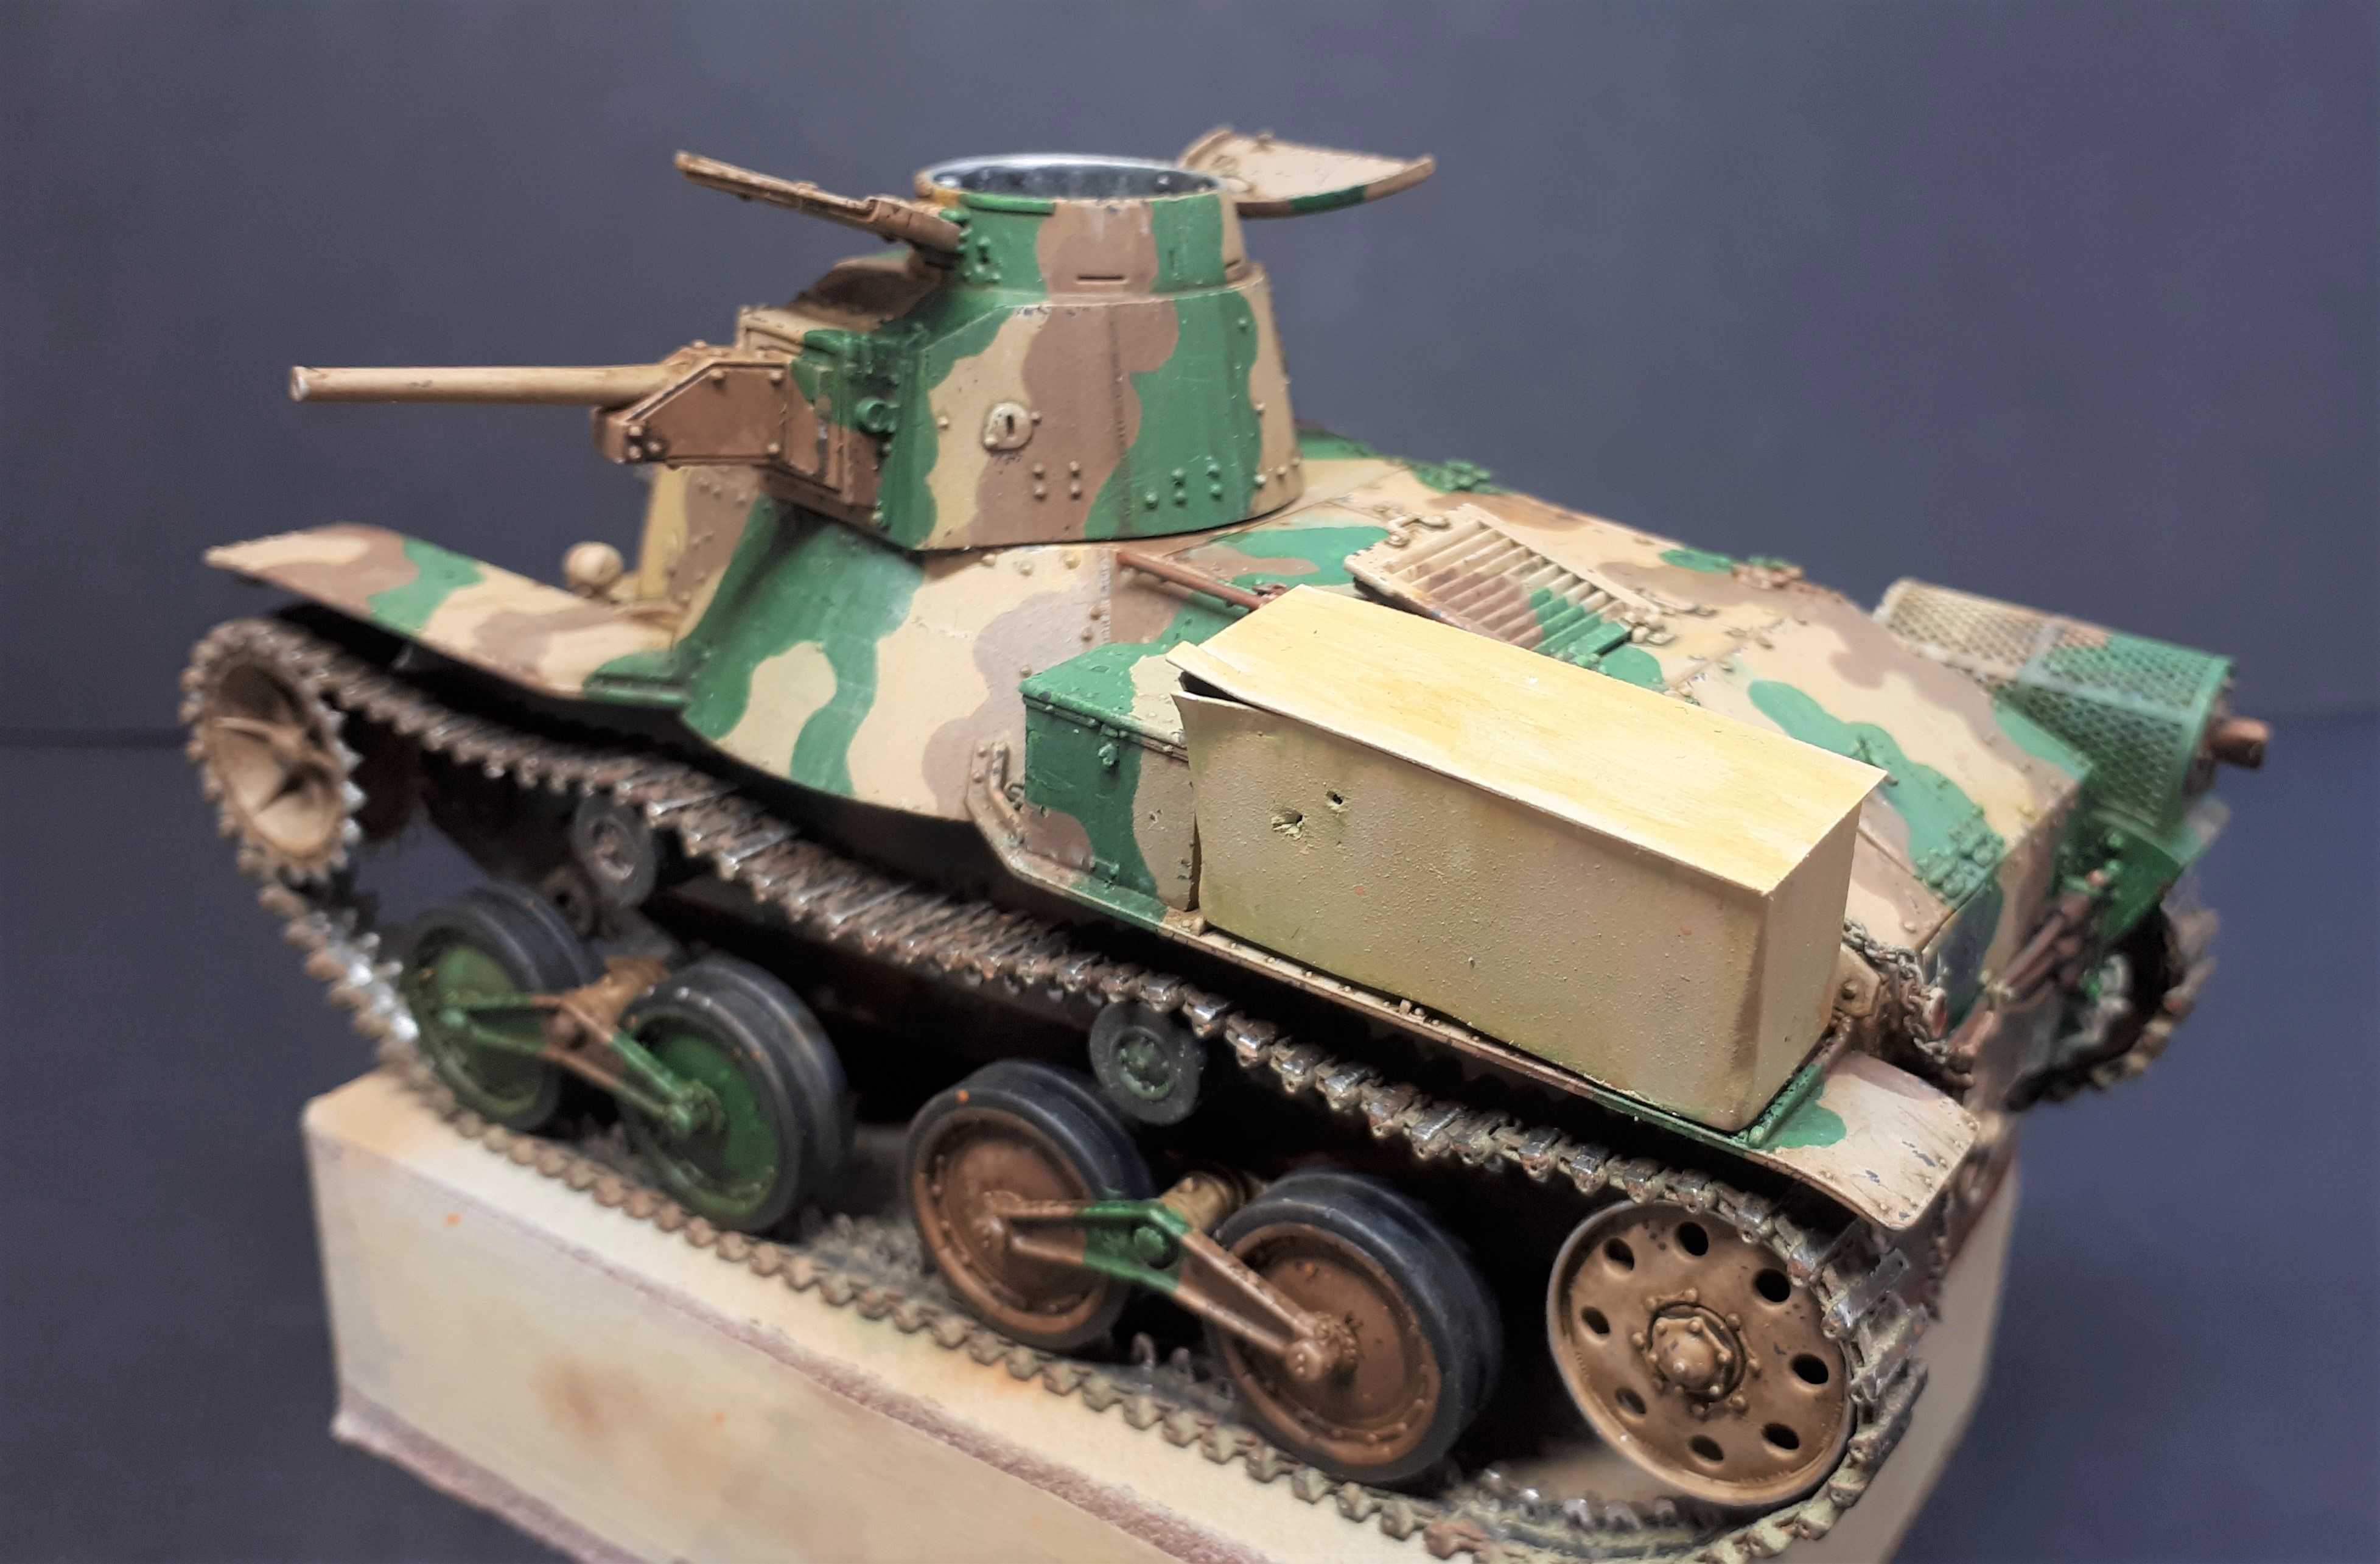
Here are a few more pics of the Ha-Go. This is chipped and weathered - but only up to a point. I am leaving the final dust wash and other details such as stowage until the diorama is further down the line…
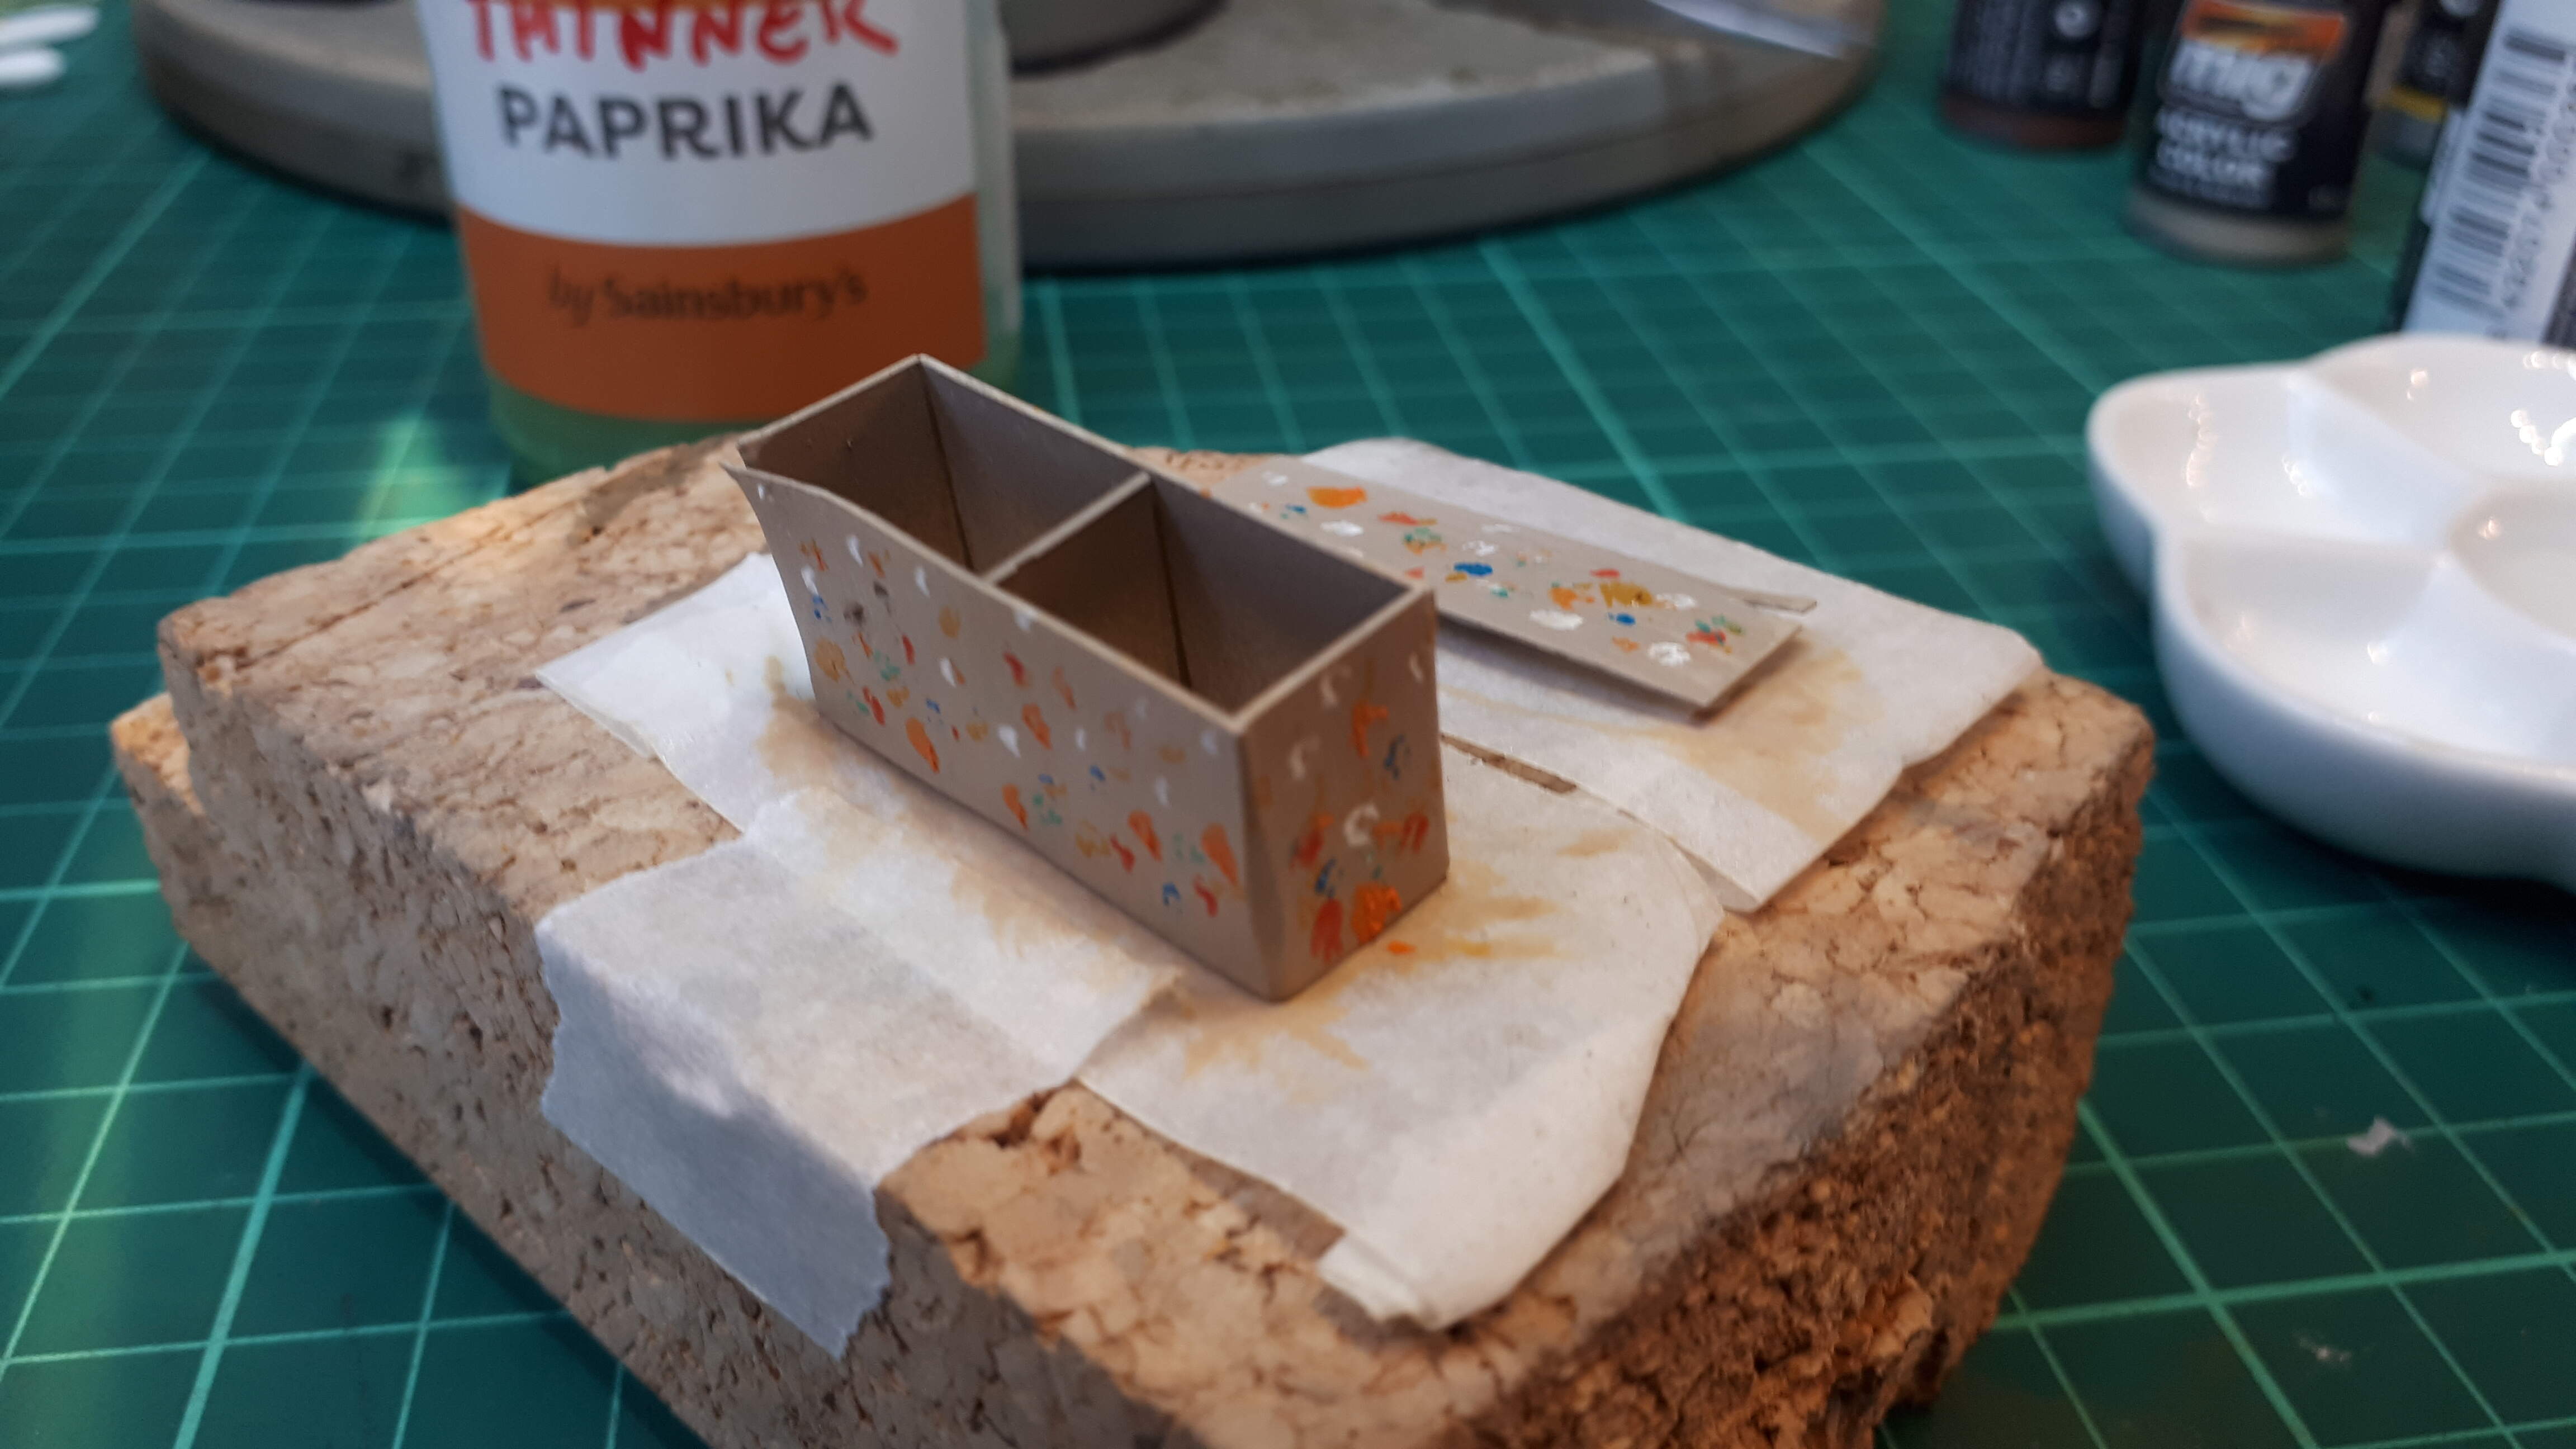
The large stowage box, in particular, is only pre-shaded with oil washes at this stage and is going to need a lot more work to make it look more interesting. Here it is before I blended the paints…
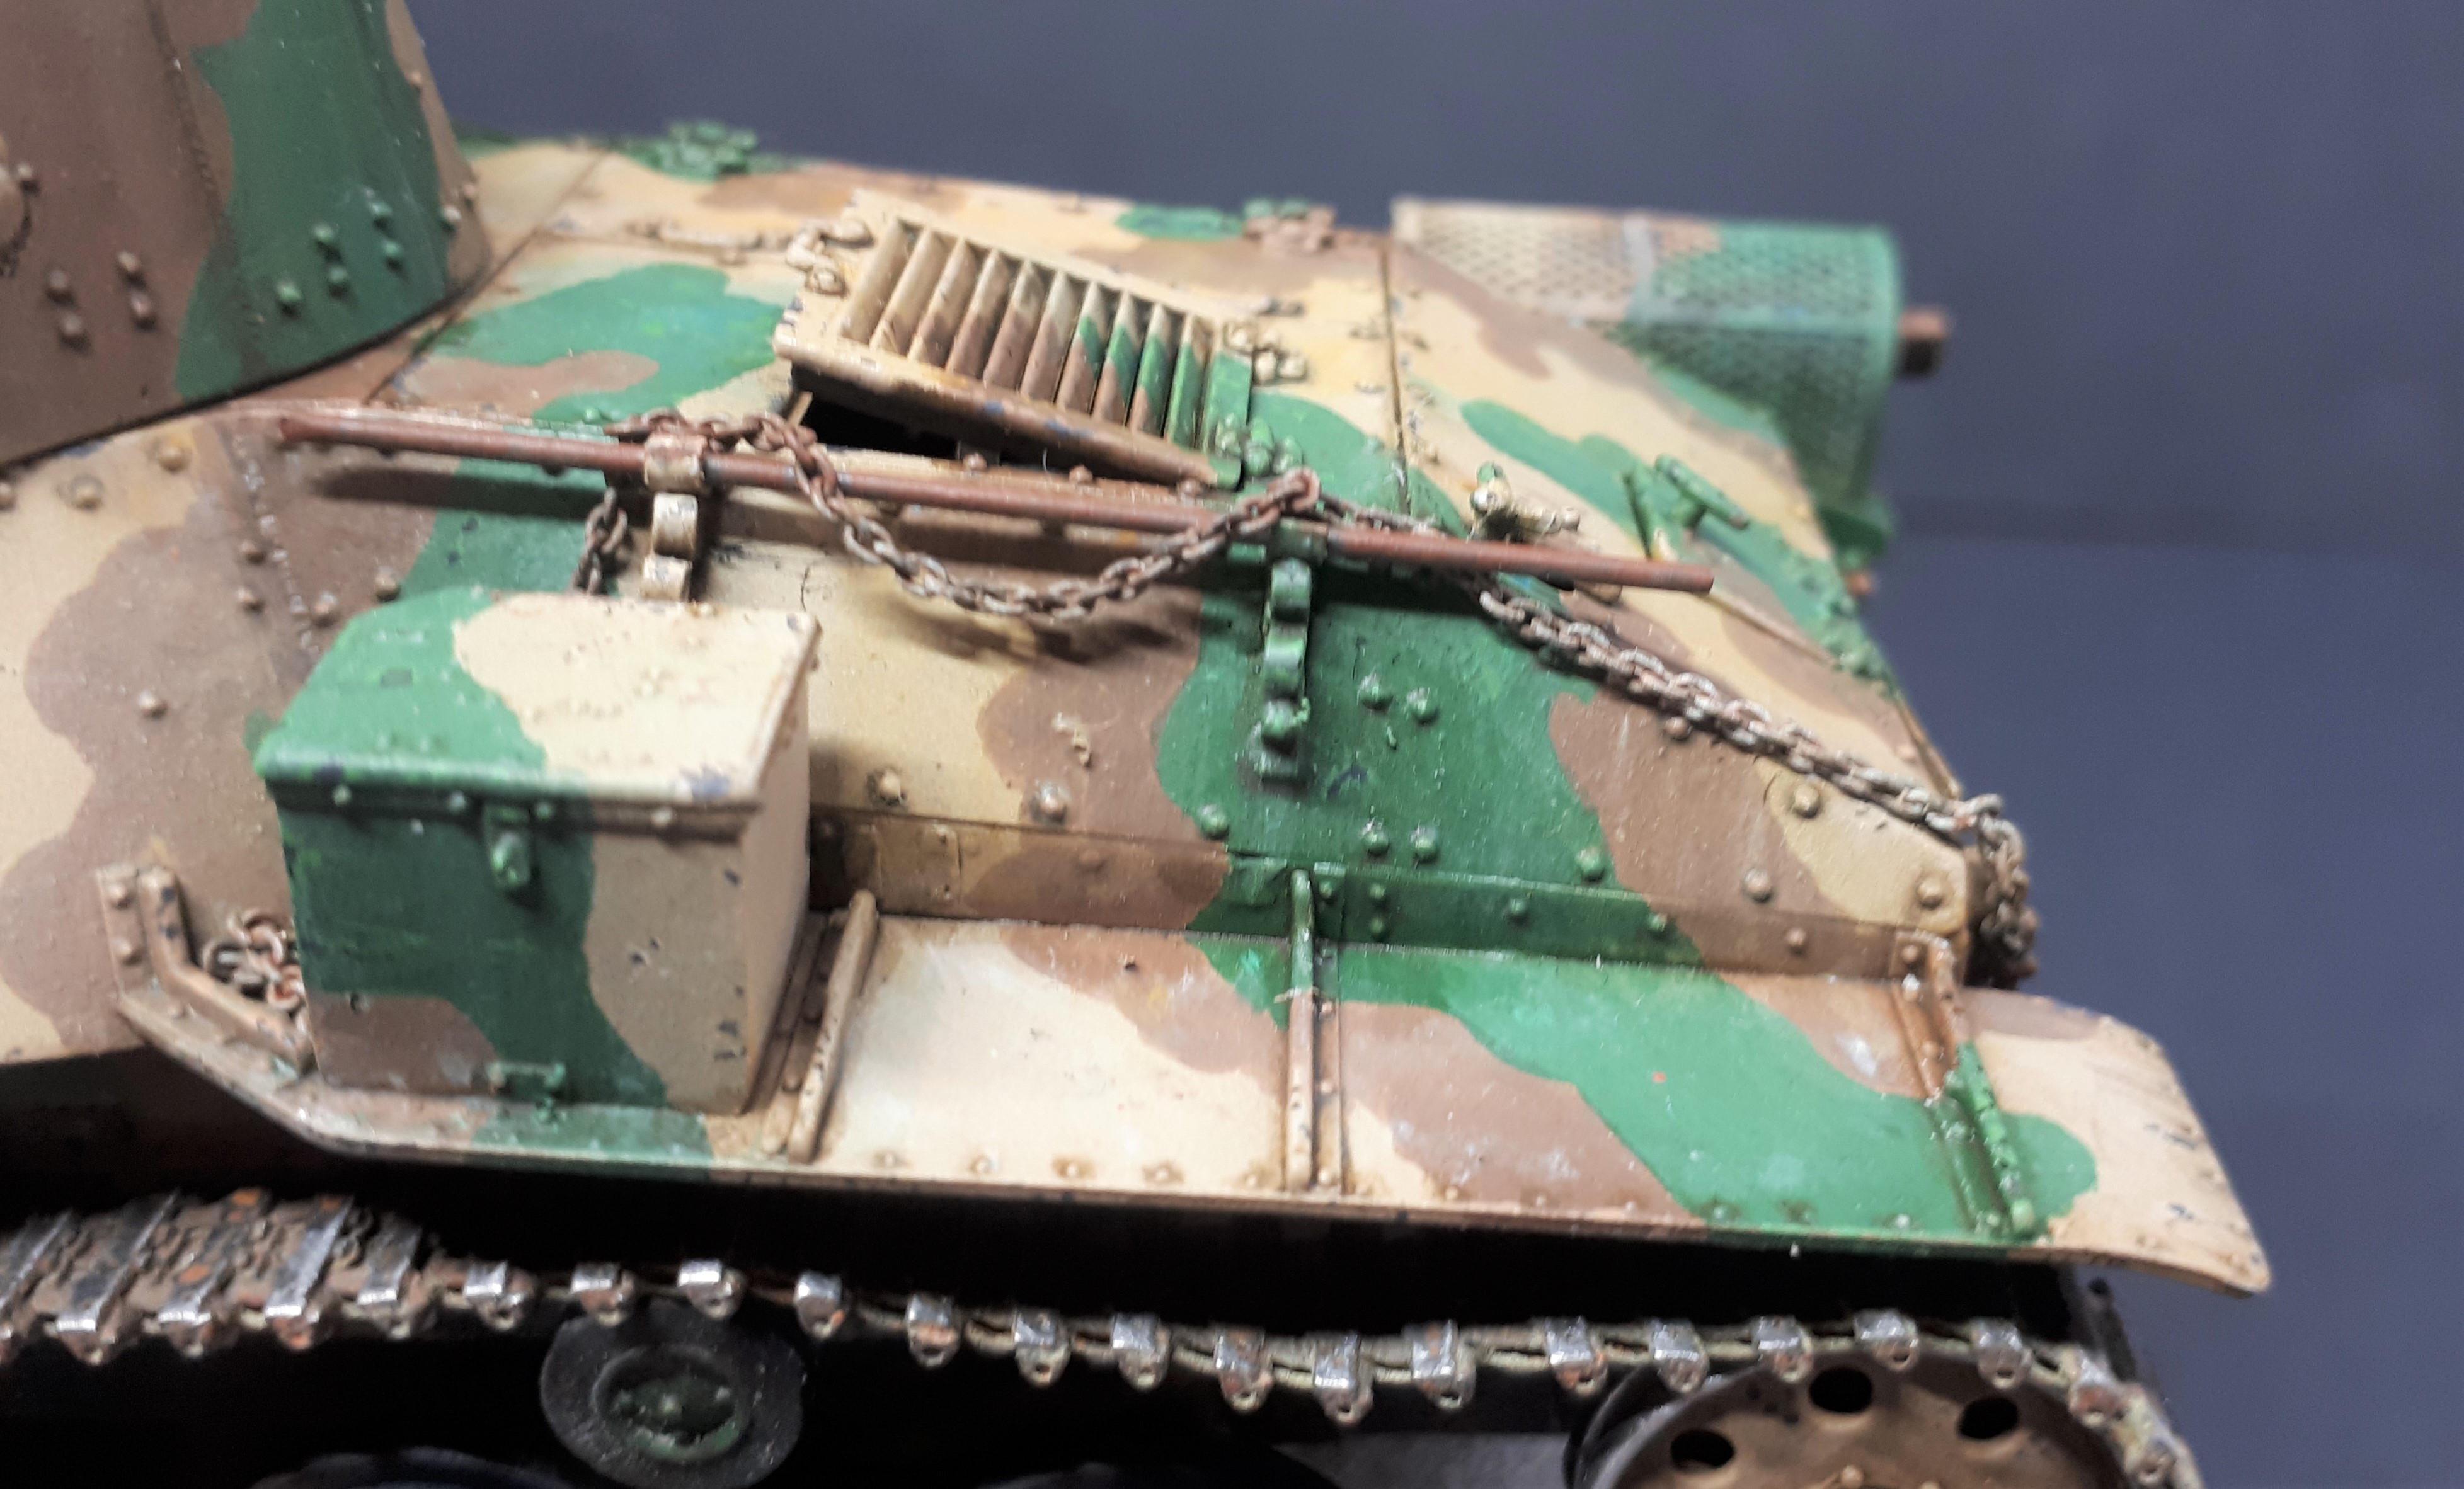
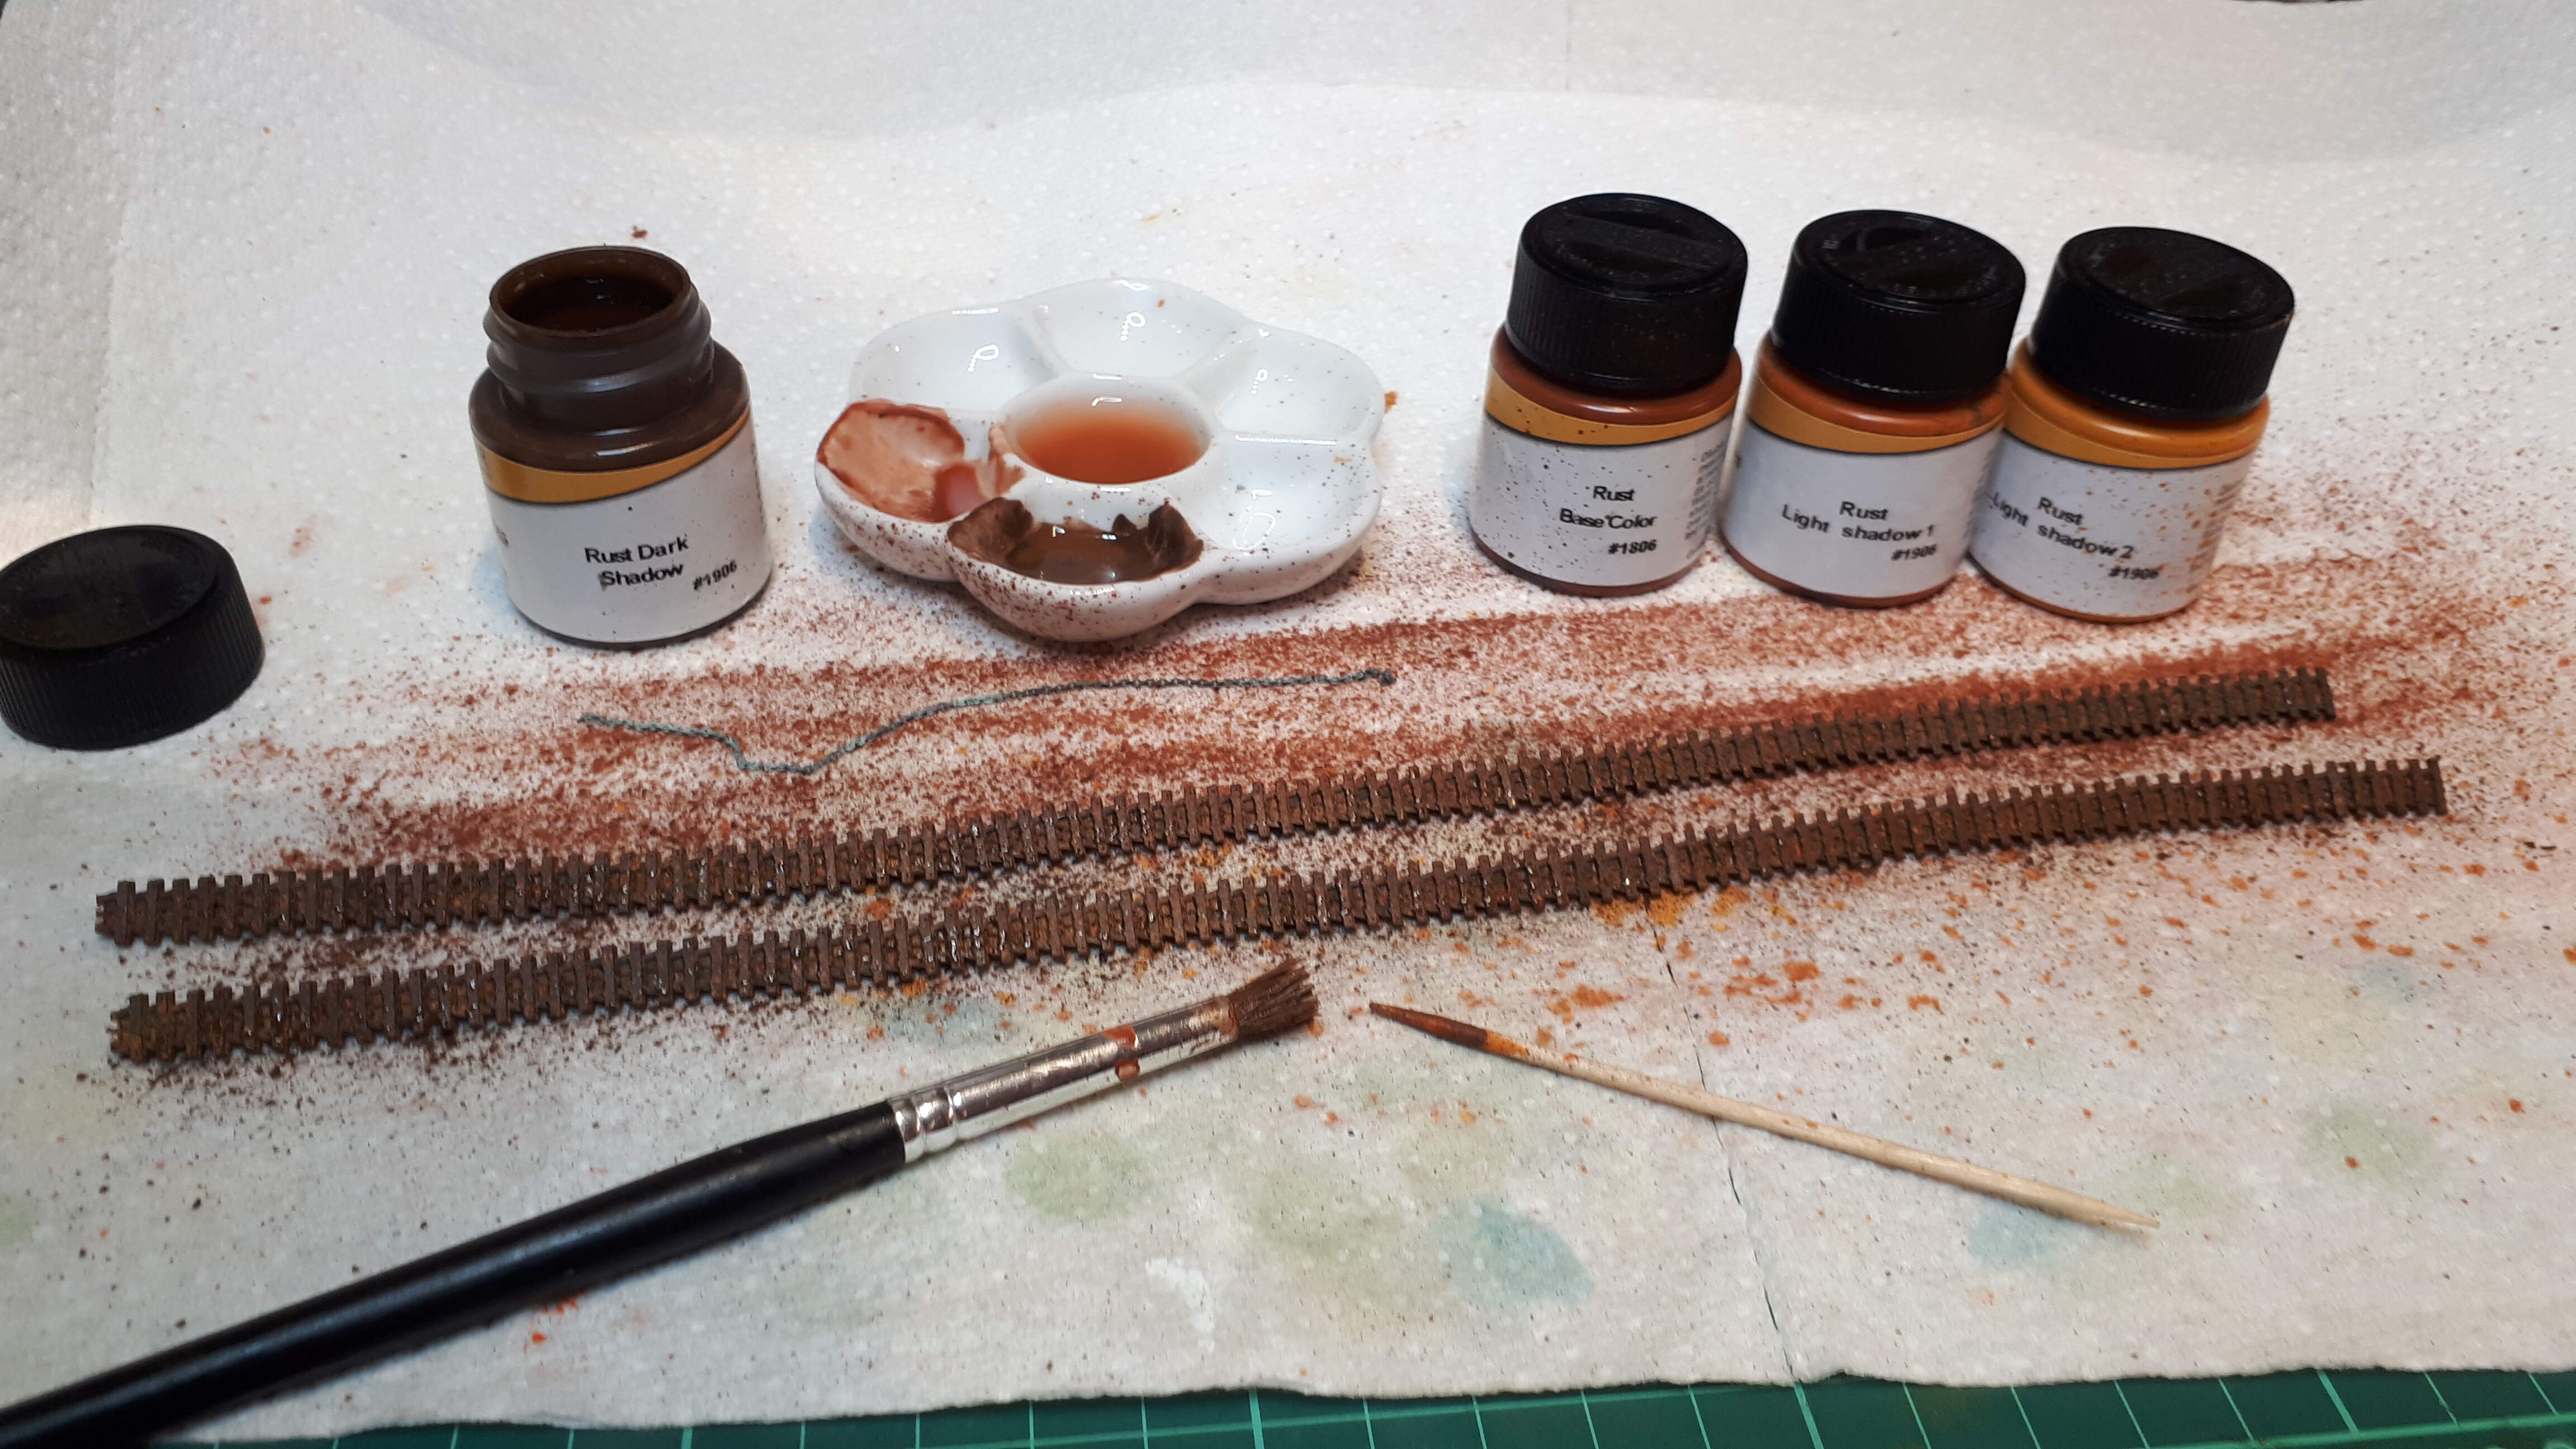
The metal tracks were initially darkened with metal burnishing fluid, then speckled with various shades of Lifecolor rust tones (using an old paint brush and a toothpick to flick the paint on). I then built up the earth / dust layer using Wilder water-based washes. Finally I used sanding sticks and wire wool to buff up the metal and added the exposed linear surfaces on the inside (from where the wheels rub against the track runs and guide horns) with a graphite pencil.
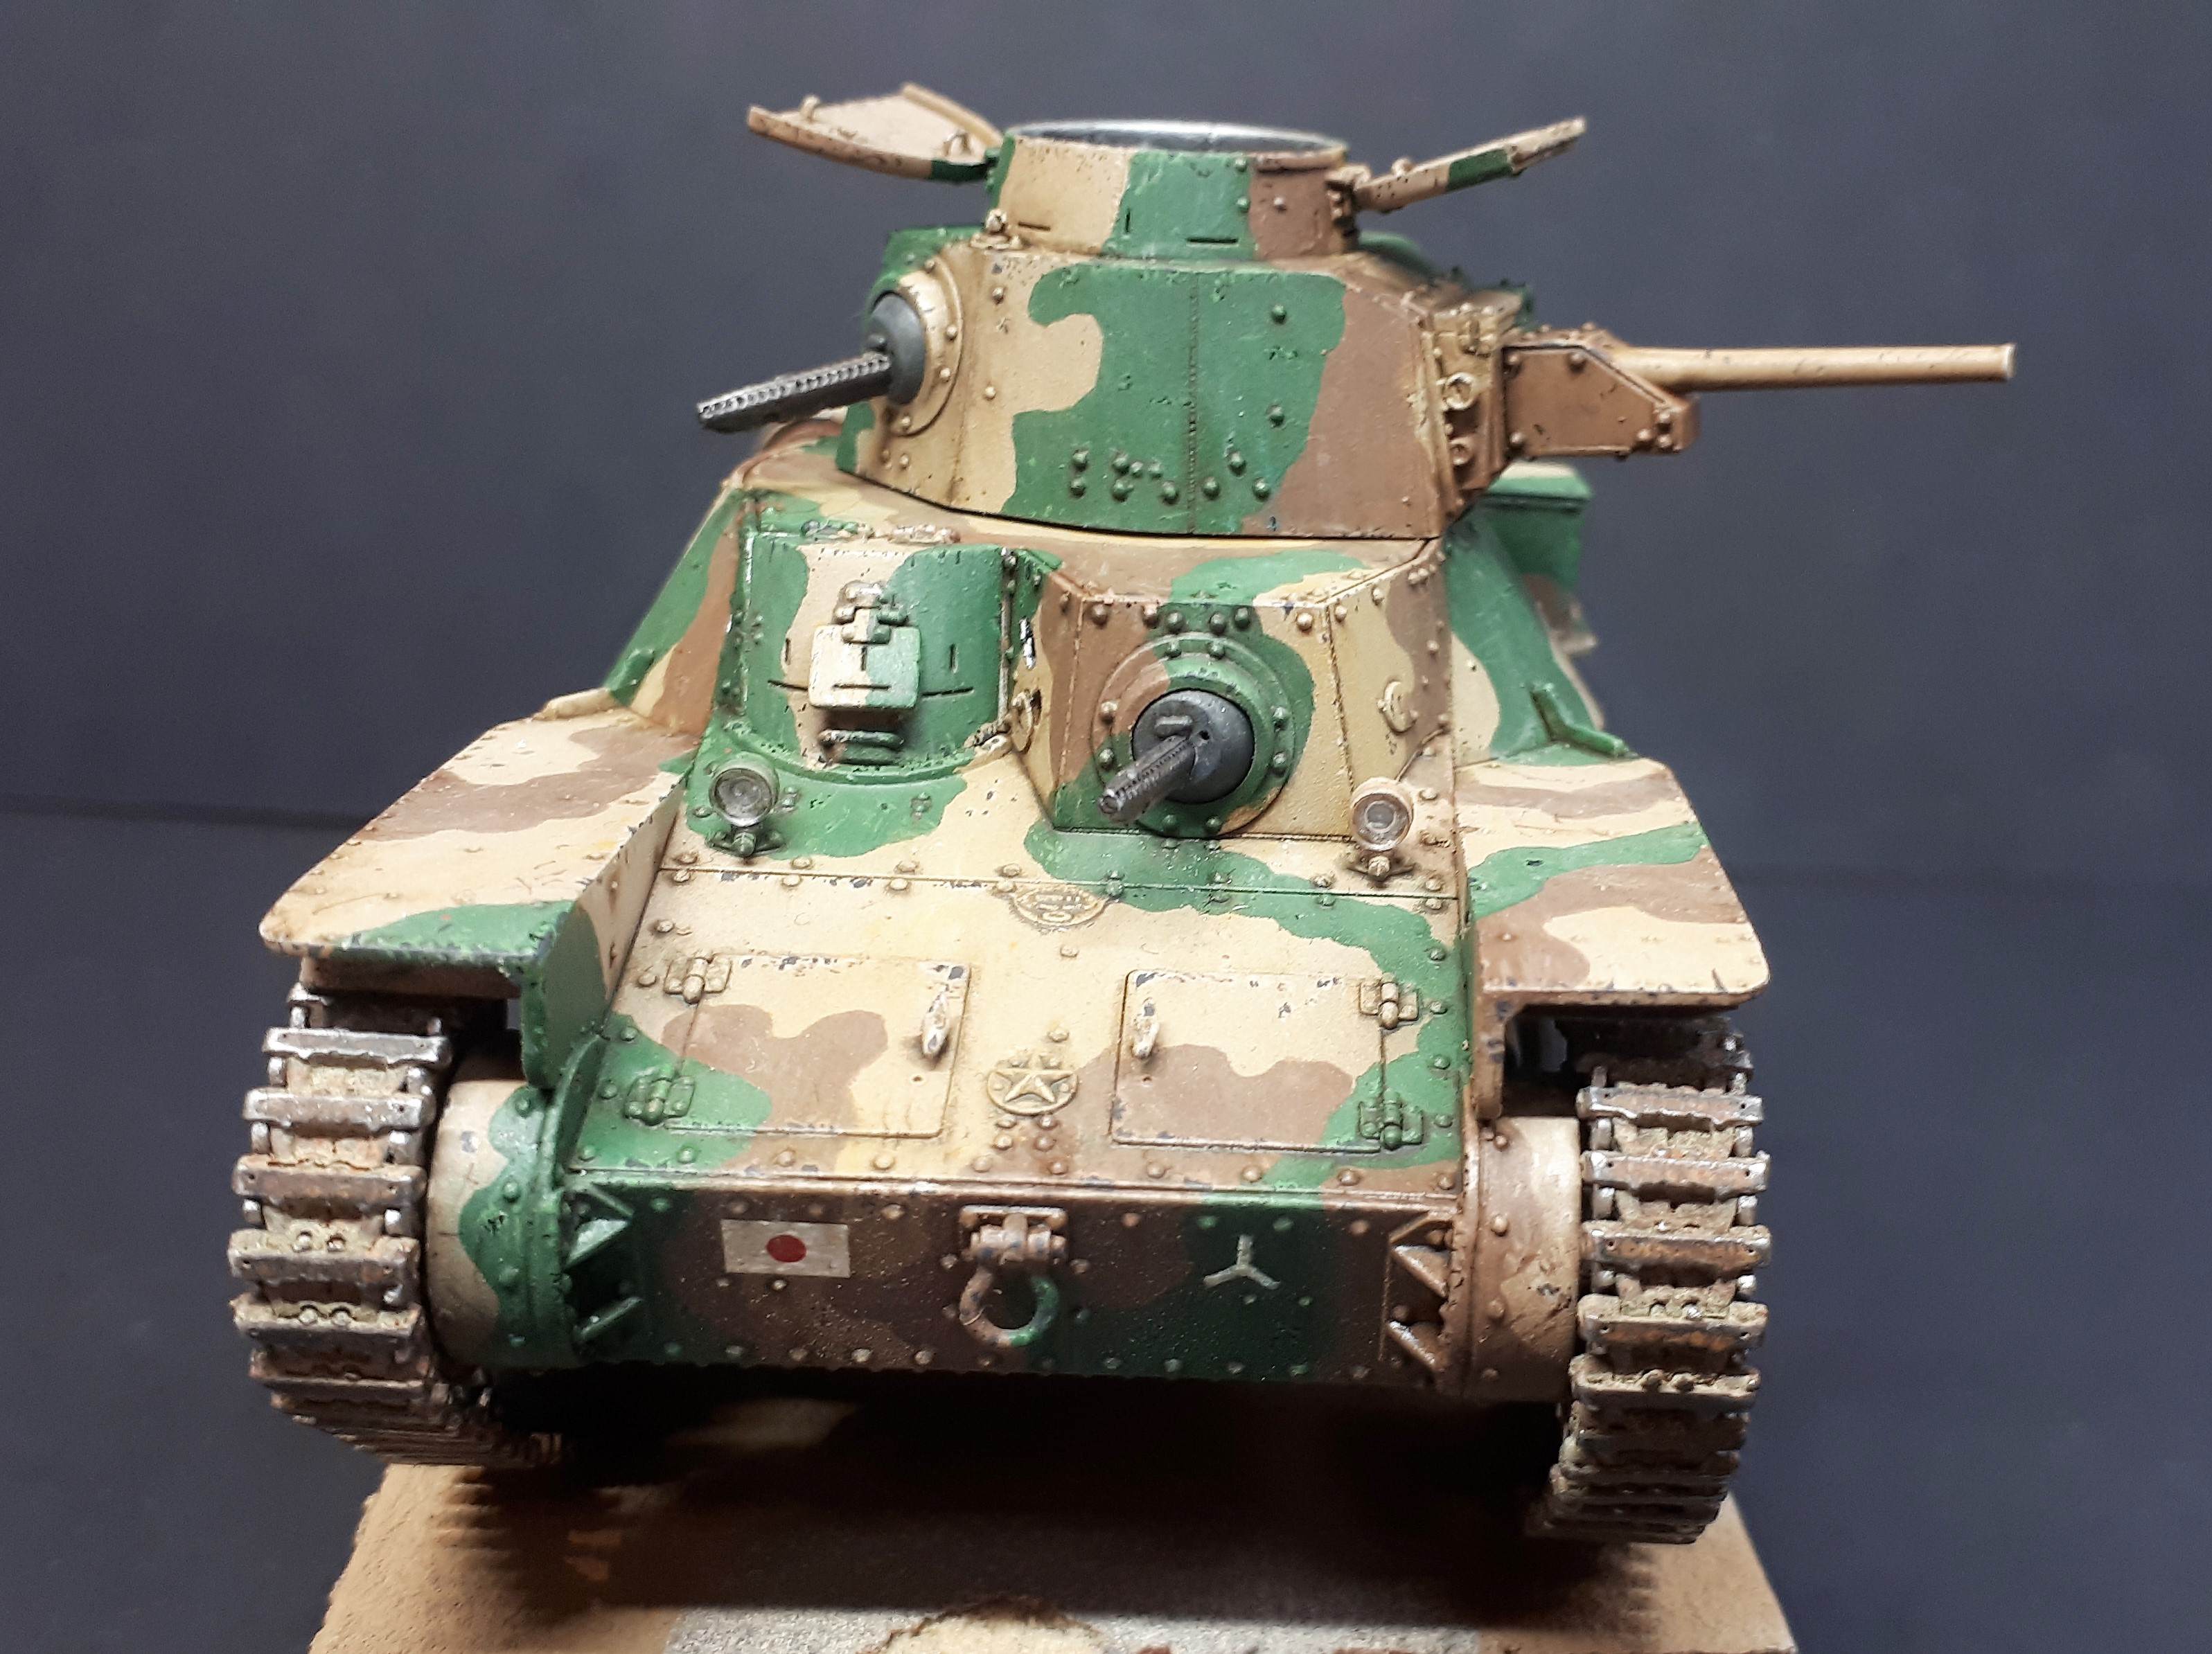
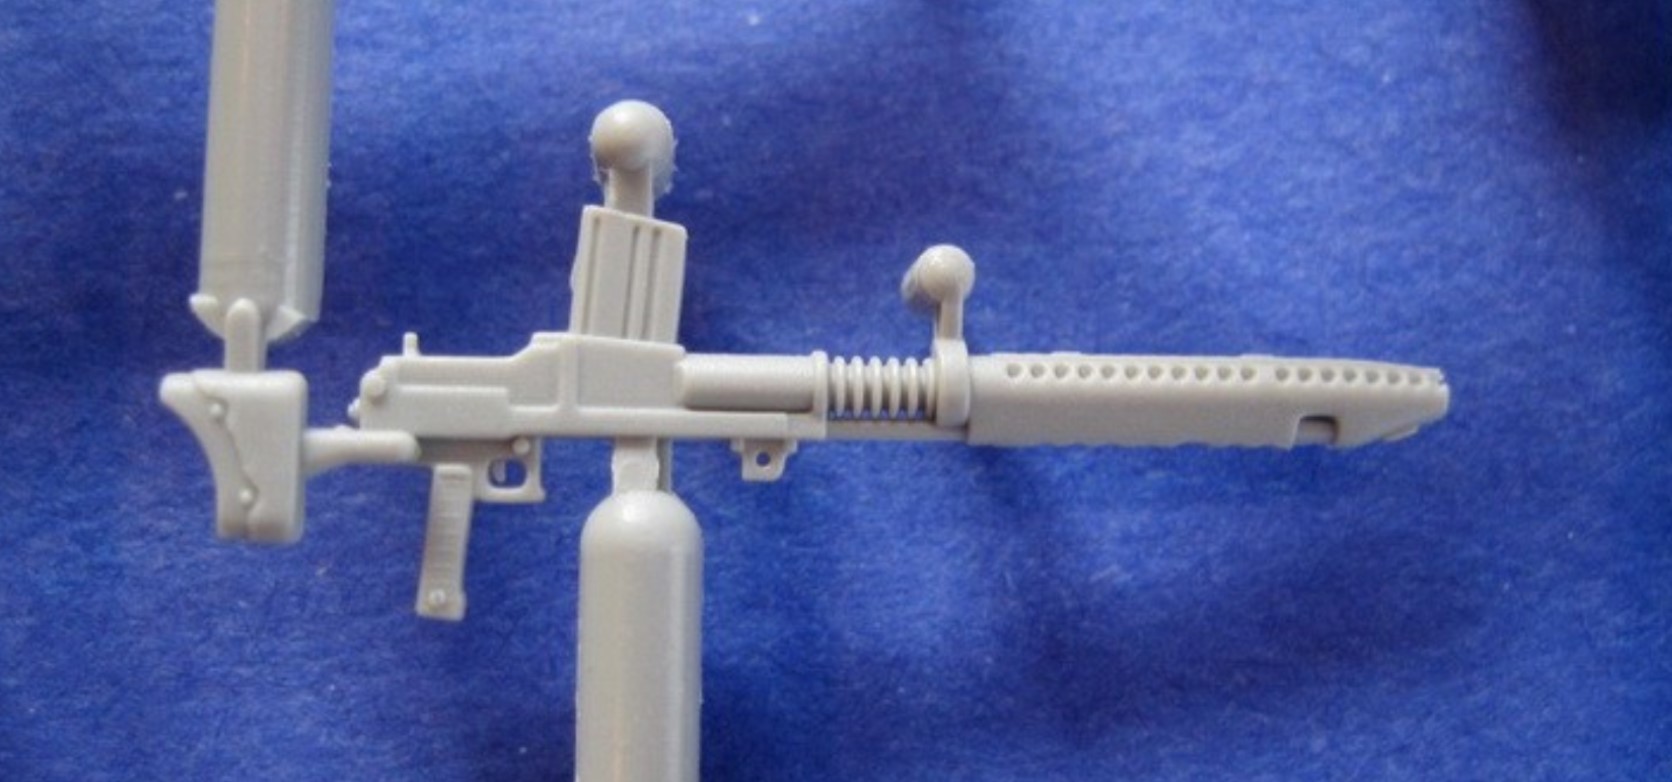
Undoubtedly one of the finest aspects of the Dragon kits are the beautifully moulded machine guns.
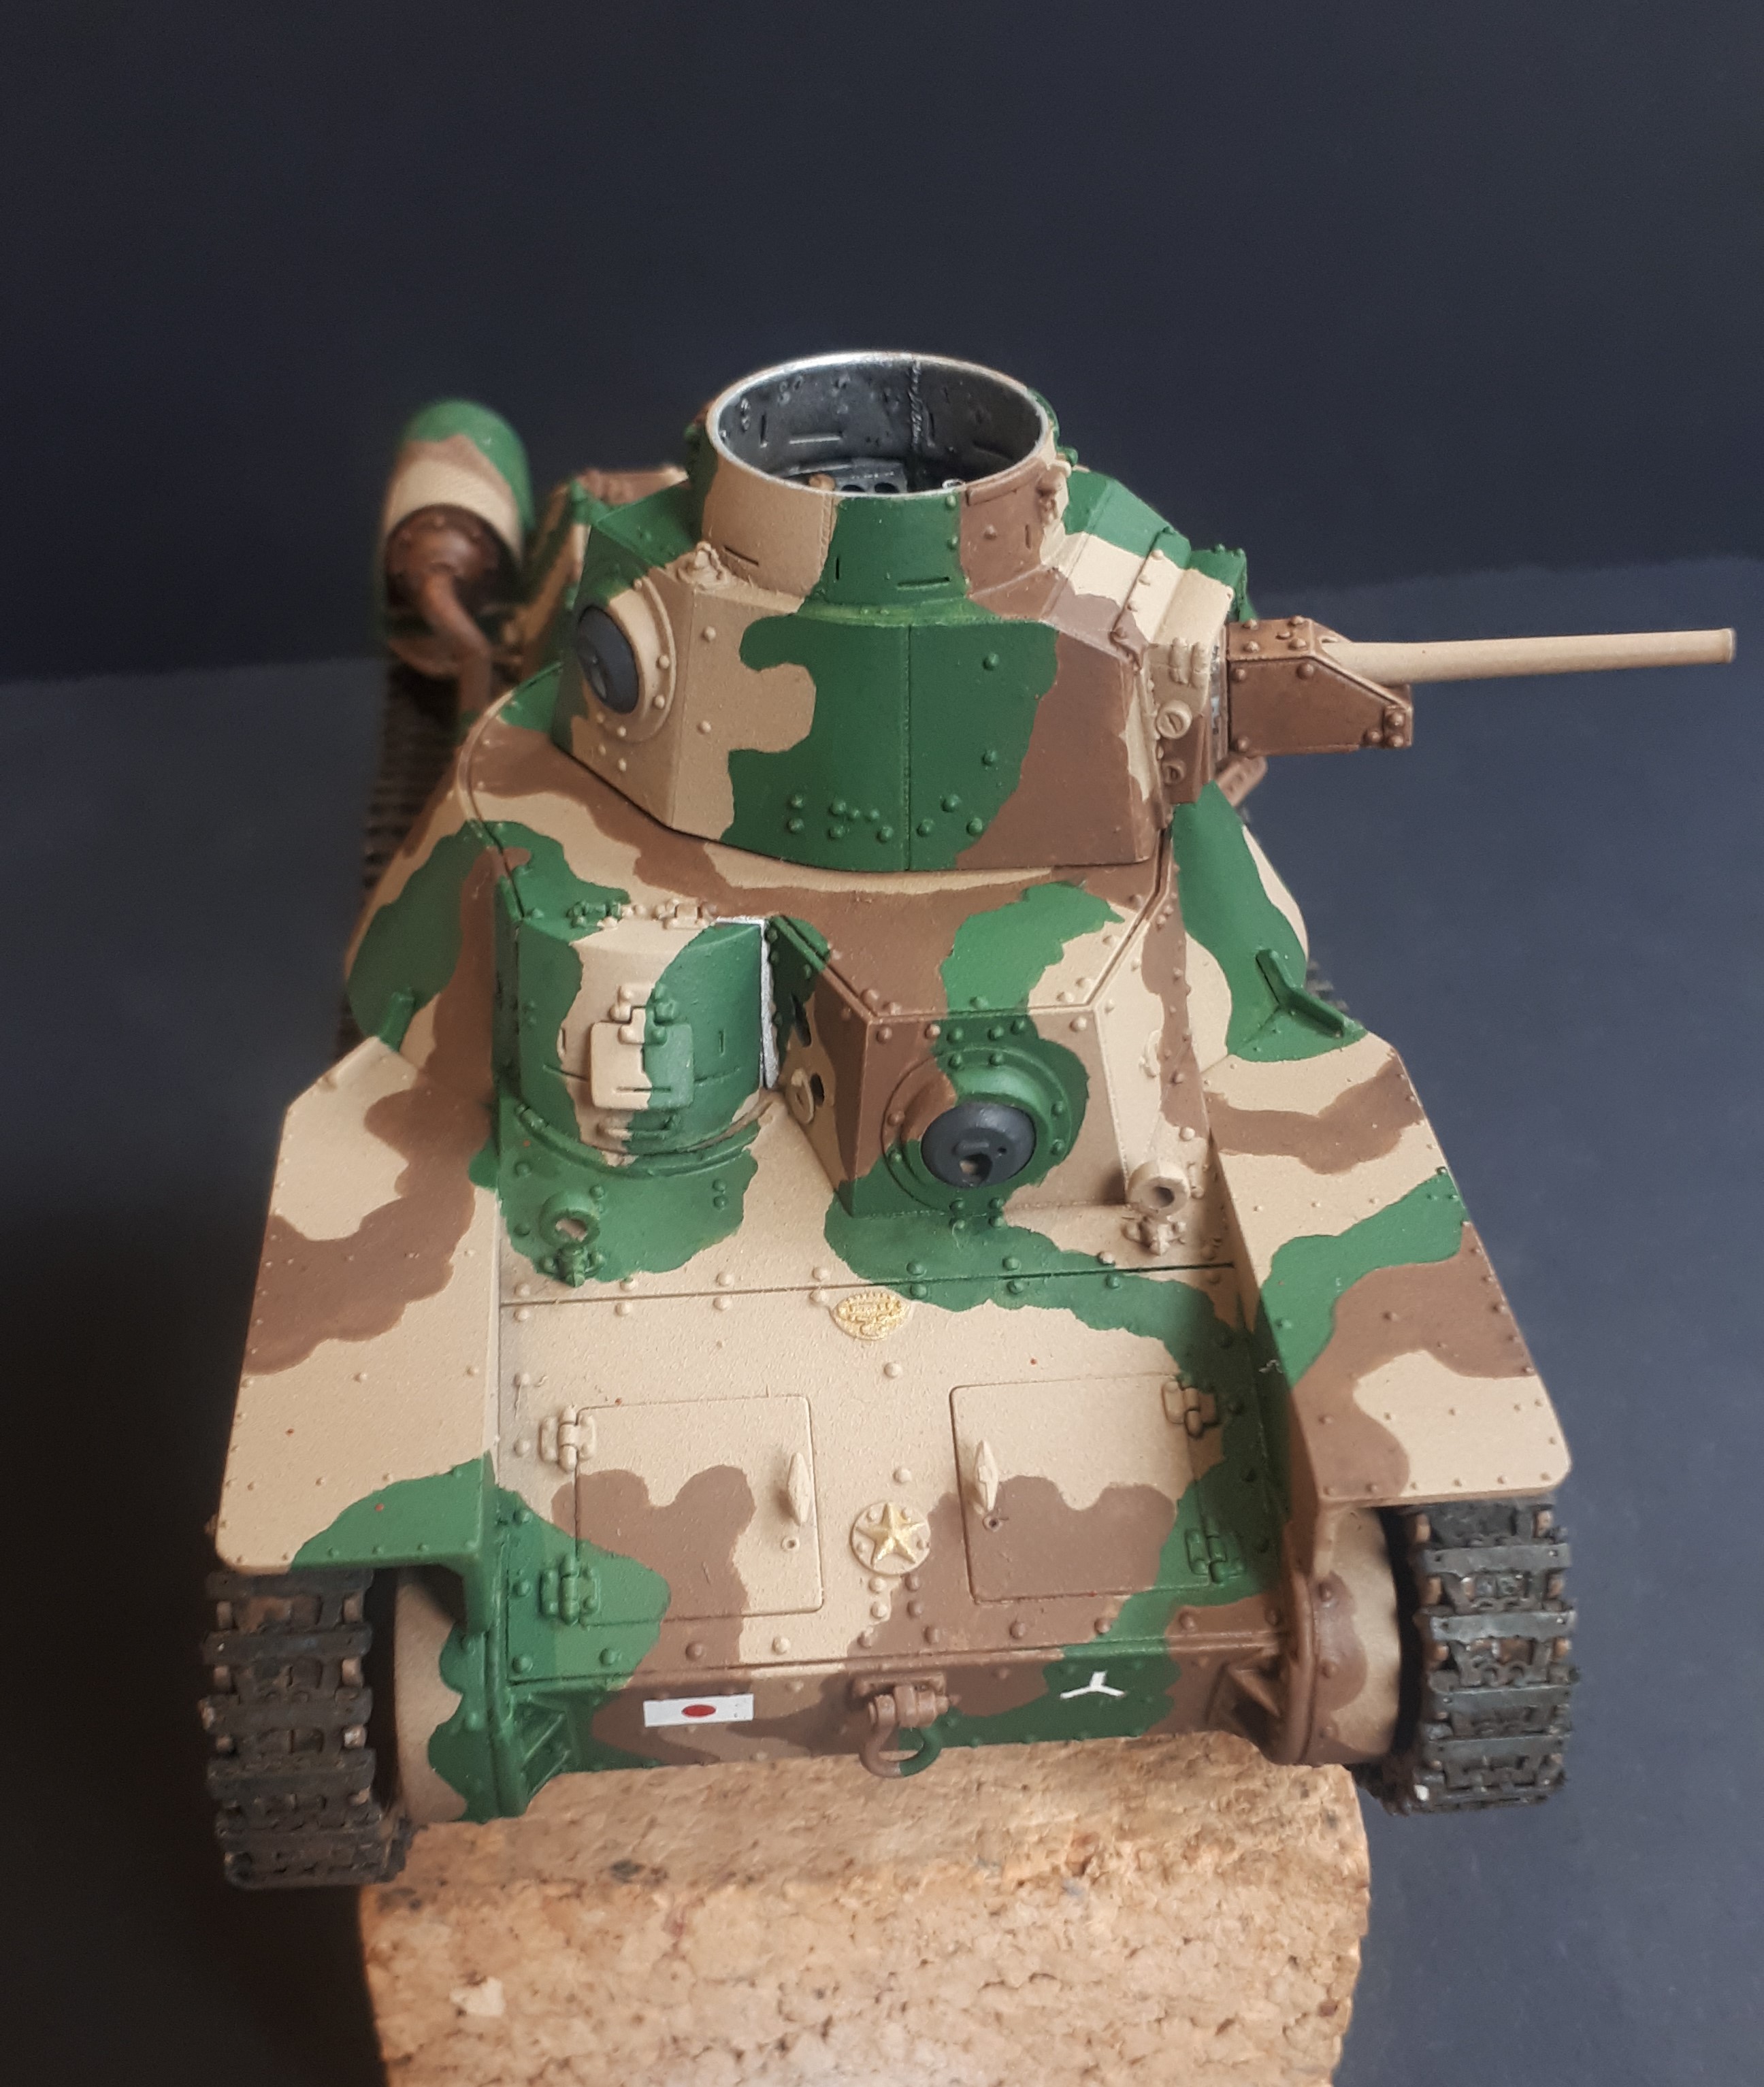
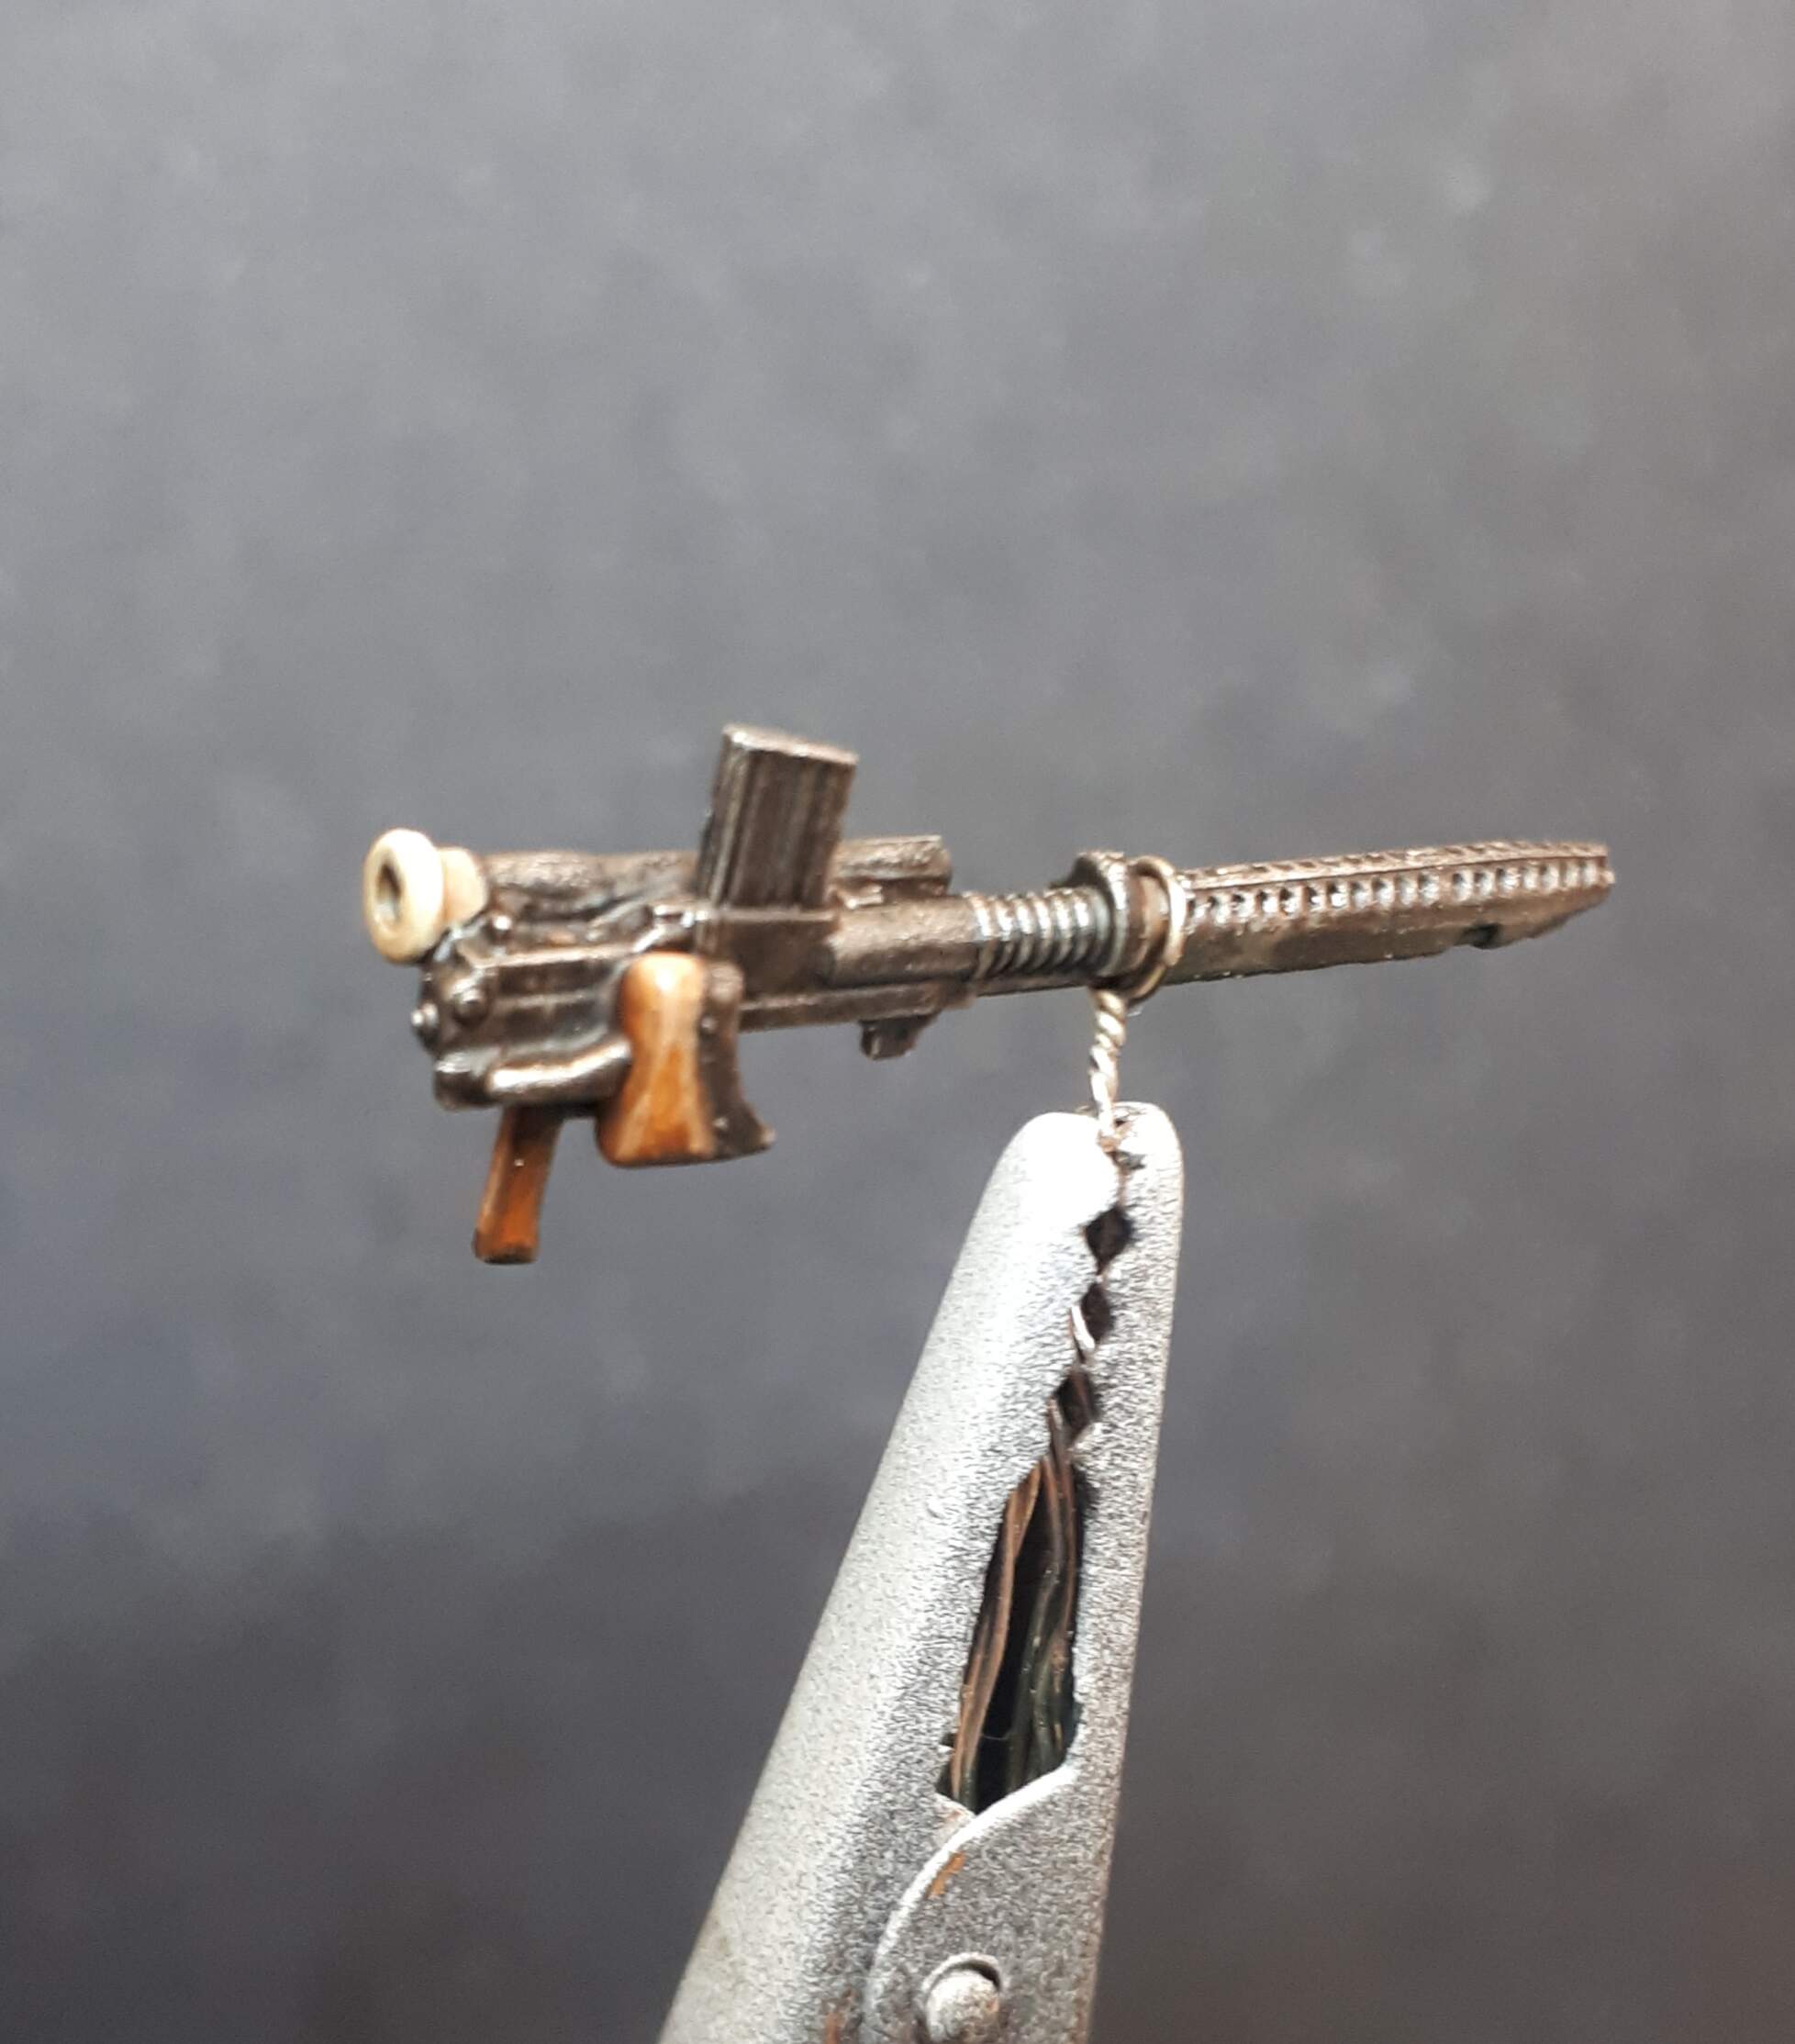
The Type 97 heavy tank machine gun had some interesting modifications from the infantry version of the same weapon: a sighting telescope and a folding stock. The latter pivoted vertically and faced in the opposite direction when not required. Presumably it was most useful when the gun was used in the AA mount or dismounted. Given the very limited amount of space in the Ha-Go’s turret, it would seem most likely that the stock would be folded away when in this position. On the model this was achieved by carefully slicing off the stock at the mounting point and rotating it into the stowed position. Once painted up you can appreciate the exquisite detail on this slide-moulded piece.
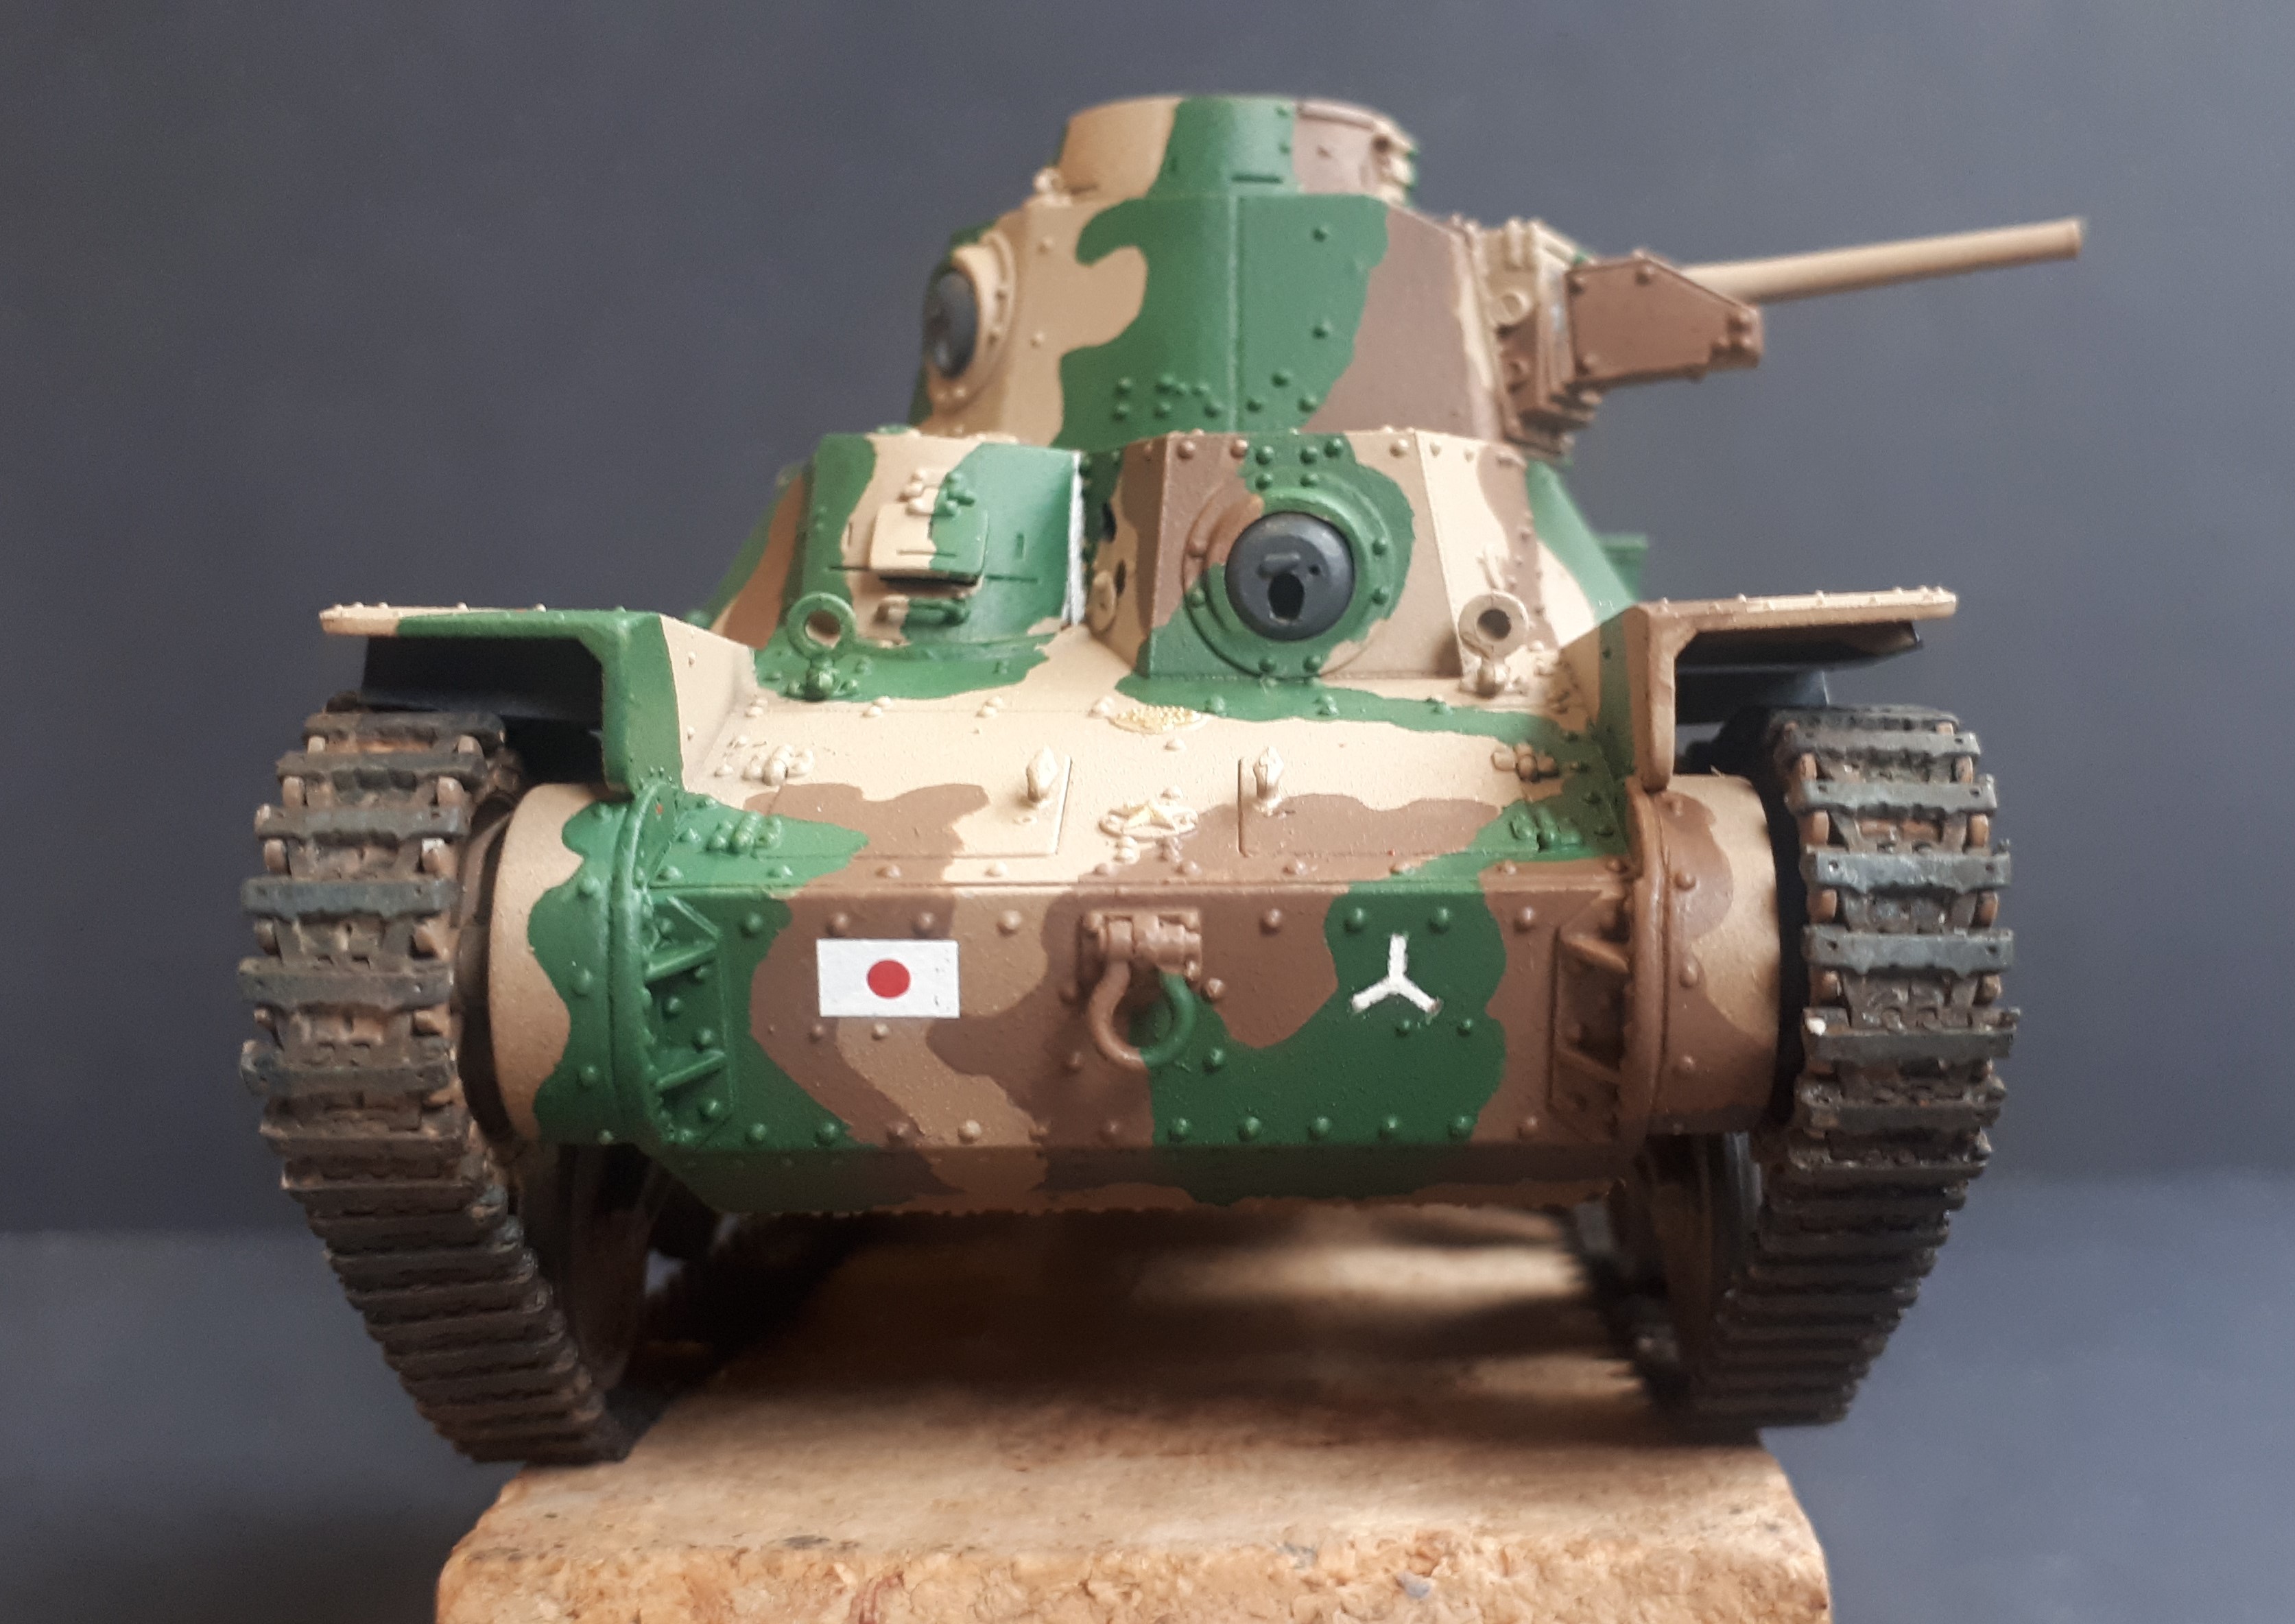
Looking at the exterior you will also notice that the MG ball mounts themselves are painted black (actually a dark grey - black rarely works as a surface shade in this scale). I read somewhere that this was standard practice for Japanese tanks of the era - perhaps because the internal mounts were manufactured elsewhere from the tanks themselves.
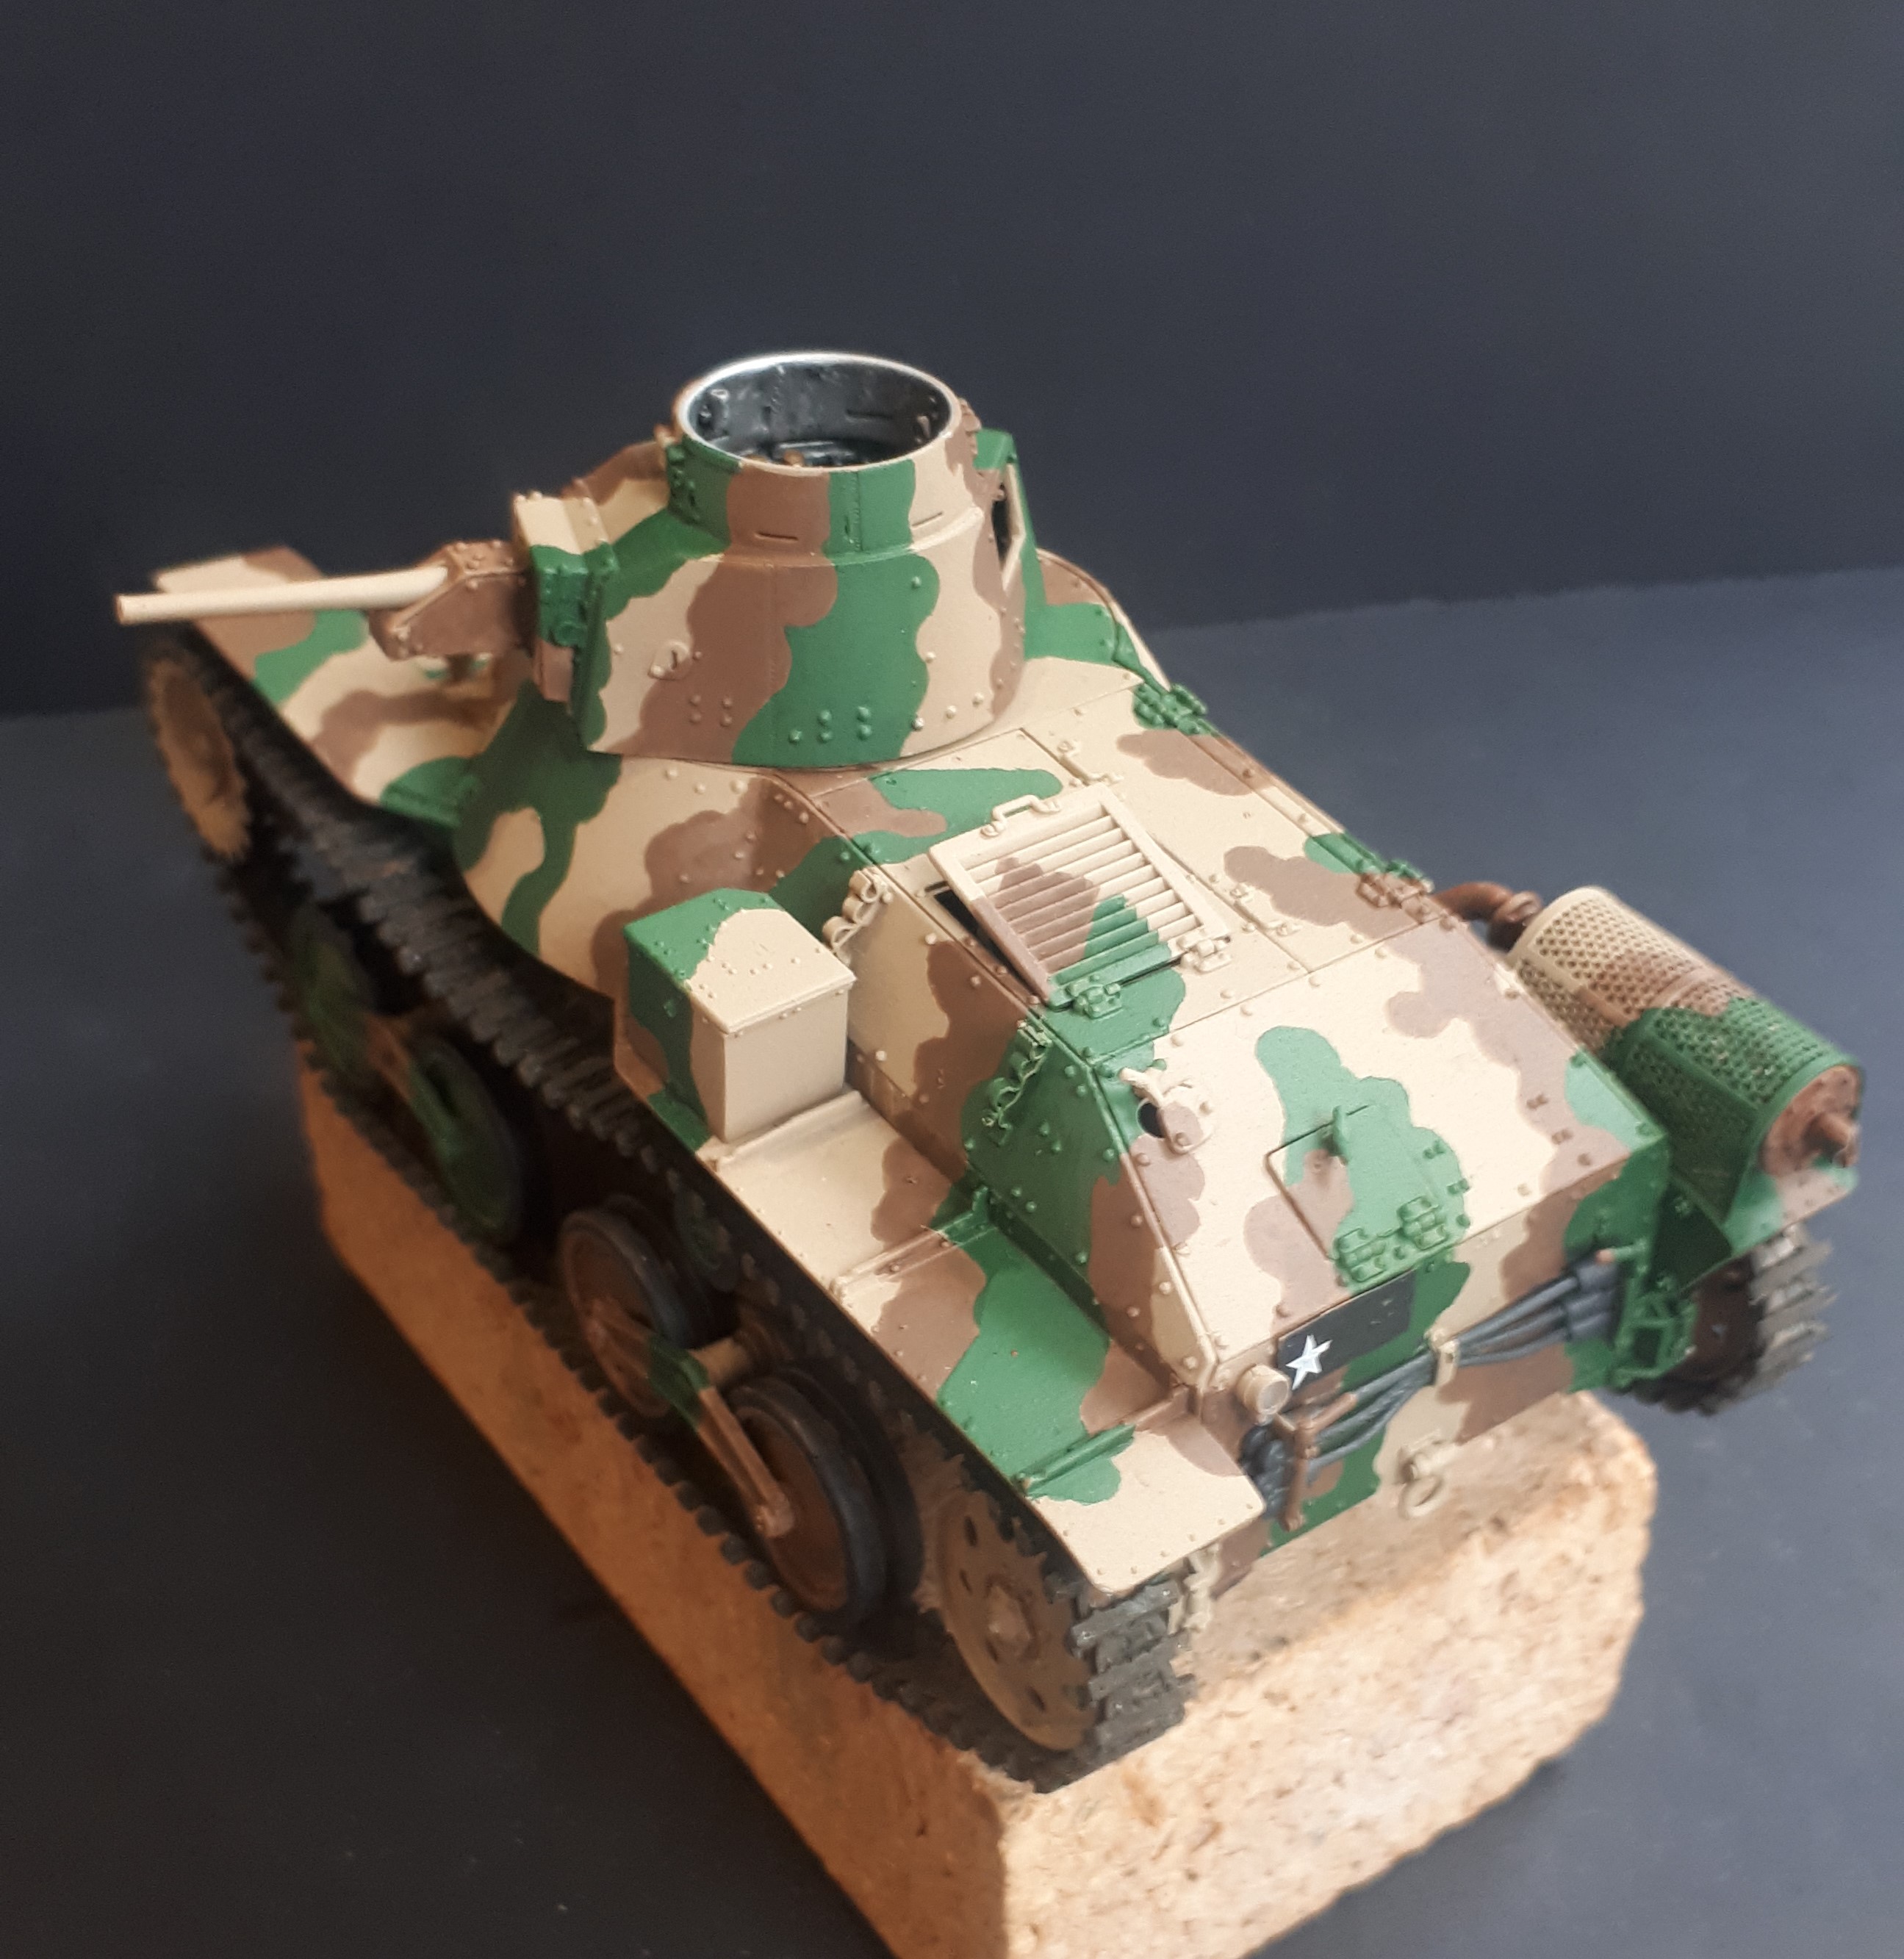
Finally, there are the markings. This is another puzzling aspect of the kits, both of which claim to supply schemes for the Malayan campaign. The Dragon kit (at least the one I have) has neither of the markings needed for this particular tank. The Fine Molds kit does at least have the Imperial Japanese flag emblem. Yet neither have the inverted ‘Y’ which is prominent in the photos from the Bhakri battle. So I had to resort to some old-fashioned brush painting…
The white star on the rear plate actually came from an old 1/76 Allied decal sheet in my spares box. This was because both kits supplied a decal that attempted to reproduce the entire black surface of the plate, complete with the tank number. Instead I simply painted the entire plate black and then added the star. Interestingly, the number itself was written in Arabic numerals… presumably even the Japanese had to accept that, beautiful as their script may be, it is not designed to be read at a distance! So, if anyone has a suggestion for the actual number I should apply to this tank, I will be very interested to hear it…
Looks great so far! Great job with the kit
My challenge with hand painting is maintaining a smooth finish like spray paint. The photos of the actual paint look very smooth even though it is a hand painted cloud pattern.