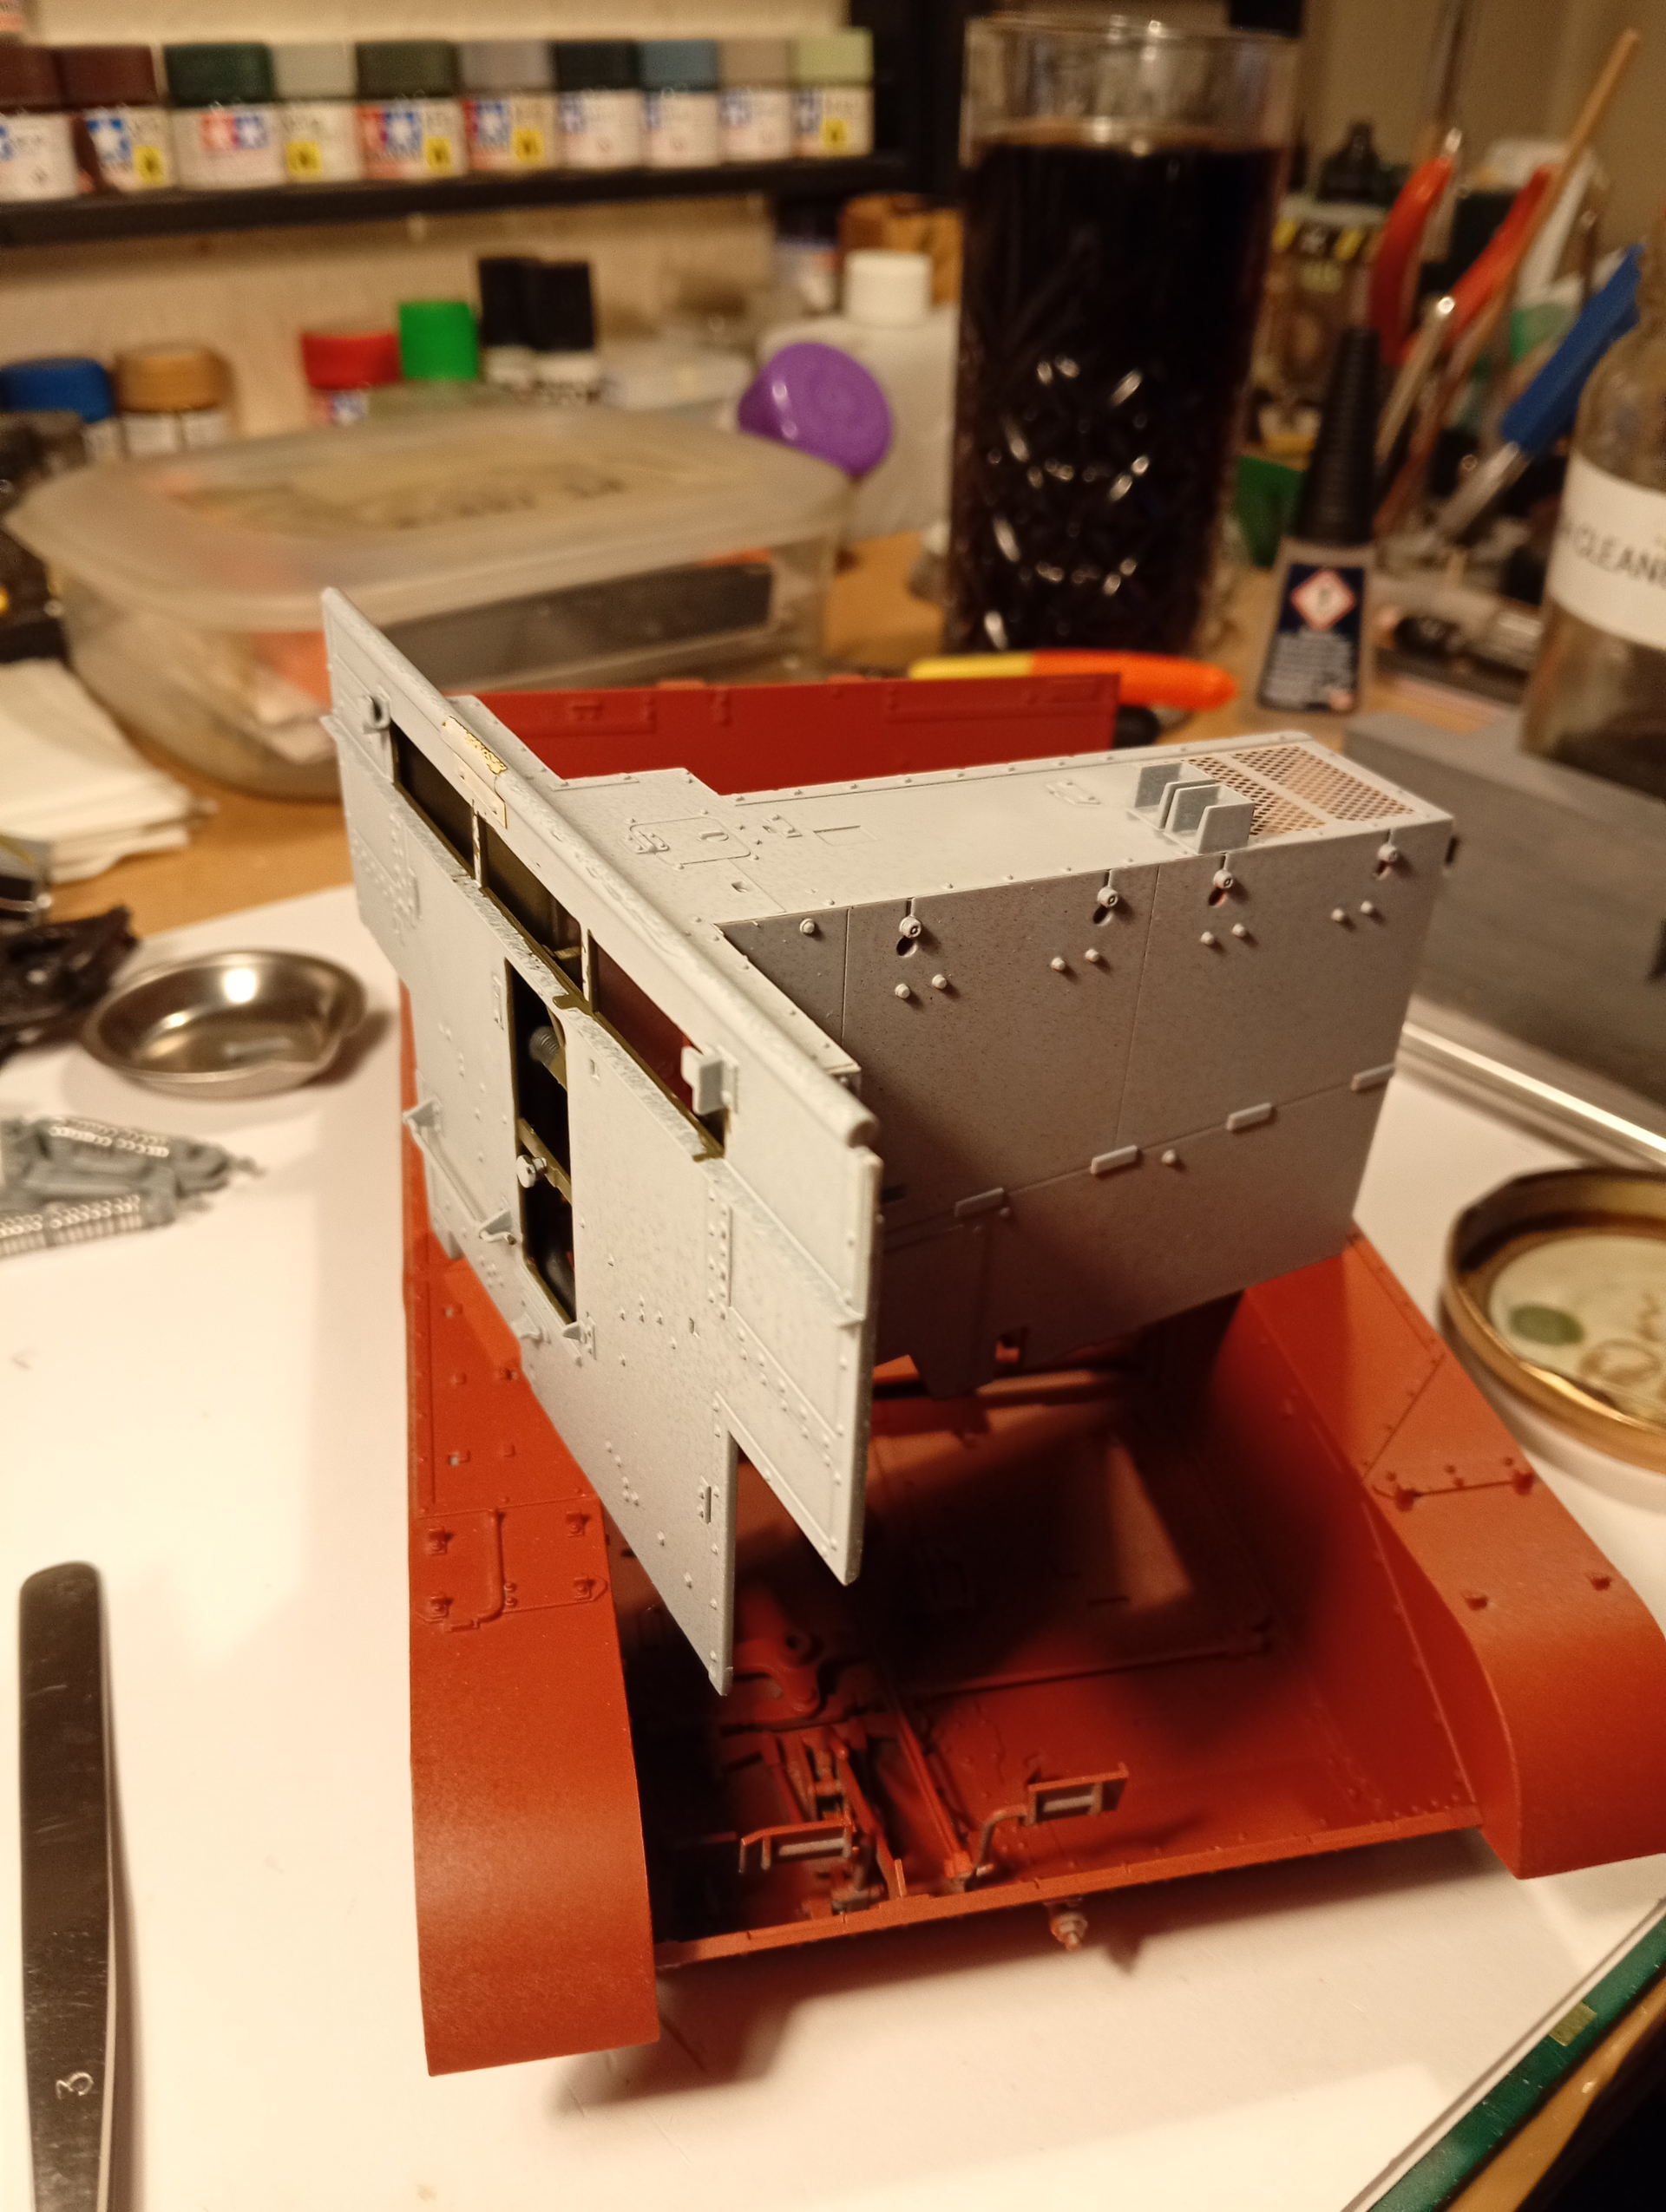
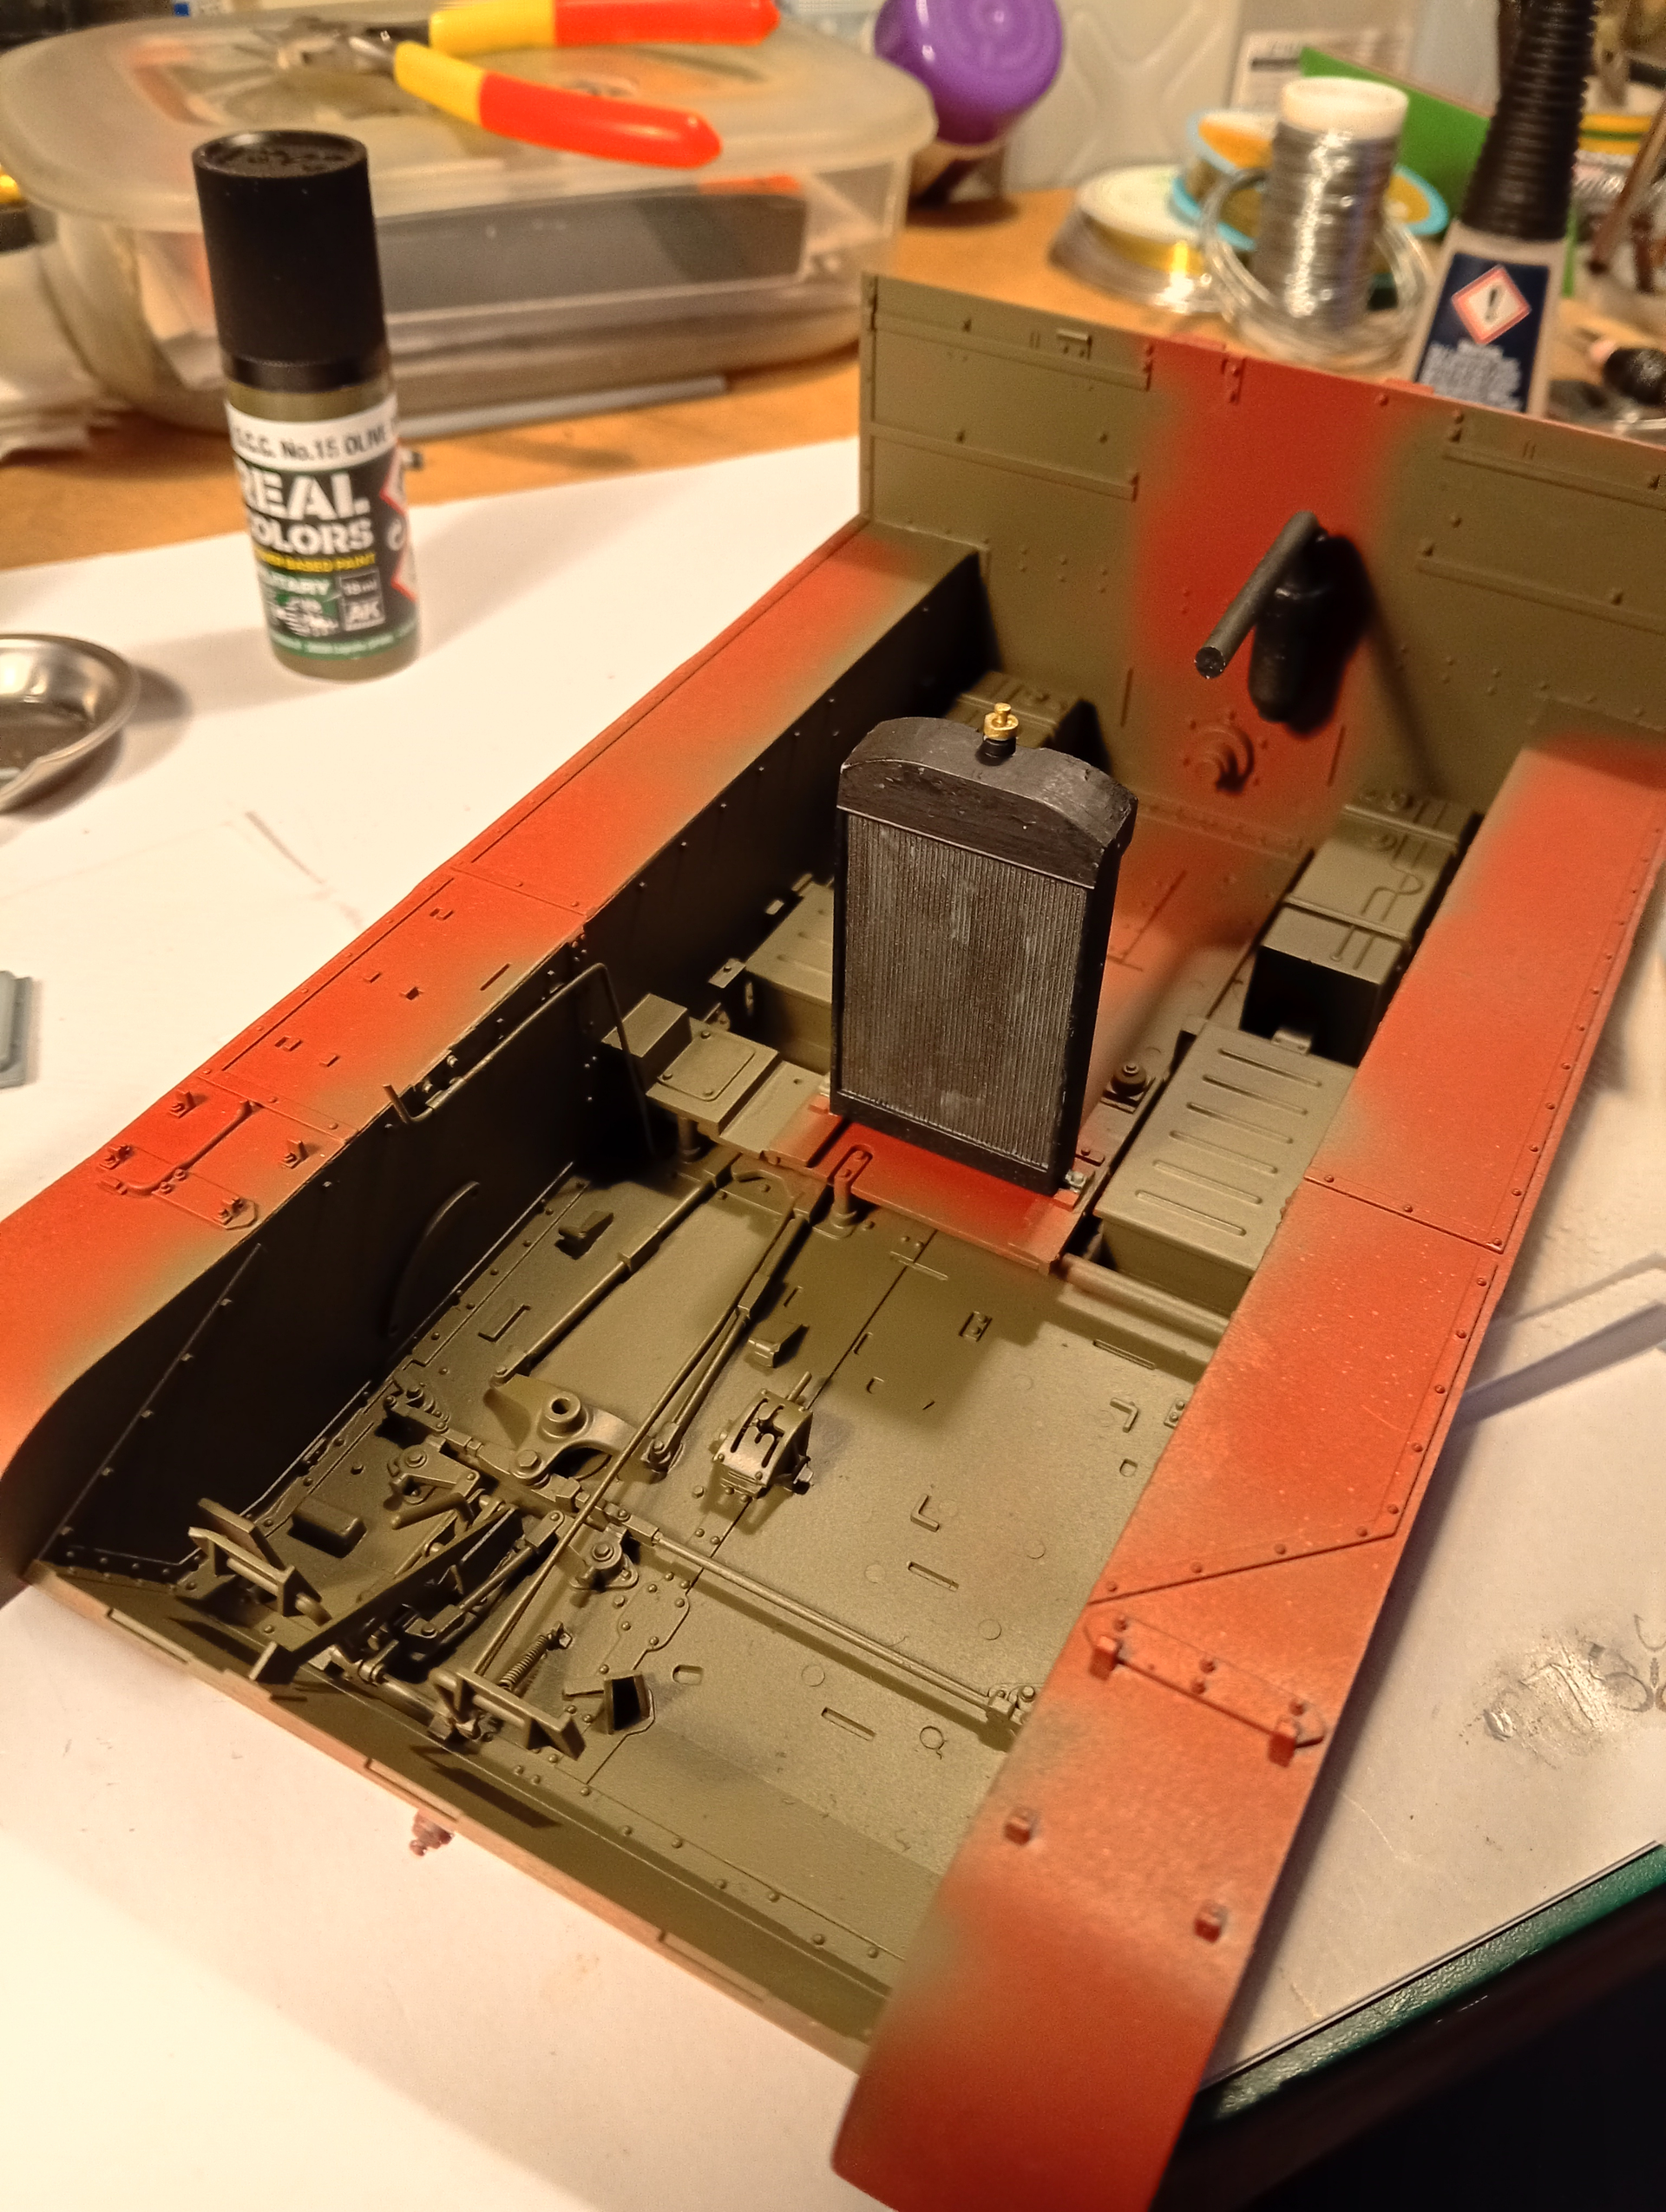
Going a bit off piste with the instructions and following Donald’s @oldwarloke recommendation about fitting the sponson boards first then the rear panel before the drive axle….
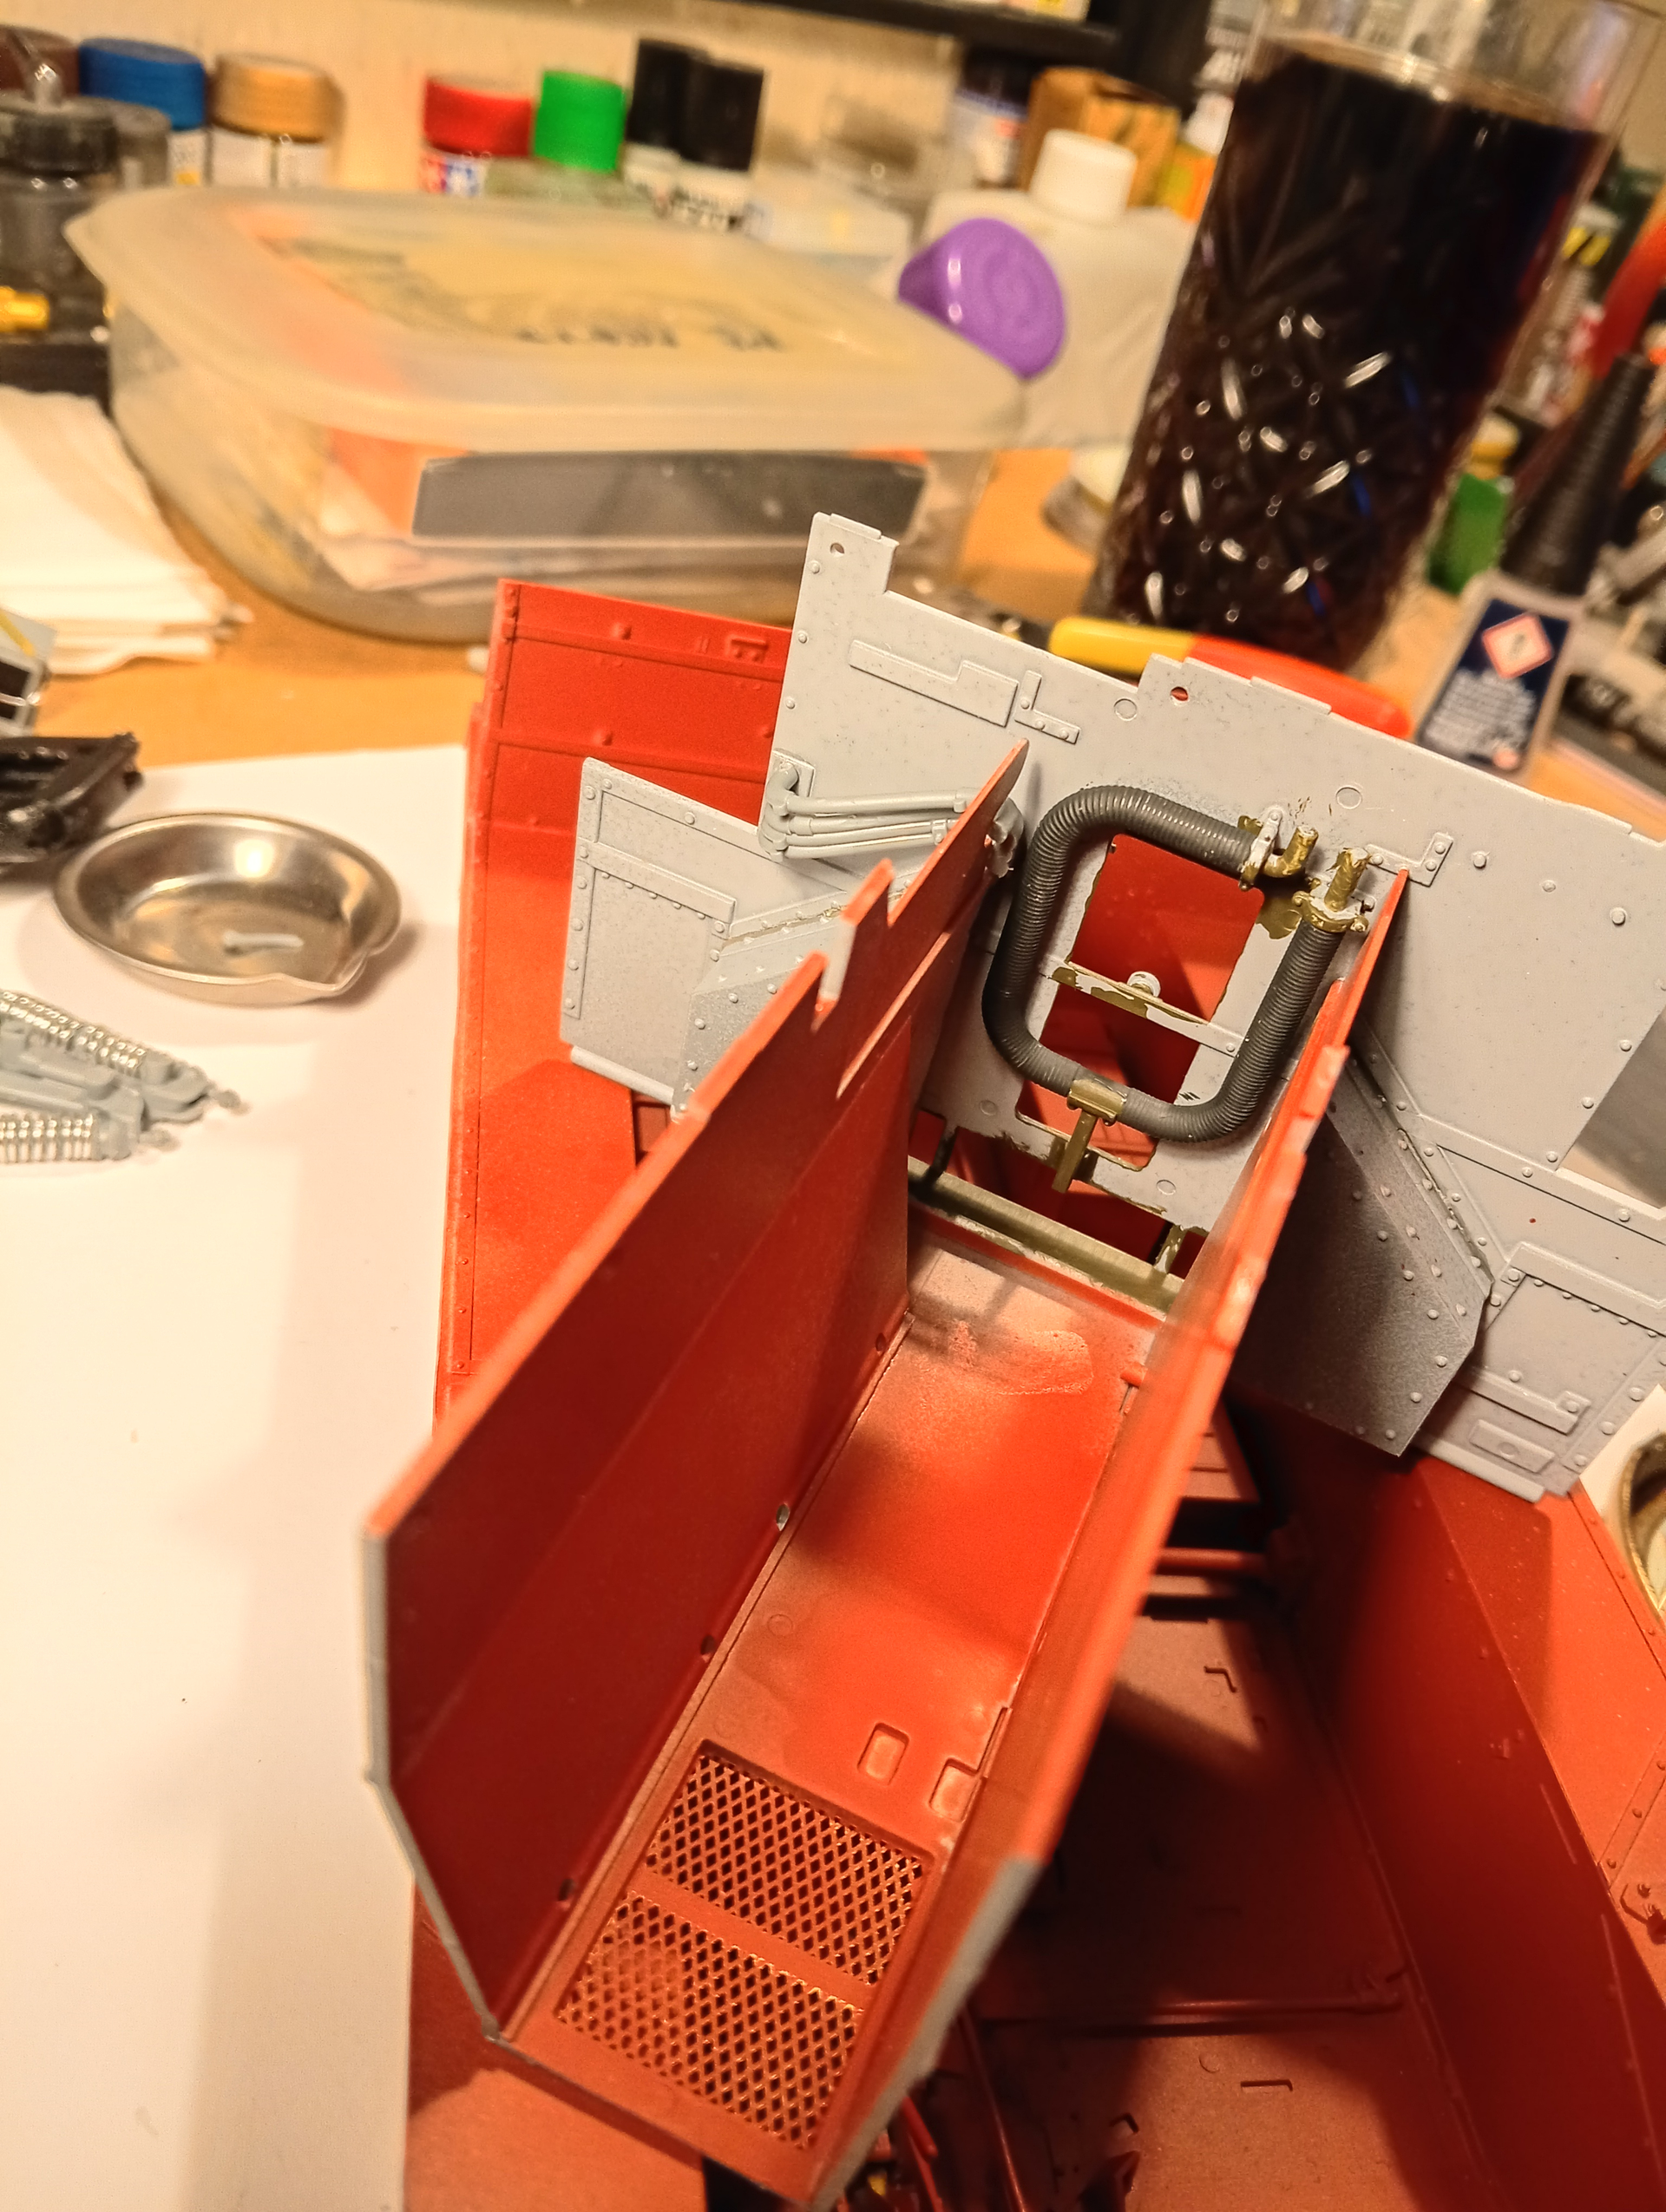
I removed some moulded on cabling that was to the right of the driver on the sidewall, and added the mounting and guide plate, then the cable ….this will eventually go up to the drivers panel, and other end goes through the rear cab bulkhead.
Spare PE added for the base plate with some MENG bolt heads.
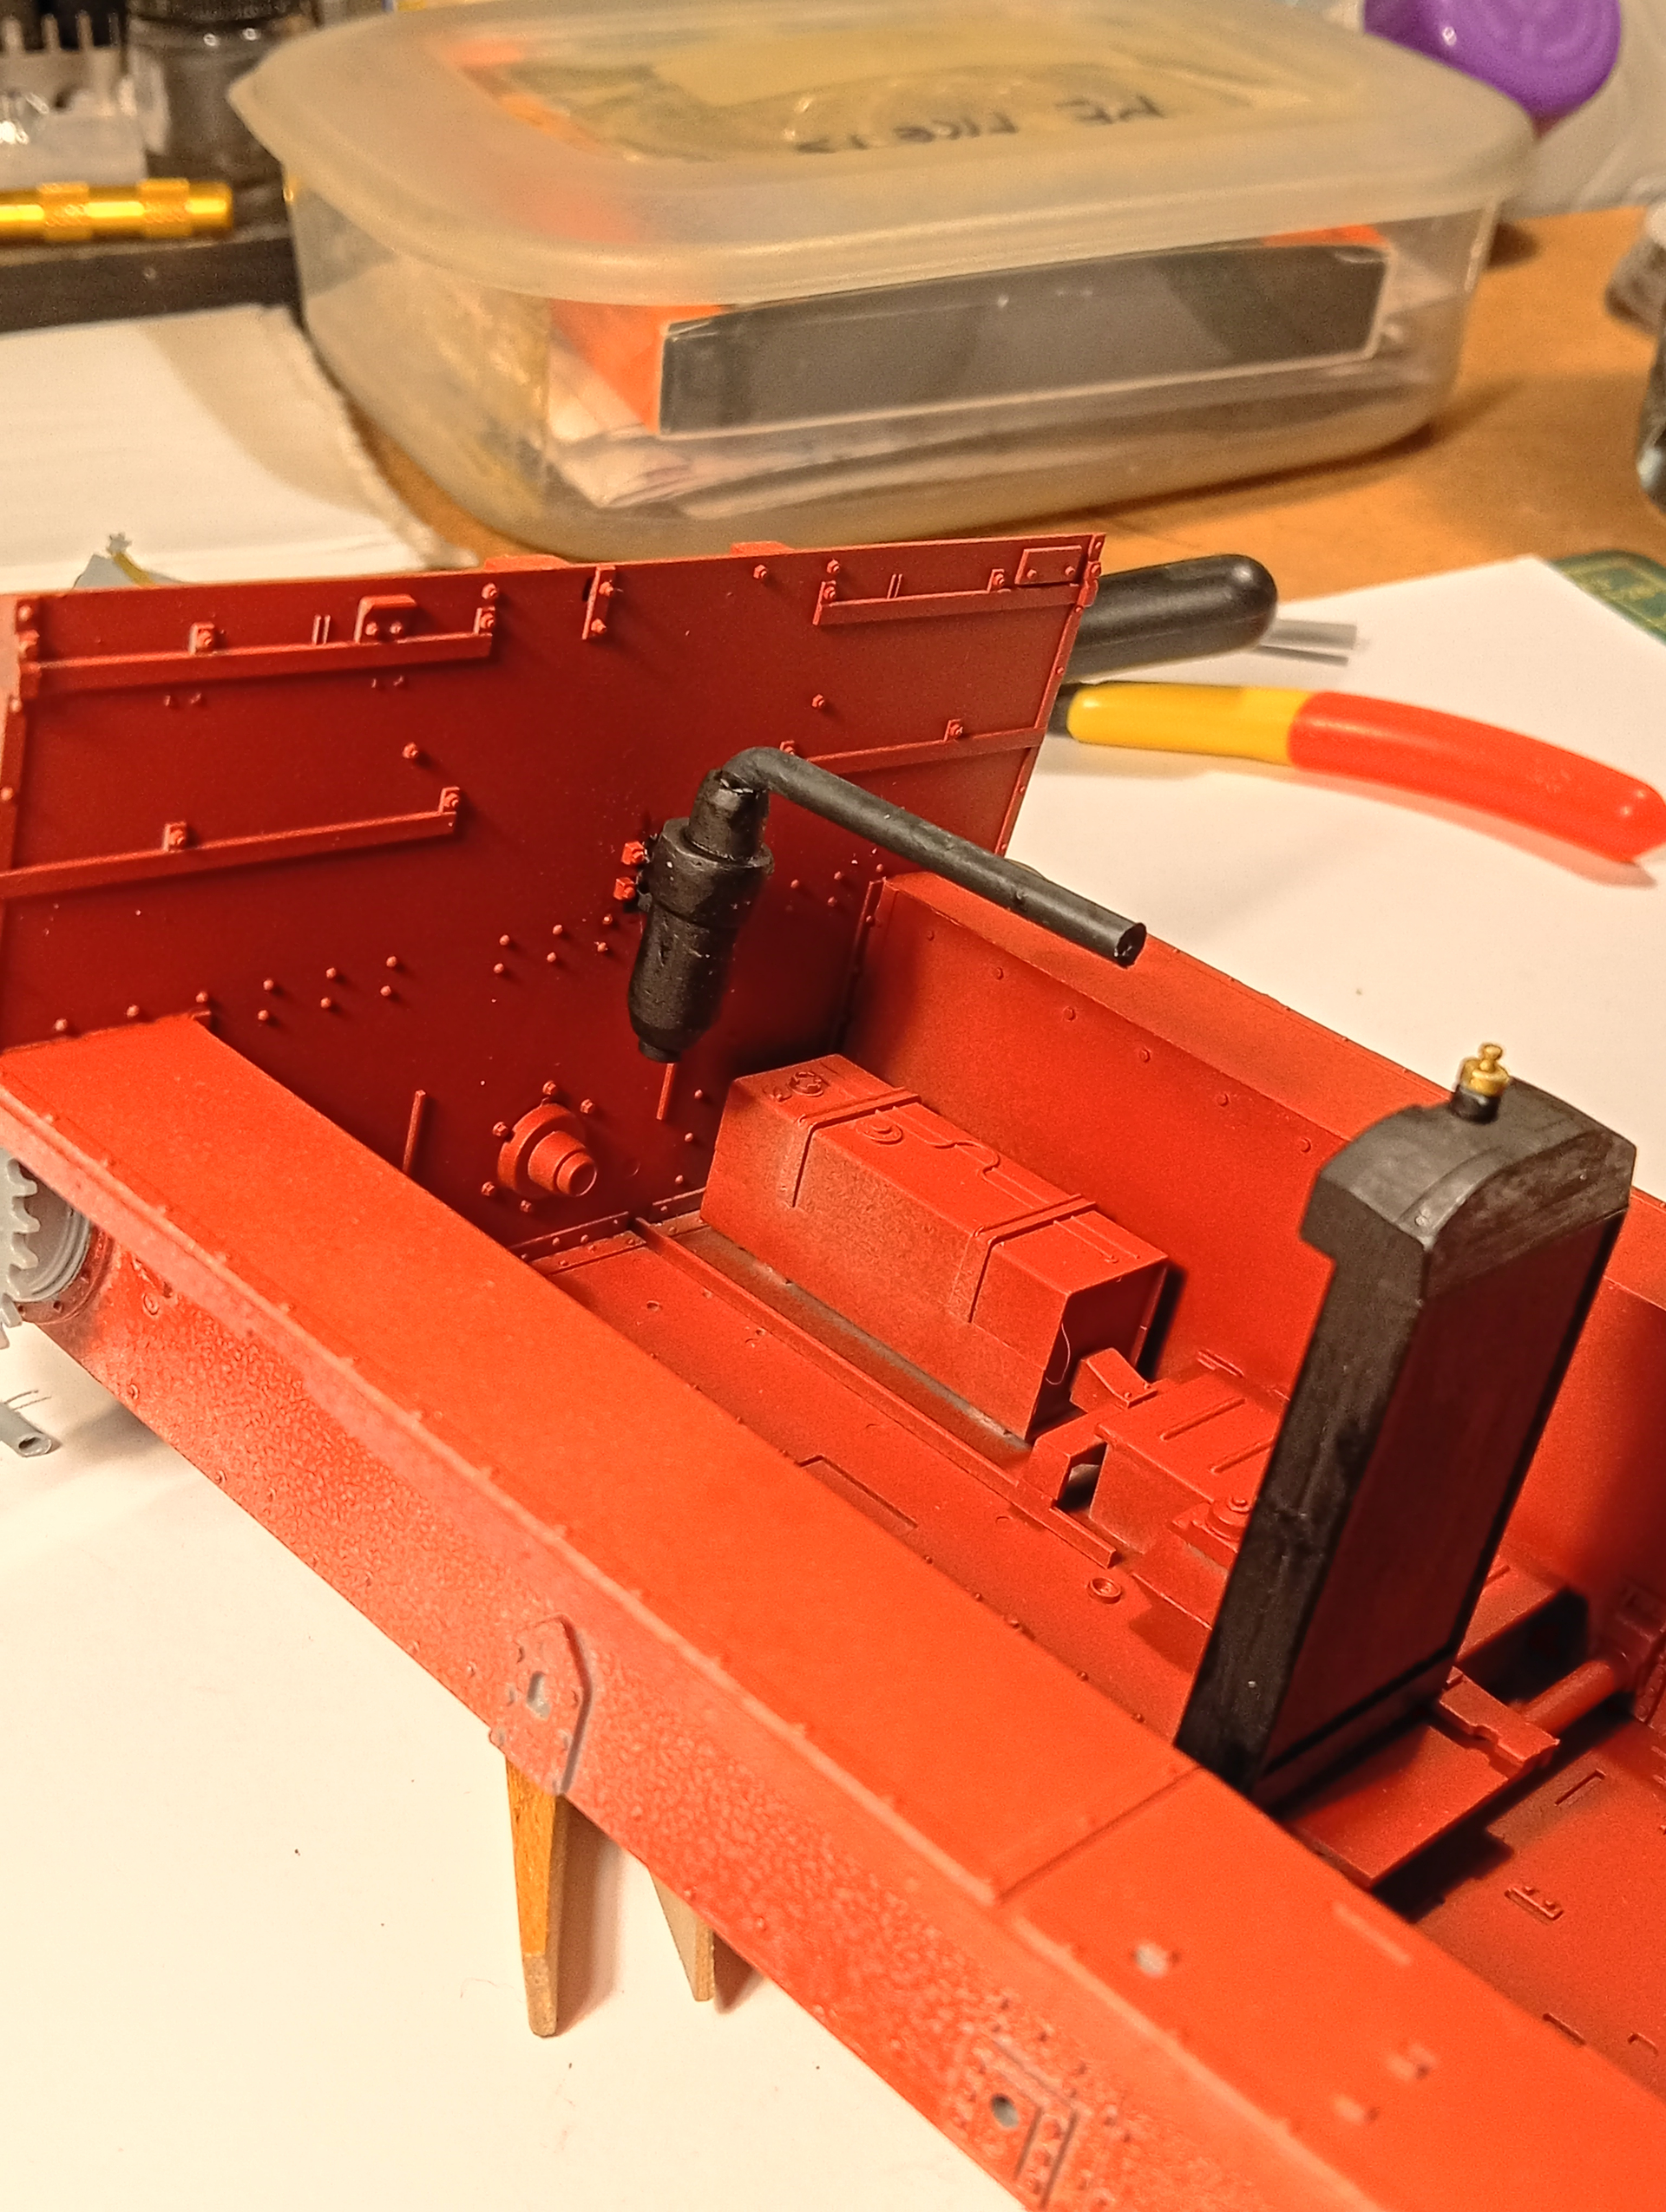
Oh and forgot…. Added the rear hull panel. And went in the order Donald @oldwarloke recommended.. plate, then drive shaft union and then the drive axle ( yet to be fitted)
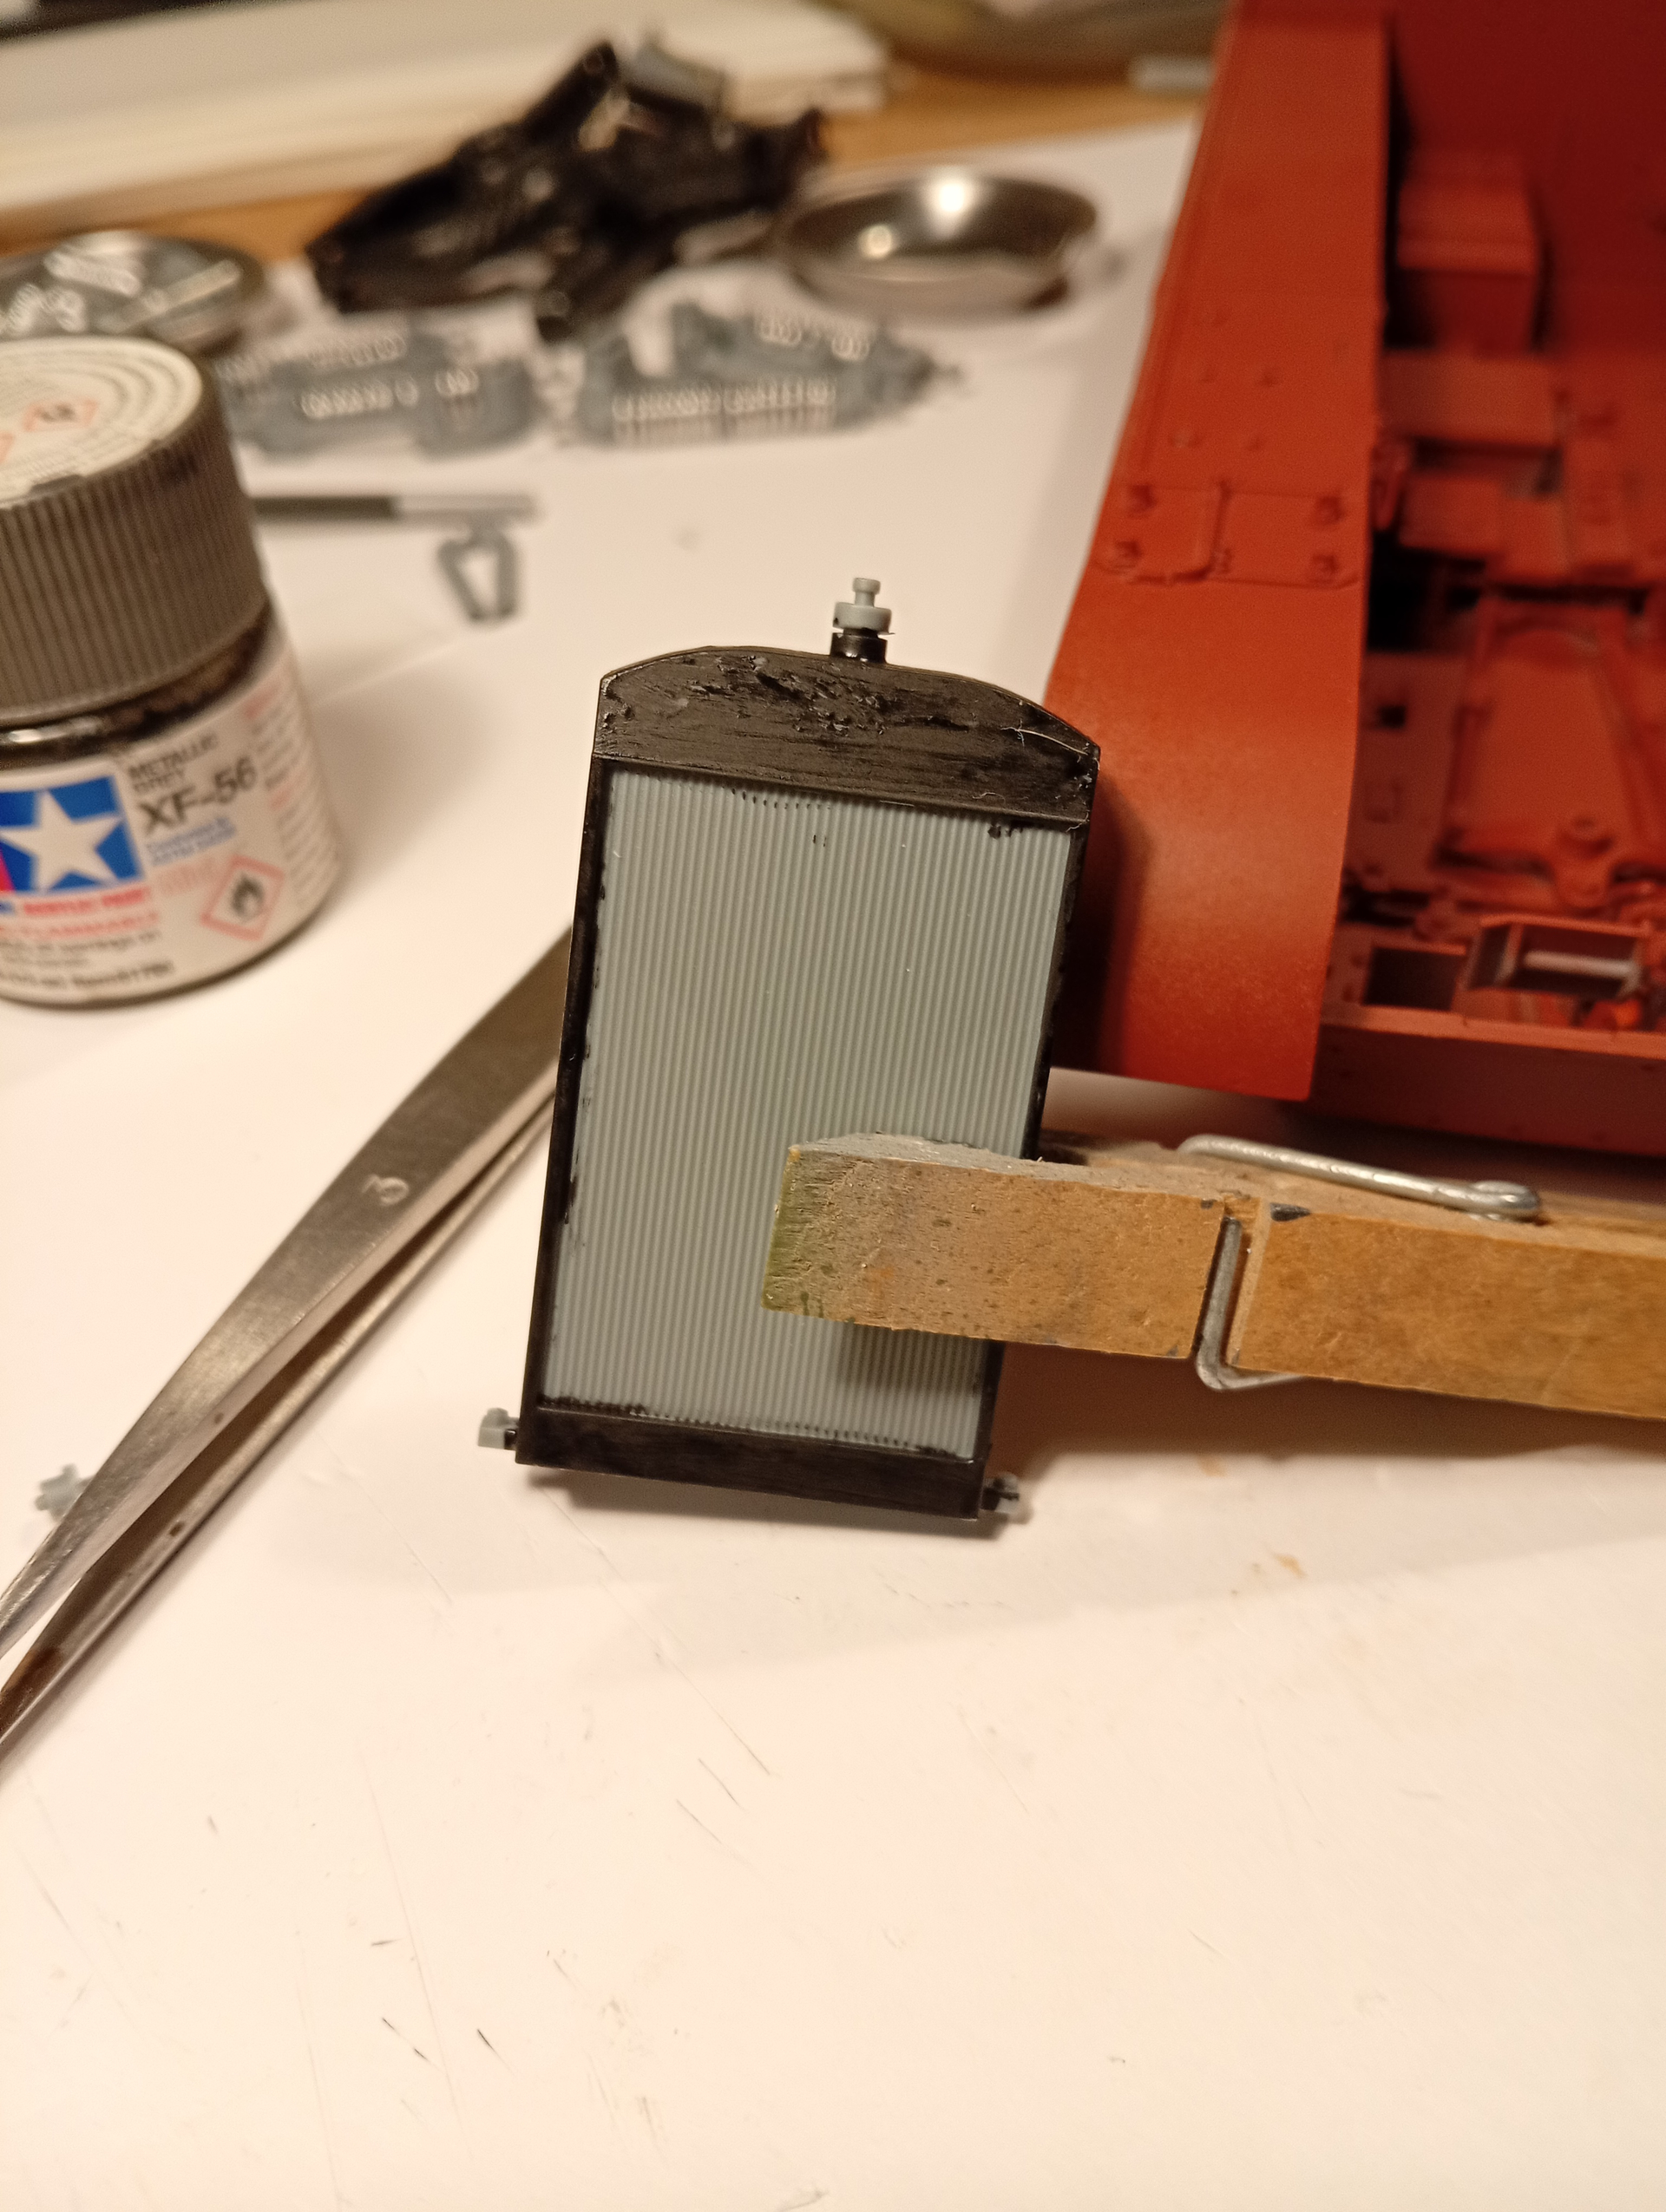
This had suffered a bit of warping while sat in the box probably, but nothing to worry about ….
Simply glued the bottom first, let that set, then one side, then the other to make sure it all lined up, then the upper sections down onto the sponson… nice and straightforward.
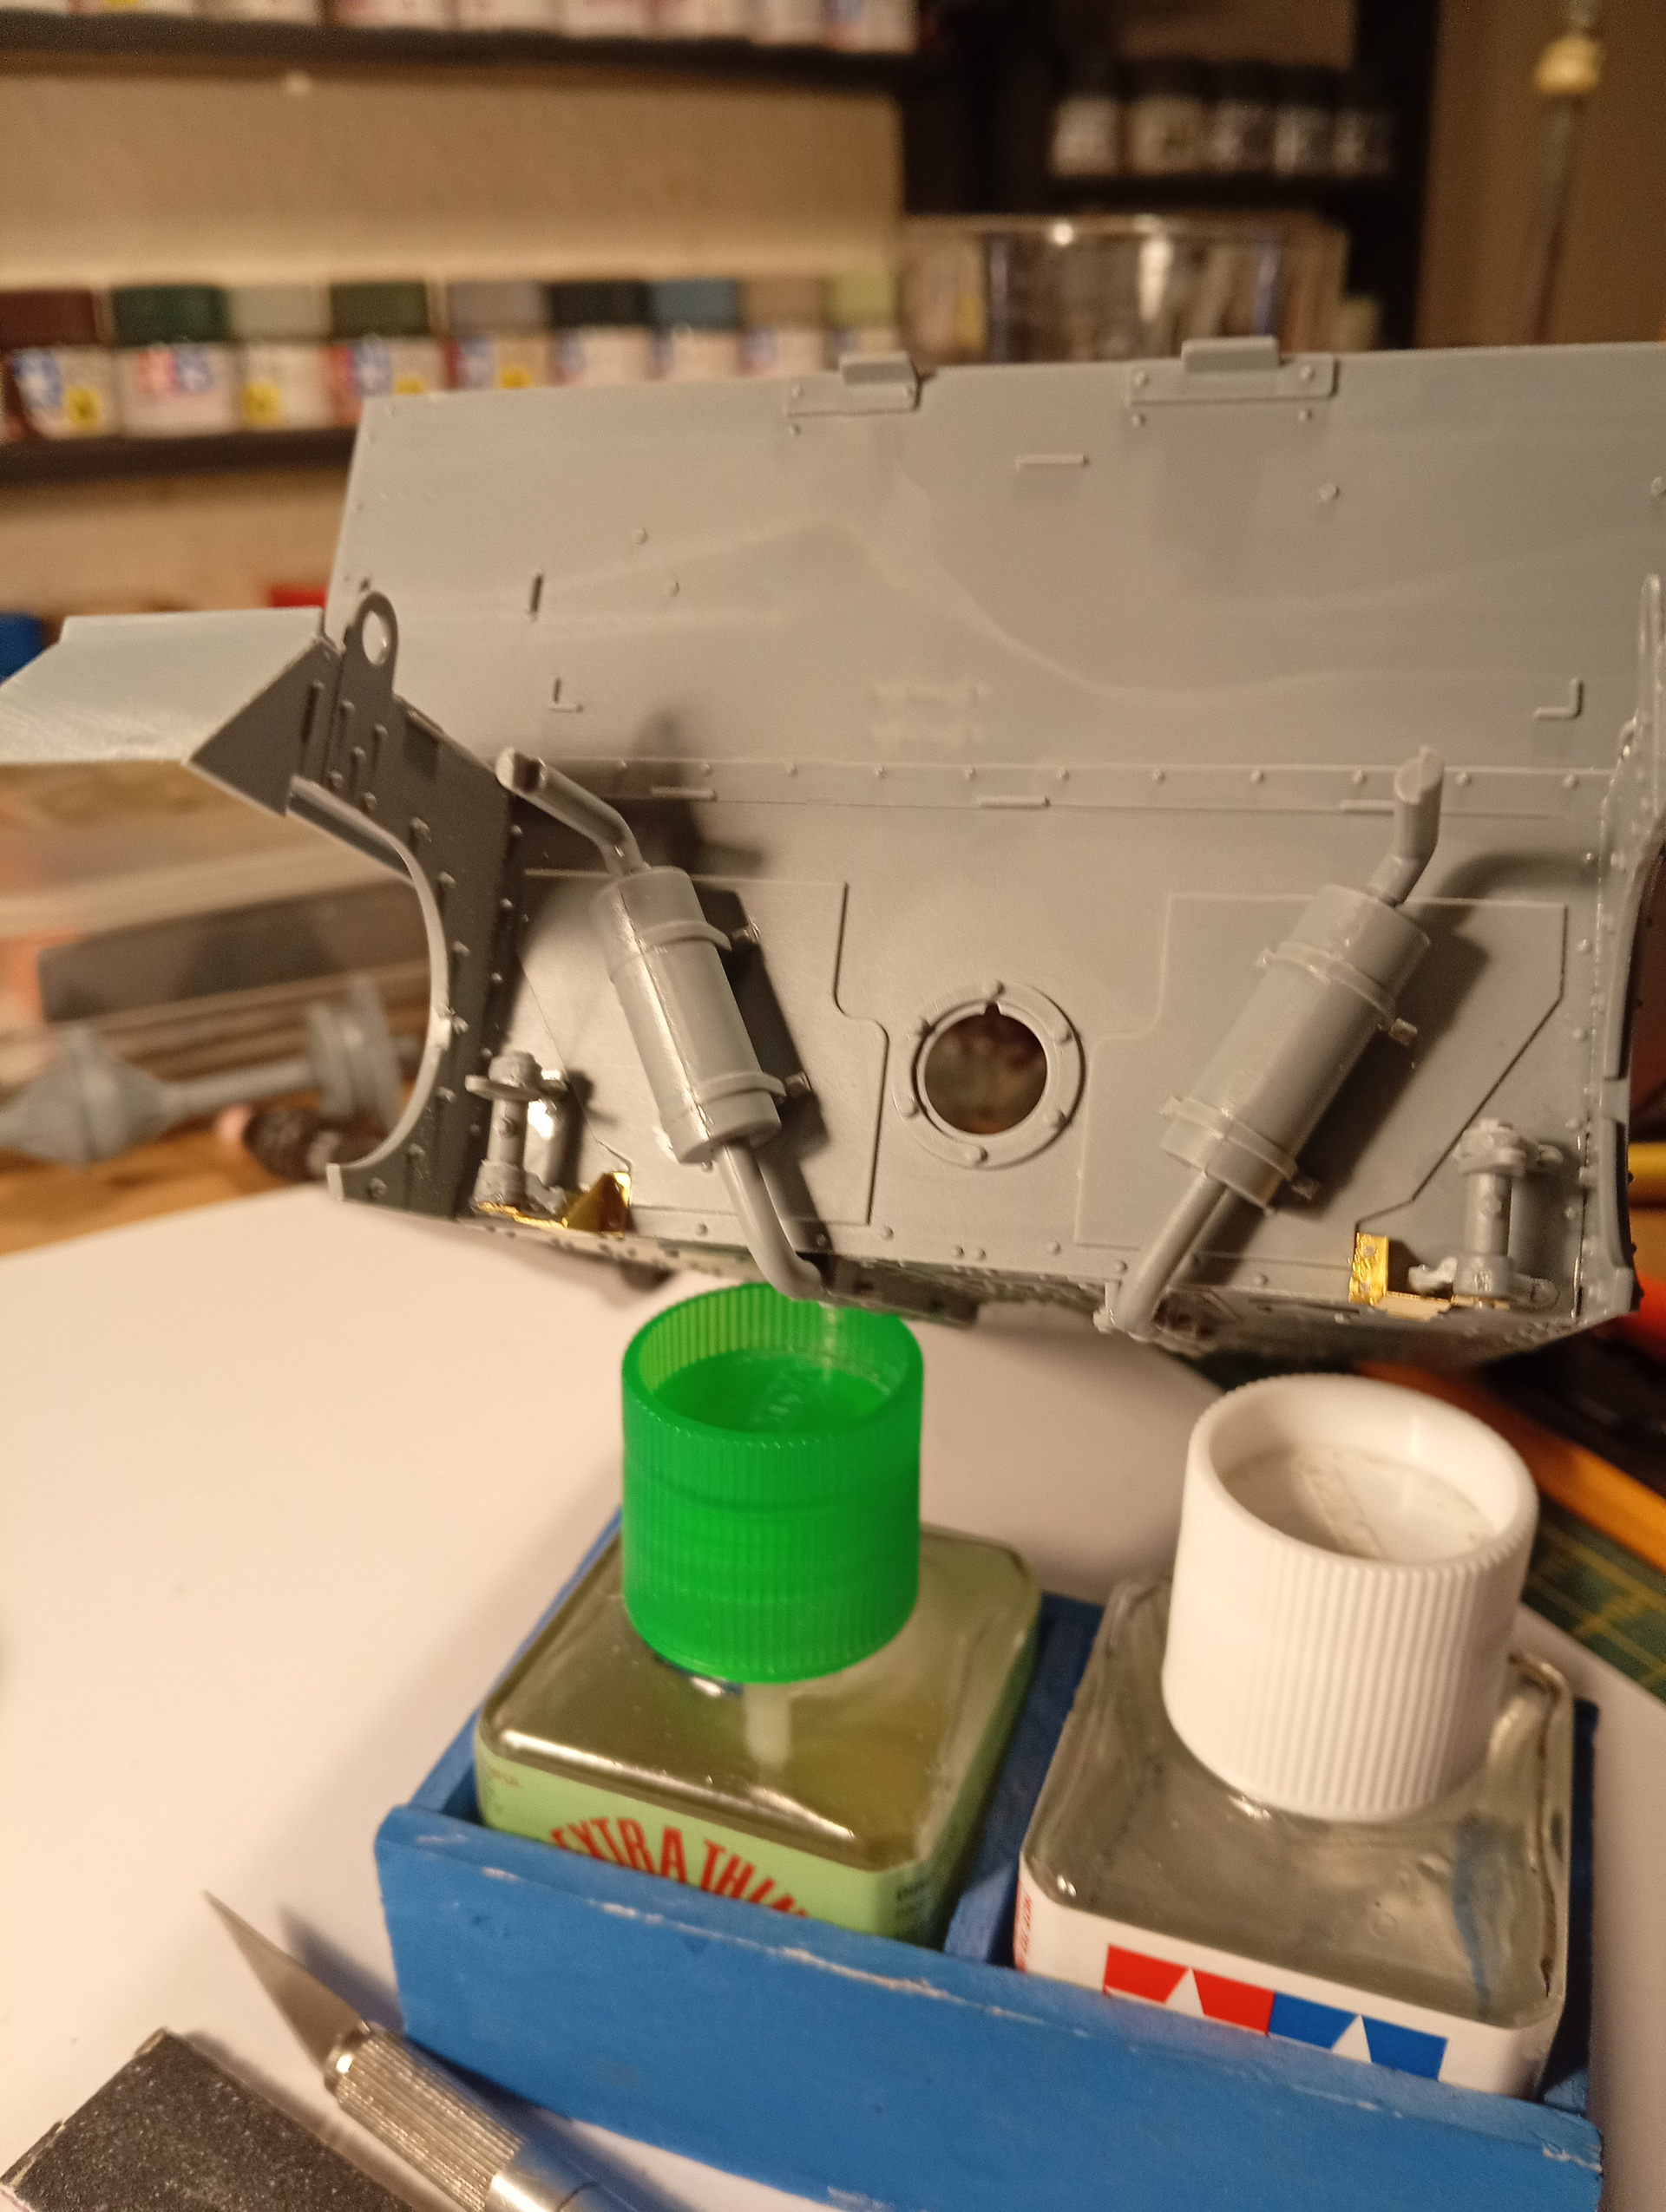
Got some parts added to the rear hull plate, namely the exhaust system ( not fitting the down pipes yet) and the mechanism that connect to the inner side of the drive sprockets.
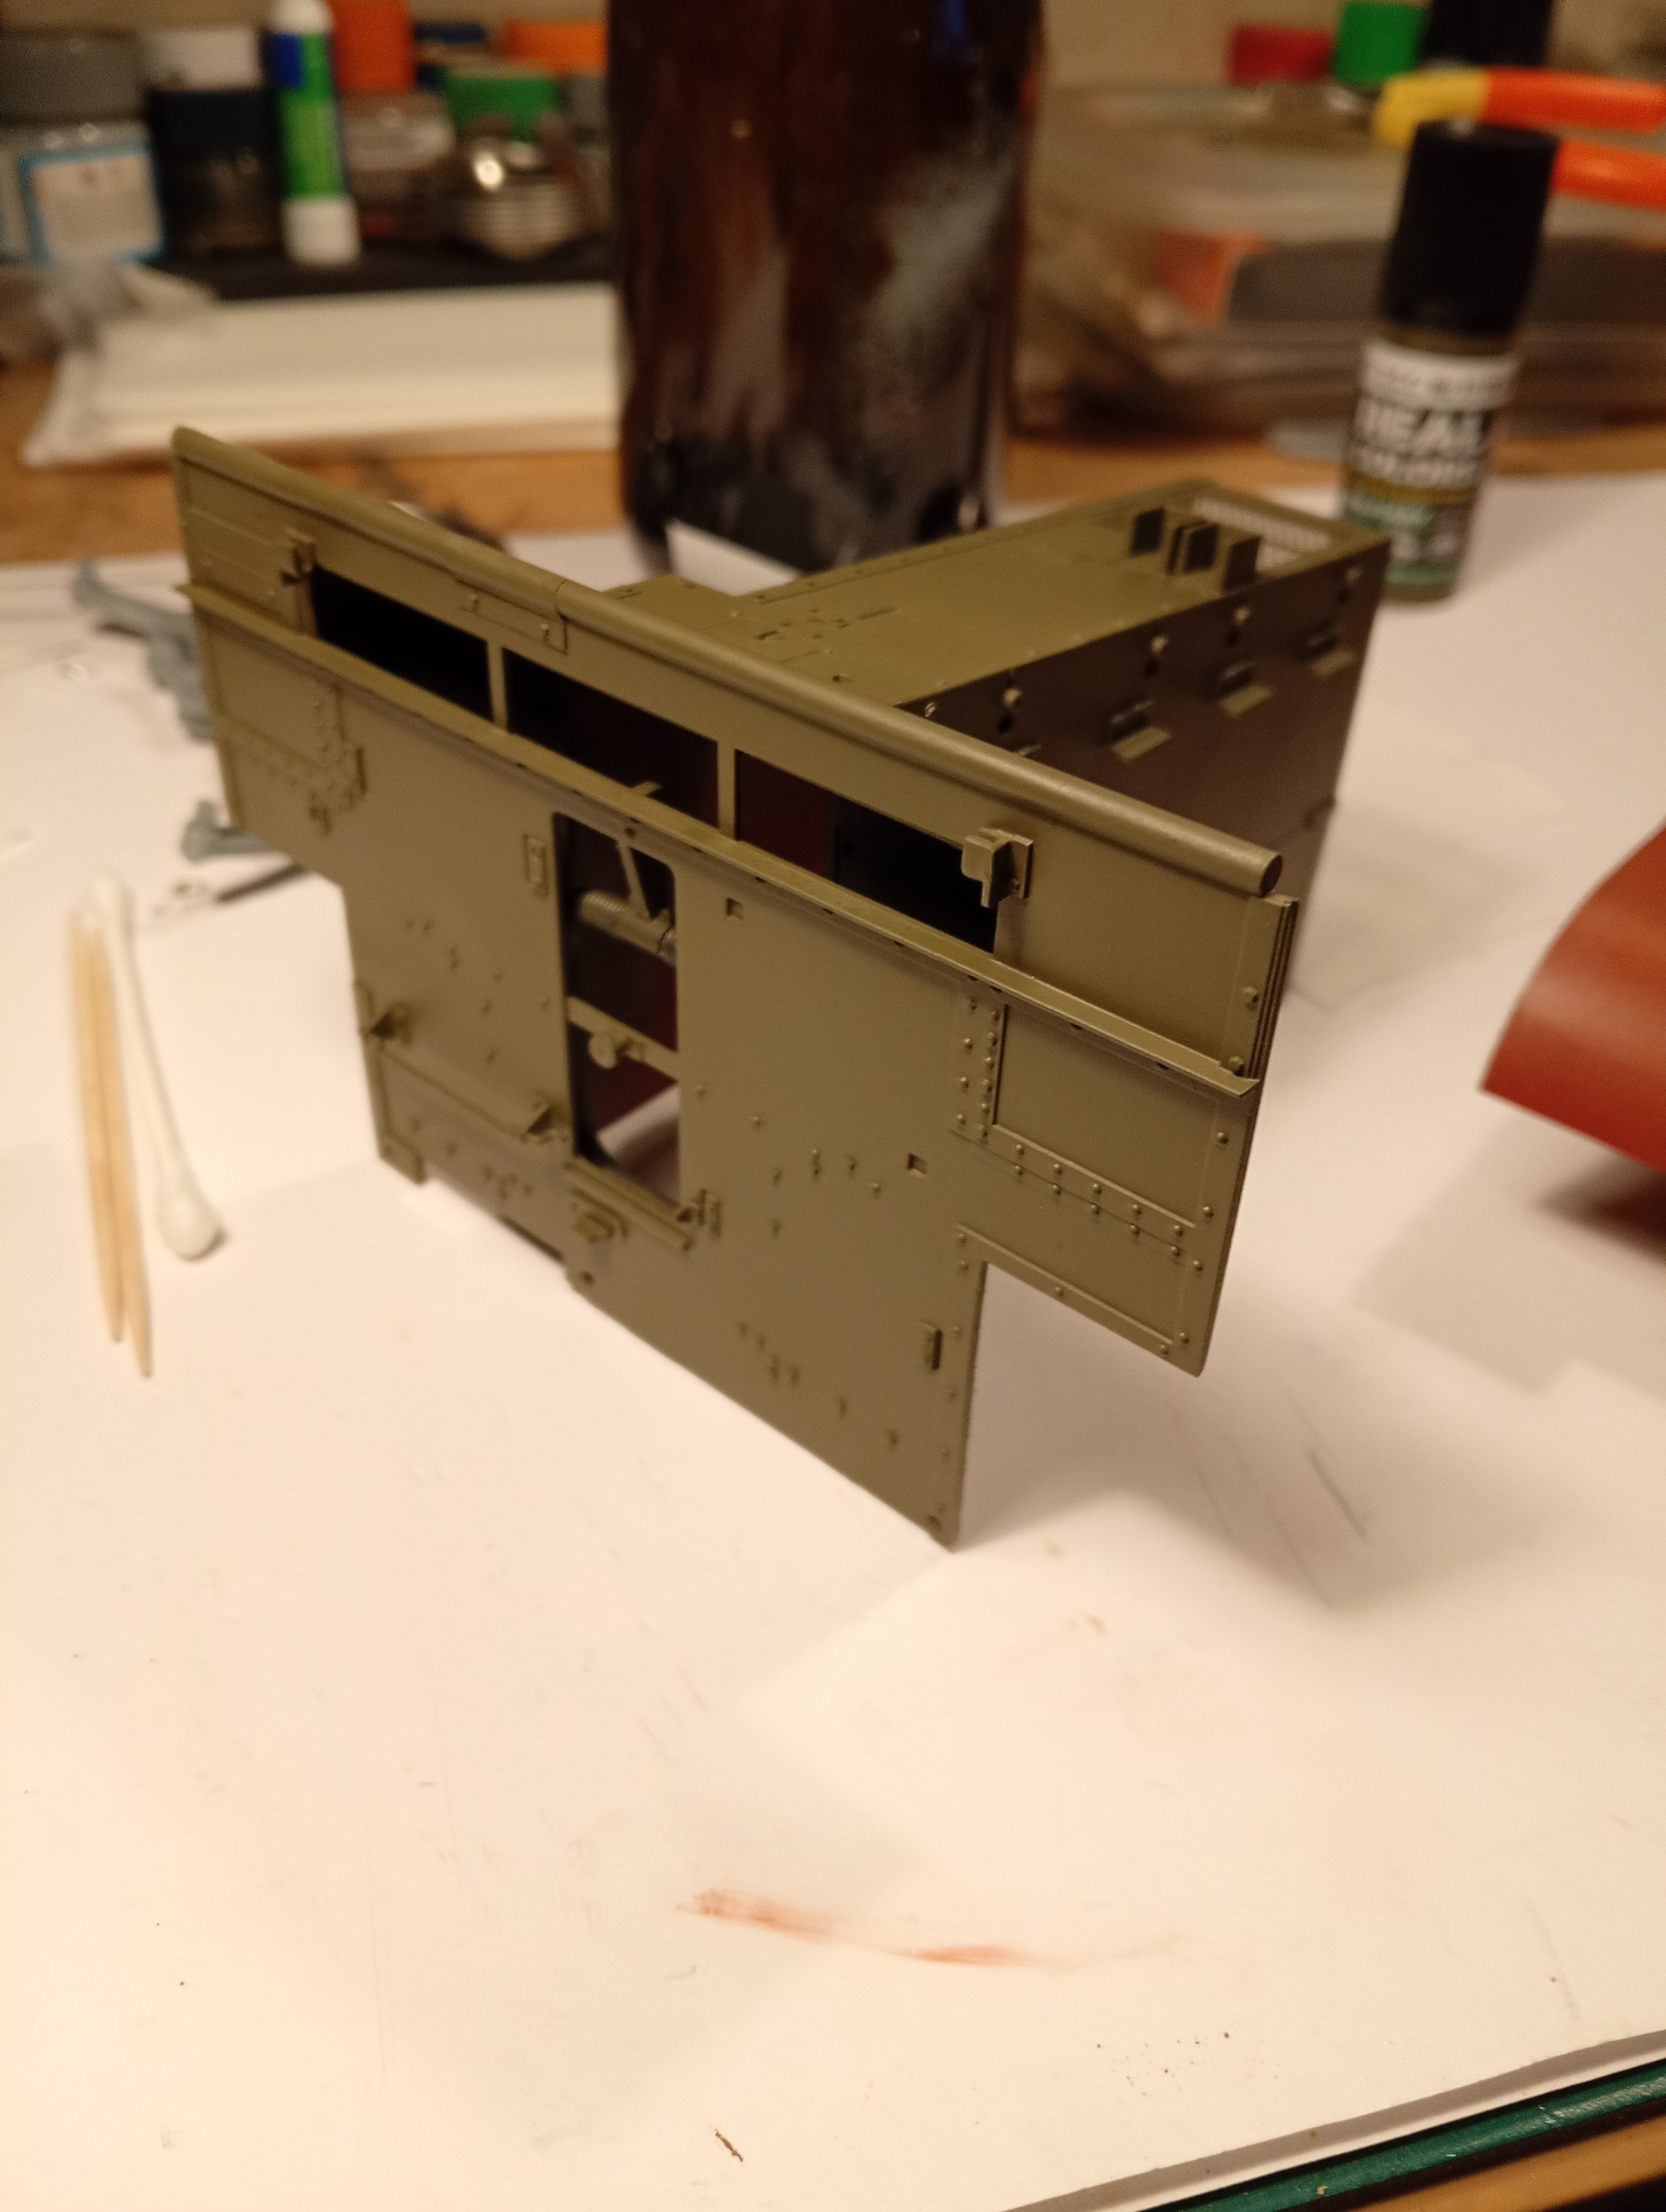
Along with the rough built up air box and pipe work. Just stuff from spares box cobbled together. Looks half decent, but you won’t really see it when engine casing is on.
Thanks G … ref the crew, most likely not …. Figures are my nemesis usually, and I don’t want to put a Frankenstein figure in there and spoil it all…
Only viable ones are from FC model trend, and they are around the £30 area for 2 seated ones, not a bank breaker, but after having spoken with Andy about it, we are content with adding storage : there’s a set from FC Model T again which is ok and comes with a helmet, and I can mould some more webbing/ bags using those as templates… also looking at some jerrycans for mounting on the rear as per a great many images I’ve seen.
The article Ryan @Tank_1812 included in an above post looked good, but I don’t think it’s on production yet, plus looking at similar items from them, I think the cost of it will be easily around the £150 to £200 mark…. Far to much.
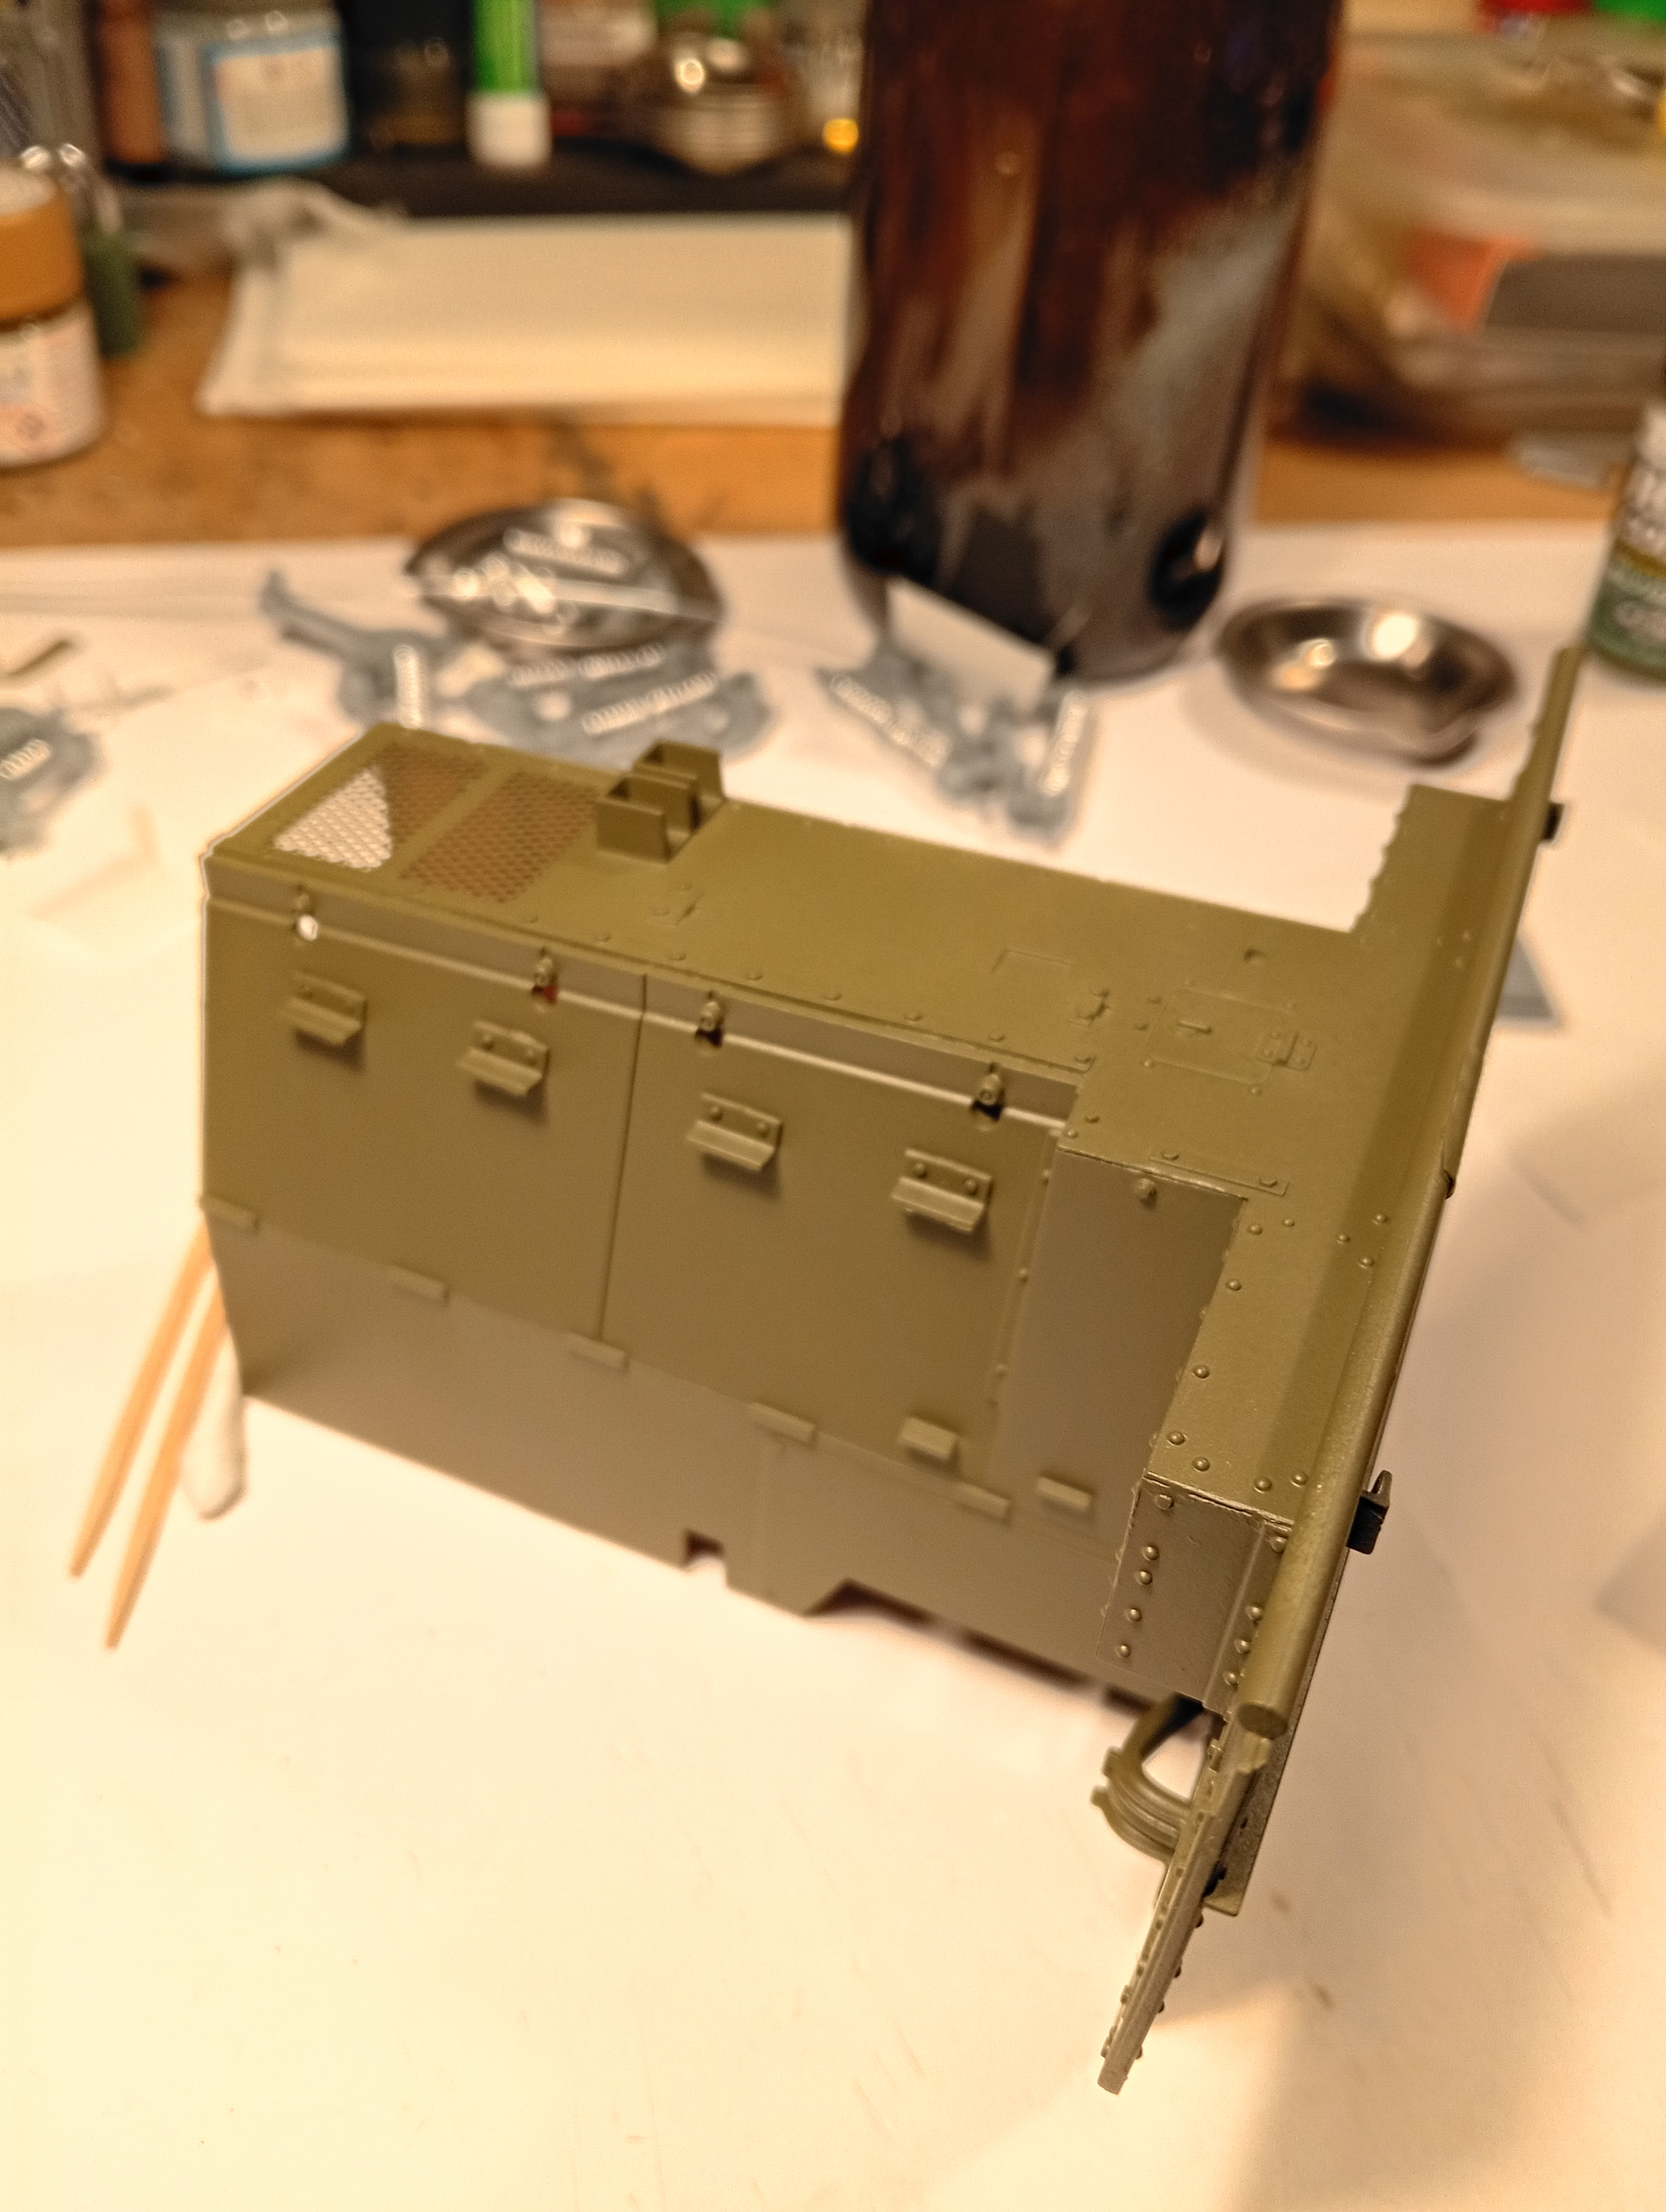
I got some more bits added and have done a basic coat of SCC15 OD on some areas inside …
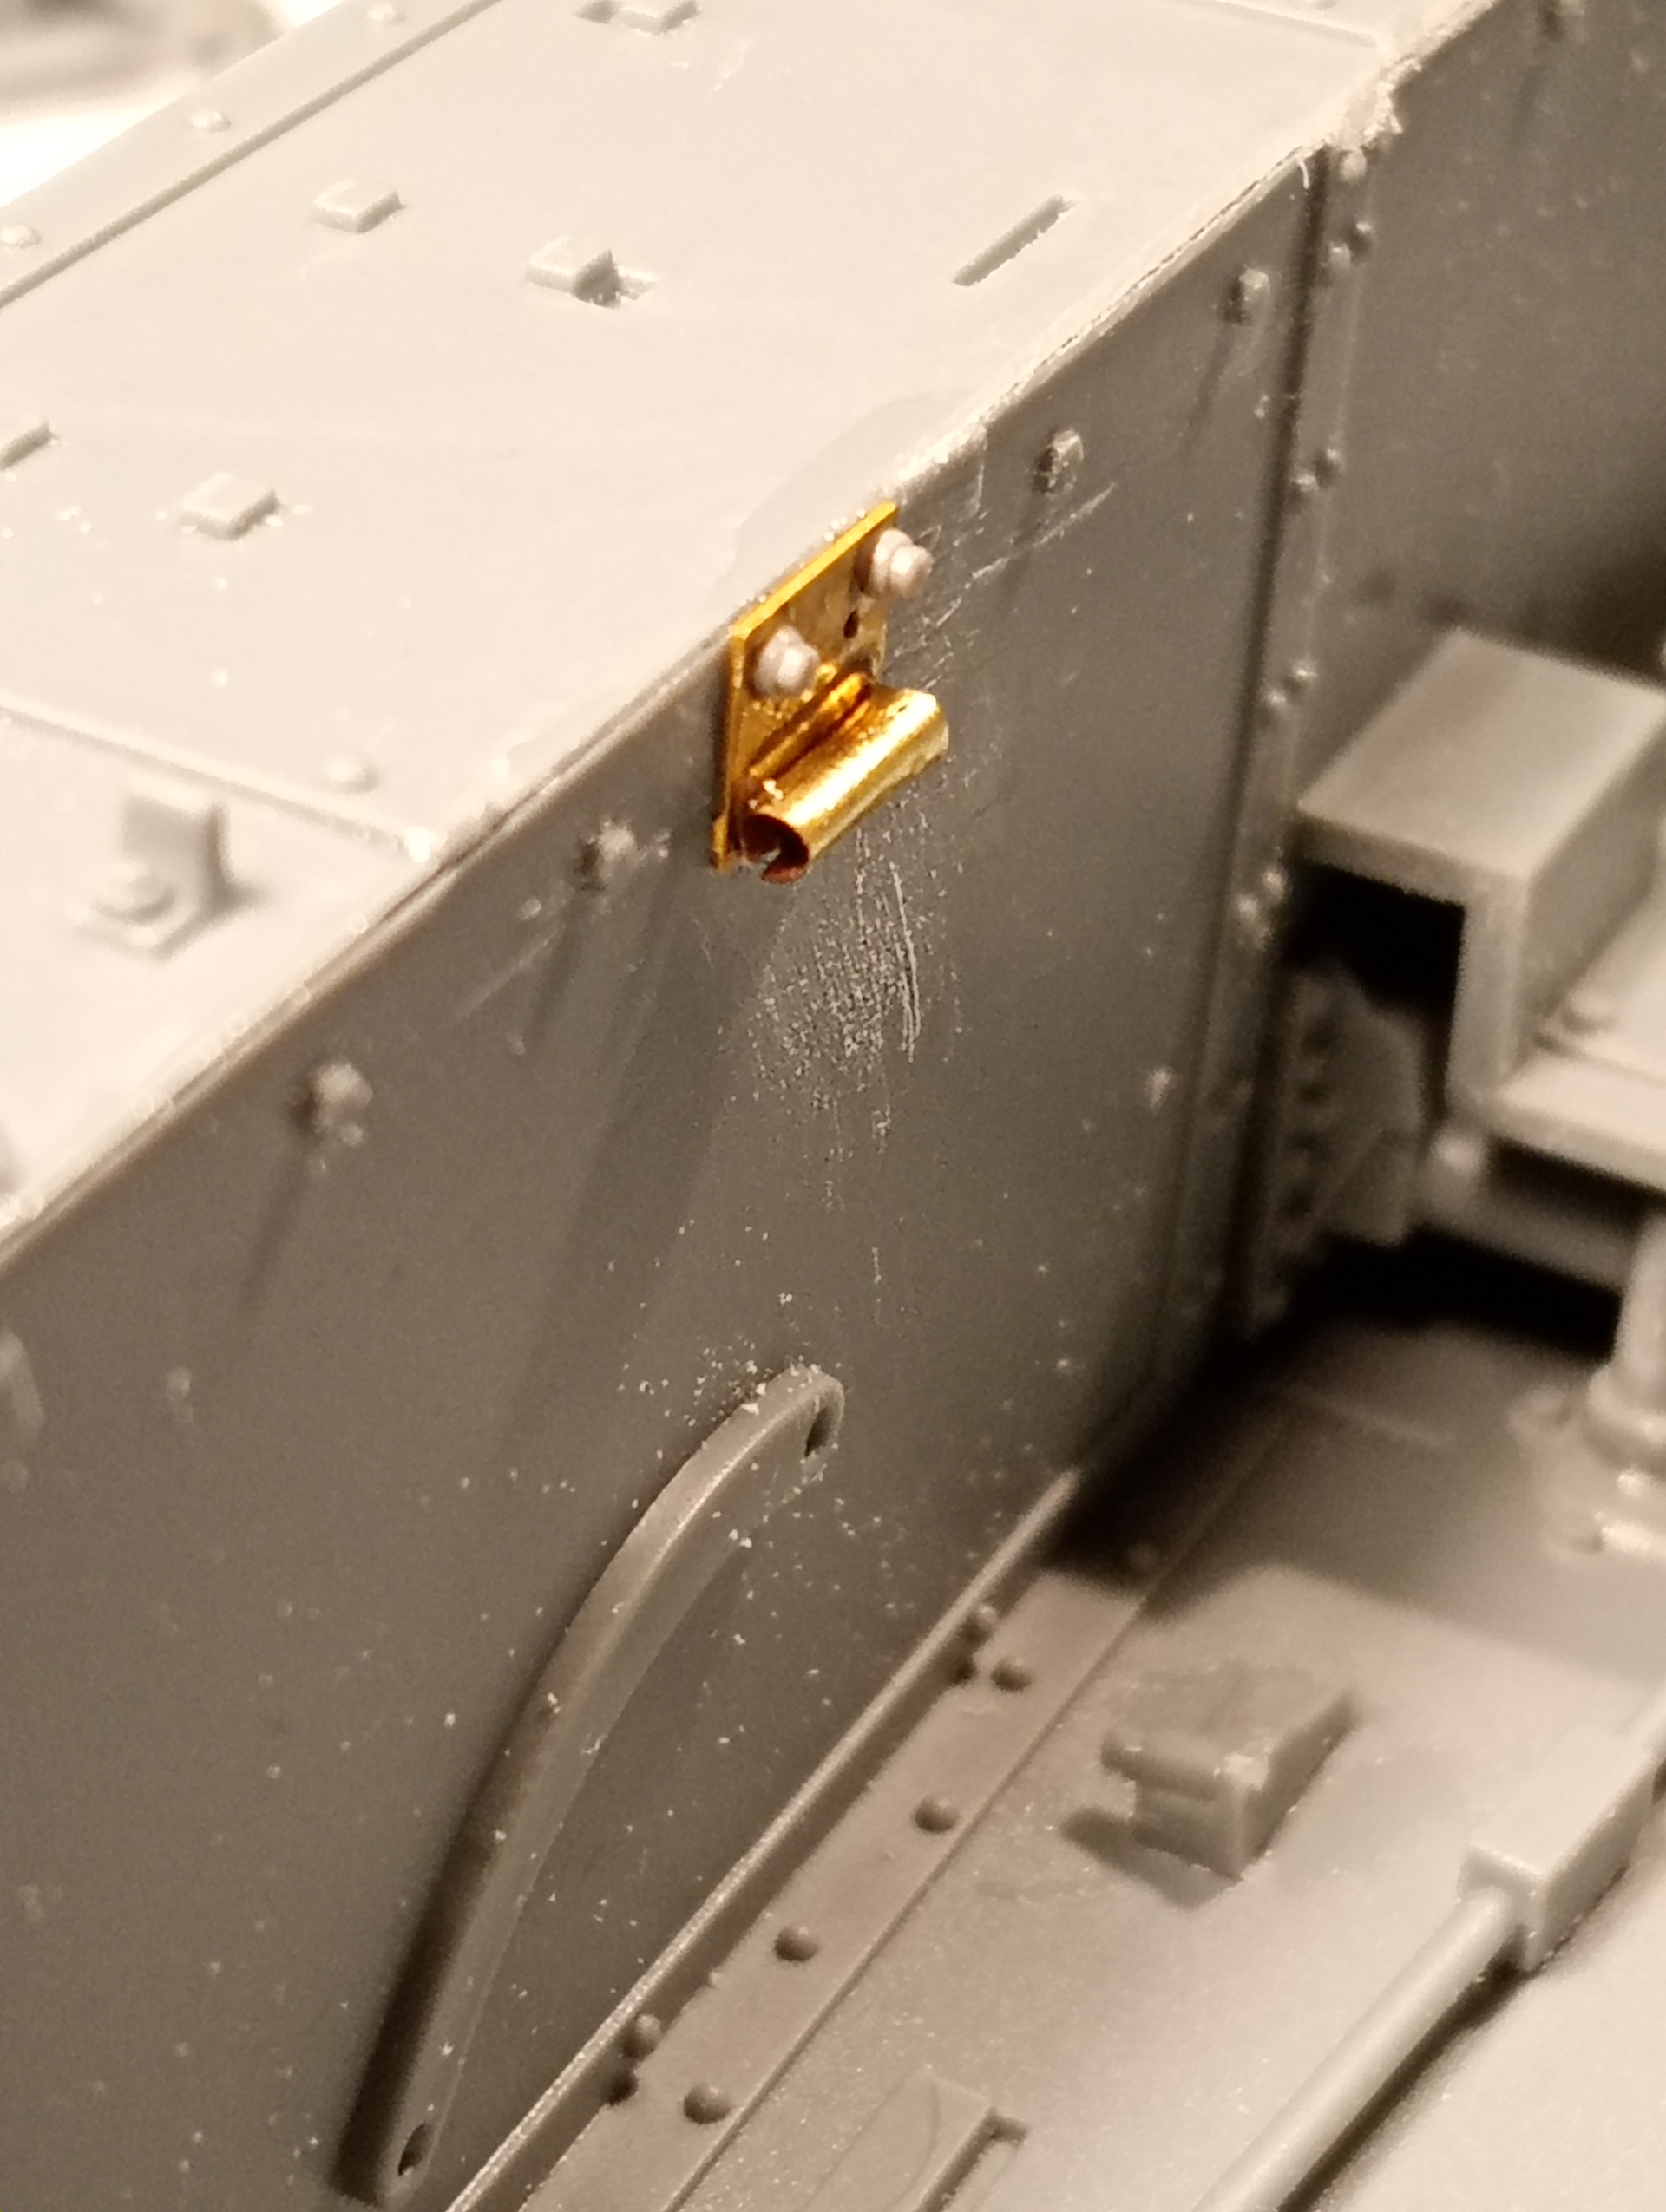
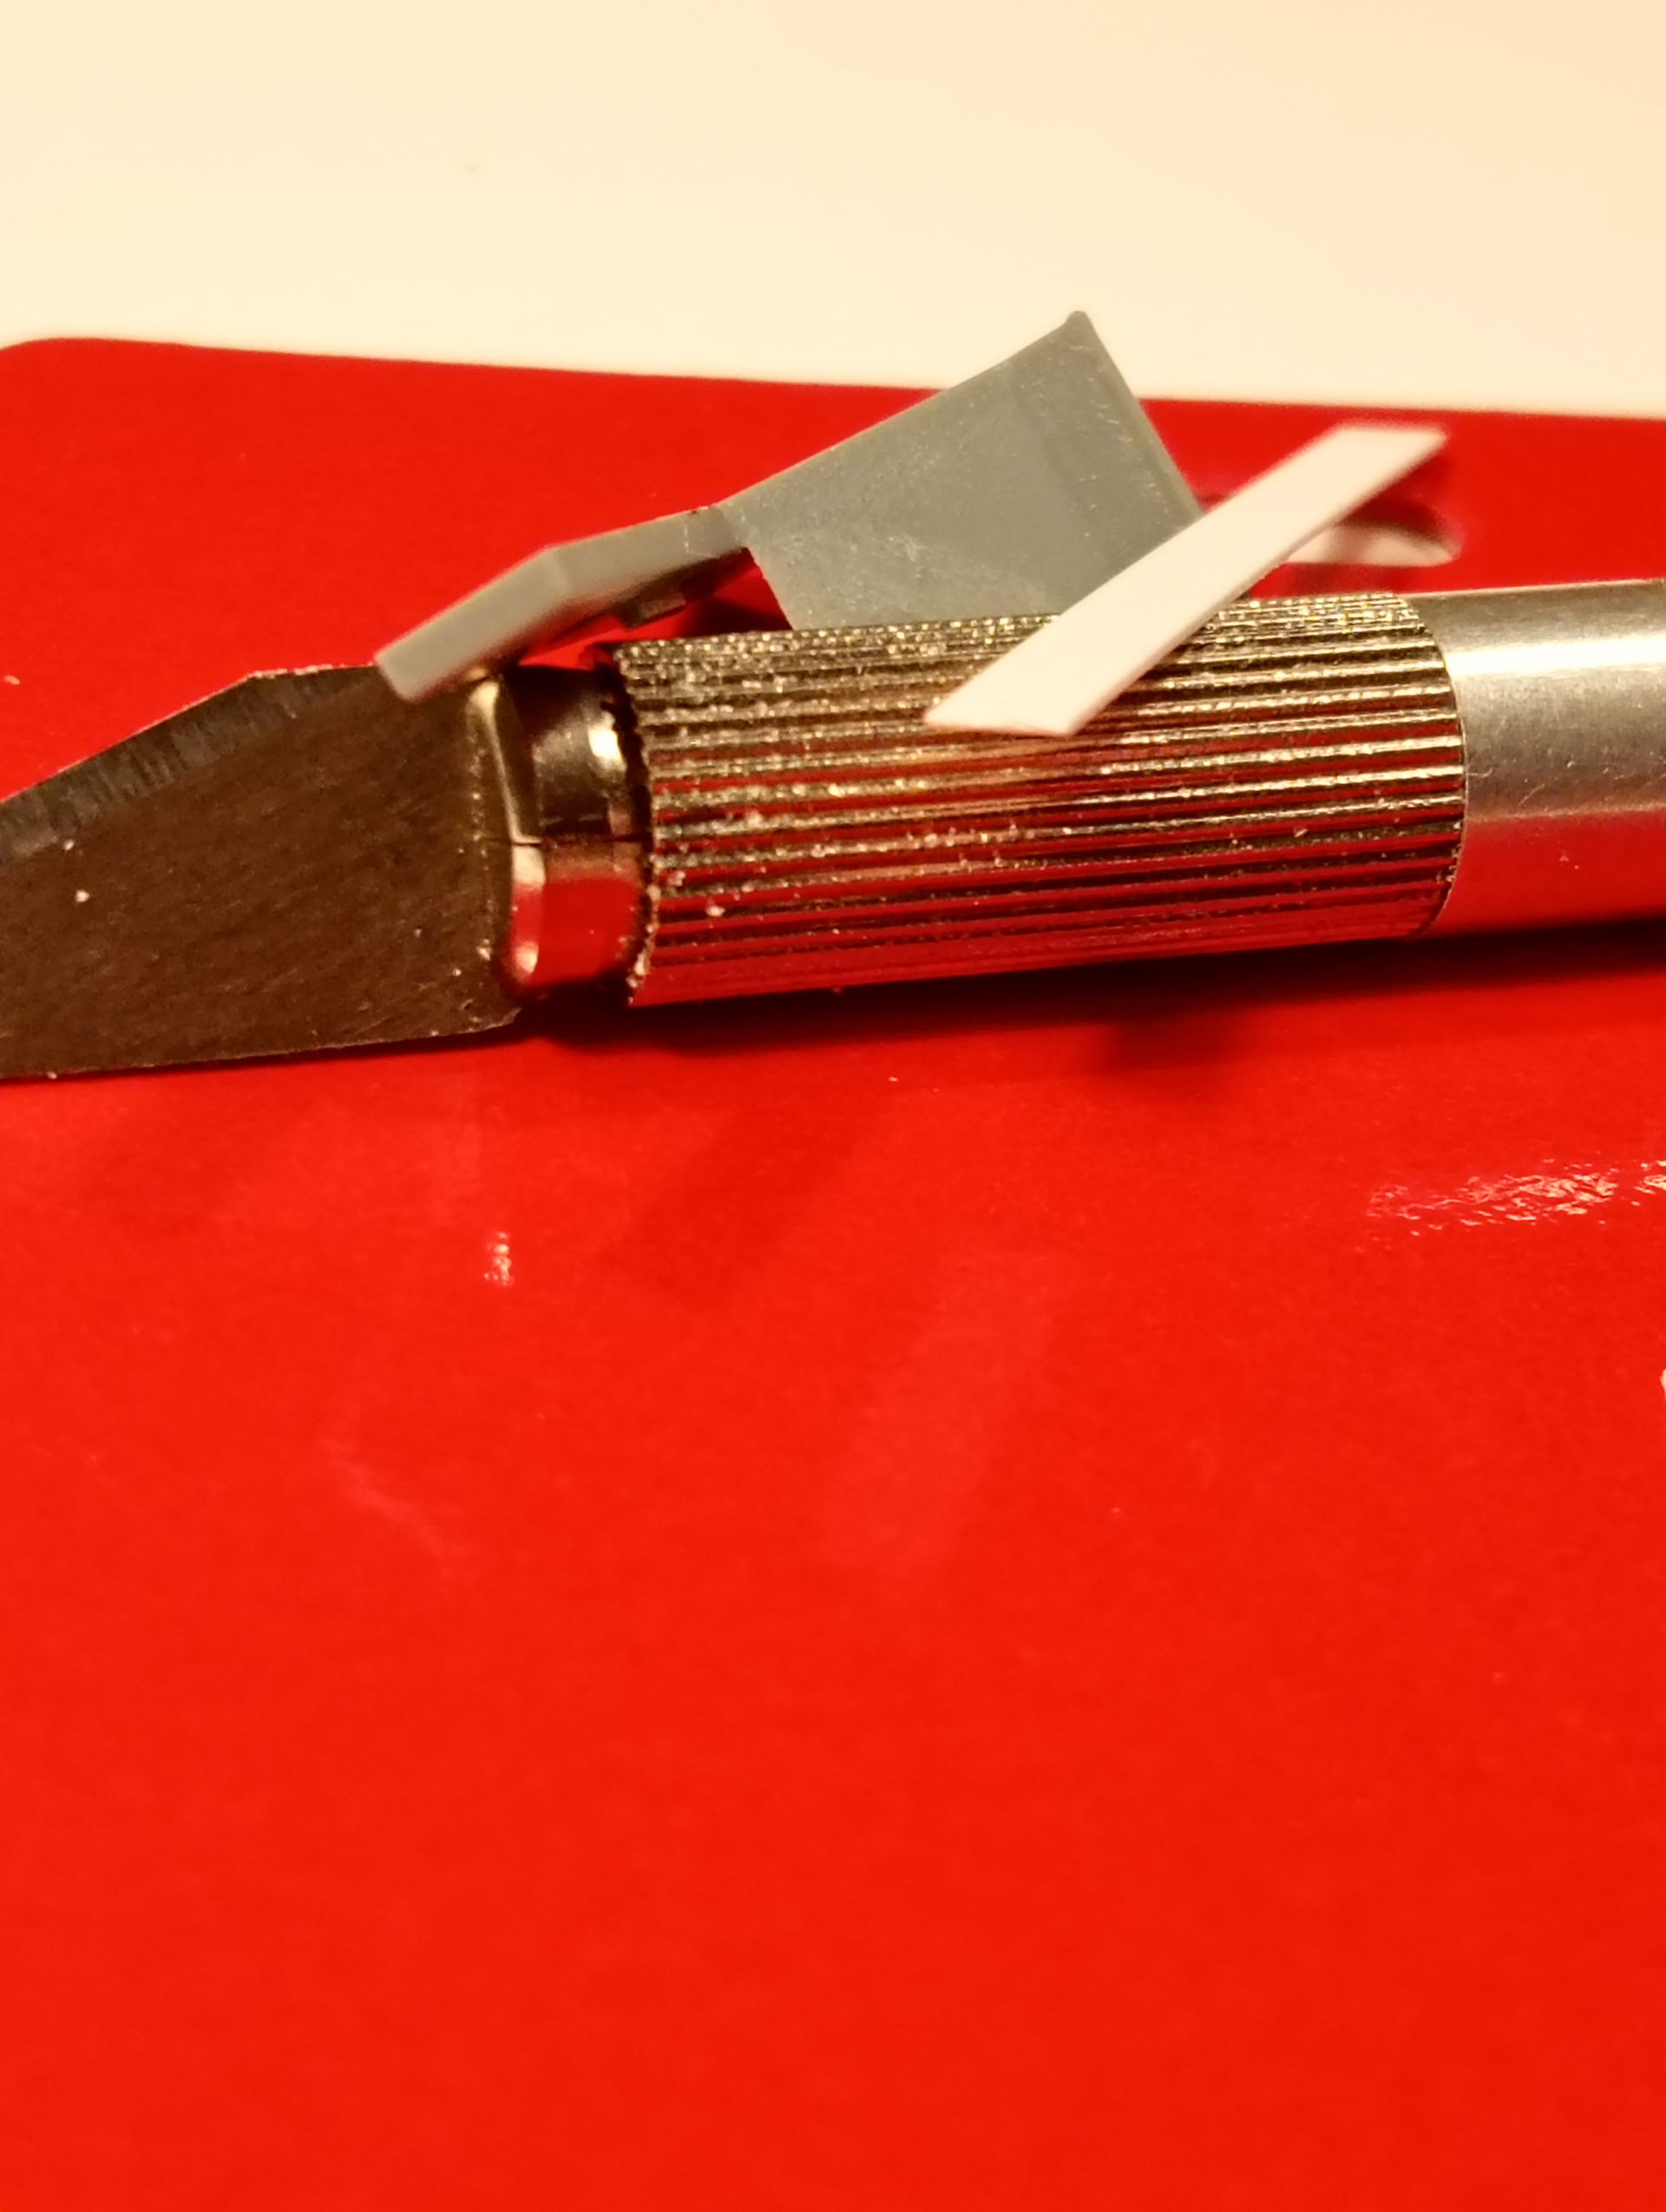
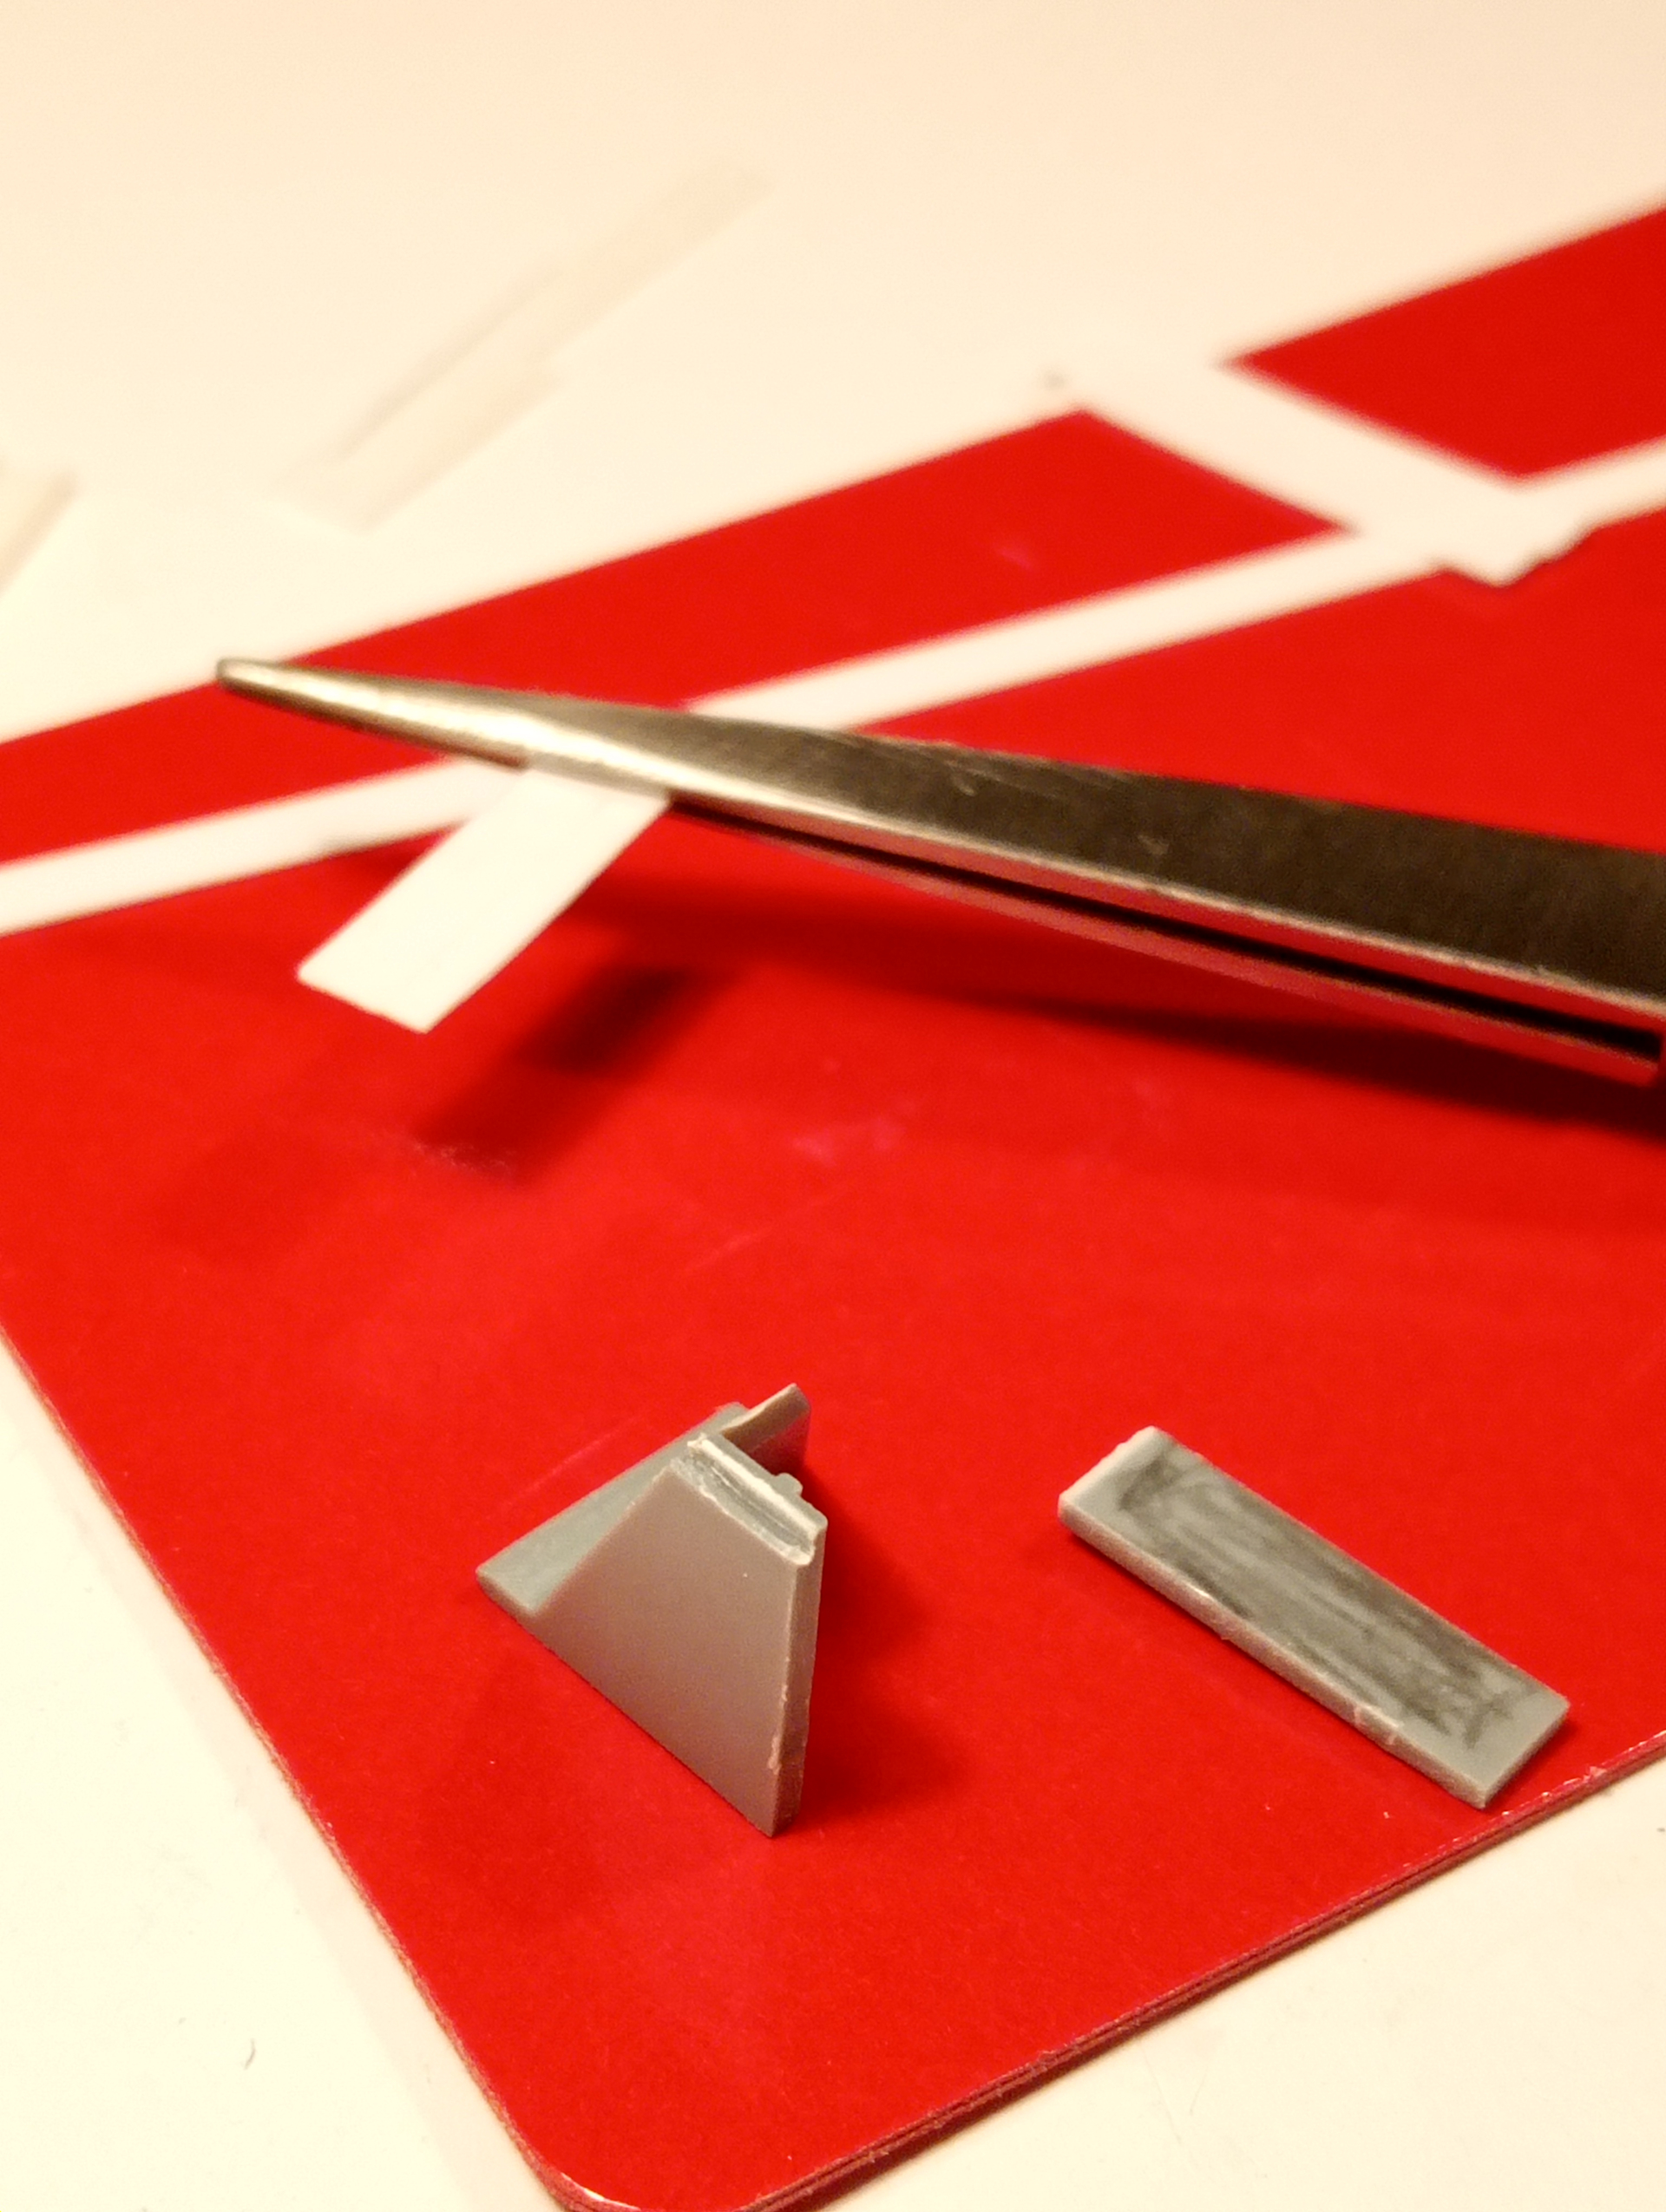
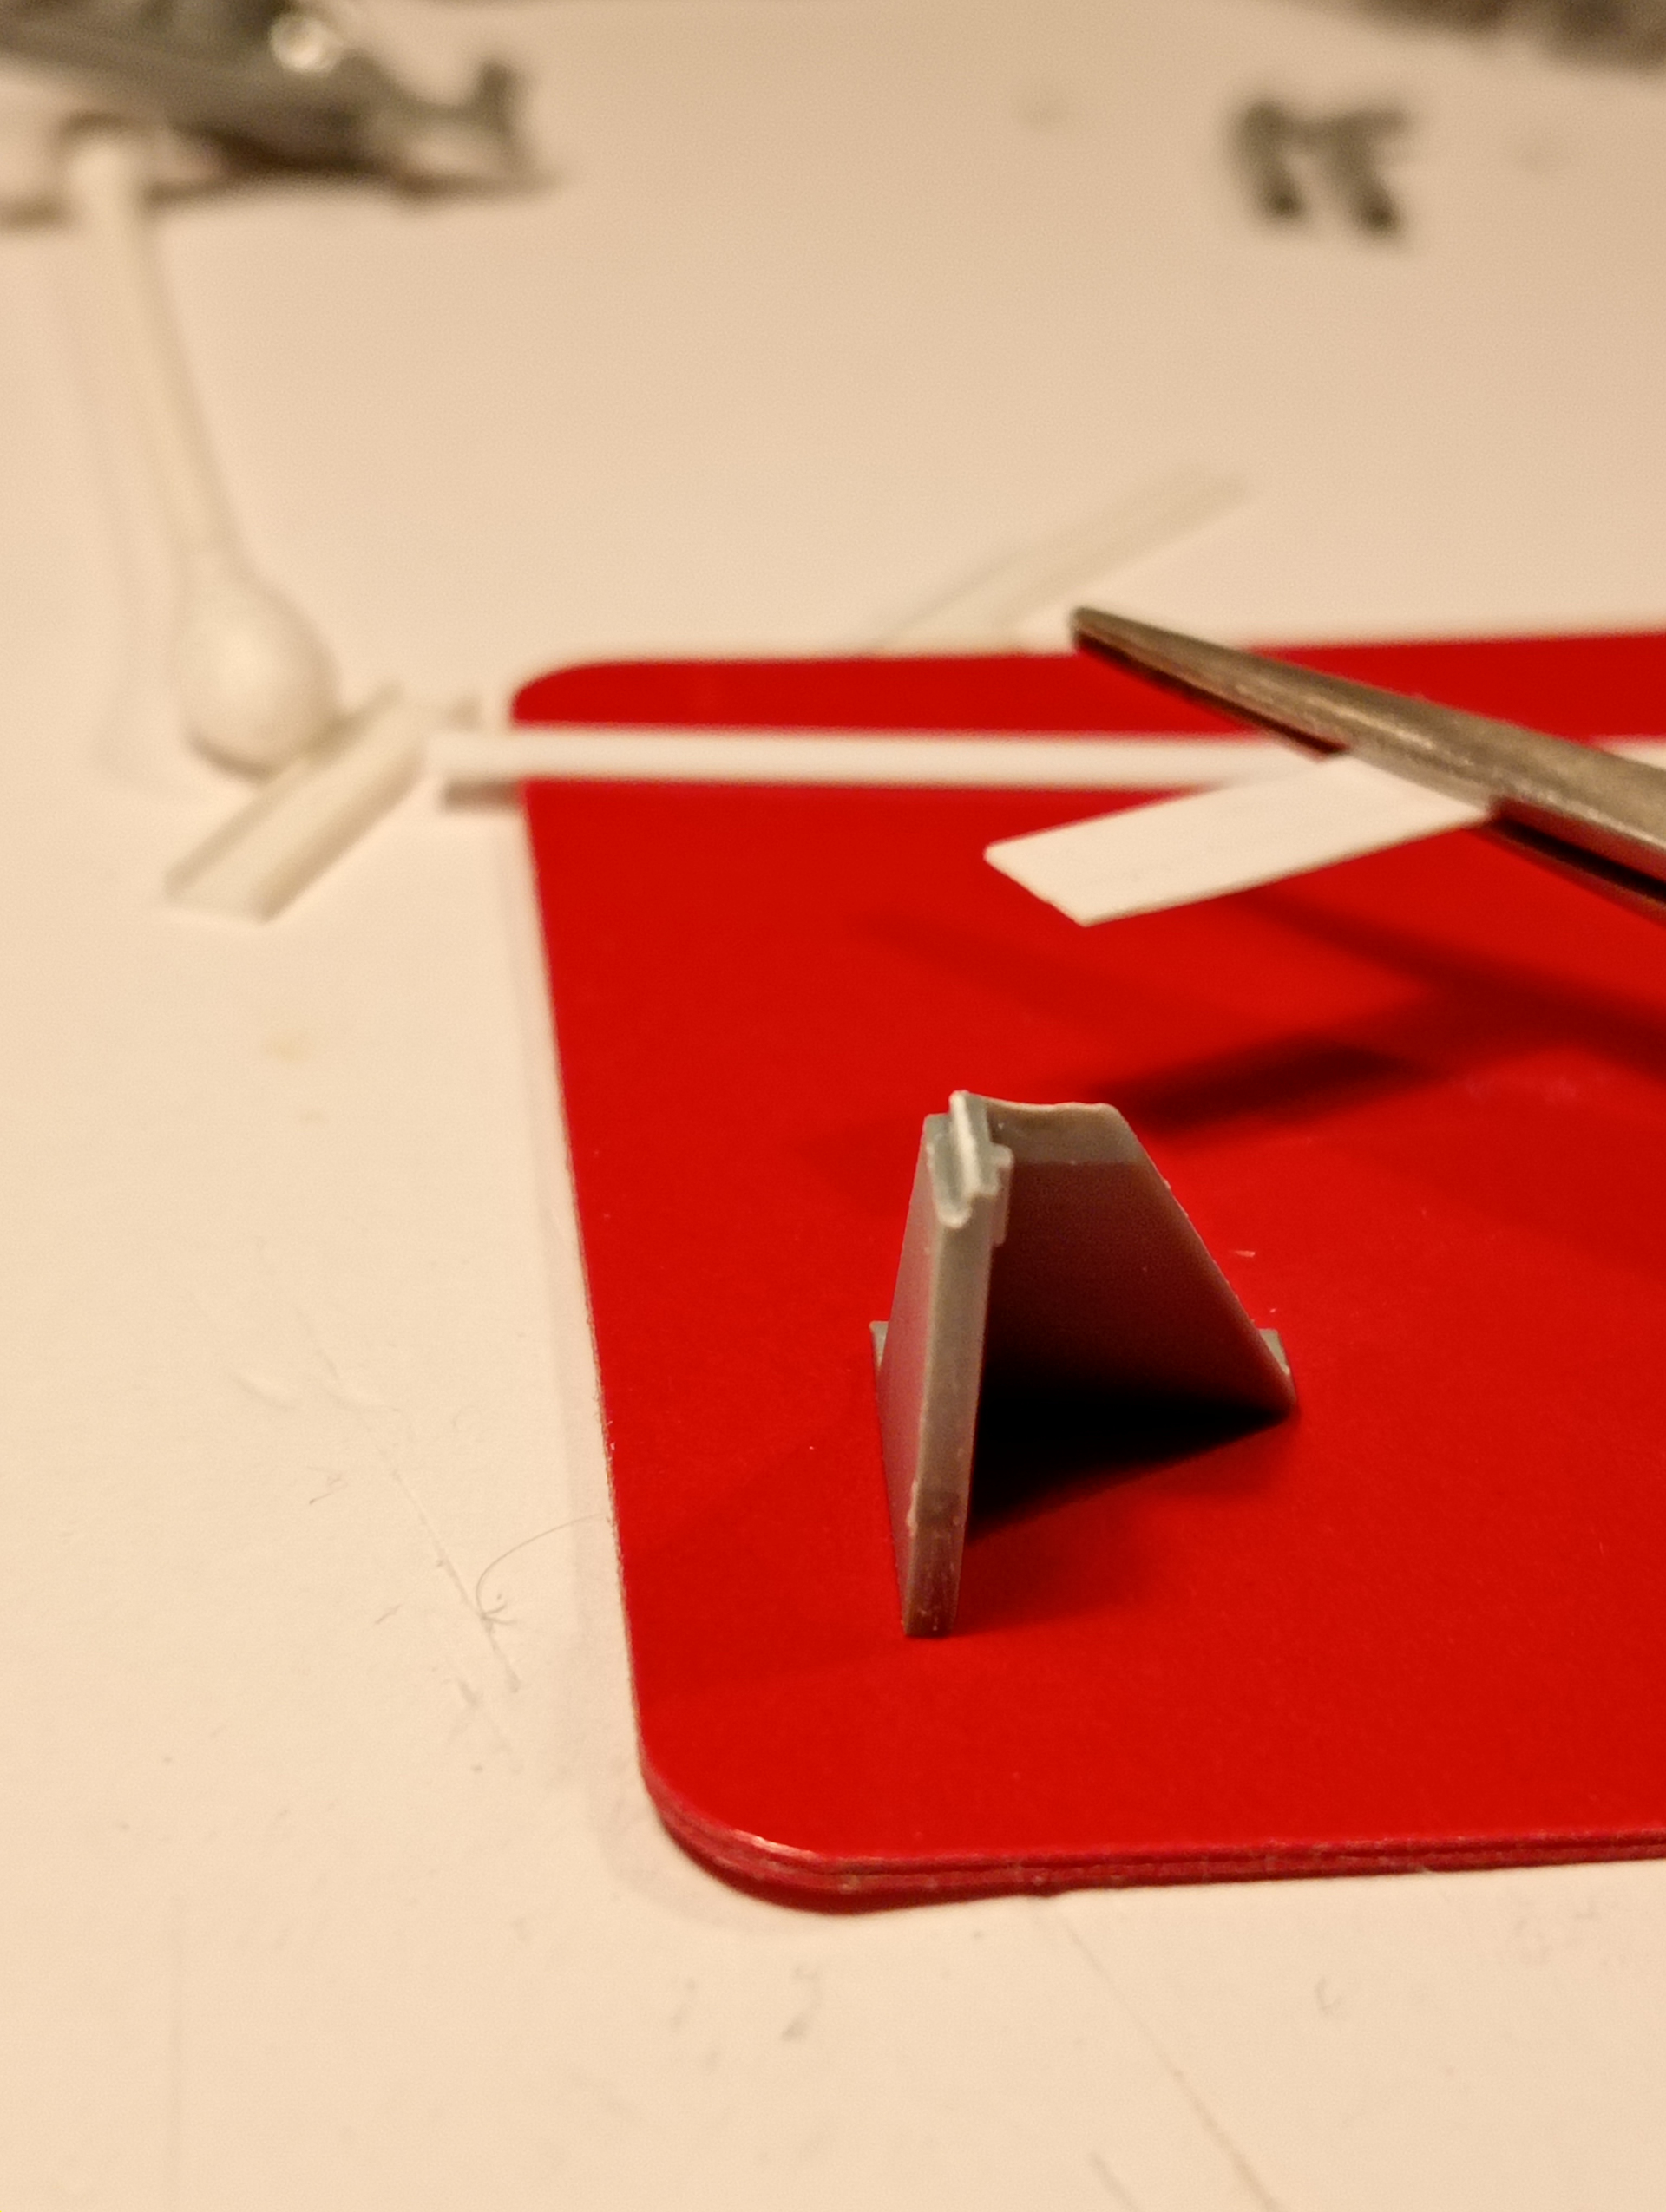
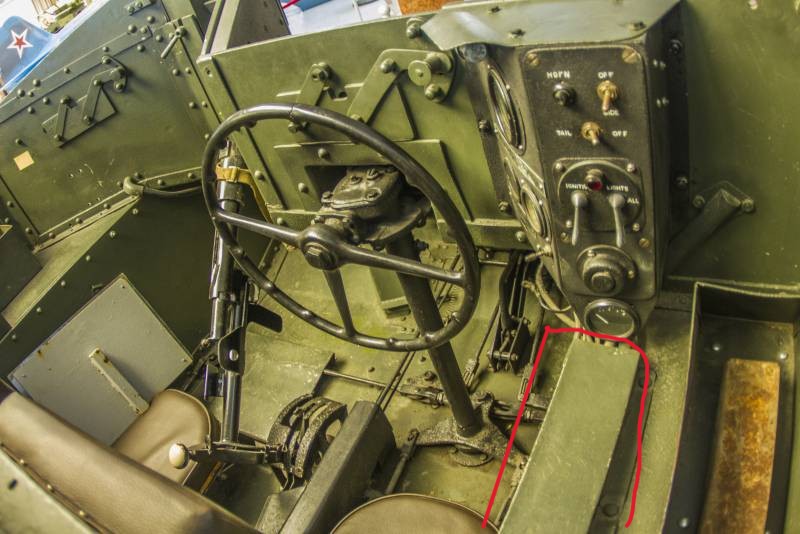
Found the next part that needs some attention… a housing to the right of the driver protects cables going up onto the driver’s instrument panel.
The kit part is to thick and has to way to have cables coming from it so I will need to cut away the end, and make up that area with thin sheet and it also has a lip to one side.
Shaded area on kit part where the knife is, is what needs to be cut away and replaced….
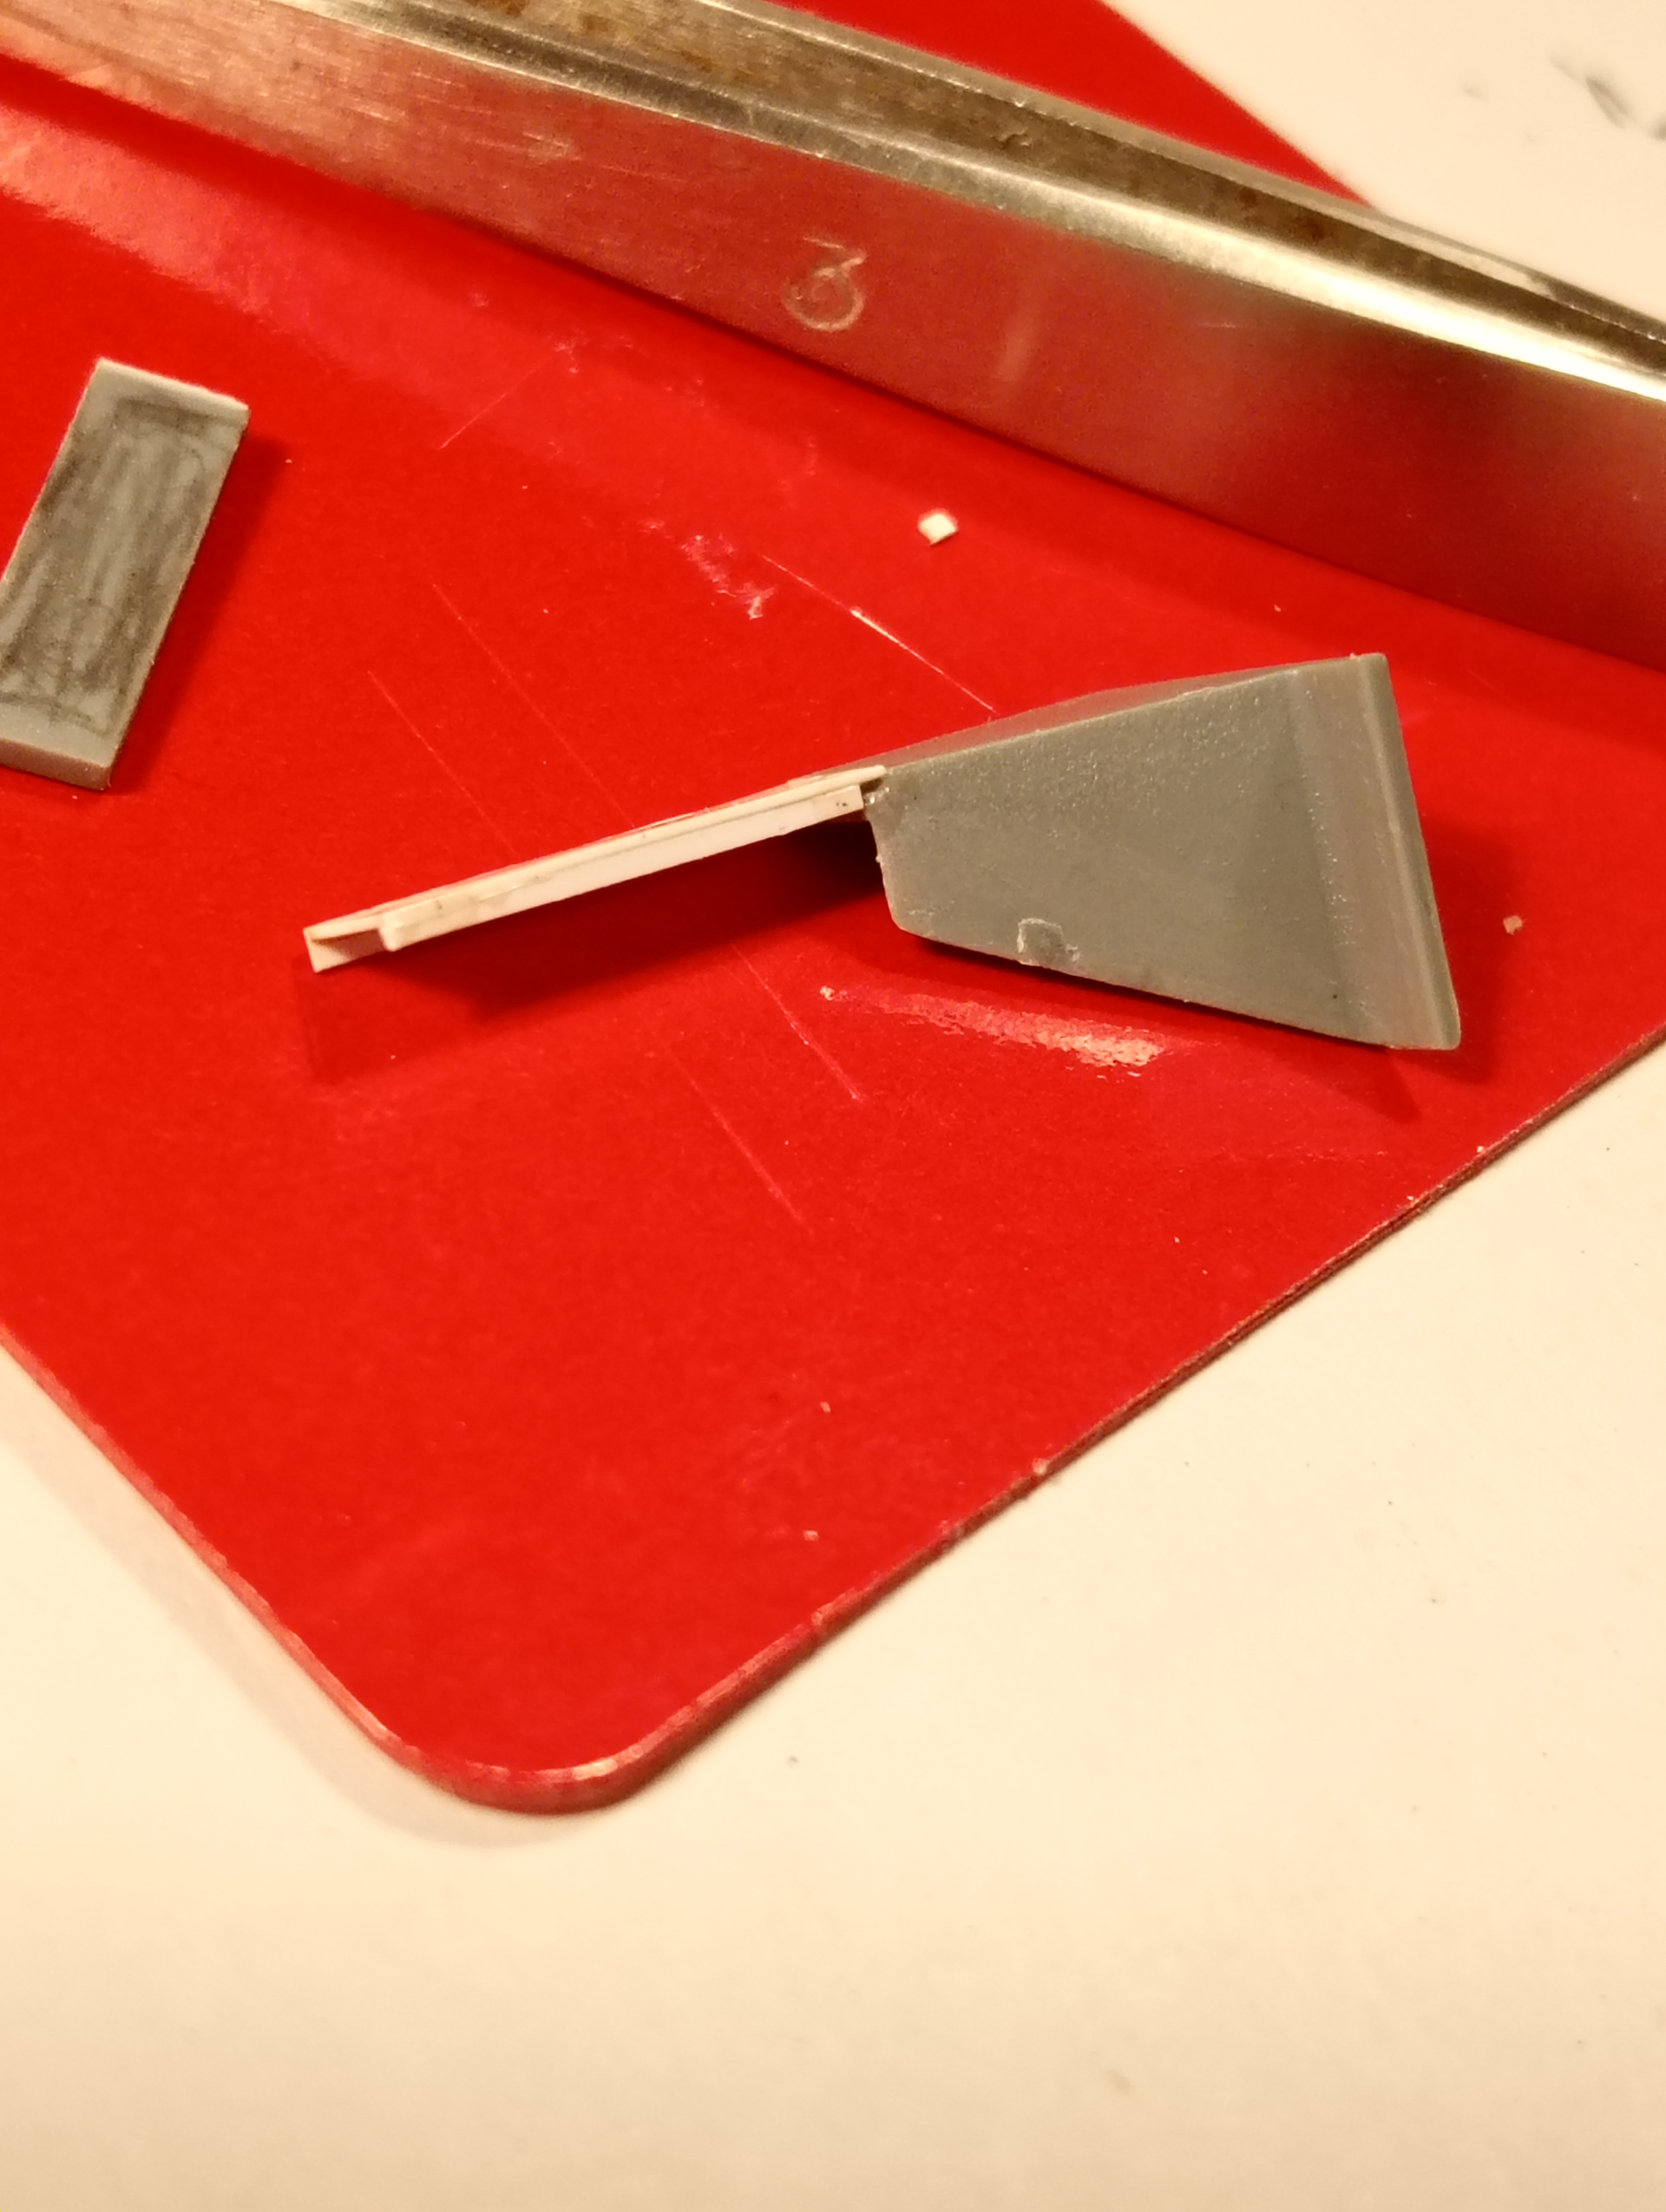
Shows the thickness of kit part and the plastic strip it will be replaced with.
I know it’s a long shot but never say never … does anyone have any 1/16th British stowage bits they don’t need ? Ideally a helmet or backpack etc…. I can make the tarps etc quite easily, but the niche items are either out of stock, or apparently worth their weight in gold !! I am getting some jerry cans and decals but would really like a helmet as stowage if possible ??
So, stowage and extra bits for the kit are in my opinion priced to a crazy level, ….. I have got a few of the cheaper bits available to add some visual draw to areas, but I will be attempting a scratch build of the bren mount for the front plate ….
It is available as a 3D / resin print but the price is just stupid, compared to the cost of the kit, however, I will put on a link to it so you can see what I’m aiming for .. I won’t put an image up in case it goes against copyright.
Starting on the actual mount mechanism that bolts onto the vertical plate that the MG sticks through.
Used scrap plastic sheet off cuts and 2 hollow plastic rod. The large outer rod is 5mm outside edge to edge and the smaller one for the inside is 3mm edge to edge, and fits perfectly inside the large one. The mount for the rod (MG Swivel and up and down control) is made up from the cut off parts of plastic sheet.