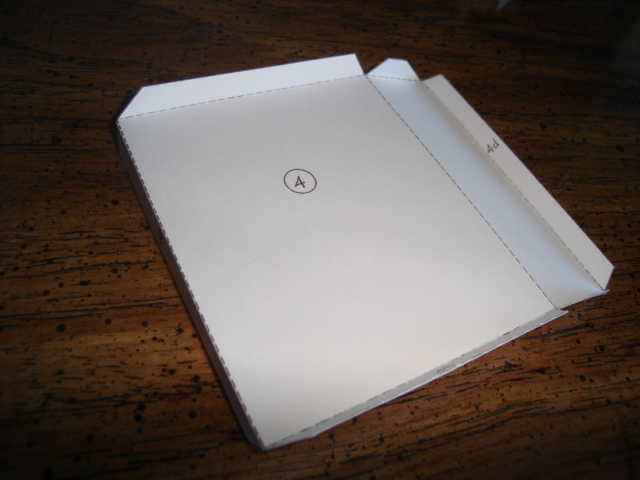
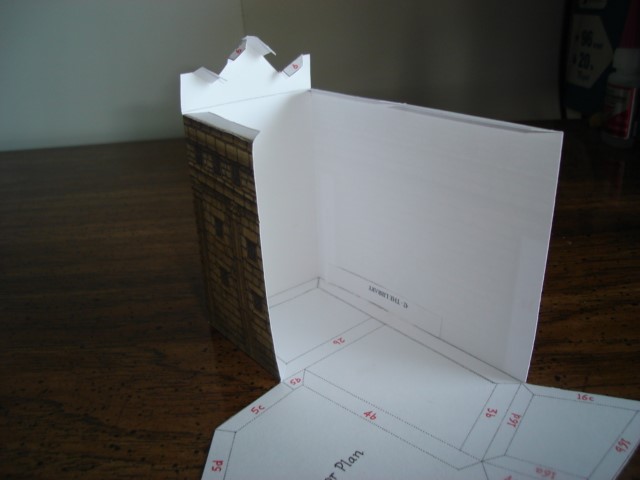
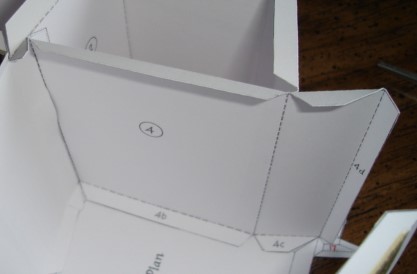
While dry fitting the parts, I noticed something wrong with Part 4. It took some careful viewing of Figure 3 in the book to find out what was wrong. In parts 1, 2, and 3, you bent the tabs towards the un-printed side. On part 4, only tab 4a gets bent in the direction; all other tabs get bent toward the printed side. Now that this has been corrected, I can start gluing parts 1-4 to the floor and each other.
Finally got the courage to glue part 1 to the floor plan.
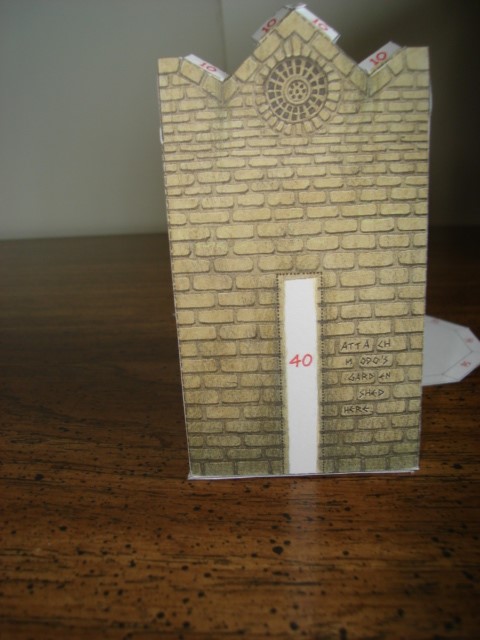
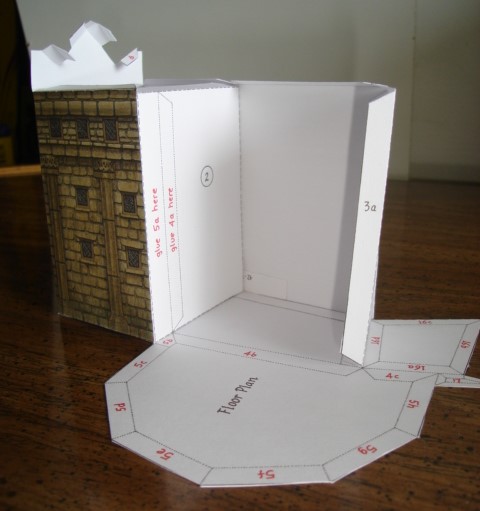
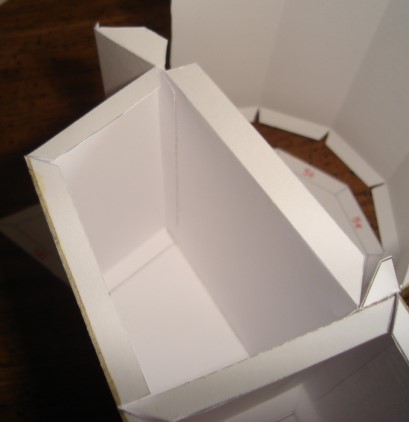
Glued parts 2 and 3 to The Library.
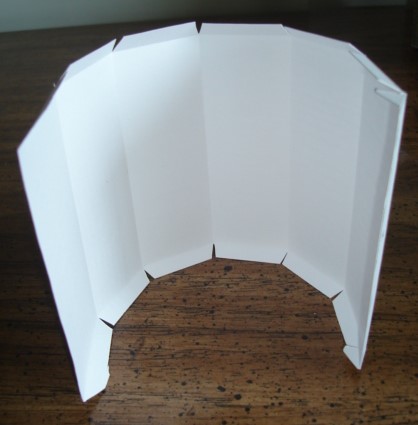
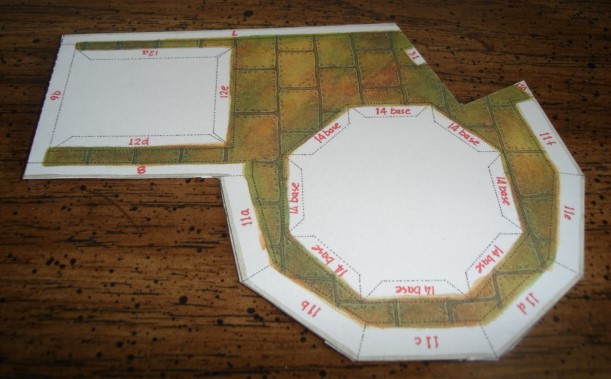
Cut out and scored parts 5 (rotunda) and 6 (roof).

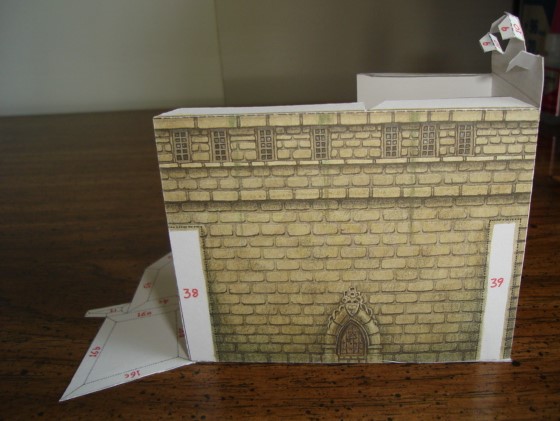
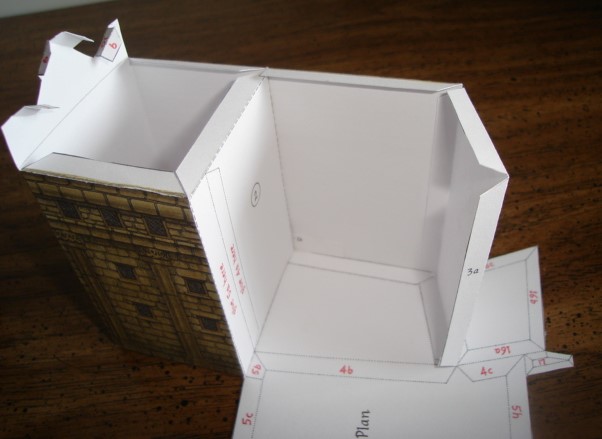
I finally glued part 4 in place.
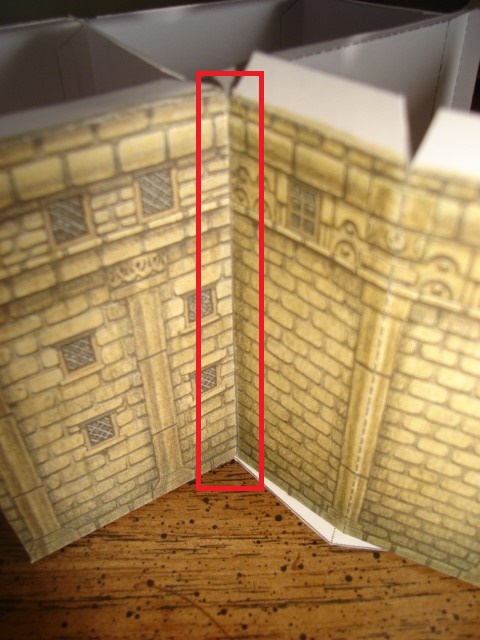
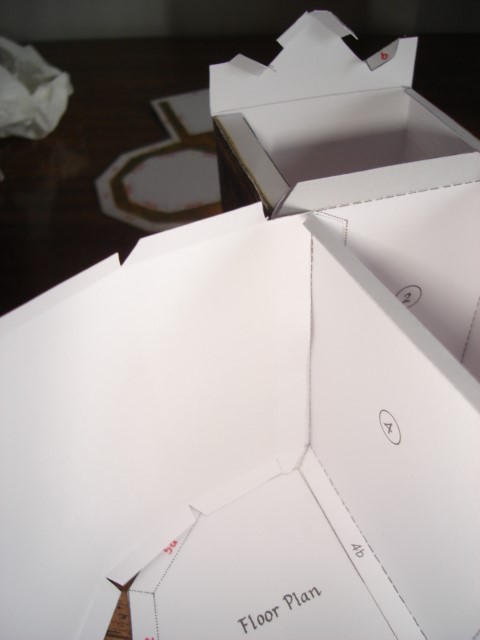
I started on part 5. This is an important part as it joins two external walls and their artwork together. Only tab 5a is glued here as it is the tab that holds part 1 and 5 together.
The instructions say to do one part at a time so this will take a while.
I should mention two tools that help reach internal tabs. One is wooden coffee stirring sticks. They are great for getting glue and spreading it in hard to reach spots. Another are a pair of cross-action tweezers. These are great for squeezing parts together in hard to reach spots.
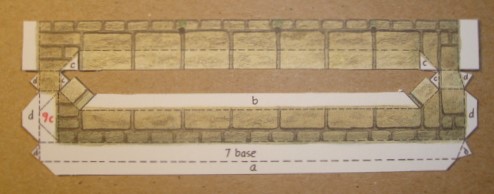
I cut out part 7 (one of the parapets) and noticed you have to cut part of the middle out. It’s quite complex piece with multiple little tabs.