Unseen University

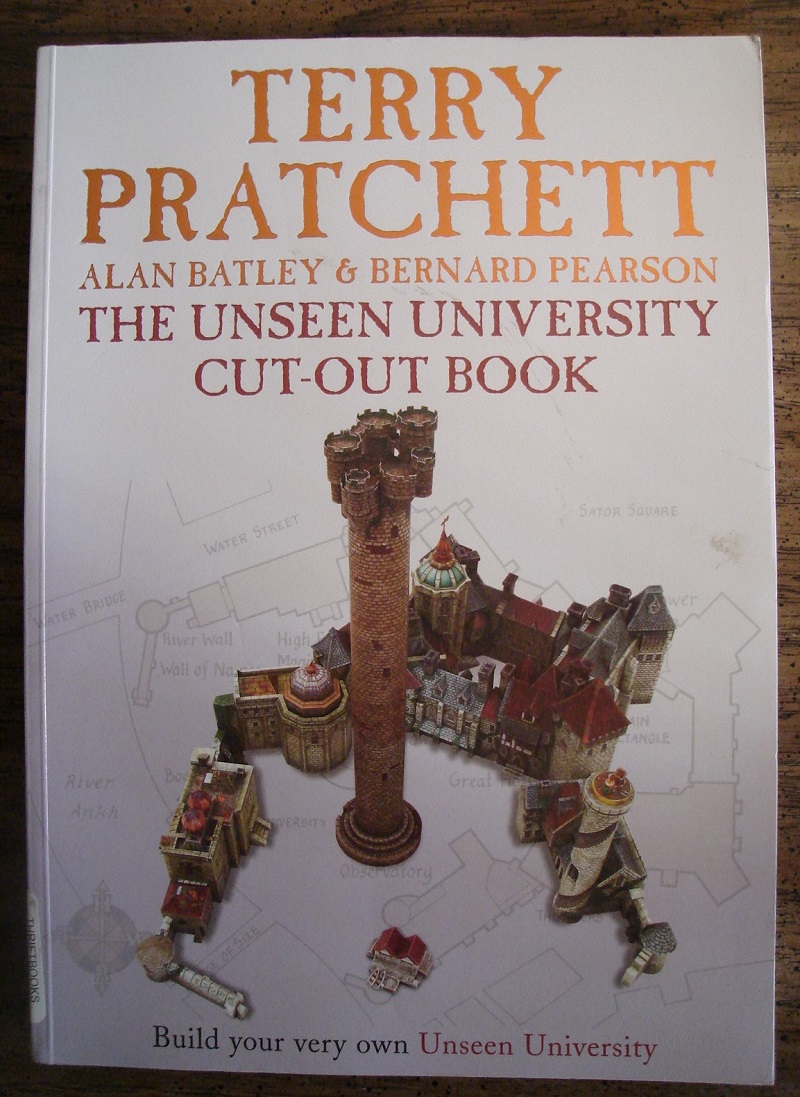
Back in 2017, I started my build of Unseen University from Terry Pratchett’s “Discworld” series. I will attempt to move the thread here to the new Forum. This will be slow-going as I figure out how to do this.

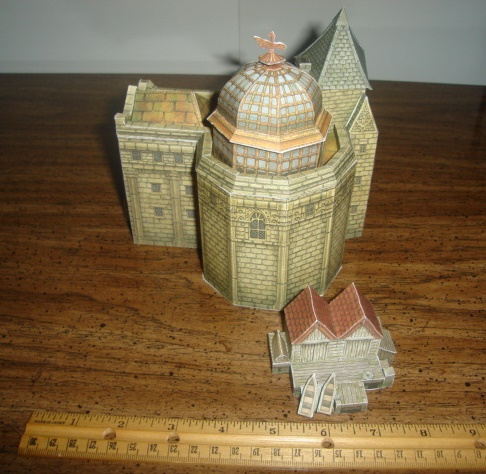
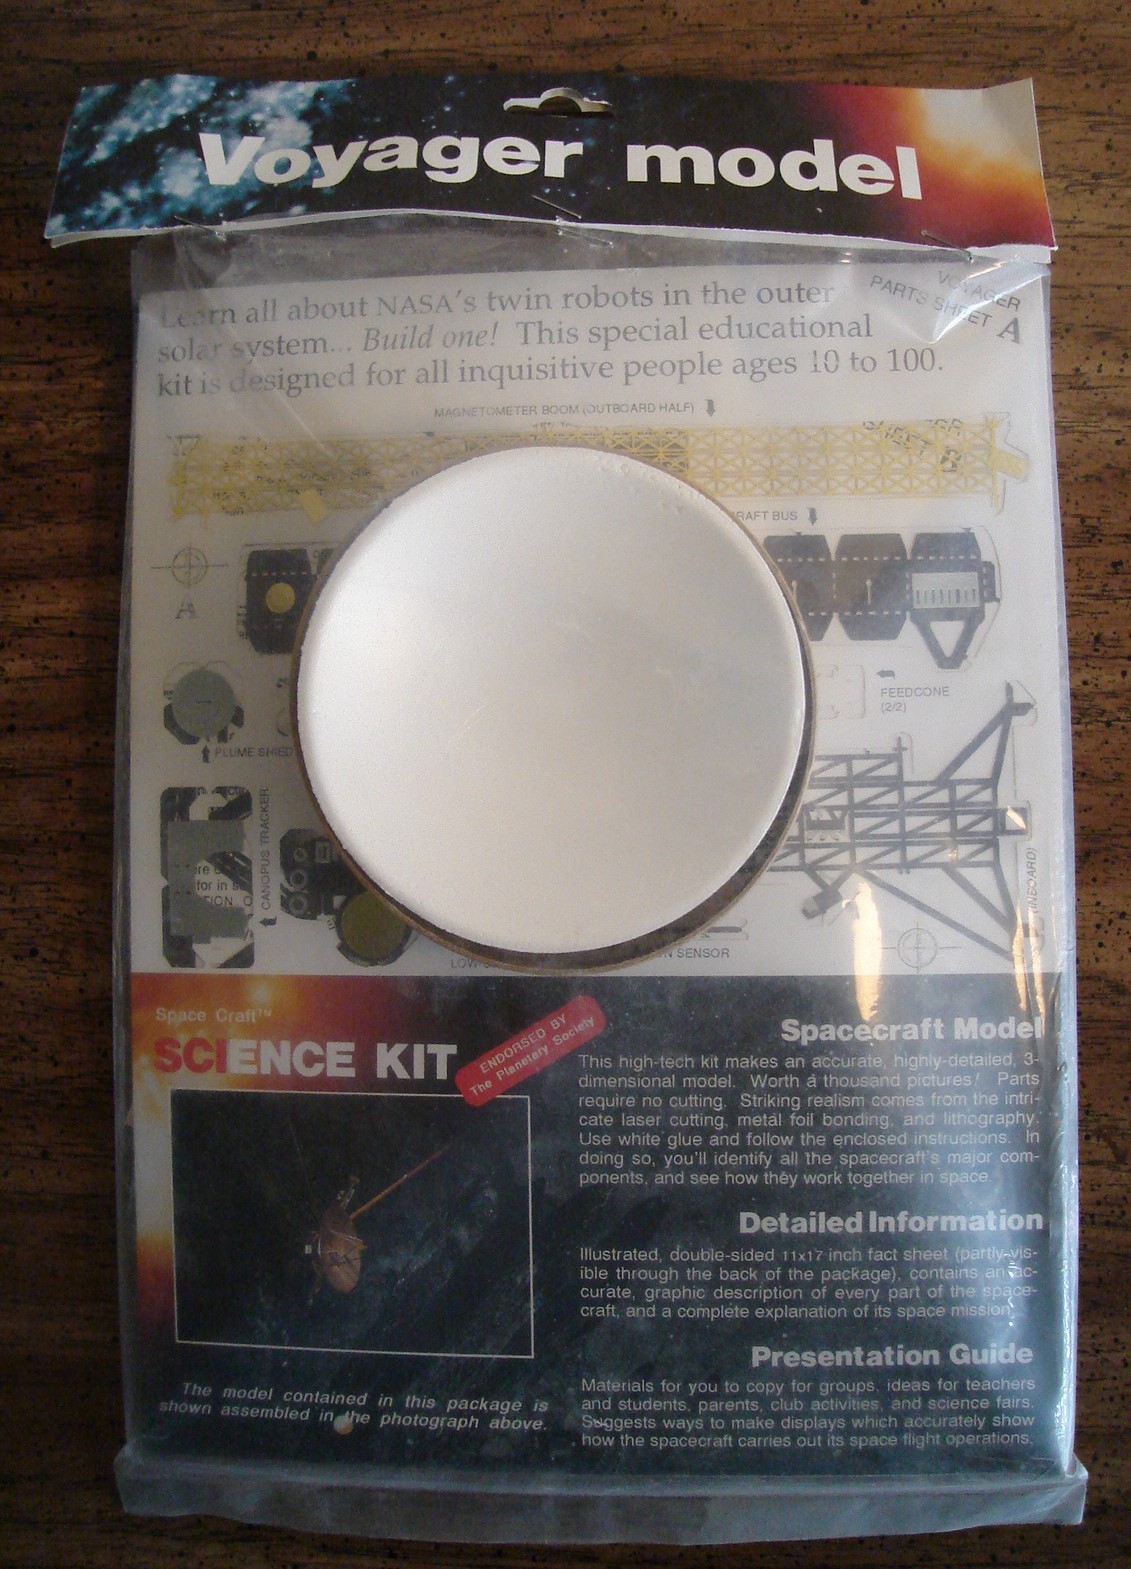
First, is a picture of the product.

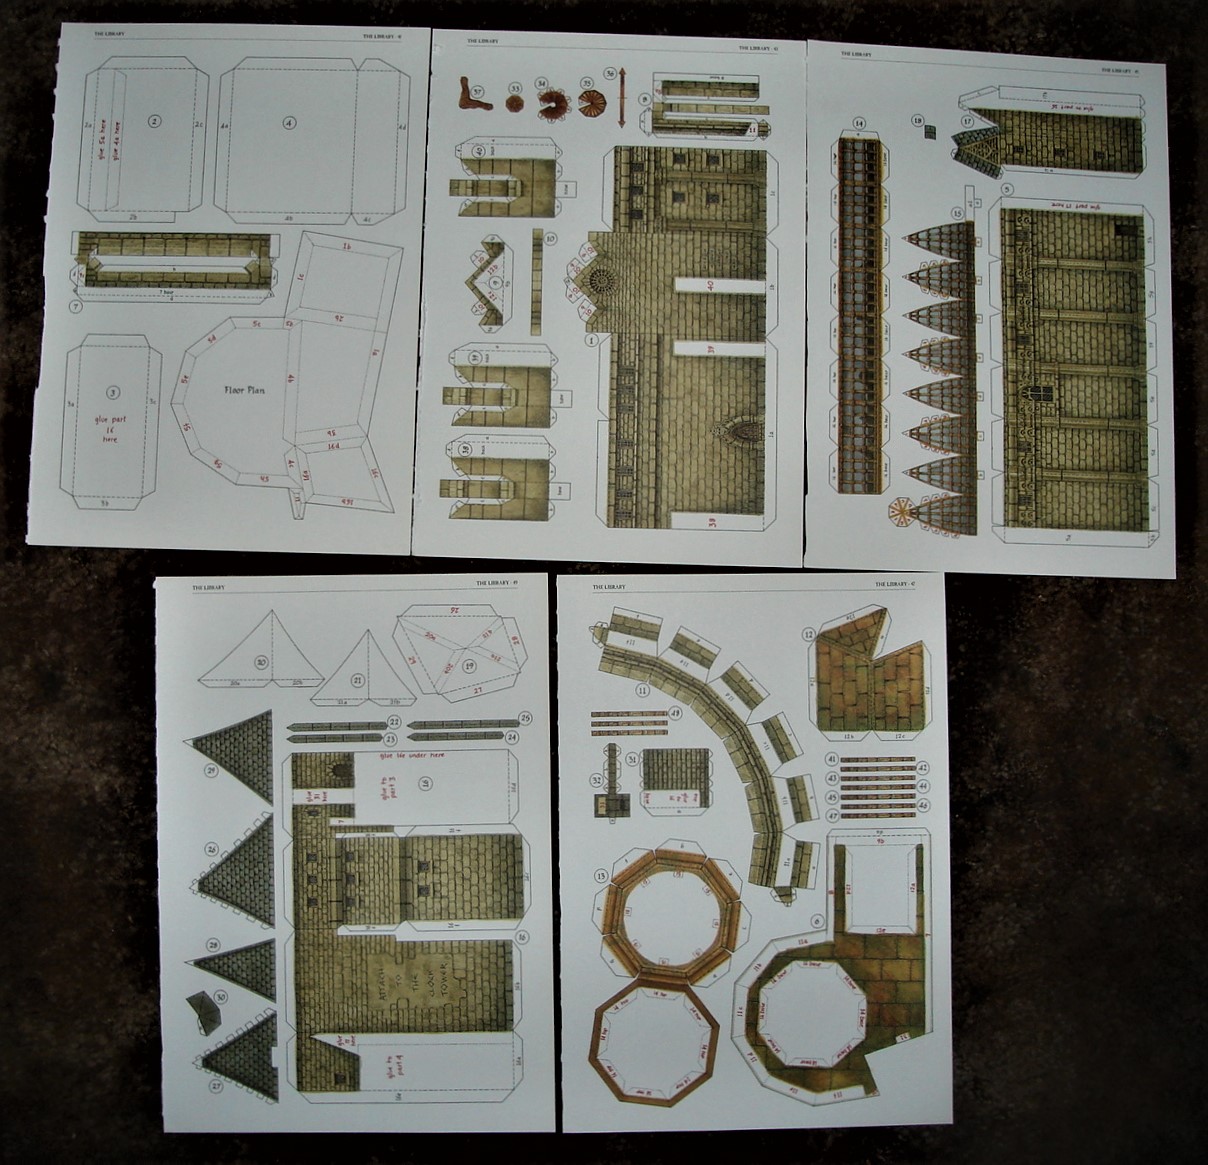
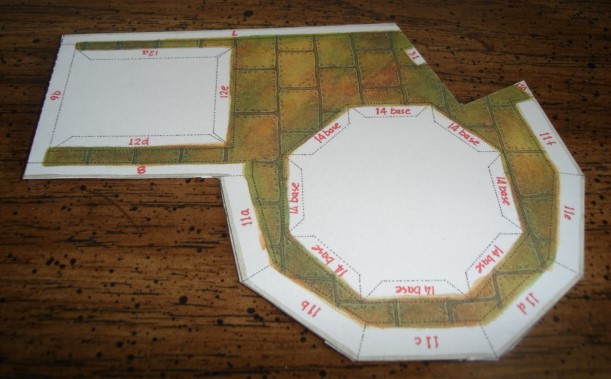
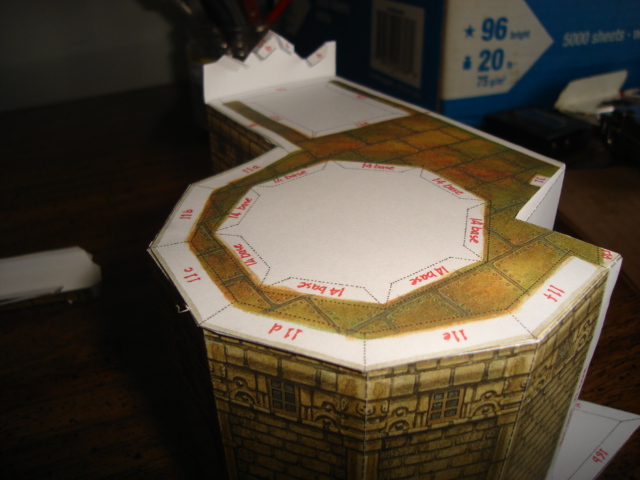
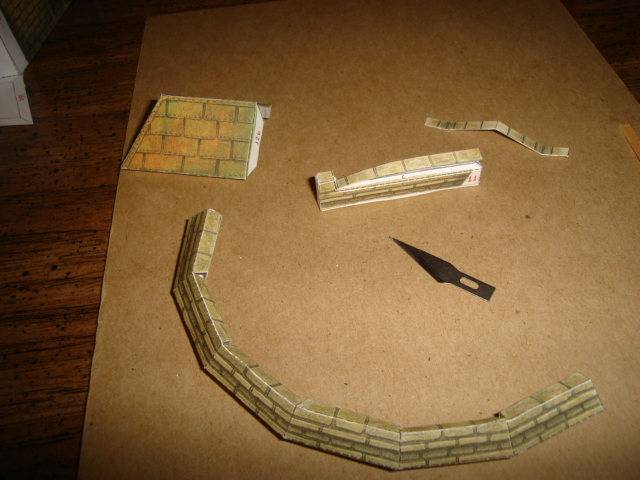
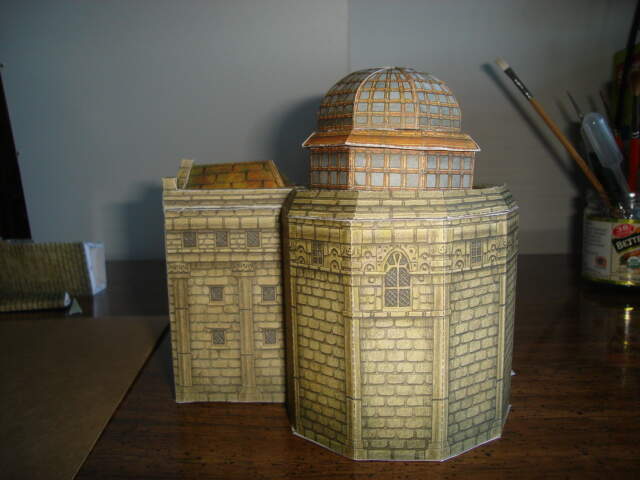
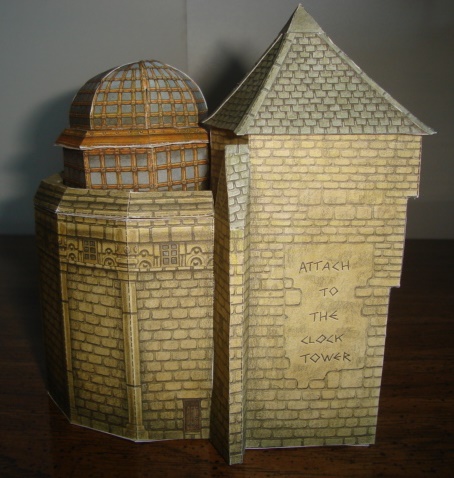
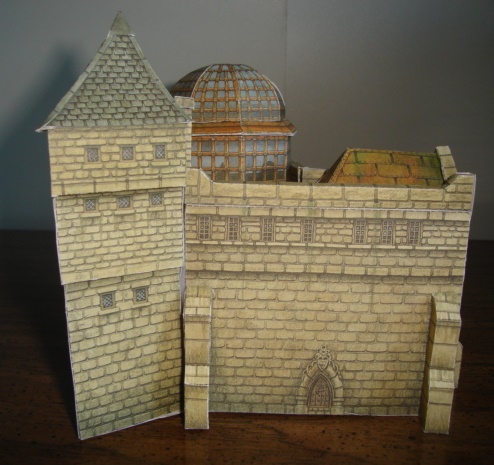
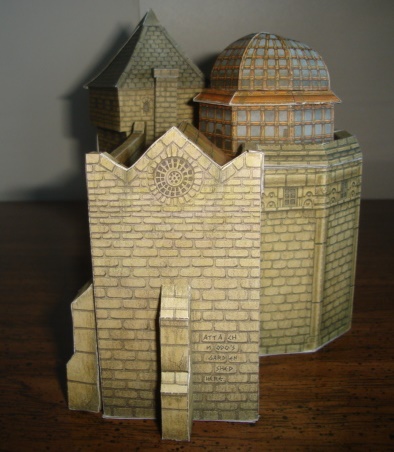
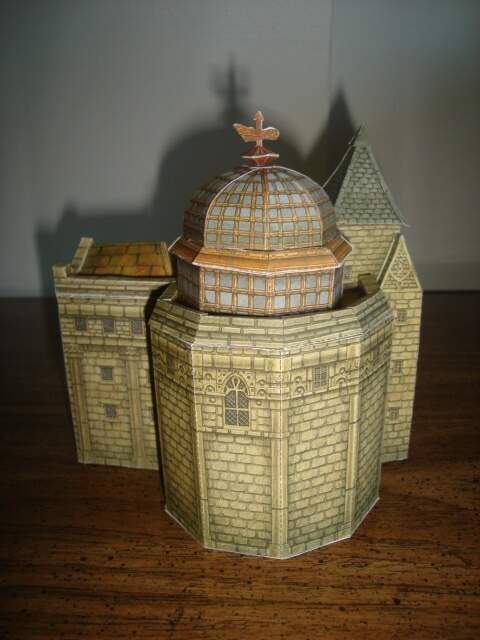
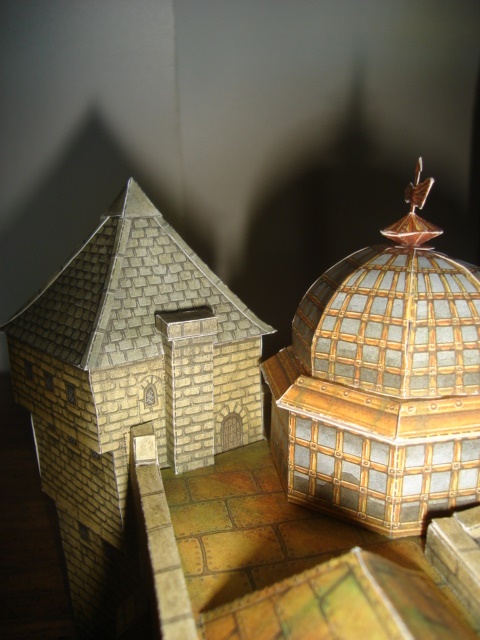
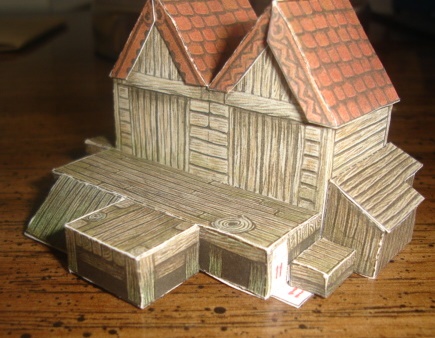
And now the first building I attempted; The Library. The work started March 30 and finished May 19. The pieces were on 5 pages.

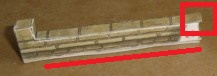
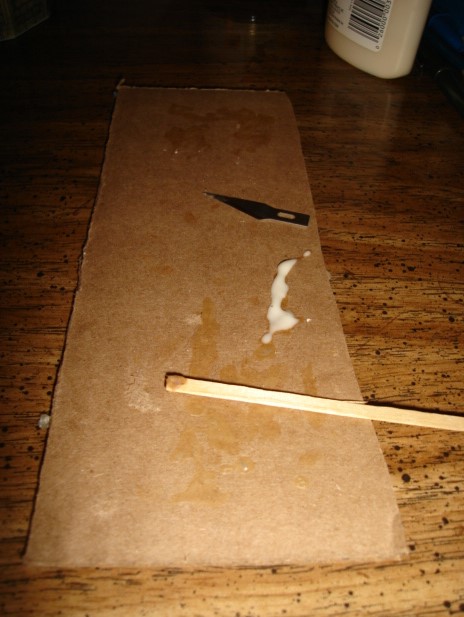
Now, I began to cut. And with the first cut, the first mistake. Make sure you don’t have the rest of the parts stacked with the page you are cutting on.

2
3
4
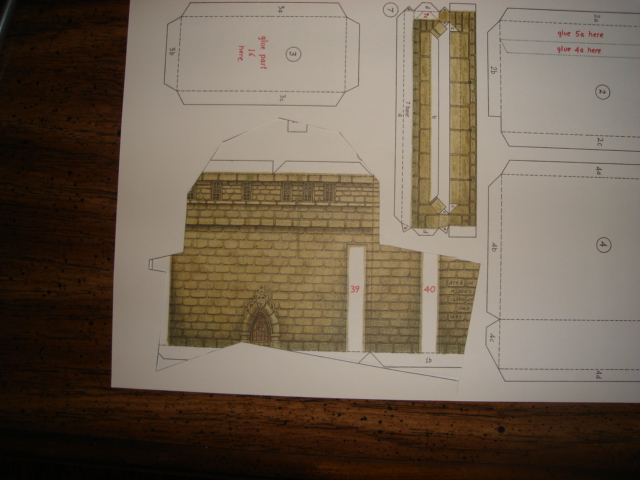
Also make sure you don’t use corrugated cardboard as a cutting mat. Your cuts can go off course when you cut through the first layer and into the corrugation.

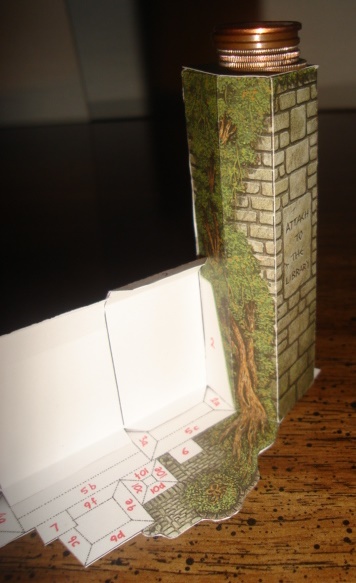
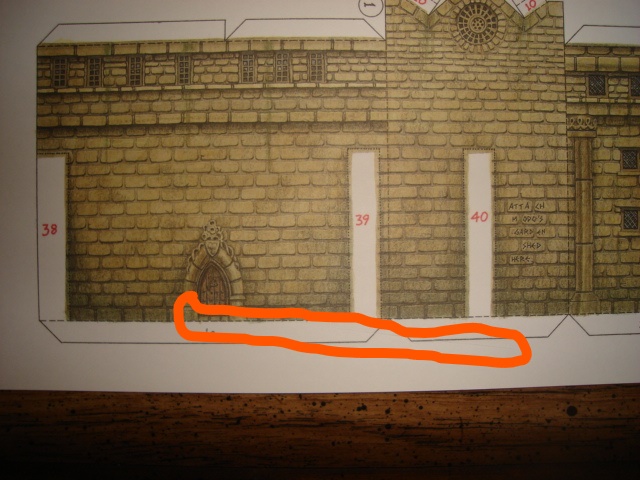
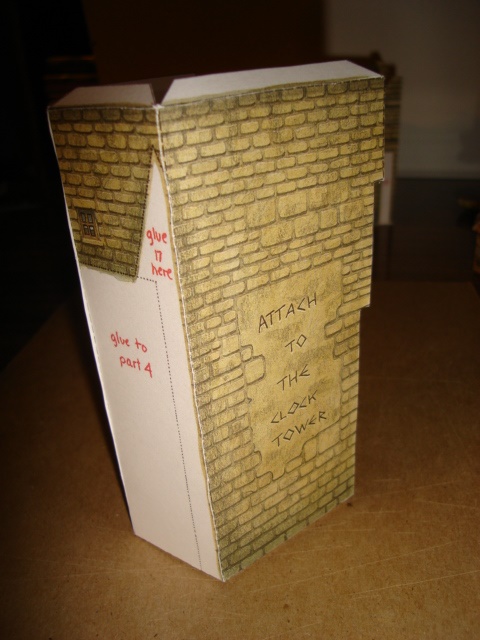
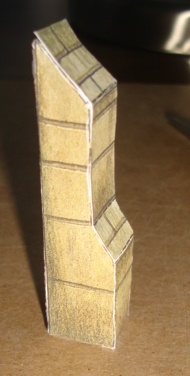
Of course the damage was to the next part to use: Part #1, the front of The Library. I thought of using tape, but instead will glue a piece of scrap paper (from one of the pages) across the damage on the inside.


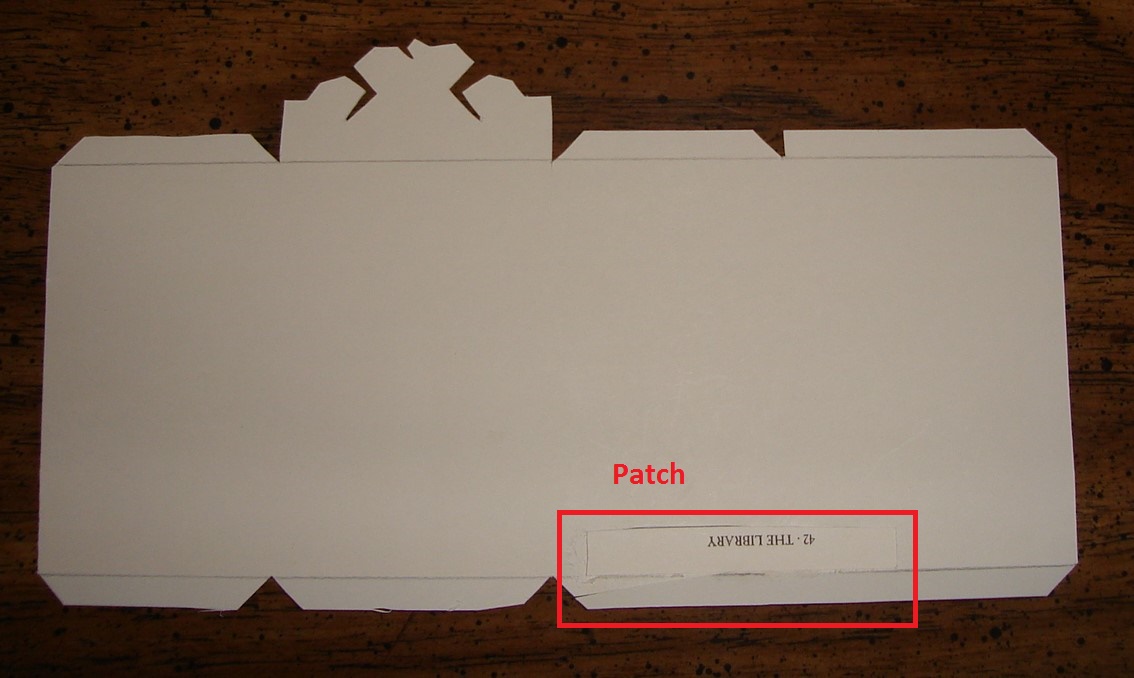
Patch in place. Here are views from both sides.


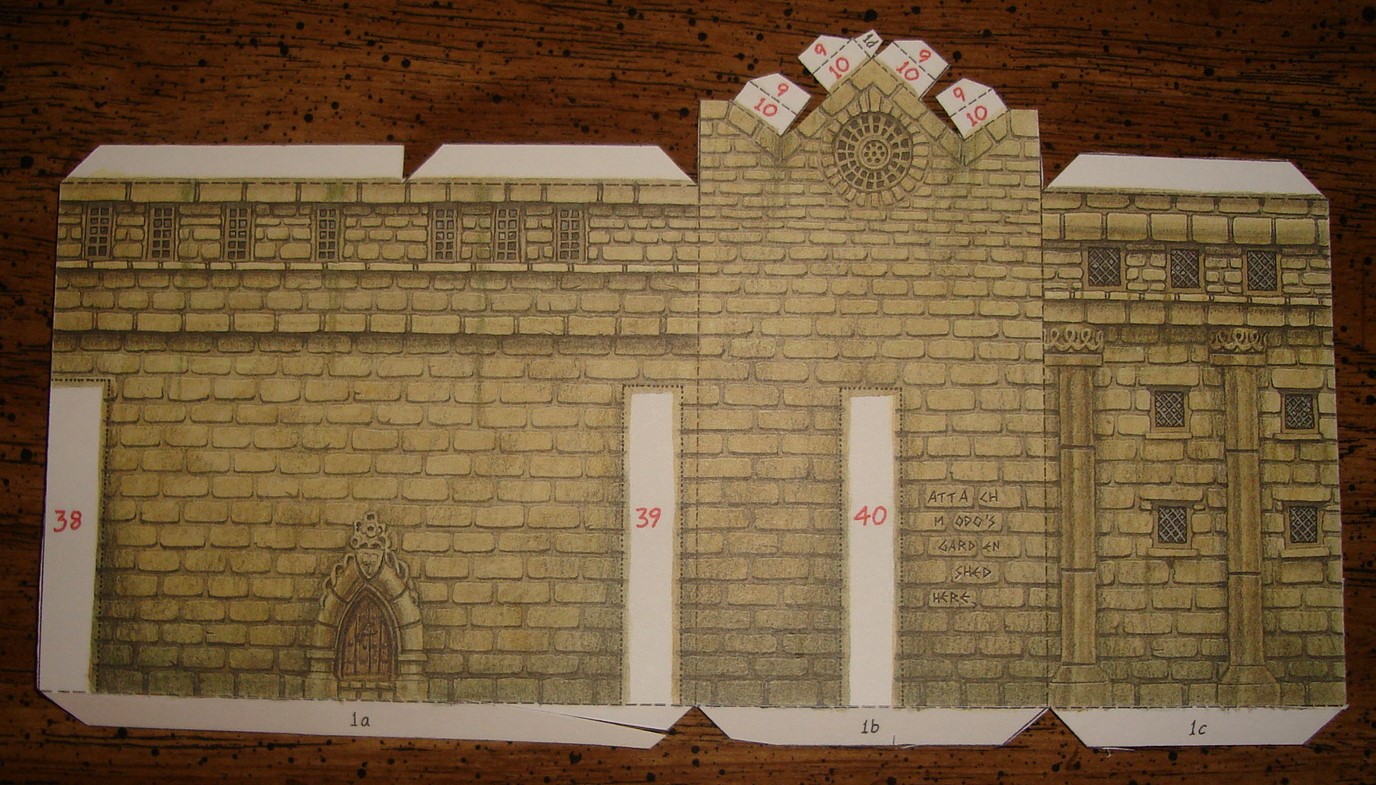
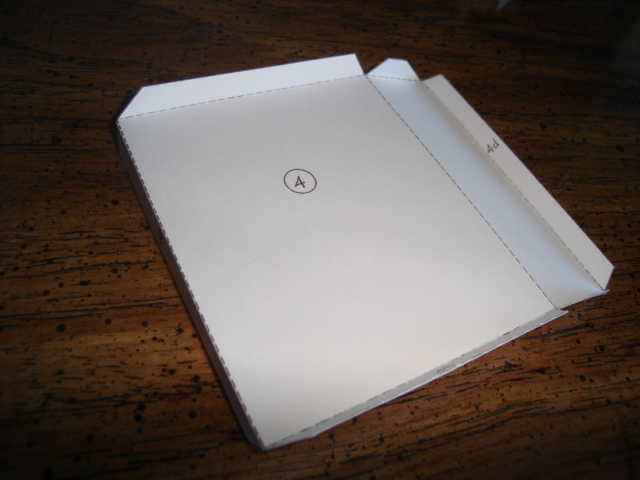
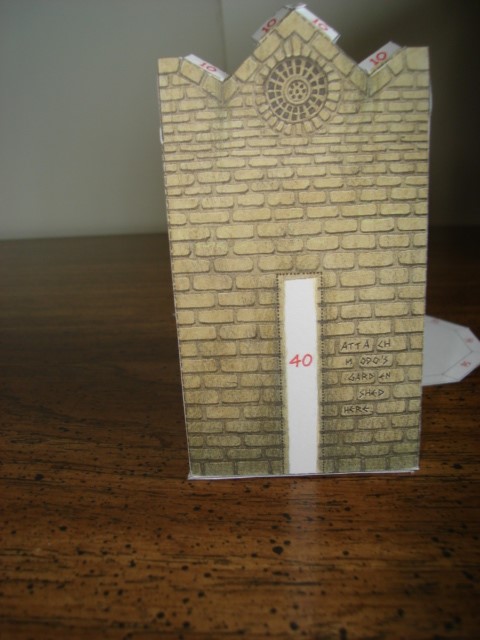
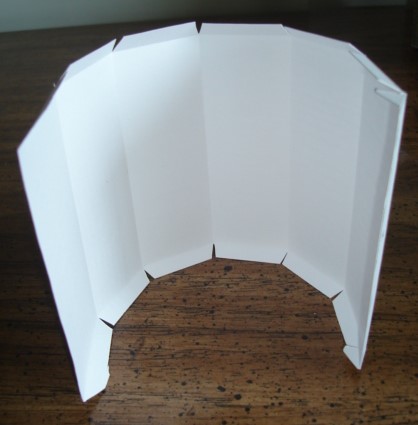
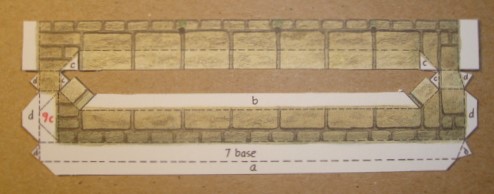
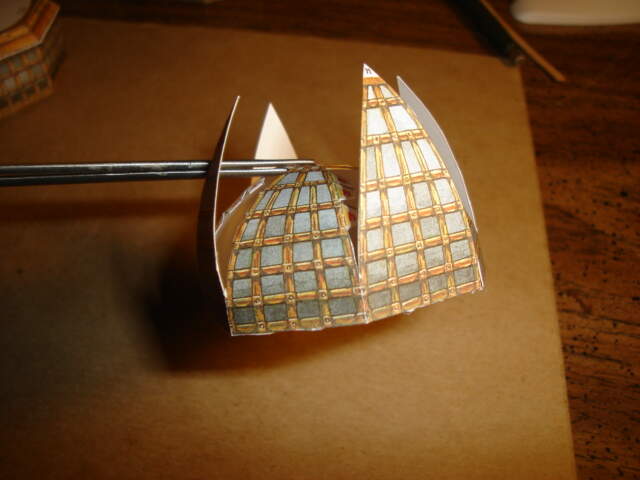
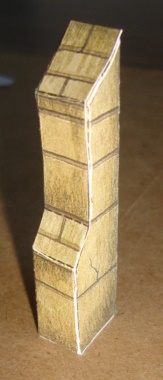
Part 1 with fold lines scored and bent.


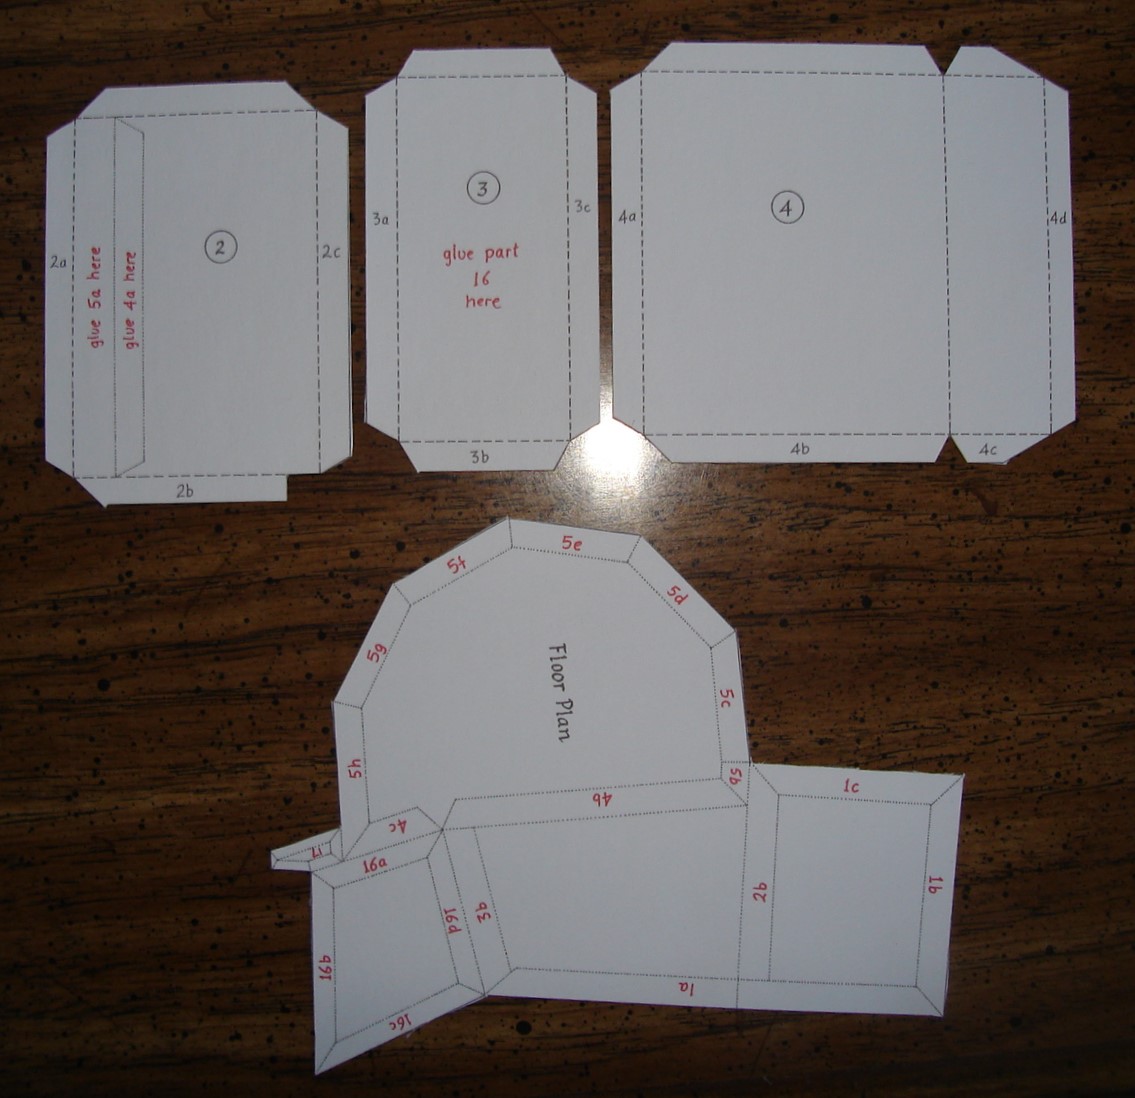
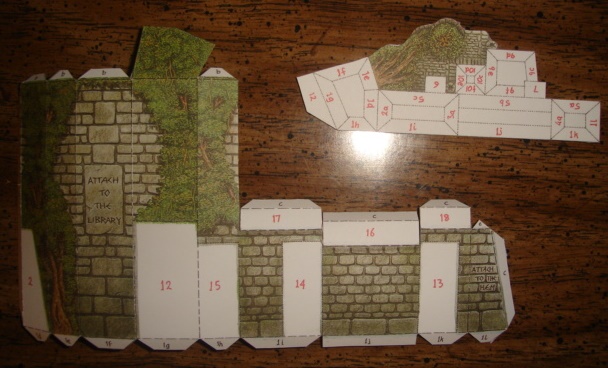
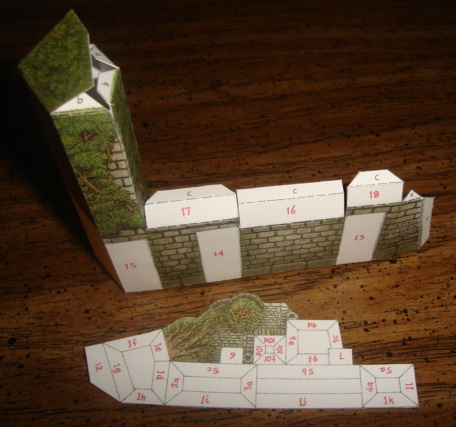
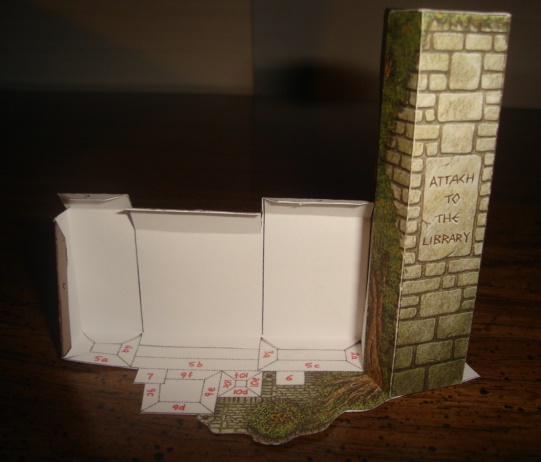
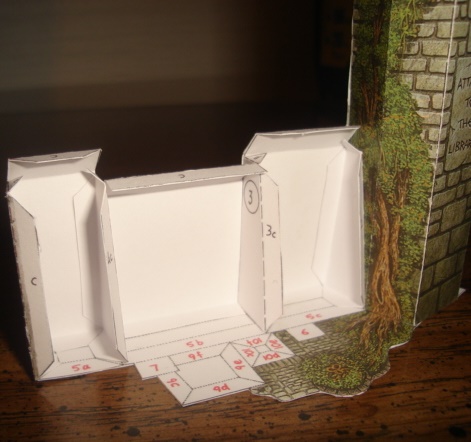
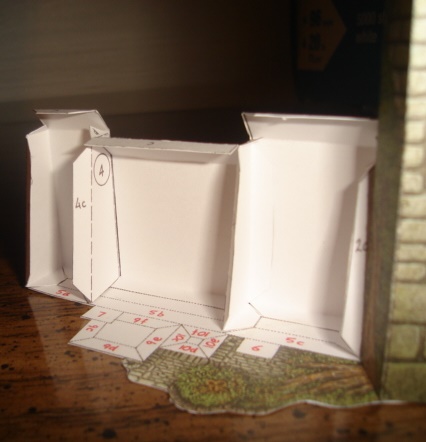
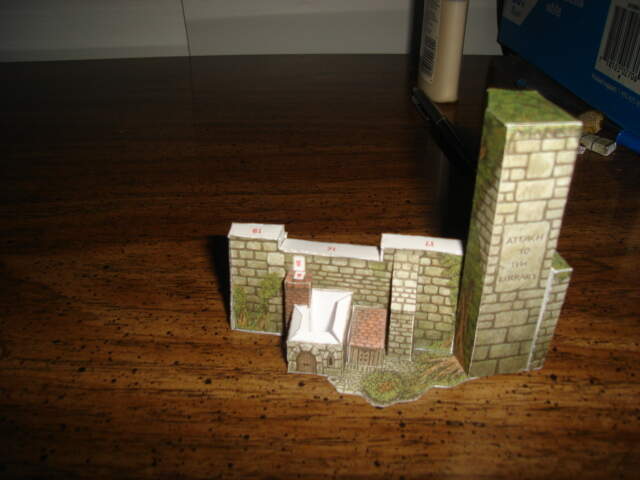
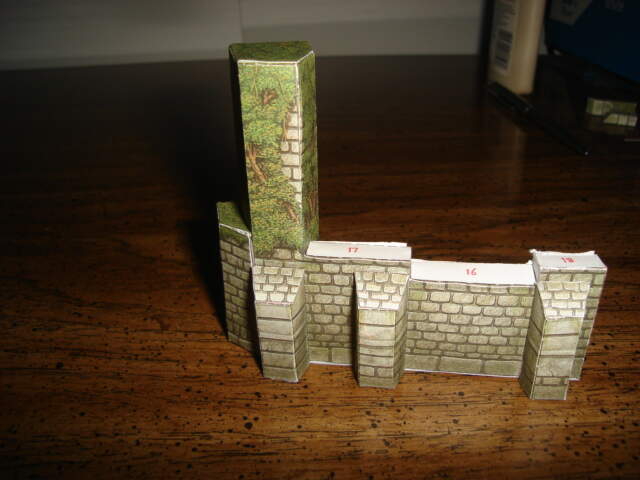
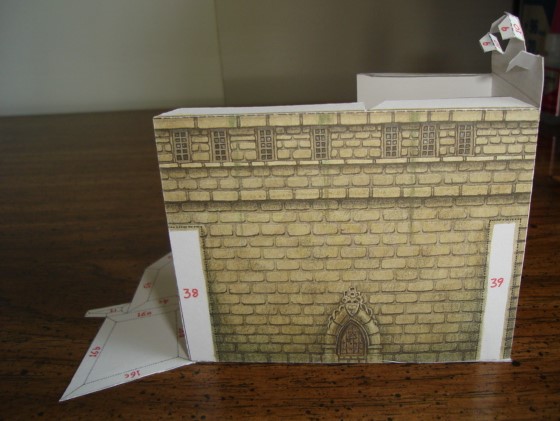
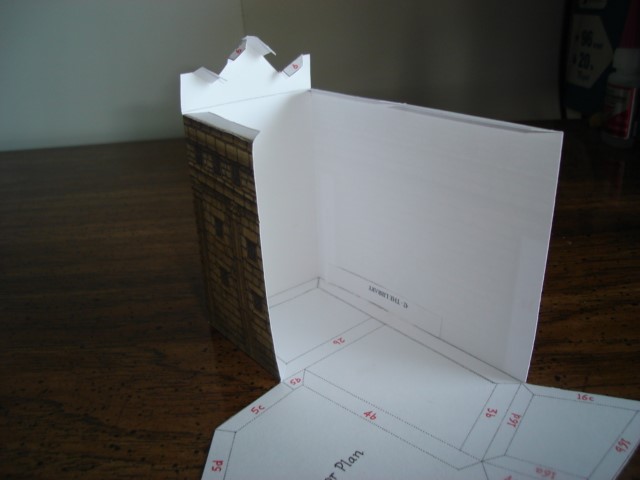
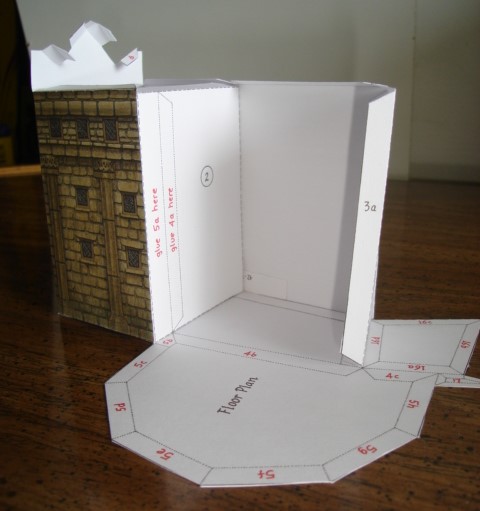
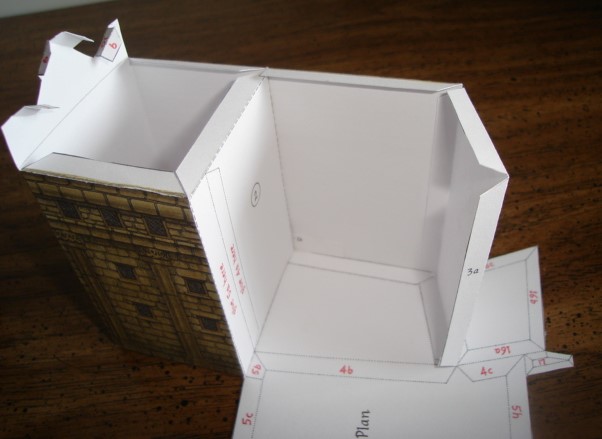
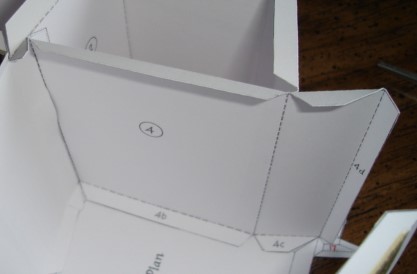
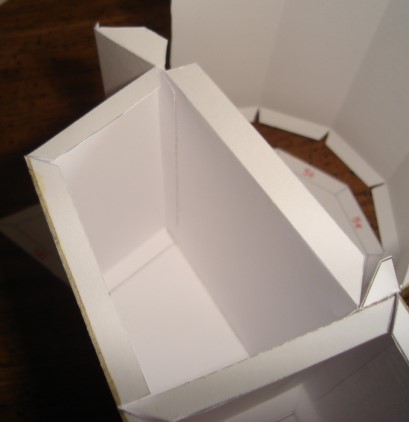
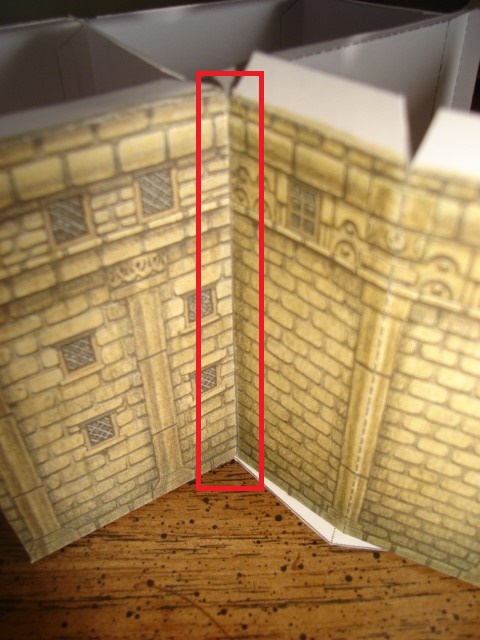
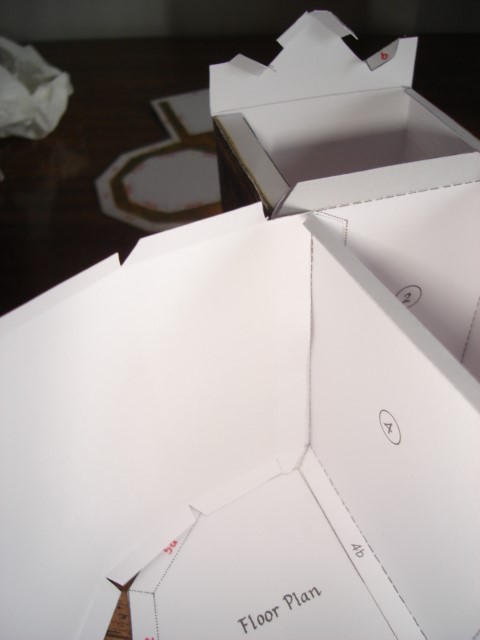
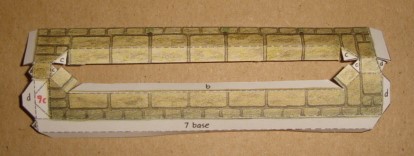
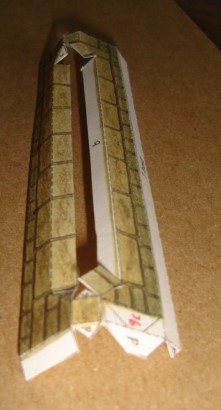
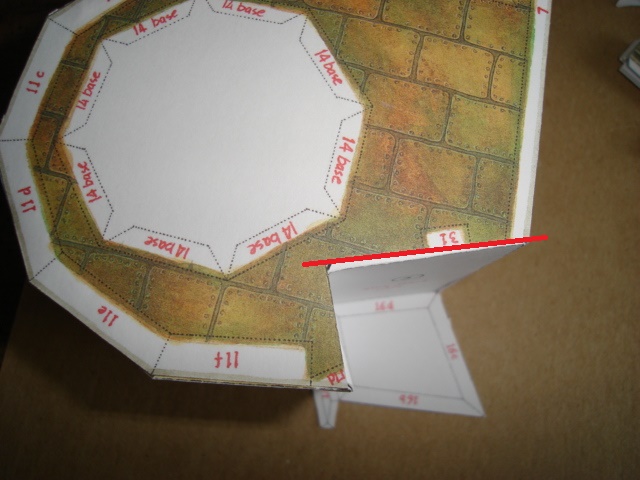
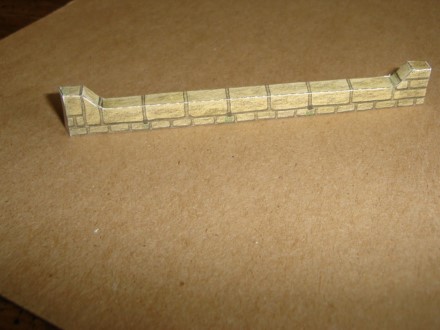
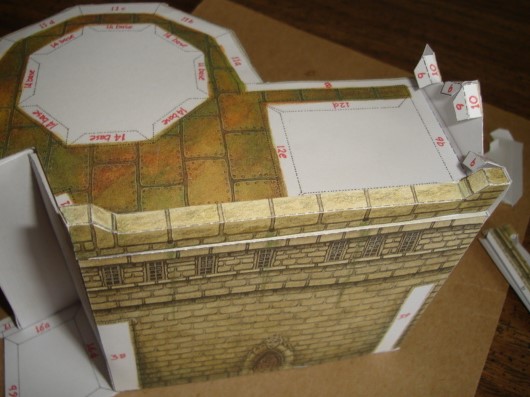
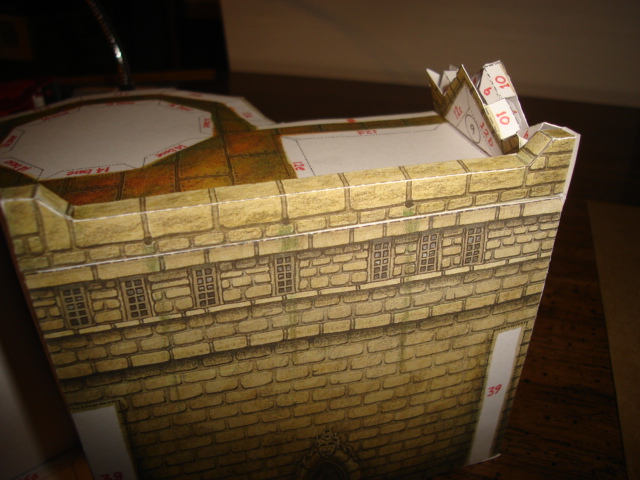
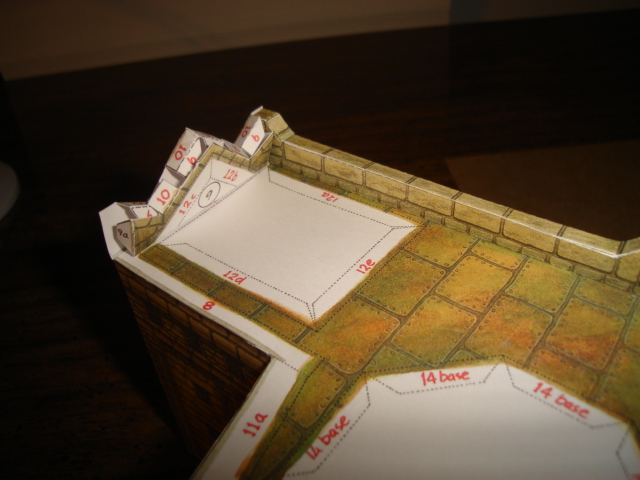
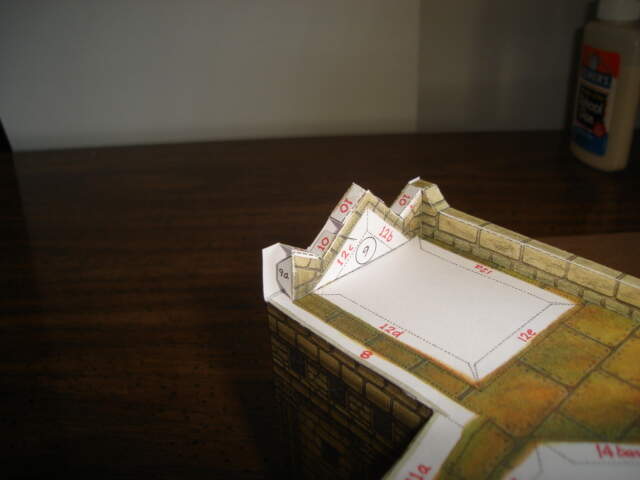
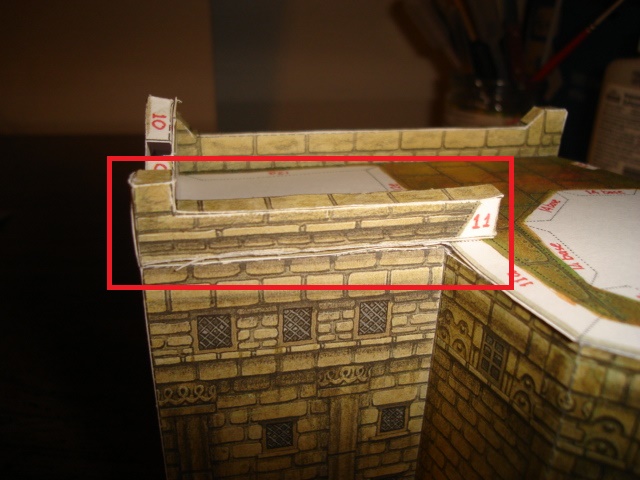
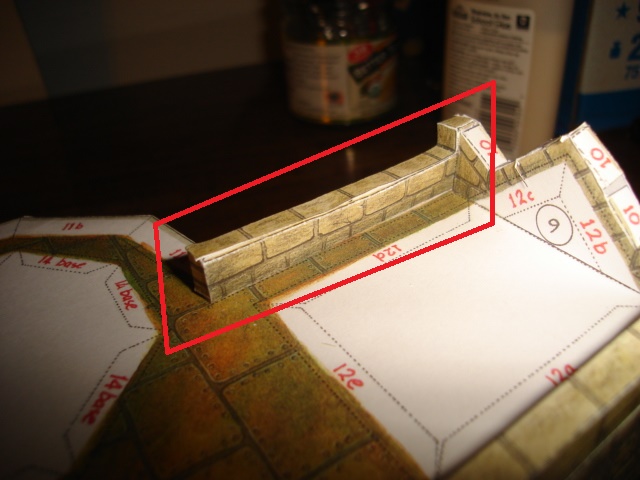
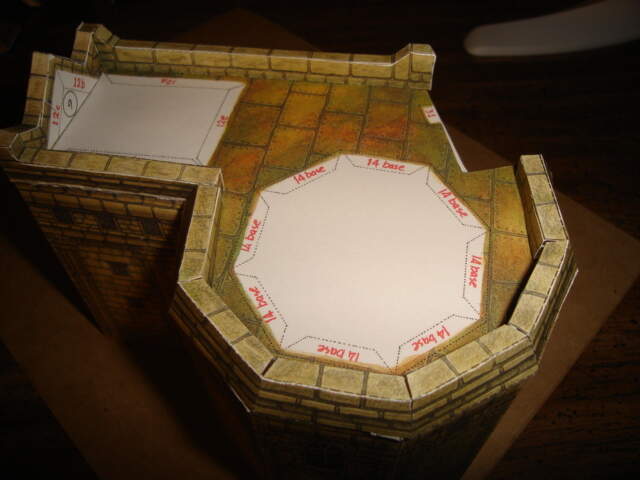
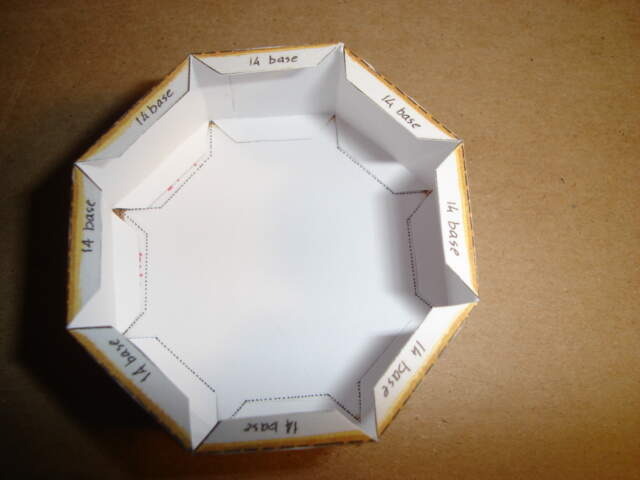
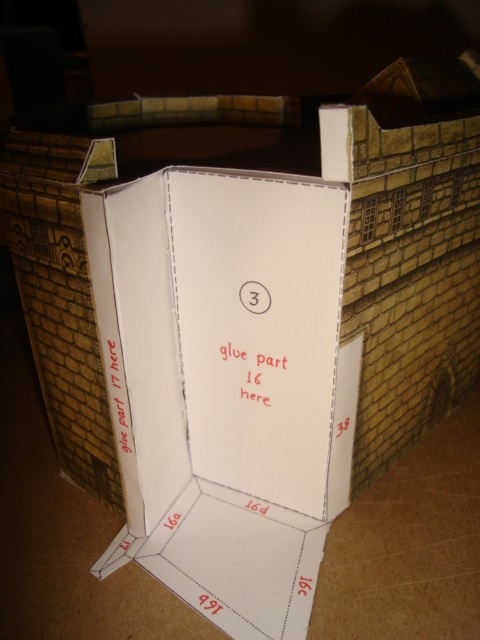
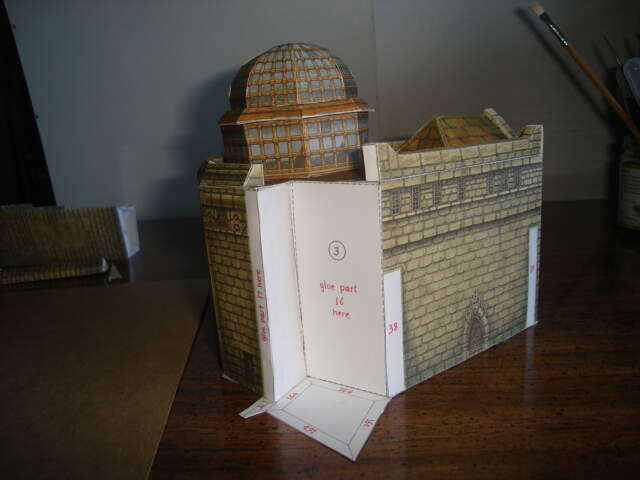
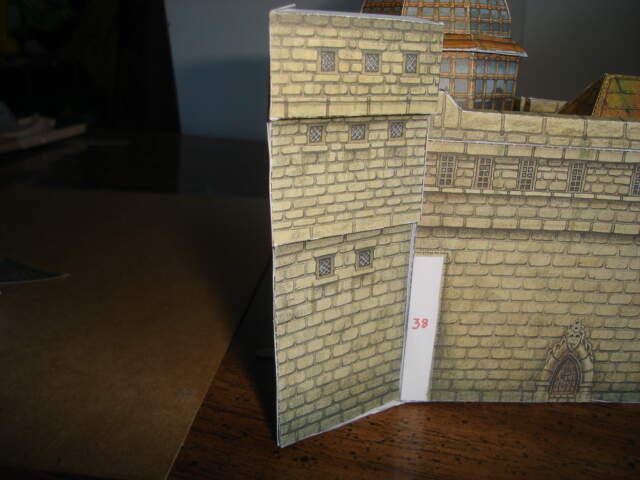
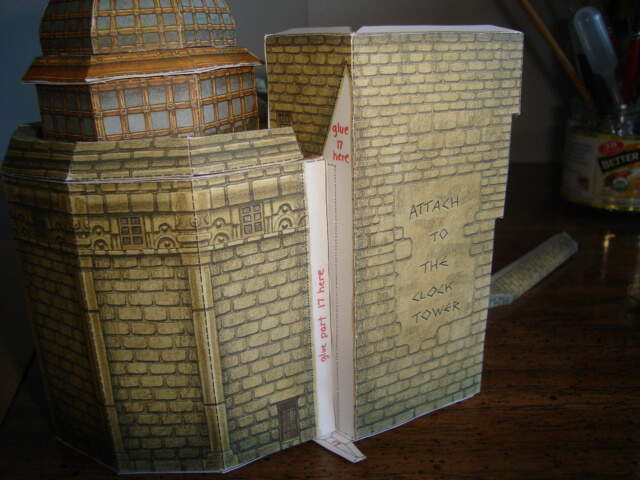
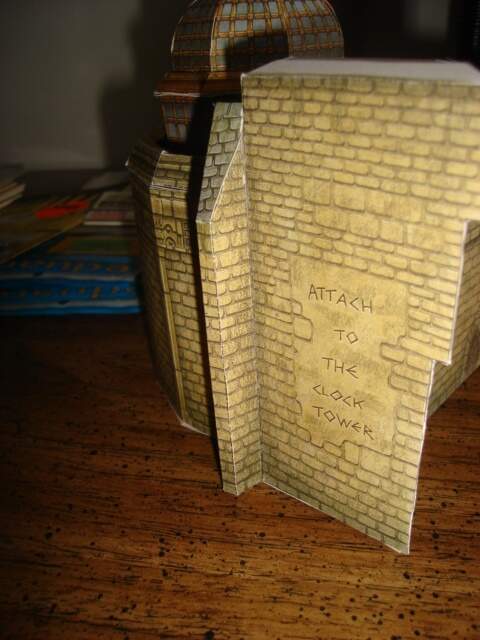
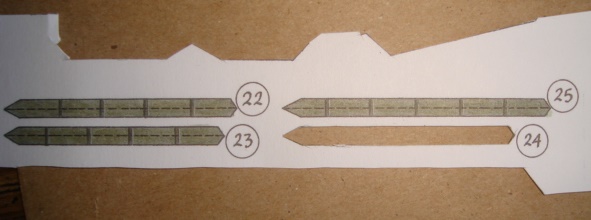
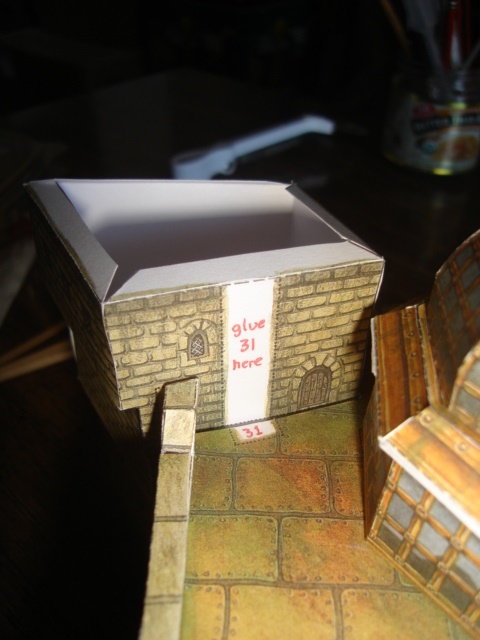
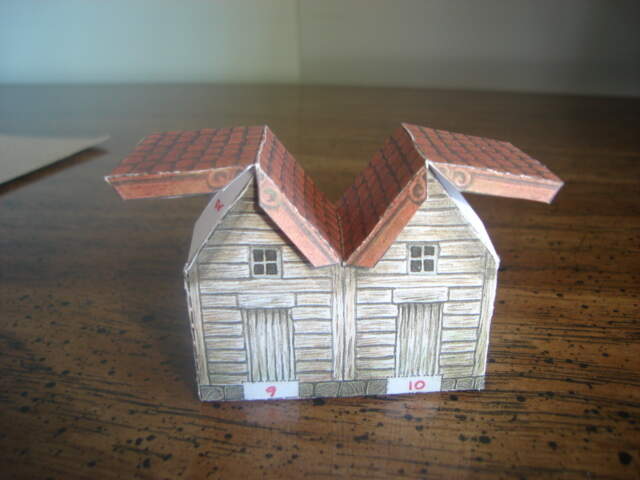
The next few parts. Major gluing begins. You can see where Parts 1 attaches to the floor (1a, 1b, 1c). Parts 2-4 are internal walls.

3 Likes

I was thinking about this build of yours the other day when someone on another site brought up paper modeling.

Glad to see this again.

Thanks. Unfortunately there hasn’t been any progress on the build. But I figured I’d try moving the thread just to see how to do it (or how not to do it). I do still have everything for the build to continue some day.

While dry fitting the parts, I noticed something wrong with Part 4. It took some careful viewing of Figure 3 in the book to find out what was wrong. In parts 1, 2, and 3, you bent the tabs towards the un-printed side. On part 4, only tab 4a gets bent in the direction; all other tabs get bent toward the printed side. Now that this has been corrected, I can start gluing parts 1-4 to the floor and each other.
DSC07766

Finally got the courage to glue part 1 to the floor plan.
DSC07774
DSC07774


DSC07776

Glued parts 2 and 3 to The Library.


DSC07778

Cut out and scored parts 5 (rotunda) and 6 (roof).
DSC07779 DSC07780
DSC07781

I finally glued part 4 in place.
DSC07783 DSC07784

I started on part 5. This is an important part as it joins two external walls and their artwork together. Only tab 5a is glued here as it is the tab that holds part 1 and 5 together.


The instructions say to do one part at a time so this will take a while.

I should mention two tools that help reach internal tabs. One is wooden coffee stirring sticks. They are great for getting glue and spreading it in hard to reach spots. Another are a pair of cross-action tweezers. These are great for squeezing parts together in hard to reach spots.

I cut out part 7 (one of the parapets) and noticed you have to cut part of the middle out. It’s quite complex piece with multiple little tabs.
DSC07787

3 Likes

I remember reading the Discworld series when they first came out, I imagine it has moved on a lot since then … I may have to pick them up and start a re-read … Looks like a fun build though - something different.

I read my first around 2001. I borrowed it from a friend at work and I was hooked. I then bought the first (The Color of Magic) and have just about all of them. I’ve read the series around 3 or 4 times.

Sadly, the paper model of Unseen University seems to be out of print. I would have liked another copy or two so I could do them better.

Welcome Gary and our first paper models post isn’t it? Very cool book. Did you hear about the new Discworld series coming out soon. Sounds a bit ‘modernized’ for most Pratchett fans tbs.

Thanks again for becoming a VIP Patron!

Jim

Book series or TV series? I heard that Mr. Pratchett’s daughter said there would be no more Discworld.

As for being a VIP Patron, it seems like the only thing I can do for the site.

More progress. I have glued the roof on (part 6)but I may have to cut part of a tab of an internal wall loose and reposition it as it may interfere with a tower to be placed here later.
DSC07790

Meanwhile I have folded the first parapet (part 7) and it is quite complex.
DSC07788 DSC07789

Here is the amount that I have to move the glue point of the internal wall. A bit later, a tower will be added against this wall.
DSC07792

Here are 3 views of part 7 (parapet) from the outside, inside, and top.
DSC07793 DSC07794 DSC07795

And here it is glued in place. Part 9 (inner side of gable) is in place but not glued.
DSC07796 DSC07797 DSC07798

And here are part 8 (other parapet) not quite glued (it’s kind of fragile), part 10 (gable top), part 11 (rotunda parapet), and part 12 (small roof) all glued and ready to go.
DSC07799

One thing to mention is that I have been cutting parts out then scoring them. I should do it the other way around since it is easier scoring them before they are cut out.

Also using a straight edge is important when cutting next to next to artwork but not really next to tabs. A straight edge is also important for scoring.

1 Like

It’s this one. As you’ll see not much like the setting of his work, but the series did have to get licensing rights I believe. https://en.wikipedia.org/wiki/The_Watch_(TV_series)

Sounds dreadful. I don’t watch broadcast TV anymore and I don’t have Cable. I don’t do Netflix, Hulu or anything else. I’ve been watching Japanese/Korean series online. My other entertainment are DVDs, mostly old favorites.

Small mistakes are being made but at least it is being built!

Here is my work from last night. (I posted this April 15, 2017)

Part 9 has been glued in place.
DSC07801

Part 8 needs some trimming and a little more glue on the bottom.
DSC07802

Part 13 (dome base) has been scored and cut out and awaiting glue.
DSC07804

Part 14 (rotunda) had been glued into the octogon shape it will need.
DSC07803

Part 15 (dome) has been cut out. It needs the upper part to curled around something round to become the petals for the dome.
DSC07805

Here is my glue setup and the tools I use. I squirt a good amount of glue on a piece of cardboard then use the stirring stick to apply and spread it onto parts. On the first paper model I attempted, I applied it straight from the bottle. That made the parts too wet. The used knife blade is for tight spots.

And here is part 9 (small parapet) finally glued in place. I had to trim both the end of the top and the bottom a bit. I really had trouble with this part as when you cut it out, it was quite hard for my fingers (which don’t work so well after my mini-stroke of 2013) to fold right as it is quite flimsy.DSC07807
DSC07808

Here is part 15 (dome) scored and folded.
DSC07809

Here is the first “petal” being glued in place and held with my cross-action tweezers.
DSC07810

Here is part 10 (gable roof) glued in place.
DSC07811

Here are 2 views of part 11 (rotunda parapet) glued in place.
DSC07812
DSC07813

Part 12 (small roof) glued in place.
DSC07814

Parts 13 (dome base) and 14 (rotunda) glued together.
DSC07815
DSC07816
DSC07817

Part 15 (dome) with the first set of petals glued. They have tabs on the side for the other petals.
DSC07818
DSC07819
DSC07820
DSC07821

Part 16 (Main tower) is tricky to cut out. Be careful of the cut lines and fold lines!
DSC07822

This is where it and part 17 (small tower) attach to The Library.

Part 17 (small tower) cut out and scored.
DSC07824

Part 15 (dome) Progress on gluing.
DSC07825

Part 16 (Main tower) all glued up.


This is where it connects to the main structure. I have cut part 3 (internal wall) loose from the building to reposition it so that the main tower fits closer against the Library.

I still need to cut more away to be able to make the main tower fit properly.

Inner structure of the main tower roof.
DSC07830 DSC07831

The other parts of the main tower roof.
DSC07834

The dome all glued. It came out lop-sided.
DSC07832 DSC07833

1 Like

First roof piece in place.
DSC07835

Second roof piece in place.
DSC07836

The dome glued on.
DSC07839

Looking really lop-sided.
DSC07840

Main tower in place.
DSC07841

Photo showing where the small tower will go.
DSC07842


Another roof panel added to the main tower roof.
DSC07969

Initial assembly of one of three identical buttresses. This shows the sides and bottom glued with the front to be done later.
DSC07970

The last roof panel has been added to the main tower roof. It looks a bit rough, but the top will be covered with a cap and the edges will be covered by roof tiles.

The other two buttresses have been scored, cut out, and folded. They await further assembly.

After the roof is finished, it will be added to the main tower. Then the chimney stack will be added, then the chimney top.

We are coming close to finishing the library.

1 Like

Here is the first finished buttress. There is a bit extra at the top that needs to be trimmed off so the buttress will fit flush against the library.
DSC07974 DSC07975

Here is what the roof hip tiles look like as printed. Be careful not to get them mixed up as they are slightly different. (I had to look up what the edges of this type of roof are called).
DSC07977

Here is a roof hip tile in place. The roof looks a lot better with it!
DSC07976

The completed main tower roof.
DSC07982

The chimney stack is another simple box.
DSC07978

This where it will go.

Here is the chimney stack in place.

I need to glue the main tower roof on, then the chimney top. The buttresses will go on and then I begin work on the weather vane.

Here is the Library of Unseen University sans weather vane.
DSC07985 DSC07986 DSC07987 DSC07988

Here is the weather vane under construction.

And here is the Library complete!

This shows how the main tower roof and the chimney fit.

I may sneak in a build of the next building: The Boat House.

This last post was originally uploaded May 19, 2017. This is the first thread I’ve transferred to the new Forum. Uploading of photos was really quick, and unlike the old Gallery, I could upload more than one at a time! Well done, Jim!

The next thing in the book is “There Be …”. It’s a collection of small builds: the Boat House, Modo’s Garden Shed, the River Wall, and the Wall of Names.

Yesterday, I was away from my place, but I took the Unseen University book and an X-Acto knife with me. I ended up cutting out all the pieces for the Boat House, except for the boats. It’s small and simple so I expect it will be done by the weekend.

I started assembling the Boat House then realized I hadn’t taken pictures. Most of the parts are simple boxes. Here is the main body with the roof being glued on.

1 2

This is the deck of the Boat House.
3 4

Here are most of the other parts before assembling. Most are simple boxes with the exception of parts 4 and 7. Part 4 is more of a triangle (the boat ramp) and part 7 is a tad more complex being “L”-shaped.
5

Here is the Boat House glued to the floor plan.
6 7 8

As you can see, unlike the Library, it is a fast build. The front of the Boat House with the ramp and deck in place.
10

Before gluing parts 8,9, and 10 in place.
11

With parts 7-10 in place.
12 13 14

The Boat House building is done. All that is left are the 3 boats.
15 ![16|501x443]
(upload://ivYV40Qn1BoRFhaW9BdA4lKTp2o.jpeg)

This is what the boats look like on paper.
17

The parts of a boat cut out and folded.
19

The outer shell glued together awaiting the inside/rear.
20

Here are all three boats completed.
21

The Boat House completed.
22

Comparison of the Boat House and the Library.
23

Next up will be Modo’s Garden Shed.

The Boat House was built from May23 to June 1, 2017.

1 Like

my hat’s off to you sir, you’ve done a remarkable job so far

My luck ran out on “Modo’s Garden Shed” as you will see in this thread. :disappointed:

I succumbed to temptation. I started Modo’s Garden Shed last night.

The main wall and floor plan.
1

The main wall glued to form a pillar.
2

The top of the pillar with some weight to hold it down until the glue dries.

View from both sides to show the rest of the main wall glued to the floor plan.
4 5

One of three internal supports.
6

Two views of the supports in place.
7
8

Another problem has cropped up. It seems the inner wall (part 5, I think) is a bit too long on the right. Notice how the spaces for parts 6-10 don’t match the floor plan. The top and the tabs at the bottom are a perfect fit.
9

Here is the part after trimming. The fit is better but the tops don’t match. There will have to be some patching to do after it is glued in place. I seem to have lost the part of the wall I trimmed which could have been useful in making patches. I think there are some sections to use for patching in the back of the book. I will have to see if they are a good match.

10

At this point, we fast forward to December 8, 2017/

This is how it stood back in July. As you can see, the pillars and sheds were added.
14 15

I still haven’t fixed the top of the wall for “Modo’s Garden Shed”. And this is how it stands today, November 4, 2020.

I have decided to move on to “The River Wall”. It should be simple.

1 Like

My wife has dragged me into her K Drama world. She’s a fan of Lee Seung-gi, who served in the 13th Special Forces Brigade, which I actually trained with. A lot of good series and stand alone movies out there. Recently finished Vagabond.

As for your build, I know those things can be deceptively challenging. It’s looking good so far. I have a similarly complex one of a nuclear power plant. It’s so damned involved they give you two sets of one of the structures, just so you can practice the cutting and scoring. (a lot of the pieces only require a light scoring for the bend) I haven’t committed to building this thing any time soon, but another zombie apocalypse scenario may bring it into the light of day again.

I think I remember seeing that model in a catalog once. That was tempting to get.

I have 3 other paper kits:


As for KDramas, I recently got a DVD set of “Goblin: the Lonely and Great God”. Such a great mixture of Horror, Drama, and Comedy.