When you read it’s a paper cut and glue kit you think, " that can’t be to hard" … Wrong !!! Lol. It looks super complex and with very intricate details and cuts needed. It is look really good do far, very impressed and we’ll done. It’s nice to see it coming together.
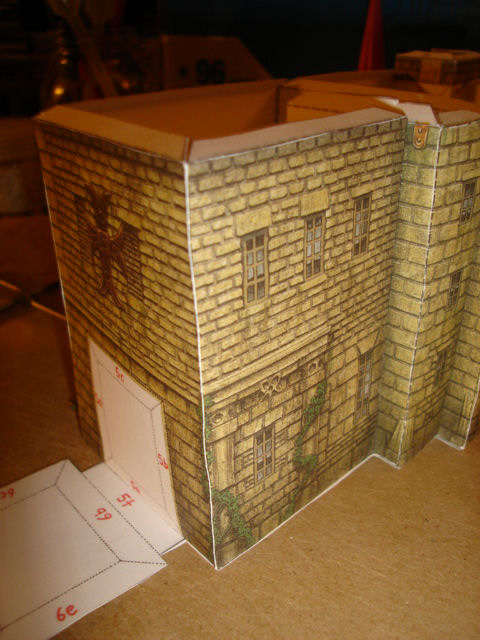
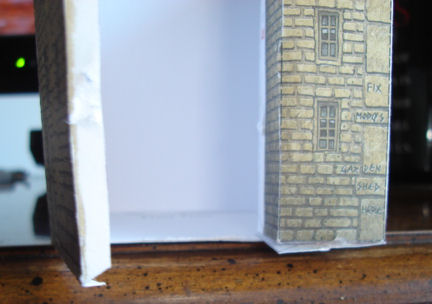
I have started back up on this project. I still haven’t fixed the top of the wall for “Modo’s Garden Shed”.
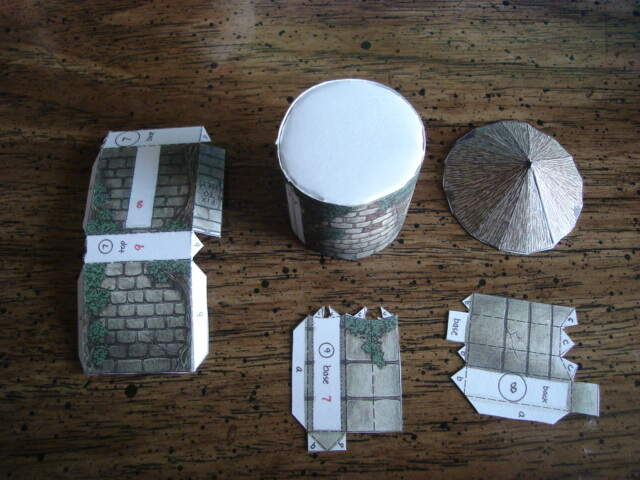
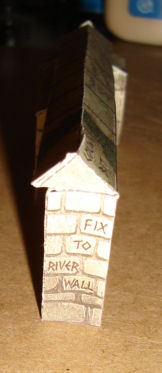
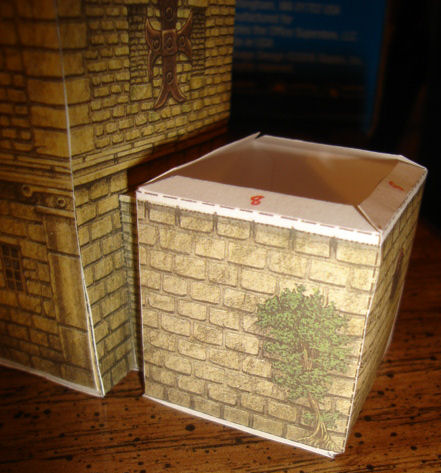
I have decided to move on to “The River Wall”. It should be simple. Here are the pieces. As you can see, the I cut out the pieces for the round house and started to shape walls by rolling it around my Xacto knife handle.
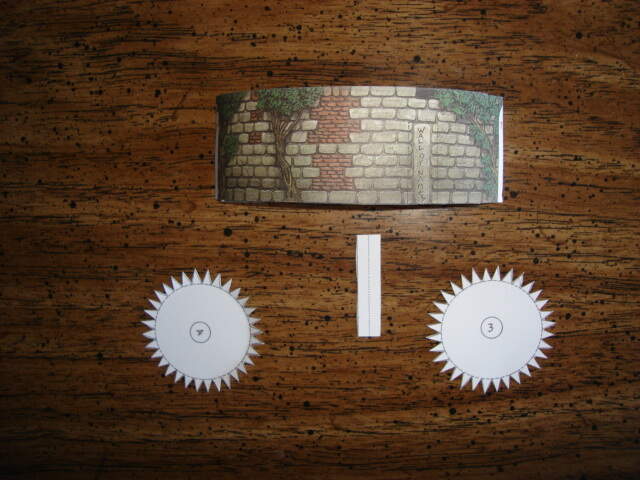
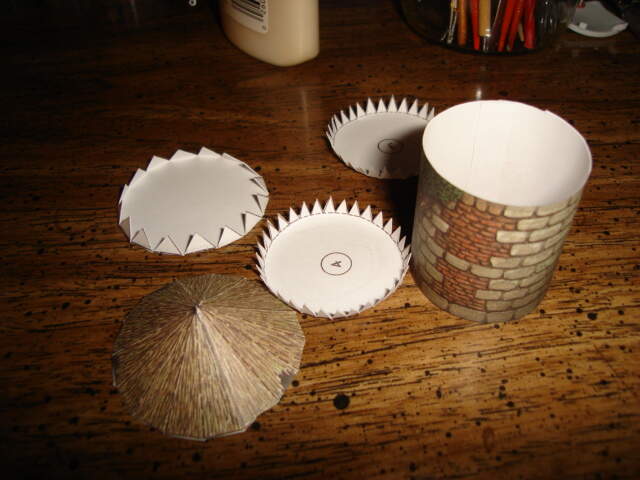
Here you can see the end caps for the round building in the middle of the image. They are supposed to go into the building with the “teeth” toward the middle. The first will go on by push it through the building, but the second would have to have their teeth pushed in and there are bound to be some that won’t go in. So, I will push the first one through the building for the top (the roof will glue to it) then put the other in the same way (teeth pointed to the outside) until the teeth are inside.
Hopefully the building will be done today and maybe I will start on the wall itself.
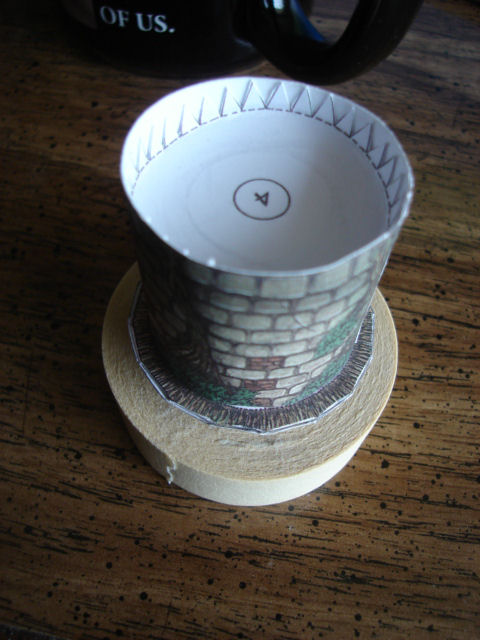
Here is the ceiling of the round building glued in place. I pushed the piece in with the back end of the paintbrush in the picture almost to the top. I spread glue to the inside rim of the building, put the building top down on a flat surface, then pushed the ceiling all the way in. I rolled the brush around the sides to make sure all the little teeth were glued in.
Safety tip: I was using the other end of my X-acto knife to do the pushing. You have to look down into the building to see what you are doing and almost poked the knife blade into my eye.
Next will be the floor piece and gluing the conical roof to its base. When both are dry, I will glue the roof to the building. I will also be cutting out the pieces for the wall itself.
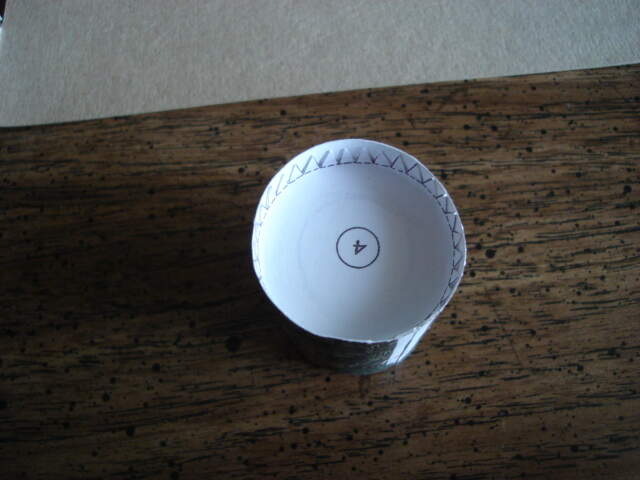
Here is an image of the round building’s bottom, looking up. You can see how the floor piece was put in.
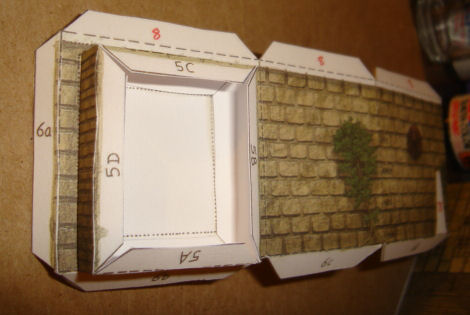
And here is a view of the top of the building, along with the roof, and the pieces for the wall. One of the all pieces has had the fold lines scored and bent, the other two have not received that treatment yet.
Here is a roll of masking tape to use as a holder for the conical roof piece.
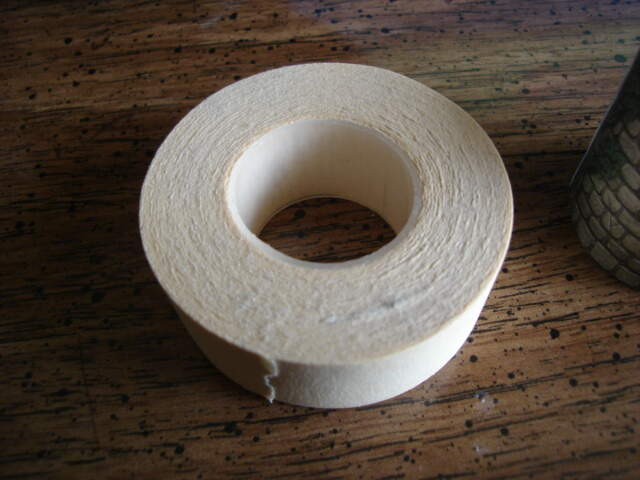
Like this.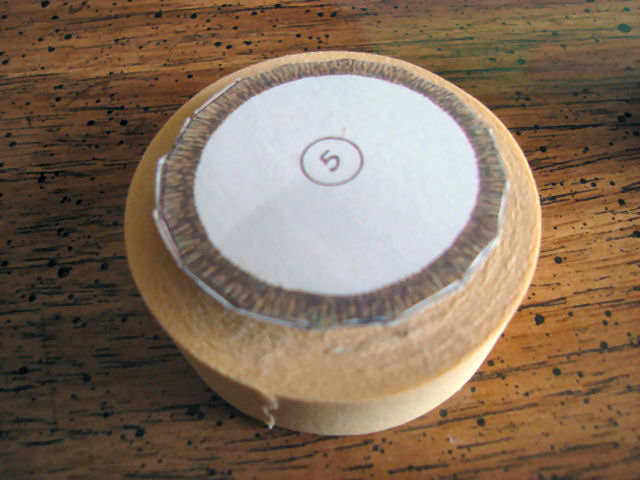
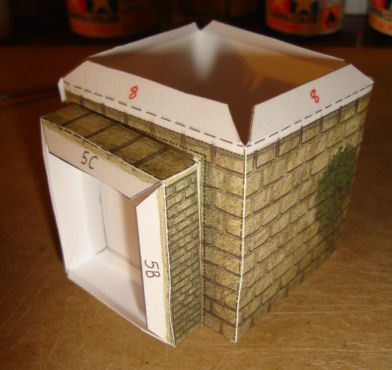
Here is the building in place. It’s way easier to see if it is centered this way.
Here is the roof glued in place.
On to the wall itself!
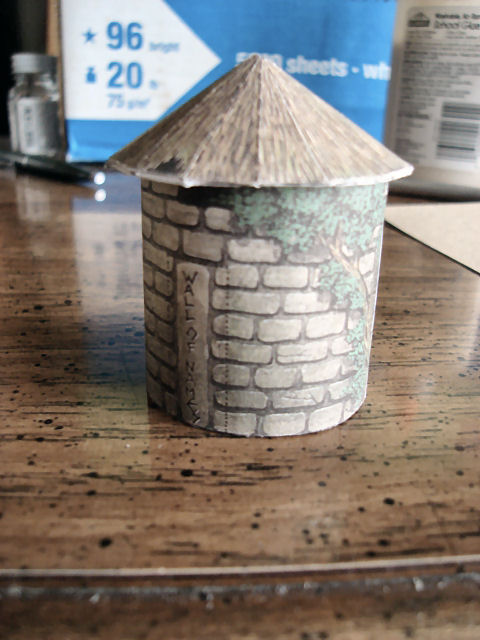
River Wall completed.
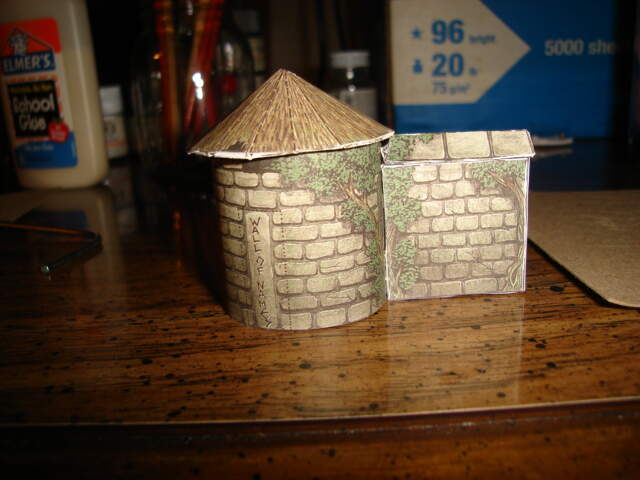
On to the Wall of Names.
The River Wall was built from February 22 to March 2, 2018.
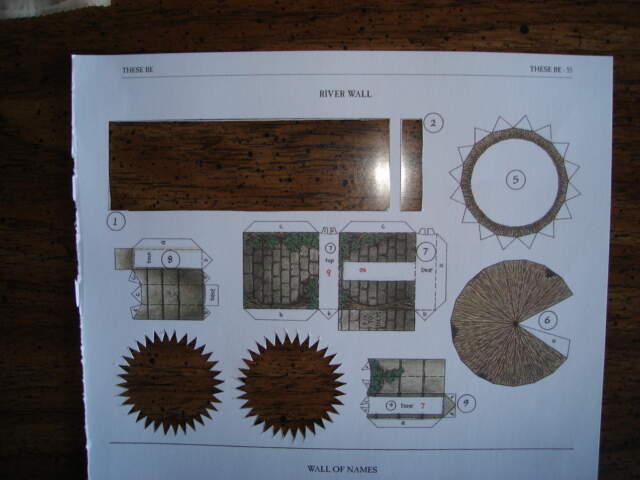
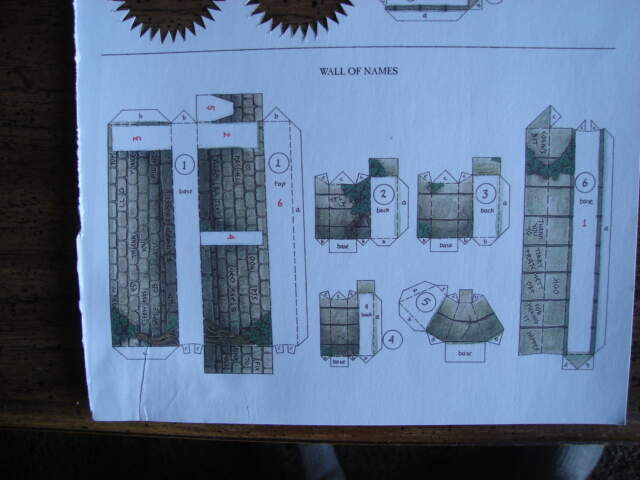
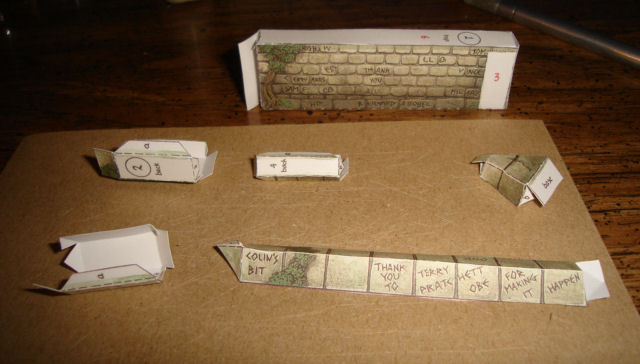
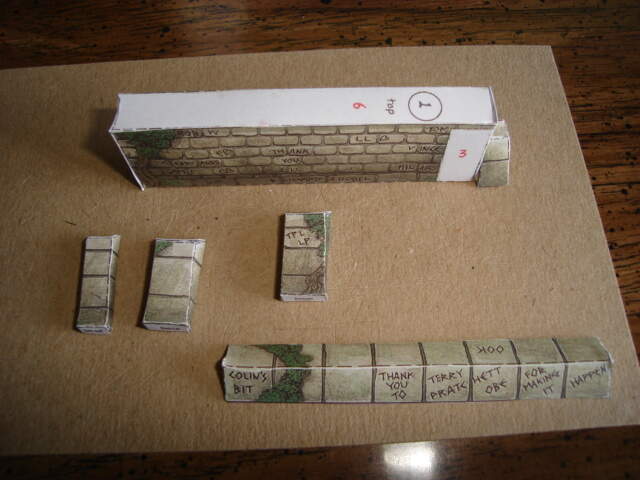
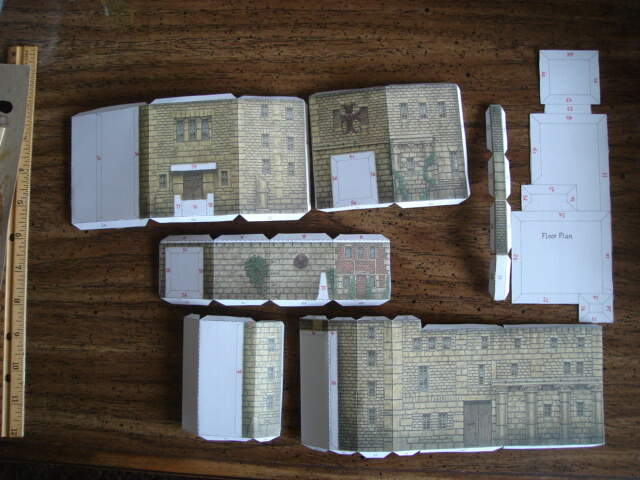
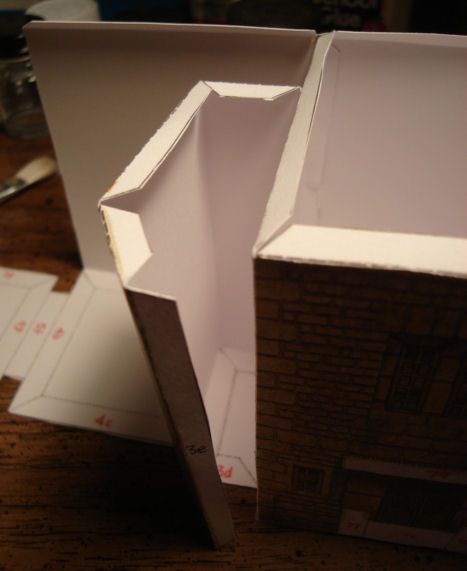
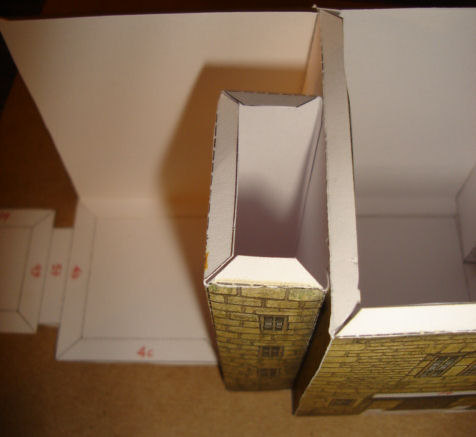
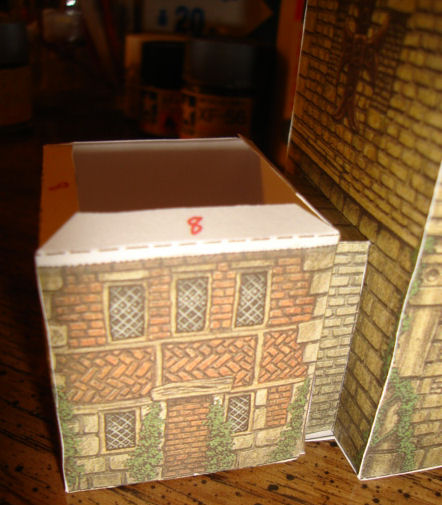
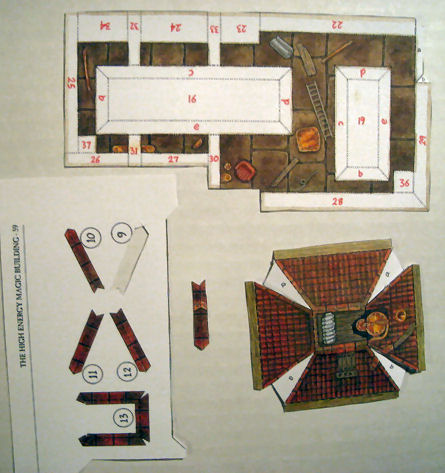
Here are the pieces for the Wall of Names. Like the River Wall but much simpler. There is a wall, top of wall, 3 buttresses and an end piece.
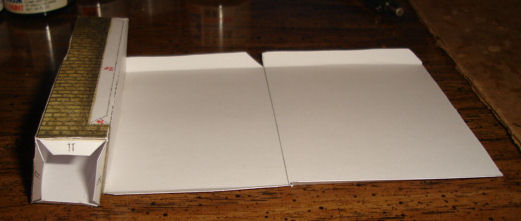
Here is the wall, end piece, and the wall top mostly glued. The buttresses have been cut out and folded. I will probably be done by tomorrow night.
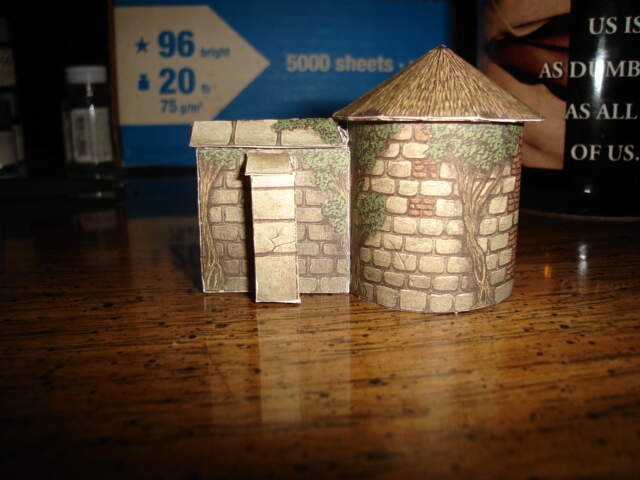
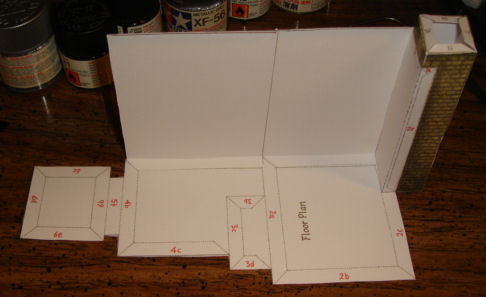
Here are the glued sub-assemblies.
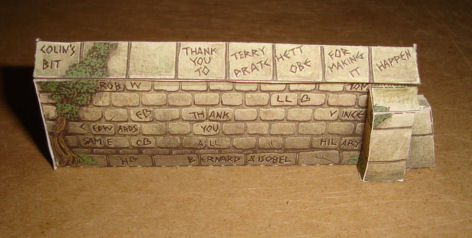
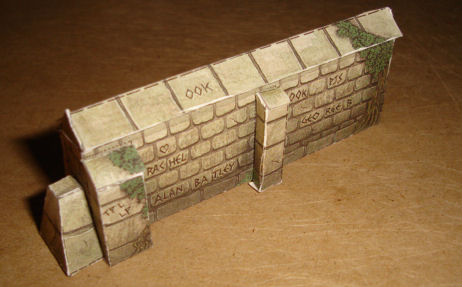
And here is the completed Wall of Names.
Not everything went perfectly. This end of the roof is a bit skewed, but no one will see it since it ends up glued to the River Wall building.
I will keep this separate since space for storing finished models is small (for now).
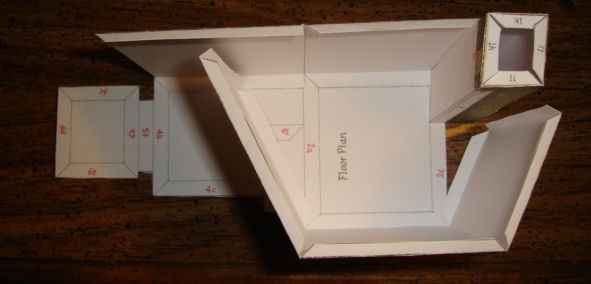
Next up is the High Energy Magic building. I have cut out the floor plan and the first wall piece but haven’t scored it yet. I think this is a good stopping point.
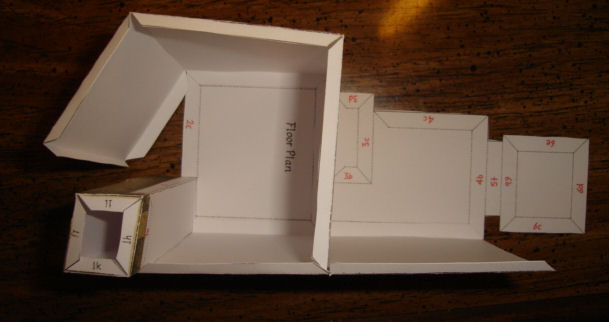
Here are the first 6 pieces for the High Energy Magic building. These form the first floor of the building. All have been cut out, scribed, and folded, ready for gluing.
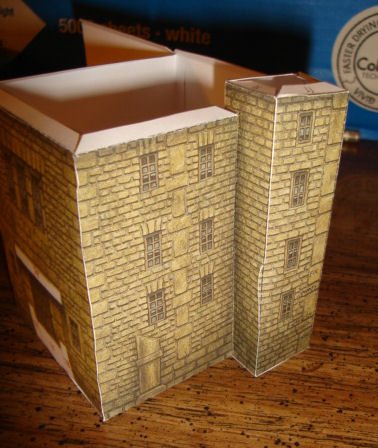
Here is the first piece of the High Energy Magic building. Part of it glues to itself to make a small tower. Next up is gluing it to the floor plan then adding the next wall to it.
Here is the first wall on the floor plan. At first, I tried to glue the tower base and hoped to do the rest of the wall later, but instead I ended up gluing the wall to the floor plan and then the tower. As it turns out, that is probably the best way to go.
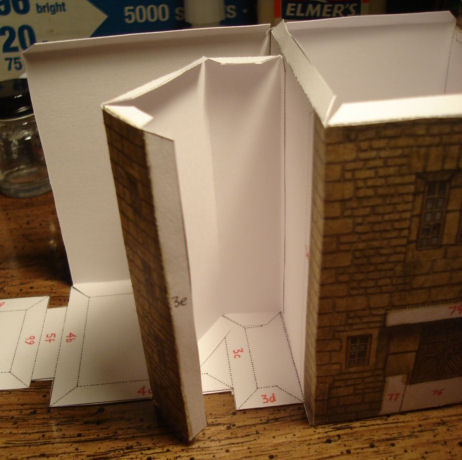
And here is the second part. I decided to follow the same plan with part 2, gluing the tab that is to the outside of the floor plan before the tabs joining the rest of the structure.
And here is the internal wall of part 2 glued to the inside of part 1.
And here is part 2 glued firmly to part 1.
Here is part 3 being glued in. I applied glue to both tabs and put in place, starting with the bottom tab. Before applying the glue to the side tab, bend it forward to make it sure it won’t come into contact on the wall in the wrong place. Once the bottom tab is in the right place, open the side tab and glue it in the proper place. I used my cross-opening tweezers to hold it closed for a few minutes. I had to add some more glue to the top of the tab and re-applied the tweezers.
The first wall looked good so I went ahead and glued the second wall of part 3. With limited space, I applied glue to the floor plan and slid the tab on part 3 into place. I then burnished it down with the end of my handy paint brush.
I am leaving the last wall for later as adjusting it would put undue pressure on the rest of the part and could move it out of place.
Here is part 3 all glued in place.
Next is part 4 which completes the main building.
Part 4 glued to Part 1 (internal wall).
Part 4 glued to Part 3.
I decided to add part 5 to part 6 while it was still flat.
Then I joined part 6 to make the smaller building.
Next I will join the smaller building to the rest then it is on to the roof parts. Here is the small building and passage glued to the larger building. I started by gluing just the passage to the larger building and holding them together for a few minutes. I needed to make sure the passage was placed correctly. then when I was sure it wouldn’t come loose, I bent the floor away a bit and slipped some glue to the tabs to fix it to the floor and pressed down on the building for a few minutes.
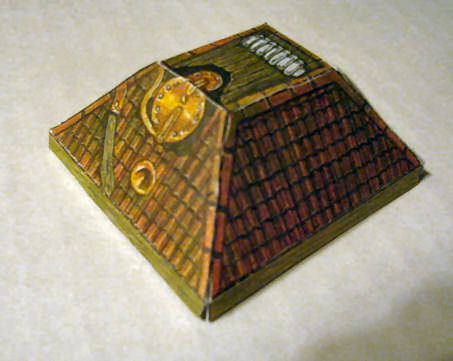
Next are the roof parts. Here are the parts for top of the two buildings. The small parts are for the edges of the small roof.
And here is the small roof all folded and glued together. The edge pieces have yet to be glued. The bottom eaves are to be glued together to form a square but there isn’t much purchase for the glue. I might cut some strips of paper out and use them to help form the square.
Progress stopped on the High Energy Magic building because of this:
The small tower, in the upper-right corner, somehow became crooked and is no longer square. I found this out when trying to put the roof piece on. I tried to bend things so the roof could go on, but it was a case of fixing it right in one place and causing it not to fit in another.
So, I have decided to cut away the wall connecting to the small tower and possibly where it is glued to the floor plan to see if that will help straighten the small tower back to being square.
However the roof piece no longer fits right.
This last post was made July 6, 2018.
The state of Unseen University has Modo’s Garden Shed and the High Energy Magic Building unfinished.
1 Like
Absolutely love it. Not an easy job, by the look of it.
Gary, what is the base area the whole thing will take up once its done ? it looks like it could be quiet substantial ??
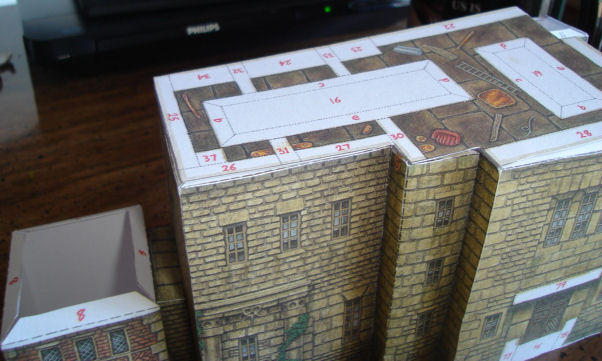
It will indeed! The Library is 6.5" x 5.5" and stands 7" tall. The High-Energy Magic building is &.5" by 4" and about 6" tall with the two spheres on the roof. If you look at the cover, the Library is to the upper-left of the Tower of Art and the High-Energy Magic building is below the Library with Modo’s Garden Shed between them and the Wall of Names below the High-Energy Magic building. The Boat Shed is sitting by itself below the Tower of Art.
There is no way I can build a fixed base for it all as I won’t have enough room! Plus I may move once I am free to do so sometime in the future.
1 Like
I’m loving the look of this build after all the effort you’ve put in.
1 Like
Great build Gary. To bad you could not have photocopies the book to get the cutouts on sheets of separate paper instead of having to destroy the book. Looks great, keep it up. Also what do you use as a cutting board?
I just used pieces of cardboard I had laying around.