Several years ago, about 1973 or so, I built my first Tamiya model, an M41 Walker Bulldog. I thought this was the coolest little tank and the precision and easy build of the model literaly took my expectation of scale models to the next level, as well I was hooked on Viet Nam armor, no more WWII stuff for me no sir. Well time passes and life happens and after being away from the hobby I picked up Tamiya’s M577 and the seed was planted to build a showcase diorama of the different AFV’s used by USARV circa 1970. So long story short I’ve been working on that fantasy project for about six years now. What started as a weekend “something to do” has evolved into a full blown commitment.
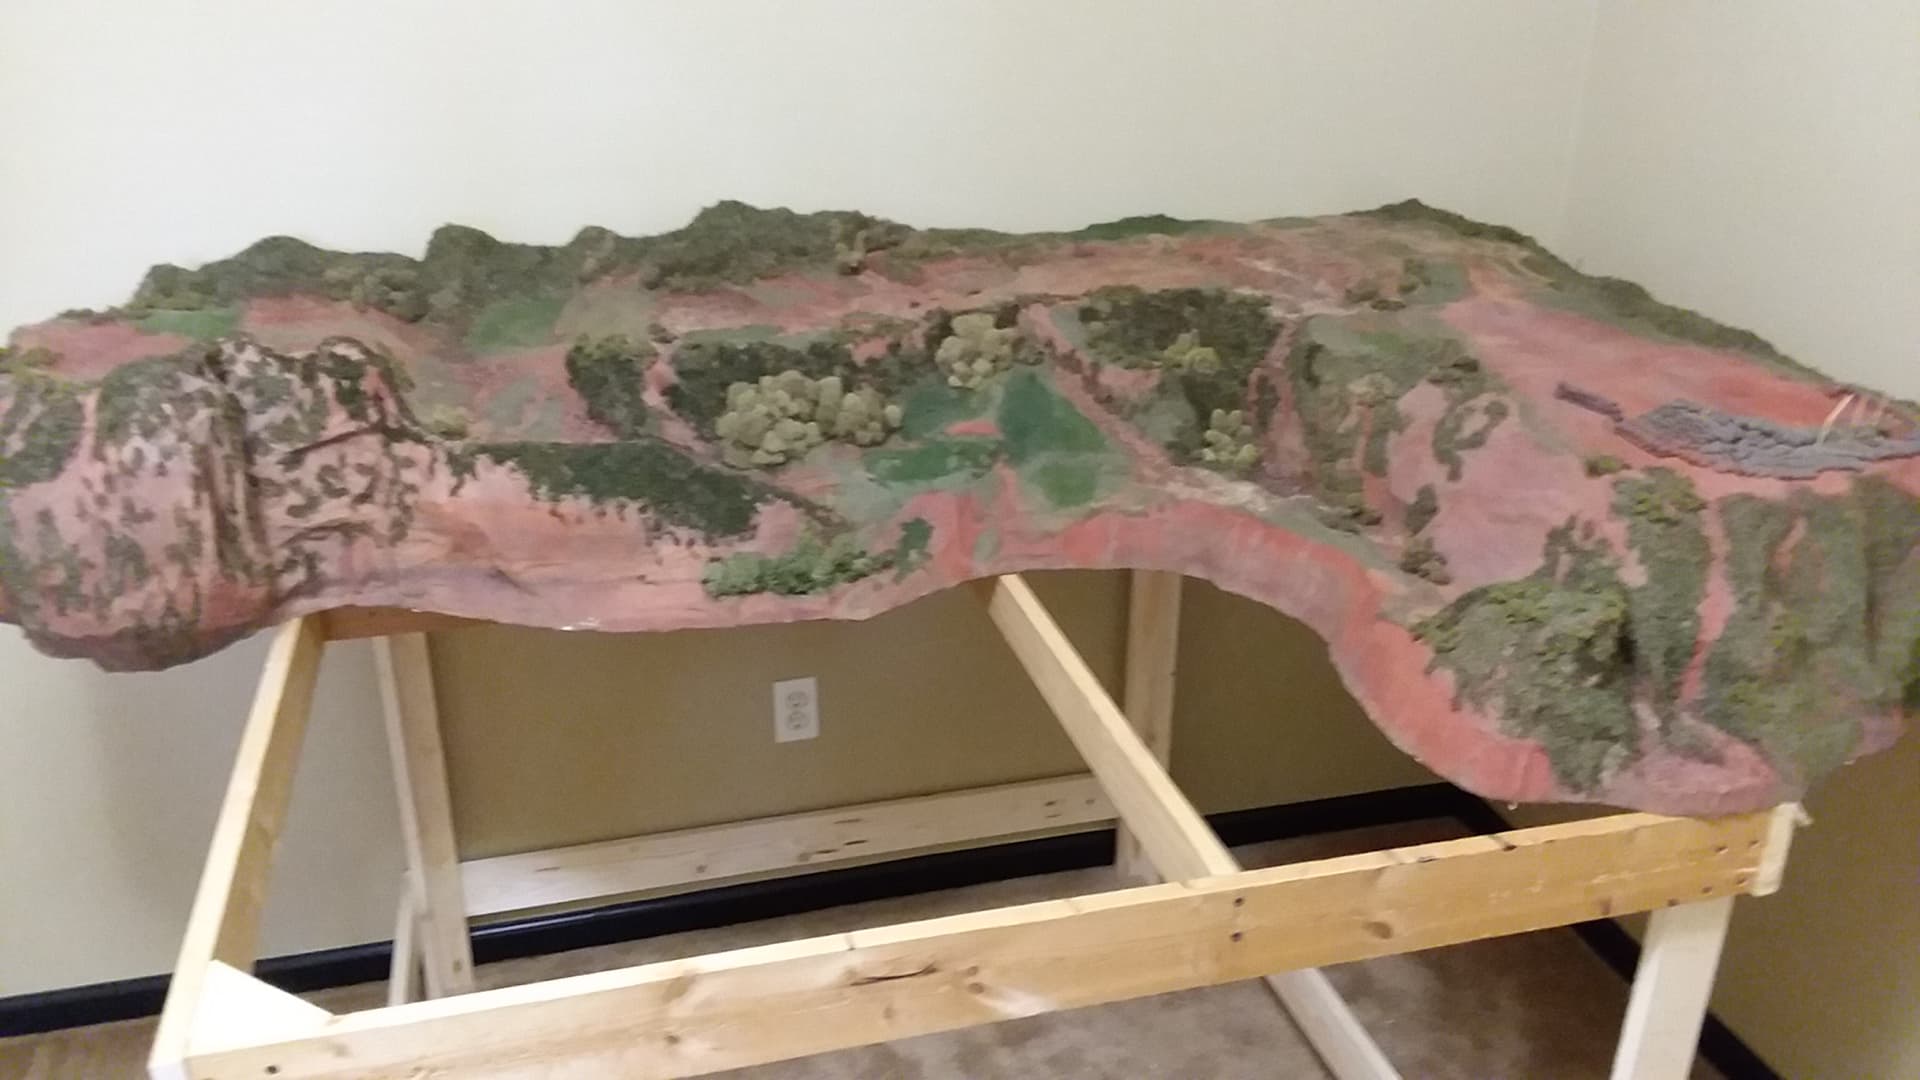
My project, or as I call it 'My little corner of Viet Nam", has been resting on a couple of saw horses until I finally decided a couple weeks ago to build a proper table. I knew when ICM released their CH 54 I would have to enlarge the display so I figured I’d share with anyone intrested my process for the build.
Here goes . . .
During the Covid Pandemic I was furloughed from work for about three months and I built an extension to the original, my stash of 'Nam models was growing and I needed more real estate . .
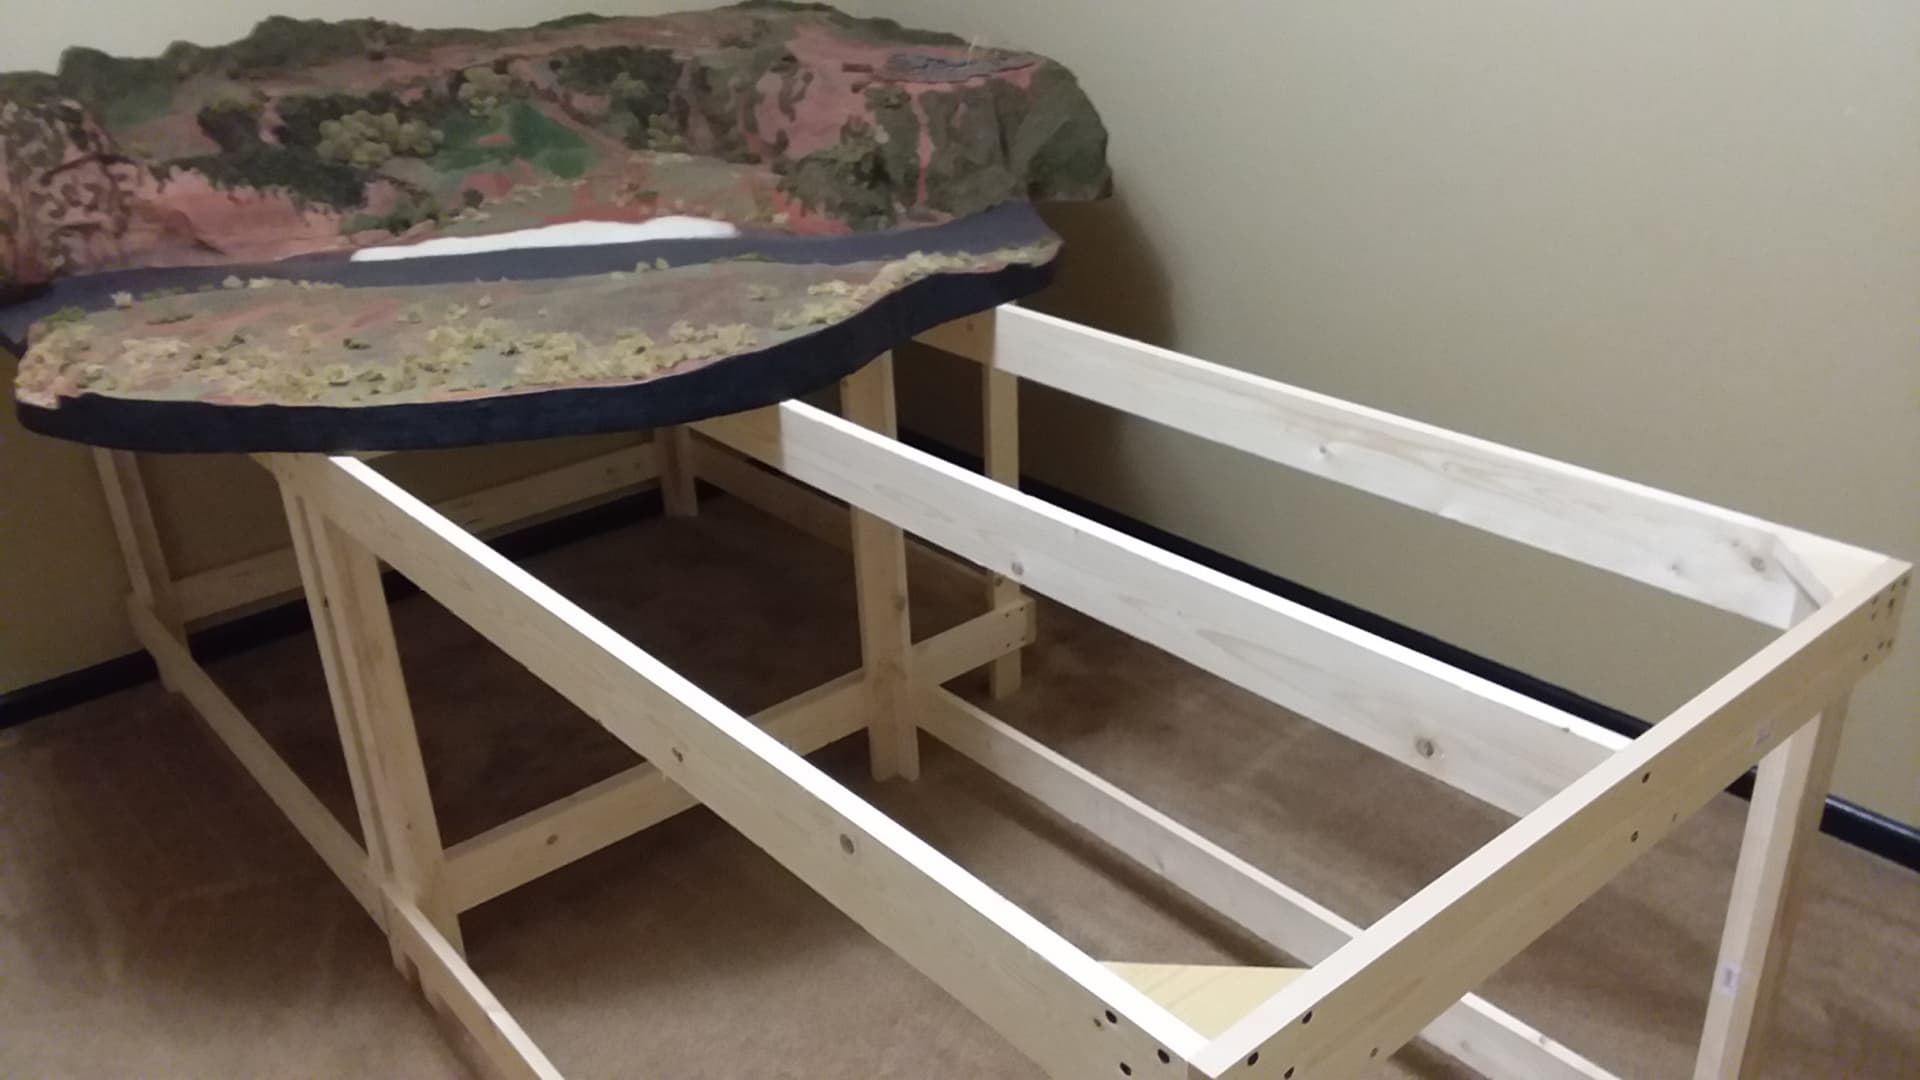
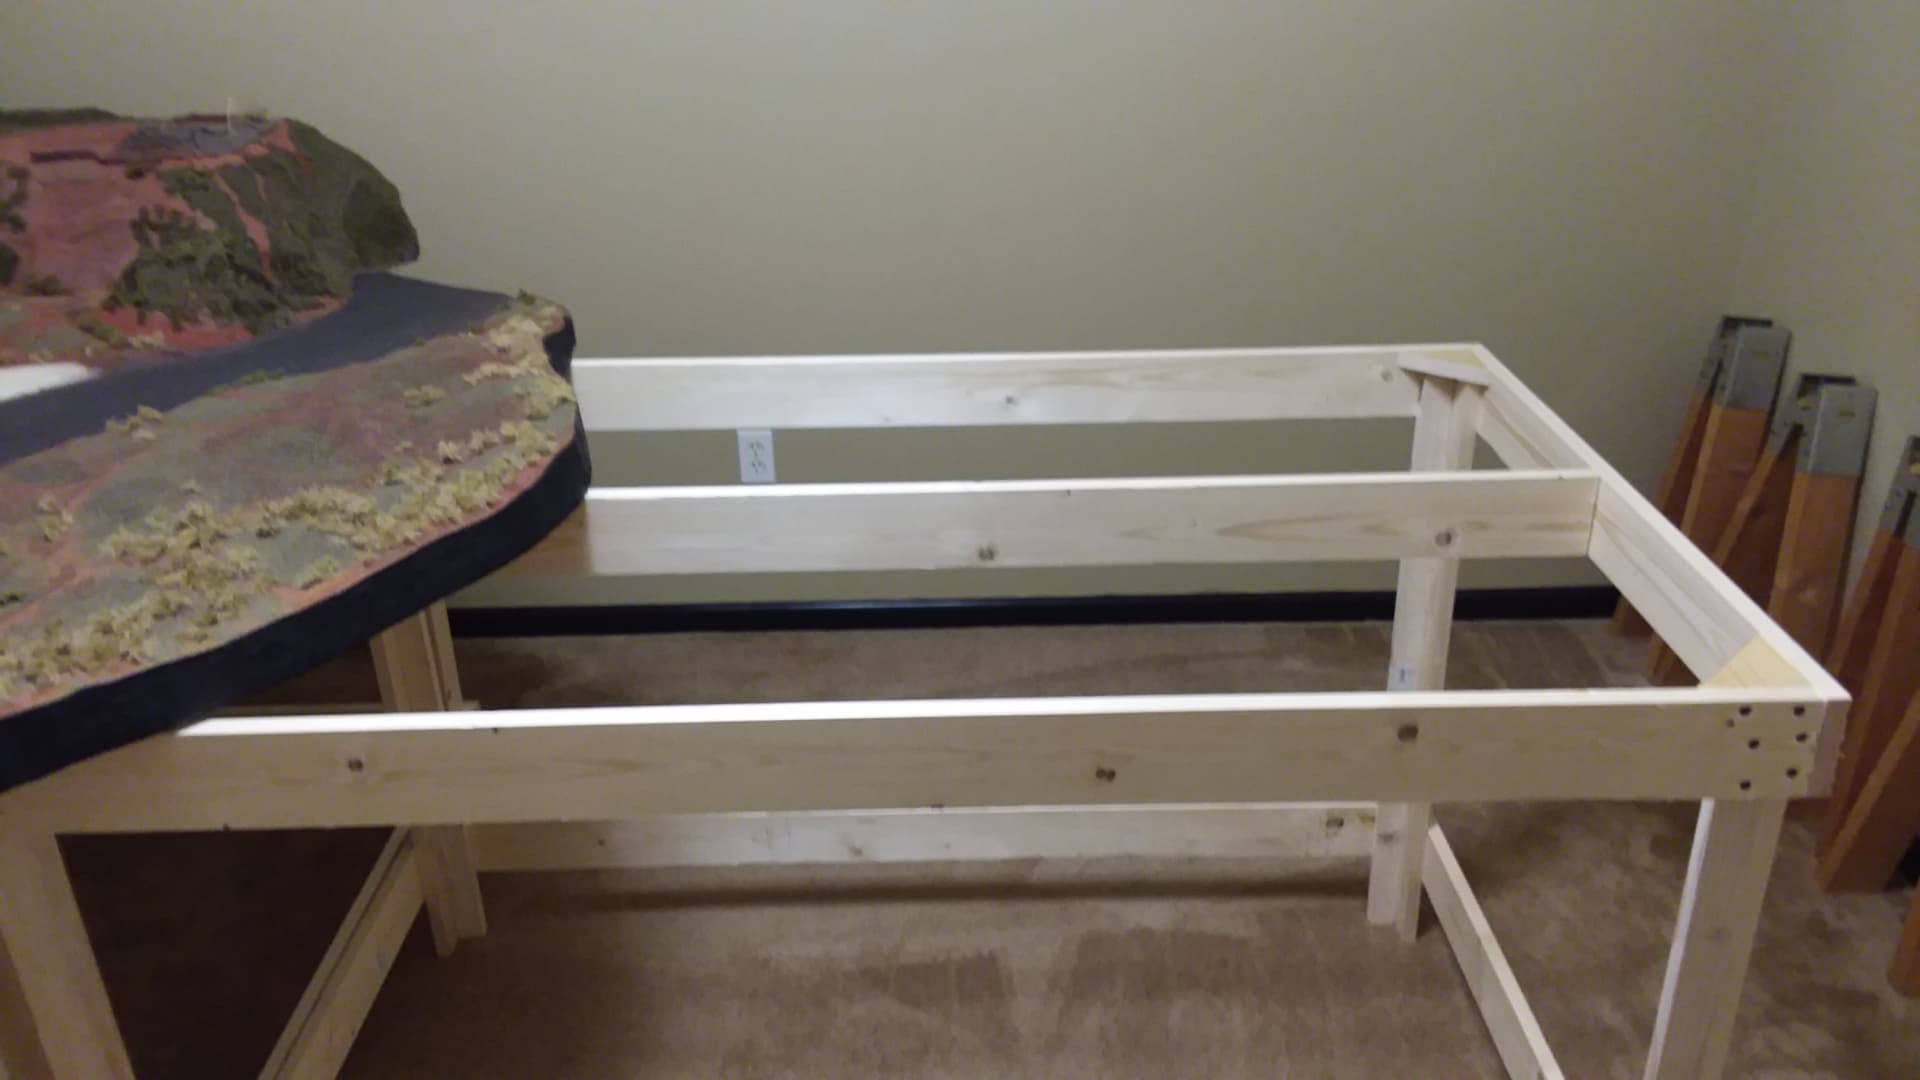
We’re at a more comfortable height now, 36 inches from floor to table top allows a better perspective for veiwing the display.
I’ll wrap it up for this posting but there’s more to come
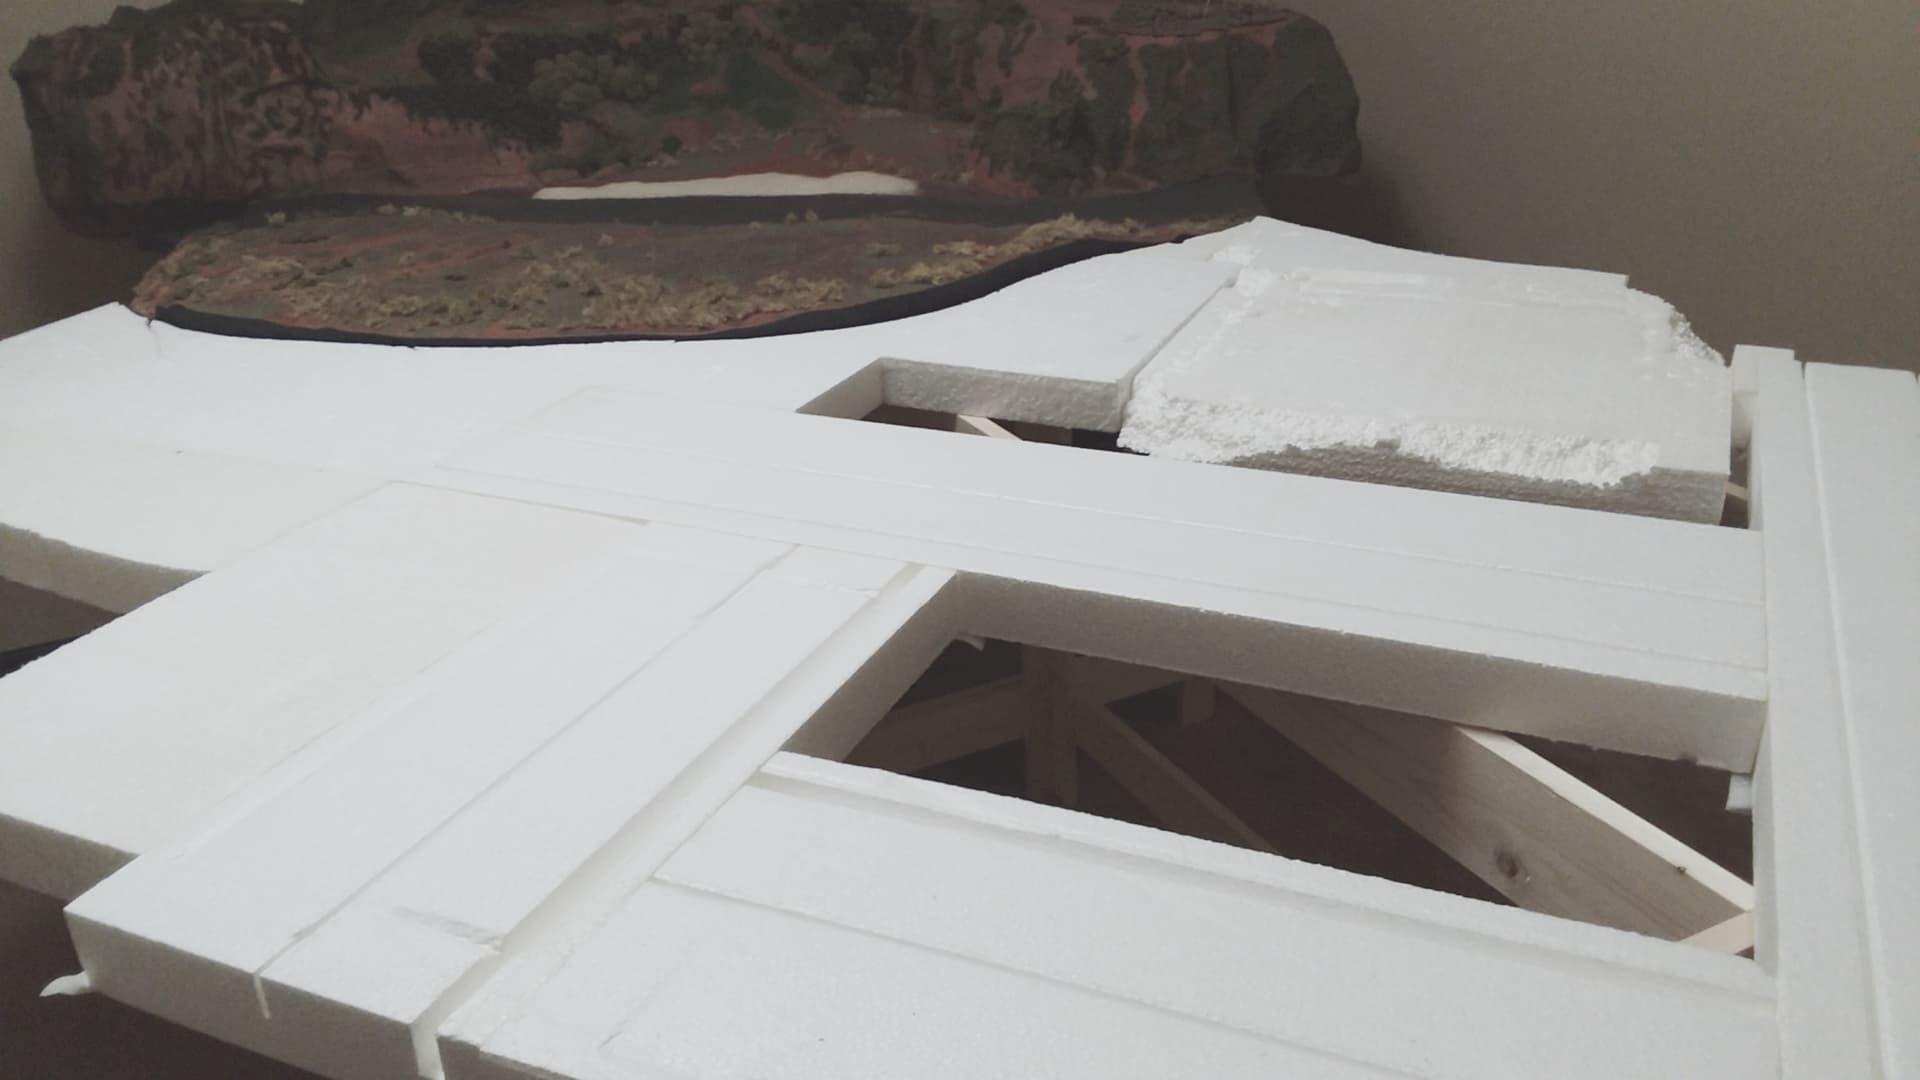
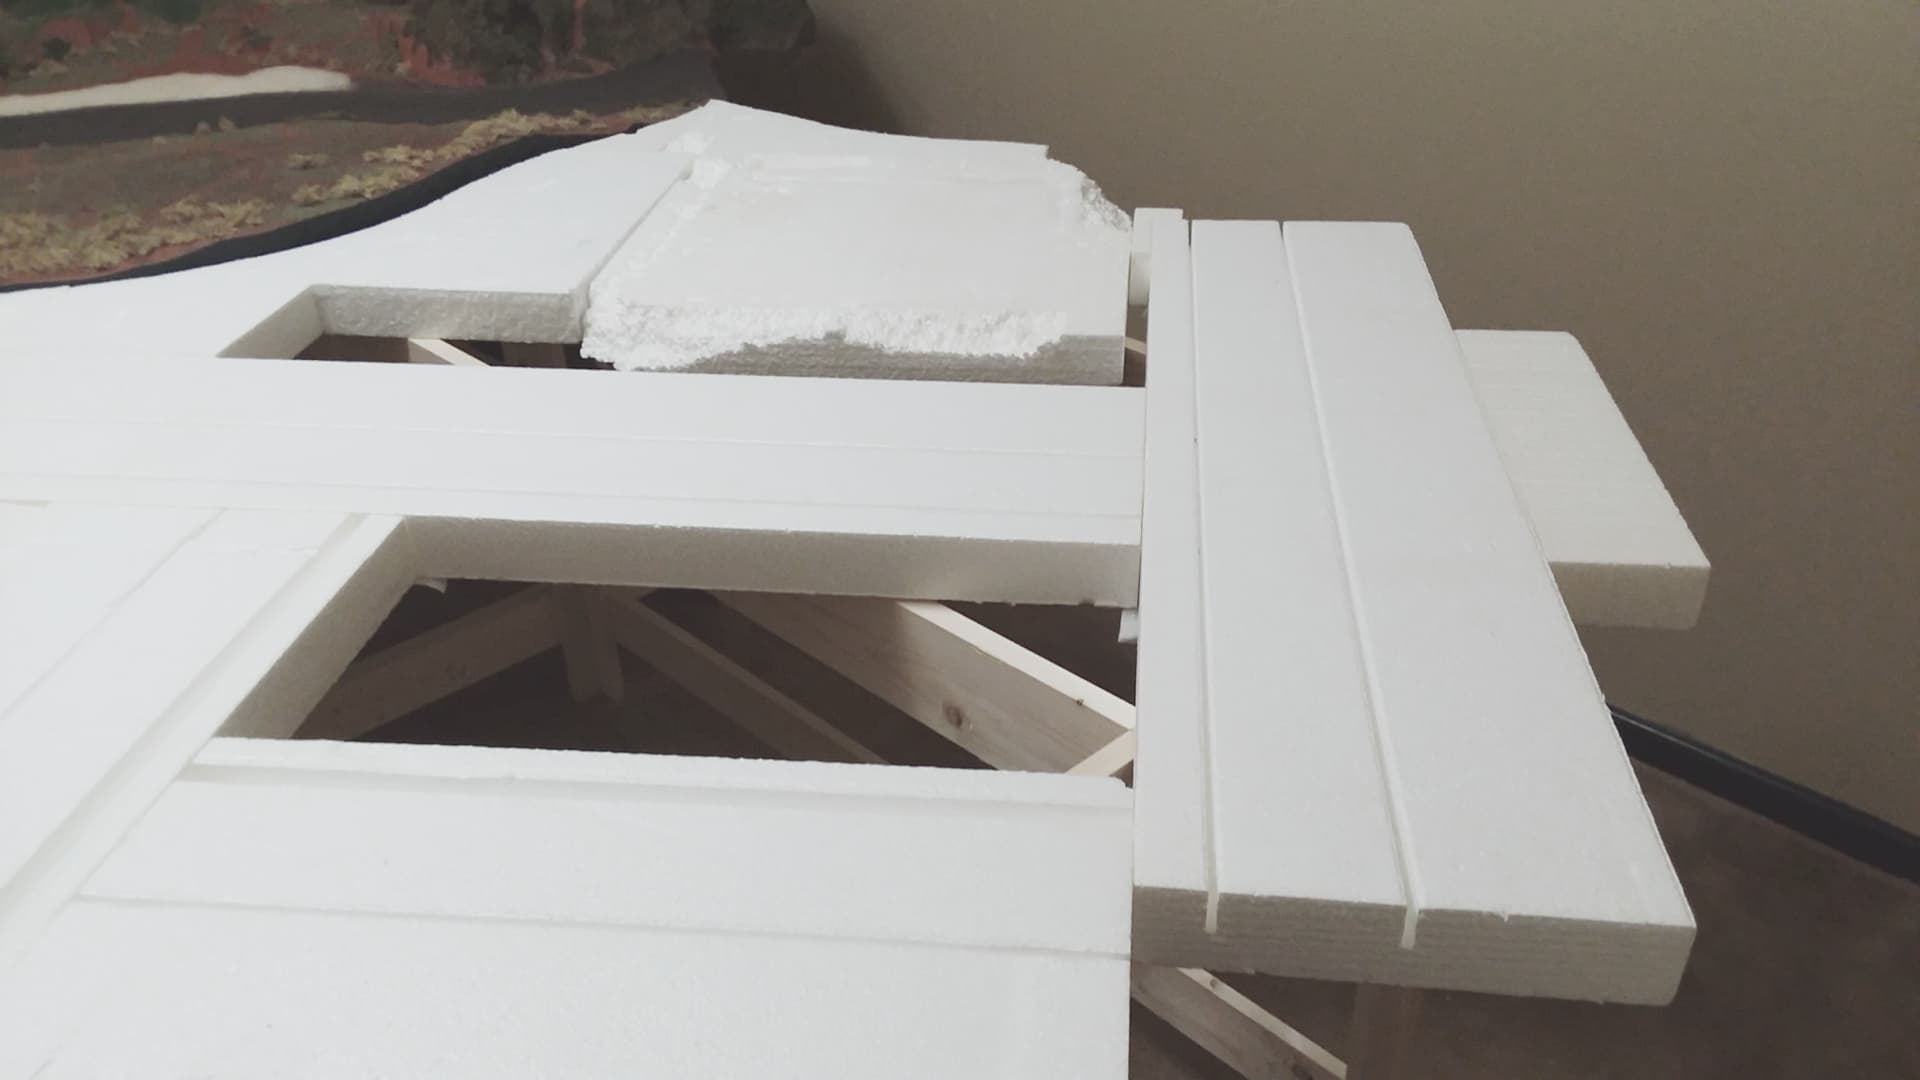
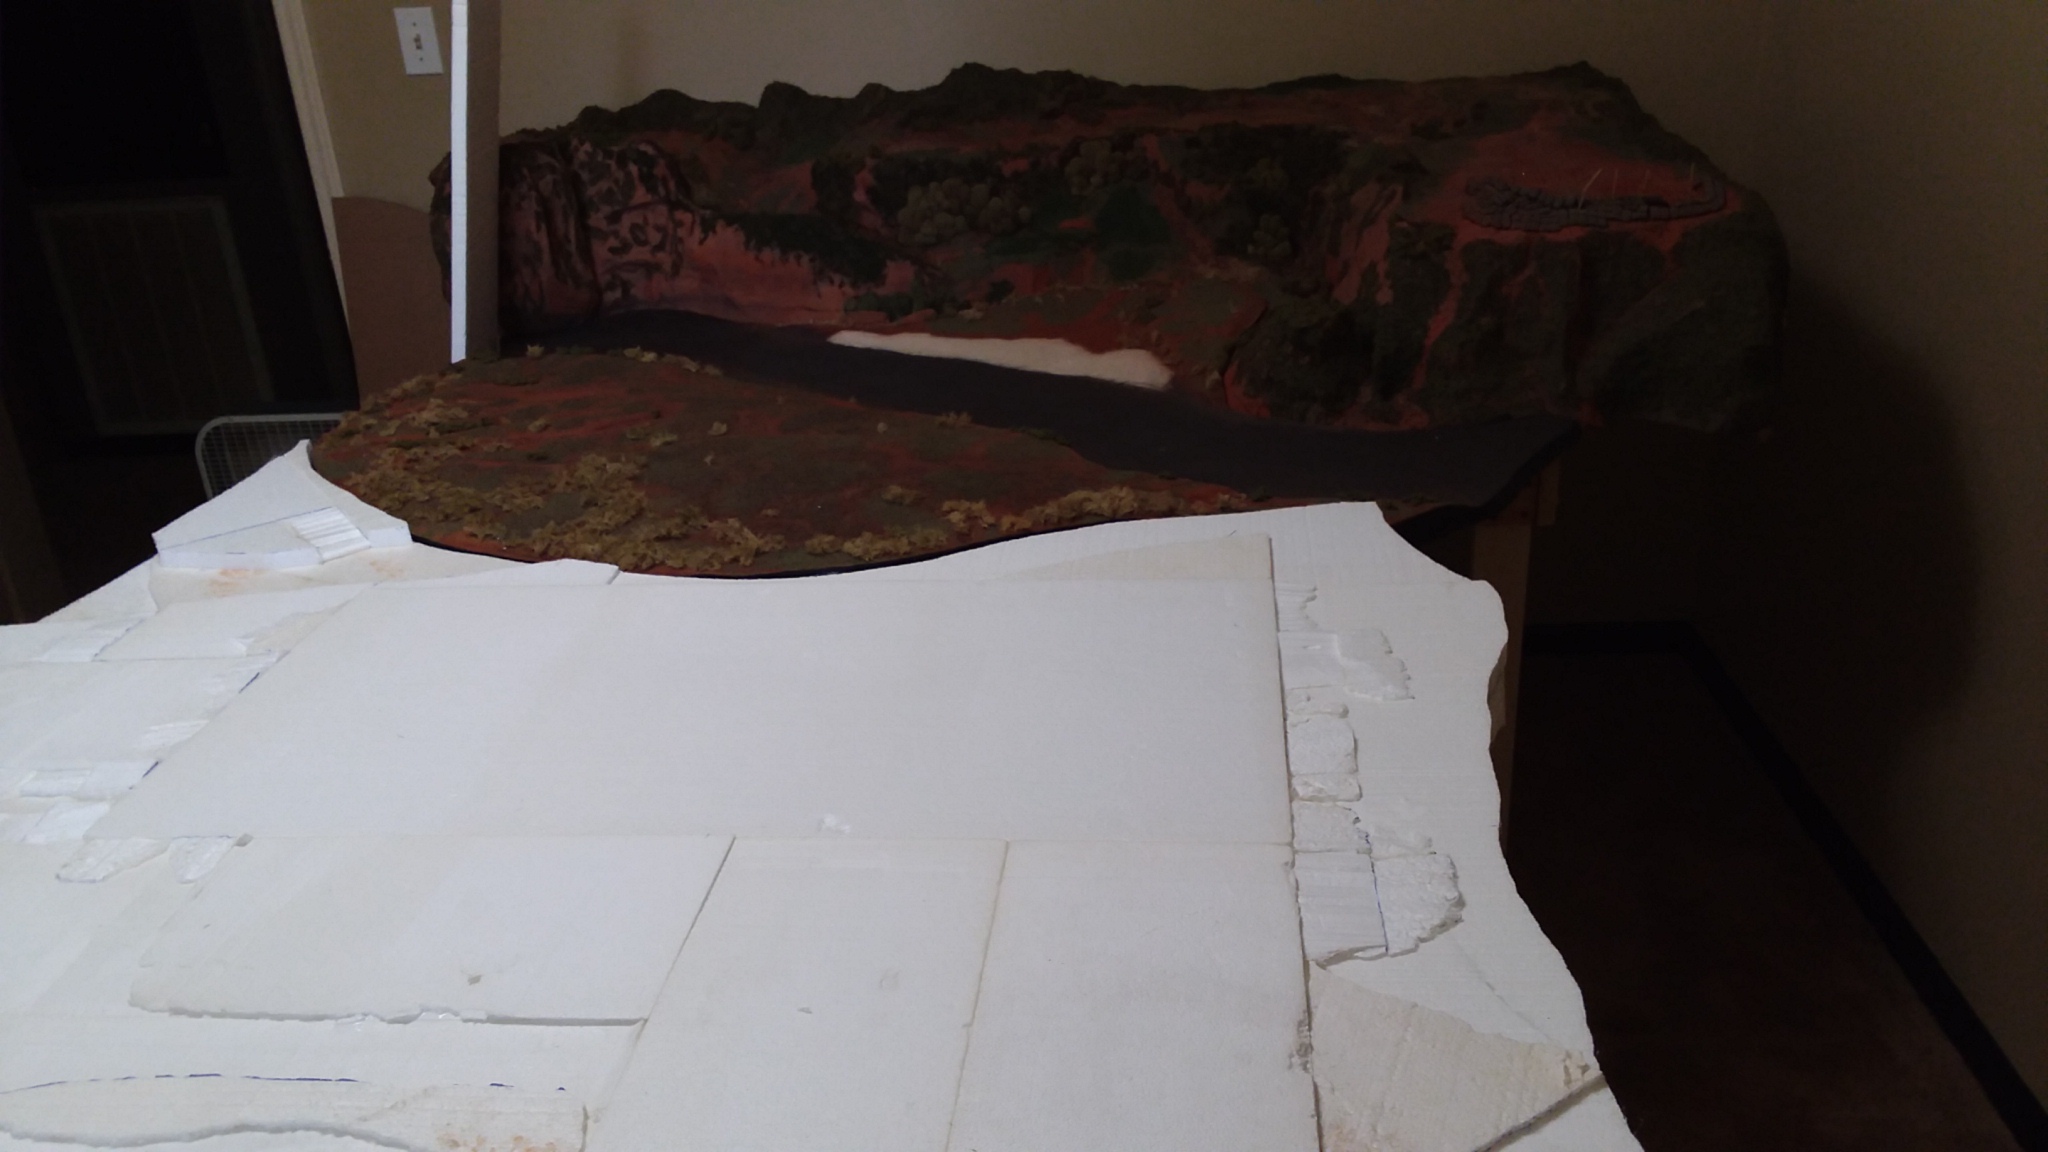
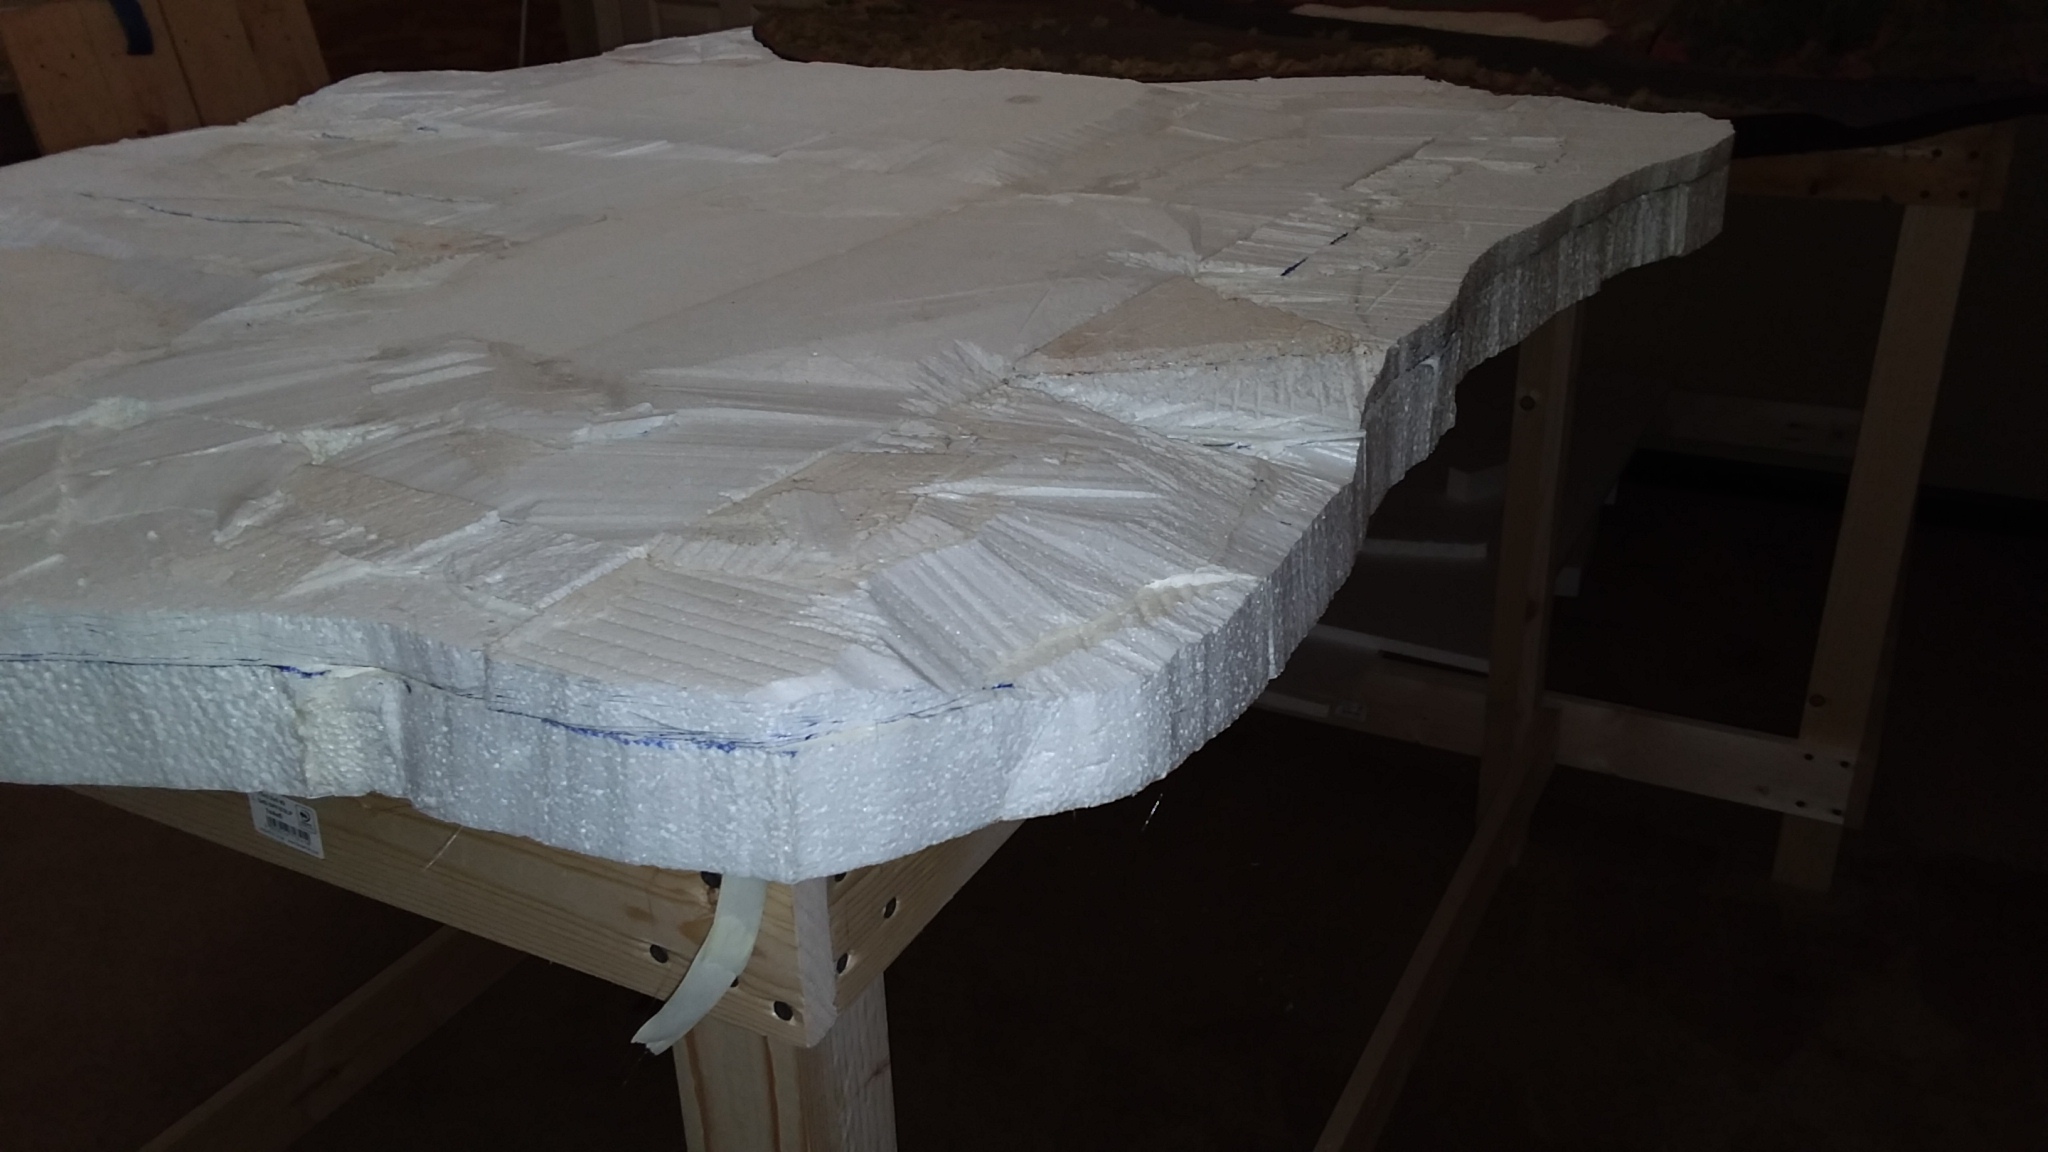
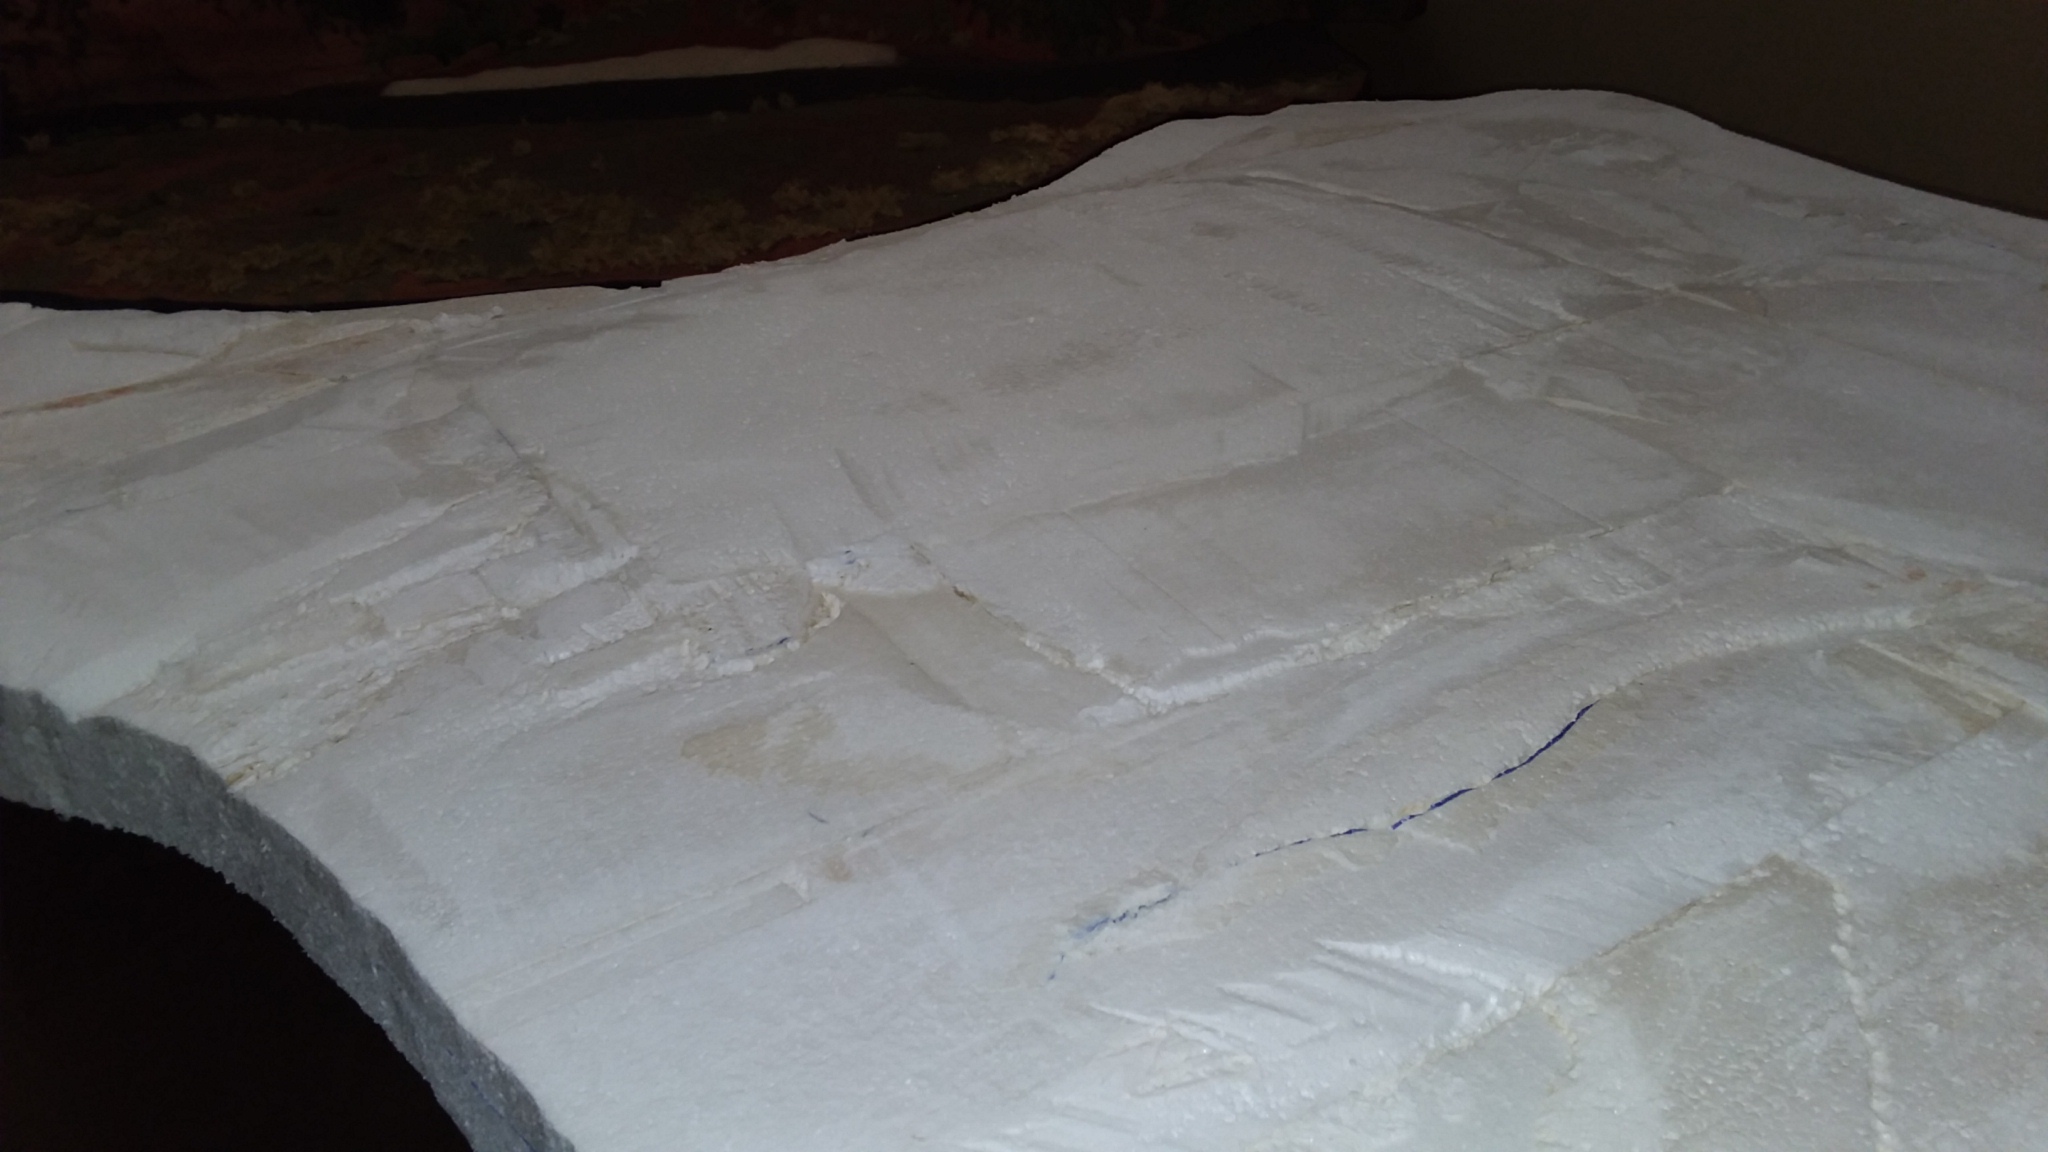
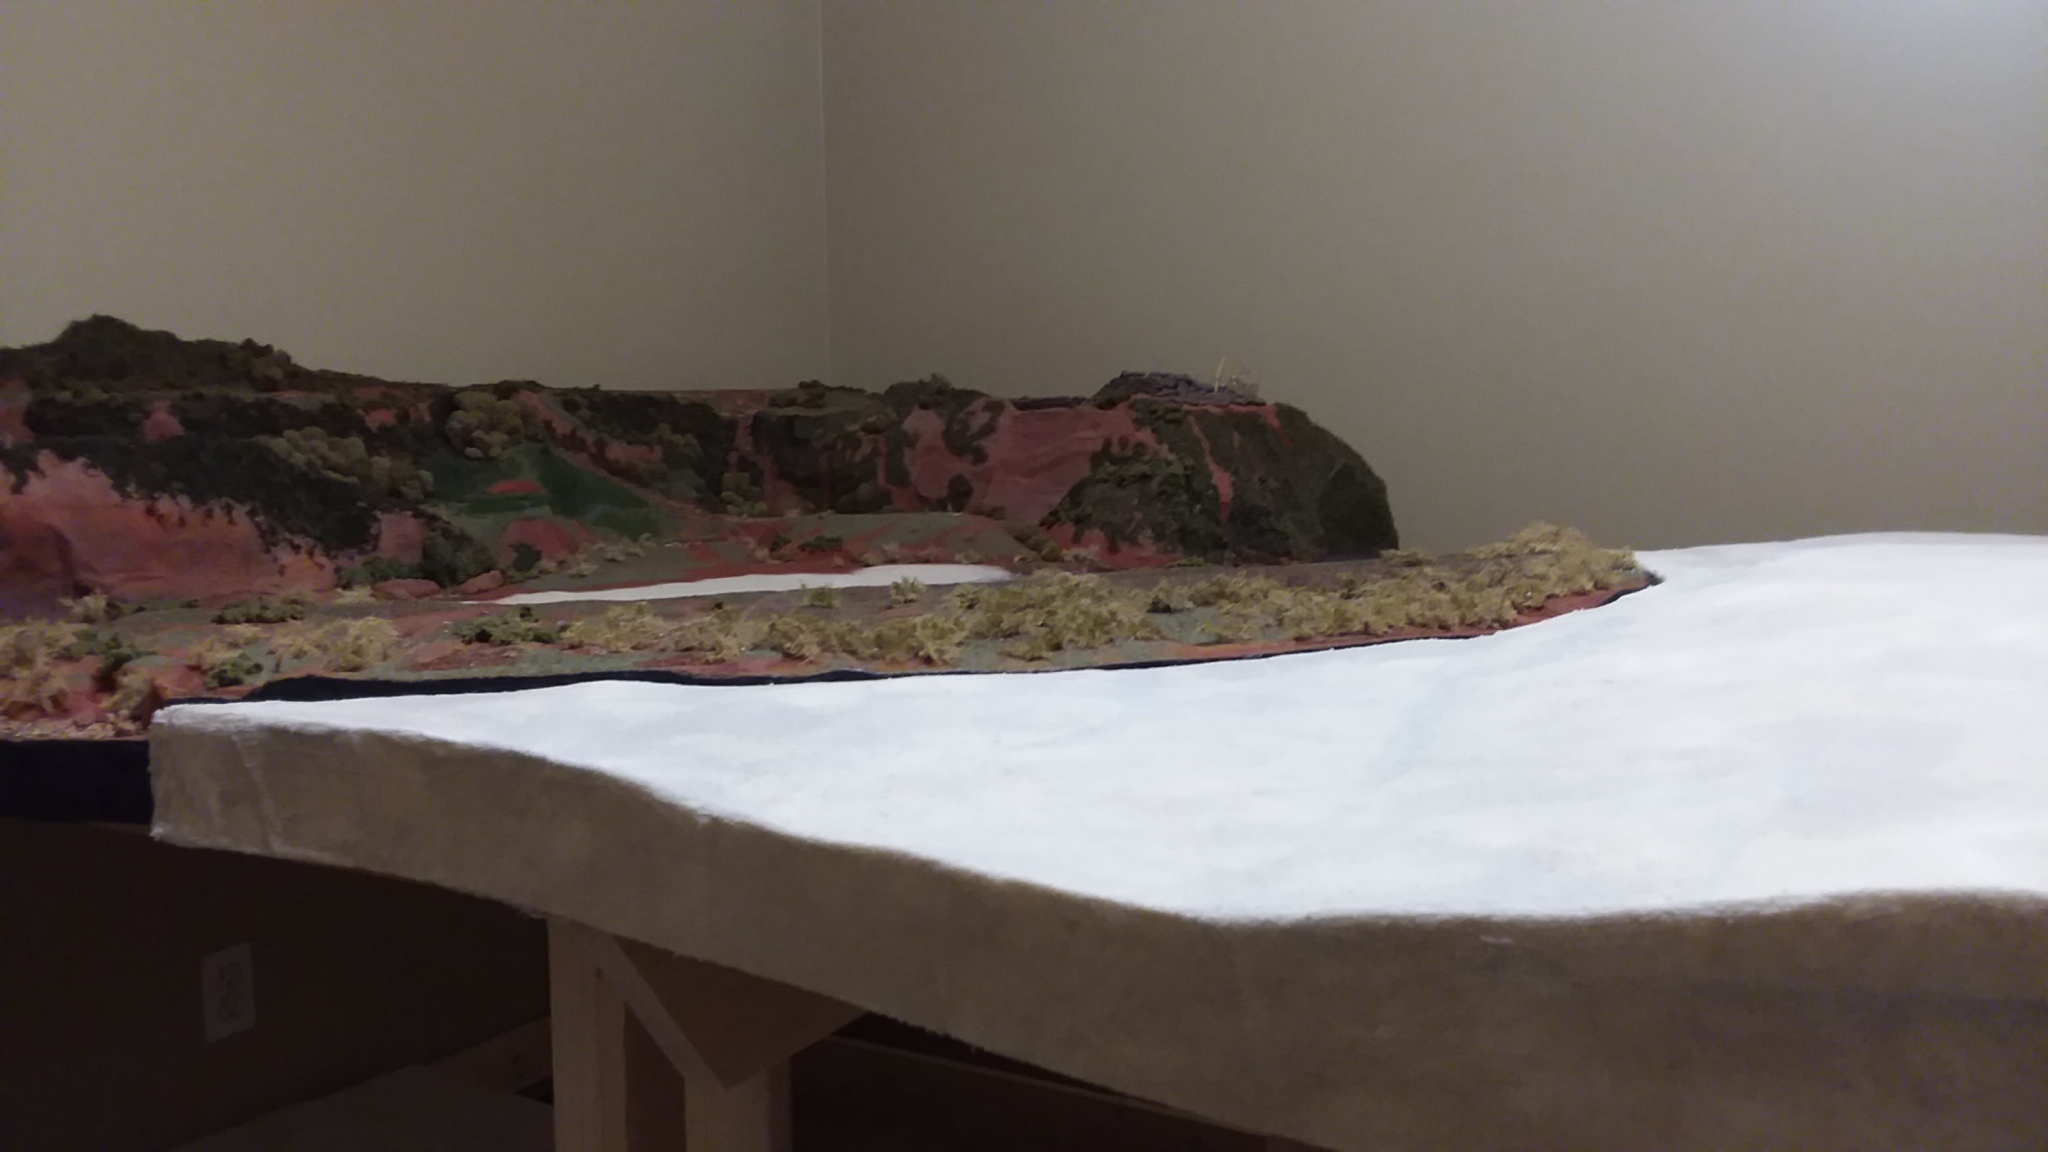
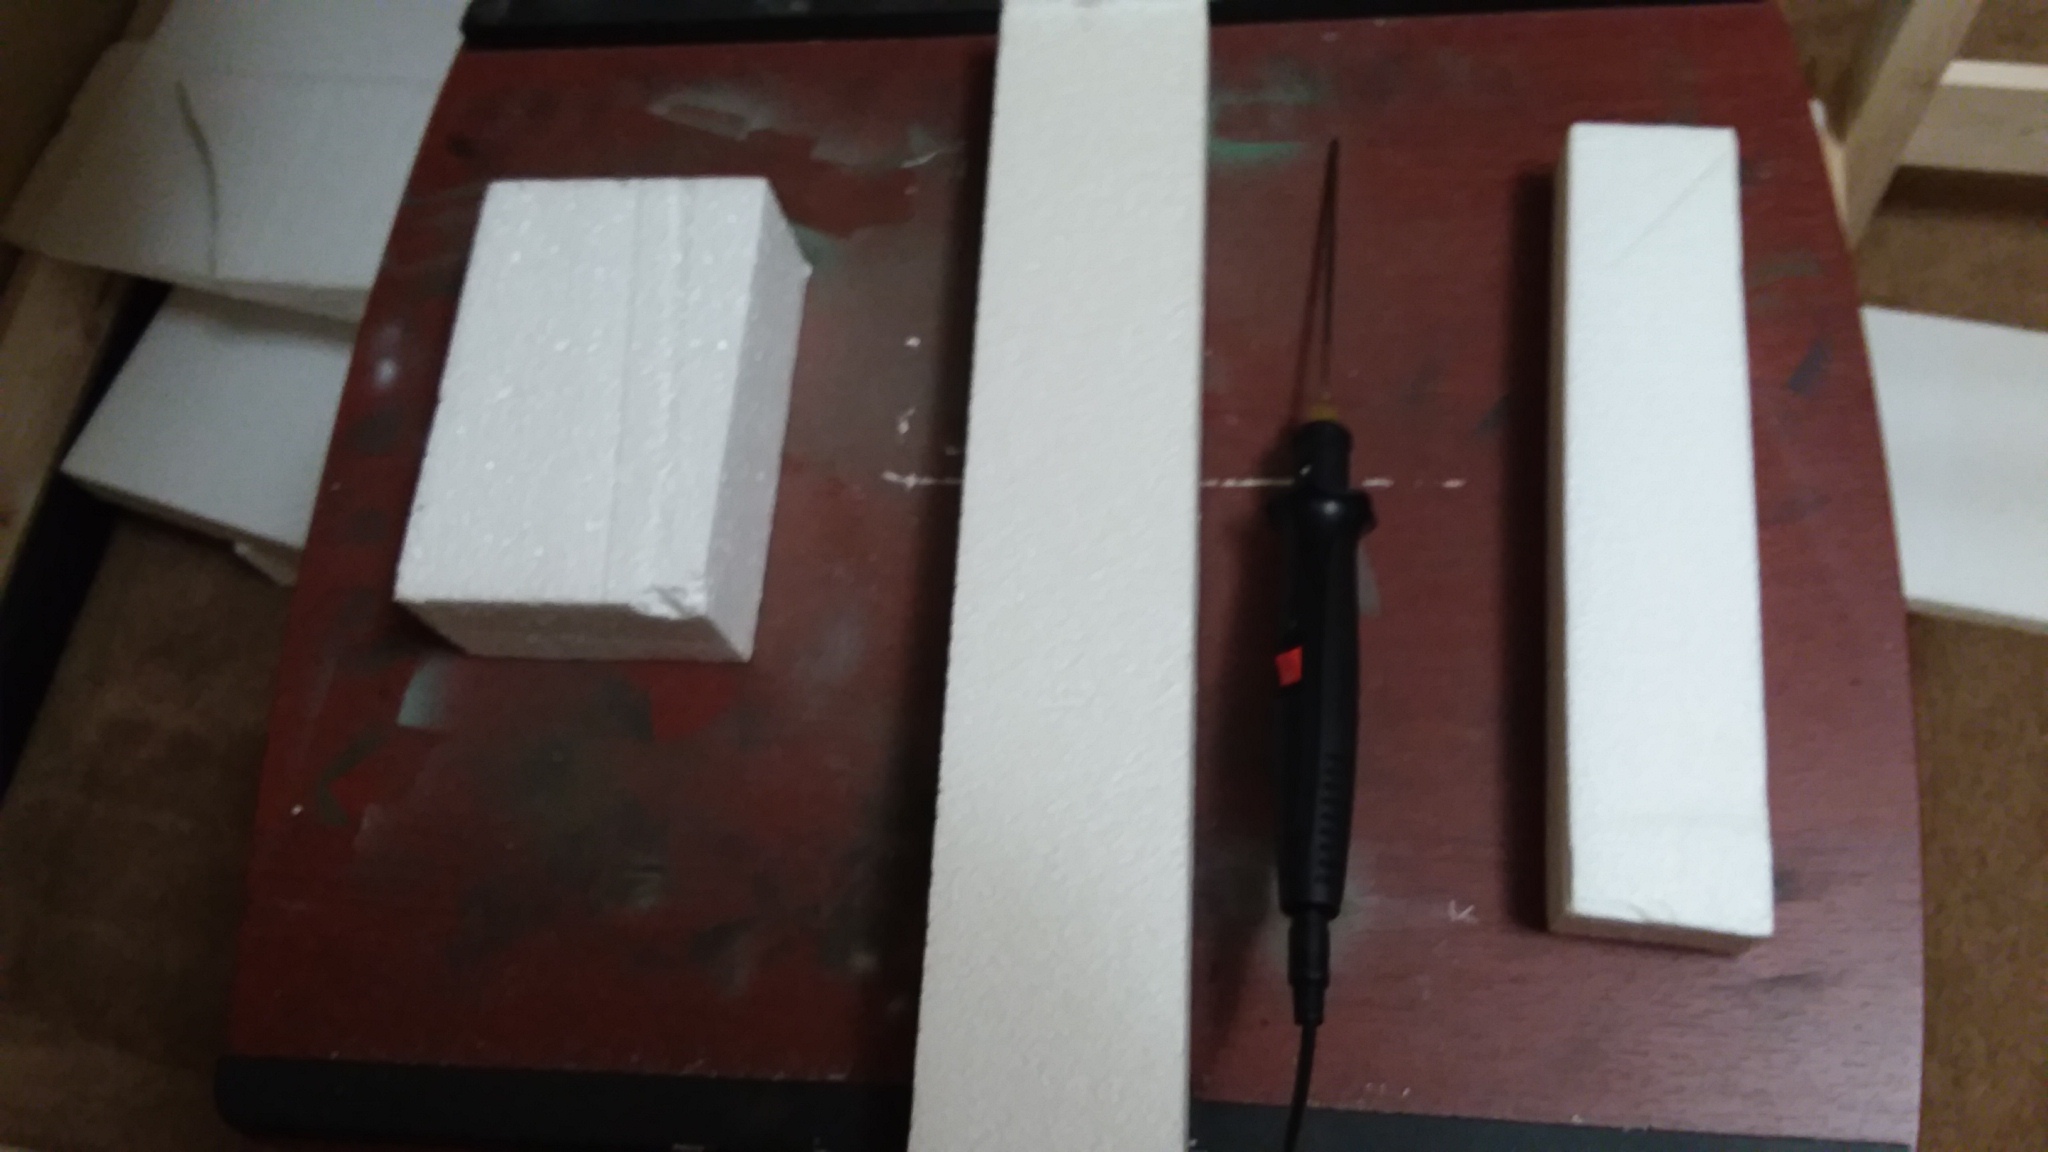
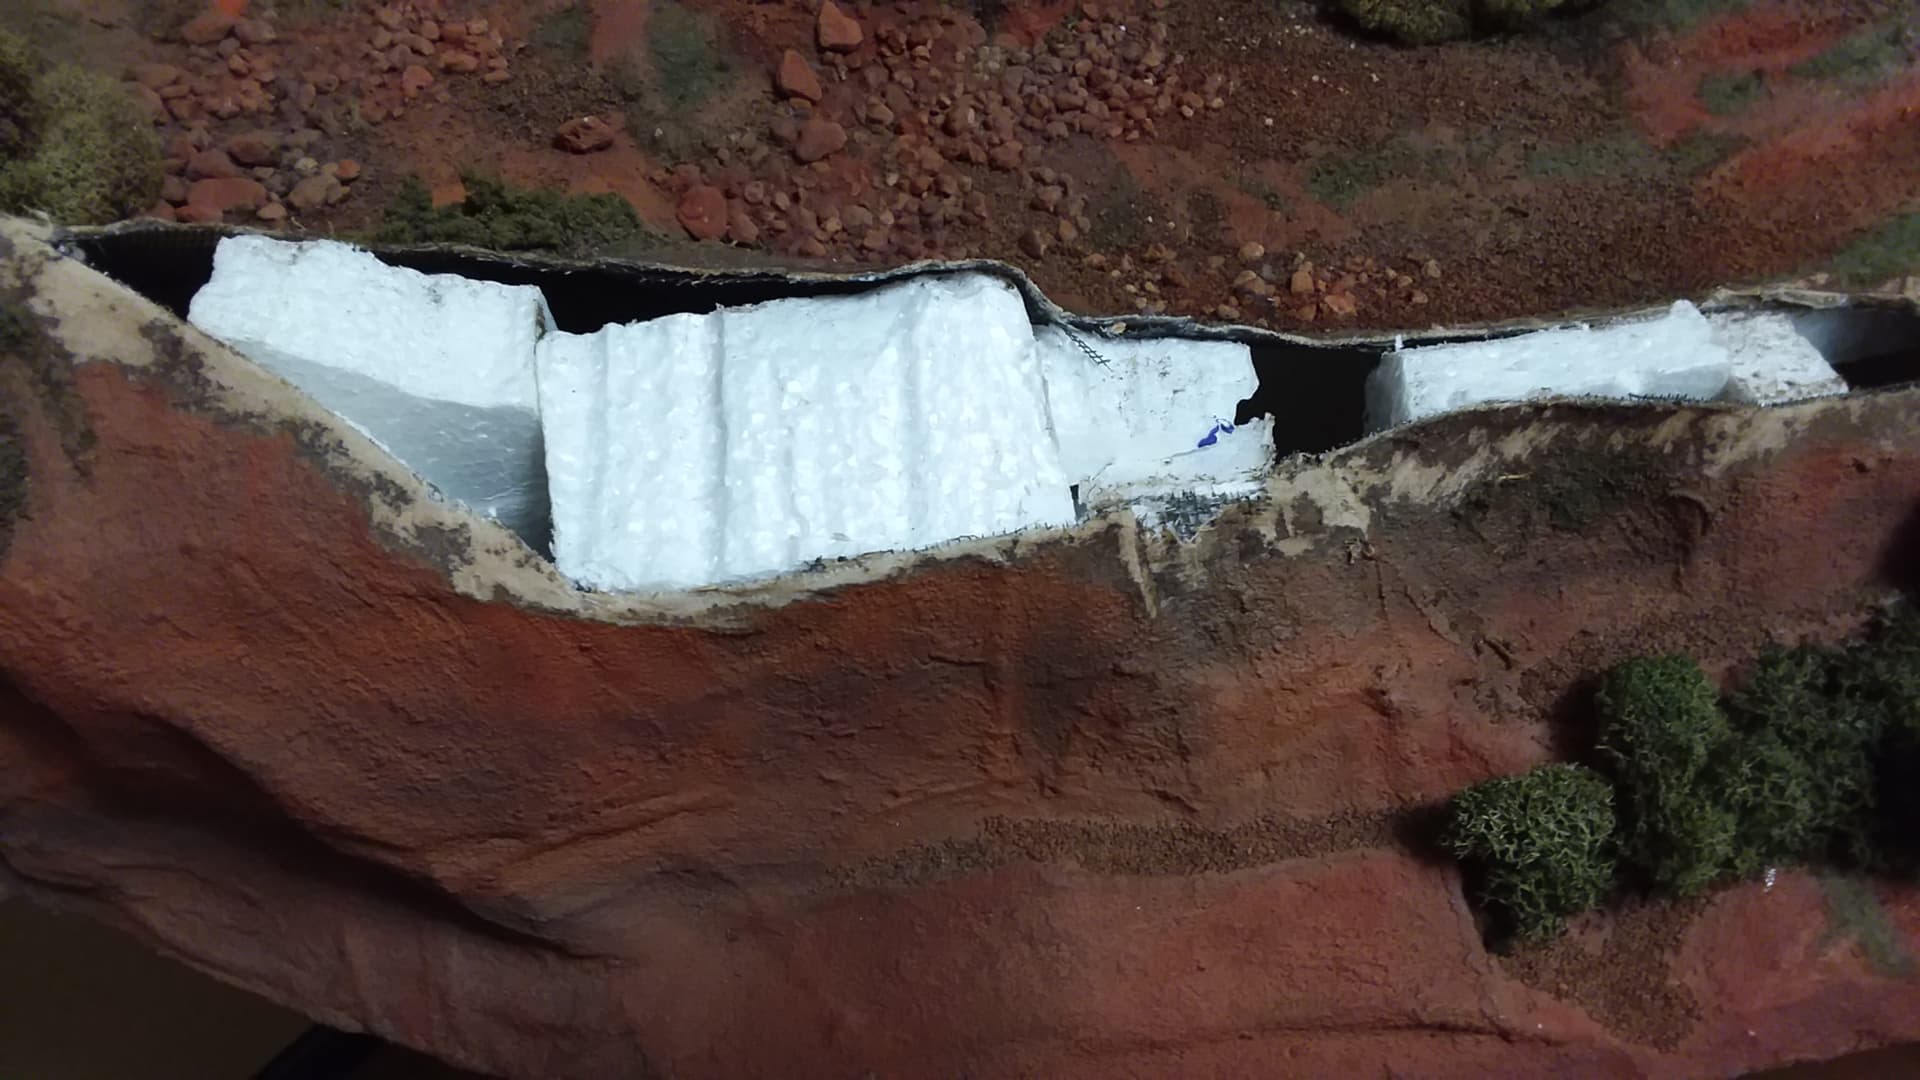
I’ve been stock piling styrofoam for a few years now knowing that I would be adding to the project, here-in lies the beauty of this large scale display, traditionally a dio this size, six foot wide by nine an a half long, the construction is wood braceing with either chicken wire or mesh screen covered with plaster to form the earthen works, I can’t imagine how much that would weigh but useing styro permits me to break down the whole display and transport it or stow it away if need be and it’s light, very light, each section weighs less than ten pounds and can be handeled by one person.
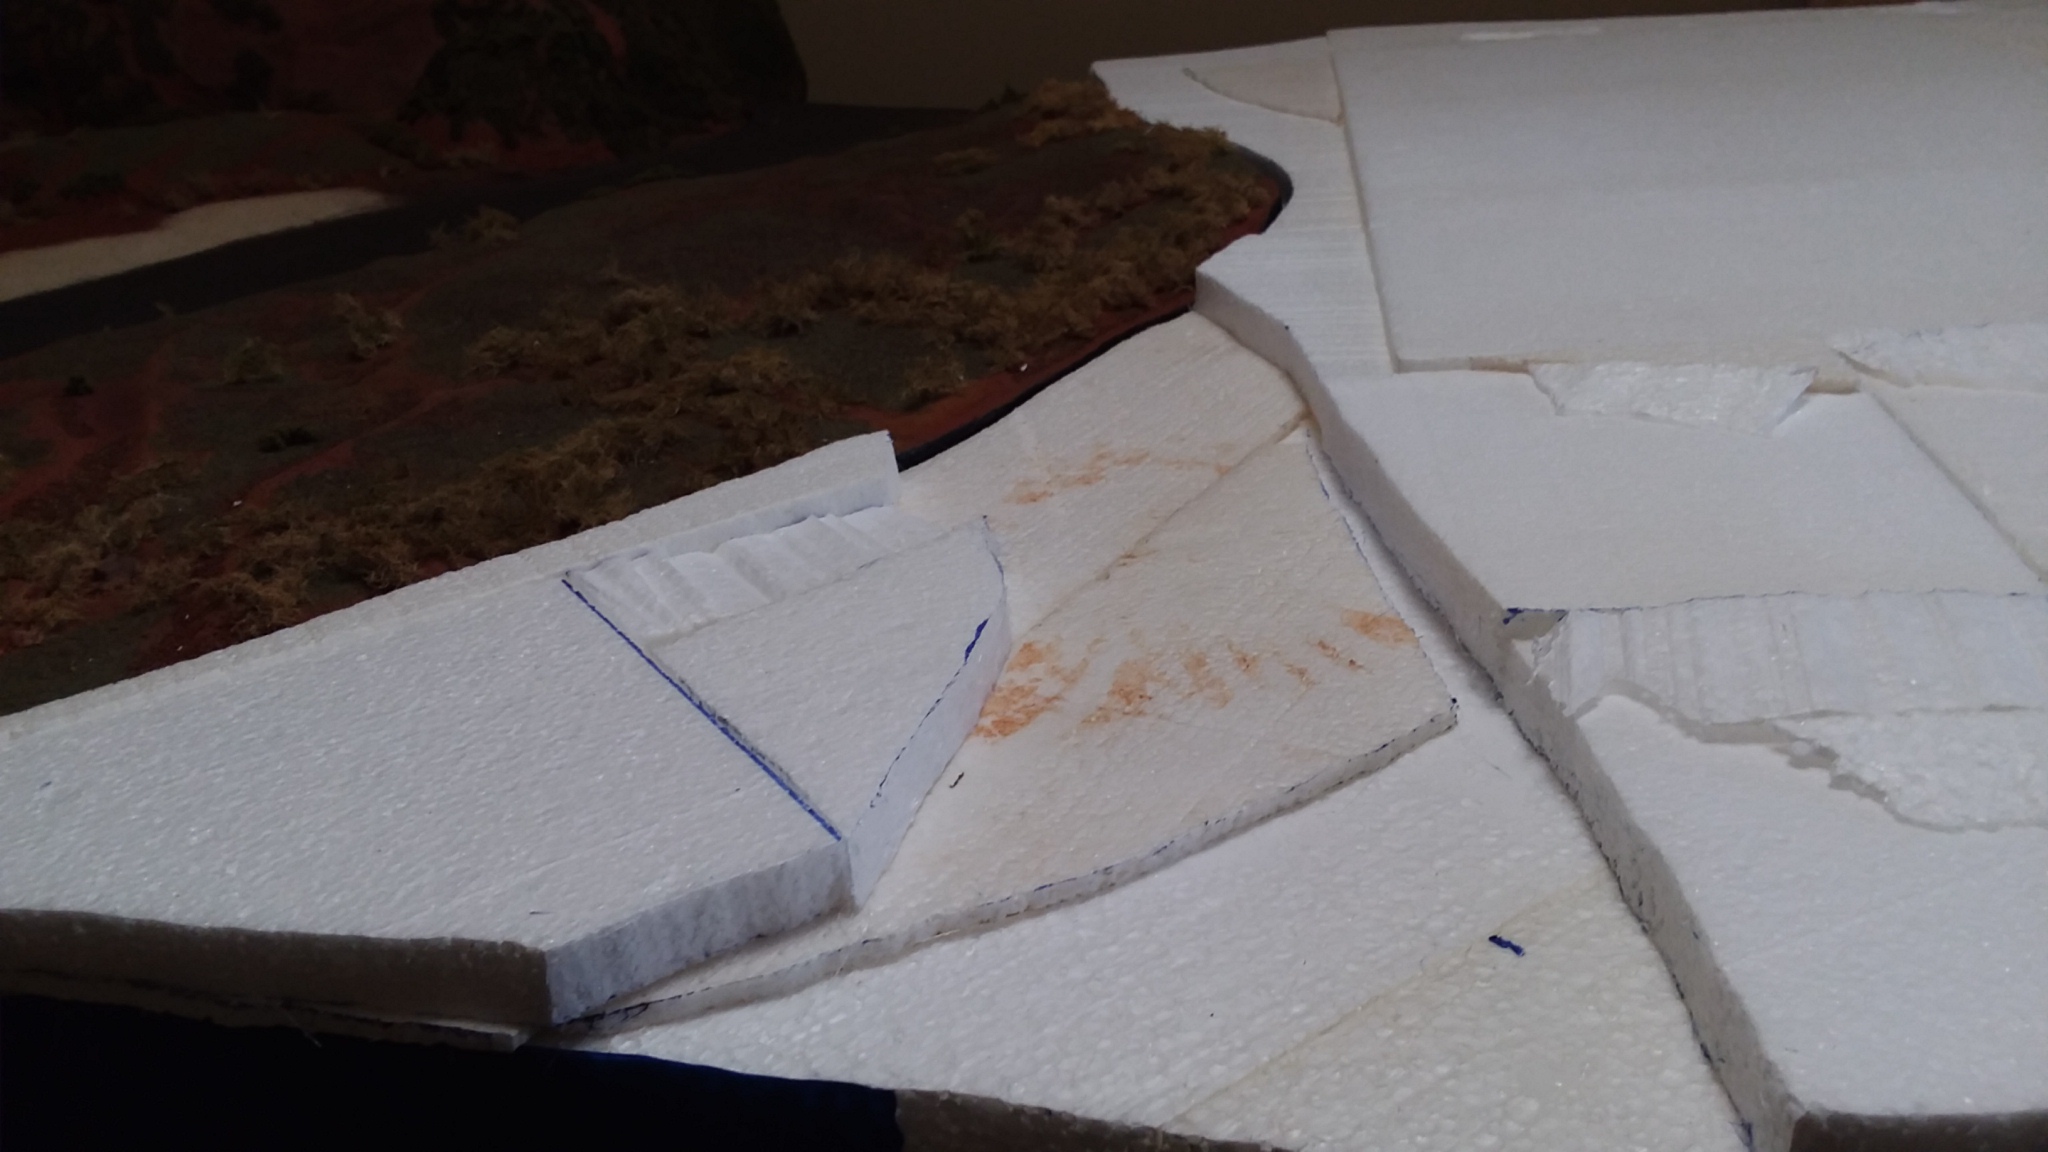
The peices used vary from 3/16", 1/2", 5/8" to 3 inches thick, a hot wire knife with an intercangeable hot stick is used to and shape the structure . .
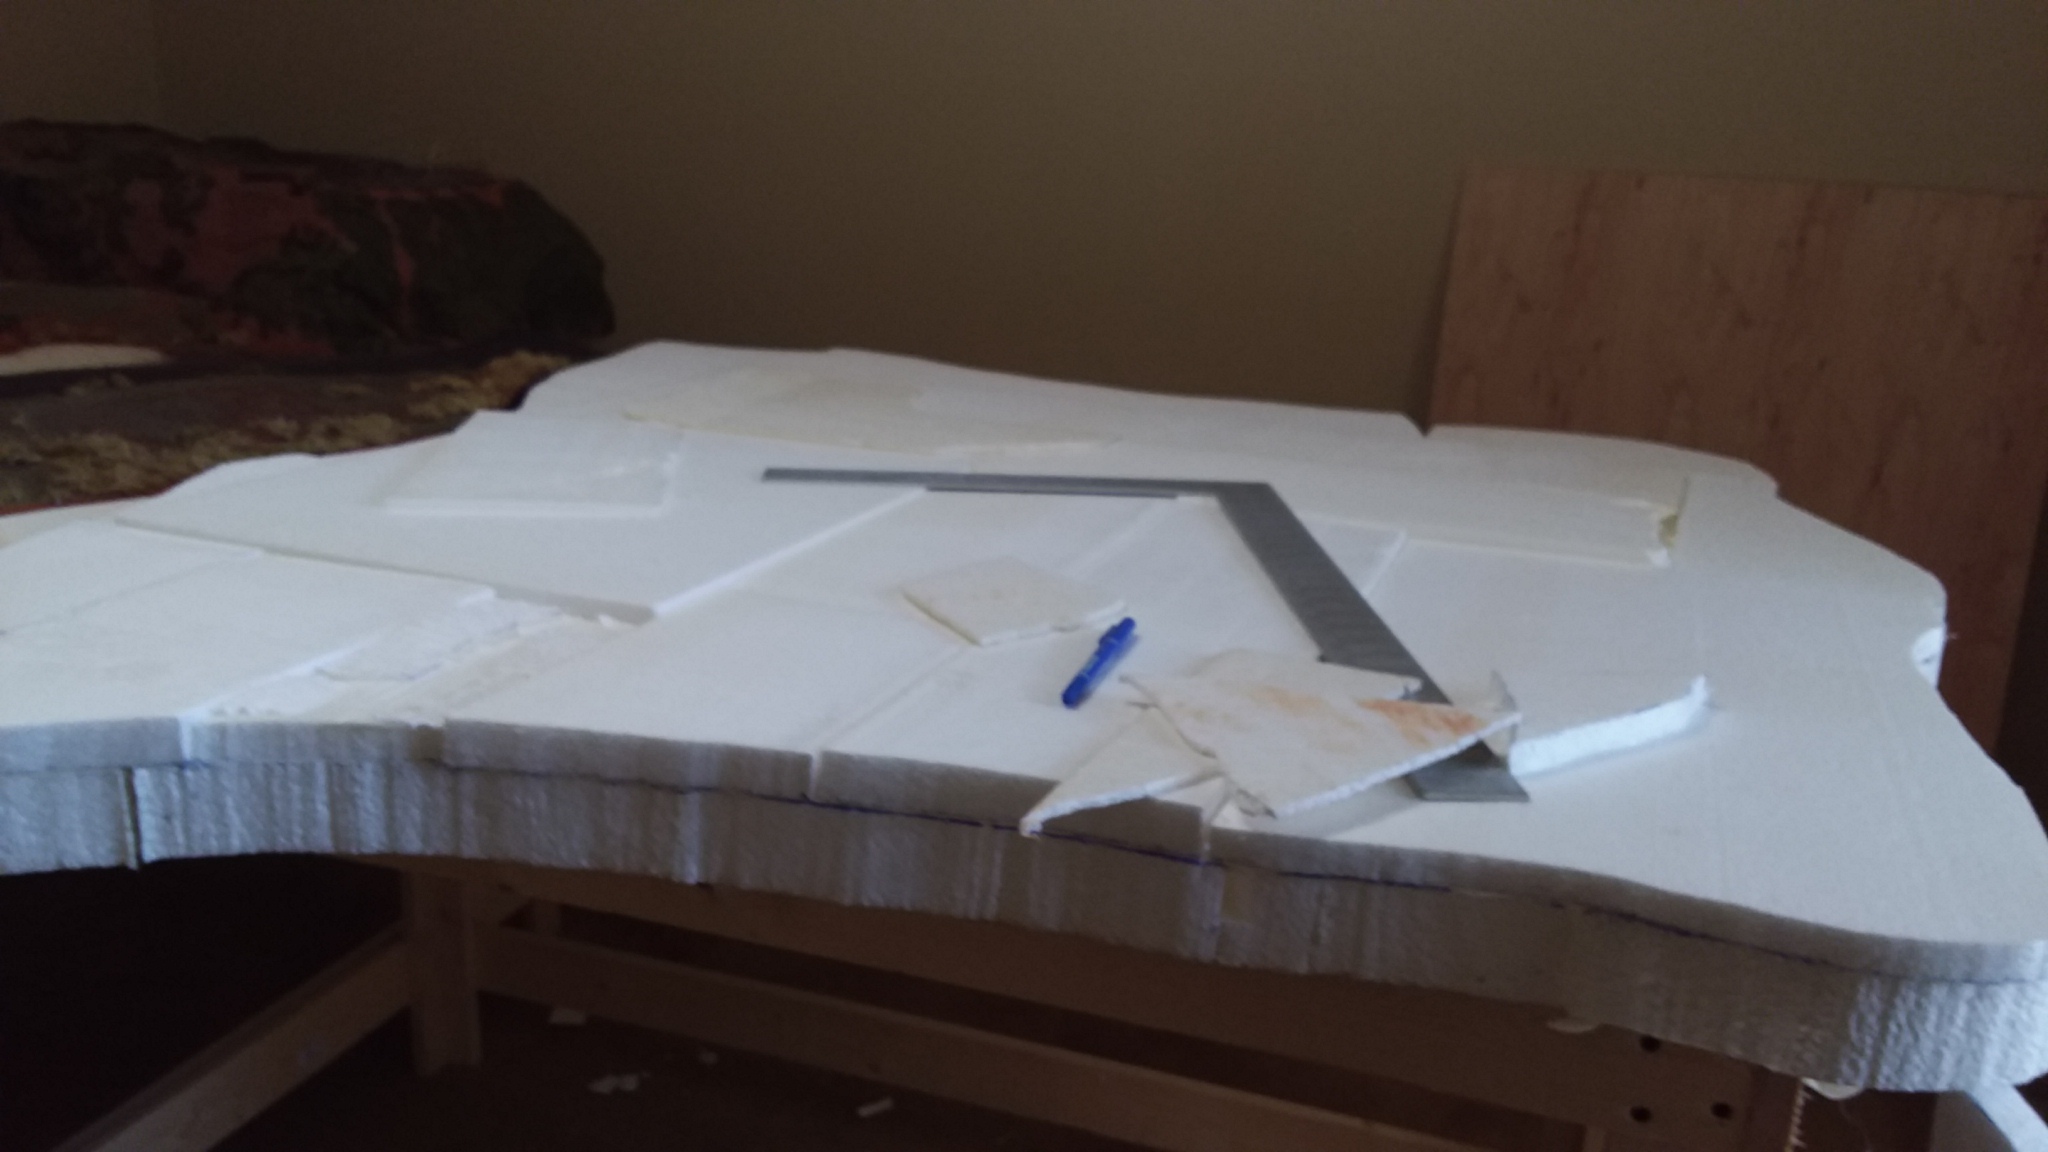
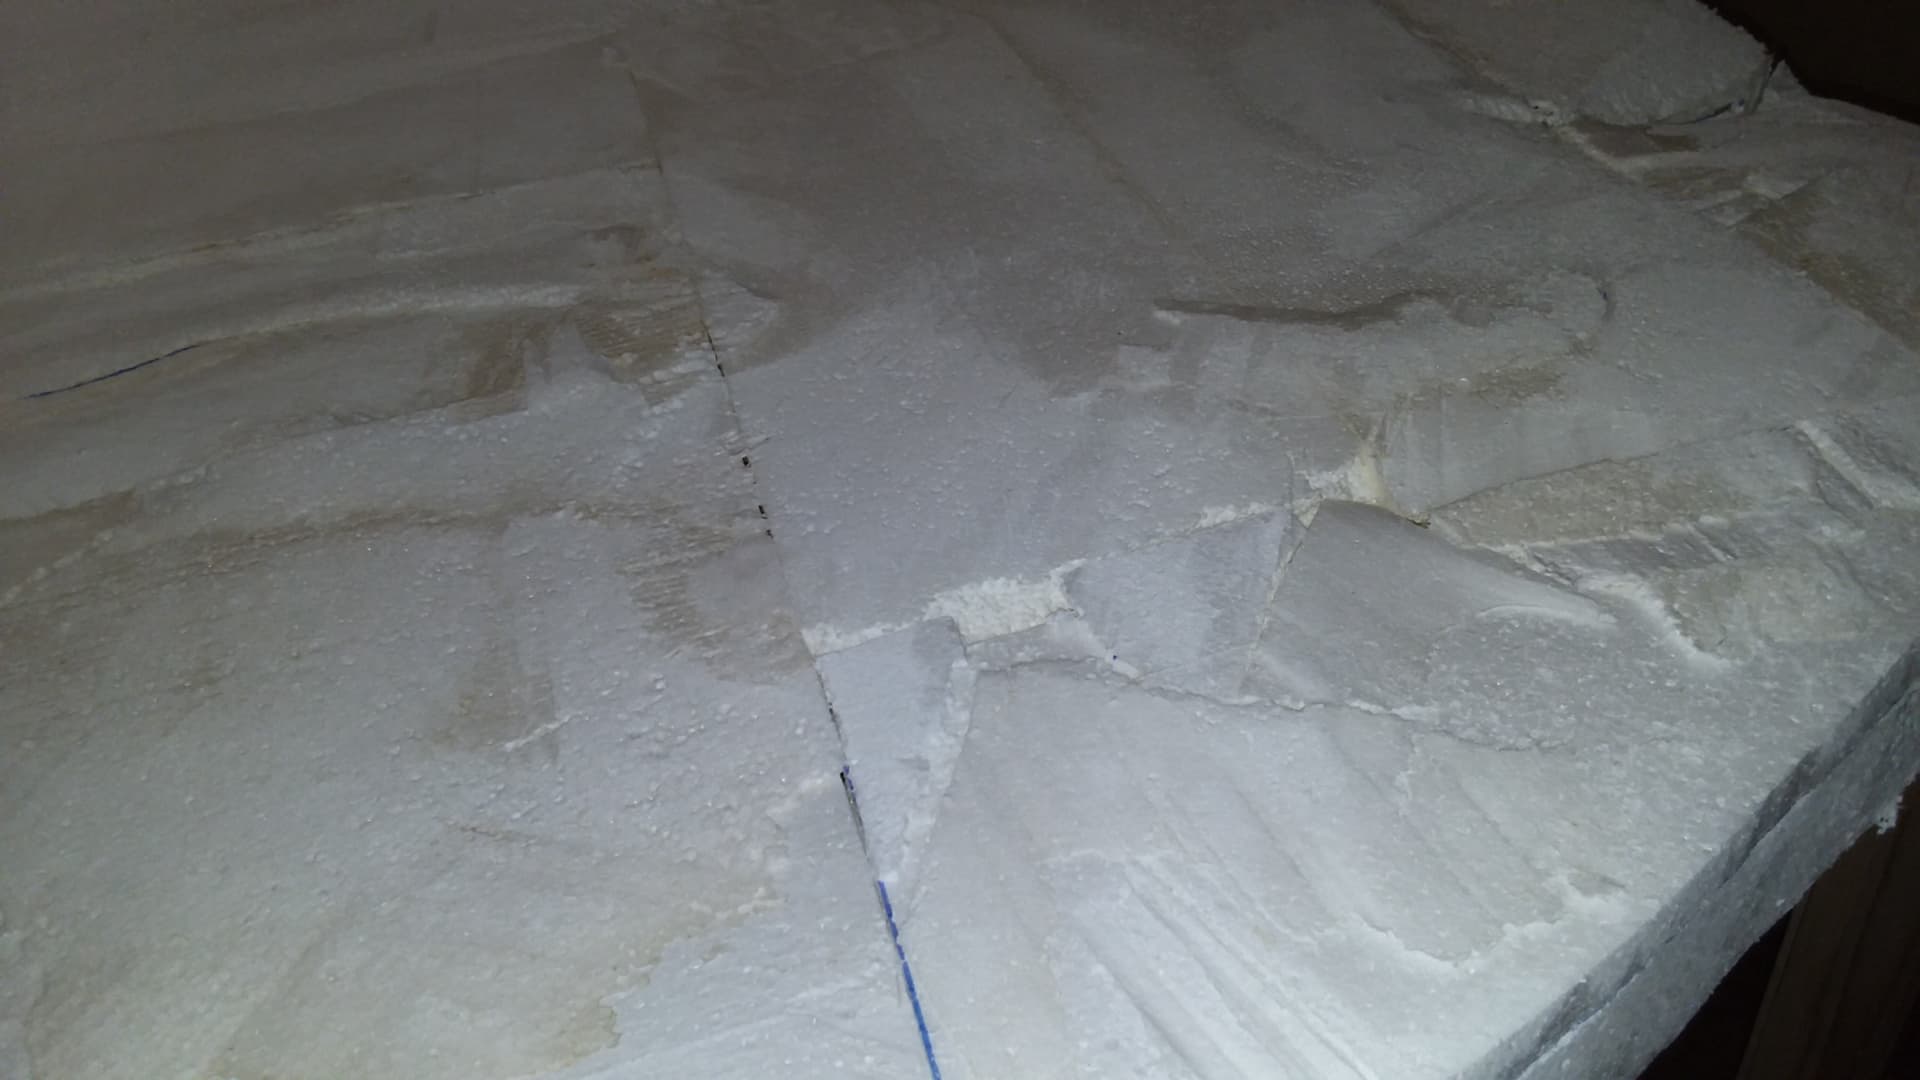
Fourth day into the build and it’s time to start shaping and carving down the sharp edges. So far building the table has been the most difficult part, otherwise waiting for the glue to dry is the only thing slowing down the work . .
Once the rough shaping is done a sanding block (I used a very rough 250 grit shaping sponge) is used to knock down the sharp edges and refine the contour of the ground effect . .
I’m rifleing through this build post because I’ve had so much fun this past week working on the project that I haven’t taken time to put up in progress posts, and frankly I wanted to be sure it was gonna come out like I wanted.
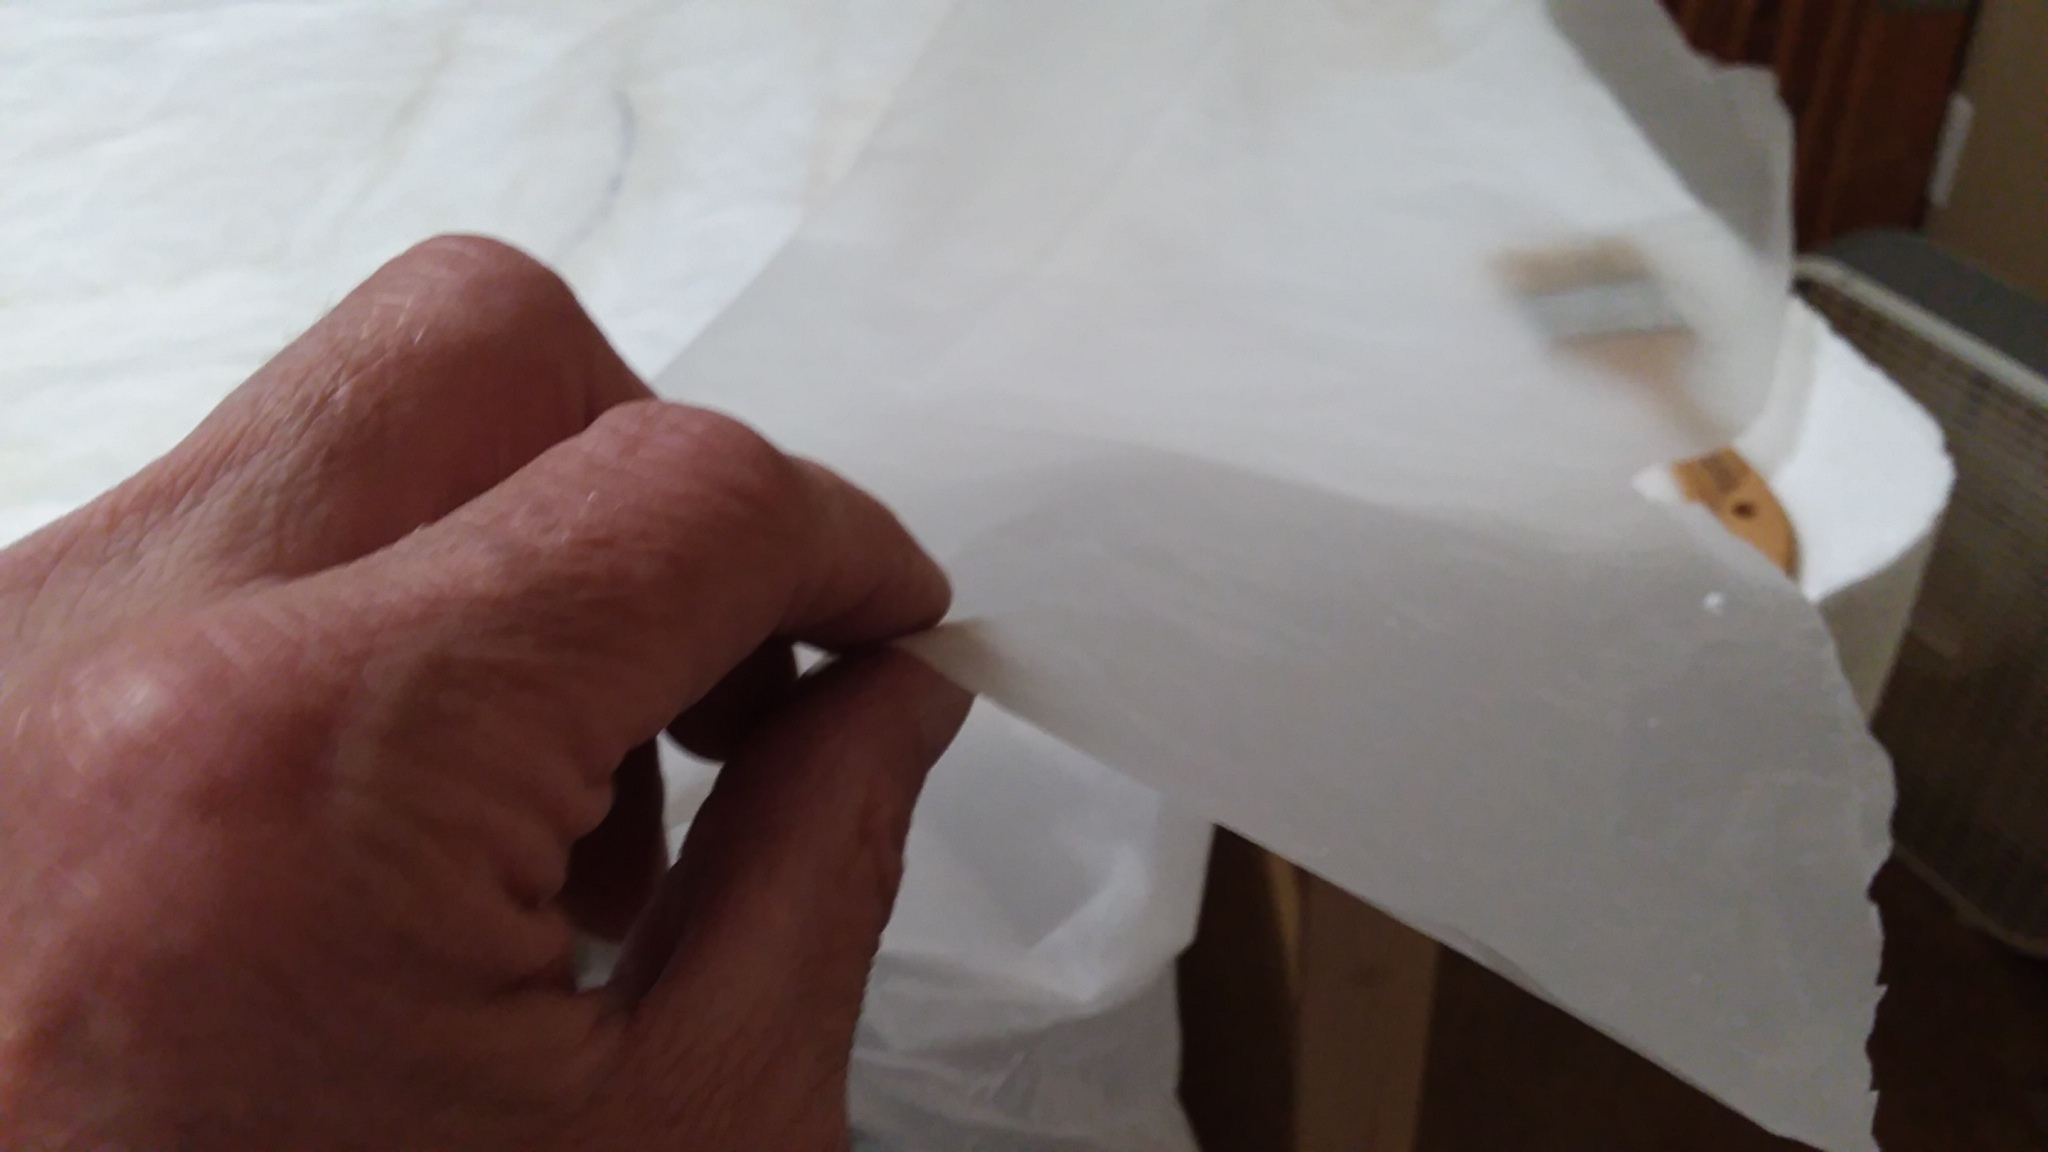
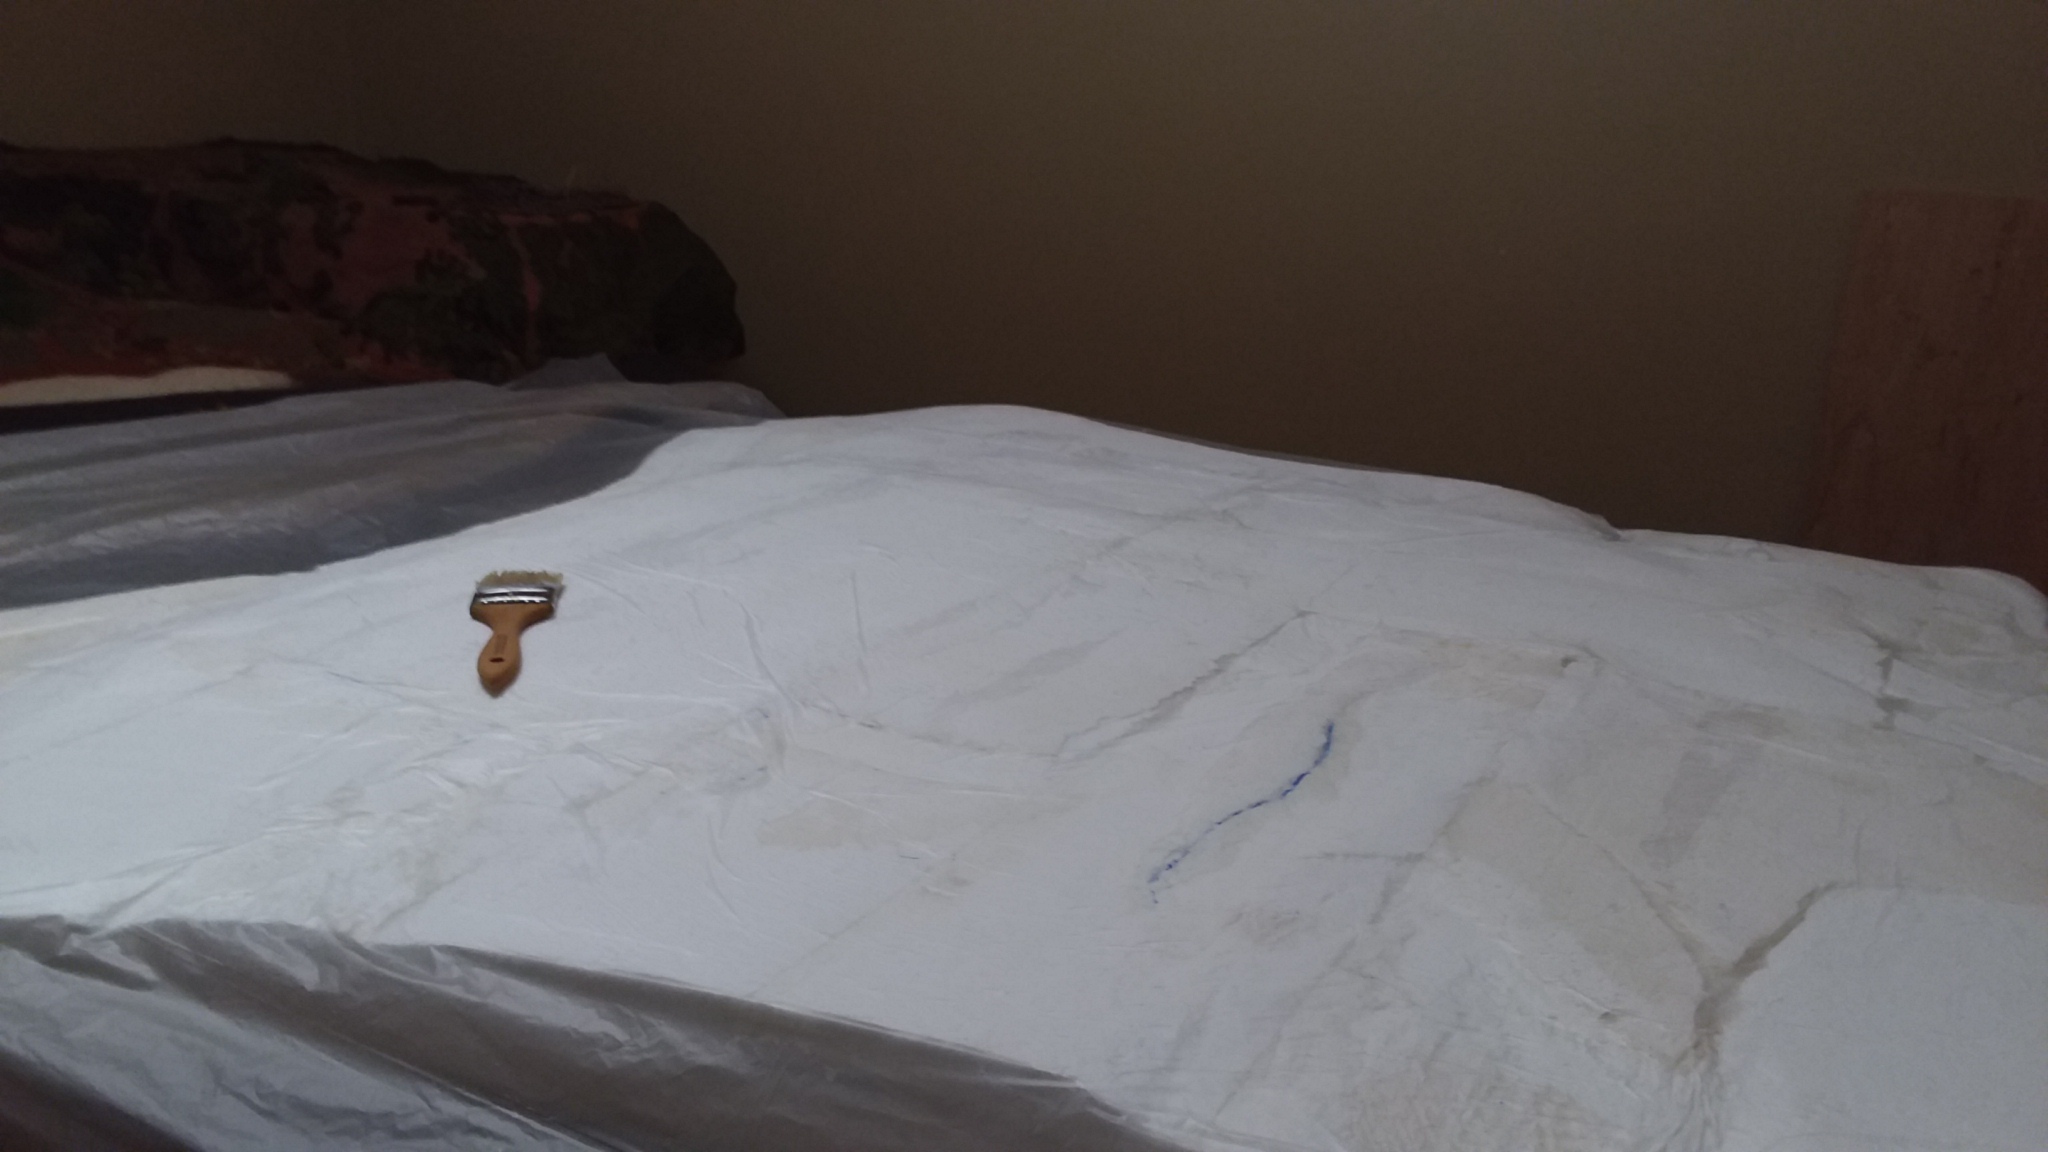
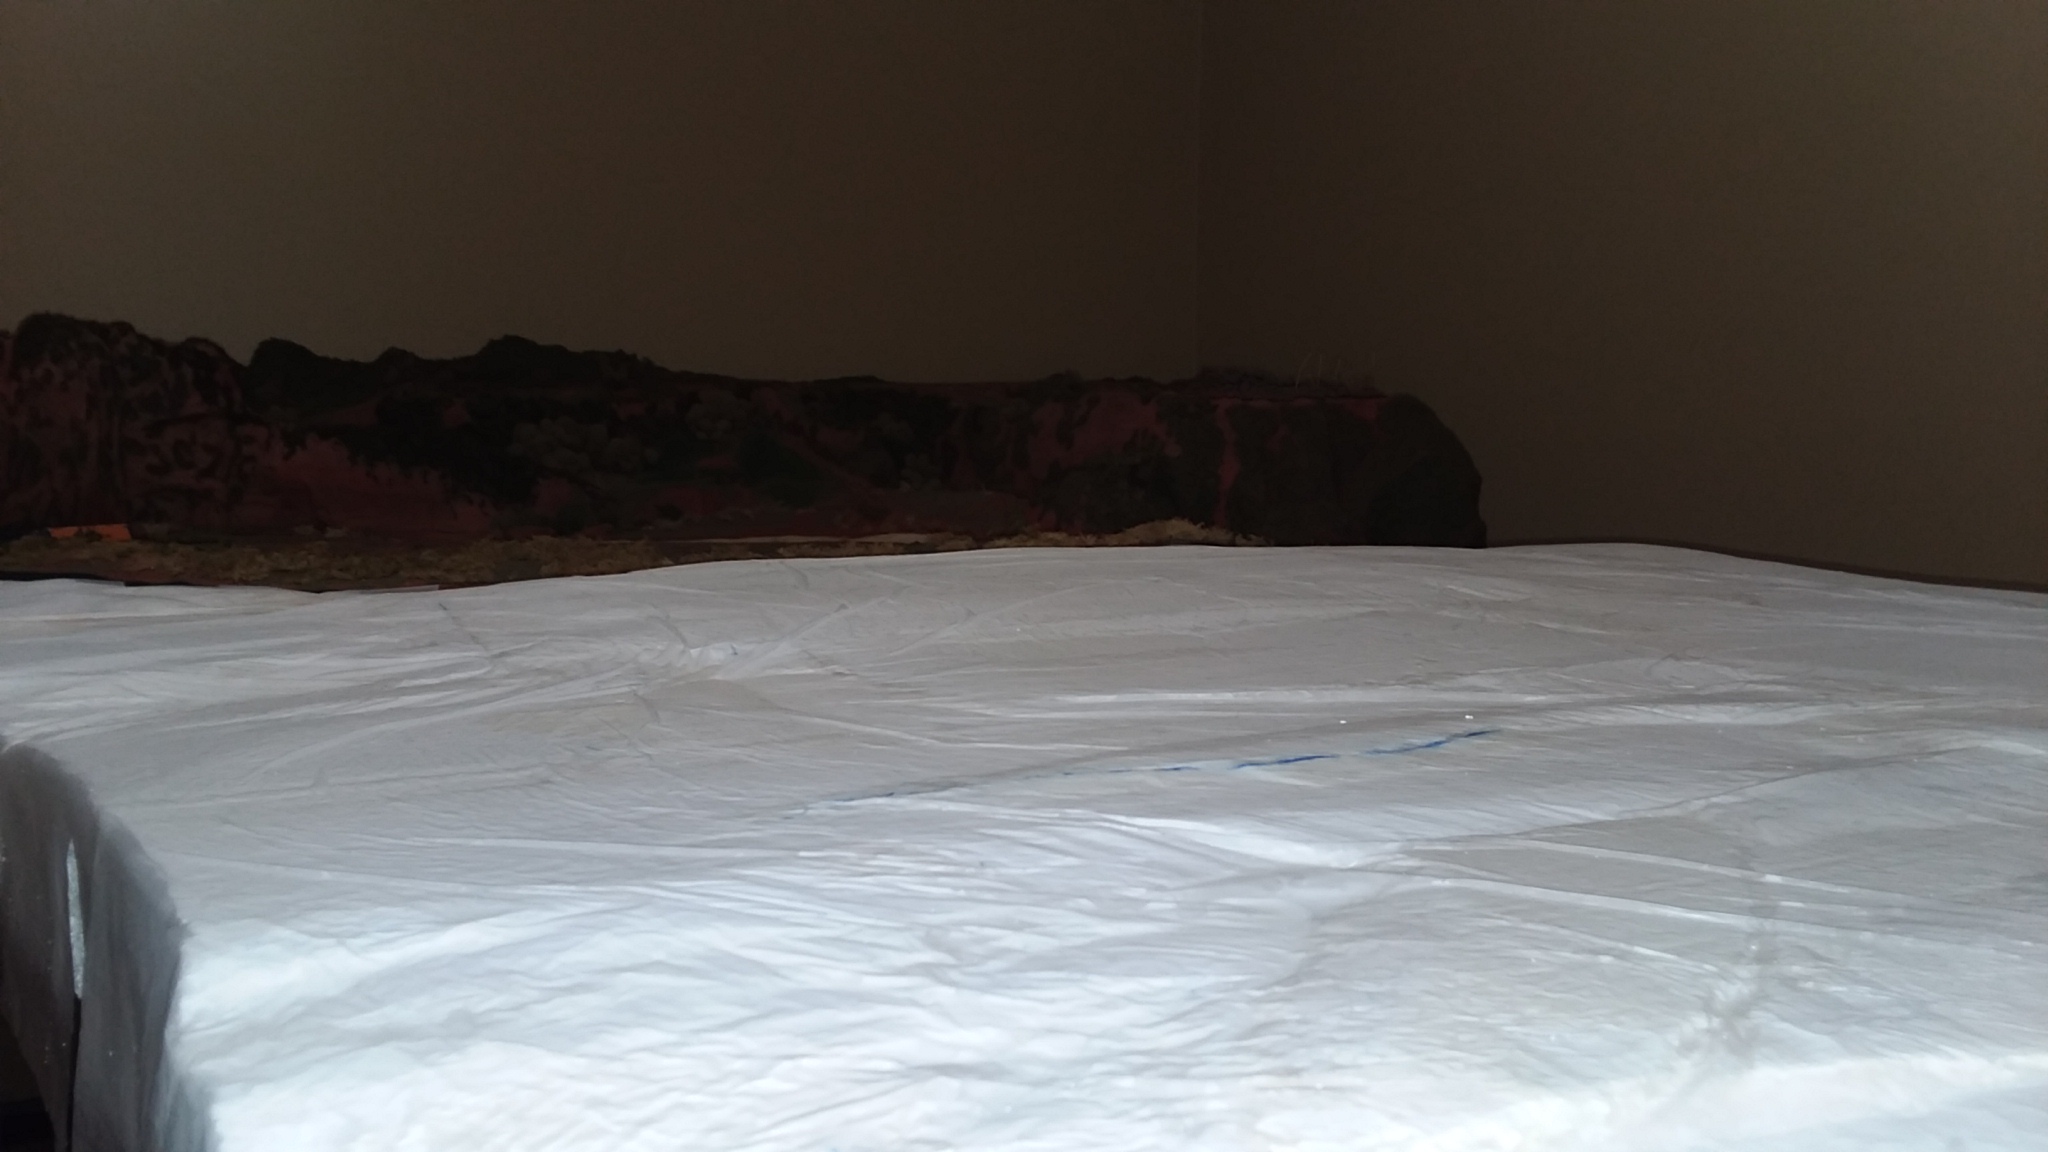
Next step is aplying a barrier of thin plastic to the shaped styro base . . .
What I’ve used here is actually a large trash bag with the sealed bottom cut off and cutting the side to make a sheet just big enough to cover the surface, it’s then glued down and either stretched over gaps or pushed into valleys . .
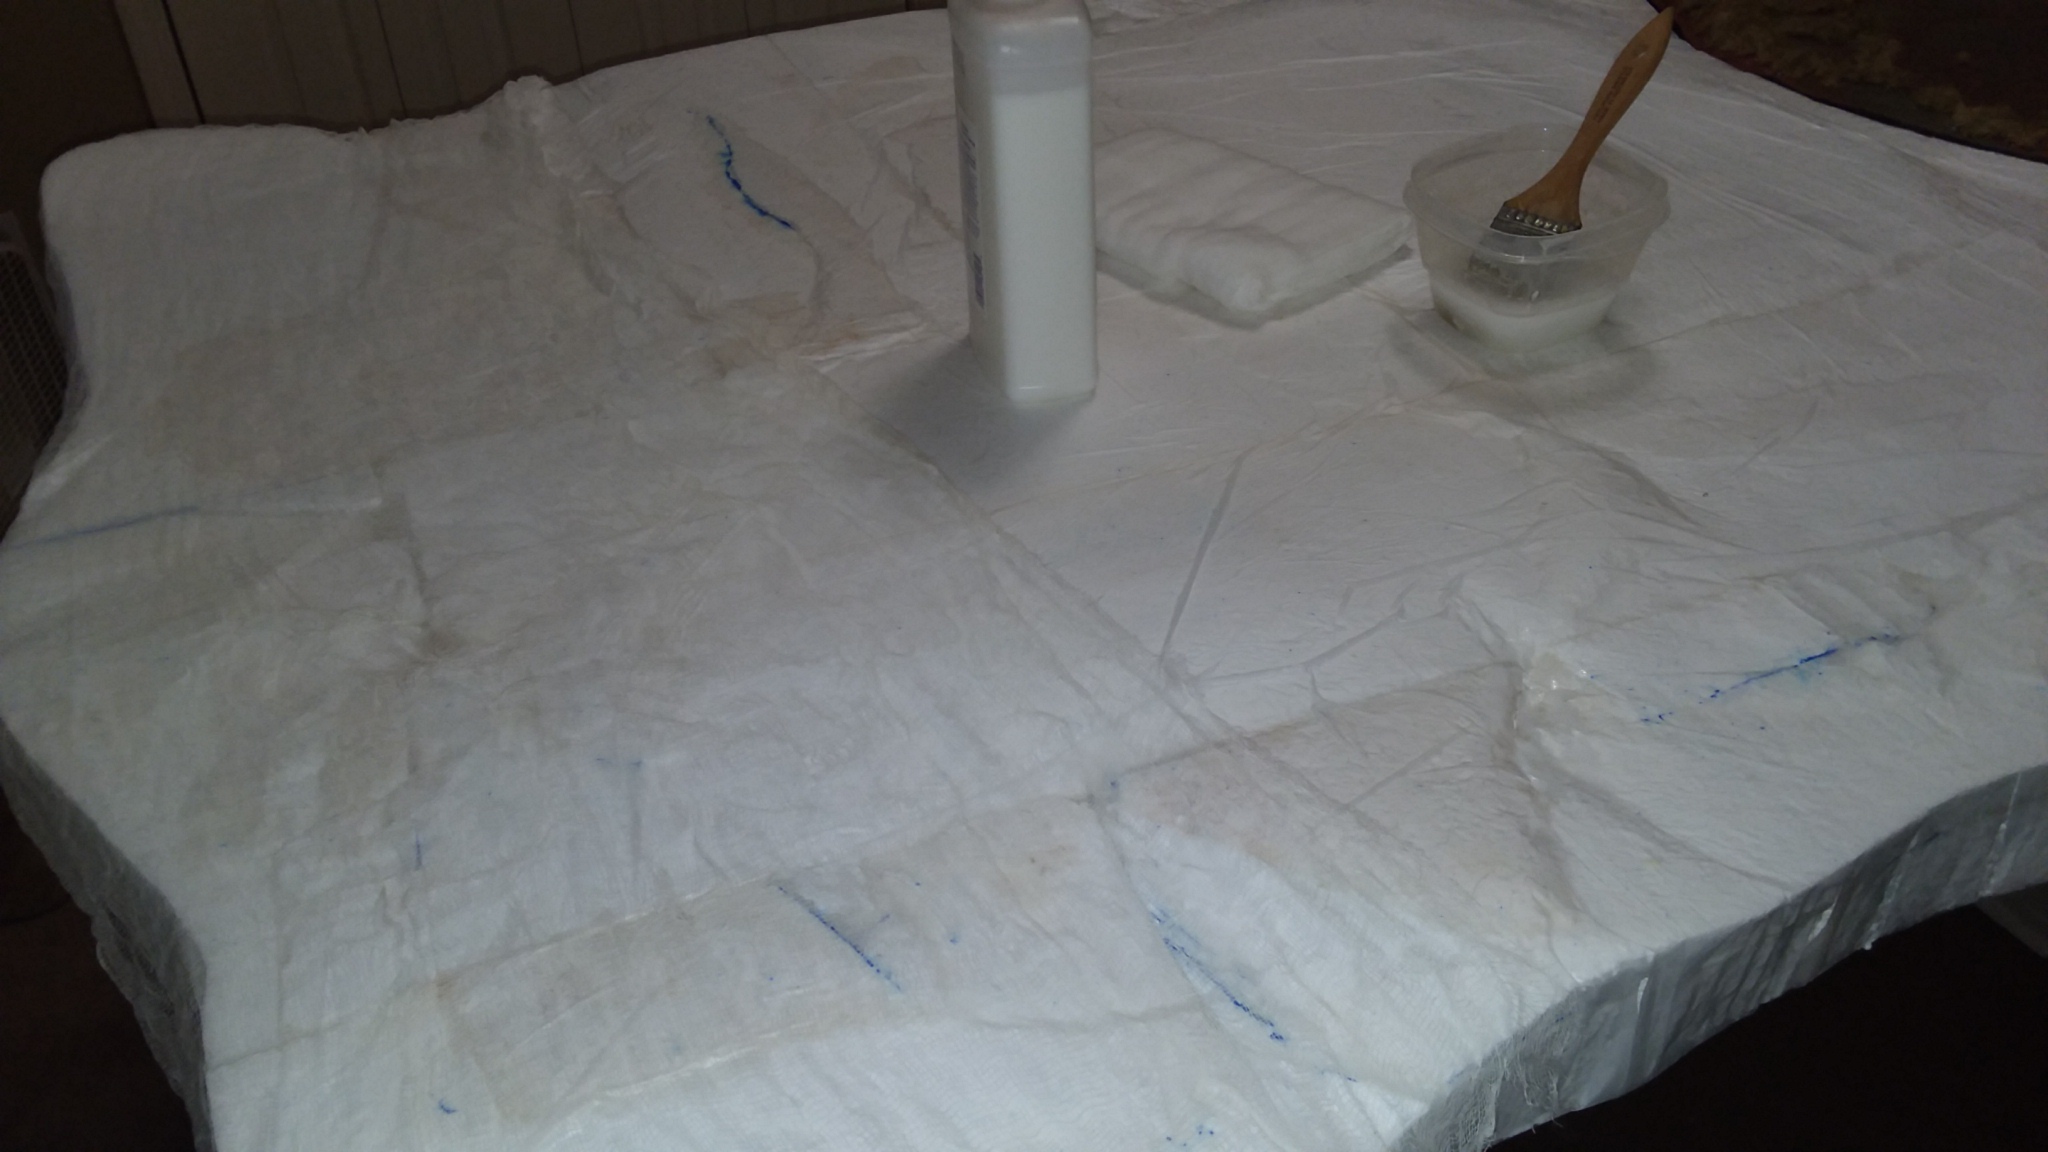
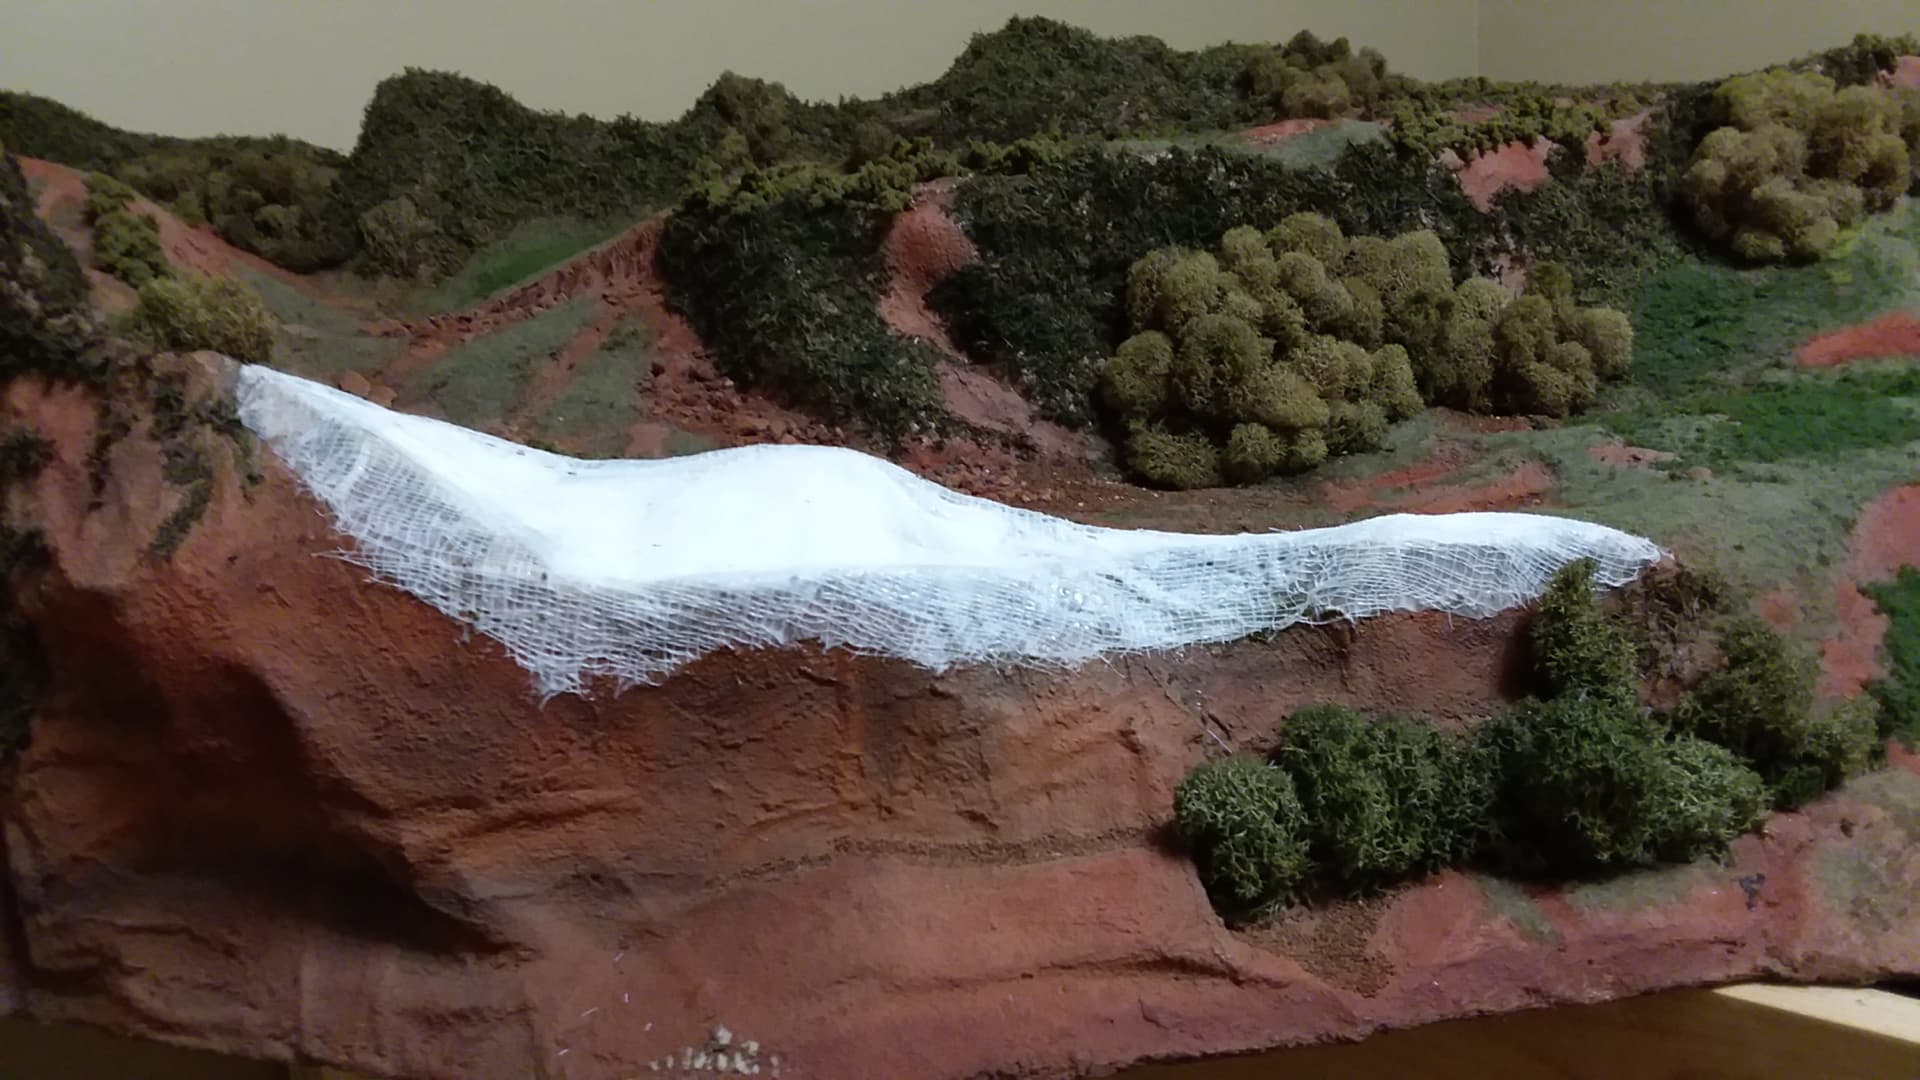
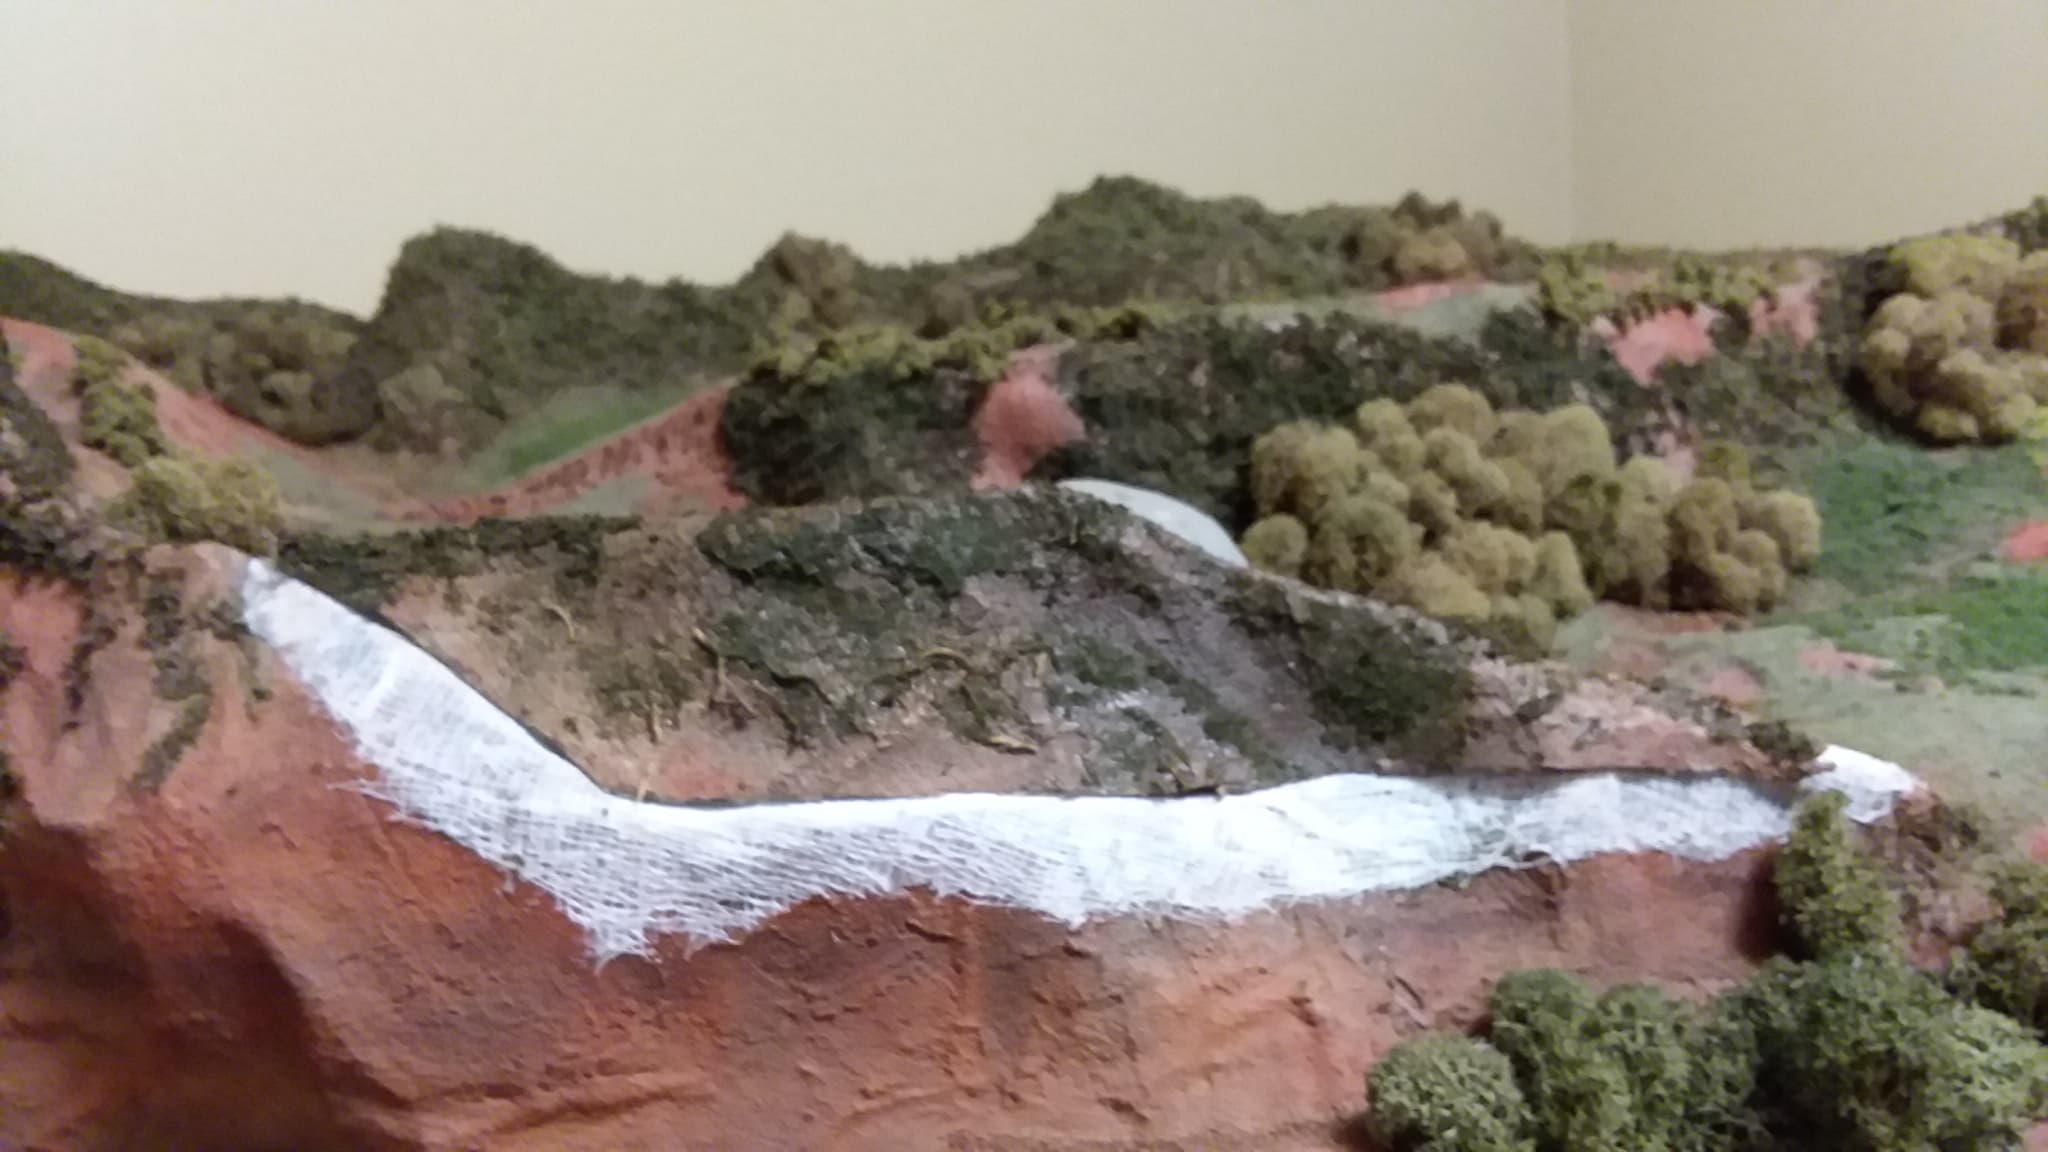
Now it’s time to drape cheesecloth over the whole affair and glue it down. The reason for this step is to create a textured surface for what’s to come . .
Now it’s fixin’ to get real, honestly this is the part I most wanted to share with my fellow dio builders, I’ve been extoling the advantages of a non hobby related product that I just happened to stumble across quite some time ago . . .
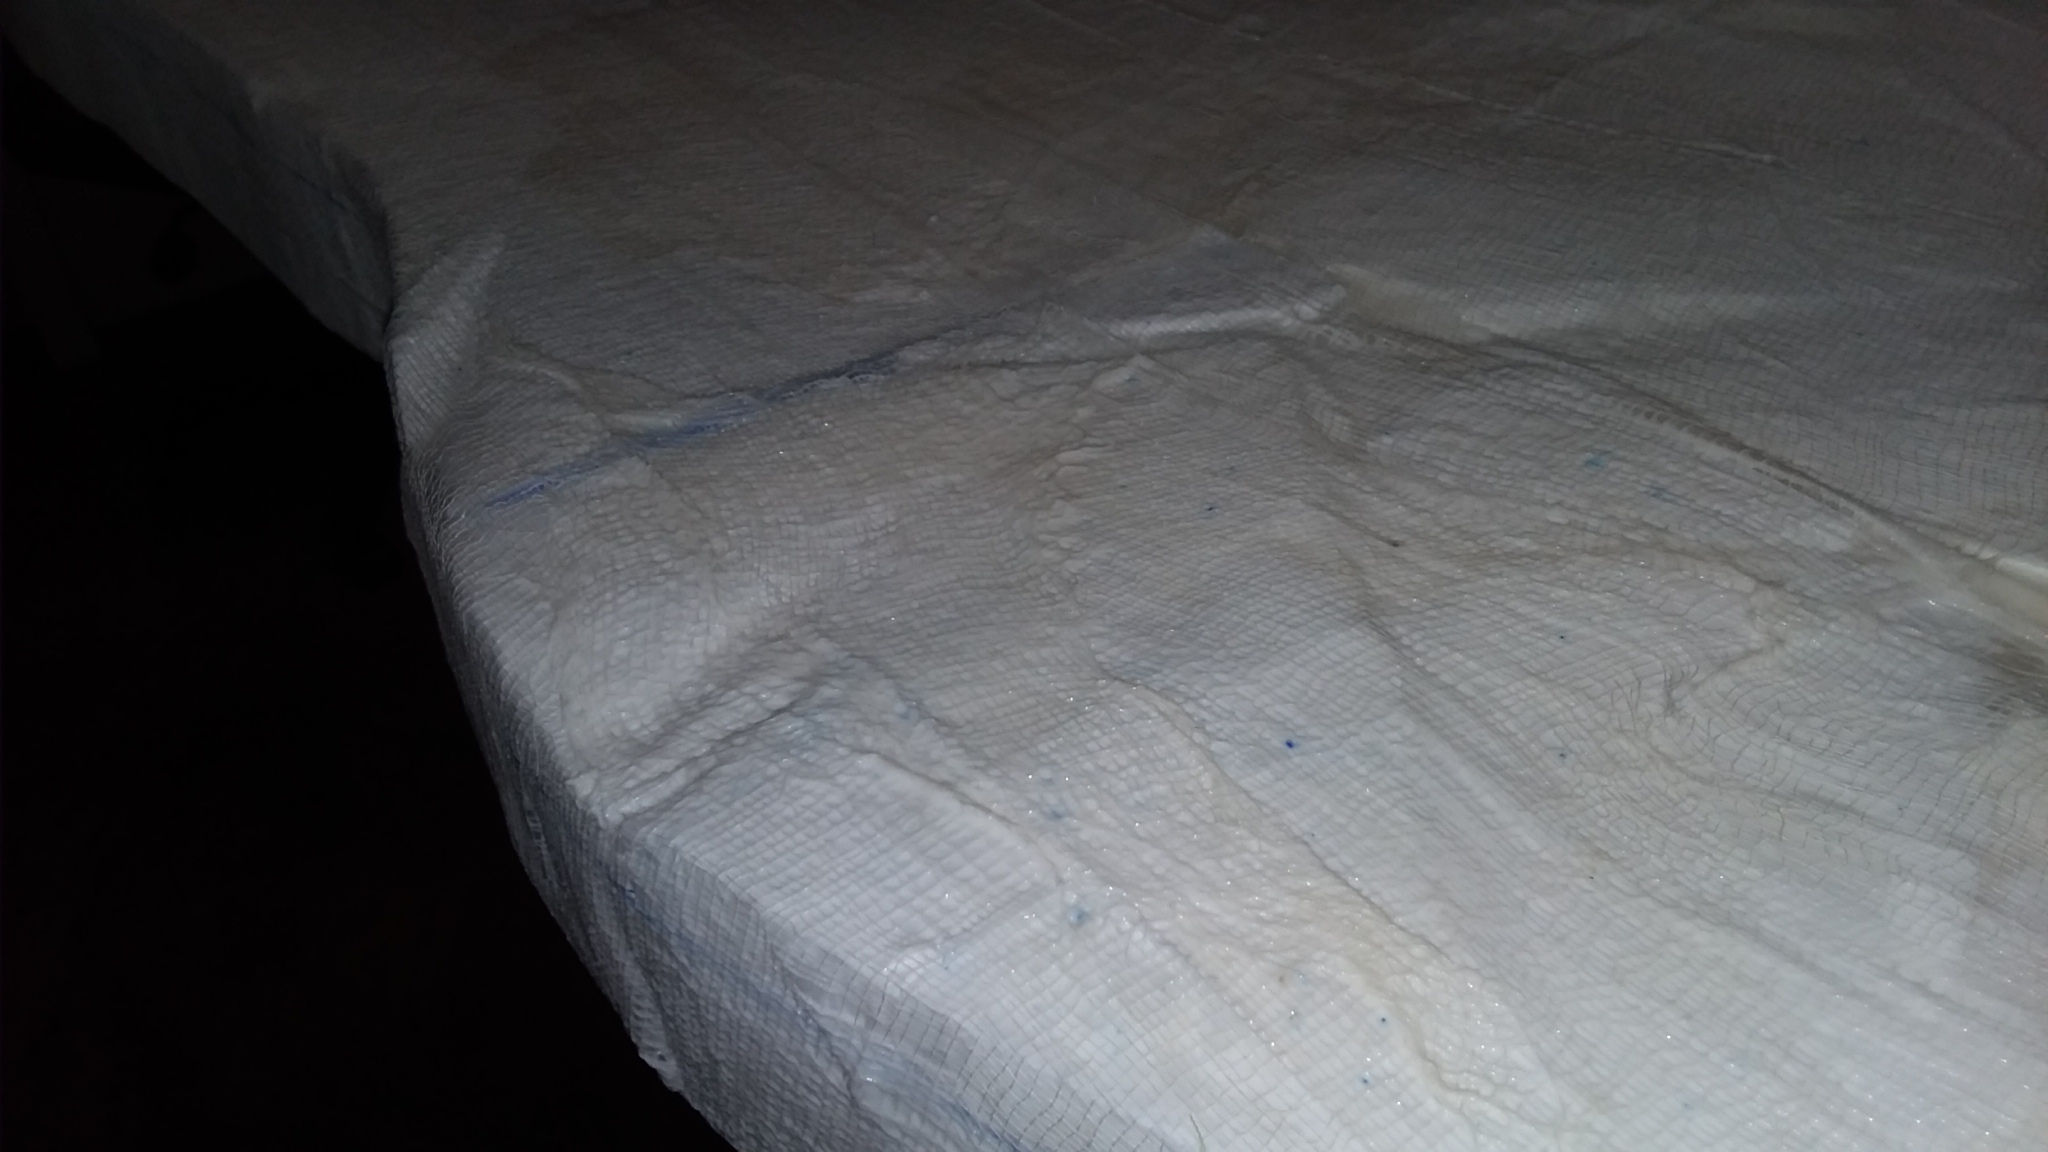
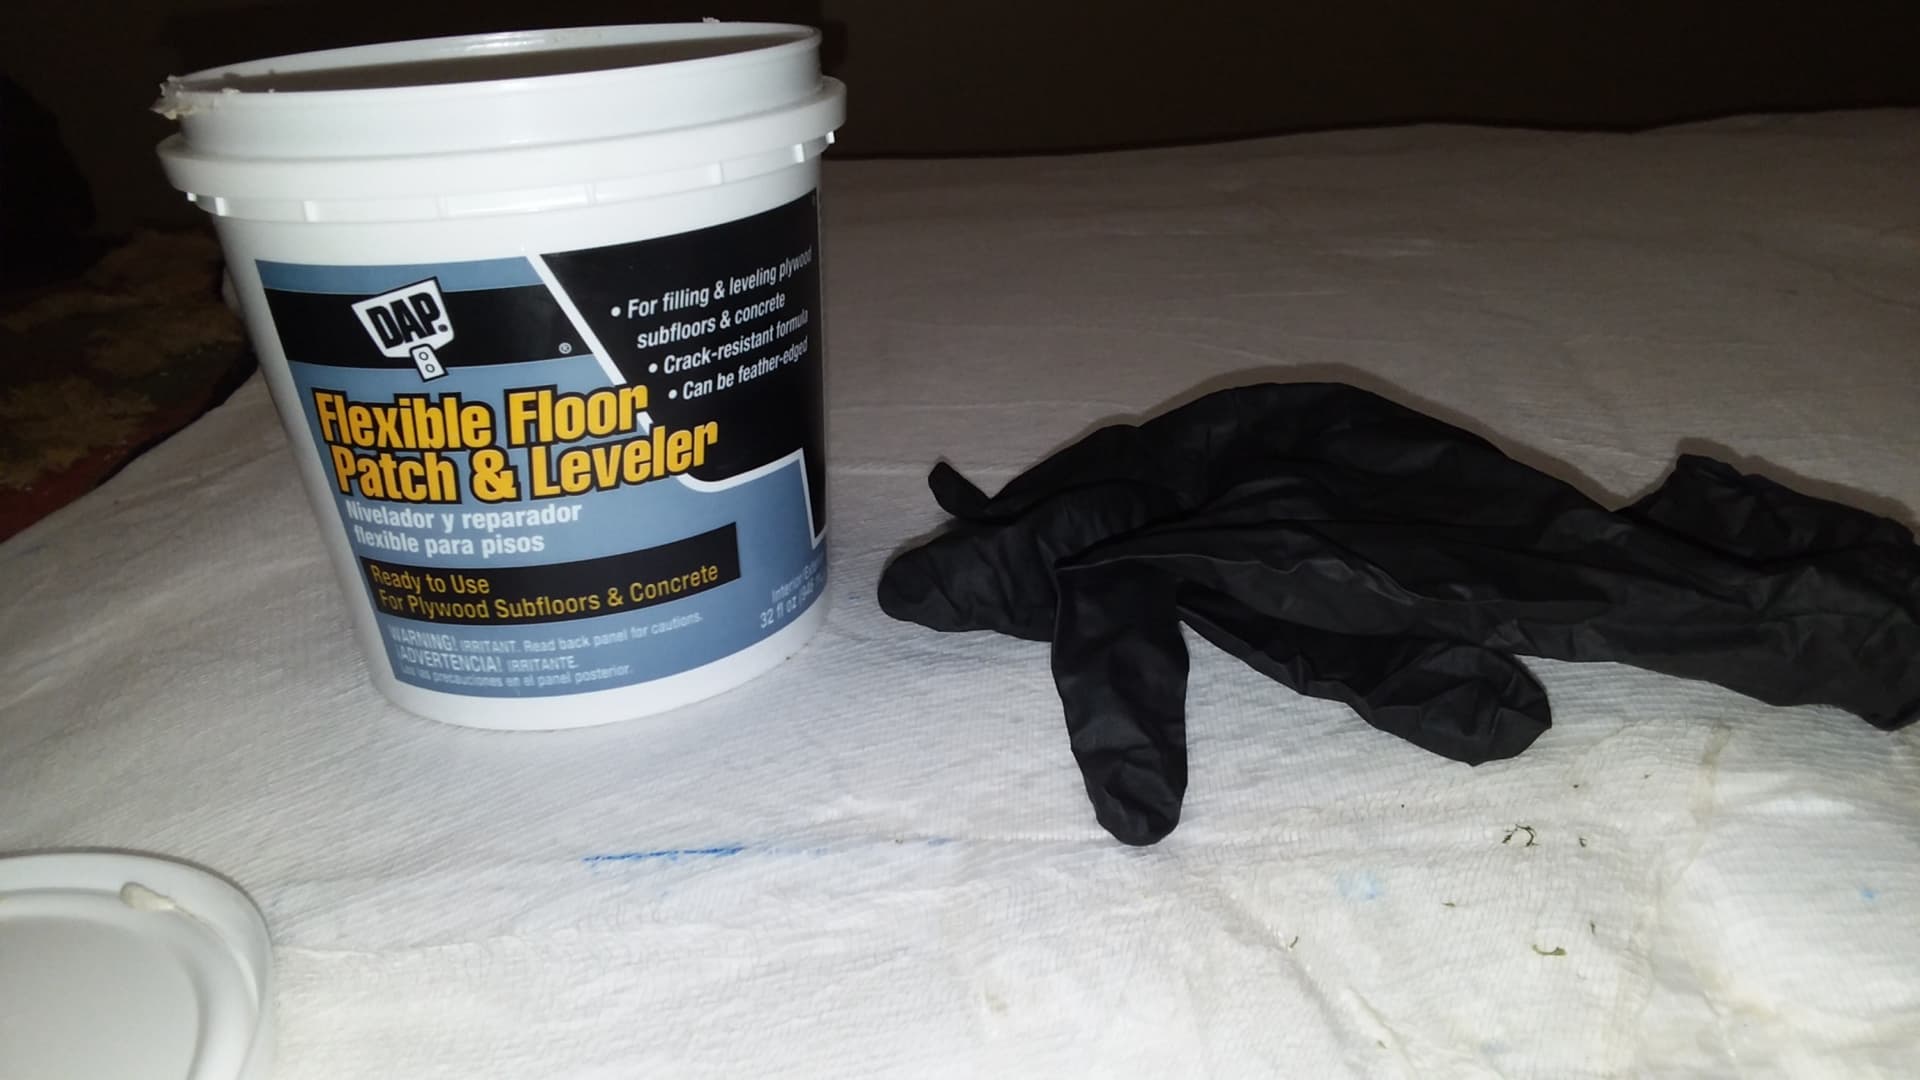
DAP Floor Leveling compound, this stuff is so neat I can’t stop raving about it, to heck with plaster, this medium is non toxic, oderless flexable when dry (won’t chip or crack) and latex based water clean up with a gritty silicon texture, perfect for this applicatiion, cool, very cool.
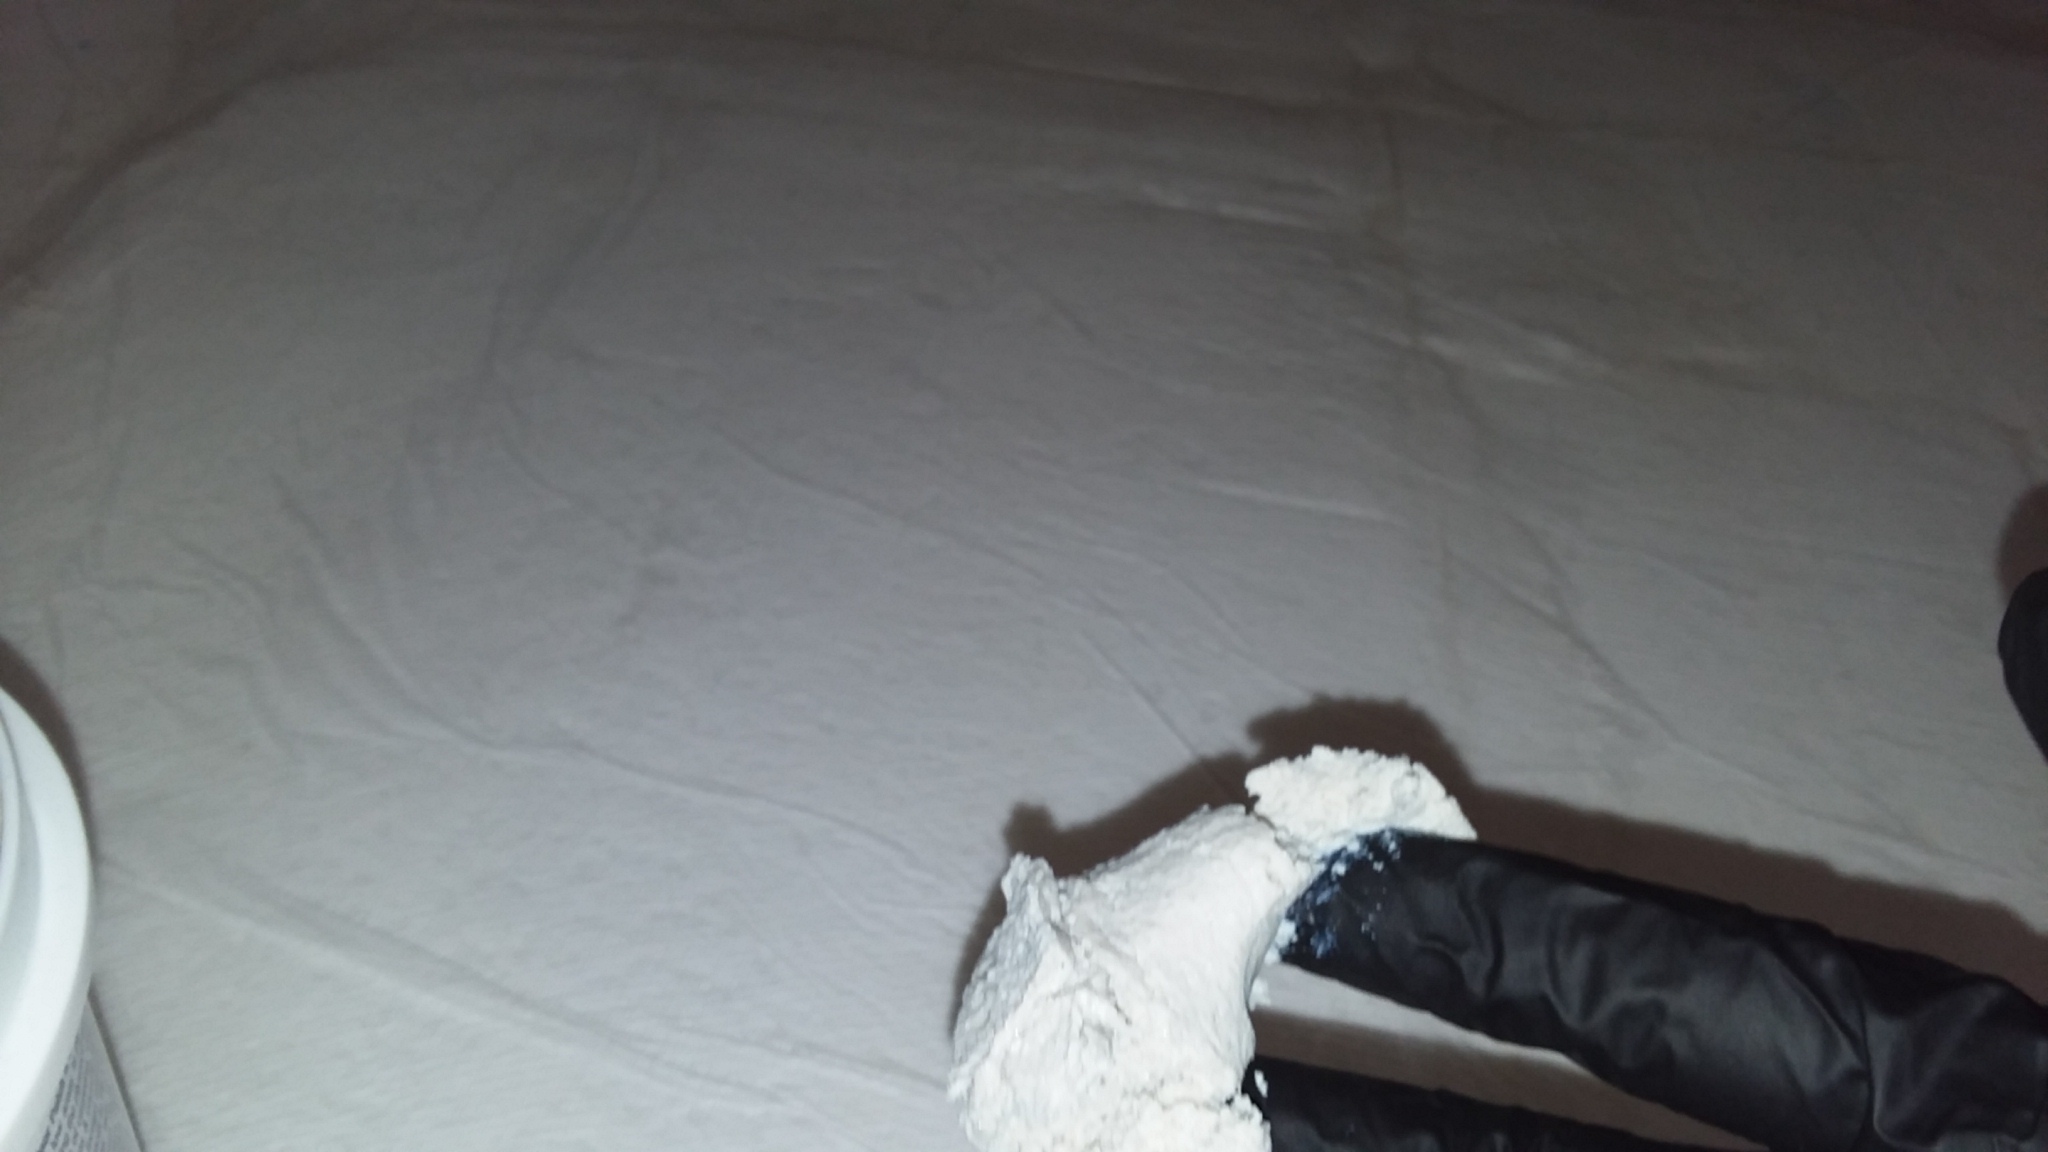
So you get a gob of it on your finger and start smearing it over the surface, I used a latex glove because the grit will rub your finger raw after awhile.
I start out useing one finger but before you know it I’ve got two fingers in it then three fingers swirling around the soft gooey goop. The cheese cloth gives the compound something to grap on to so it can be spread rather than slide around on the plastic, the plastic prevents the goop from filling in the cracks and joints between the styro blocks. BTW, a Walmart bag works as well as the industrial trash bag, I just happened to have access to the latter.
This installment will bring me up to date on where I’m at currently.
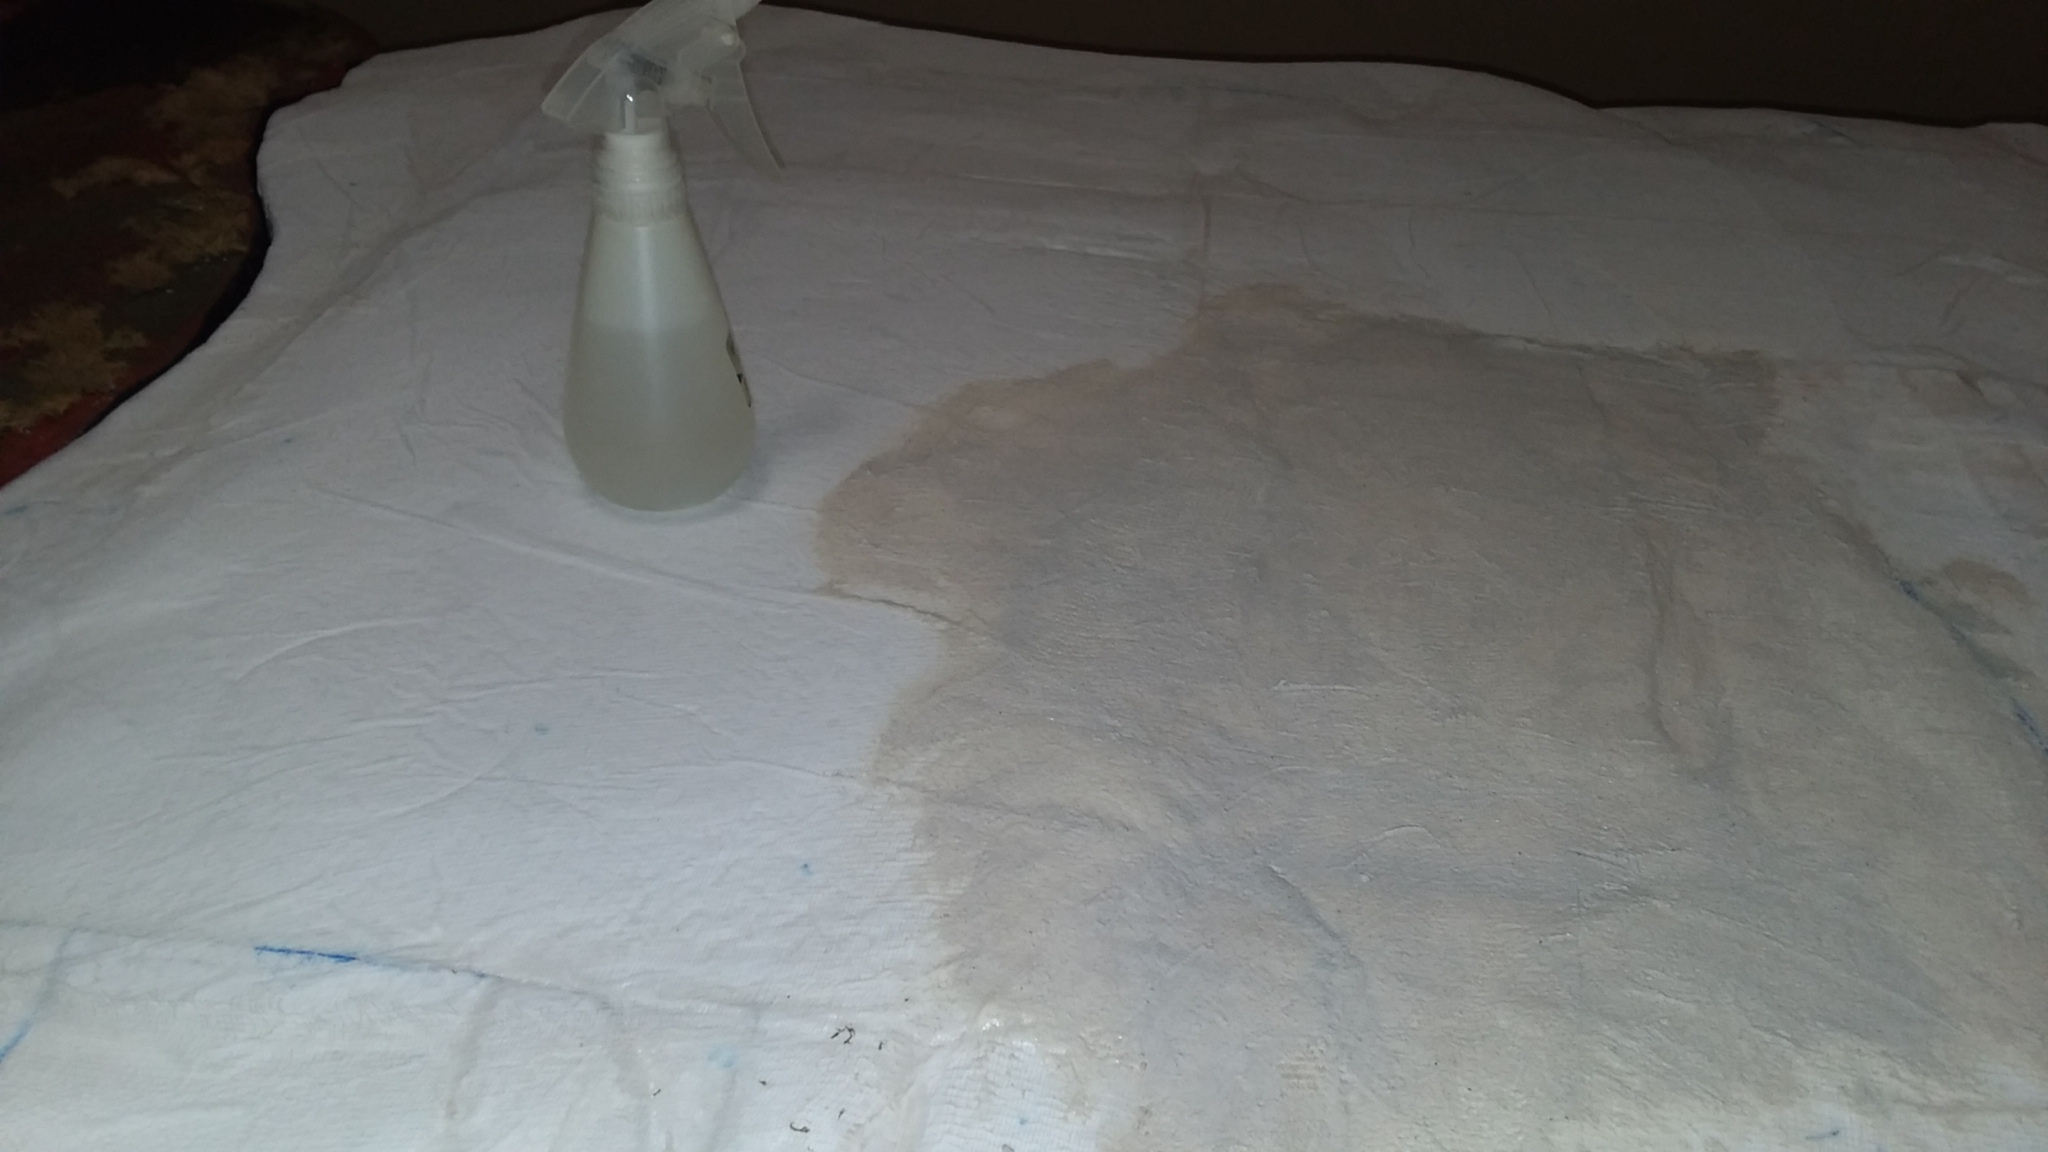
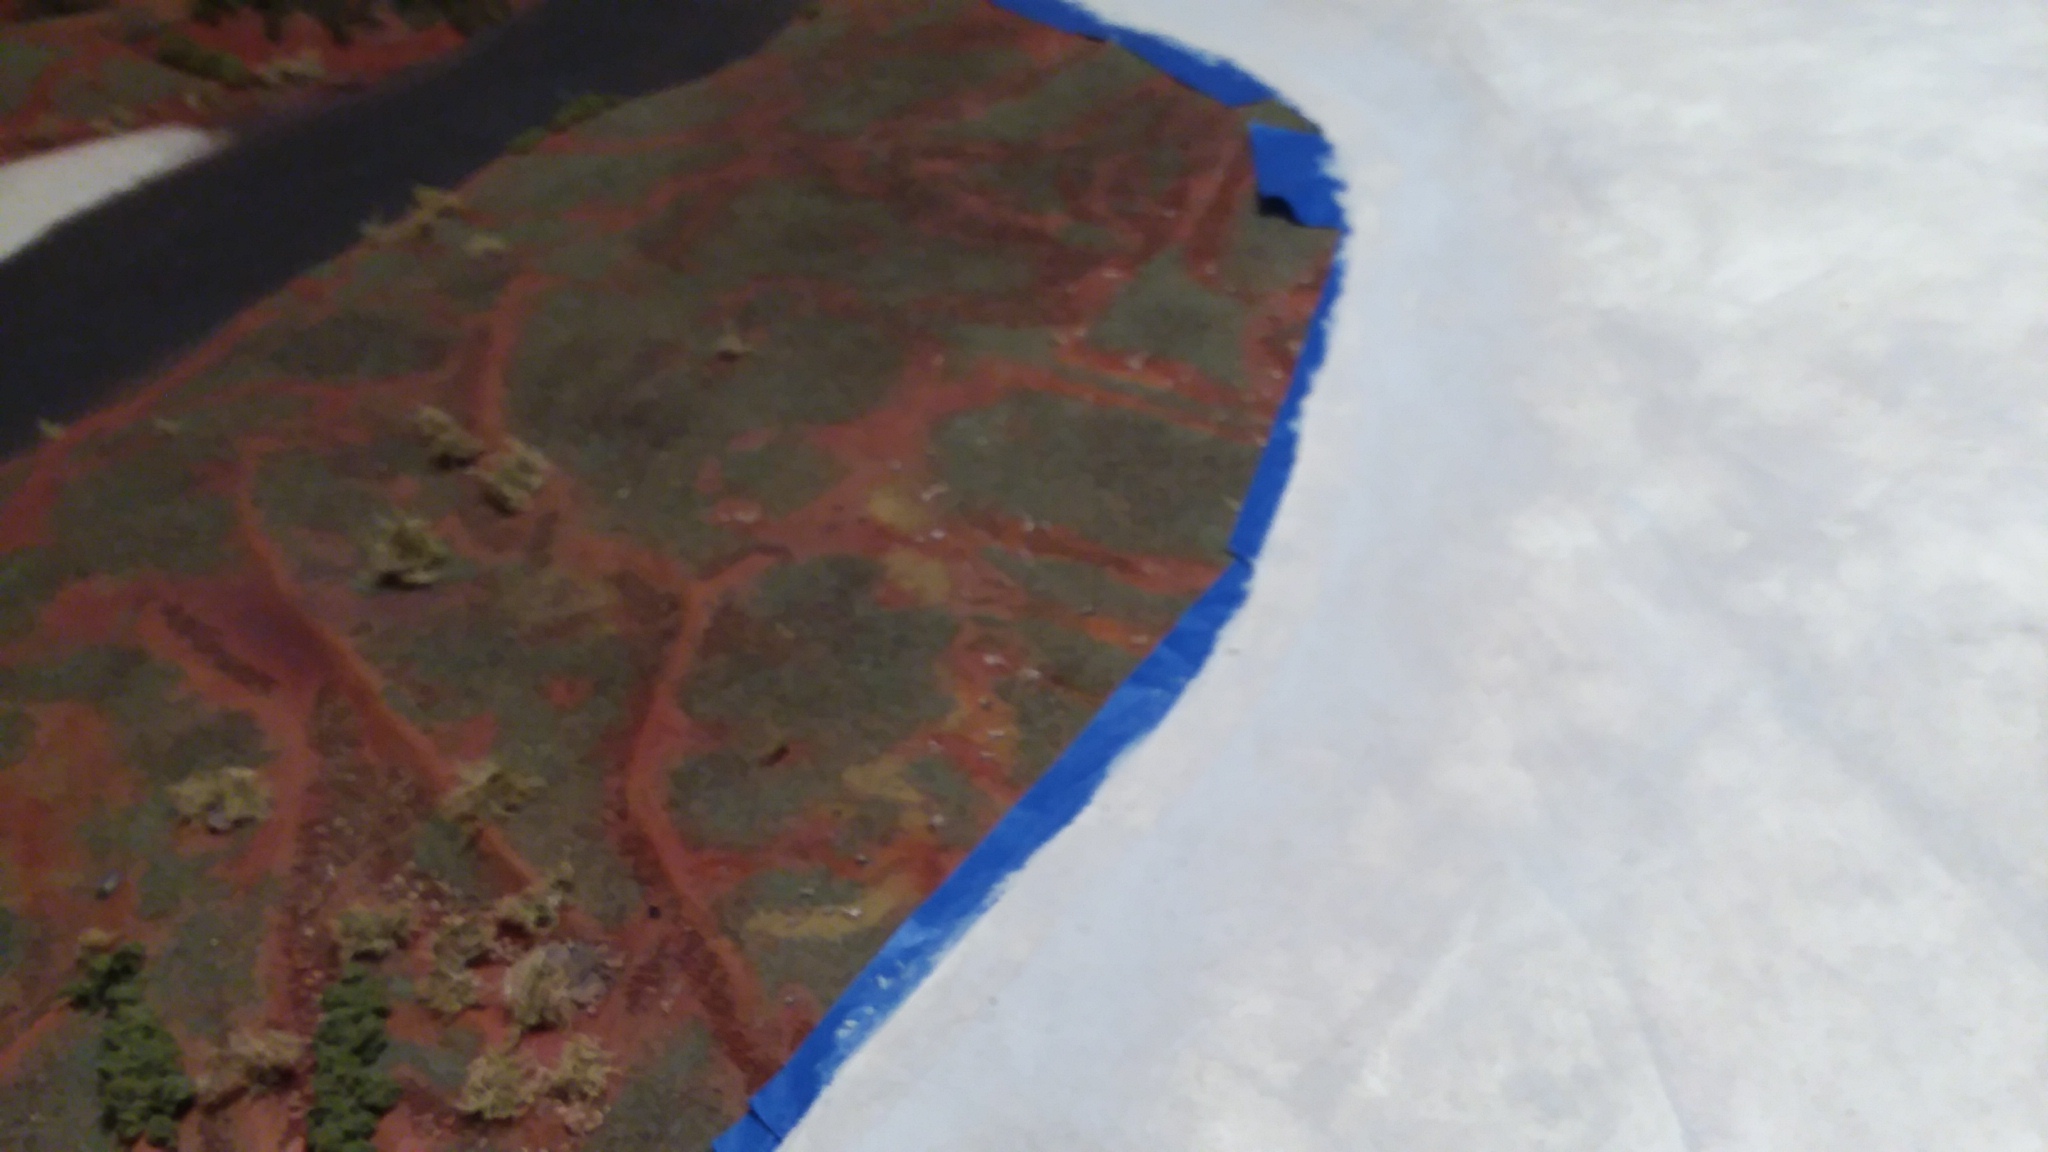
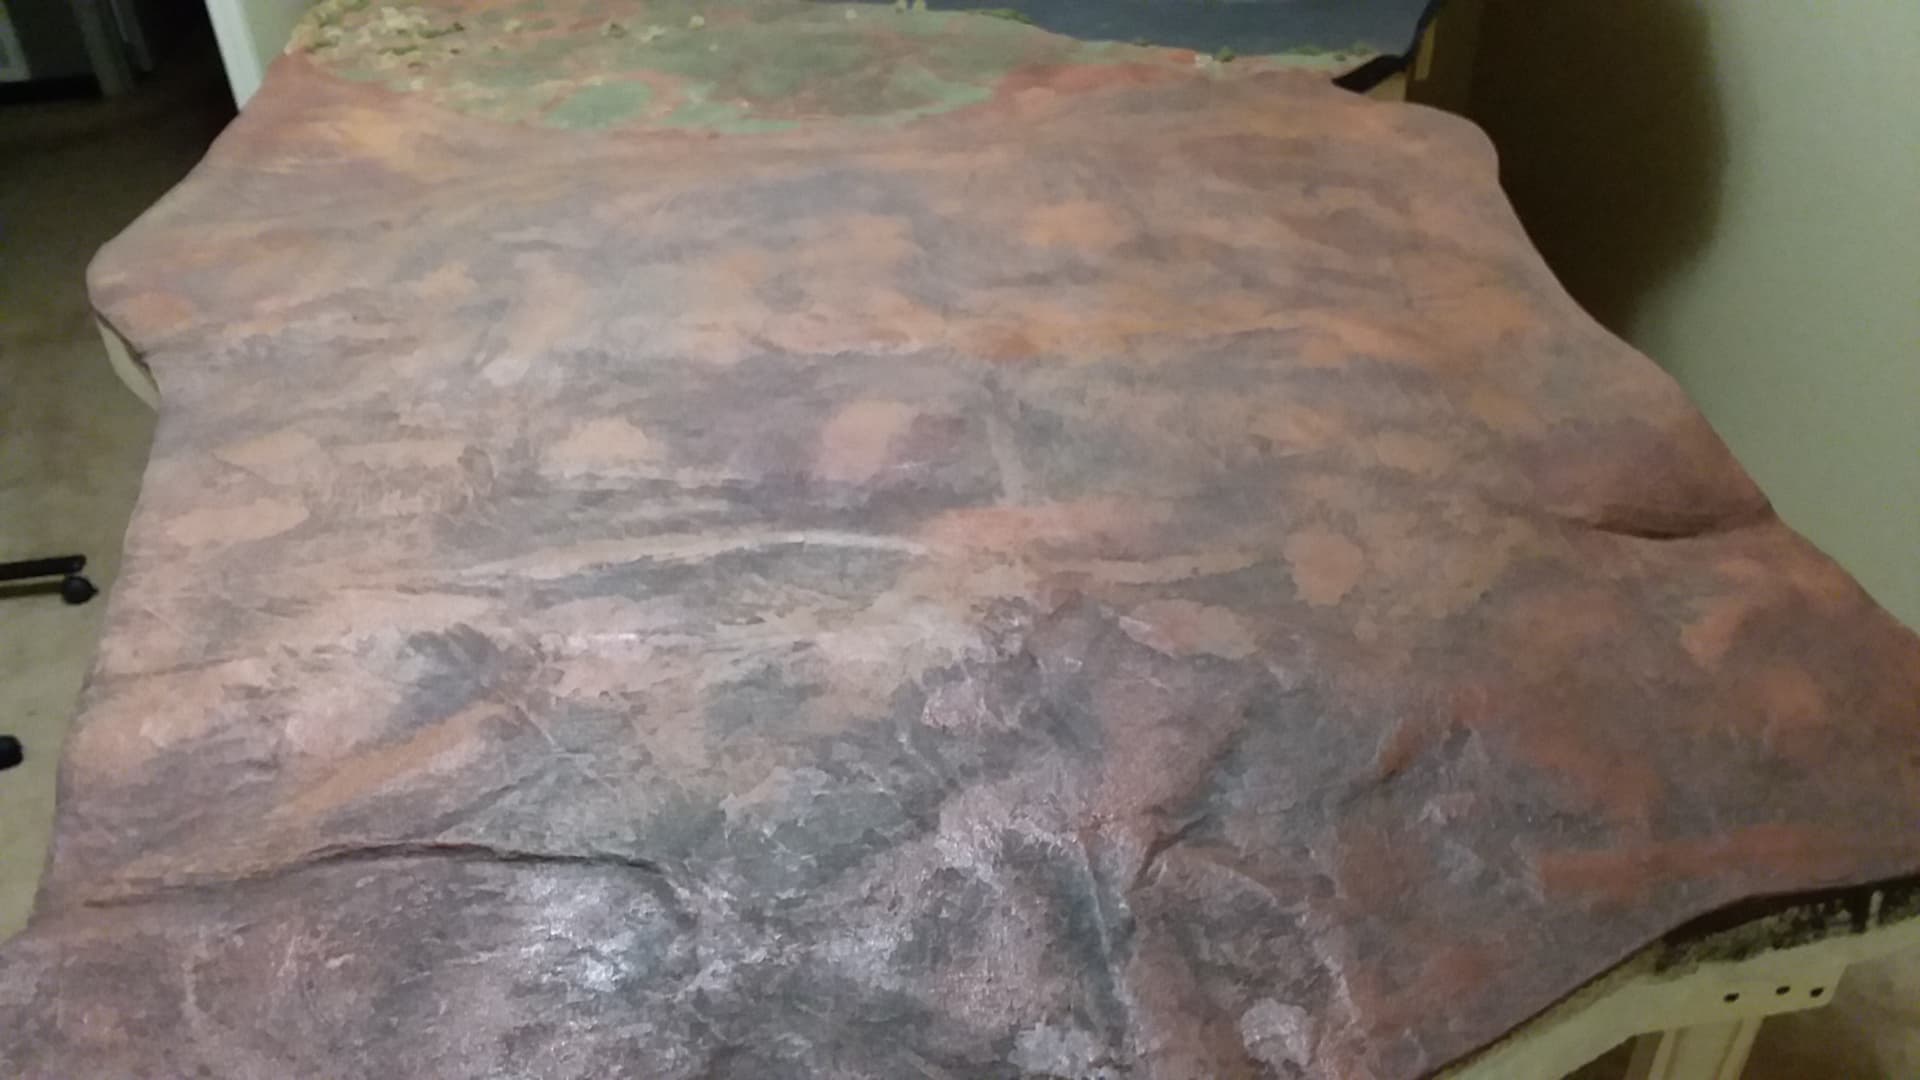
The base has been covered and the verticle edges have been stuccoed so to speak, after it dried I went over it looking for any straight line features that needed to be distorted by useing a putty knife against the straight edge showing through the barrier then I hit it with the sanding sponge to remove any dingle berries that result from spreading the compound . .
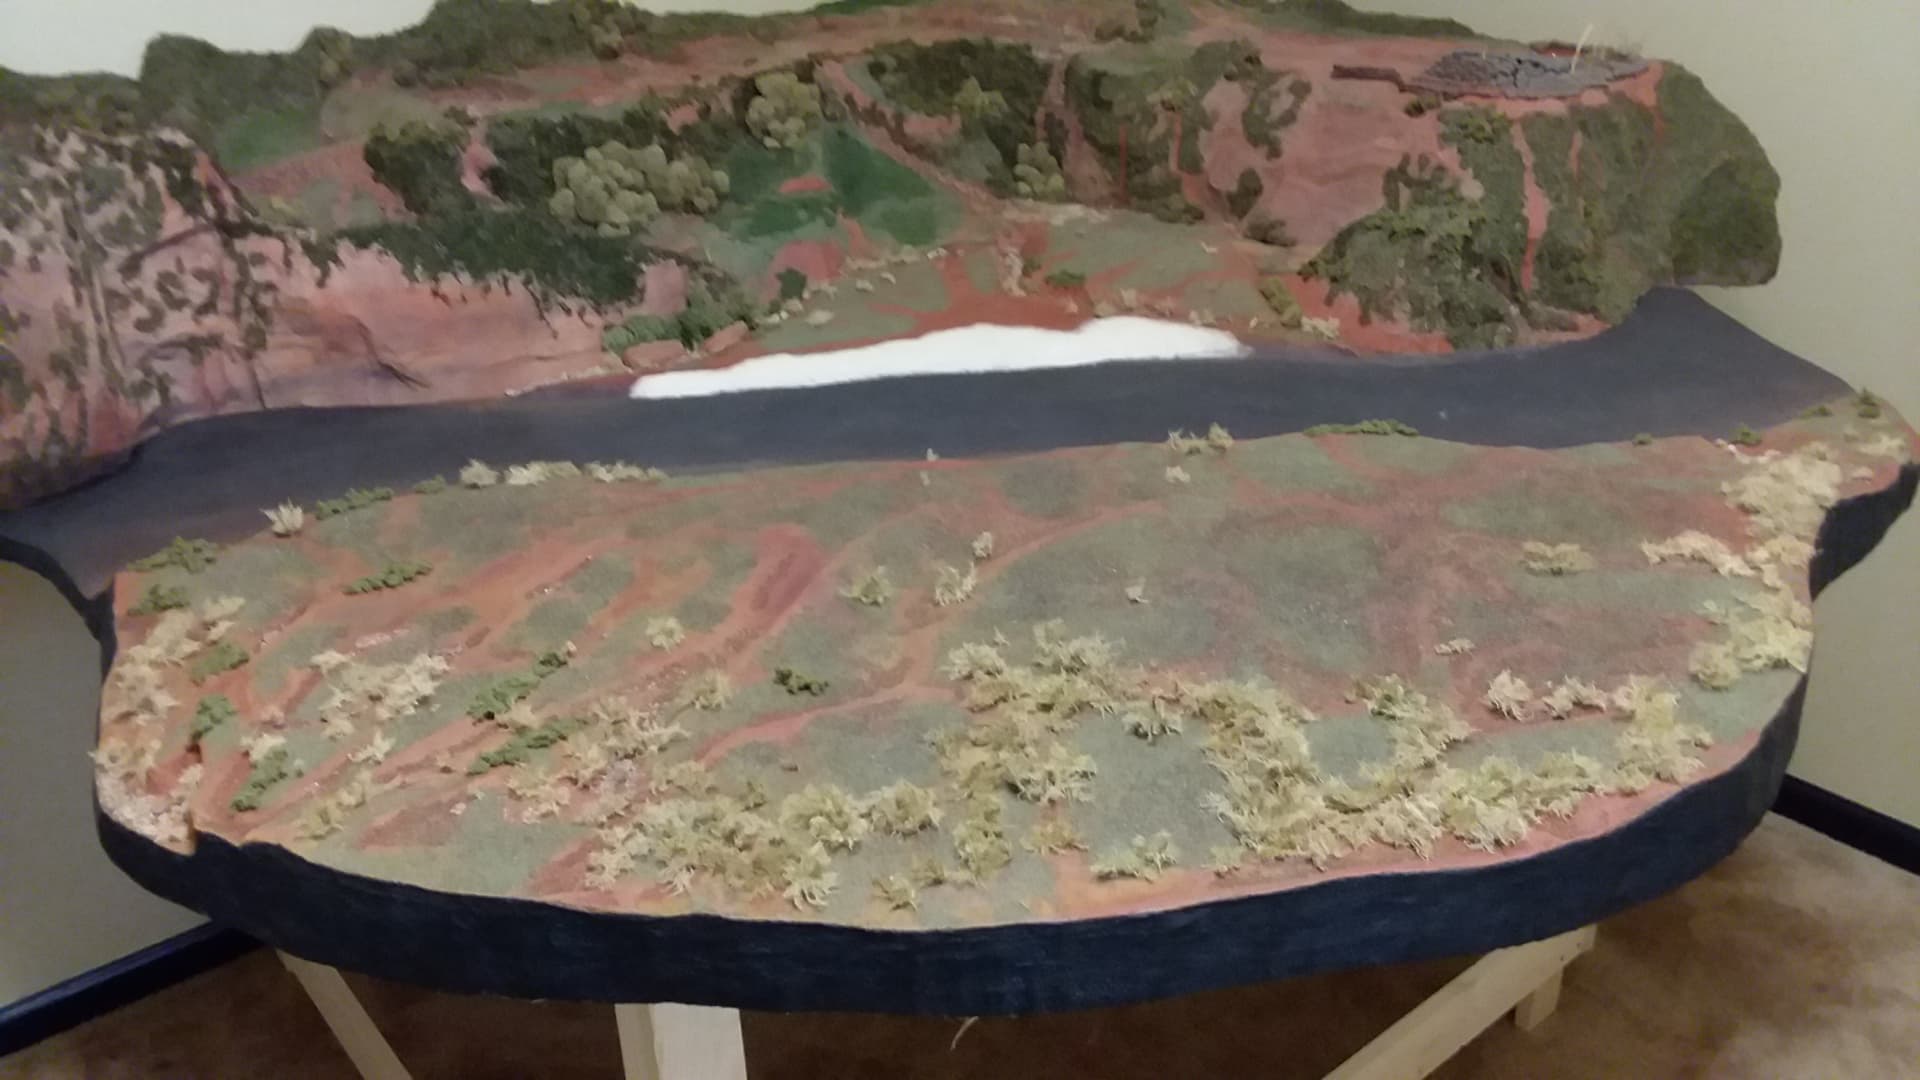
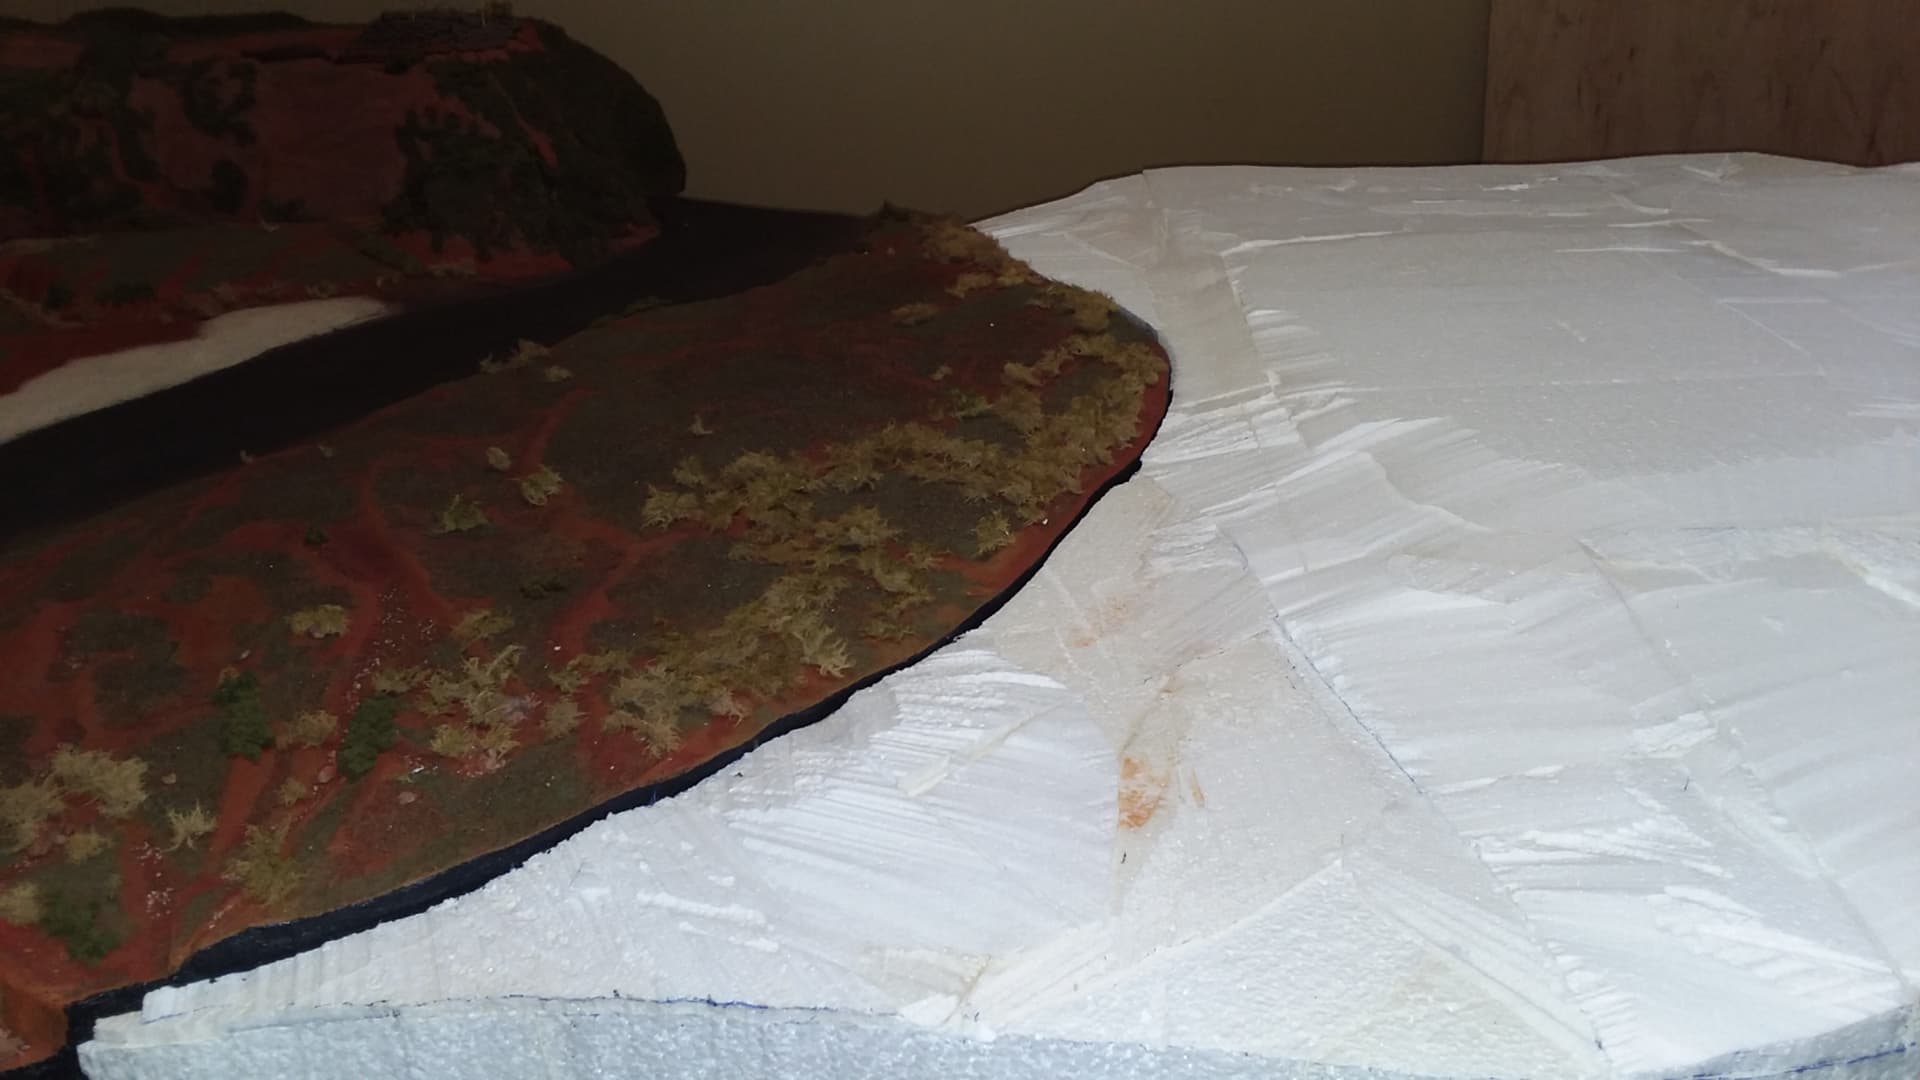
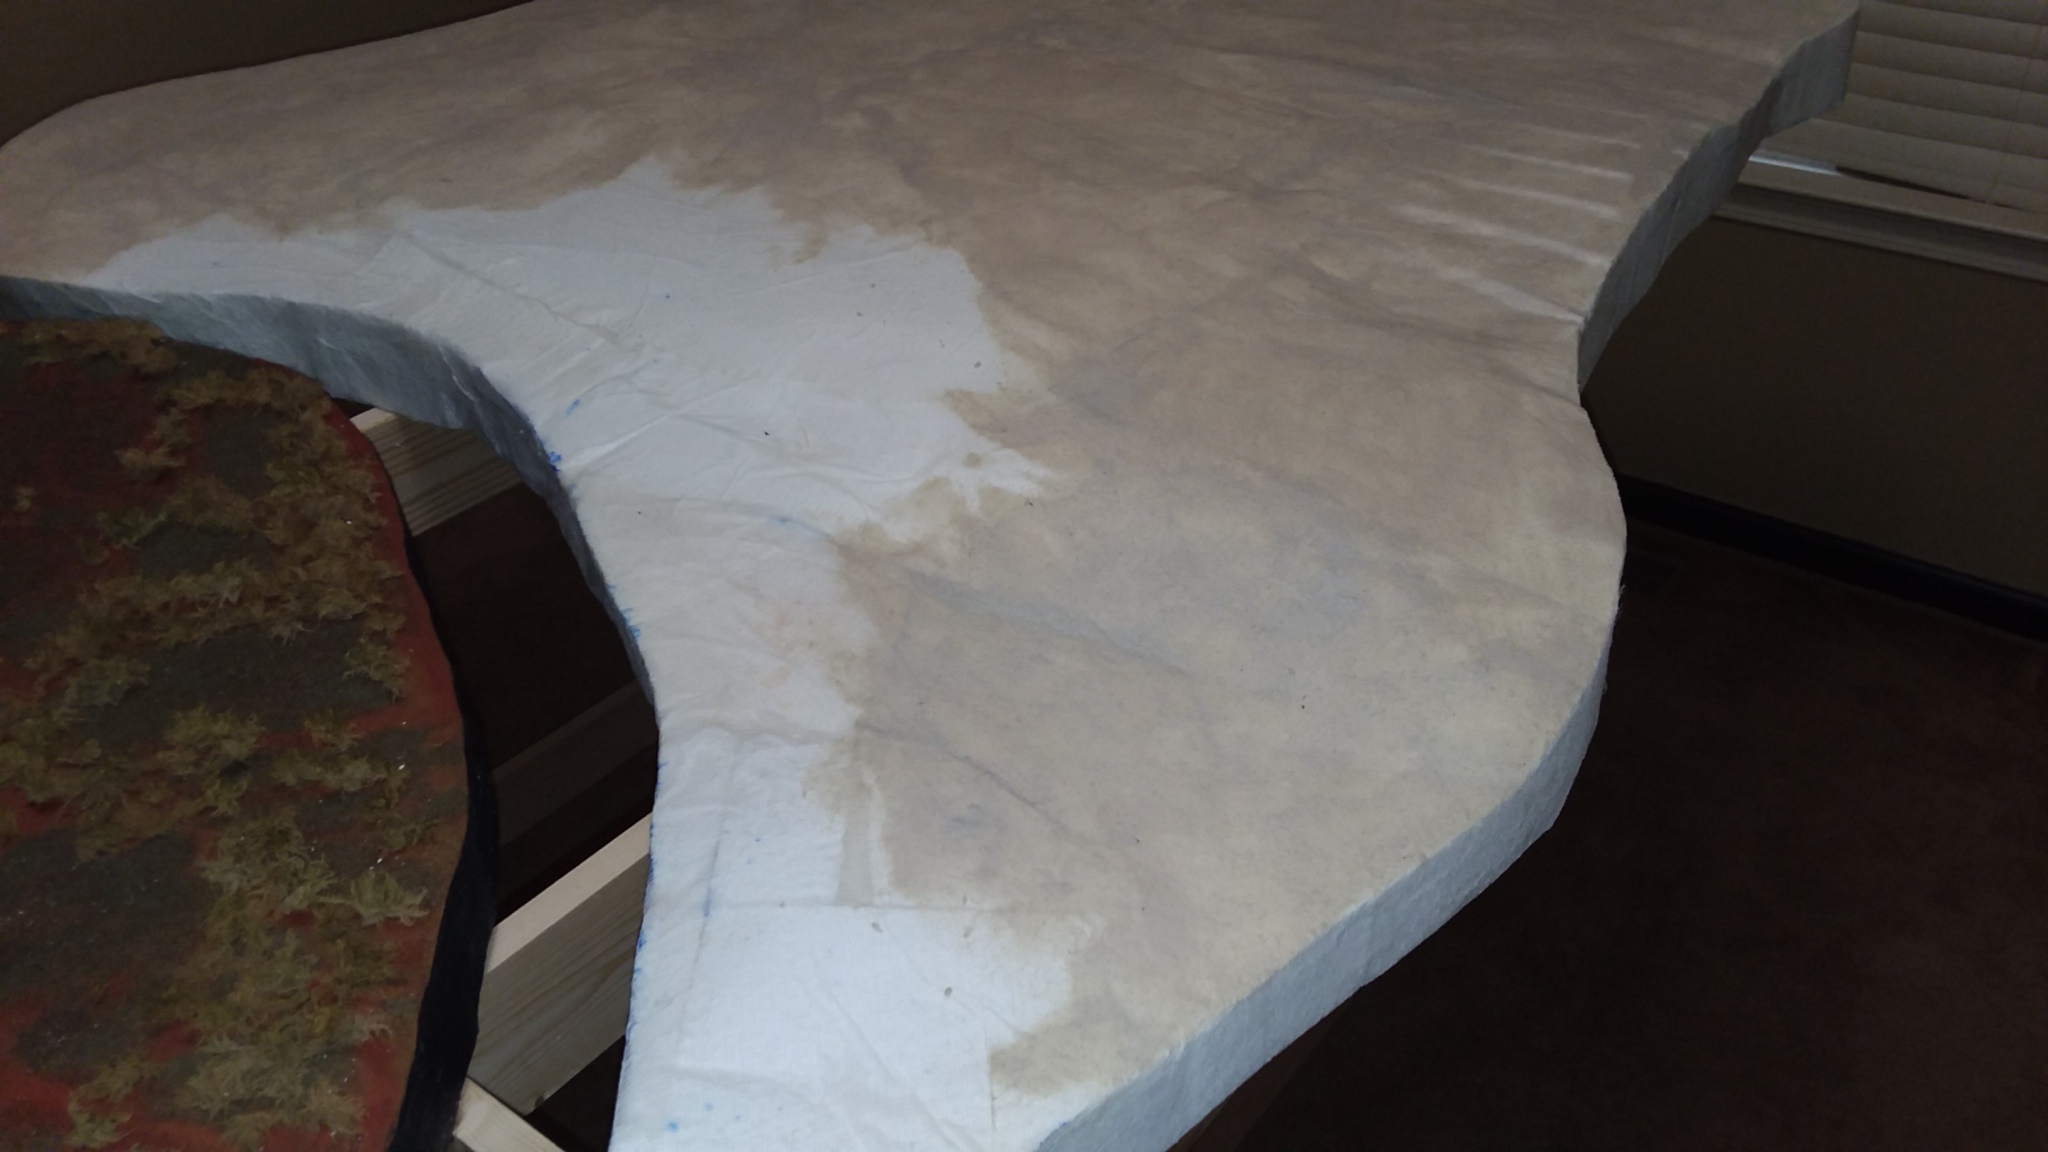
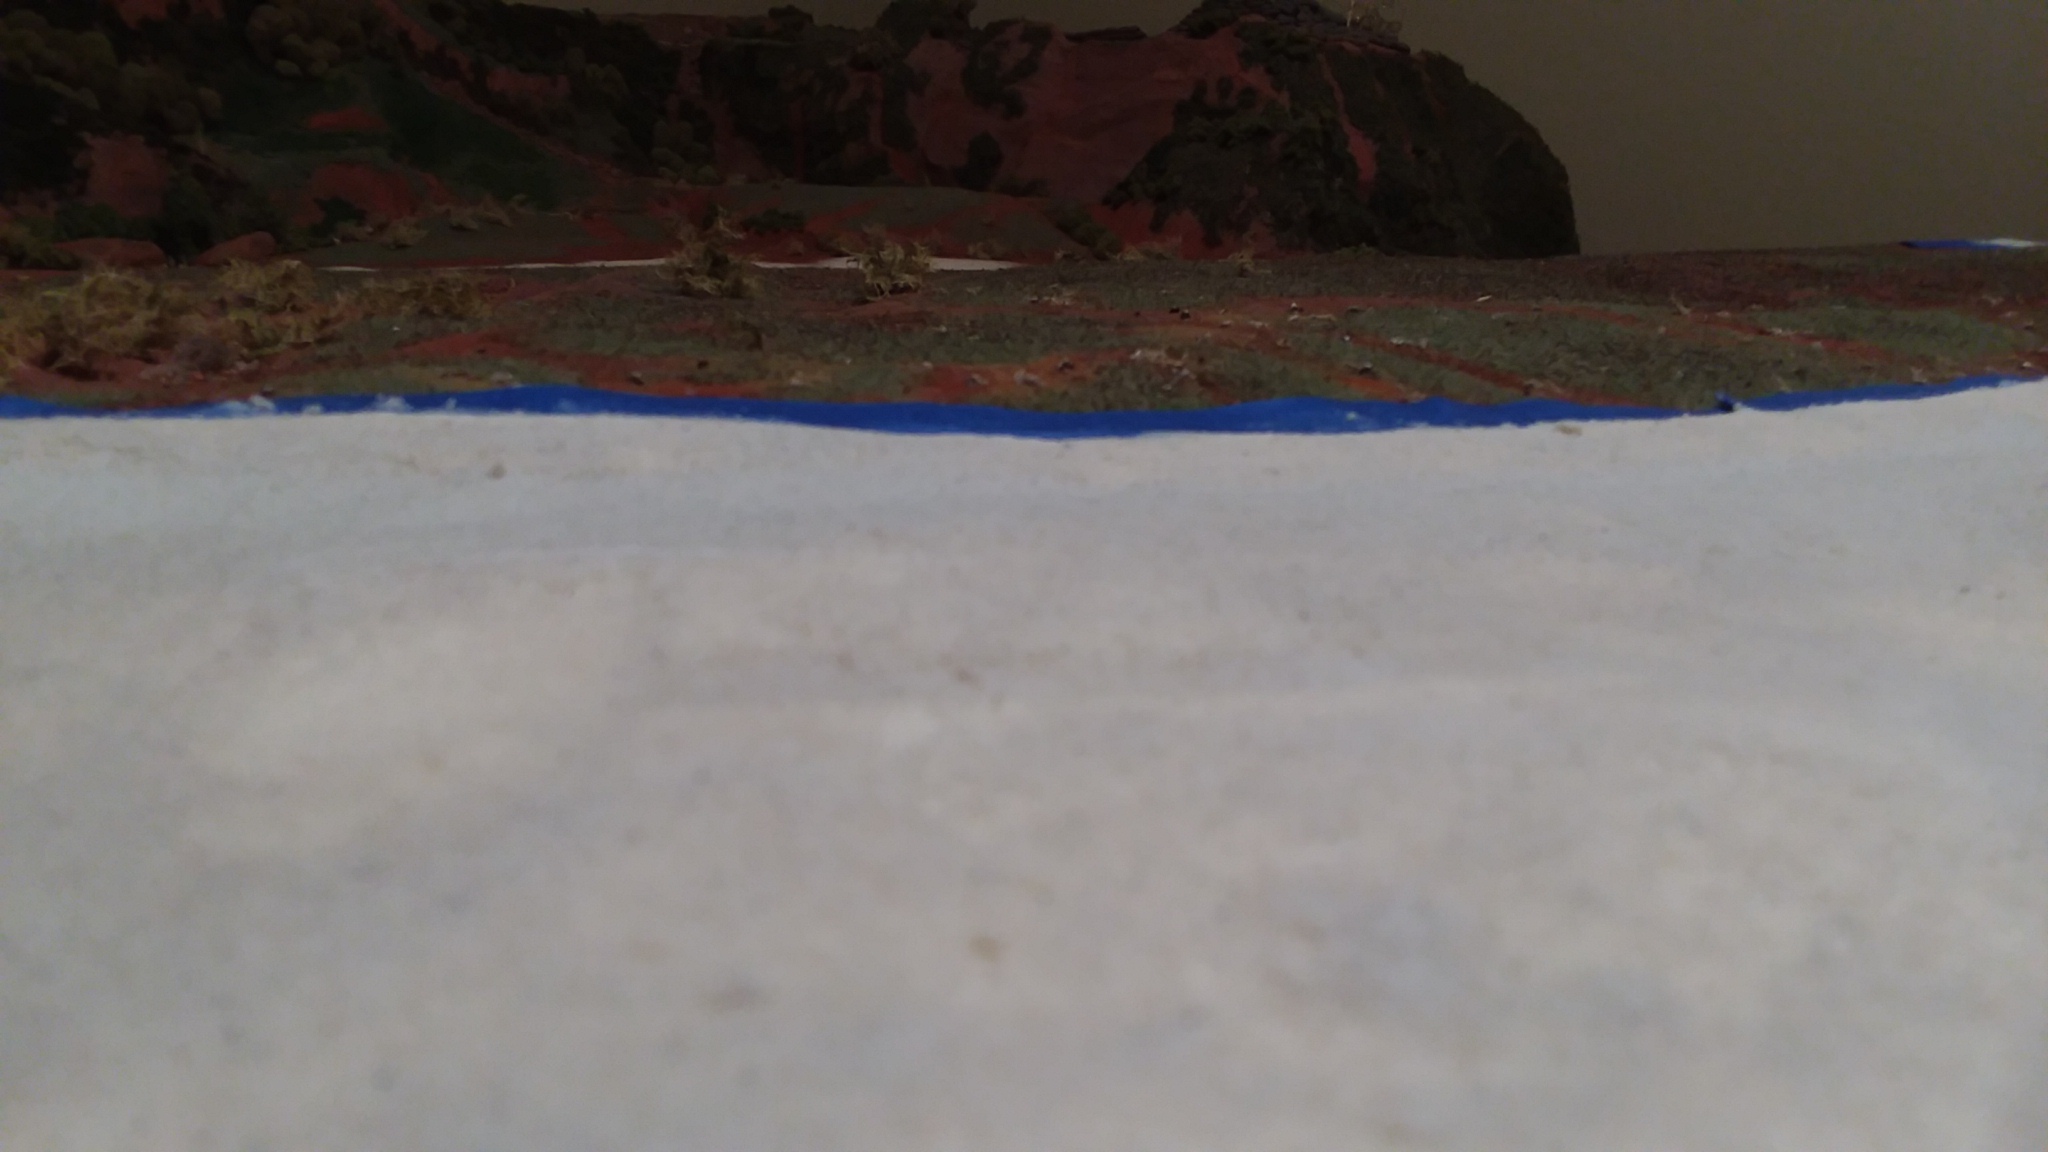
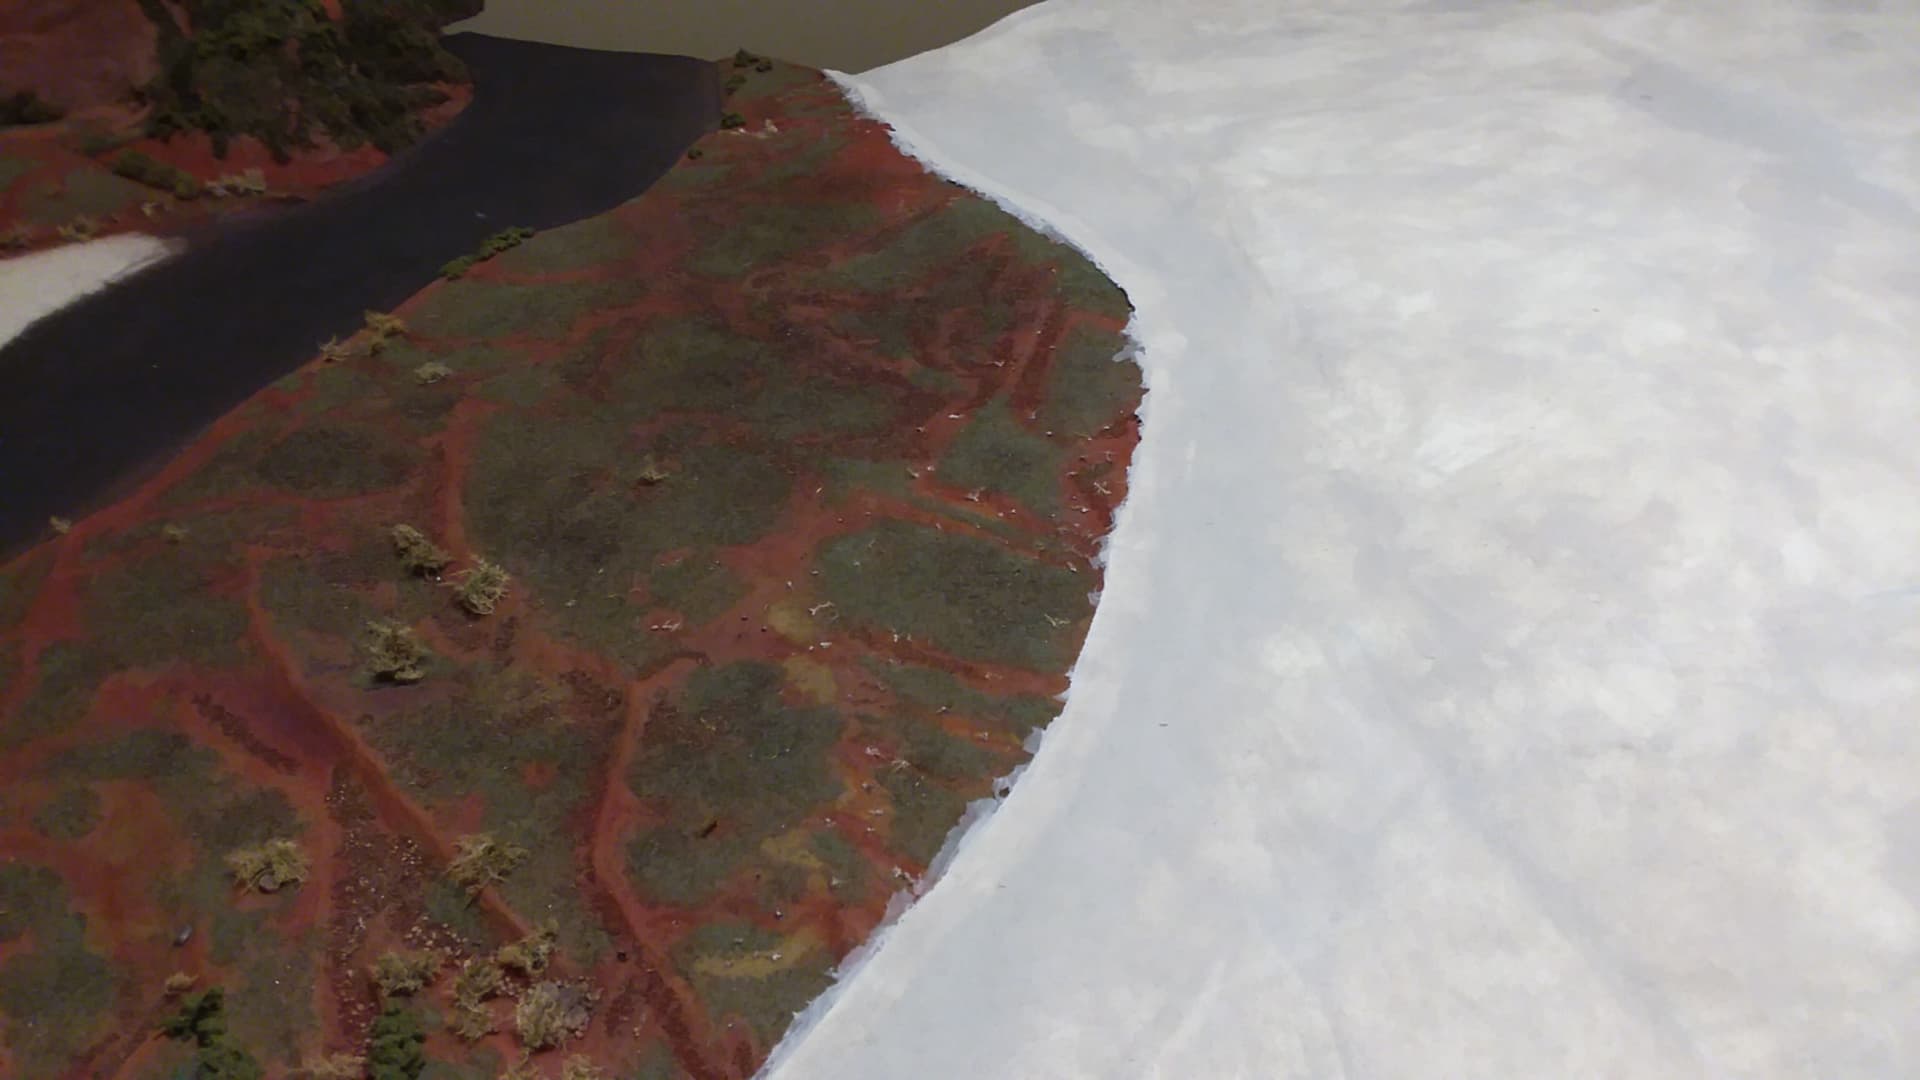
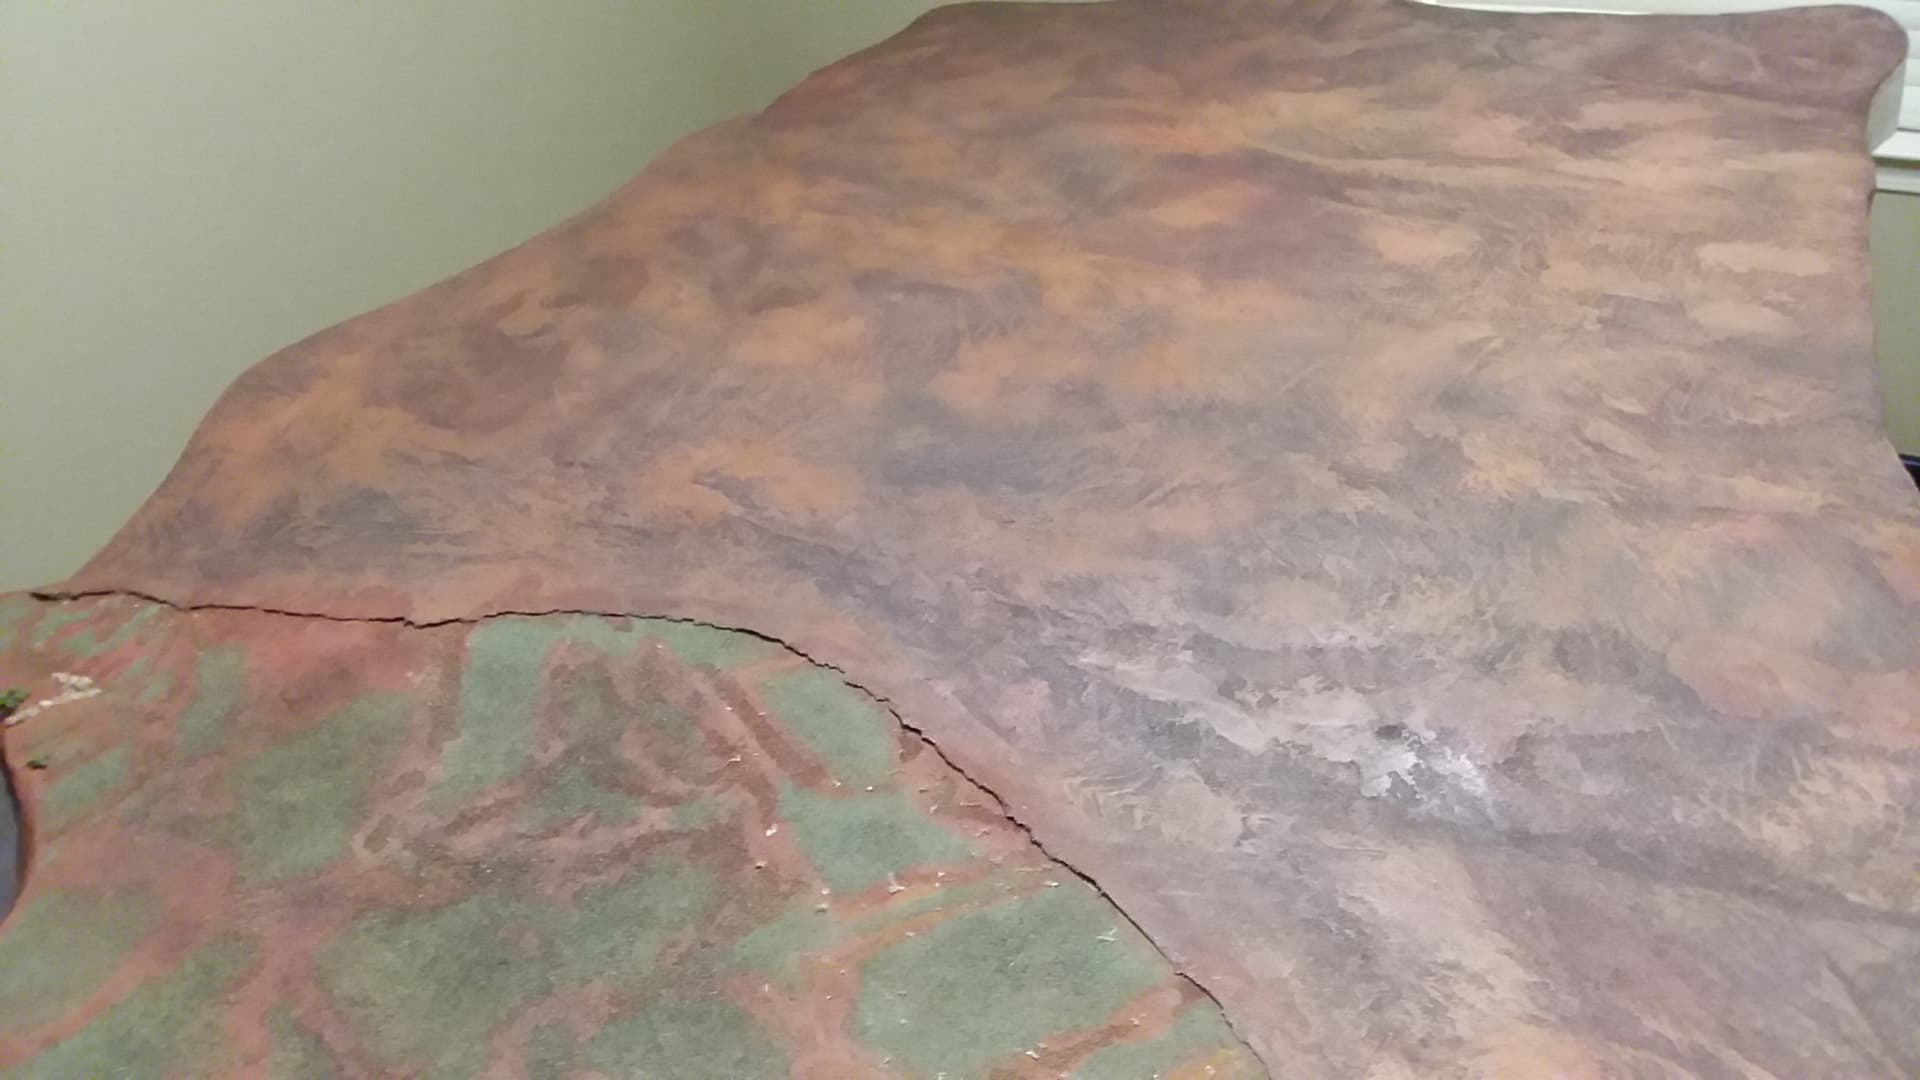
Last thing to do is marry the new to the existing terrain feature and there’s a bodacious gap between the two that has to be closed up, I glued a peice of drywall joint tape to the new base’s edge allowing about 1/2 to 5/8 inch above the finished surface then cut tabs the length of the join and covered with cheesecloth and folded those tabs over the edge to rest on the older base . . .
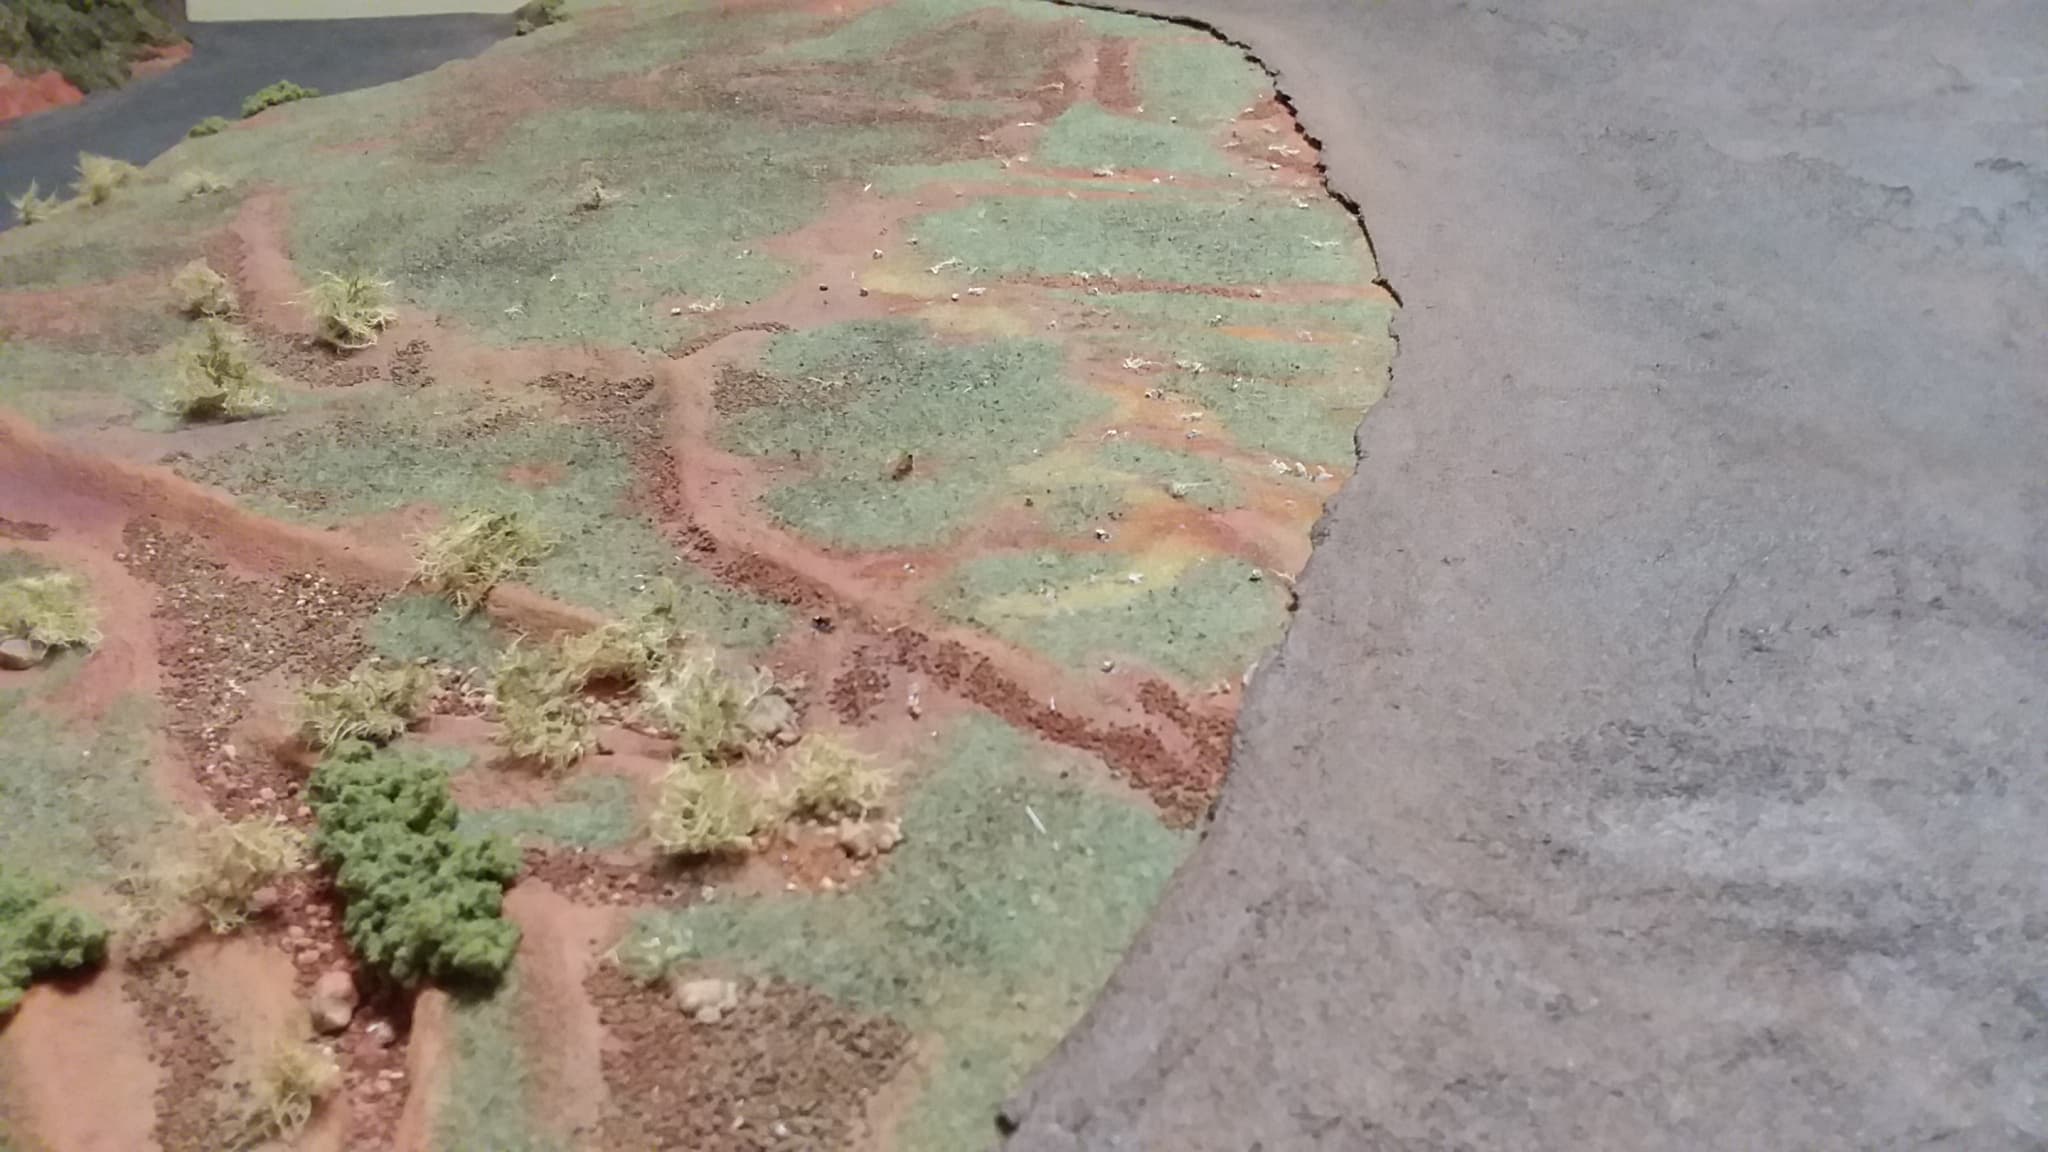
You may notice that I have removed the “bushes” from the older base at the edge to accomodate the masking tape to prevent the two bases from being stuck together but also the lichen used to make the bushes came from the oak trees in my yard, they started out a lovely bluegrey green color but as they died I supose, the color changed to puke green so I’ll have to find a different vegetation or ground cover.
Here’s the joint after applying the surface compound, it needs to be trimmed up but you can see how it overlaps the joint and hides the gap.
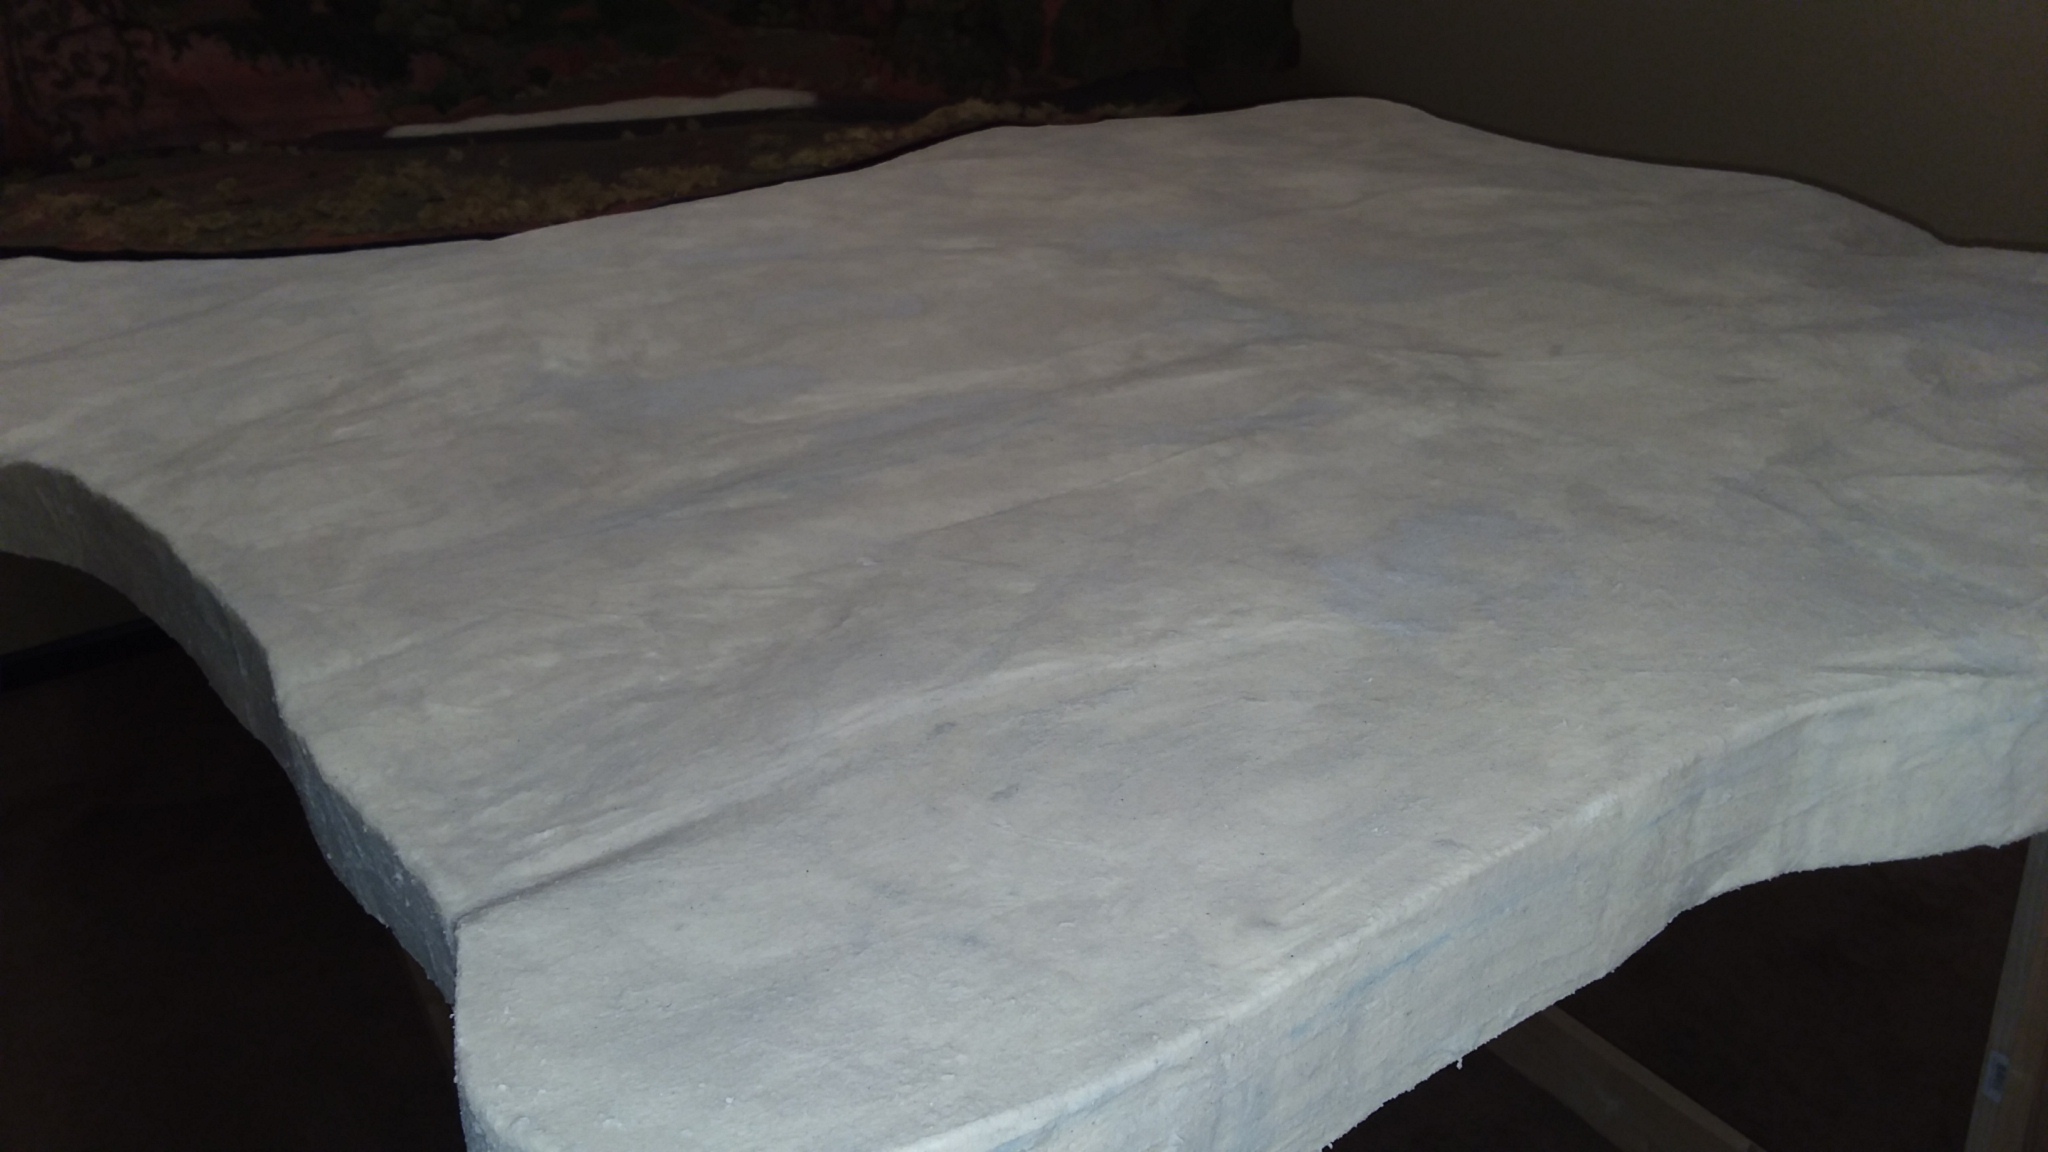
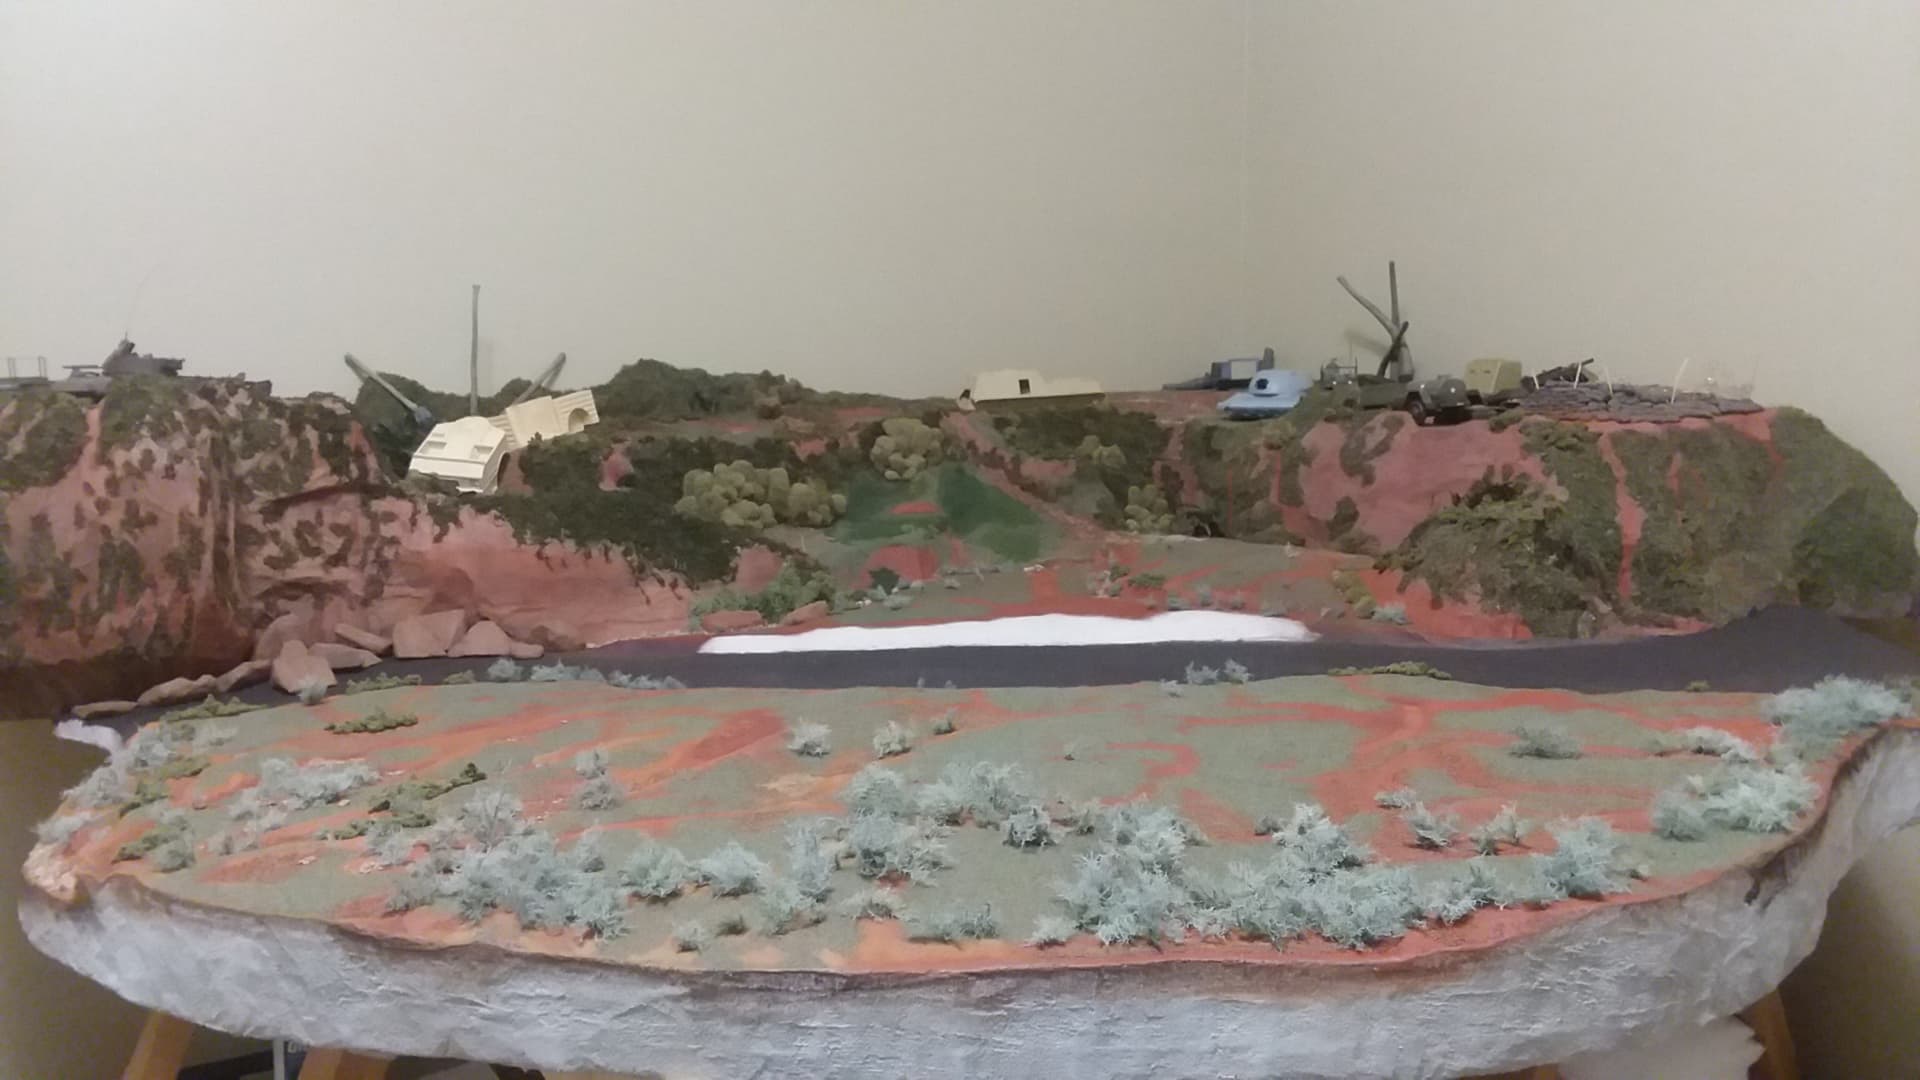
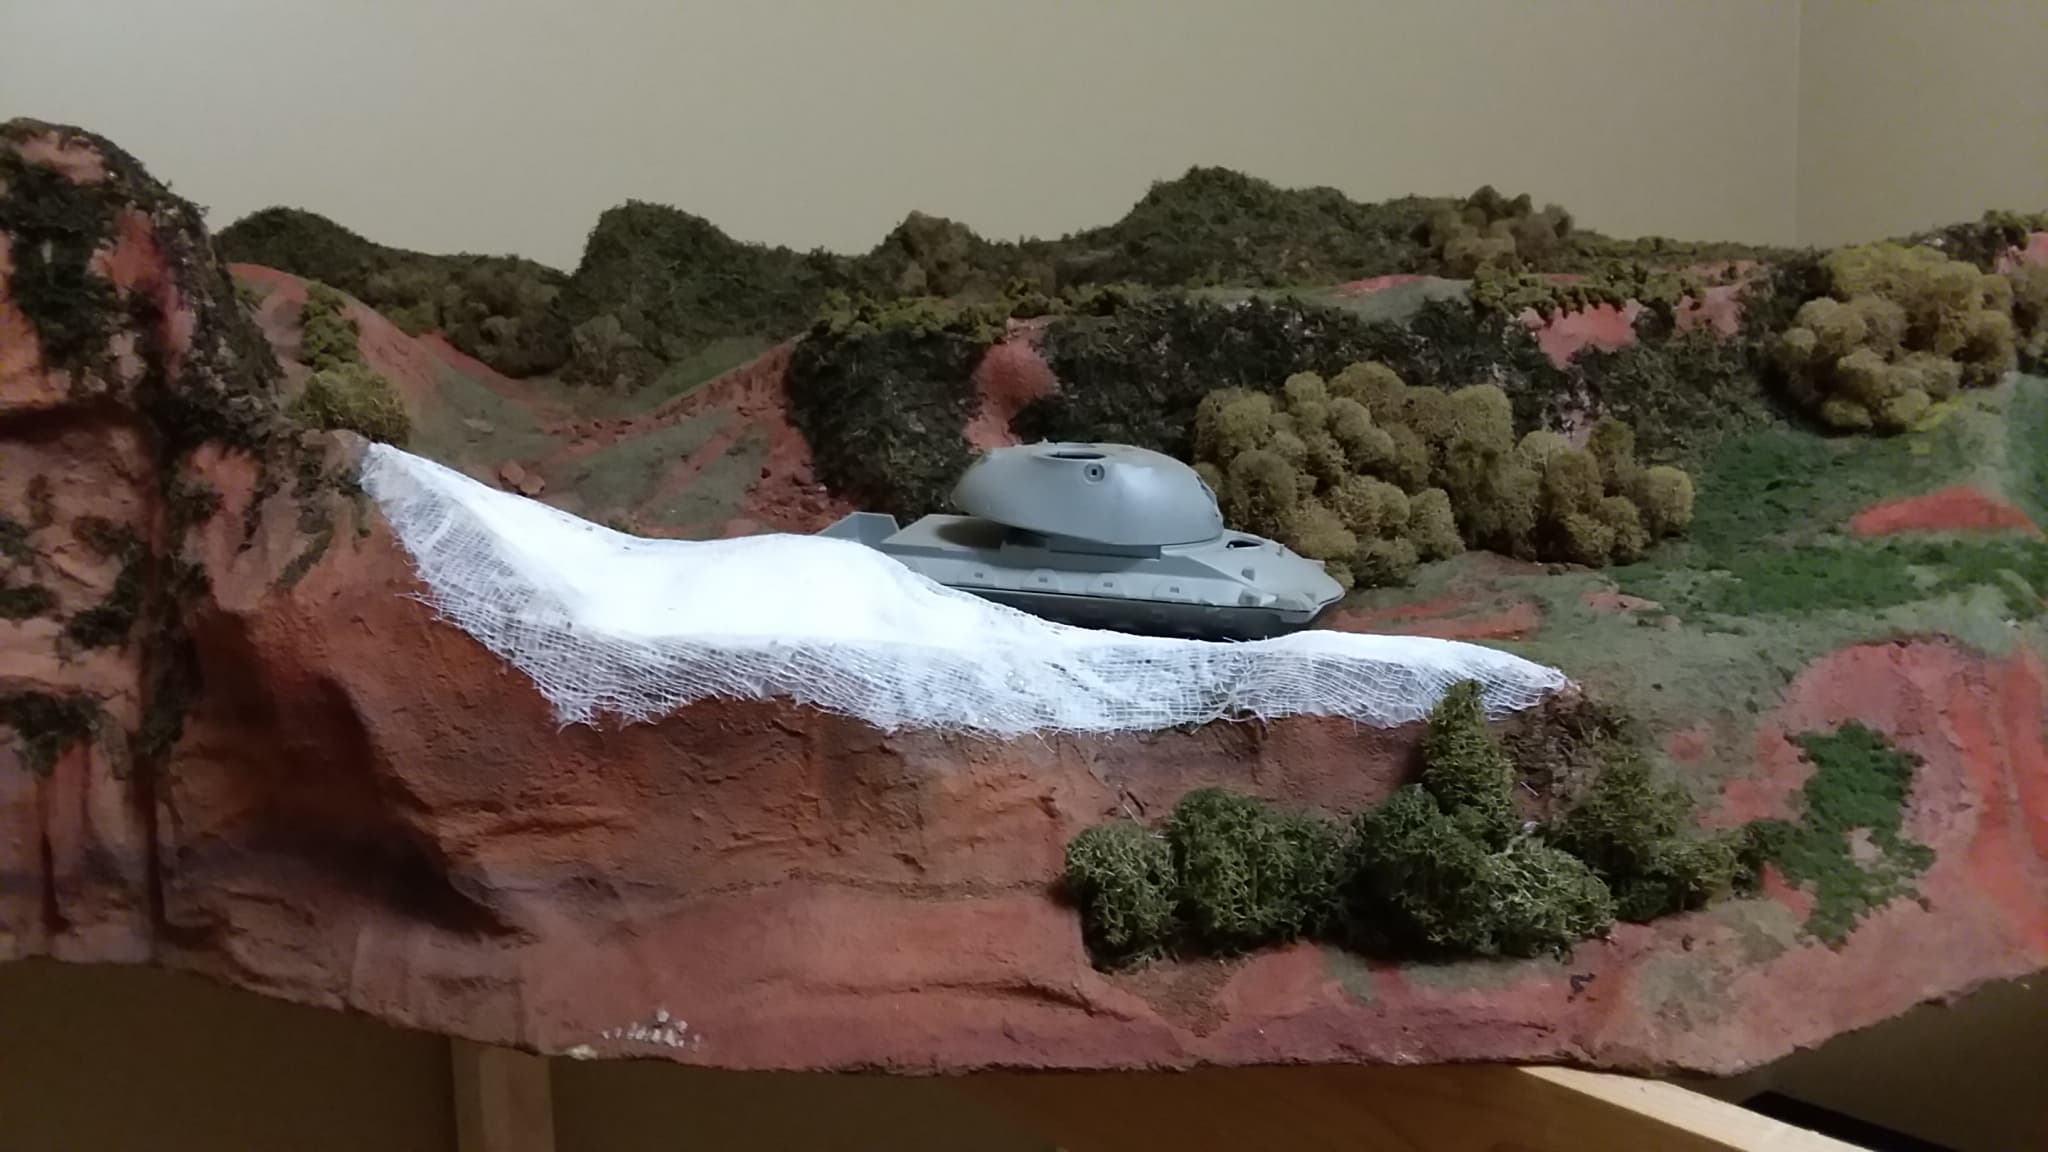
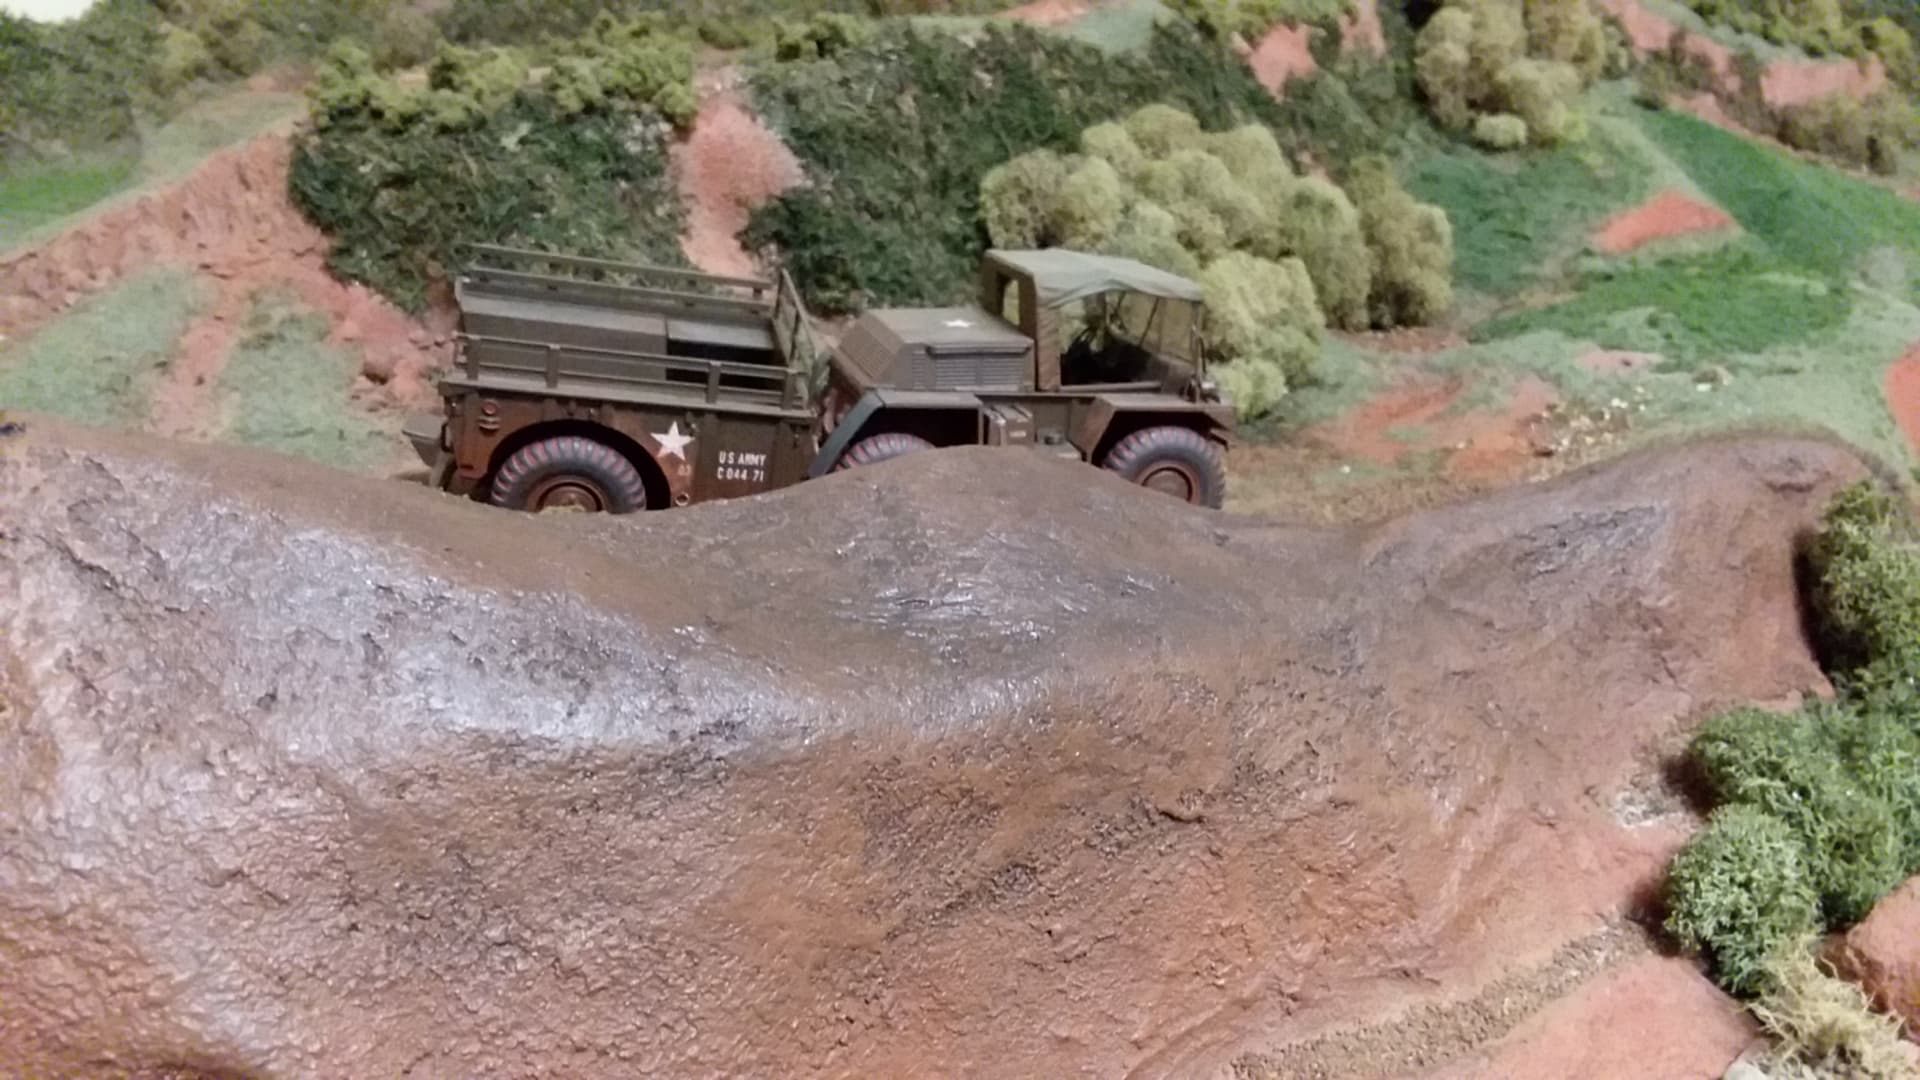
So that’s my new addition, plenty of room for a Sky Crane and a host of other AFV’s used in . . “the Nam”
keep in mind that a Sky Crane was a very uncommon sight in country. Can’t remember how many were there, but it may have been around twenty altogether. The Chinook was the real work horse. It took about two weeks notice to get a Sky Crane out your way, but have seen them a couple times moving Conex containers. Have also seen them use a Jolley Green a few times when you couldn’t get enough Chinooks together for a move.
Your layout looks almost identical to A102 right down to the small island. (looking at it from the top of the Hiep Duc Ridge). This would be close to the end of the line form mechanized infantry
gary
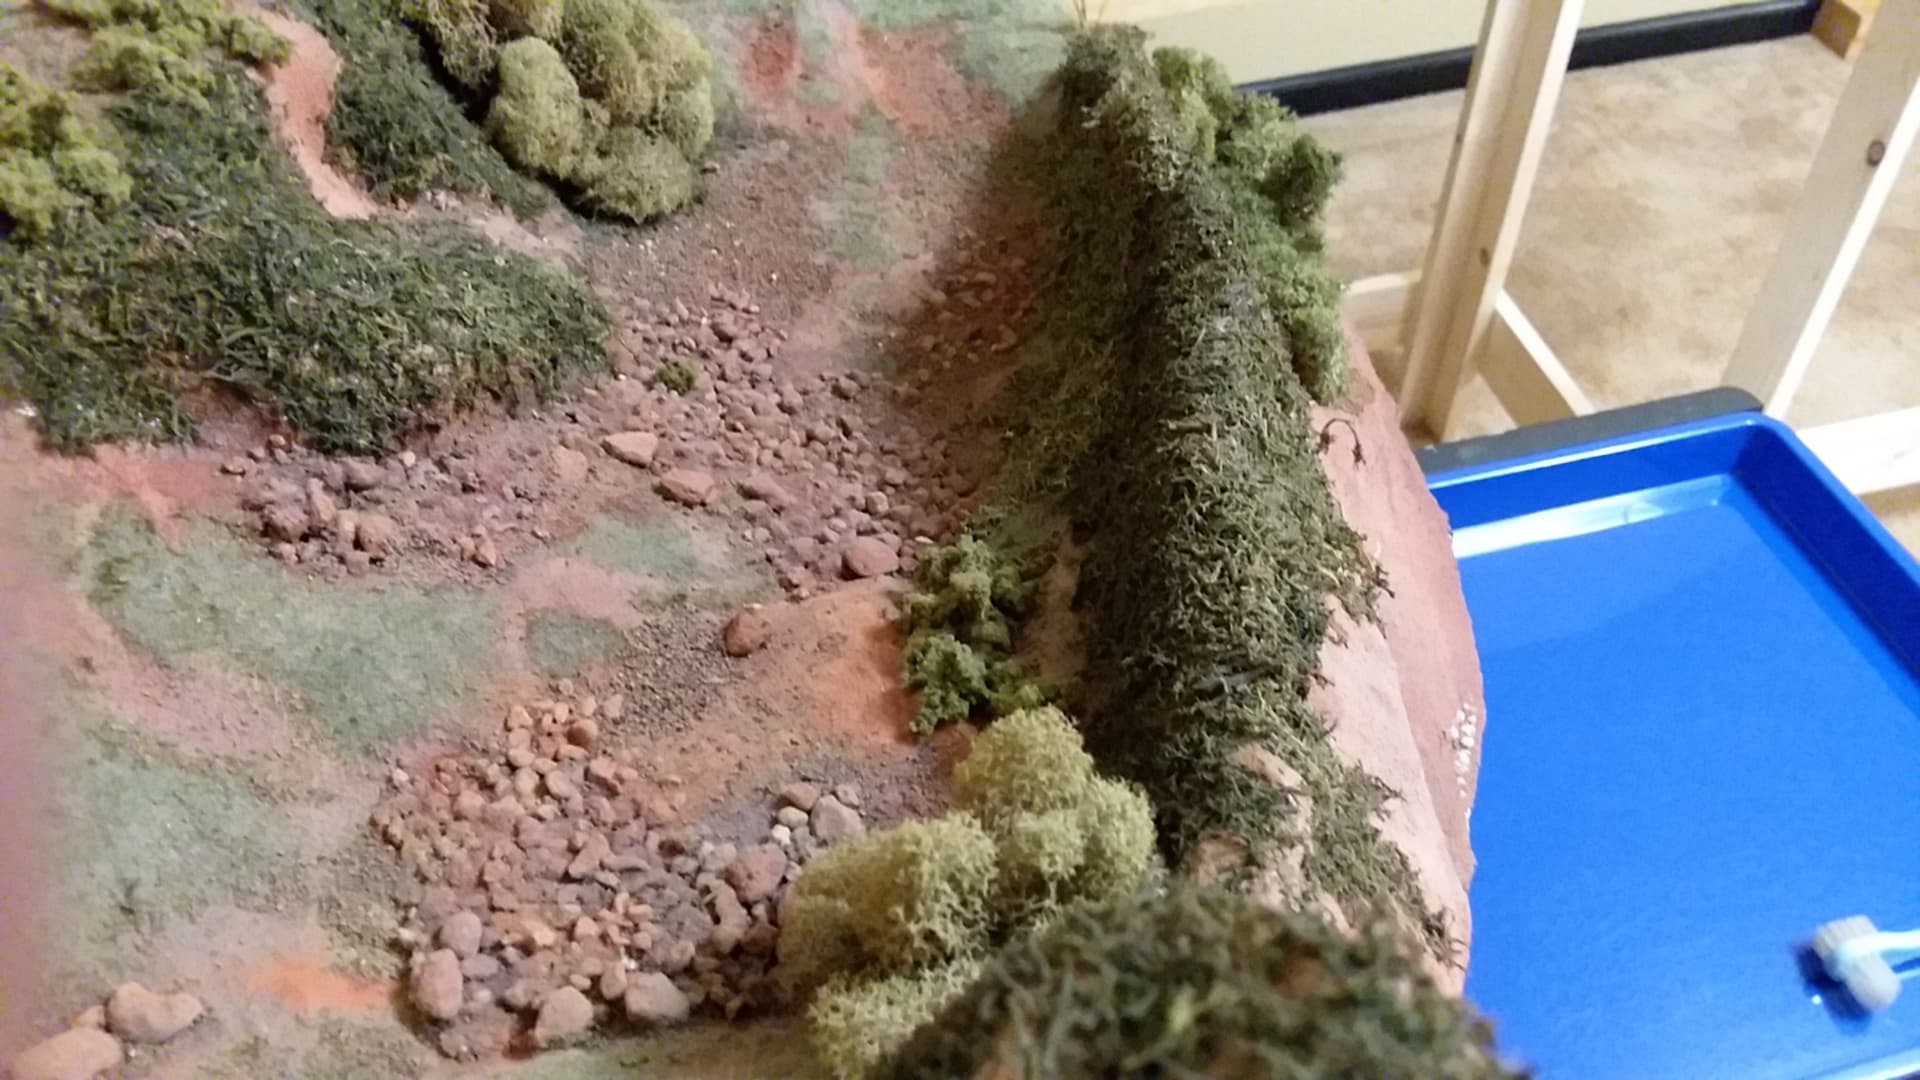
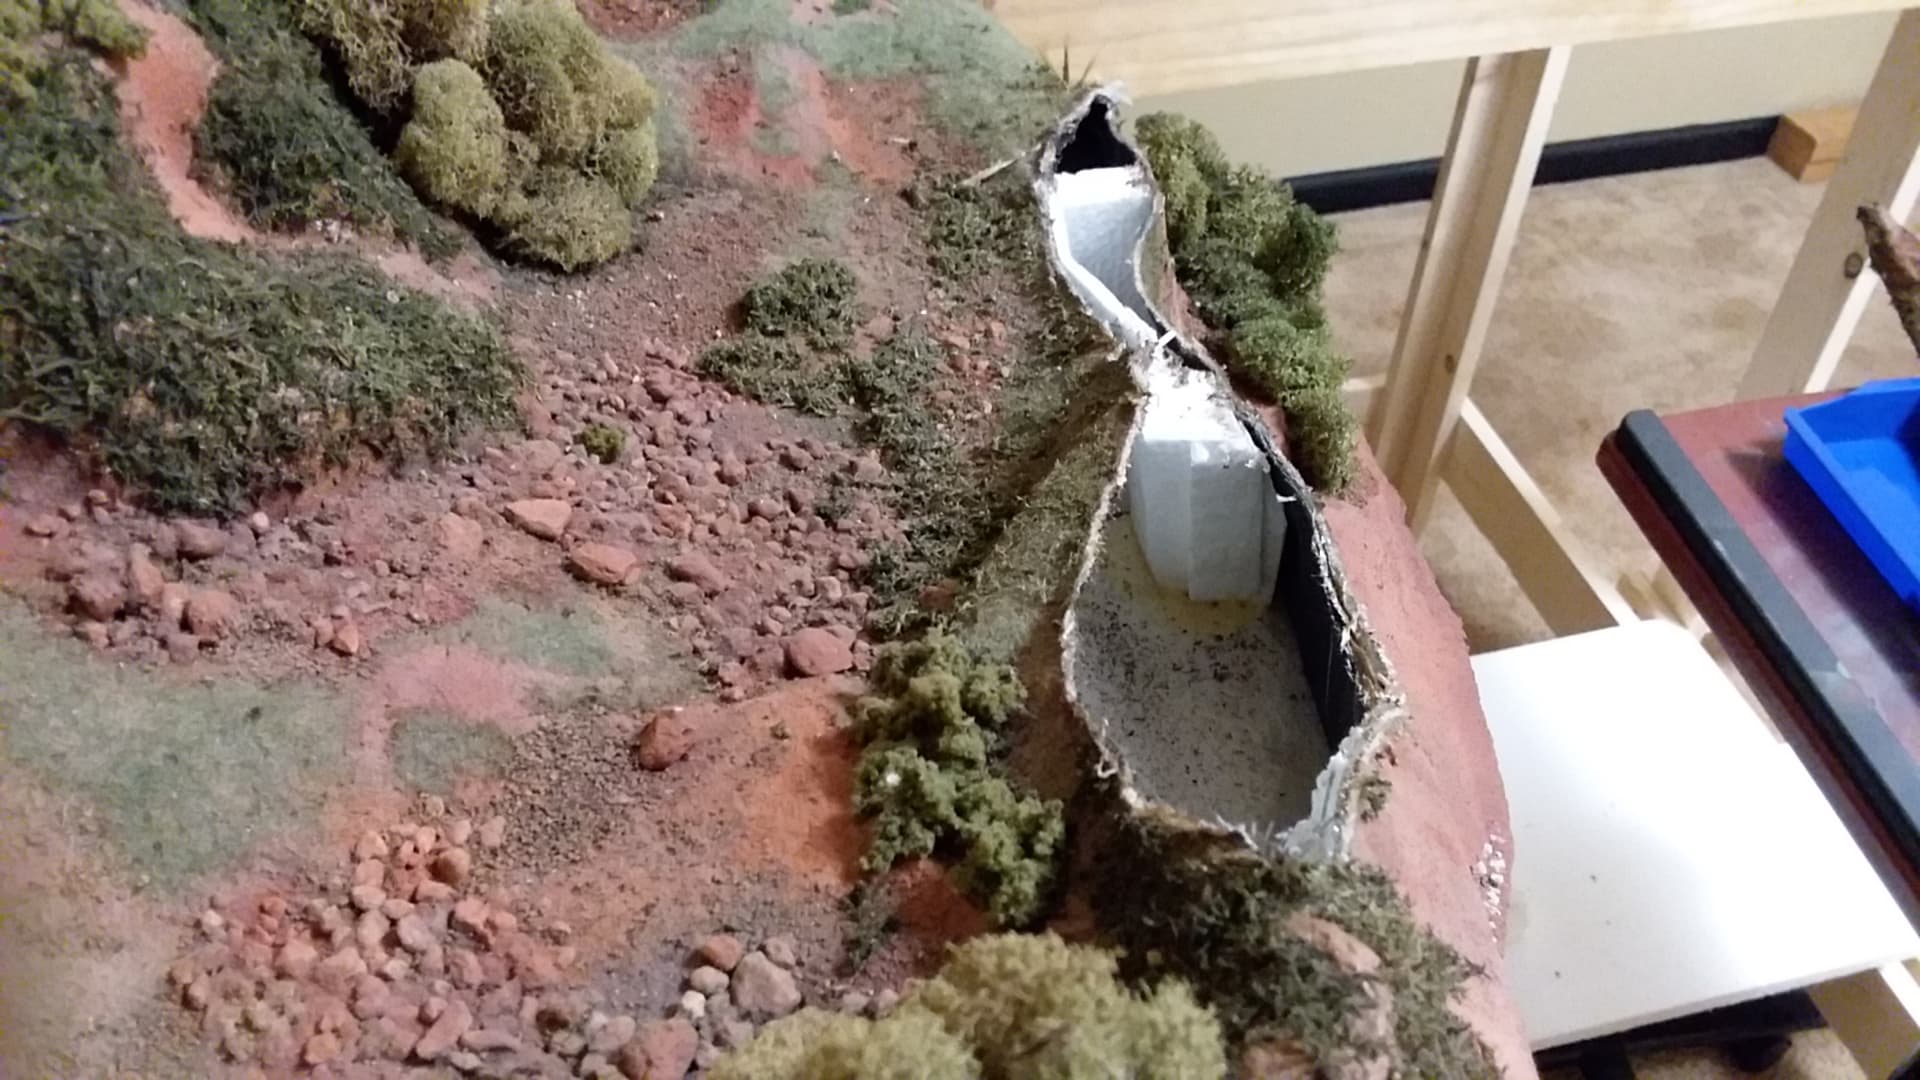
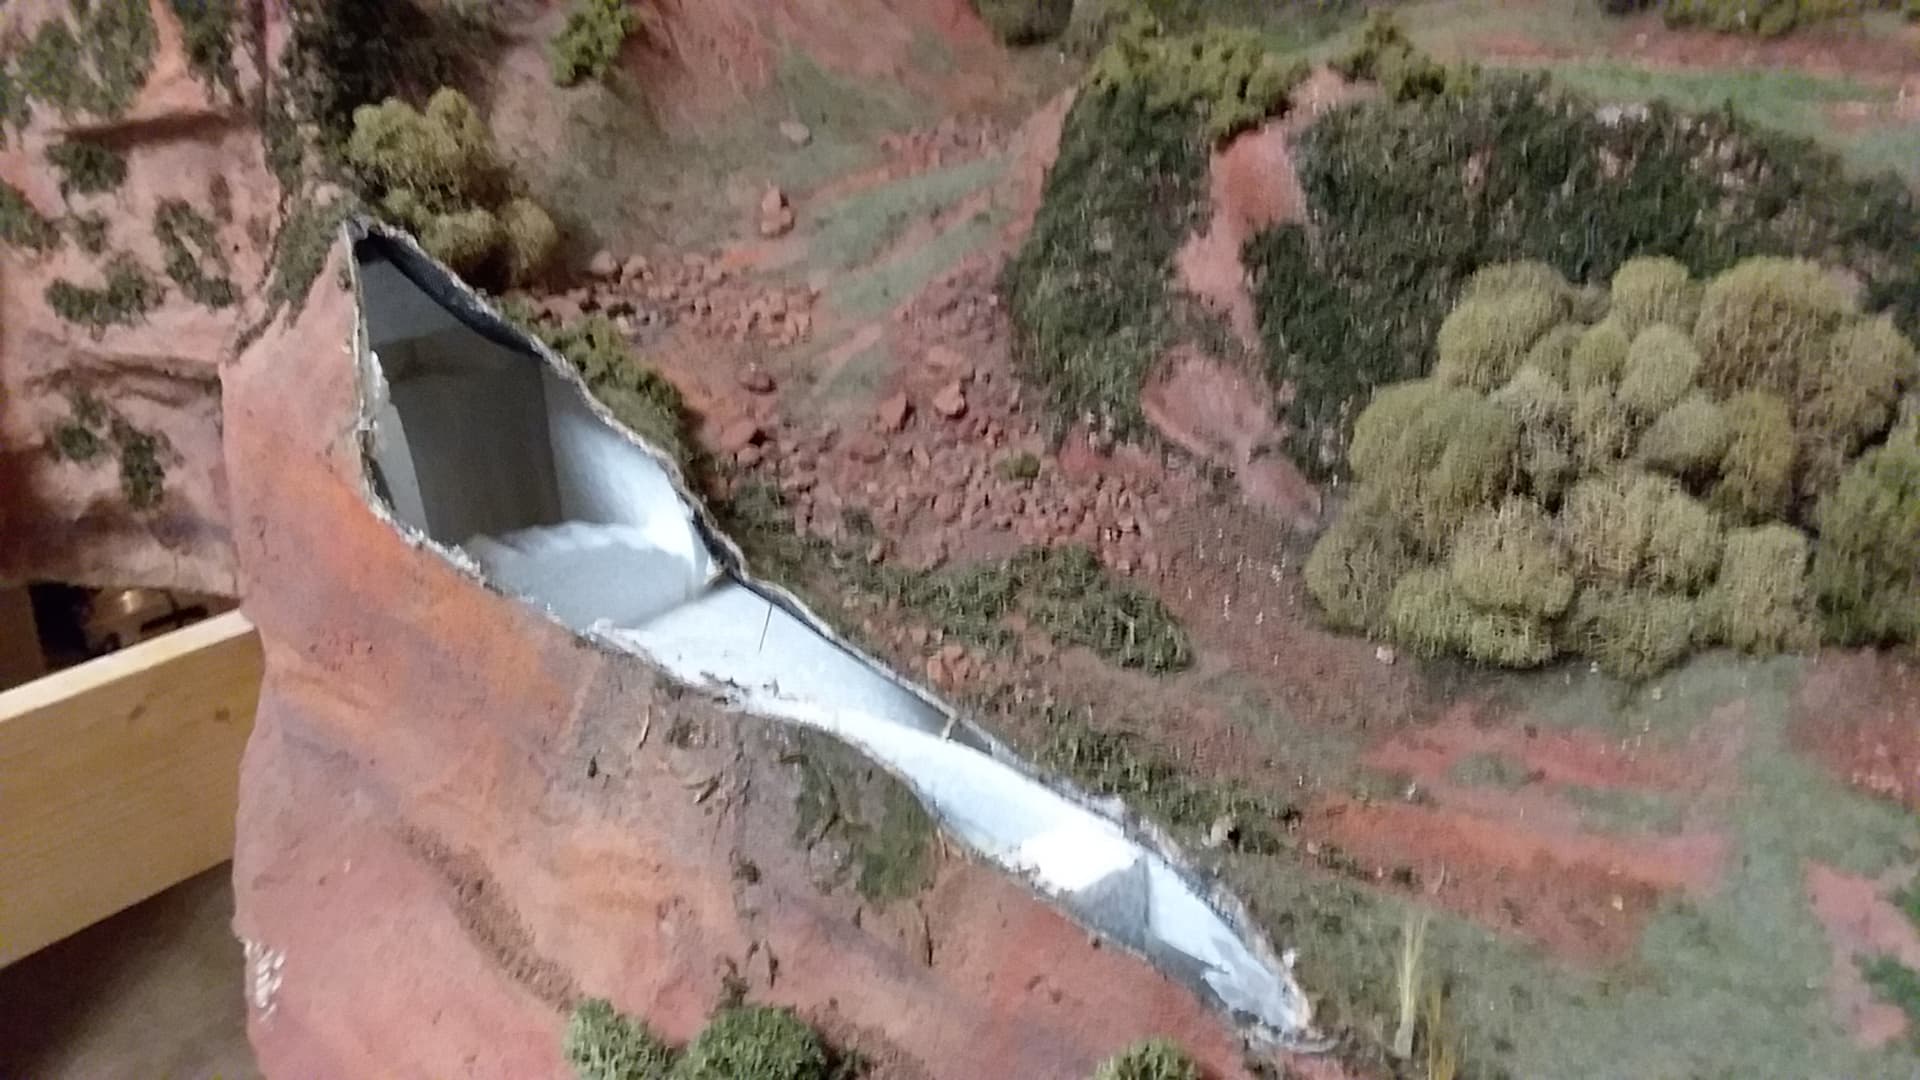
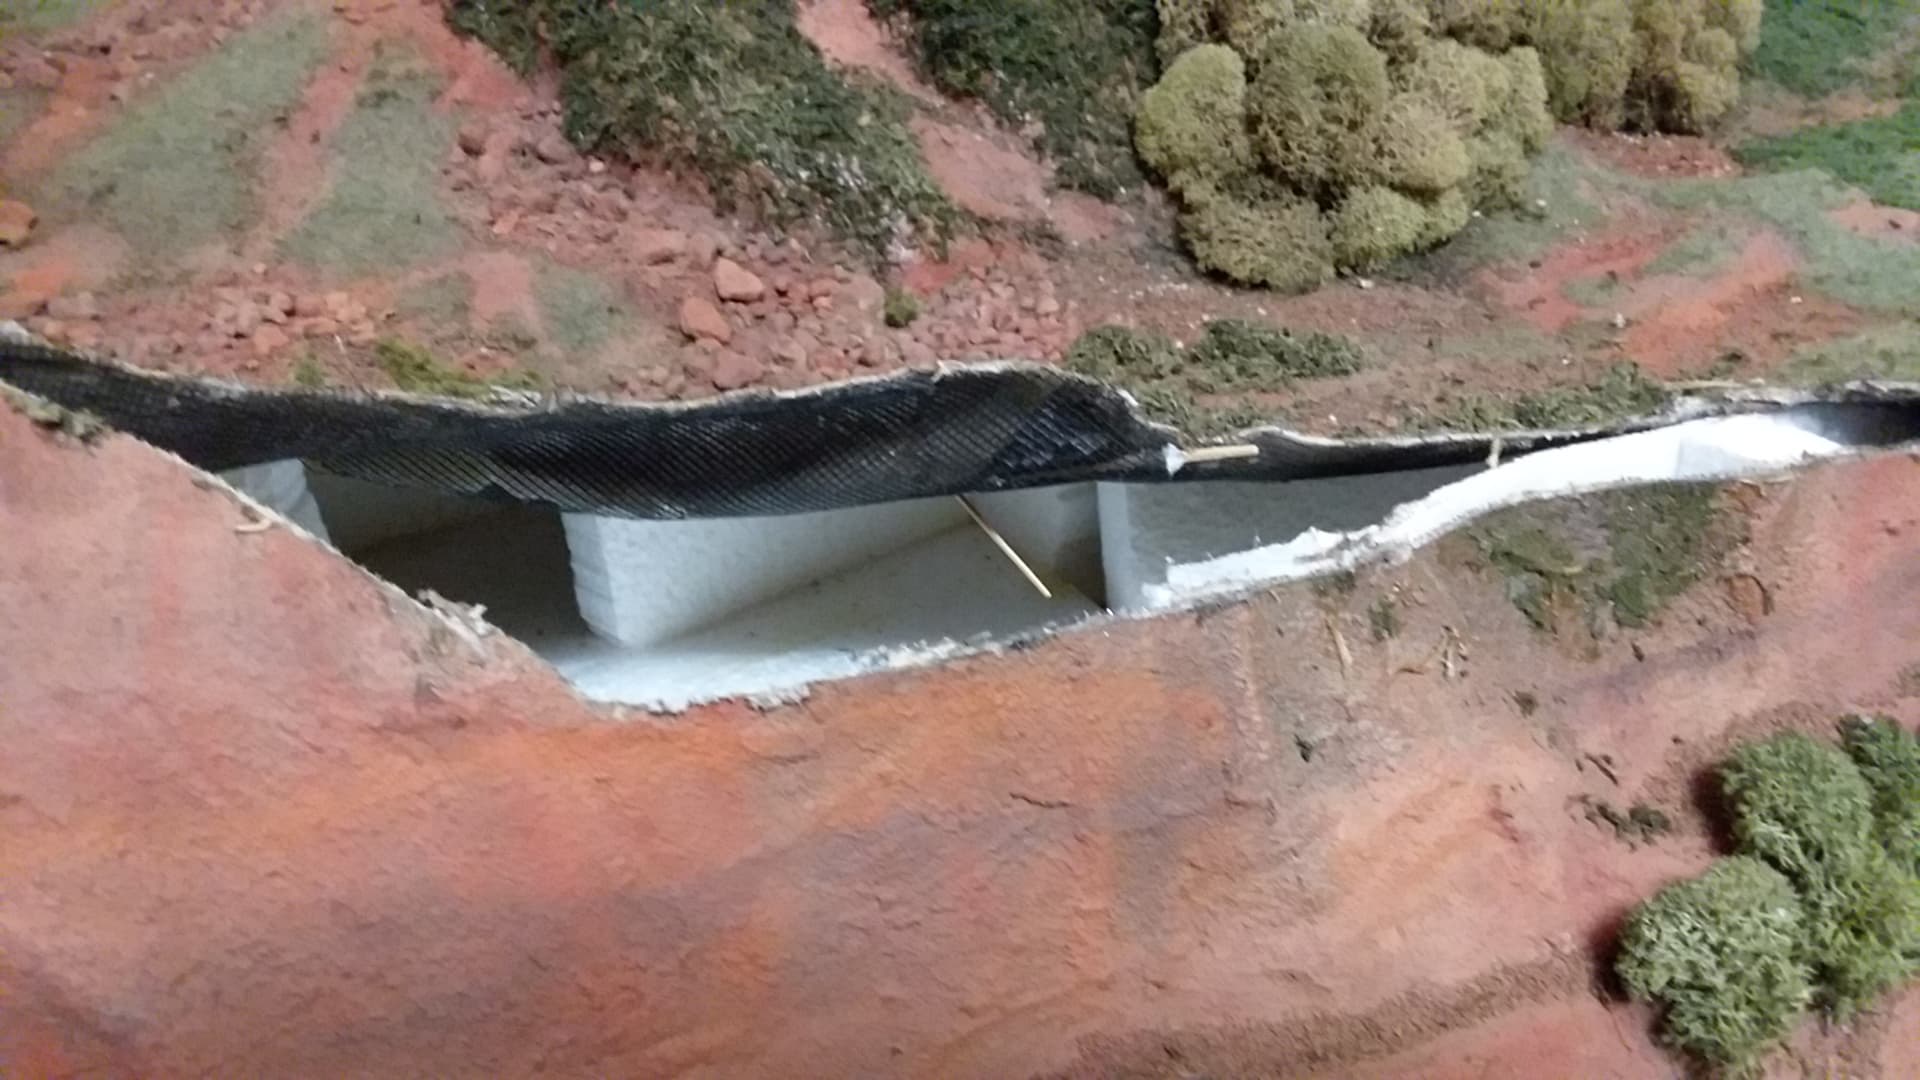
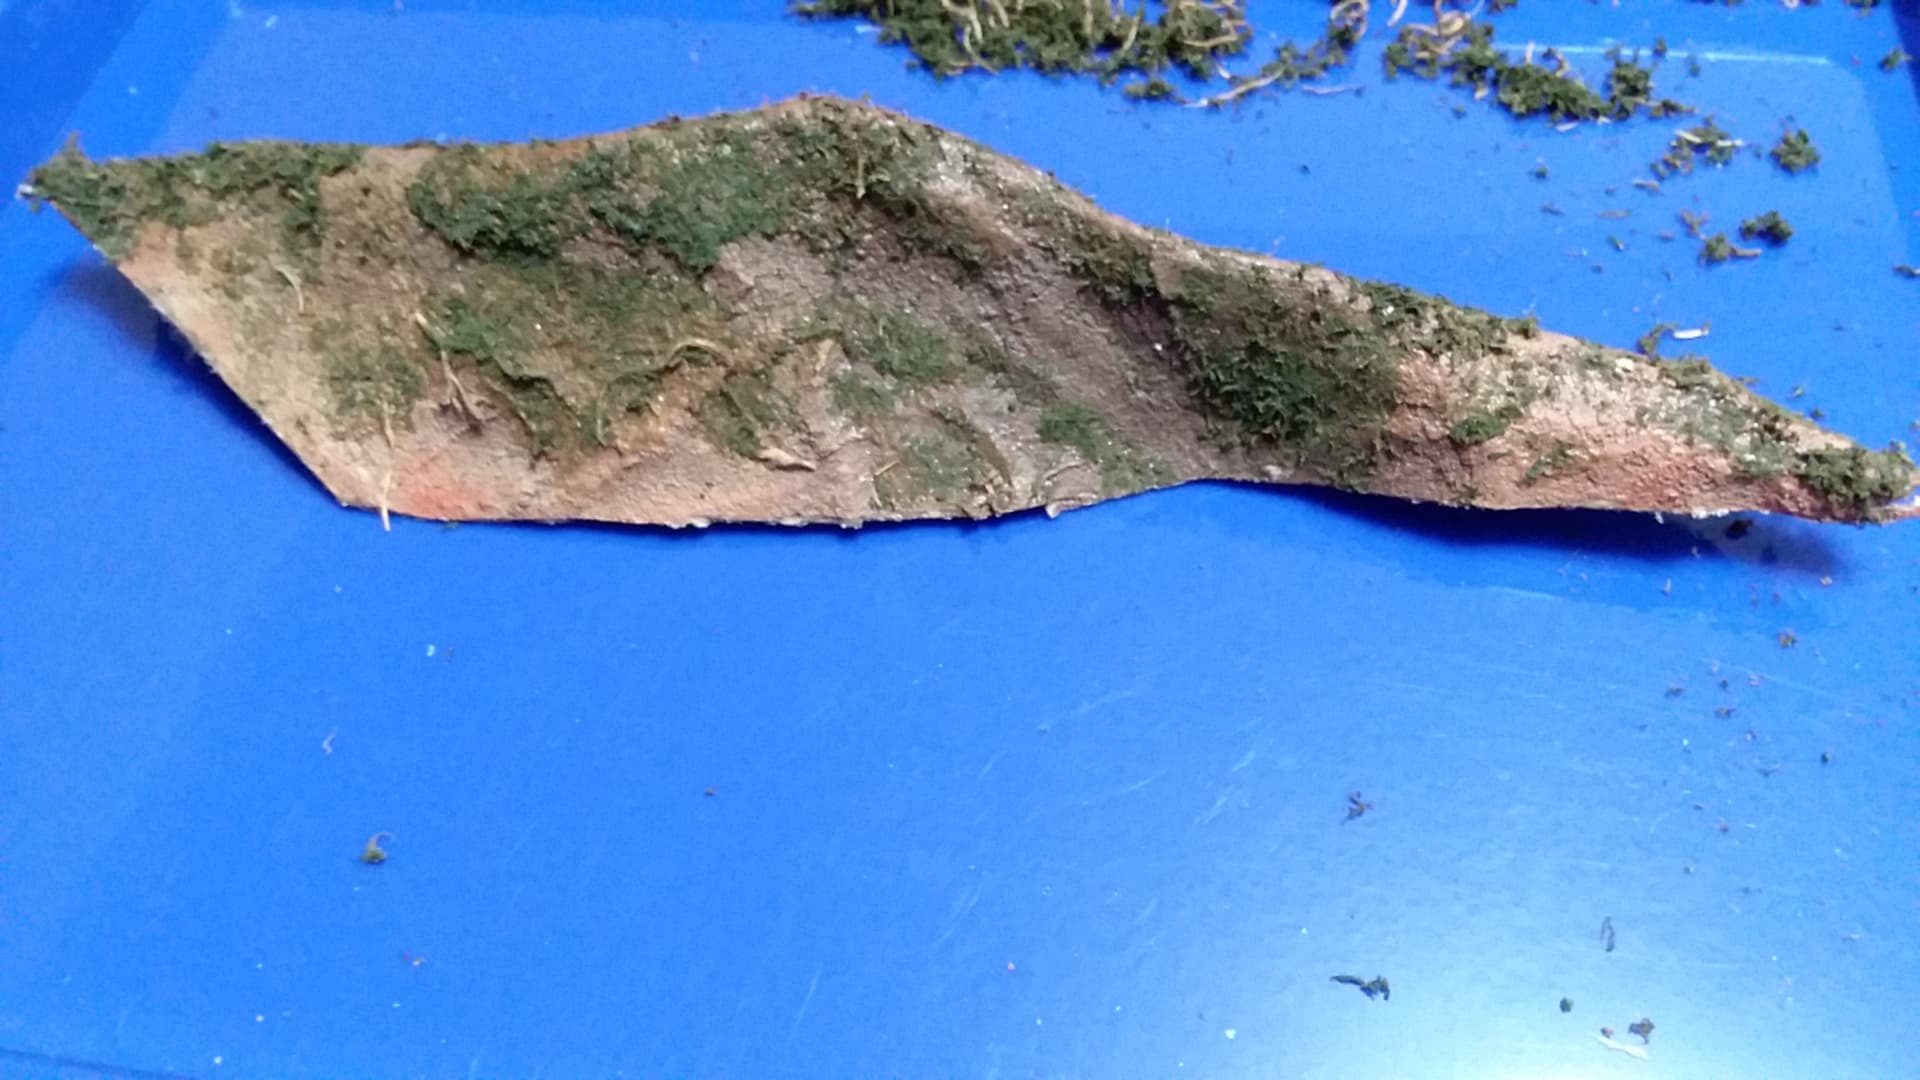
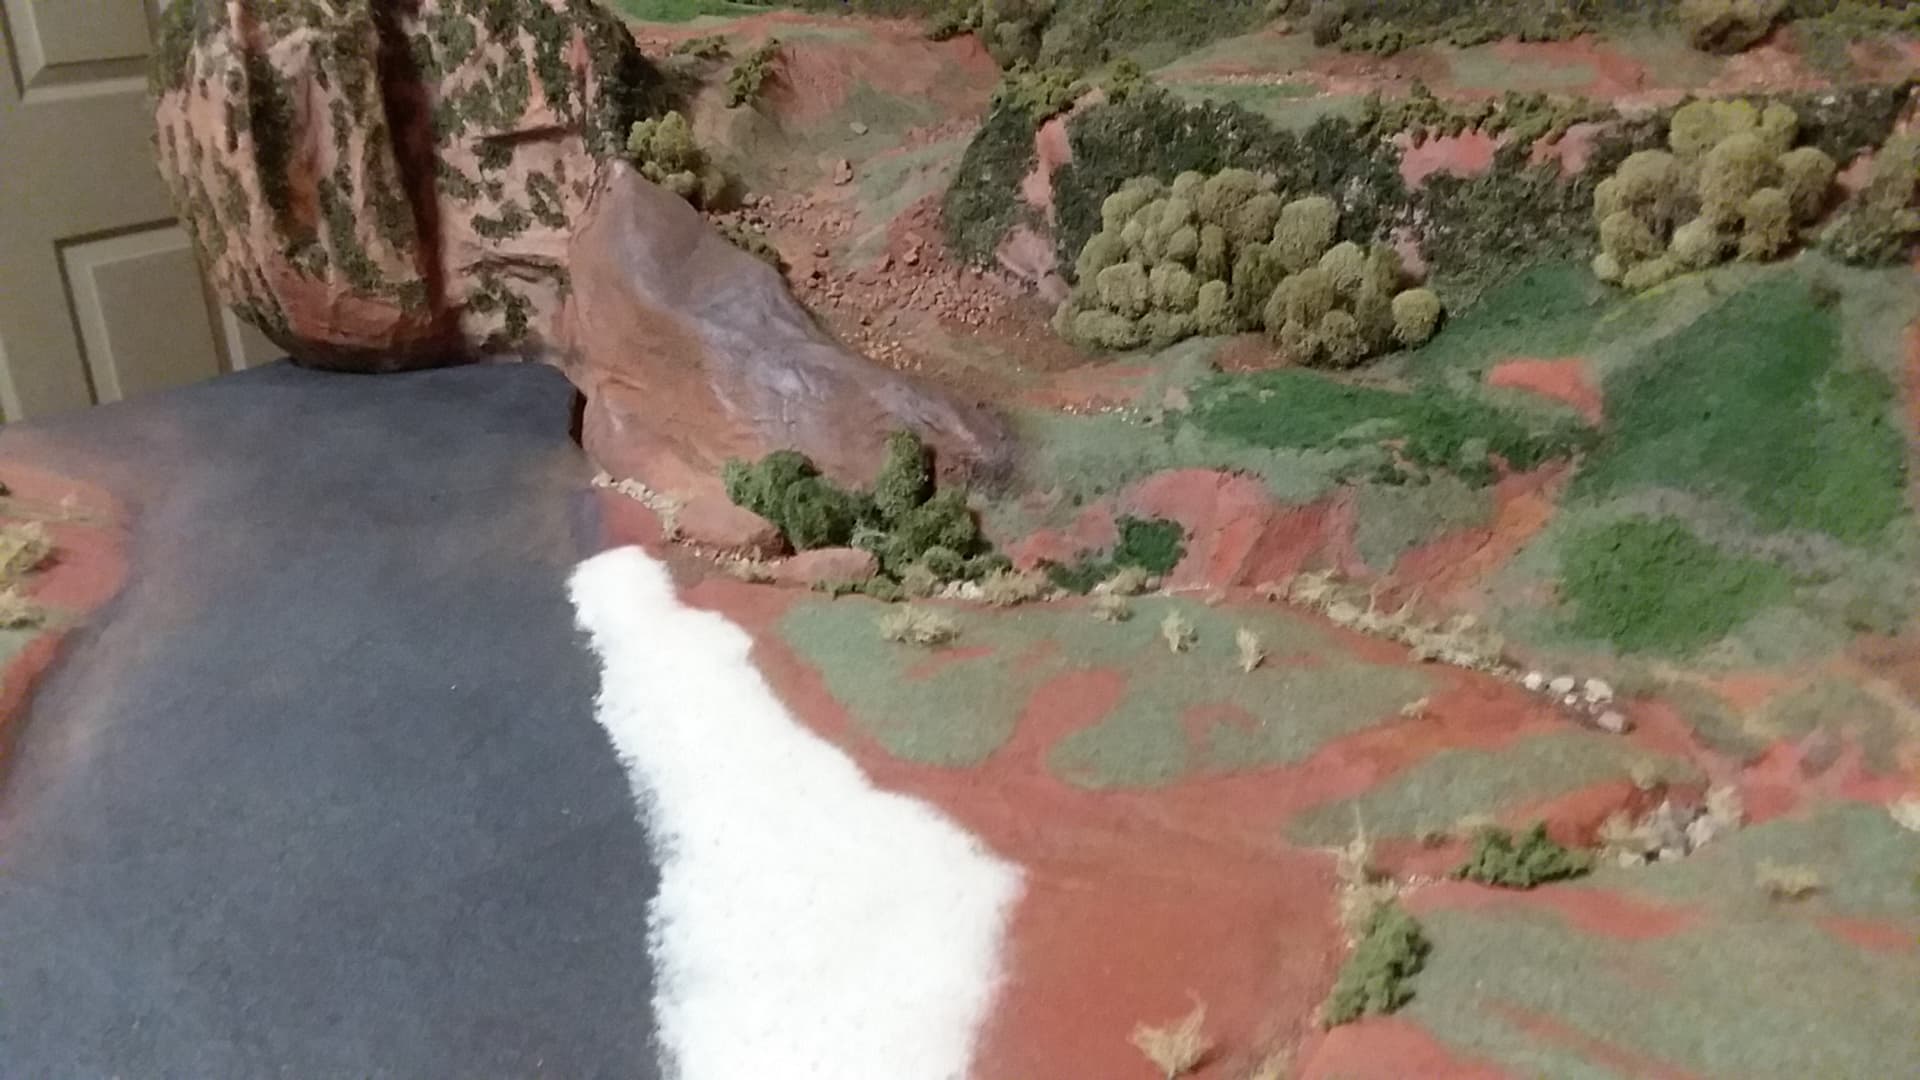
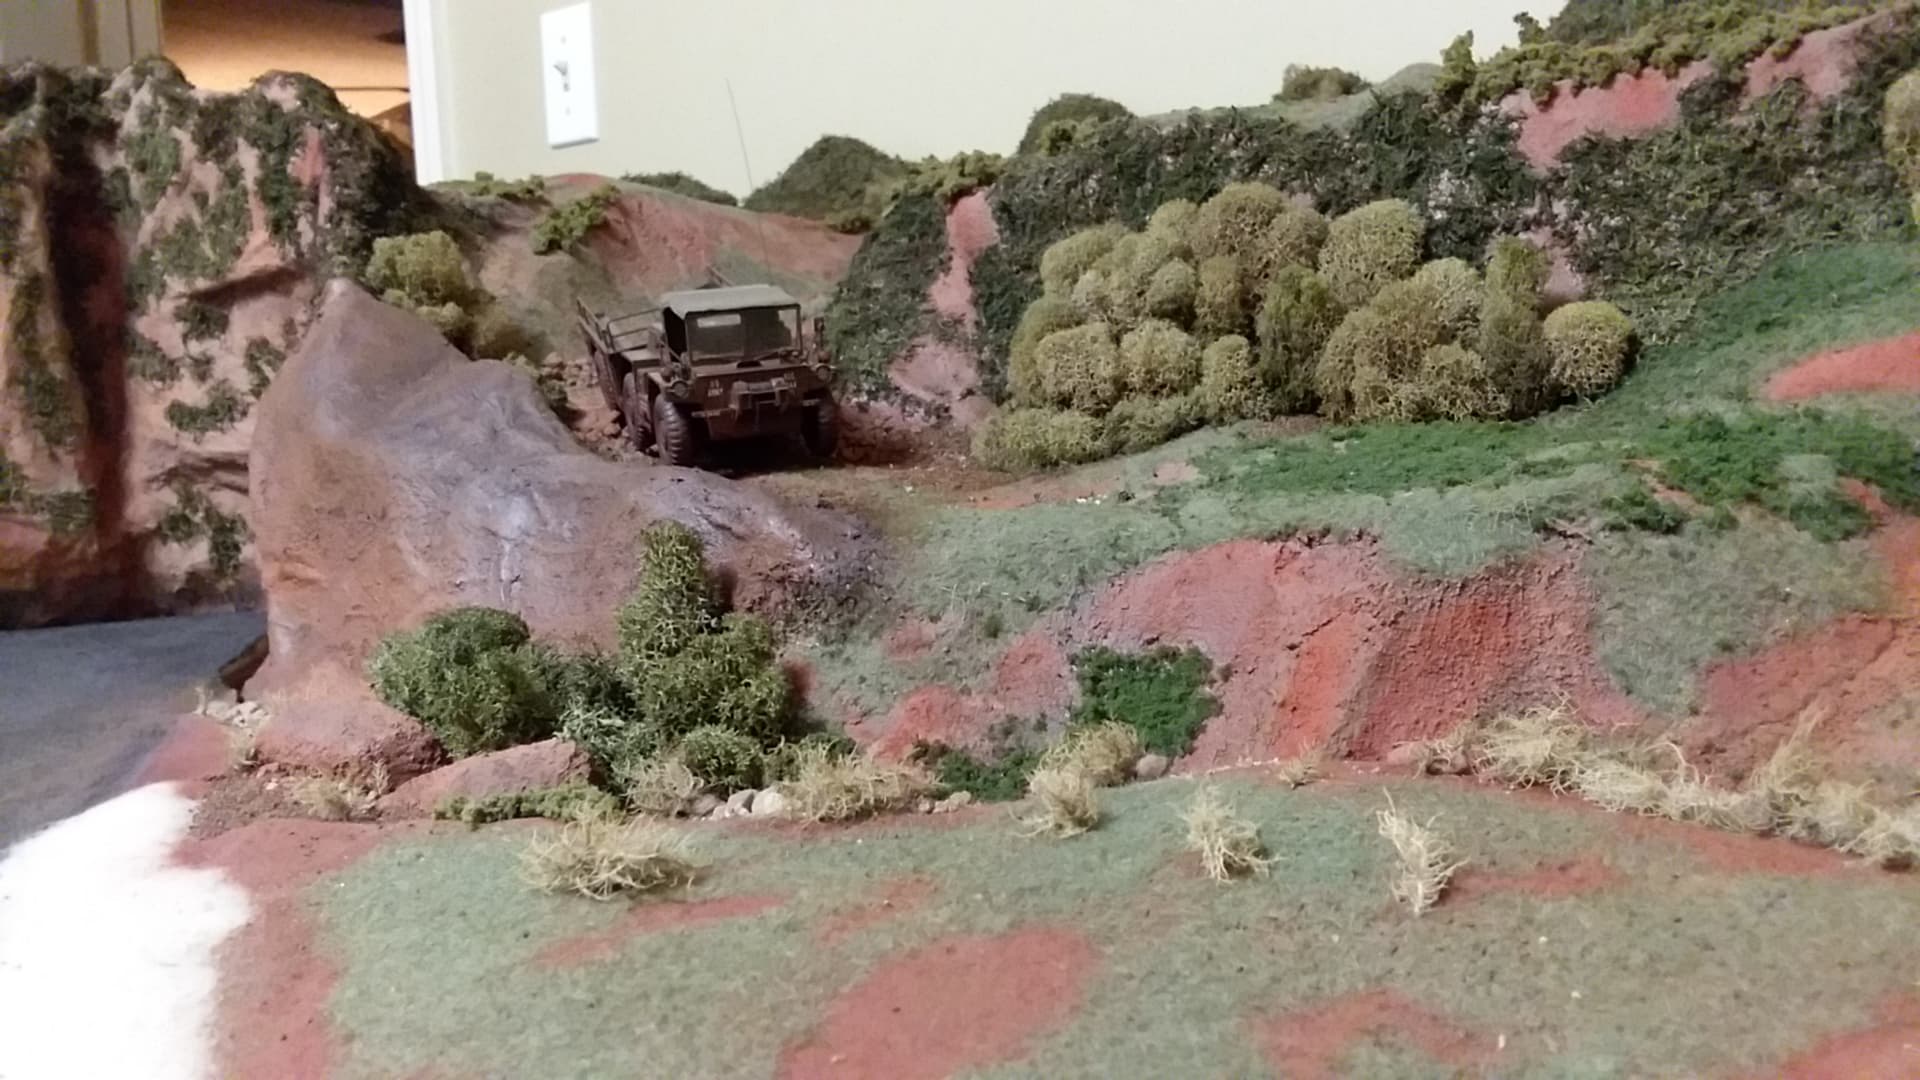
It looked cool in my head when I was imagineing the concept but turns out it obstructs the overall veiw of any thing headed down hill in the gully wash.
Time to get the Dremel out and do some surgery . . .
As long as it looks like “some where in Viet Nam” I’m cool with that. More to the point though, since I’m wanting to focus on the 11 ACR (that grand and glorious fighting unit) as much as possible, try to imagine we’re in III CTZ, Tay Ninh, Quan Loi, the Elephant’s Ear . . . who knows, nowhere specific.
As far as the CH54, as I understand it, and don’t hold me to it, there were only 3 Sky Cranes deployed to SEA, one being named “Hercules”, I don’t know though so I won’t debate the issue.
You’ll see as I progress through my builds, there are a few vehicles that aren’t organic to the 11th and some that were, at one time at least, trialed in SVN such as the M116 Husky or the M114 recon track, I’ve included an M561 Gama Goat but have yet to find conclusive evidence that any were in country, I find that hard to beleive though considering that Viet Nam was literally a proving ground for the defence contractors’ latest creations.
Sooo . . because of the elevation of the original peice it strikes the veiwer as being in a mountainous region but actually the escarpment is only about 30 scale feet above the (proposed) river. The addition of this latest peice will hopefully bring this visual misconception into perspective.
As a final note, keep in mind it’s all about the vehicles, not a specific engagement, and for the most part just USARV or ARVN AFV’S, no Marine corps vehicles are involved with the exception of an M67 Flame tank just to show another variant of the Patton’s weapons platform.
Got the high lighted areas brushed onto the base, time to start laying in the ground cover all the while plotting where I’ll be planting the differrent AFV’s.
This project has grown way beyond my initial imagineings, not just in physical size but in number of avaiable Nam era models. I only regret there’s still not enough room, time or money to build them all.
Masterpeice Models has some much desired riverine craft, HobbyFan has a couple that I’m lusting for and besides all those there’s a few softskin heavy haulers I want, there’s no telling what obscure something somebody will come up with. Sigh