That’s quite an undertaking. Thanks for sharing.
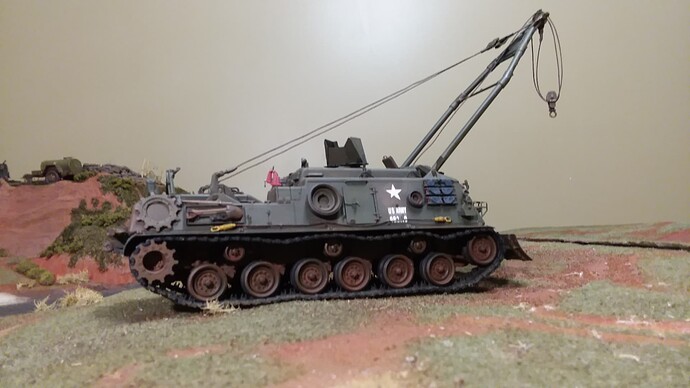
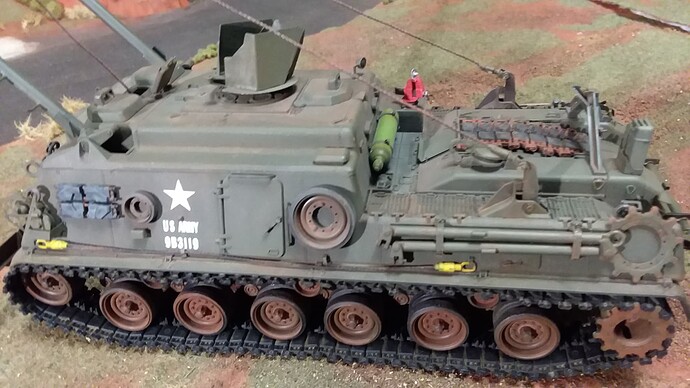
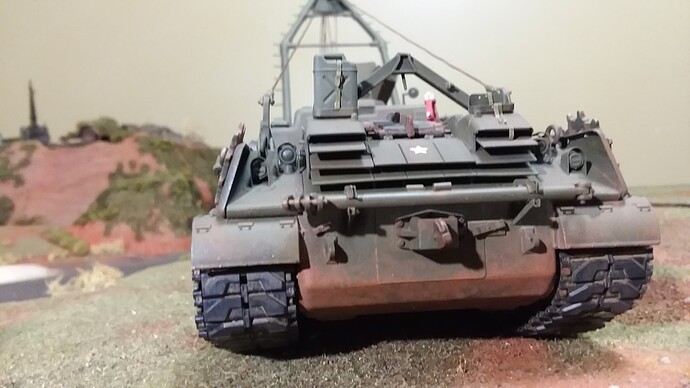
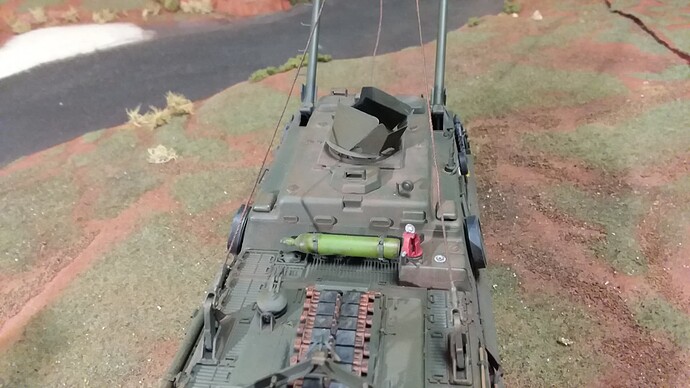
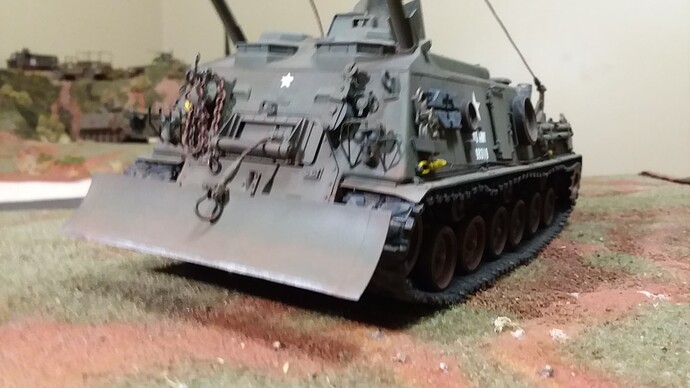
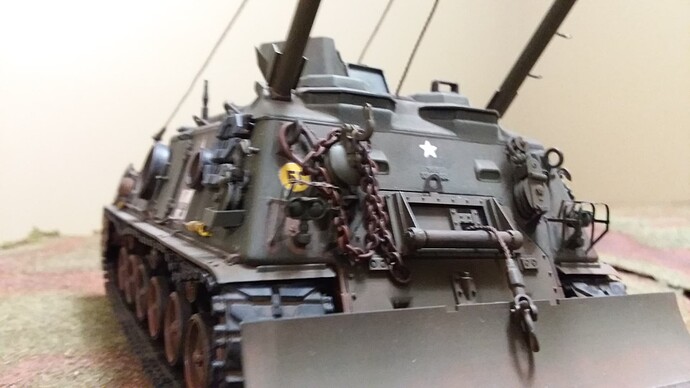
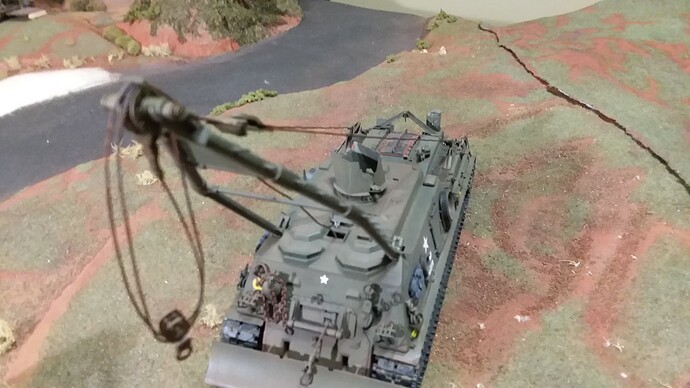
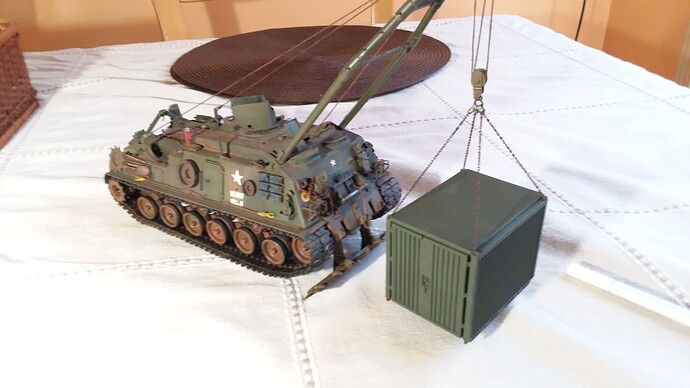
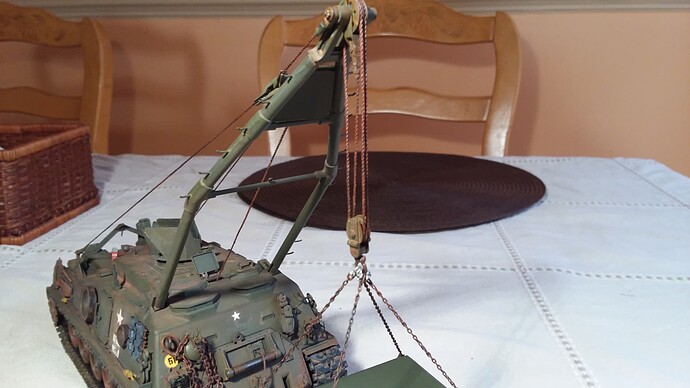
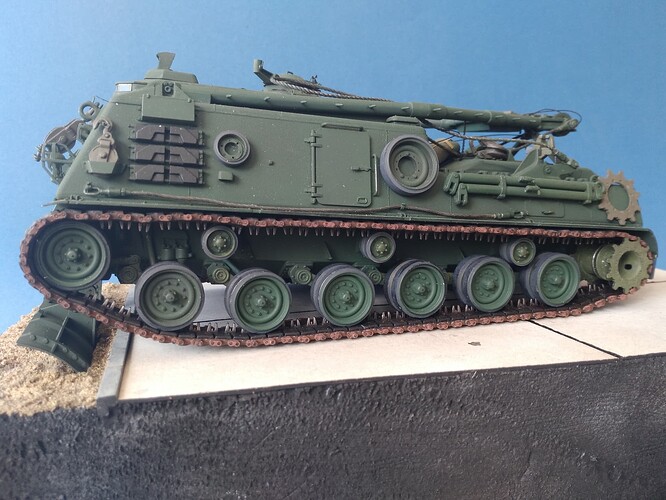
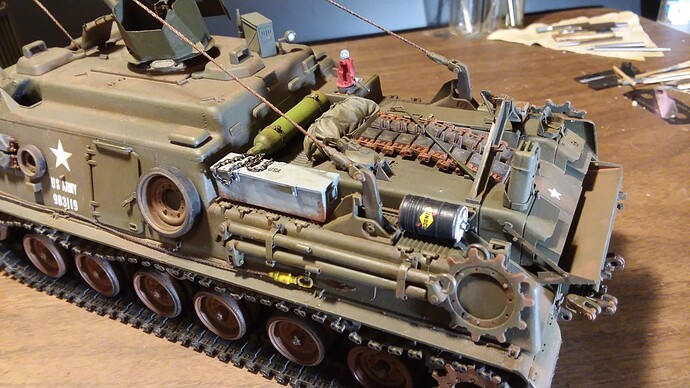
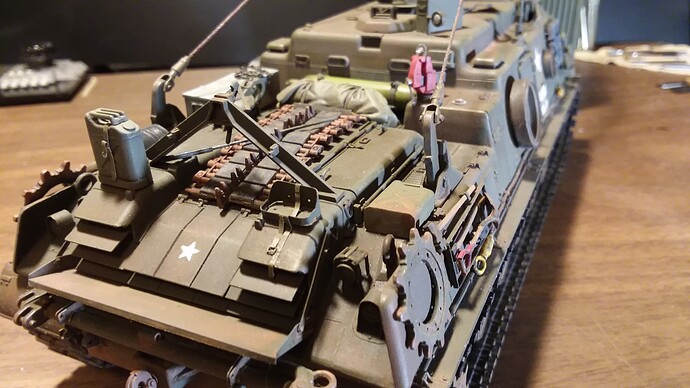
Well it took longer than I expected but I finally got the M88 98% completed. It got off to a great start but then the PE work got underway and it was like trying to crank an engine with a dieing battery, I just kept grinding away at it and then really poured myself into it over the Holidays with two four-day weekends to get some work done. As mentioned in reviews elsewhere of AFV Clubs kit of the M88, PE really isn’t necessary, but it does enhance the scale visual, I wouldn’t recommend it though in hindsight.
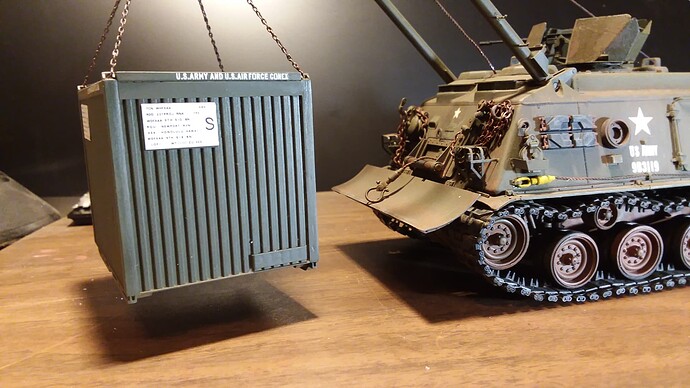
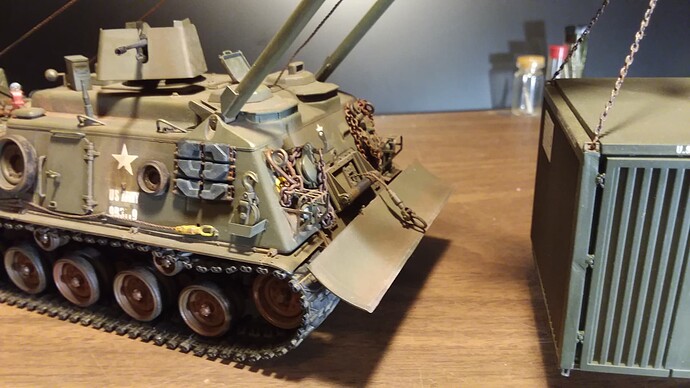
Anyway, here’s a look, forgive the photos, I was holding a light with one hand and trying to snapshot with the other, it was a comical scene in itself . . .
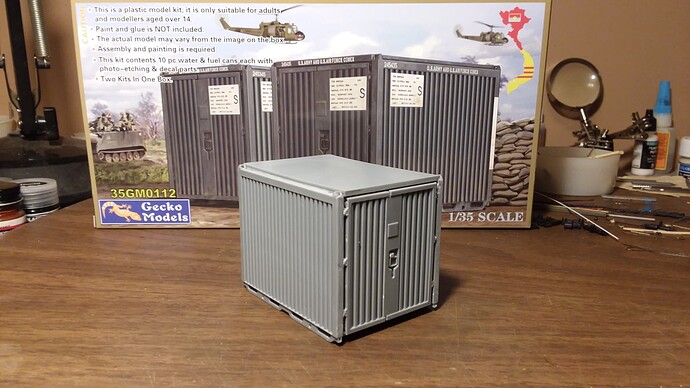
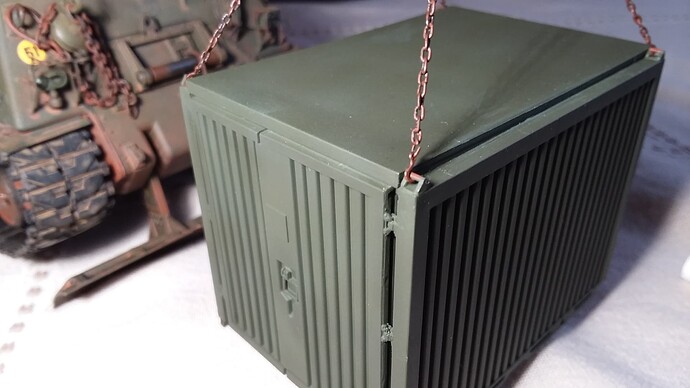
. . . just in time for Santa and after an exhaustive routine of checking the big three web shops every day since Gecko announced the release of their CONEX Container in July, Scale Hobbyist had it in stock the Thursday before Christmas. It’s been a long time since I completed a model in one session.
I started off with securing a lead plate into the bottom of the inside floor for added weight to take the slack out of the M88’s lifting cable.
I’ll squirt some paint on it then get the decals on by weeks end, it’s time to get started on a Birddog now though.
Cajun ![]()
GOER! Haven’t seen one of them in decades.
I remember seeing your diorama quite a few years ago and wondered why no more posting.
I thought it was looking great at the time.
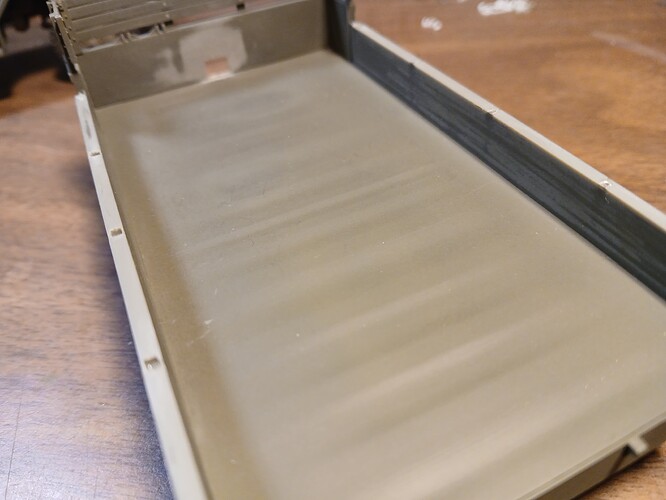
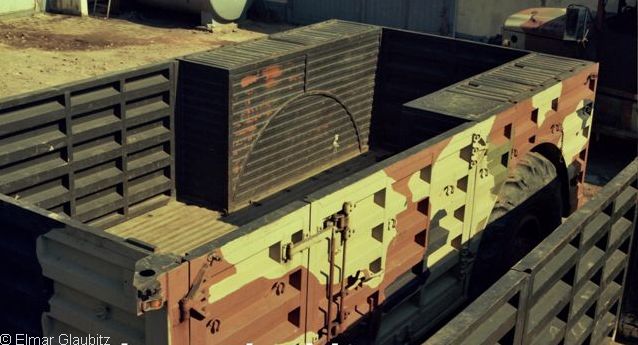
This is the only picture that I have showing the interior of the cargo area. I have many pictures of the 520 and the bigger one XM437. Dating back to 2008.
Cheers,
Ralph
That M88 looks amazing Terry, really looking forward to seeing it hefting the container around, ![]()
![]() .
.
Is there lead in the M88 to counter balance the container, or is that not necessary?
G, ![]()
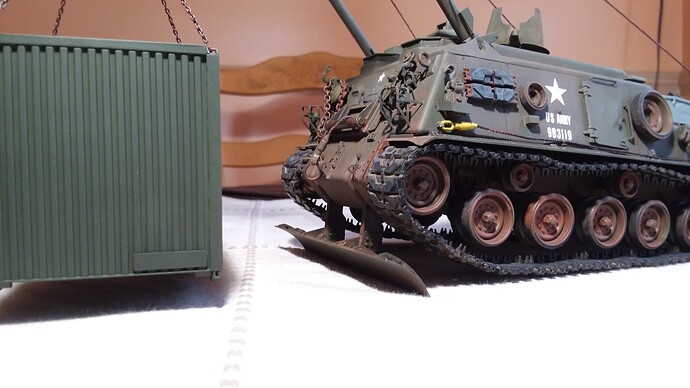
Well G @G-man69 my plan from the outset was to have a counter ballast in the rear of the hull bottom but . . . I built the kit in two parts, upper and lower , when it came time to join the two I realized I hadn’t done a good job of “wet” fitting the upper rear hull ballistic plate, it was sorta cockeyed and didn’t sit right on the lower hull, I filed, sanded and scraped the mateing edge until it finally finessed it’s way into an acceptable fit, I was so releived it went down without distorting the unique look of the M88 rear glacis that I immediately clamped it down hoping it wouldn’t pop loose, totally forgot about the counter weight. That was an important omission considering I didn’t want to have the stablizing blade in use, imagine the ARV retreiving the CONEX from the GOER’s bed and backing away . . that was the plan. Turns out I didn’t guage the lifting cable’s length in conjunction with the chain rigging length forceing my hand at having the blade in use. The problem presented now is the forward road wheels are at ride height and not at free load extension. As I understand it there is a locking bar that is installed when the blade is deployed that abreviates the suspension drop to prevent breakin the torsion bars but I have no idea how many wheels are secured with lock bar in place. Anyway, here’s where I’m at now, the CONEX took the lifeless coil out of the lifting cable . . .
I’ve been dragging my feet on this build, gotten cold enuff that I just hang out in front of the idiot box watching DVD’s with a cup of coffee. Still got some finish details to knock out. Thanks for the lavish praise, my little cell phone camera doesn’t fully show the weathering.
Cajun ![]()
A fantastic looking set…
If the blade is in the up position, is the connex on the ground? If so, are the cables/chain still taught?
If it is still in the air a bit, you could add a couple rods or a piece of square plate under the center of the connex to support it and keep the cables/chain taught, but not add any weight onto the boom and keep the M88 level.
I’ve always been in awe of the size and power of the M88. About the model: if the blade is down in support position, with the front of the hull raised, the now-suspended road wheels/arms should be “drooping” since no load is on them. If those are AFV Club tracks, I have found them difficult to show as straight after assembly. The position of the 1:1 track would change as the front end of the vehicle was raised.
Maybe you could place the M88 on a sort of slope so the blade would dig in downhill, thus keeping the tank level. Something like that has to be done even if you rebuild the running gear into the lifted up mode, as AFV Club made the blade’s arms too long. For more details, you can look up my build report:
https://panzer-modell.de/berichte/m88/m88_e.php
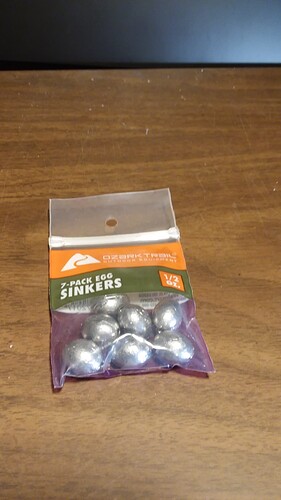
After considering different alternatives to fix the ballast issue when the CONEX is lifted higher I realized the easiest solution was to pour about two ounces of PVA glue into the rear hull and elevate the nose about 30° and drop some sinker weights into the cupola hole to settle into the glue, worked like a charm.
As far as raising the container that was just a matter of reaching into the hull and fishing the lift cable out. When I built the model I boxed in the areas around the “A” frame extending arms, closed up the periscope holes in the hatches and boxed in the cable portal, I had drilled a hole in a small sprue nub and glued the cable end to it to keep the cable in place beneath the portal box, I just had to draw up enough slack to lift the container and voila!
This beast is done!
Cajun ![]()
Lookin good and a nice fix with the lift cable.
Ken
Perfect! ![]()
—mike
I like the dings and creases on the corners of the CONEX - quite realistic.
Looks pretty darn good. I am glad to see you solved the problem regarding the lifting of the CONEX.
Good ol’ White Glue - brilliant idea! The model looks great, just a tiny nitpick:
Now that the suspension is finalized, the tracks (at least the one on the left) seem rather loose - maybe take out one link?
Yes the tracks are totally too loose, I don’t think they should have that much sag along the return rollers but the little monsters were a beeyatch to install, the road wheels are so friggin’ tight on their axles that I’m afraid to pull off the front wheels to allow enough slack to take out a couple track blocks on each side without causing more damage than it’s worth, I’m just gonna have to live with it and take the hit. ![]()
Cajun ![]()
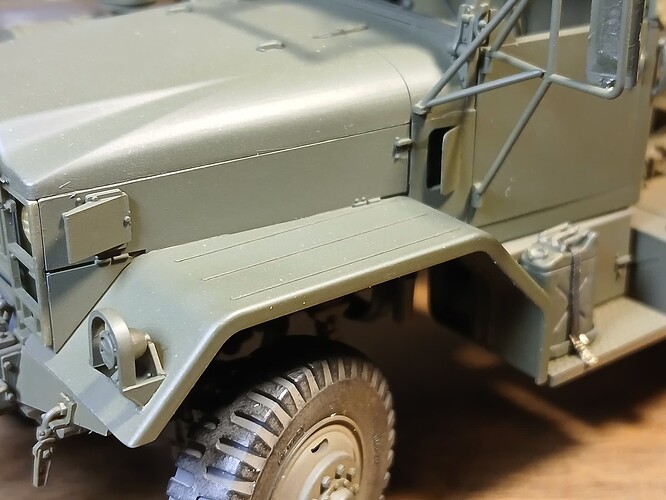
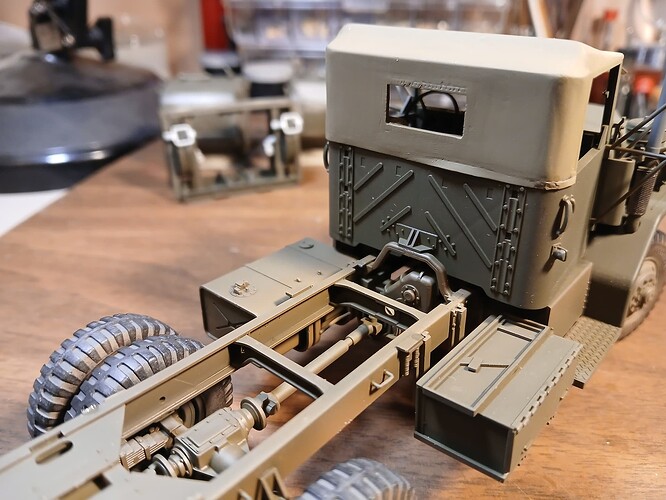
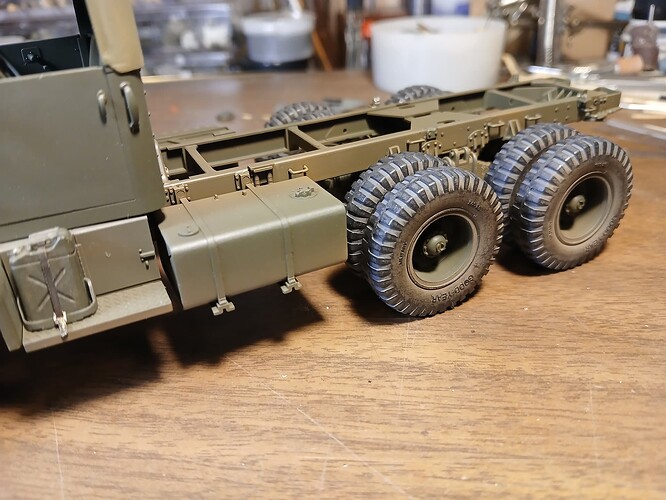
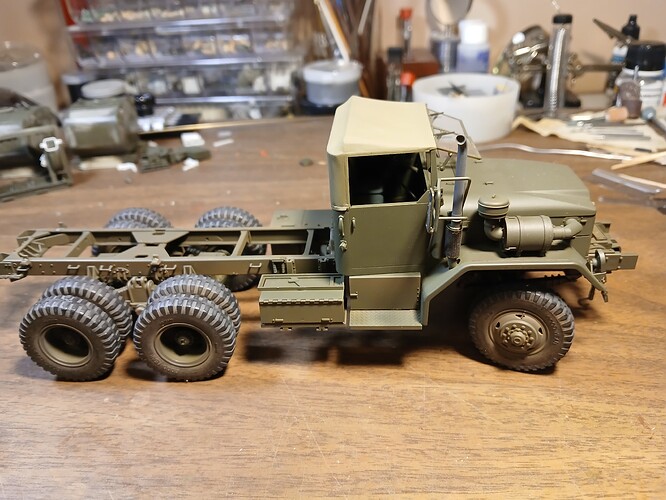
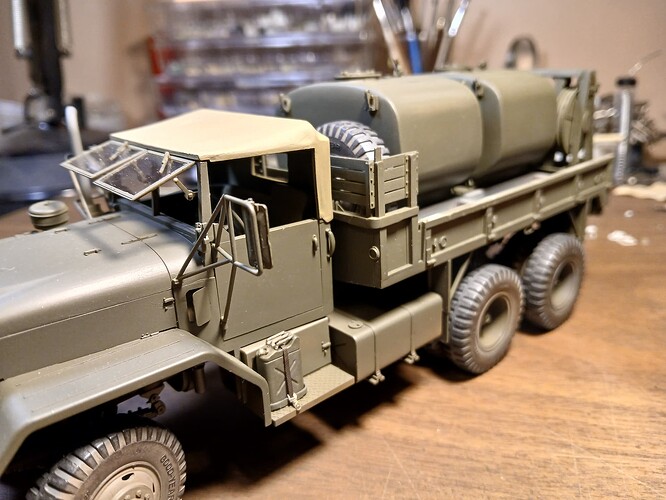
A few weeks ago I gave in to the little voice and started on AFV Club’s M54 5 ton truck, not long into the build I was enthralled, I gotta say this might be the best model I’ve ever gotten my hands on, the detail is superb, minimal clean up and loads of parts, in fact if you like glueing parts on, this is the kit for you. The under carriage is exquisite but study the directions closely to avoid back tracking to correct your errors, I had to double back a couple times because I assumed parts location. The only modification I made on this sub-assembly was leaving the drag link disconnected from the pitman arm so I could position the front wheels in any direction I choose.
In fact the only mods I made was cutting out the fresh air vent . . .
. . and adding a drip apron to the canvas cabin top after I had scraped and sanded down the excessive fabric folds and wrinkles . .
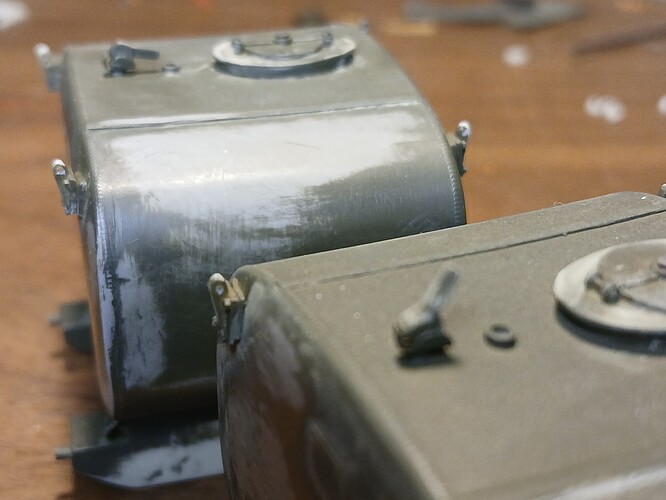
There’s a ghastly seem join on the gas tank that’s gonna take some work with the filler putty . . .
I thought I had it fixed but had to go back and tackle it again with more putty and sanding after I’d sprayed the base coat, still didn’t get it cleared up so good.
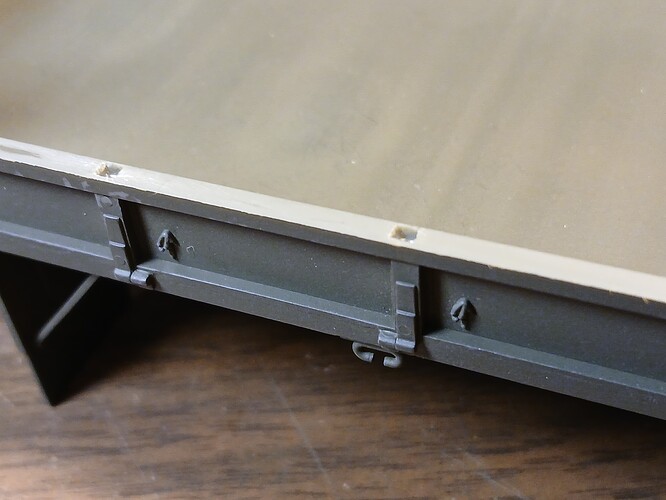
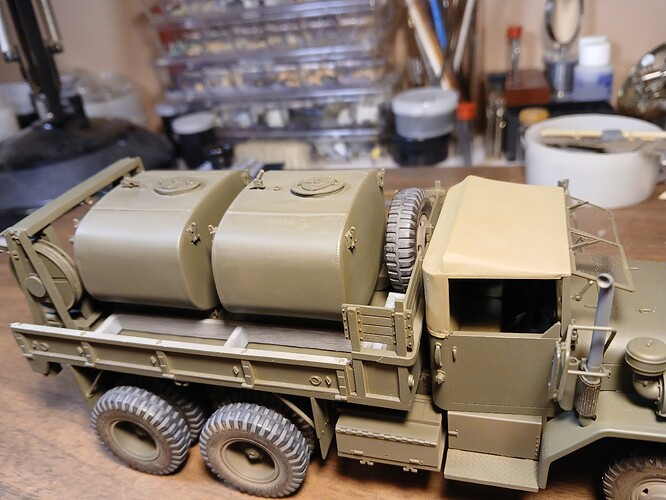
The last thing to do on the truck was remove the side fences and bore out the stake holes on the drop sides . .
. . . not a fun chore, I also cut out the panel on the bed’s front bulkhead for the pump’s power cable to pass through to the power slave on the cabin’s right rear corner . . .
So far this has been a fun build considering, it’s had it’s moments though, the exhaust pipe bracket had me stumped and it took a couple times of glueing then removing and repositioning the braket peice to get it right. The rear veiw mirror brackets were a challenge as well, the directions are a little vague in the exactness of their mounting points . . . study your refernces here.
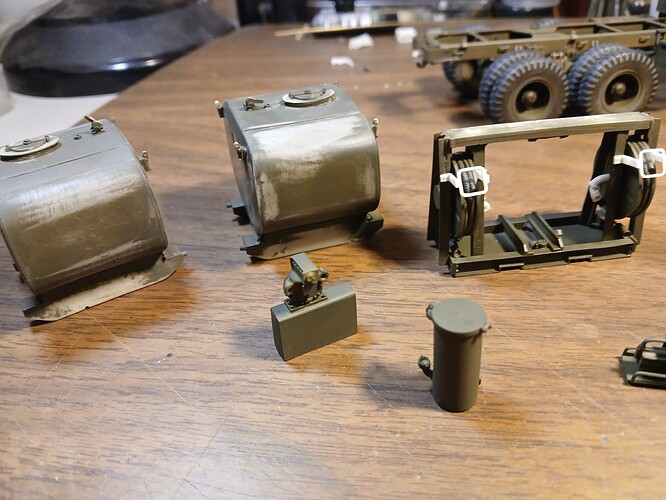
Moving on to PSM’s 600 gallon fuel tanks and dispensing unit, as with any cast resin kit the first thing to do is clean up and dry fitting parts.
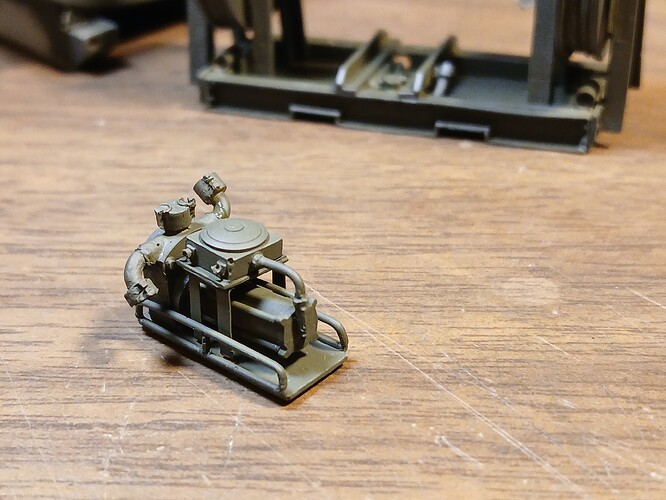
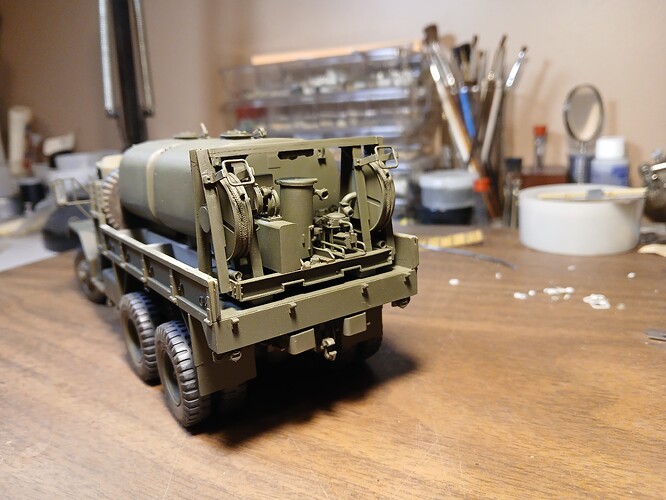
The pump and motor base didn’t mold completely so I fabbed a new base and added the carrying handle to each side, the motor supplied was a bit out of scale so I made a new one.
The hose reel mounting frame angle peices didn’t get a good fill when cast and were a PIA to repair, after laying down the base coat of paint all the imperfections from my initial clean up were glaringly revealed and I had to re-sand and wet sand the tanks and other parts . . .
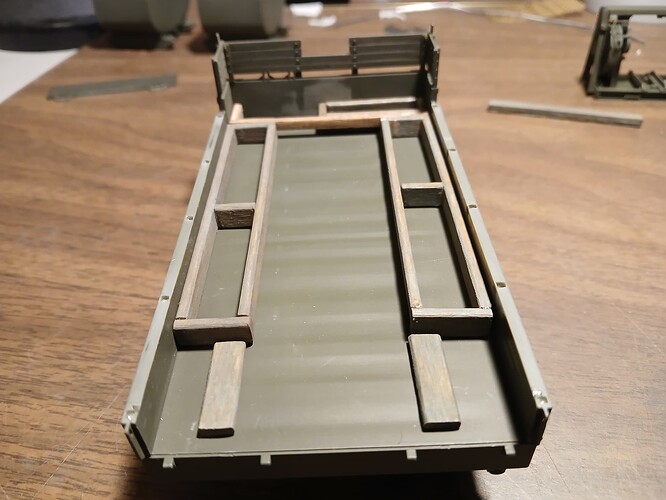
Thanks to @Denimo and @gtdeath13 for their contributions in another build post pointing out the load bracing in the truck bed, I had downloaded a TM for the tank/sending unit but it didn’t have that bit of info in it, anway here’s my attempt at the bracing . . .
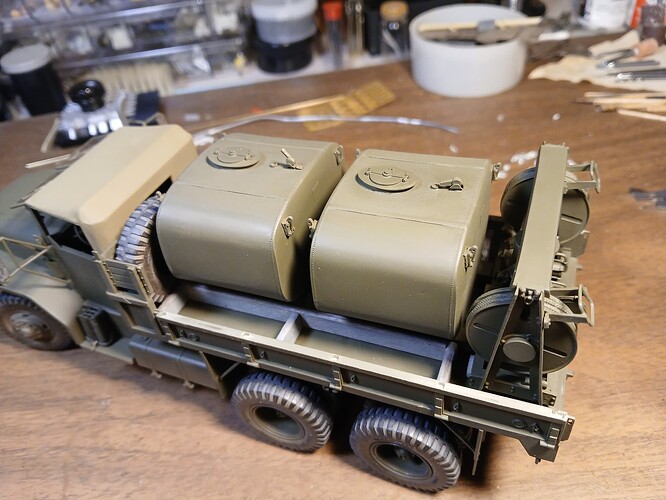
And the build up to this point . . .
Time for a gloss coat and markings then installing hose connections.
I’m dreading the rachettes and straps though . . Ugghh!
Thanks for checking up on the project, hope you like it!
Cajun ![]()
Excellent, superb build thus far! ![]()
![]()
