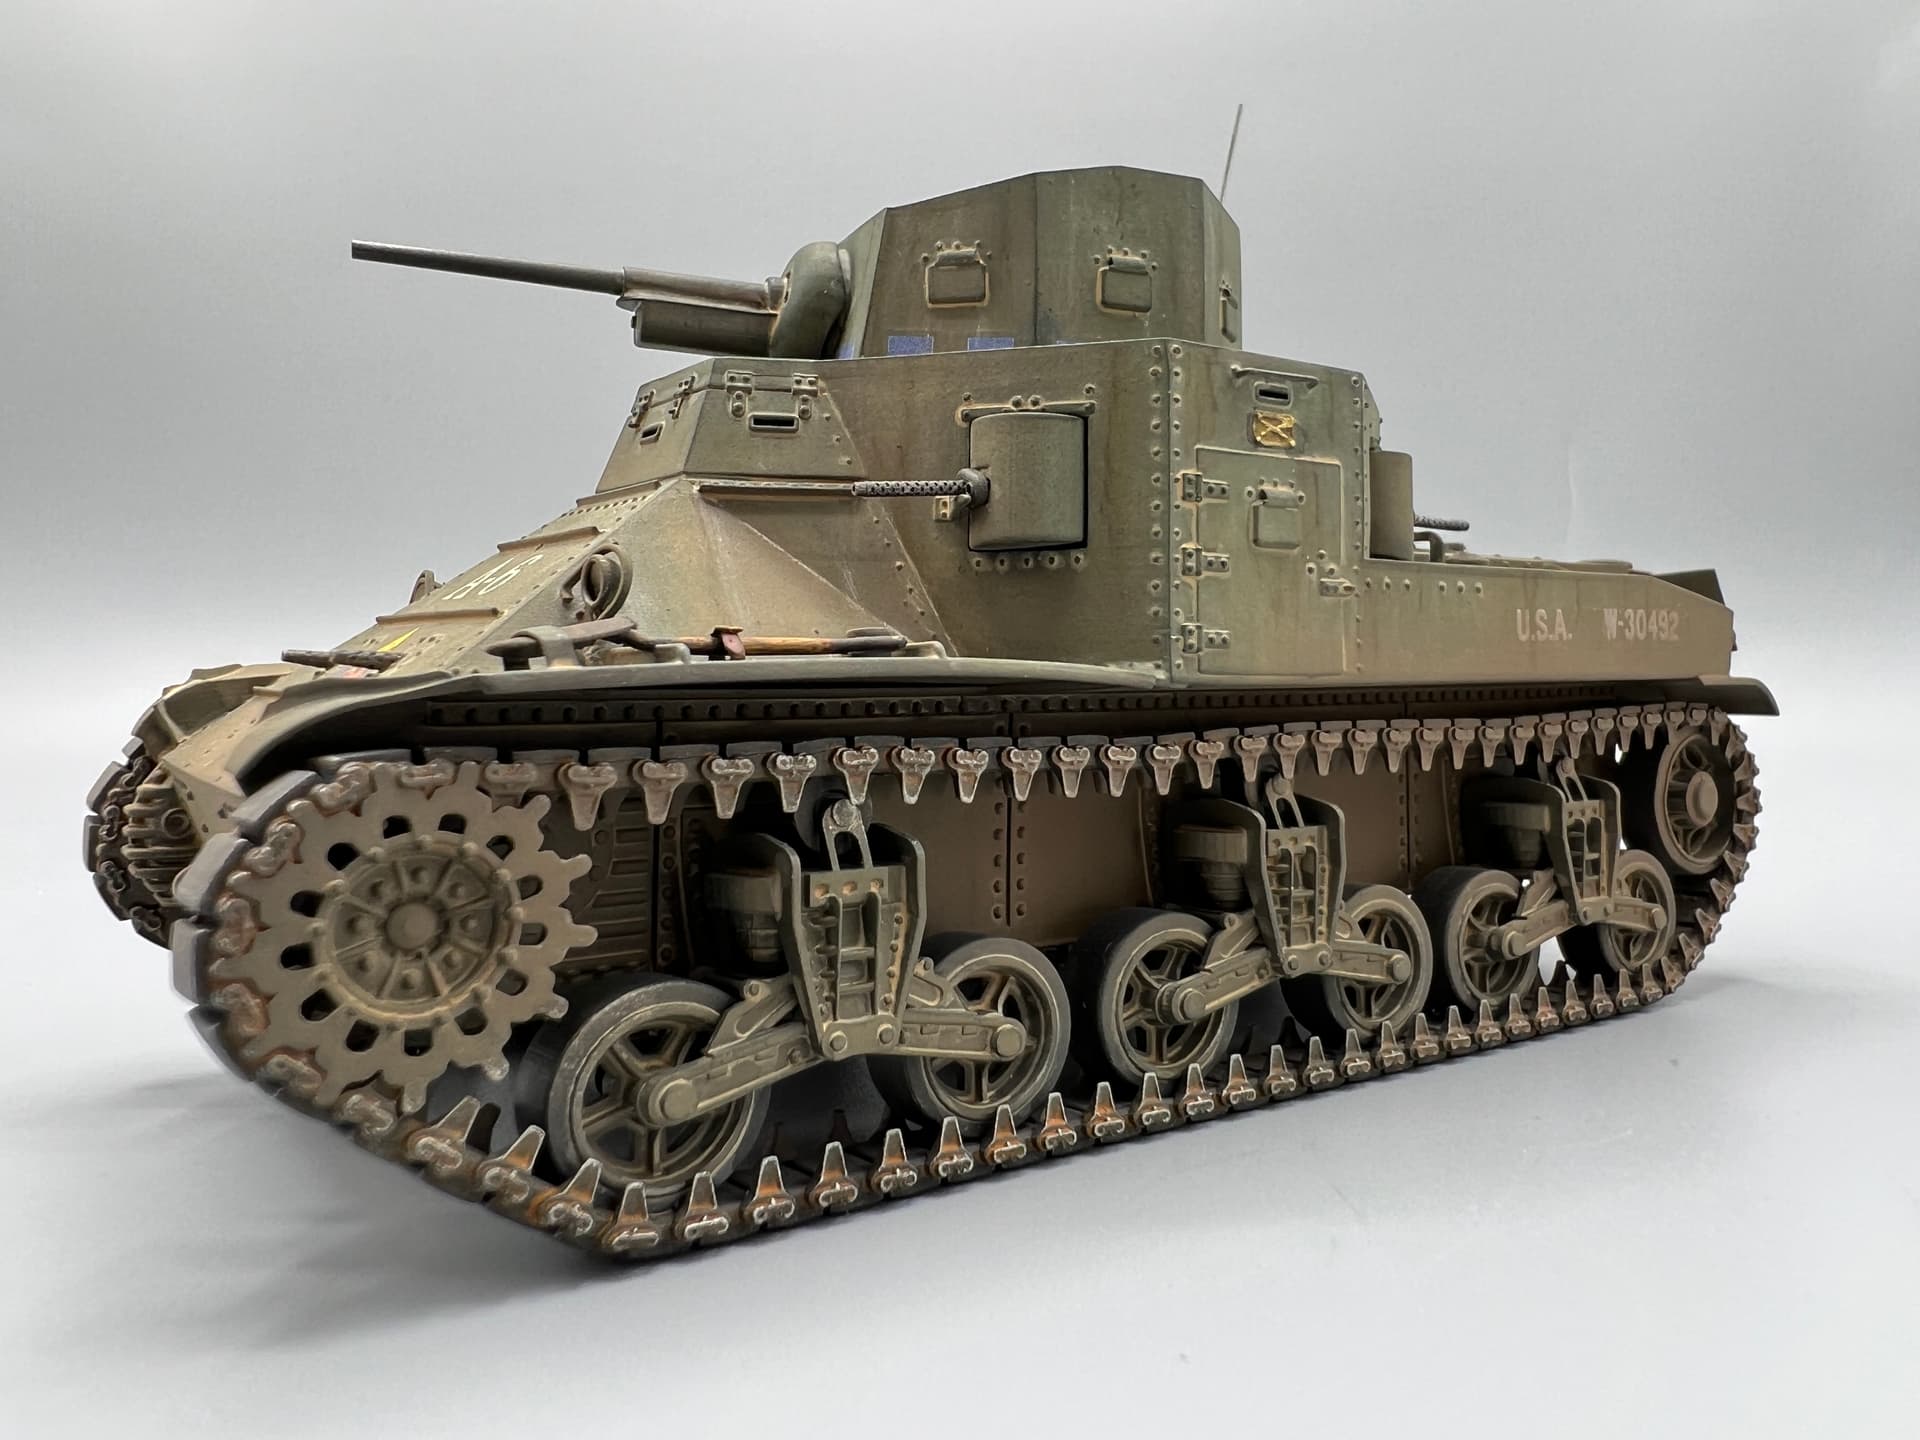
The M2A1 was the US Army’s medium tank at the start of WW2. Although it was a new design, the Blitzkrieg in Poland and France pointed out that it was already obsolete. It was under-armored and under-gunned. It’s six machine guns would have been useful to breach WW1 trenches; but Germany had redefined warfare. The M2 wasn’t a complete failure. It was the basis from which the successful M3 Lee/Grant and war winning M4 Sherman were built. It pioneered the suspension system, engine, transmission and differential for all future US WW2 medium tanks. It was a reliable and expandable platform. In addition, it was the training vehicle for the new US armored divisions. Although it never fired a shot in anger, it played a role in the eventual Allied victory.

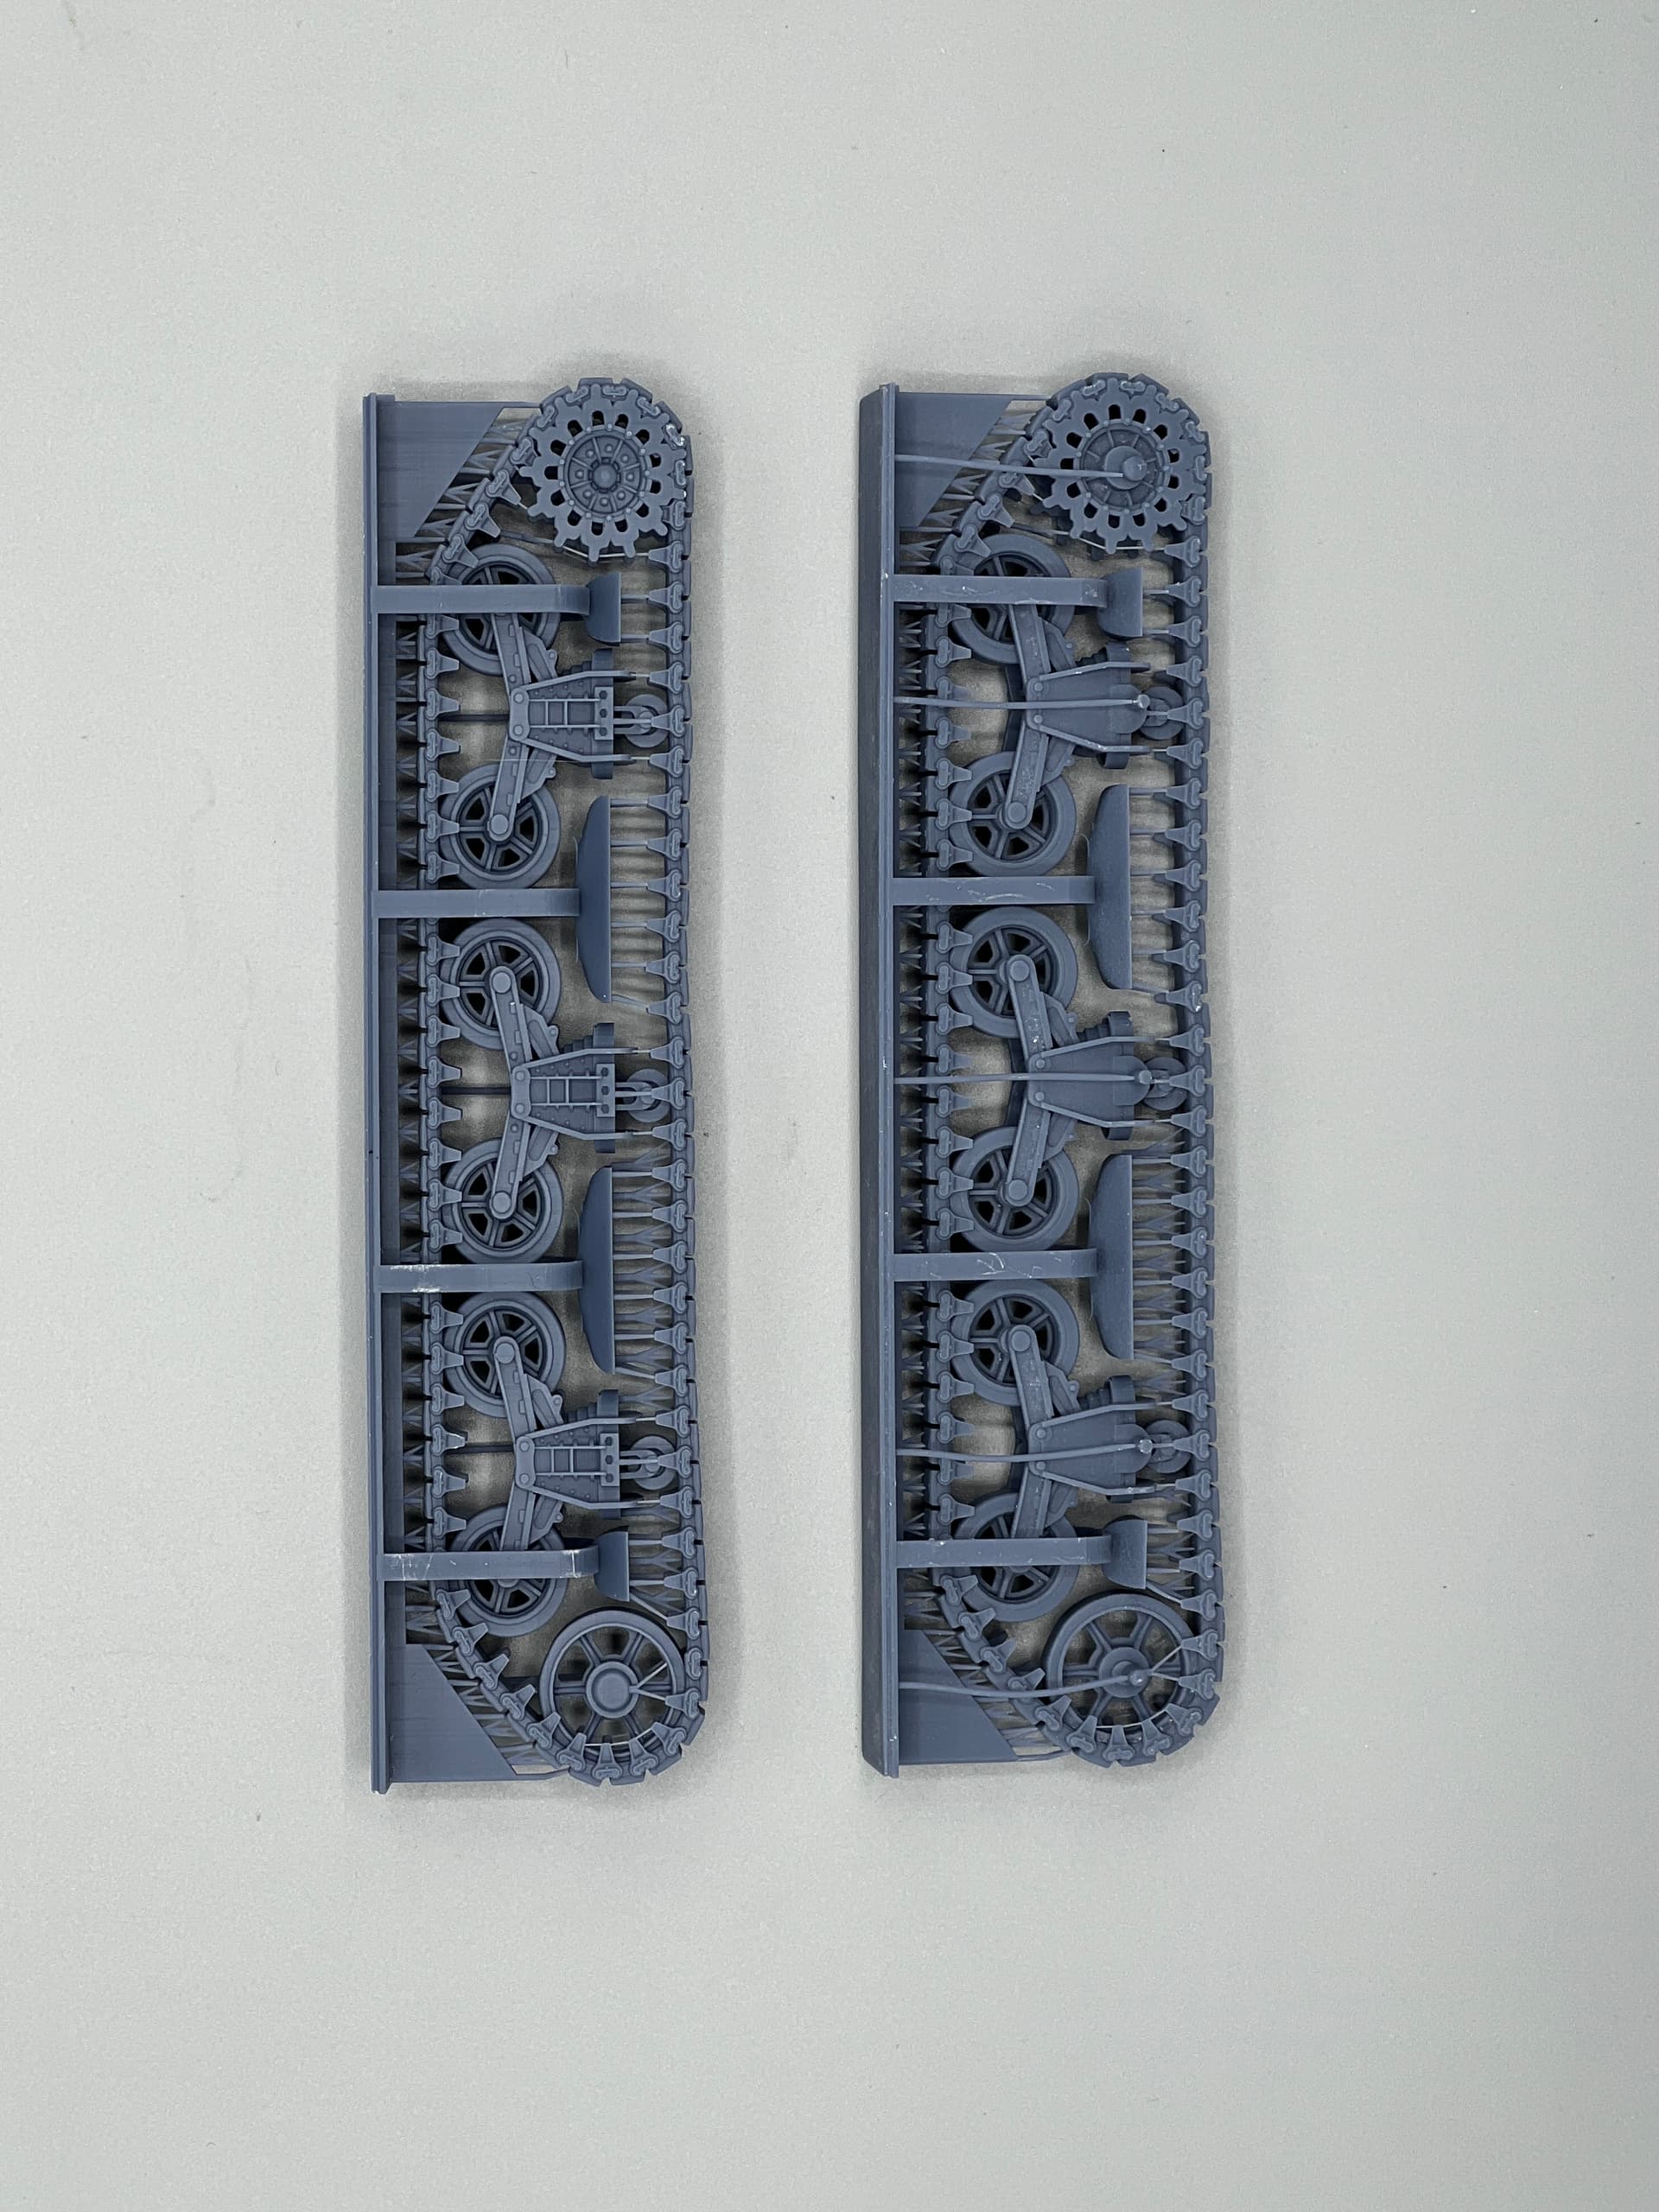
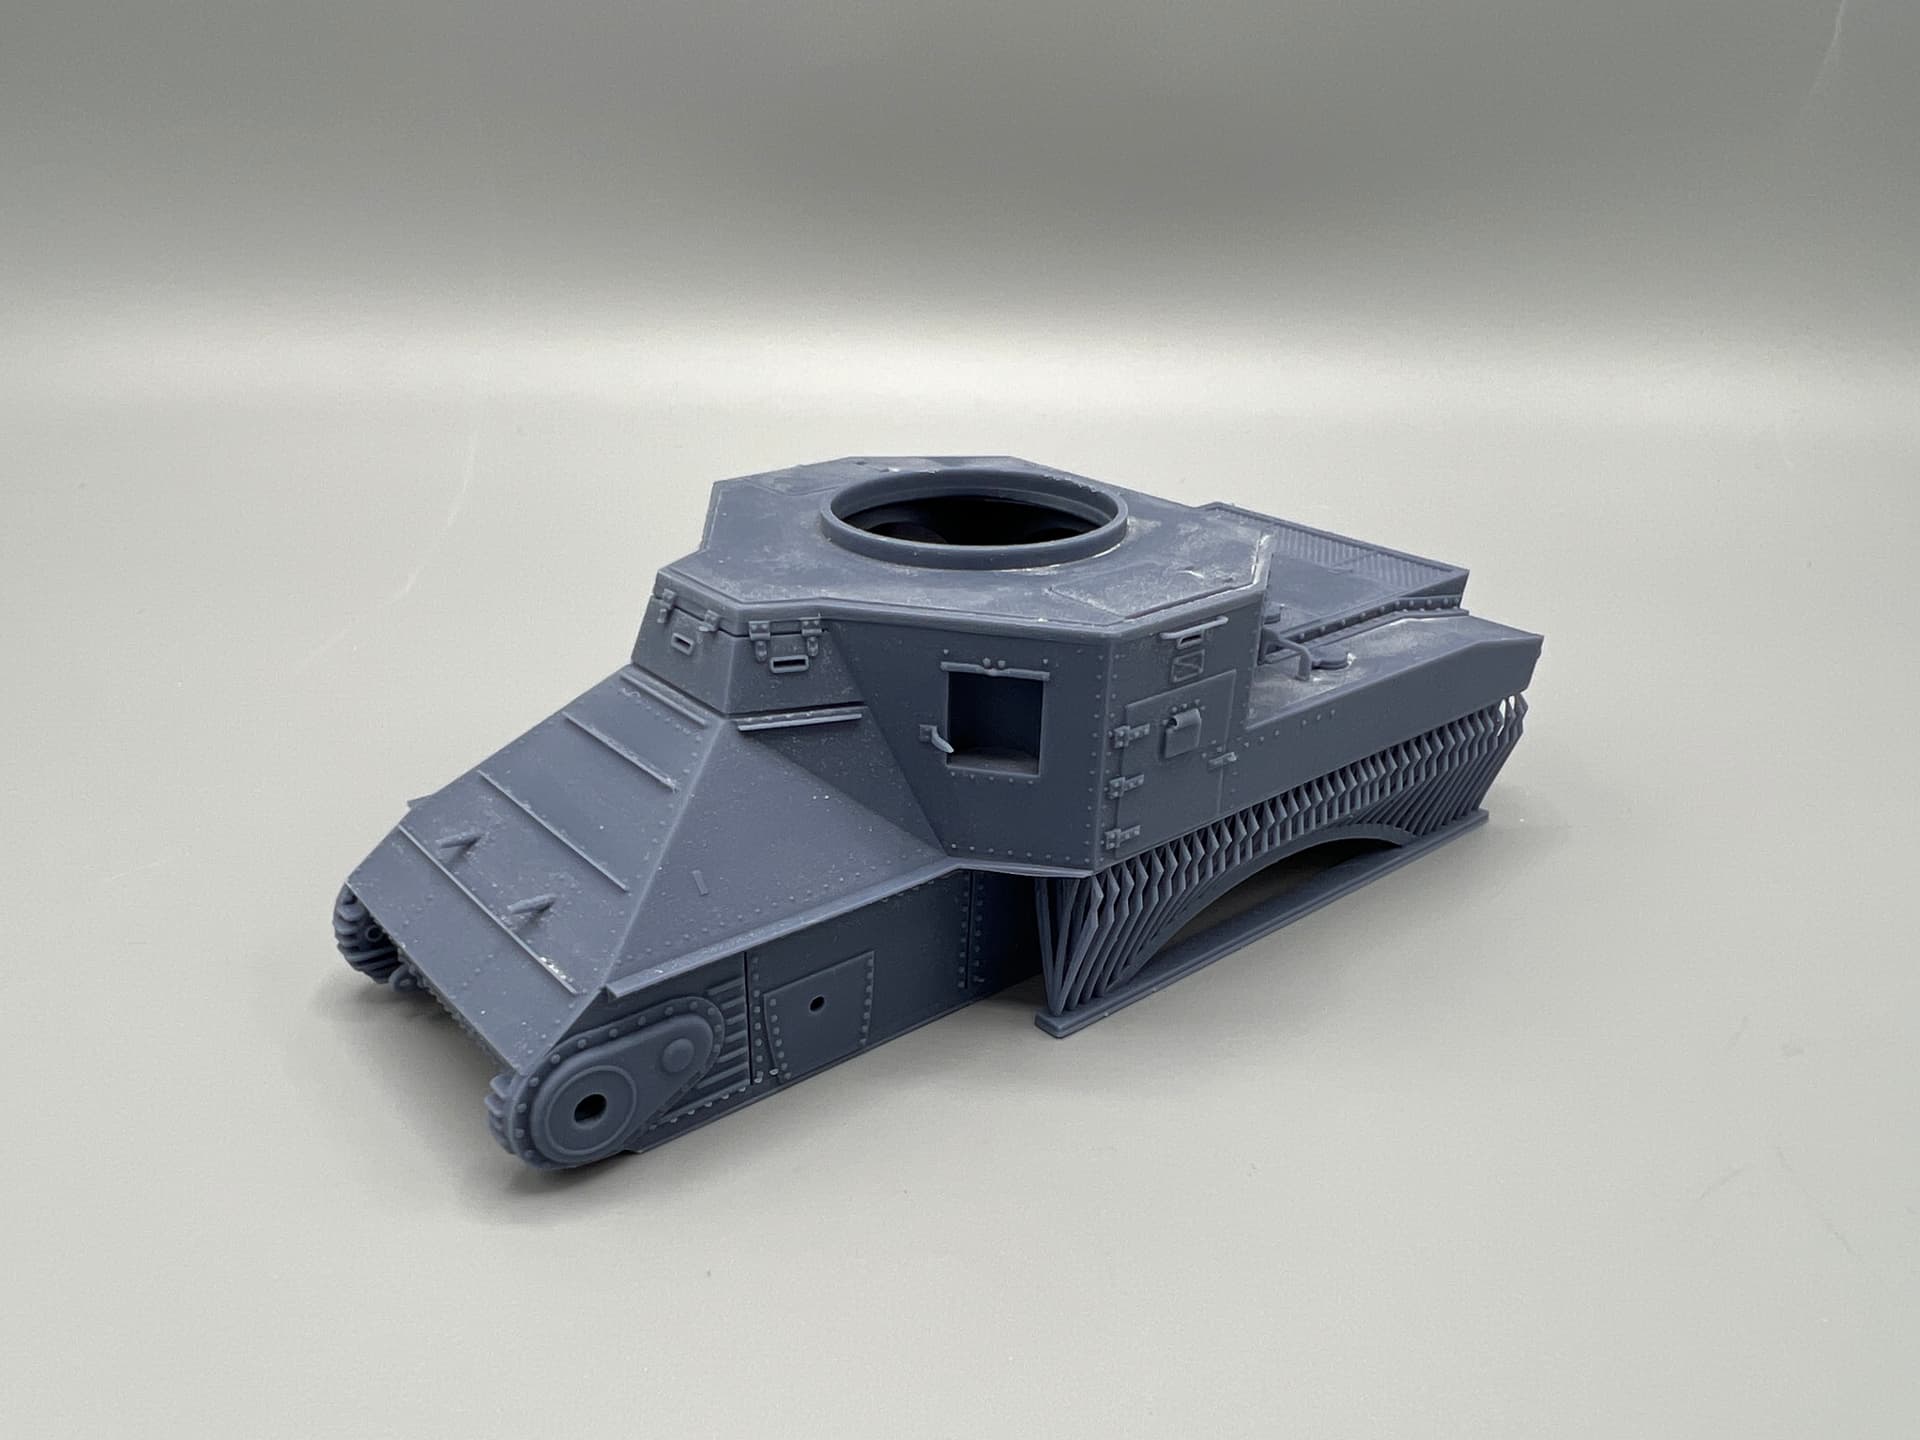
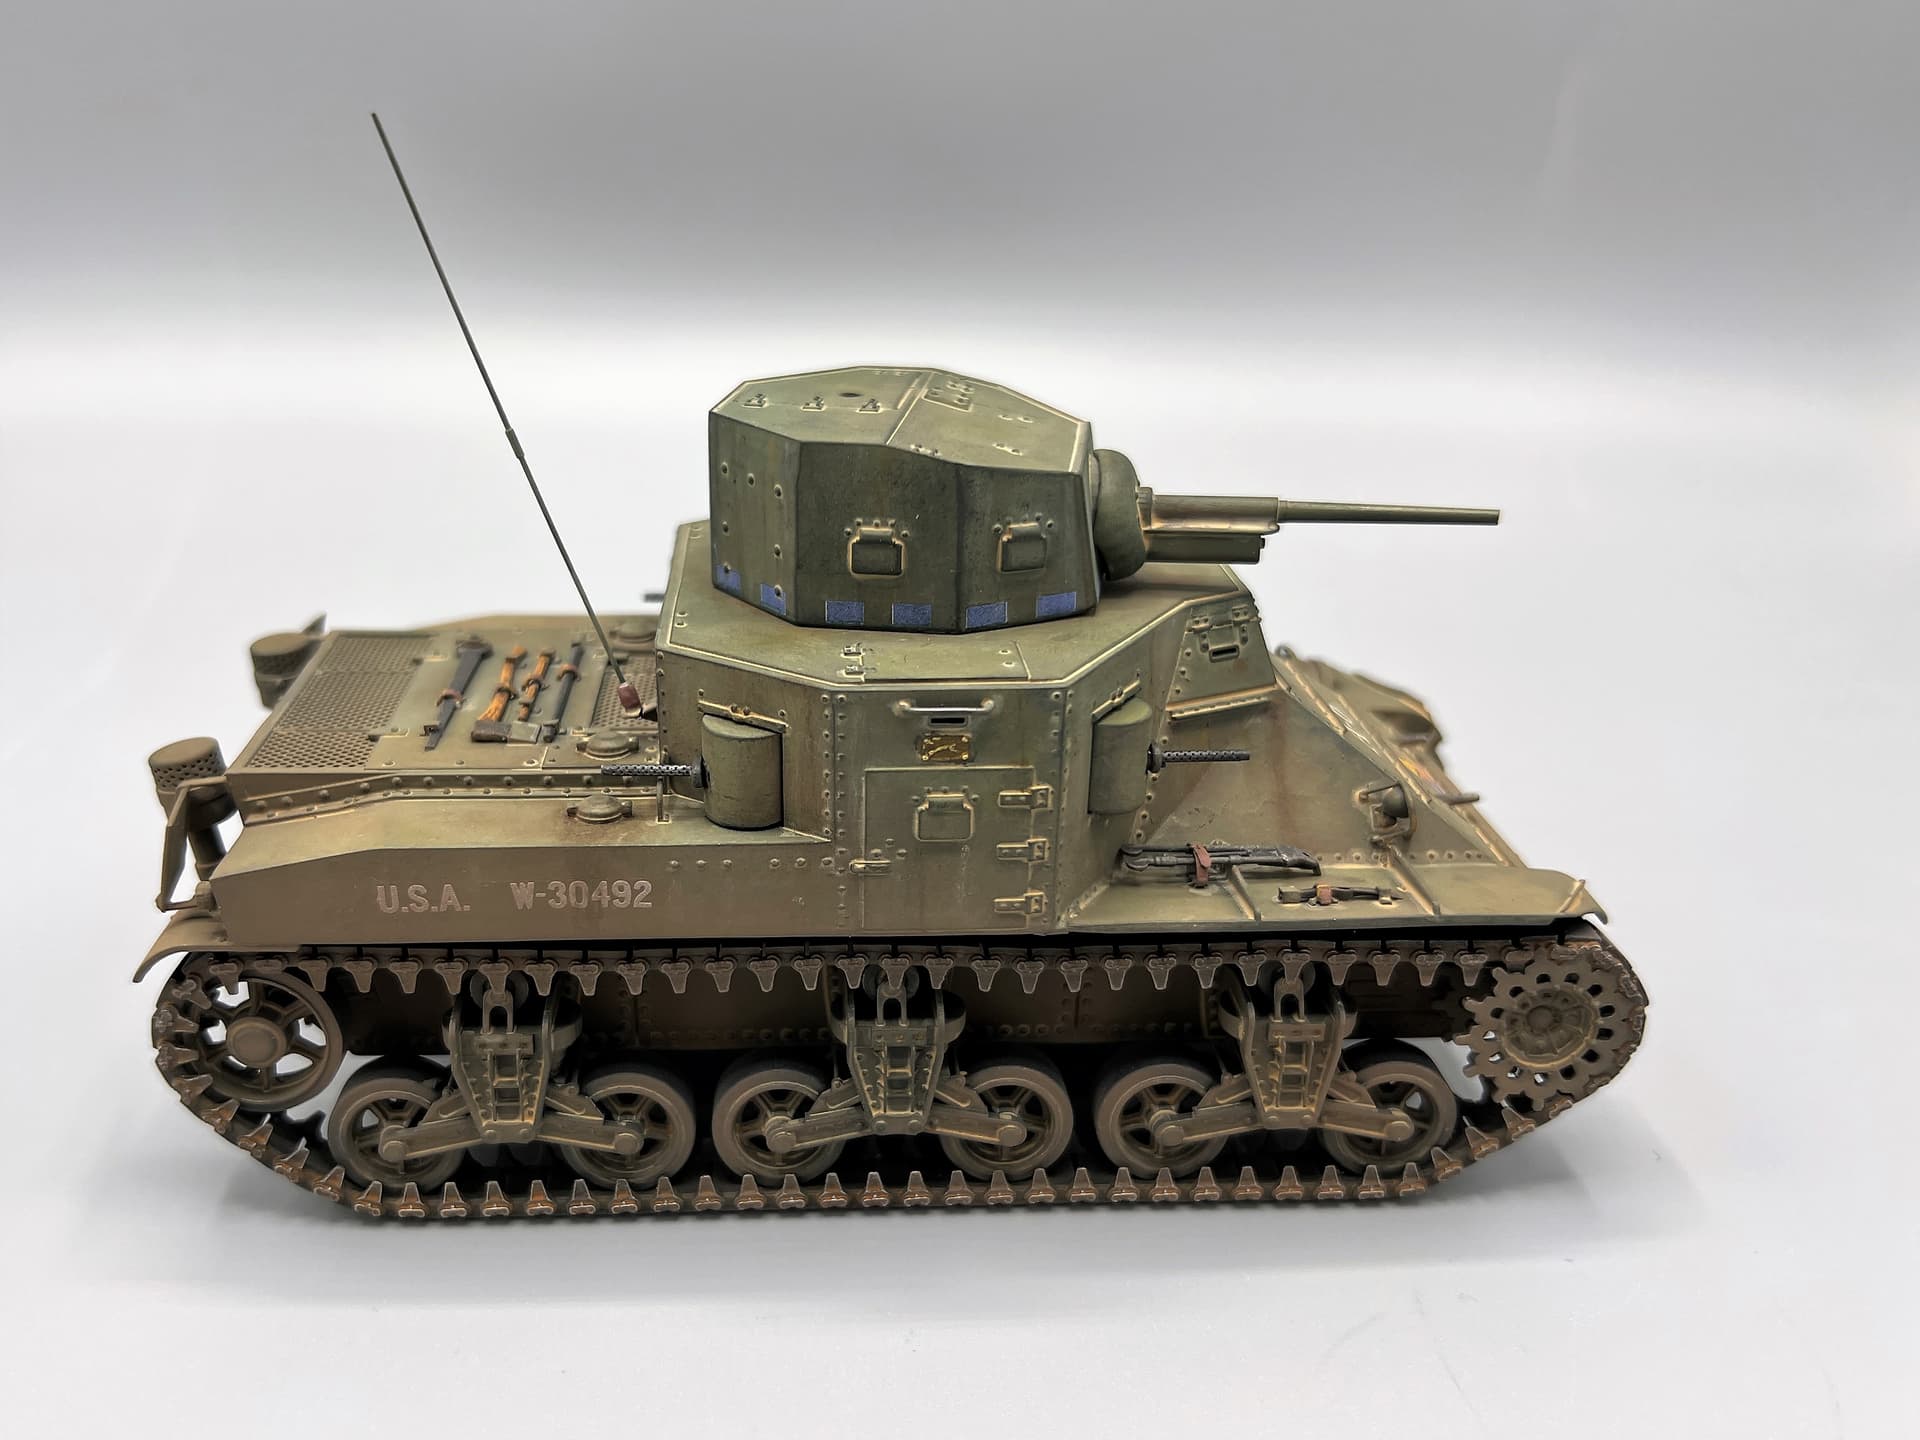
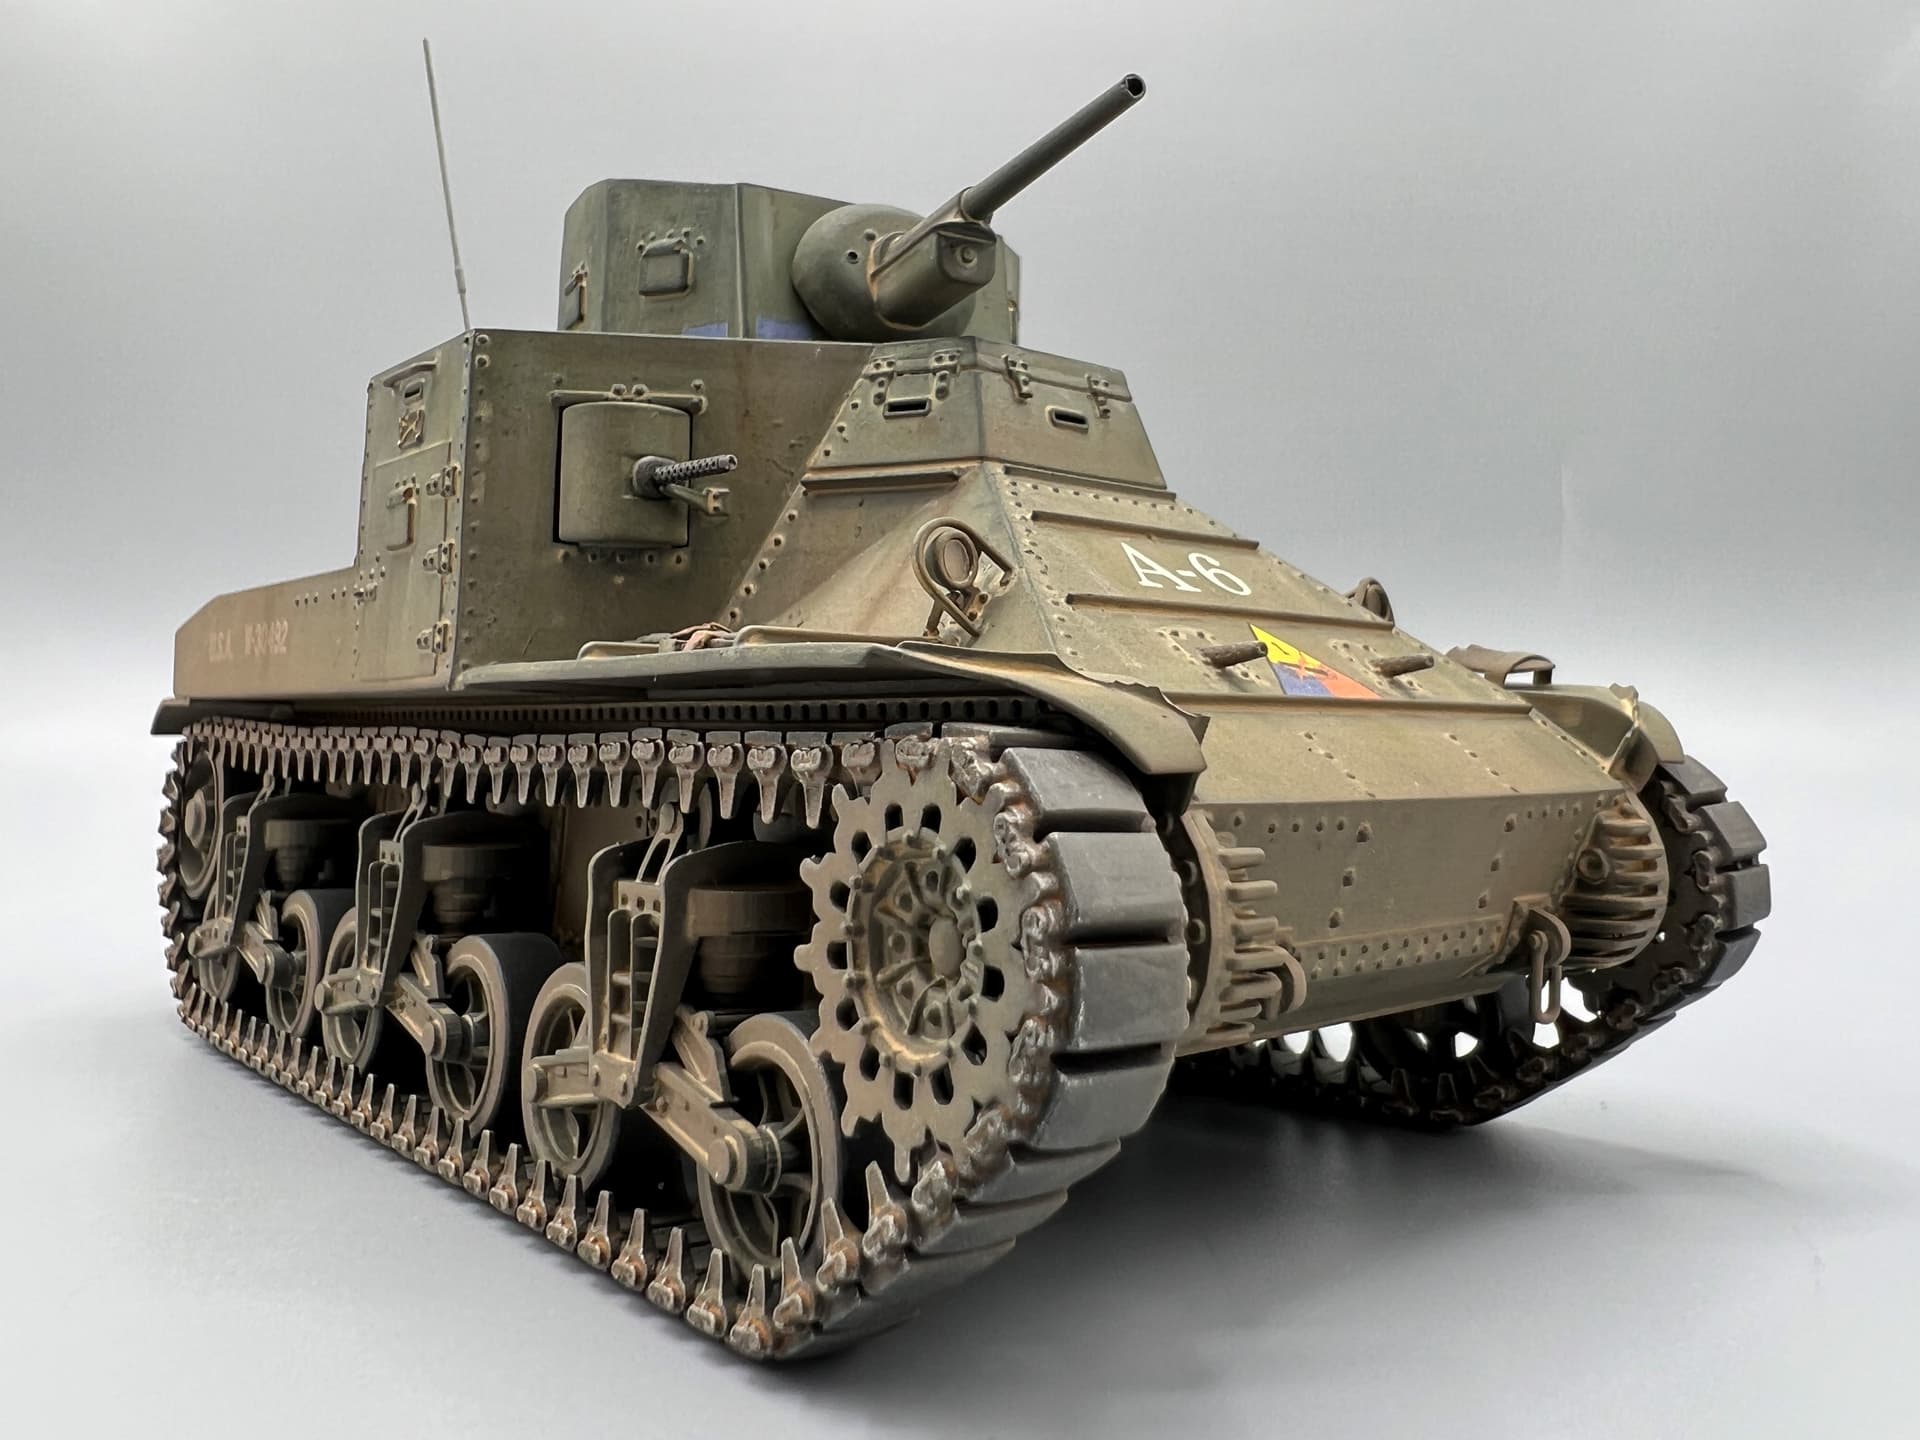
This is another Vargas Scale Models 3D printed resin kit. Vargas continues to pump out these interesting WW1 to 1939 armored vehicles and artillery. Each kit is better than the last. This is Vargas’ most ambitious project yet. The kit is detailed, accurate, and at 44 parts, easy to build. The engine grates and headlight guards are as fine as any PE. The air filters are printed in place beneath the engine grates. Delicate grab handles are printed in place. The one-piece suspension and tracks are superb. My only complaint about the kit is that it lacks most of the clamps and straps for holding the excellent pioneer tools in place. These were added from the spares box and scrap PE.
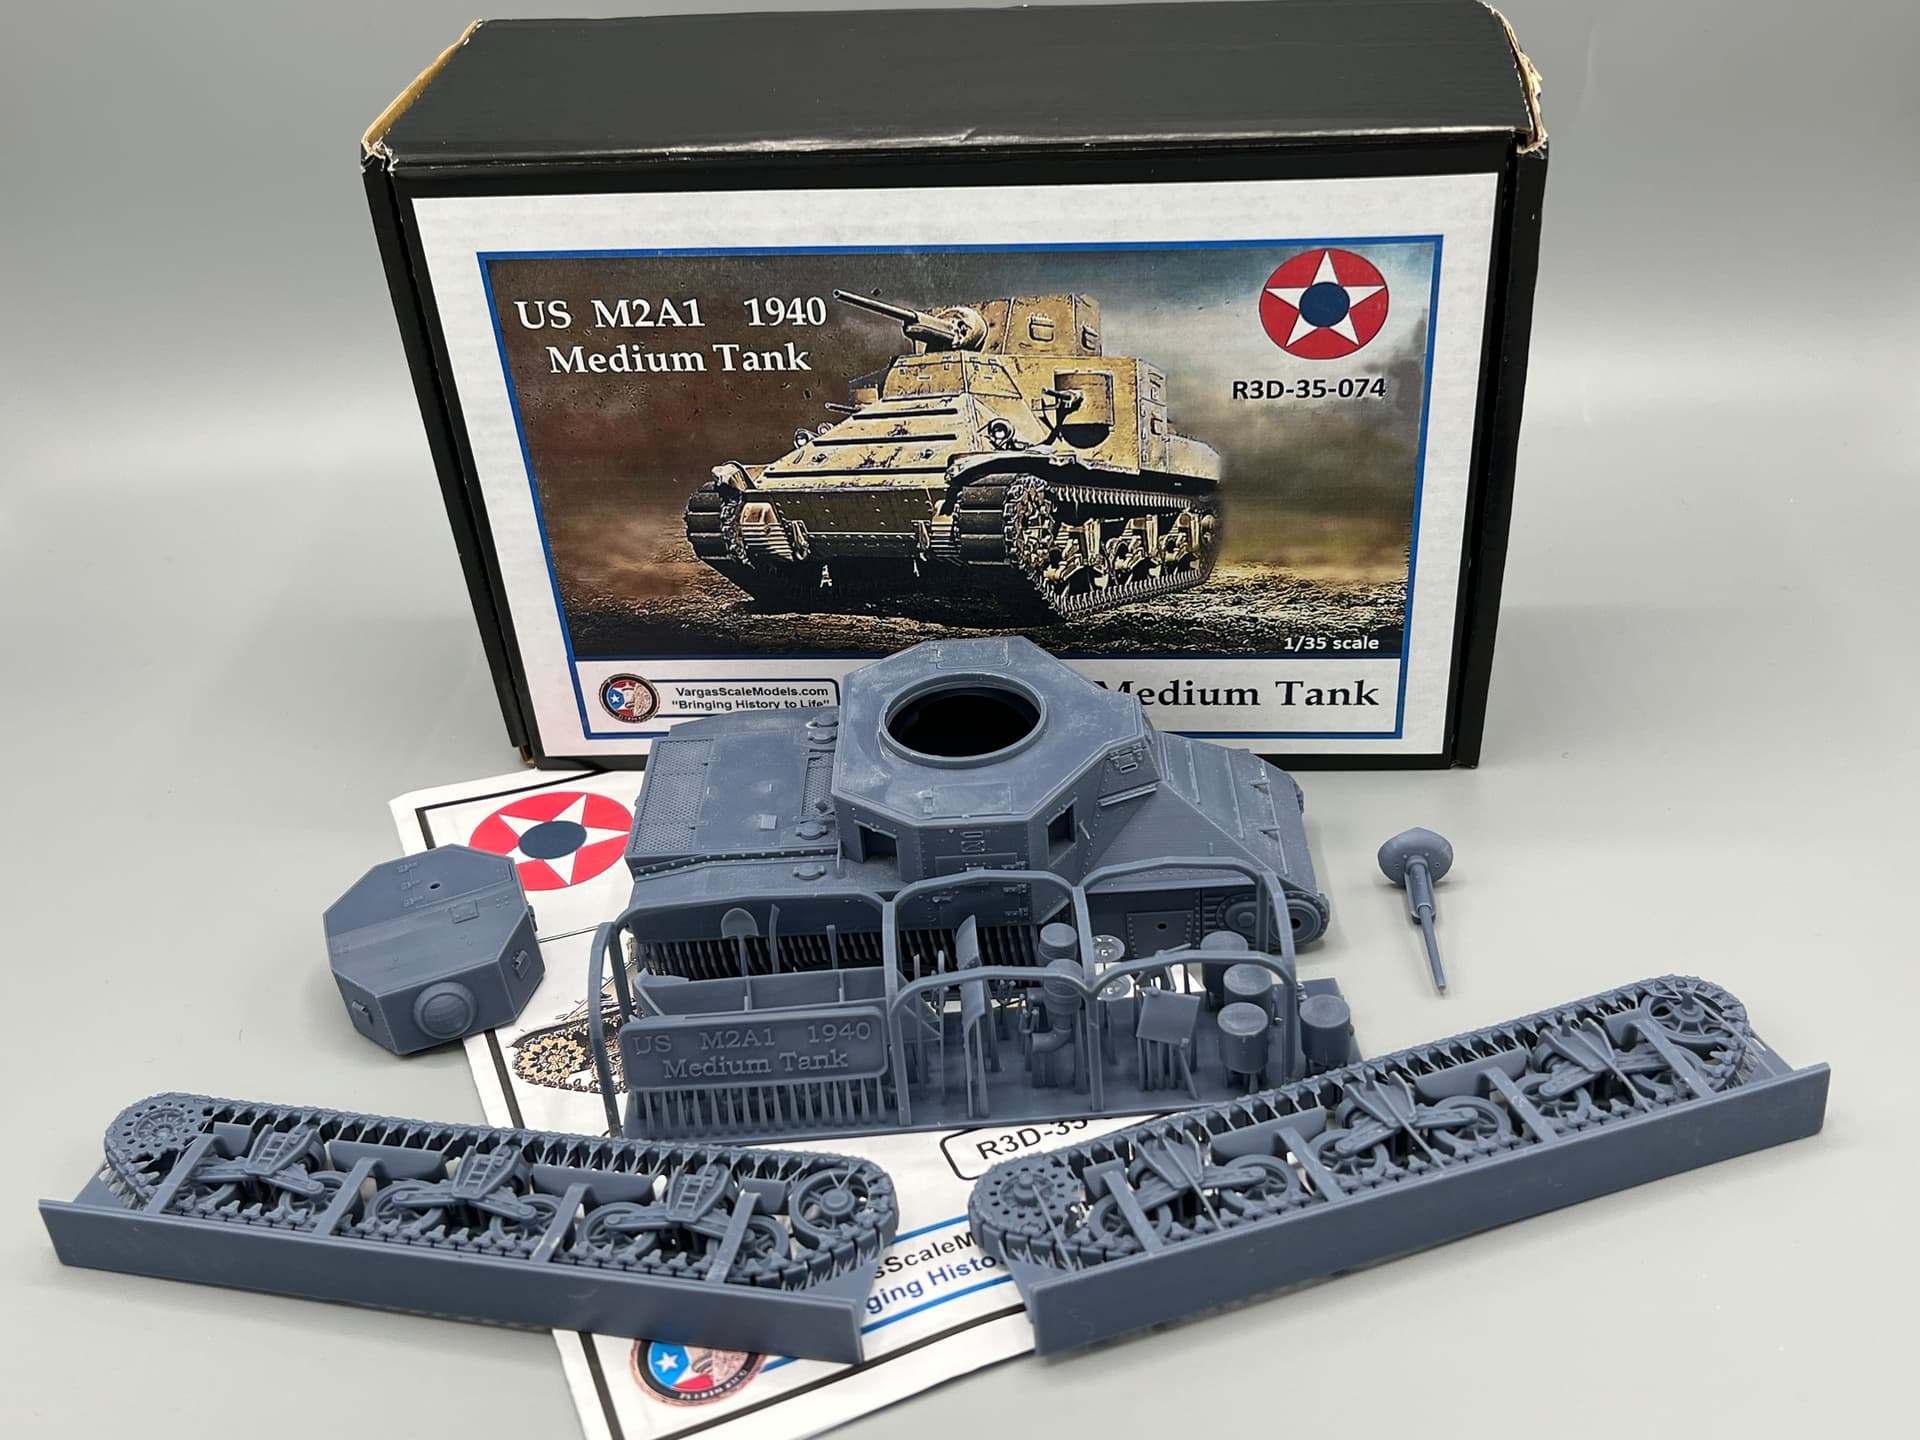
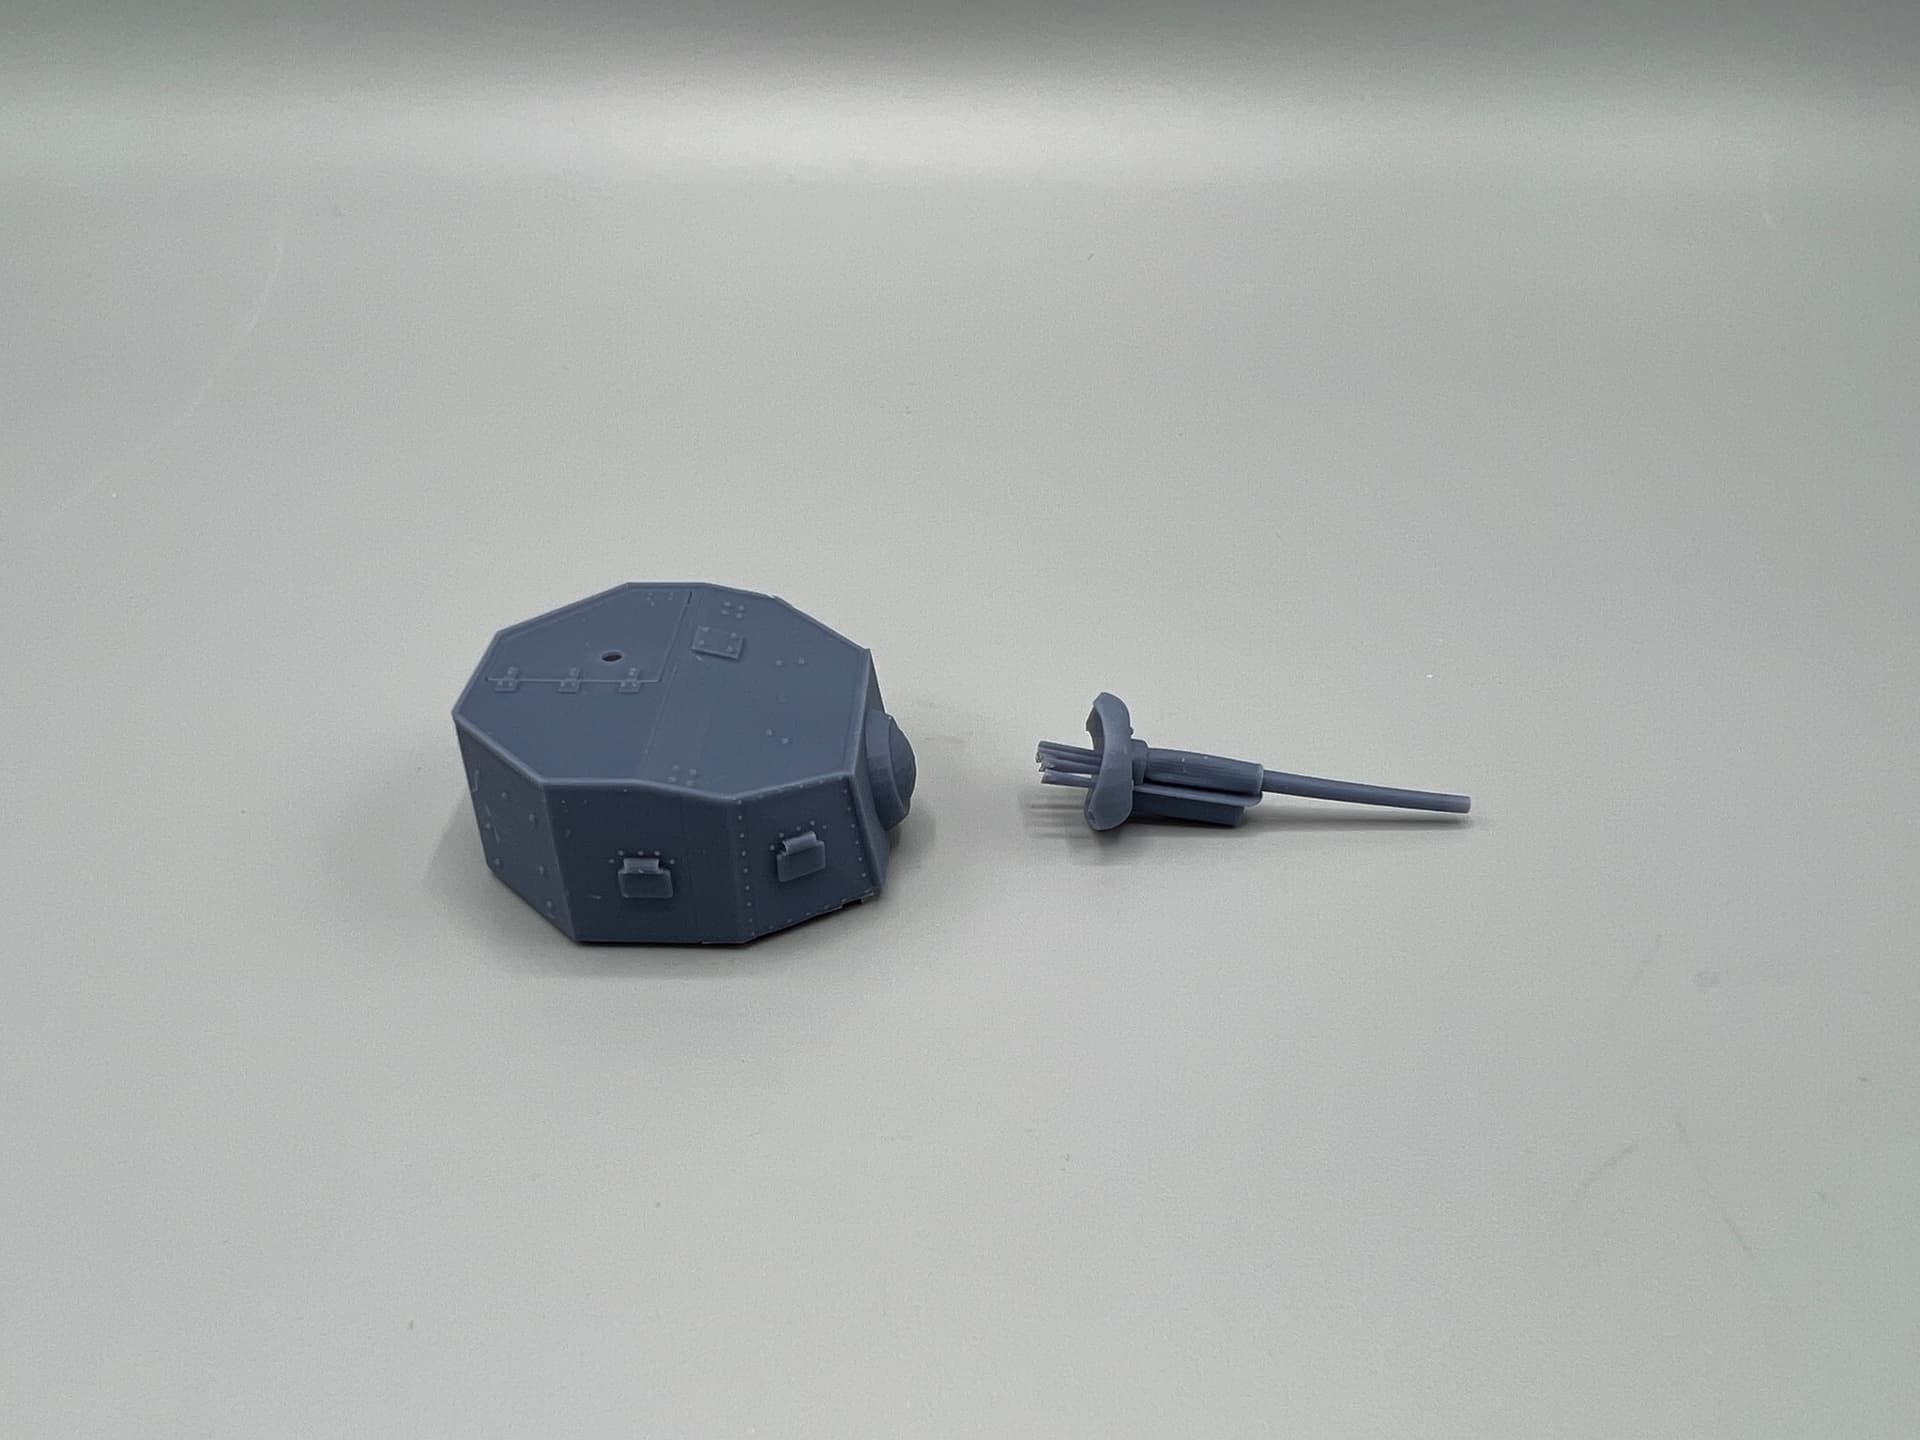
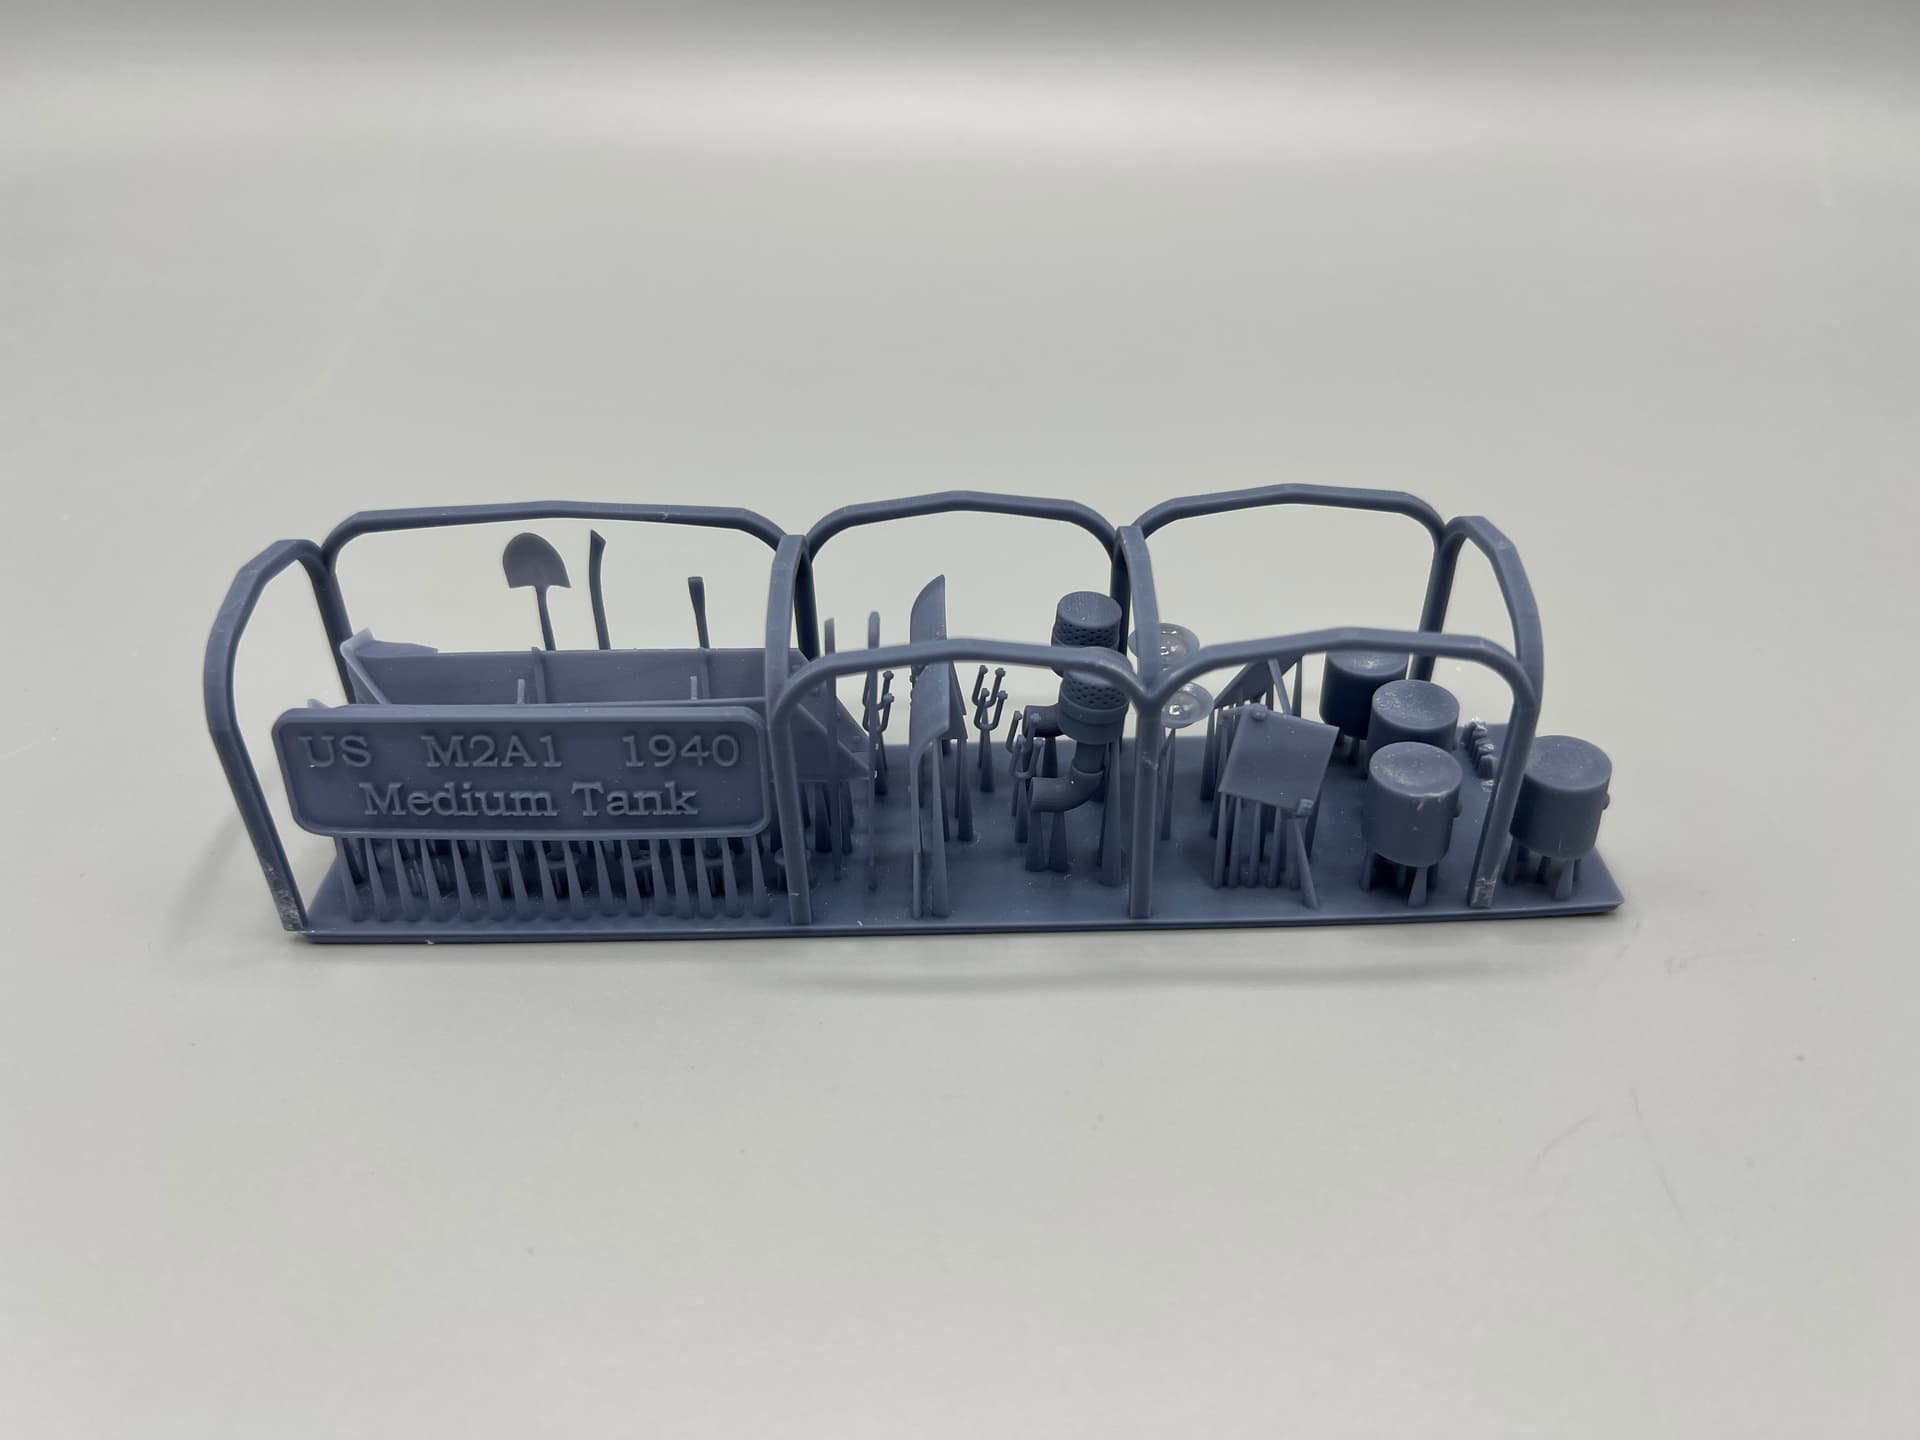
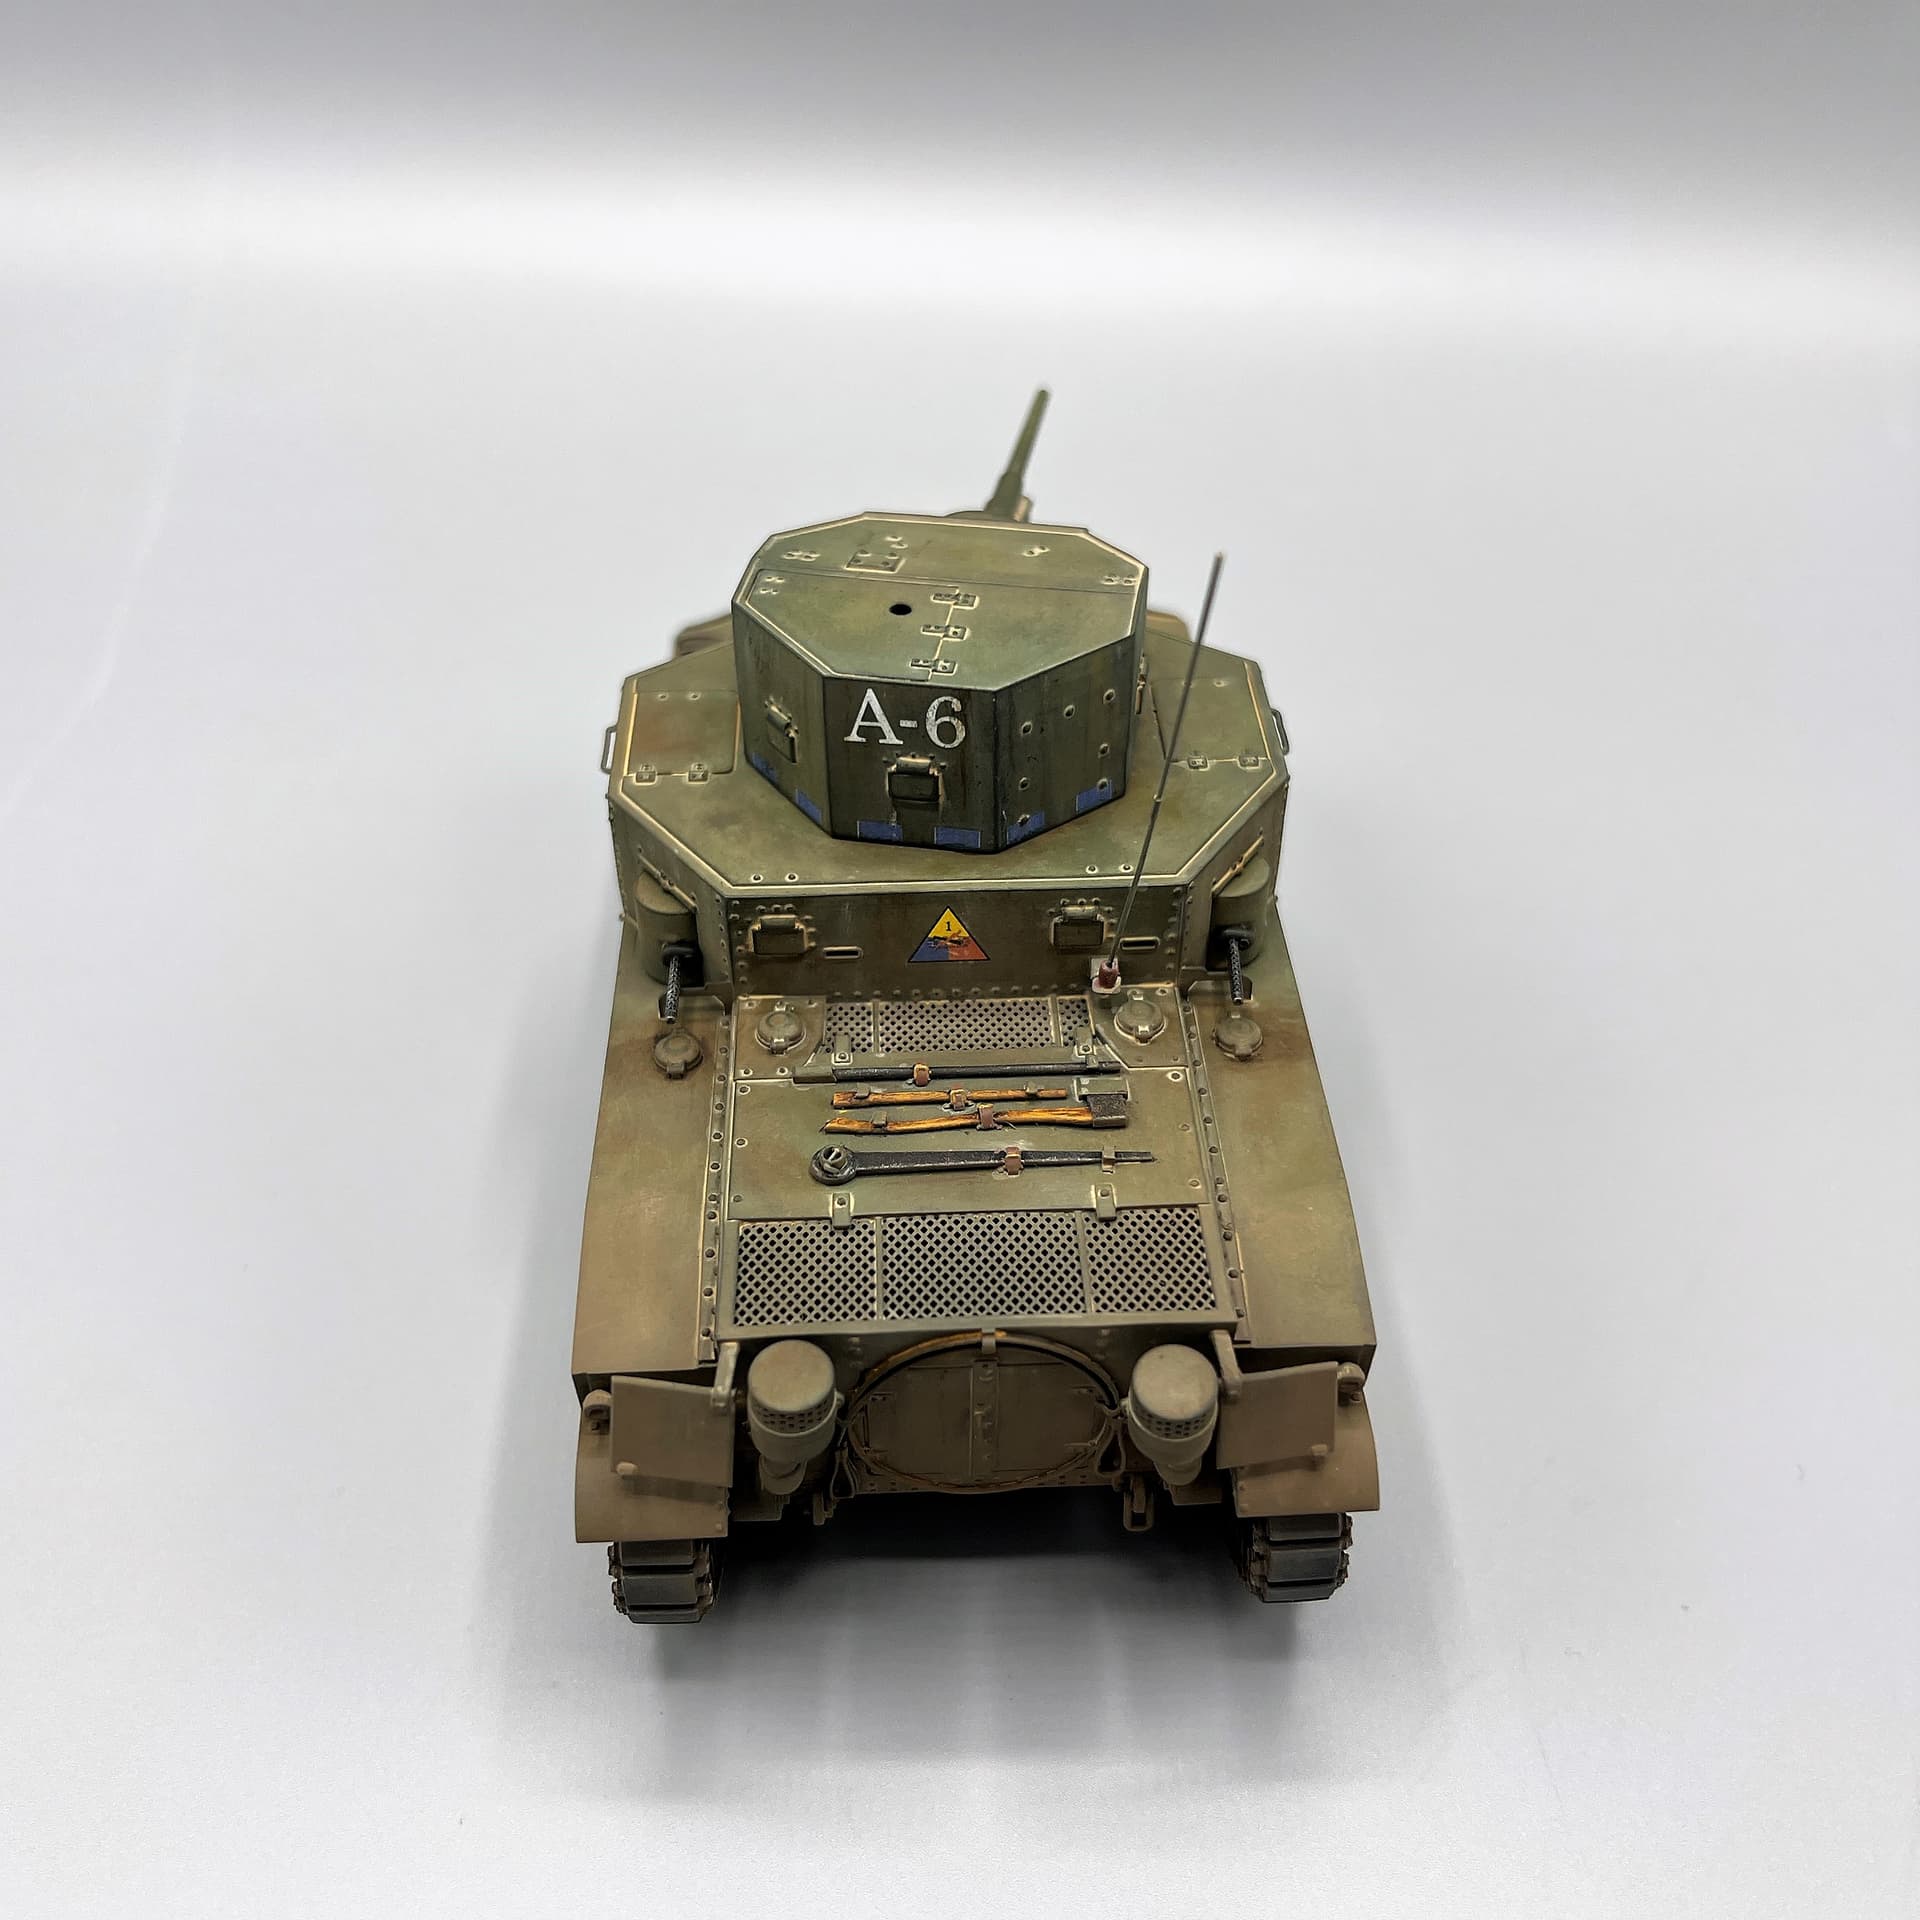
The kit includes some exceptionally thin decals. They were tricky to apply as they were so thin; but look like paint when in place. The 37mm barrel on my kit was not straight. I ended up replacing it with a cut down metal barrel for an M3 Lee that I had in my stash. Luis Vargas stated that he has since redesigned the barrel and supports to keep it straight. Vargas includes two options for the machine guns, with and without the cast bullet shield. I opted to build mine with the shields. I also added a .30 cal tripod from the spares box to the fender as these are visible in most of the photos.
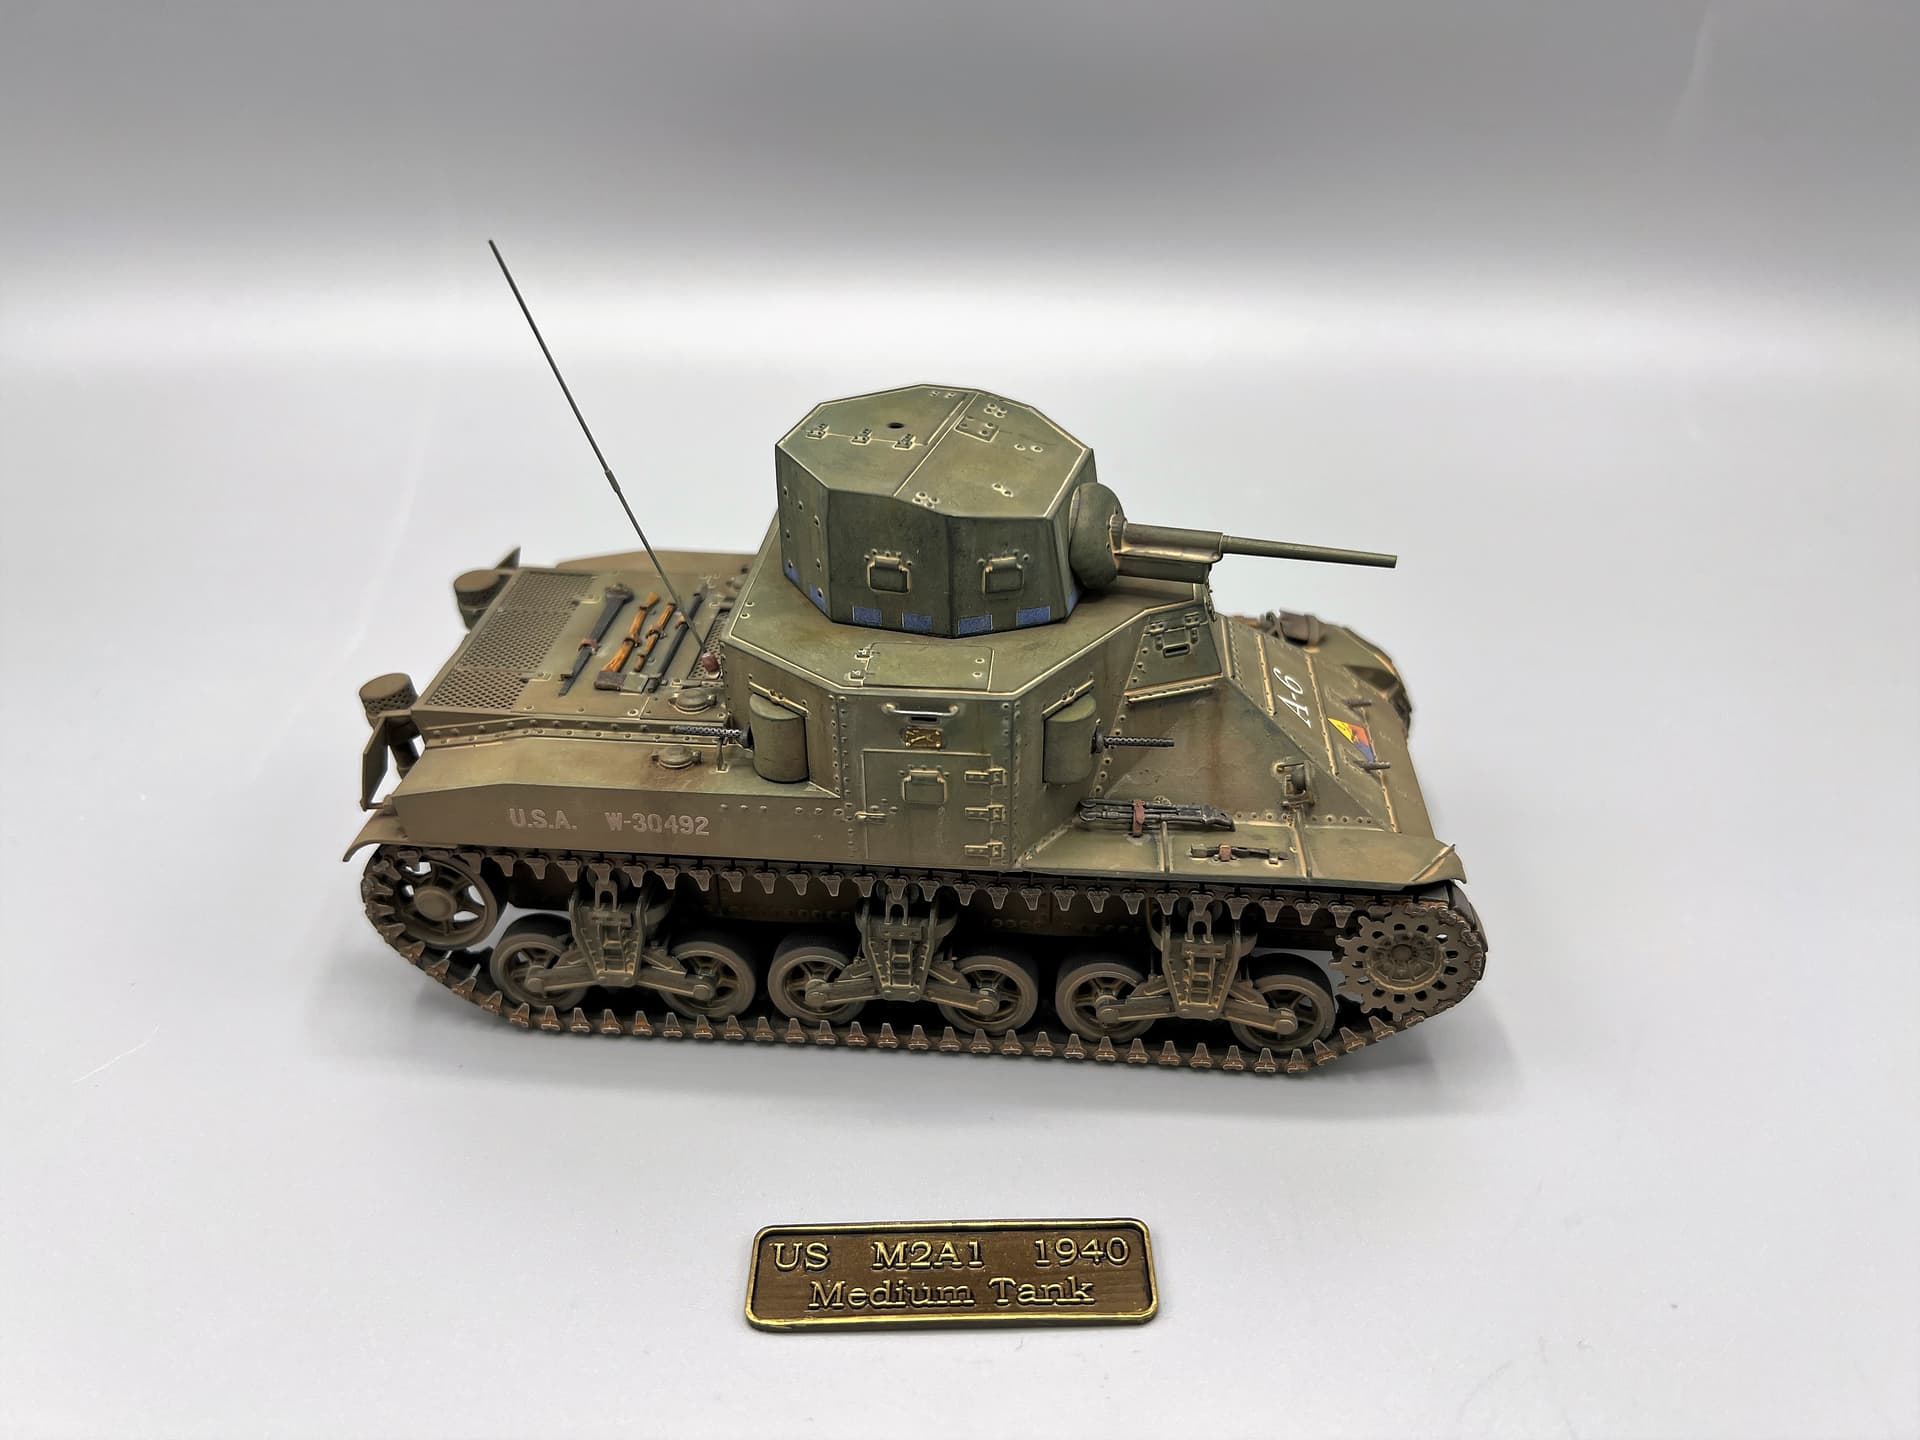
One of the advantages of 3D printed kits is that the build is very quick. This makes me braver in trying new painting and weathering techniques and products. For this build I tried 3 layers of hairspray and paint to give it a scuffed and worn look. After priming and pre-shading, I applied a base coat of lightened Tamiya XF-62. This was followed by a coat of hairspray and a thin coat of lightened XF-67 NATO Green. This coat was then mostly scrubbed off with a wide, water dampened brush. I sealed this effect with a coat of Alclad Aqua Gloss and applied another layer of hairspray. I followed this with a very light, transparent, and uneven coat of XF-71 Cockpit Green. This was again mostly scrubbed off with a water dampened wide brush concentrating on the edges and crew wear spots. This resulted in the scuffed up worn look to the paint. I then did a dot filter of various Windsor and Newton oils, sealed it and applied the decals. After sealing the decals with Alclad Aqua Gloss, I applied a pin wash of AK Africa Dust and cleaned up and blended with a makeup sponge. I continued to weather with various AK enamel weathering products. Once I was happy with the results, I sealed it with my trusty Model Master Flat Lacquer from my last-time-buy horde. With the flat coat in place, I lightly dry brushed with 502 Abteilung ABT150 Field Grey. Finally, I hit the suspension and lower hull with a dusting of XF-71 JGSDF Brown.
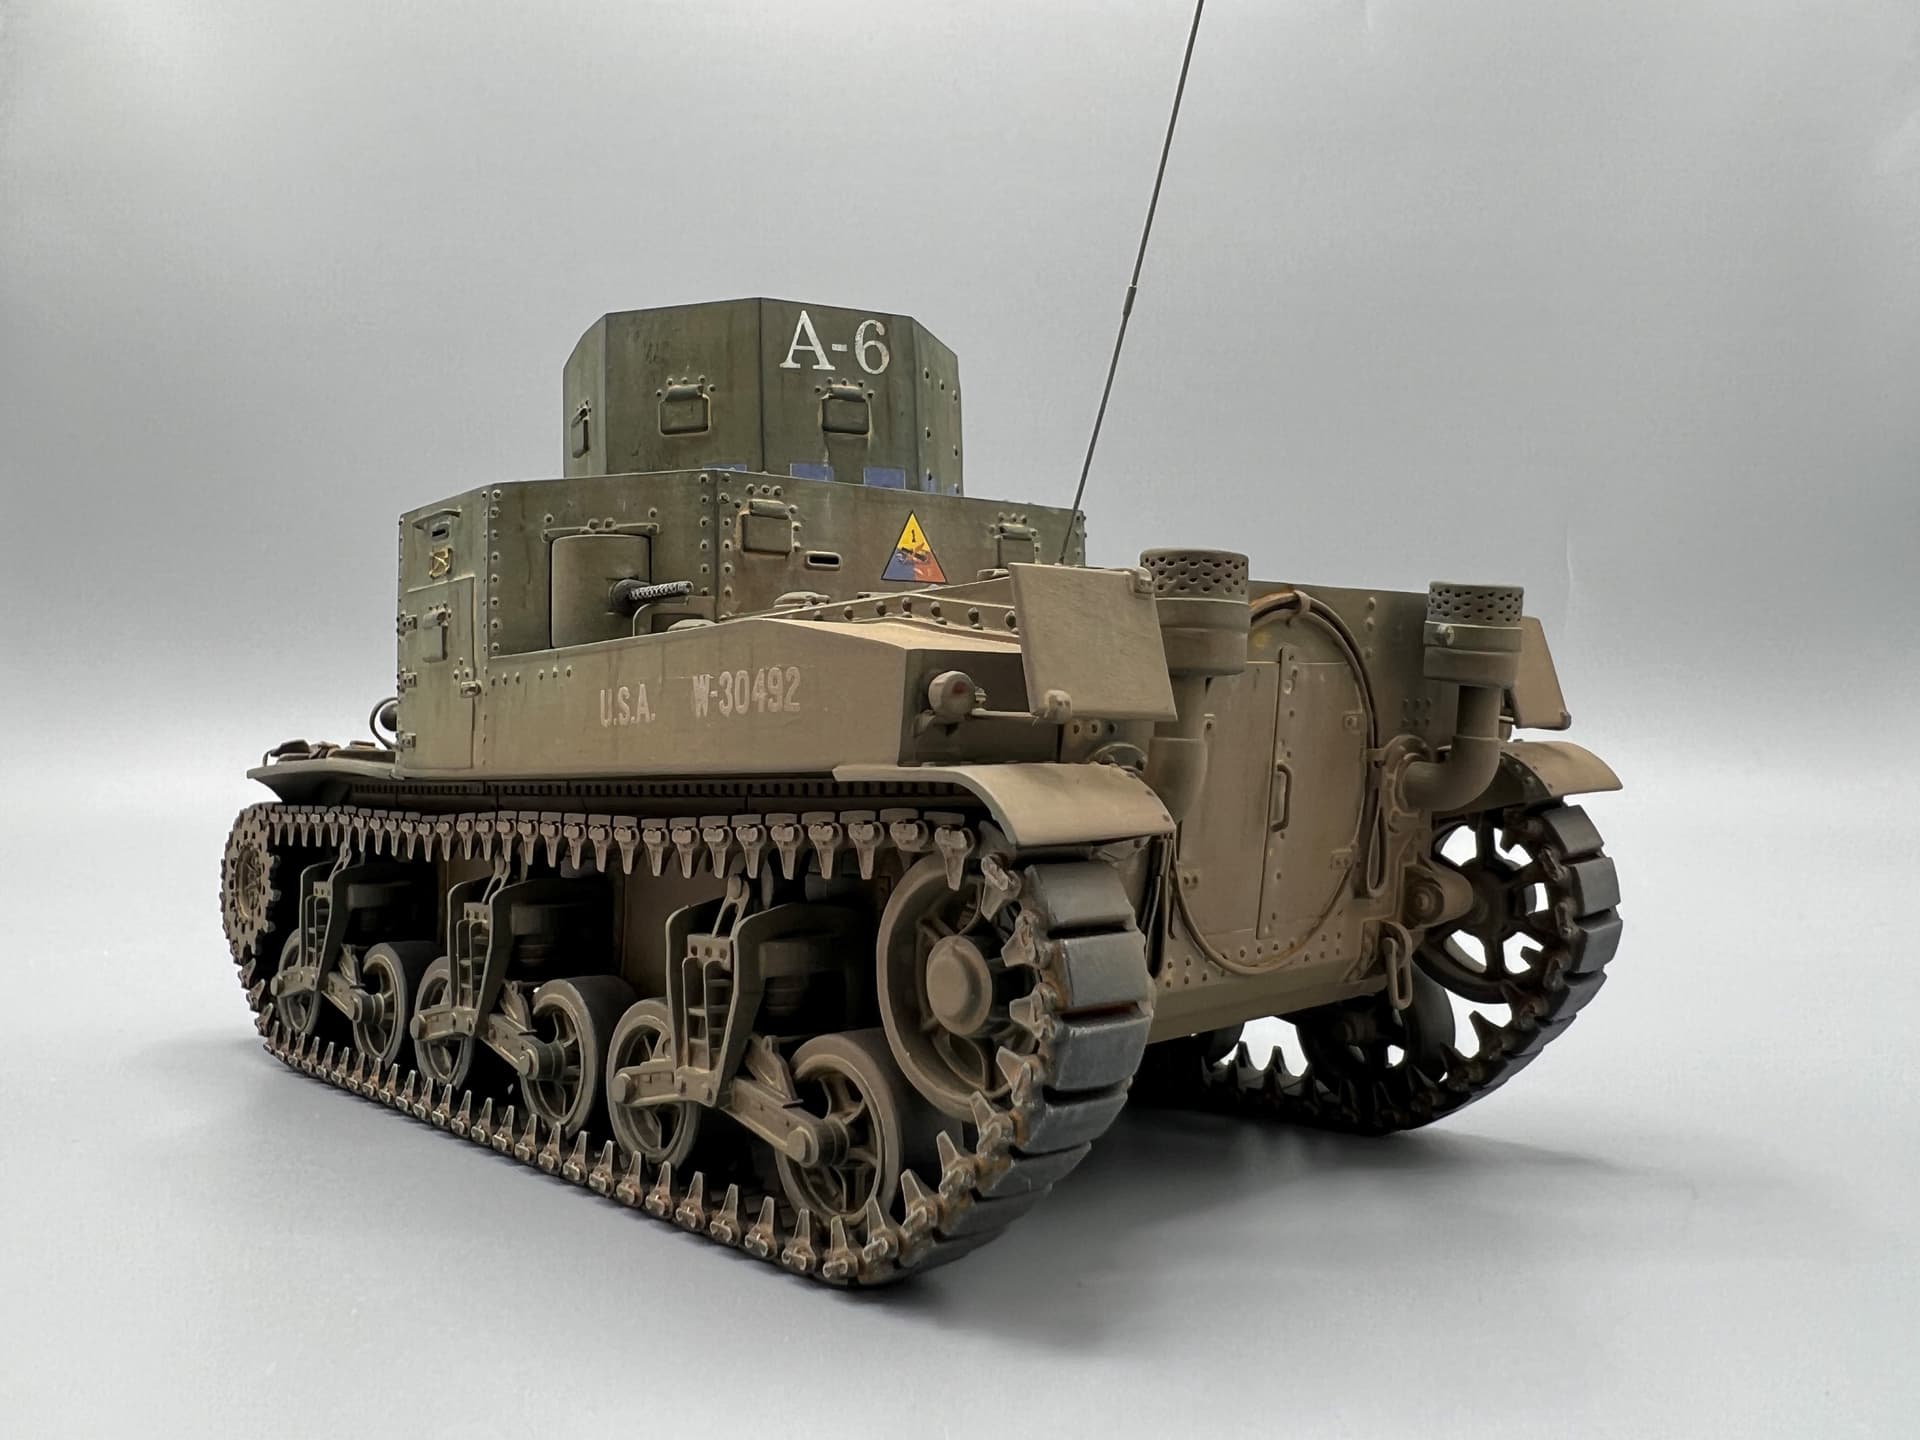
This was a fun project. I’ve wanted to build this subject for a long time; but, just never had the strength to start on the resin kit in my stash. The Vargas 3D printed kit is highly detailed and went together quickly. It looks good in the display case and am looking forward to more US interwar tanks from Vargas.