Never built this Kit but I am very interested to see your Build. She is Huge…Cheers Mark
My time lately has been spent placing various vents etc across the hull. There were a lot of these and most had no locator on the hull. Had to use the PE instructions and guesstimation on placement. Some are a little wonky but nothing a coat of paint wont hide.
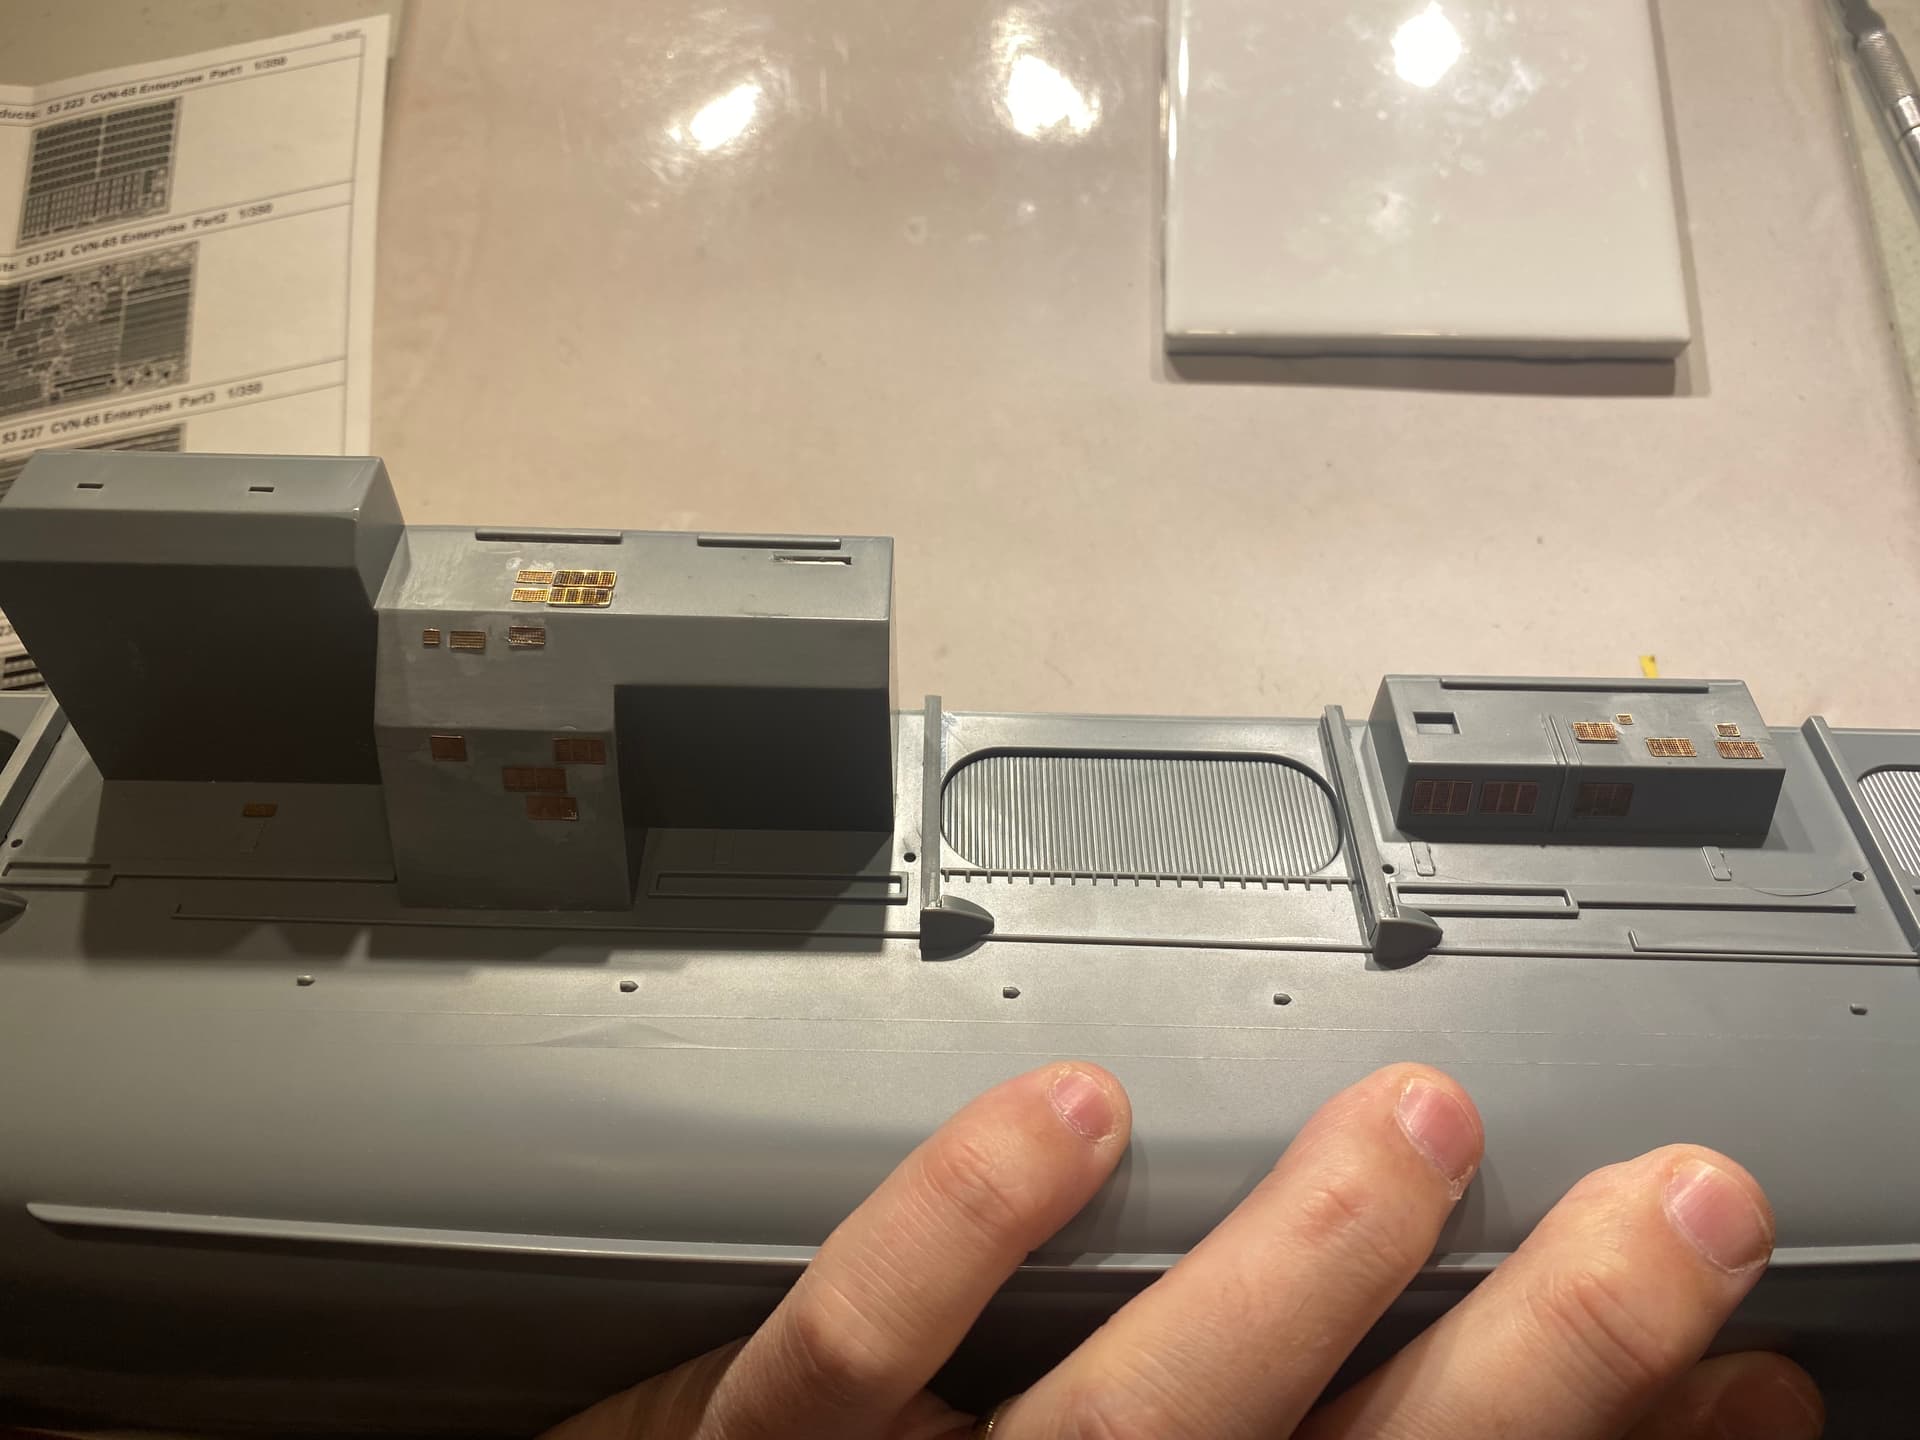

I can finally start building things and attaching to the hull.
11 Likes
That is alot of vents lol … I am glad it was not me doing it !! Will all add to the final look, so nice job … ![]()
As Johnny says, definitely quite a lot of vents,
Looks good despite guesstimation and in the end, nobody will be able to tell wether all are placed correctly.
Nice job and a lot of work!
Cheers
Jan
It may be boring mundane work but they certainly add some great detail to the HUll…Cheers Mark
This is a great kit, but like a lot of Tamiya kits from that era, and as is true of building most ships, matching the actual kit, with the way the ship had been modified at the period you’re representing requires a bit of attention to detail.
Since the kit is clearly not intended to be CVN-65 1.0 (the original version with the beehive island) it appears that Tamiya intended to represent the ship as she appeared during the early to mid 80’s after her major re-fit. One thing that I noticed that was different after the rebuild and should have been better represented is the length of the forward port sponson where the Phalanx CIWS is located. This sponson was evidently not present on Enterprise 1.0 and was added during the re-fit, but it appears that the kit version is not long enough.
Another glaring issue that for some reason Tamiya seems to have completely missed is that they didn’t include a platform for the LSO!
If you can find the Bert Kinzey "USS Enterprise in Detail and Scale, D&S Volume 39, I found that to be extremely helpful since it was published and depicts the ship at about the same time the kit represents.
But fair warning, the book is out of print and is pretty expensive these days!
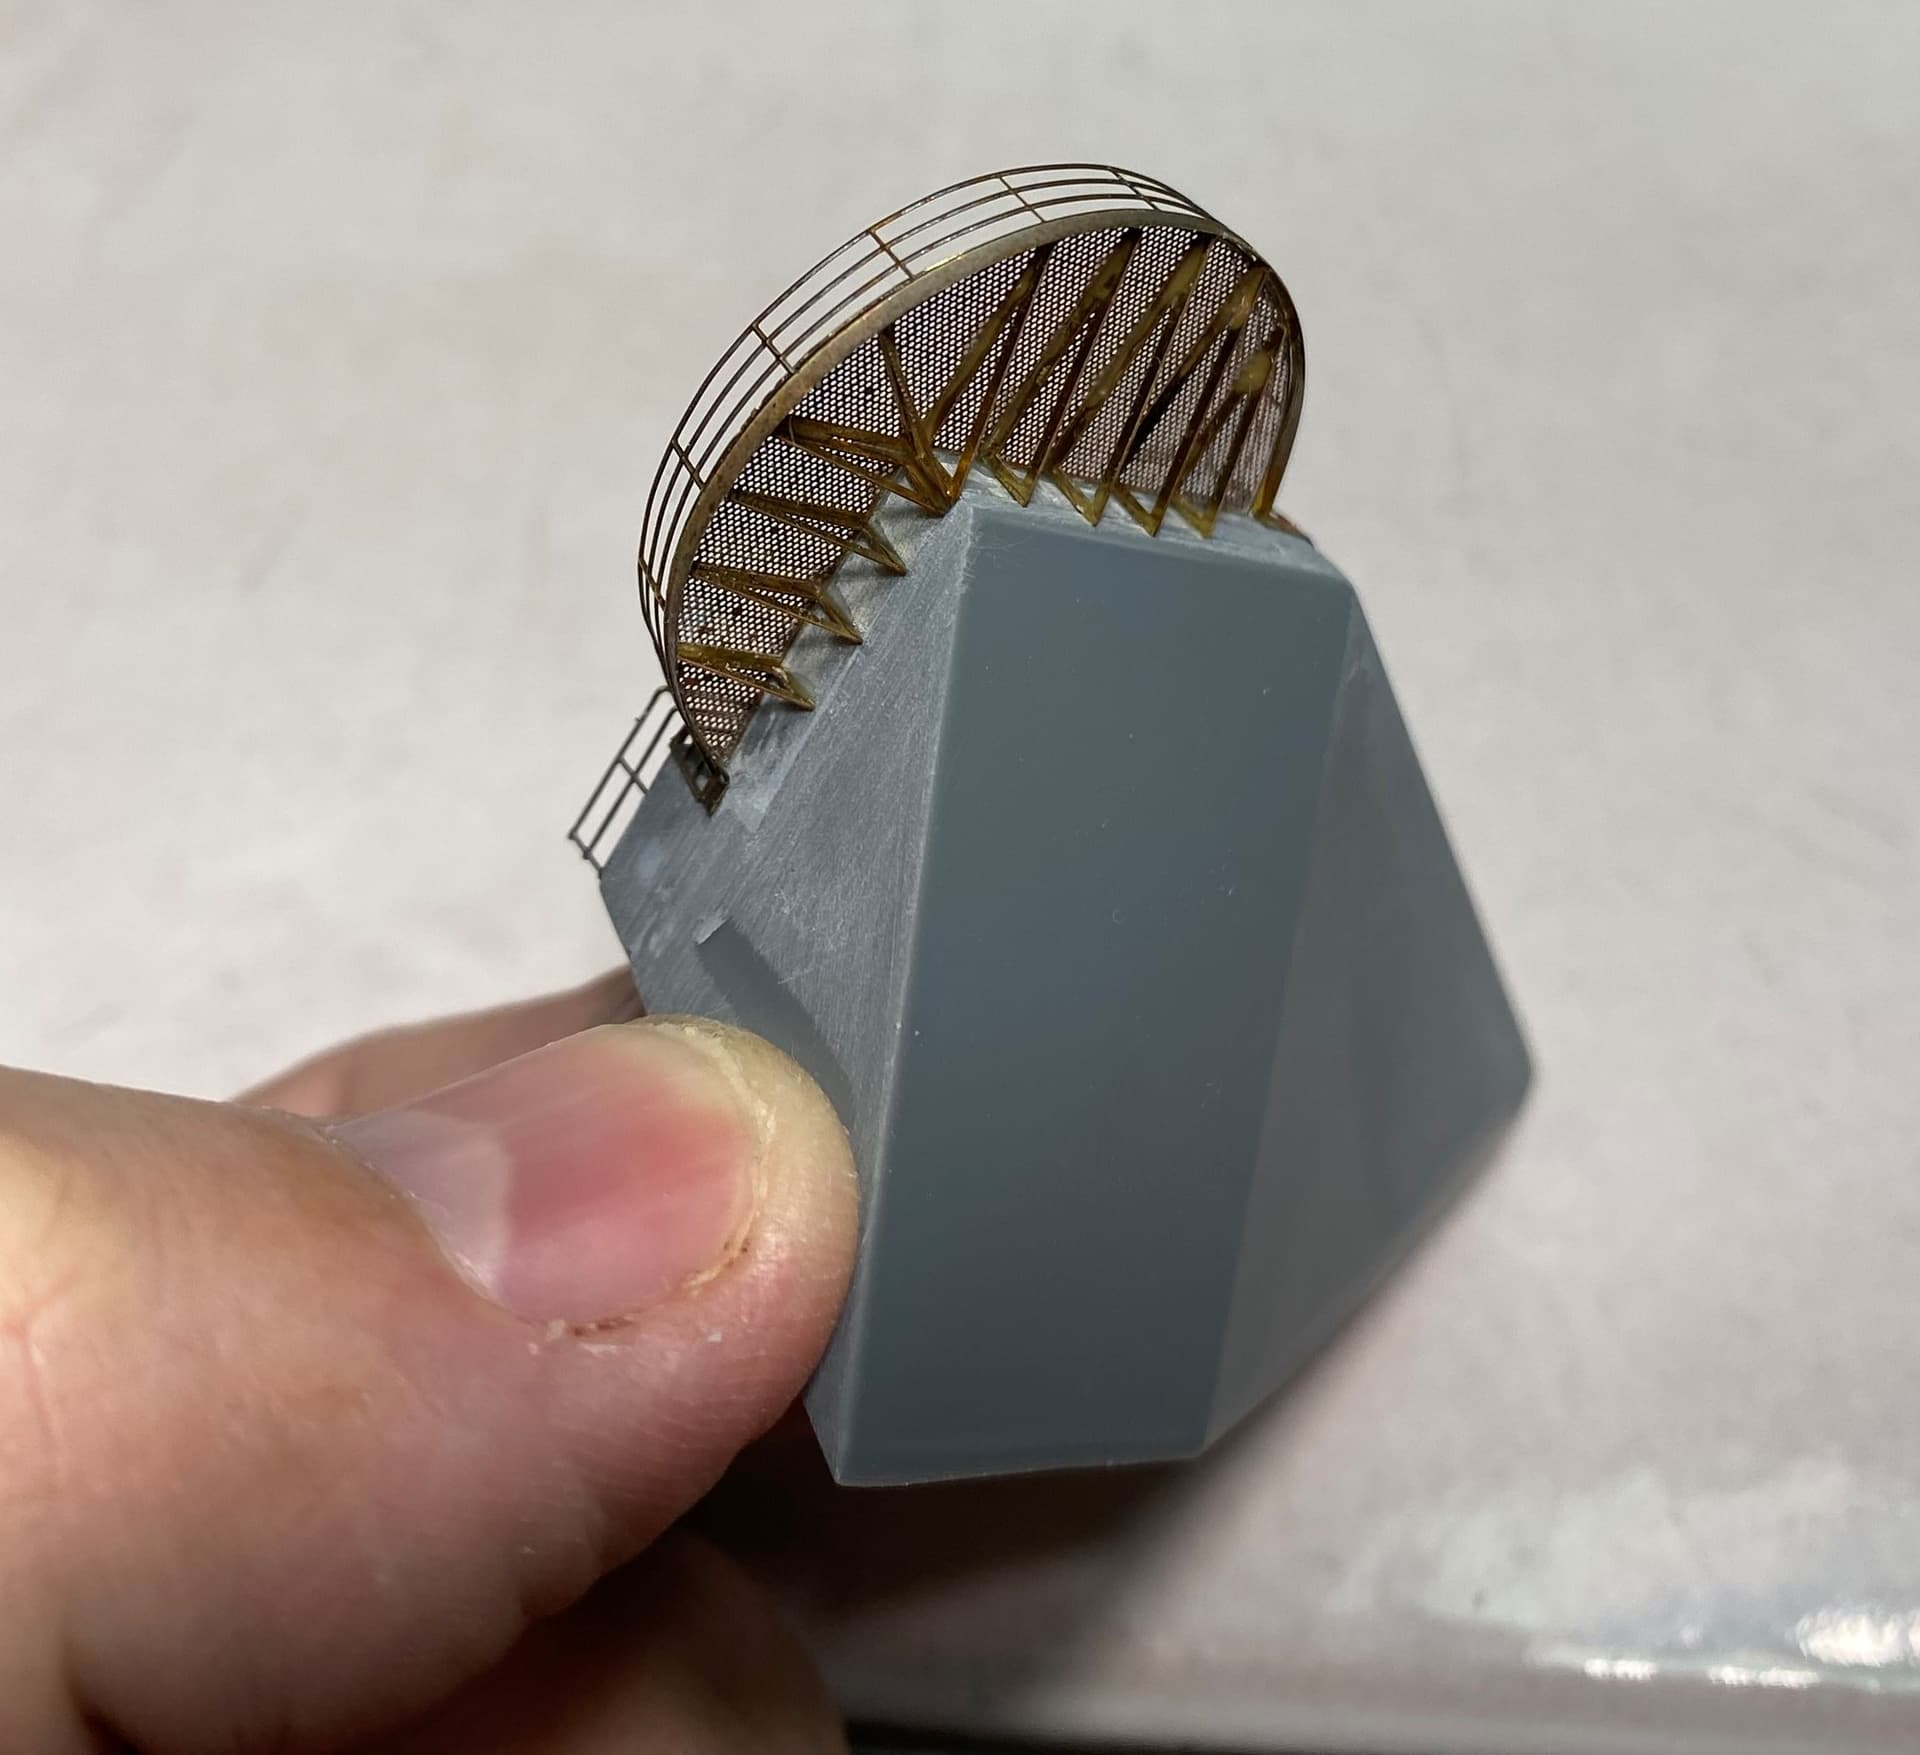
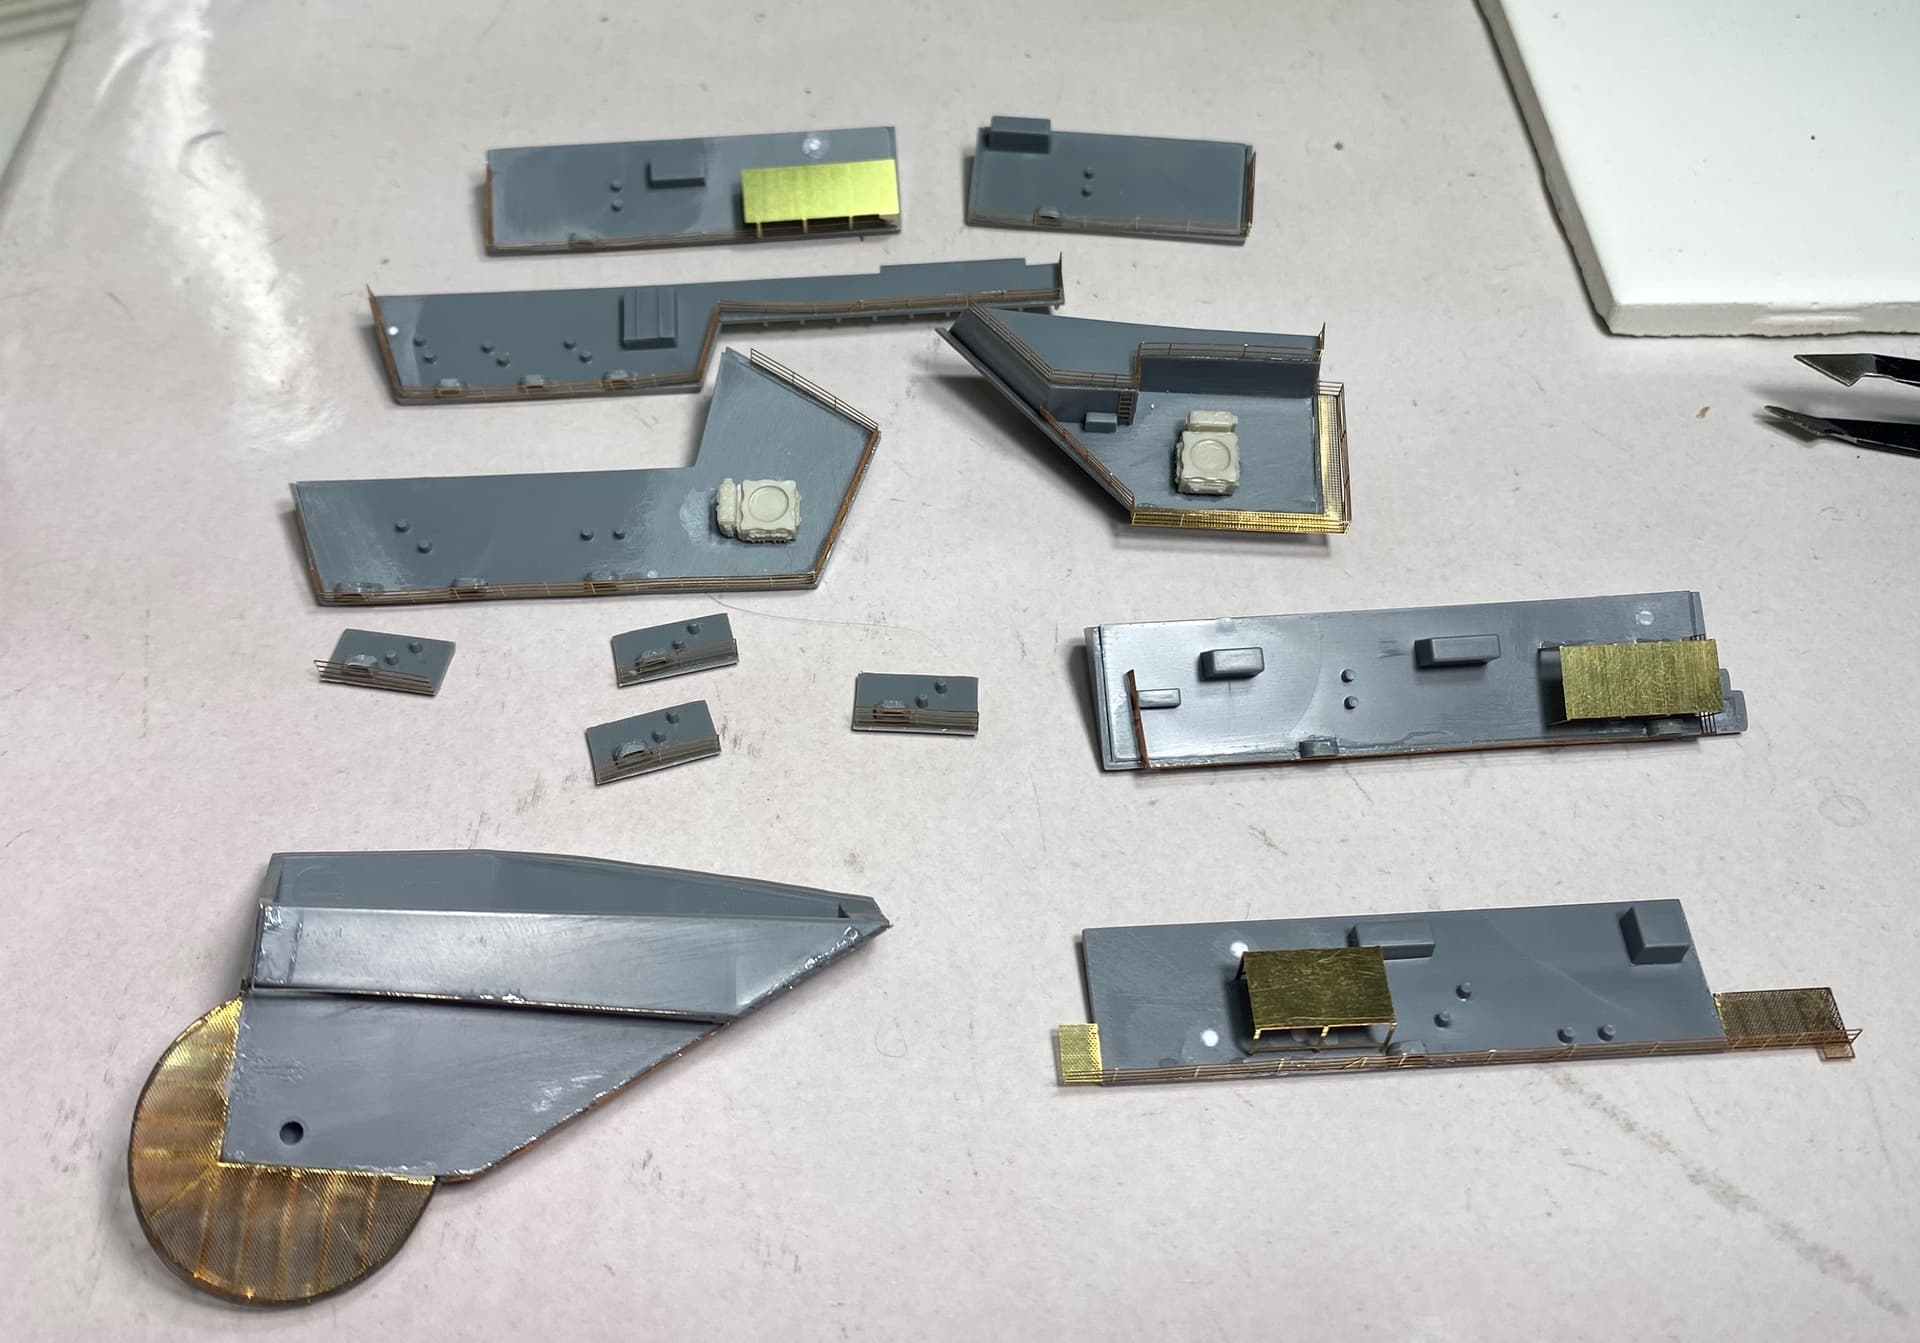
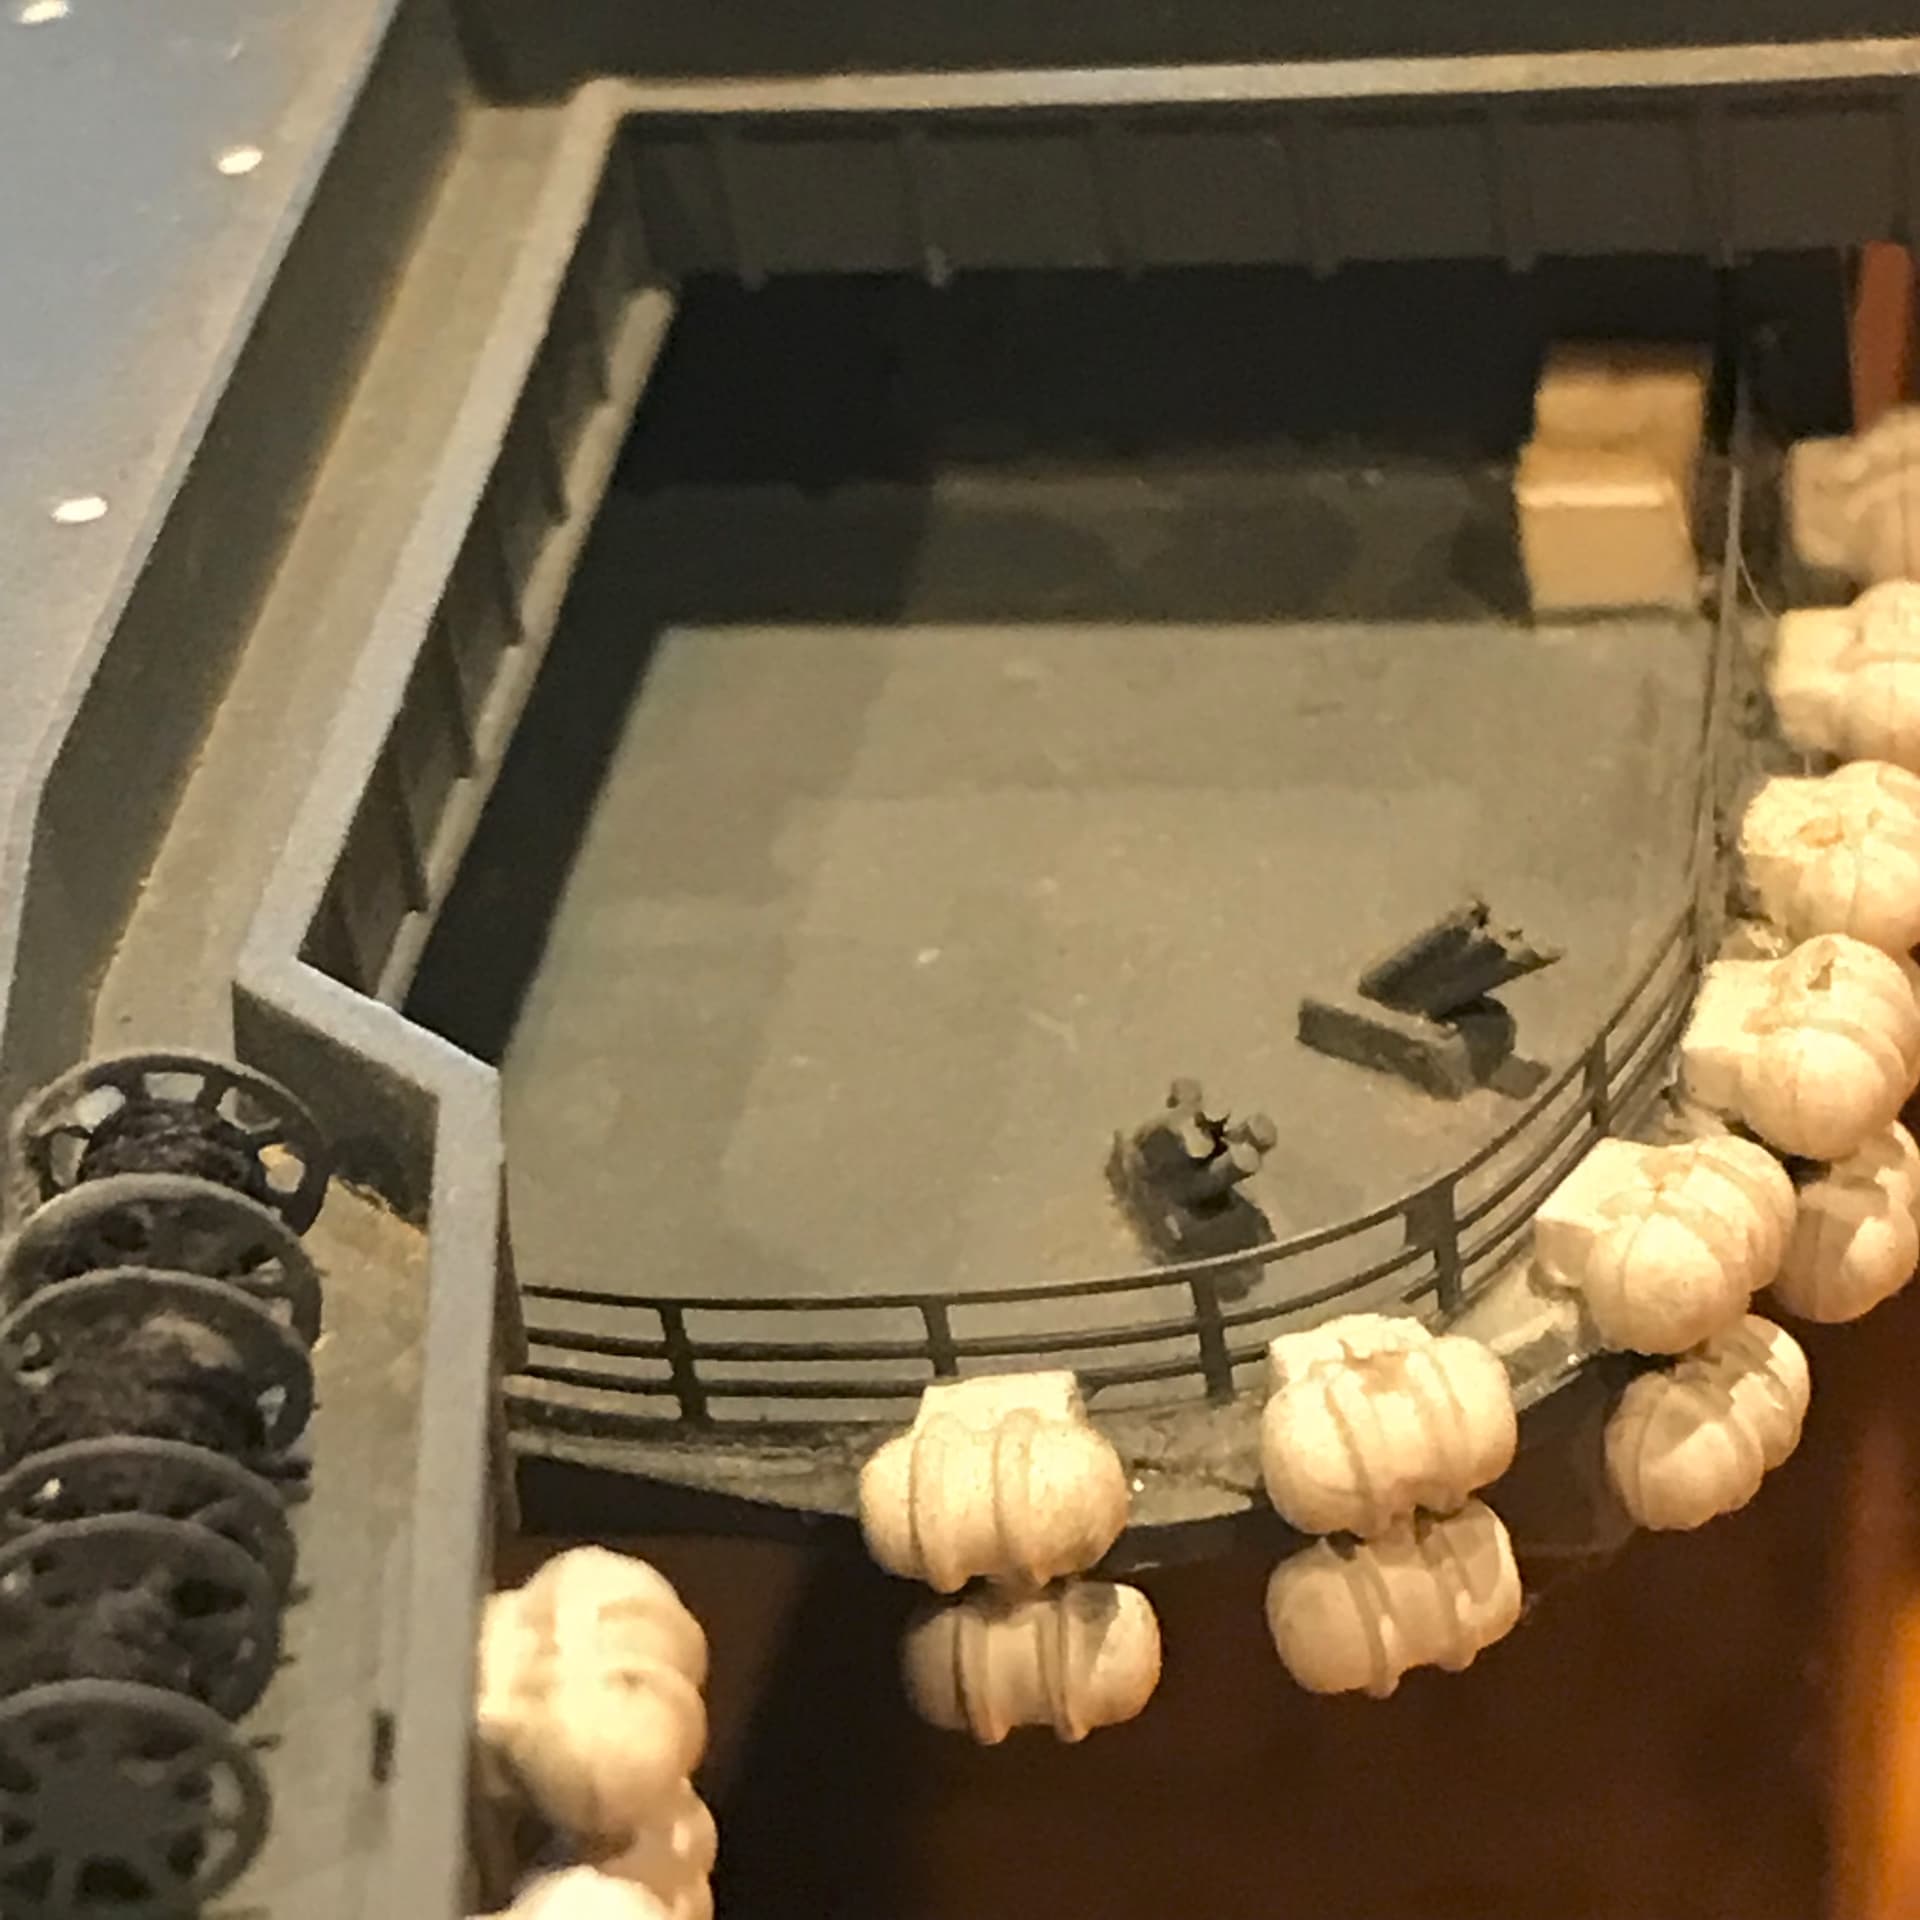
Slowly but surely working on a lot of the sponsoons etc that attach to the hull. These will all have to be painted separately and attached later. I cant see any other way to get at the walkways once these are installed.
Very happy how this one came out ![]()
And all together.
@thathaway3 I am hoping the various PE sets will rectify some of the accuracy issues and if not I am not super fussed. I am a “Looks like and quacks like a duck” modeller ![]()
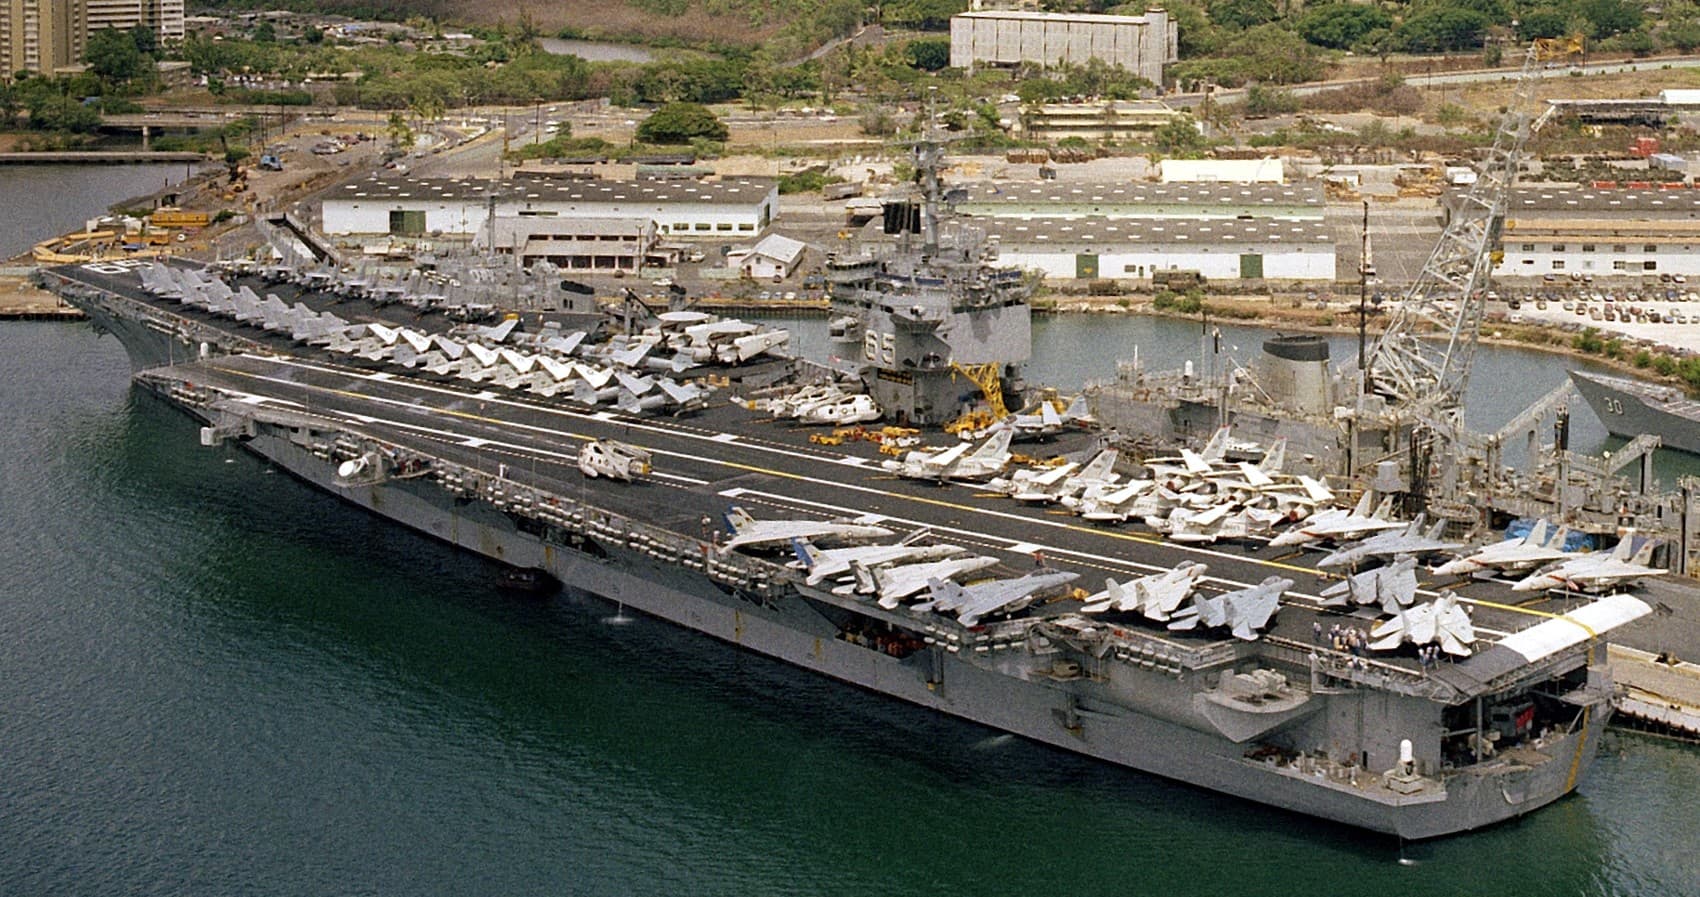
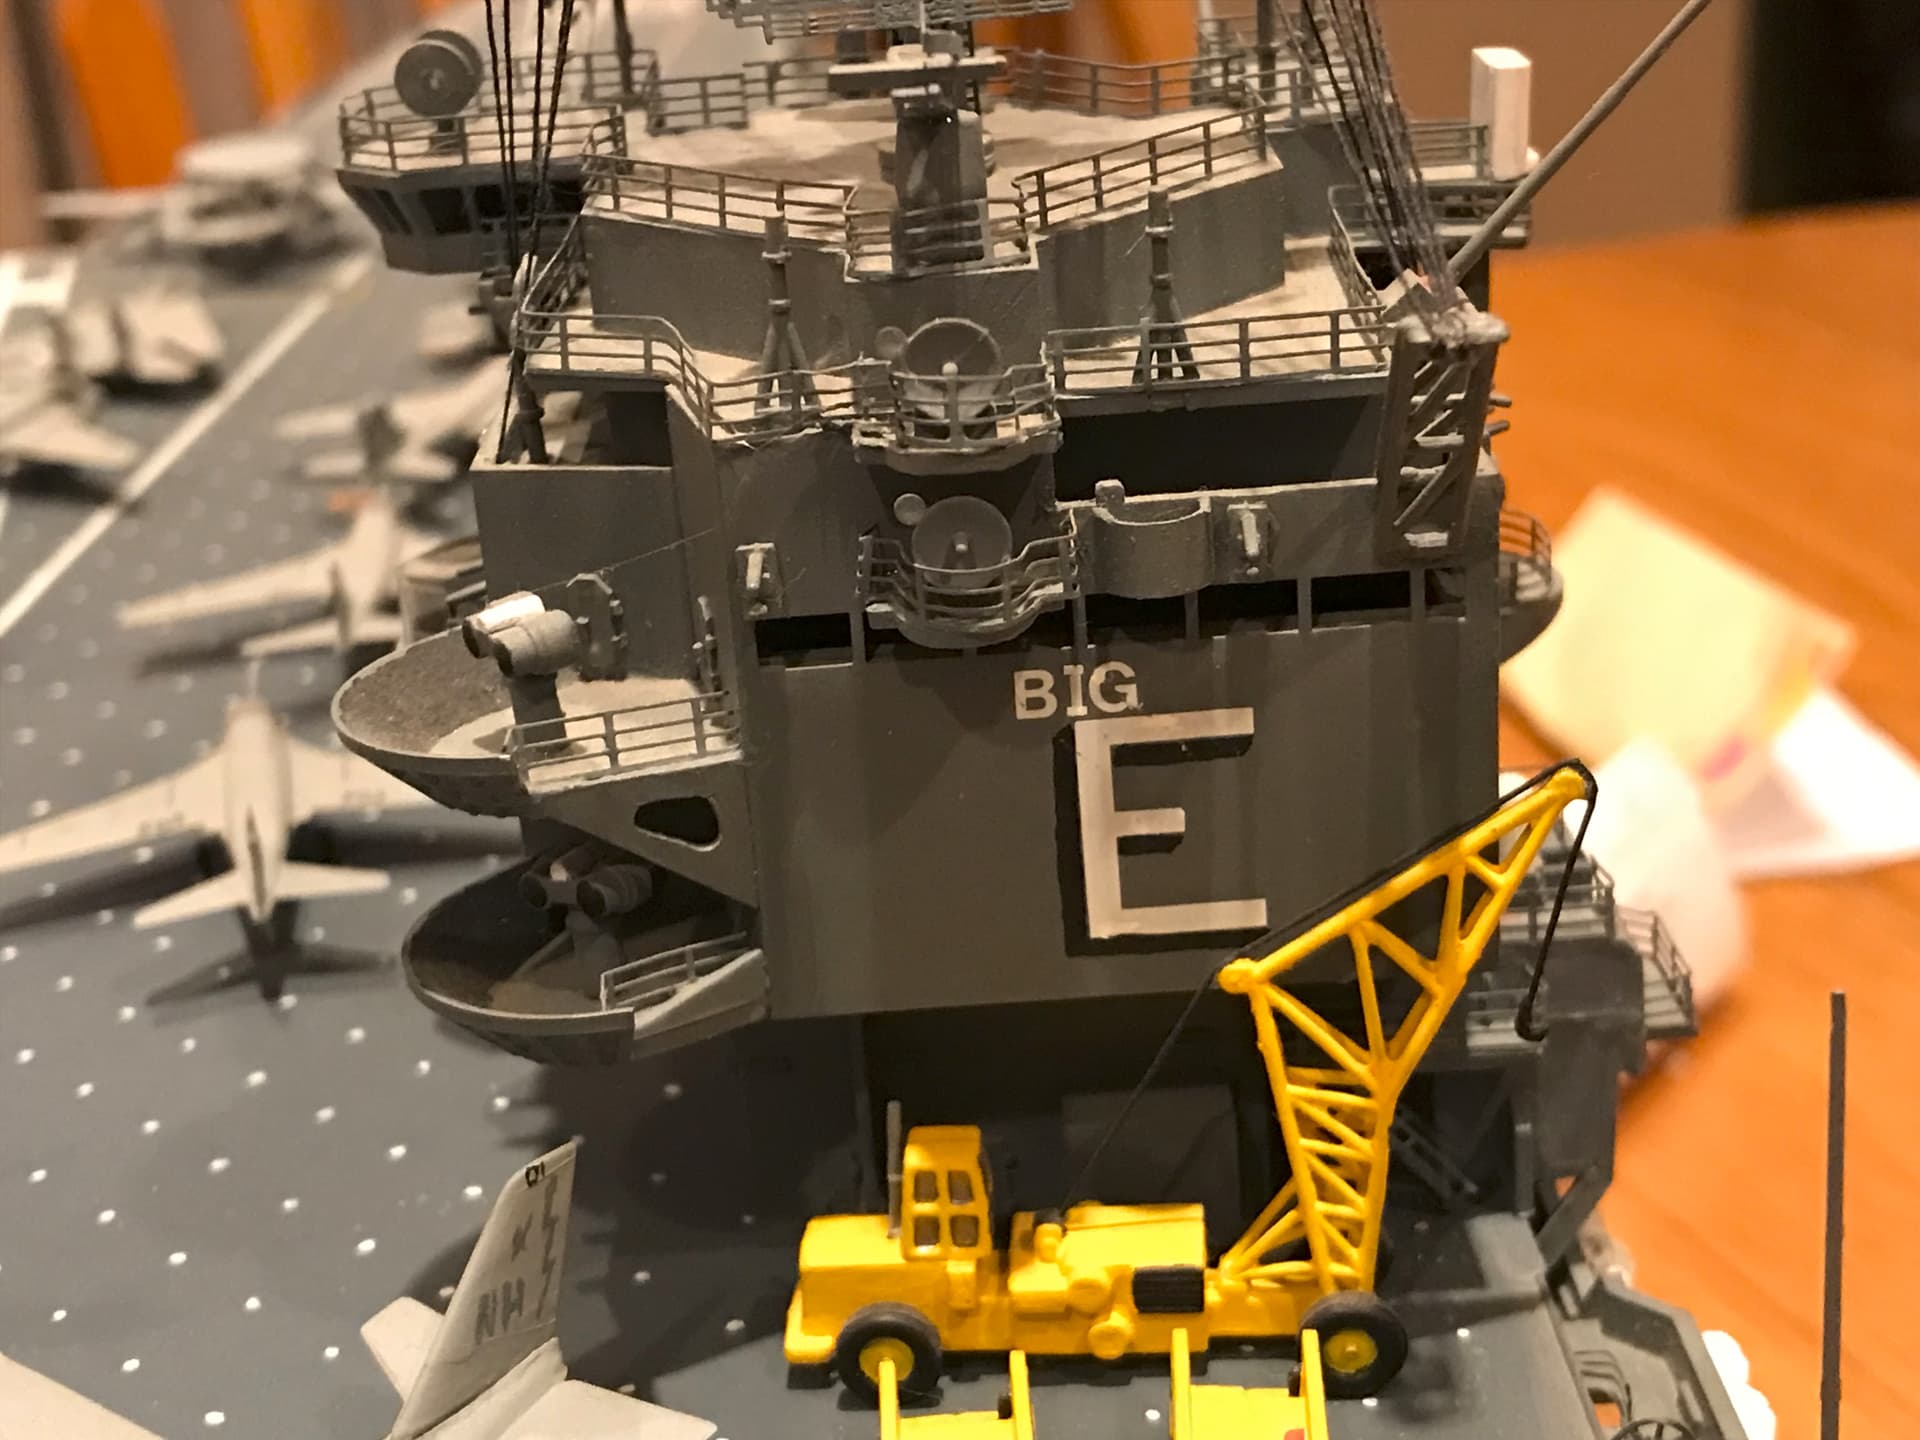
My goal is to have her looking roughly like this configuration.
10 Likes
Nice PE work … And nice pic of the big E … Tomcats … mmmmmmmmm
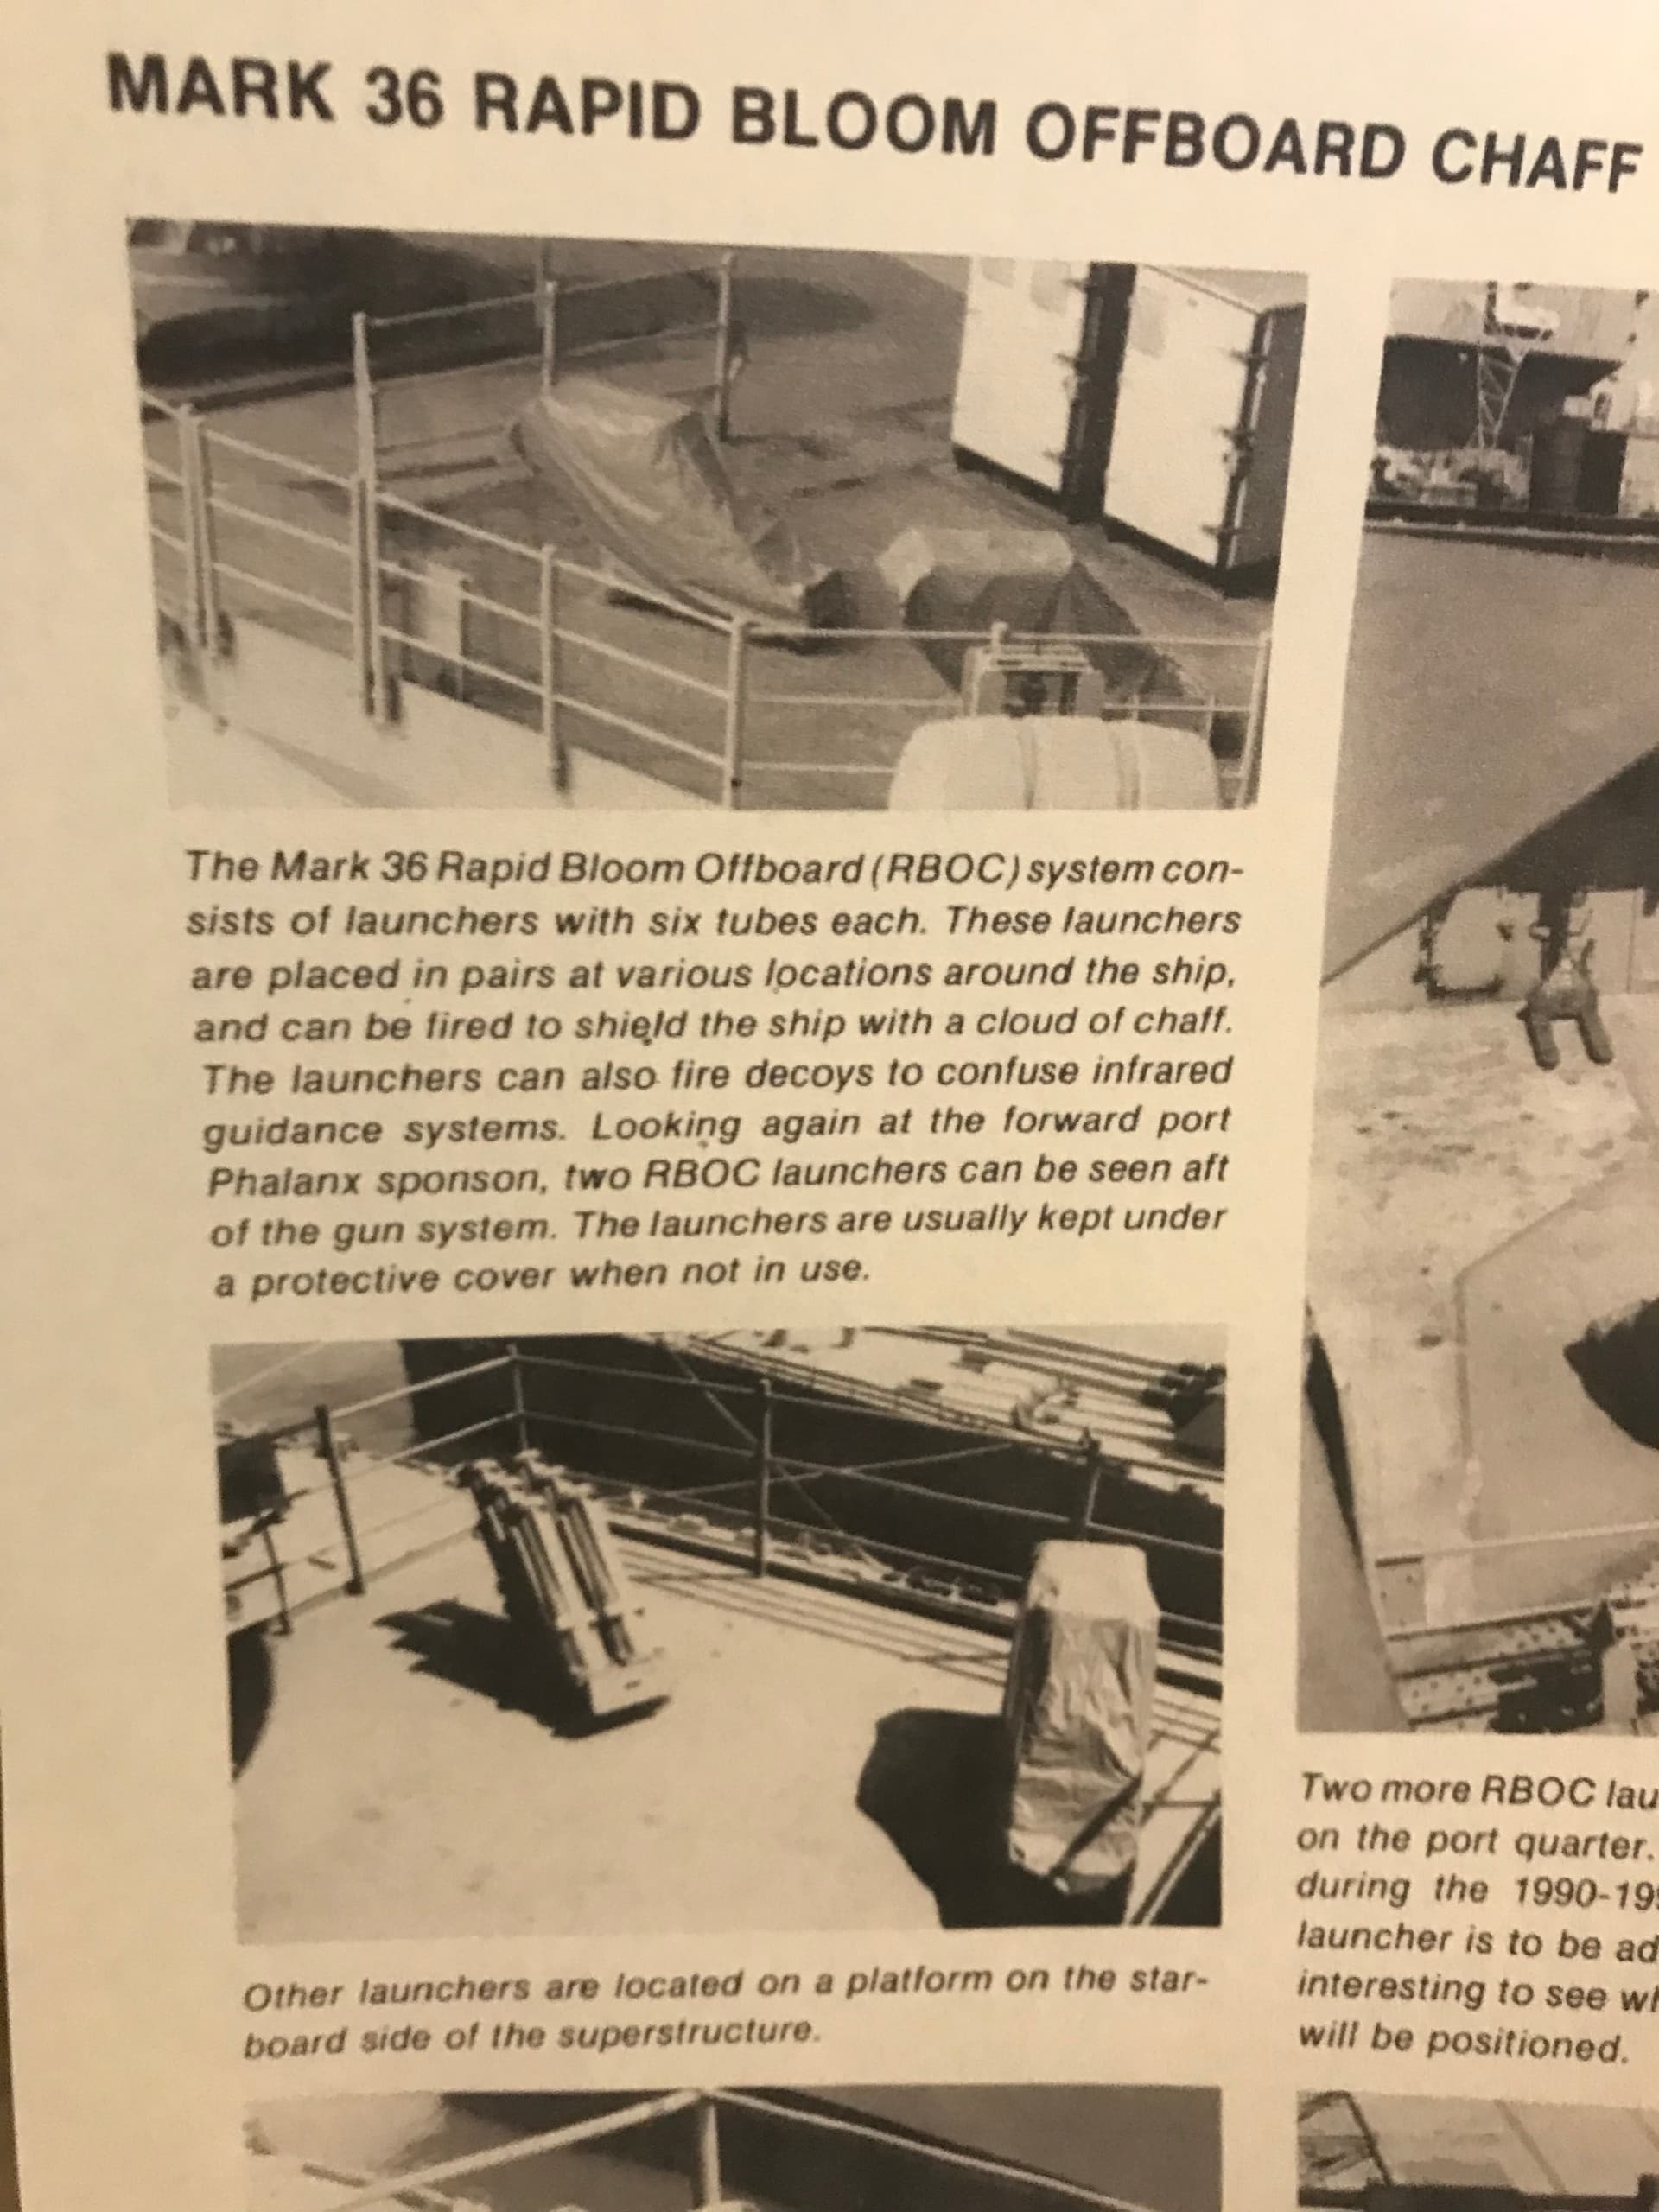
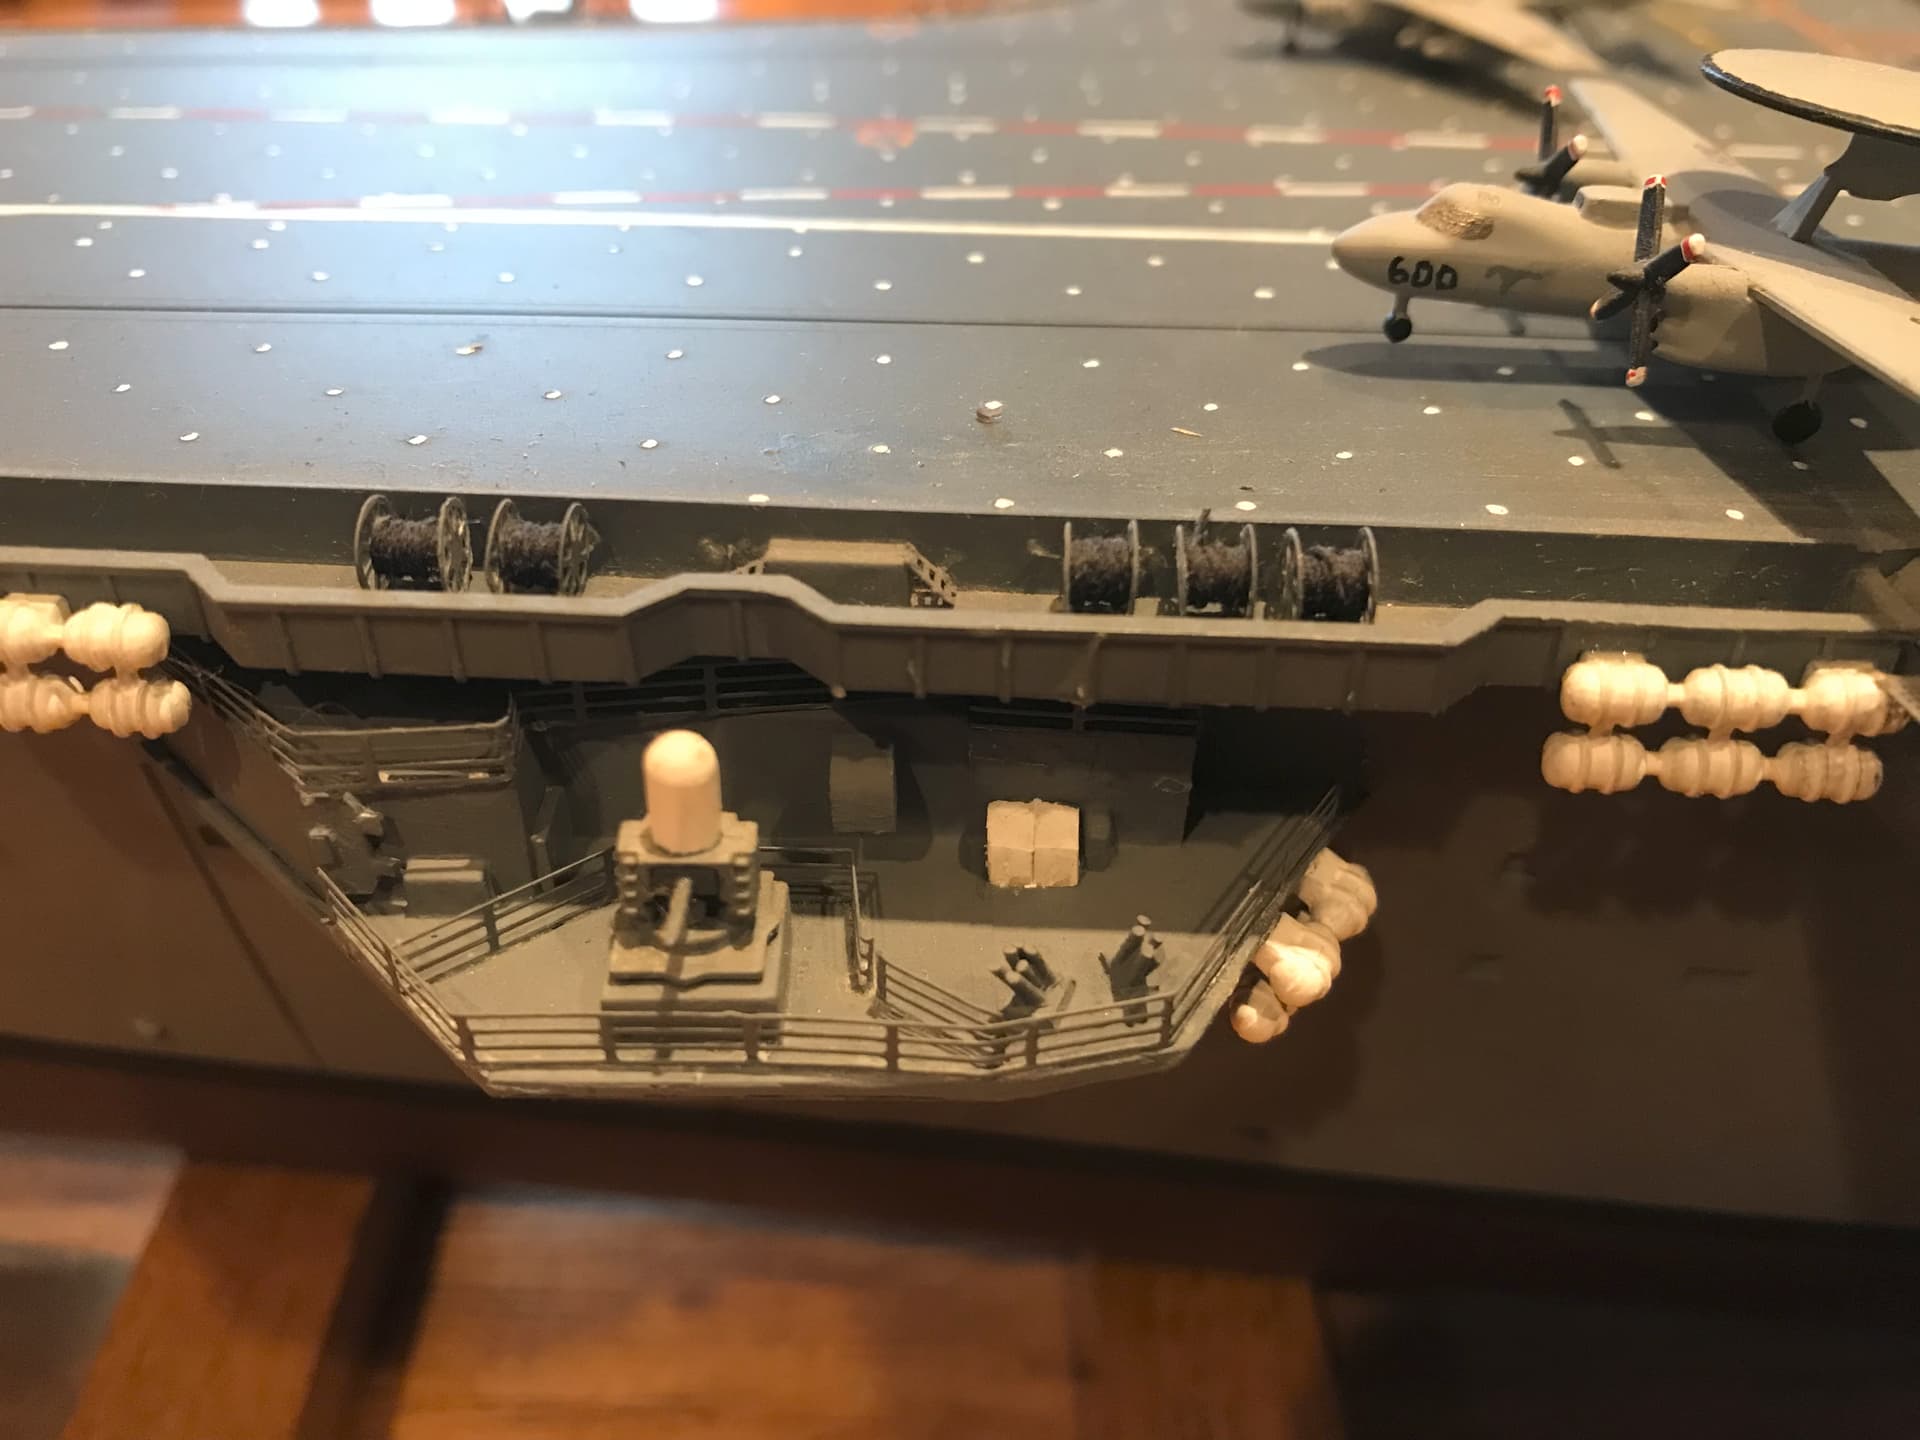
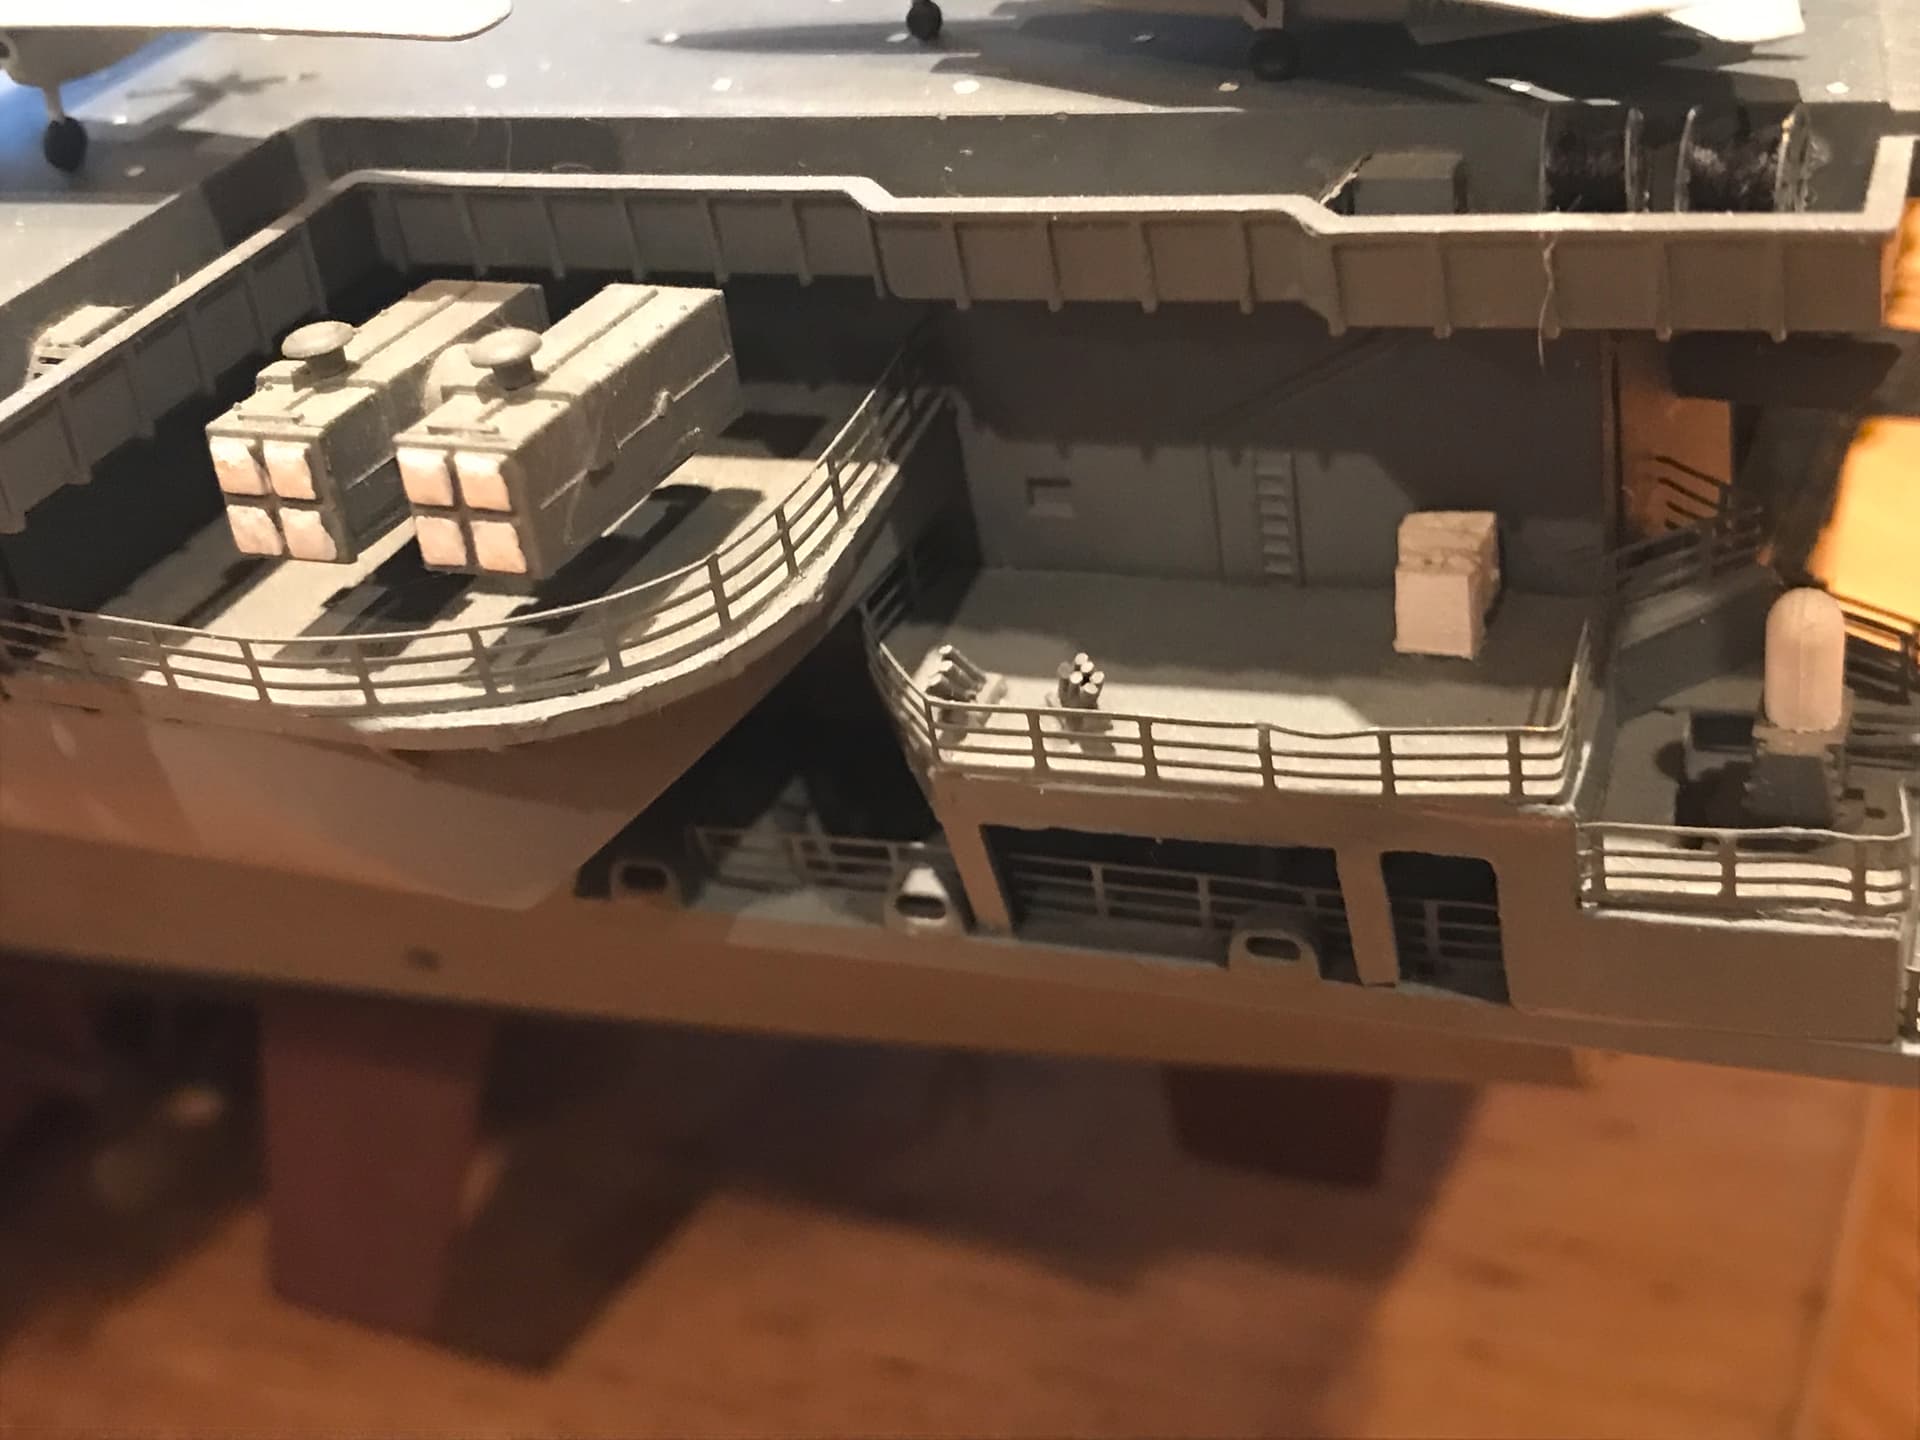
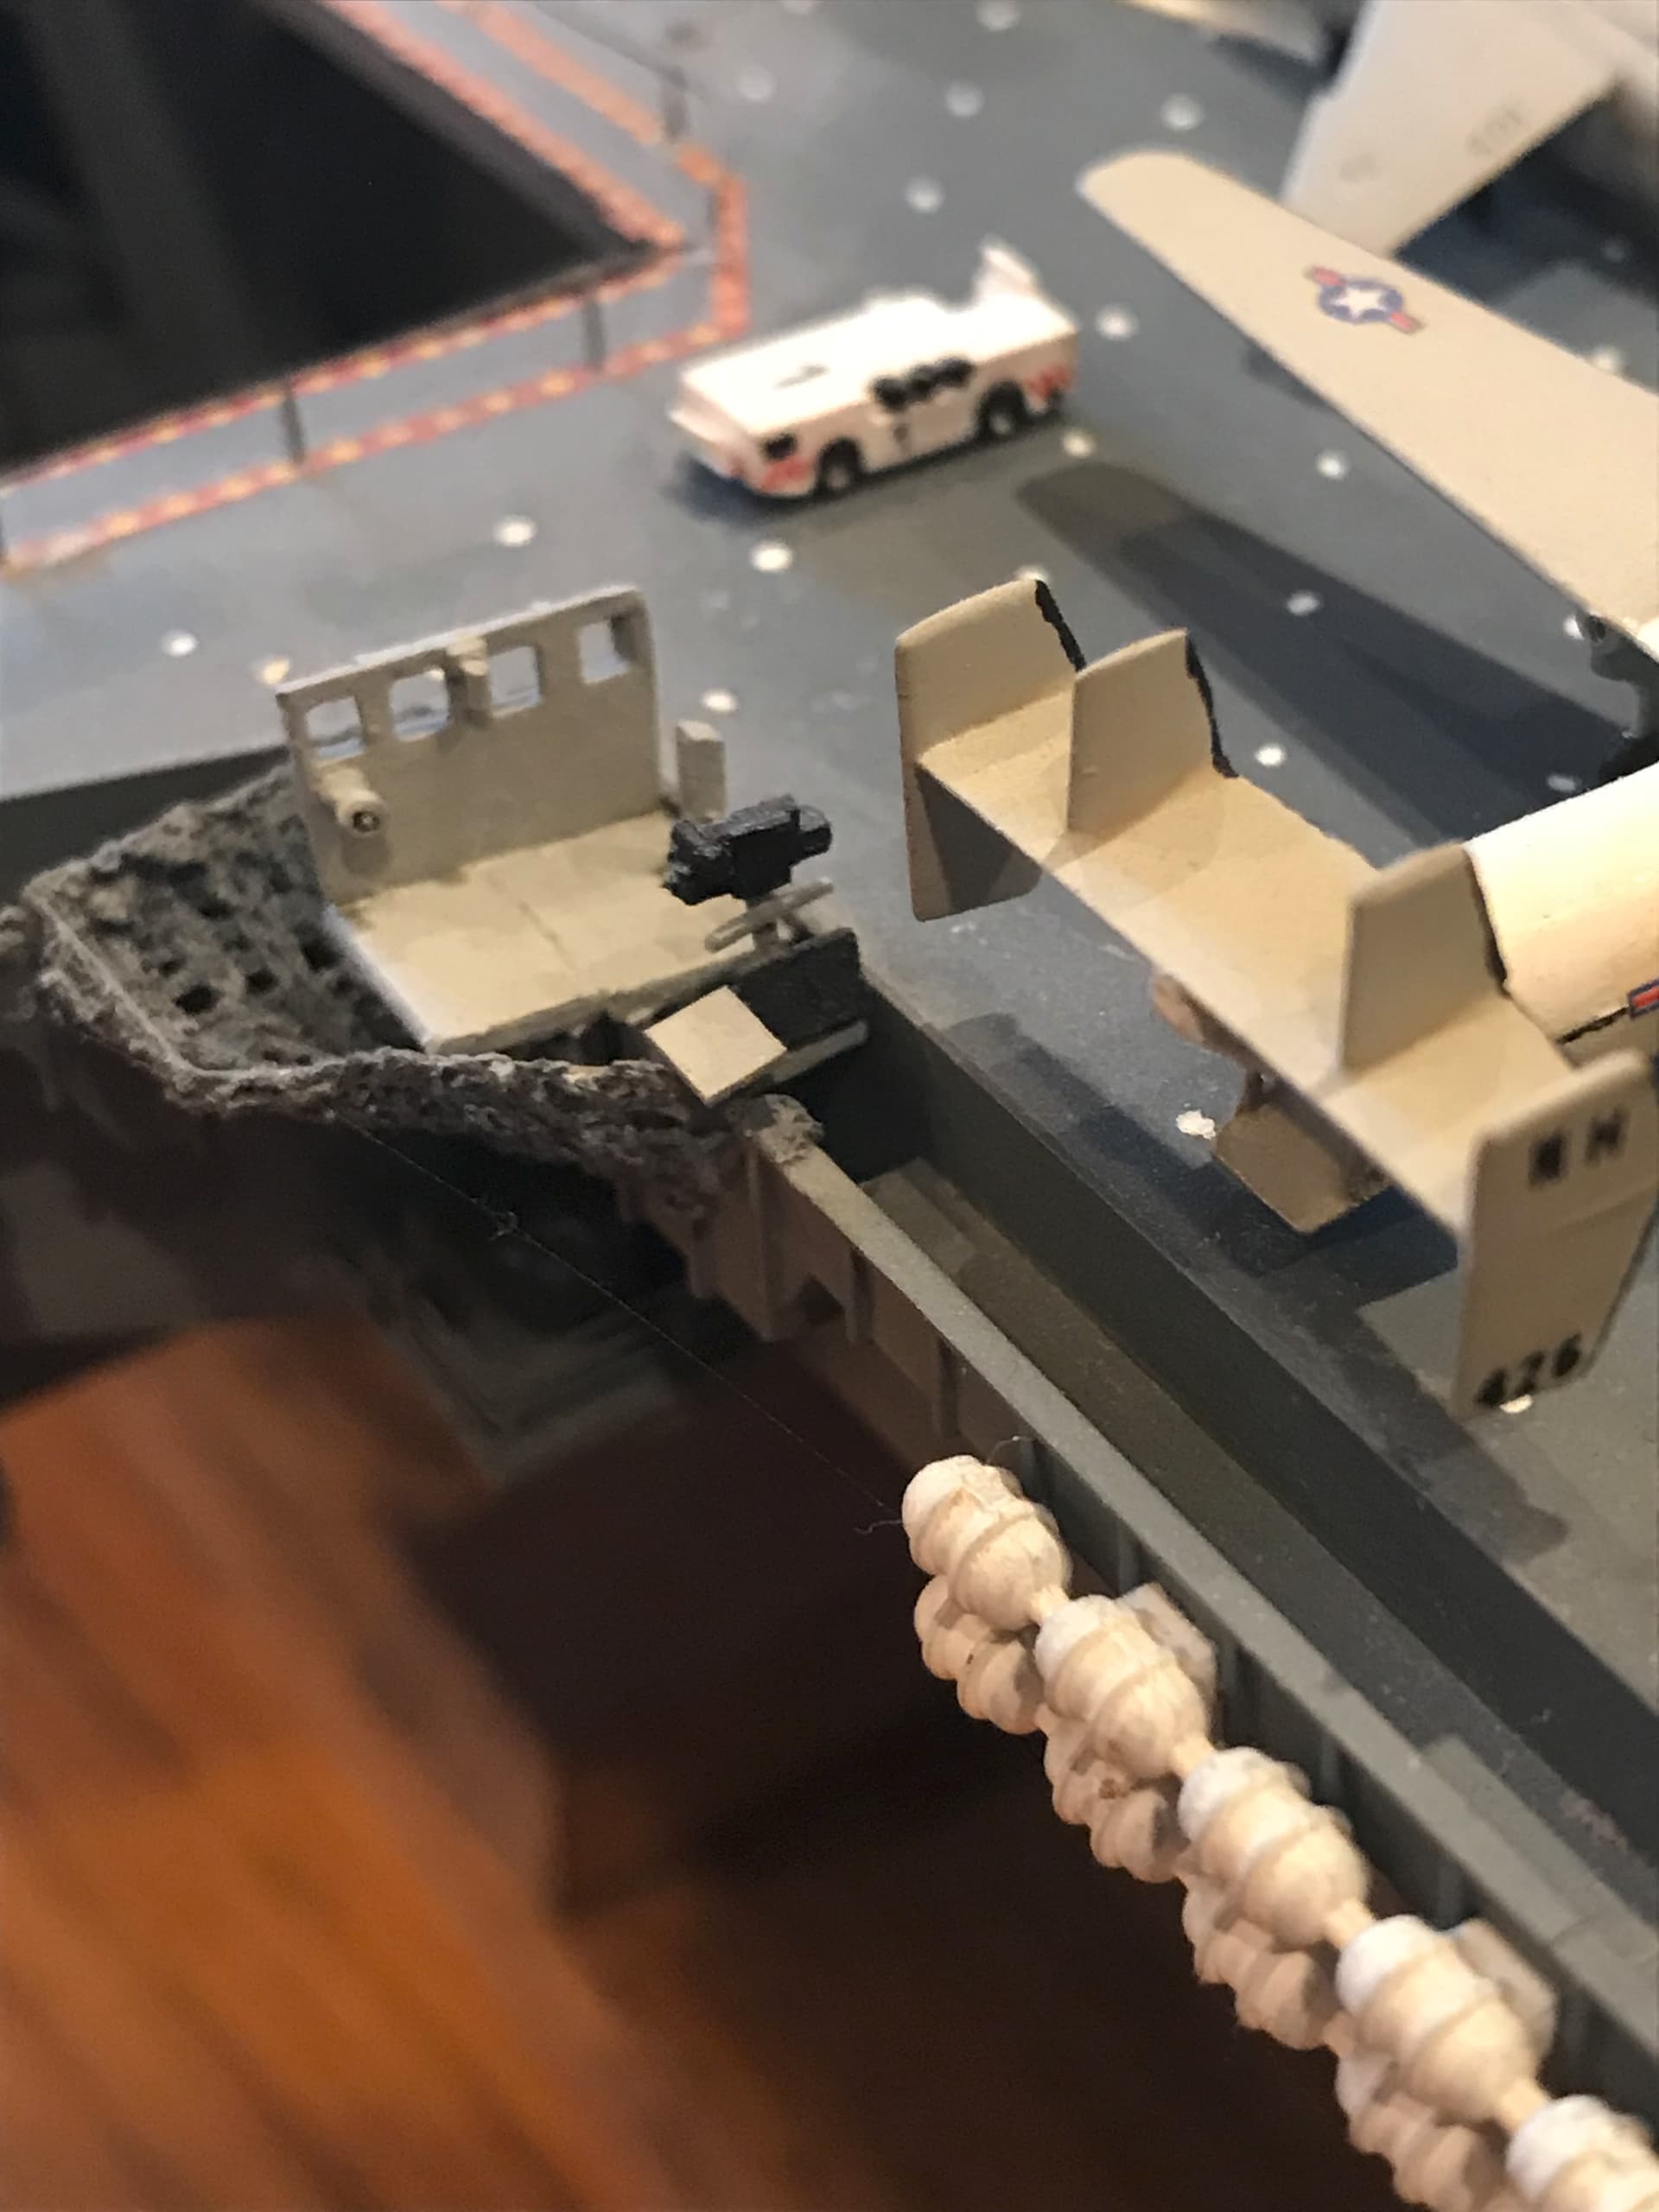
Since I was using the Detail and Scale as my reference, it shows the ship in a slightly later configuration than your photo. Sadly for me as a career professional design engineer, I just couldn’t help myself from trying to copy exactly what was in the photos. Once I decided to add the Mark 36 Chaff system, I was sort of locked in to making not only the modification to the port forward sponson, but the port quarter one as well. In the D&S photos you can see that the Phalanx platform was raised up onto another level from where it had been as shown in your photo. So I wound up building that platform and adding the Mark 36’s.
I also added the bomb disposal ramp as well as the LSO platform. For the life of me I can’t figure out why Tamiya left of that very important detail.


9 Likes
Ohhh those are some lovely reference photos. I was immediately drawn to the railing around the phalanx inboard towards the hull.
Thanks. One more reason I like the slightly later version of the Enterprise than the one in the photo you have:
7 Likes
Your P/E Work is looking great my Friend…Cheers mark
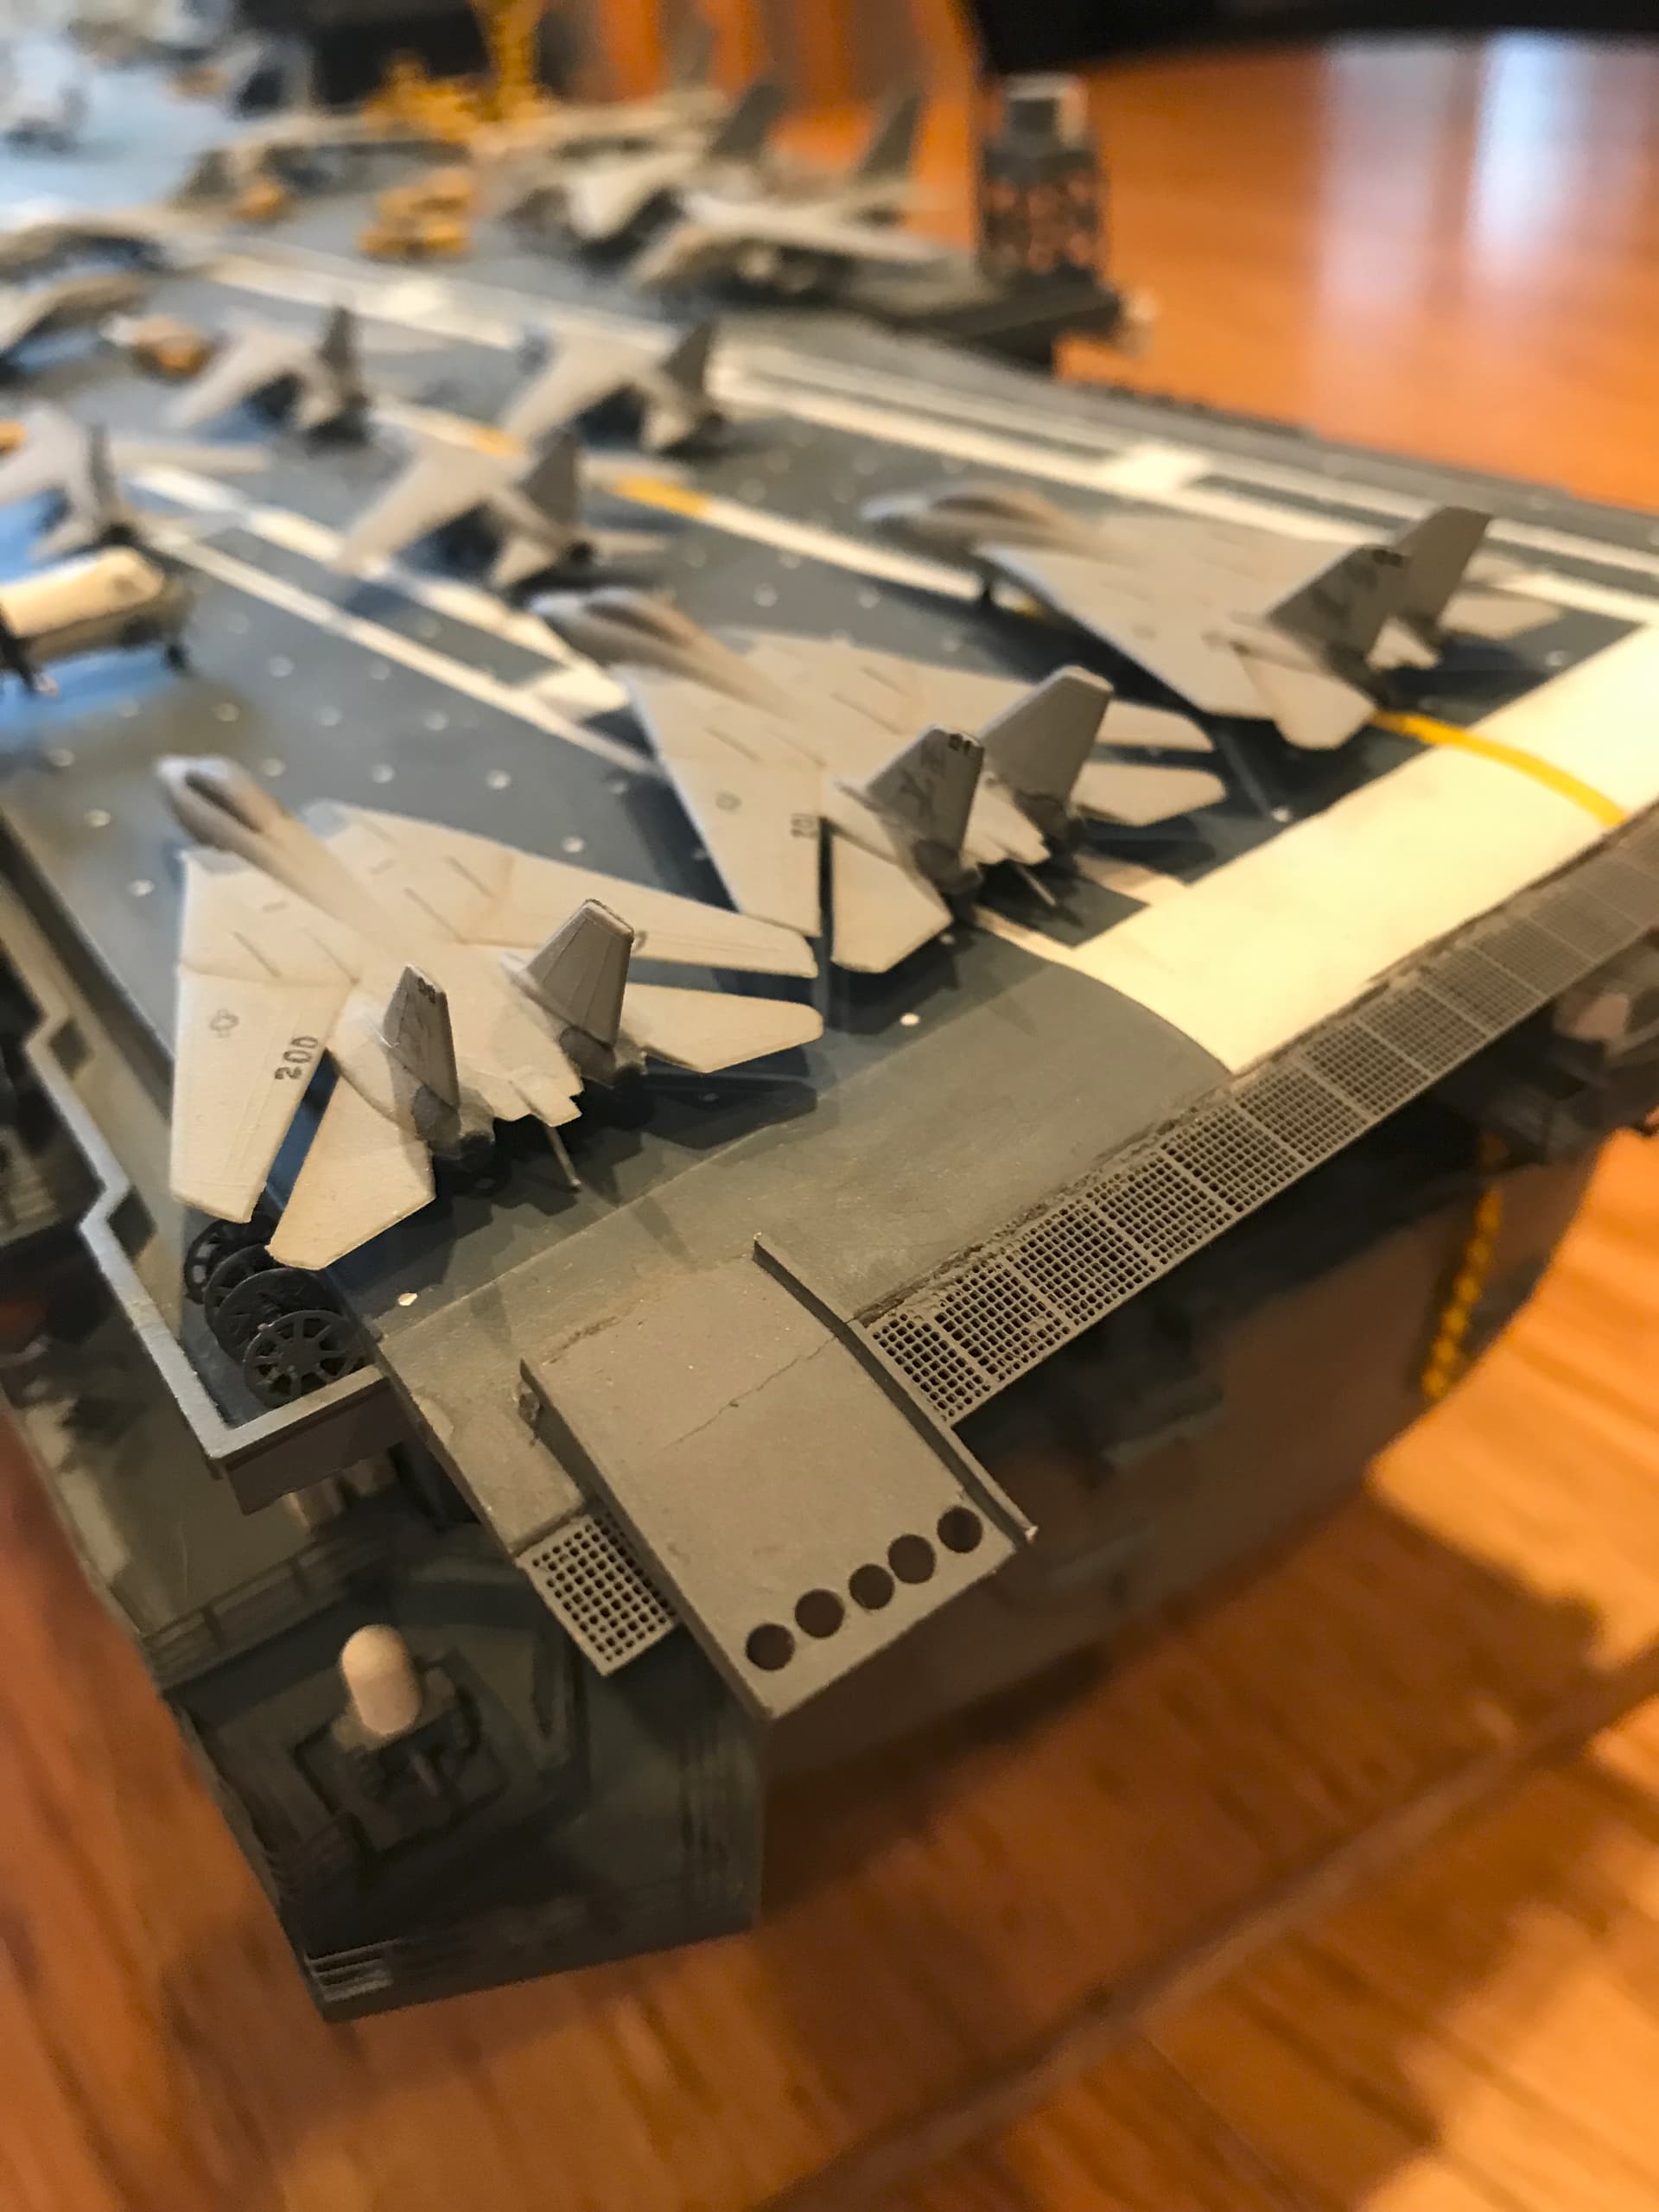
One other tip I can add, especially if you’re planning to have your aircraft moveable, rather than glued to the deck. All of these planes have tricycle landing gear and like pretty much all model three wheel planes, they sit tail low. Since these are all tailhook aircraft, I just added a short length of 0.015" styrene rod at the back end to simulate the tail hook, positioned at an angle which allows it to also act as a support.
Would the hooks be deployed down like that while the a/c are on deck? Probably not.
Do I care? Nope!
I have been working on the stern of the ship and what a pain its been. Eduard’s order of operations was not great and it made things harder than it needed to be. I am not 100% happy but its time to move on. I can already tell that painting this area is going to be a bugger.

11 Likes
That is some sweet PE work Rory. Really looks nice ![]()
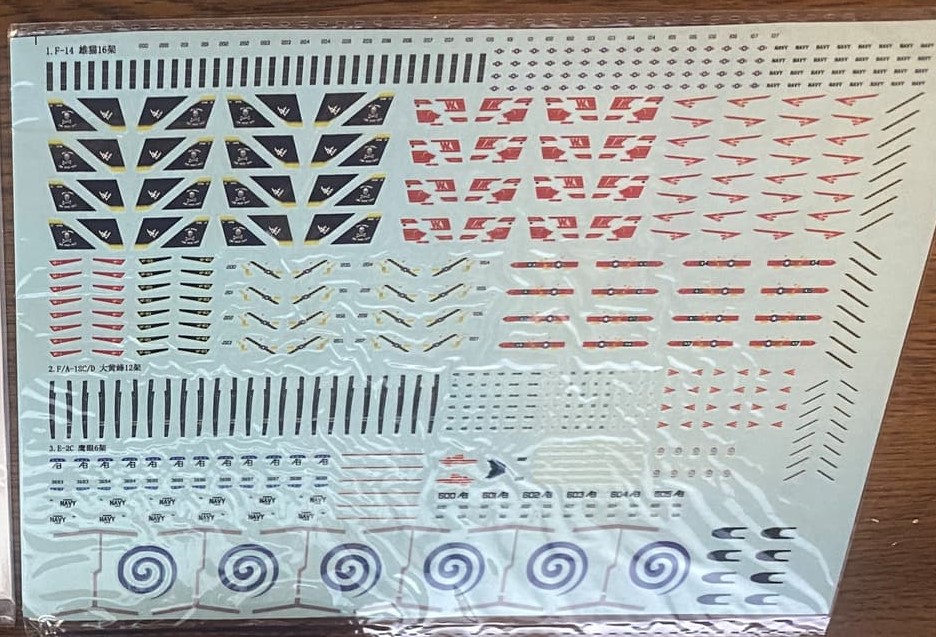
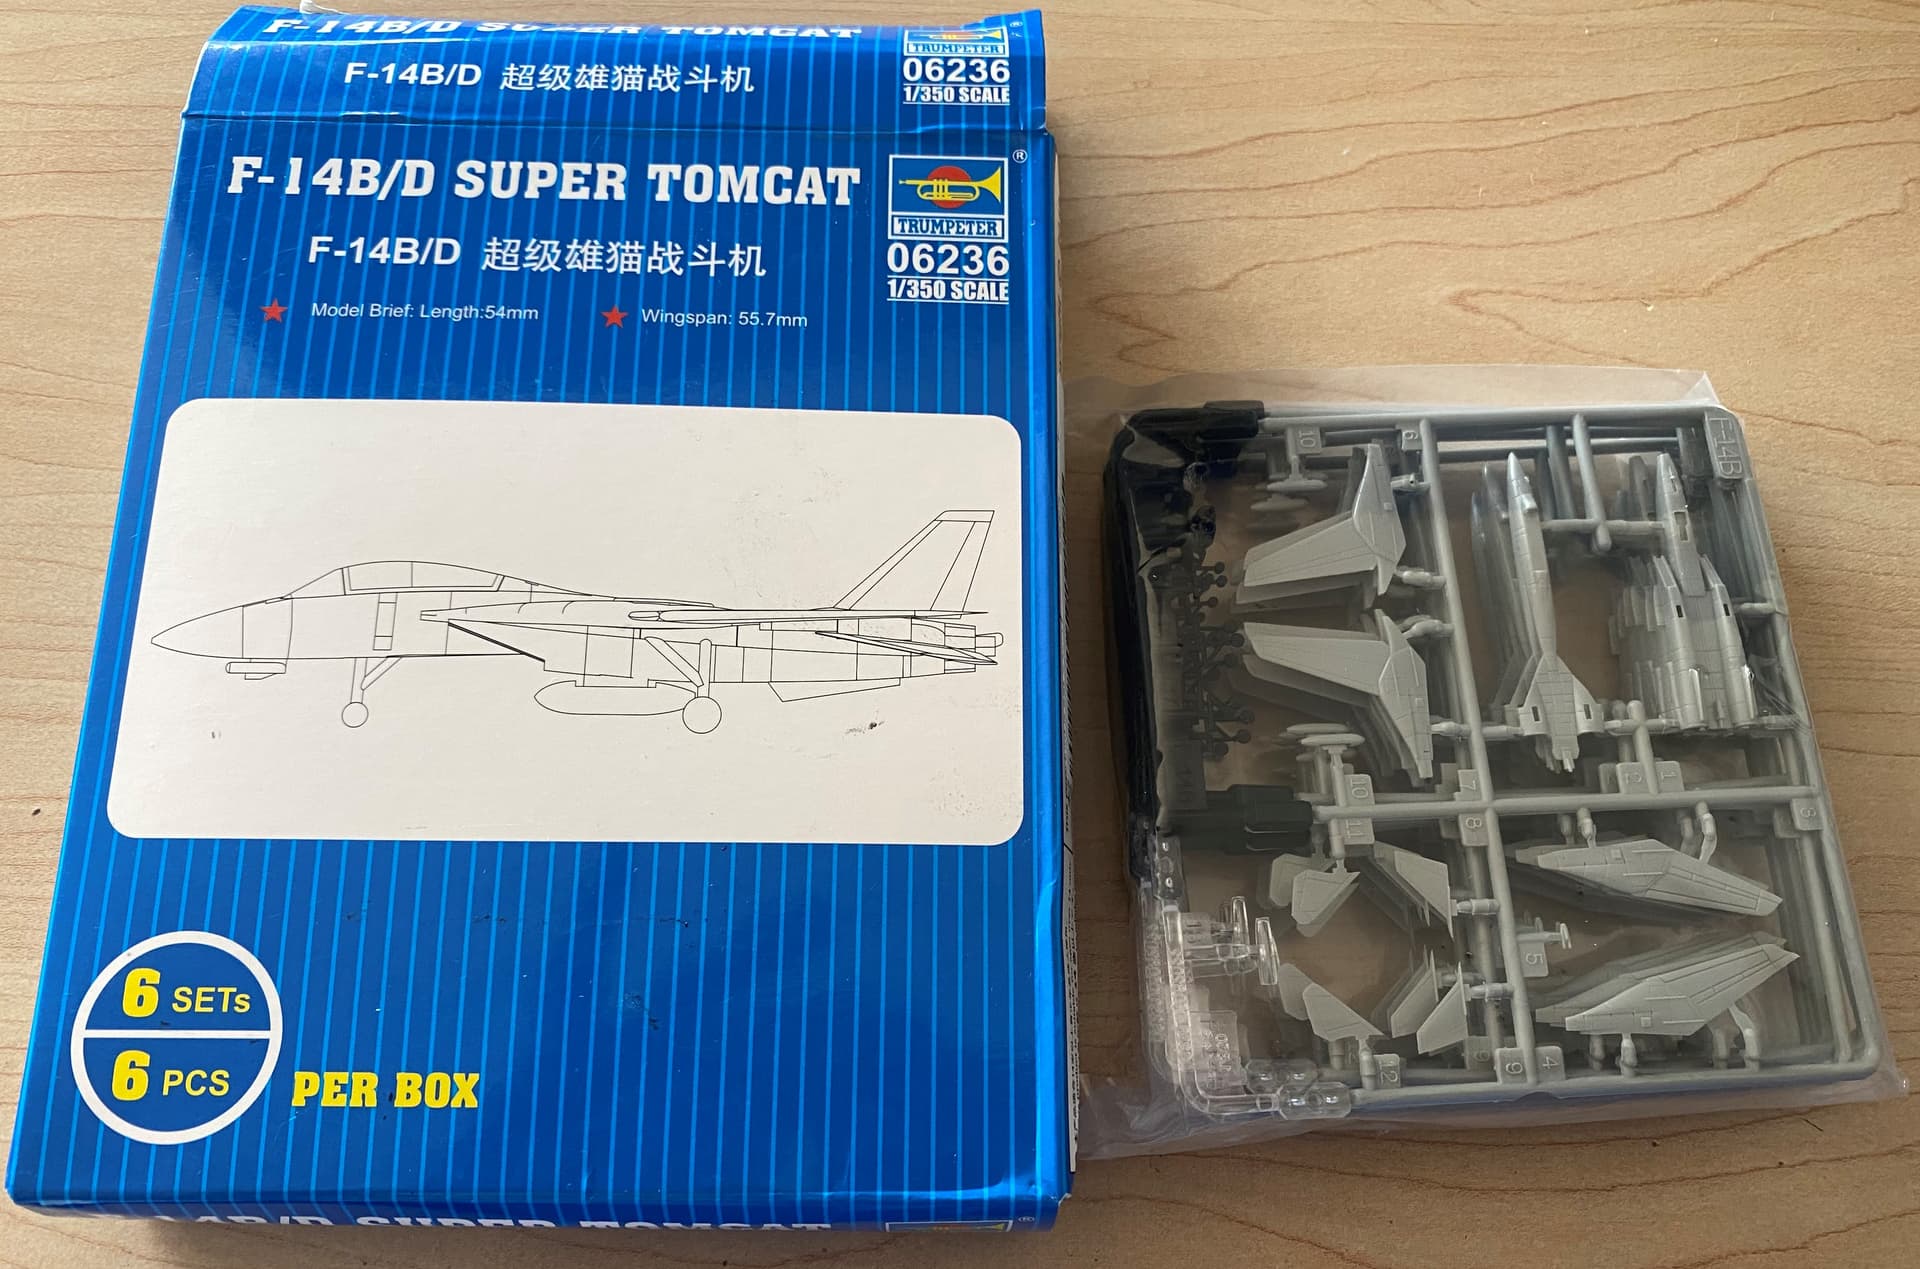
Though I am a long way from building the airwing I went ahead bought some more F-14’s. I like these because I can build them with wings spread without having to cut the kit like the Tamiya F-14’s. I will use these on the catapult’s.
Going to say this upfront. While I will be doing my best to have a (reasonably) historically accurate ship, the airwings will most certainly not be ![]()
This is mostly due to just not being able to find decals that match the airwings onboard during the timeframe. That and I like the paint scheme and markings on some of the other airwings that never served on her ![]()
7 Likes
Yay… More Tomcats ![]()
![]()
I’m doing a Nimitz now for which the airwing will certainly not be historically accurate either (though it will at least have the right types of aircraft) - too many CAG decals and not enough low-viz. I’ll just claim “Rule of Cool” - as in, if it looks cool on deck then it’s good!
2 Likes
Hope there’s some Jolly Rogers there …
1 Like