For the “I’m a movie star” build campaign I will be building the massive 1/350 Tamiya USS Enterprise CVN-65.
I foresee this taking a good chunk of the year to complete and I am going to put all other projects on hold while I work on it (at least to start). At this time I have no plans to scratch build a hanger deck.
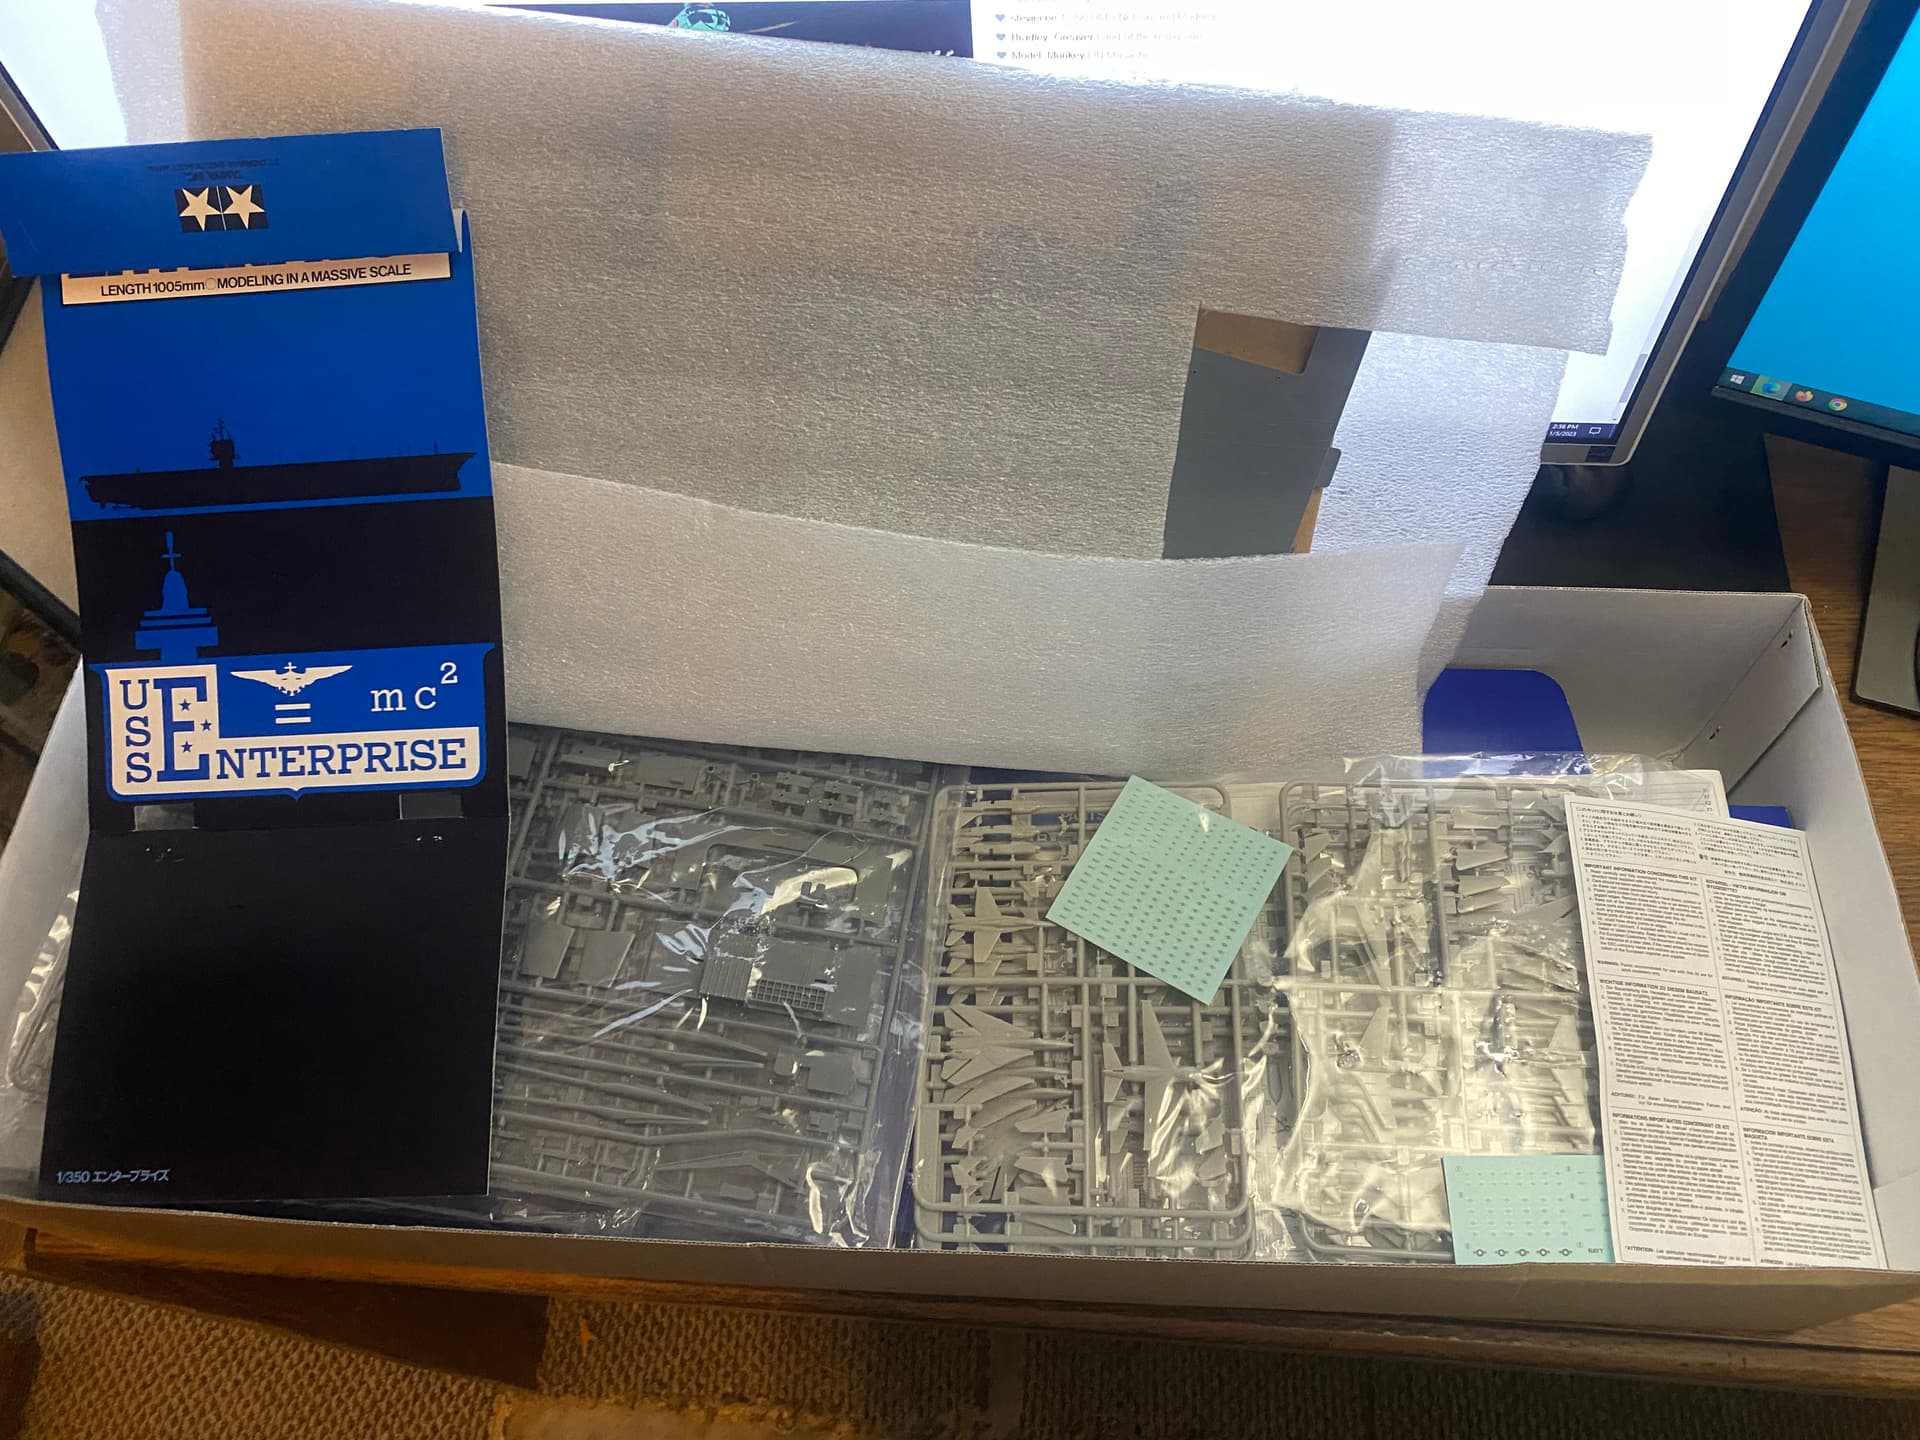
Firstly, the un-started kit. Massive box though not as many sprues as you would think.
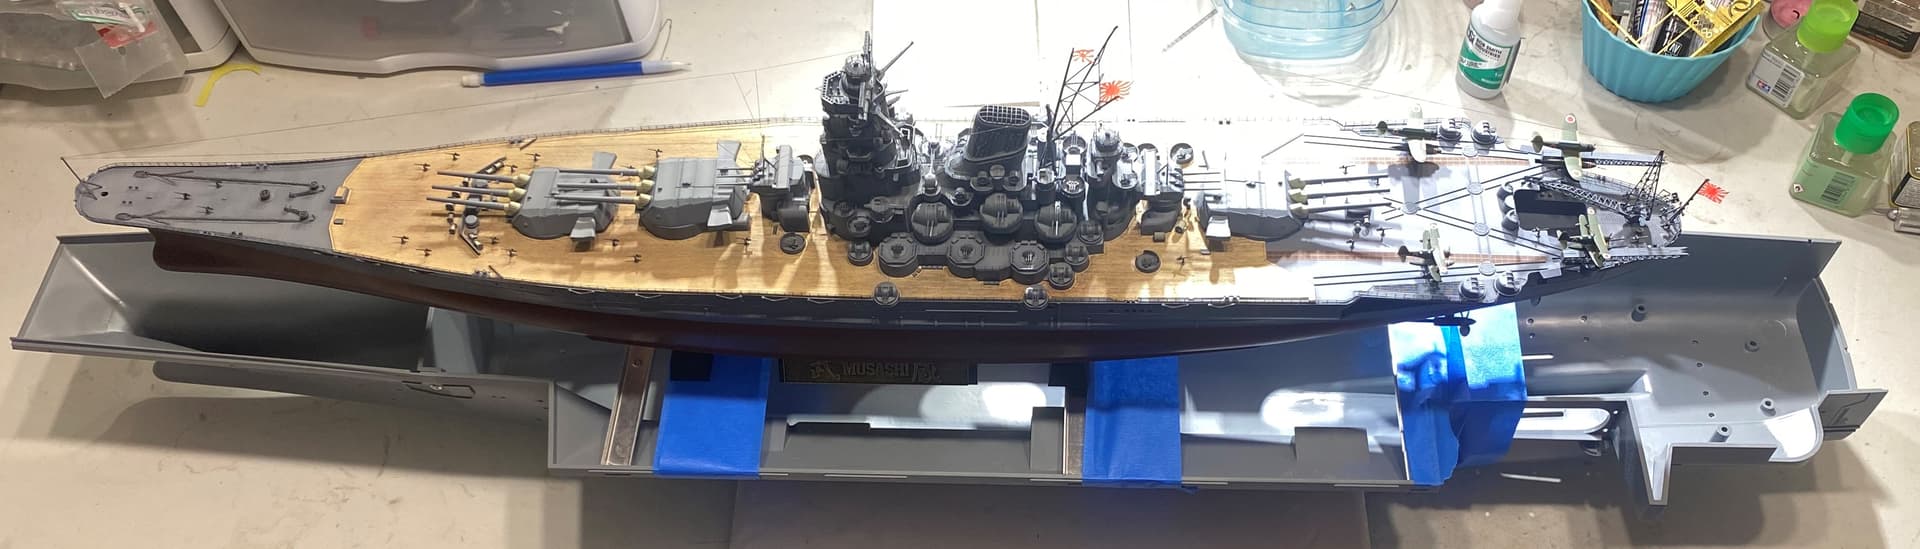
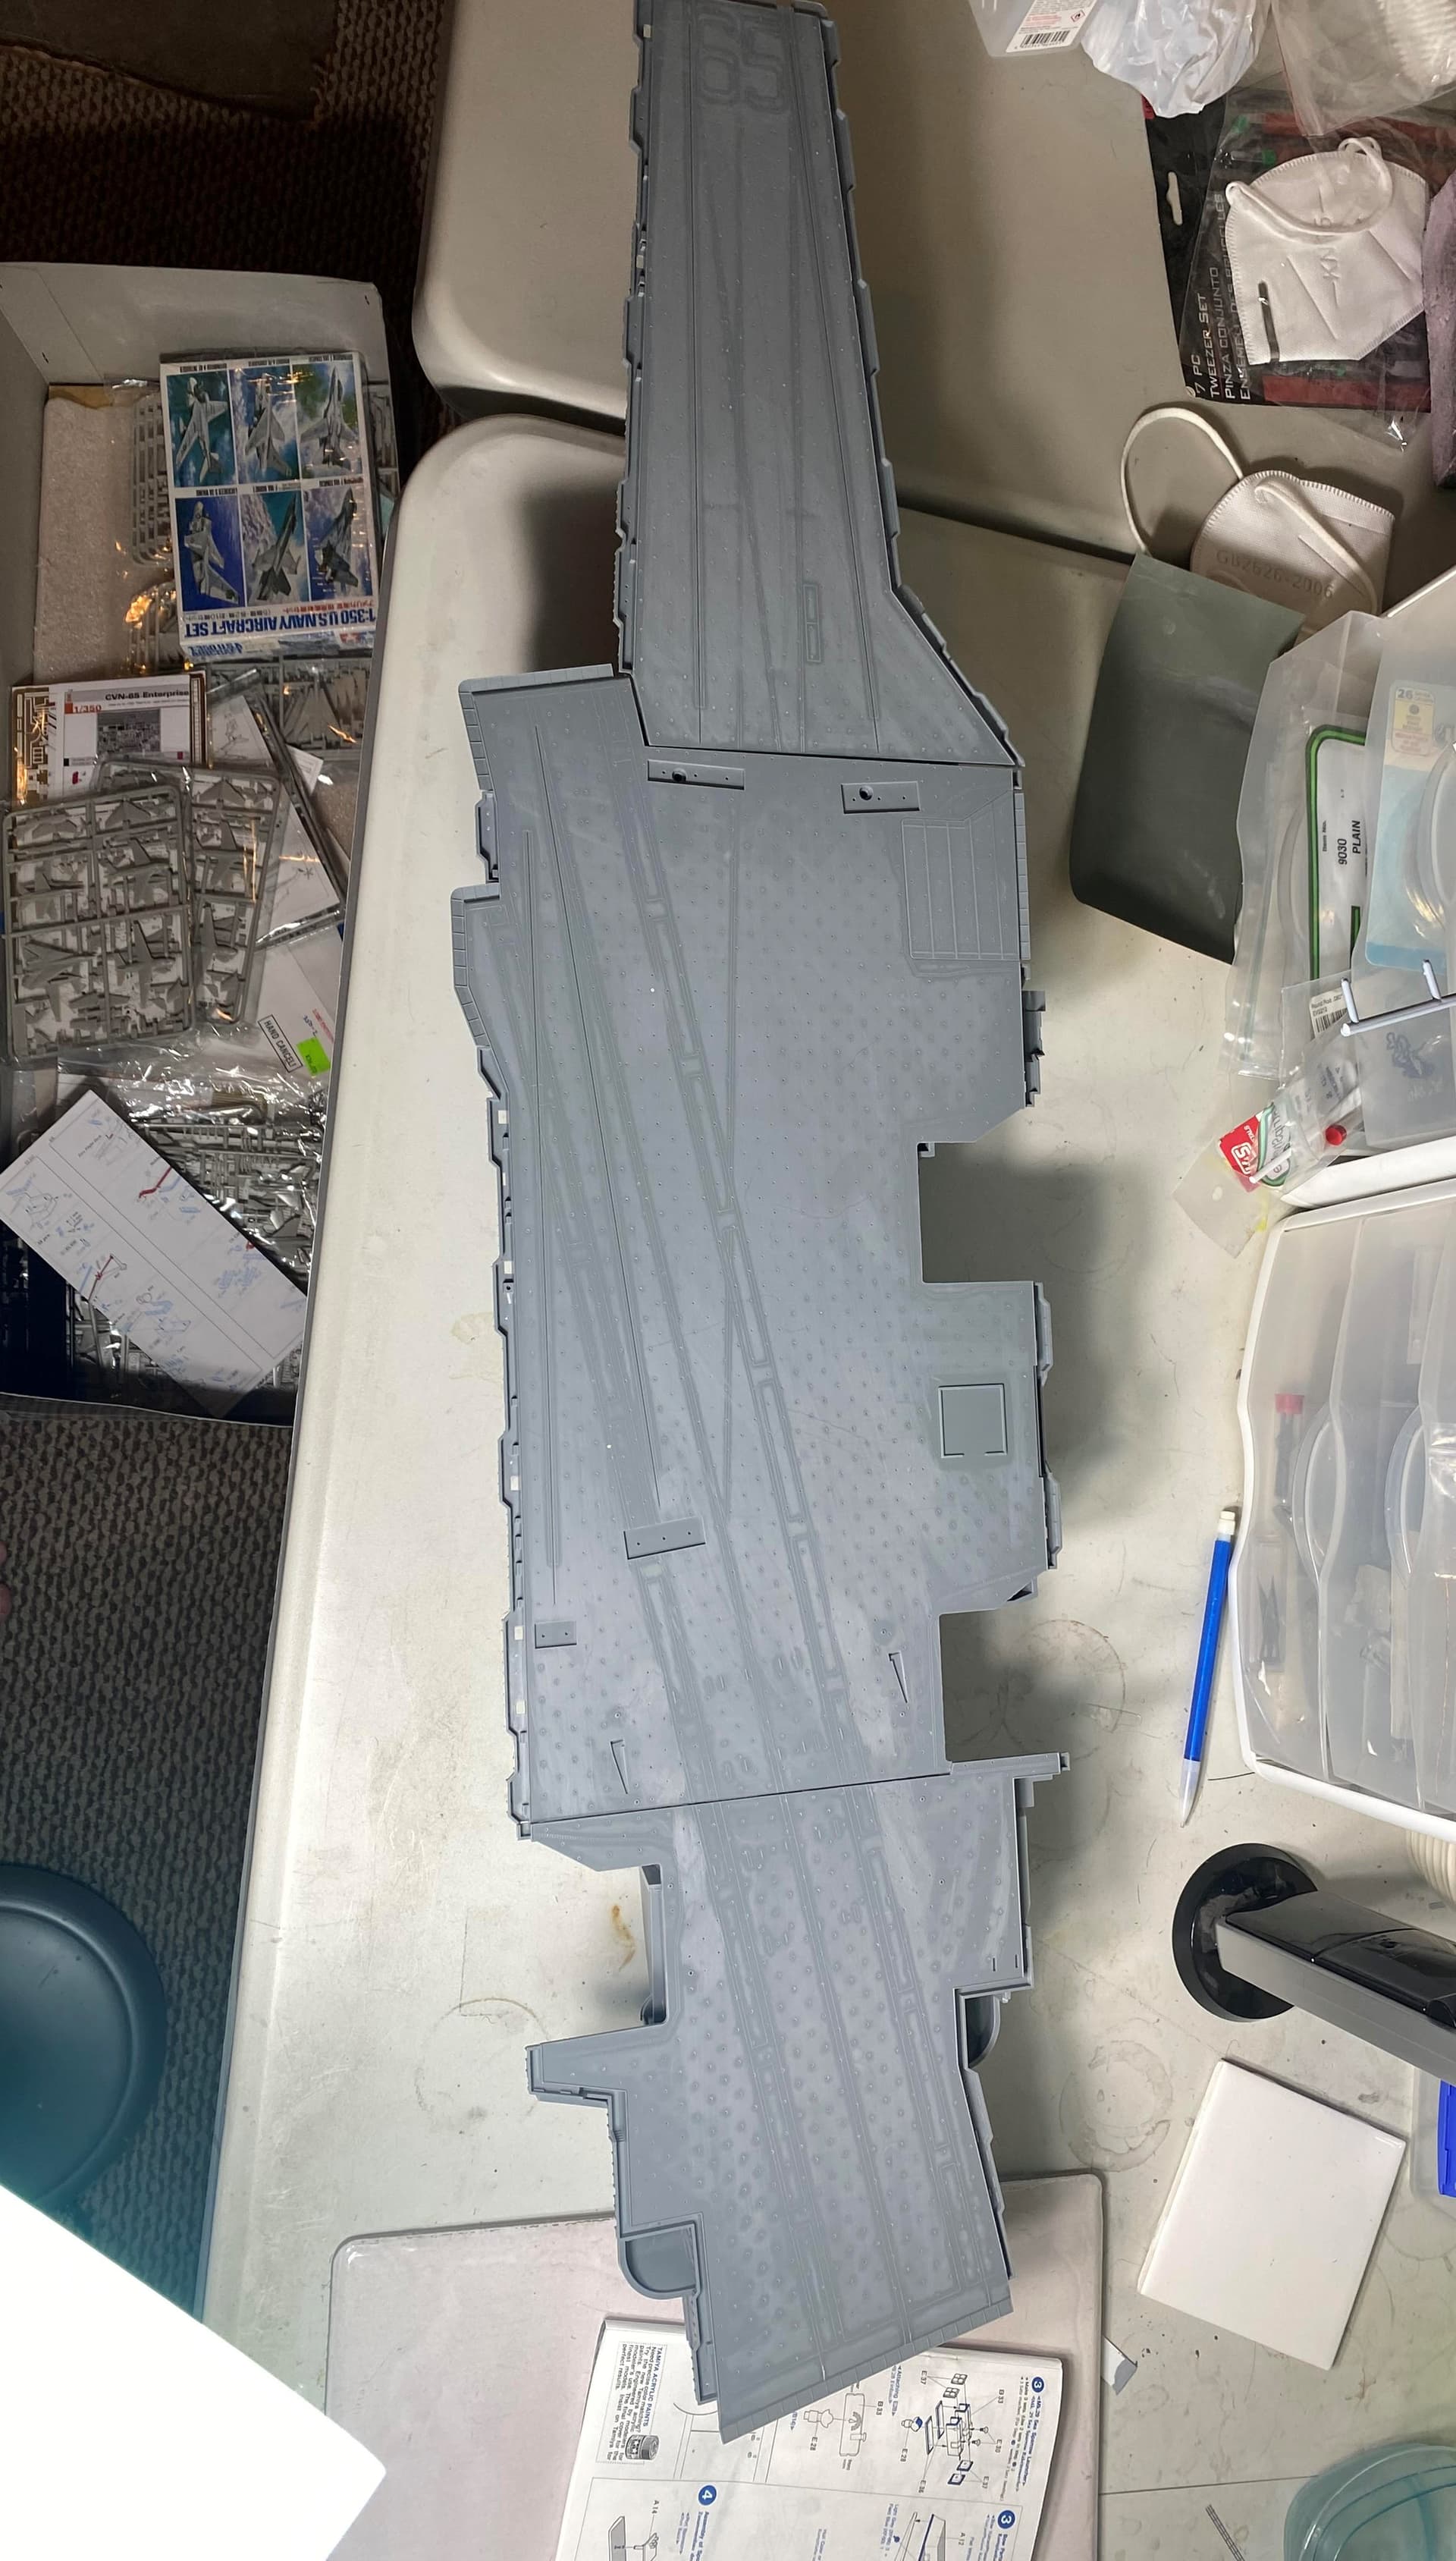
And lastly my usual size comparison. This time against my newly built Musashi. Its not even in the same league. Just working in my build space will be one of the biggest issues I face.
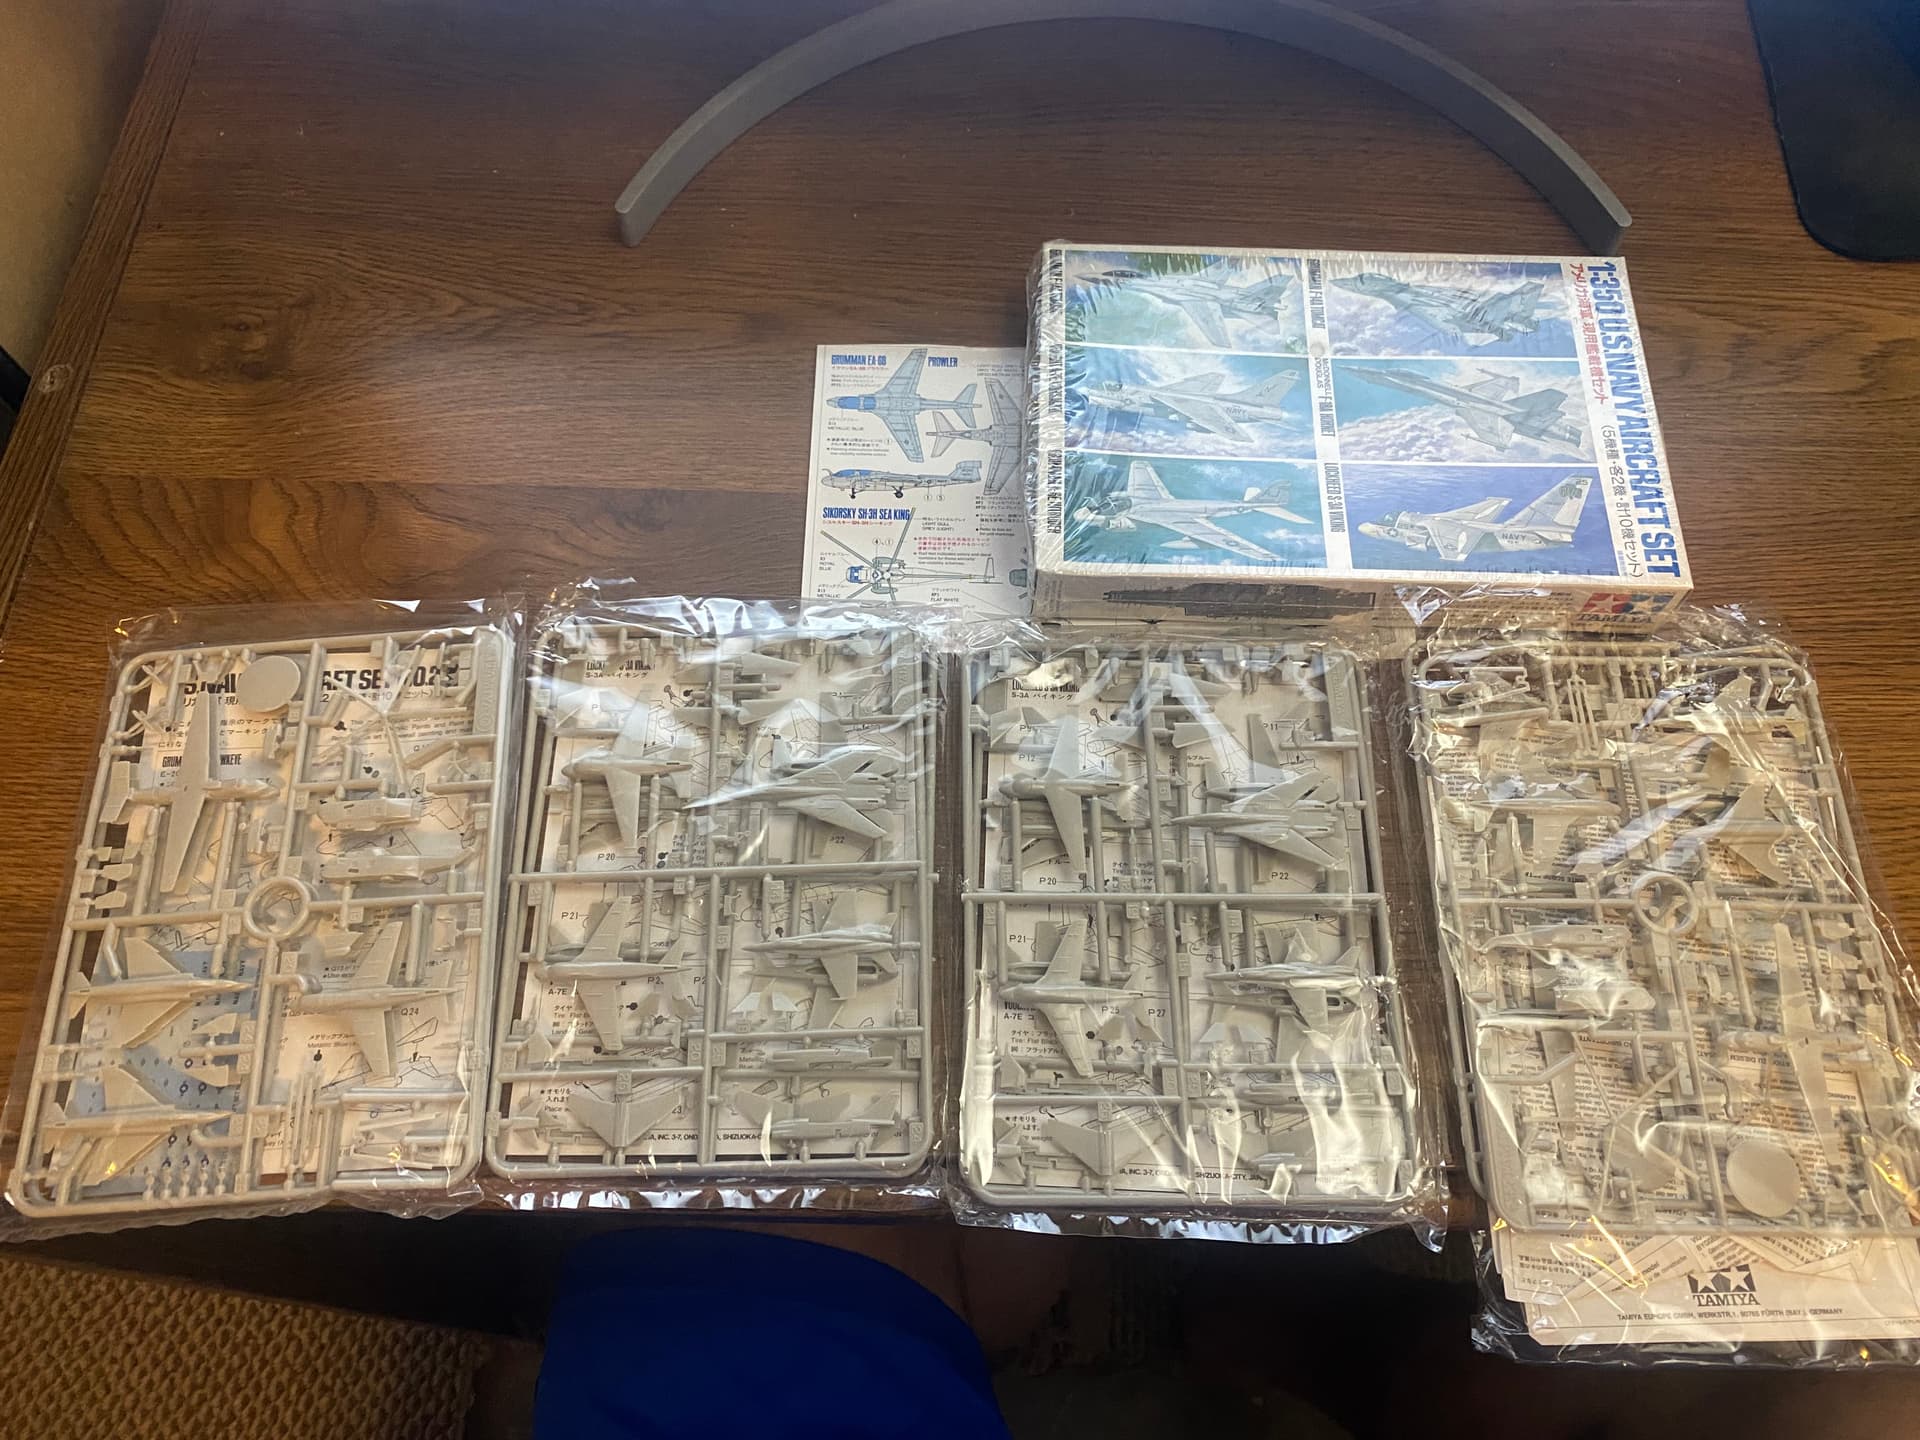
My biggest question is why no new toolings of the most modern US aircraft carriers in 1/350? I would love to do one, but to make a more up to date one, it would take a lot of work!
Probably because they will not sell much. Battleships are way more interesting subject and combined with the size and cost of purchase of most modern CVs the target group is pretty small. Unfortunately for us companies decide on possible sales and flattops, especially modern, don not appeal to many modelers, especially in 1/350 scale.
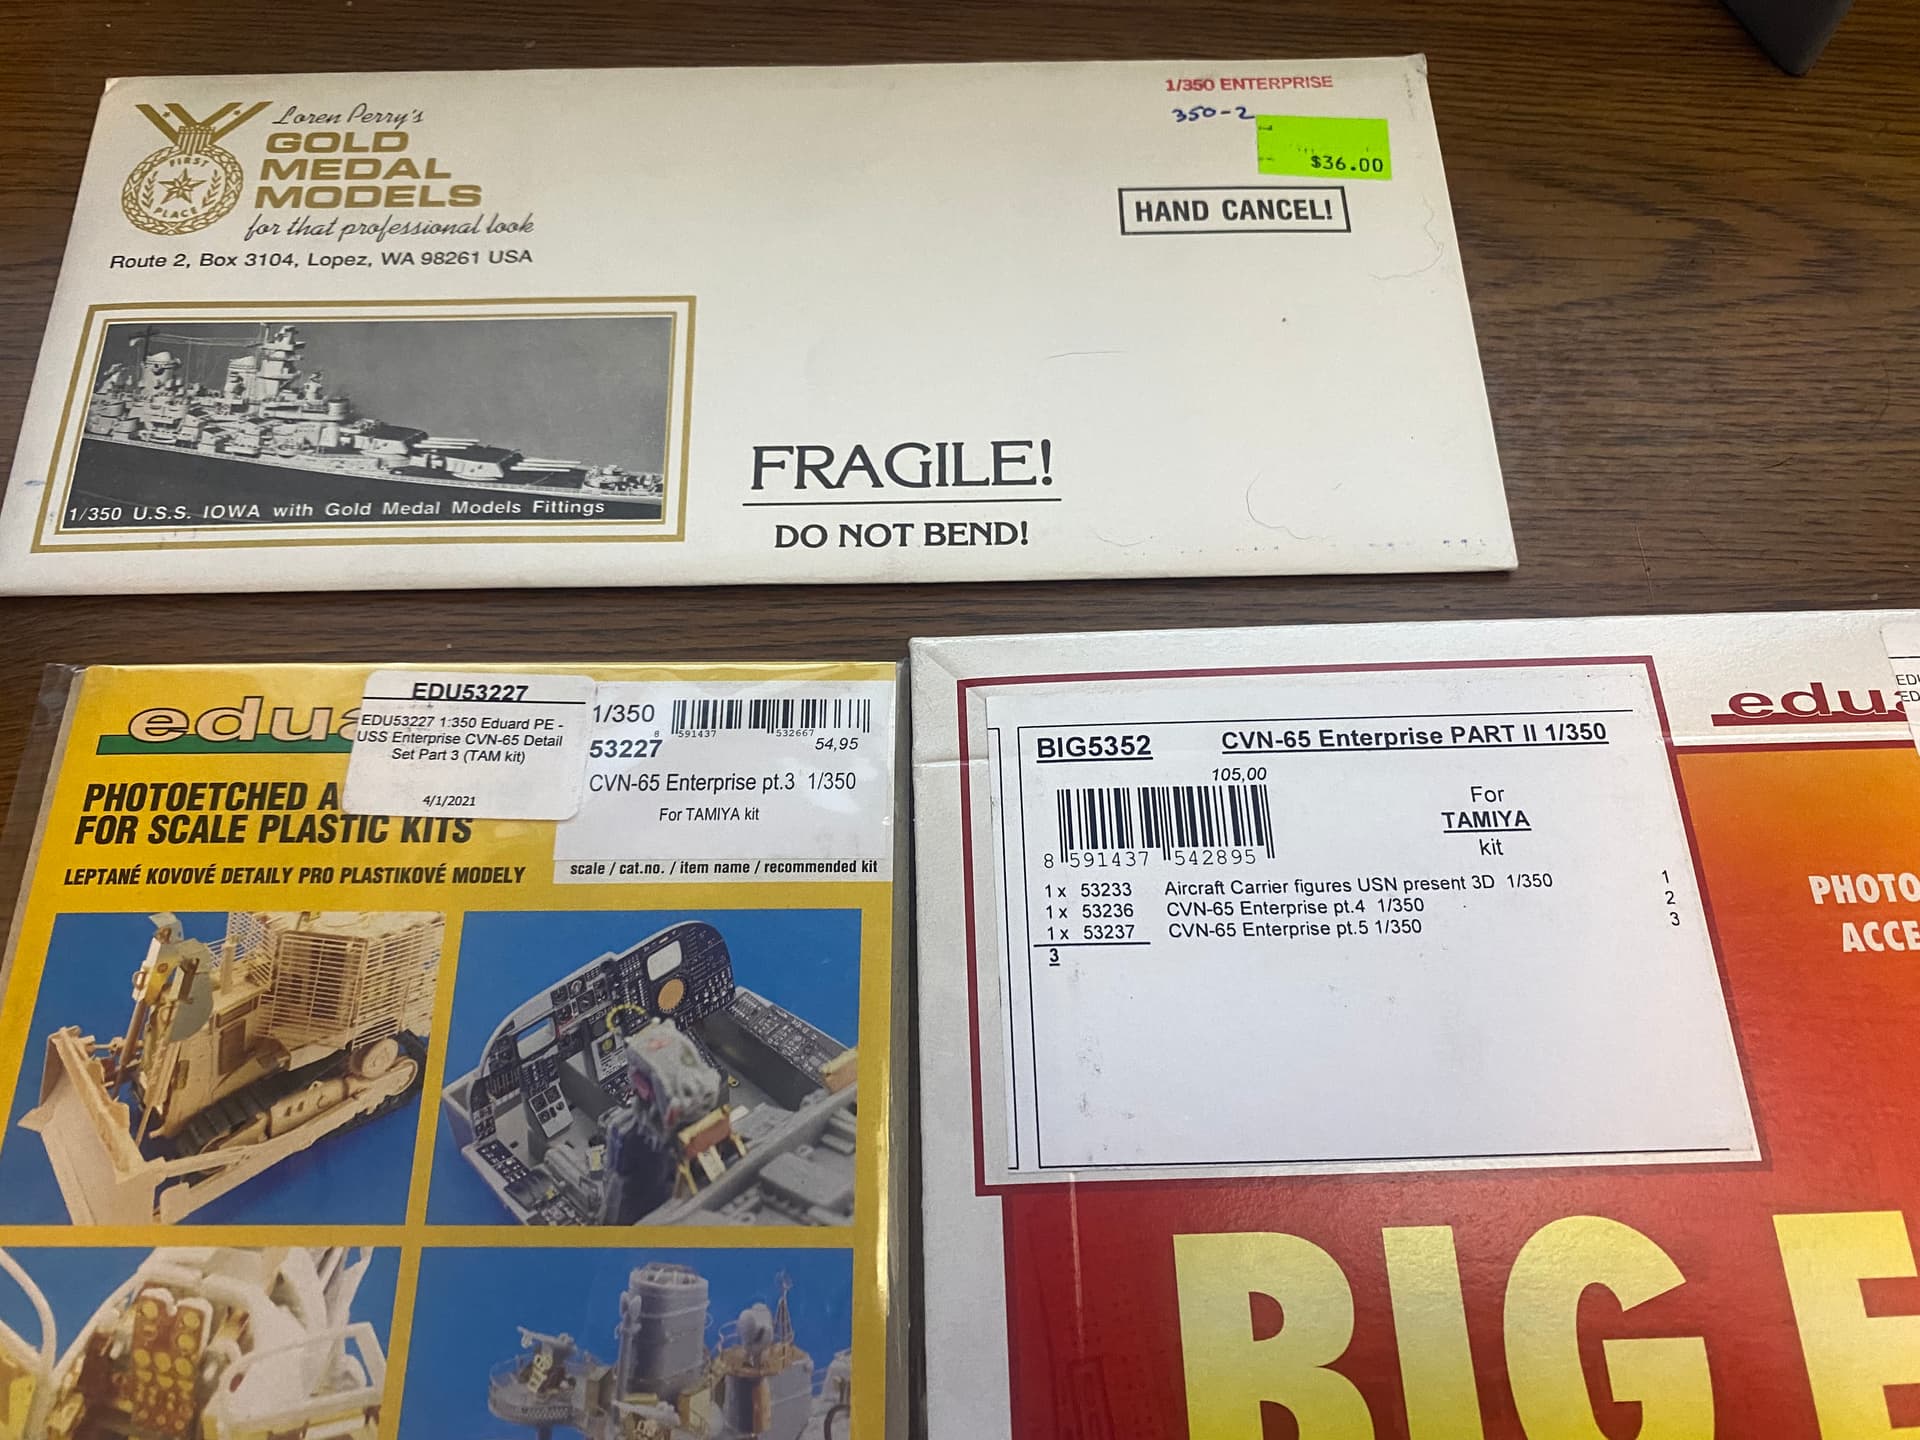
A slow start on the build. I spent a good portion of the day comparing my various sets of instructions and making notes of what goes where and which PE set to use when.
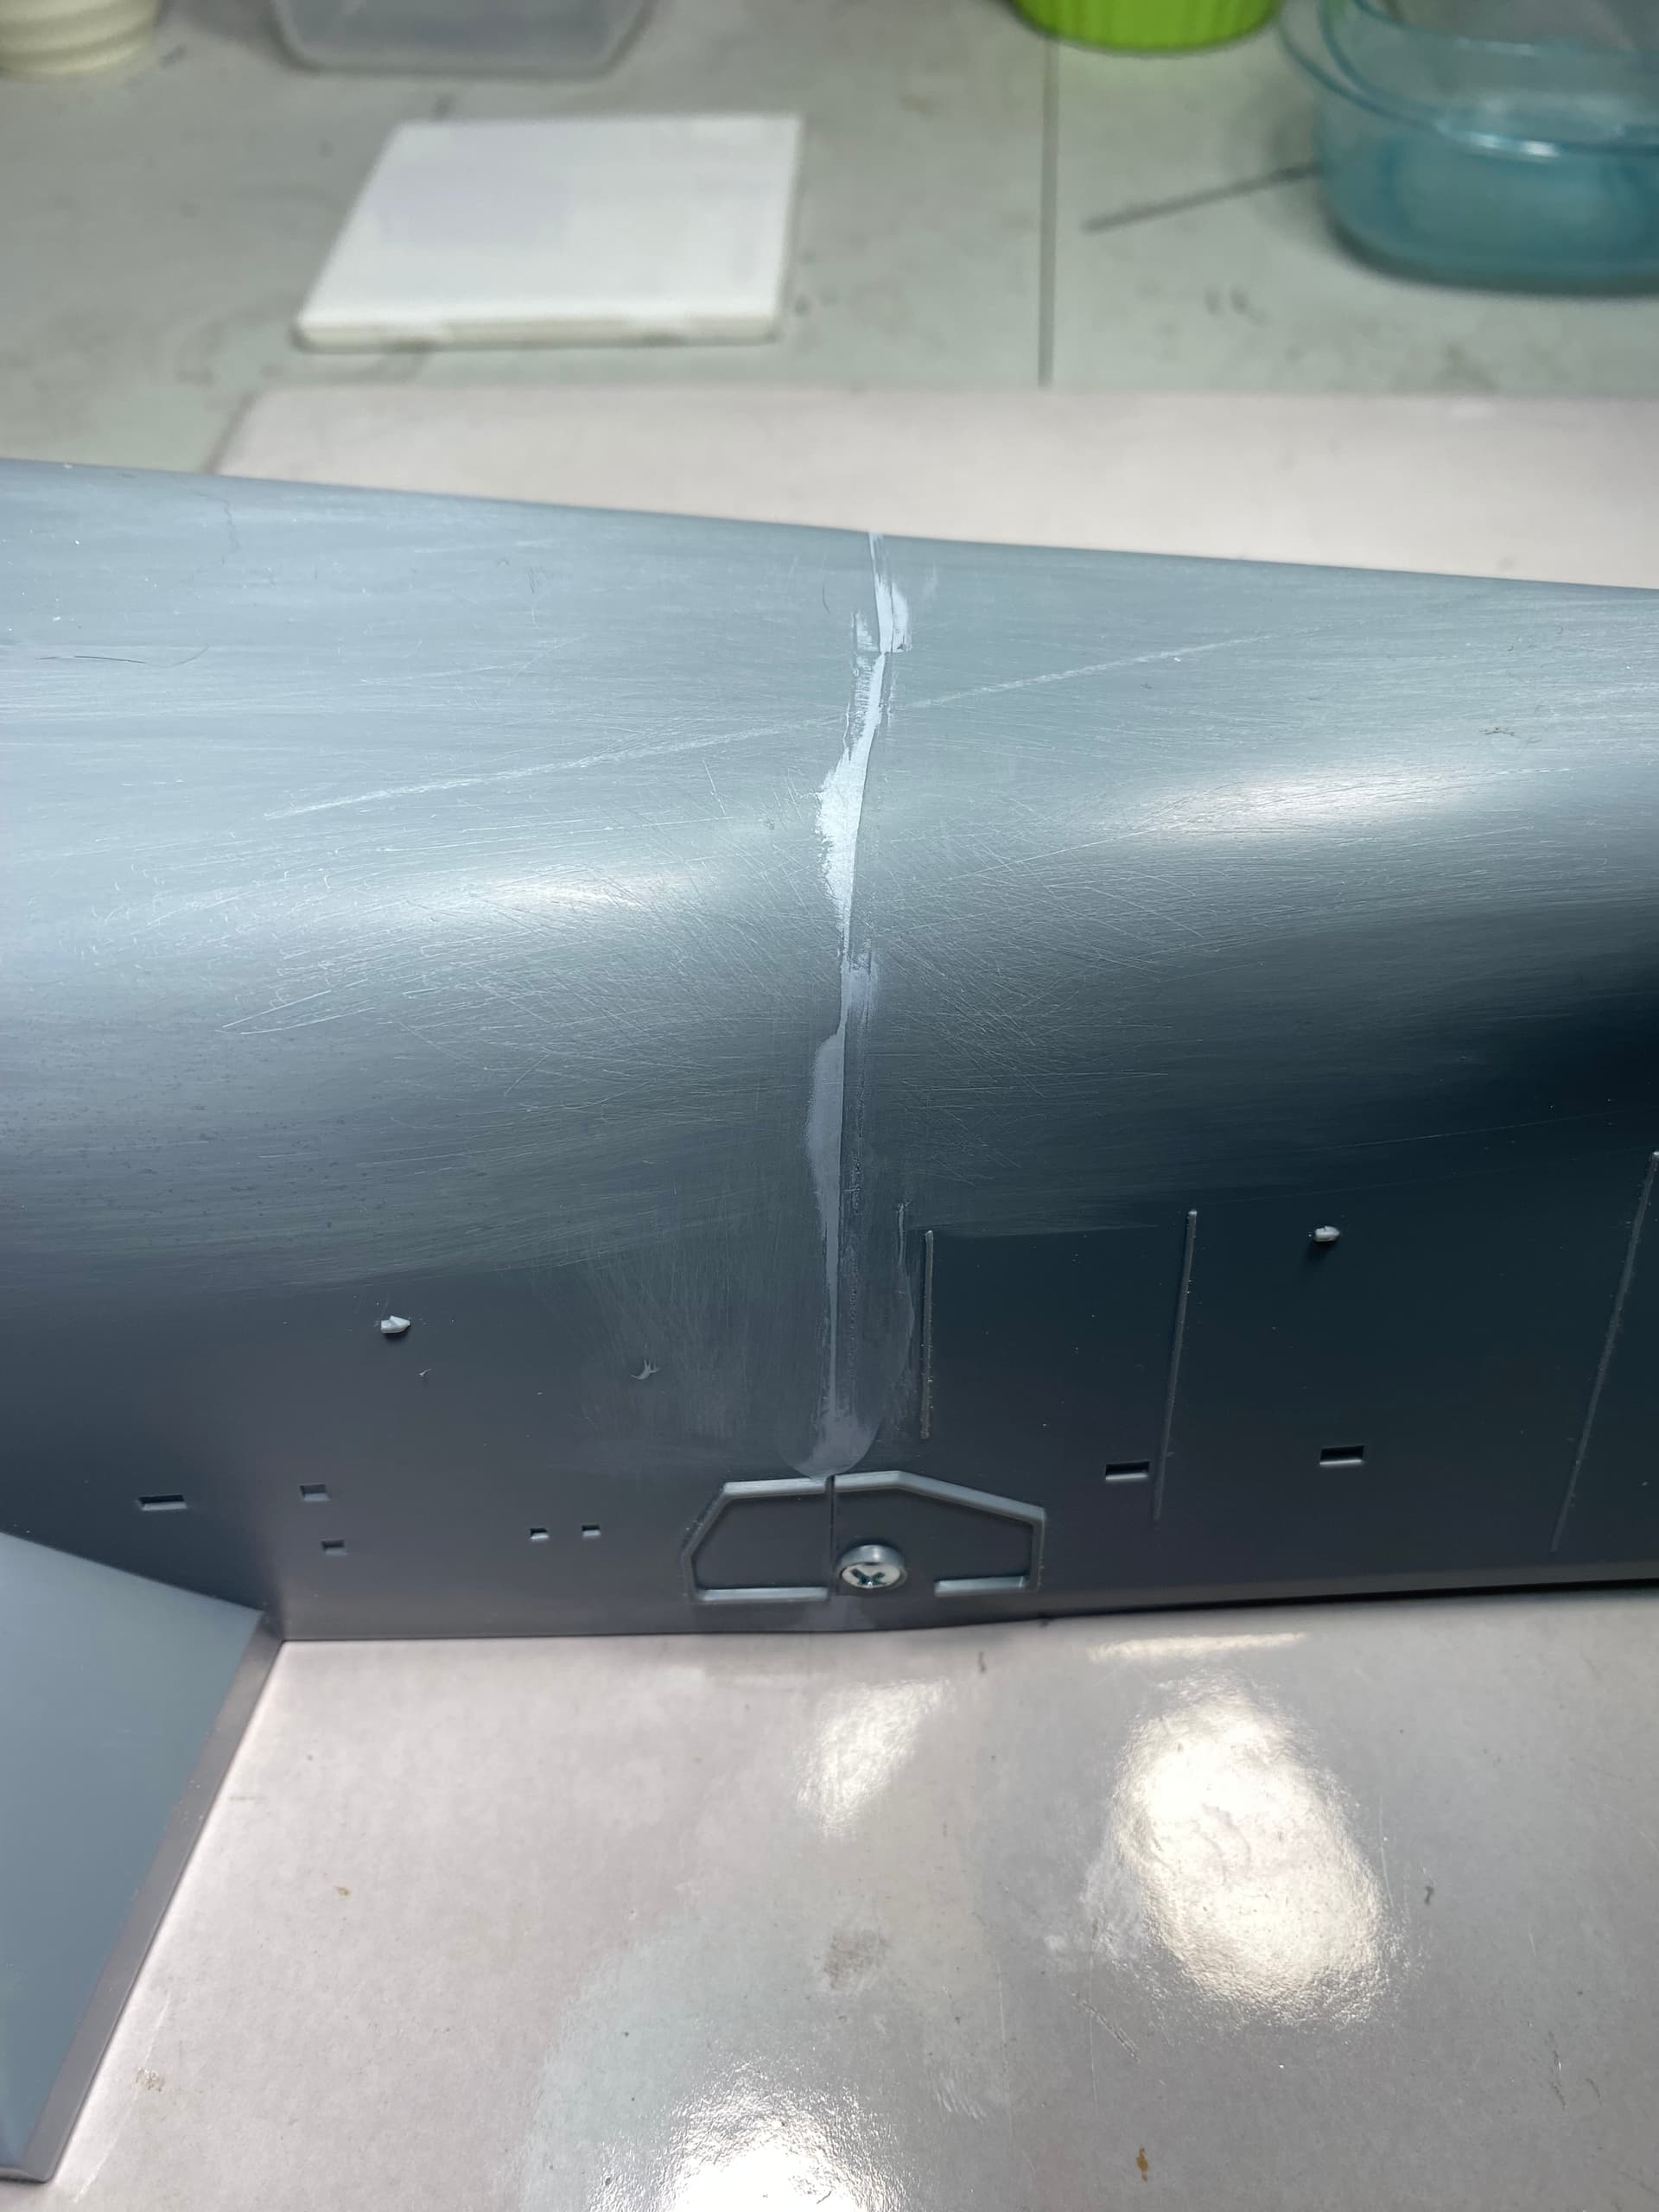
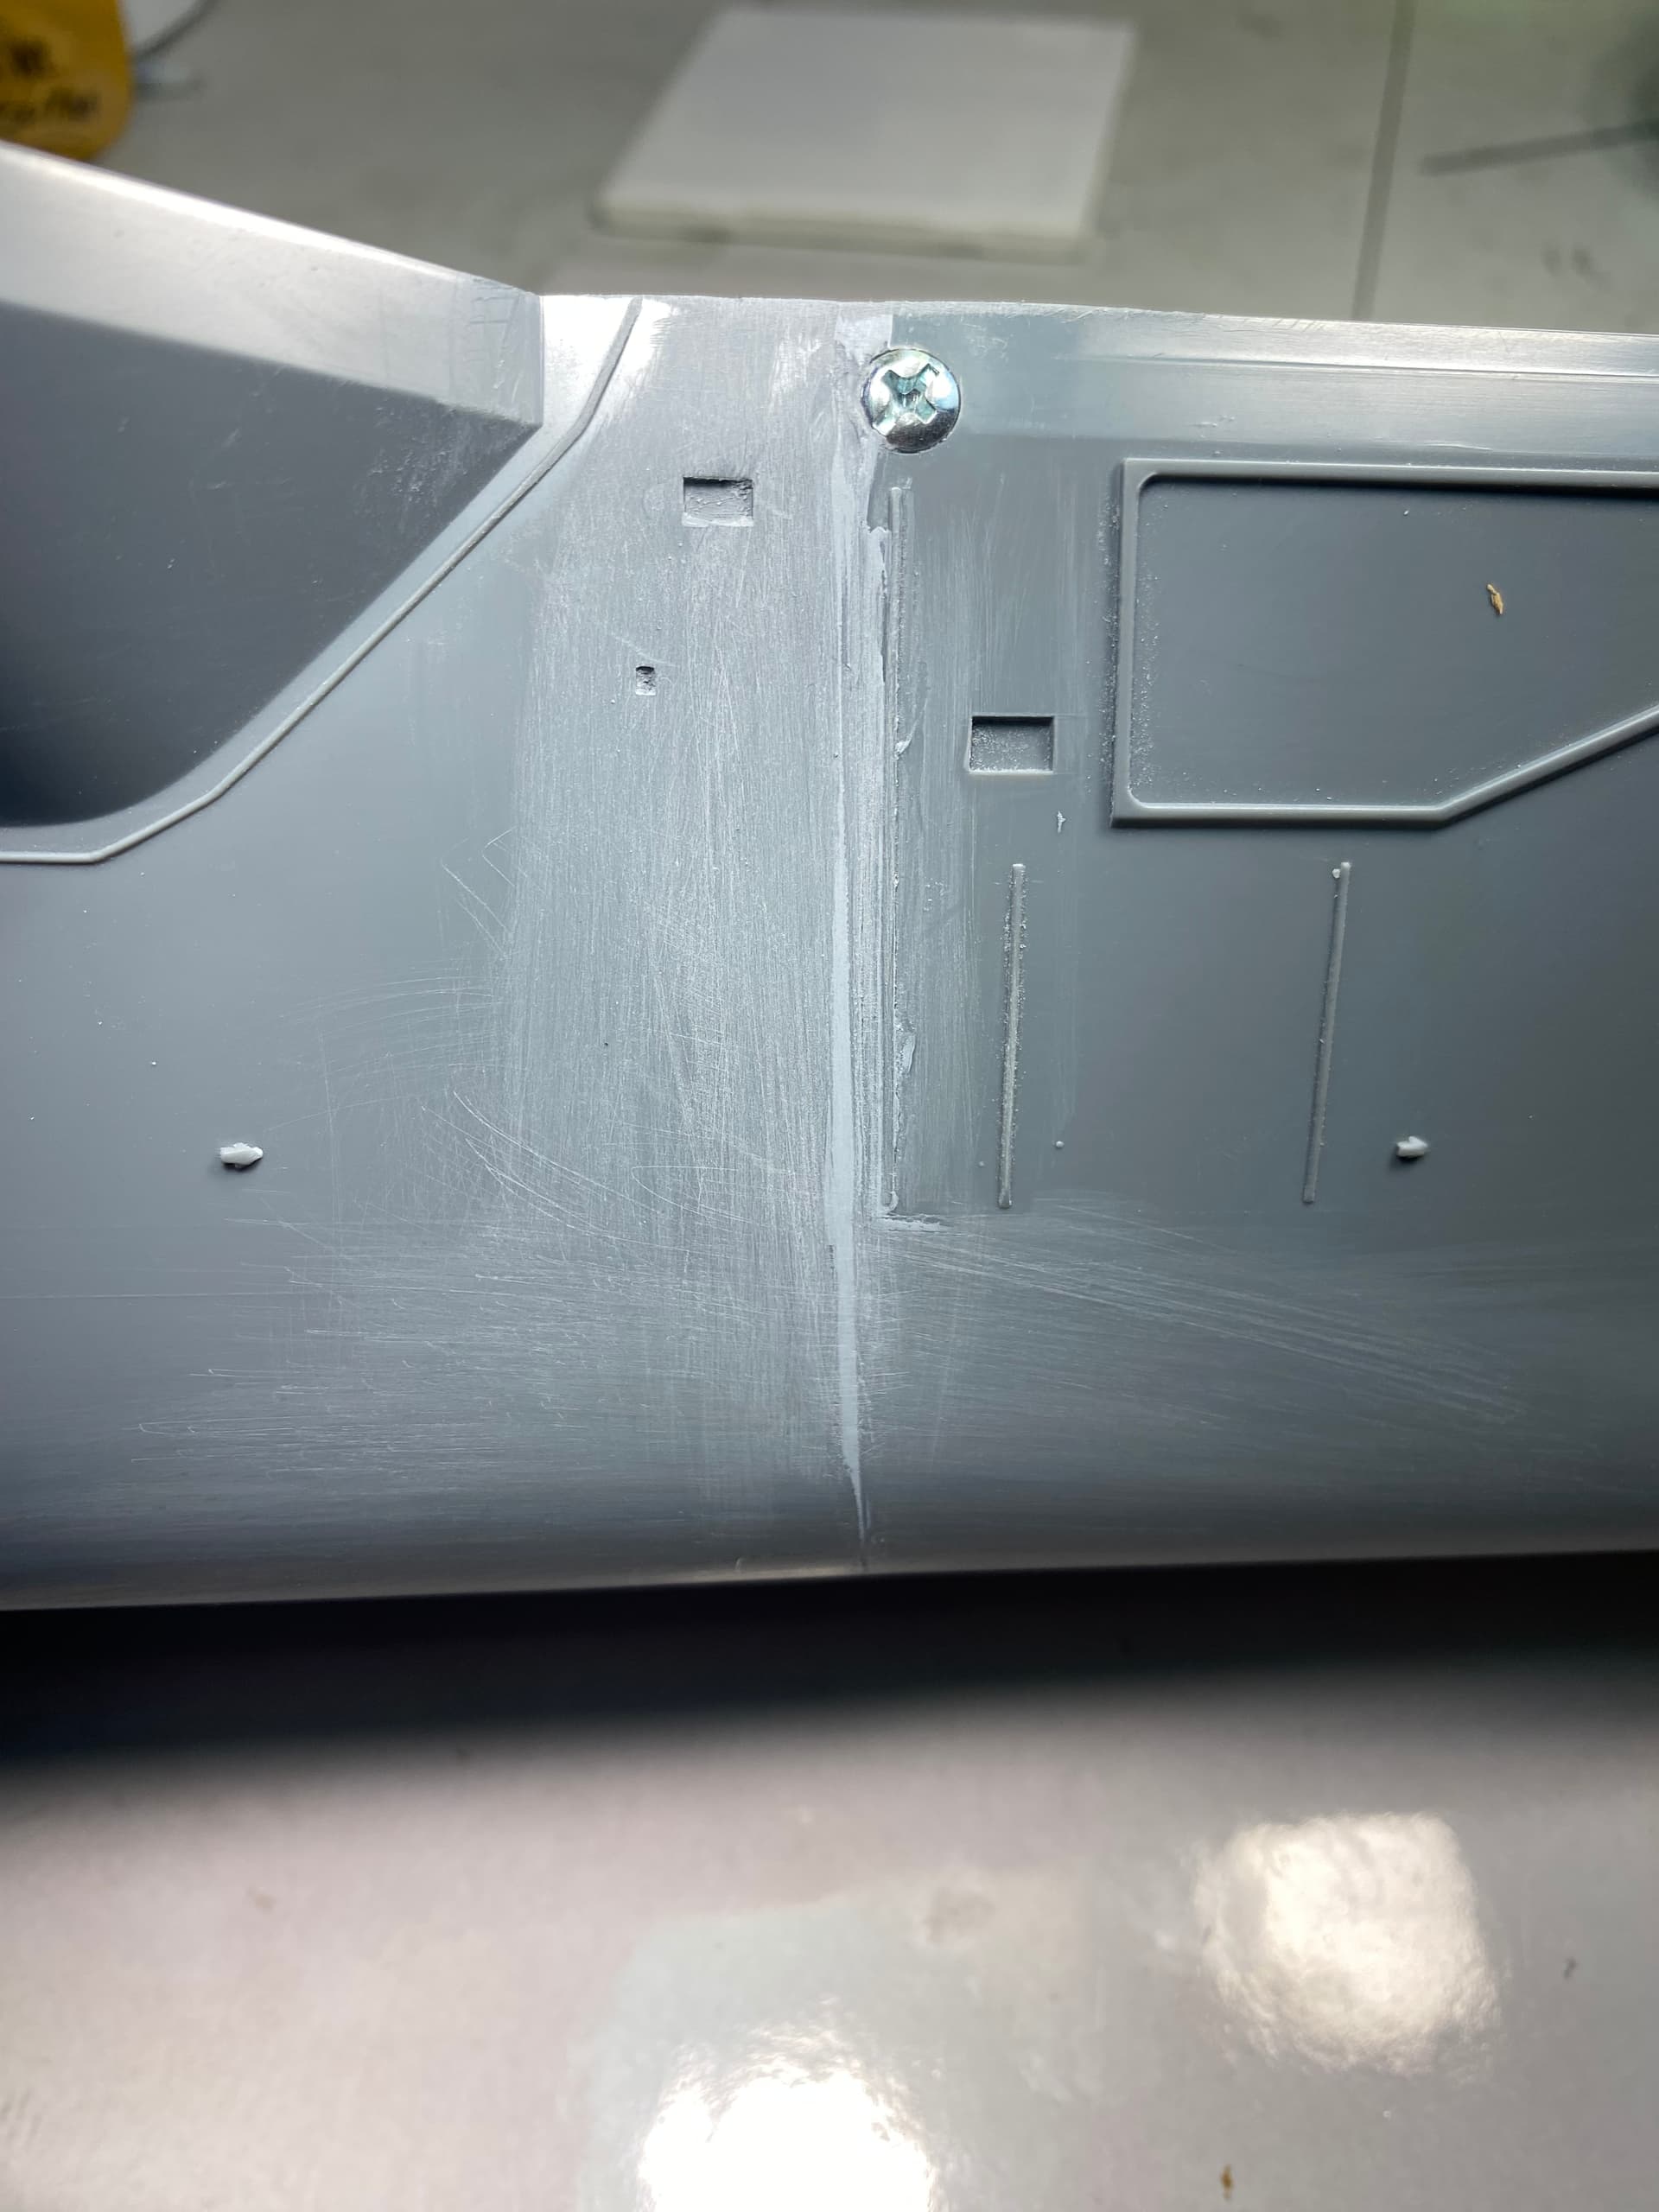
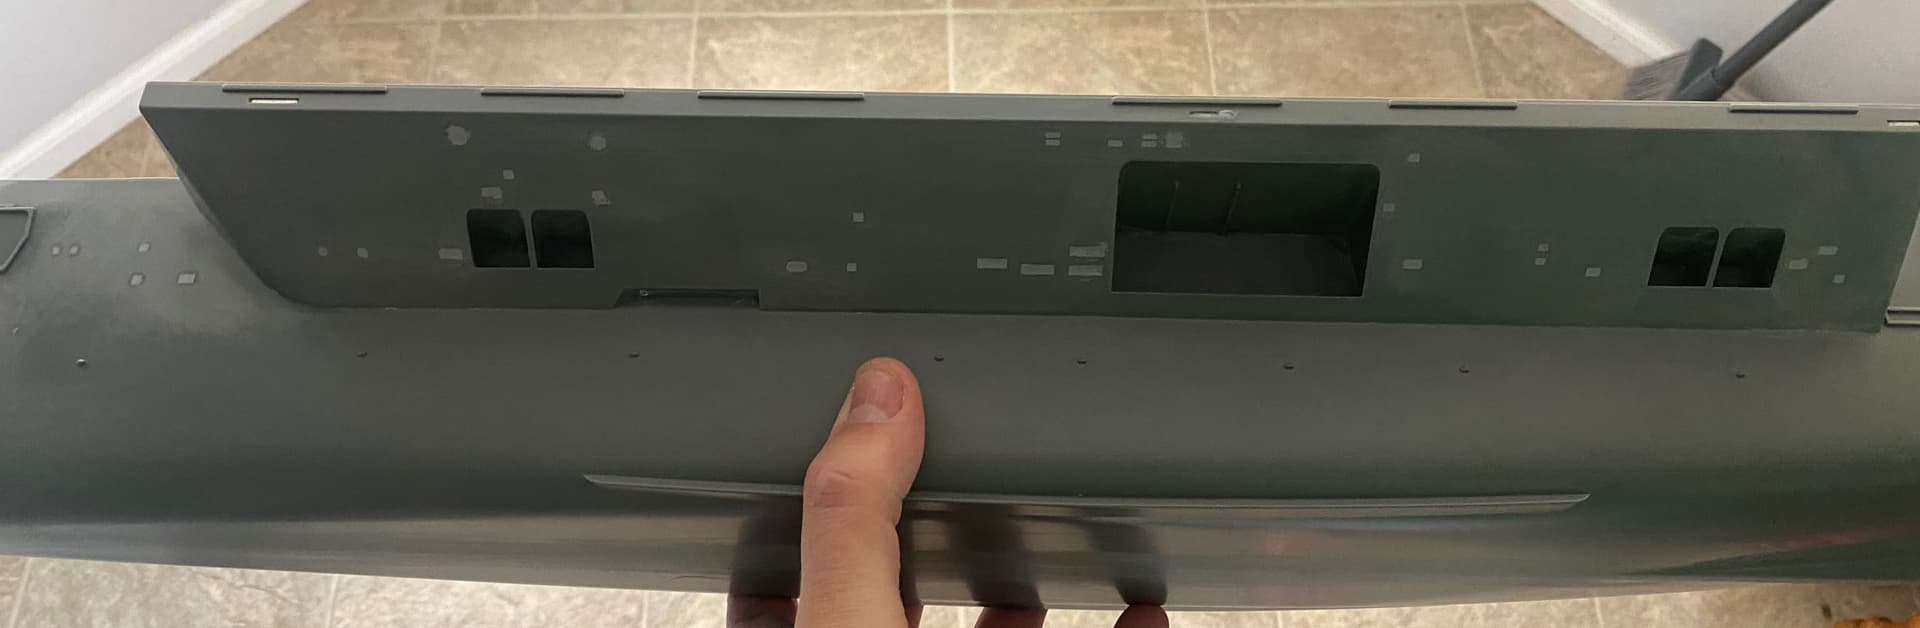
I did join the bow to the main hull of the ship. The gap wasnt too bad but required filling and sanding. Also sanded down the seam running the length of the hull.
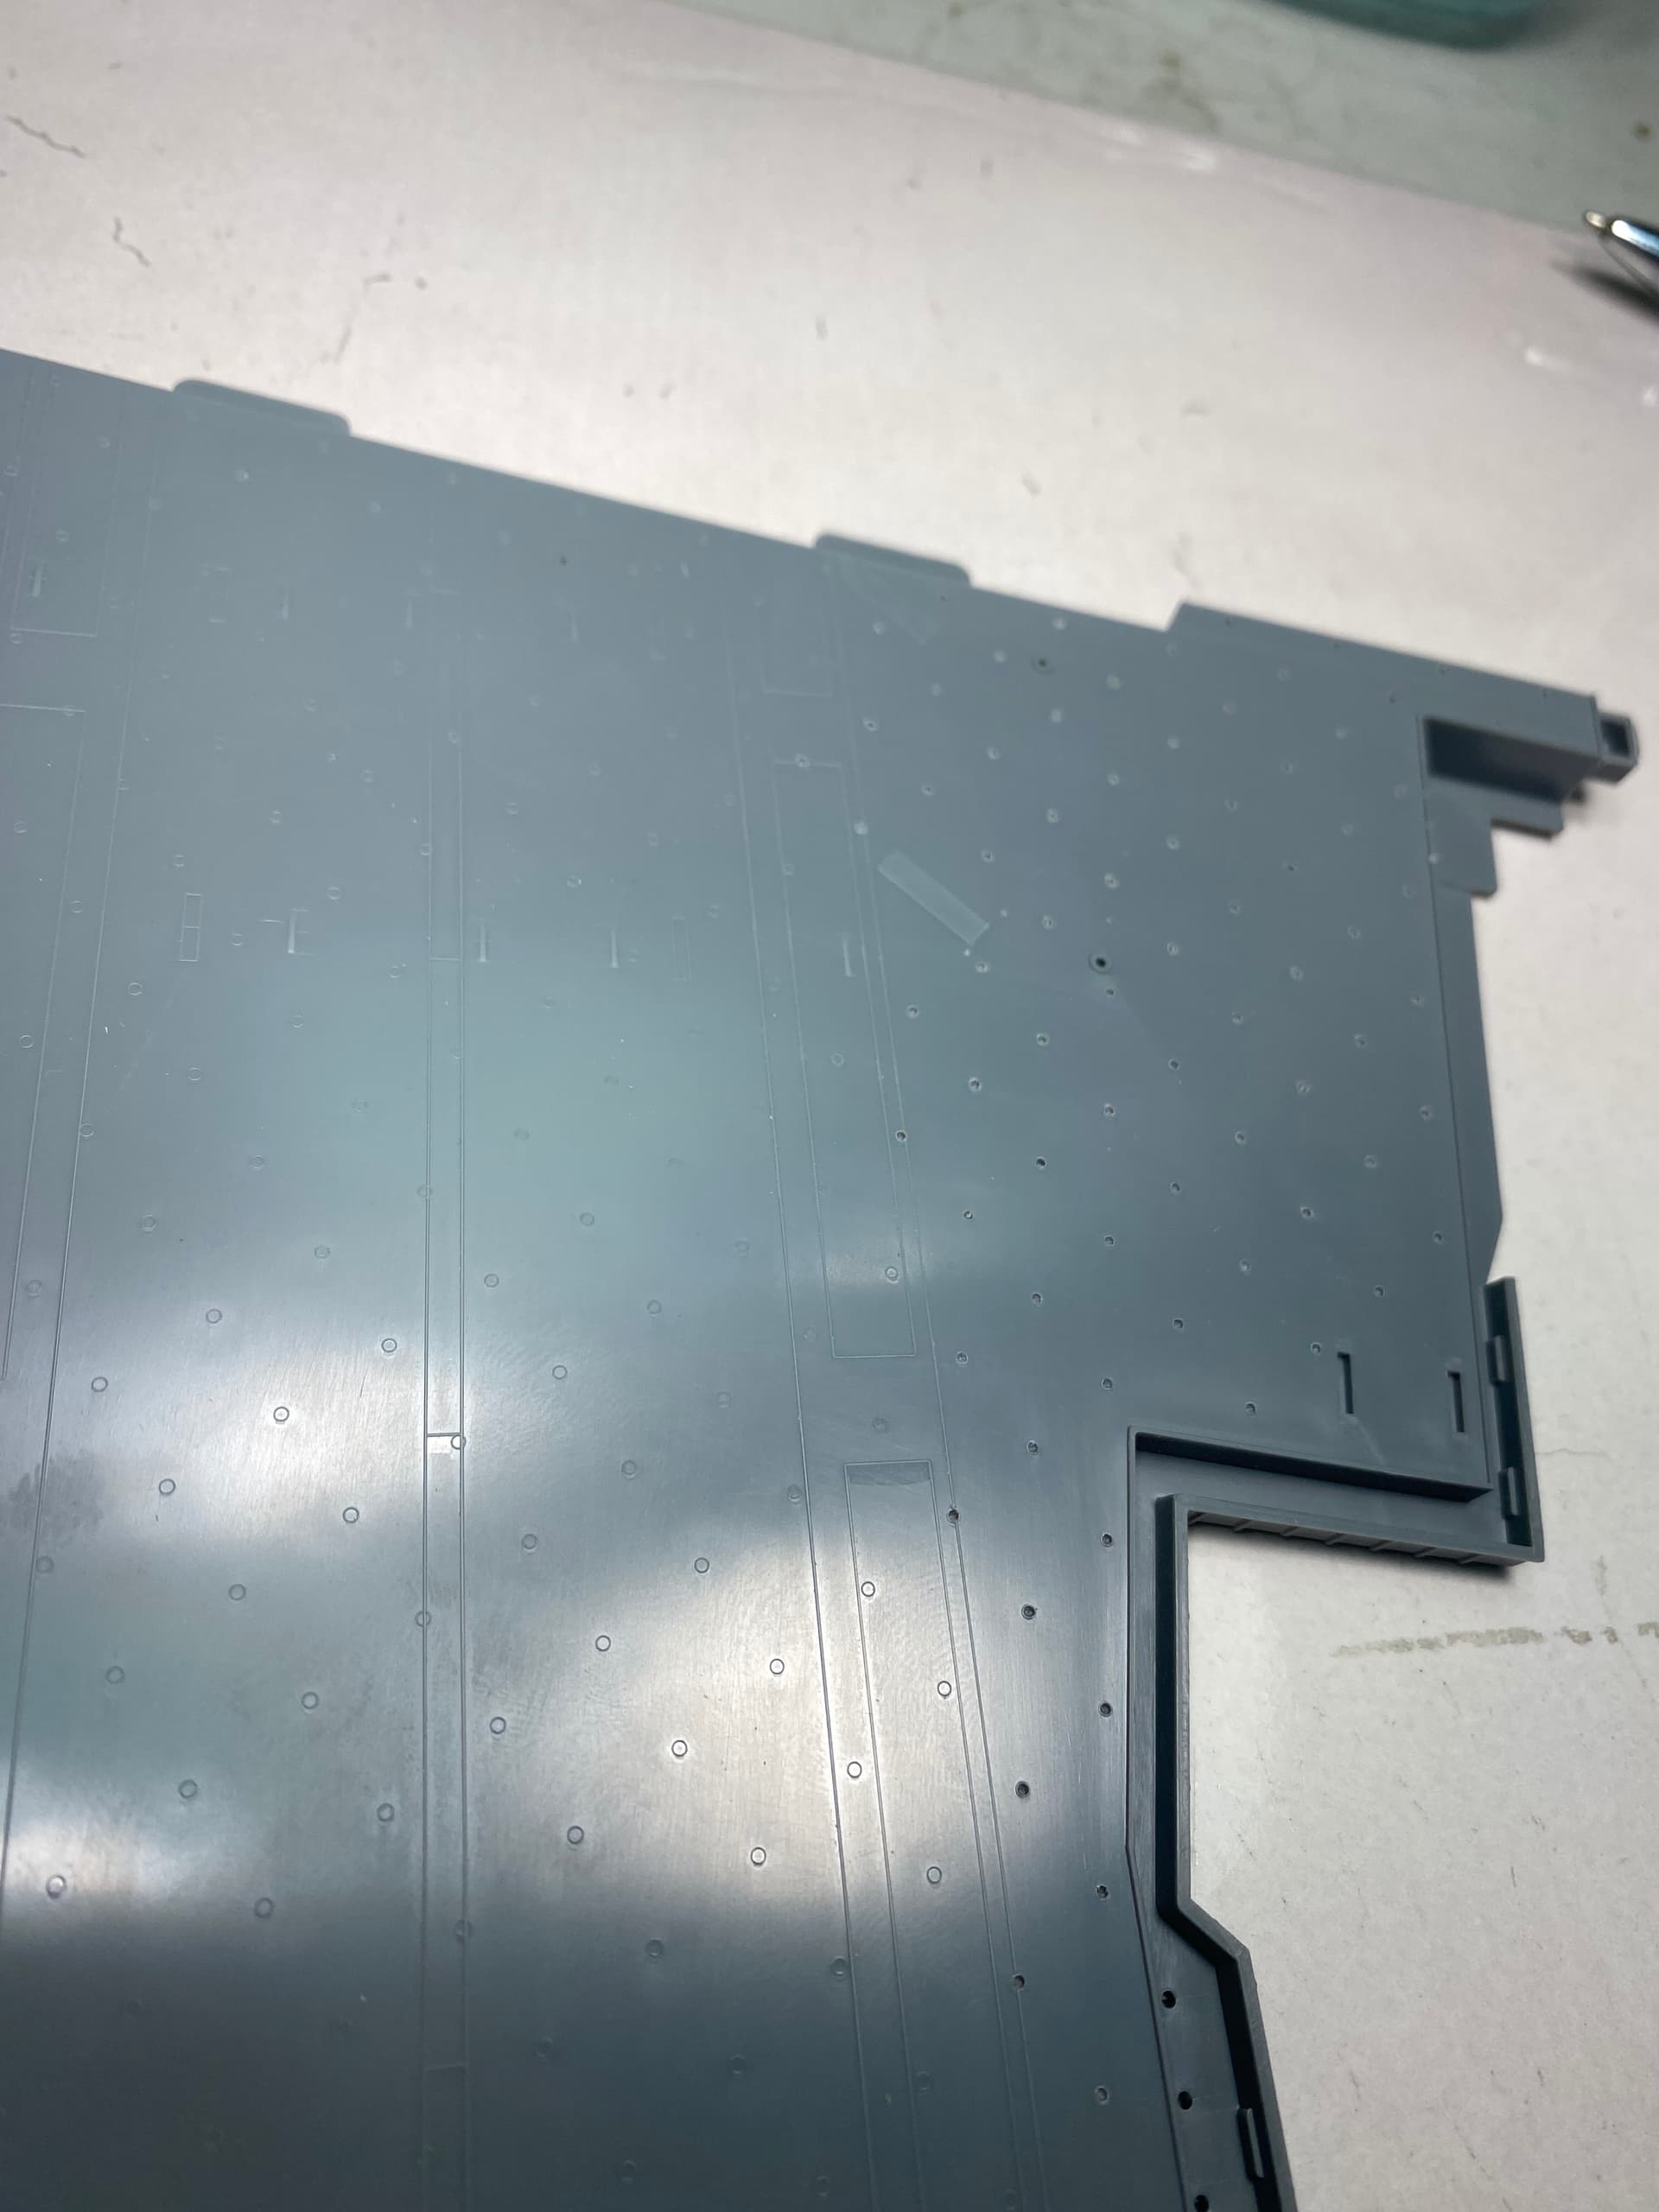
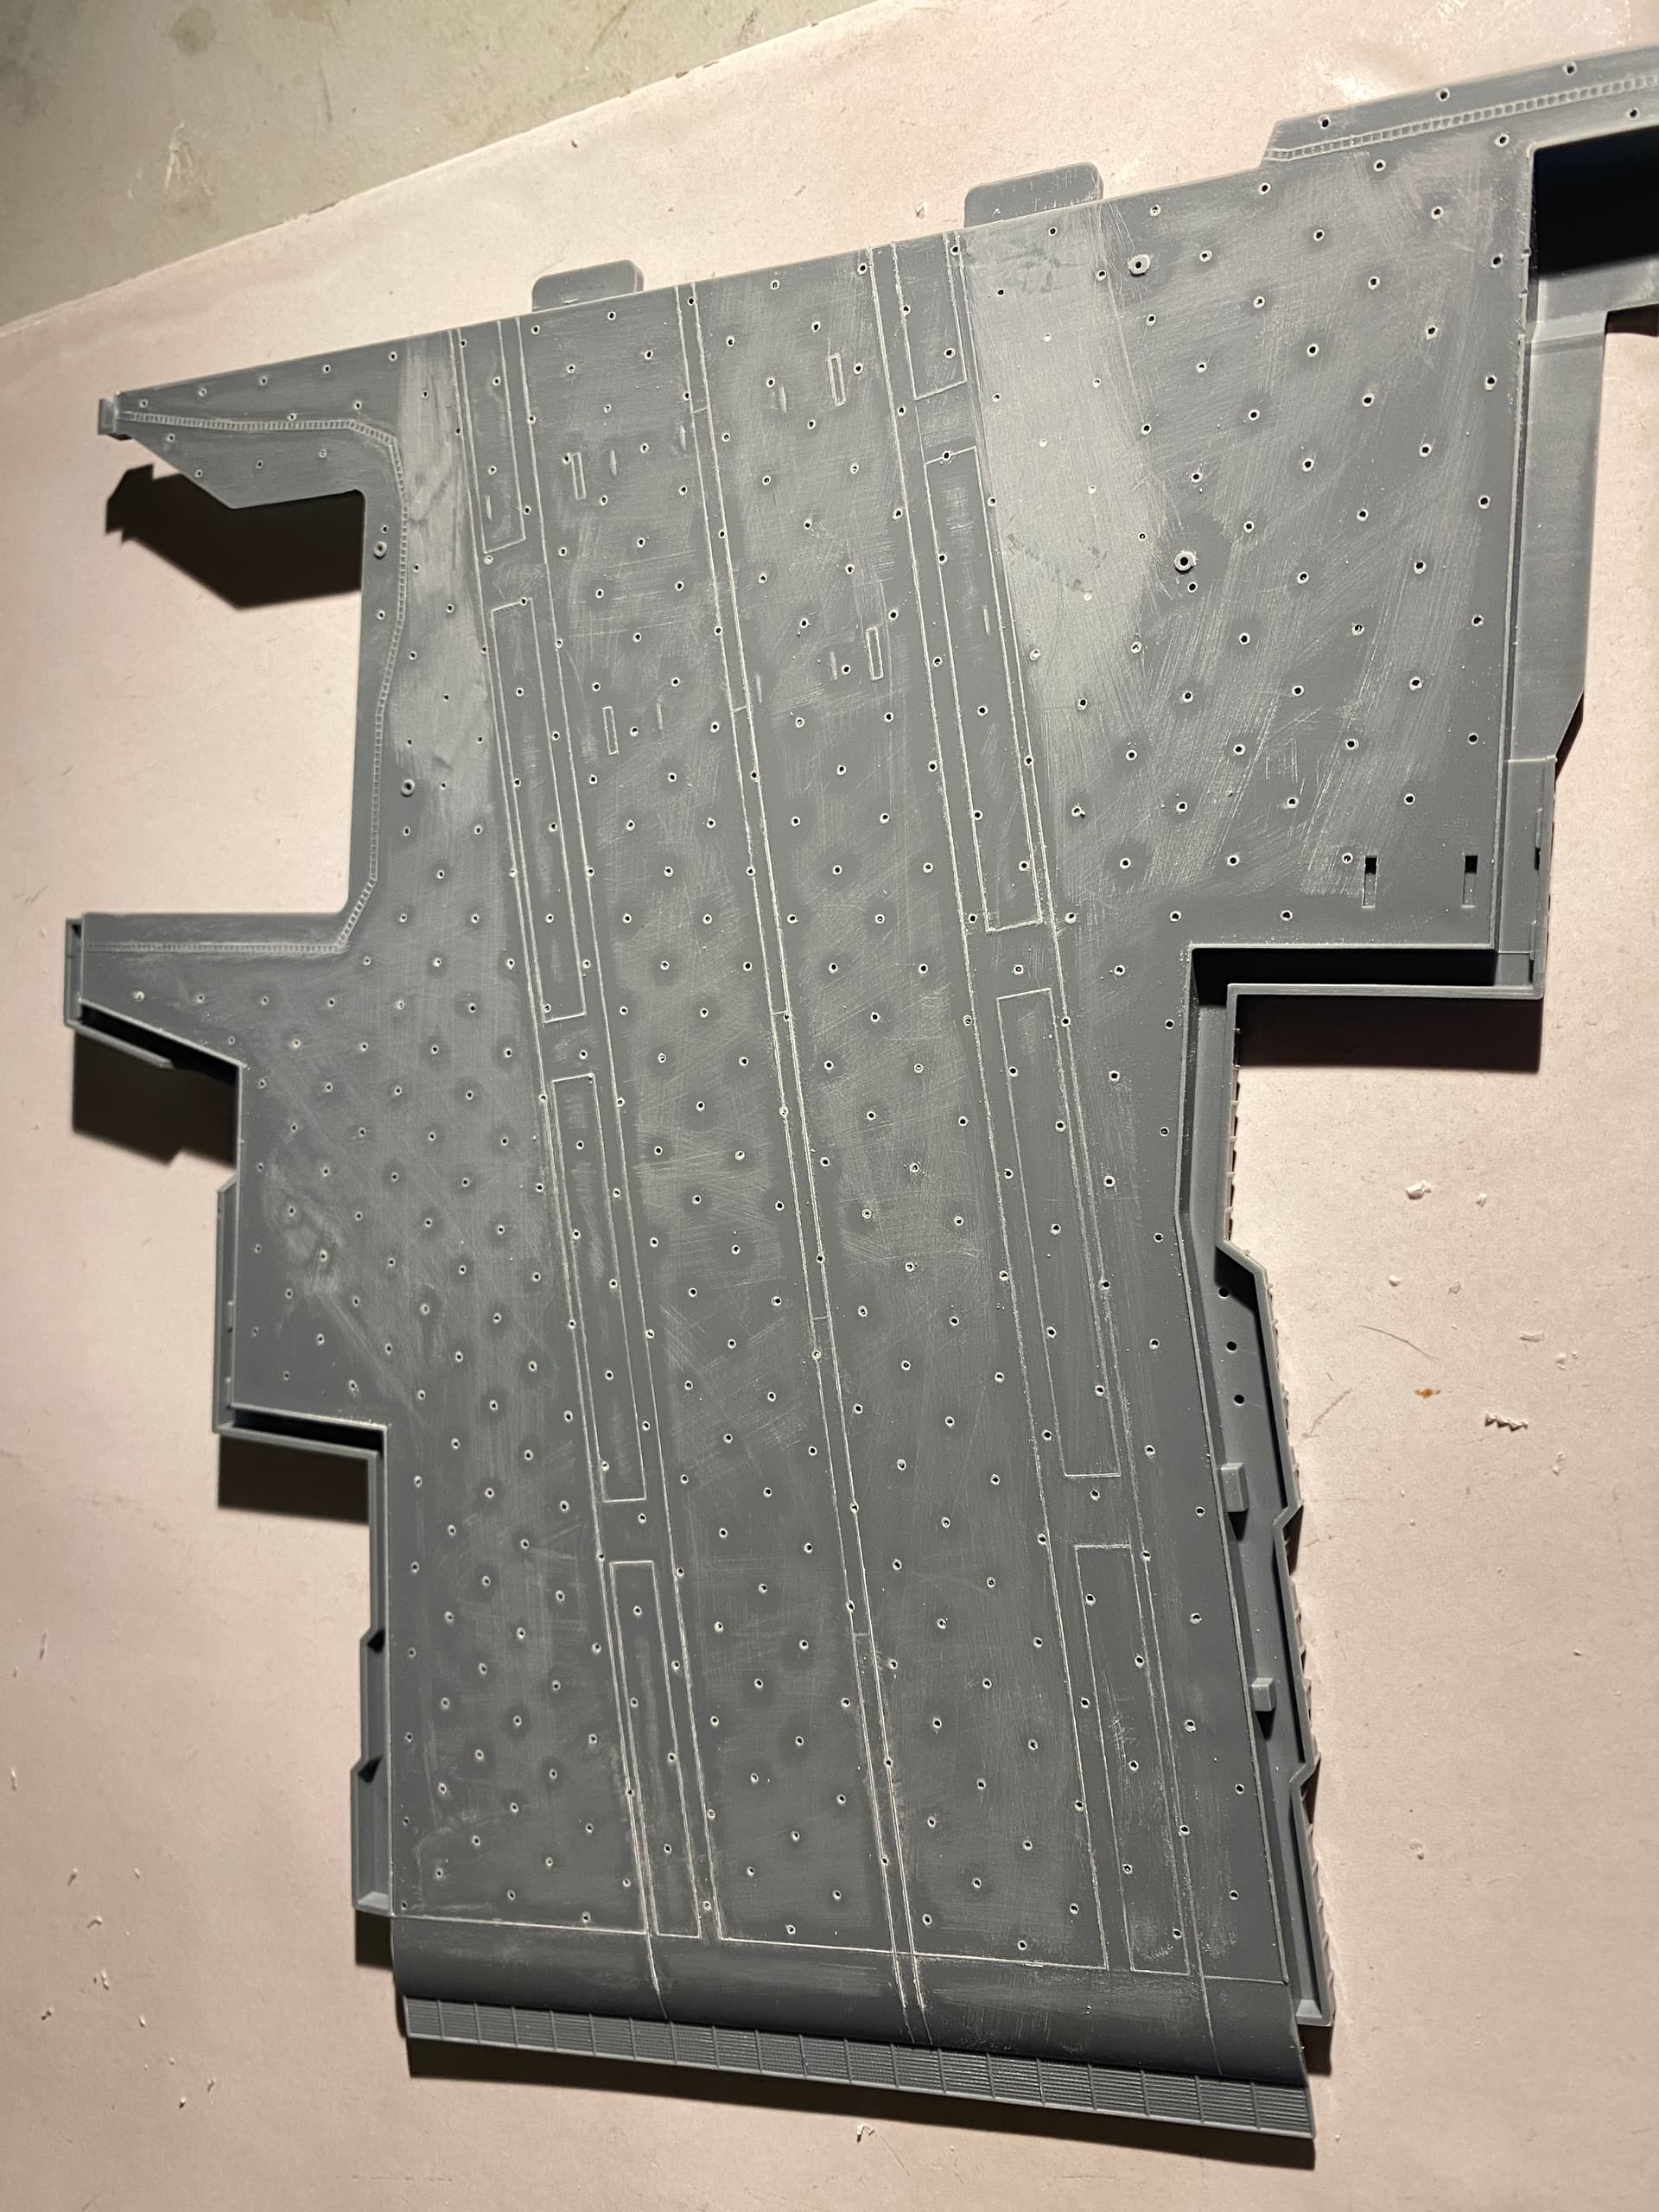
I also made a start on drilling out the tie-downs. There are hundreds of the buggers so will do a bunch each night and slowly work through. I have found that 3 twists of a 0.8mm bit does the trick.
Hard to see but completed ones on the right and undrilled on the left. Luckily, the locations are marked.
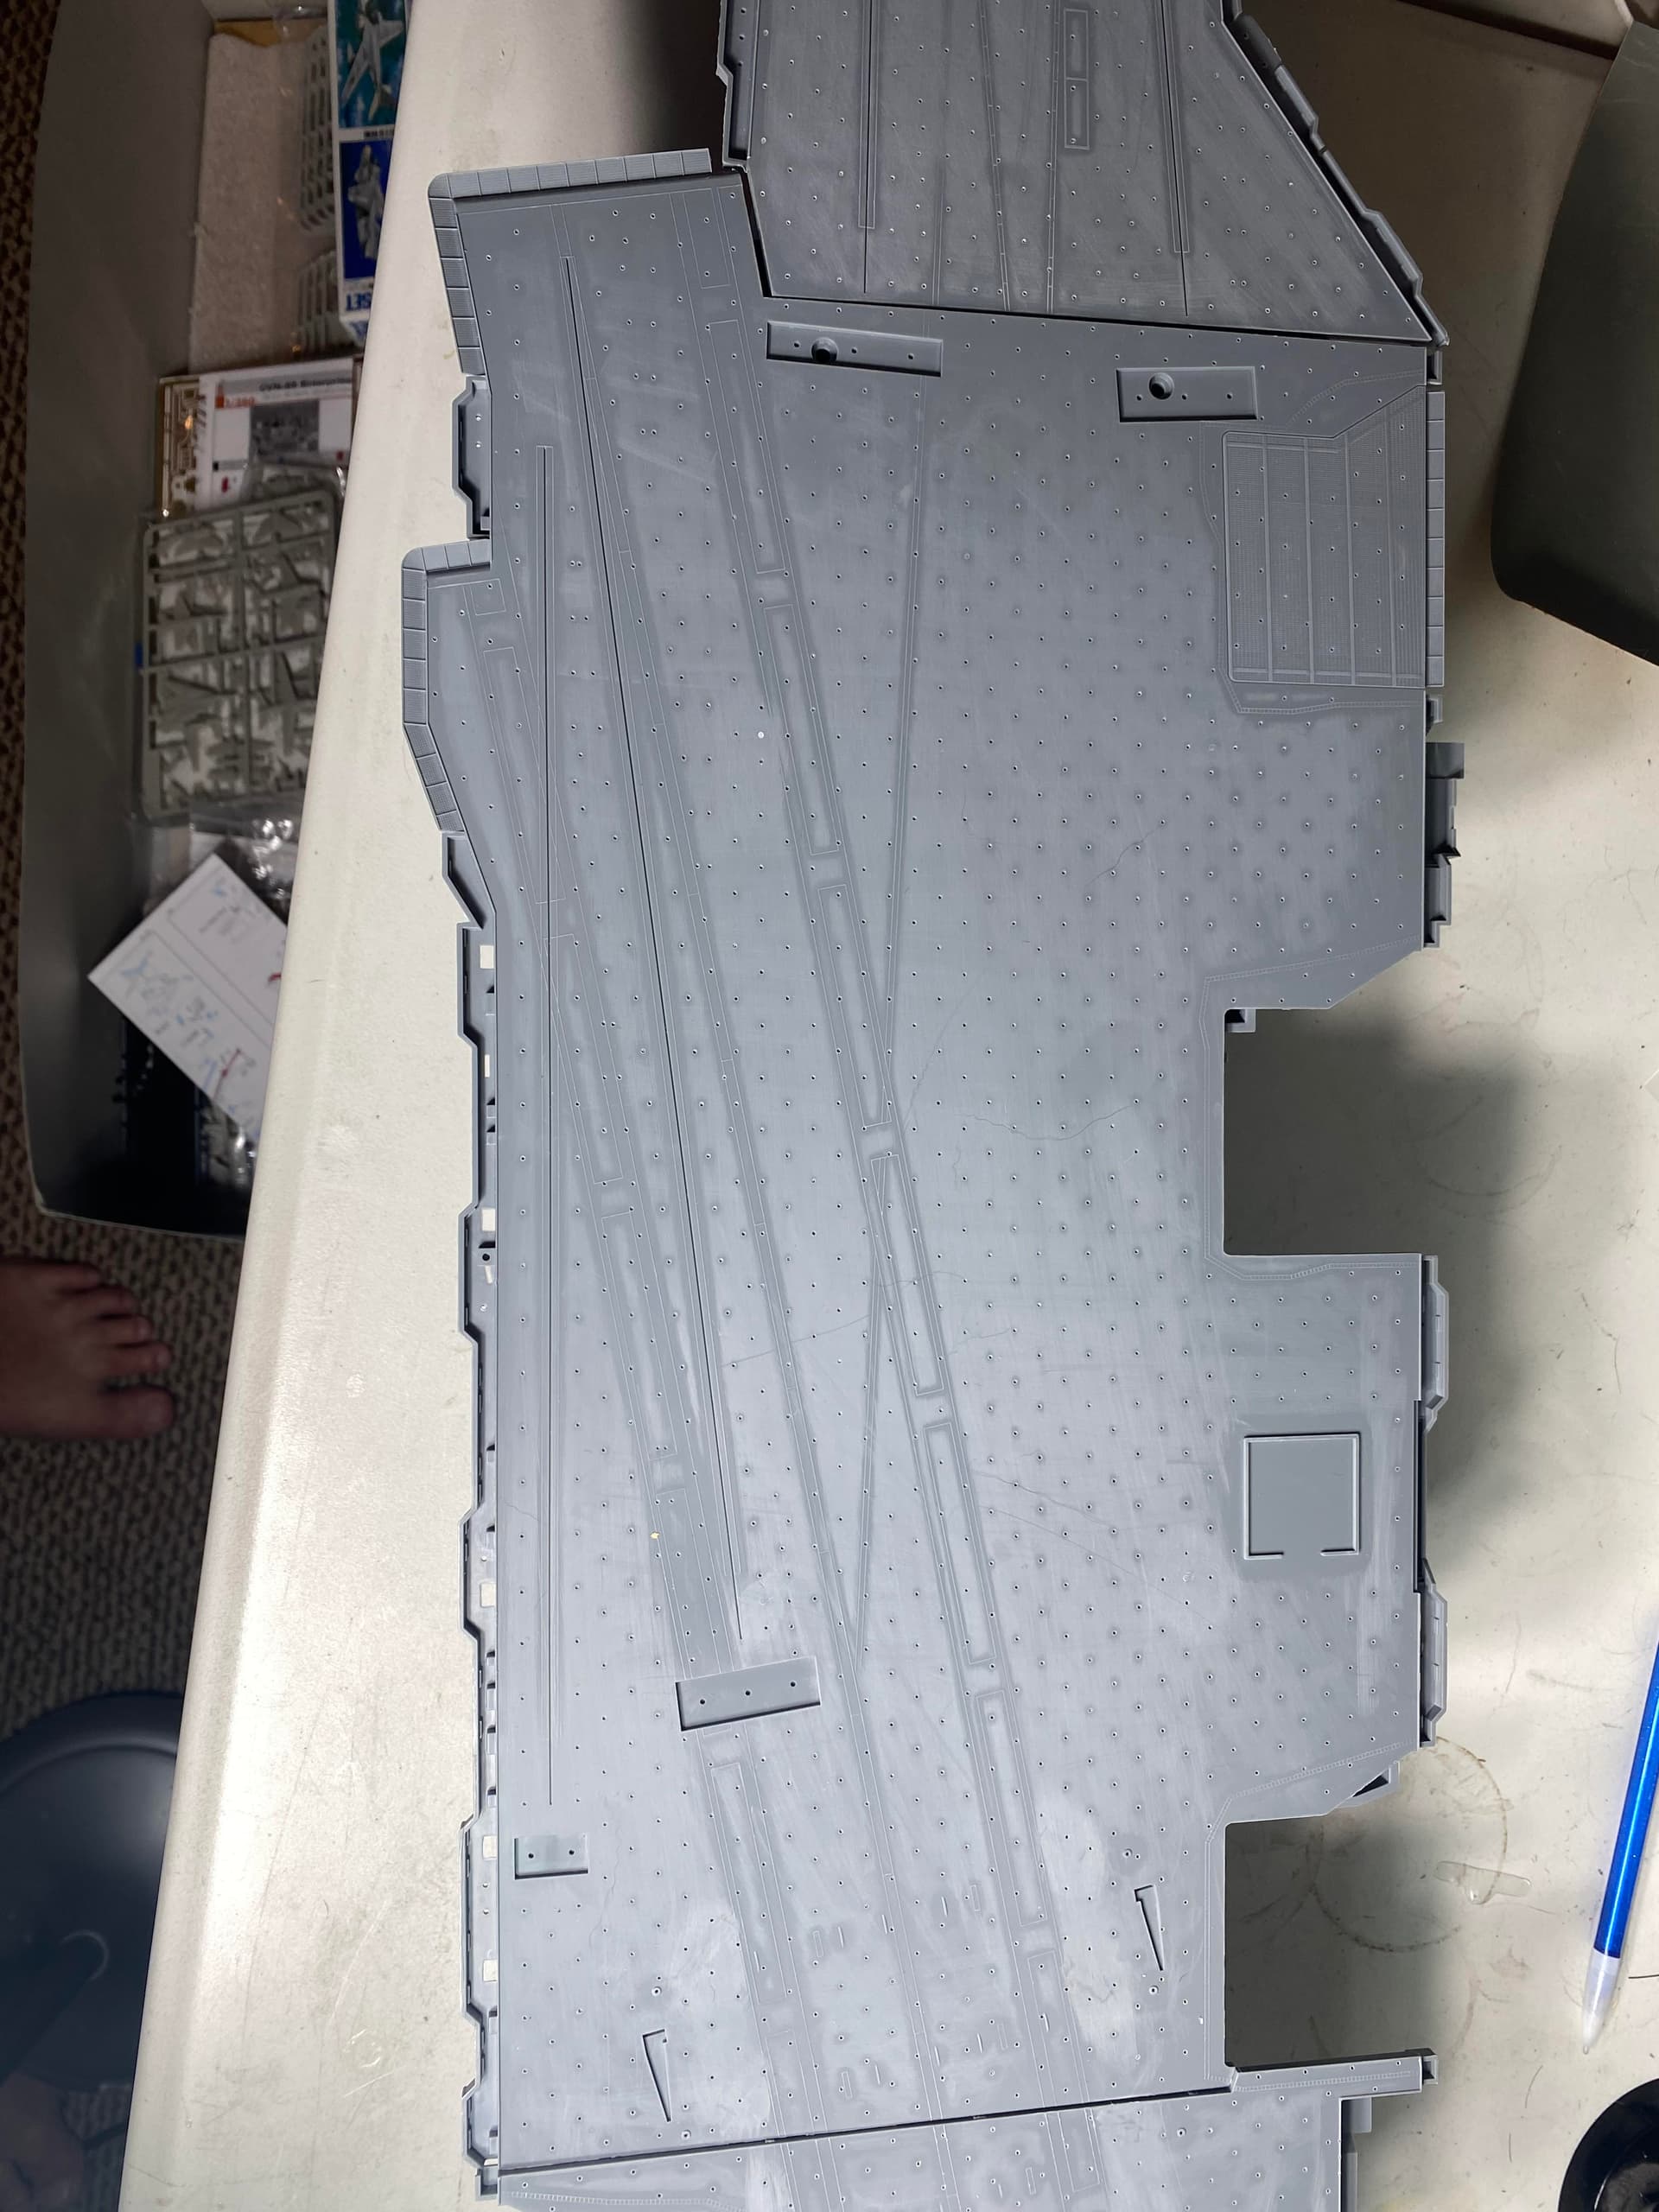
Roughly 1/4 of the tiedowns have been drilled. I have sanded away the raised edges as well as knocked down the raised indicator marks for the deck markings. Will clean and scrub the piece at some point.
Just some of the ones on one side of the ship. Fill, wait a day to dry, sand and then refill where the putty shrank. Sand and repeat. I think I am pretty much close to being done so then can start on actually gluing parts.
You are up for a tedious, but nevertheless very nice and promising looking start here!
Reporting on board, I’m in and following (if maybe sometimes a little quiet)
You can see how many holes there were to drill. Also visible is the outlines for the deck markings. I had to knock those down a bit. Cleaning out all the holes after sanding was a challenge but I remembered I had an old water dental pick and boy did that focused water spray do a good job of cleaning out the dust.
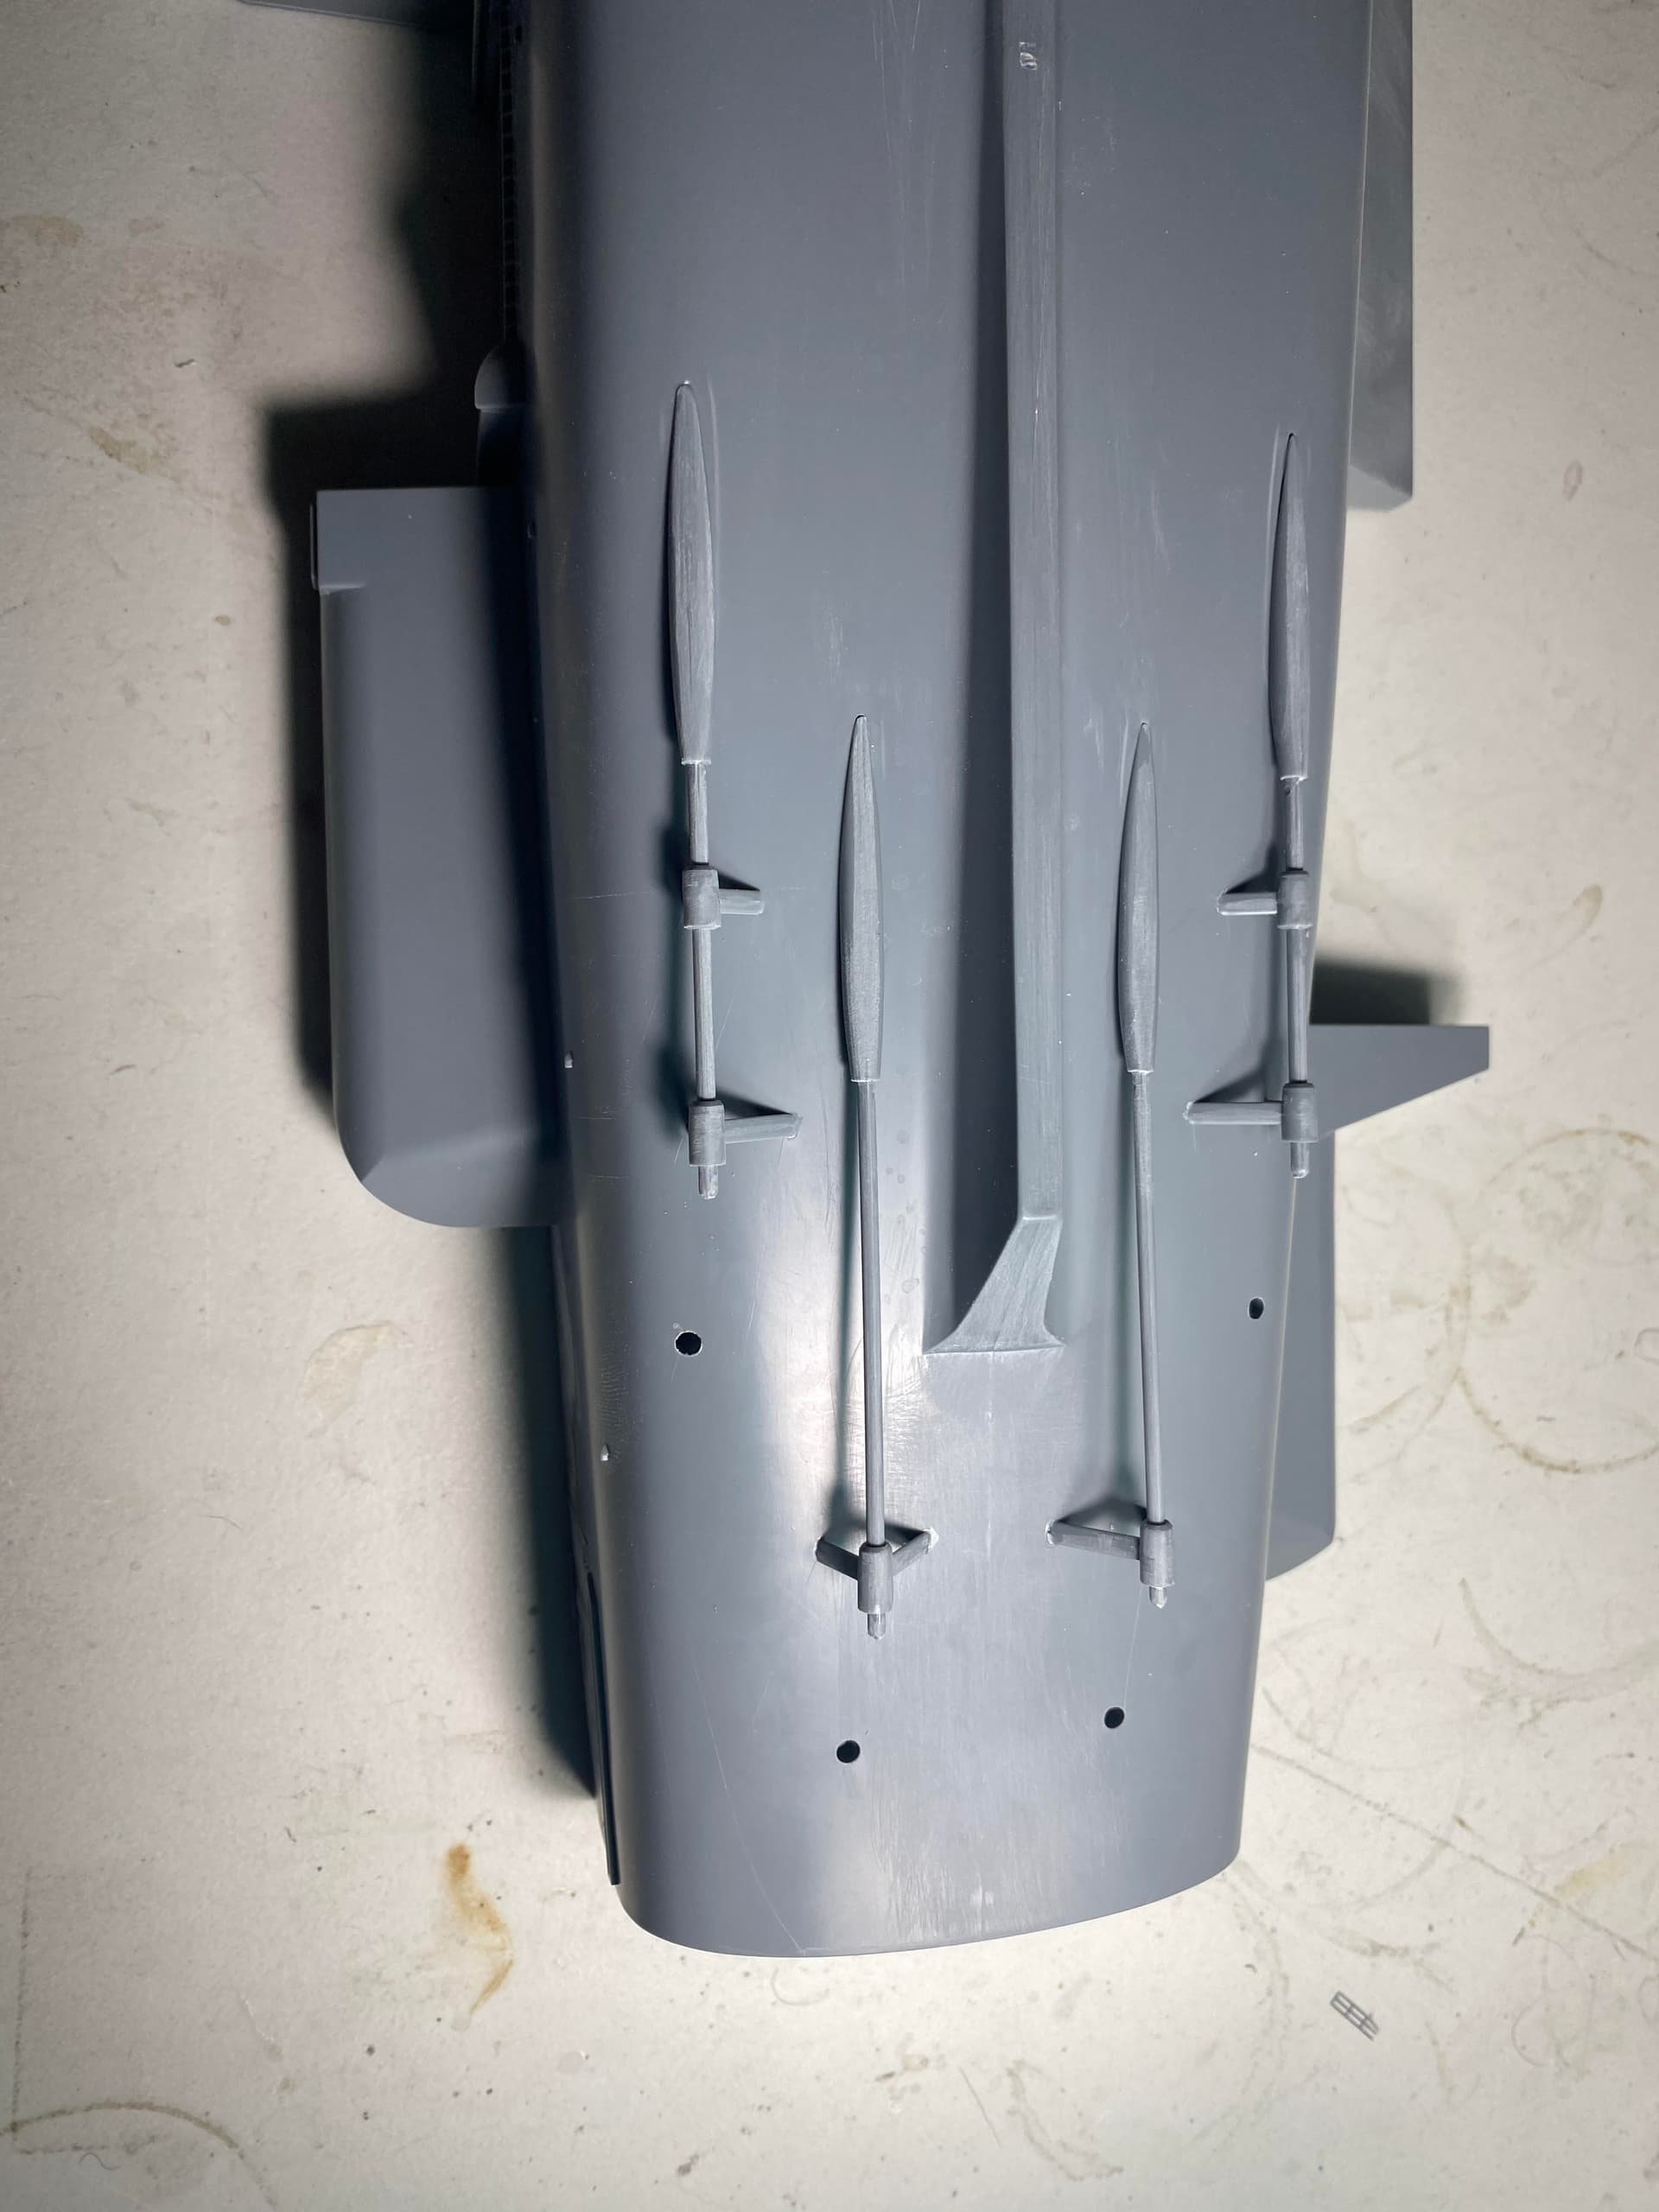
And lastly I started to add the prop shafts etc. Typical Tamiya, they fit perfectly. Just needed some seam line work. Rudders will be added much later so they don’t get broken off.
She’s really huge…
And oh yes, I can imagine all the work that went into preparing the flight deck. That will certainly show - great work and nice progress!