USS Sphinx ARL-24

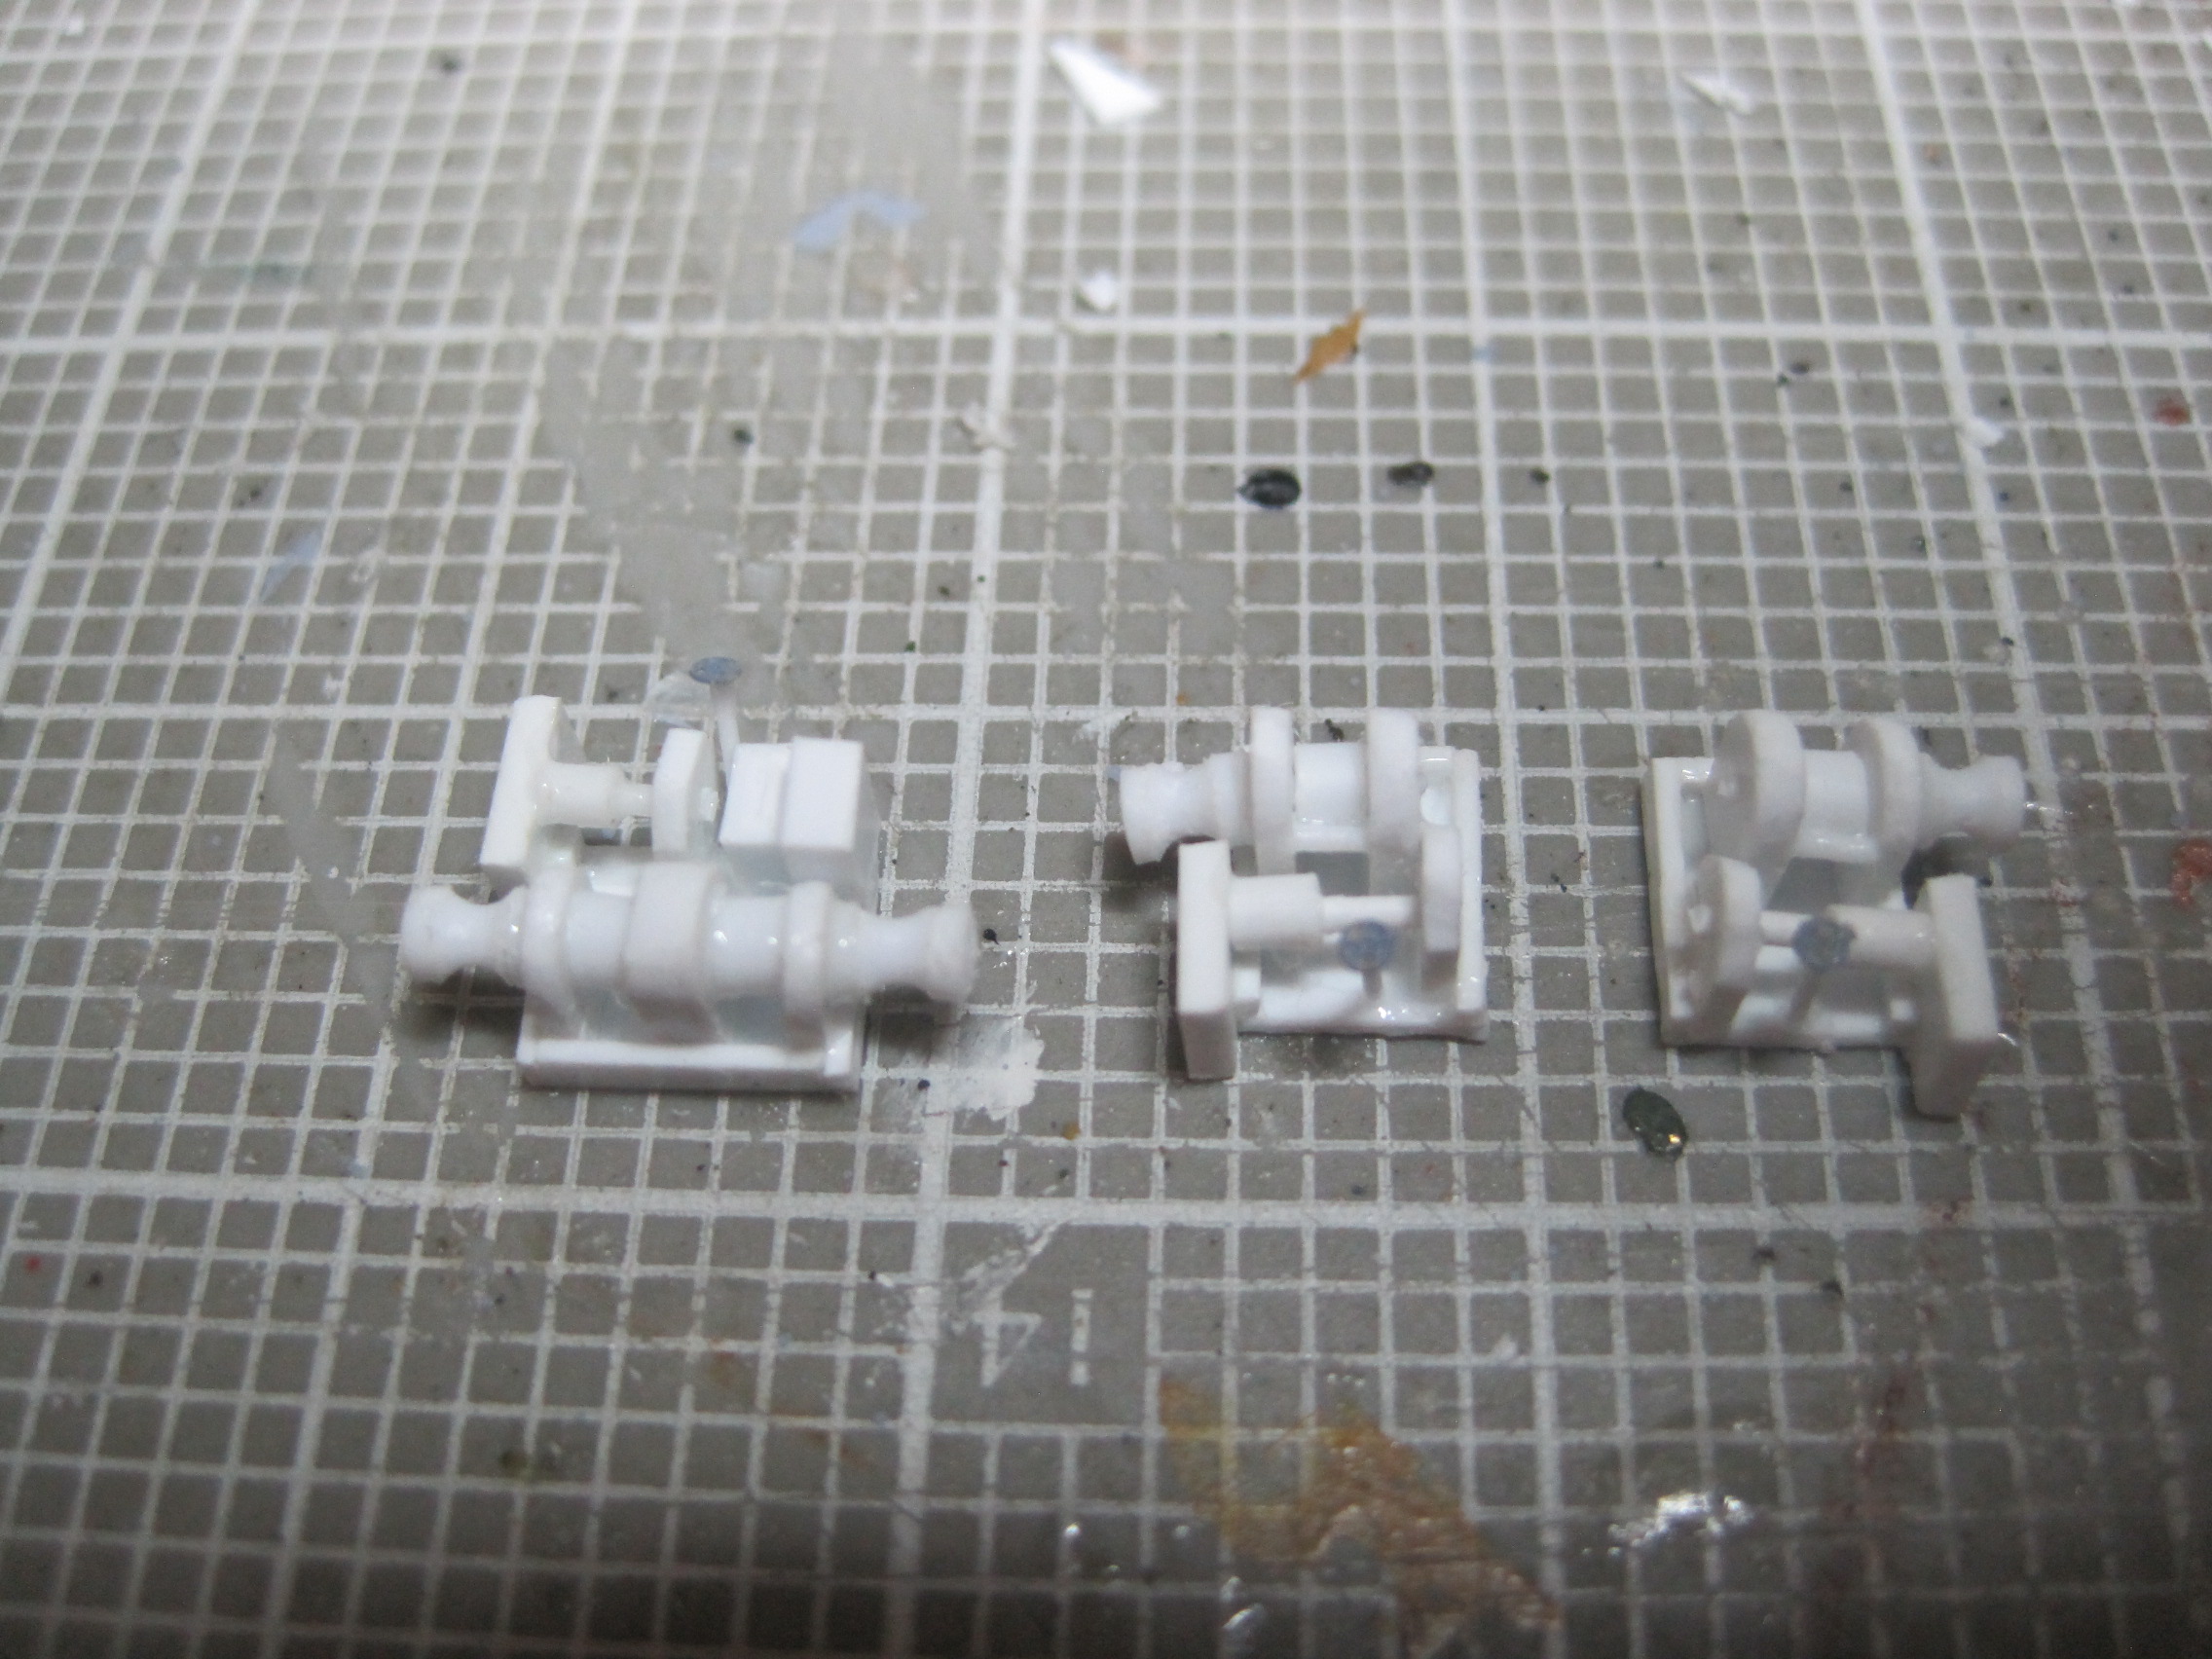
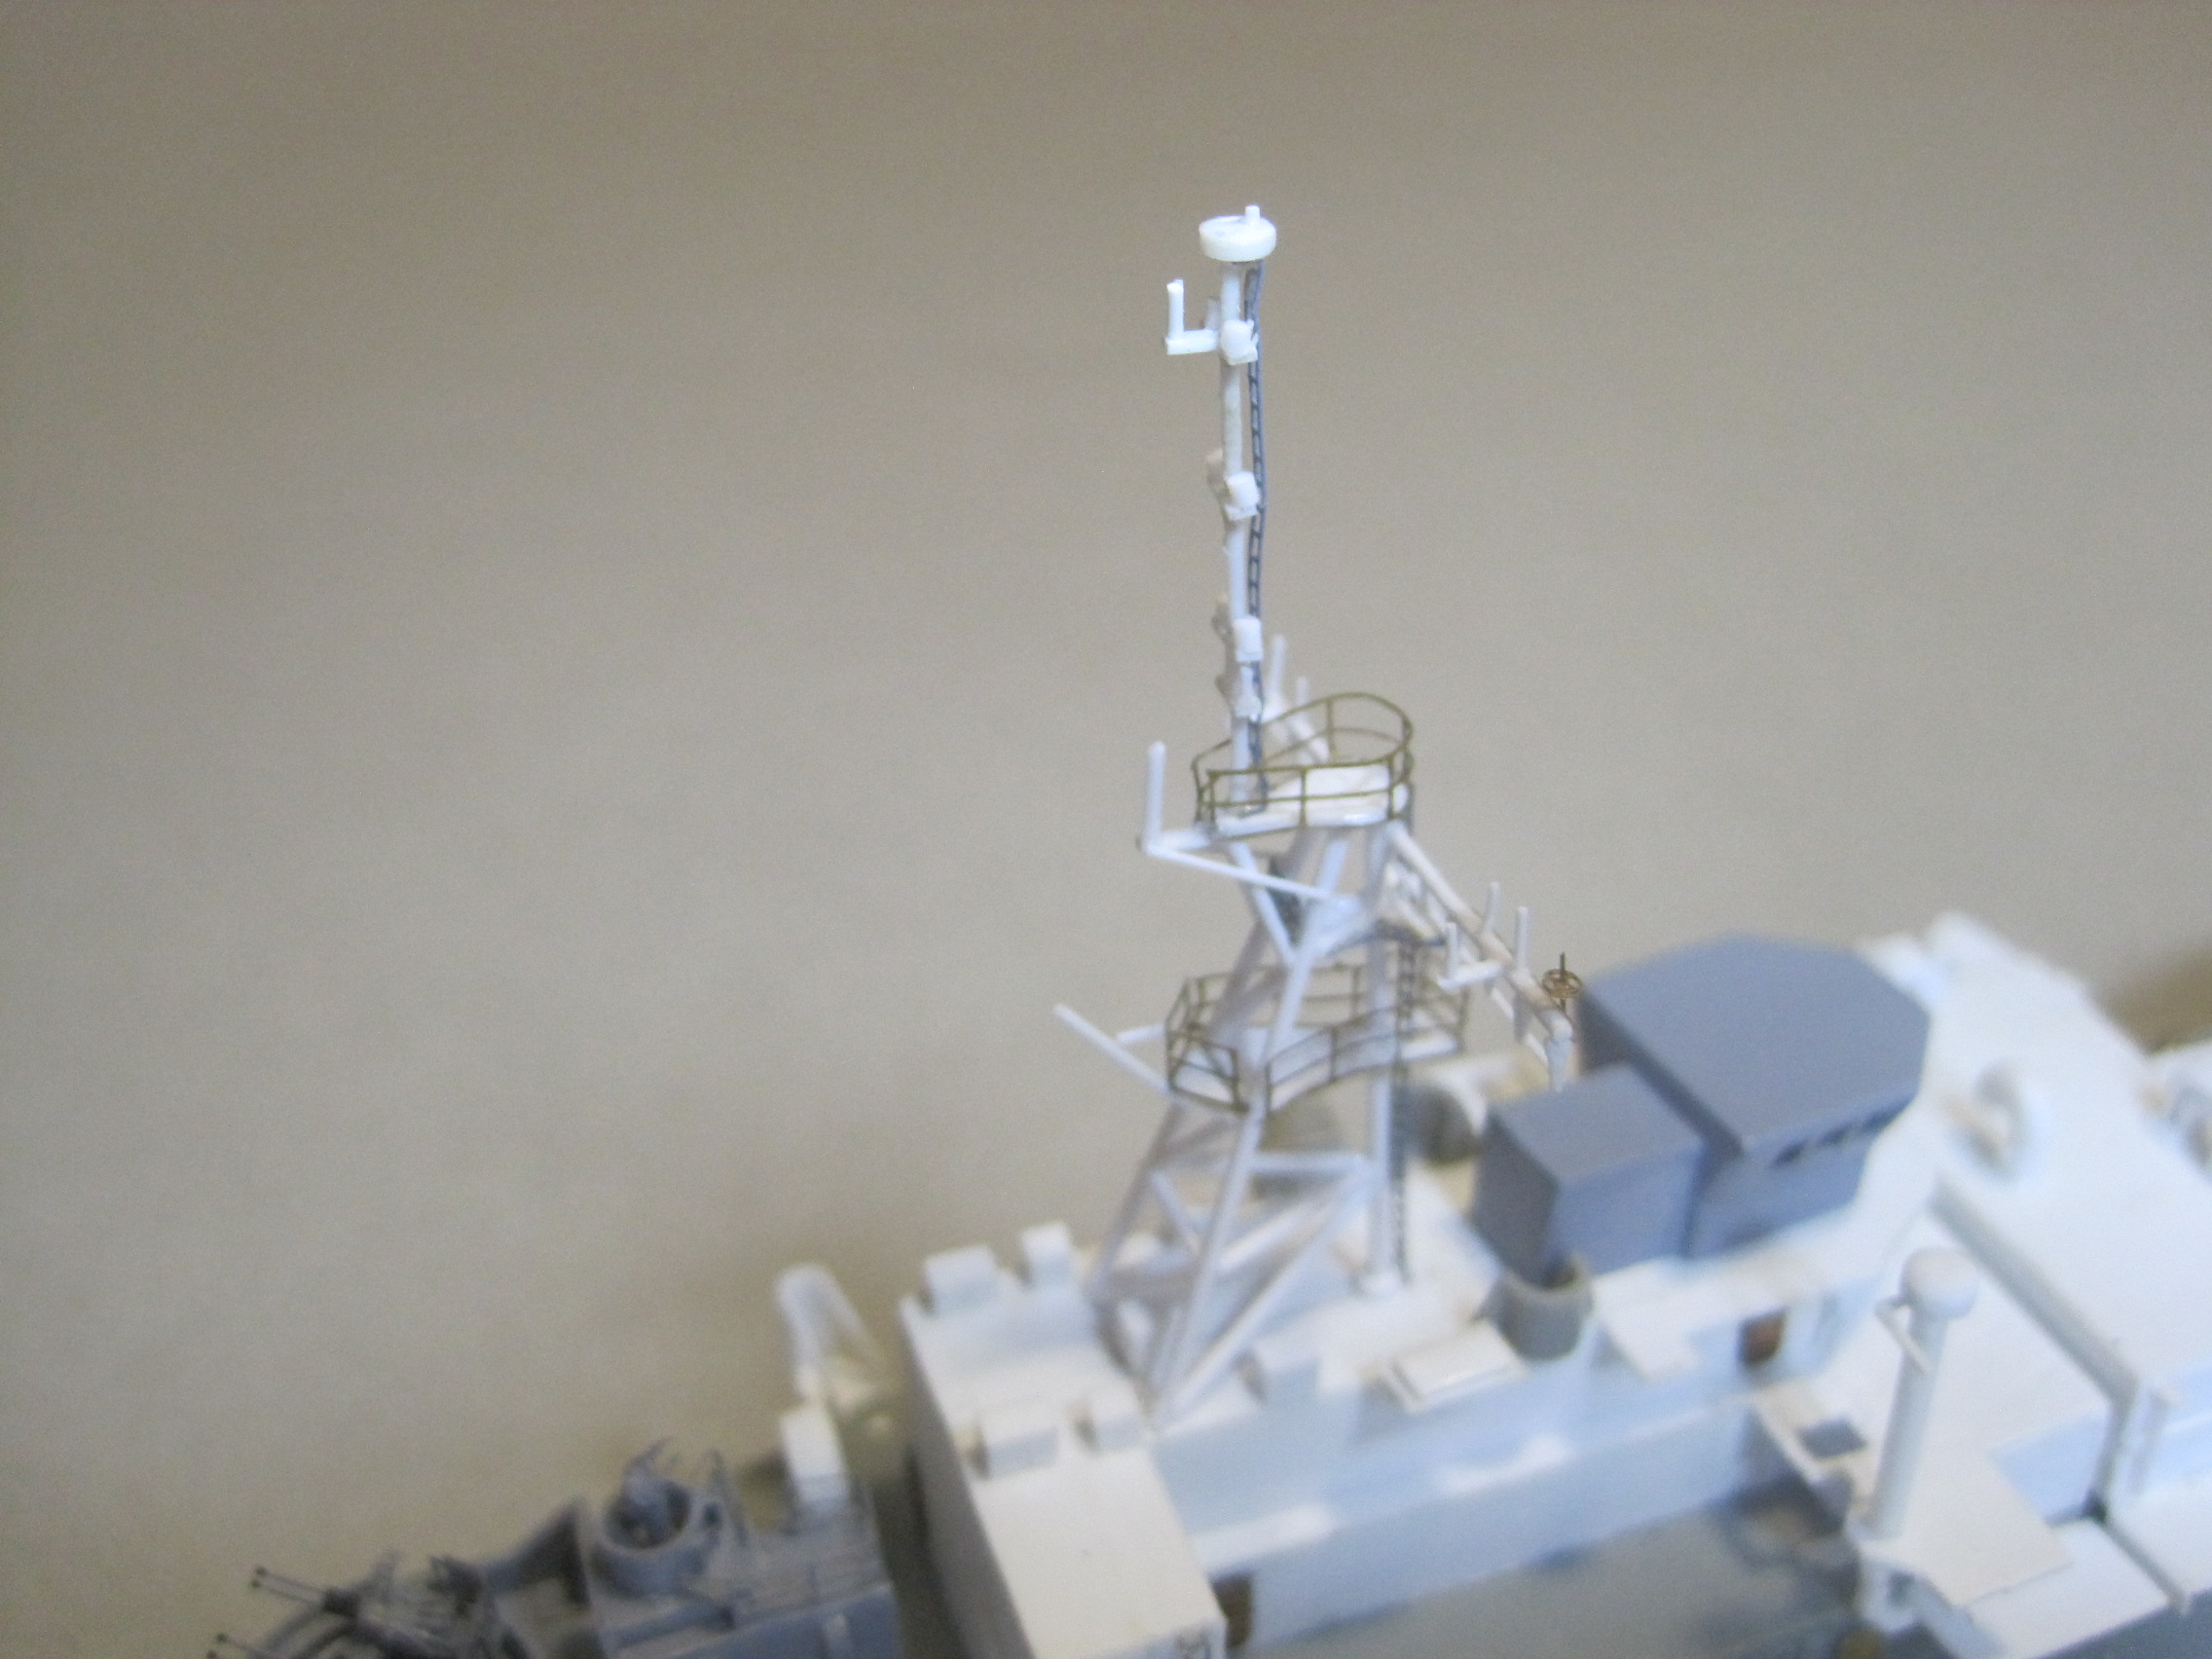
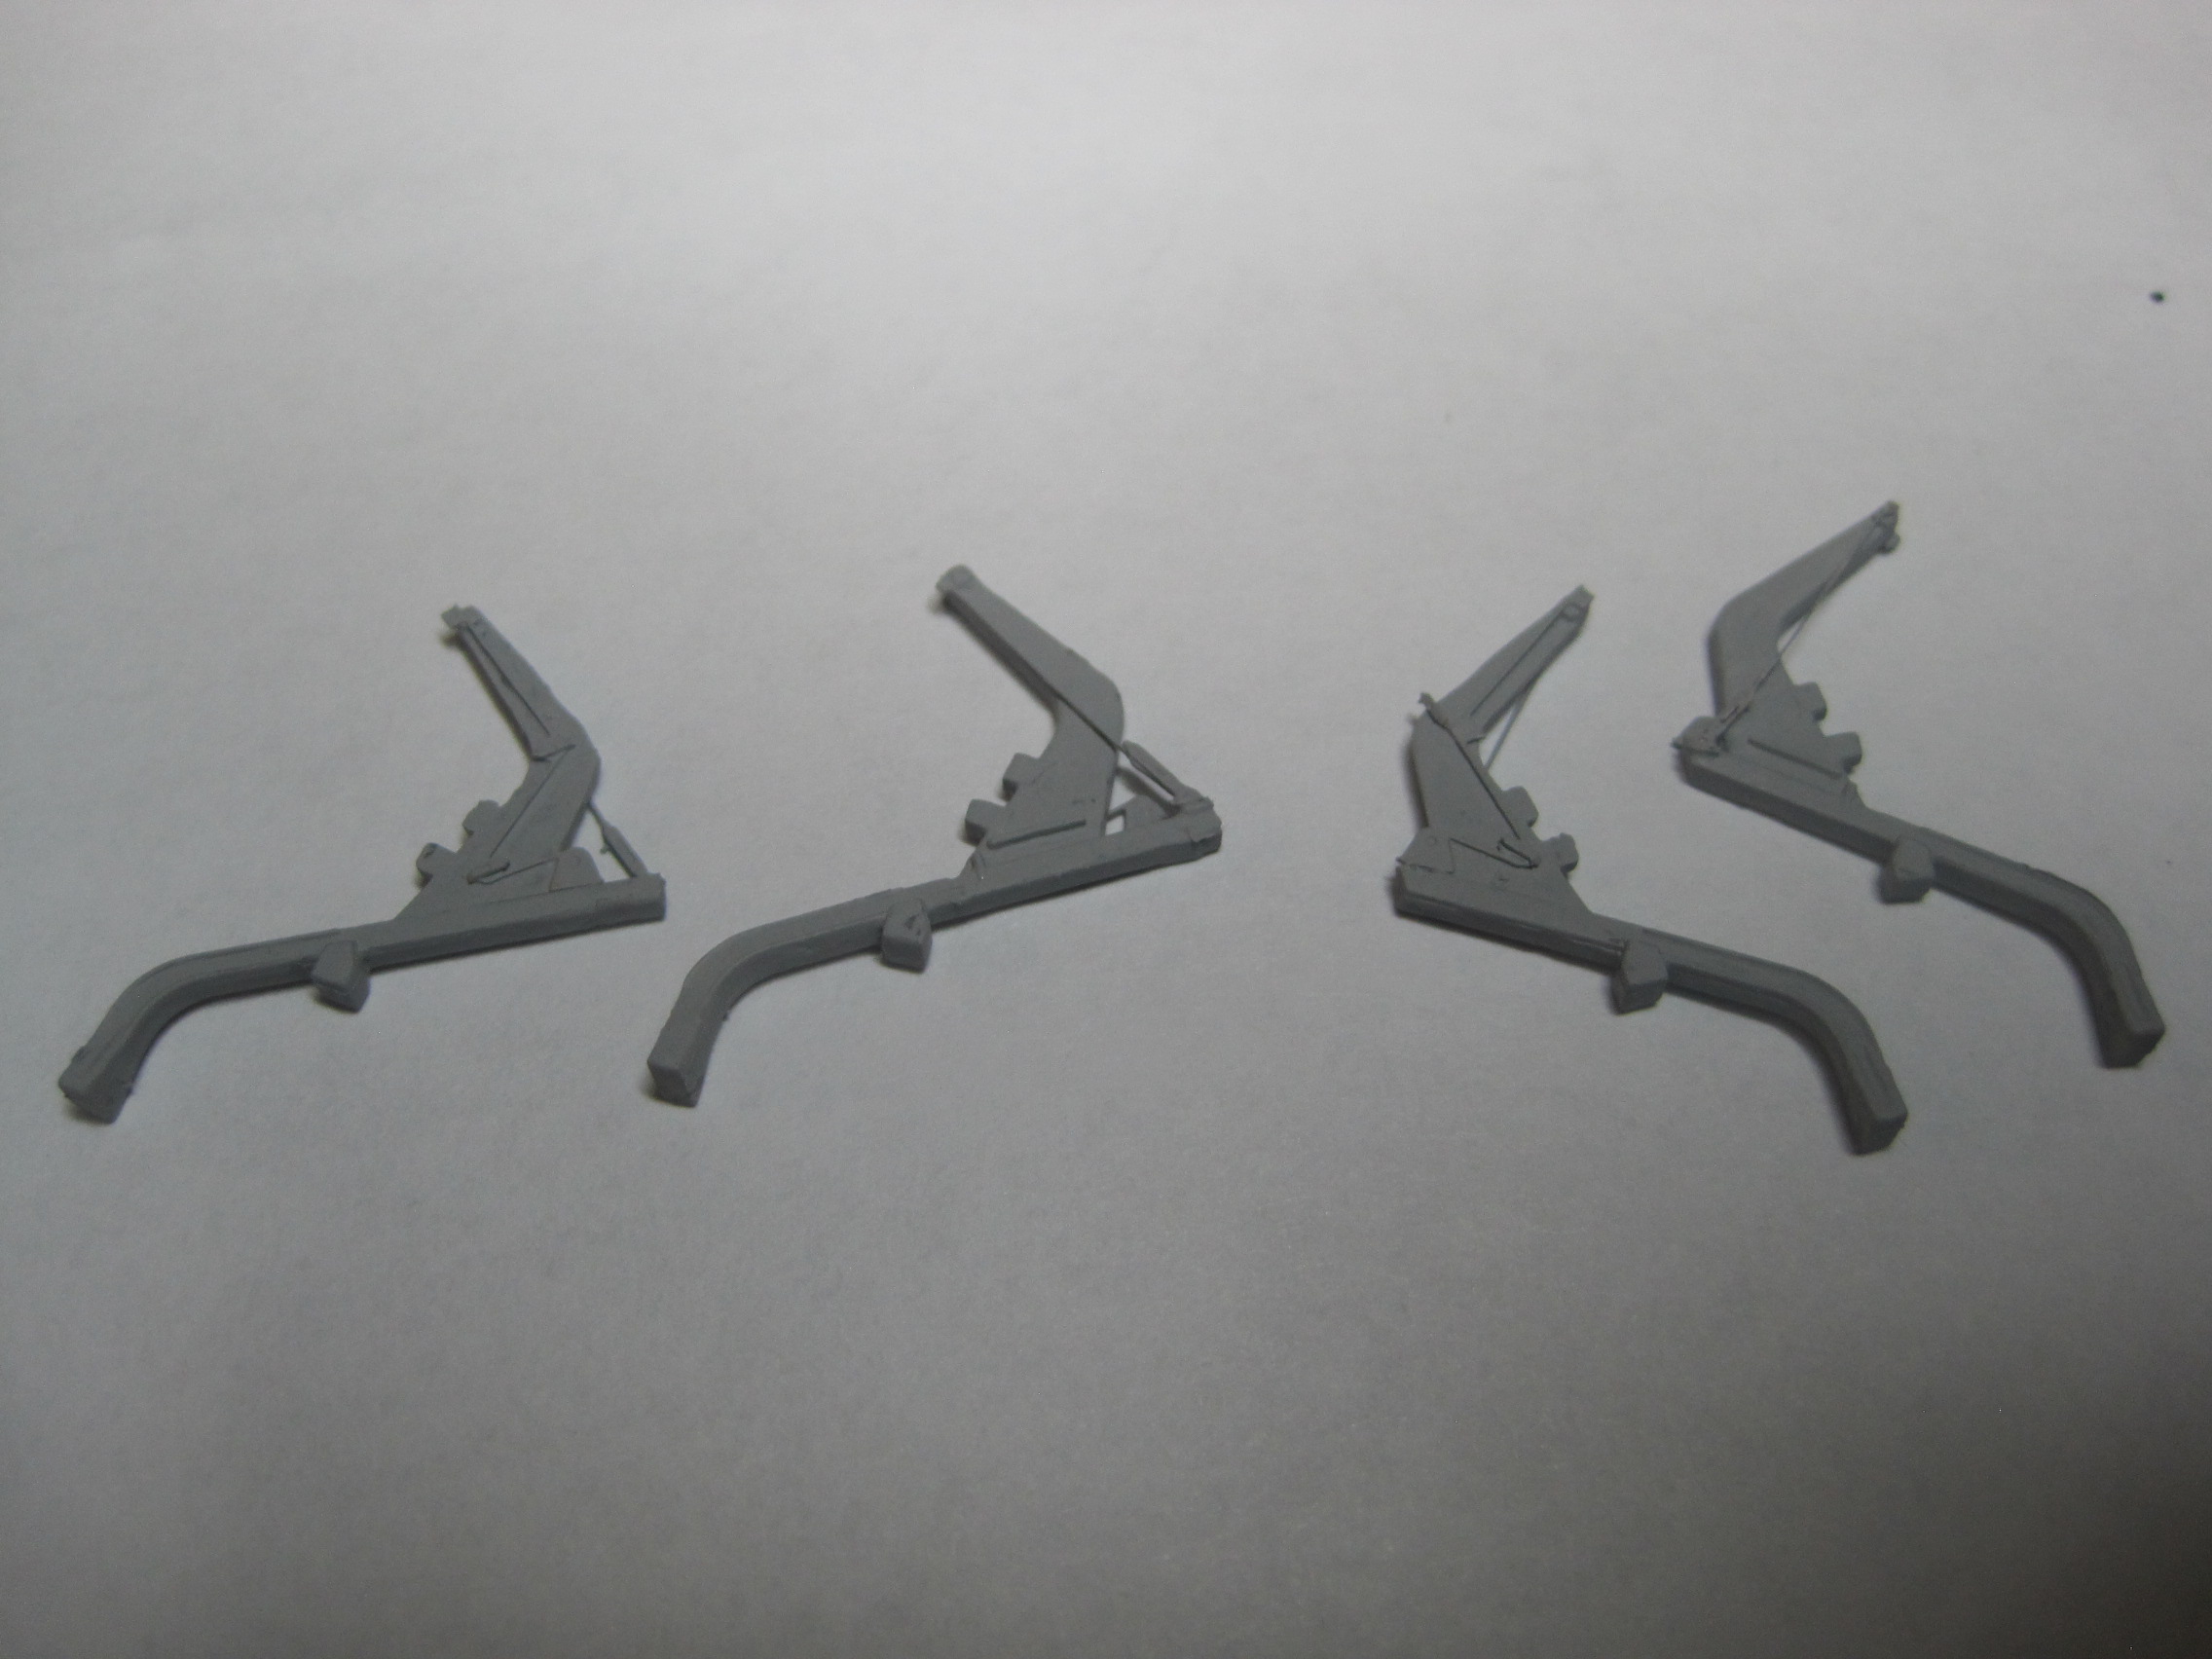
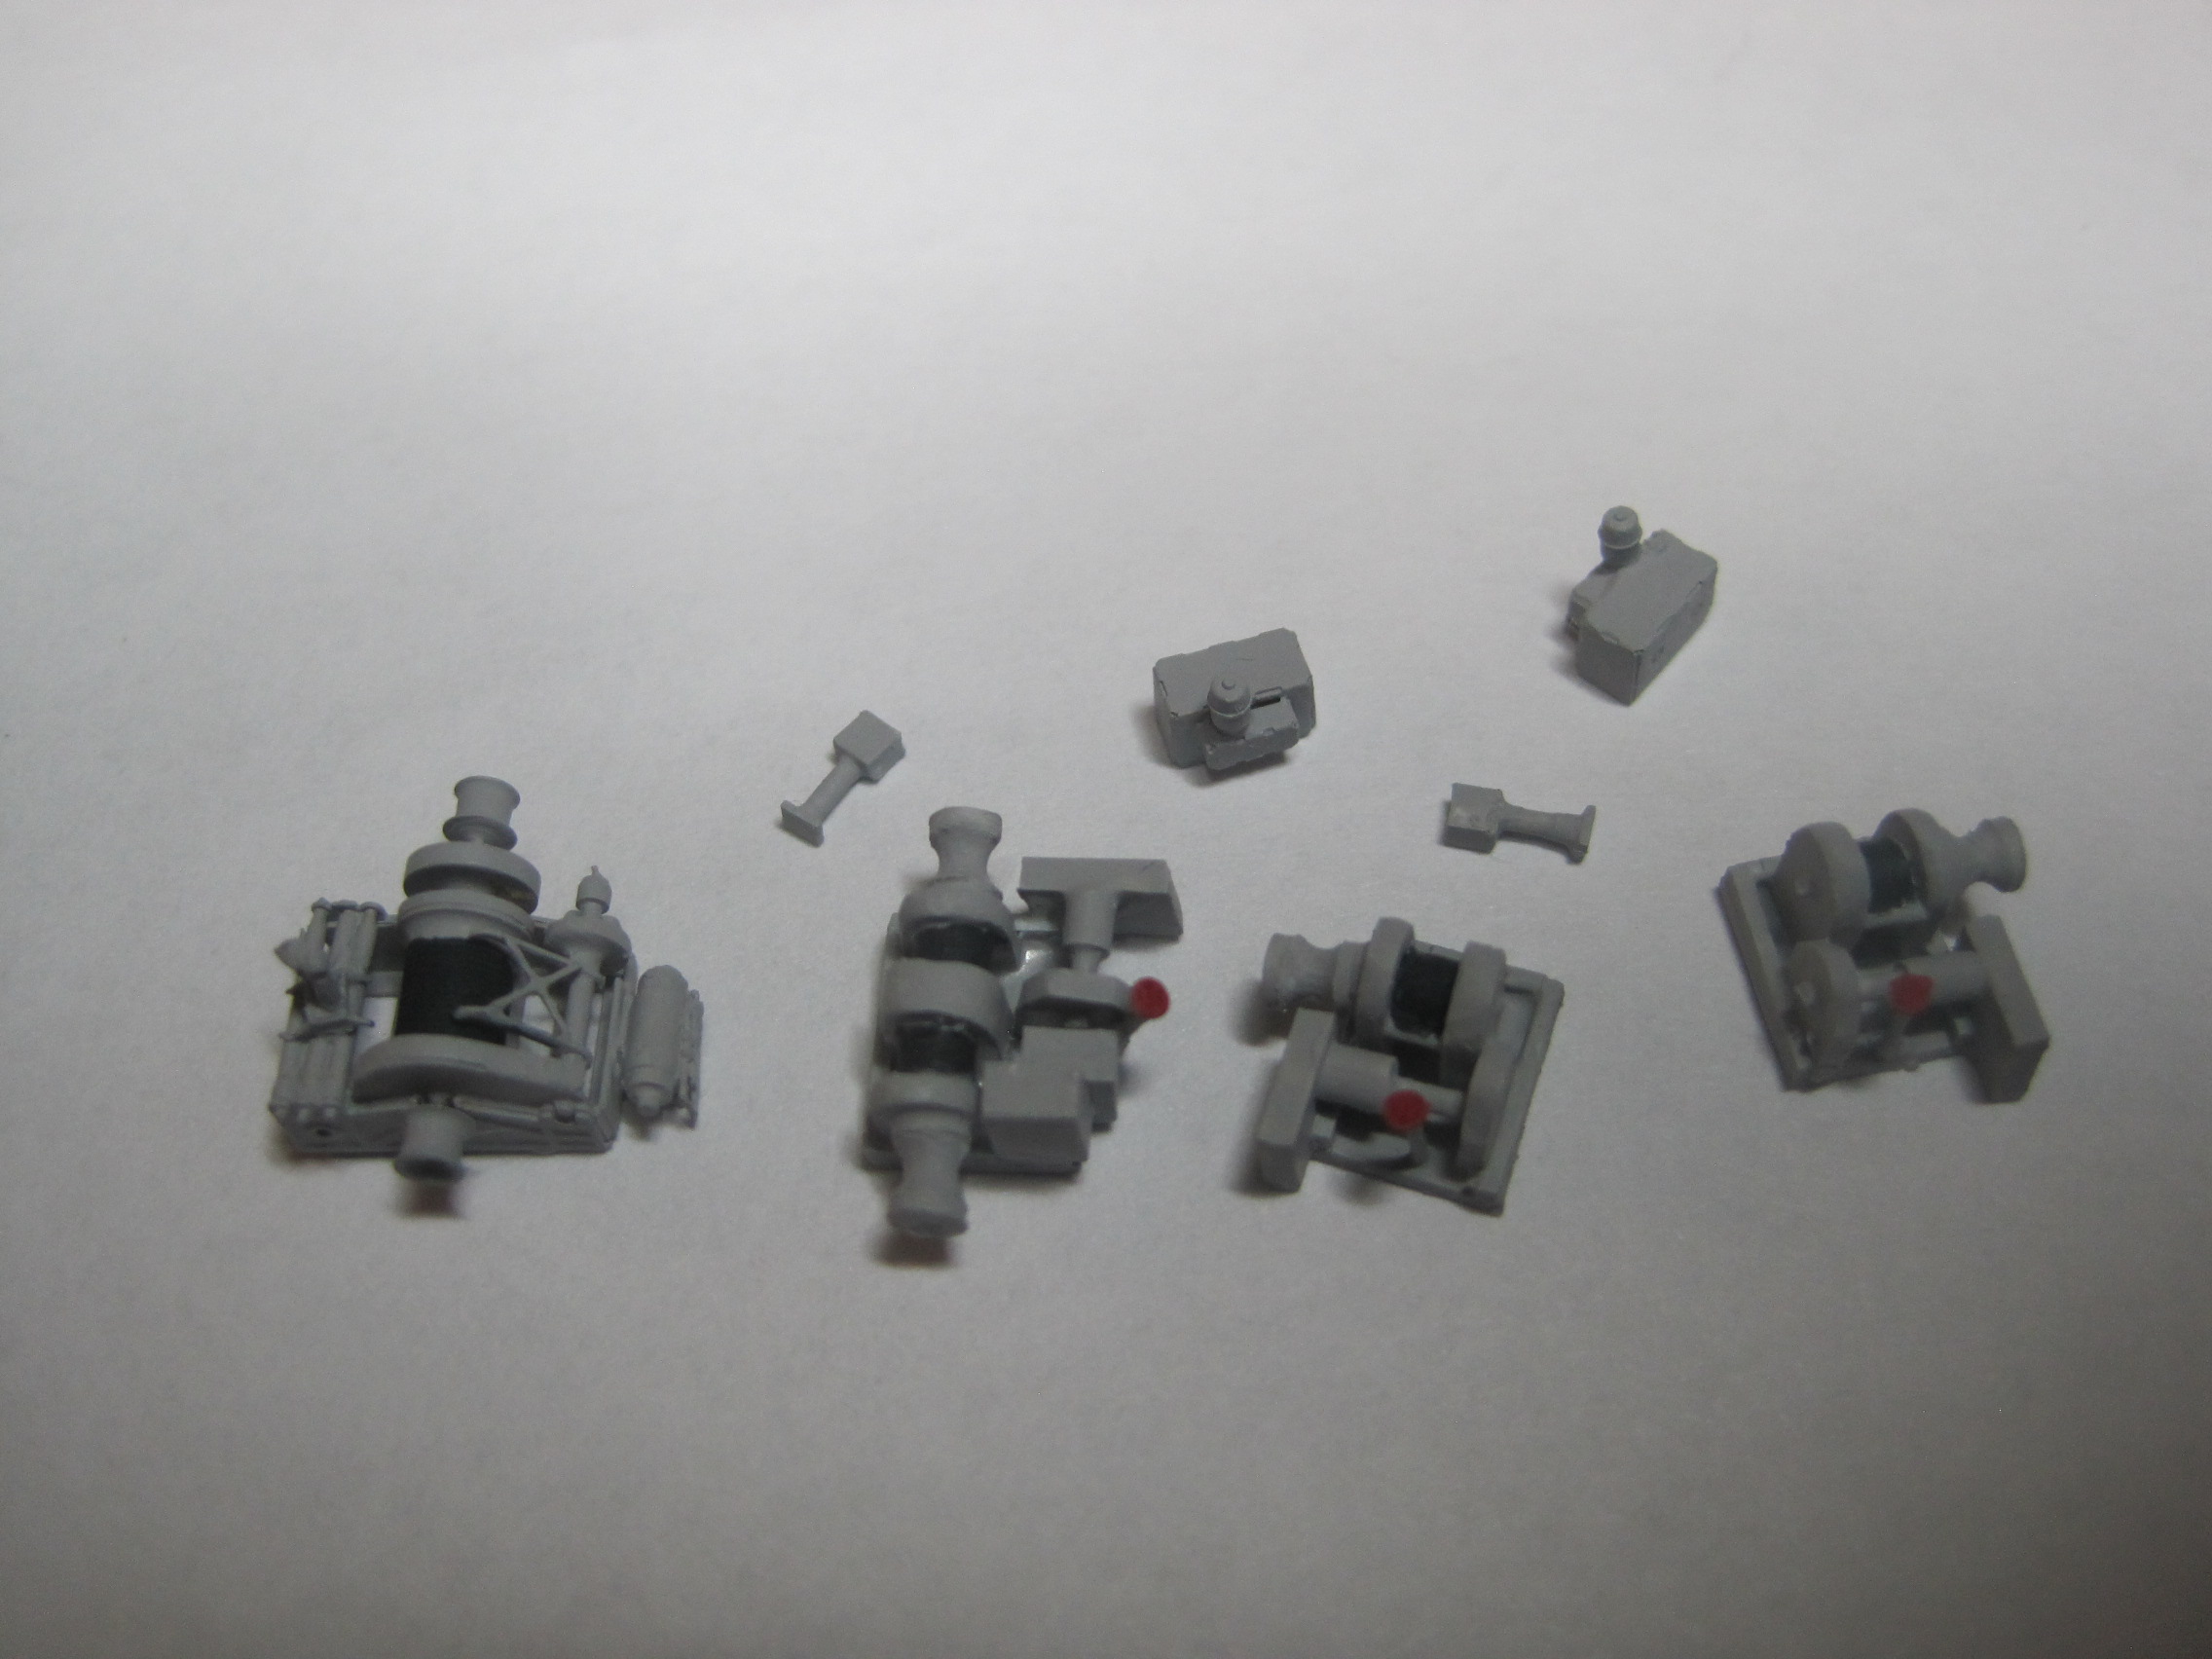
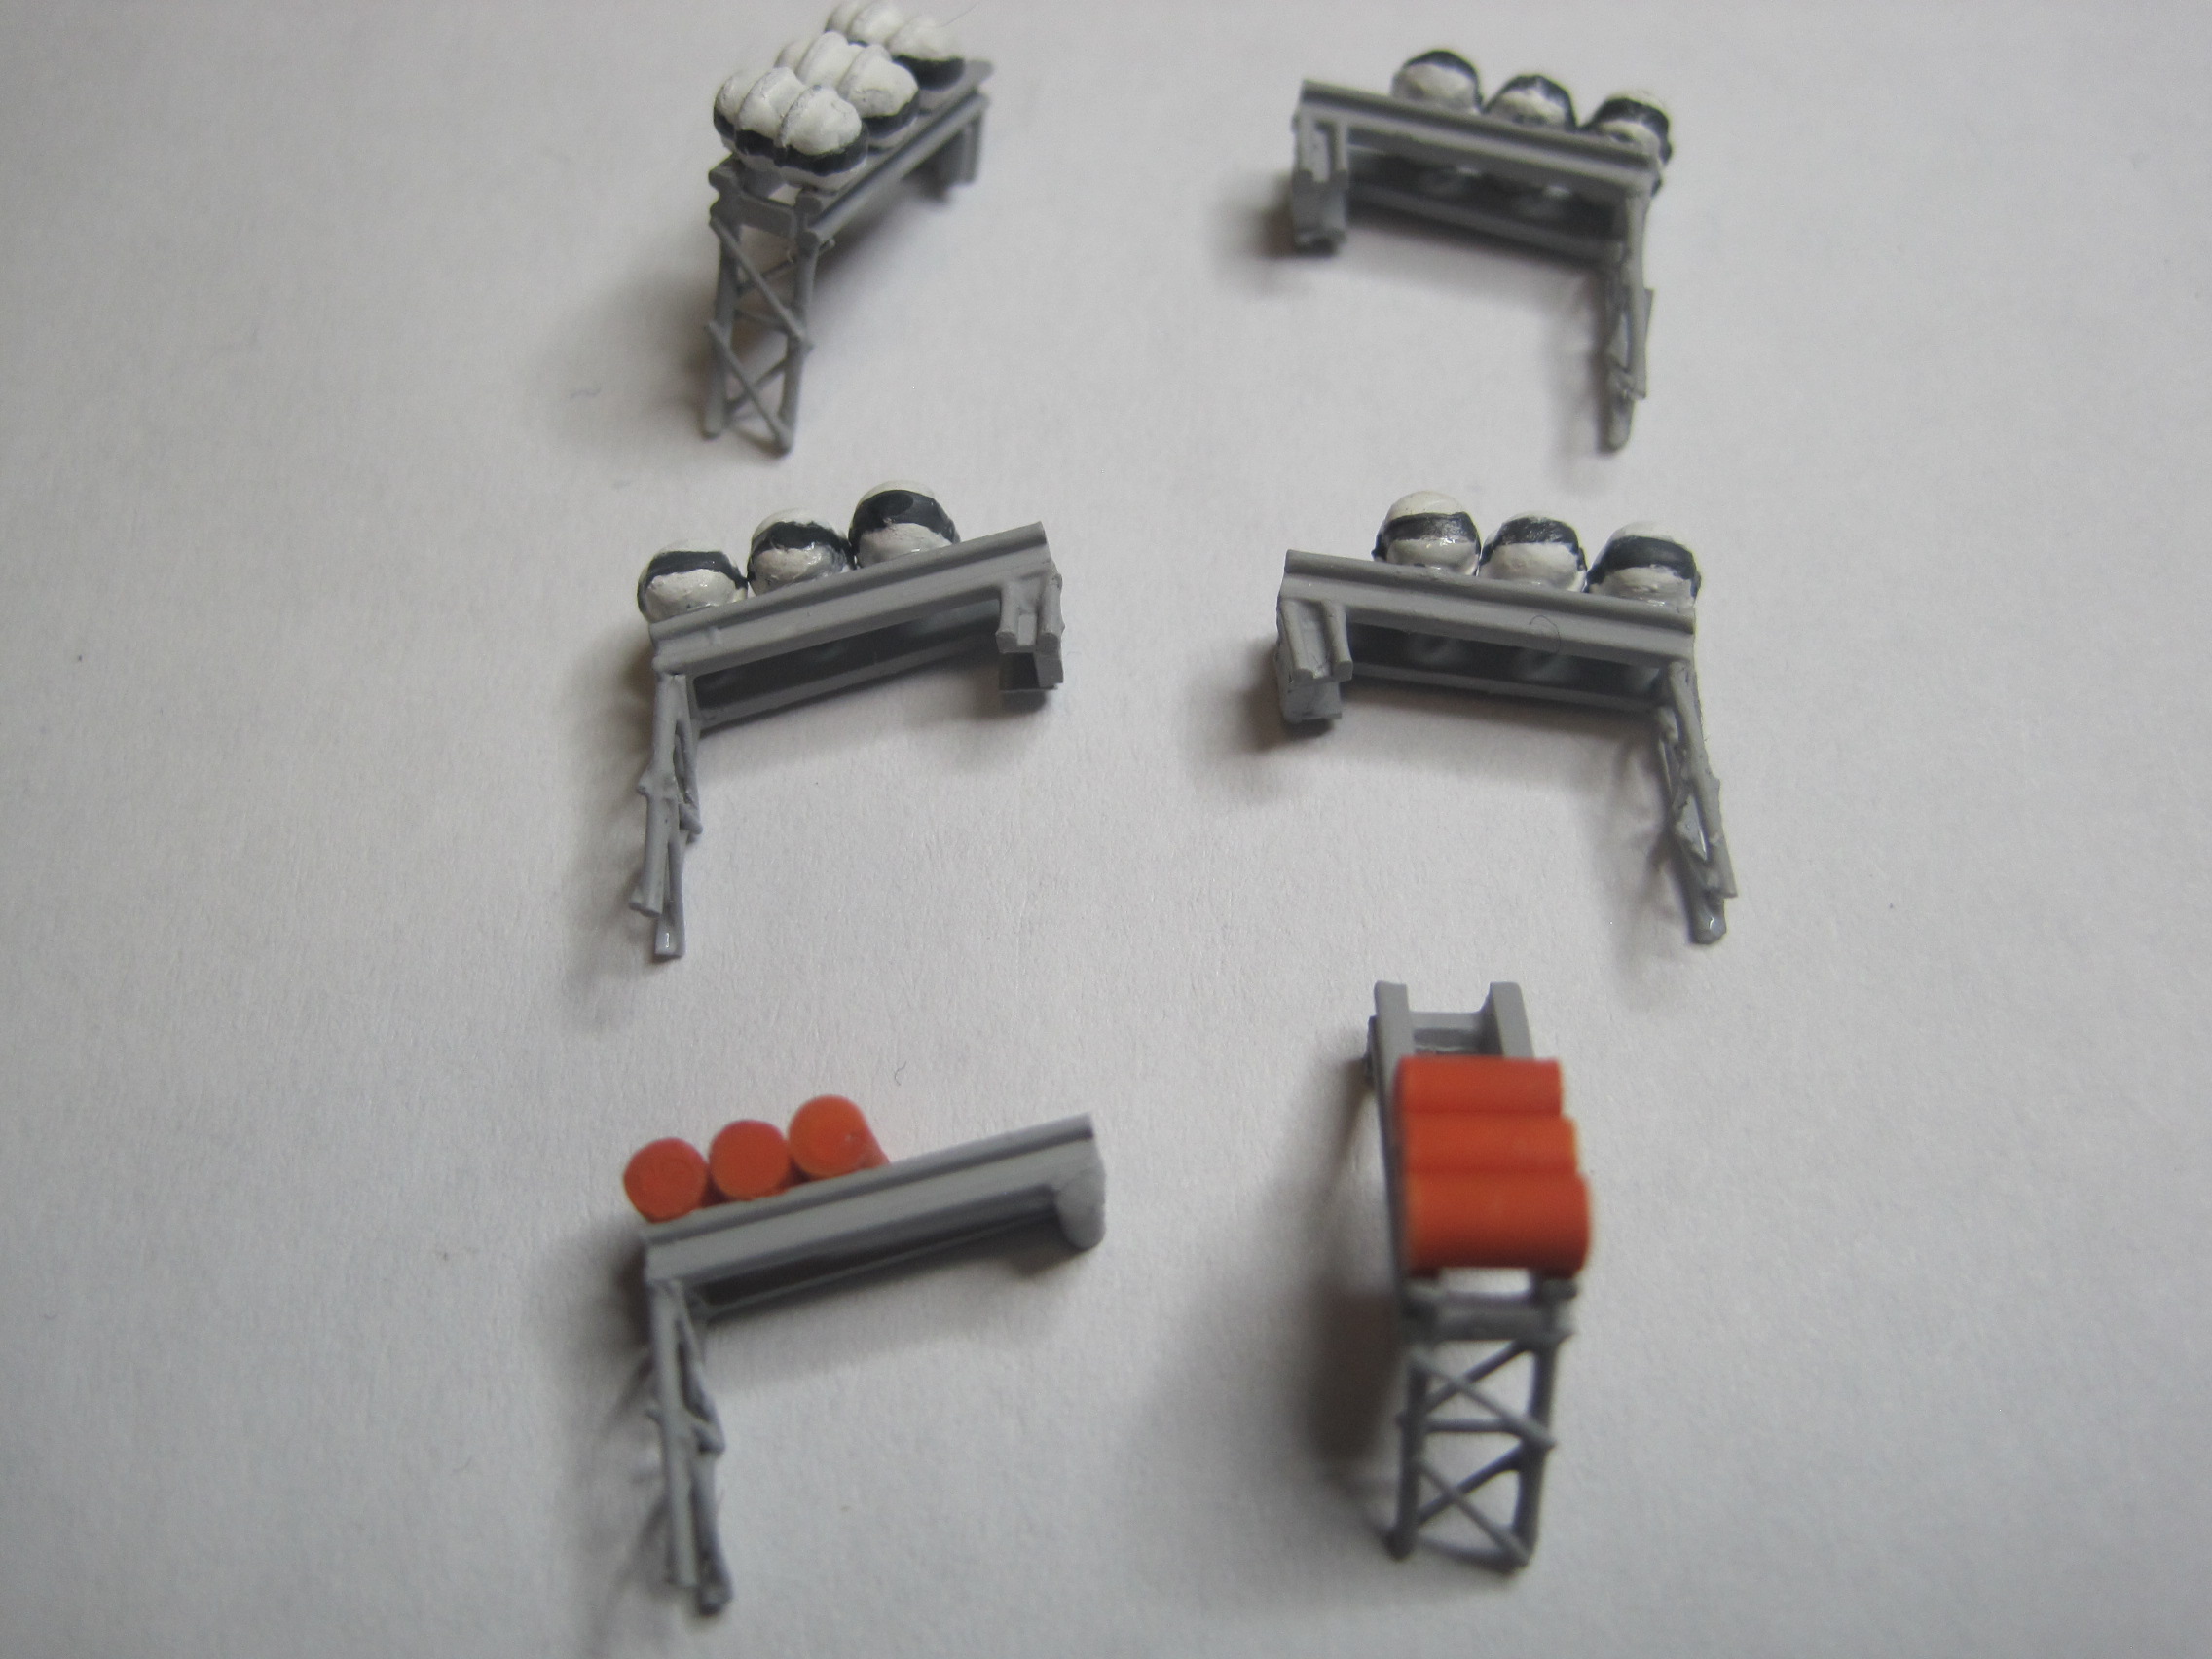
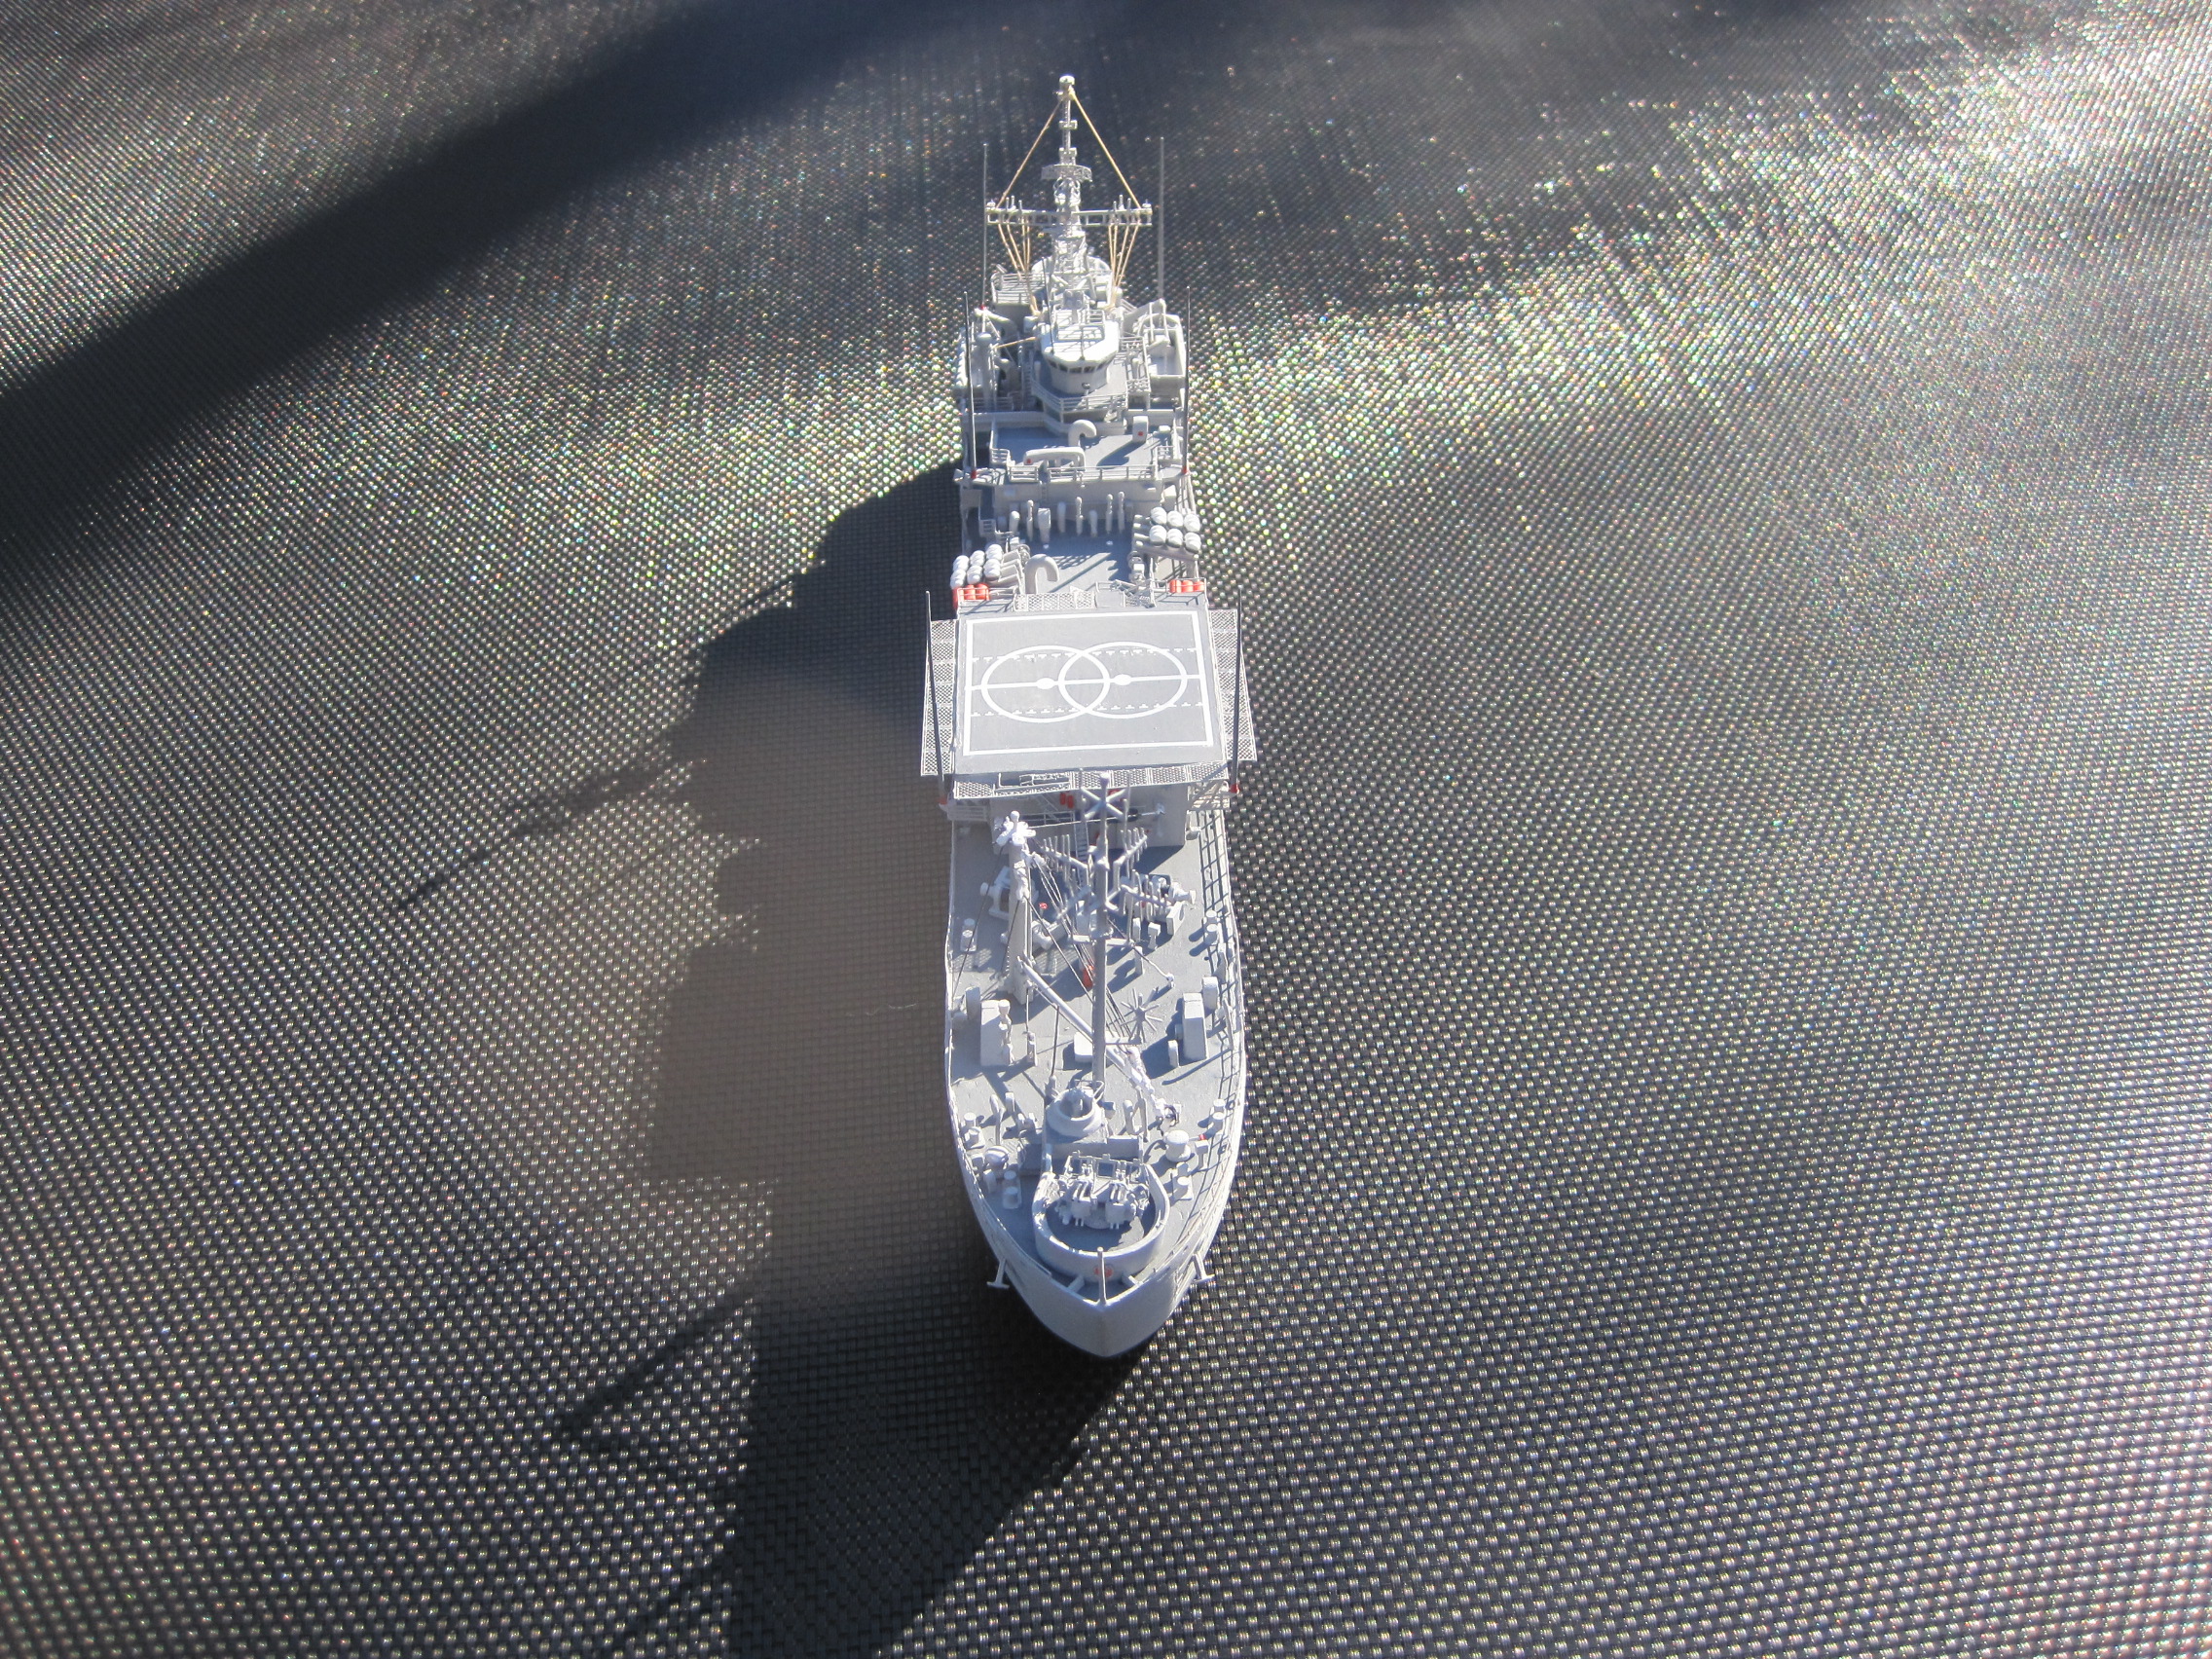
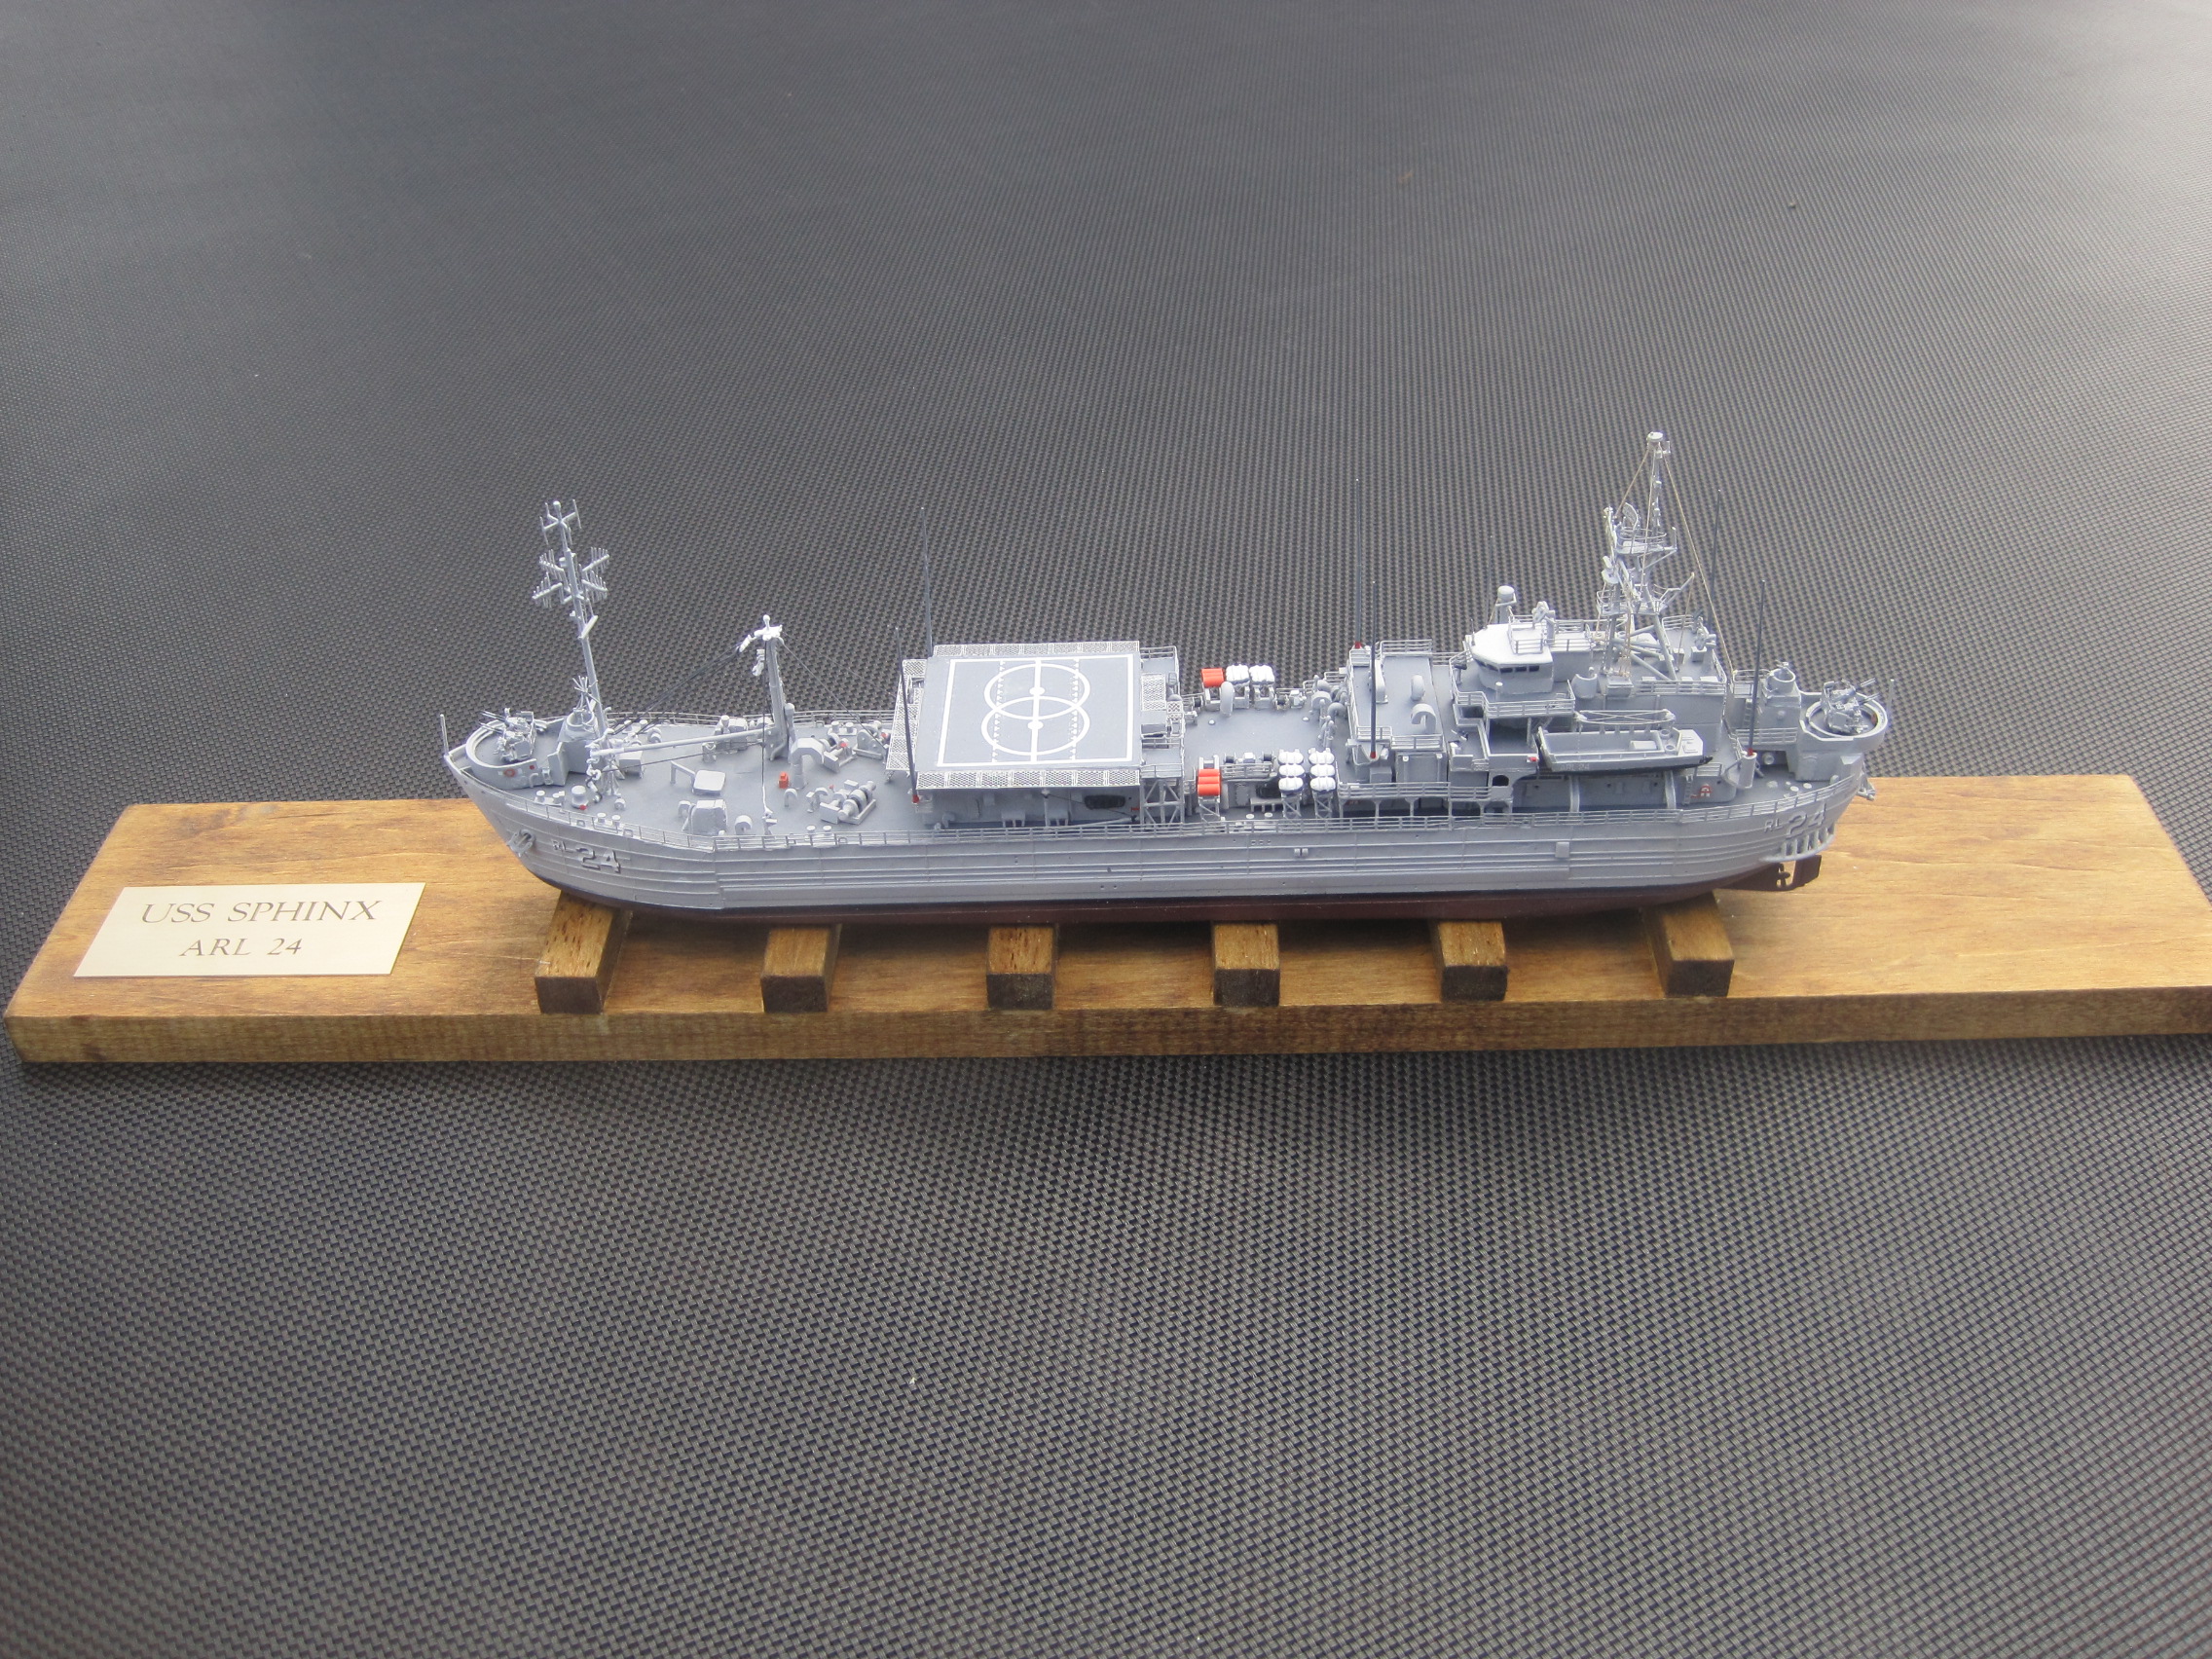
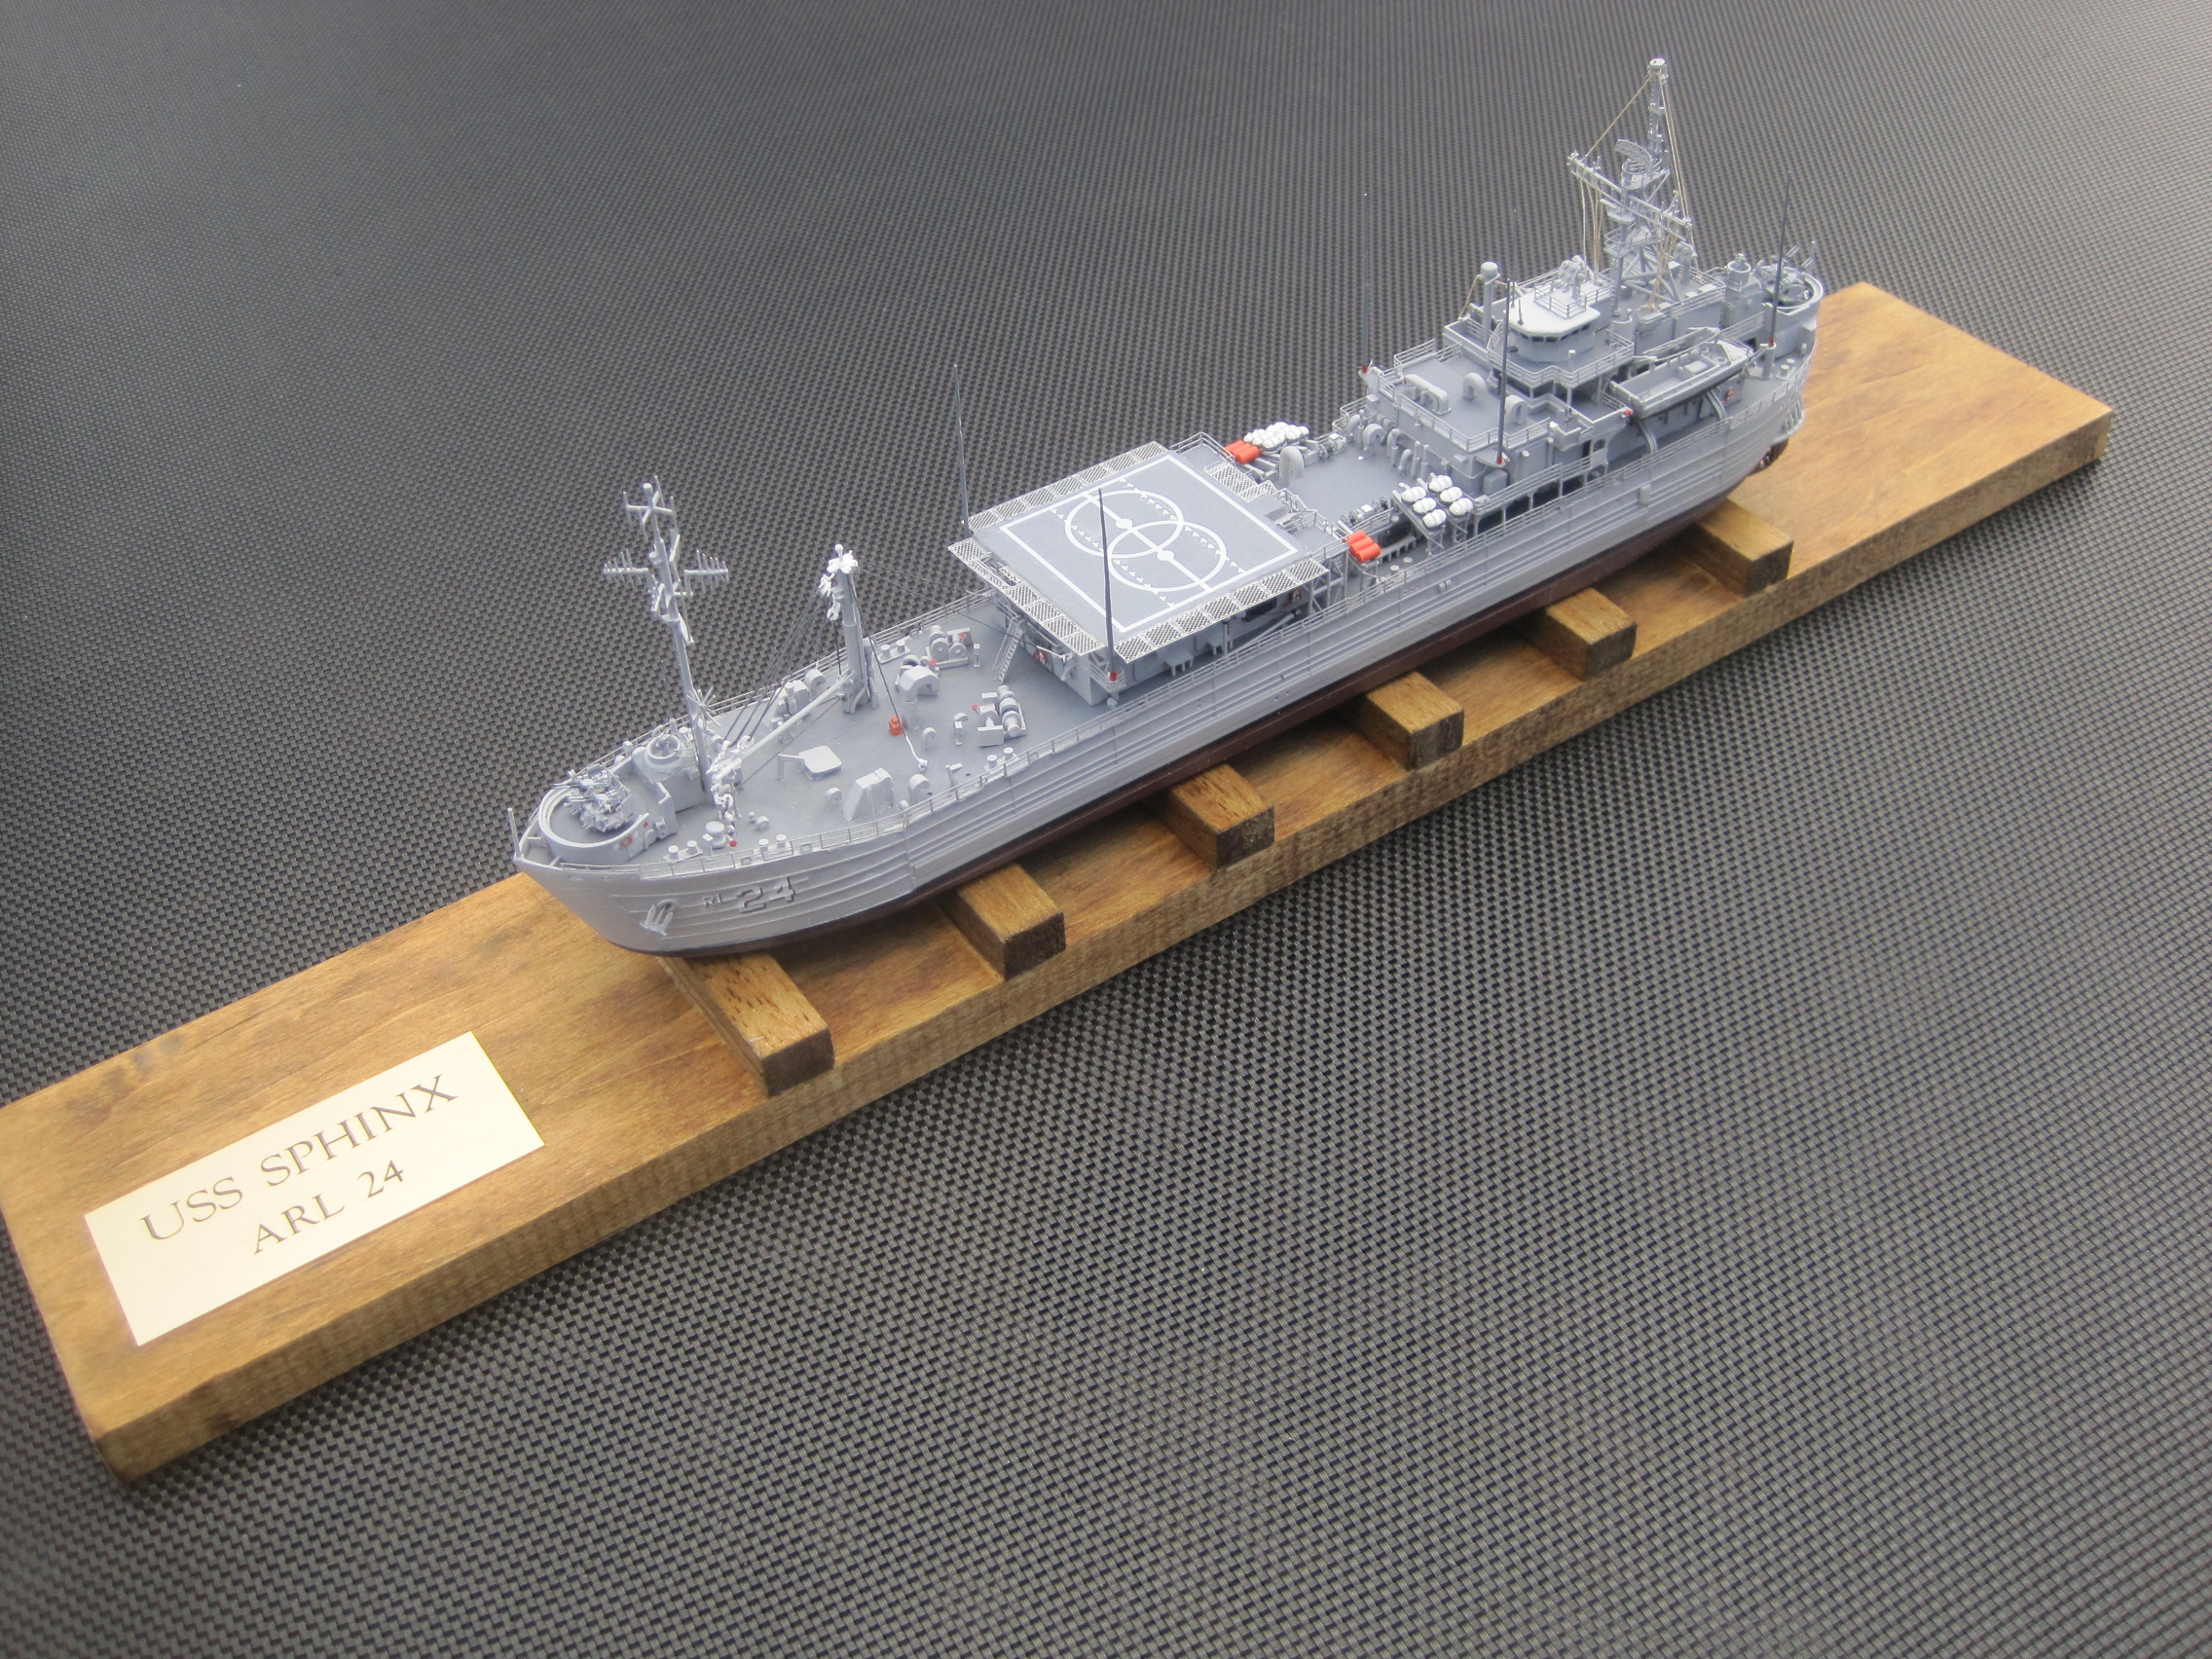
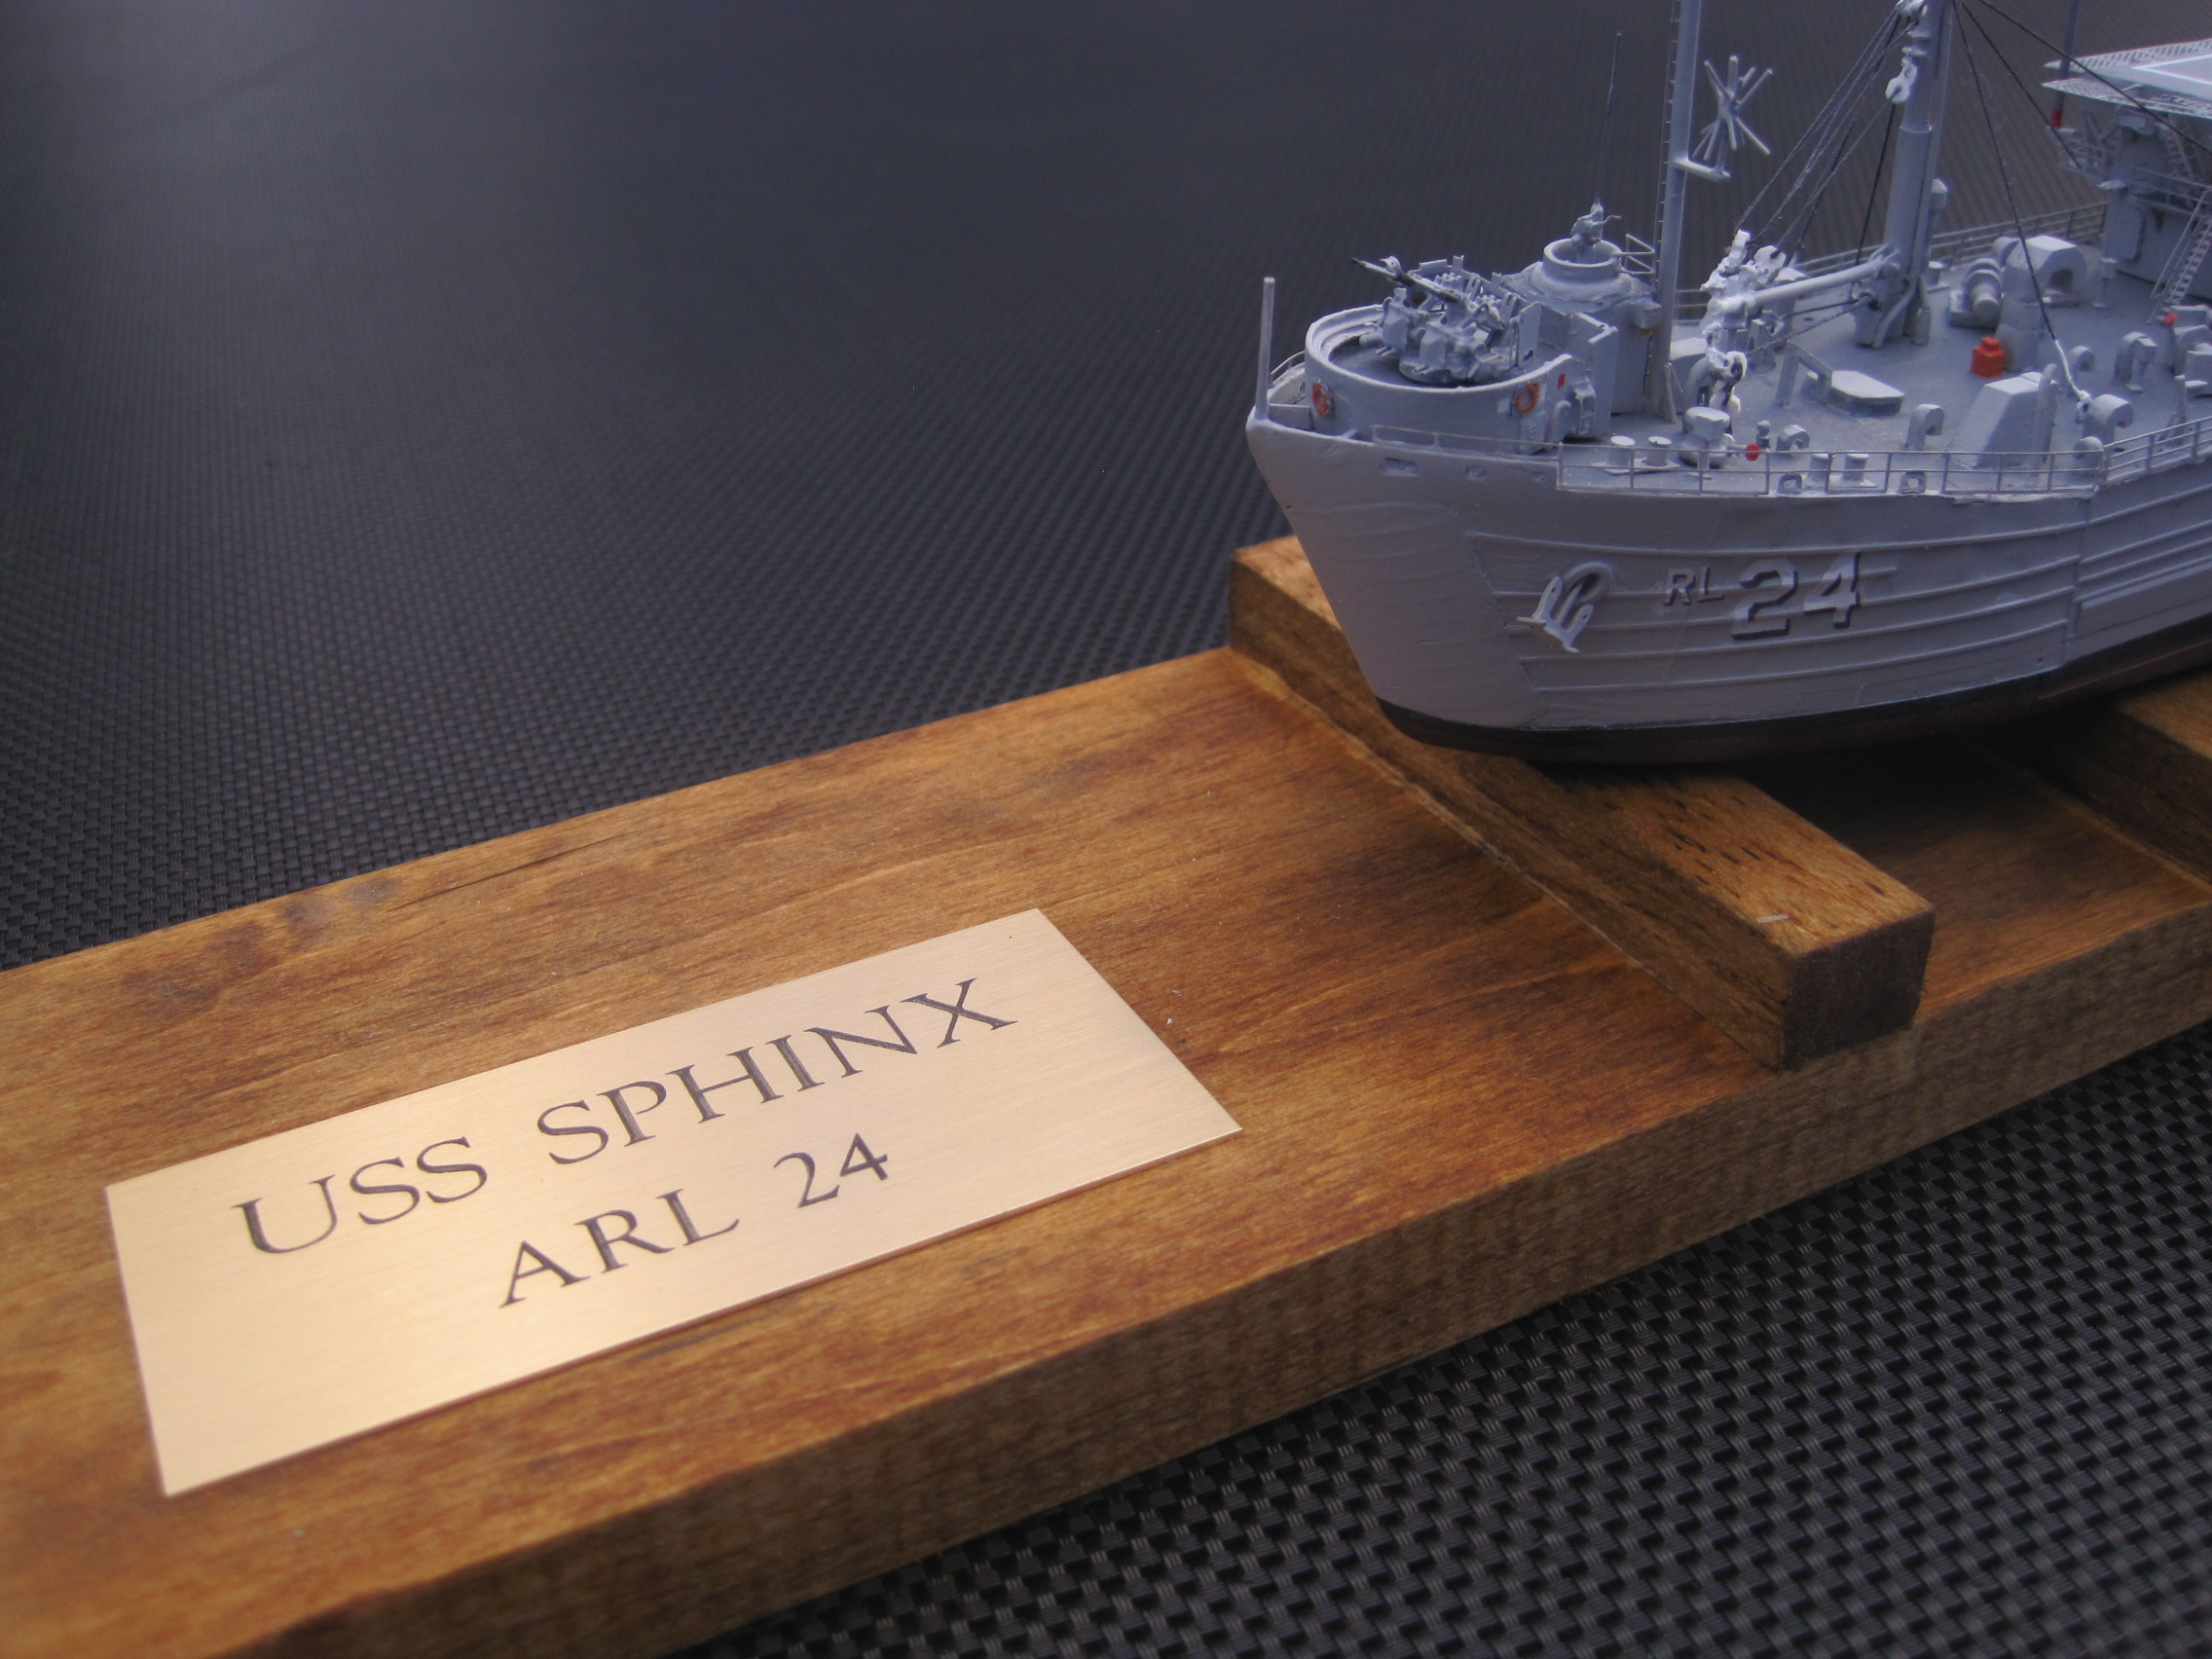
Thanks so much Tim. You’re correct about the amount of scratch building. Almost everything from the main deck up has to be scratch built.

But full disclosure on the speed of the build. I actually started this project on July 1st and only began posting the photos in mid October, so I had made quite a bit of progress on the actual build well ahead of the posting of the photos.

So with the understanding that a new site was coming I delayed starting the postings until it was up and running. The photos posted so far represent about 1 month’s worth of work. My plan is to post them in batches so none of the posts is too long. I sort of just got carried away with the work, and just took a long time to starting the post!

So to sort of start to “catch up” here’s another batch.

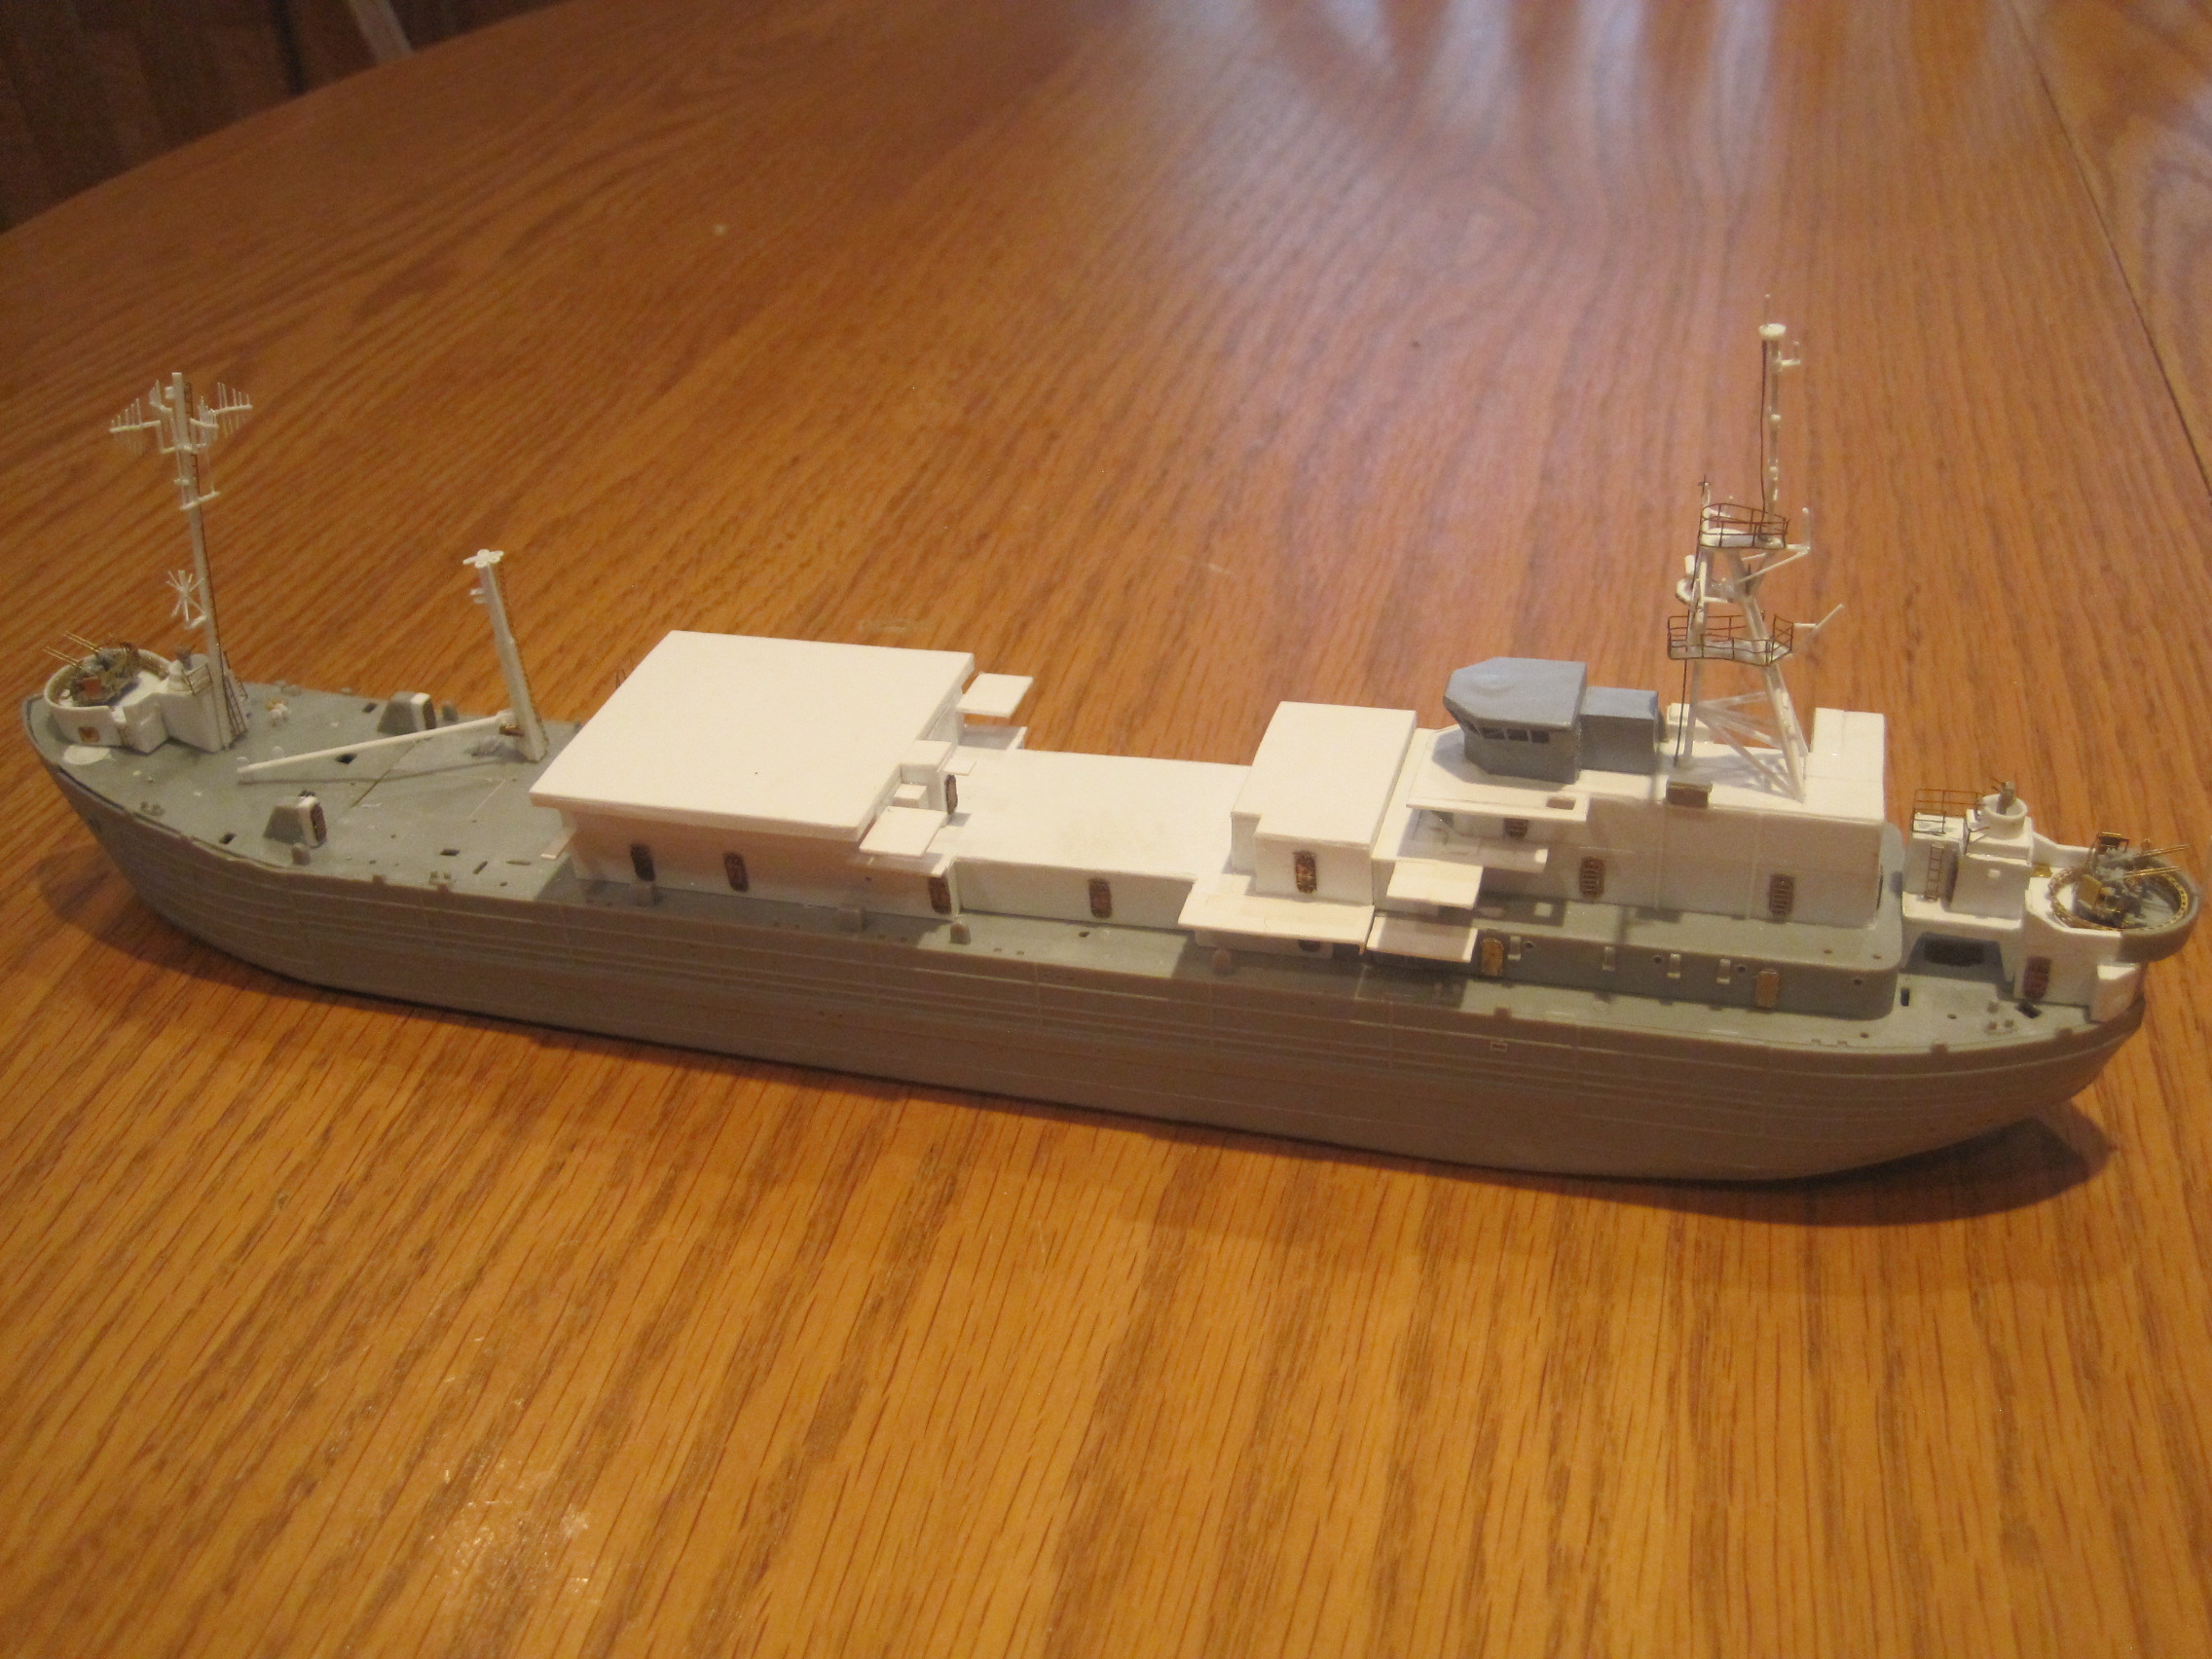
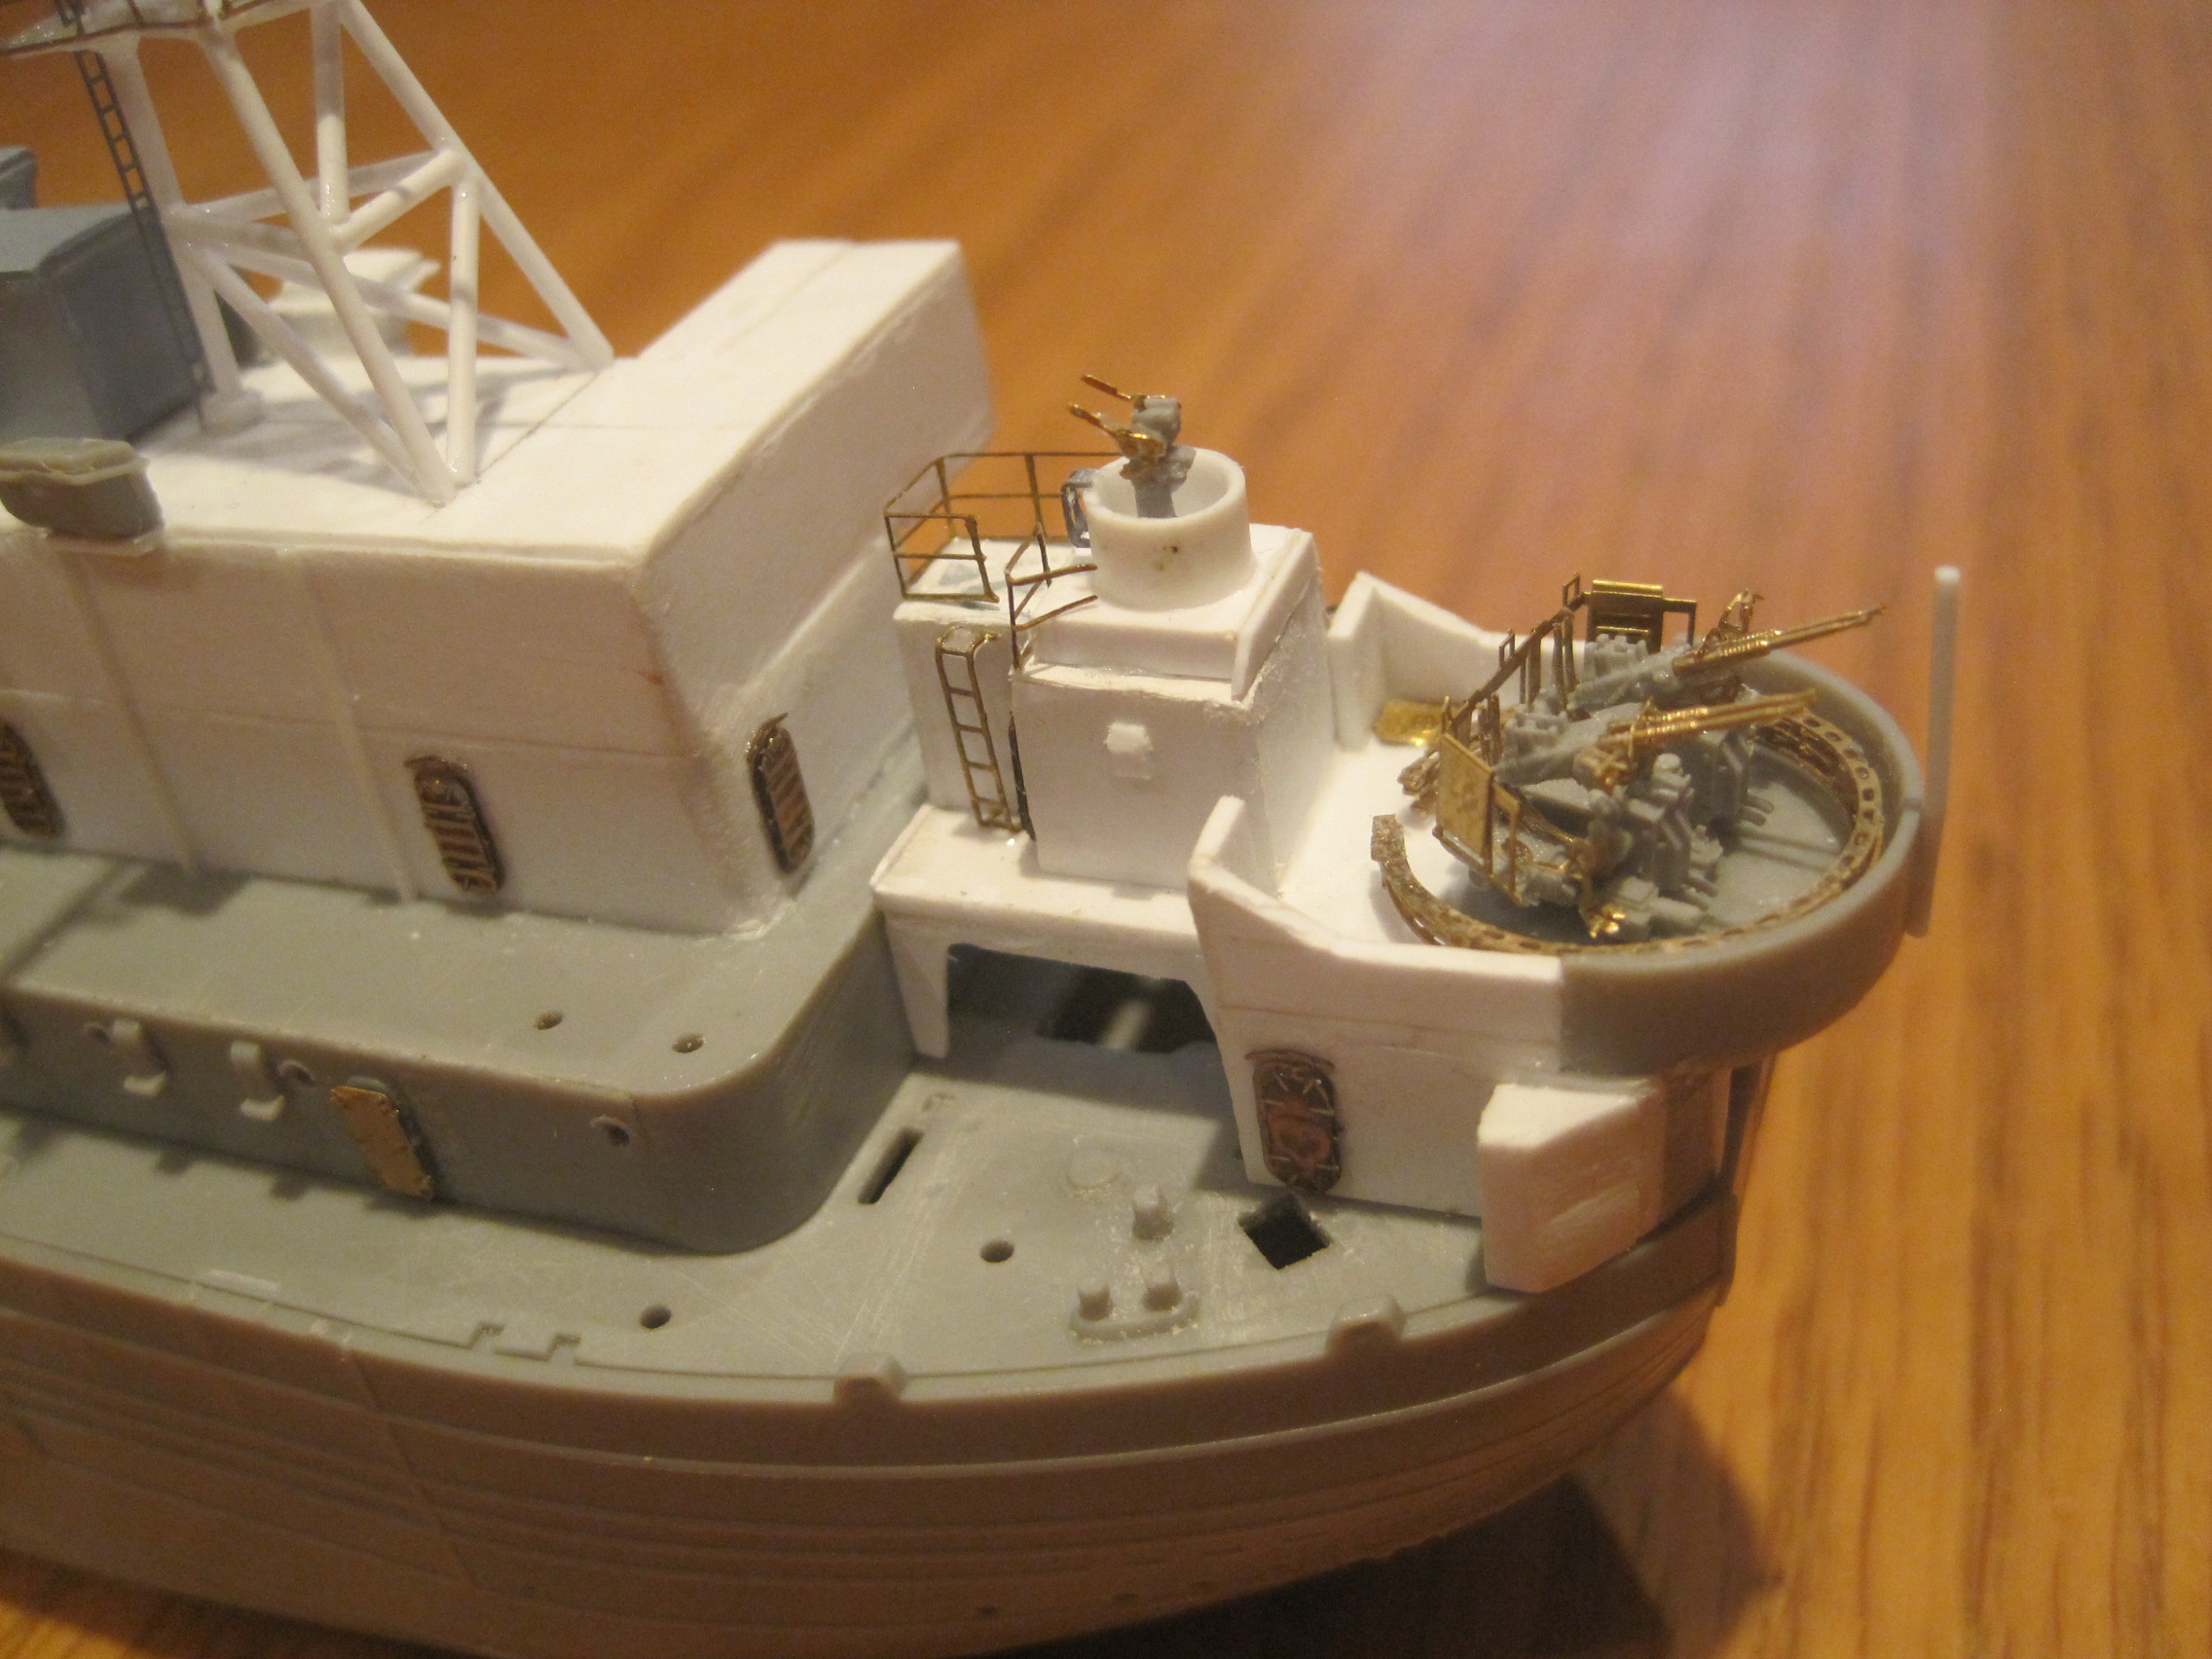
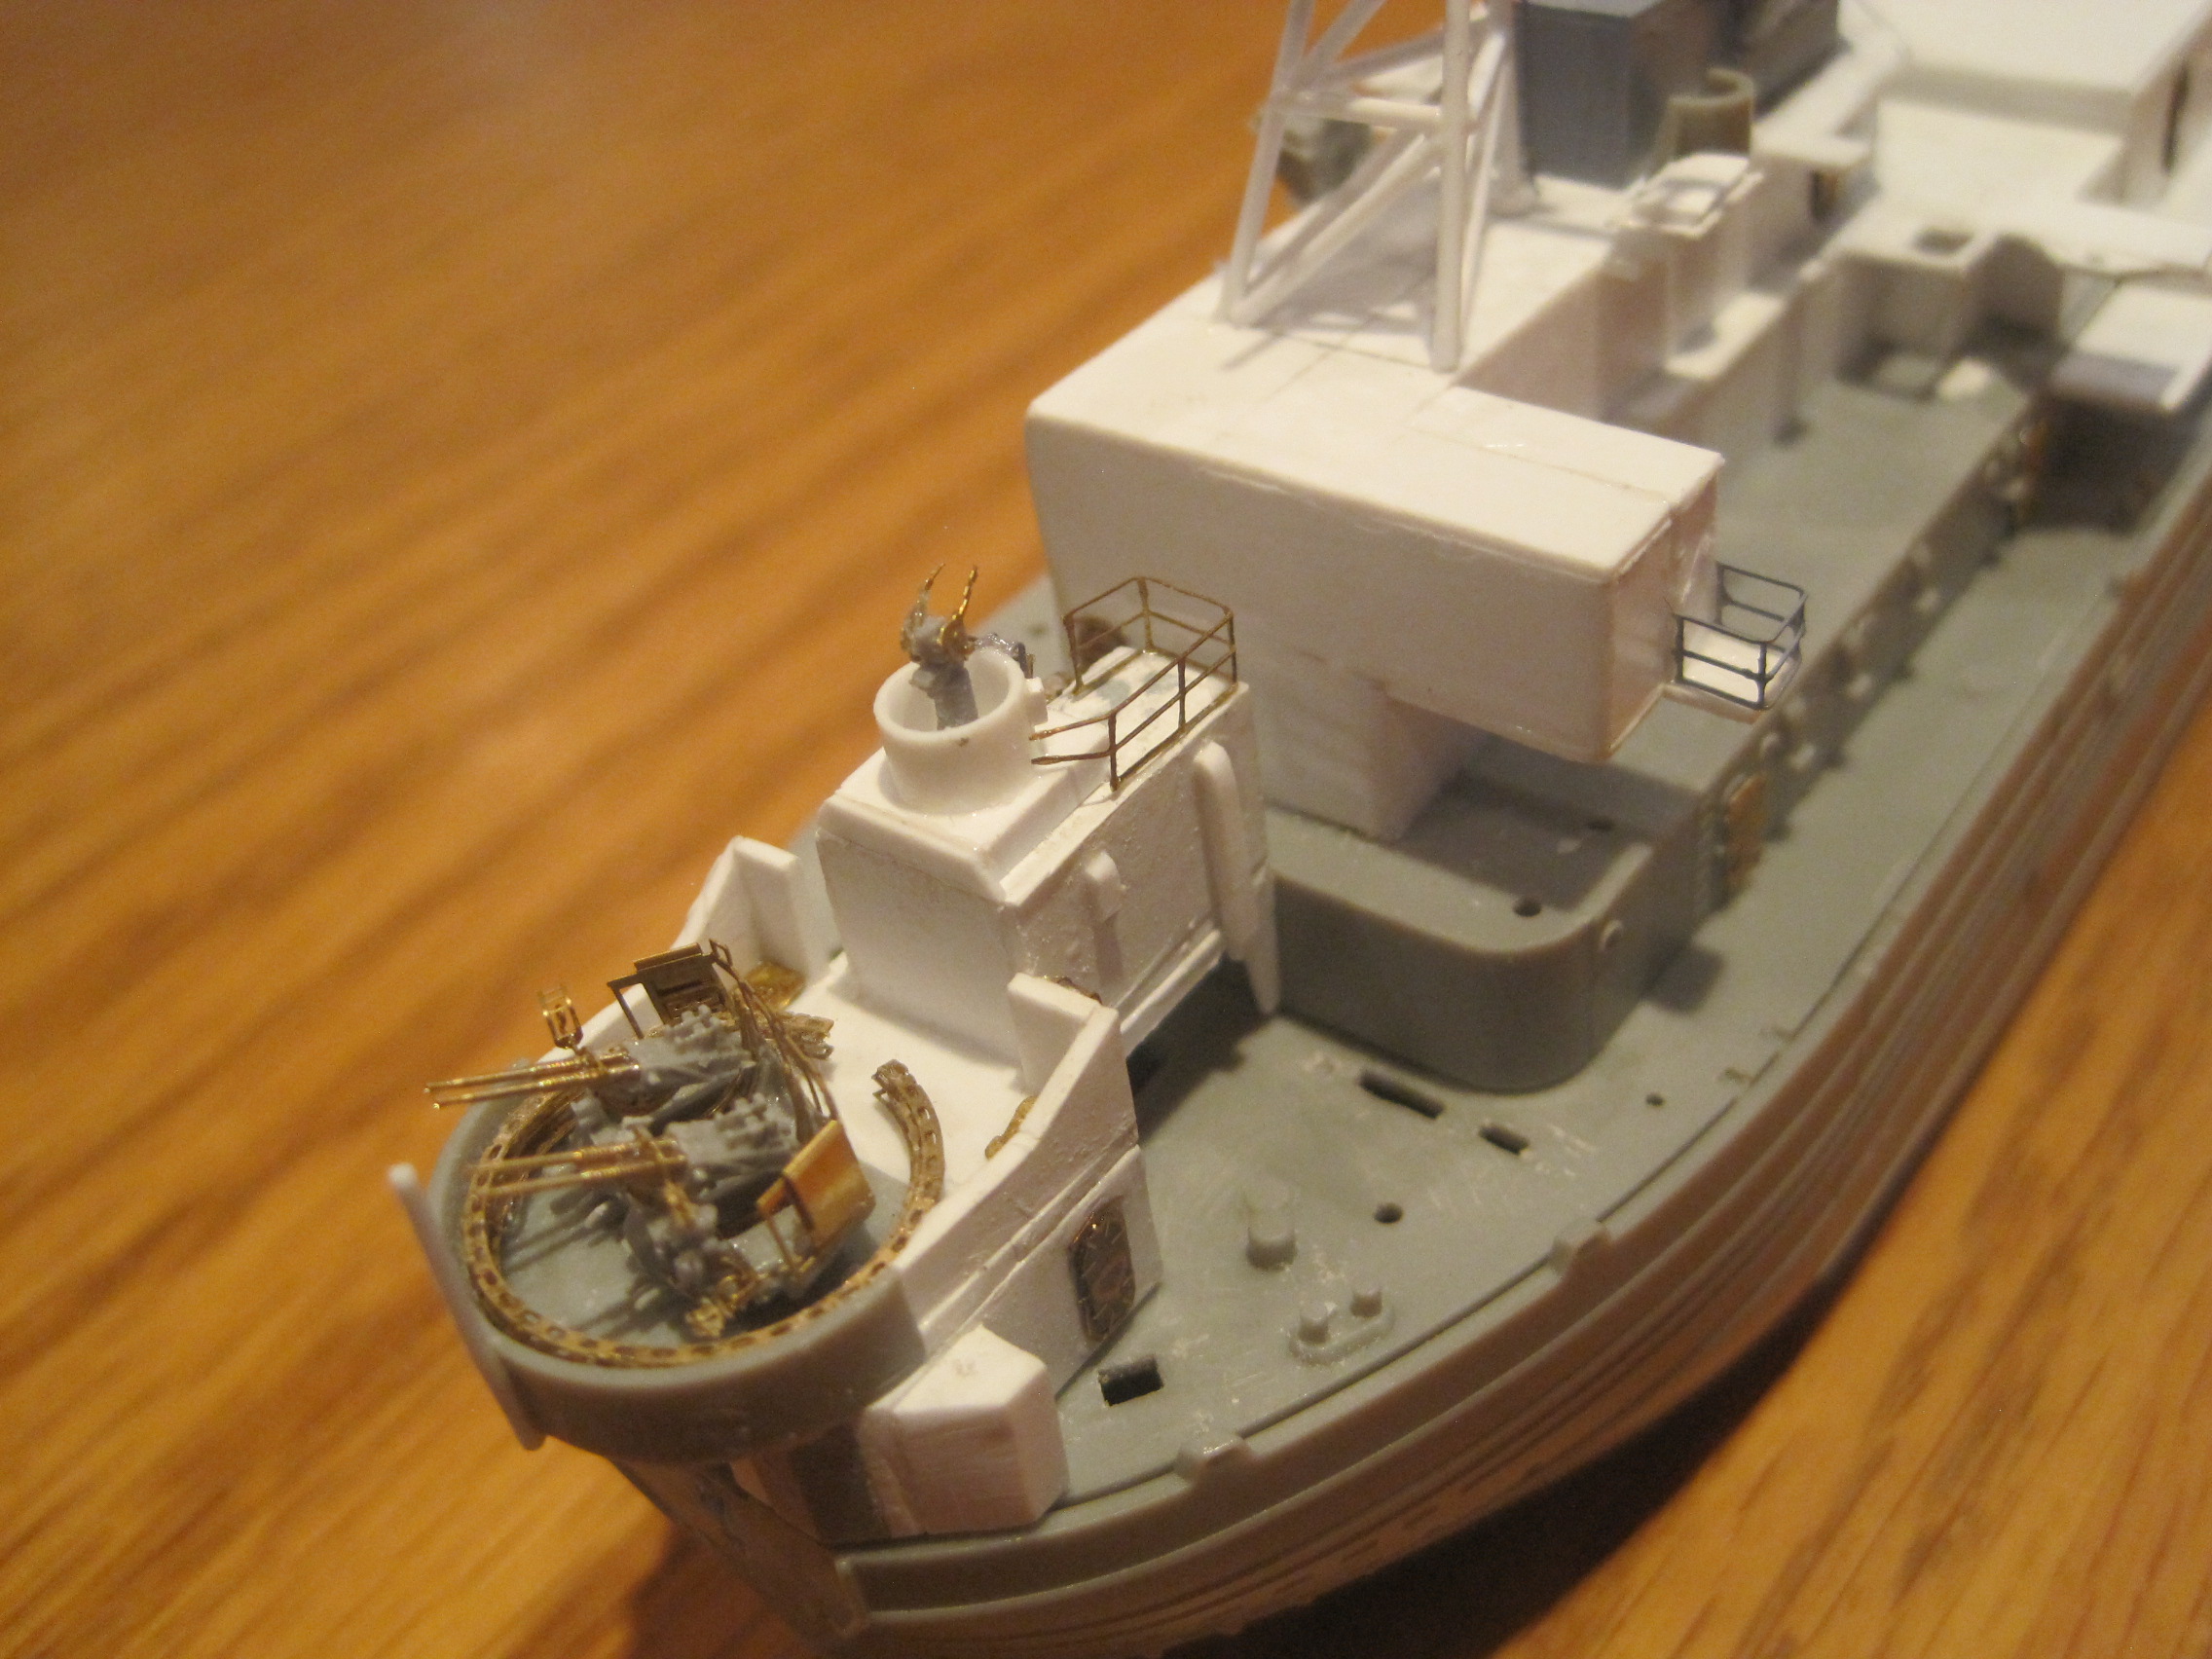
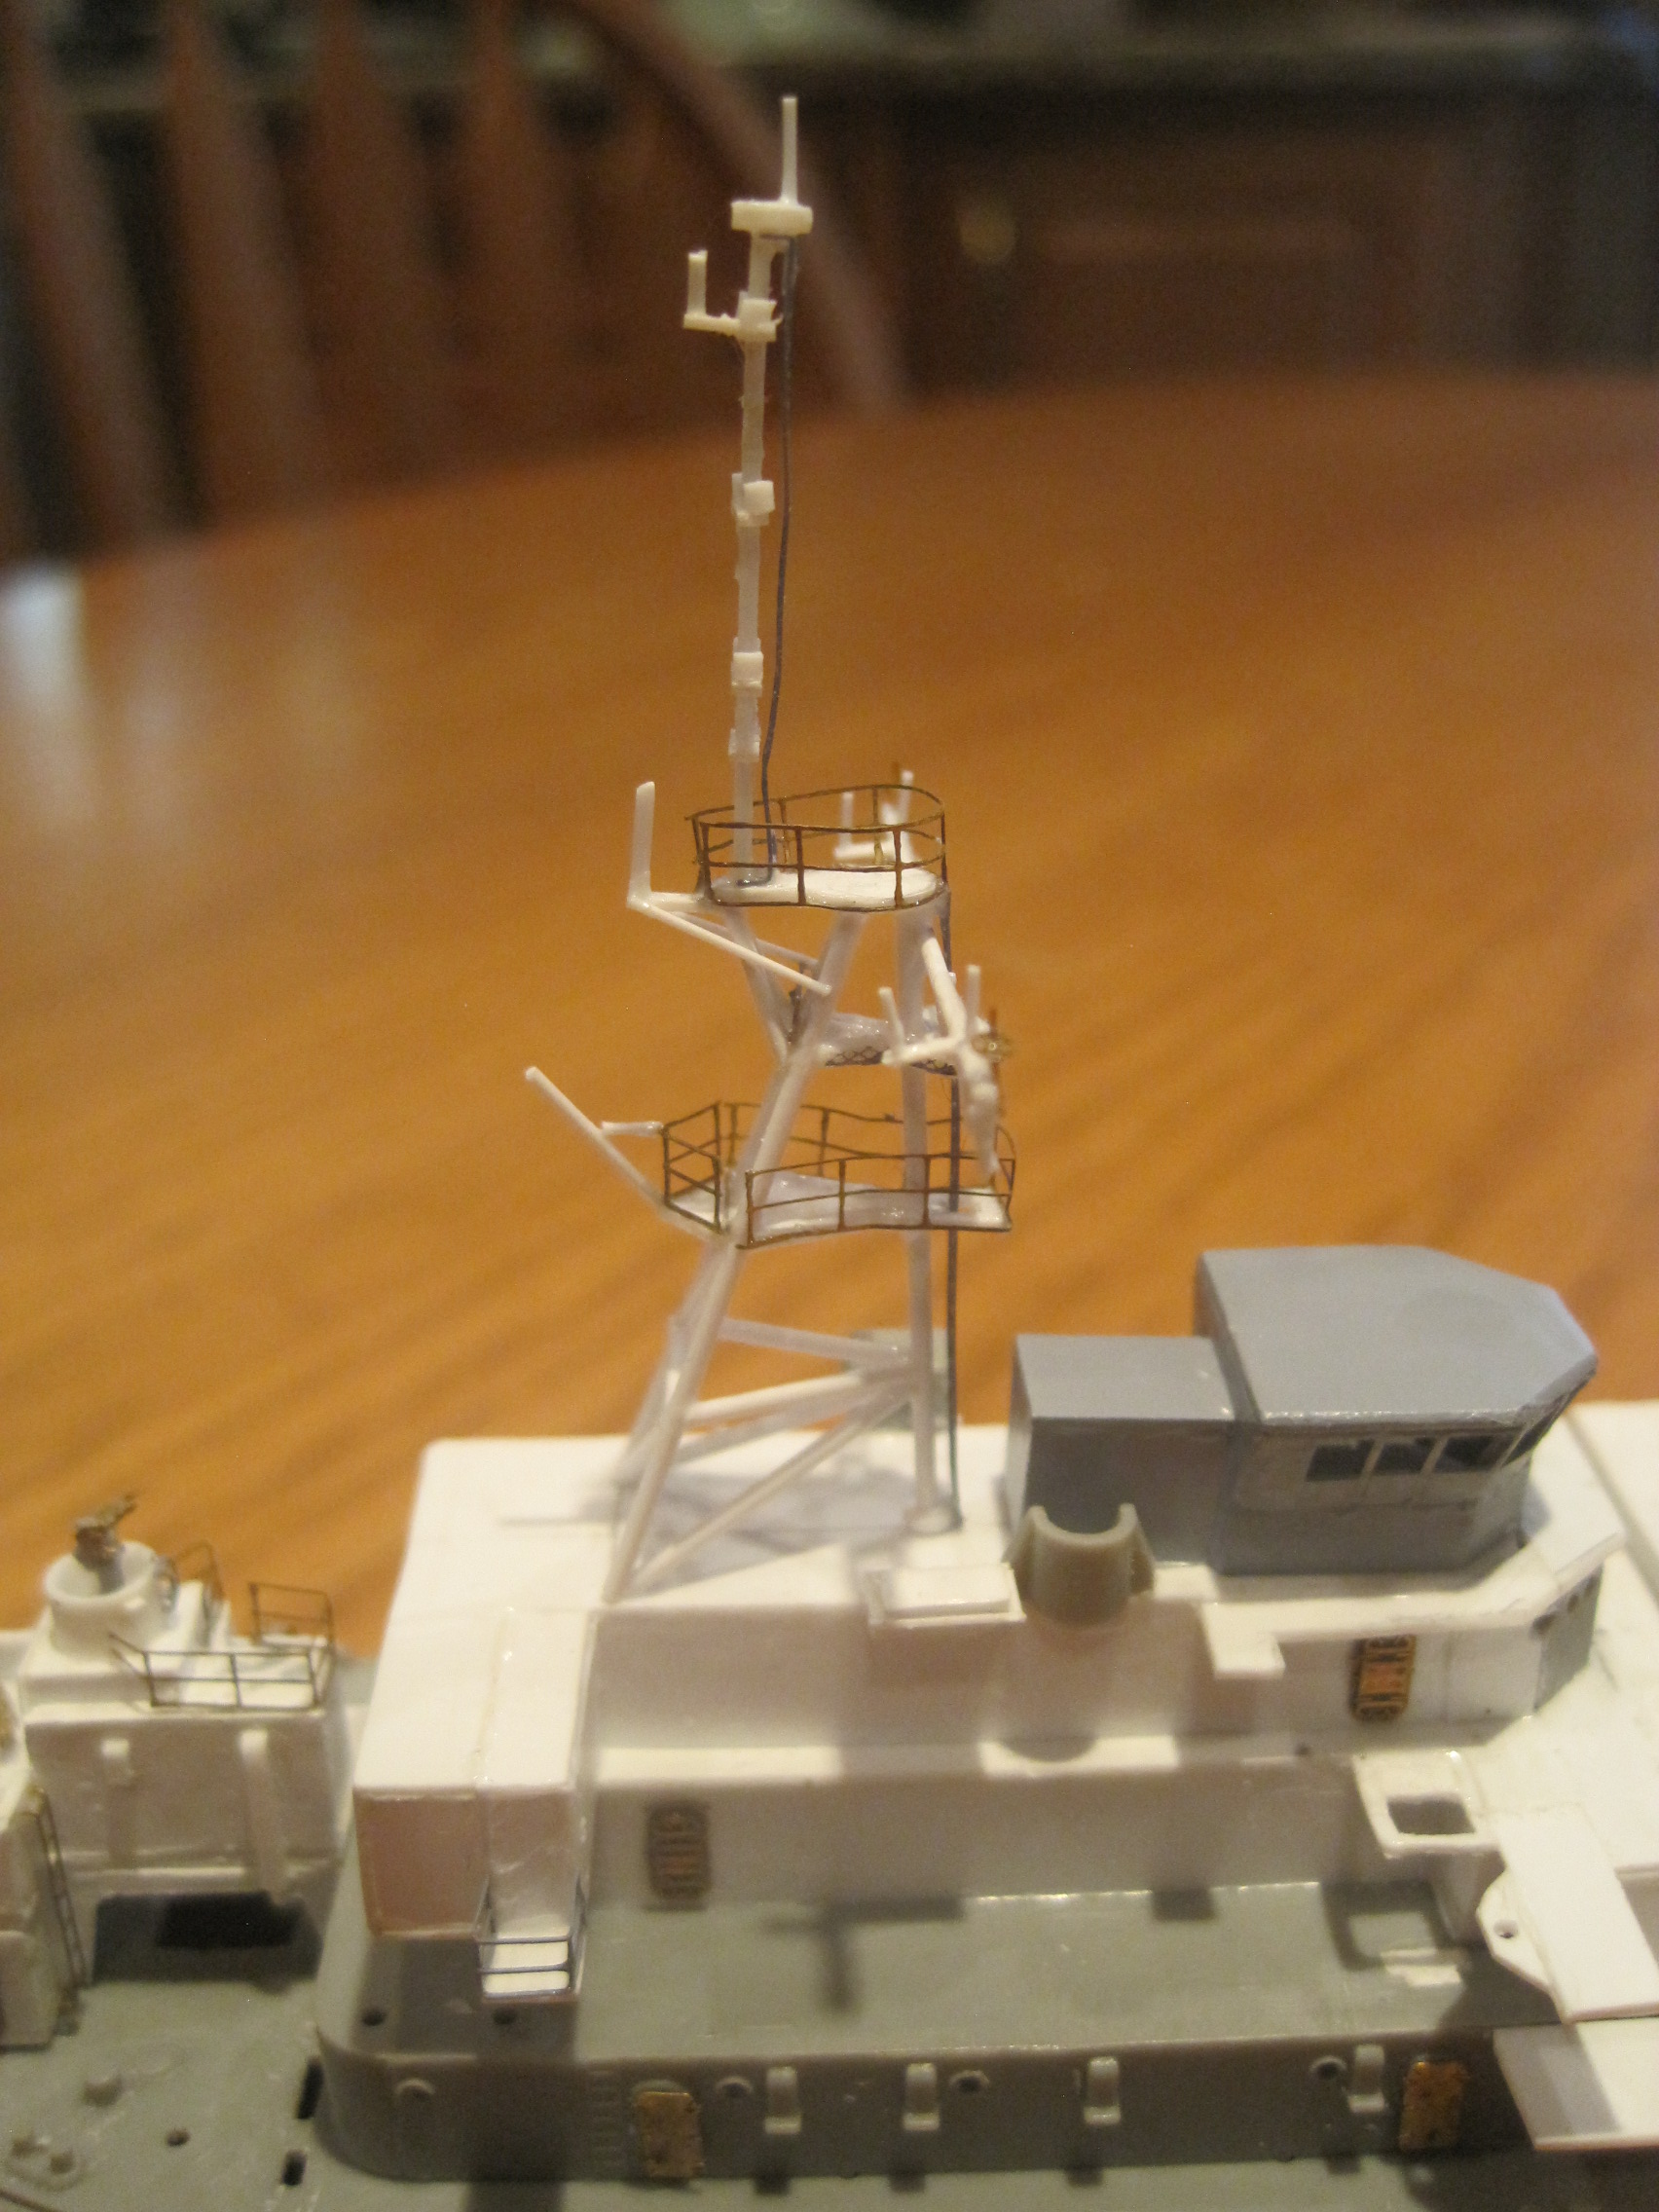
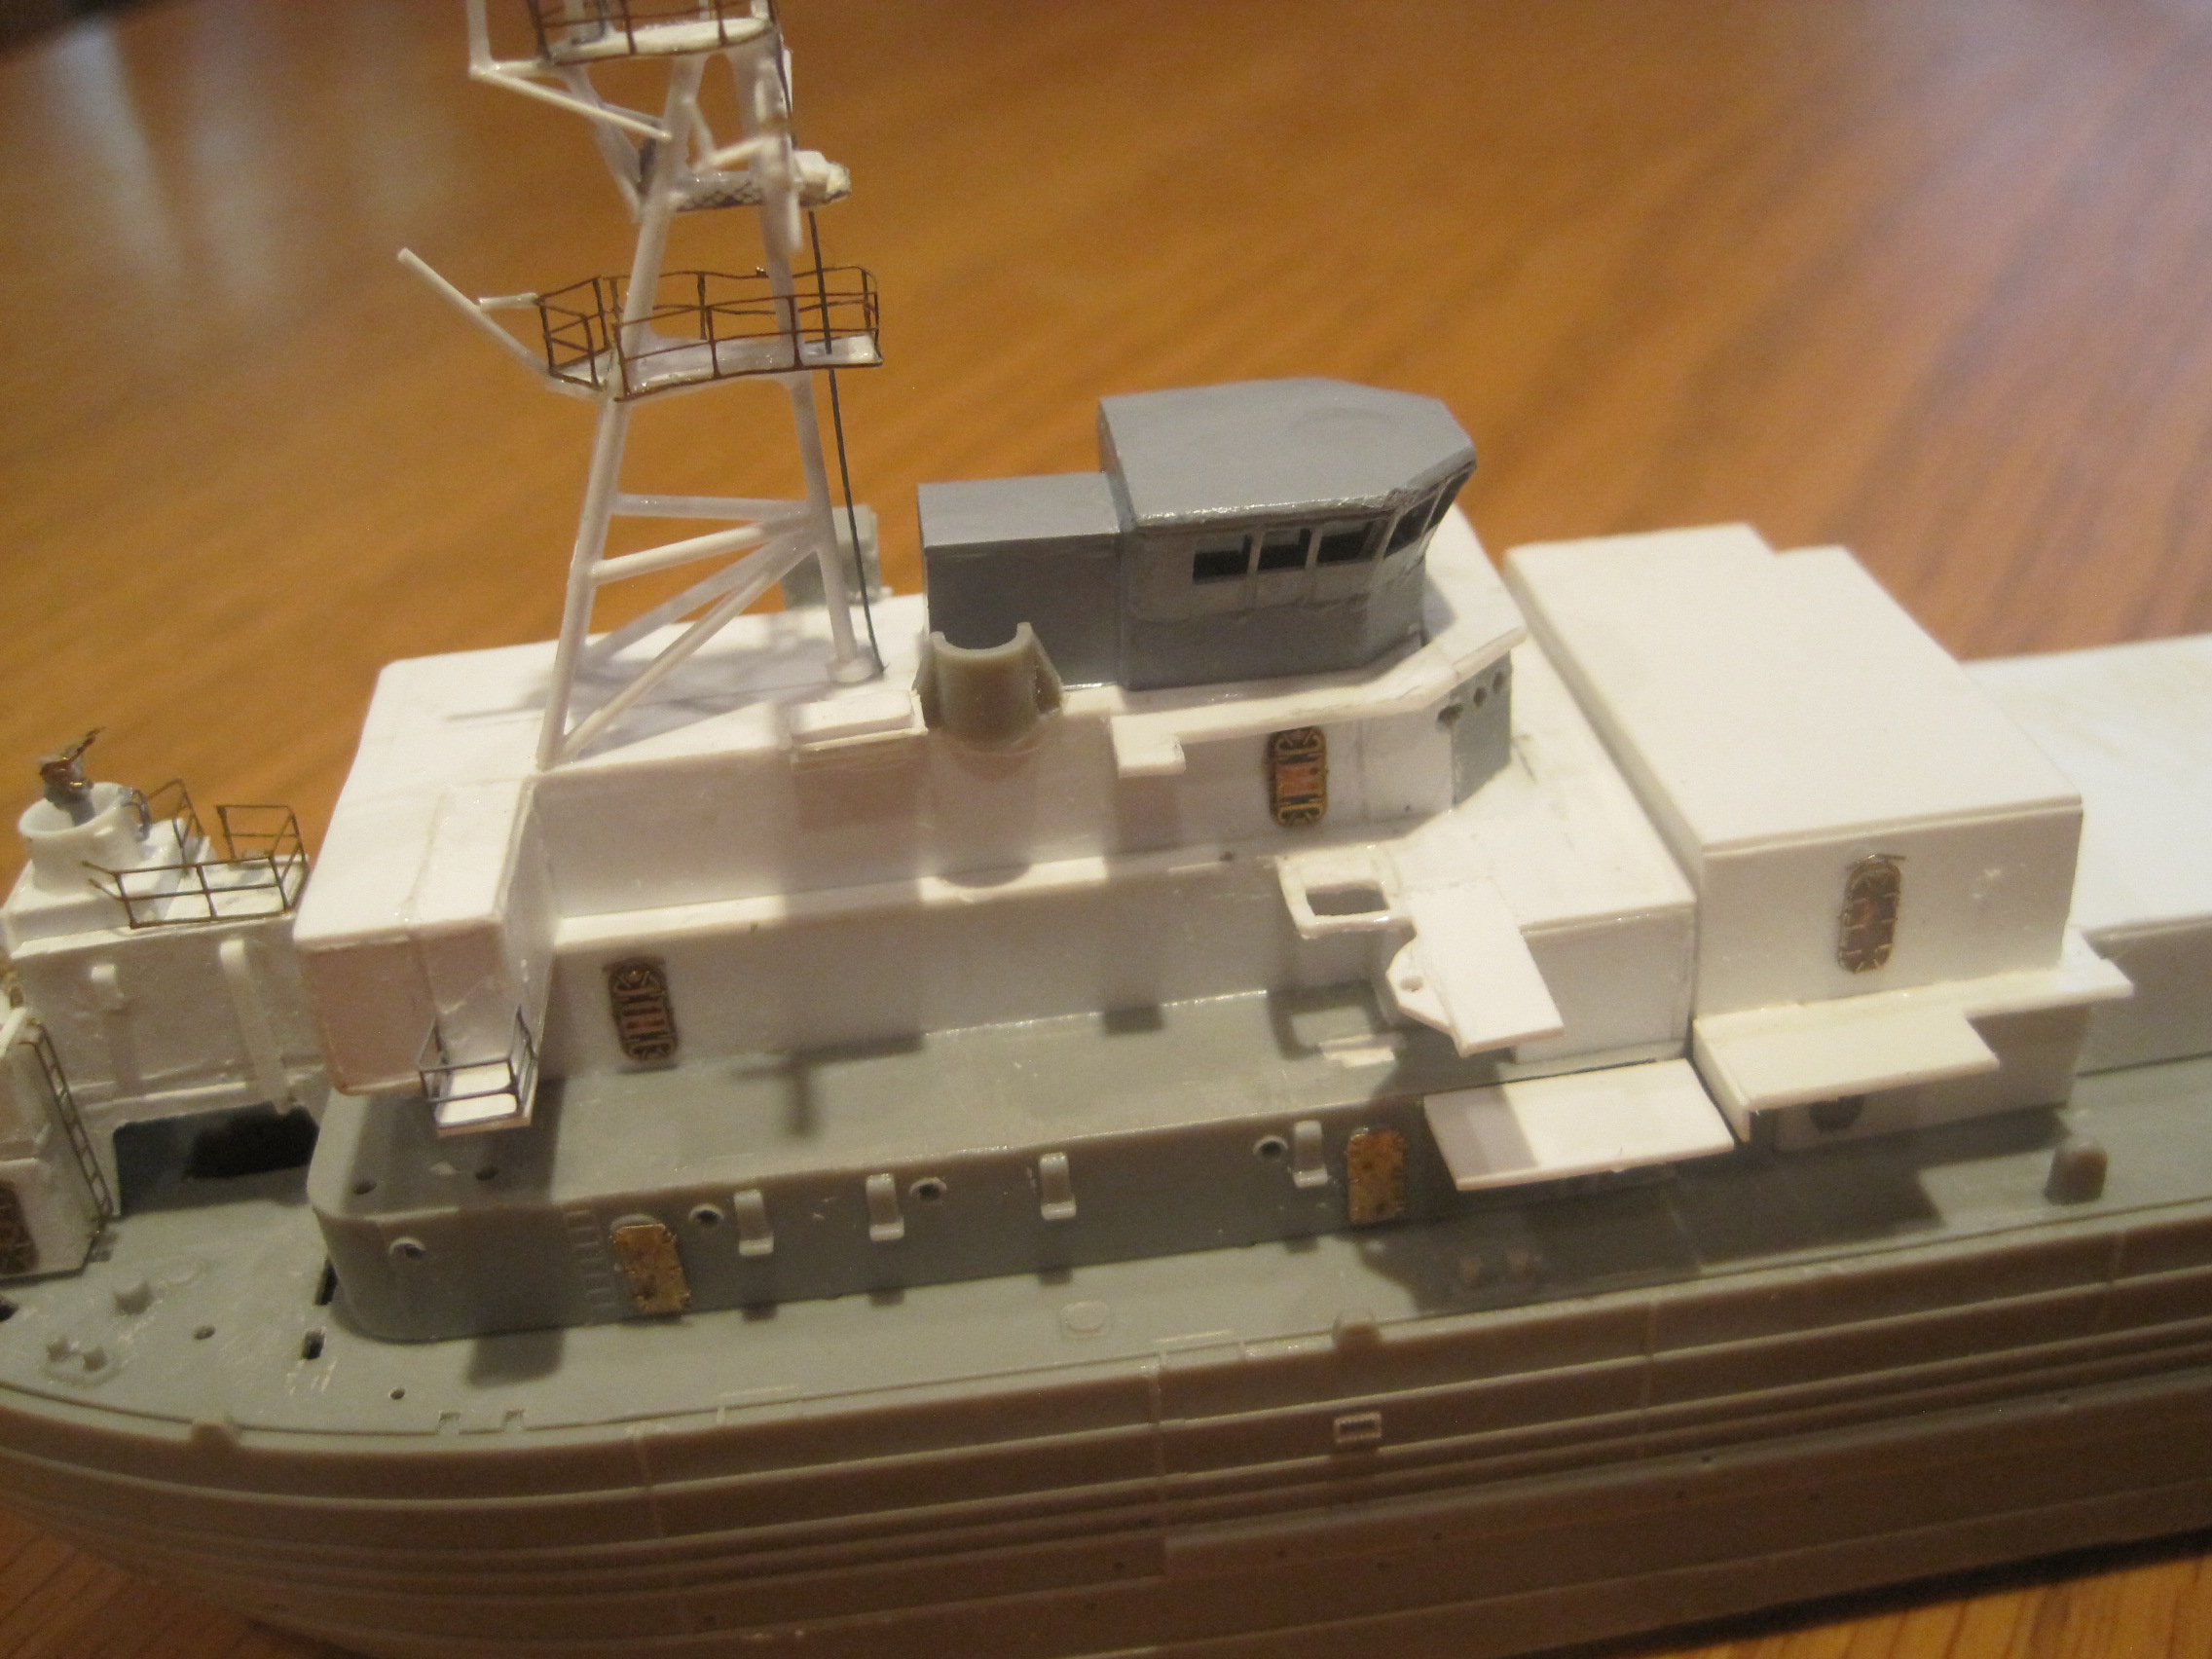
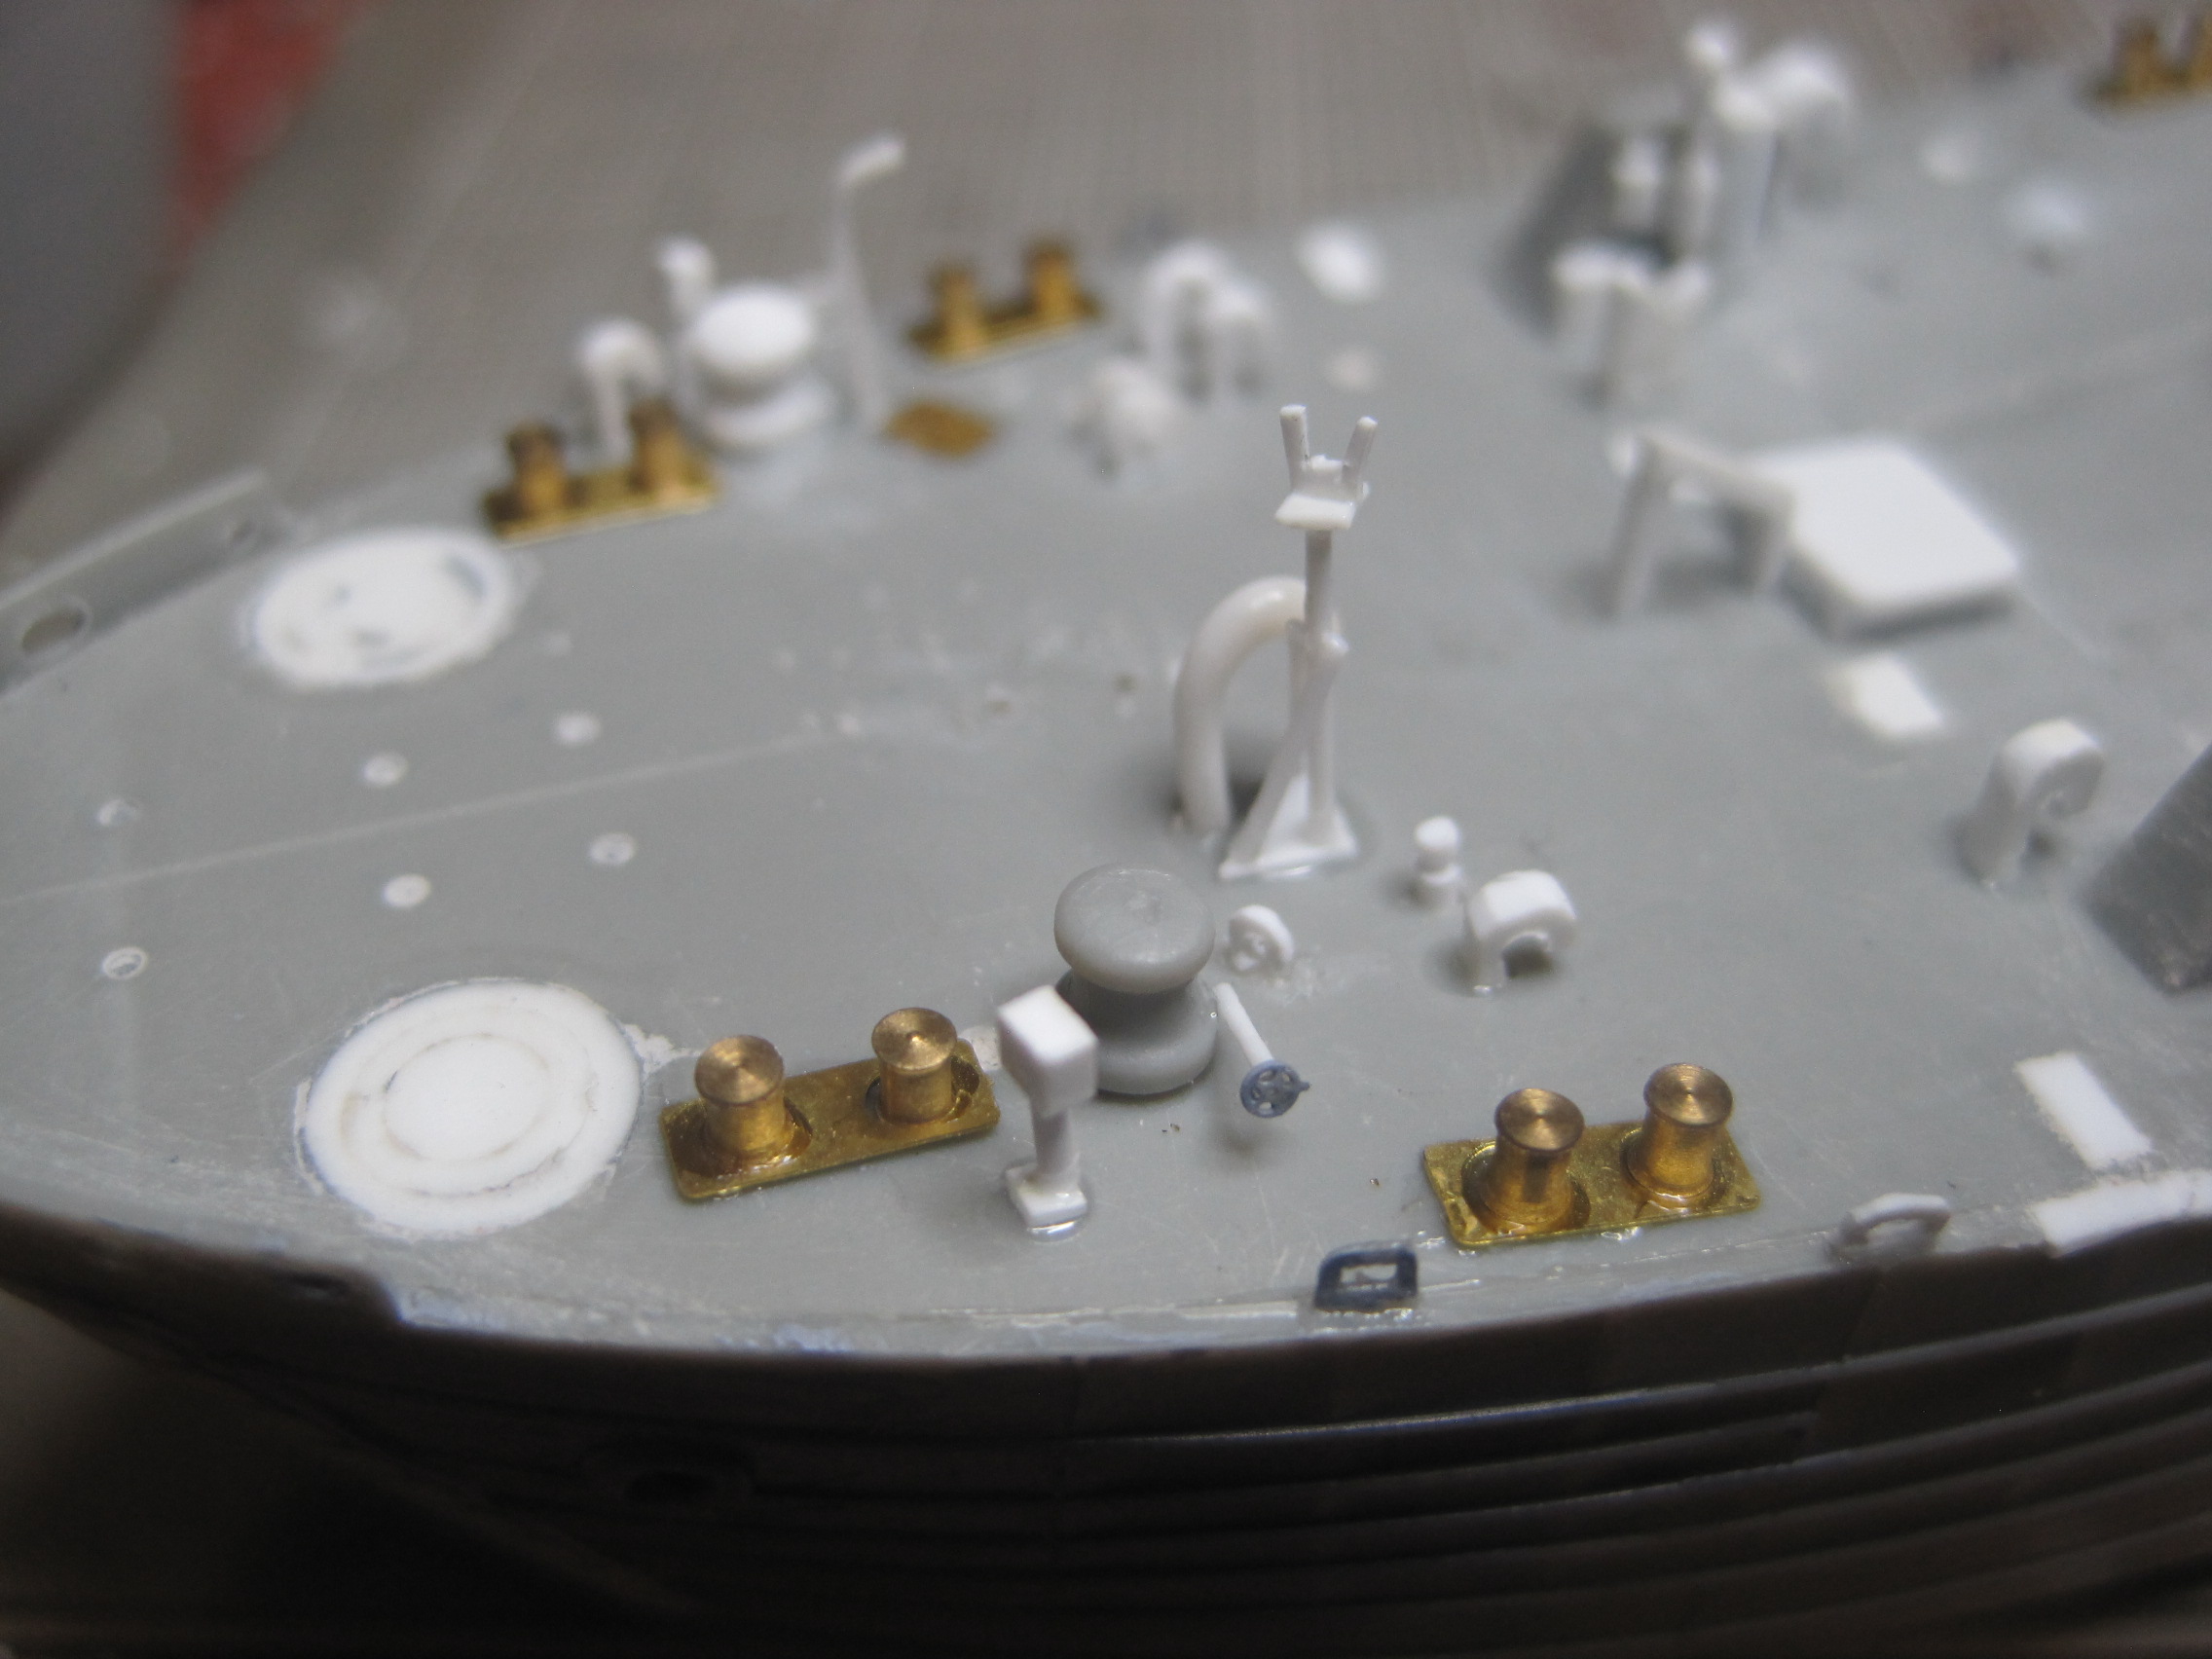
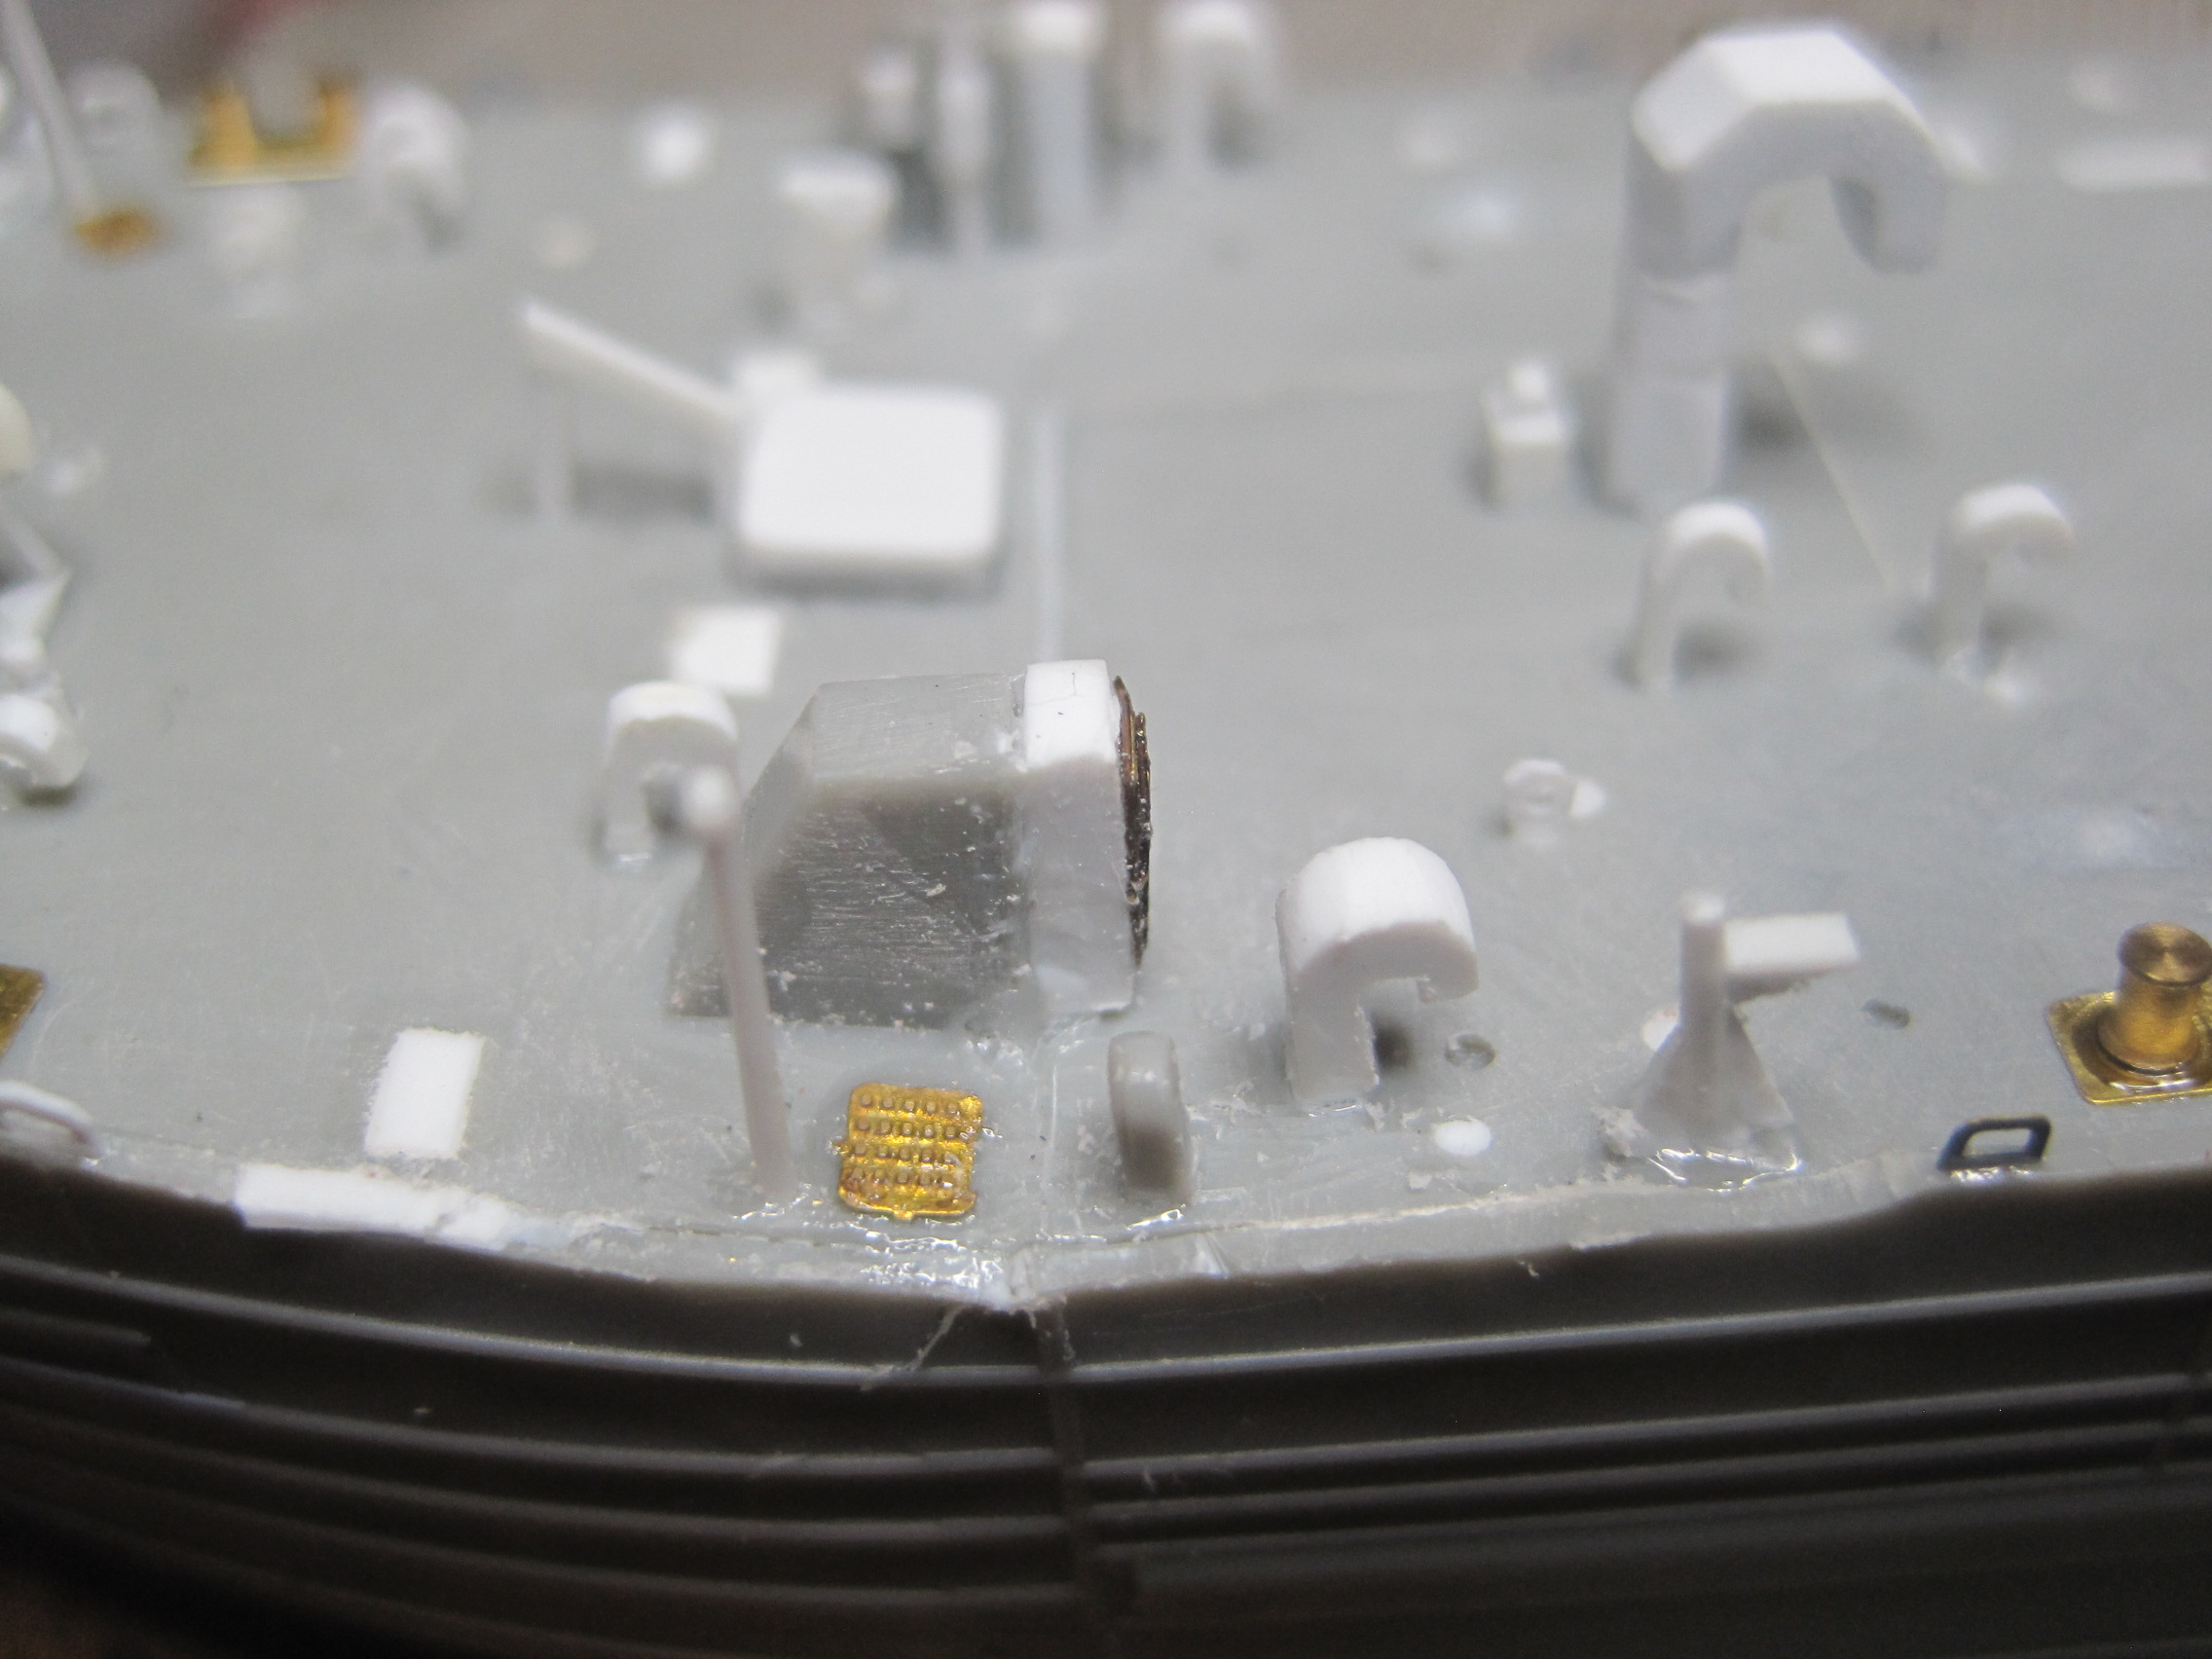
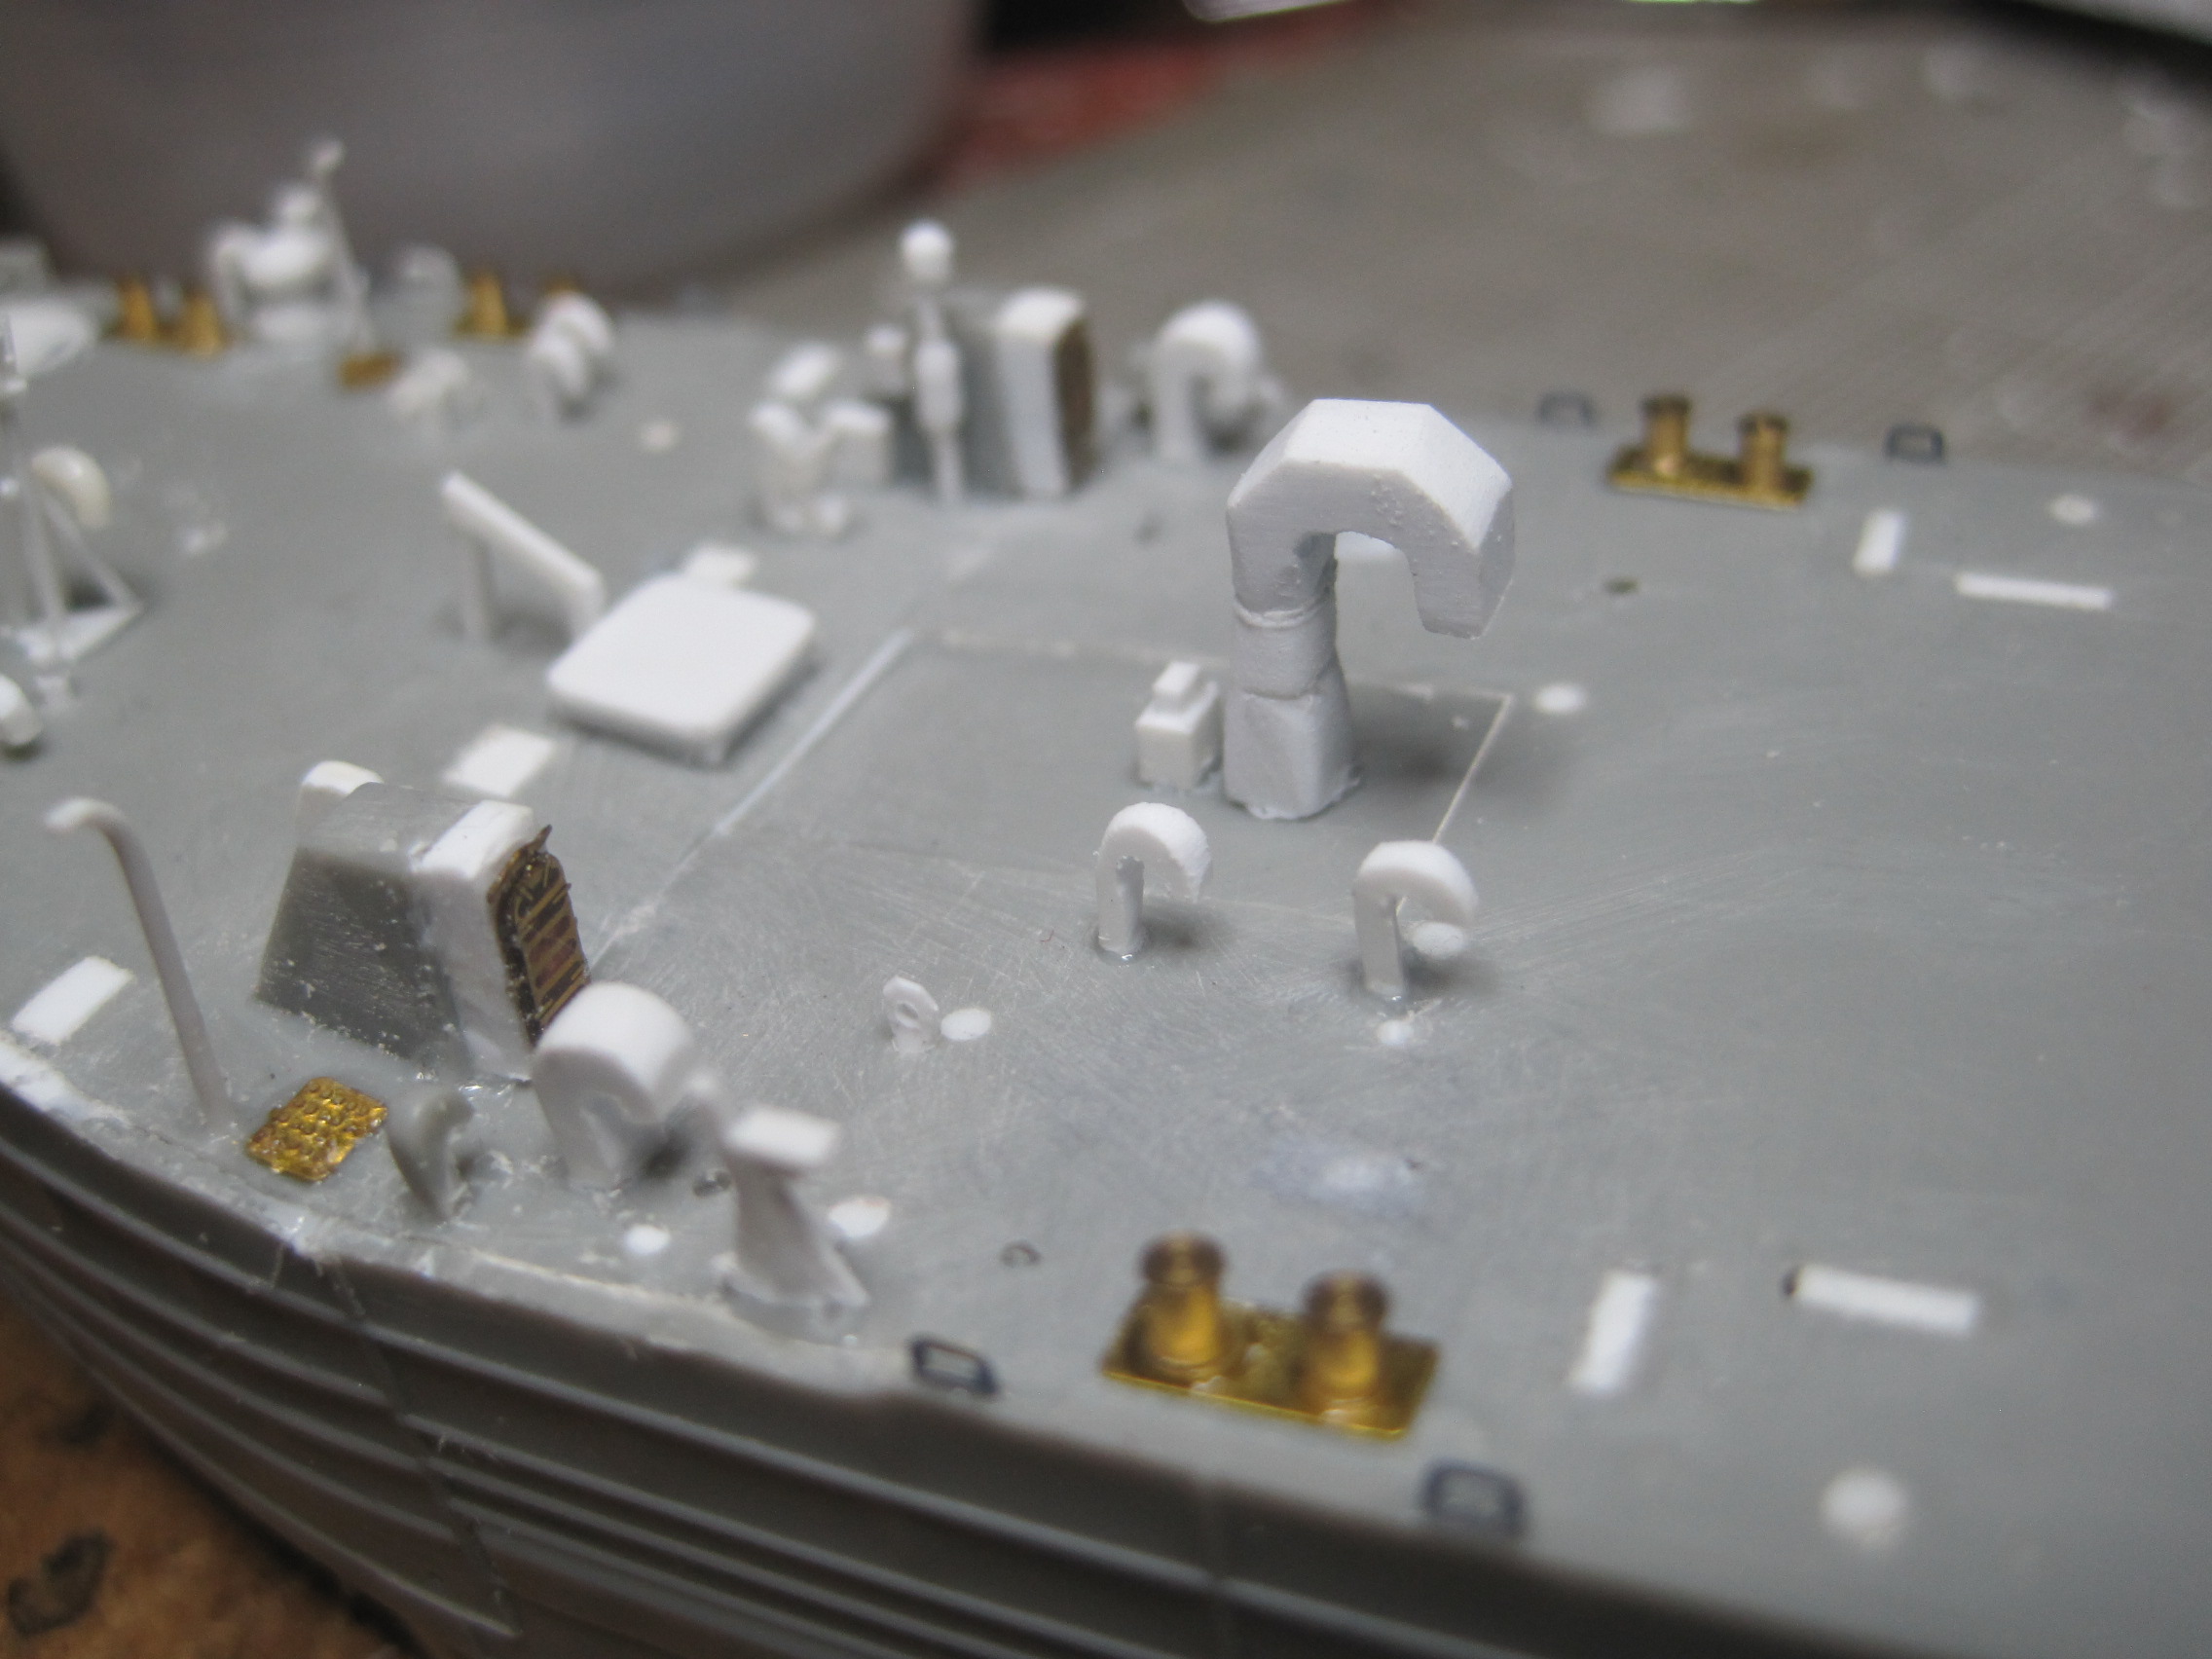
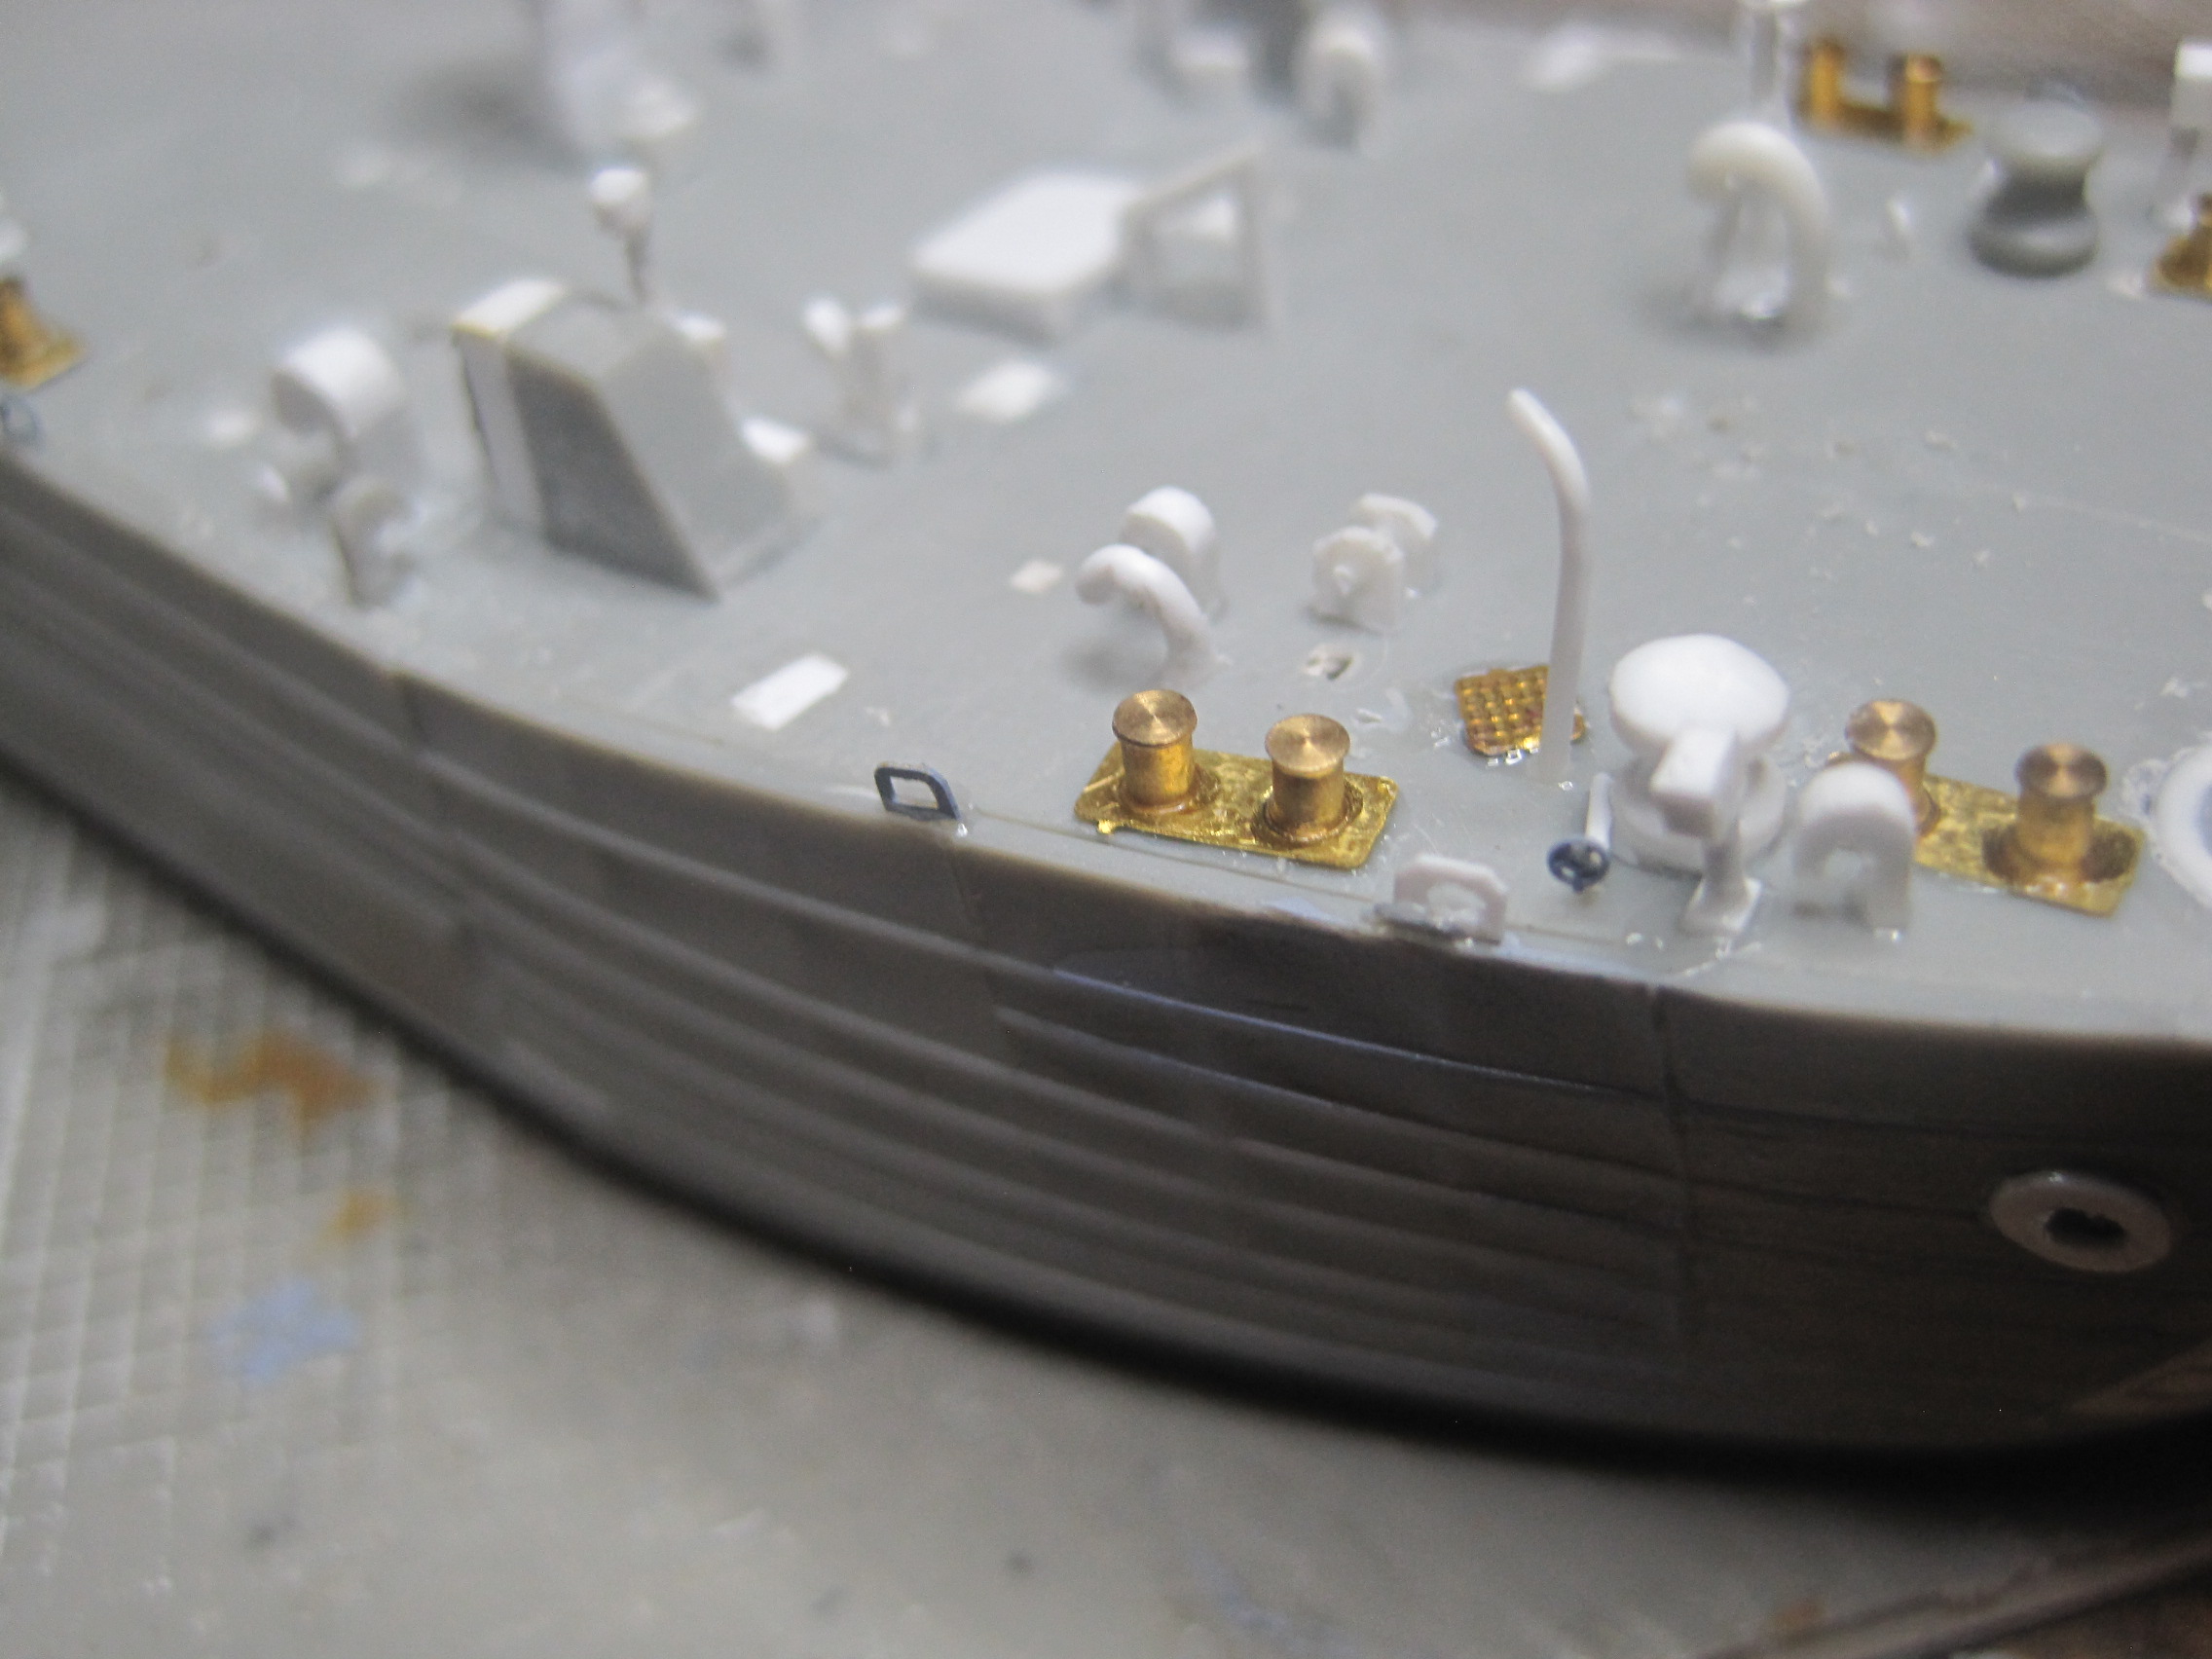
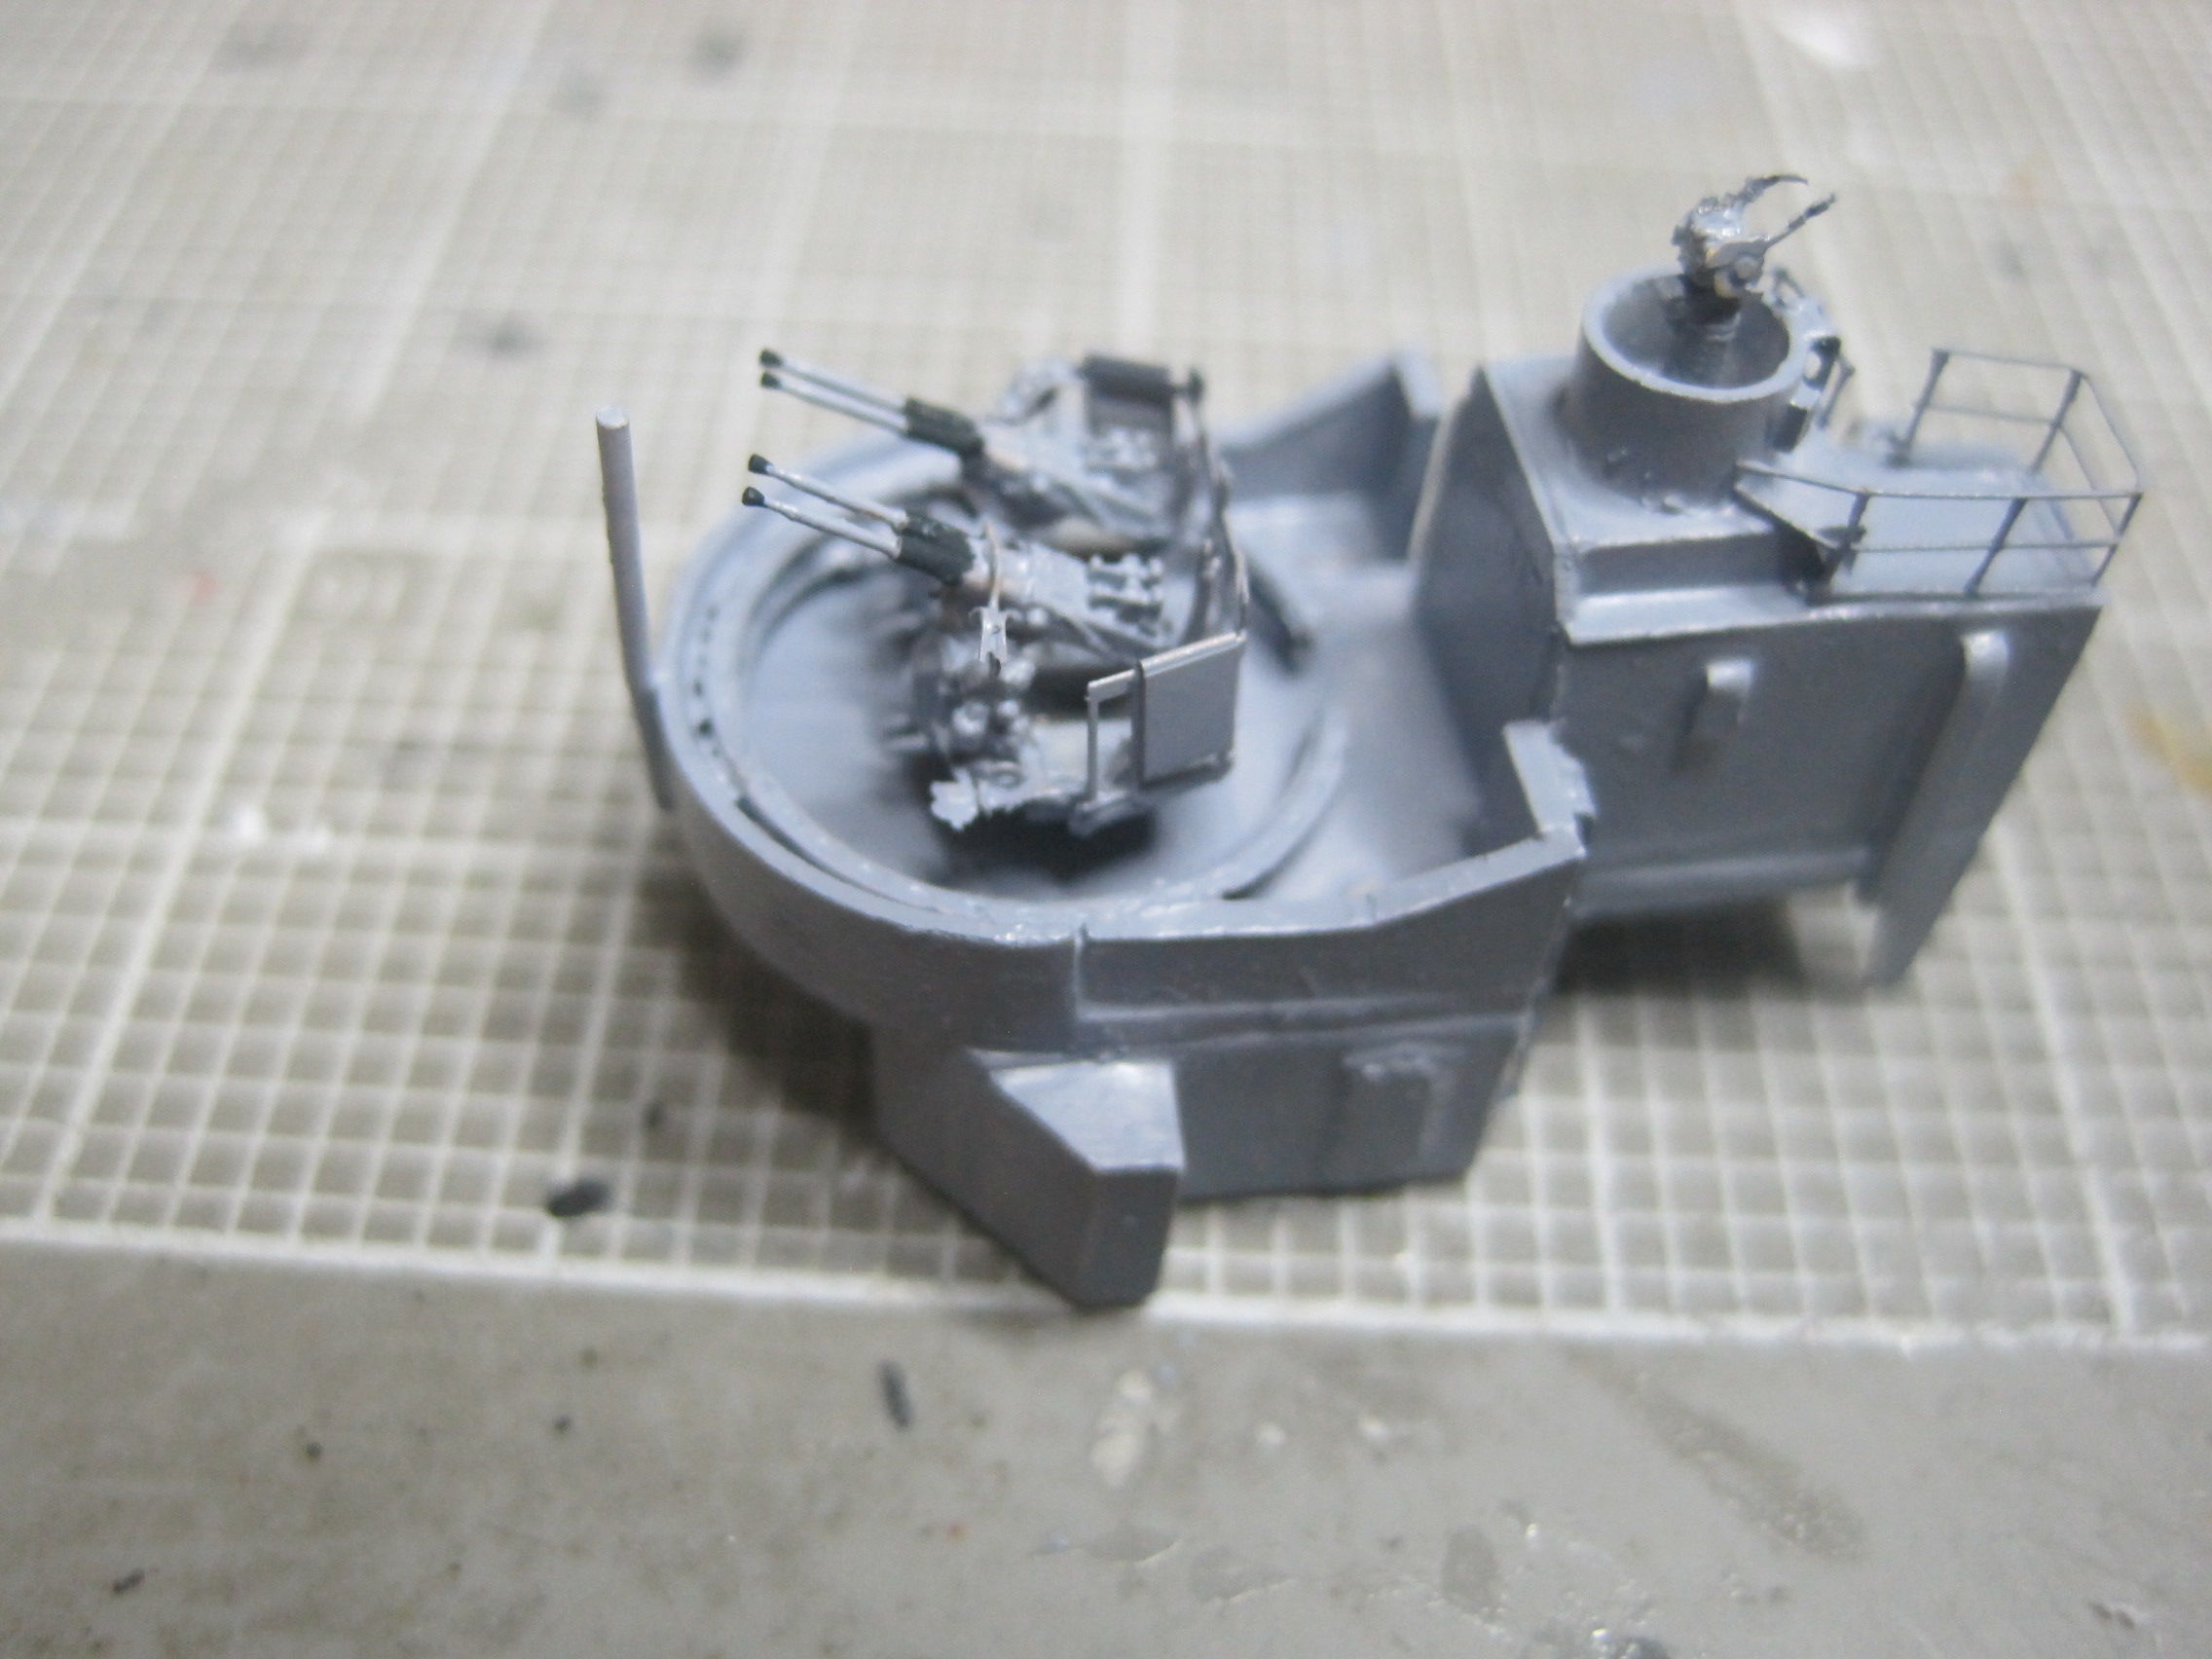
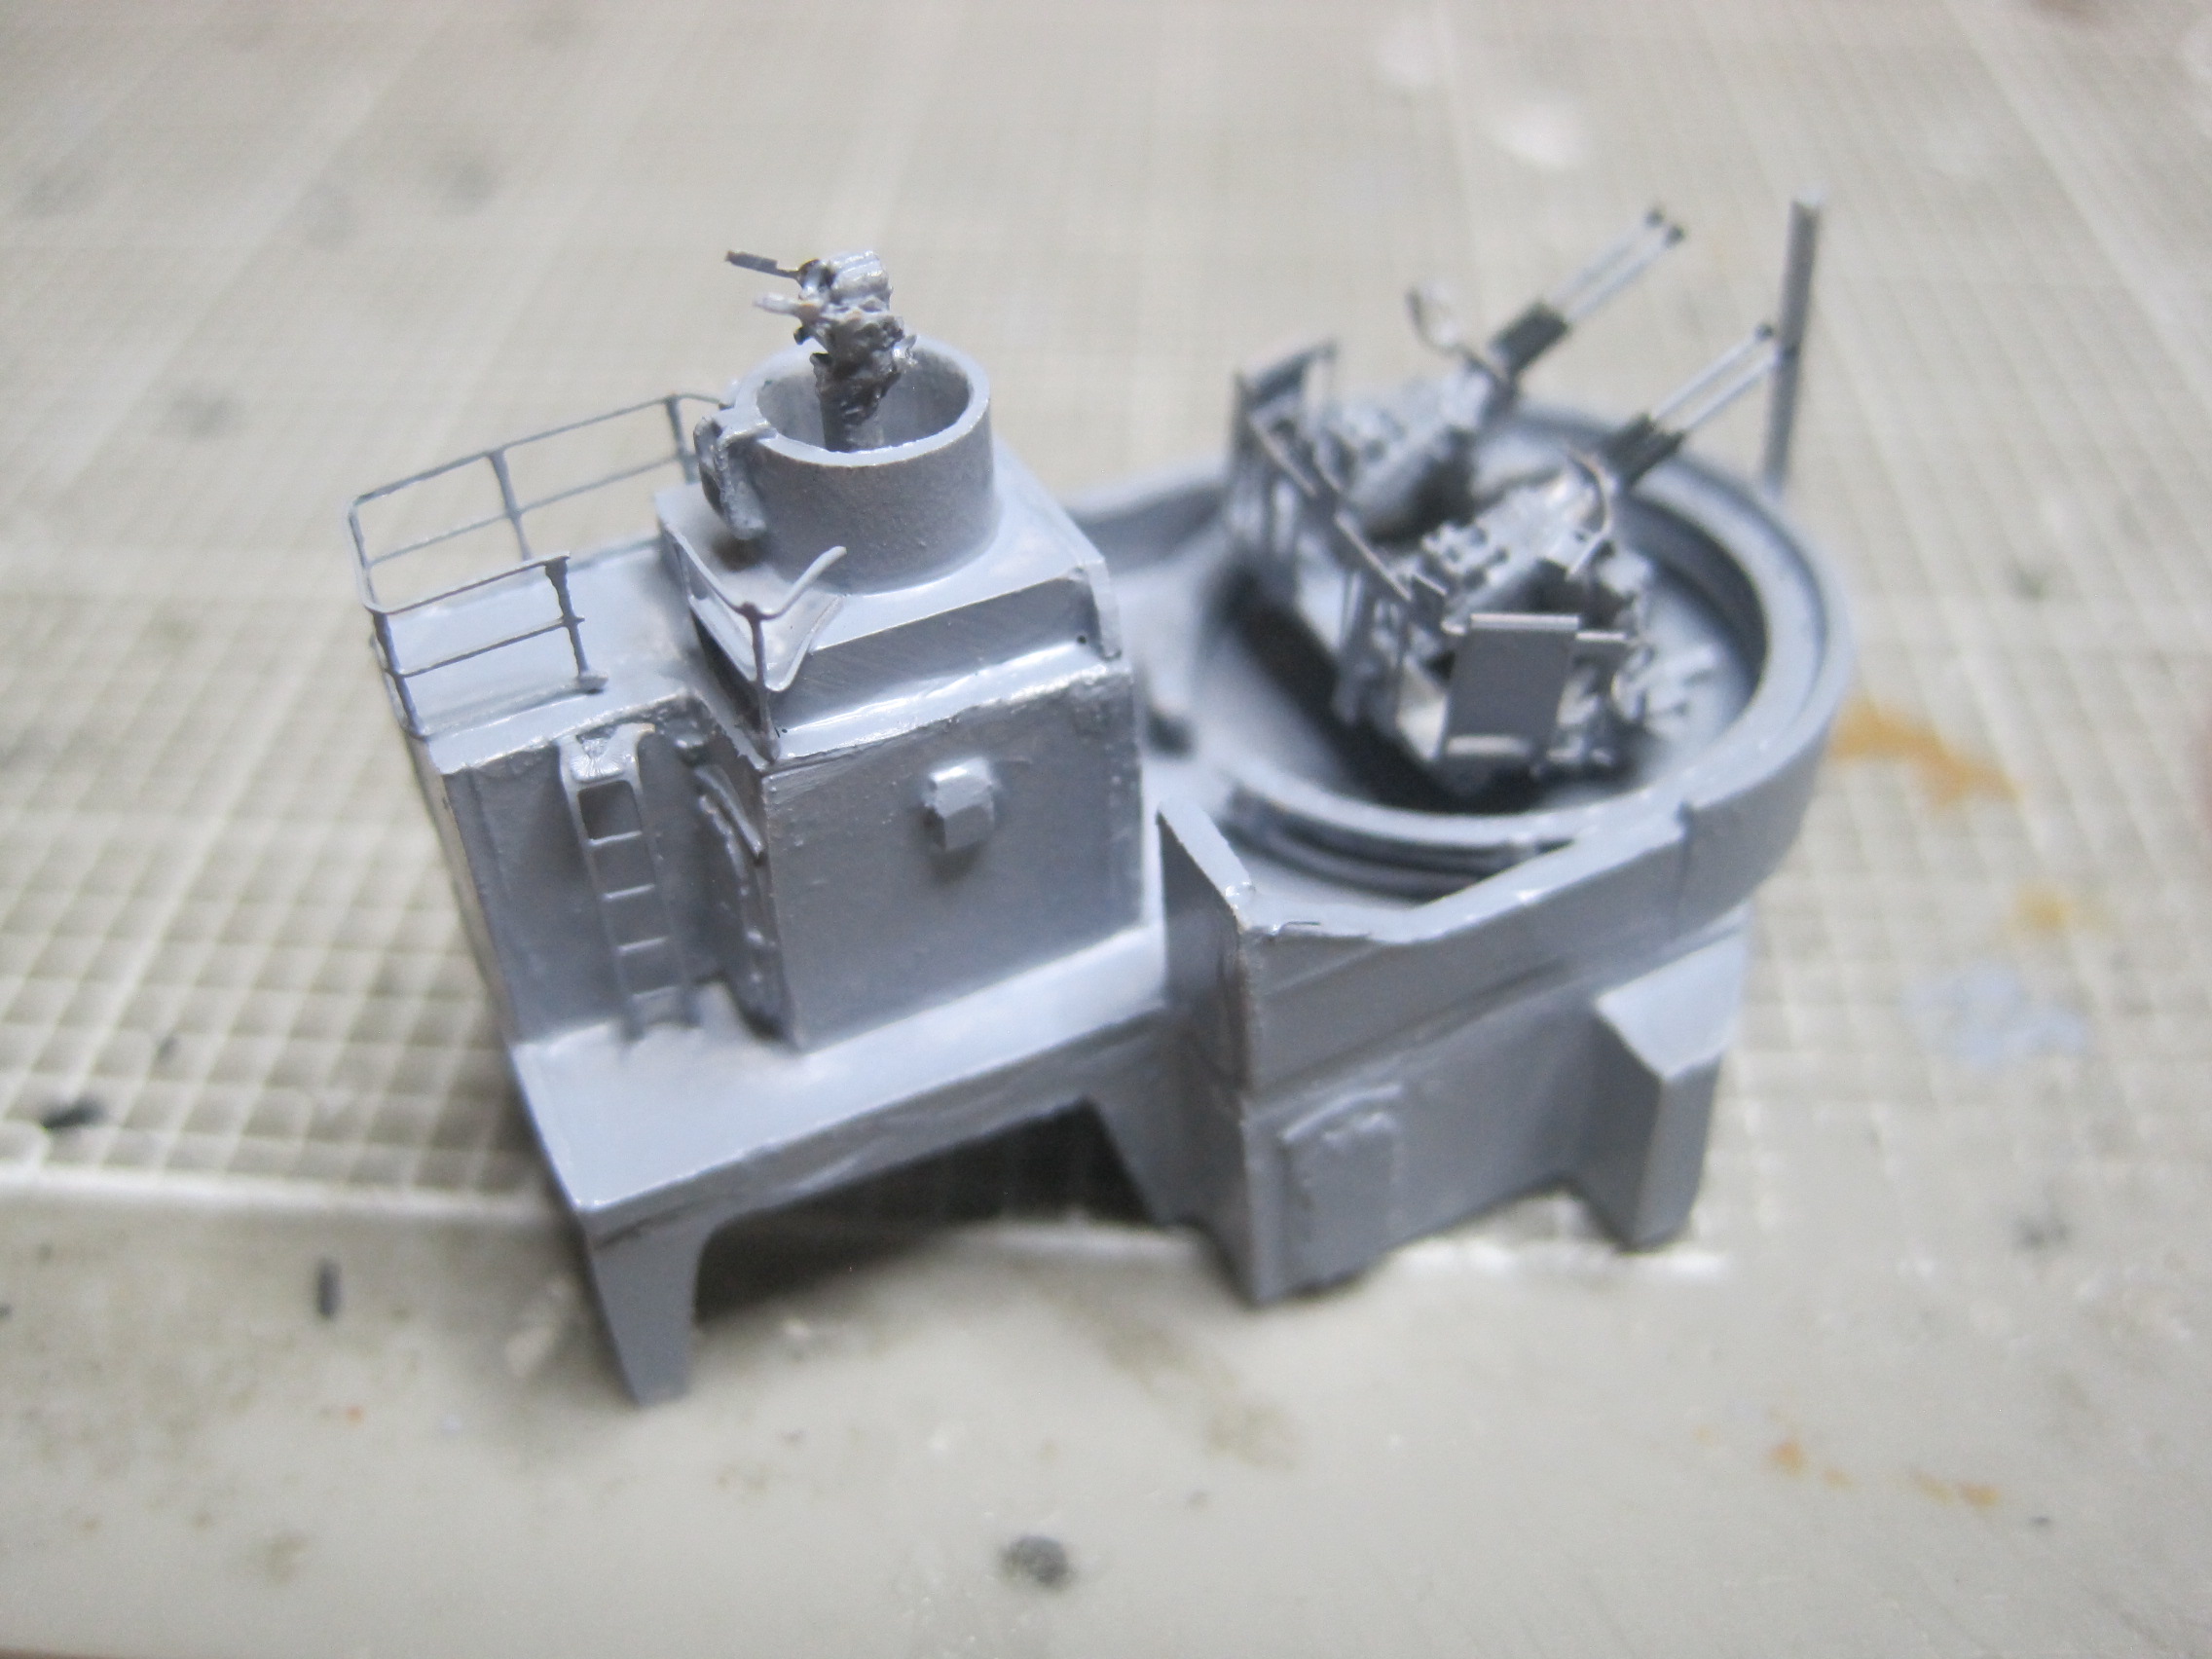
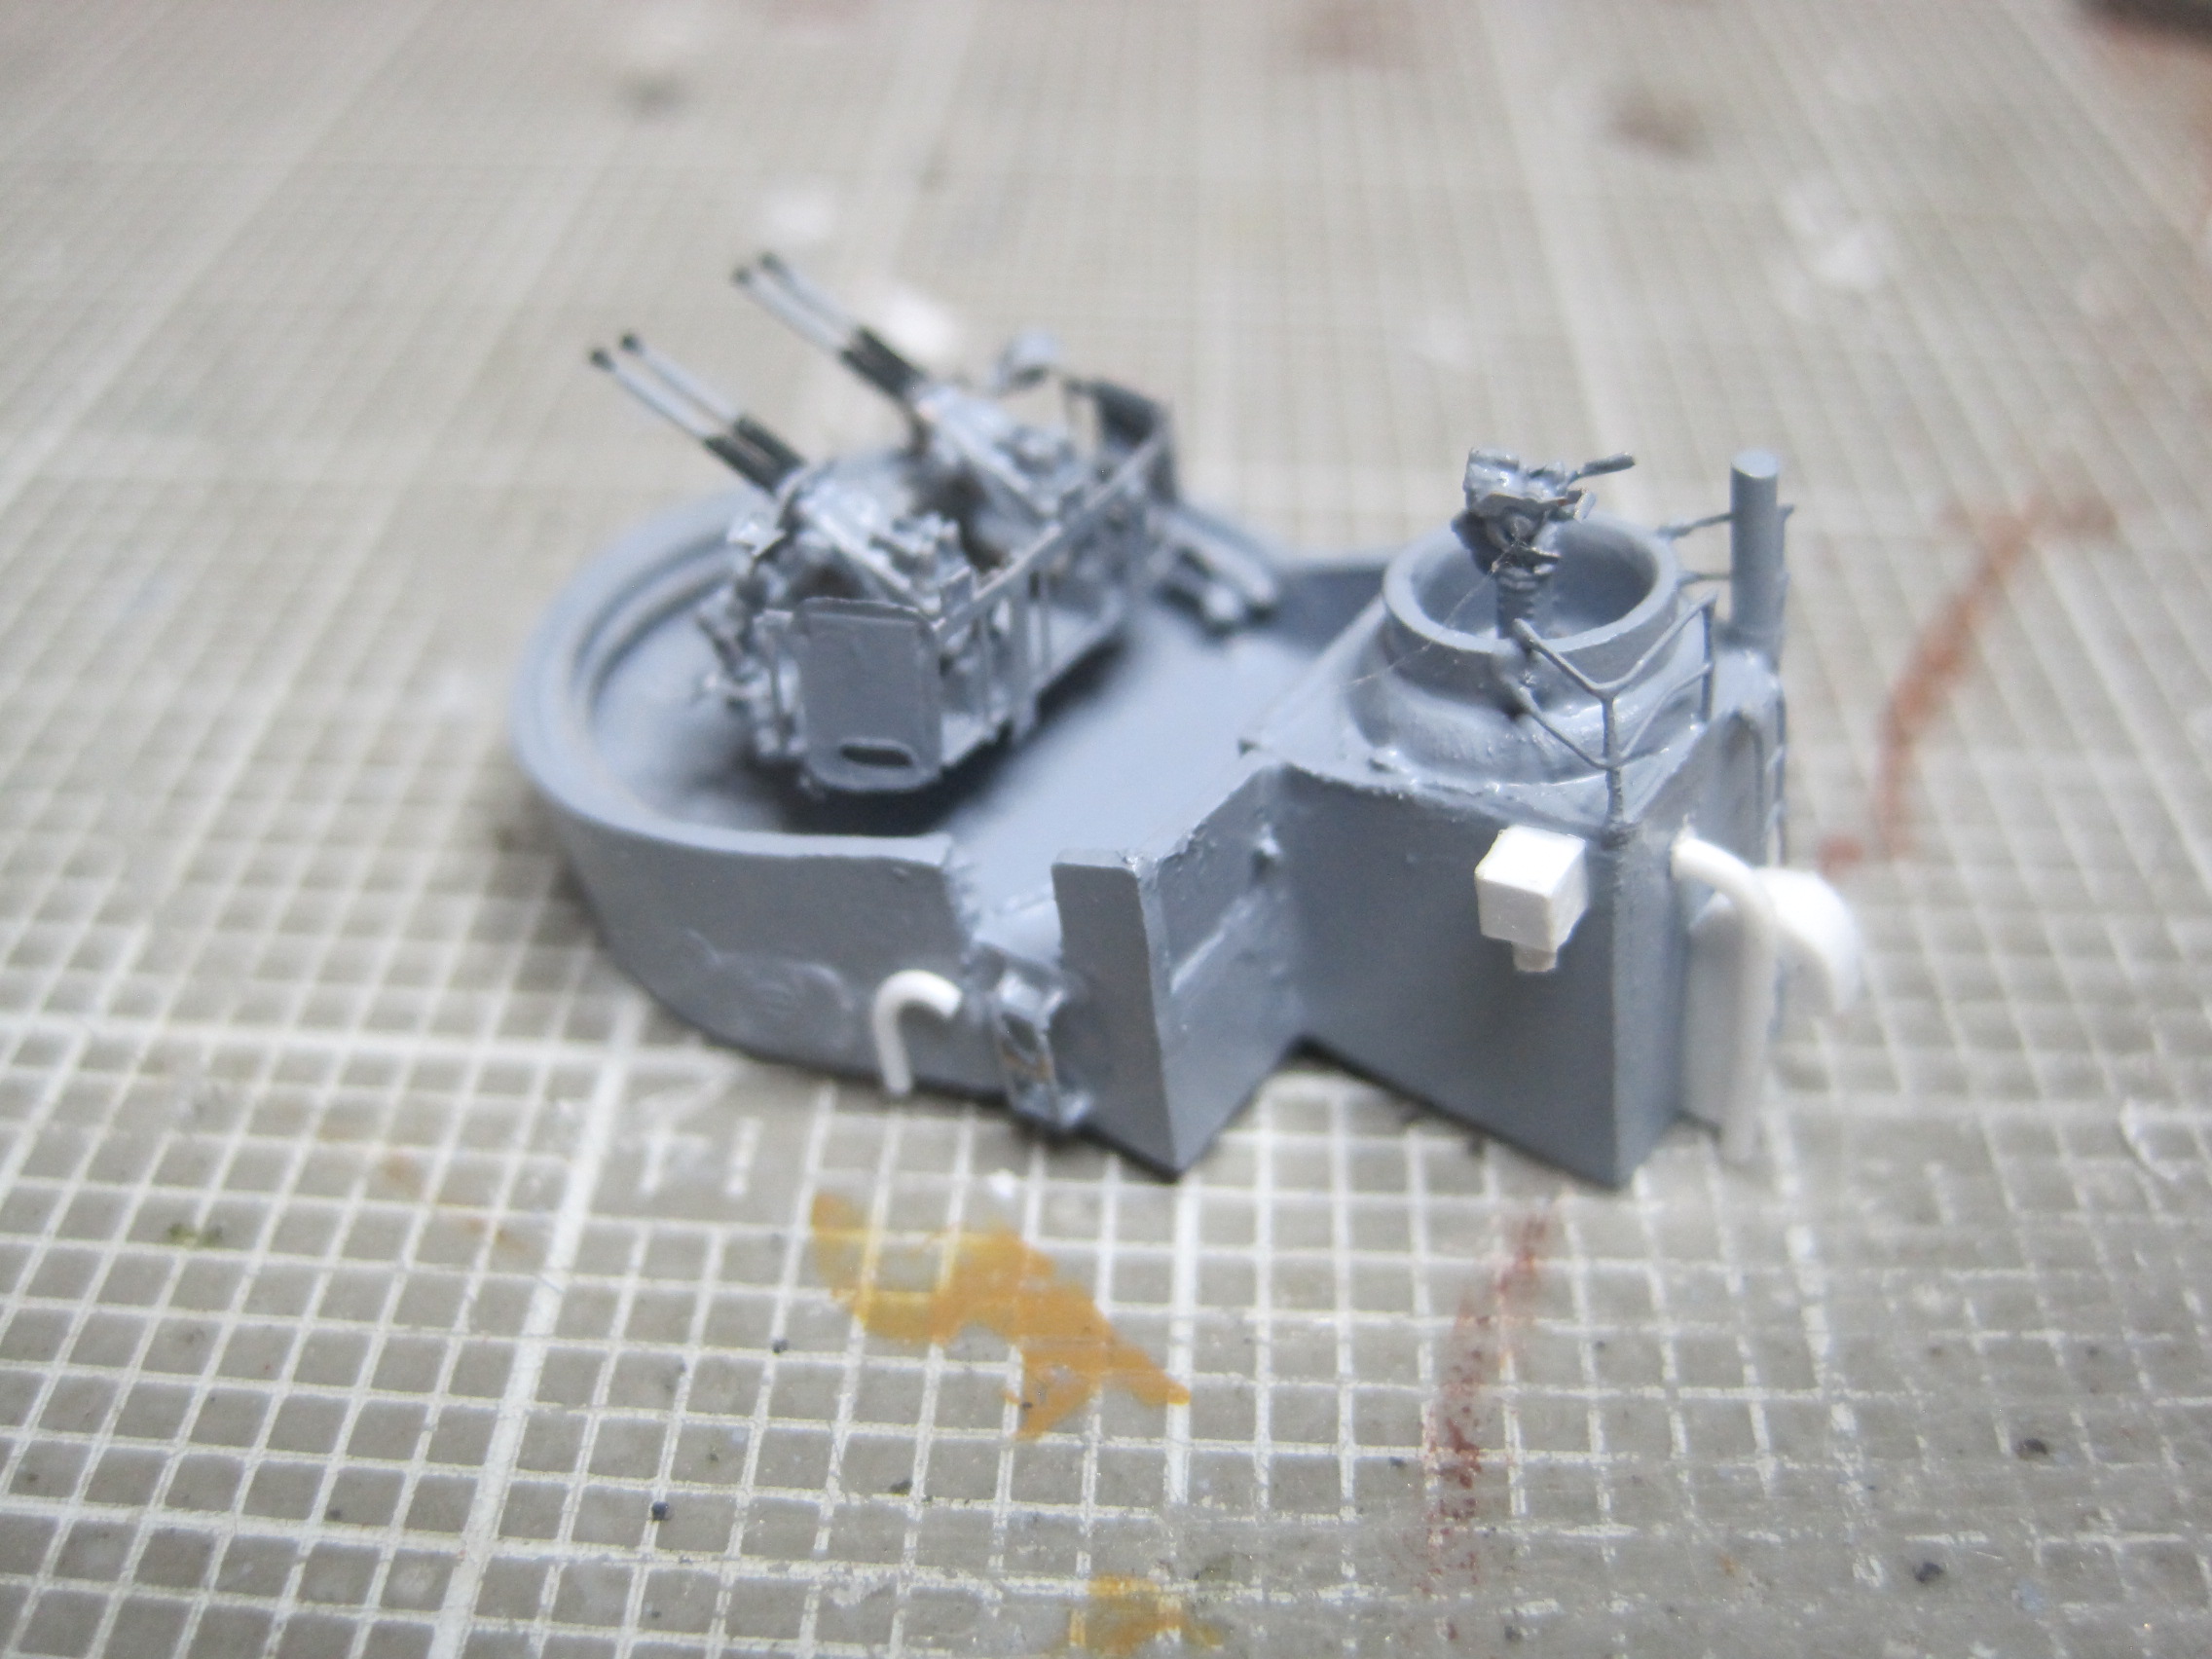
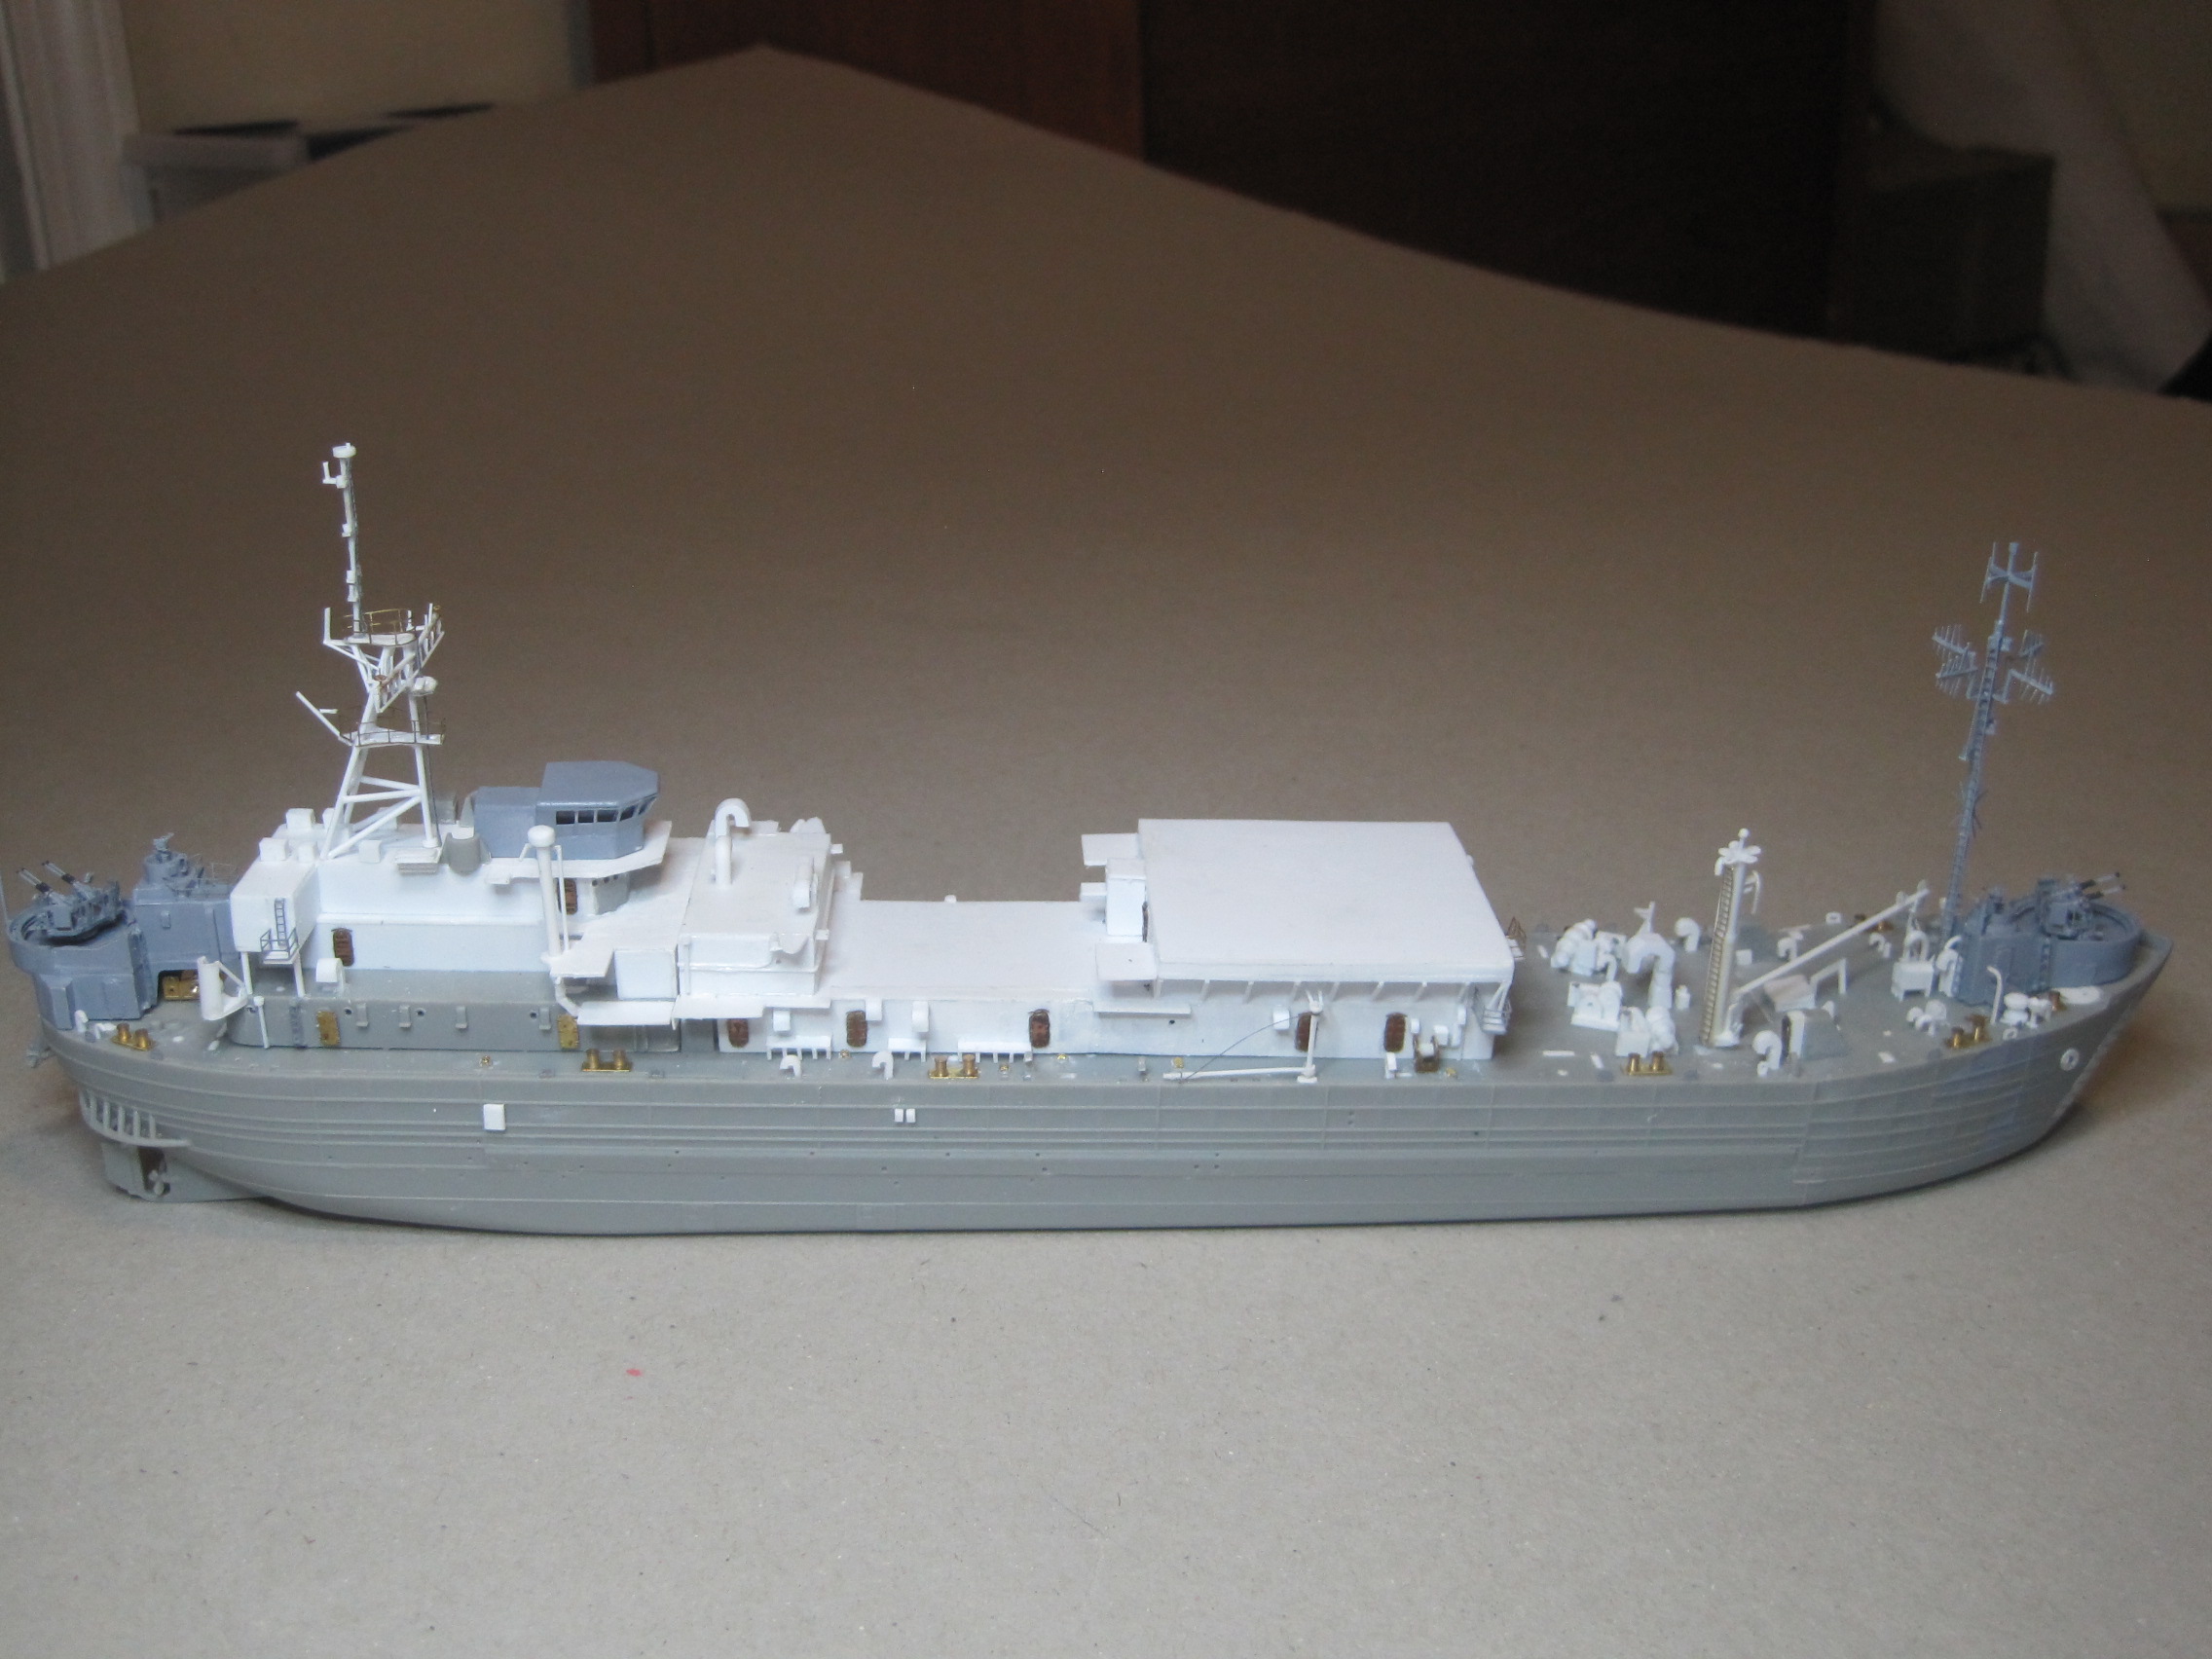
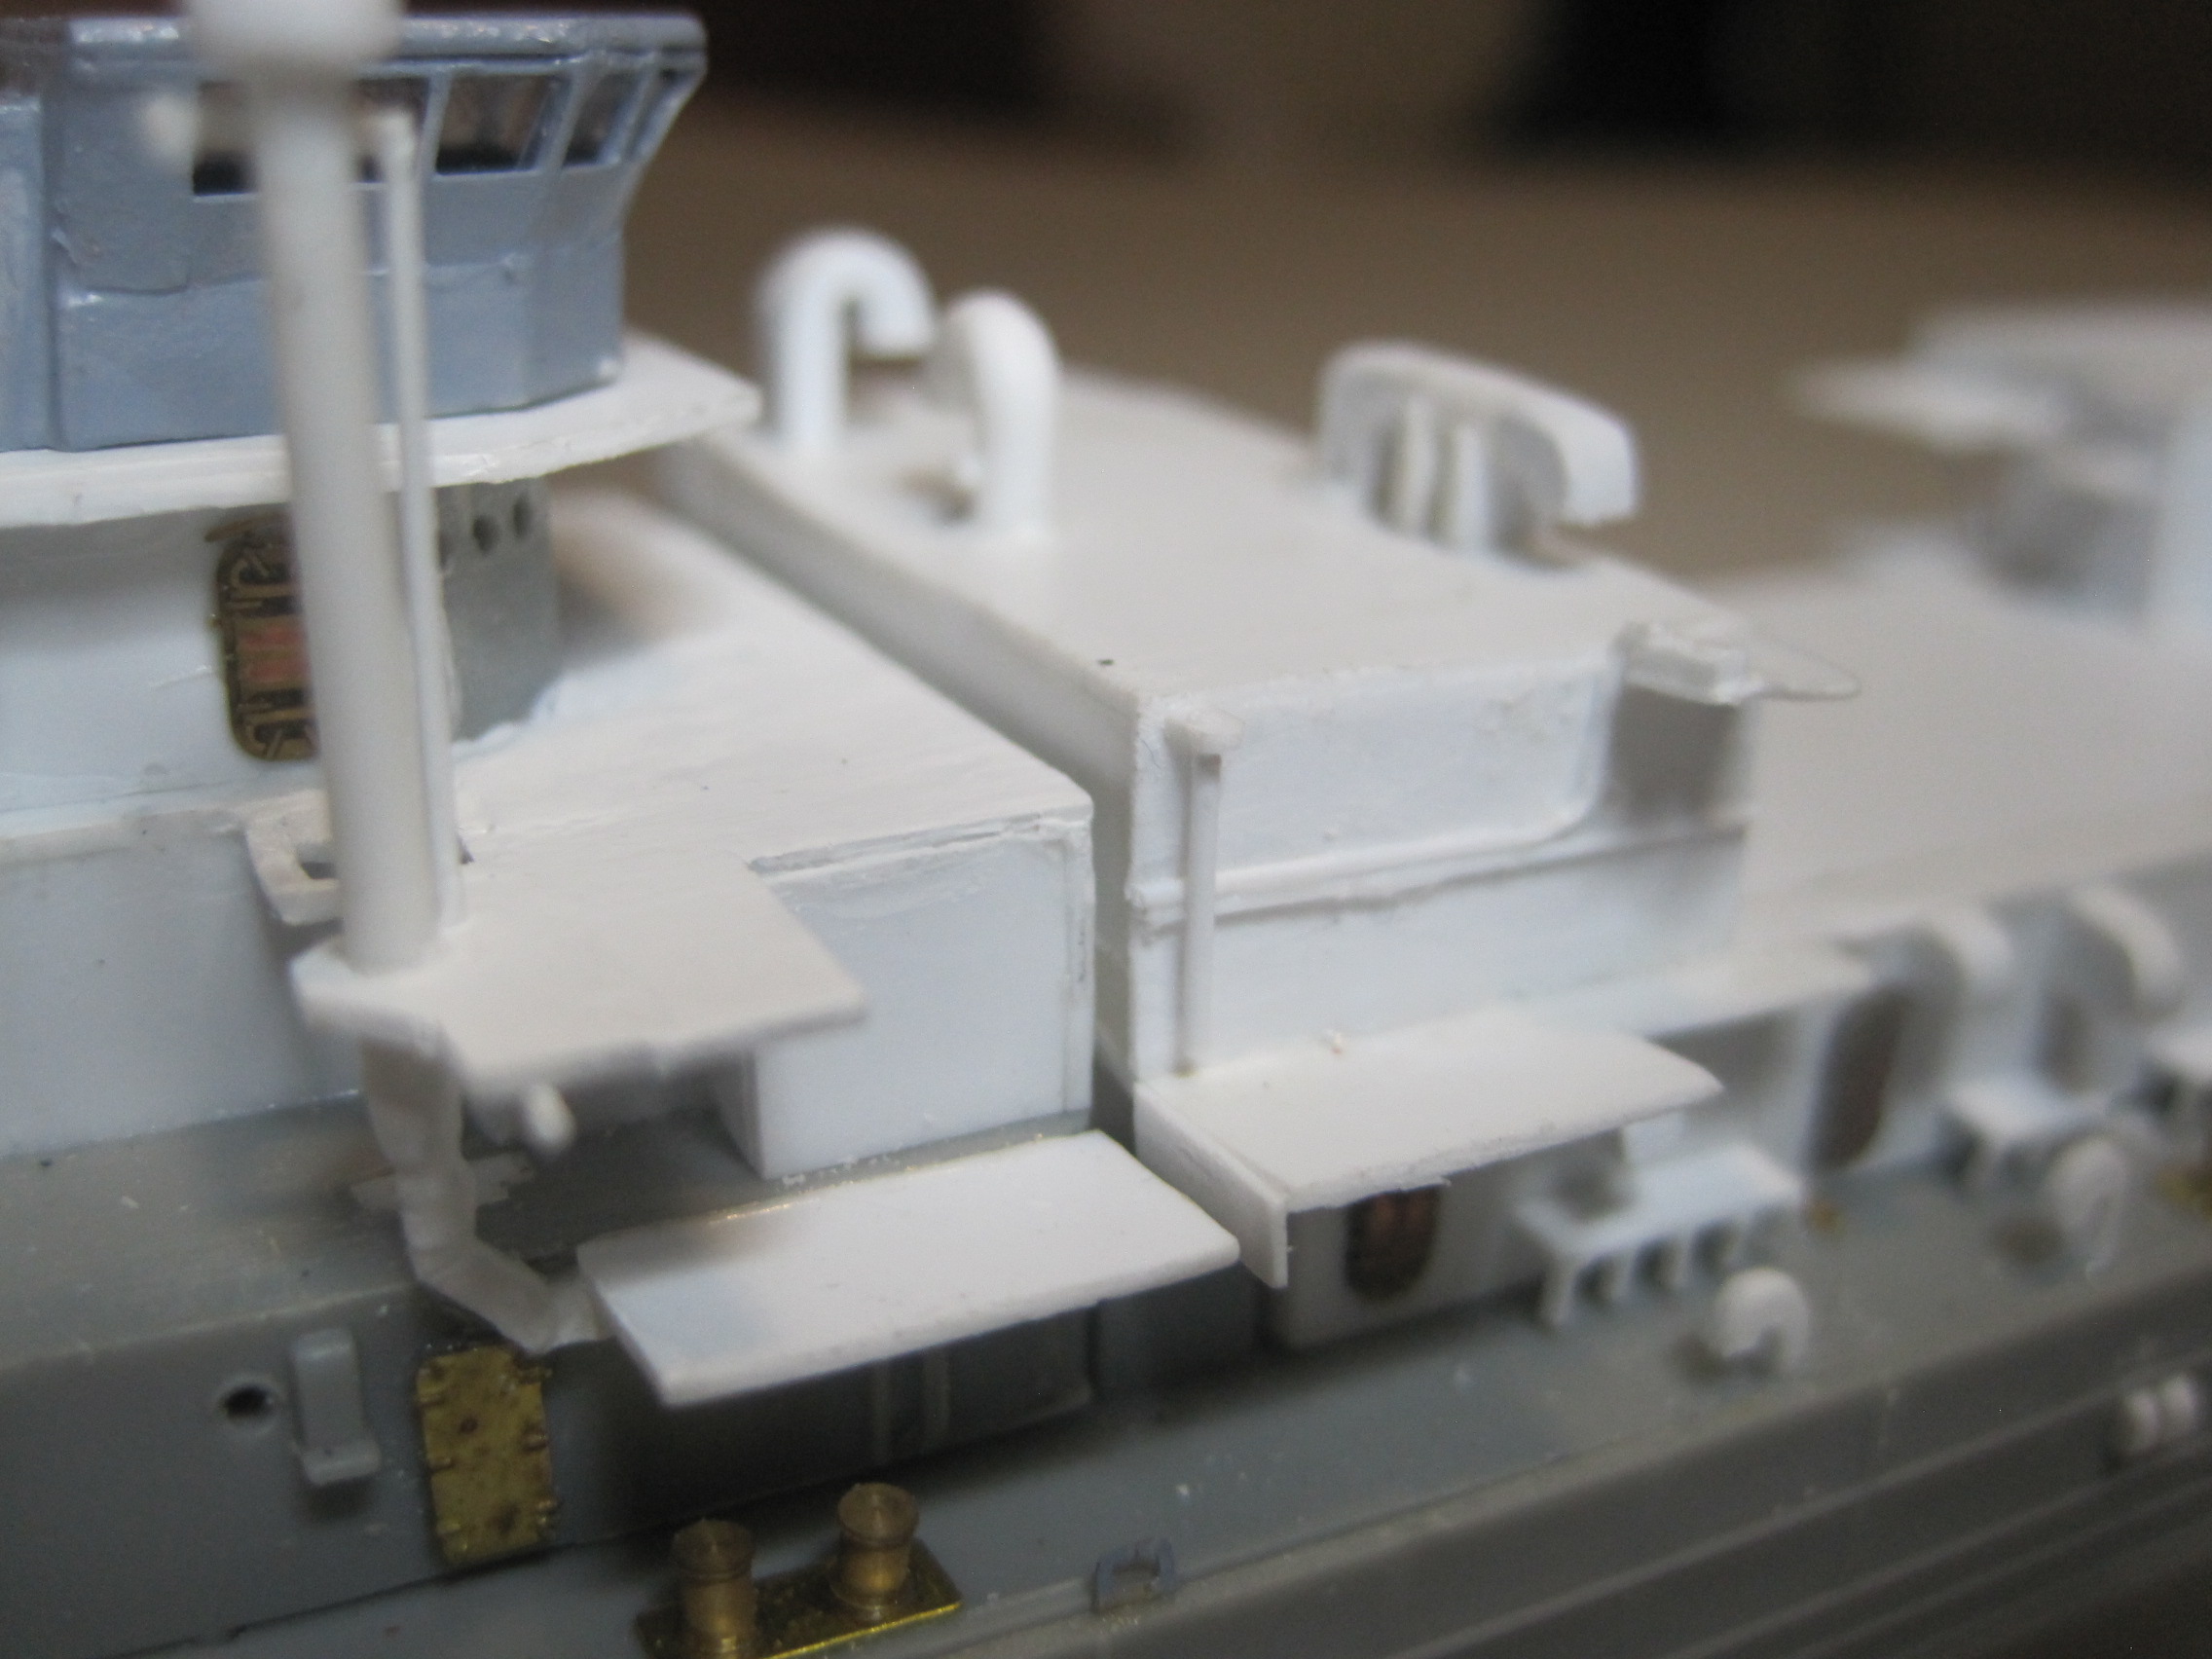
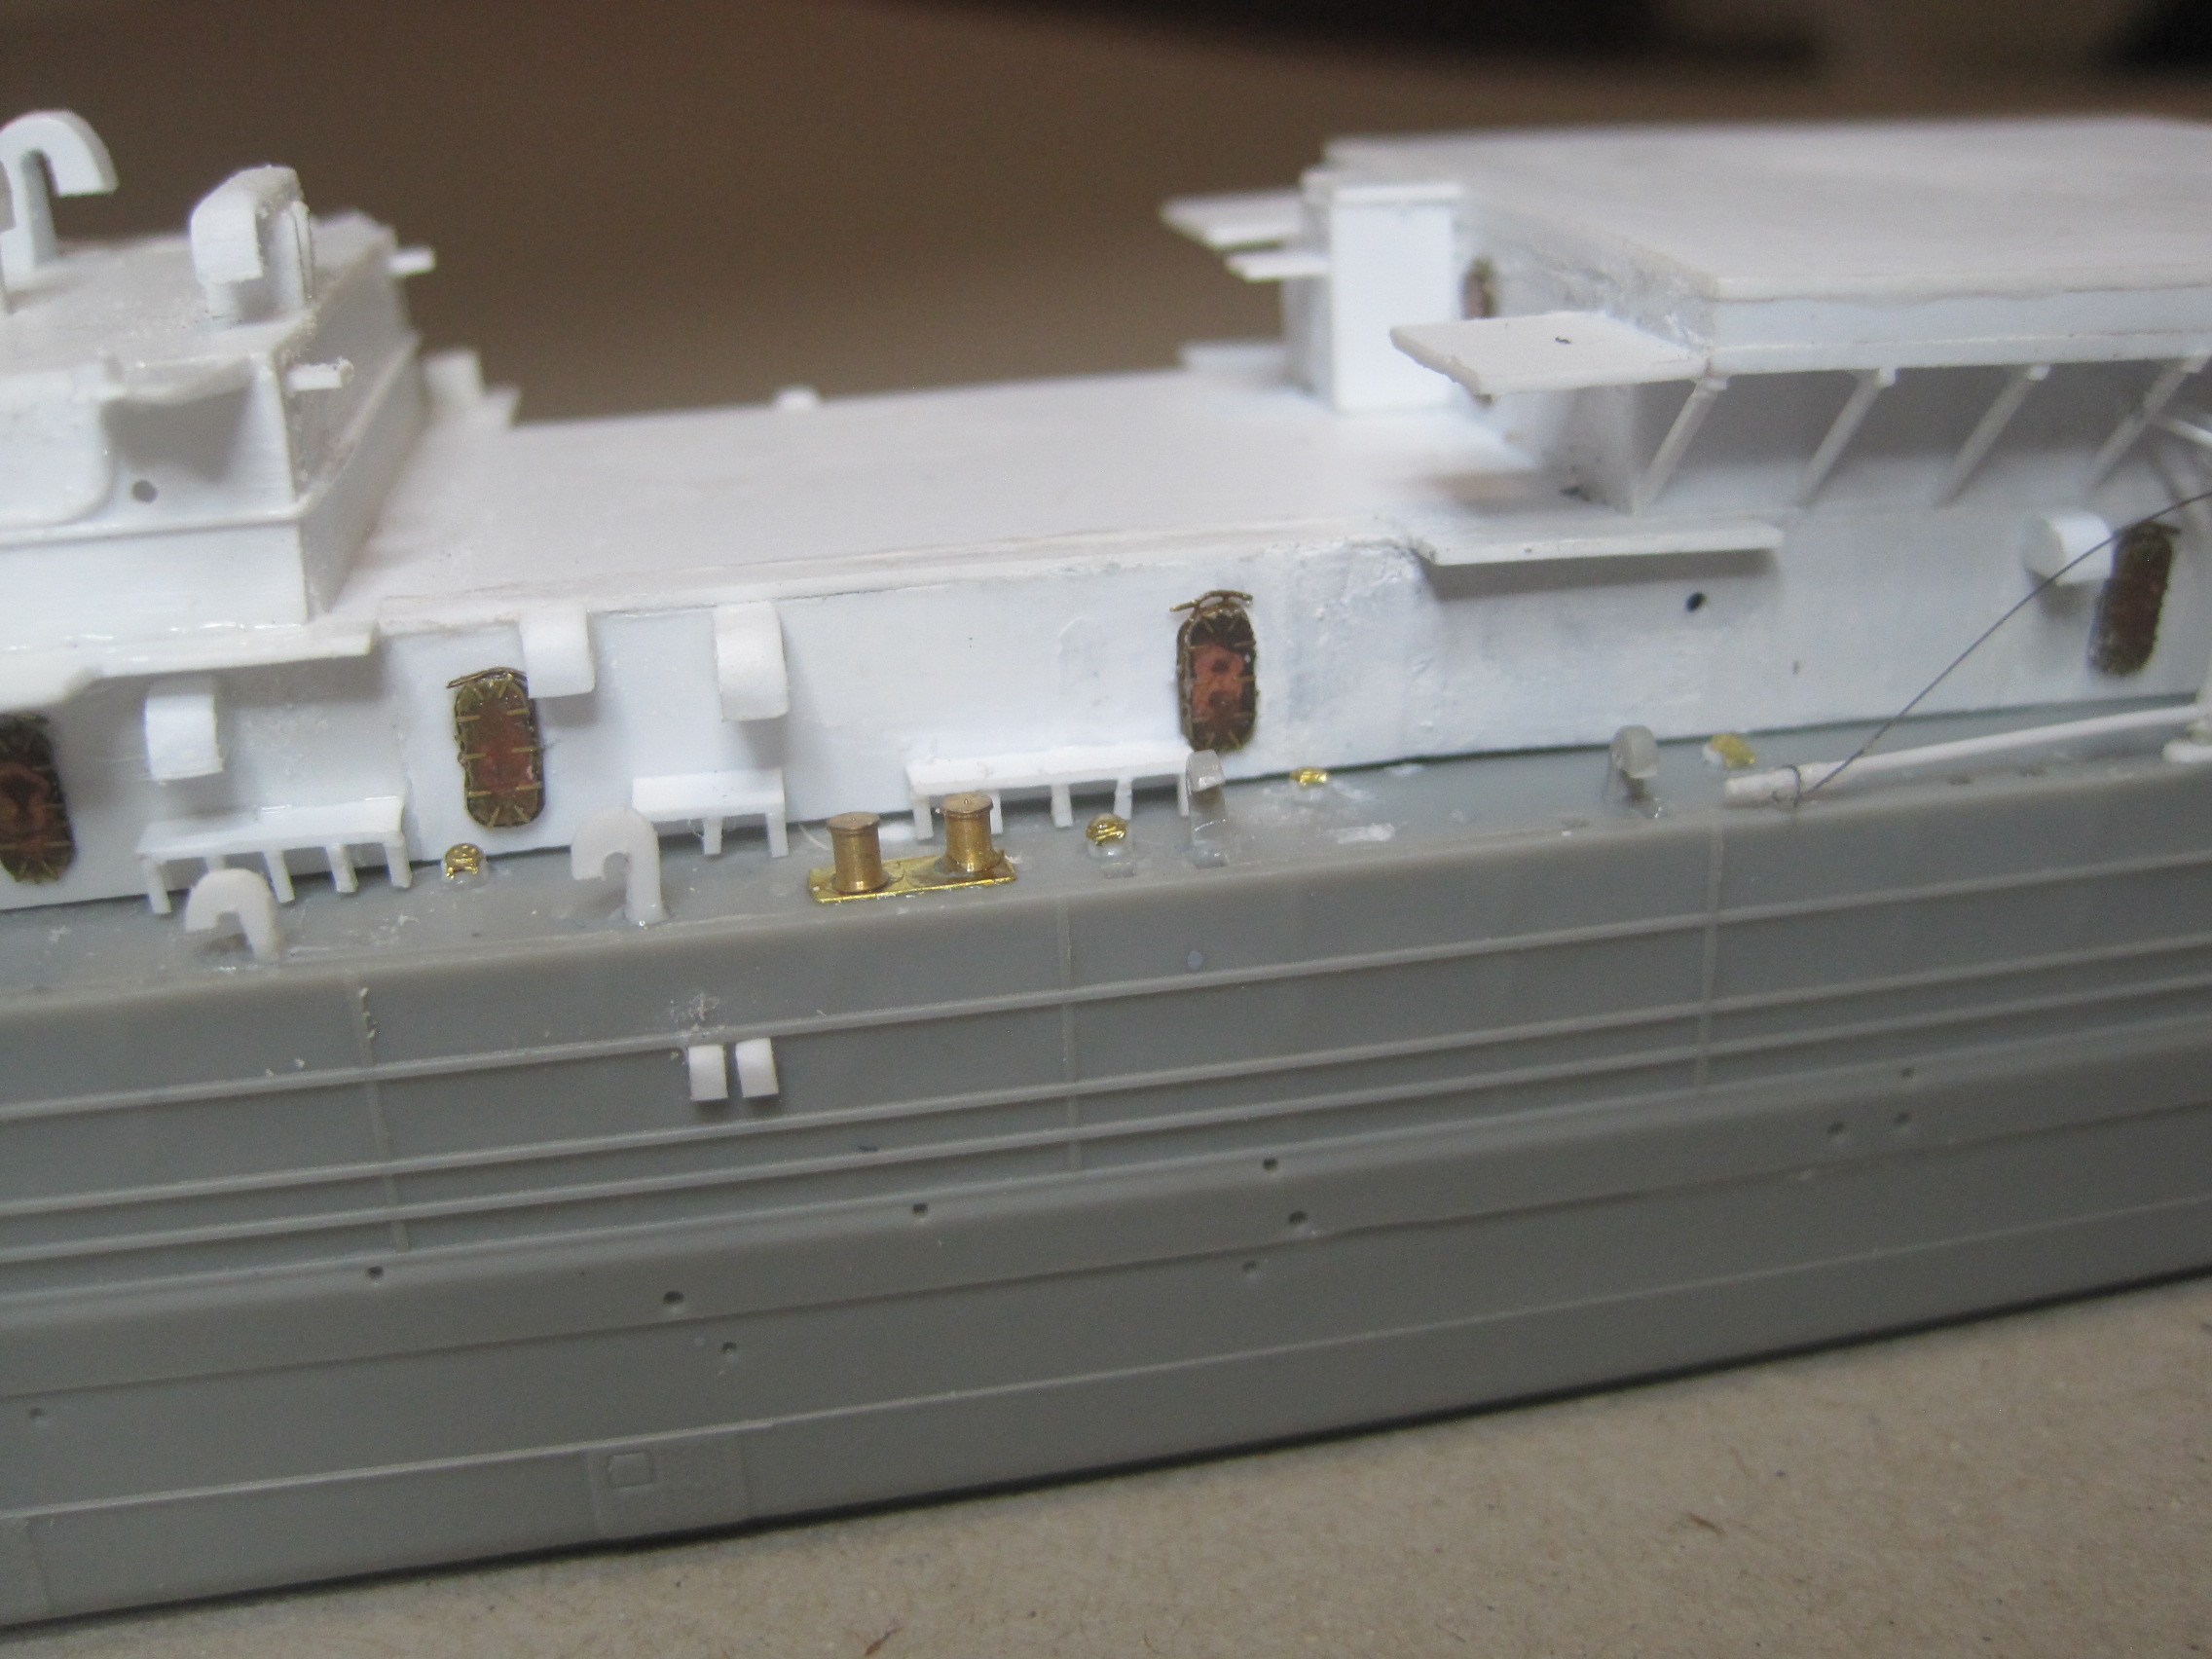
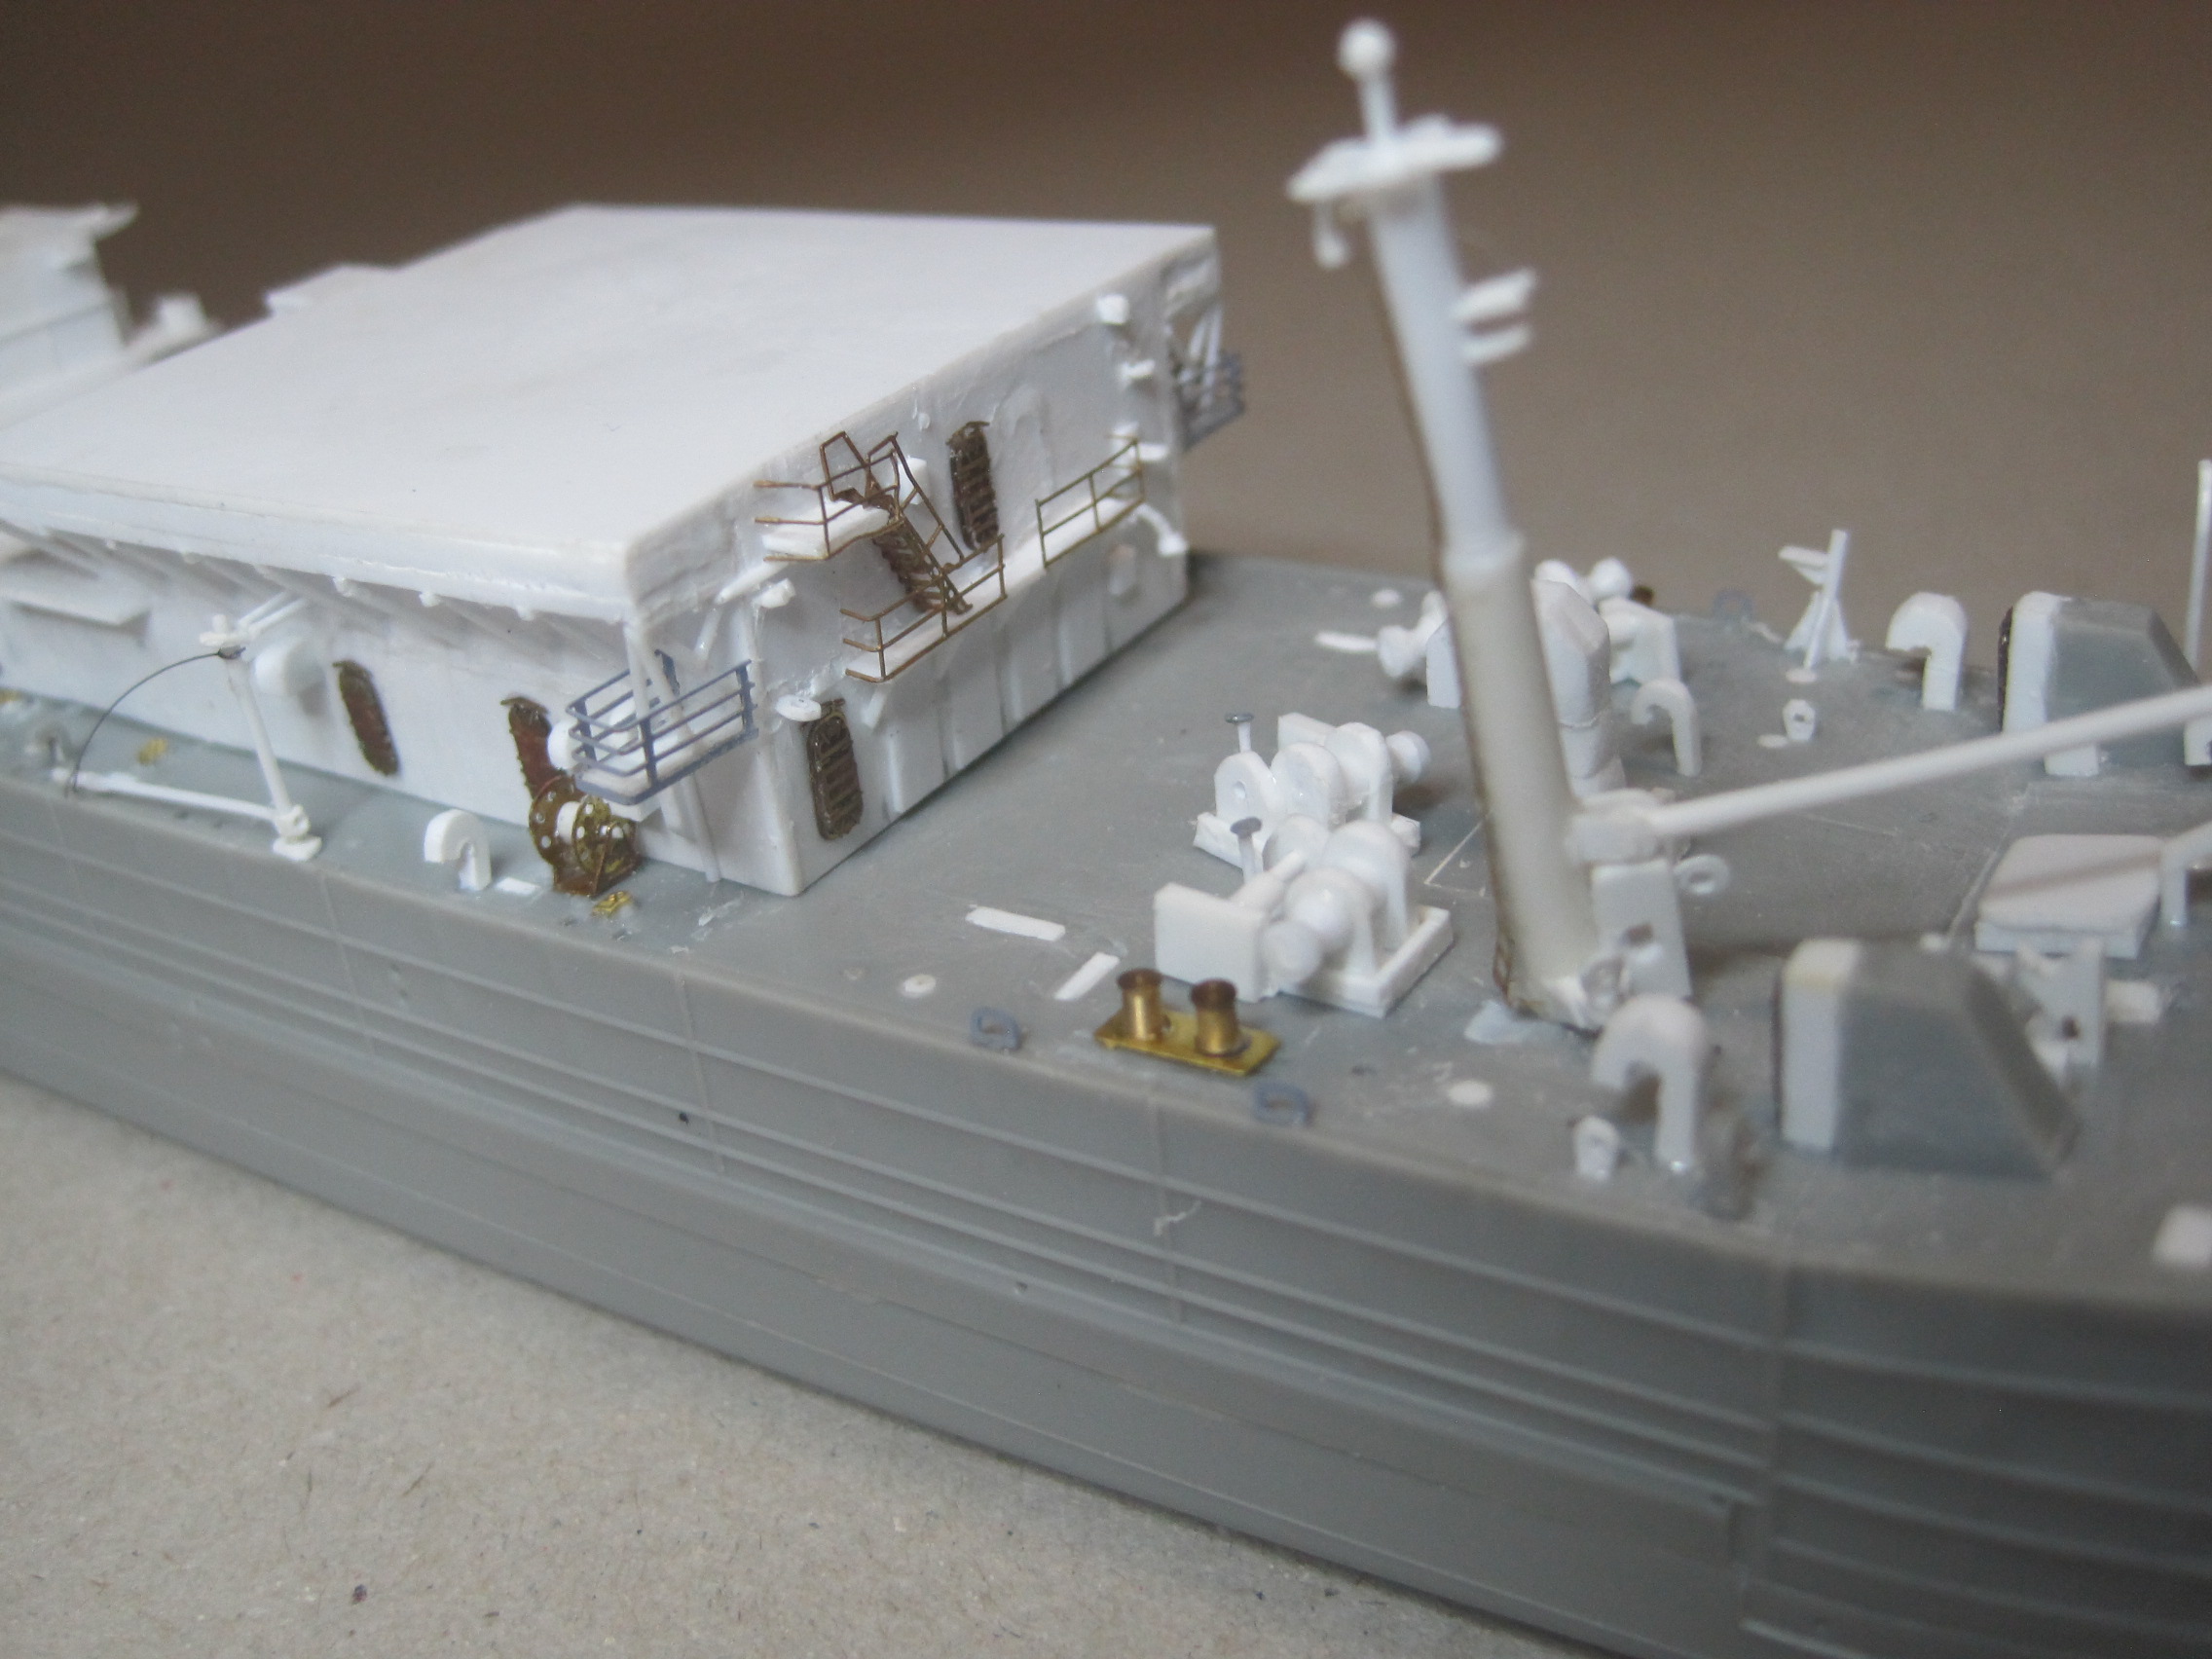
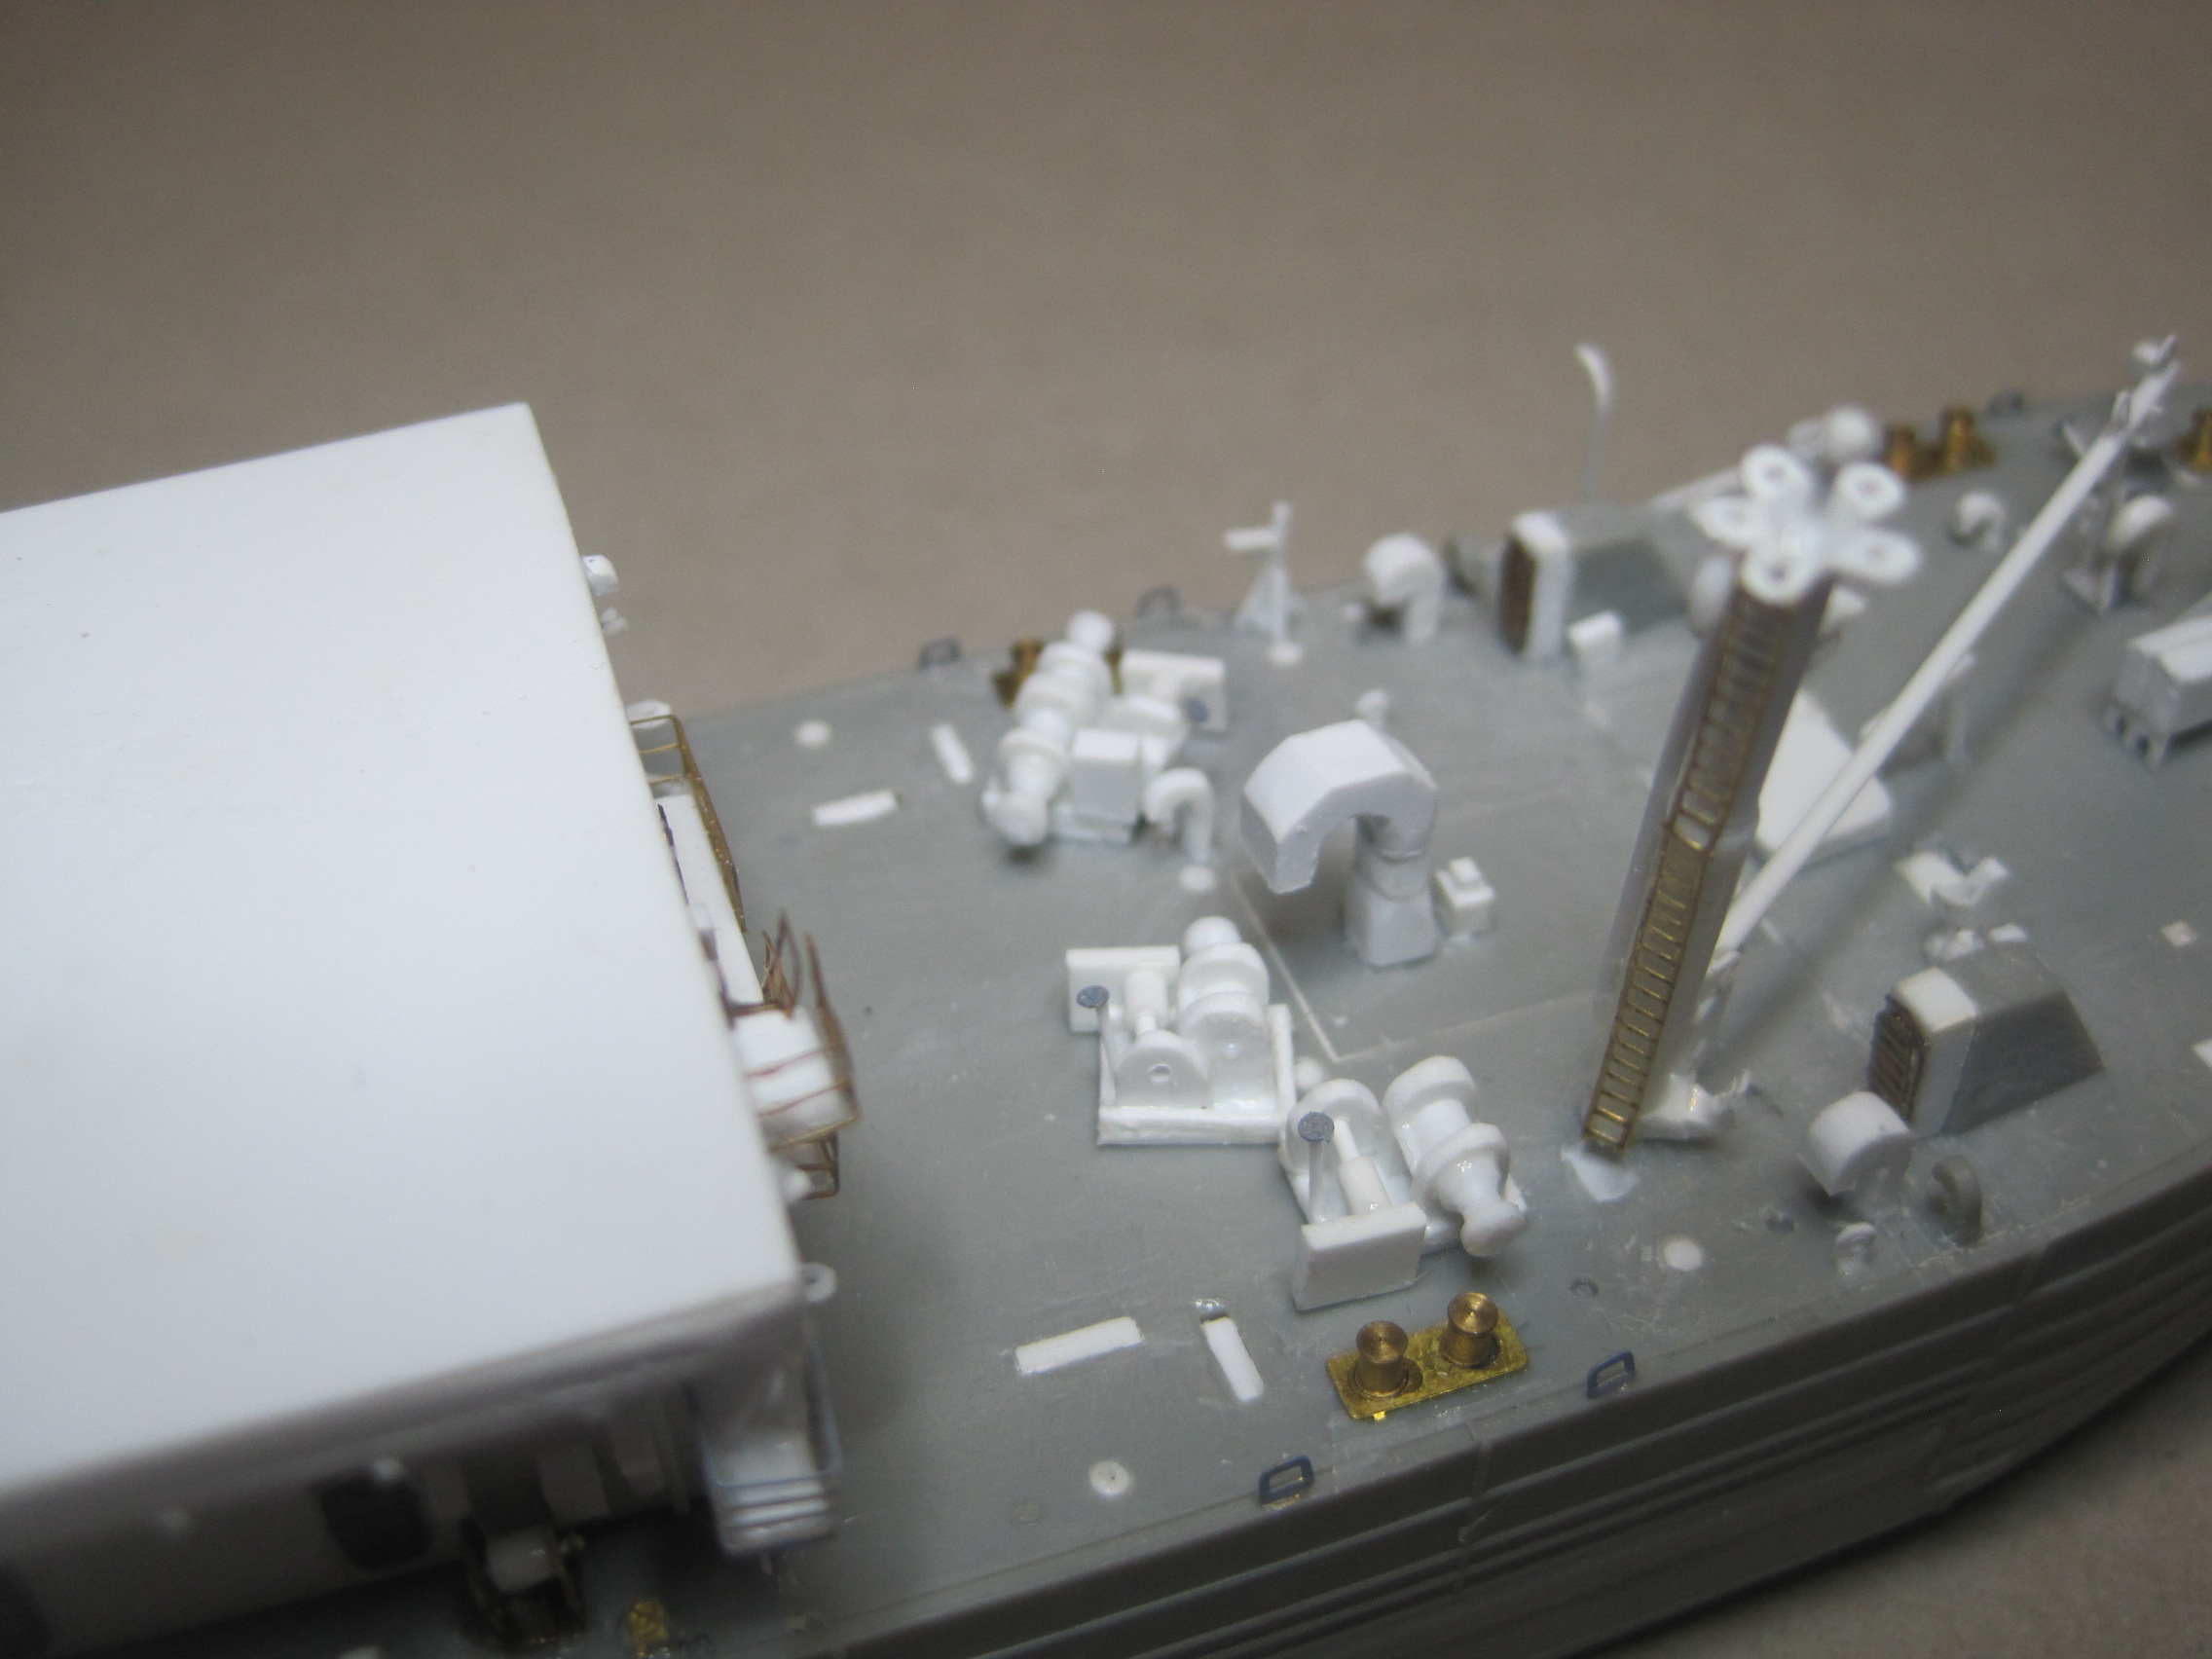
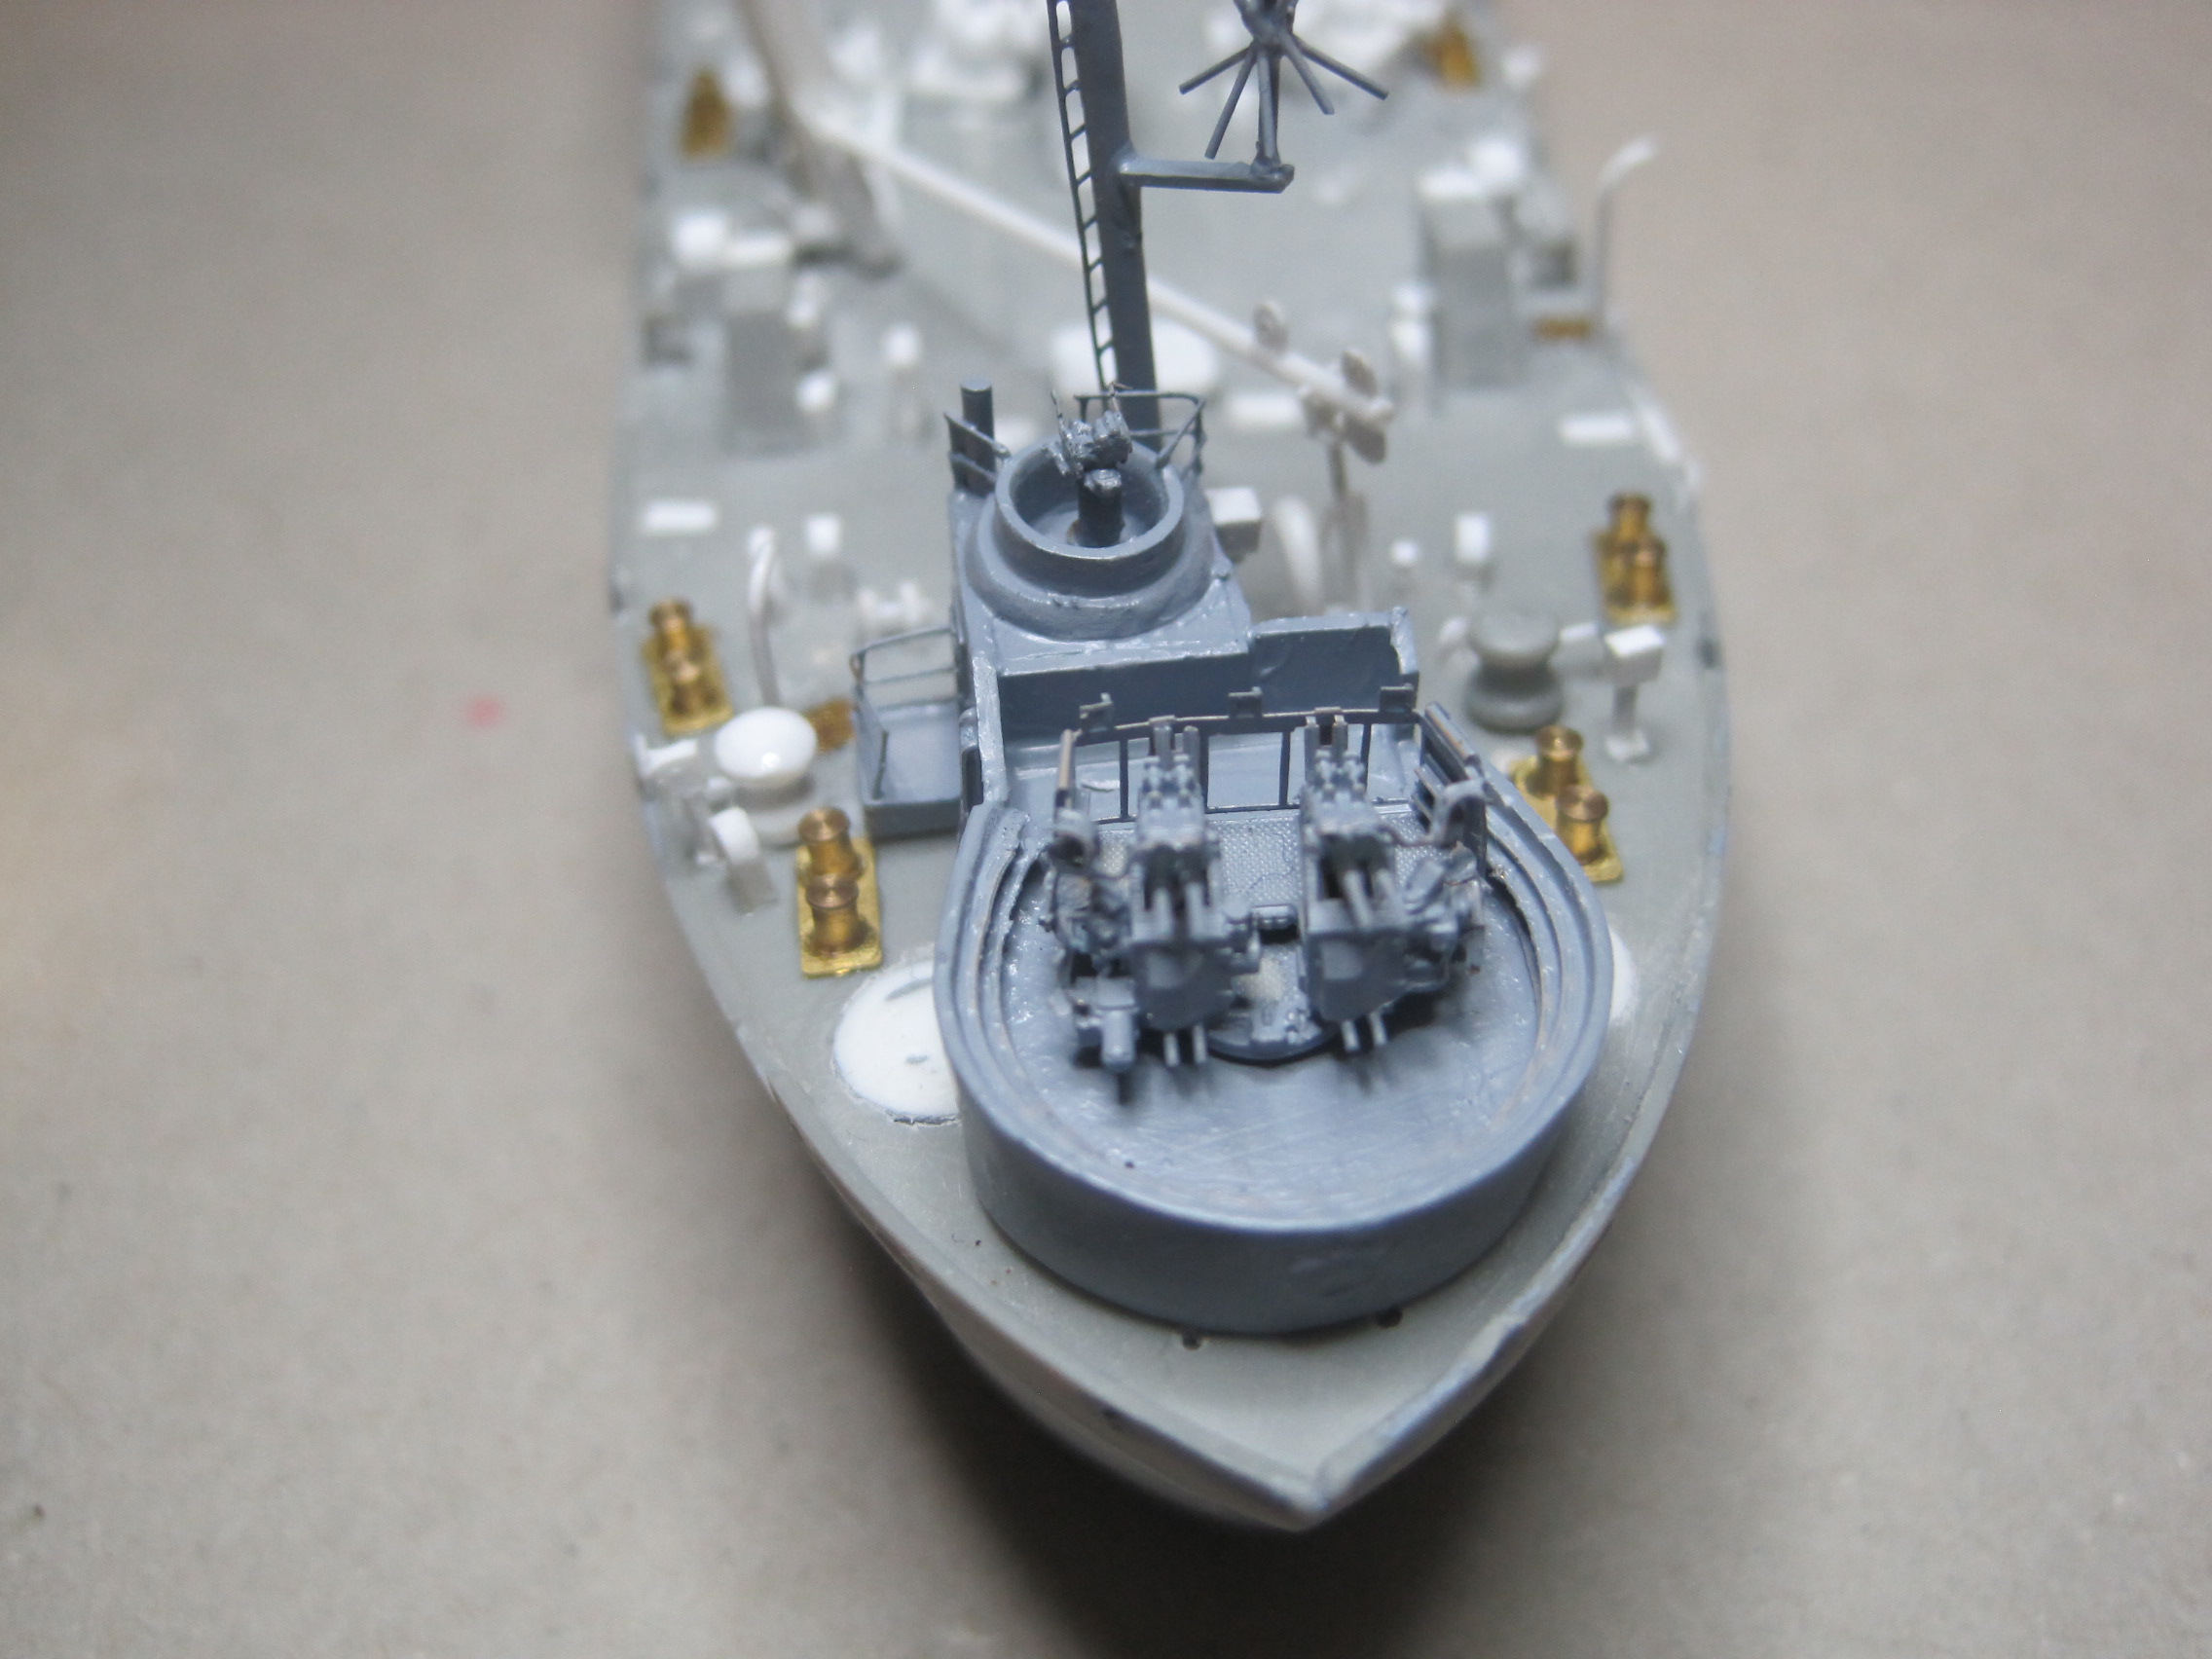
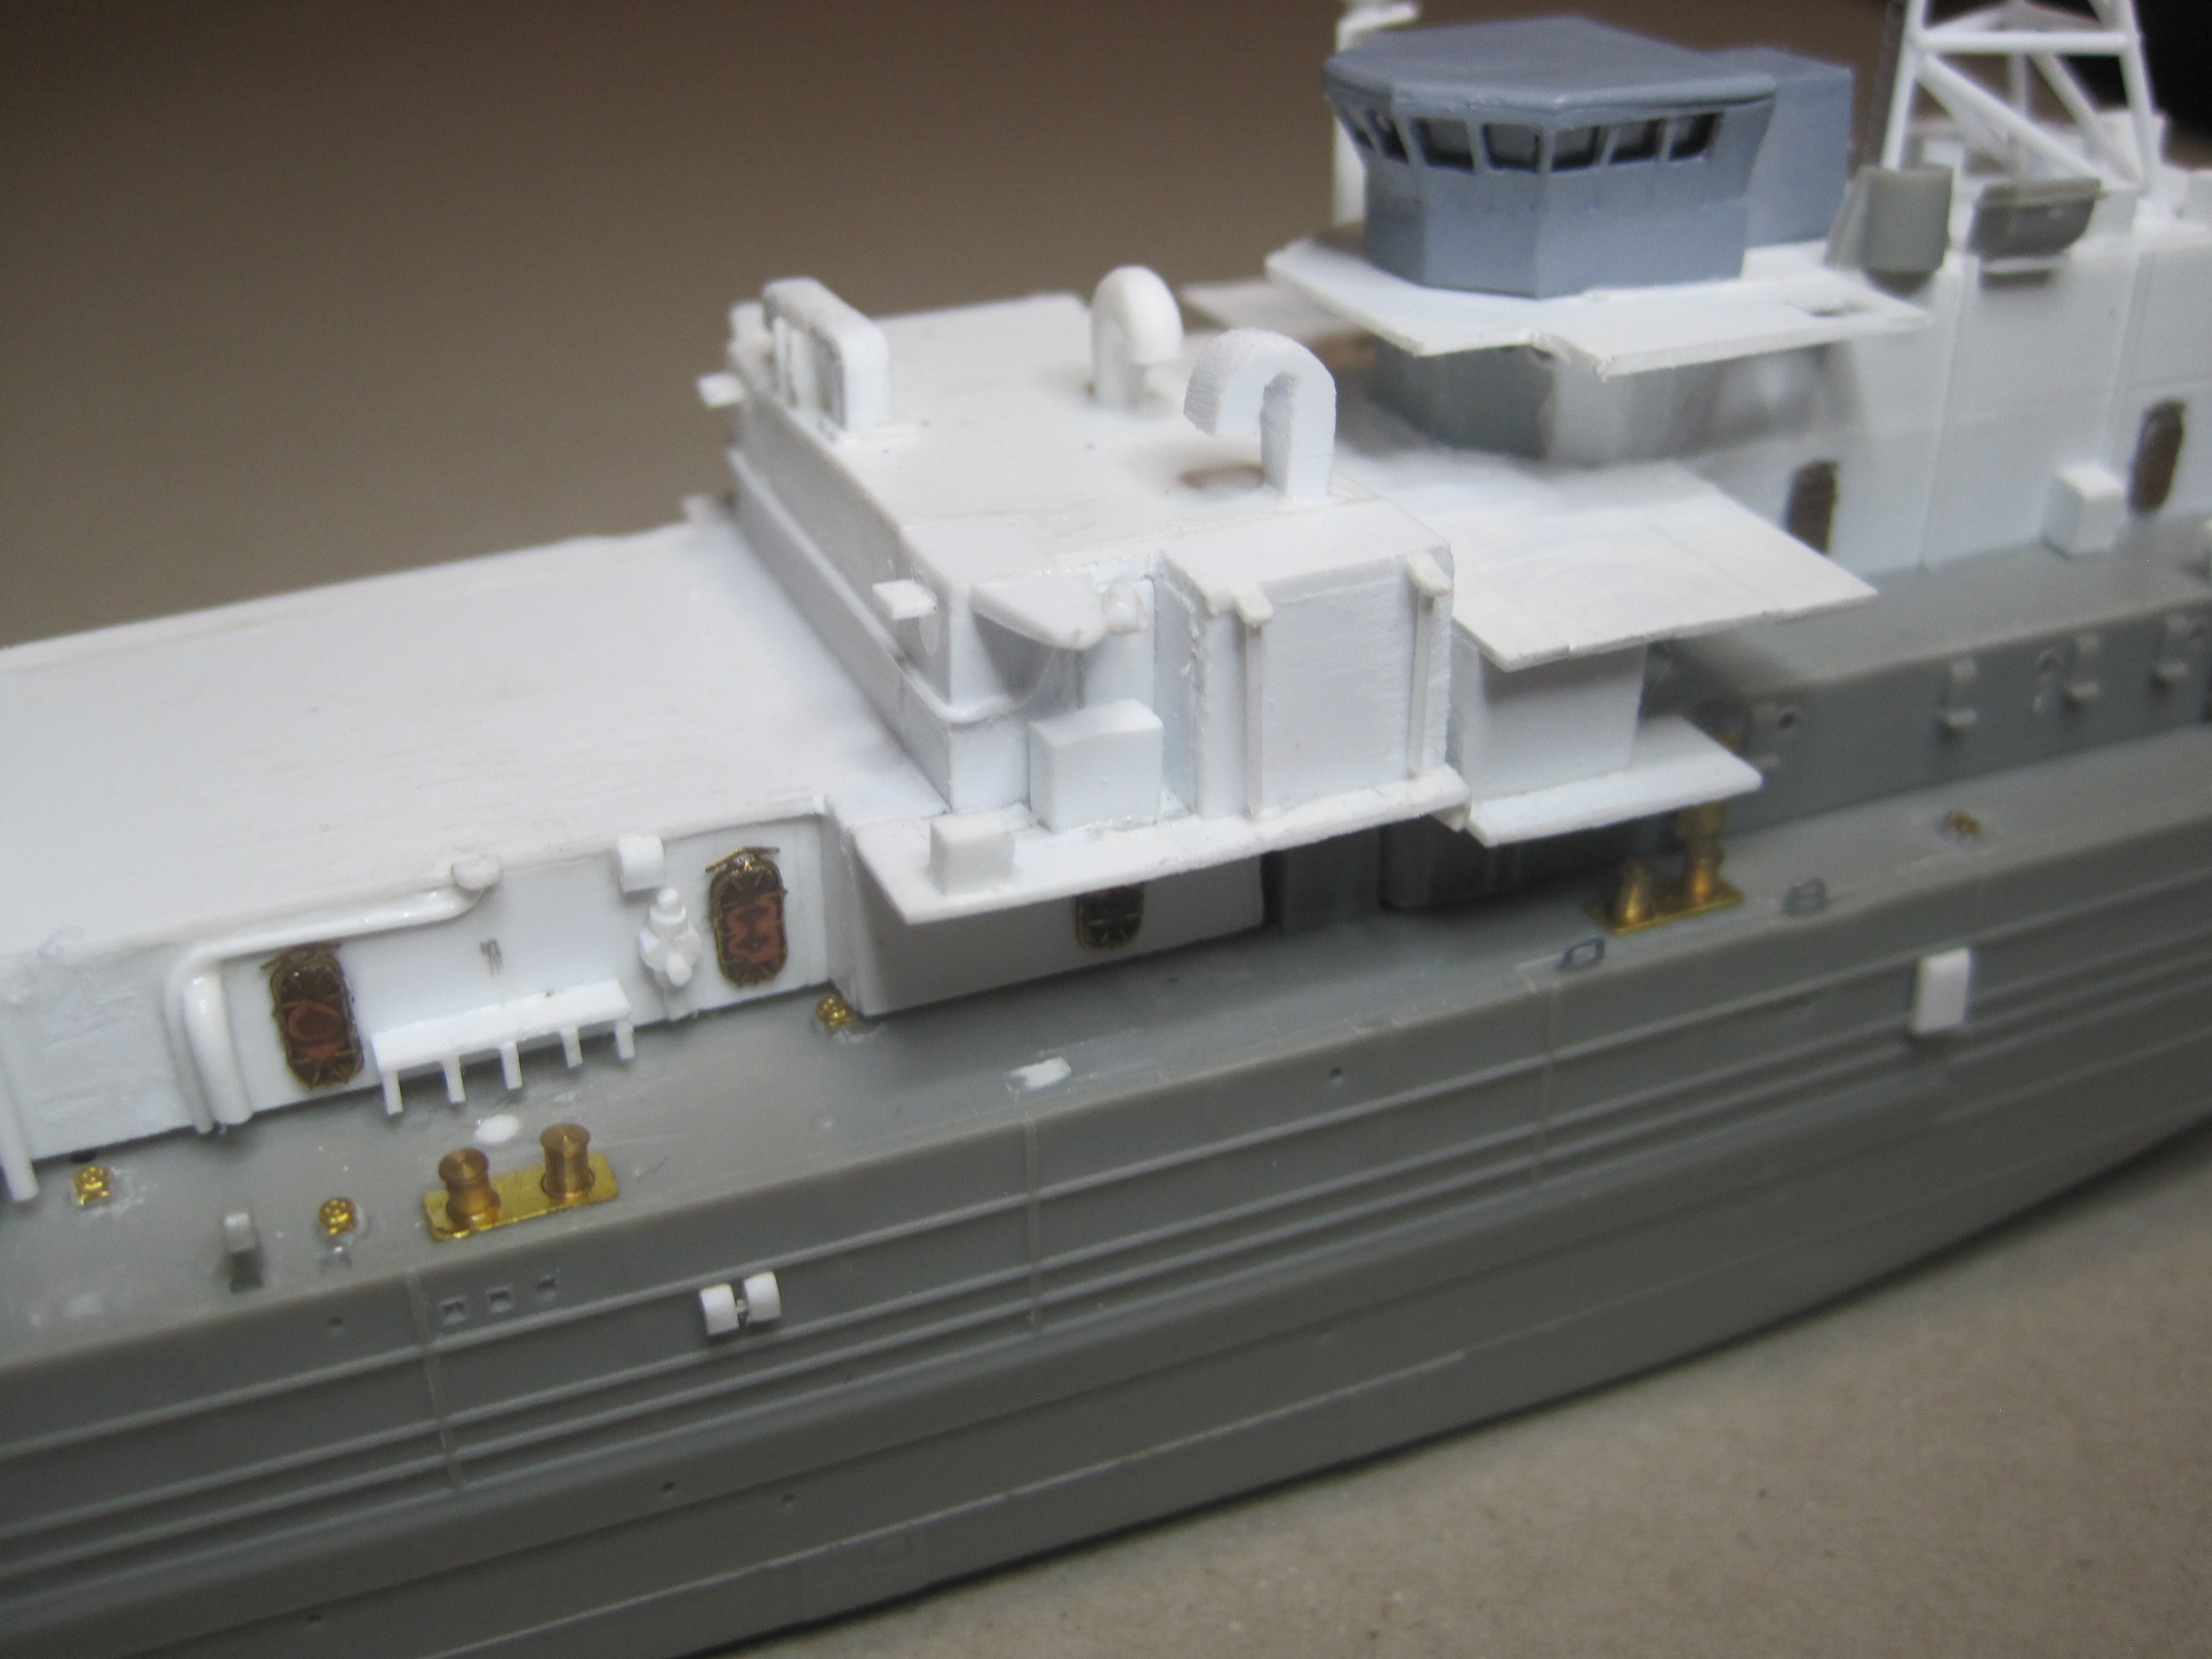
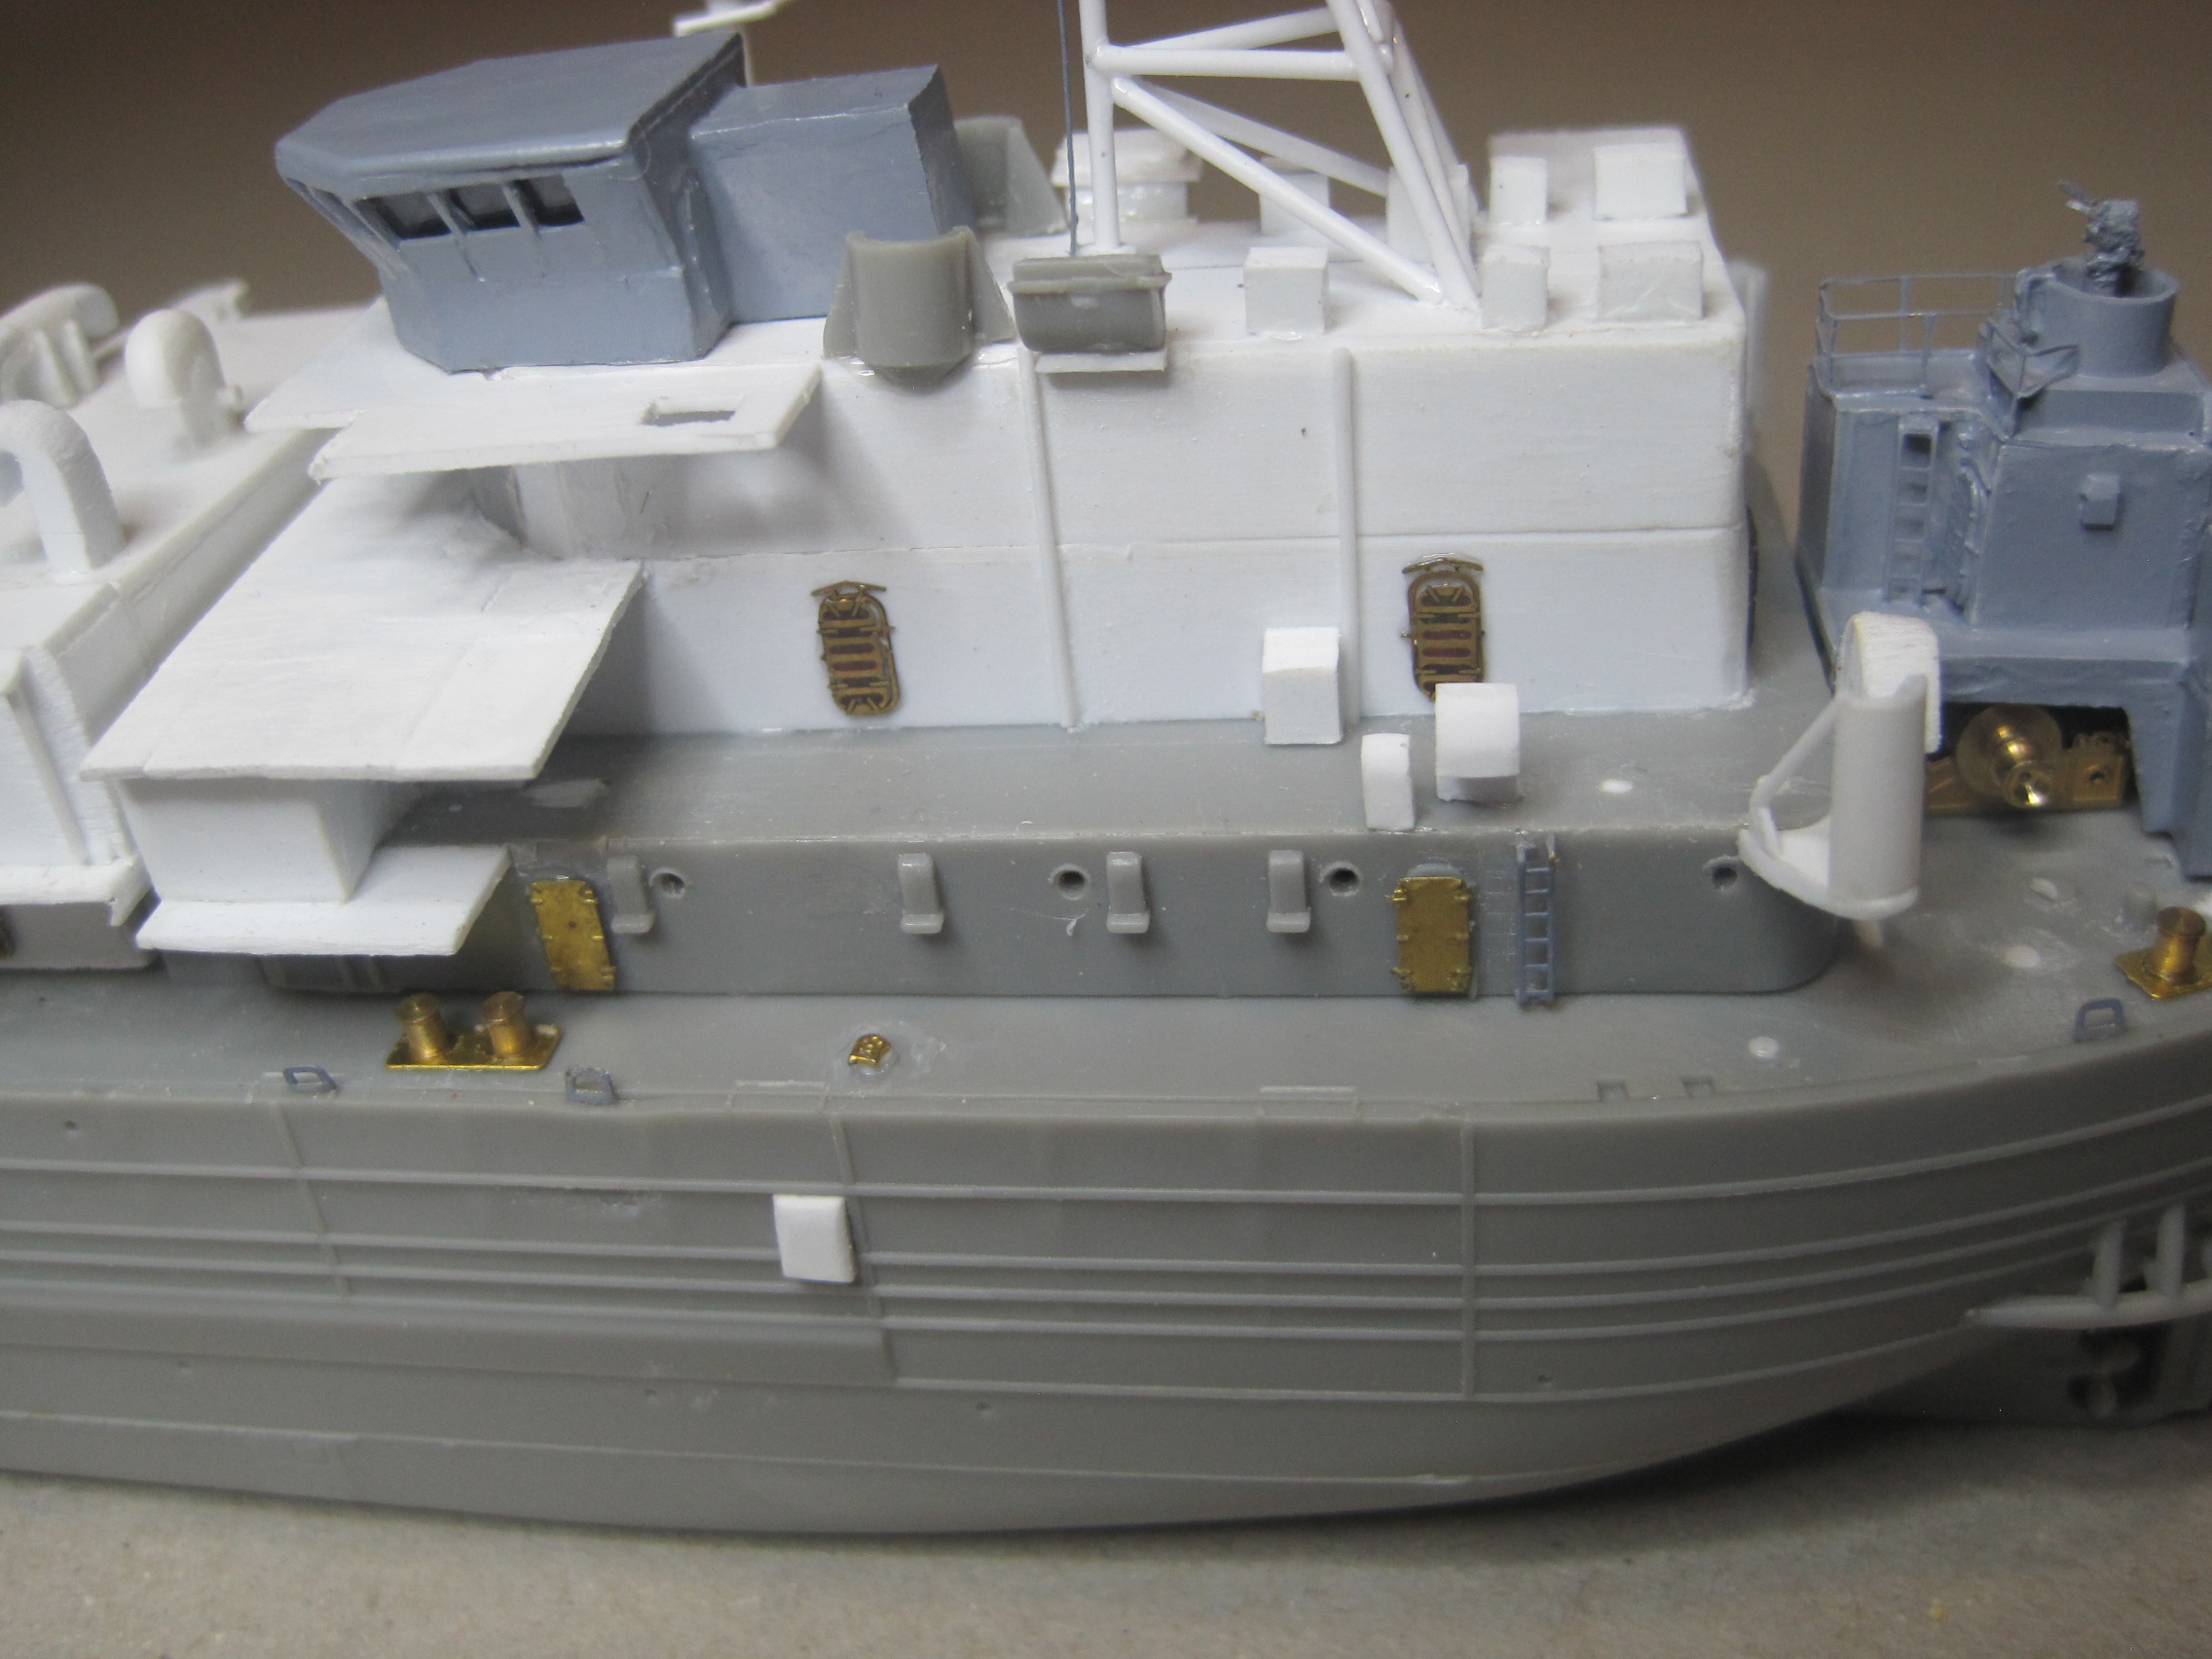
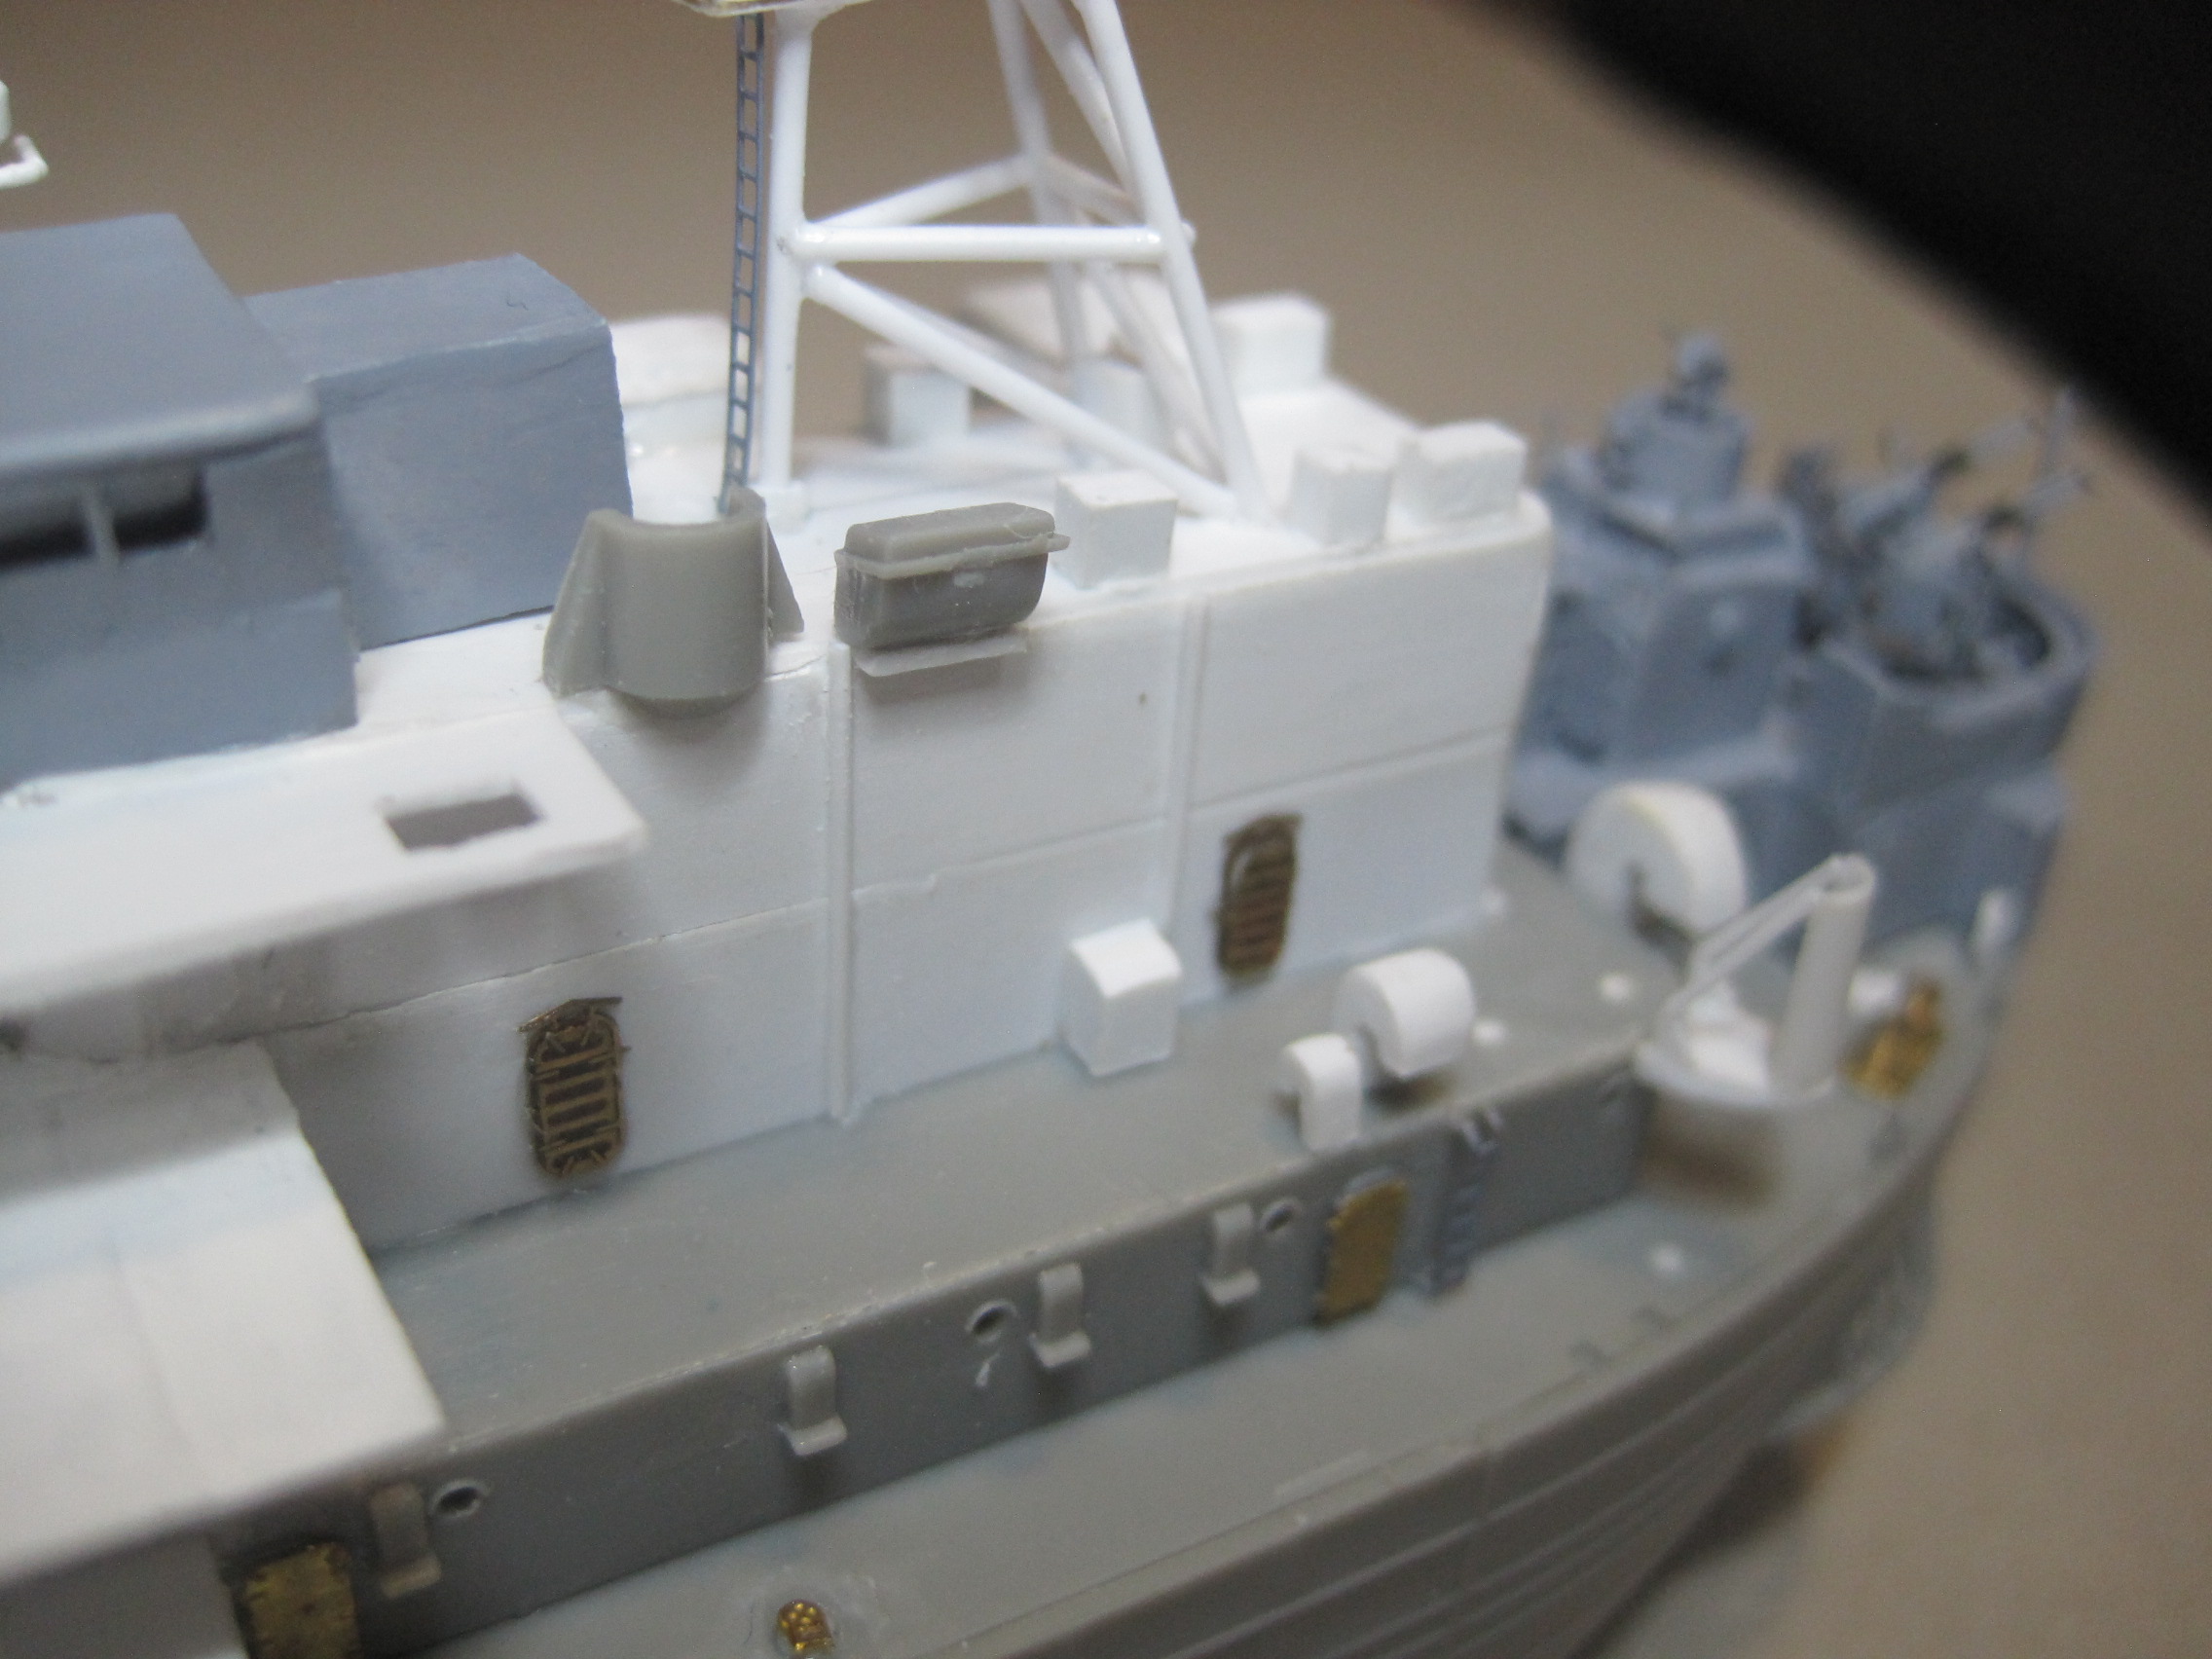
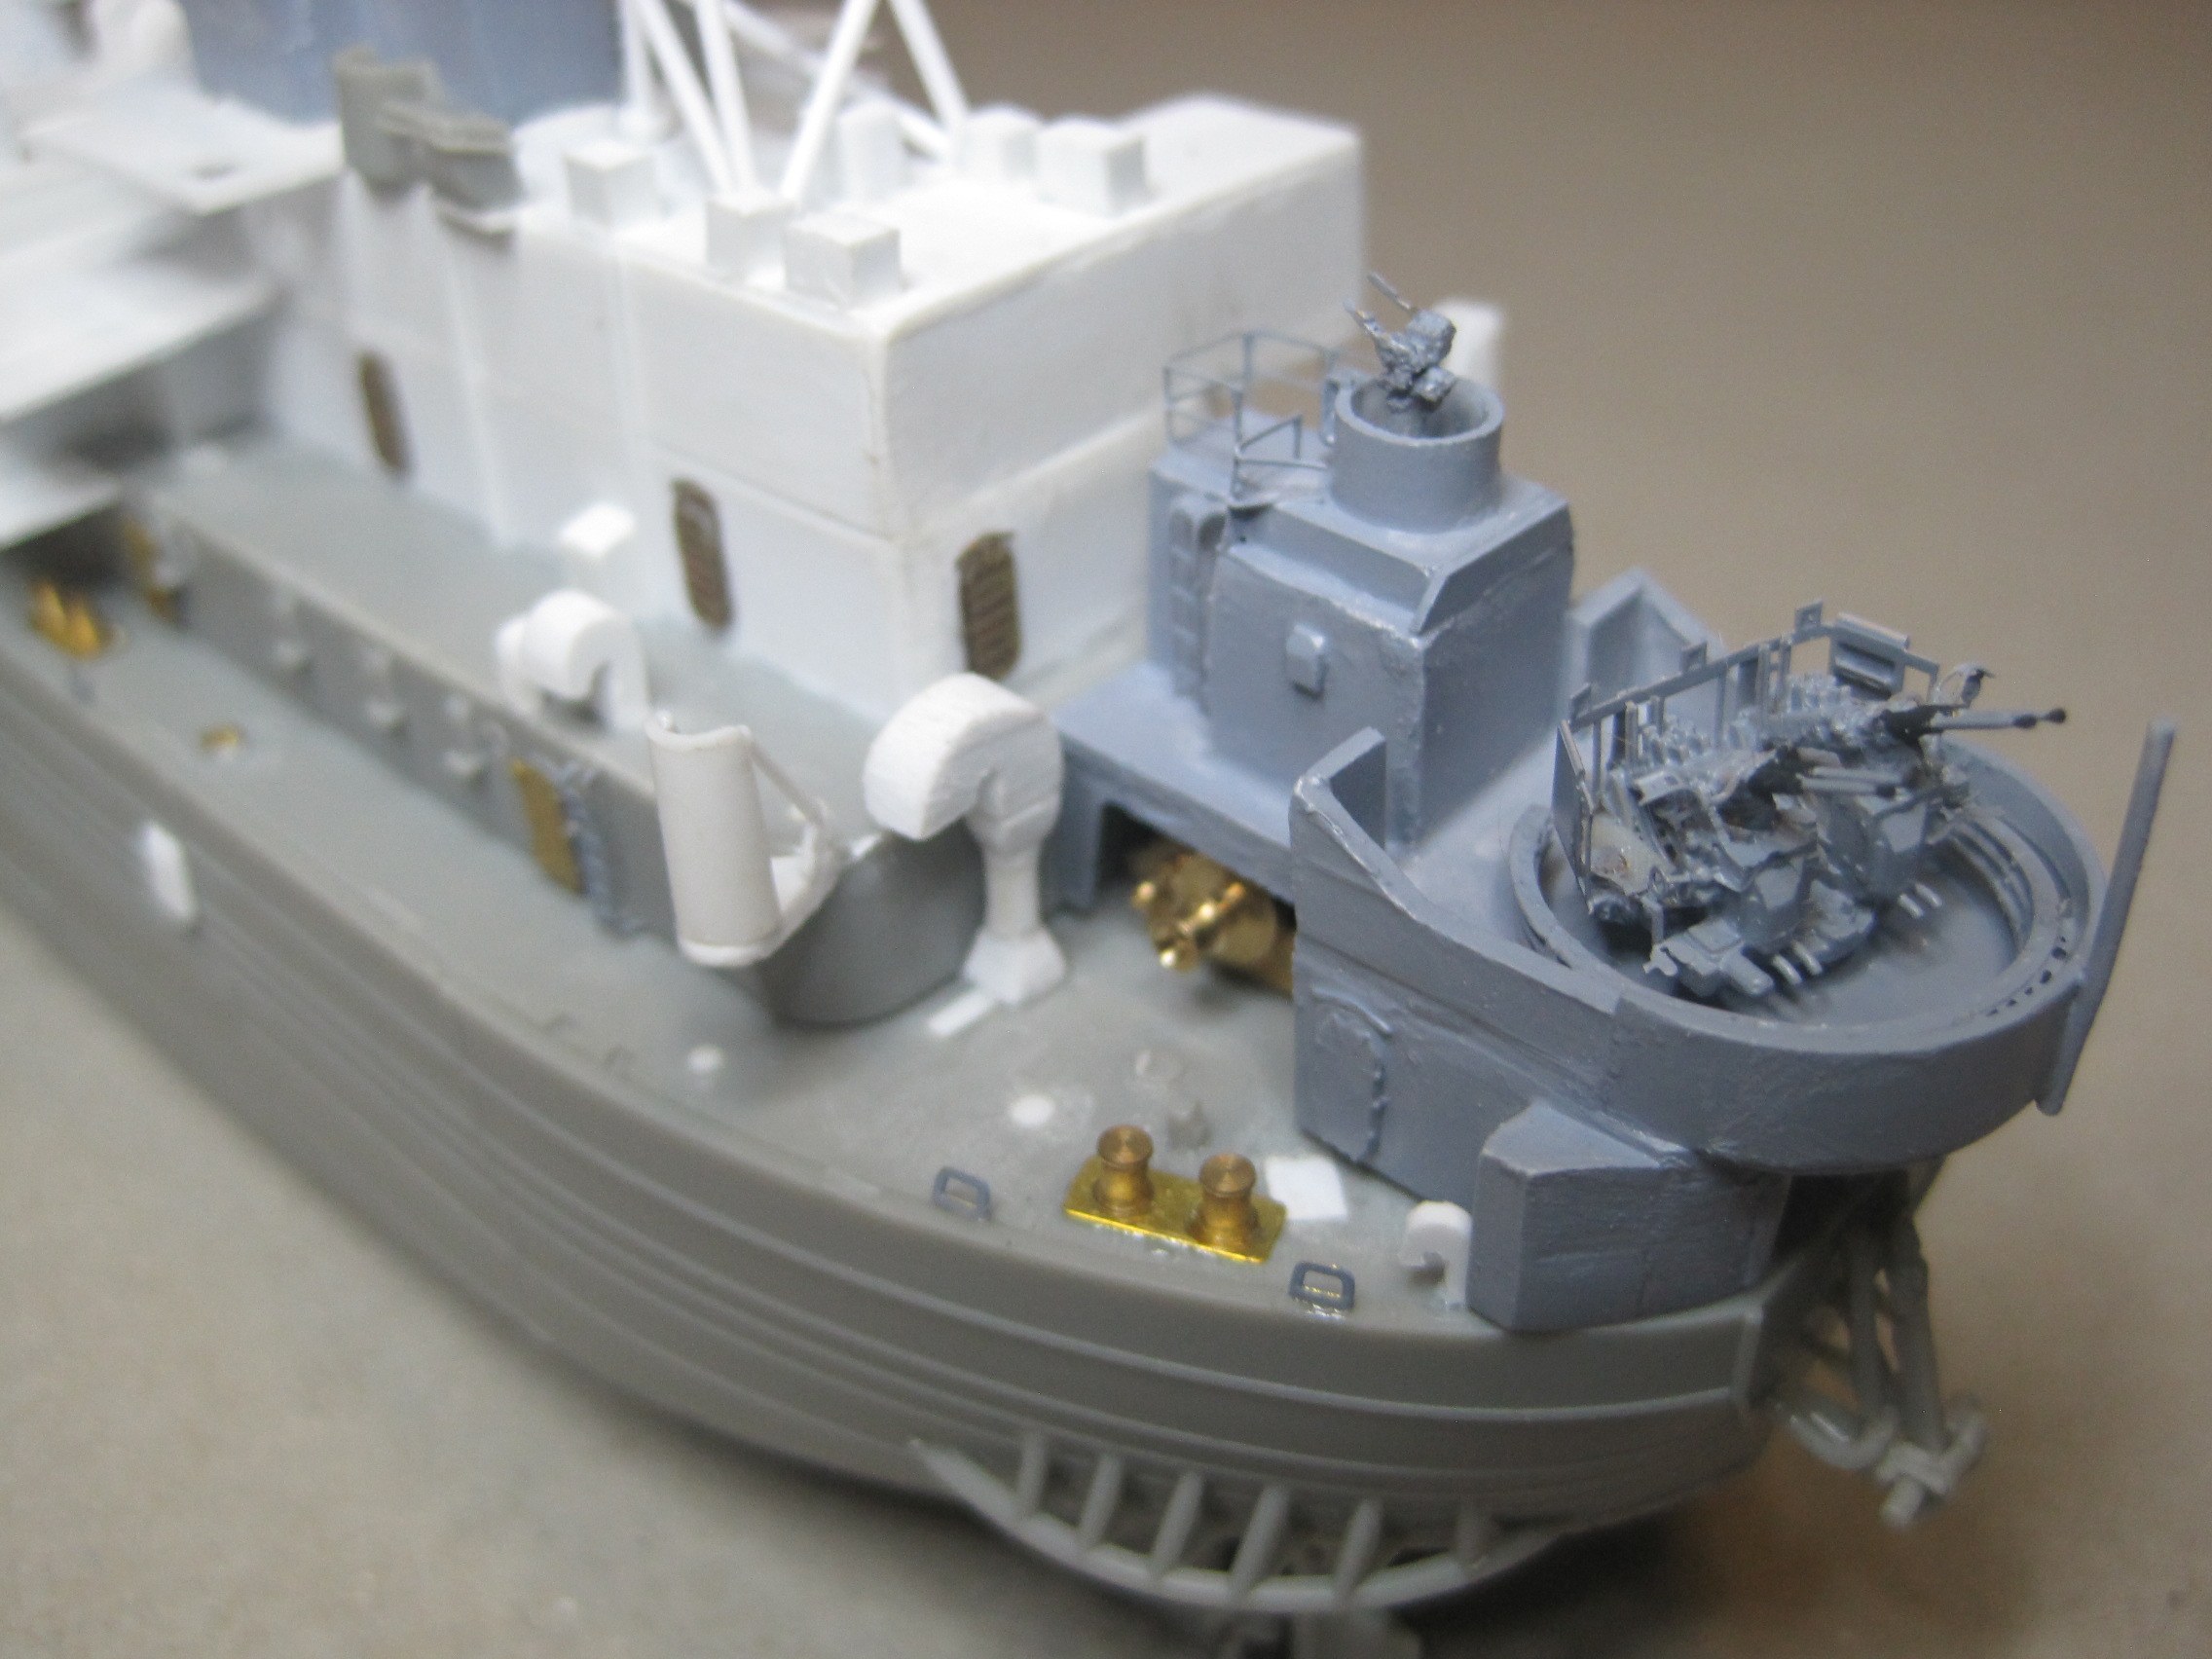
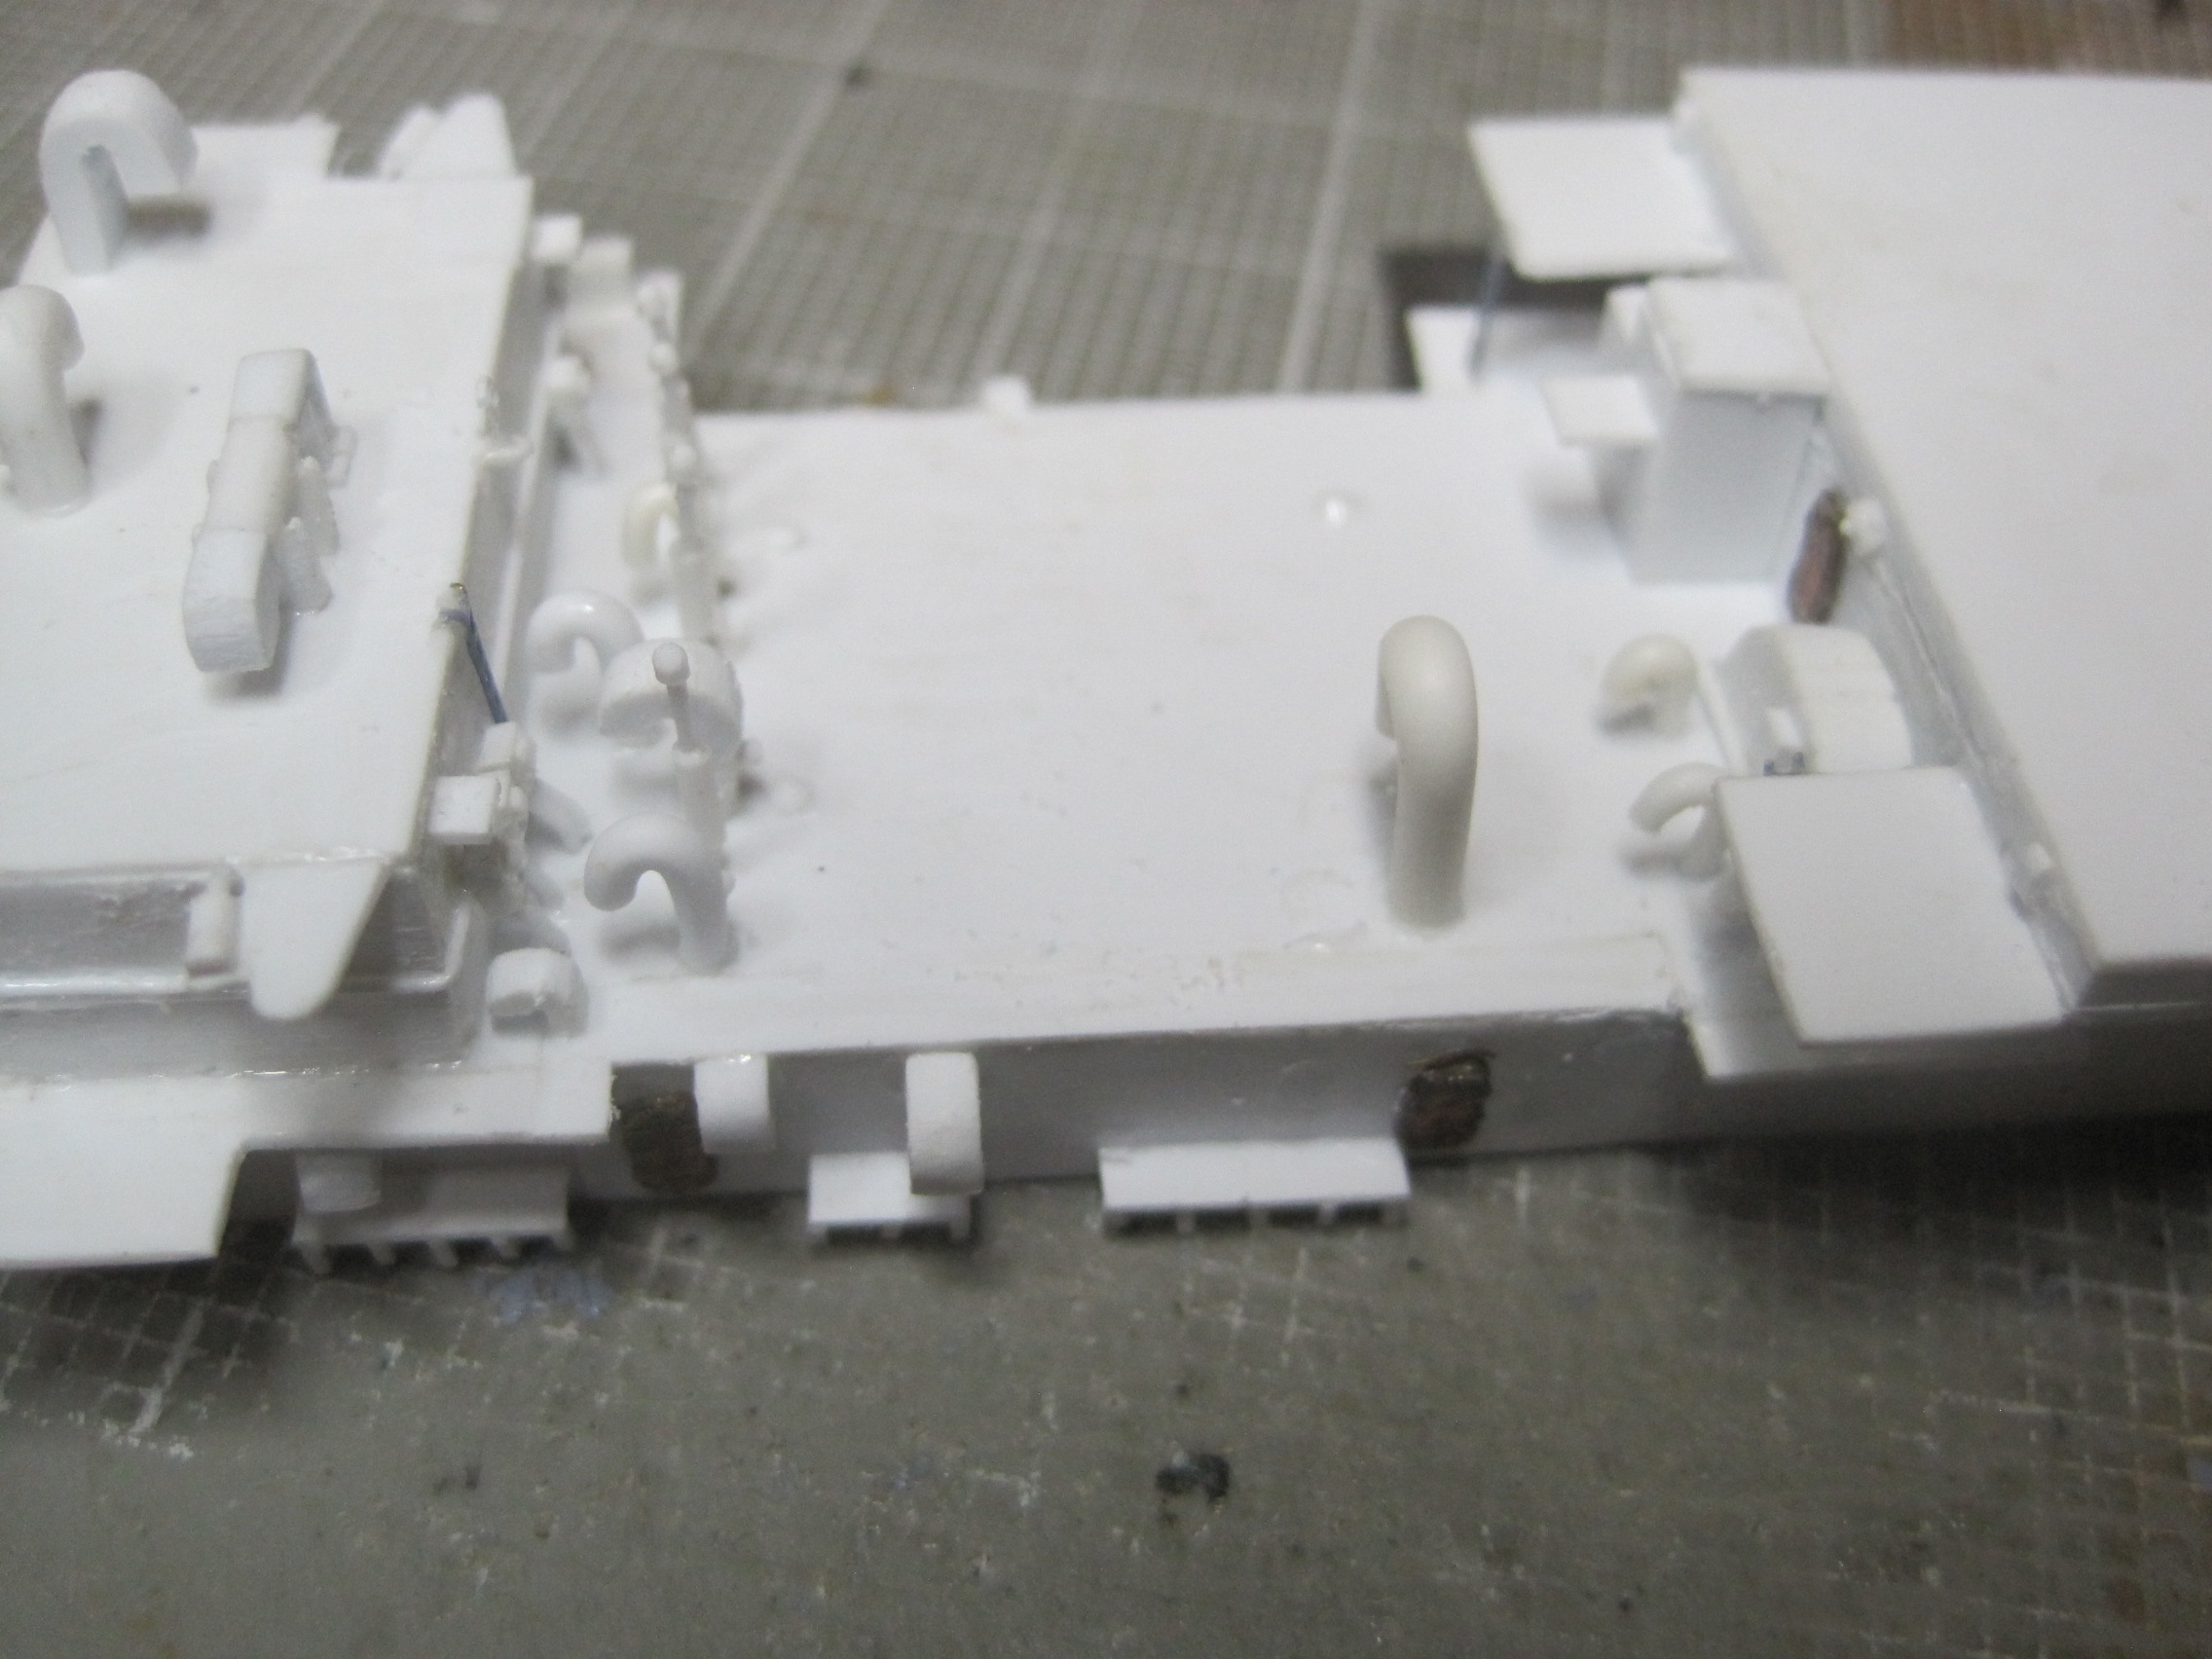
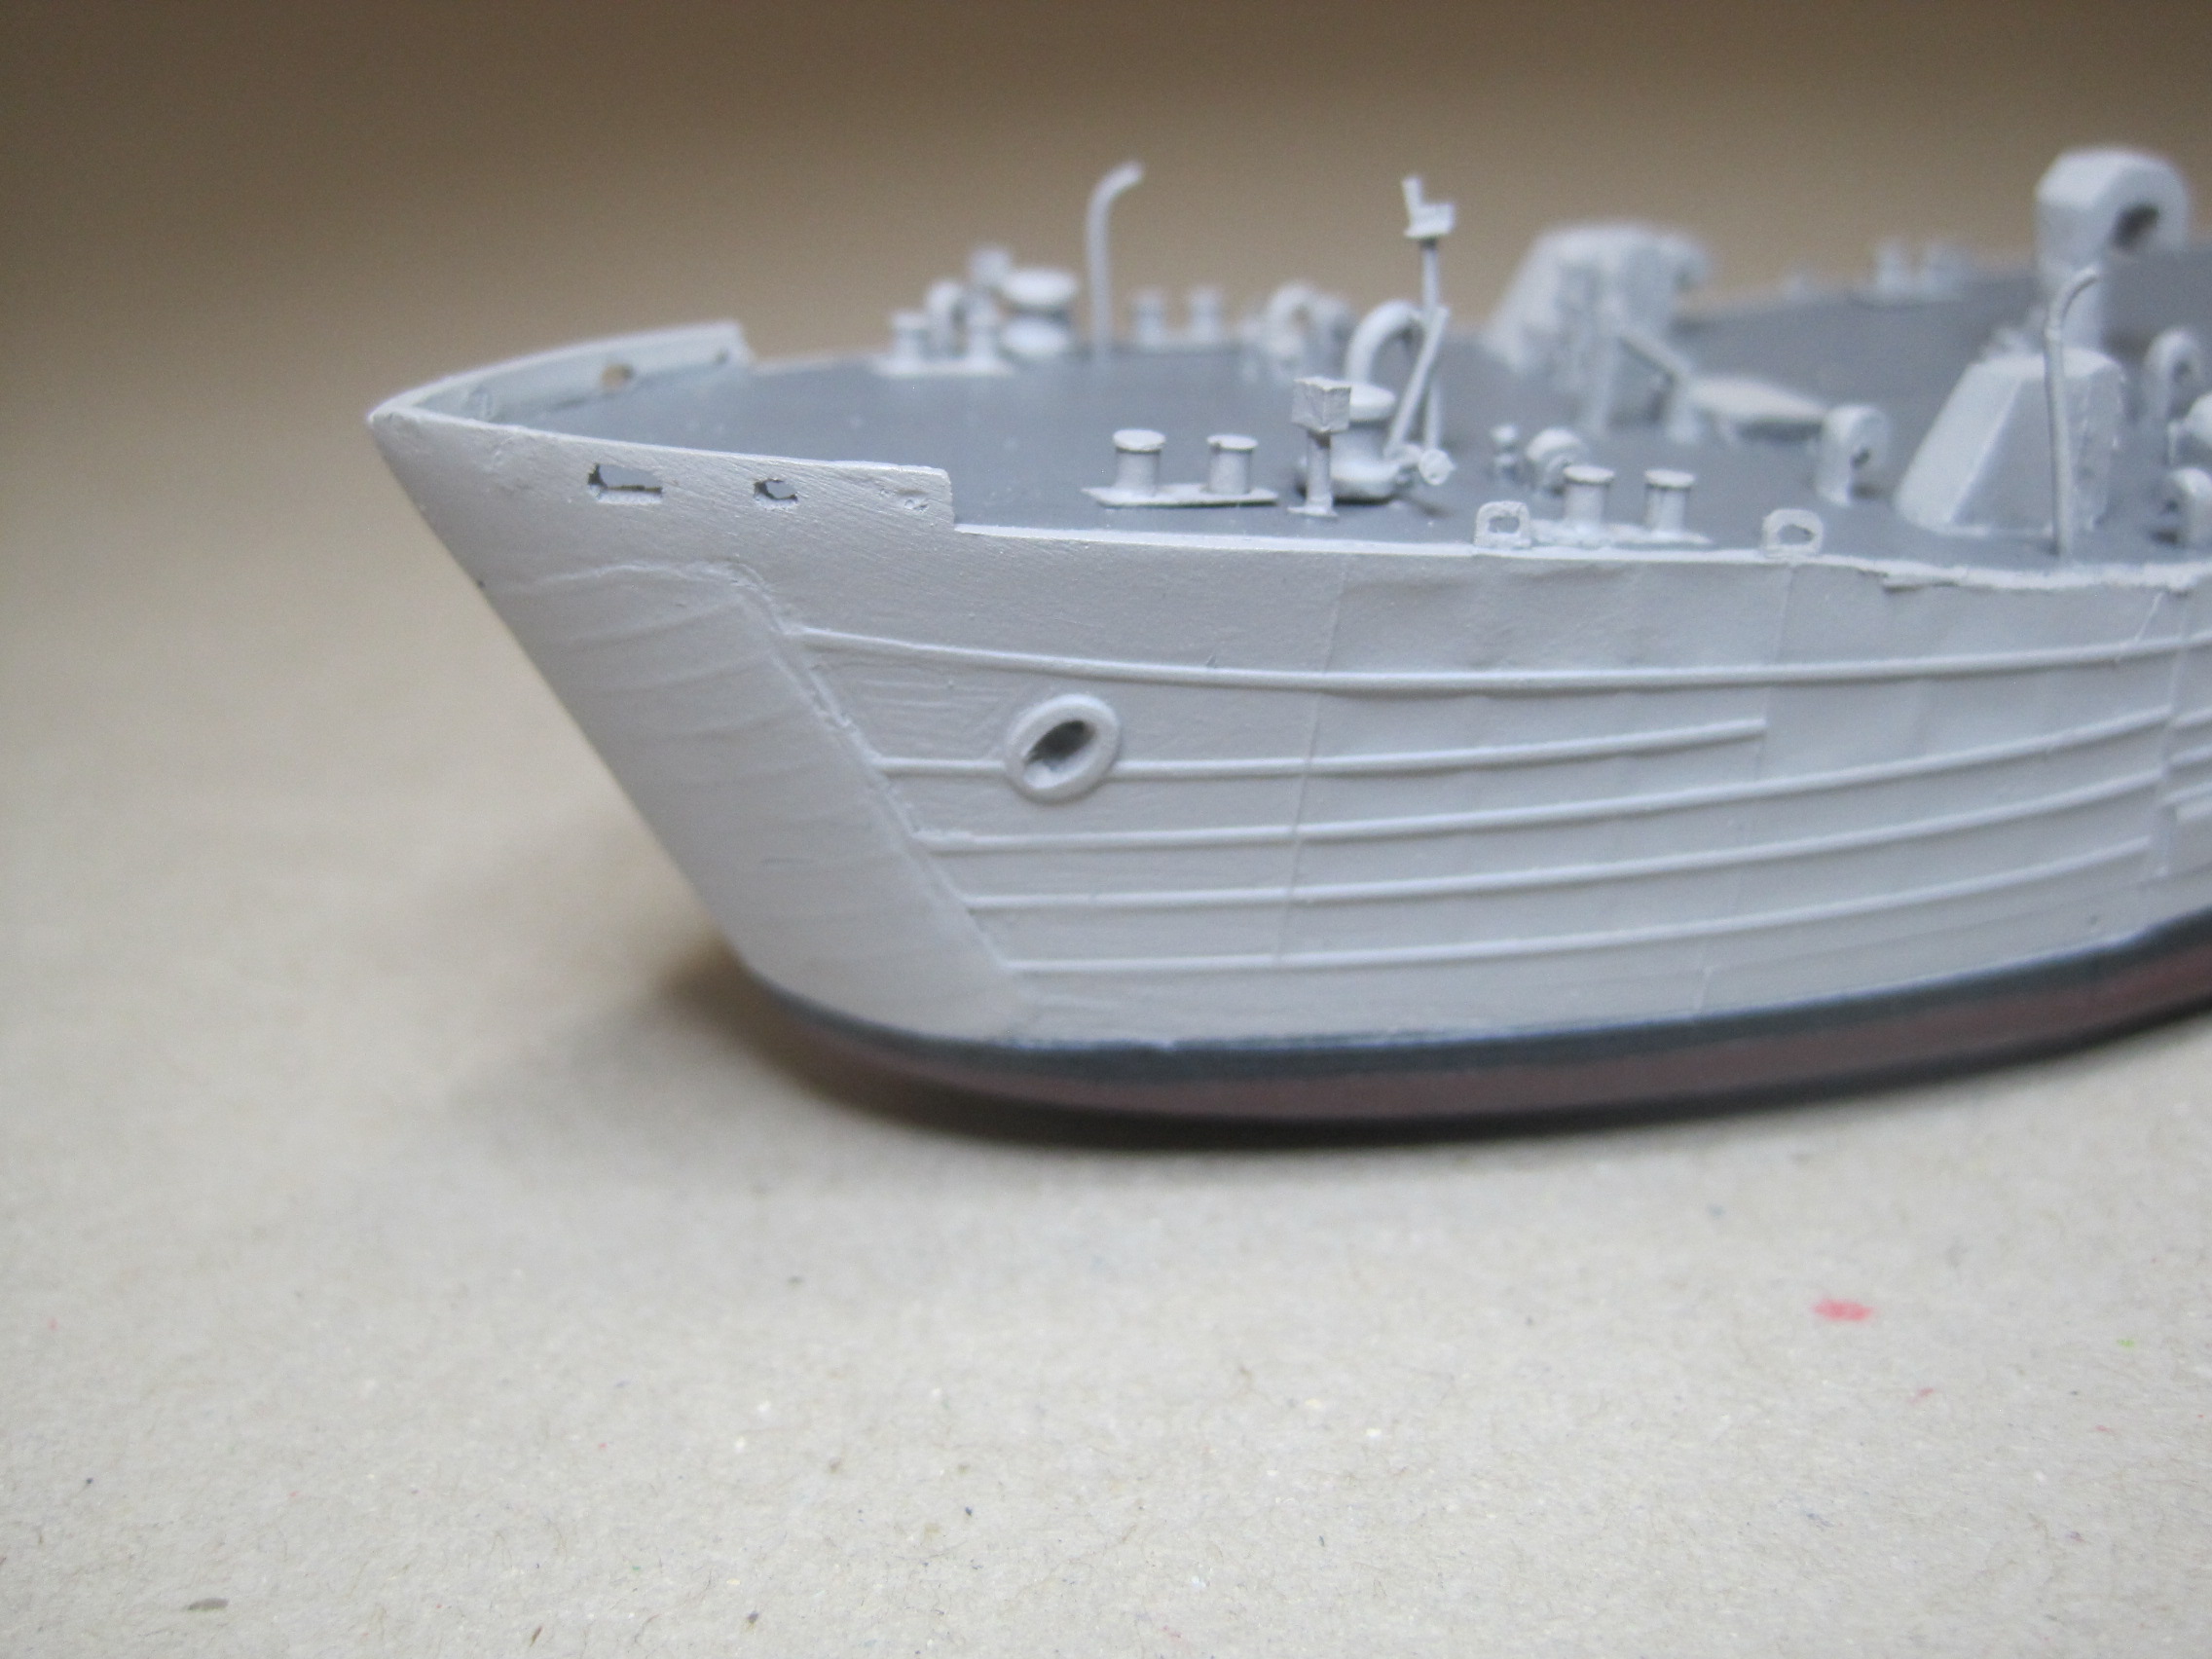
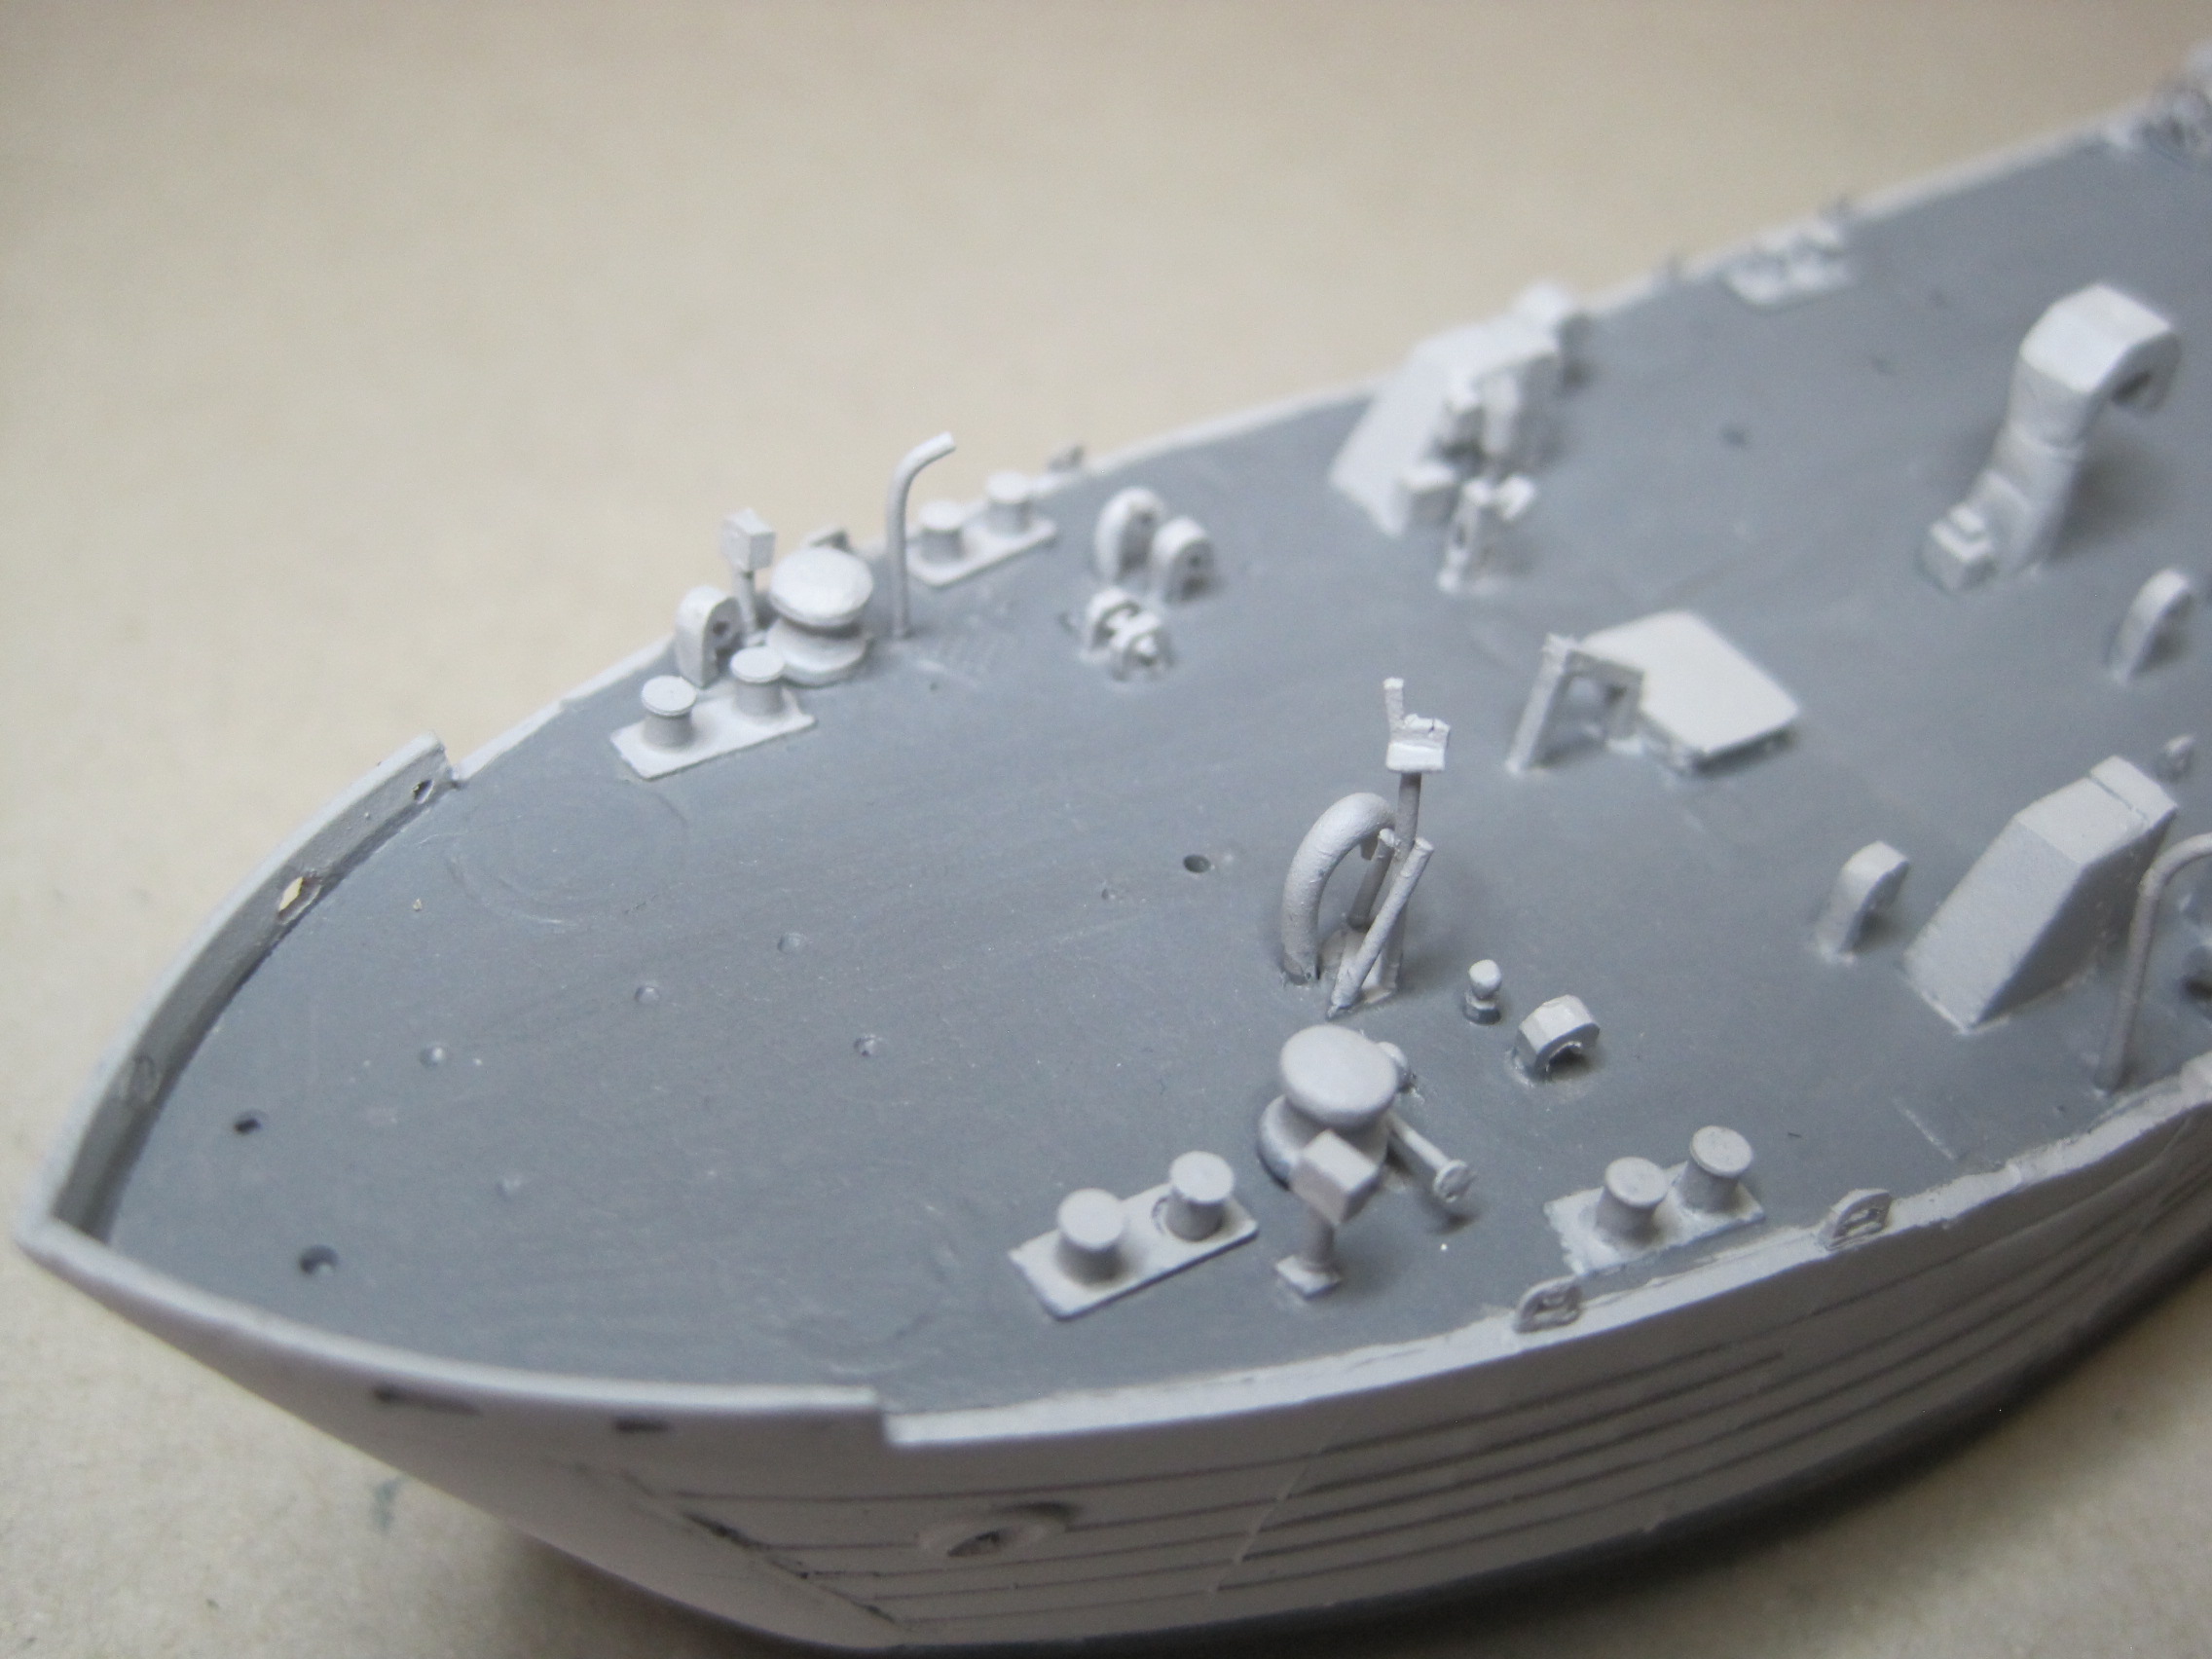
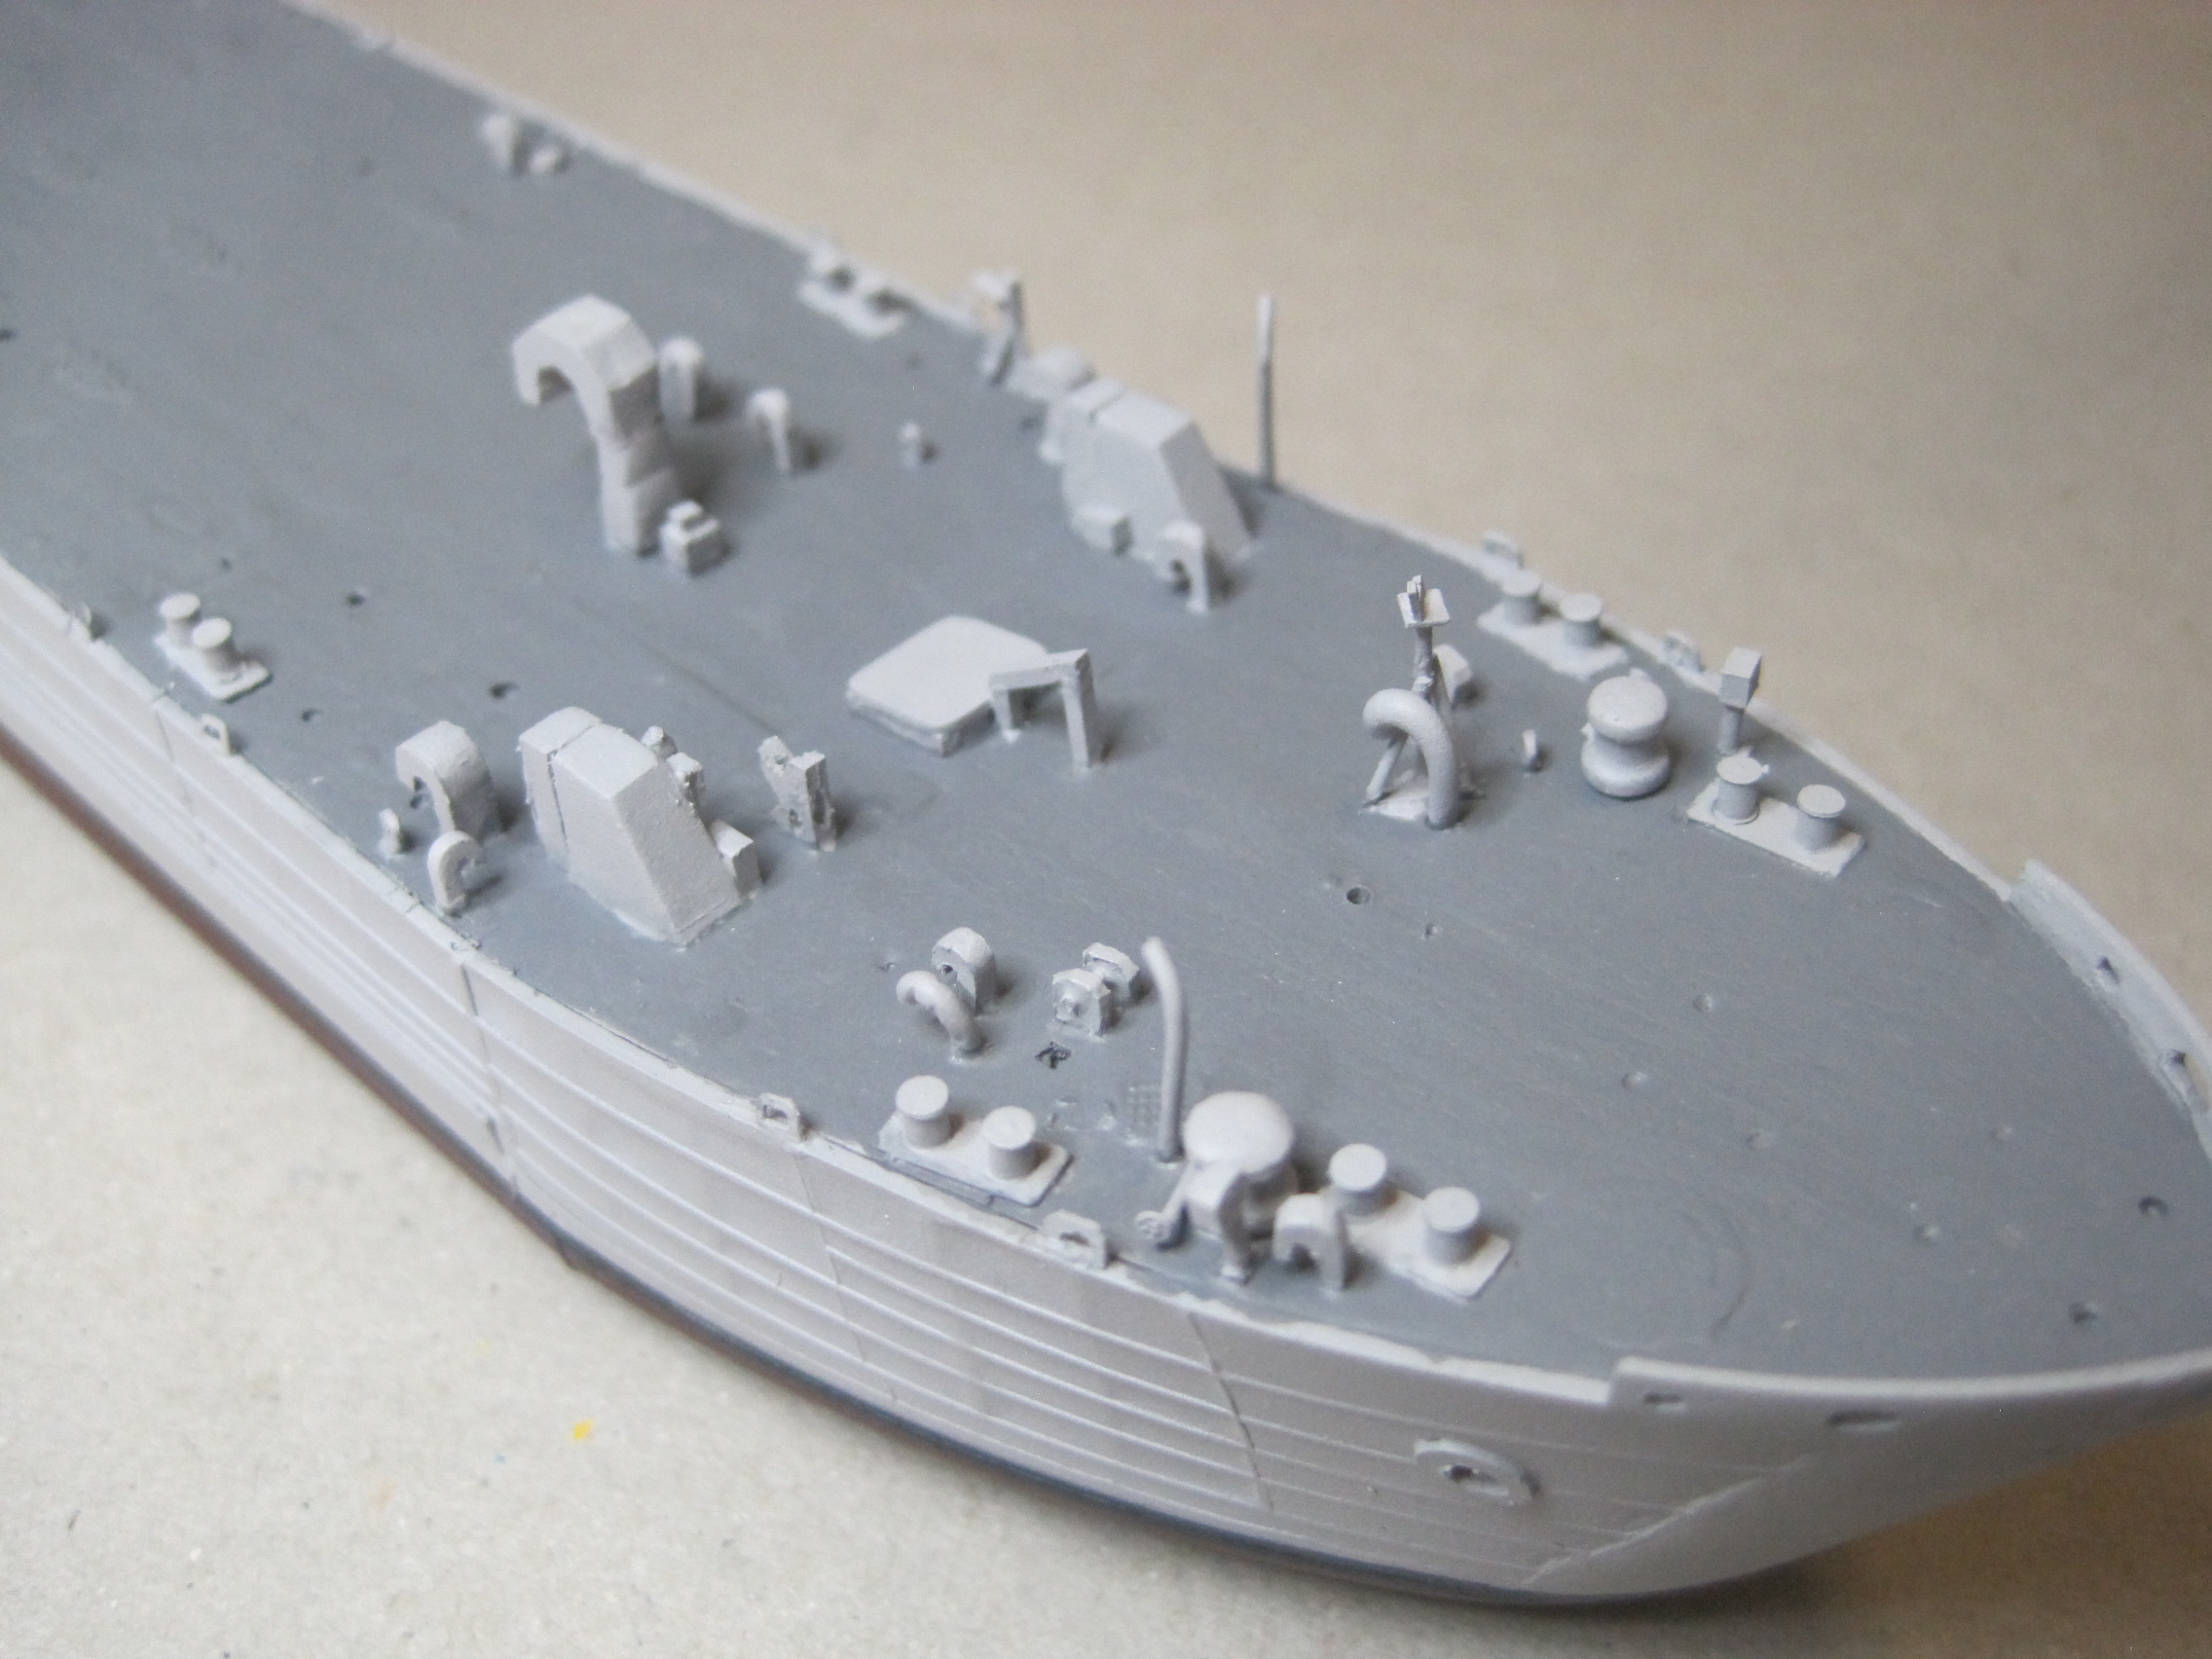
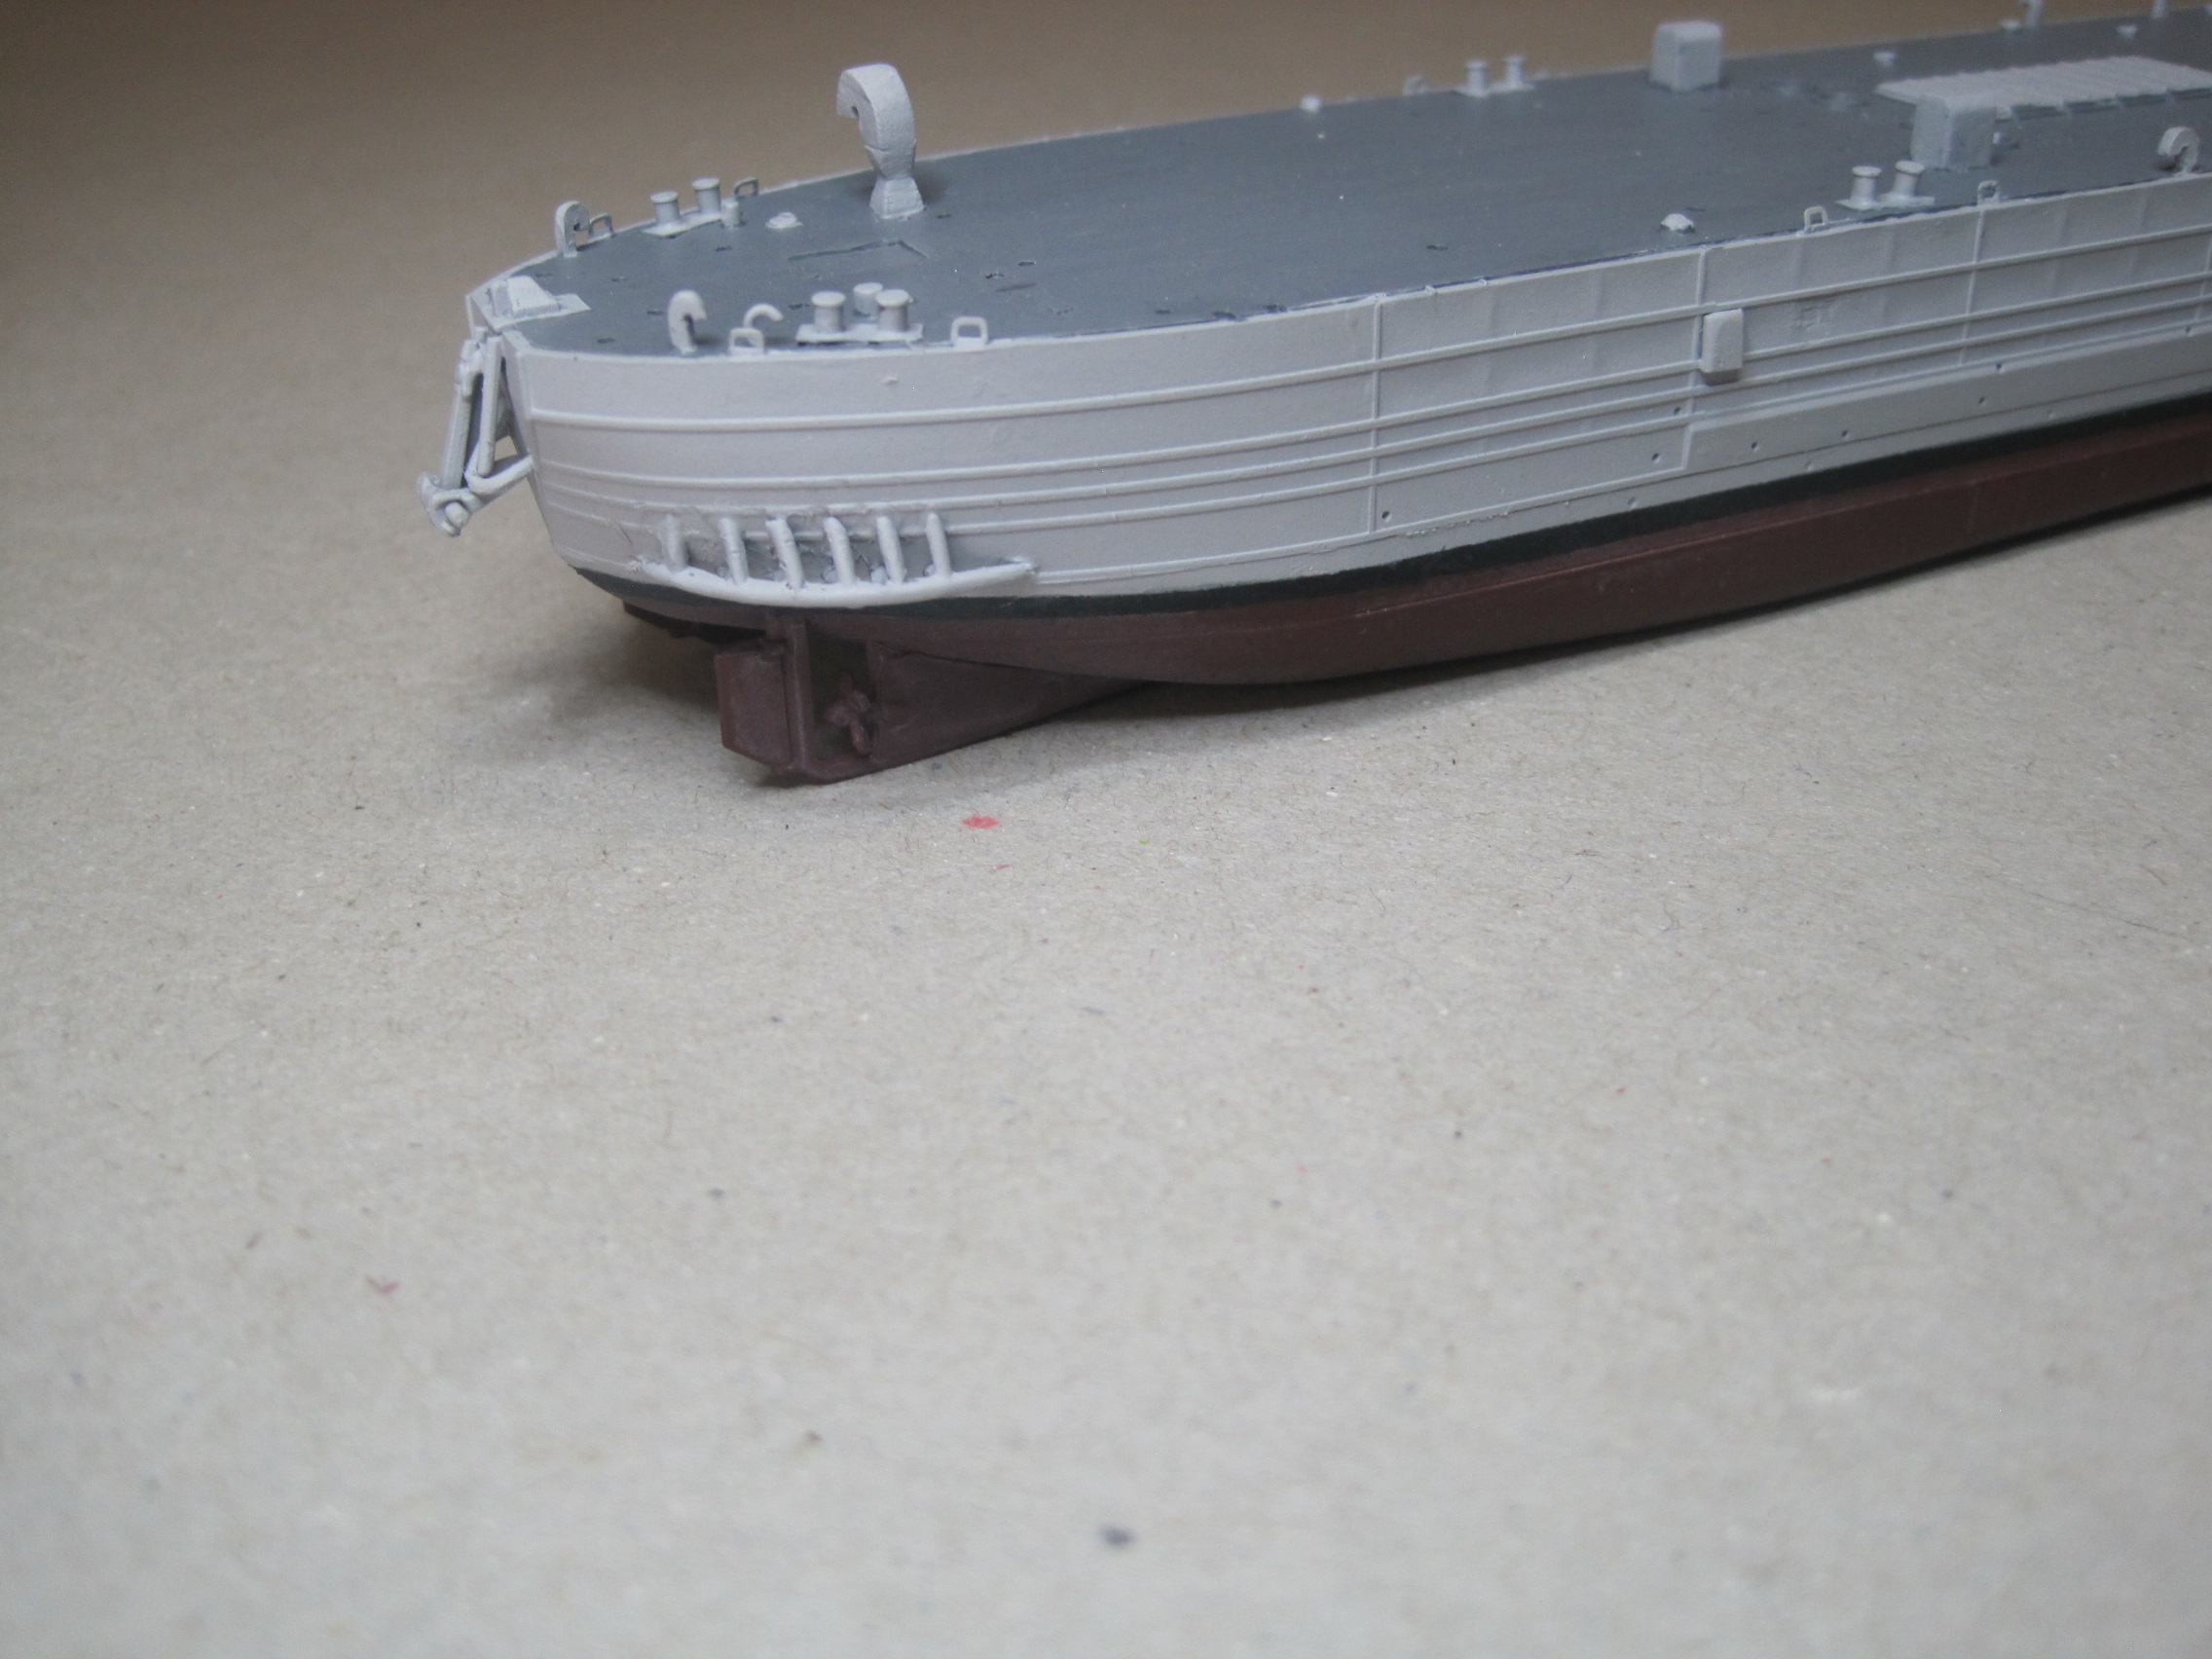
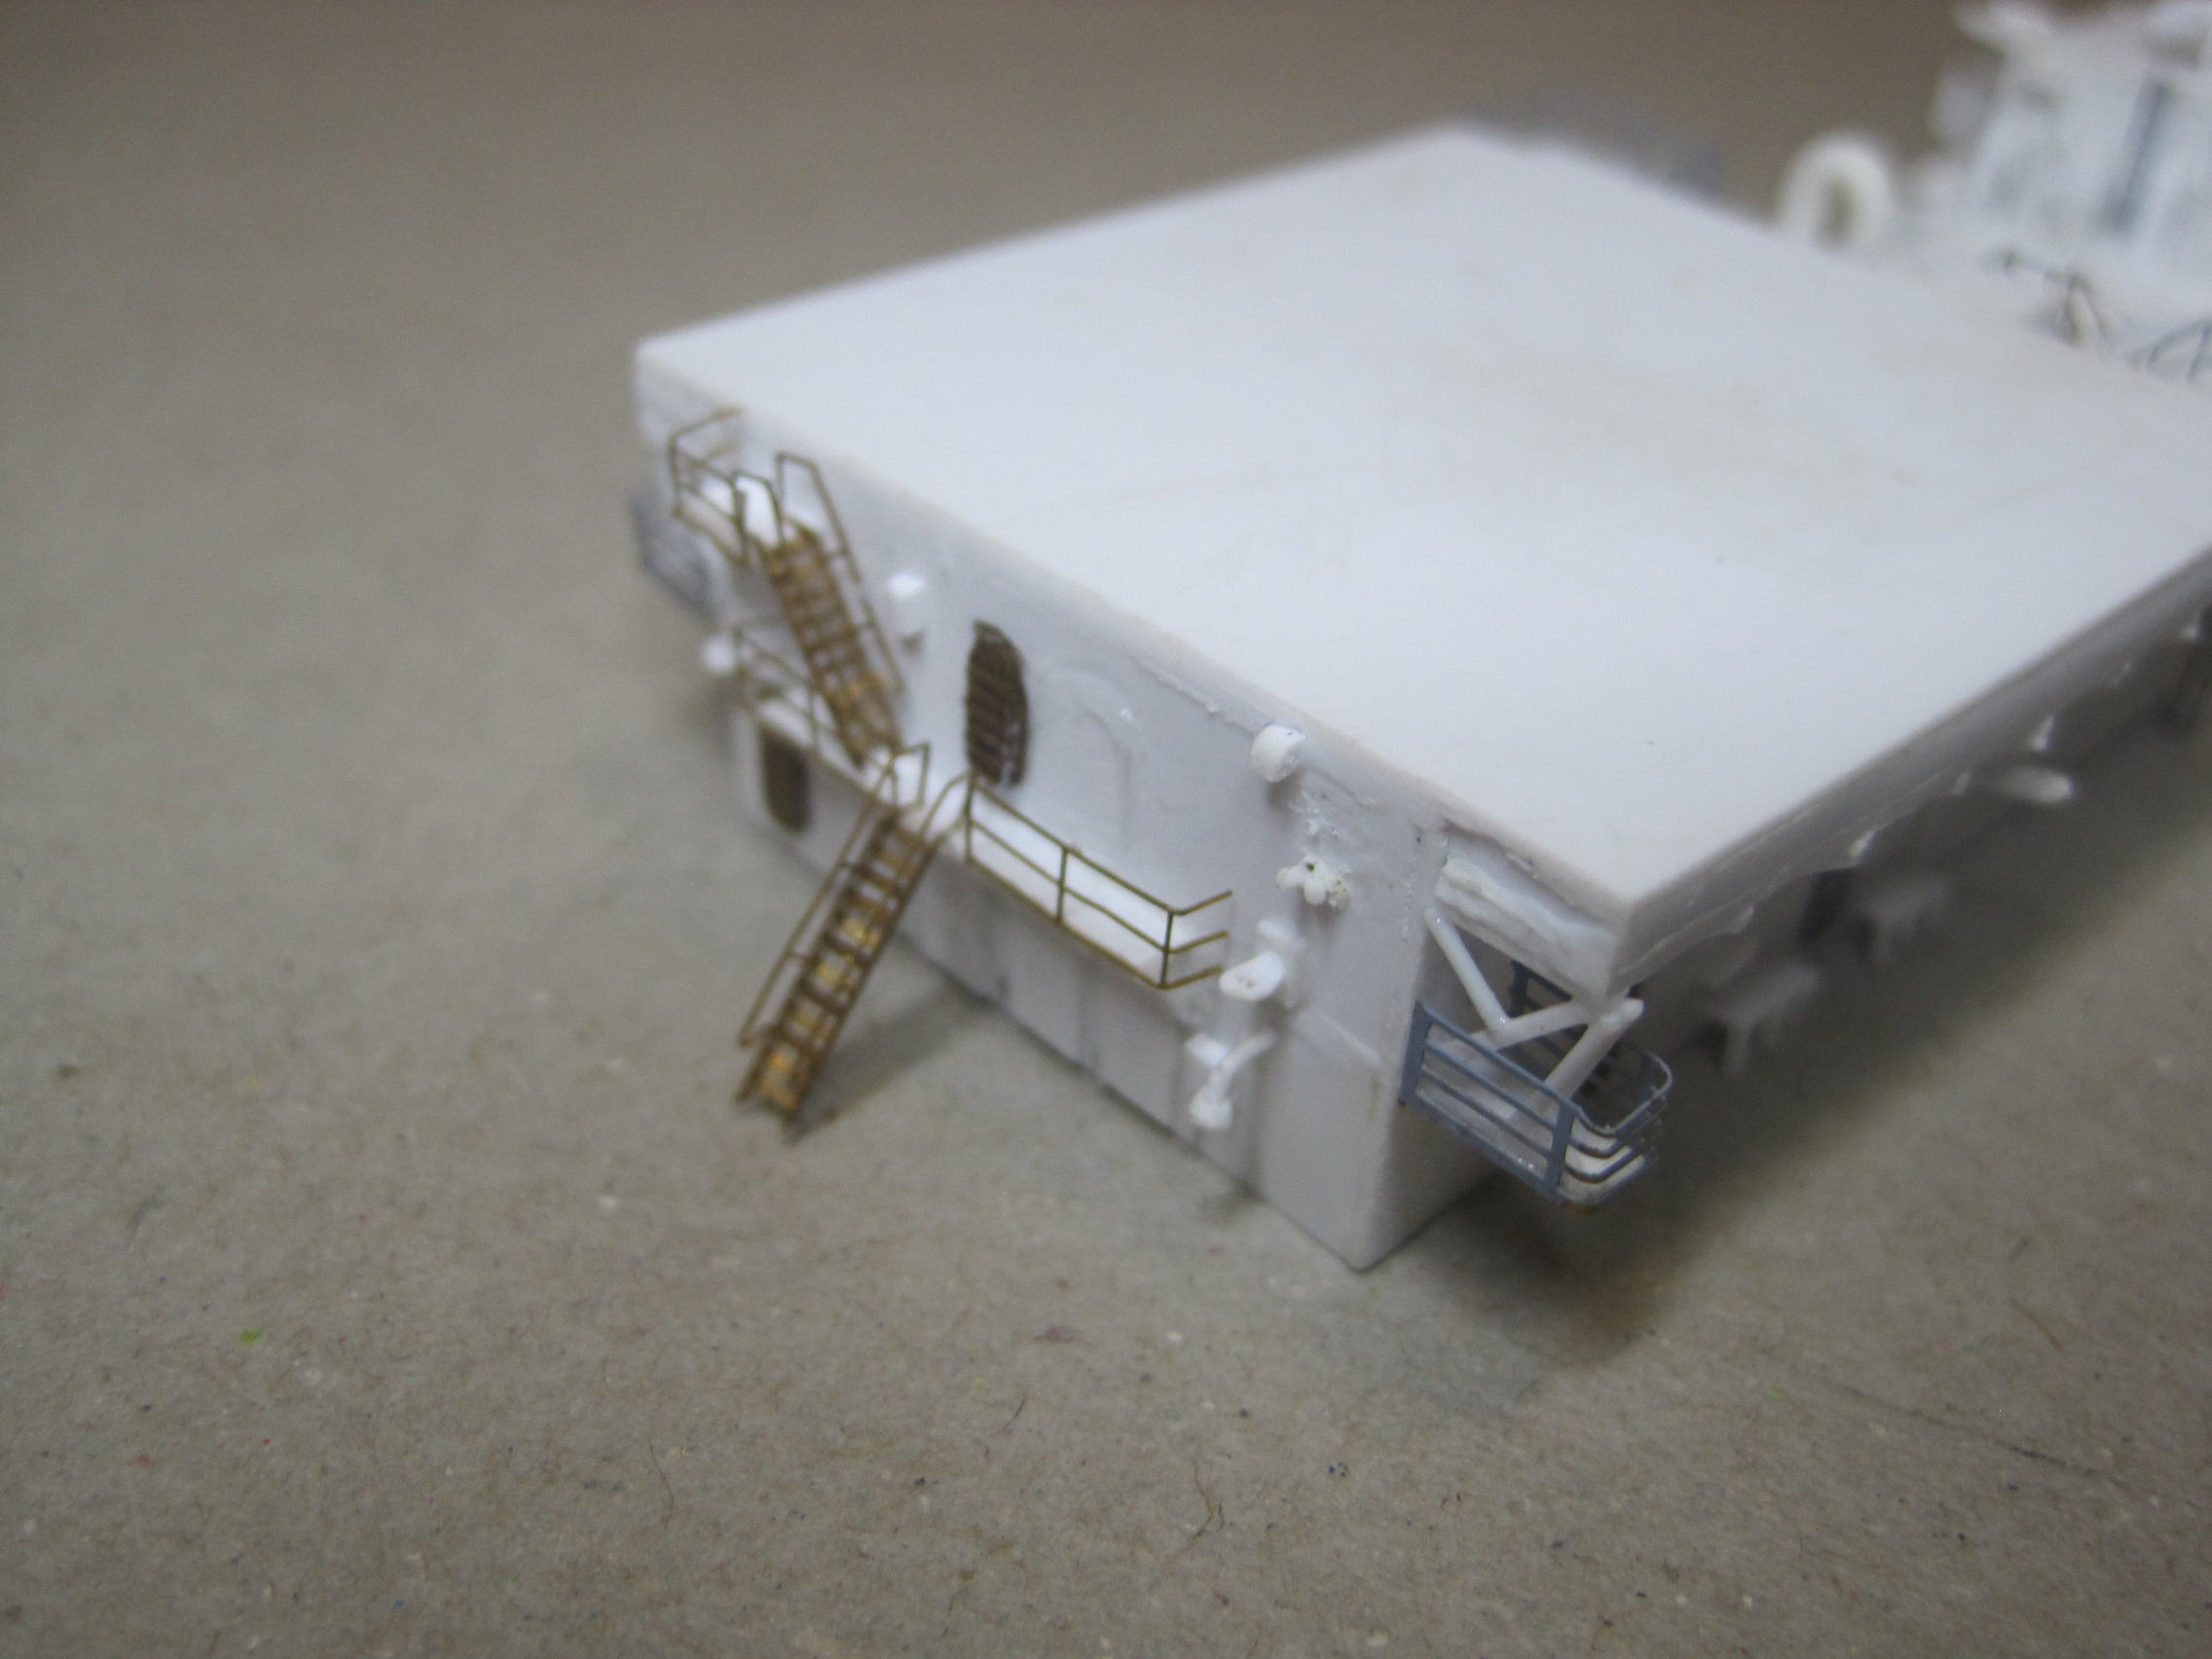
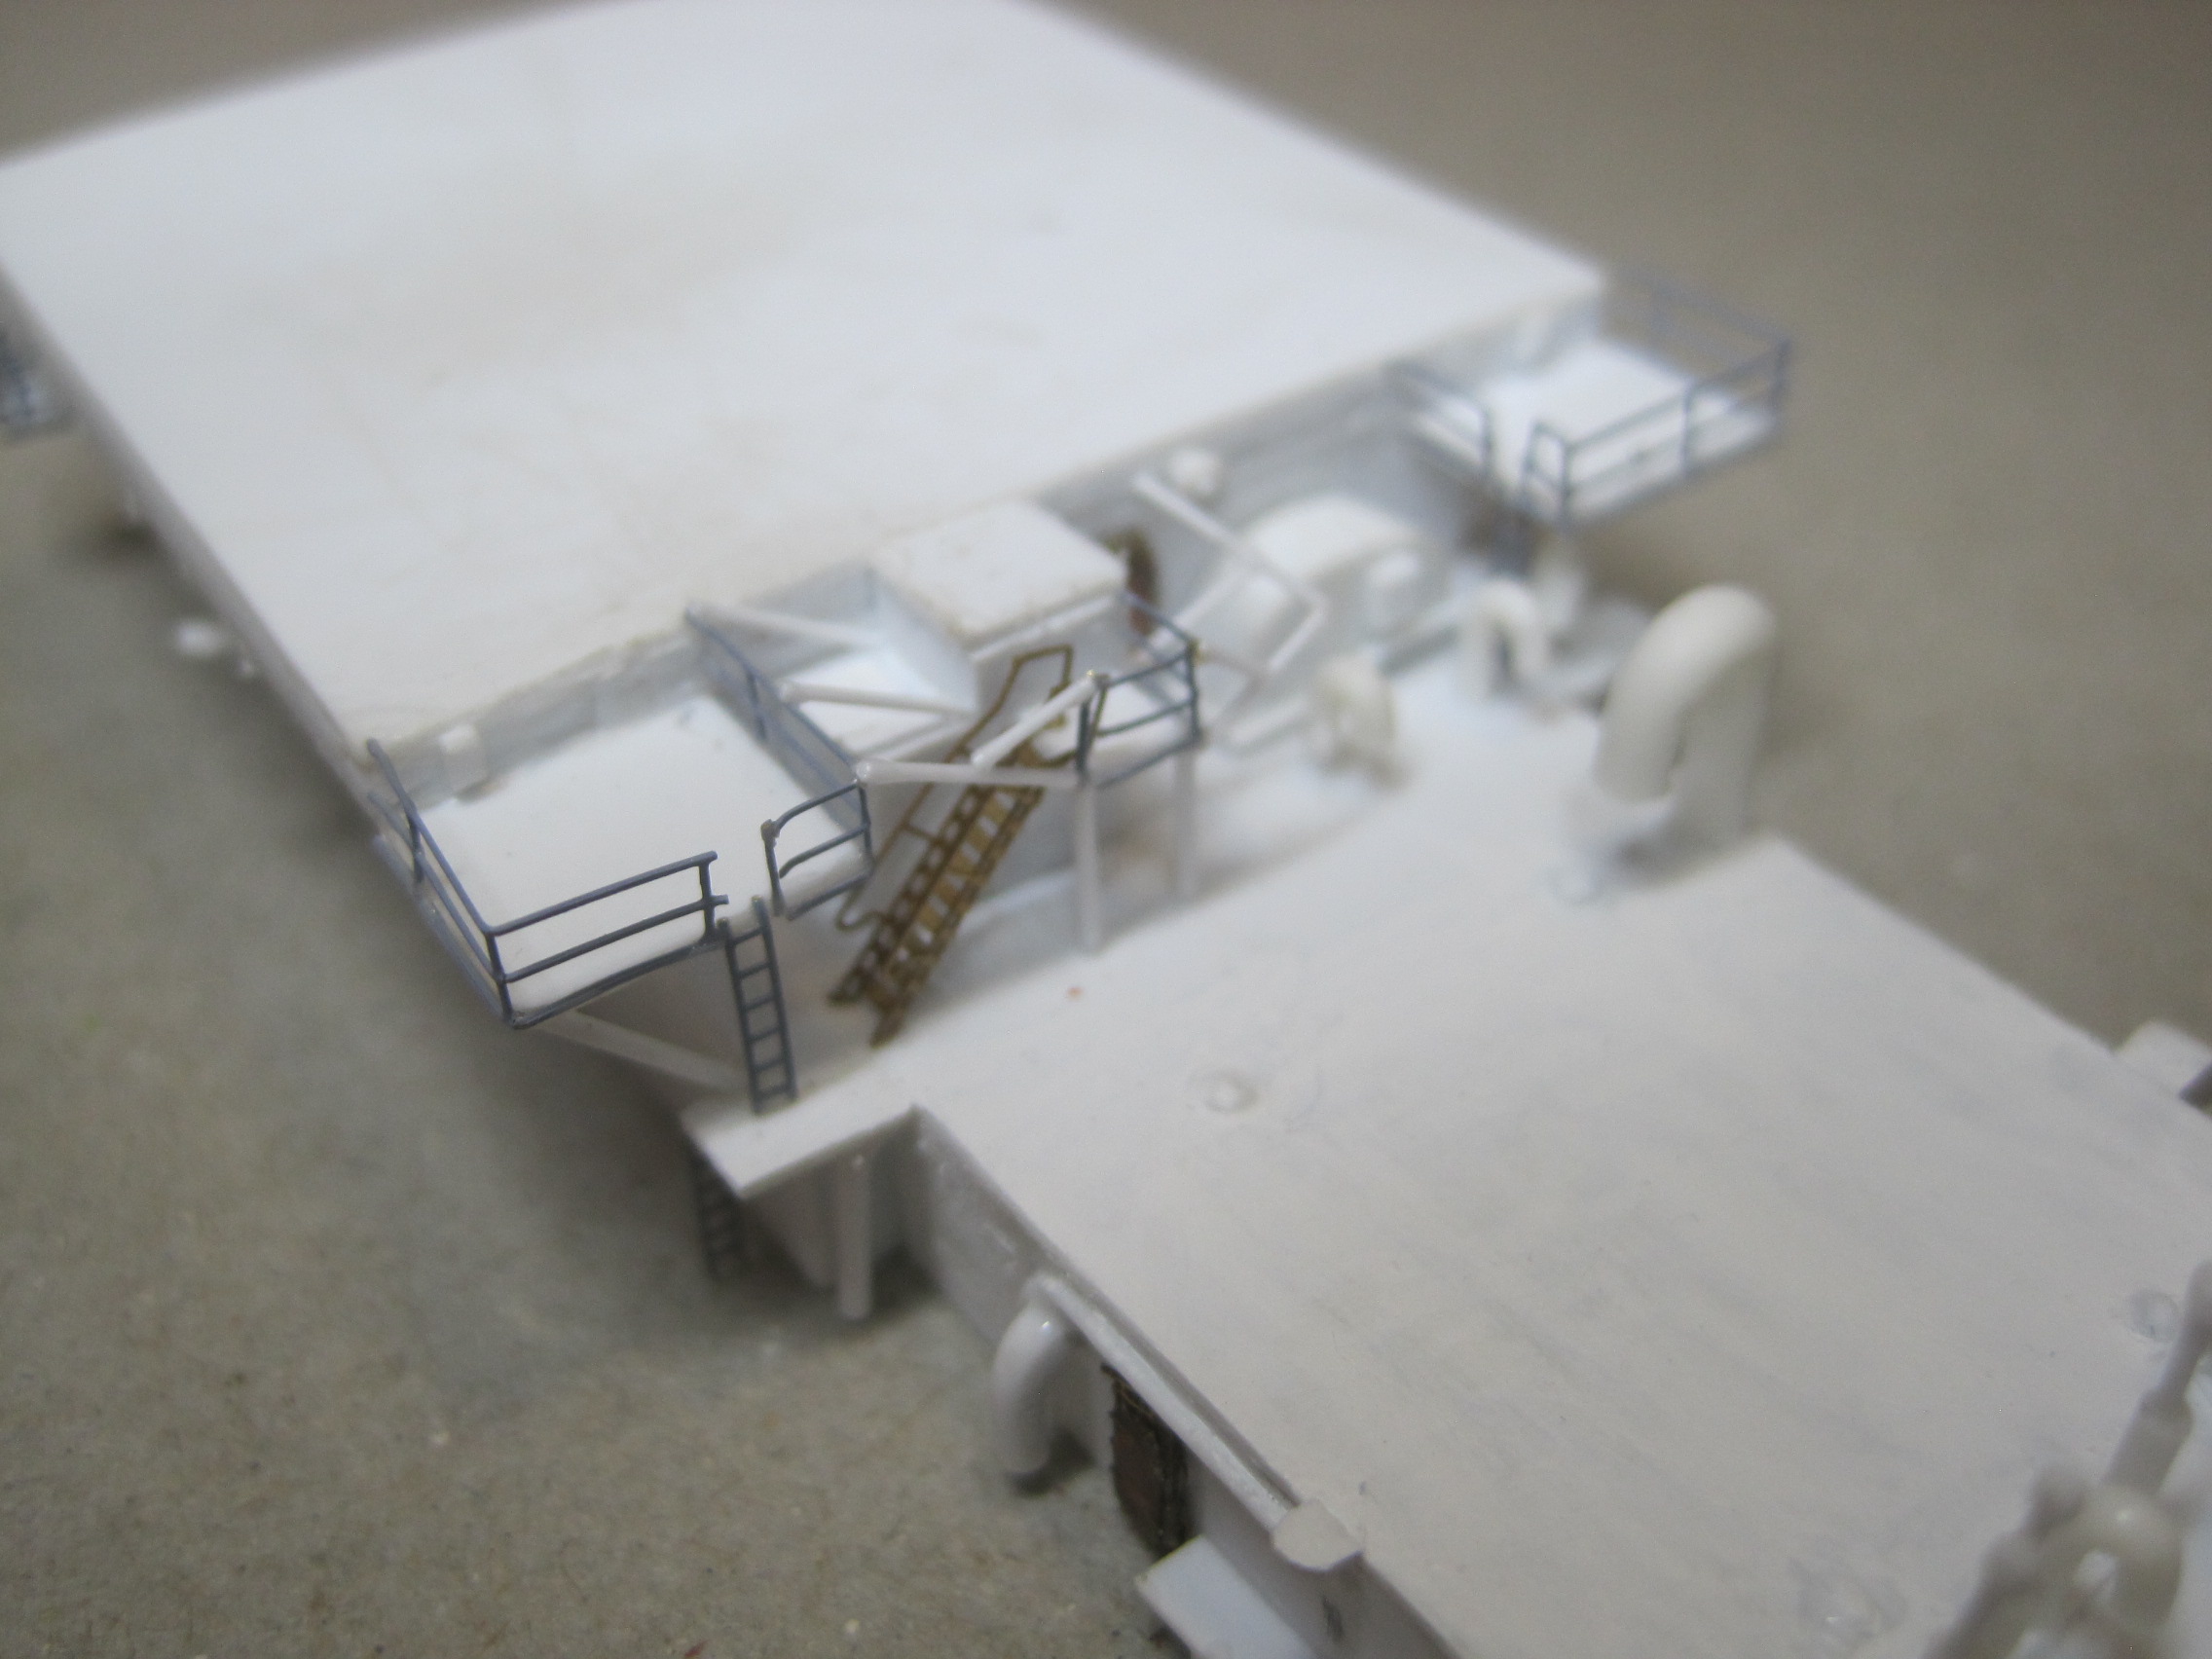
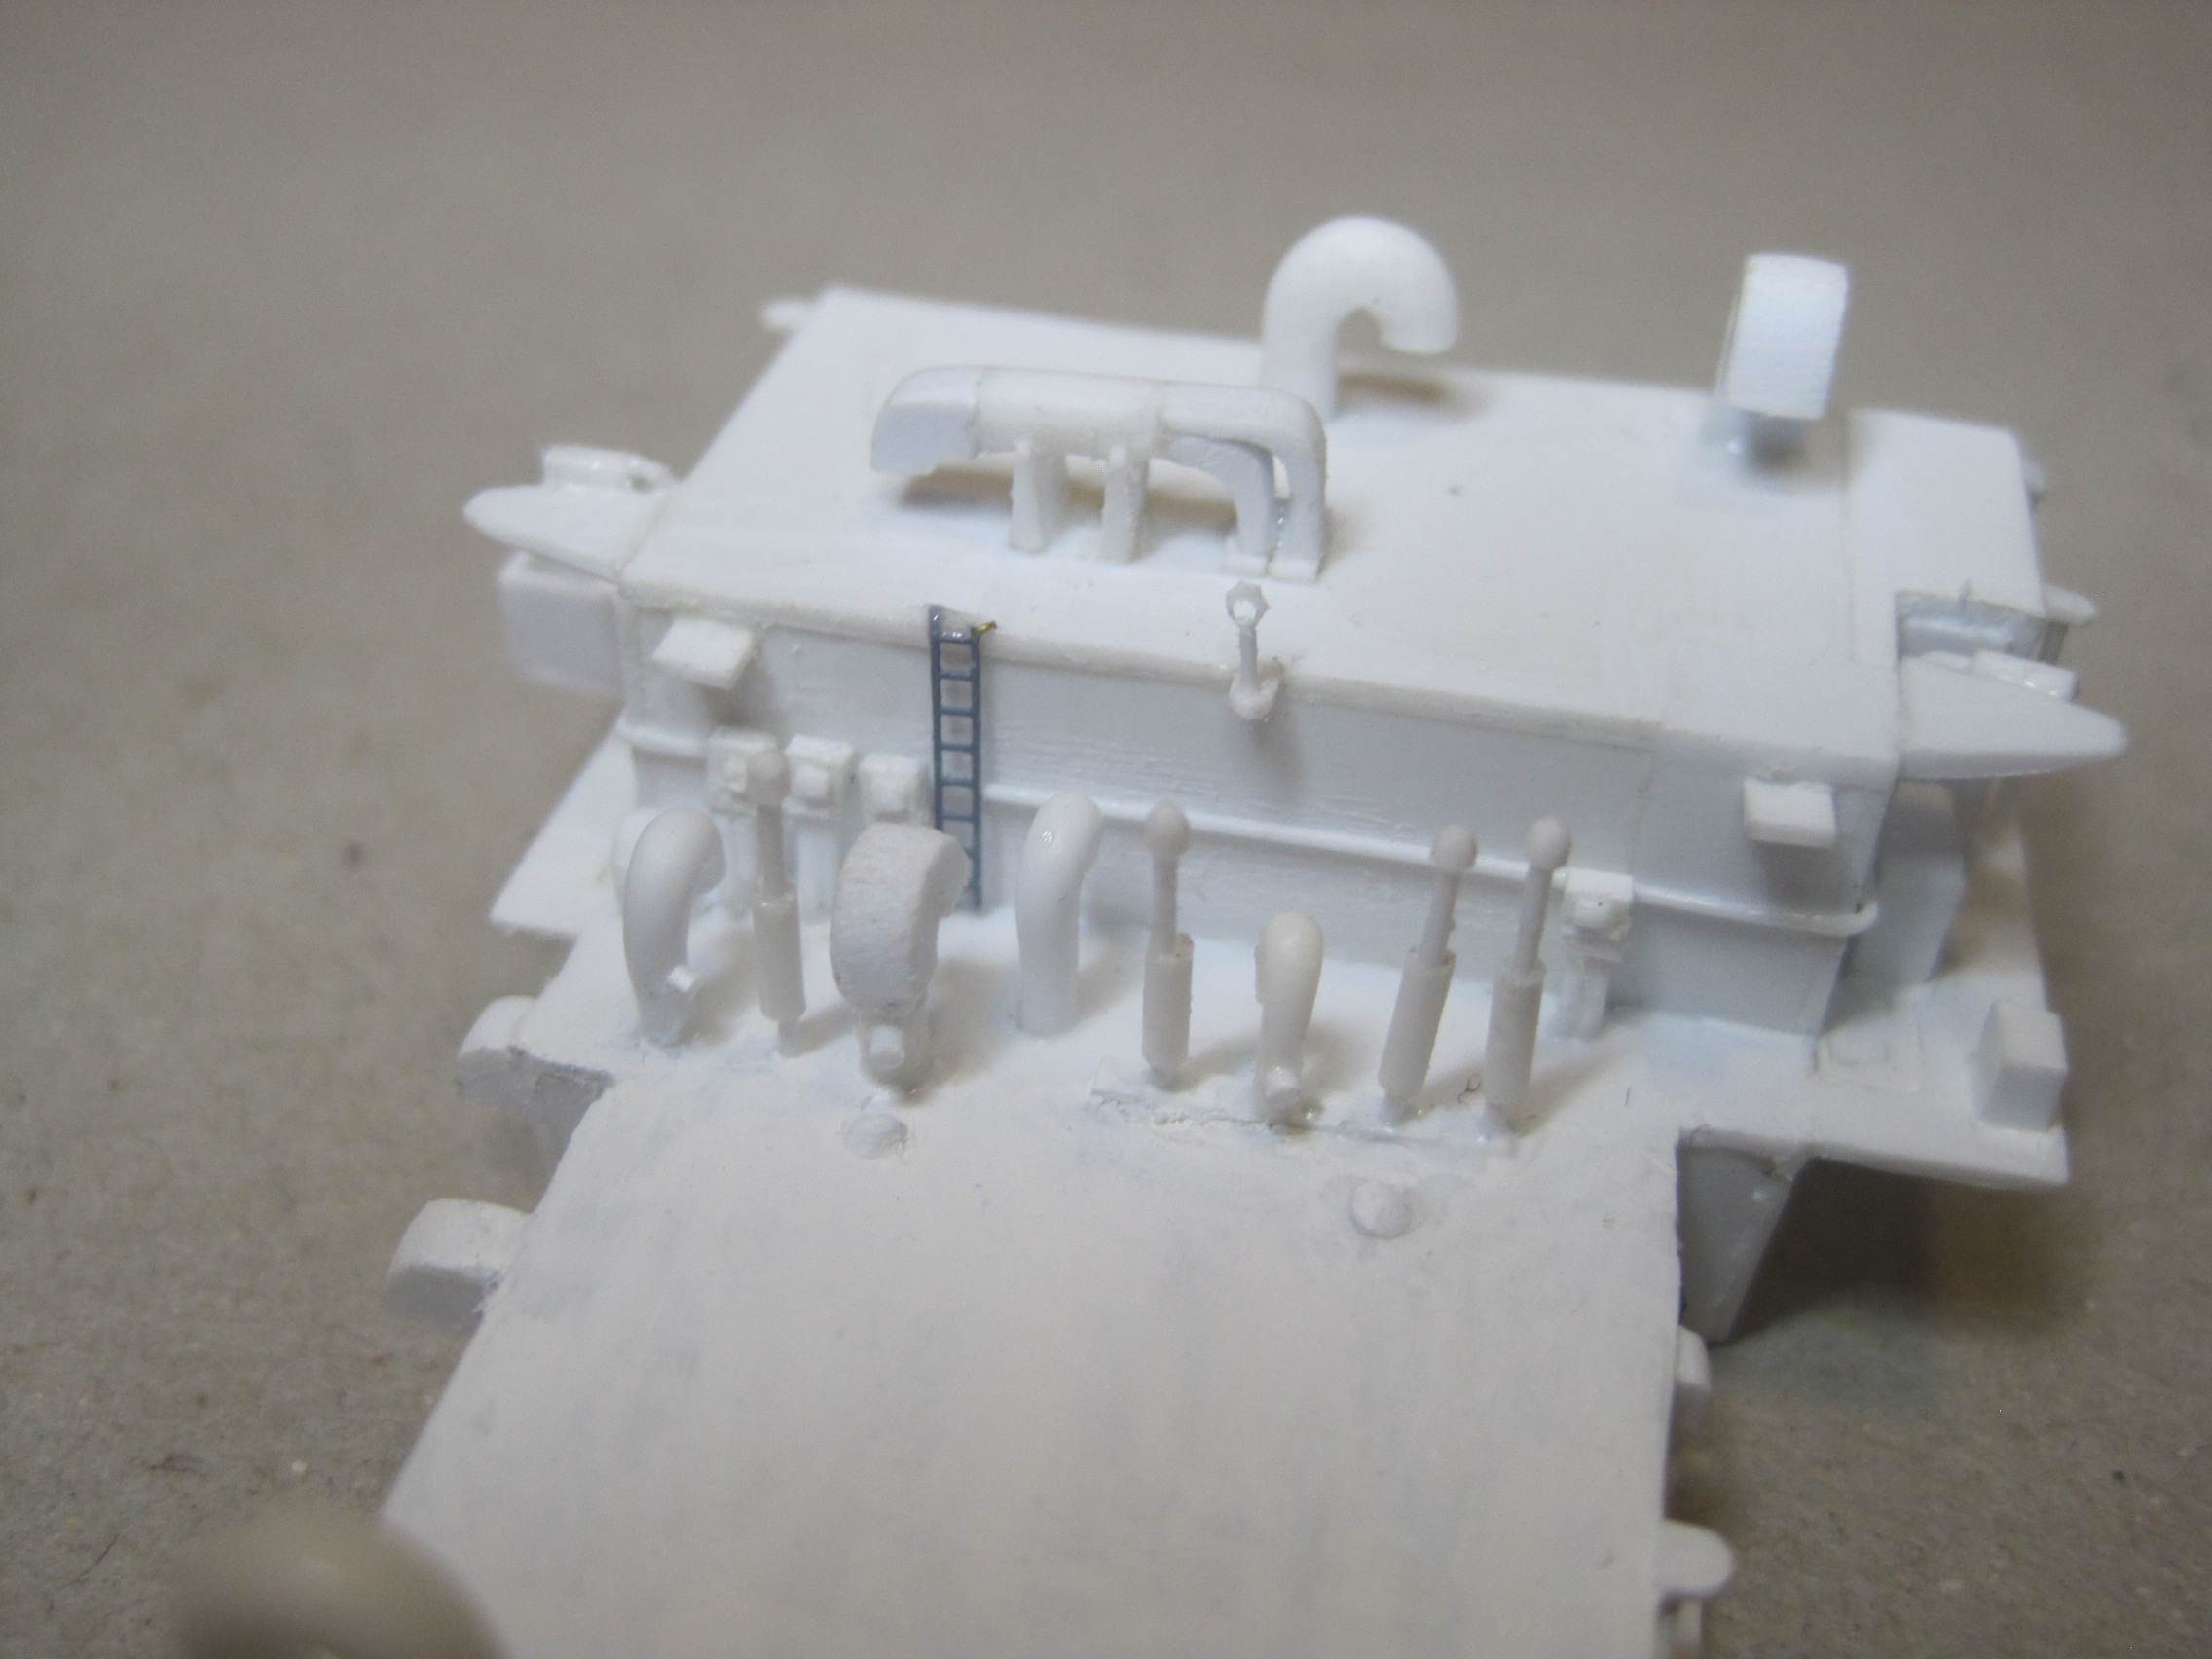
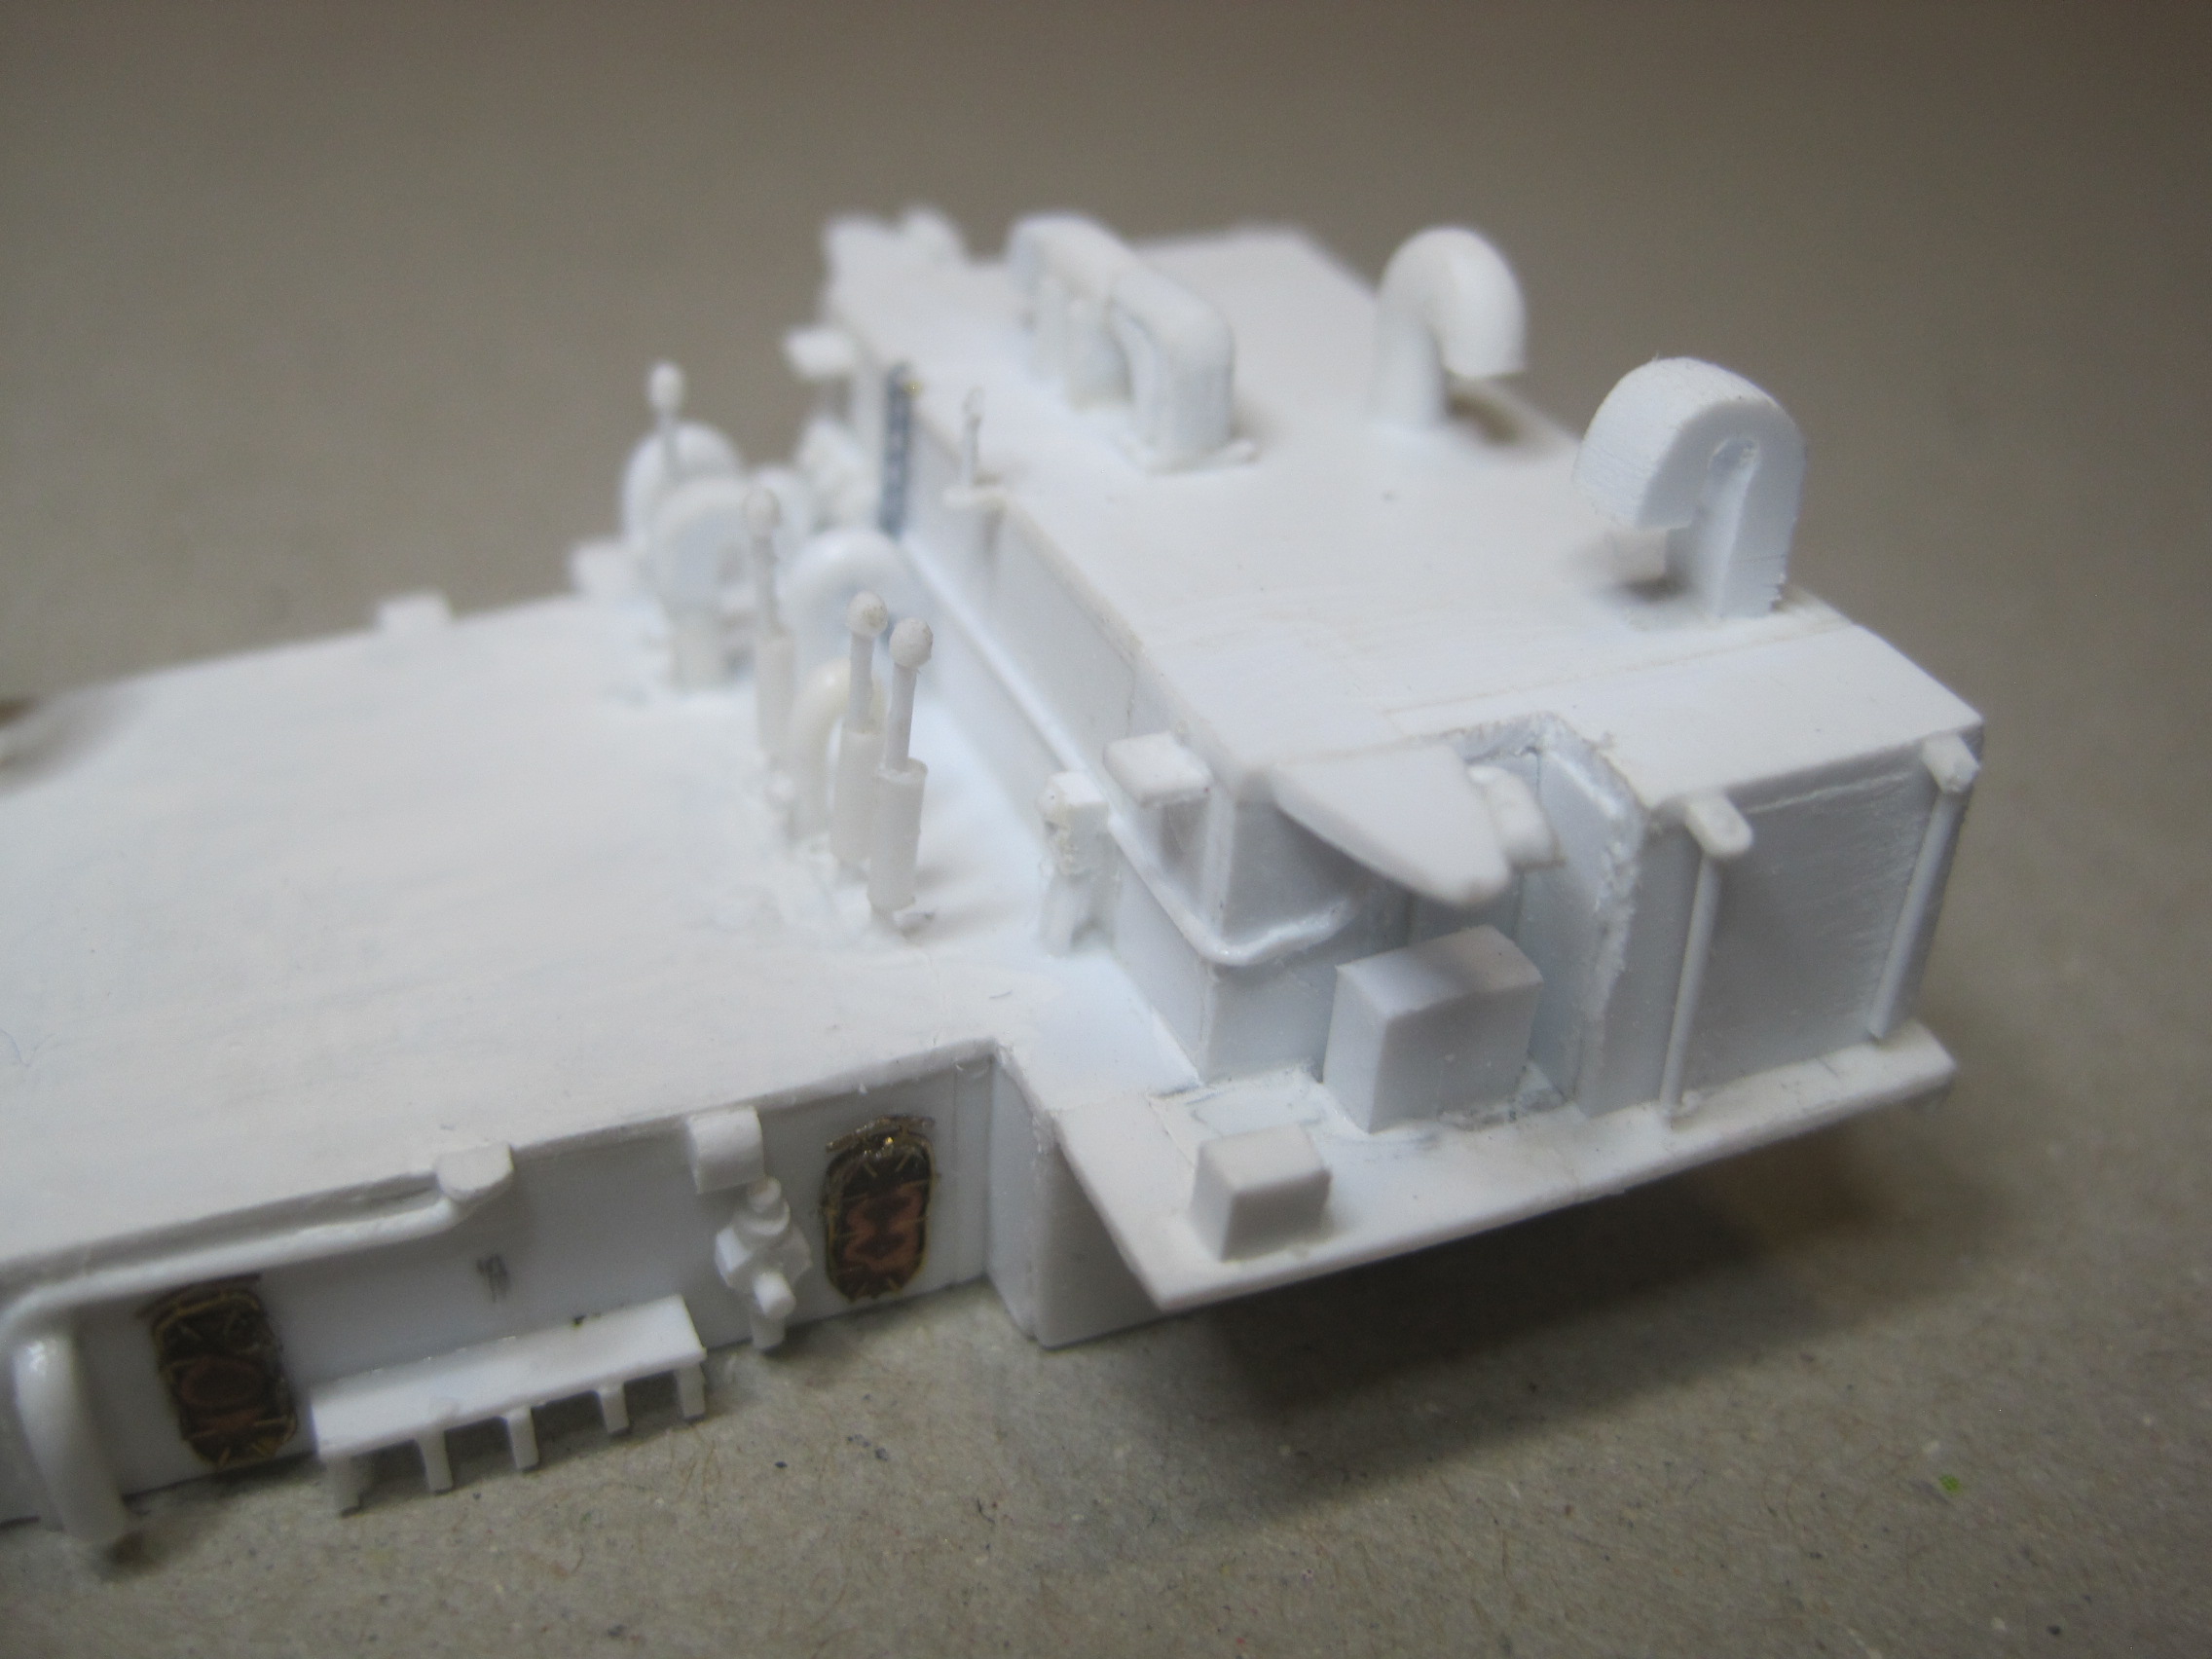
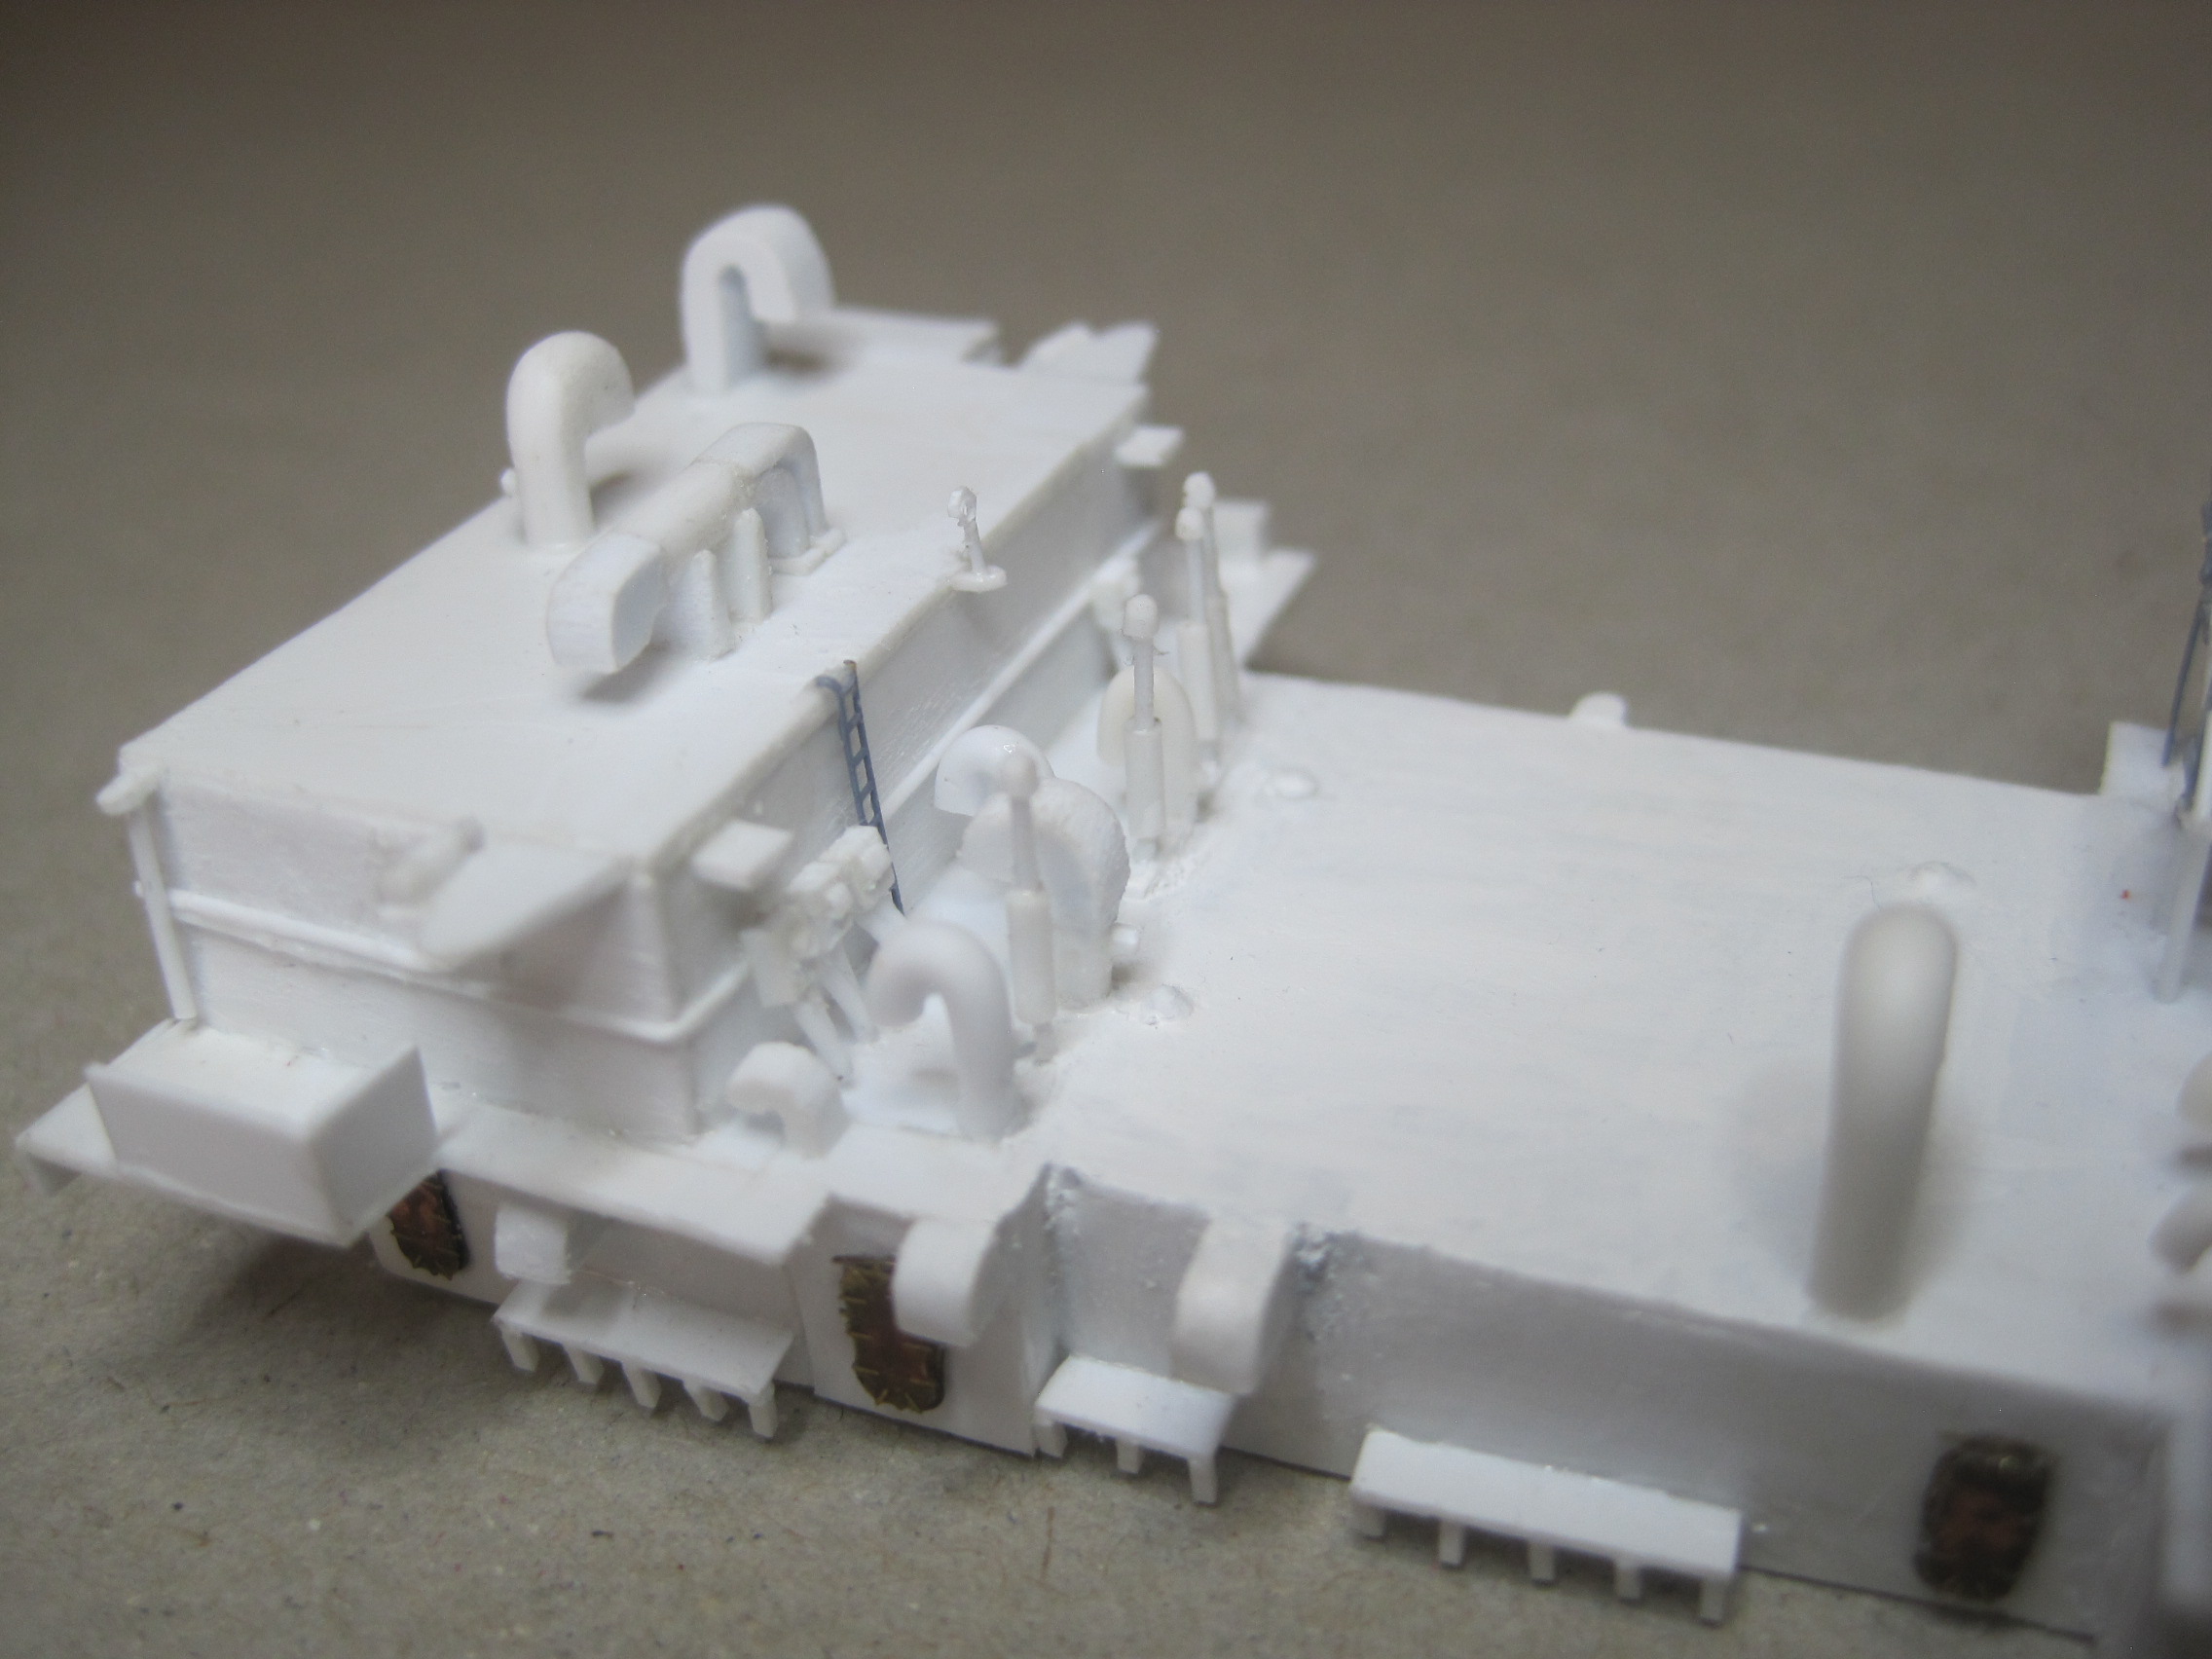
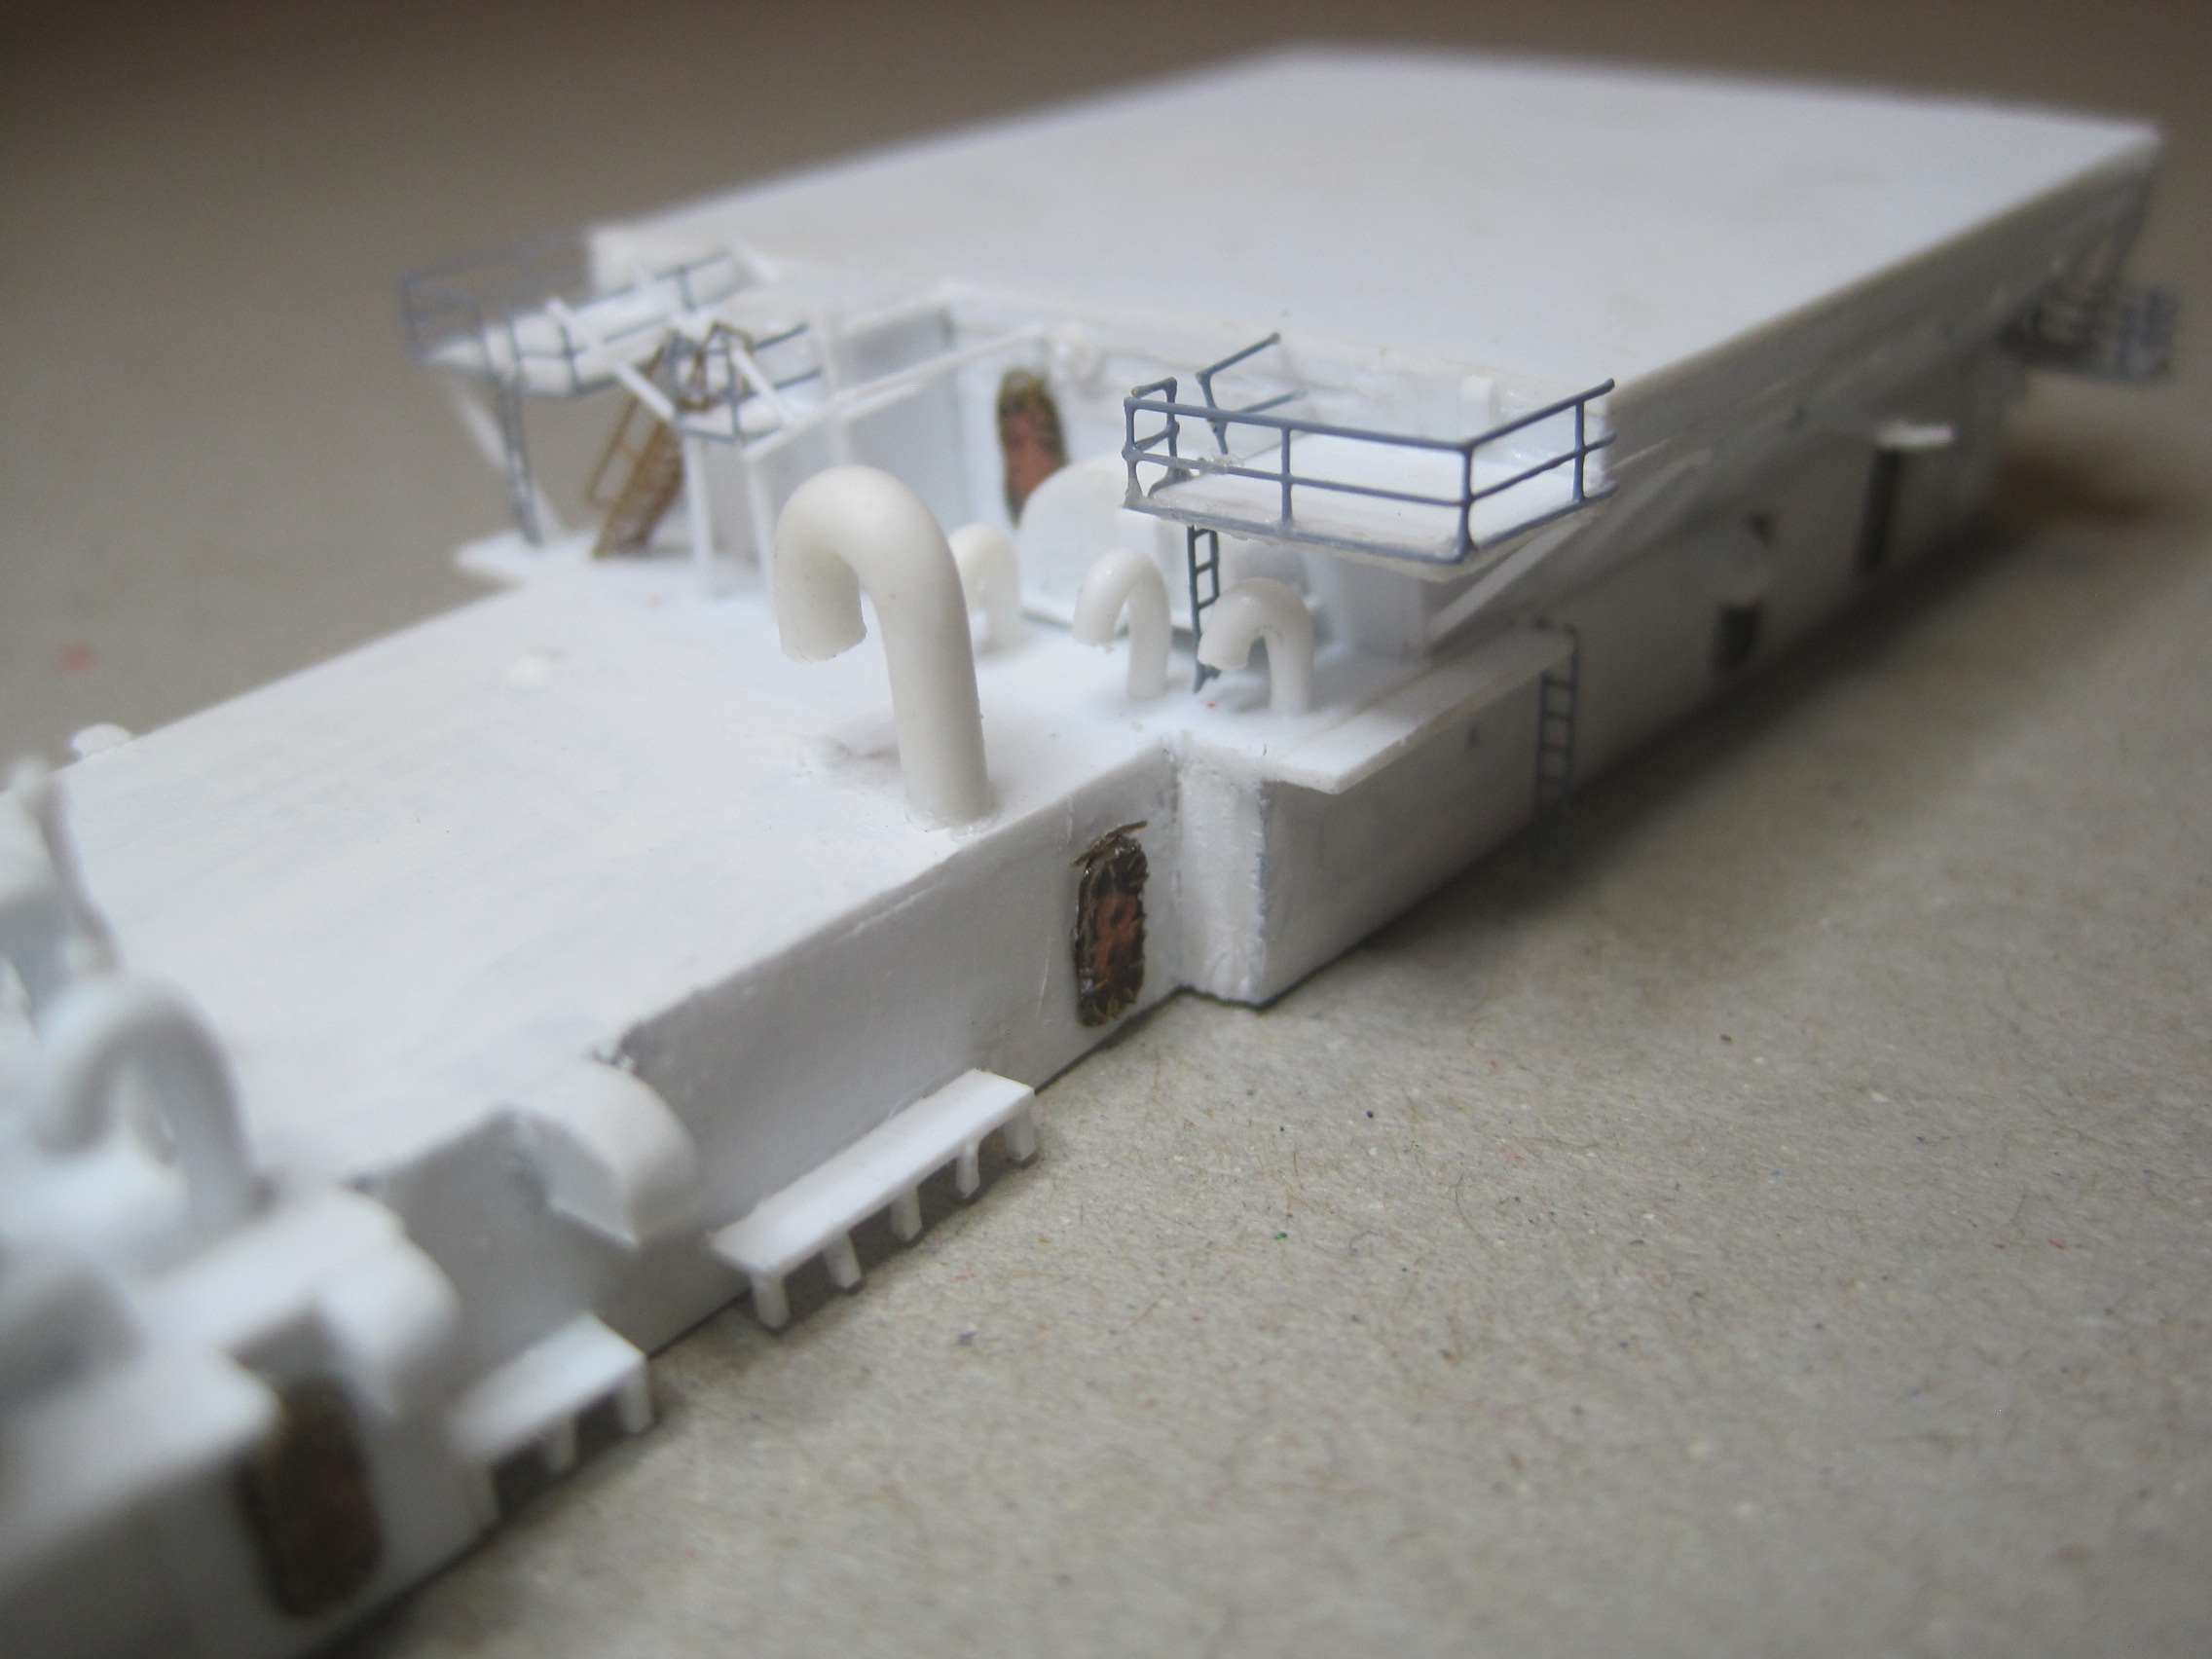
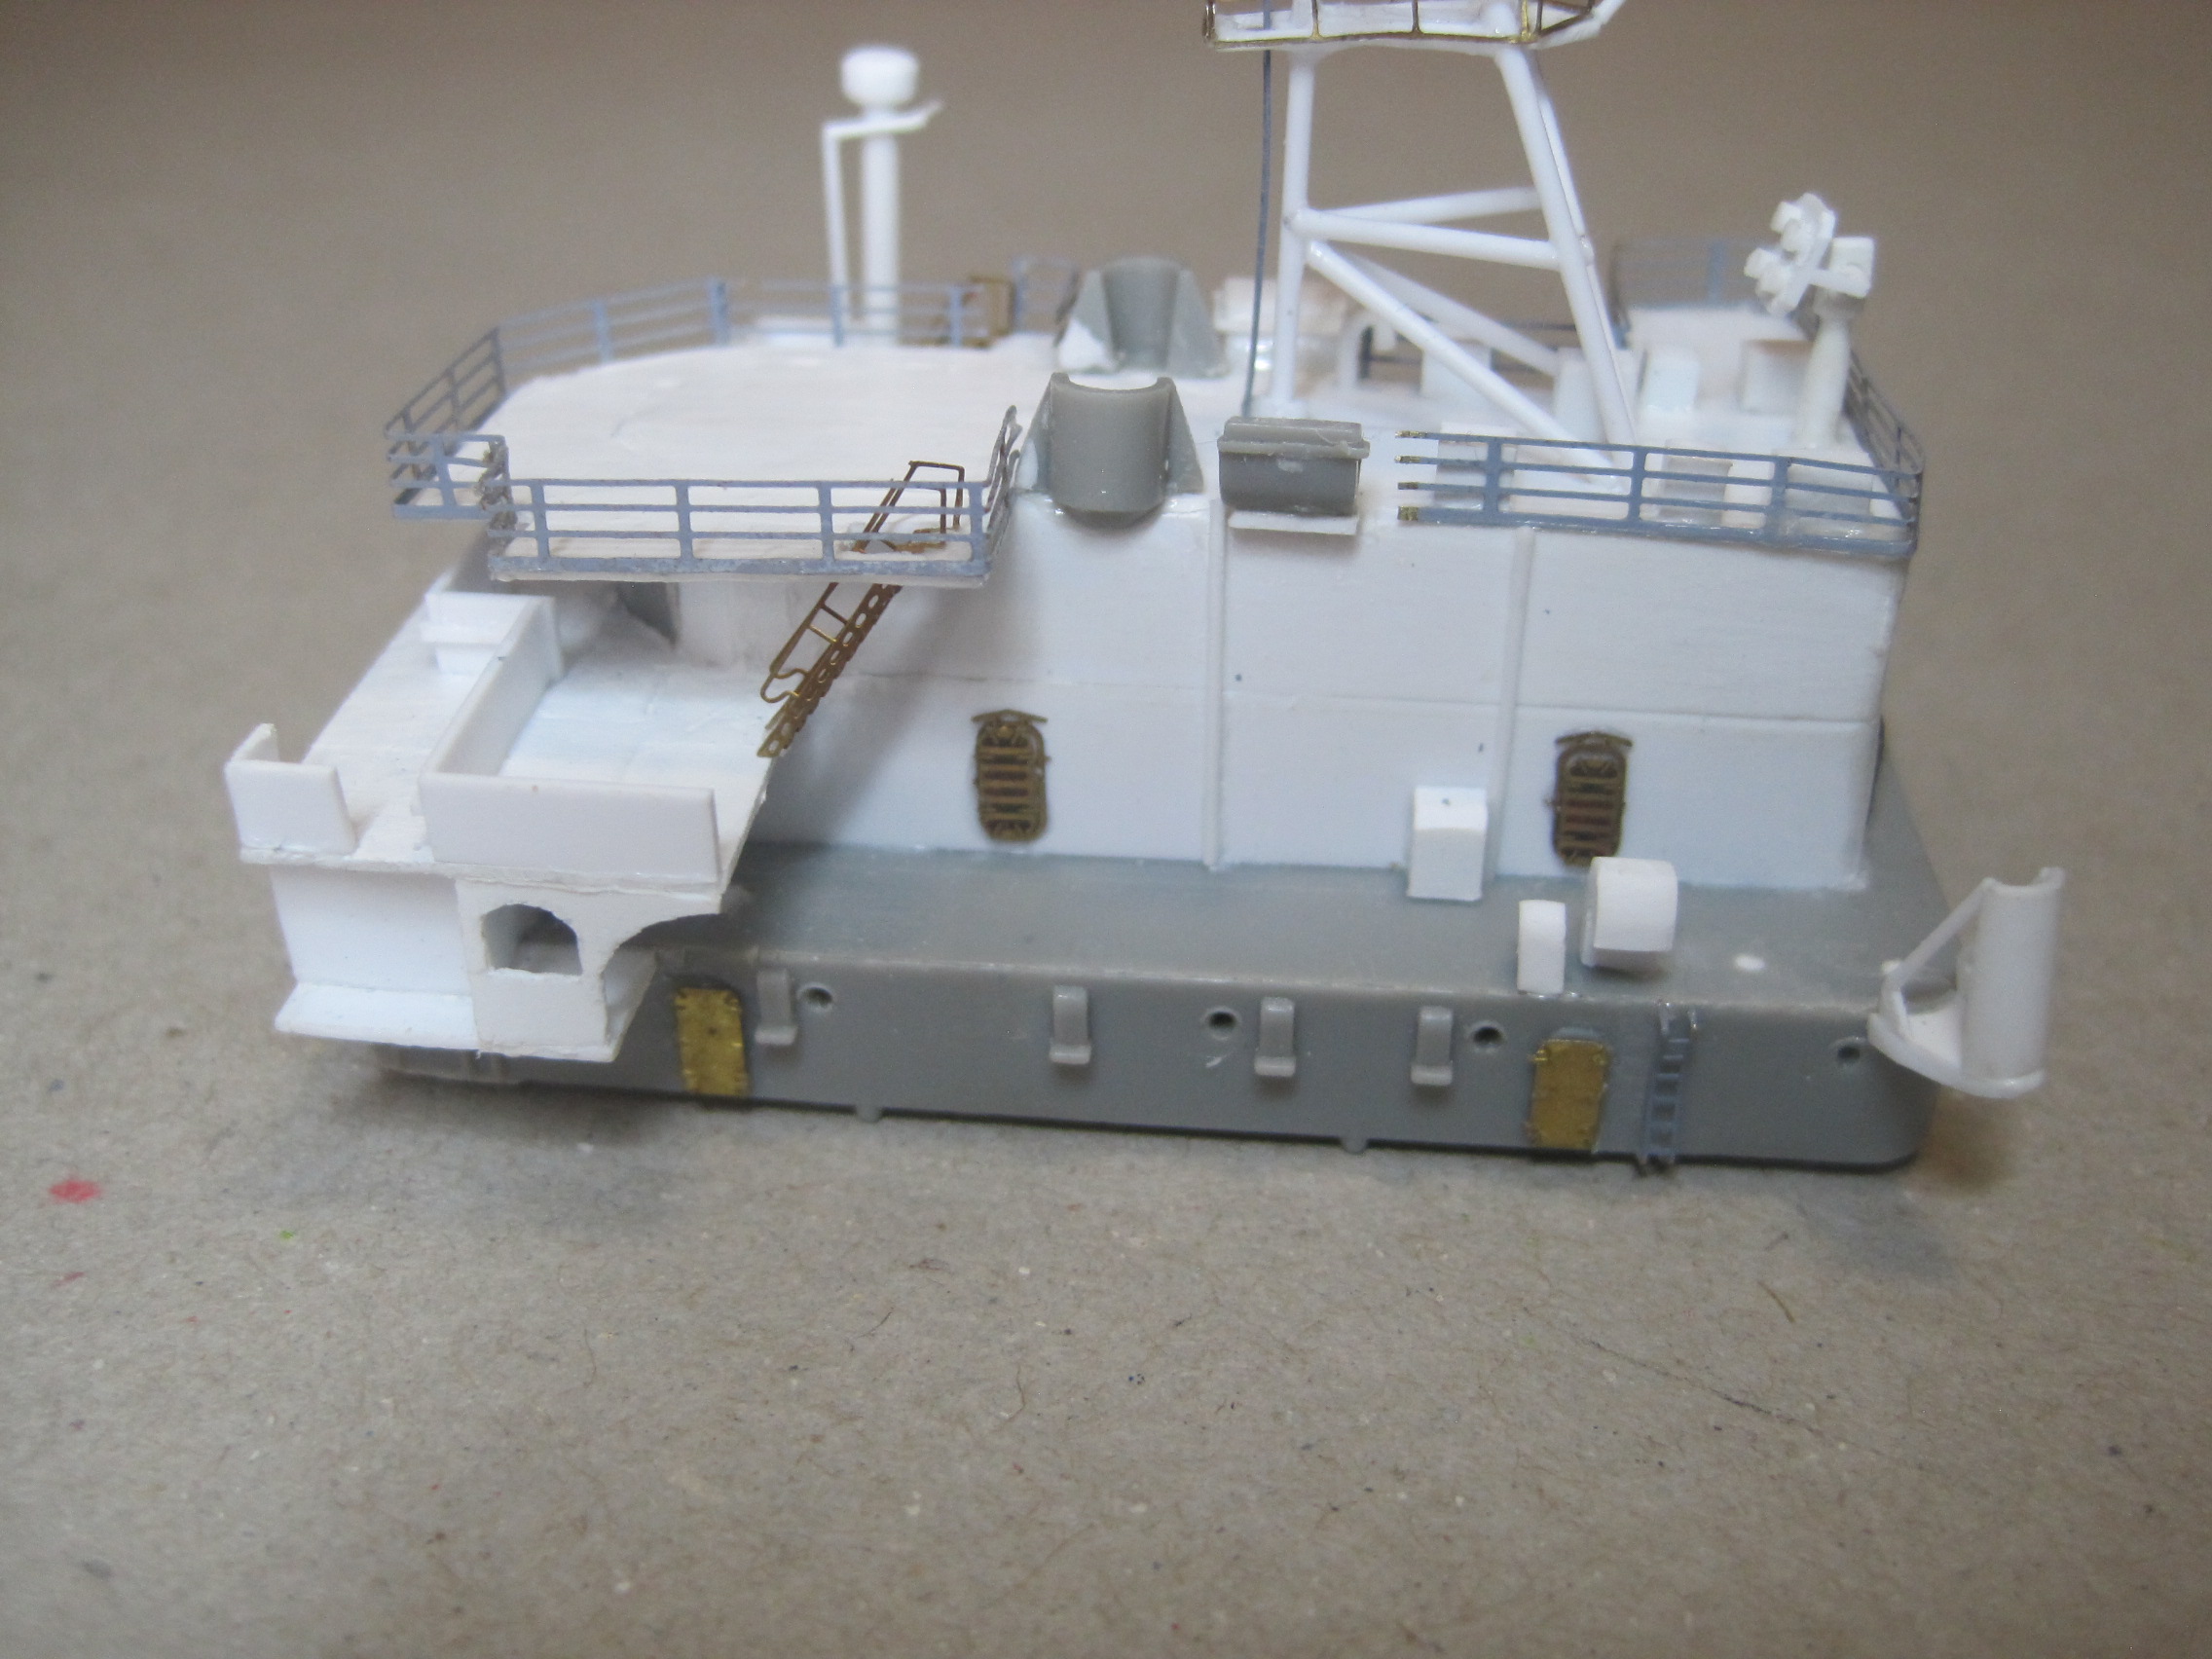
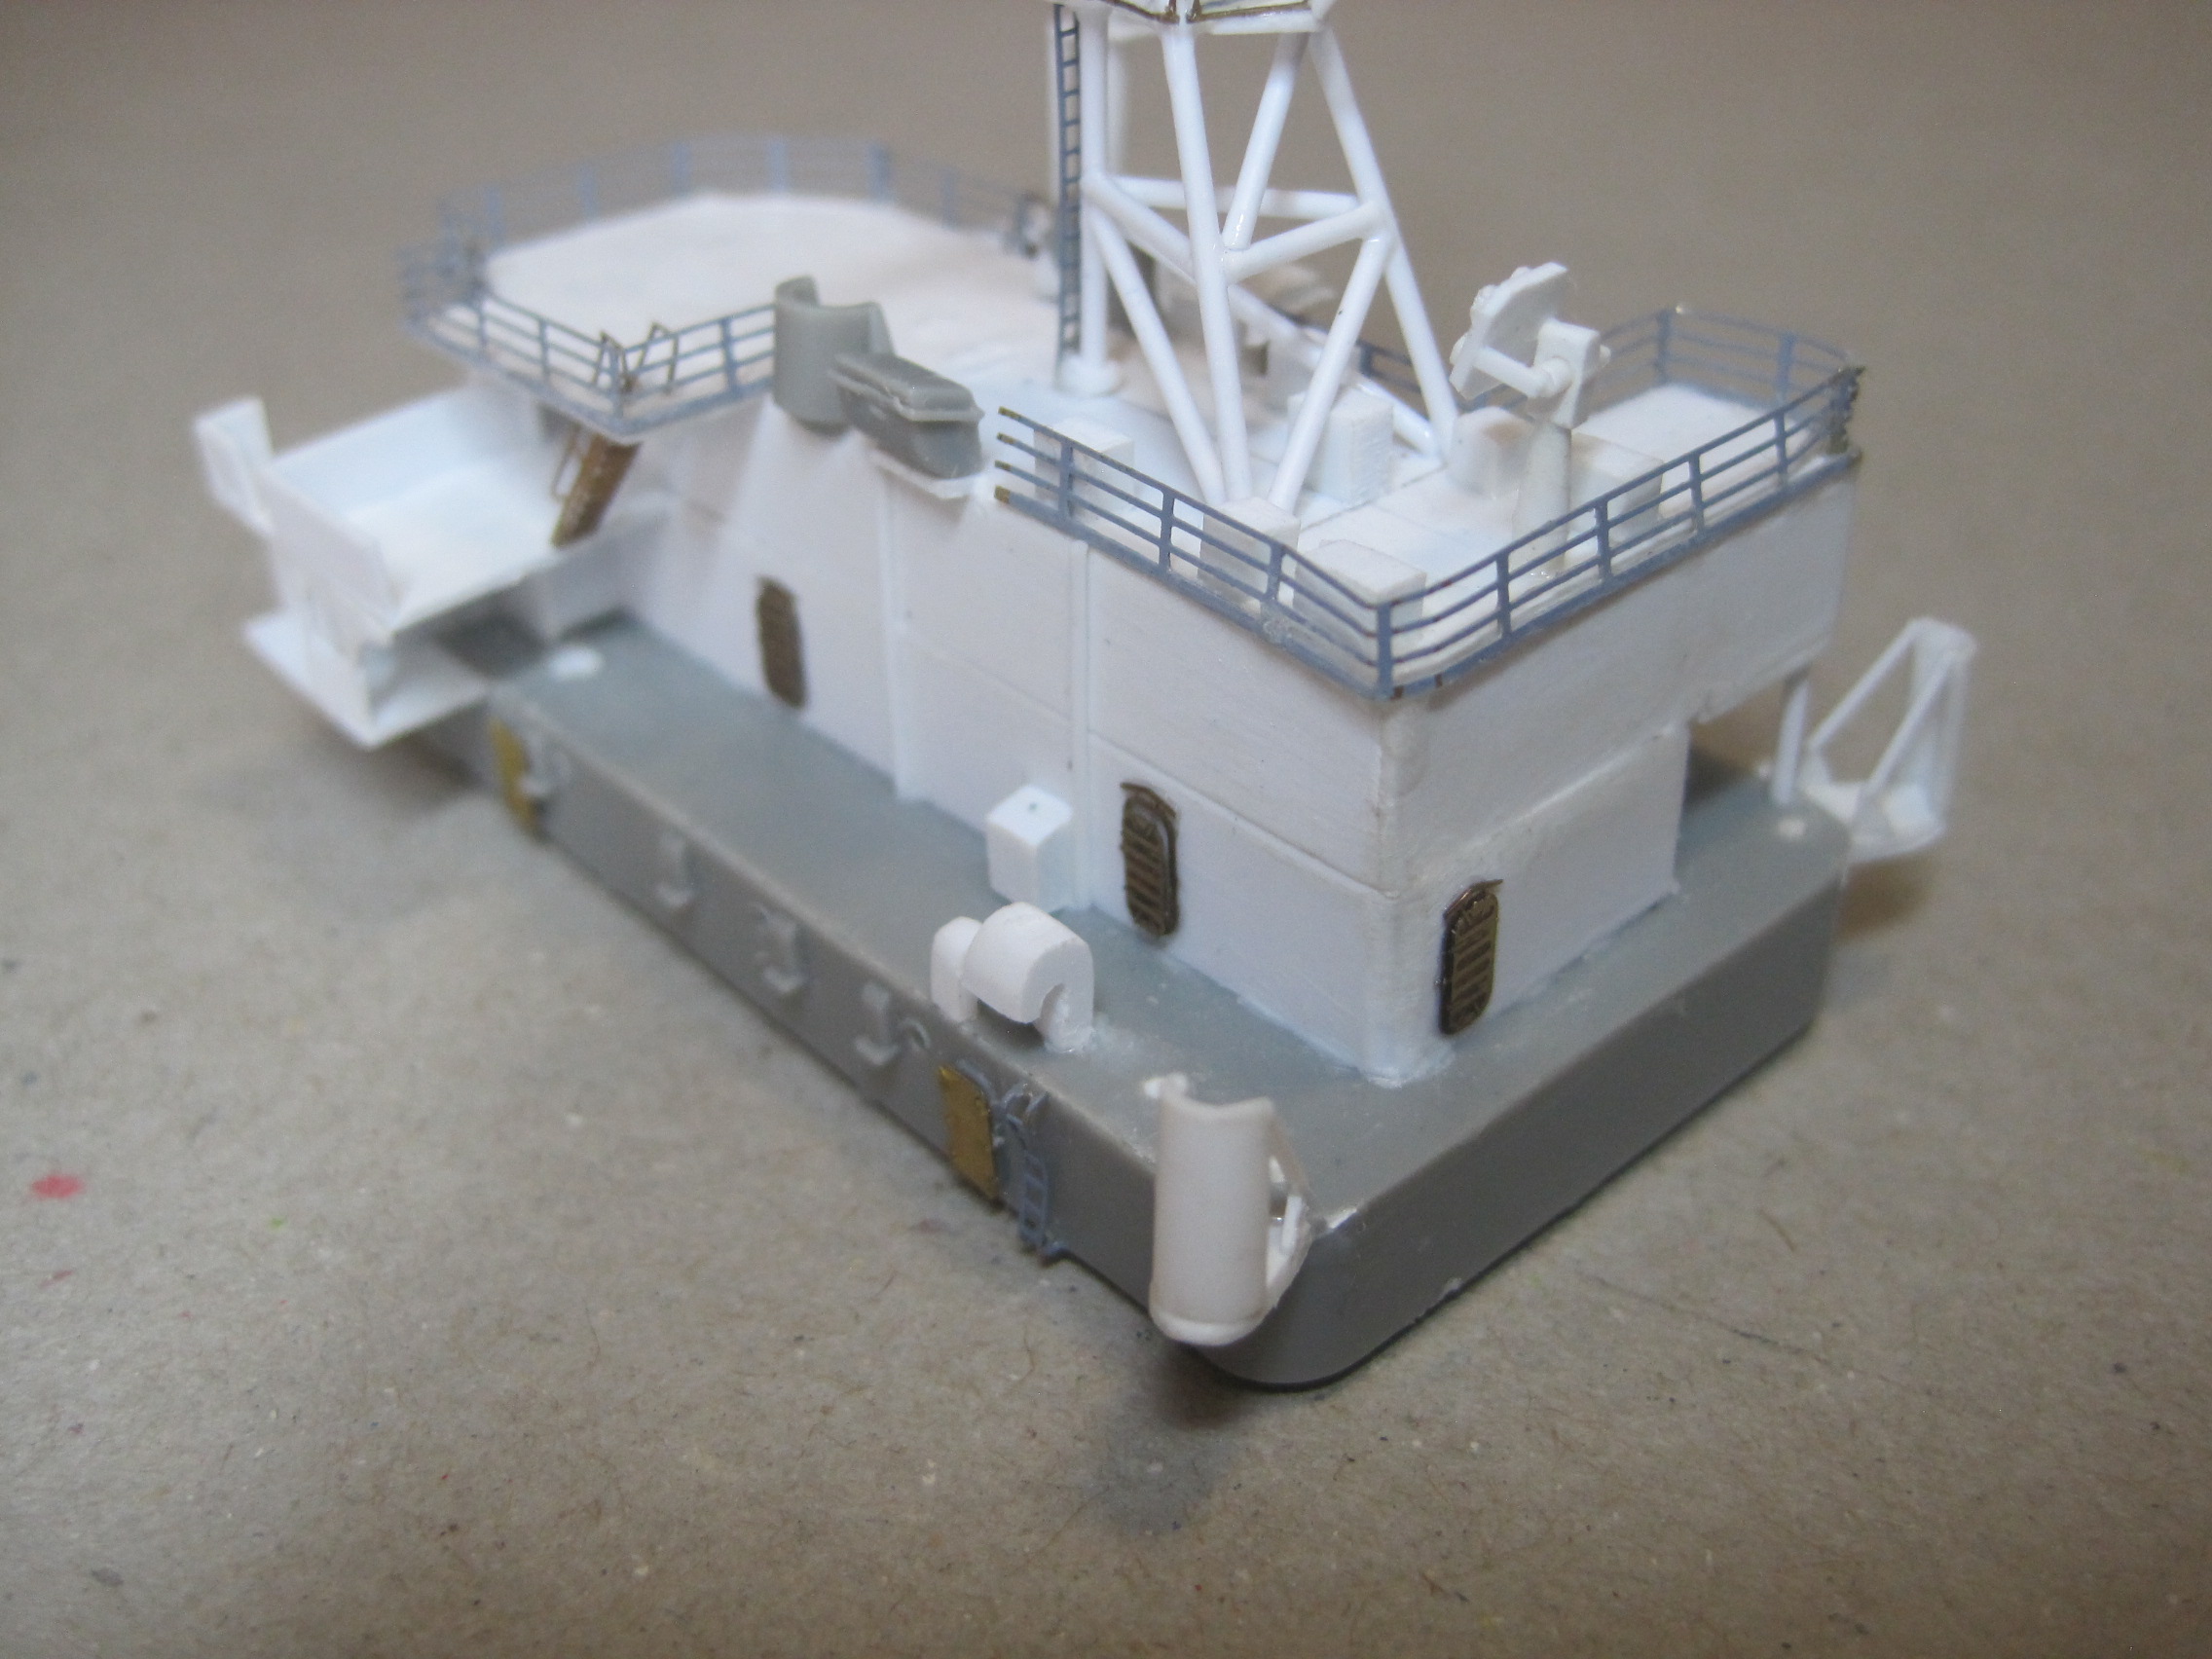
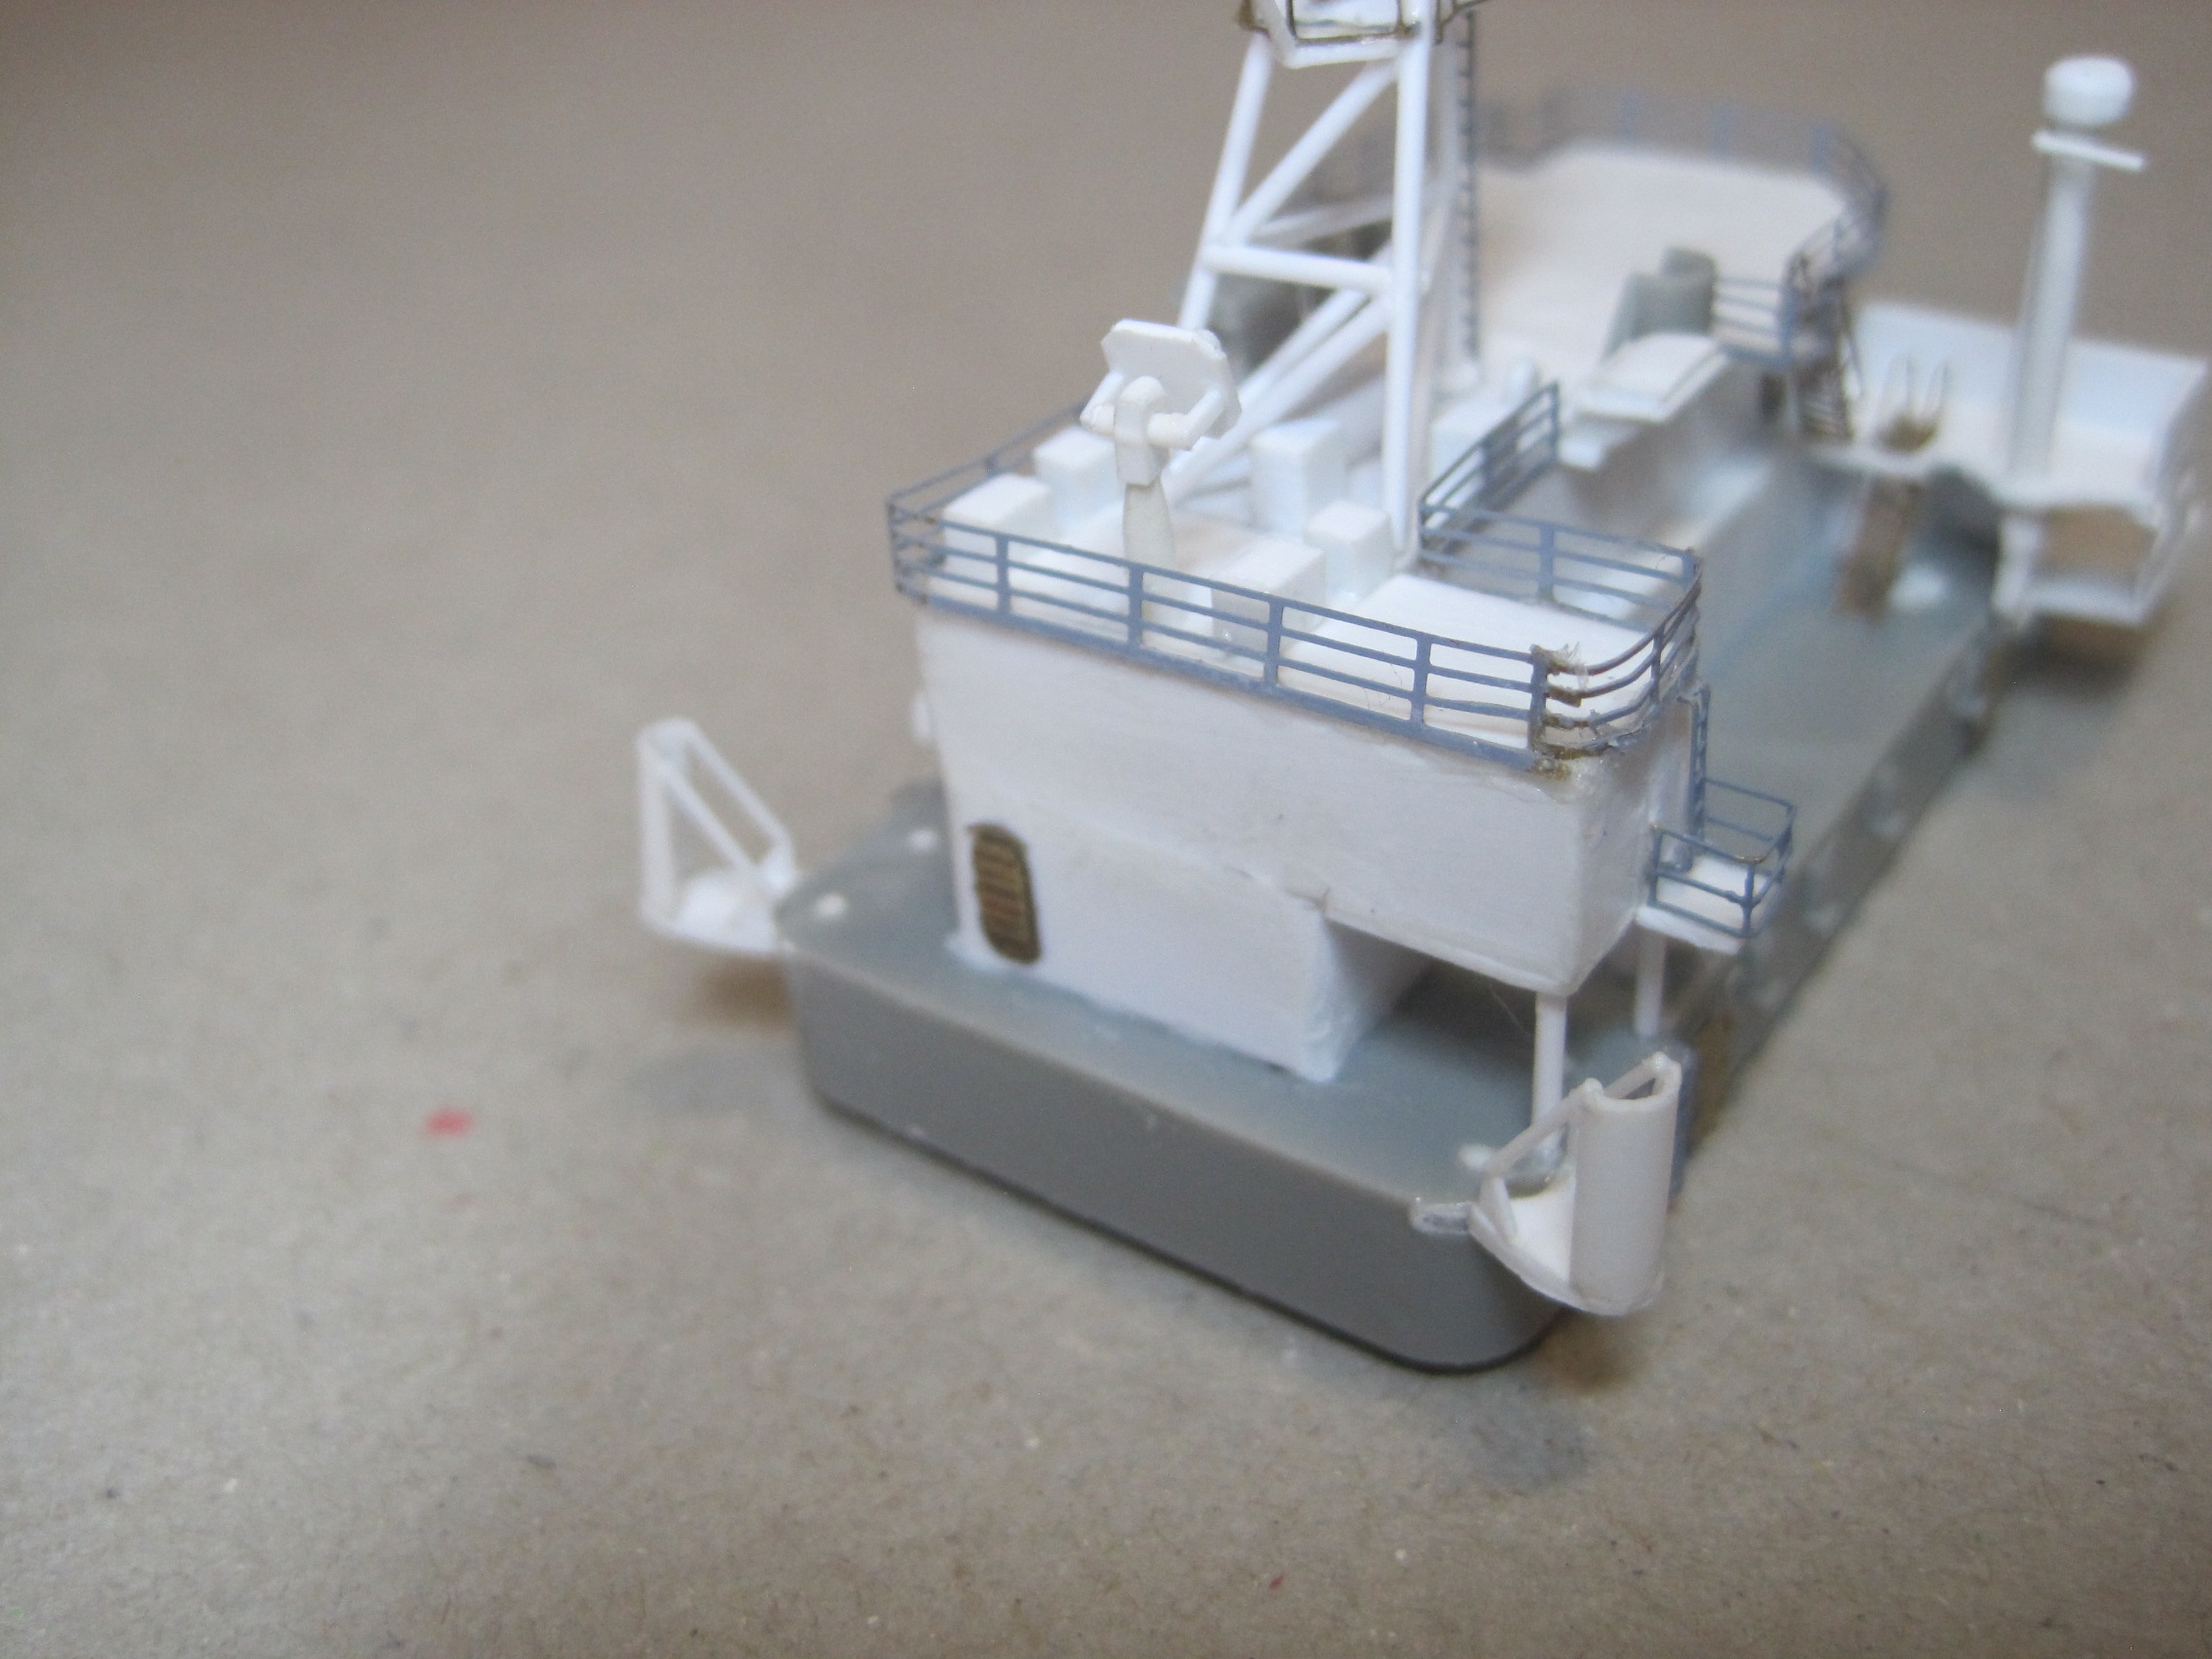
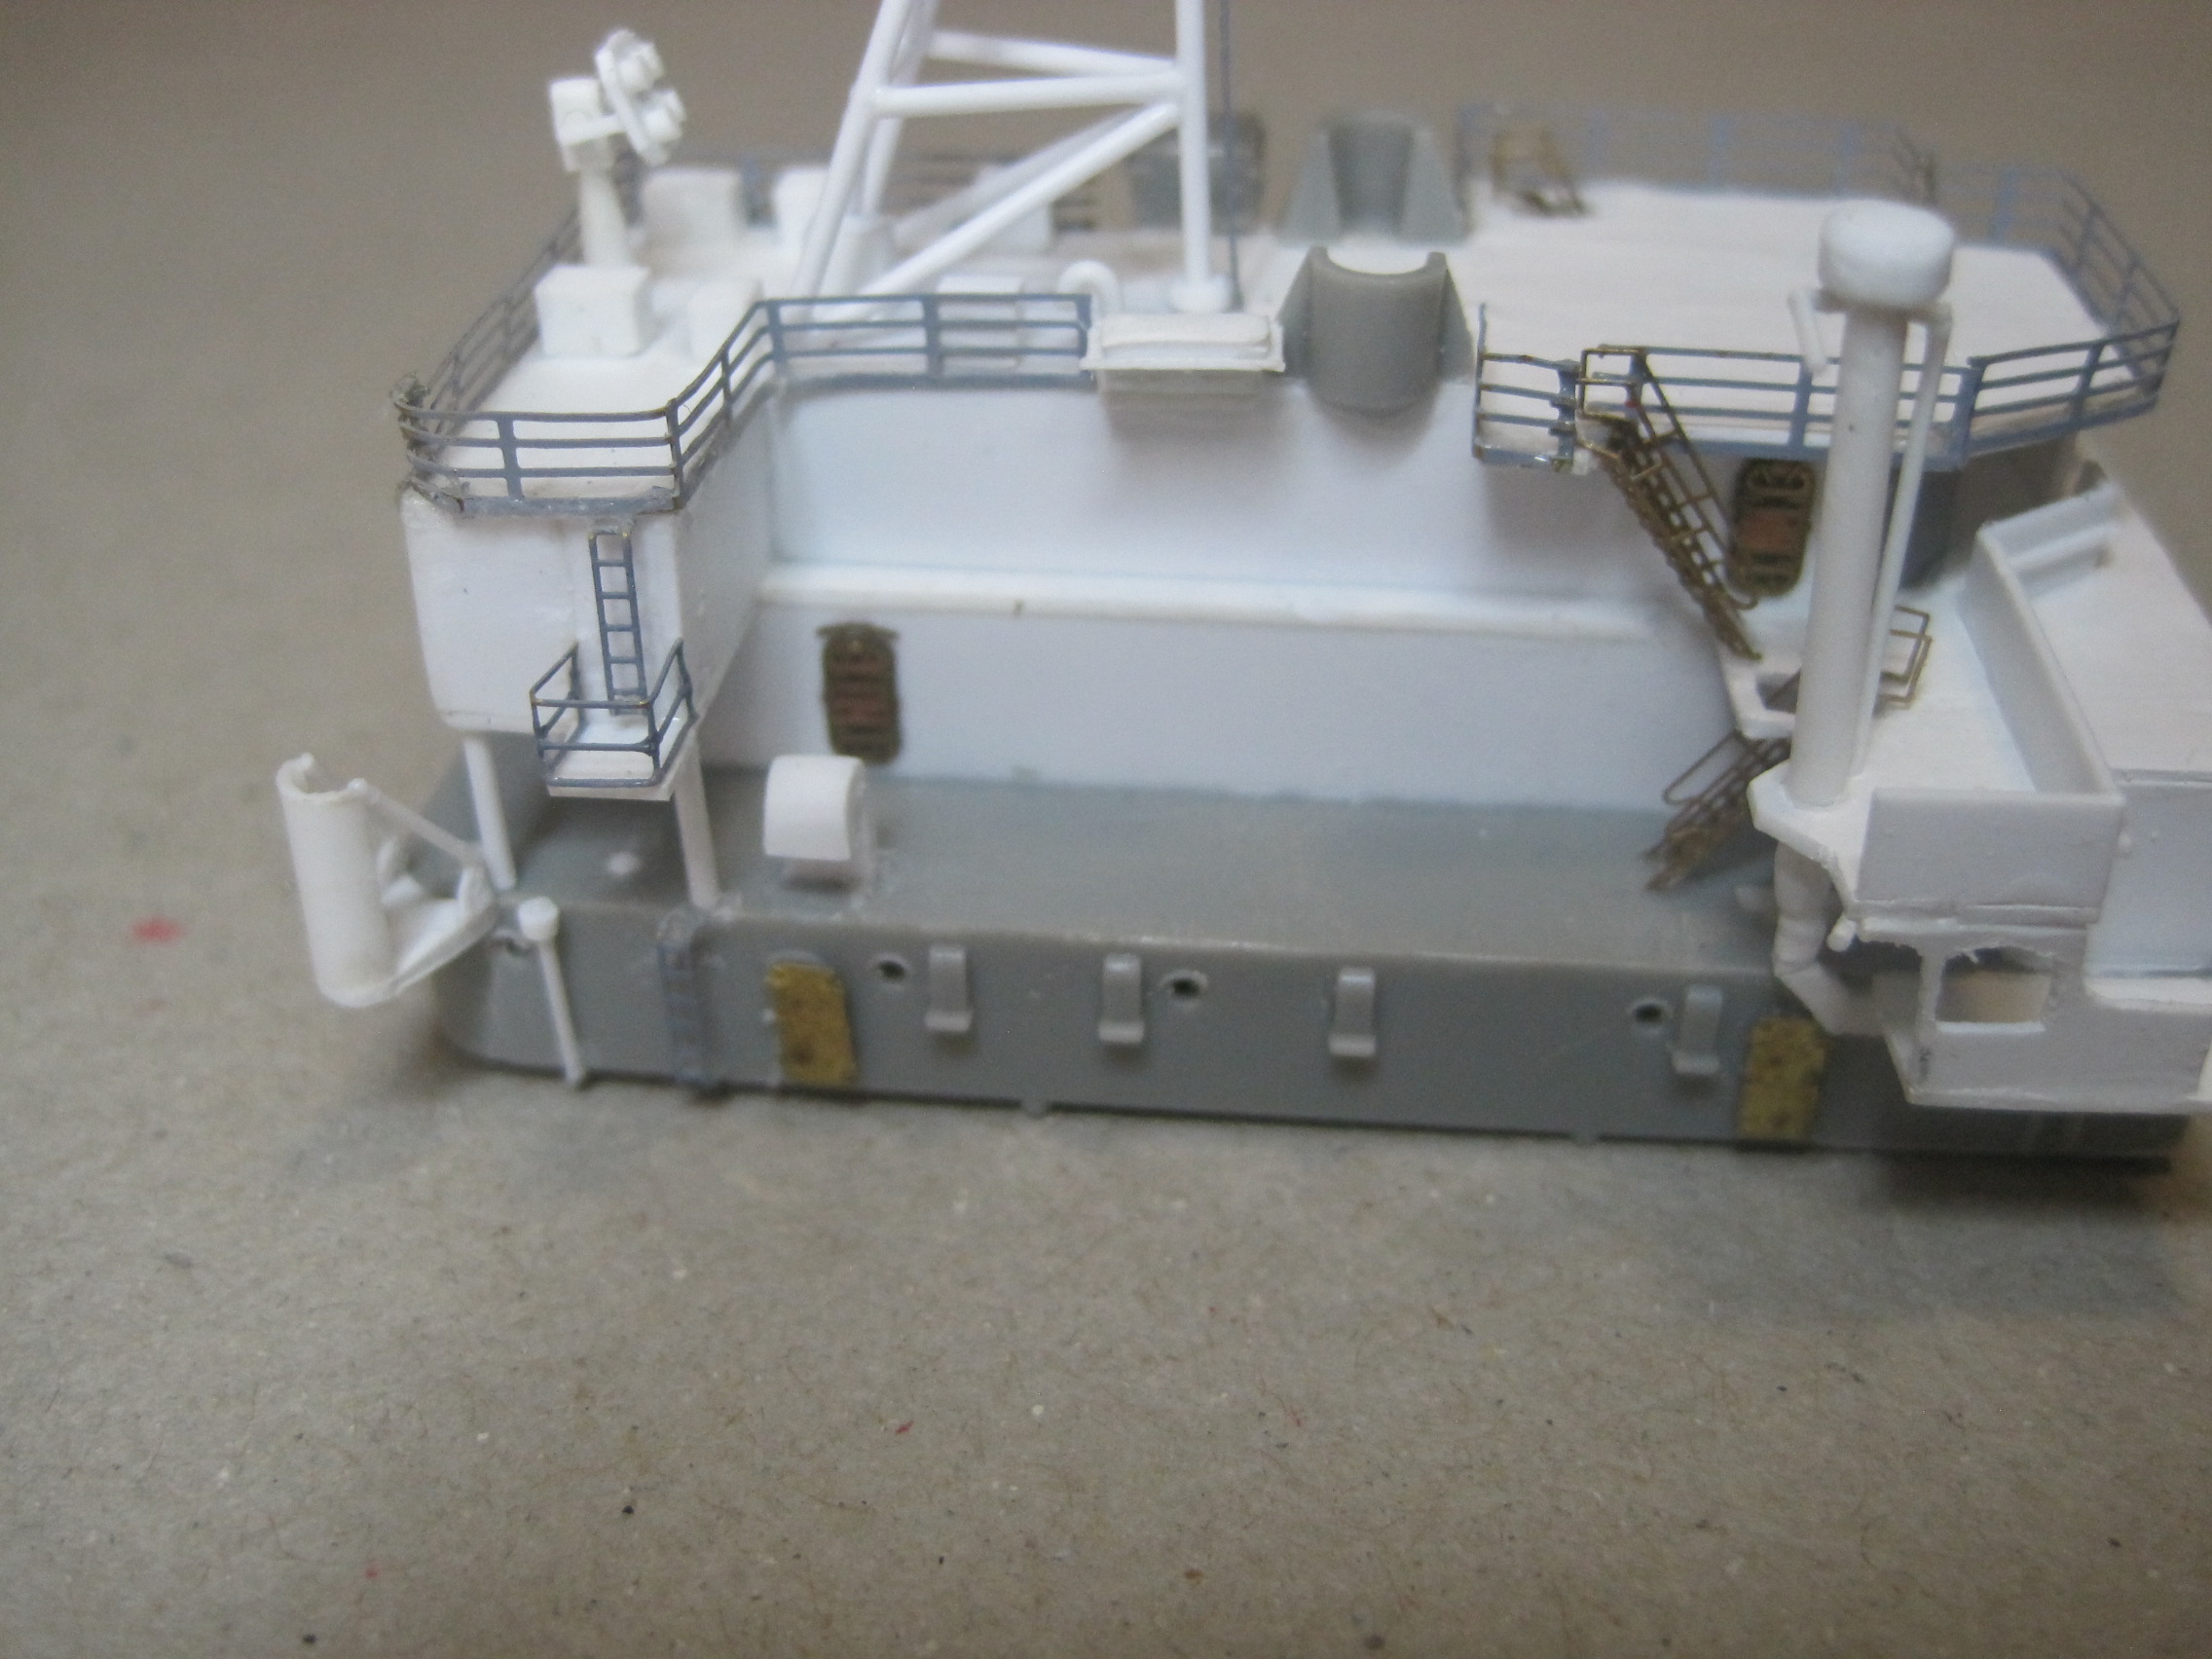
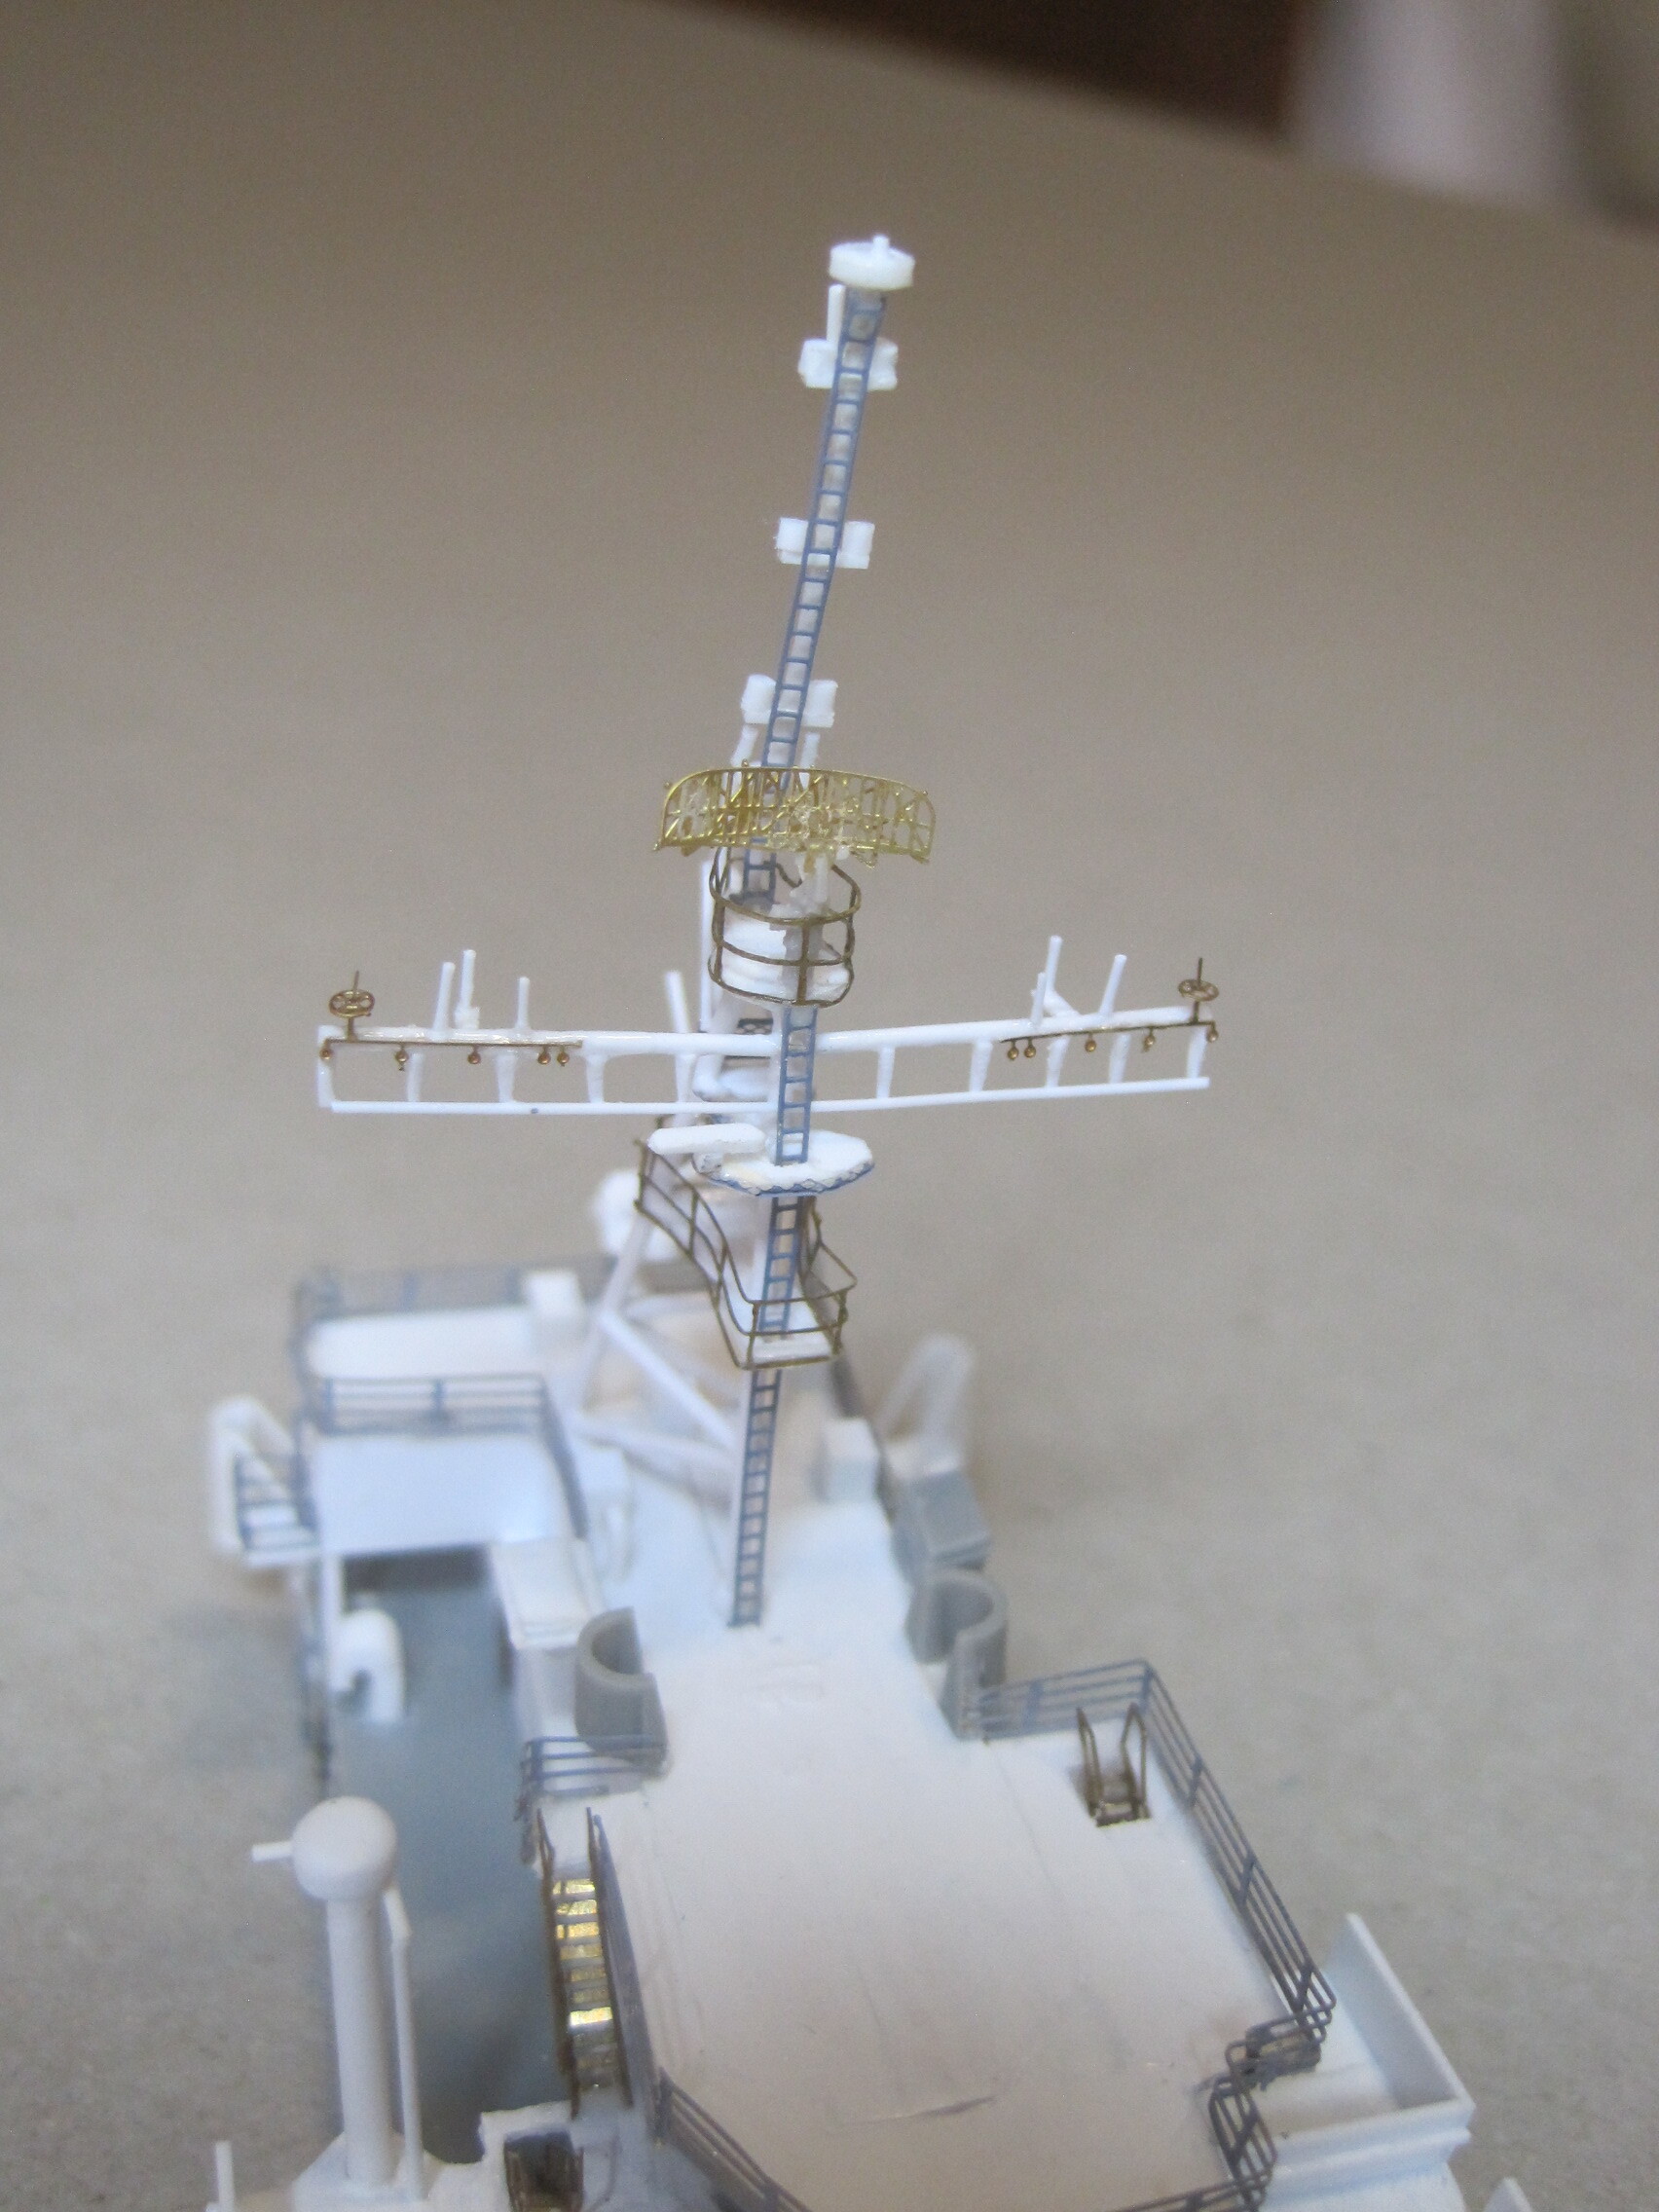
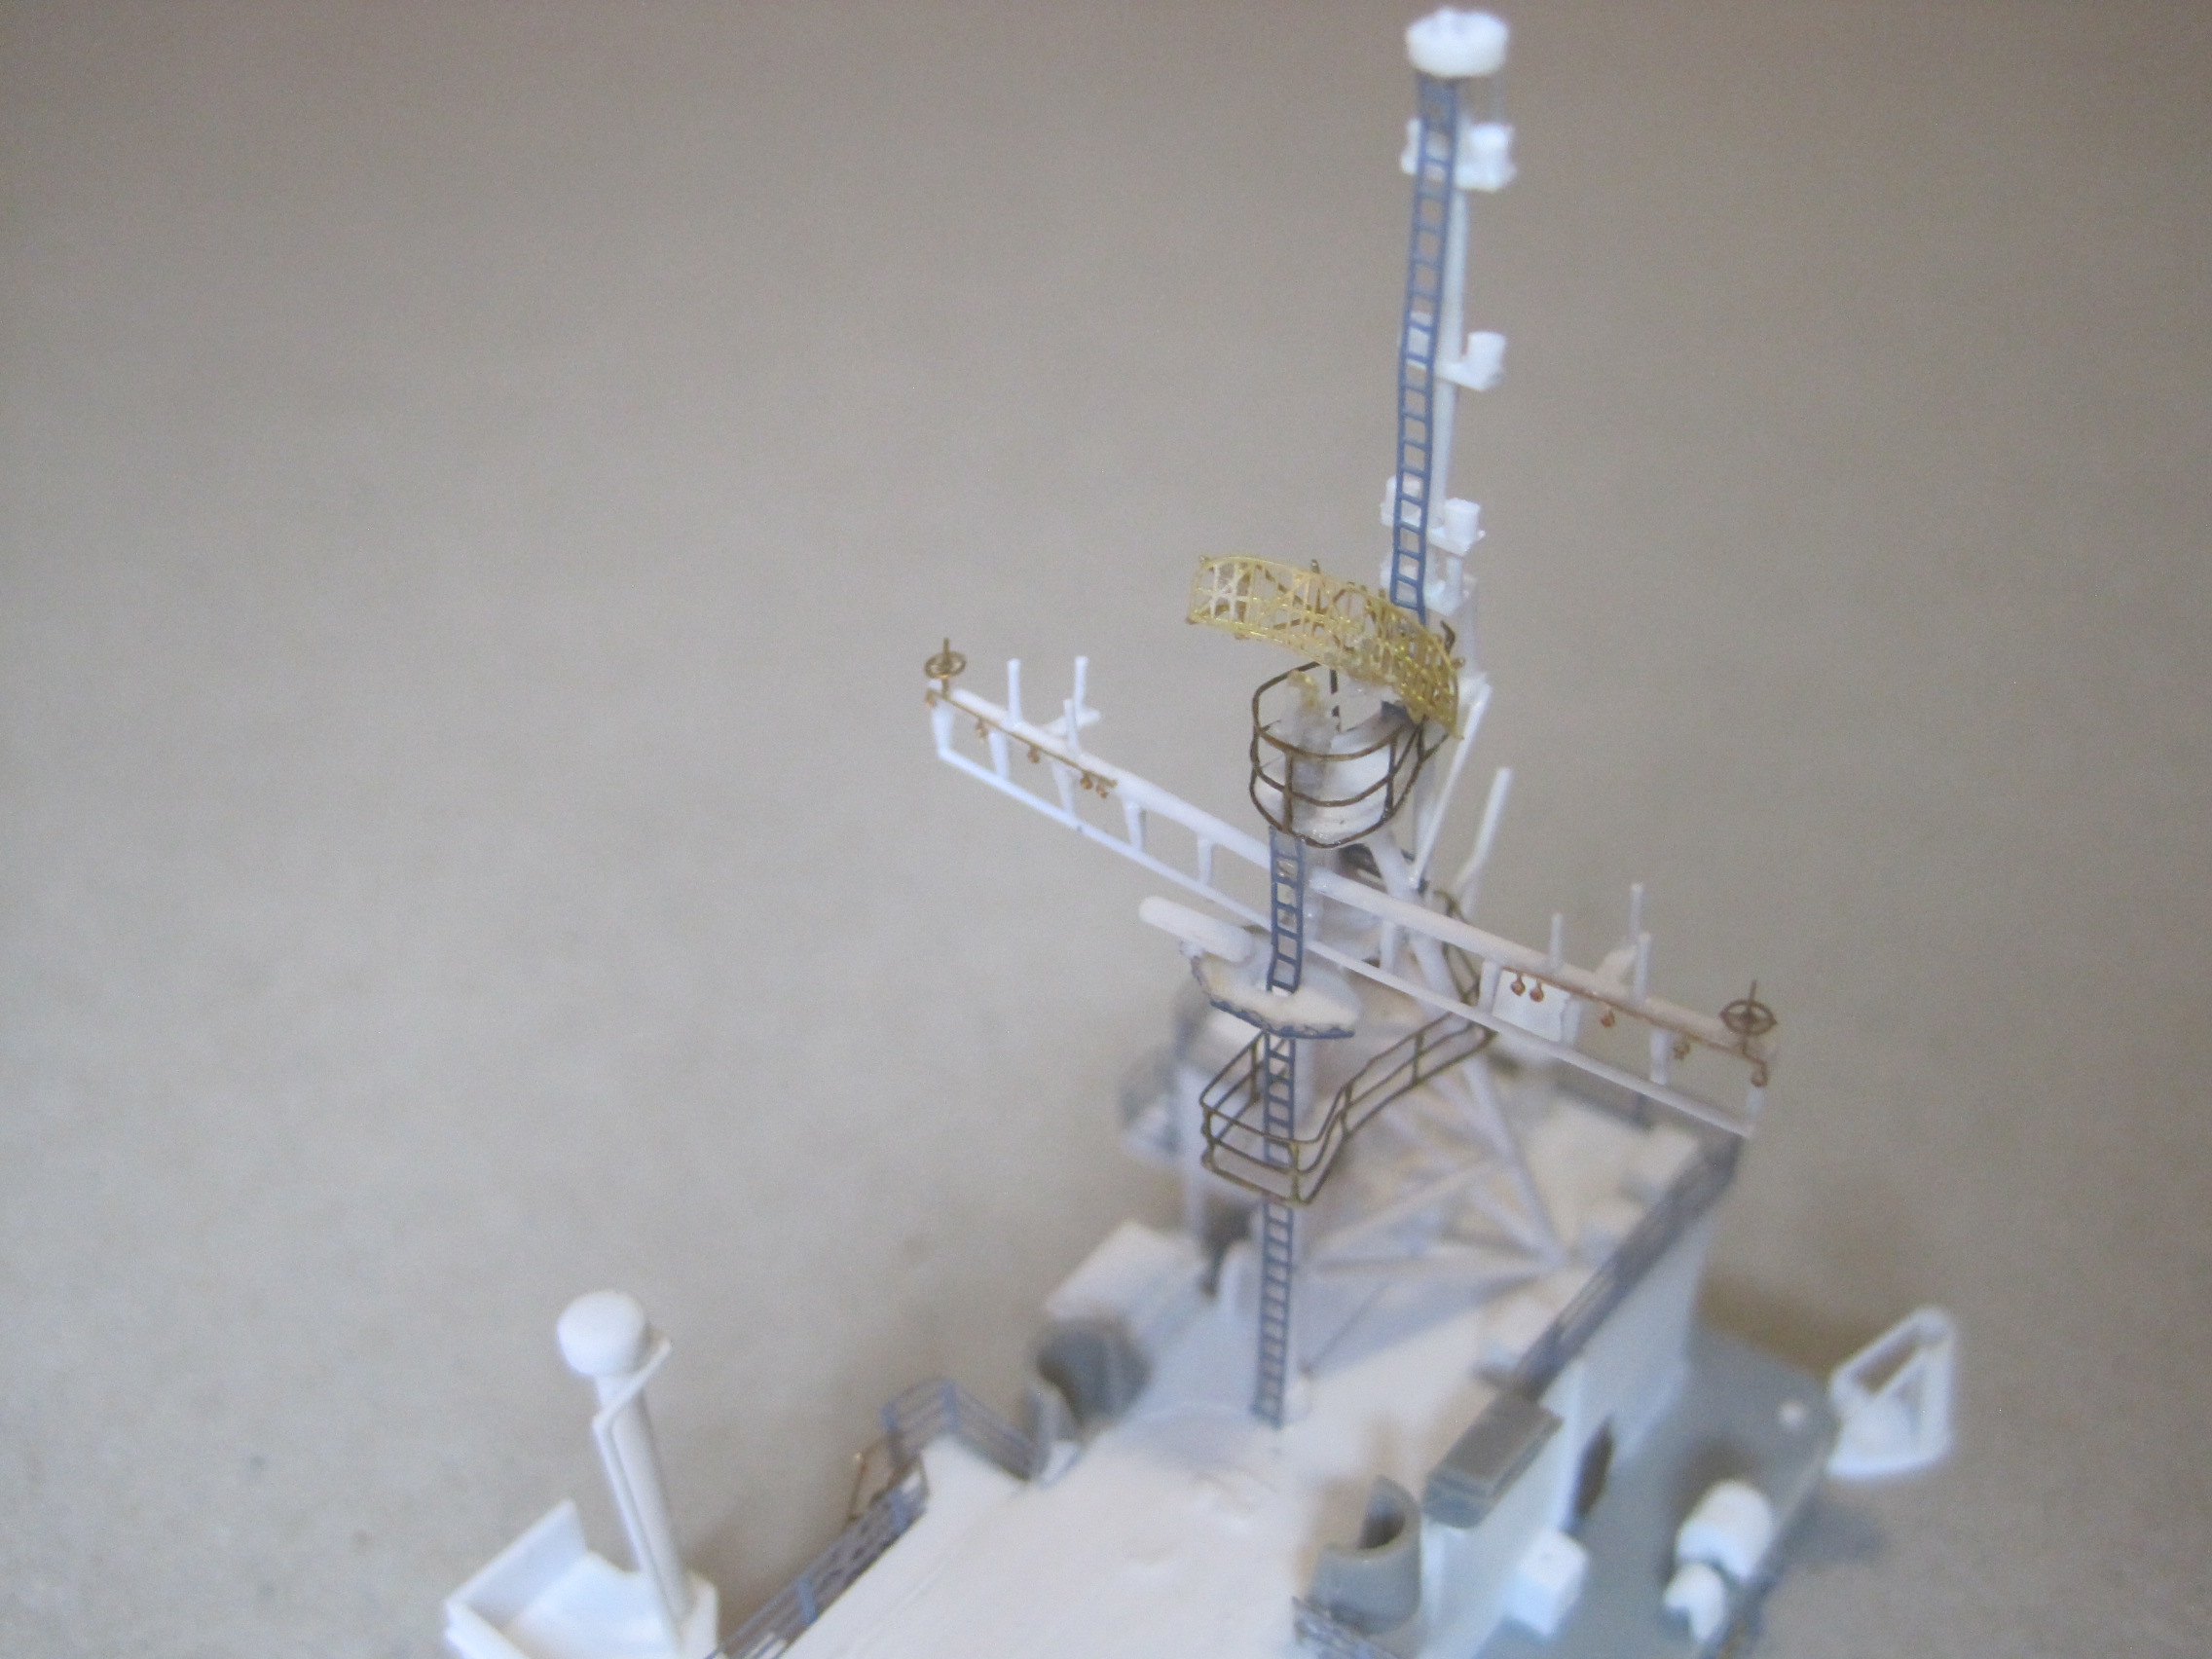
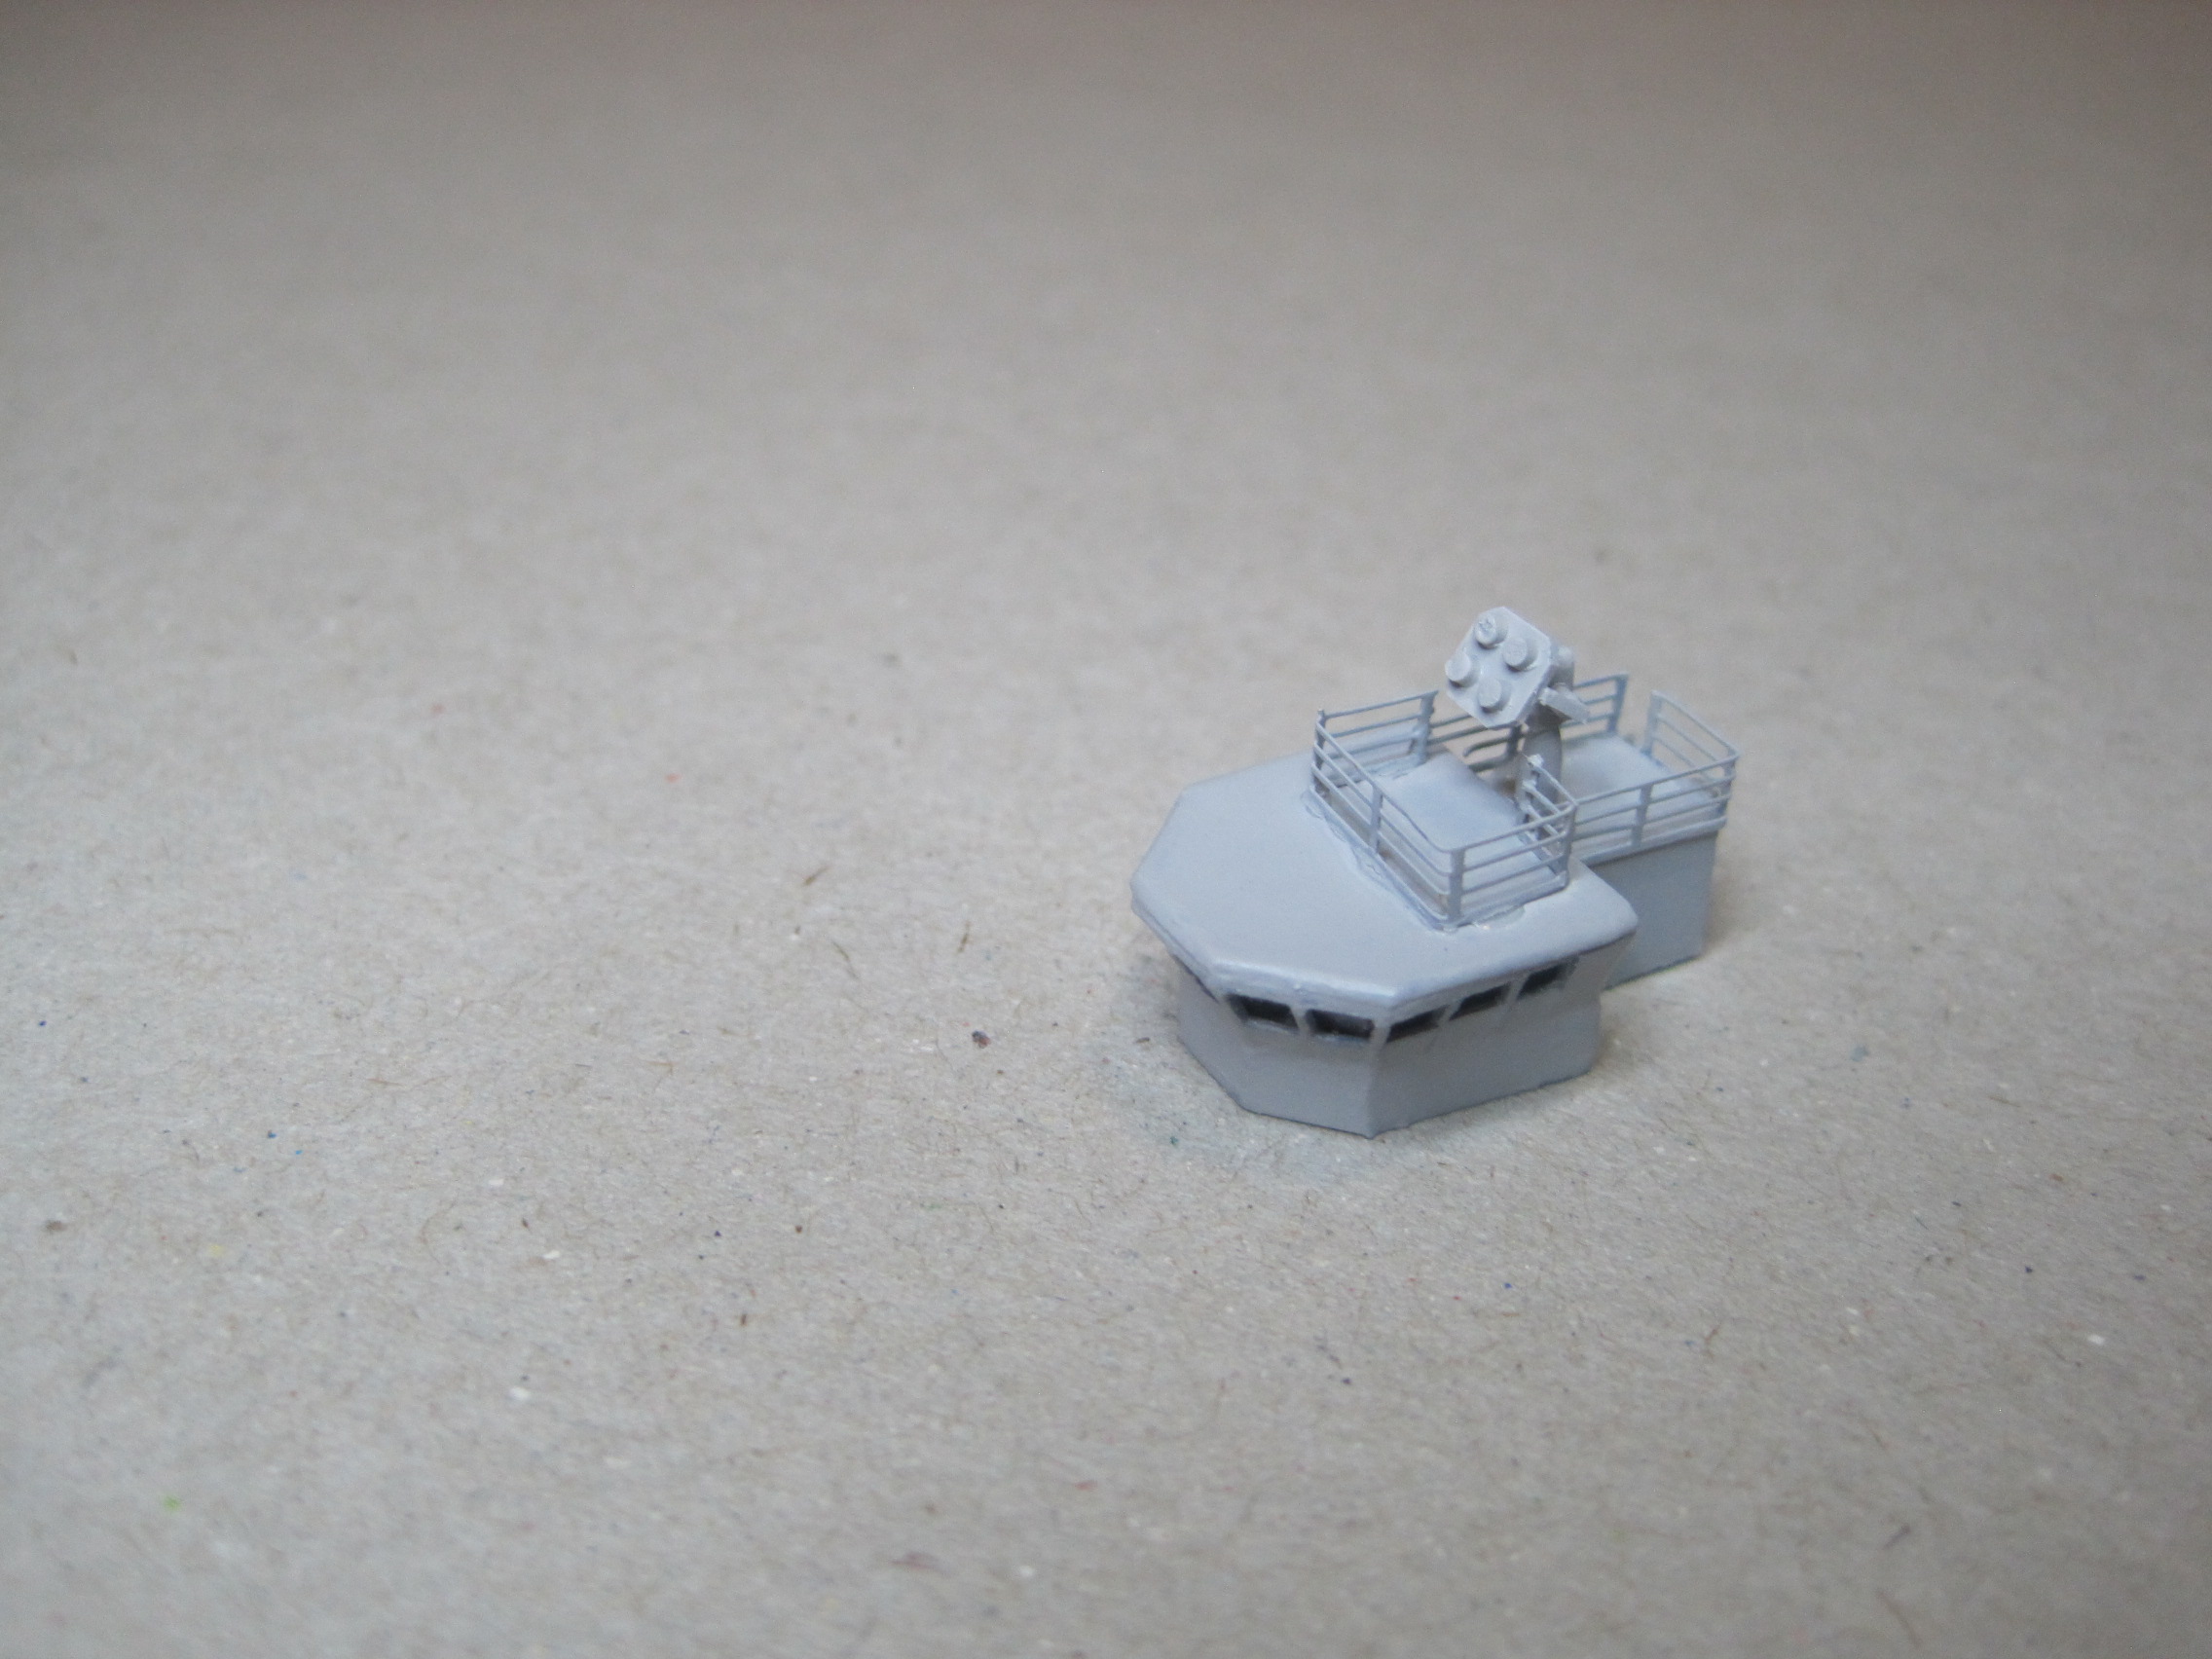
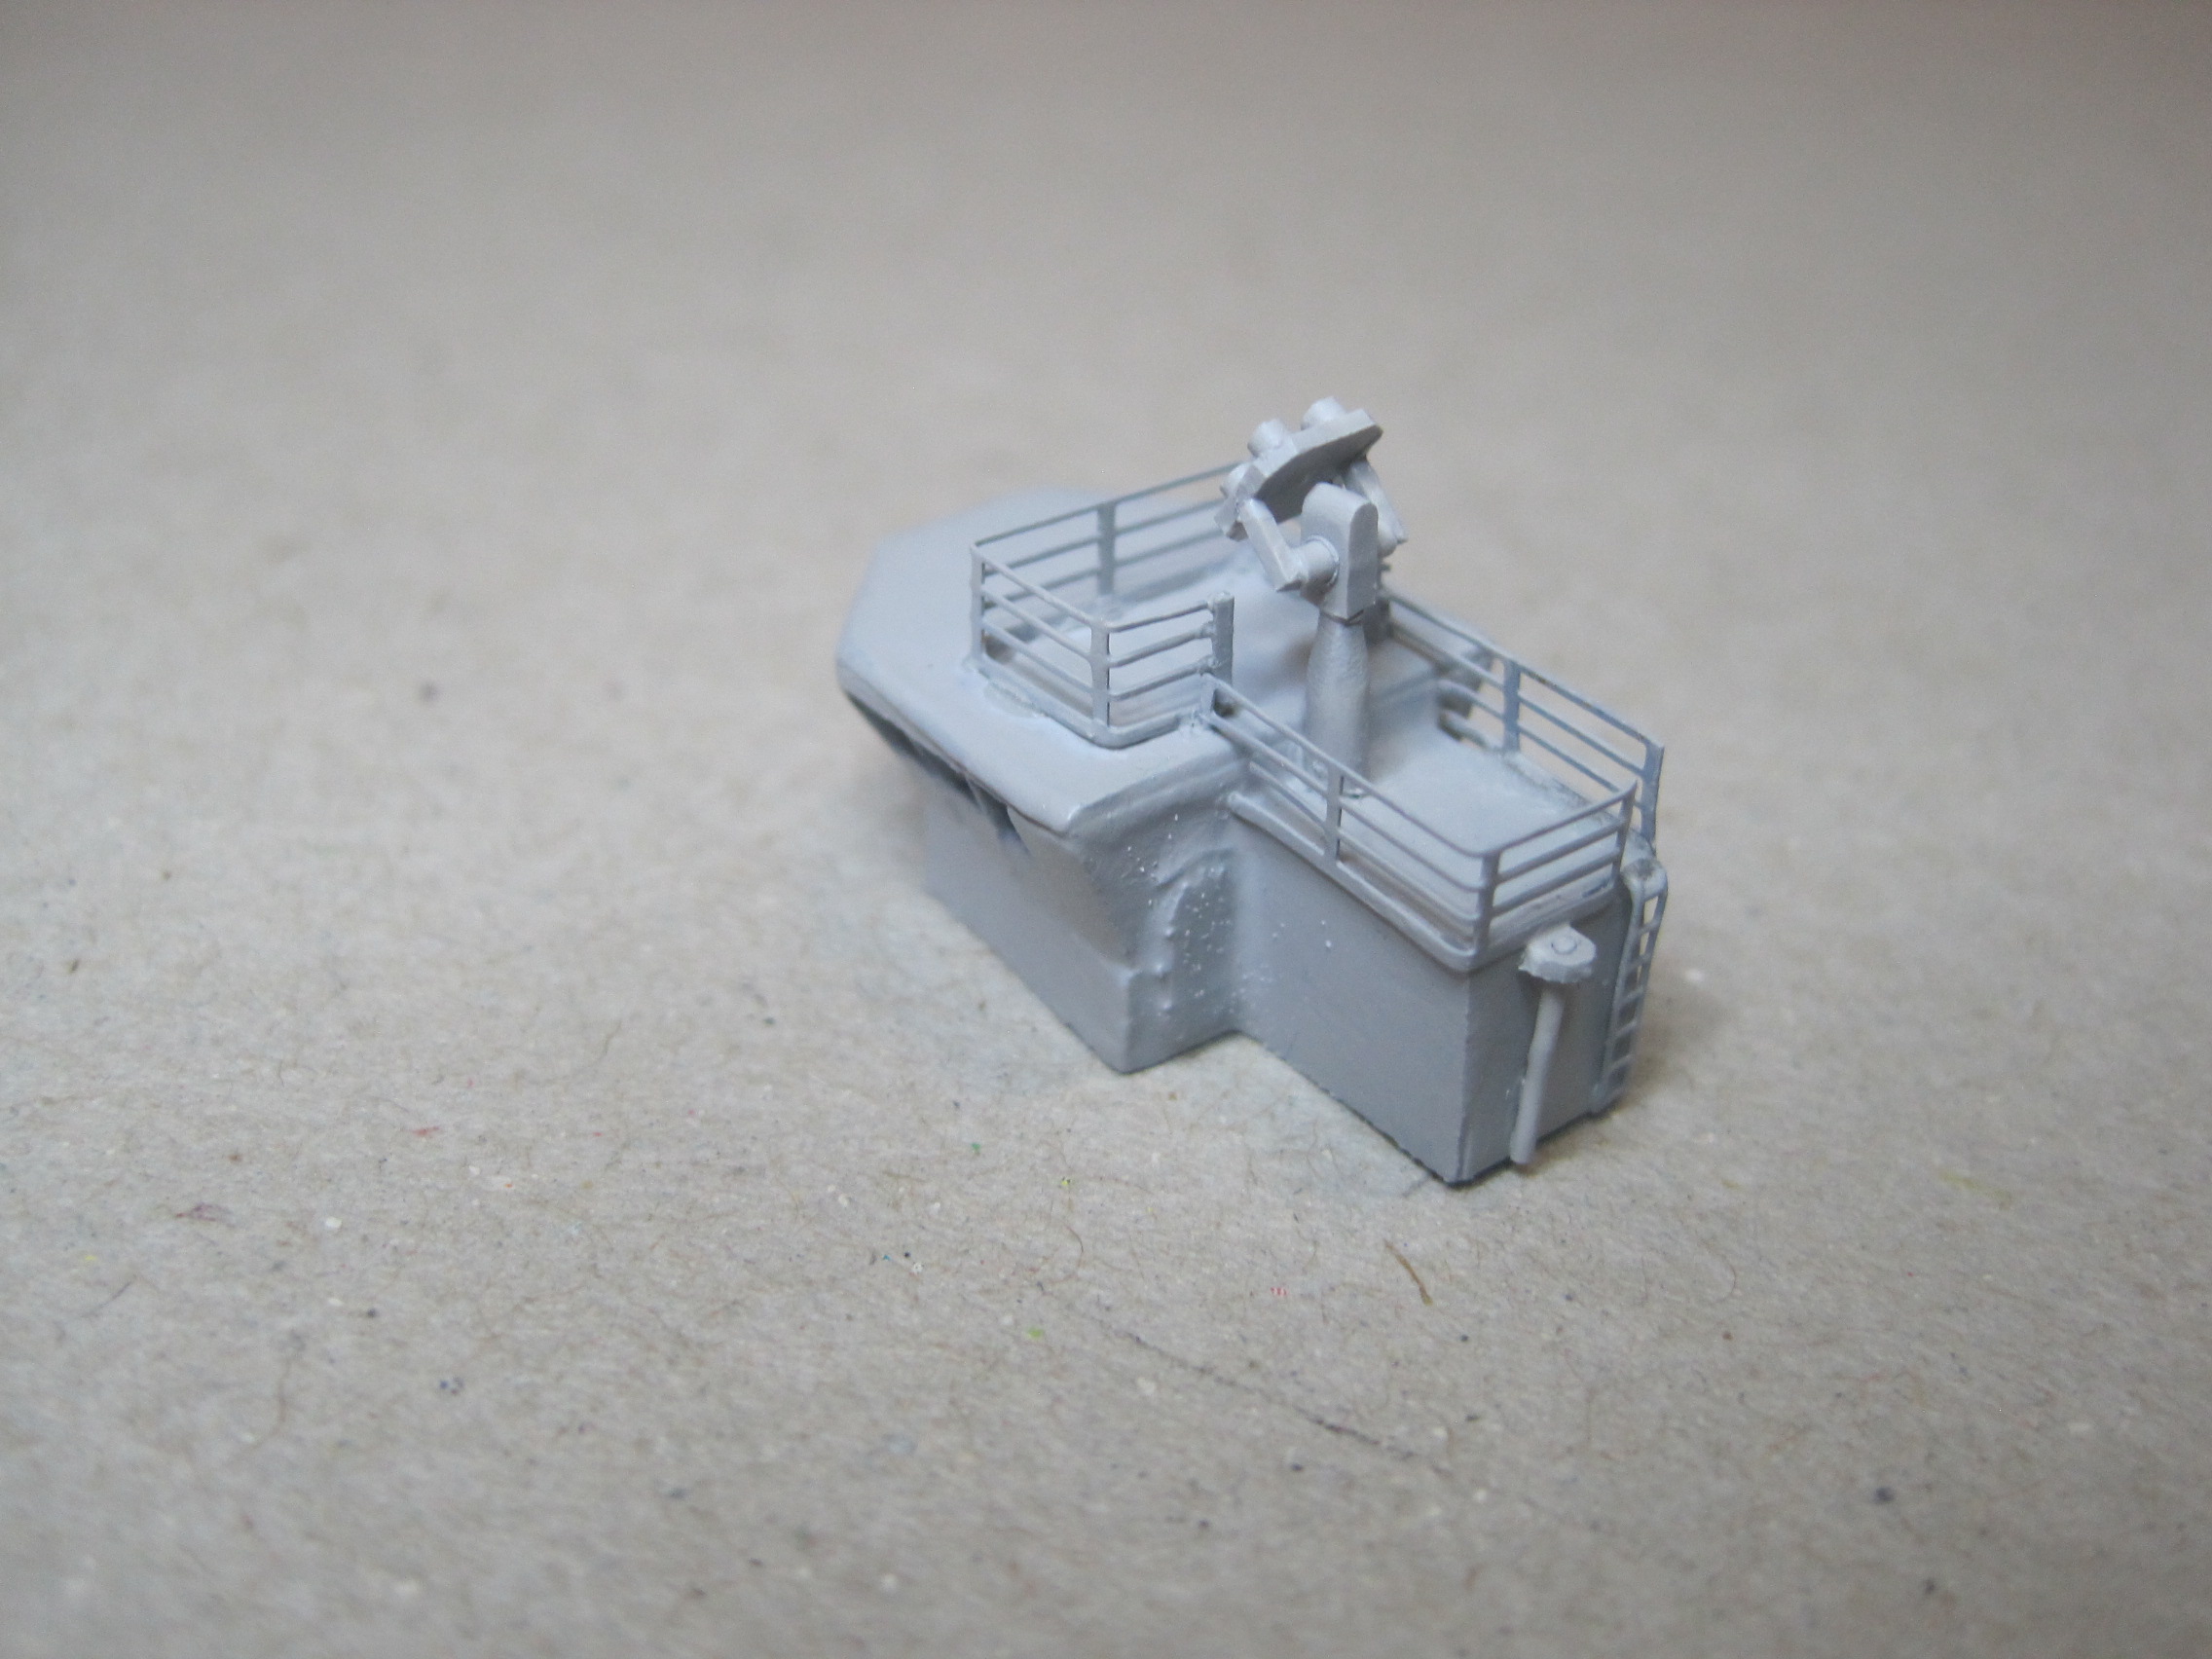
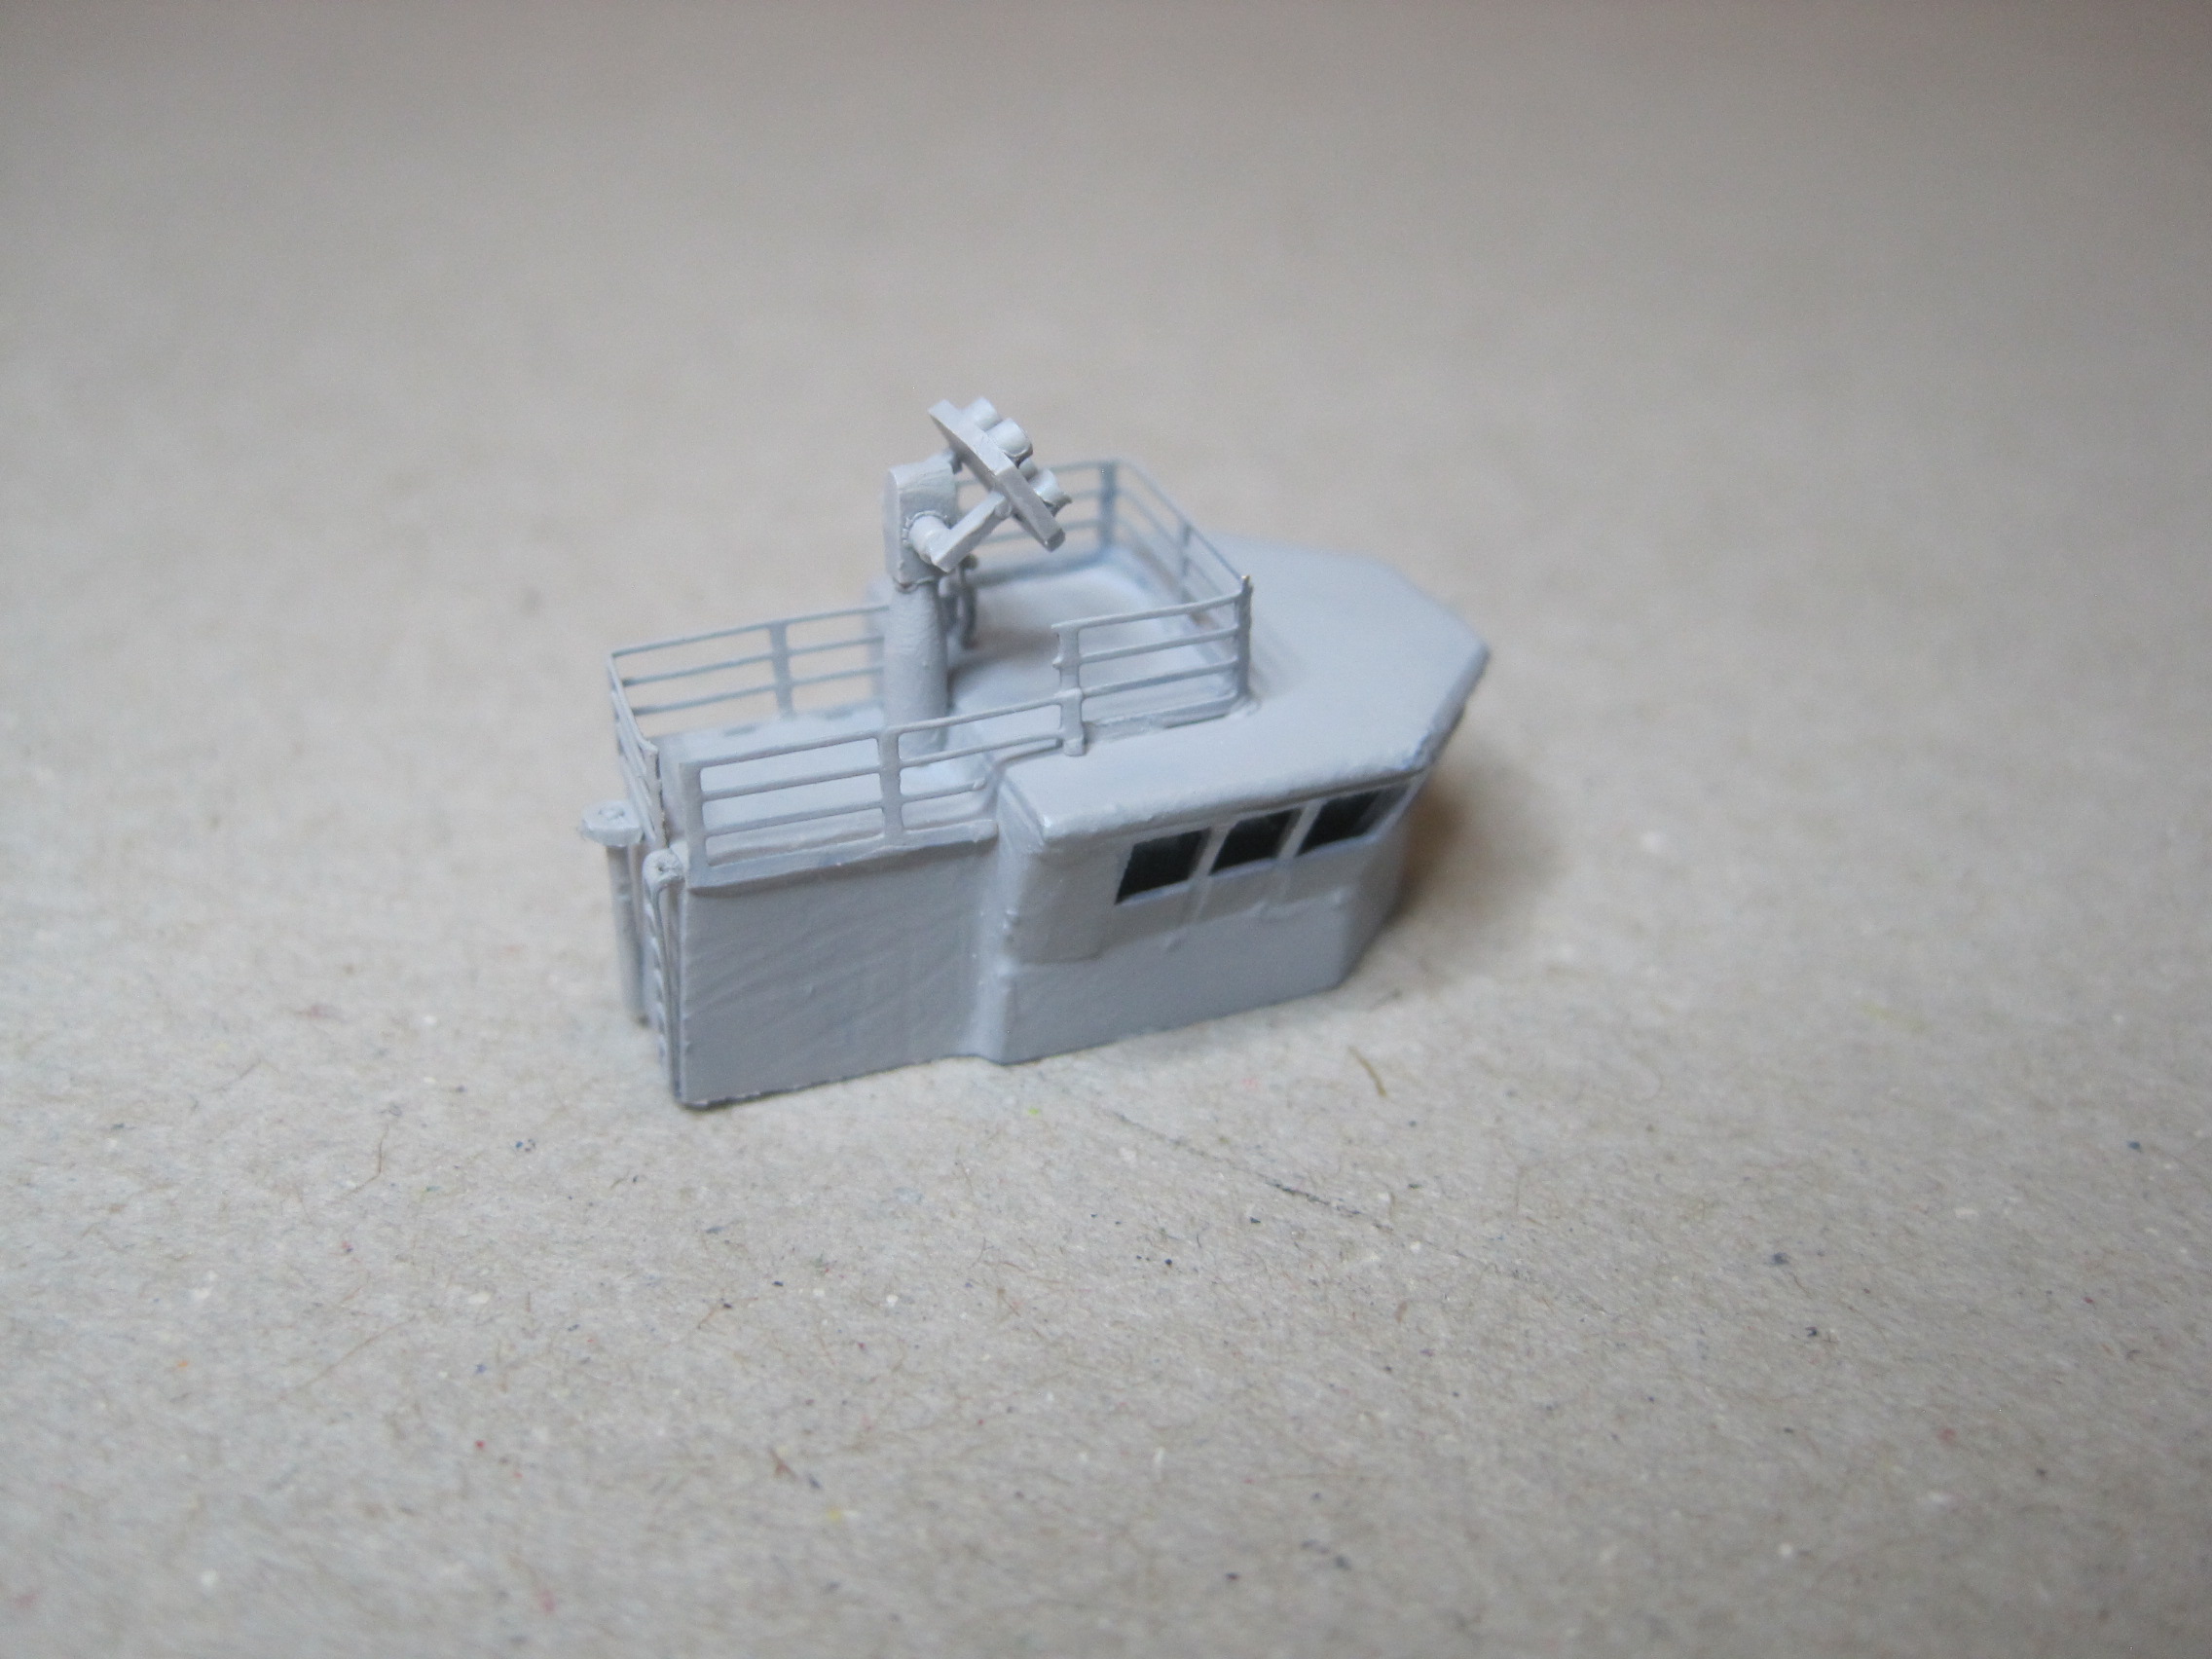
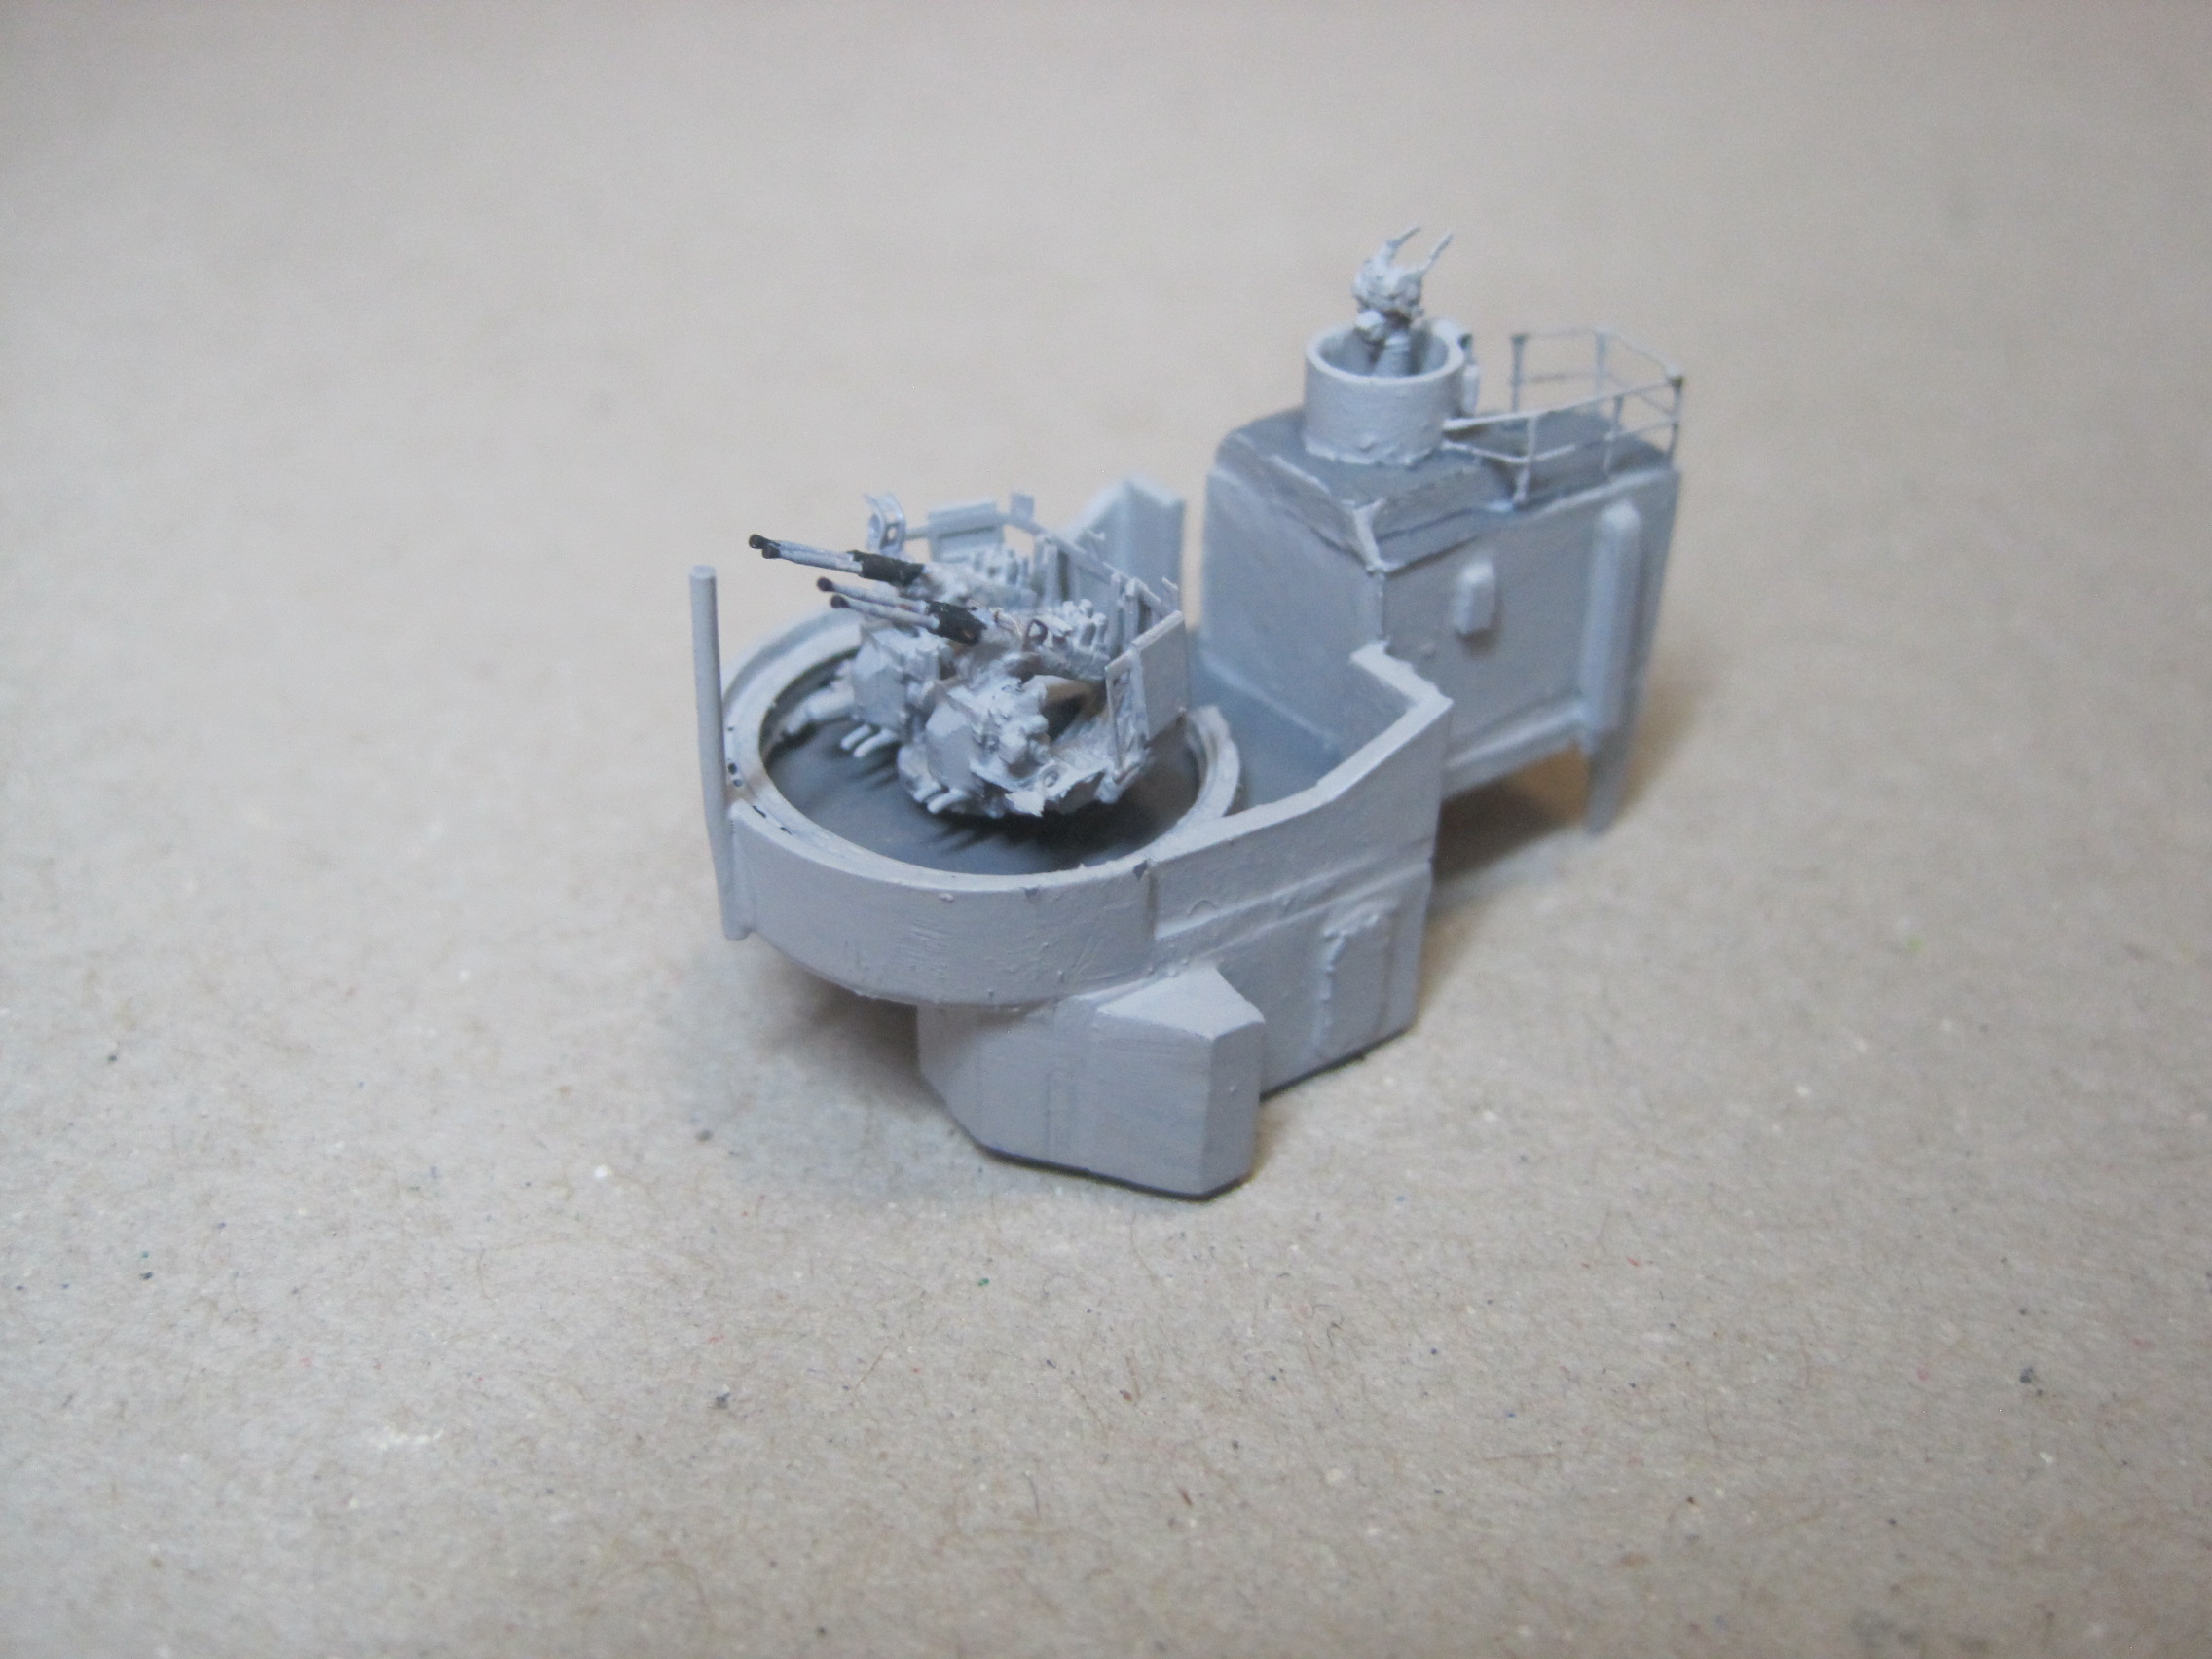
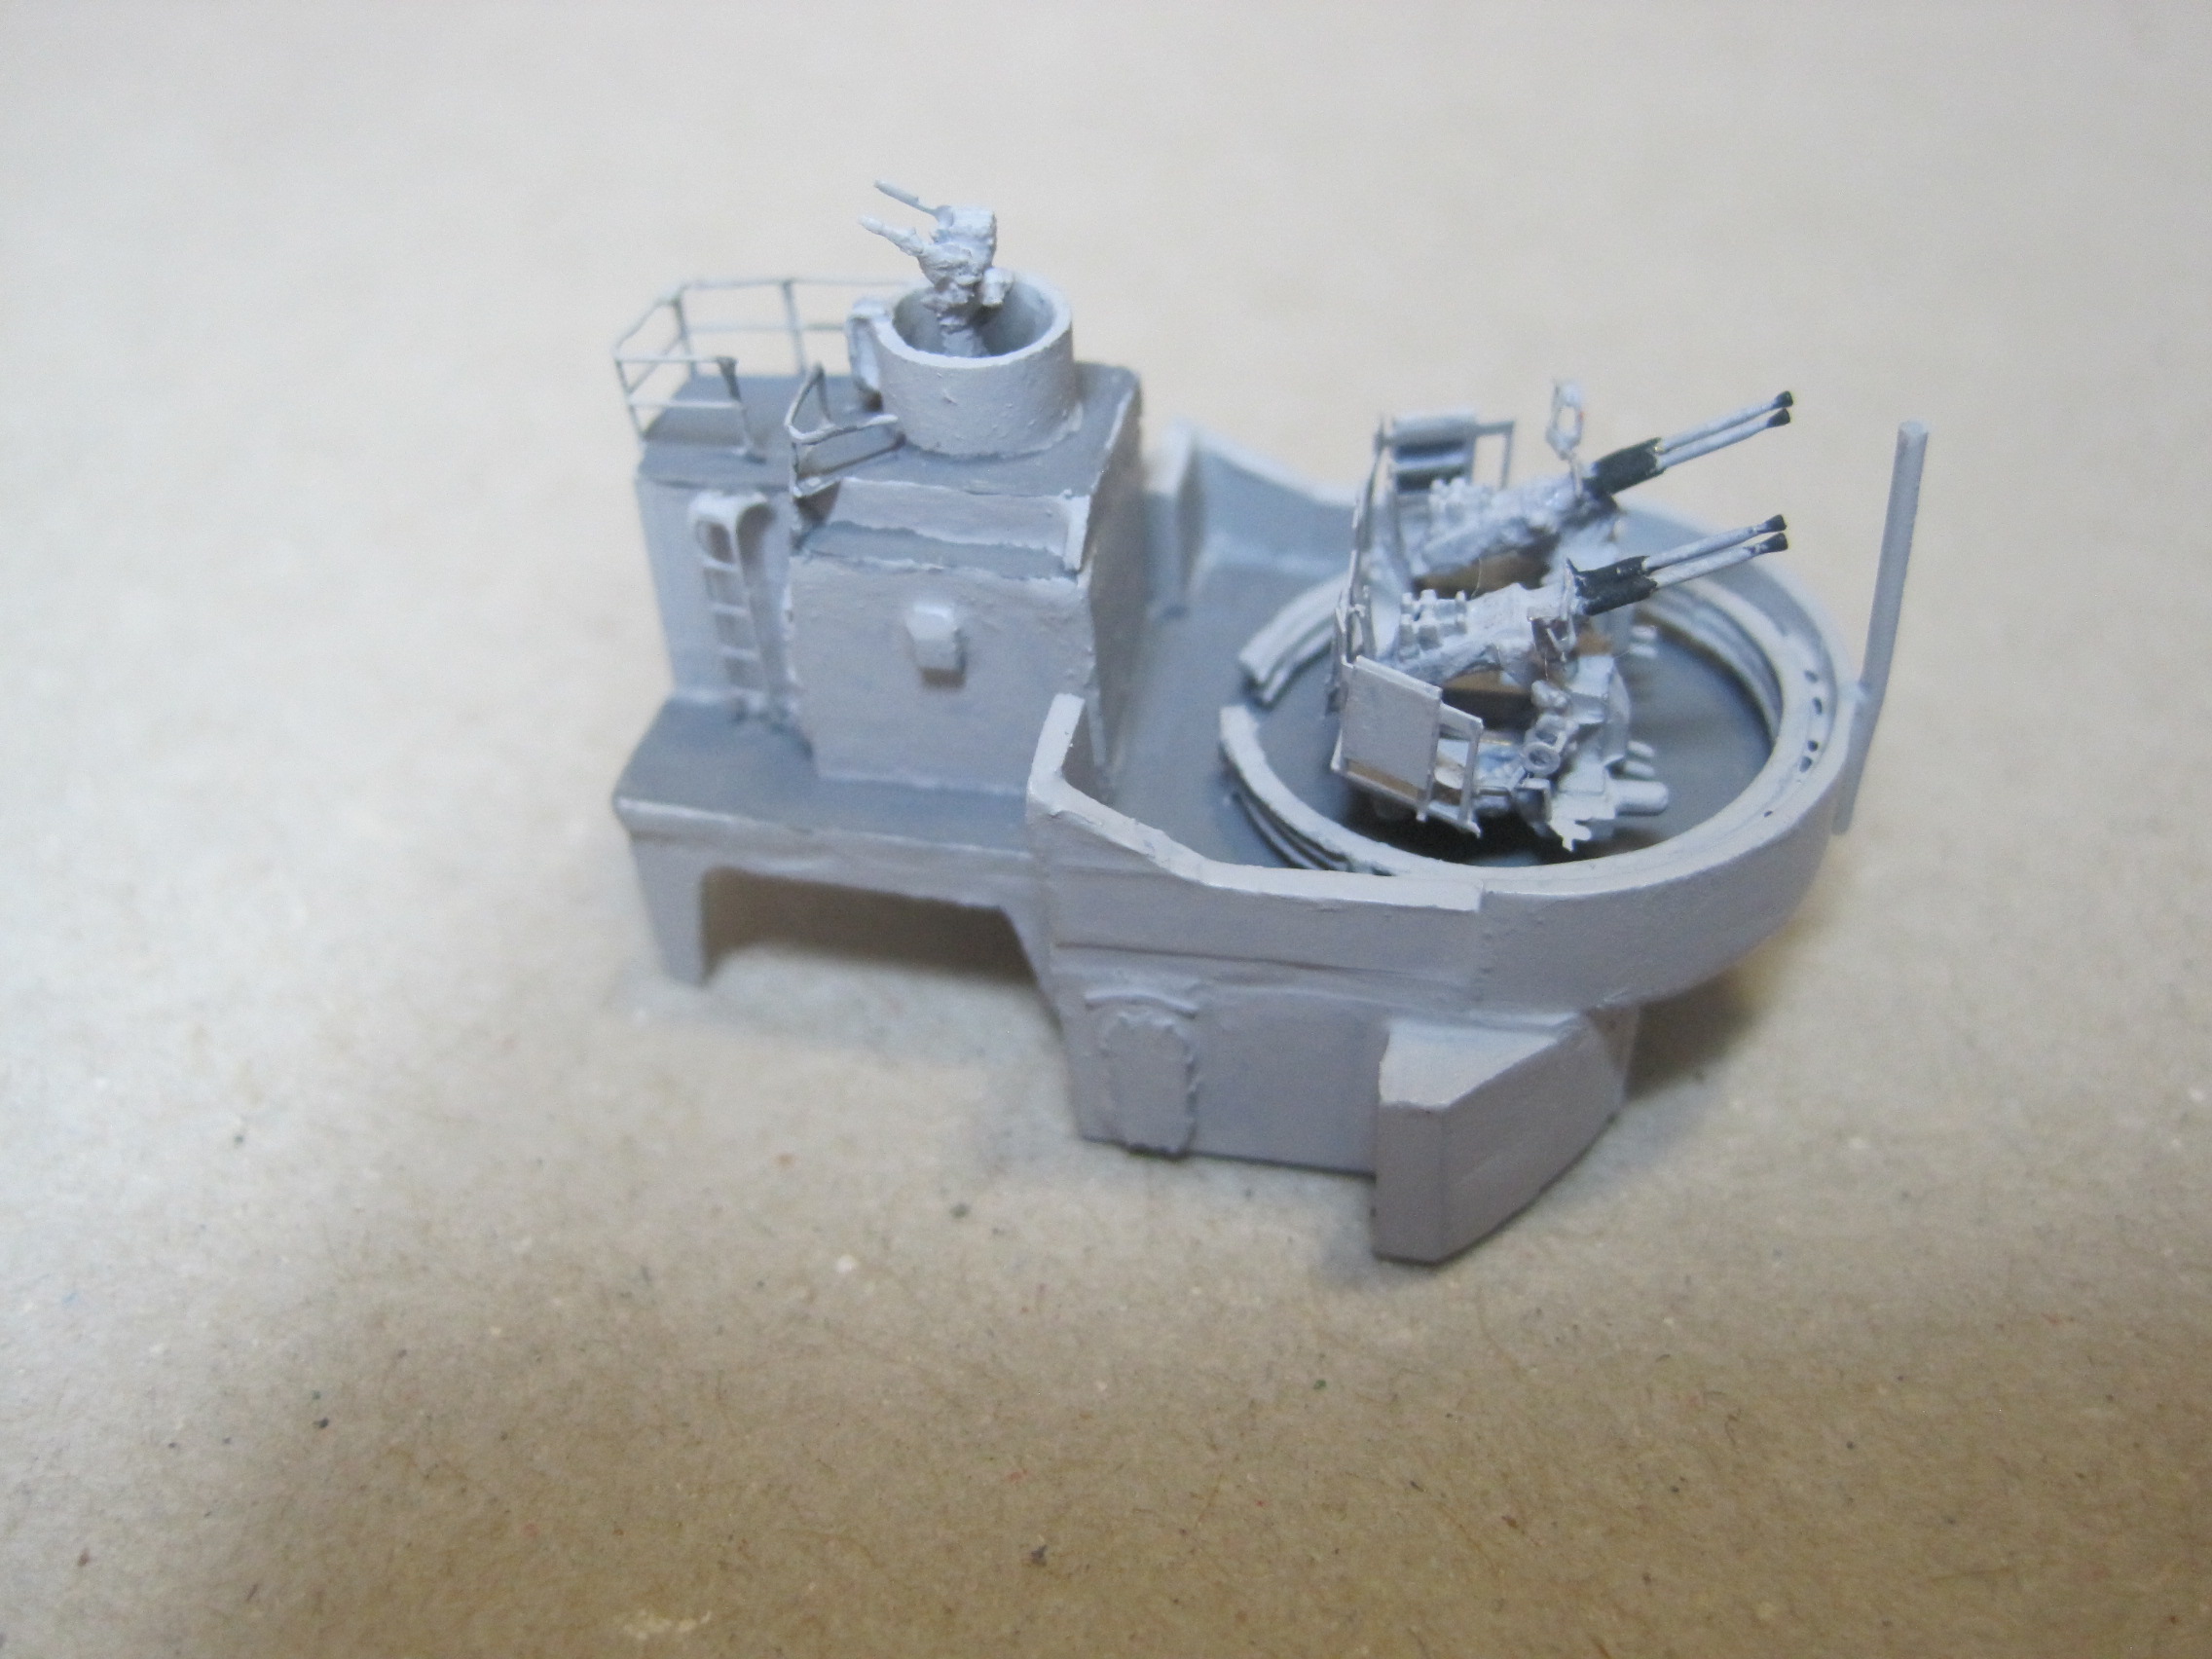
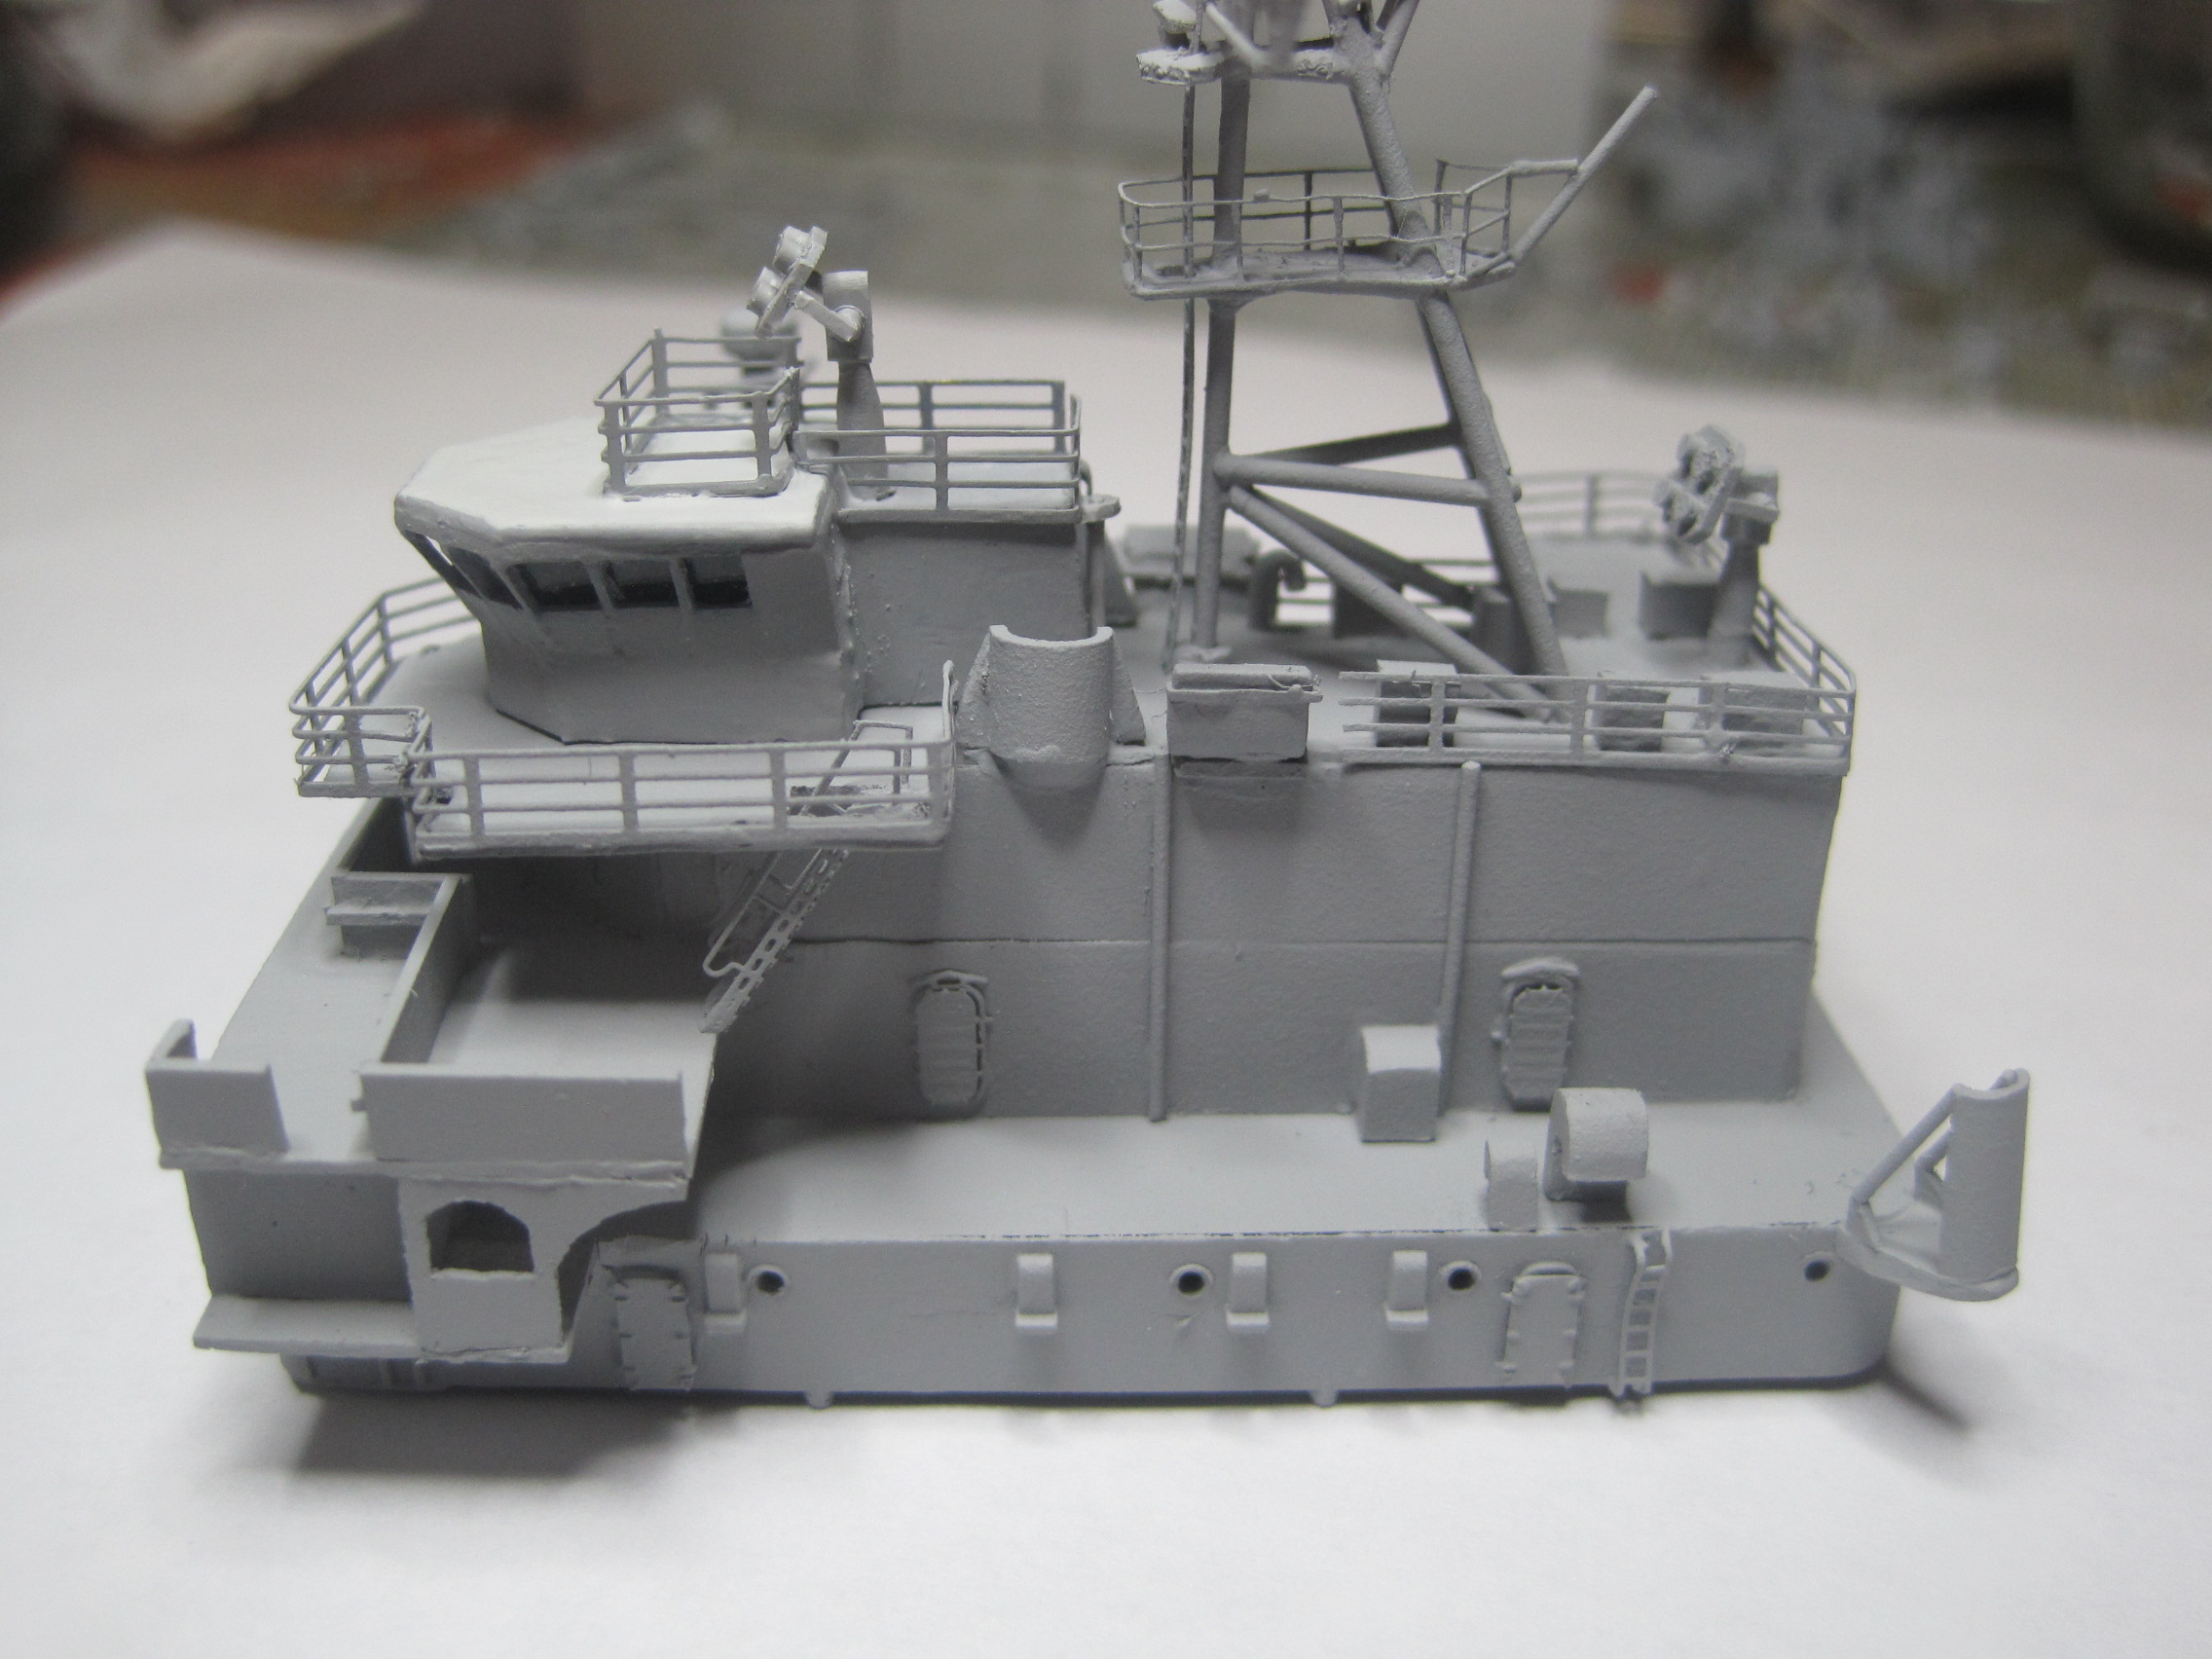
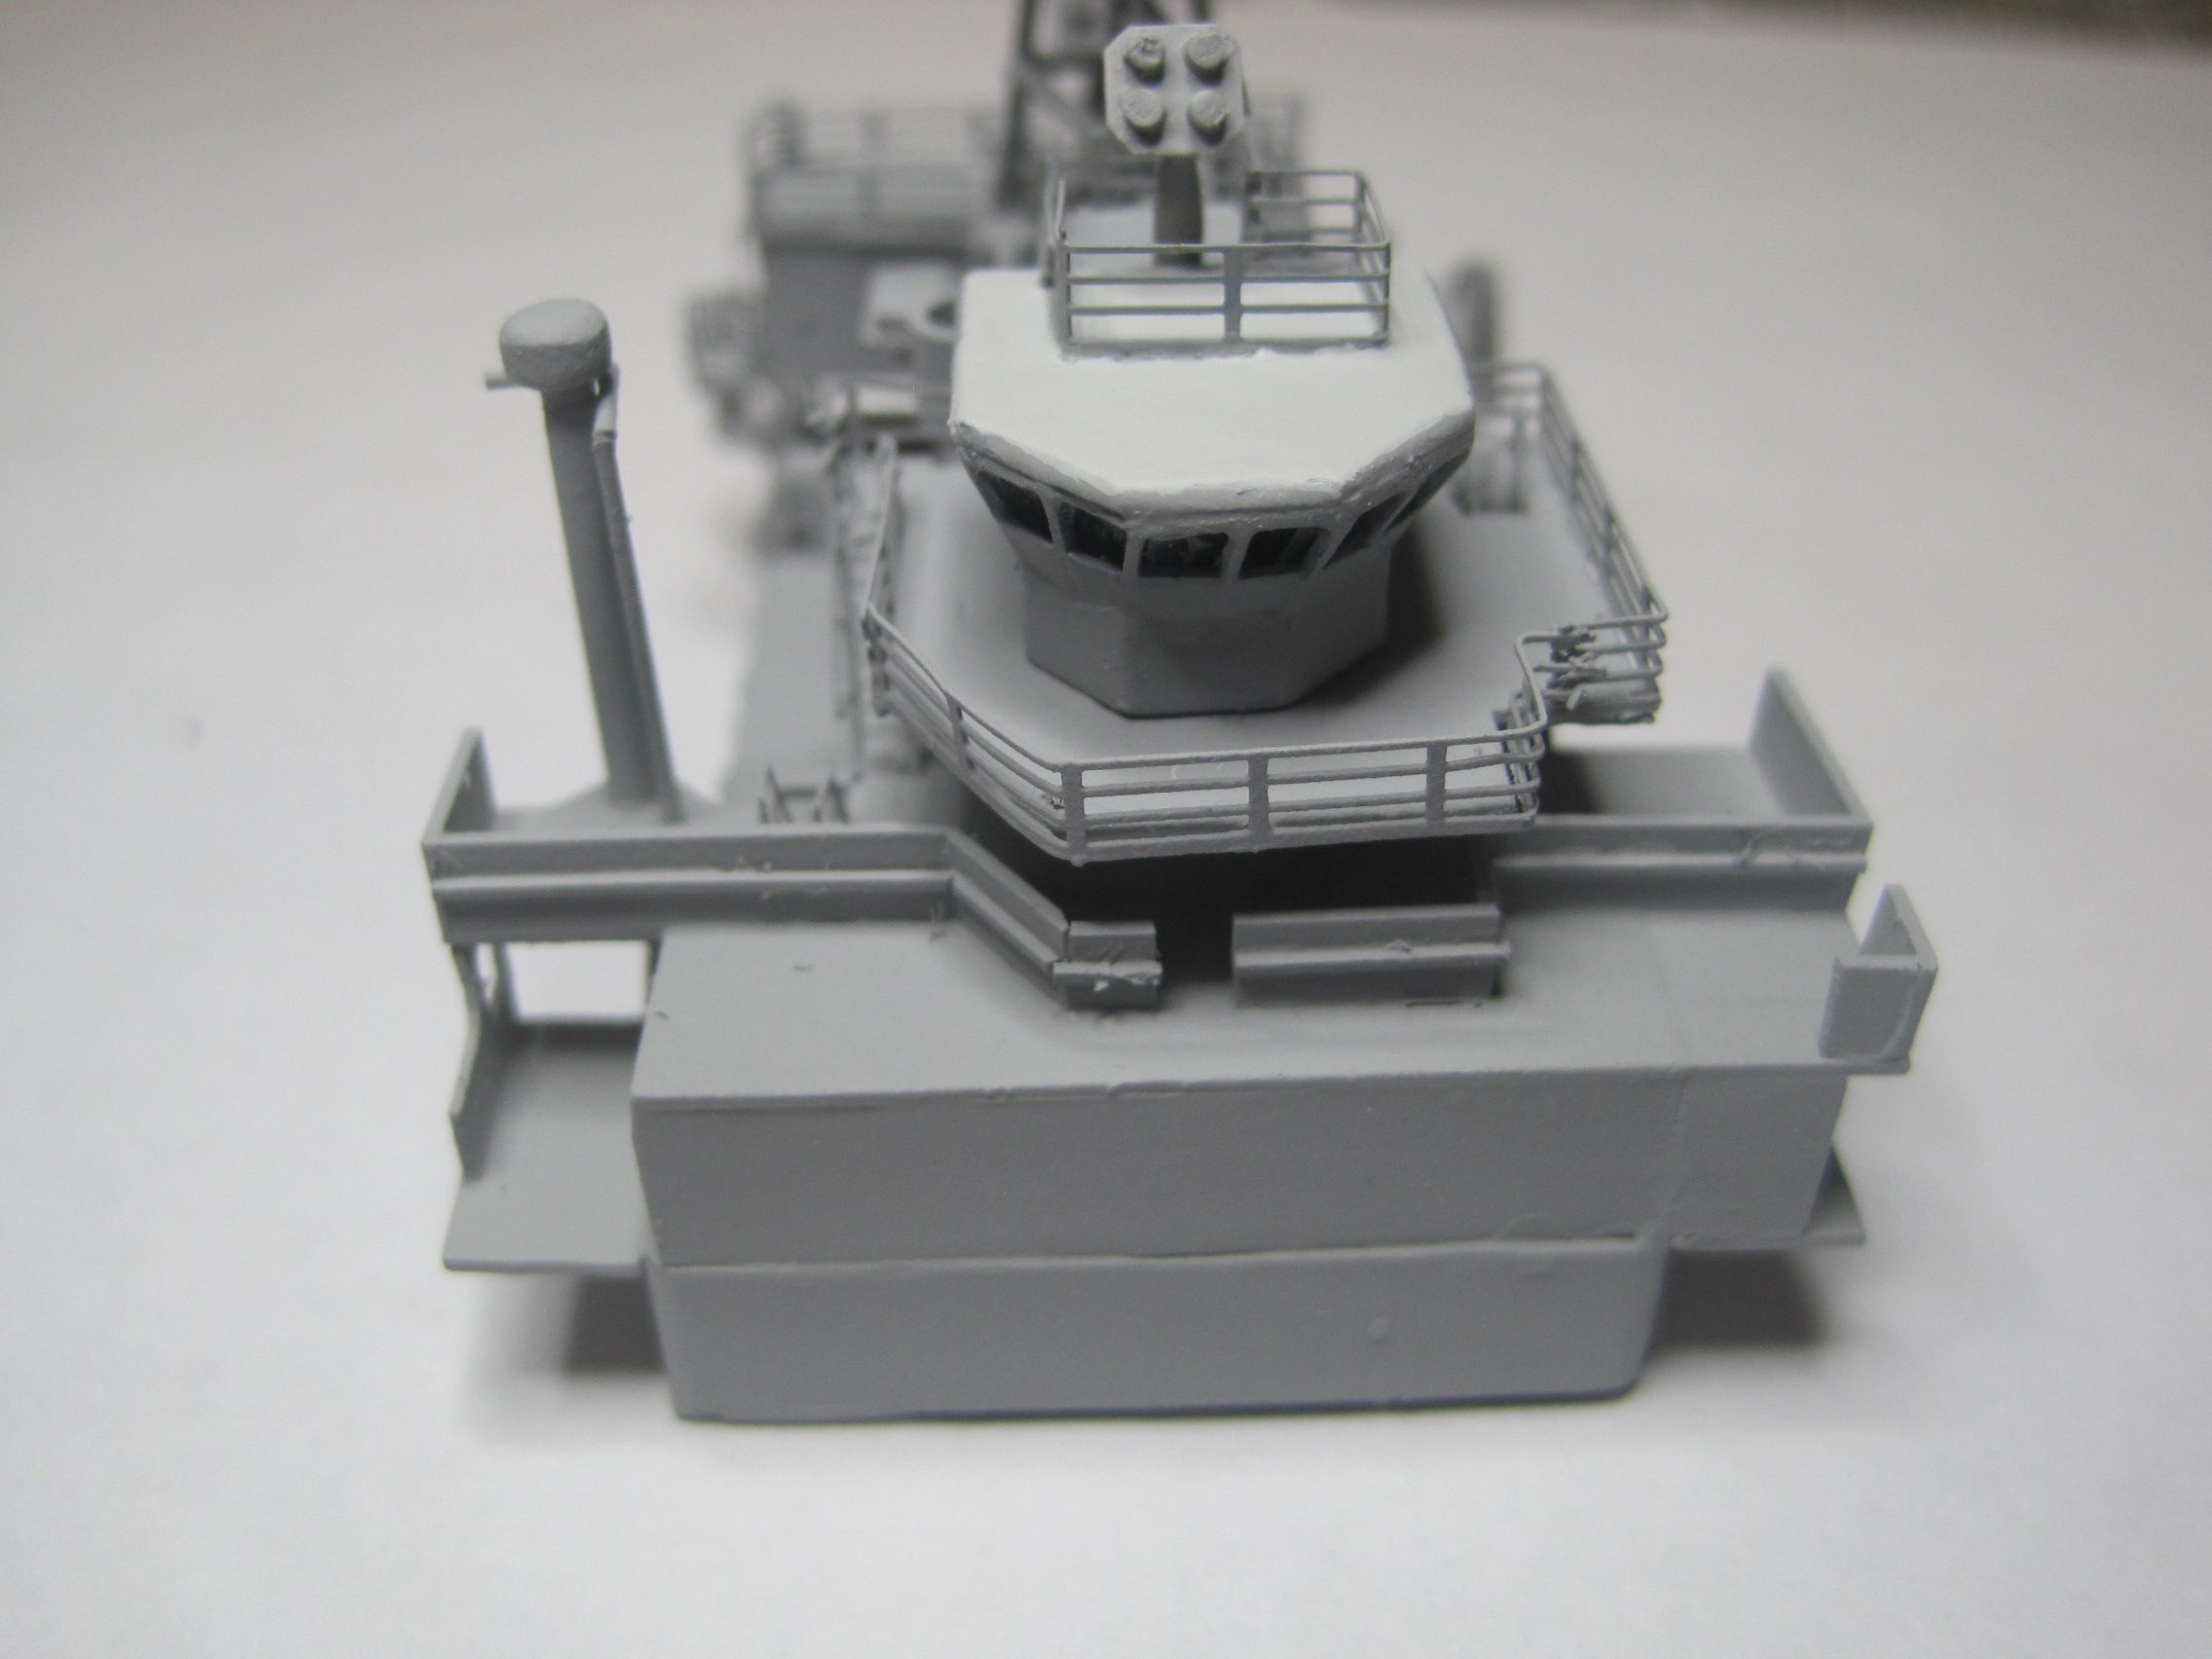
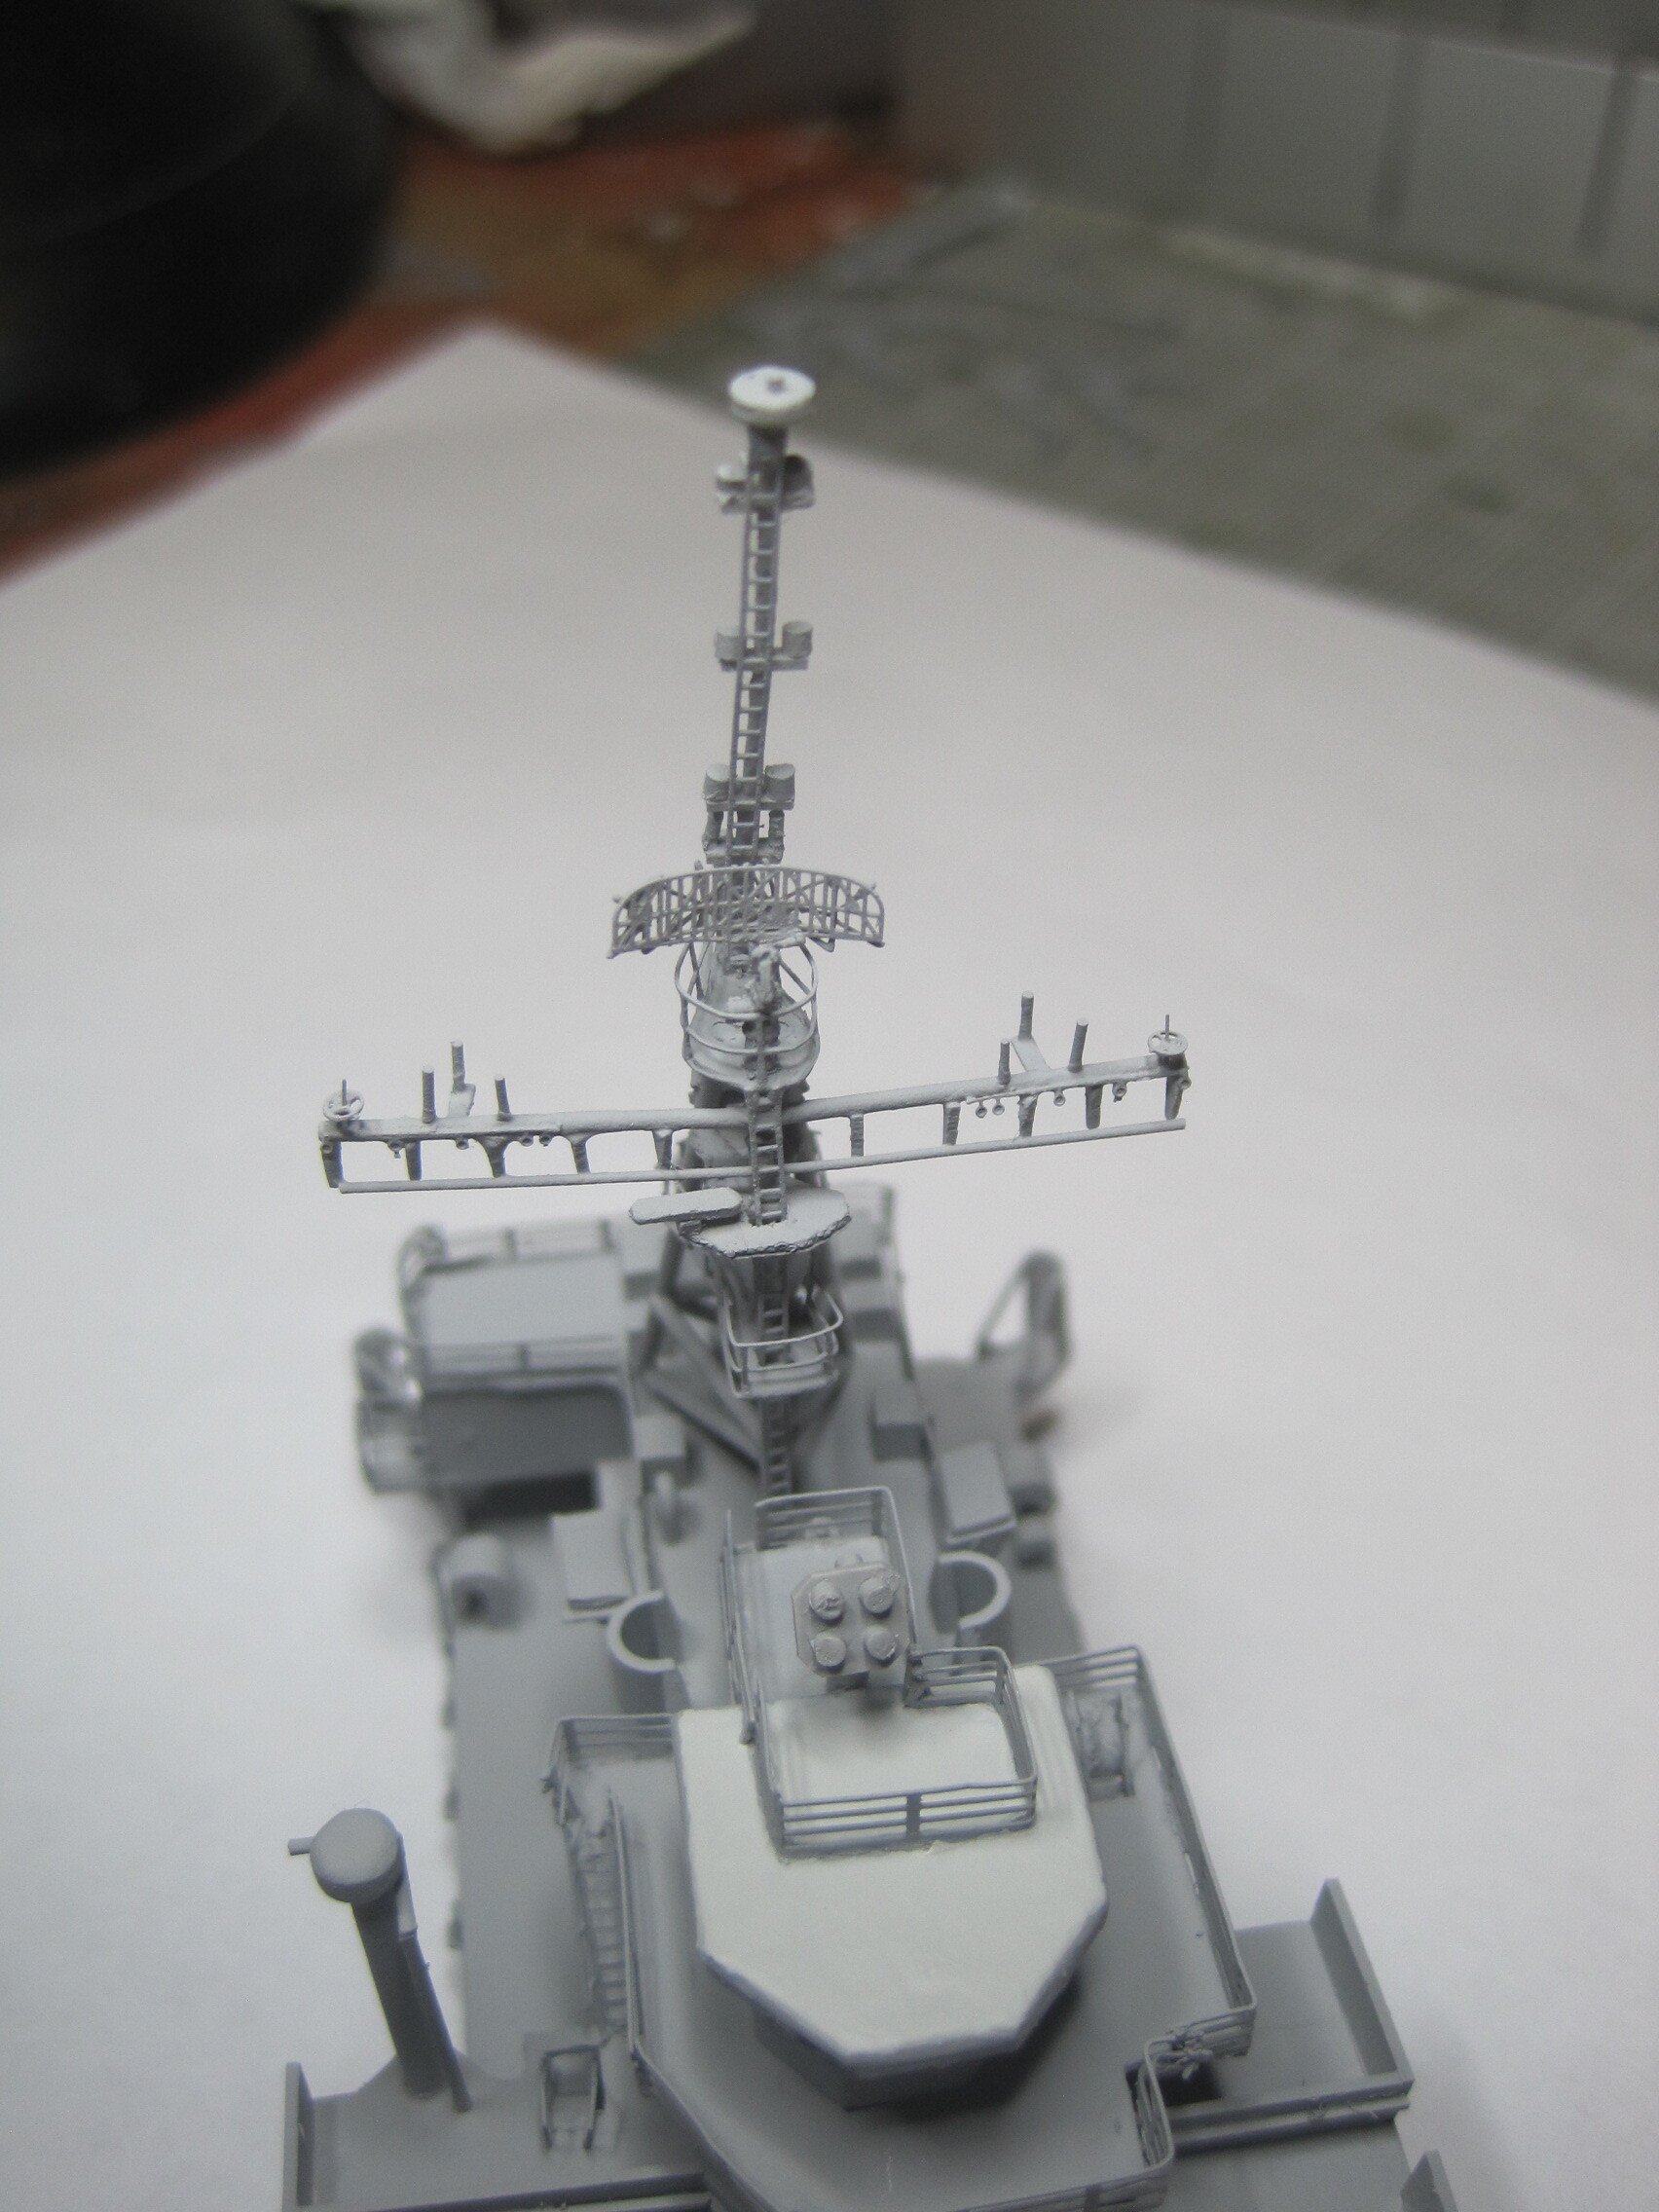
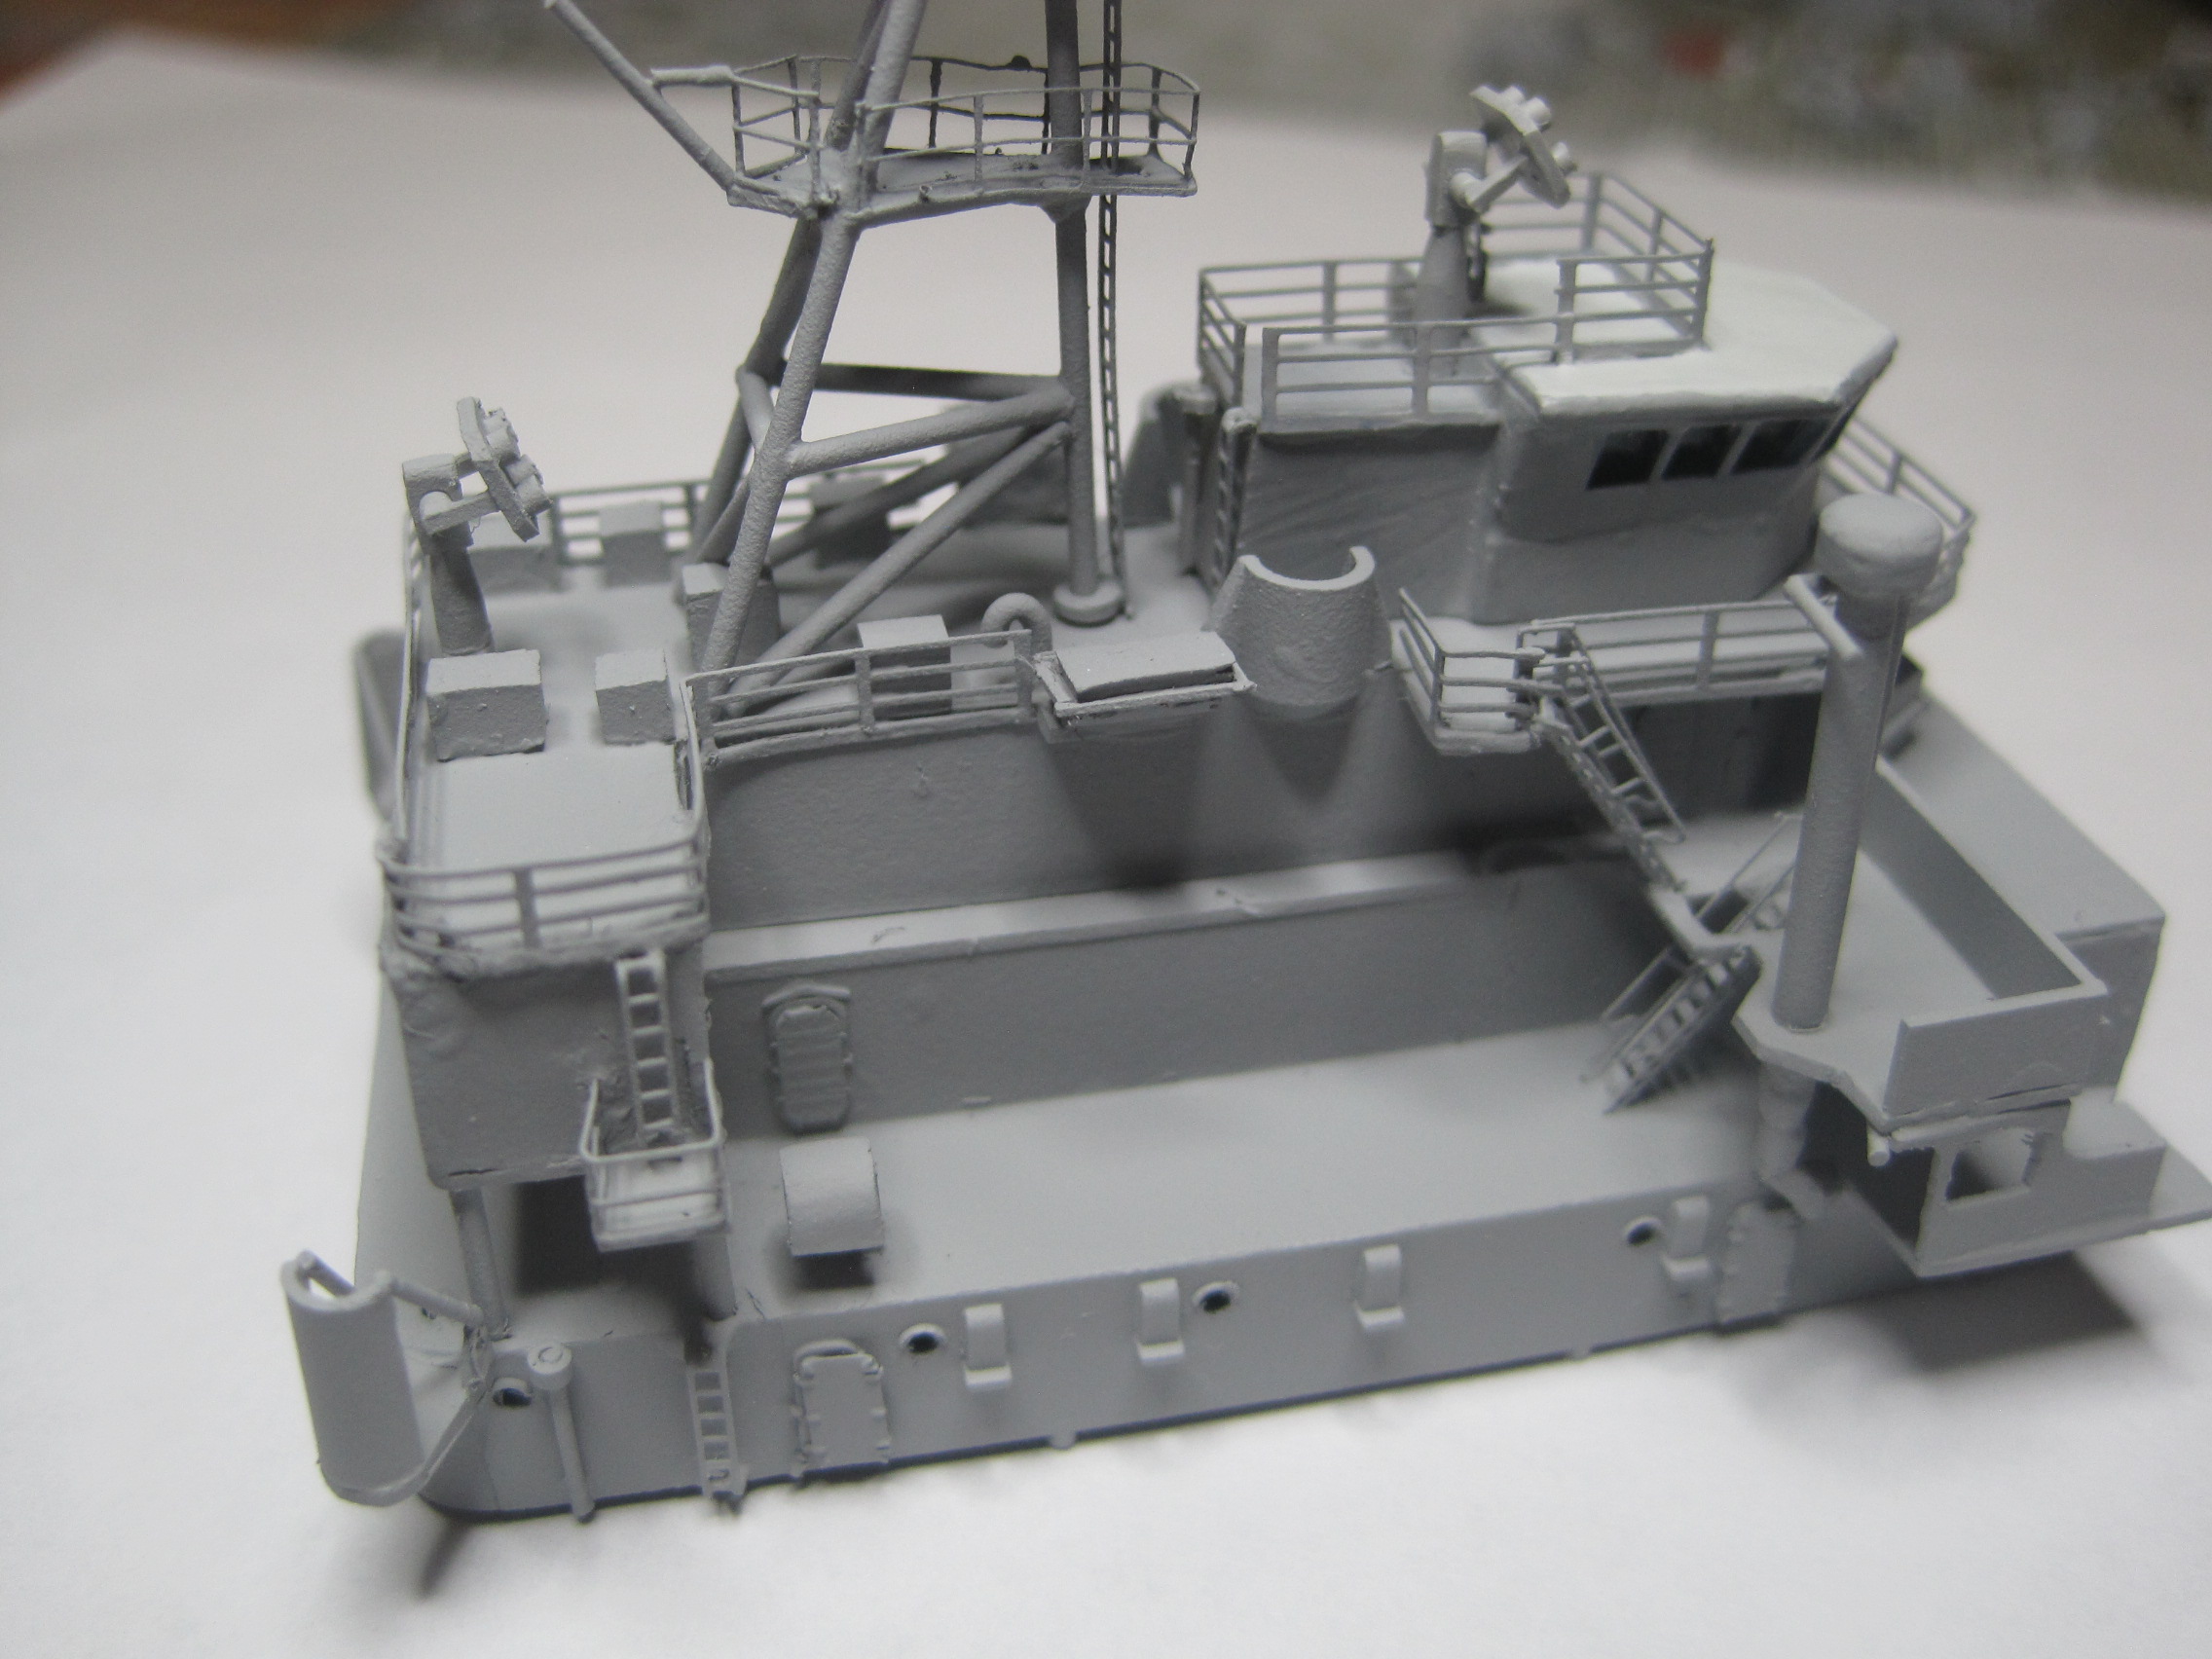
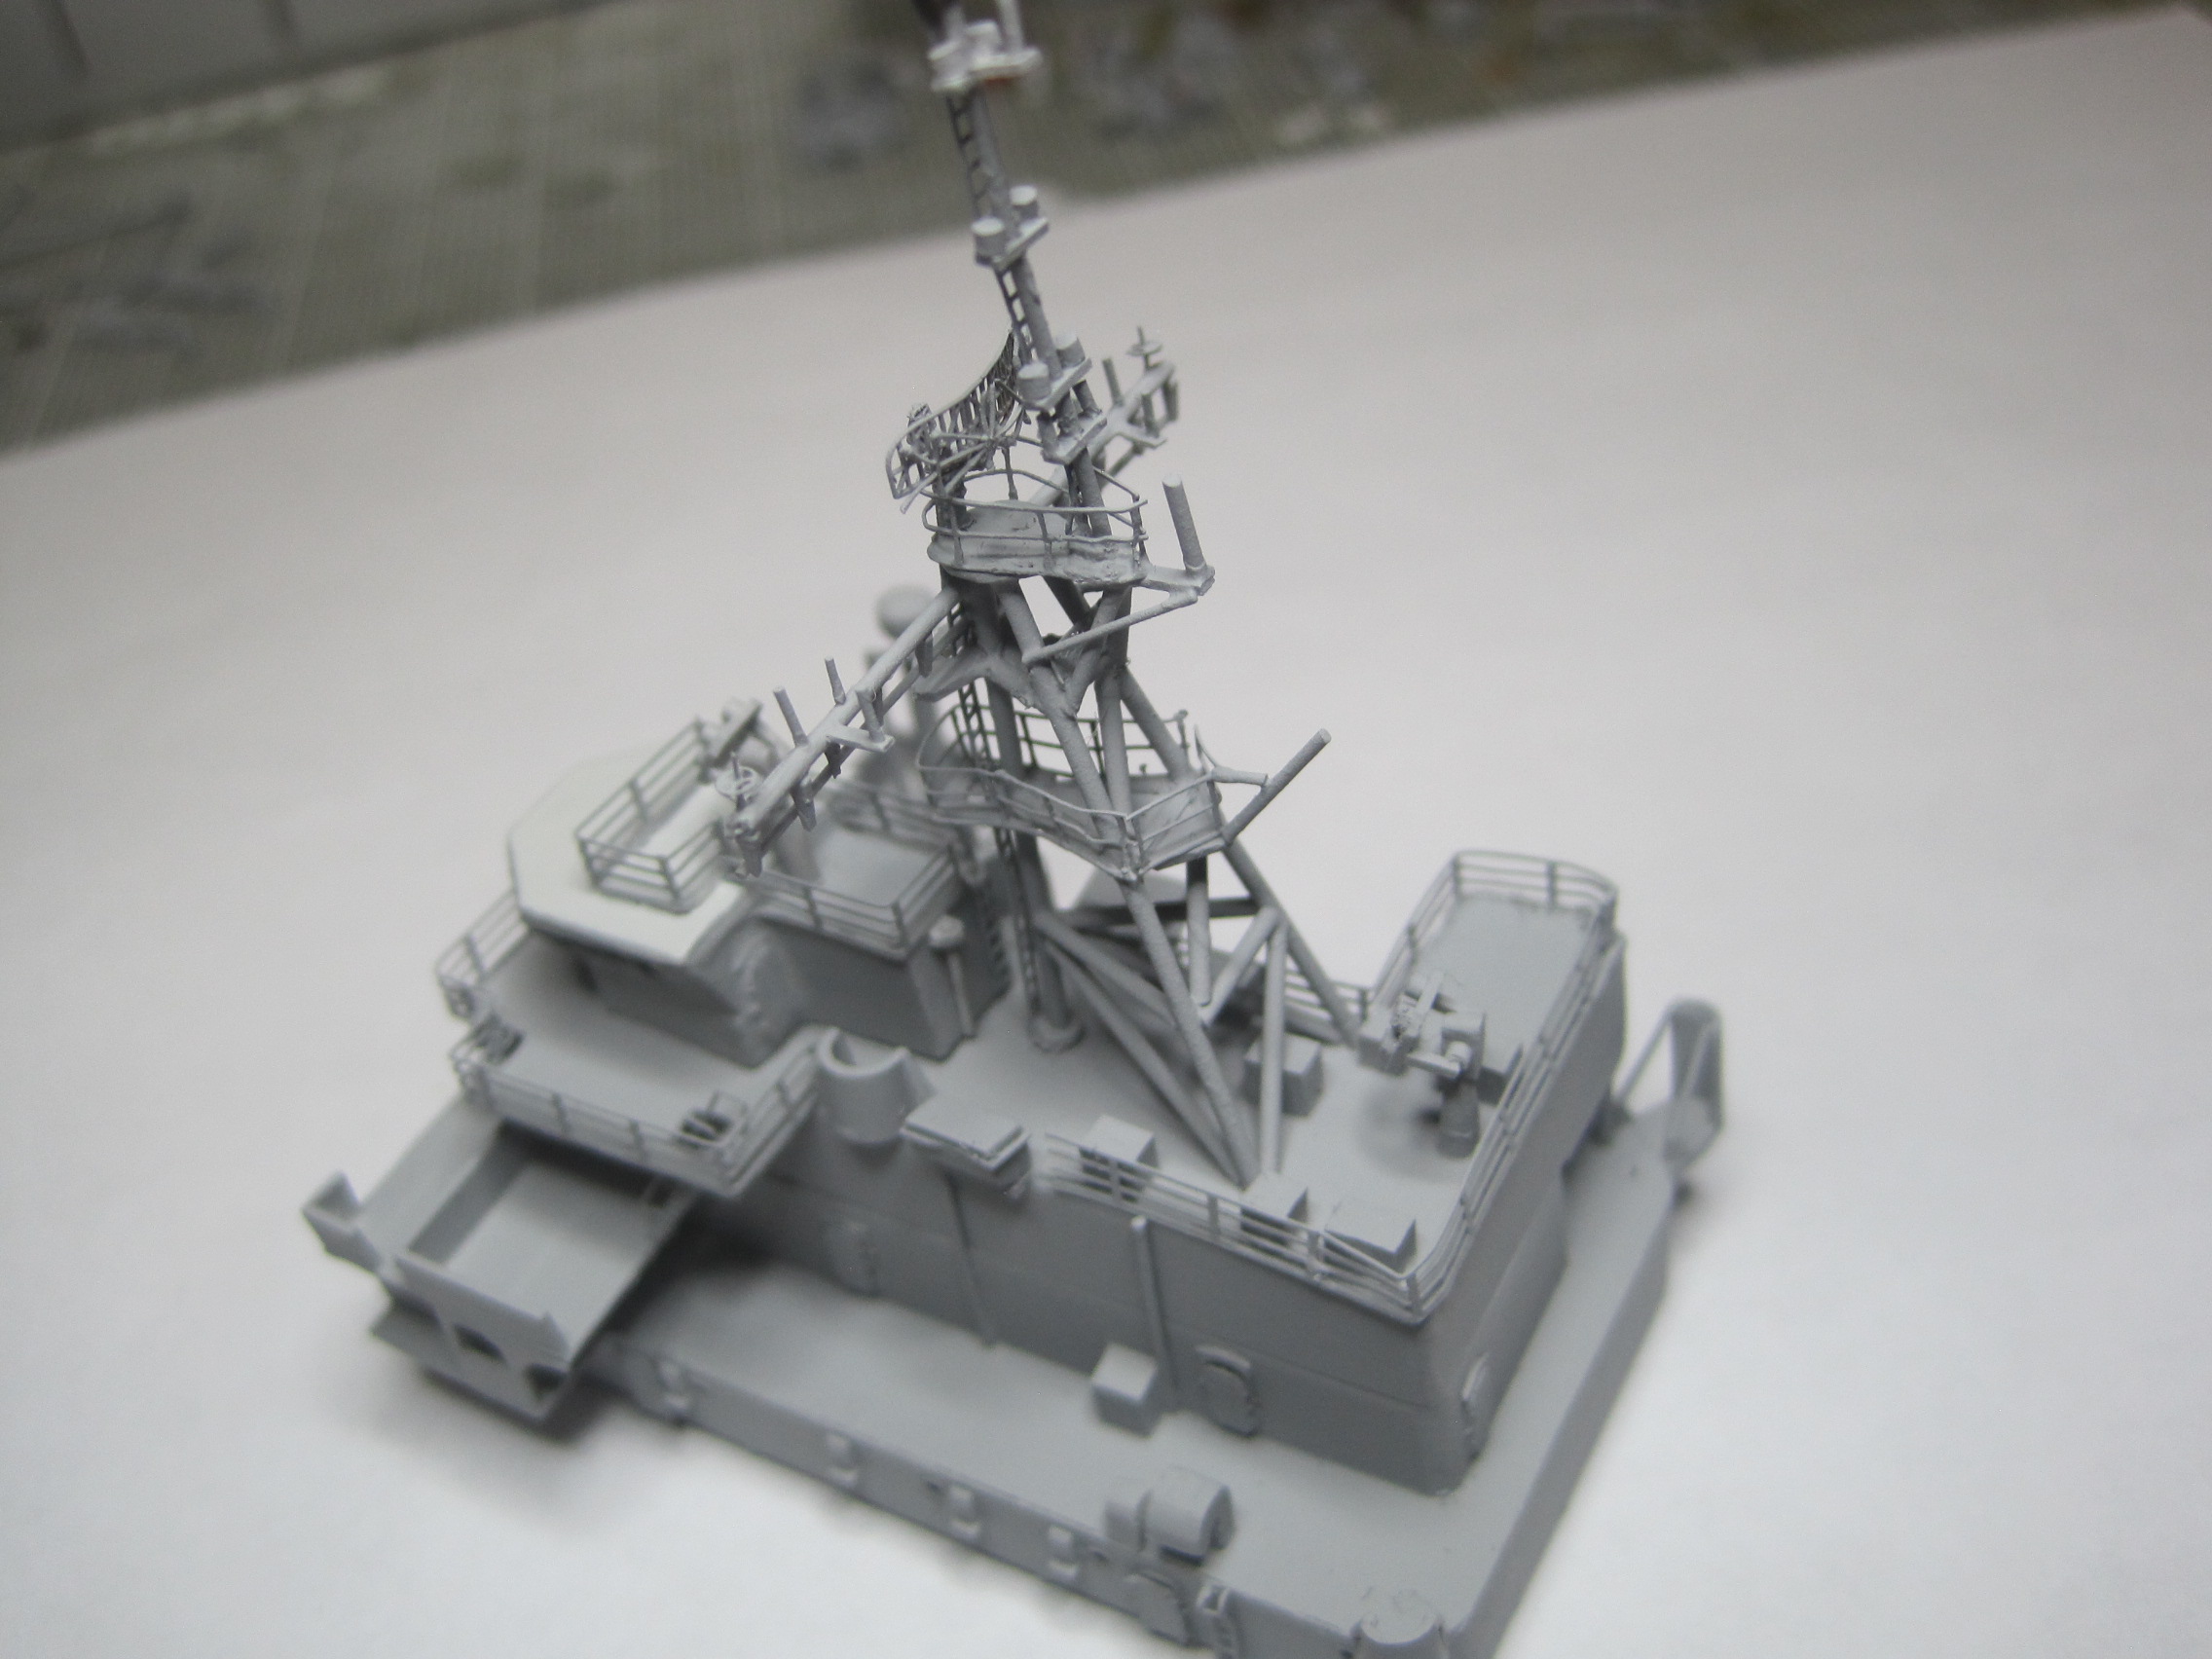
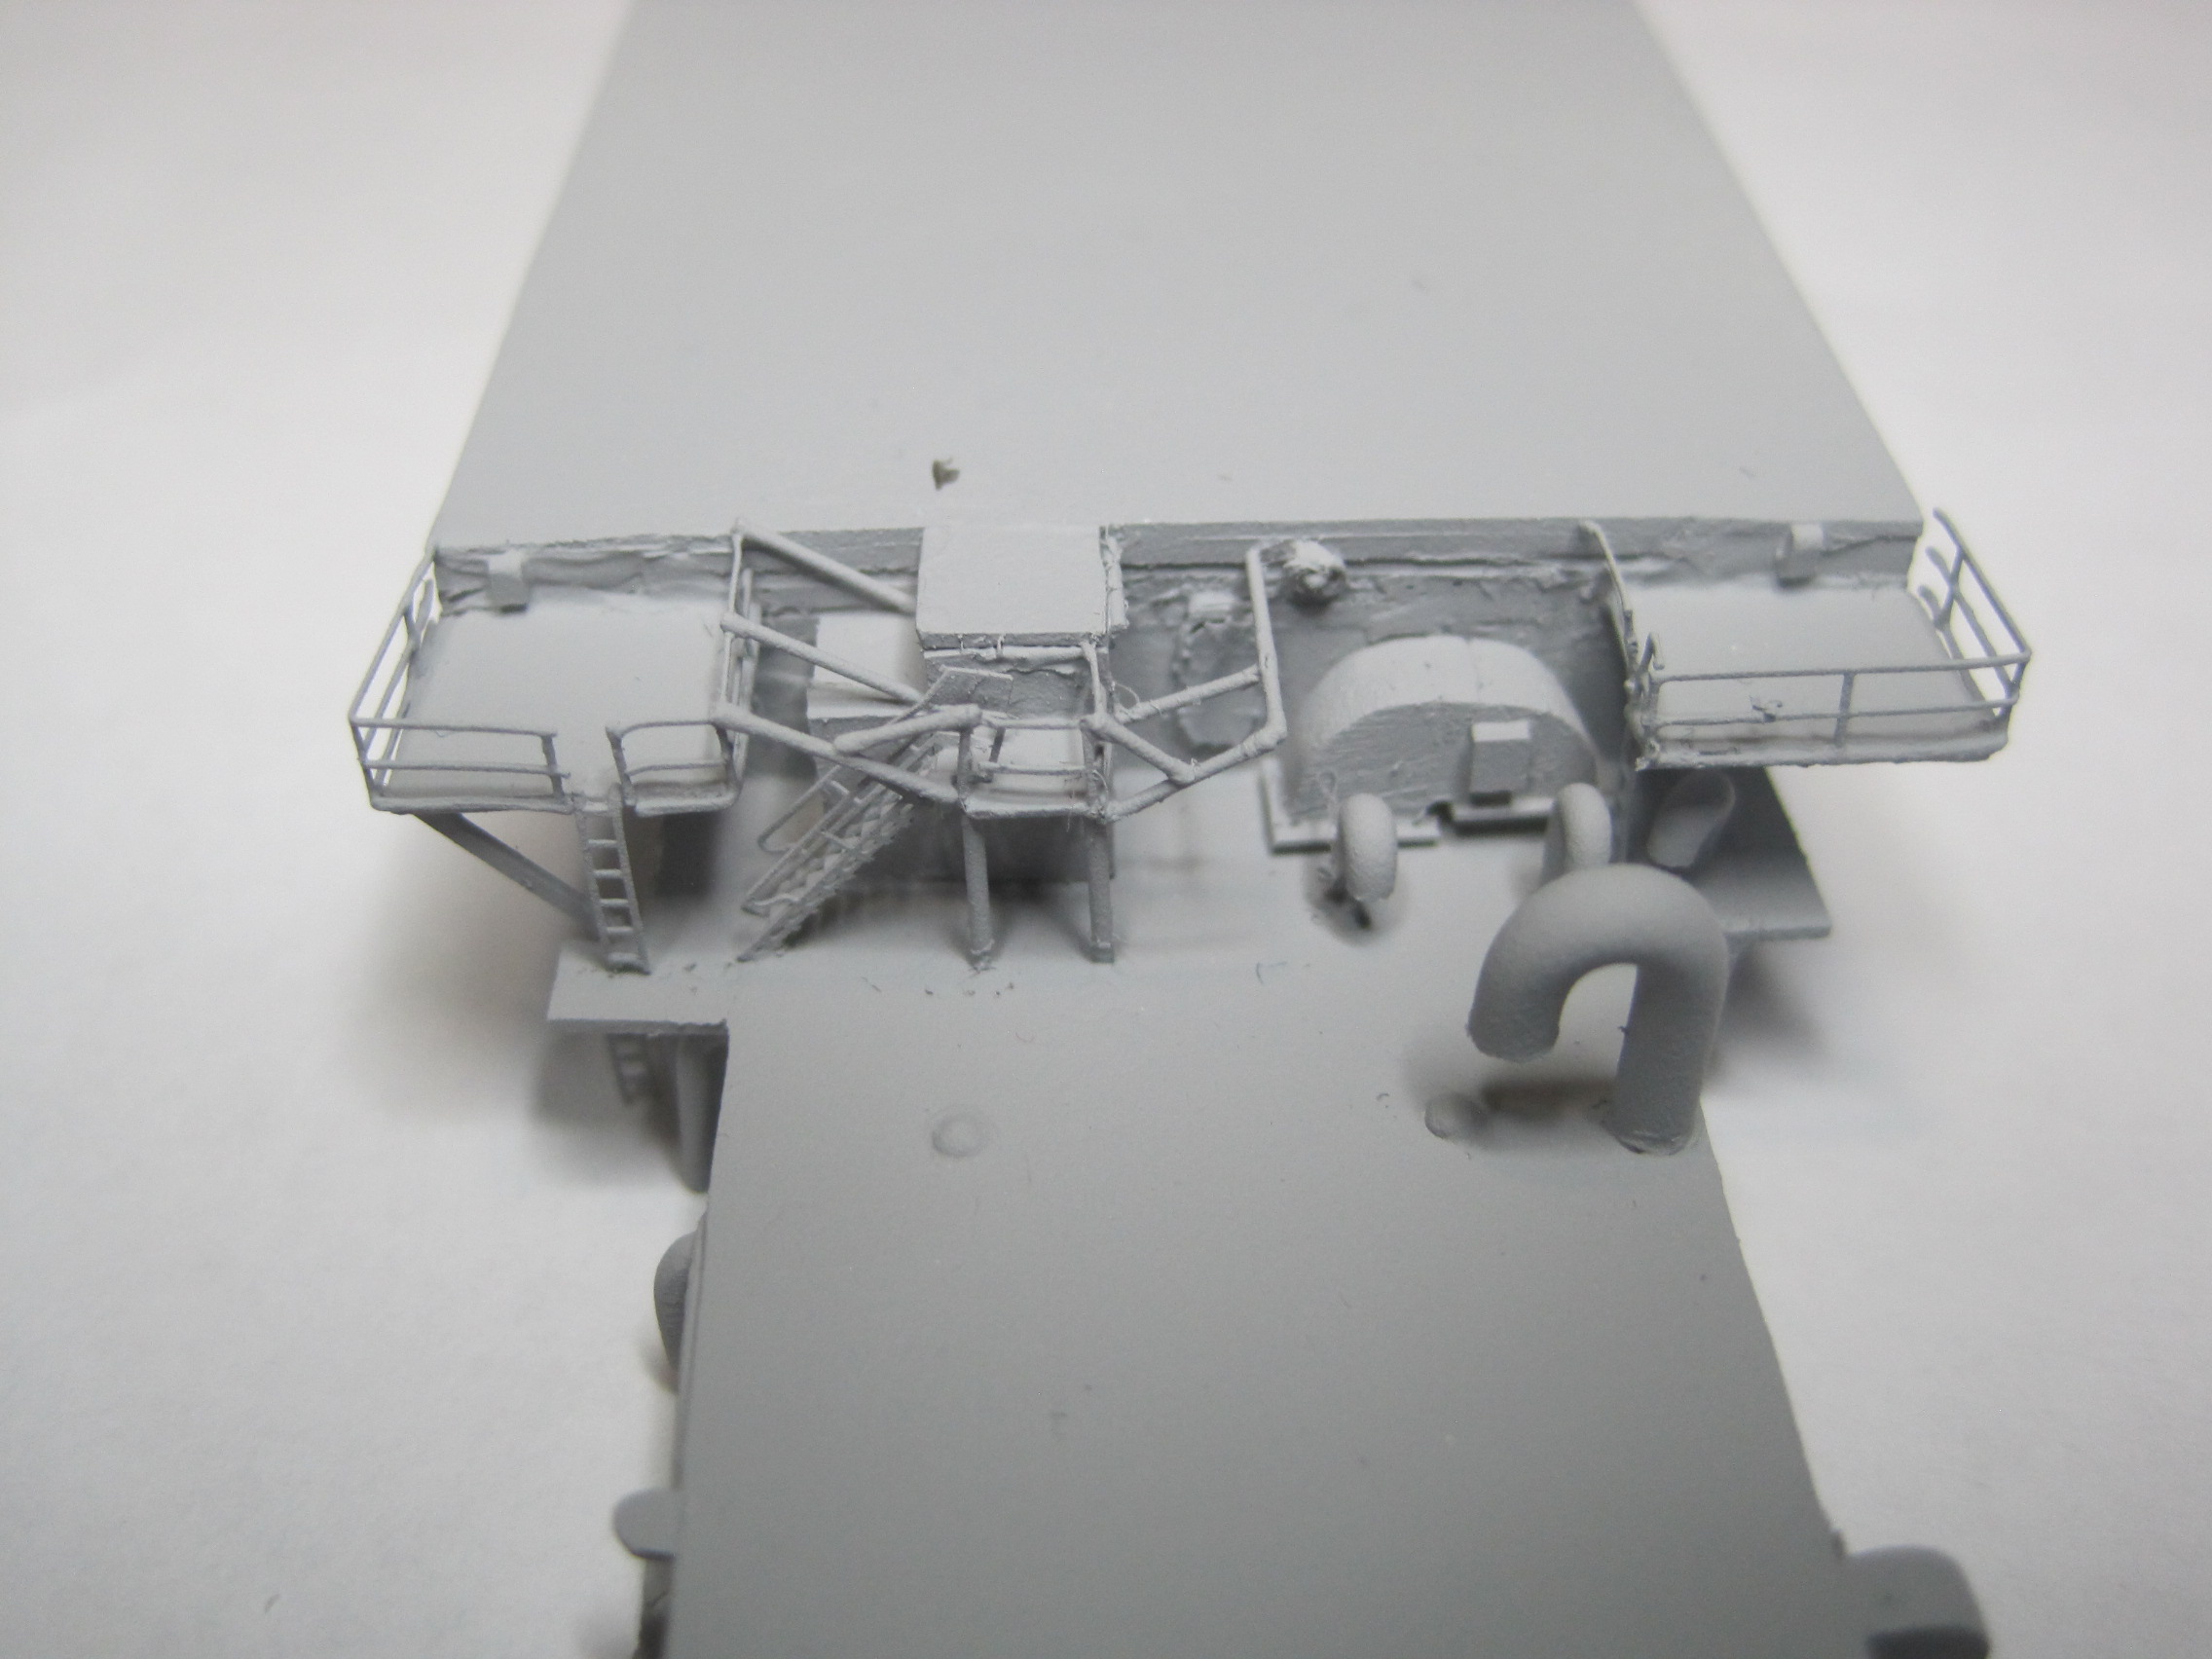
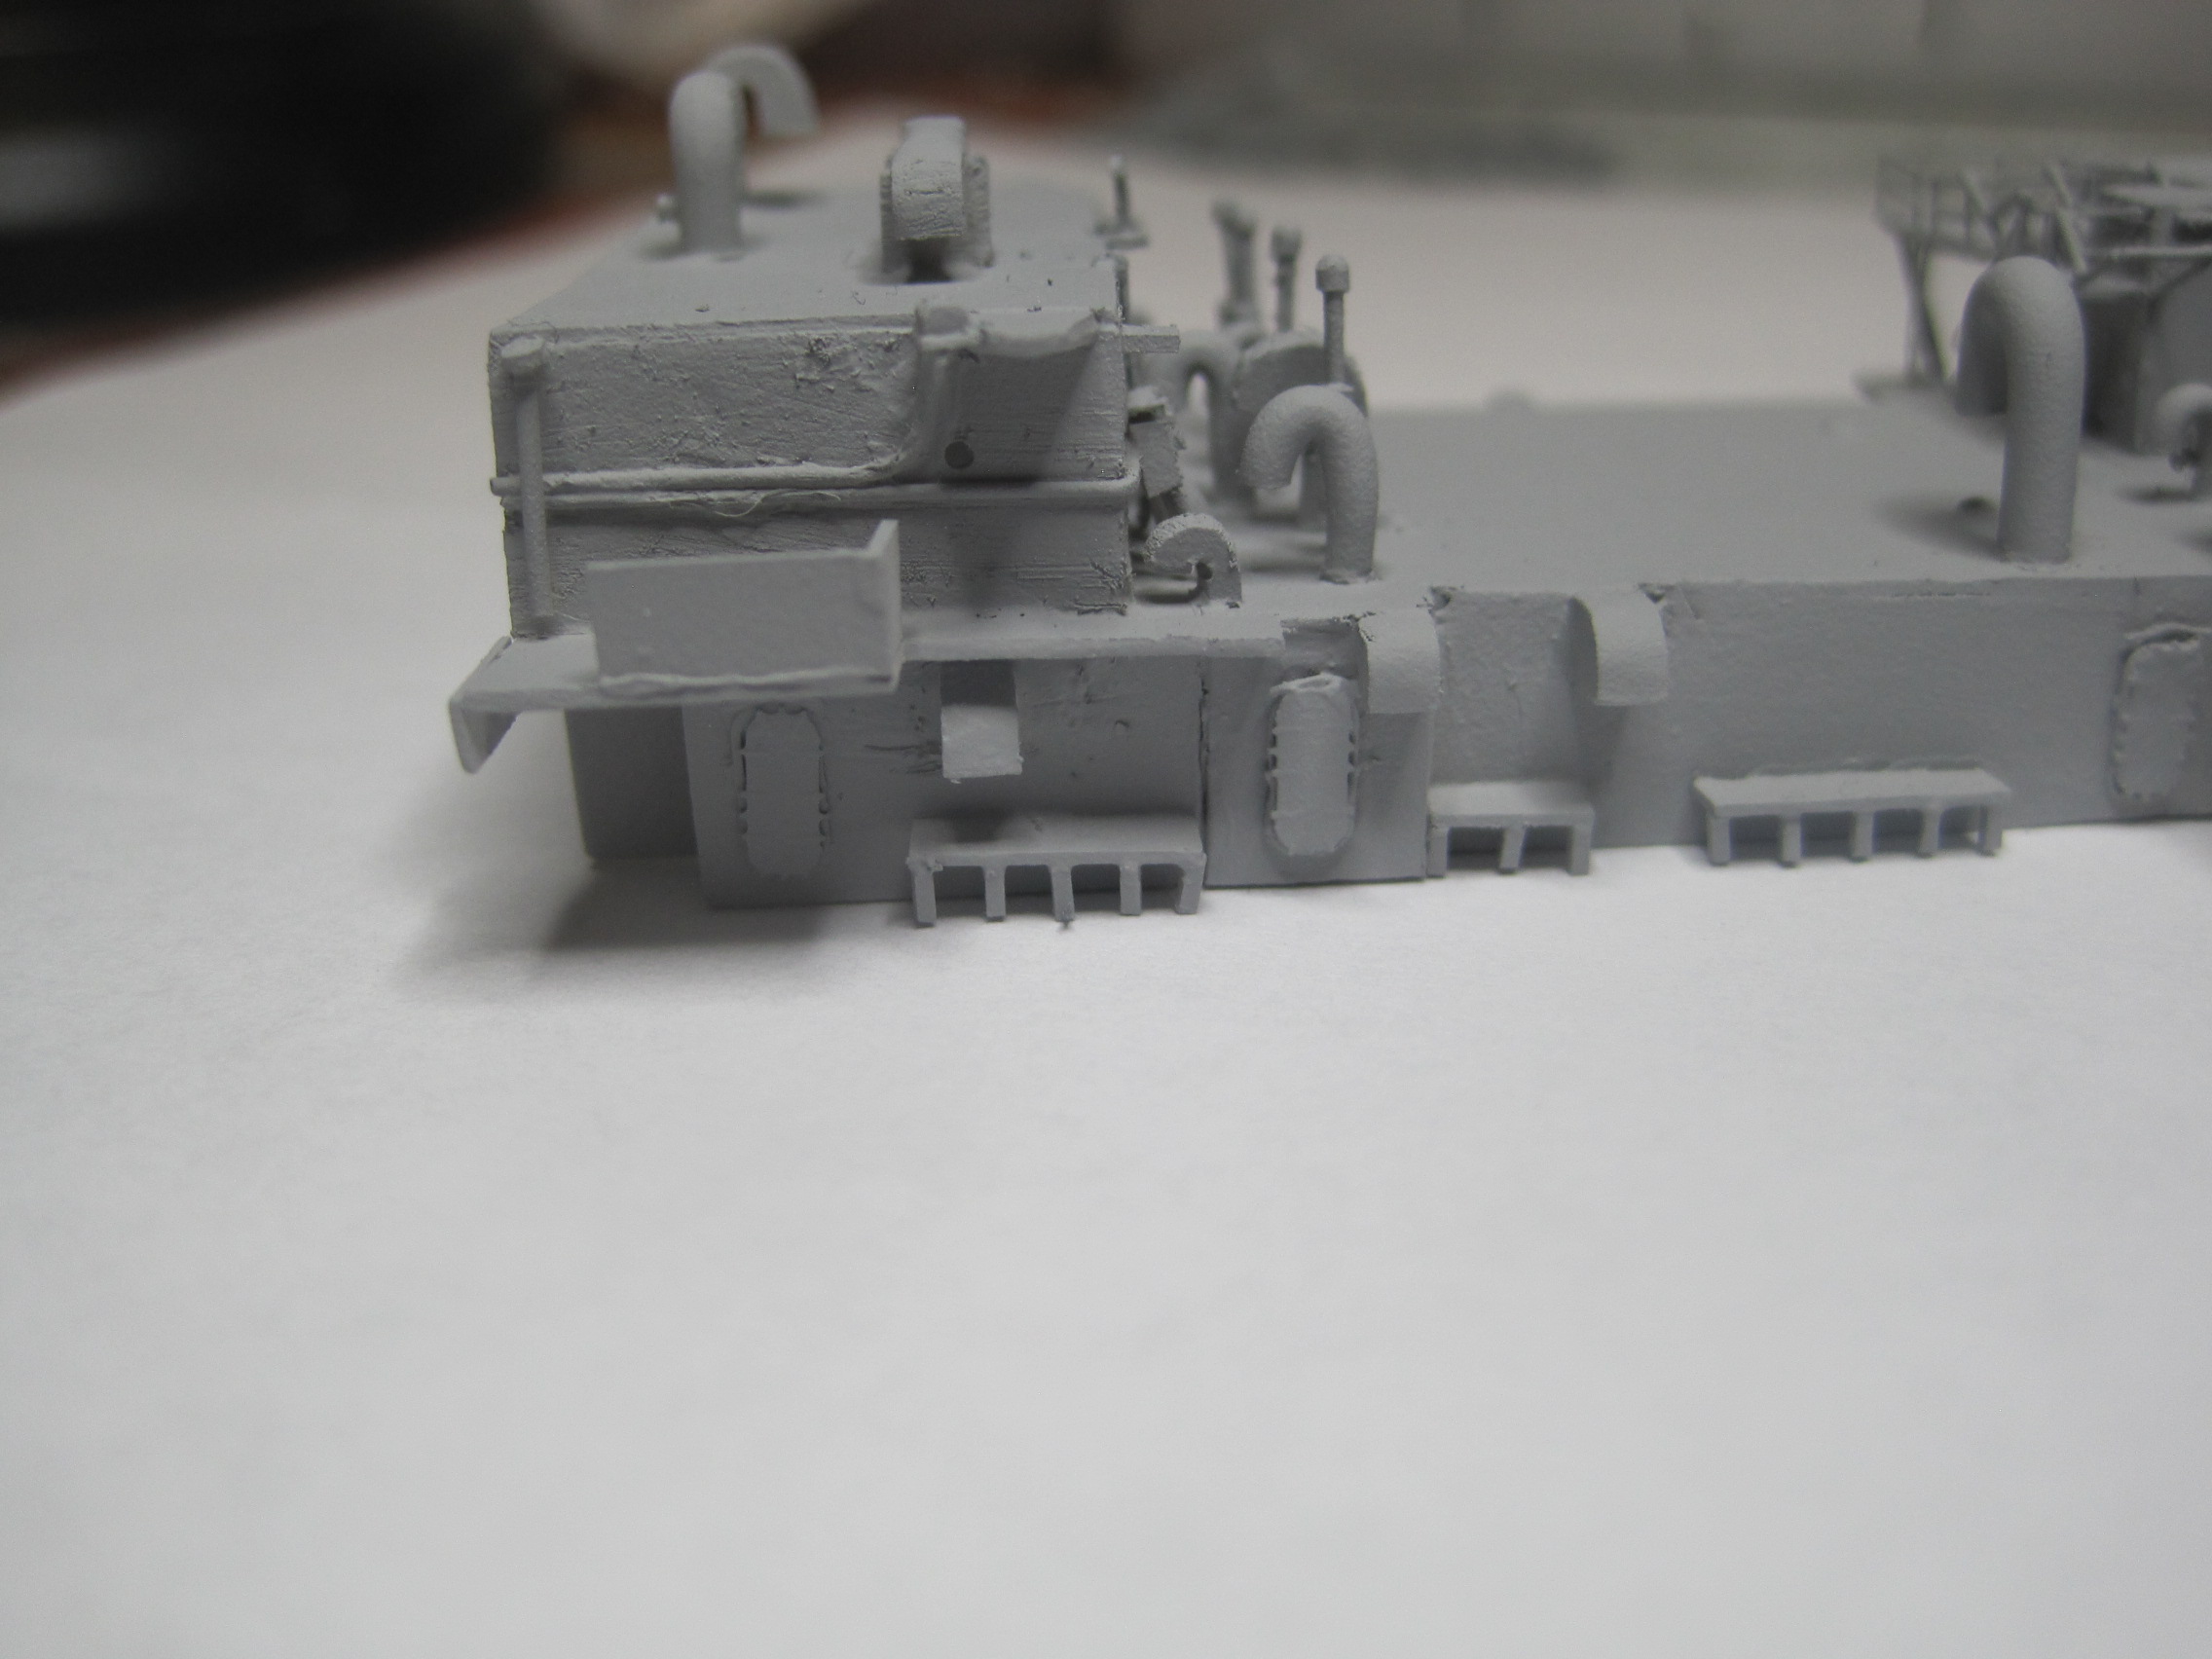
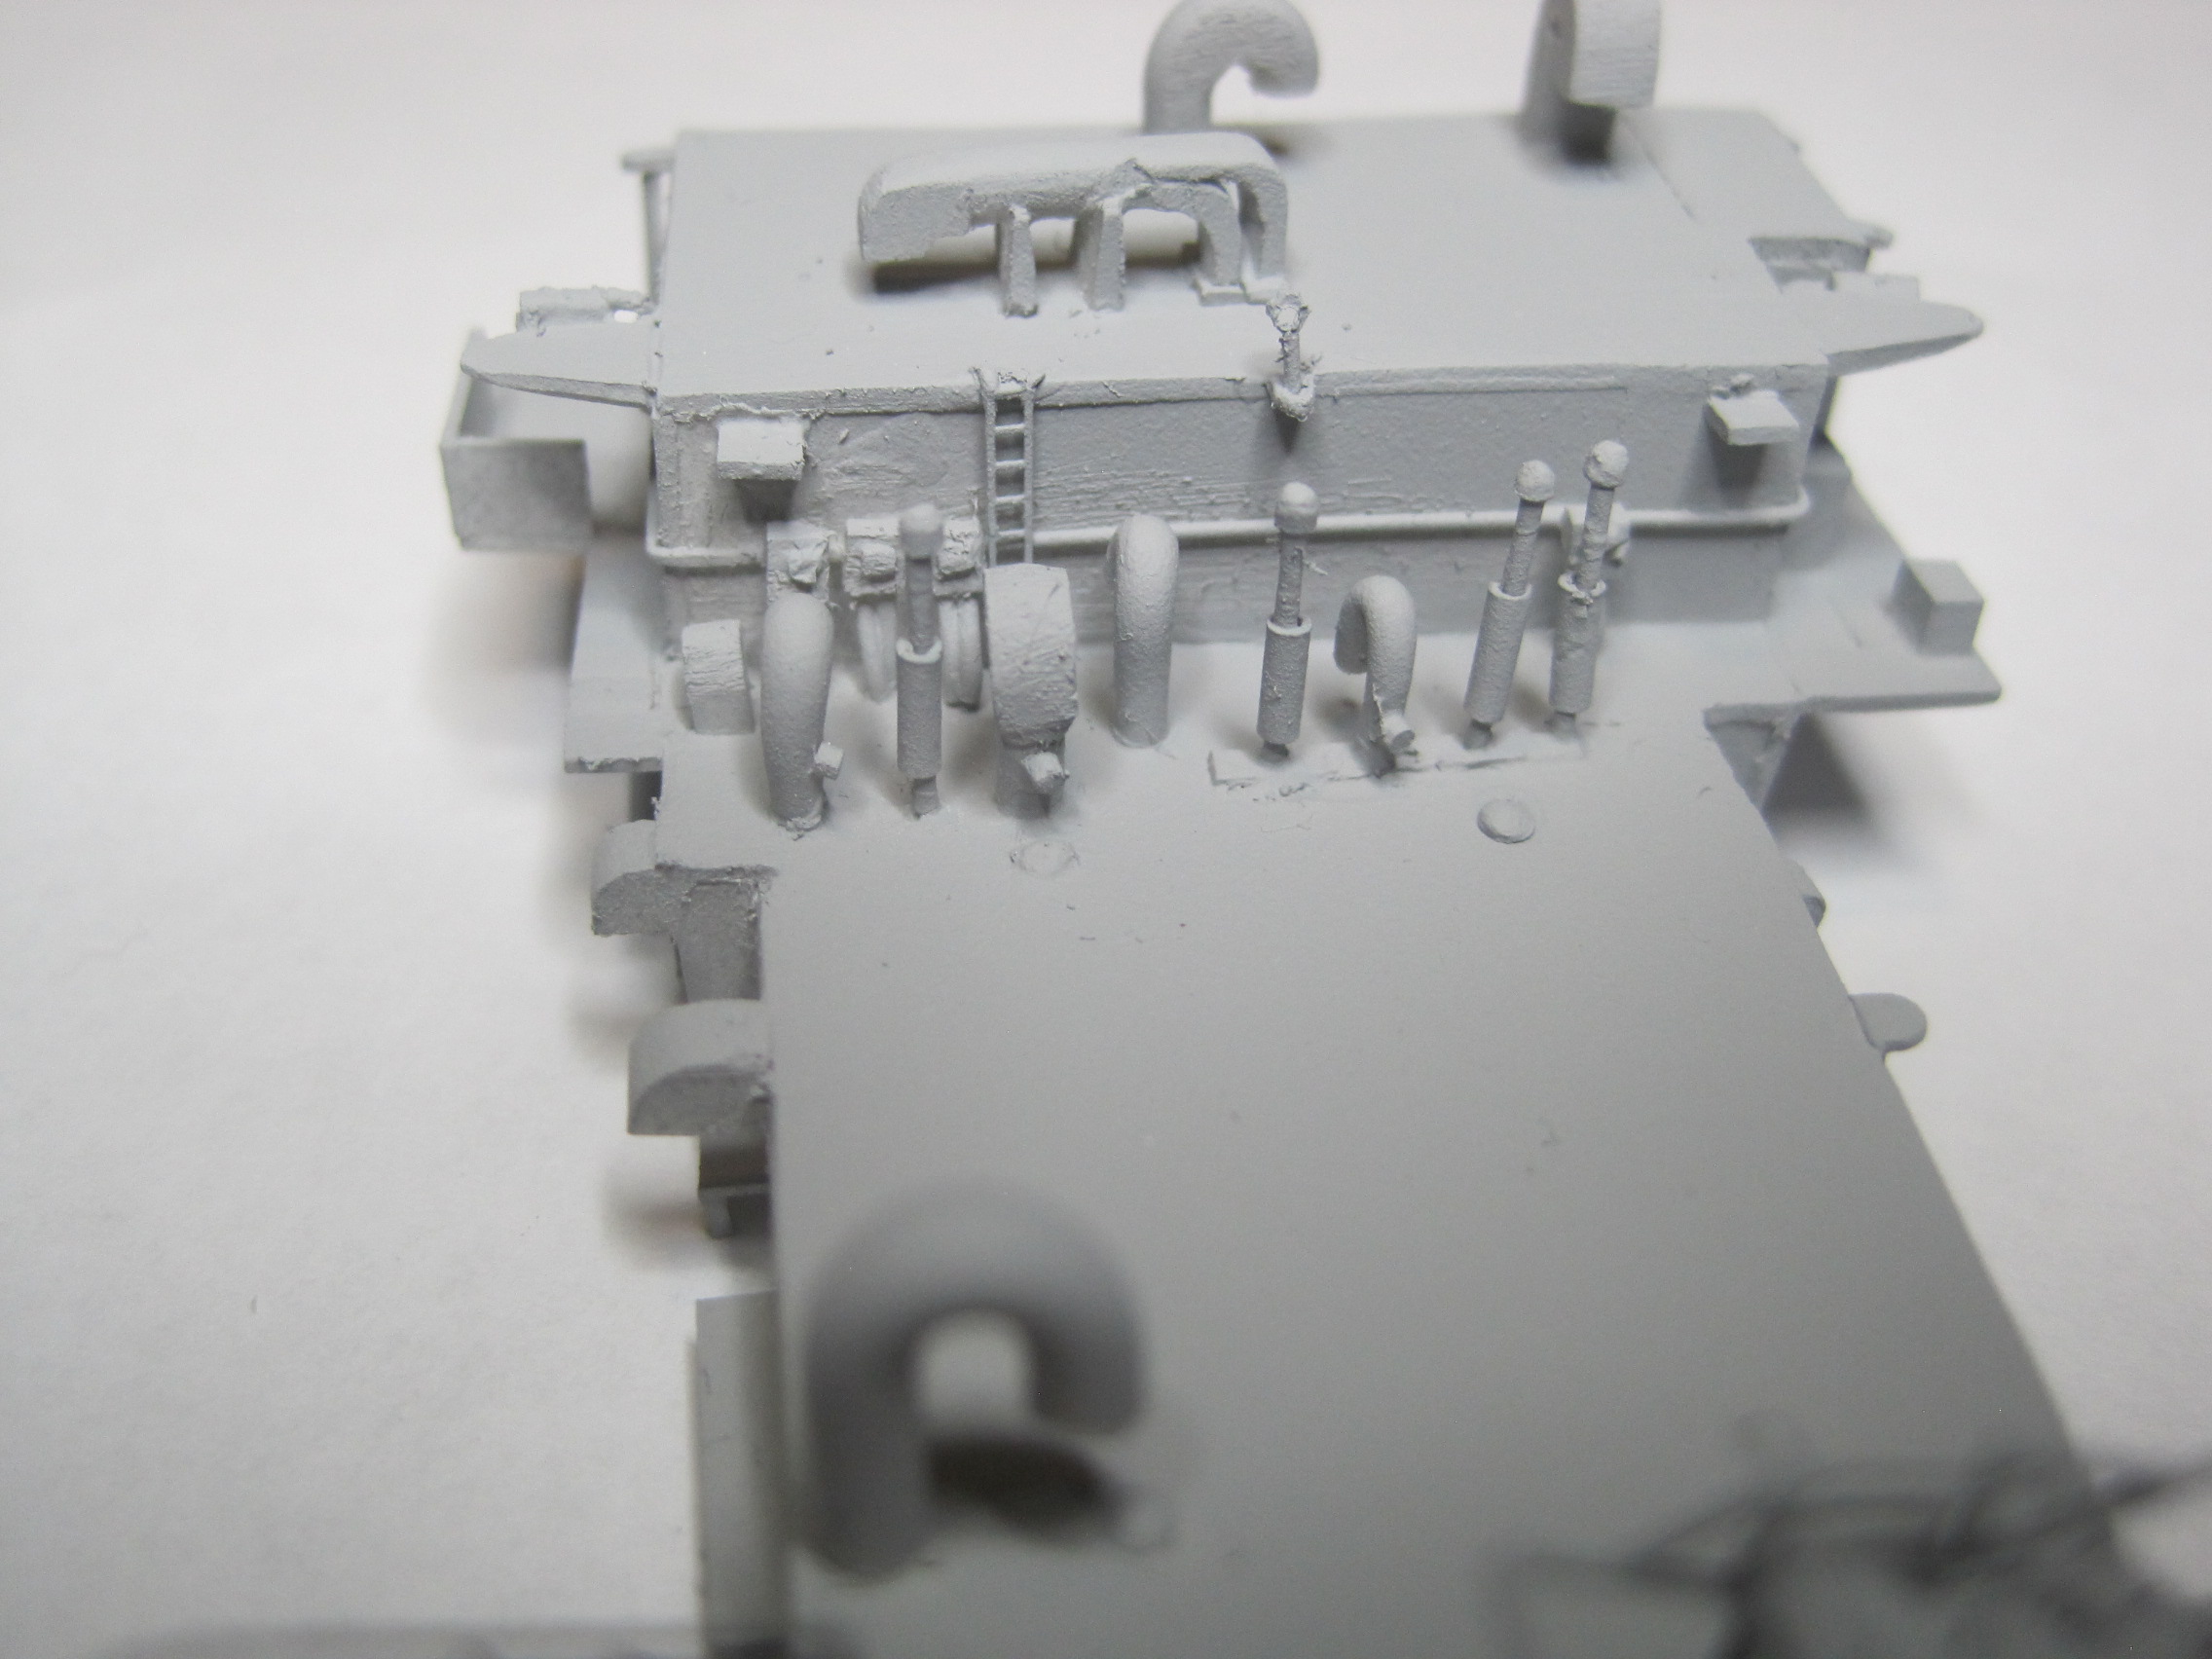
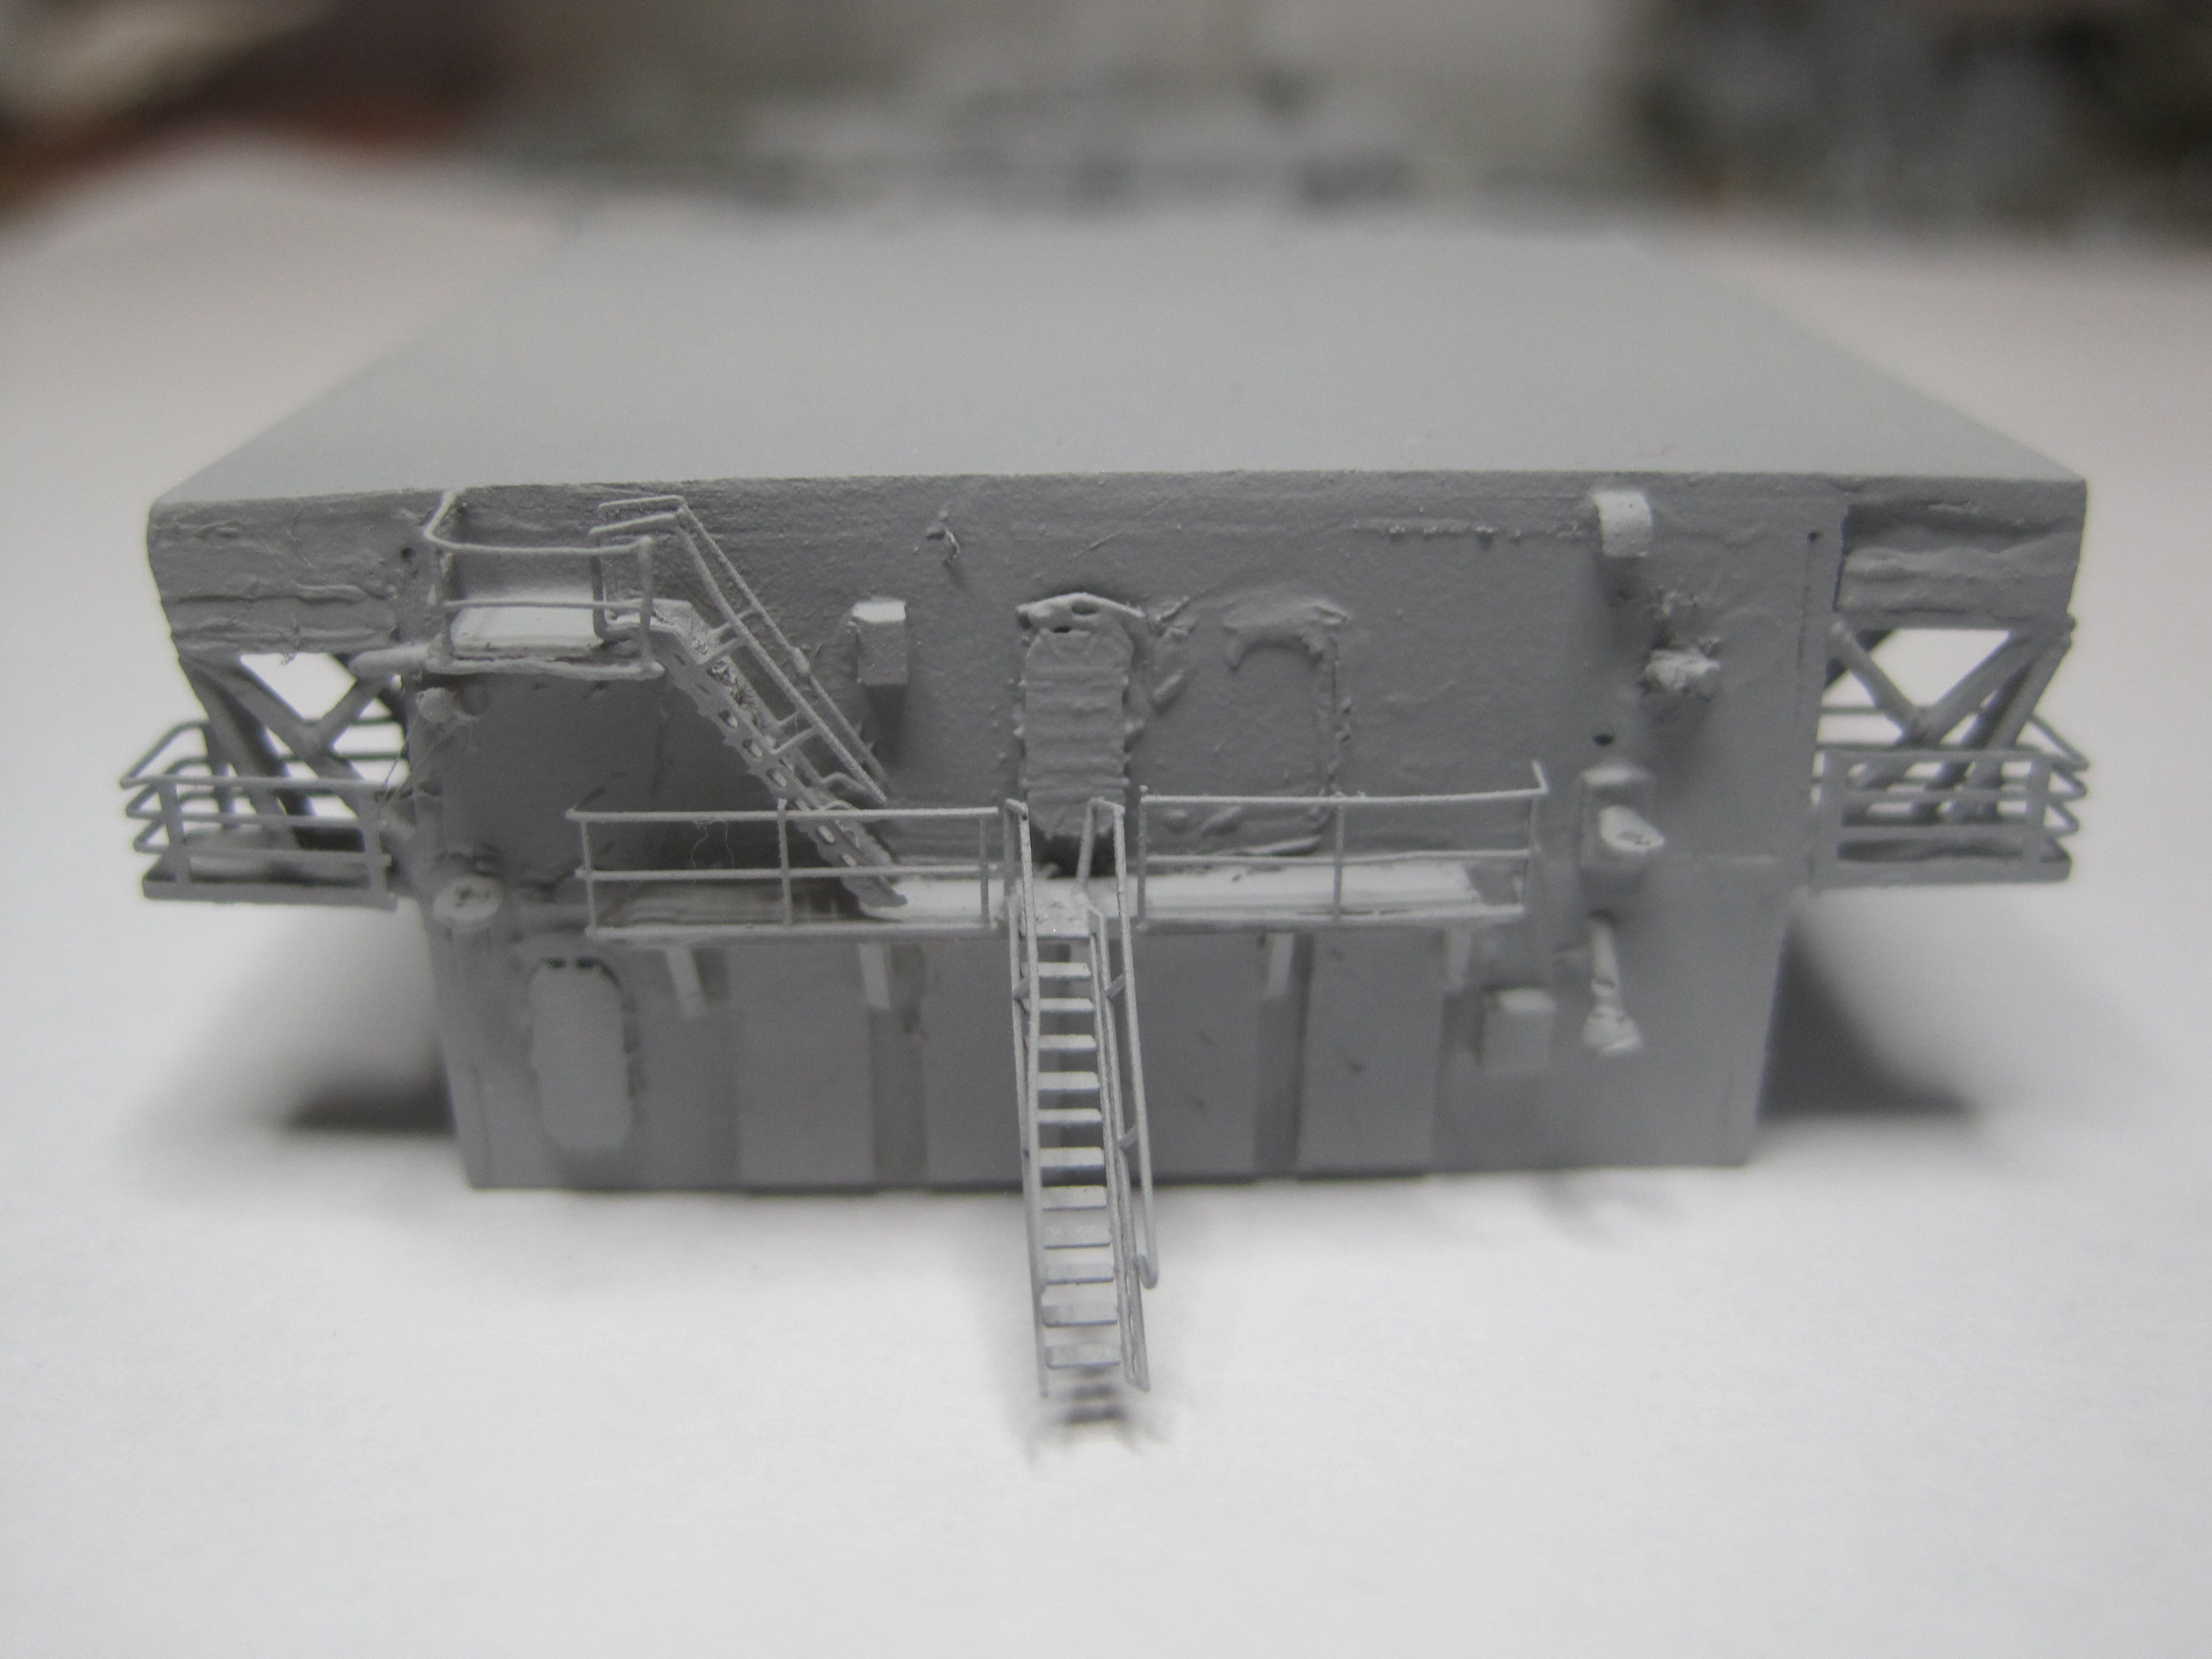
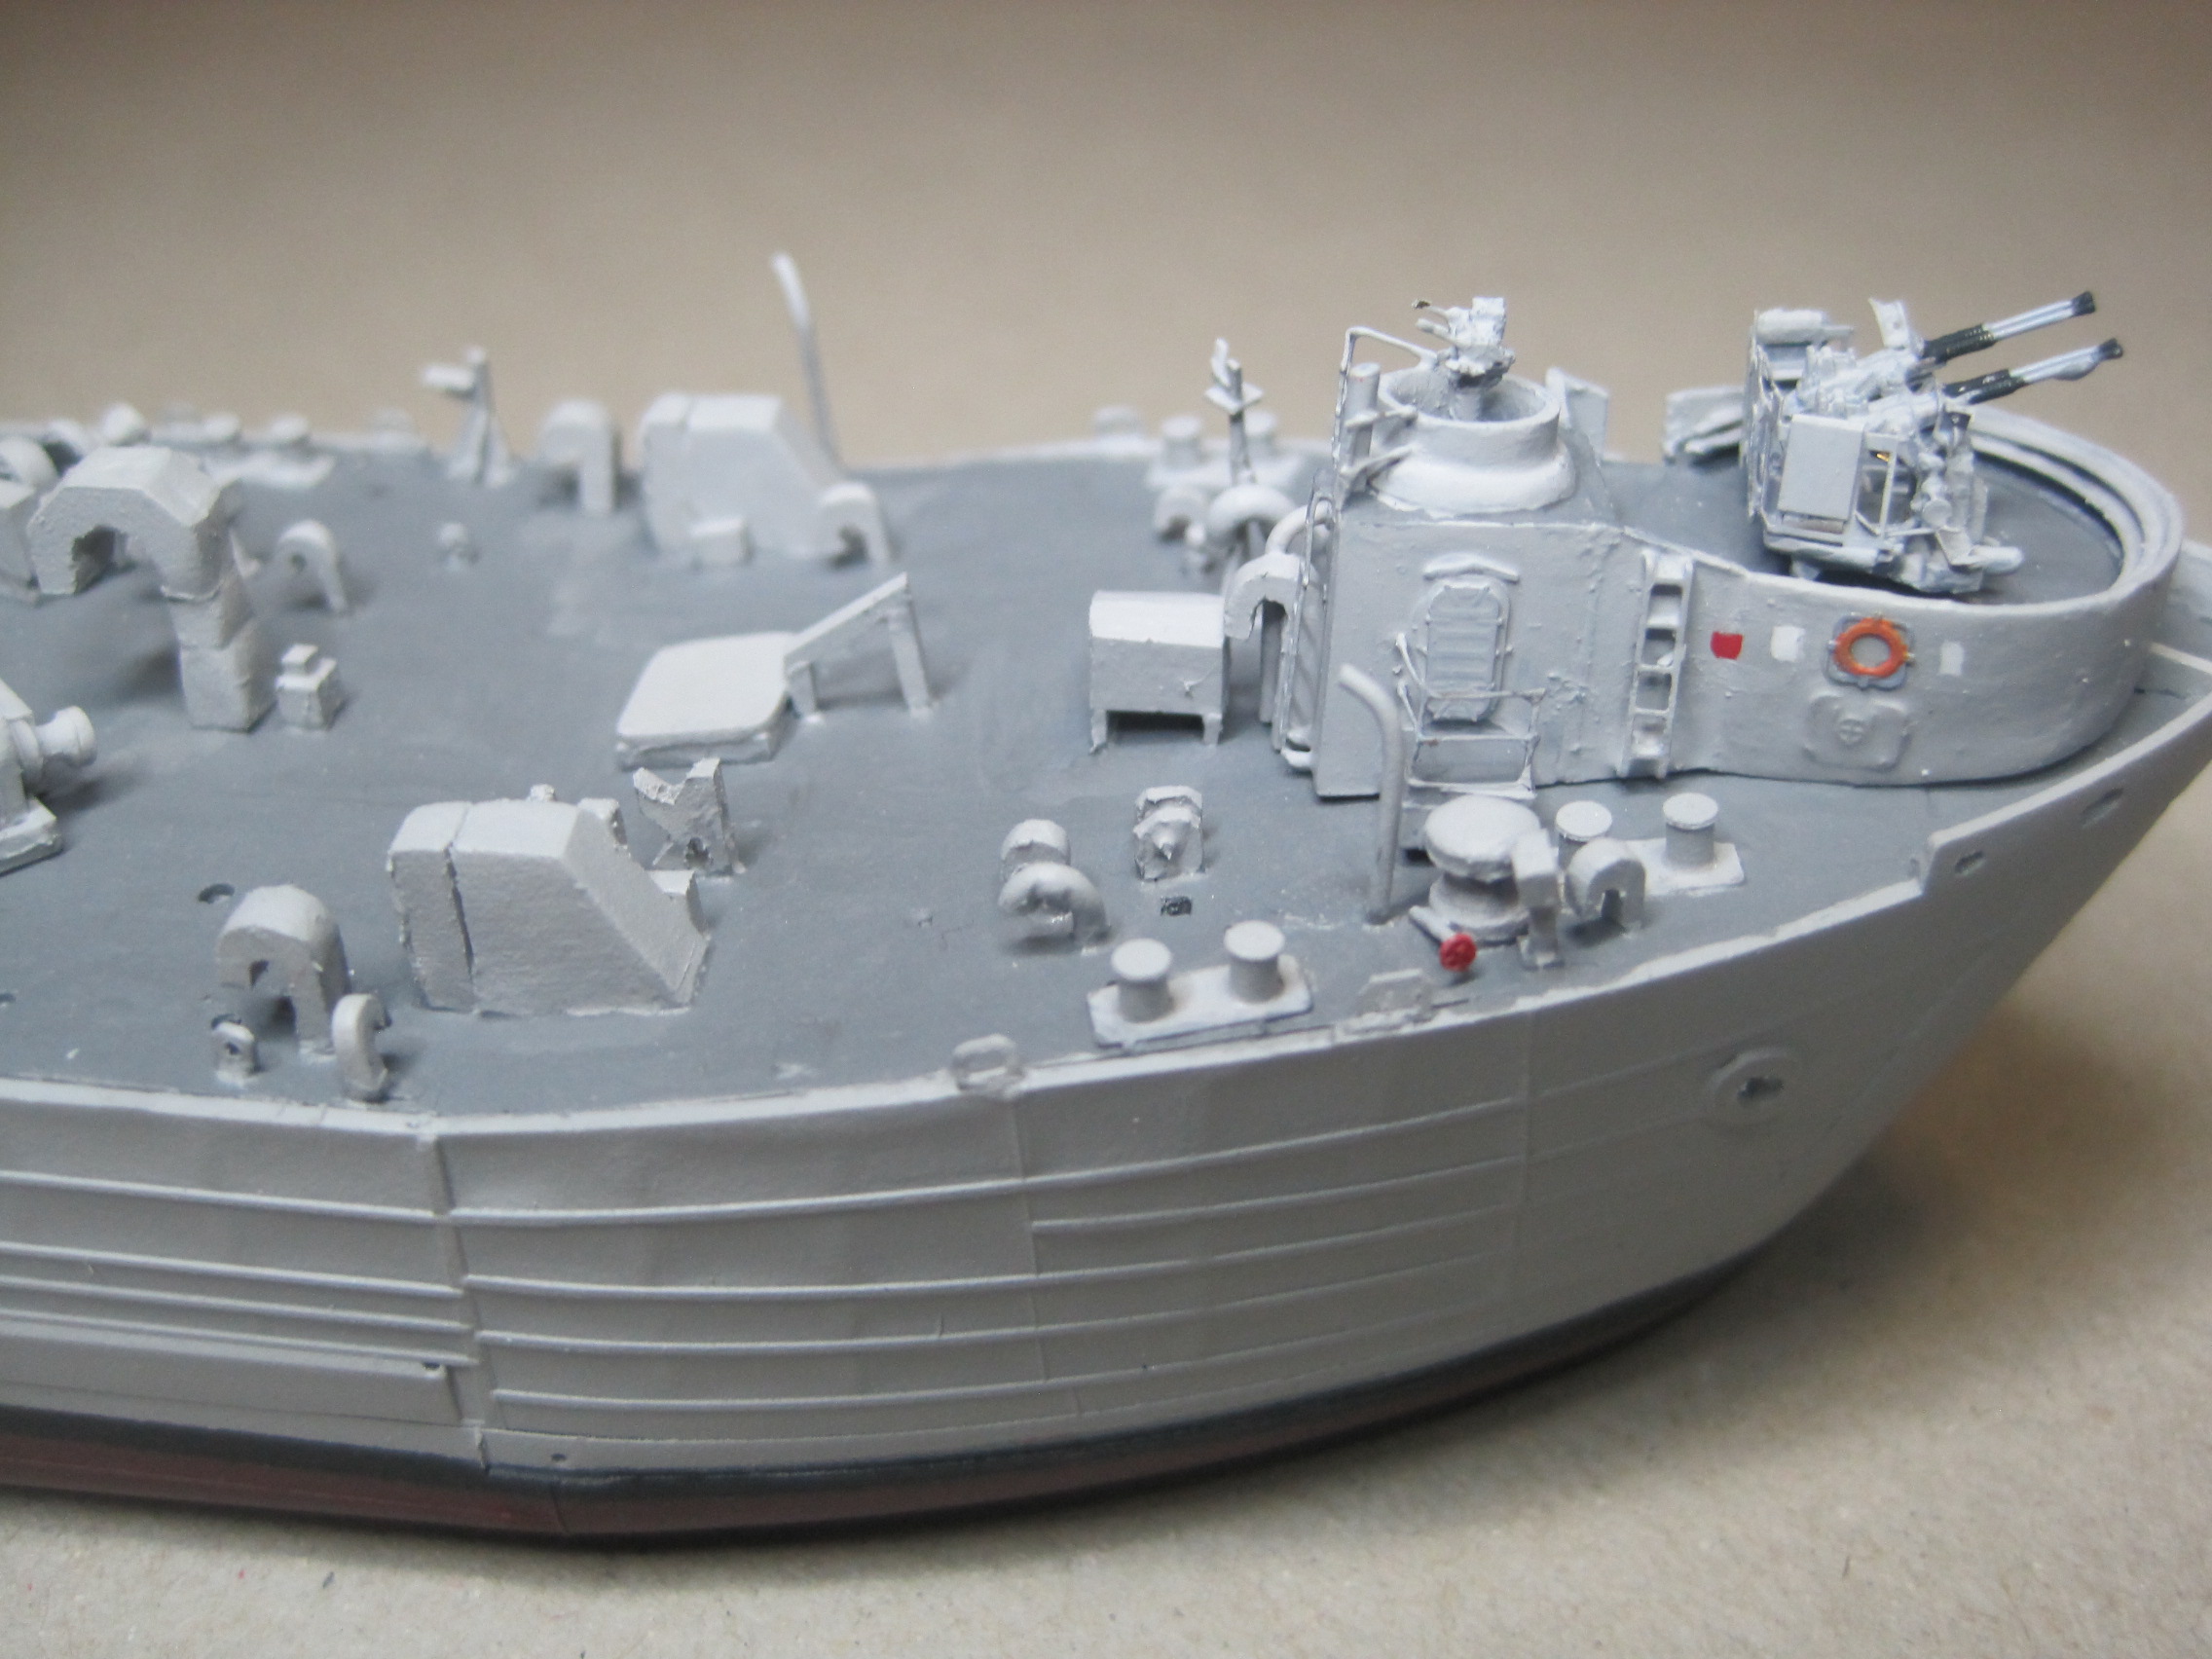
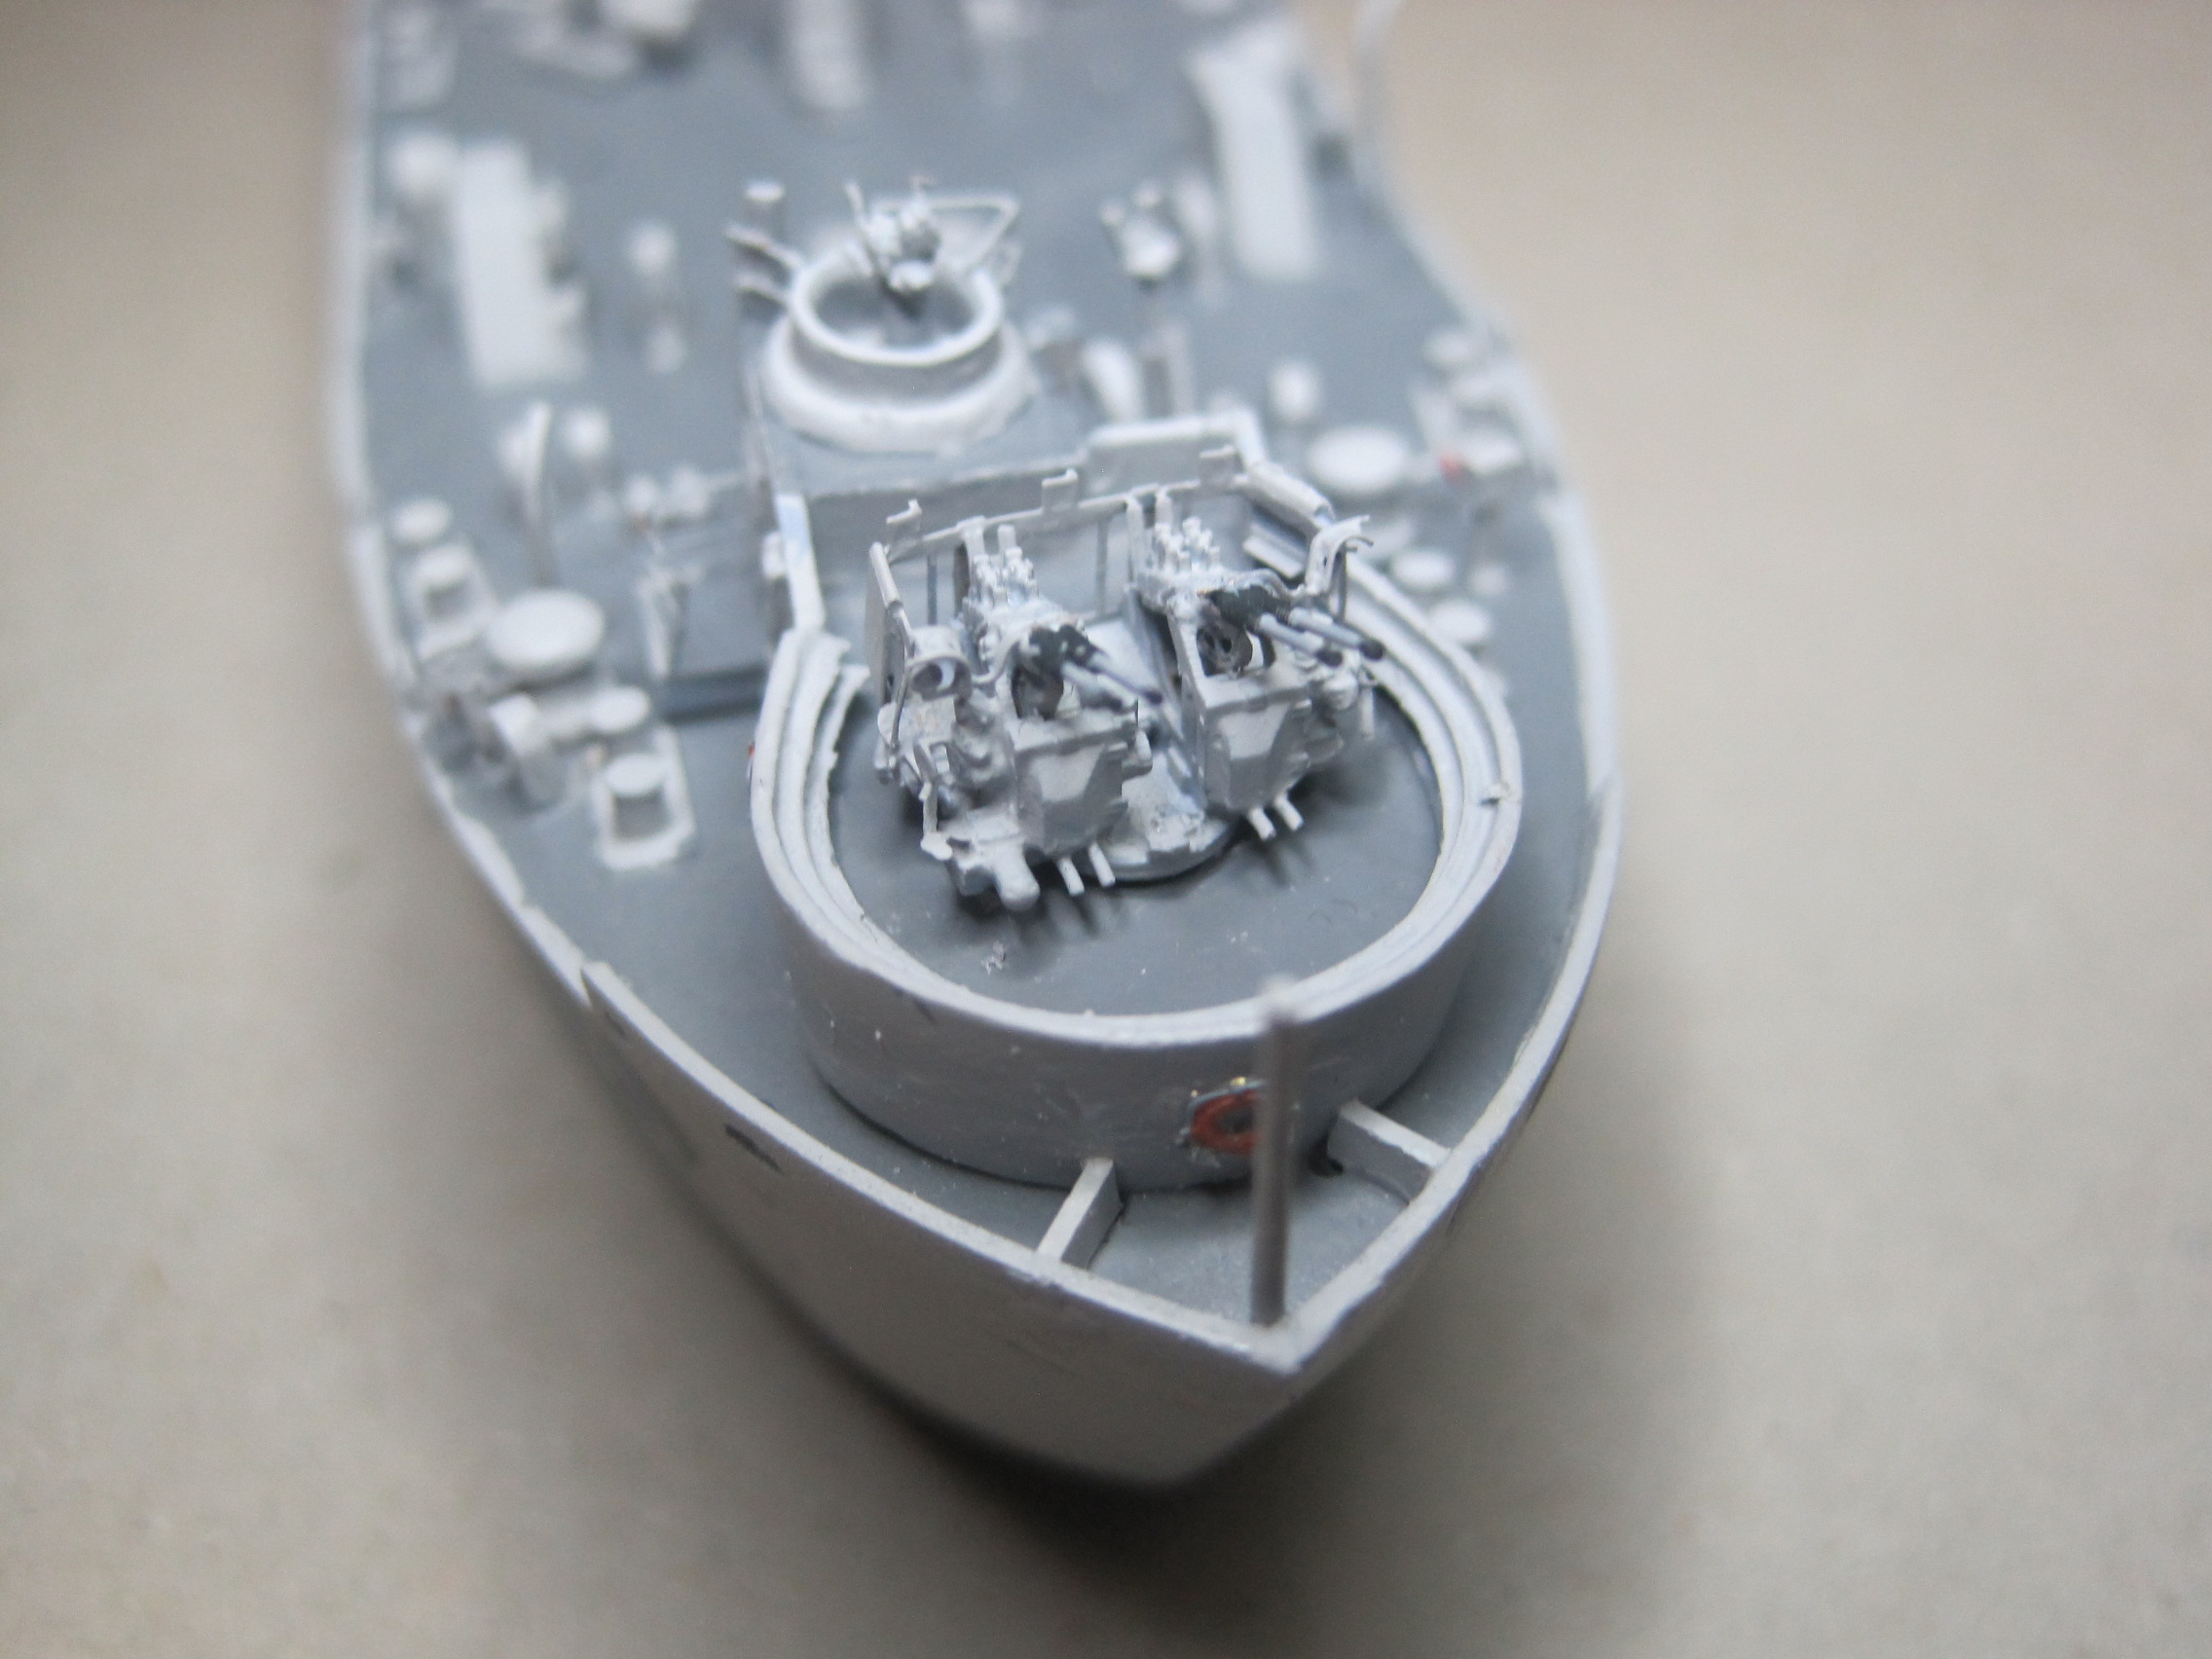
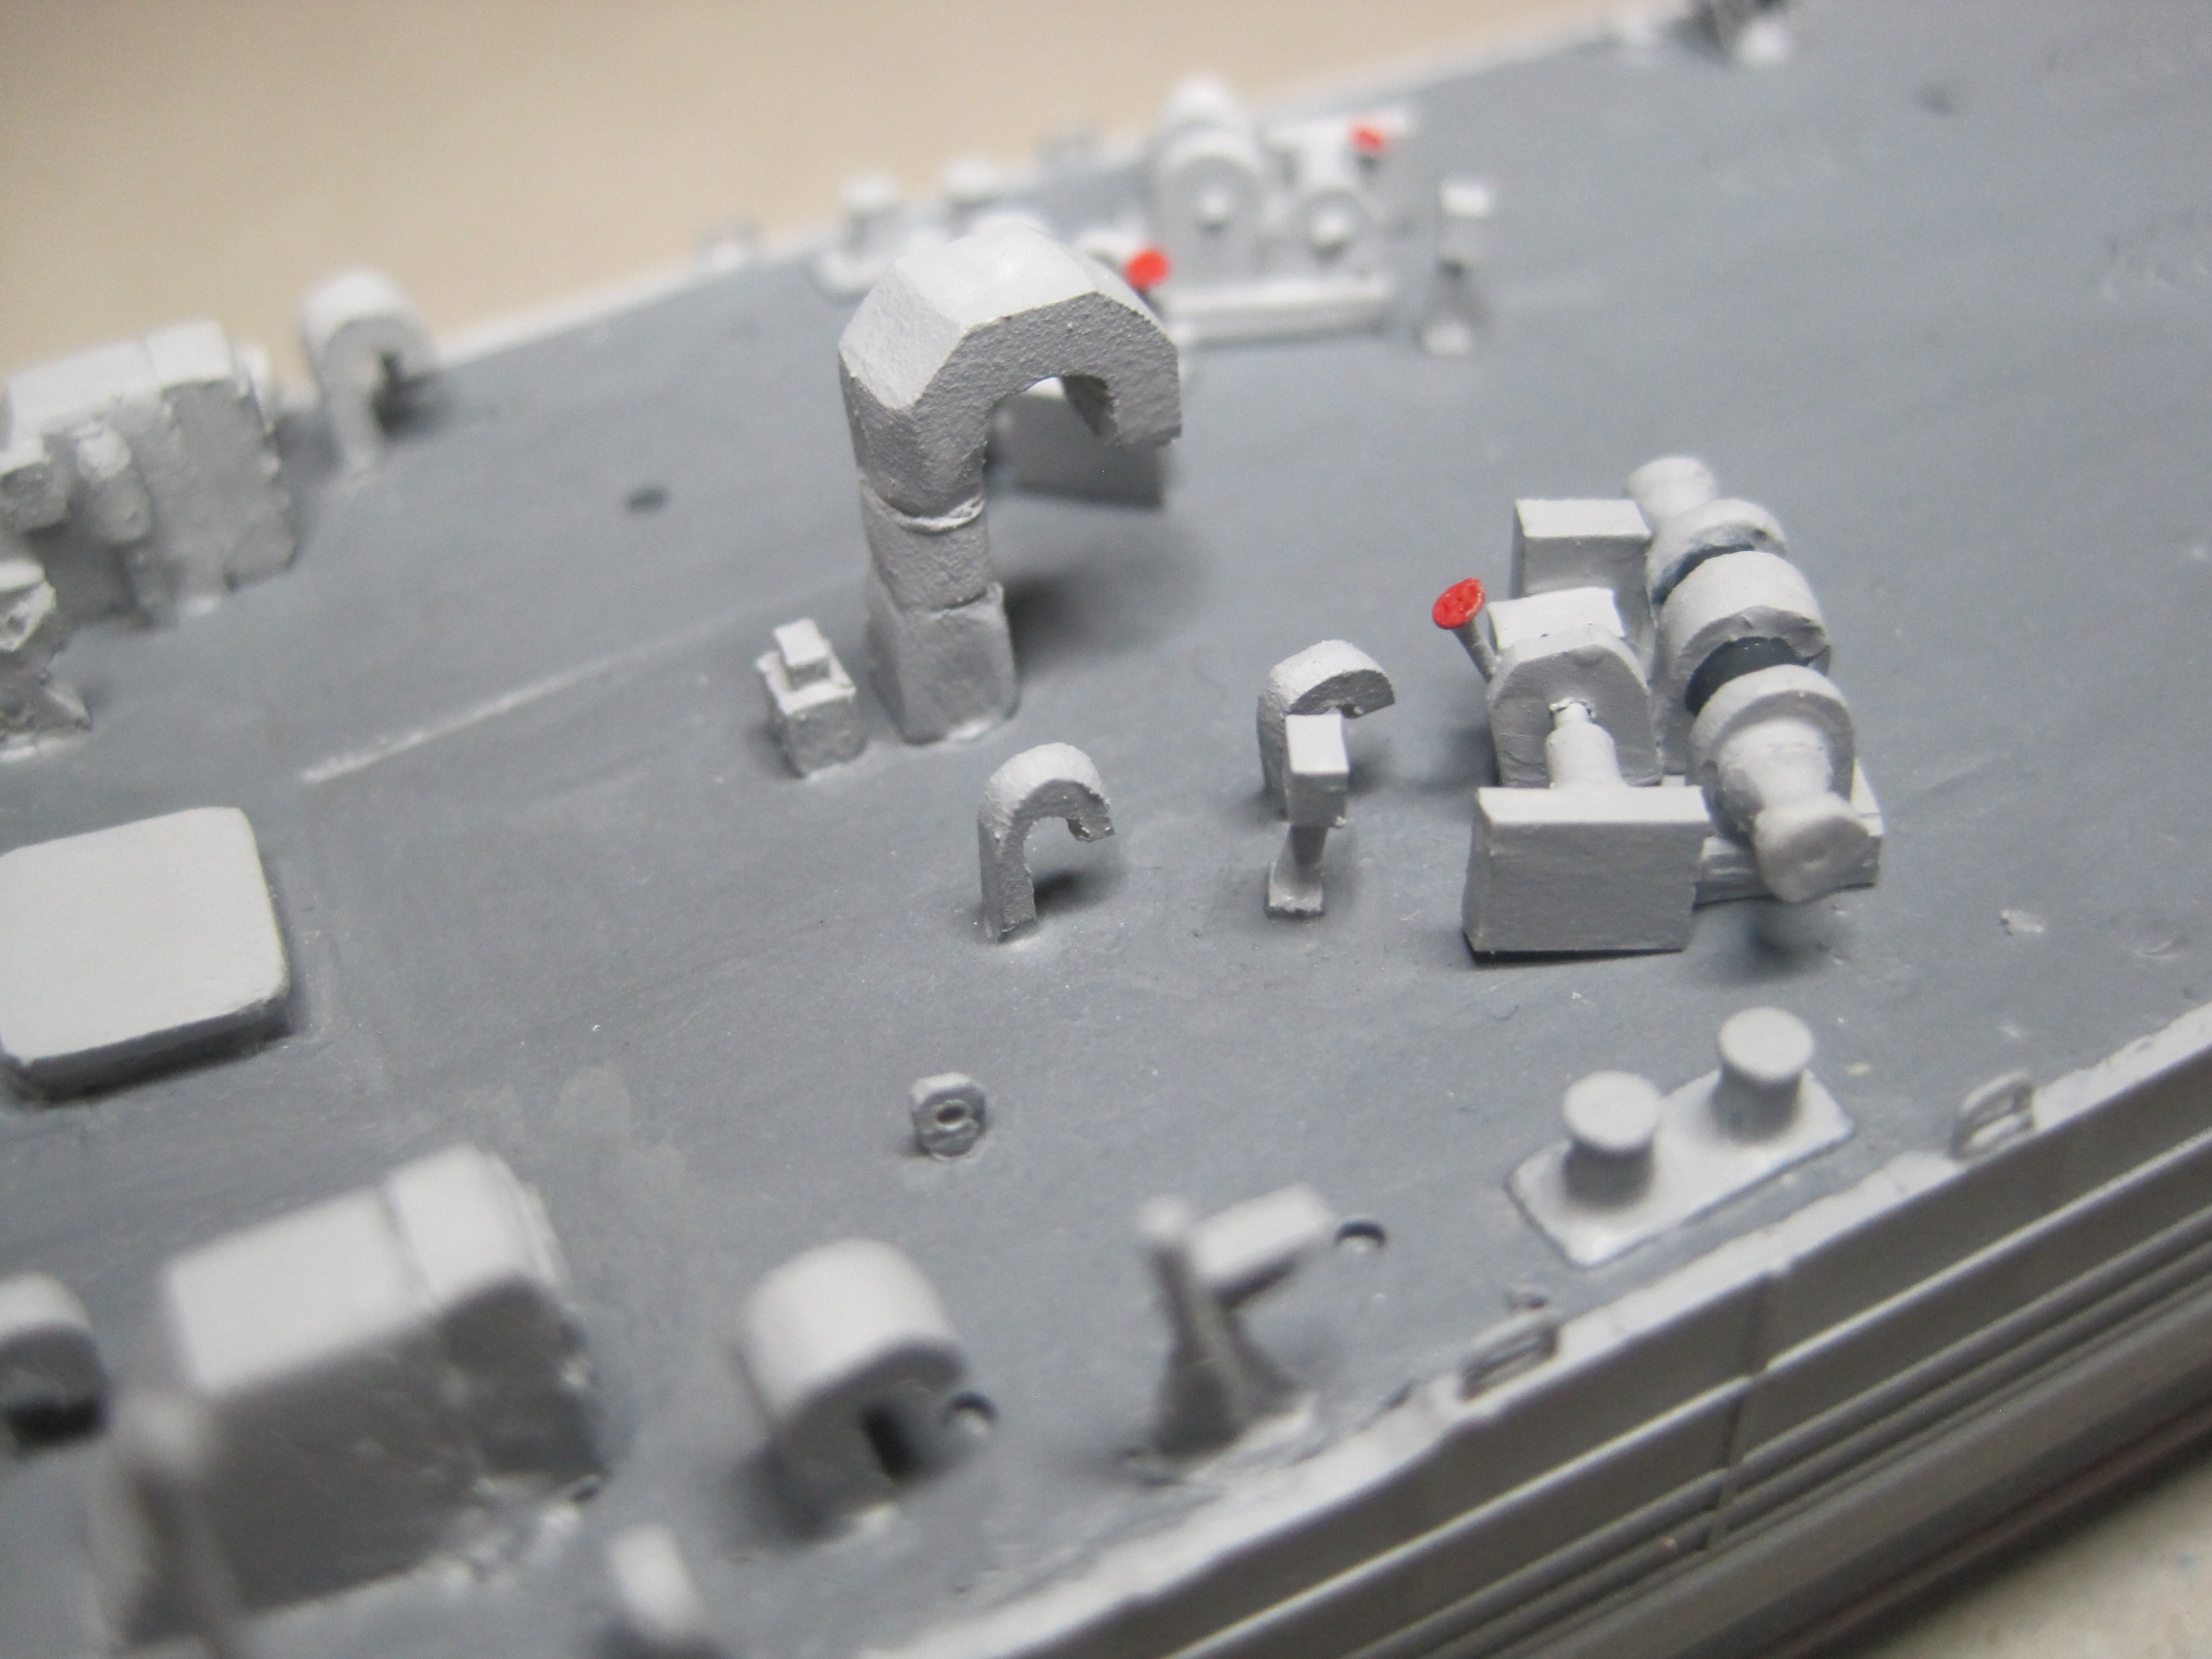
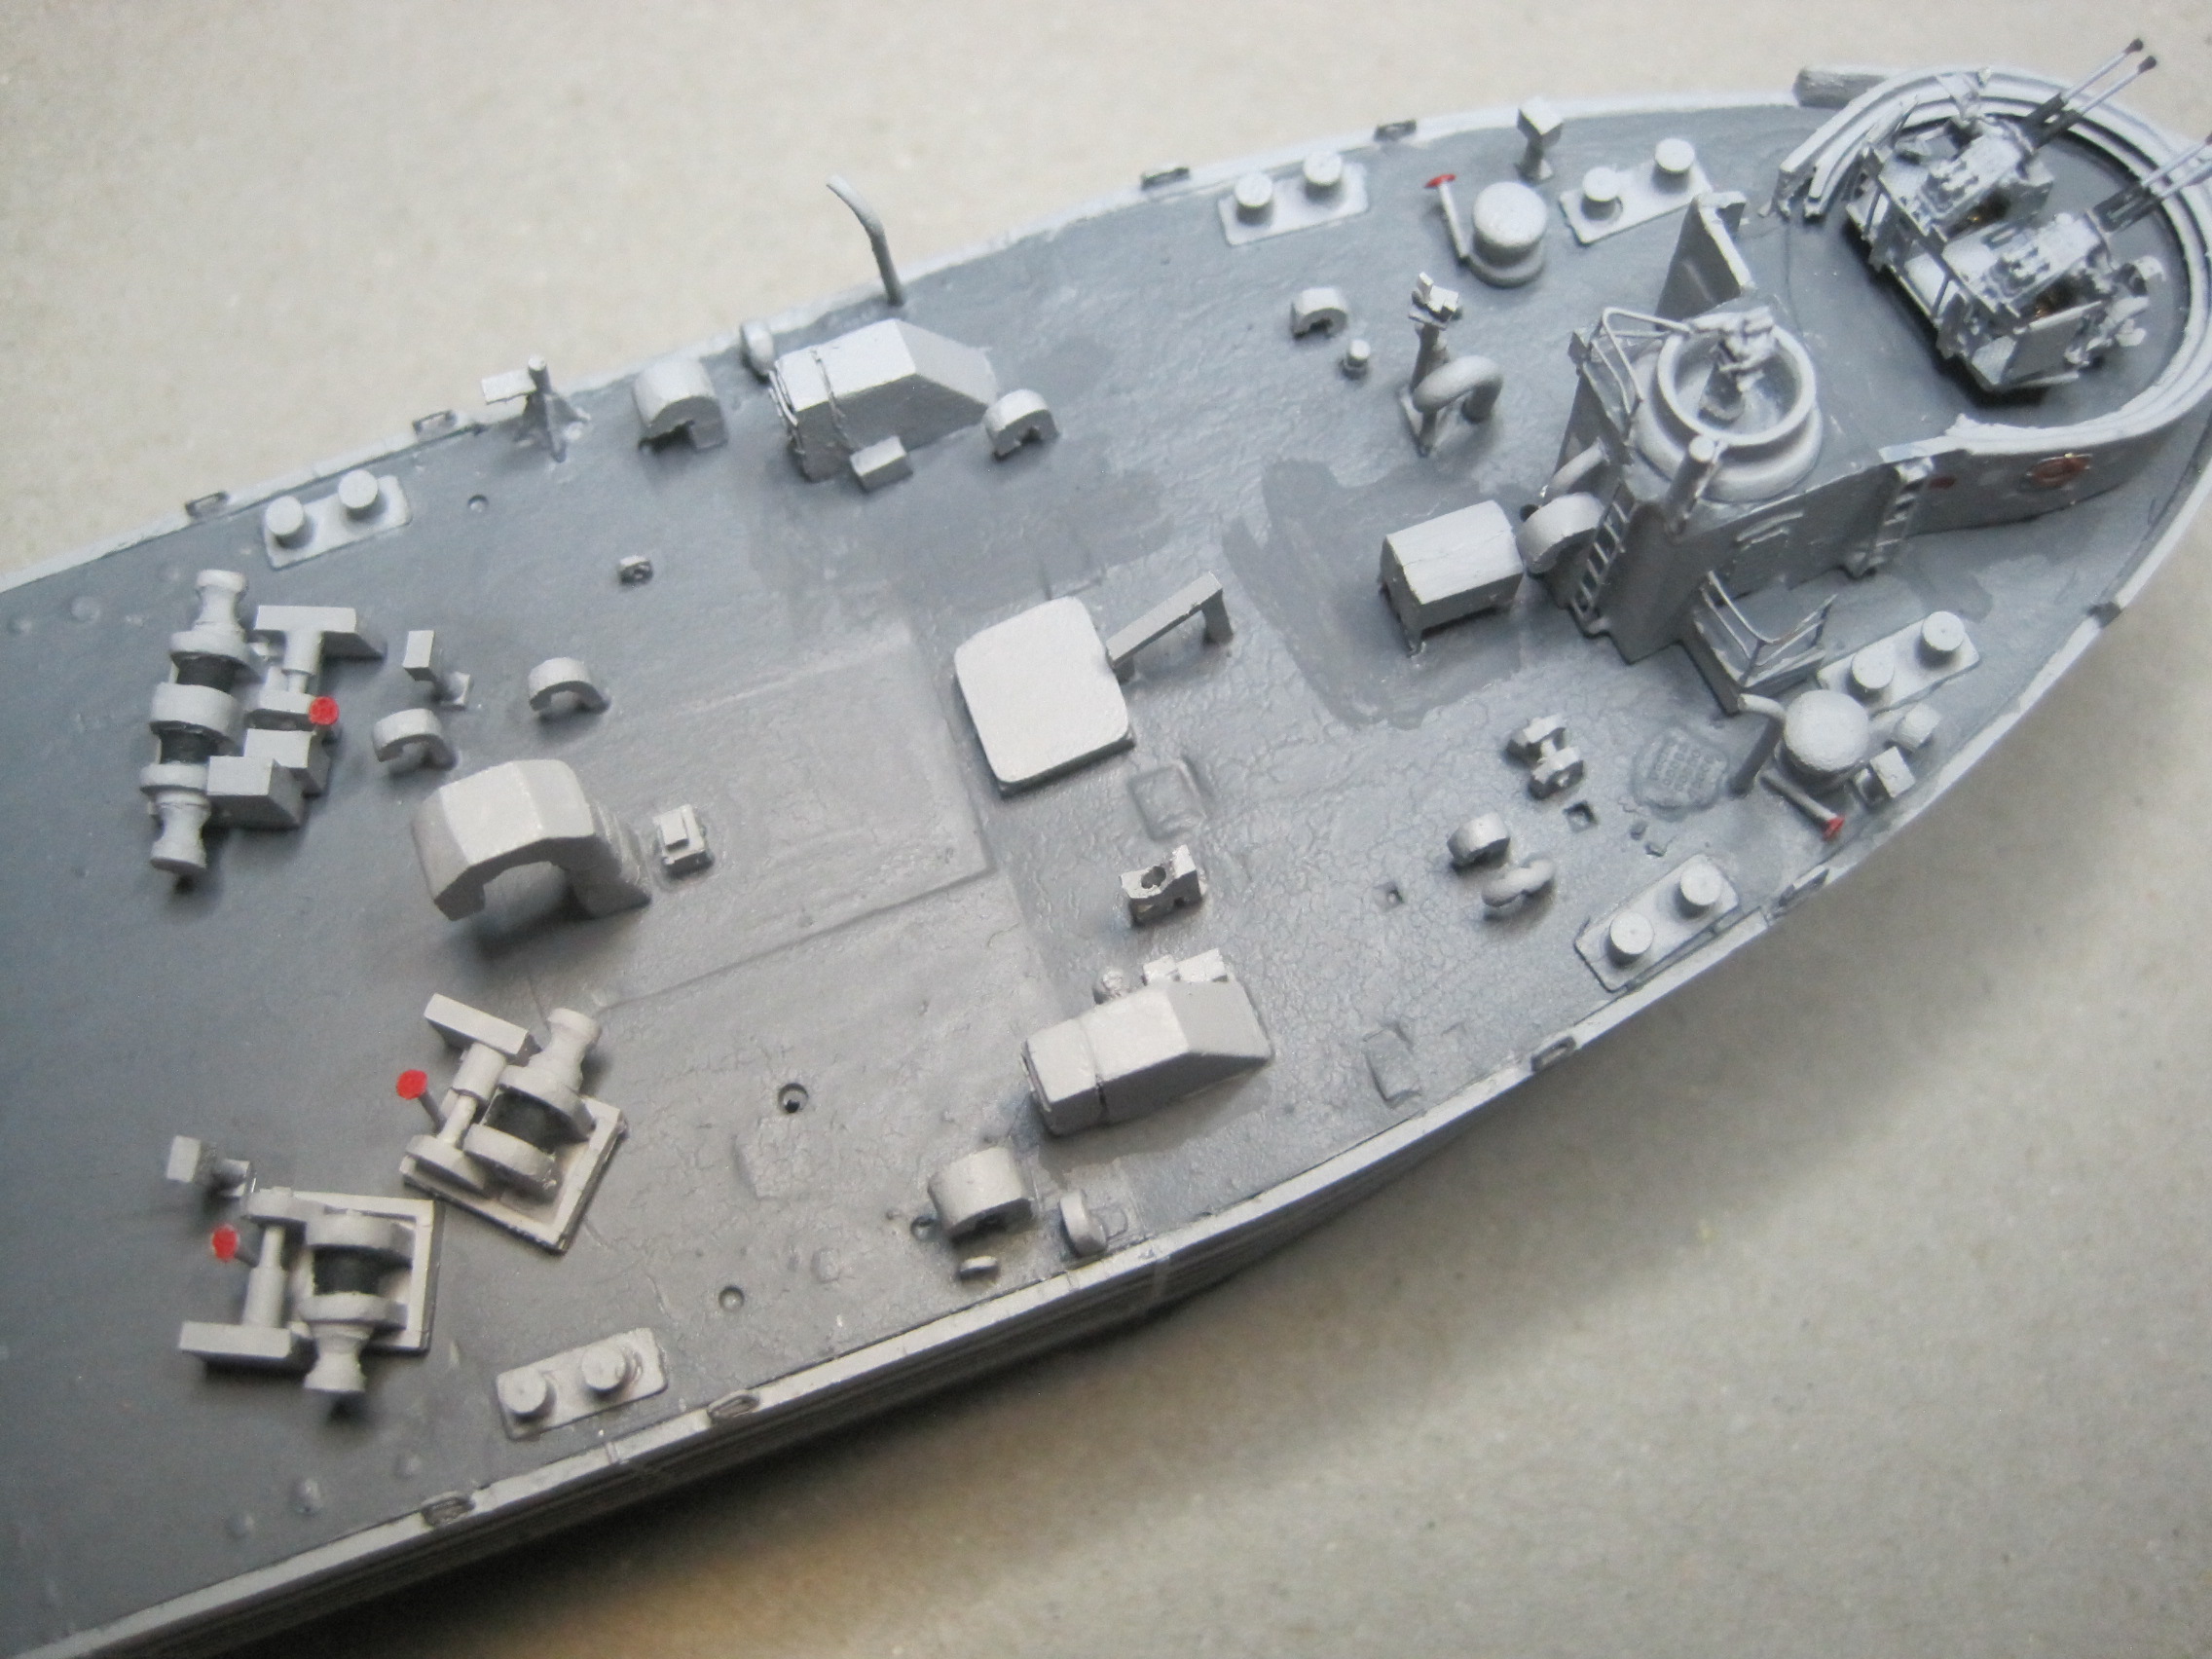
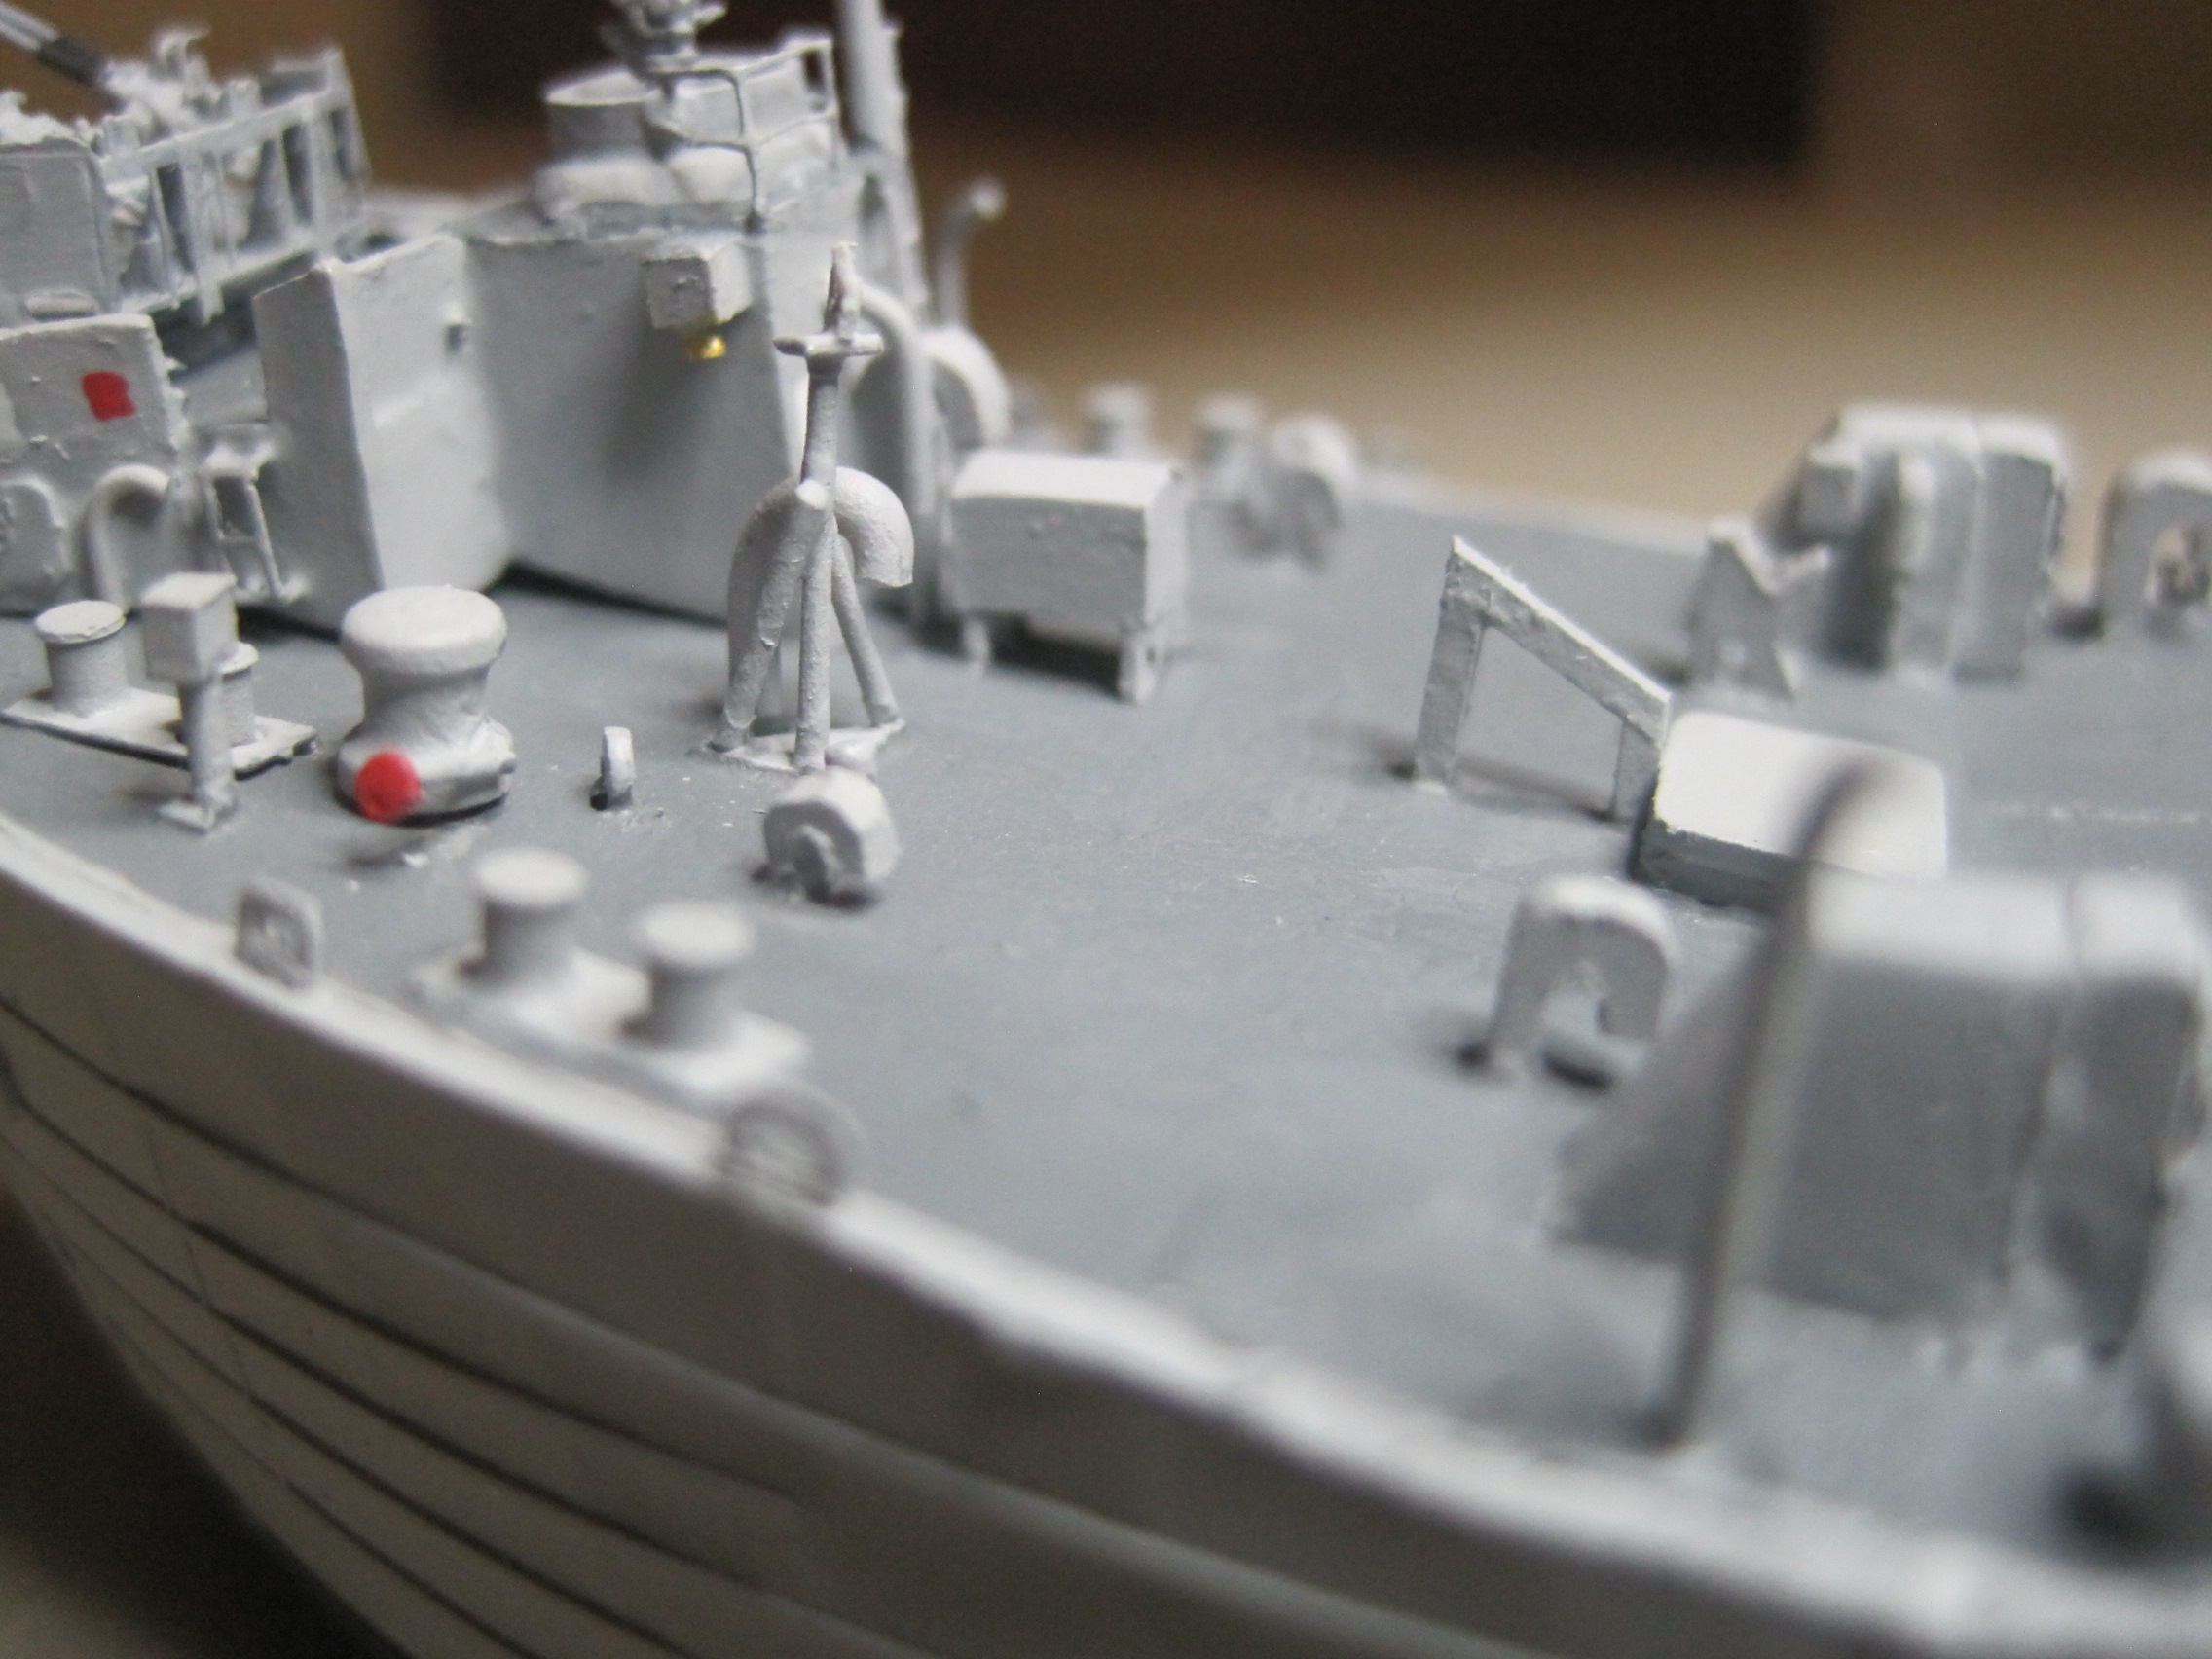
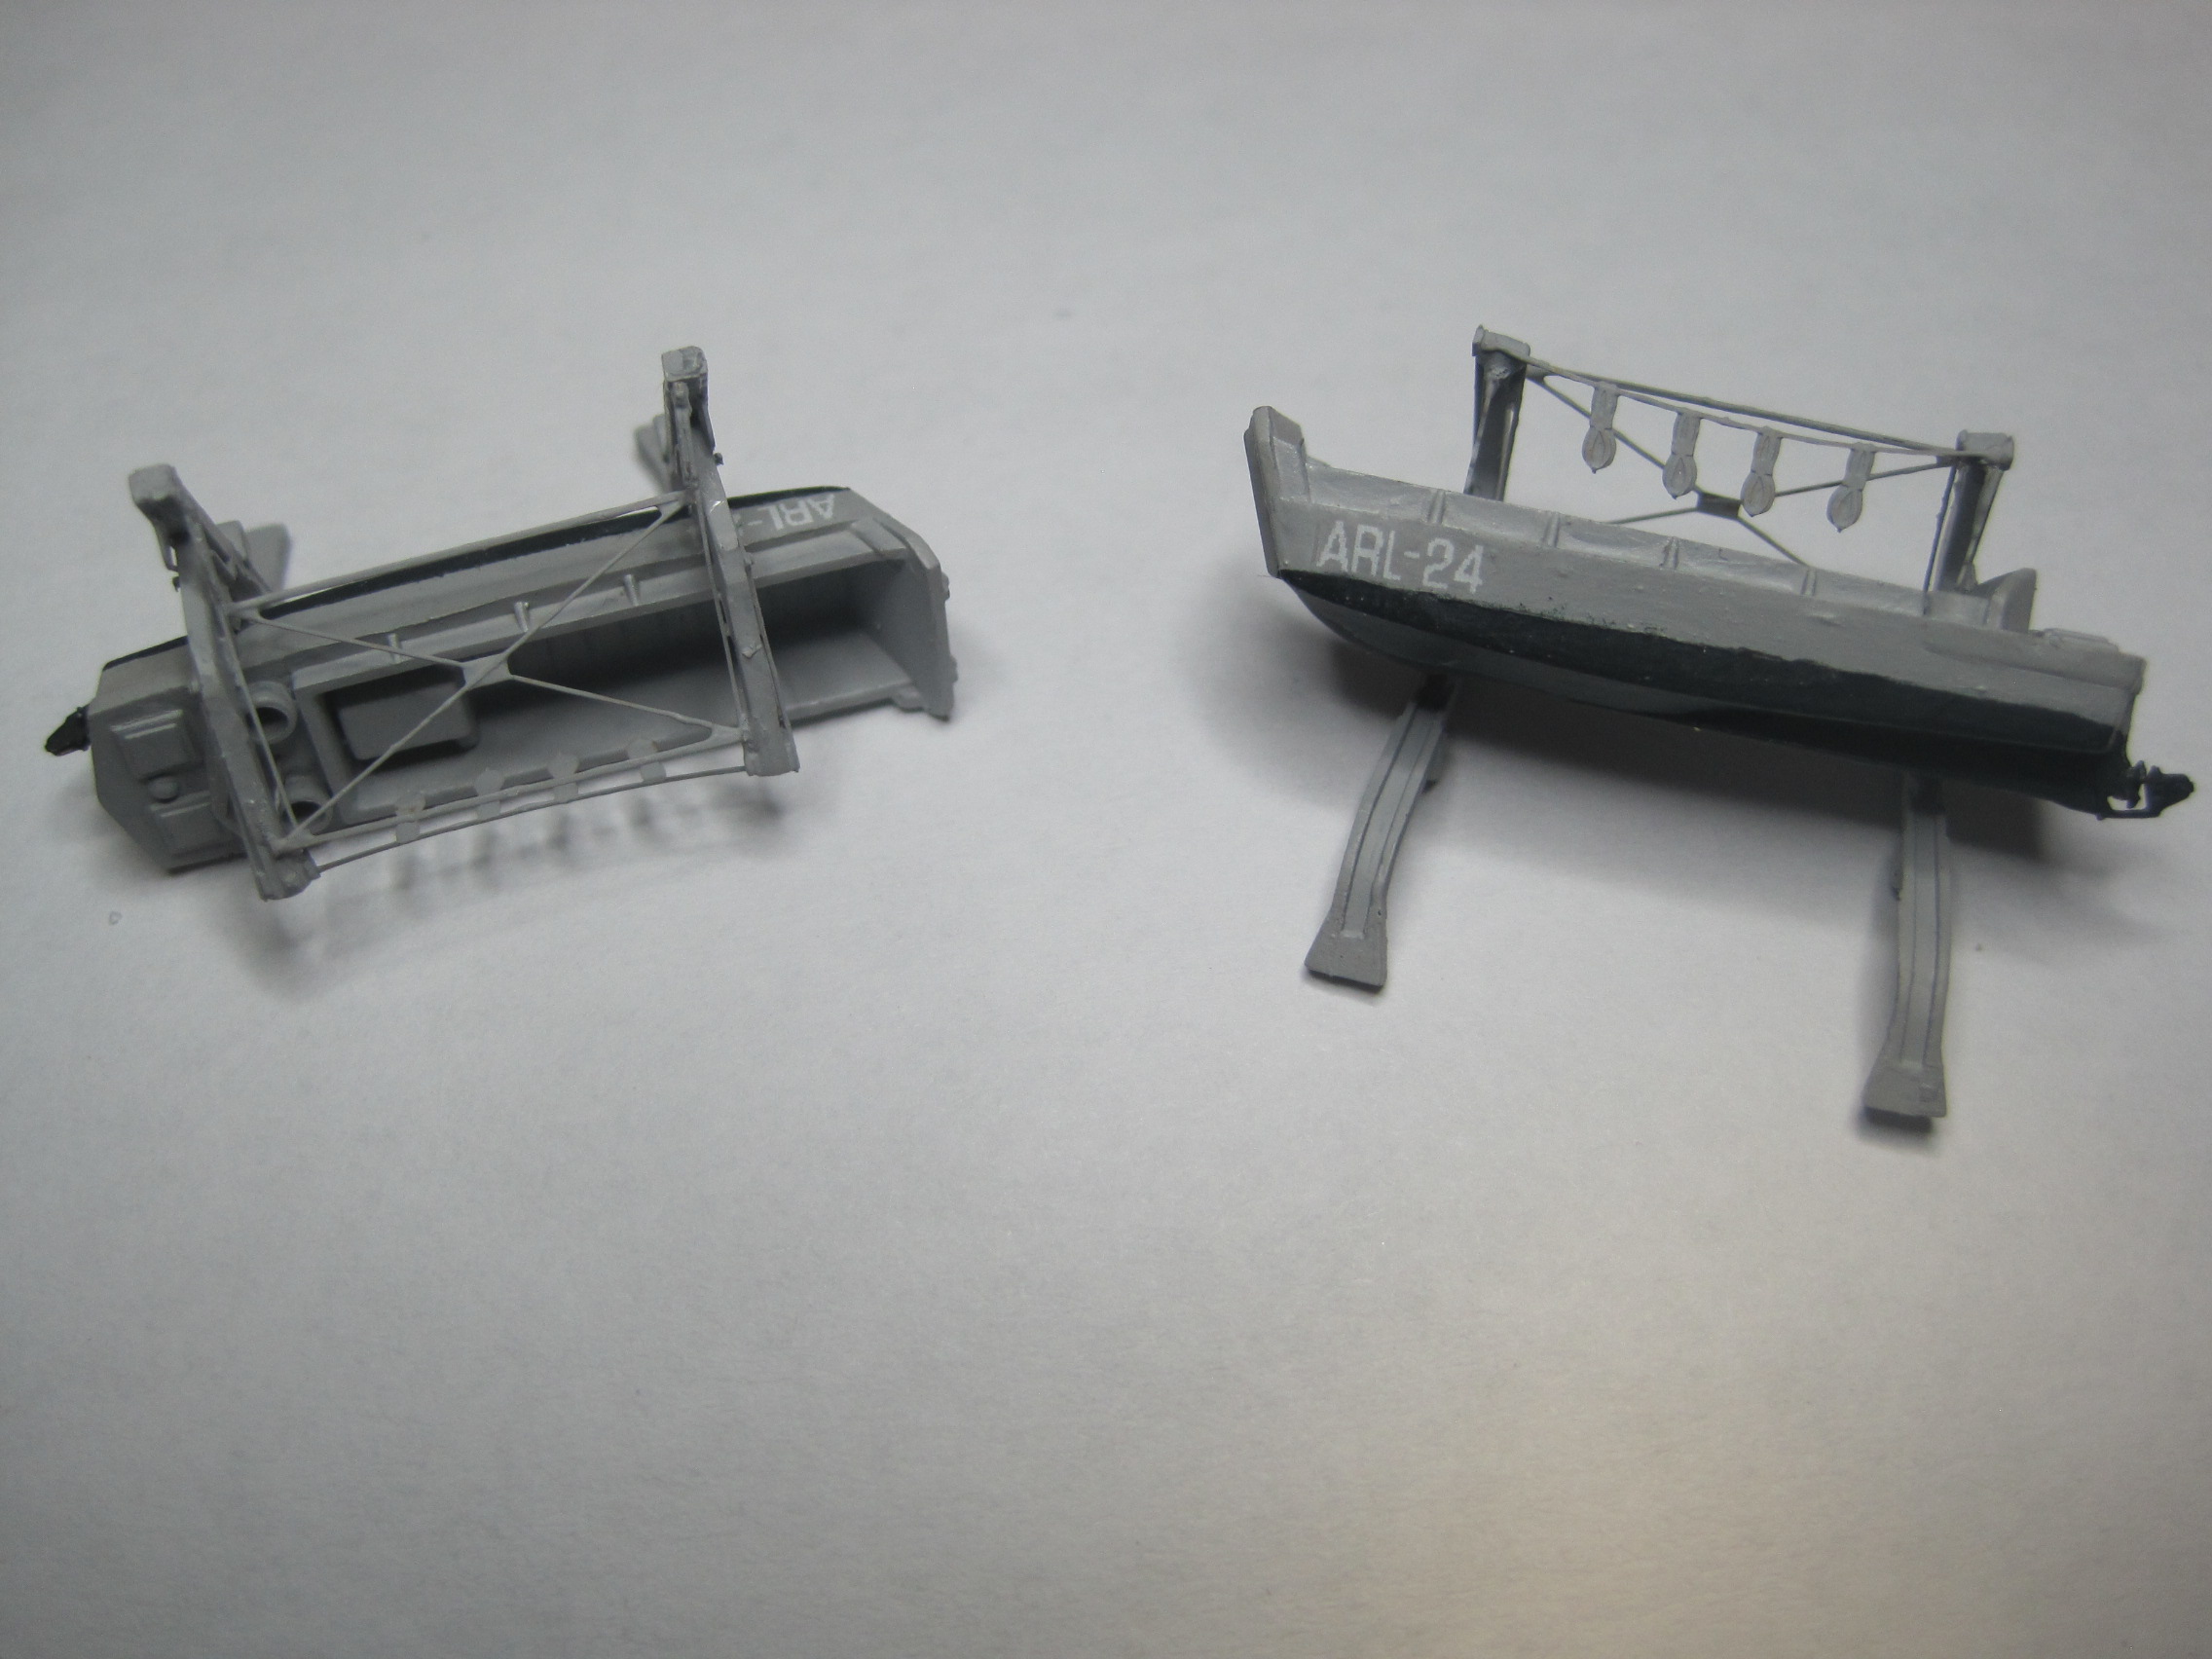
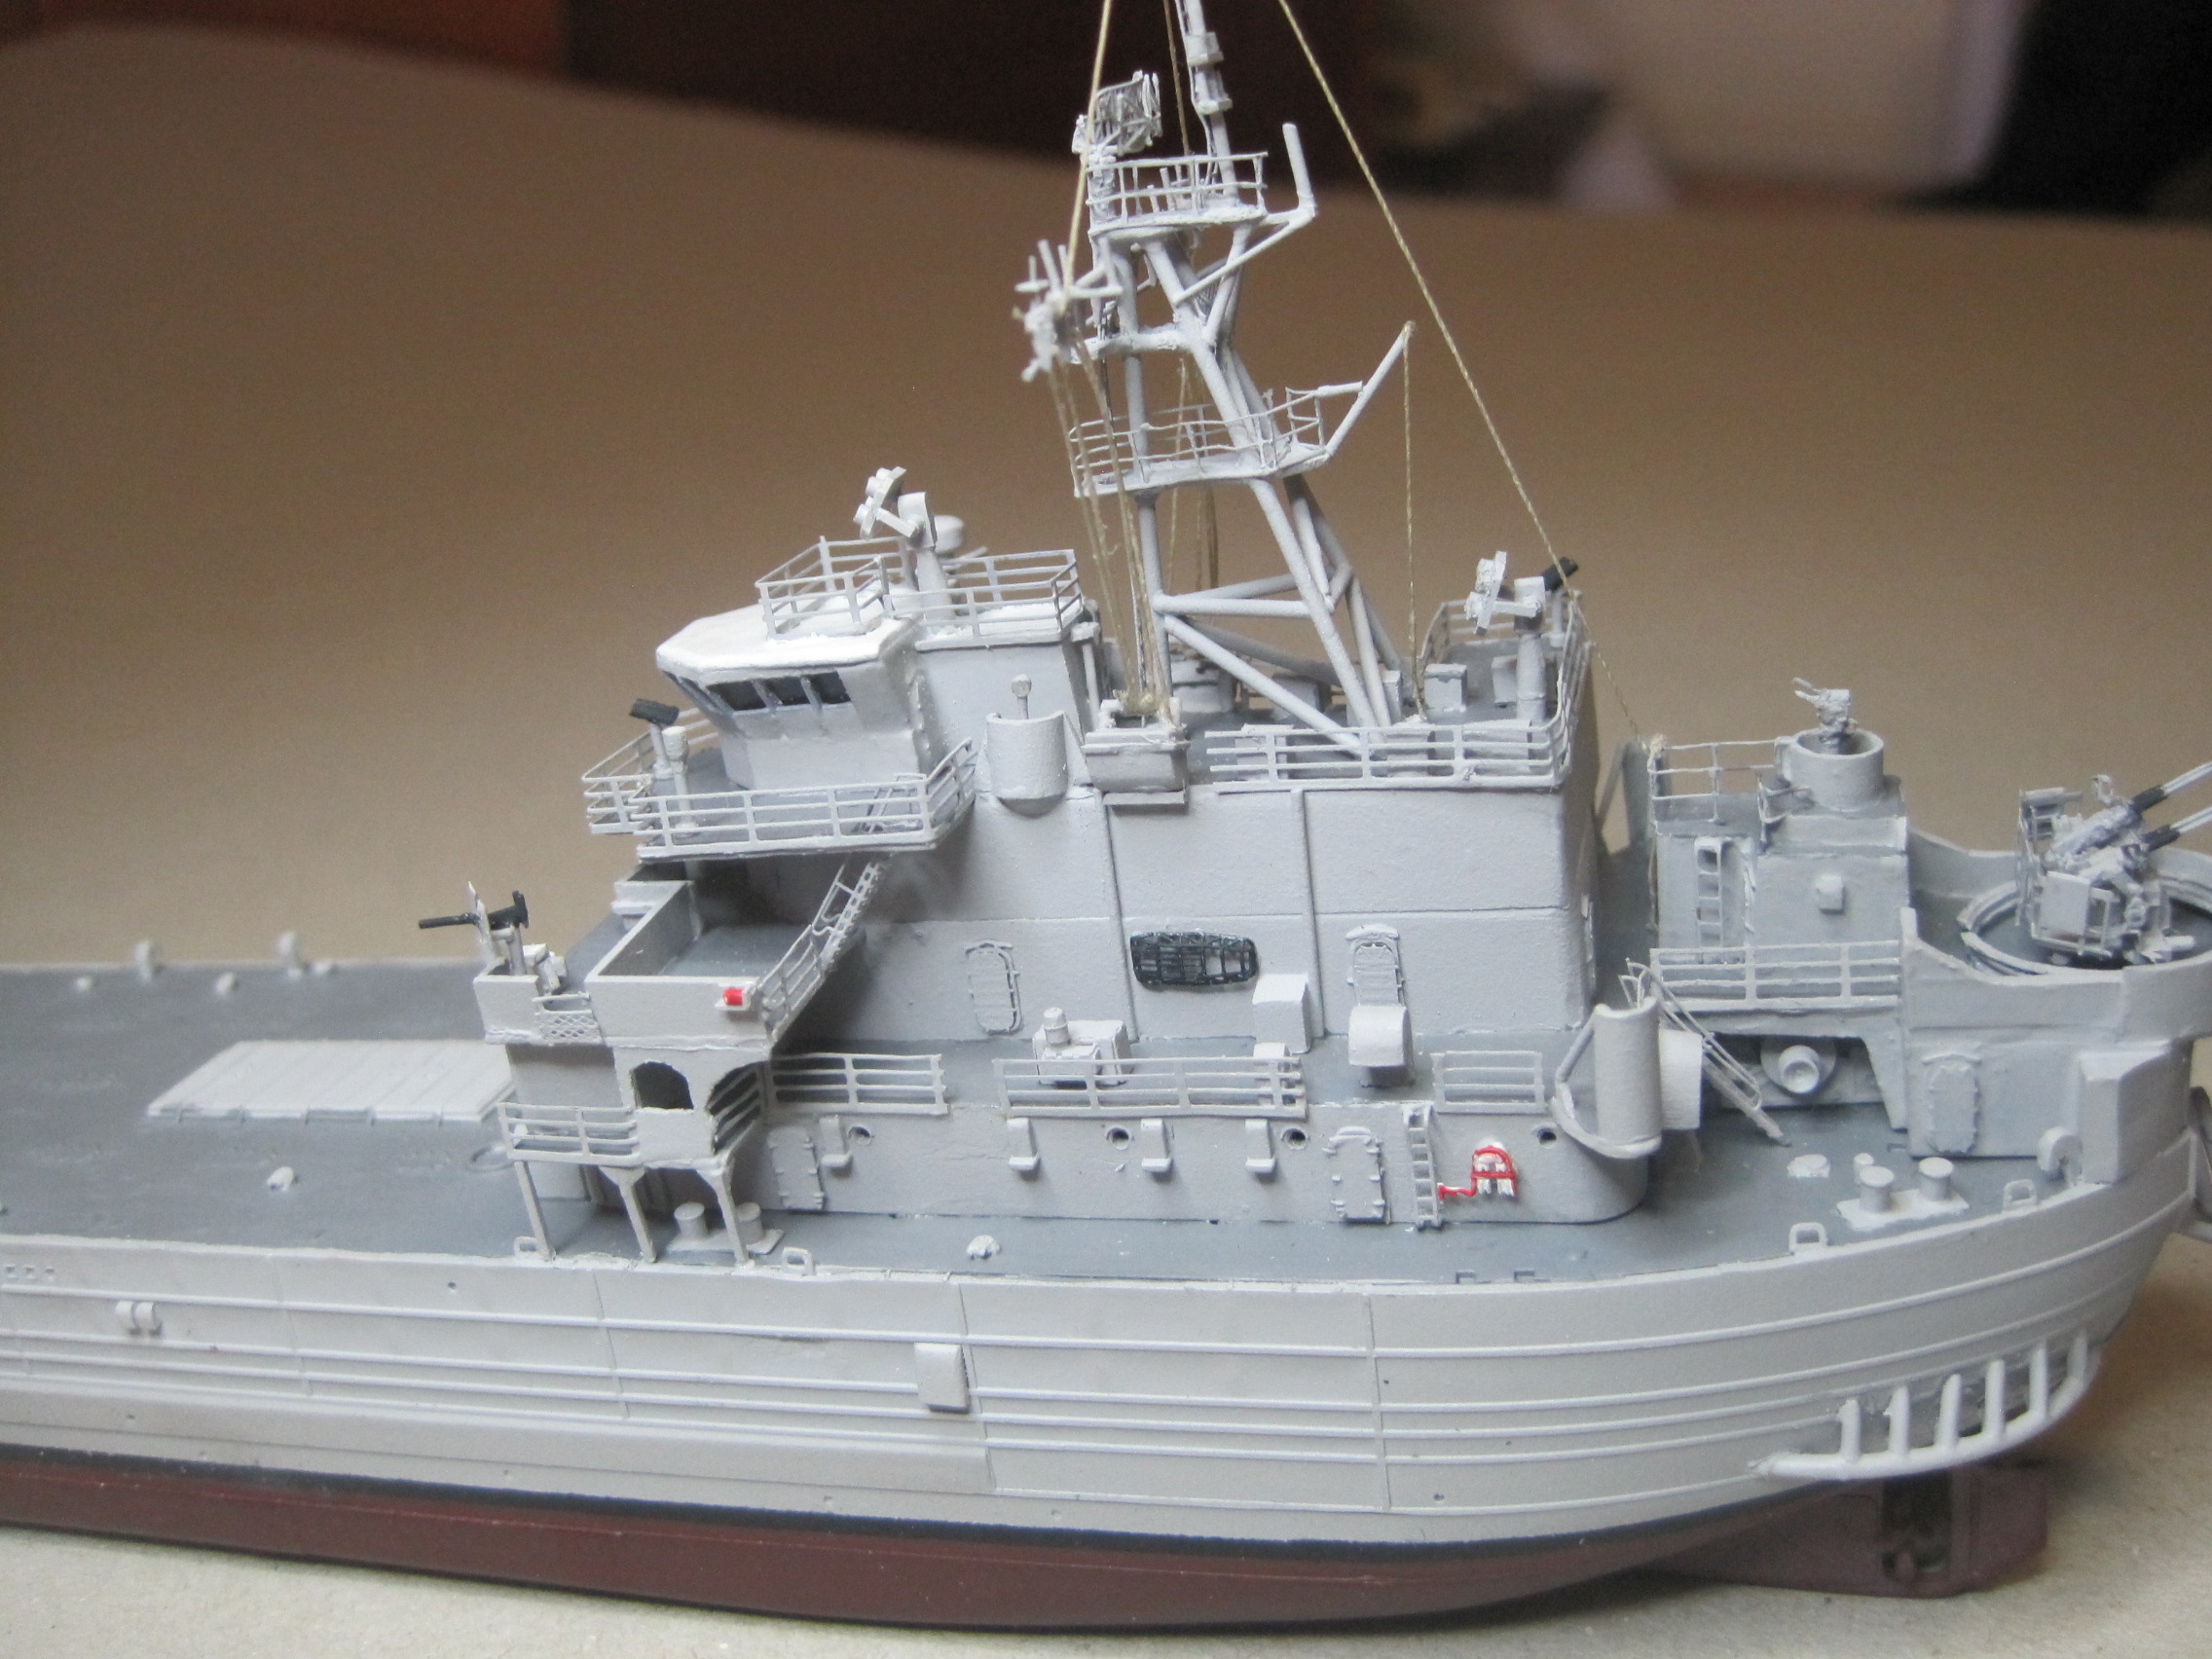
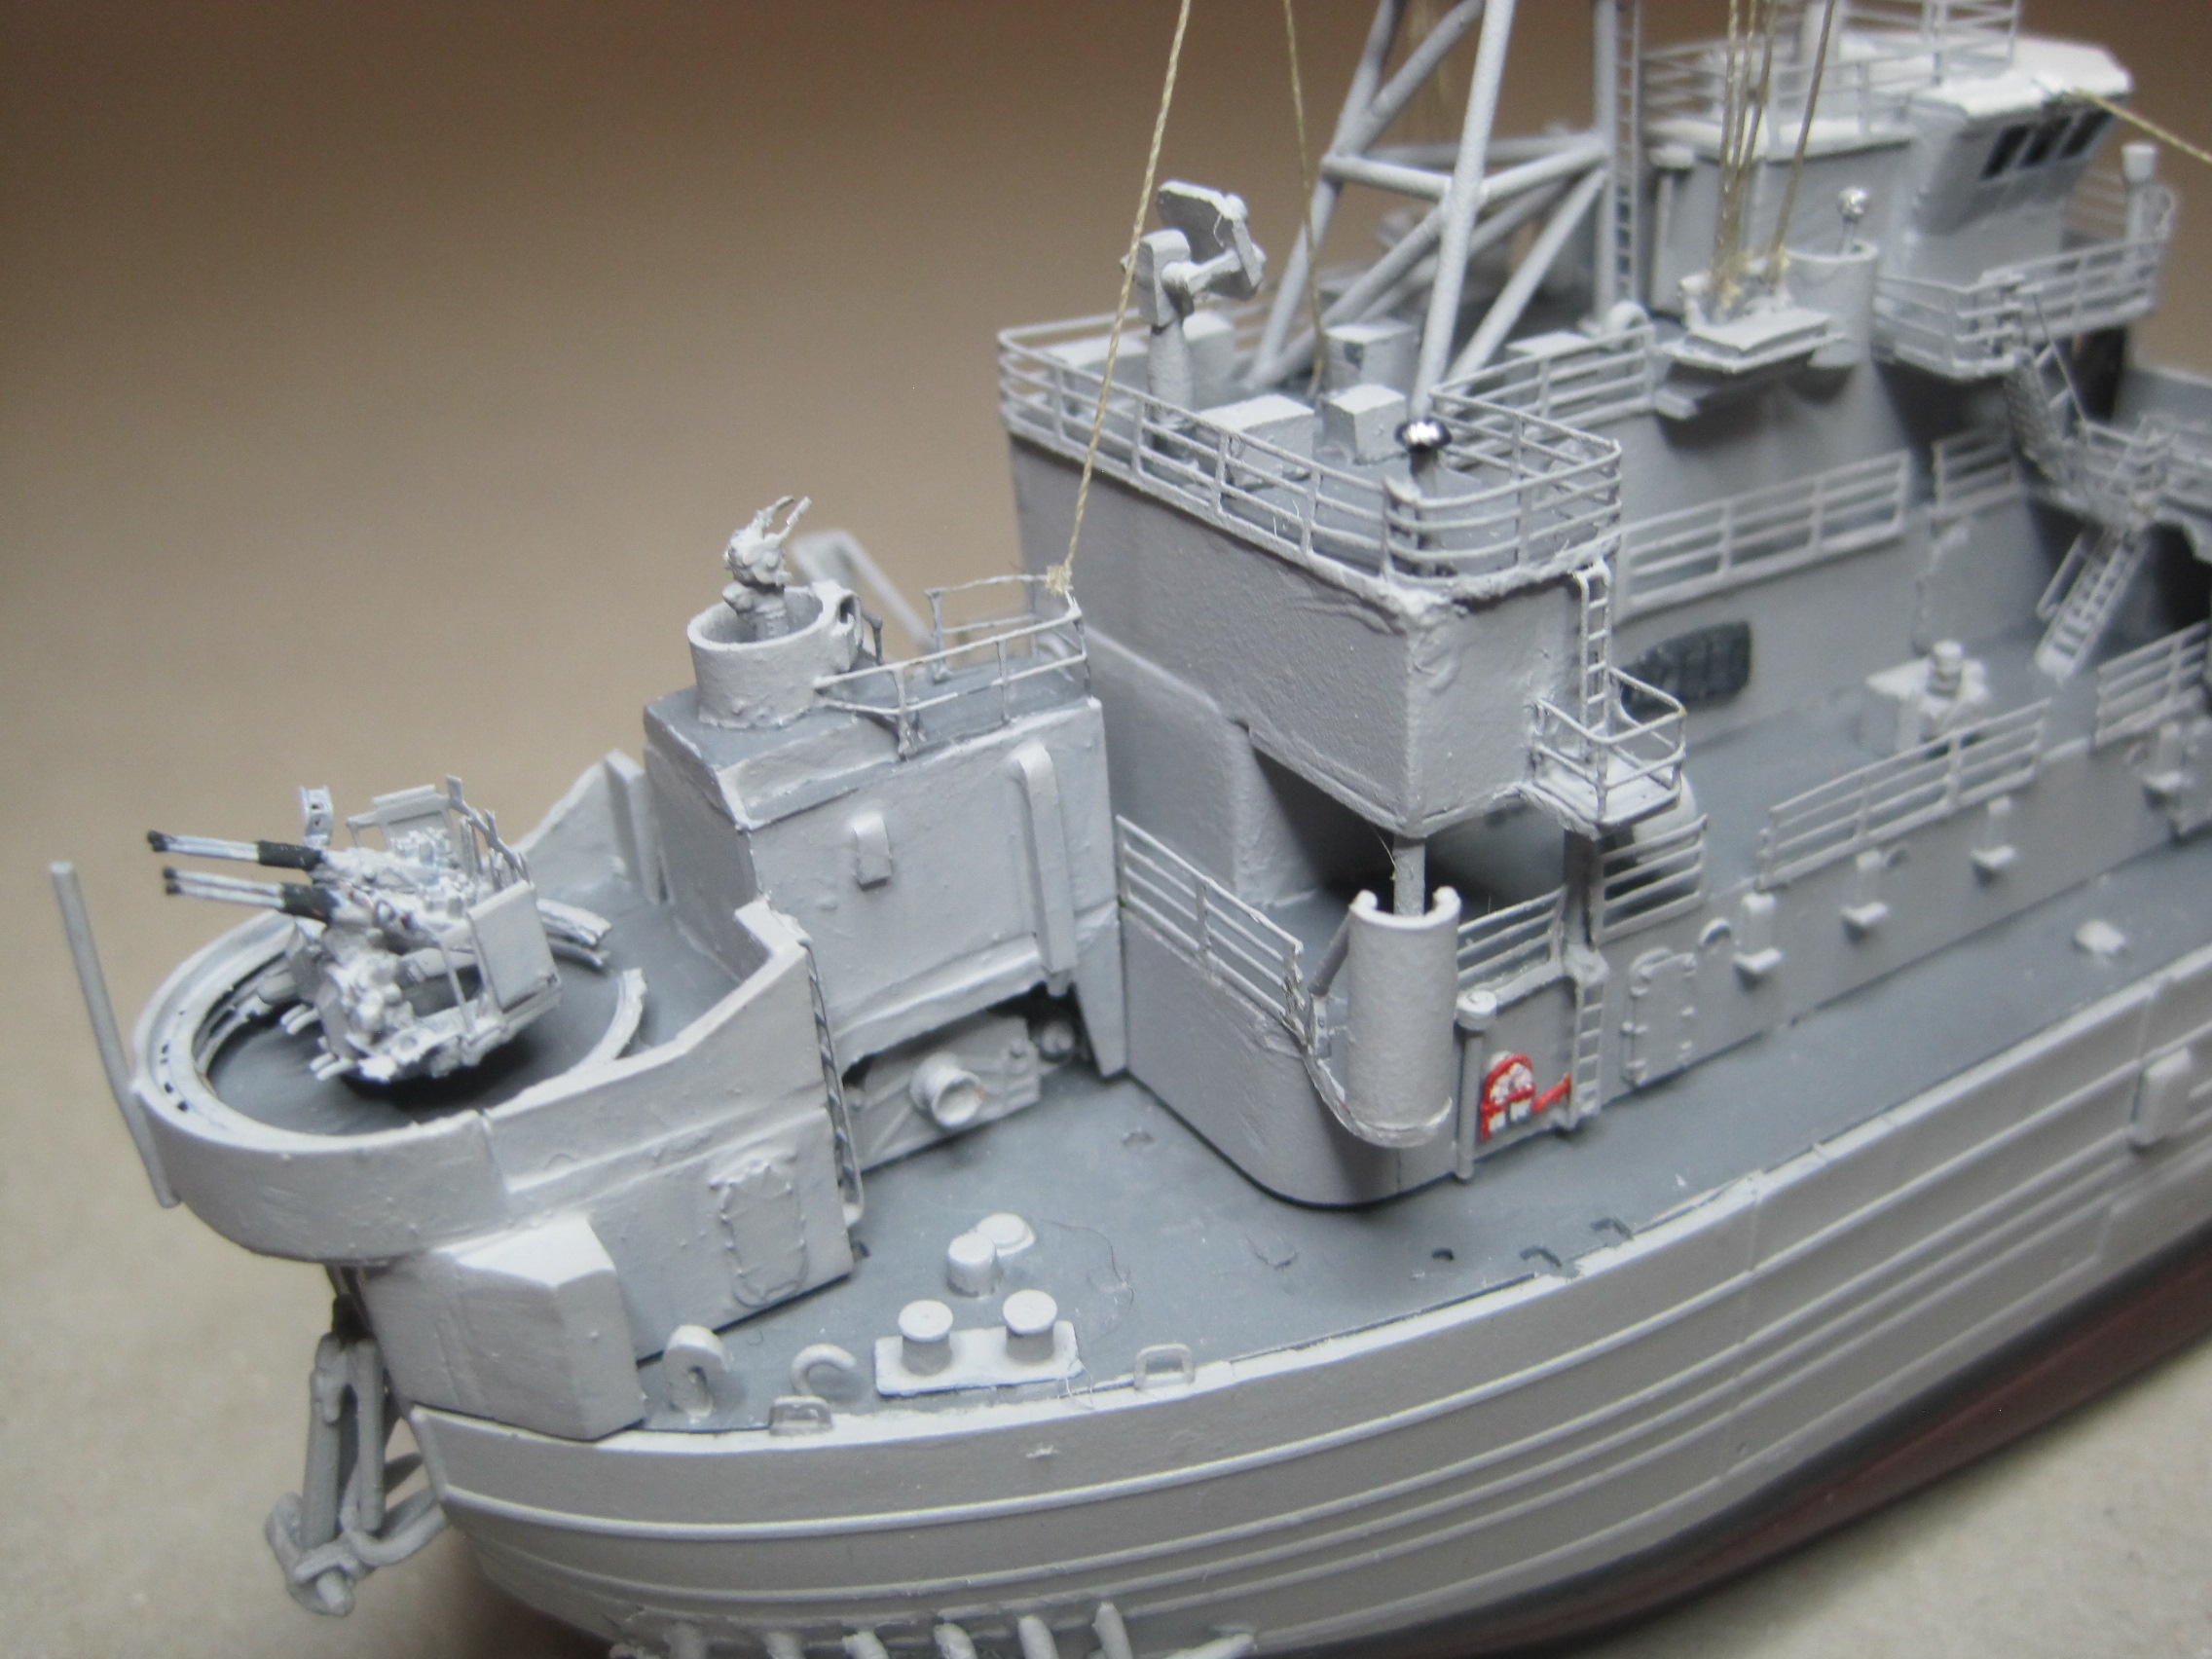
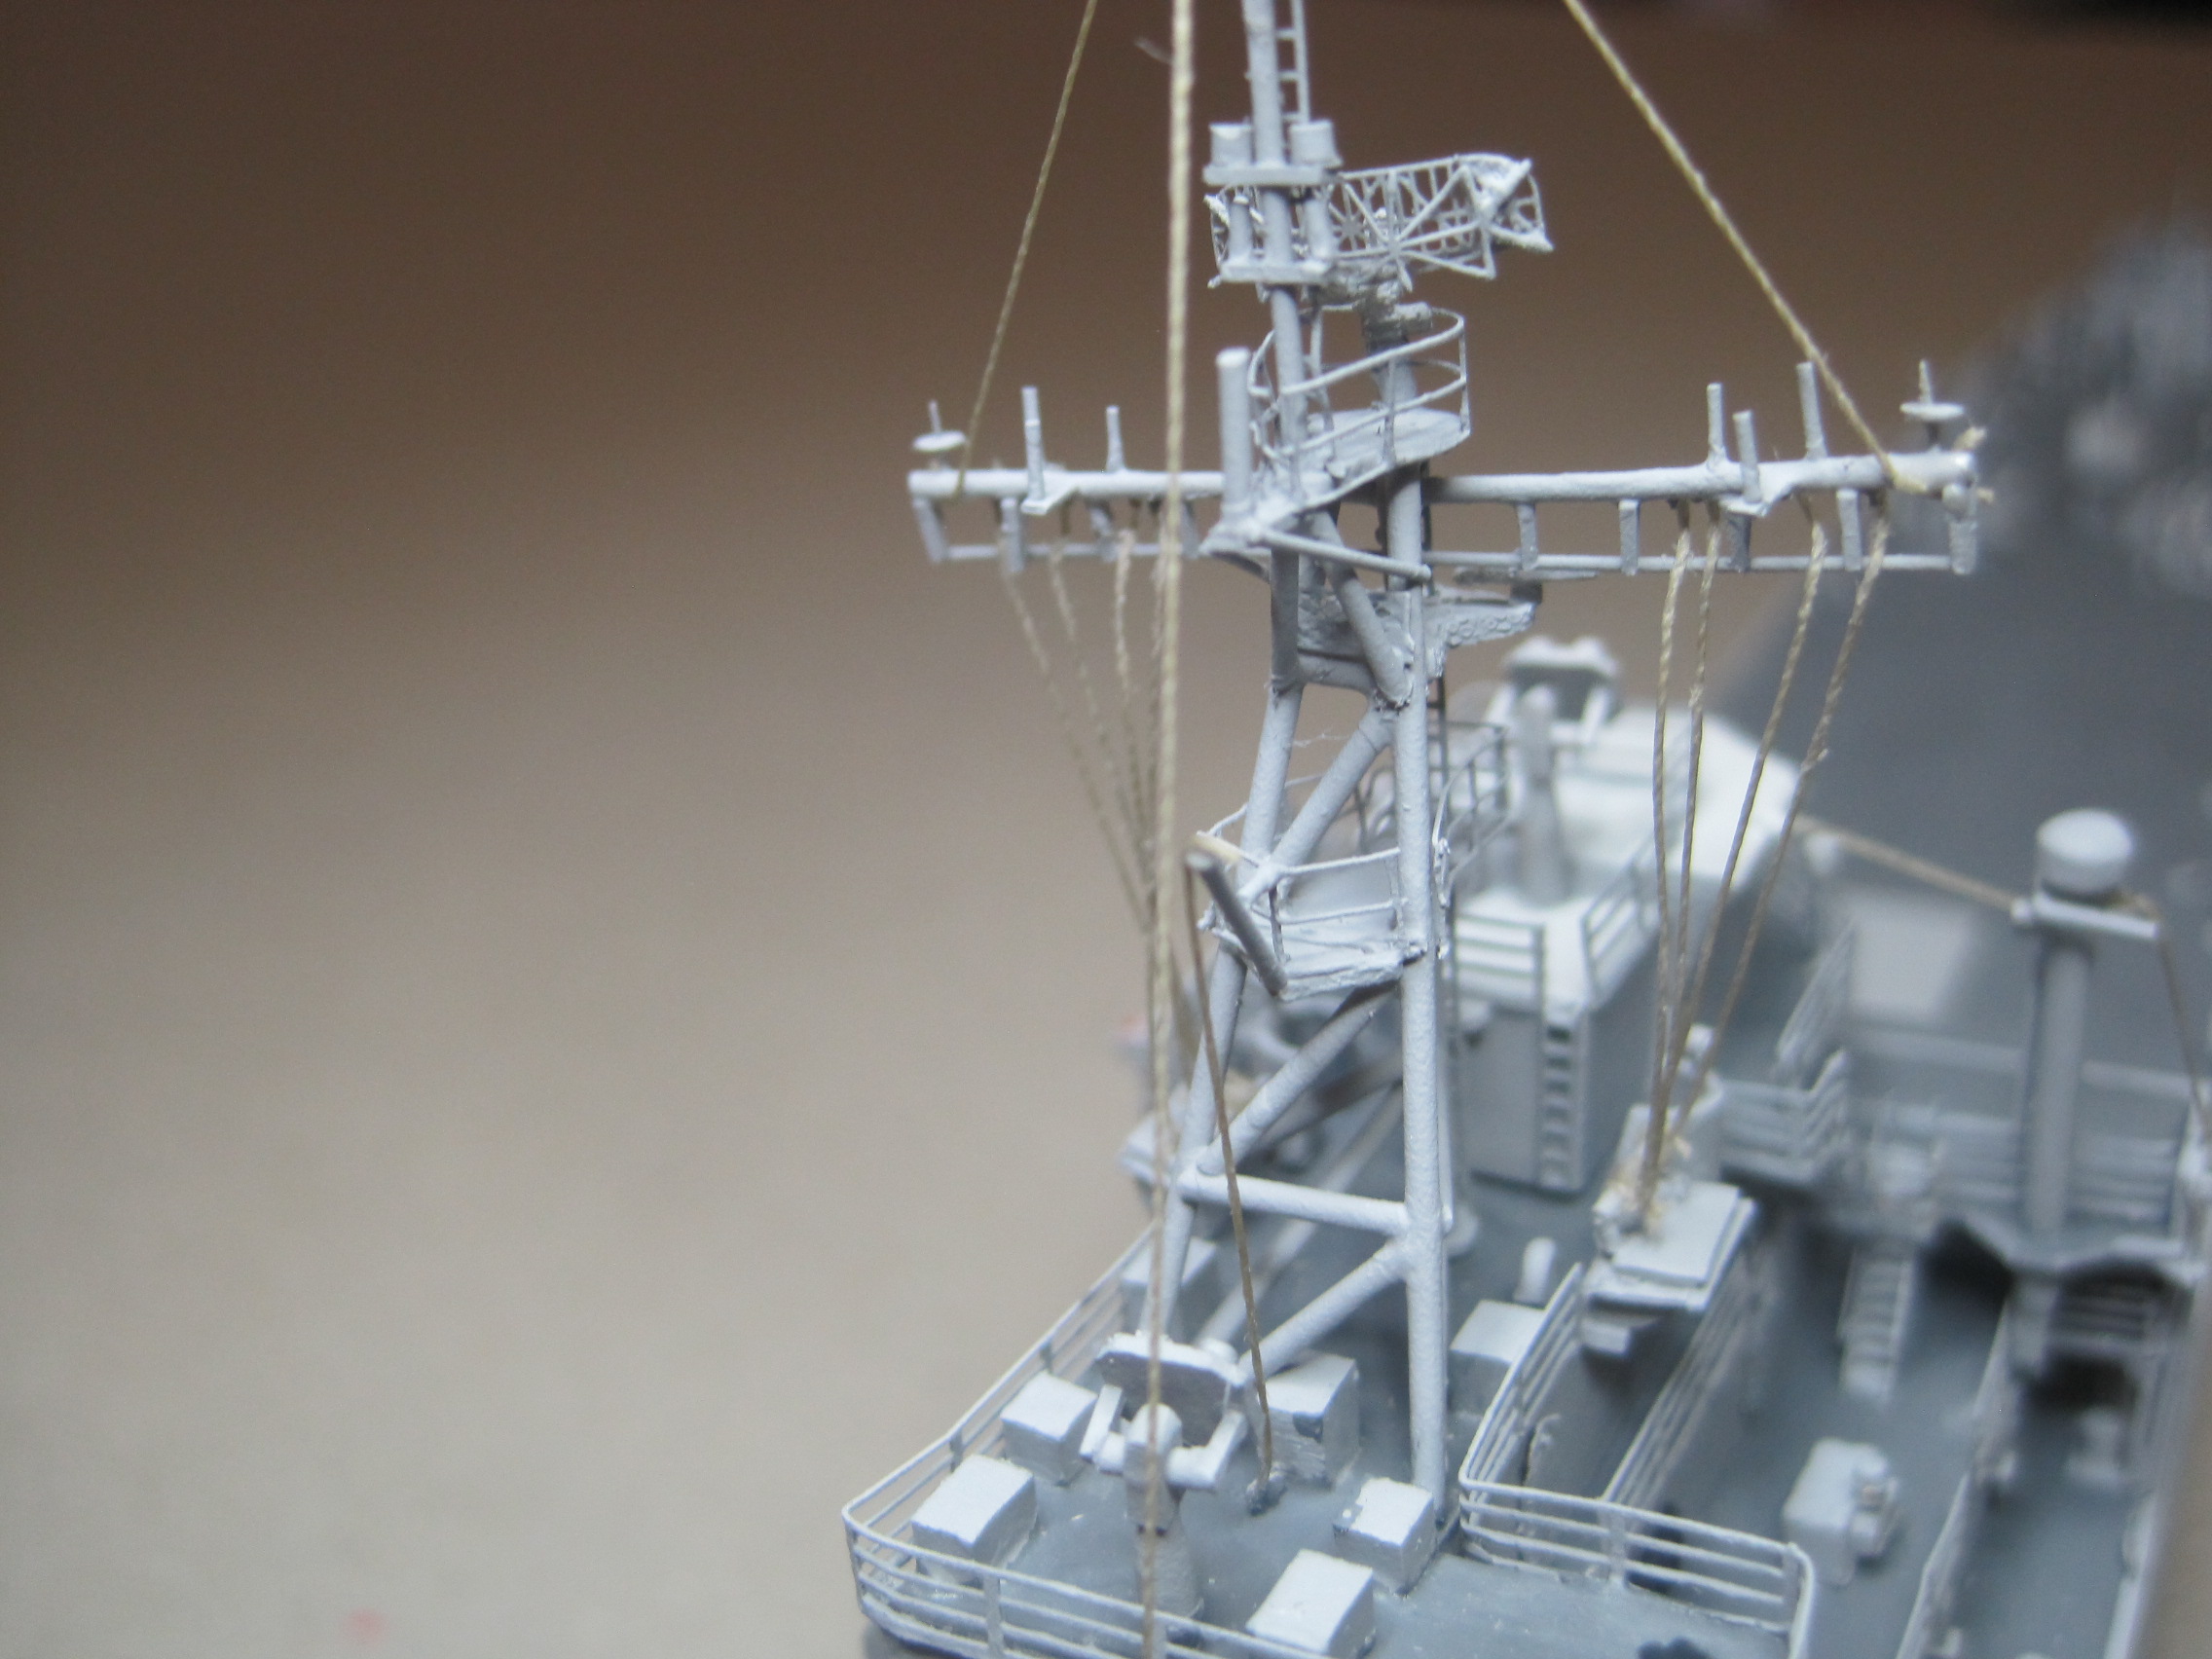
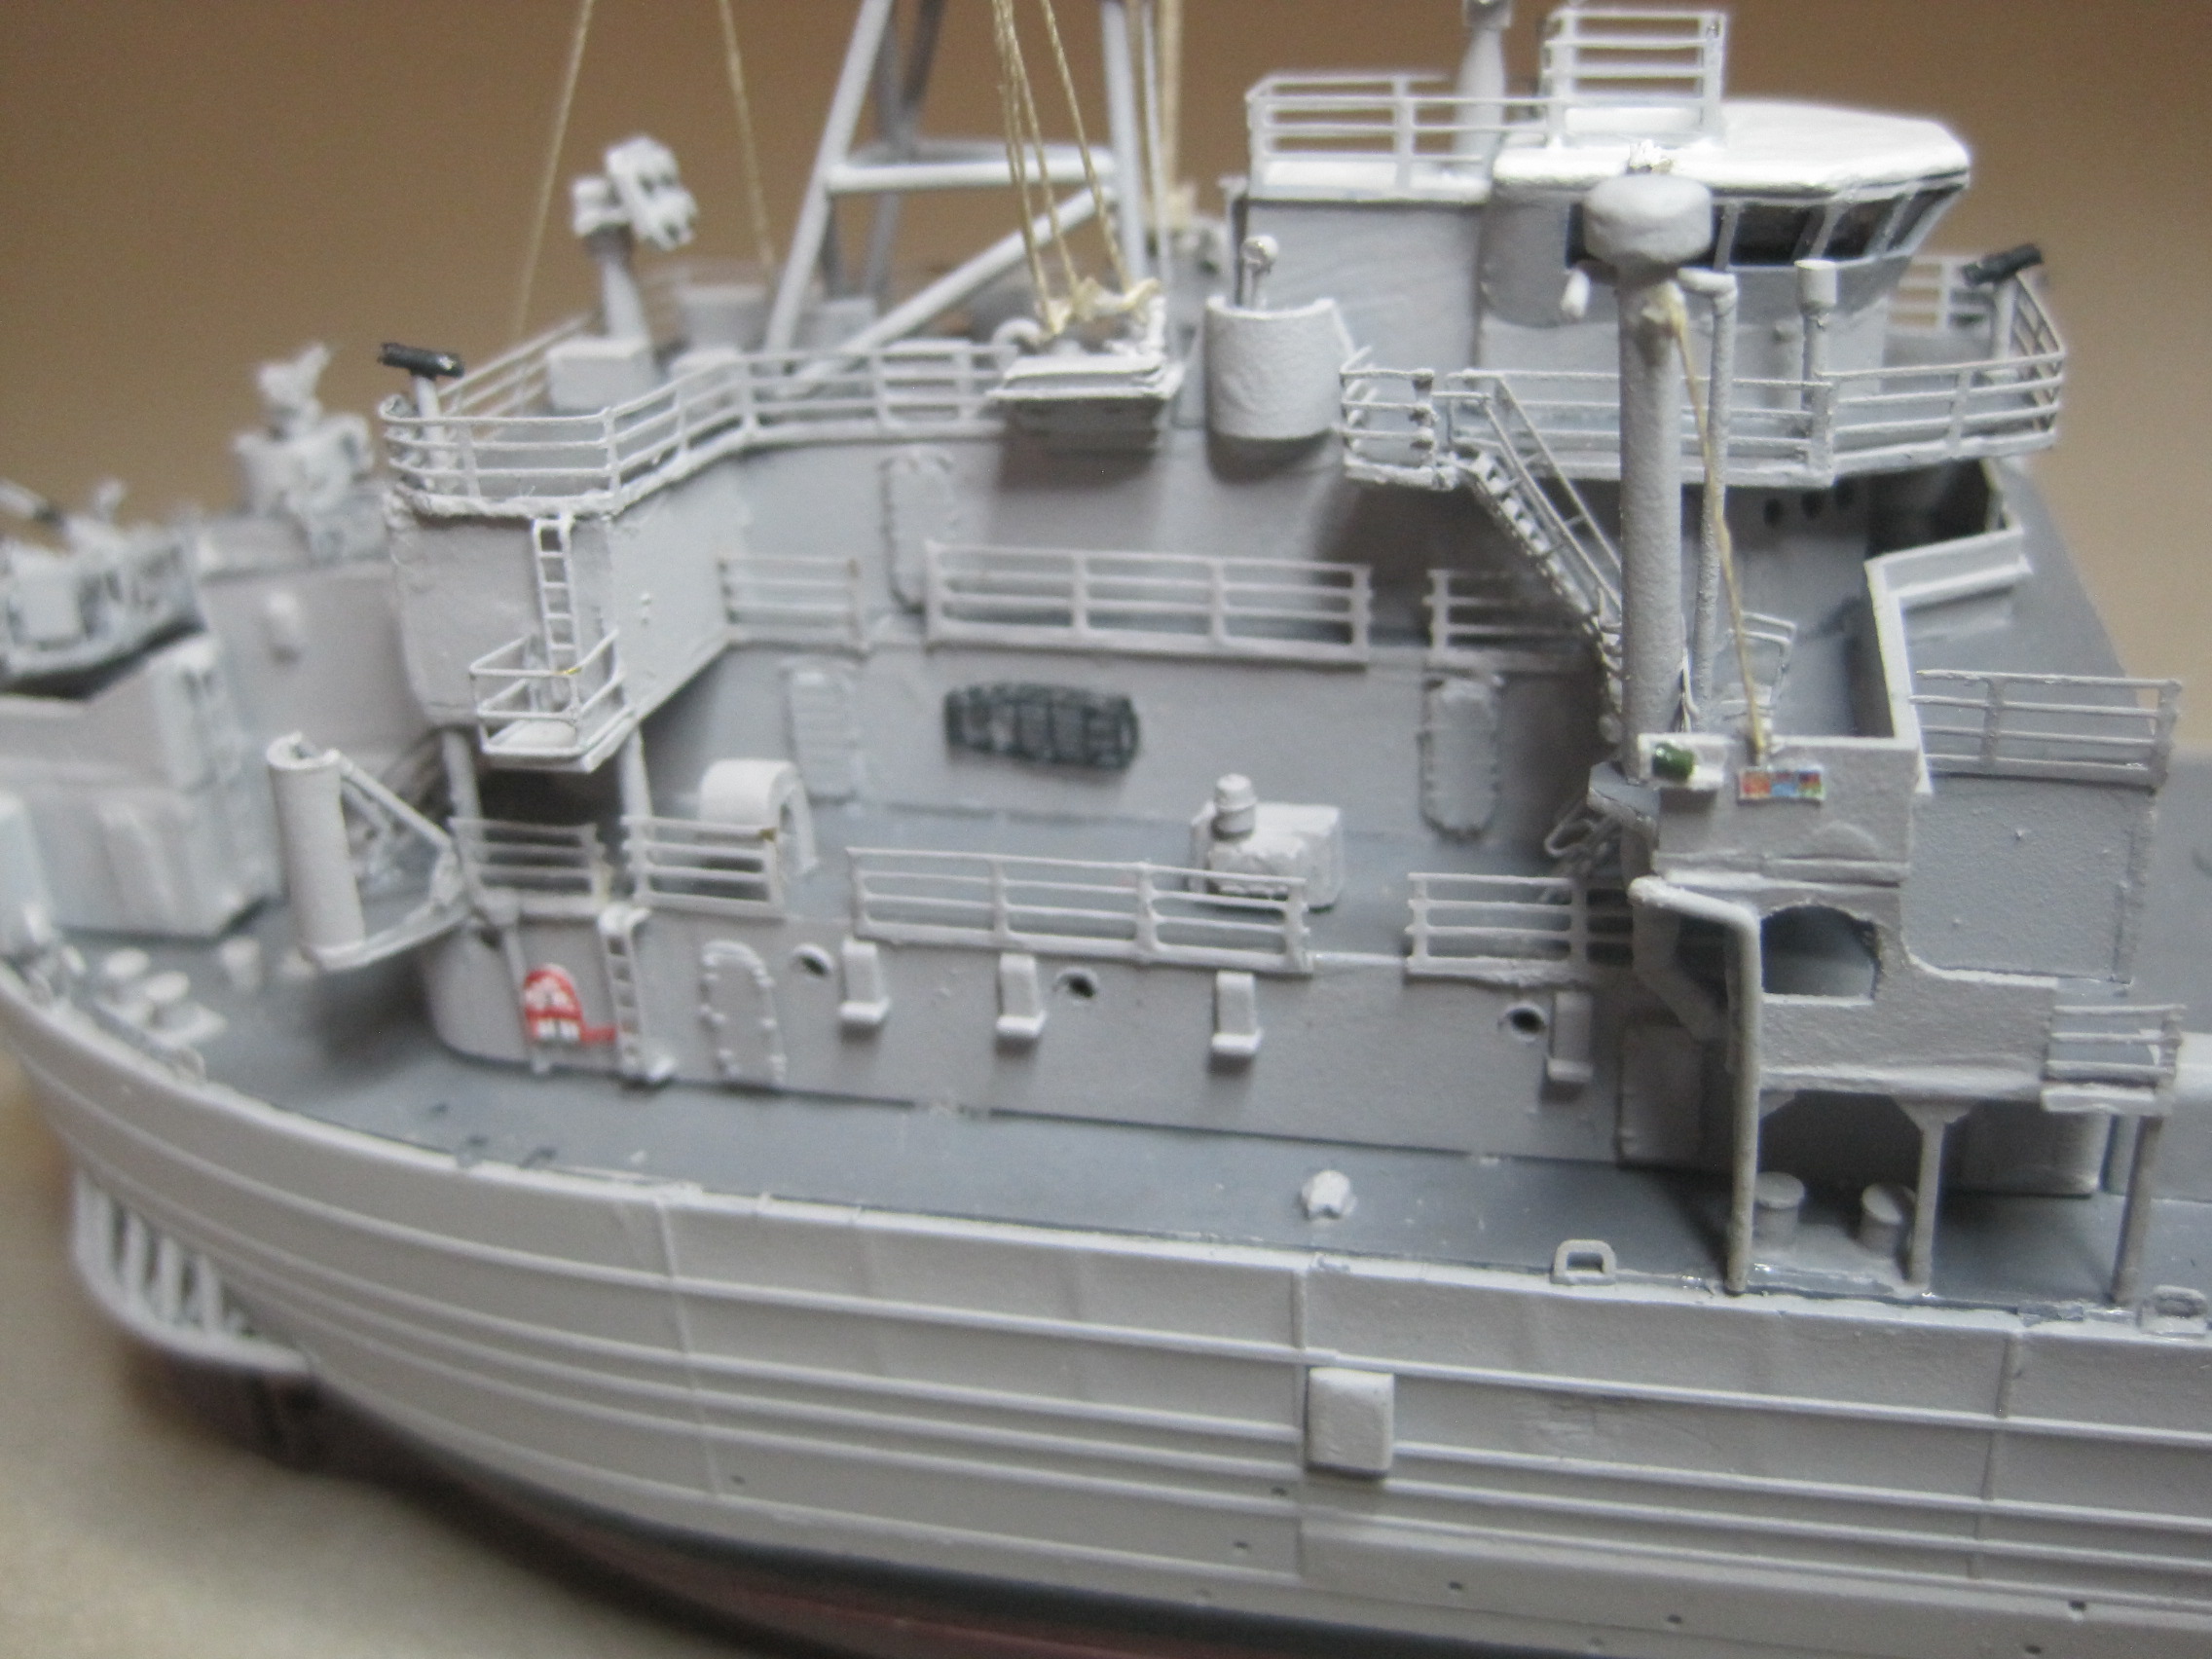
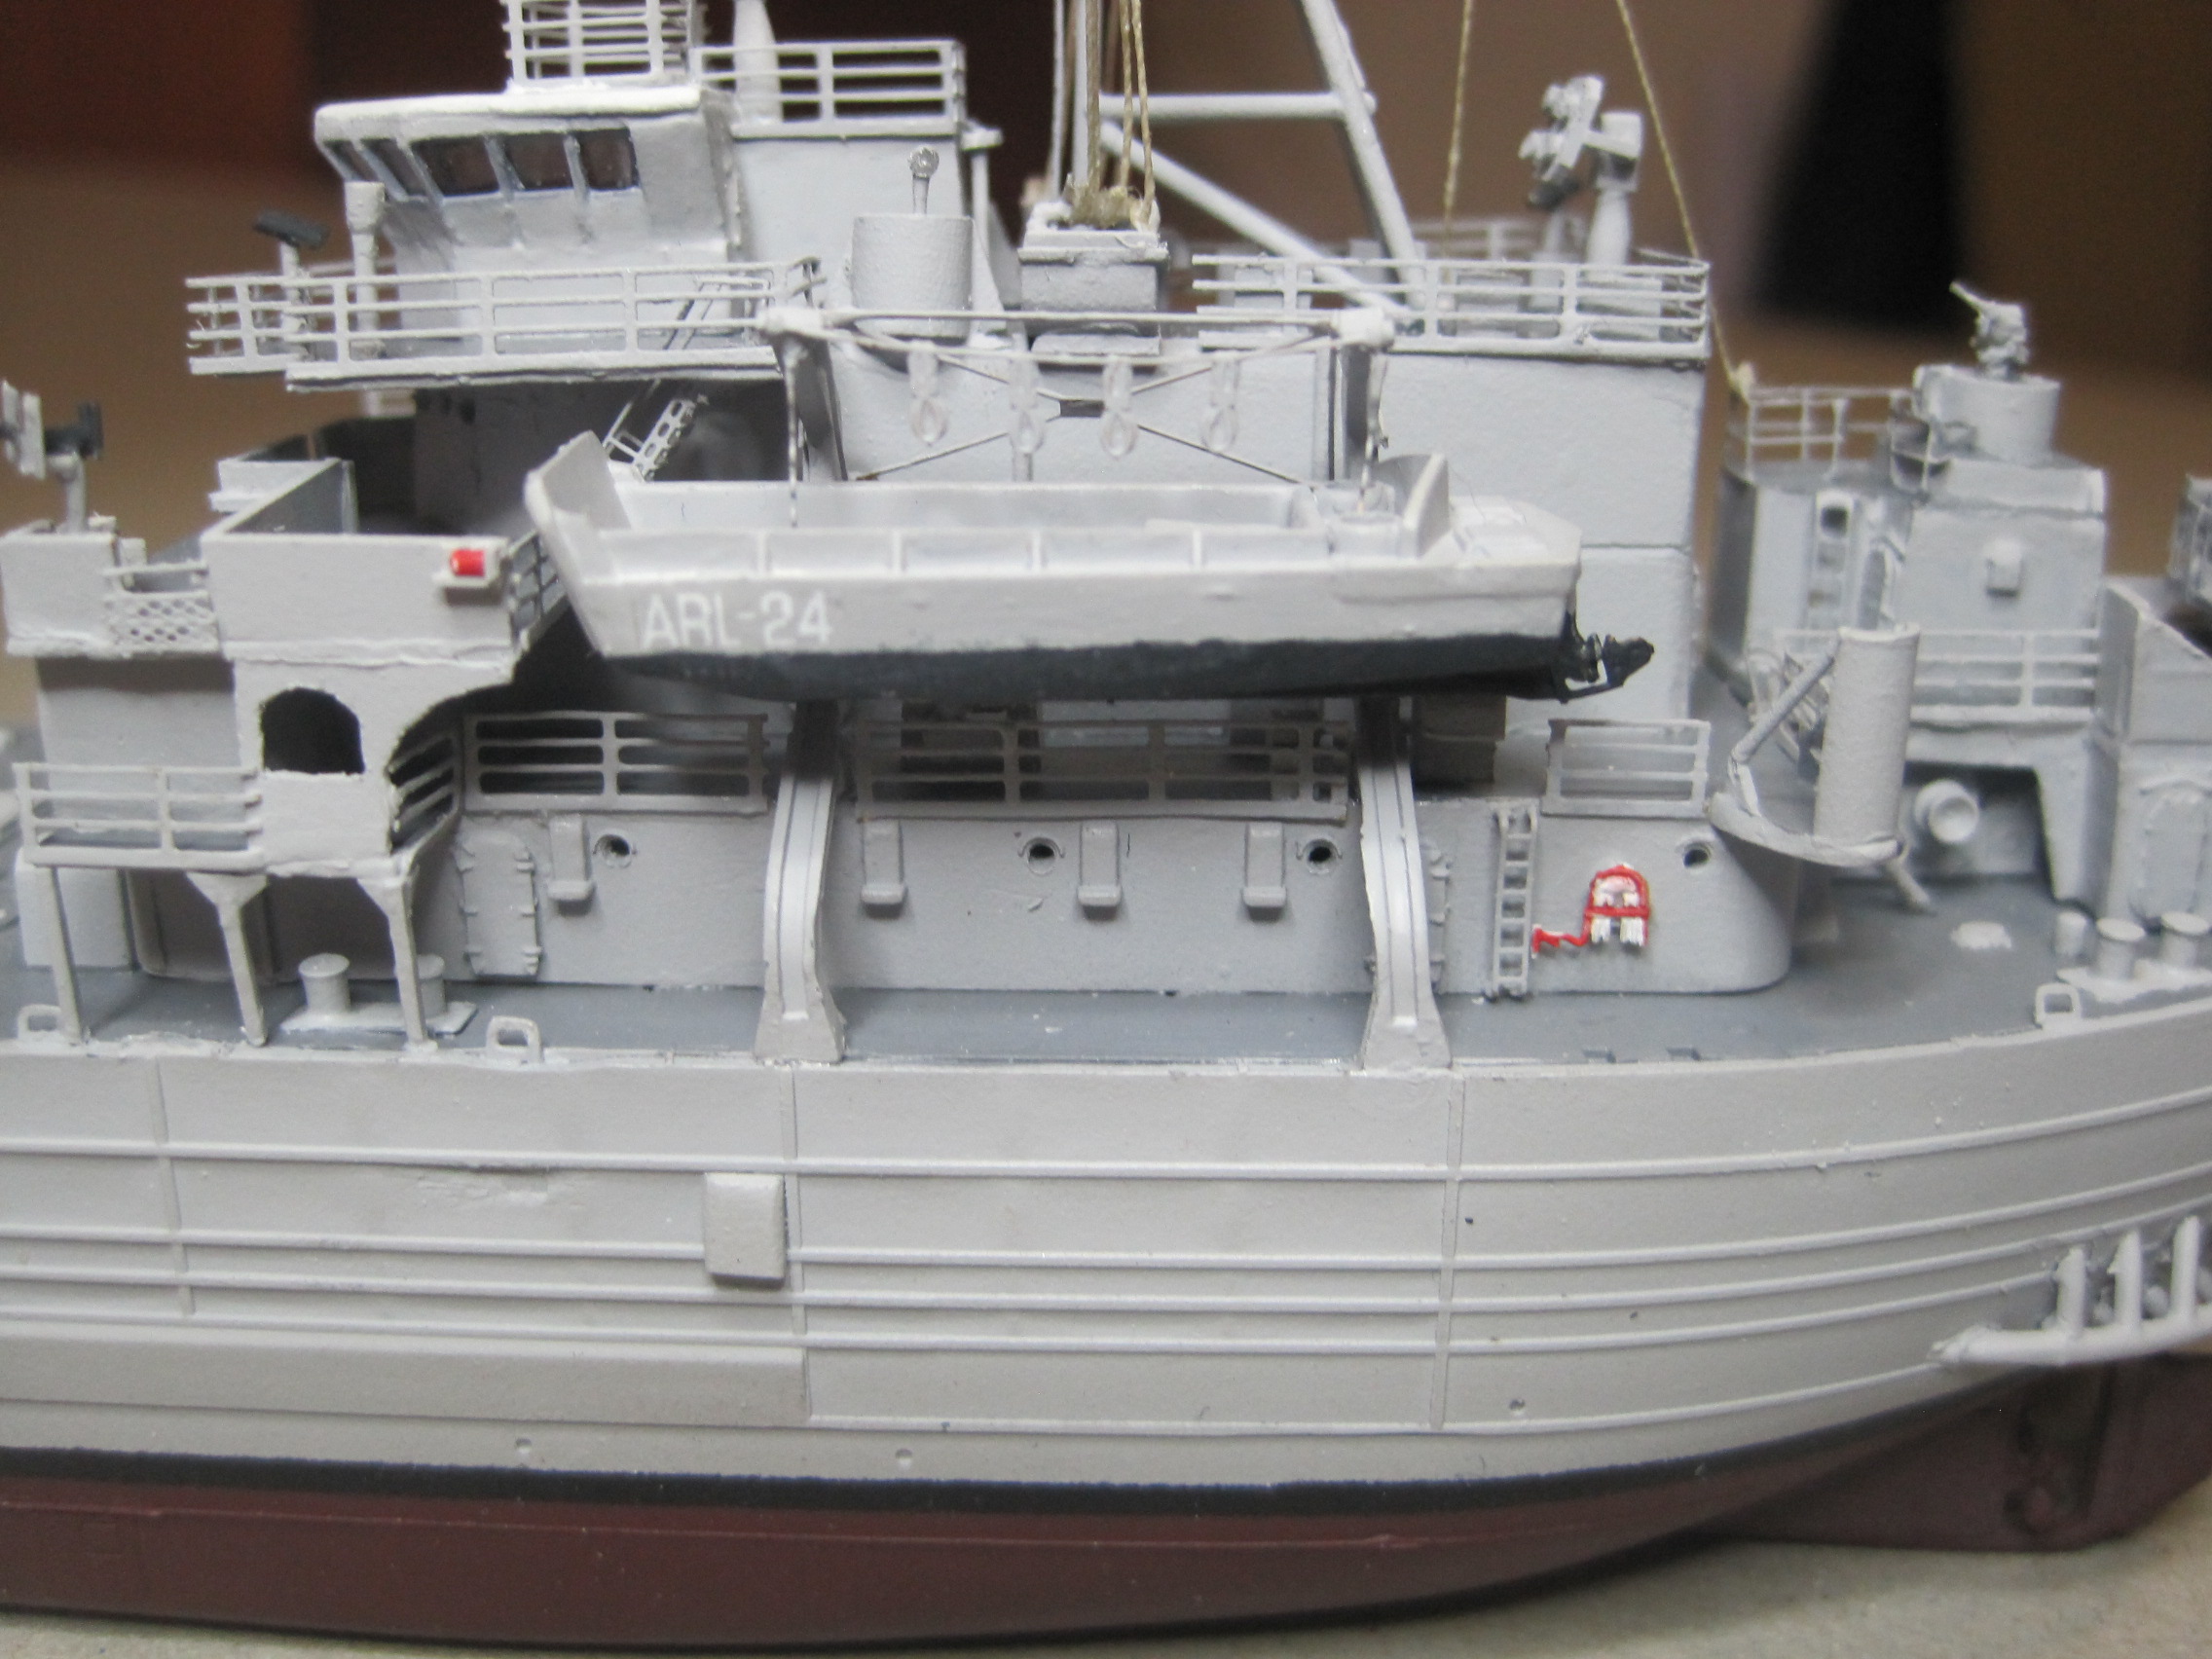
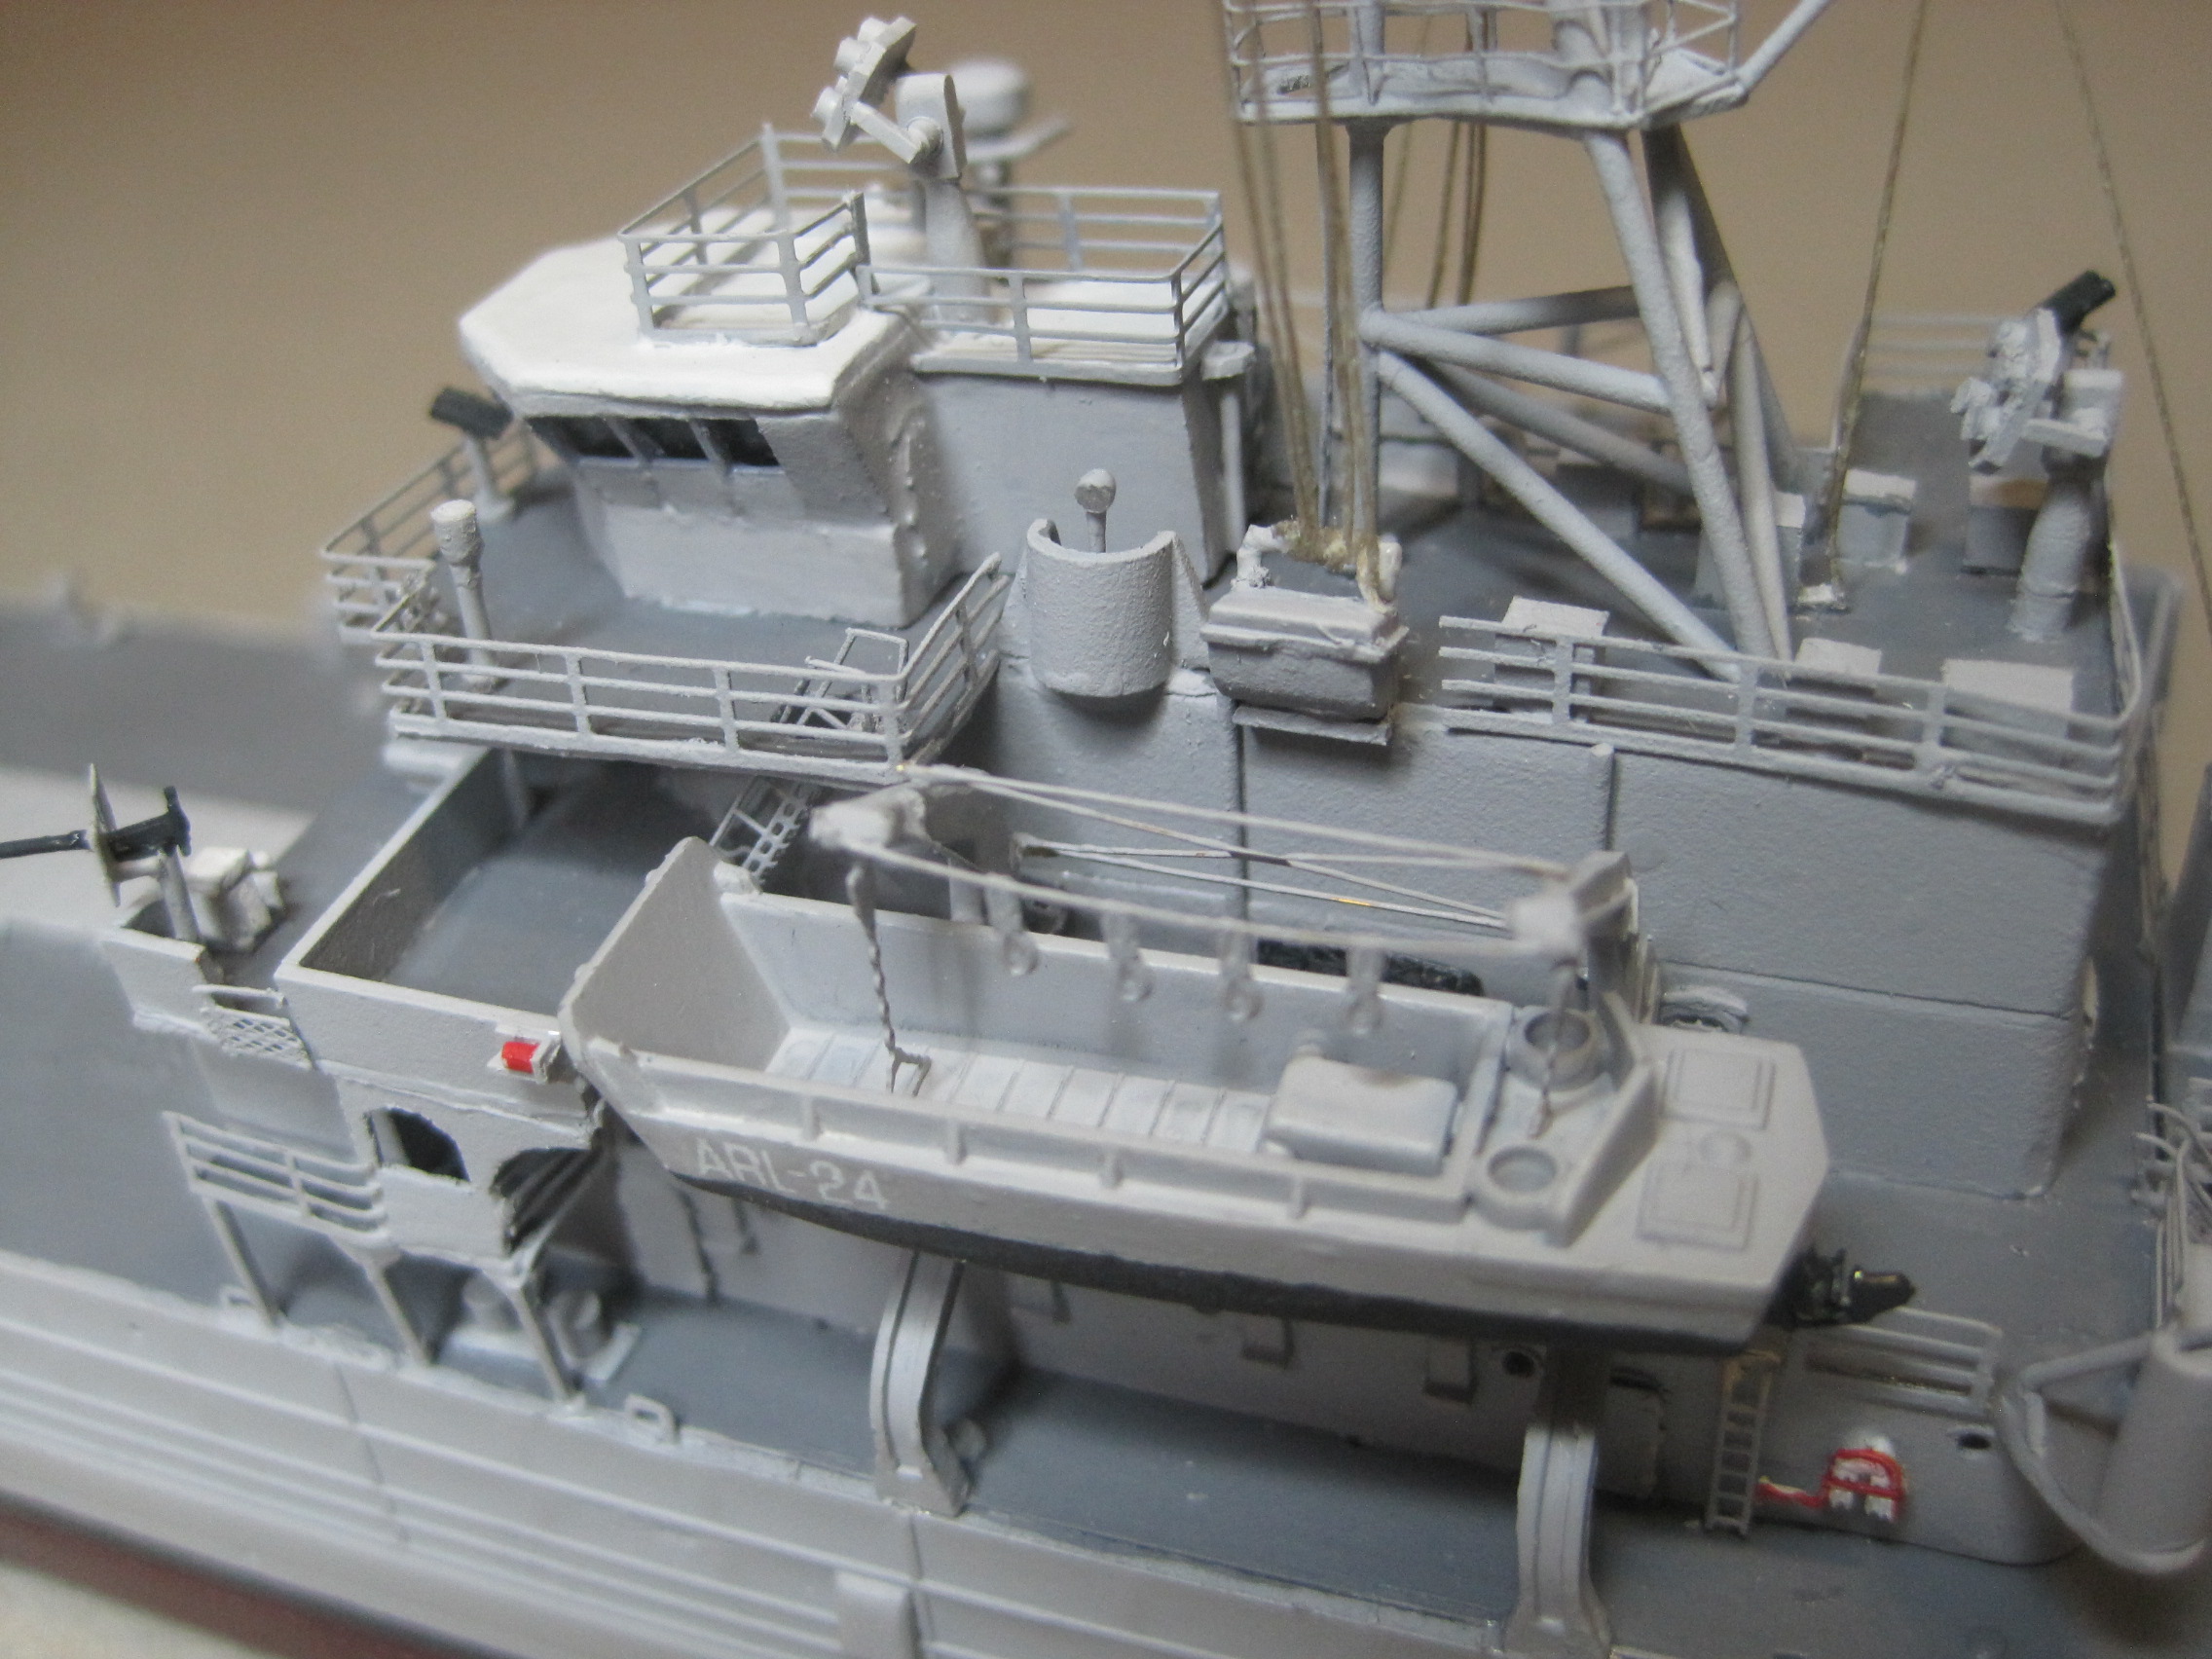
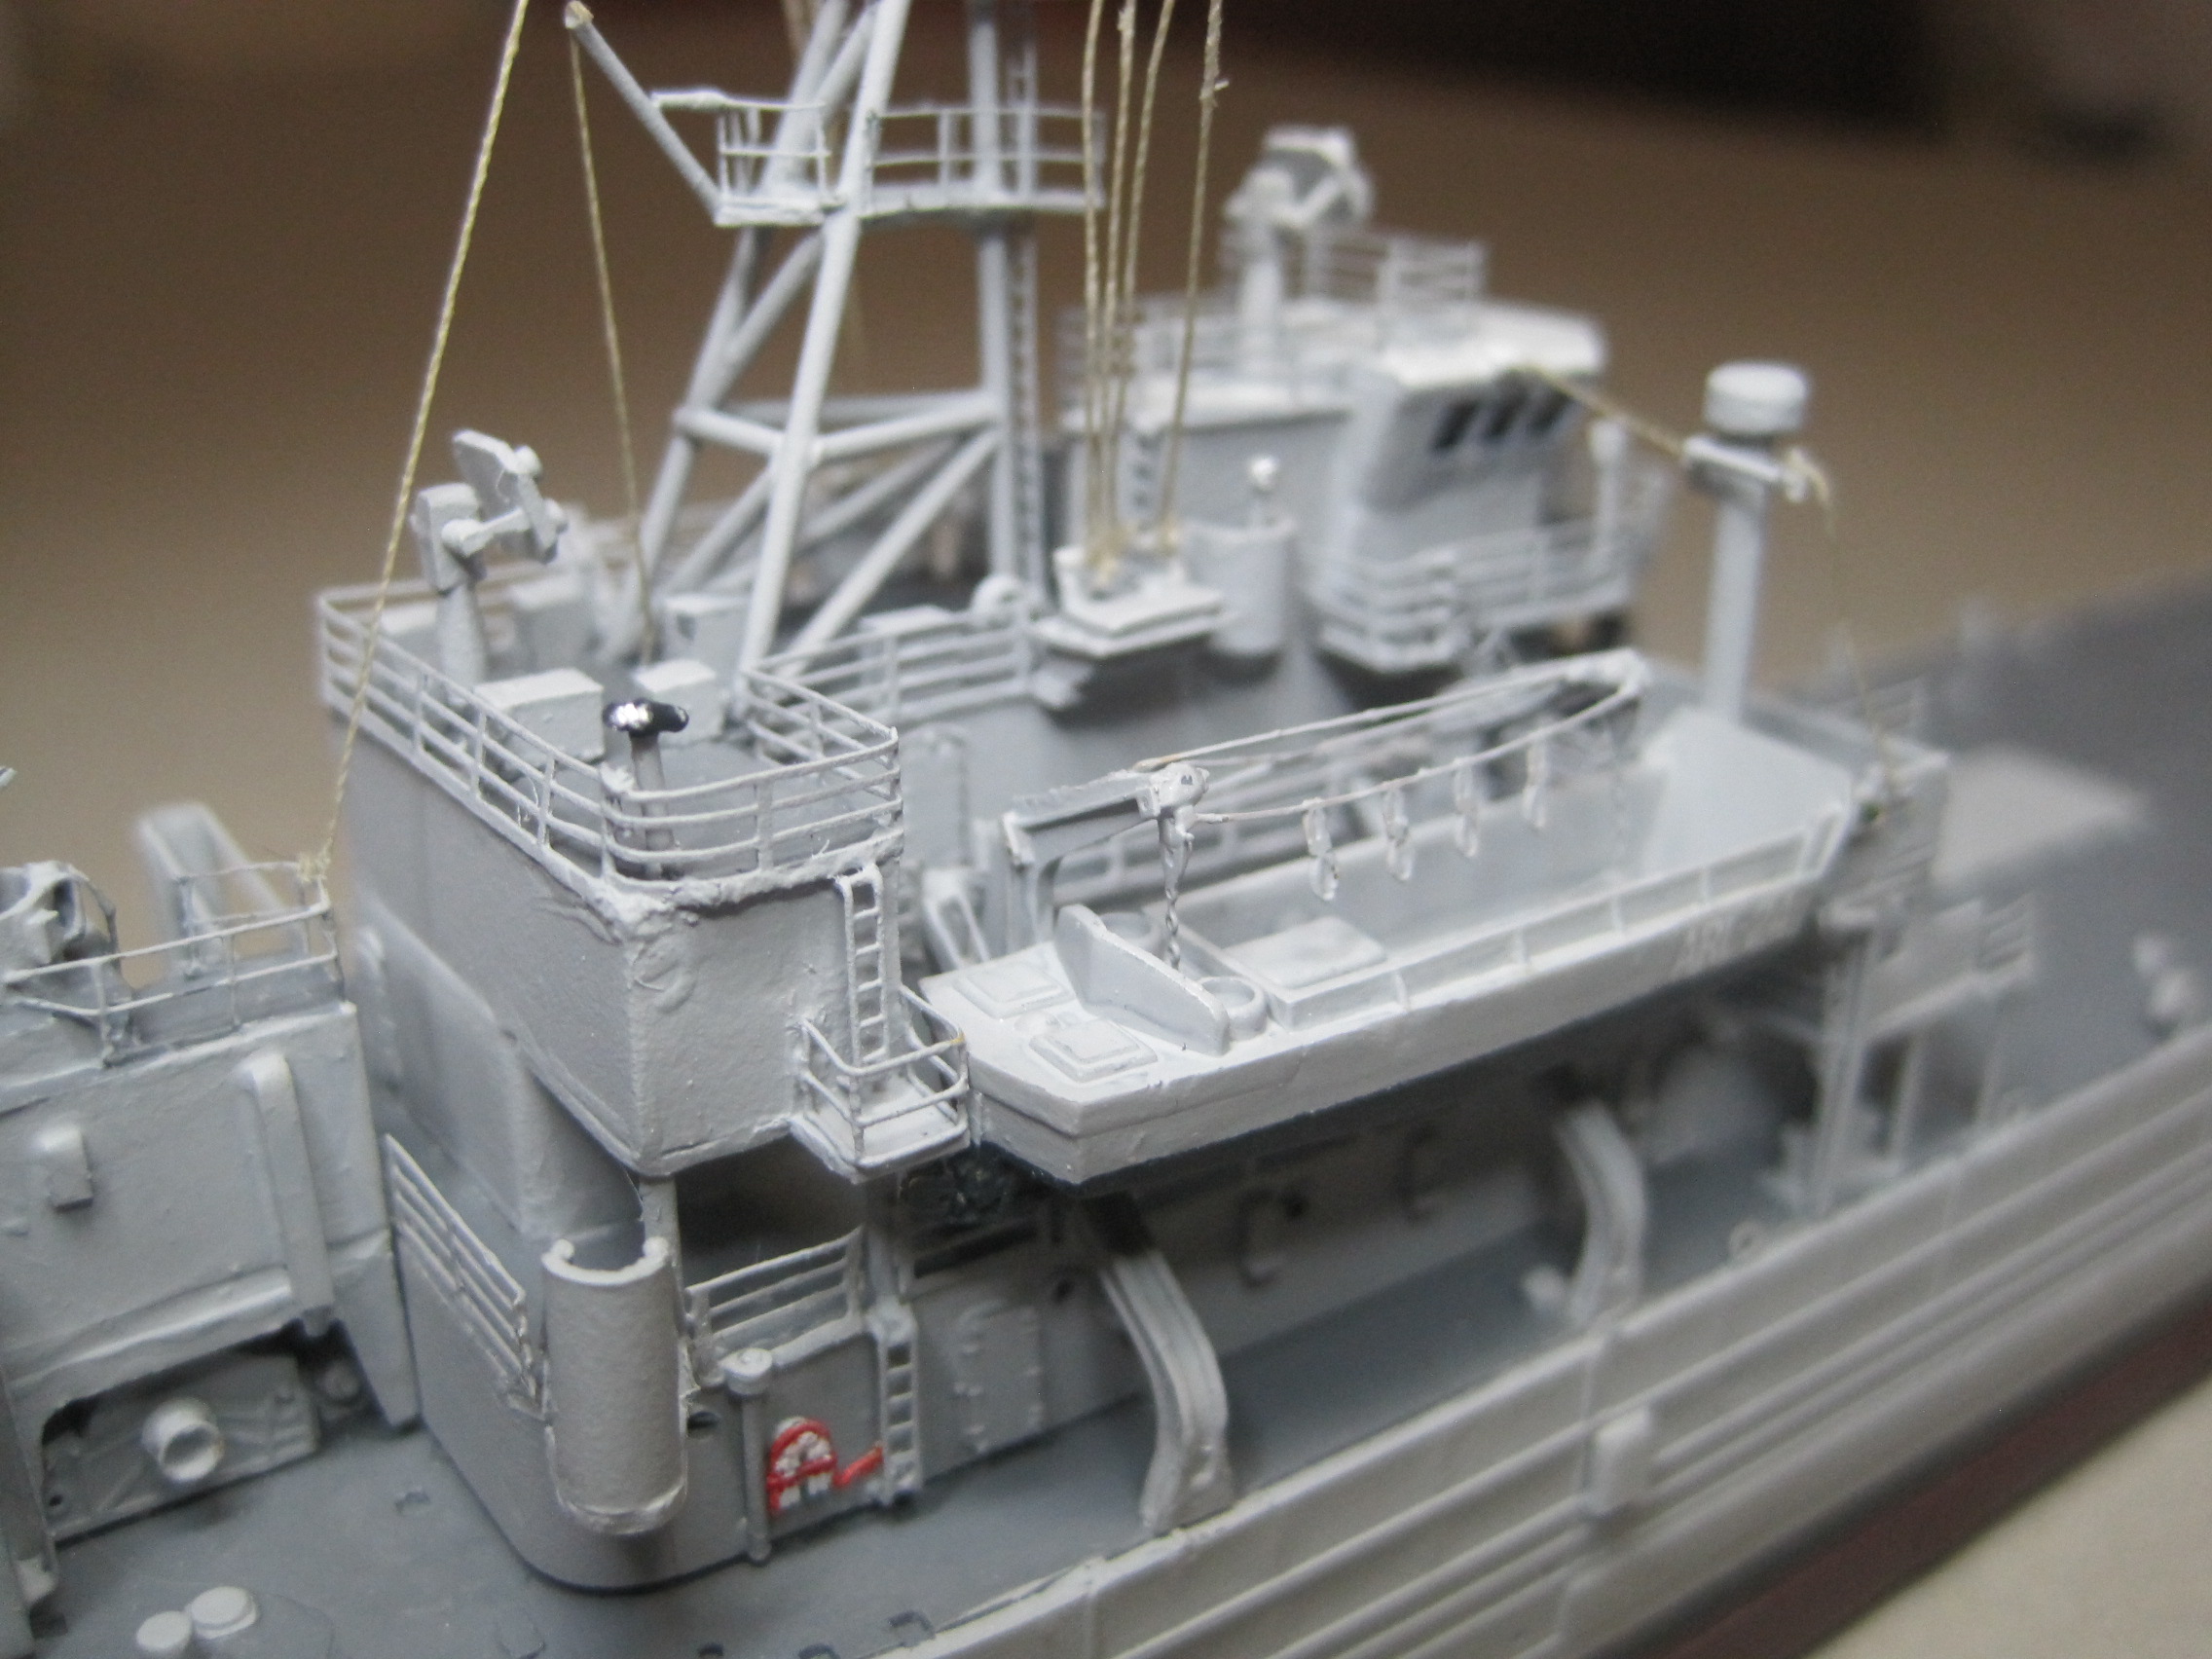
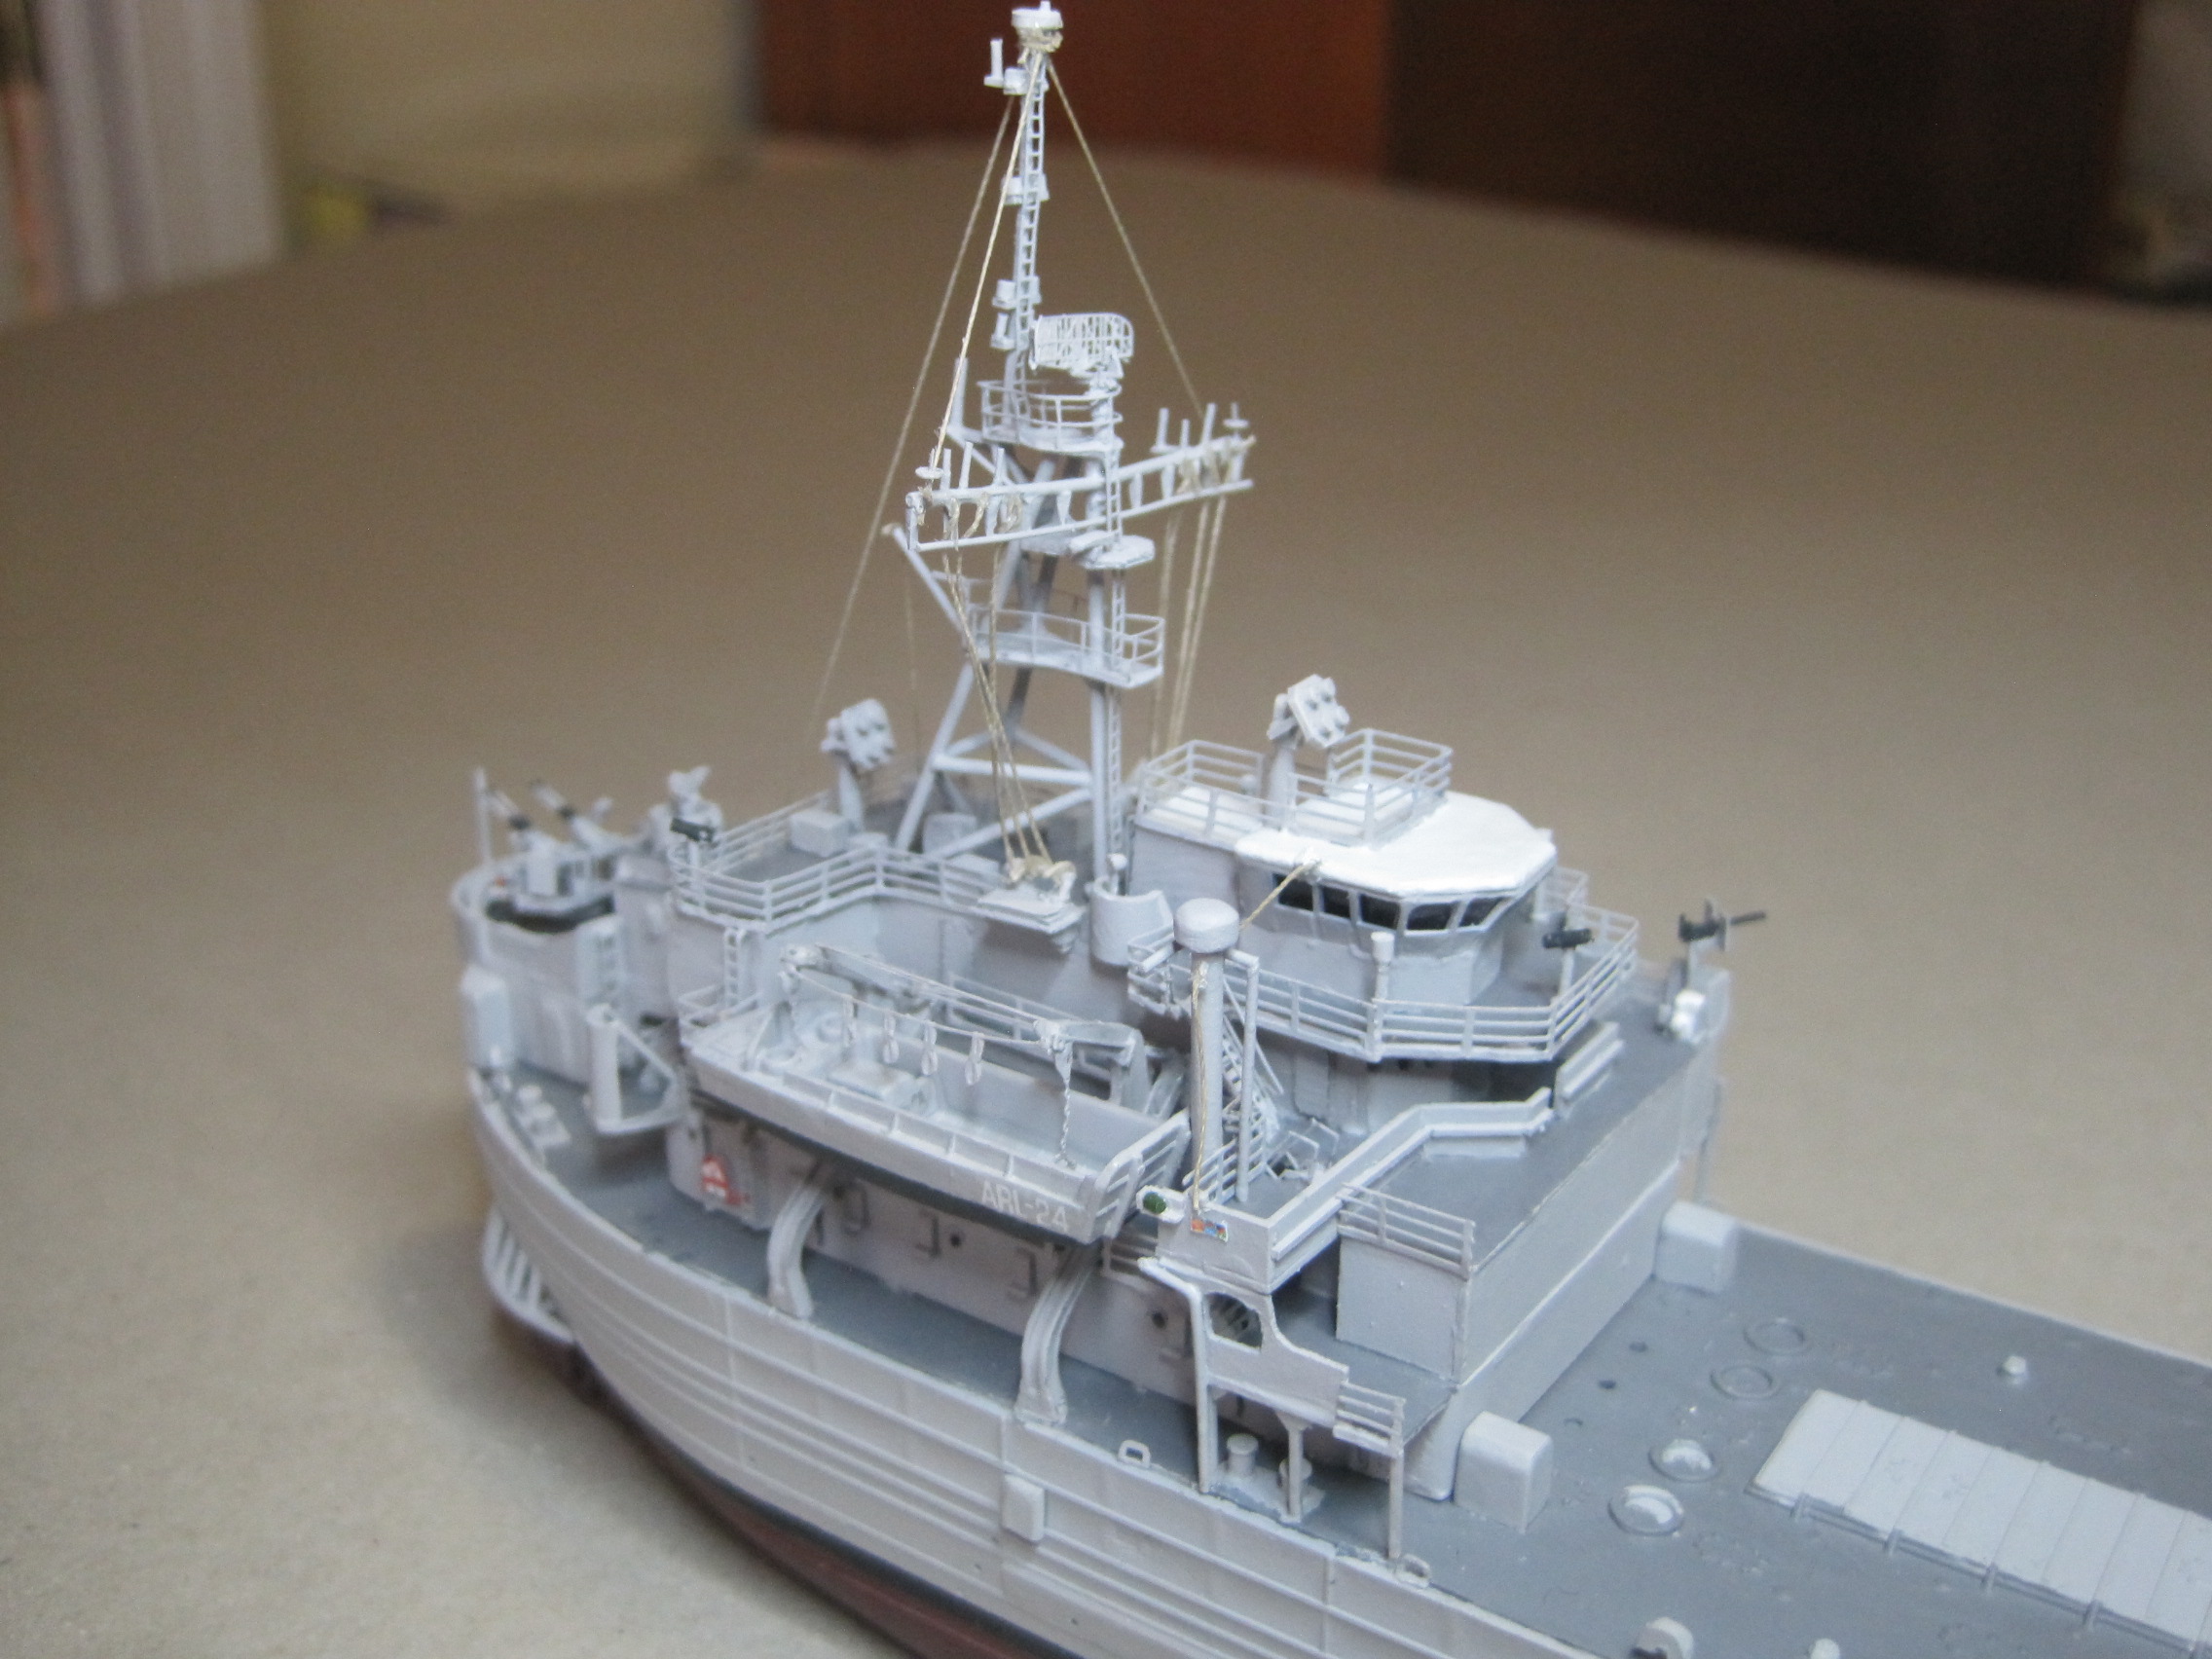
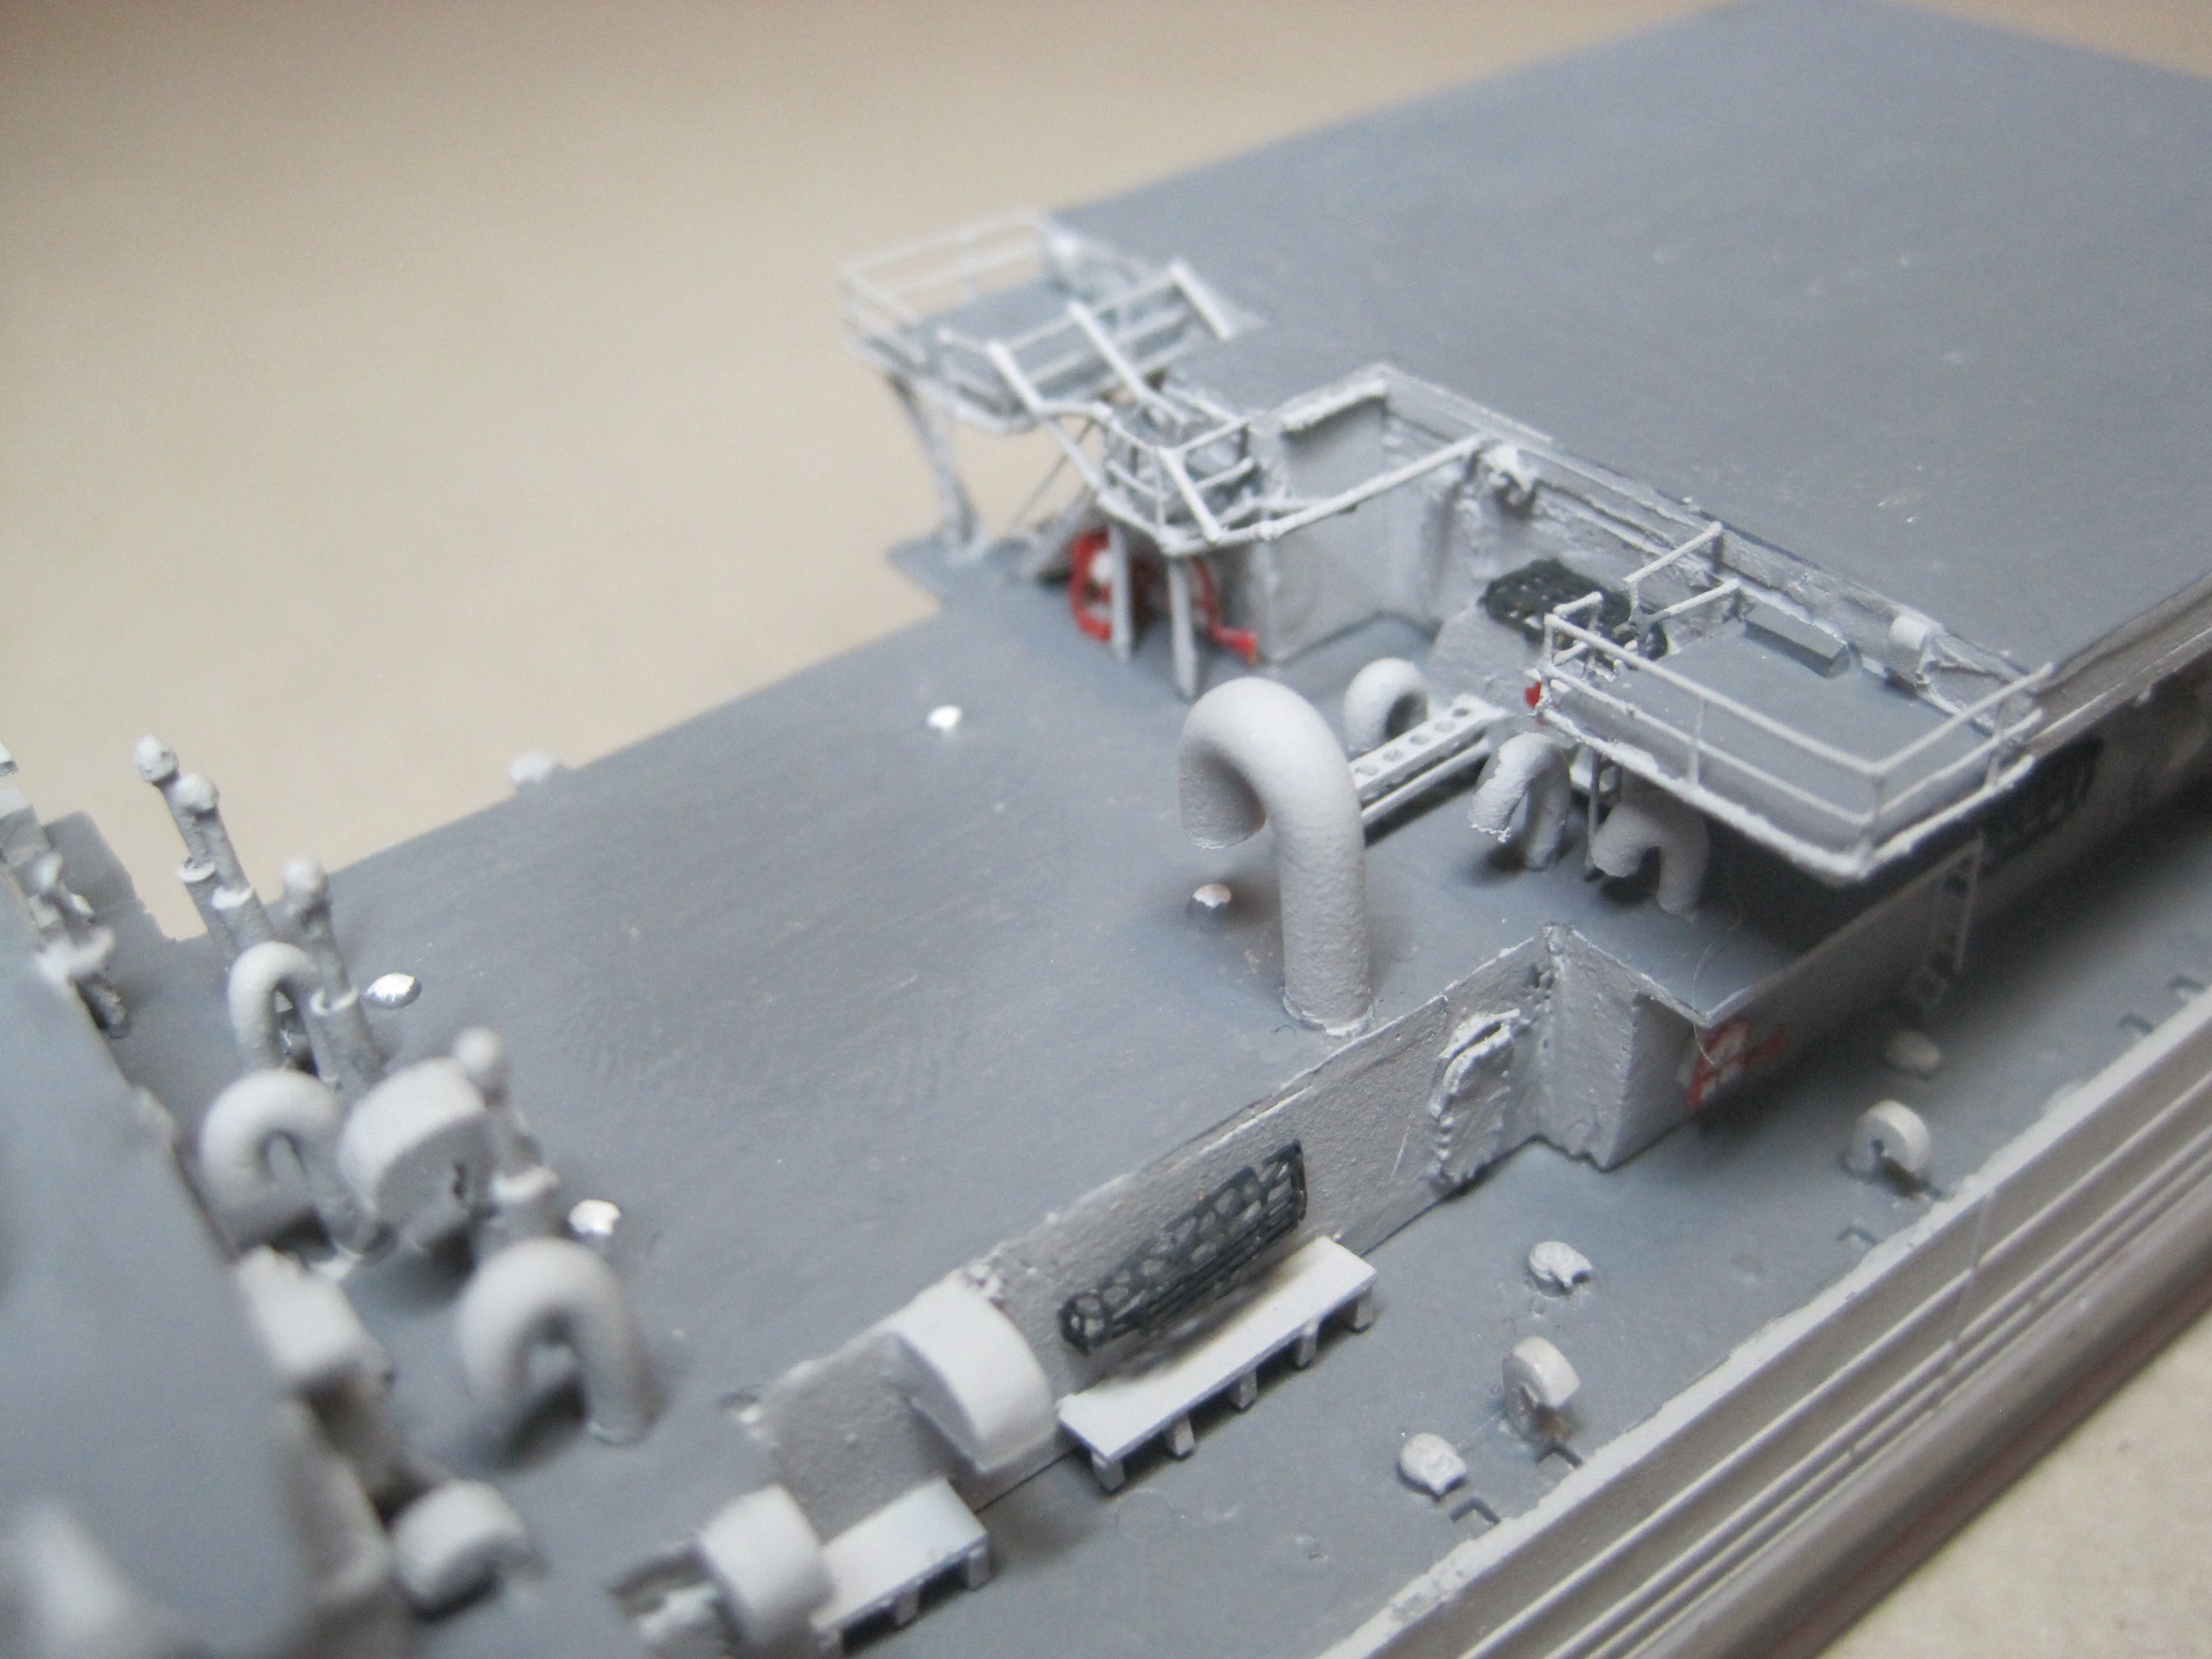
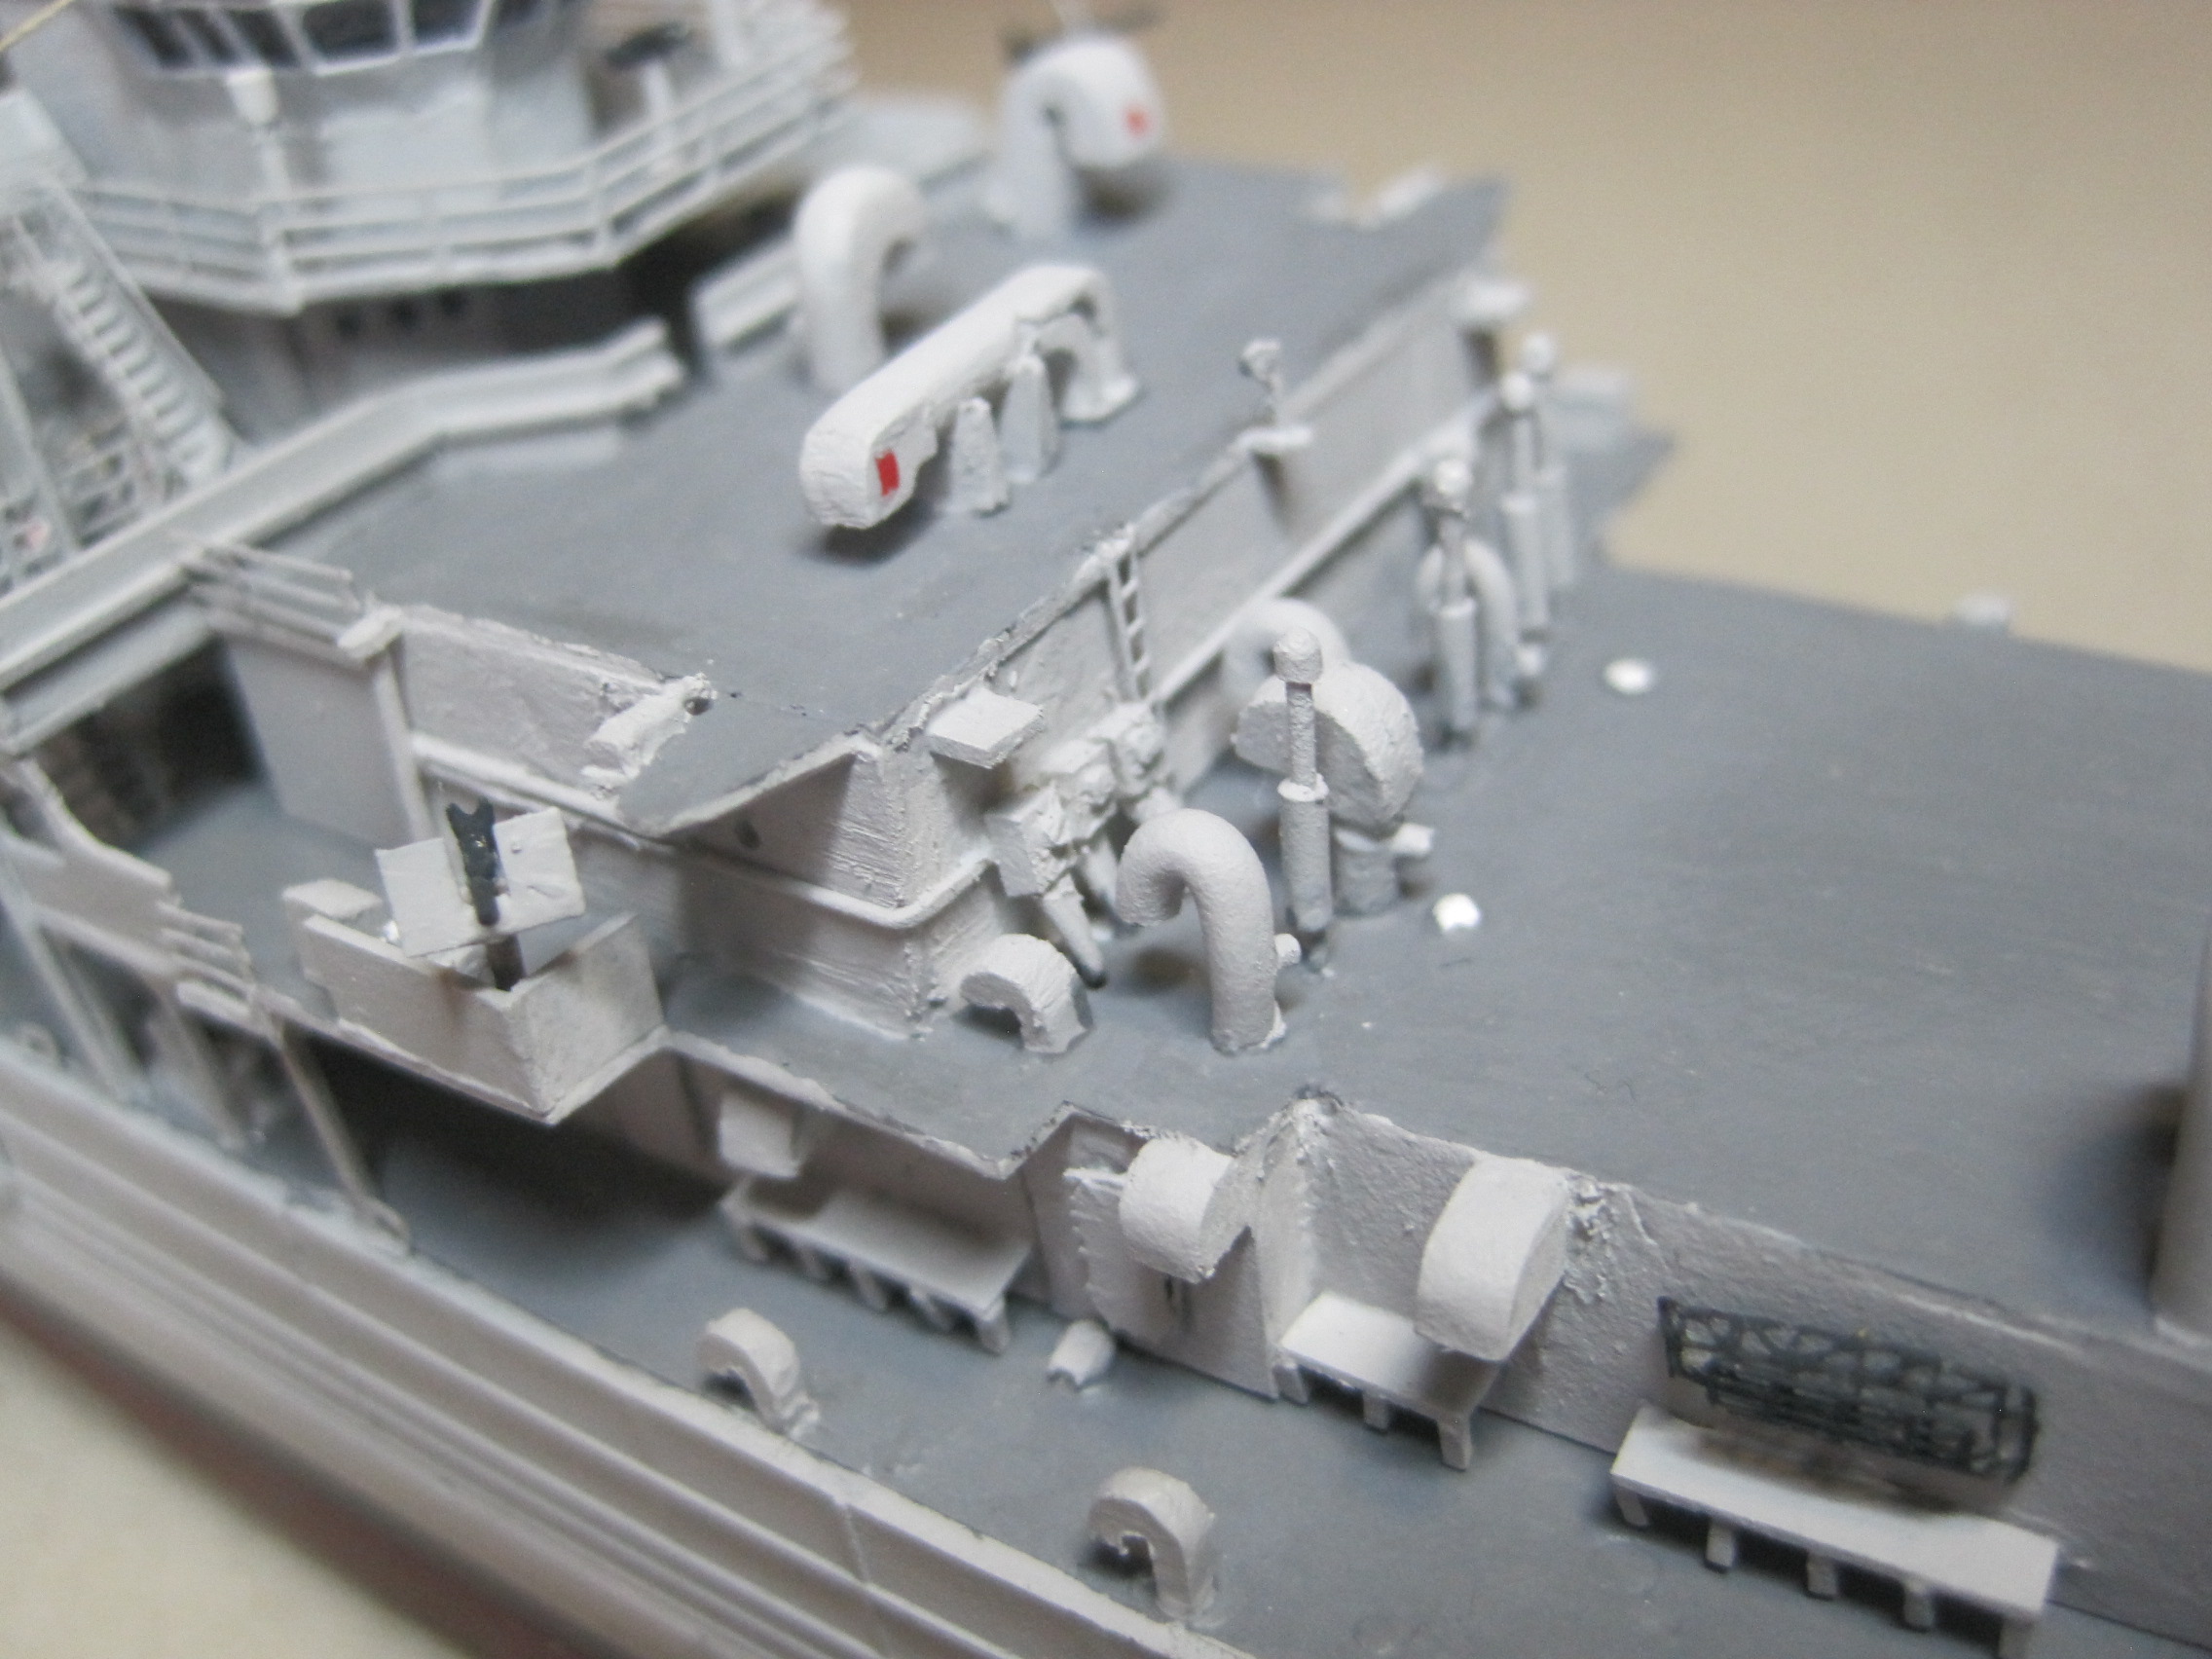
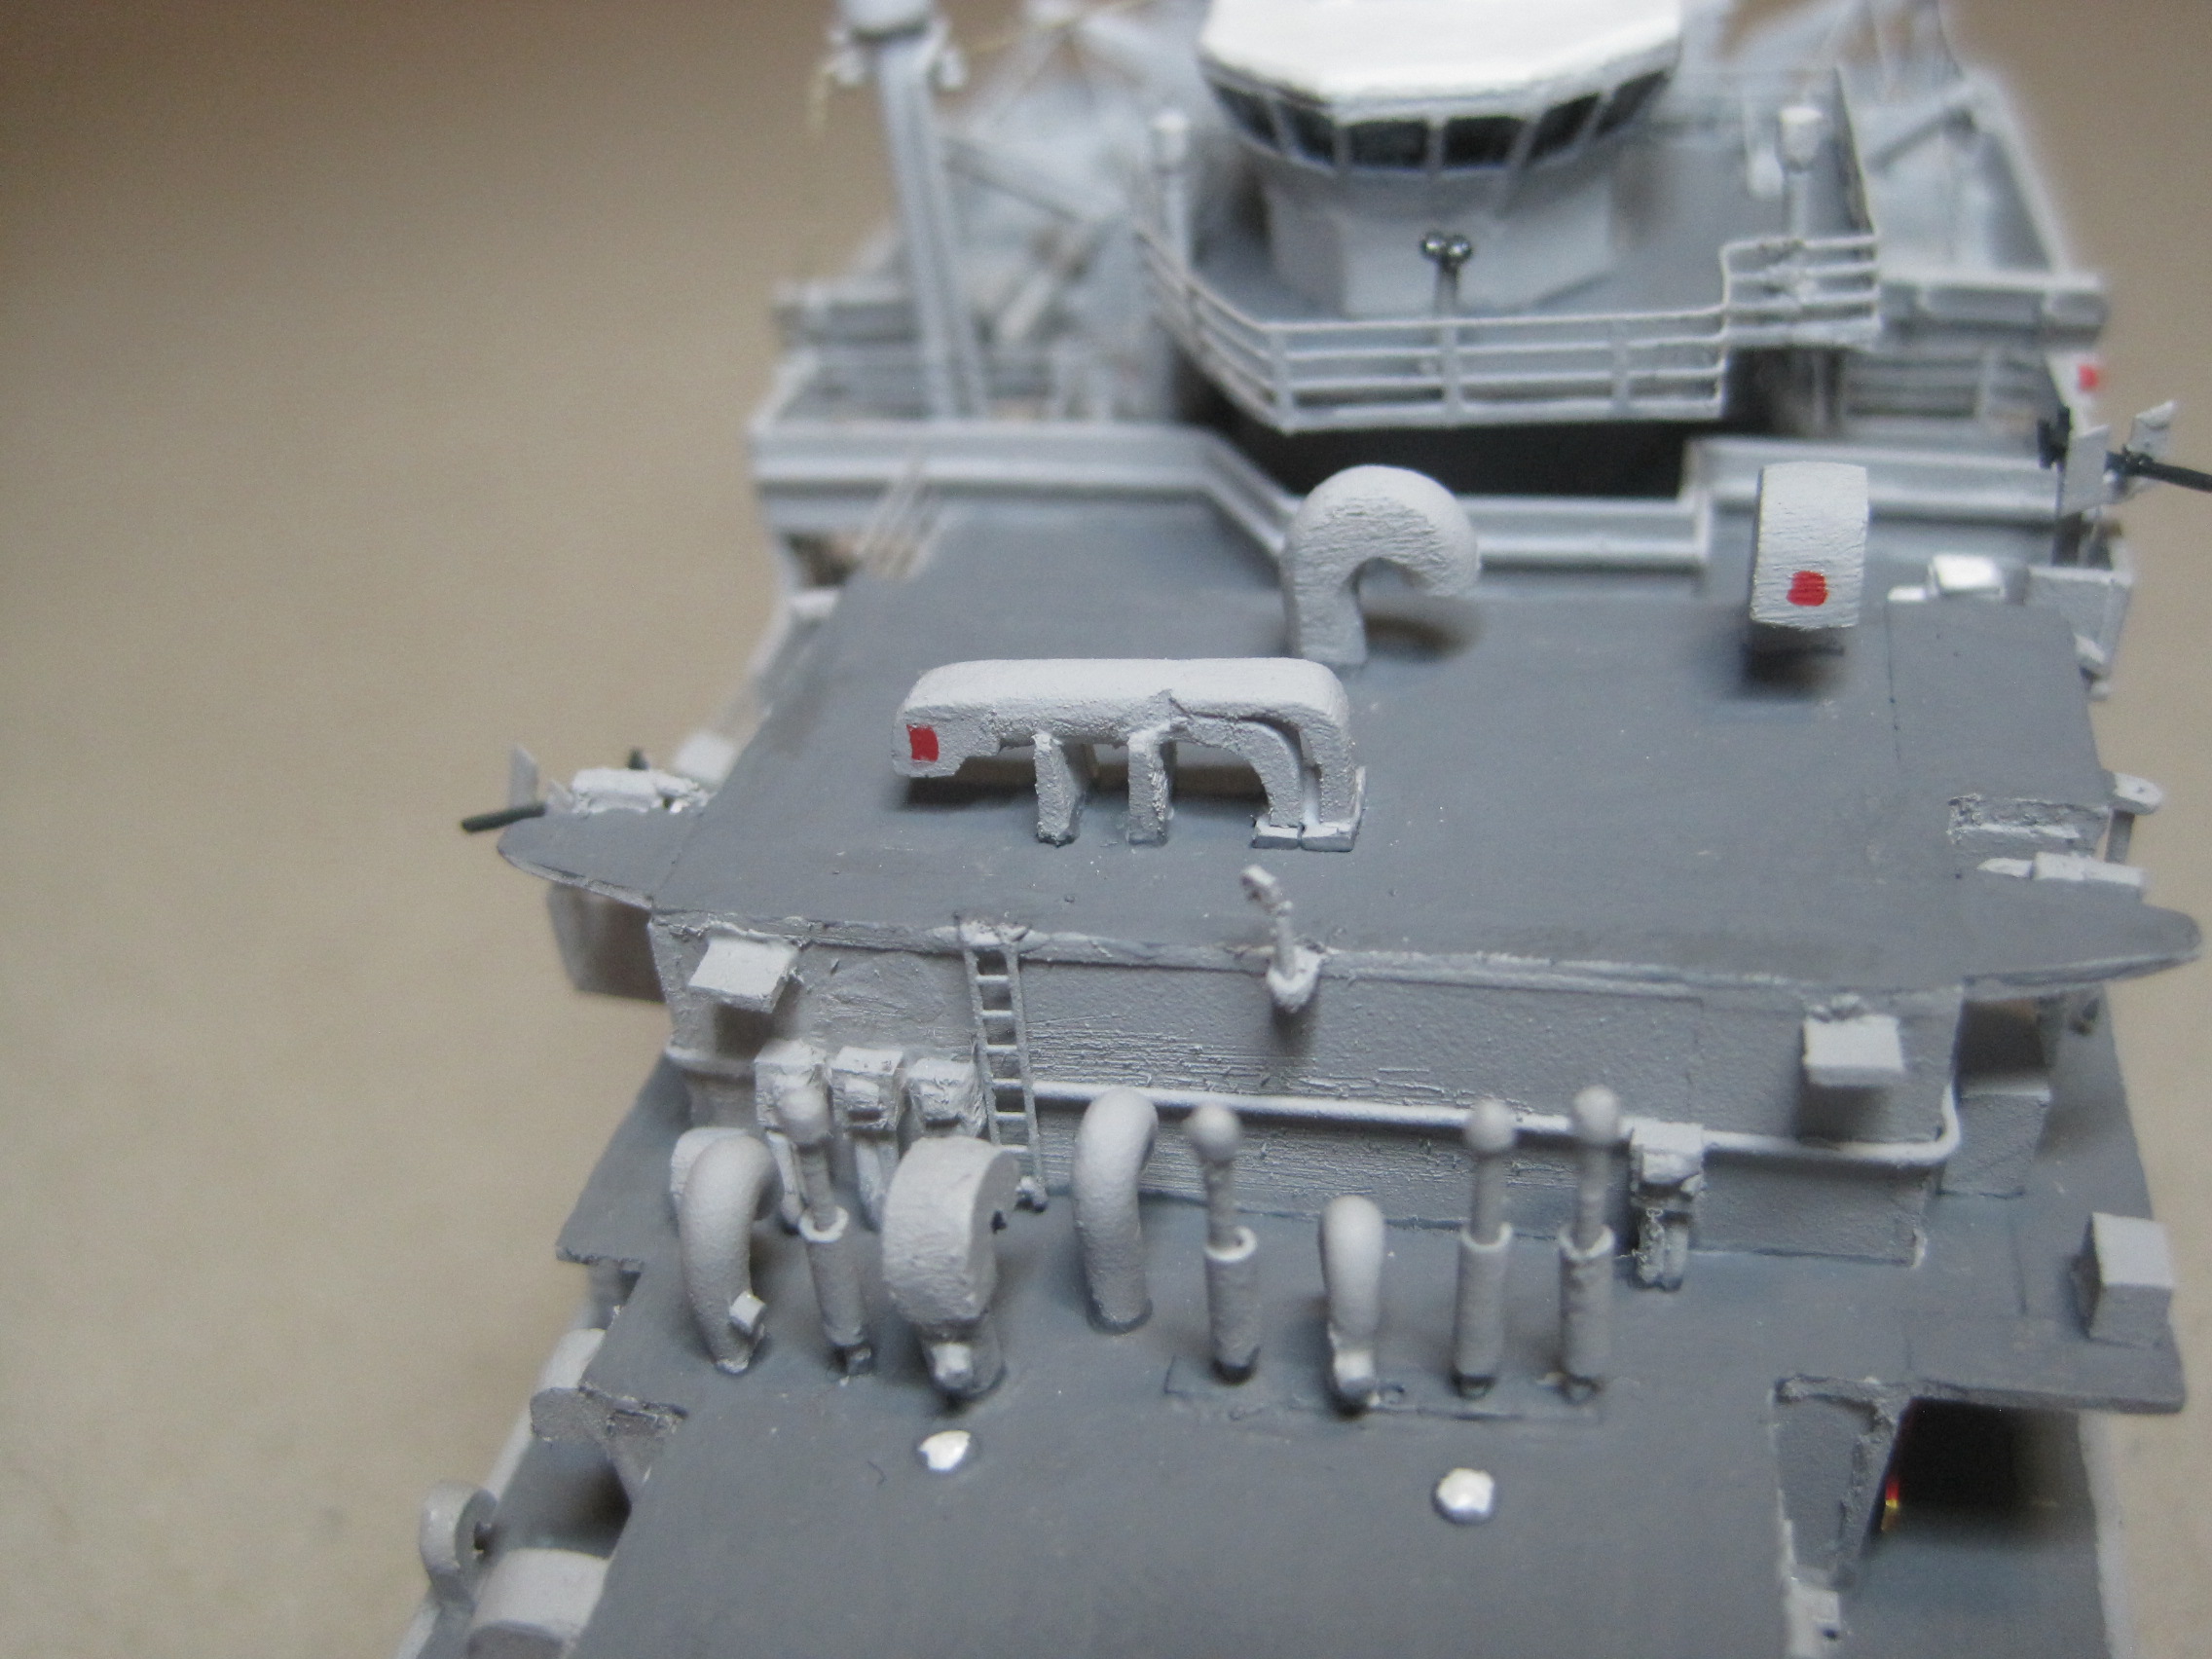
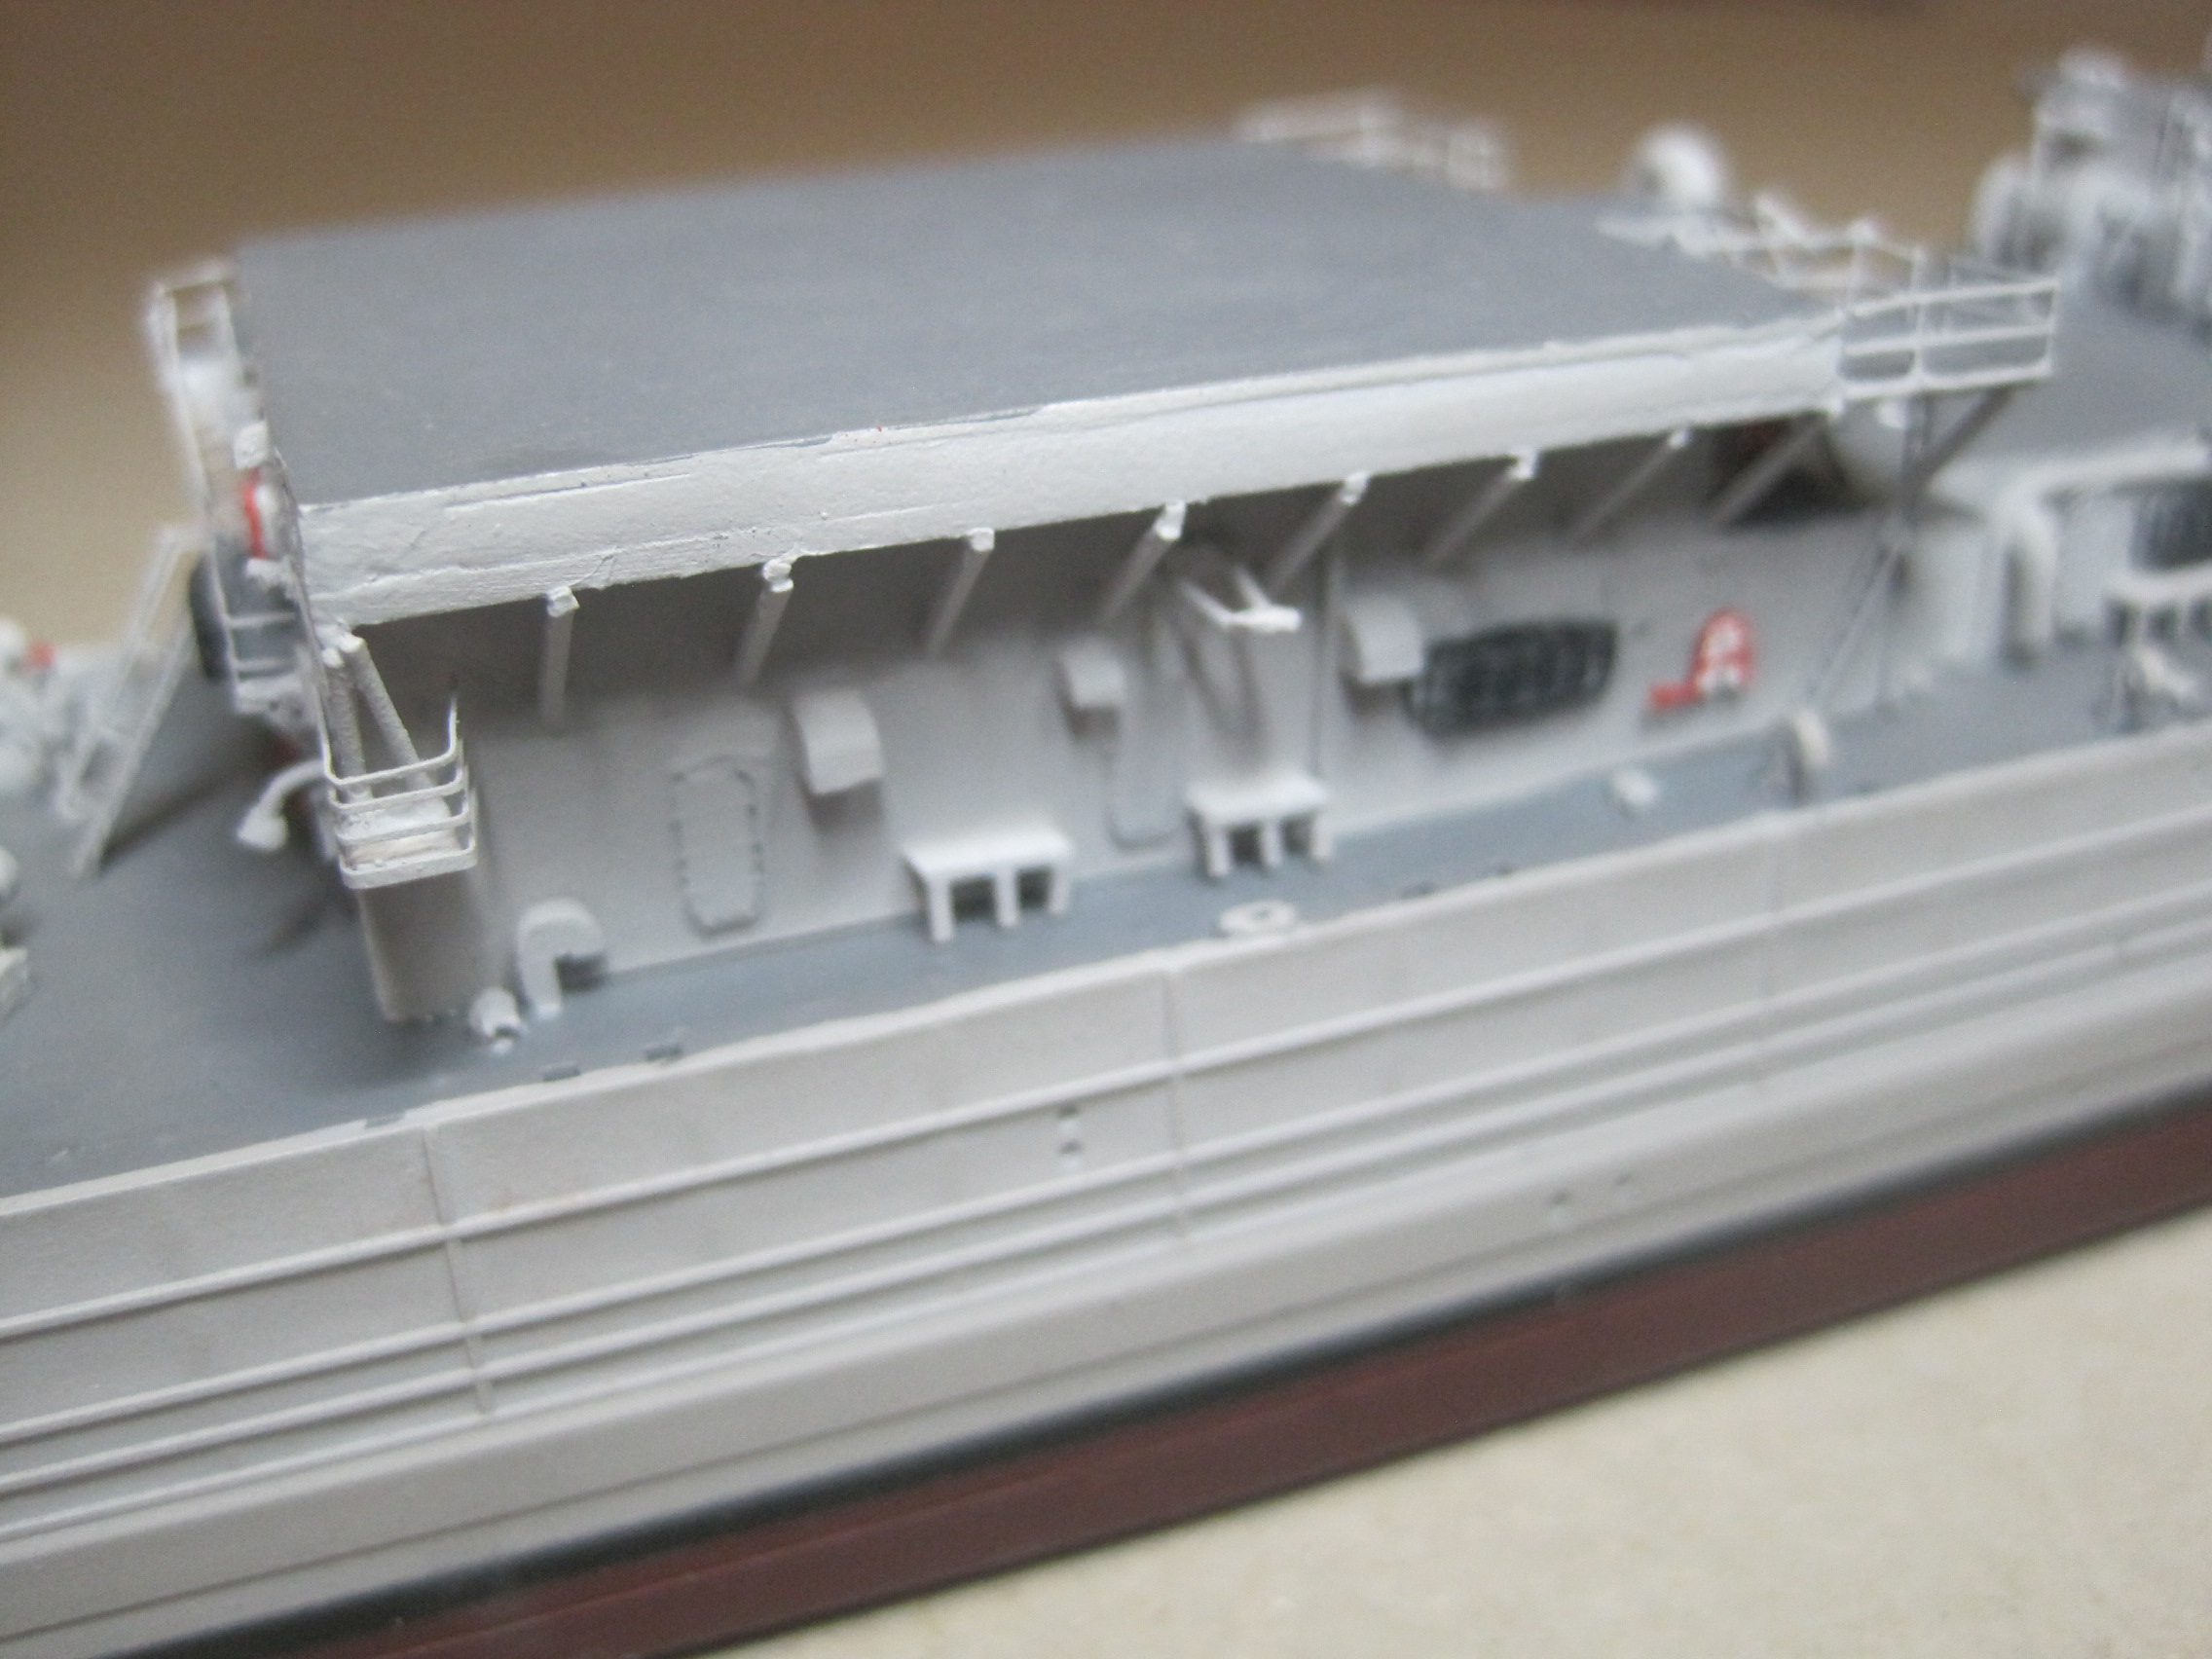
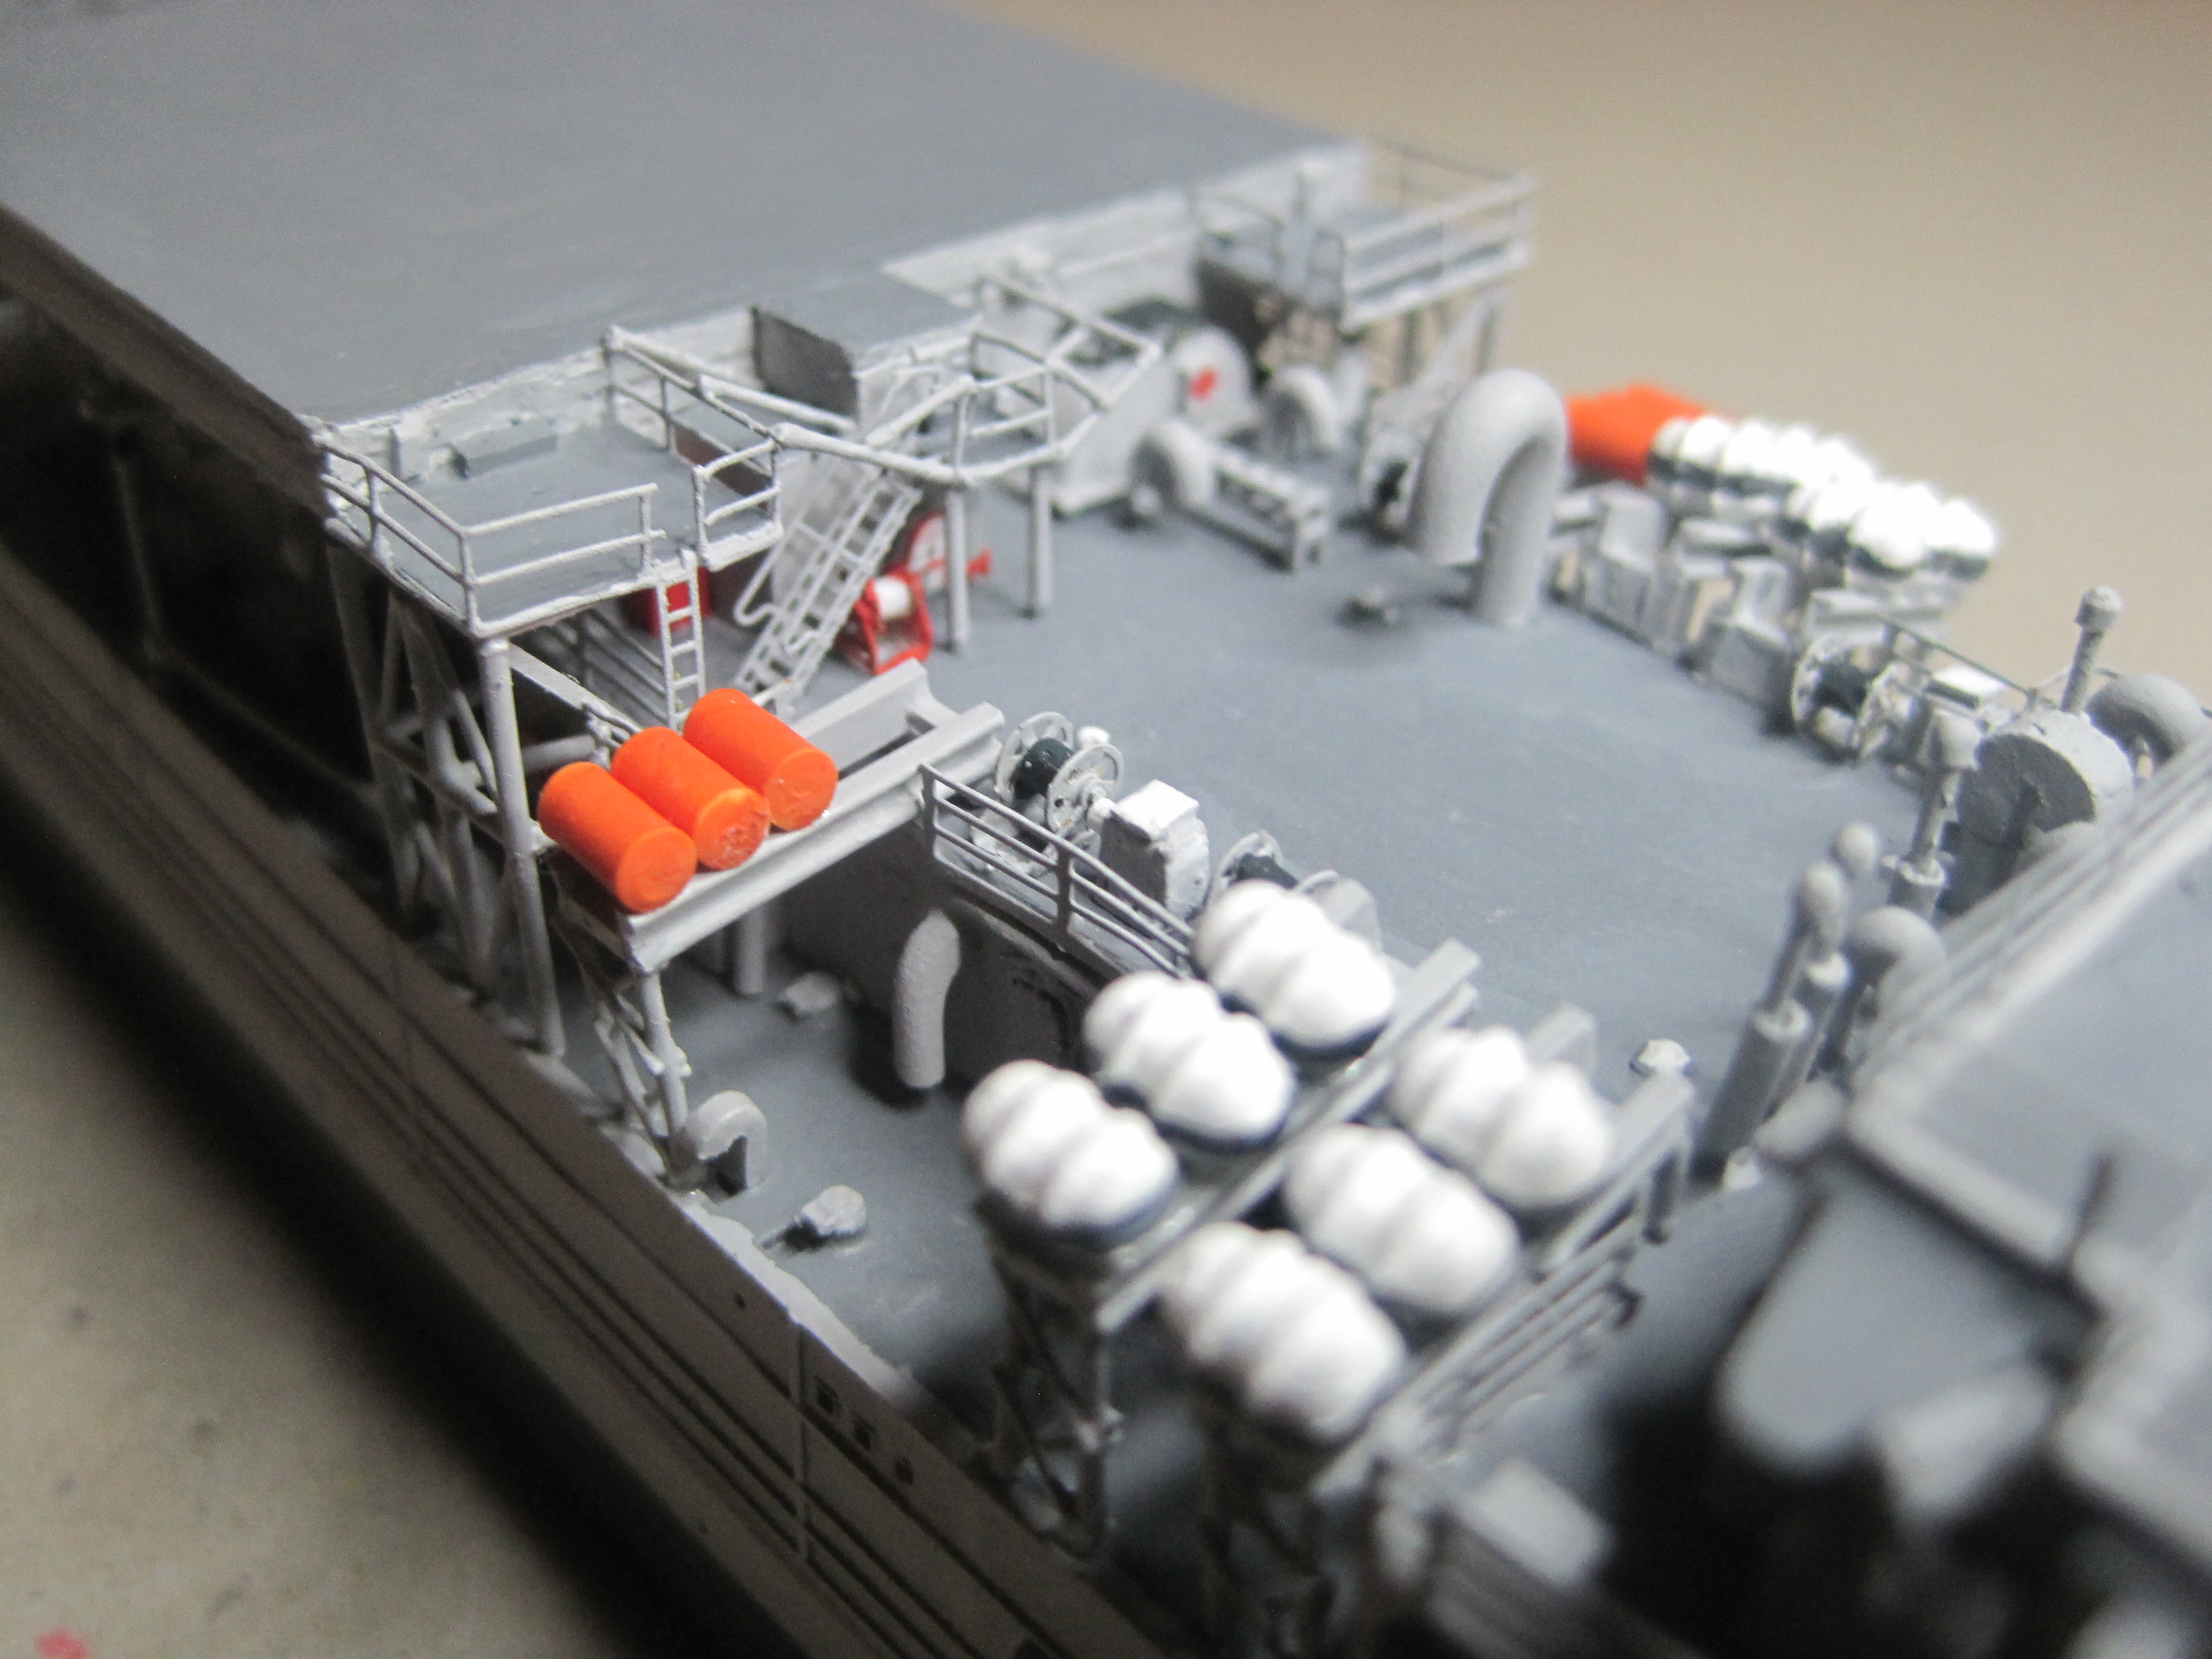
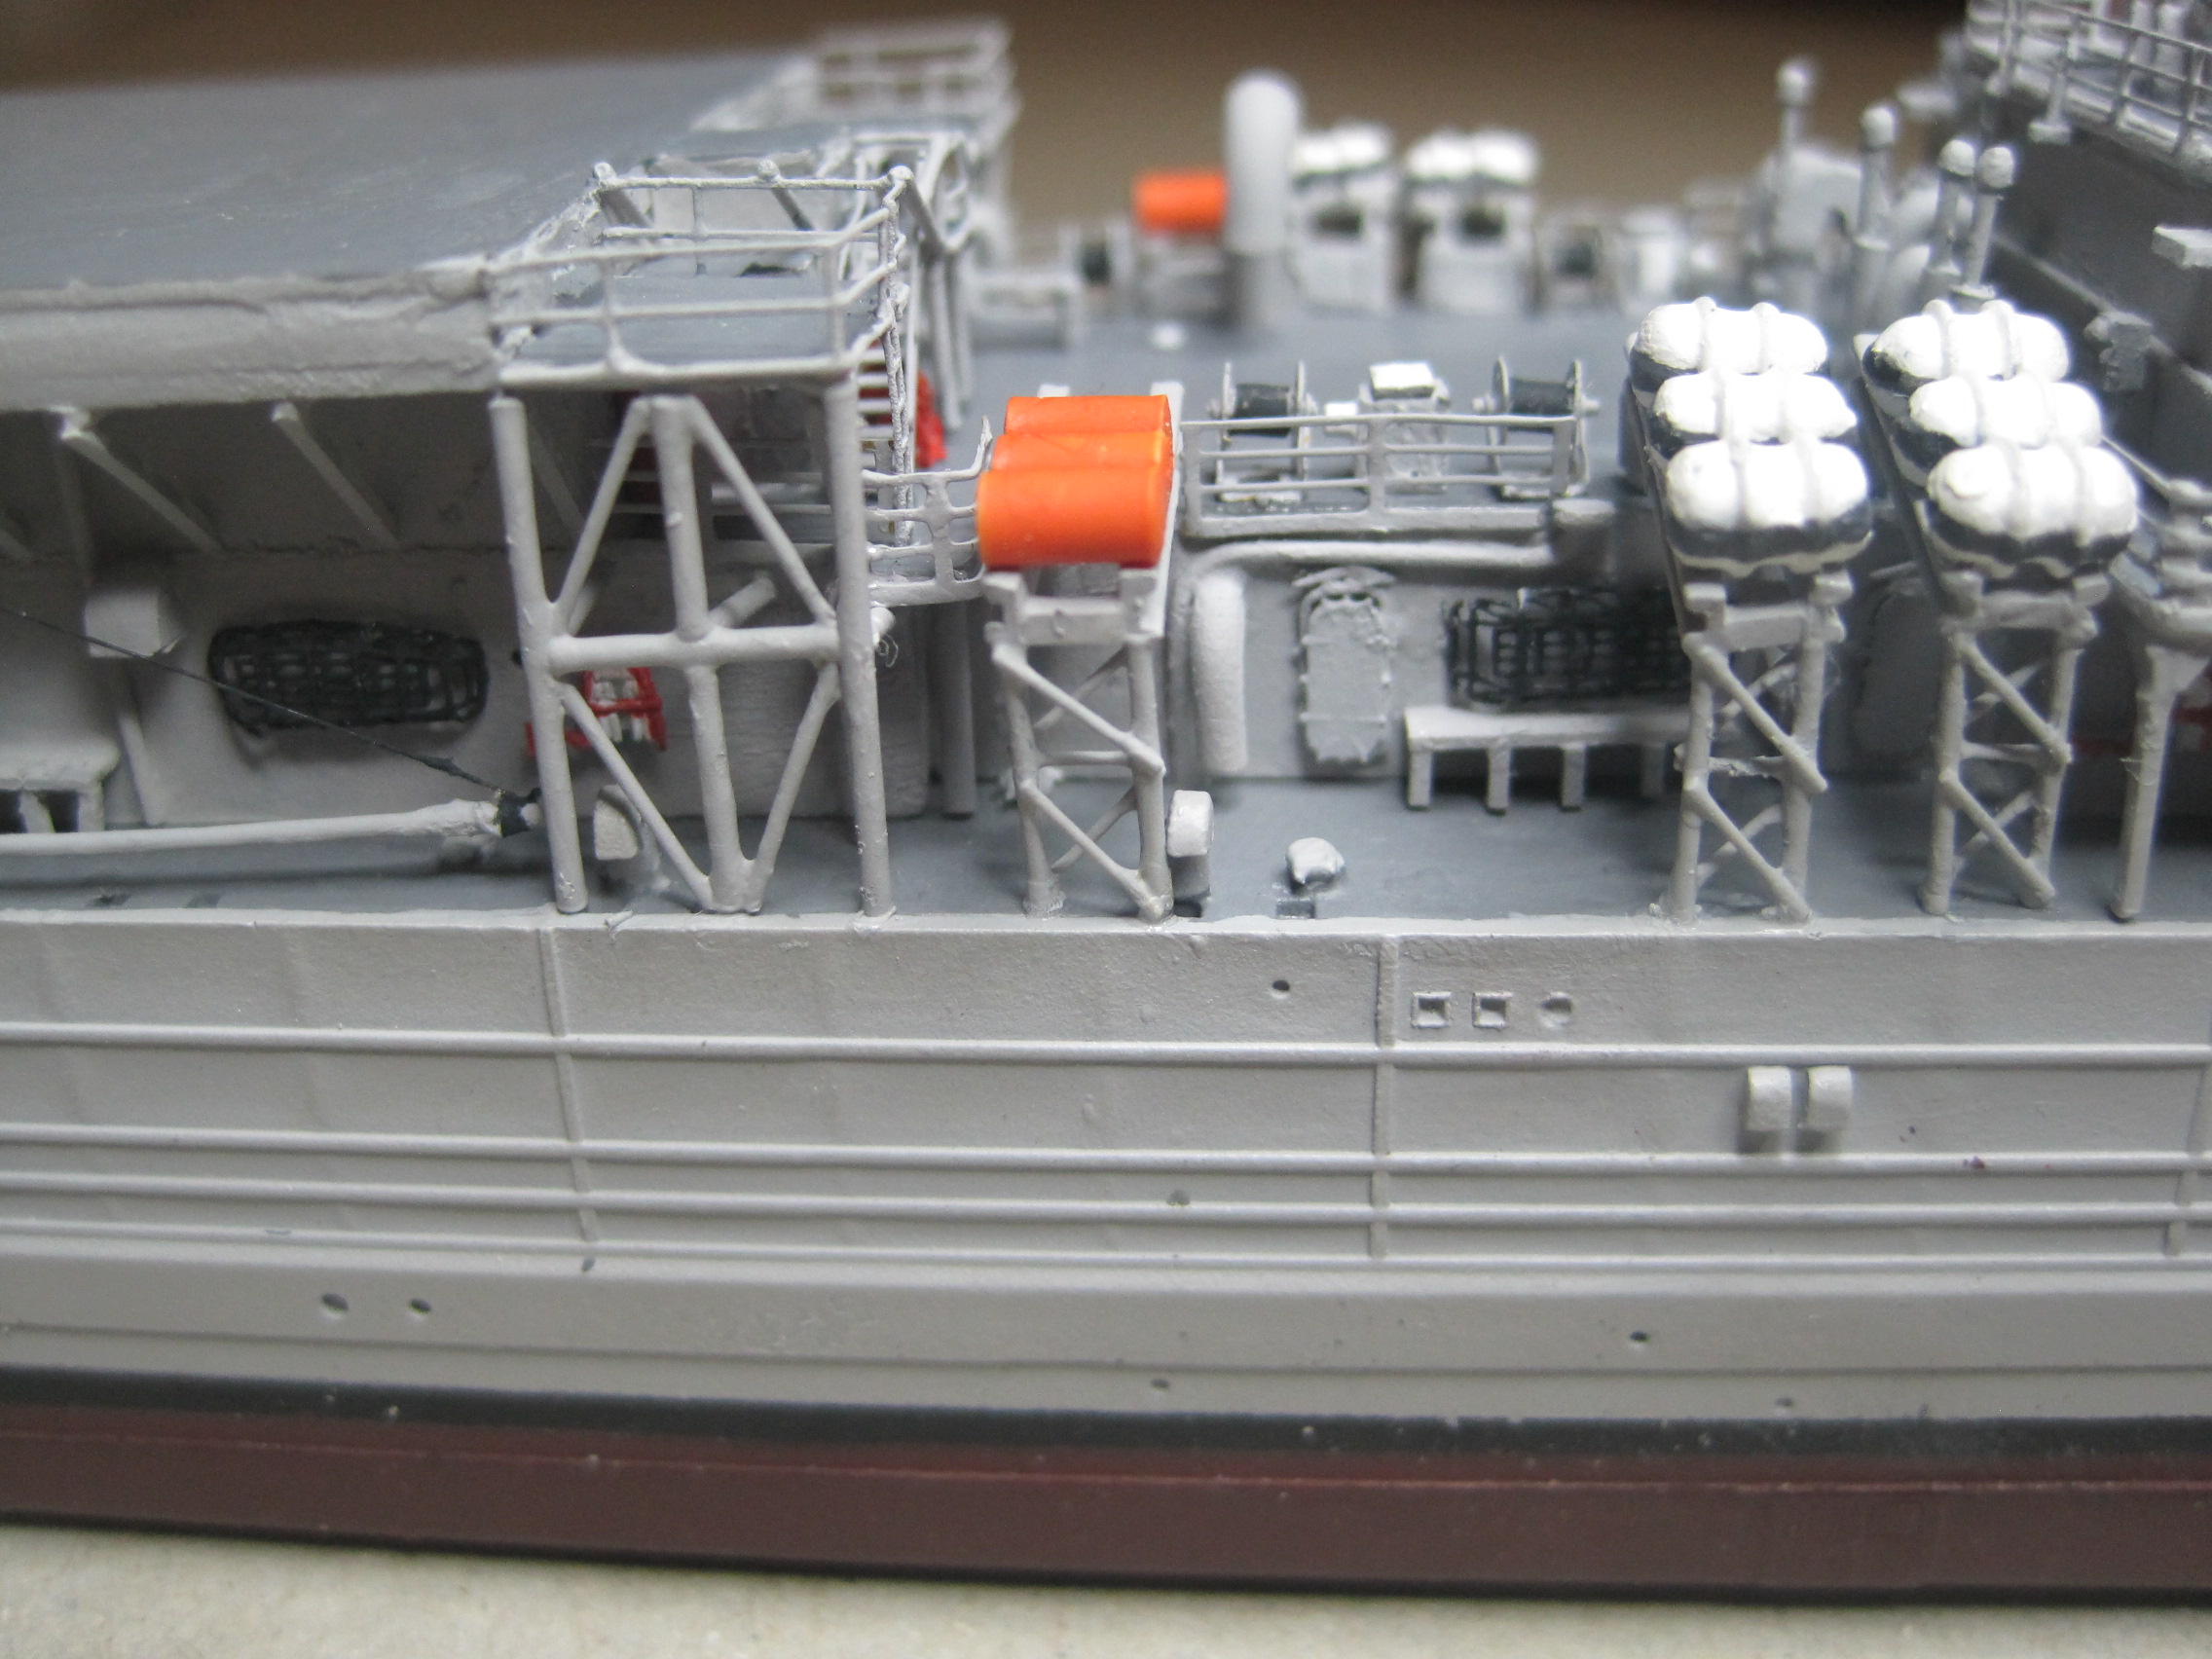
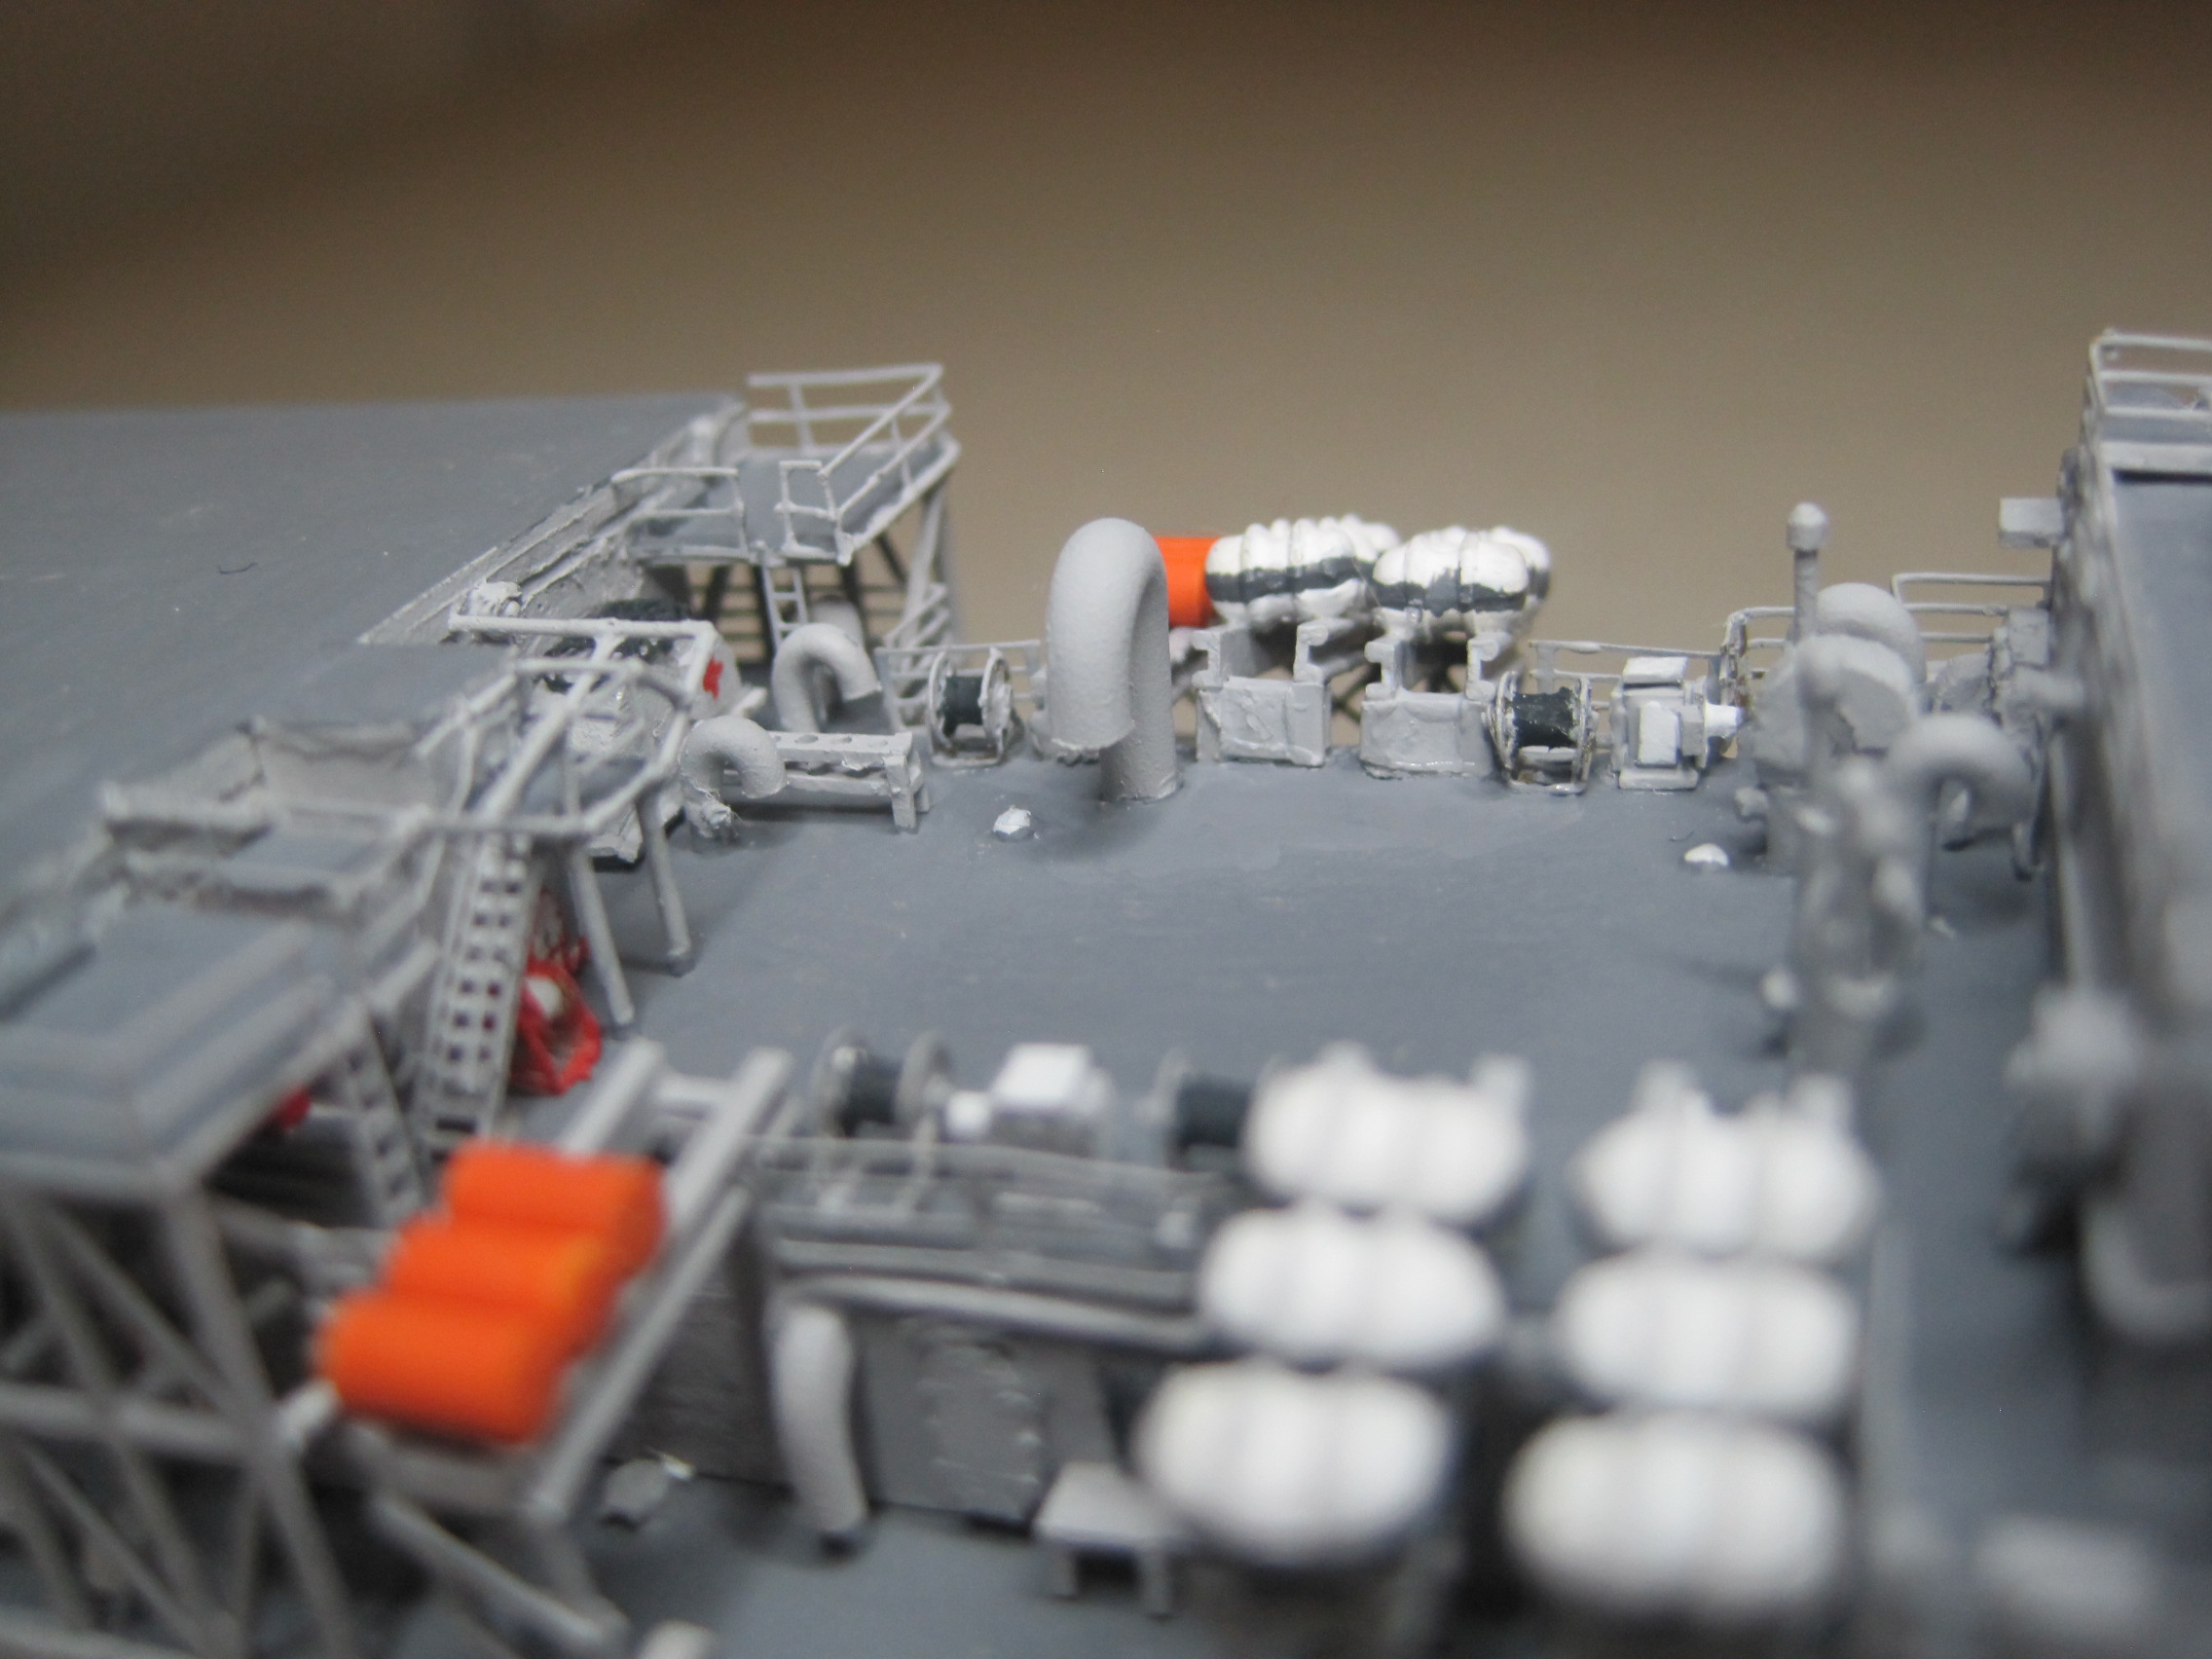
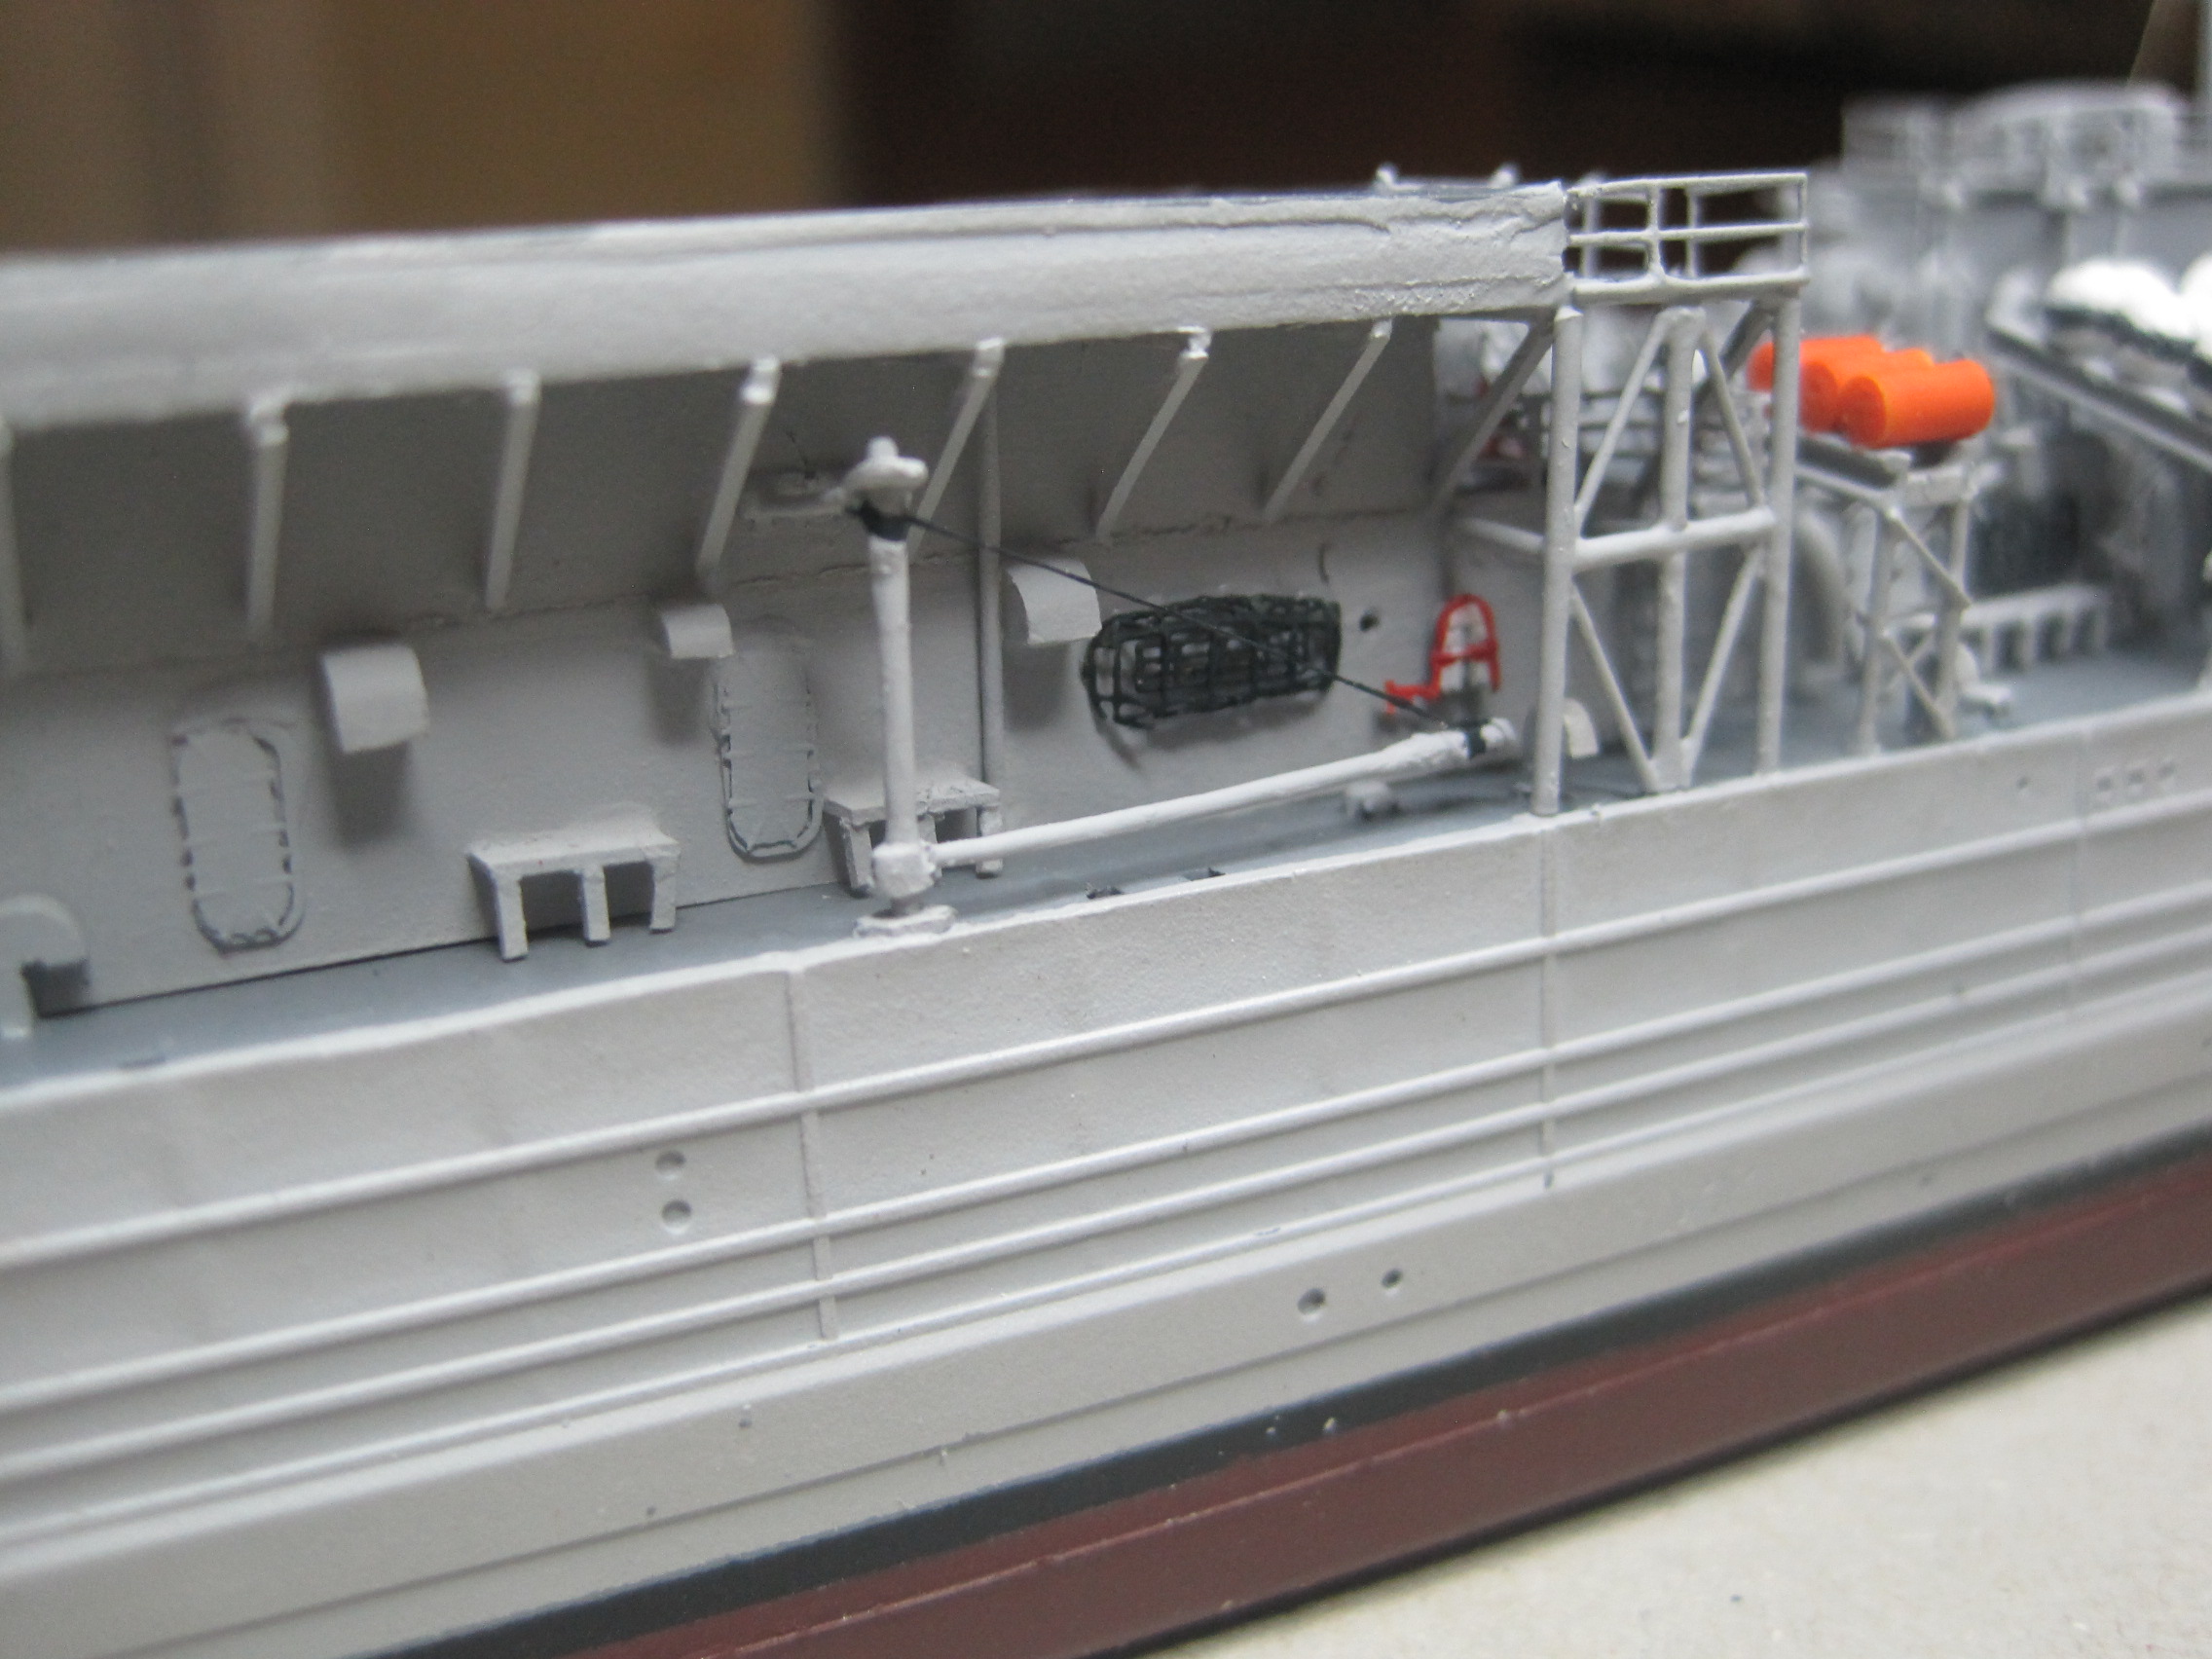
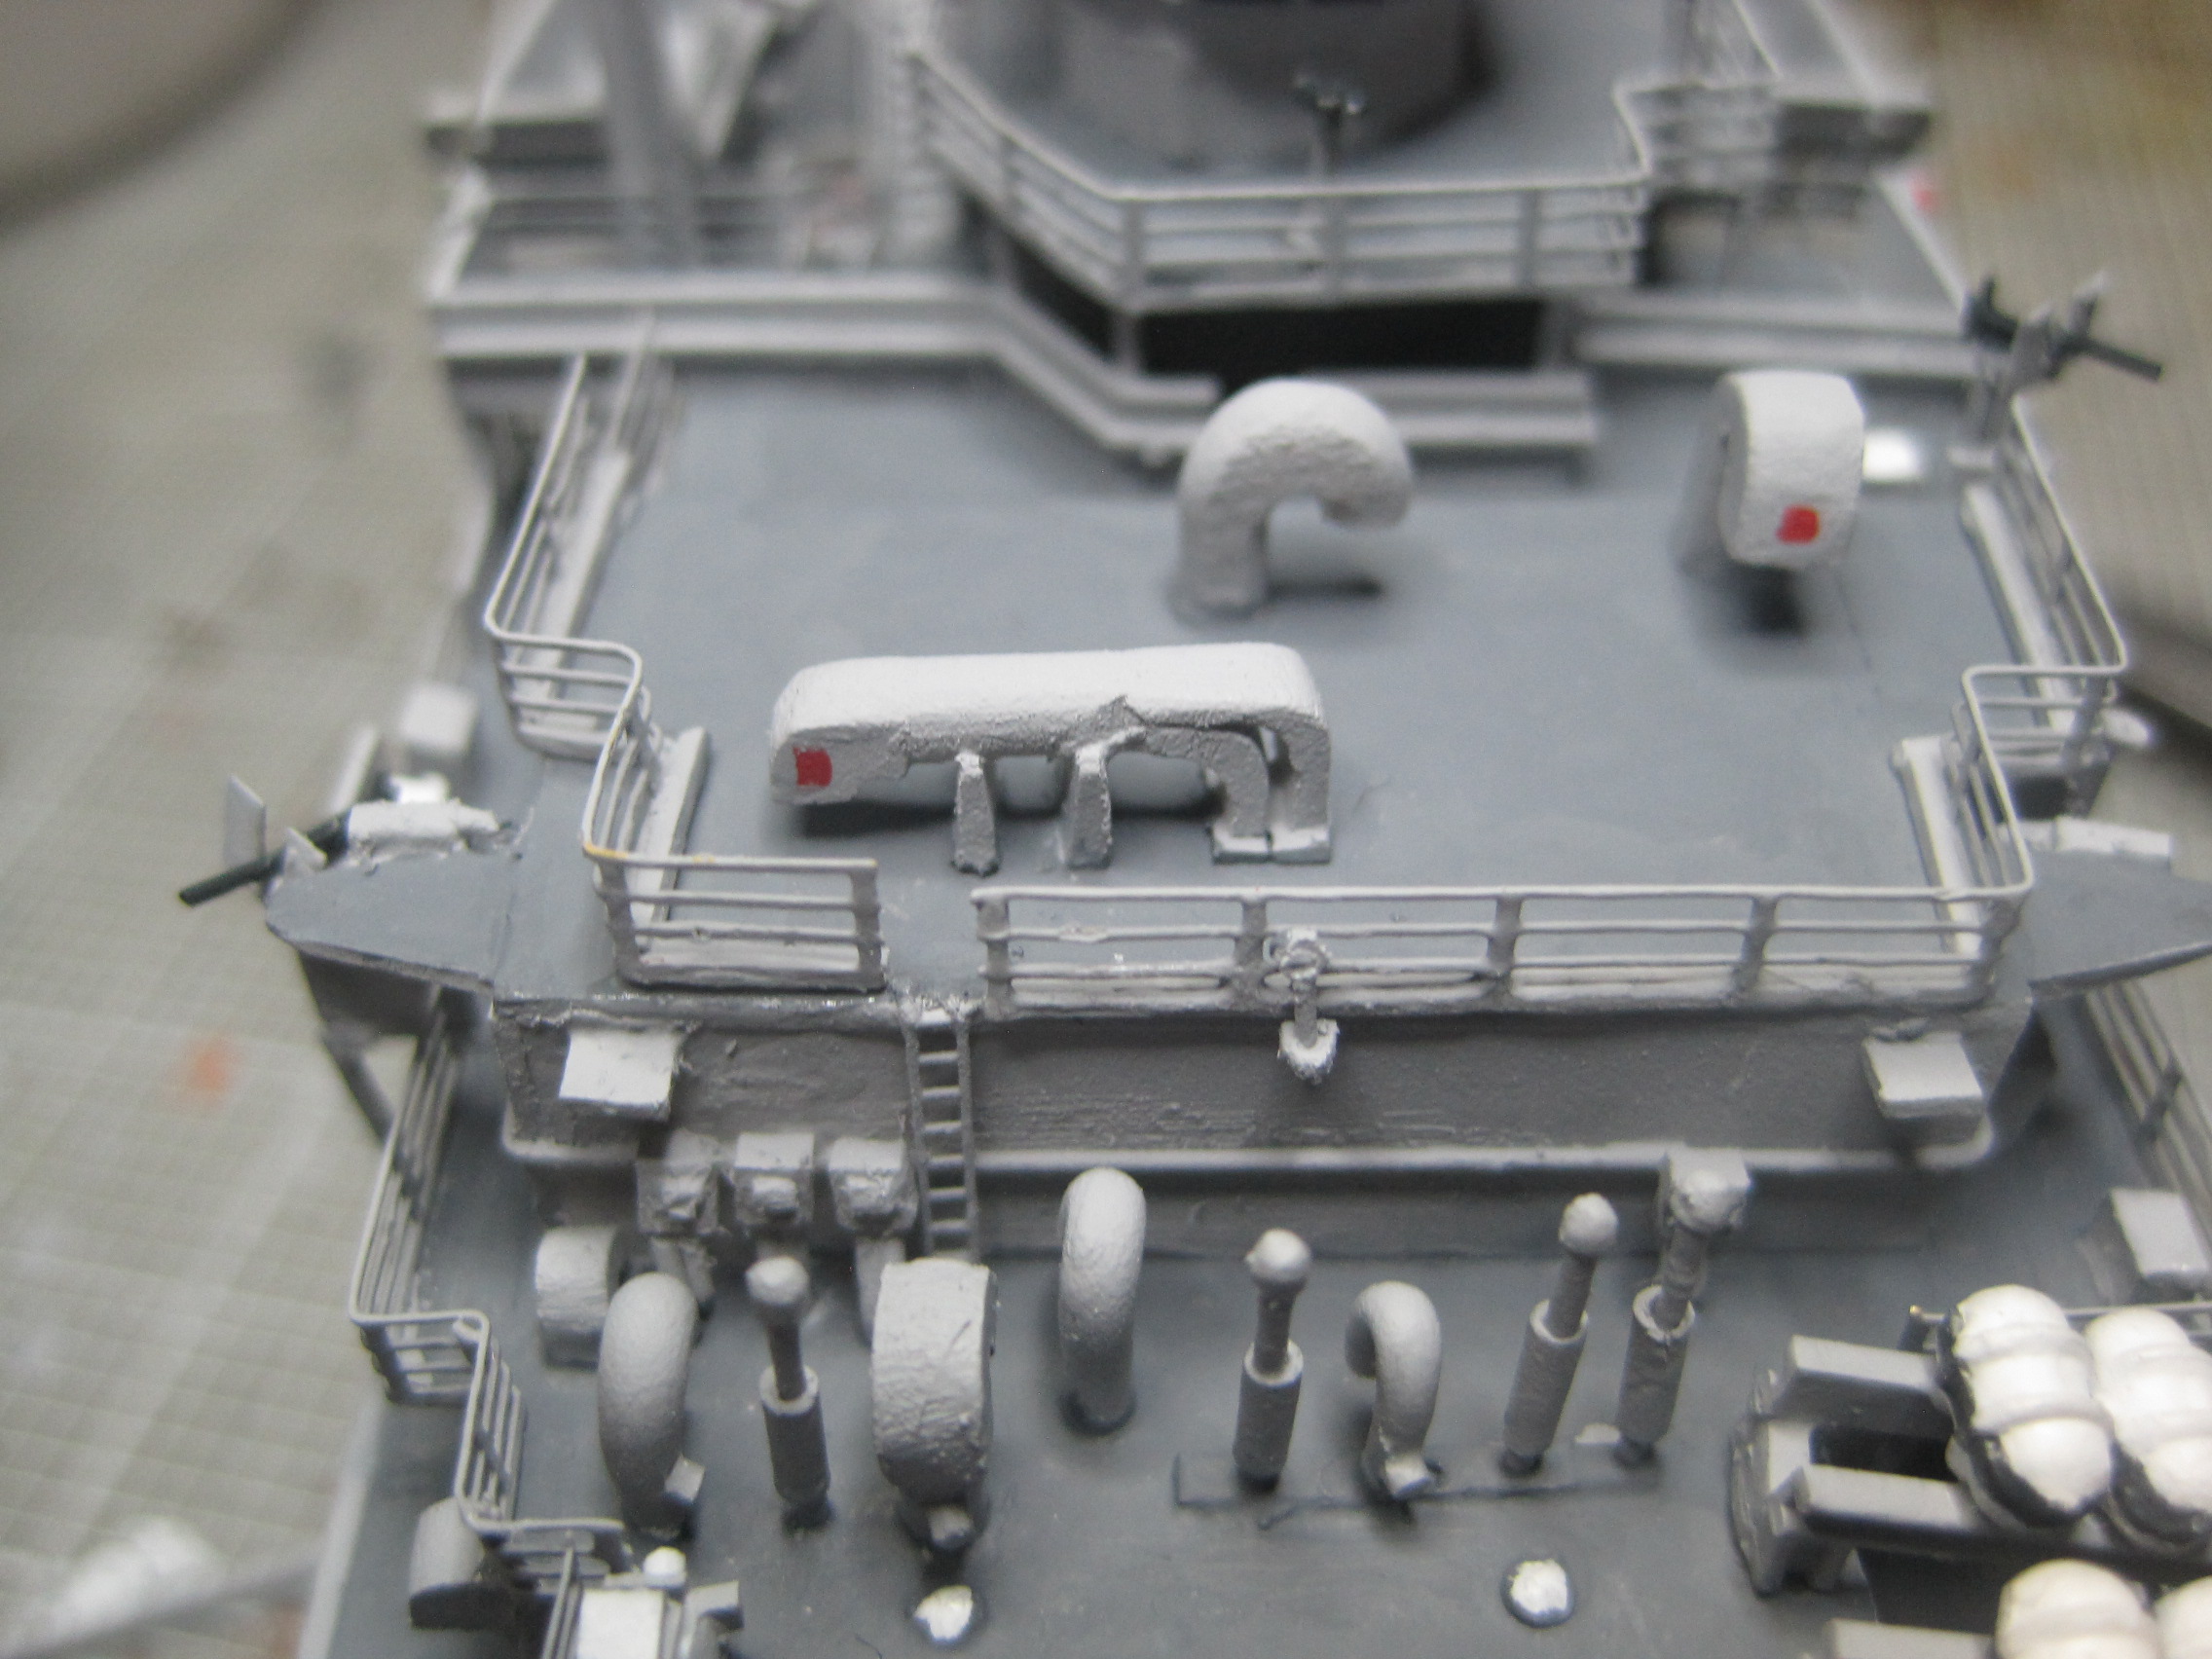
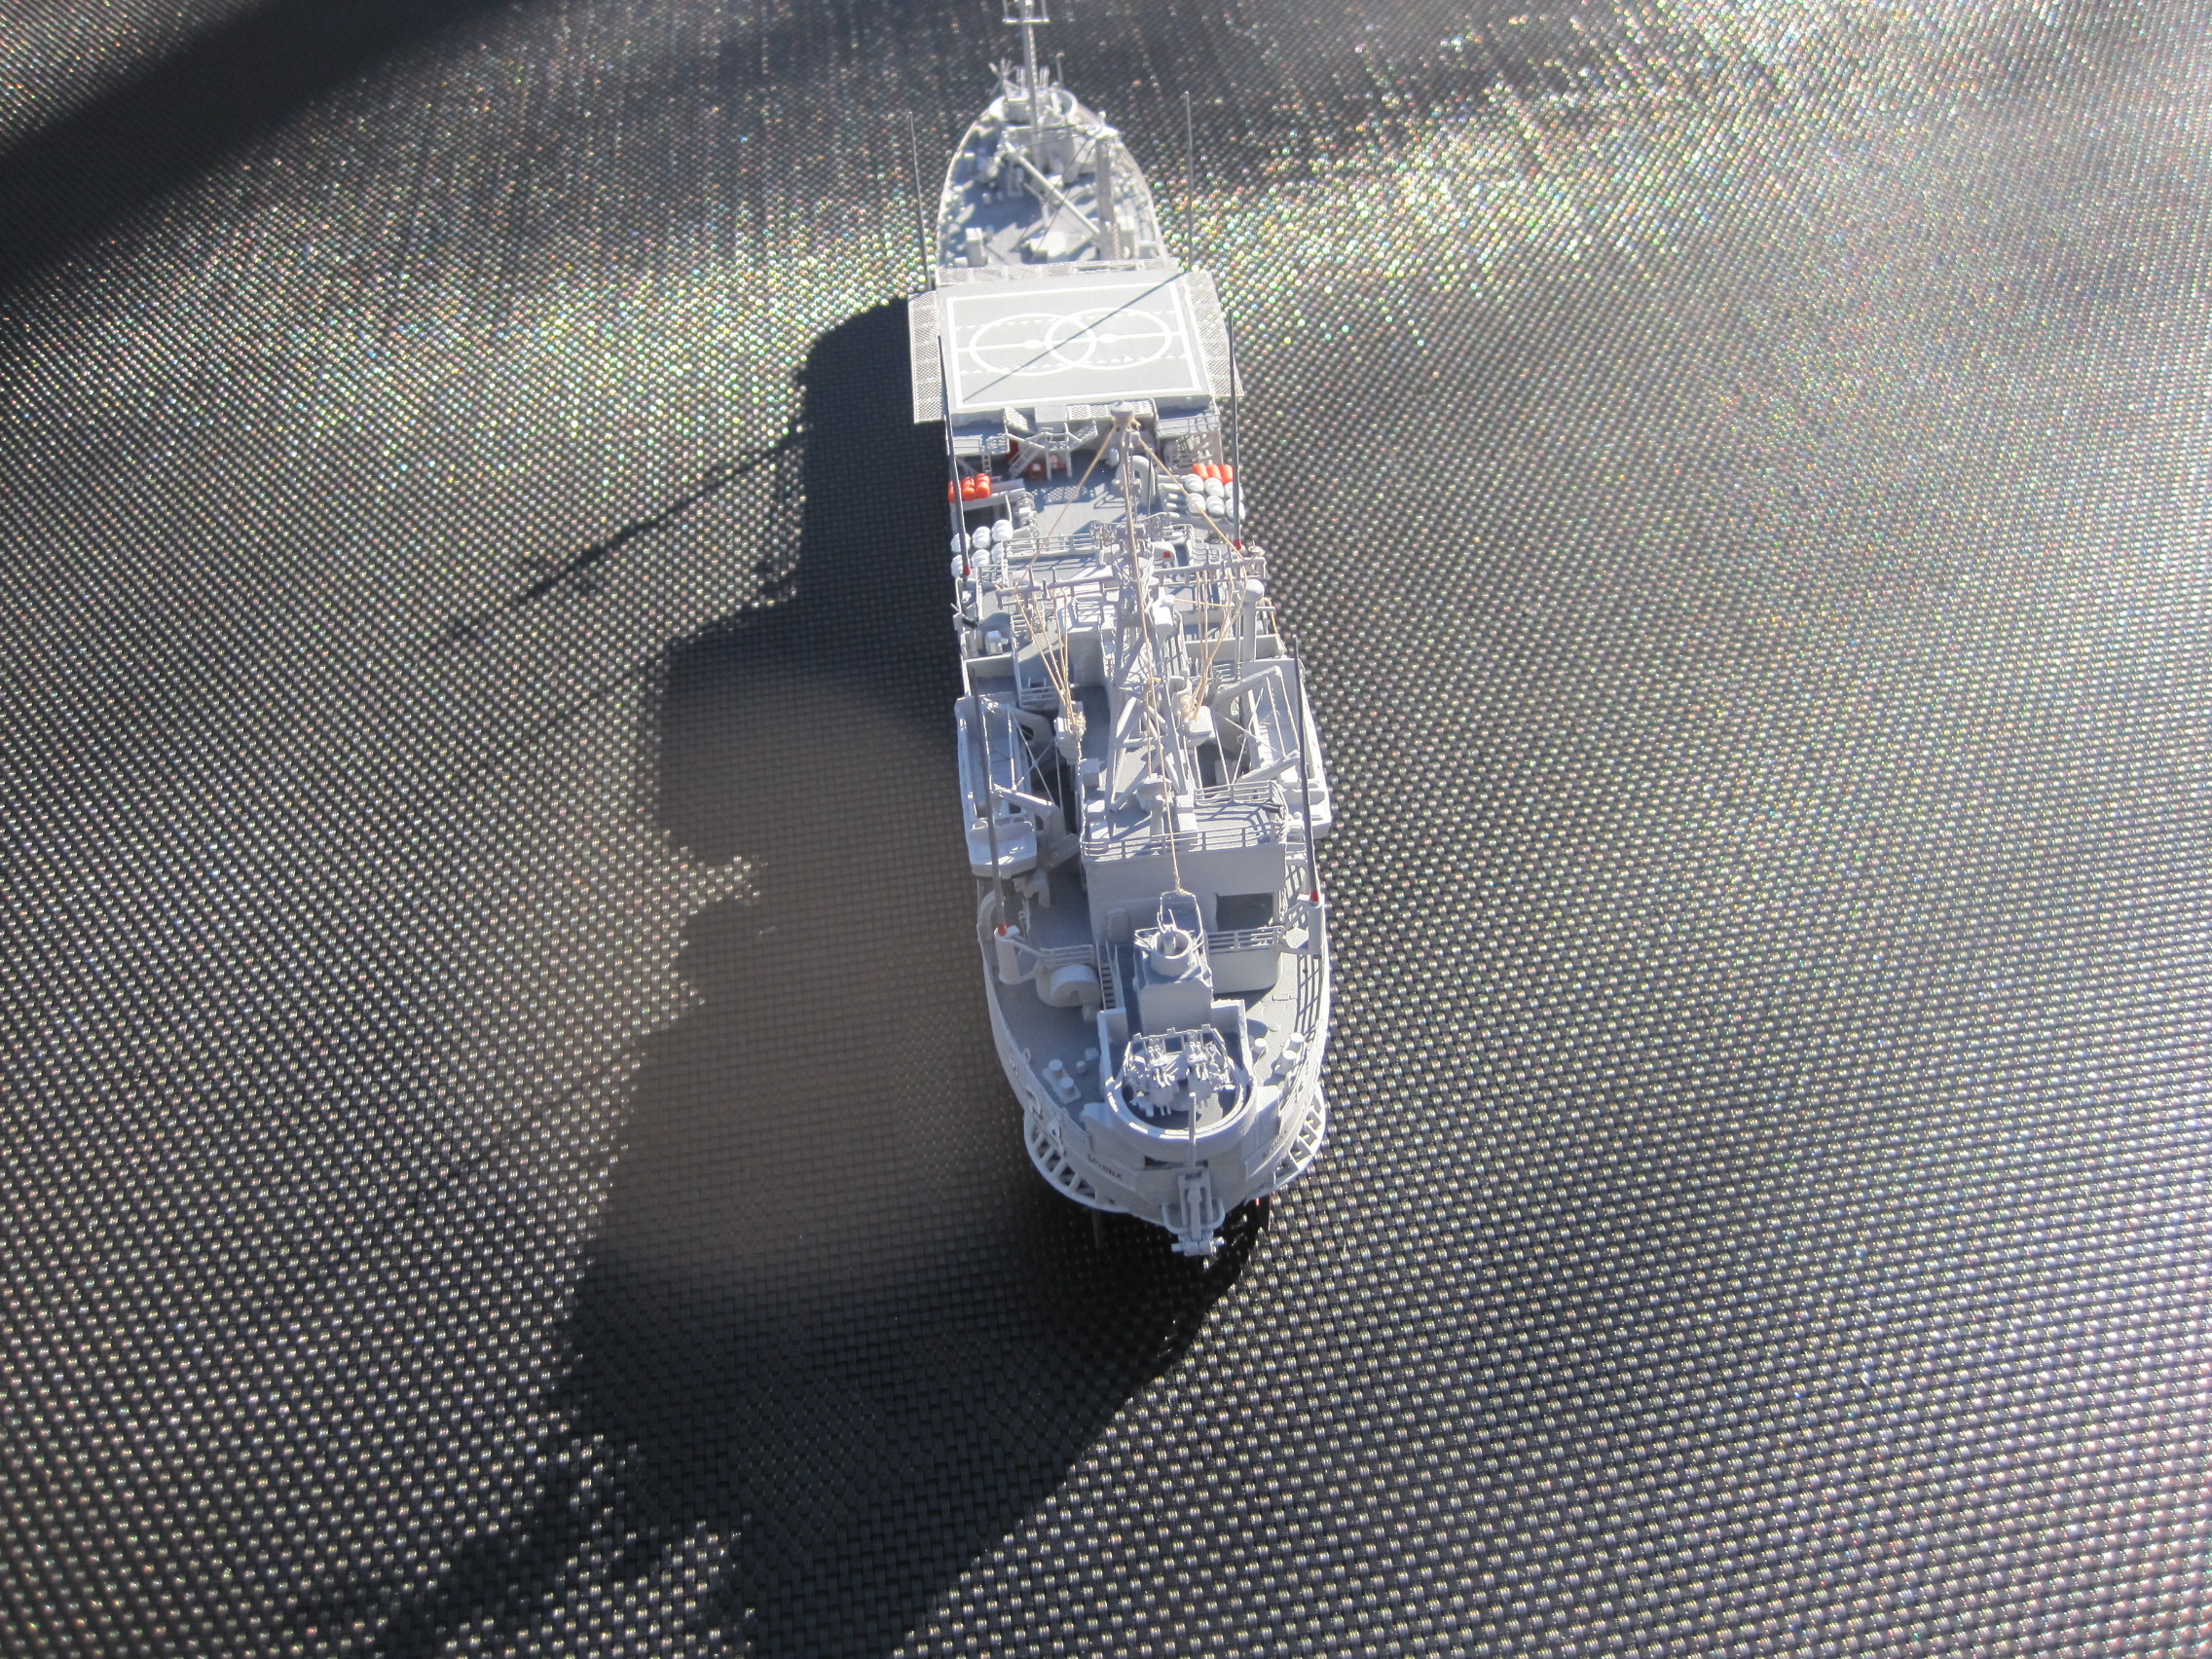
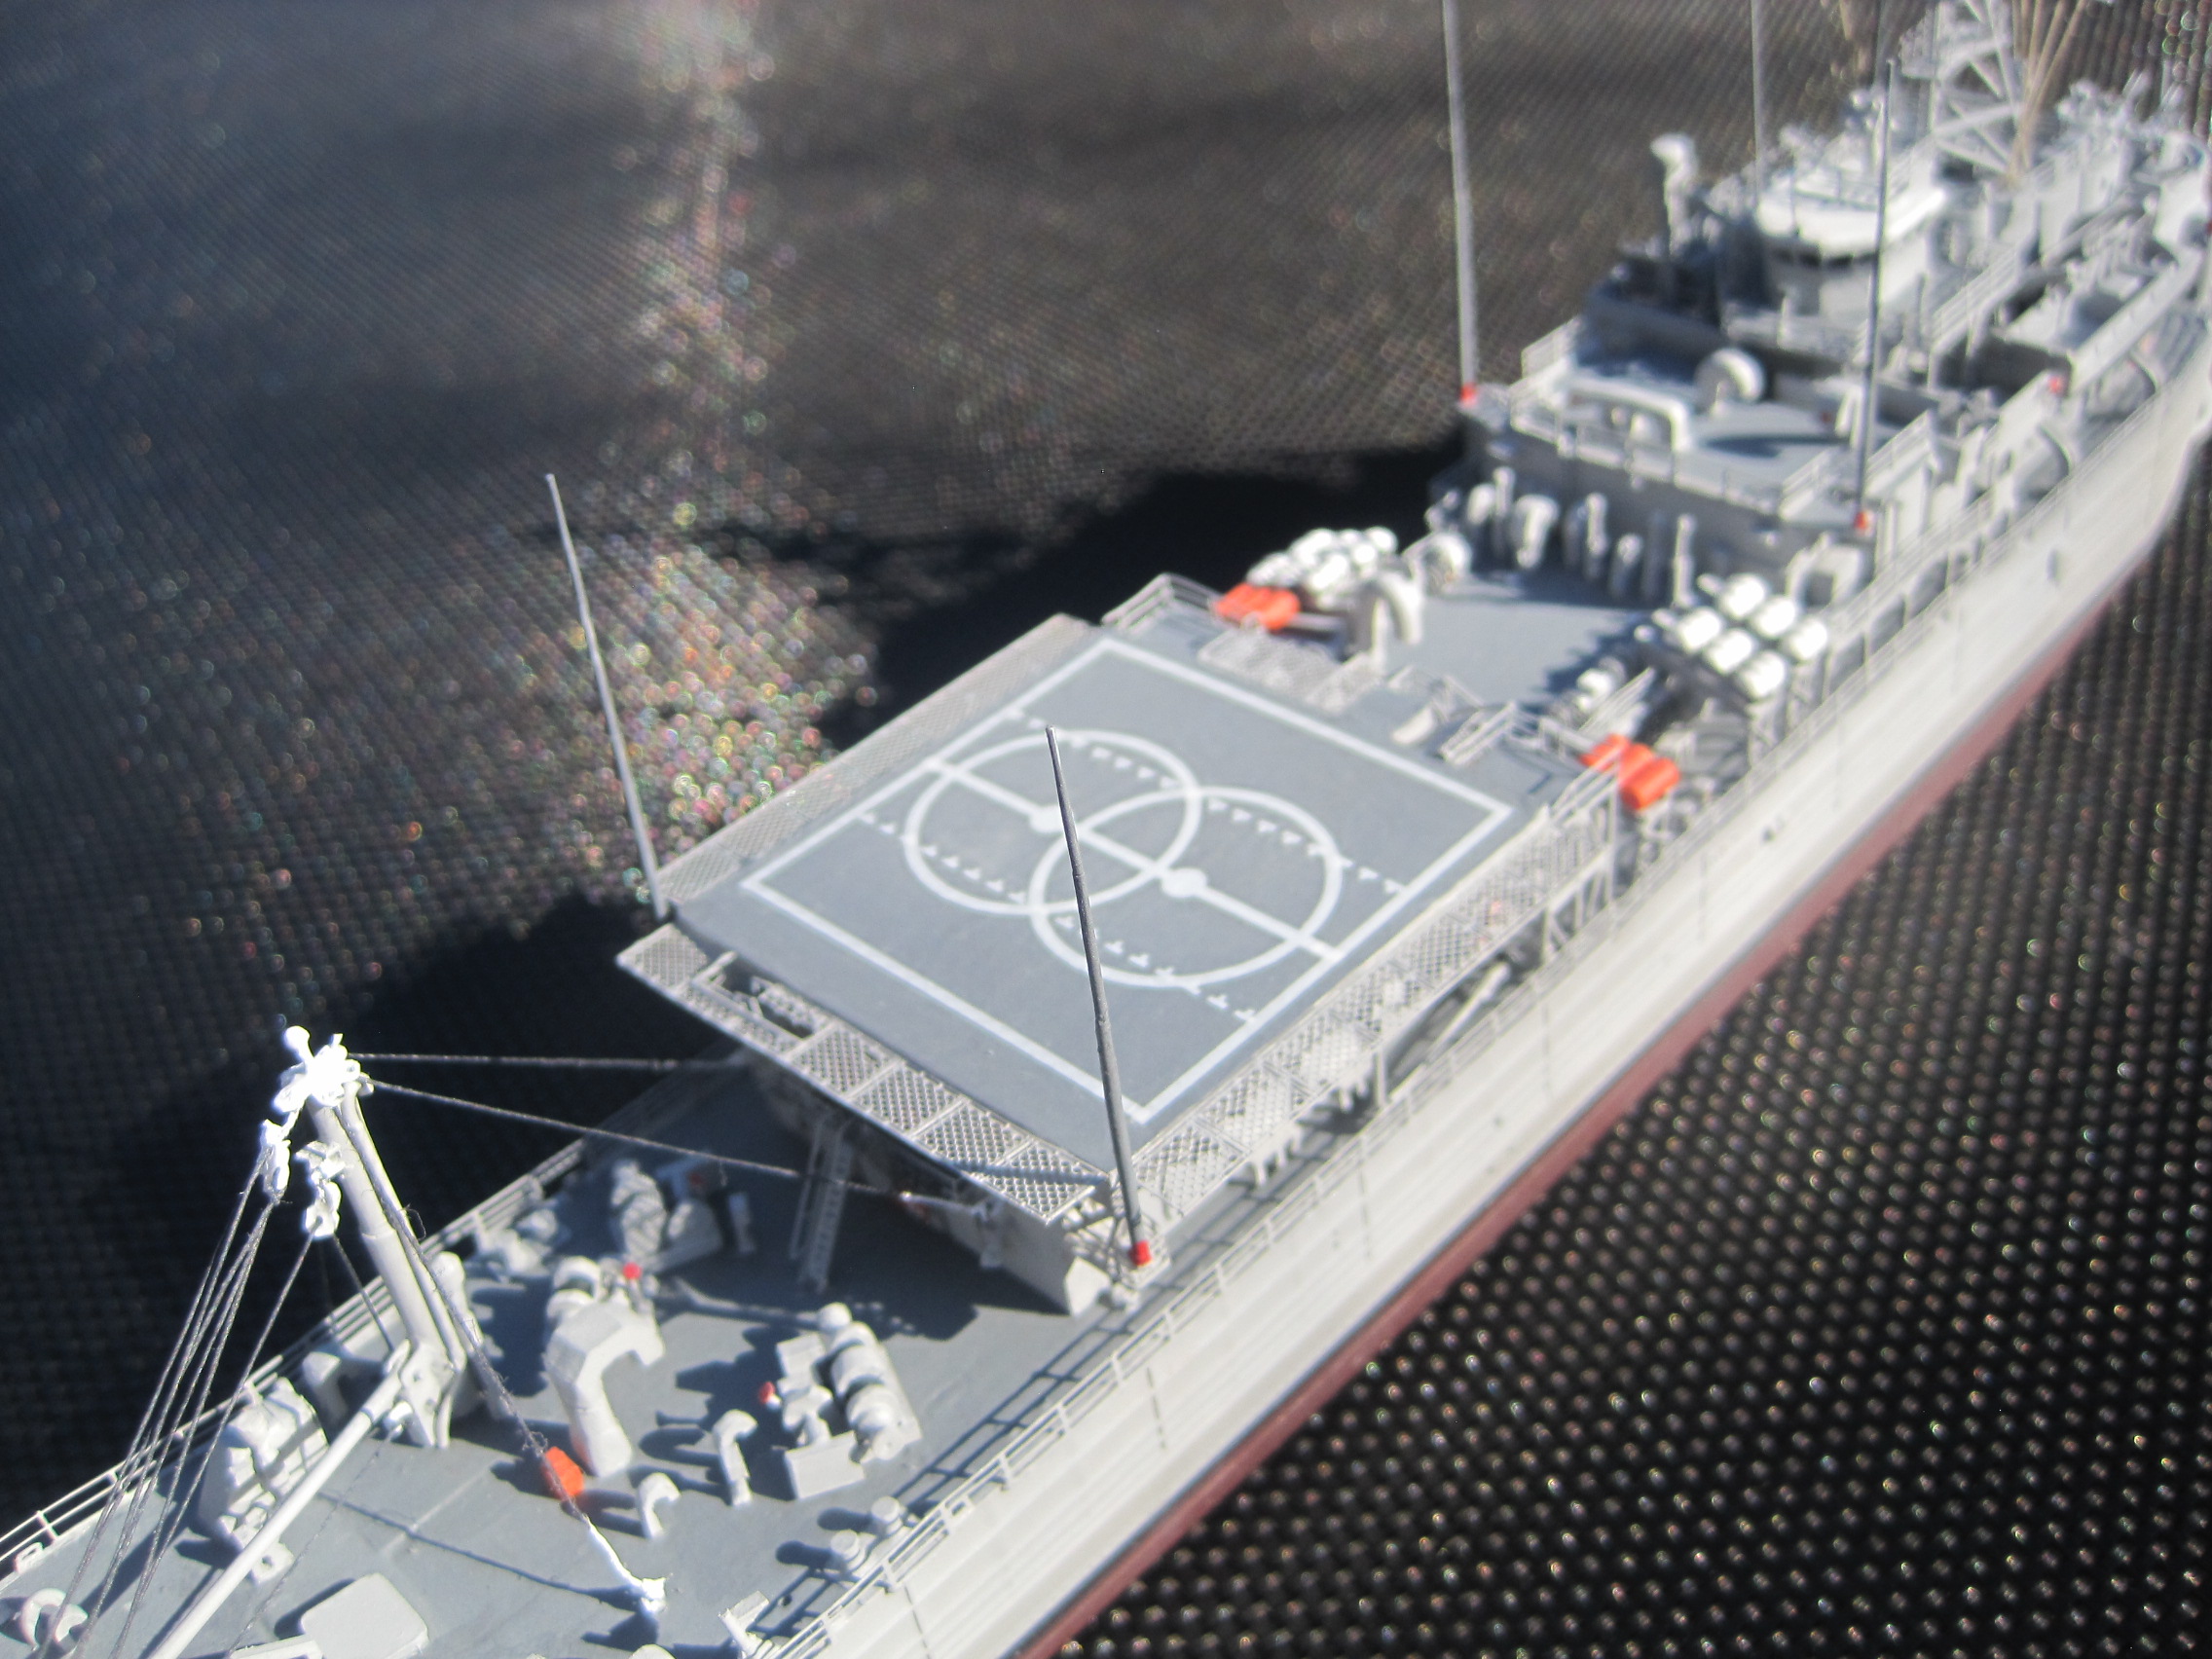
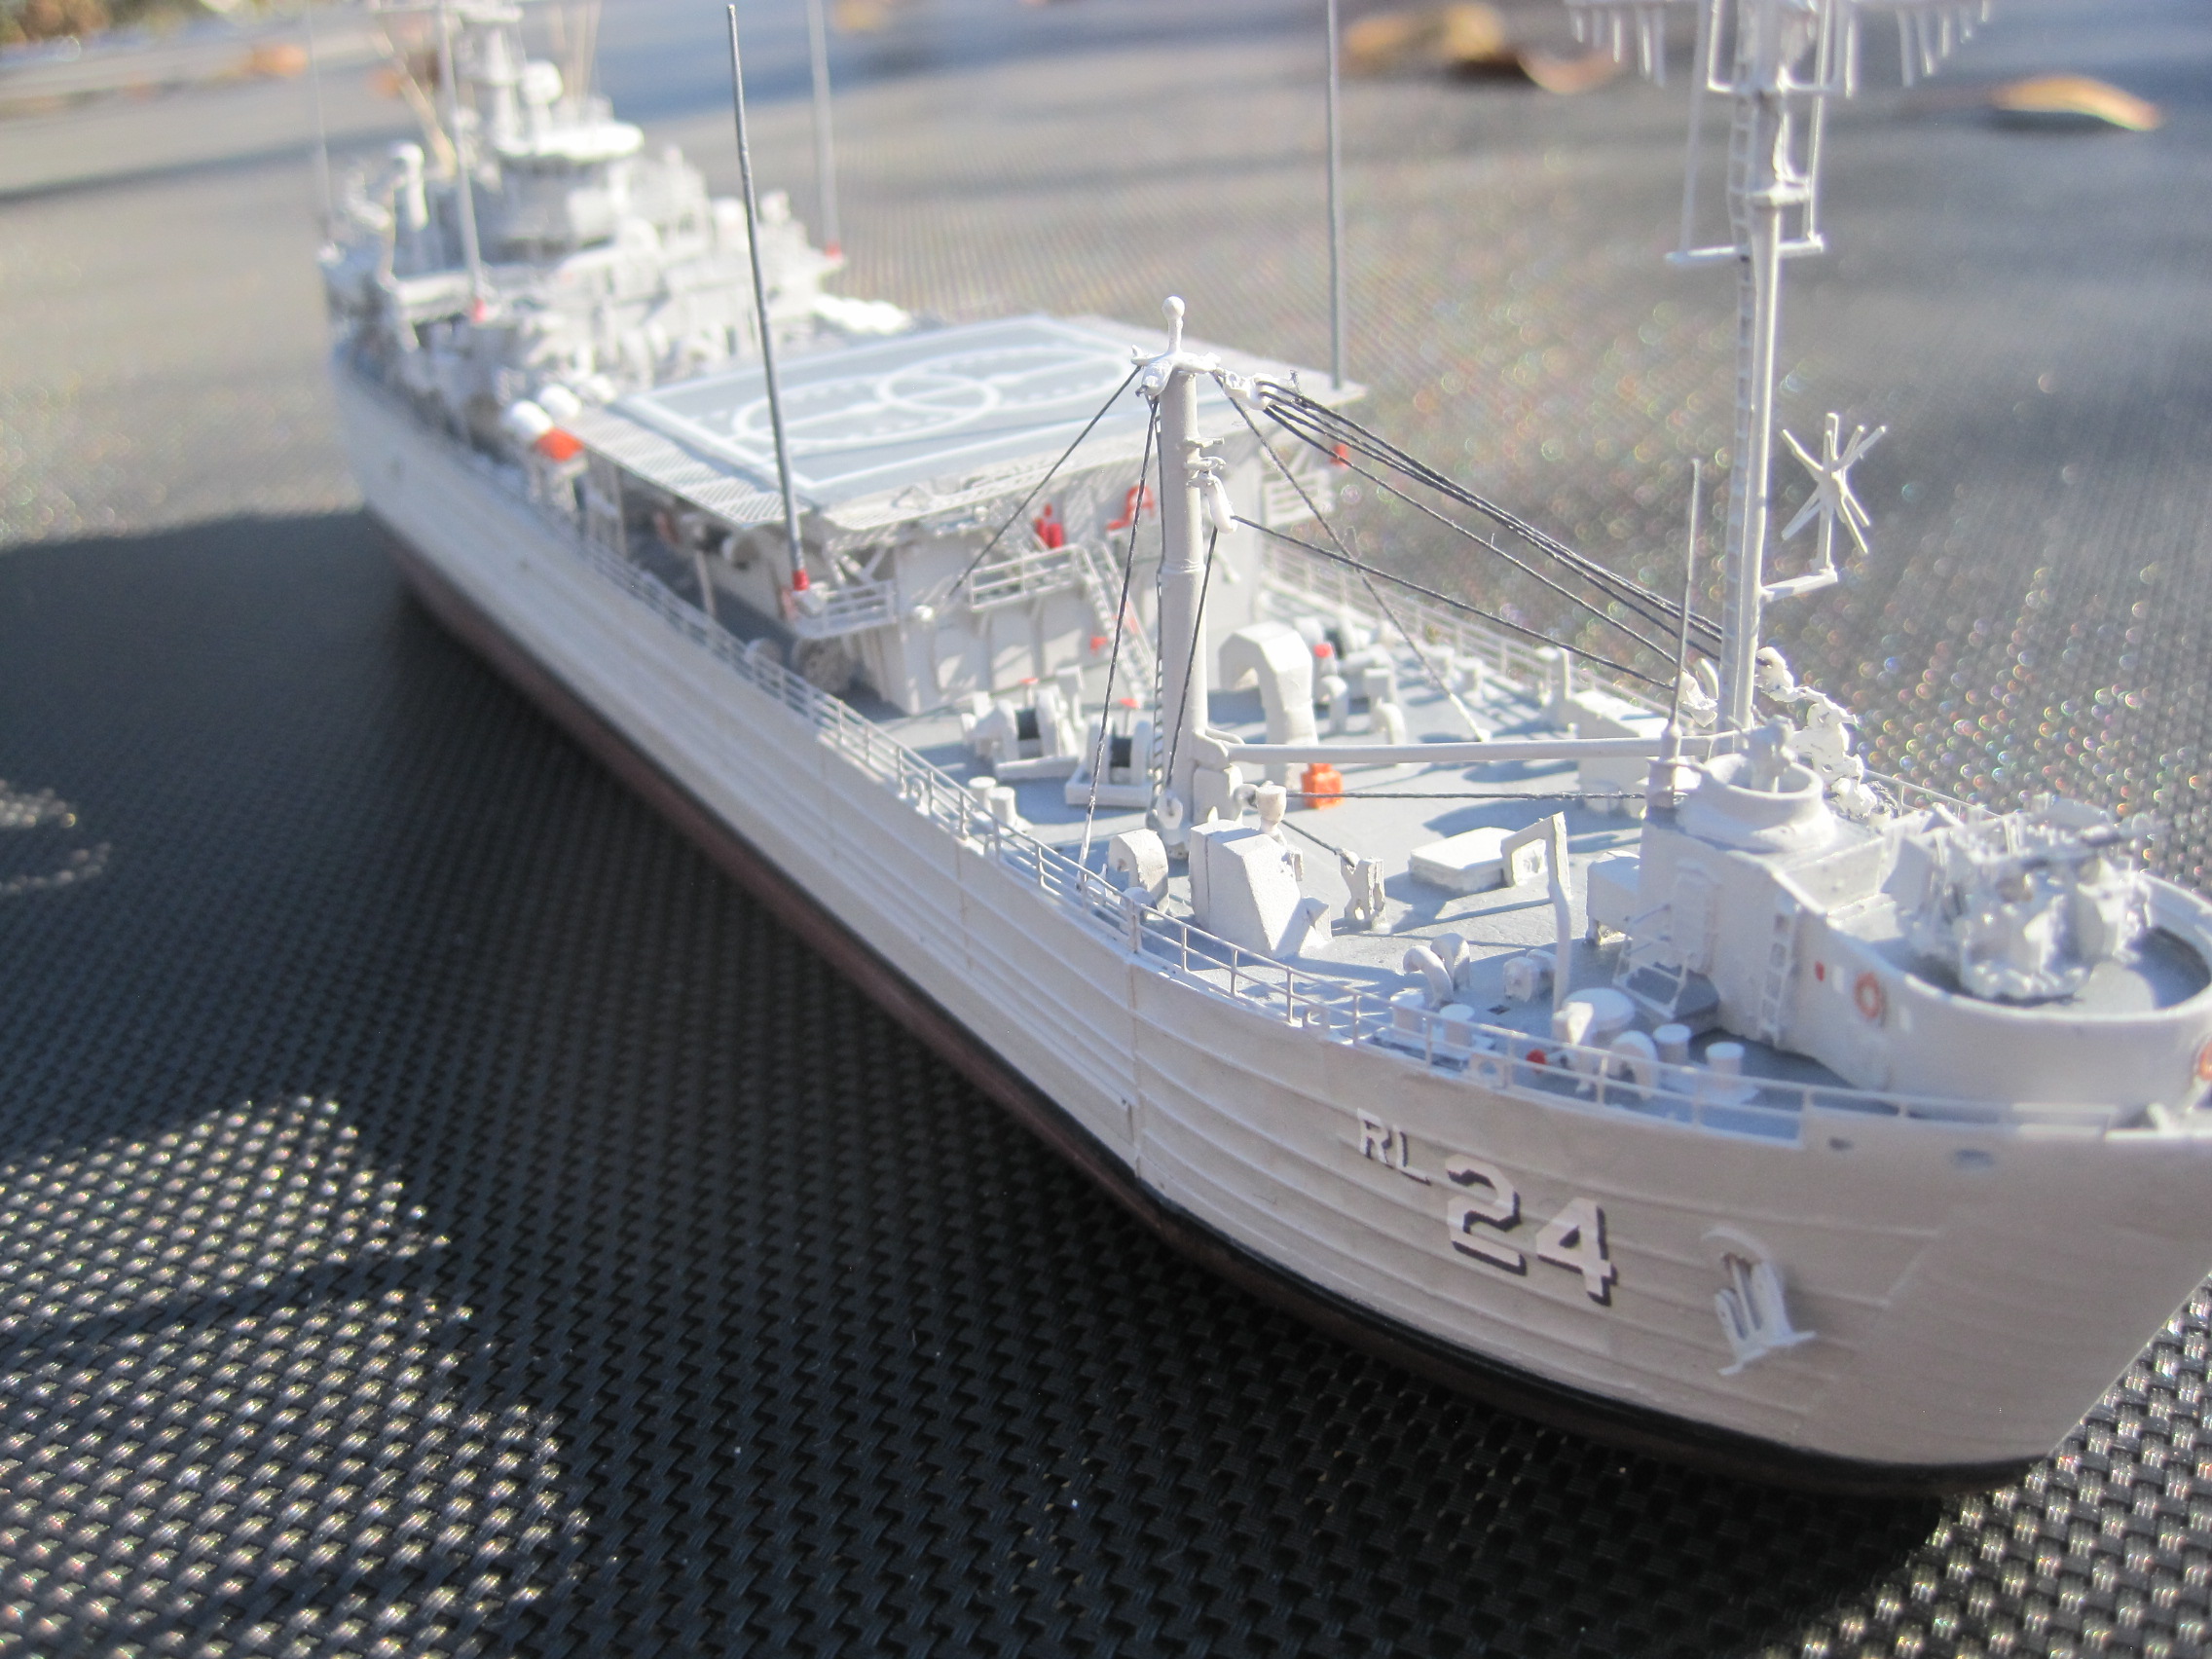
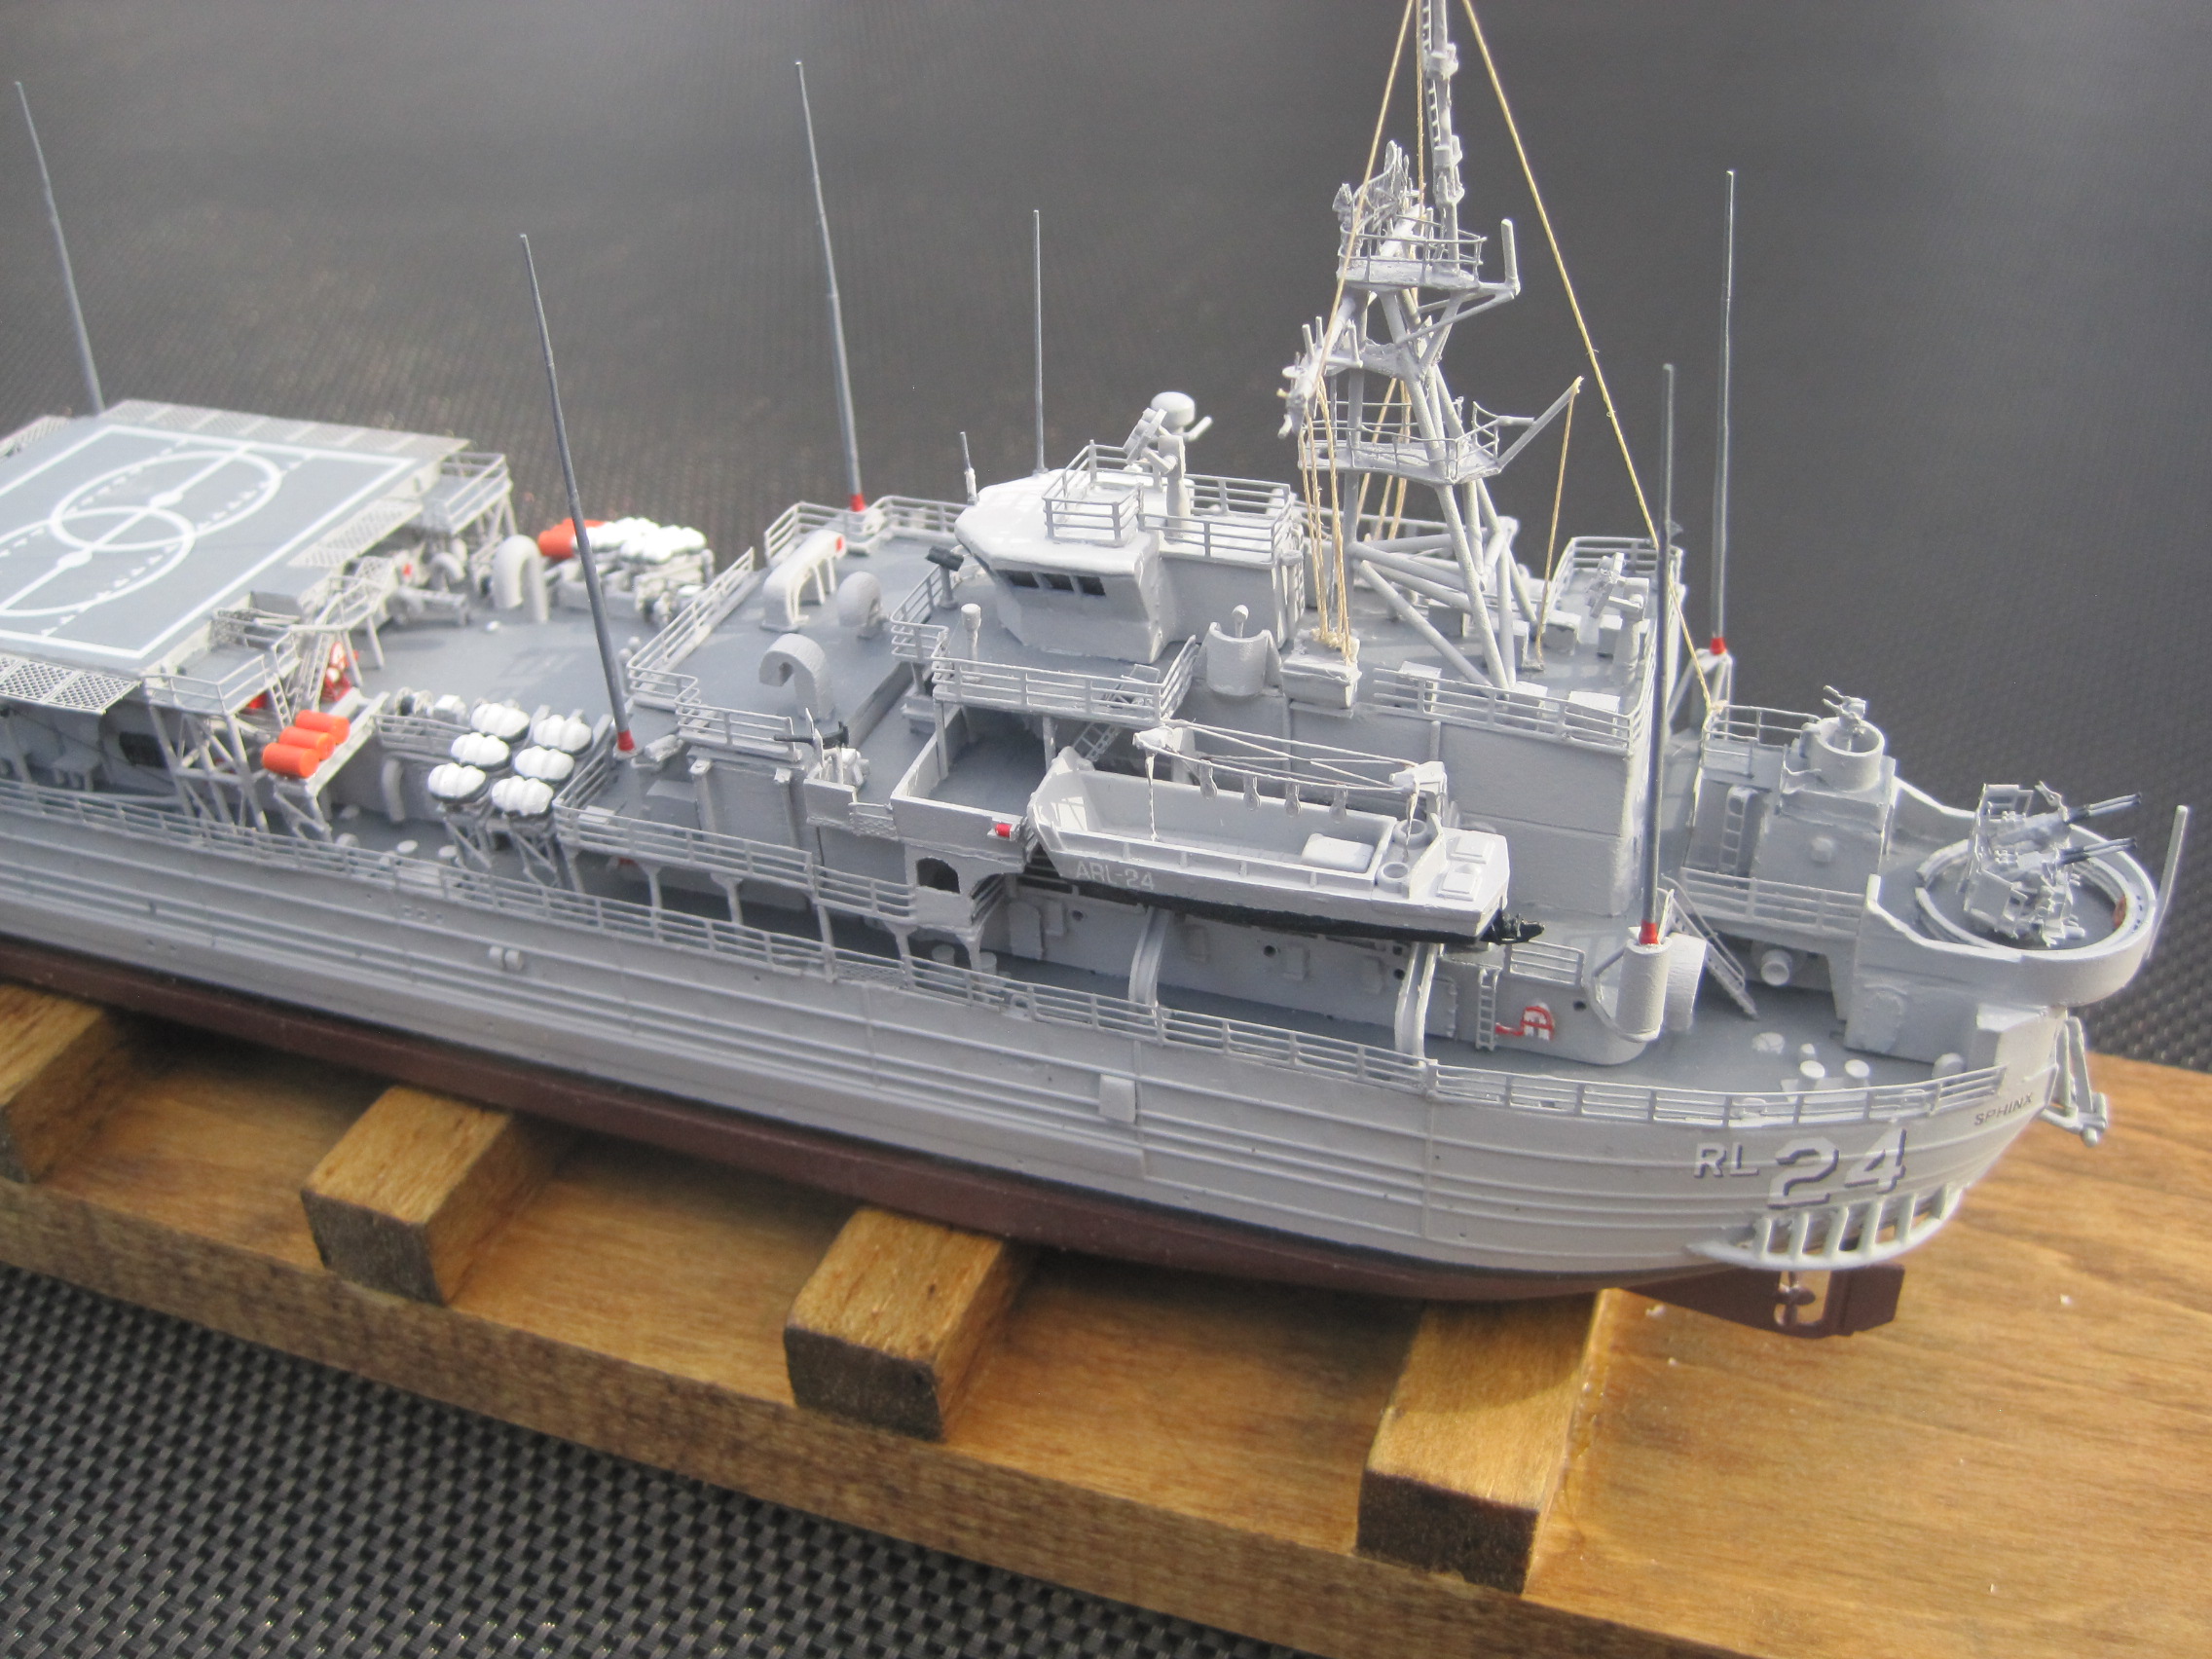
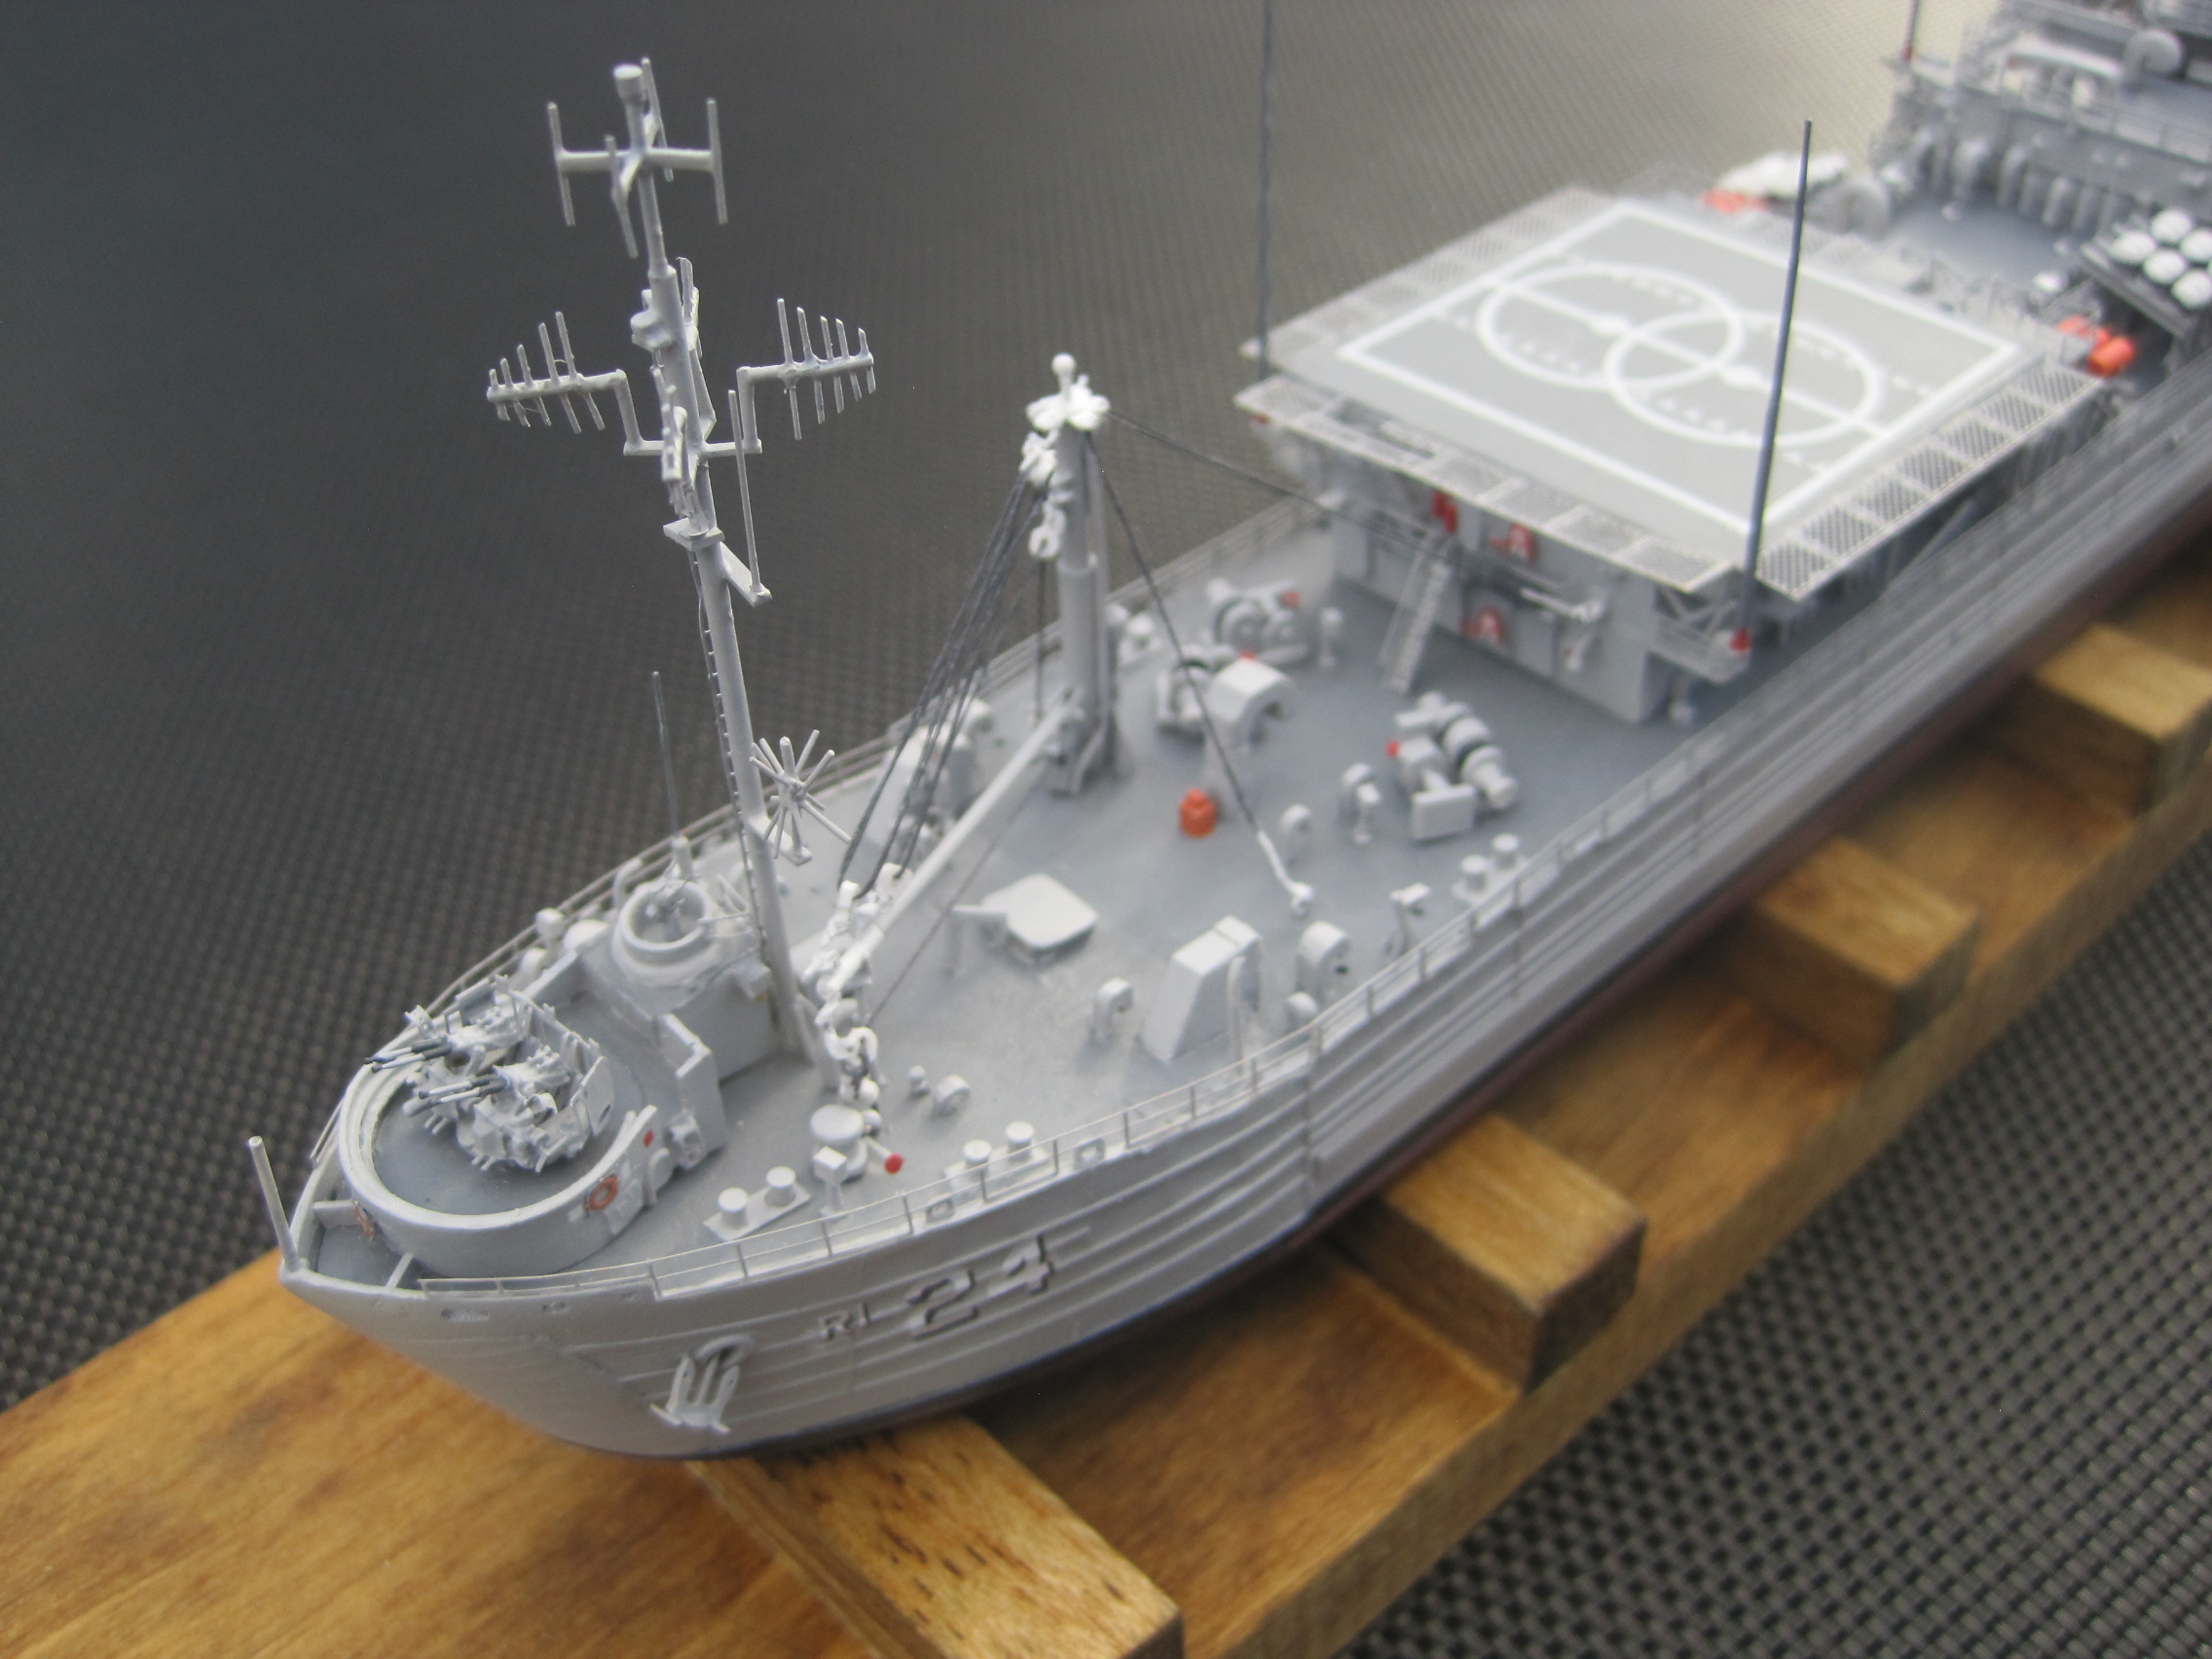
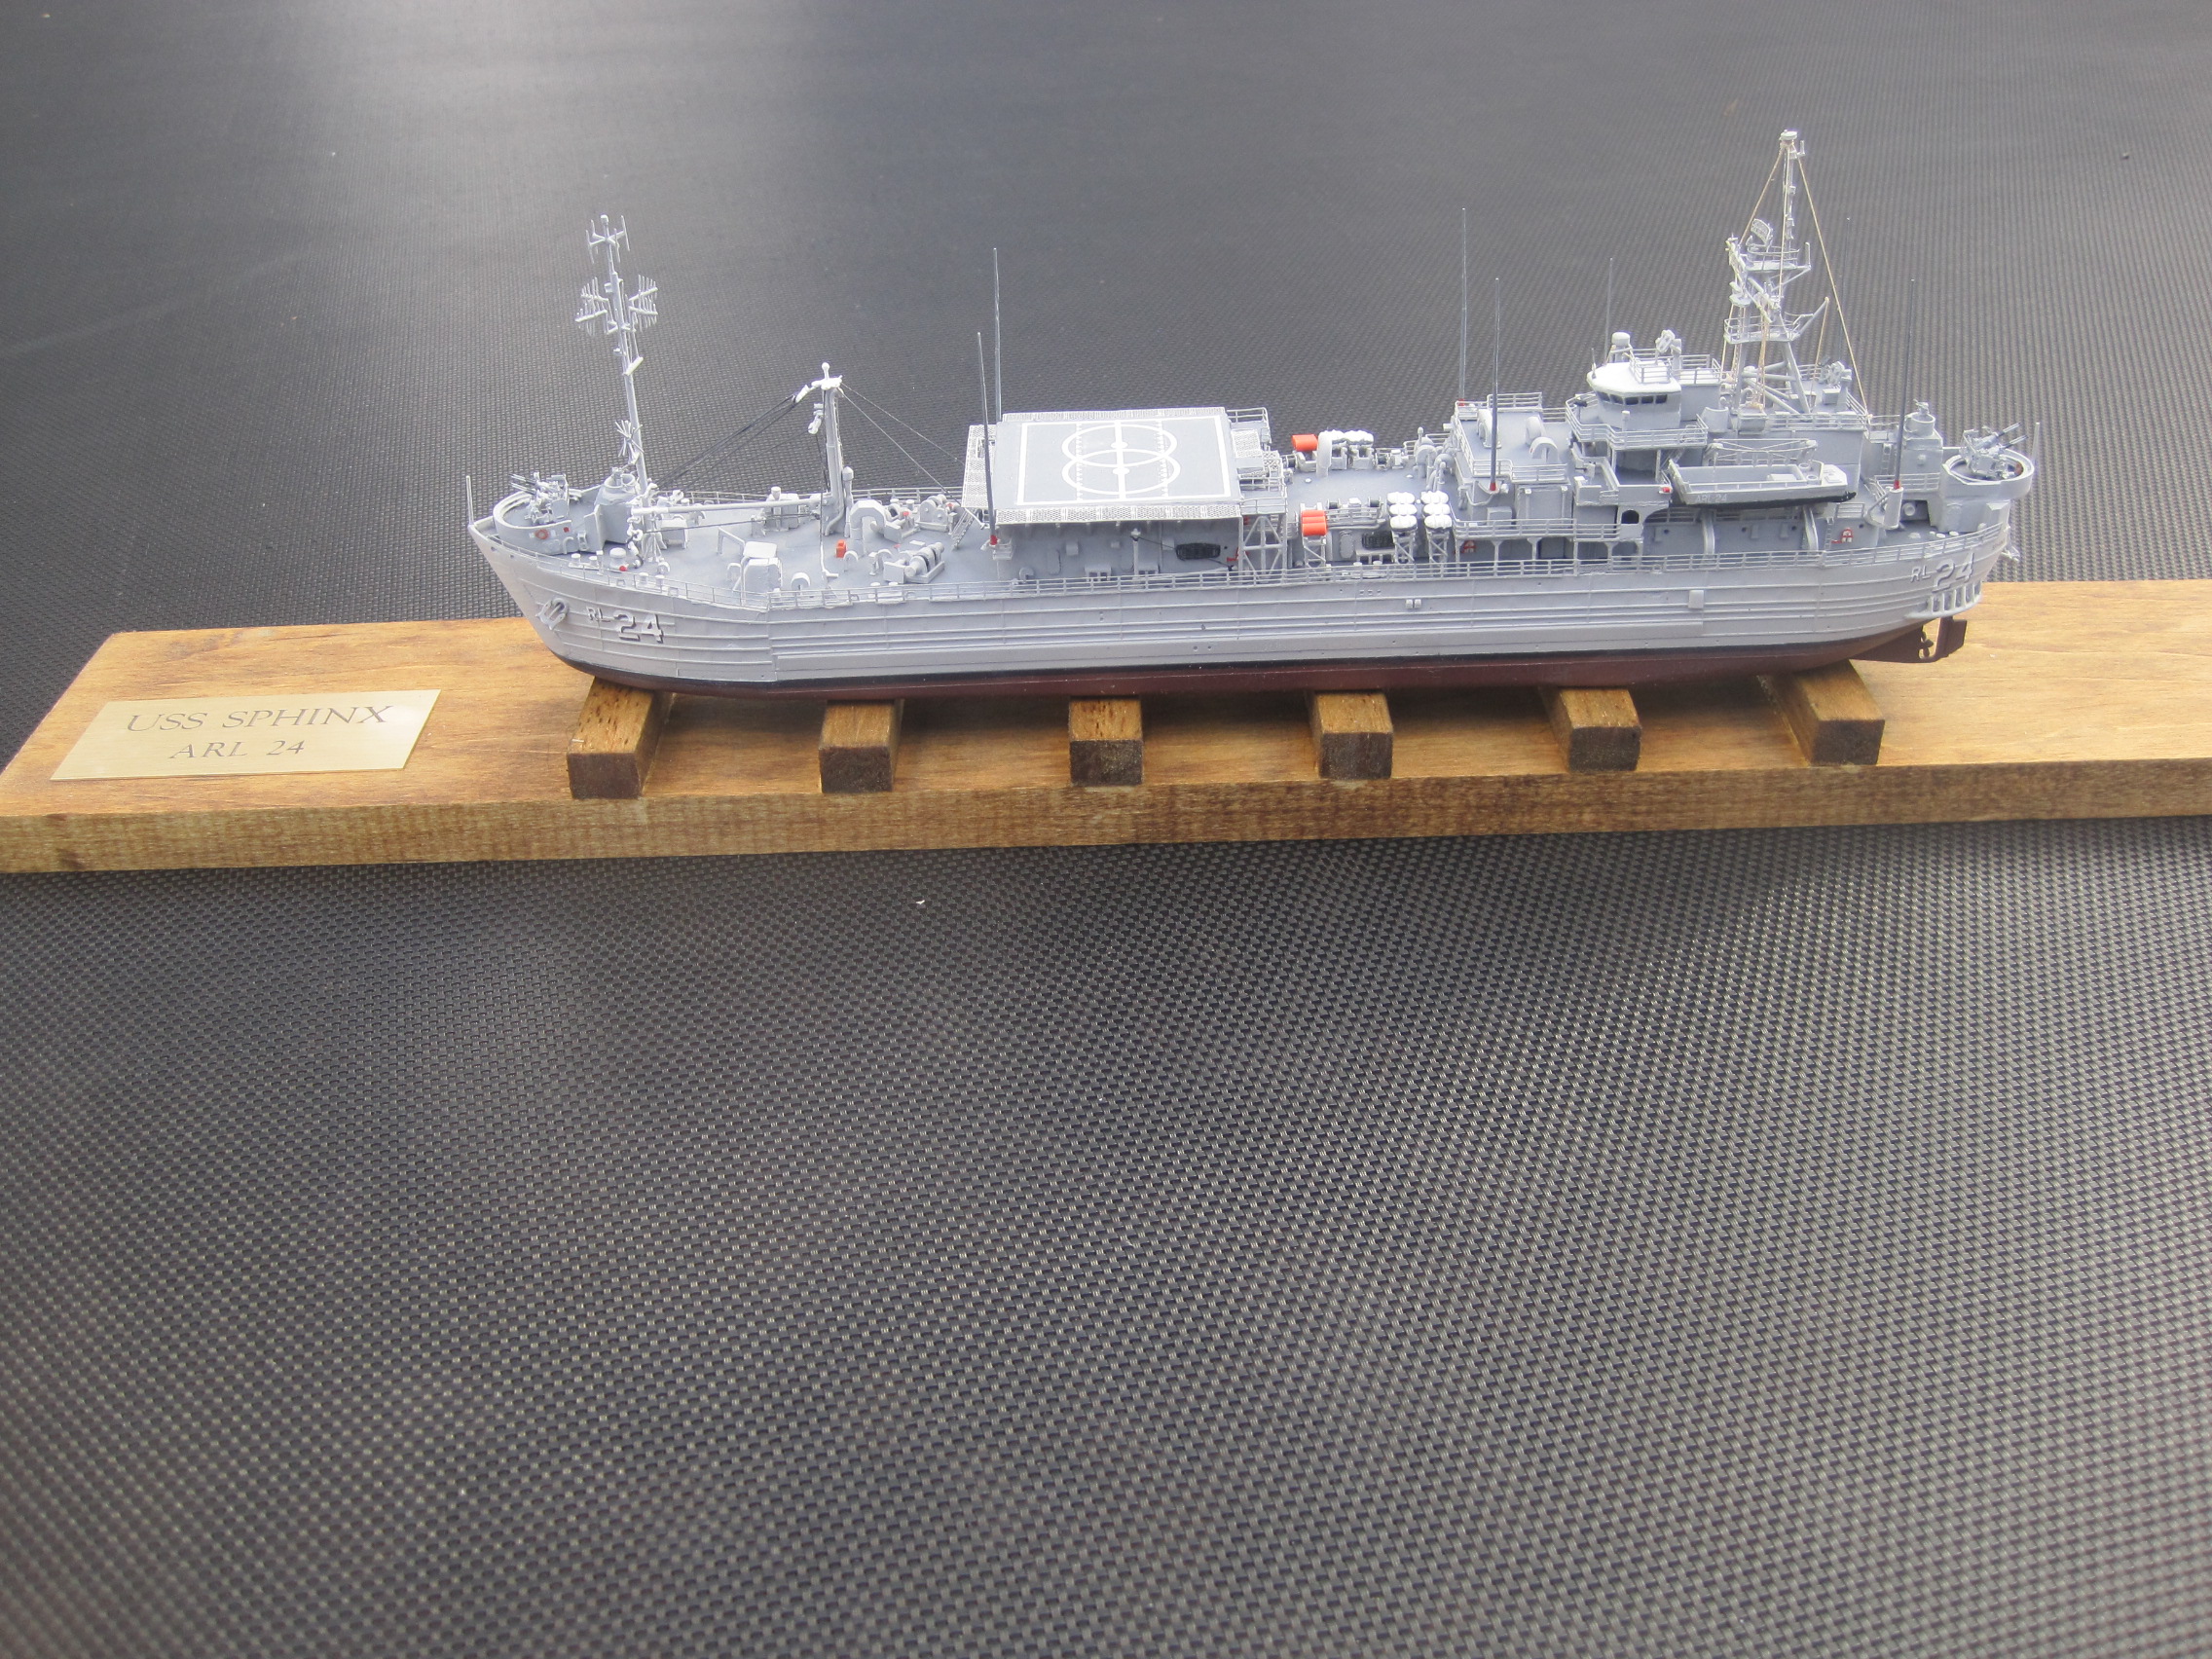
This next group of shots were taken on August 9, and are sort of a “mid-term” review for me to get a rough sense of how the build looks. All of the main components are still sub-assemblies and so are not yet glued to the hull.

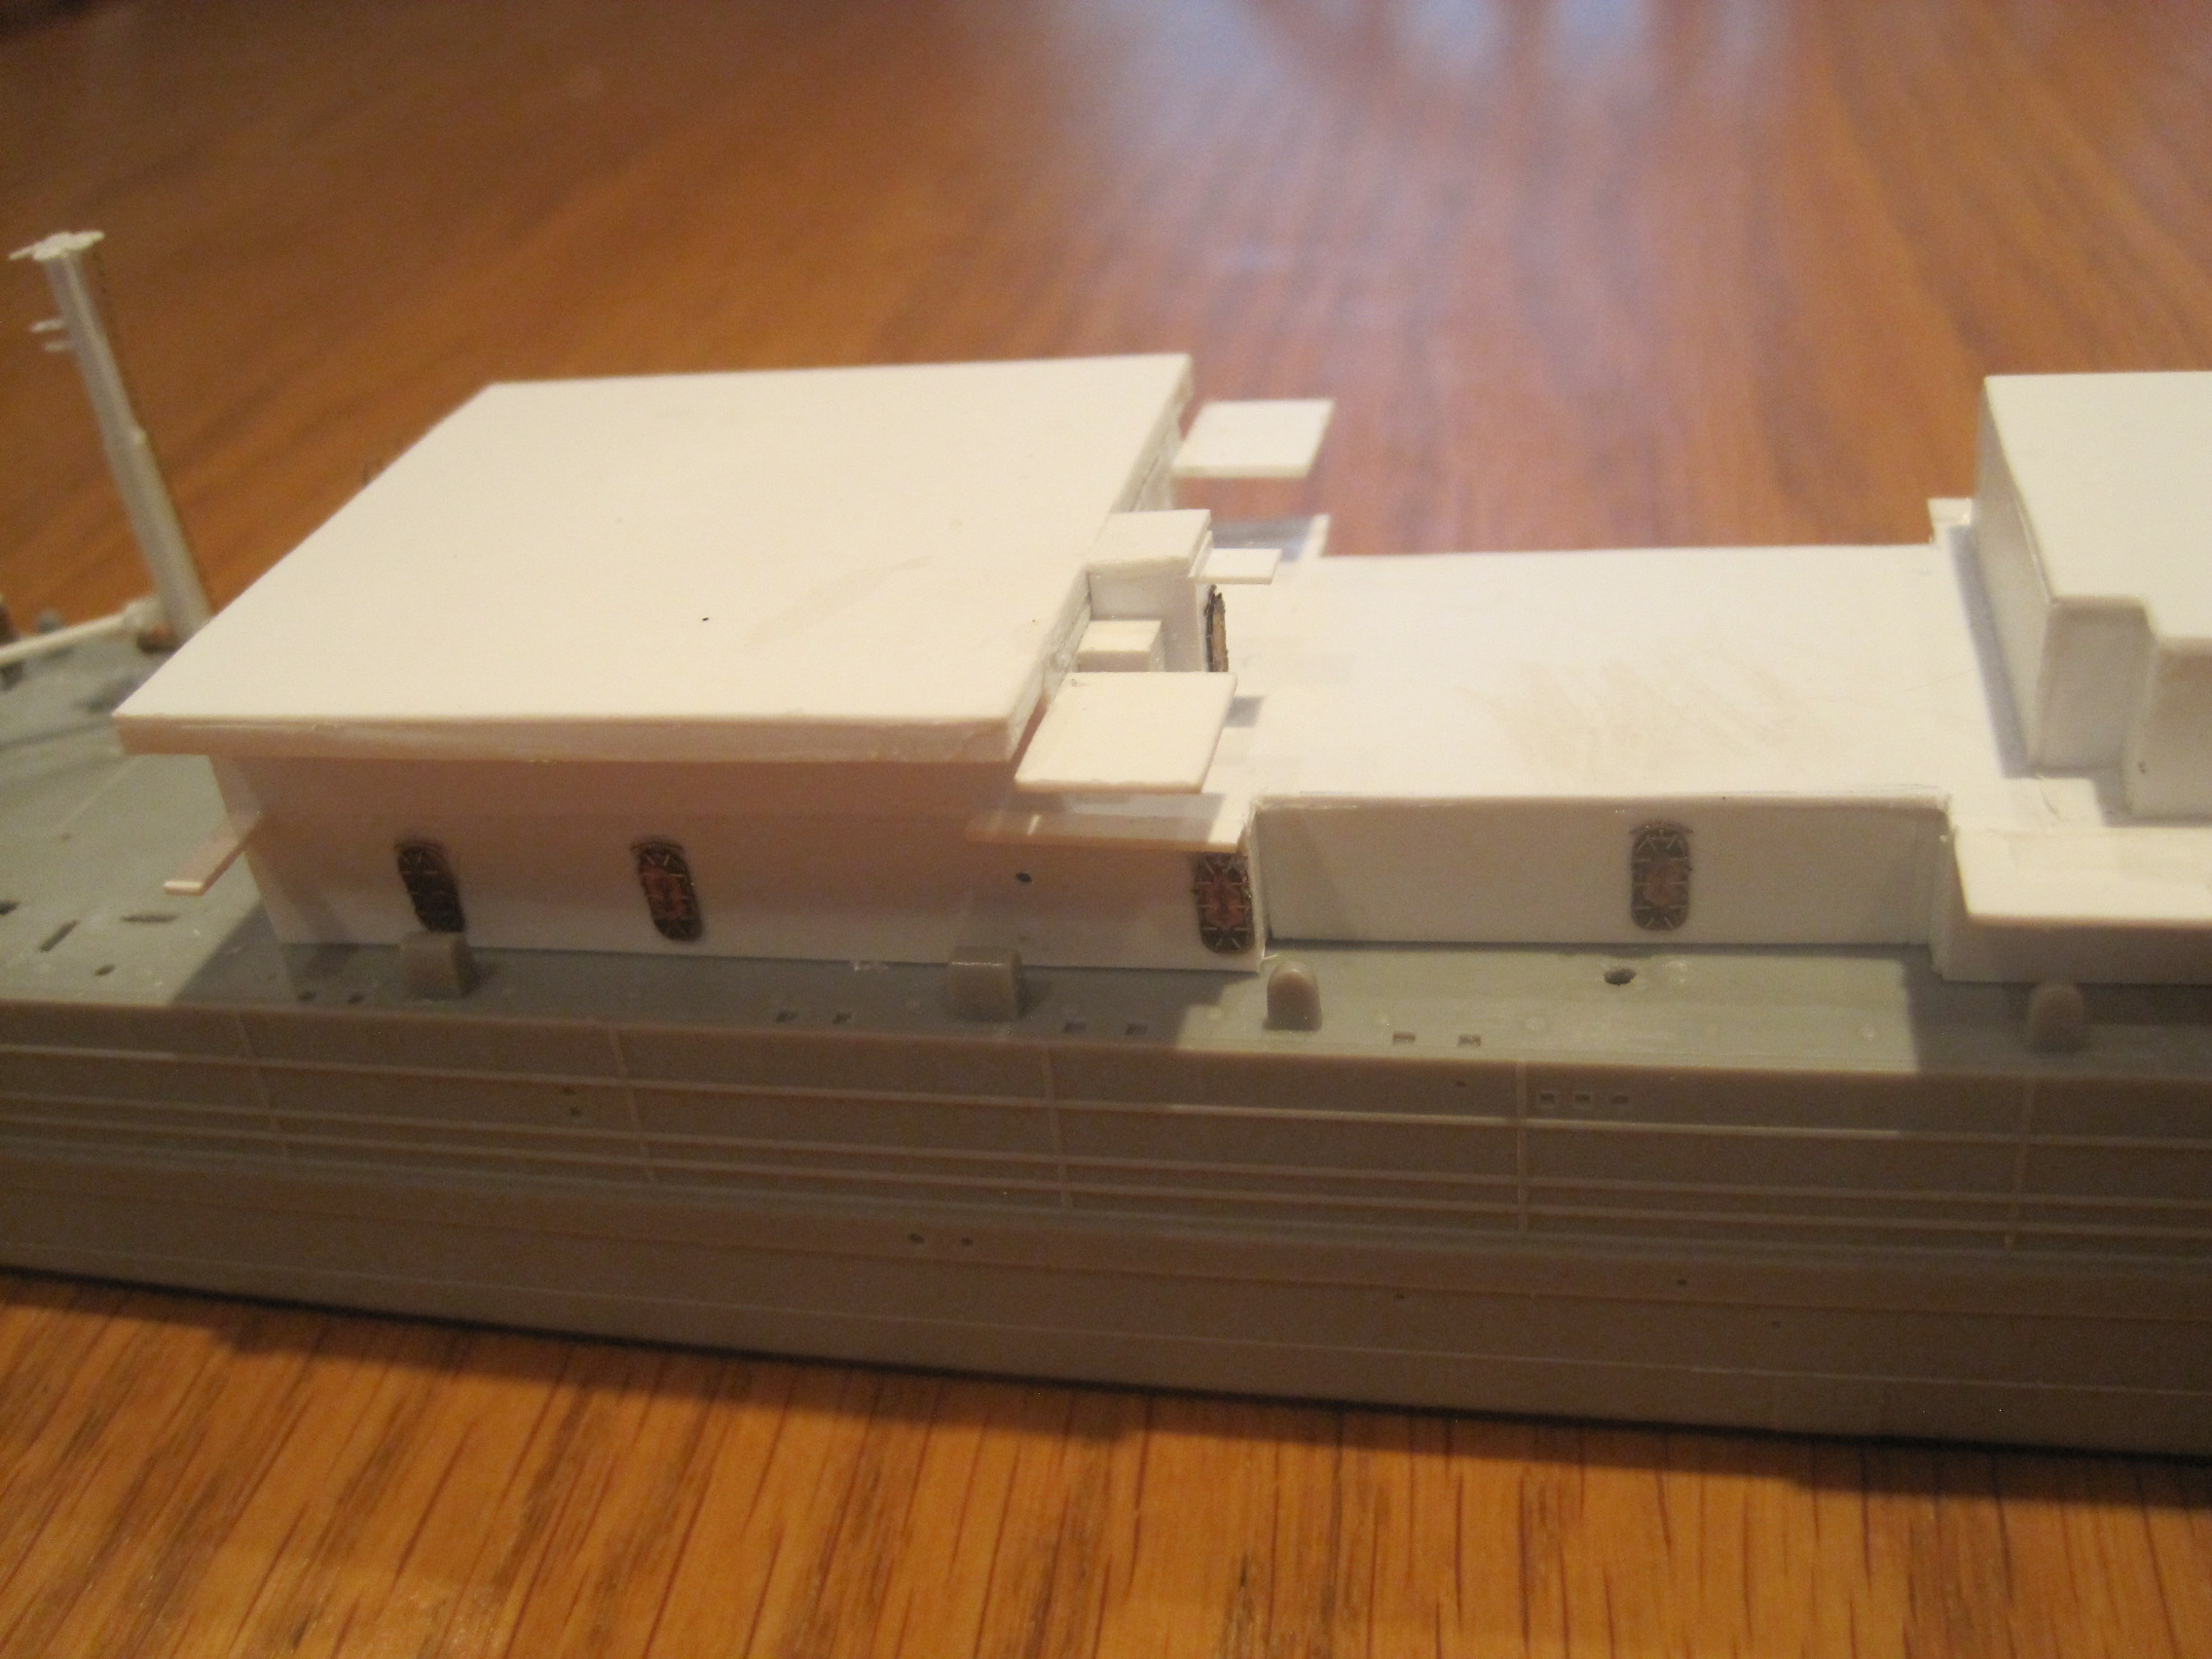
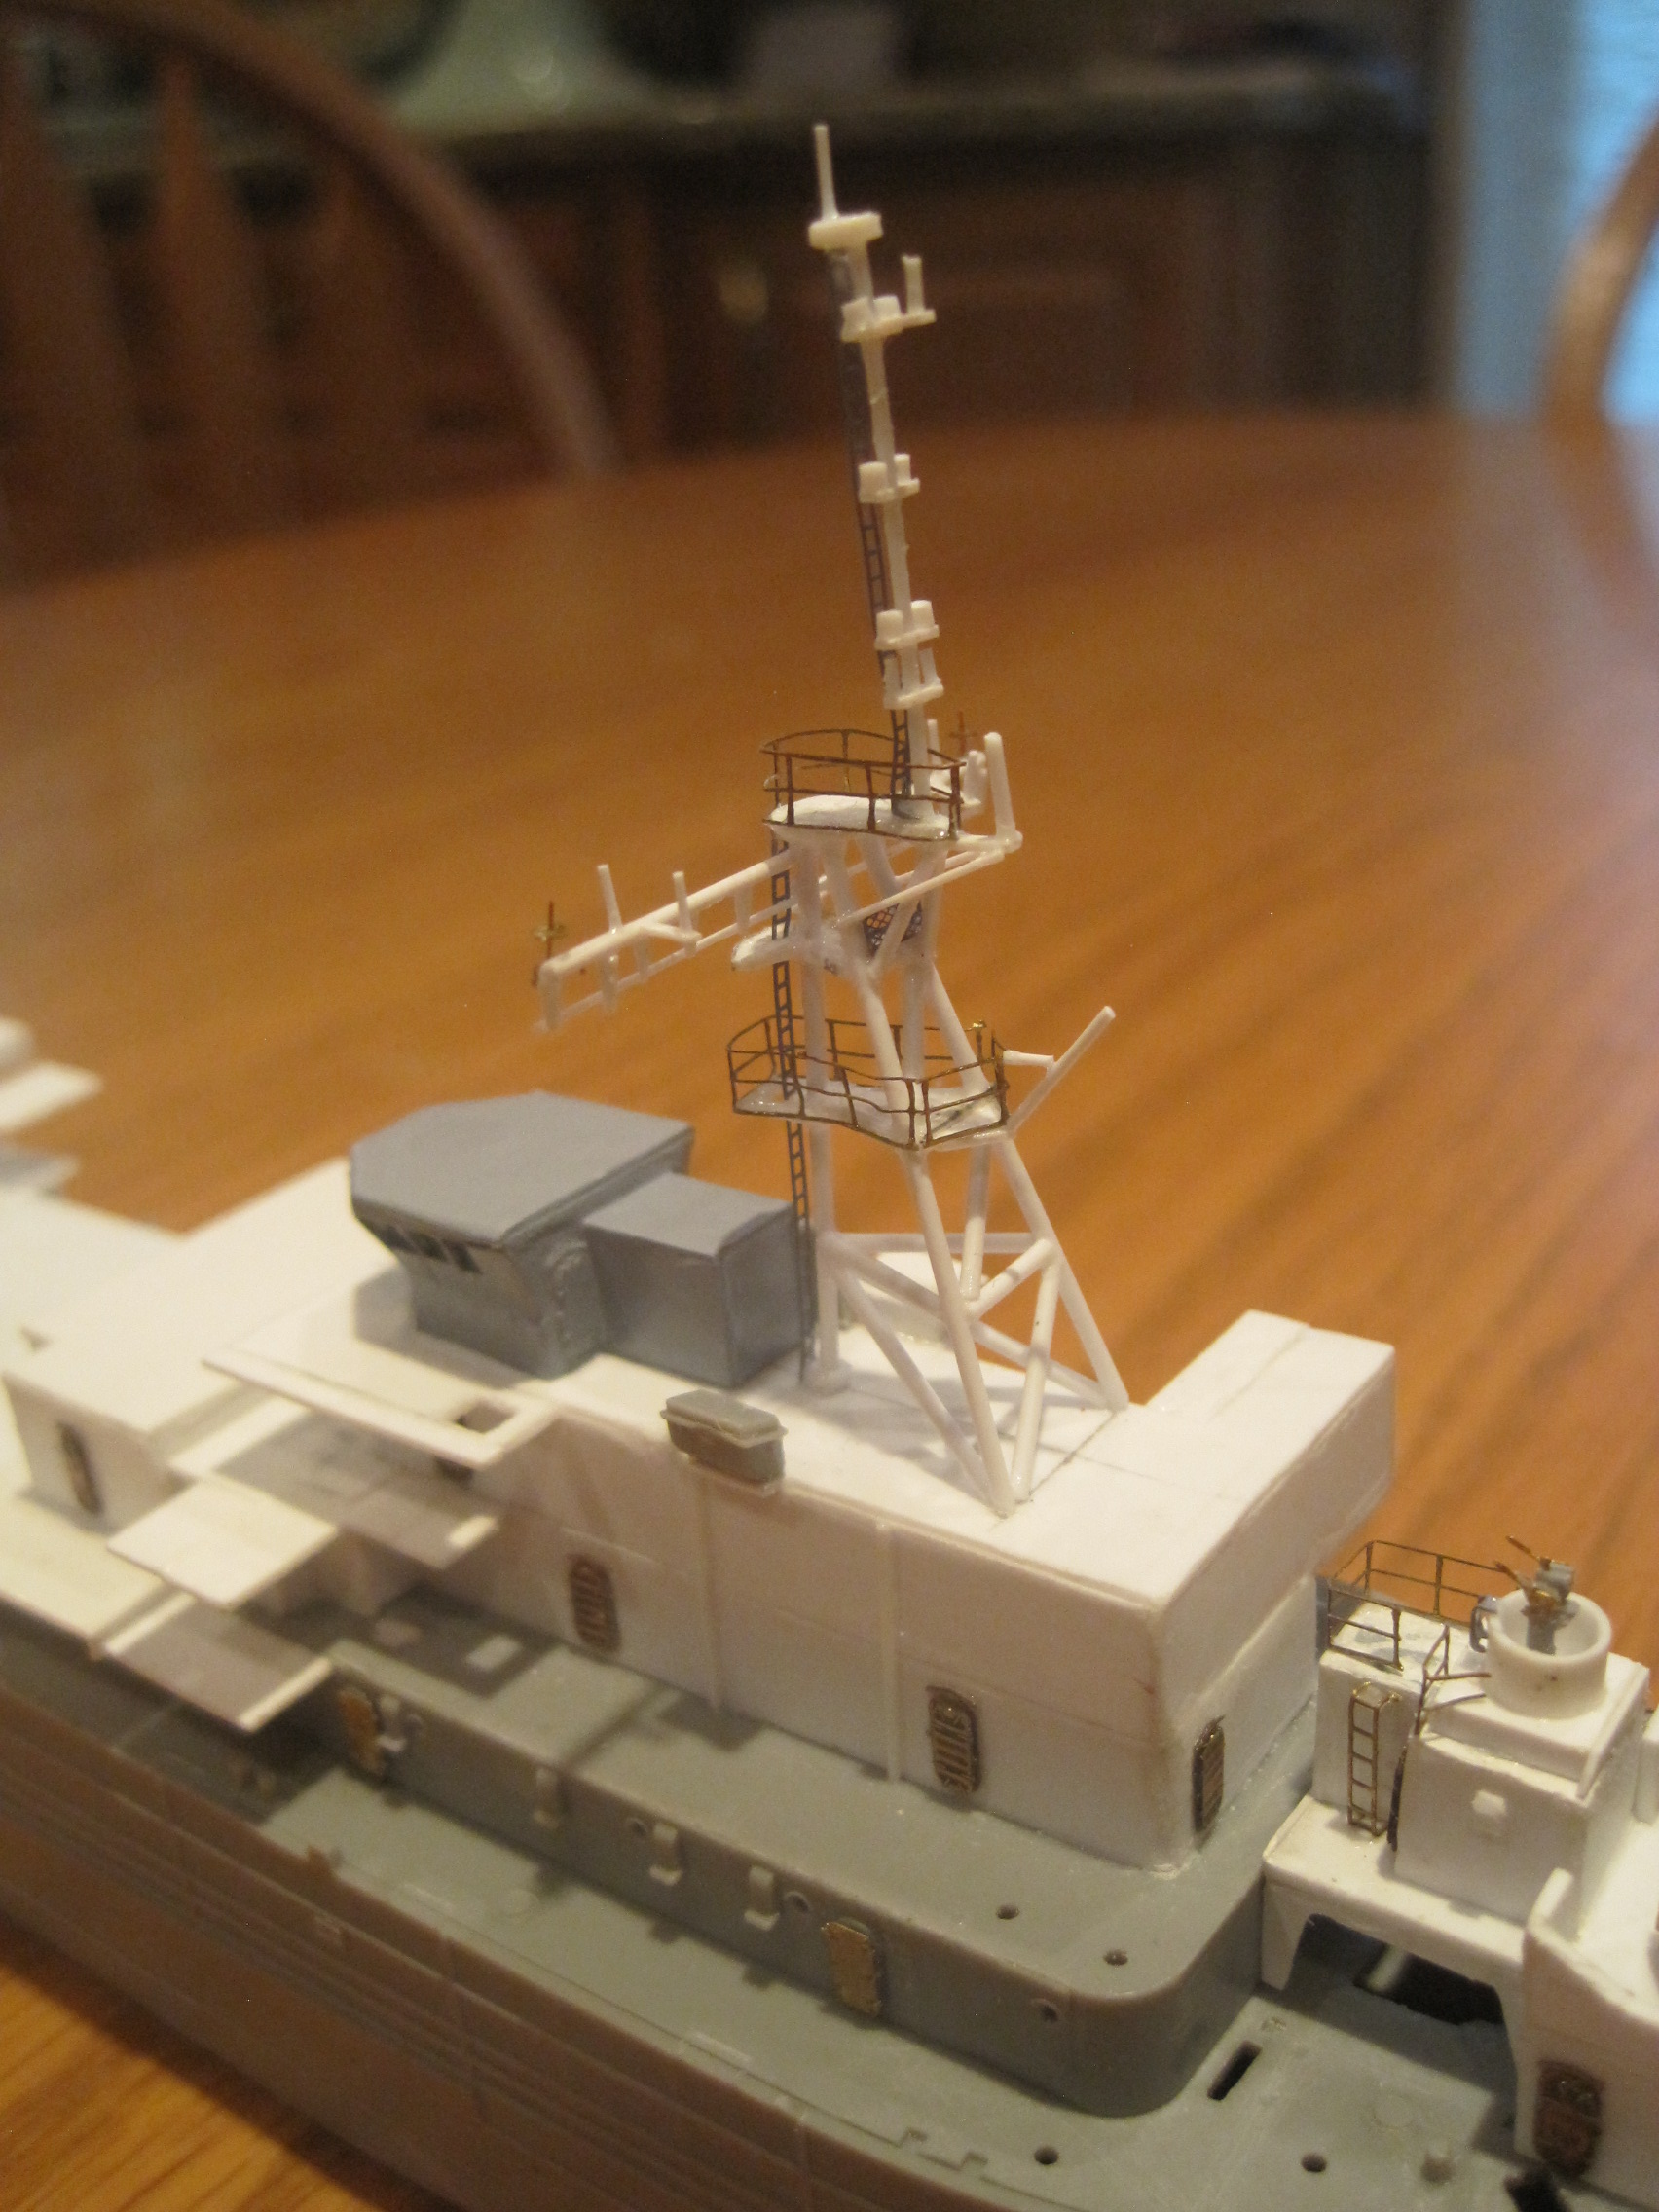
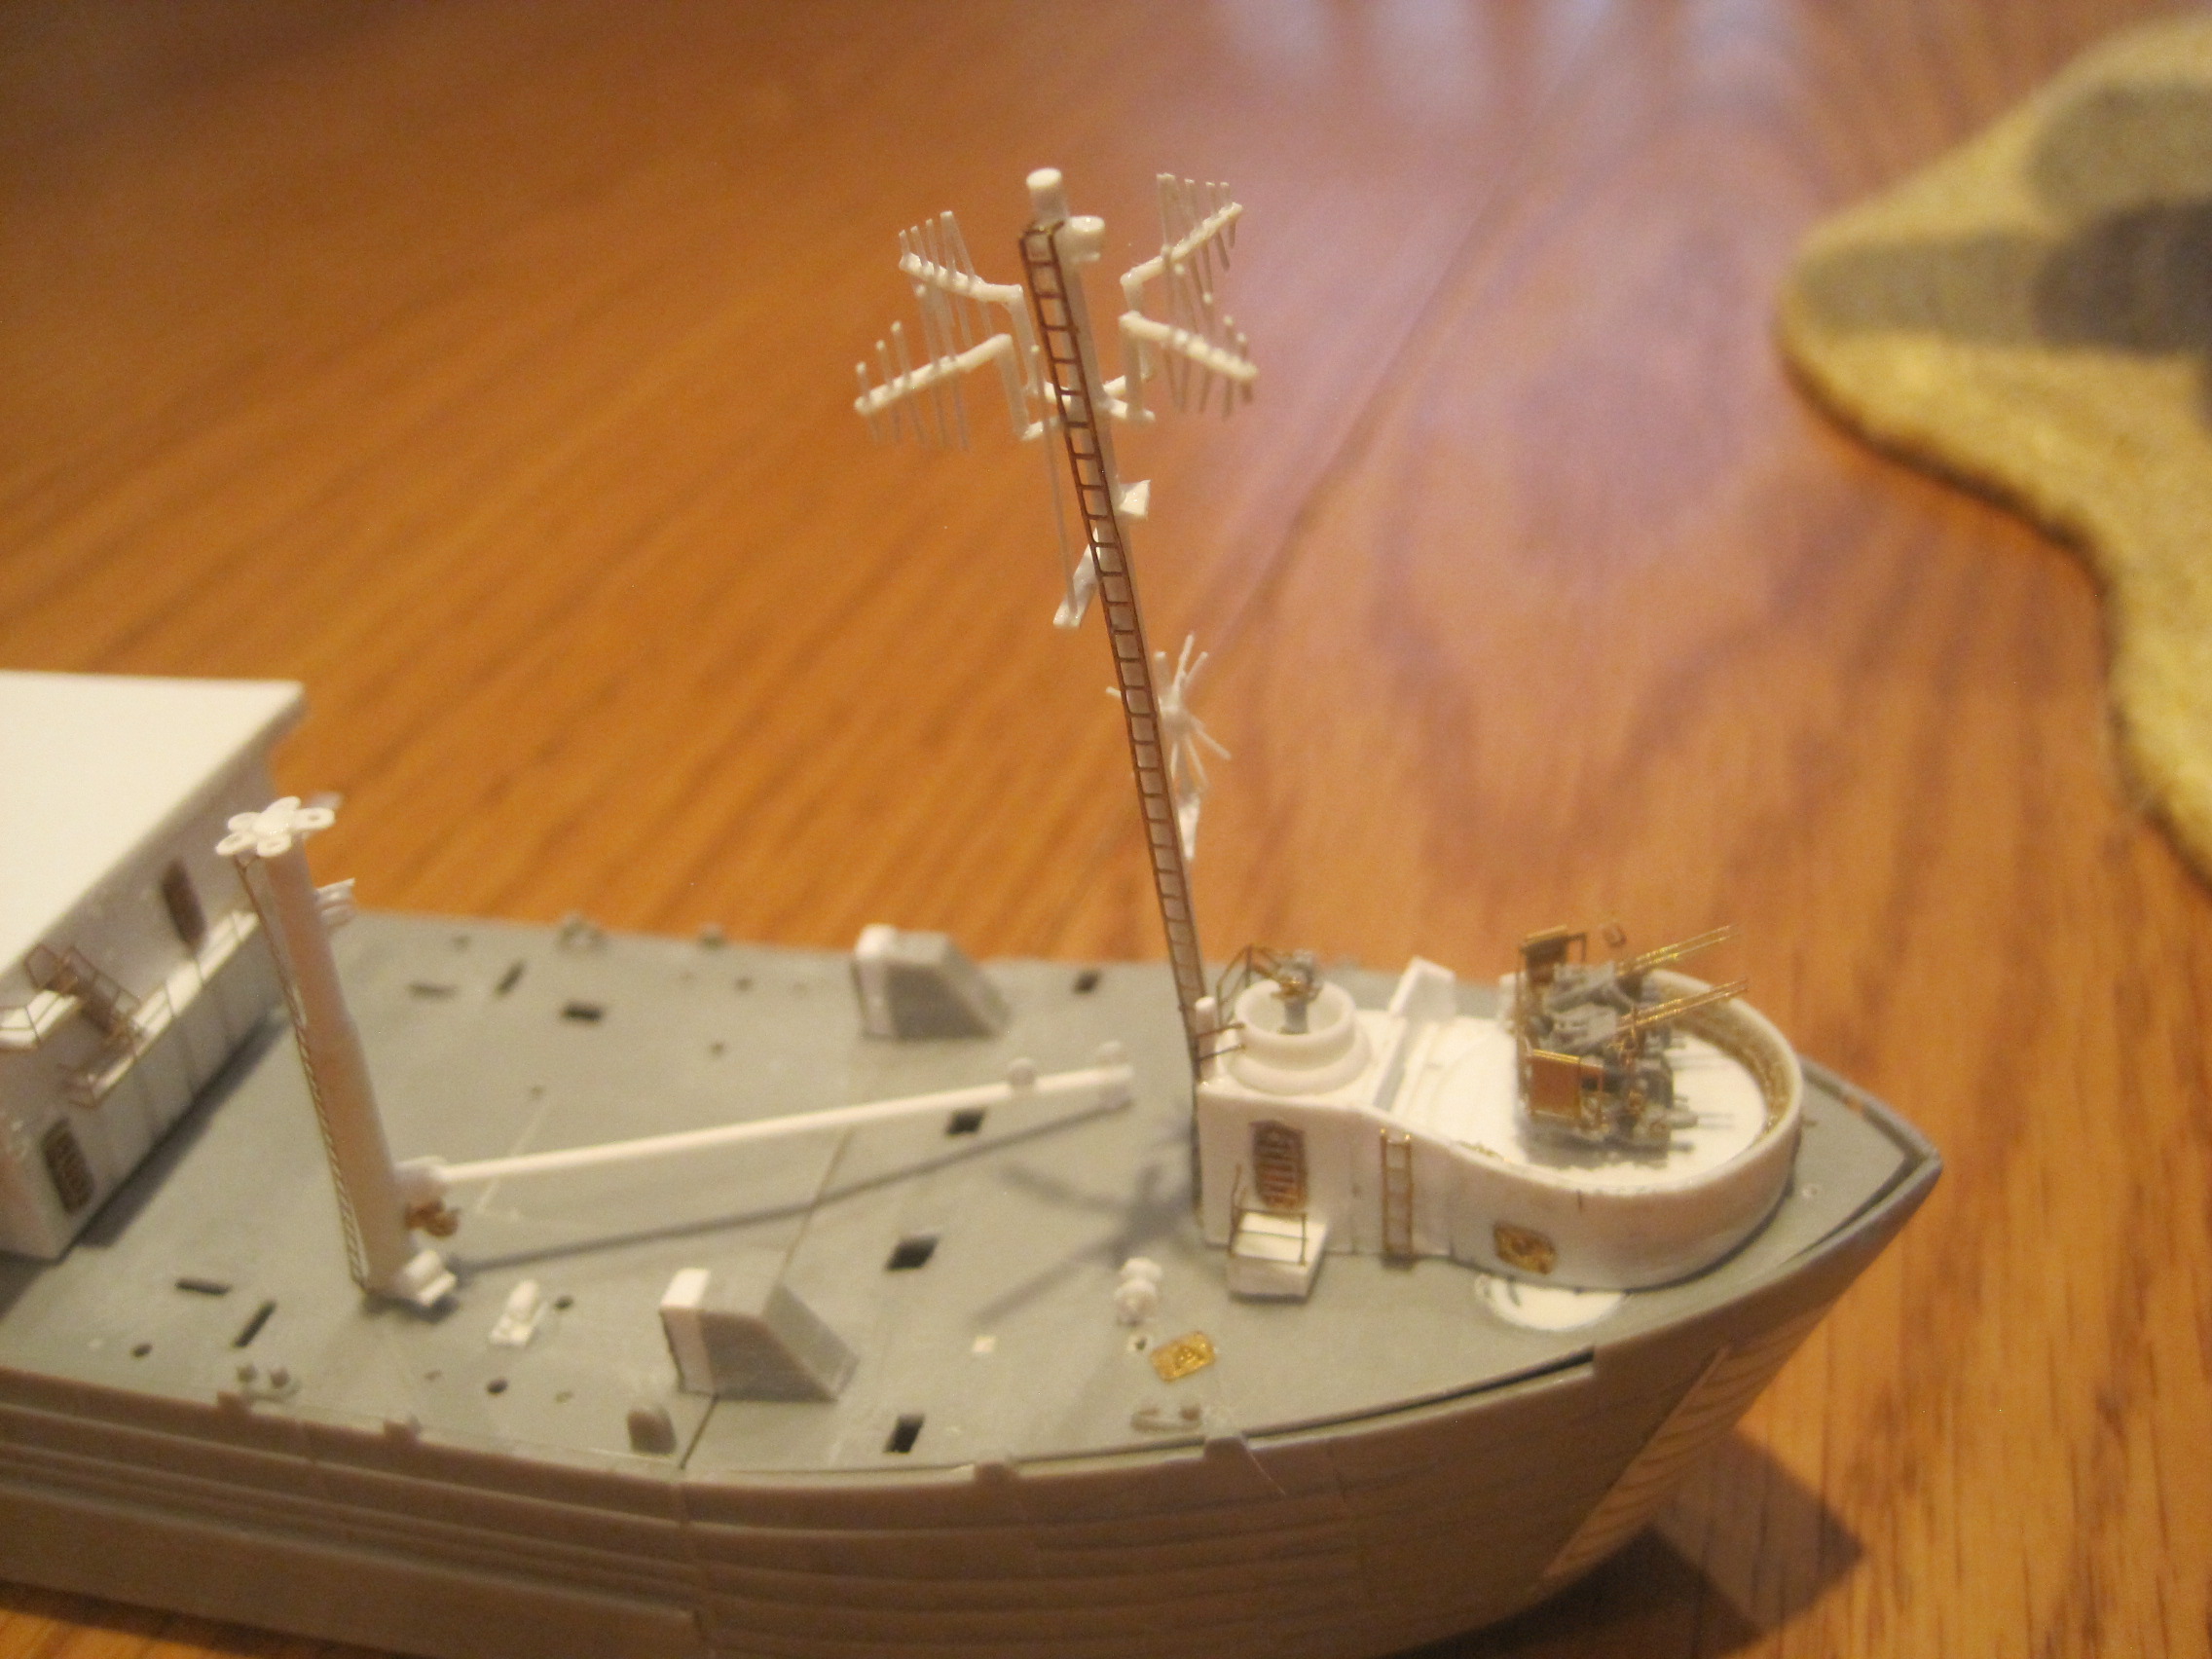
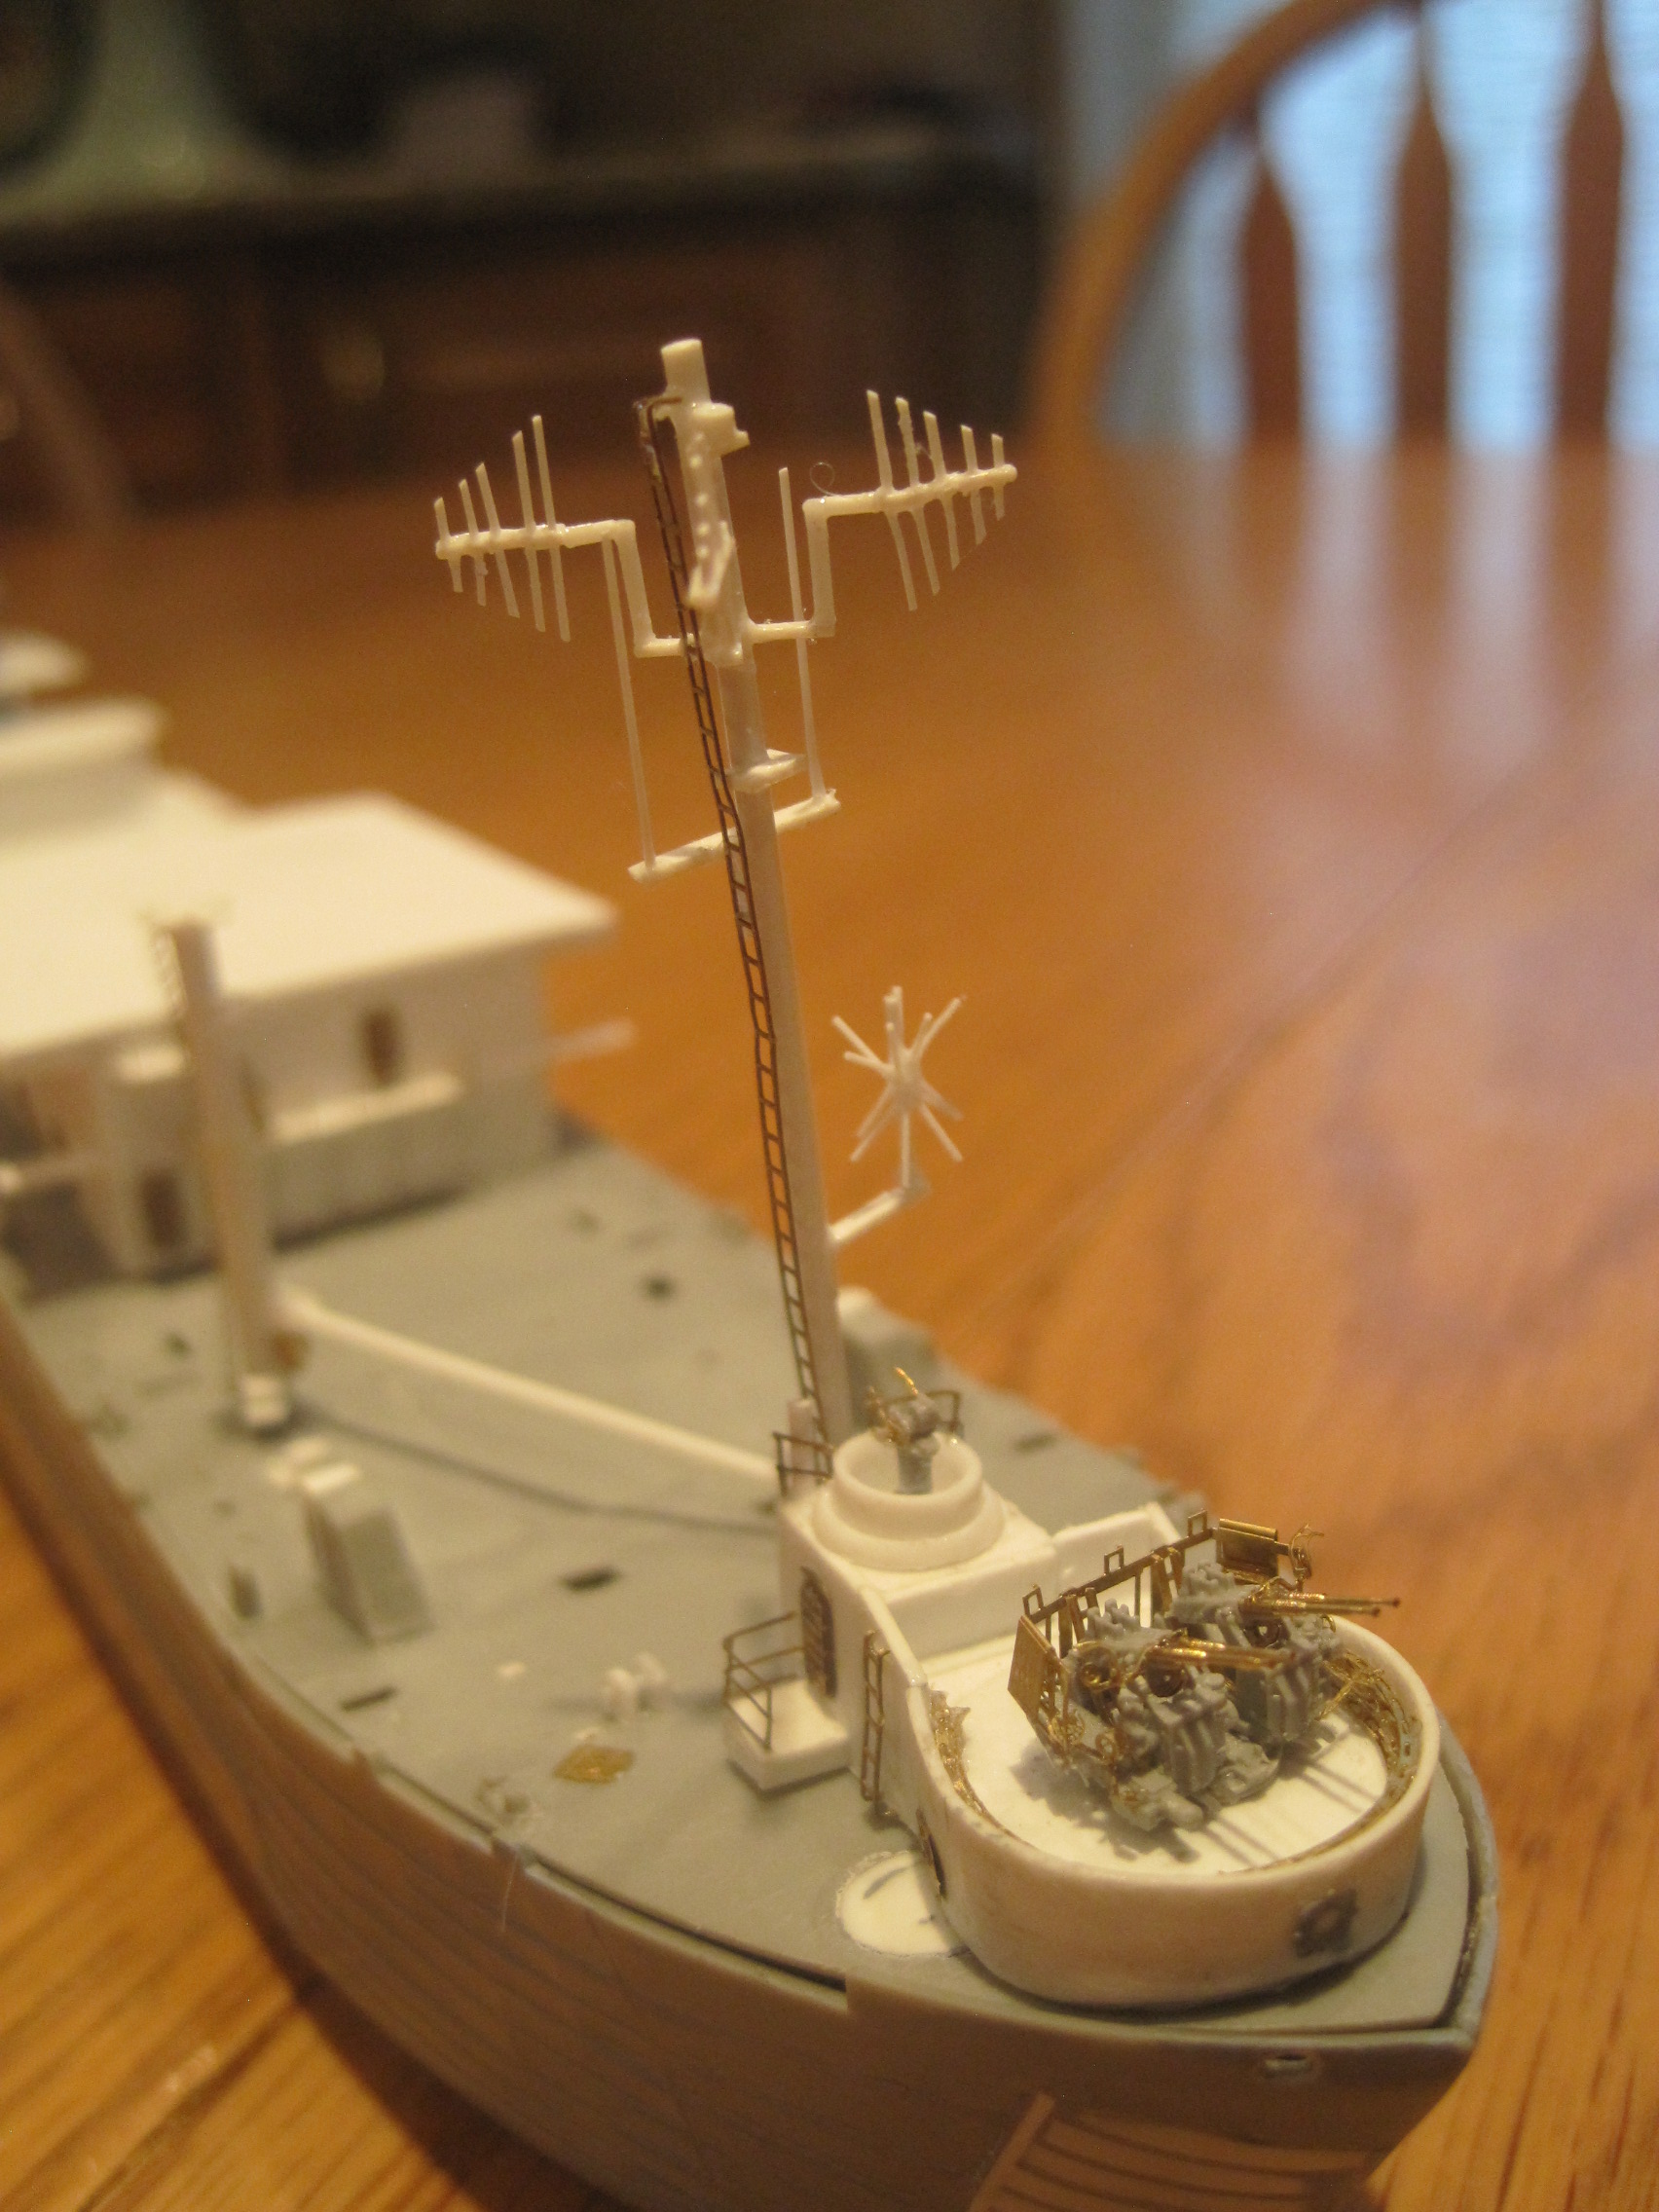
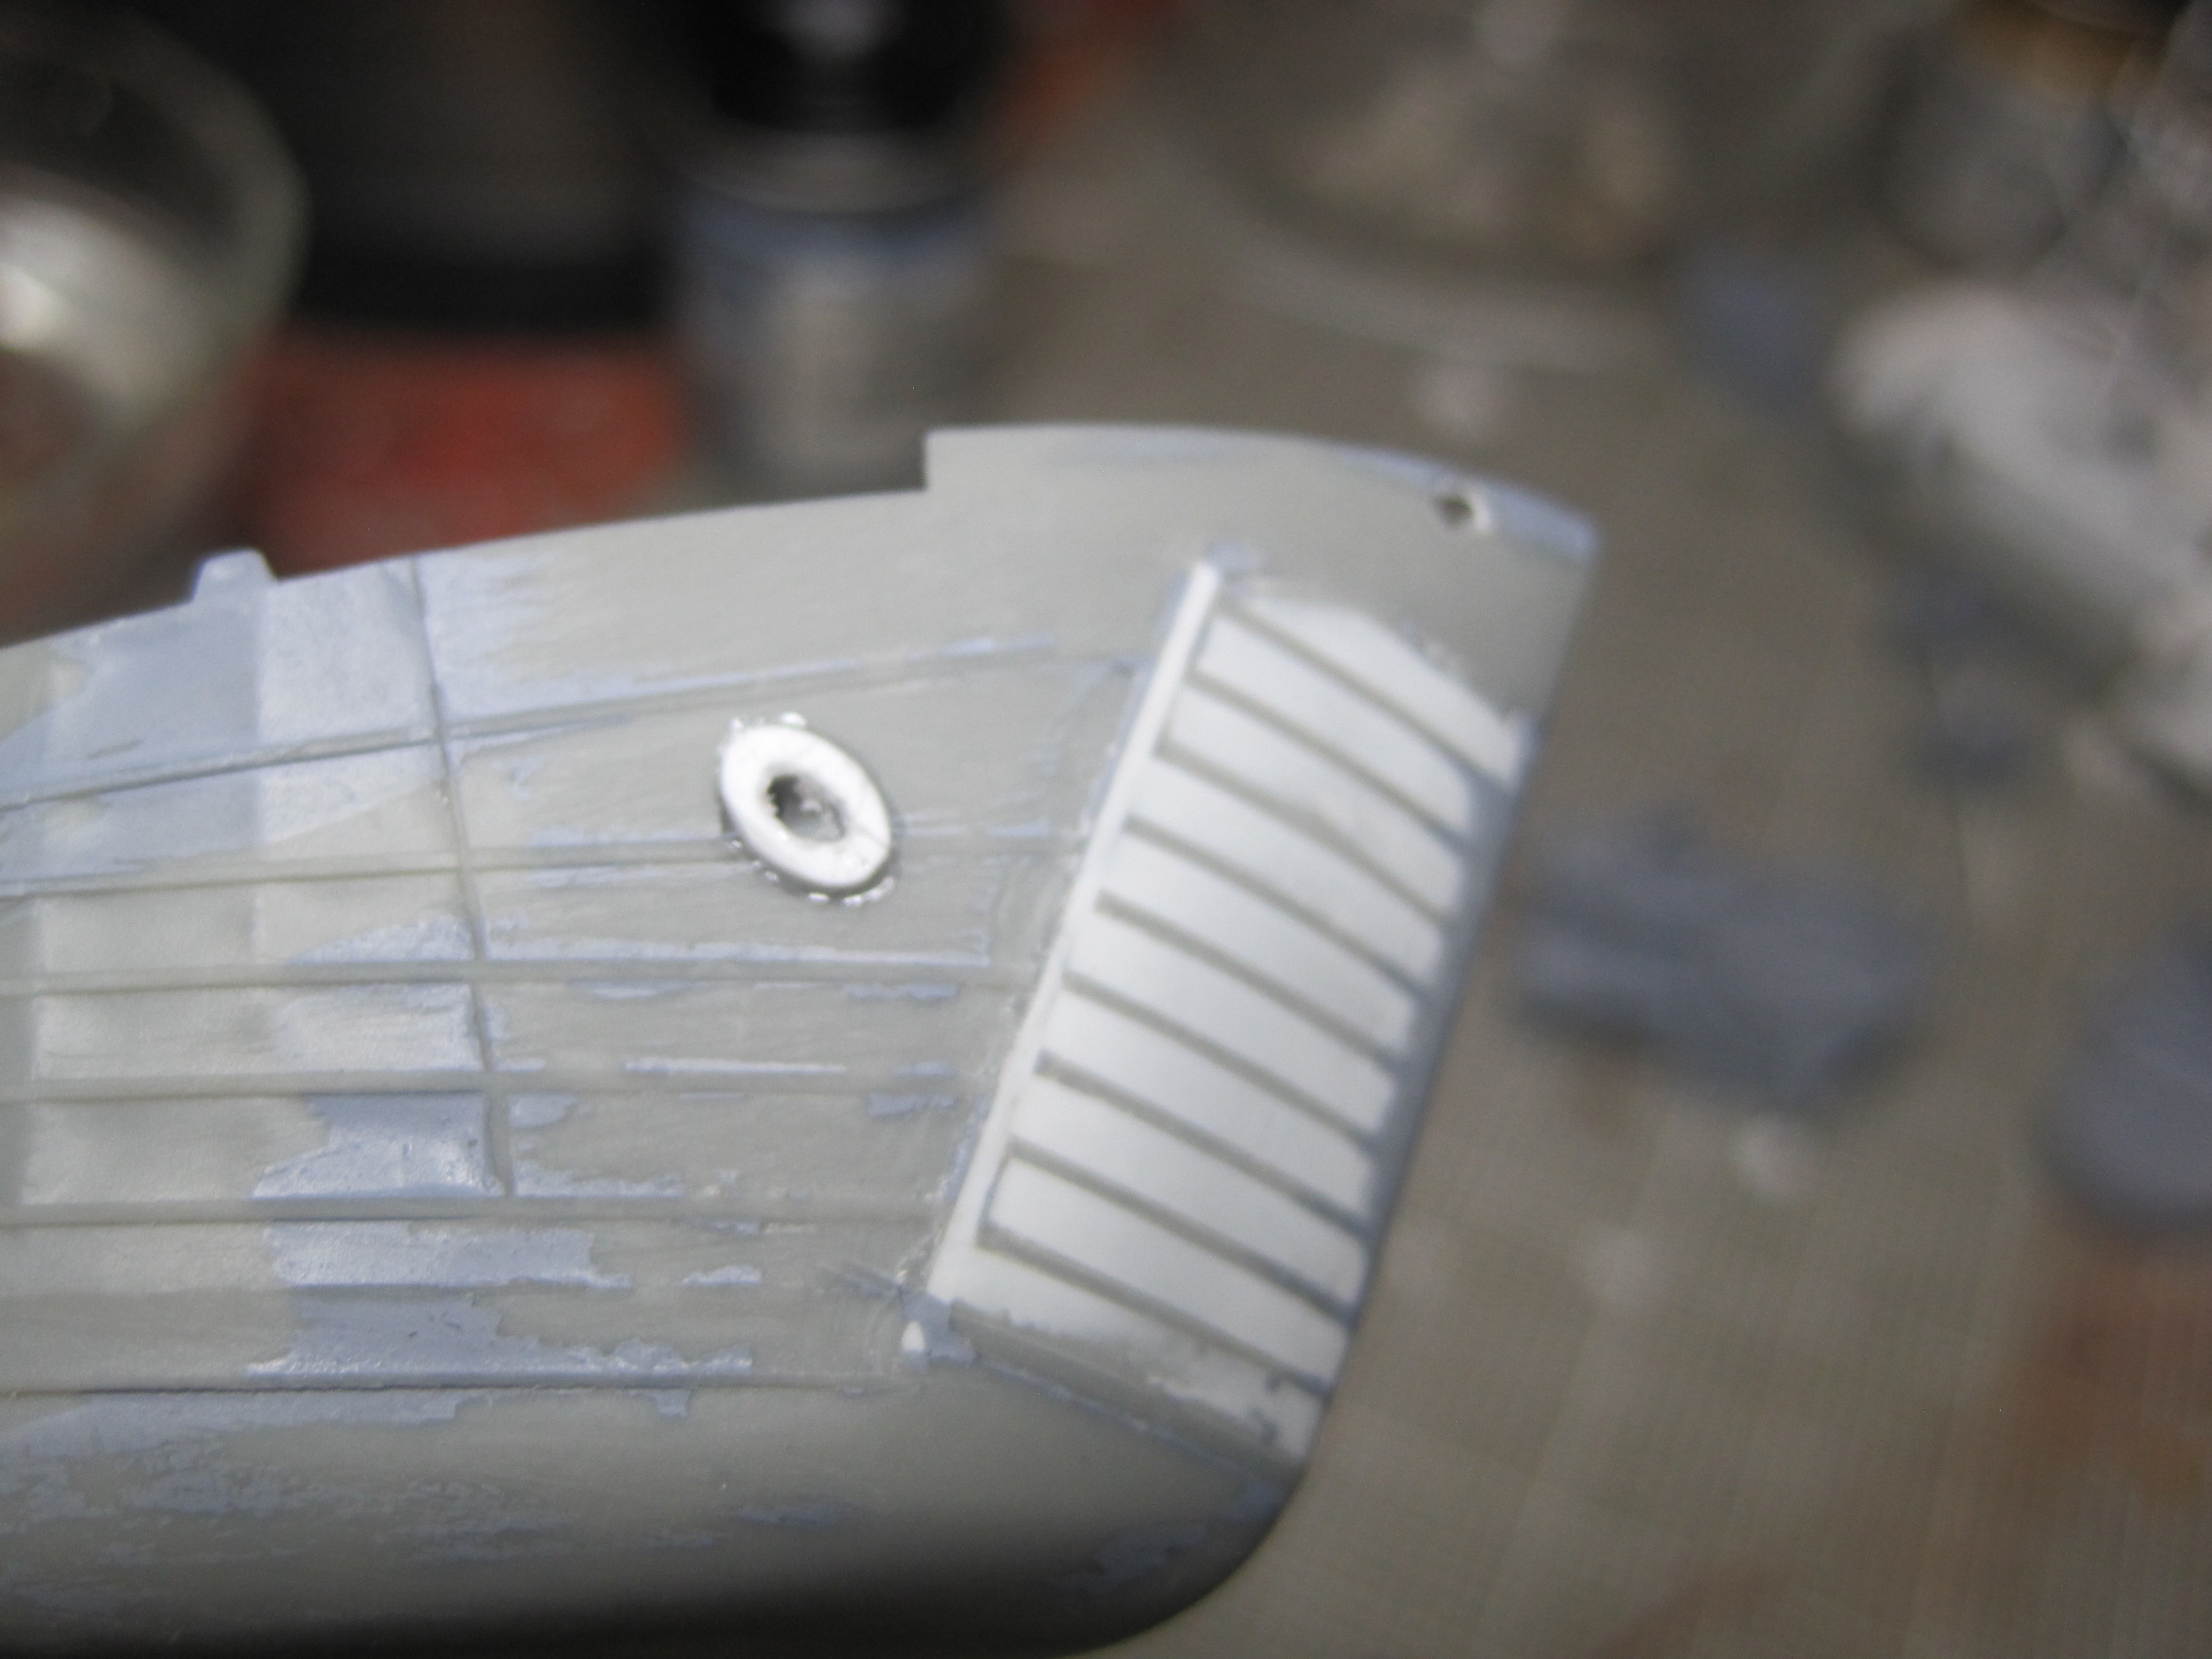
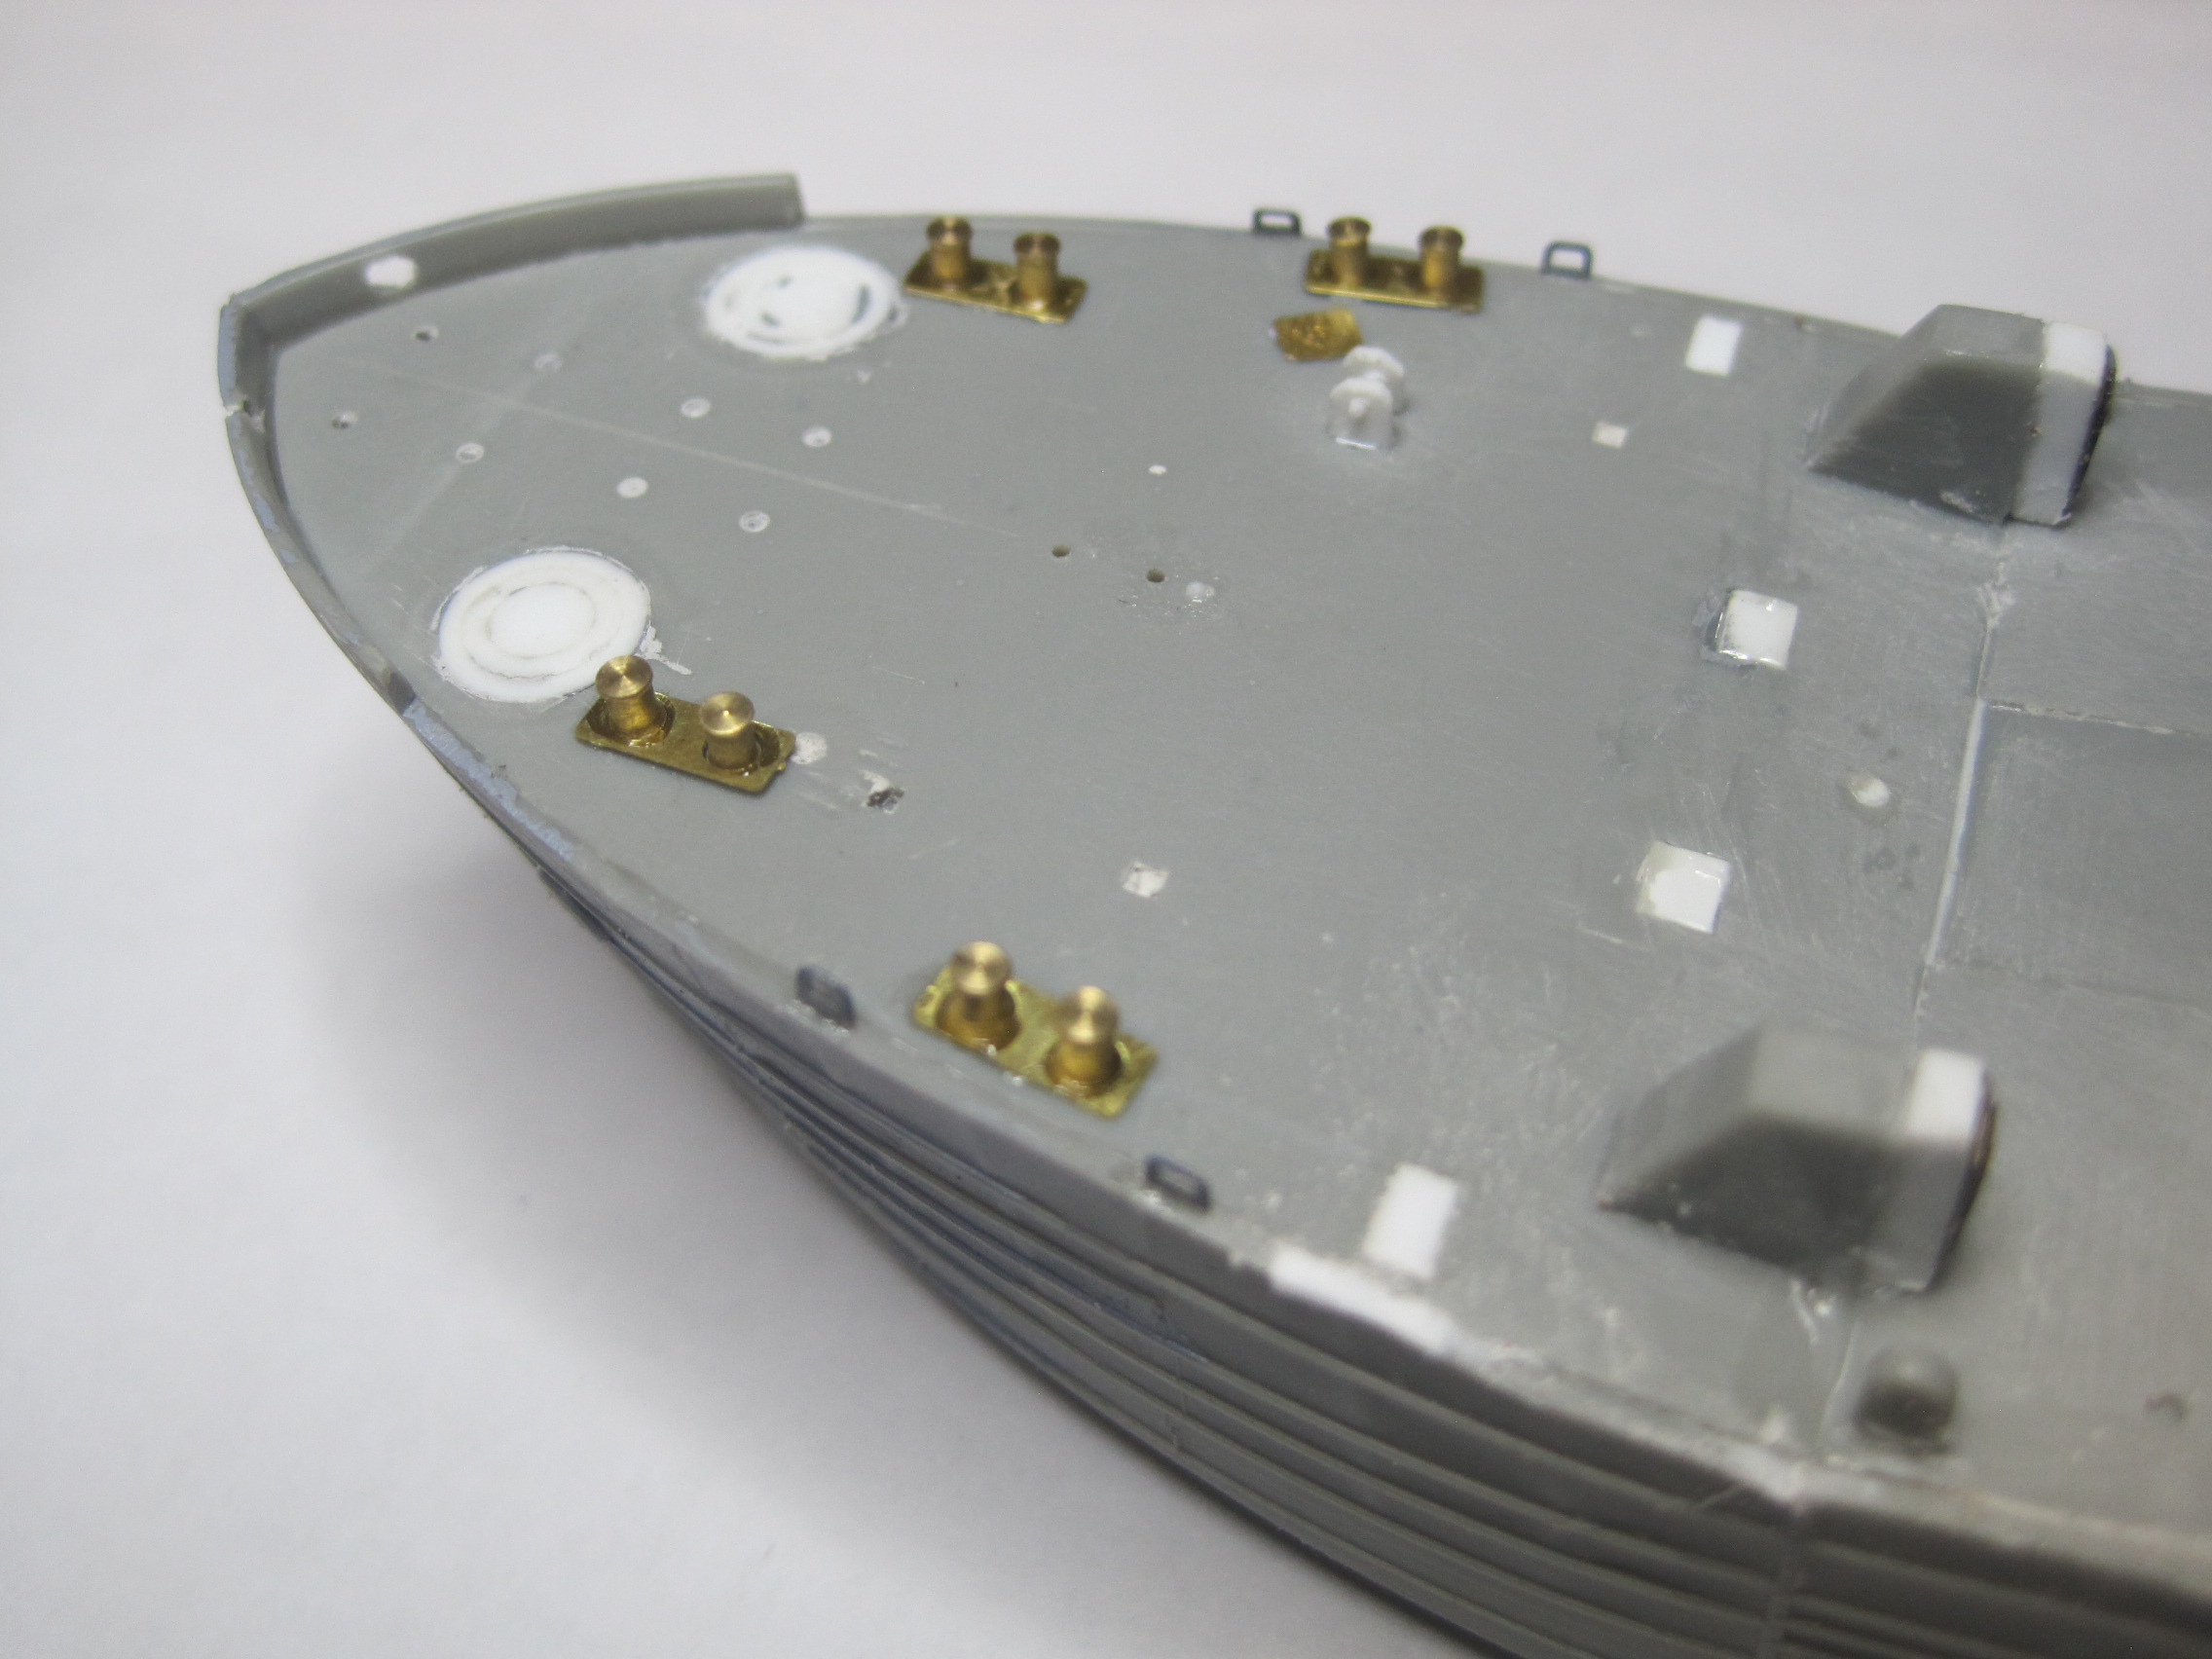
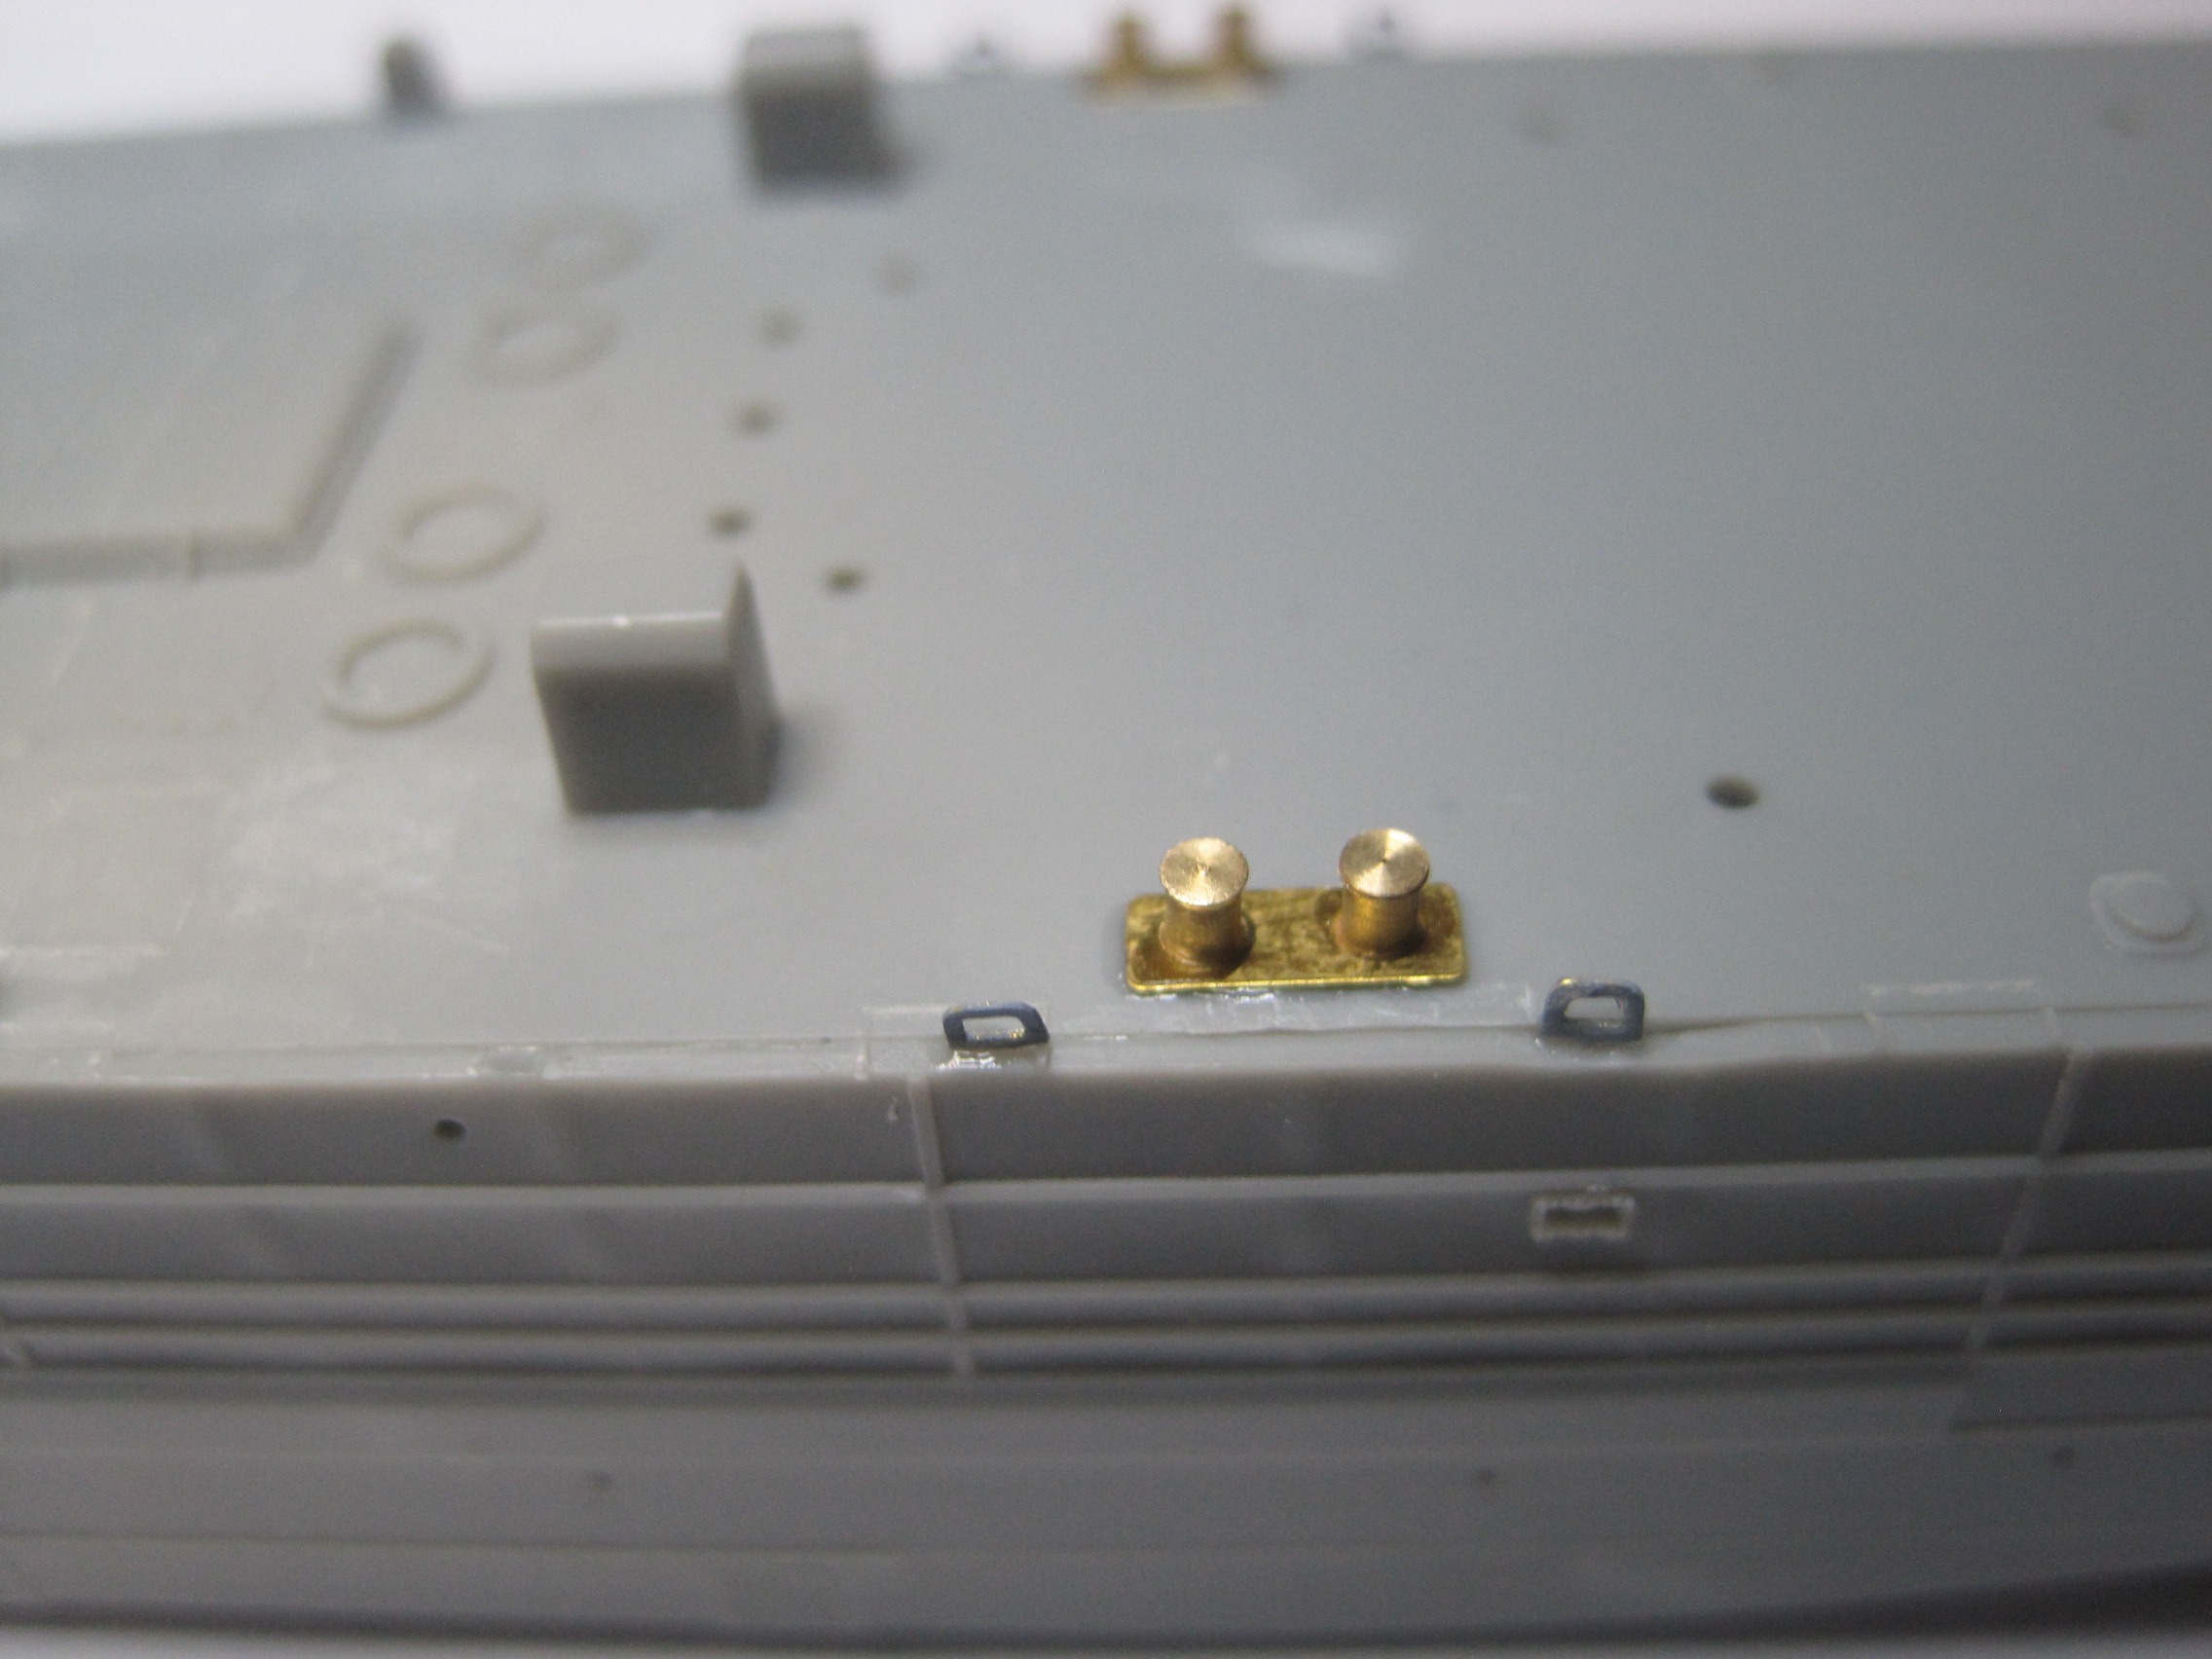
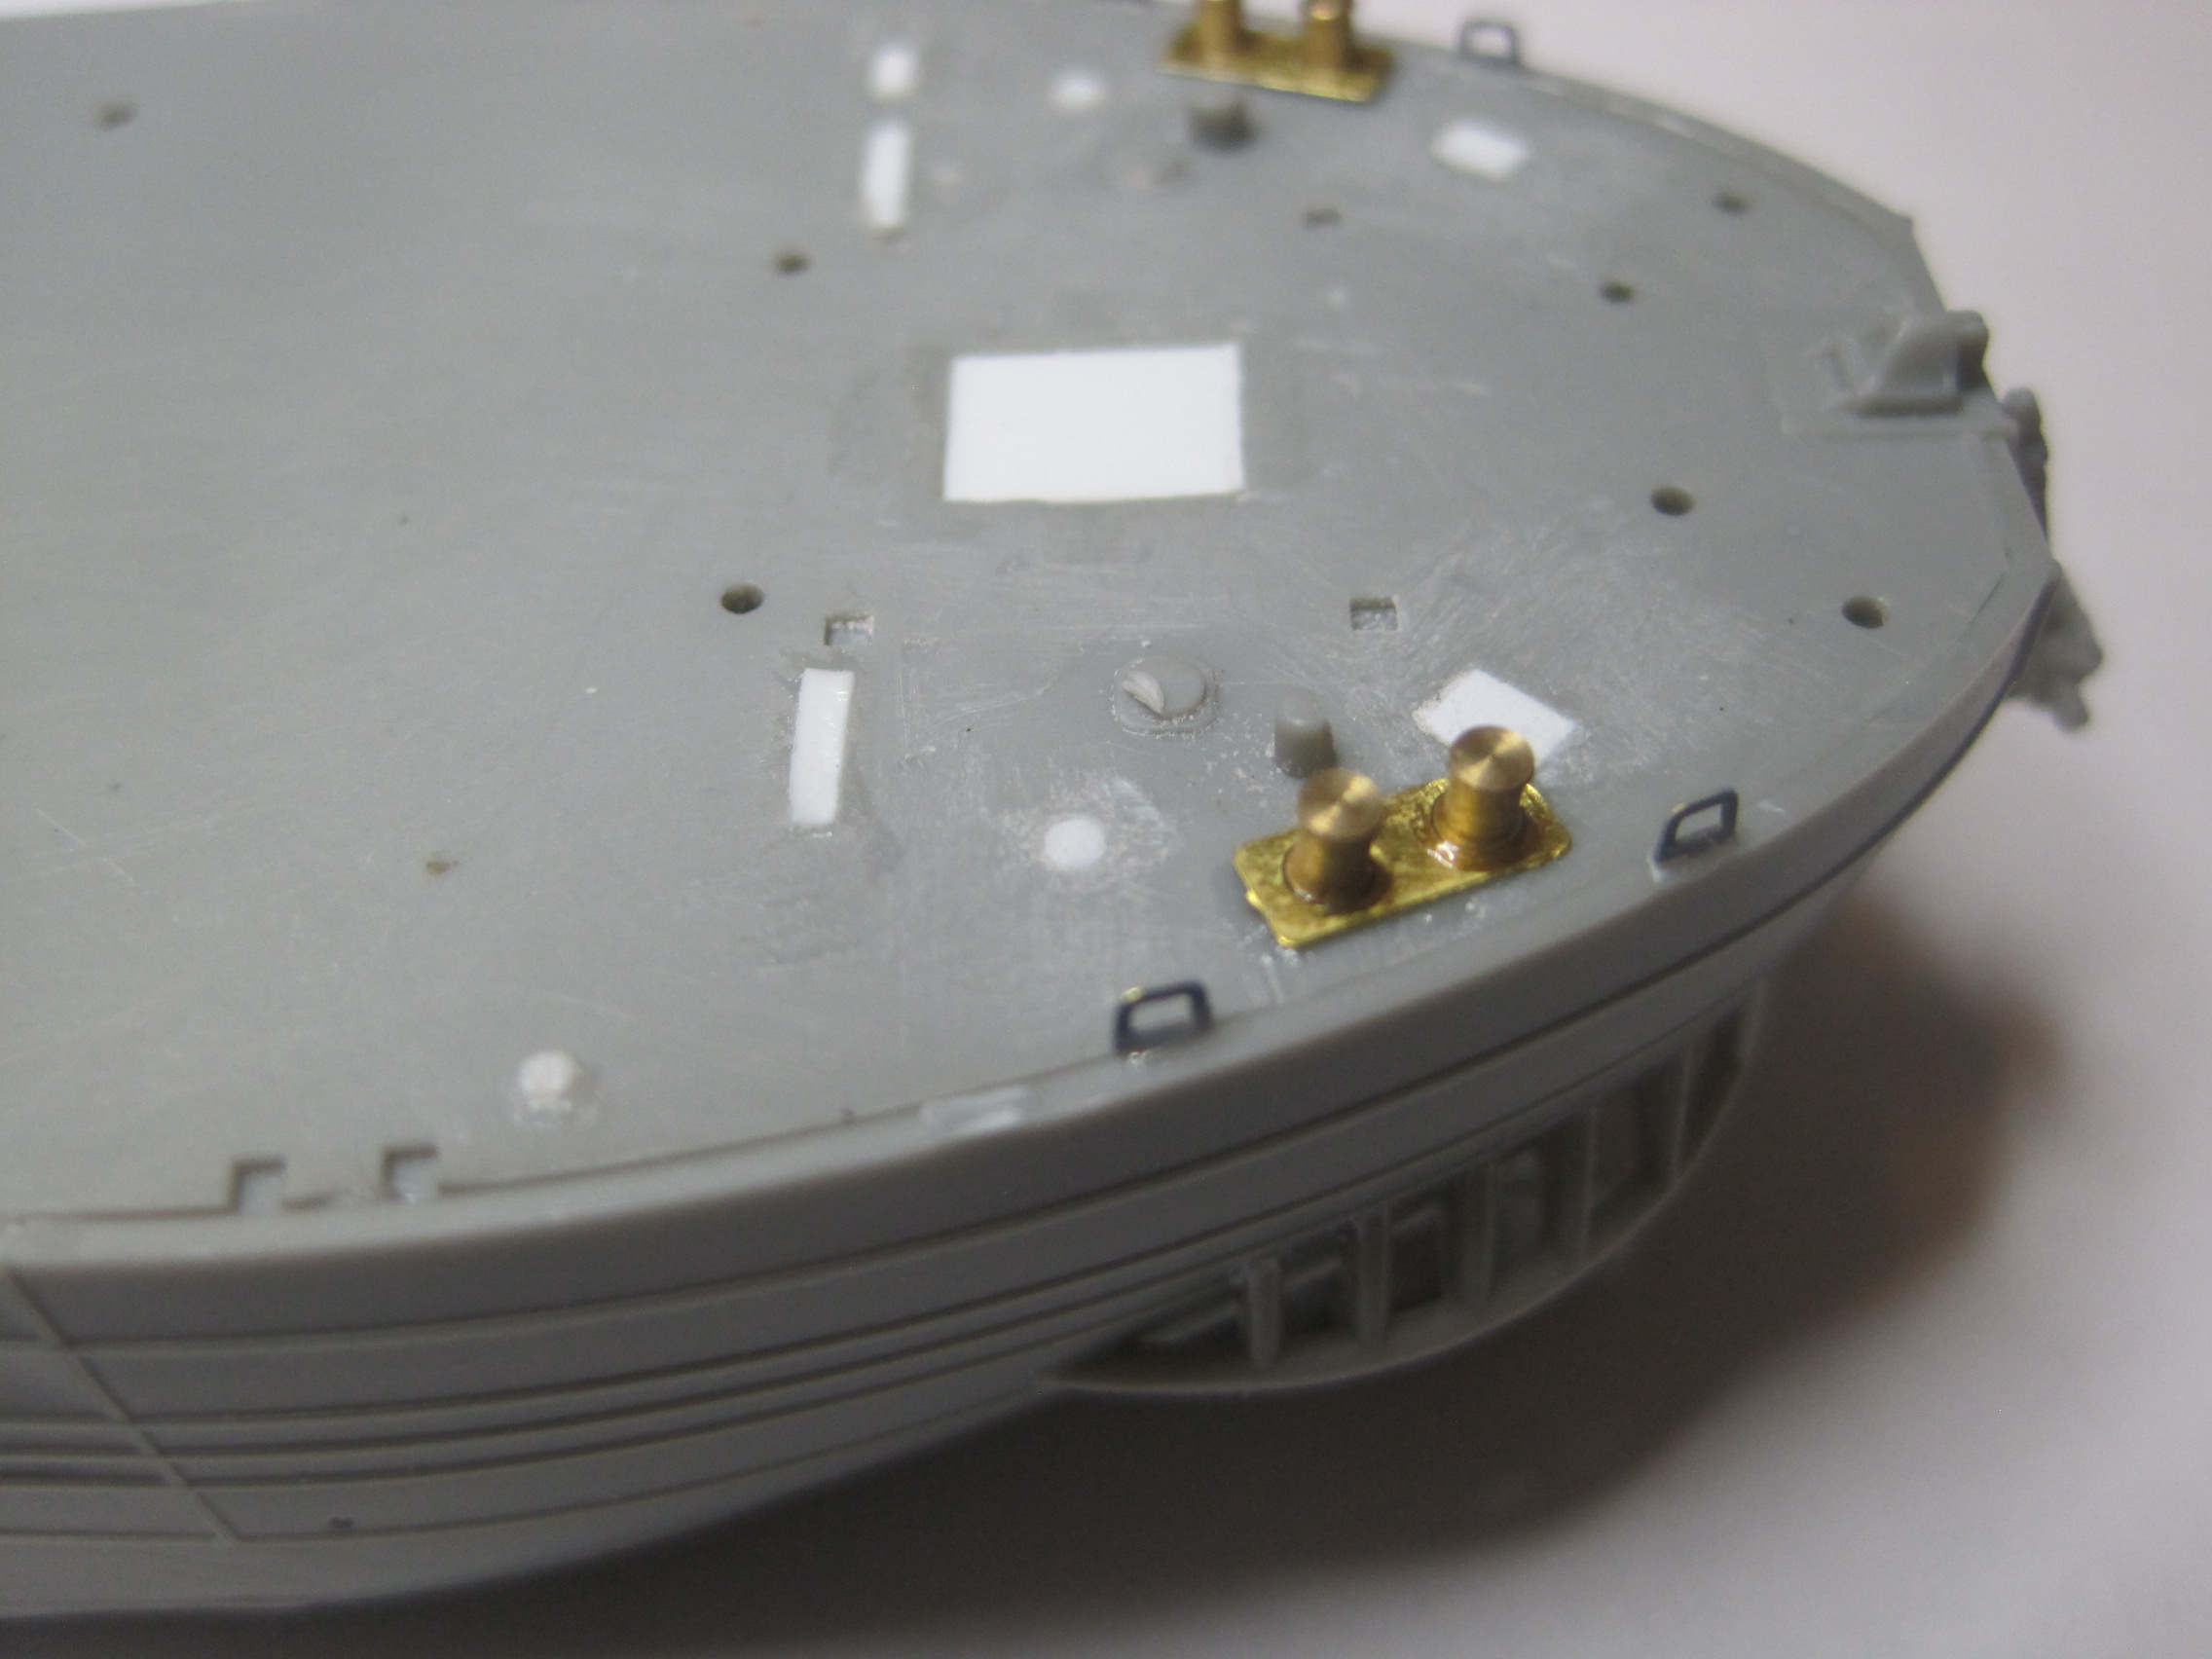
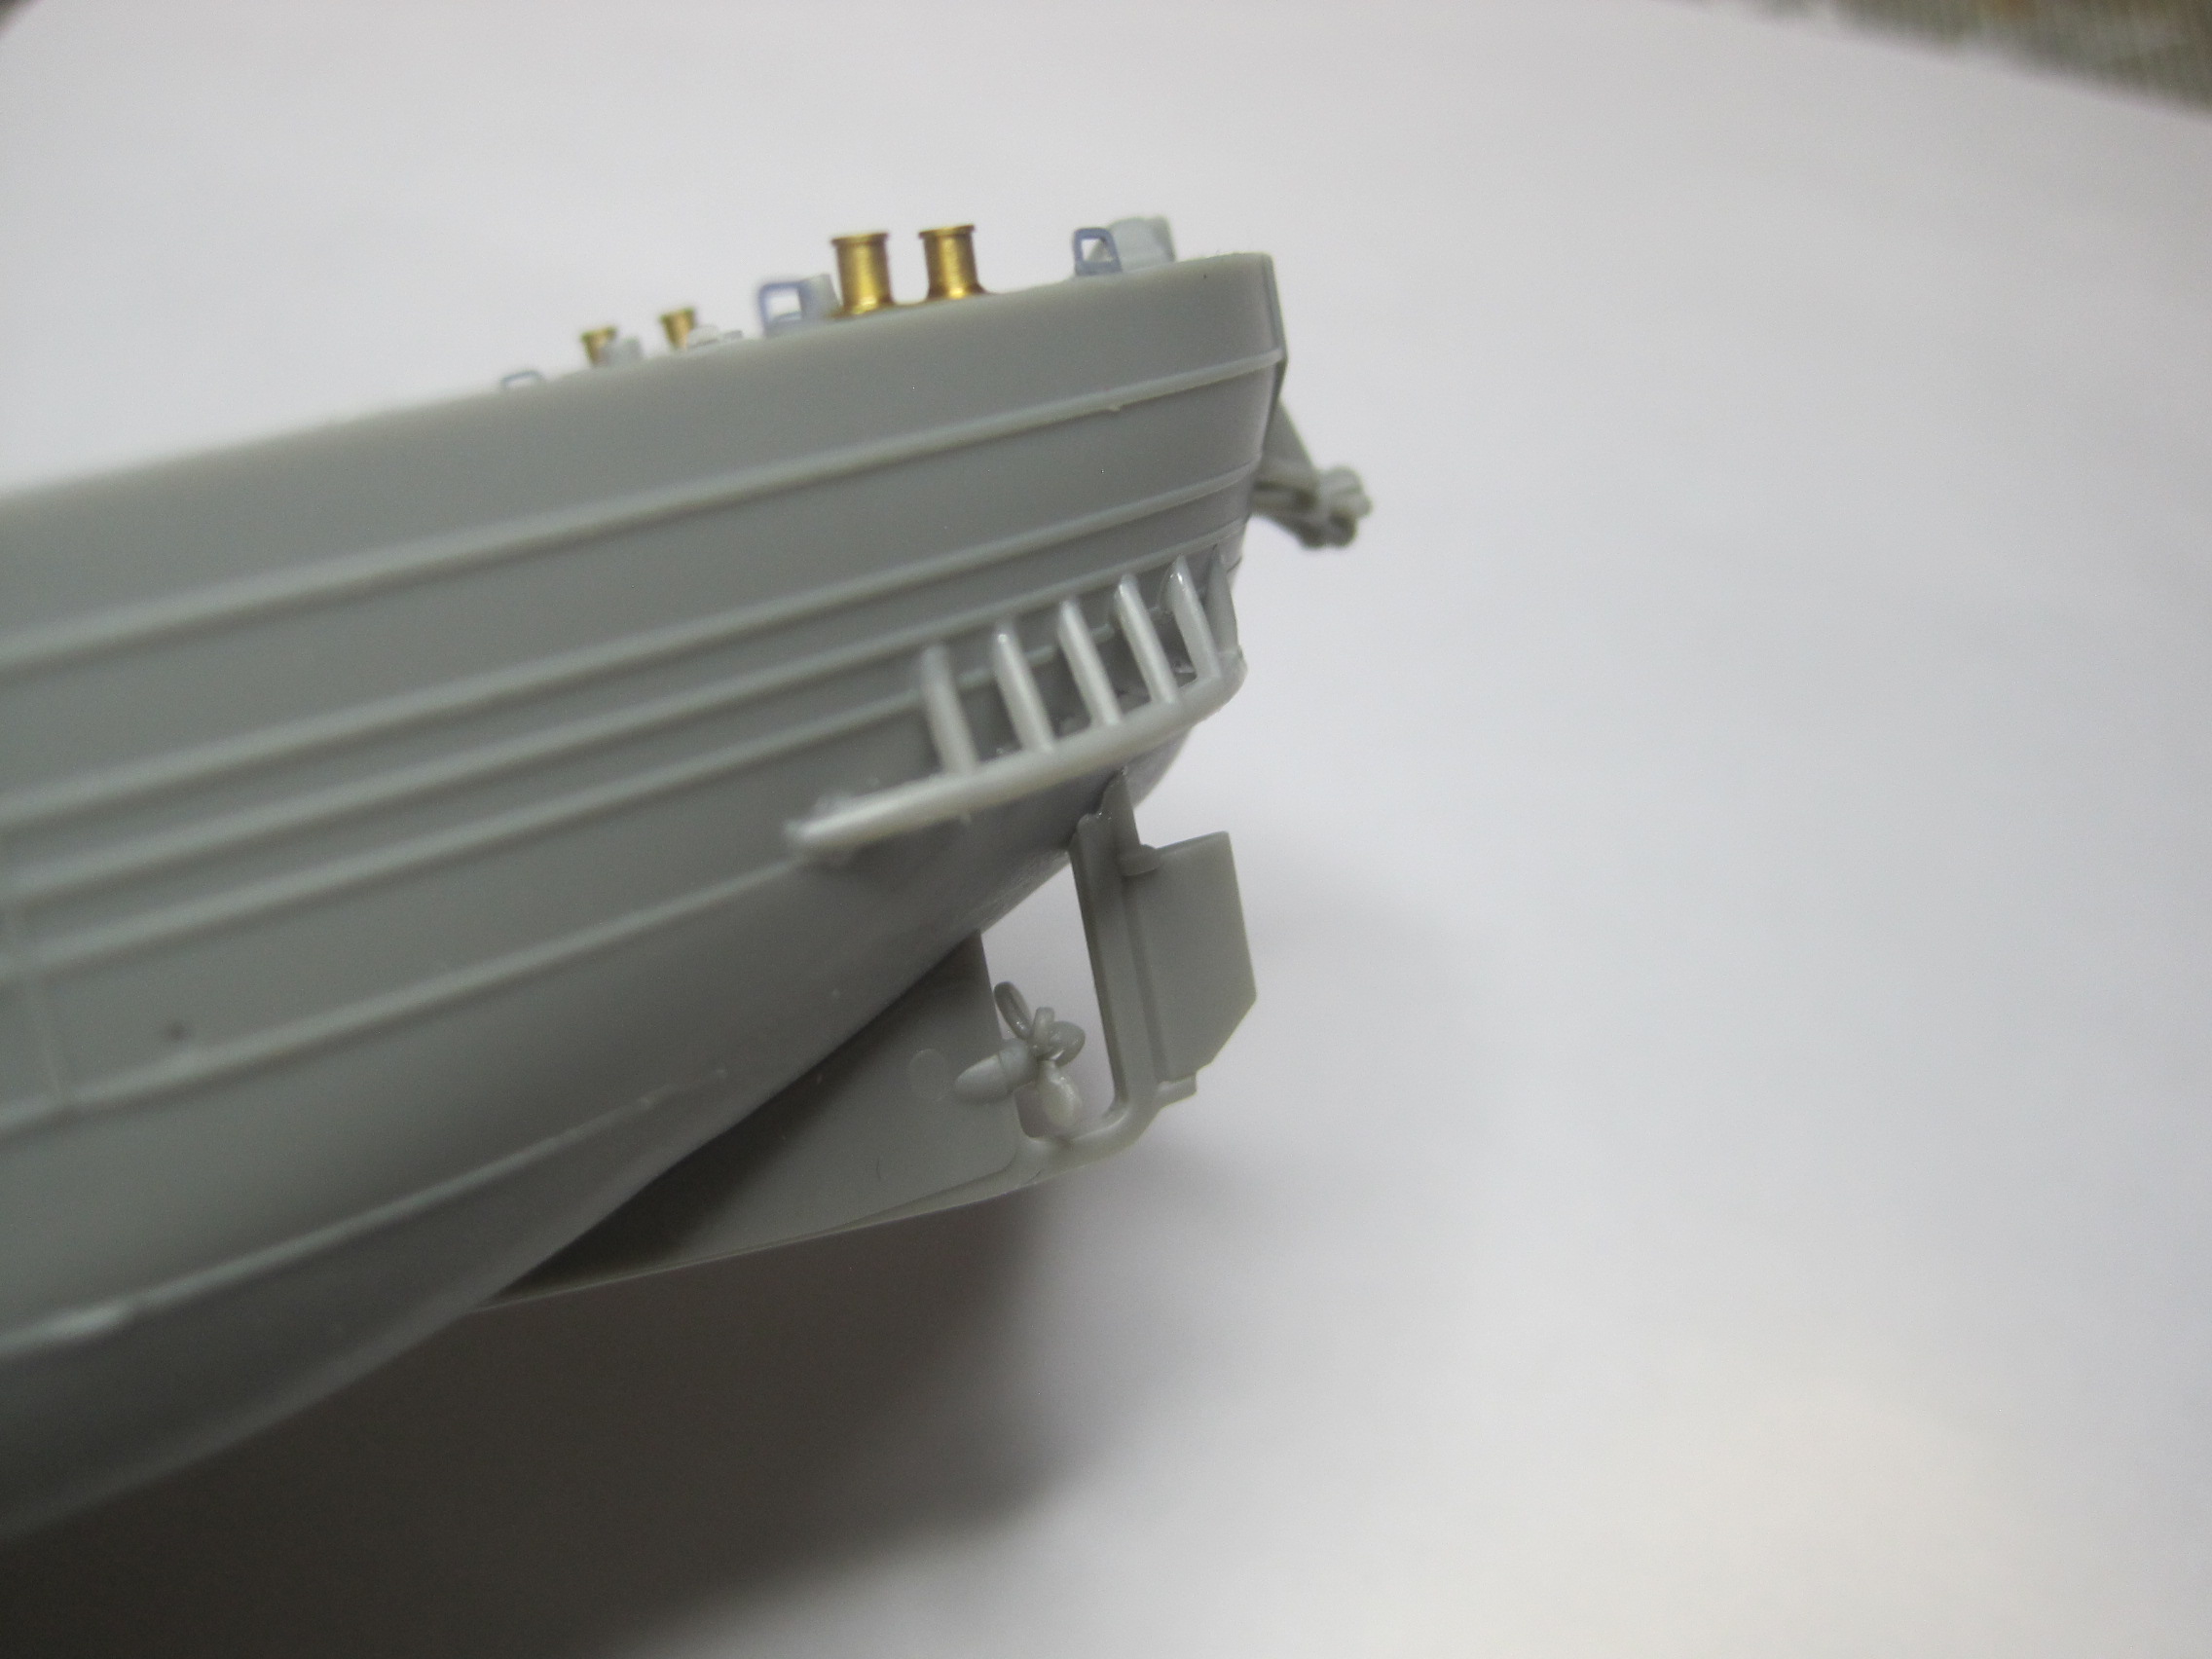
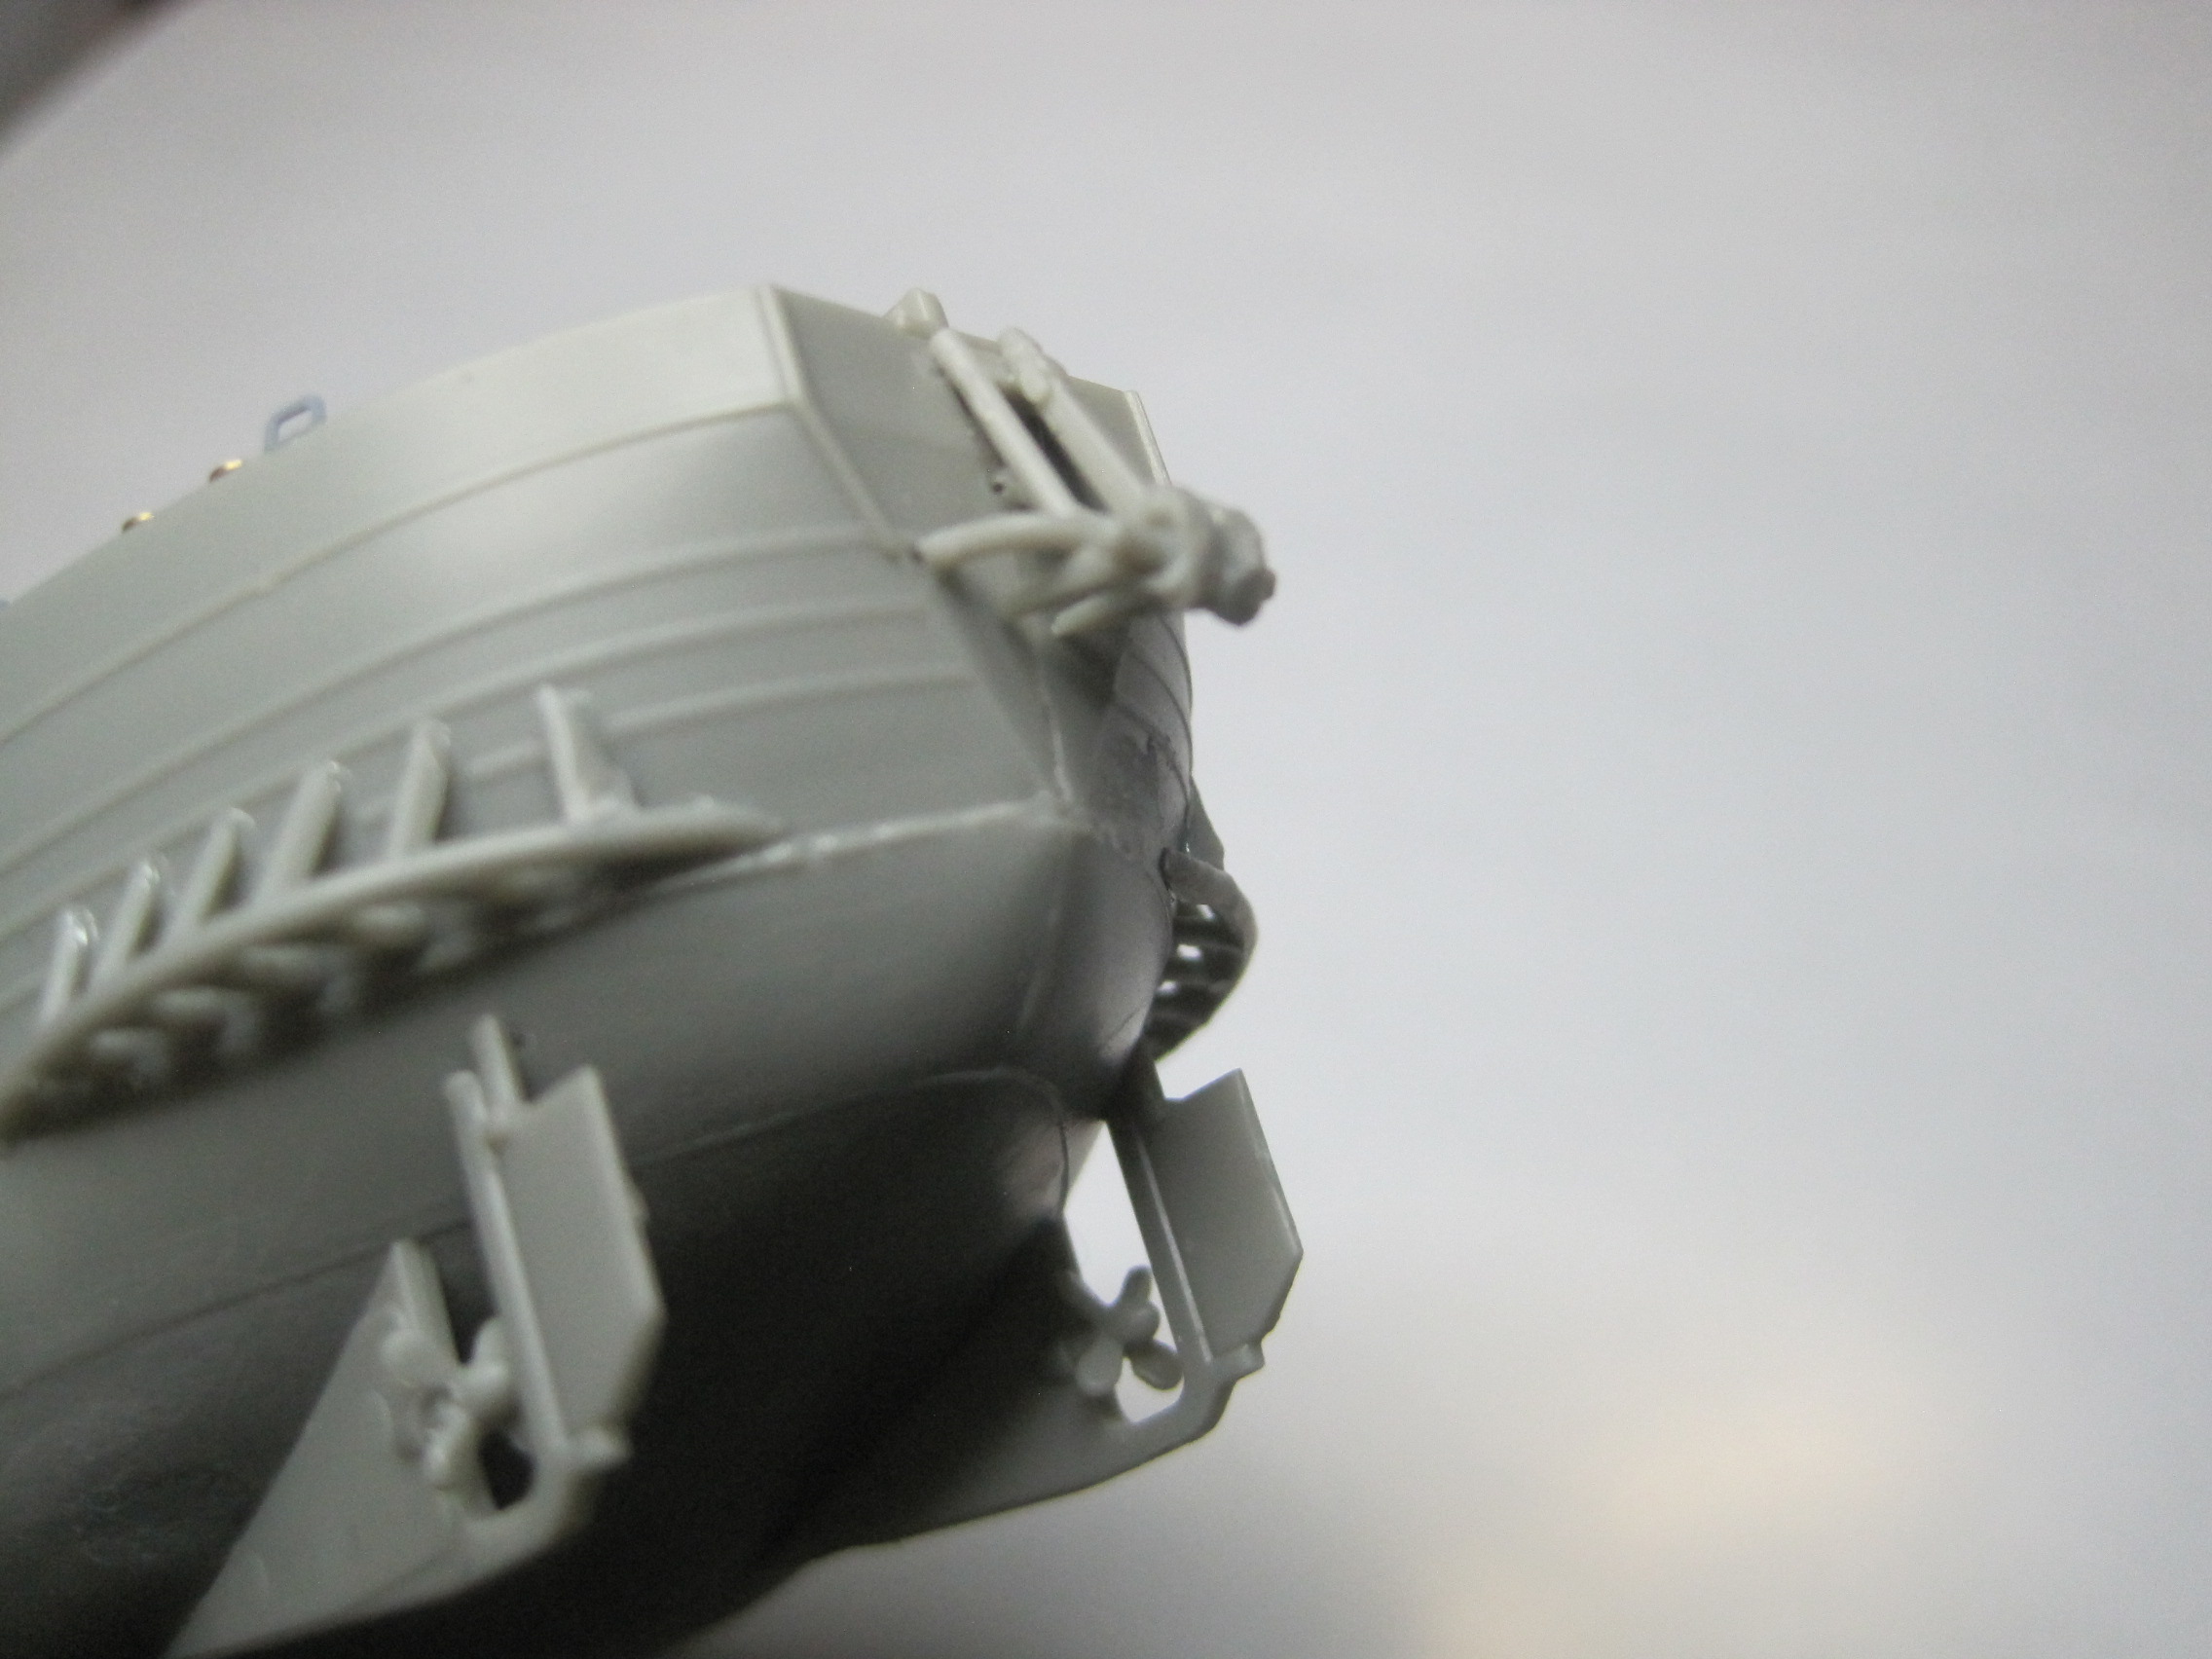
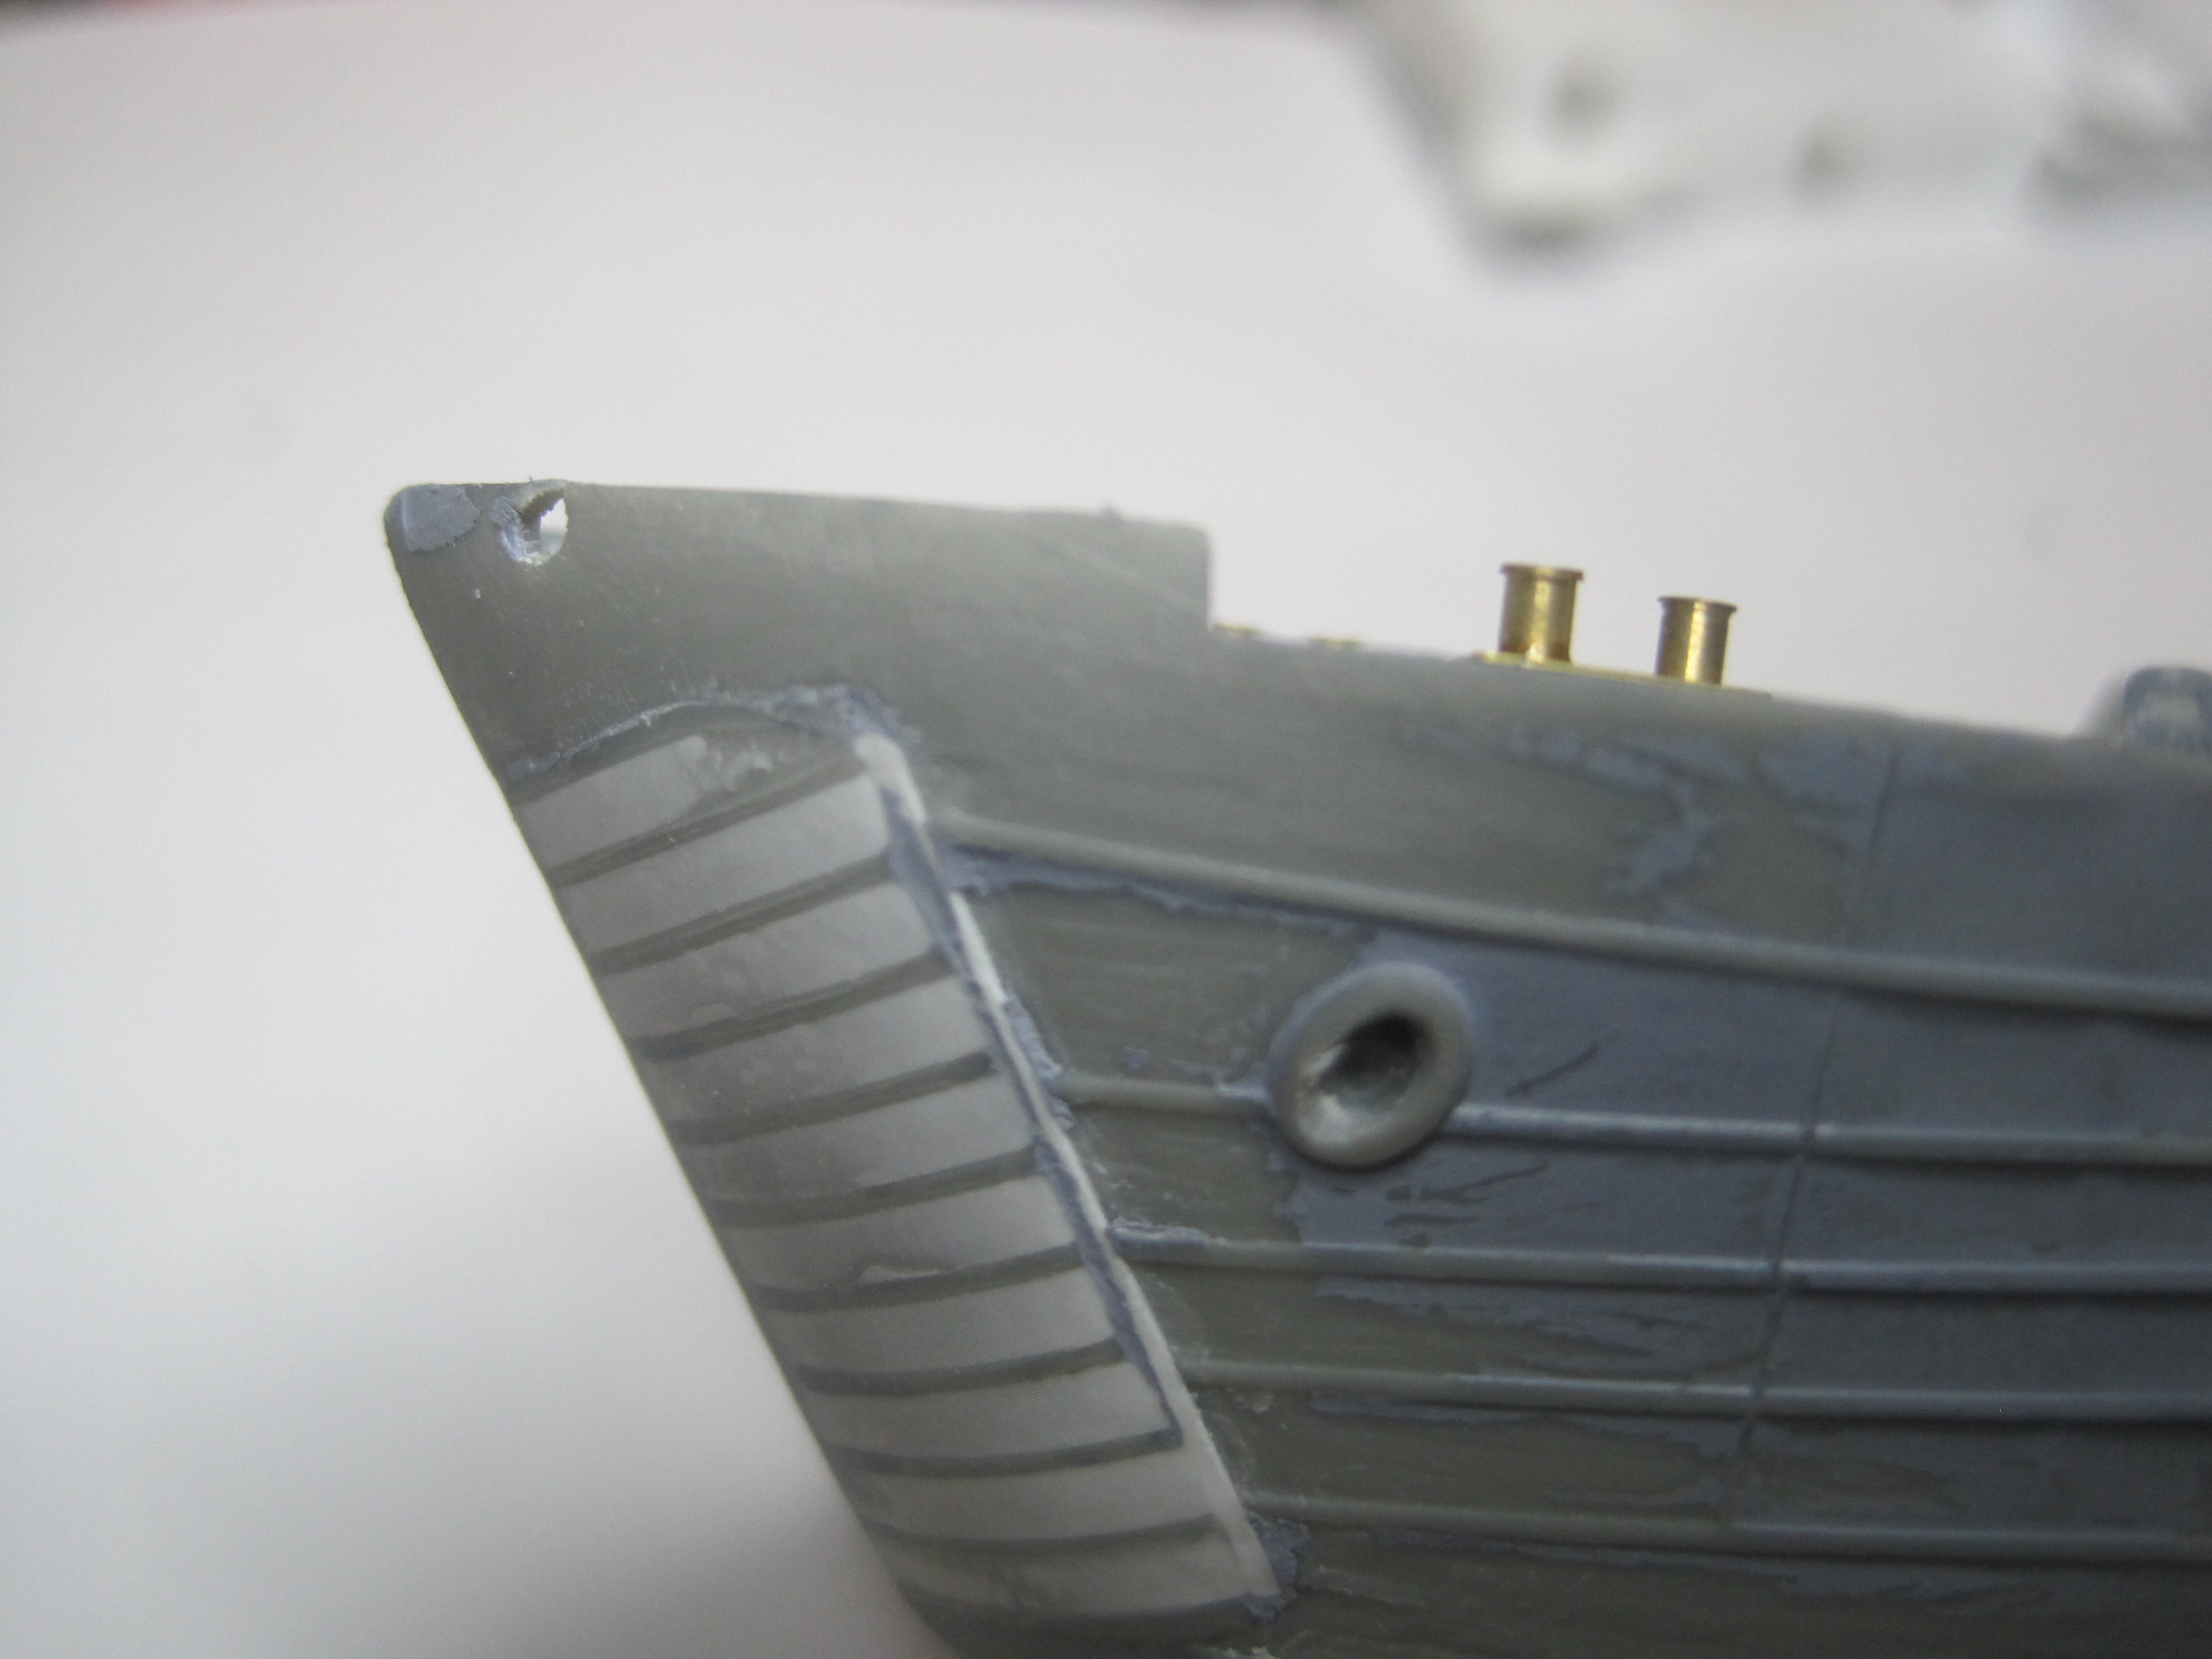
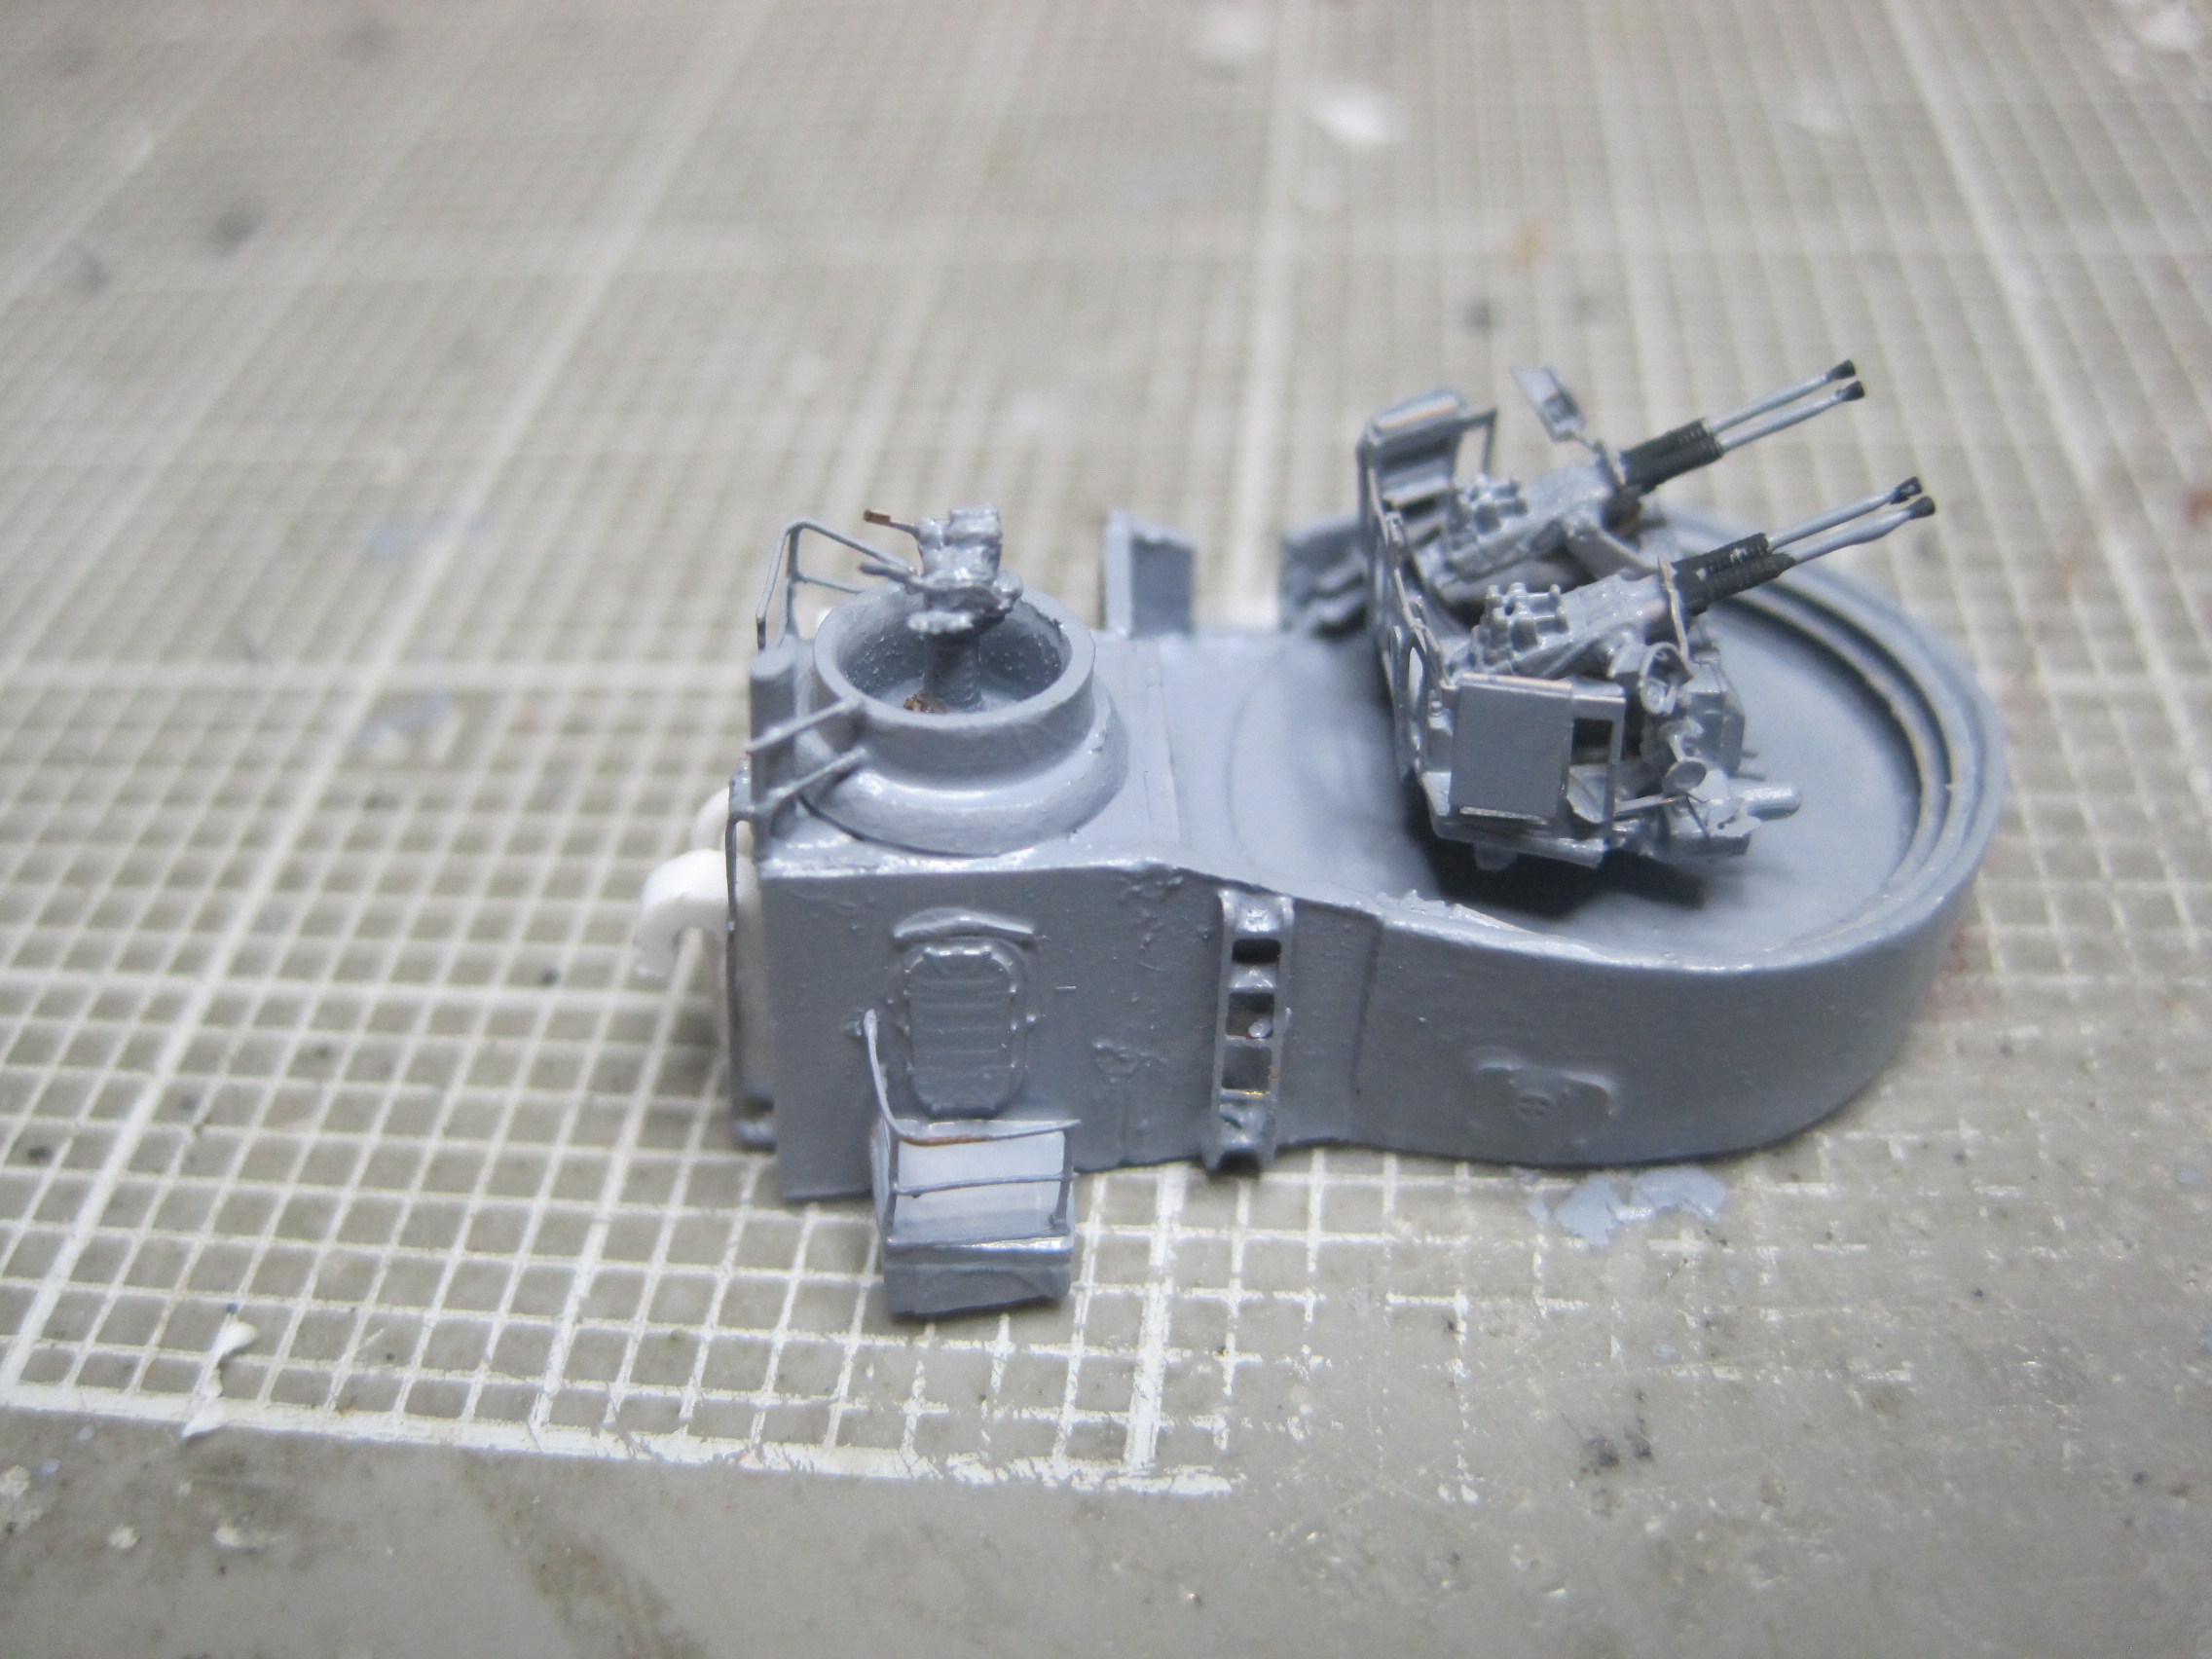
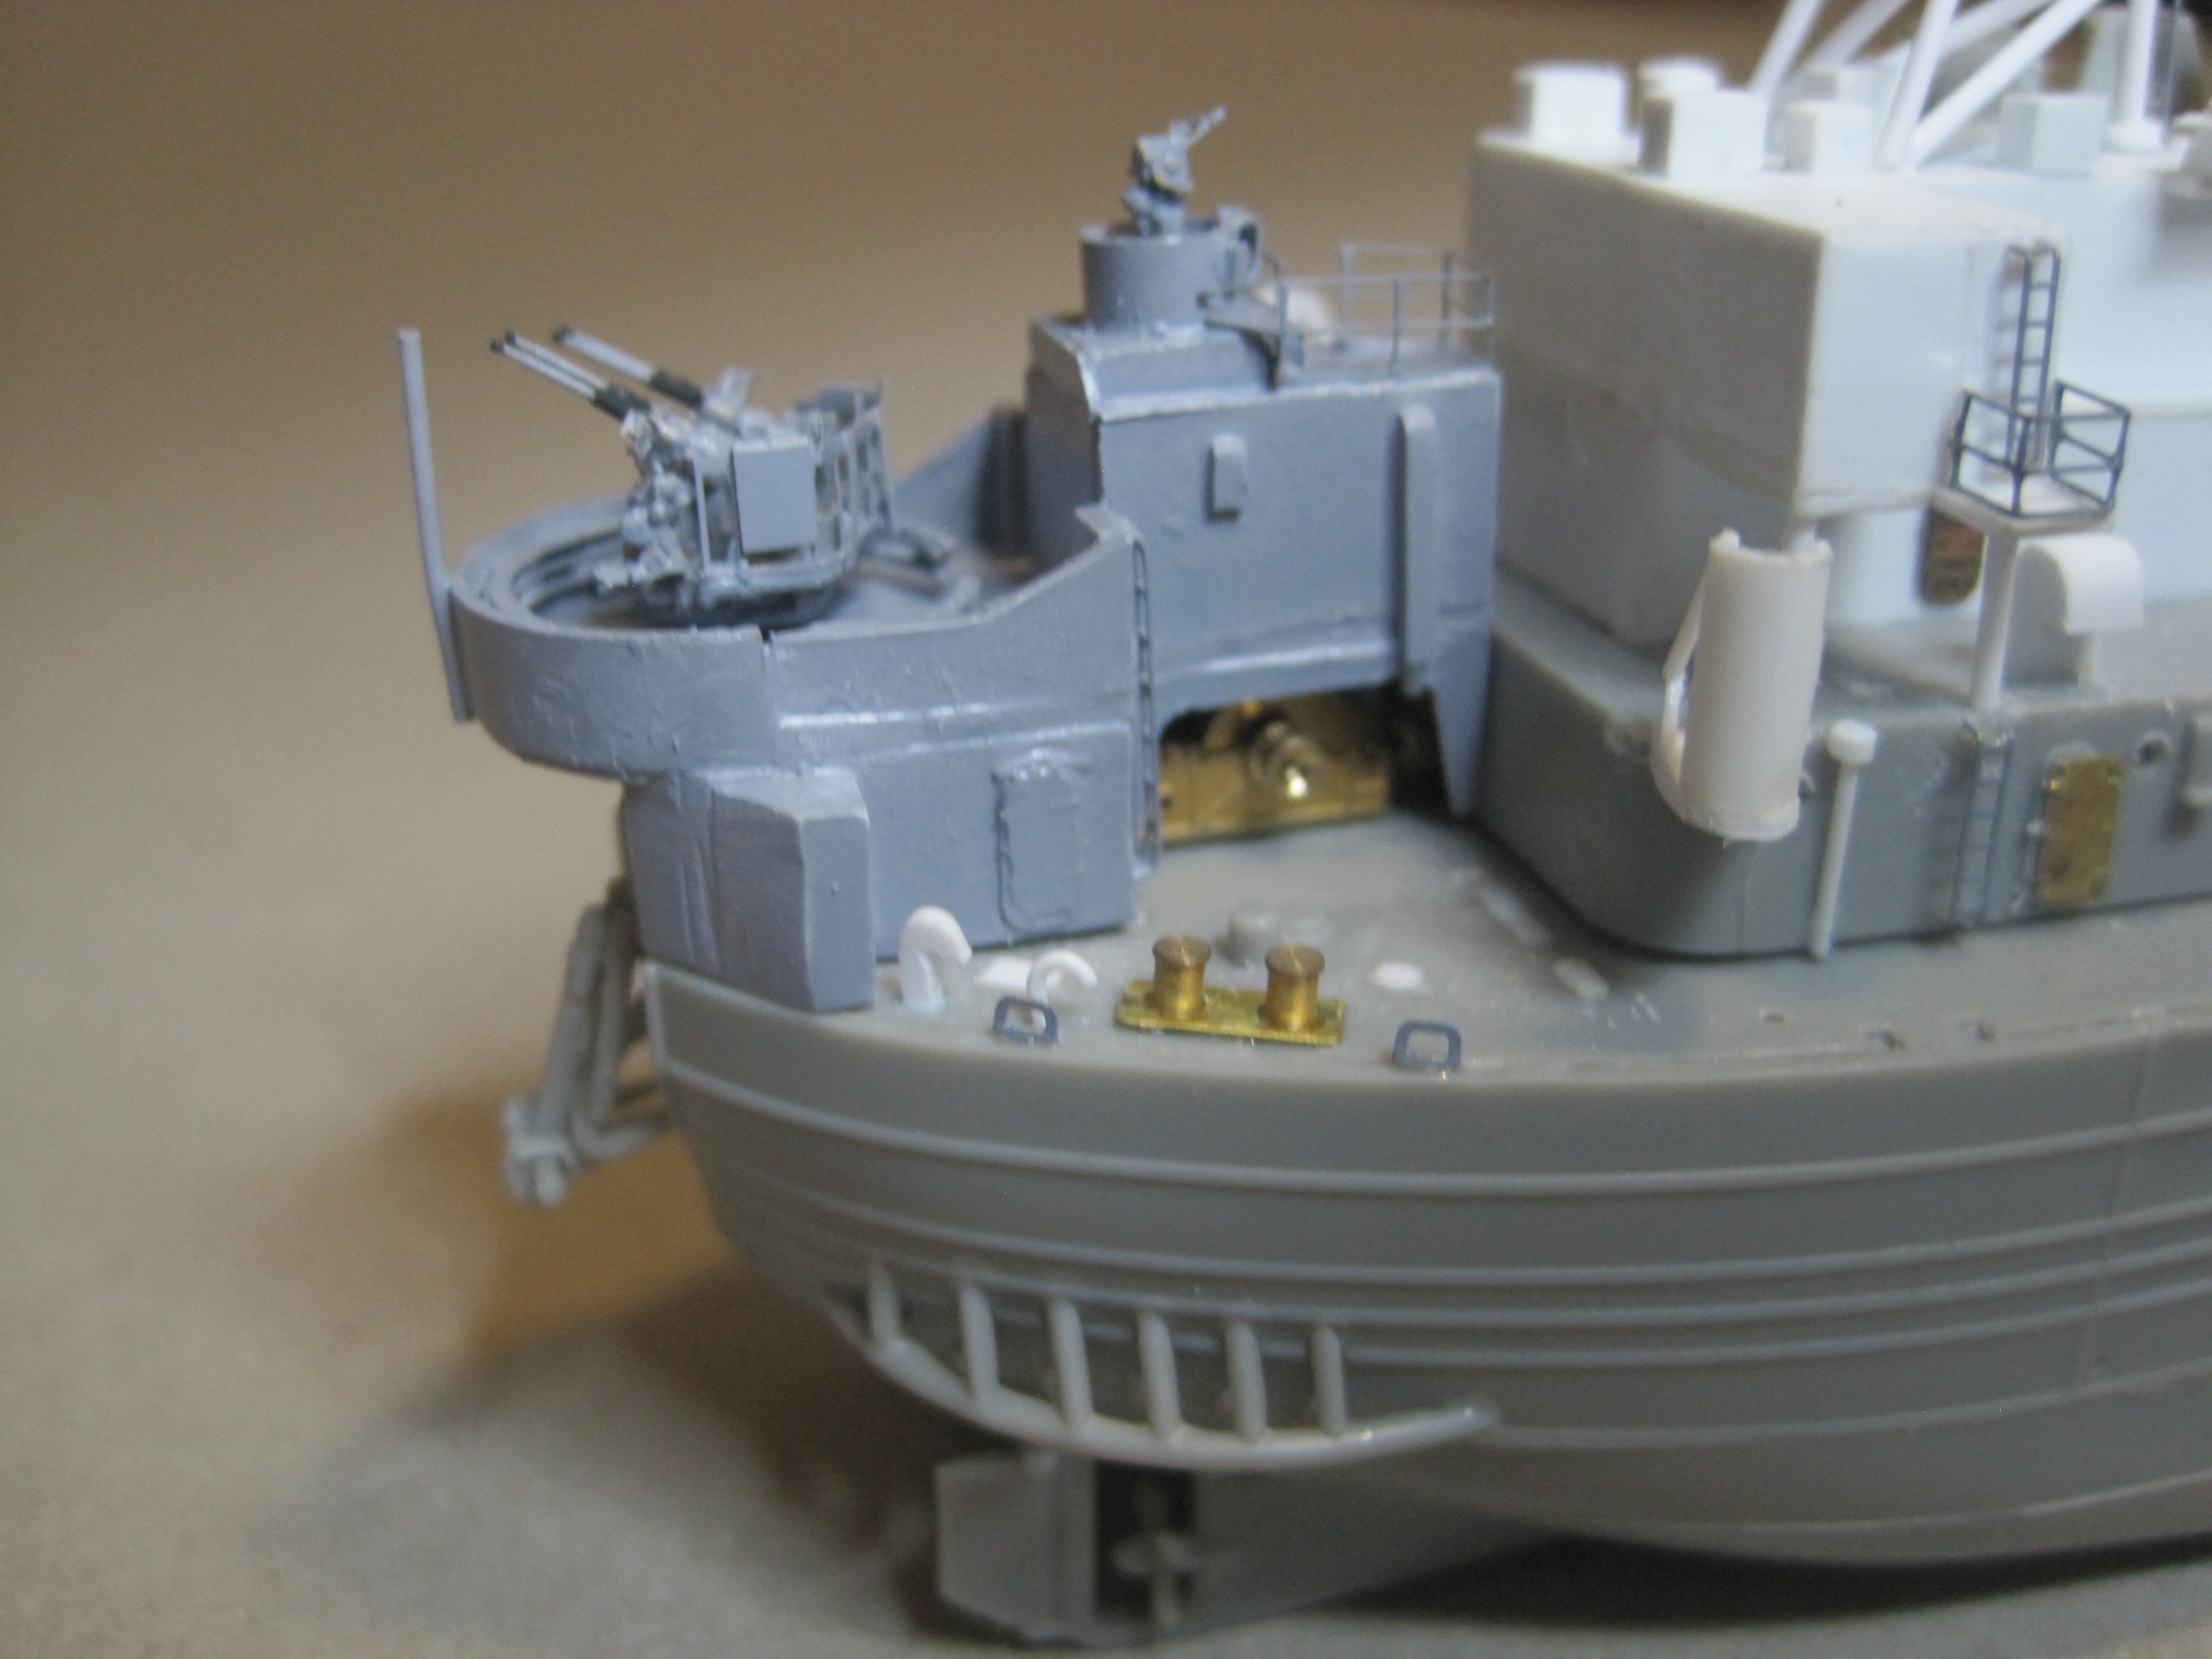
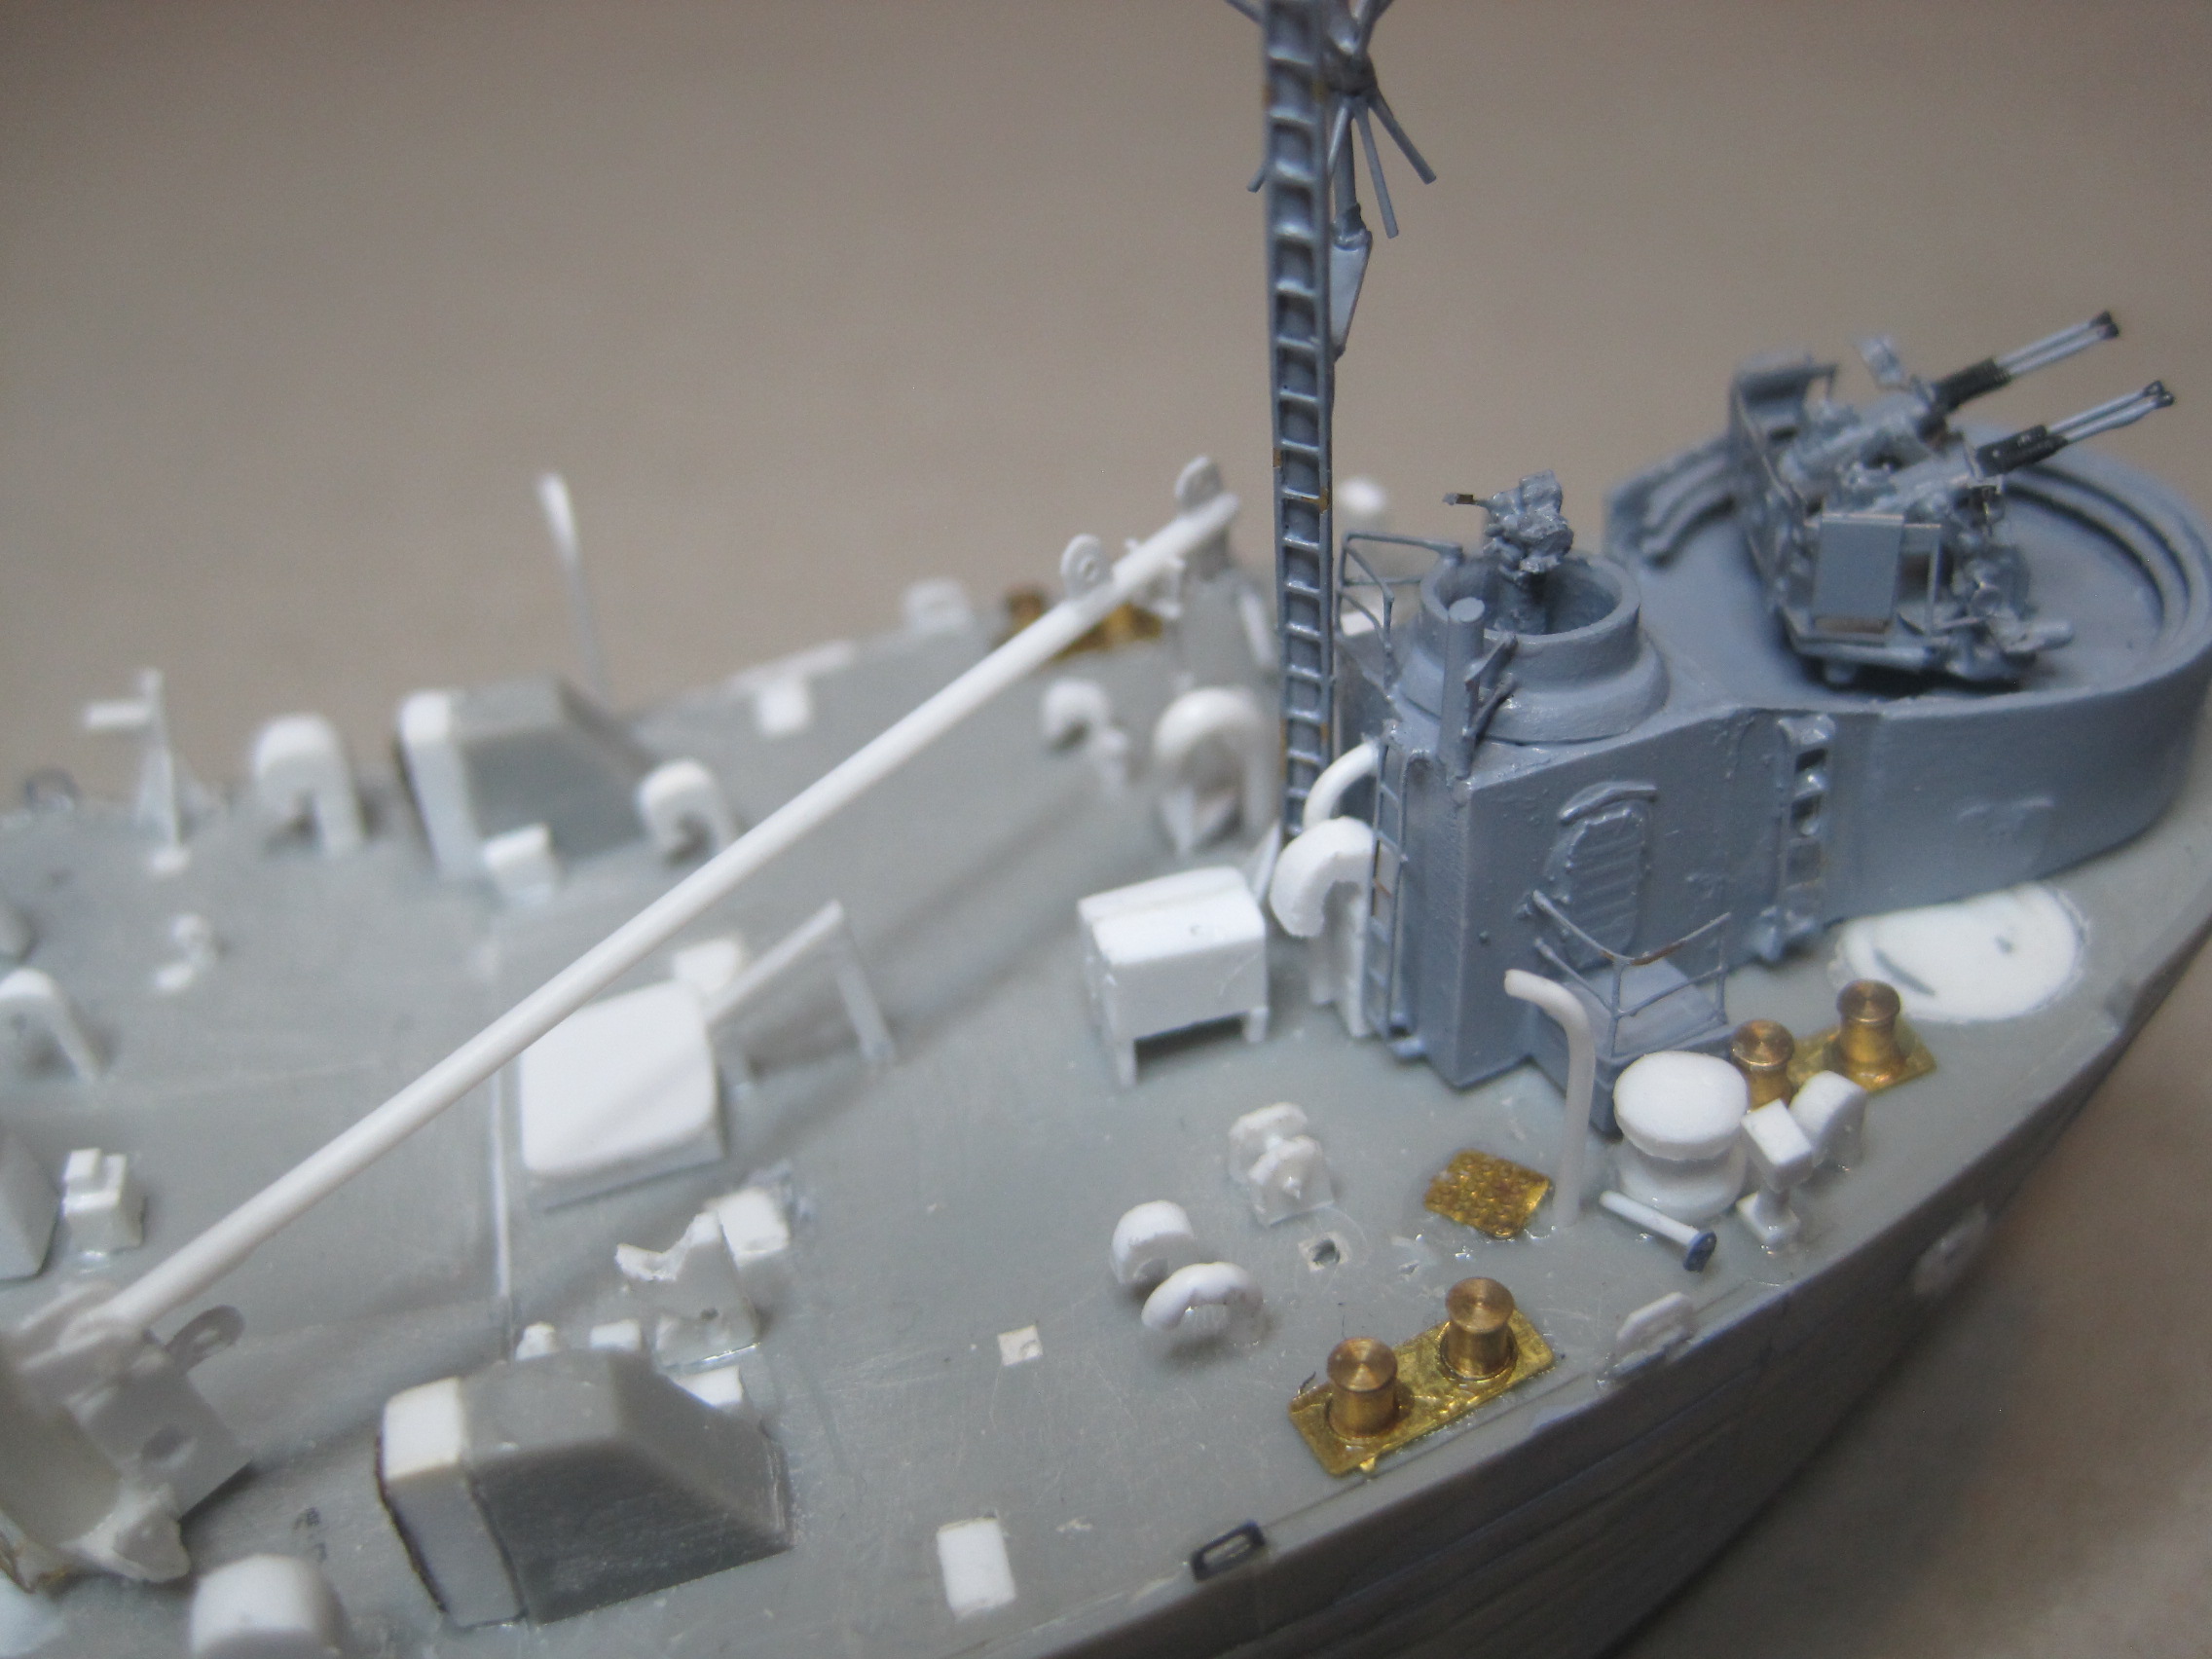
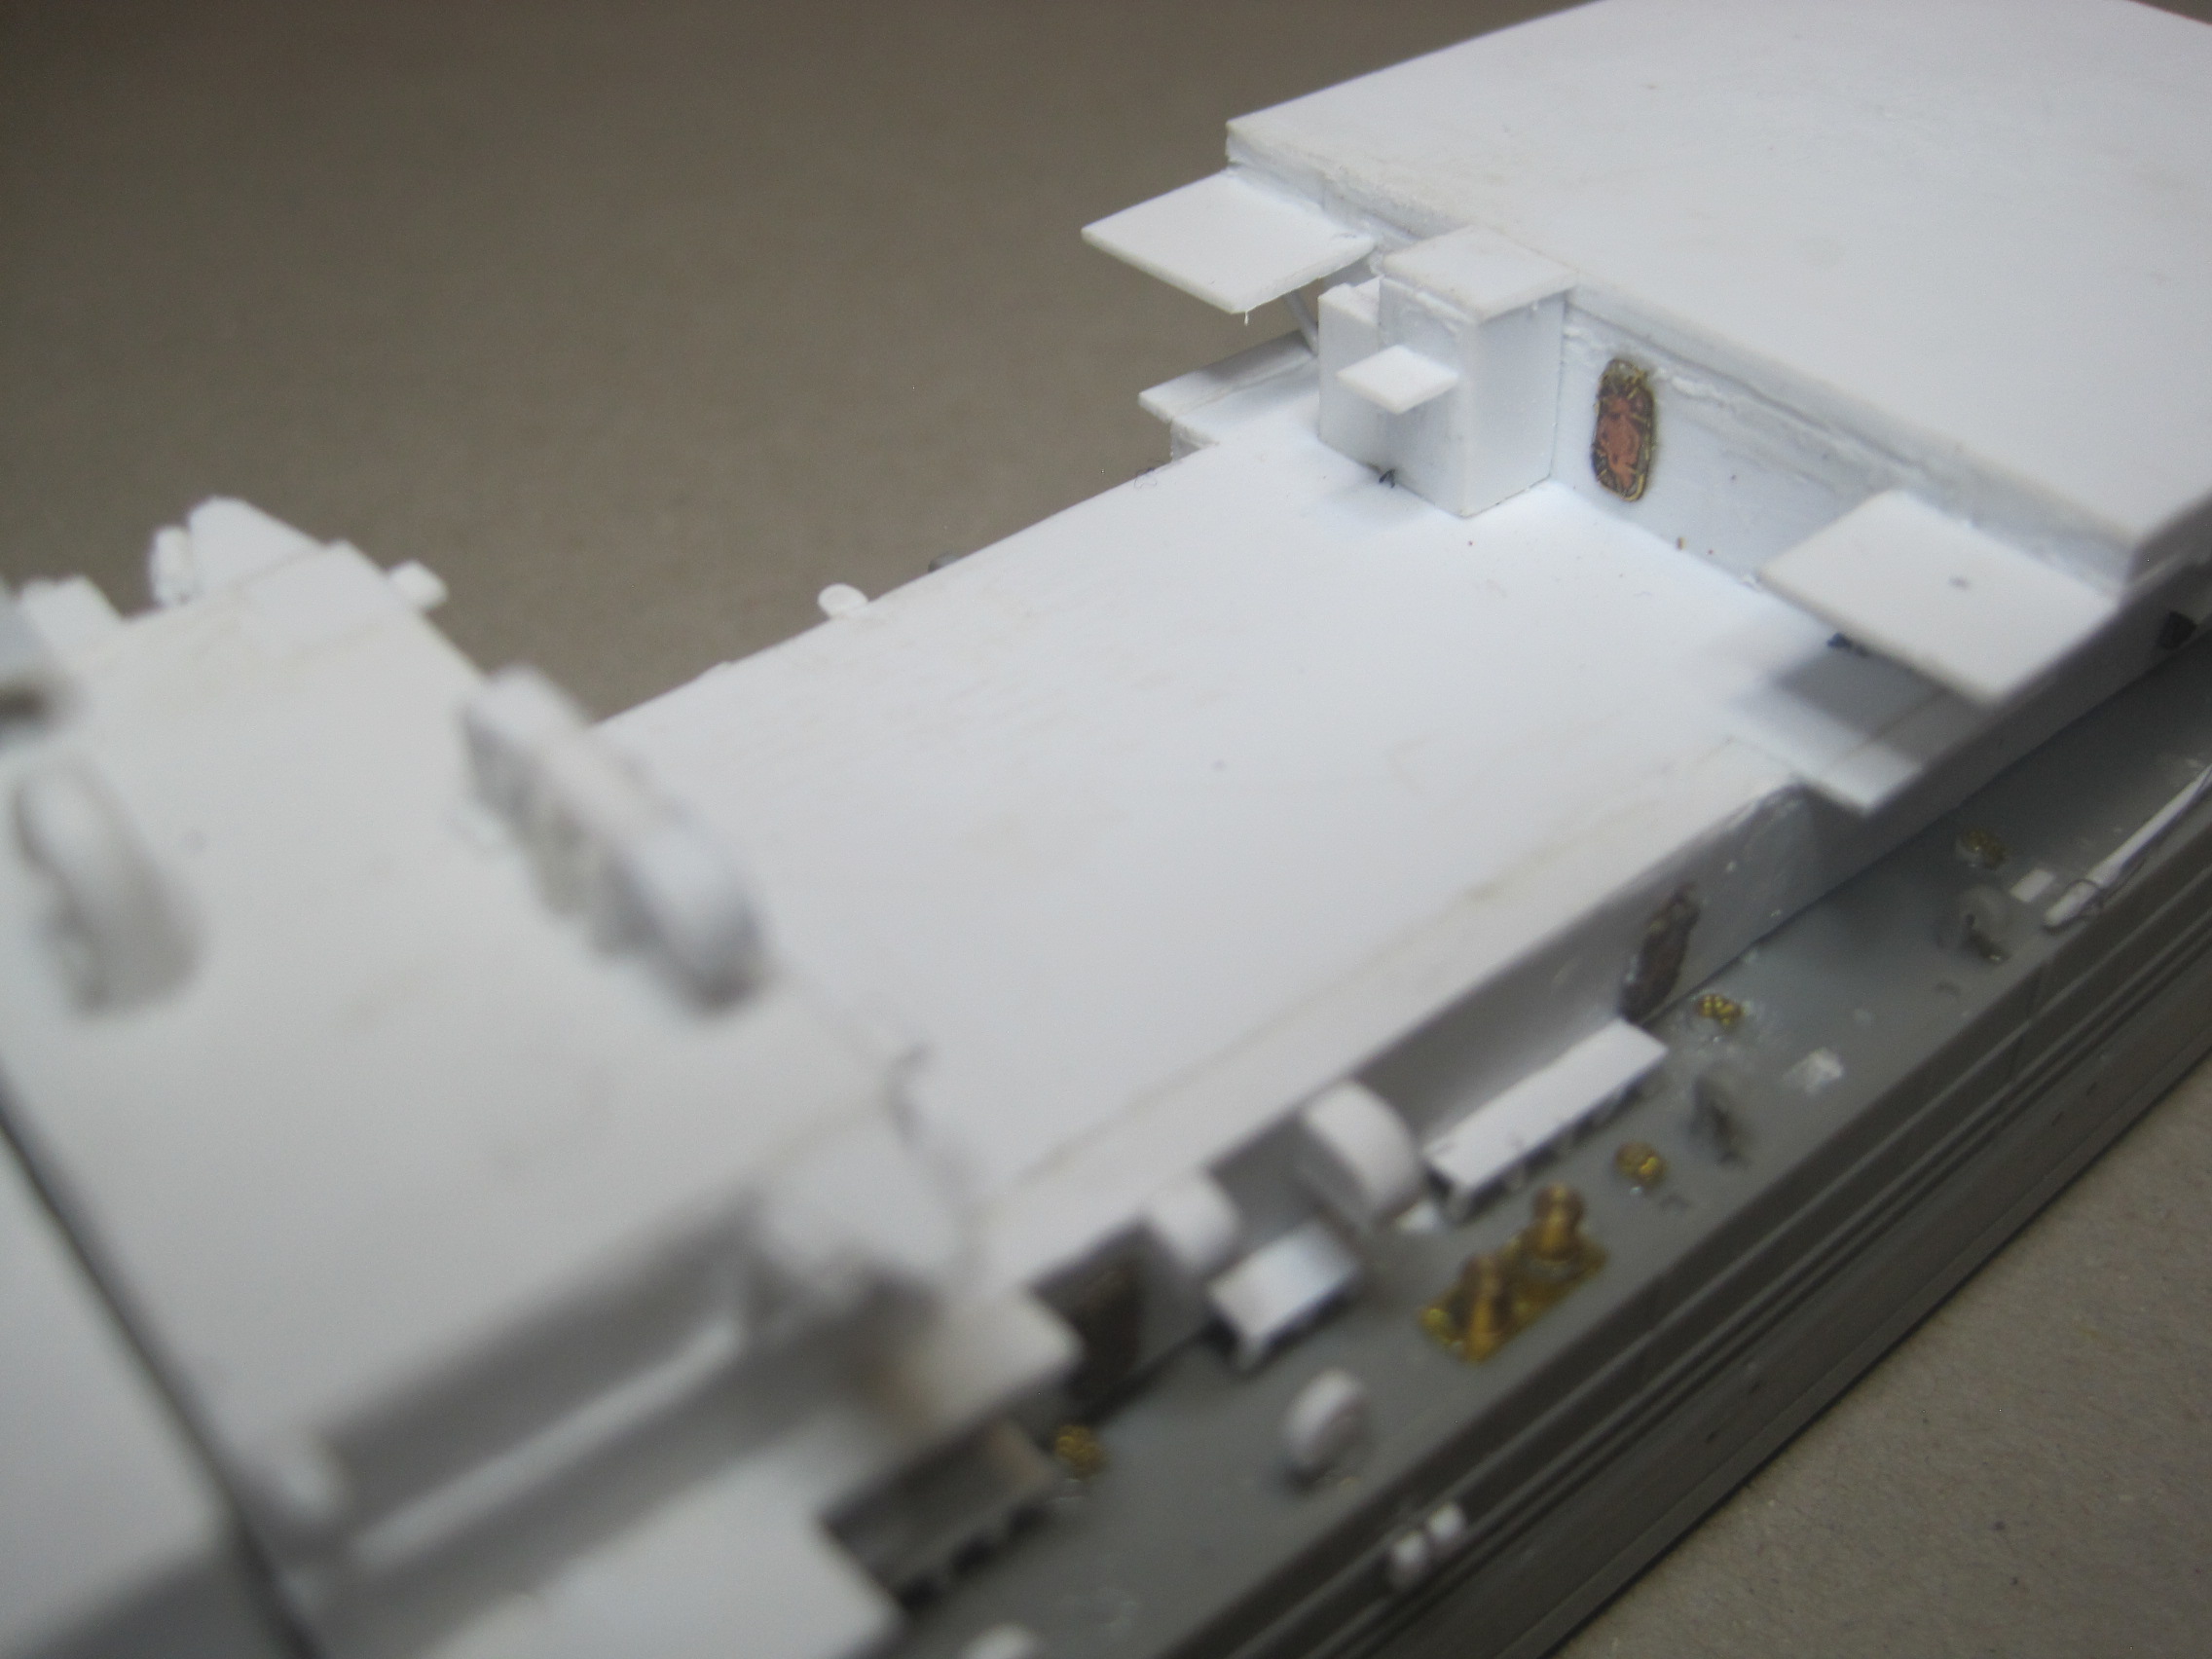
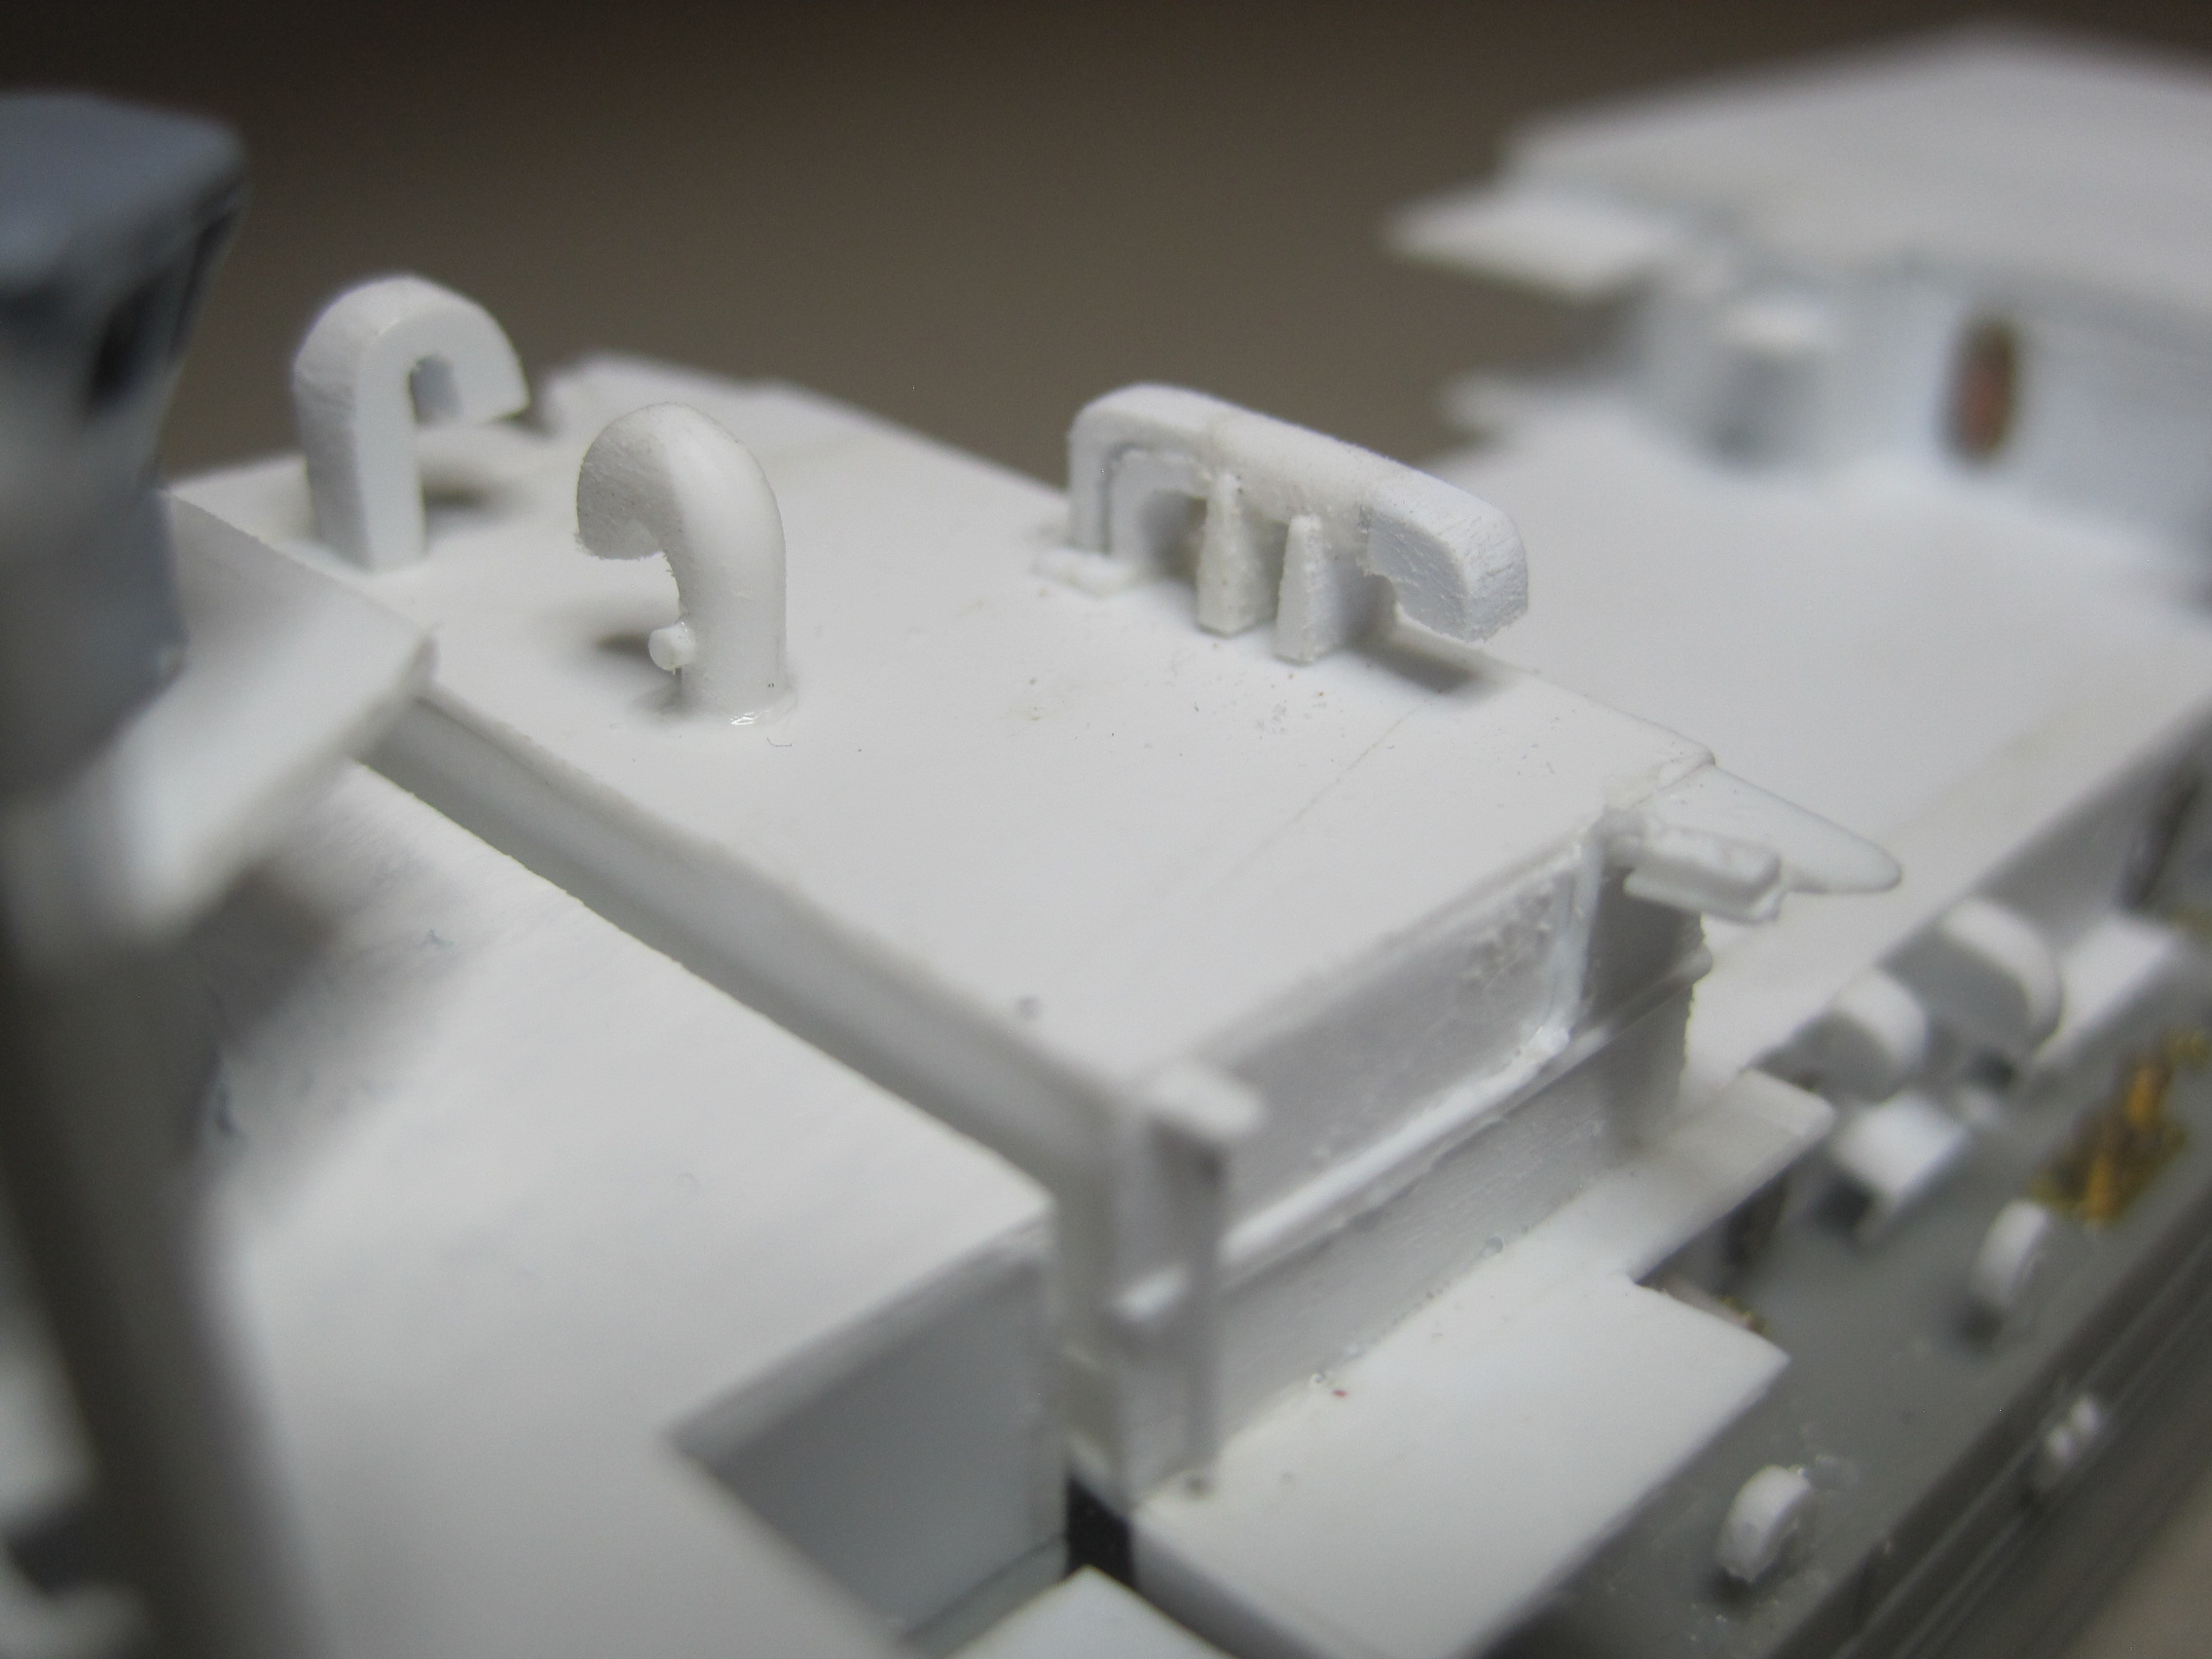
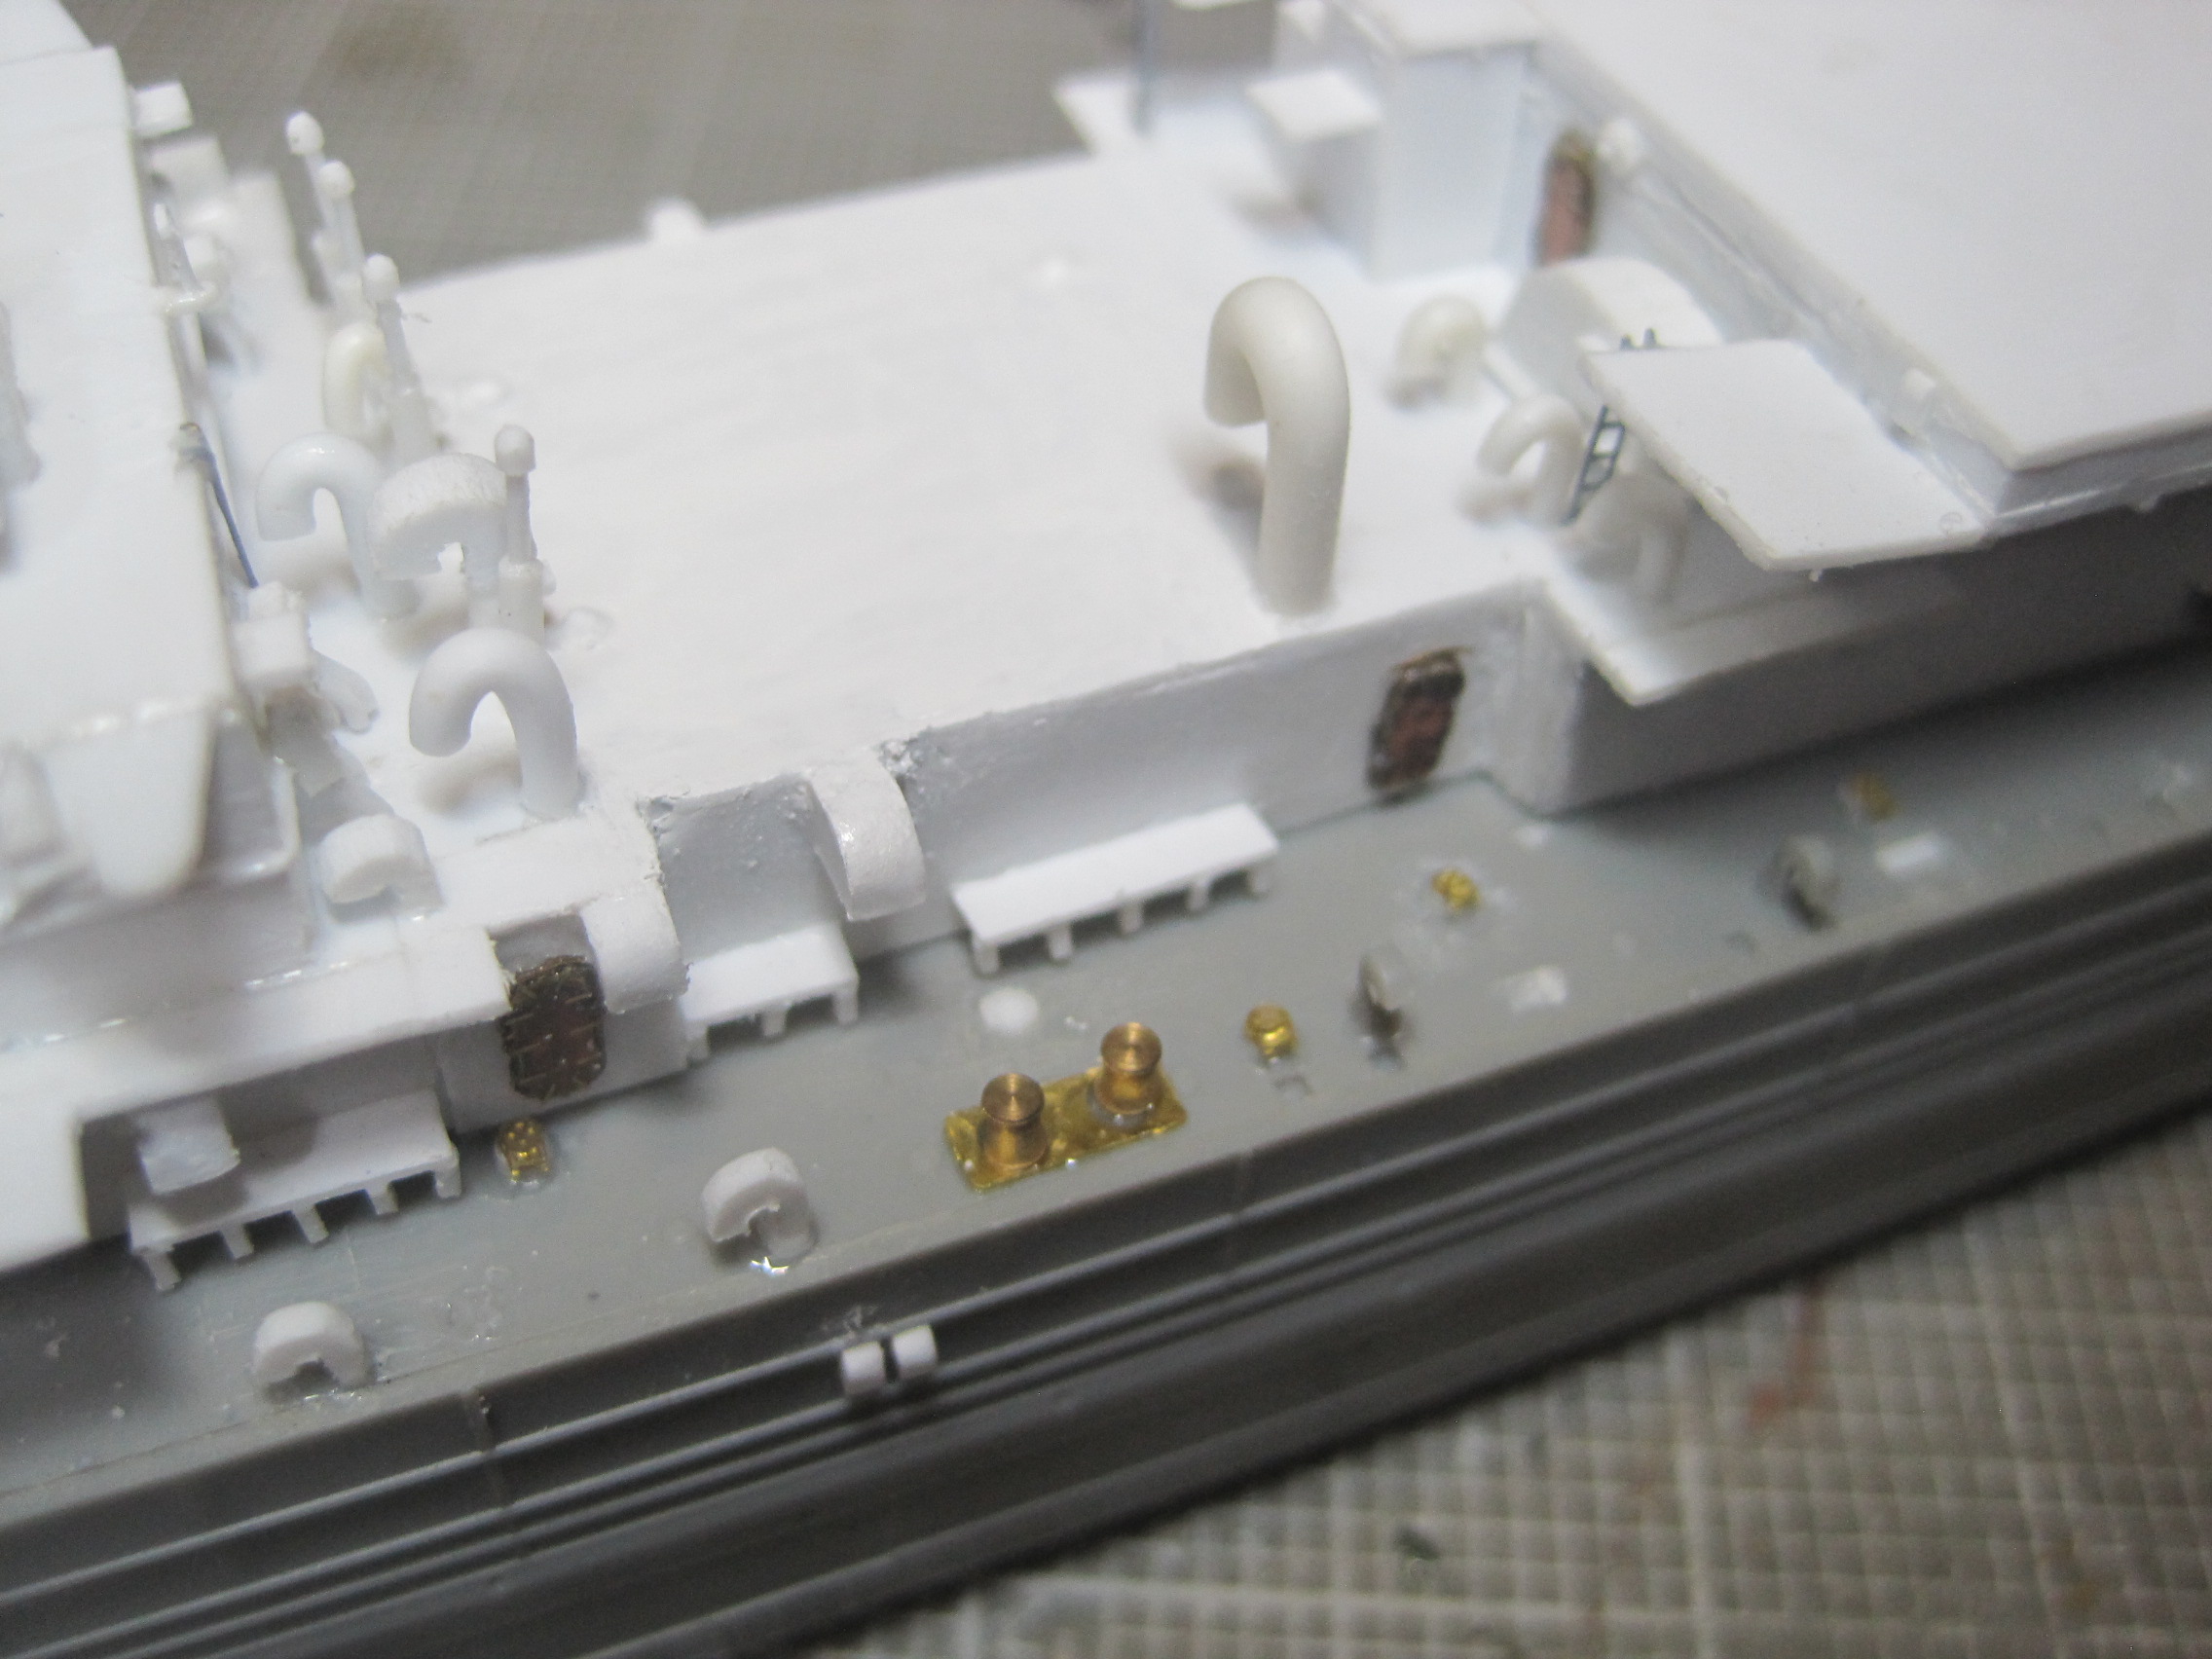
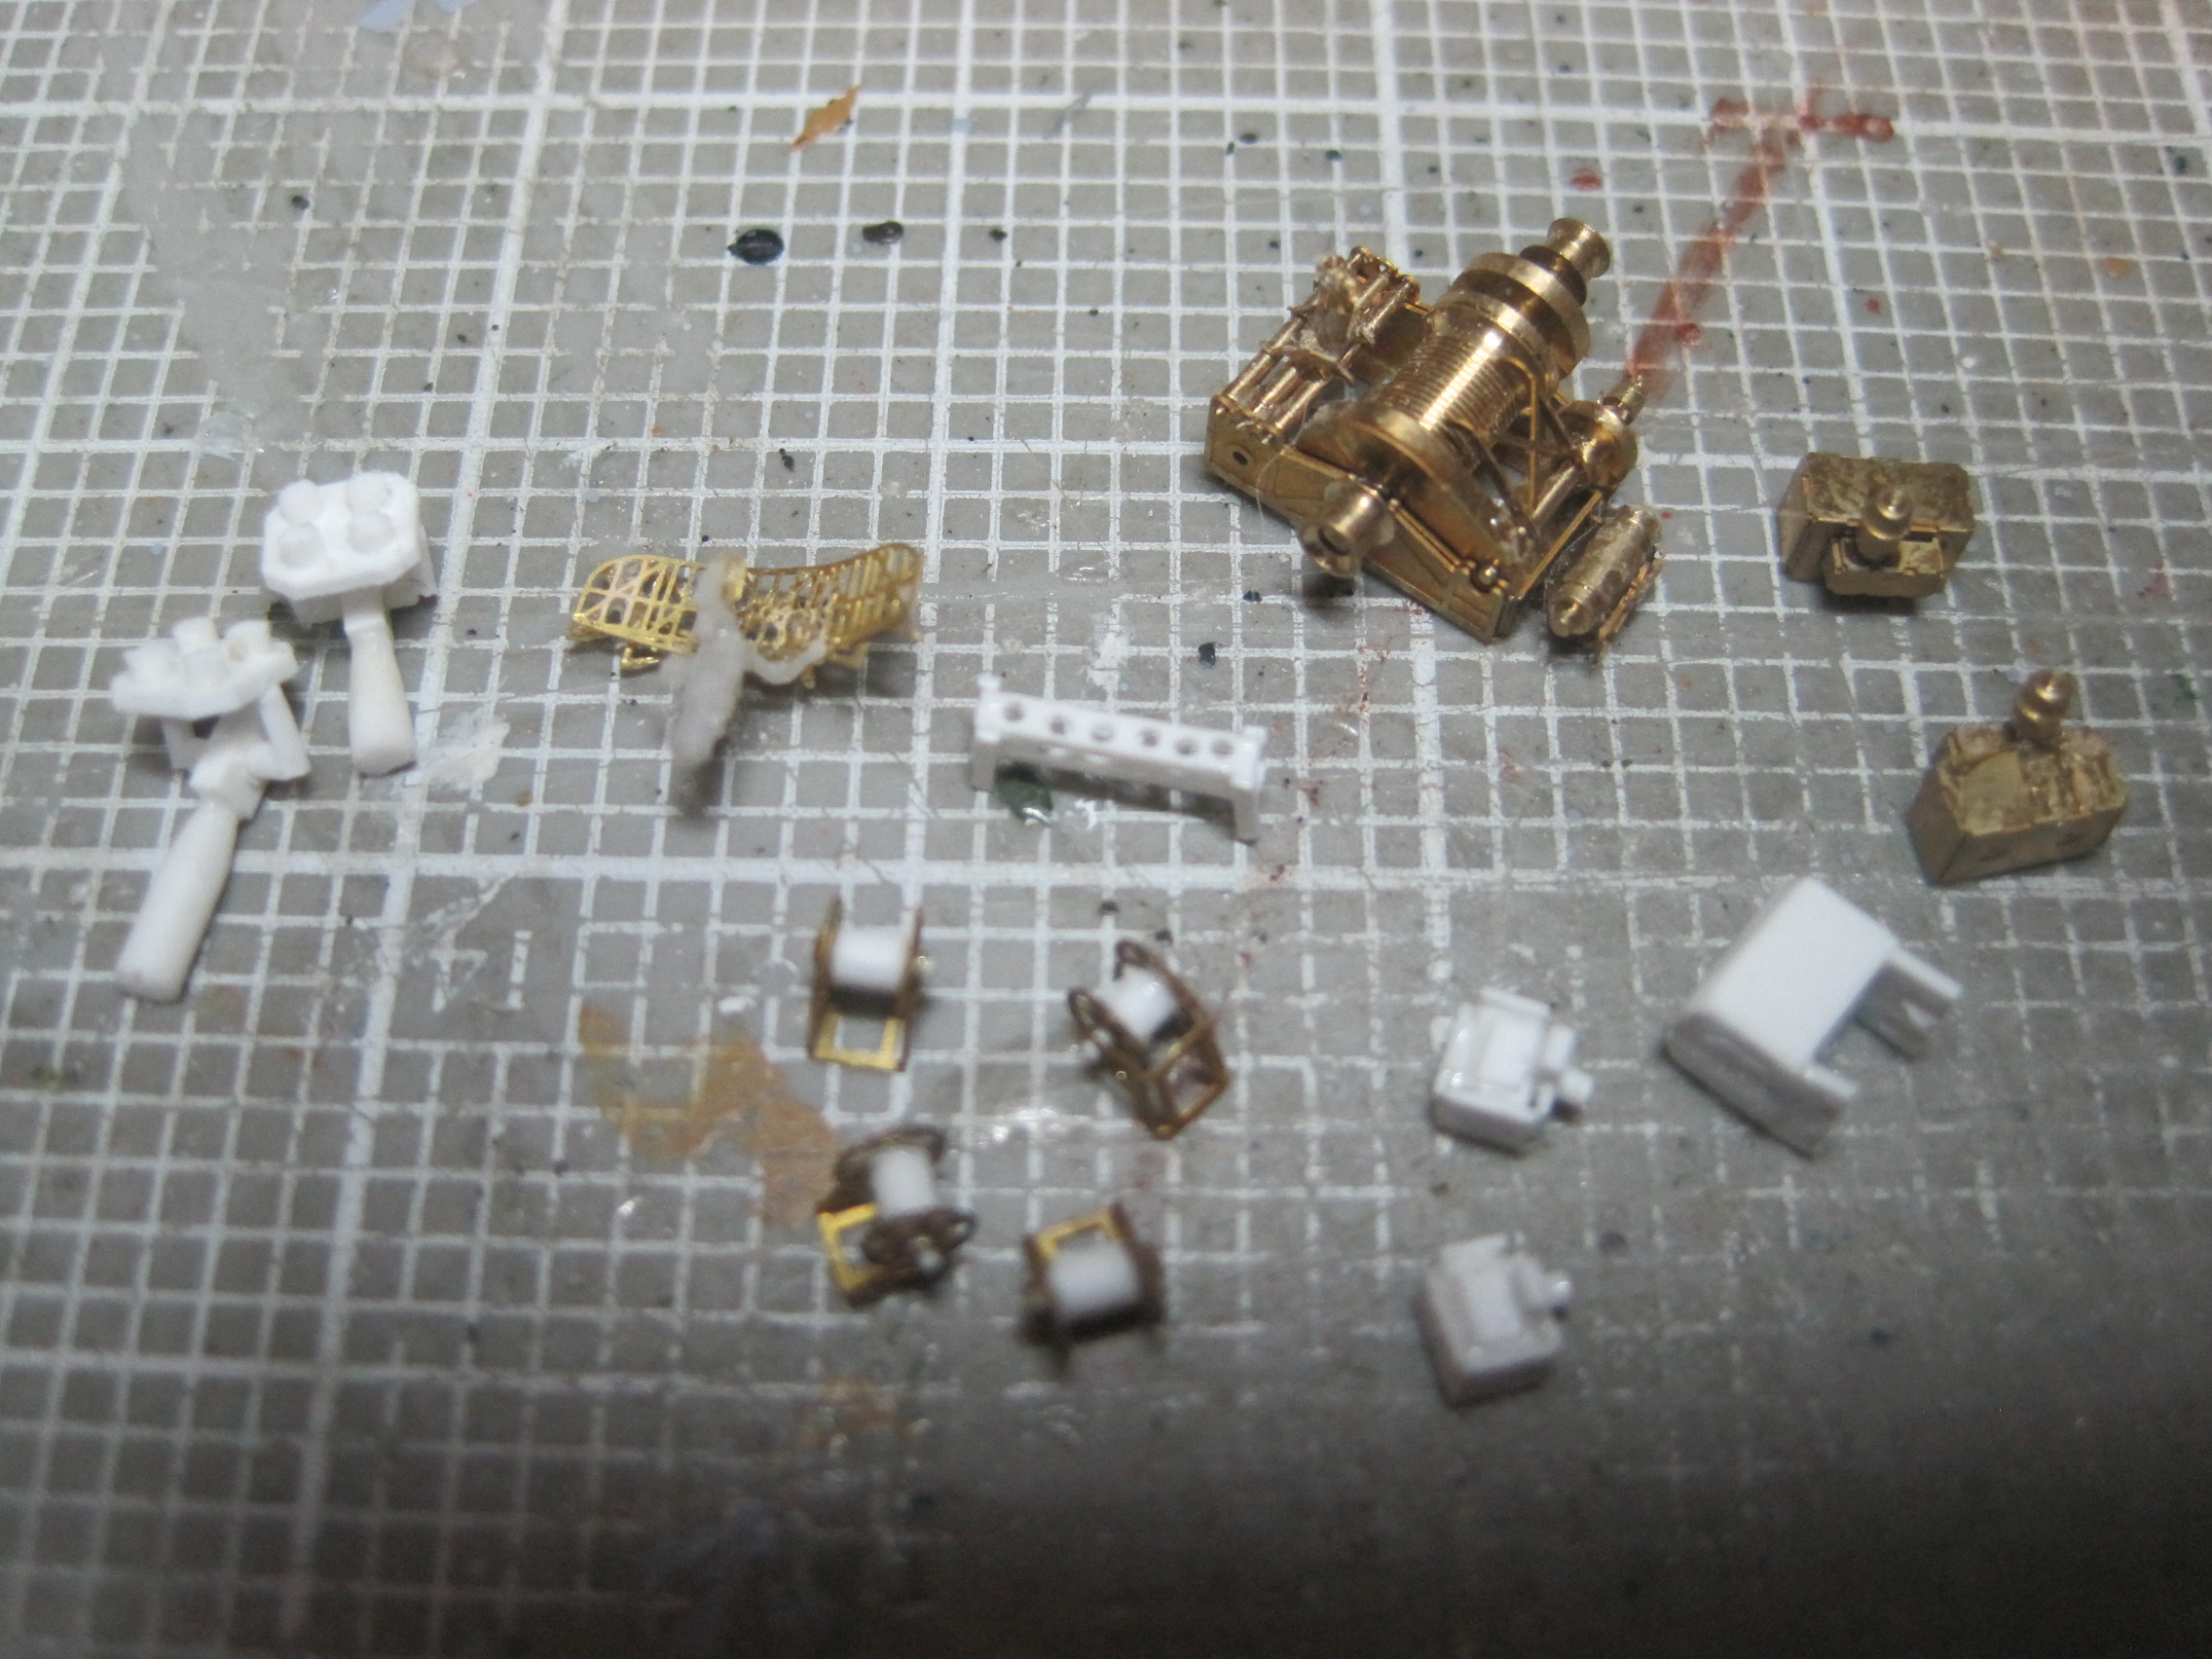
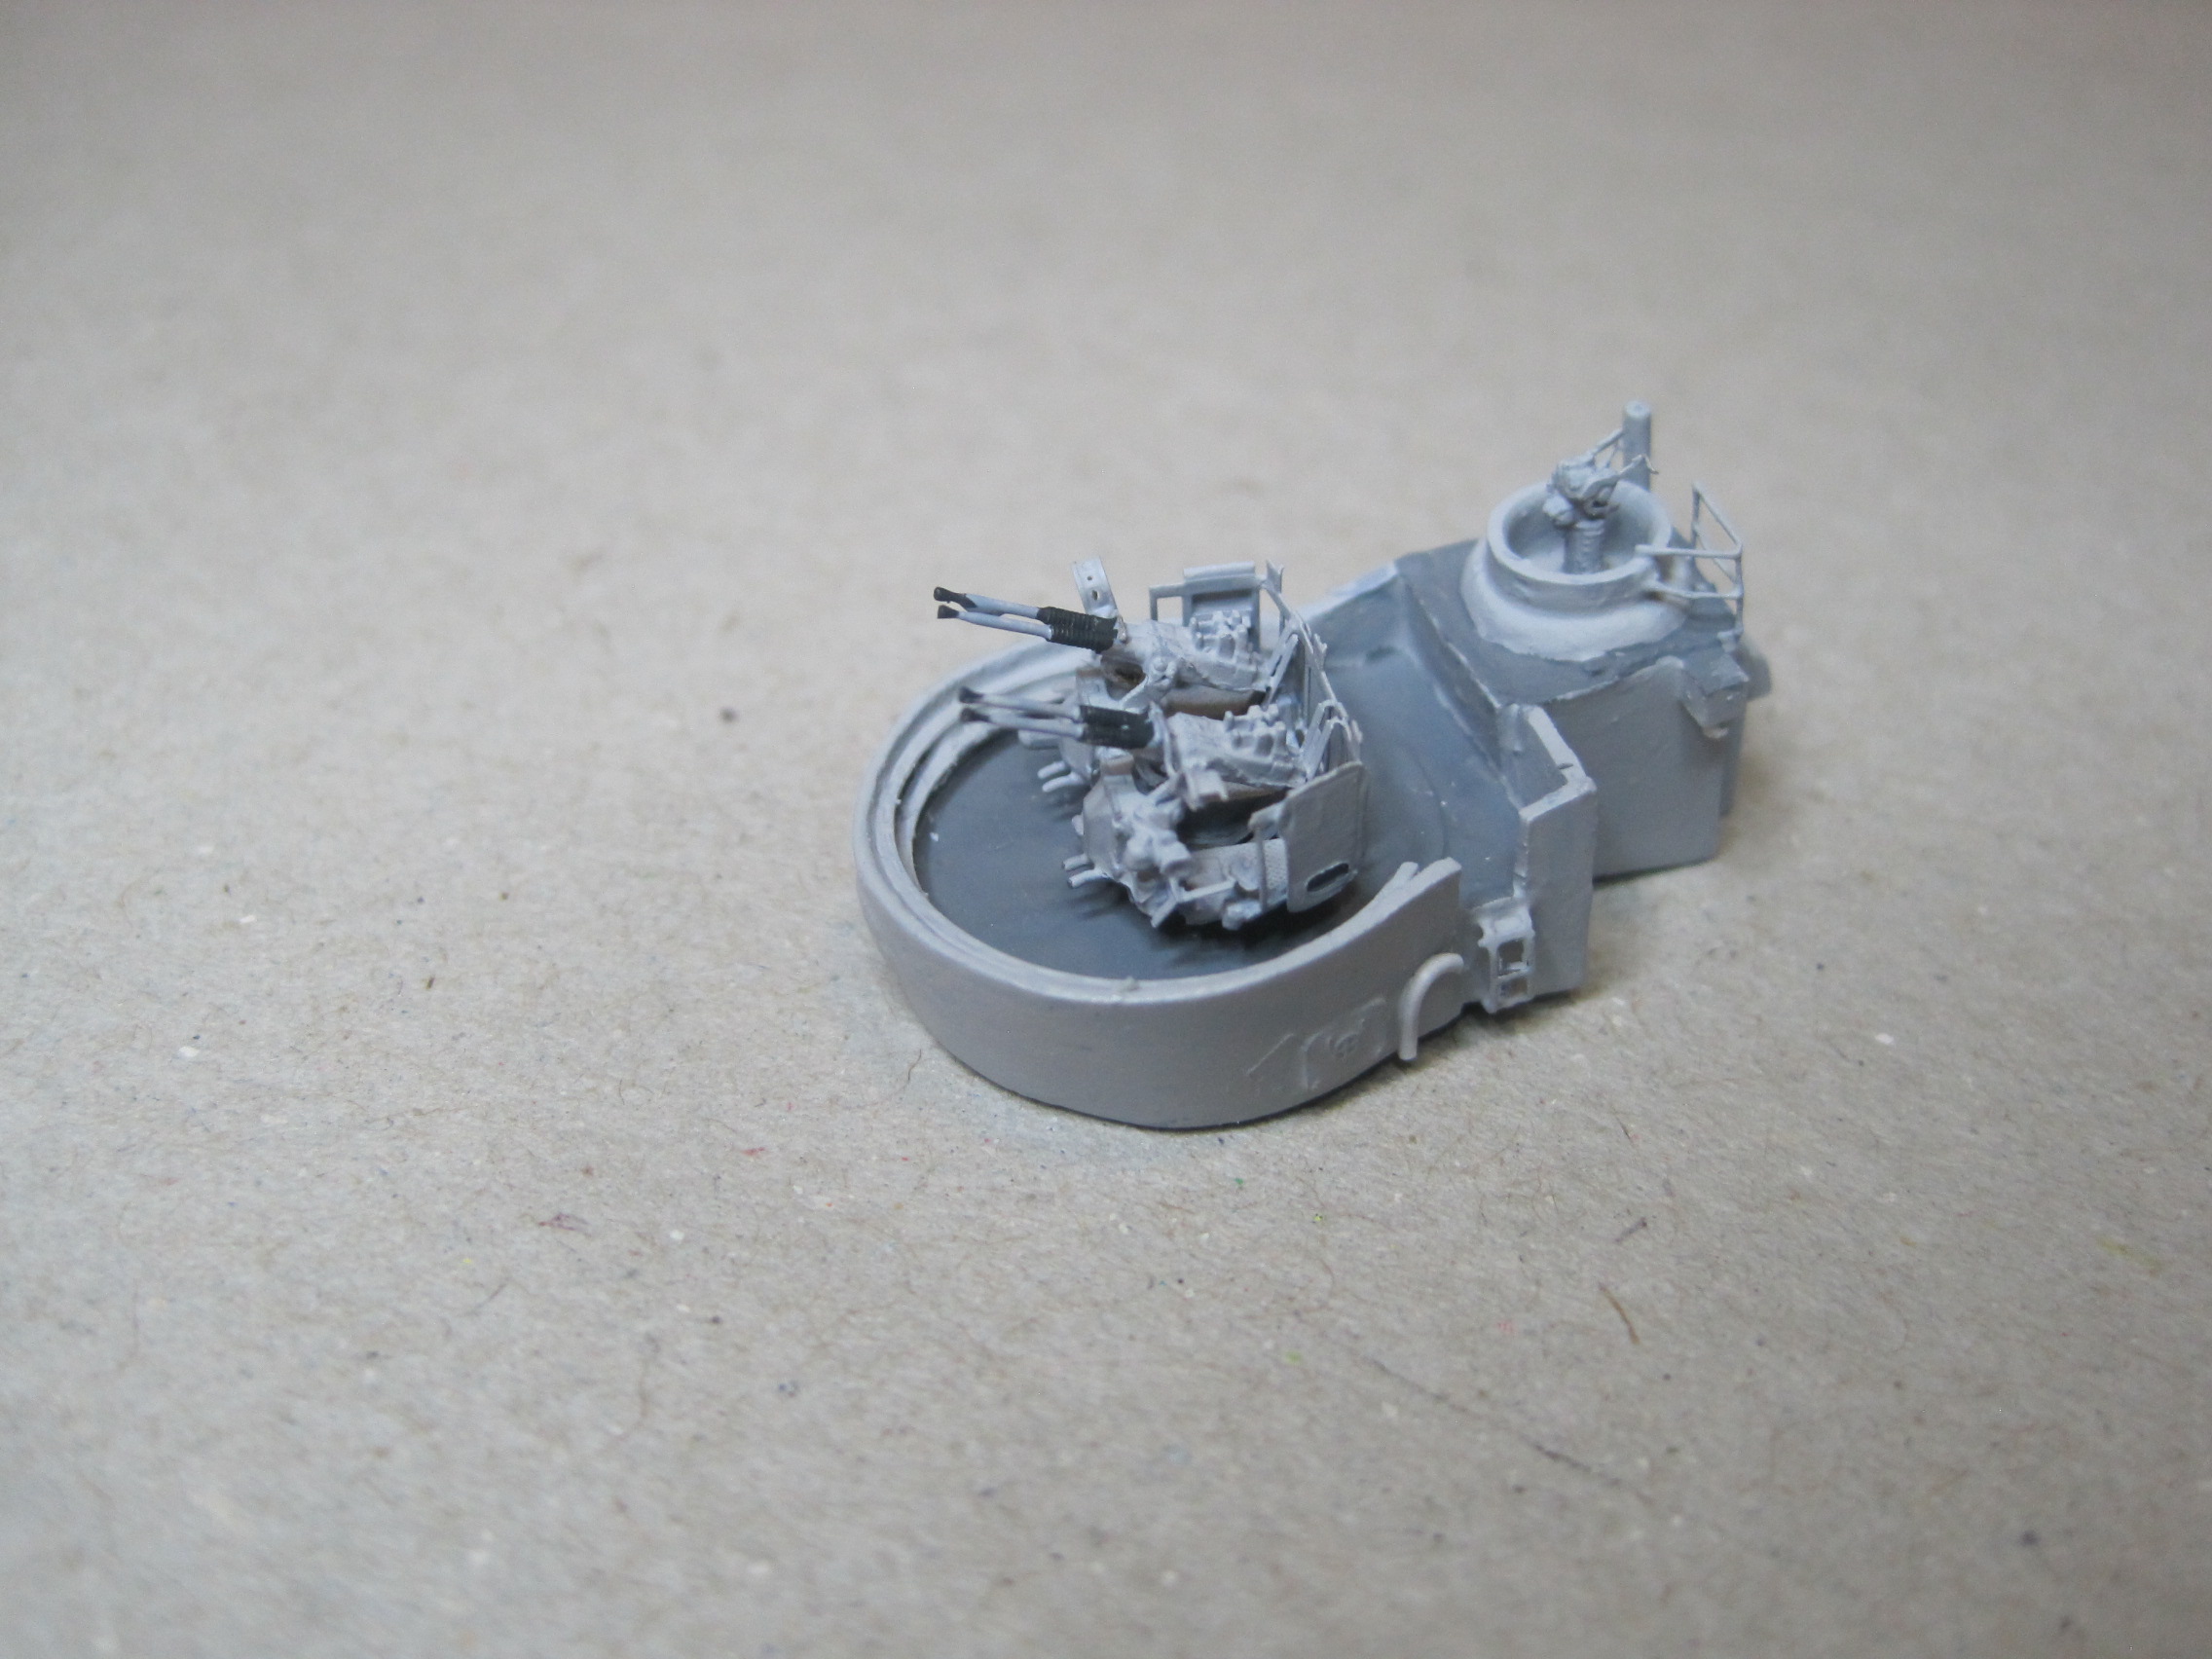
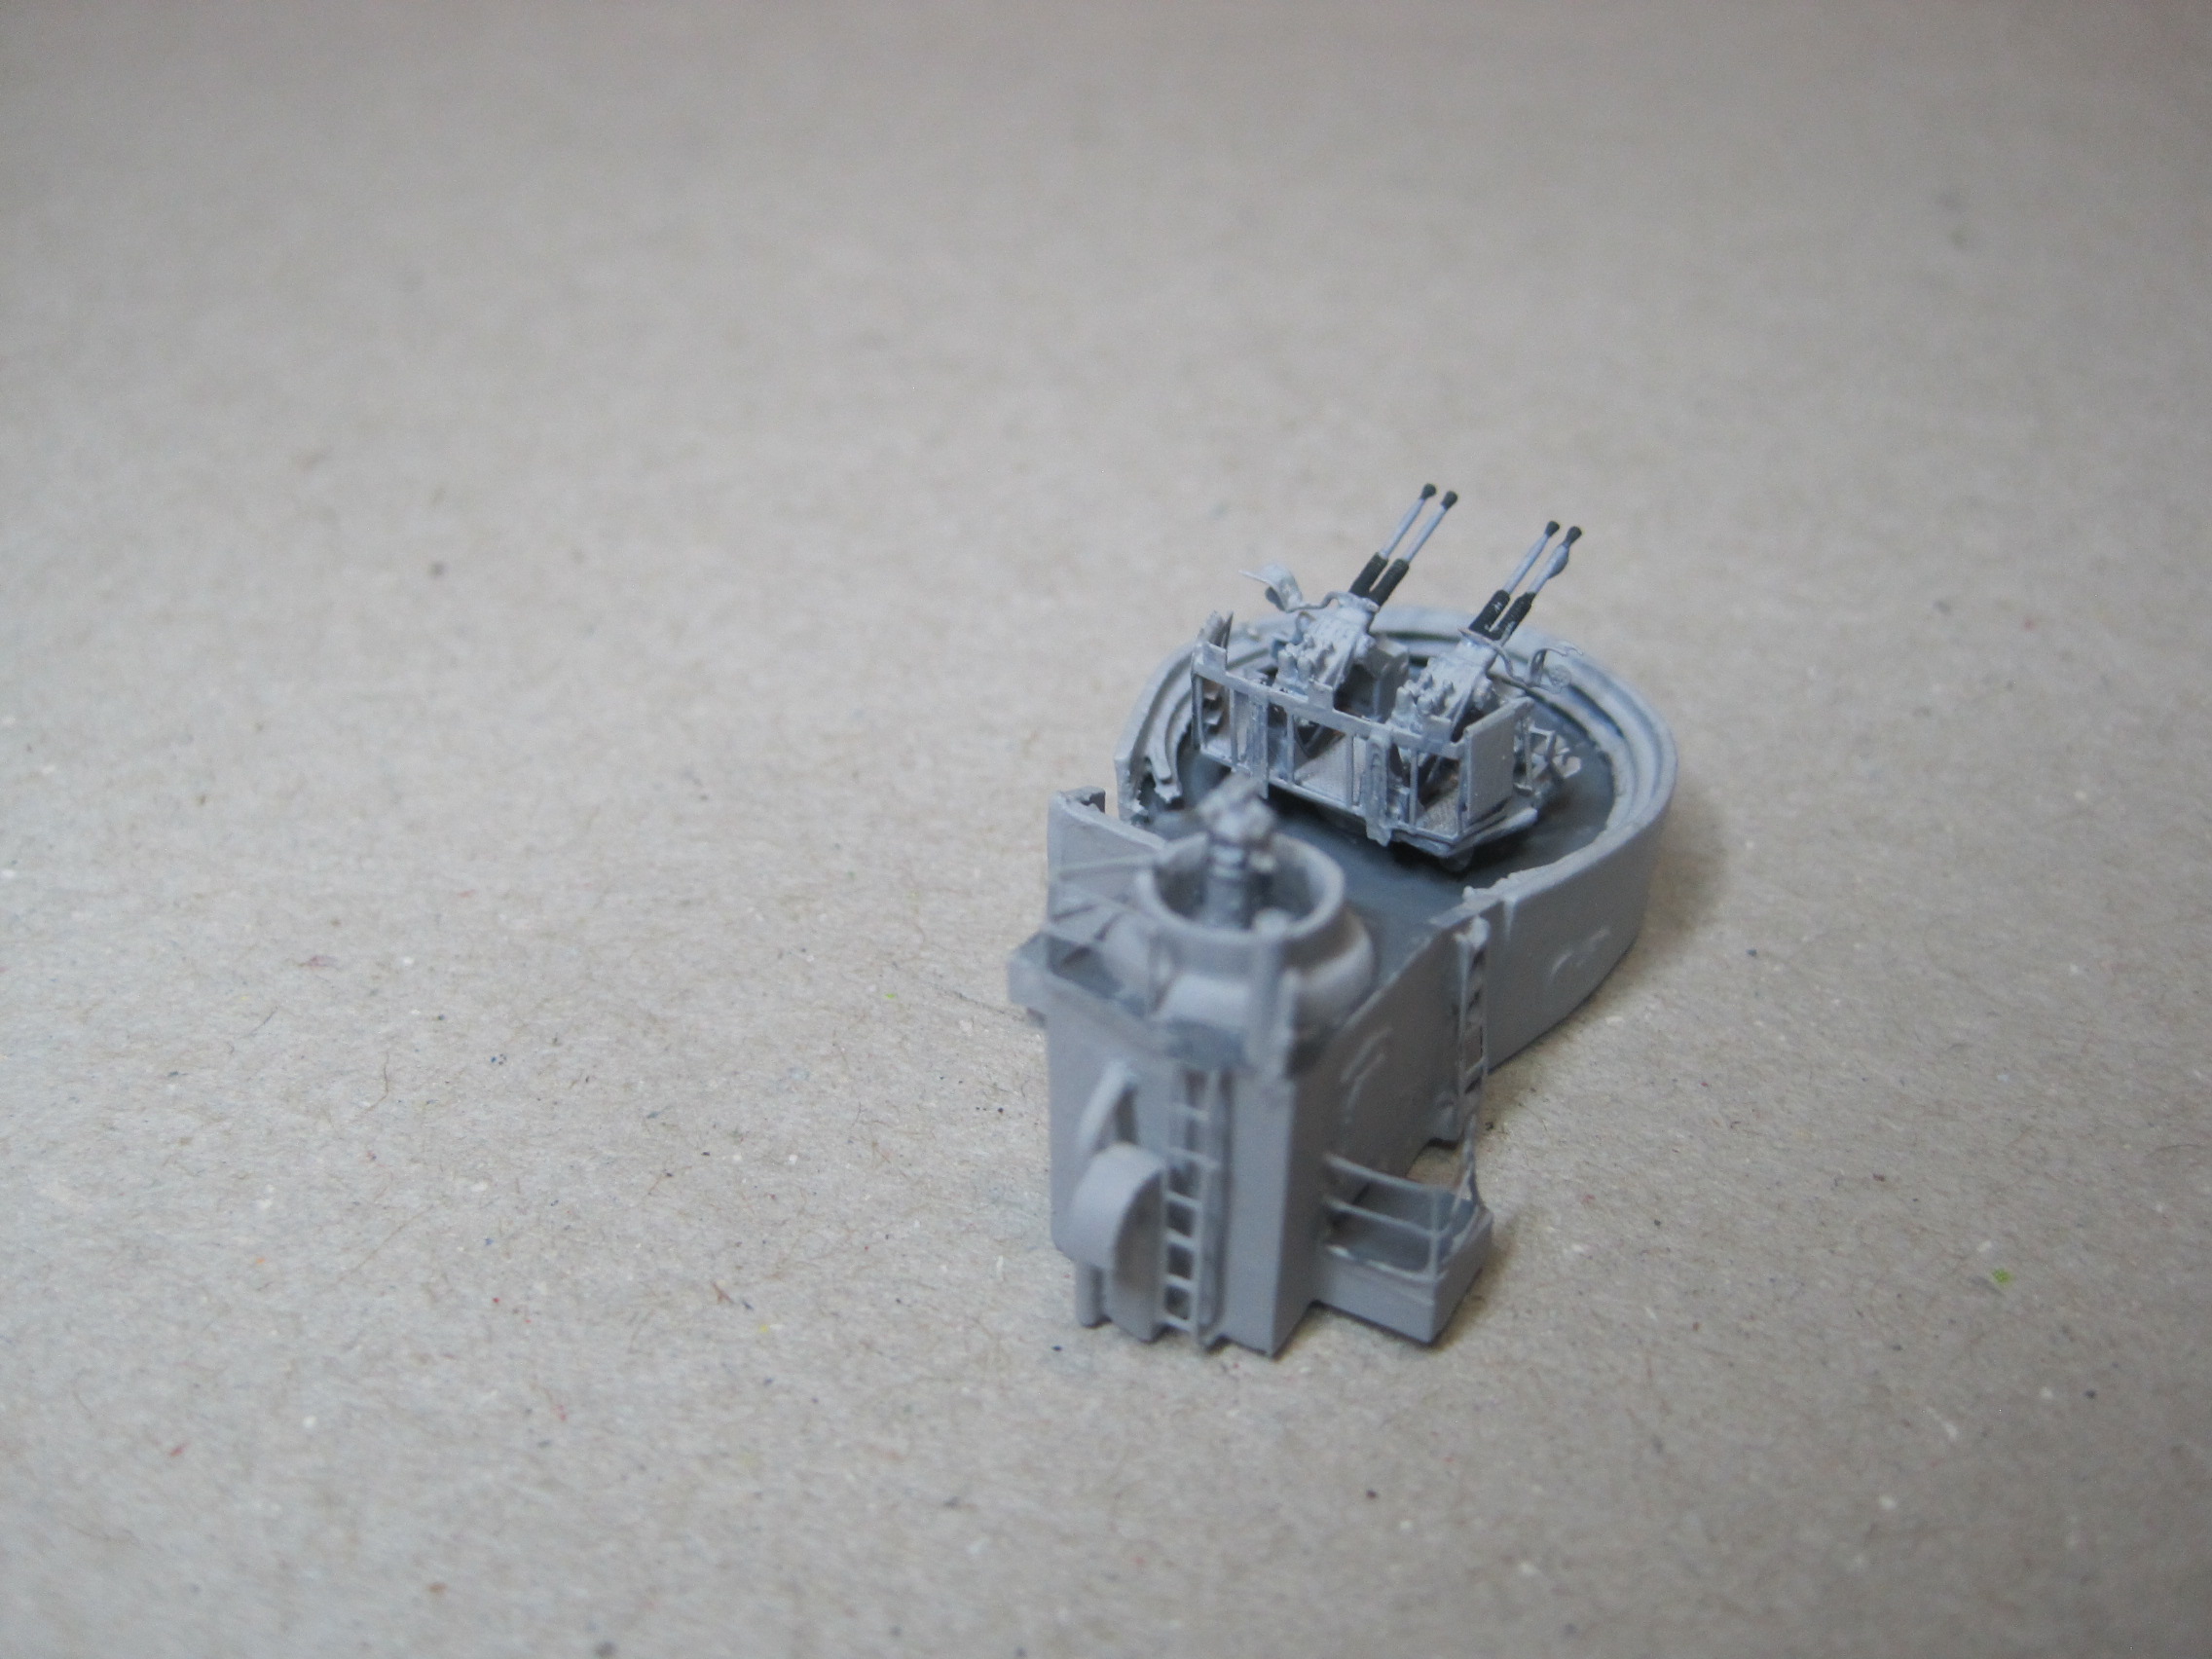
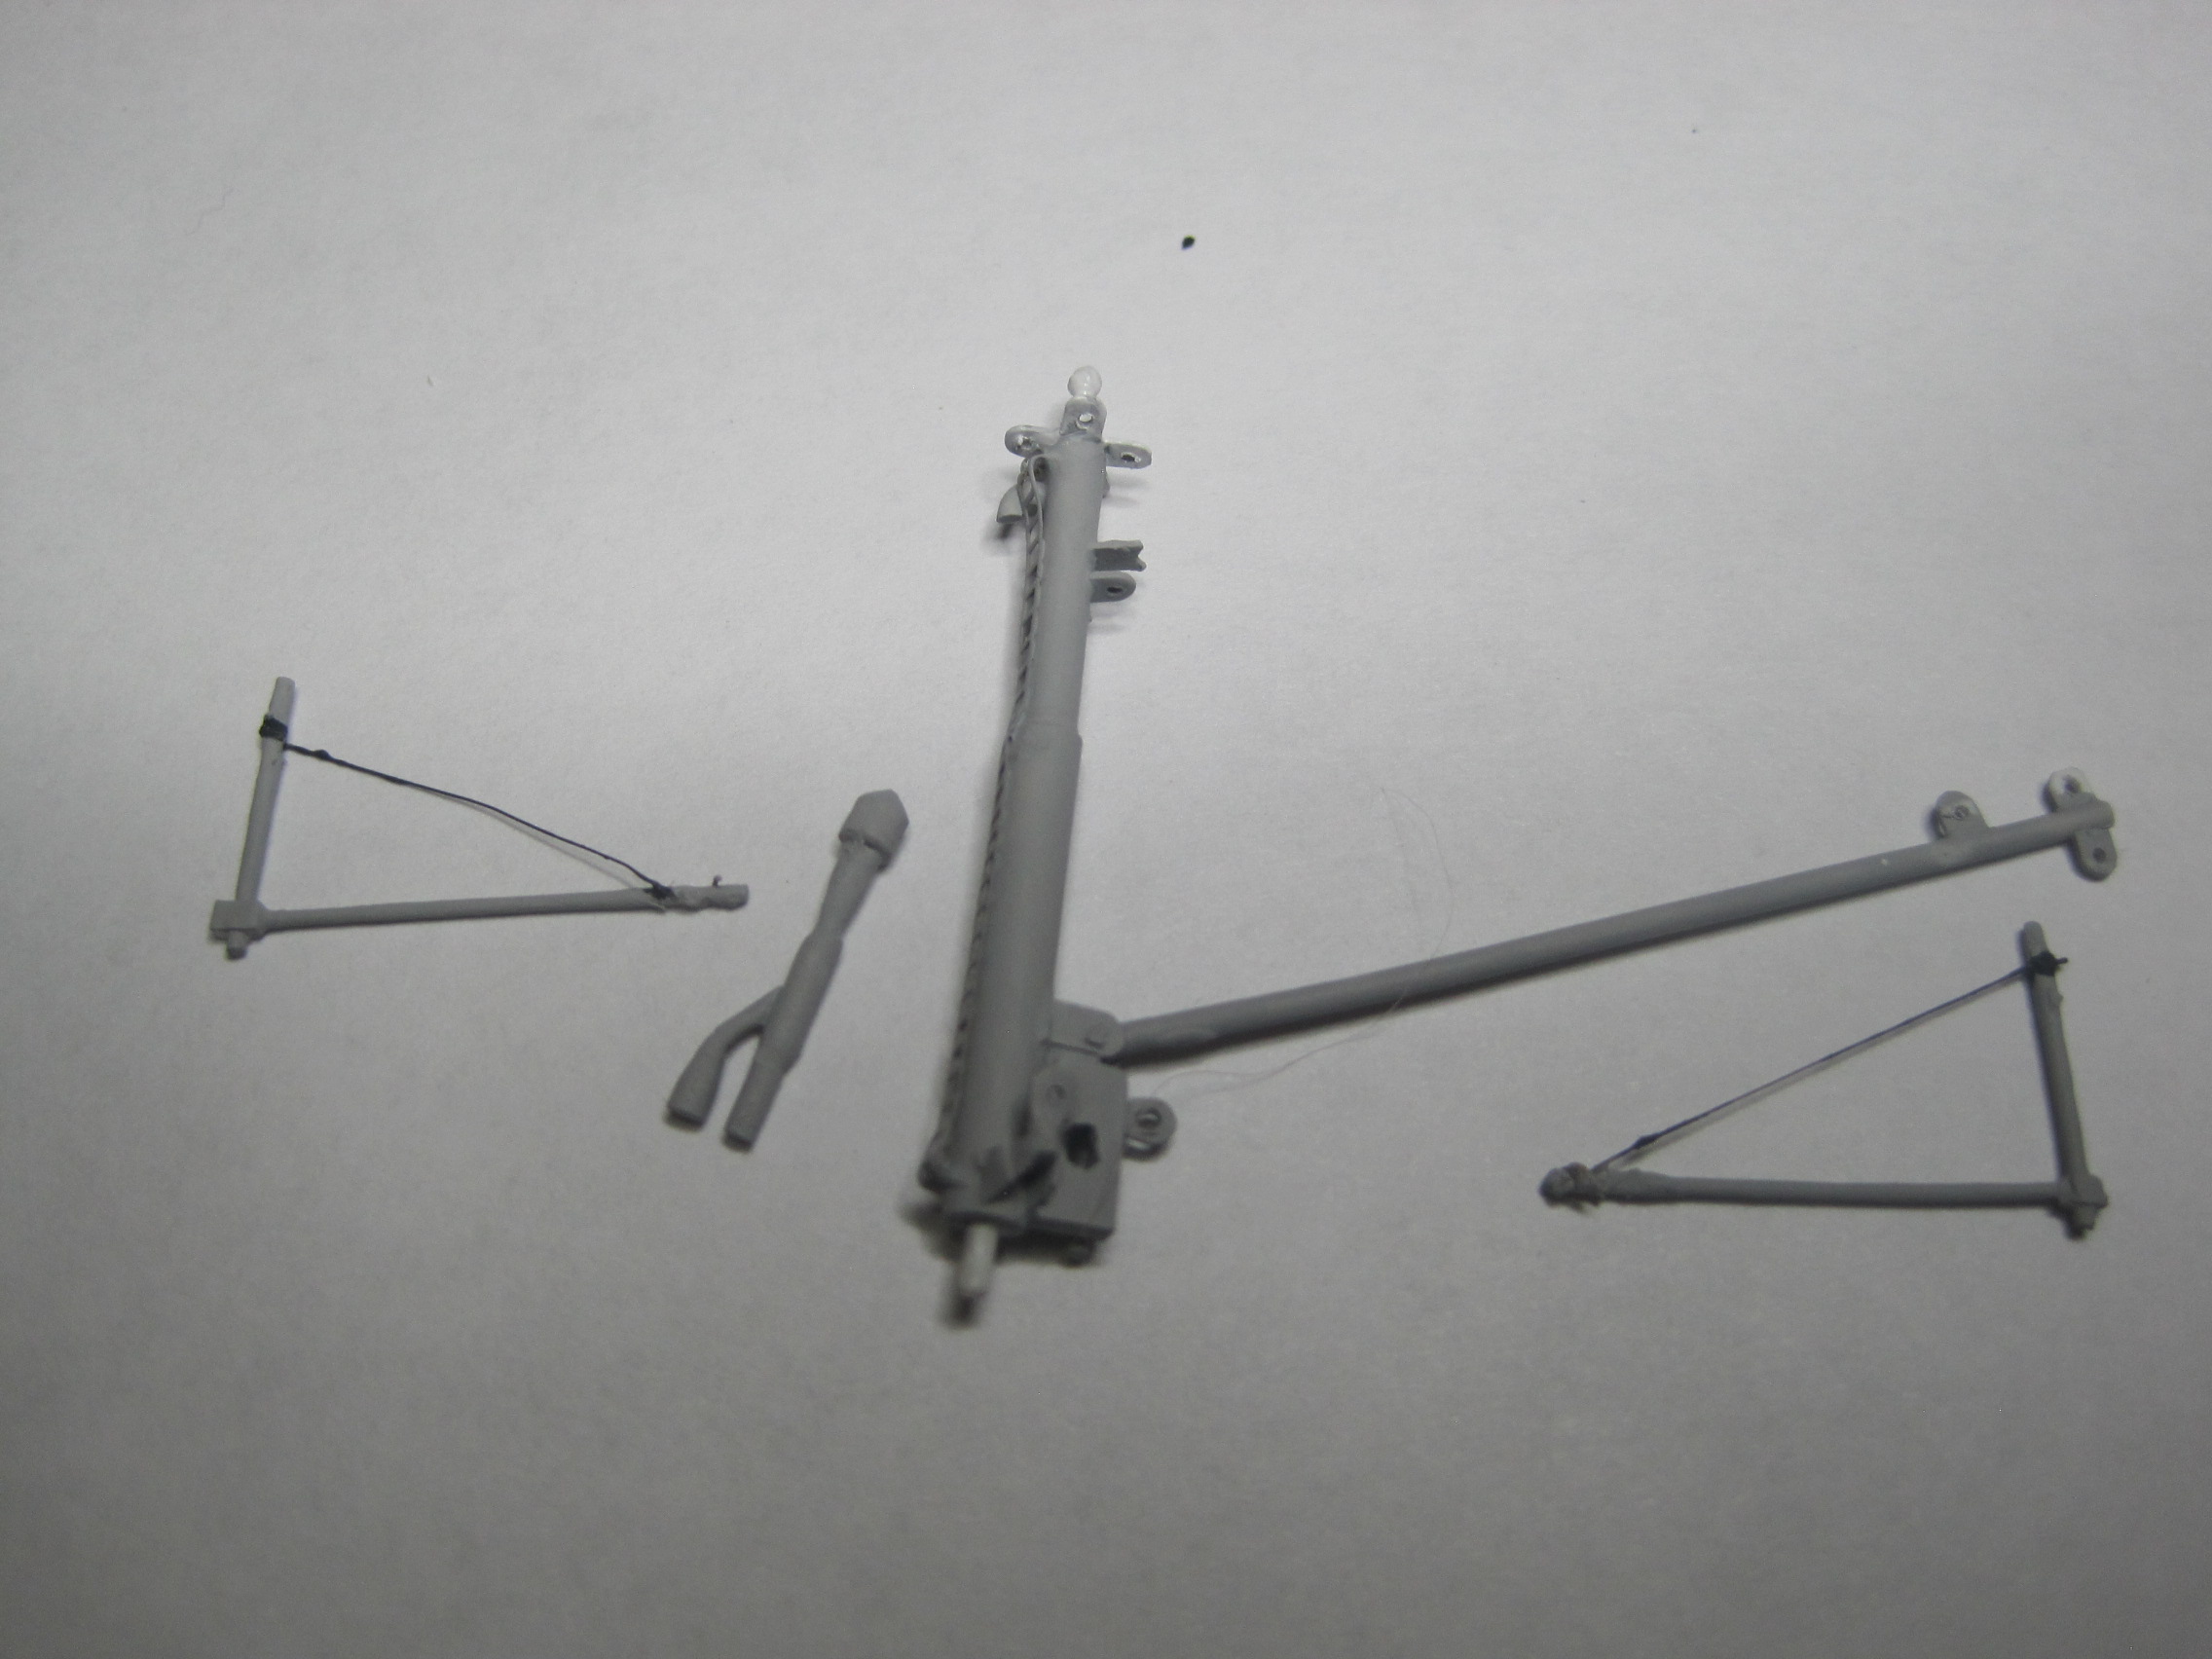
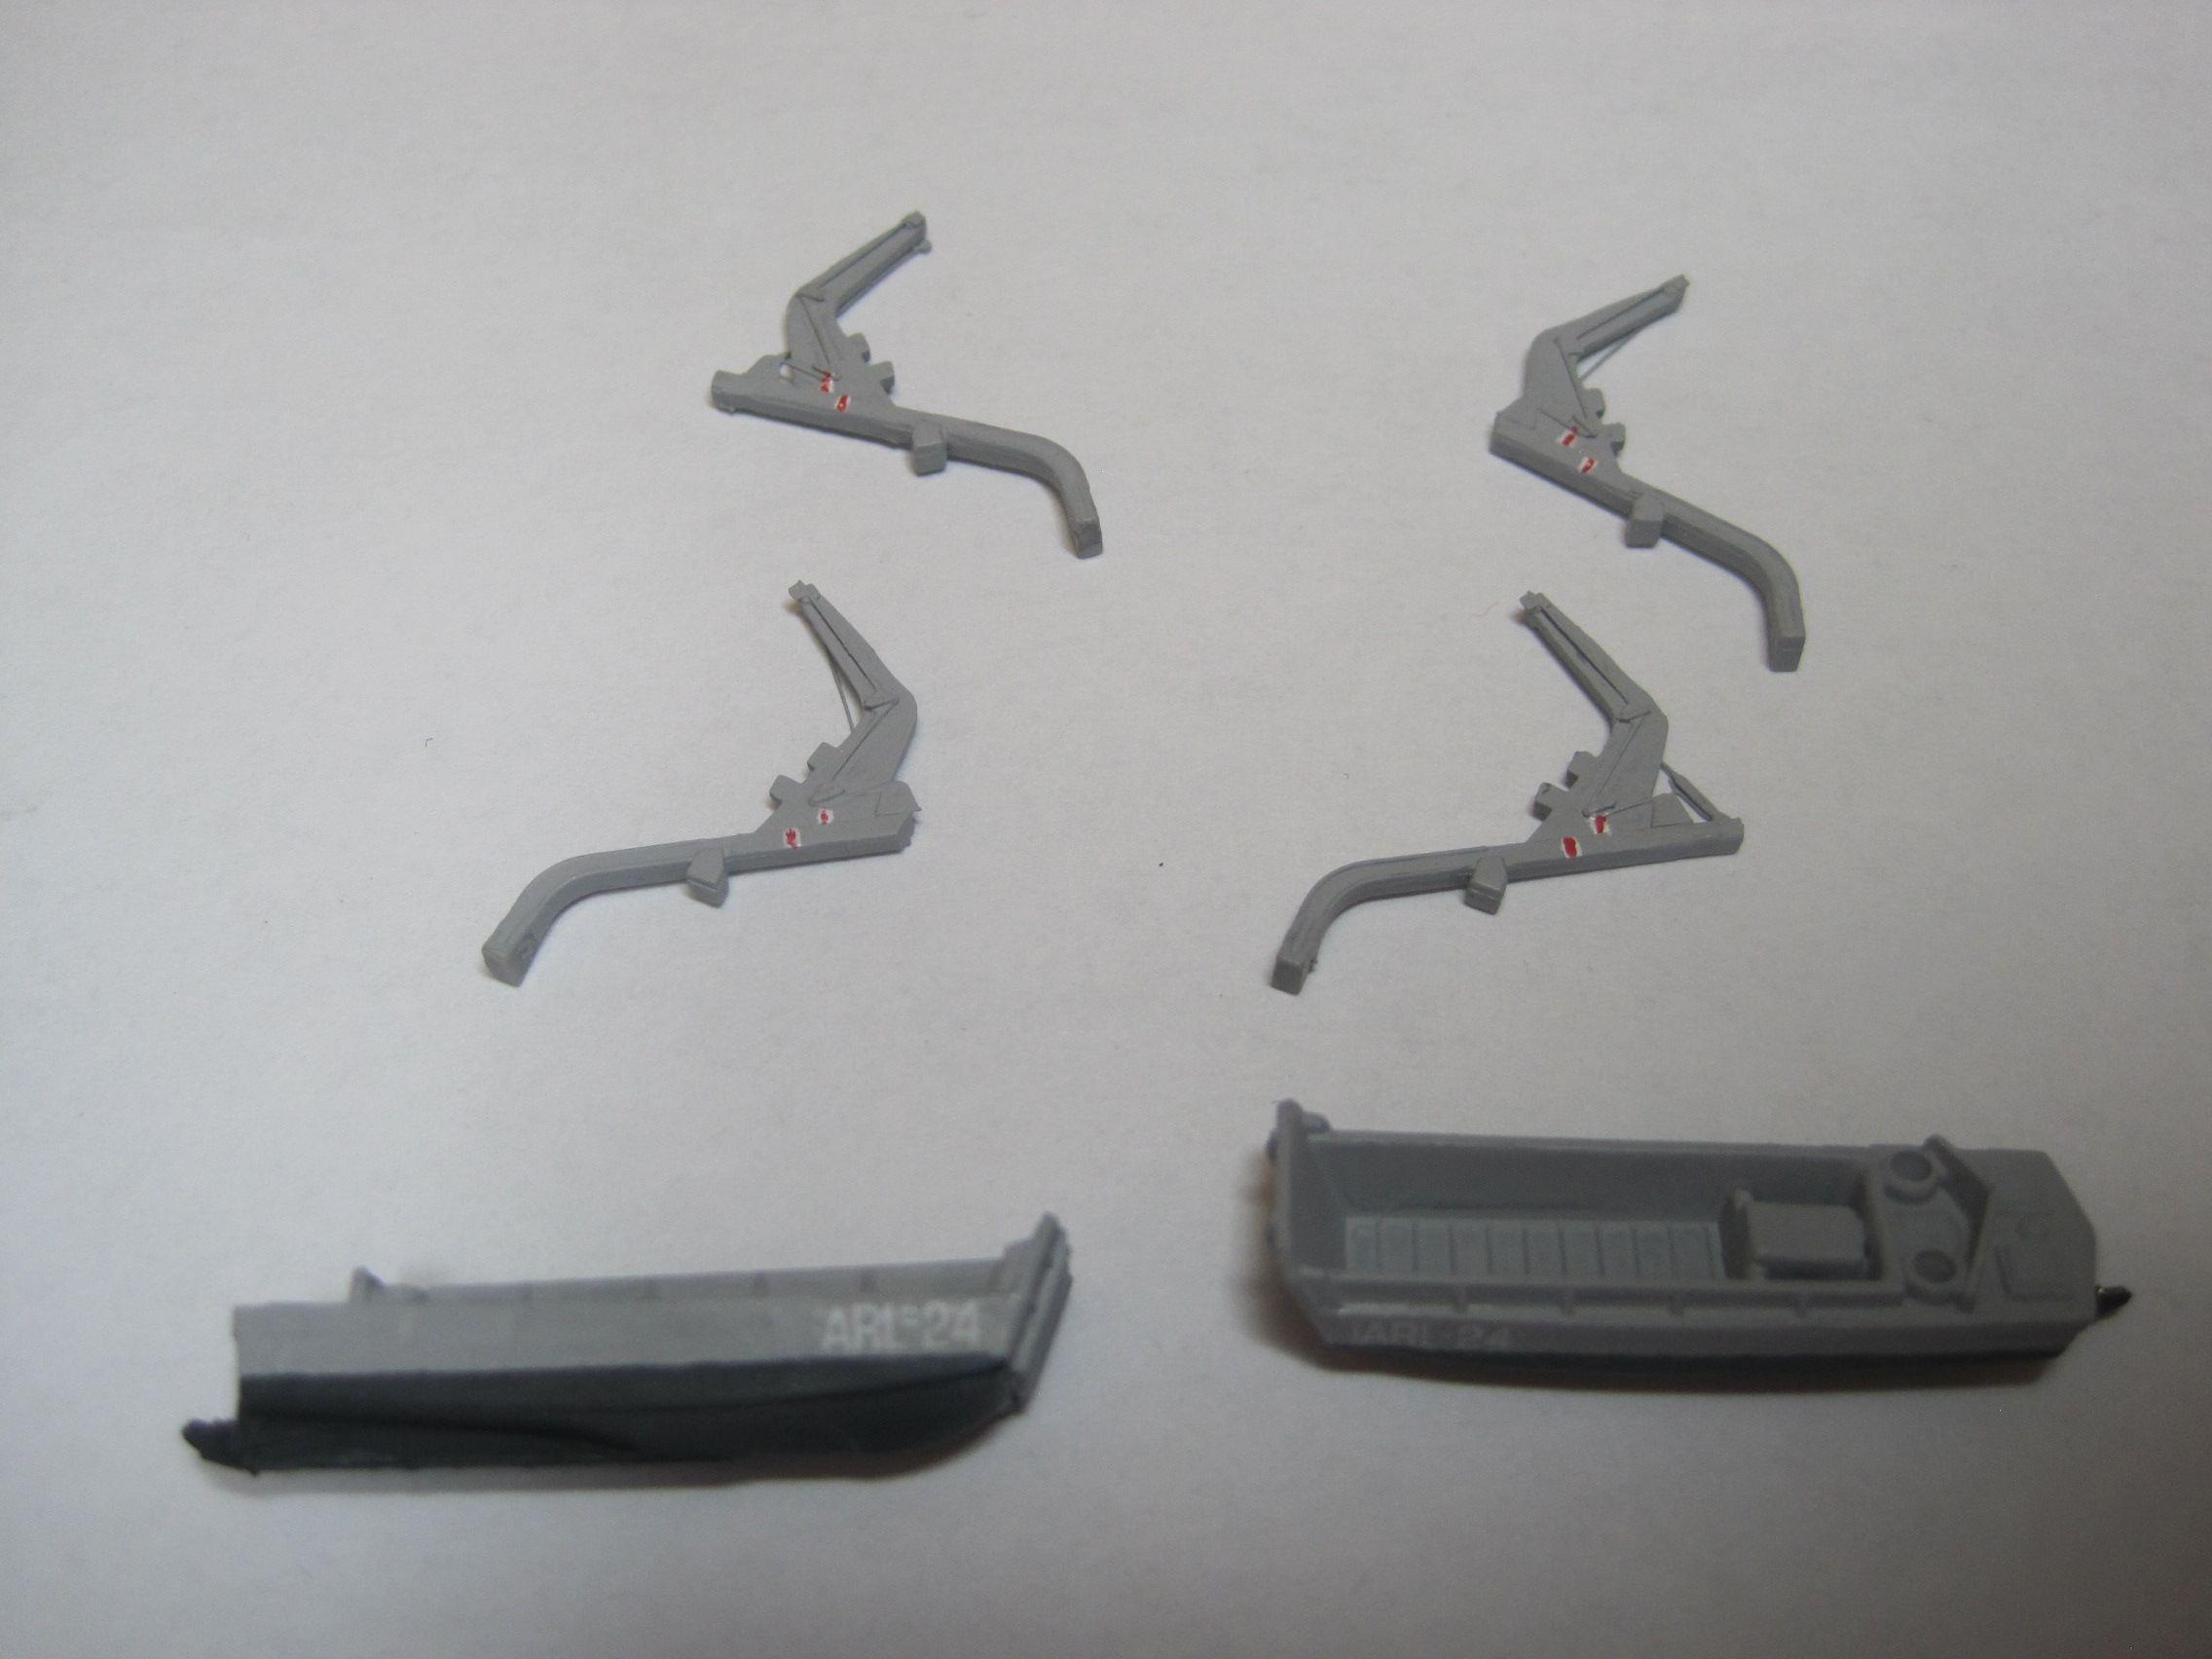
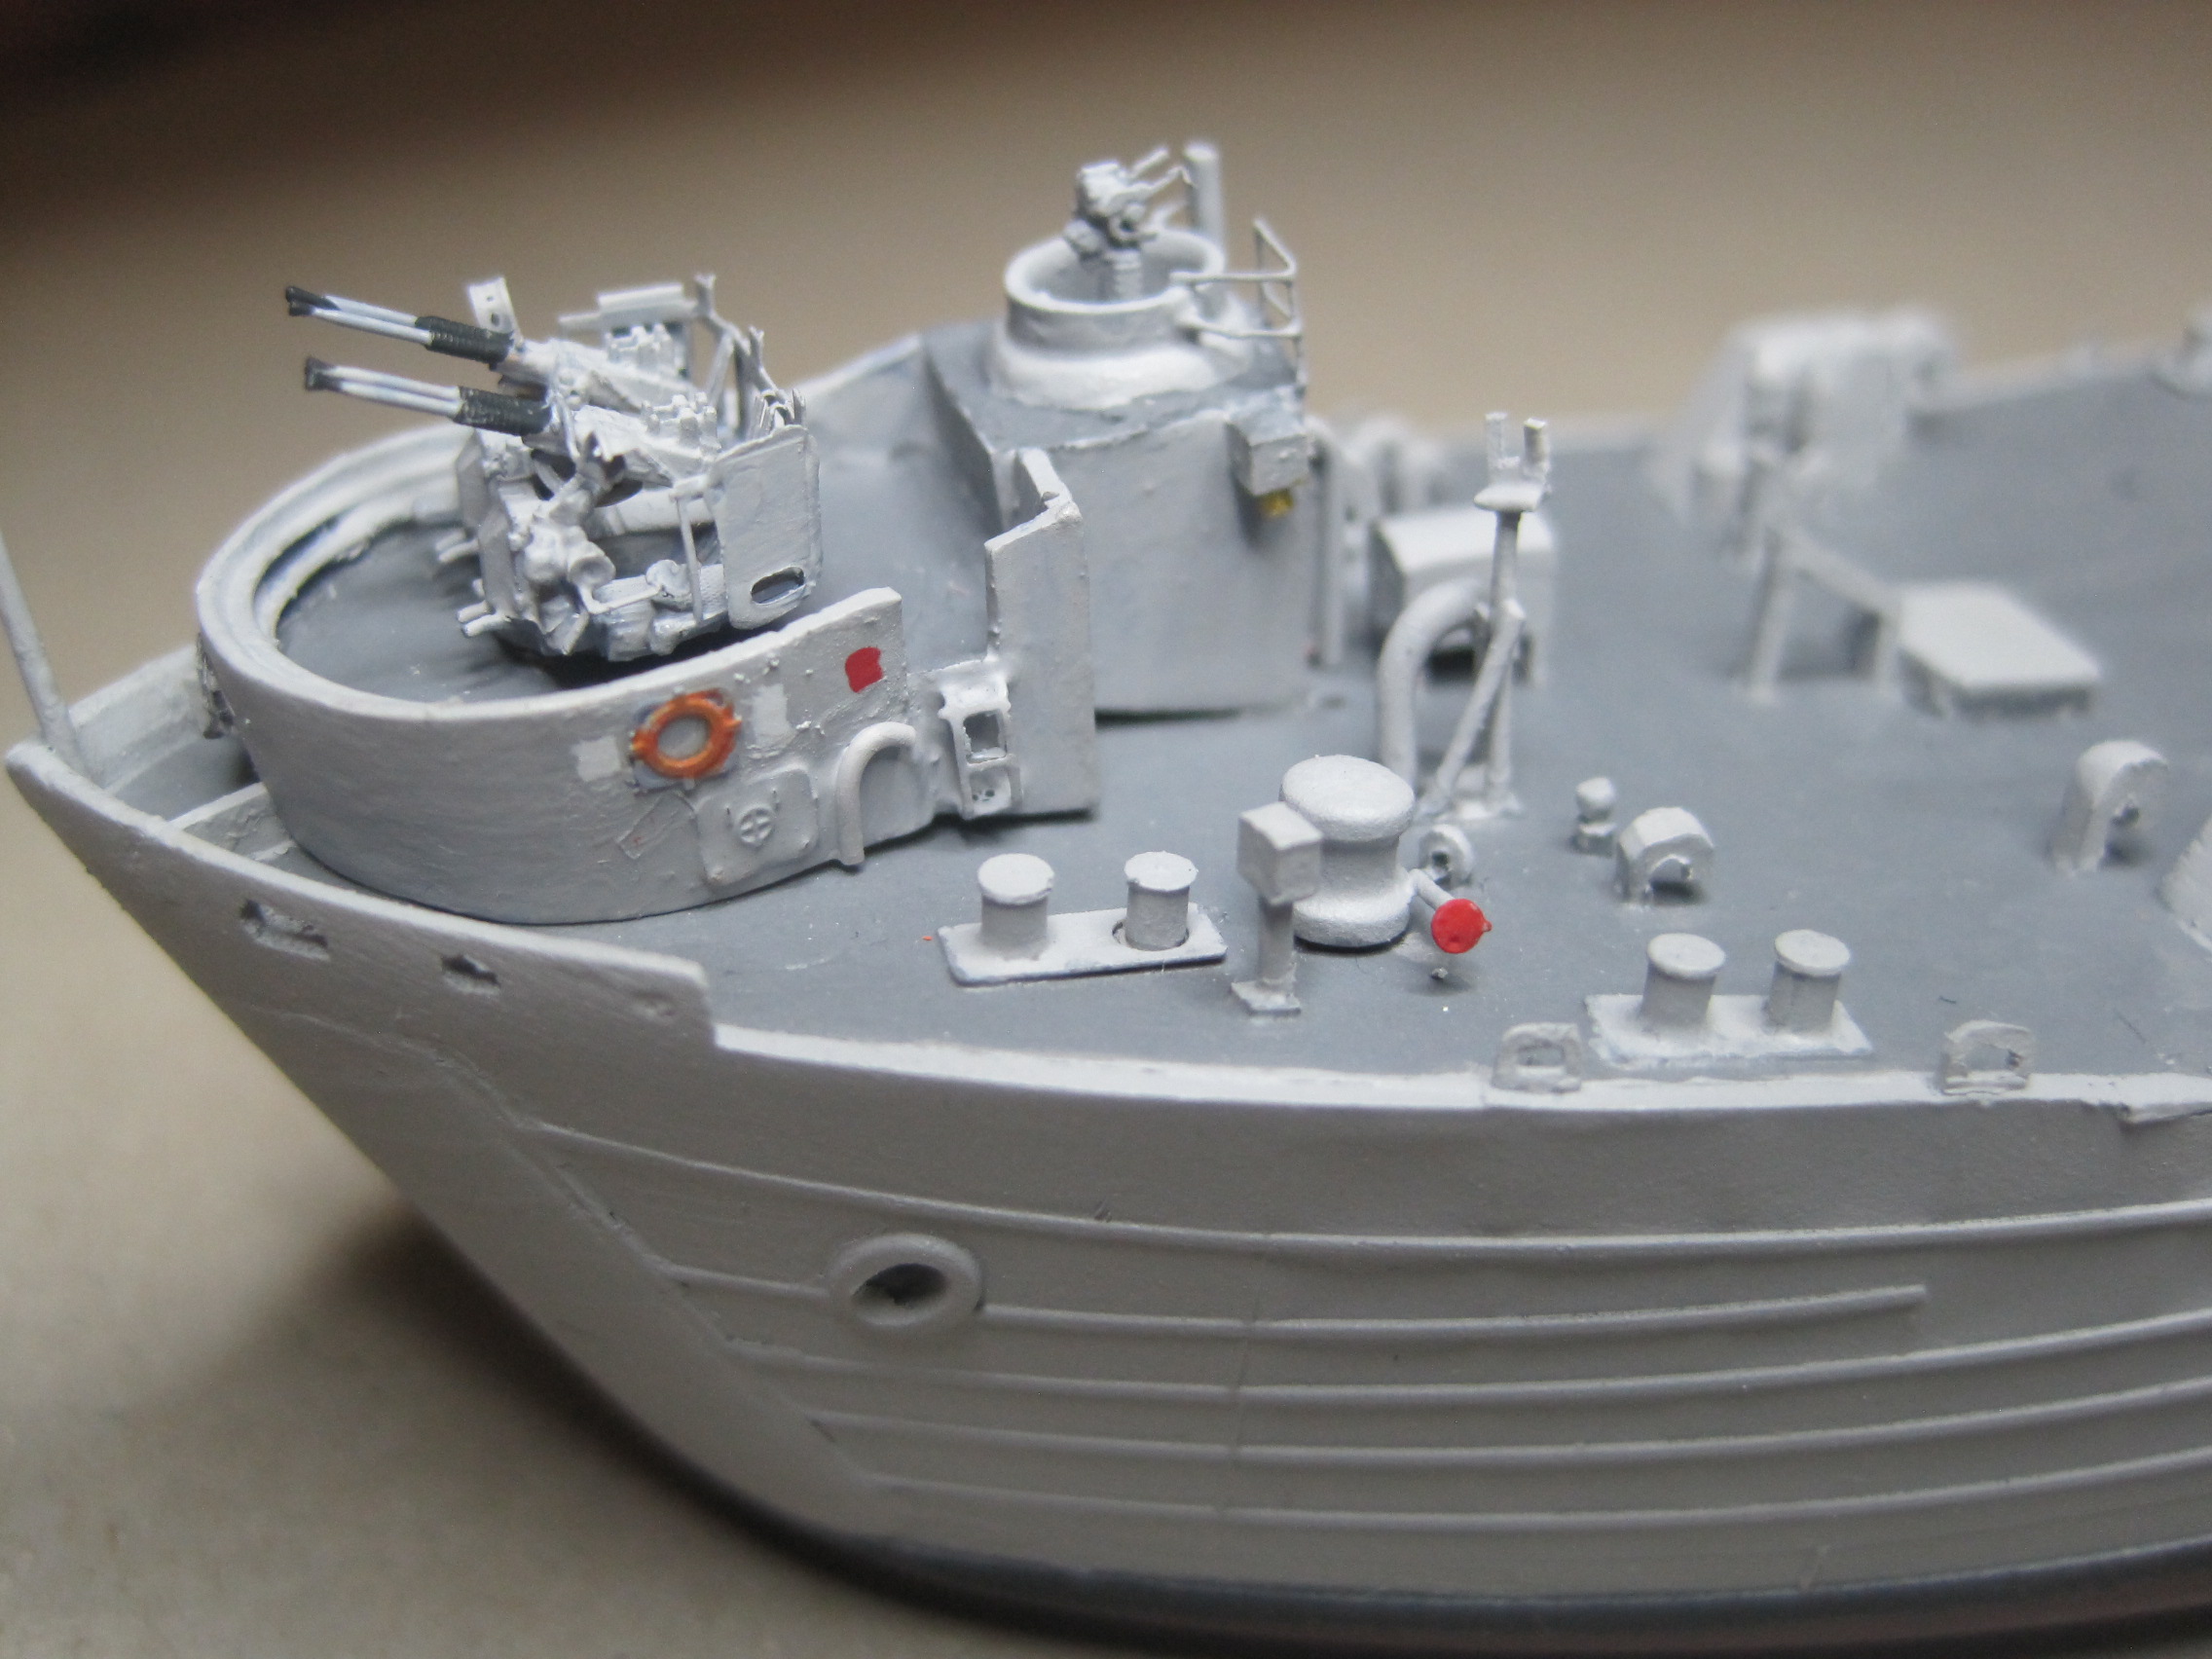
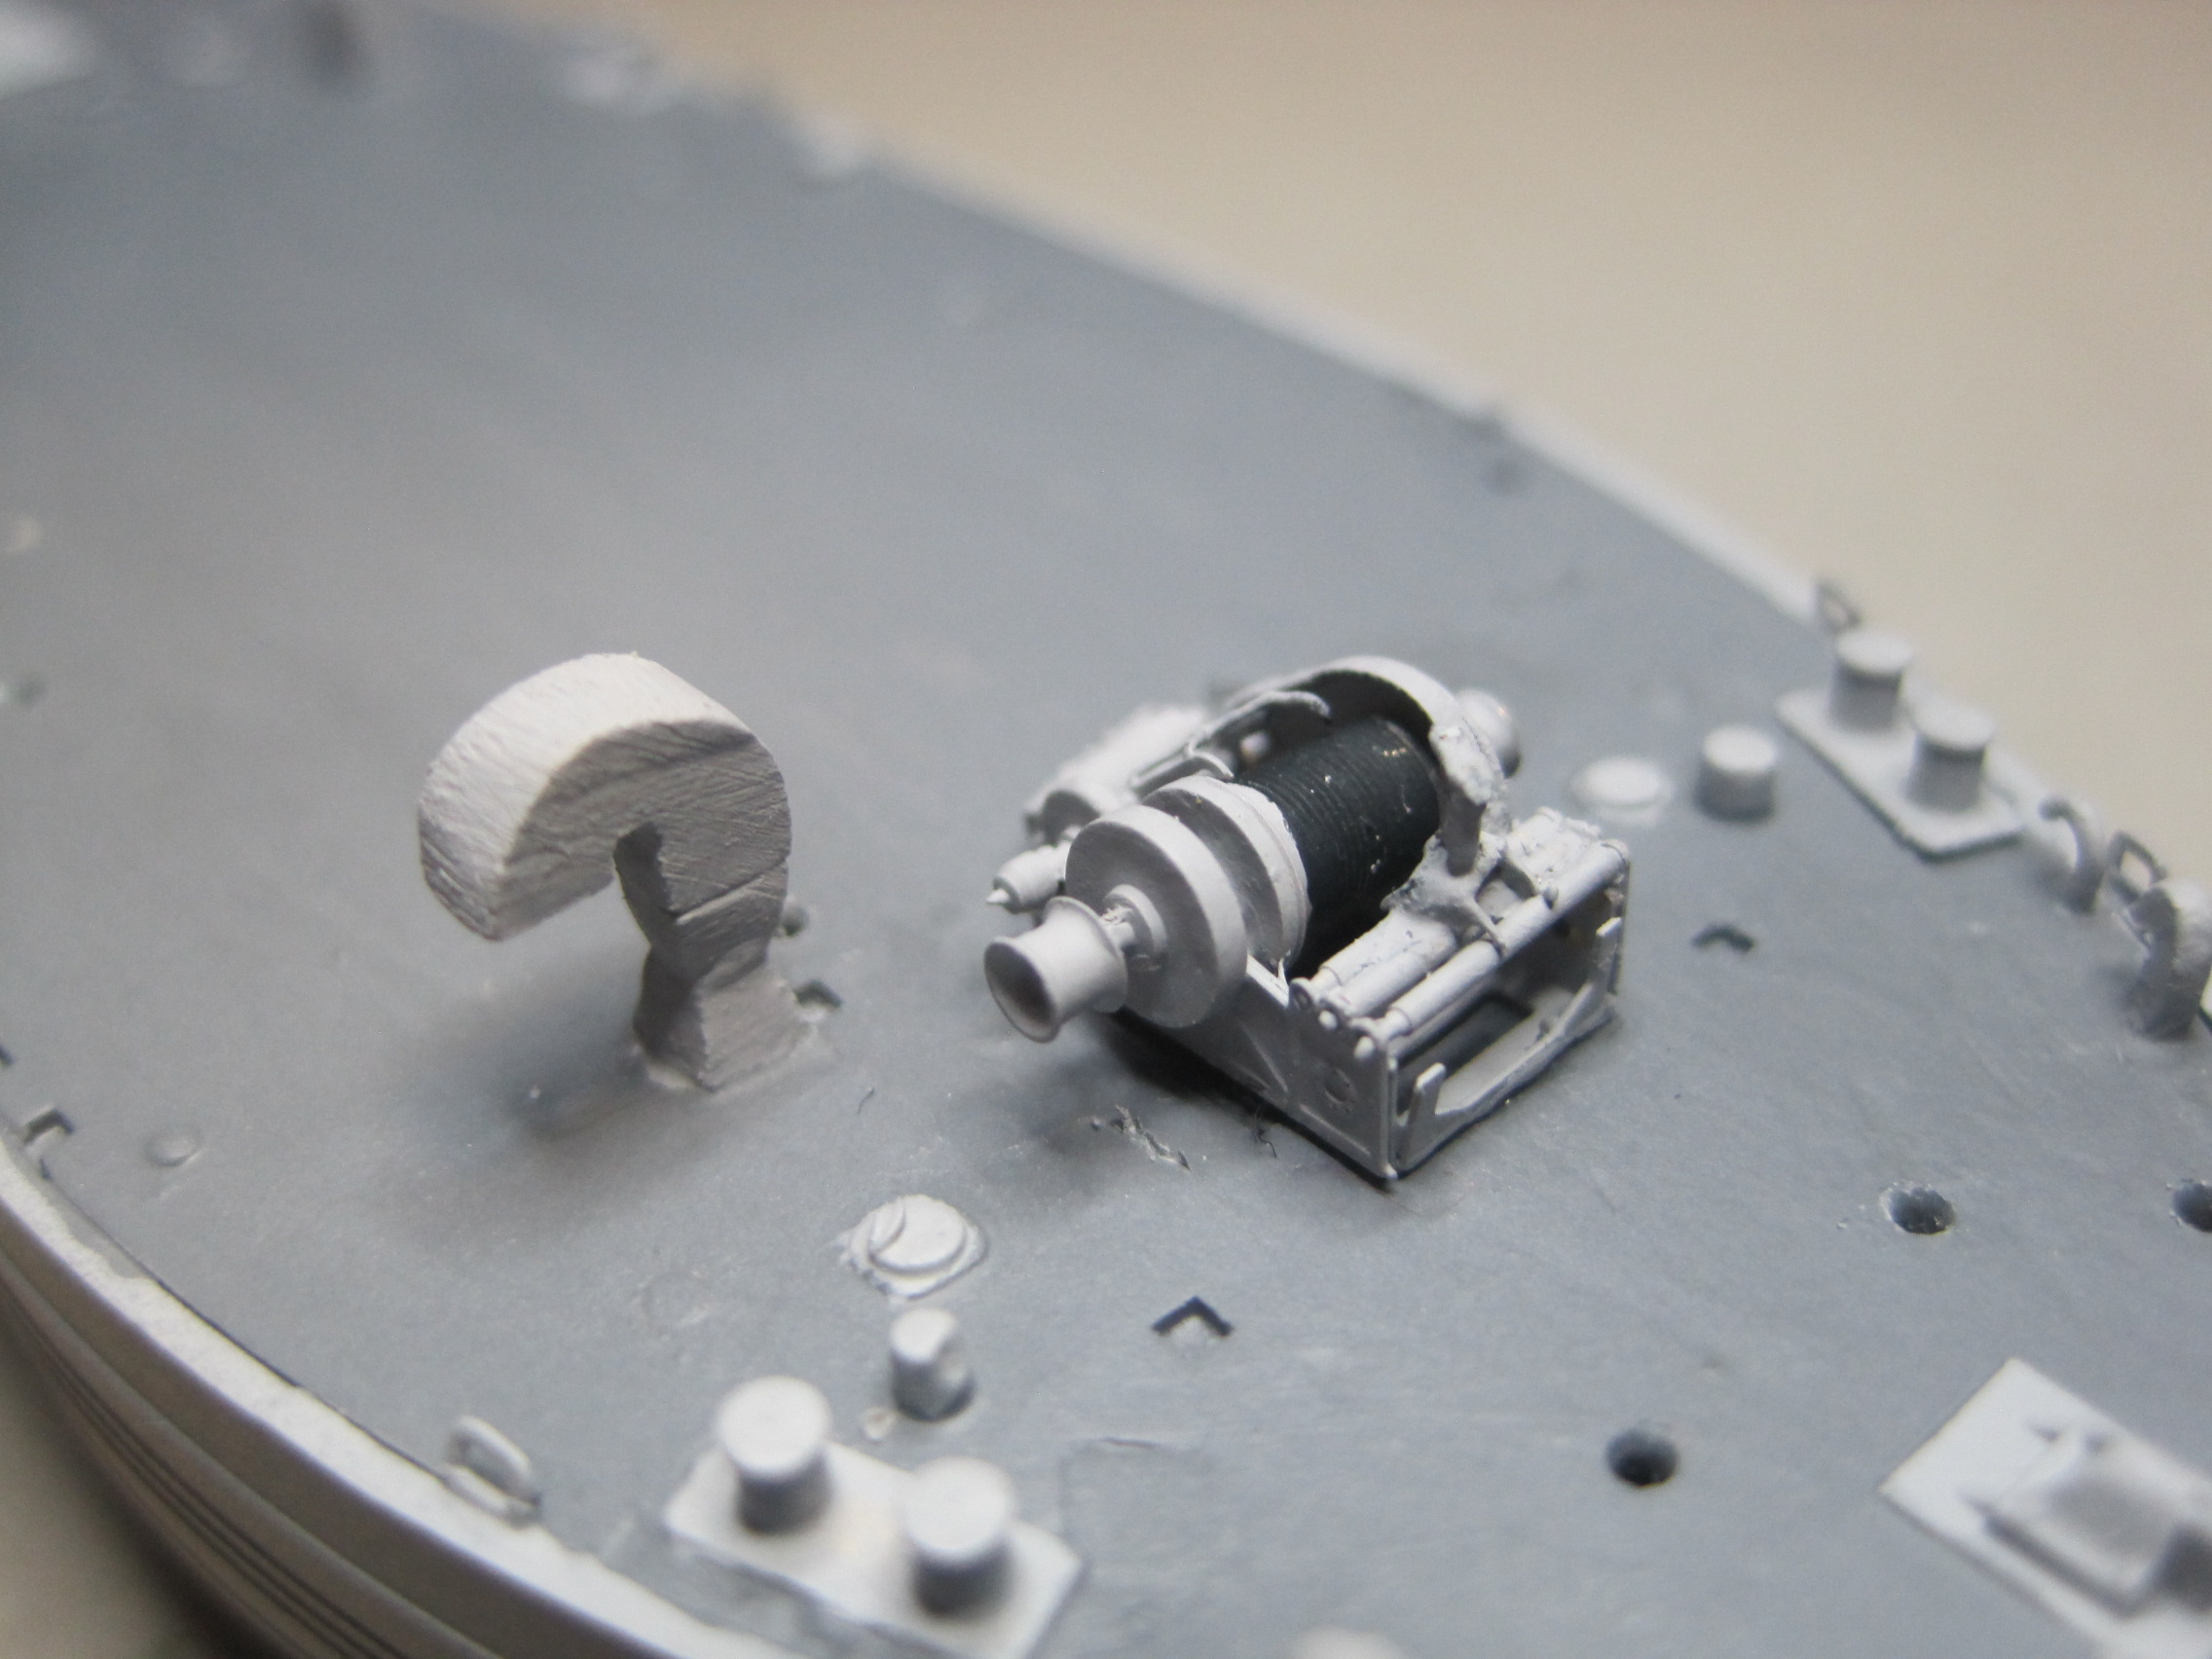
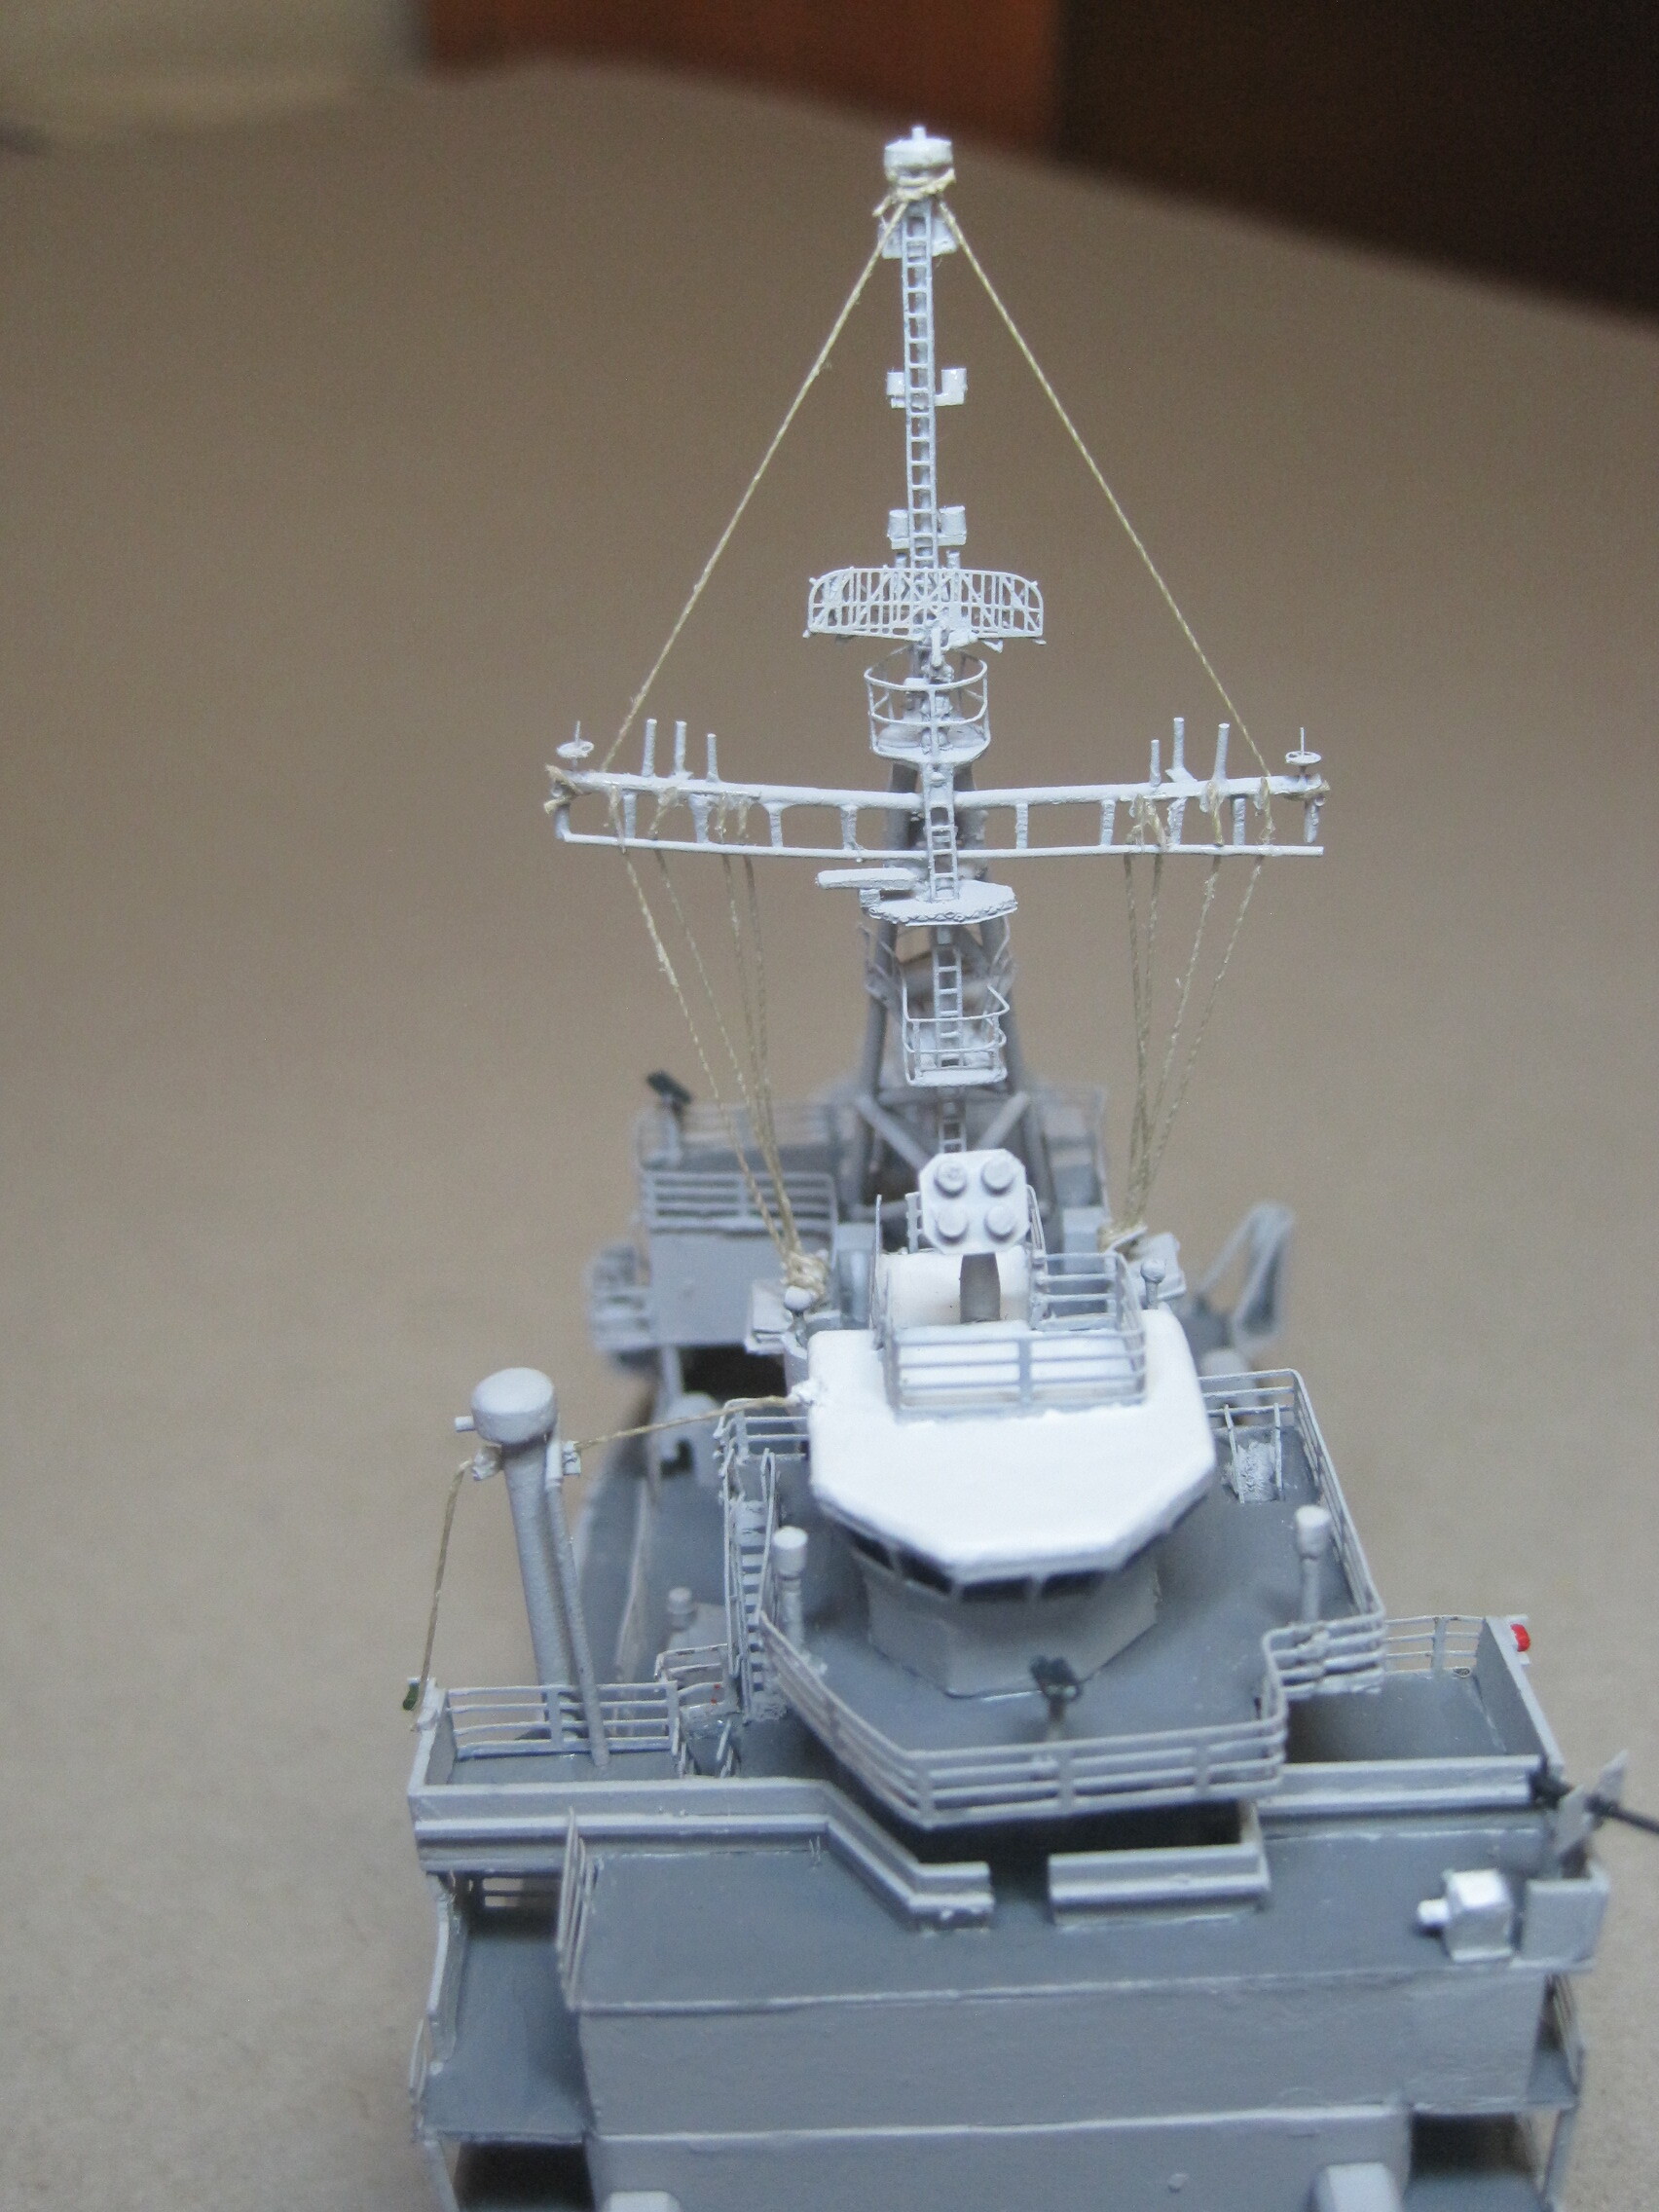
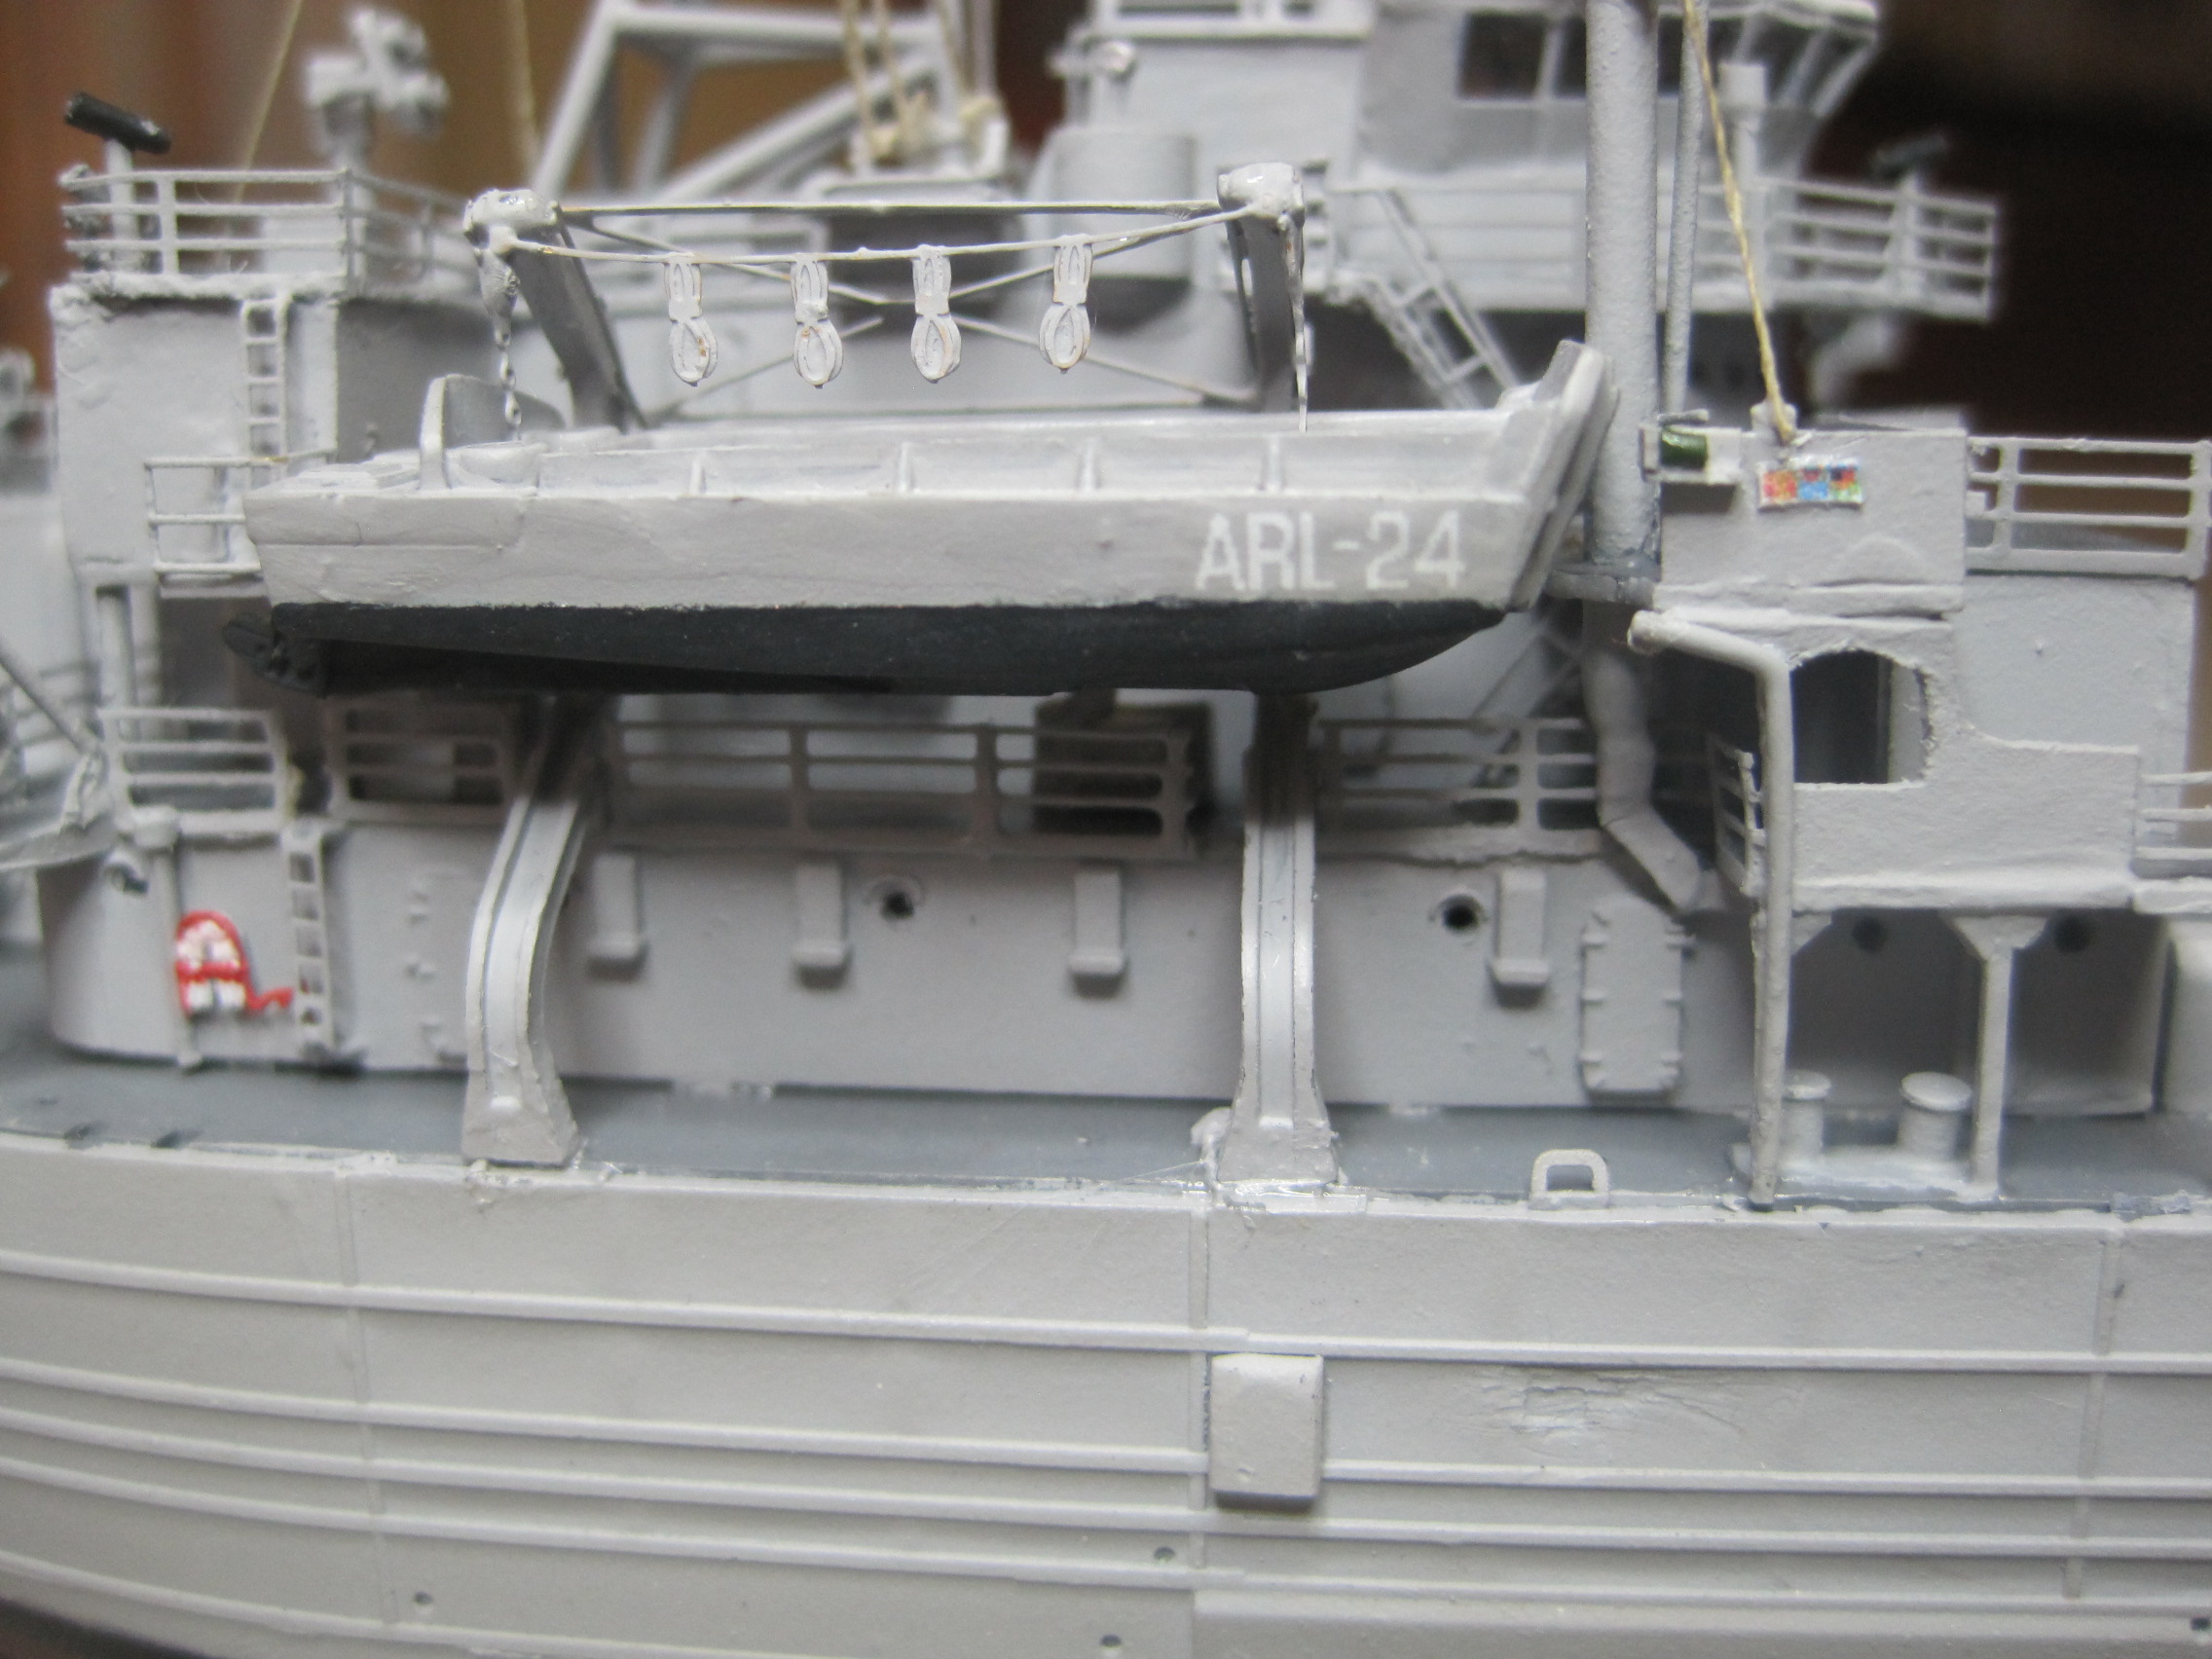
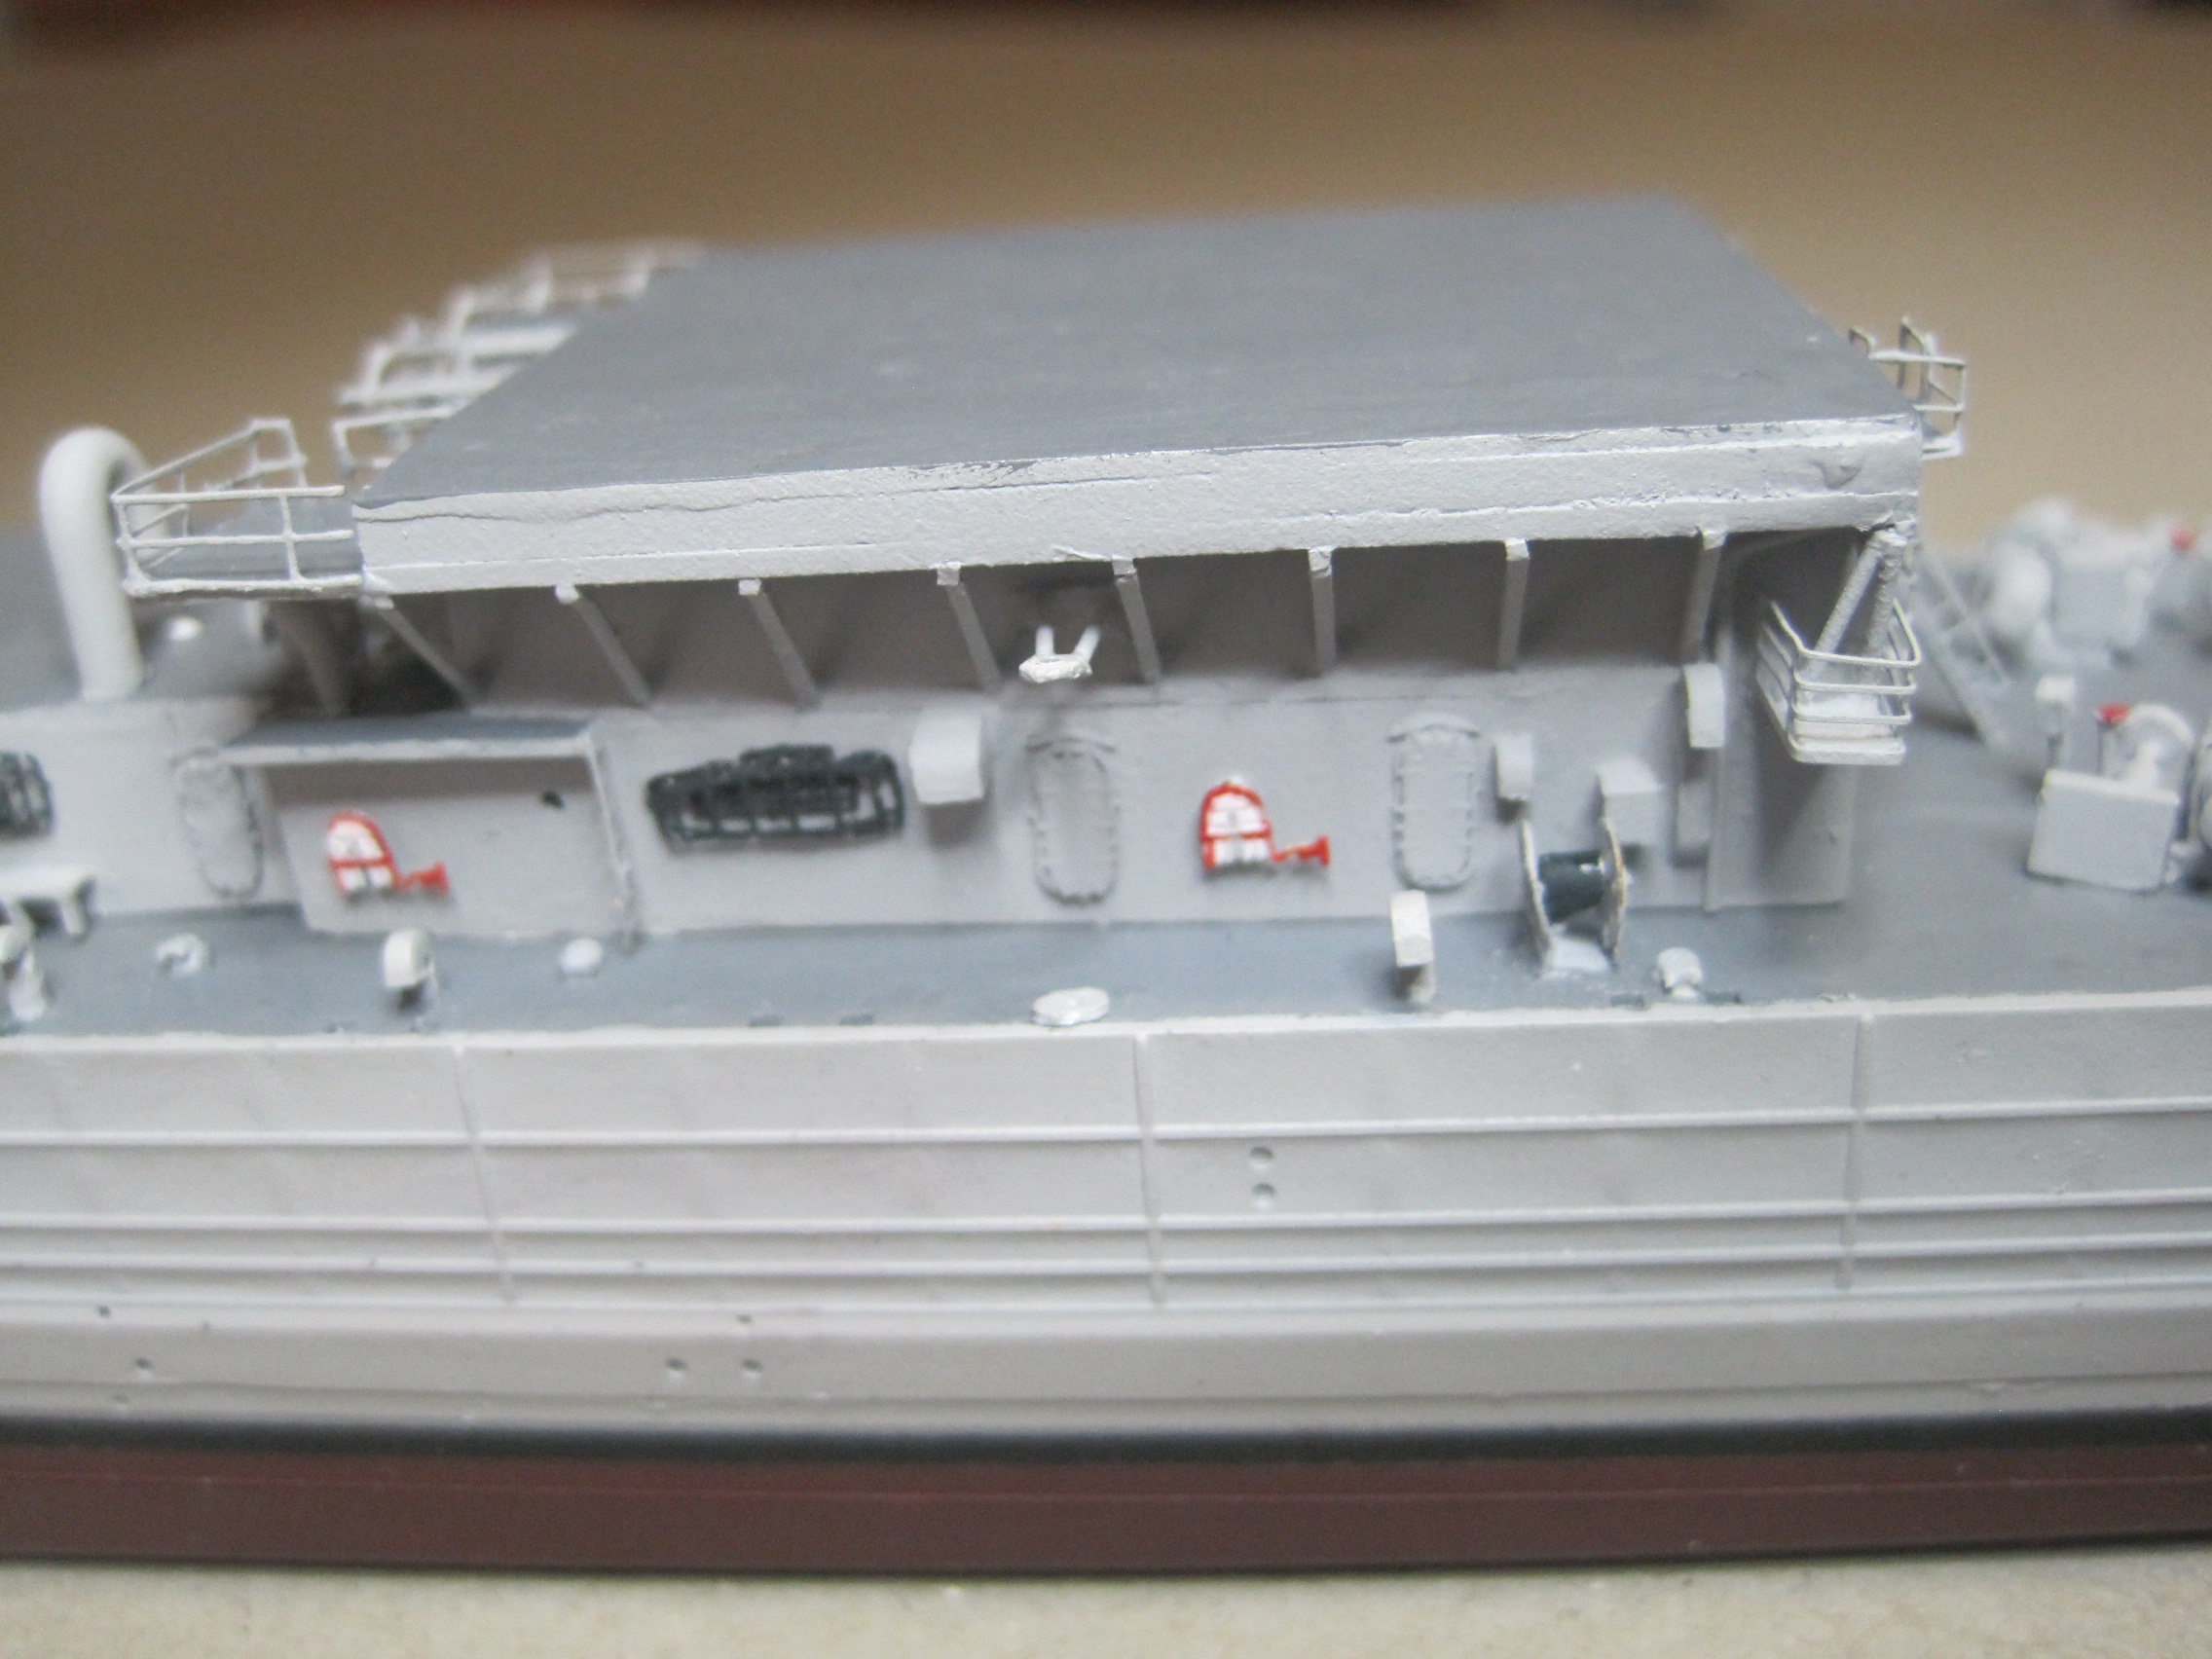
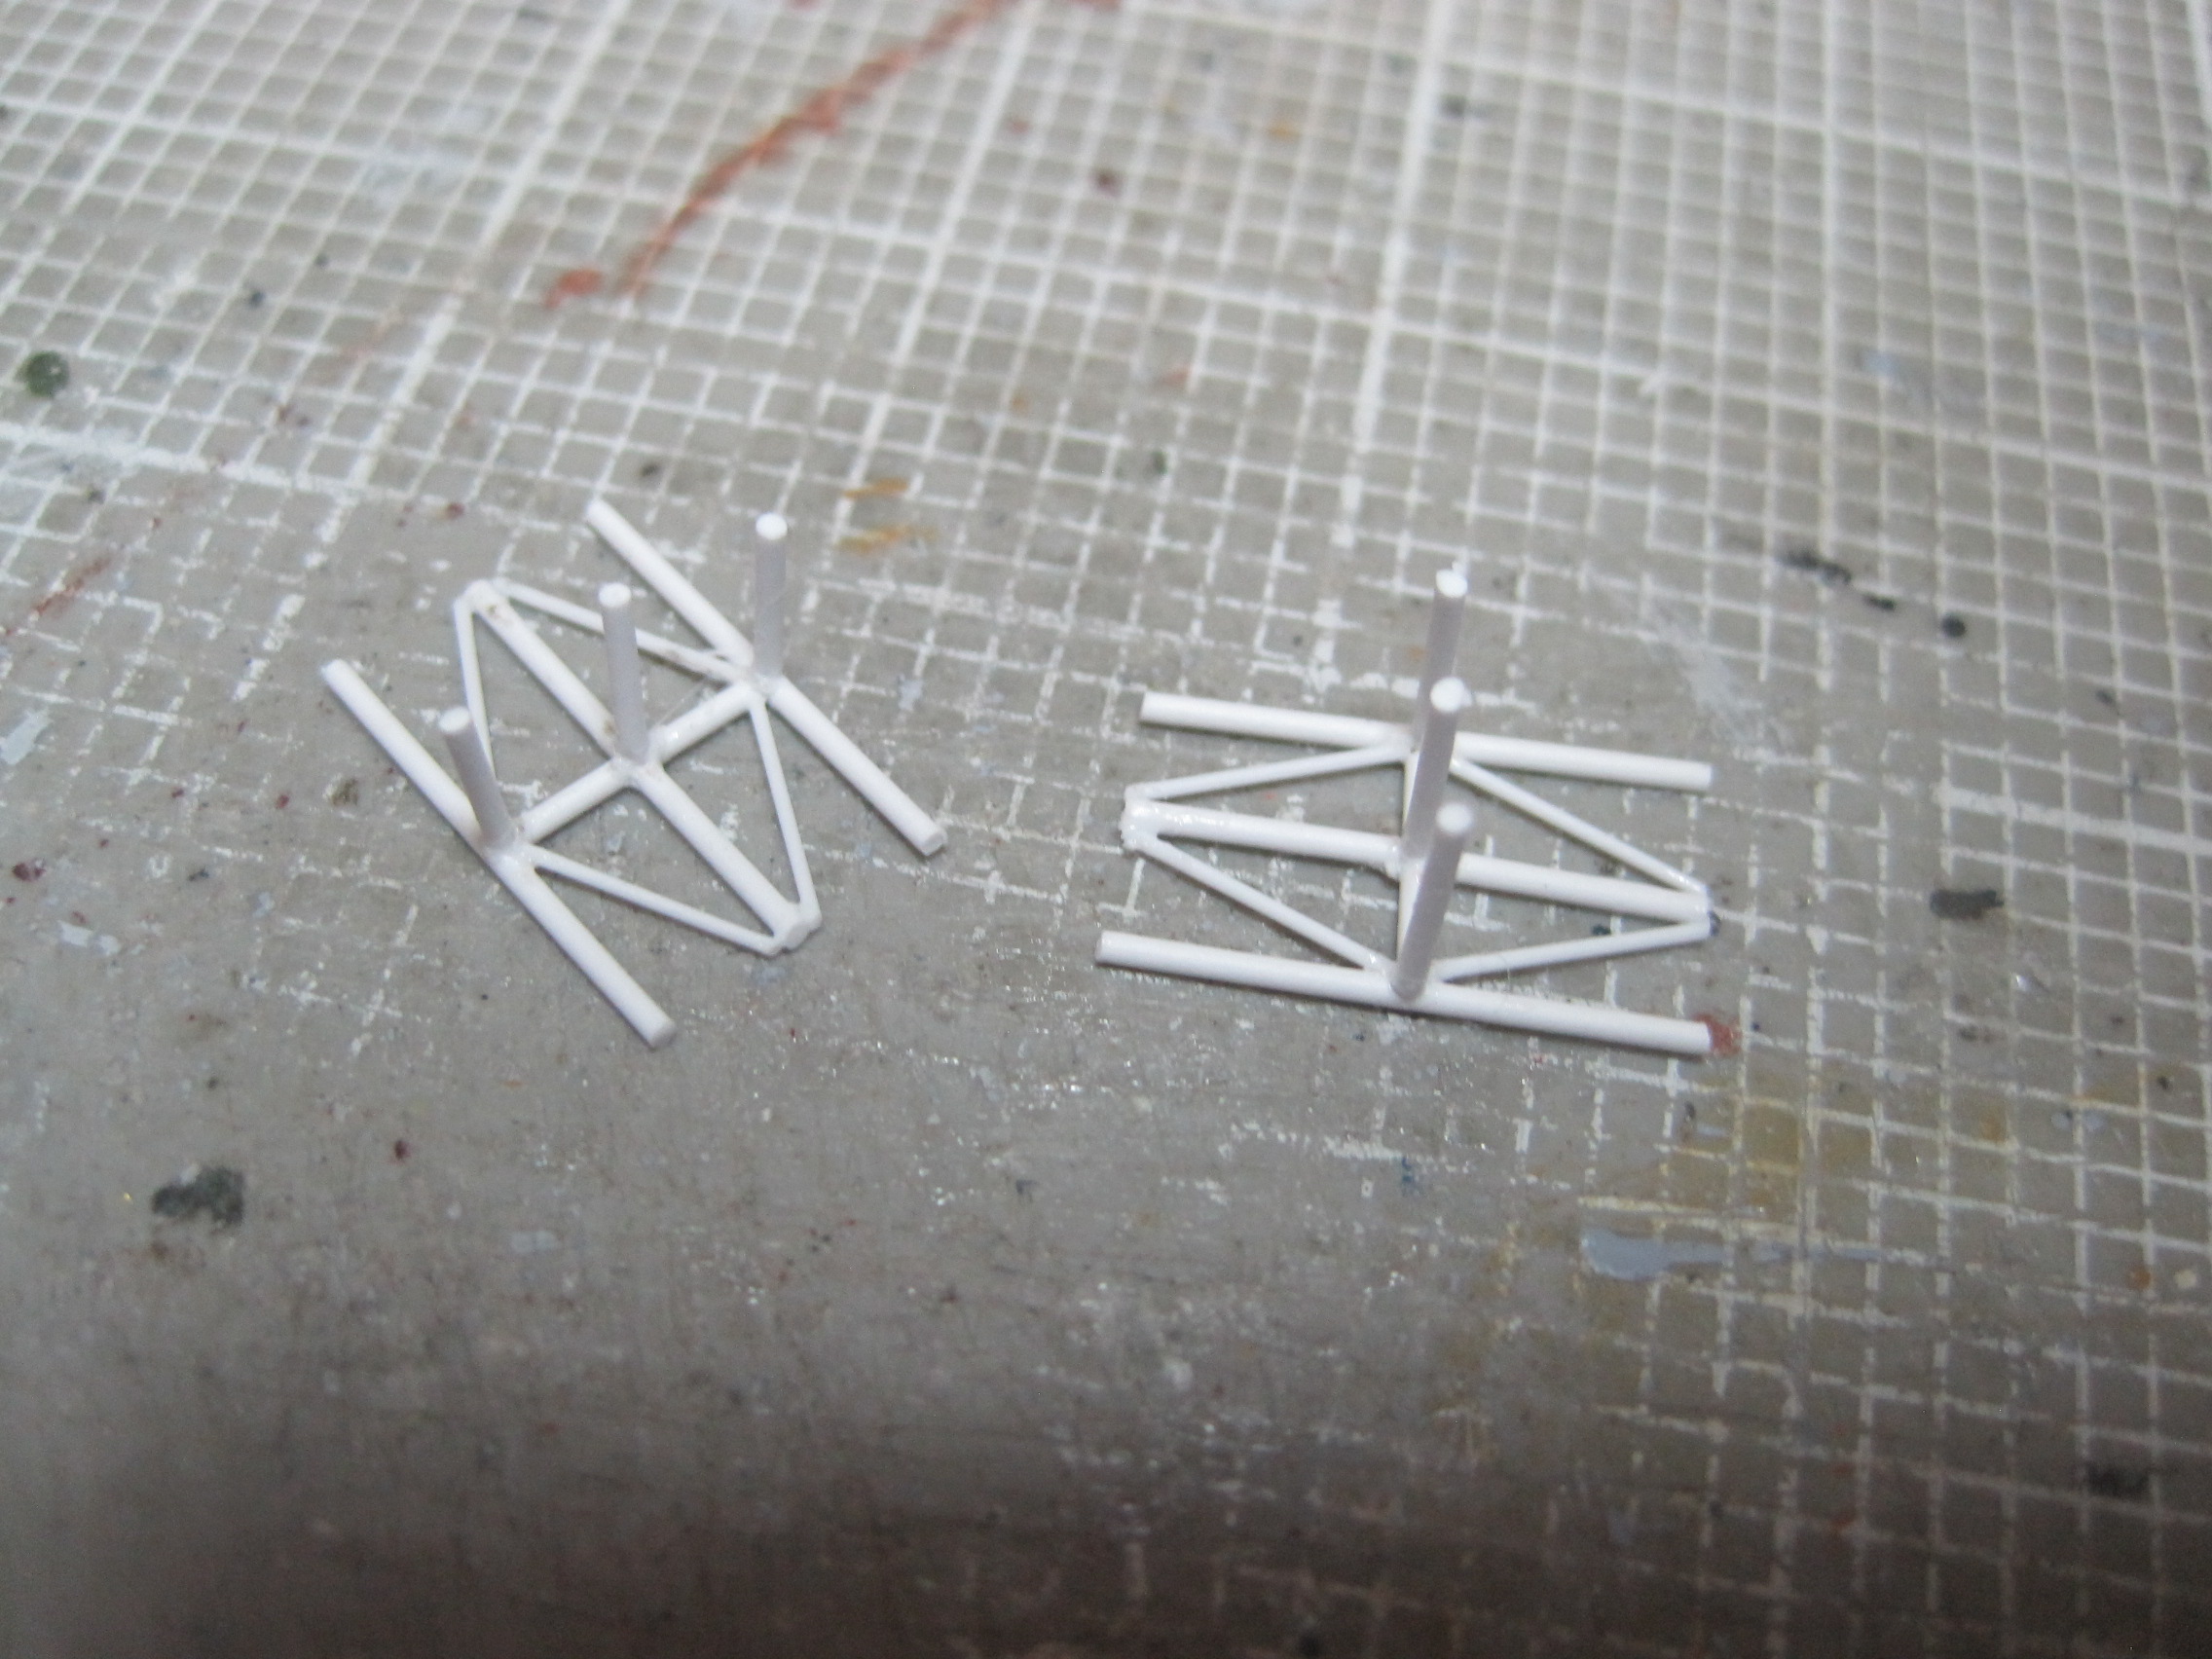
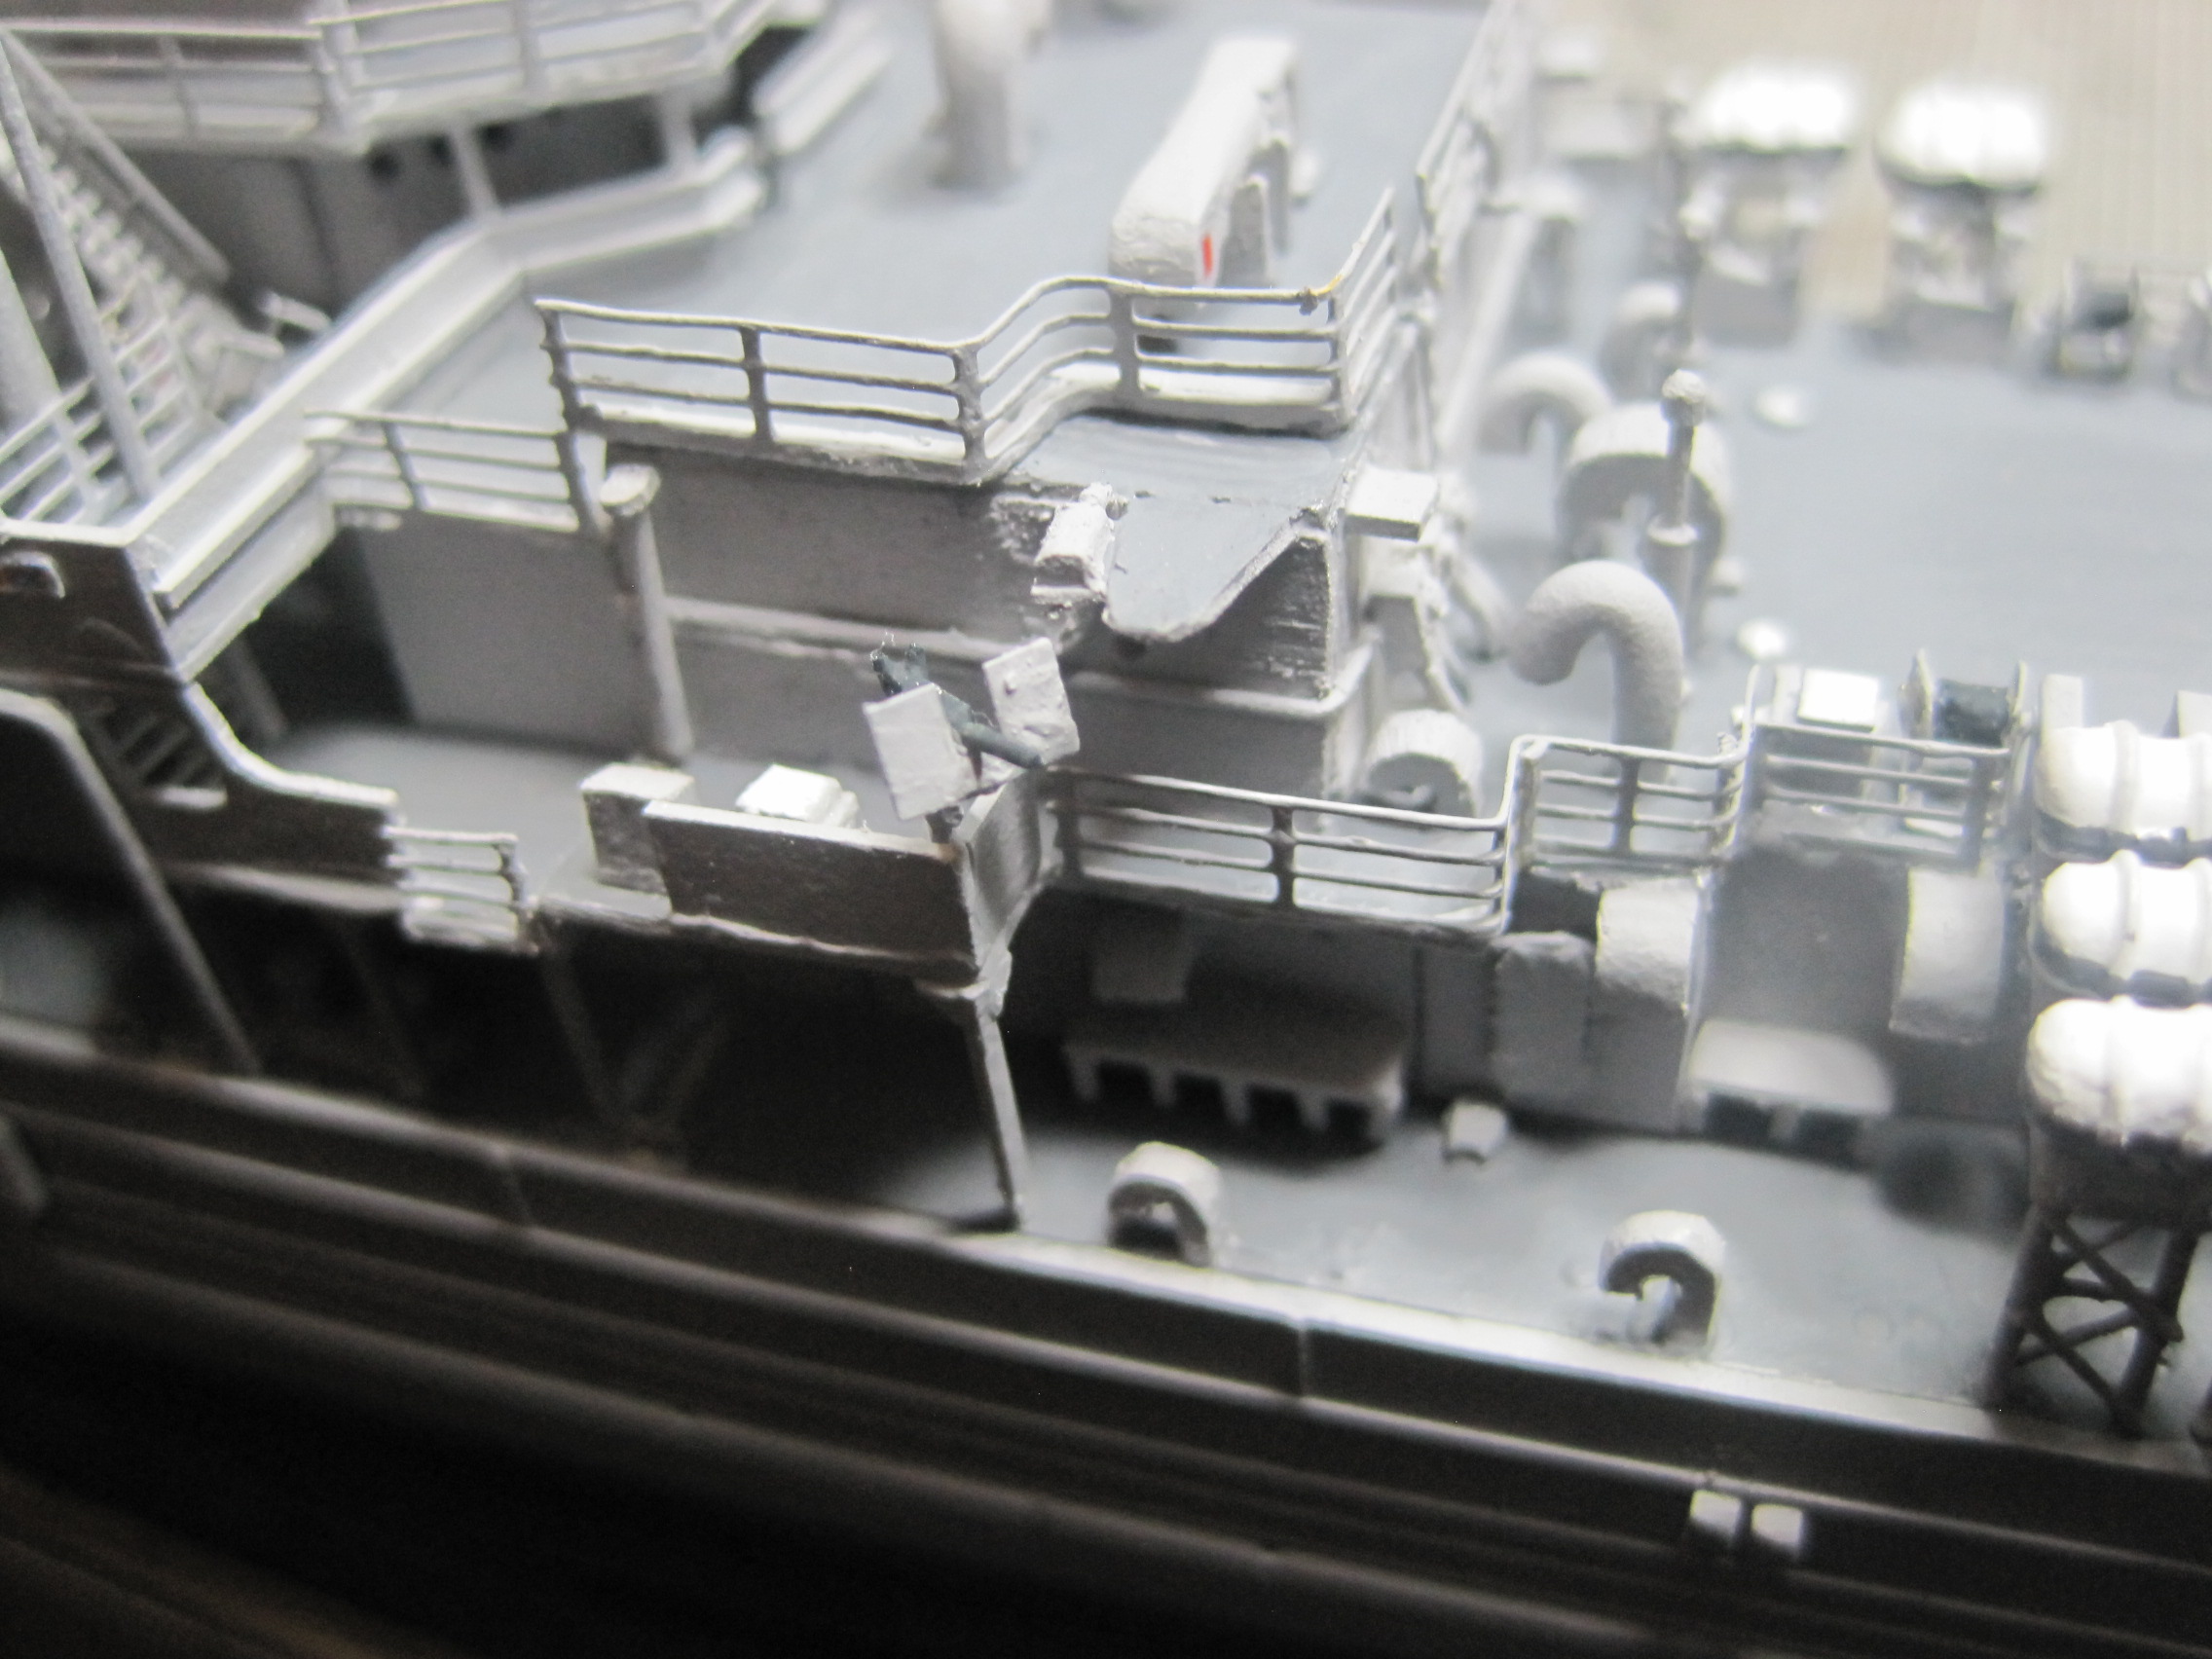
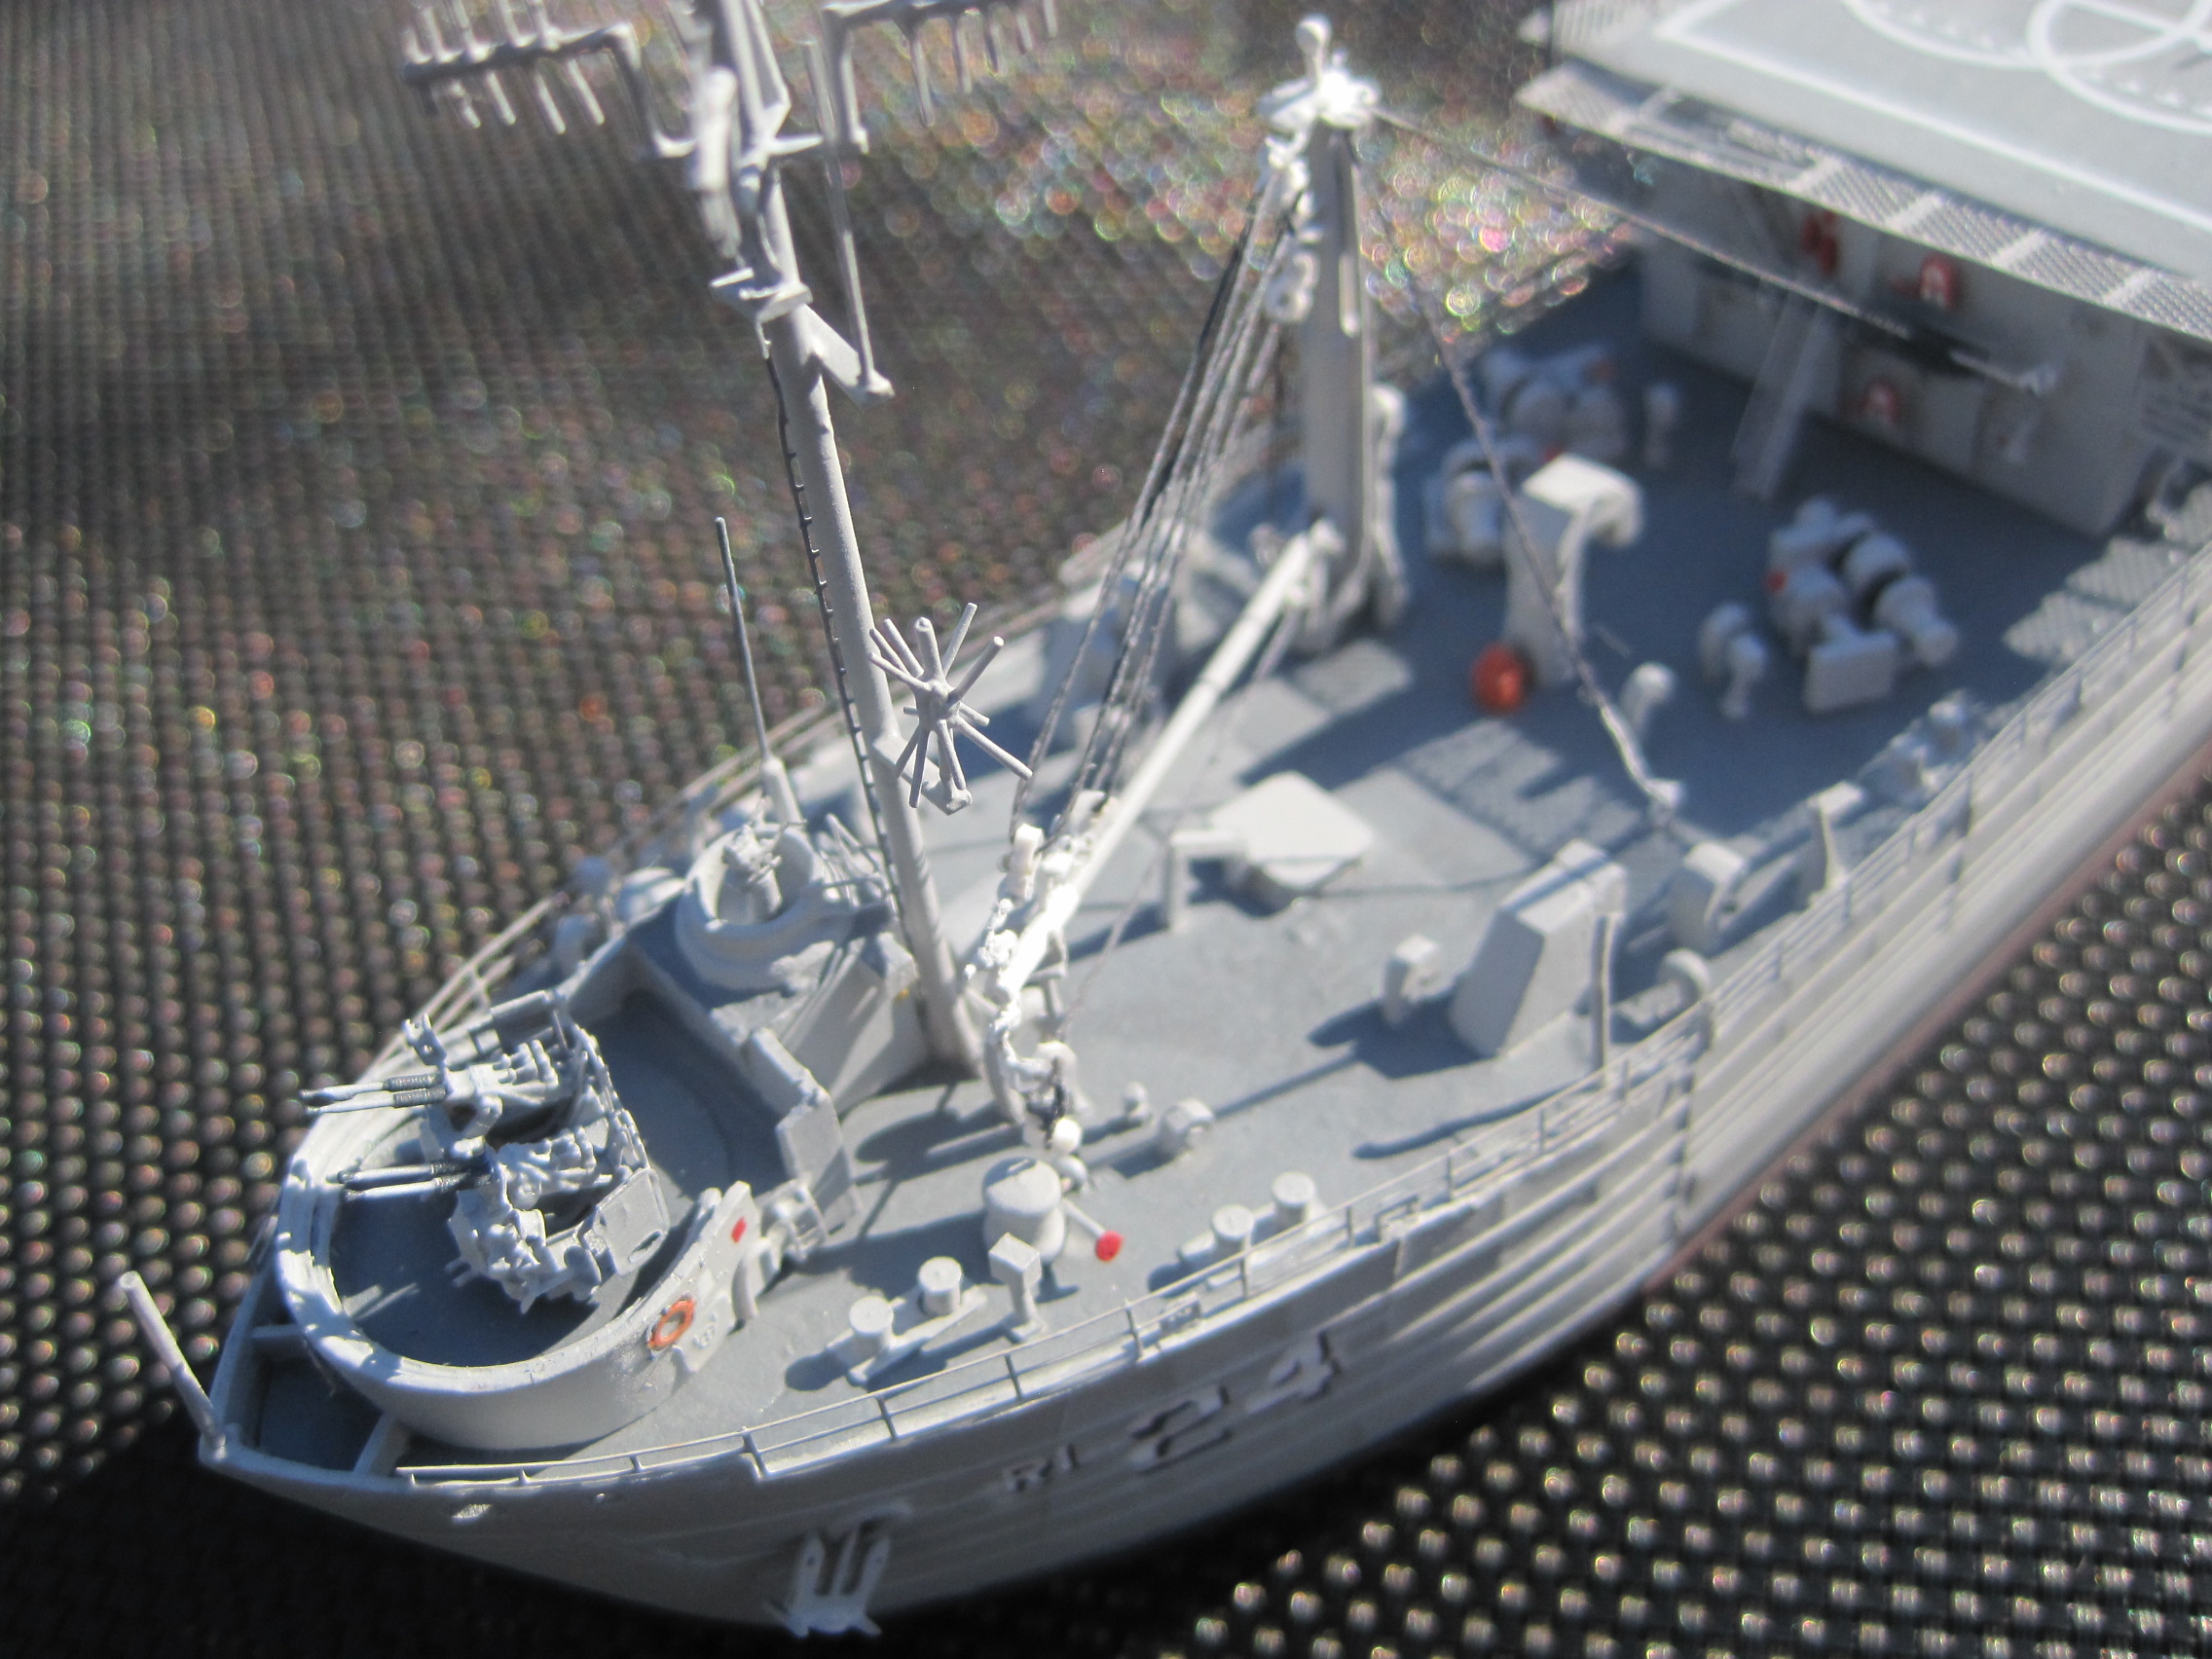
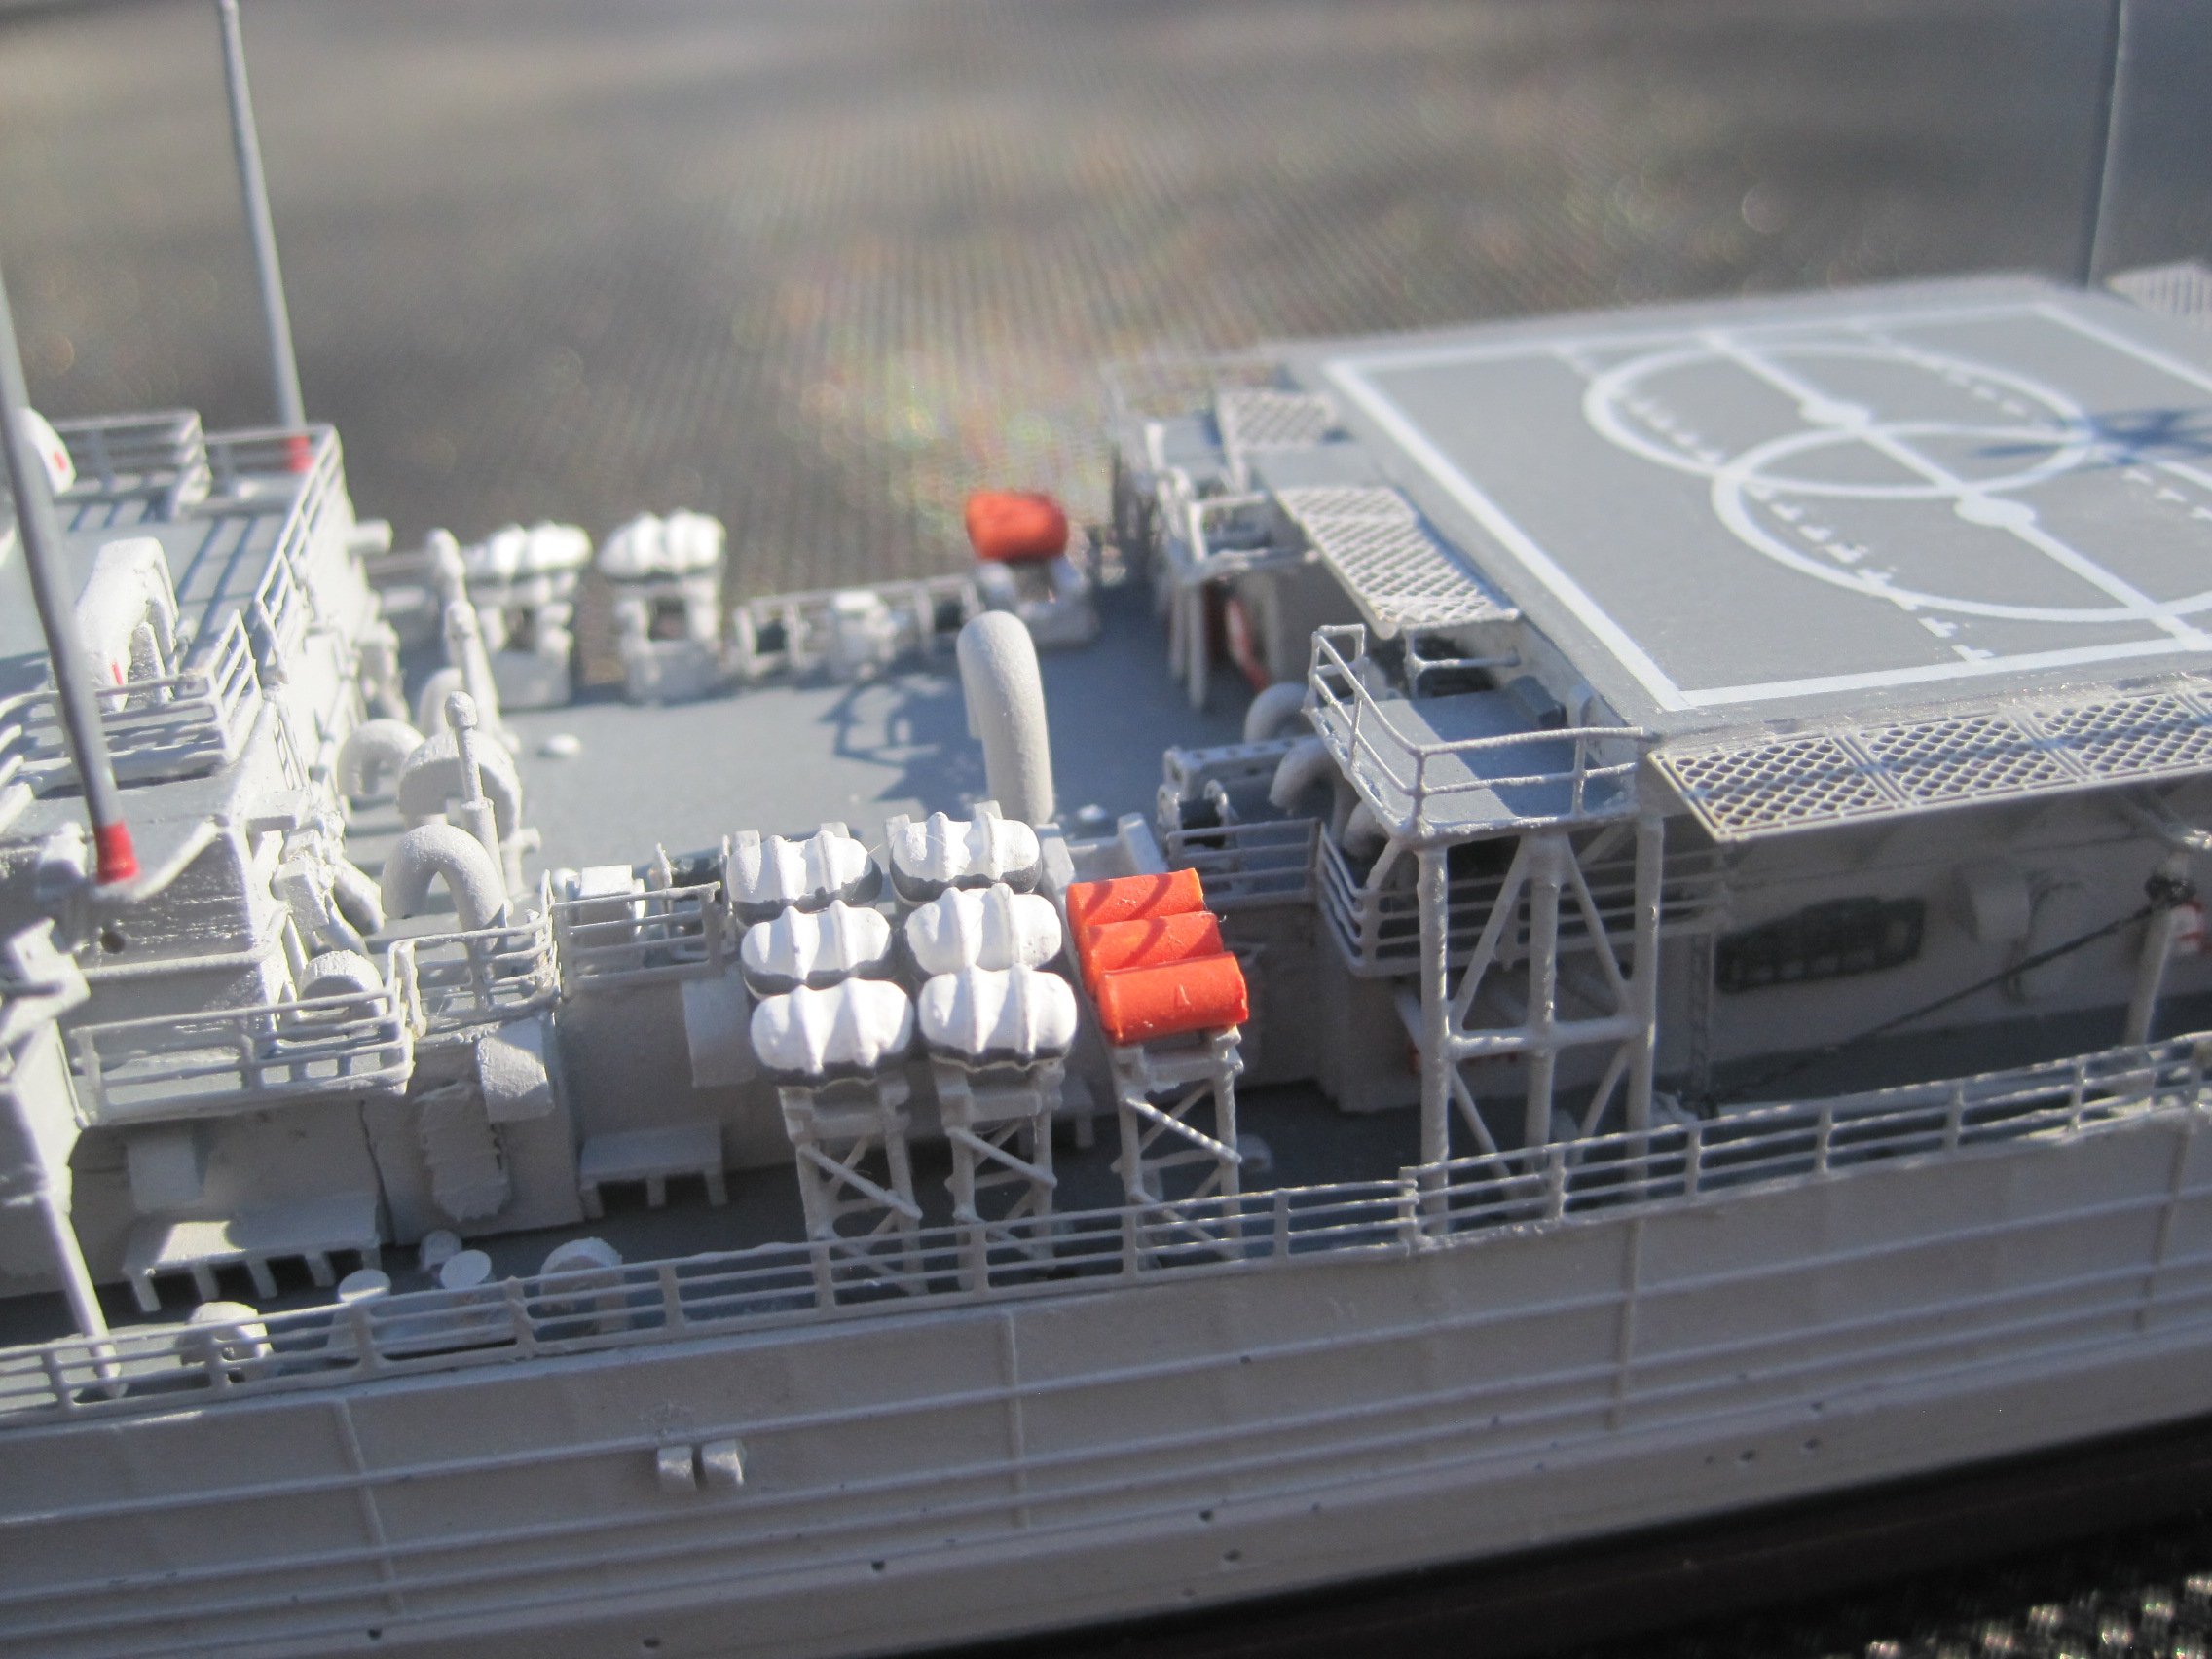
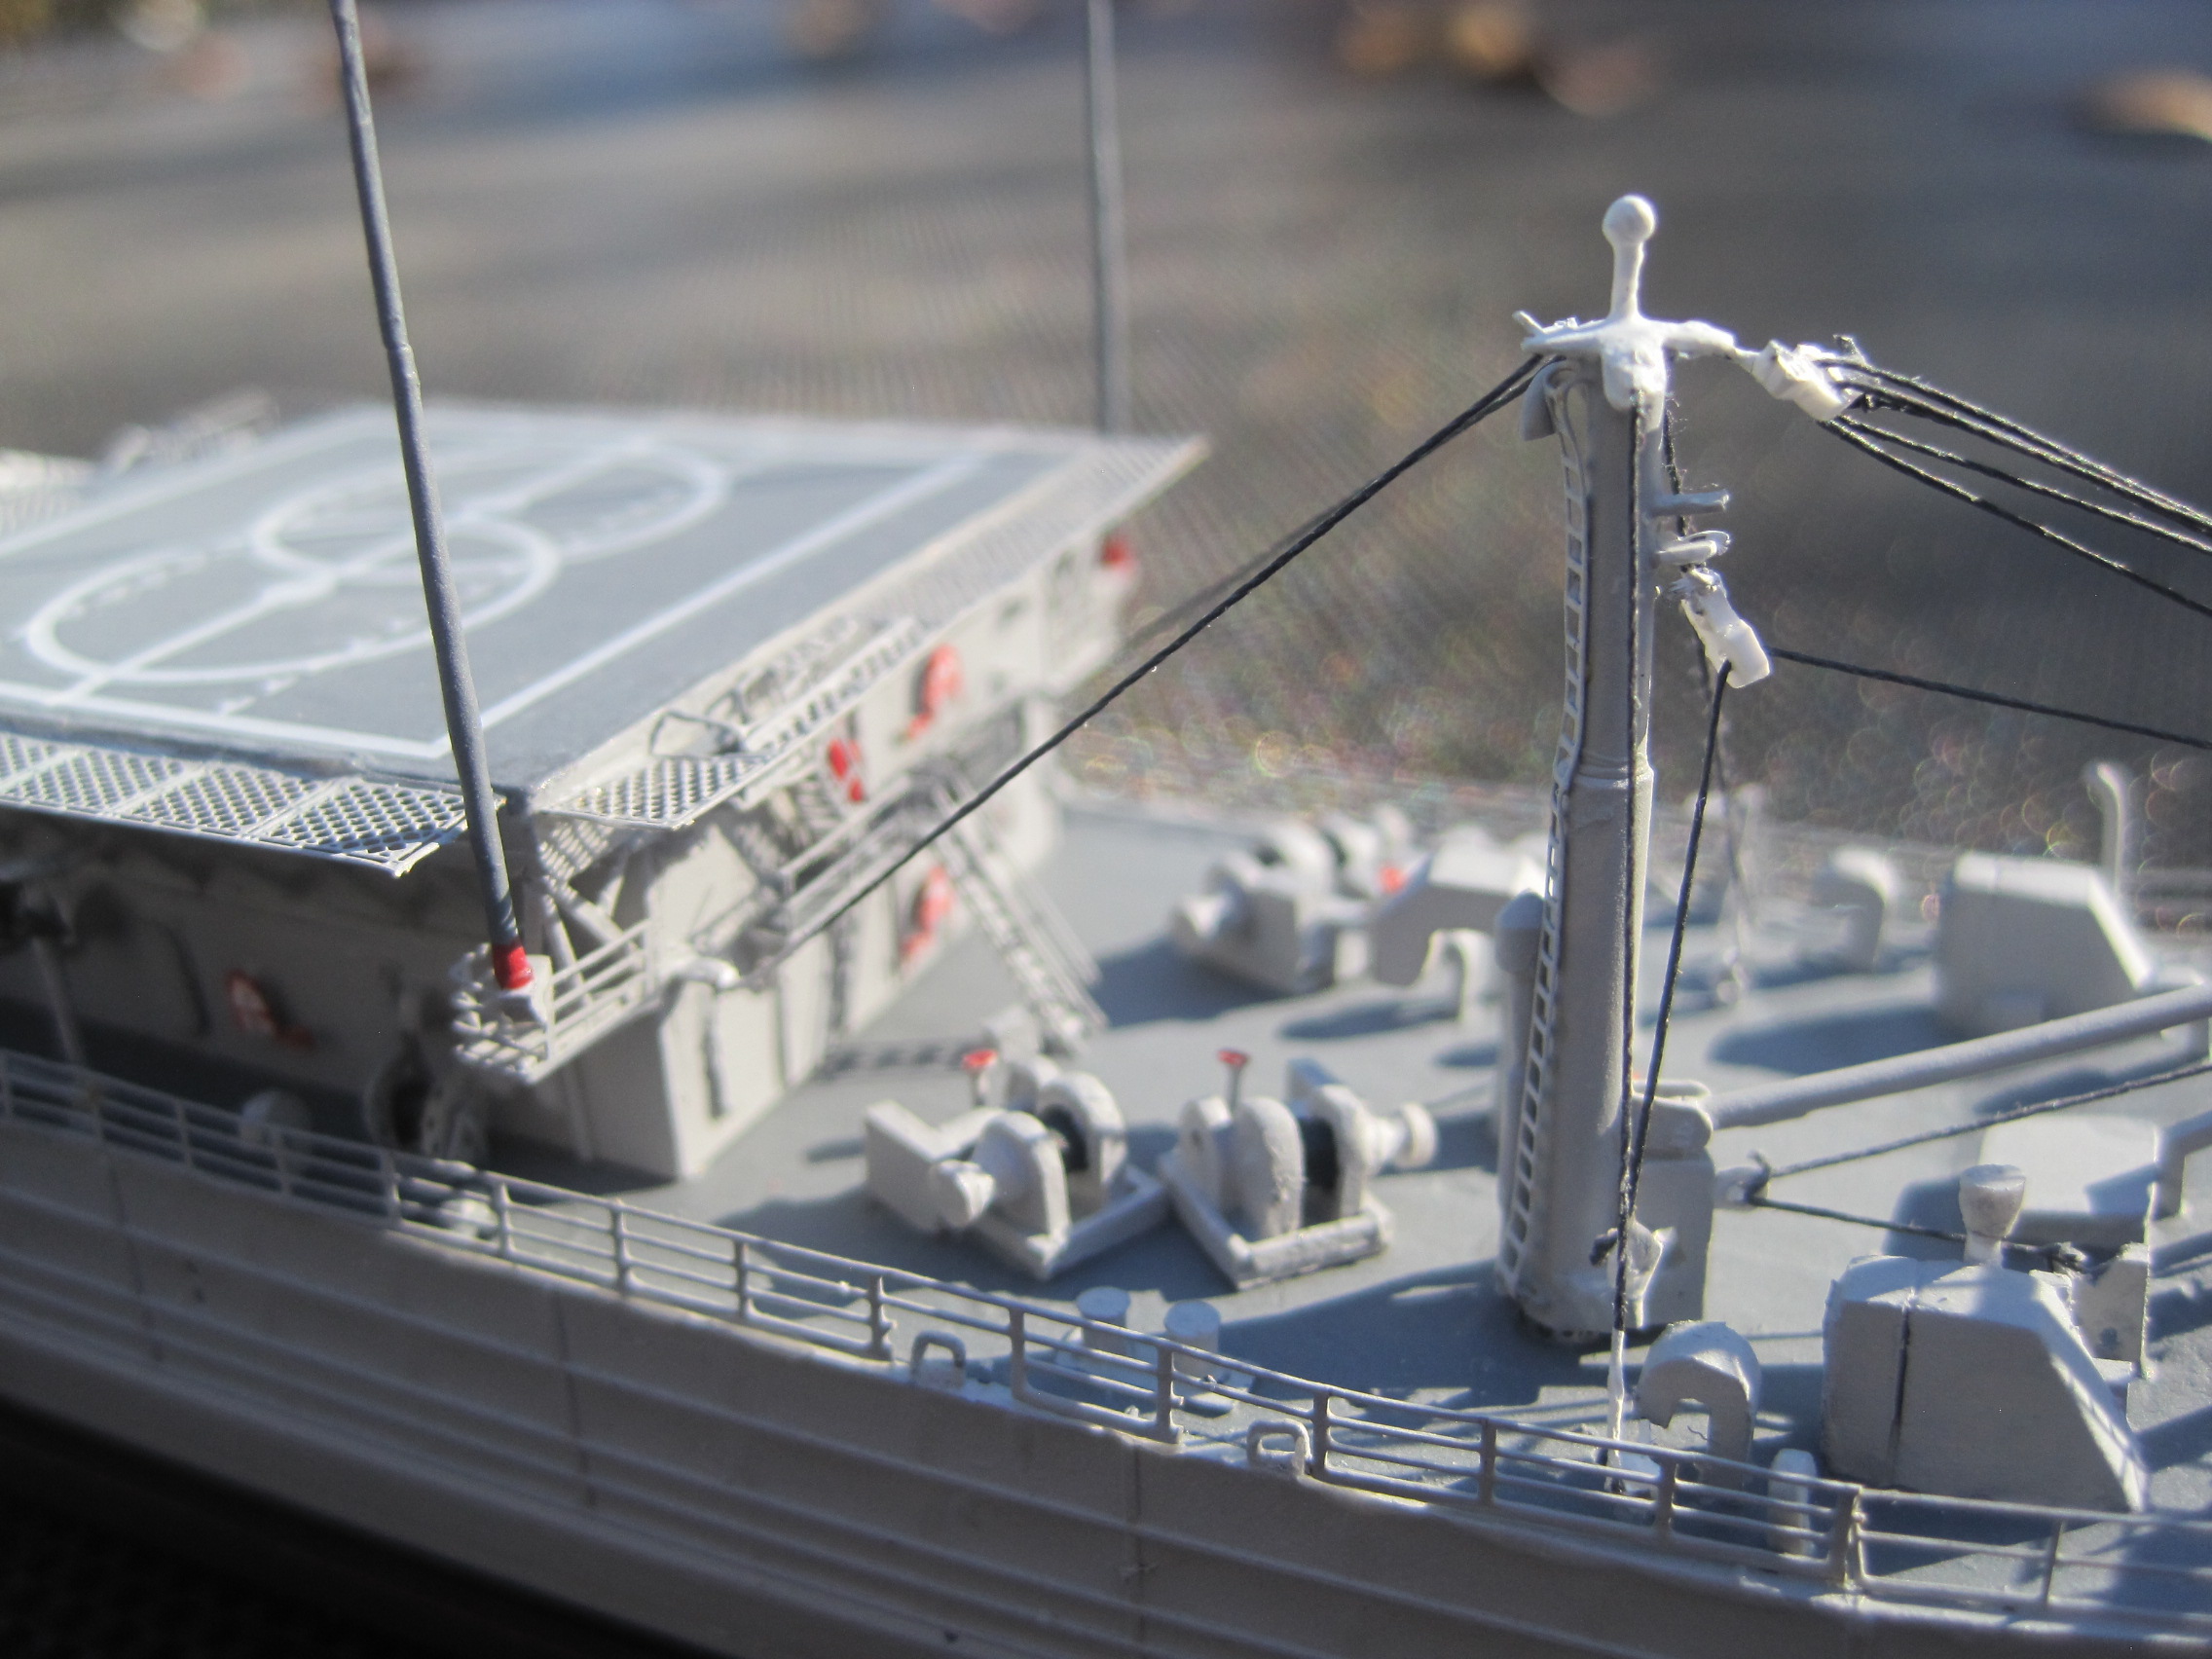
You’ll notice that I’ve started adding some of the PE. That’s always the difficult part, deciding just when to add smaller details to the sub-assemblies. If you add it too early that can make masking for painting really hard. And if you wait until all the sub-assemblies are added to the hull, now you’re having to handle the entire model to add small details.

Sure would be nice if there were directions on the sequence included with the instructions!!!

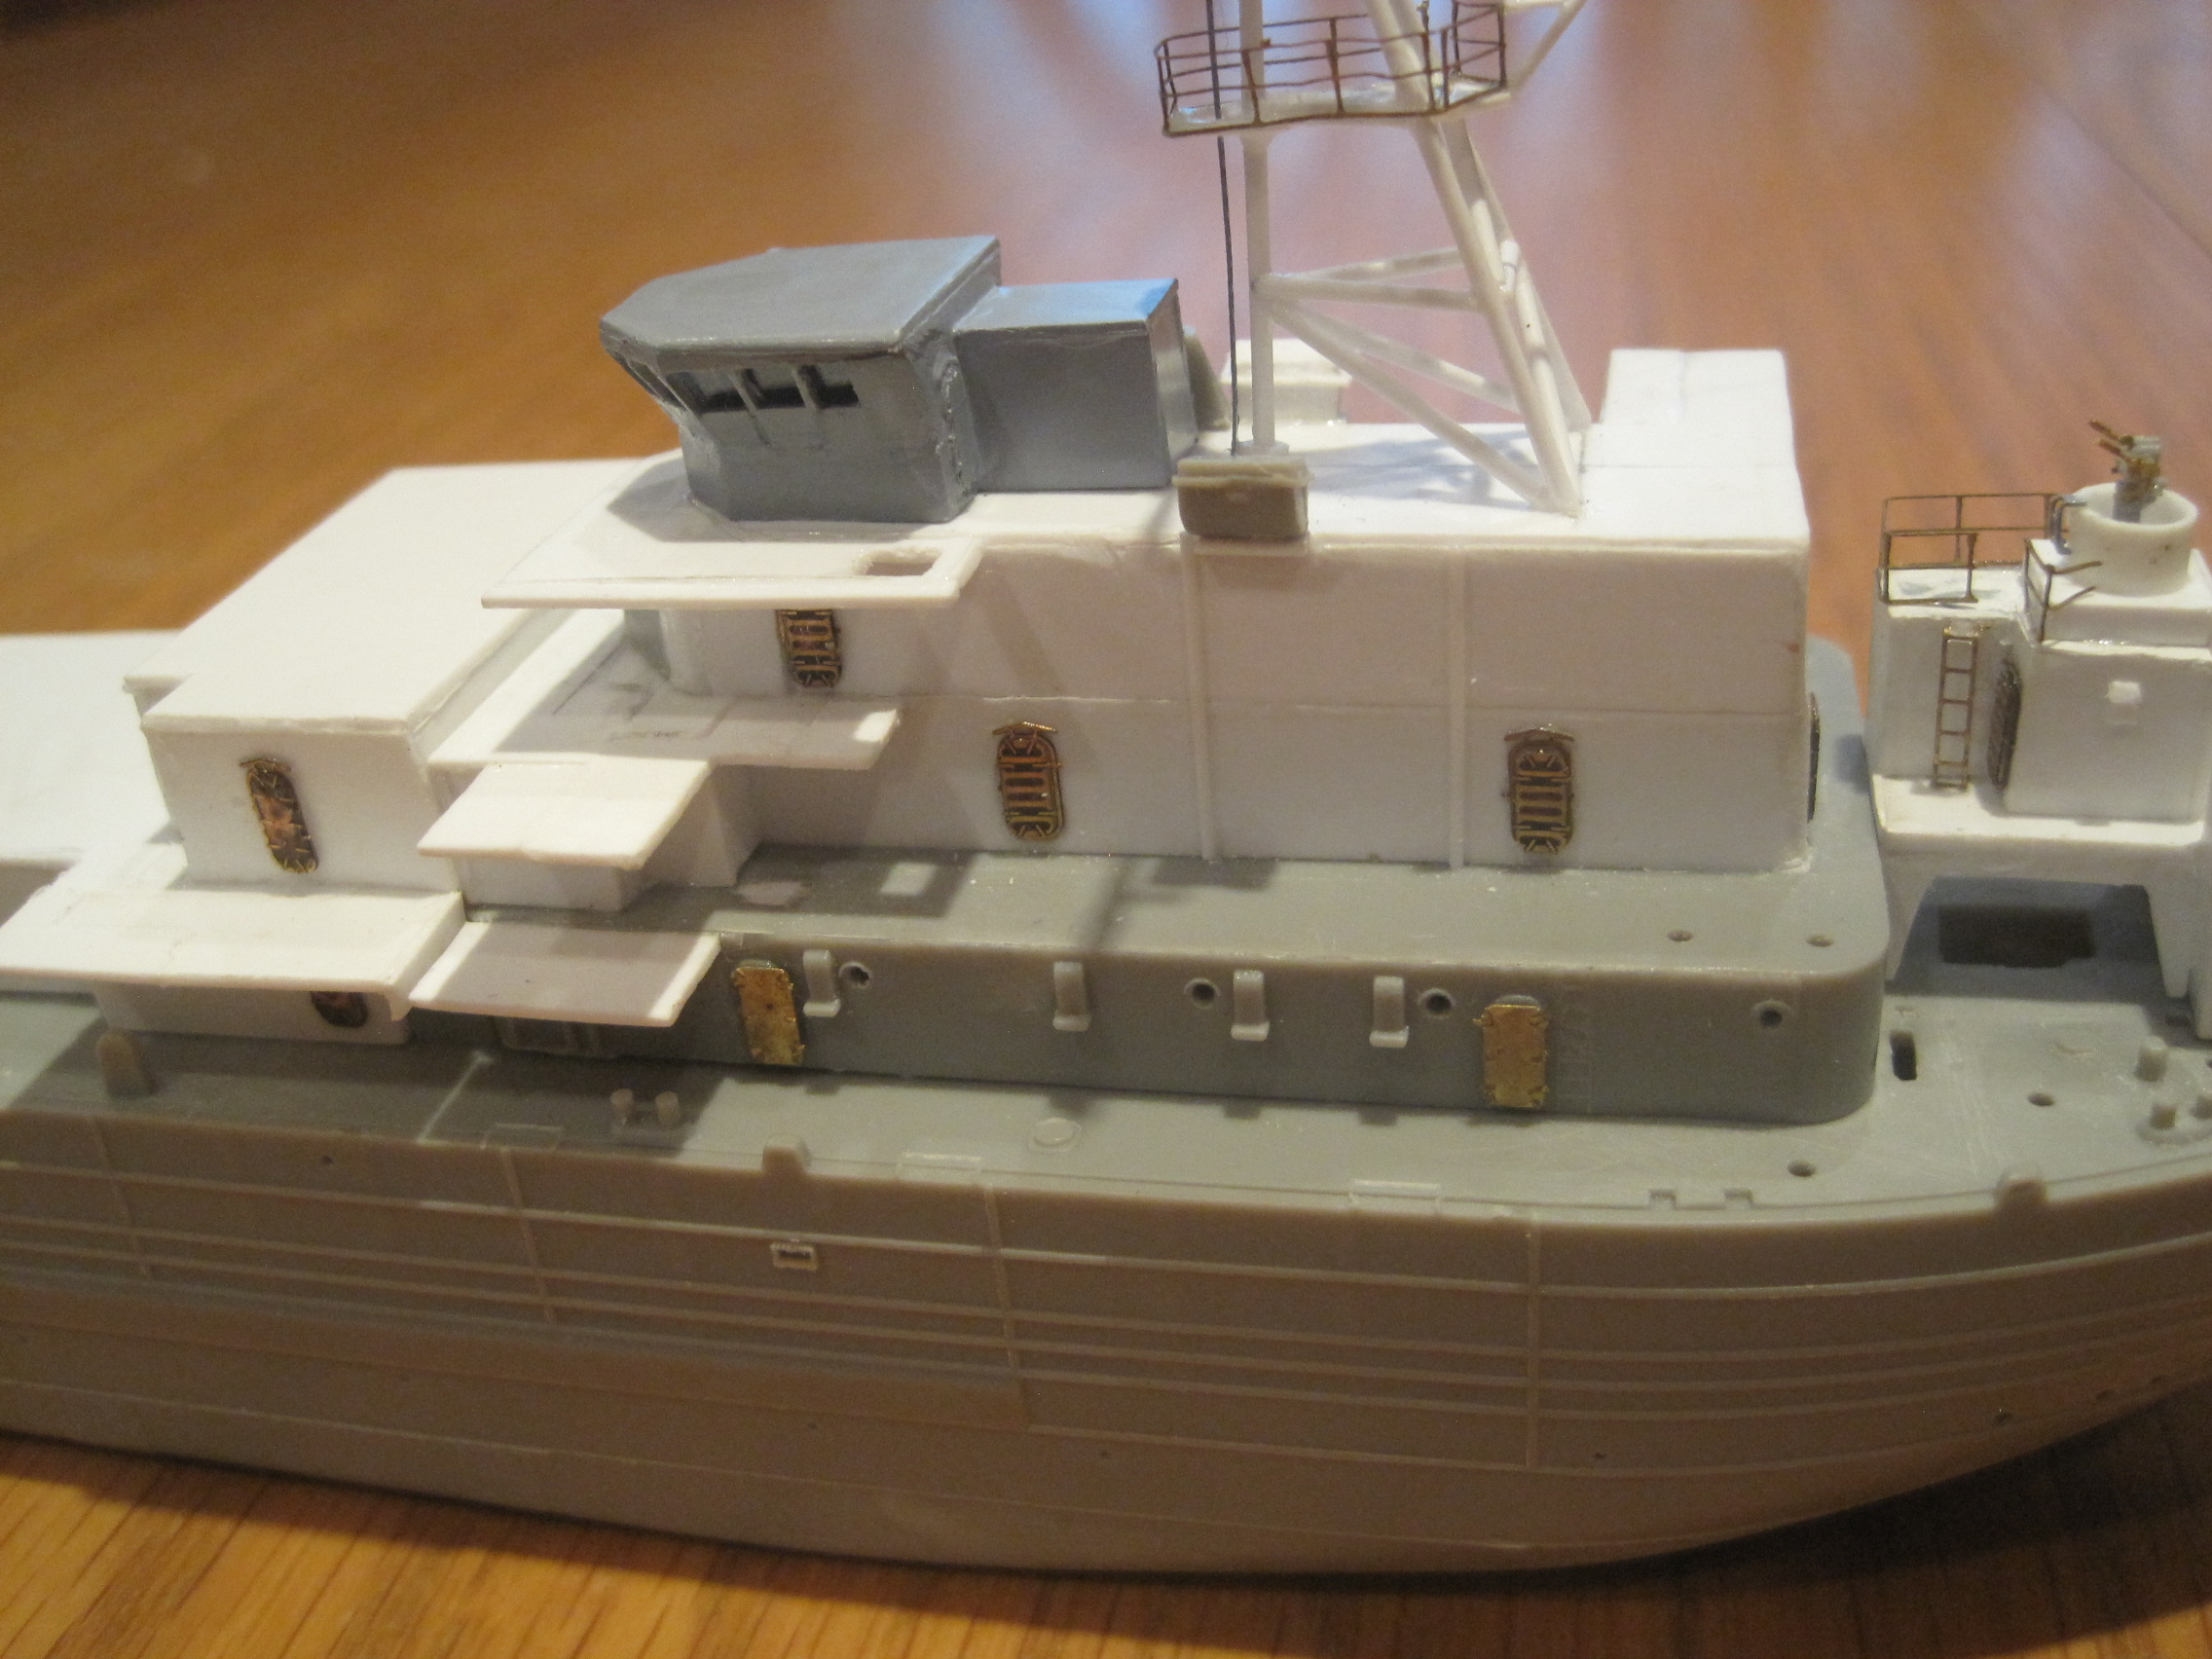
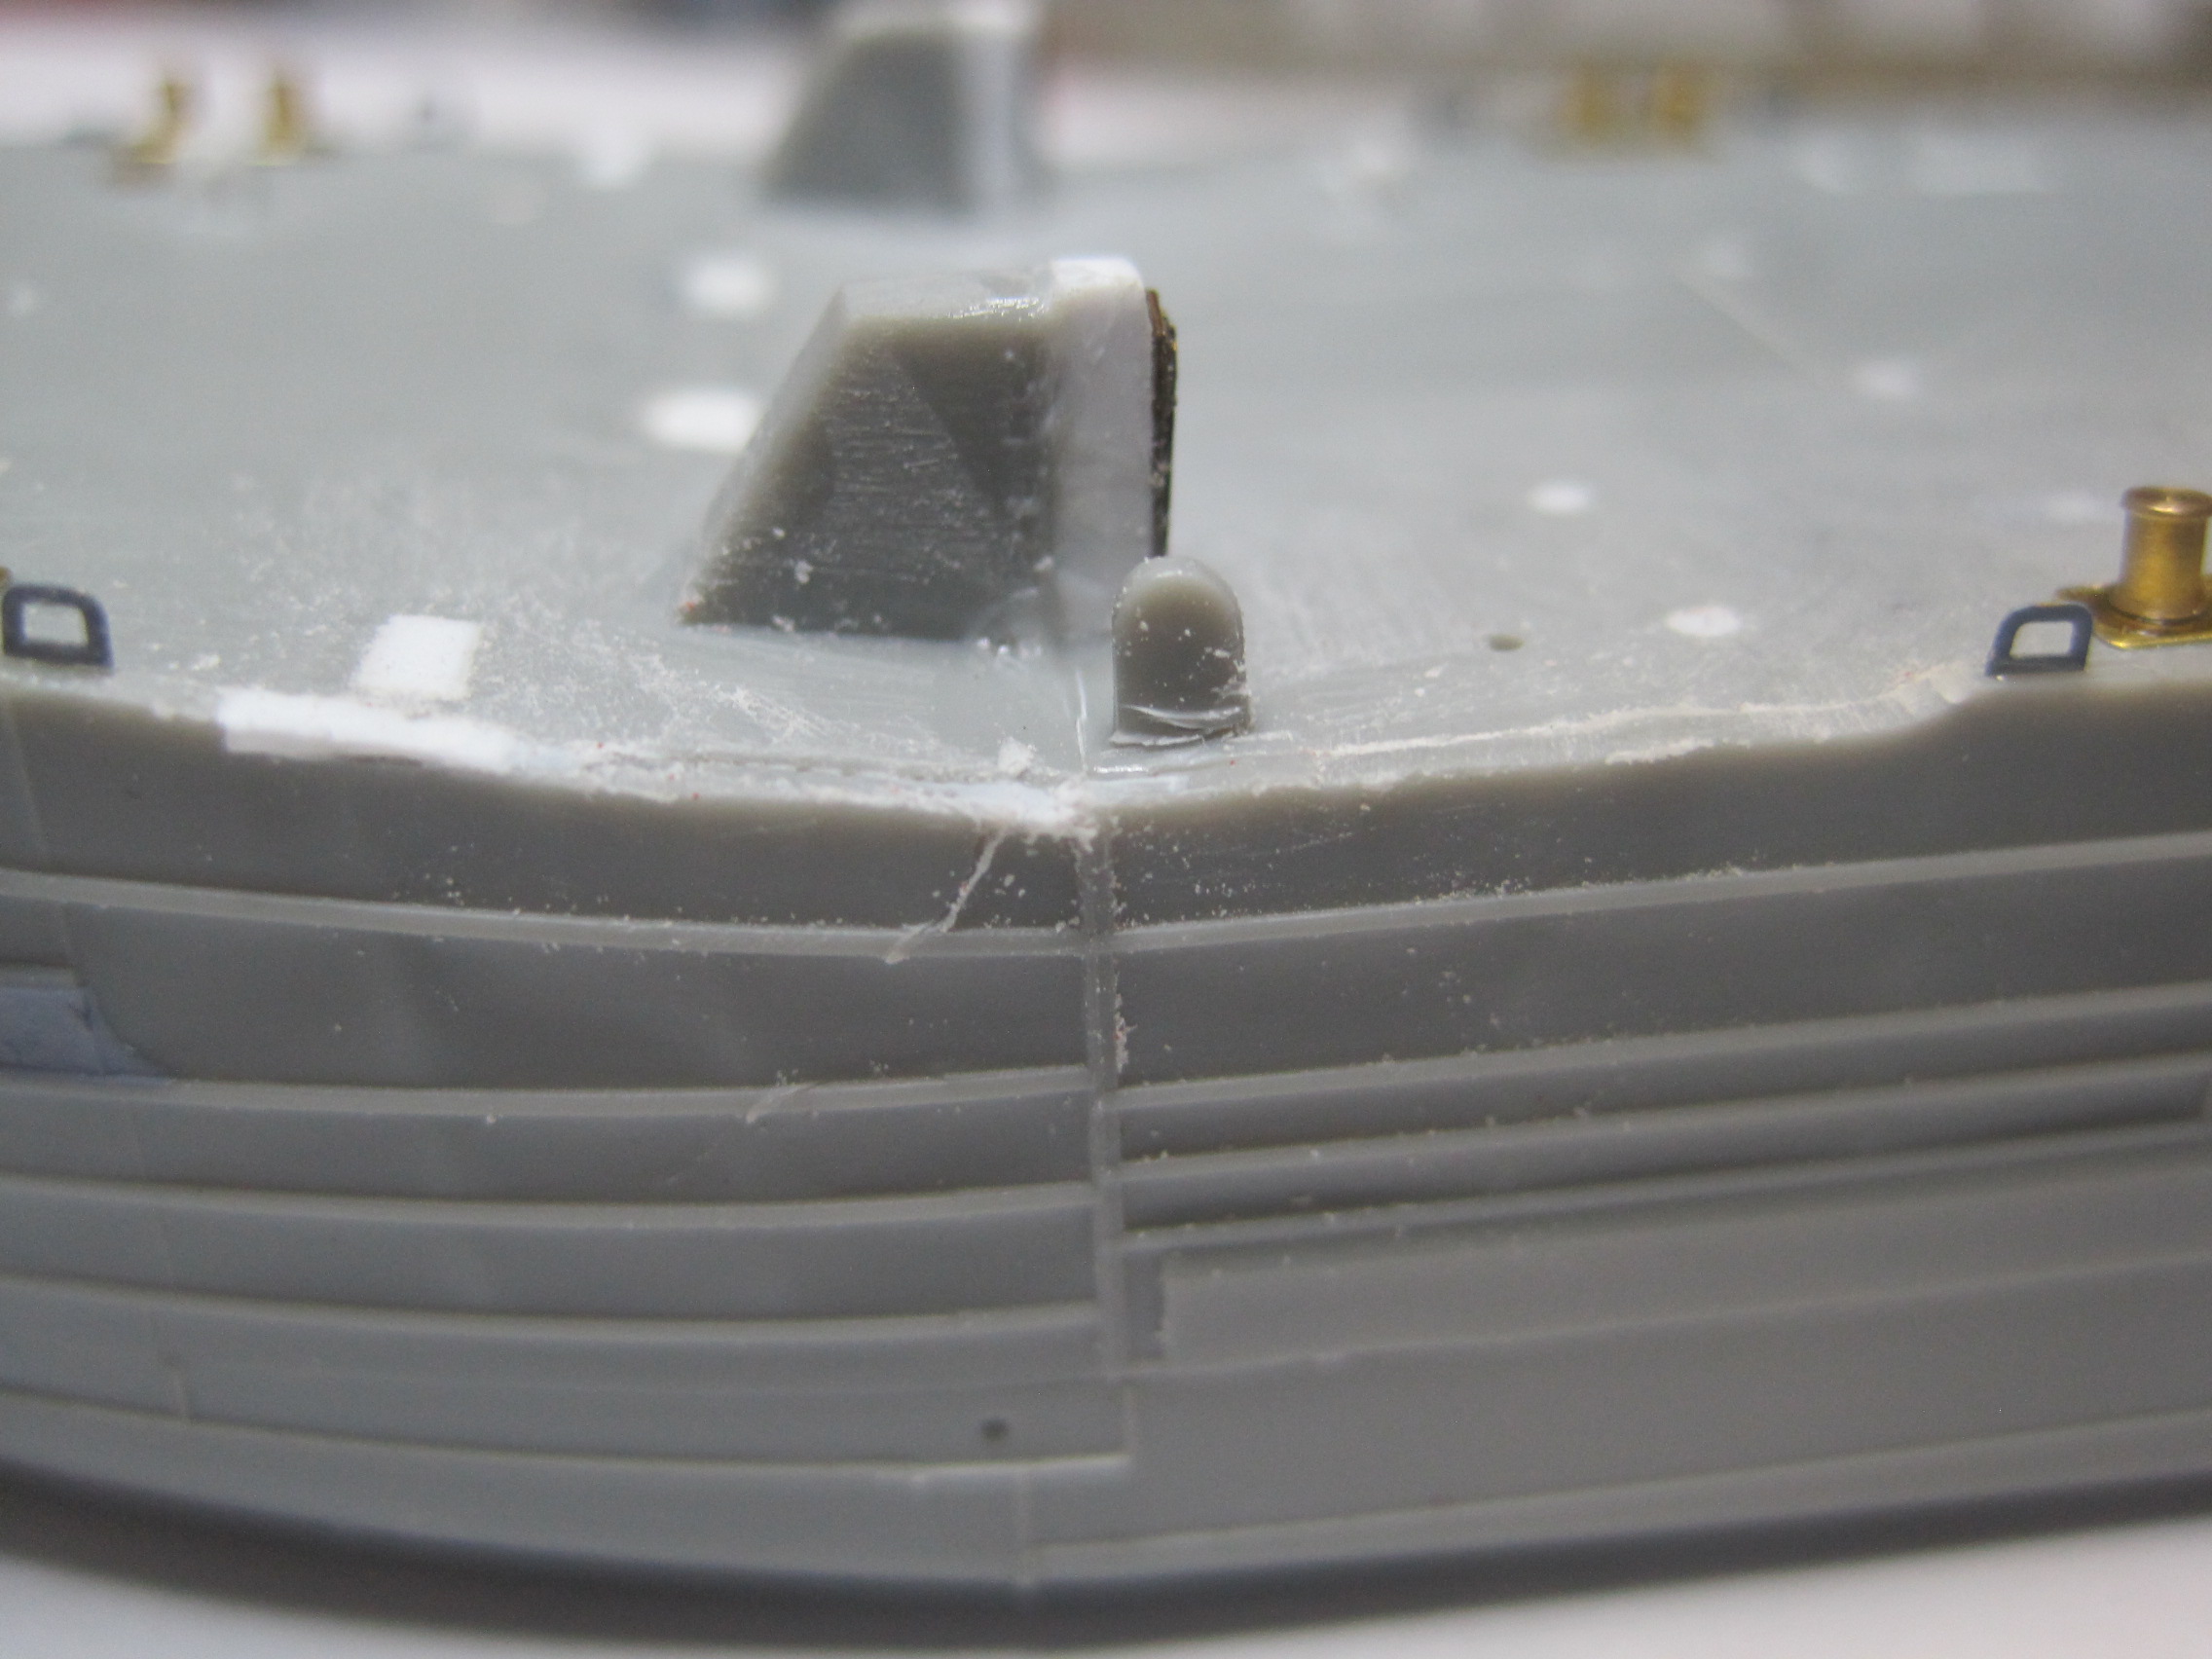
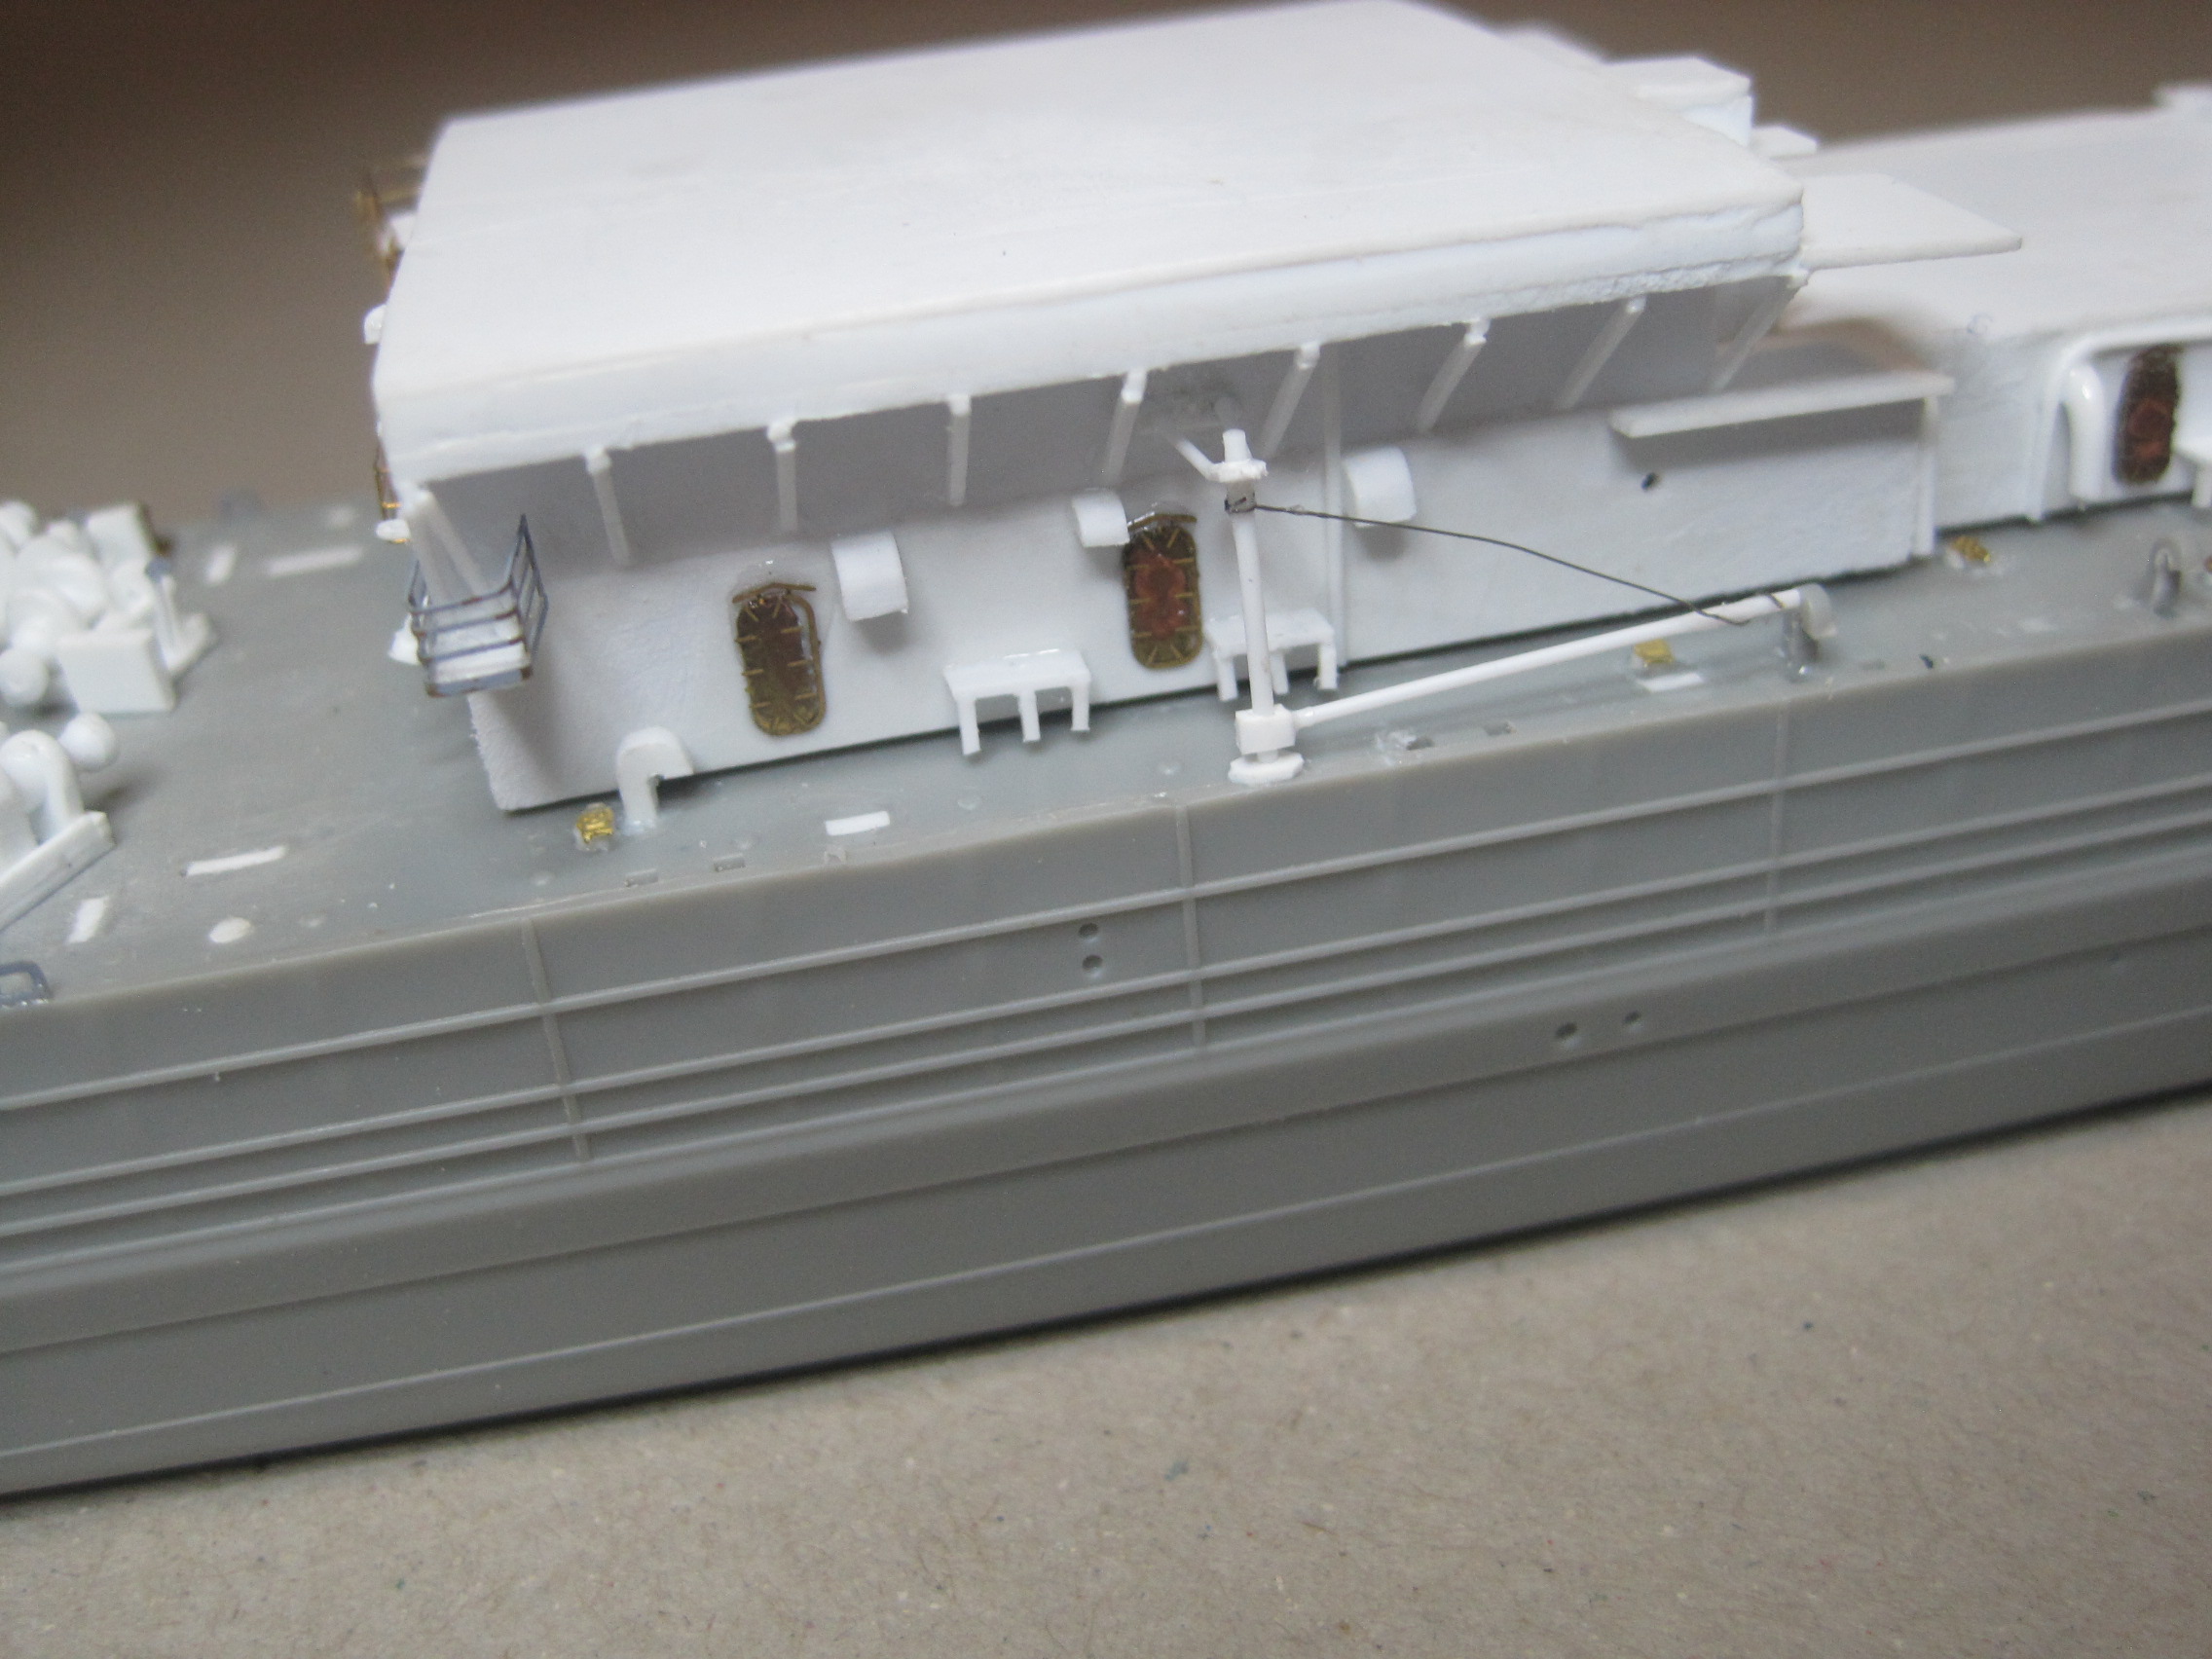
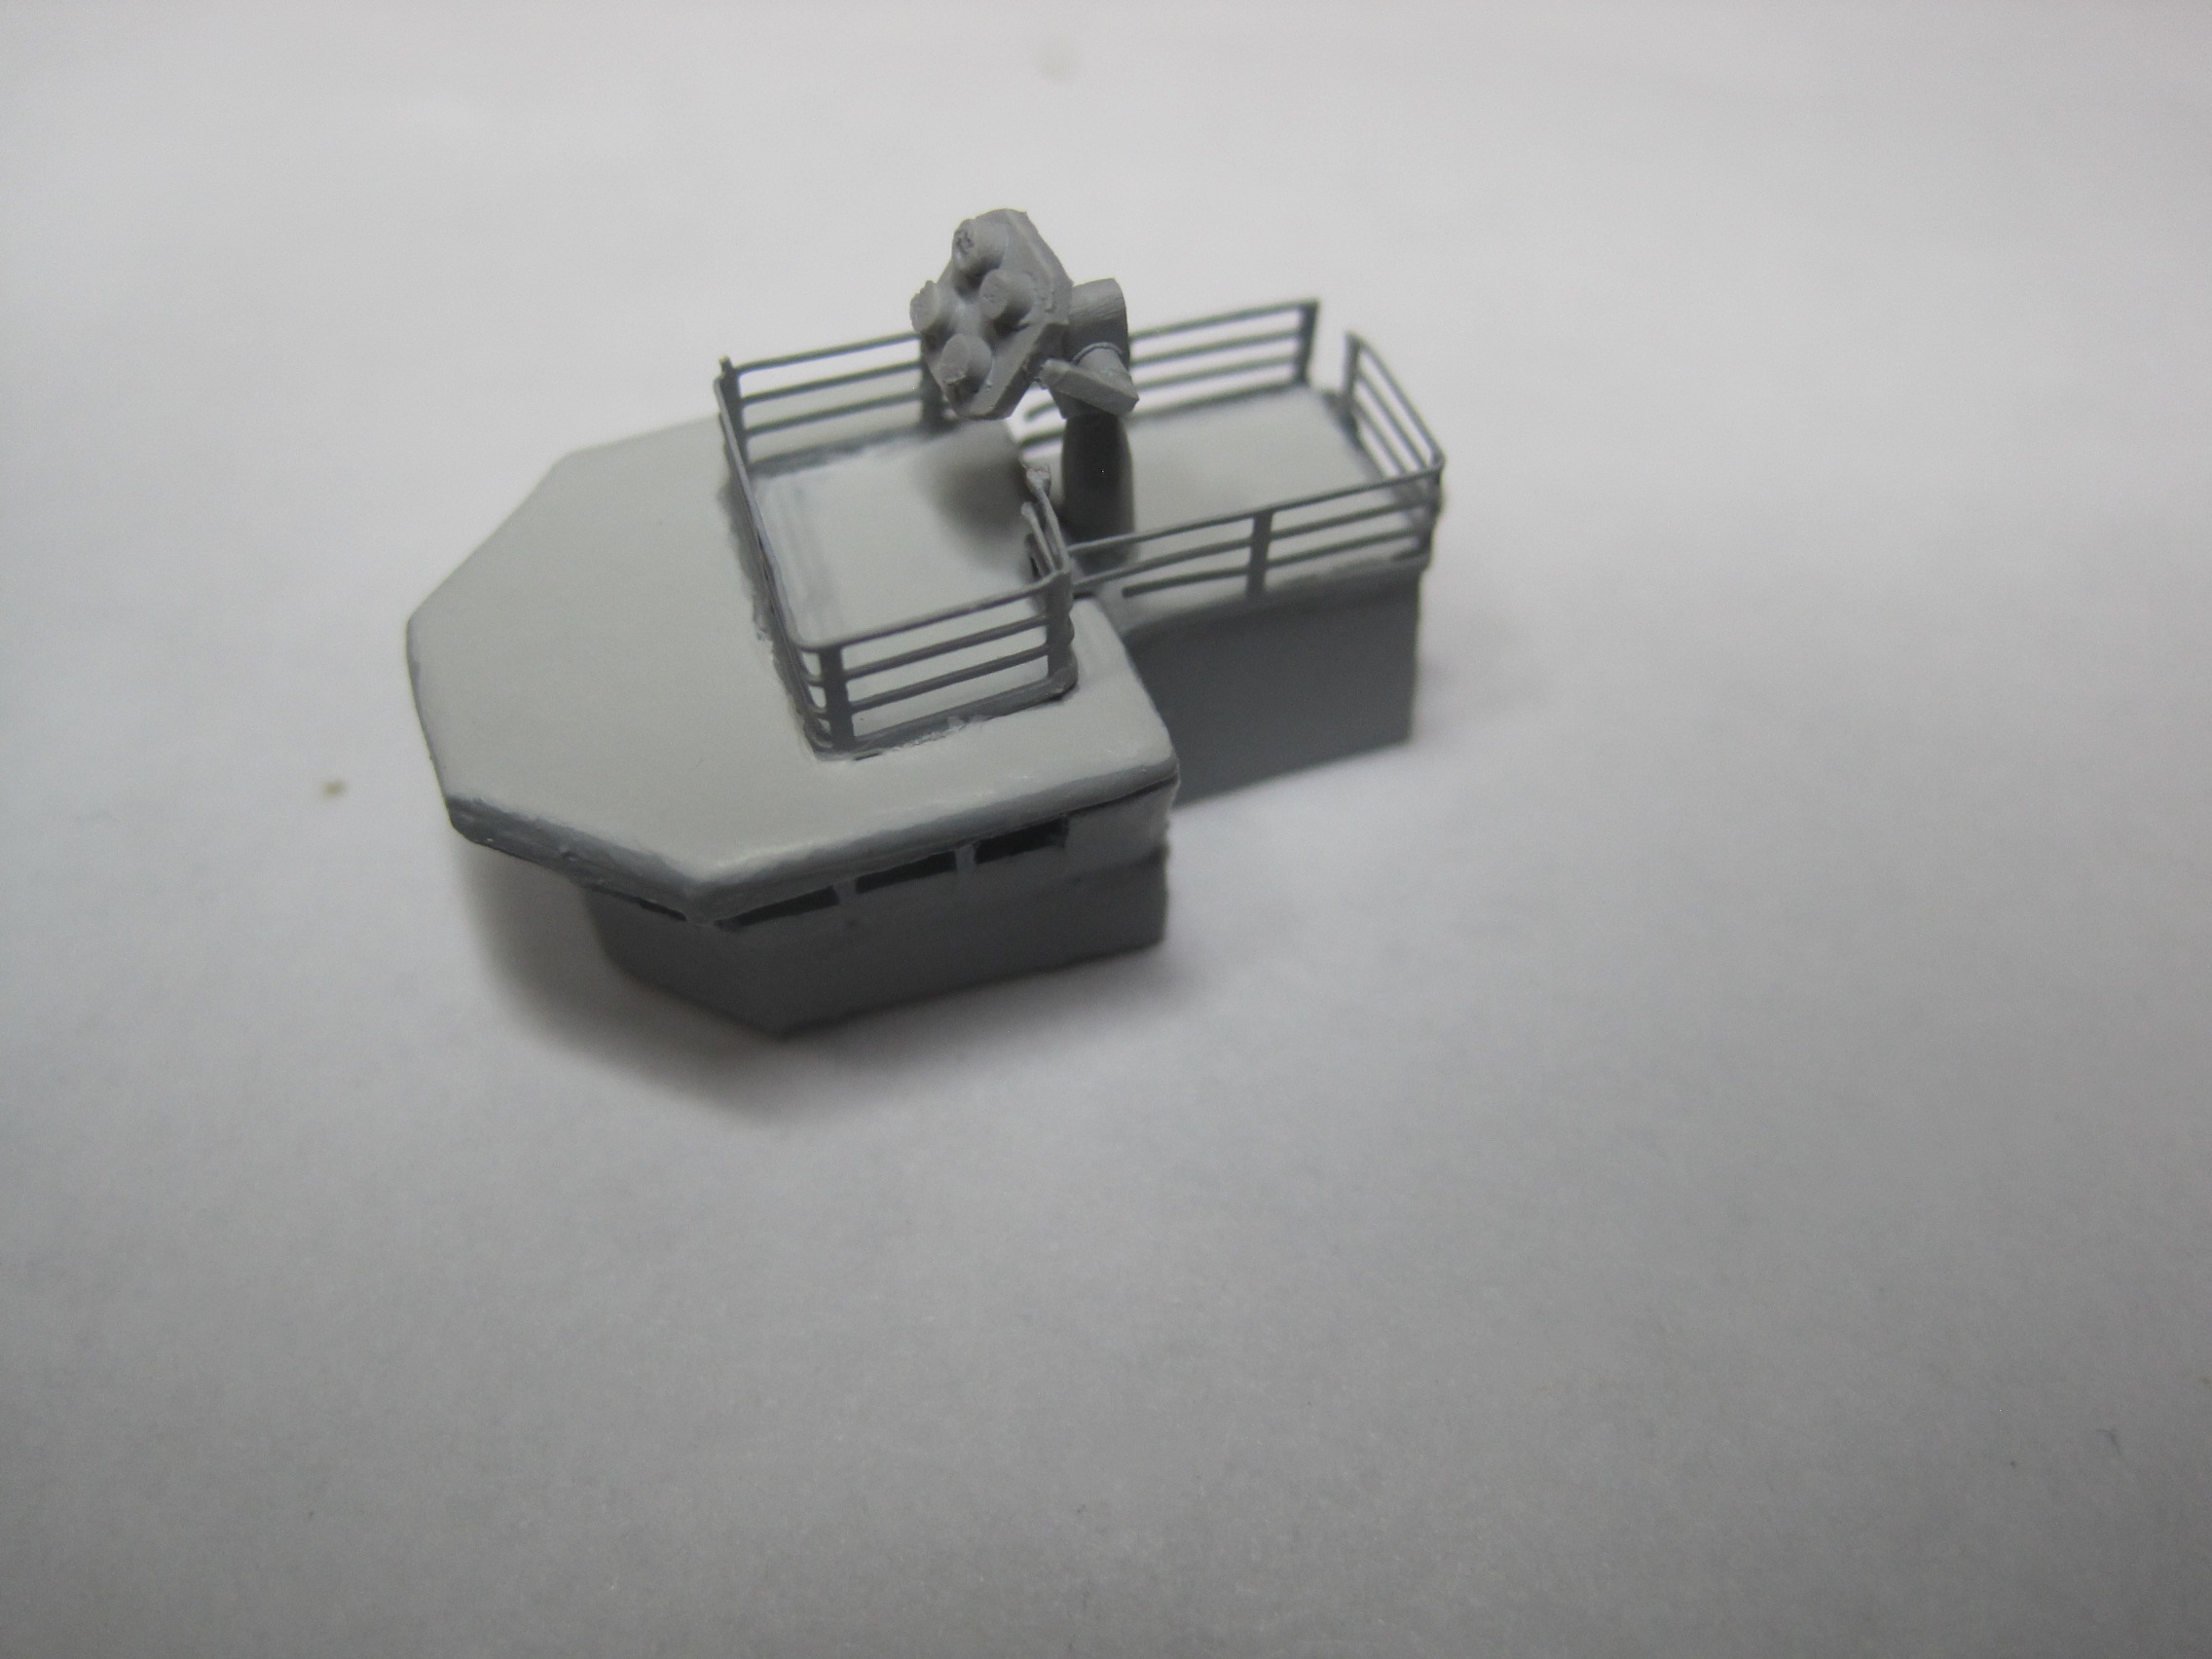
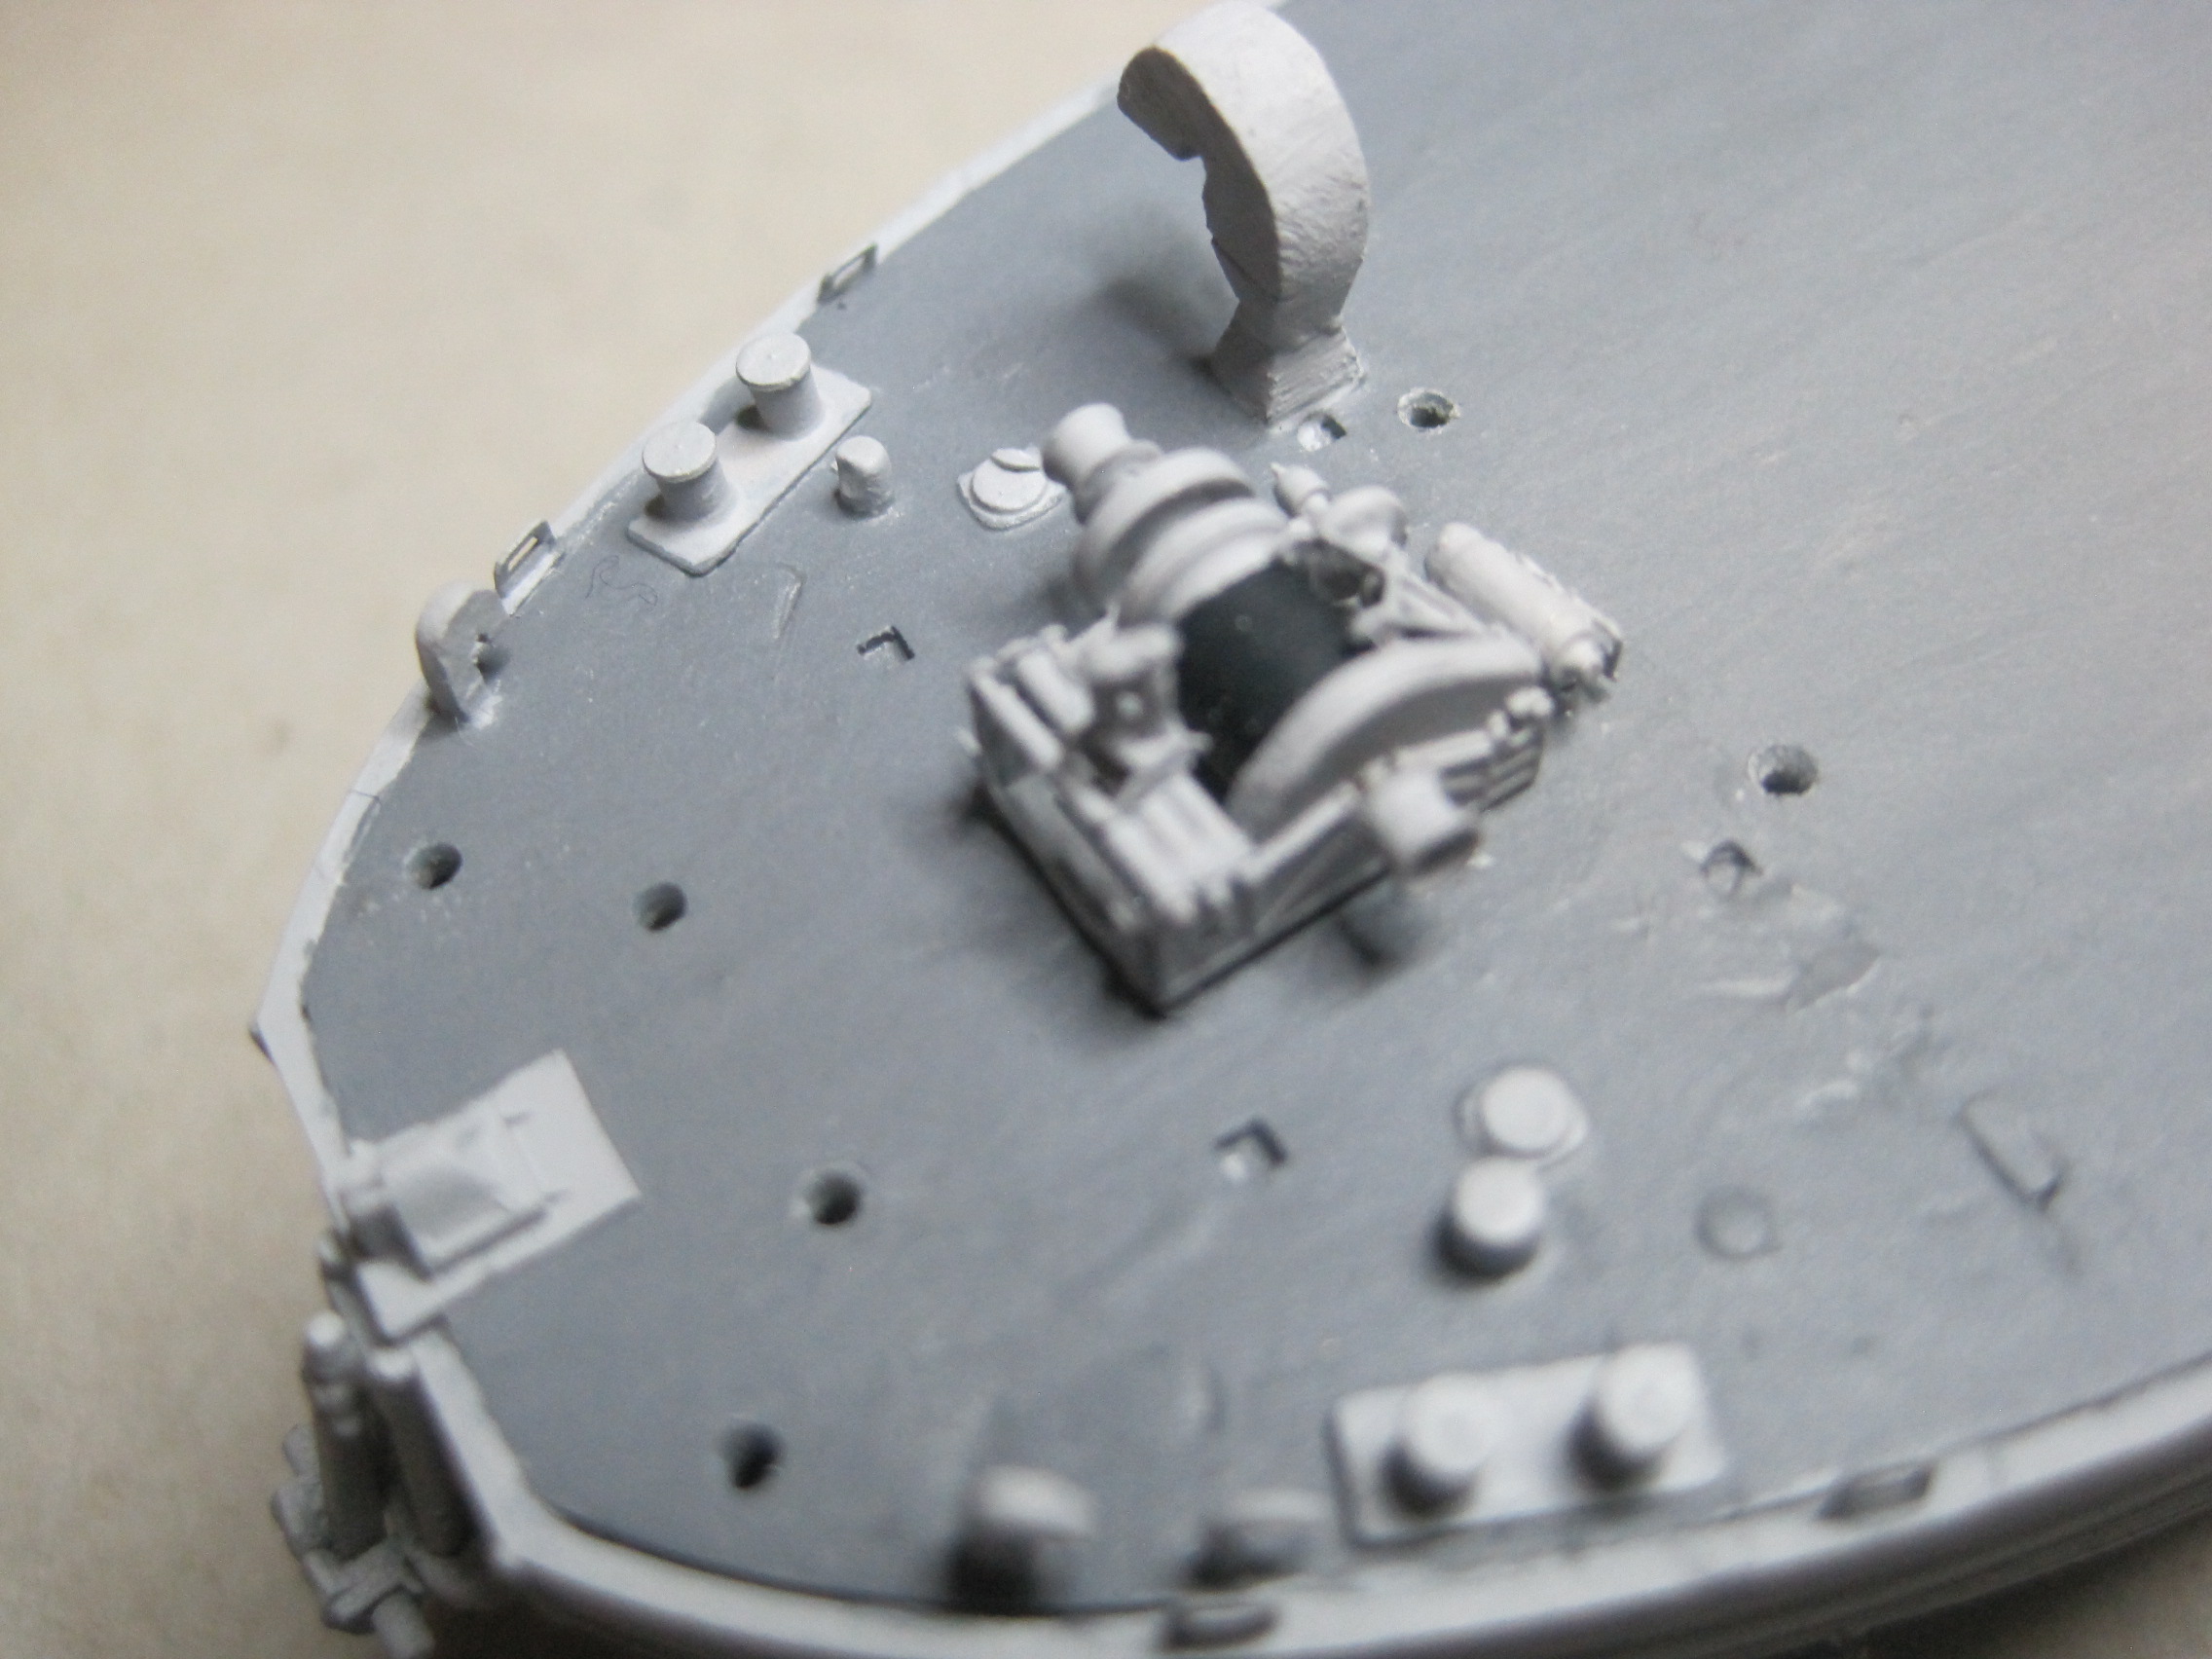
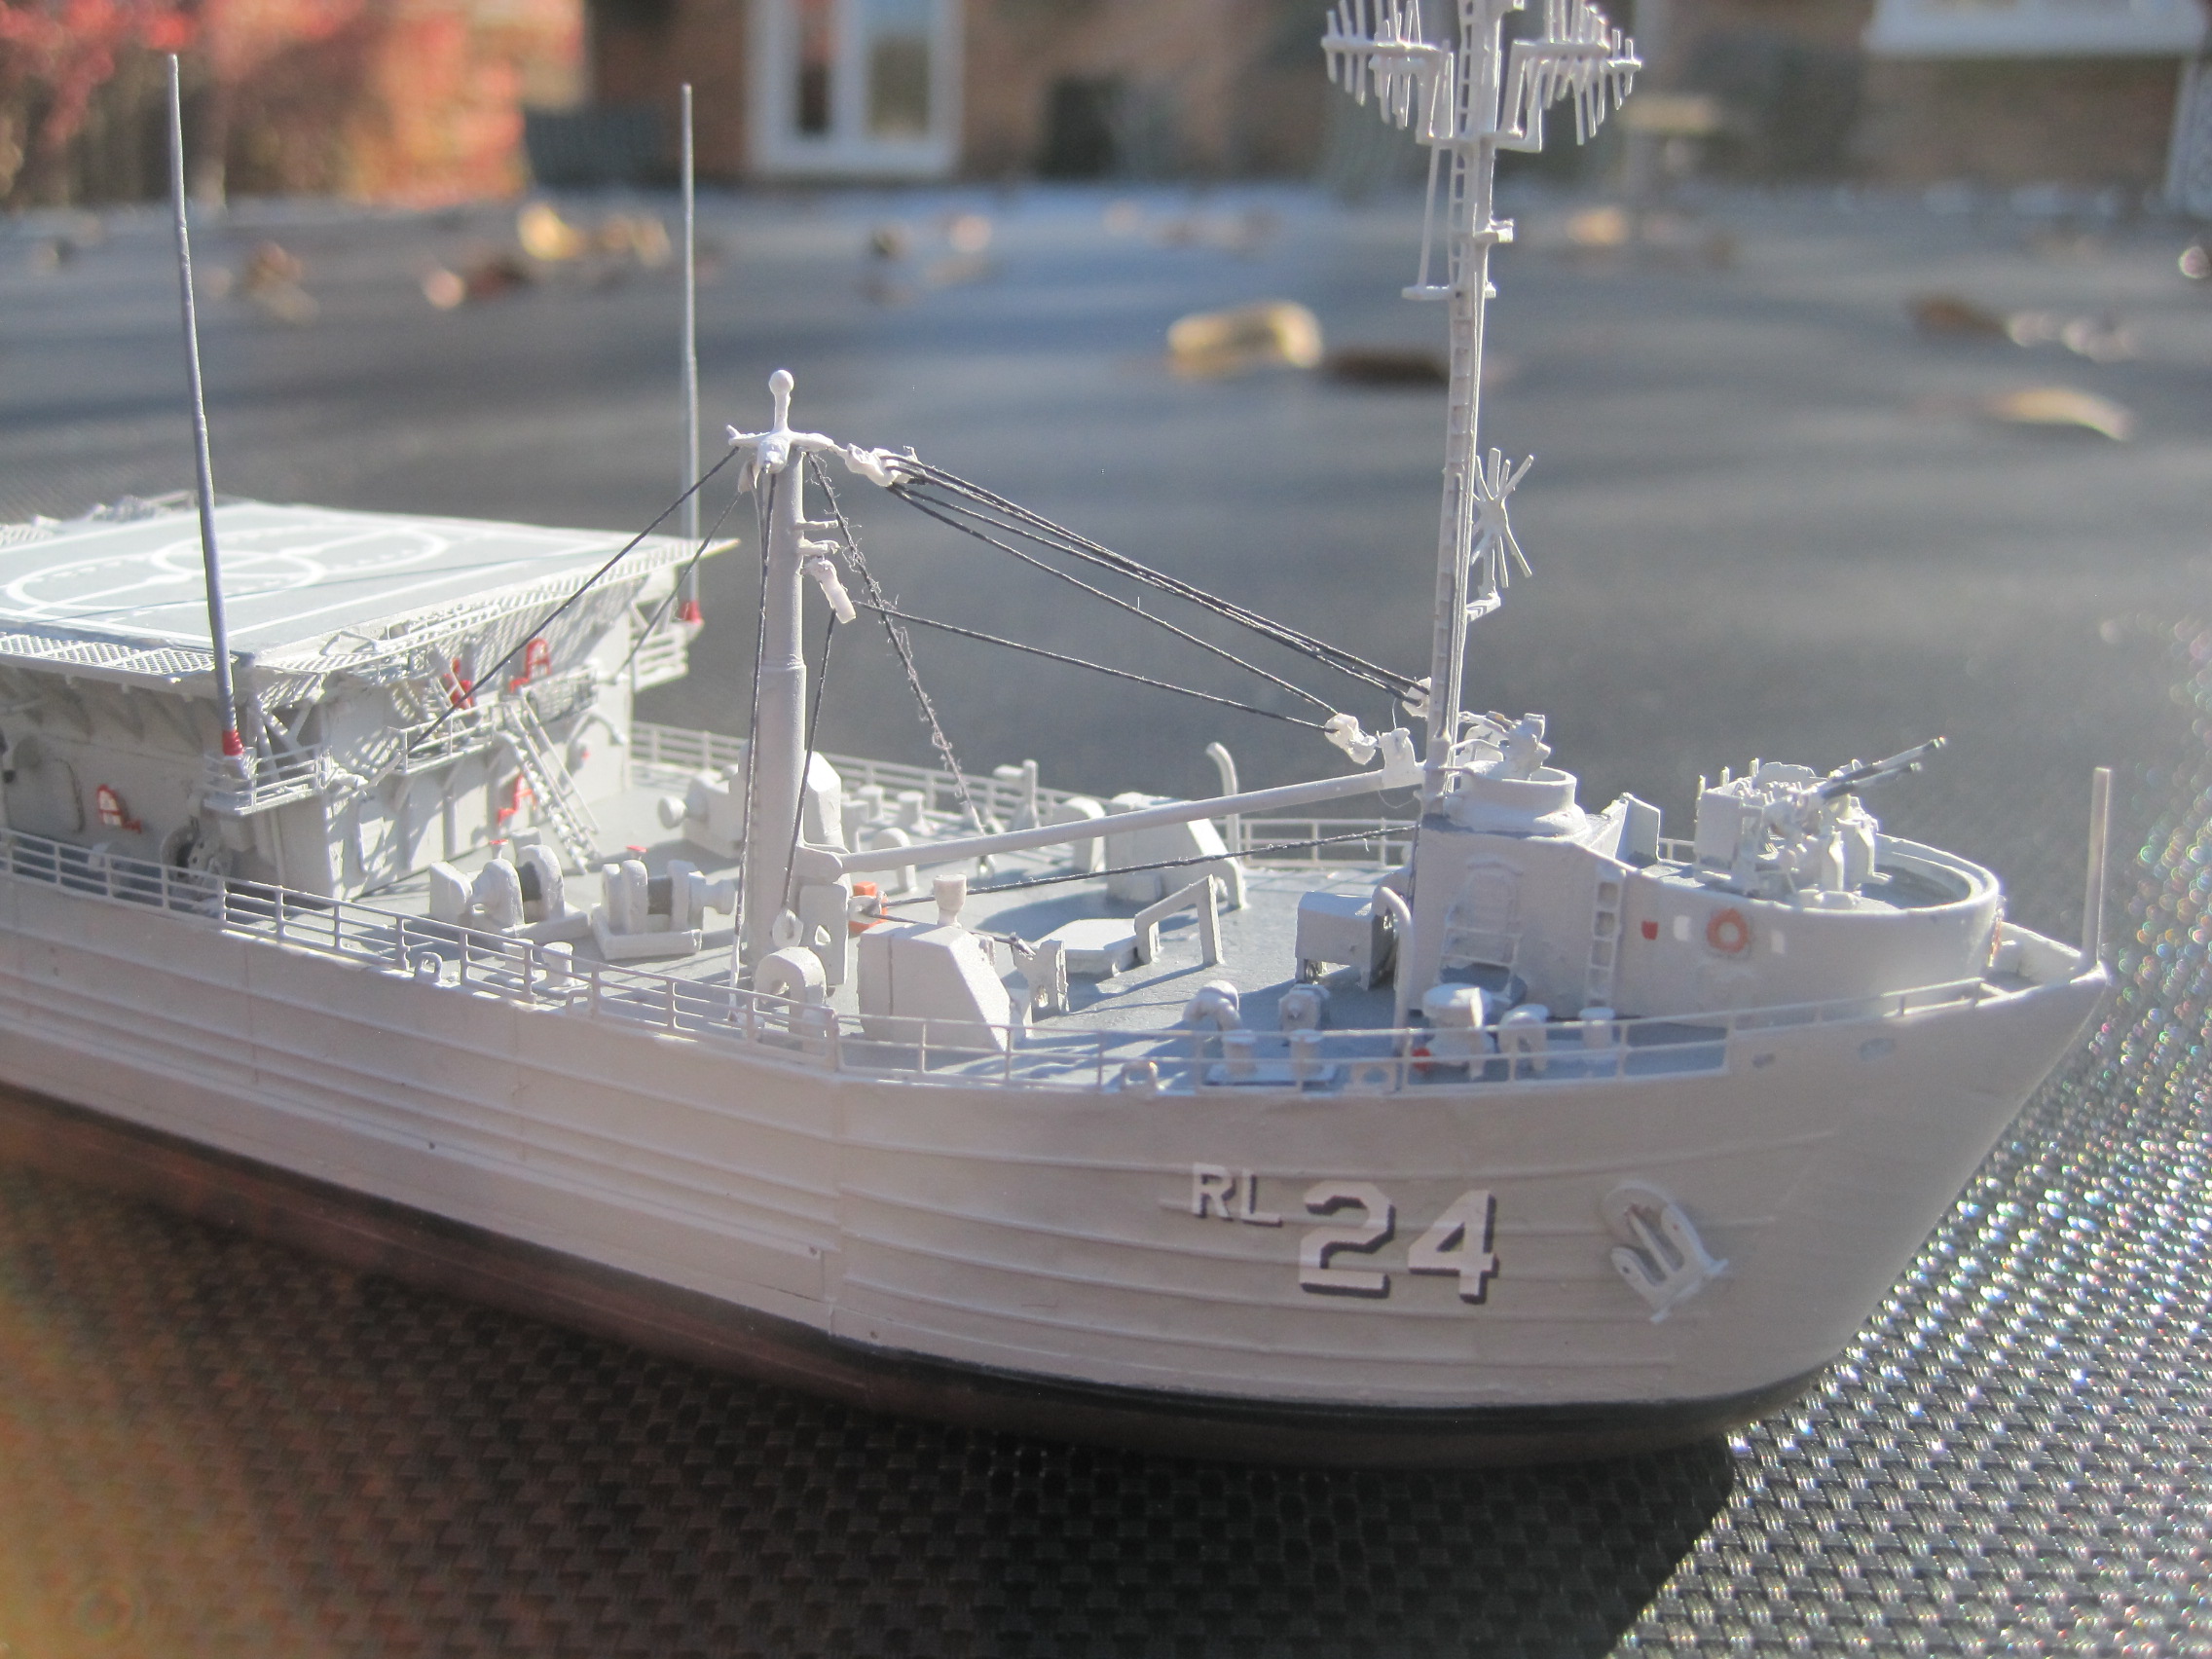
Also notice that I realized that there was additional structure at the aft end of the pilot house which I’ve added. And the result is that the “flag bag” had to be relocated to the side of the deck and the compass is no longer outside. I decided to salvage the gray “pulpit” which I discovered in some photos.

3 Likes

This next group of photos shows some of the modifications made to the hull and the addition of items to the foredeck.

One of the things I noticed about the hull was that evidently the WW II LST only had a hawse pipe for the anchor on the port side. The Sphinx clearly has them on both sides so that had to be modified.

Next I removed the molded in bollards and added metal parts from Flyhawk. Additionally I cut off the molded chocks and installed some PE chocks left over from a previous build. There also are some holes cut through the gunnels on the bow for passing lines through that aren’t represented in the kit so I drilled those out. And at this stage I also added the stern anchor, props and rudders and propguards to the hull.


And finally there’s a ton of stuff on the fore deck including a cradle for the large kingpost crane, some windlasses the revised hatch replacing the very large one on LST’s, a whole BUNCH of vents of various sizes and shapes and an assortment of deck winches. There are three of them, two are mirror image single drum and then a third is a dual drum. These had to be scratch built as they are nothing like those on the original LST.

4 Likes

Wow, Tom, the quality and quantity of your scratchbuilding on this project continues to astound!
:flushed:

Tom,

really enjoying your updates and watching as this build comes together. My hat is off to you sir with your scratch building capability!!

David

Tim and David, thanks so much. In real time I’m actually closing in on completing the build but my photo log is lagging quite a bit, so I’m going to start adding more posts.

A lot of them will seem only slightly changed from previous shots, but as I said, as I continued to wade through all my photos, I kept having “a-ha” moments where I realized that I had made some mistakes which needed to be corrected. That’s the lot of a scratch builder!

This next group shows the painting of the two 40mm mount structures. I originally painted them with Model Master’s Haze Grey, but it was to dark and a shade too blue. So I switched to Tamiya Flat Sky Grey, which again seemed too dark, so I lightened it with flat white to get a color which seemed right.

At this point I decided to place all the items I’d done, loosely on the deck to get an idea of how the ship was progressing.


3 Likes

This next group of photos shows the addition of the vents, and stacks etc. in the low area between the aft deck house and the helo deck. According to the Chief from whom I got the VERY helpful video walkaround of the ship, this area is called the “diesel deck” which makes perfect sense. The Sphinx was powered by 2 General Motors 12 cylinder diesel engines and there are clearly 4 exhaust stacks in this area as well as a bunch of vents and other items.

Also on the diesel deck were placed six racks, four of which were clearly for life pods, and luckily I had a bunch left over from my Tamiya 1/350 Enterprise, so they were salvaged from the spares box. The other two racks were different and appeared to carry cylinders which looked like 55 gallon drums but were painted orange. For that reason, I believe they are also for some sort of life raft, but I don’t know. Various photos show either 3 or 1 on them, so I choose to put 3 on both of them since the other 4 racks contain 3 life raft pods.

And the last photo shows some odds and ends which will go around the ship in various places. These include the large winch which winds up on the stern, underneath the aft 40mm mount structure, and the two davit motors for the two Higgins boats the Sphinx kept. Also there are some reels and a couple of lockers of some sort which go on the diesel deck, along with the main radar which is an SPS-10 surface search. The funny looking thing with the holes in it in the middle of the picture…is actually mop rack which is also on the diesel deck.

And as far as the two devices on the left which sort of resemble “lego” blocks on a pole, I am looking for any help identifying them. They are mounted on and behind the pilot house and are clearly some kind of antenna, but what type and for what purpose I have not been able to discover.

A search of all my resources cannot find any other ship equipped with these and Polmar’s "Ships and Aircraft, which is the end all, be all go to reference for all things Navy shows nothing like them in the period from the 60’s through today.

I suspect they may be some sort of satellite antenna for either transmitting, receiving or both and may be for comms or navigation, but nobody seems to know. So if somebody out there has the answer I’d love to know.

2 Likes

This next group of photos shows the painted hull. My process has been to mask off the three areas (grey, black and red) and air brush them separately. And when I spray the grey, I have all the stuff on the deck (except the sub assemblies) already secured as they will be light grey. Then in order to do the deck a separate color, that has to be hand painted as you can’t mask the stuff on the deck. I’ve figured that you either have to do it this way, or mask the rest of the hull, air brush the deck and then either add all the small stuff which has already been painted the light grey color ahead of time, or worse add it to the painted deck and then paint it.

It’s something that I’d be interested in hearing how others handle

This next group shows the addition of more details and PE to the two sub-assemblies:


And finally the pilot house and two 40mm mount structures:

2 Likes

I’m going to start posting more frequently since these shots are a couple of weeks old and I still have quite a lot of in progress shots to get caught up on.

This next group shows the two deck house sub-assemblies after painting.


These are the large boom crane from the foredeck with an adjoining vent/stack as well as the two boat booms which I’ve now painted, along with the boat davits, various winches, reels and storage lockers for the diesel deck, the mop rack and another storage locker which goes next to the fore 40mm mount, the various life raft racks, and the finished Higgins boats and painted davits.

And finally the painted pilot house. The top was painted with a light off white color, which I have added here. I’m not sure why it’s this color, but because the ship operated in very tropic waters, it might have been to help keep the heat out of the pilot house.

You can see one of the two “mystery” antennas here, and again, if anybody has any idea what they’re for, I’d love to know.

2 Likes

Looking great! Have also wanted to build an ARL for my wife’s cousins, whose other grandfather was onboard the Achilles ARL-41 on the Pacific.

David, let me know if you plan to build the Achilles as an ARL. I came across some very detailed plans for the for the Sphinx during my research, but they are the plans for her as an ACTUAL ARL. She was extensively modified into this current configuration for her last commissioning period, and was the only ship of the class to be built to the configuration I’m modeling.

As near as I can tell there were about 39 LST’s actually converted to ARLs and there’s a pretty decent reference about the class here:

It appears from the various photos of ships in the class, that as converted to their ARL role, the ships all appeared about the same, but you’ll need to check any photos you can find to be sure. Sadly the only photo I found of Achilles was of her in her original LST configuration prior to conversion to an ARL.

A number of these ships were re-commissioned for service in Korea, and also for Vietnam, (some for both), and from what I can tell they all seem to look very similar to what I have in my Sphinx plans.

I don’t have any information on whether any of the ARLs which served during Vietnam (Sphinx was one) had the helicopter platform installed during that time period, and I don’t have any photos that show one. One reference says Sphinx was “heavily modified” during her last rebuild in the 80’s as in Intel gathering ship, and so I believe that’s when the helicopter platform was added.

The Achilles was evidently transferred to the Republic of China, 8 September 1947, run aground and abandoned, 1949, and captured 1949, by People’s Liberation Army Navy, fate: unknown.

So I’d guess she was built to the original ARL configuration for which I have some plans, and they may be able to help you do the build.

PM me (or email) and let me know if you’re interested in the plans. It’s a pretty big PDF and what I would up doing is printing out each panel (I think there are like 24 in each of FOUR large drawings!) on an 8 1/2 by 11 sheet of paper and taping them together into a large drawing since I didn’t have a big printer.

1 Like

Okay, this next installment shows the detailing of items on the fore deck with the placement of all the items, as well as the large winch on the stern, which will eventually be almost completely hidden under the stern 40mm mount structure.


The next two shots are the Higgins boats with the installation of the PE from the Infini set before and after painting.

And the last two show some additional scratch built items. The Sphinx also mounted 2 x Mod 2 .50 cal machine guns. They had splinter shields mounted and the ones supplied for the 20mm seemed good enough so I just used them.
The last items included a pelorus for the port and starboard bridge wings, 2 x 12" signal lights for the two “pulpit” structures and two running lights, one for each side. The remaining item is a mounted set of binoculars. After I made the first one, I noticed a second one mounted in another location, so the final build winds up with two.

2 Likes

Today’s installment shows the painting of the two sub assemblies, their installation and then further detailing. There’s a real transition at this point as you move from “macro” work, building the major assemblies, to “micro” work, which involves installing the sub-assemblies and then adding all the small detail bits like railings, ladders, litters and fire hoses along with detail painting.


2 Likes

Great job Tom!

Today’s group of photos shows the bracing/support structure which helps hold up the two large platforms at the rear of the helo deck and then the installation of this along with the life raft racks and the final installation of all the details on the diesel deck and the railings. Also I’ve installed the two boat booms.

And the last photo shows all of the additional antennas that need to be added. There’s an additional one which is located at the rear of the forward 40mm mount as well which is simply a .010" rod and isn’t shown here…

In addition to the two small antennas located on top of the pilot house, the Sphinx had six very long antenna located in pairs port and starboard, in three locations. For certain, the forward pair located on the forward edge of the helo deck could be pivoted into the horizontal position to clear the deck for flight ops.
The midship pair don’t appear to have that feature, and while some photos suggest the stern pair also were able to pivot, I couldn’t find any photos showing them in any position but upright.

The helo deck also has net railings which can either be in the upright position for safety or also lowered to the horizontal position during flight ops.

For space reasons, I decided to mount all of the antennas in the upright location, and because I liked the way it looked, I placed the safety netting in the lowered position.

The six long antennas were clearly tapered and so in order to replicate that, they were made from three sections of different diameter rod, with one end being tapered sufficiently so that it matched the diameter of the next smaller size. I felt that was a better solution than either trying to taper one long rod, or trying to get 6 consistent antennas by heating and stretching!

2 Likes

And finally, the completed project. Once I got to the point of the construction shown on the last set of photos, I just decided to finish everything off, so you’ll see the addition of the safety netting around the helo deck, the rigging and installation of the cargo boom and front mast, and the addition of all the decals. Ironically, as the decals were the last thing to be added, they were the first thing I purchased, even before the kit. They come from my favorite and reliable source, Black Lion Decals http://www.blackliondecals.nl/.
Michel does a GREAT job in making custom decals, and I knew that I wouldn’t be able to find what I needed off the shelf. So starting with the plans I had and the photos, I scaled off what I would need, send him the dimensions and photographs and within a couple of weeks got back EXACTLY what I needed.

GREAT source if you ever need custom work, and very reasonably priced!

The first set shows the finished model by itself, and the final set on the display base. This is the standard style I like to use with my ship models as it’s generally very simple and easy to make, and for a ship with a flat hull bottom like Sphinx, made perfect sense.

This was a challenging build, figuring out exactly what to model, but in the end I’m happy the way it turned out.


And on the display base:

7 Likes

Tom,

Amazing work, your scratch building skills are top notch!!

David

Tom, I’ve enjoyed watching this little gem come together from the beginning. As for your research, building, and scratchbuilding skills I have just one word… AWESOME!

:grinning:

Thanks guys! It’s been fun doing this, particularly since this ship is so completely unknown and obscure, it’s nice to preserve the memory of a ship that would otherwise probably never be modeled.

Great work Tom and thank you for sharing the plans and other information!
Dave

That is a very great ship and a beautiful build! :grinning: