USS Sphinx ARL-24

Well since it appears that no one has started a thread in the “Cold War” section, I guess I’ll jump in!

Like most of the kits I build, there is a “personal” connection for me with this one. As an Army Officer in the Reserves, at one point I was attached to an Air National Guard Fighter Wing as their Ground Liaison Officer, and one of our missions was to go to Panama and provide protection to an Active Duty US Naval vessel. (How’s that for a “purple” assignment!). The personal connection was that because one of the airmen in my section had gone to high school with the supply officer on board this vessel, we were invited aboard for a visit while she was tied up at Rodman Naval Station in Panama, and I decided that someday I’d like to build a model of this ship.

At first glance, it seems like a really strange subject for a build. After all, it’s nothing but an “Auxiliary” ship, not a glamorous warship. But there’s a lot more to this ship when you scratch the surface.

For starters, the USS Sphinx was placed into commission for the first time in 1944 during WW II, and was considered valuable enough to actually be placed into commission a total of 4 times, once for Korea, once for Vietnam, and then finally she was commissioned again for the fourth time in 1984 (with the slogan, “Life begins at 40.”) And this last time she served until 1989 and so I’ve decided that since this is the period for which I’m representing the ship, Cold War it is.

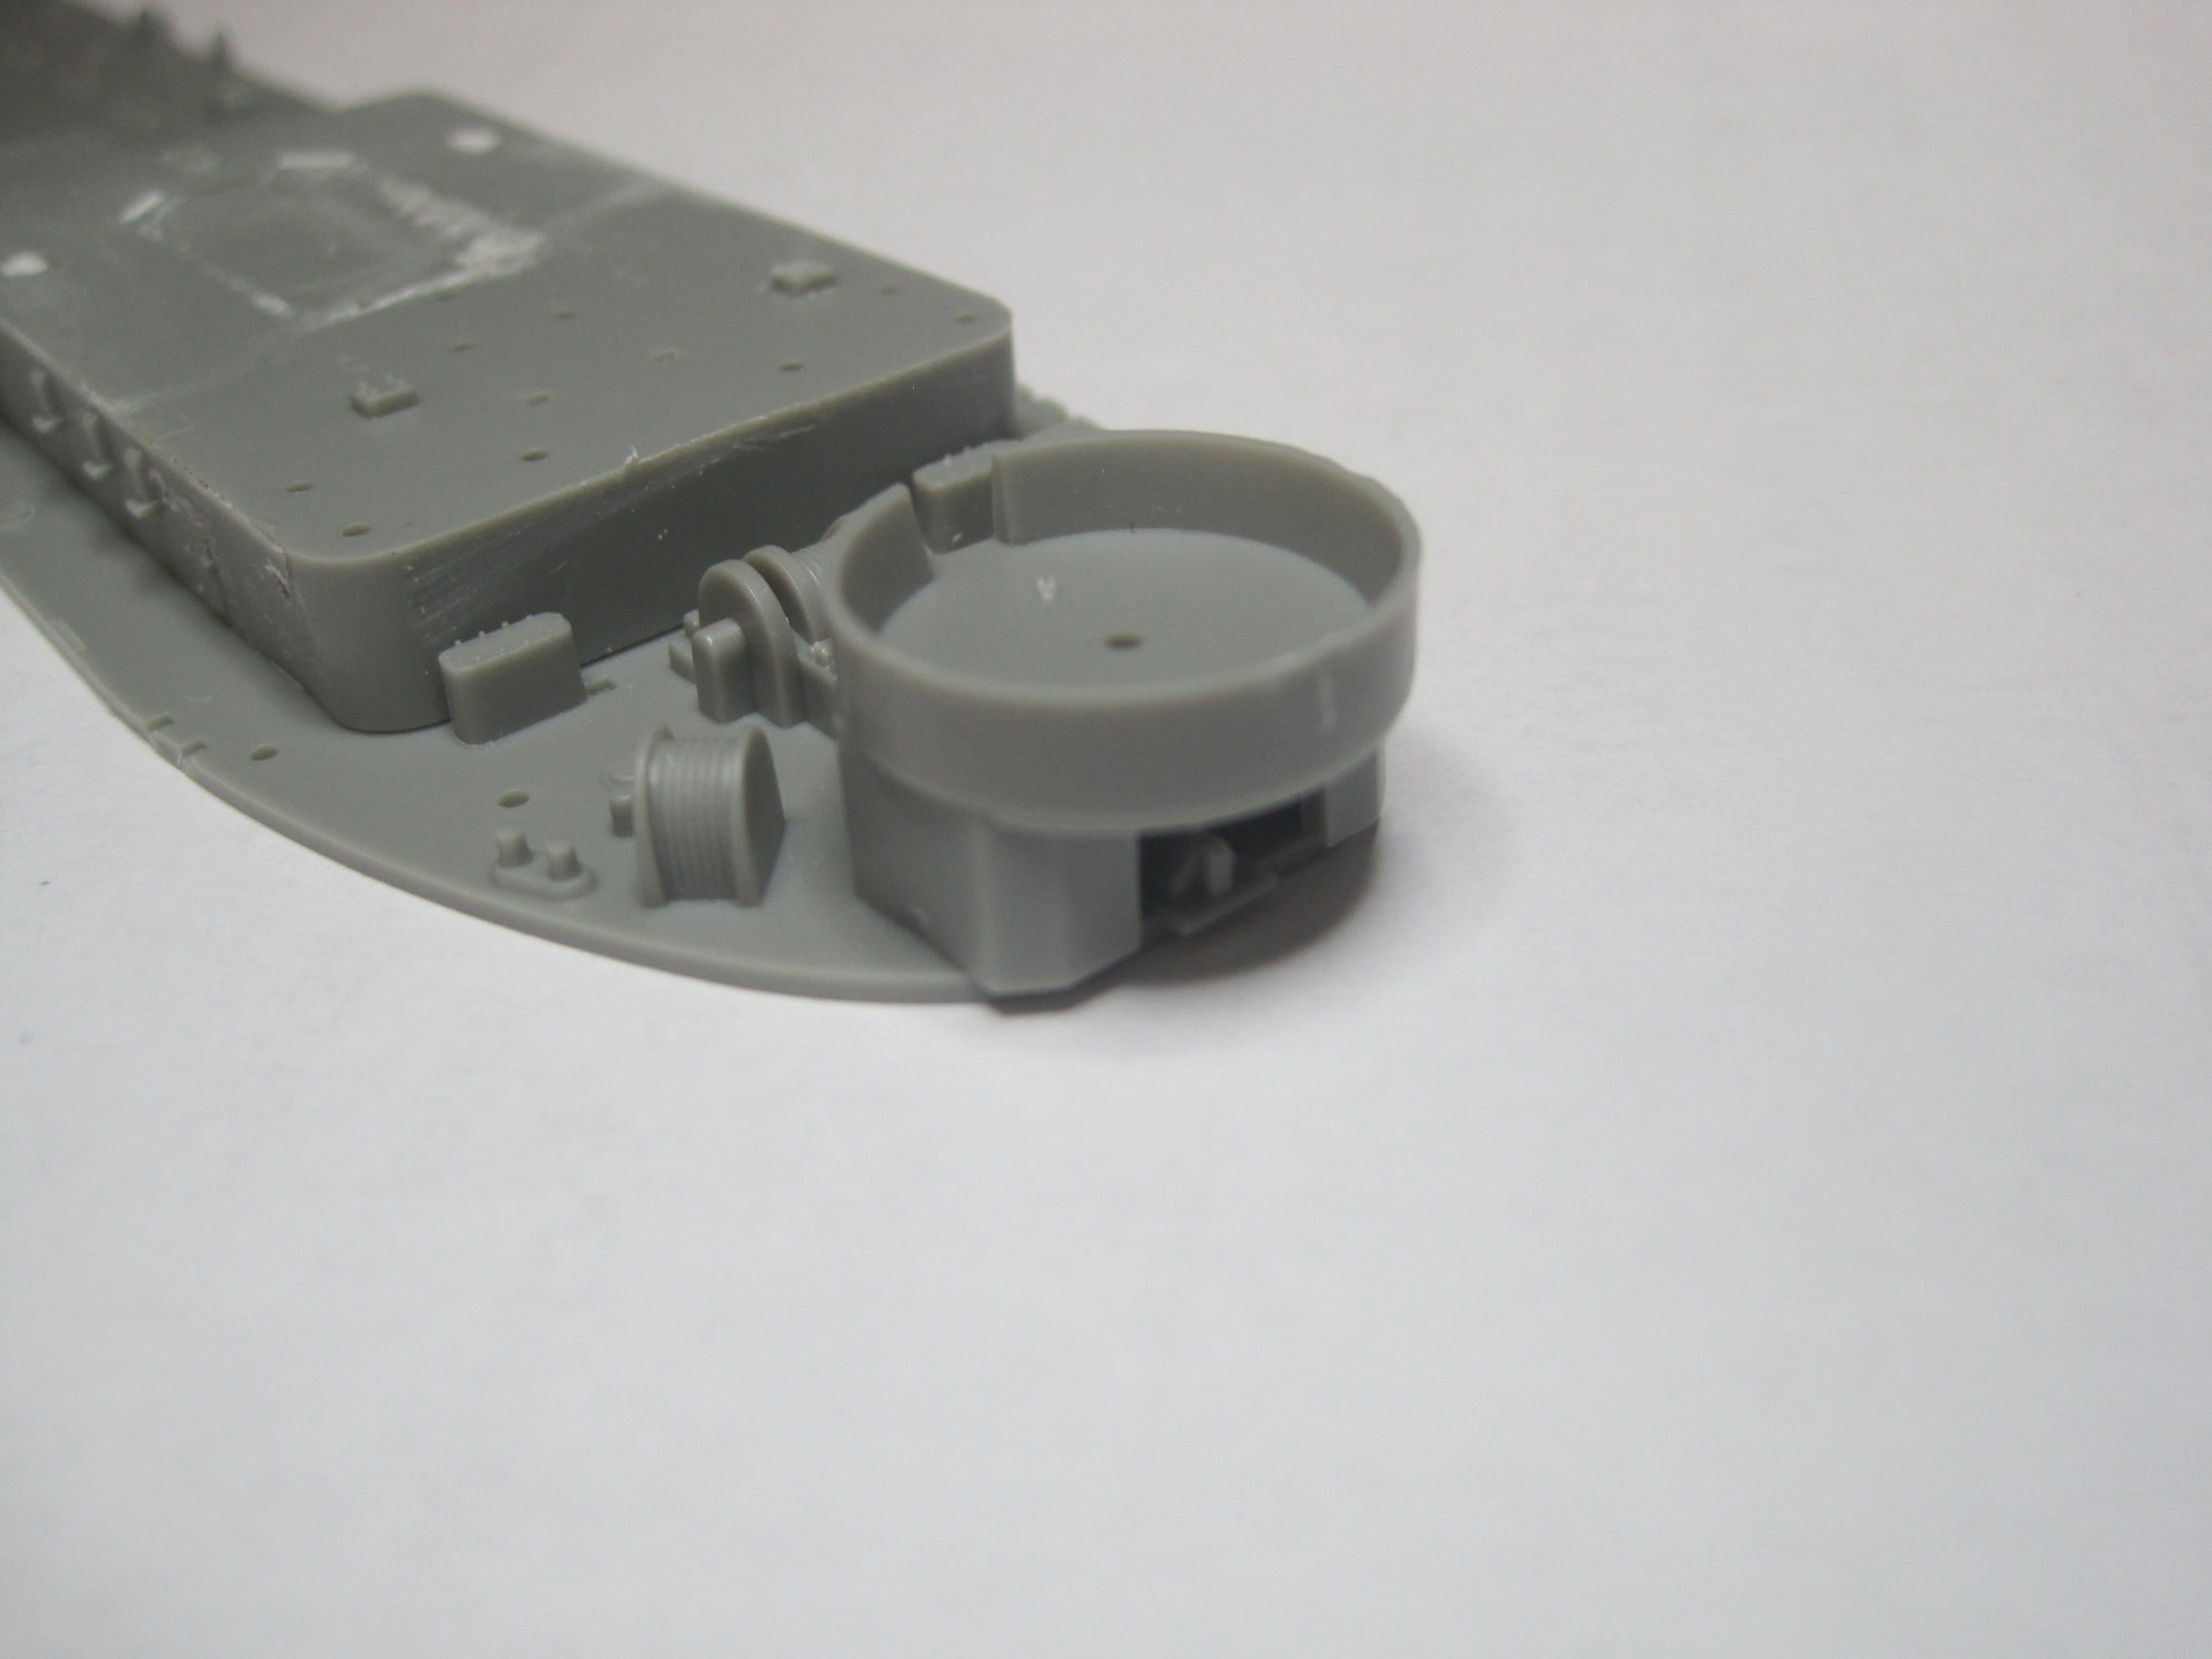
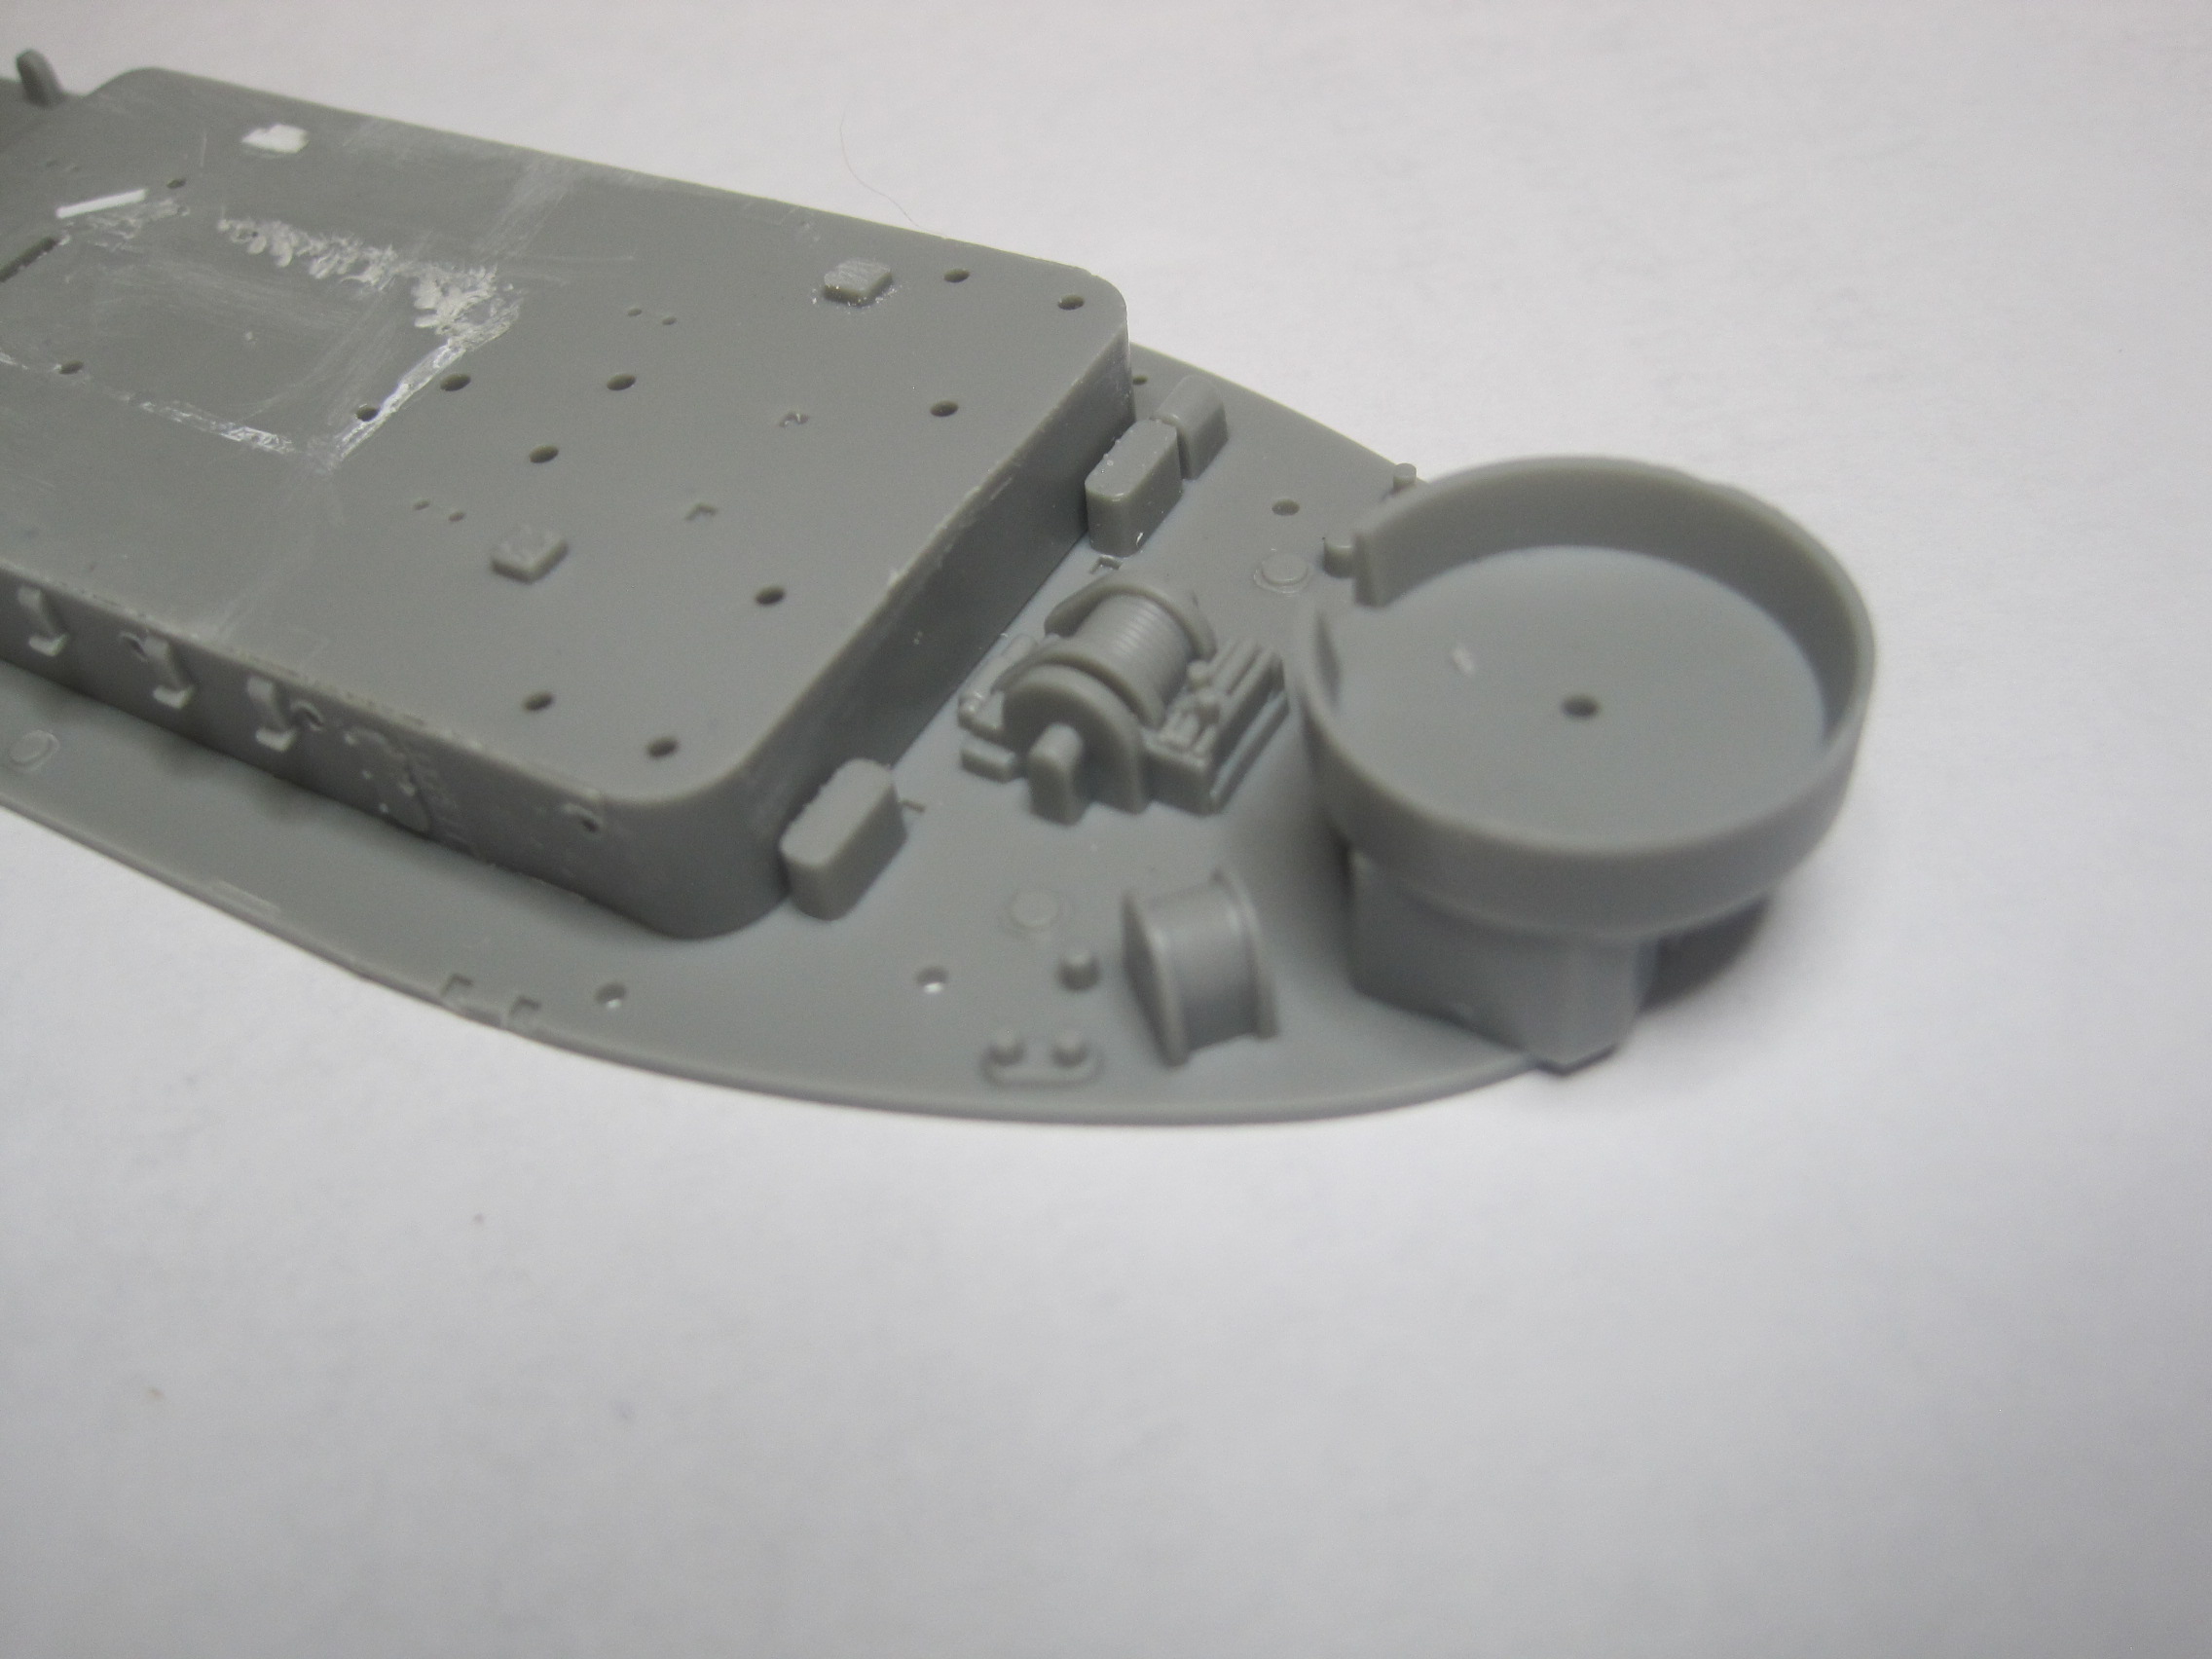
So what’s interesting about the USS Sphinx other than being commissioned 4 different times? For starters, she started out in WW II as a regular LST, numbered 963. As such, she was one of almost 1,000 LST’s build, an astonishing number. She was re-classified along with about 40 other LST’s as an “ARL” which at the time was designated as a Repair Ship - Landing Craft, and fitted out with top side structures including several heavy hoists to lift landing craft aboard and machine shops and parts to repair them. And unlike standard LST’s which only carried numbers and not names, she was given an actual name.

During Korea, and Vietnam it was decided that this type of support was important, so she was recommissioned for those conflicts as well. Had this been the end of the story, it really wouldn’t have a whole lot of significance.

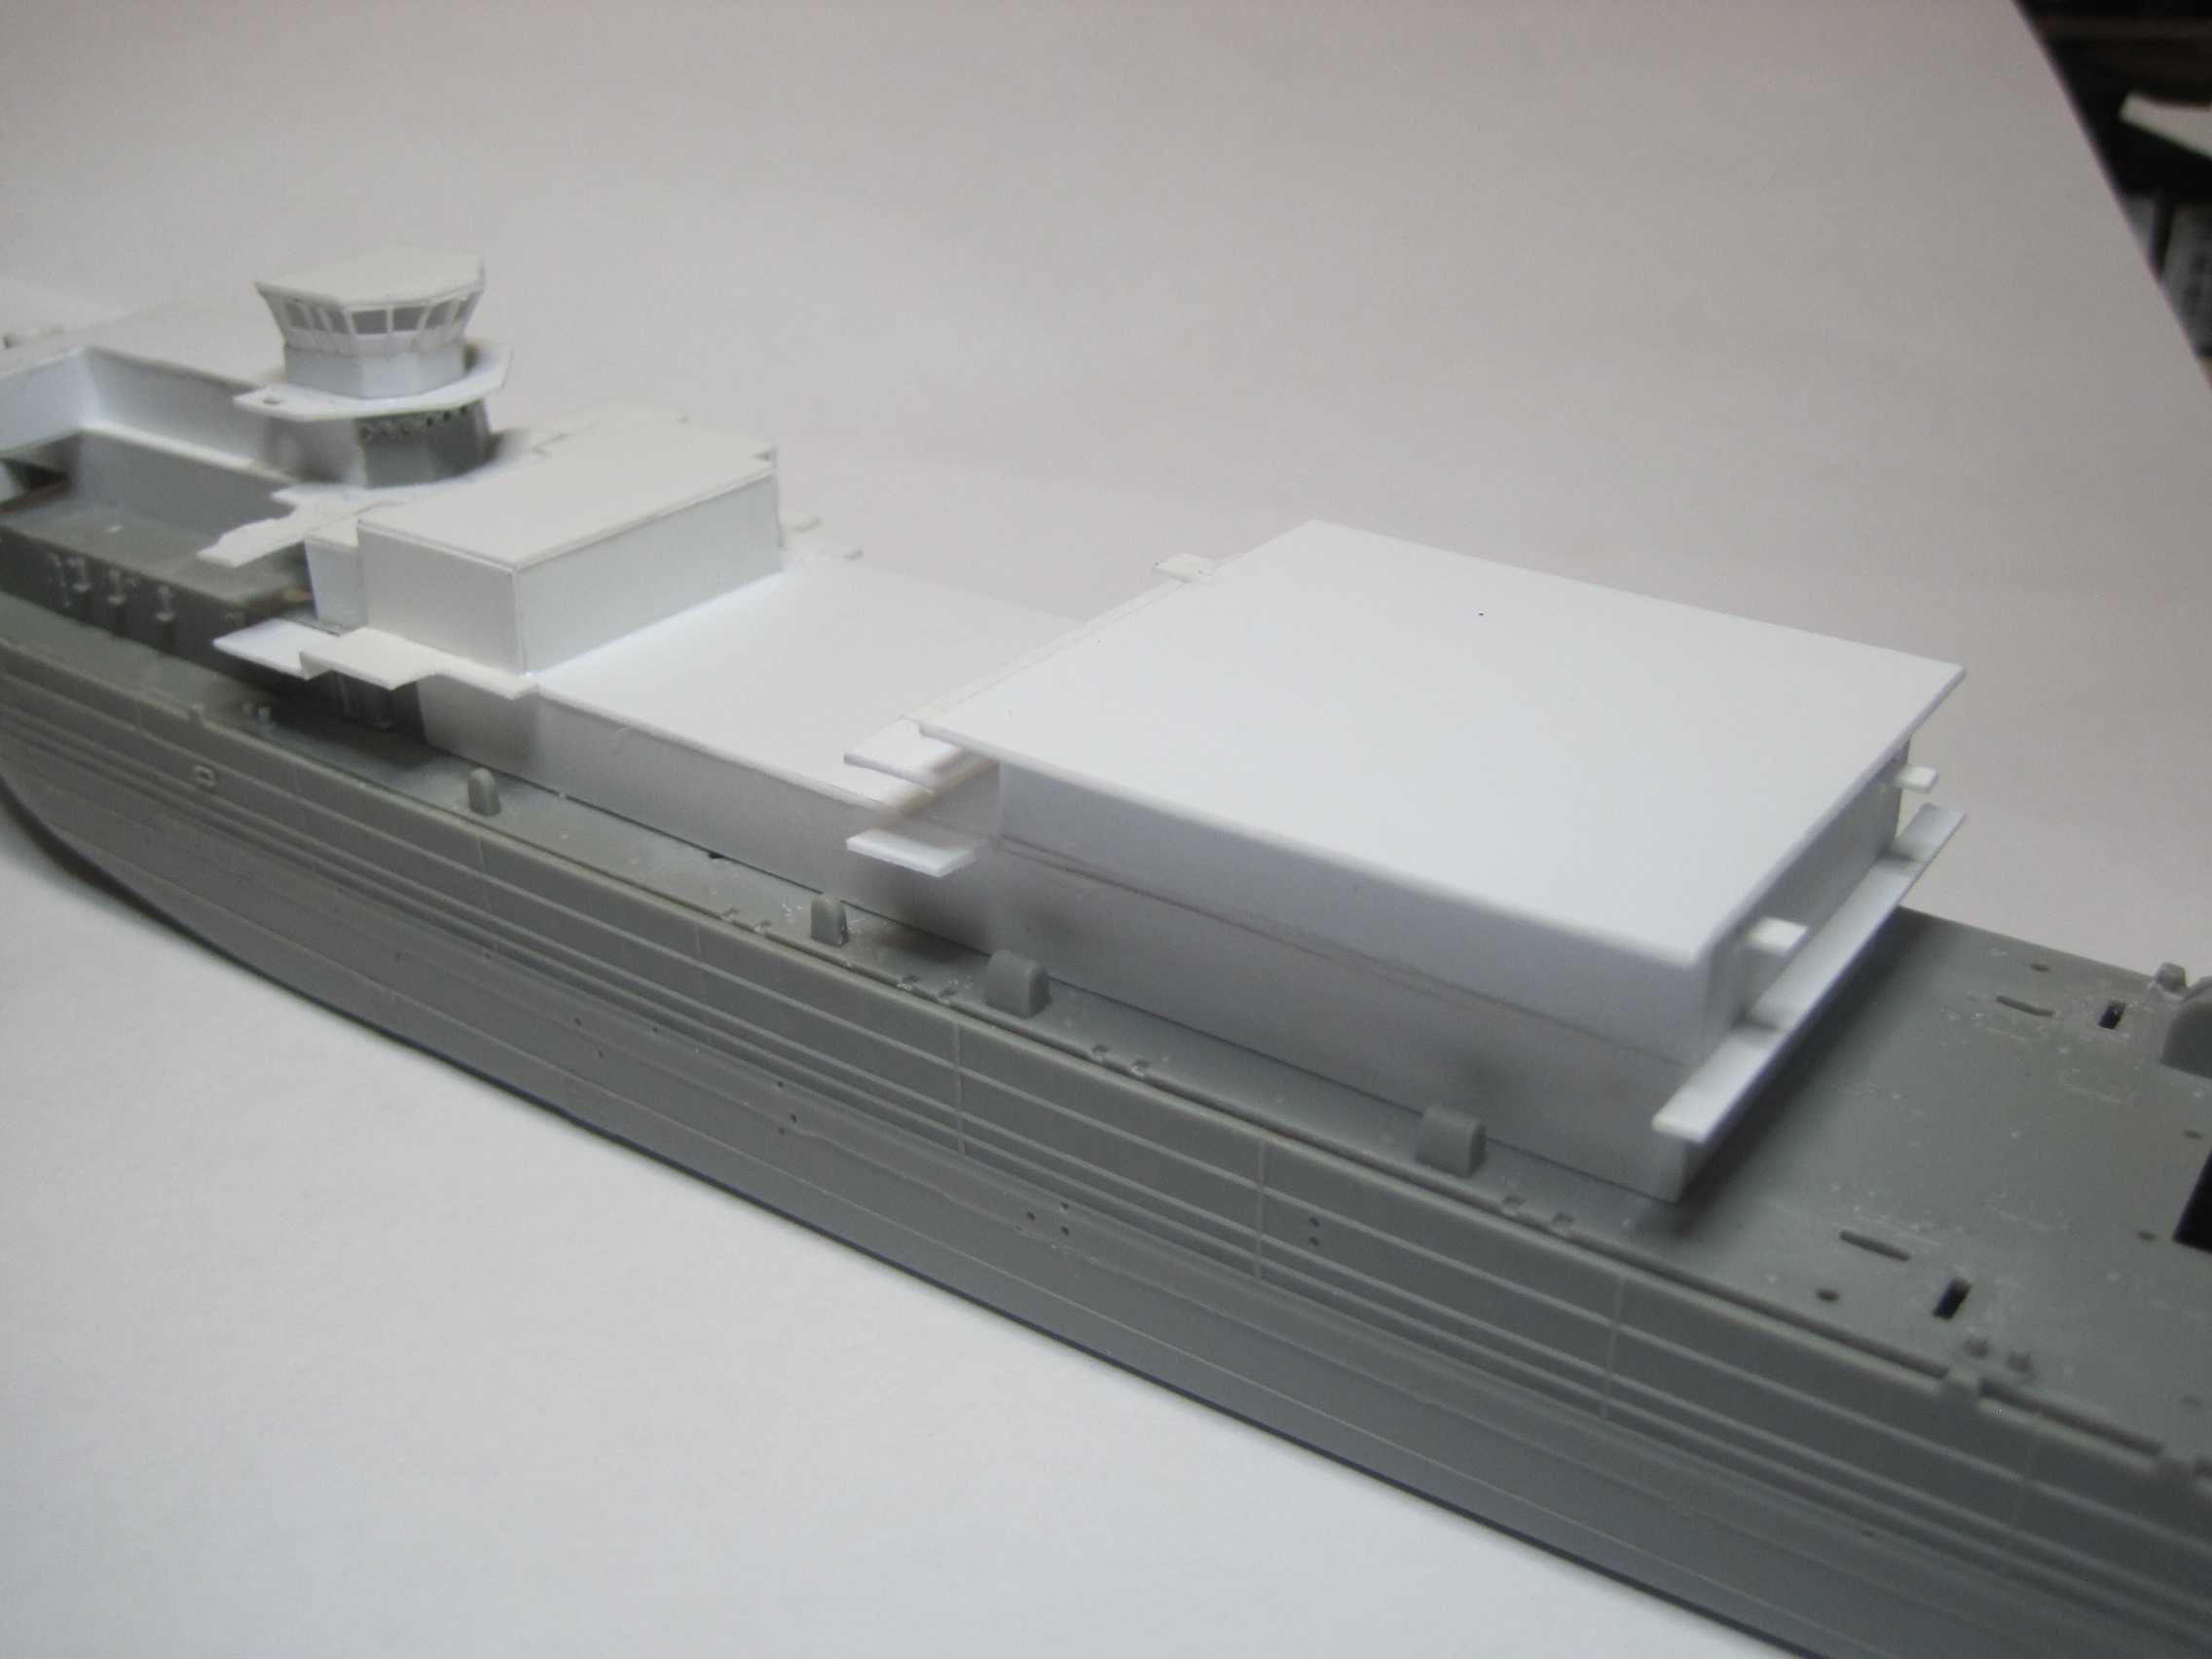
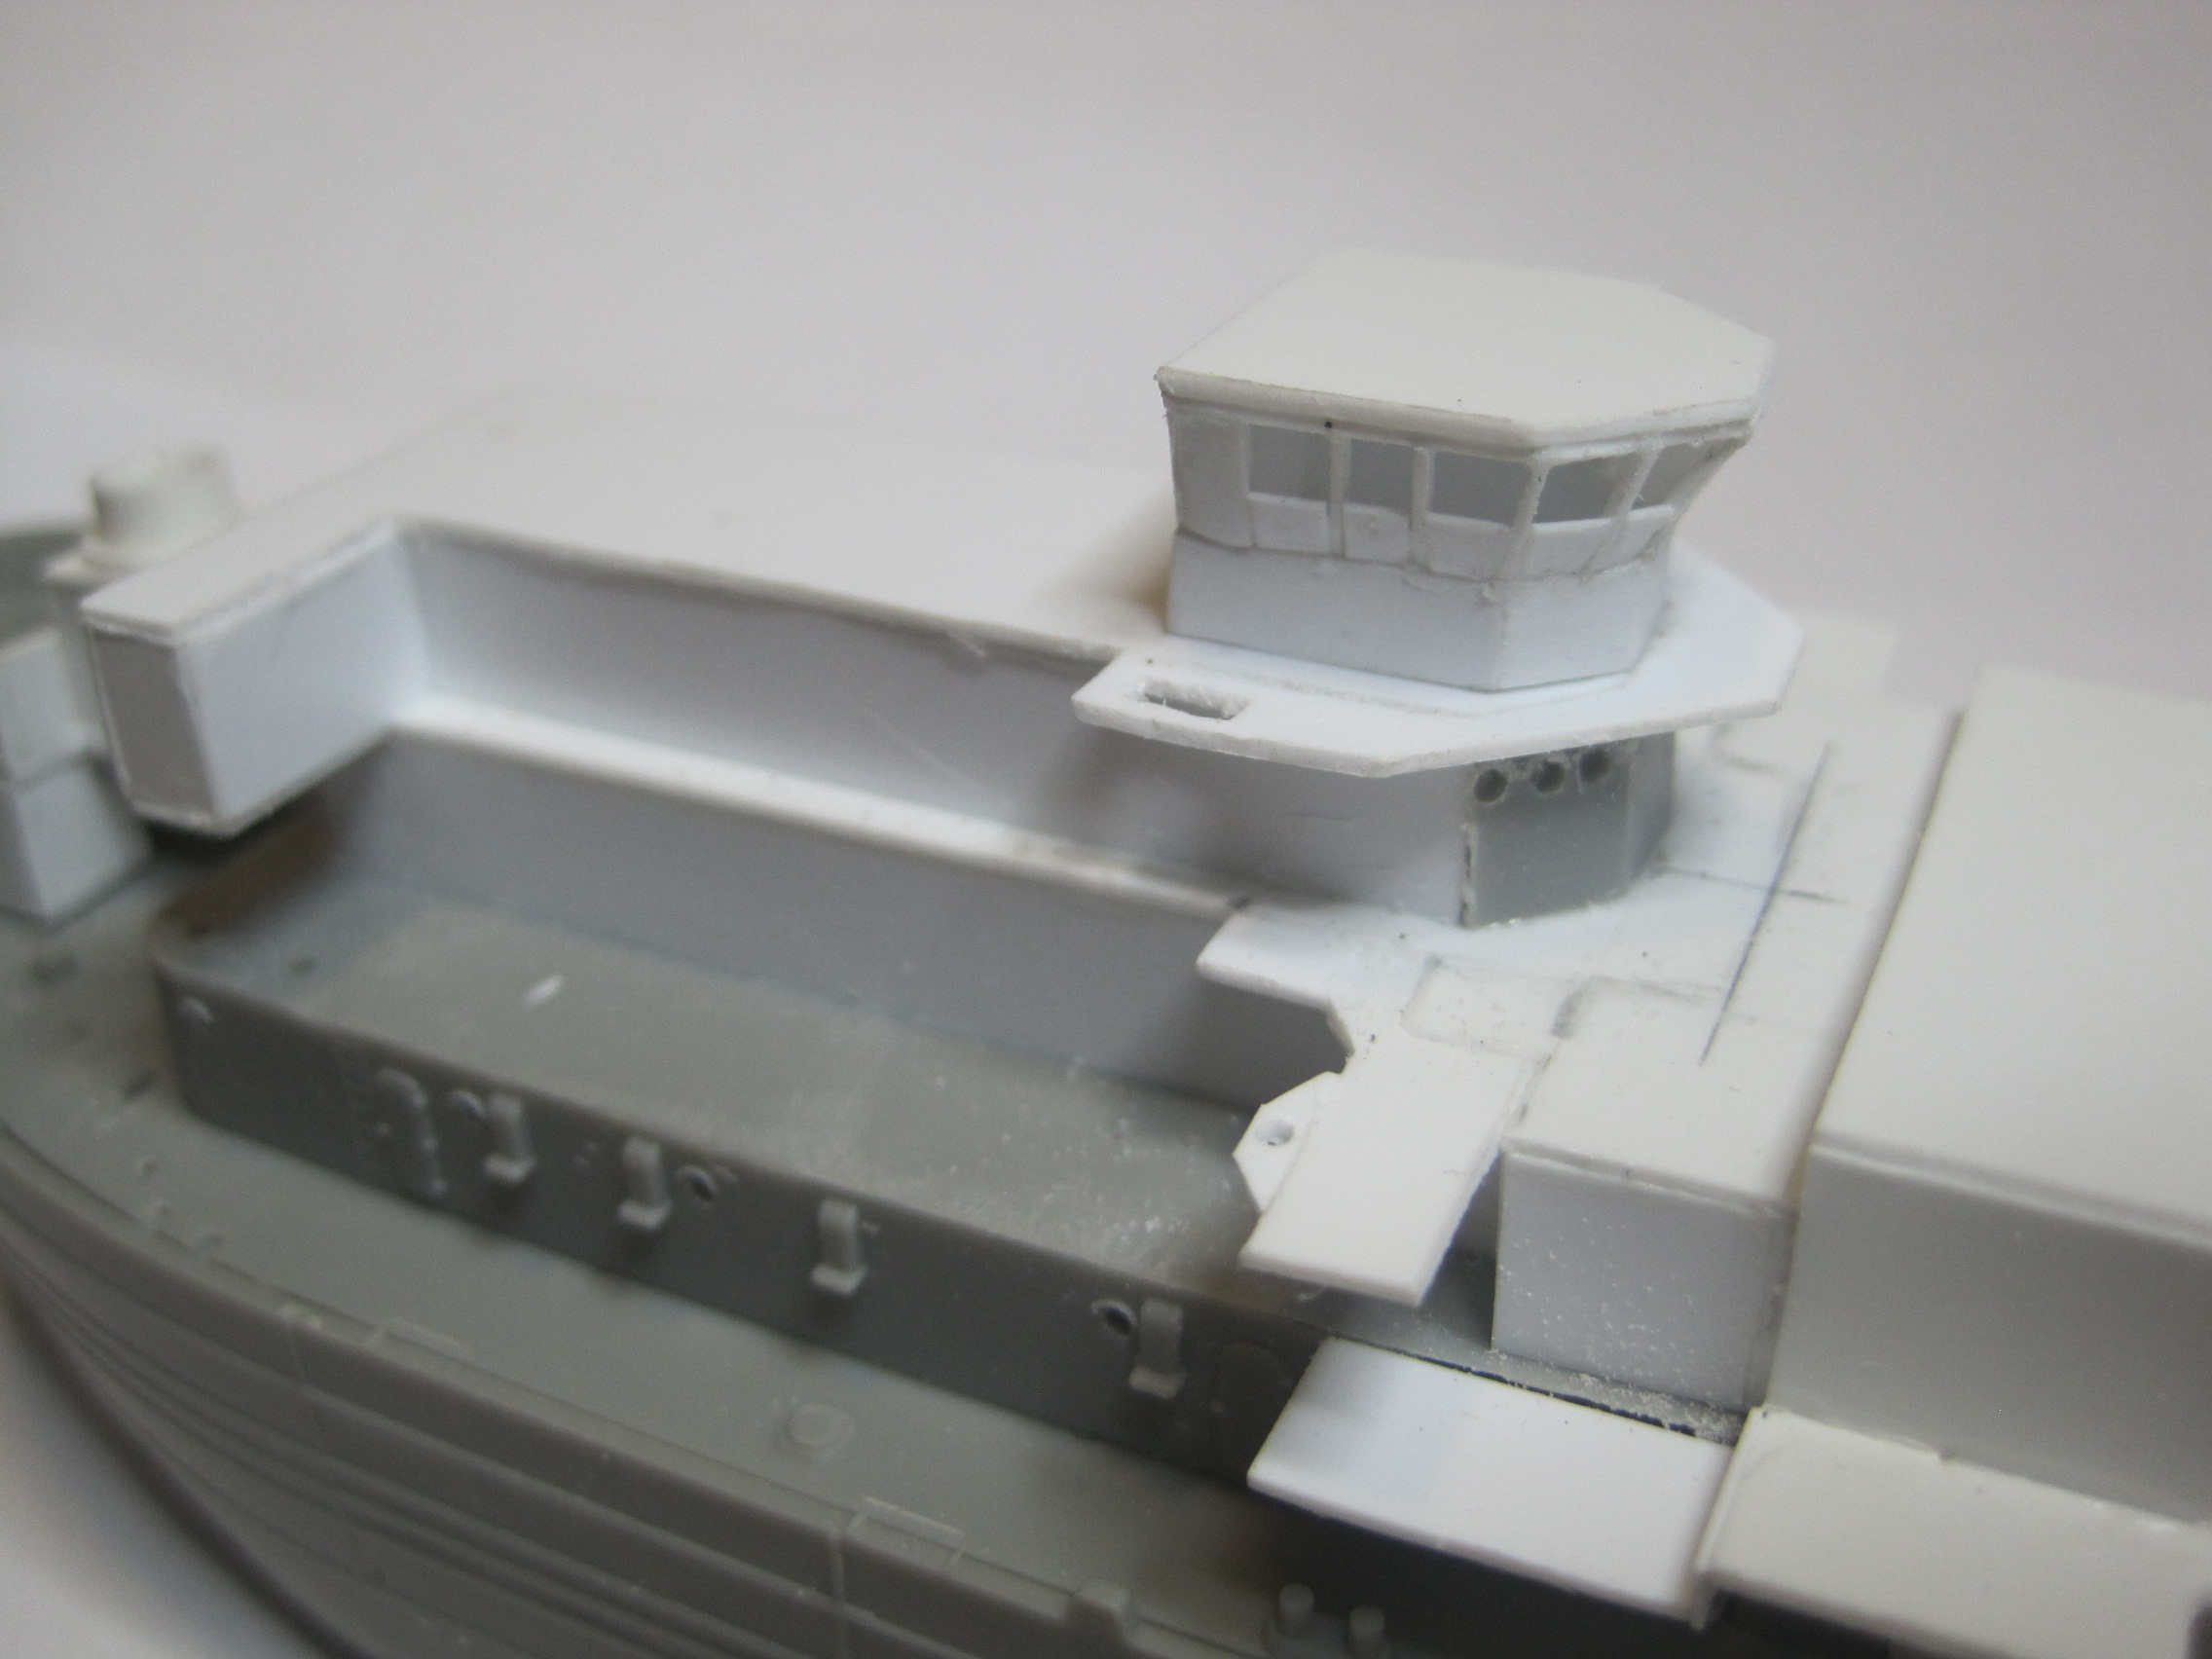
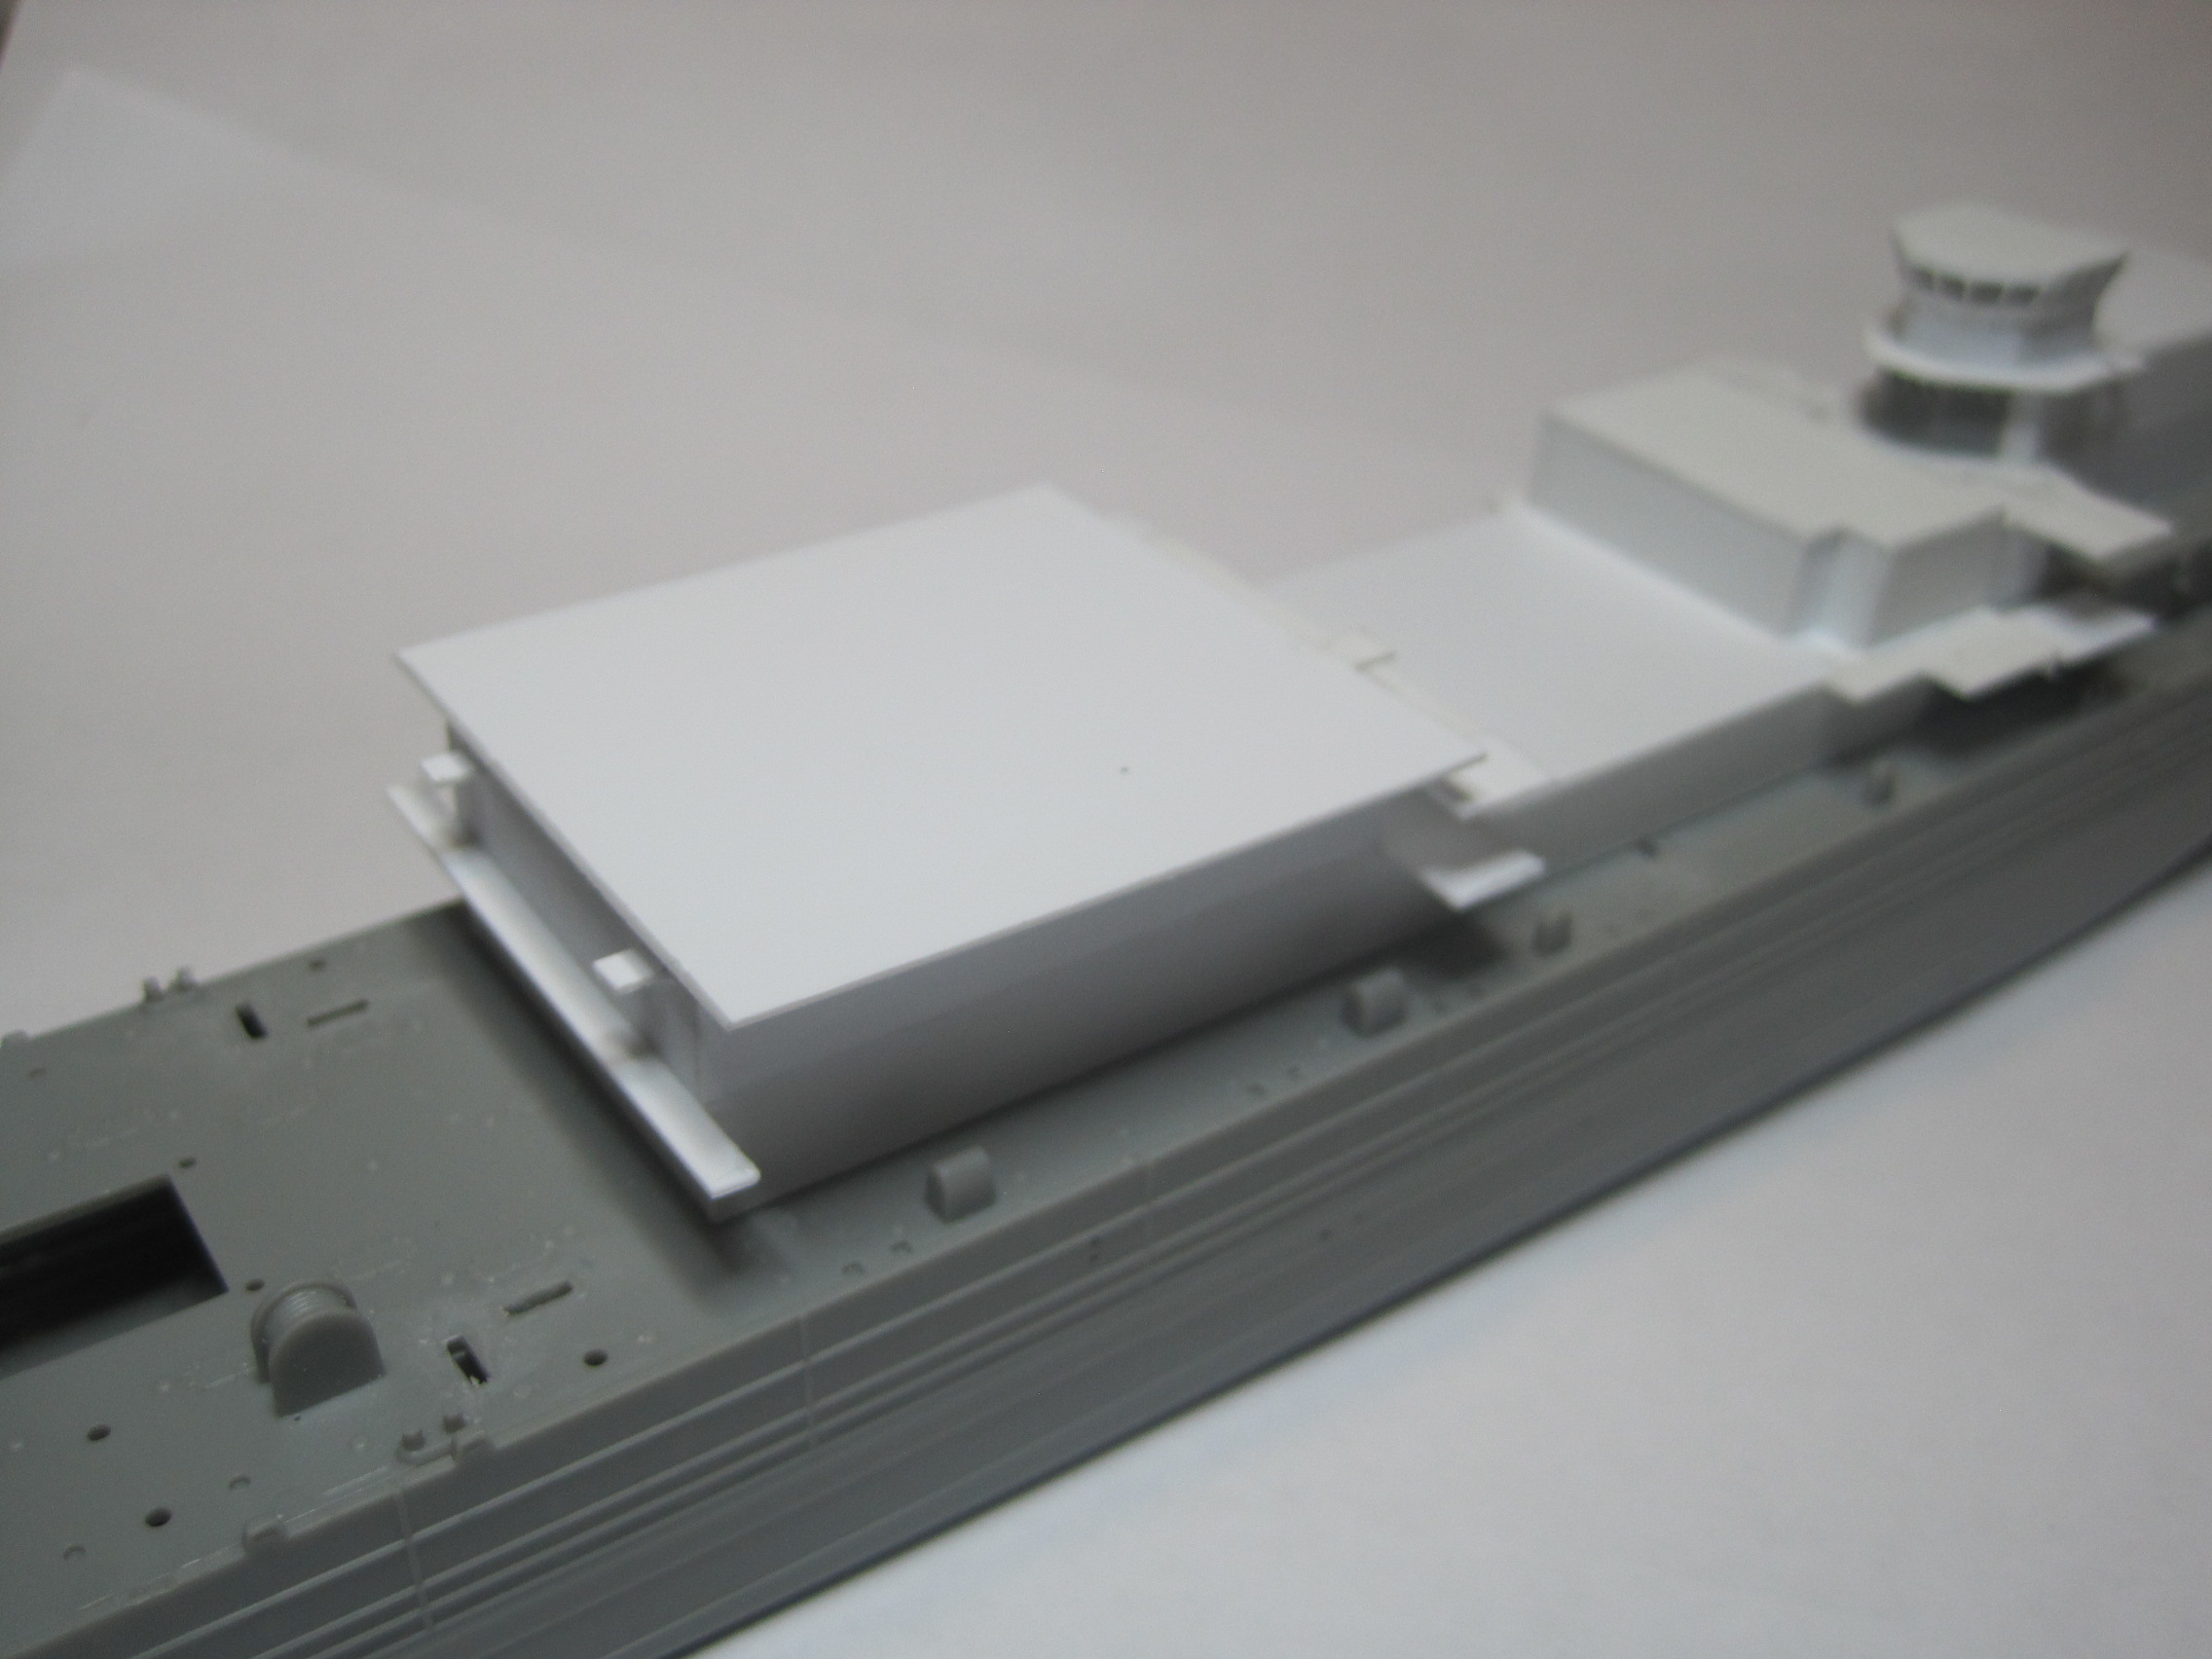
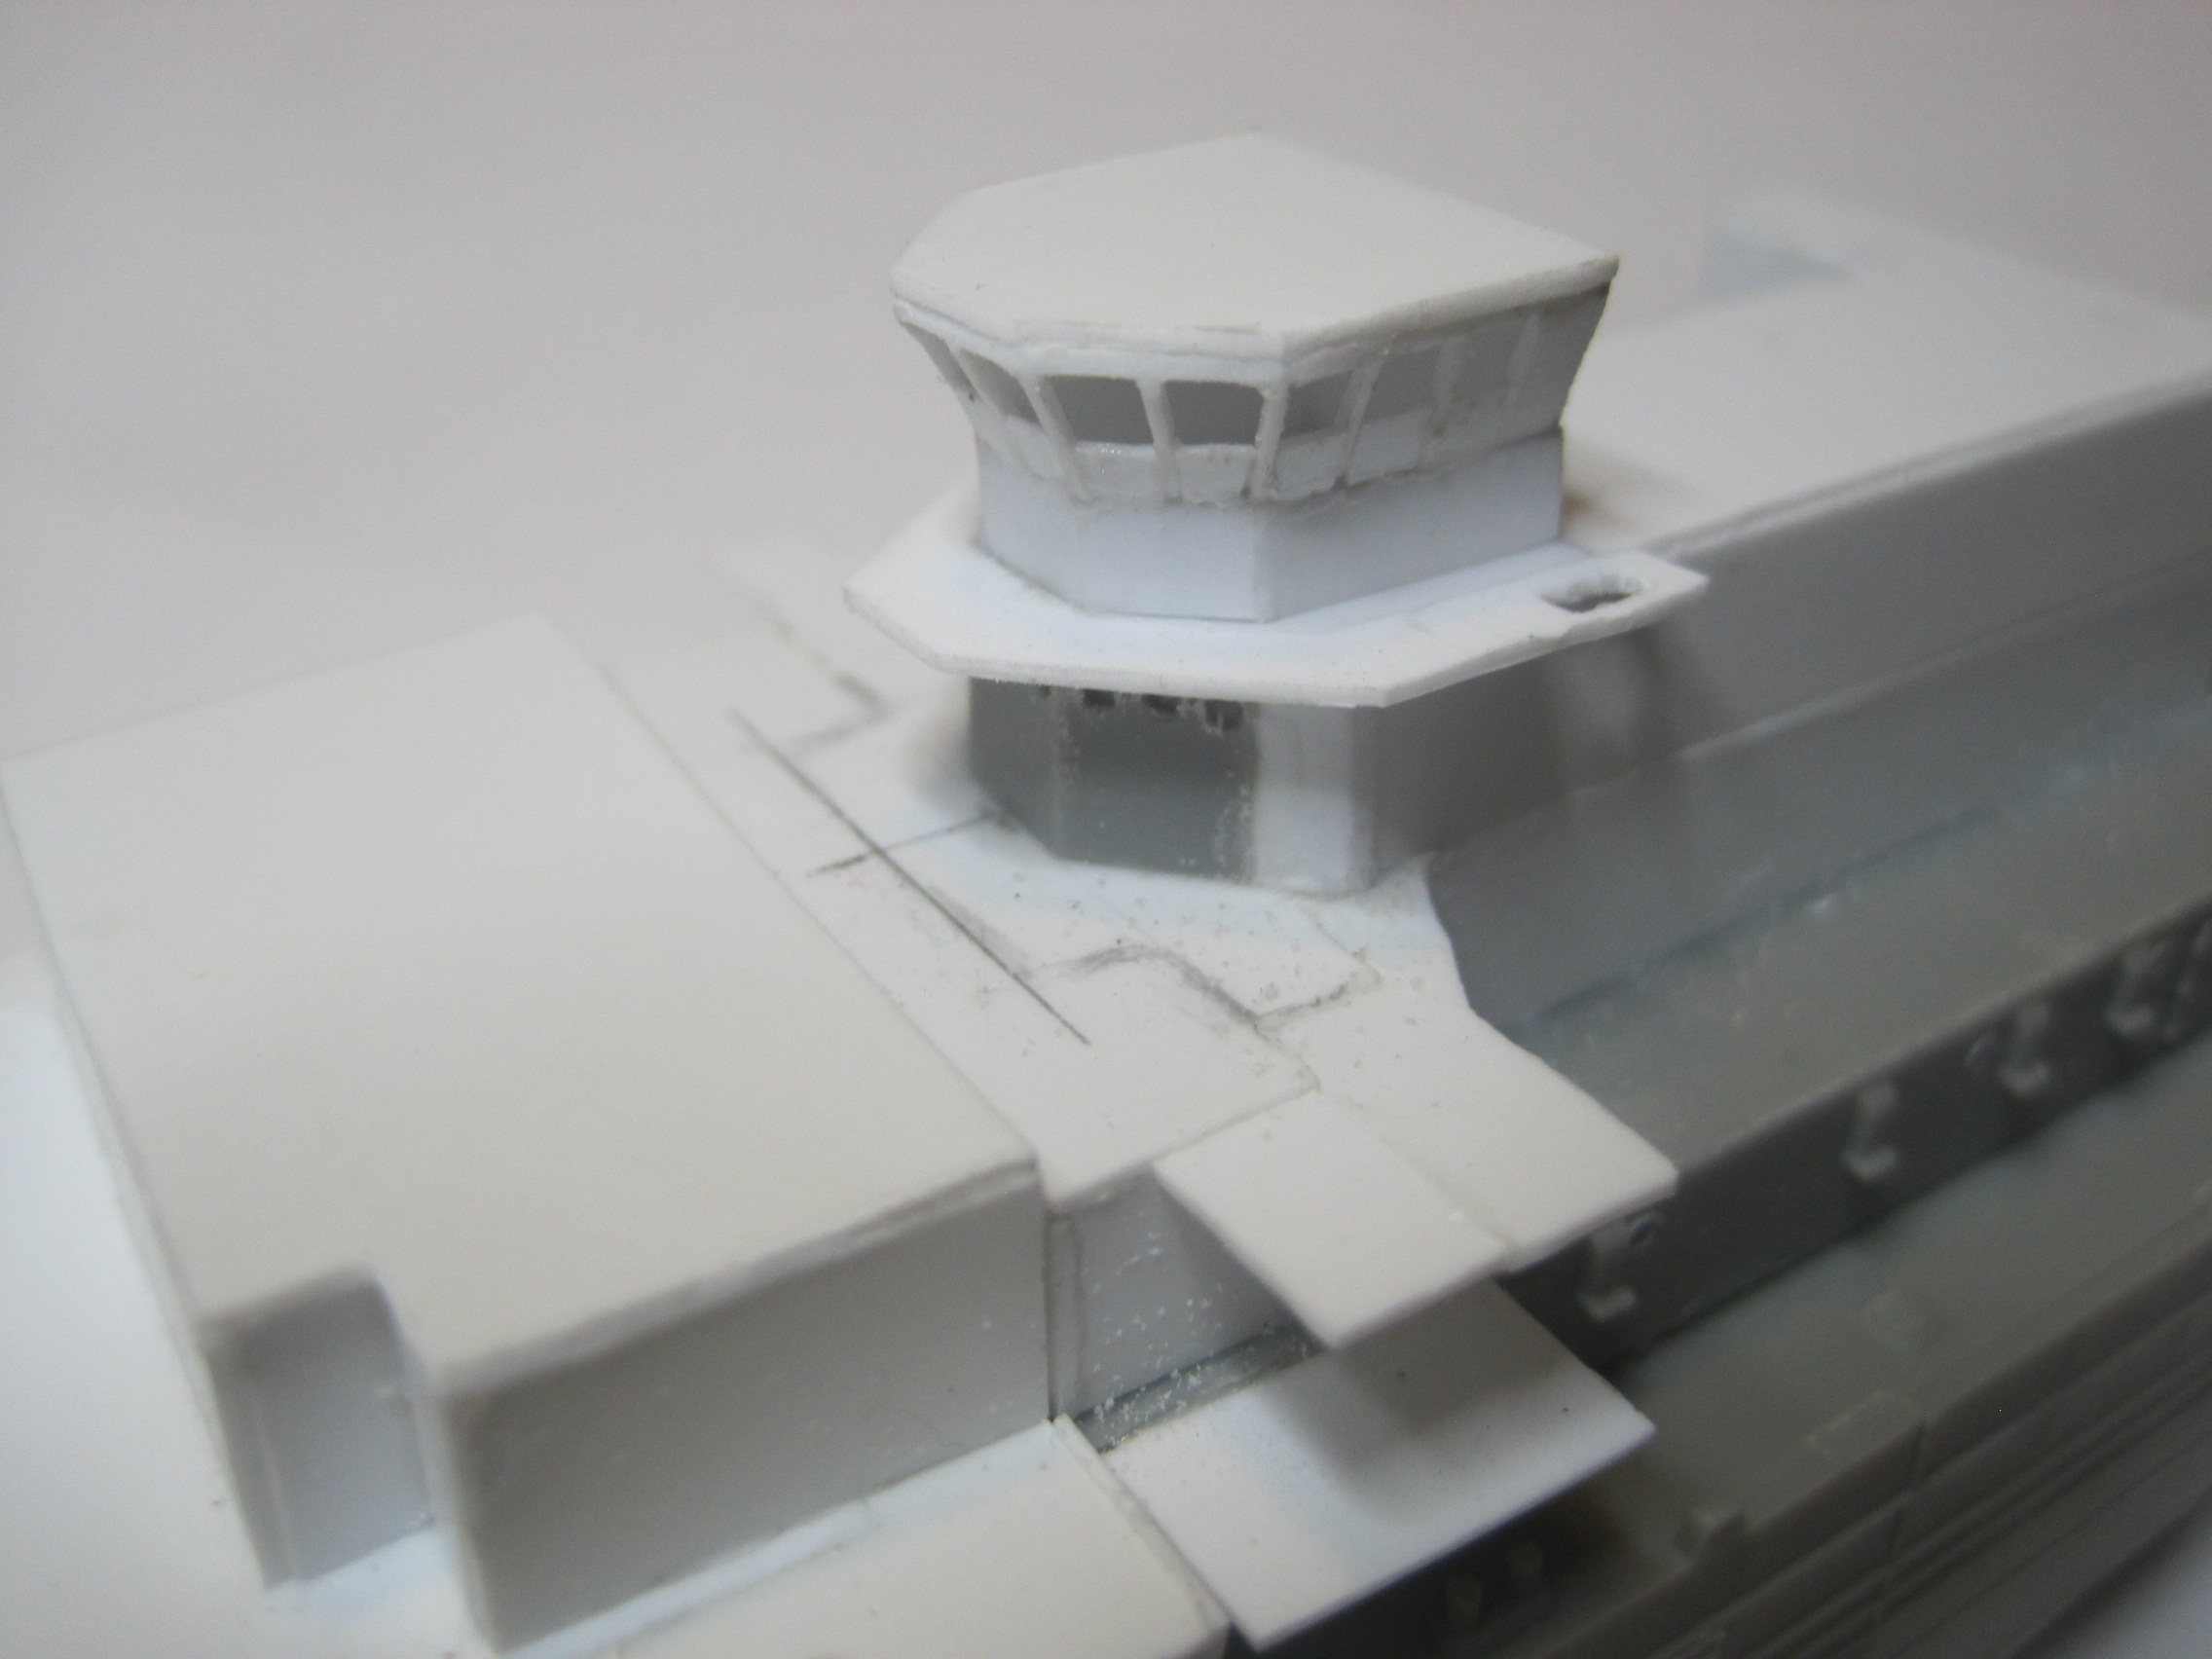
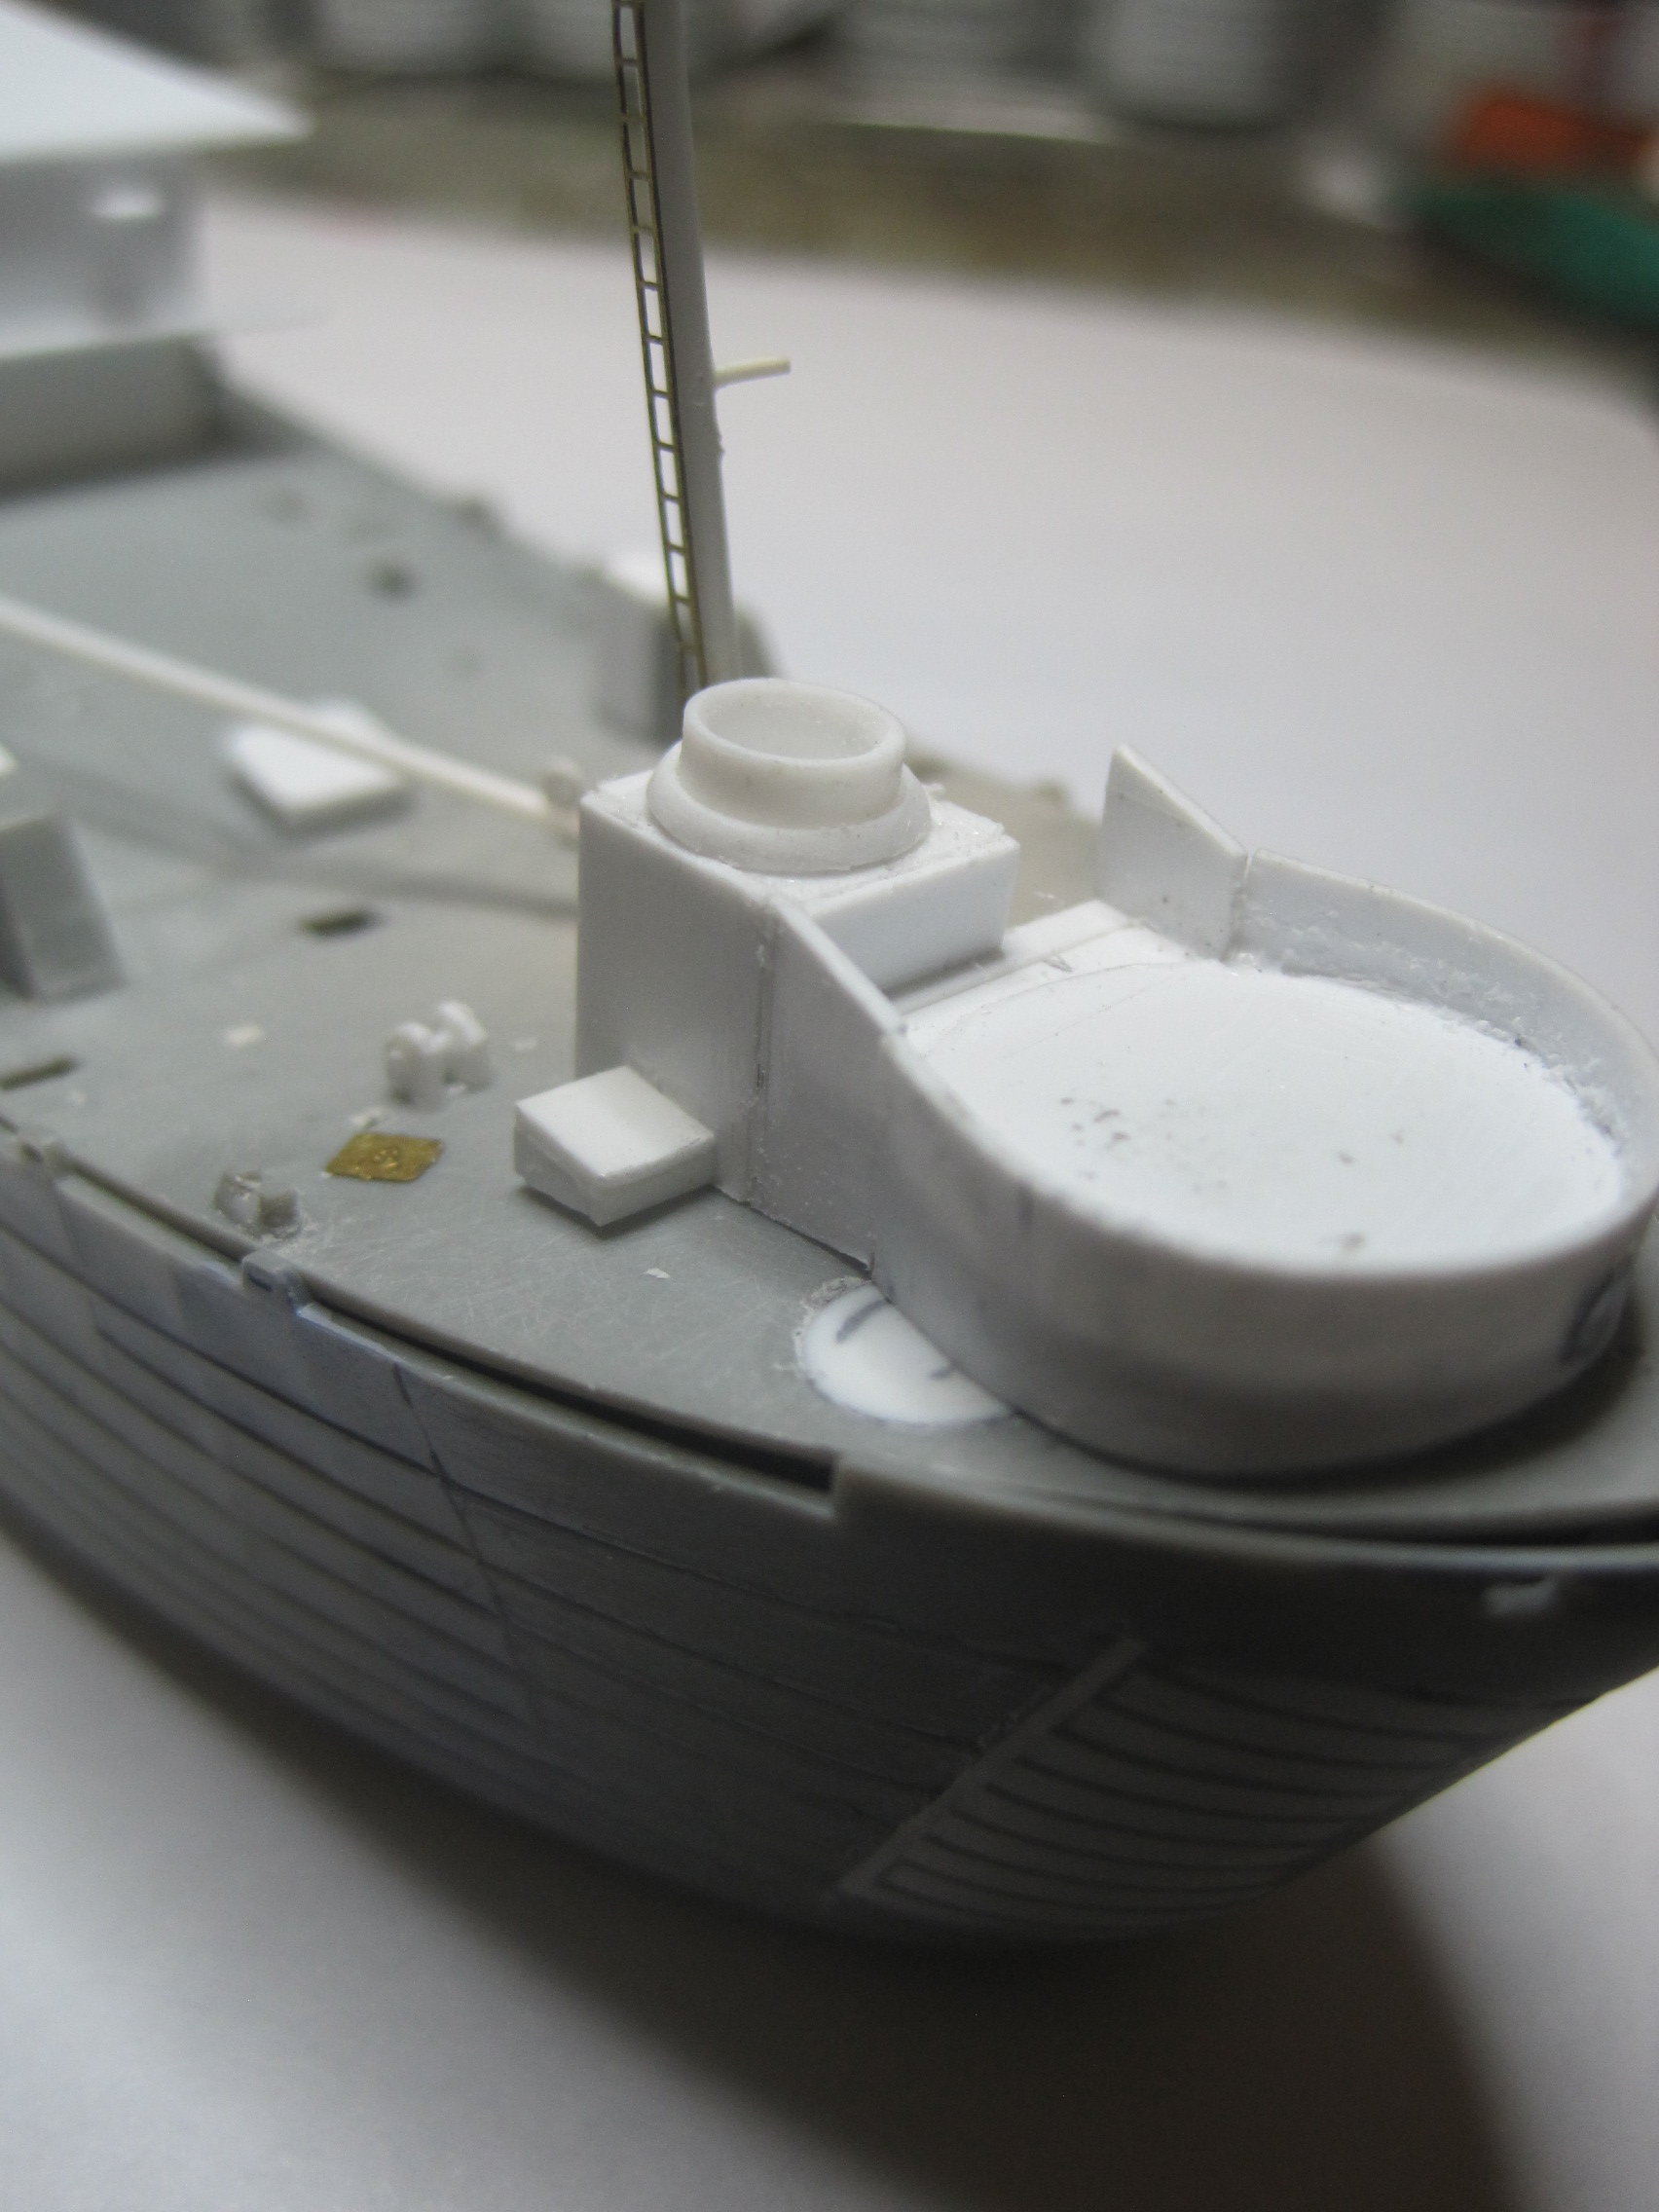
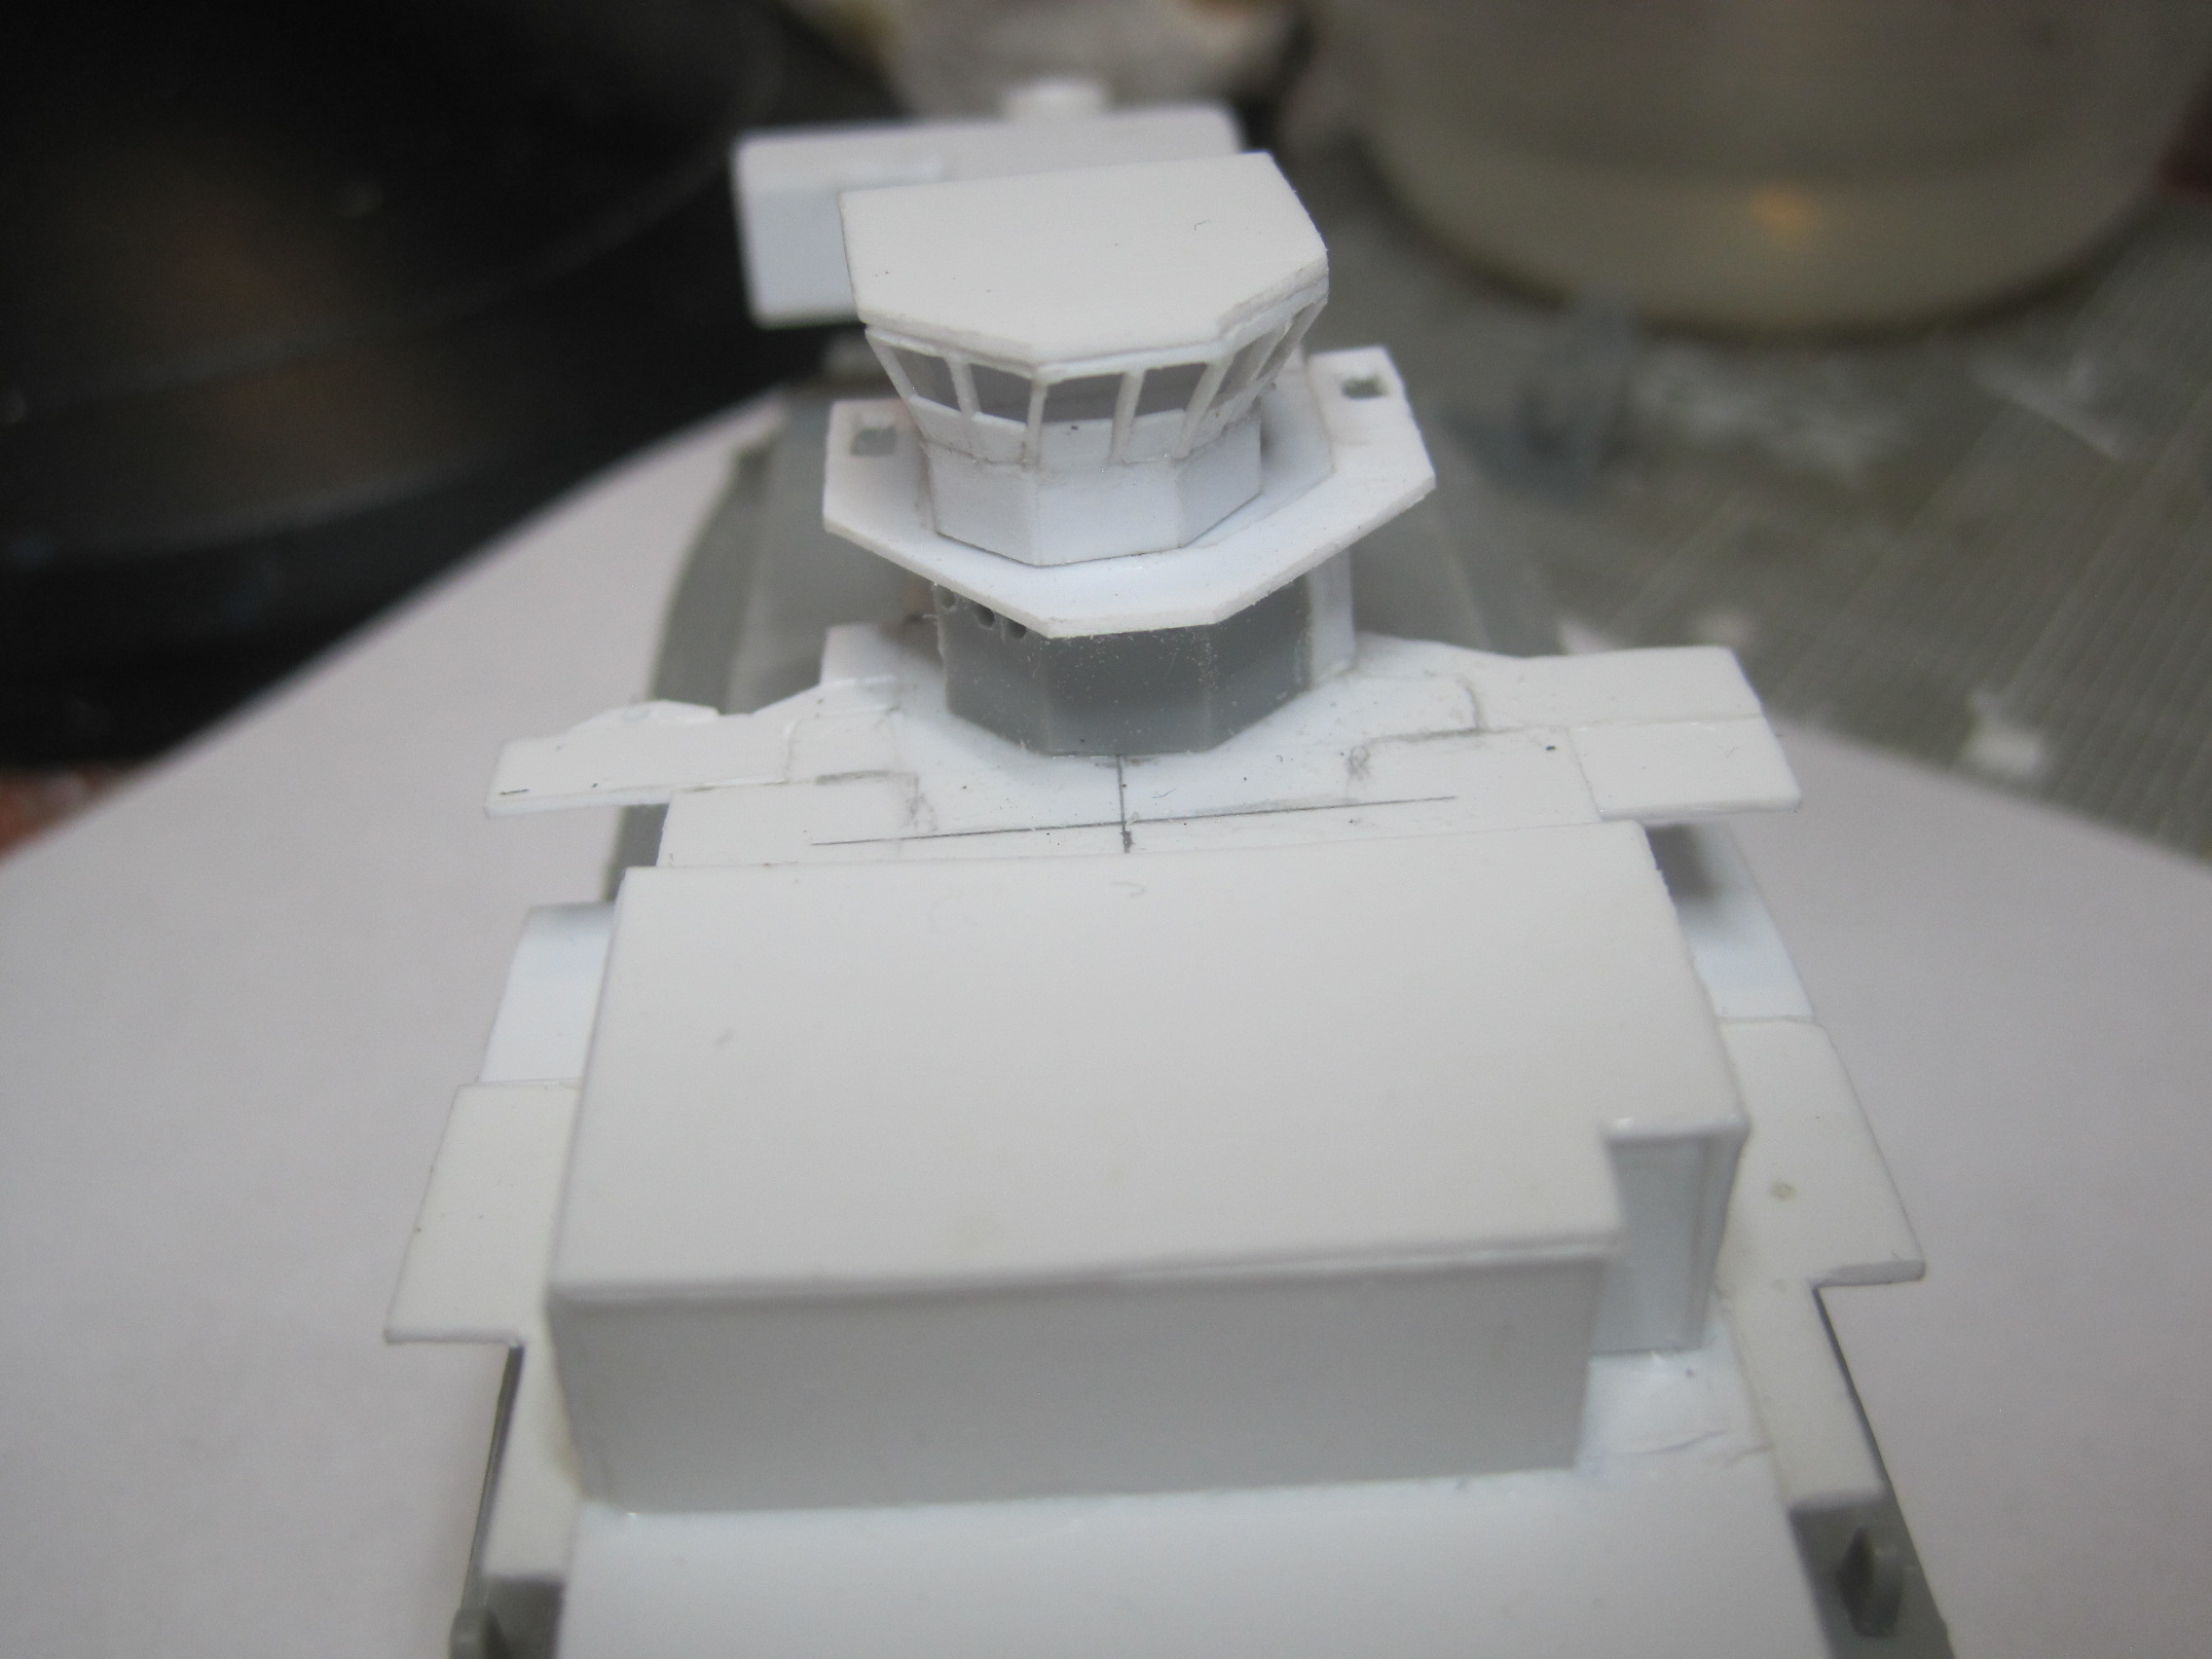
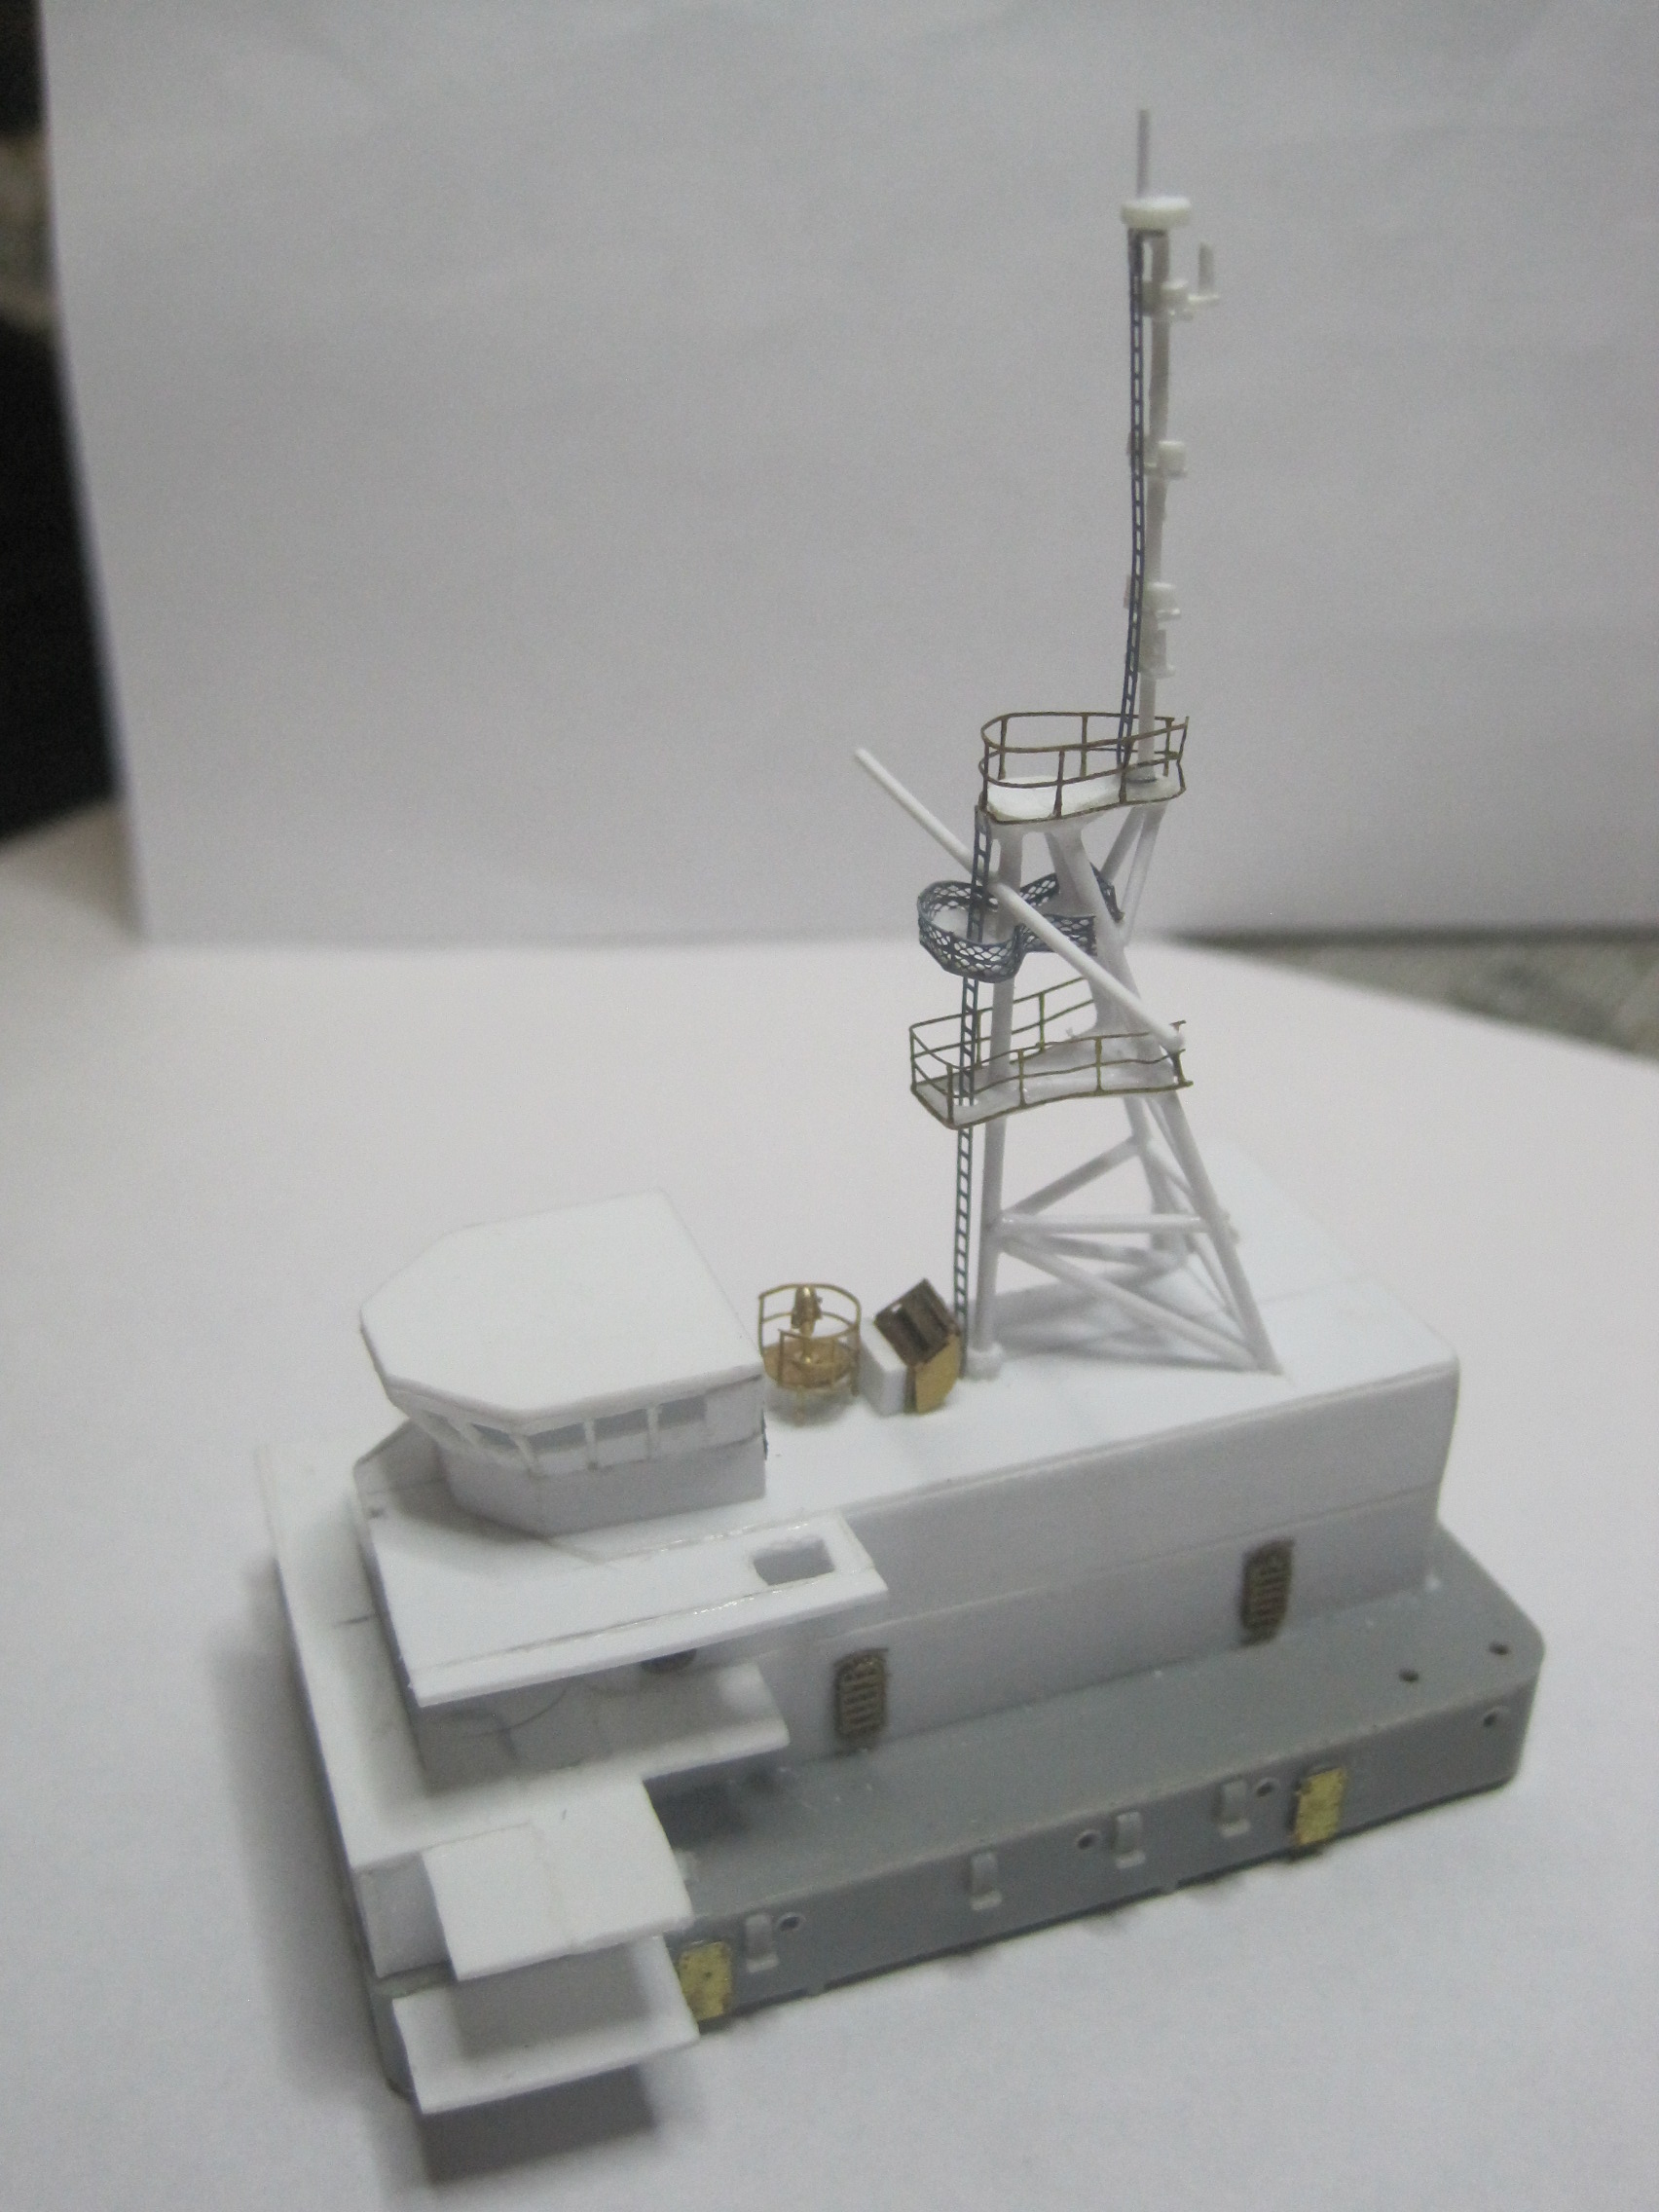
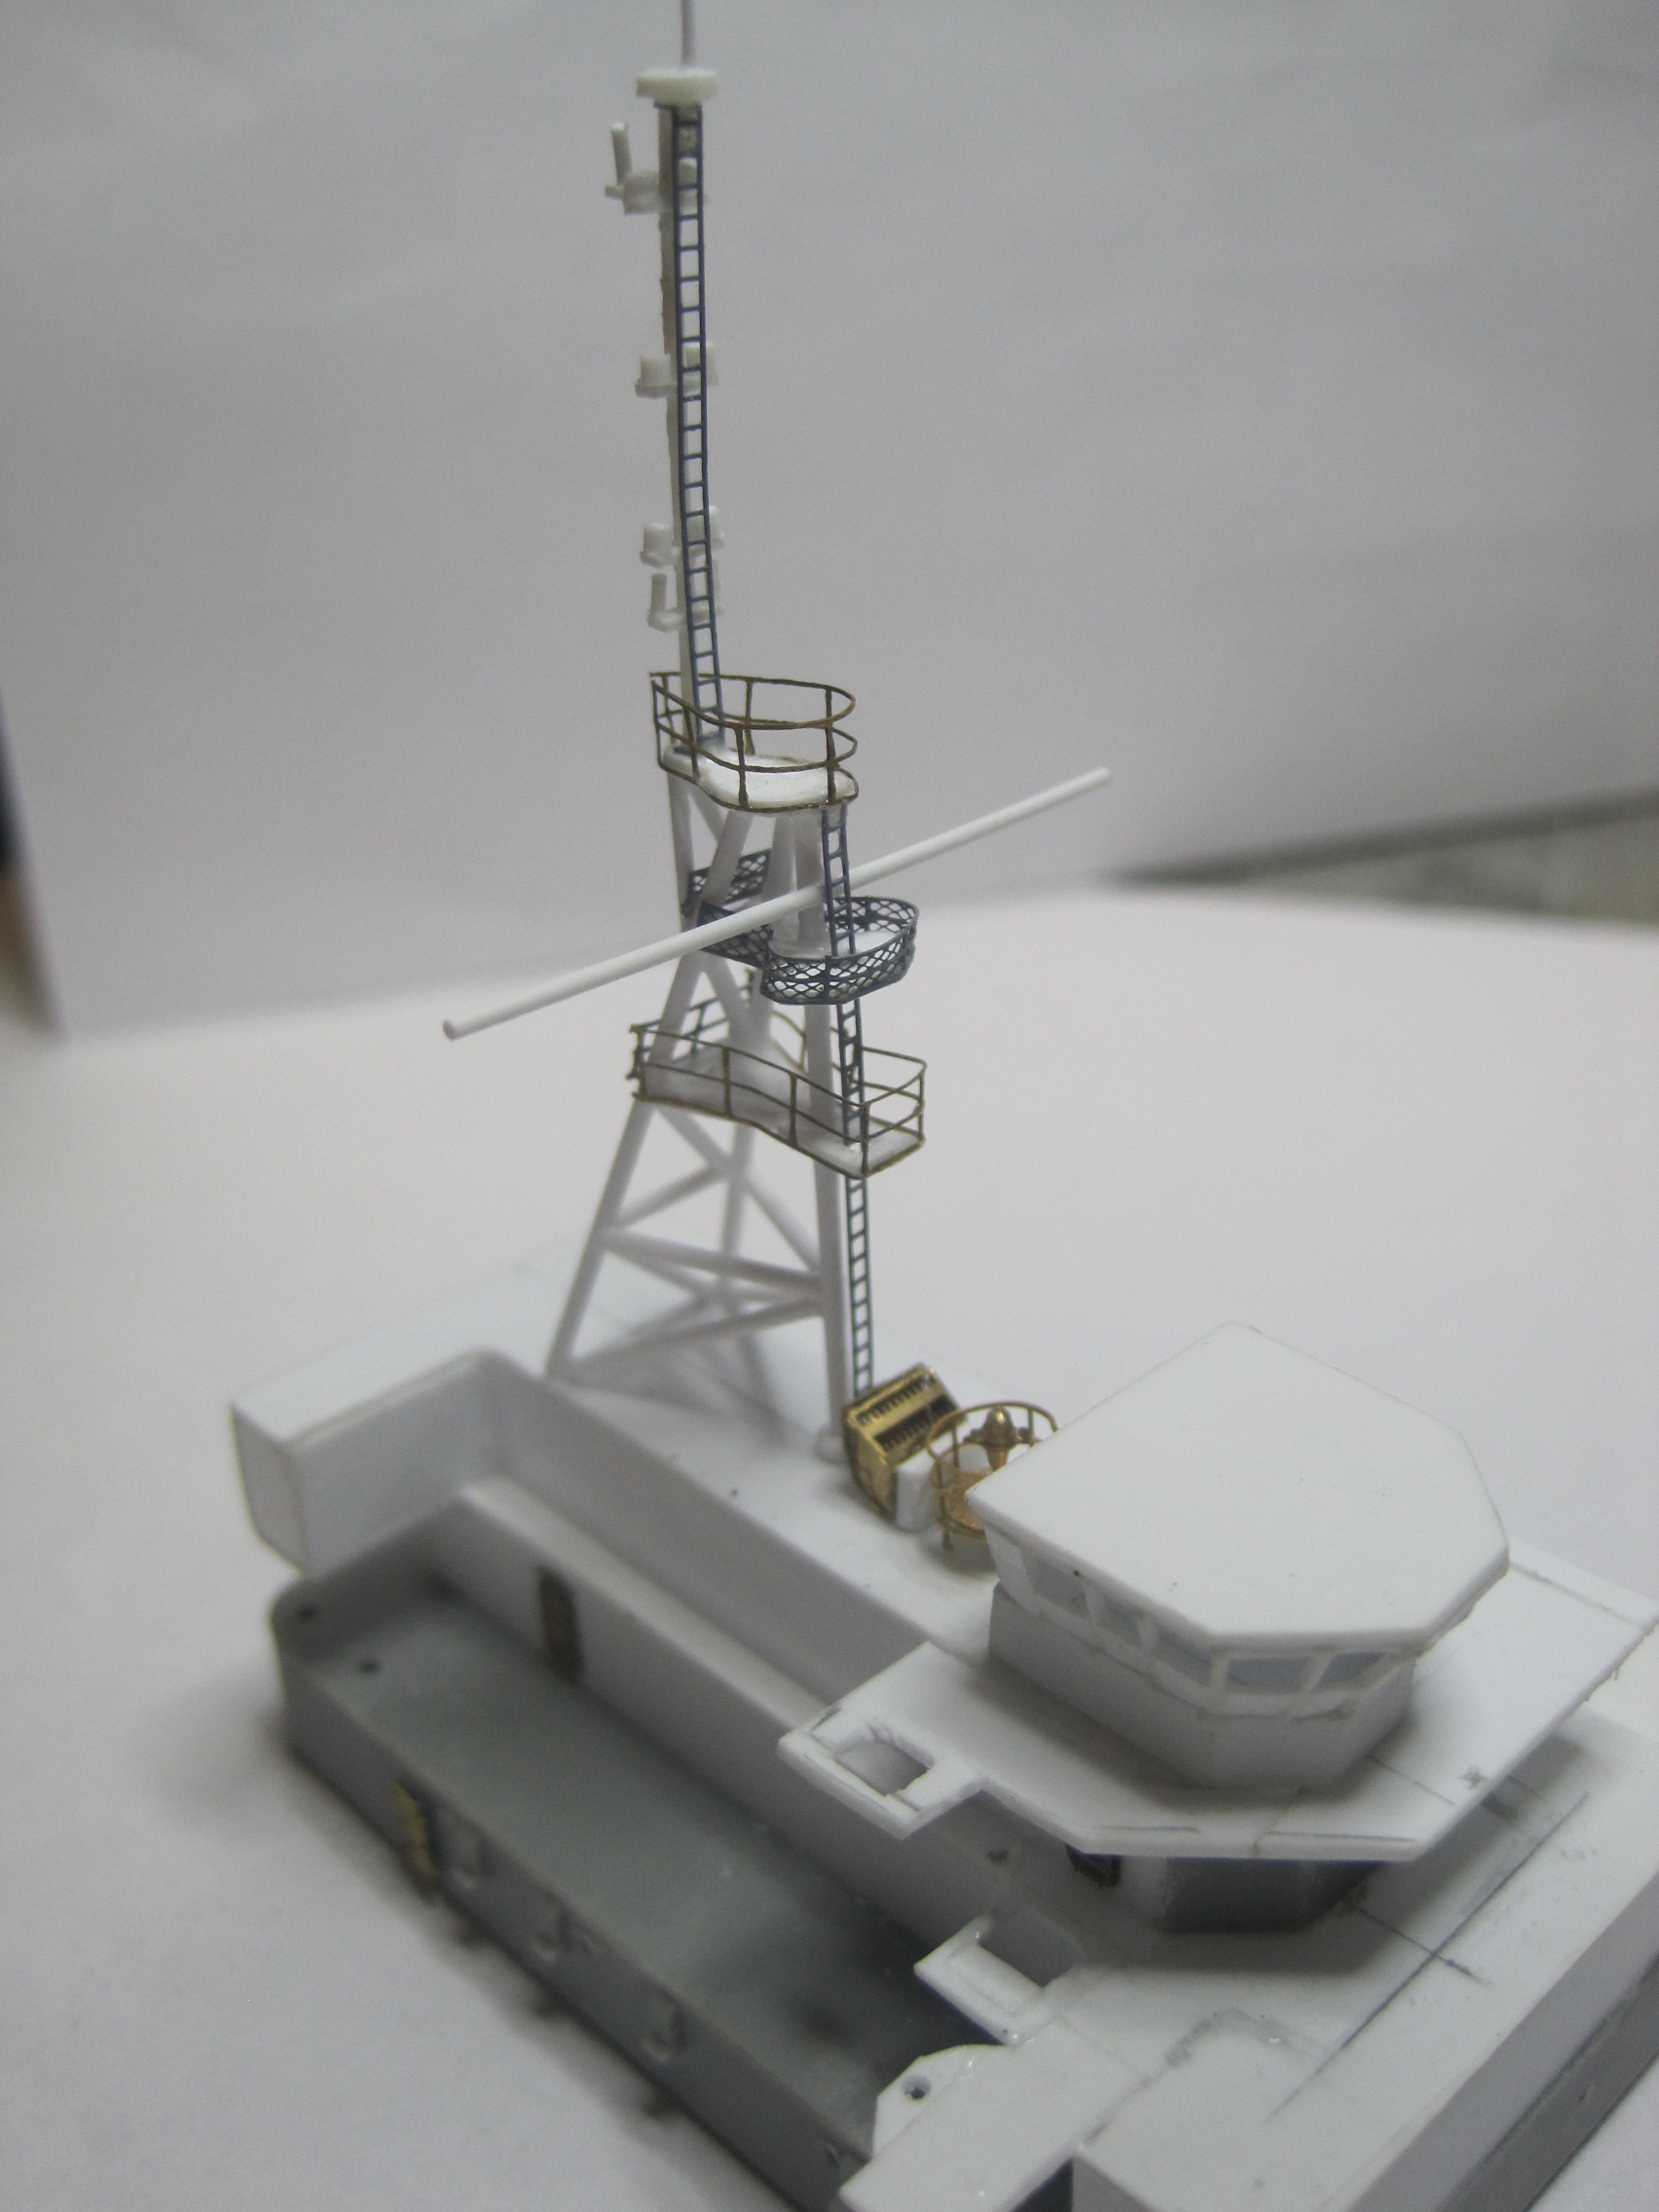
But in the 1980’s there was concern about the government in Nicaragua and it was decided that we needed a way to gather electronic intelligence and so a “spy ship” (think Pueblo) was needed and so the USS Sphinx was converted into a surveillance ship. She was filled with the latest electronics/communication gathering gear, and had additional topside modifications to include the construction of a helicopter landing pad, and sent to Panama, where she would sail off the coast of Nicaragua and gather information and send it back for analysis. And of course to keep up the fiction, she was still classified as an ARL, by this time now standing for Repair- Light.

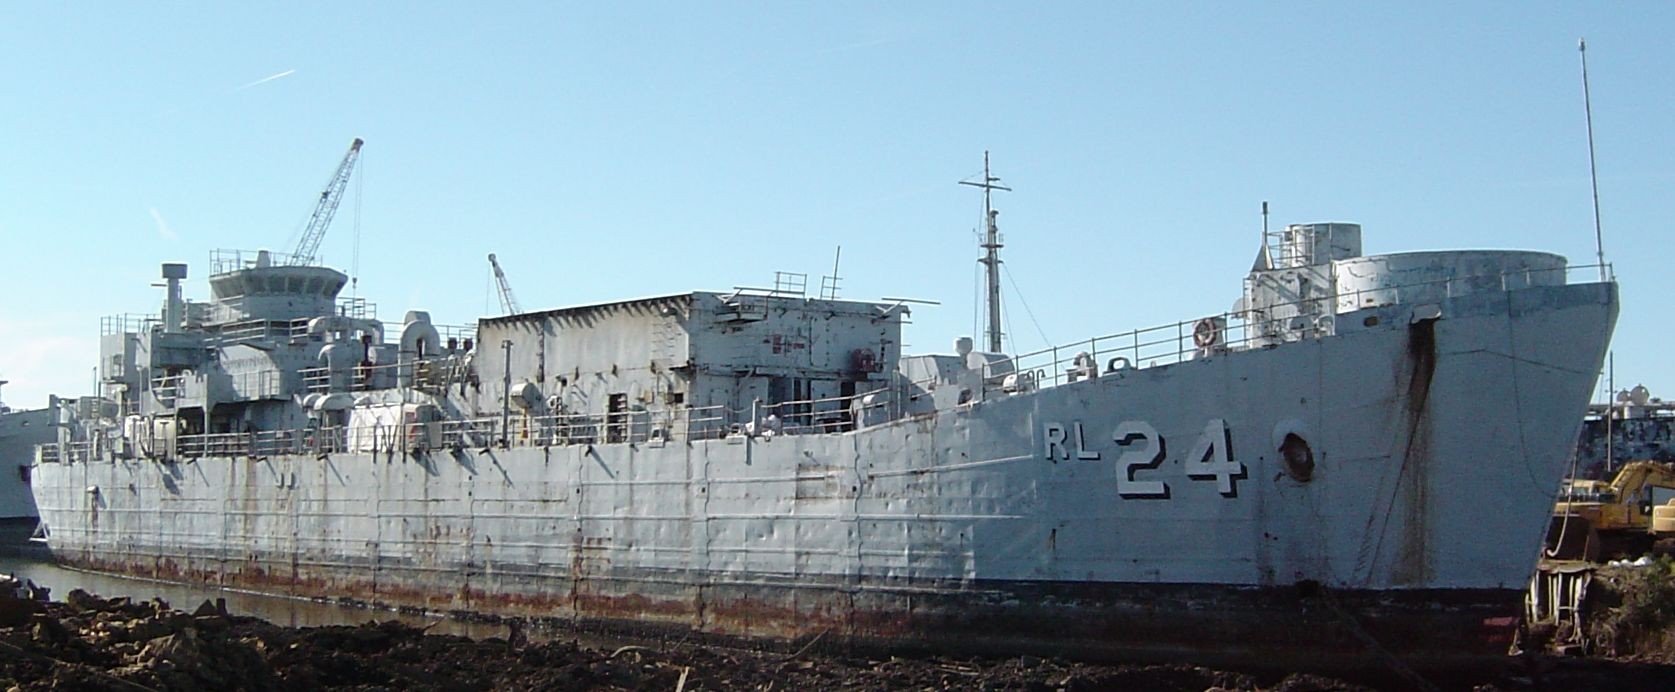
Two final distinctions about this ship. Out of almost 1000 LST’s built by the Navy during WW II, the Sphinx was the LAST one to serve in Active commission.

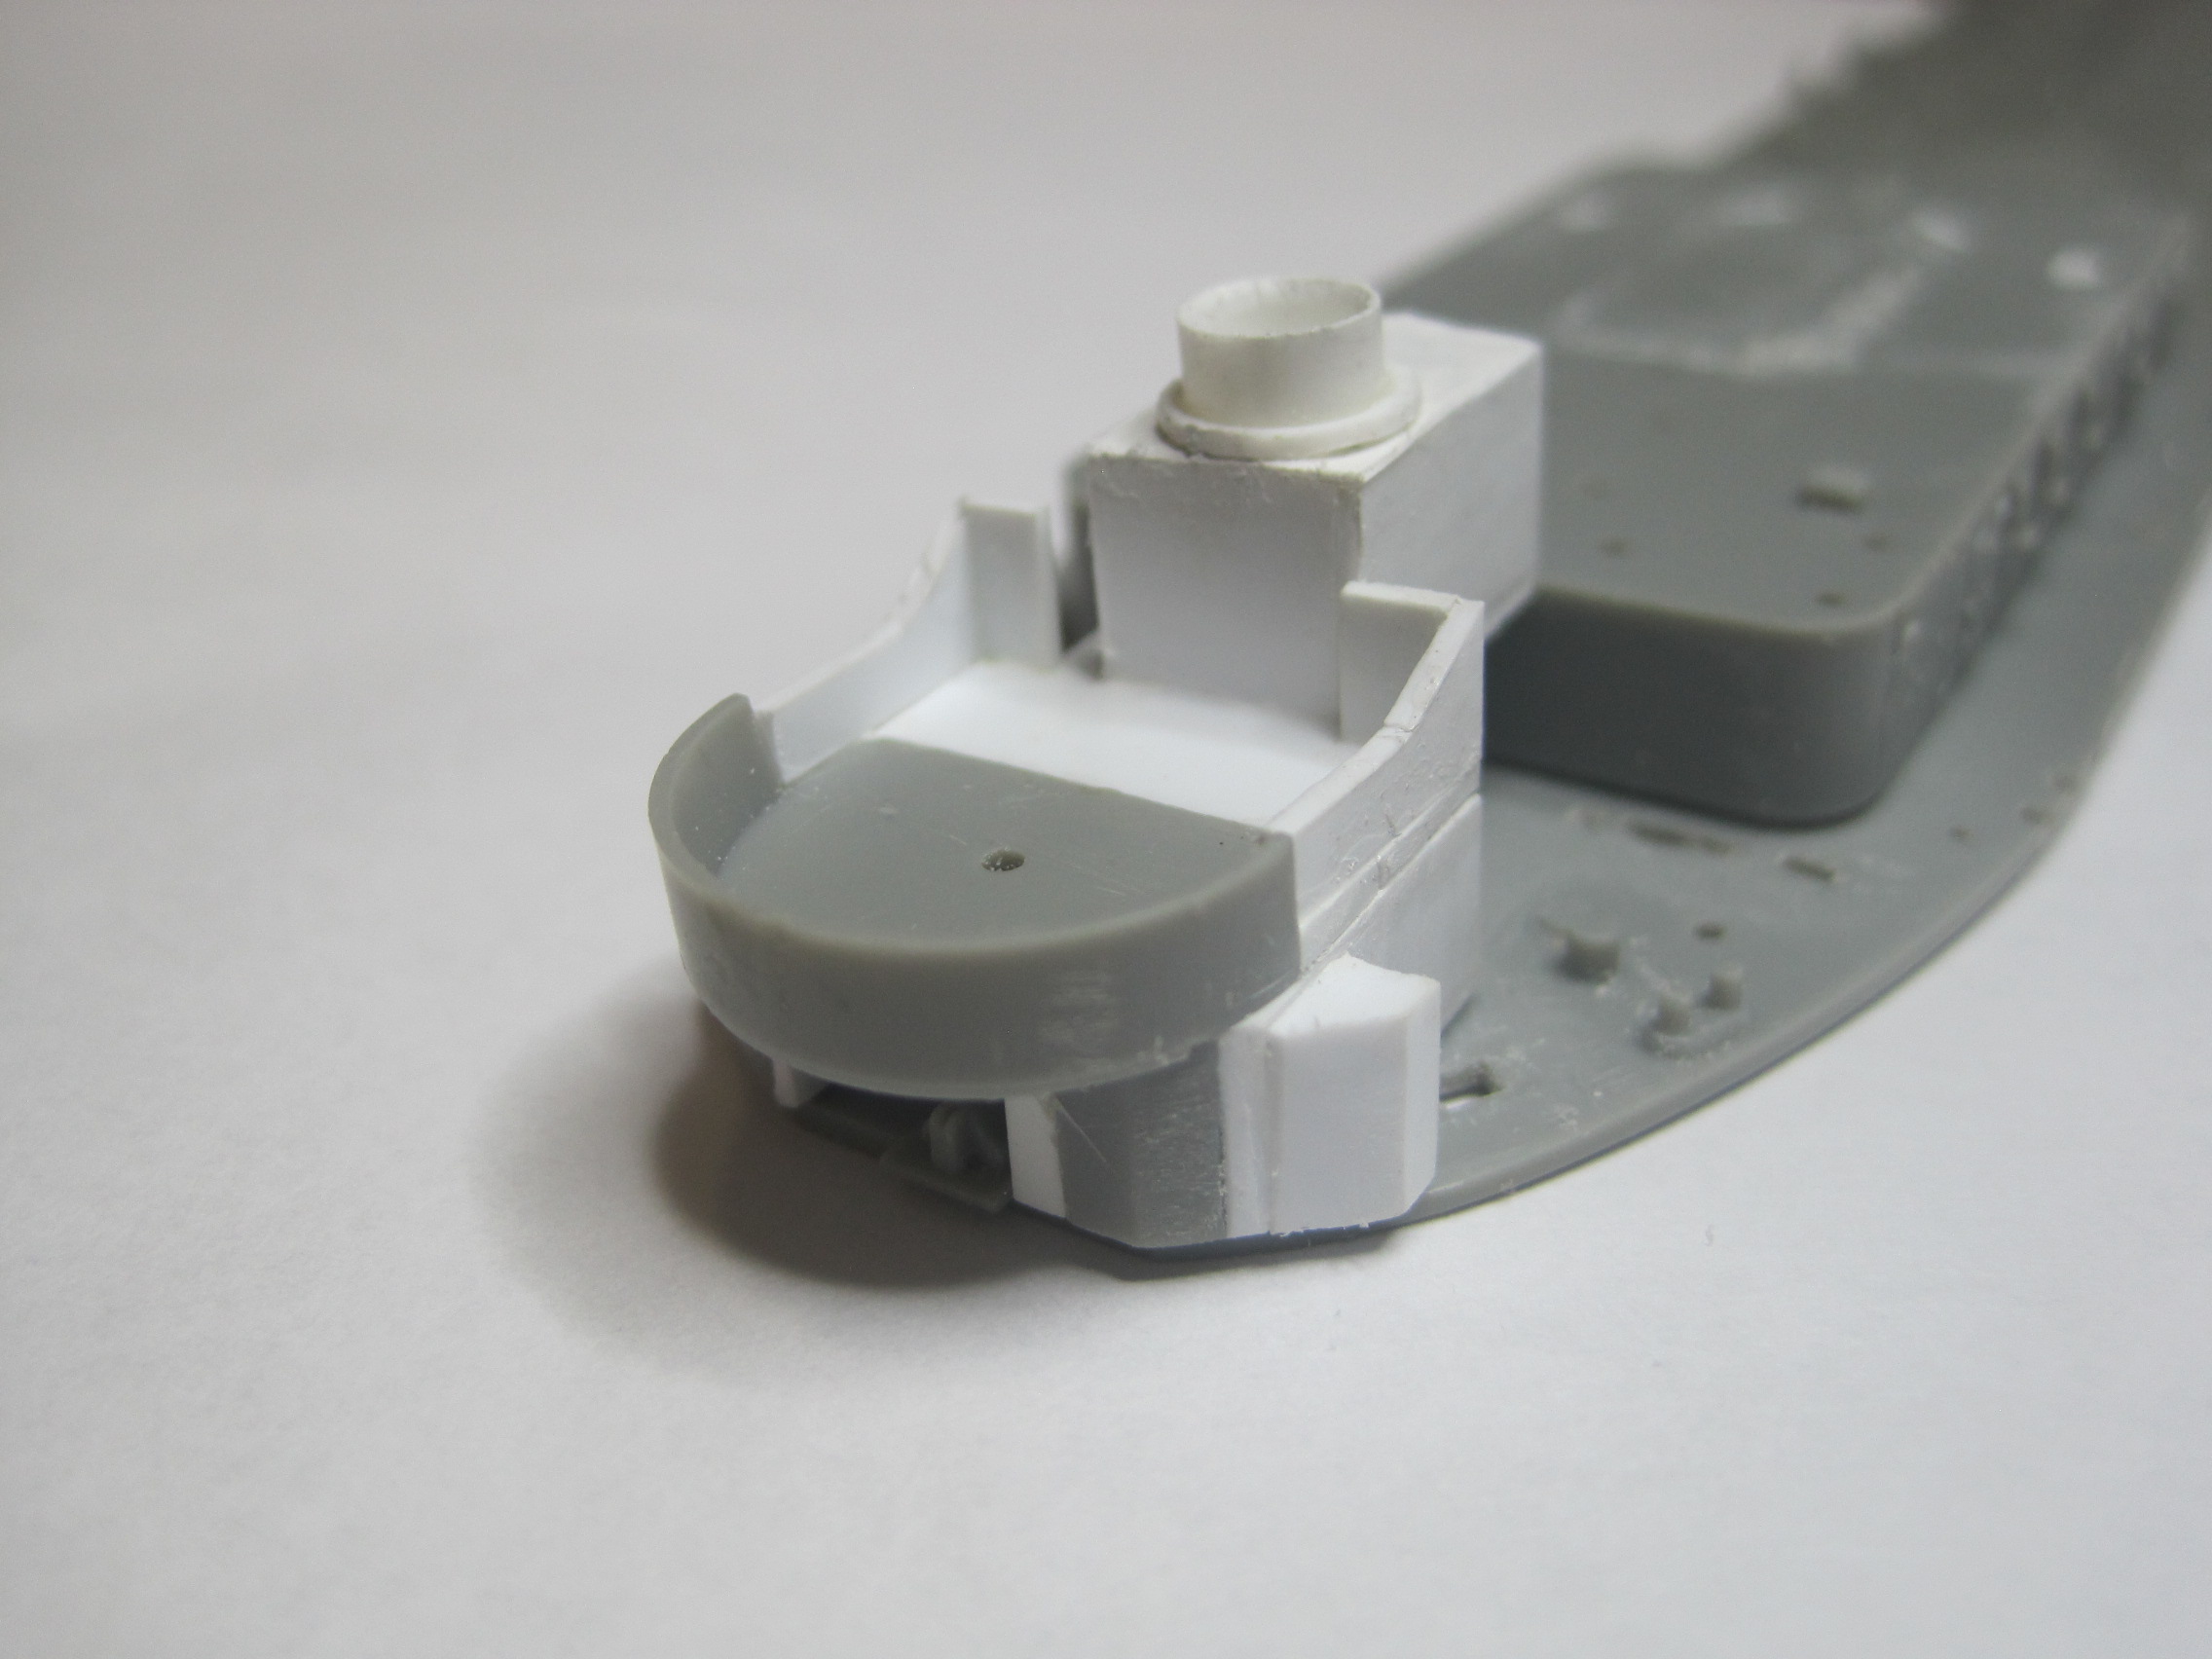
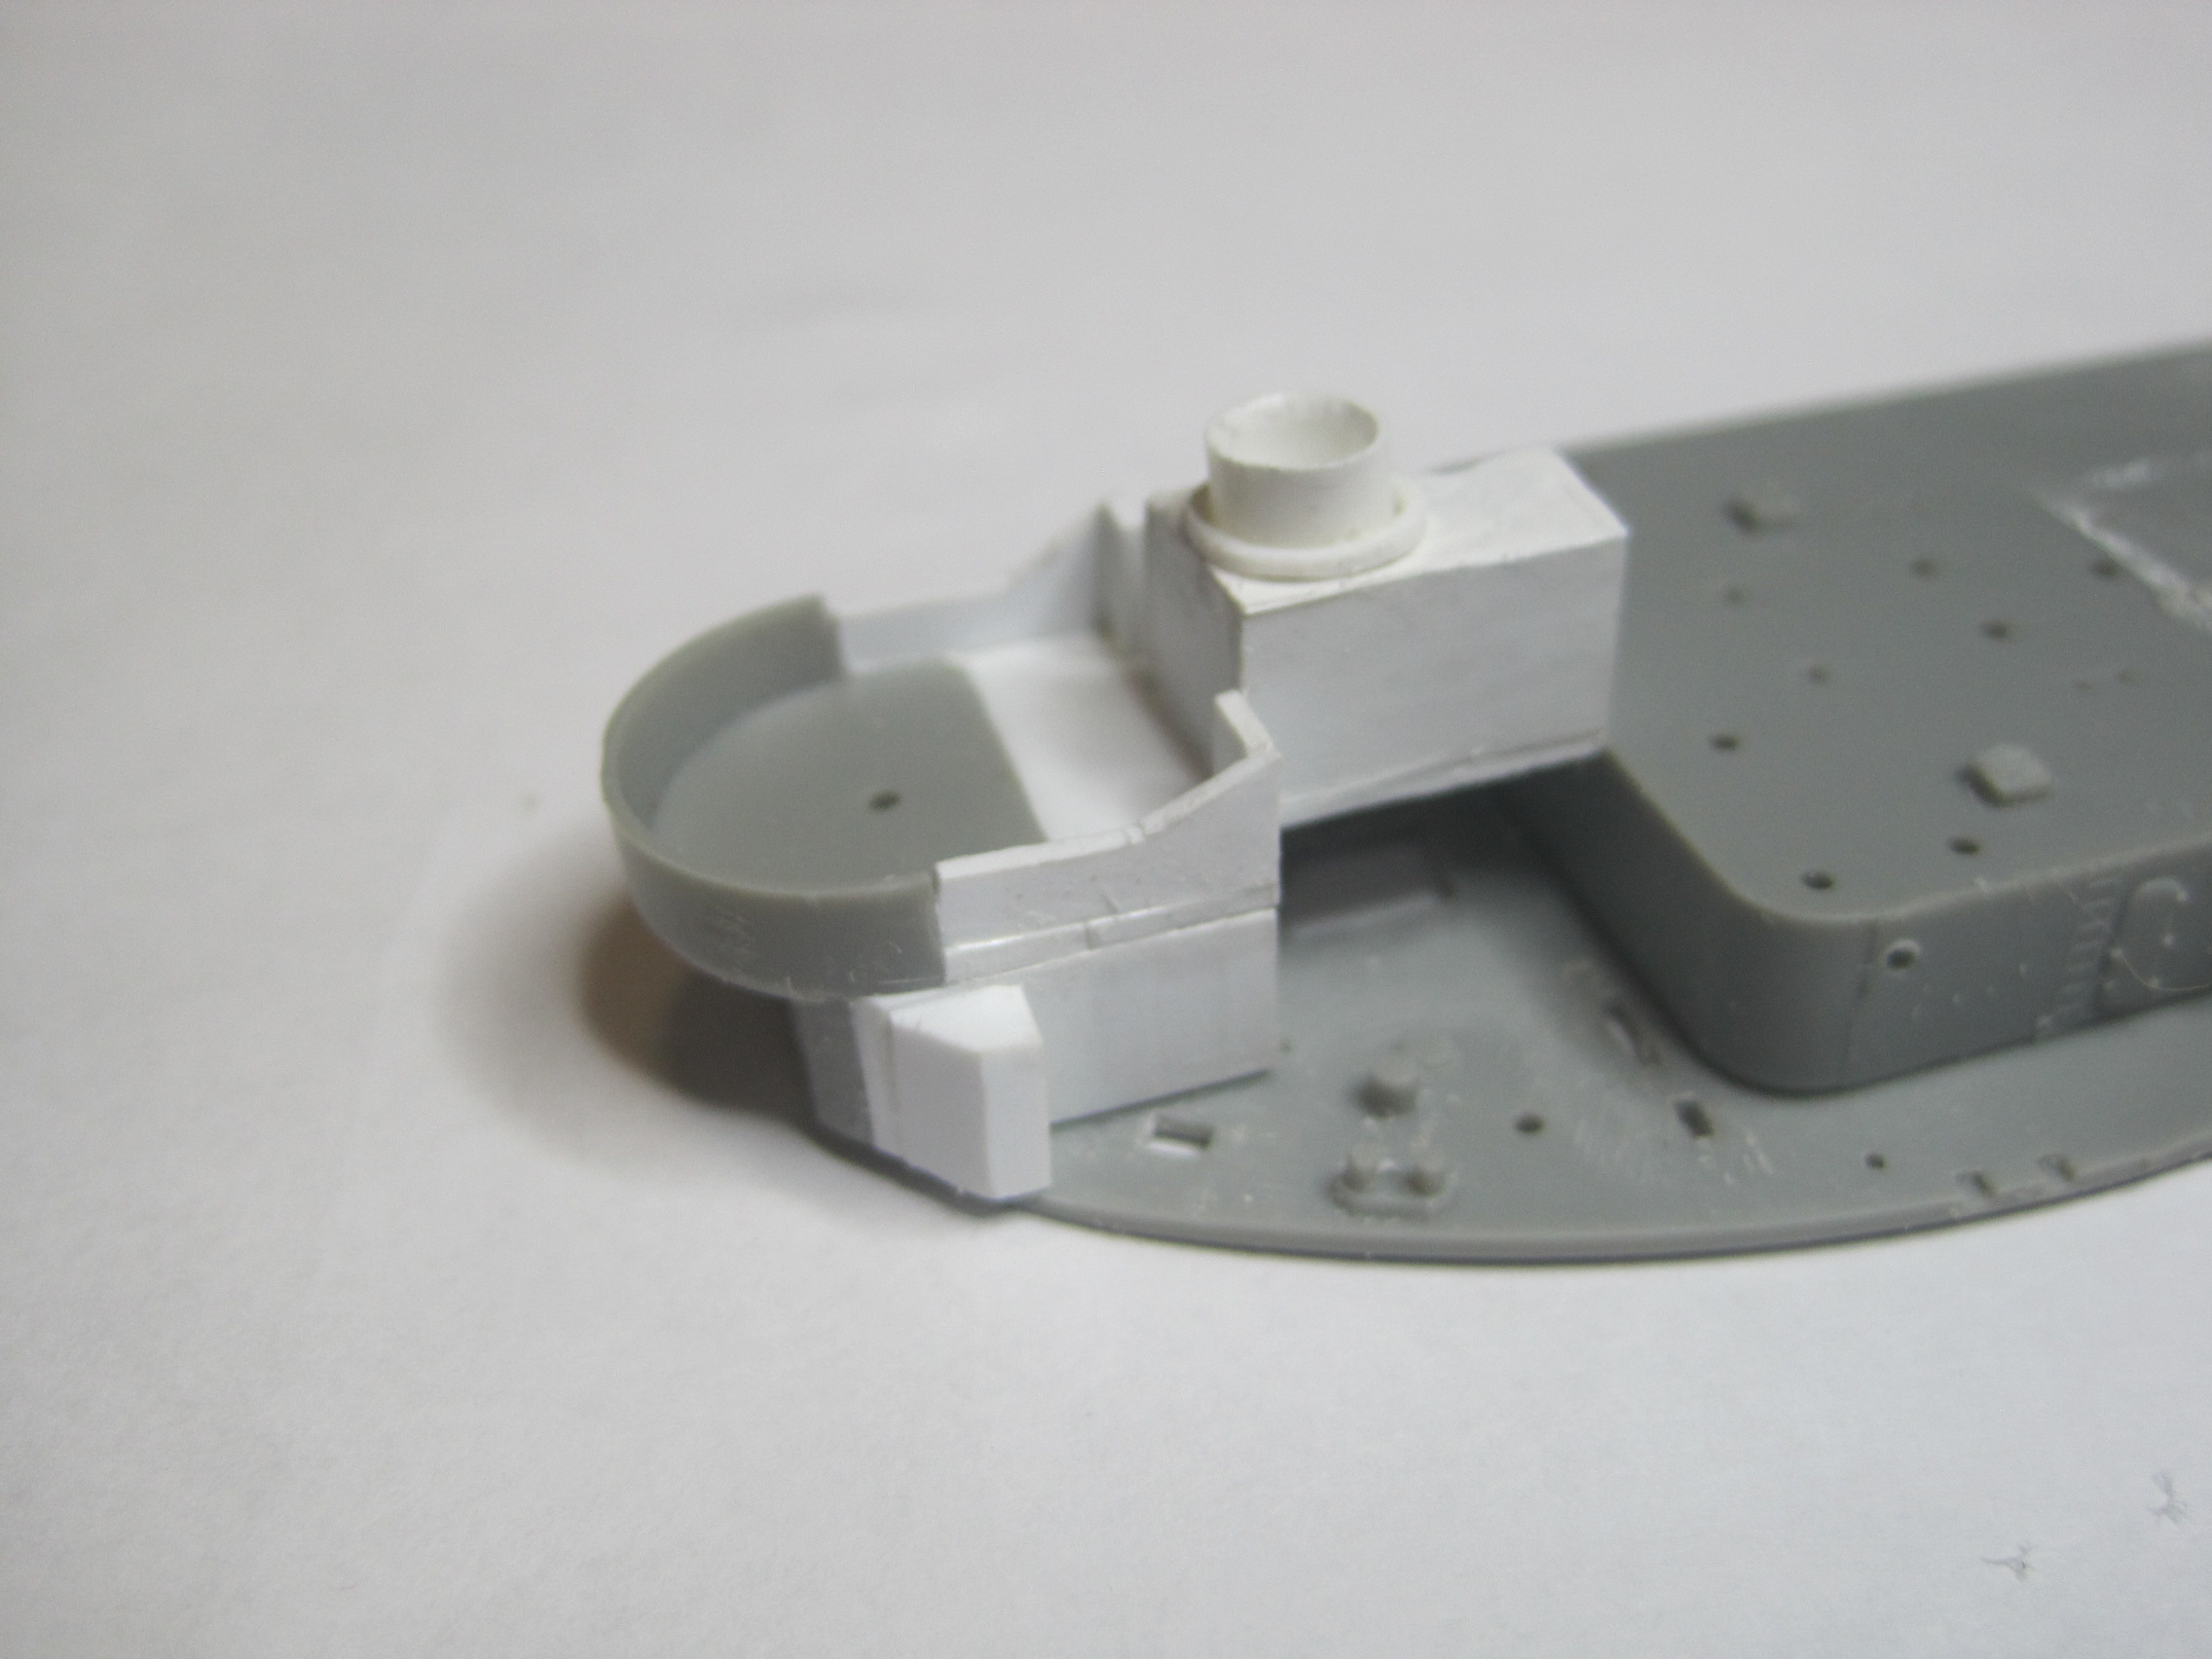
And she also has the distinction of being the LAST US Naval vessel to be armed with the 40mm quad mount, of which literally tens of thousands were installed on just about anything that floated during WW II.

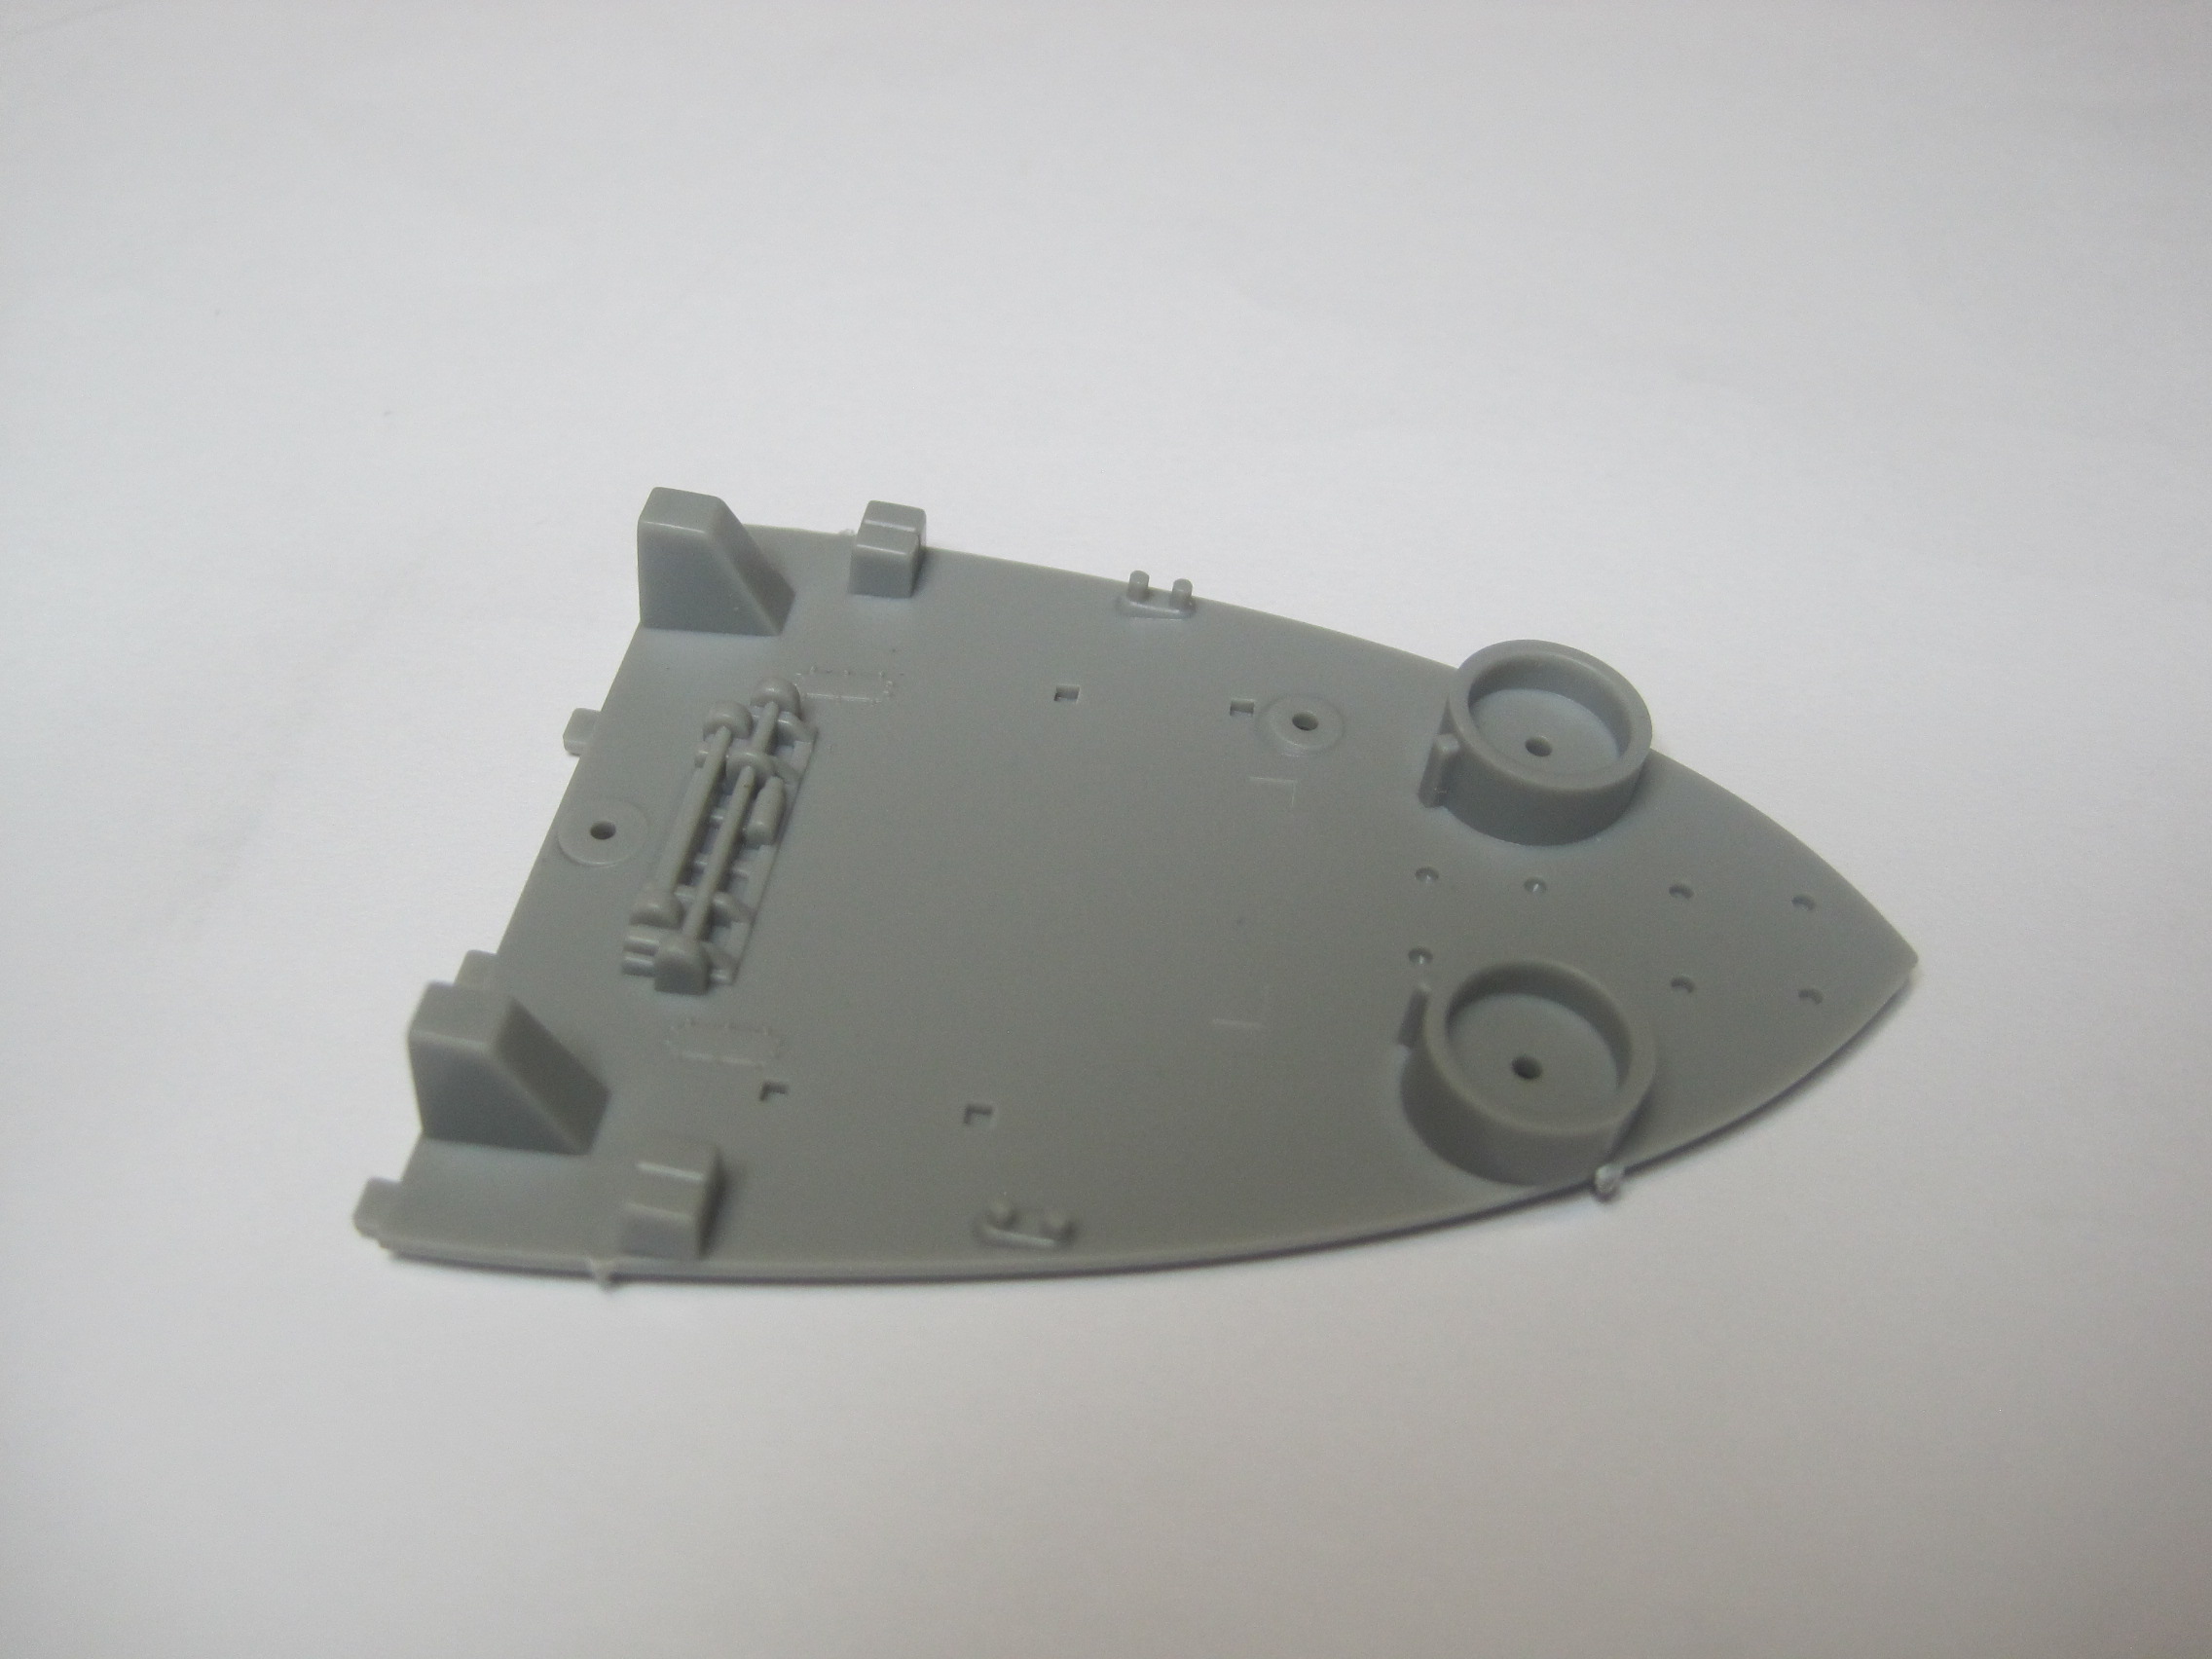
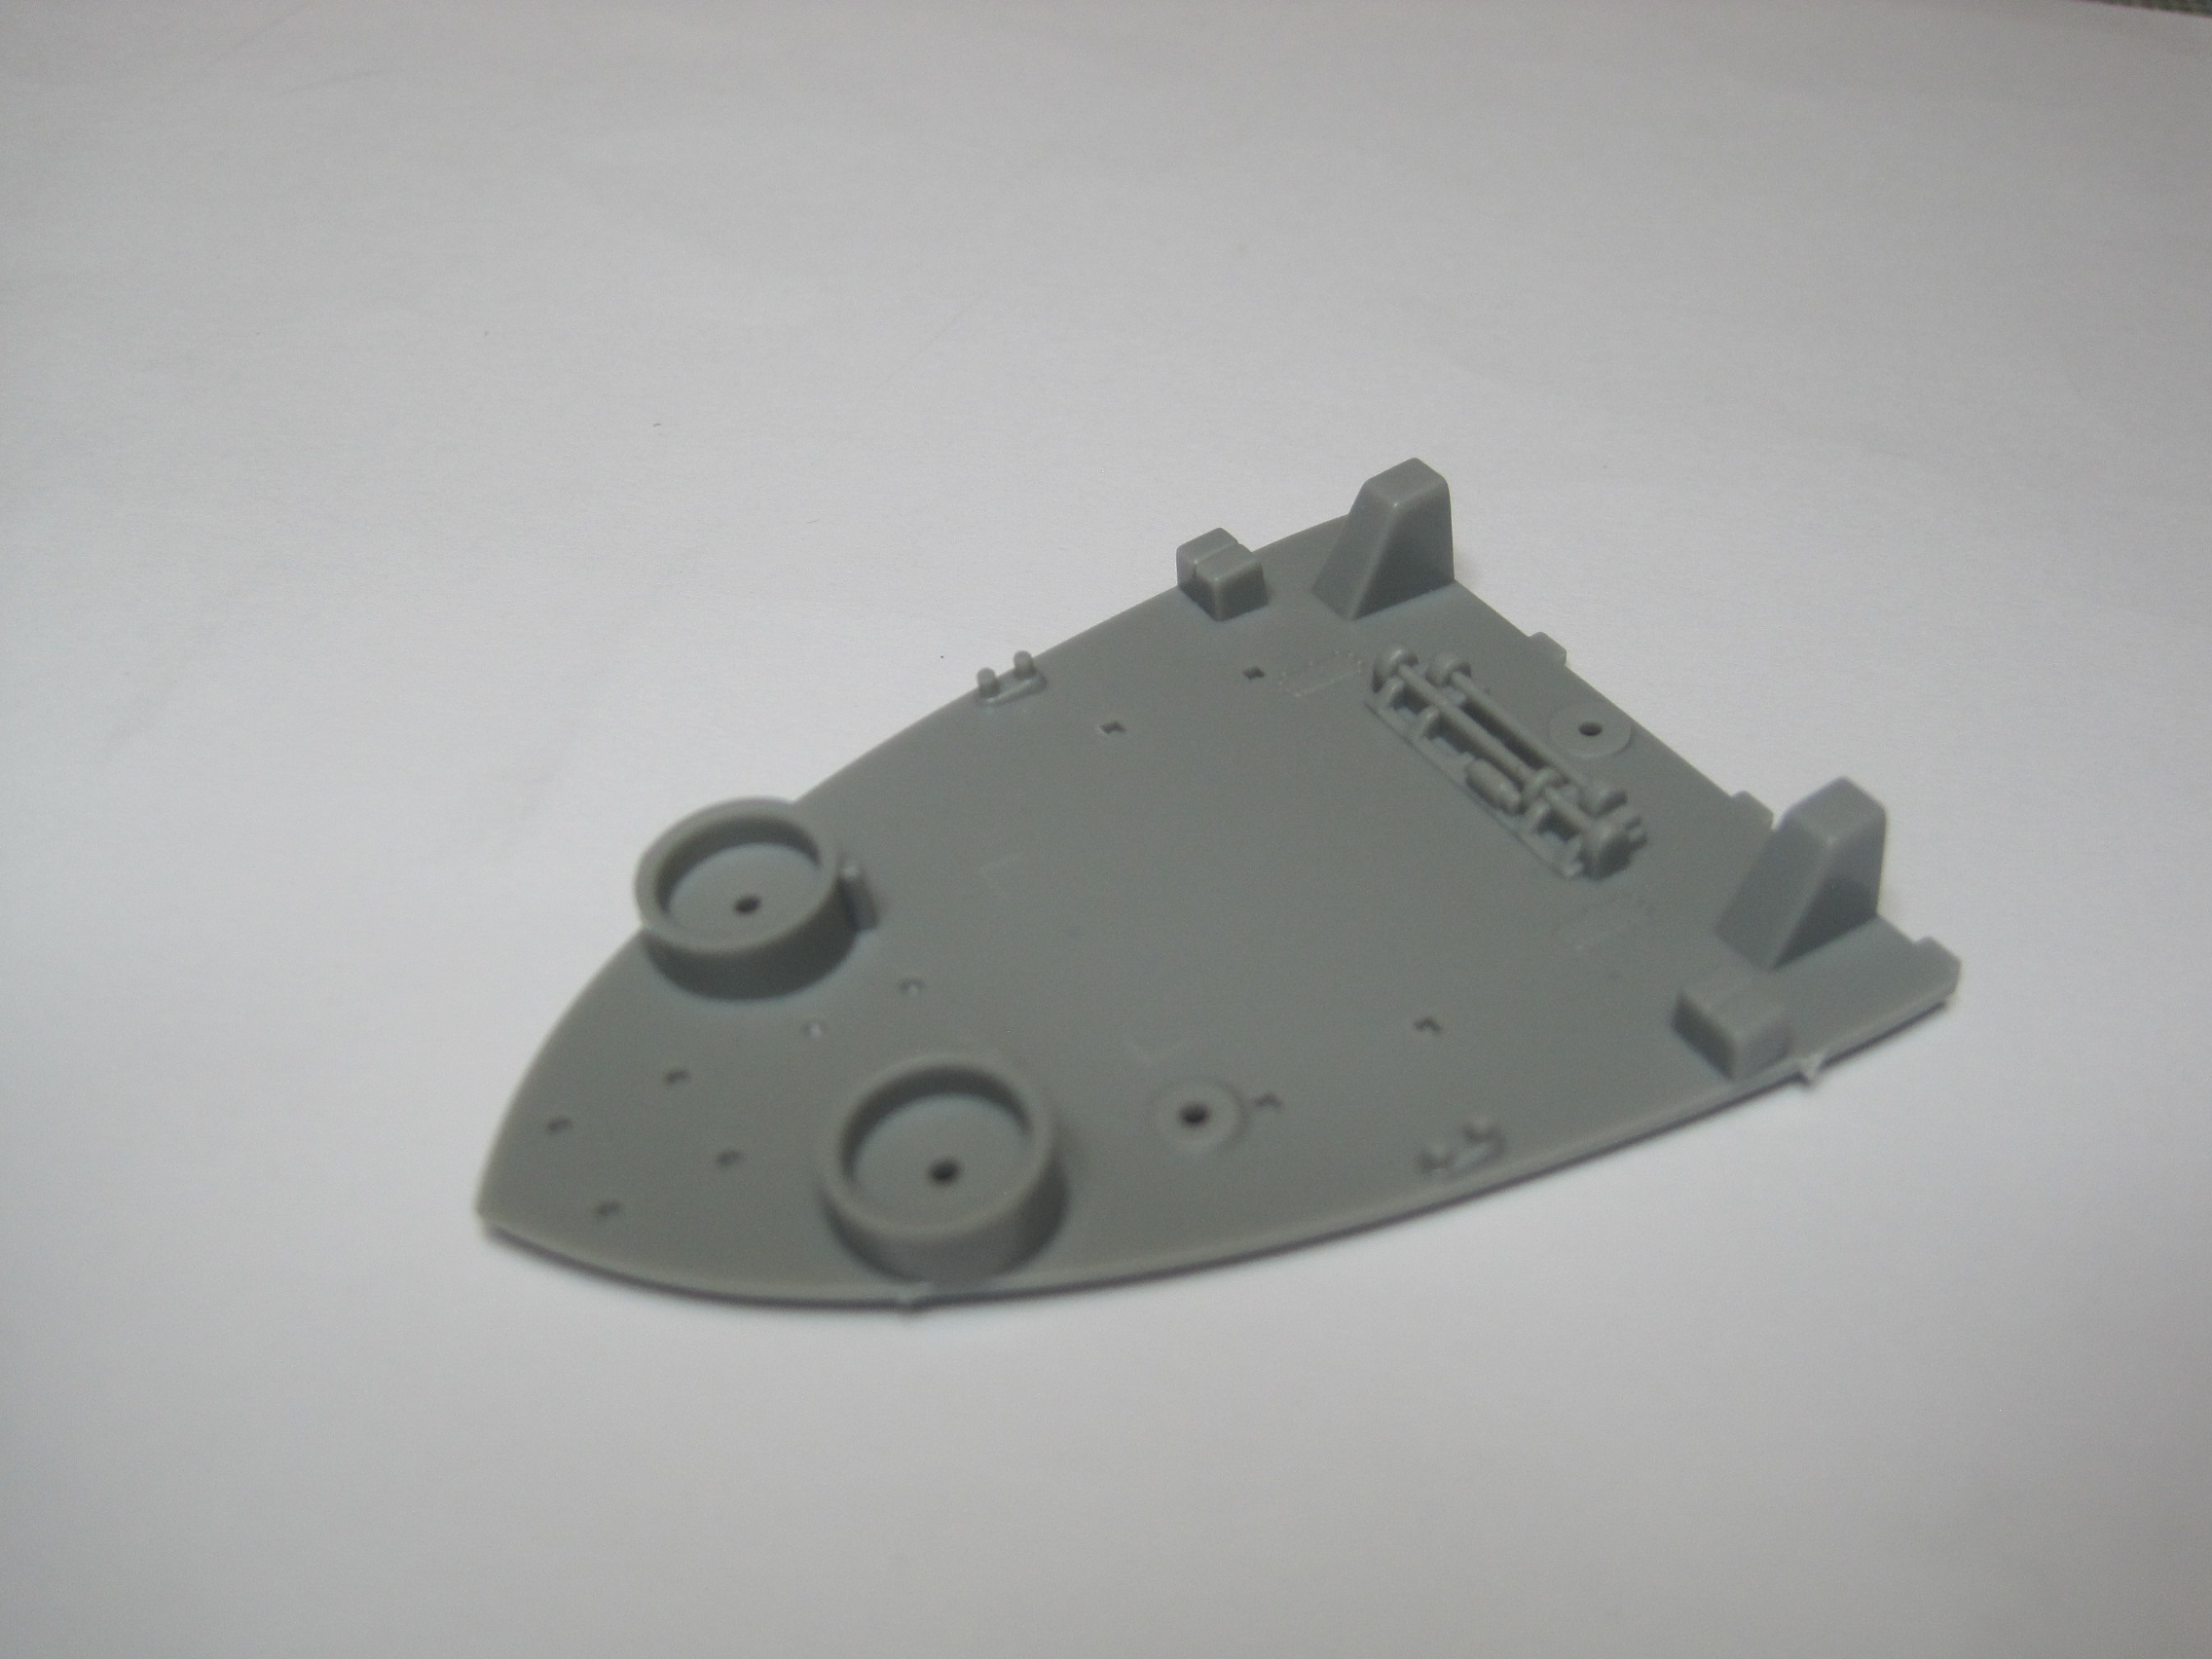
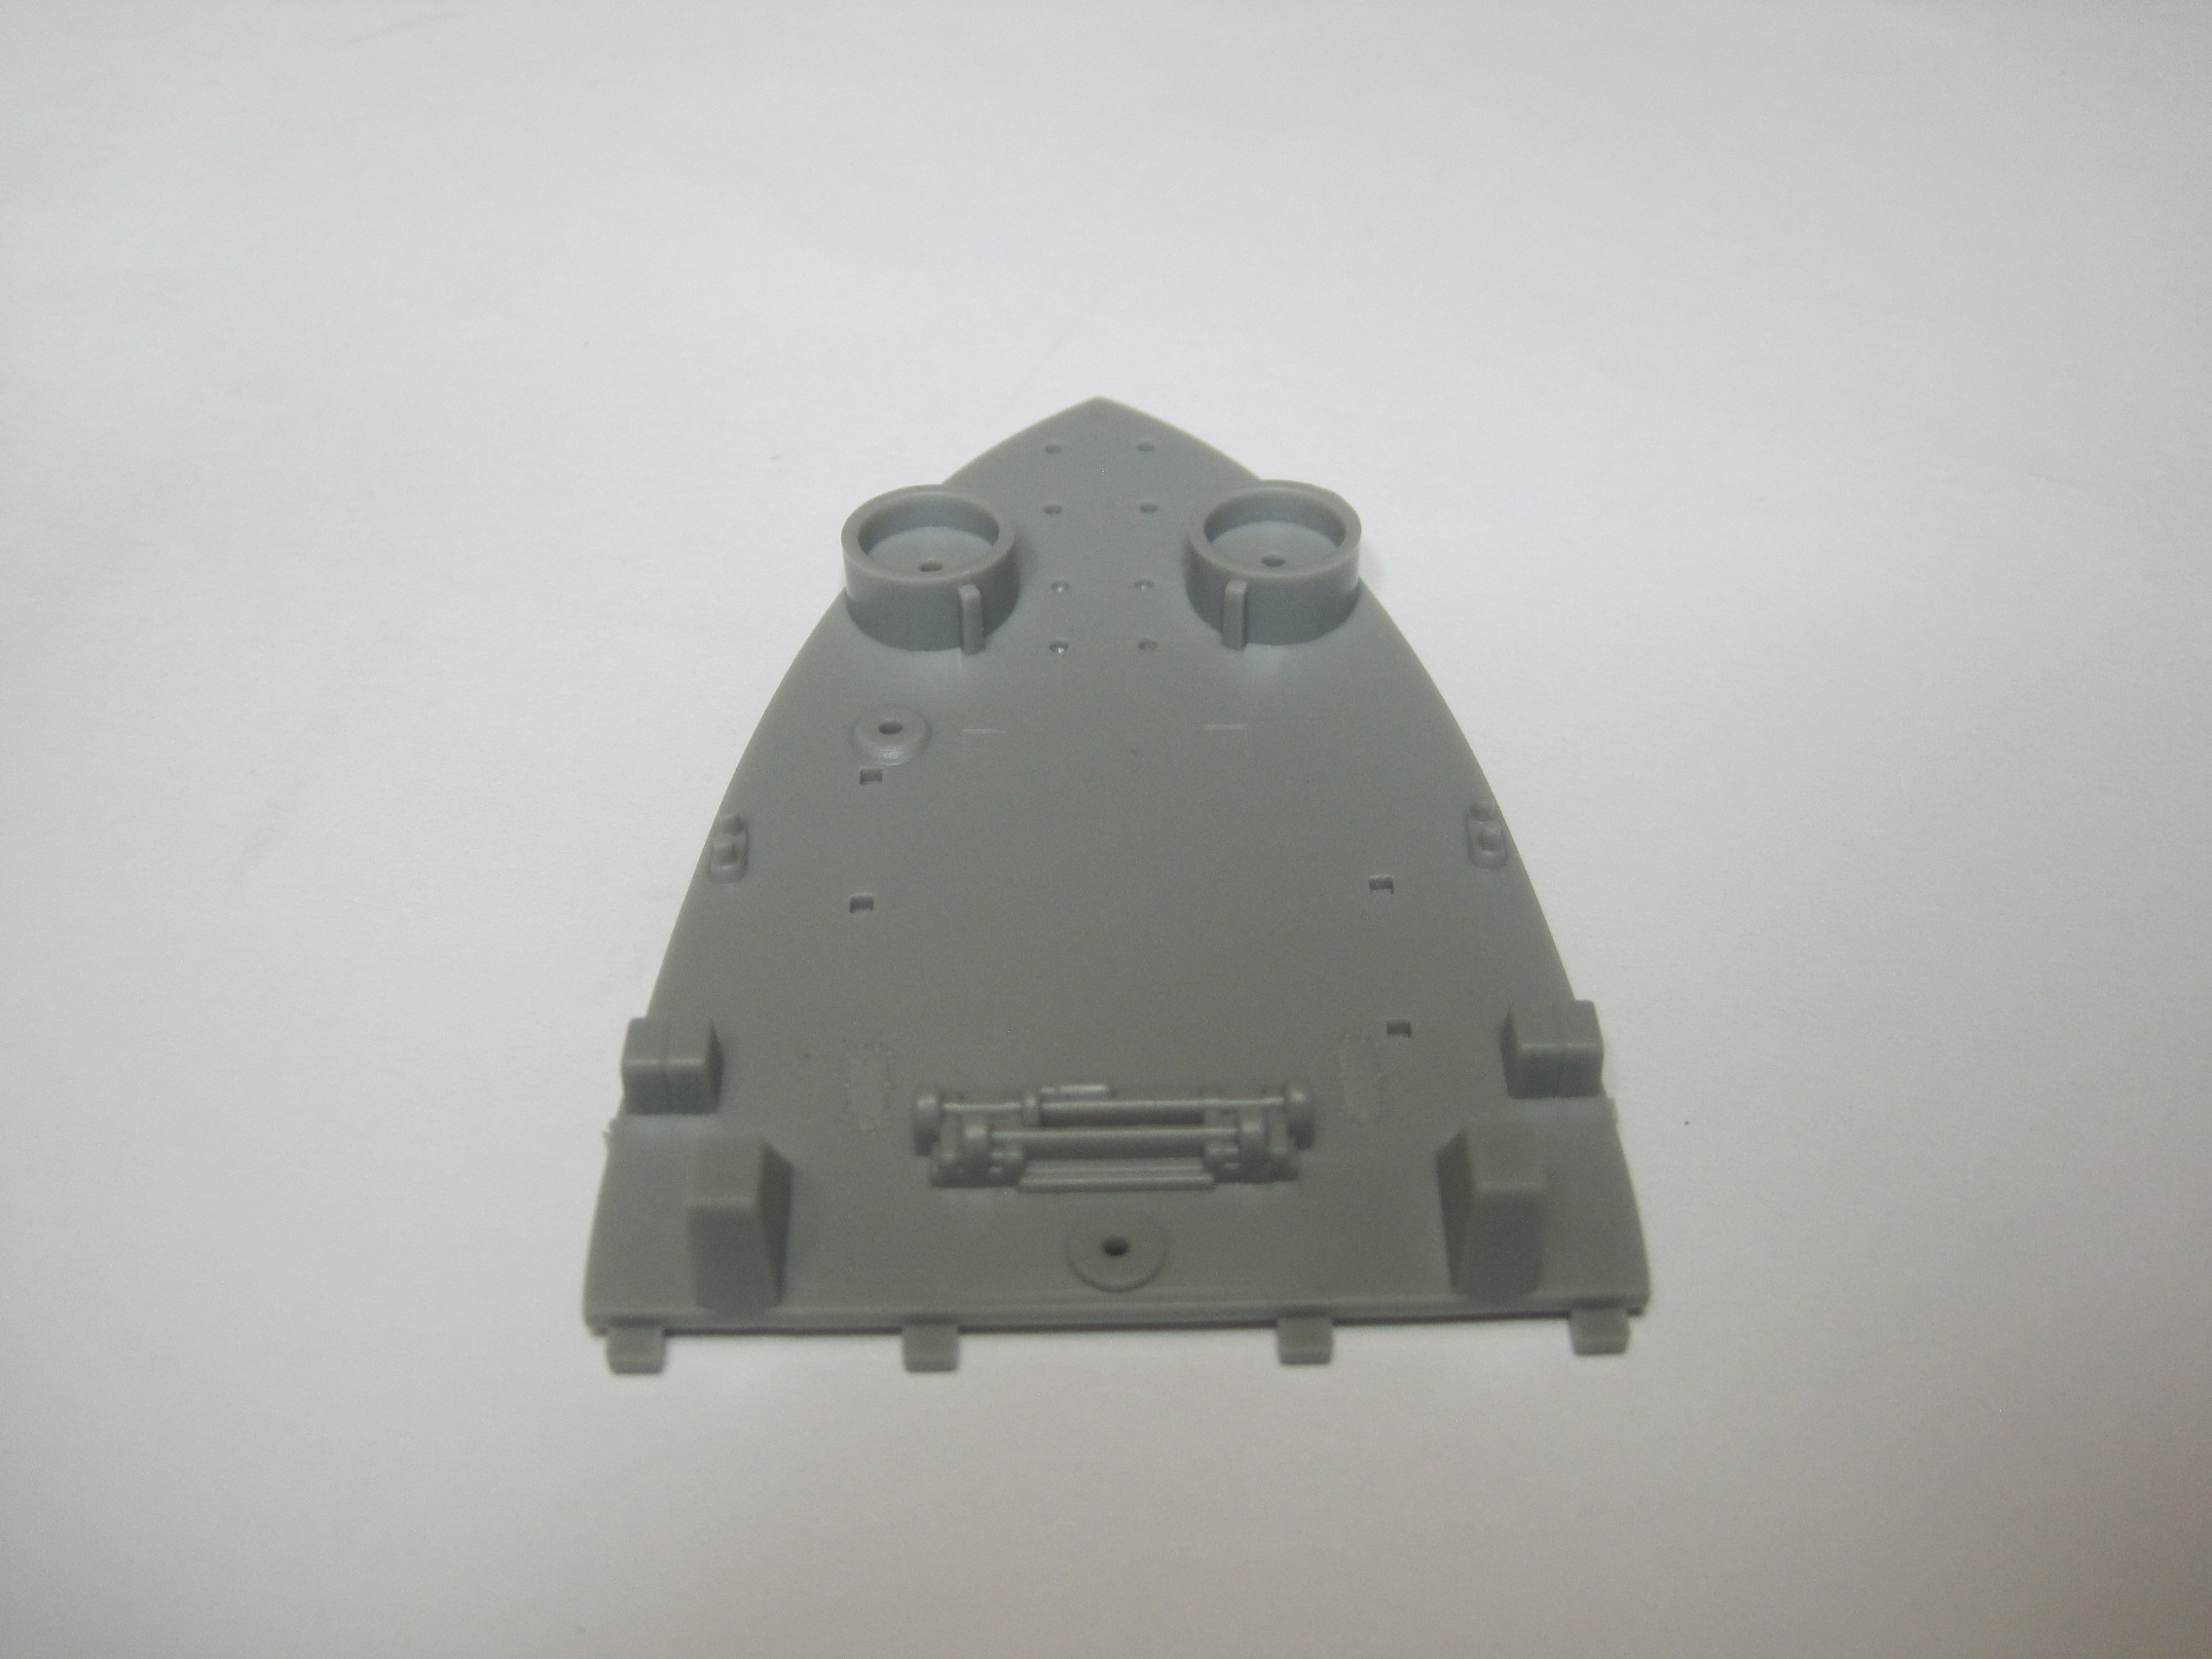
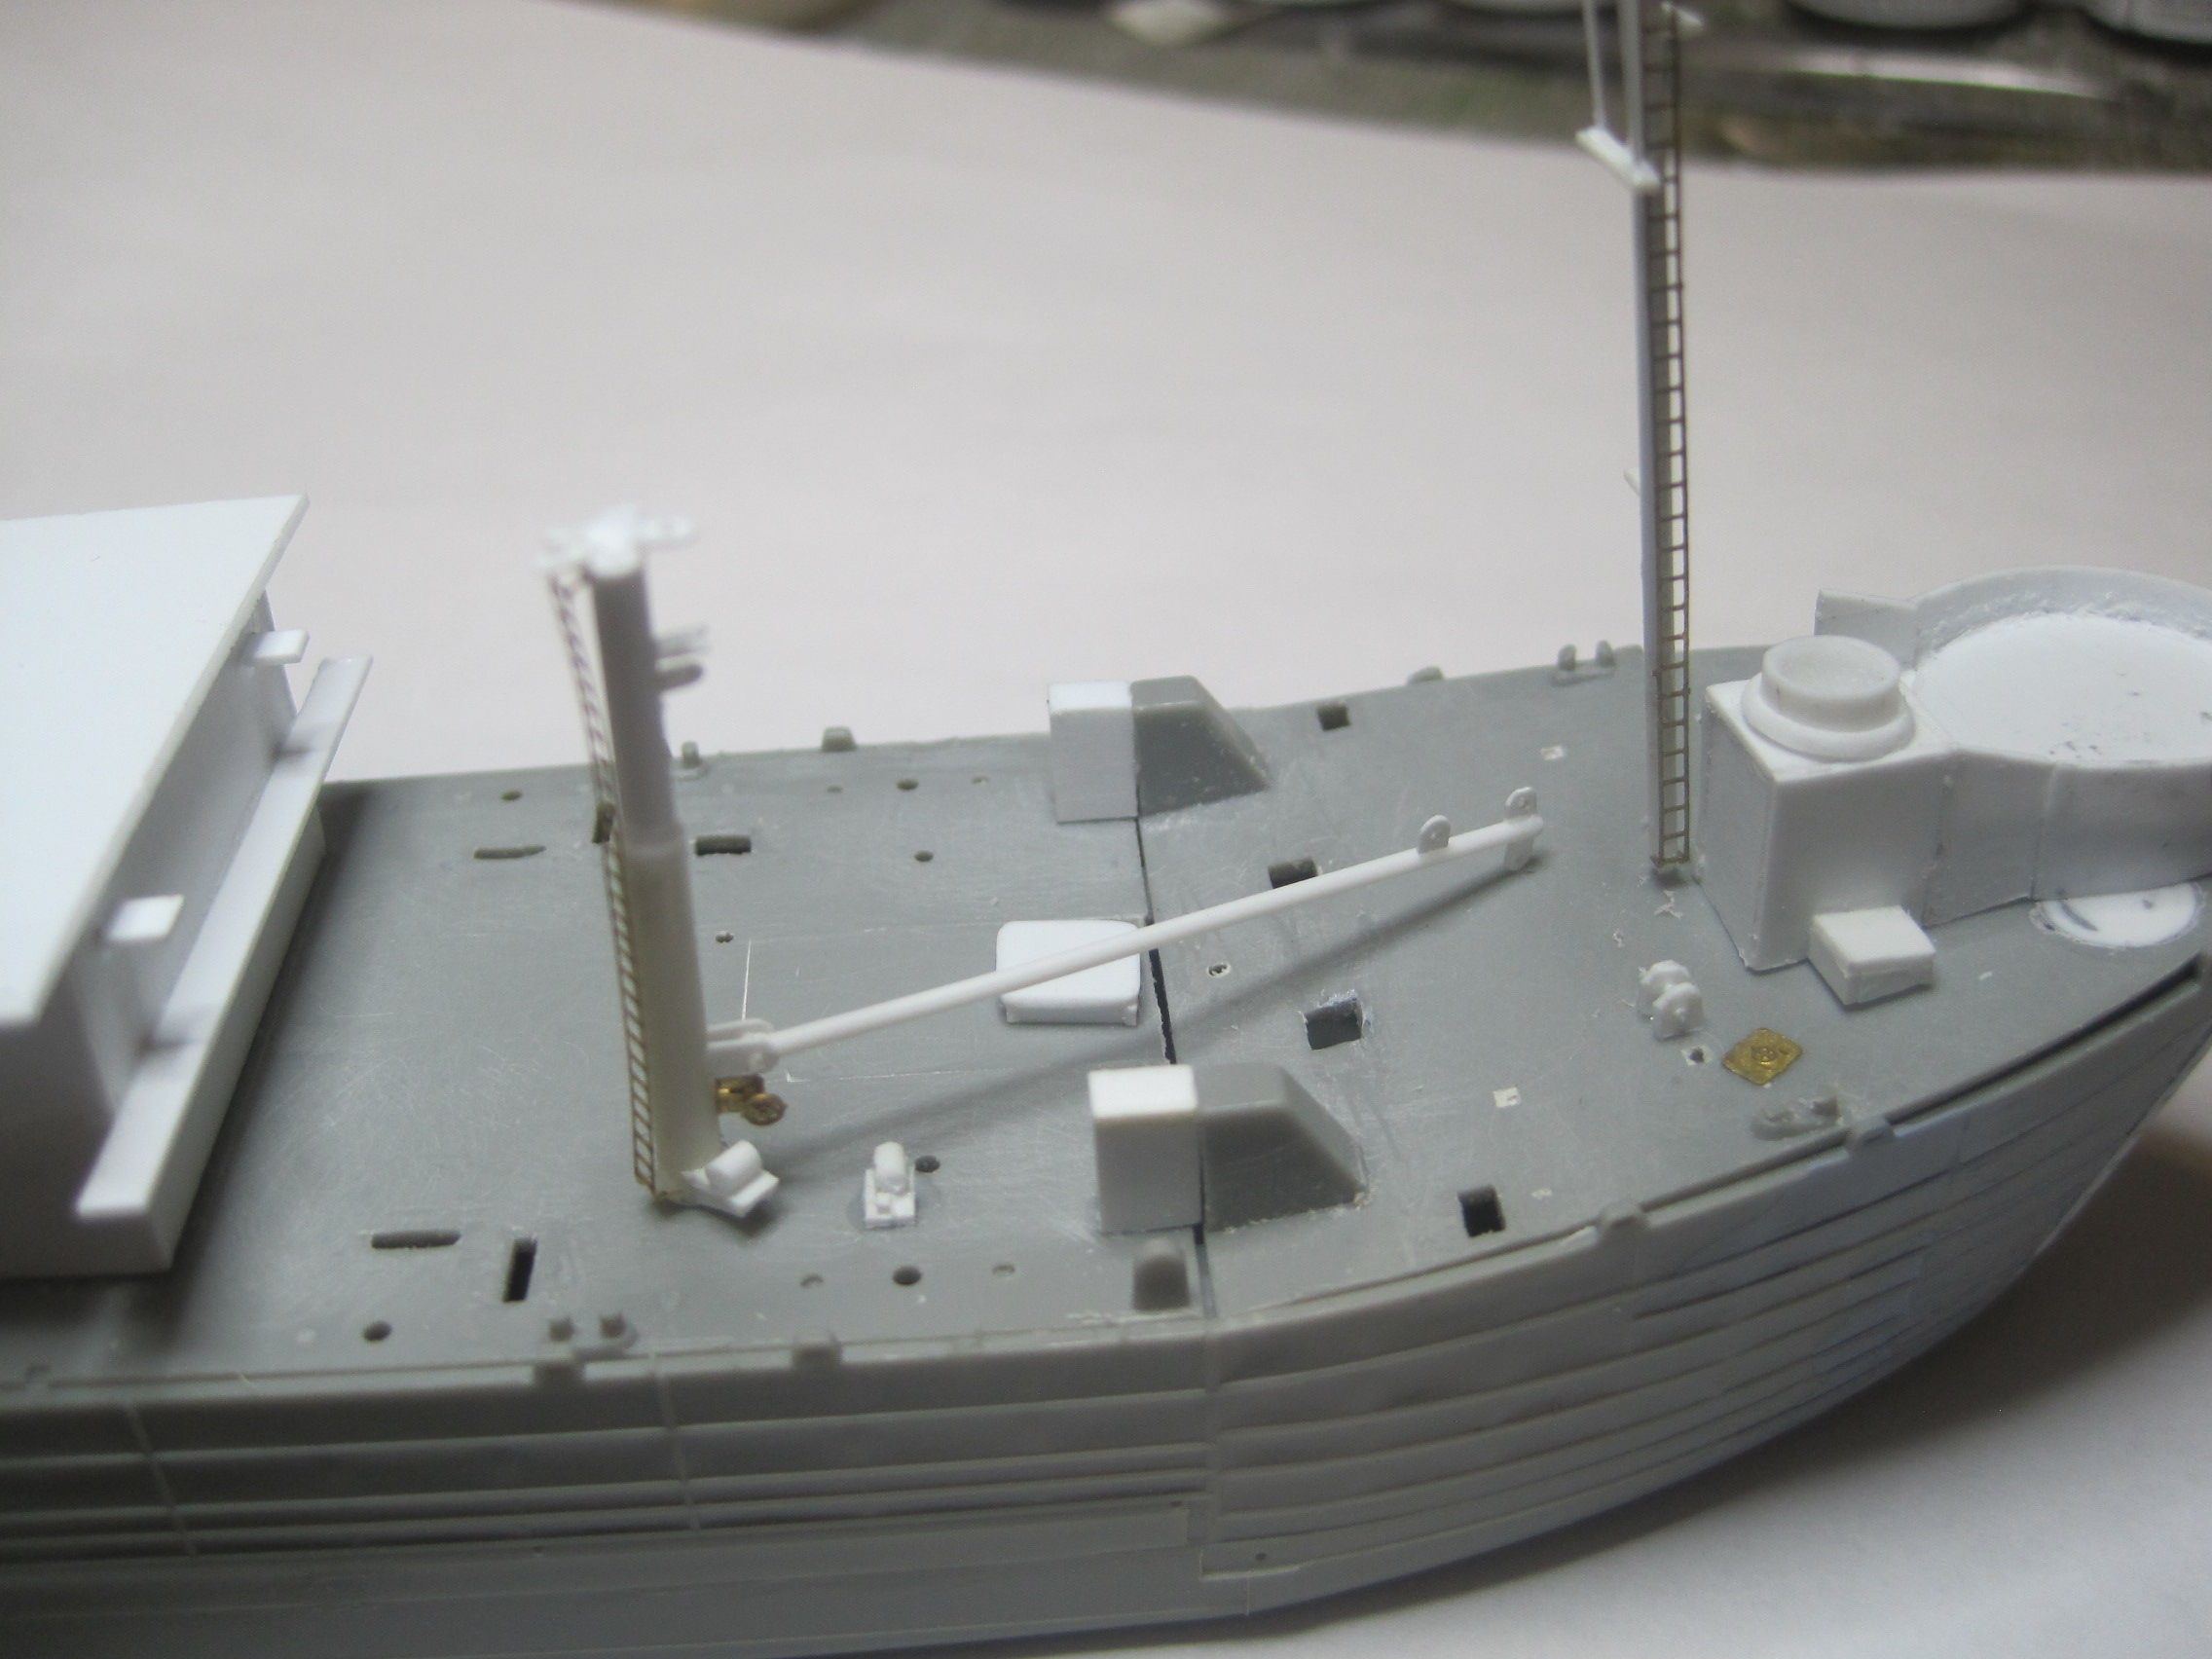
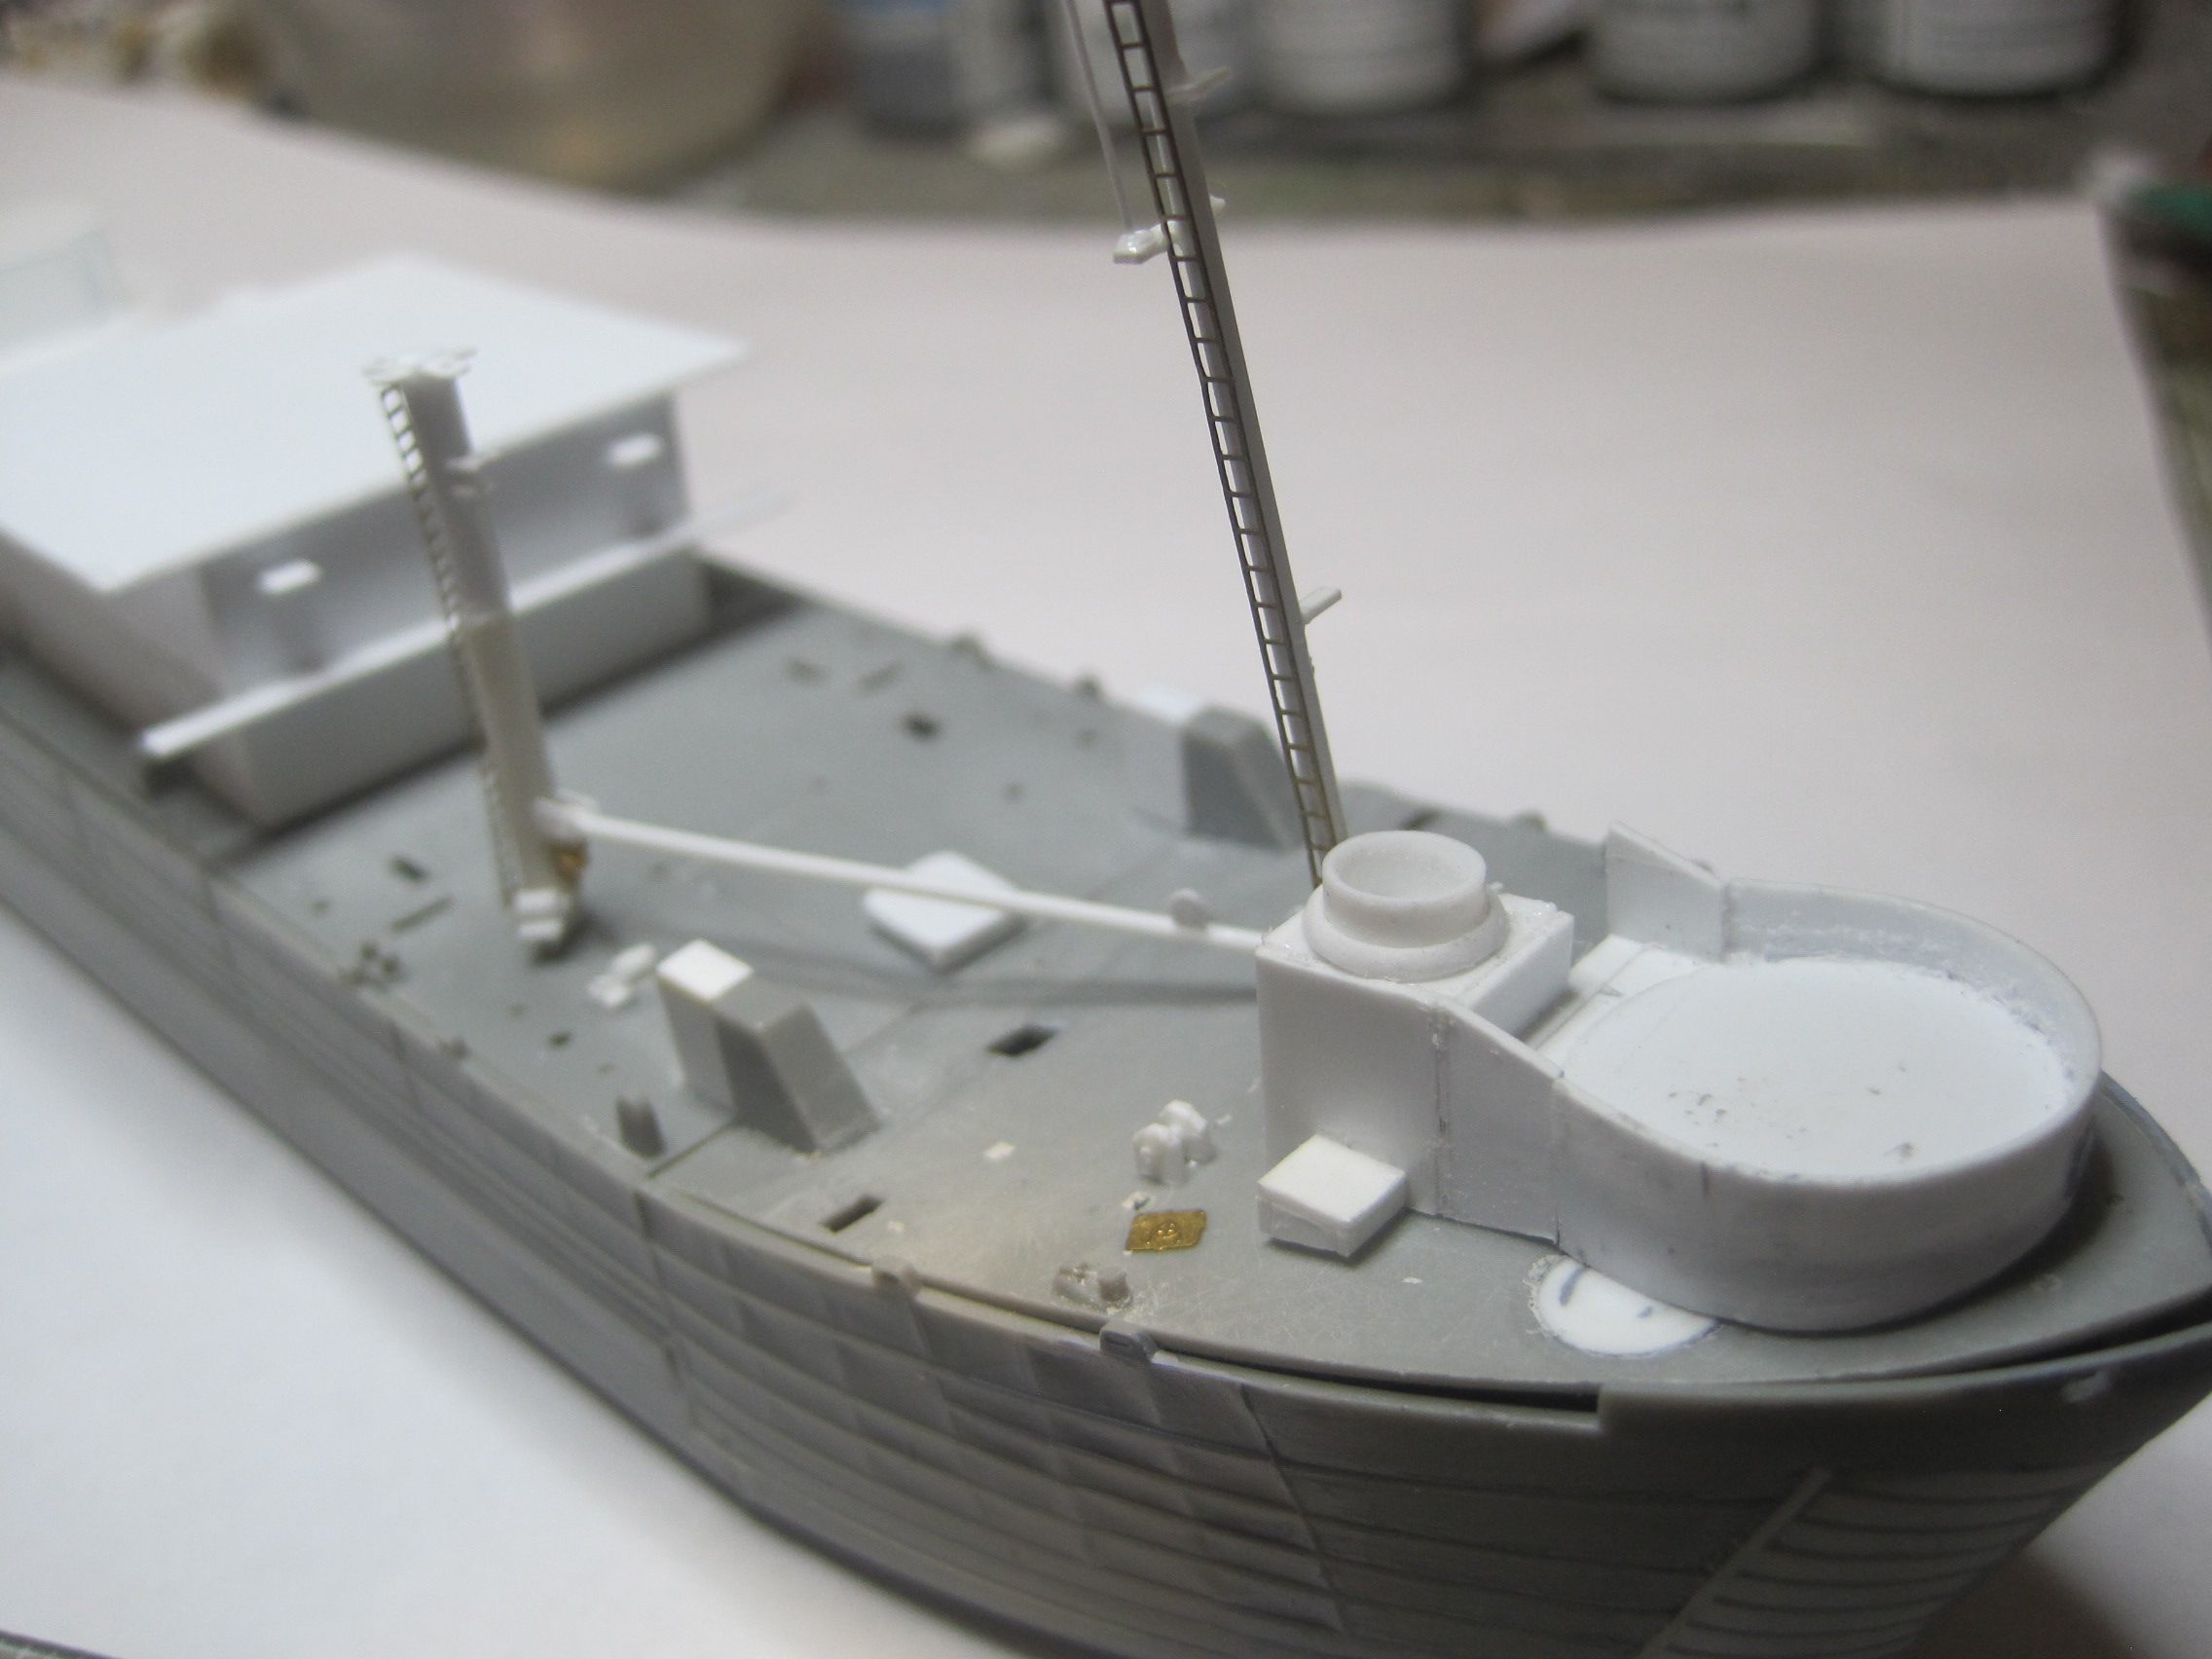
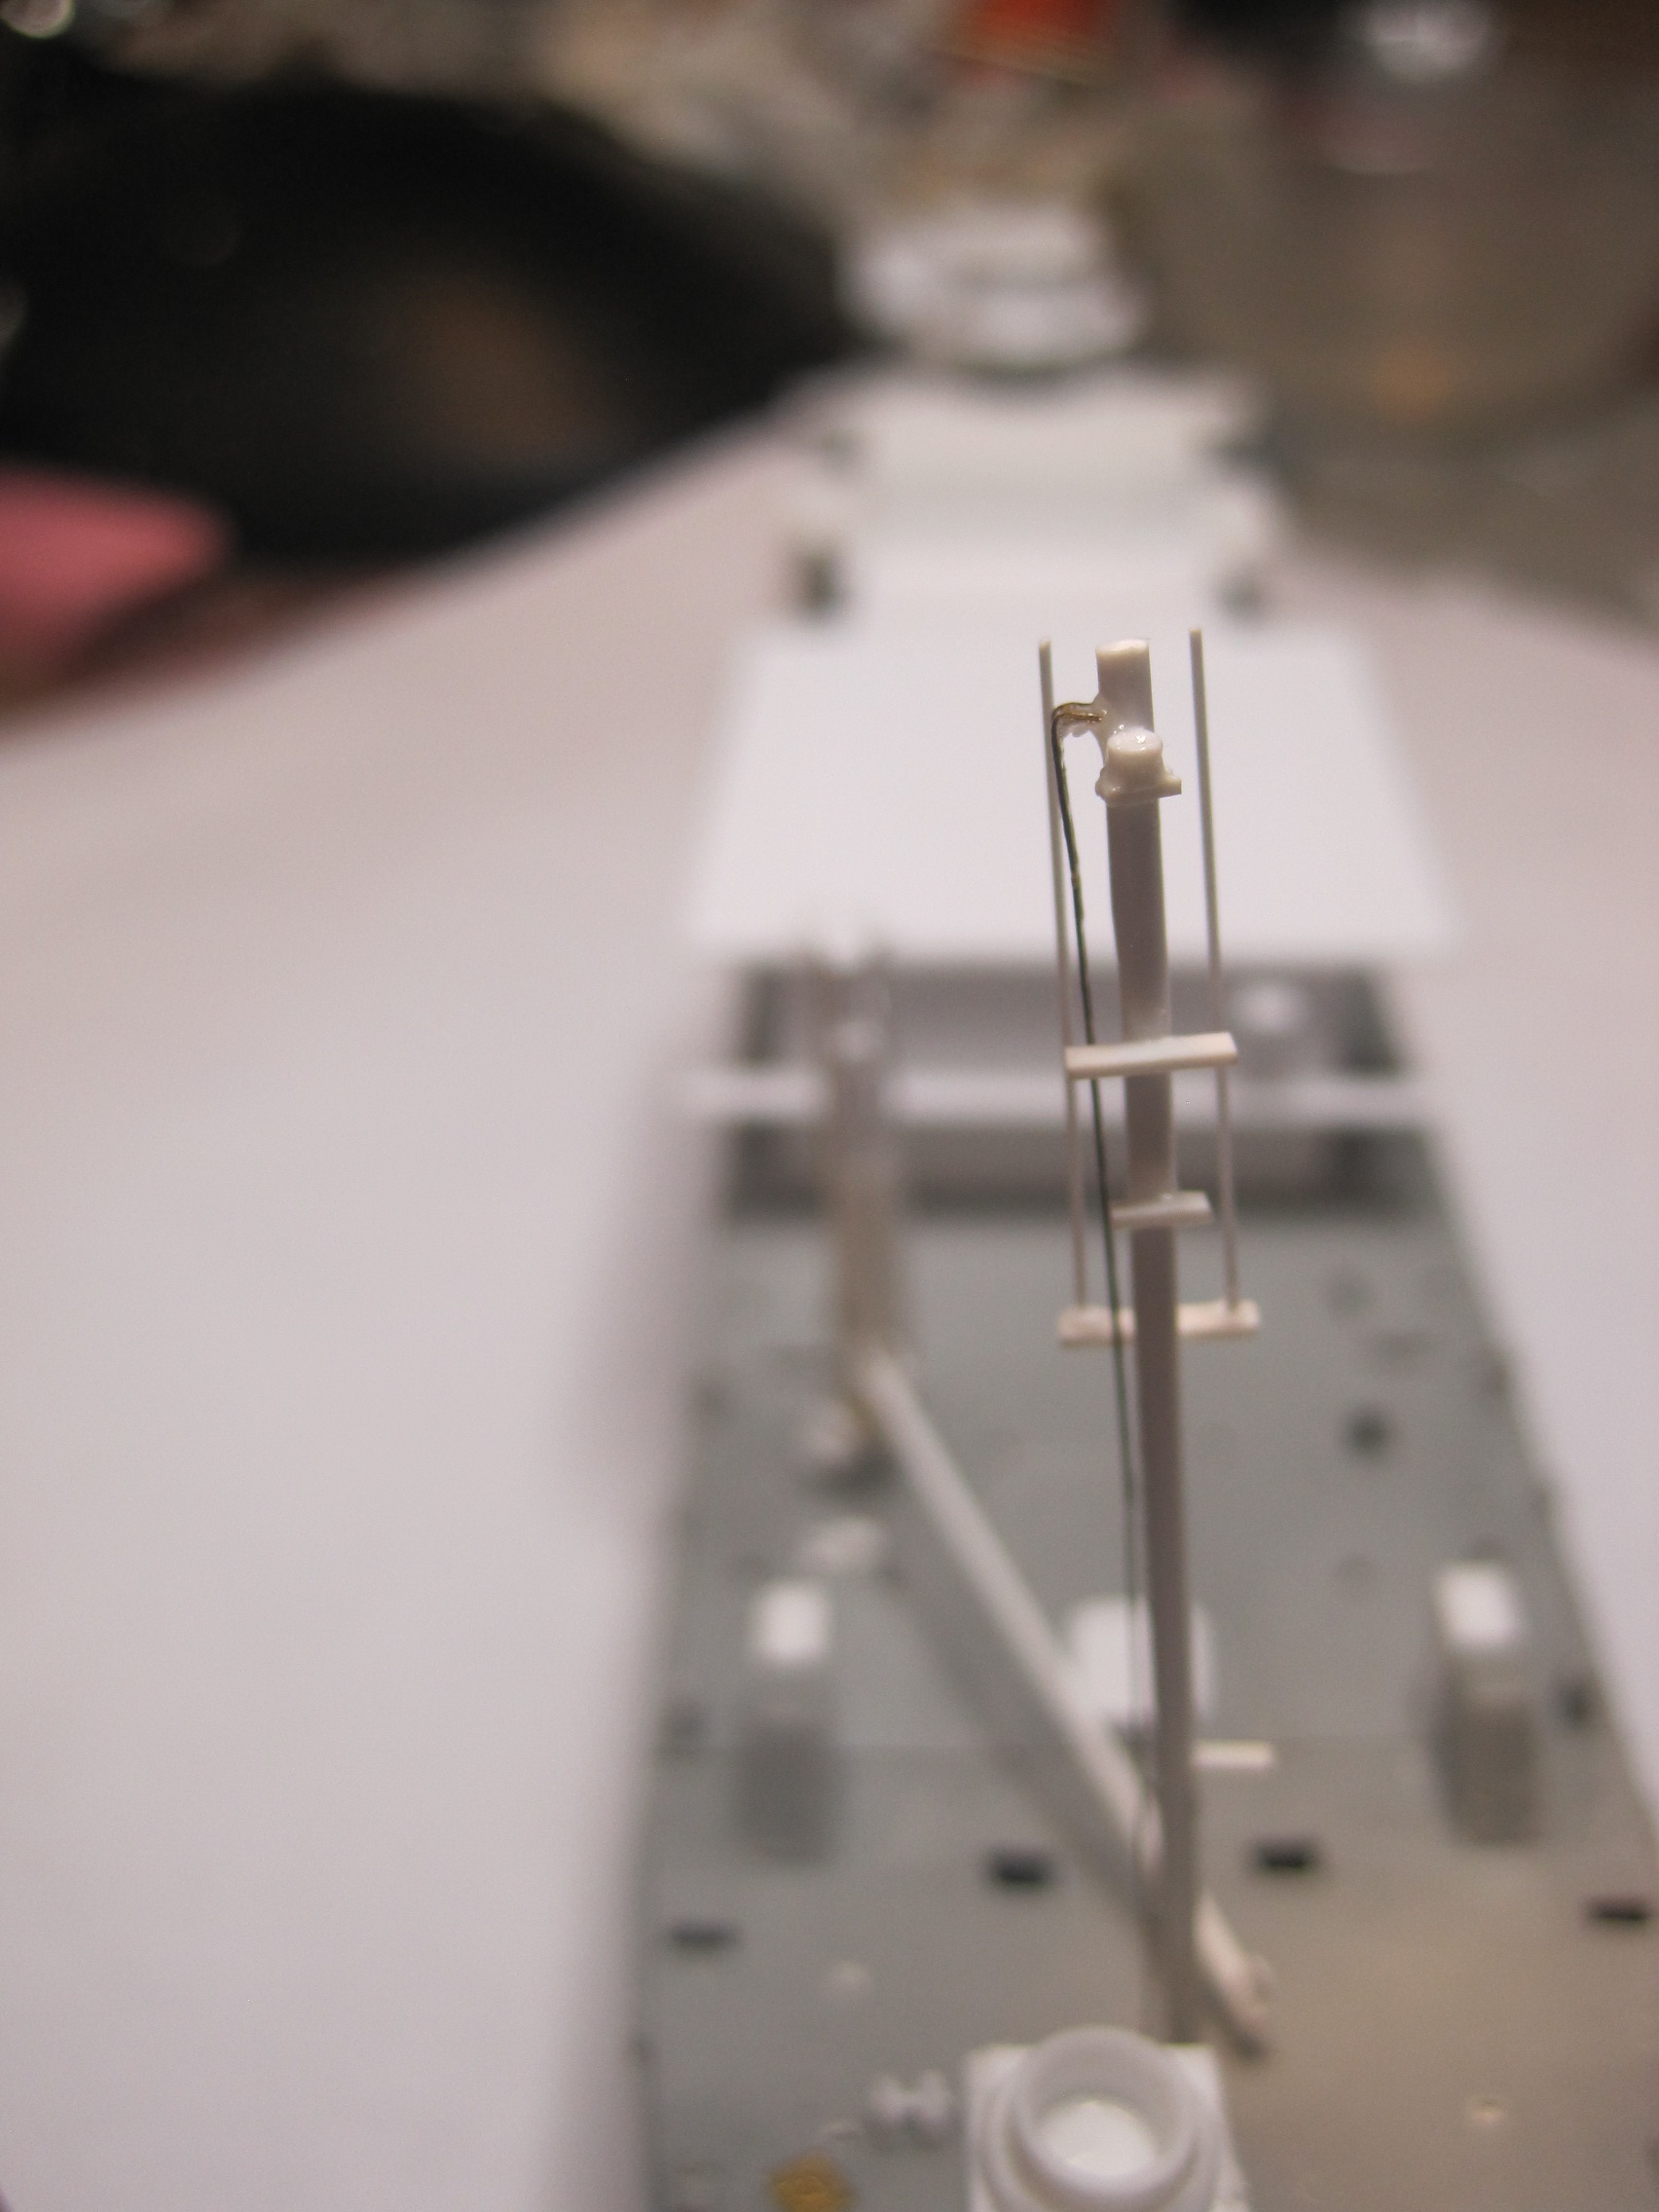
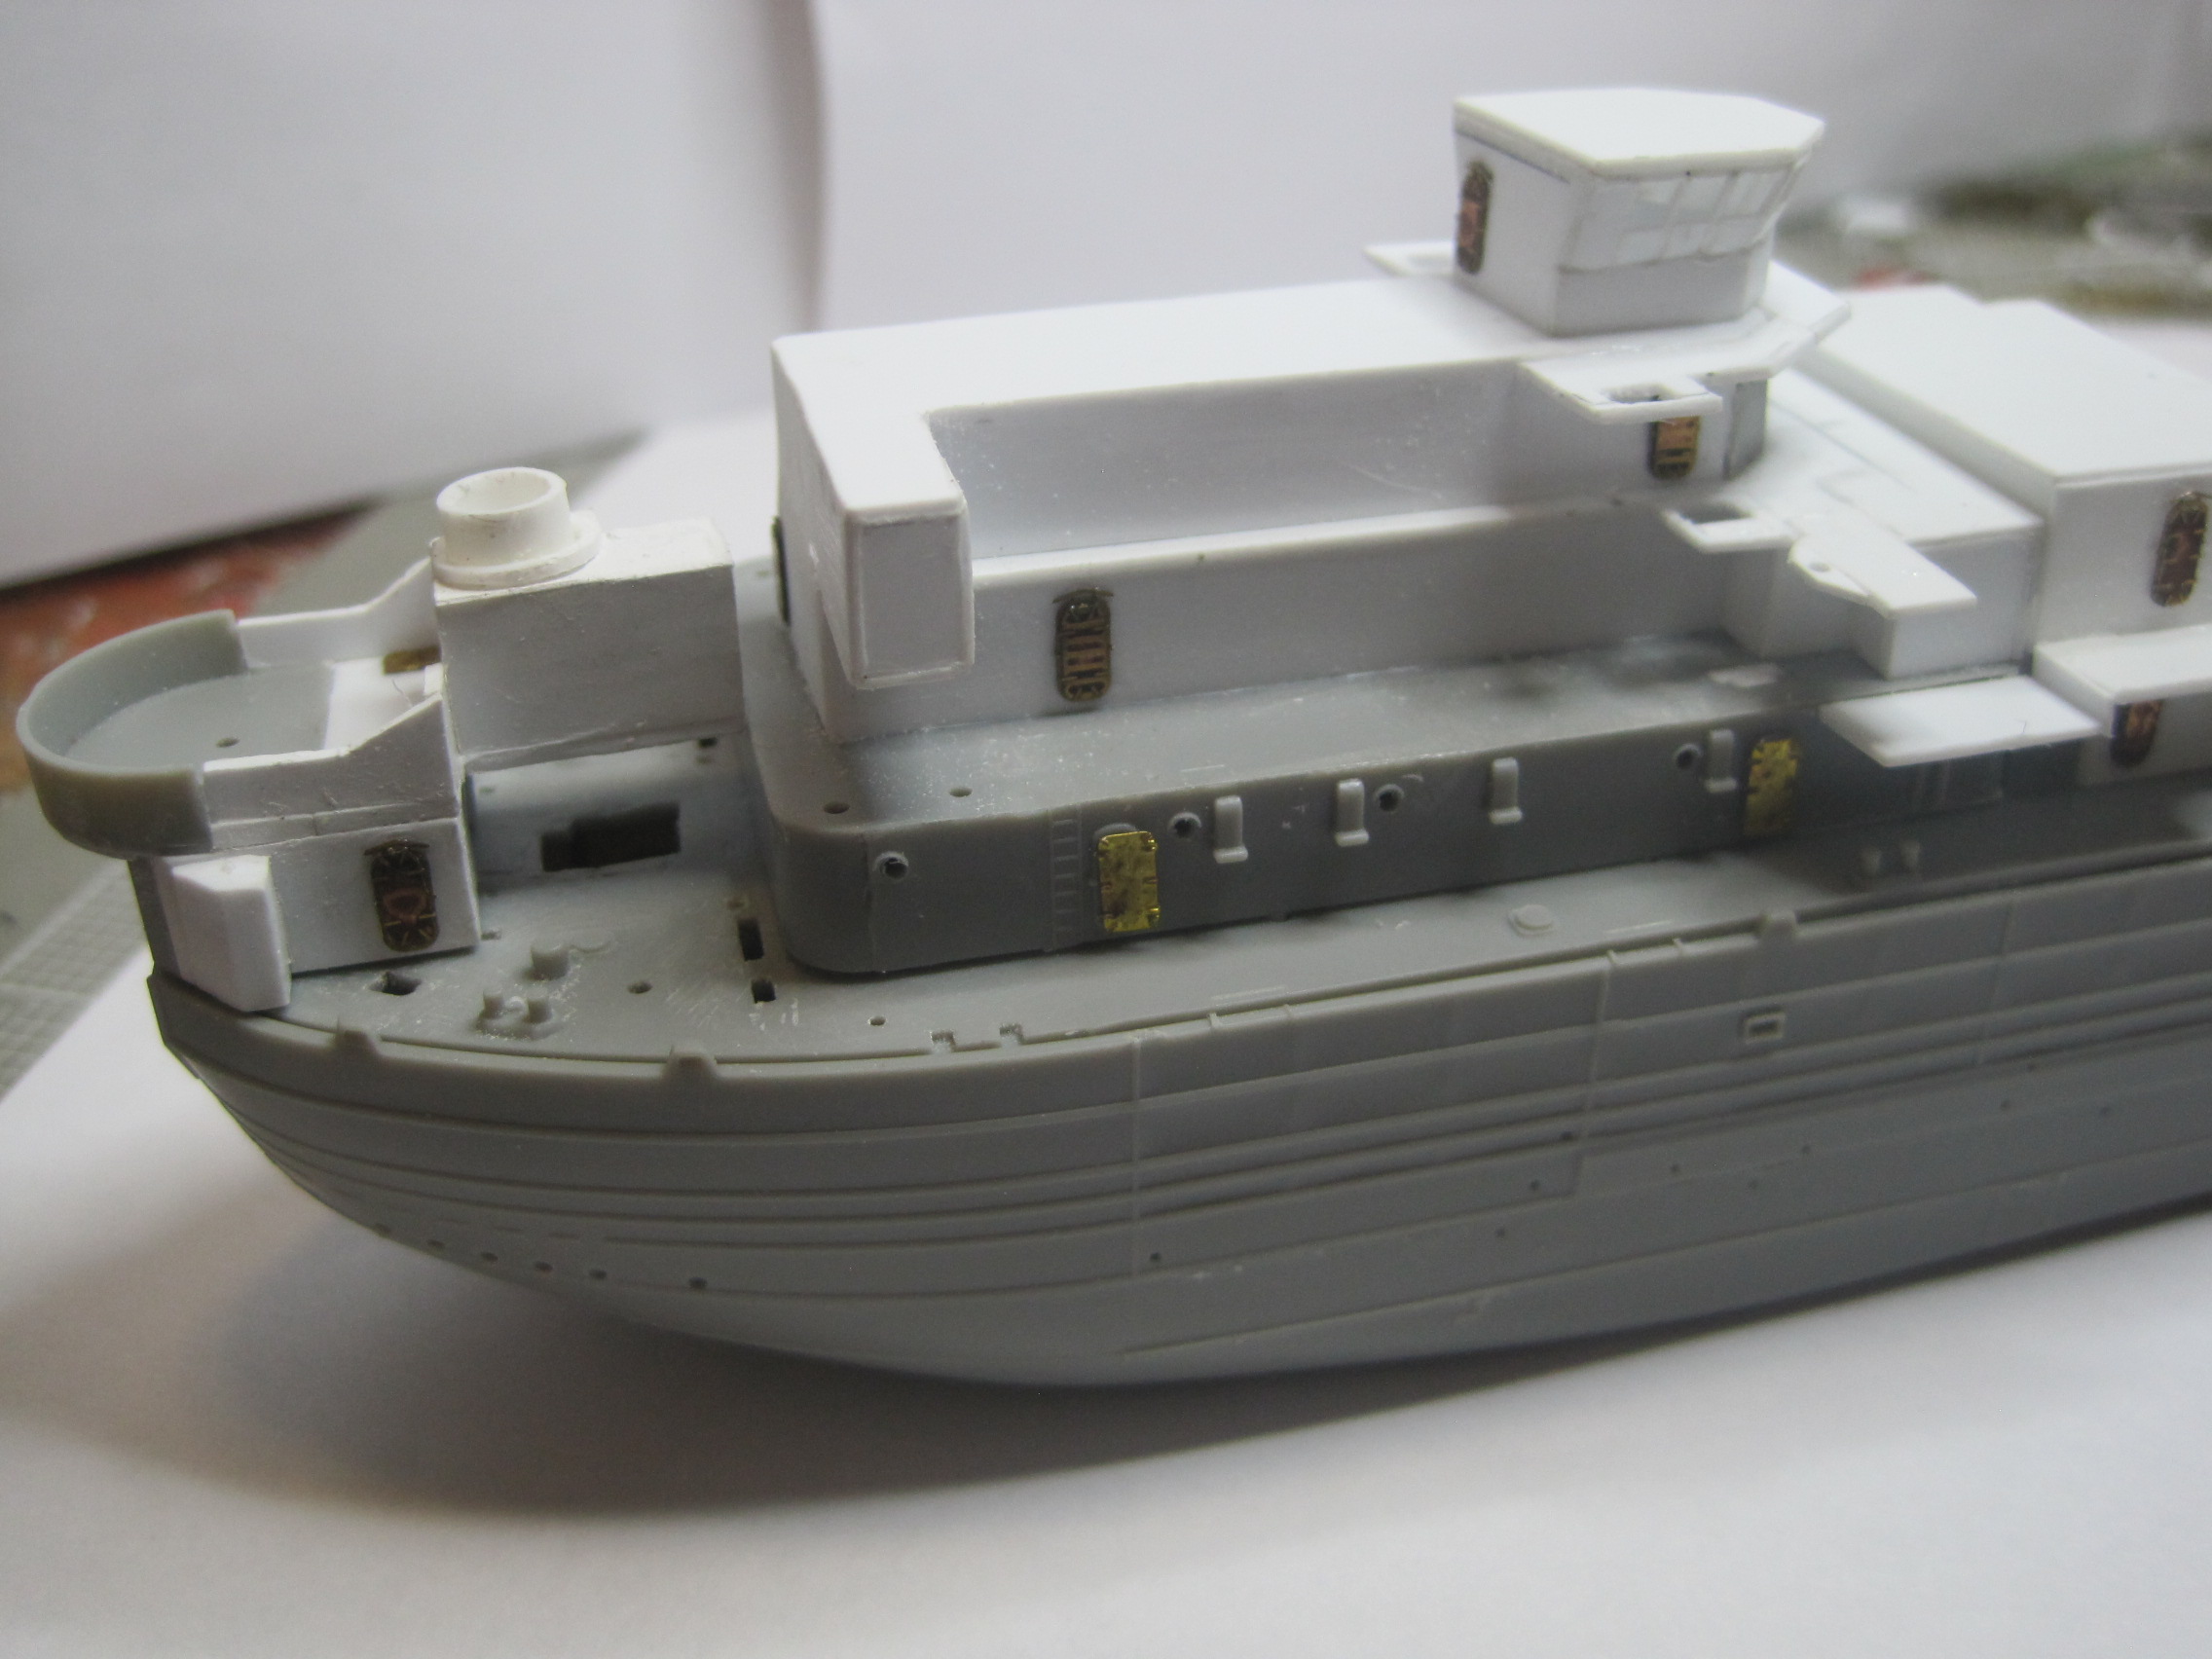
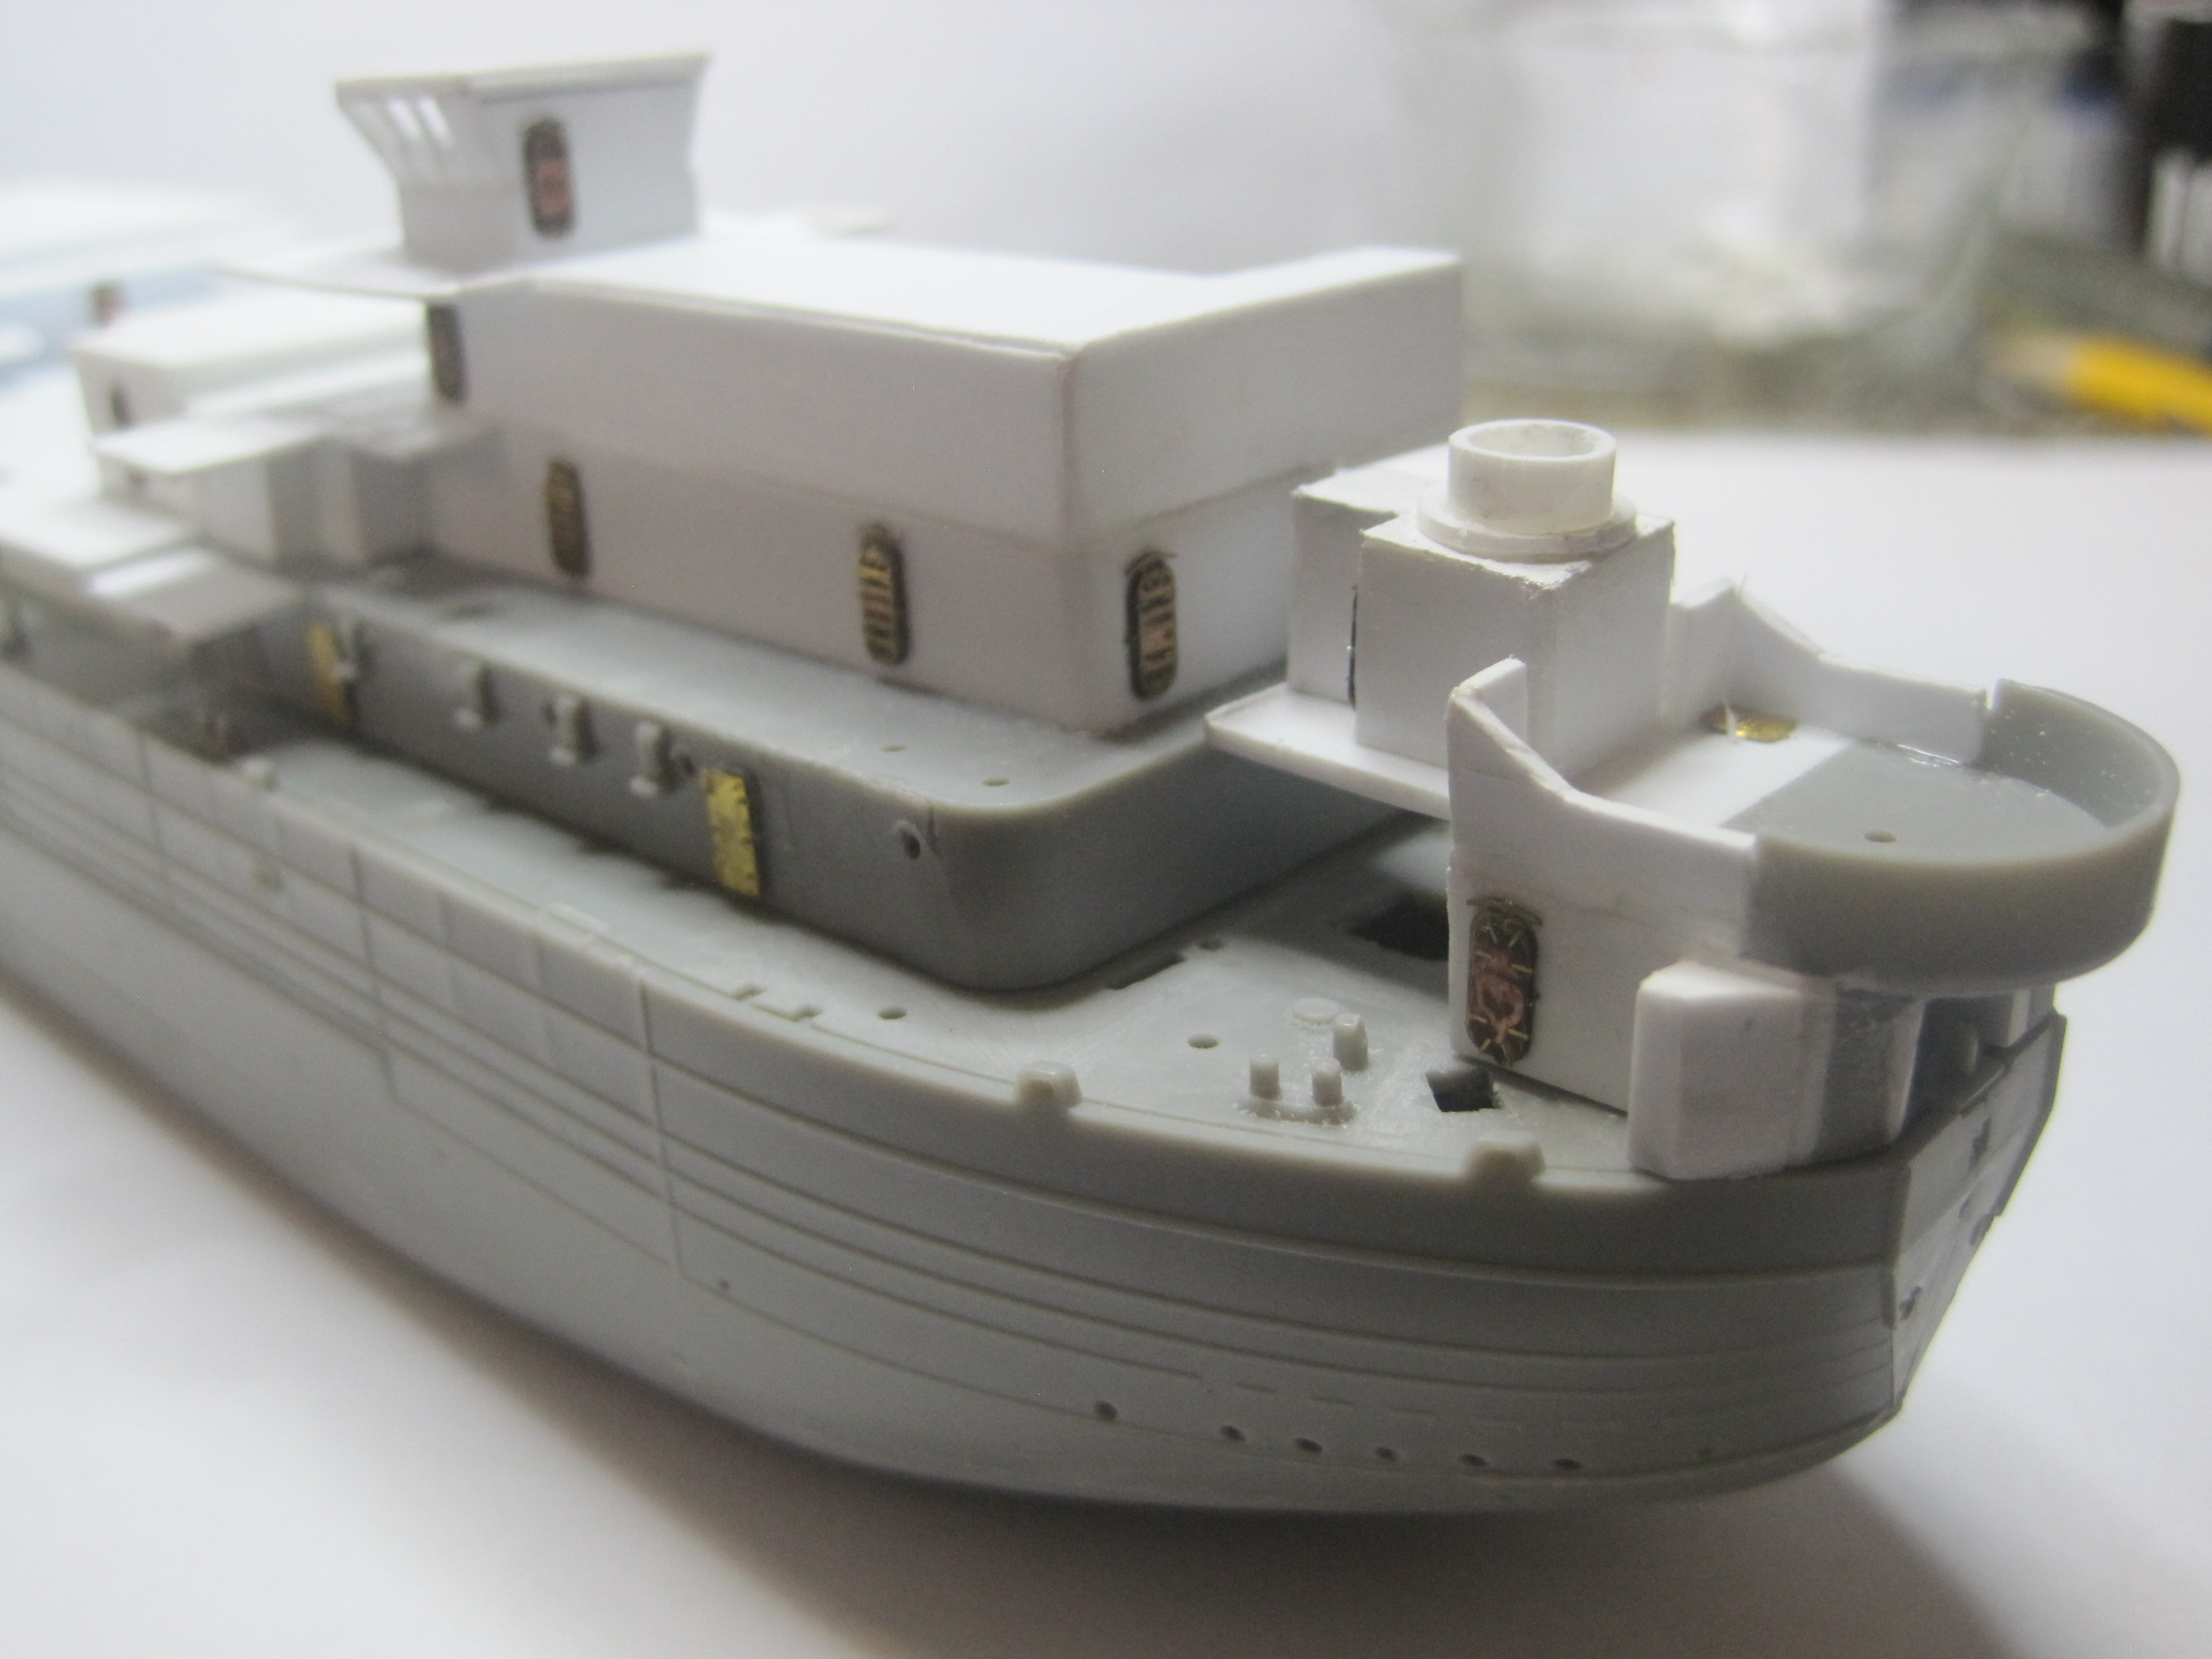
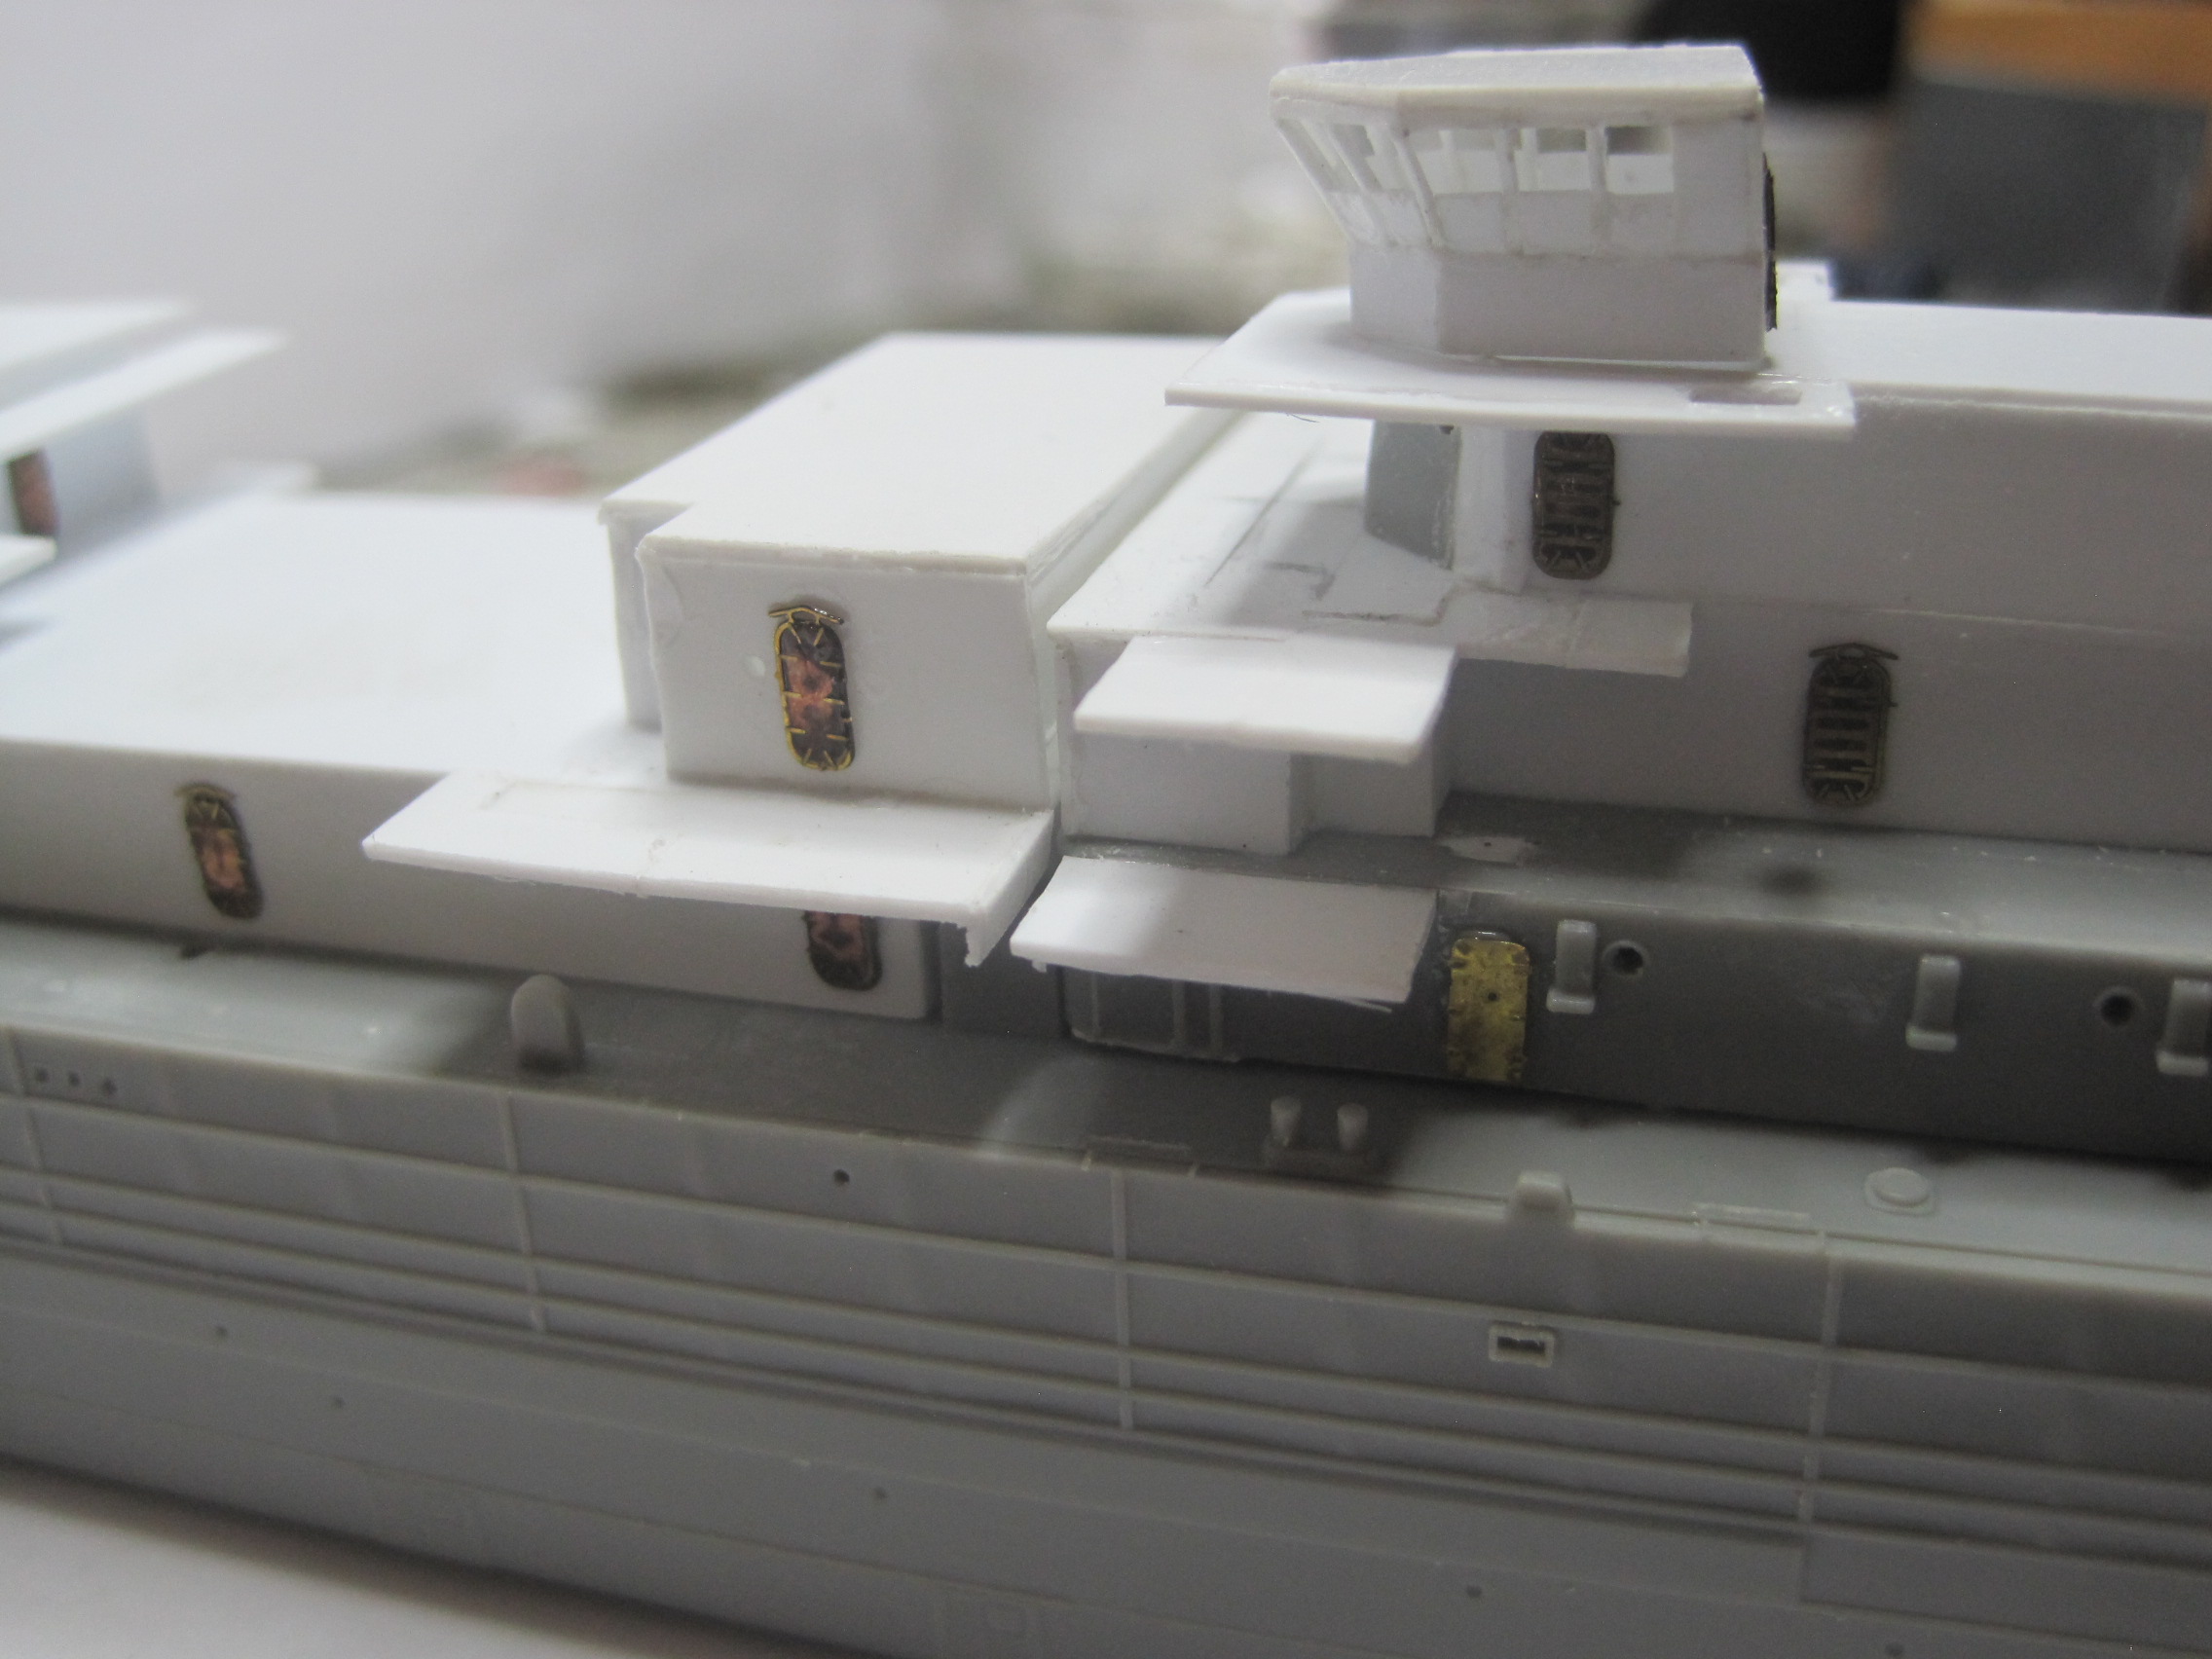
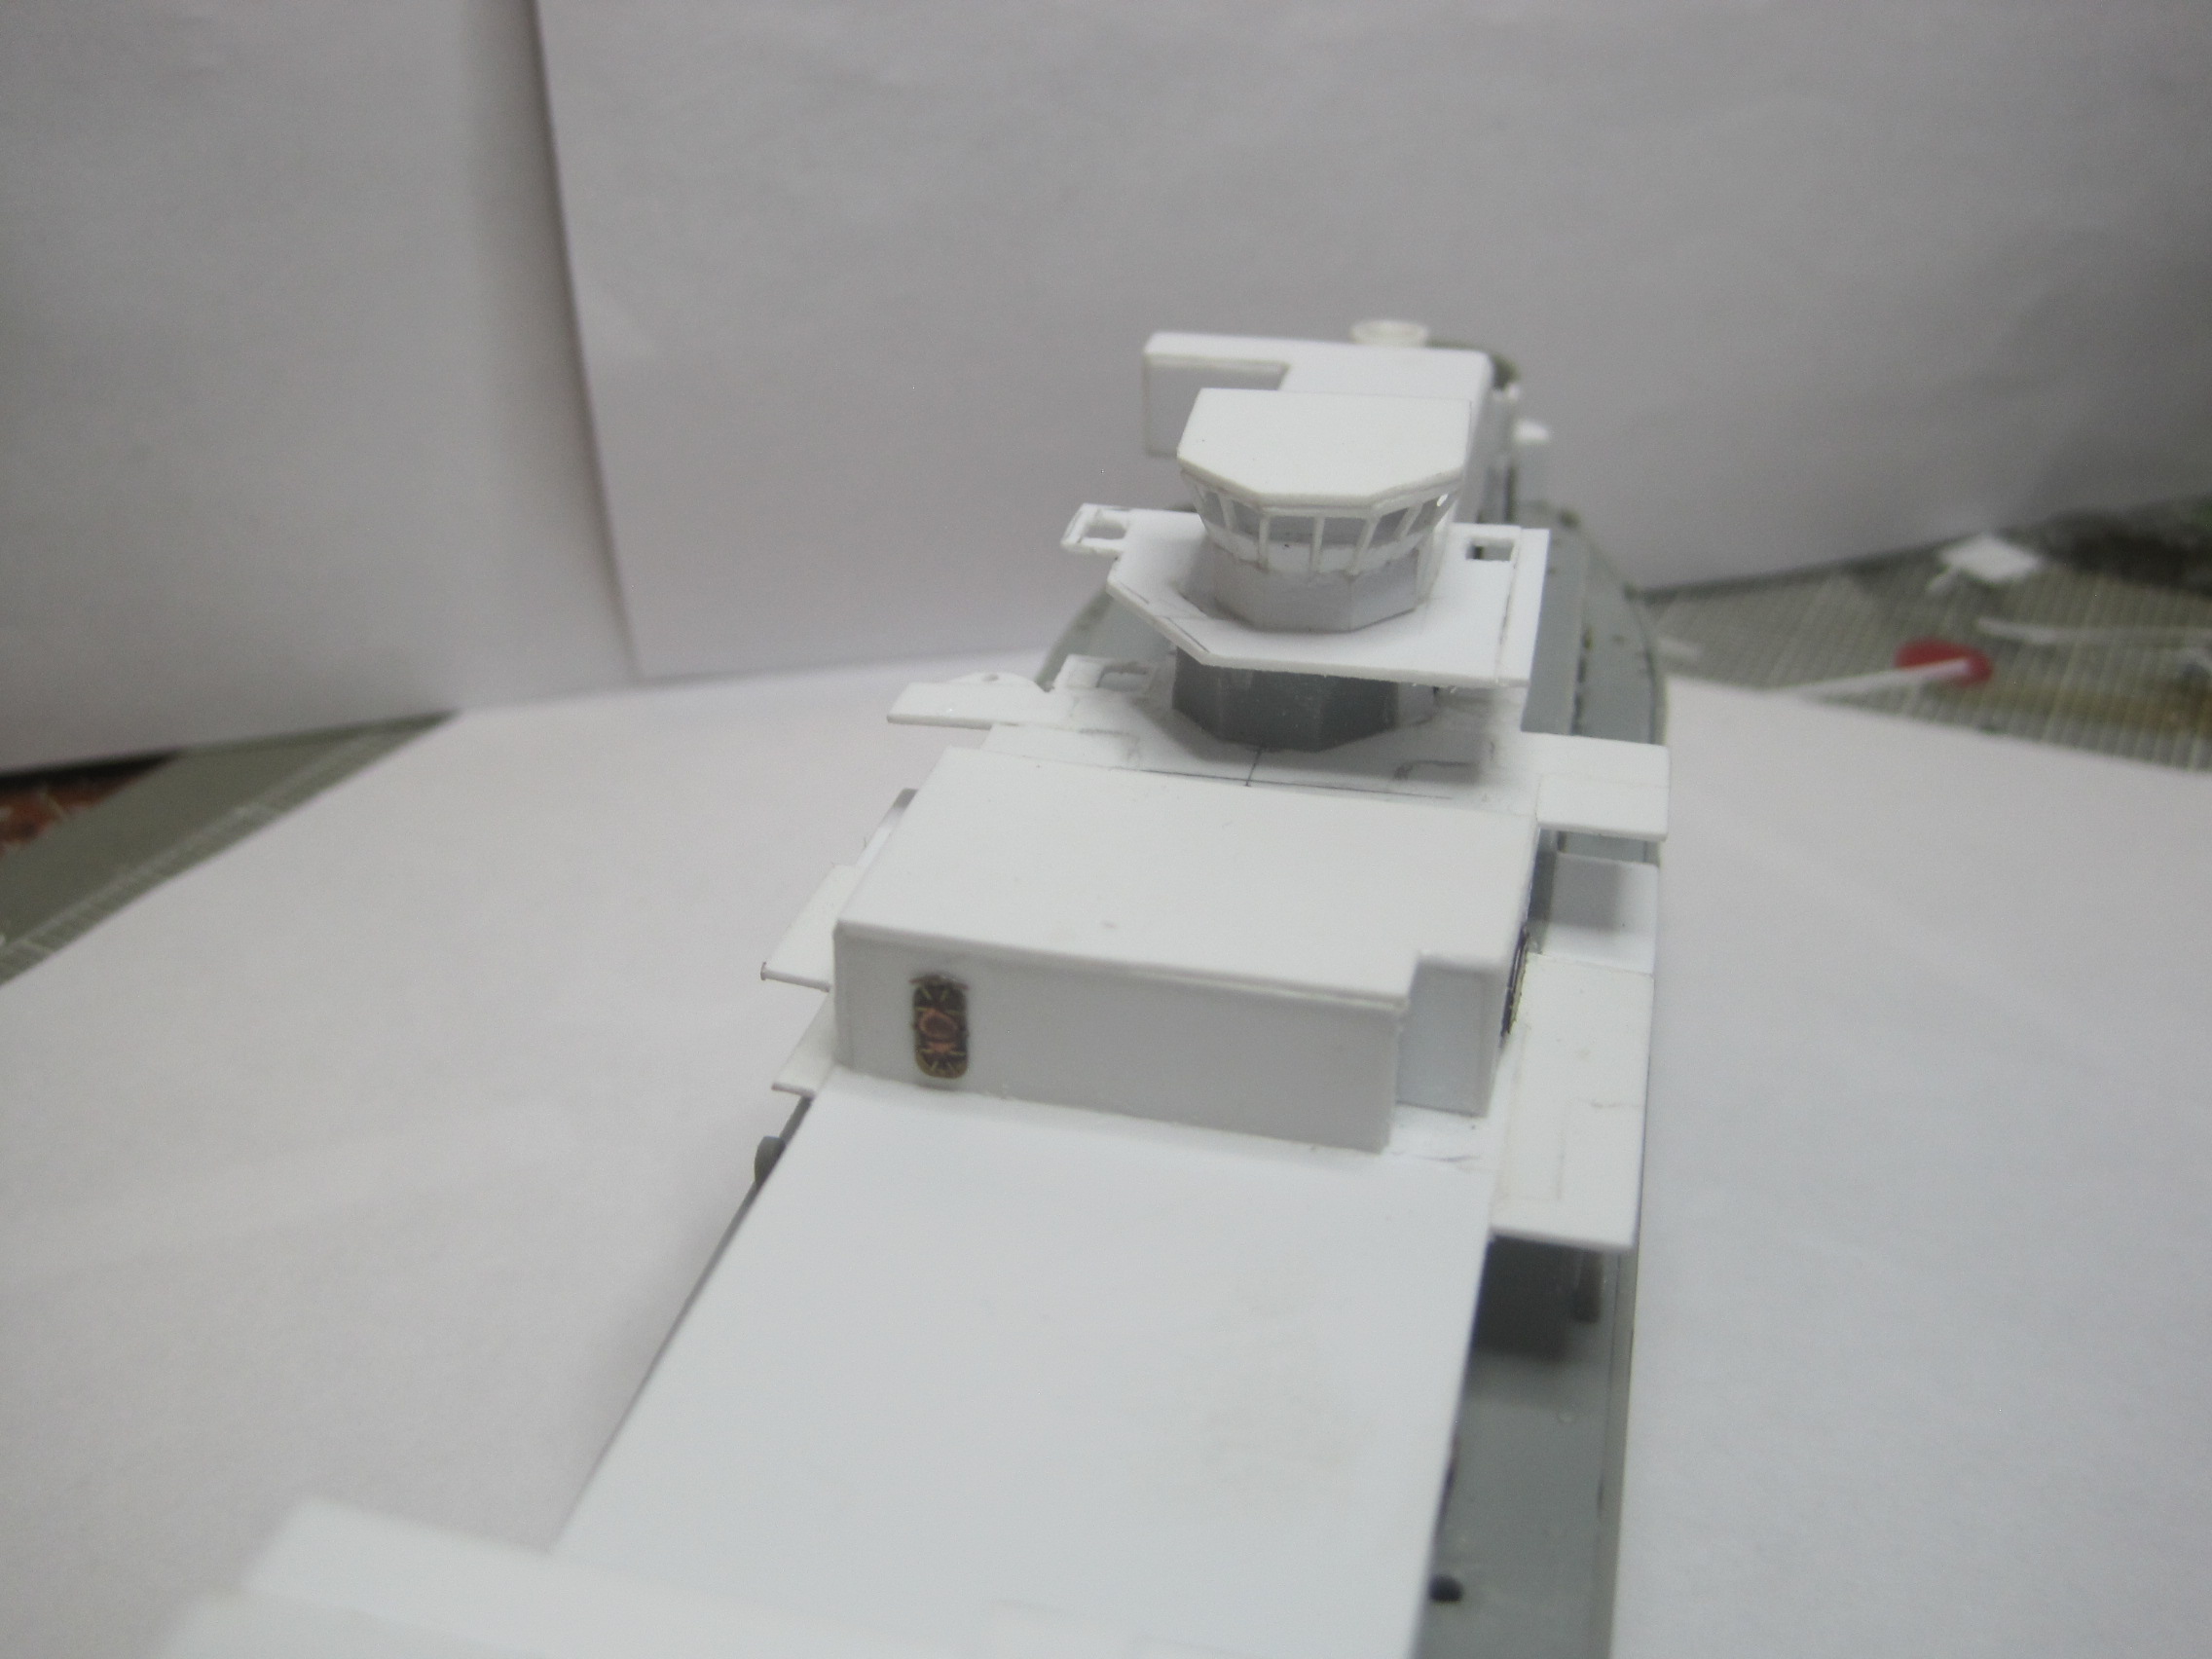
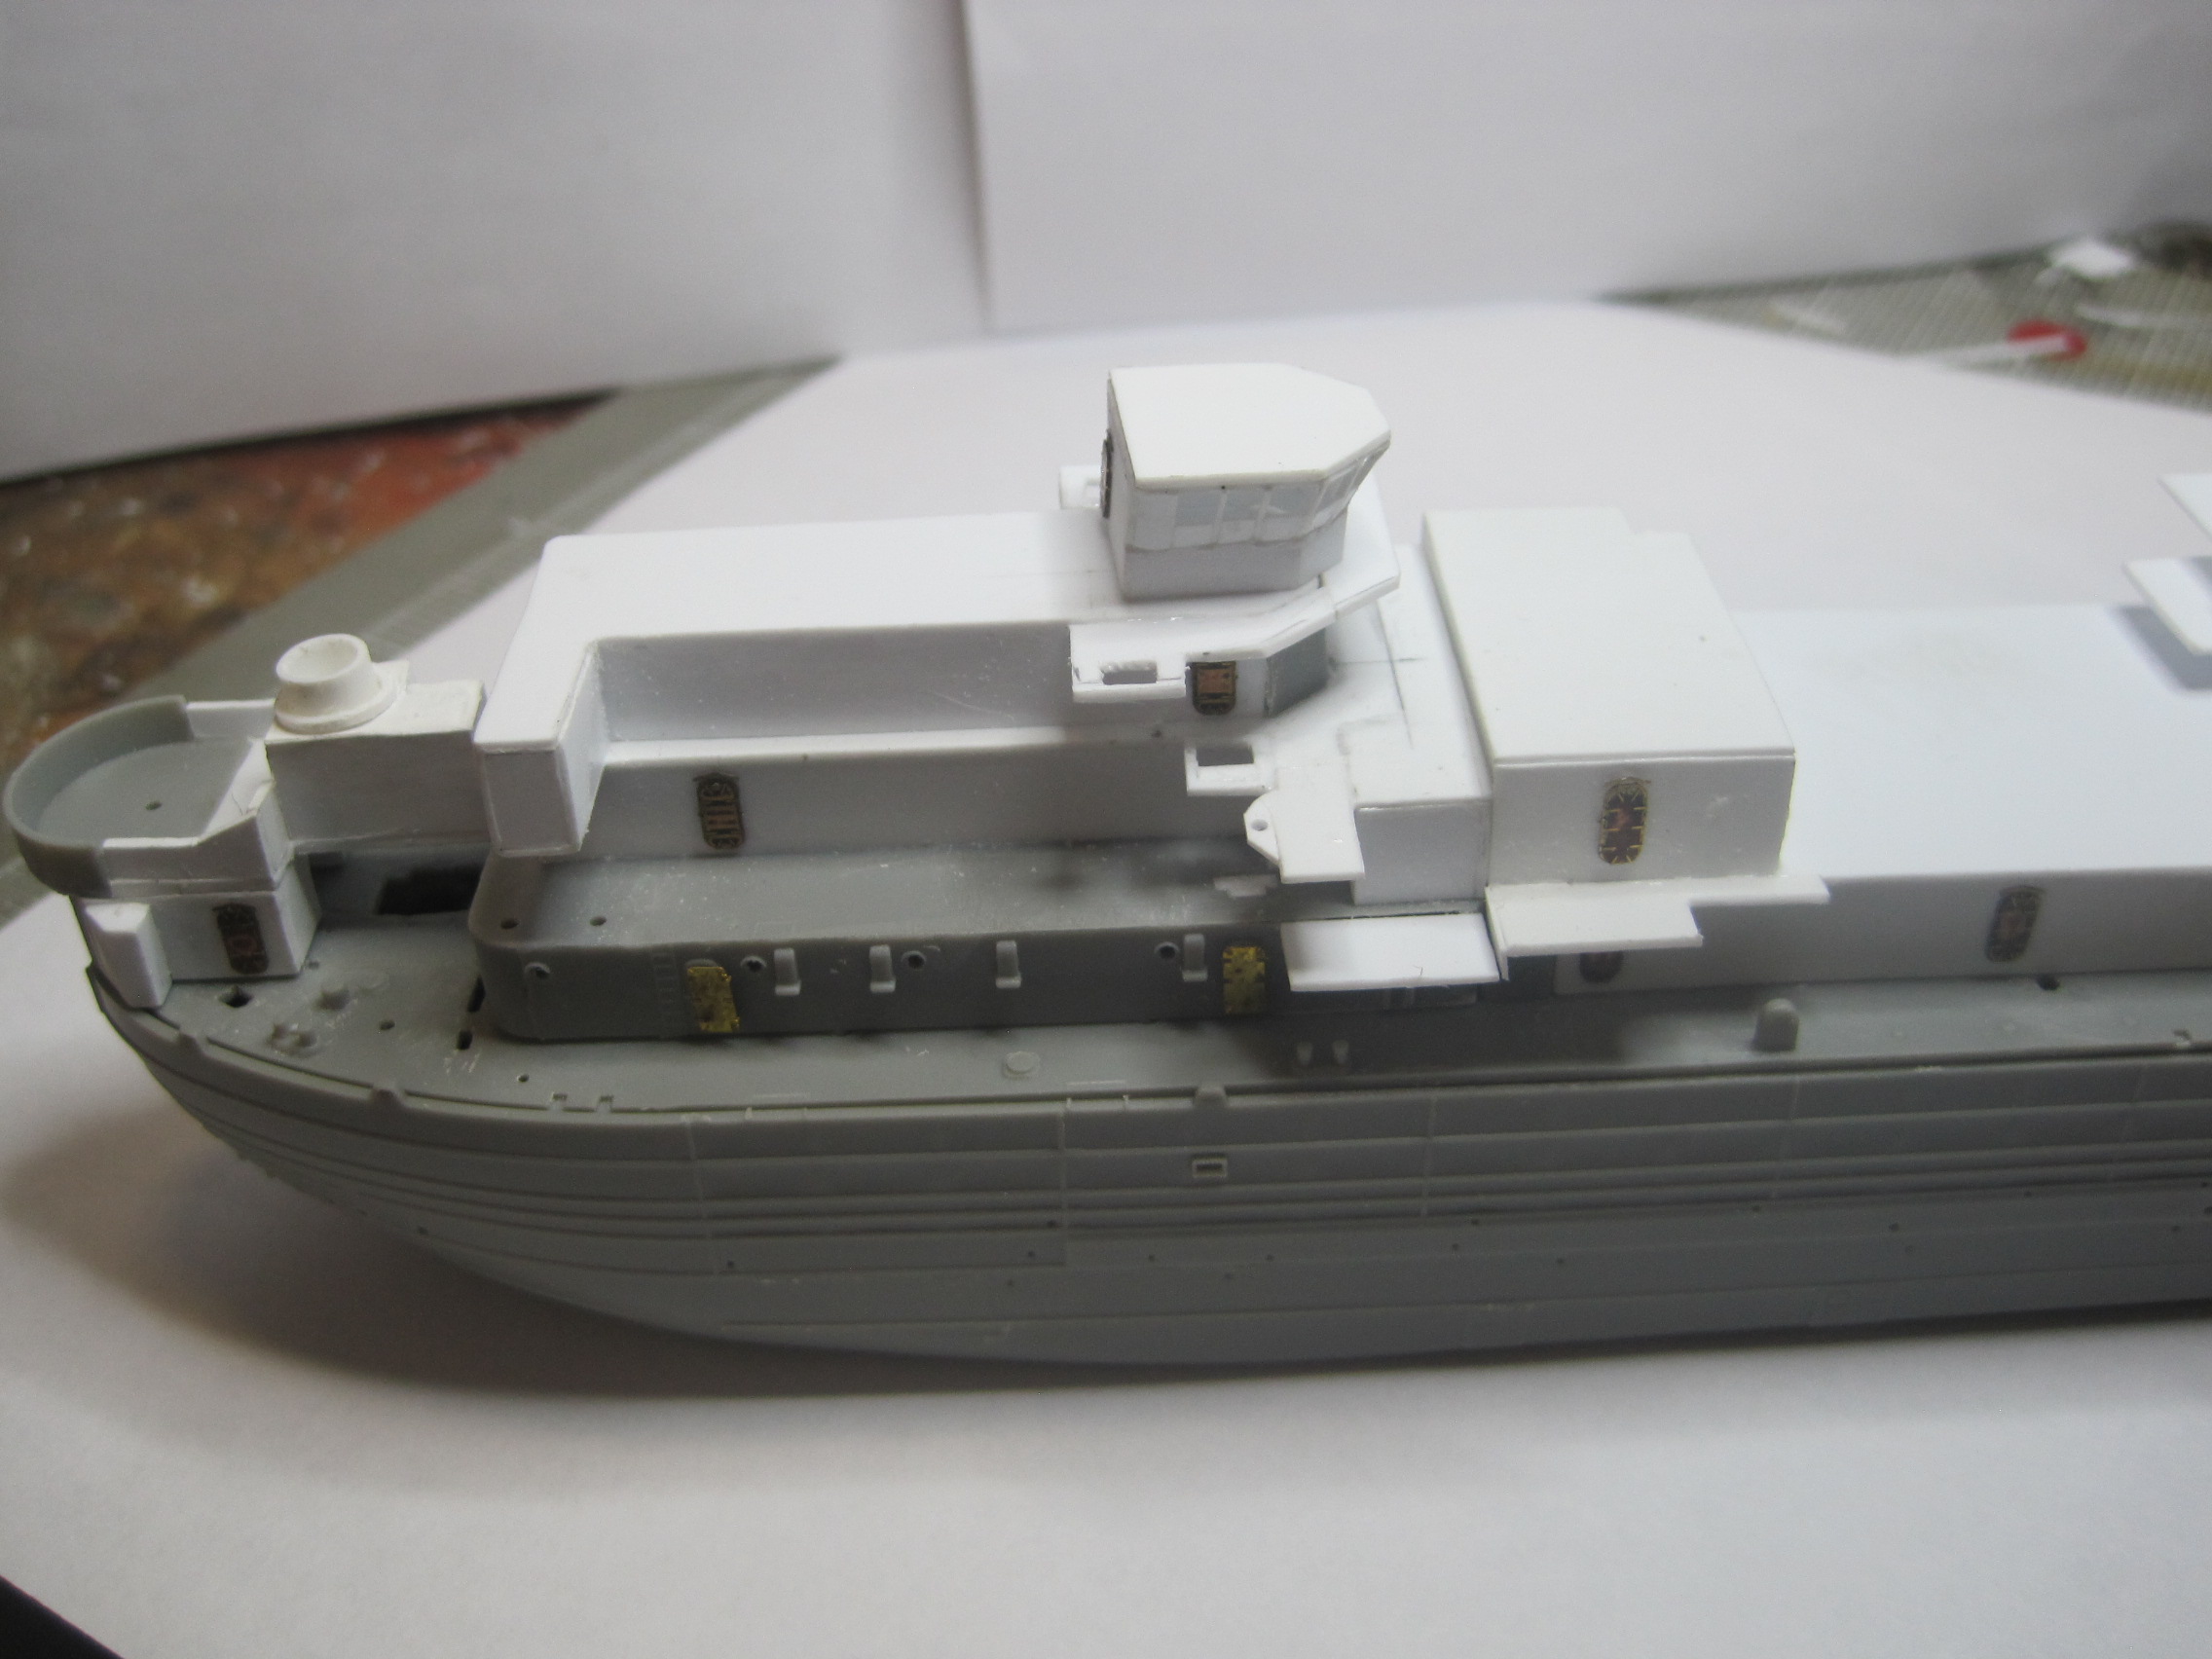
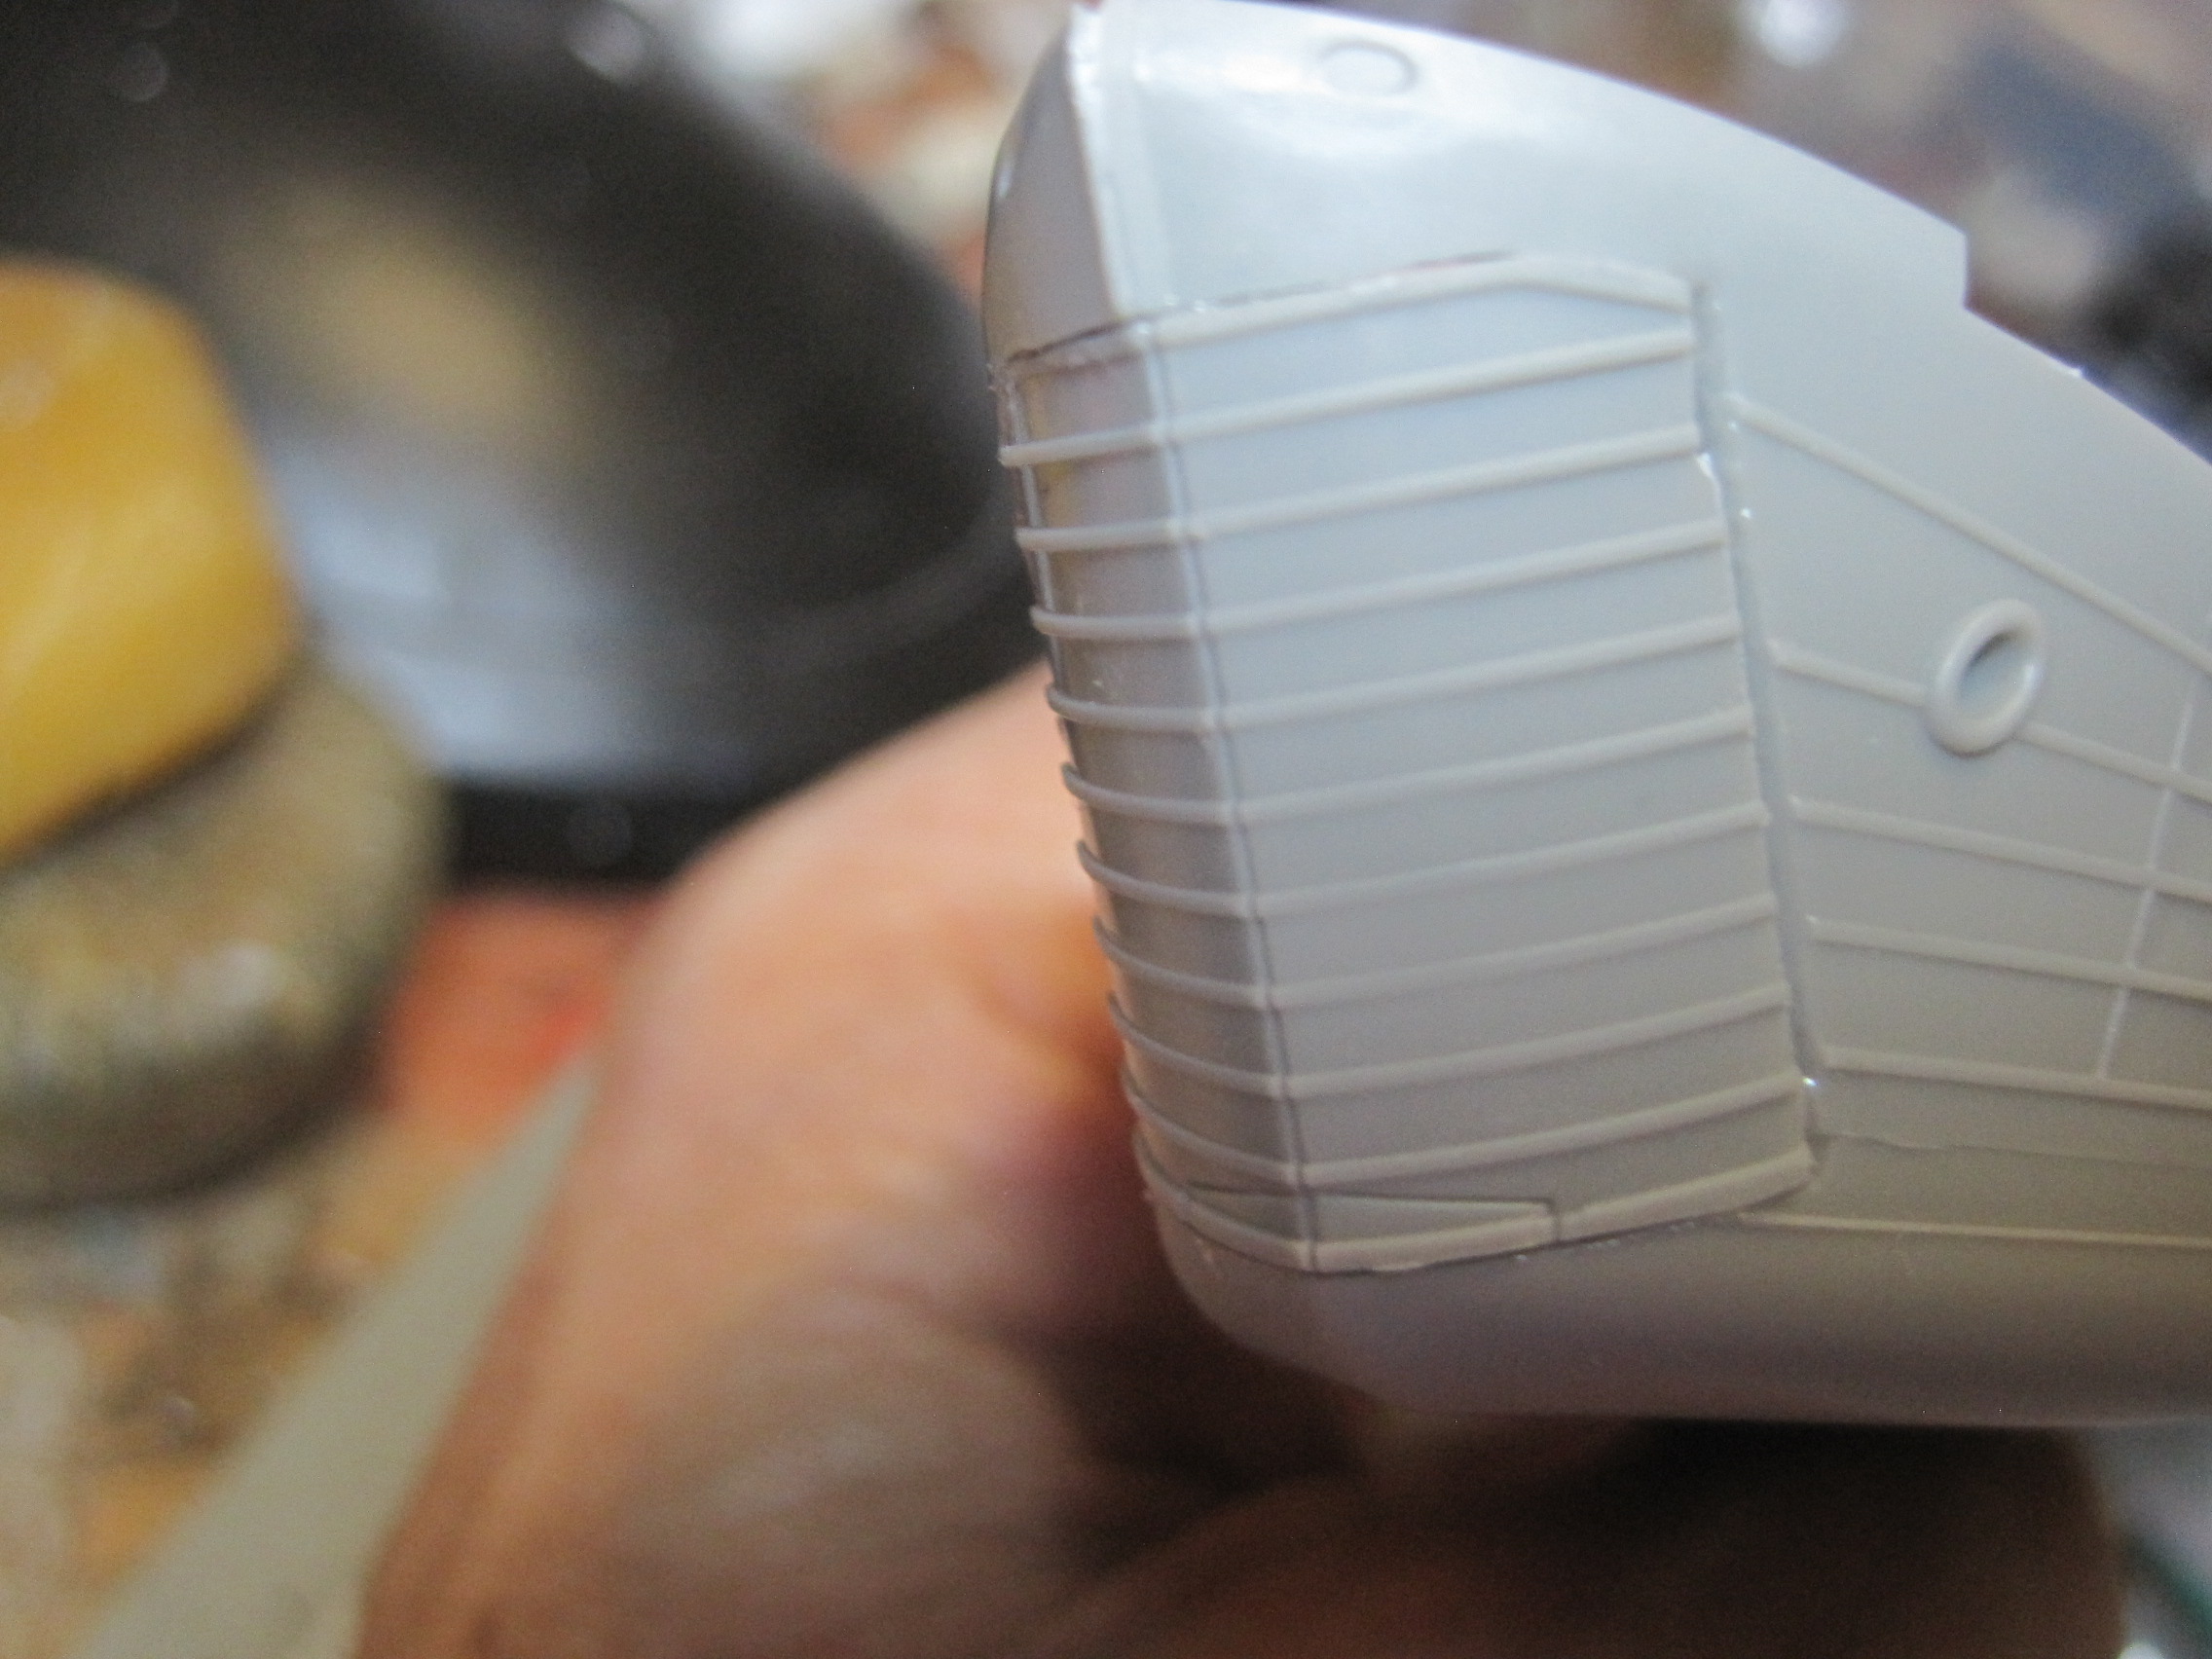
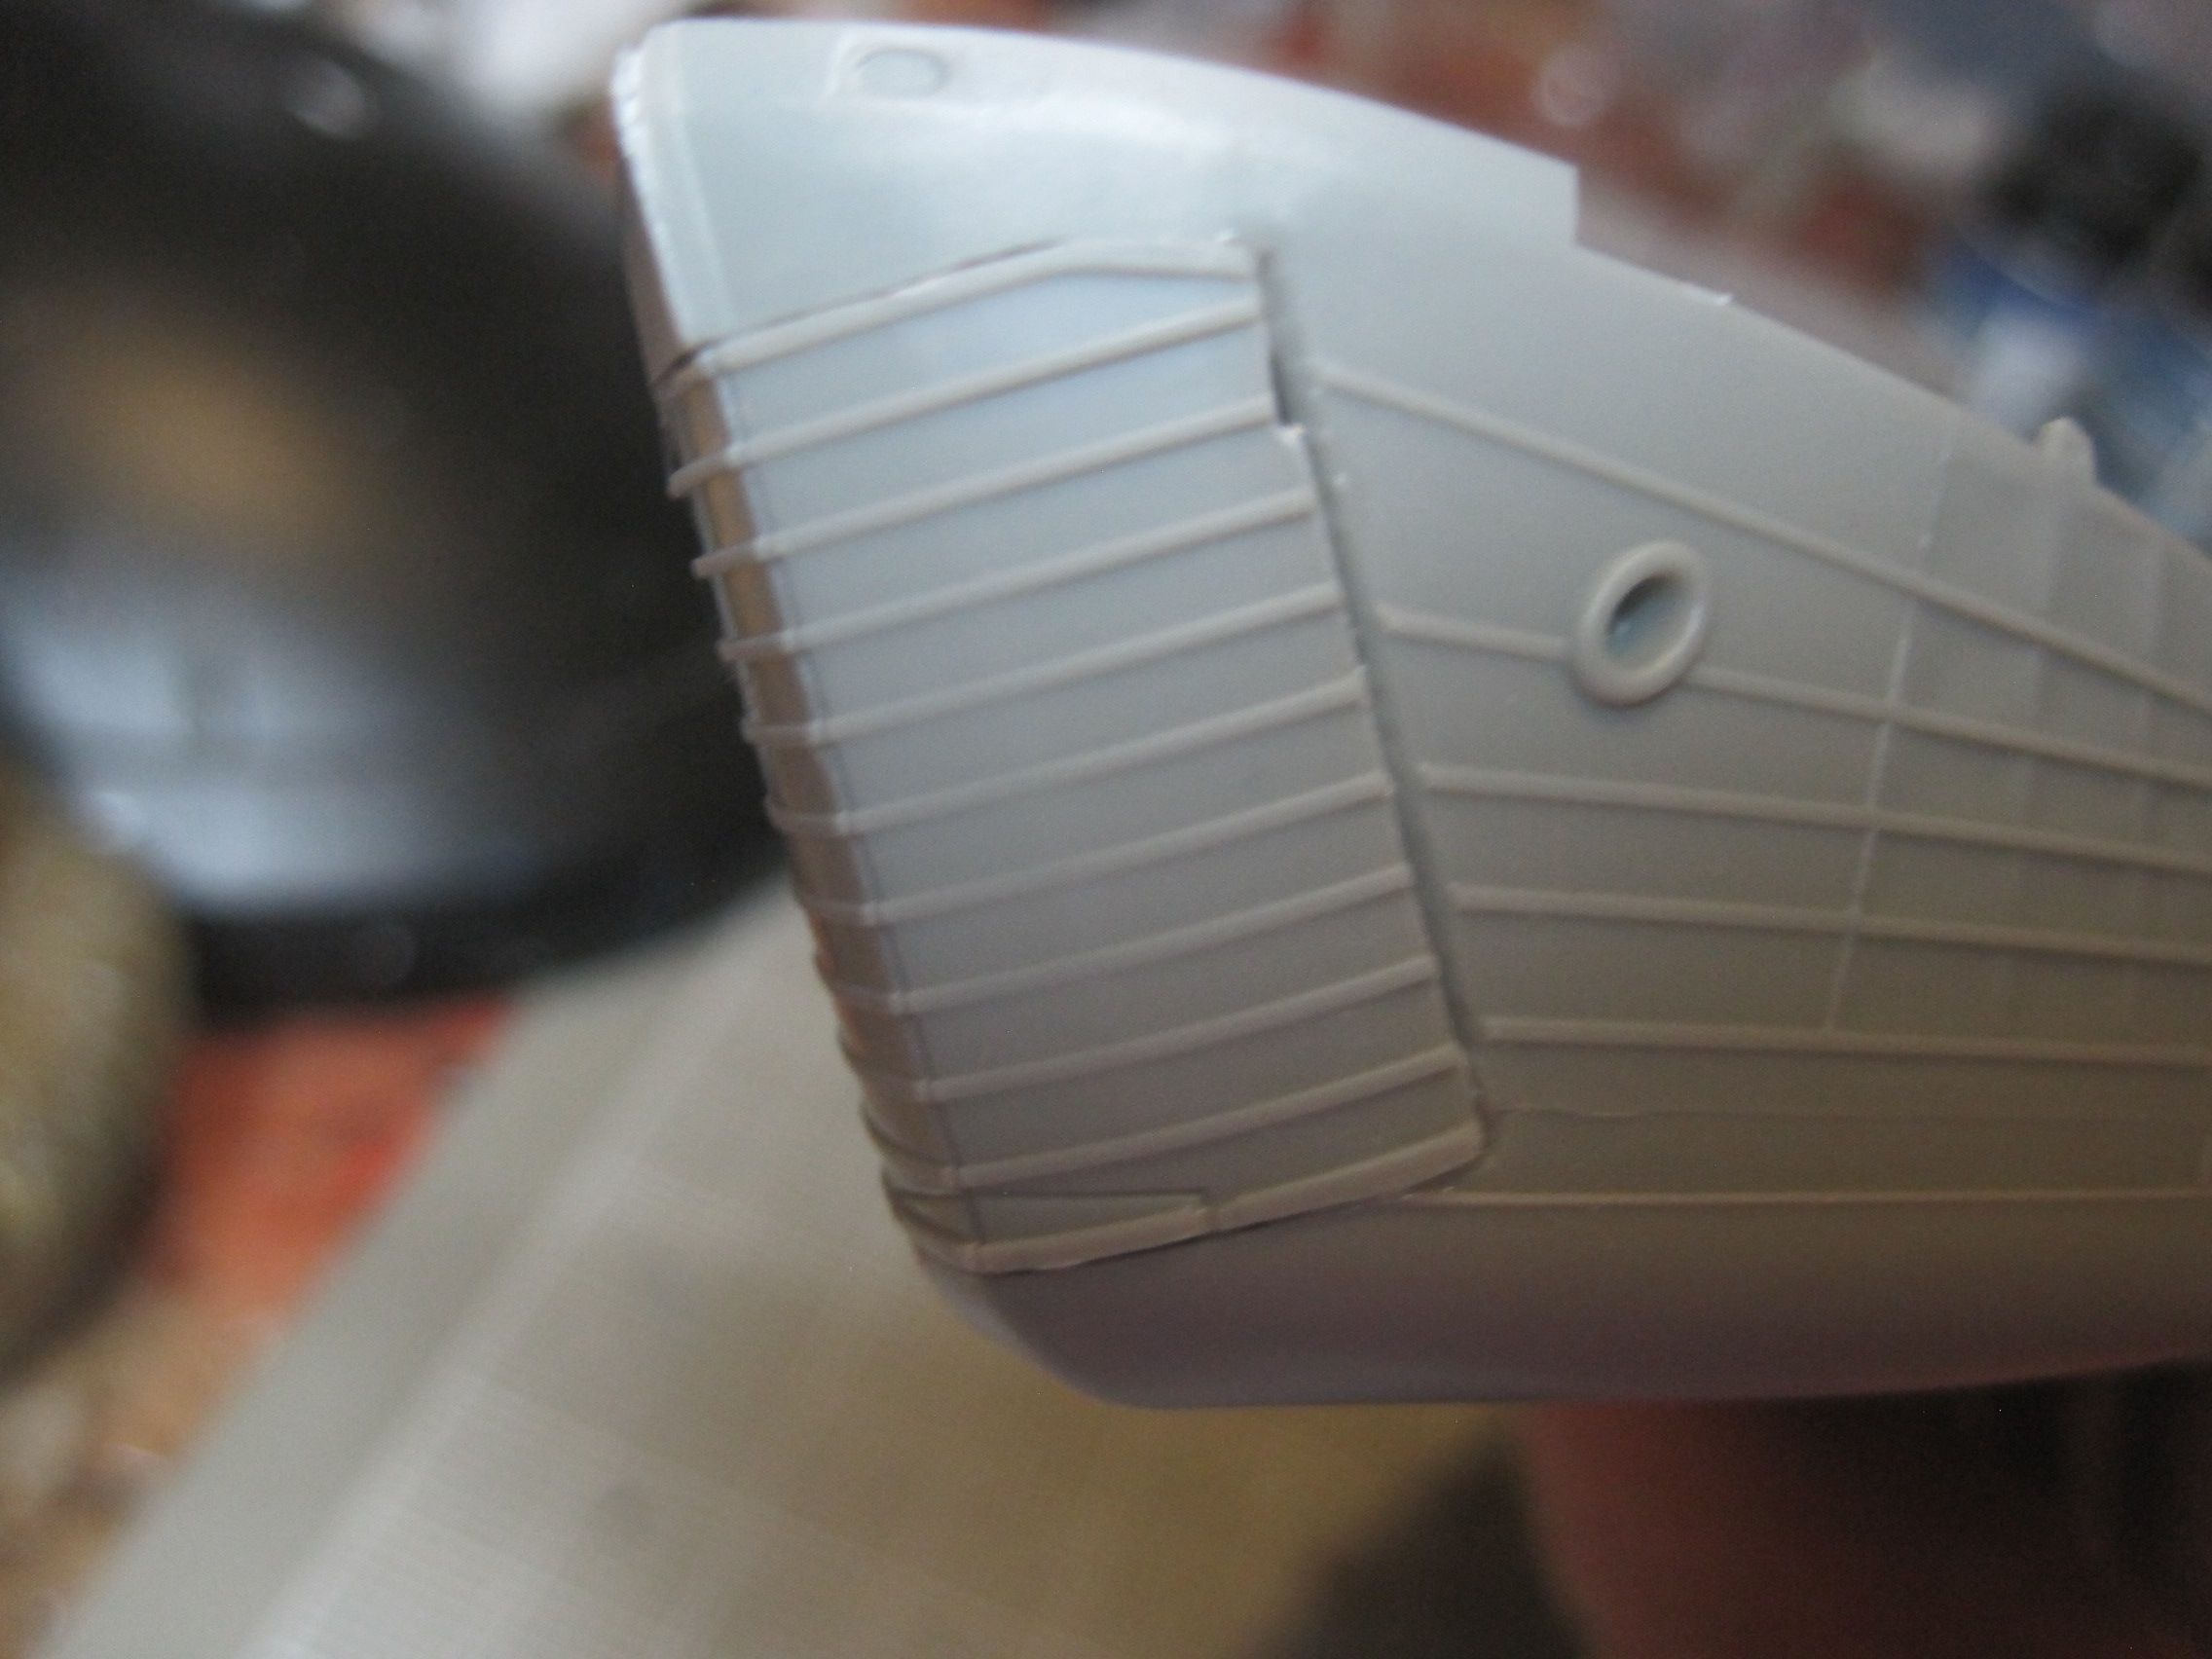
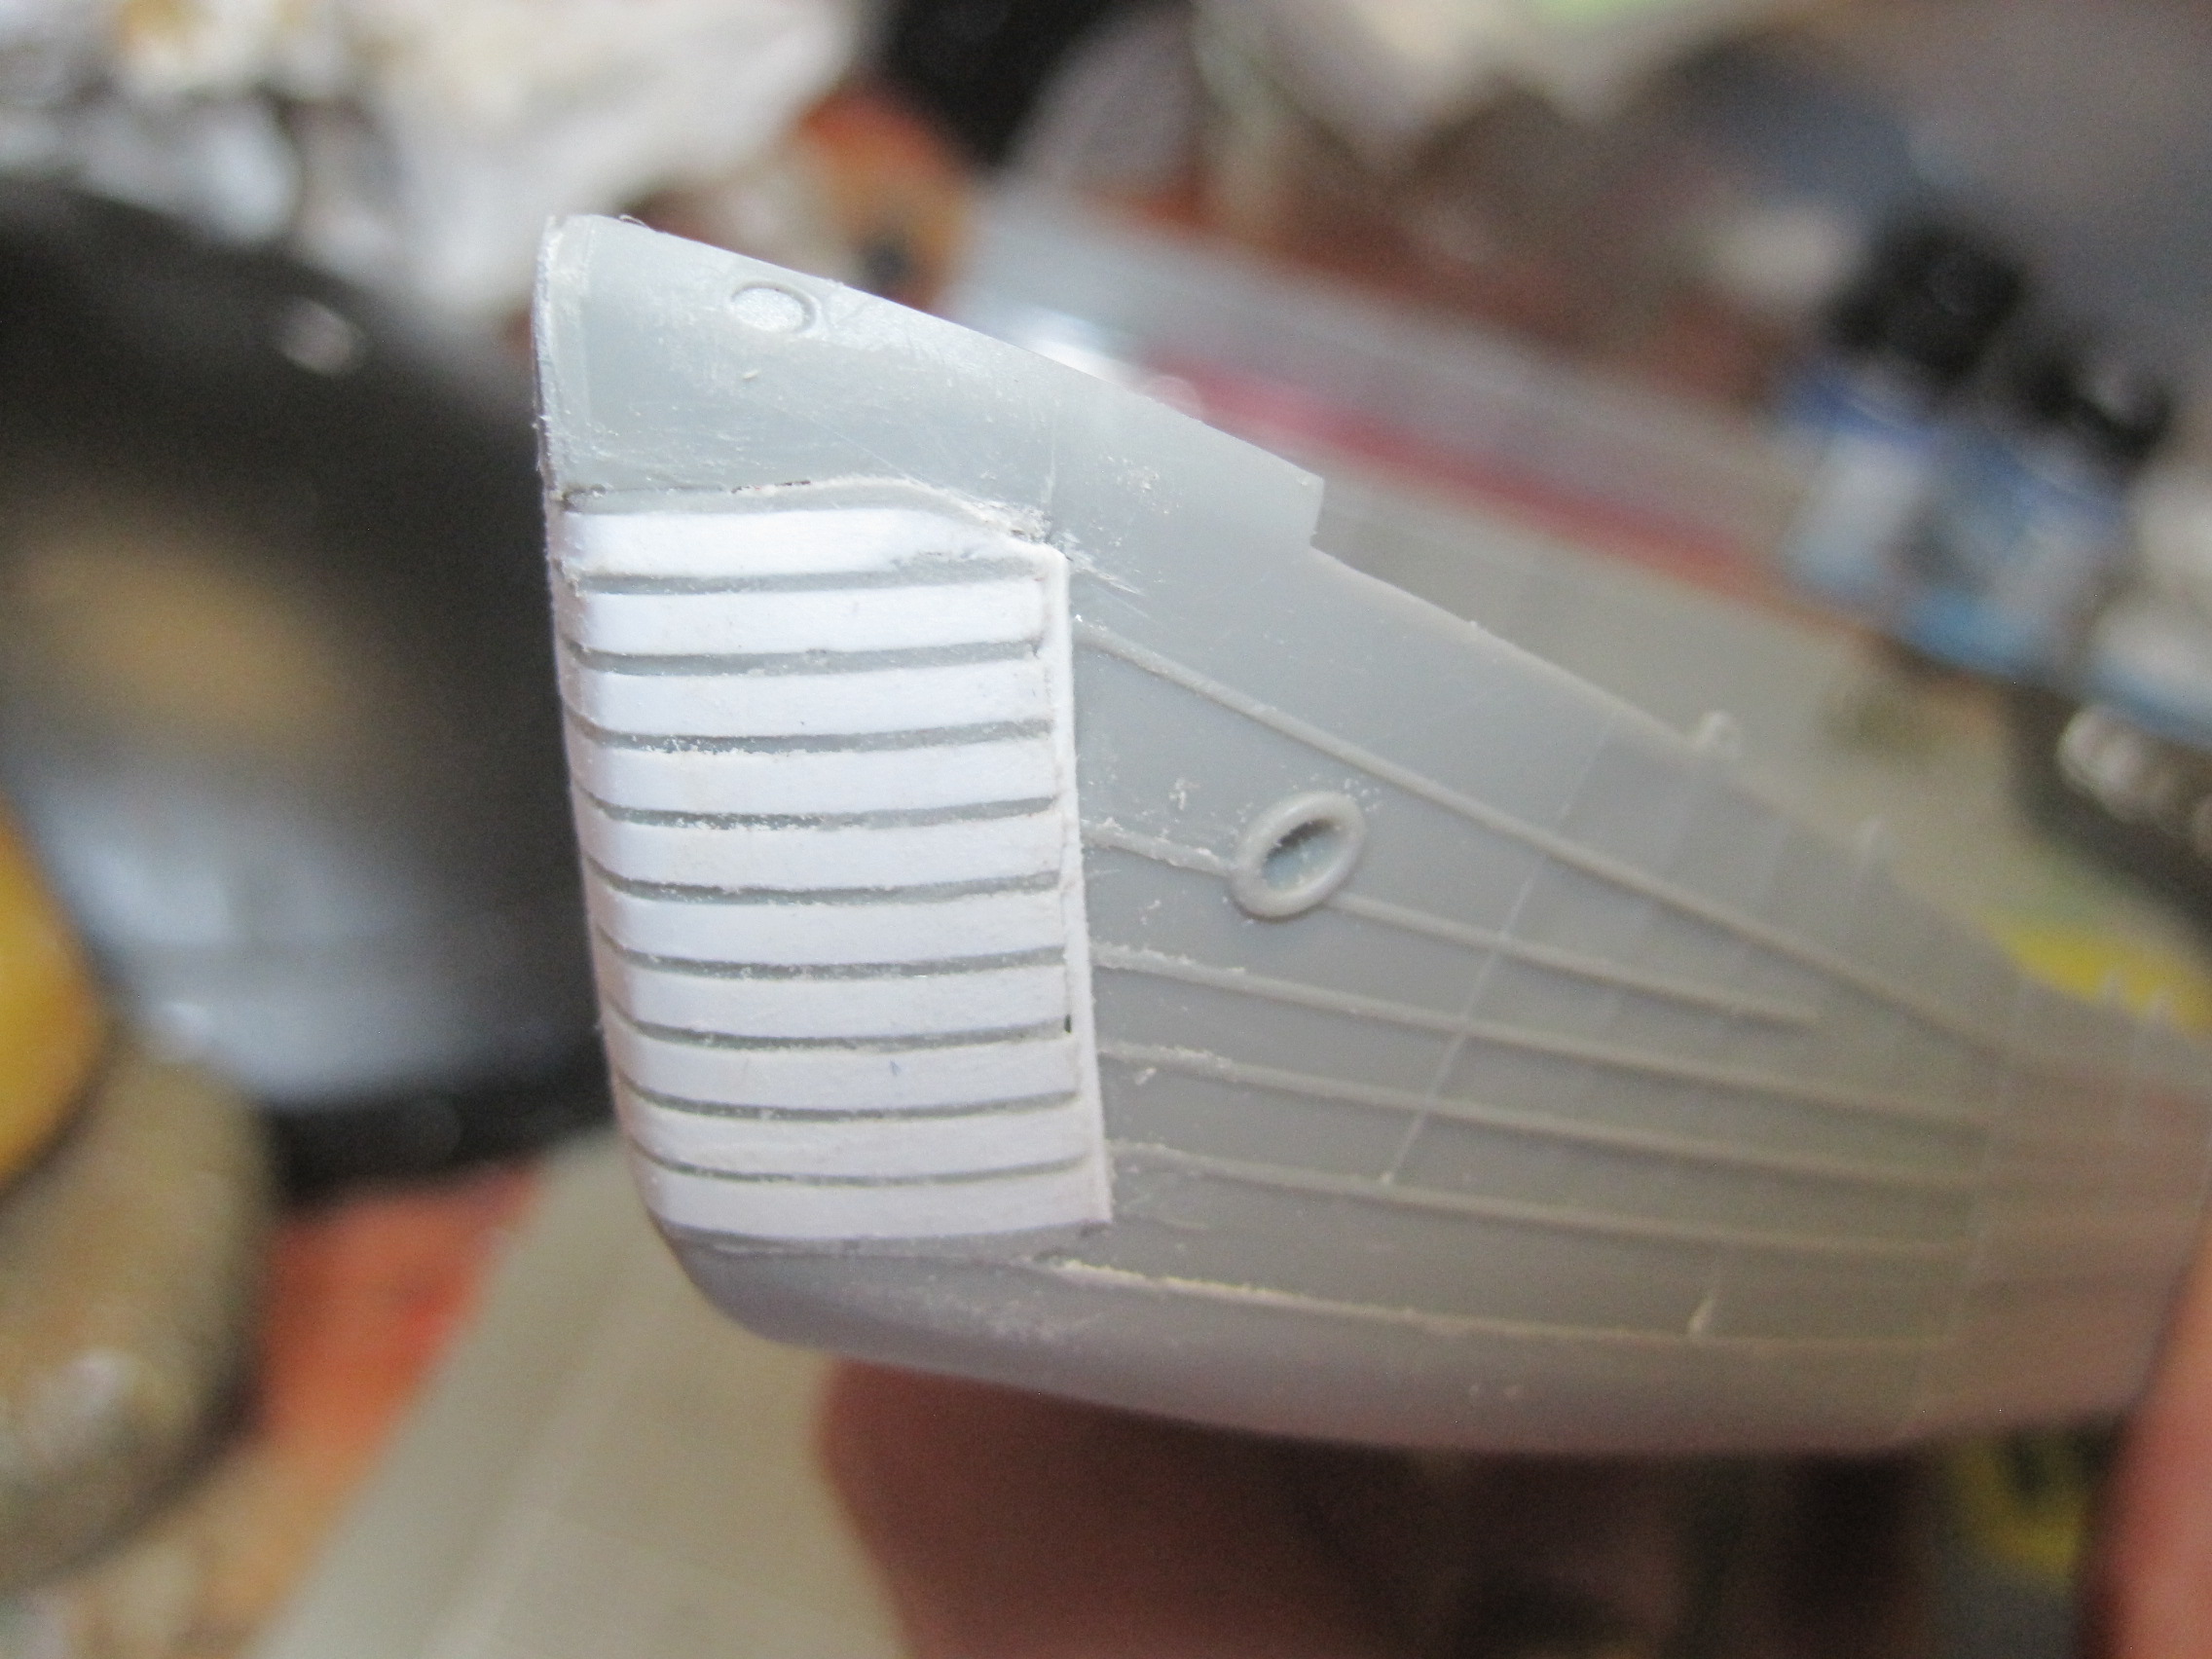
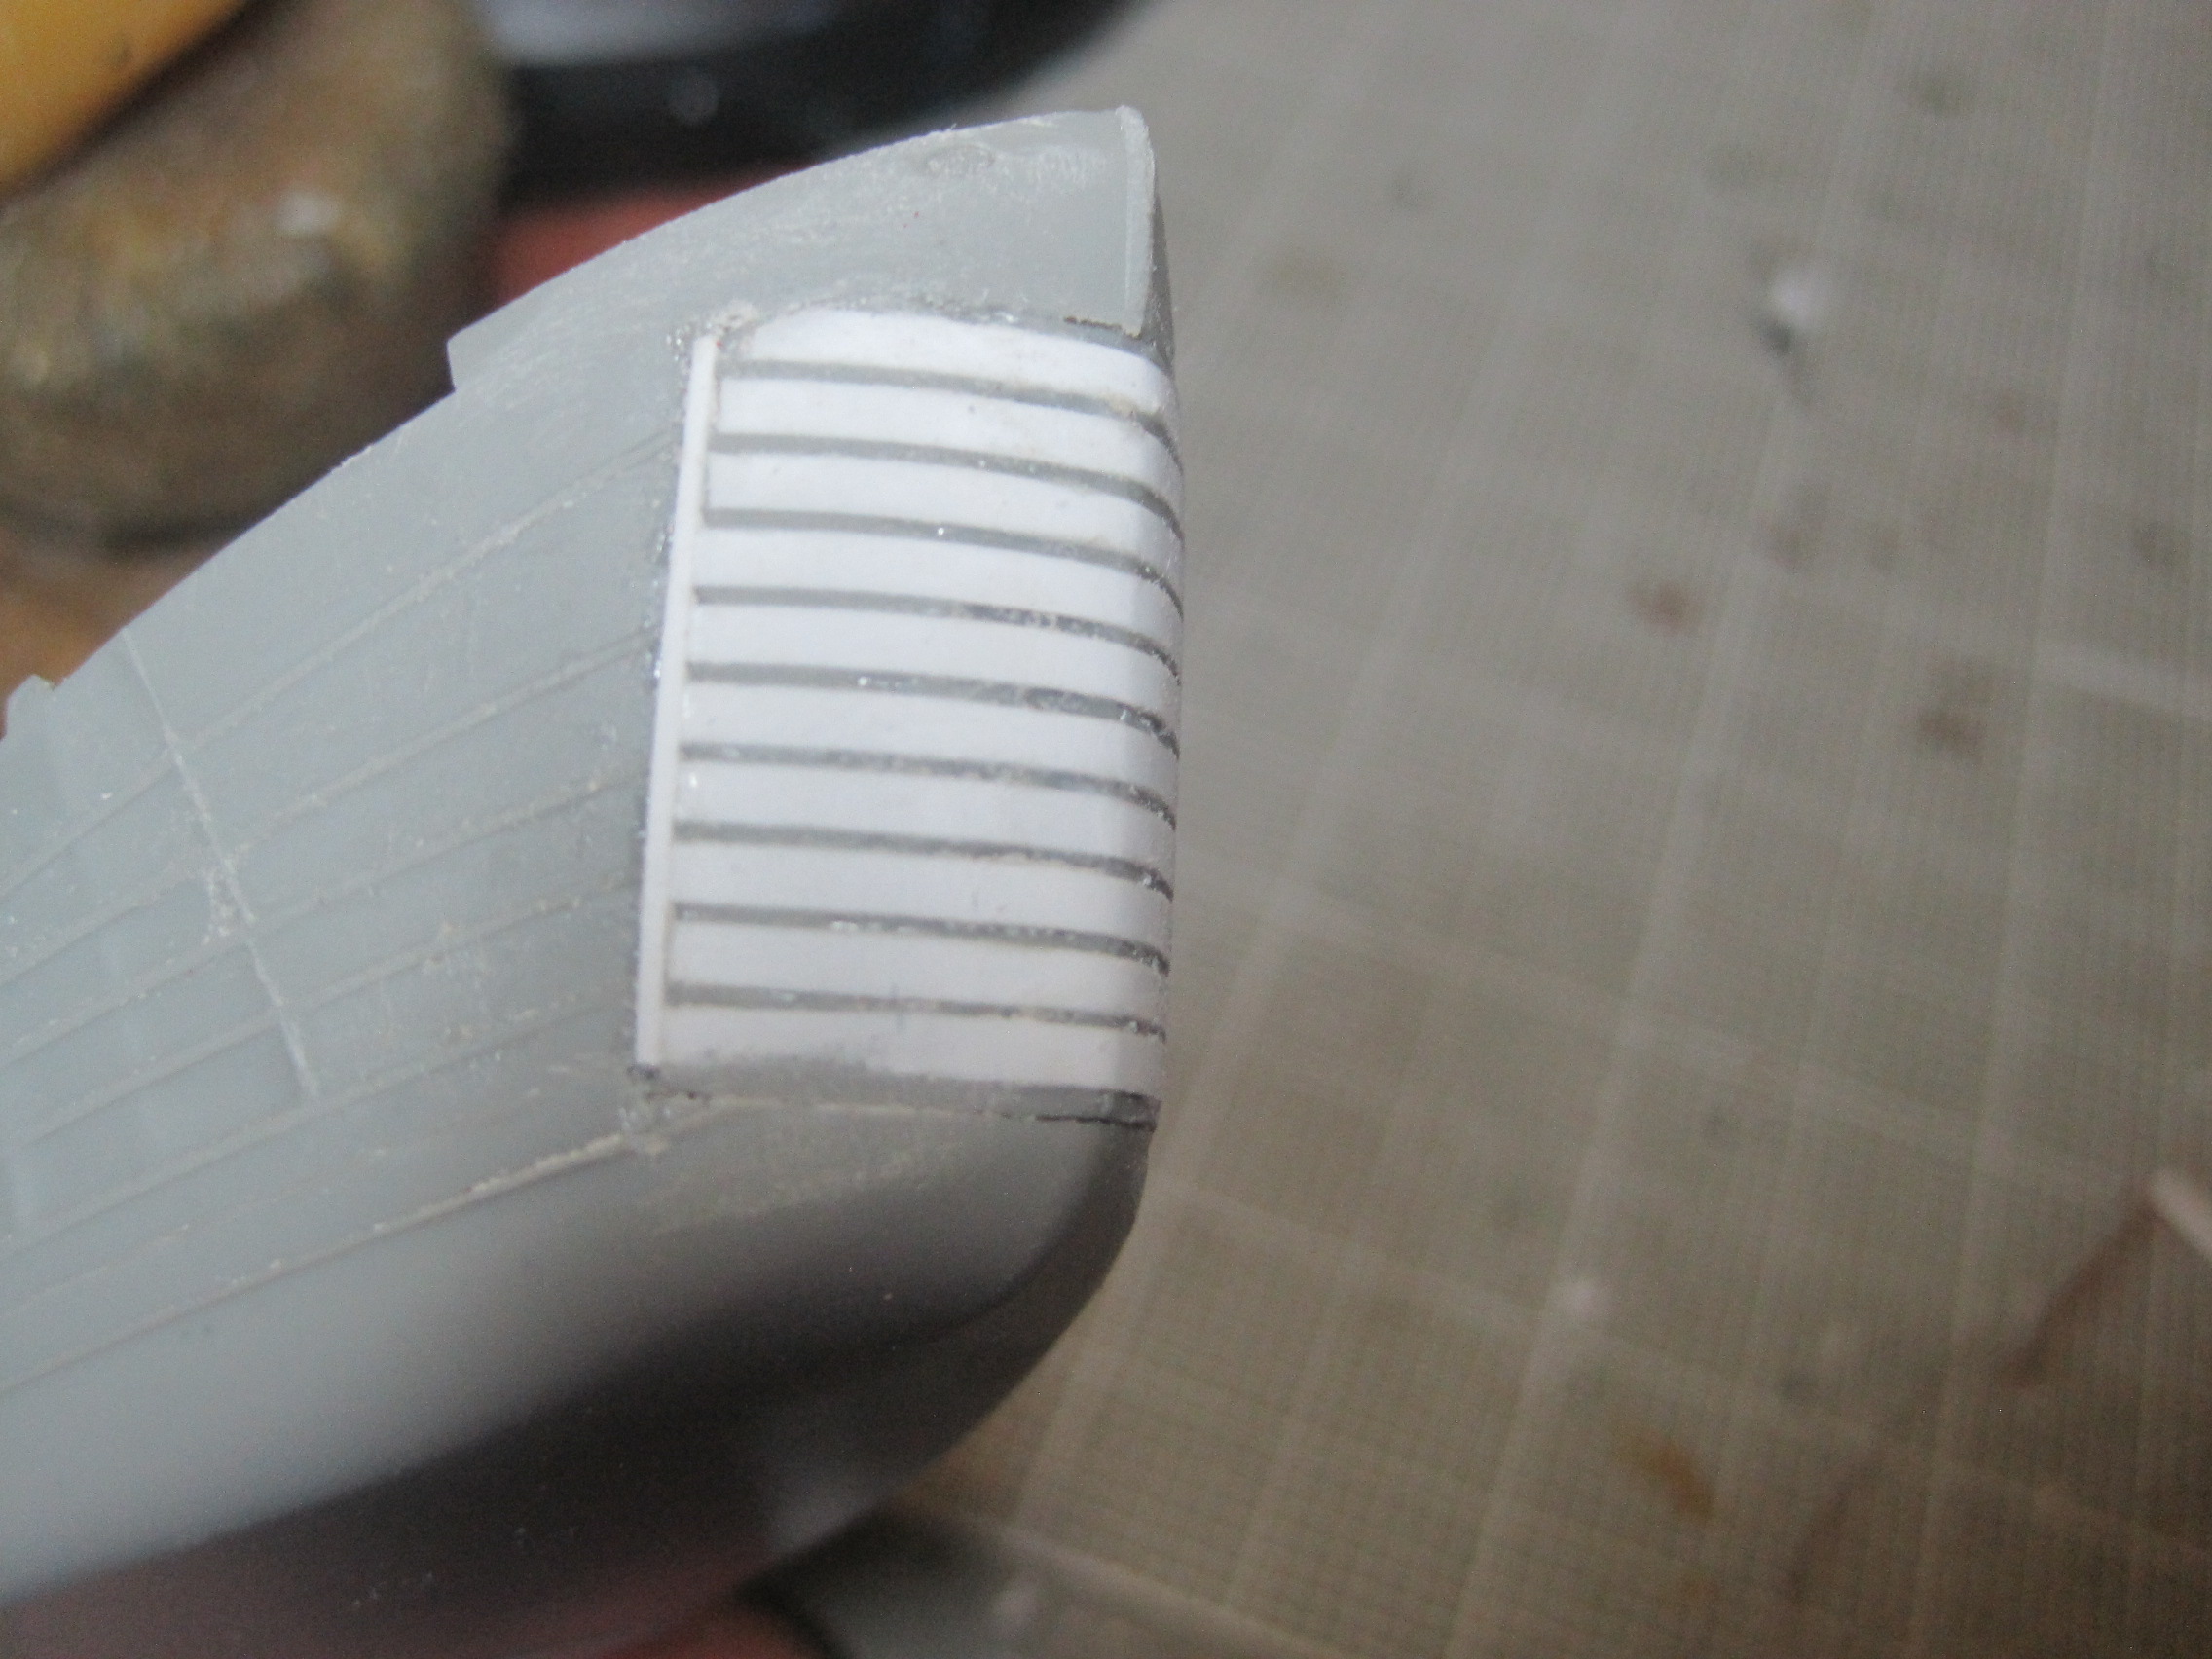
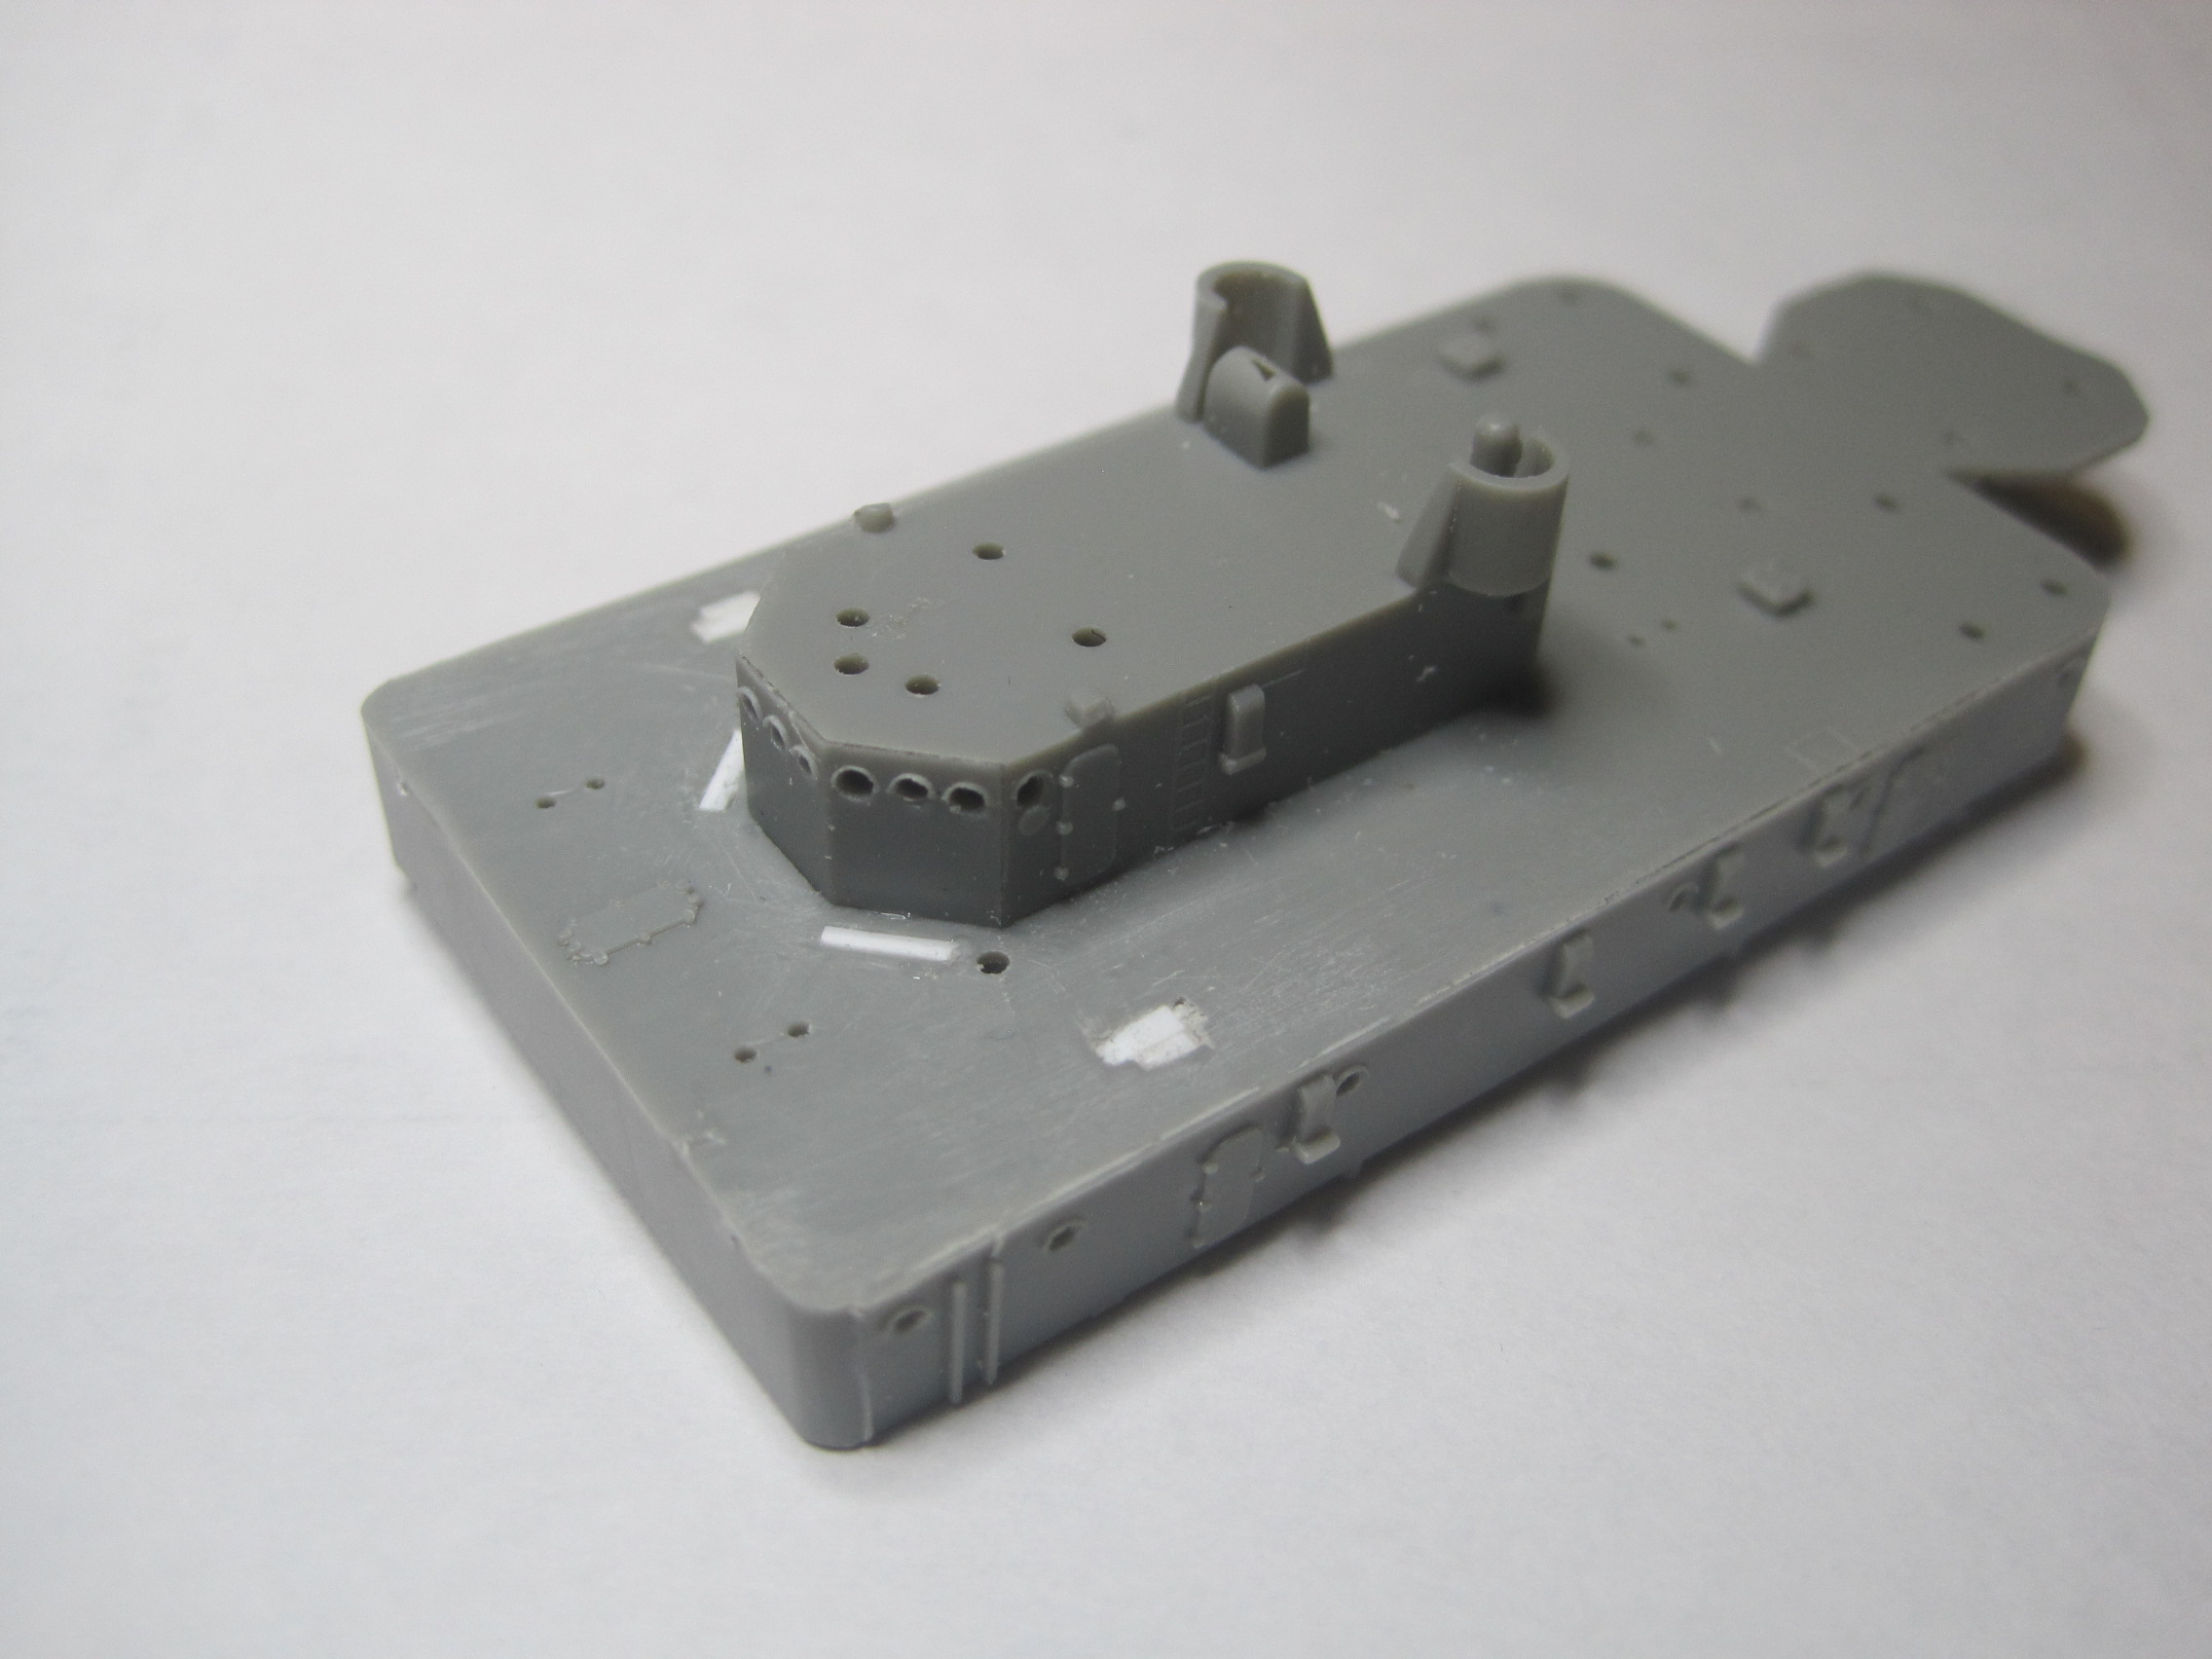
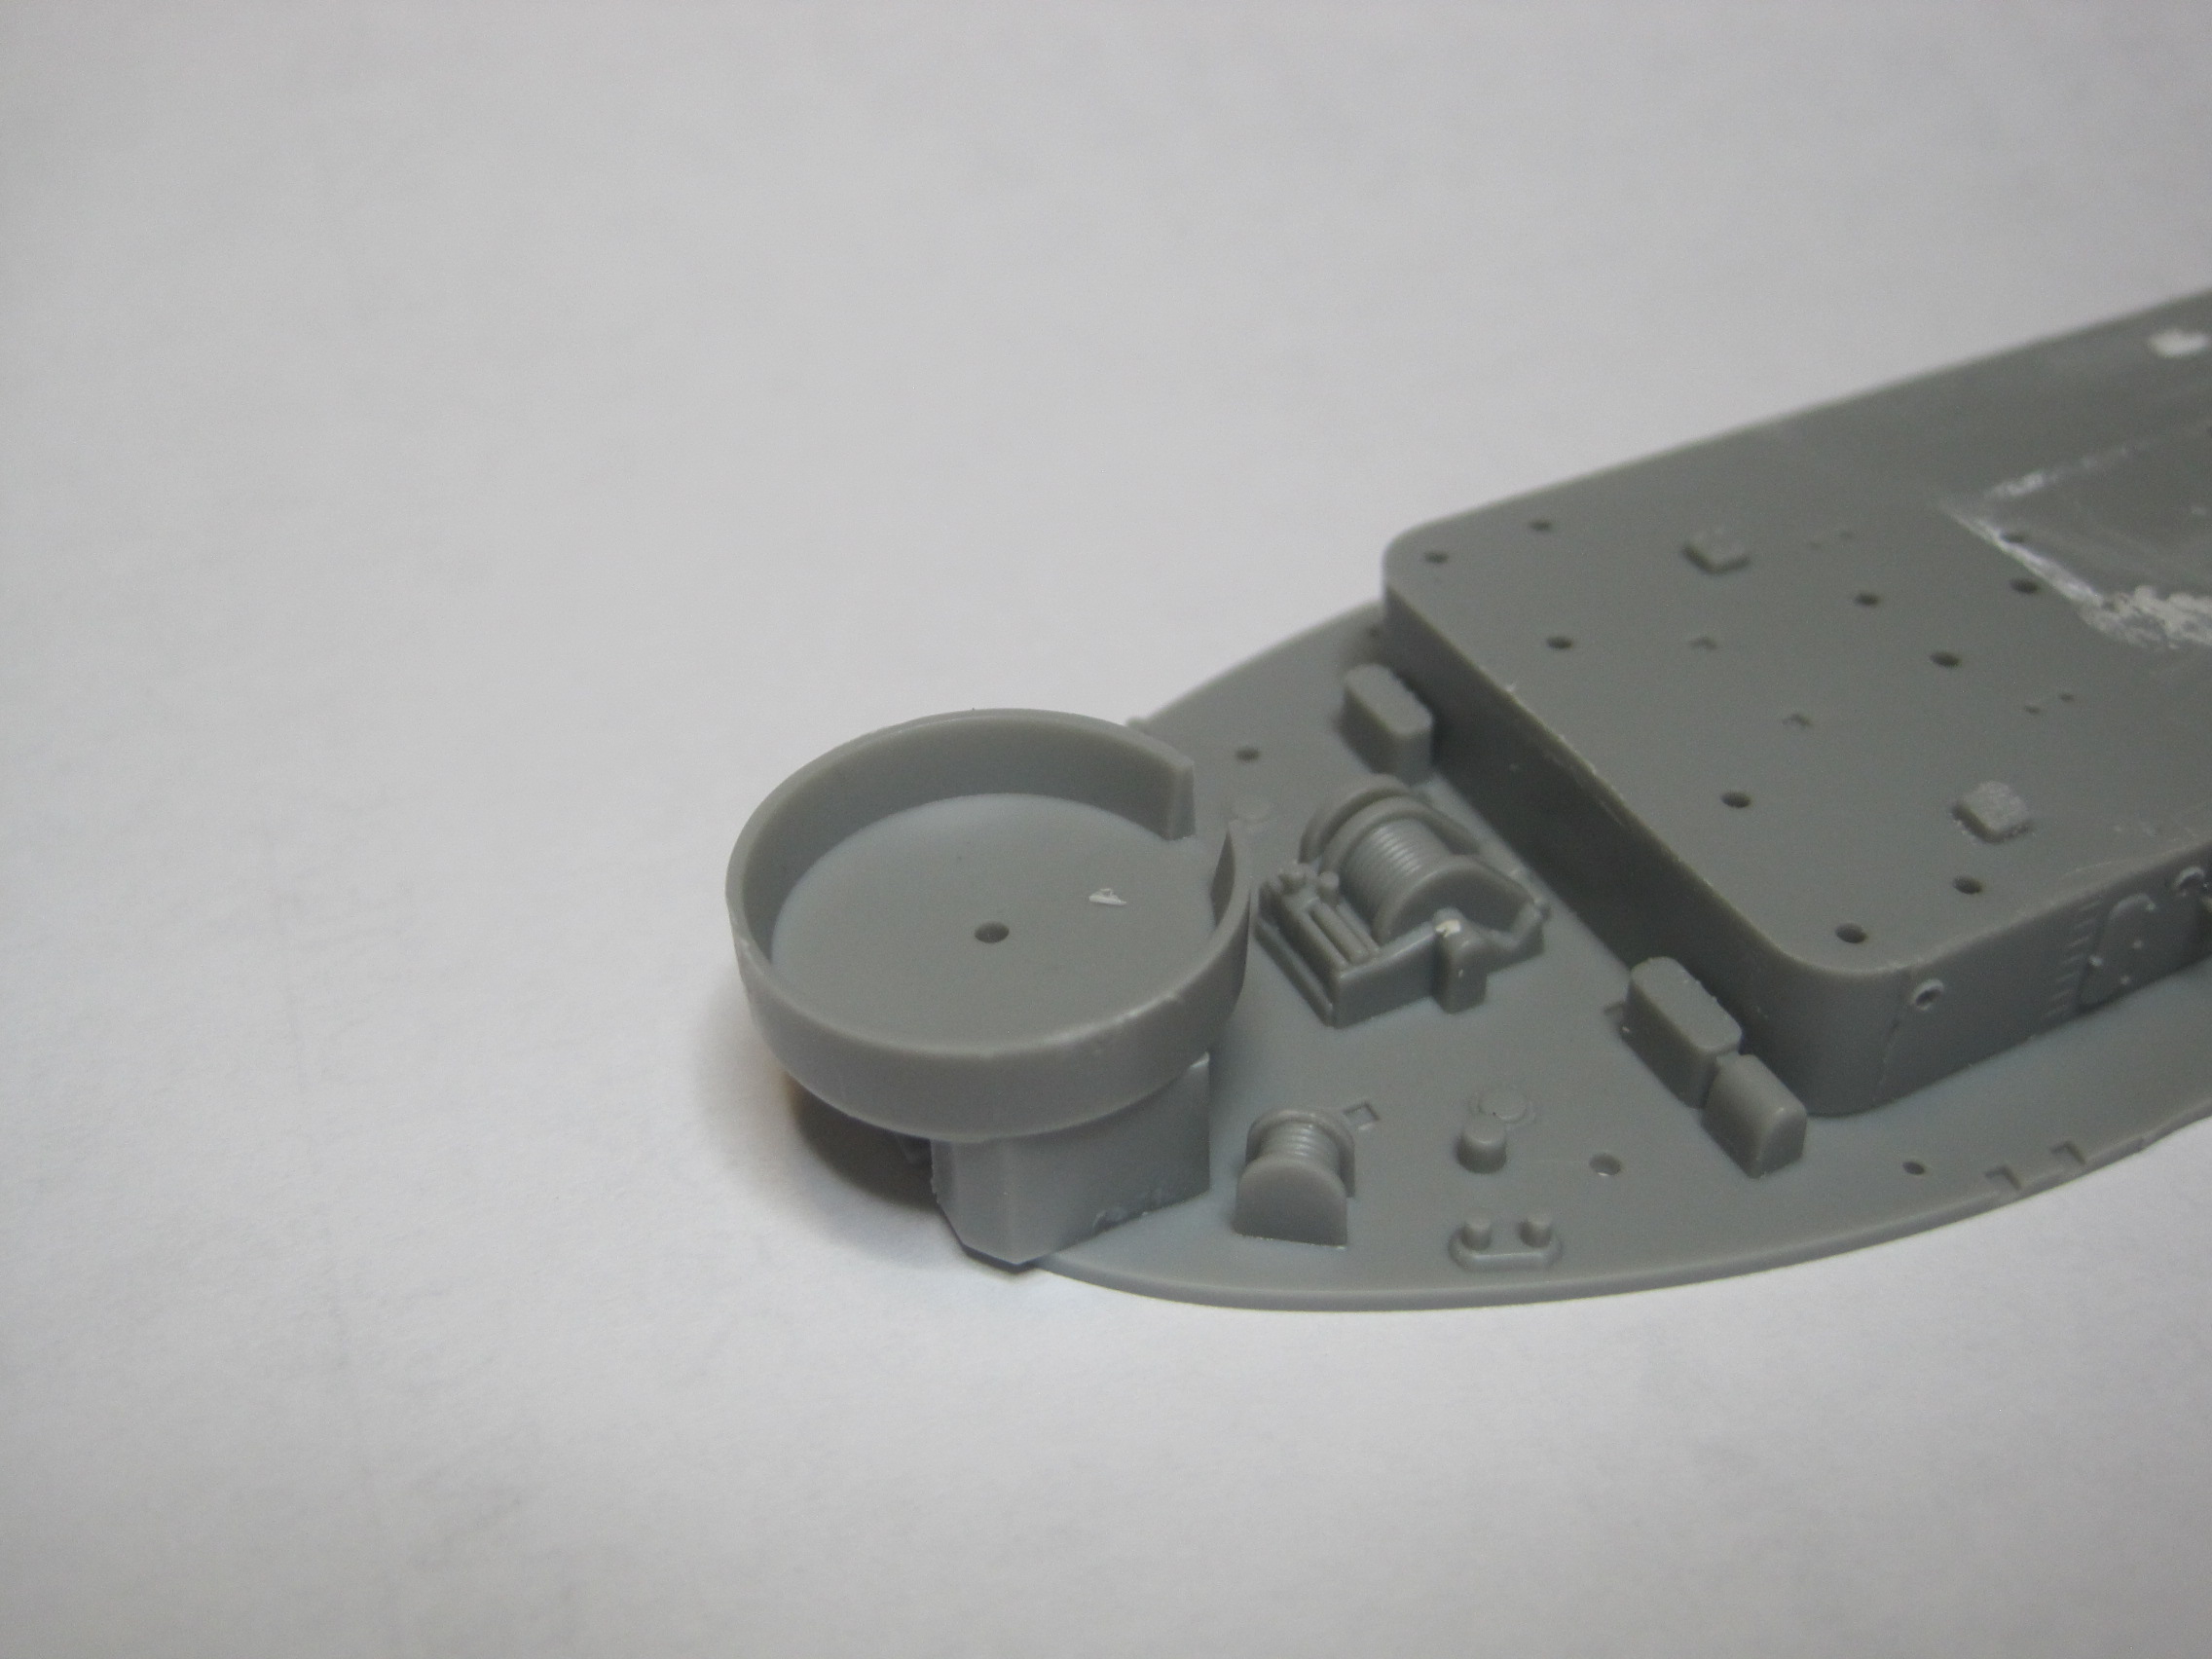
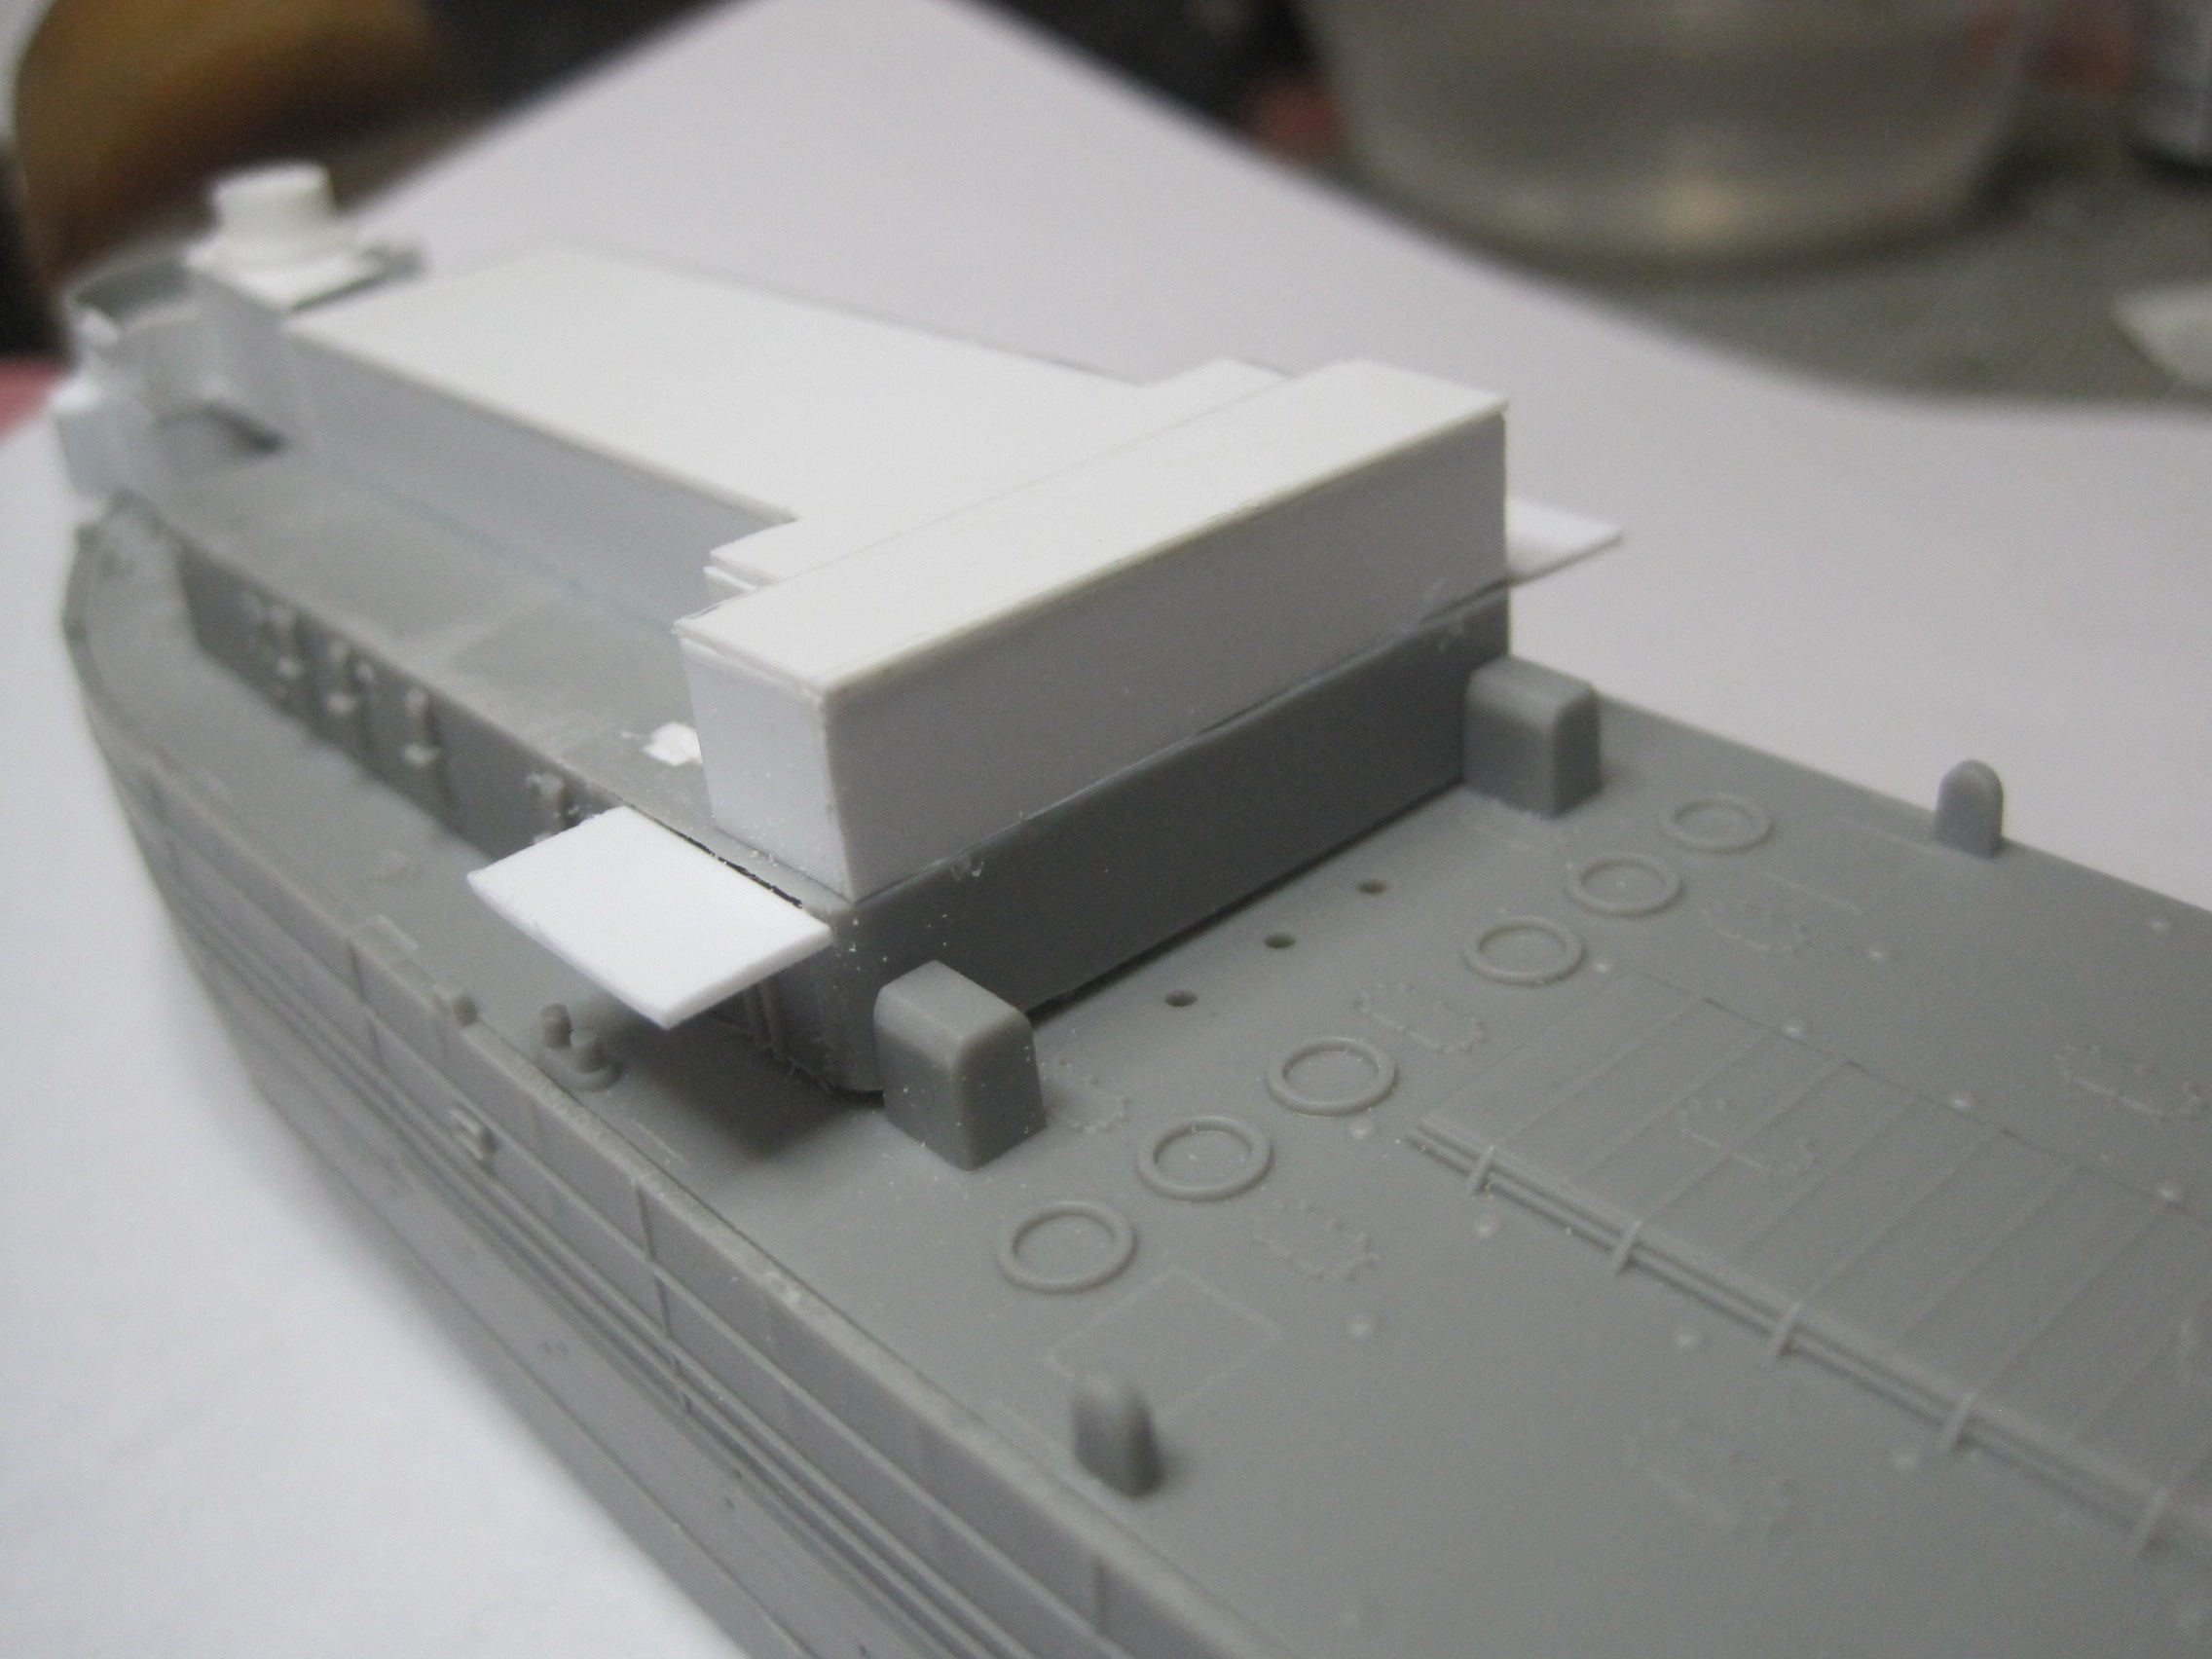
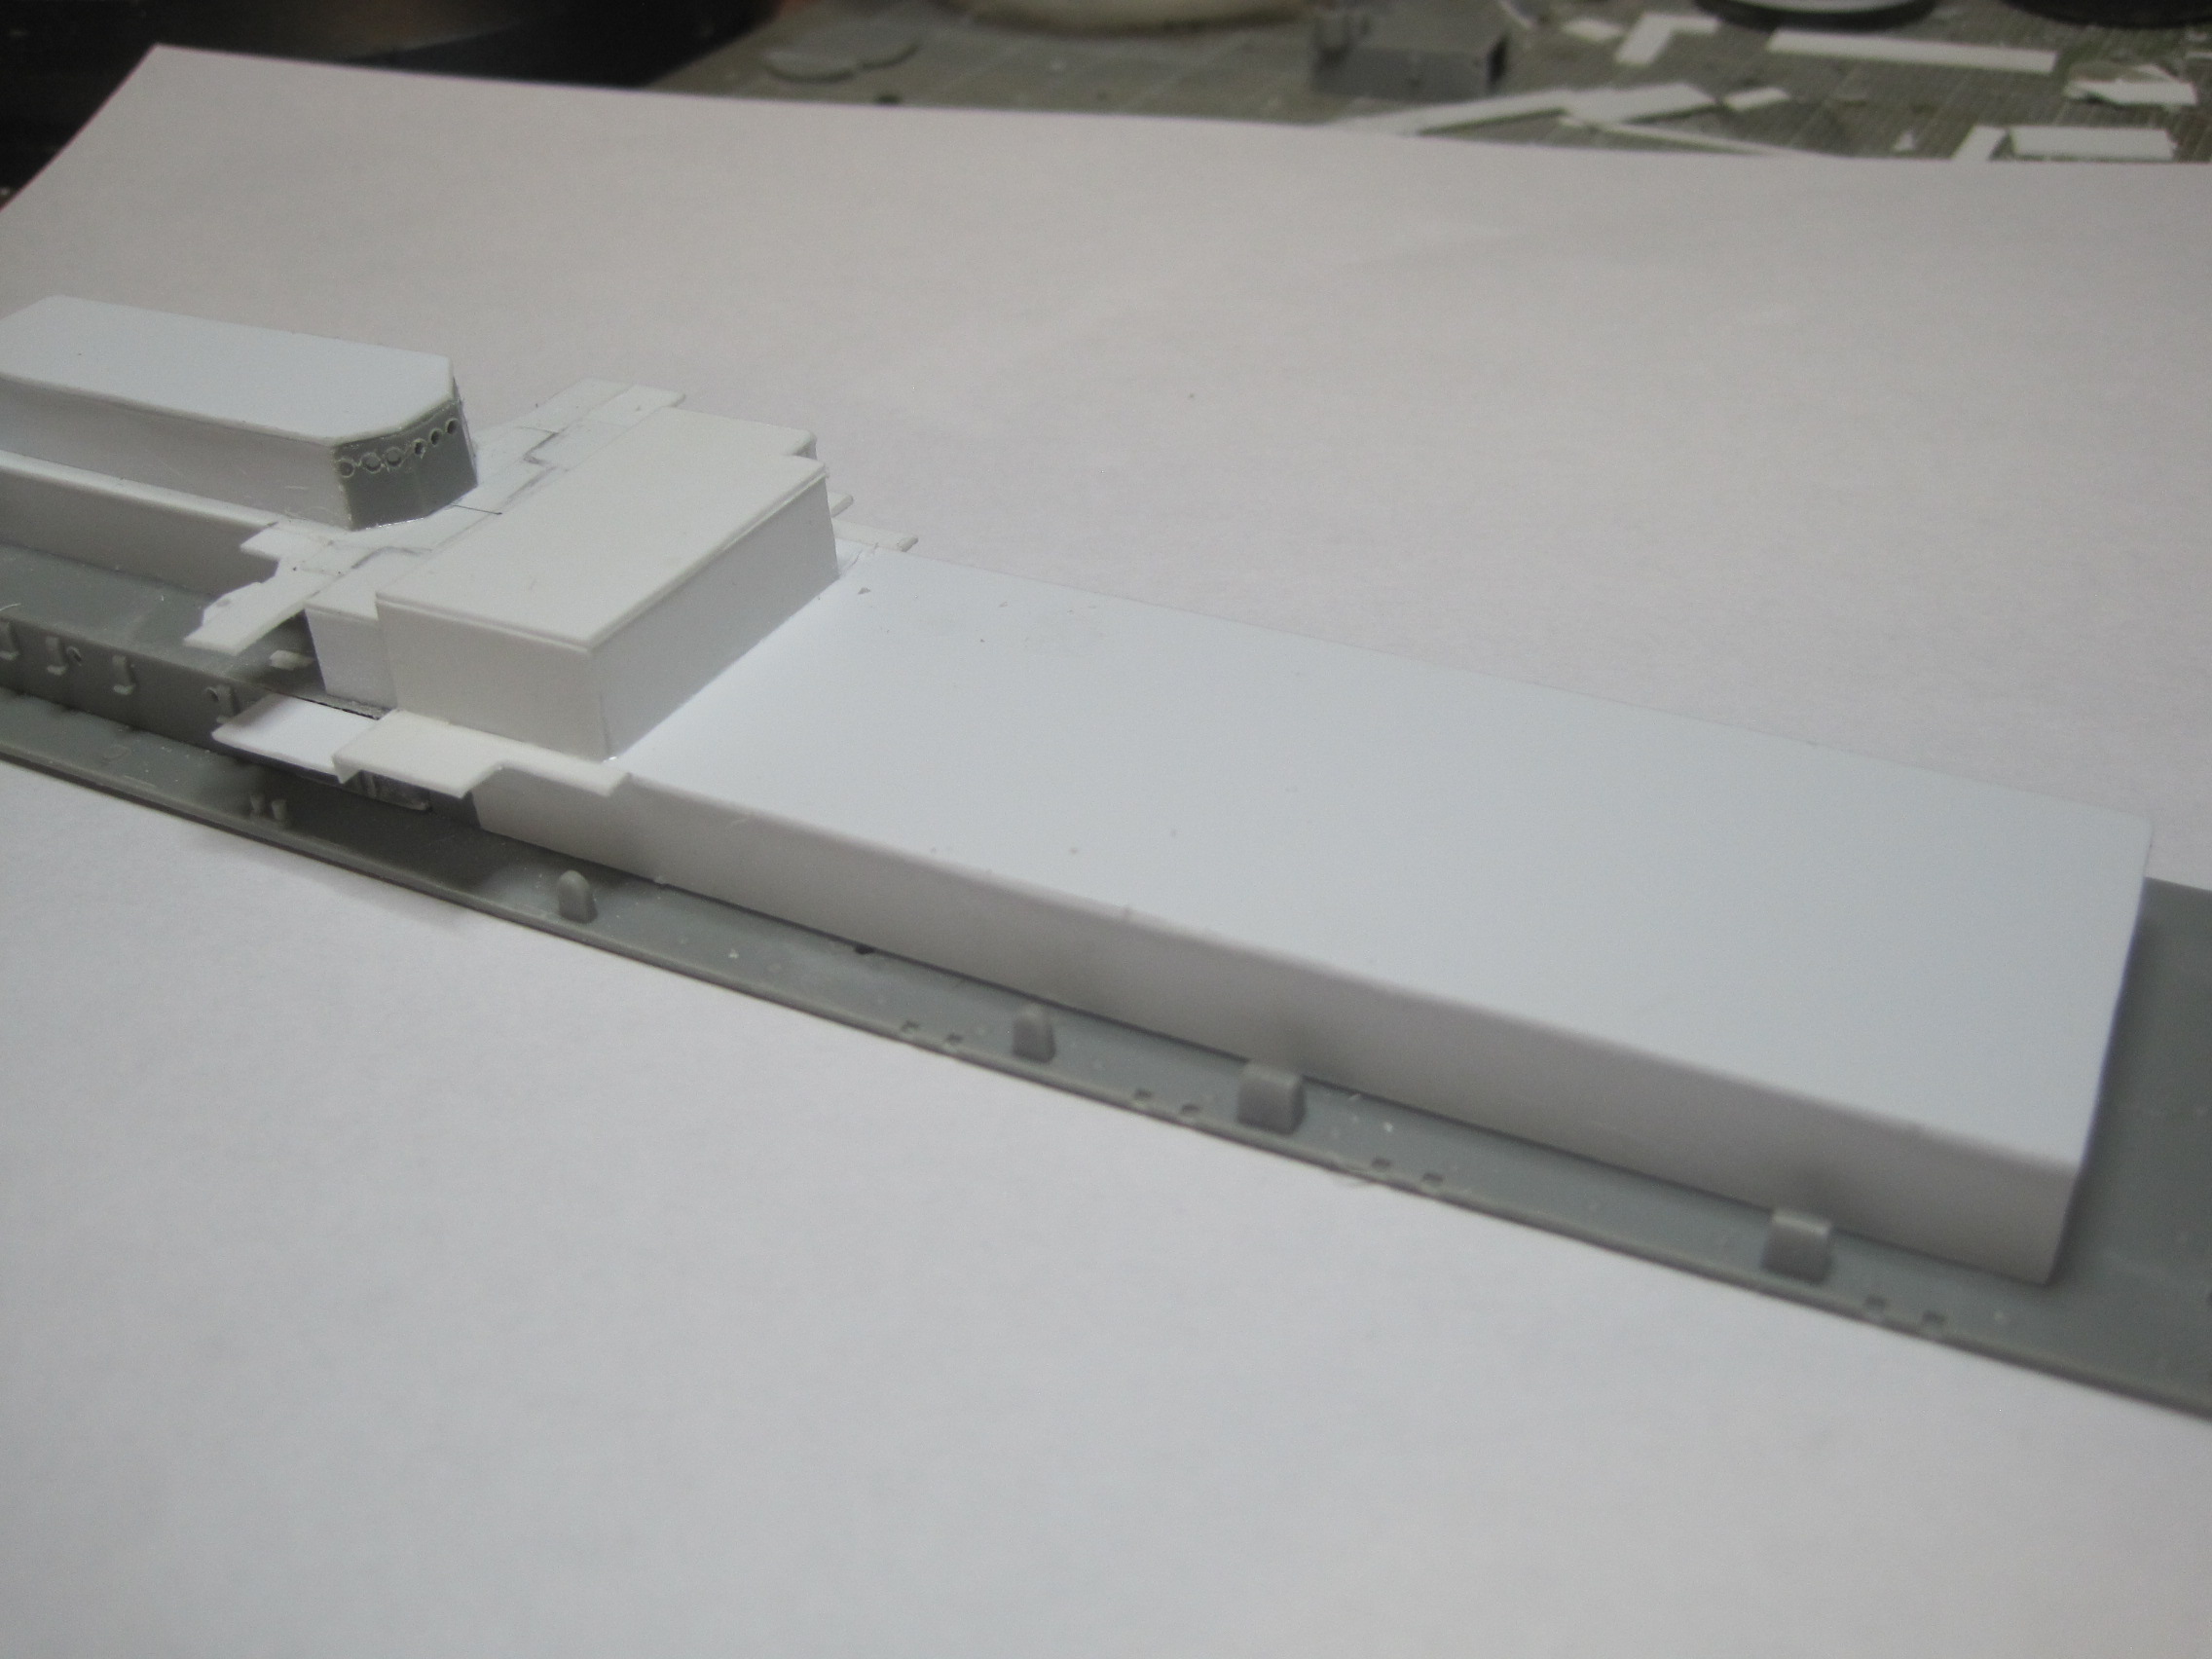
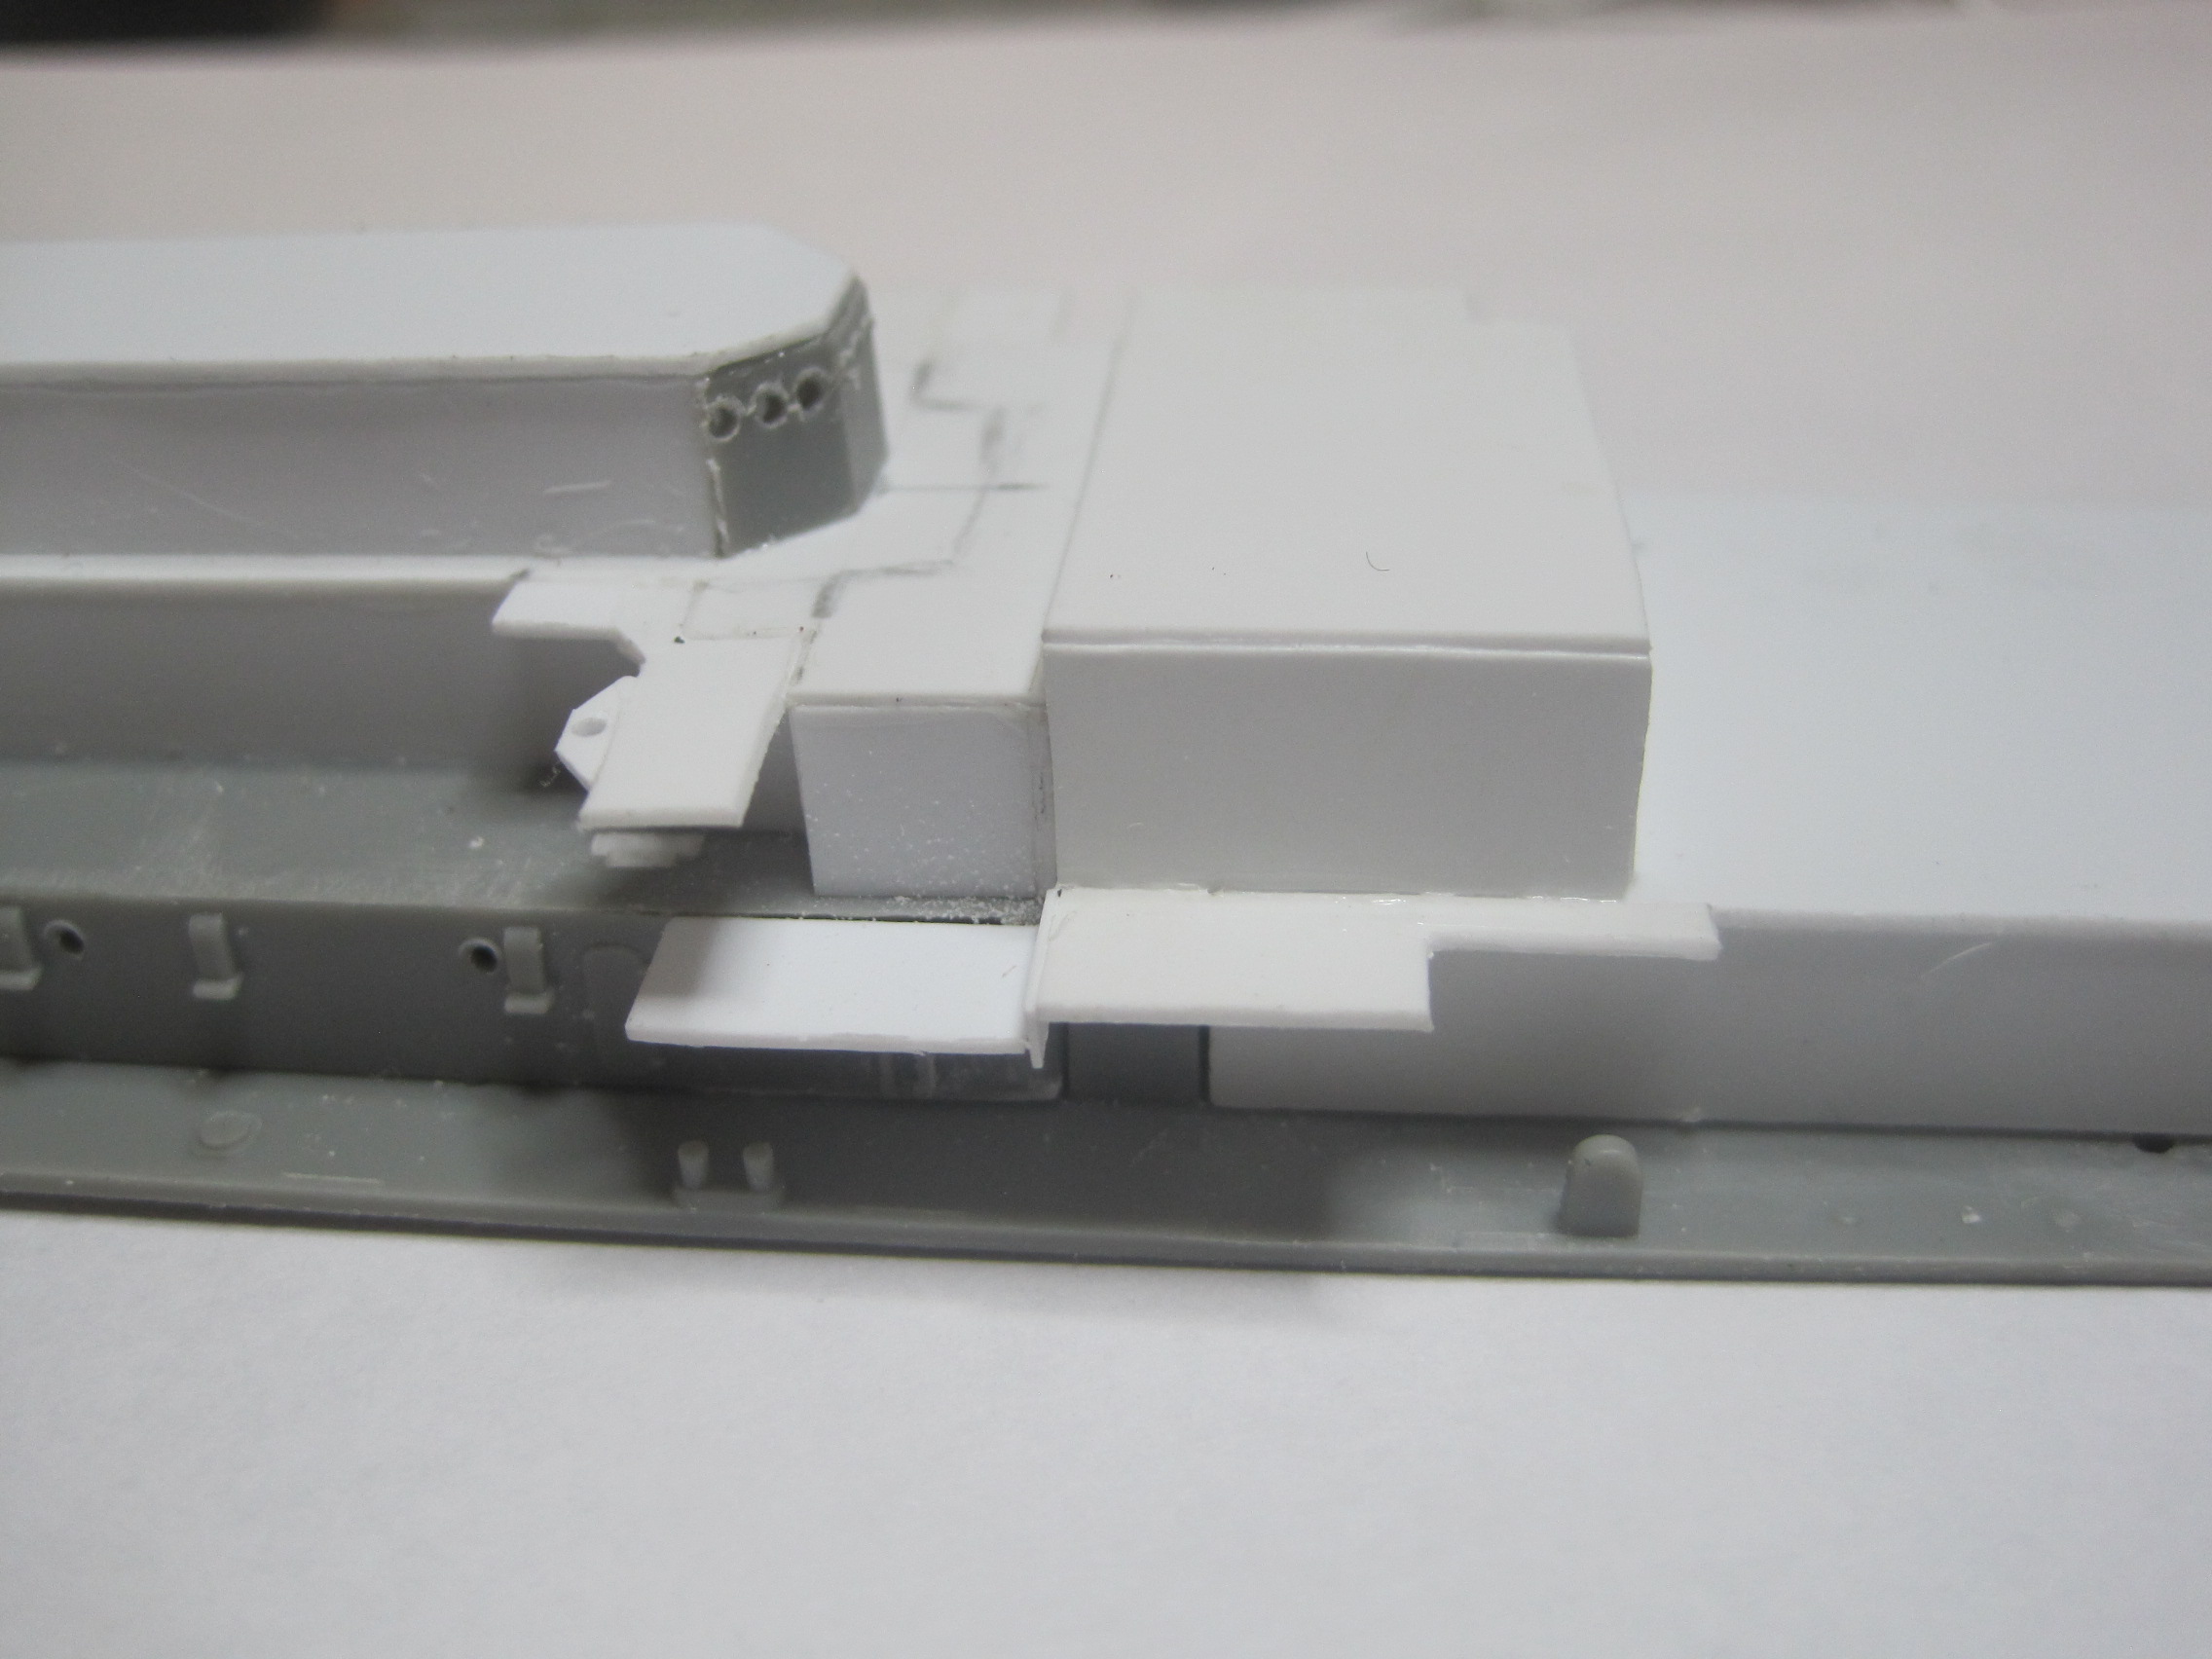
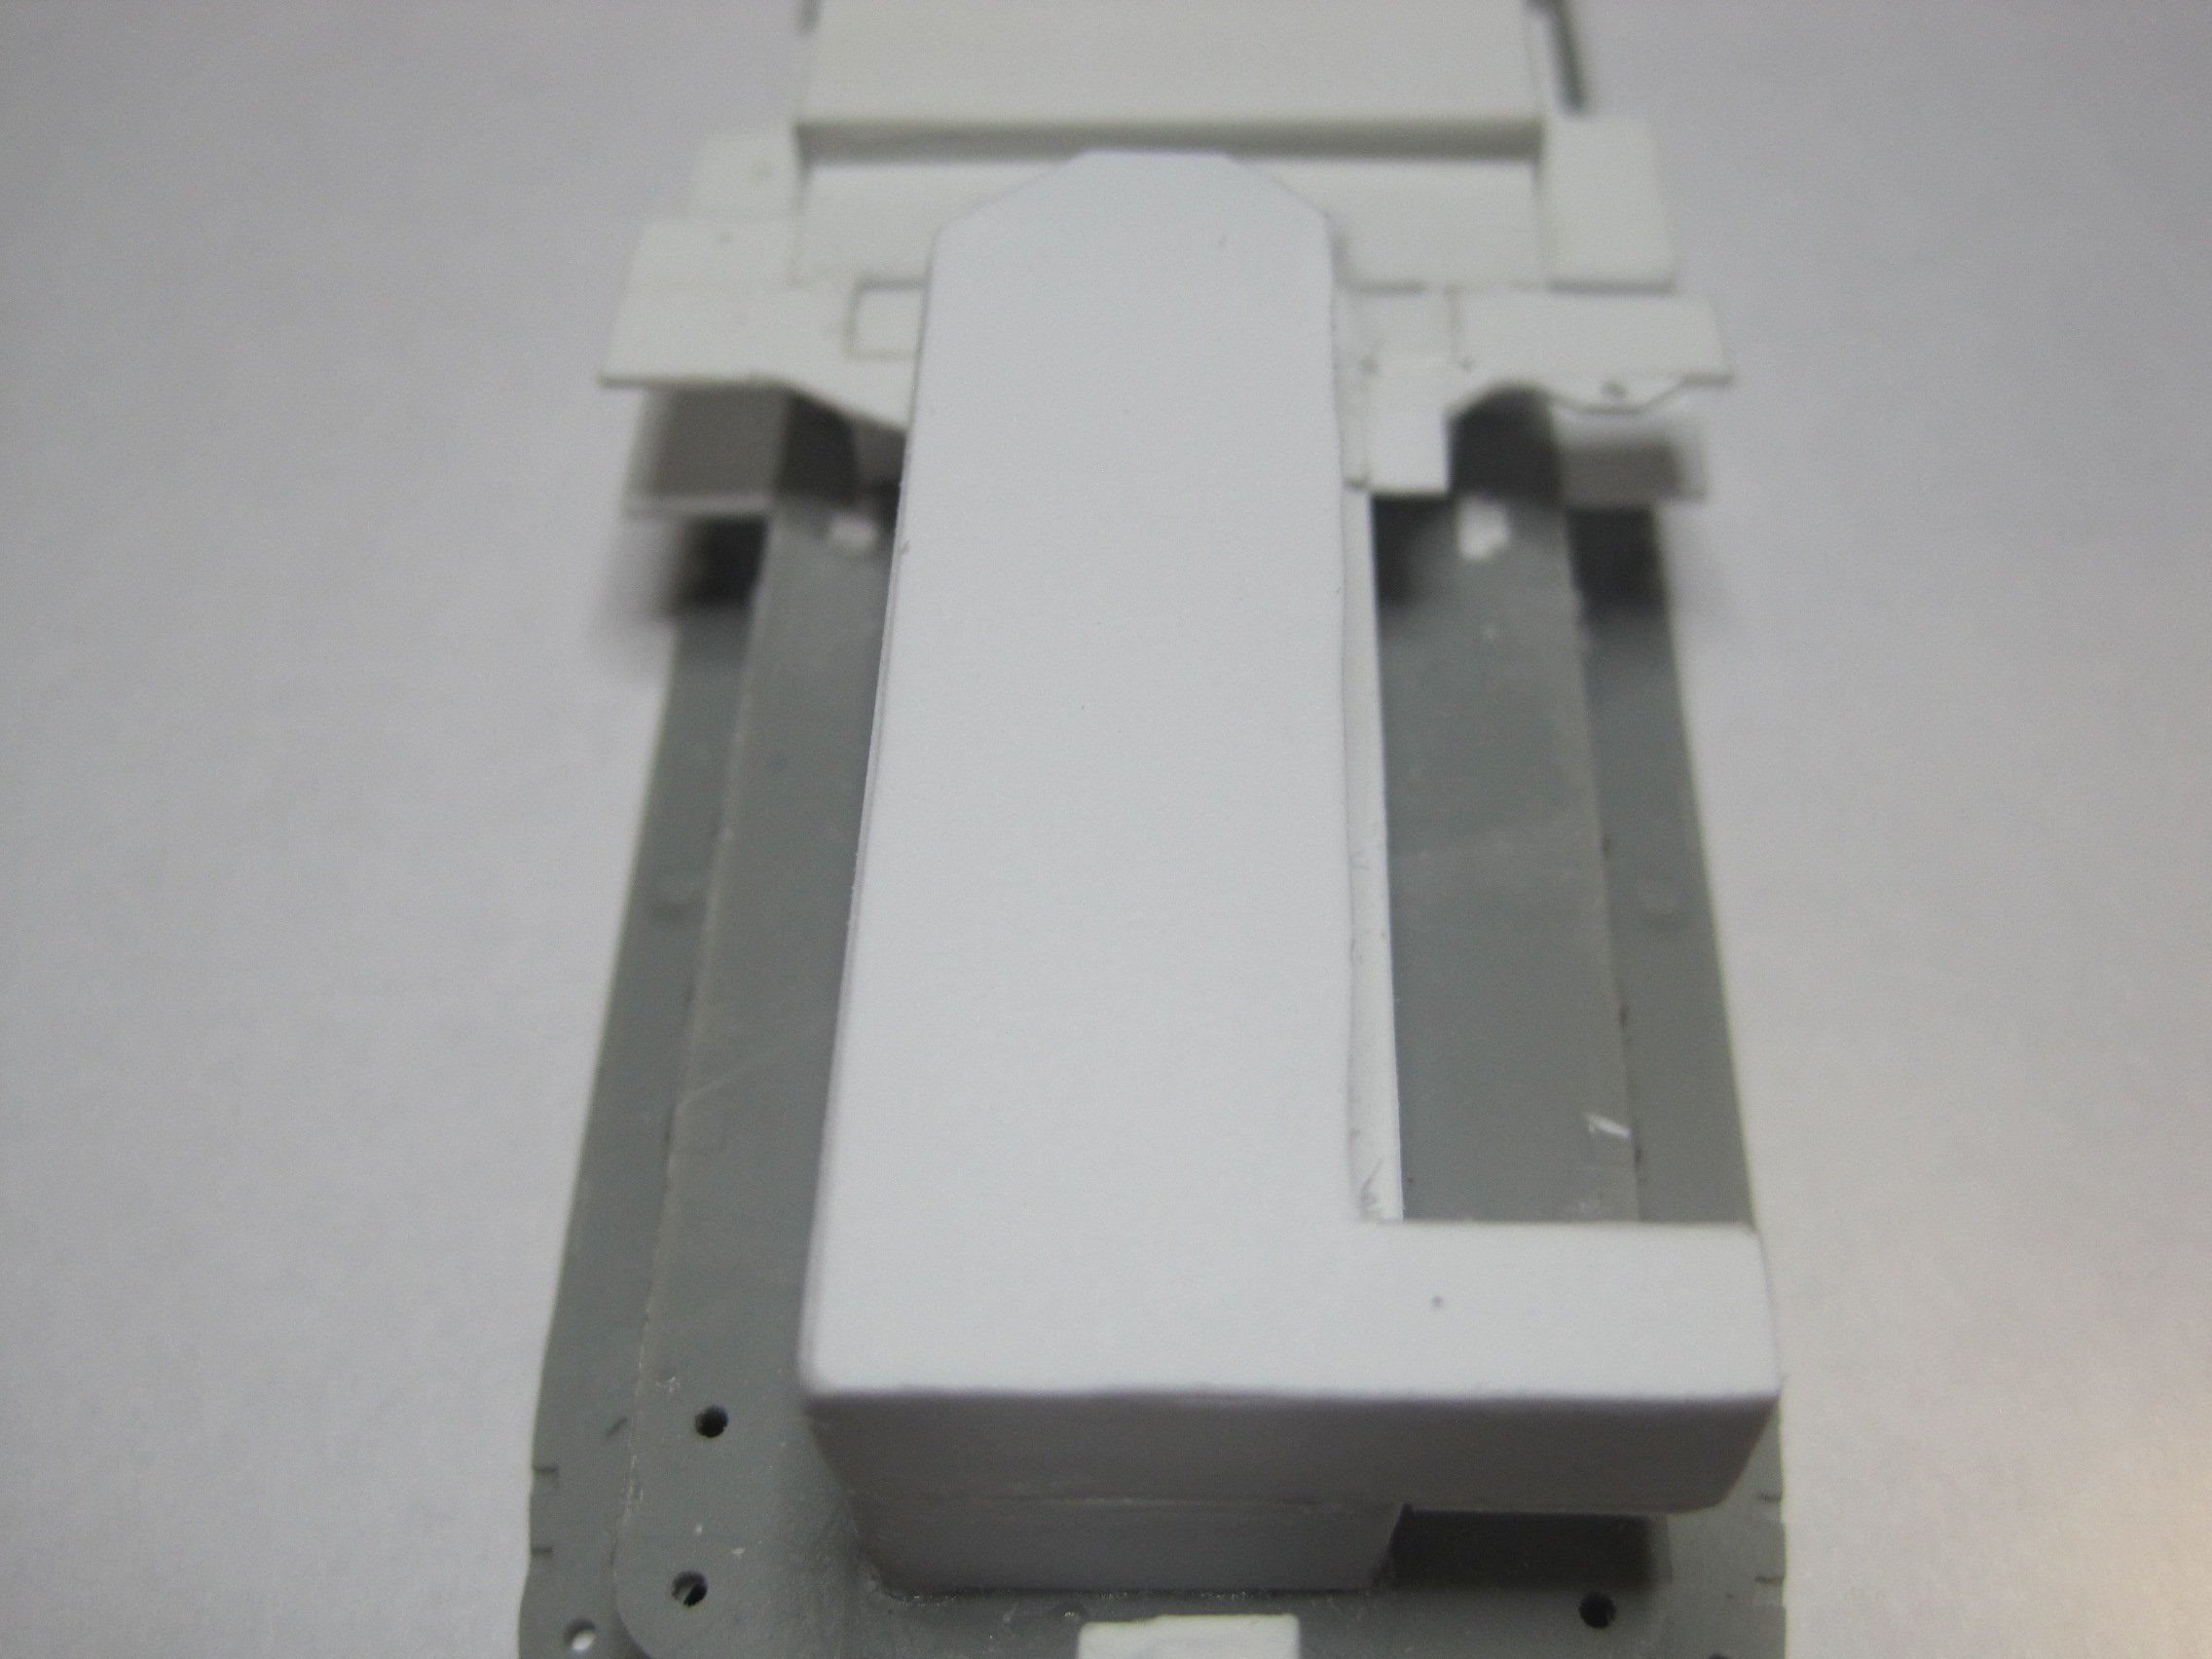
So much for the “history lesson”. Once AFV Club put out their 1/350 LST, I knew that I would be able to finally attempt to build this ship. I’ve actually been building for about 4 months and am getting pretty close to completing the kit. I’ve held off starting this post for a number of reasons, one of them the start of the new forums.

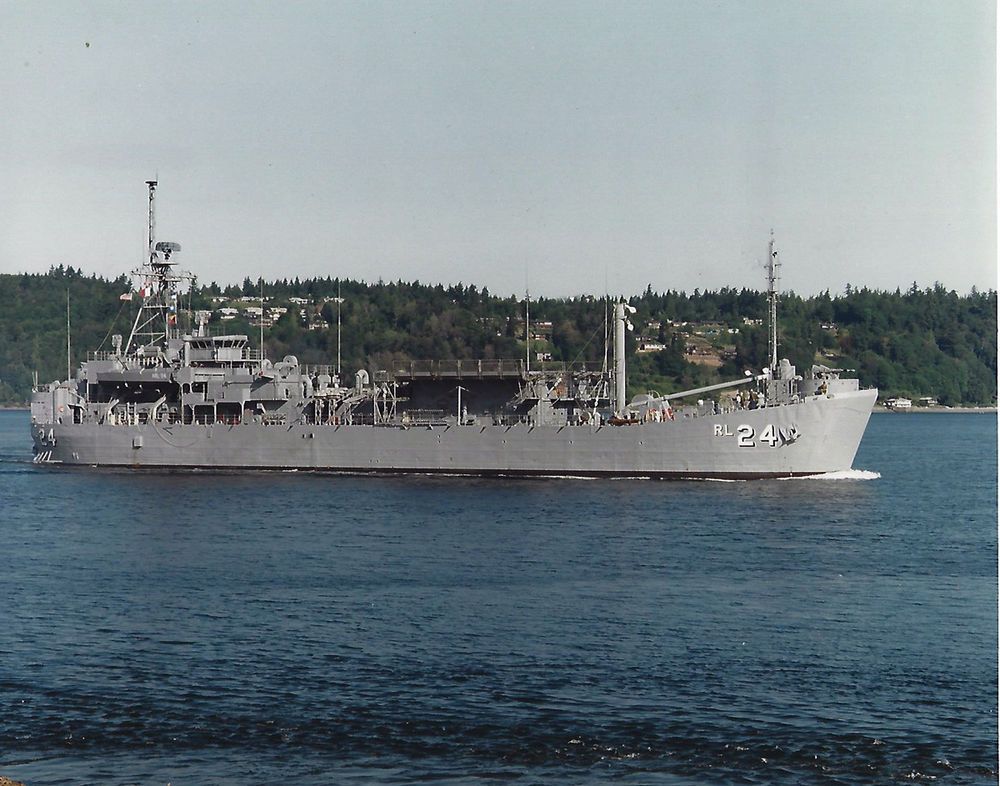
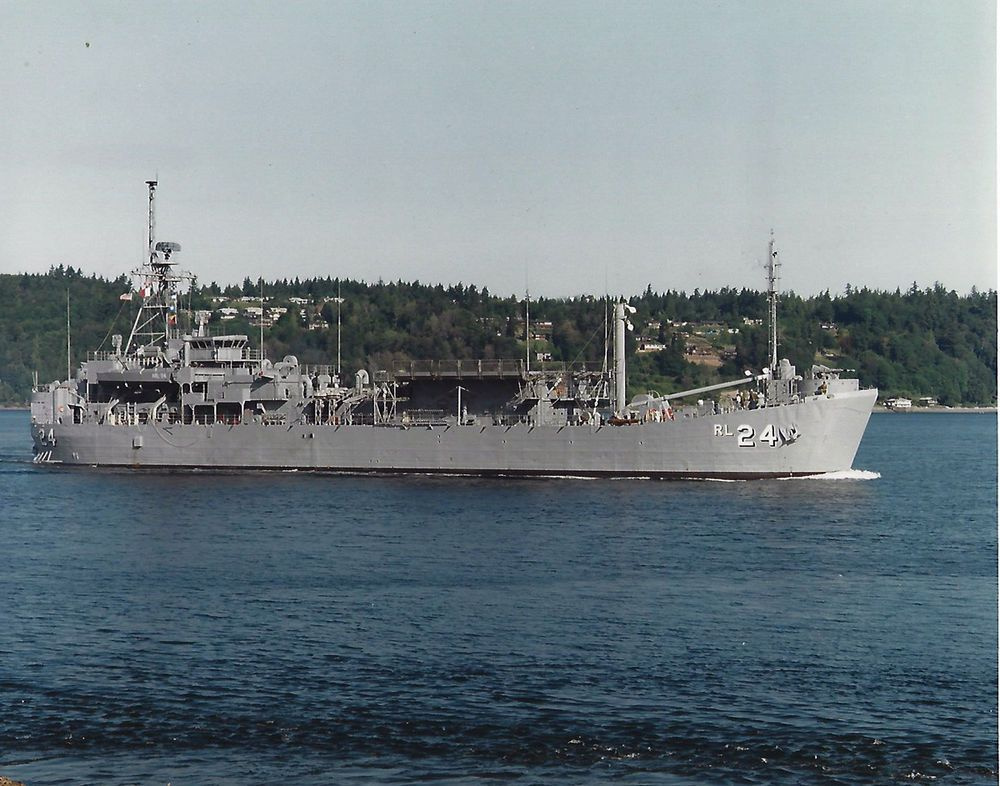
So, with that, here is a picture of the USS Sphinx, ARL-24, and I’ll be following up with a series of posts showing how I’ve attempted to recreate this ship.

4 Likes

I will be following with a lot of interest. This is an unusual subject which is completely new to me.

Thanks. It’s been a fun build but challenging as well. Pretty much everything except the hull itself has had to be scratch built as you’ll be able to tell as I post the photos.

Surprisingly, for a ship that by all rights ought to be pretty obscure, I’ve been able to find an absolute treasure trove of photos to use as reference.

Of course there’s a FB page and someone posted about 40 photos from her 4th commissioning ceremony as well as some candid shots taken while underway. And at the other end of the spectrum, I was able to locate a number of photos take of her when she was tied up in the James River “ghost fleet” and at the breakers while she was being scrapped.

But the biggest break came when I found a couple of photos on line posted by a former Chief on board. After contacting him through his website, he graciously sent me a disc with a 13 minute walk around video tour around the entire topside of the entire ship! That has proved absolutely invaluable in deciphering how to construct things.

One of the biggest challenges has been reconciling what appear to be differences in certain areas of the ship based on photos taken from different angles. Perspective and shadowing can fool the eye, and I’ve had to go back several times and tear up and reconstruct some areas that I realized I hadn’t gotten correctly.

The most surprising thing to me was finding out the the ship was nowhere NEAR symmetrical left/right down the center line of the hull. Most ships (with the obvious exception of an Aircraft Carrier) seem to be VERY close to mirror images from one side to the other, for example a destroyer or battle ship.

The Sphinx seems to have gone out of its way to be completely different, but luckily I’ve had way more references than I would have expected.

Anyway, I’ll get started with a few shots. The most obvious feature of the LST was the fact that the bow was formed with two huge doors that opened out so when the ship was beached (they had extremely shallow drafts) they could unload their hold full of cargo, usually tanks and other vehicles down the ramp and directly on to the beach.

As a repair ship and then intel ship these were not required, so the first order of business was to represent the welding shut and sealing these up to form a more “normal” bow.

4 Likes

An impressive nautical history, and a personal link has added another nice touch. Looking forward to seeing more.

Tom, this is certainly an offbeat and interesting subject - I’ll be following with interest. In the photo of the original ship the hull sides look rather smooth, so it looks like there is some sanding in your future!


Which kit are you starting with?

Tom,

Will be following with interest!! :beer: :beer:

Thanks for the comments.

Tim, I’m using the 1/350 AFV Club kit. They seem to do a pretty good job of research and molding, so since I already have 5 other ships in that scale, that’s where I started.

And your note about the possible sanding required is a good illustration about how I’ve had to be very careful in what information I take from my reference photos! Check out this one which shows the Sphinx in 2007 after she’d been towed to the breakers for scrap. (Oddly enough, this yard is only about 3 miles from where I grew up and went to High School in Chesapeake, VA).

In this shot you can see that the lines on the sides of the hull are still pretty visible, so I decided to just leave them.

MUCH less work! :grinning:

1 Like

This next group of photos shows the original deck house and enclosed bridge. On the original LST’s in WW II there was an open air conning station on the level above the second deck structure shown. This much of the ship was mostly maintained when she was reconstructed. Also the original WW II LST configuration, while they included a ton of AA armament, including a lot of 20mm as well as 40mm, interestingly the 40mm mounts appeared to all be twin mount and not the quad mounts that ended their Navy service on the Sphinx.

So first I had to start with this deck house and then make the aft 40mm mount structure.

And since I had purchased BOTH the AFV AND the Infini aftermarket PE sets (an excellent investment if you’re going to build an LST in its WW II configuration, but only a few parts will wind up on this build), I removed both the hose reels and the large winch from the stern. The PE winch will remain, but buried underneath the platform supporting the Mk 51 director, and the hose reels (and the 20mm ammo locker boxes) are removed.

1 Like

And since I appear to be limited to only 5 photos per post, here are the rest from this step.

2 Likes

The next step was to construct the deck house which is a continuation of the shorter one on the original LST. I was able to locate some very detailed plans, but unfortunately, they depicted what I call Sphinx 3.0, or how she look in her third commissioning period as an actual Repair ship. These were somewhat helpful but it turns out that in converting her to her final configuration which included the helipad there were a number of changes to the structure.

Again, this proved a bit tricky as it was difficult to determine the exact shape using a single photo. And as sharp eyed reviewers will notice as I dug further into my research photos, I determined that I’d made some mistakes and had to go back and make modifications. In ONE case I actually had it correct originally, changed it, and then found another photo which showed the original construction had been correct. It’s one of the major difficulties of scratch building when you don’t have detailed plans.

But overall I’ve gotten to the point that I’m now pretty comfortable that it’s reasonably accurate.

2 Likes

And the rest.

!

2 Likes

Looking very good! I cant wait to see more! :smile:

Your wish is my command! :laughing: 
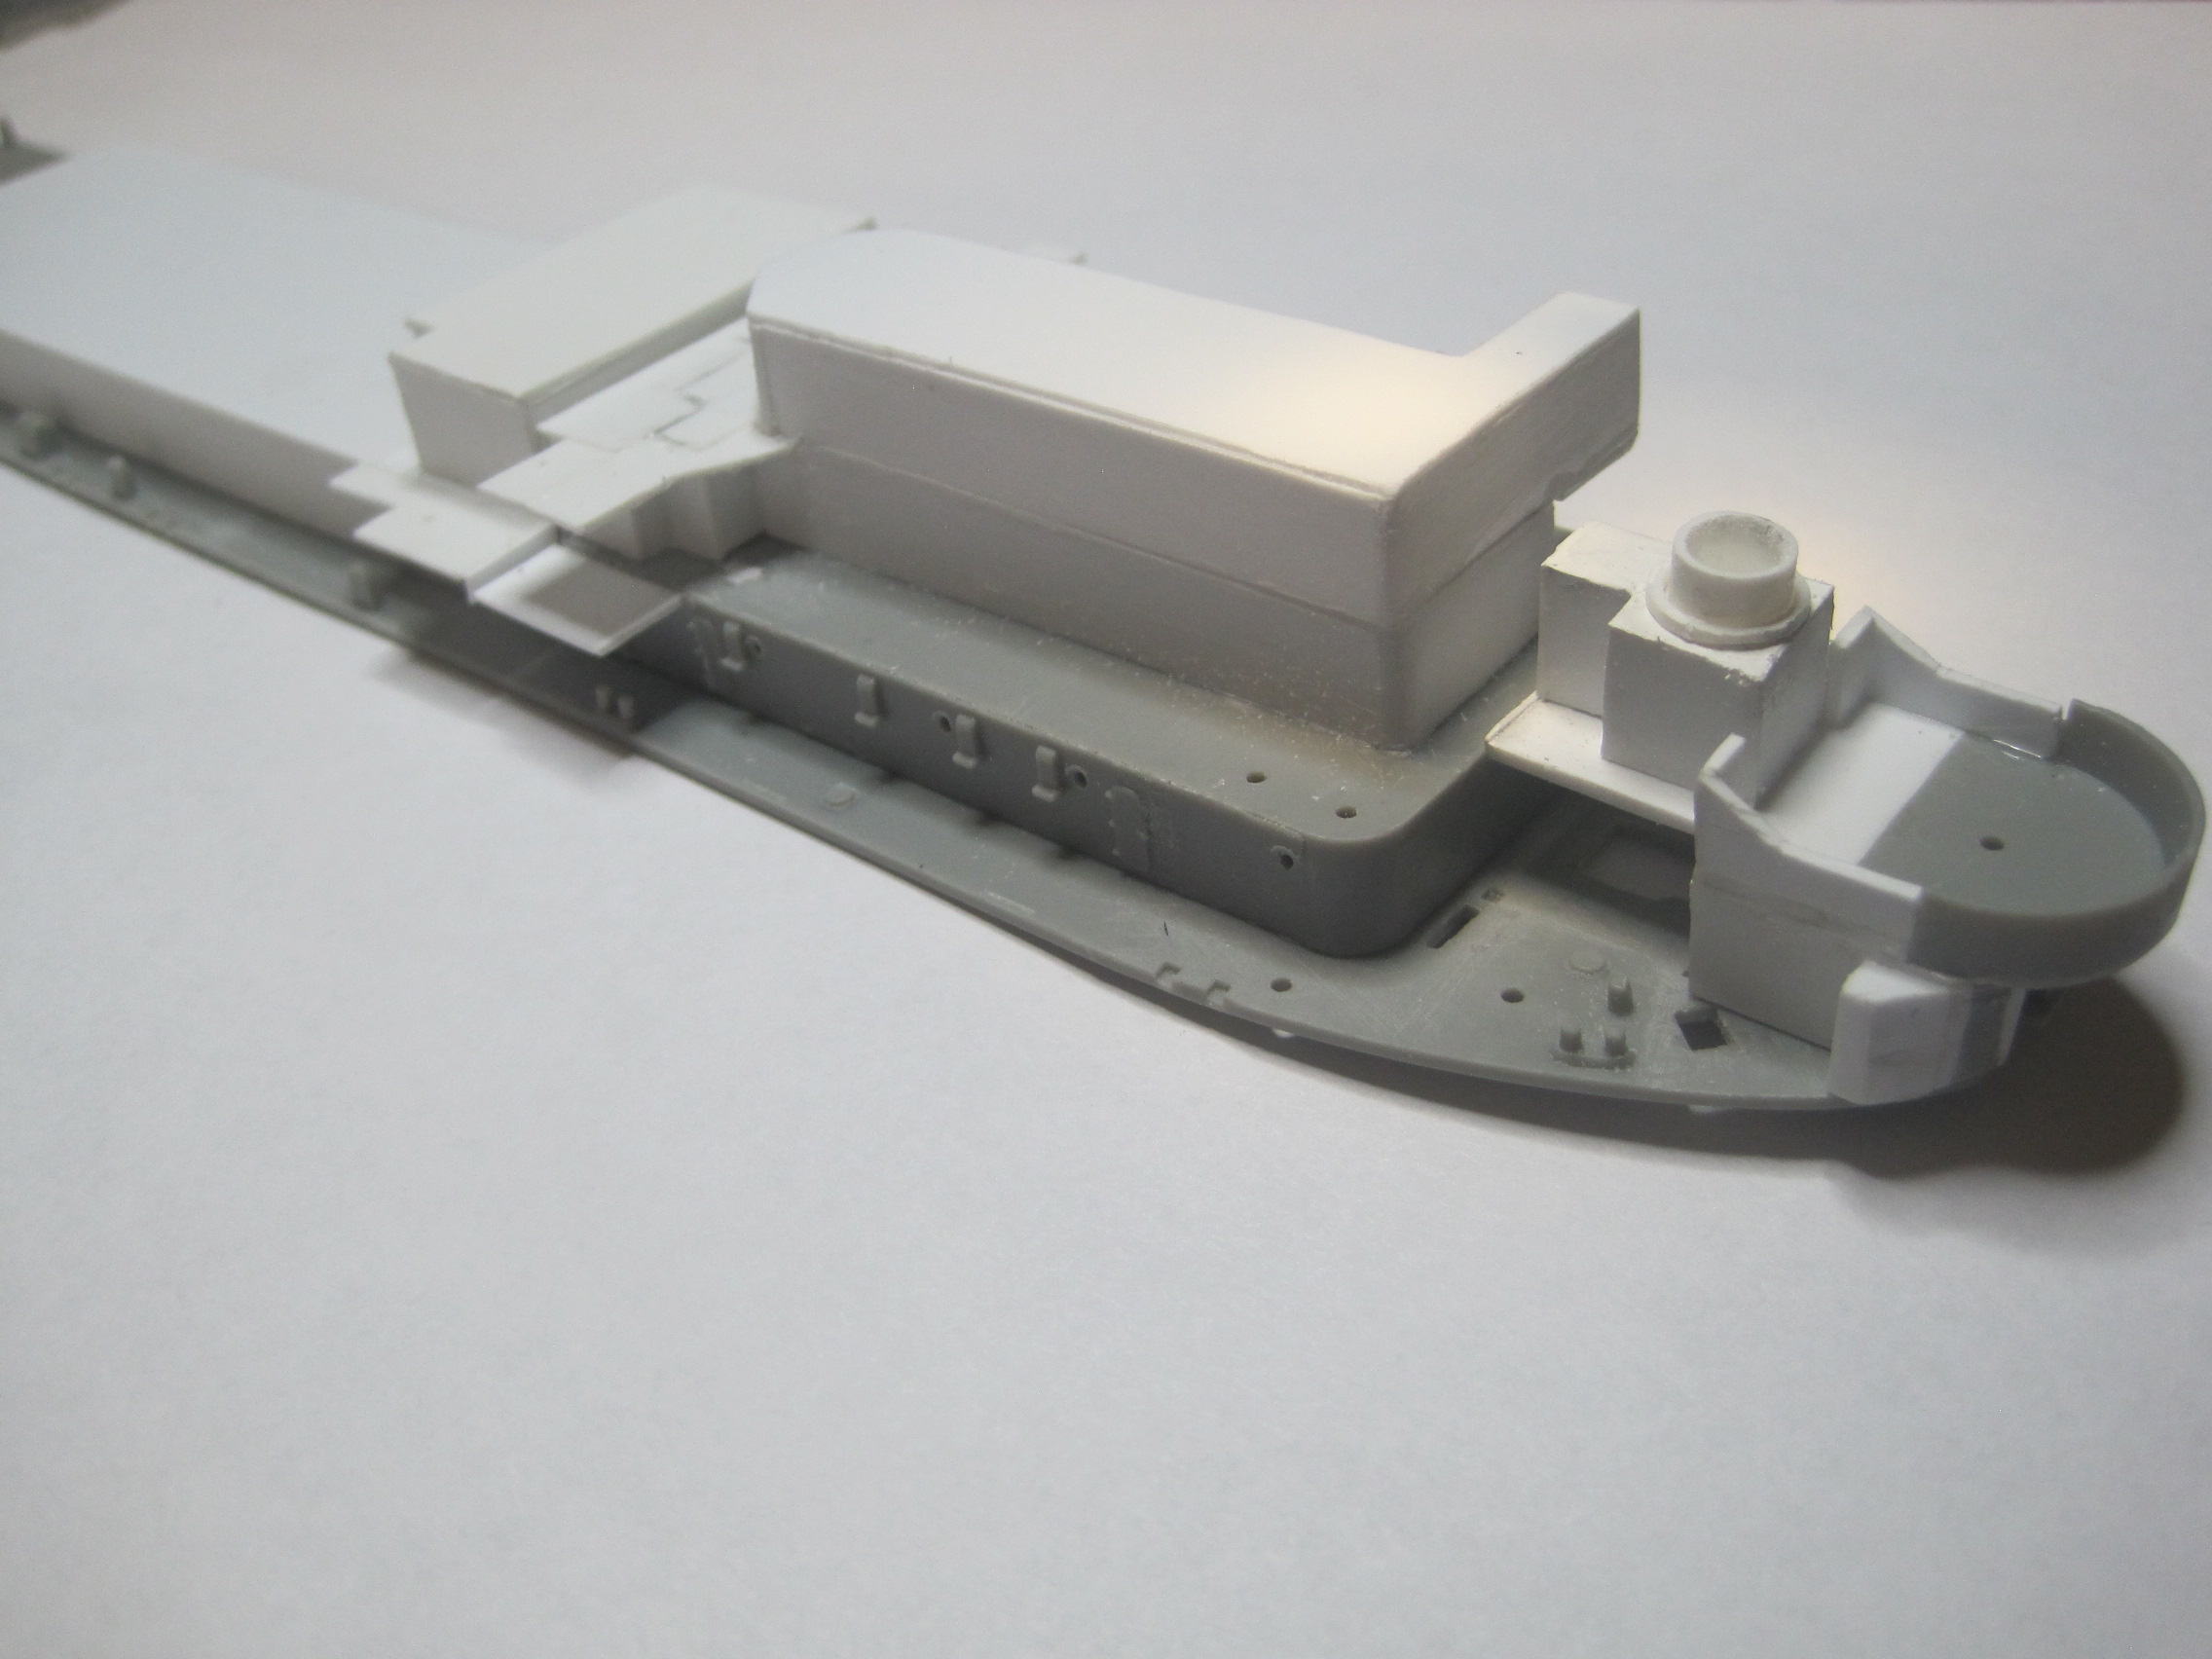
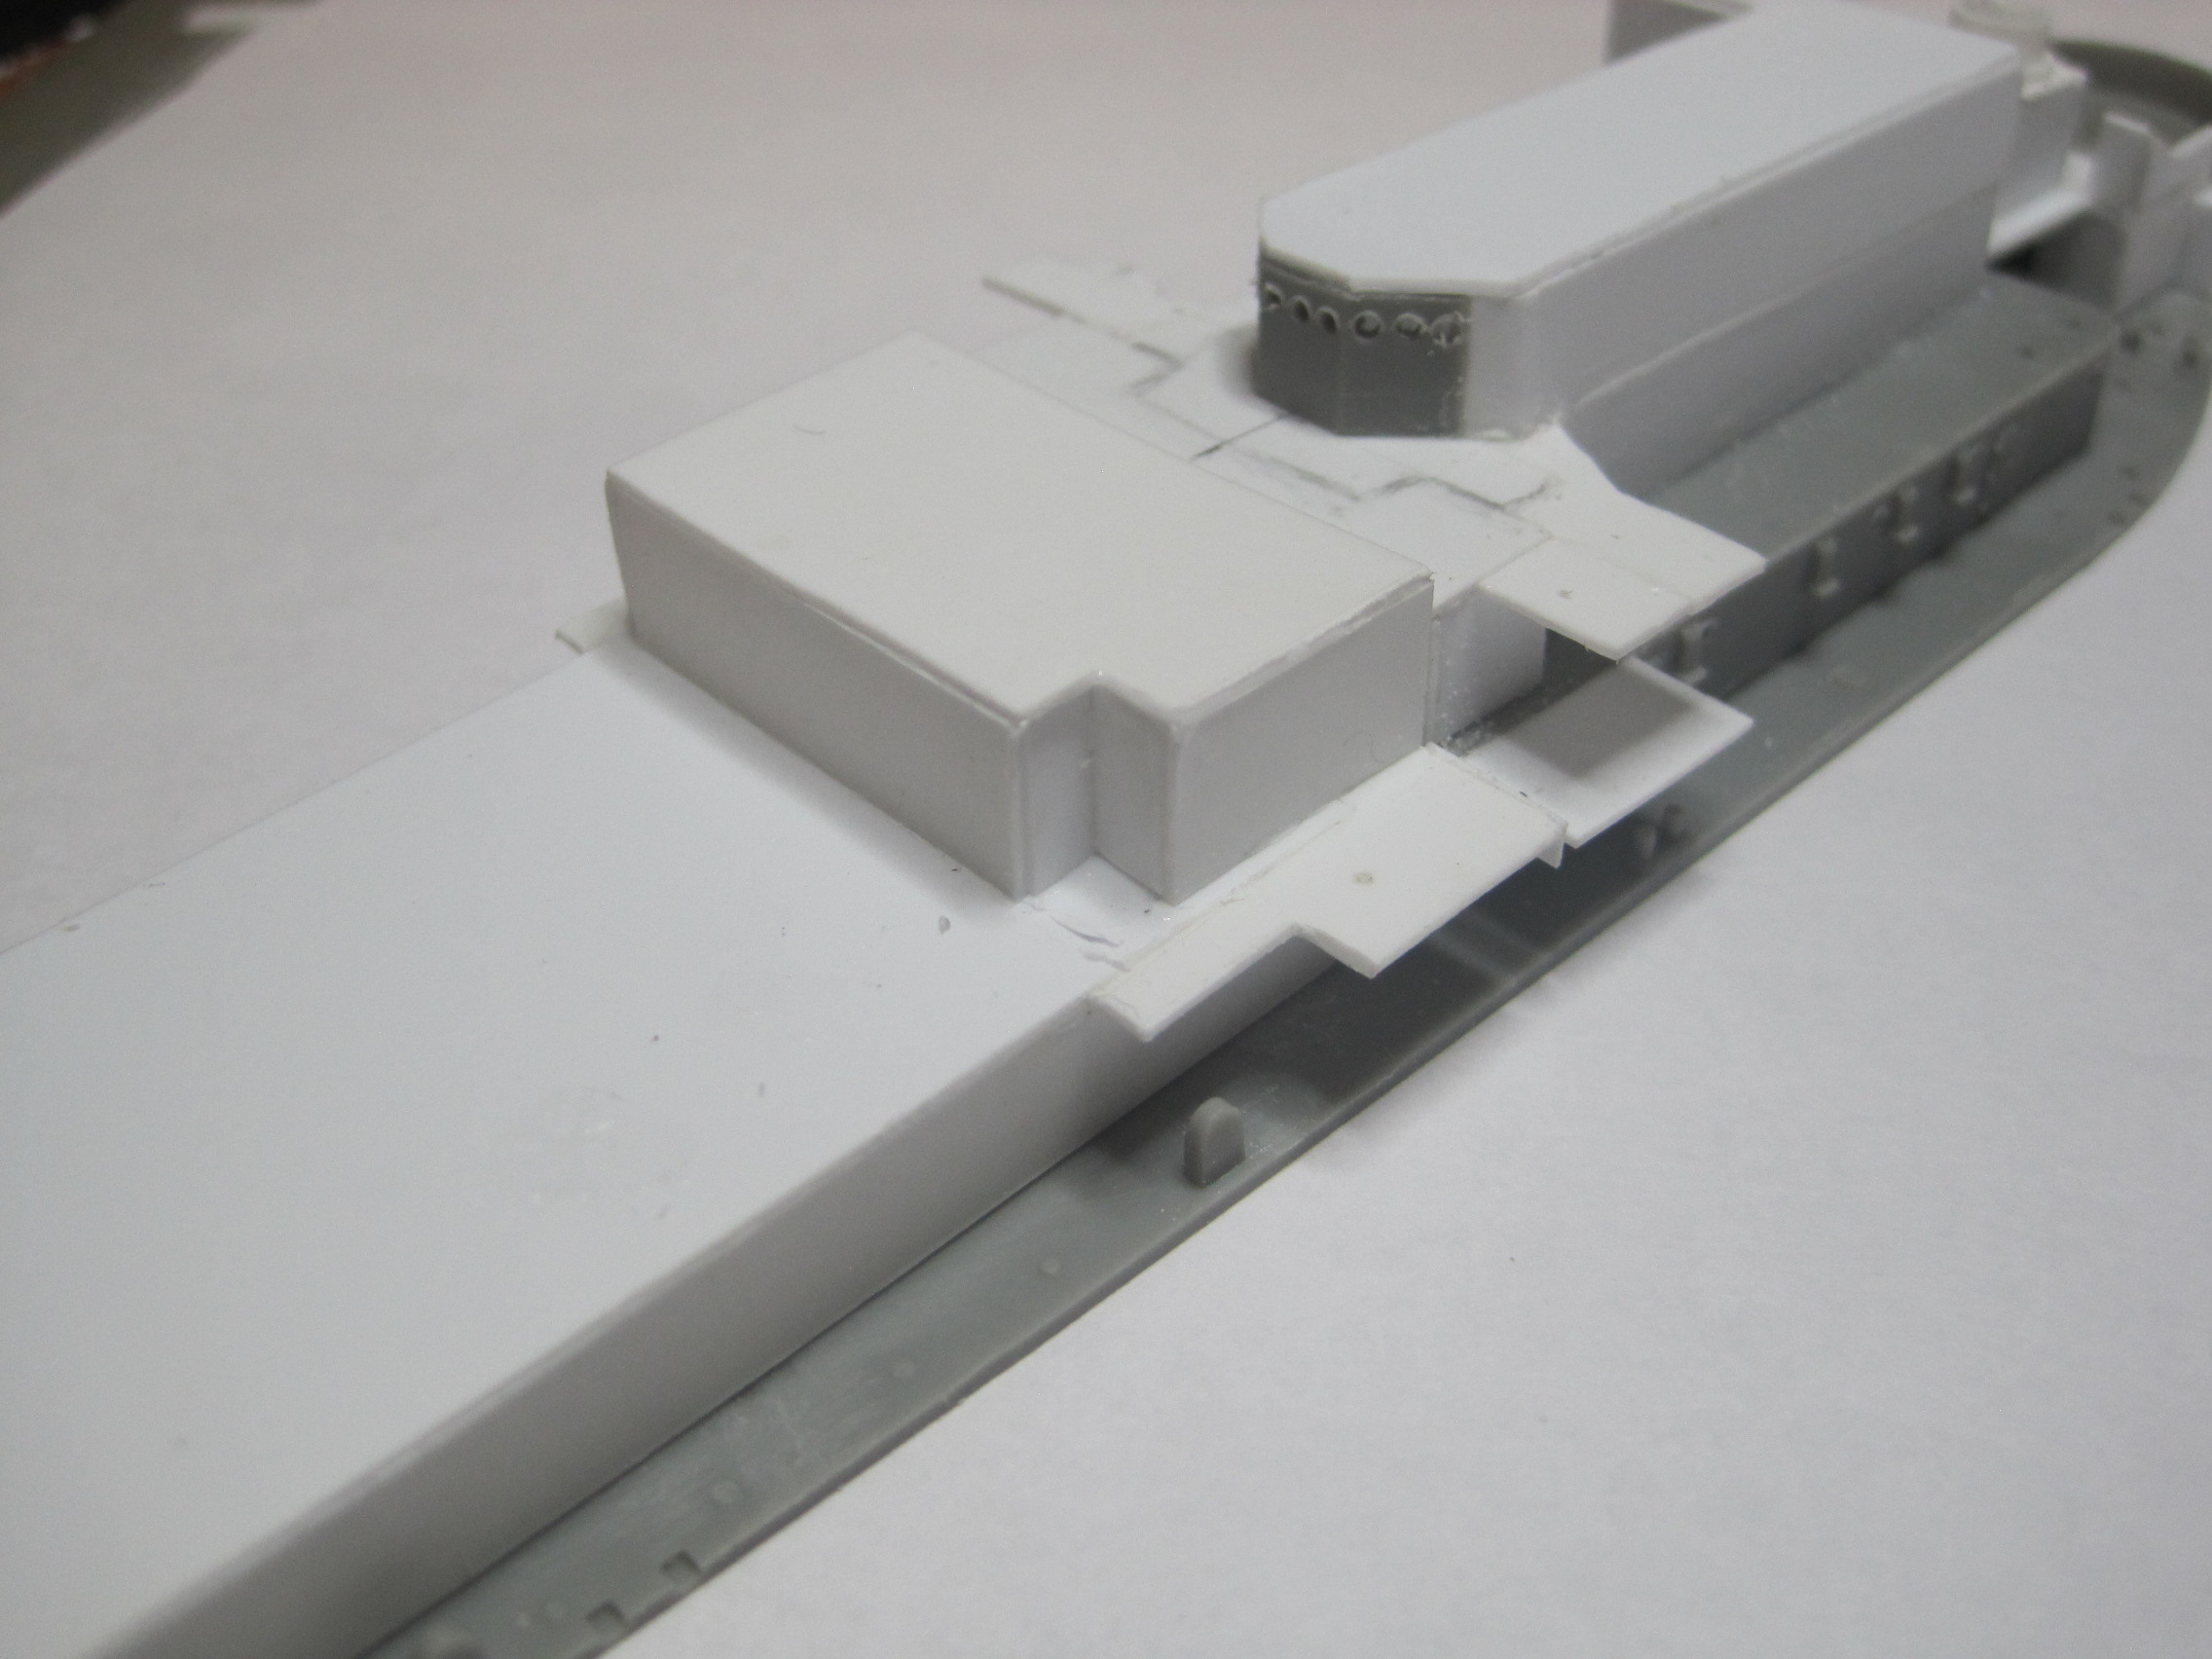
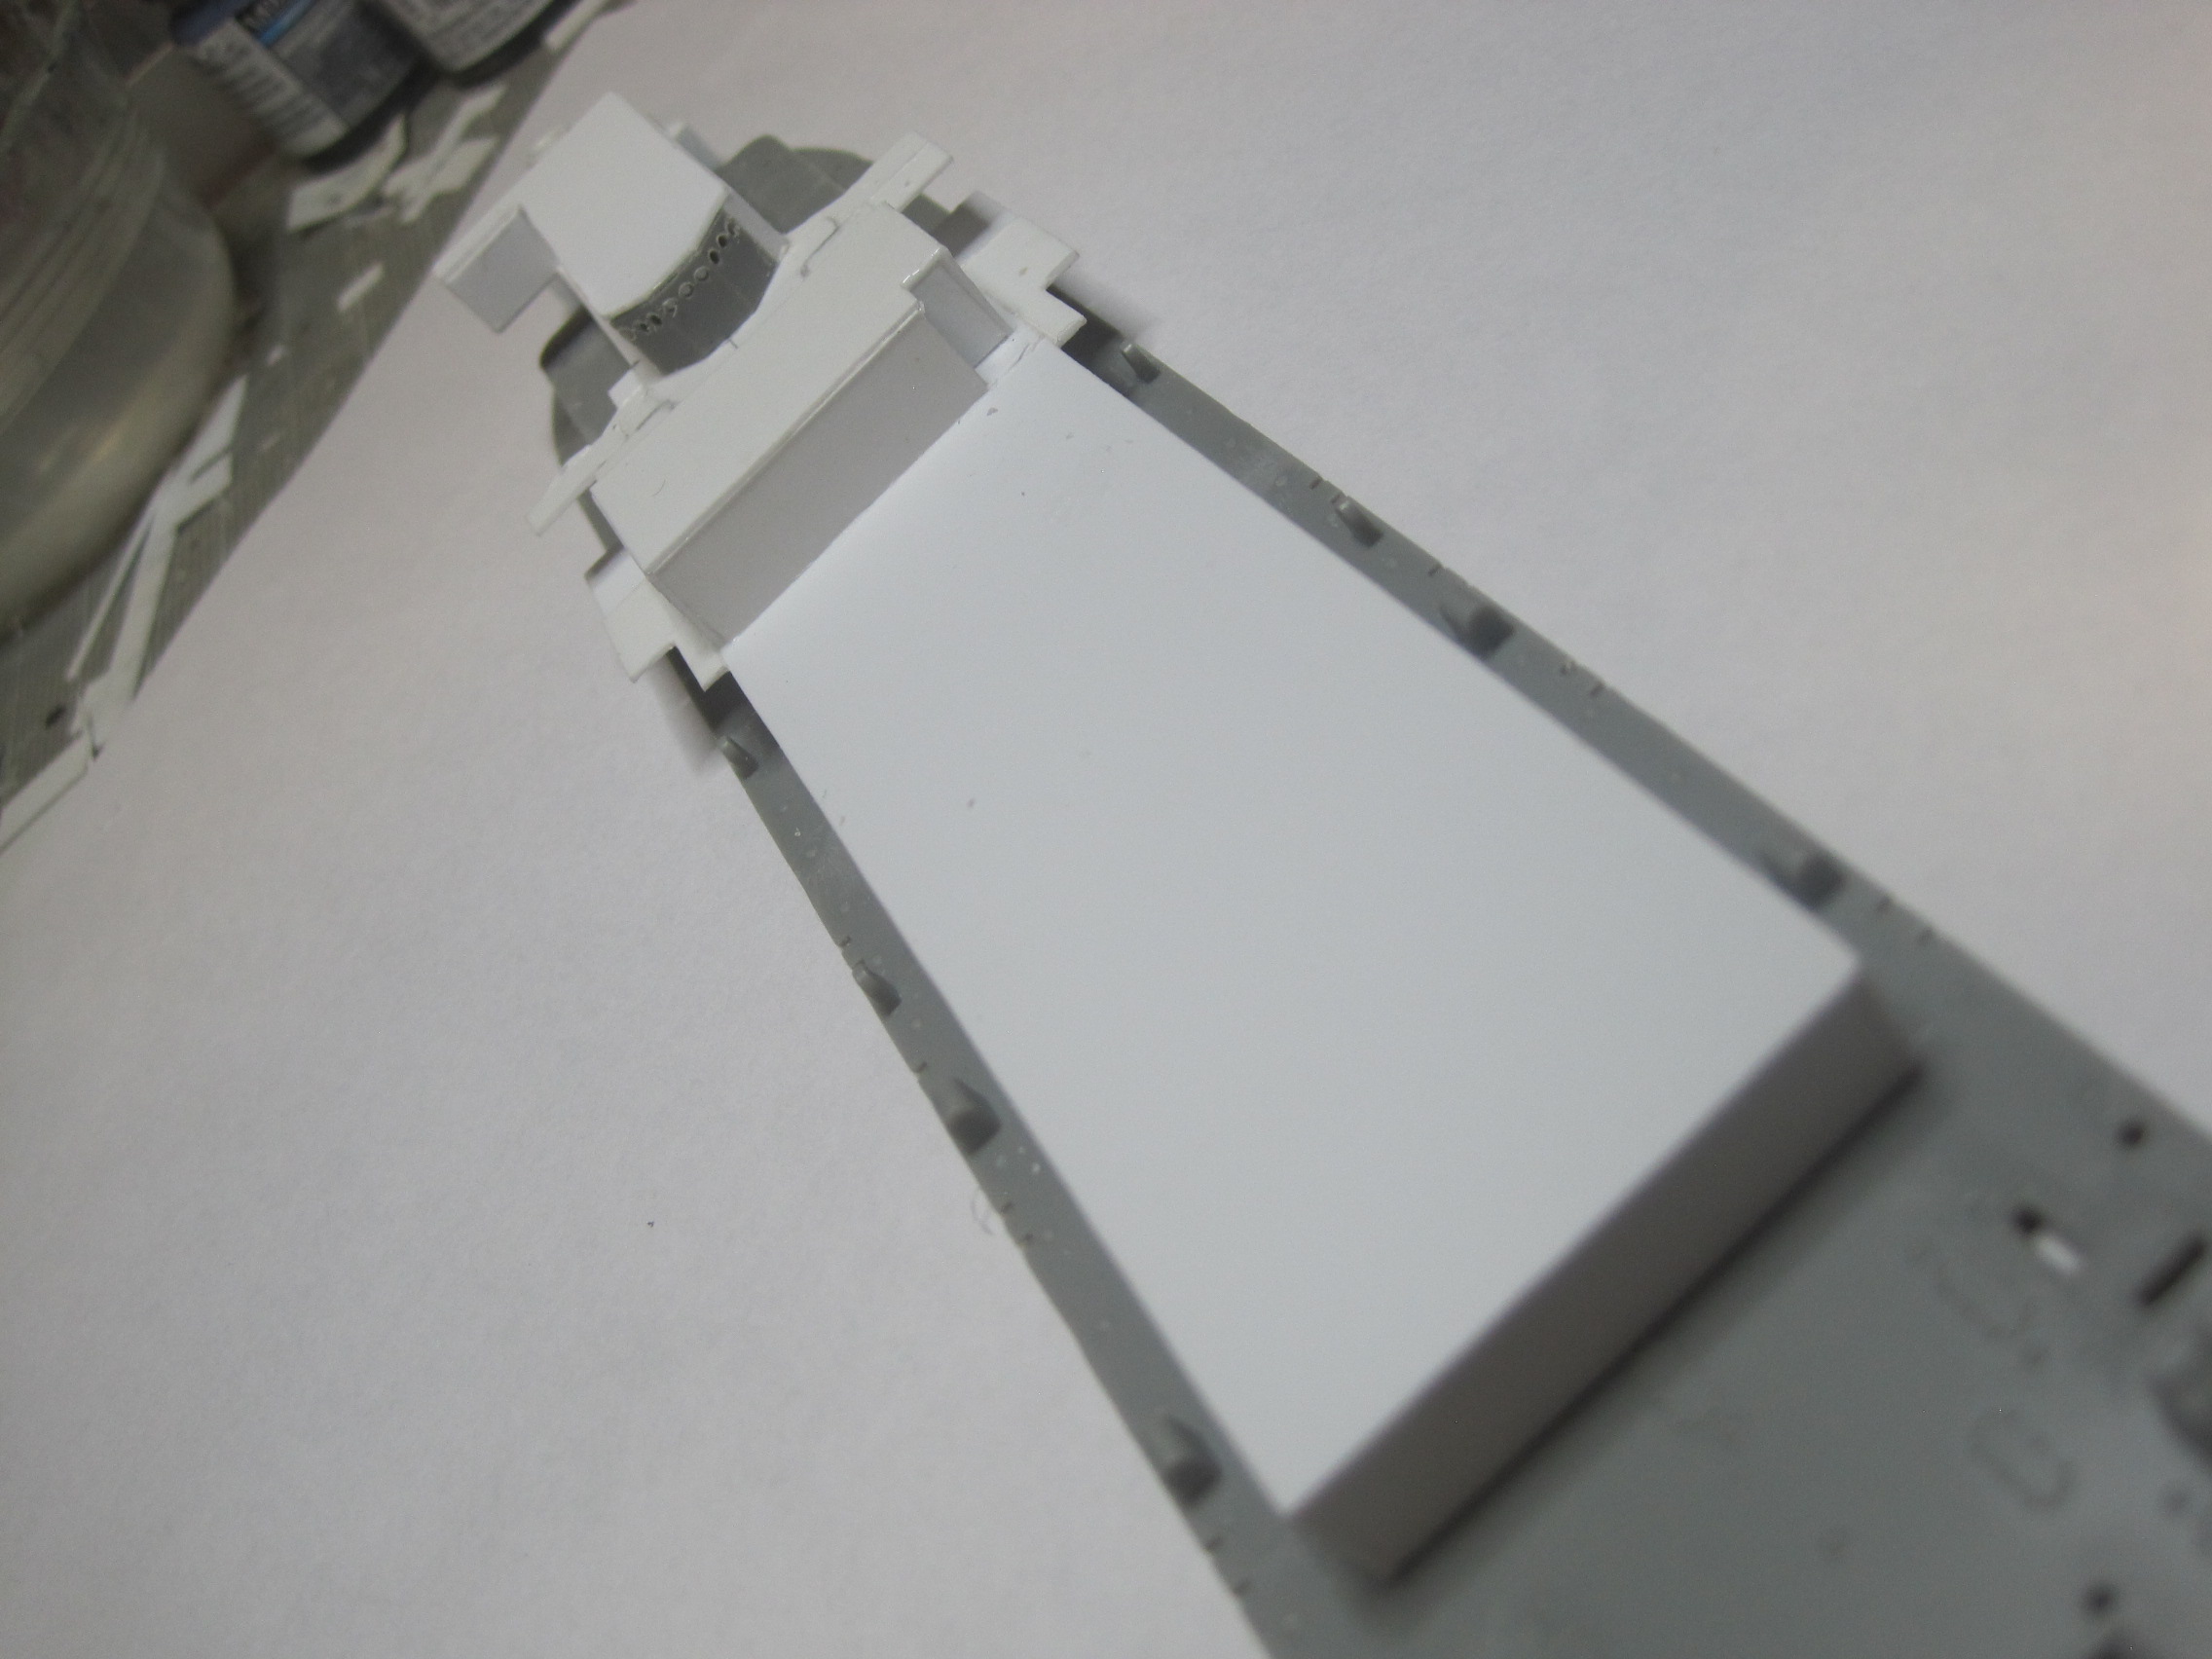
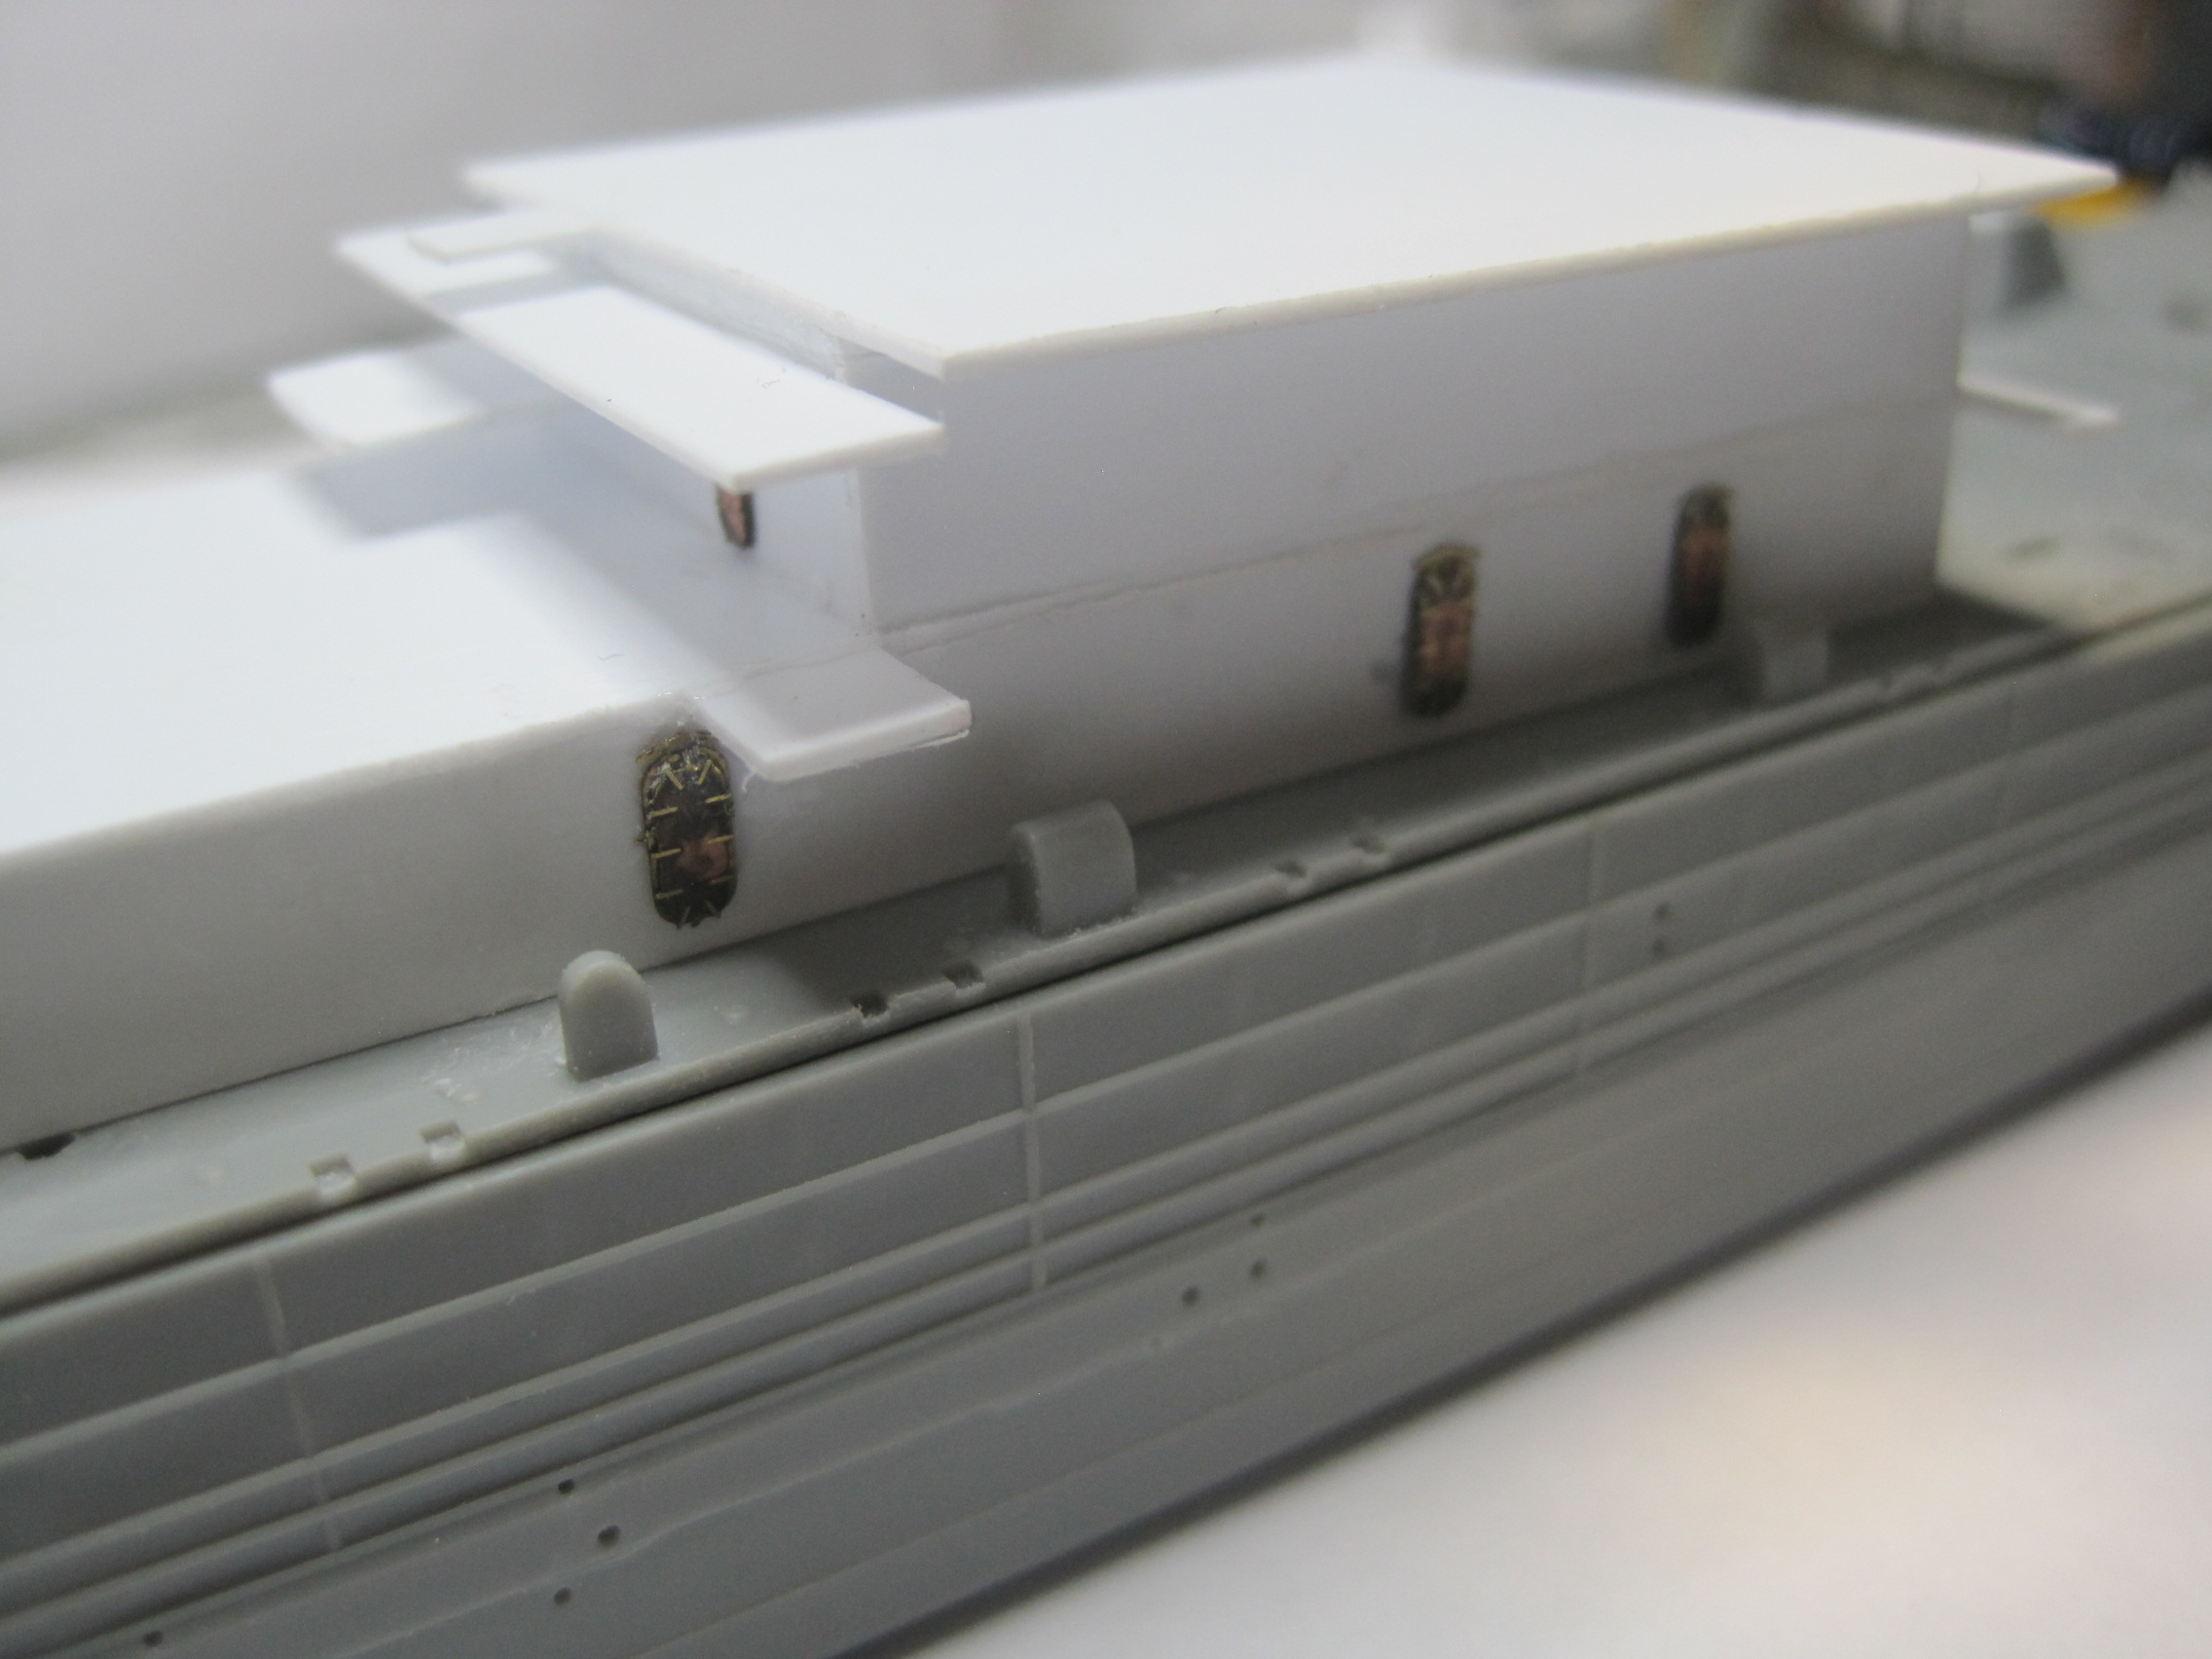
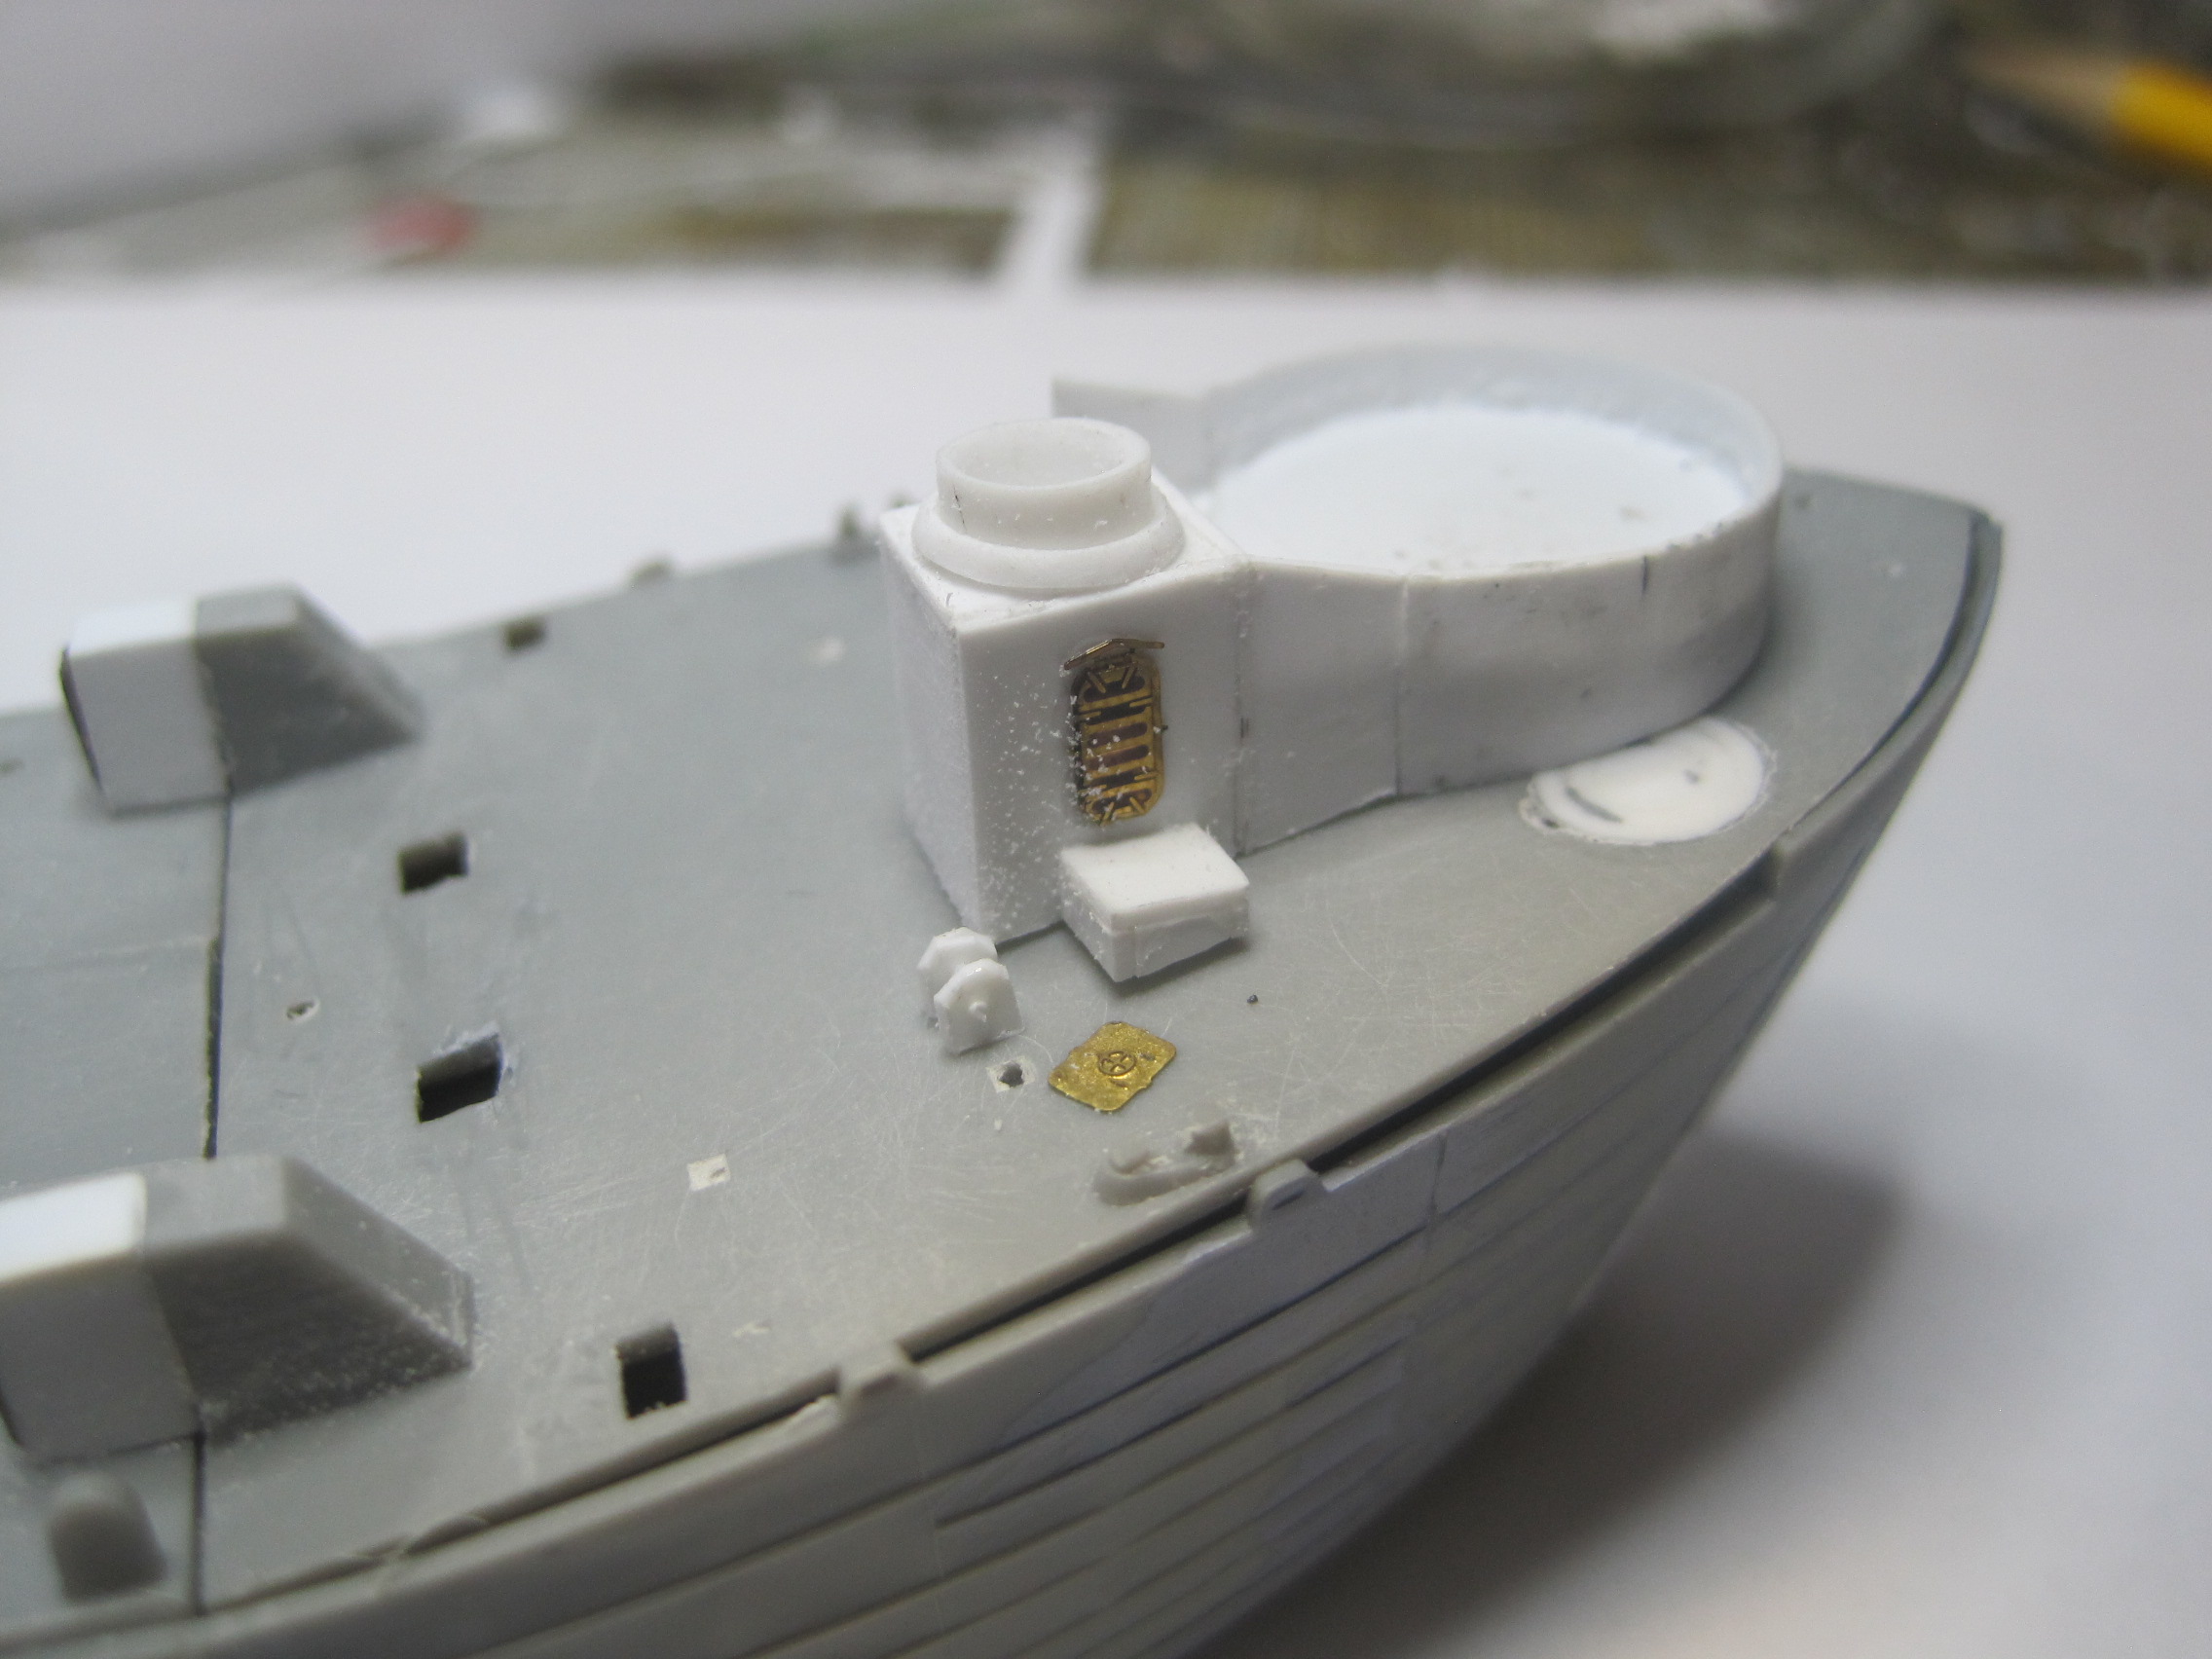
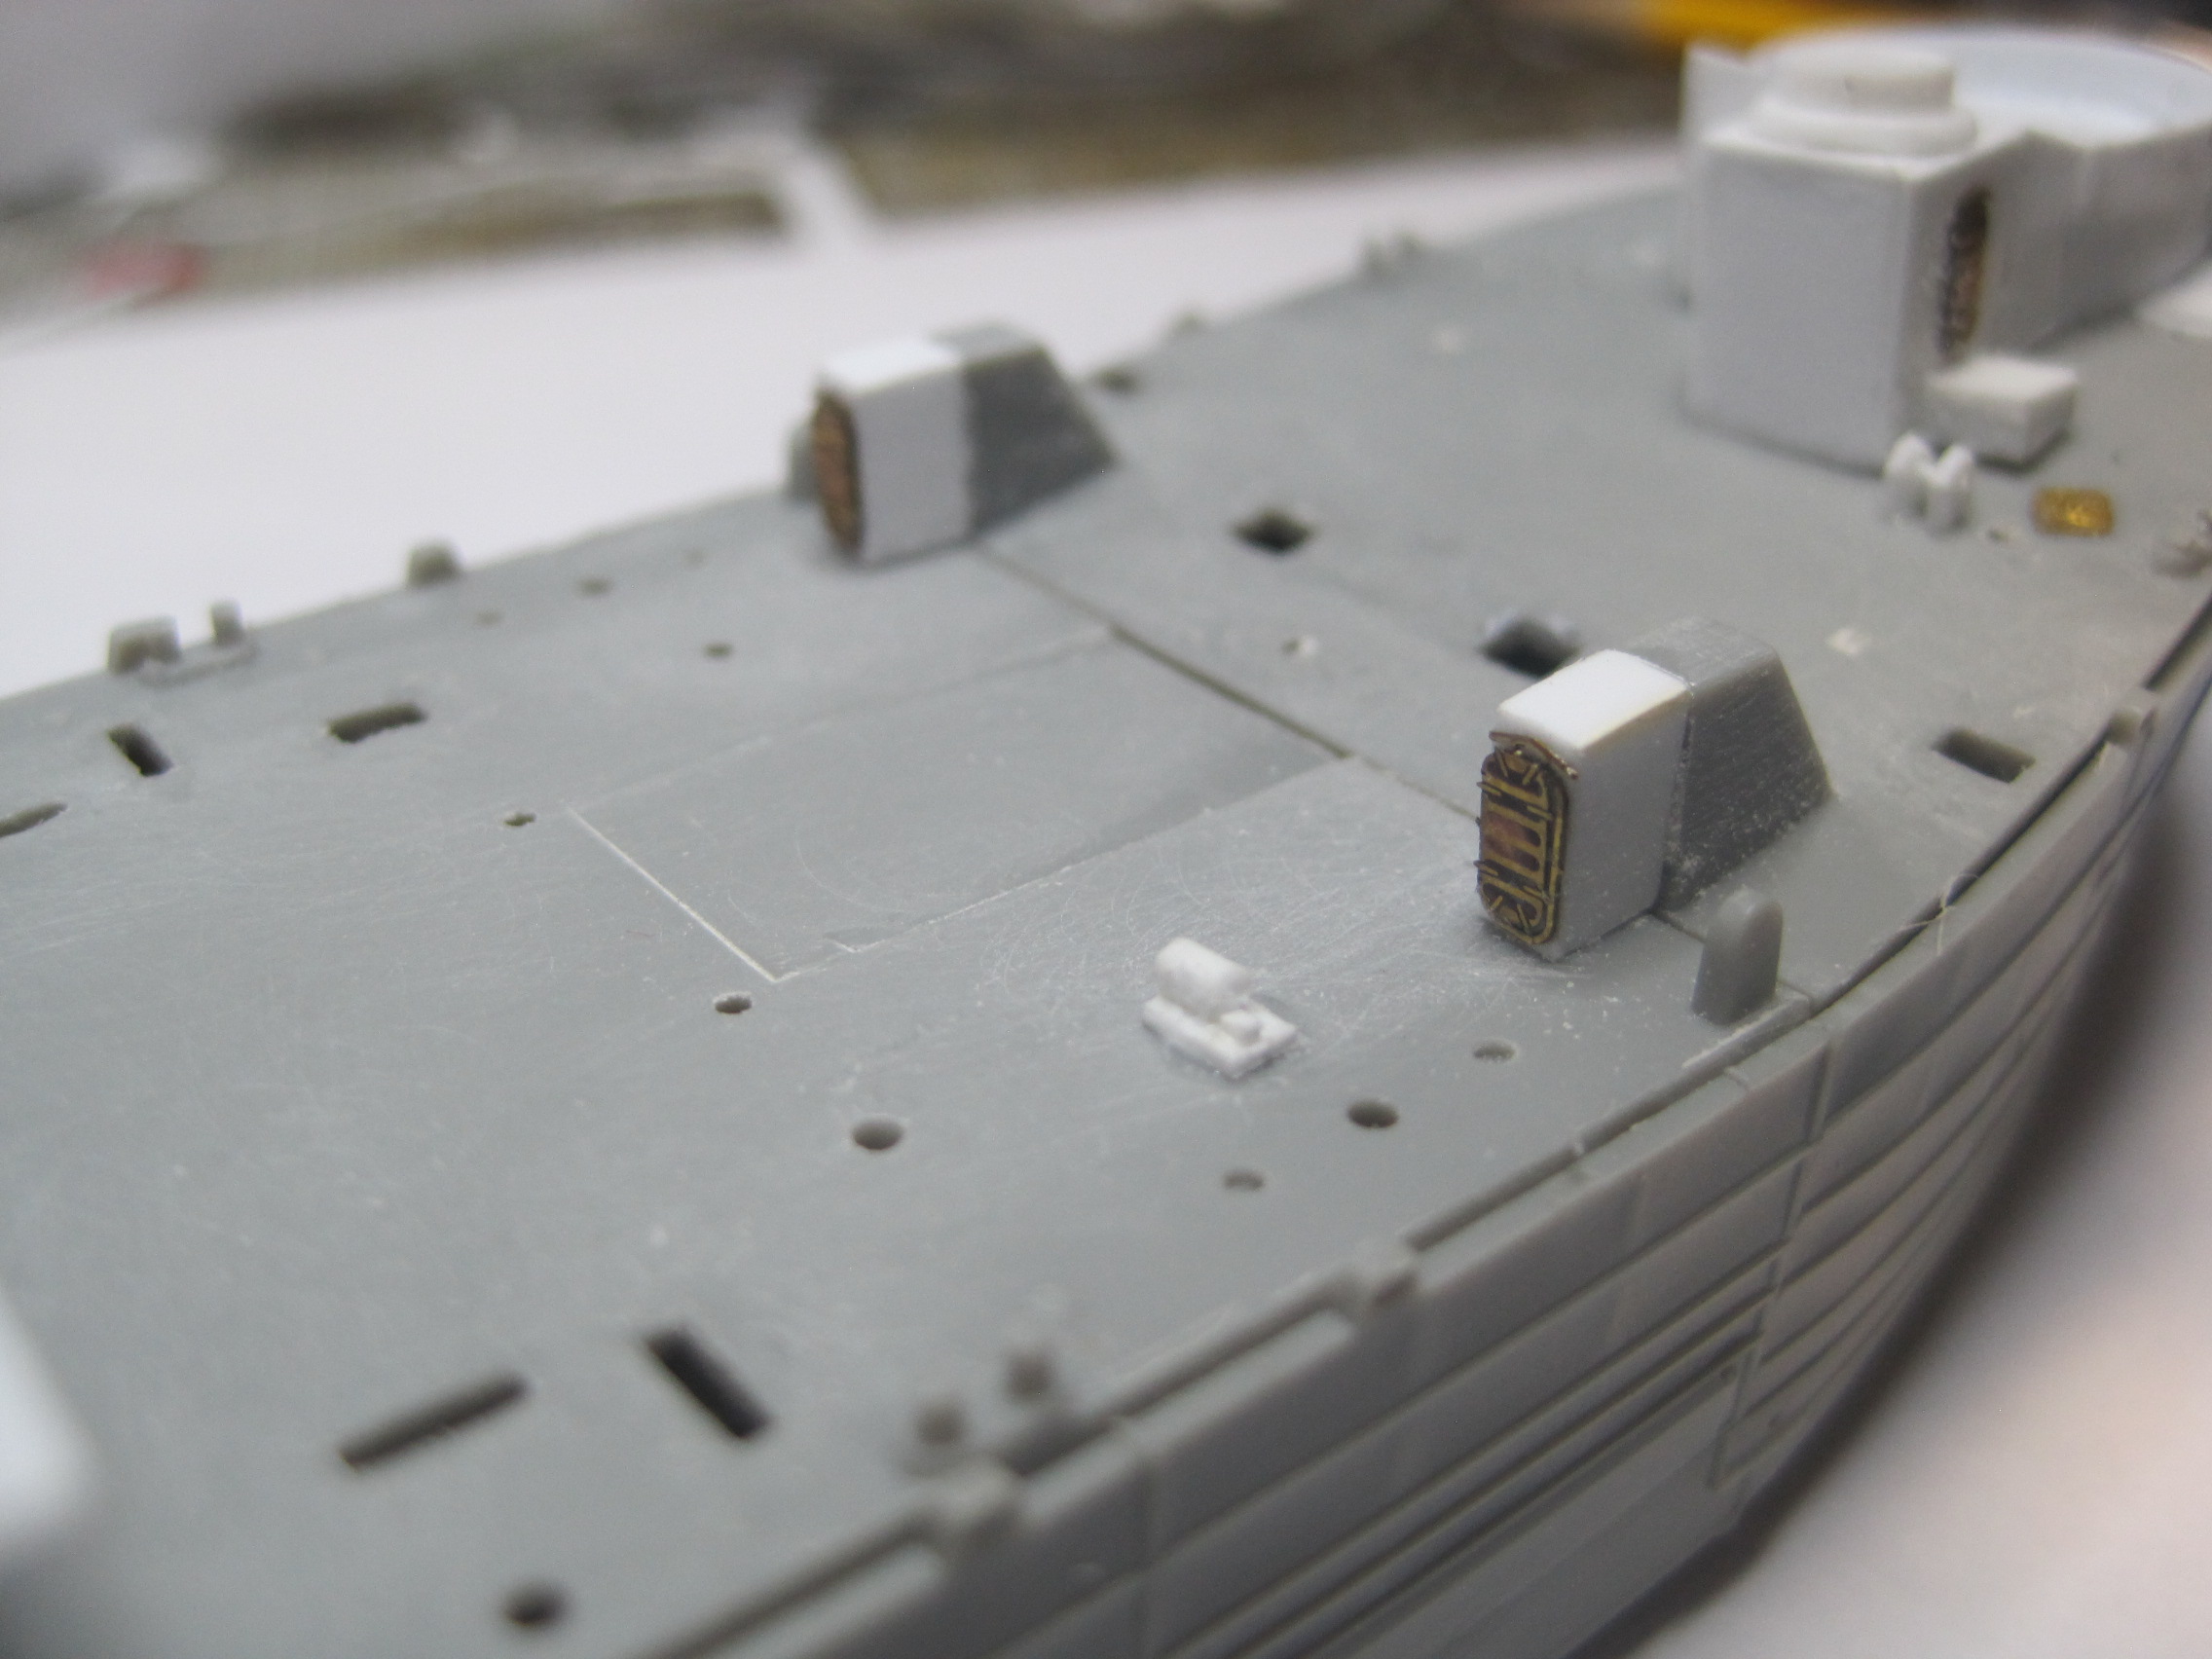
Since I’ve actually been working on this build for a couple of months, I’ve actually got quite a backlog!

This next group shows the addition of the enclosed bridge which is one level above the original closed bridge on the WW II LST and at the level where the original open conning station was. Certainly a big improvement for an ocean going vessel. As you can see from these photos, I originally built the structure on the first deck as a simple rectangle. As I got a deep dive of cross referencing all my photos, I realized that’s not how it was and so as the build progresses there are some modifications, but as far as I can tell, I think I got it pretty close.

1 Like

These next photos show the start of the modifications to the bow. As manufactured the kit has two tubs for AA mounts and a winch molded into the deck. And the hatches which have doors that lead below appeared to be not quite as long as they appeared in my reference photos, so all that gets modified. I wound up taking off some of the additional structure I added to the doors later on as they looked too deep.

Additionally there were a number of 20mm ammo lockers which had to be removed as well as the large access hatch in the foredeck which was replaced by a much smaller one.

After removing the two AA mount tubs, an entirely new structure had to be built to accommodate the quad 40mm mount.

And then finally I had to construct a new foremast as well as the large boom crane added when the ship was converted to an ARL from the original LST and retained in the final conversion. (A second similar crane which had been installed aft of this one was removed to make way for the helipad added during the final conversion.)

1 Like

This next group of photos show the progression of the construction of additional structure on the rear deck house, the front deck house and some of the detail on the foredeck area. I decided to do the rear and front deck house sections as separate sub-assemblies and consider the foredeck area as a third section.

One of the things that I did change is the top of the deckhouse behind the pilot house. Originally I had intended to go with a single flag box and have the compass outside to the rear of the pilot house. However as I dug further into the photos, I realized that this placement, while correct for WW II versions of the LST was not correct for this iteration of the Sphinx, so later on you’ll see how this gets changed.

6 Likes

Tom,
You’re doing an absolutely amazing job with the scratch building and your detail work with the pe is exceptional. Once I pick up my jaw from the floor I’ll be following your build with great interest. Thanks for sharing.
John

Hi Tom,
That is really excellent work.
Cheers,

Joe and John, thanks for the kind words!

Tom,

Amazing work and demonstration of scratch building skills - really enjoy watching your build take shape.

David

Tom,

You are doing a fantastic job with the reconstruction - there is almost more white than gray plastic! And so fast! It is a pleasure to watch your conversion come together. :relaxed: