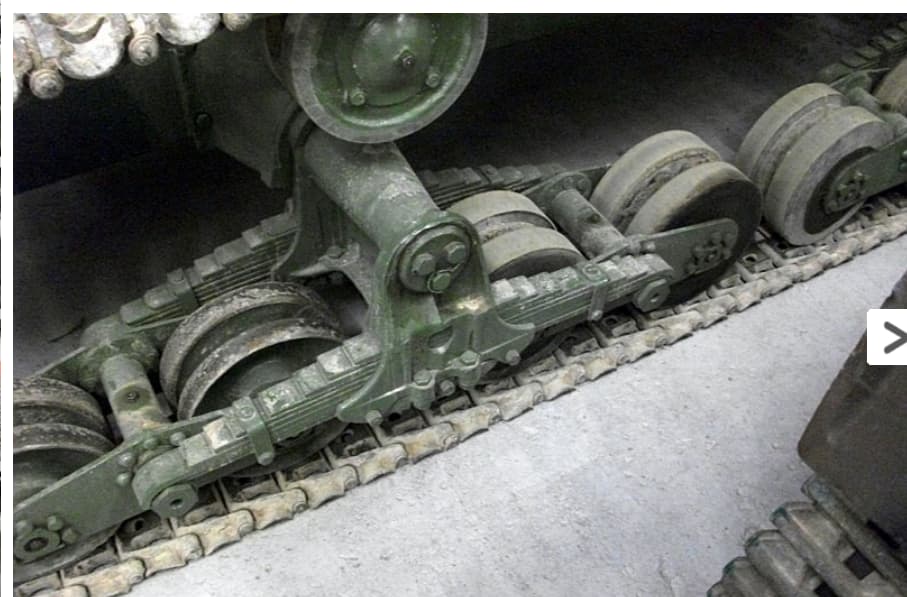
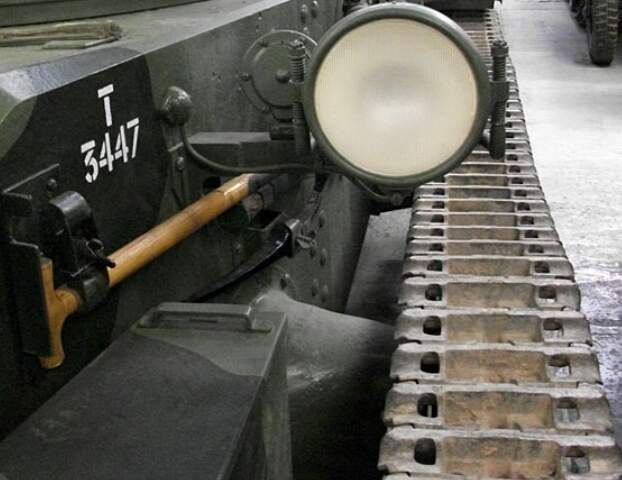
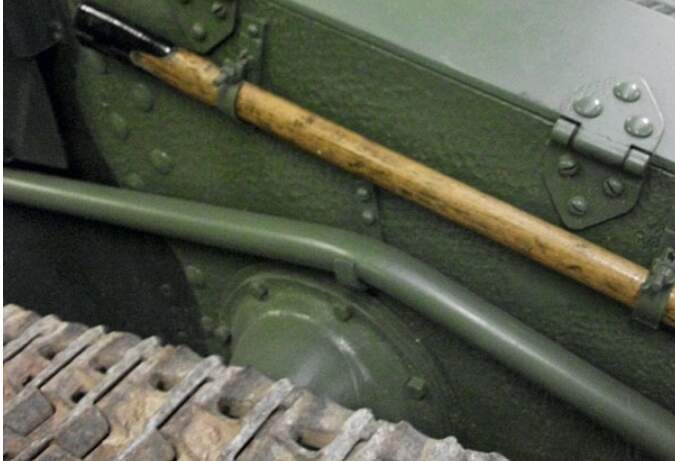
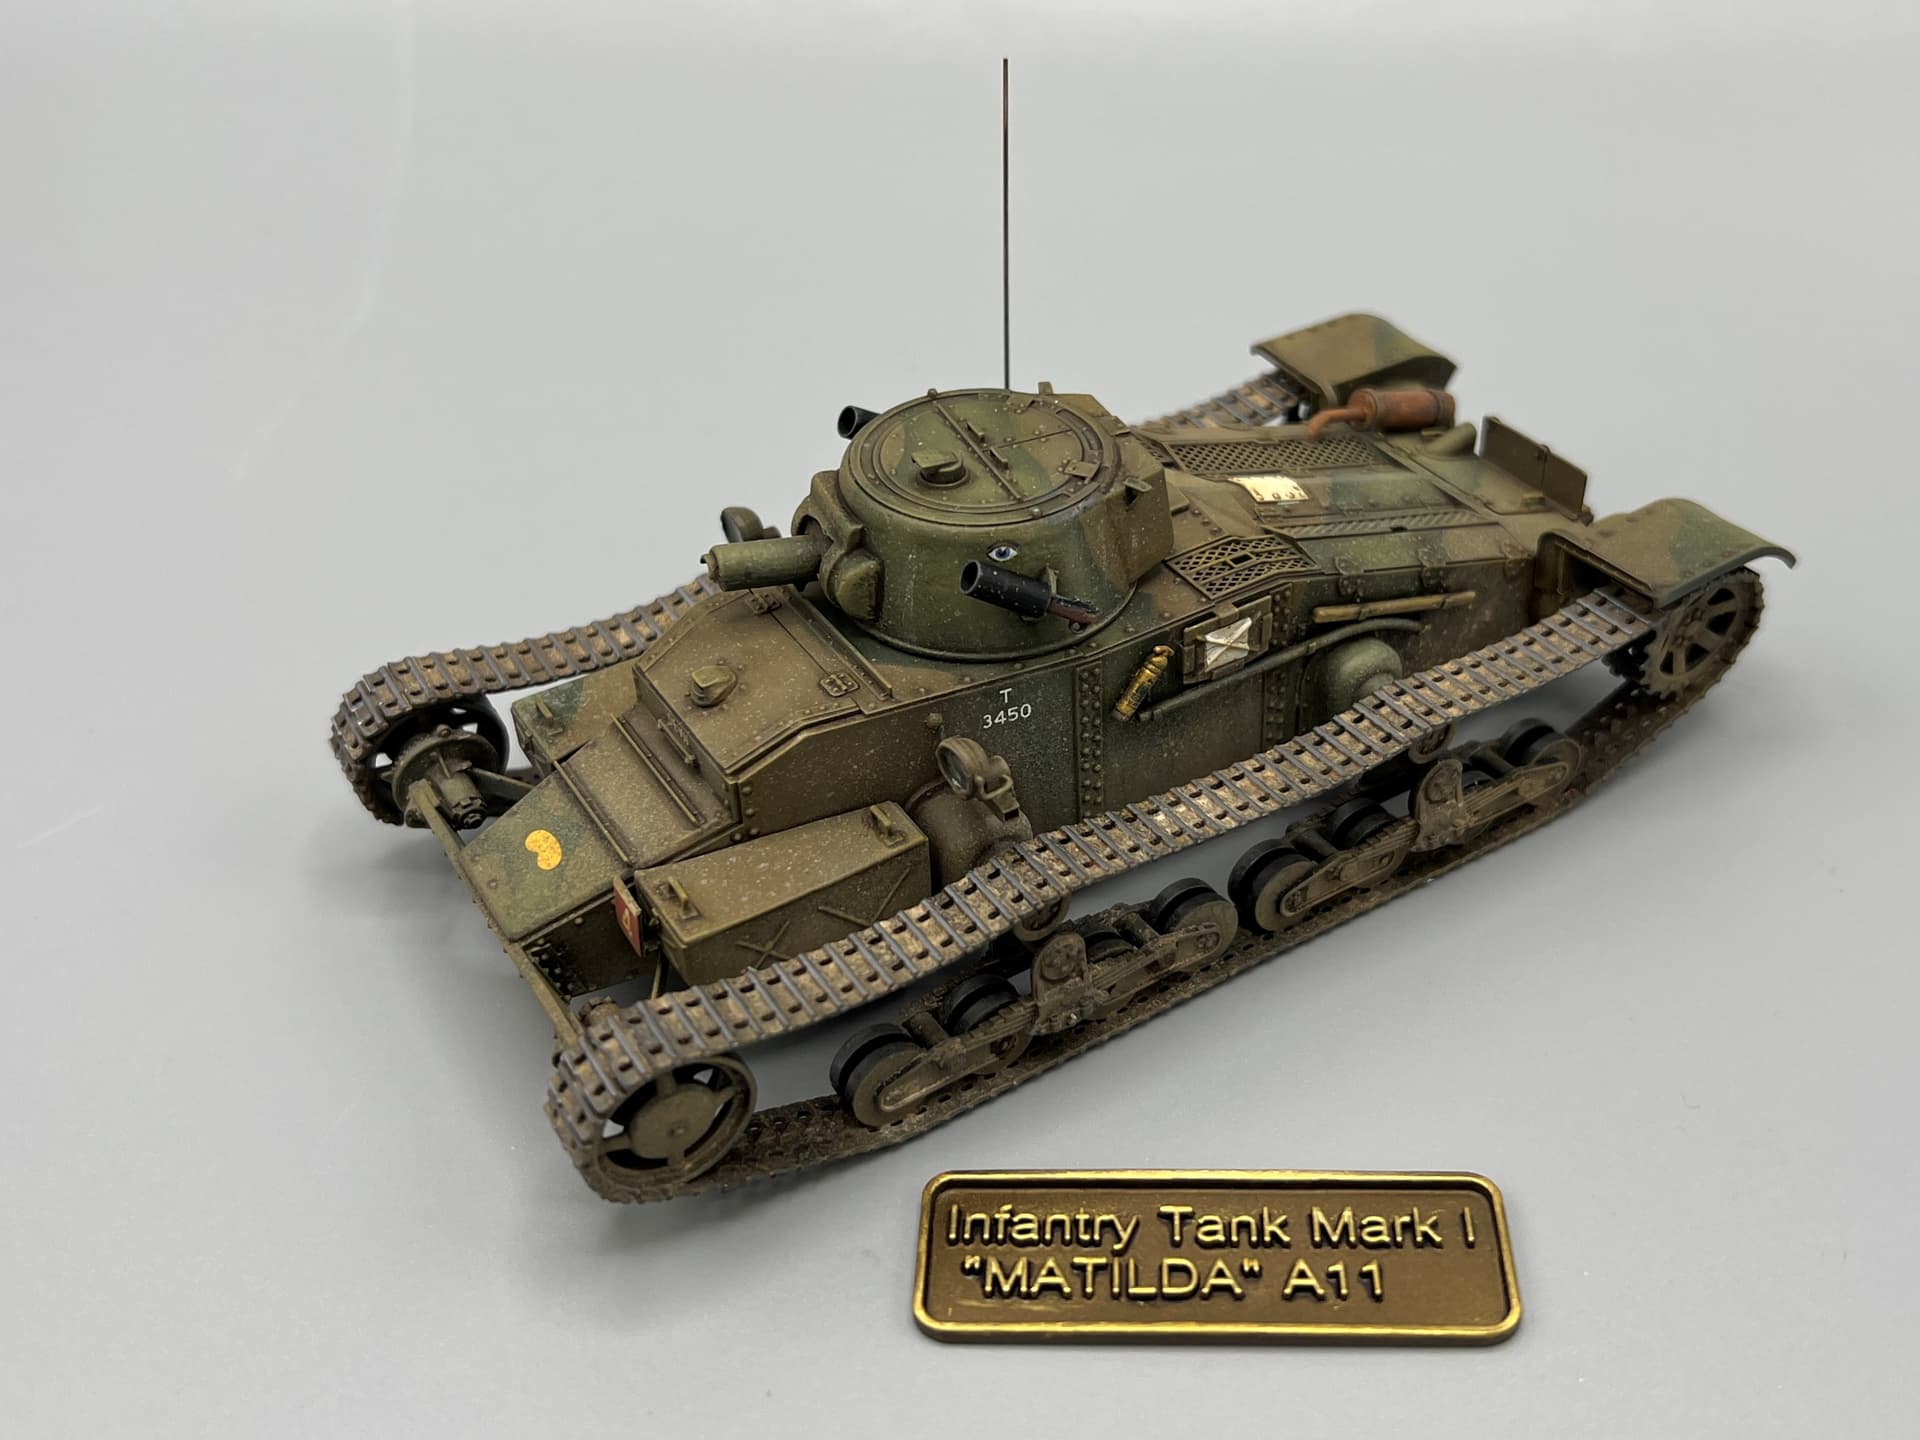
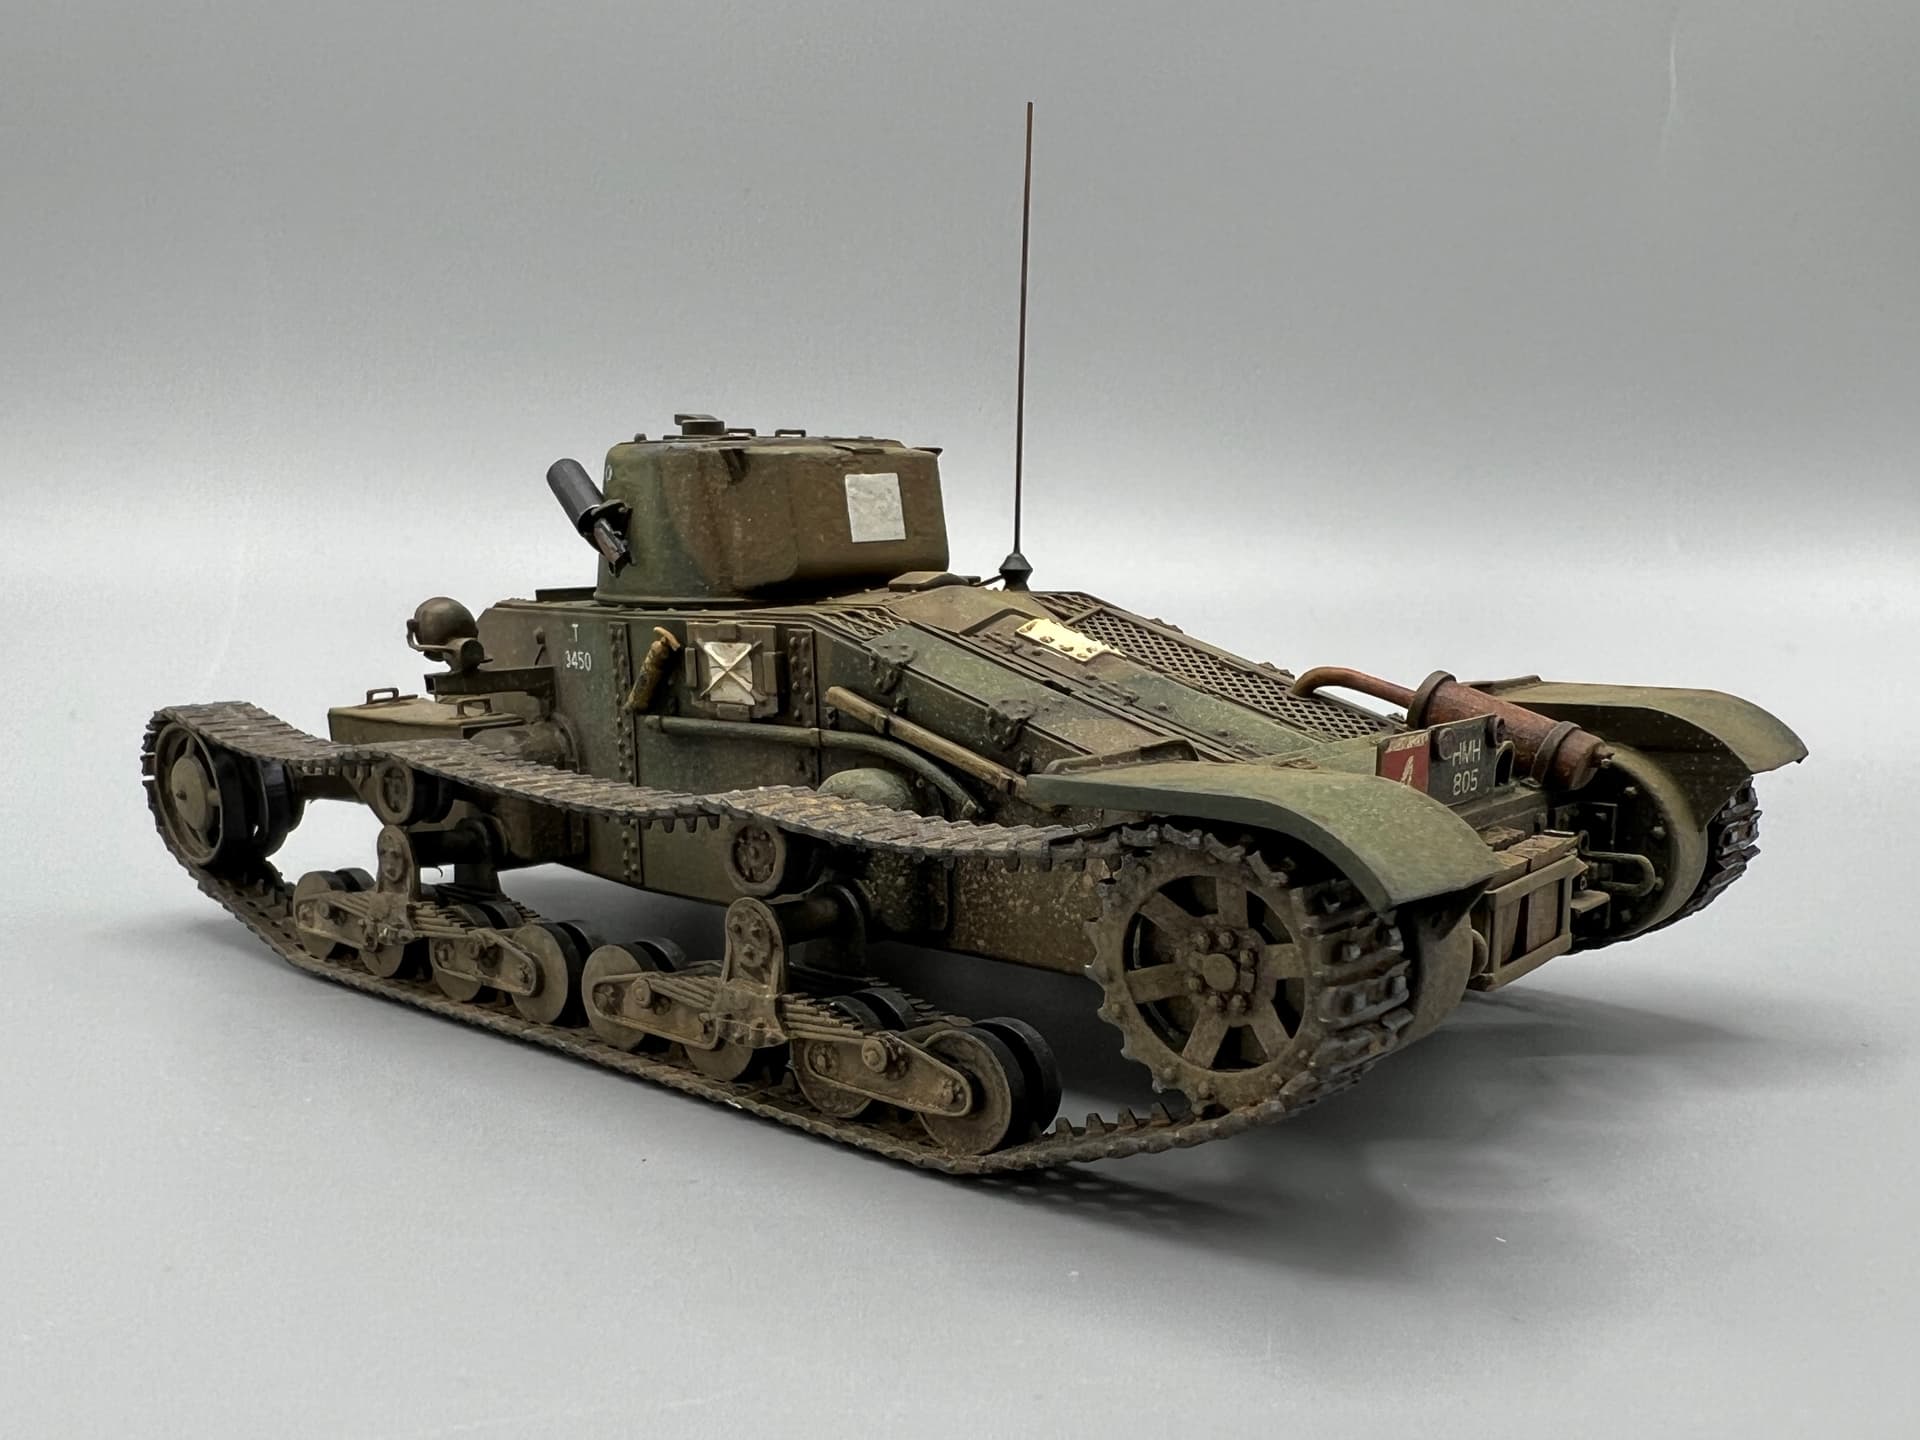
This is another excellent kit from Vargas Scale Models. Each Vargas kit is better than the last, and this one is his best yet. It is 3D printed in a surprisingly flexible gray resin. The 3D printing on this kit is outstanding. The engine compartment grills as fine as good PE and are printed in place with shapes behind them to simulate the engine. The jack block rack on the rear is as fine as any PE. Tracks and suspension are one piece greatly reducing construction time. The tools are printed in place on the hull and only attached by the brackets. You can slide a slip of paper between the tool and the hull!
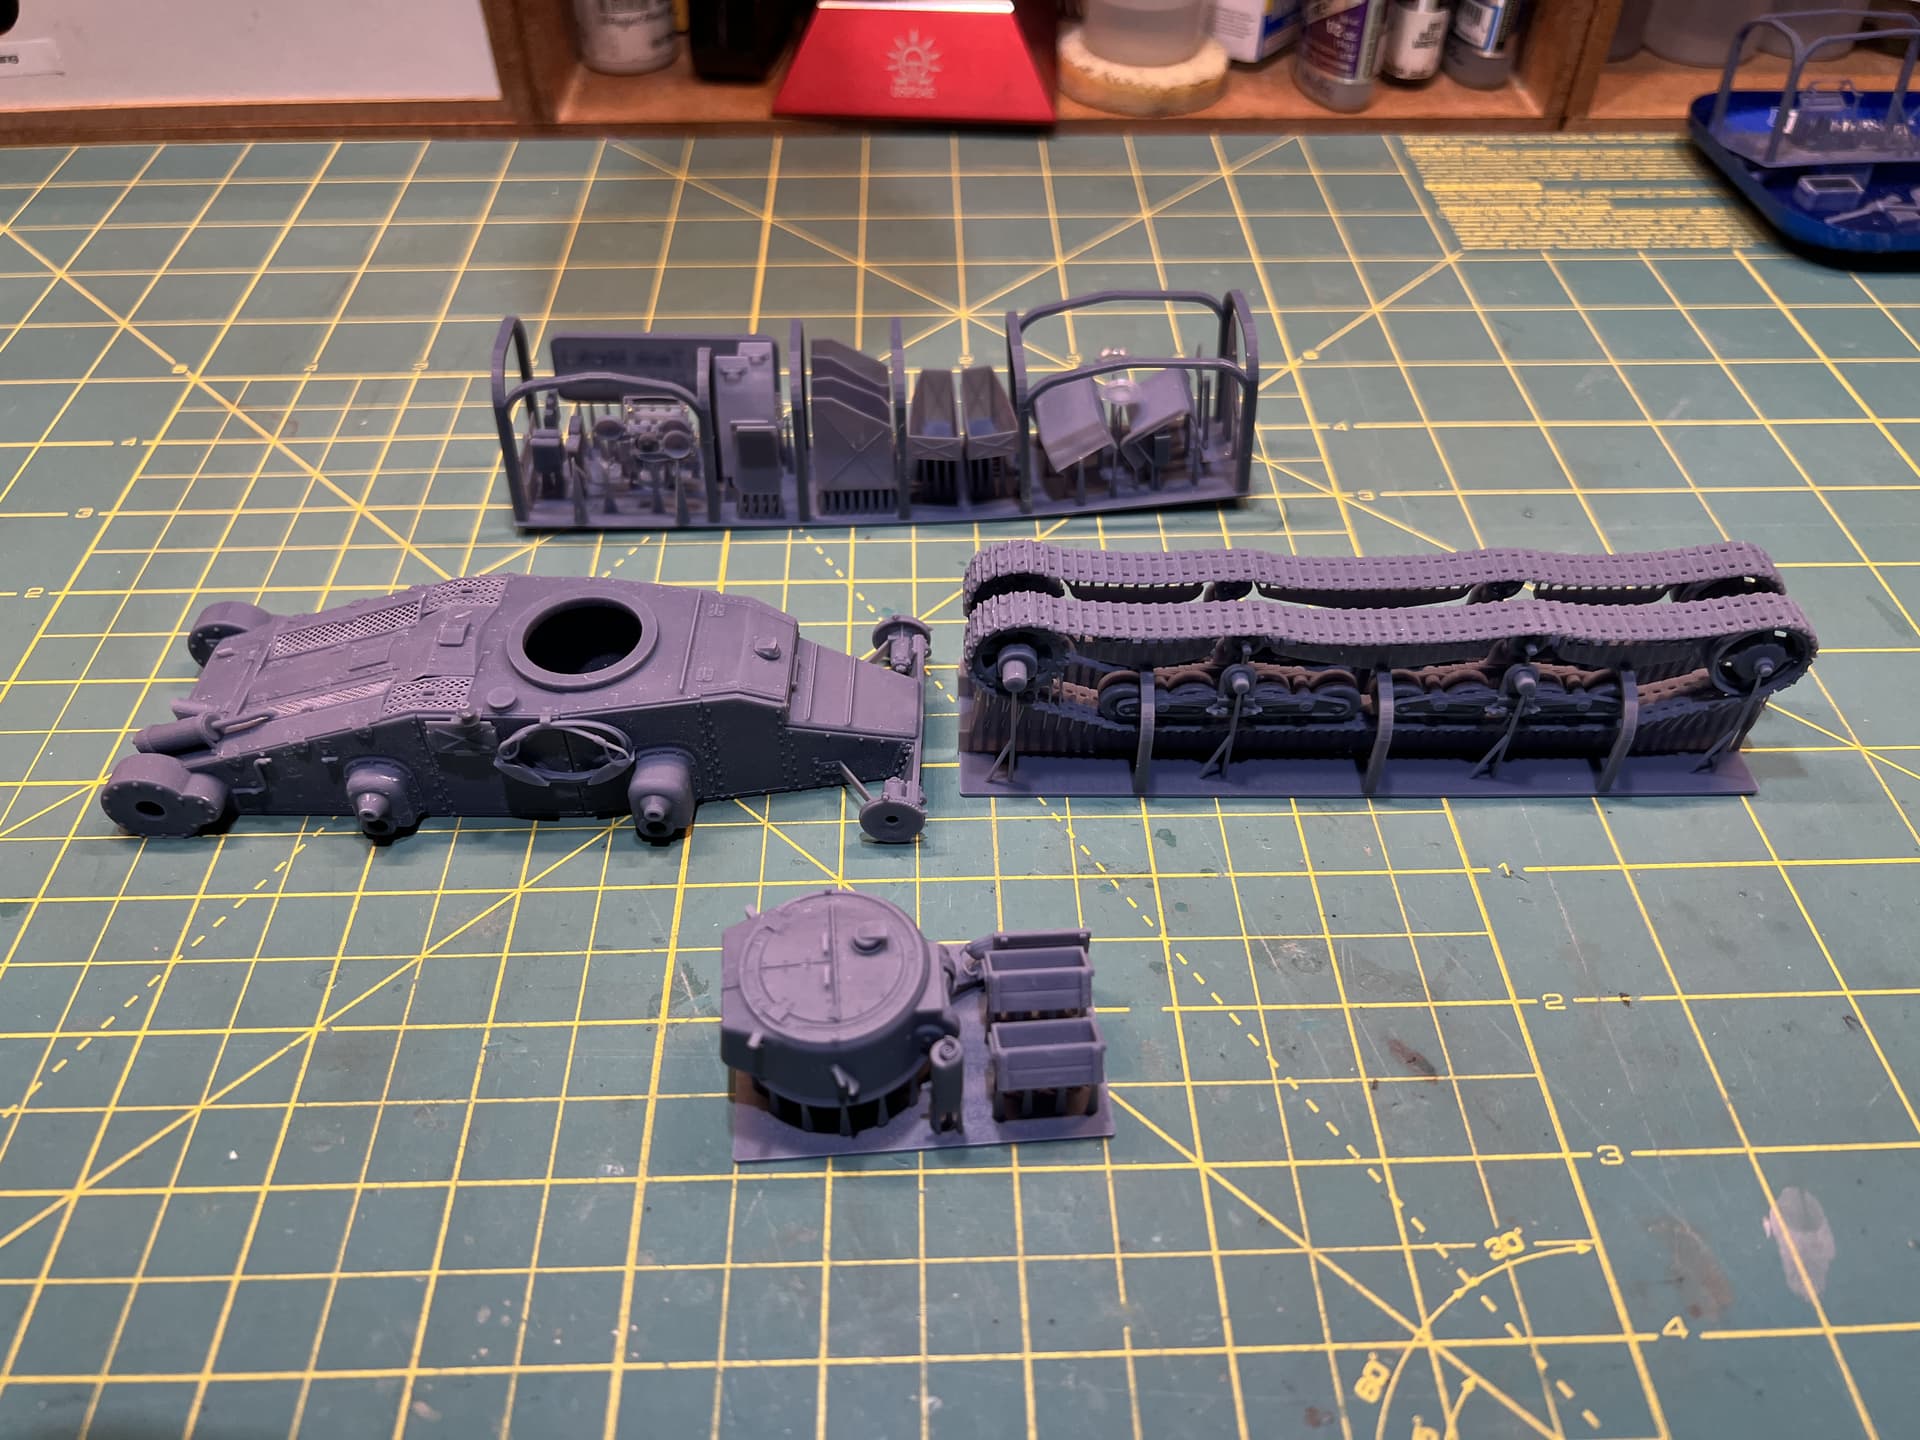
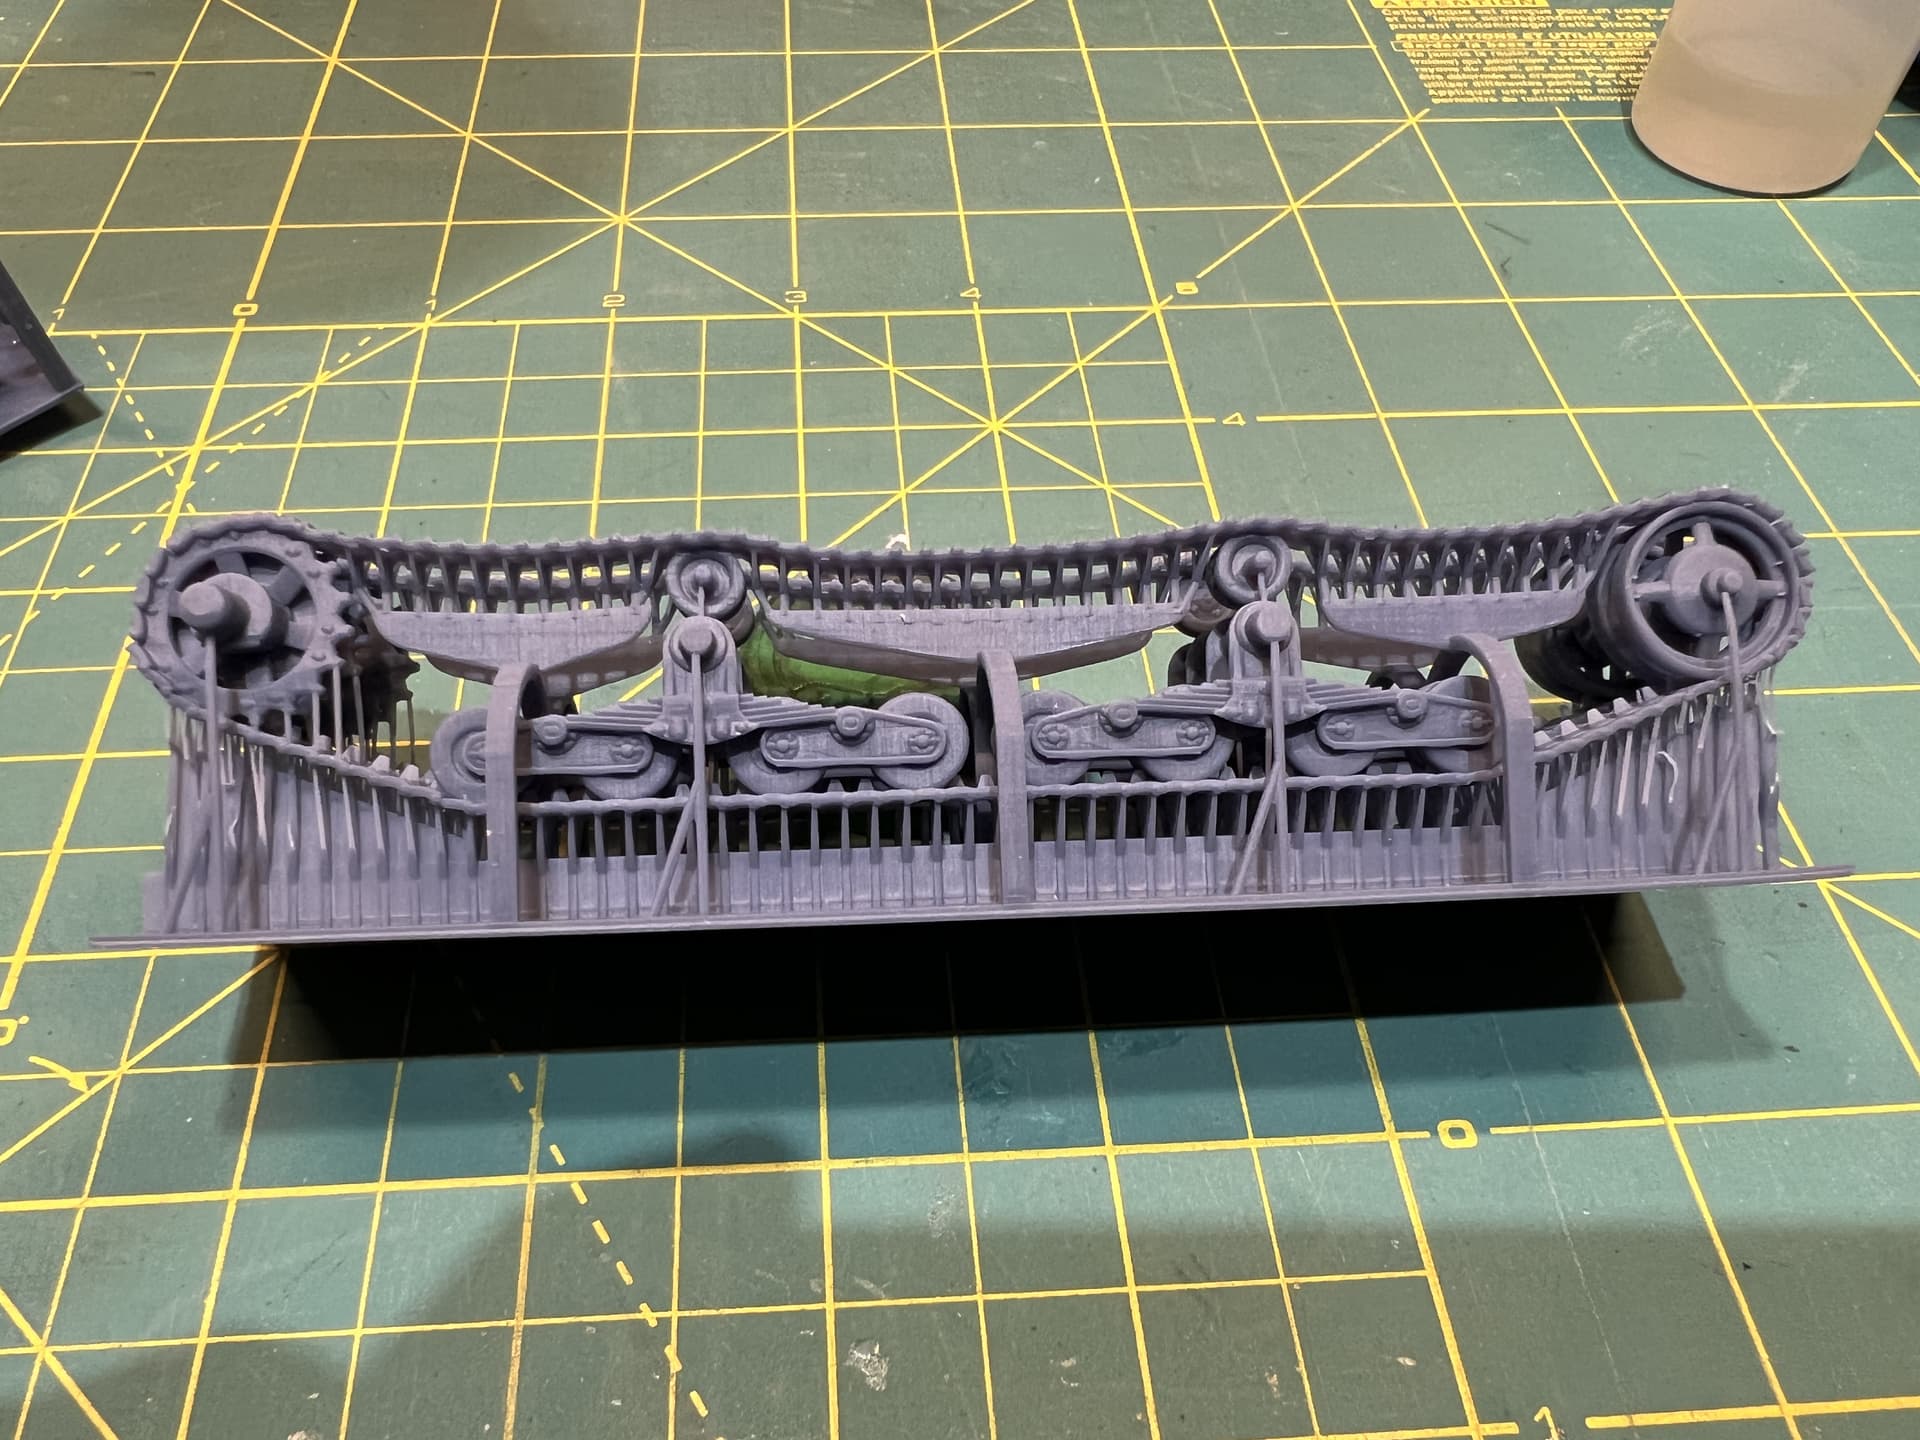
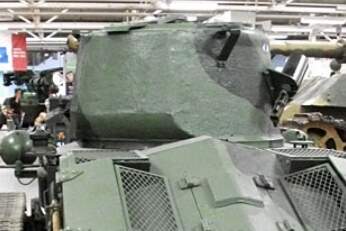
This is one of the few 3D printed kits that I didn’t have to clean the parts or give them additional cure time. I cut the parts free from the support structures and started gluing. I used the black “tire glue” CA exclusively on this kit. It is slower drying and has much better shear strength than medium CA. As the suspension and tracks are open and printed in one piece, I decided to leave them off until after painting and weathering. I added casting texture by stippling Mr. Surfacer 500 onto the turret, gun mantel, and hull parts.

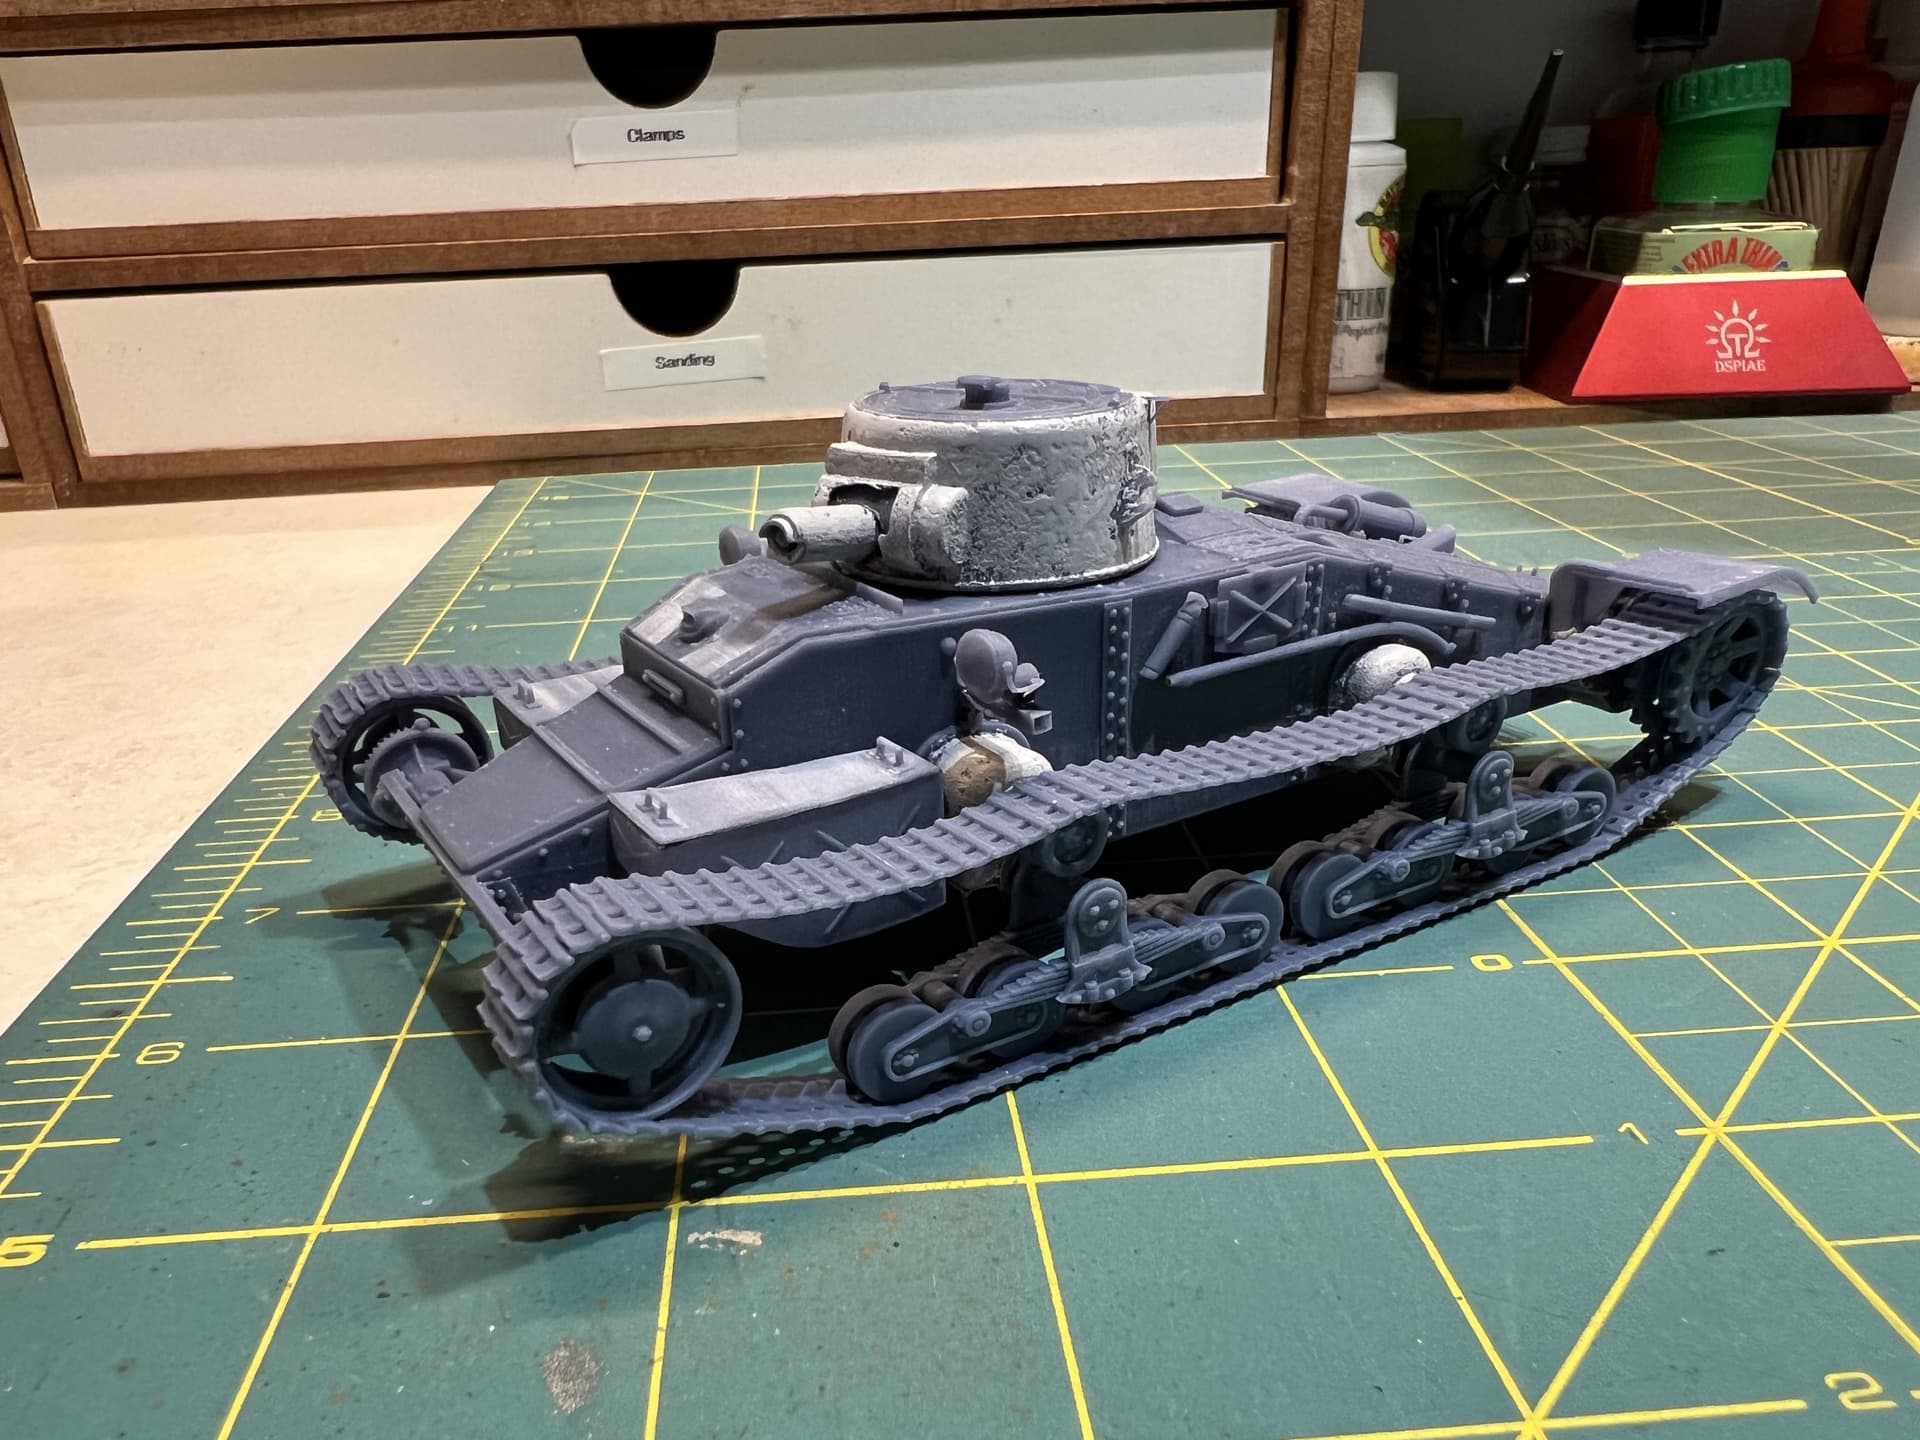

I primed the model with Mr. Surfacer 1000 rattle-can to make the fine 3D print striations disappear. After sanding the few visible striations out, I gave it a coat of black to start out the painting process.
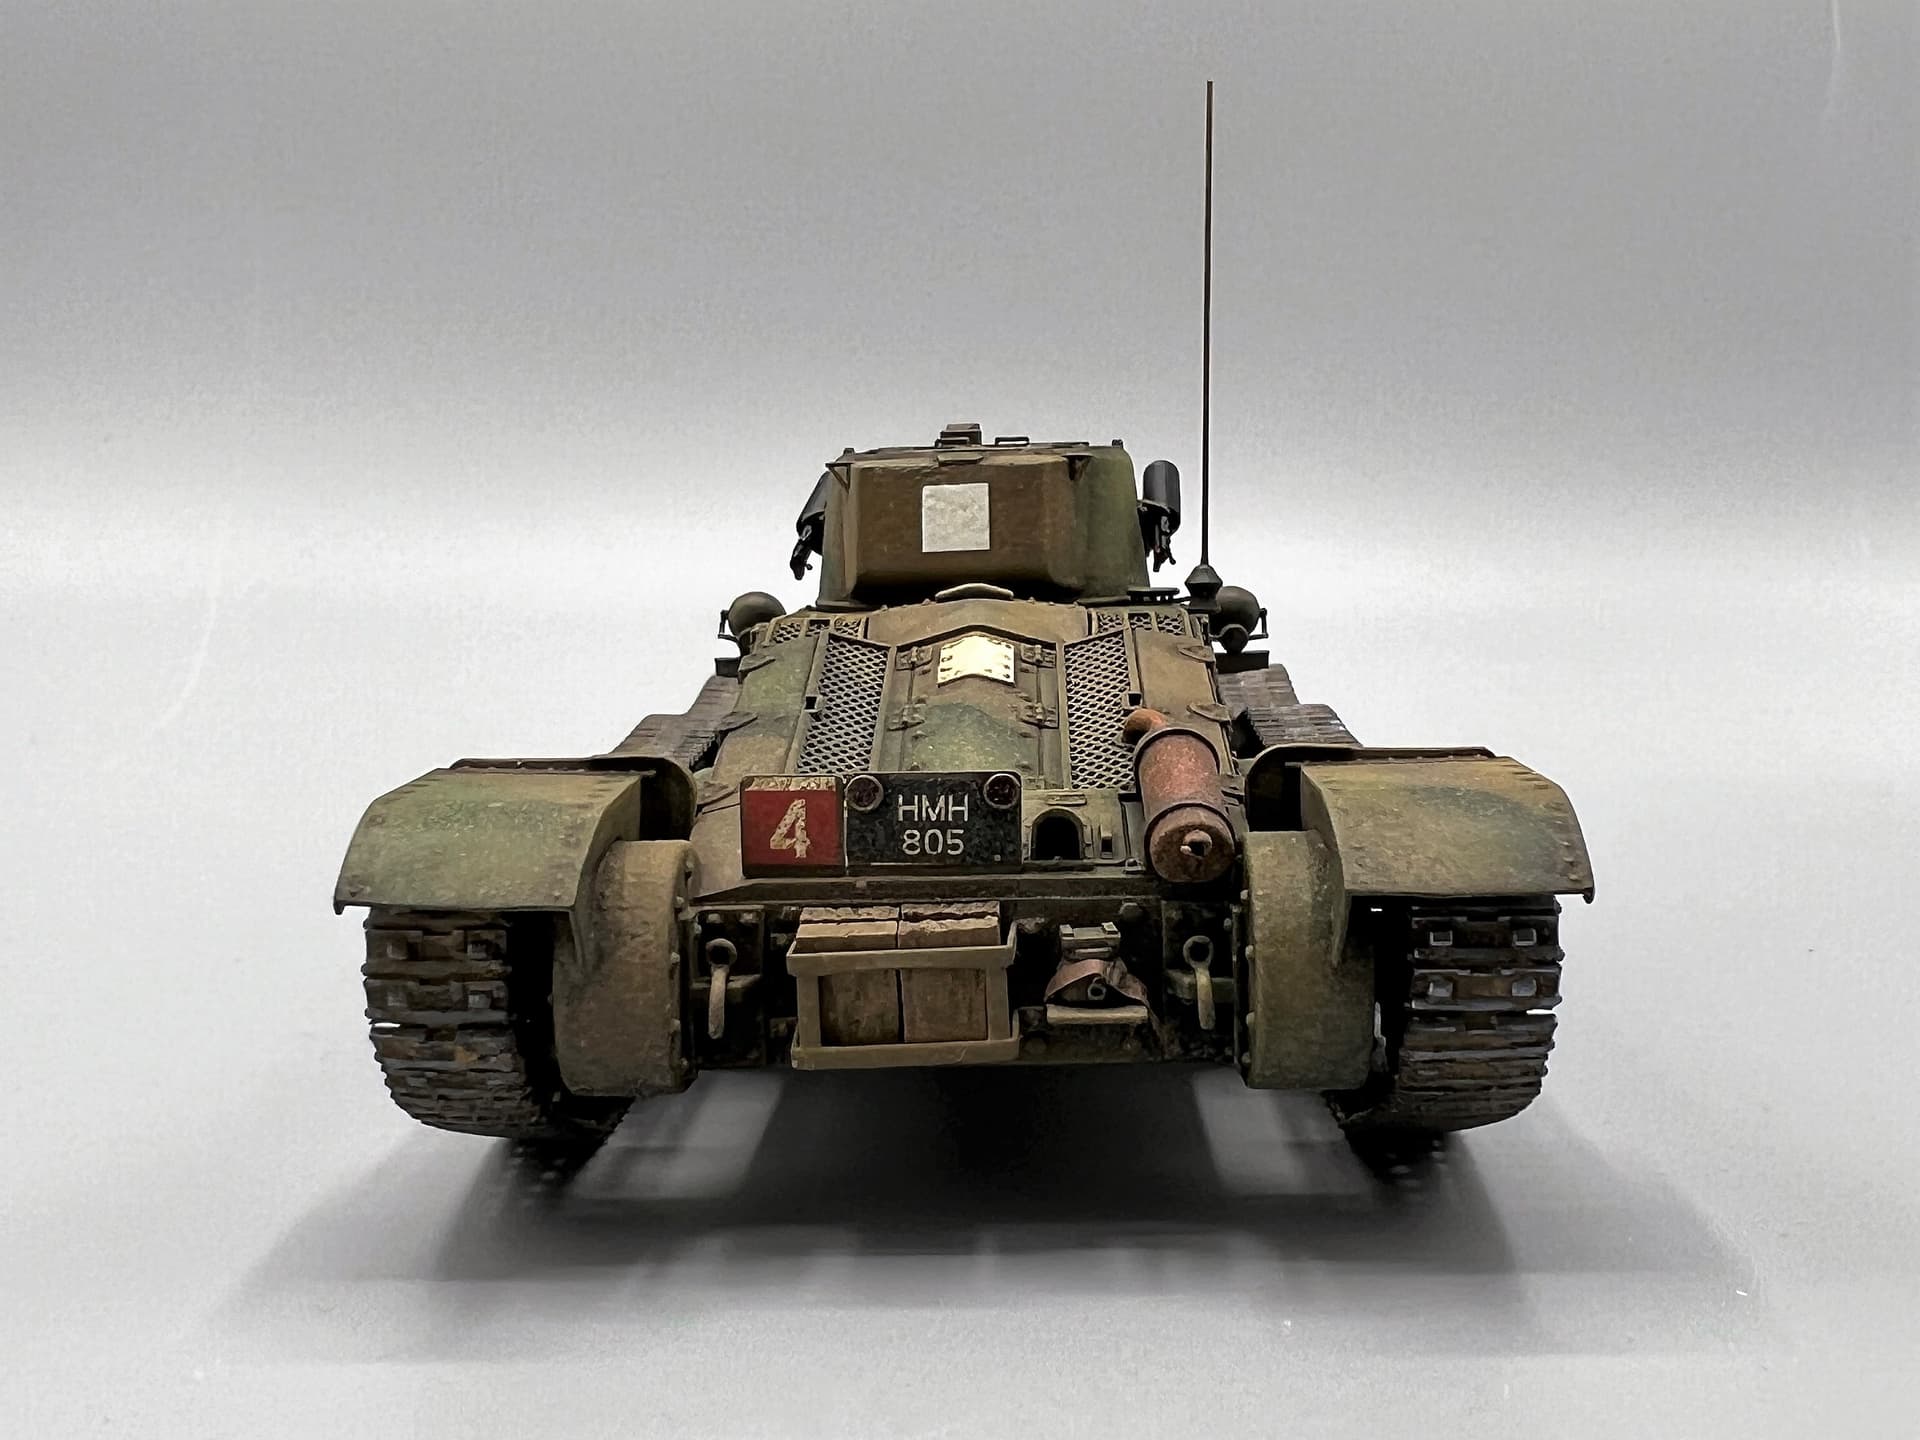
After highlighting the upper surfaces with XF-2 White, I laid down a base coat of AK Real Colors Khaki Green No. 3 RC033. After masking with silly putty, I sprayed the Dark Green No. 4 as a Mike Starmer mix of 2 parts XF-61 and 3 parts XF-58. I used AK Extreme Metals Bronze on the nice name plate in the kit and rubbed the lettering with AK True Metal brass wax. I commissioned Mike Blackwell to create custom decals for me. These were applied after an oil dot filter.
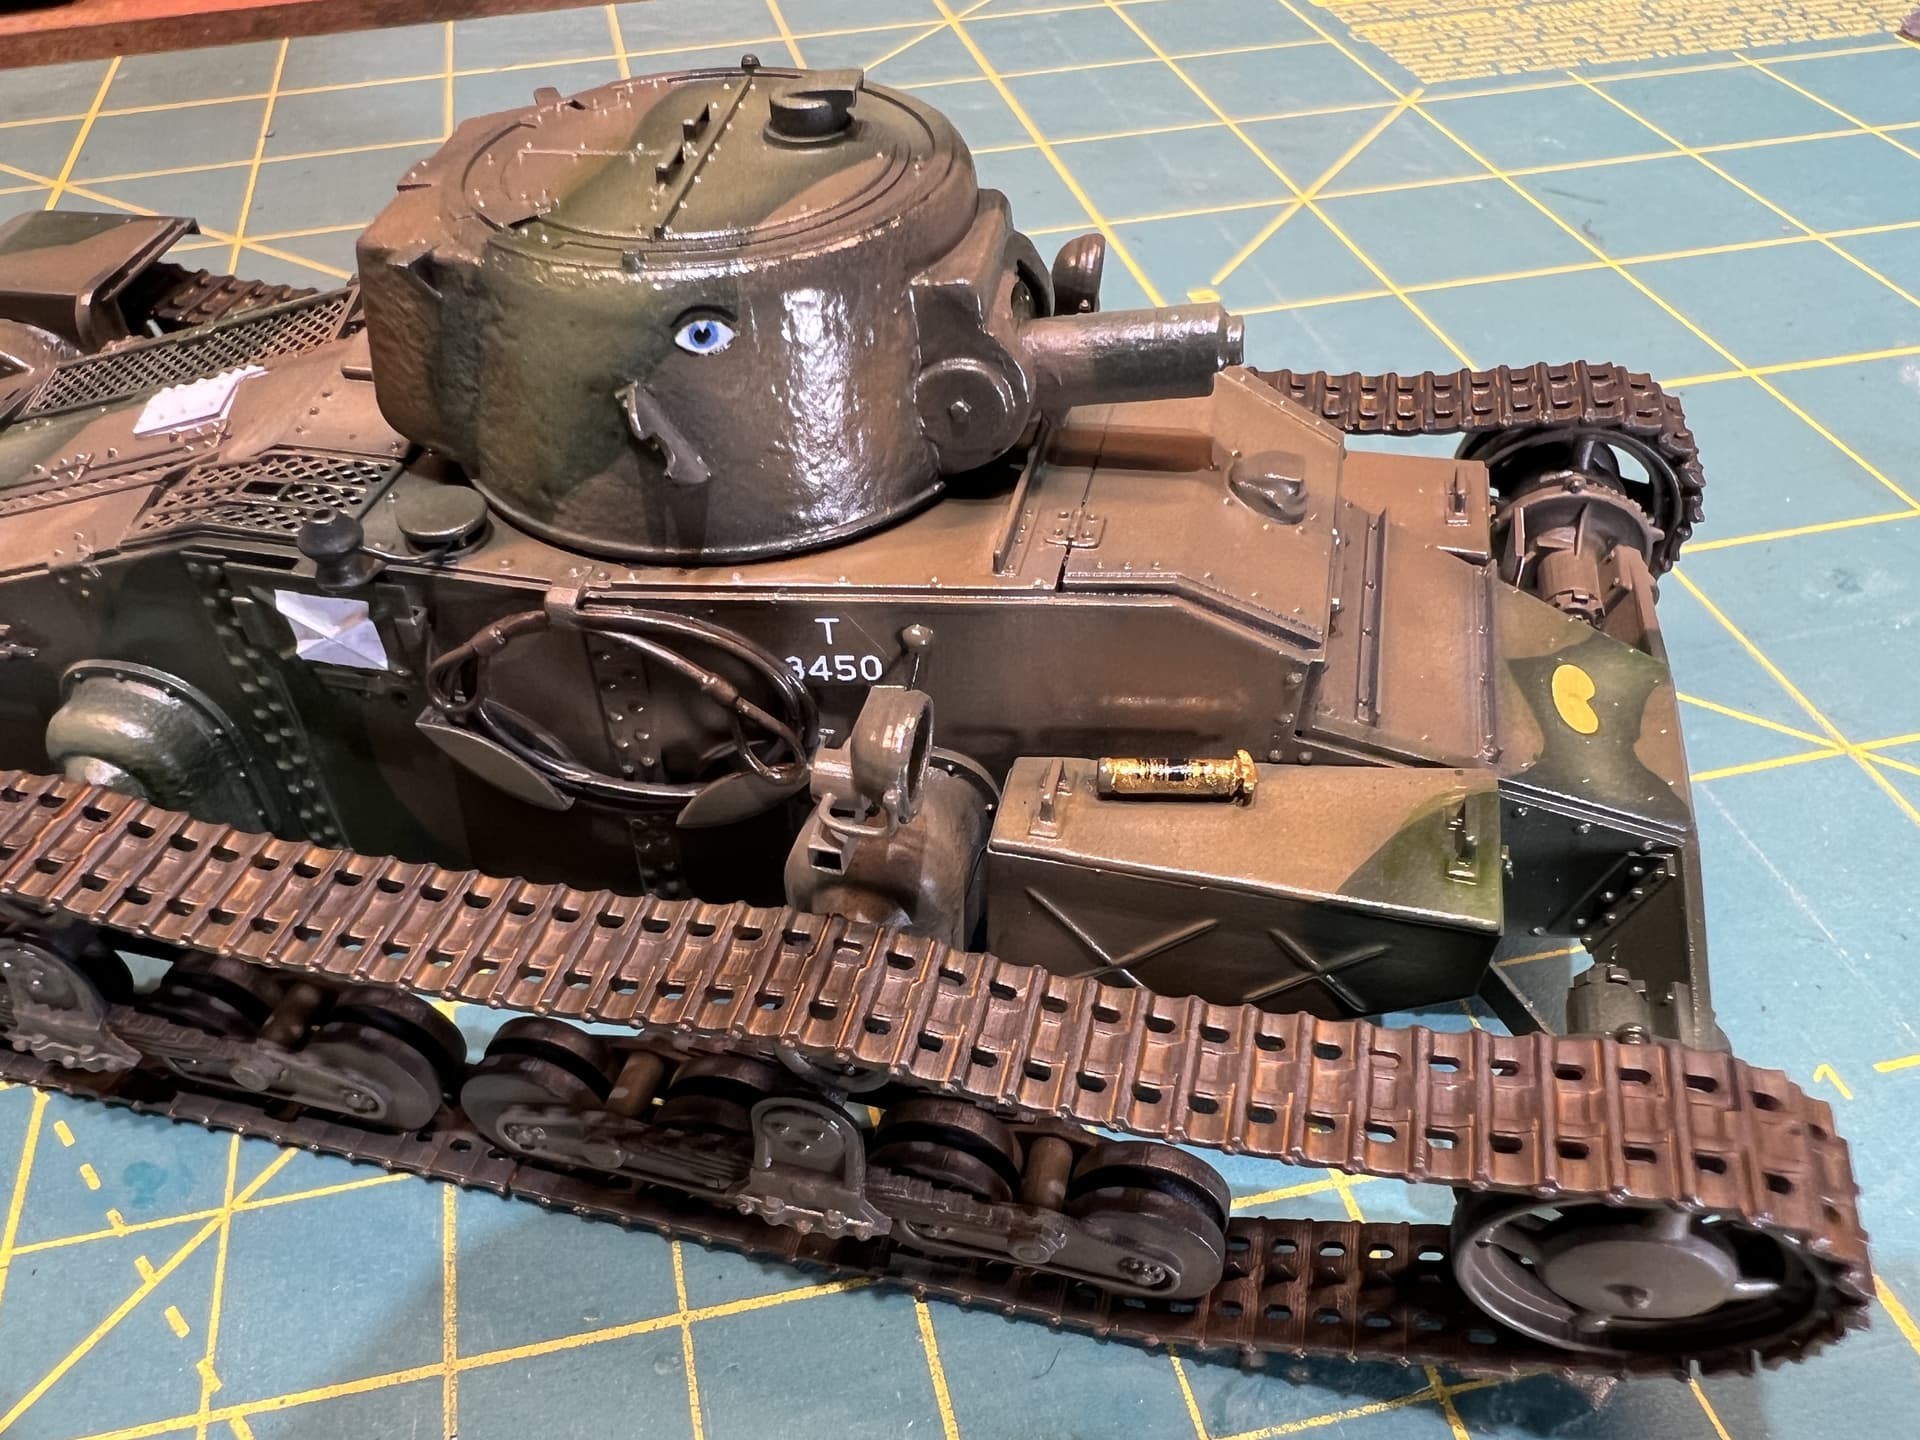
I did a pin wash of AK Streaking grime. I painted the muffler with the excellent LifeColor rust set stippled on. I applied pigments to the tracks and then splattered various shades of AK earth and dust affects to give it the road grime.
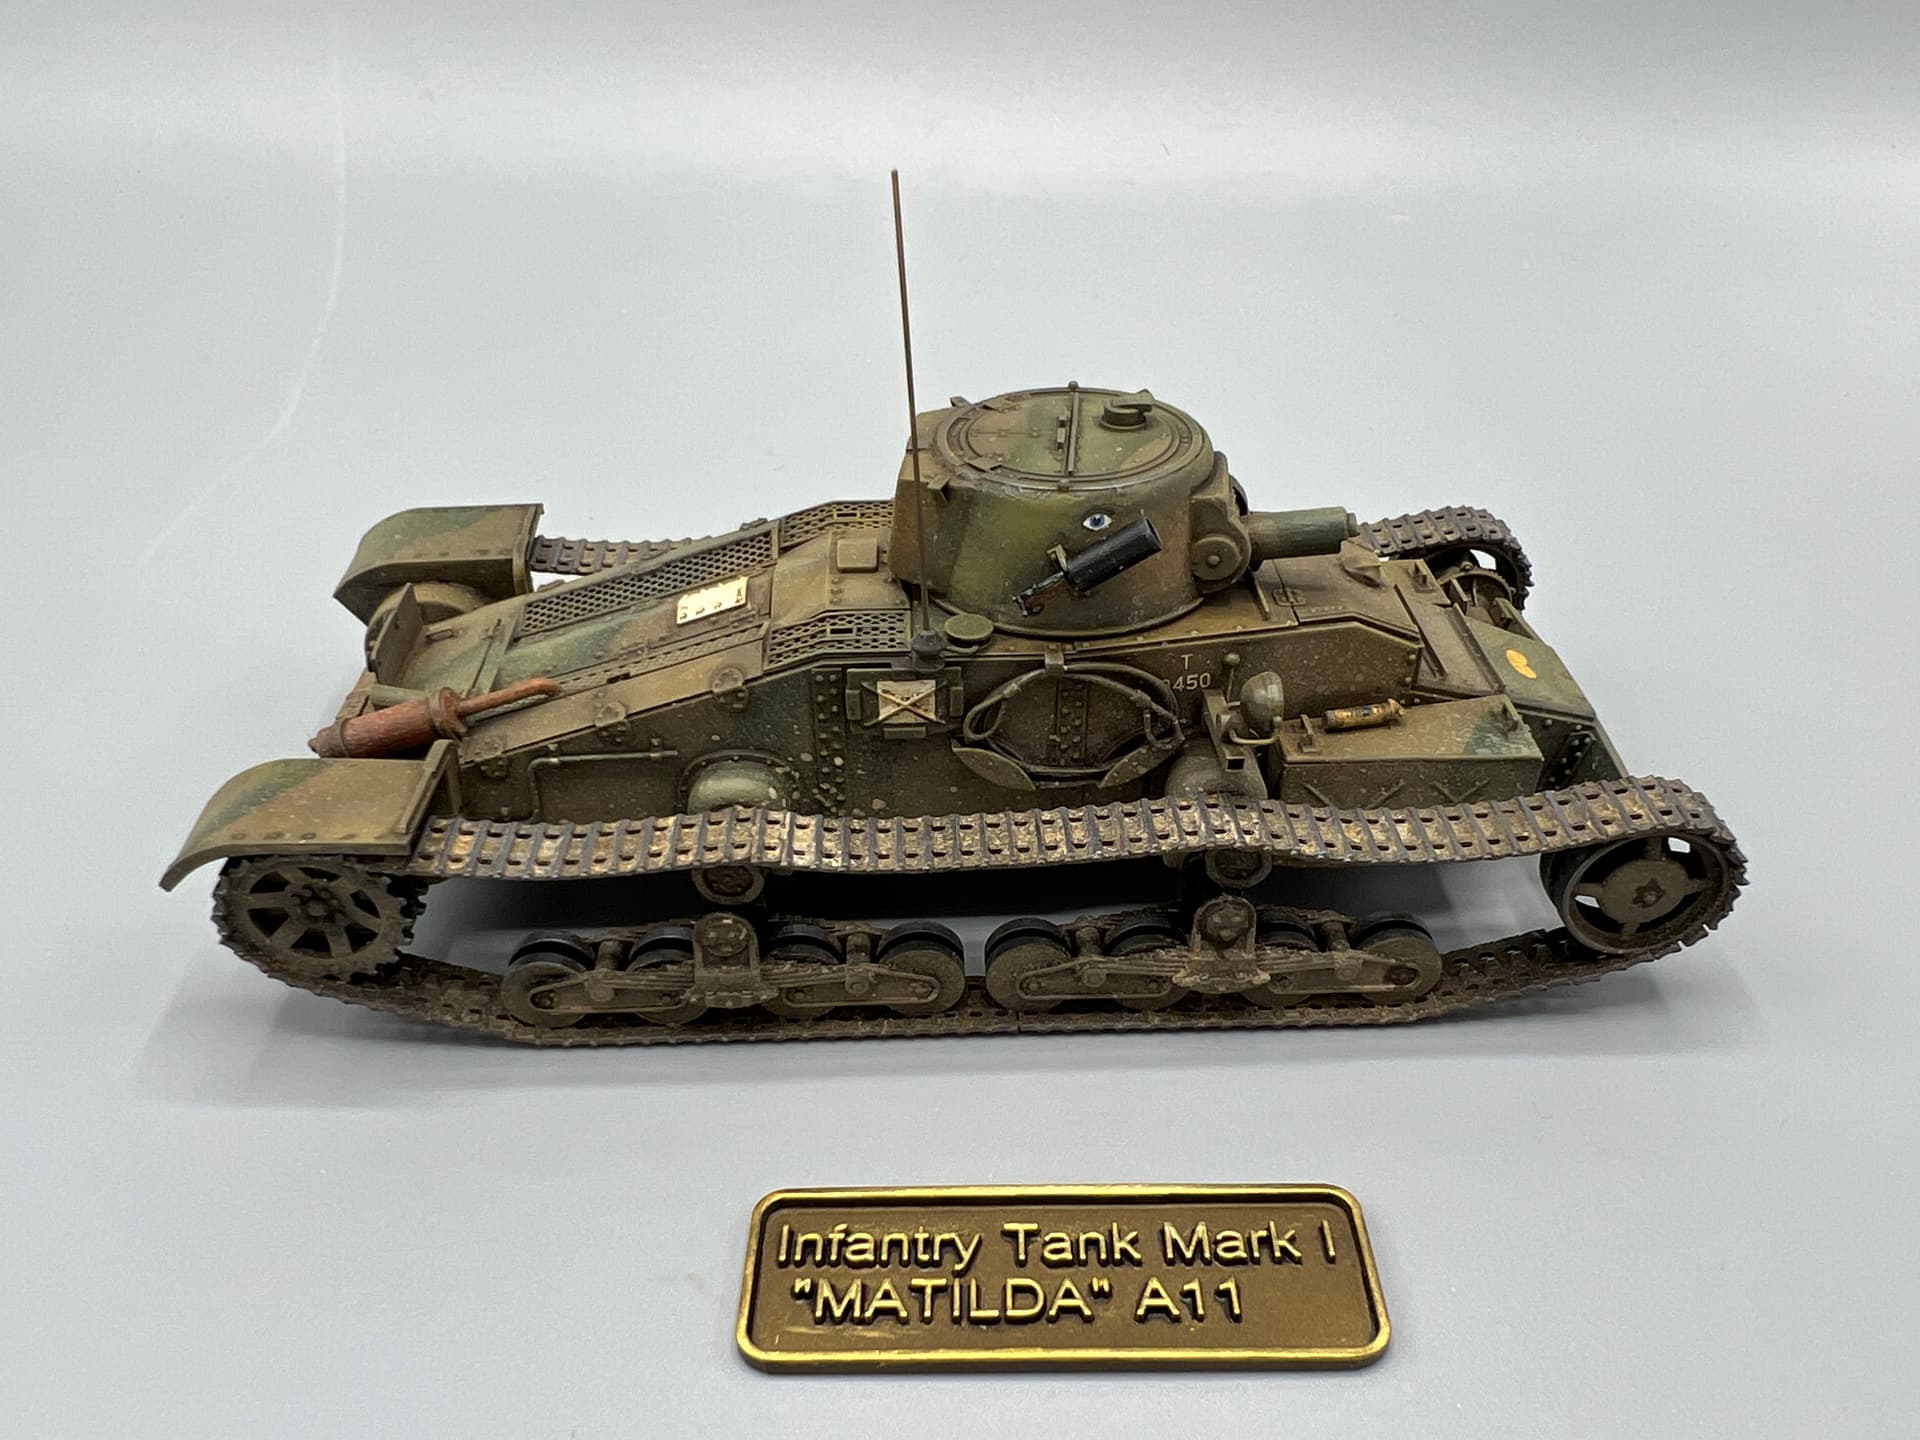

I’m really happy with the results. Vargas created an outstanding kit and it built into great model.