You’re doing some good work there. Alot more then i can stand.
1 Like
@Petro, thank you for the kind words and taking time to look. If I’d know what was in store I might have went with a Tamiya Panther G basically out of the box  .
. 
I appreciate all the folks checking in and along for the ride.
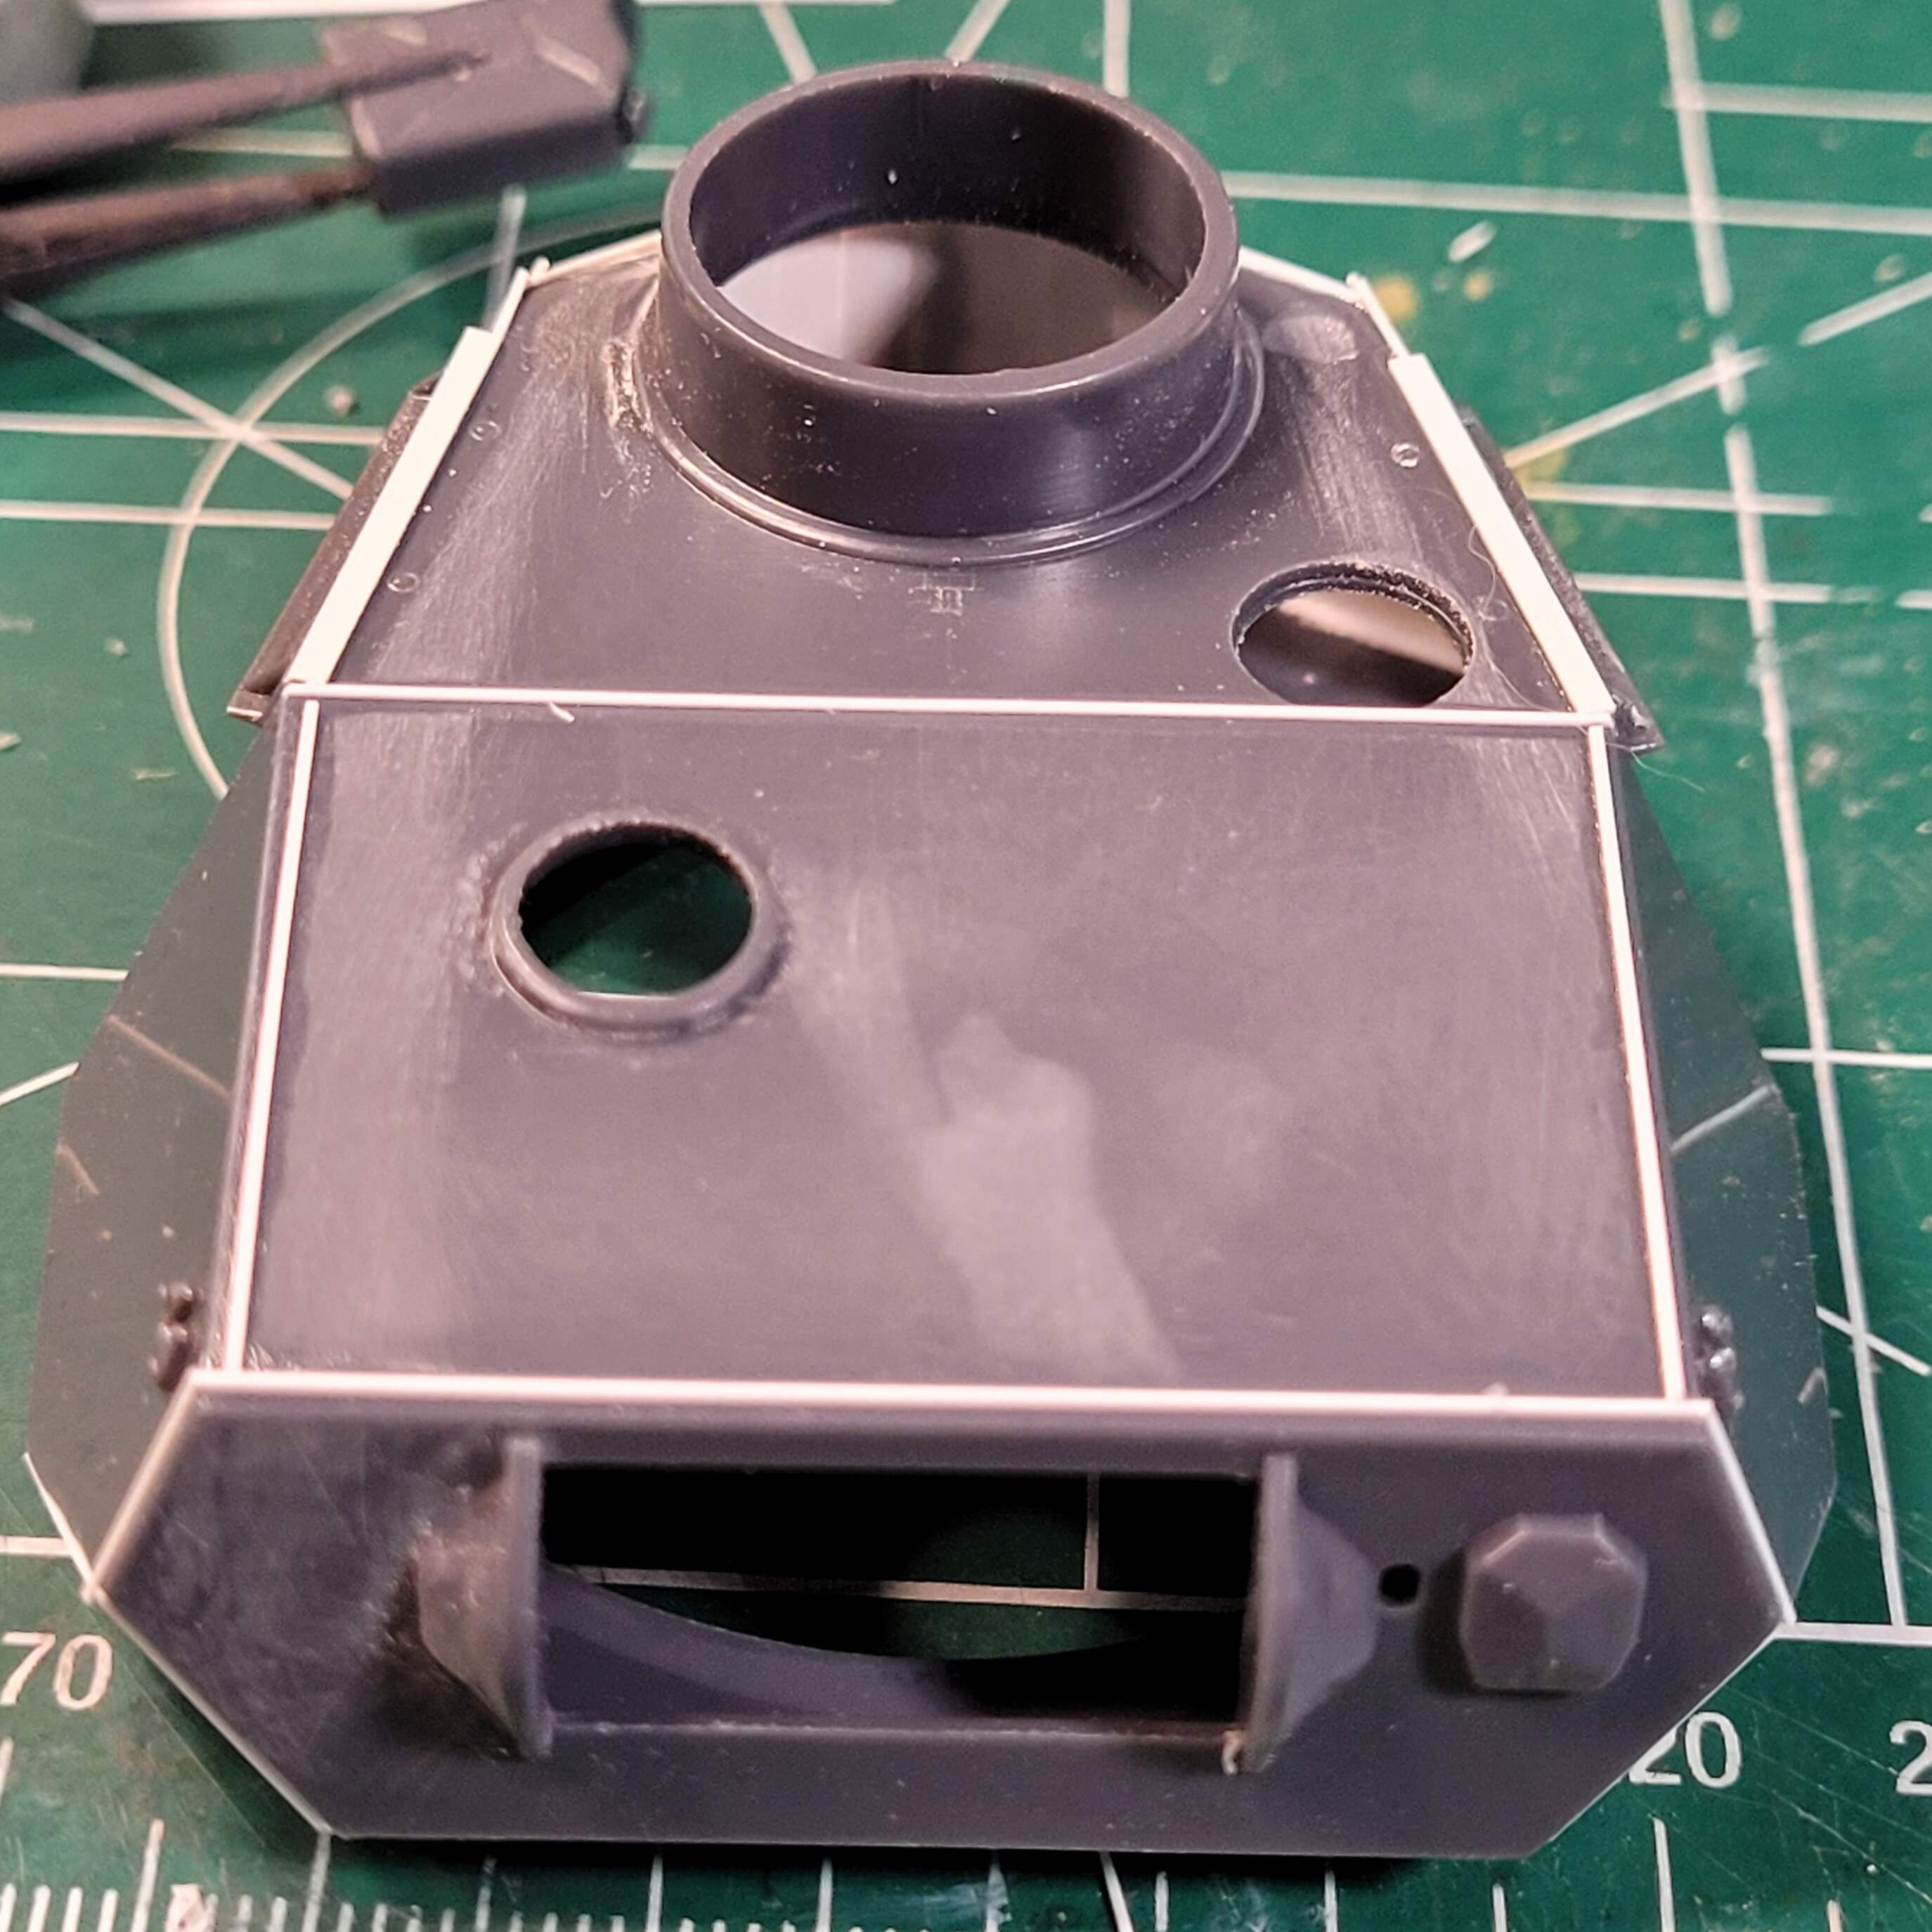
Basically the upper & lower hull are complete!
Probably a few details to add but the major part of their construction is wrapped. Upgraded to a new phone and hopefully better pictures…
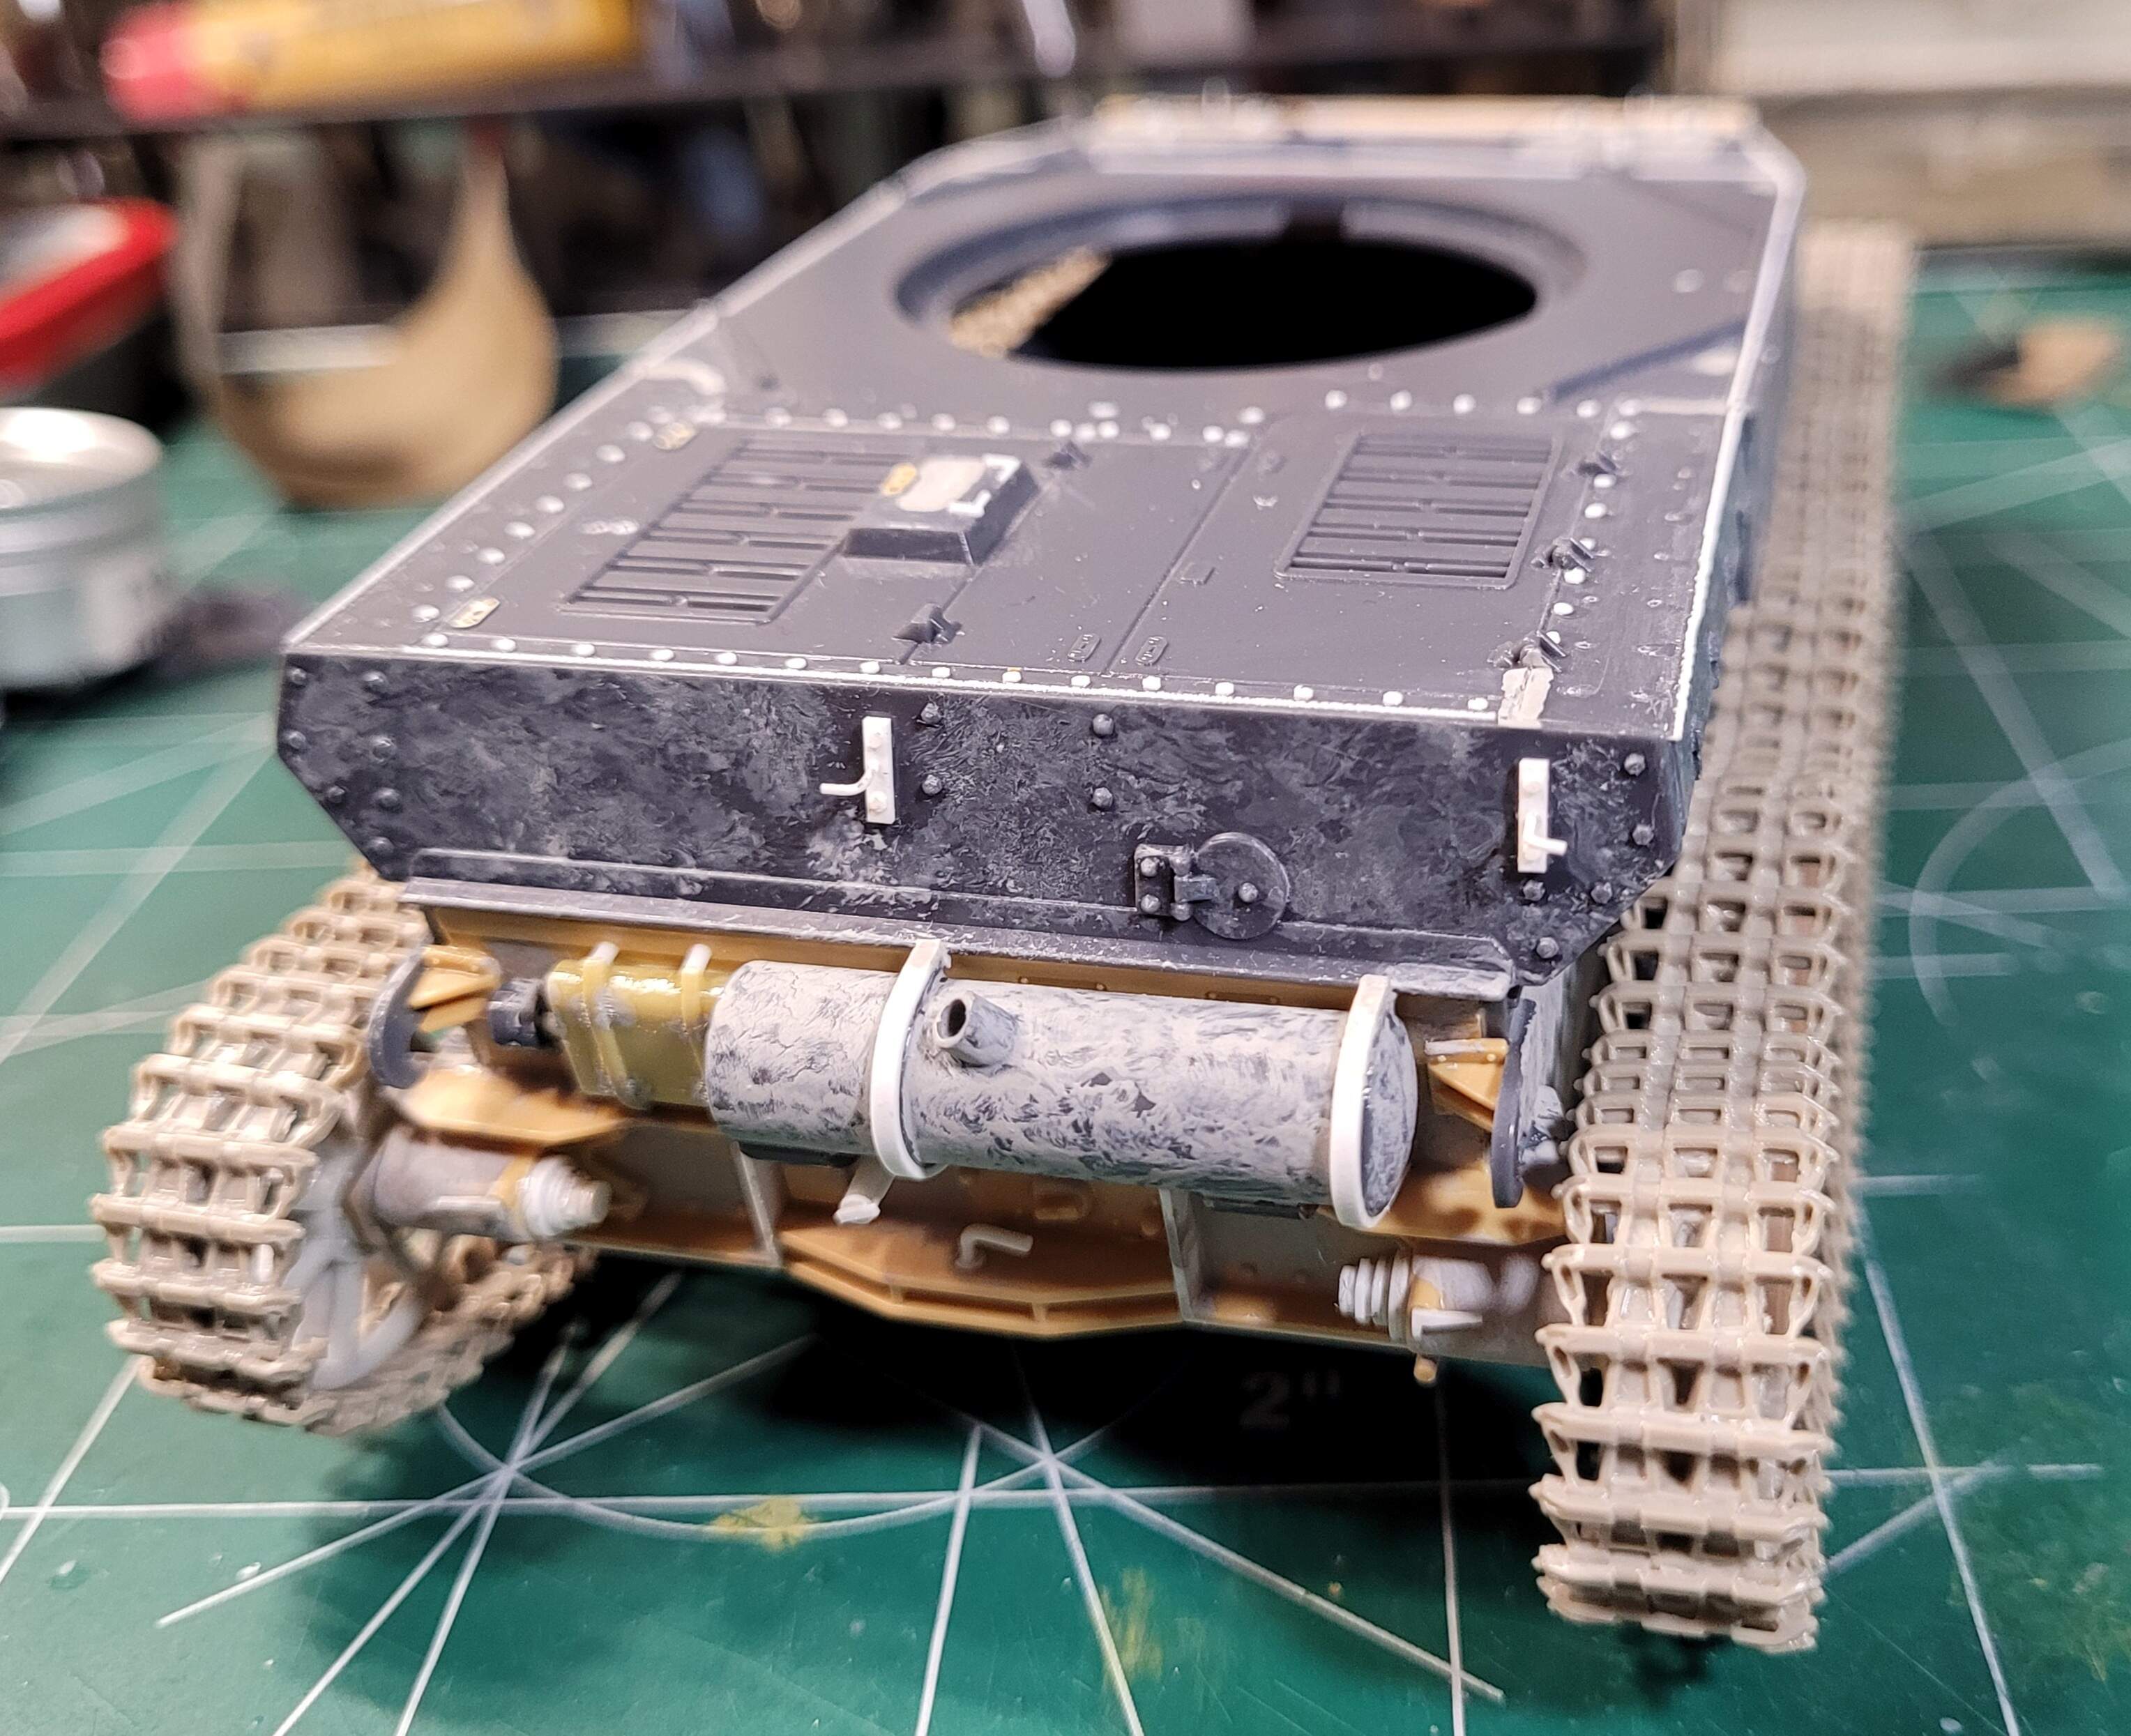
Added rest of front armor plus texture, added texture to upper hull due to lots of tooling artifacts that may not show in pictures, added tow cable holder to rear. Discovered the kit parts were missing so that’s why that’s white styrene.
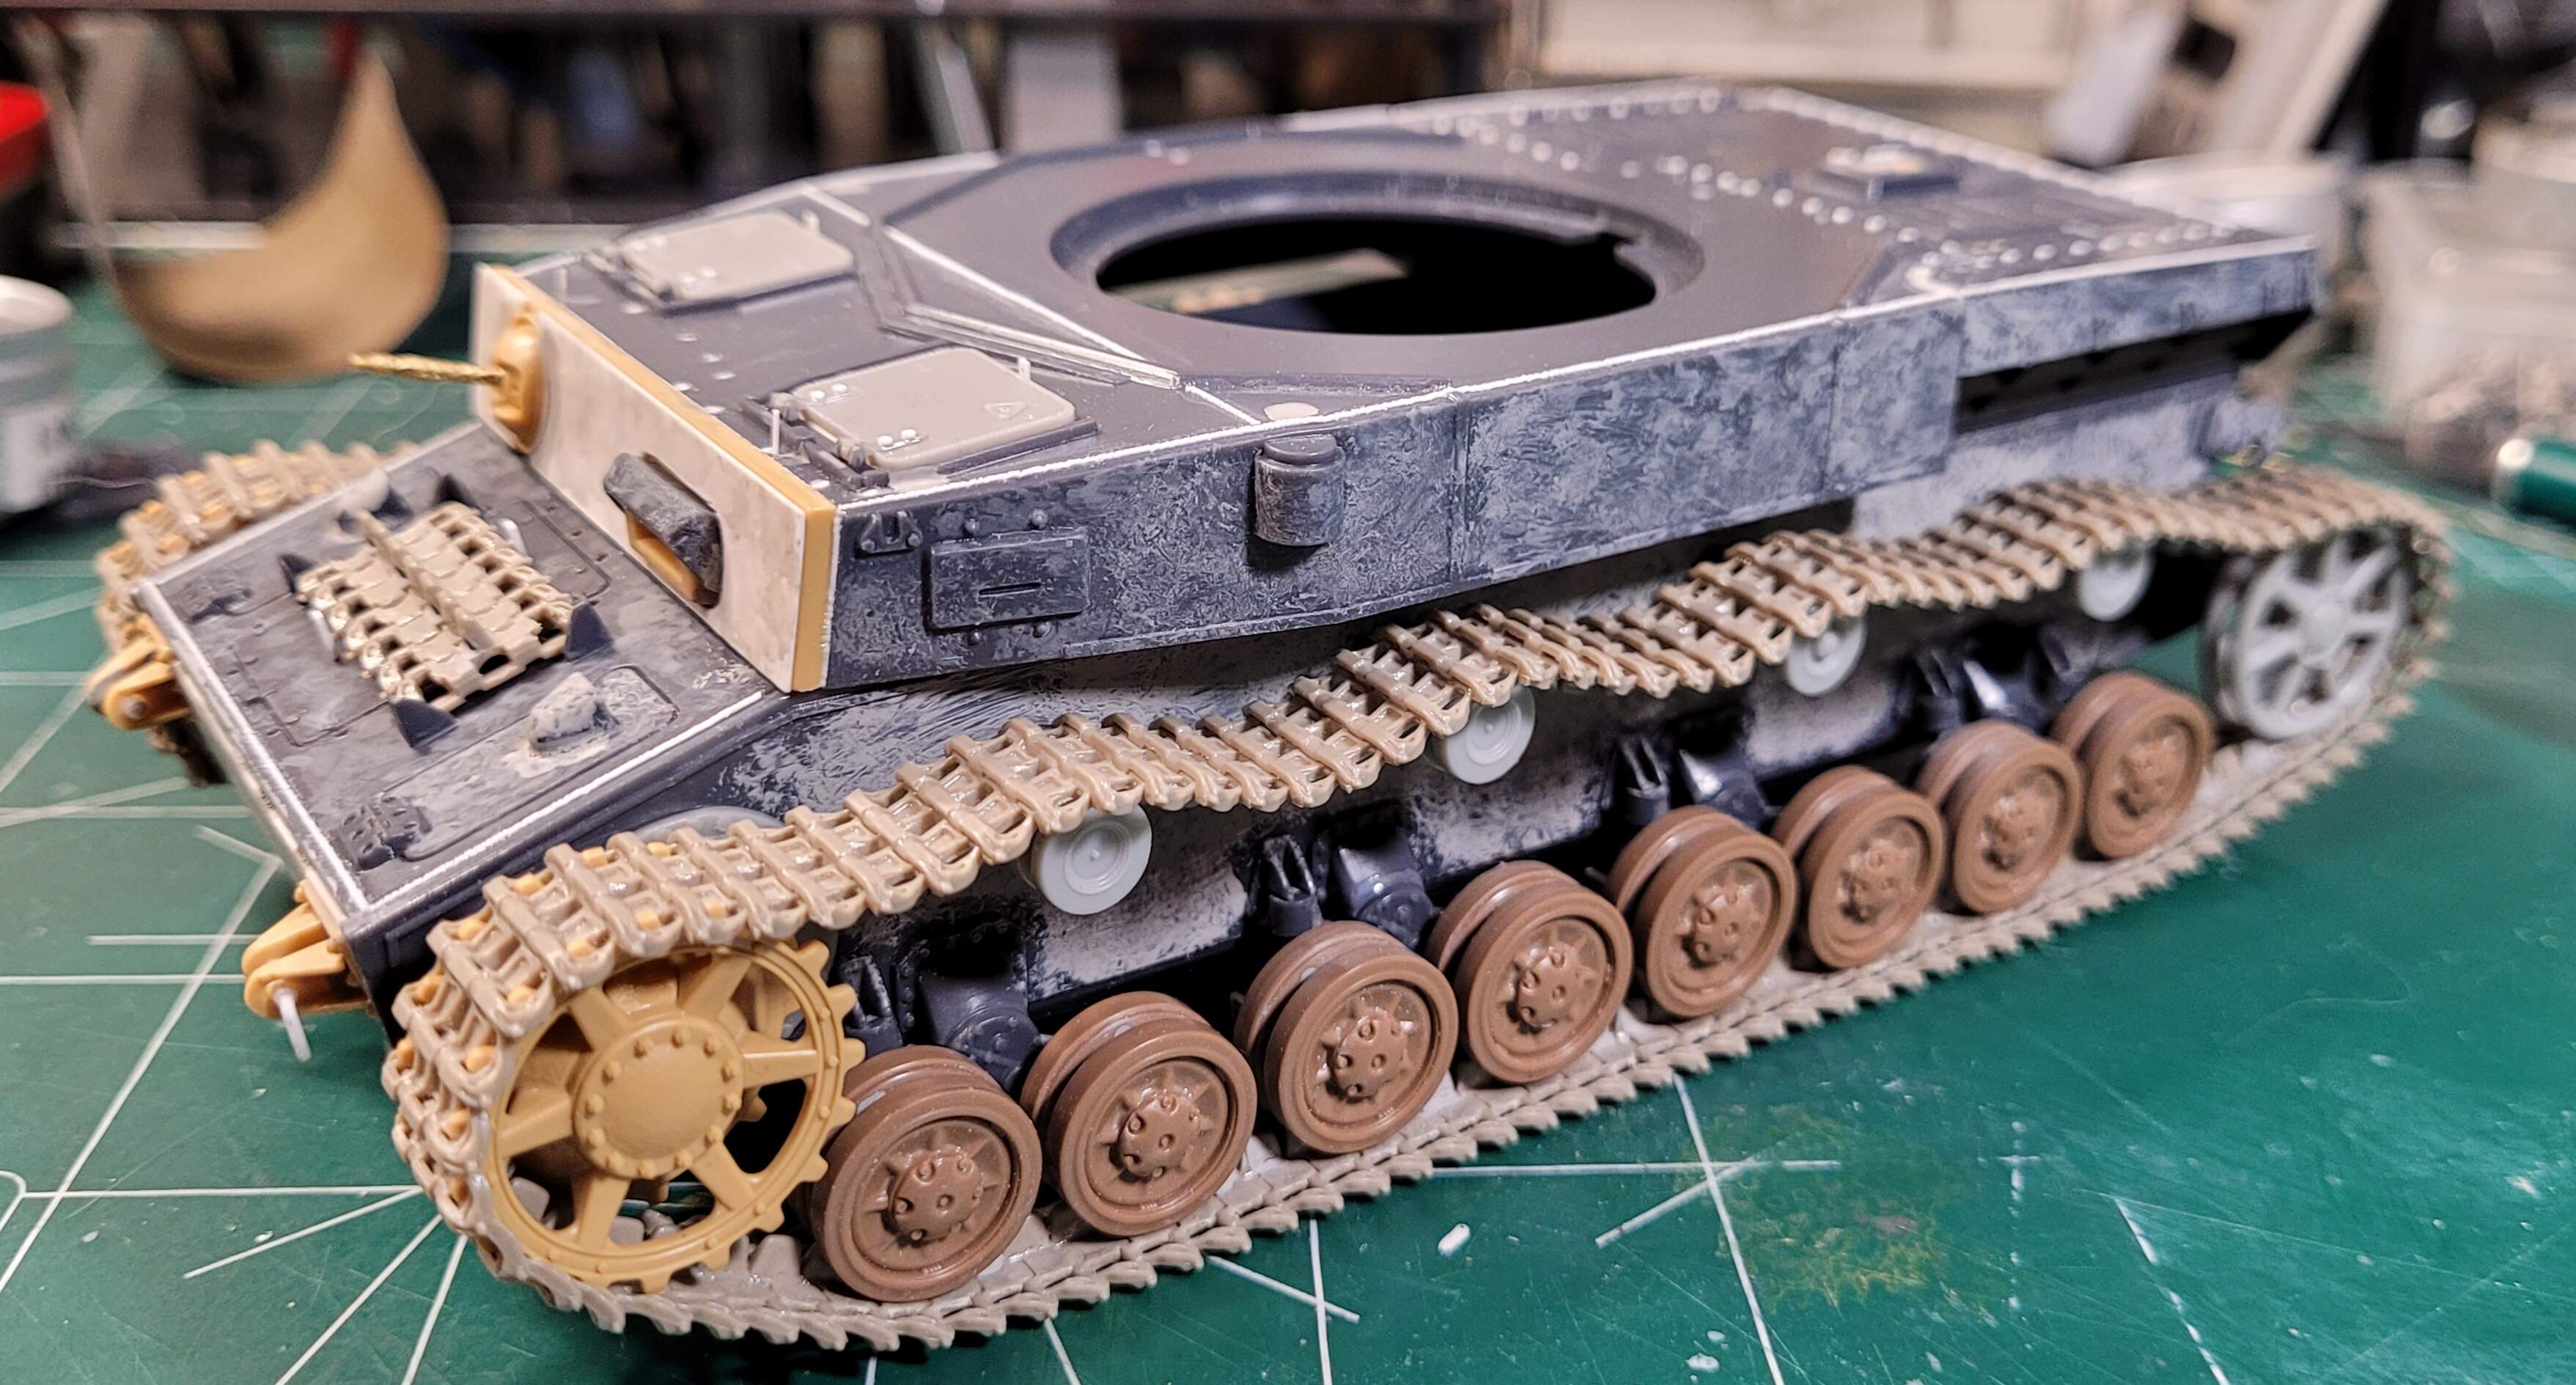
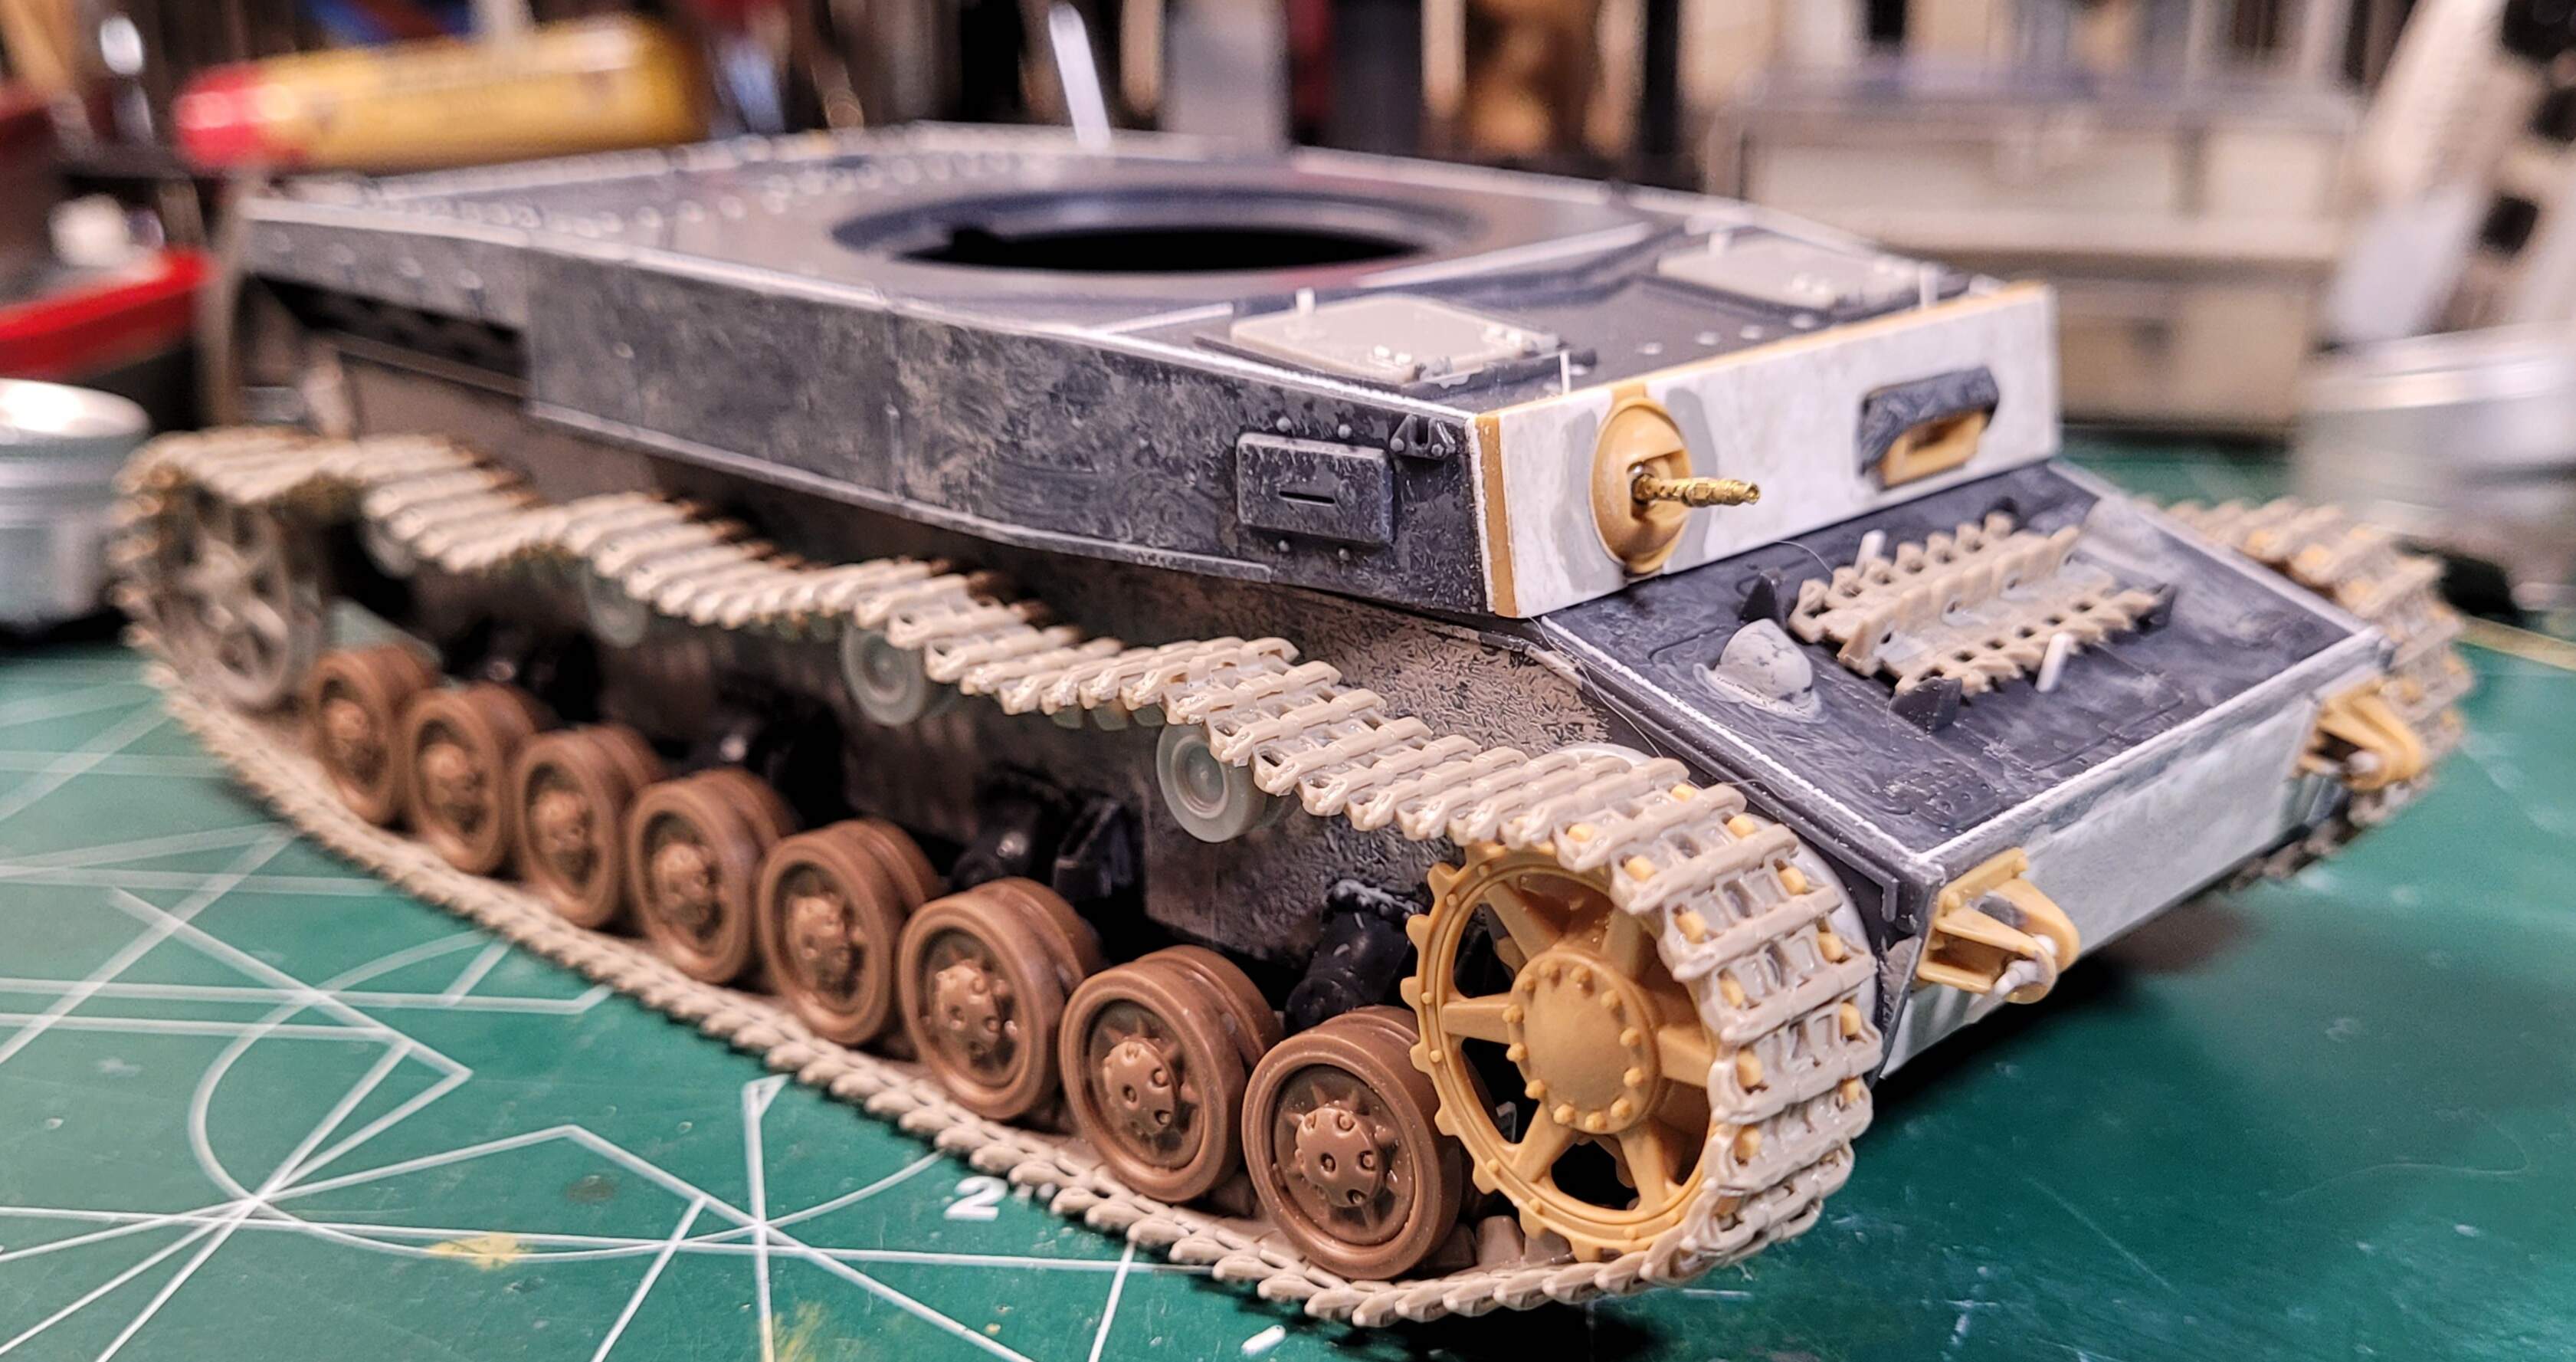

Next will work of the turret and do the fenders last.
2 Likes
Wow! This would look good even if you don’t paint it. Really clean work.
Cheers,
C.
4 Likes
Ditto, love it!
2 Likes
Merry Christmas & Happy Holidays to All.
Italeri left me a Christmas present from 1974-5 on the face of the turret
2 Likes
They must of used a panzer IV that was hit by a 16” for reference. That’s the patch.
2 Likes
Nasty. But remember it a vintage kit.
2 Likes
That musta been the Ejector-Pin Fairy! 
2 Likes
Tom thats too funny!
The ejector pin fairy definitely a capricious fairy  ♀
♀
@Armorsmith, excellent point! Overall I’m impressed with the Italeri kit. Given its mid 70’s roots, it would have been very sweet in its day. Fit has been excellent overall better than some much new kits I’ve experienced. The basic style of engineering is still seen in many much newer kits.
Working on weld seams today…

4 Likes
Great work as always! Looking forward to more!
1 Like
Thank you Ezra, much appreciated that you take time to check in on the build:)
Playing around test fitting, discovered the internal gun cradle will have a seam exposed to the exterior.
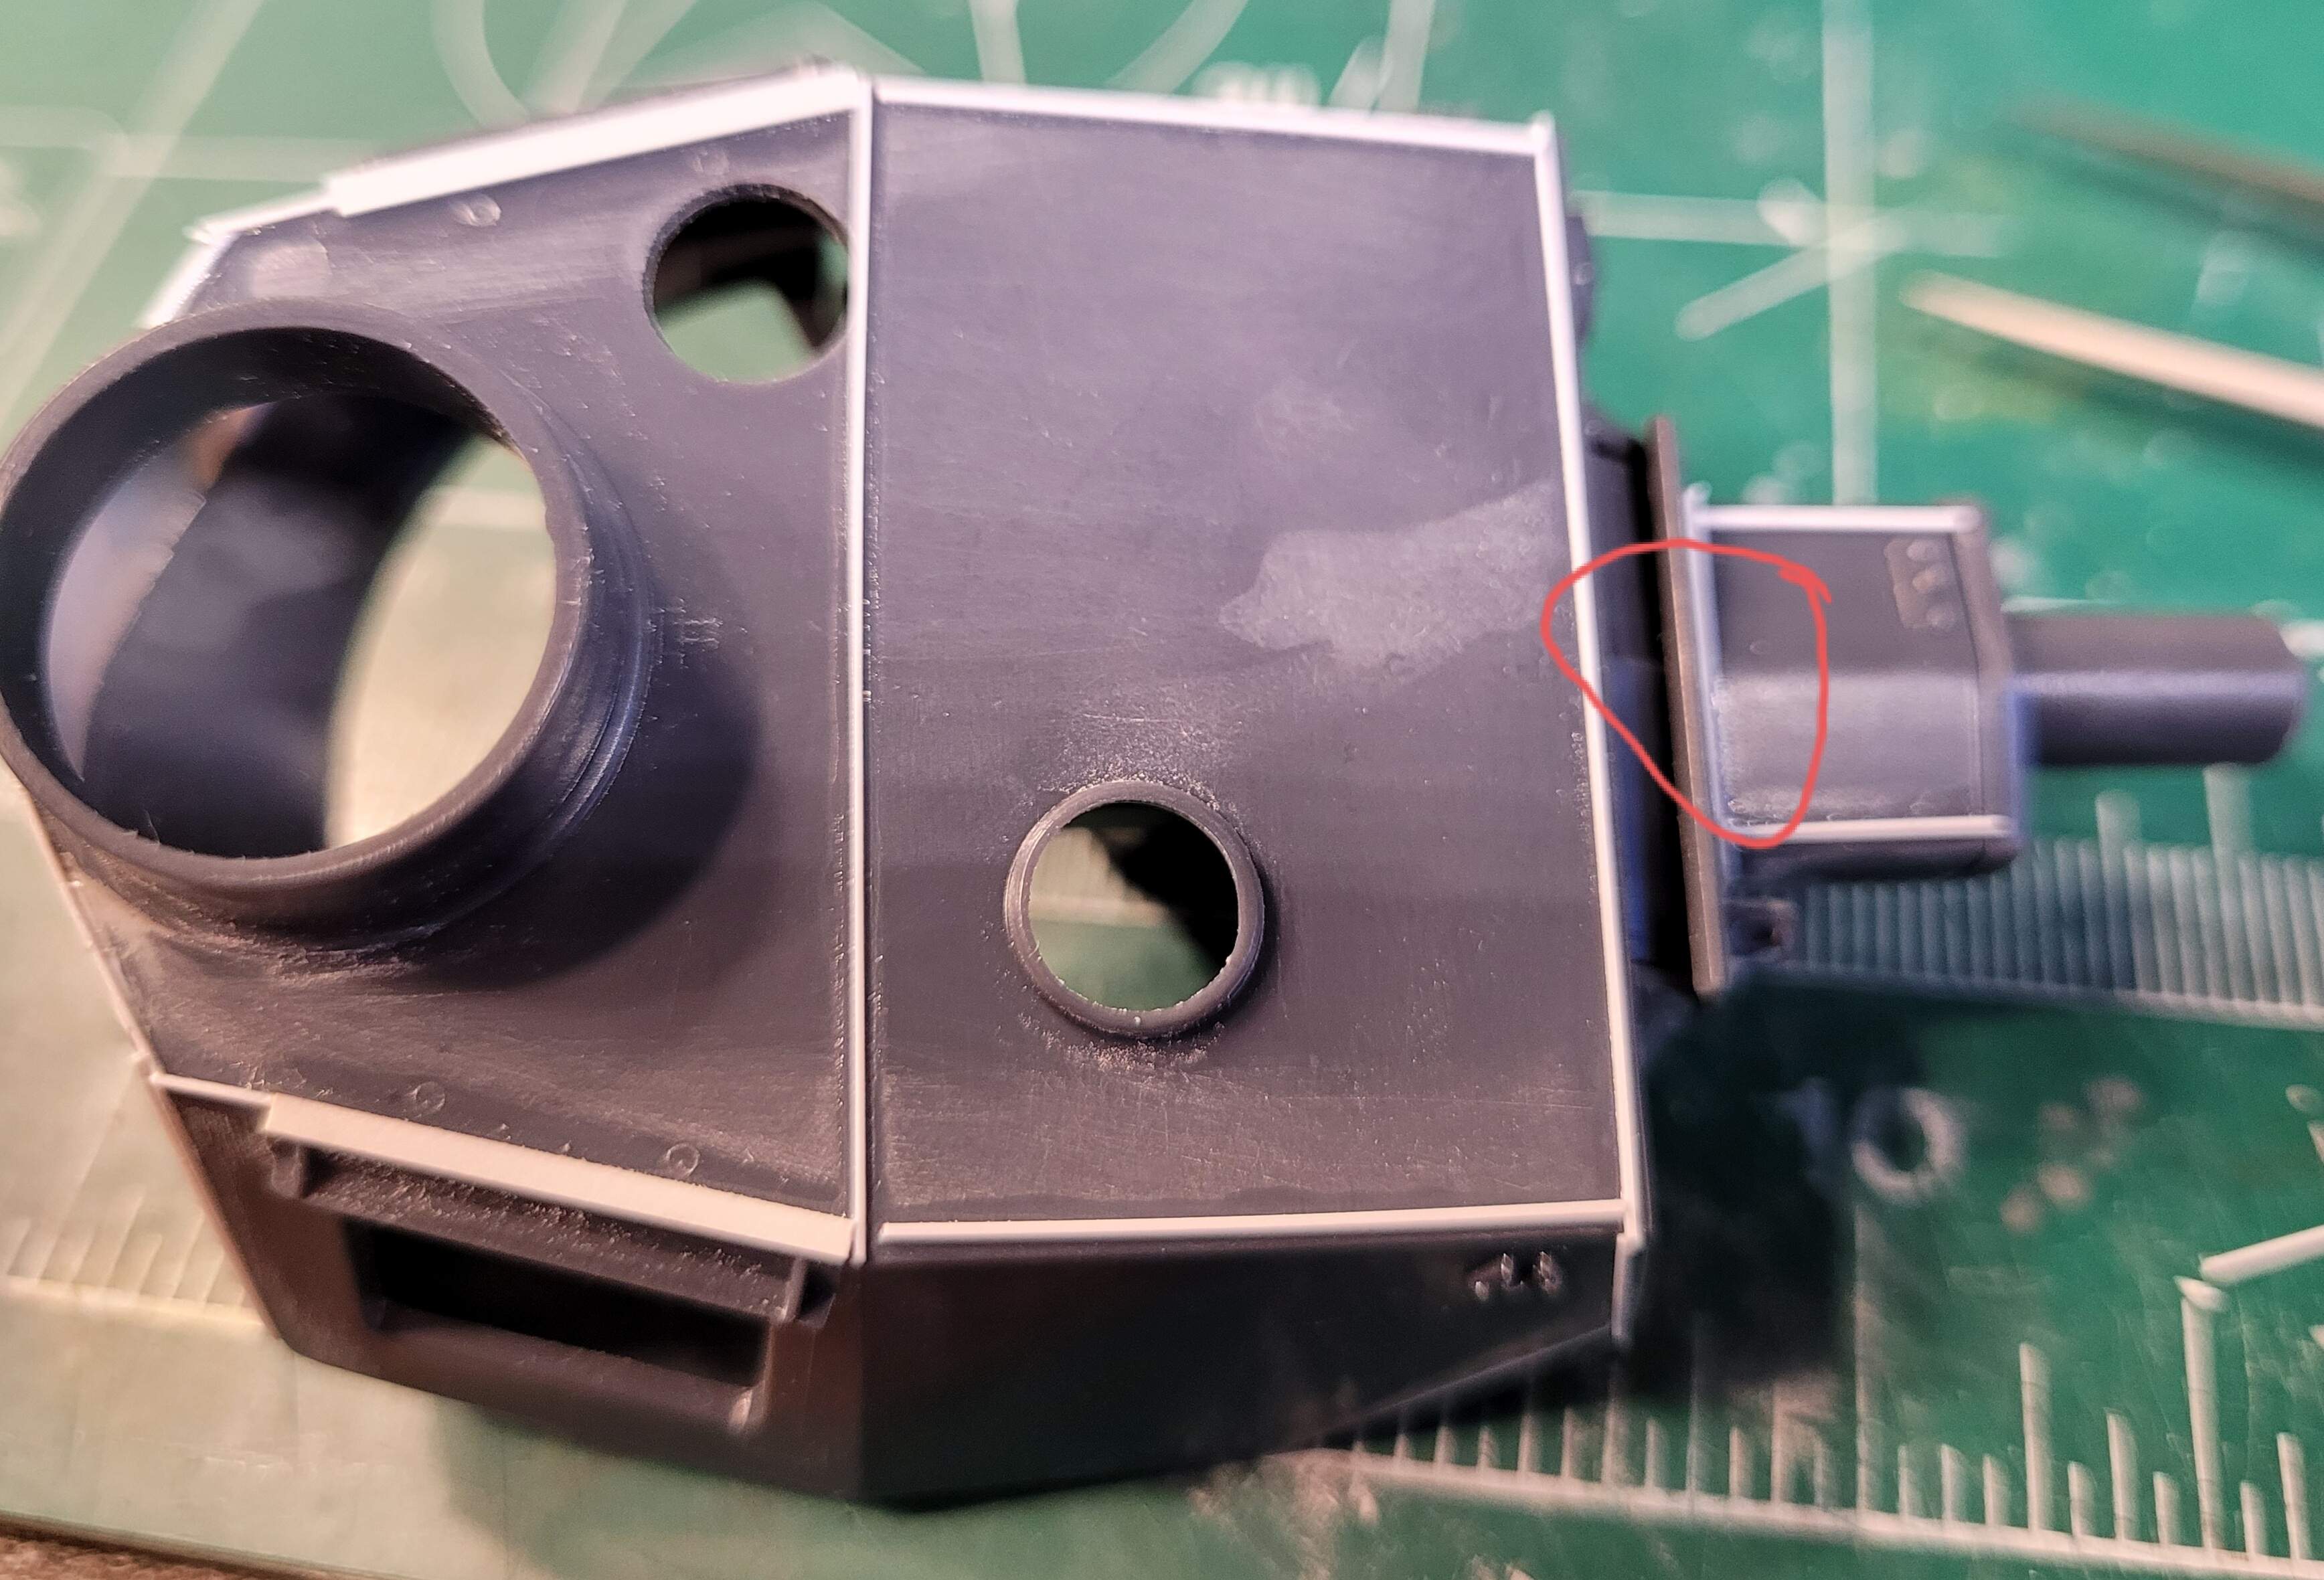
This part.
I think the the sand stick took care of it.
1 Like
Some nice detailing there Wade. What’s the technique you use when doing the weld seams ?
John, thank you.
Weld wise - its Rod & Chop with Plastistruct .3mm square rod (.010 square rod) textured with a #11 knife blade. Most of the welds on this Pz IV will be this method. Most of the rod is glued in place, I just have to do the chopping:)
With all the missing welds, keeping stretched sprue consistent would be a hassle for me. Plus sprue sometimes rolls. The flat .010 Plastistruct rod helps me stay consistent. Since its flat its also easier to position than round rod or sprue in my experience.
My favorite method is Scribed weld seam filled with epoxy putty or Molak Stucco putty then
textured with a #11. That’s just too time for this project given all the welds that need to be added. I like scribed because it keeps the weld from being raised surface detail etc.
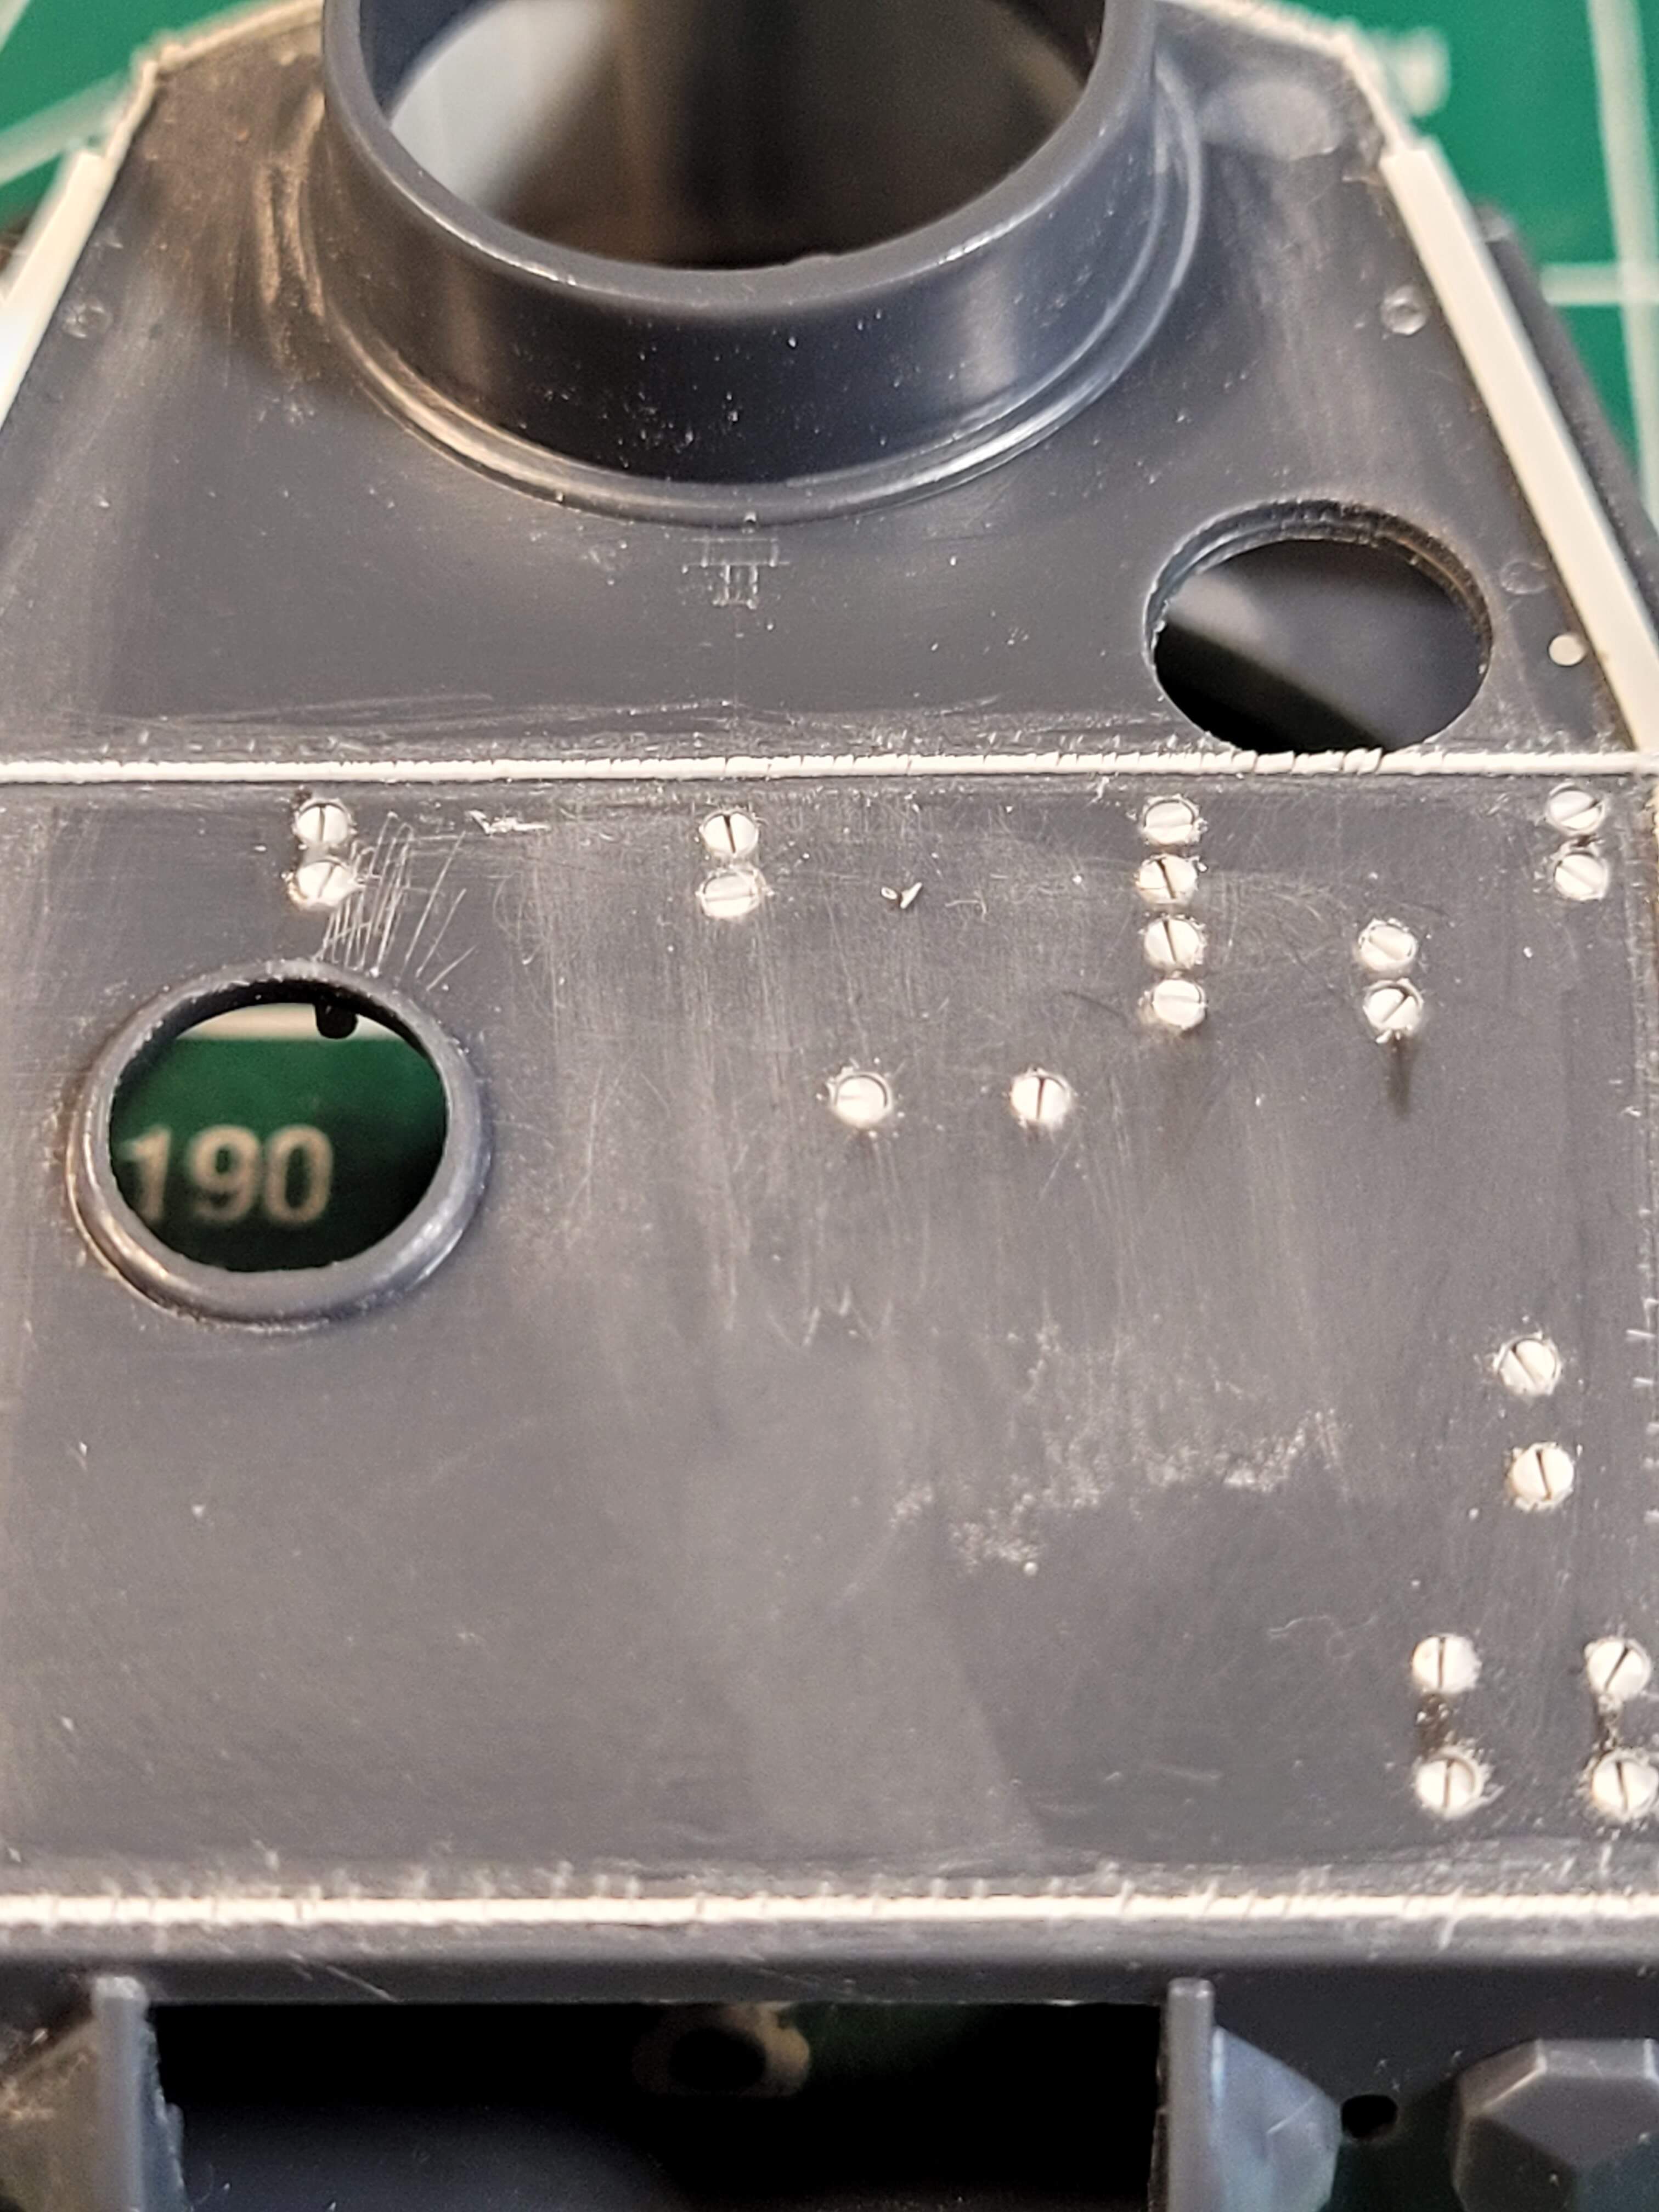
Happy enough with the turret welds so it’s time for the scratch made flat screw heads on the turret roof. This is a pet favorite detail of mine ever since I saw them climbing around on top of the Aberdeen’s Panzer IV E back in the mid 1990’s. I’m very happy the new state of the art kits have this molded into the turret top.
Mark & layout with pre-hole made with a divider.
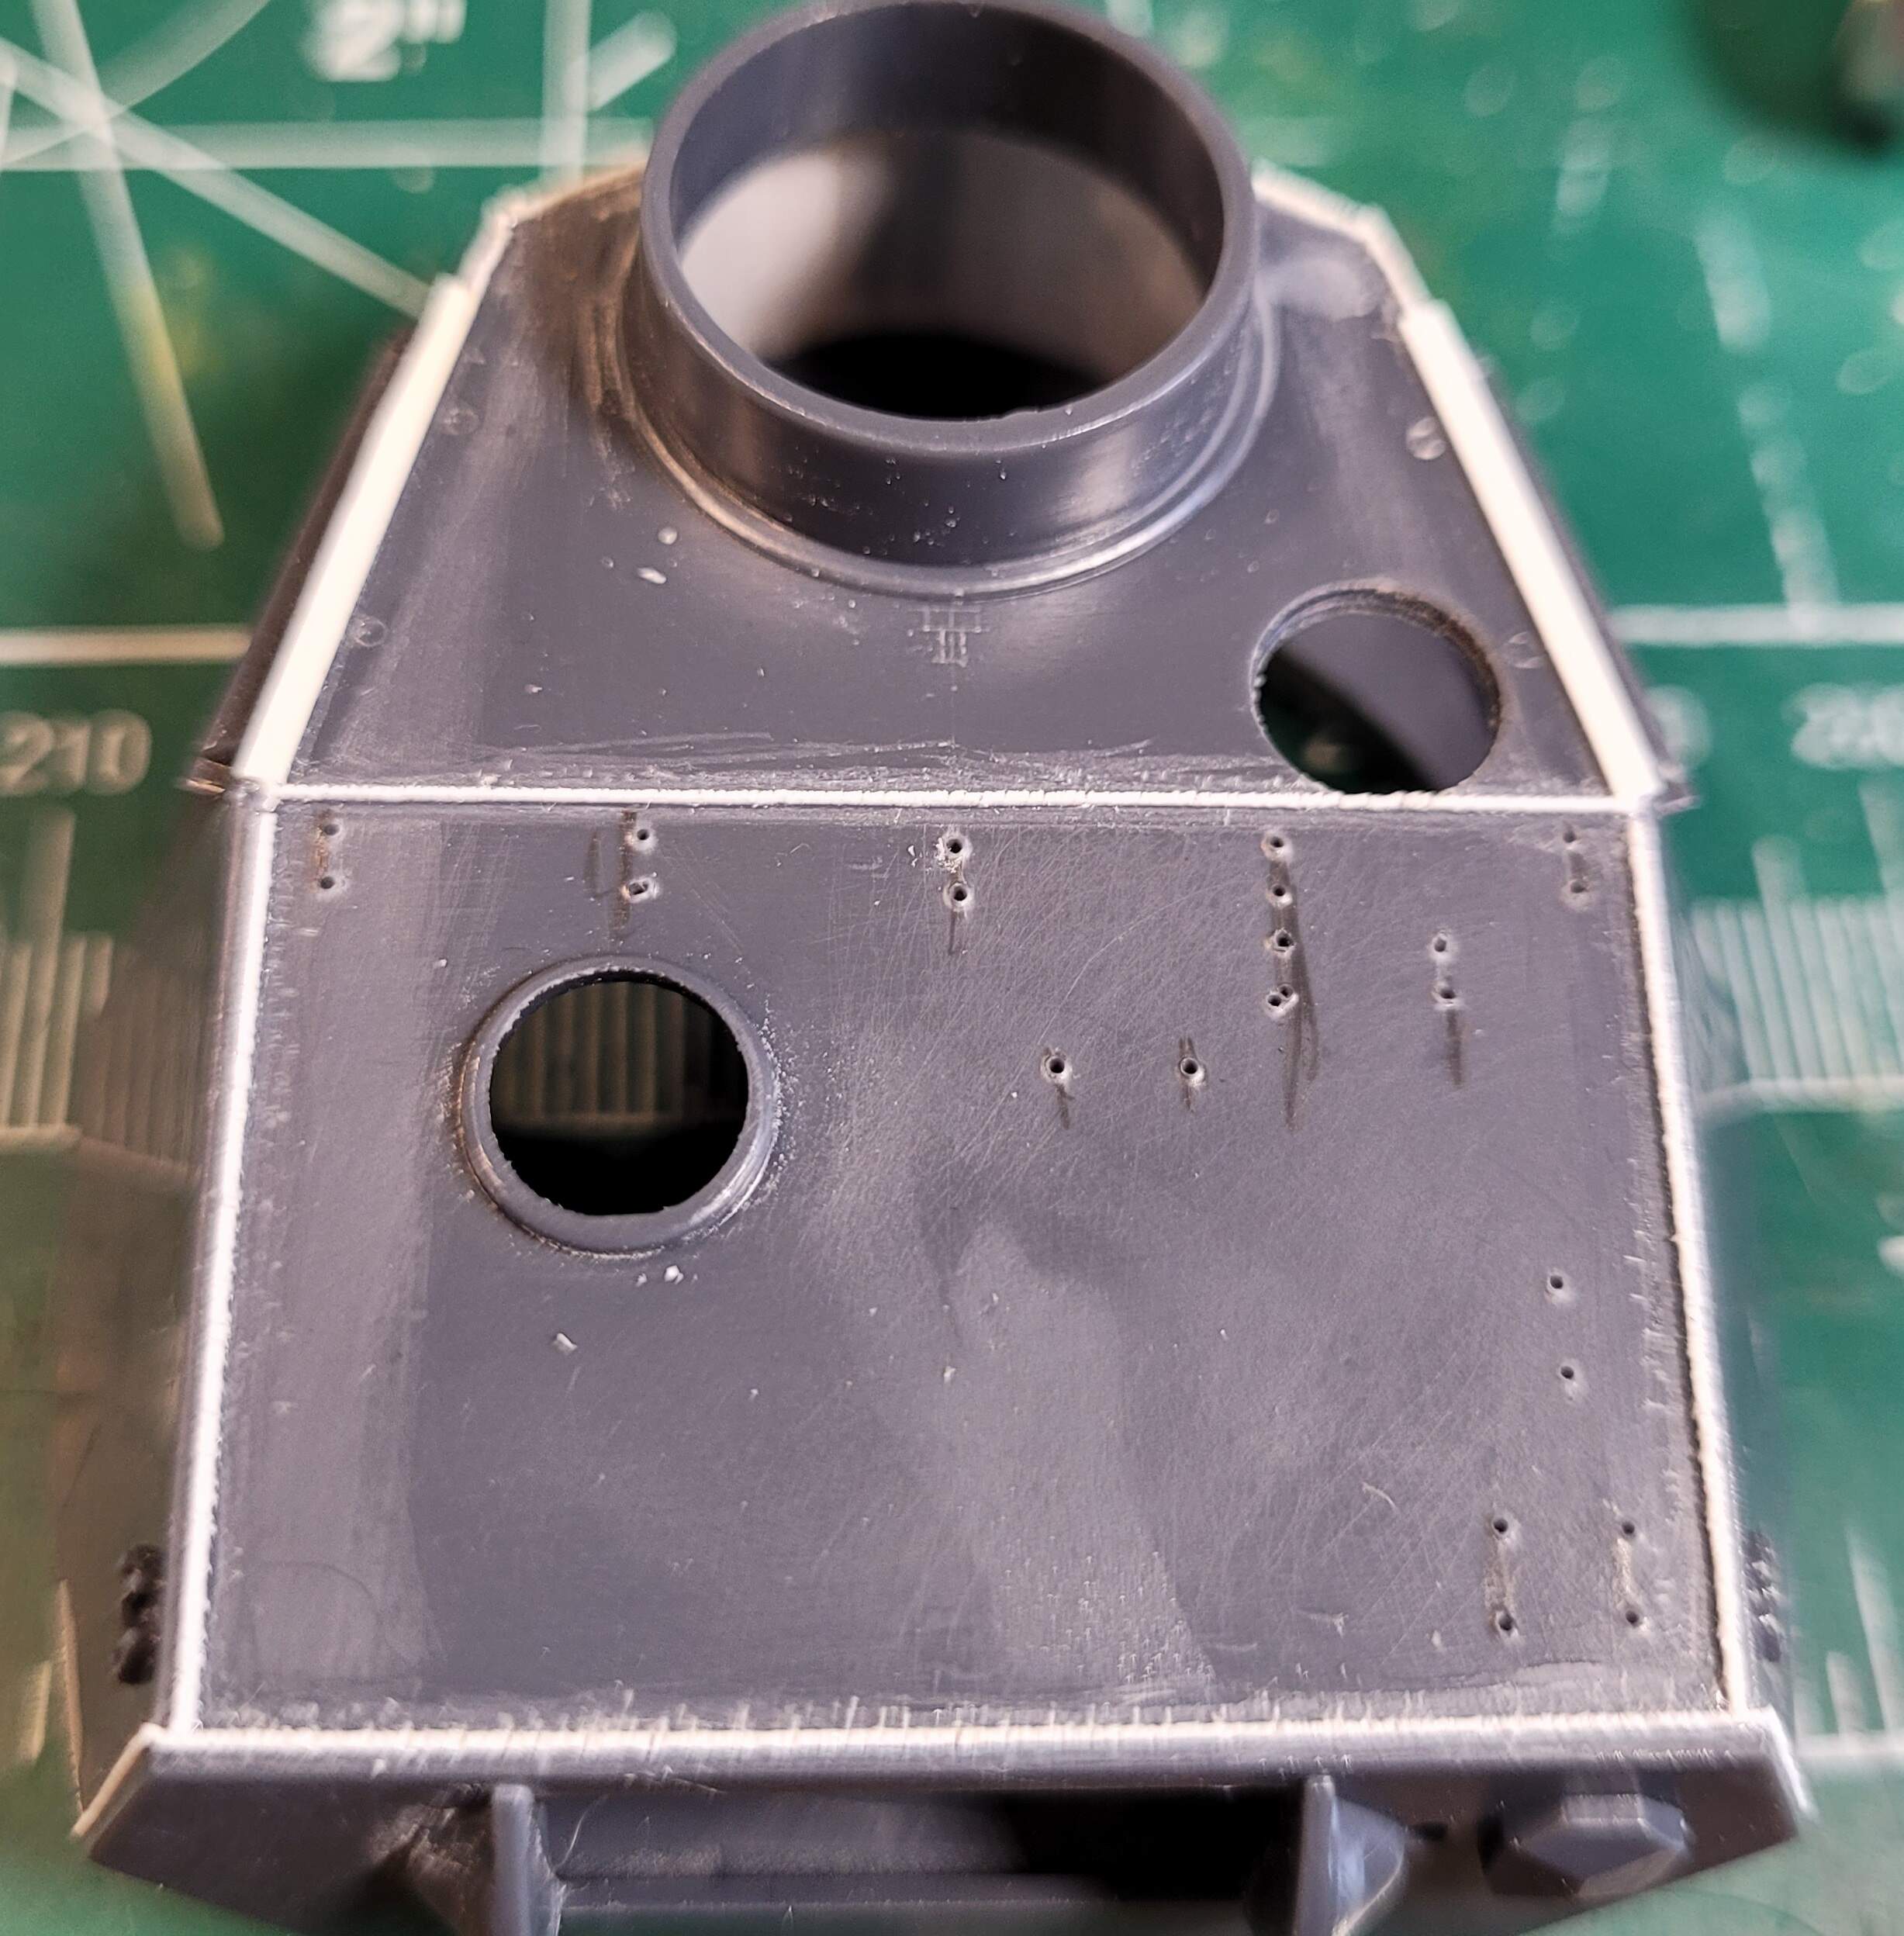
Drill with .9mm drill bit. The Italeri plastic is soft so be sure the drill bit is mounted up in the pin vise and won’t slam the drill bit into the table when it punches through the plastic.
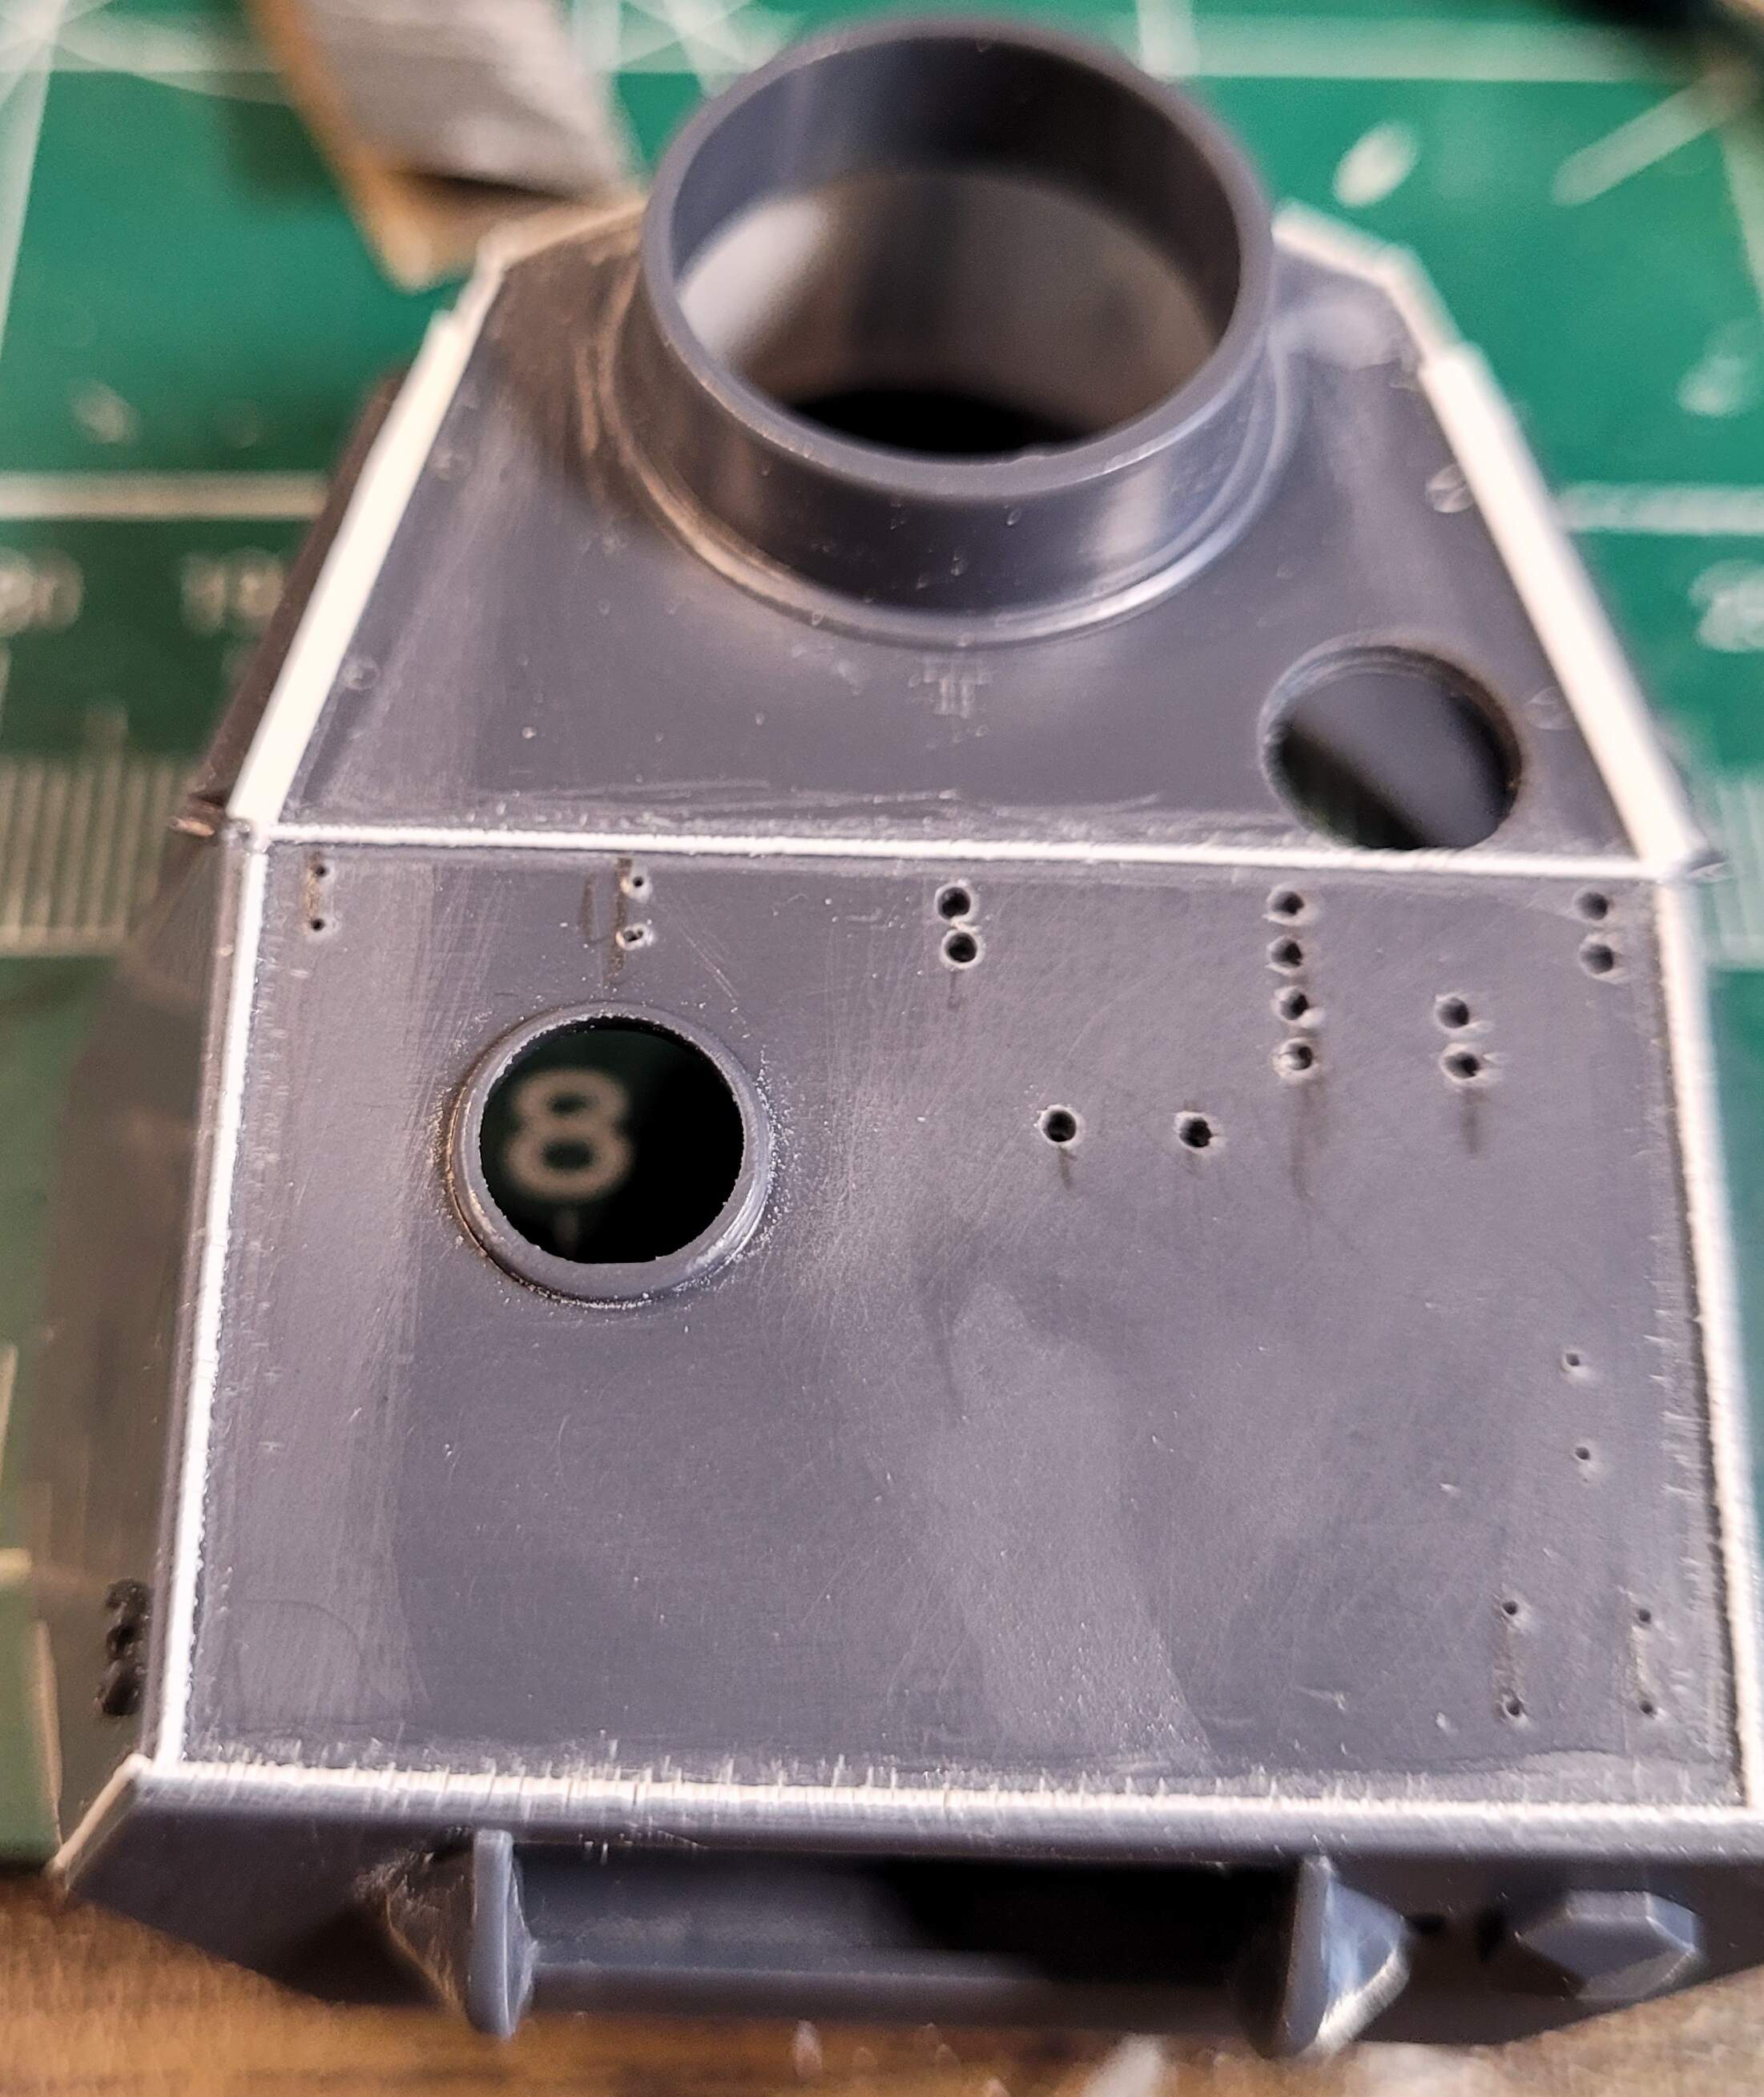
Goofed but that easy to fix with .035 styrene rod & liquid cement.
Plugged will be ready to Redhill in a few hours.
Some of the other holes aren’t aligned perfectly. I think they are passable but if someone sees one that needs plugged and redone please feel free to point it out and I’ll try to fixed it.
1 Like
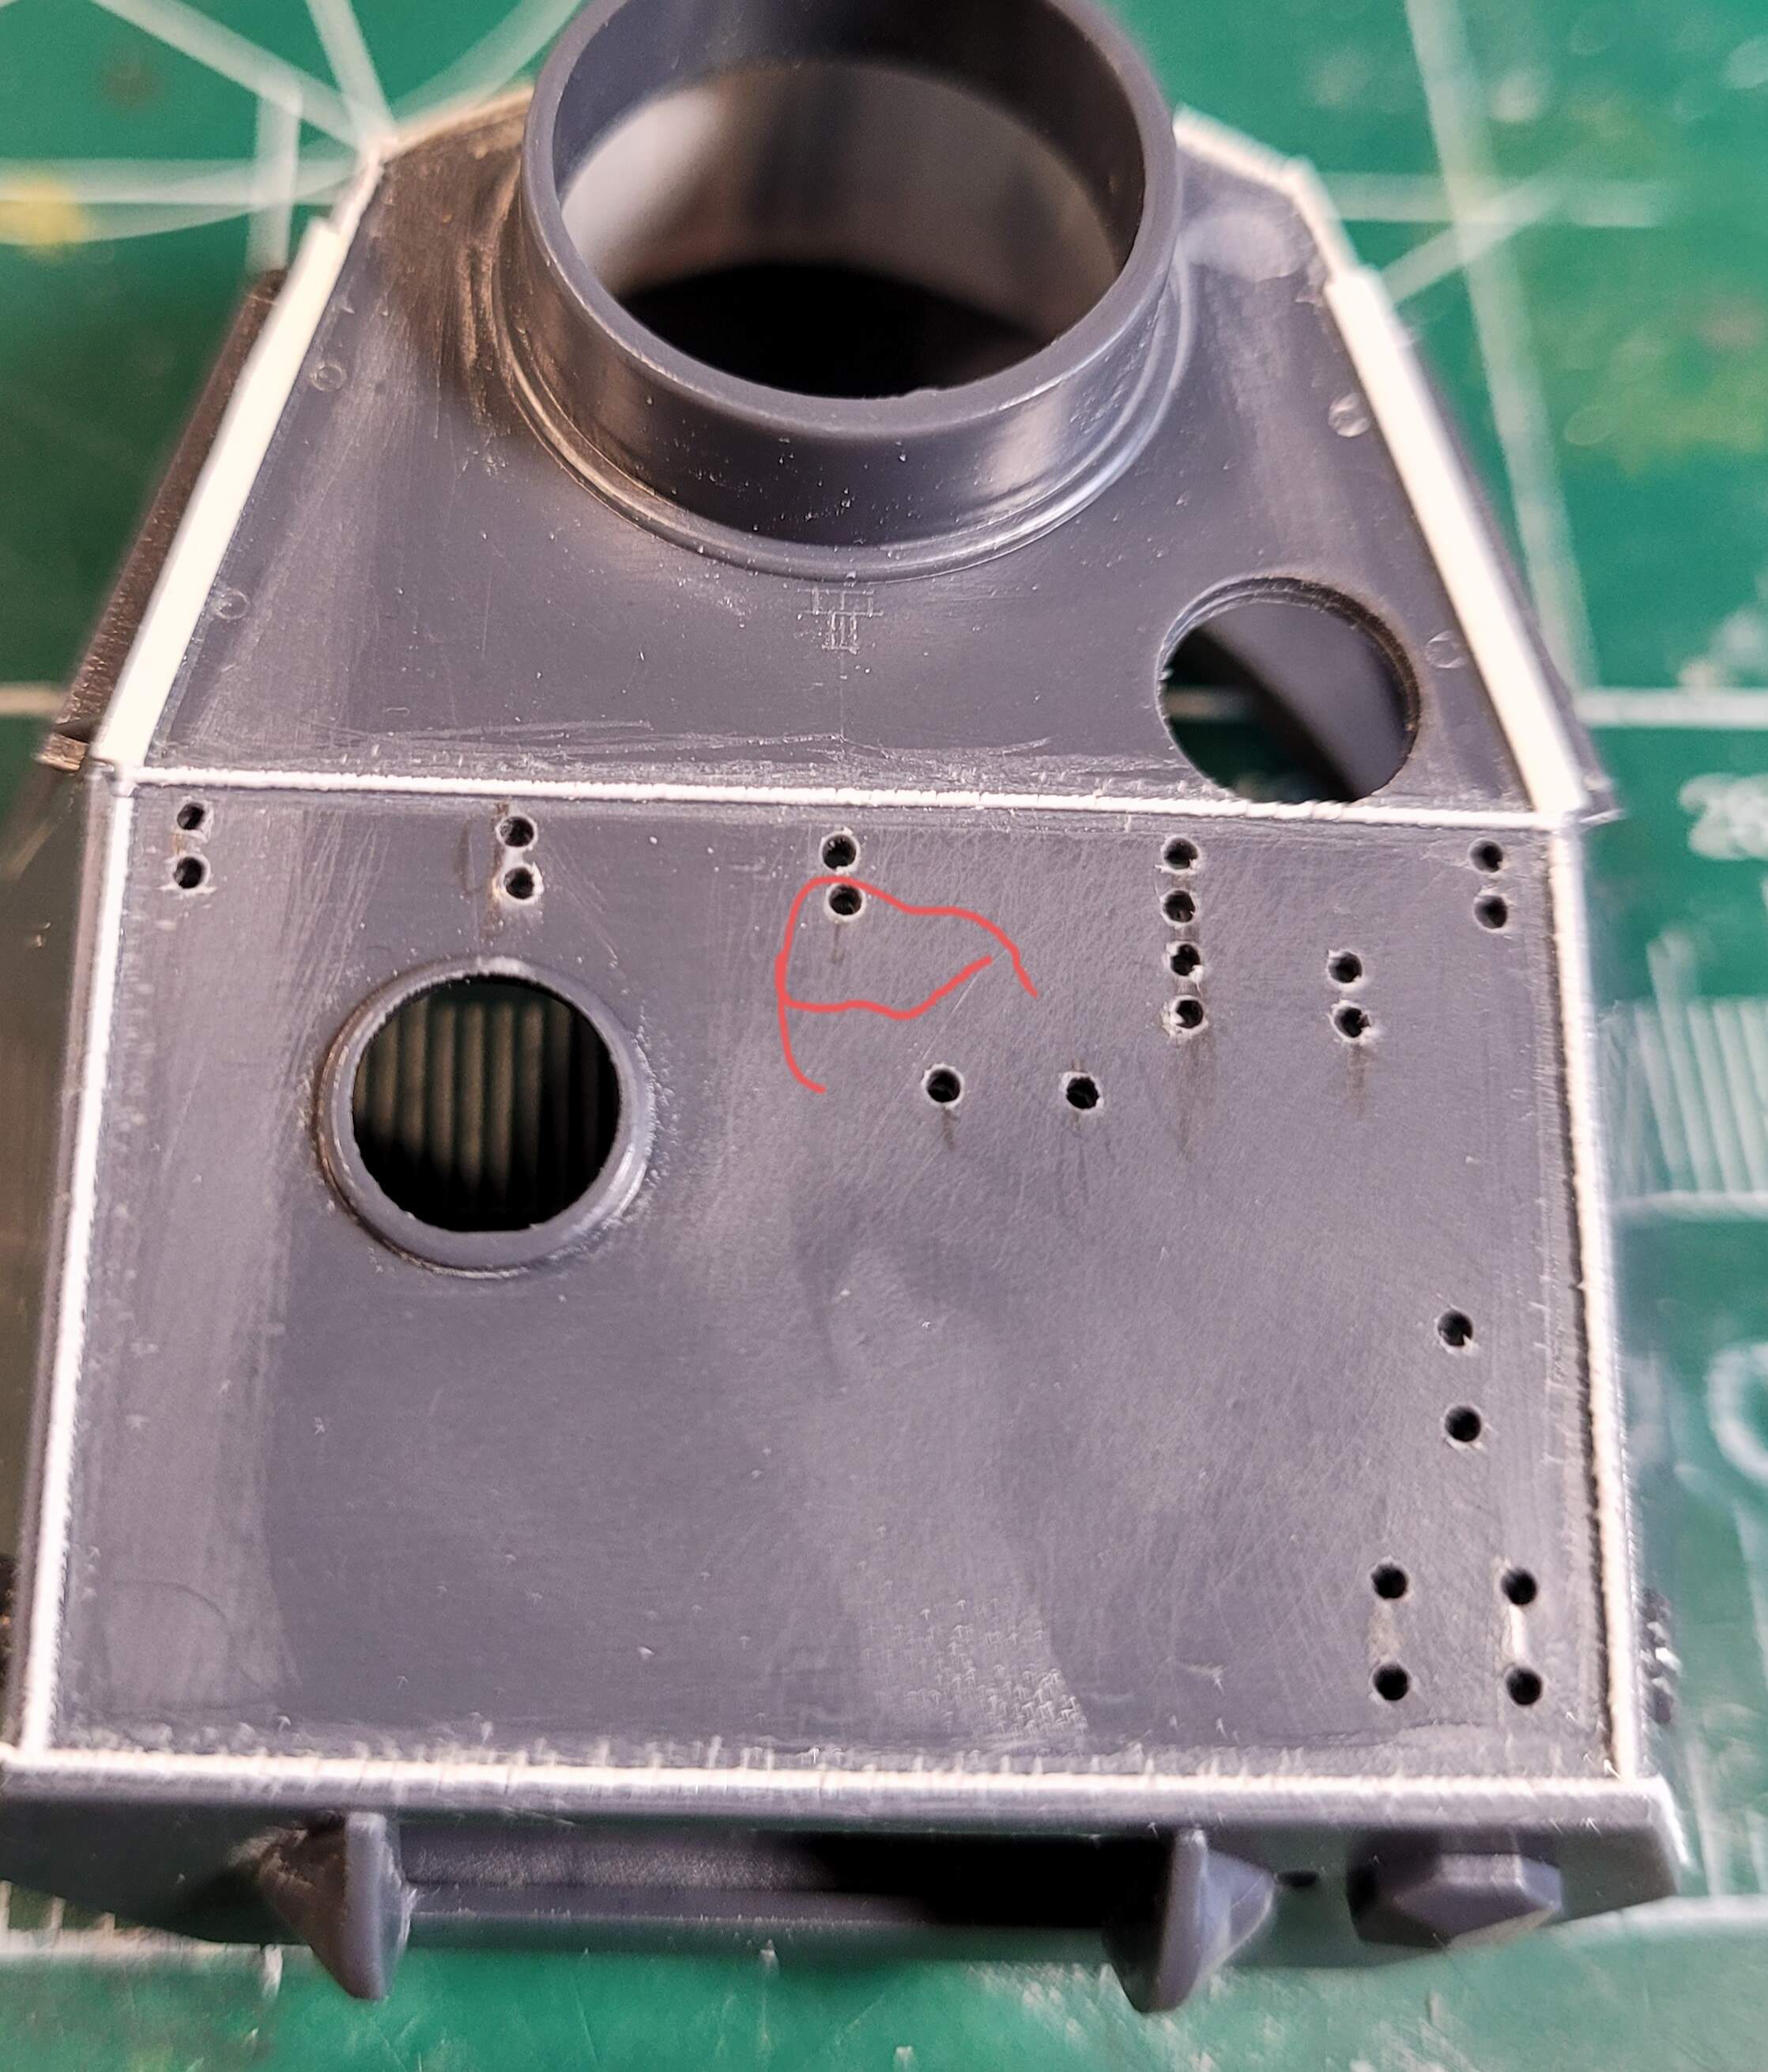
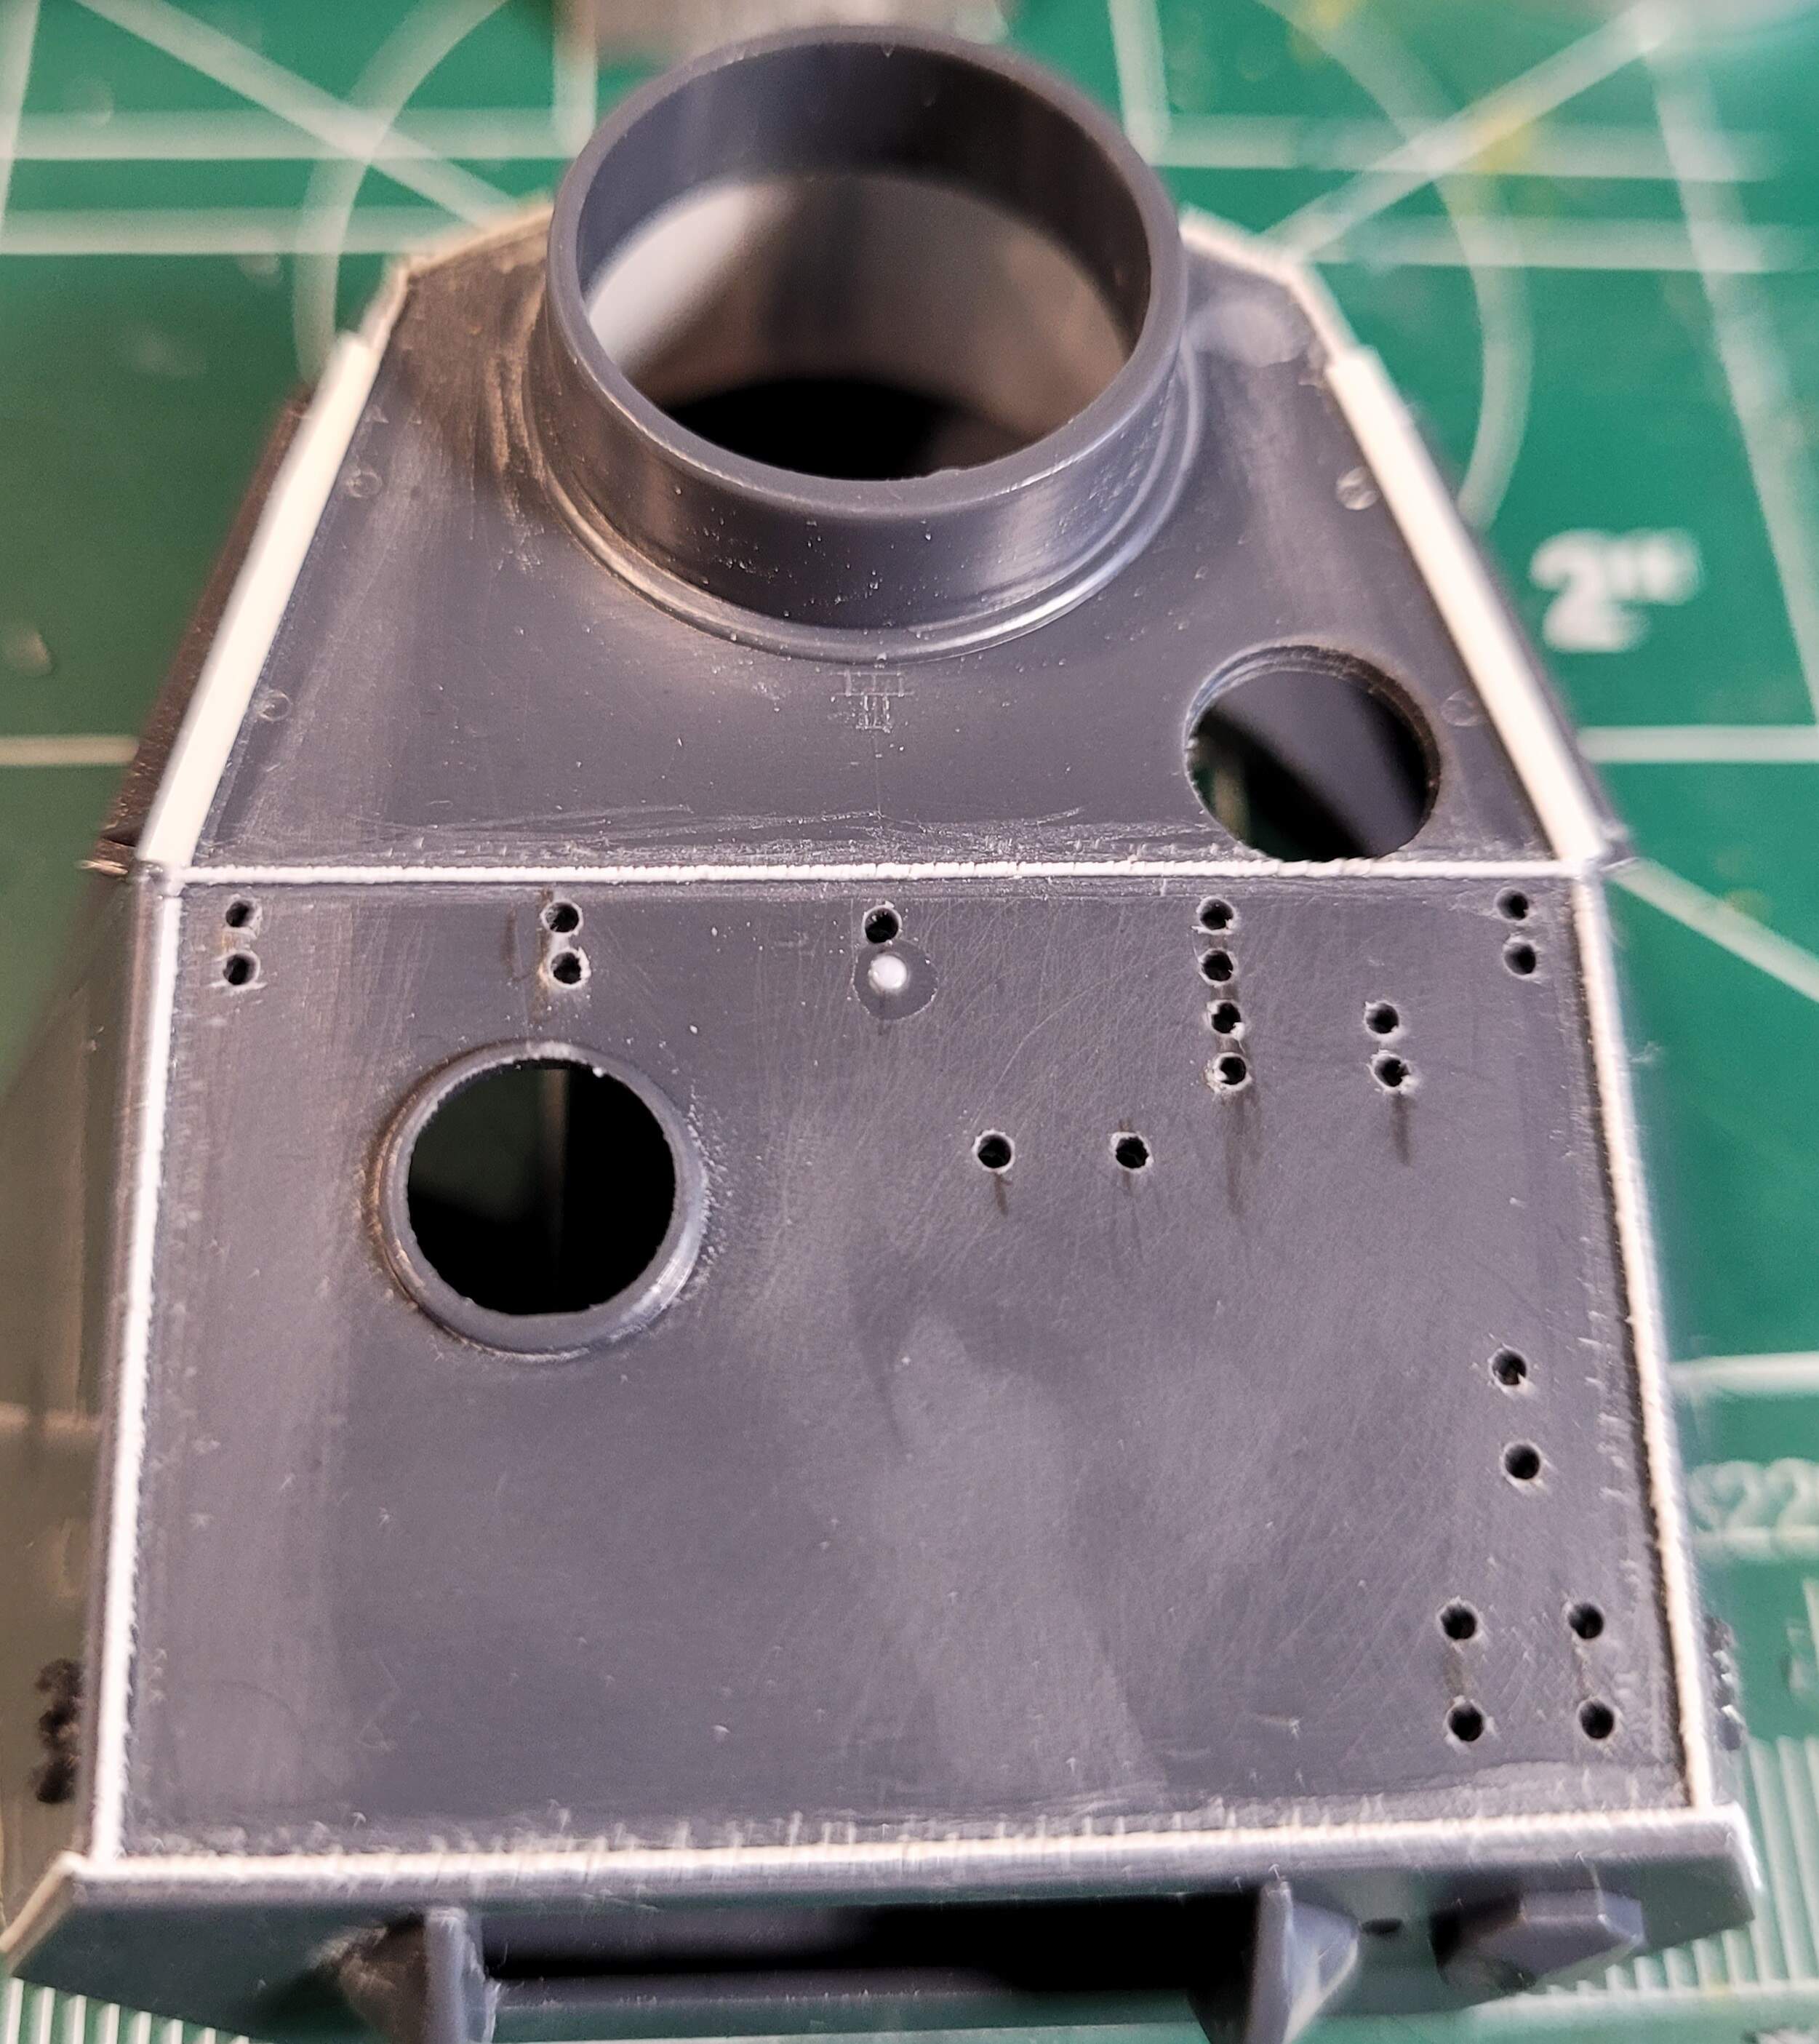
Plugged ans re-drilled.
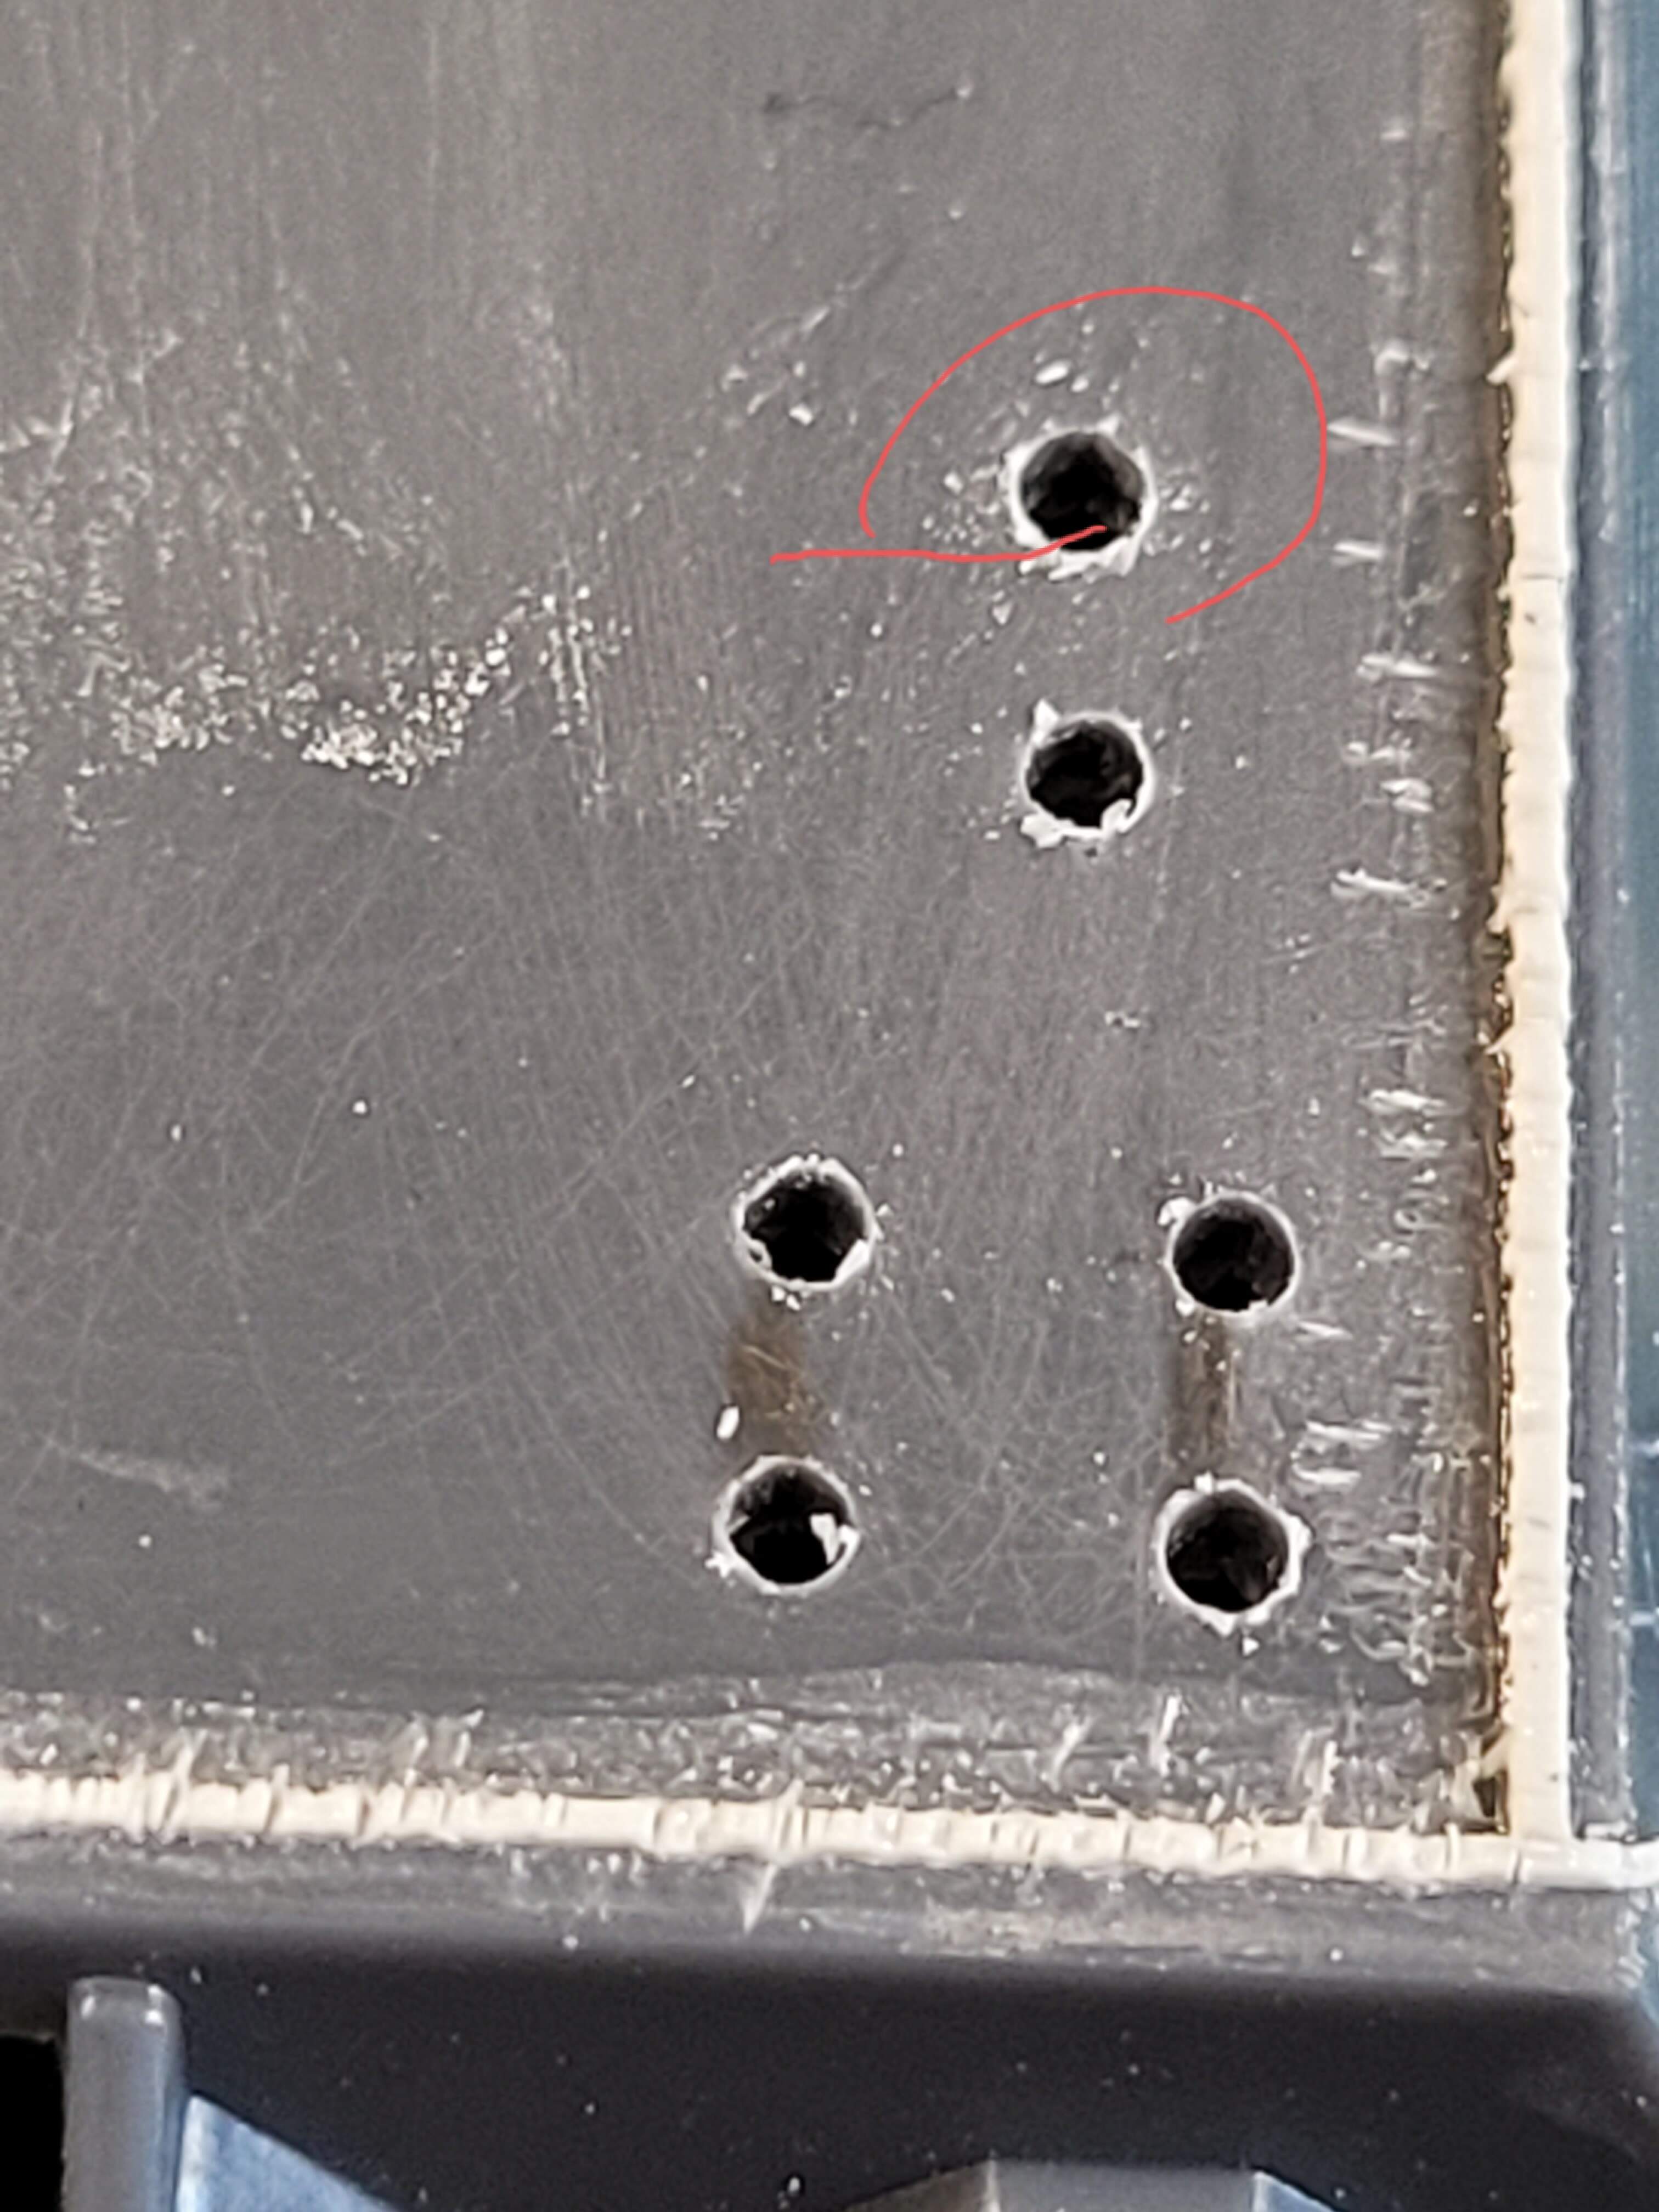
The .9mm drill bit is about .037 inches, the .035 rod fits but its tight and squeezes the flat head slot almost closed. I like to drill with .9mm because its easy to fix if the hole is out of place. Reaming the holes with a .039 drill bit opens the holes so the notch in the rod isn’t squeezed closed.
Below .035 rod fits well in the top .039 hole (circled in red) and its easy to adjust the counter sink depth. The other holes are still .037
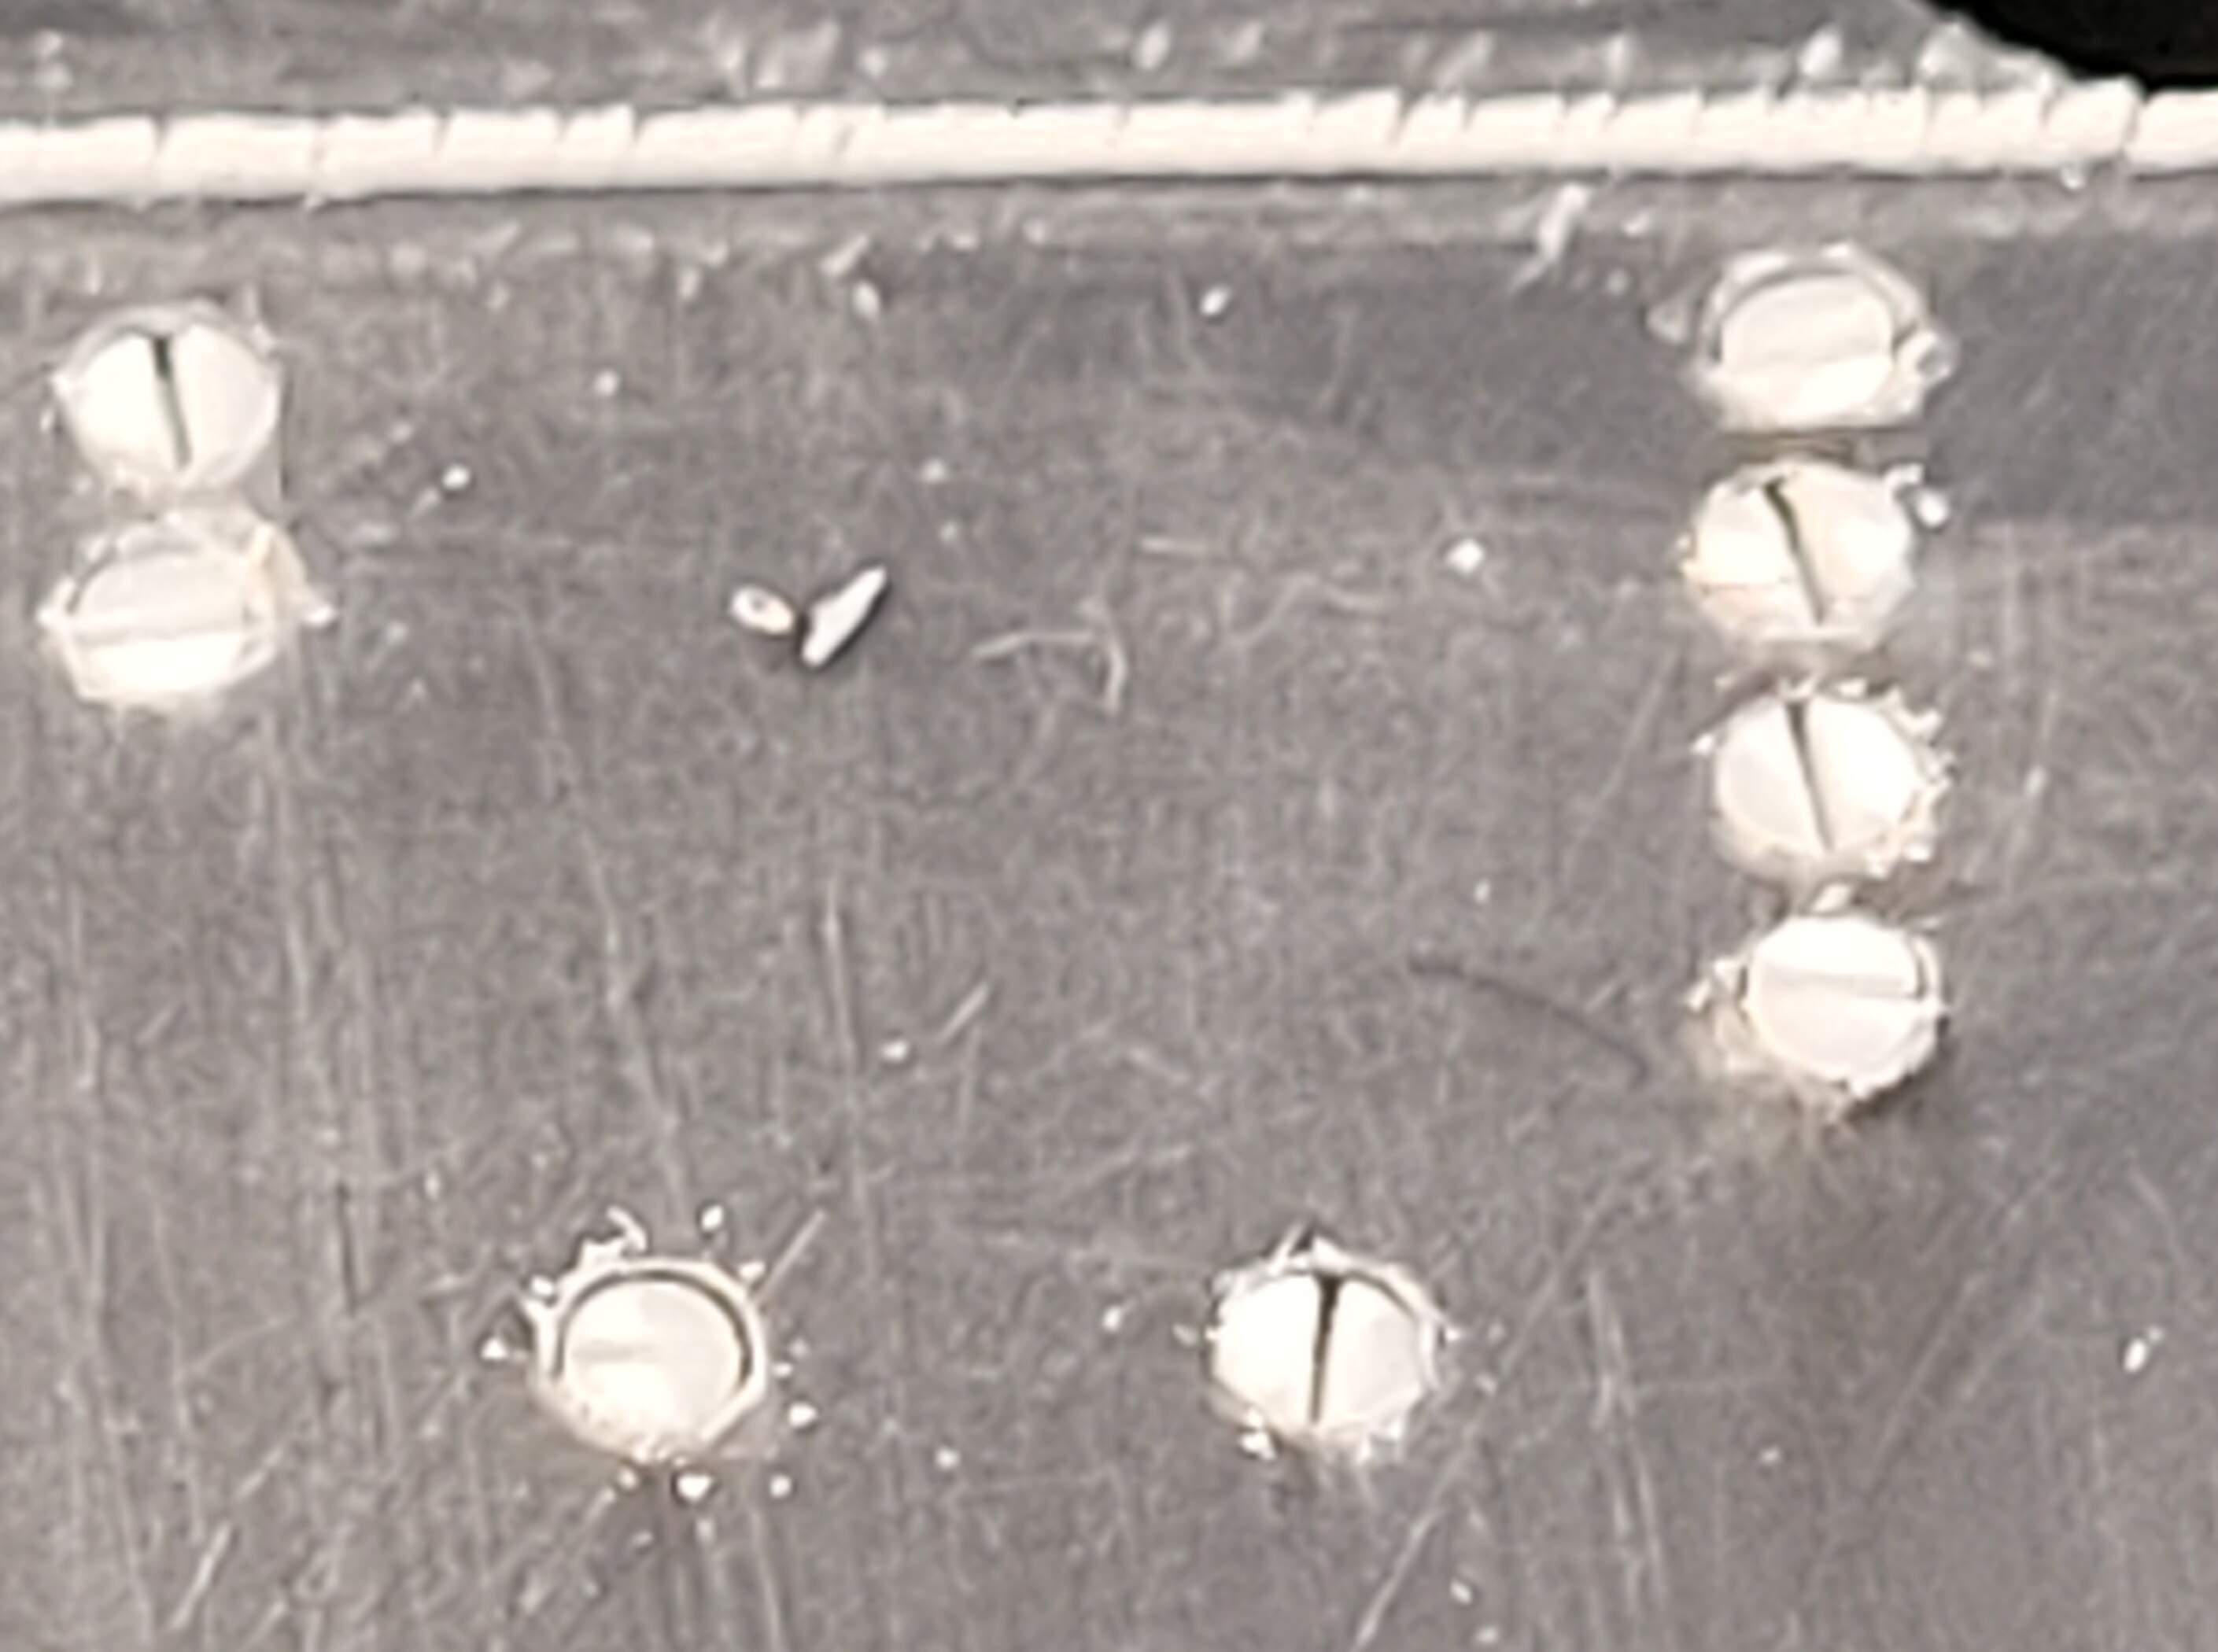
At 8x
Below turret roof of Border Models Pz IV F2/G a handy quick reference.

5 Likes
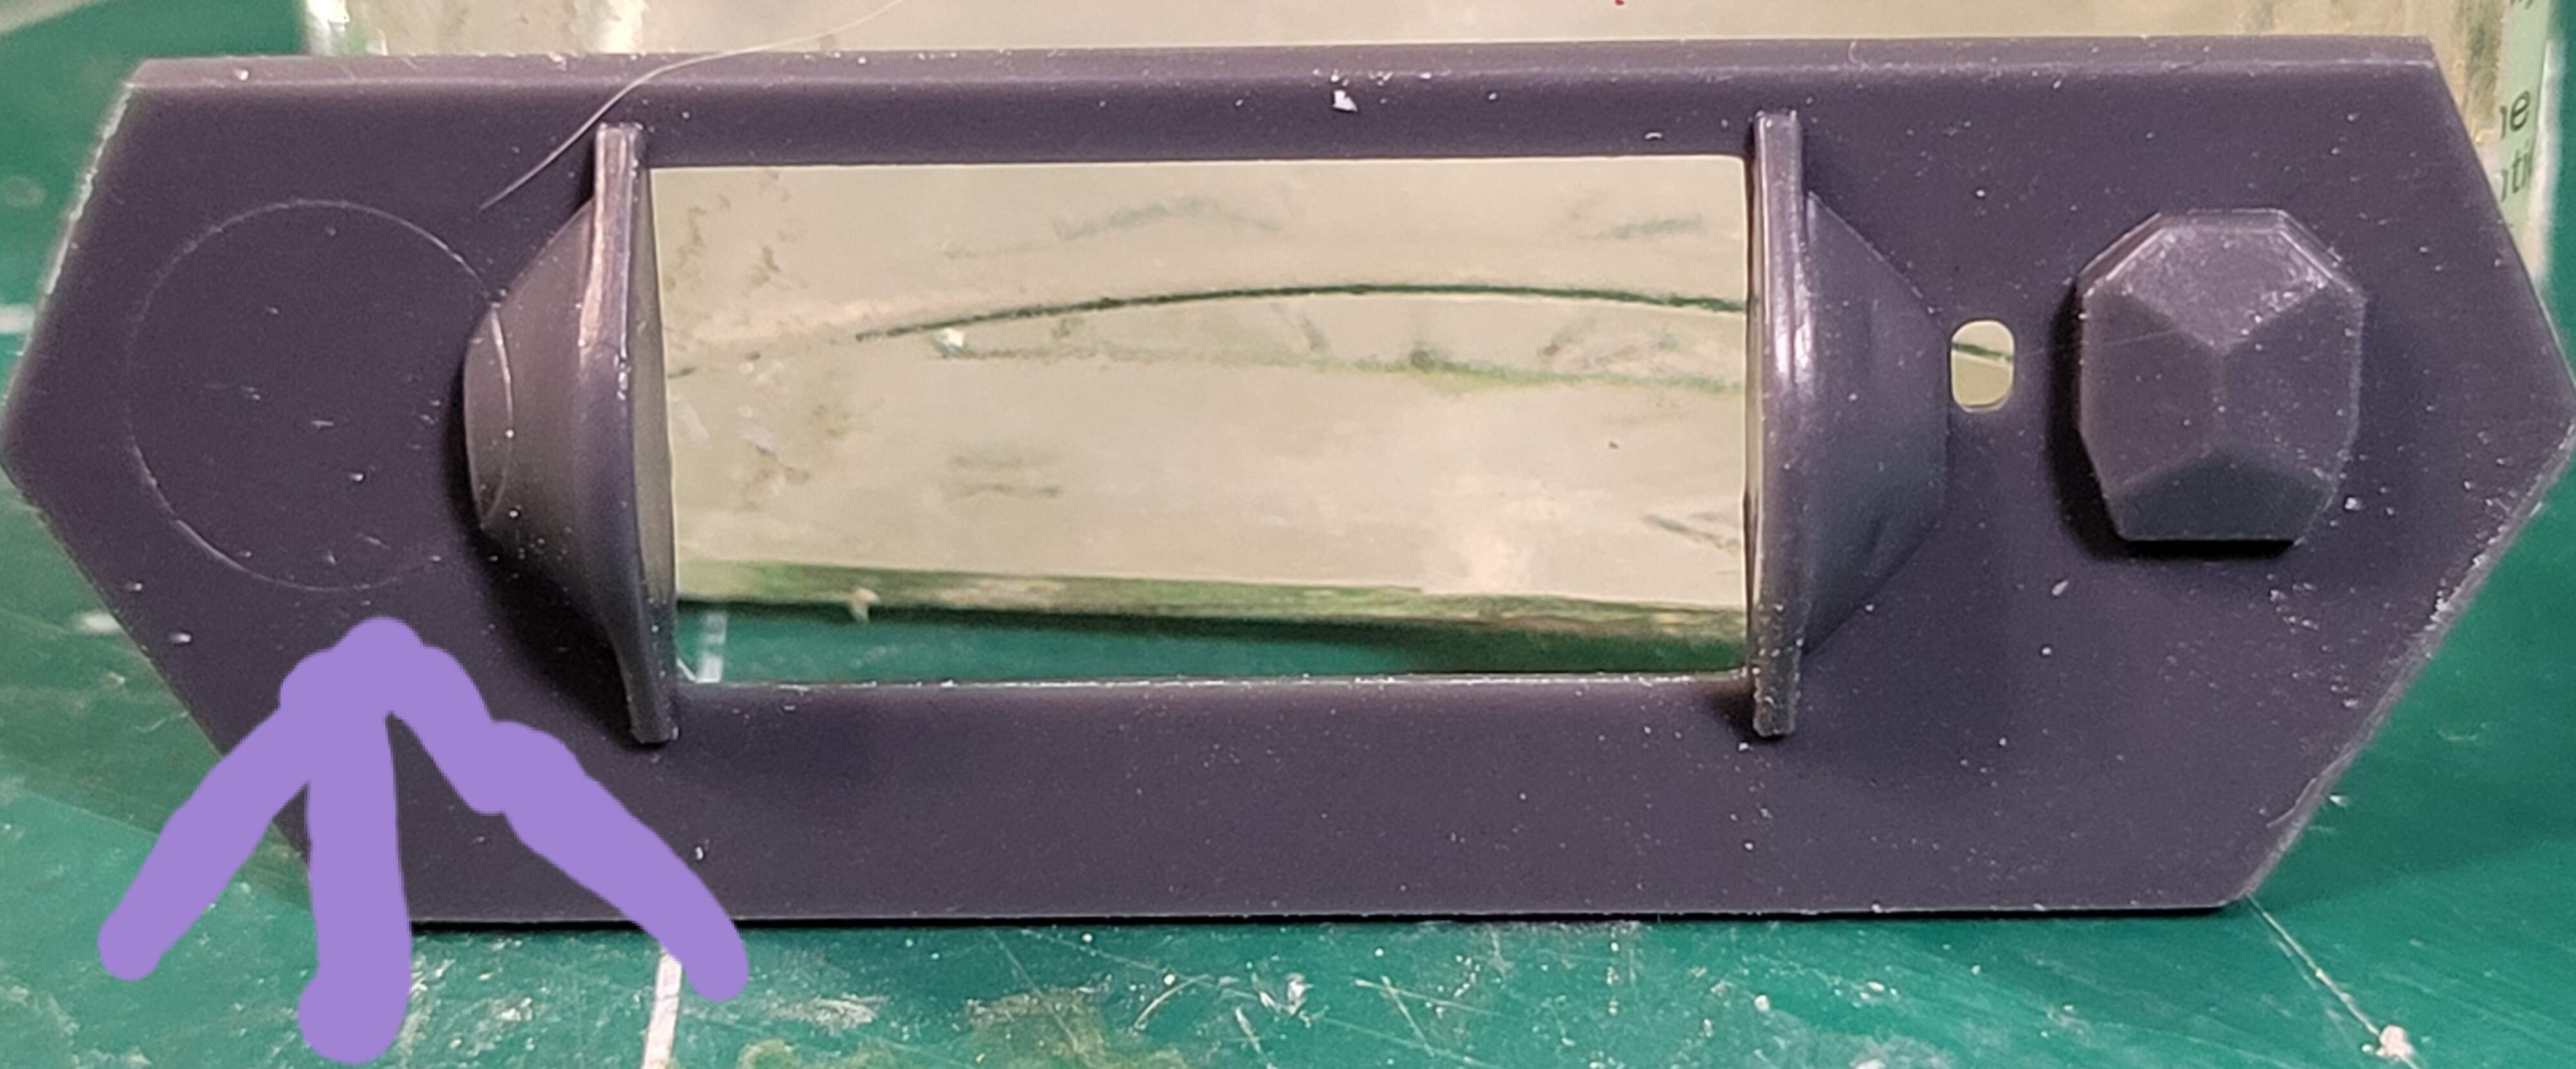
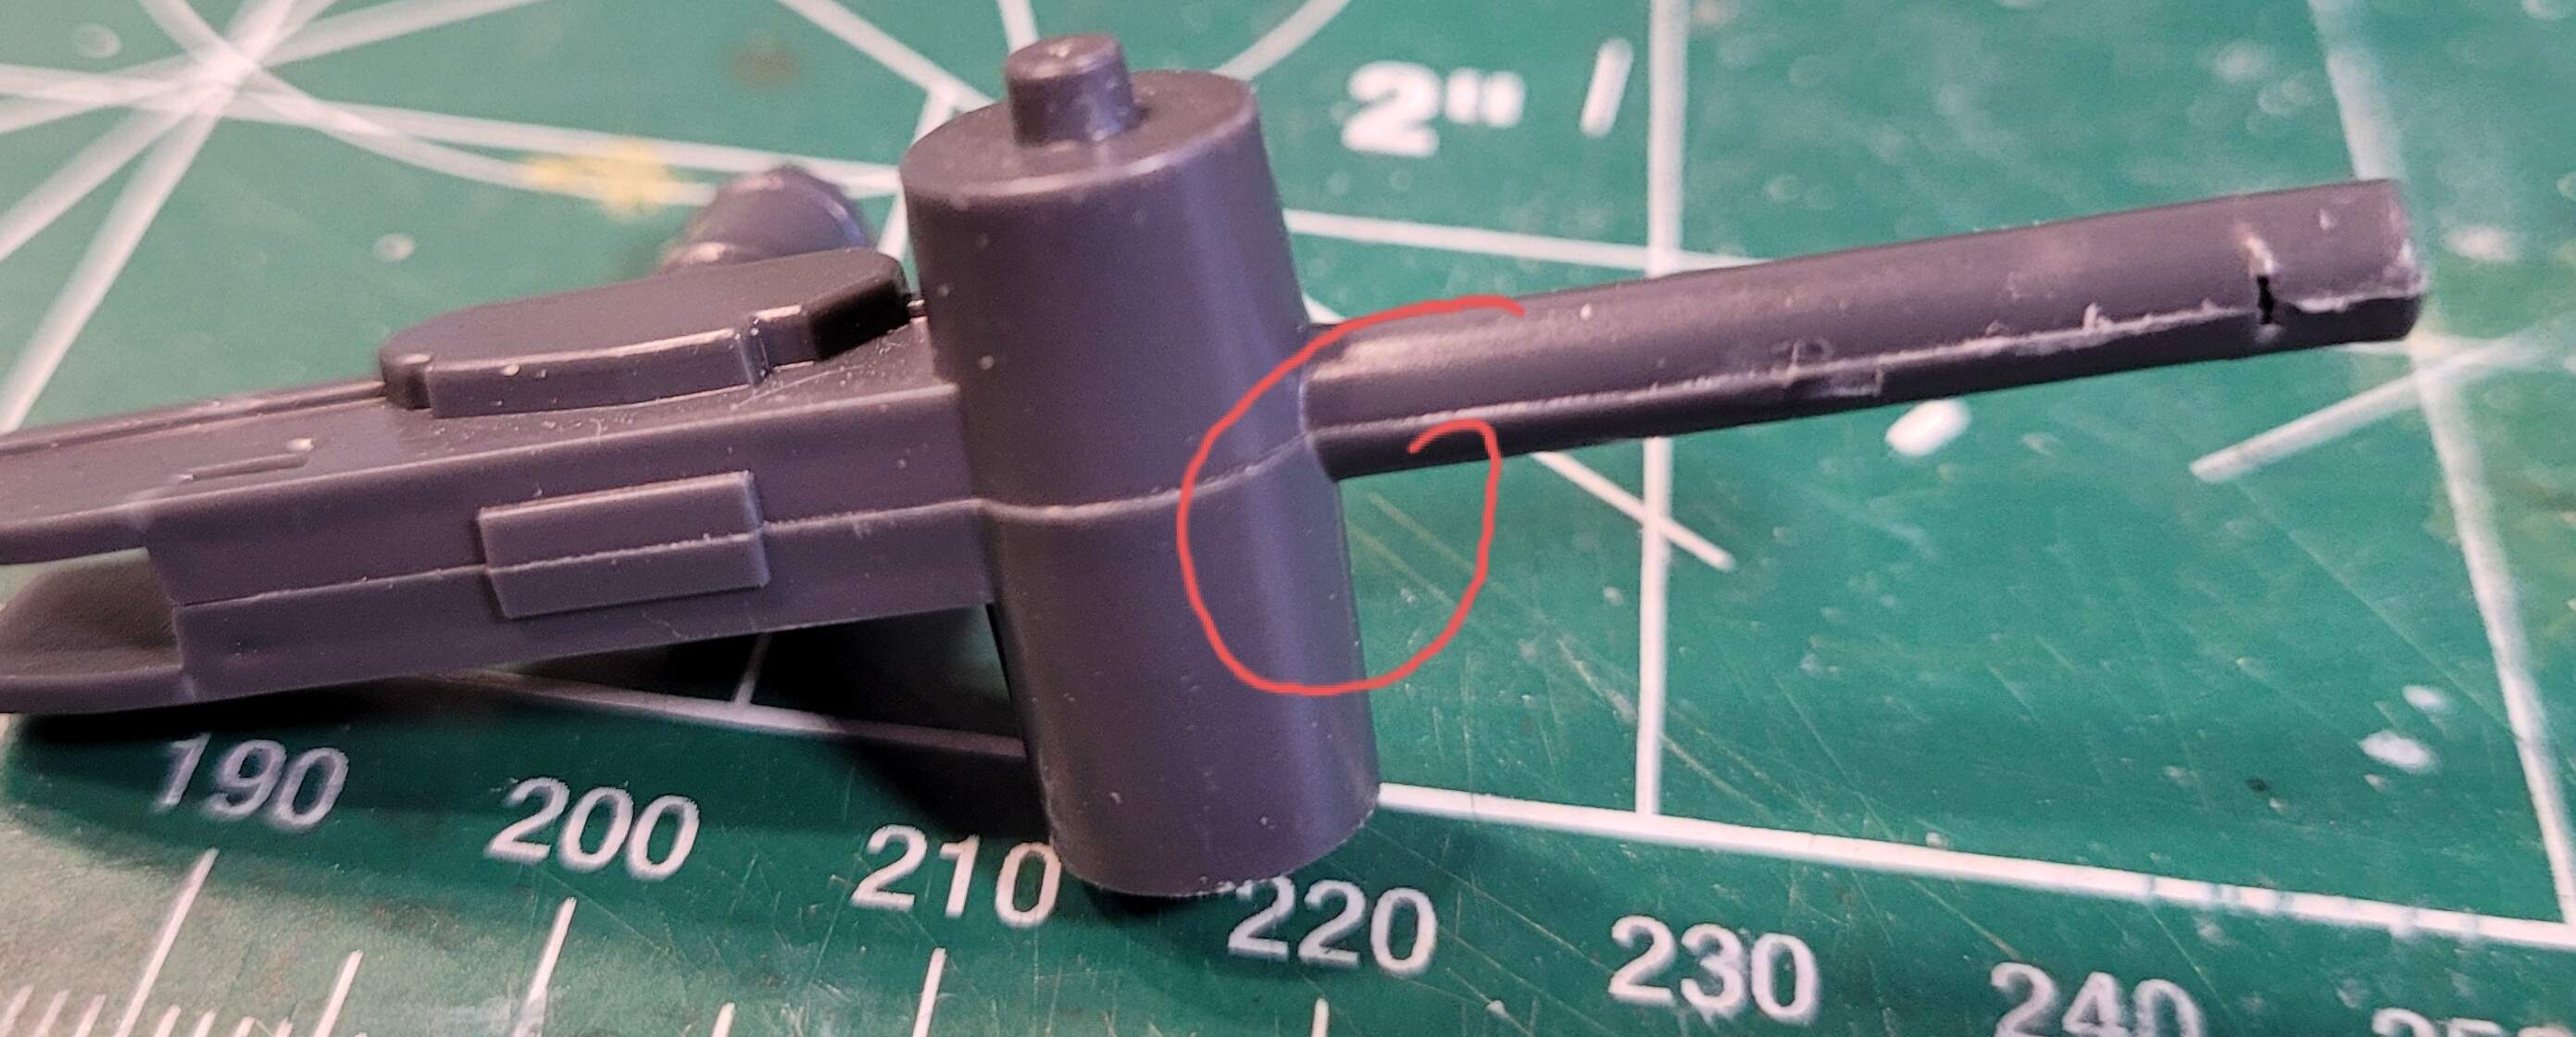
My most fool hardy mod to the kit…
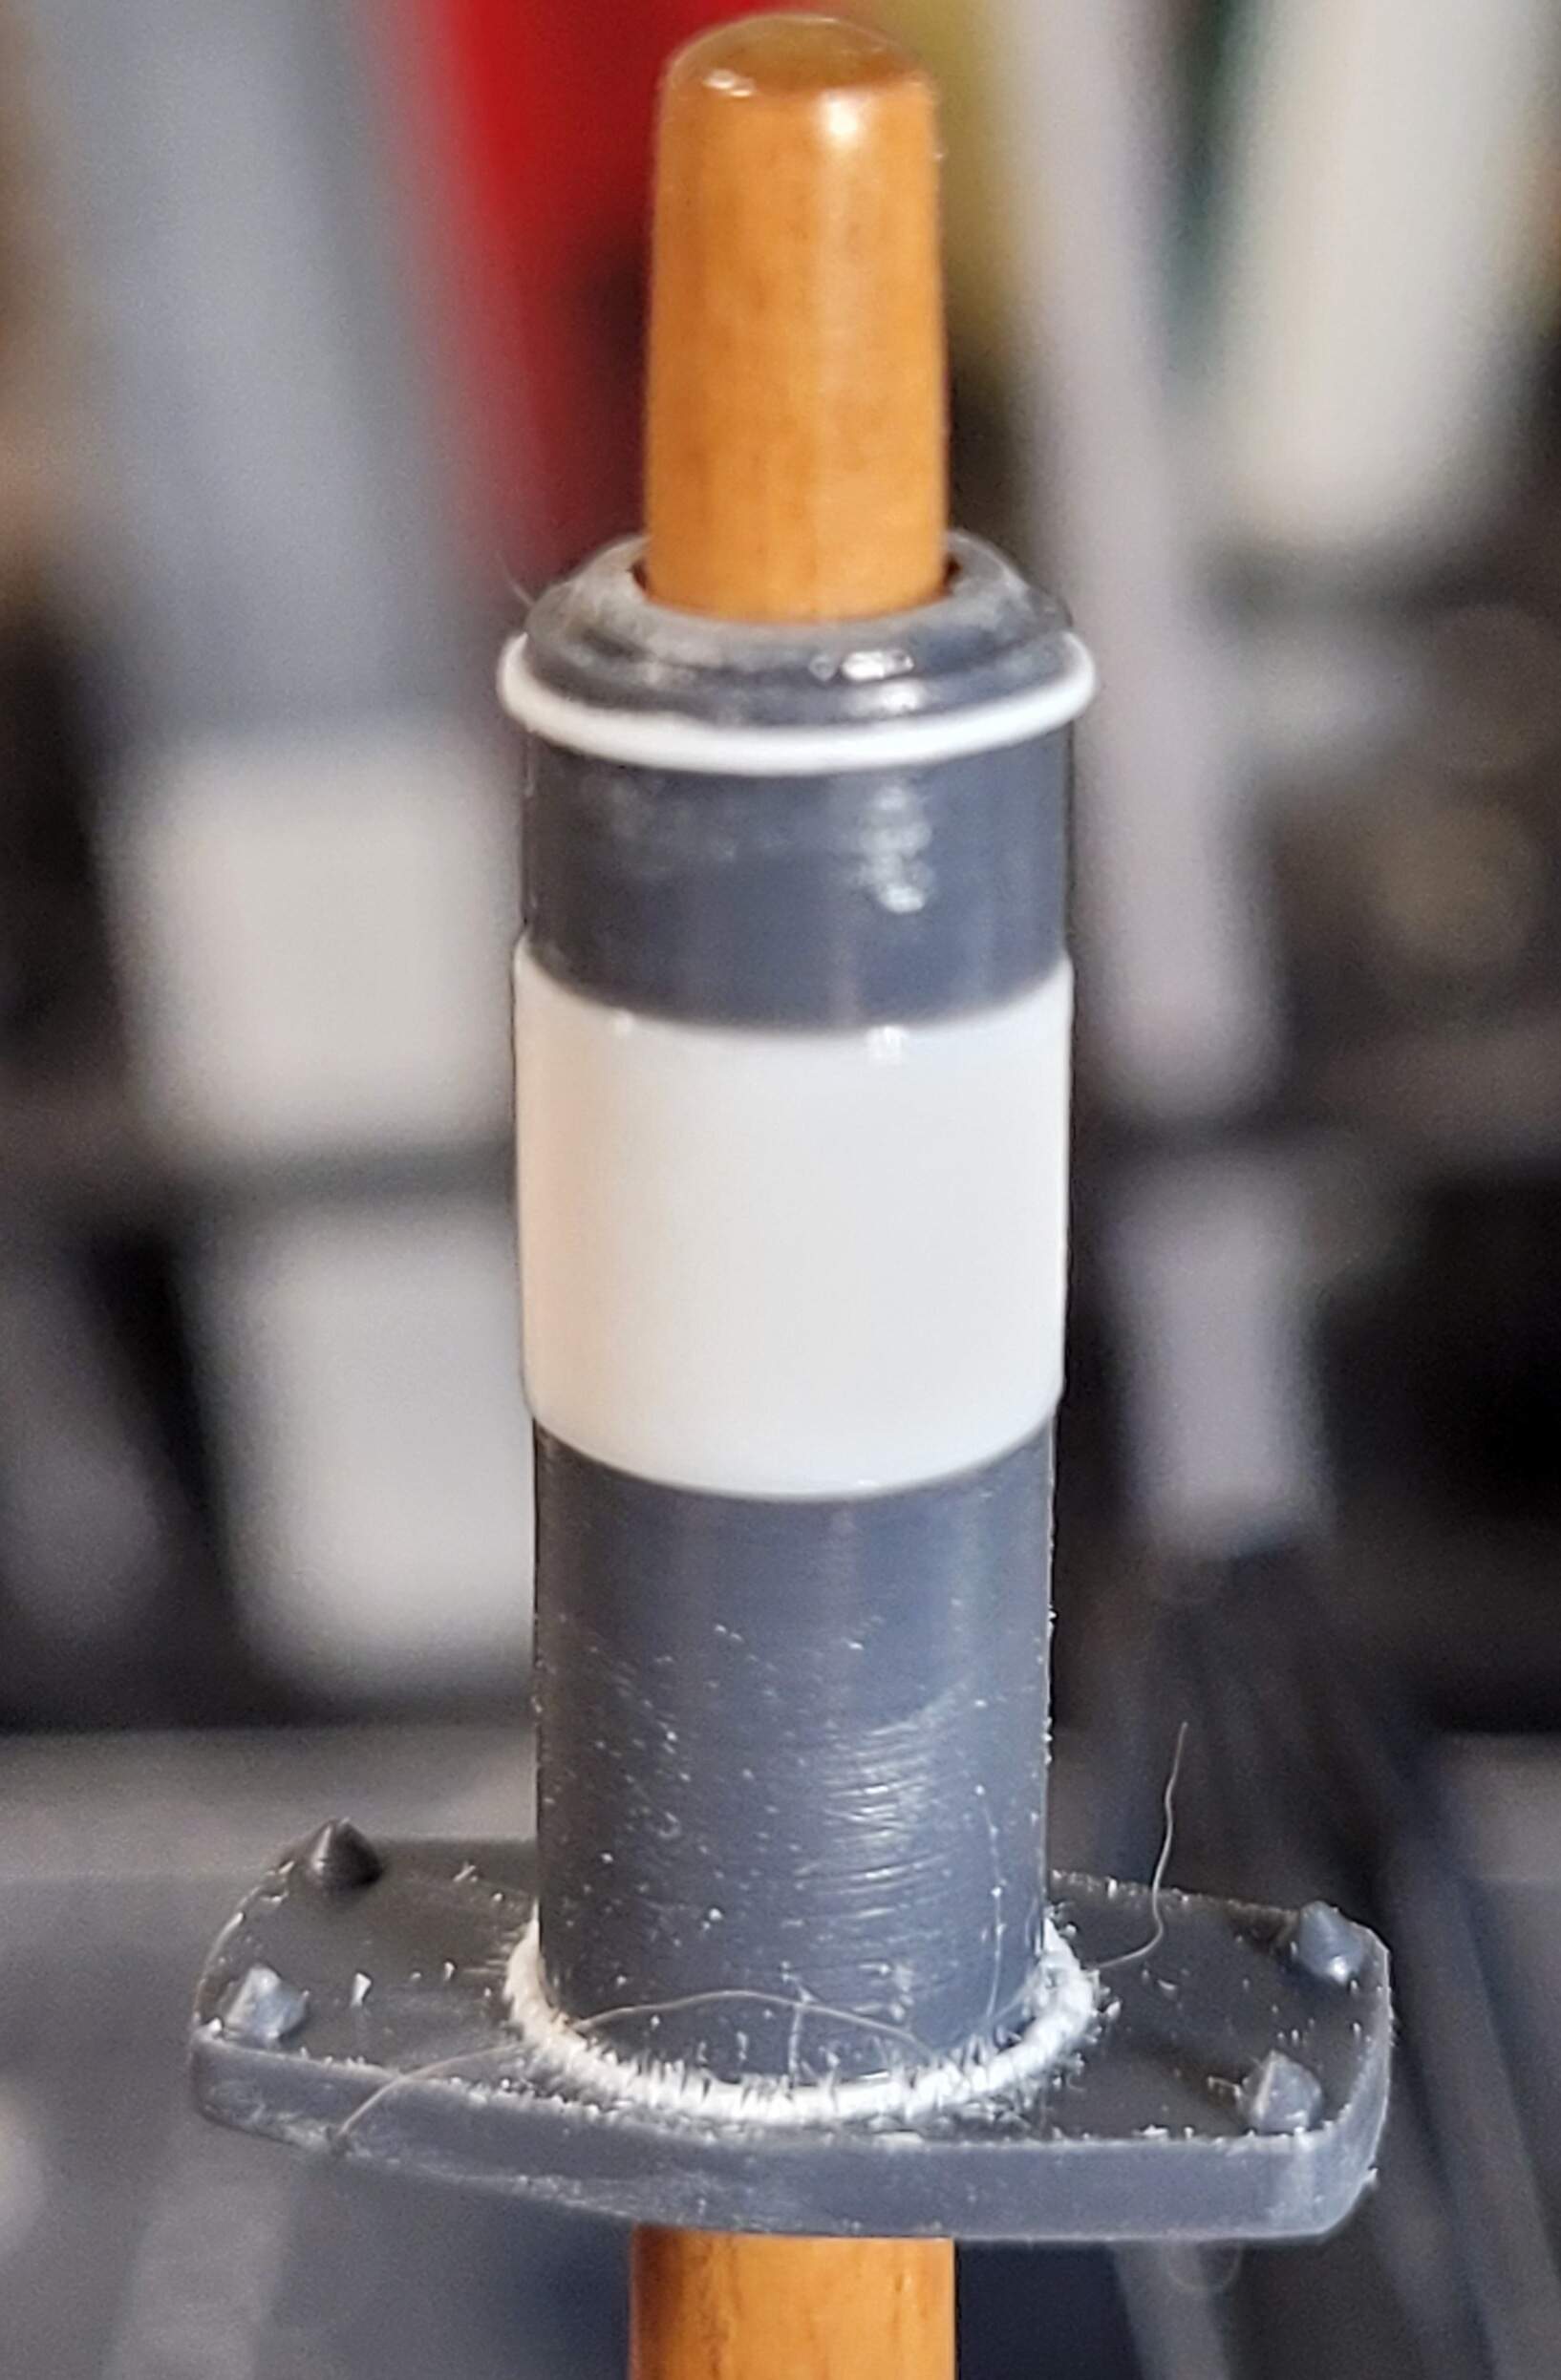
Something never looked right about the main gun proportions on Italeri kit to me. When judging at shows long ago etc, I noticed and finally nailed it down. The housing with the four big bolts is short. My measurements showed its about 3.5mm to short or roughly an 1/8 of an inch.
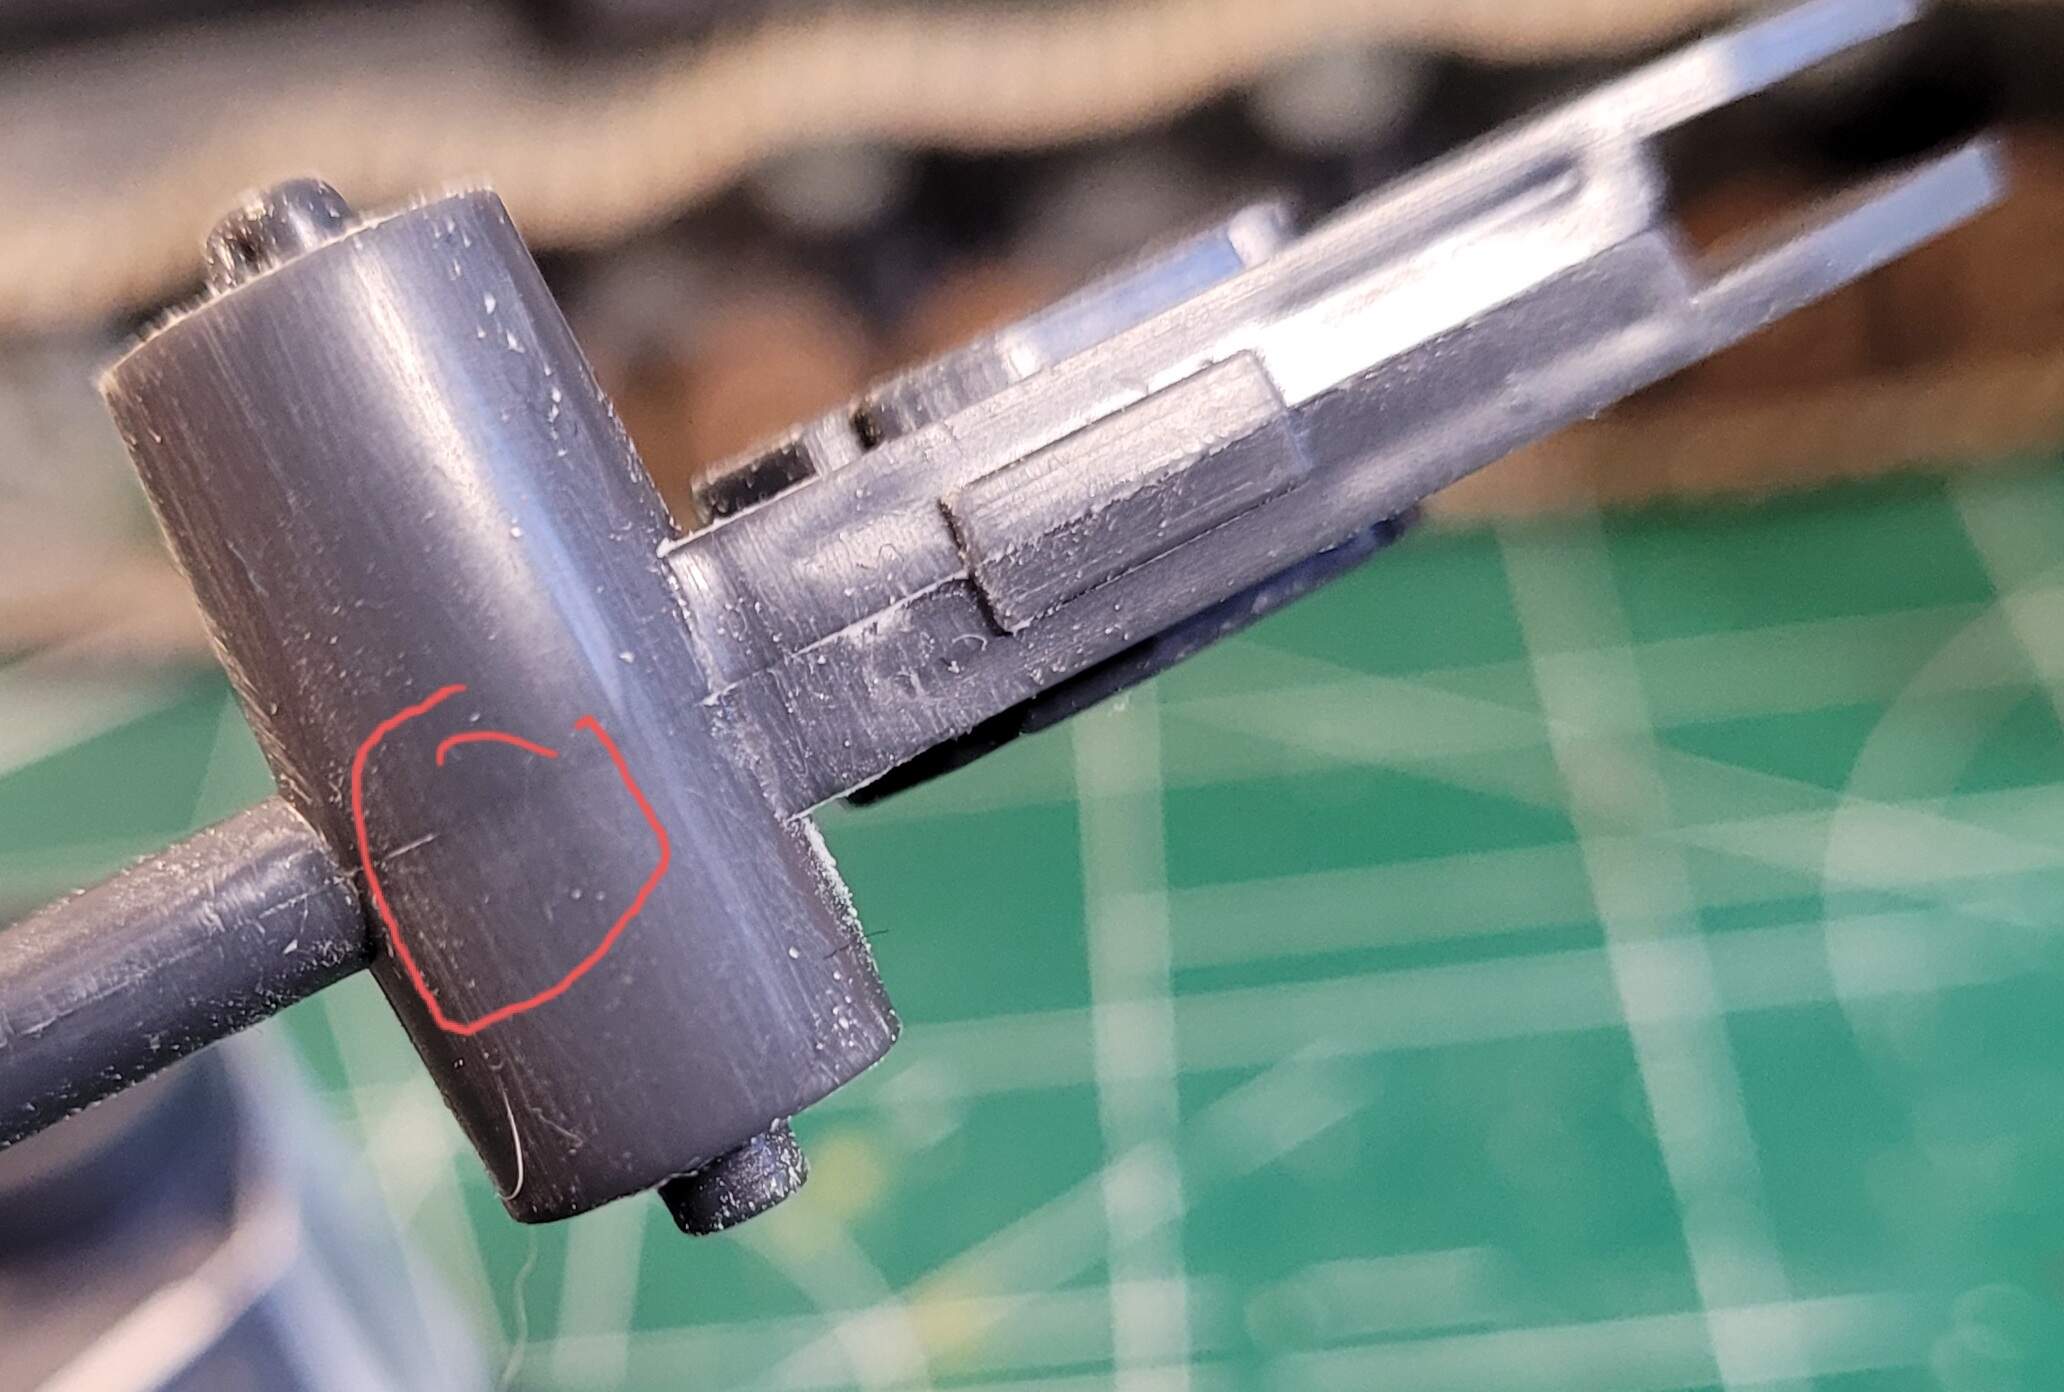
Chopped it half and cut an extender from spare tubing. I think its lined up OK. This is the raw fitting. Still needs turned in lathe, plus sanding, weld seams & flat head screws.
It’s now 1mm too long…lol
4 Likes
You can never be too long!
Some really serious mods on a vintage kit. I wish I had the patience to do this kind of stuff. I’m mostly an OOB builder although I will replace tracks and barrels. Rarely use PE unles it comes with the kit. Guess you could call me lazy, but I came to really dislike research in my work life as an academic so I guess my modeling suffers as a result.
3 Likes
@Armorsmith, thank you for the kind words and looking. Back in the day this is a key project I really wanted to do very badly but I let building contest models take priority.
Actually you & I are 100 percent on the same page! Almost all of my serious and successful contest models were OOB way back in the day. Adding details was just an extra opportunity to make a potentially fatal mistake with no upside. I still like the smooth OOB builds the best.
Photo-etch I really dislike with the tiny fiddle bits. PE is great for screens etc.
Researching model details is something I learned to dislike over the years. Saw to many model friends got bent over wrong half wing nuts on a Panzer…they’ll revoke ones honorary membership to 501th Tiger tank battalion for that offense etc…wink…j/k
1 Like
Same here. Just goes to show it’s not how much AM stuff you use but how well you work with what you have. So many guys at contest think that just because they use every AM for a given kit it’s an automatic winner. In most cases, in my opinion, they never developed the necessary basic skills to a high degree and it usually shows in their work. There are of course exceptions and I do admire those willing to take the time and effort and face the frustration of the never ending build.
2 Likes
Great job on this kit. Great see these skills . So true guys about the AM stuff. See it all the time at so many shows. Ultimately you are judged by your finish.
1 Like