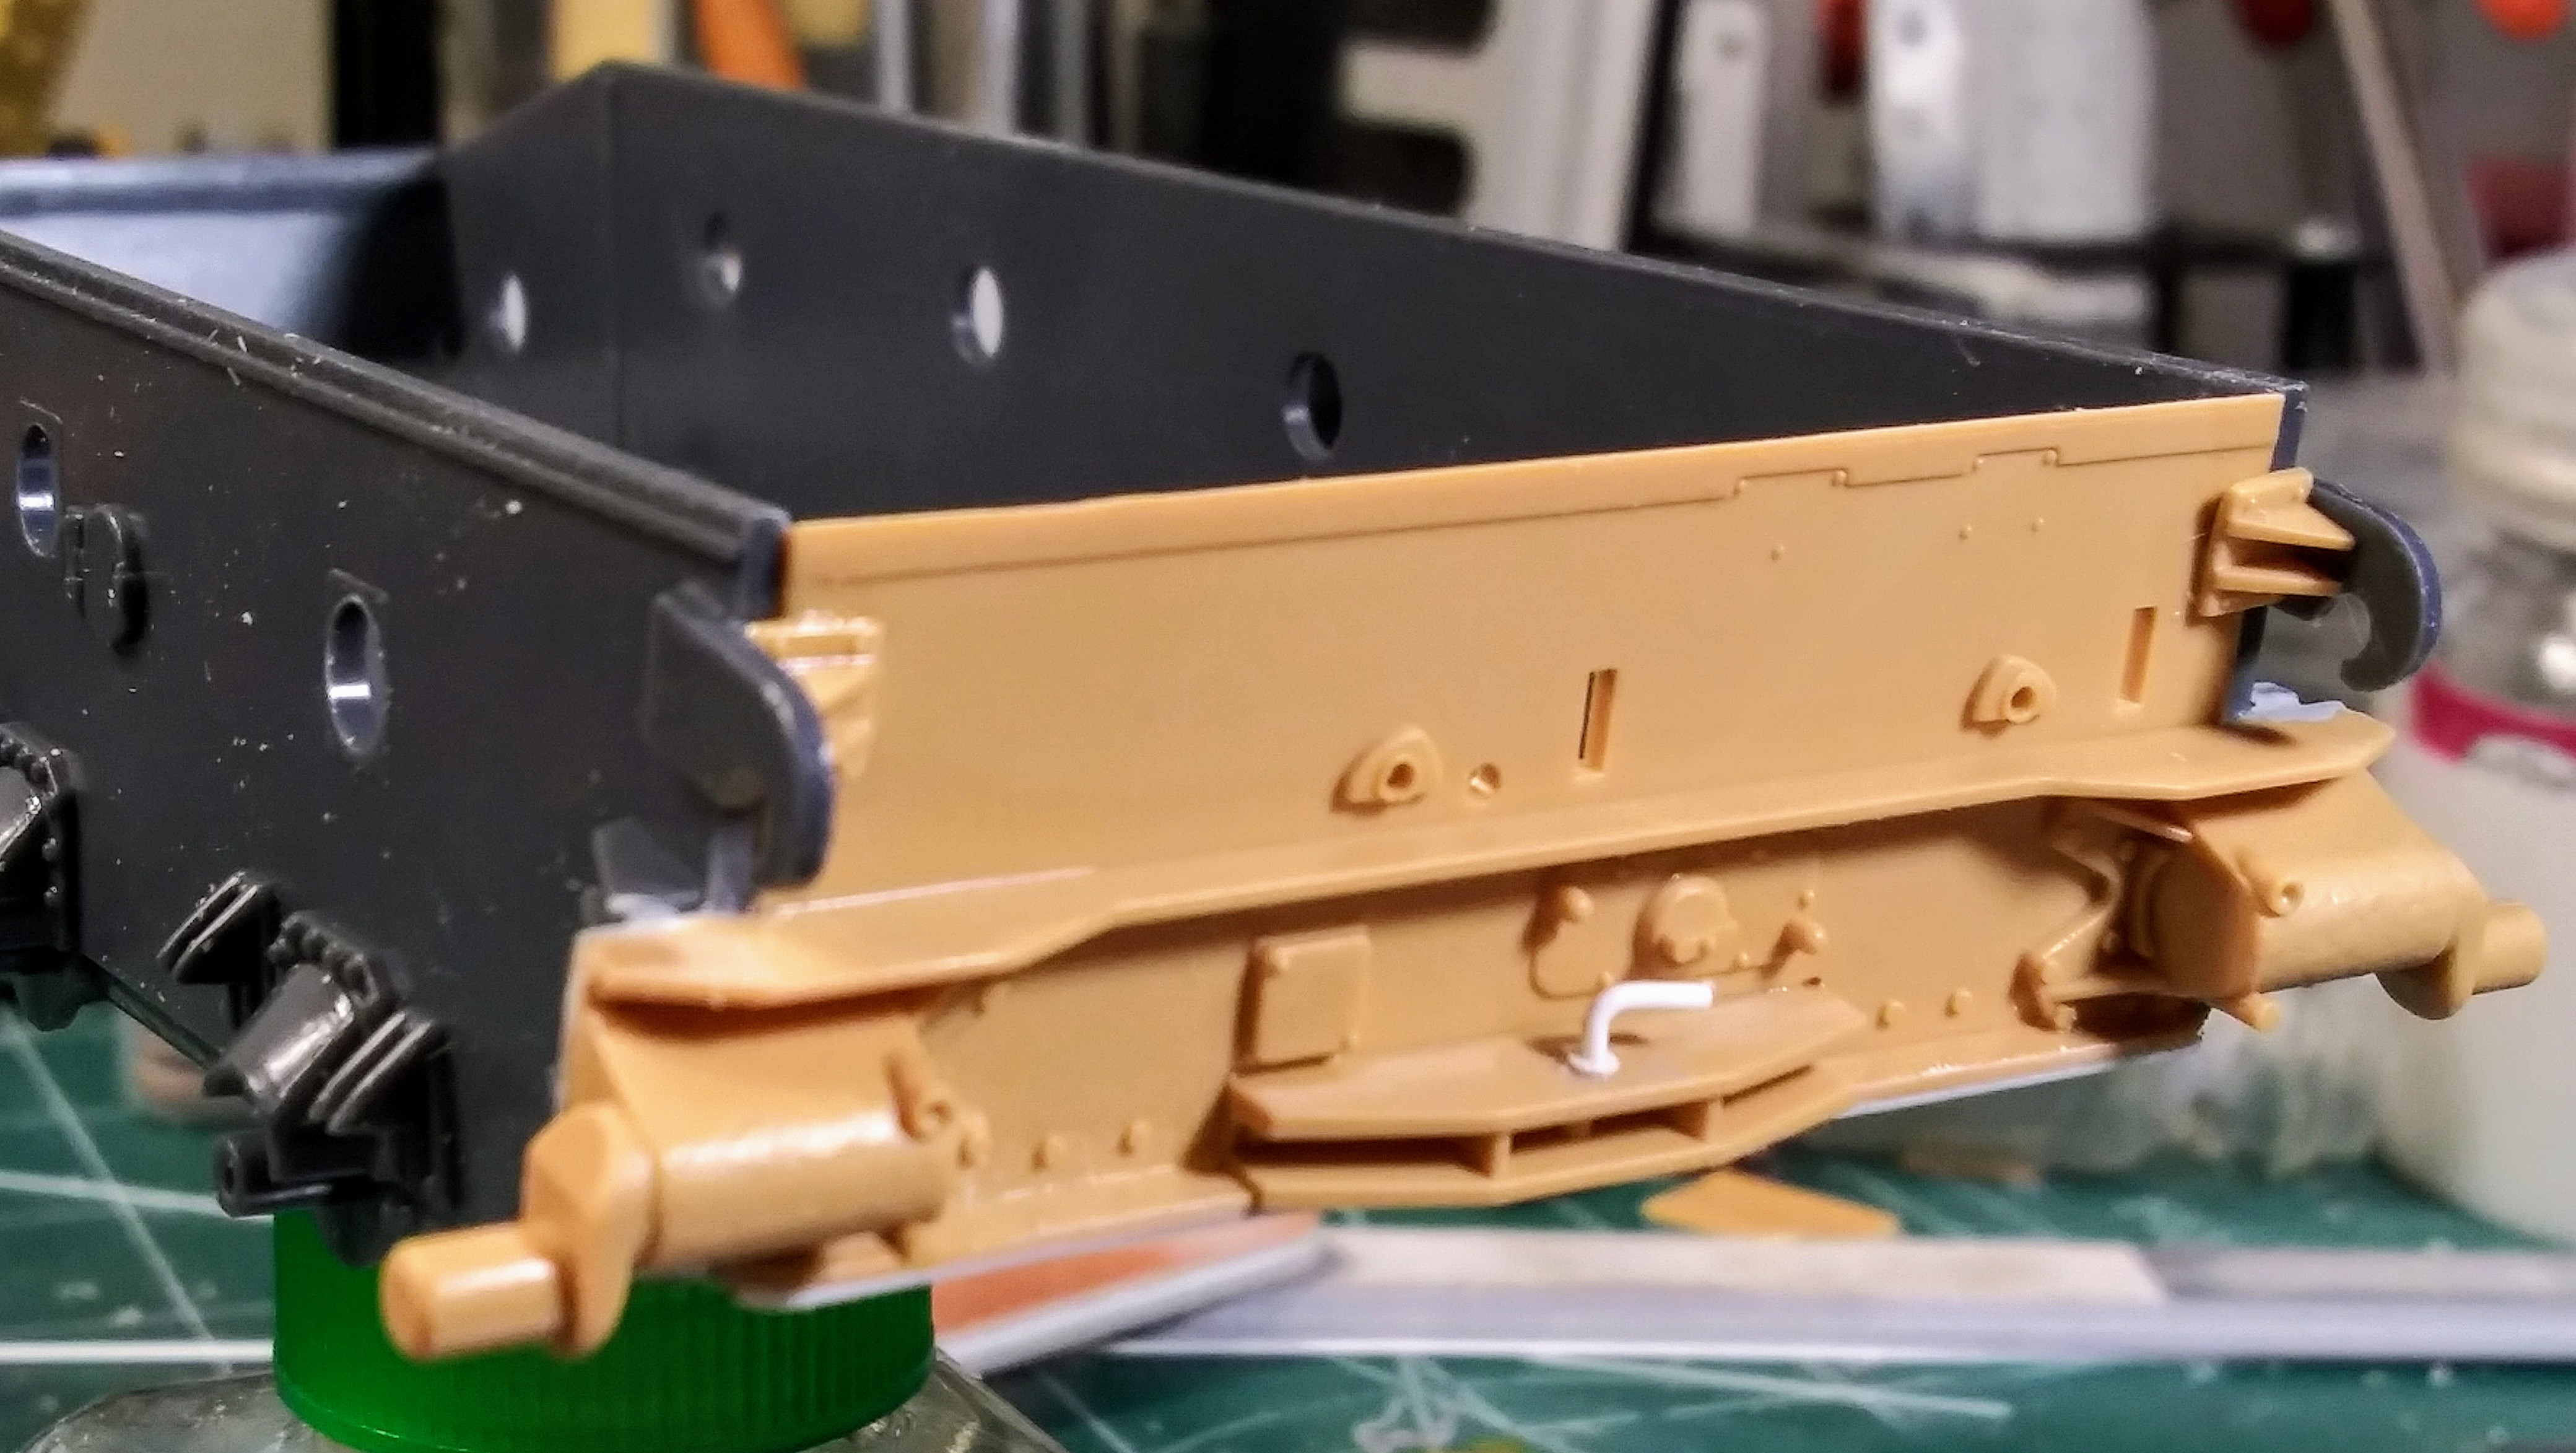
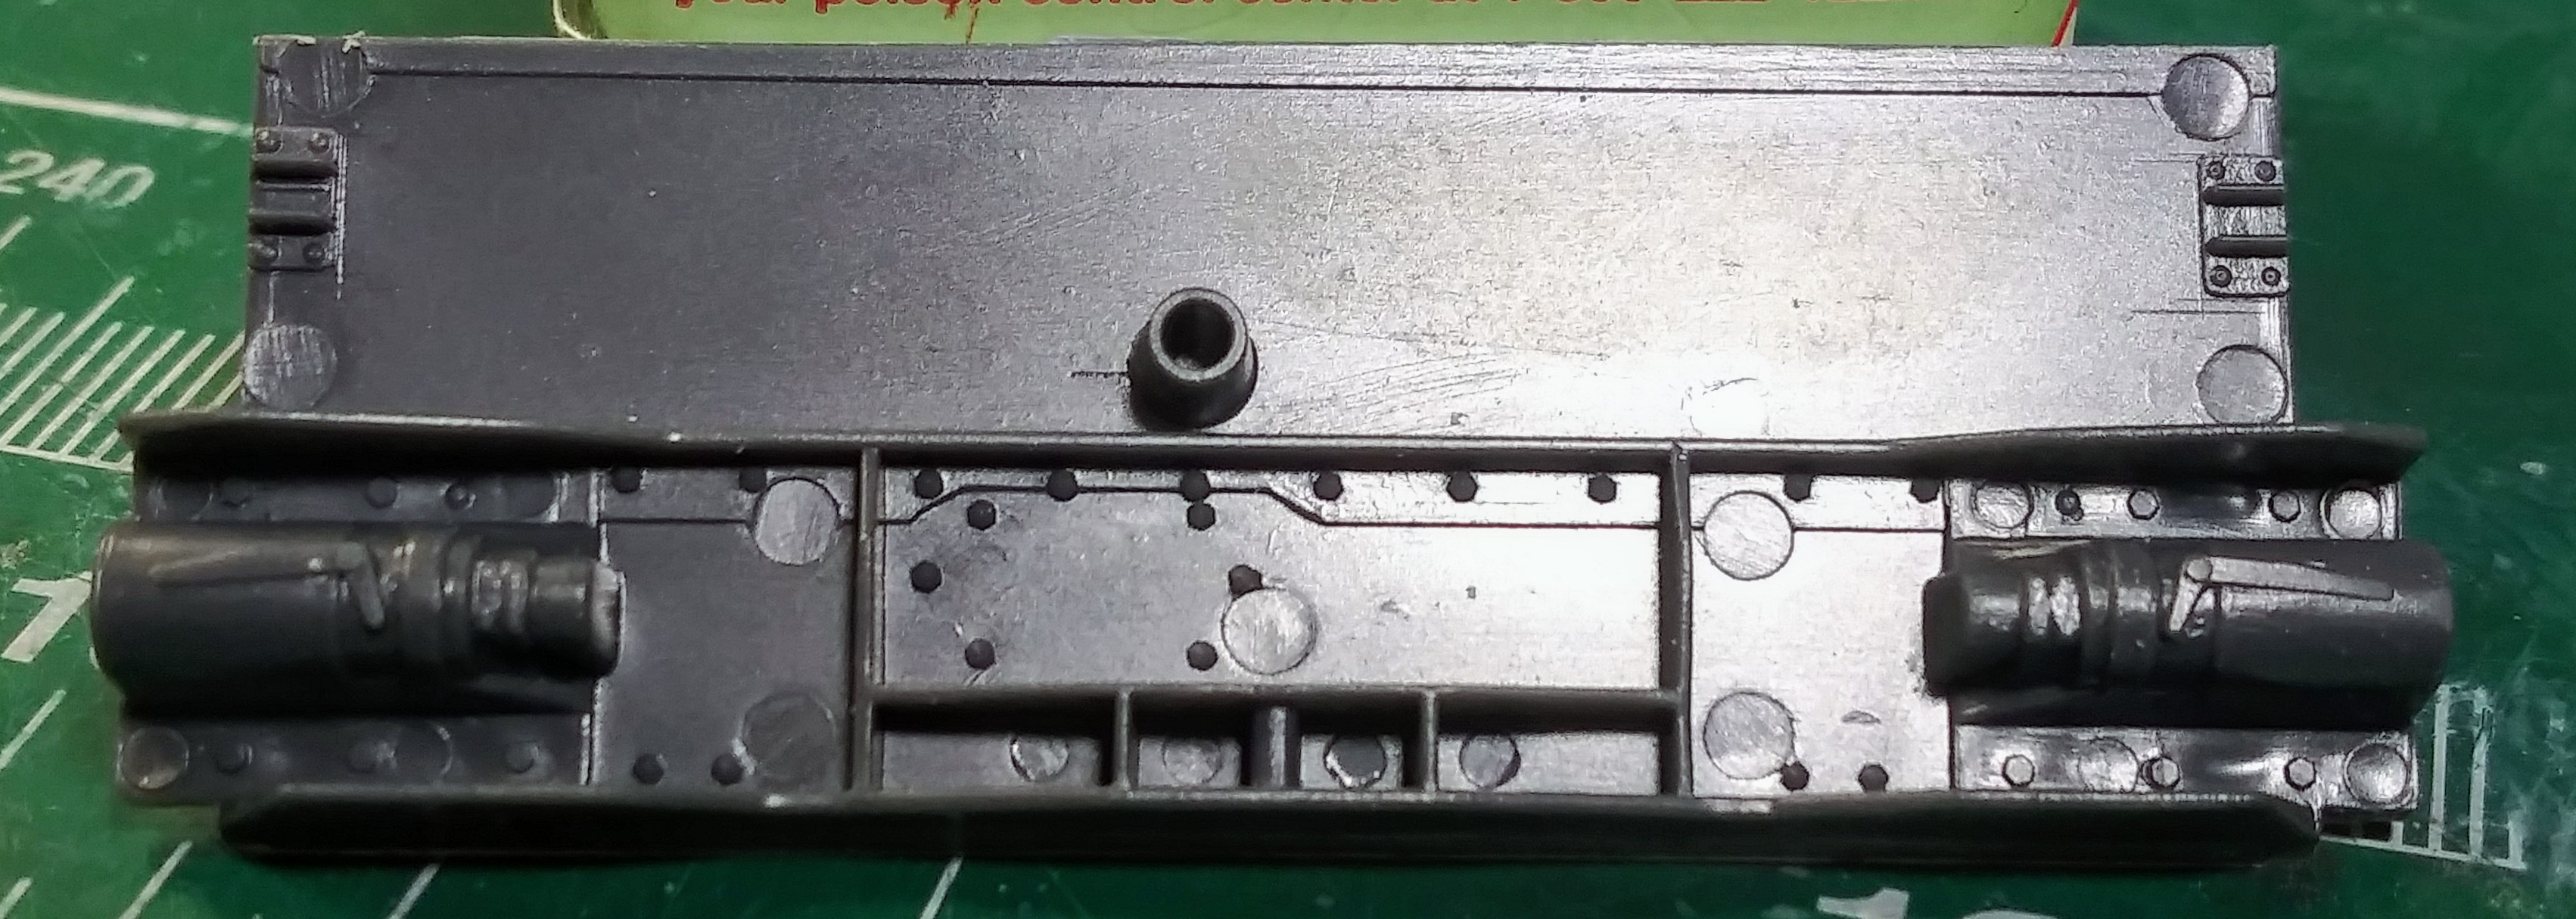
Didn’t like the Italeri Pz IV rear plate with its 20+ exterior ejector pin marks. Decided that best way to fill the pin marks was to hacksaw off the bottom of the plate. Used the spare rear plate in from the 1996 Tamiya Pz IV H kit mentioned in another thread. It adapted without too much trouble. Trimmed like about 1mm off the sides of it and some other trimming.
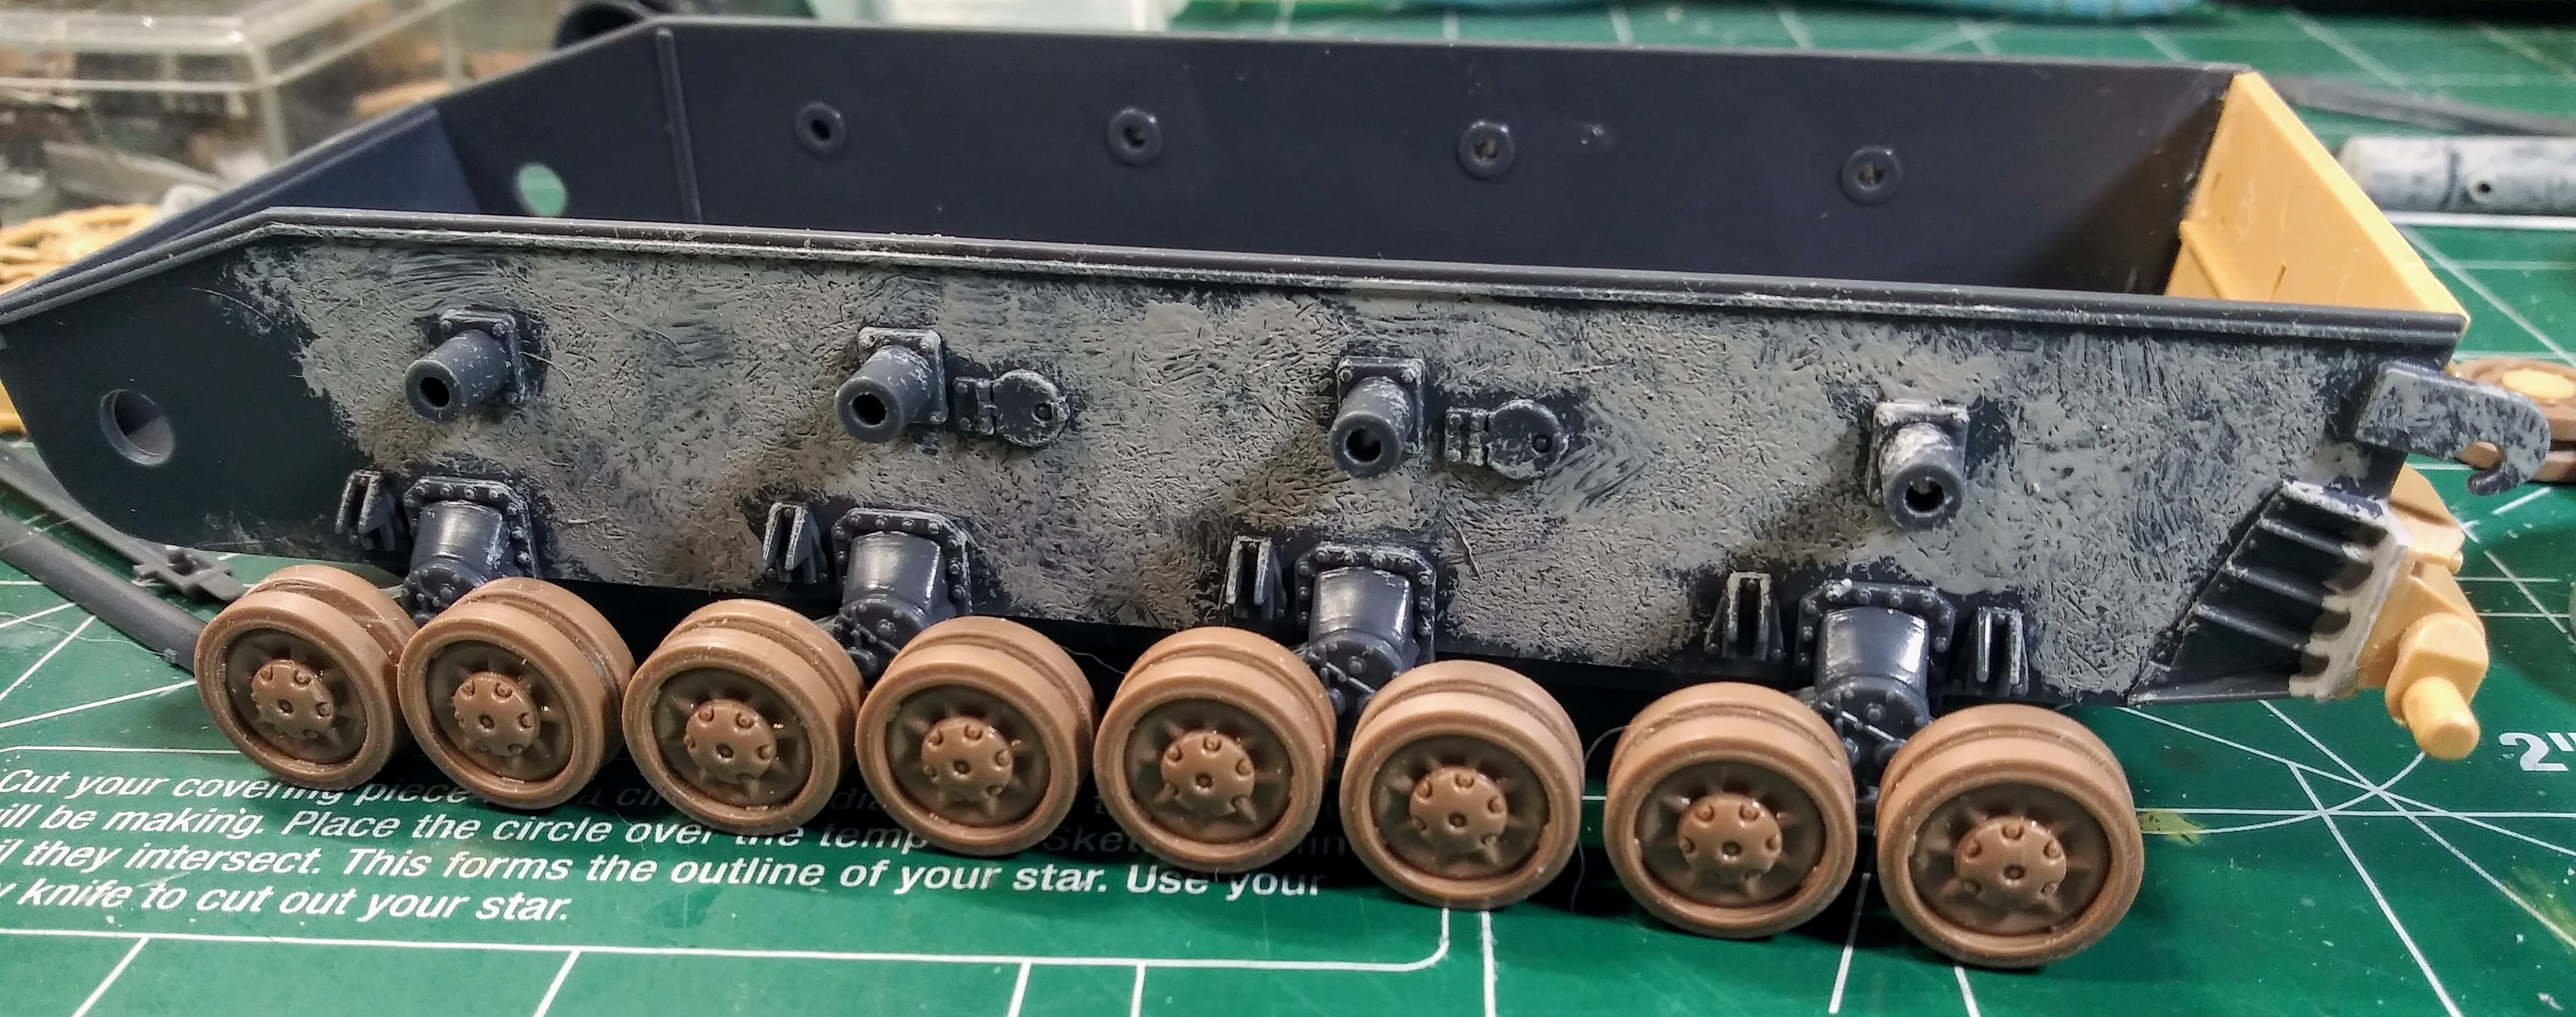
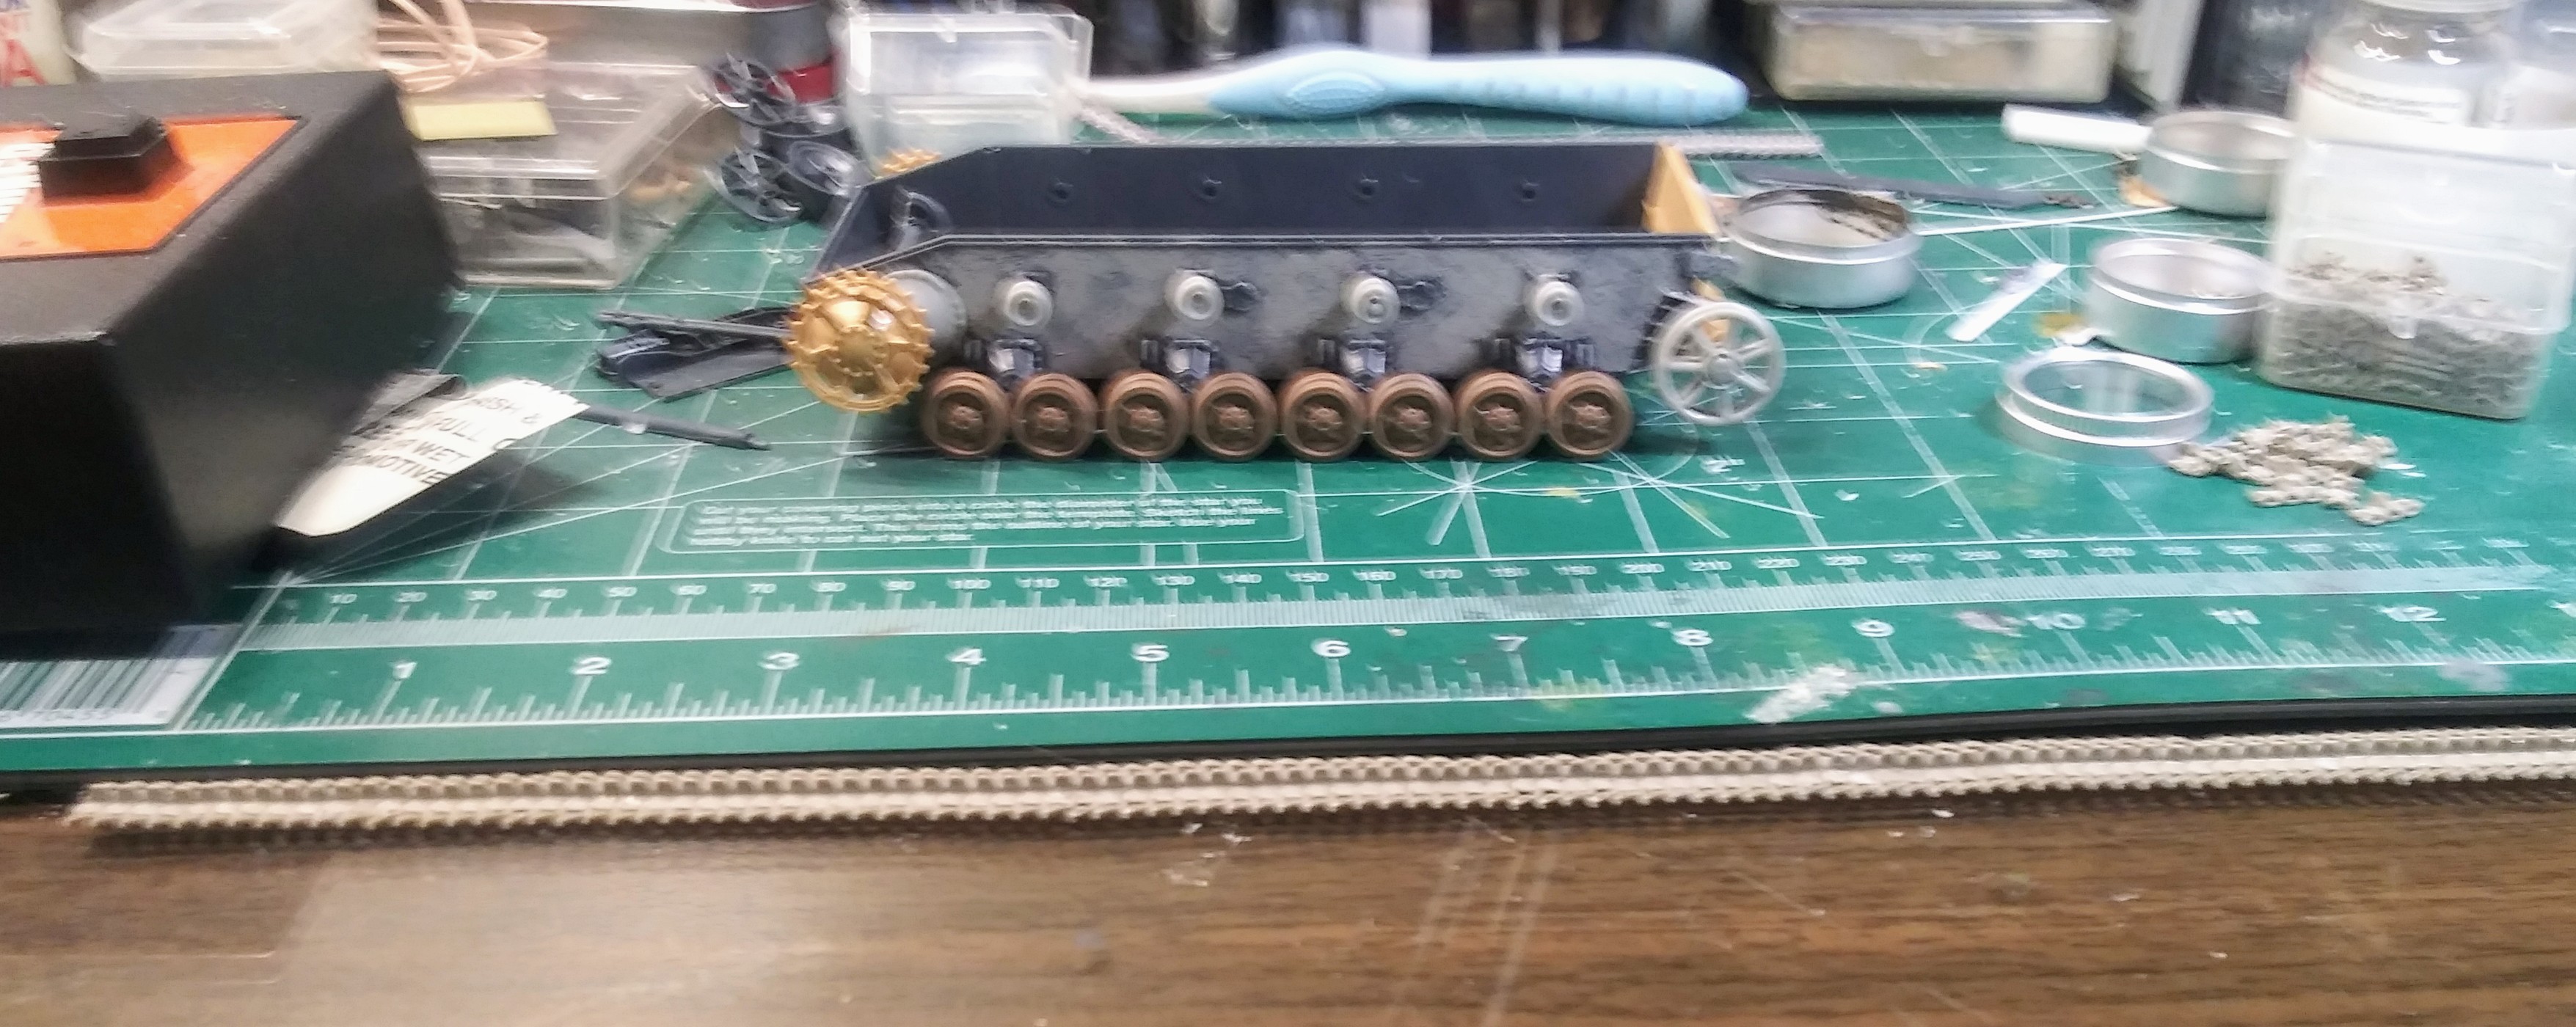
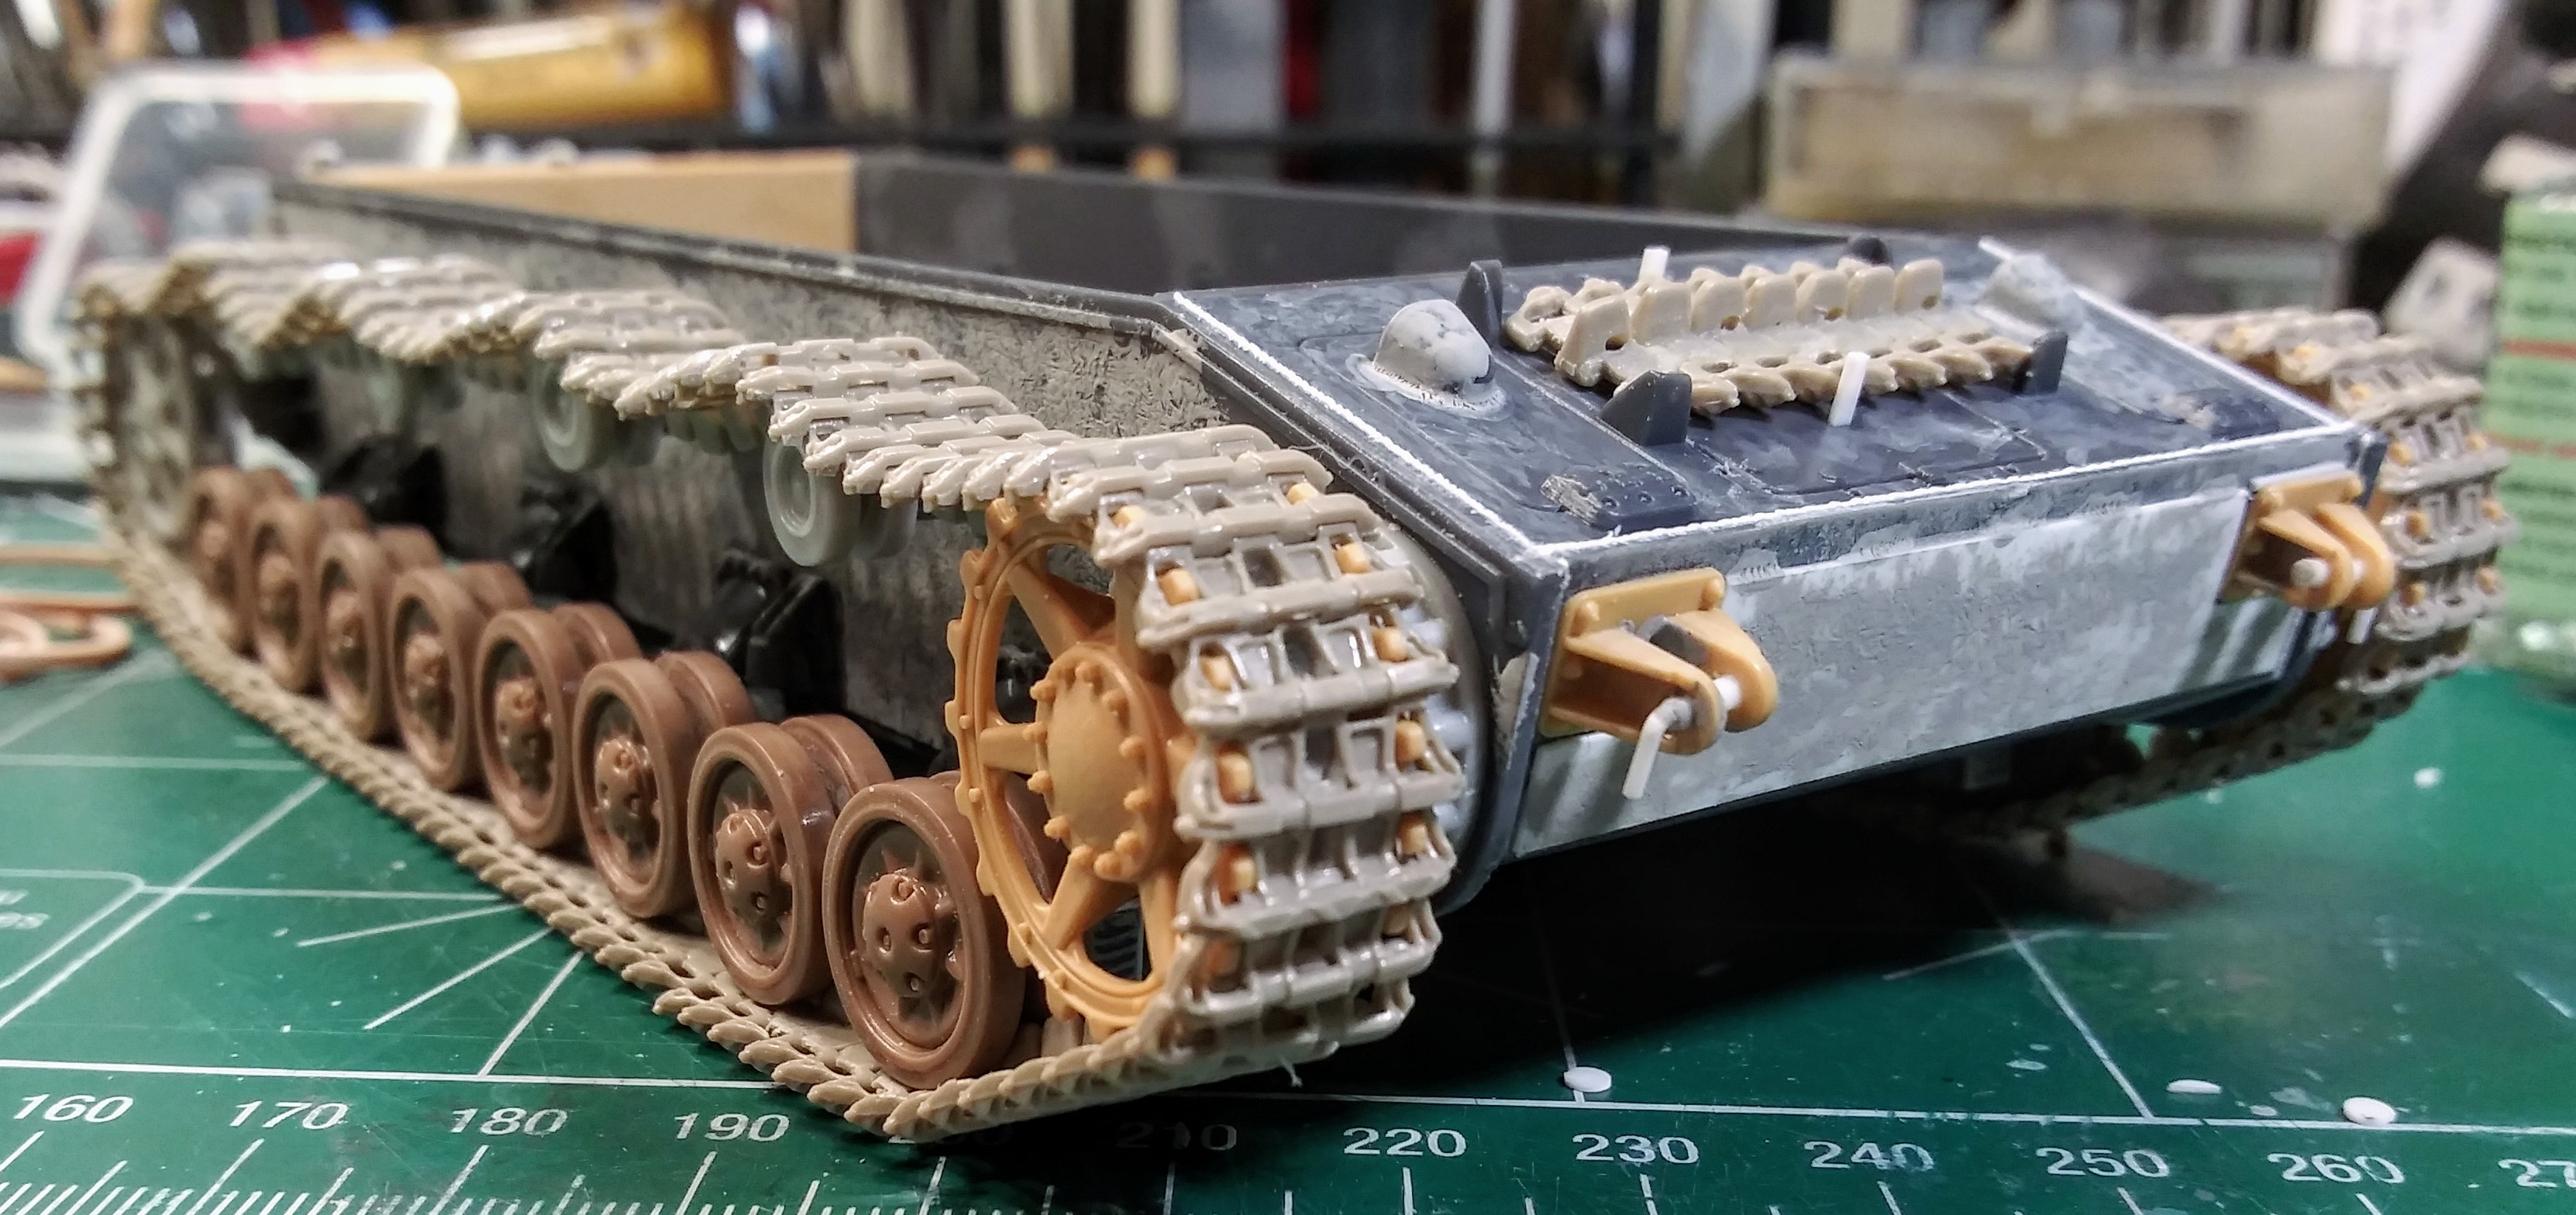
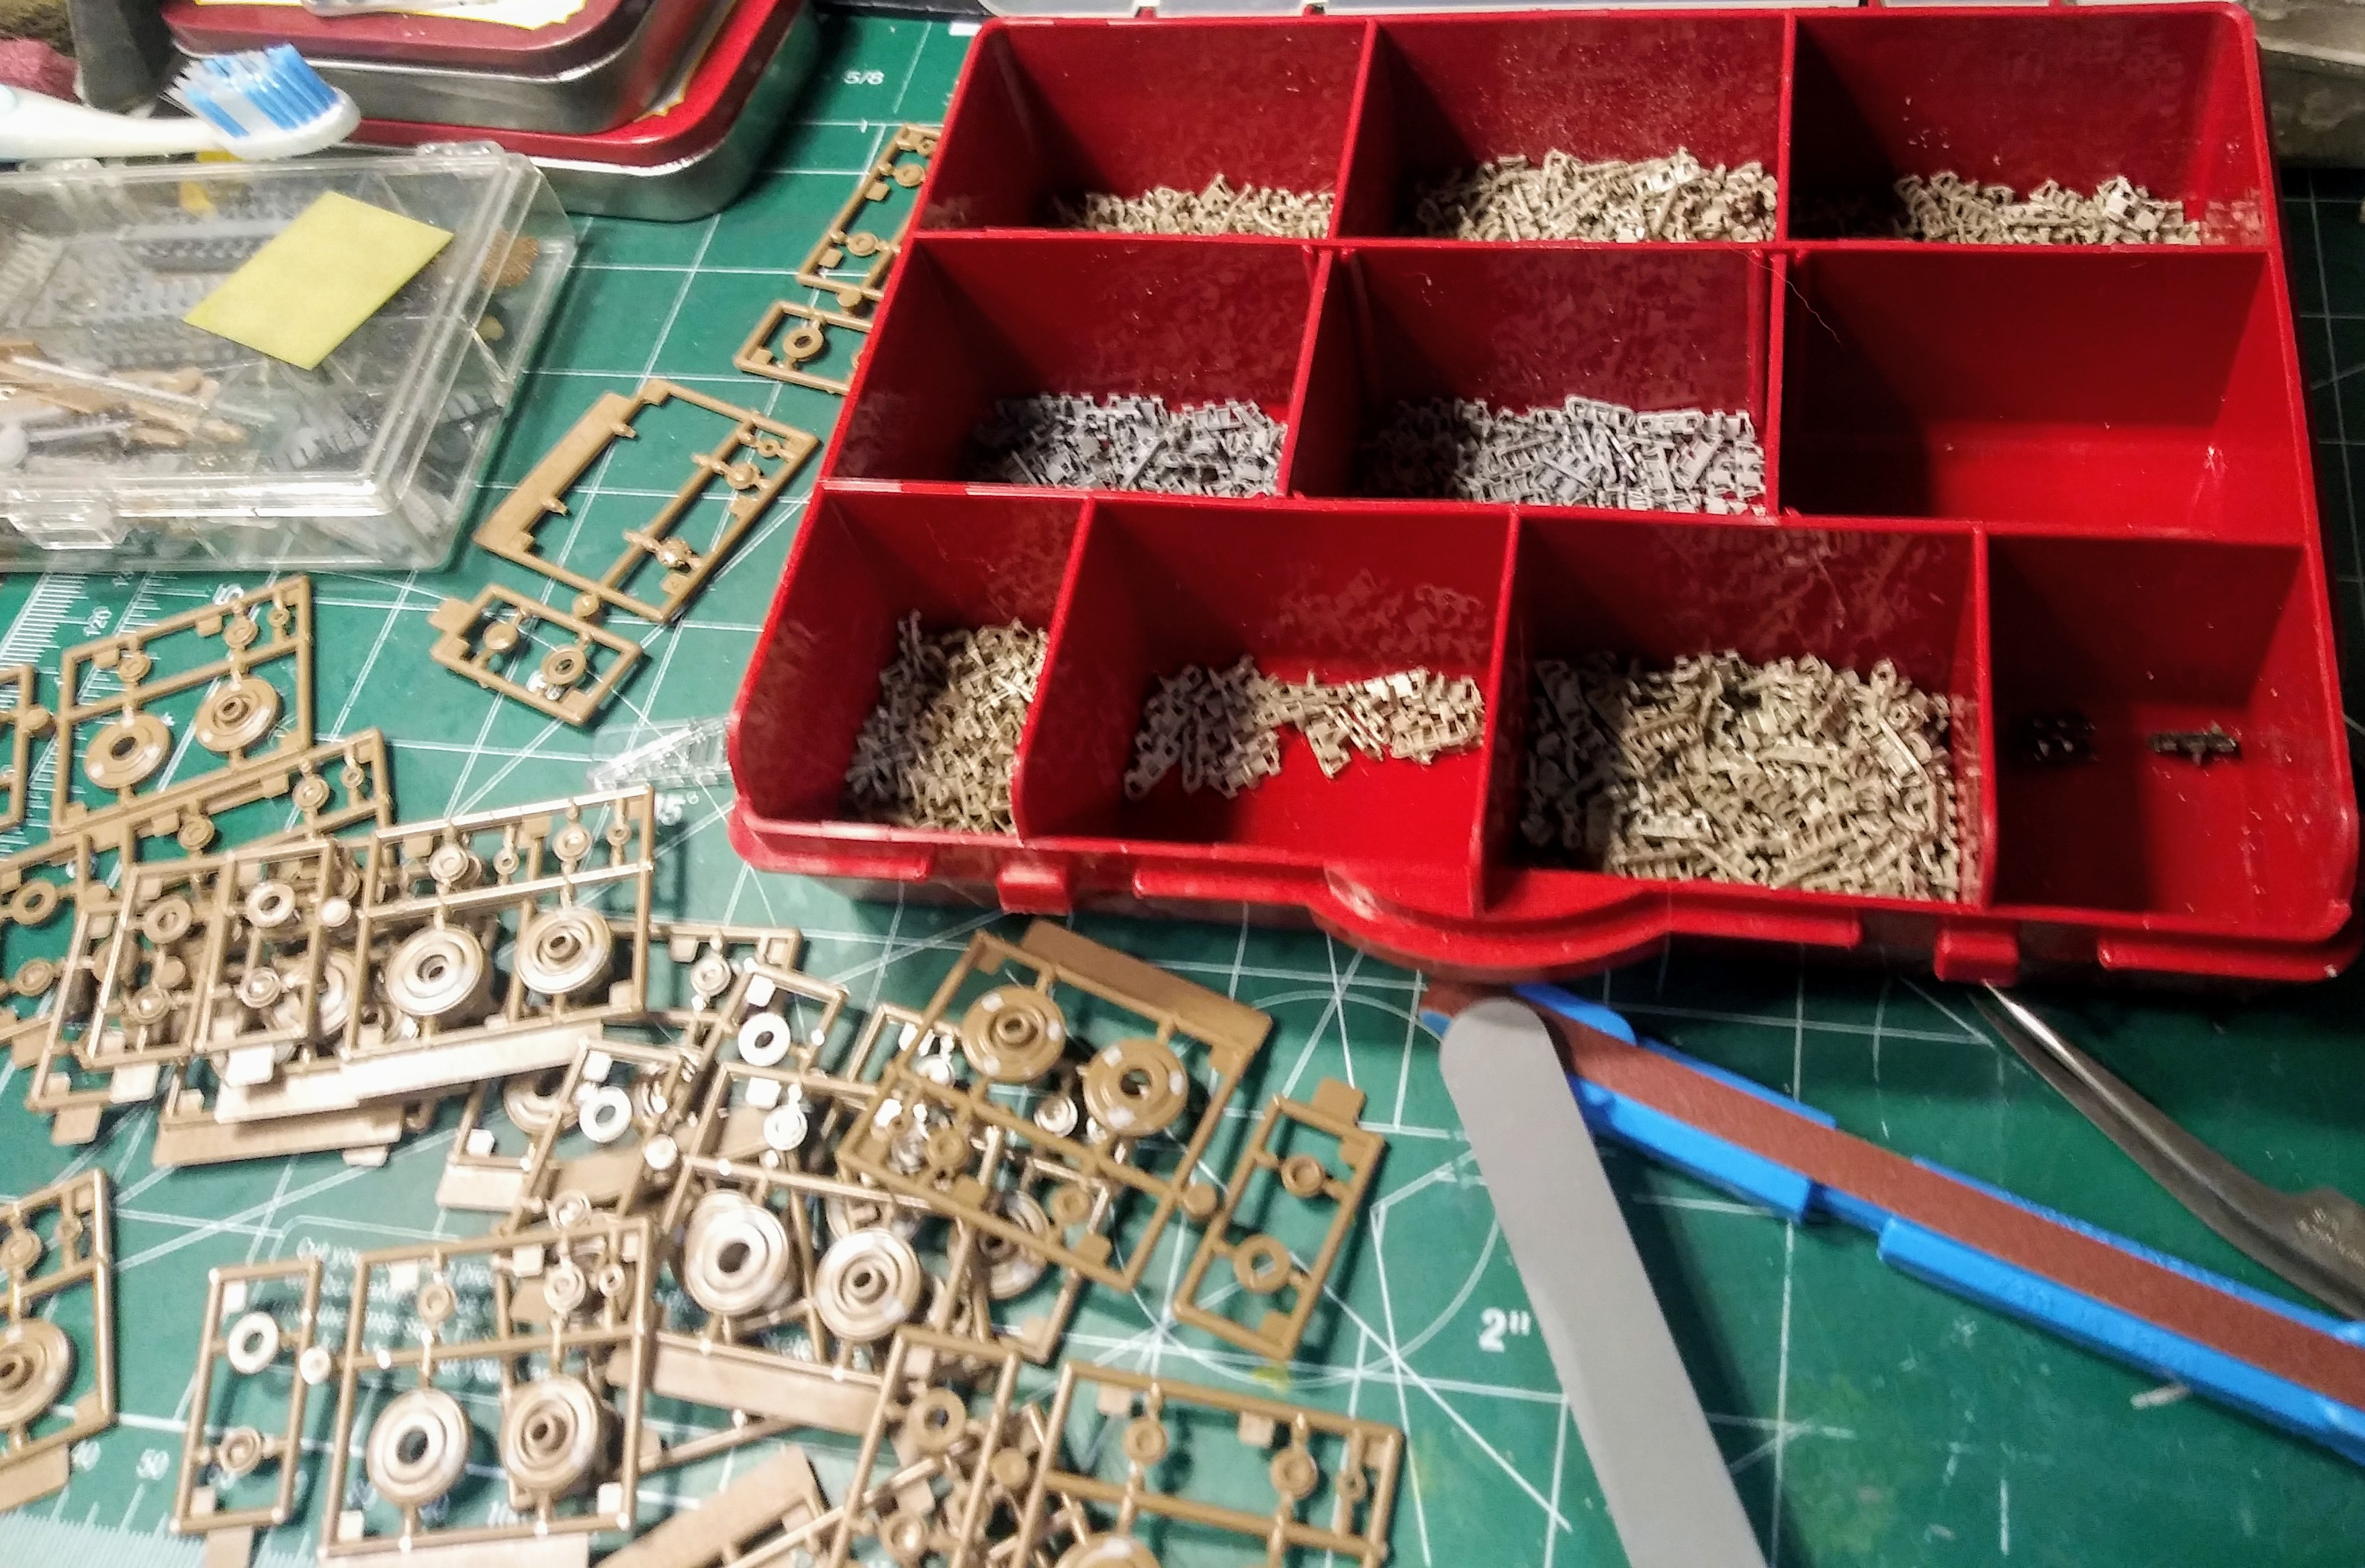
Next bogies went on along with the Model Kasten wheels. The Italeri bogies are decent. Part #9 is marked in the instructs as same for both sides. Its not as the parts are mirror images. The parts are correctly molded as left side and right side but the instructs don’t make that clear.
The plastic on the sides of the lower hull had a swirly plastic patterns so I decided to add a little armor texture with Molak Stucco putty ensure that wouldn’t show in the paint later. It was also present on the nose of the lower hull. Added added a couple of weld seams on the lower nose with white plastic-struct strip and #11 knife blade.
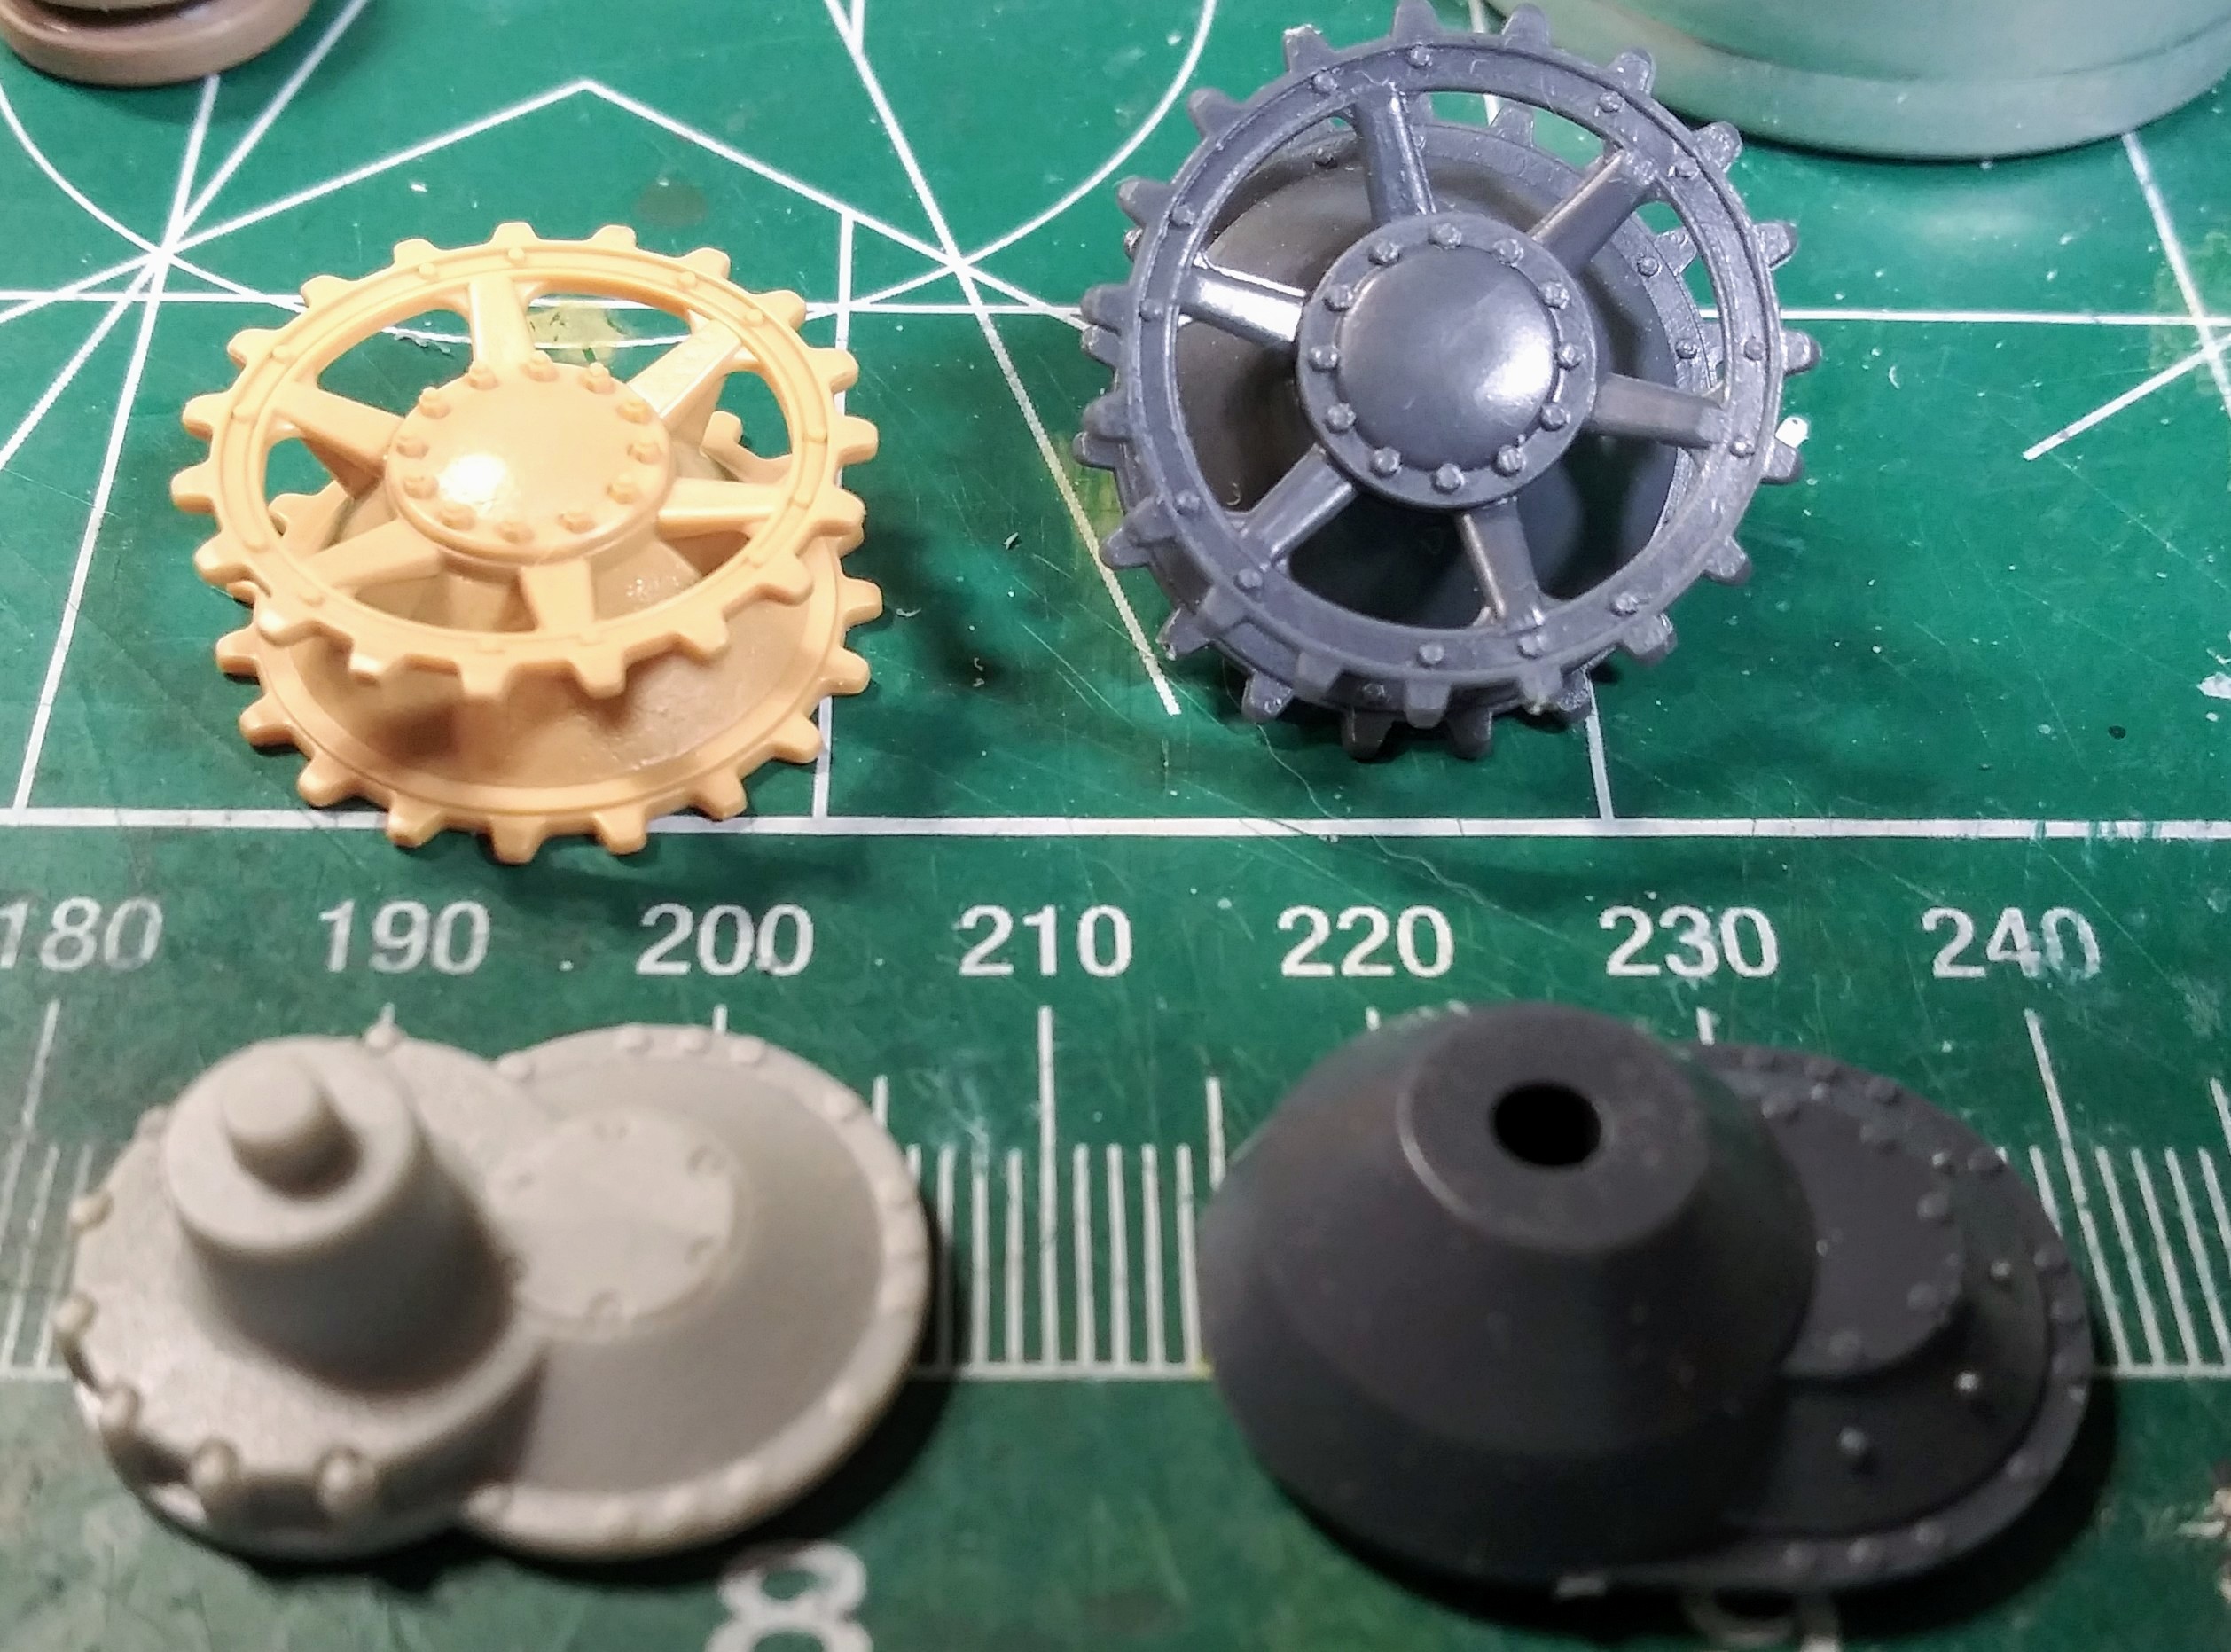
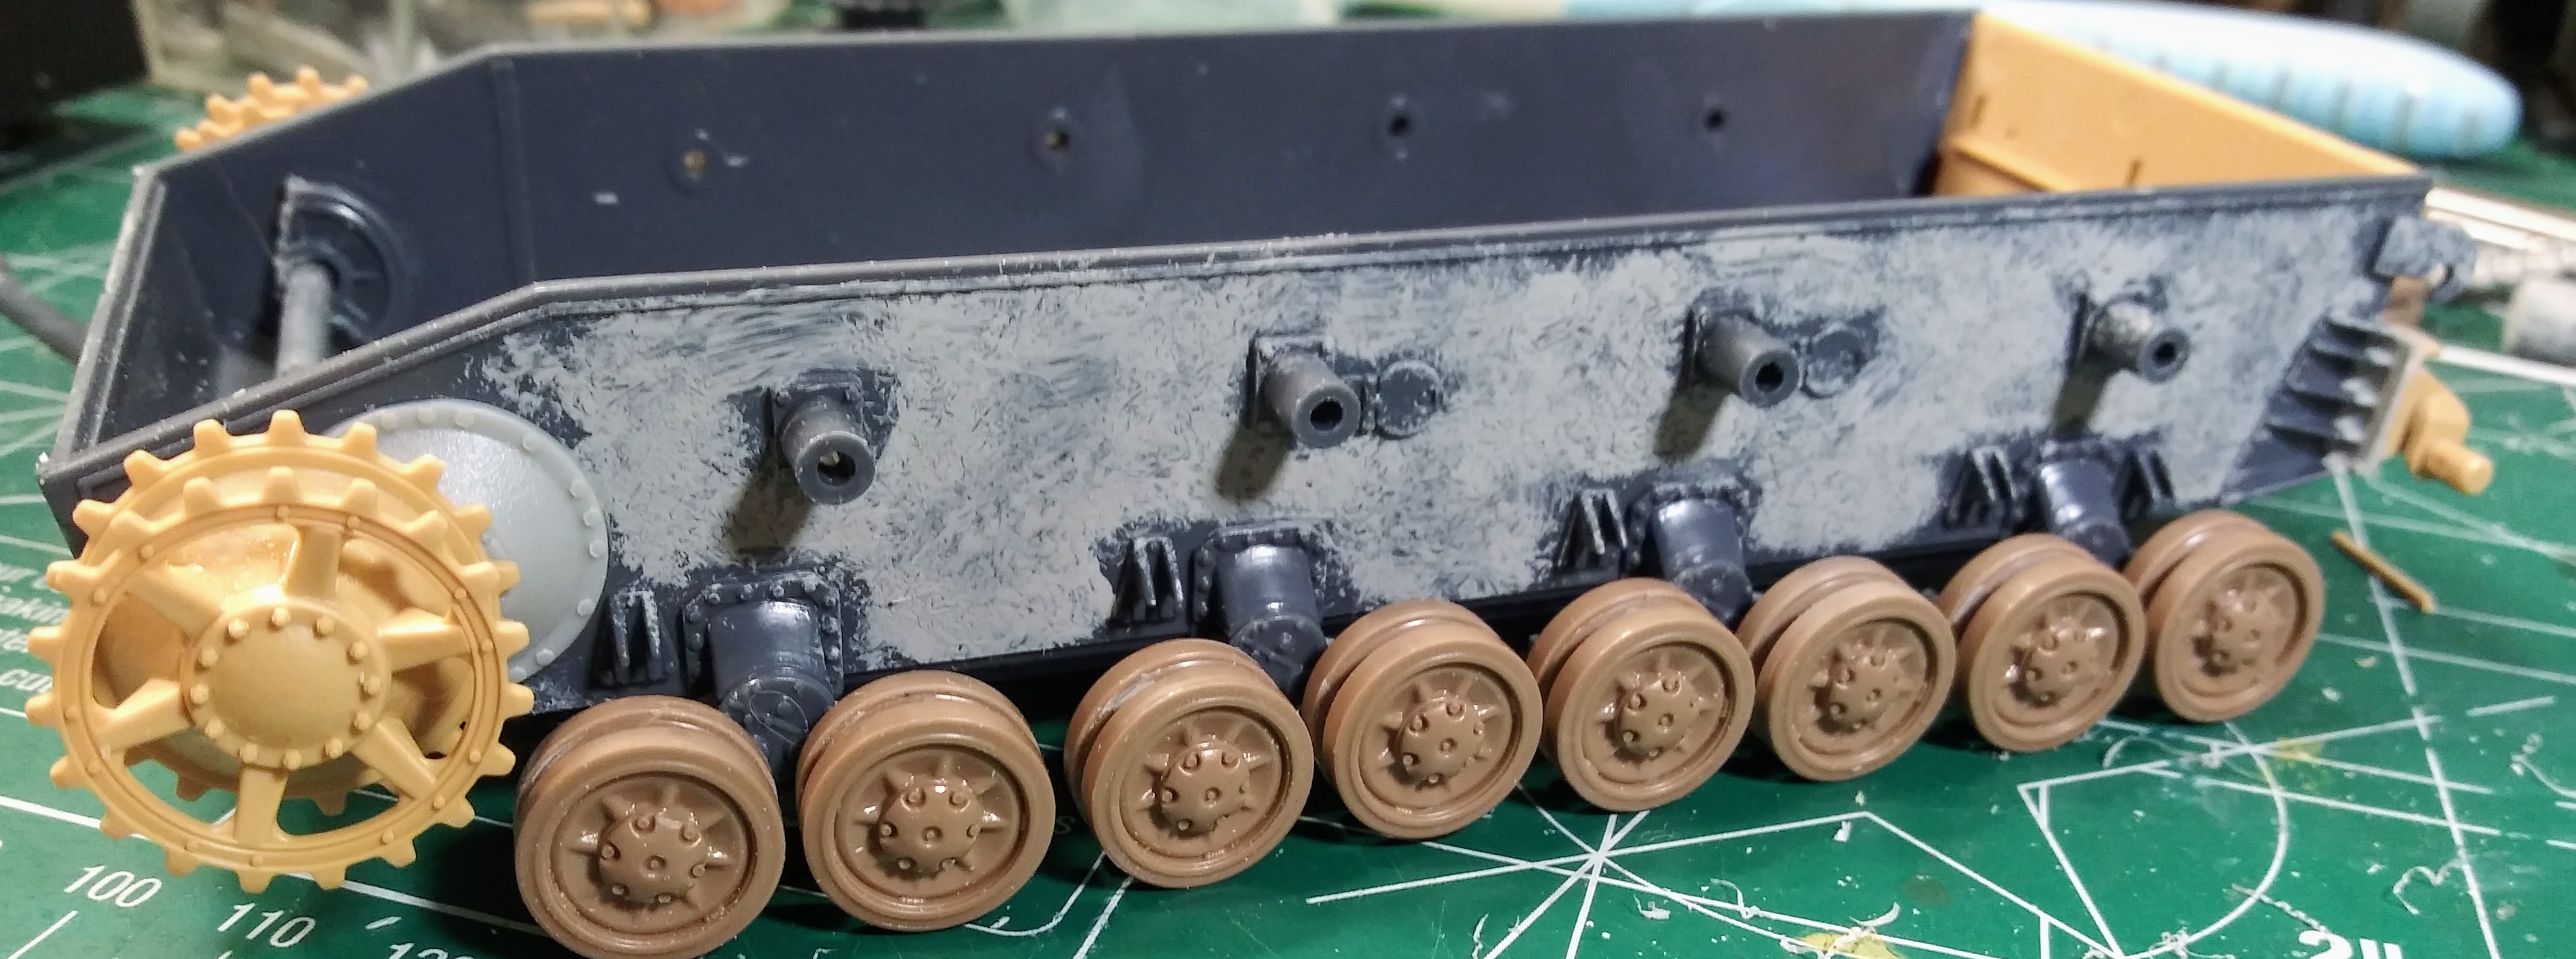
The kit final drive housing and sprocket are on the right in dark gray plastic. I didn’t like them very much. Spare parts box raided again. Previously mentioned Tamiya Pz IV H kit donated a nice set of yellow sprockets. An old DML Imperial Pz IV F2 donated light gray final drive housings. These are on the left.
Cut about 2/3 of the length off the end of the Imperial final drive housing to set the sprockets at correct distance. Two inner Italeri road wheels proved very useful making a bushing for the sprue plastic axle for the sprockets.
Used spares from an Imperial DML Pz IV F2 kit for both. The It return rollers would have worked but looked a little thin to me. I was pleasantly surprised the DML/Gunzy/Imperial idler fit perfectly with the Tamiya rear end idler arms. No shimming or tweaking.
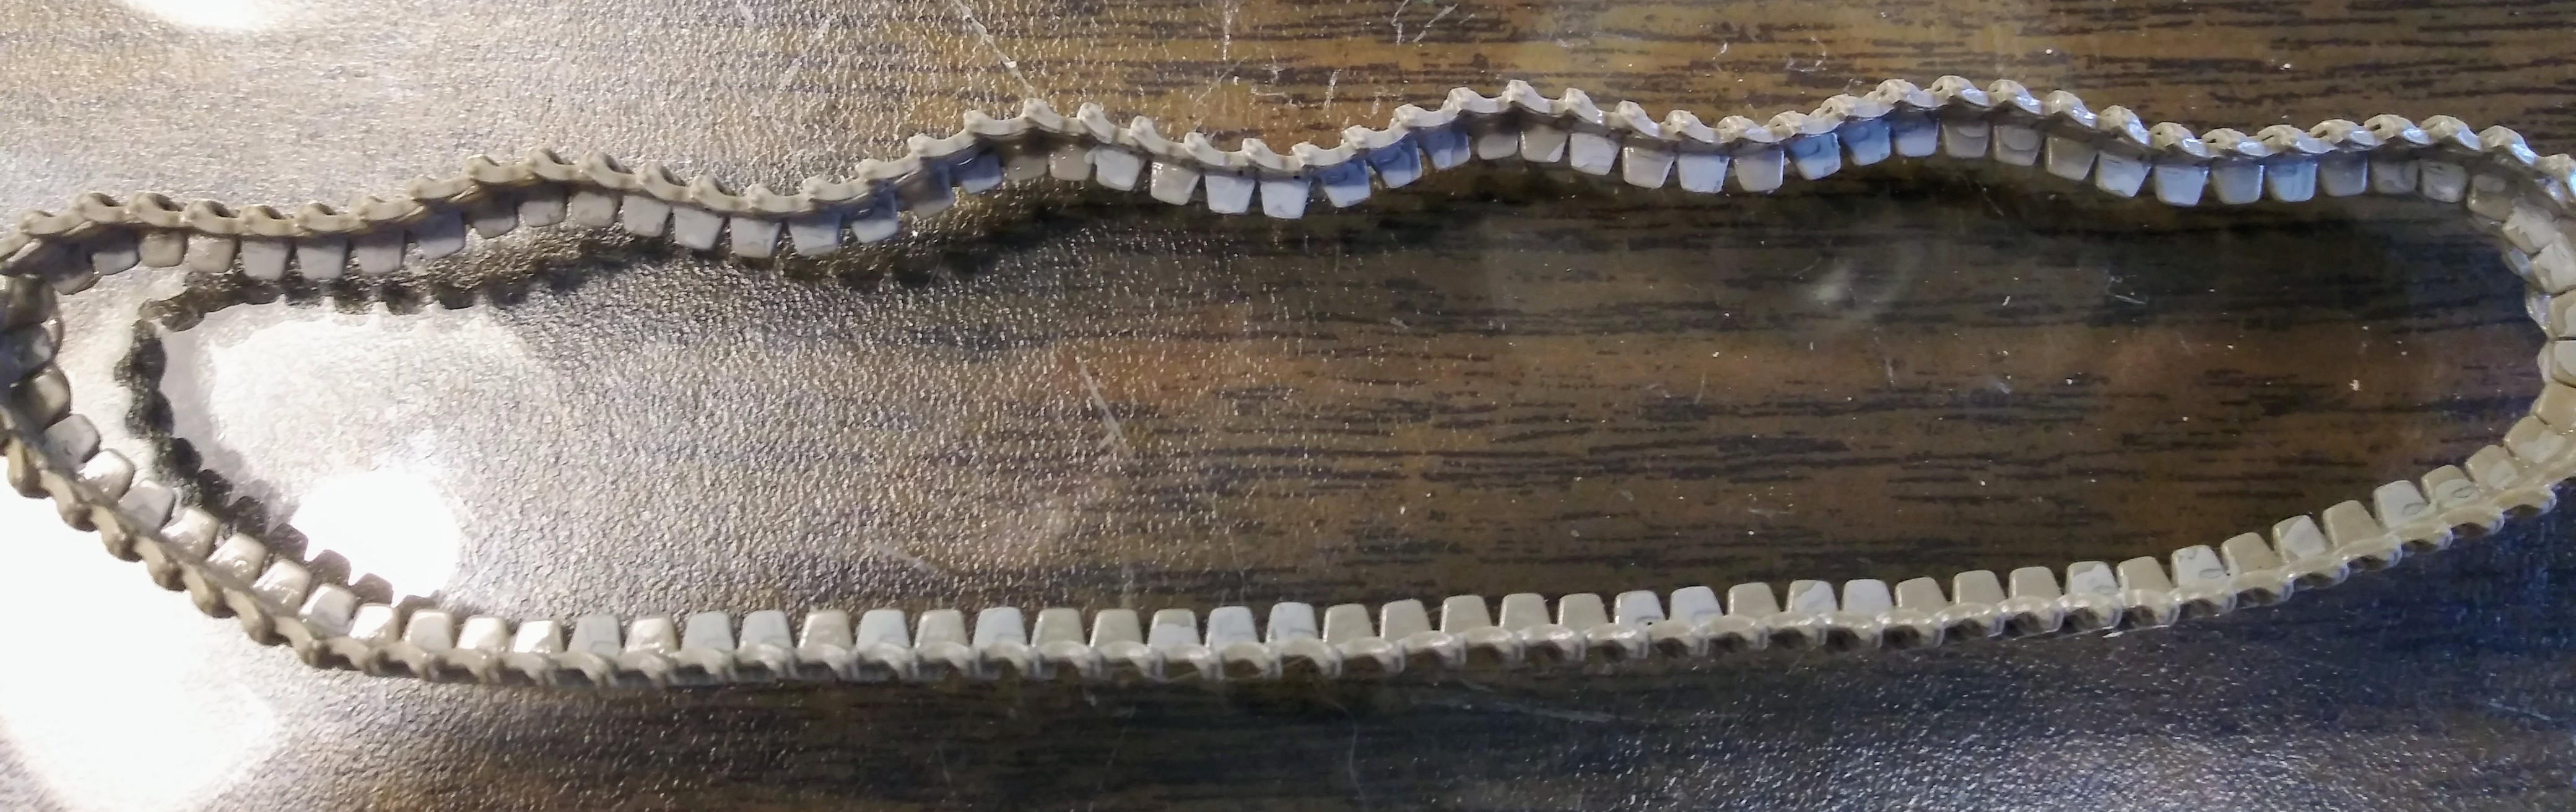
The original slow setting Testor’s Liquid Cement is still my pet favorite for individual link tracks.
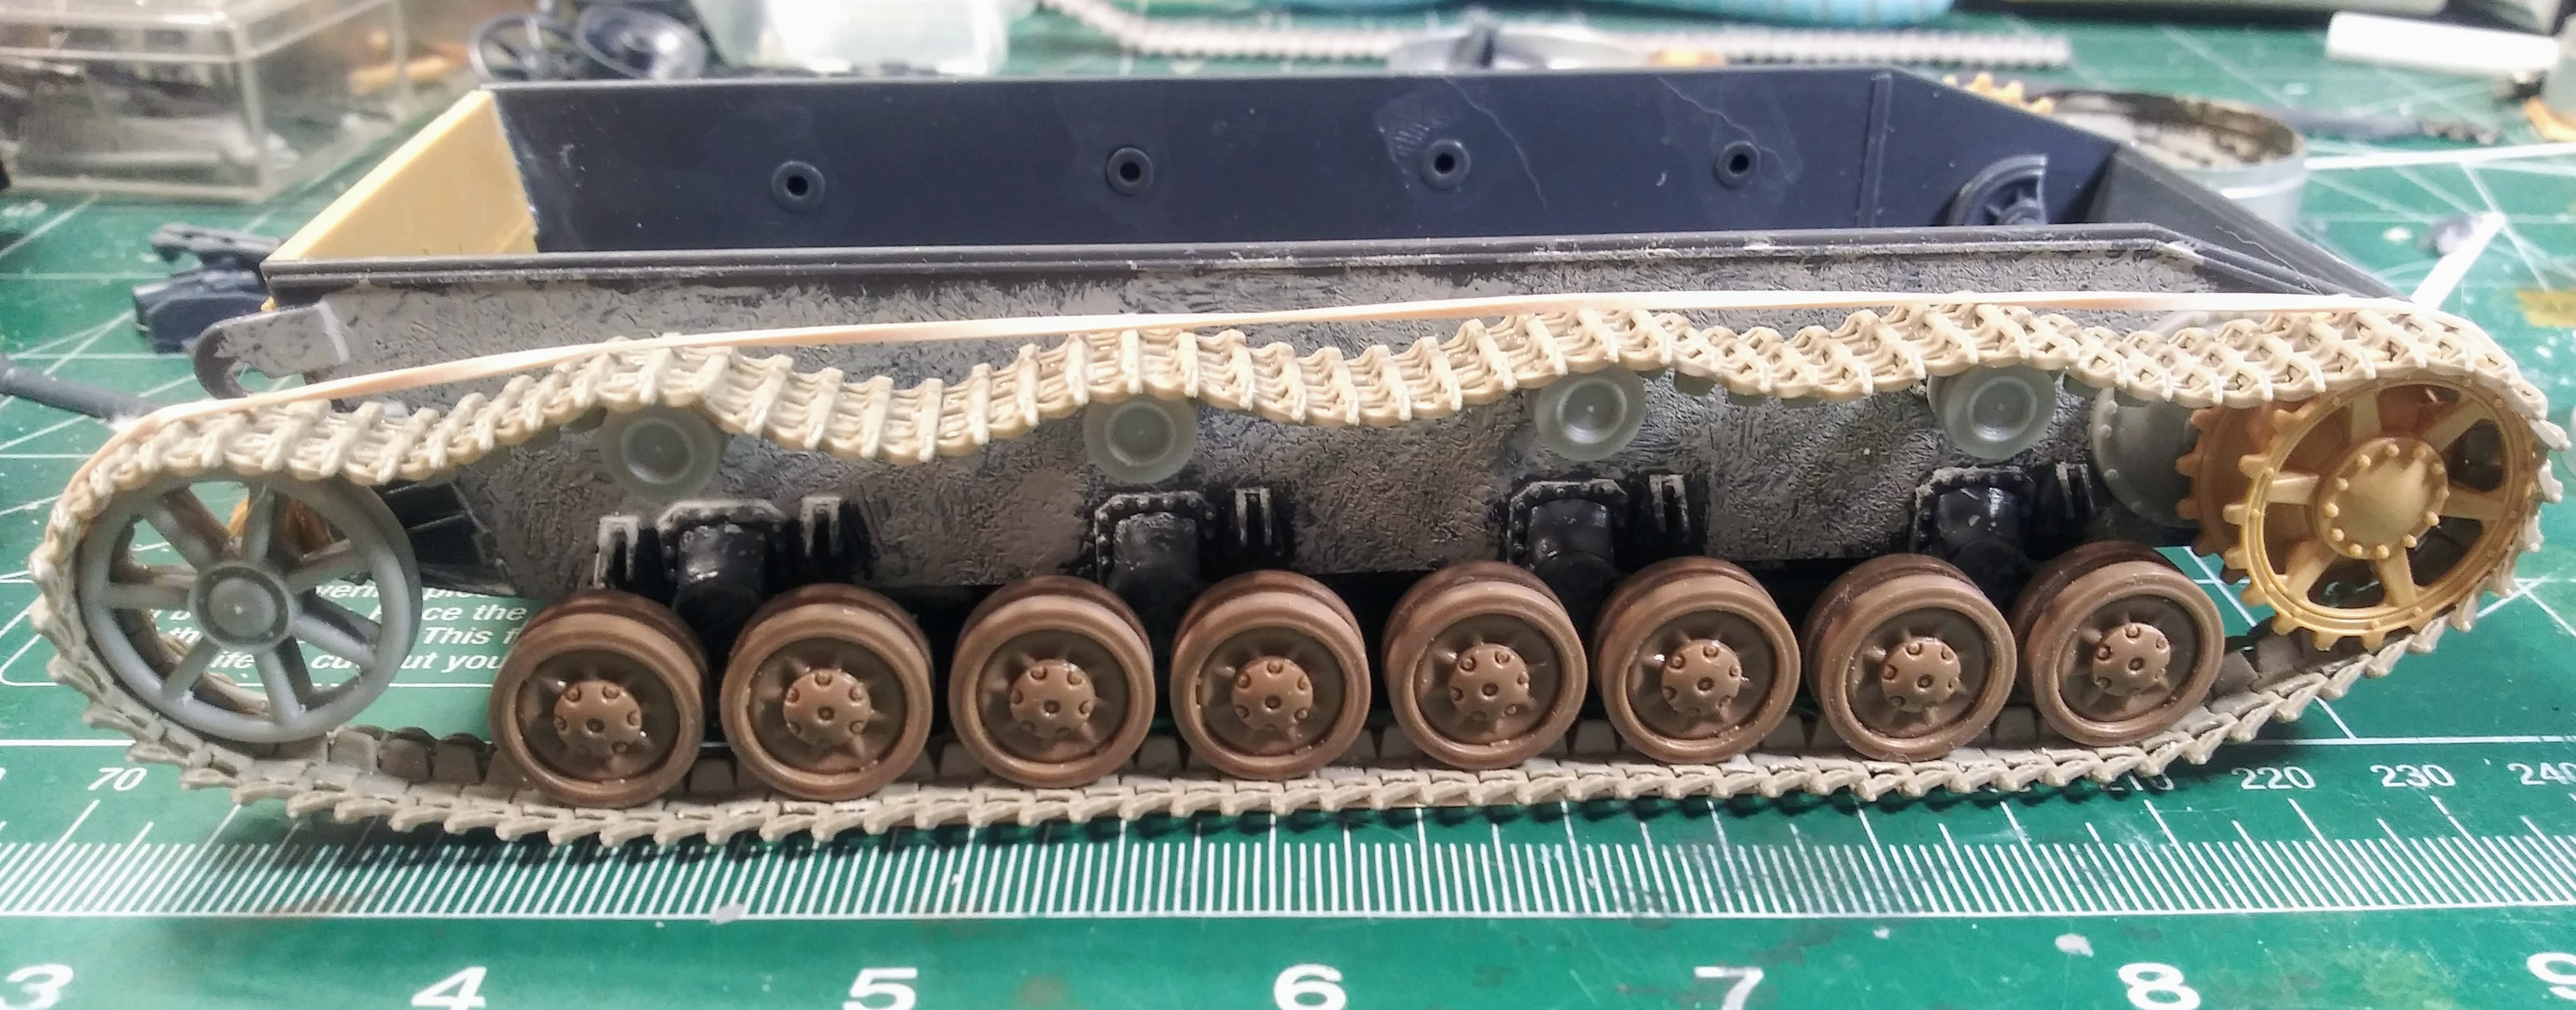
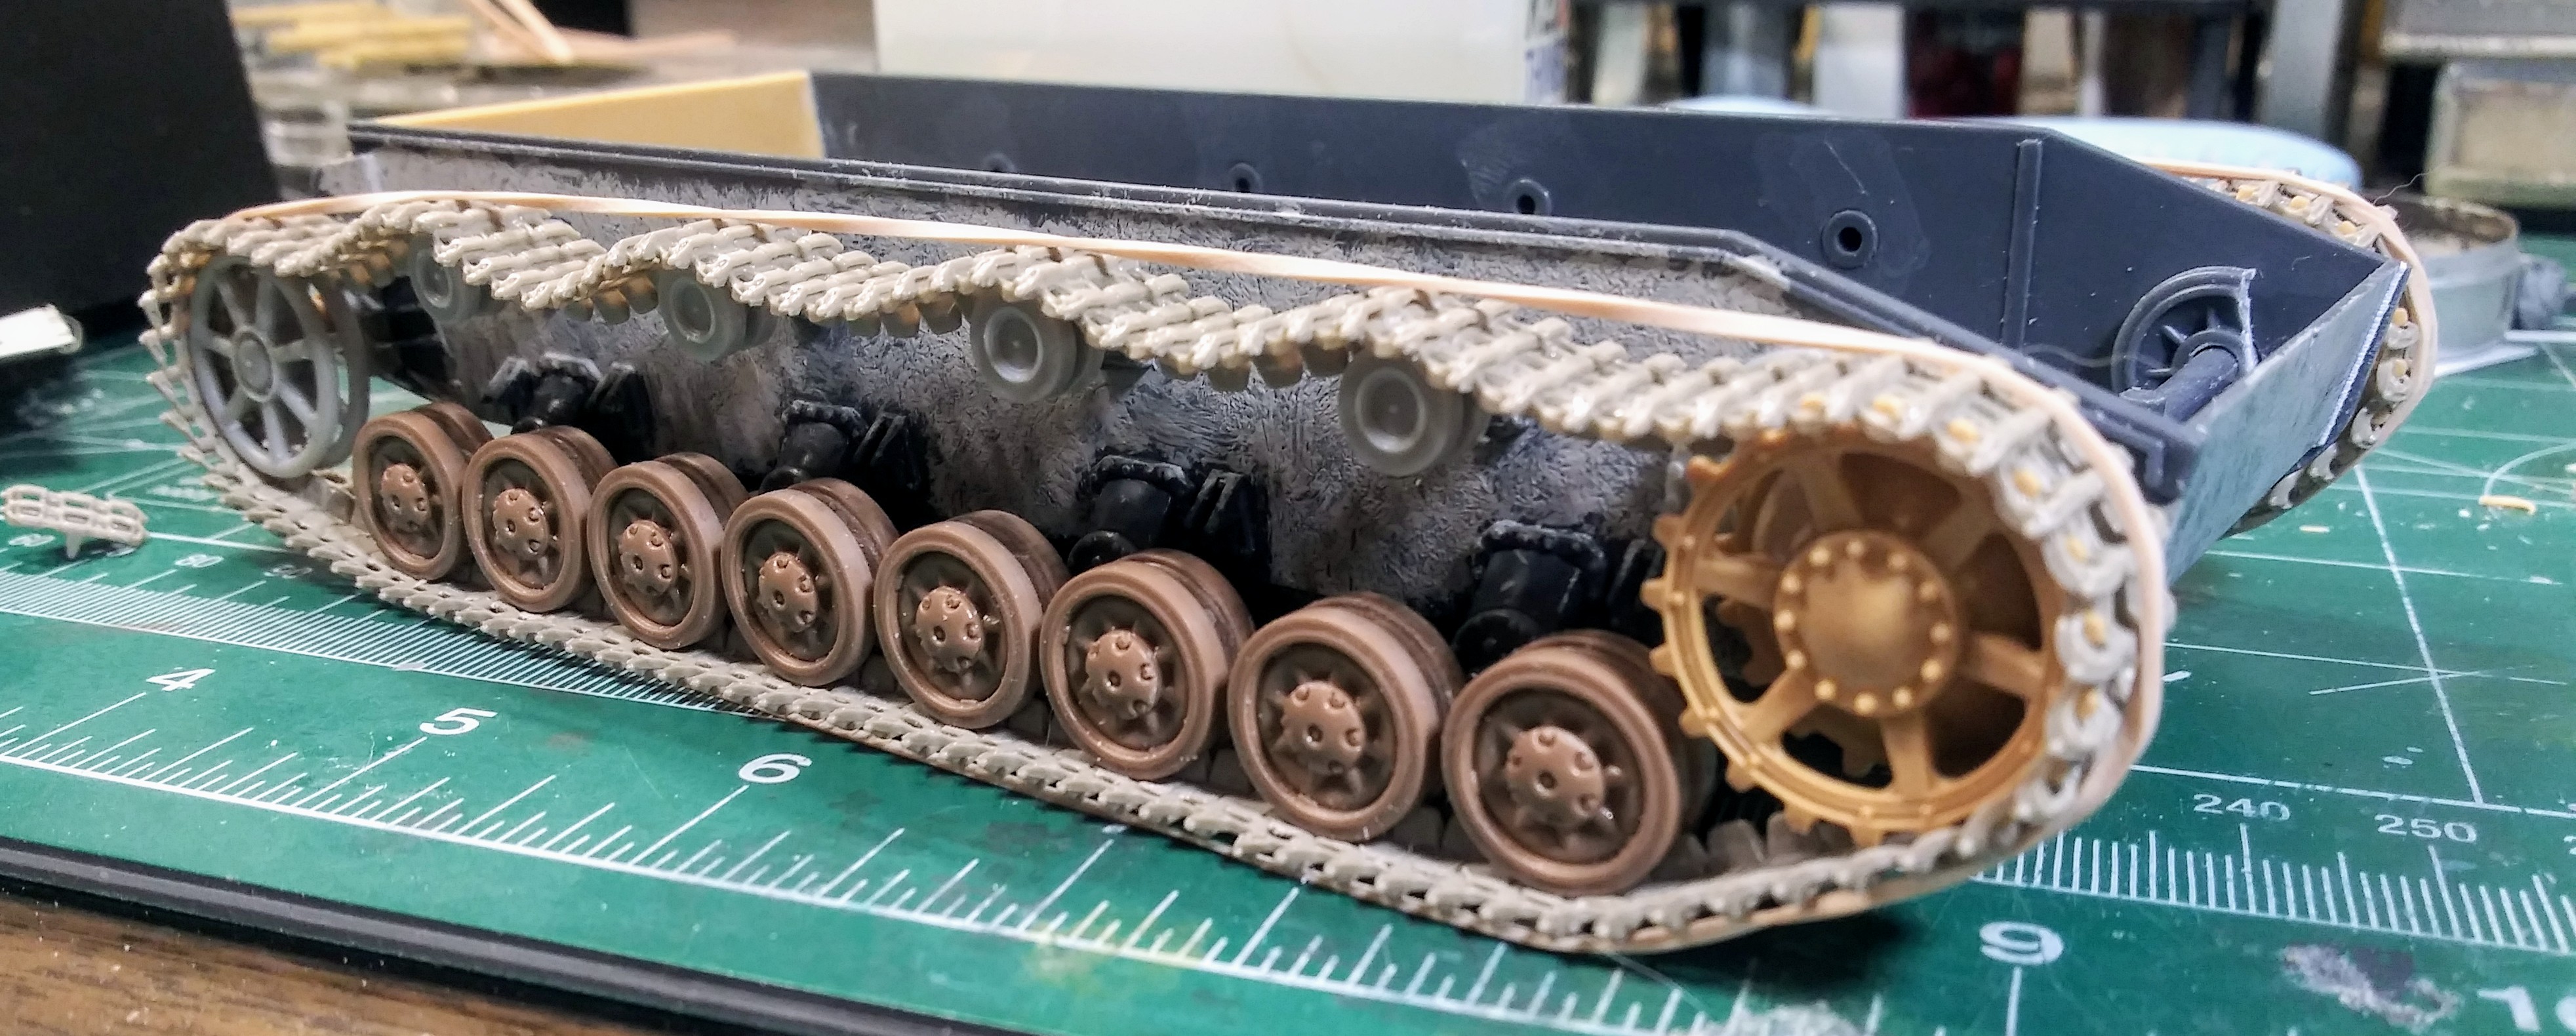
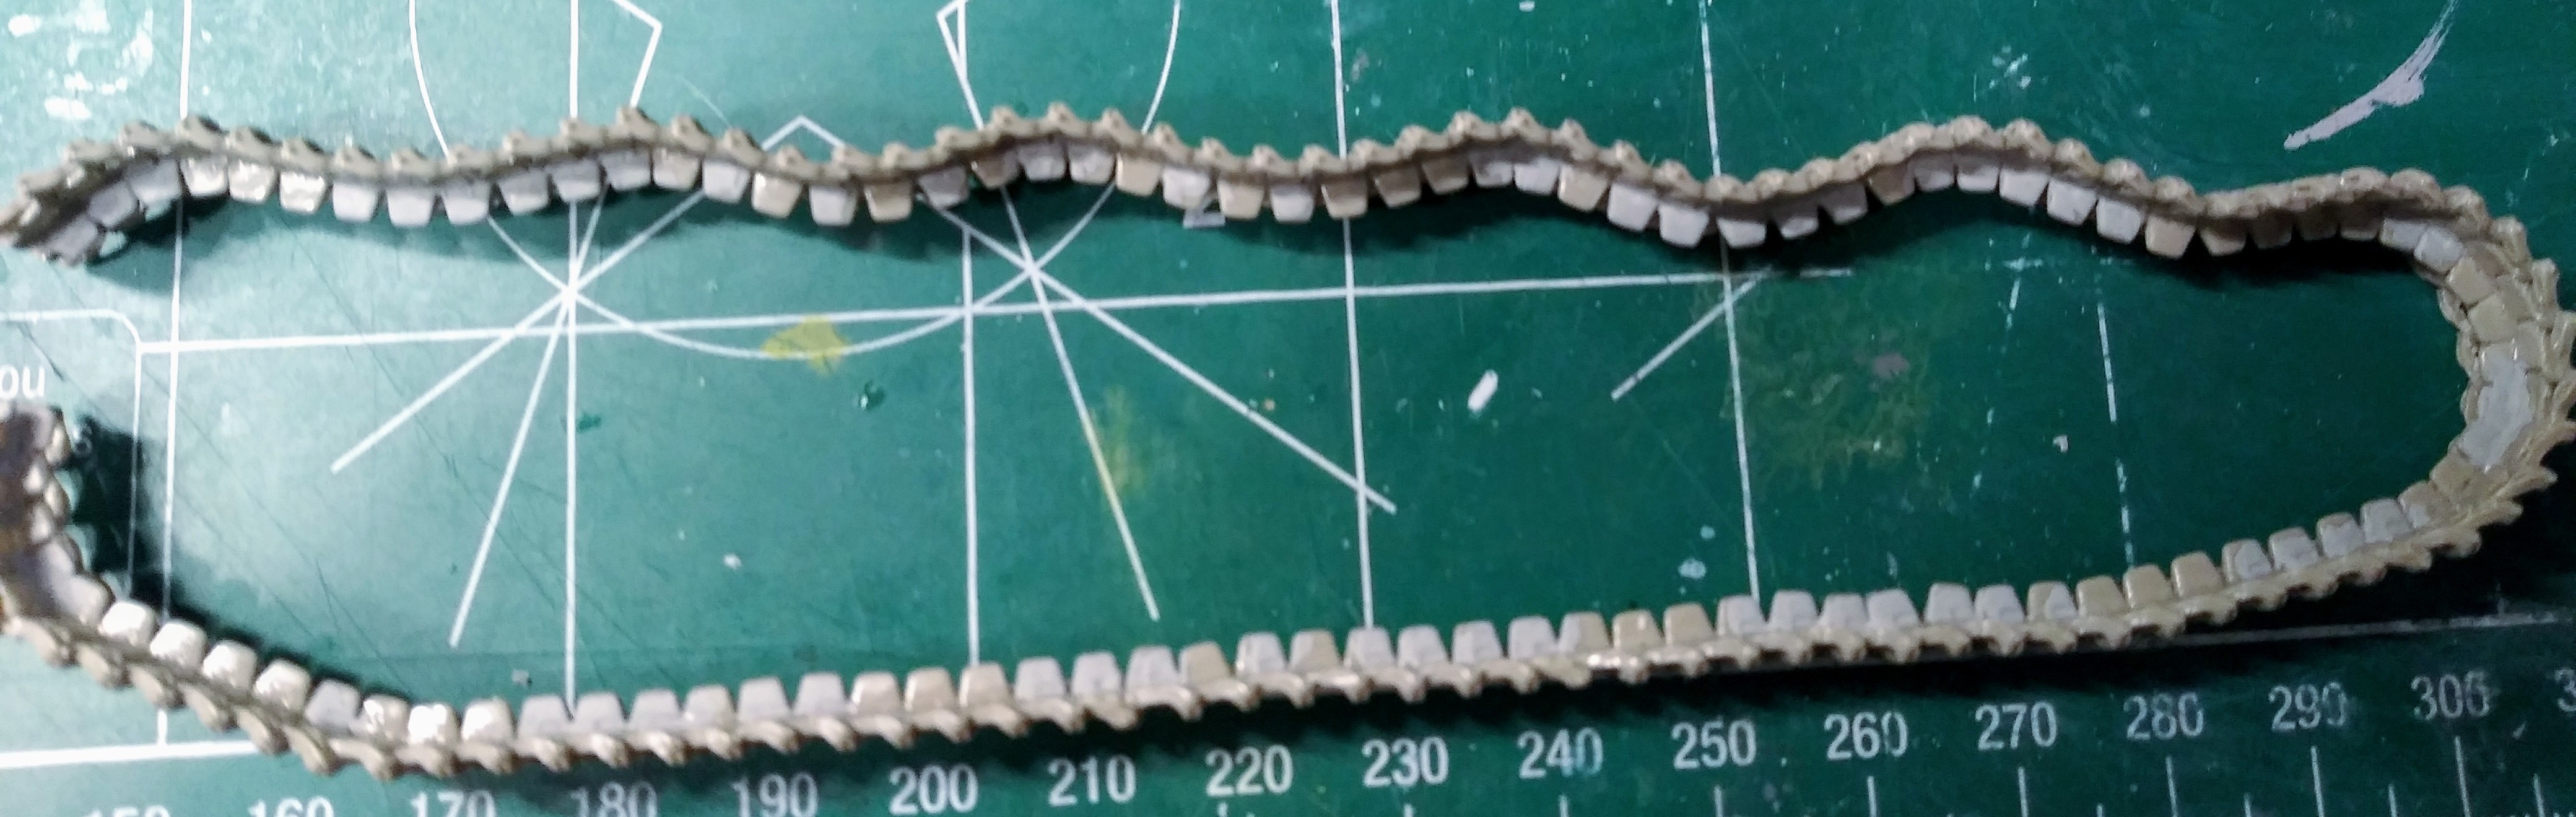
Went “artistic” with track sag so it would “look more interesting”. A mistake on my part should have favored “more realistic” and less sag by about two or three links. Ended up with 105 links per run when I went back and counted. In my honest opinion 103 is the absolute max and always been personal rule of thumb.
Now the really boring stuff like tidying up the ~95 track links with sink marks/short shots in the sides of the track guide teeth. Hopefully easier with the tracks assembled vs doing that link by link.
The right side (radio operator side) got 60 of the defective links by intention as the cavity side of the guide tooth is against the hull and less visible. The defective ones were filled with thinned (the old Testor’s slow Liquid Cement again) Molak Stucco putty.
RANT/SoapBOX
The Italian manufactured Molak Stucco used to be imported by Verlinden back in the day. It’s my pet favorite putty as it will thin out like paint. It does shrink etc. Molak disappeared here in the states, but its available direct from Italy. Stock piled 10 tubes
Tamiya basic is very close (90 percent) to Stucco but just not quite a good in my opinion & experience. I like and use Tamiya basic. Yes I’m aware of super glue (good stuff) as filler plus milliput (good stuff) & others etc.
Above is the drivers side track with 35 cavities to fill. This faces out to the view and will get Stucco’d too.
Edit - the Panzer Dentist just about had a malpractice issue. Clumsy me knocked over that damned TALL narrow bottle of Testor’s Liquid Cement. Got the model and tracks snatched away without harm.
Time to put that in the Tamiya style bottle to avoid another accident.
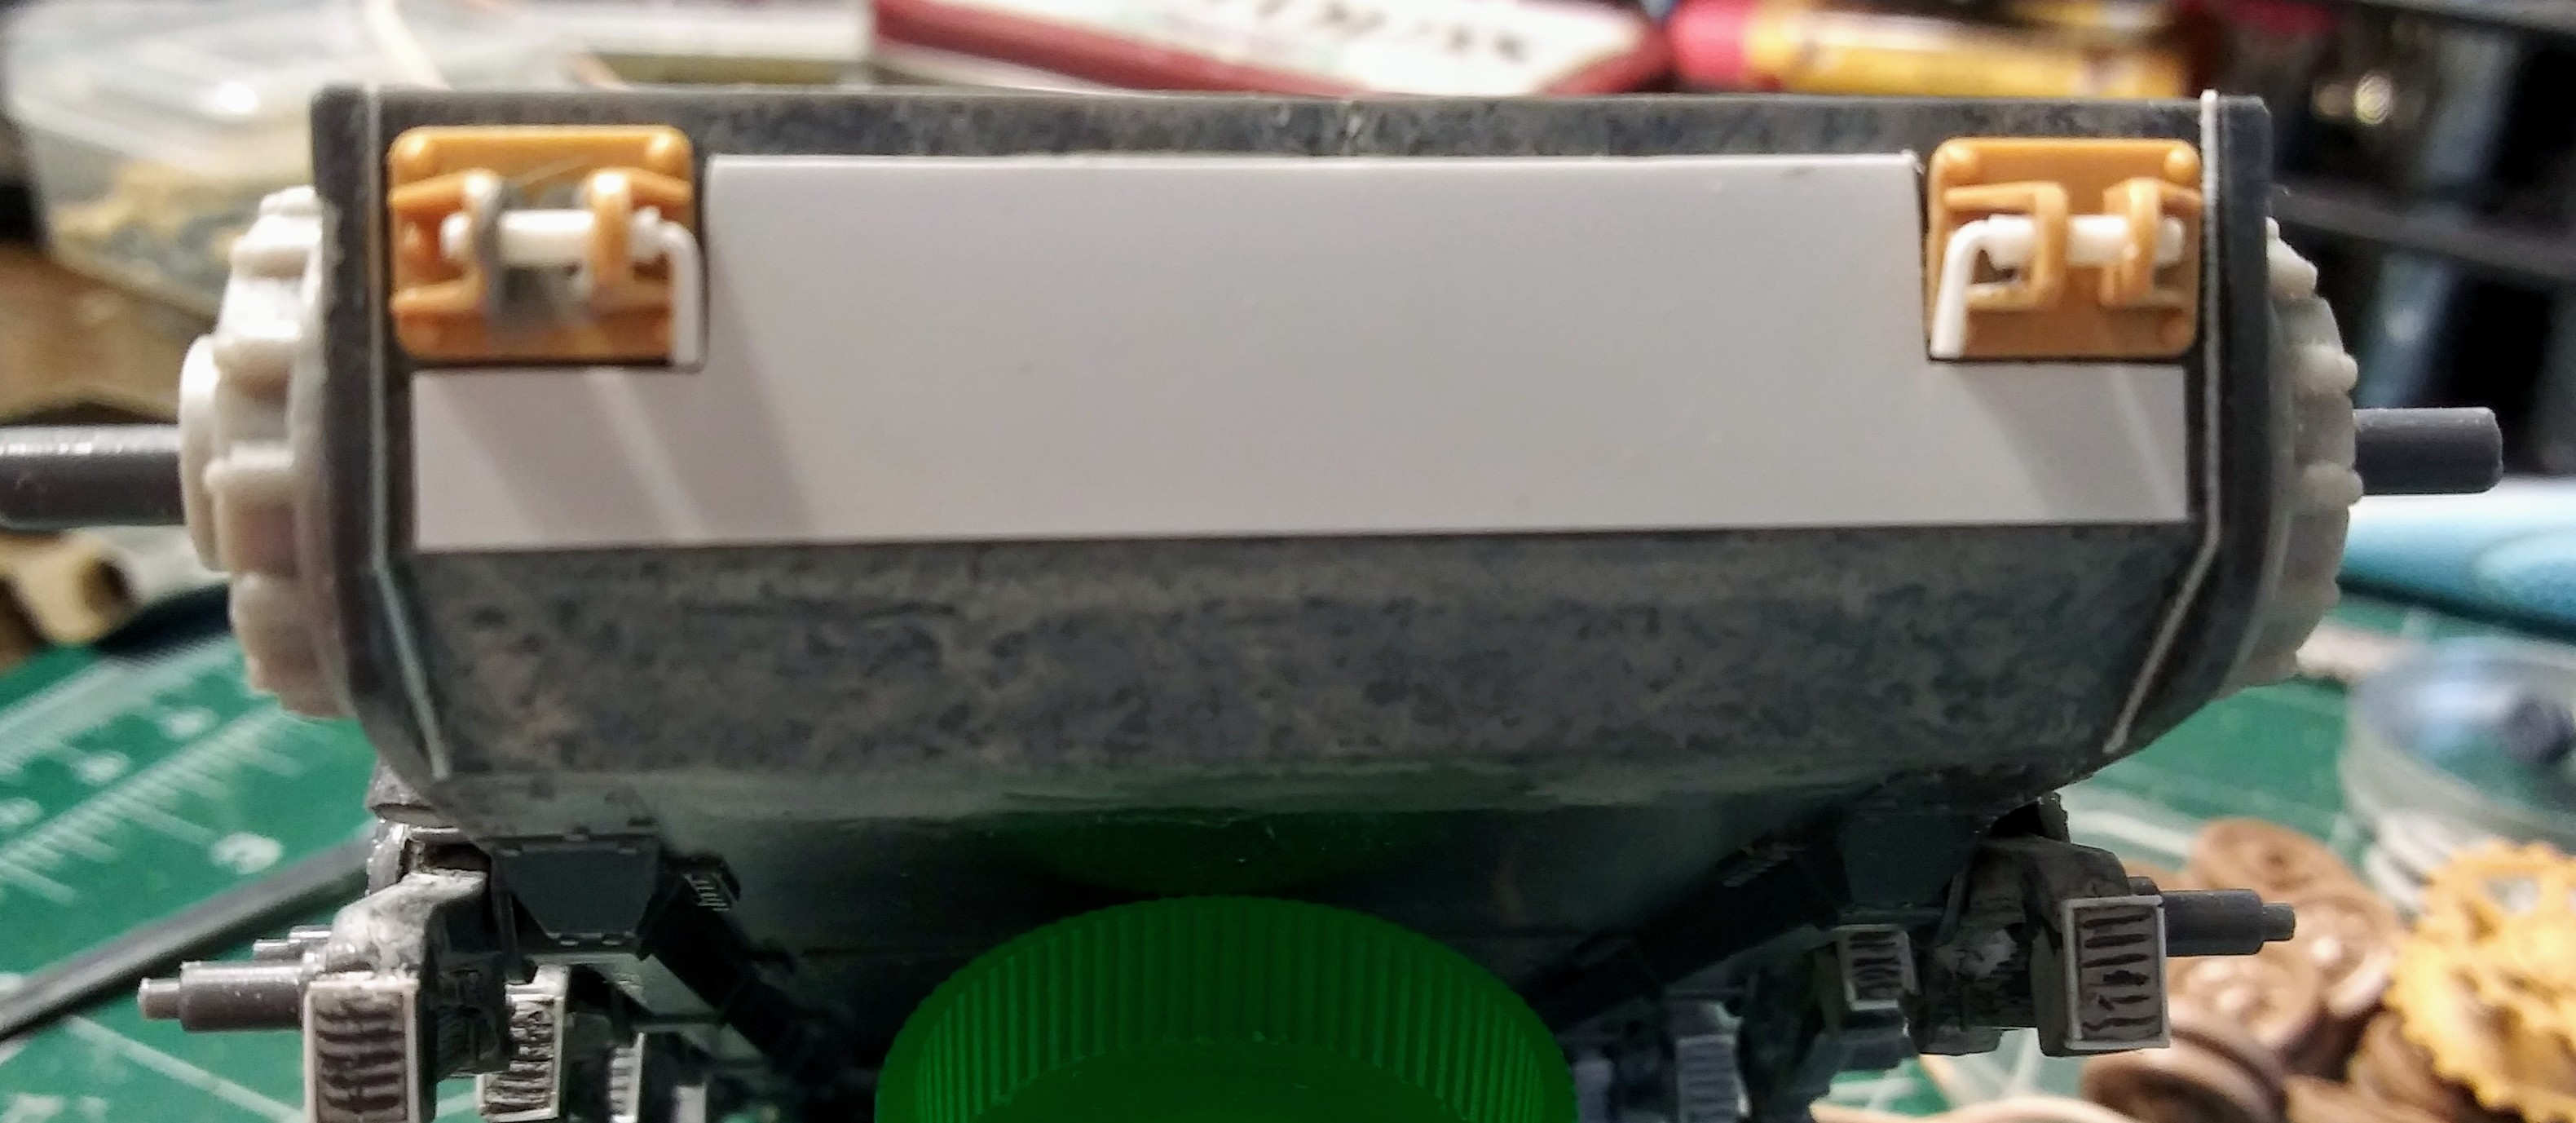
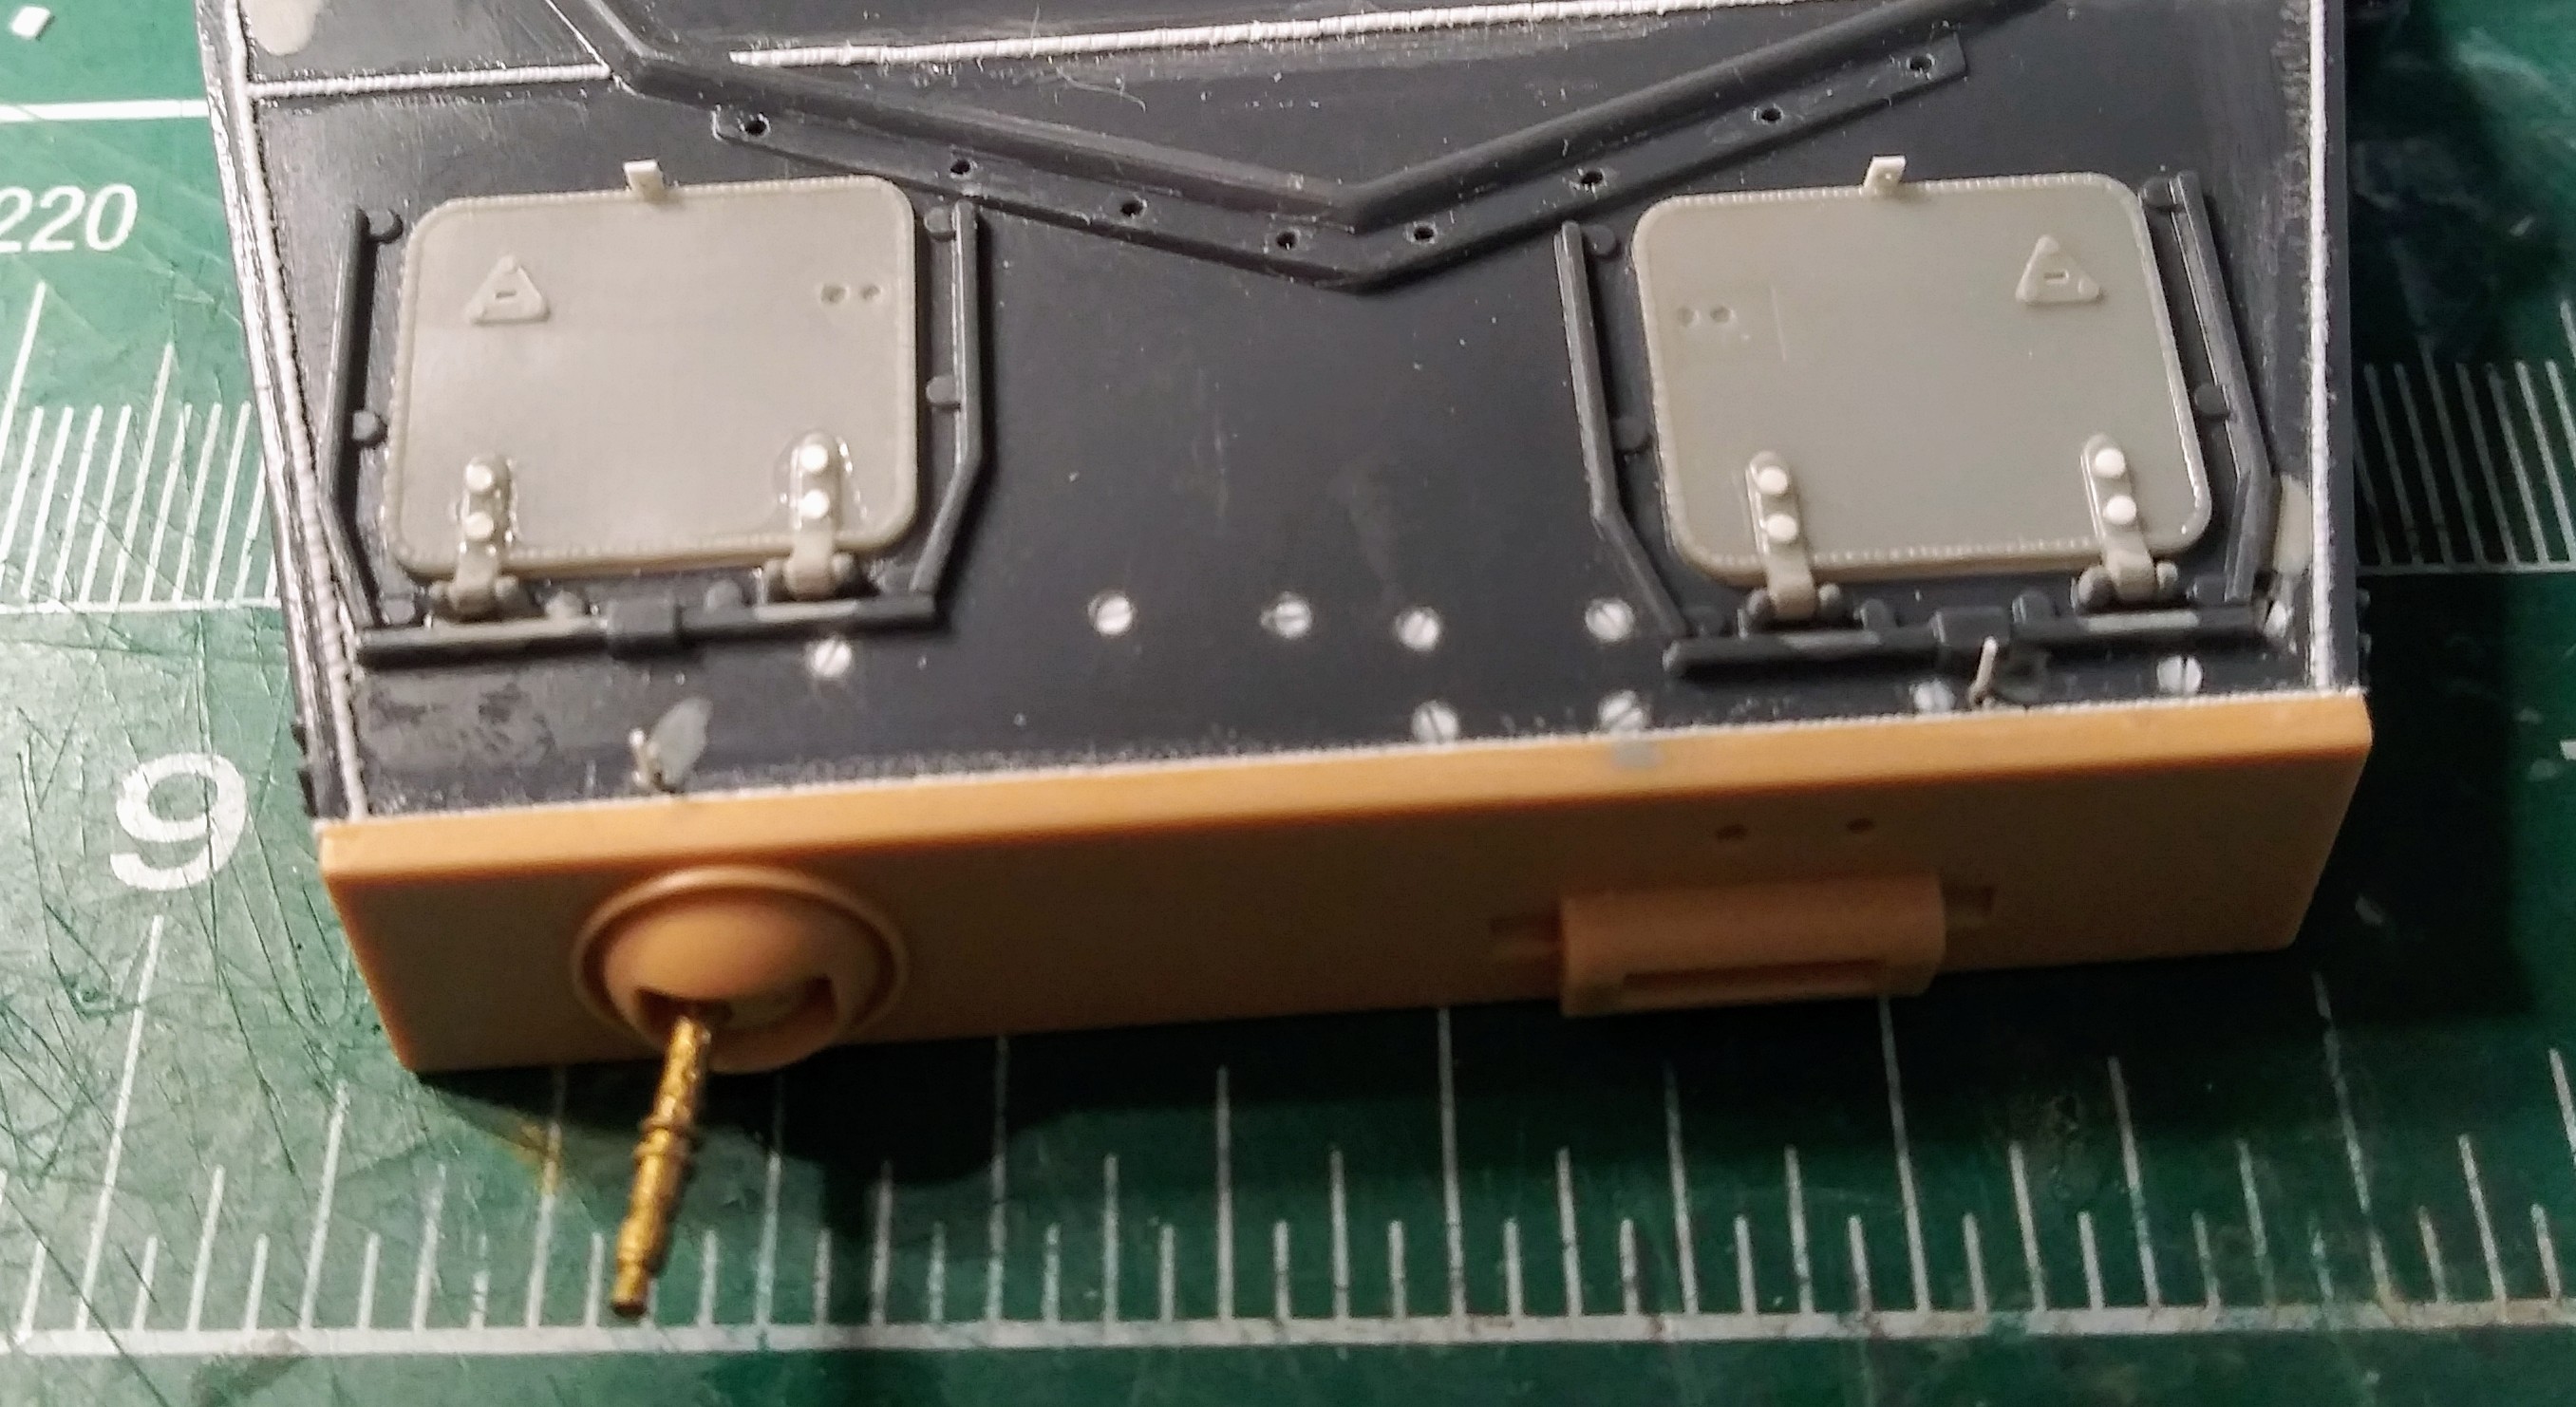
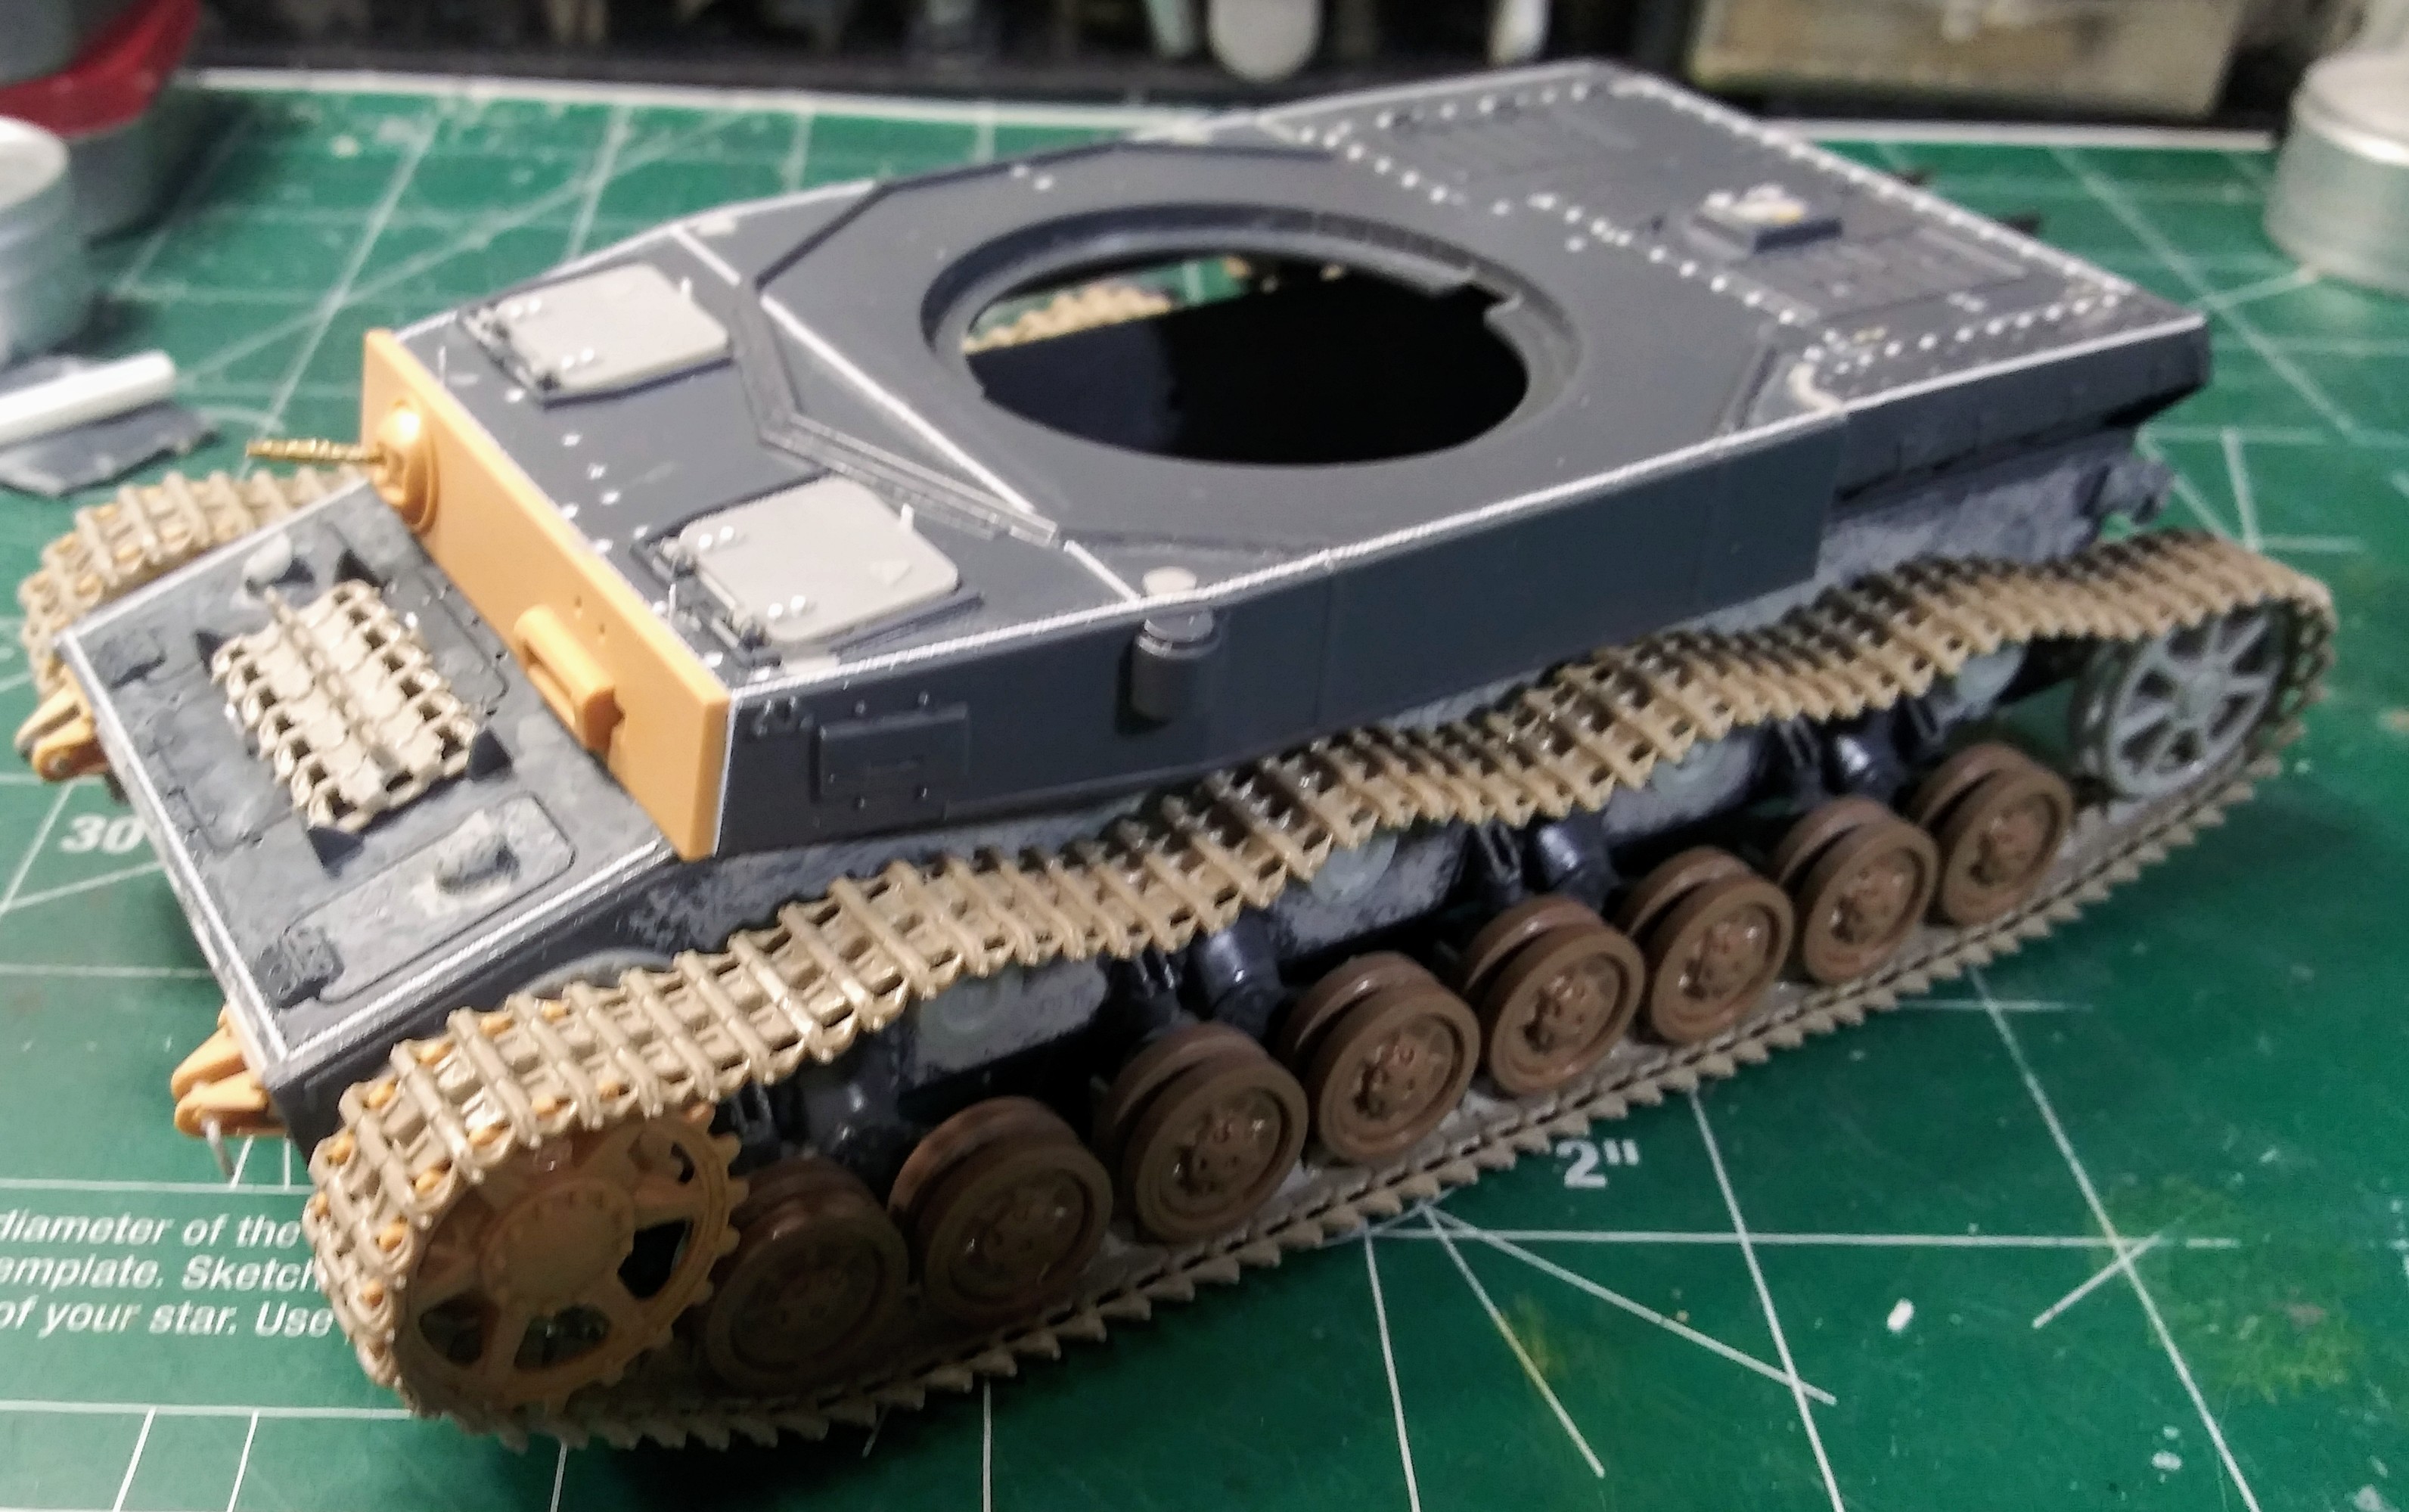
Attached the Tamiya tow shackles to the hull. Made a pair of the earlier shackle pins. Noticed in some fairly early (May-June 1942) Panzer IV G’s had added 30mm armor hull bow and upper hull (page 194, Panzerkampfwagen IV and its Variants 1935-1945 - Book 2 Spielberger, Doyle & Jentz). Decided to add that too.
Also the bogies got the leaf spring detail added at the end. Added several welds j need to add weld for add on armor. Tow pinnacles also needs attachment chains.
Really really need to stay away from the reference books going forward or this build will take a very long time as the G models are my favorite Panzer IV’s
Nice build!
Thanks for sharing.
Maybe a hint from a soldier, who spend quite some time with tracked vehicles (if you allow, no bad intentions):
If the track tension is too loose, like in your build, the risk of being thrown is quite big. No Panzerführer would like that since you could come to a full stop on moments you are very vulnerable.
Having worked with the French AMX 105 artilley gun AMX PRA) and the AMX armoured infantery vehicle (AMX PRI) I still can remember the amount of effort to get the whole thing rolling again after loosing a track.
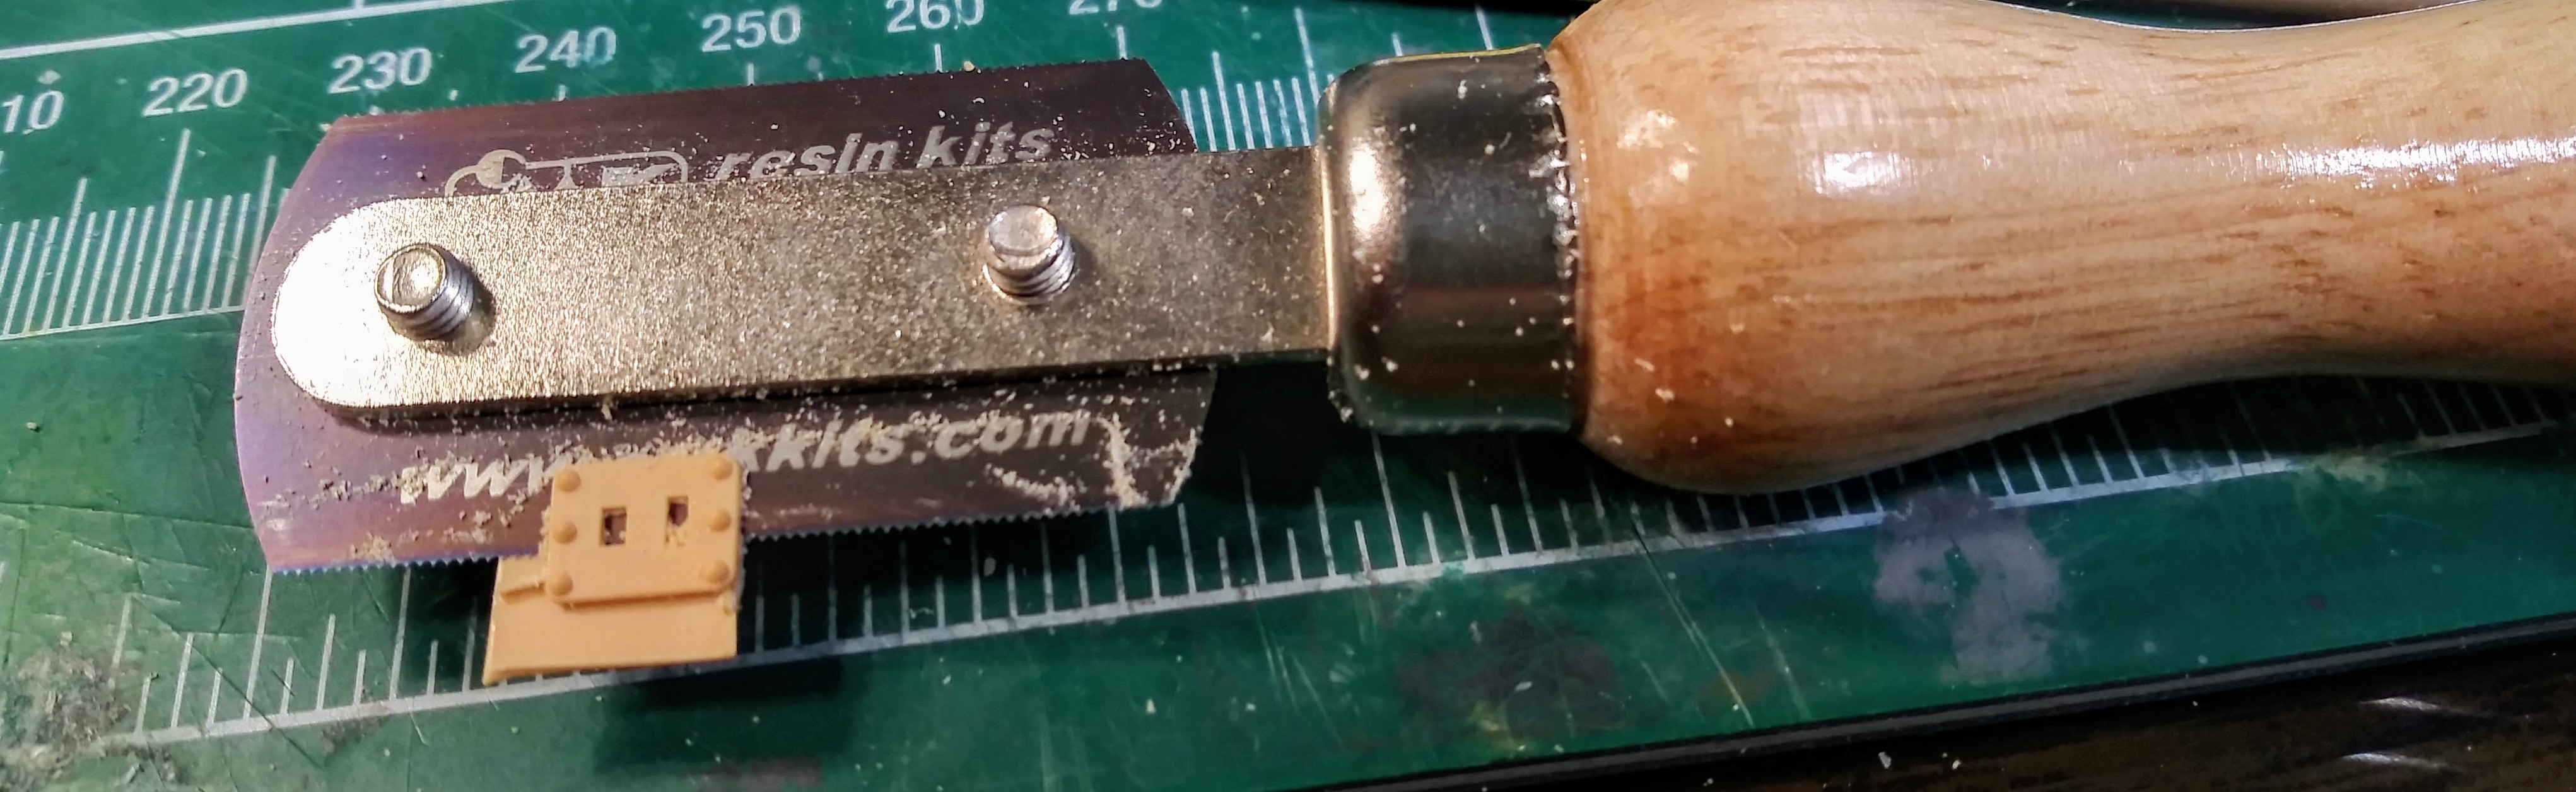
The UMM-USA saw is very similar and have been using it for years to remove parts. I basically only use the blade without the handle. I don’t remove plastic parts any other way. A must for Bronco and Miniart kits with small parts with multiple attachment gates.
@Paulinsibculo, thank you for looking and commenting! Greatly appreciate the soldiers view. You’re absolutely right the tracks have too much slack. I leaned to artsy-fartsy going for that interesting look. There aren’t enough MK links left over to redo the top runs, will definitely take you advice and be more conservative with the sag next time.
I’m very open to constructive criticism, it’s the key to improvement. I may not always be able to fix said items but am receptive to learning for future applications
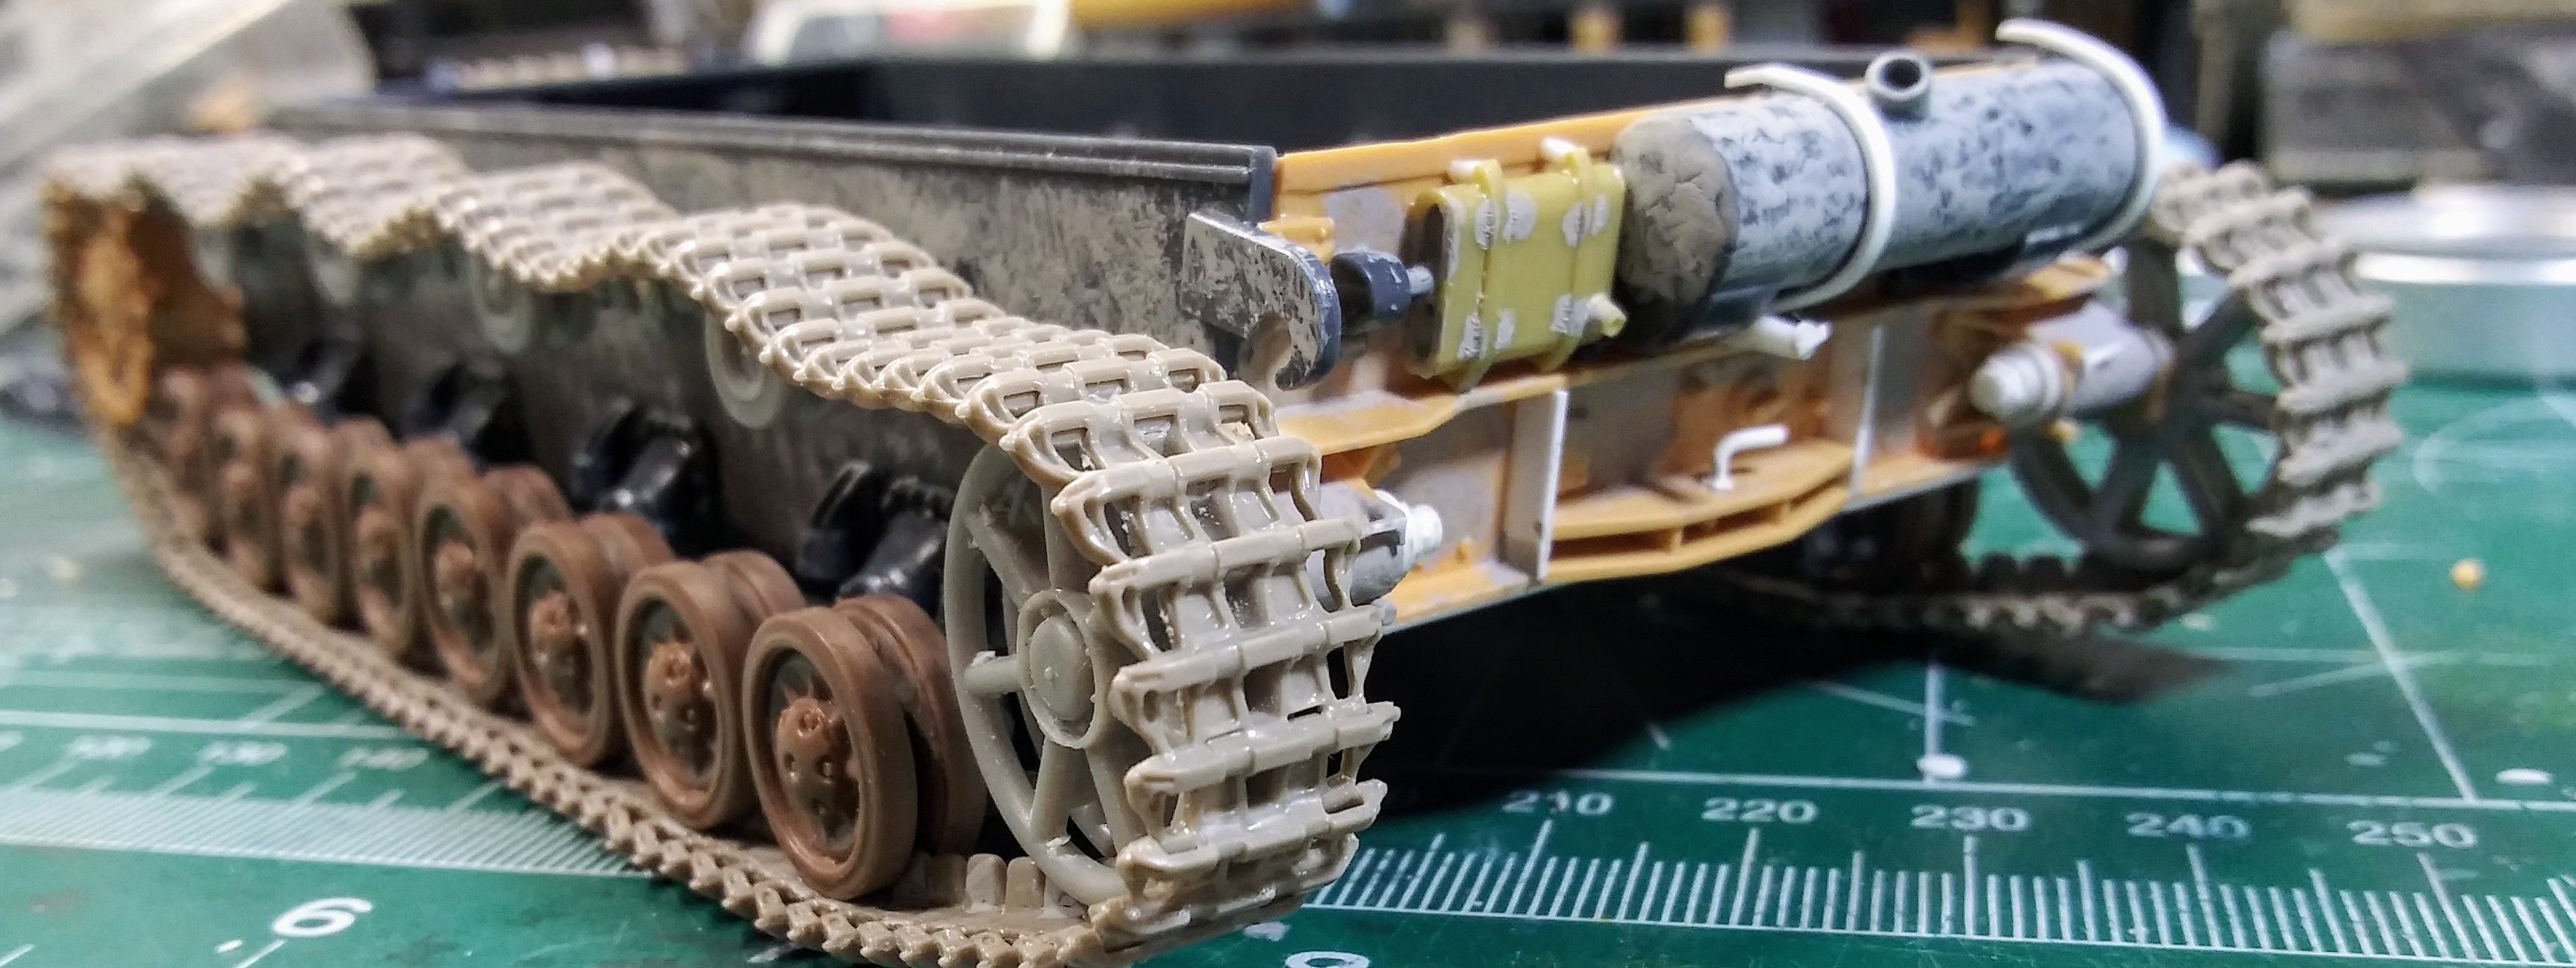
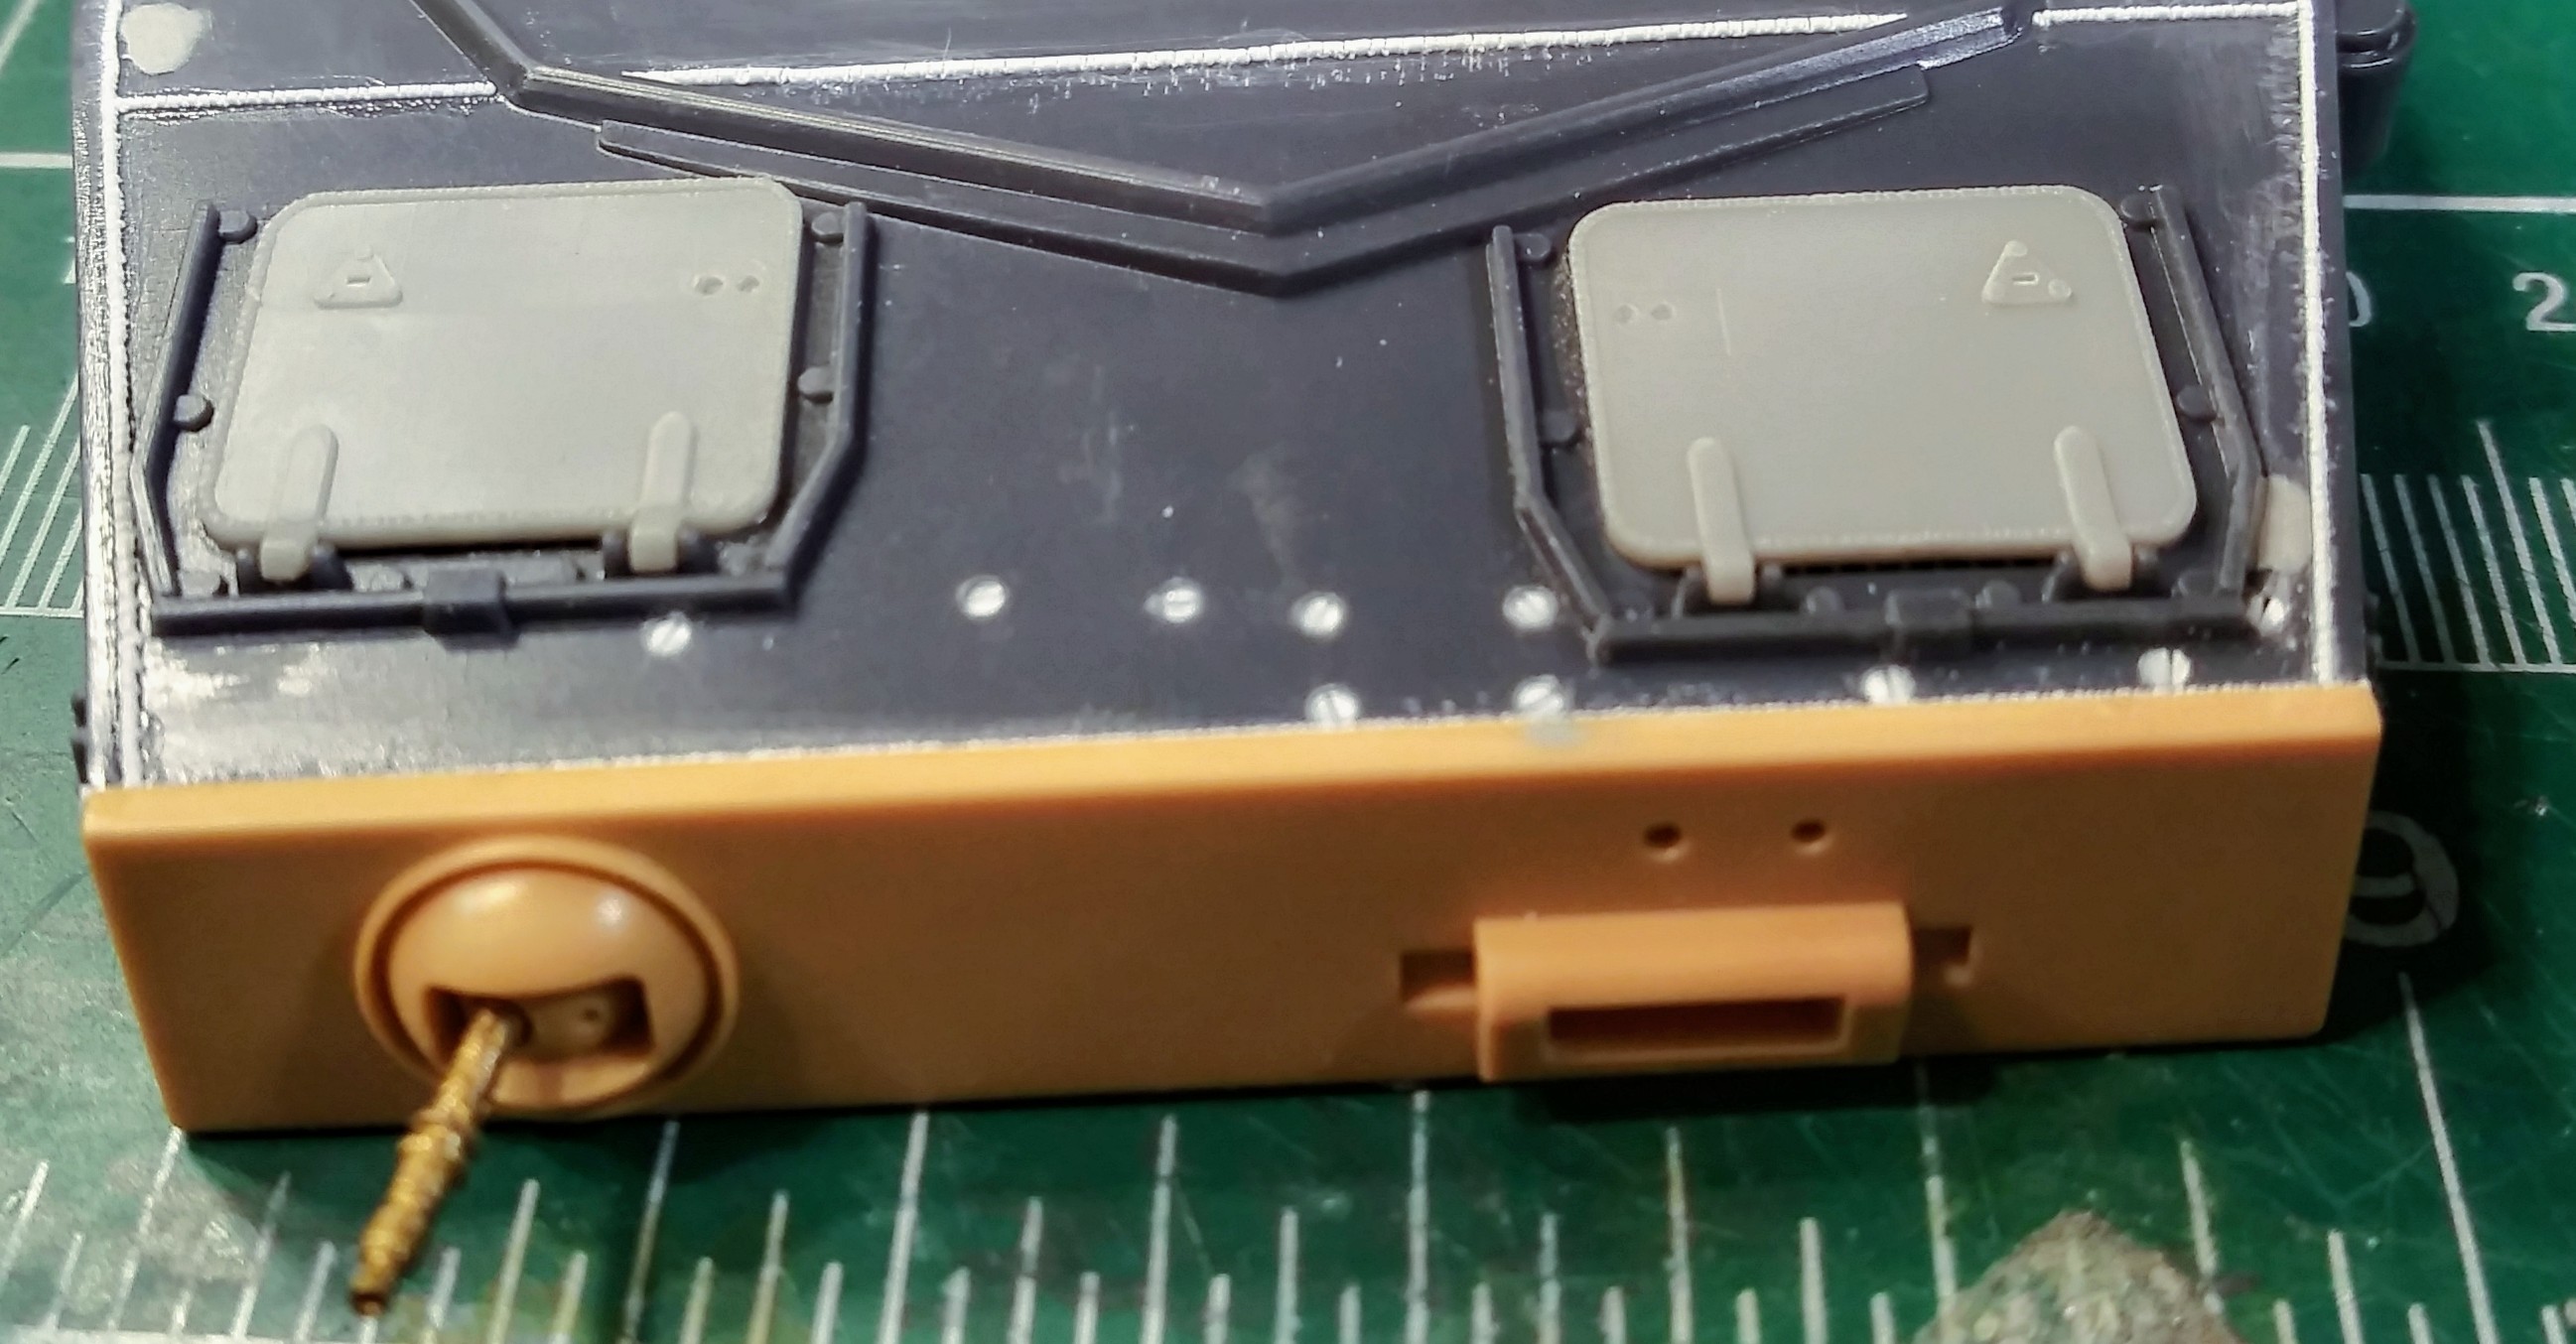
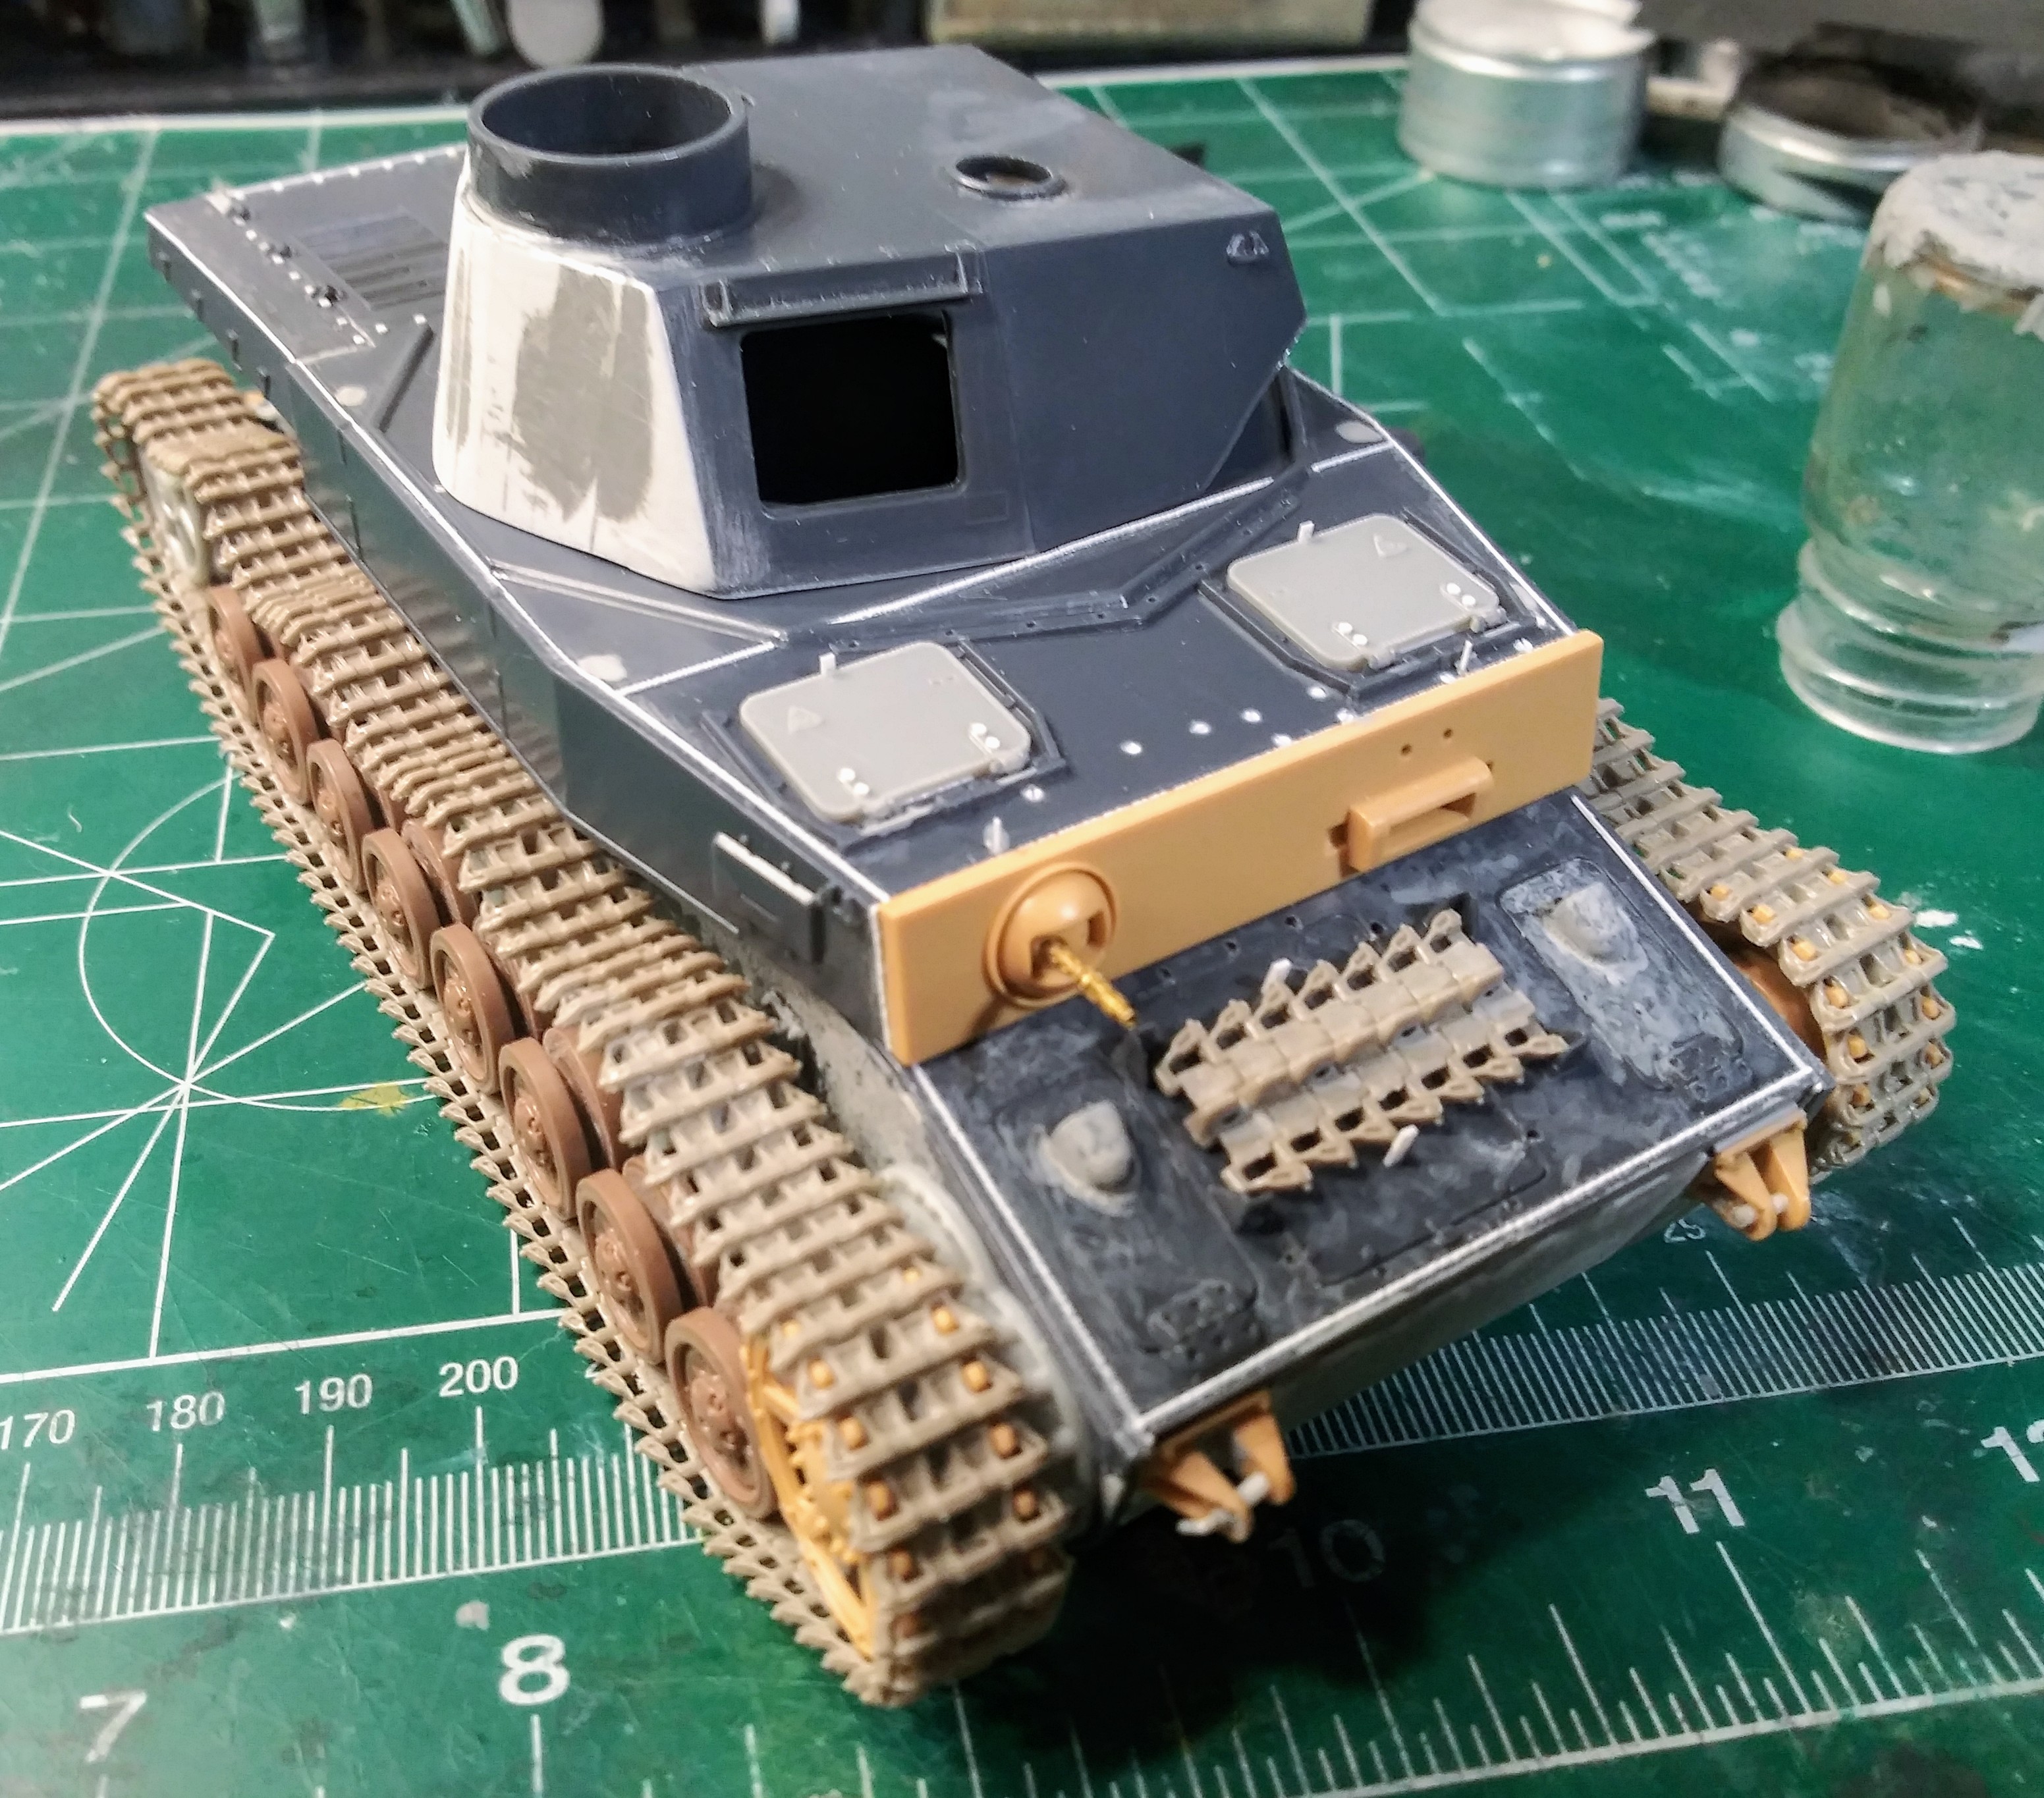
Worked on the rear. Added some white plastic here & there. Tweaked an old Academy-MiniCraft auxiliary muffler. Used part of the kit muffler as well.
Really hoping to wrap the lower hull soon and move to the fun stuff:)
@Tank_1812, Ryan you are a brave man building Bronco & MiniArt kits! Those are the sort of kits I’d need a surgical laser to get the tiny parts free of the tree. I will definitely keep that tip in mind using just the blade. Much appreciated
Wade, to quote my friend Forrest, I’m not a smart man.
I failed on the Bronco M1151. Doing a Miniart kit very soon for the campaign. I use the saw on Tamiya, Dragon etc kits too.
The tweaks look good to me but I know nothing about that vehicle.
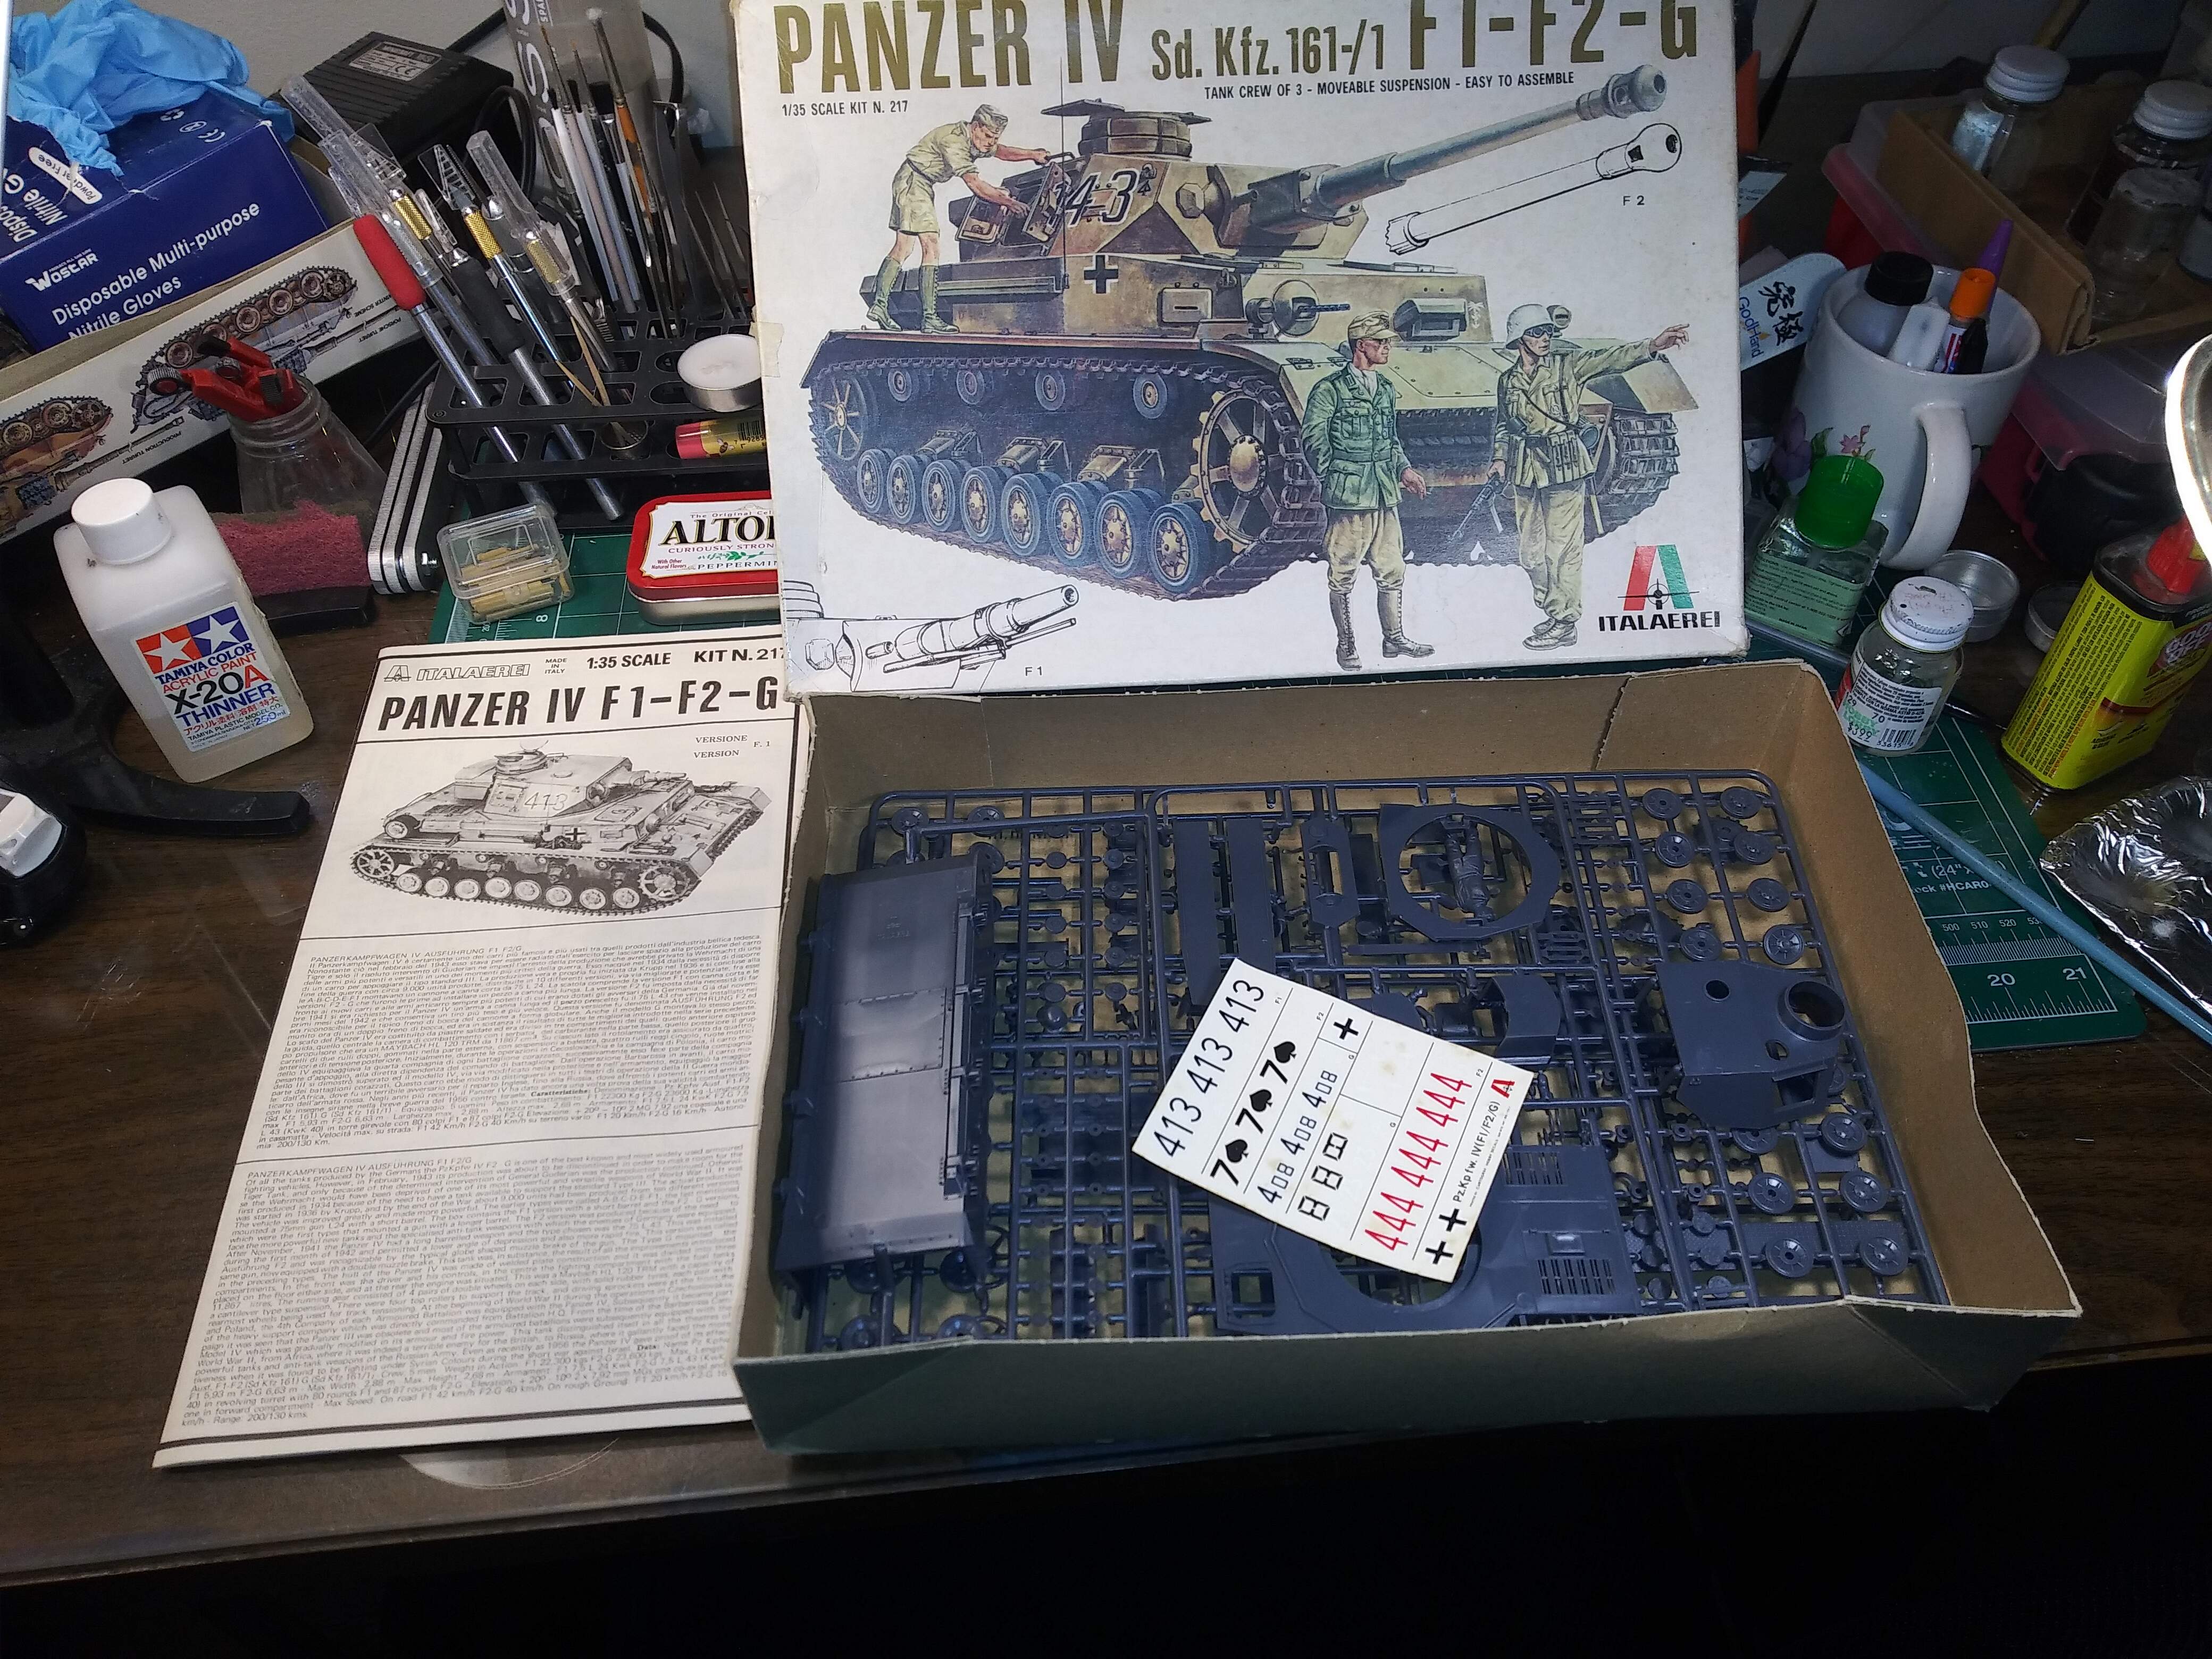
29 Italeri Pz IV 1975 kit parts
14 Tamiya Pz IV H parts
12 Gunzy/DML/Imperial Pz IV F2 parts
2 MiniCraft-Academy PzIV parts
271 Model Kasten Pz IV track link parts
64 Model Kasten Pz IV wheel parts
56 sheet styrene parts
LOL Quite a nice Surprise!
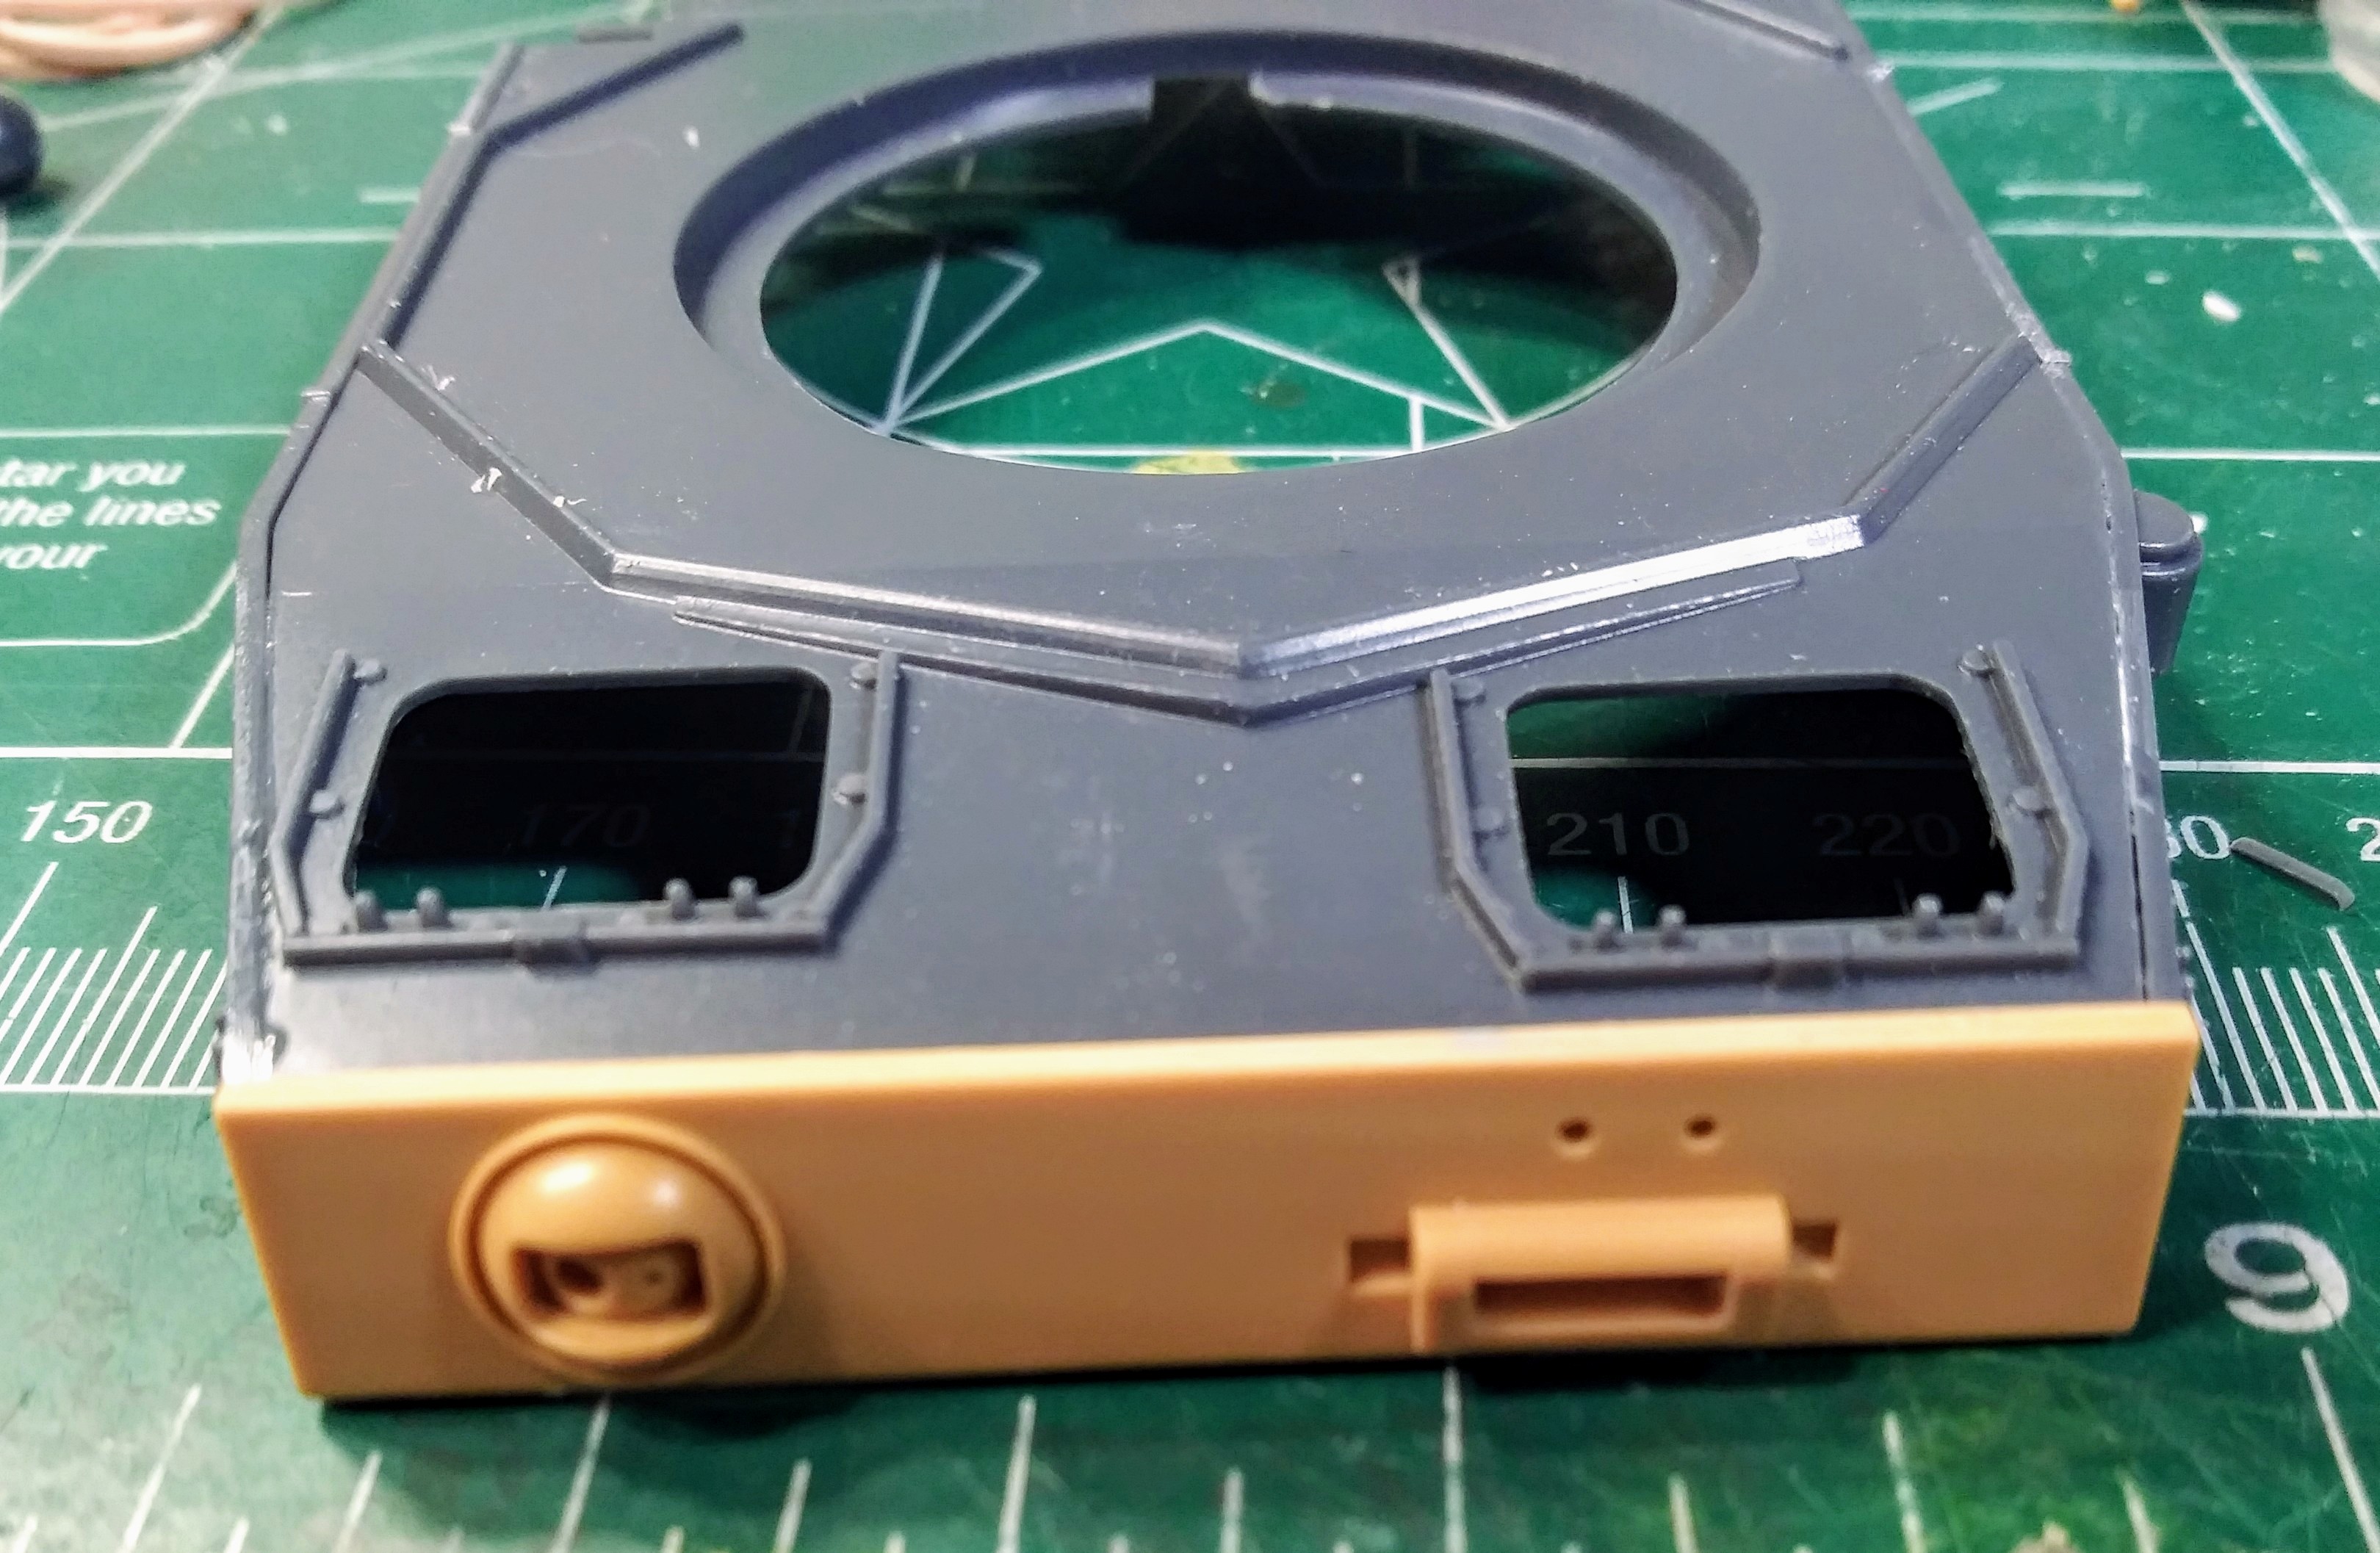
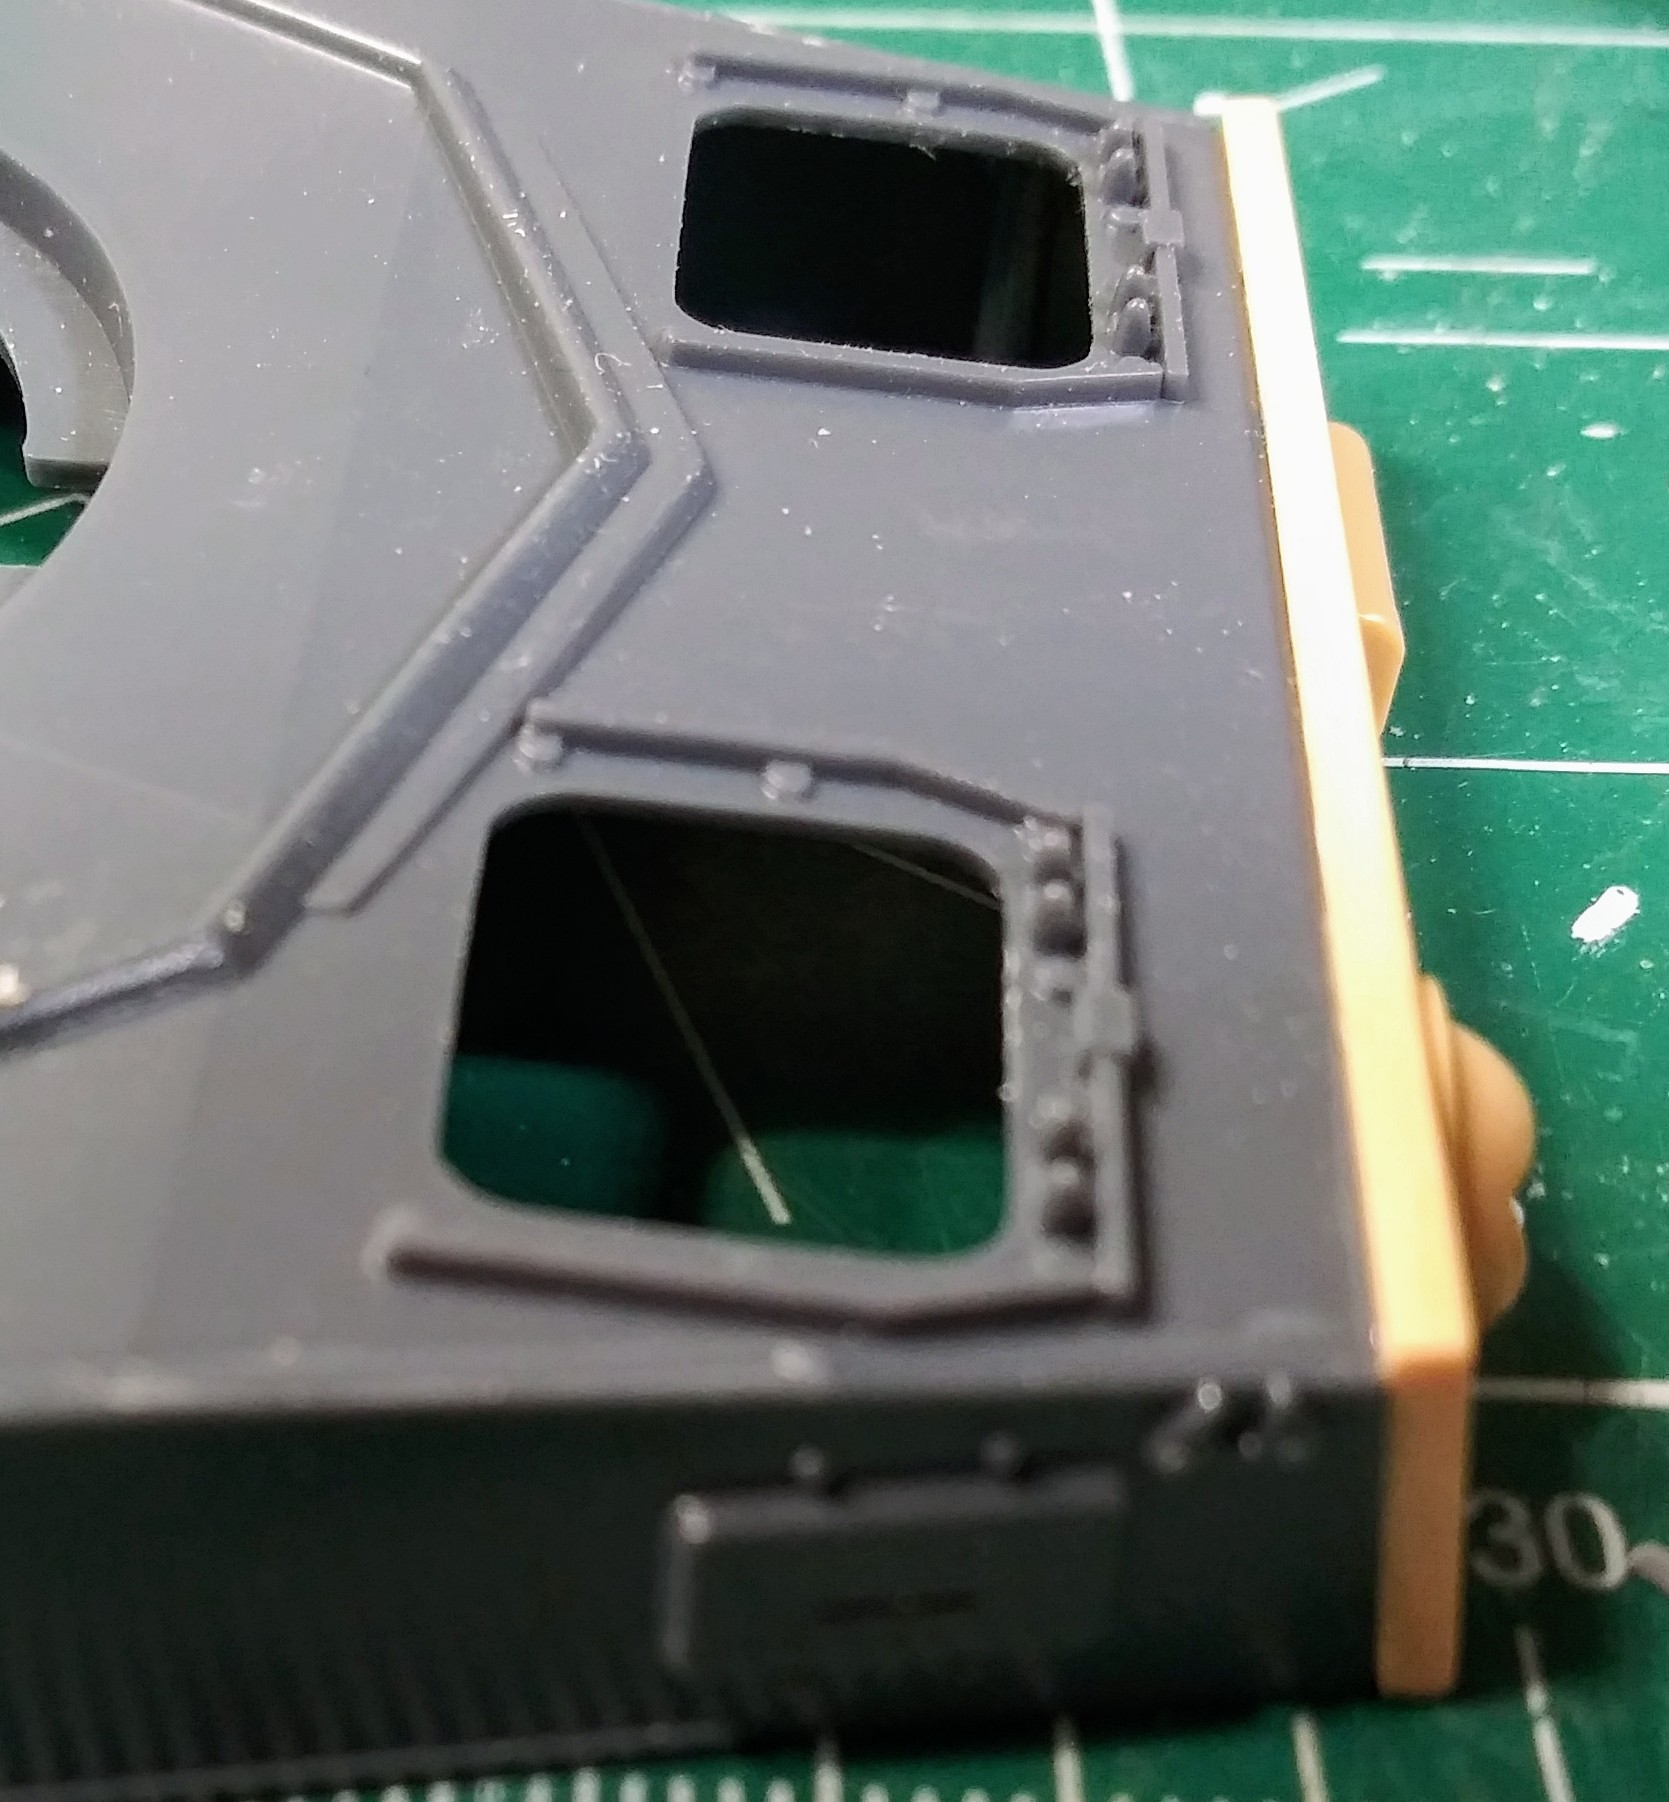
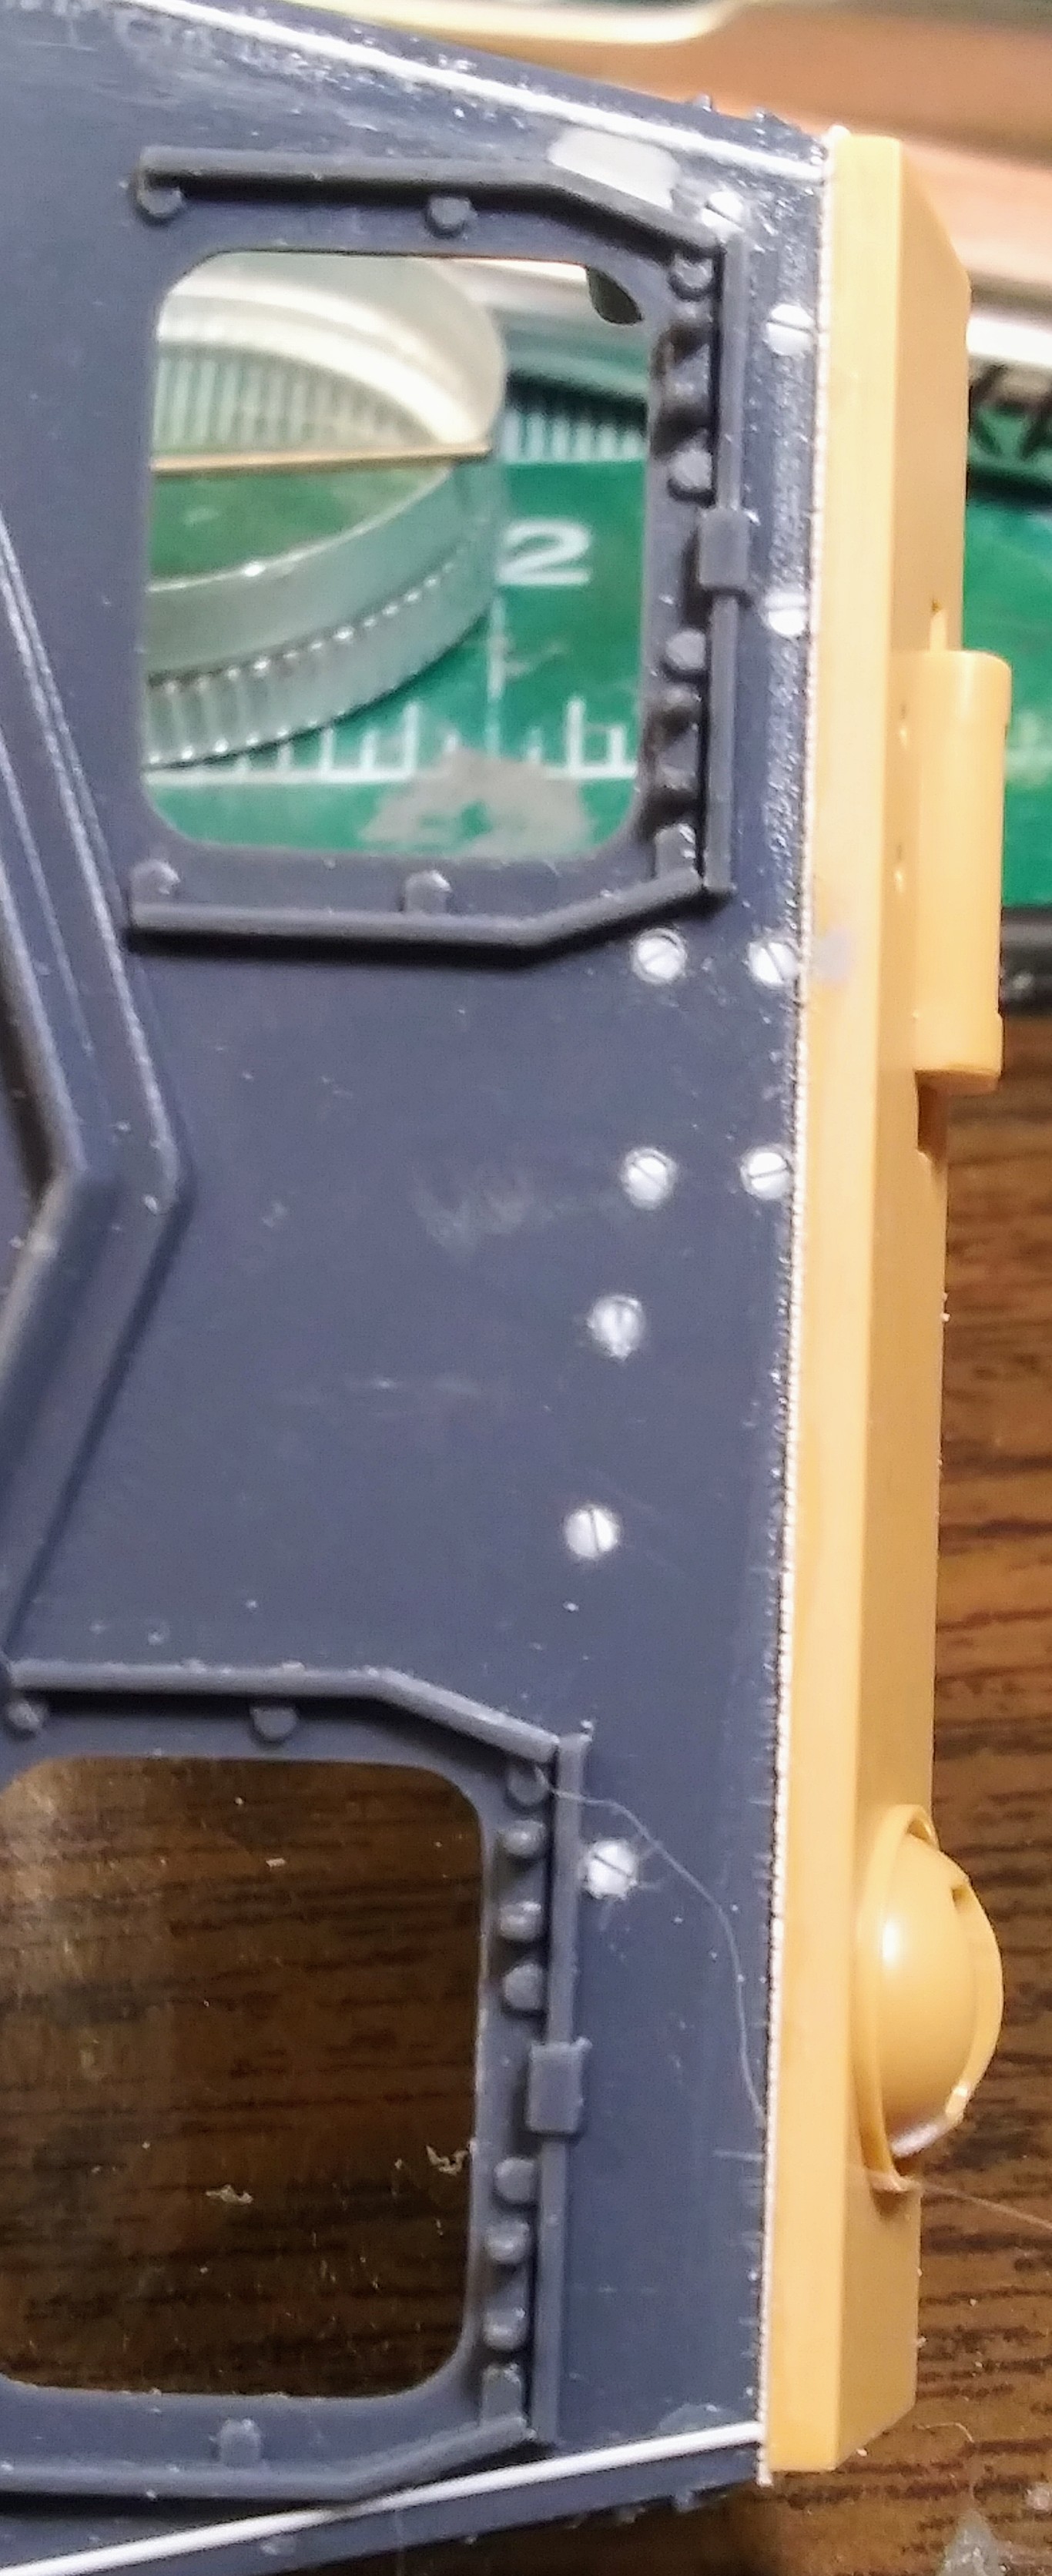
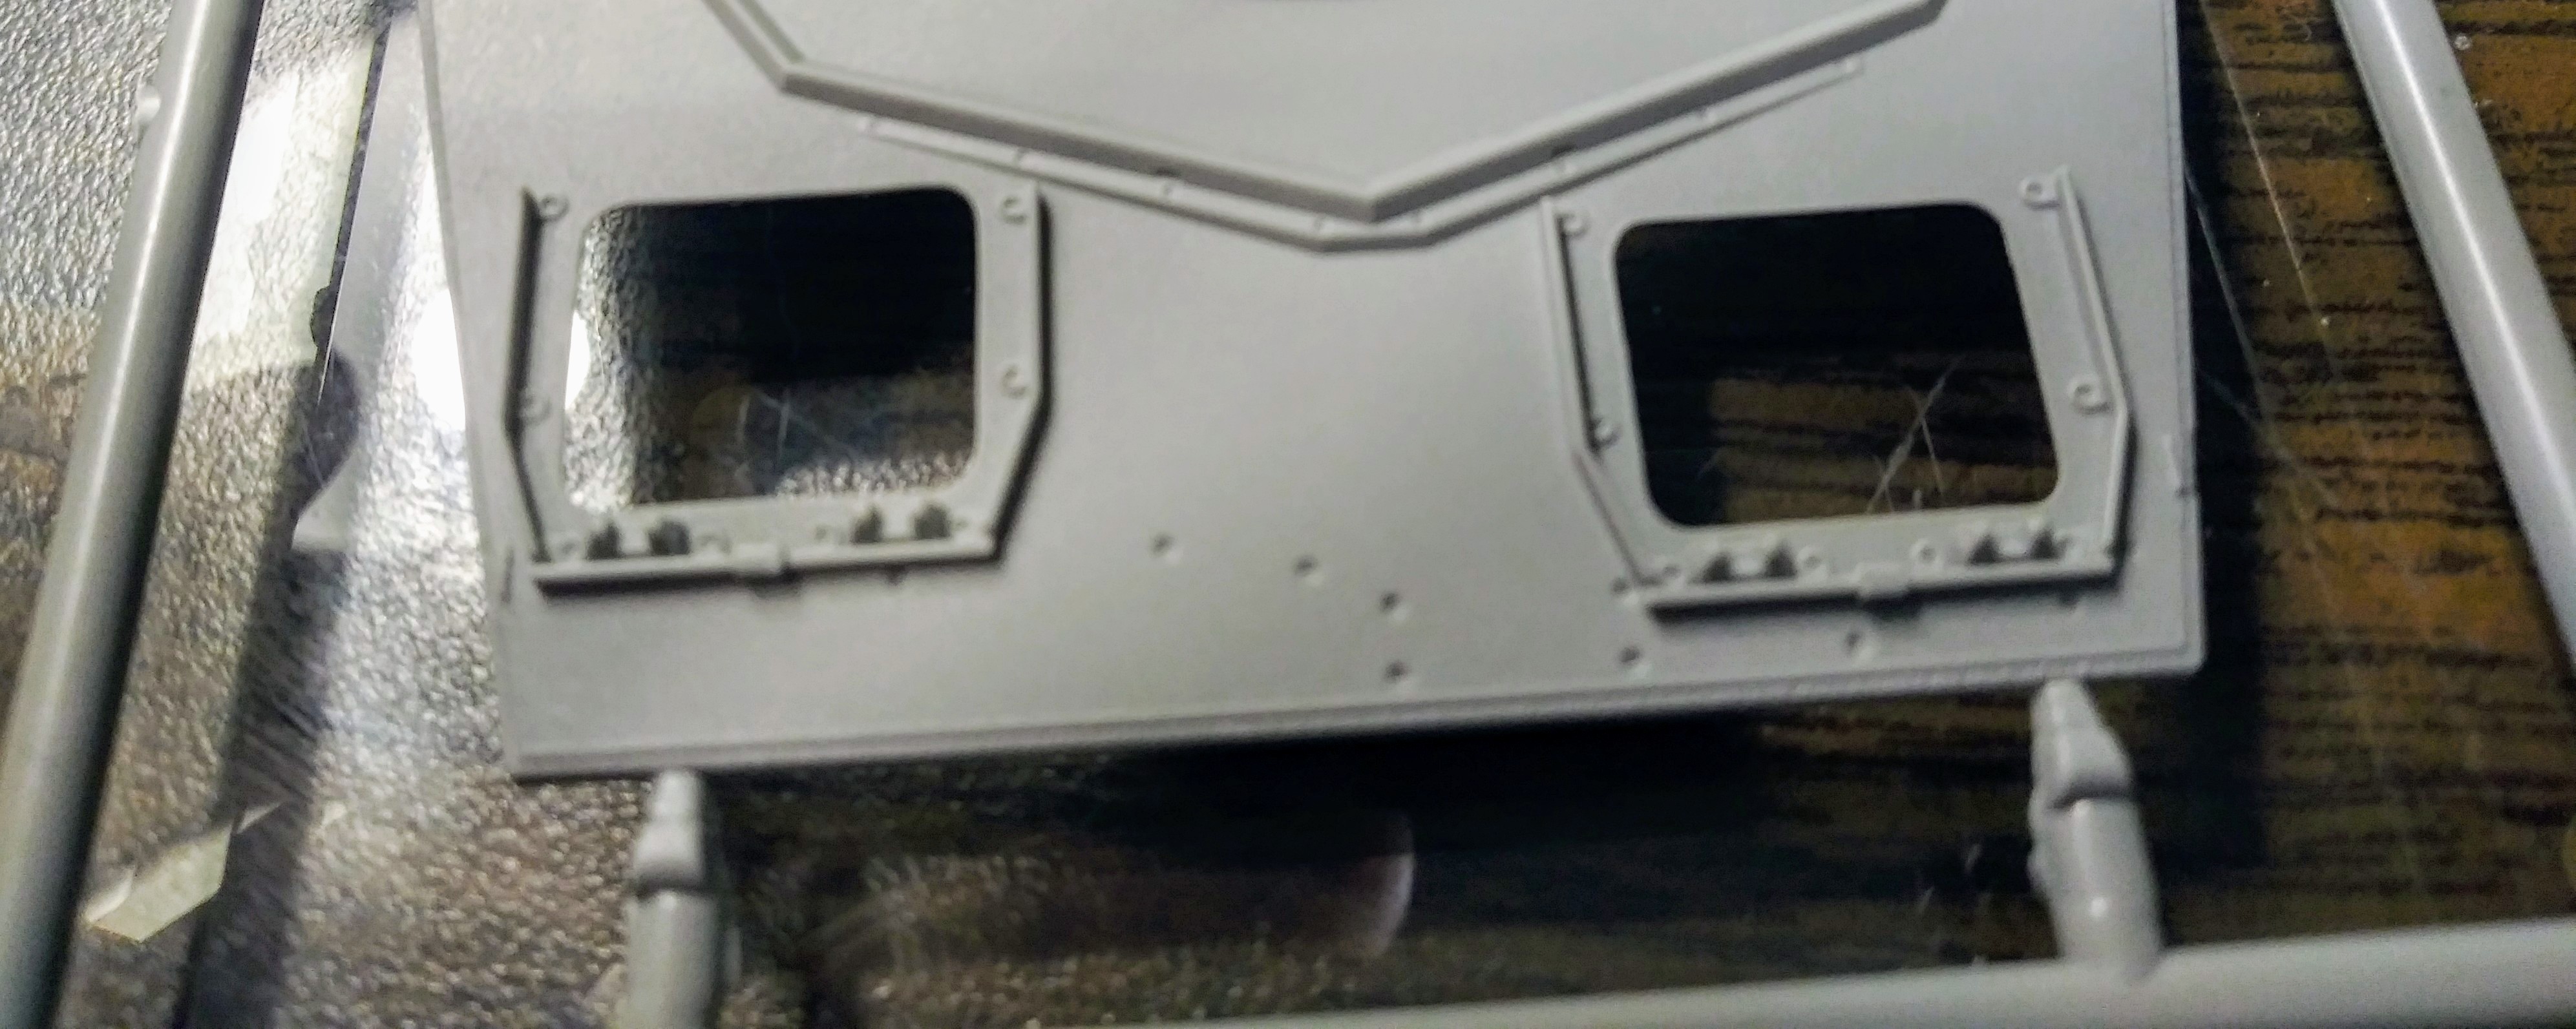
The Tamiya upper hull plate for the MG & driver vision port fits EXACTLY PERFECT on the Italeri upper hull. No trimming etc, dropped in like it was made for the kit.
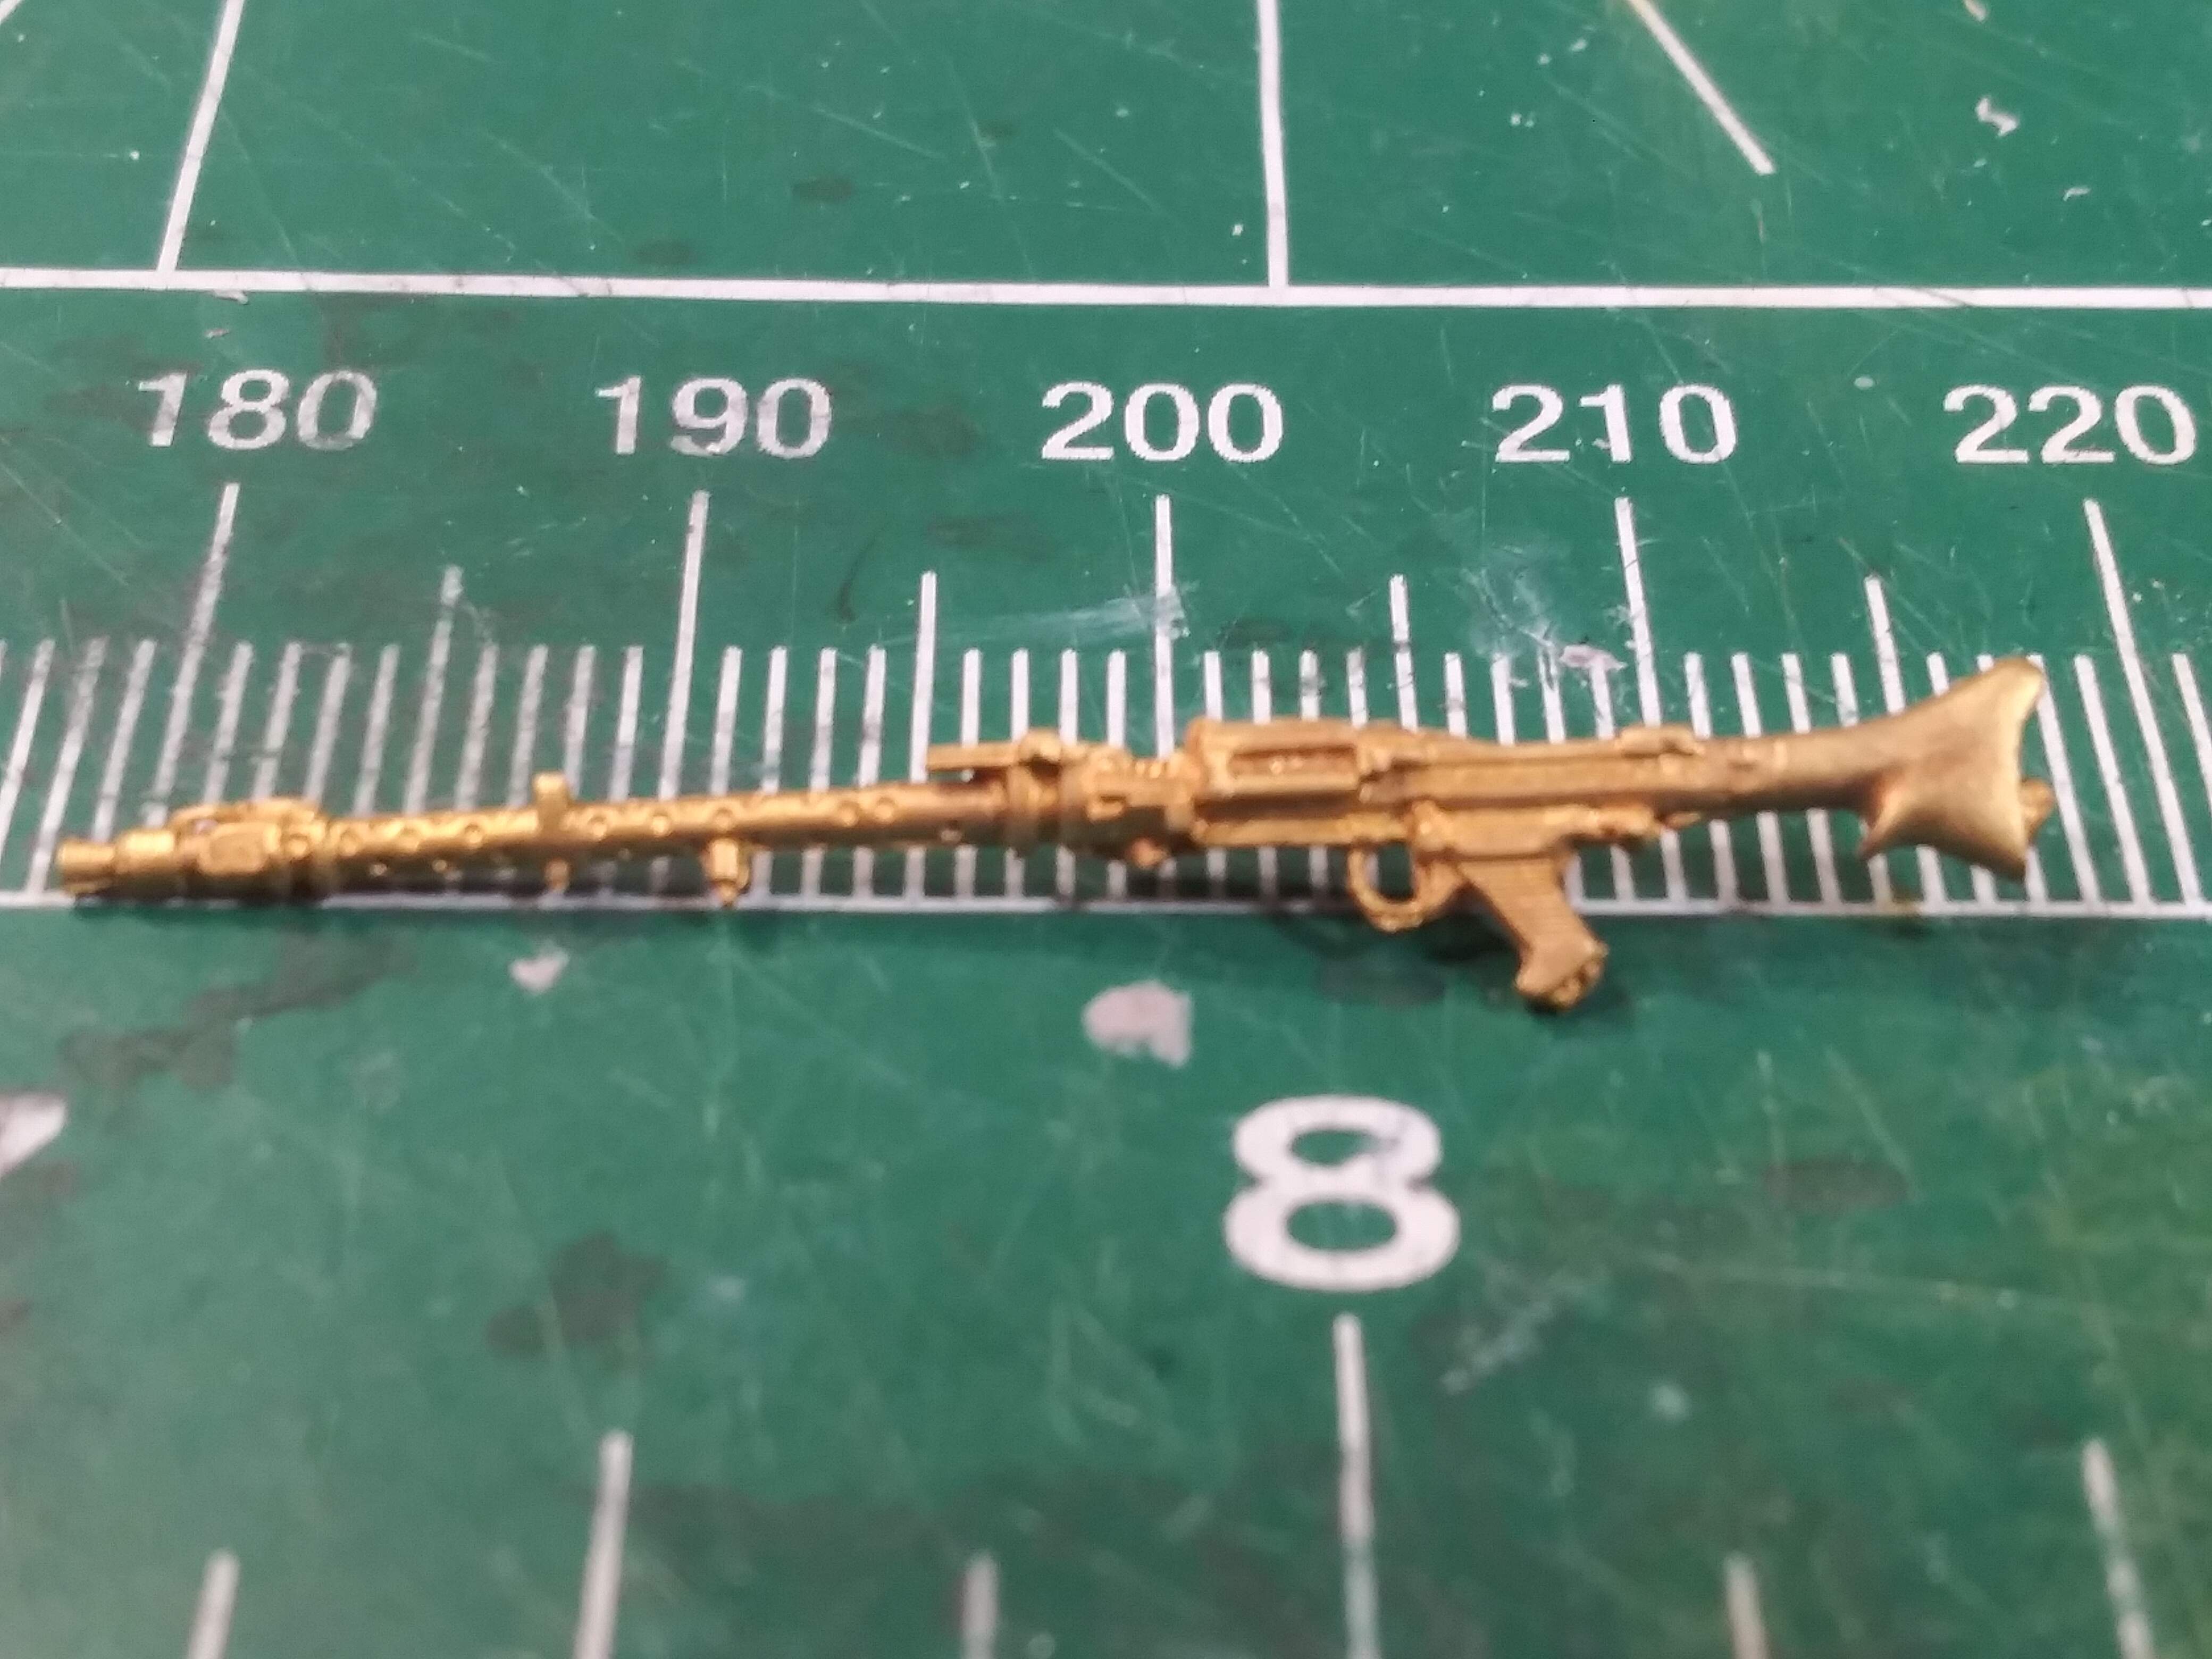
This thirty plus year old CalScale MG34 seemed perfect for a vintage build. CalScale offer the same brass MG34 advertised in both 1/32 & 1/35 scale. The old CS brass MG’s still looks pretty good in my opinion and much better than some of the lower quality resin ones. In any case it was better than what came with the kit for an MG barrel.
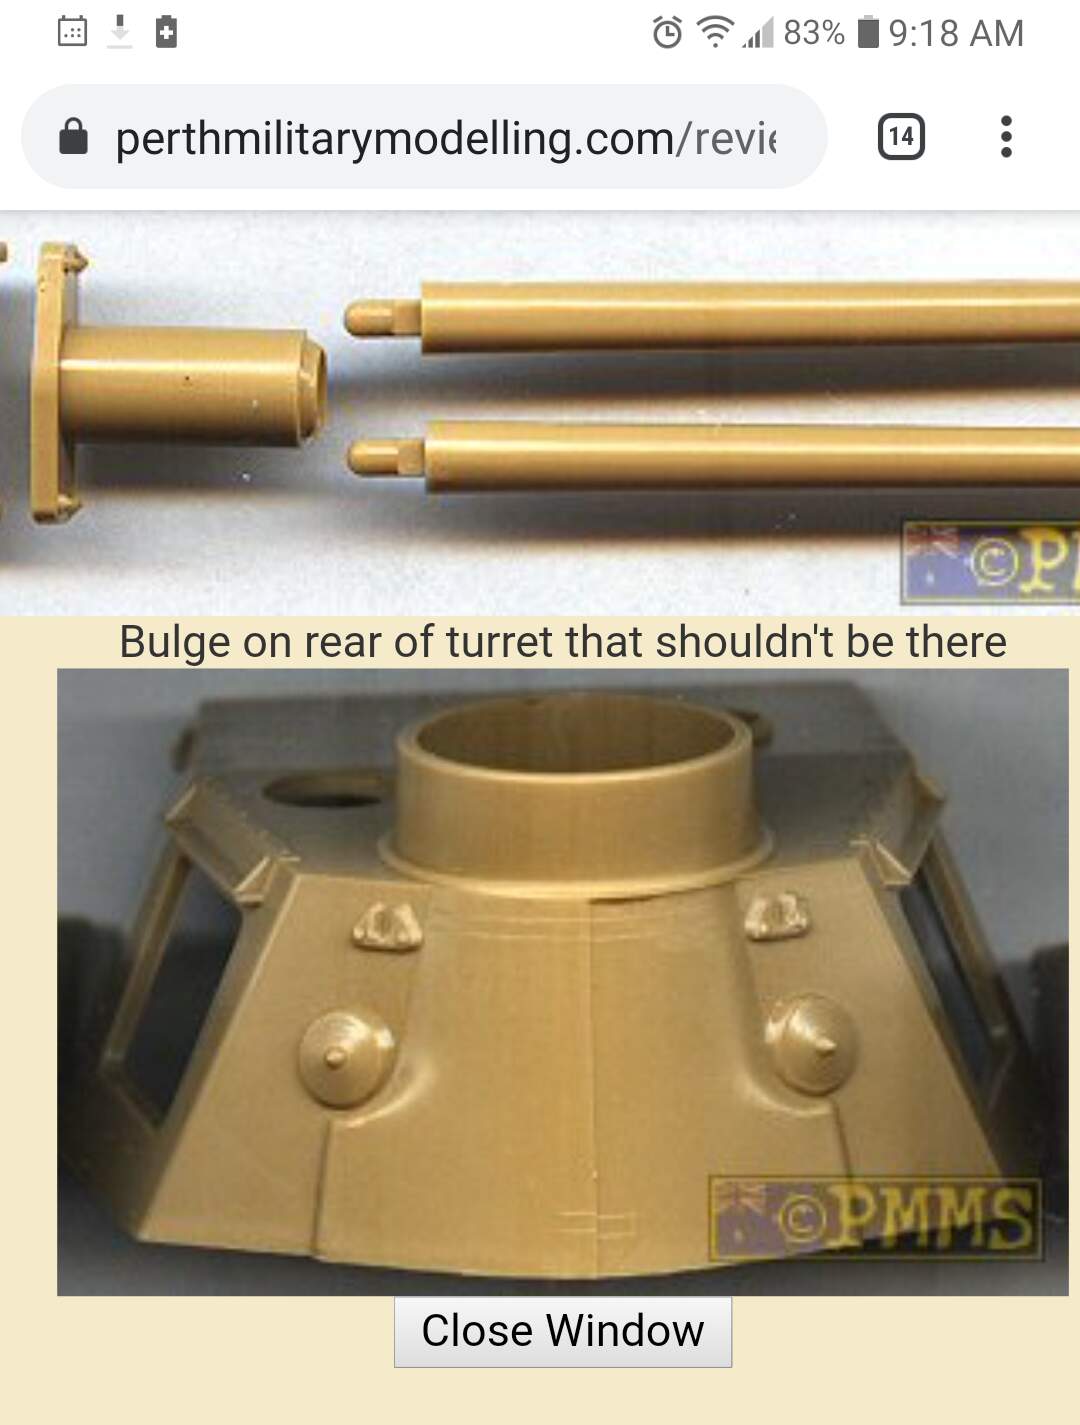
Wish I taken a before picture of the turret rear. This old 1975 pressing had the rear of turret molded with the wrong shape. It looked like a raised fire place hearth in the middle of the turret rear with a stepped edge. Decided to chop that artefact out rear of the turret. Working on the new rear plate.
@KoSprueone, Thank you for taking time to look! This is one of those kits I always wanted to build way back in the day and collected aftermarket parts for but never got around to doing. Had a long time thinking about what I wanted to try with the dear old Italeri Pz IV.
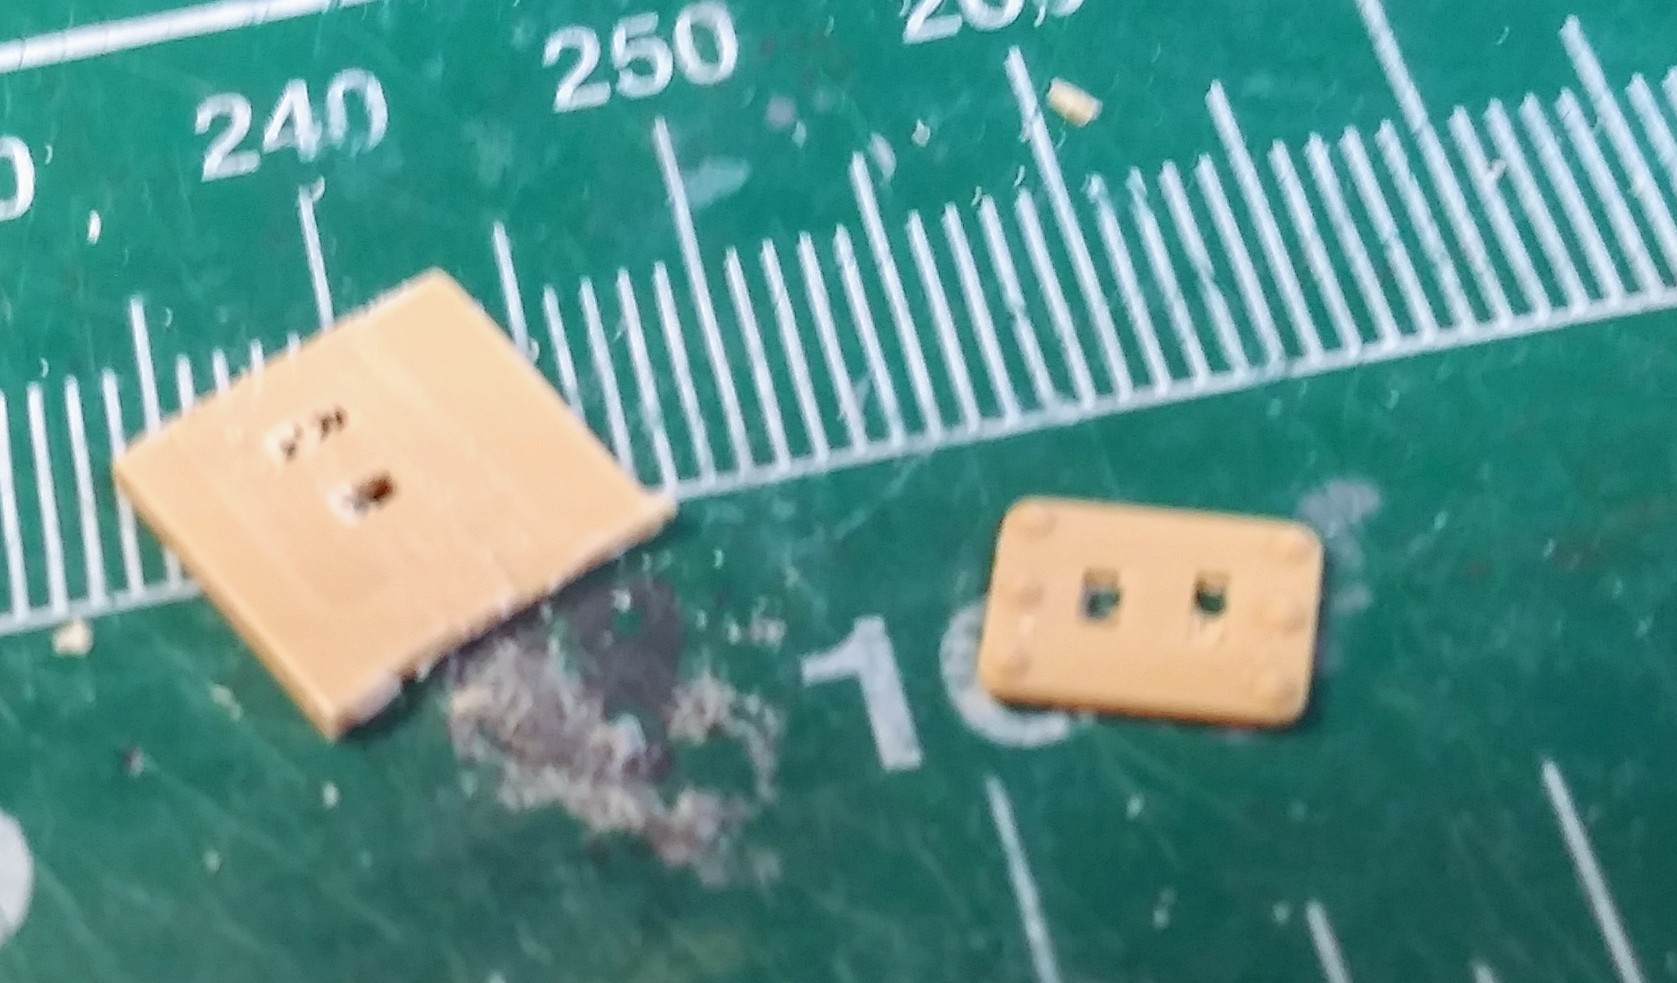
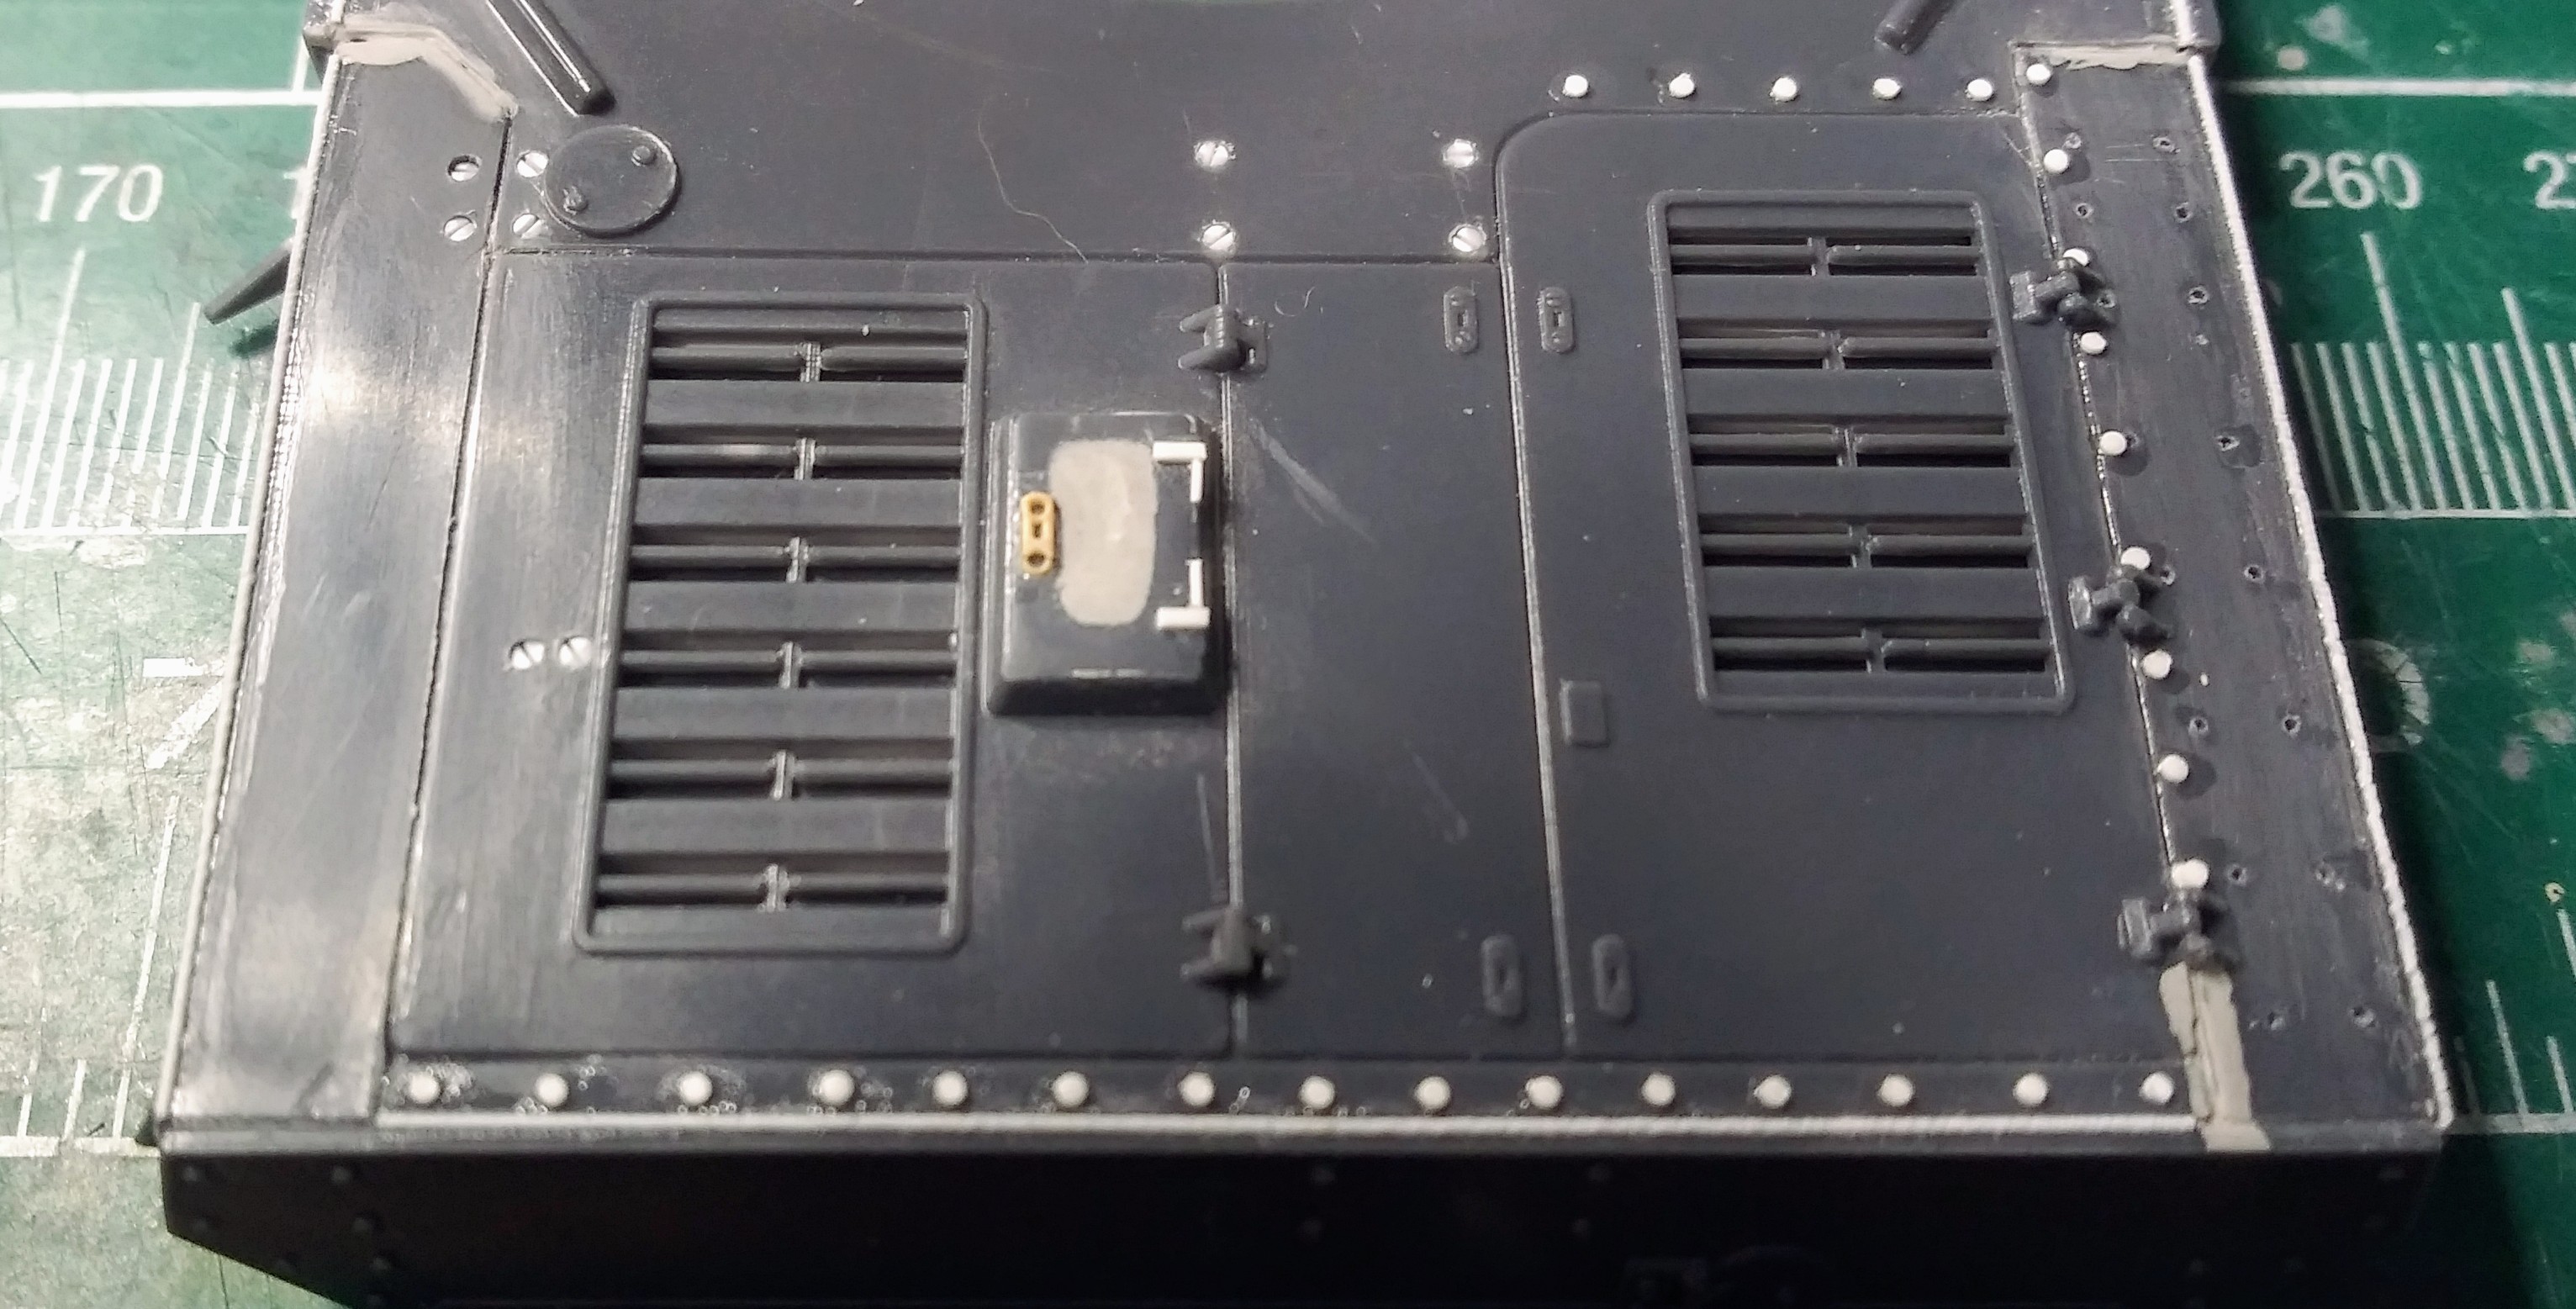
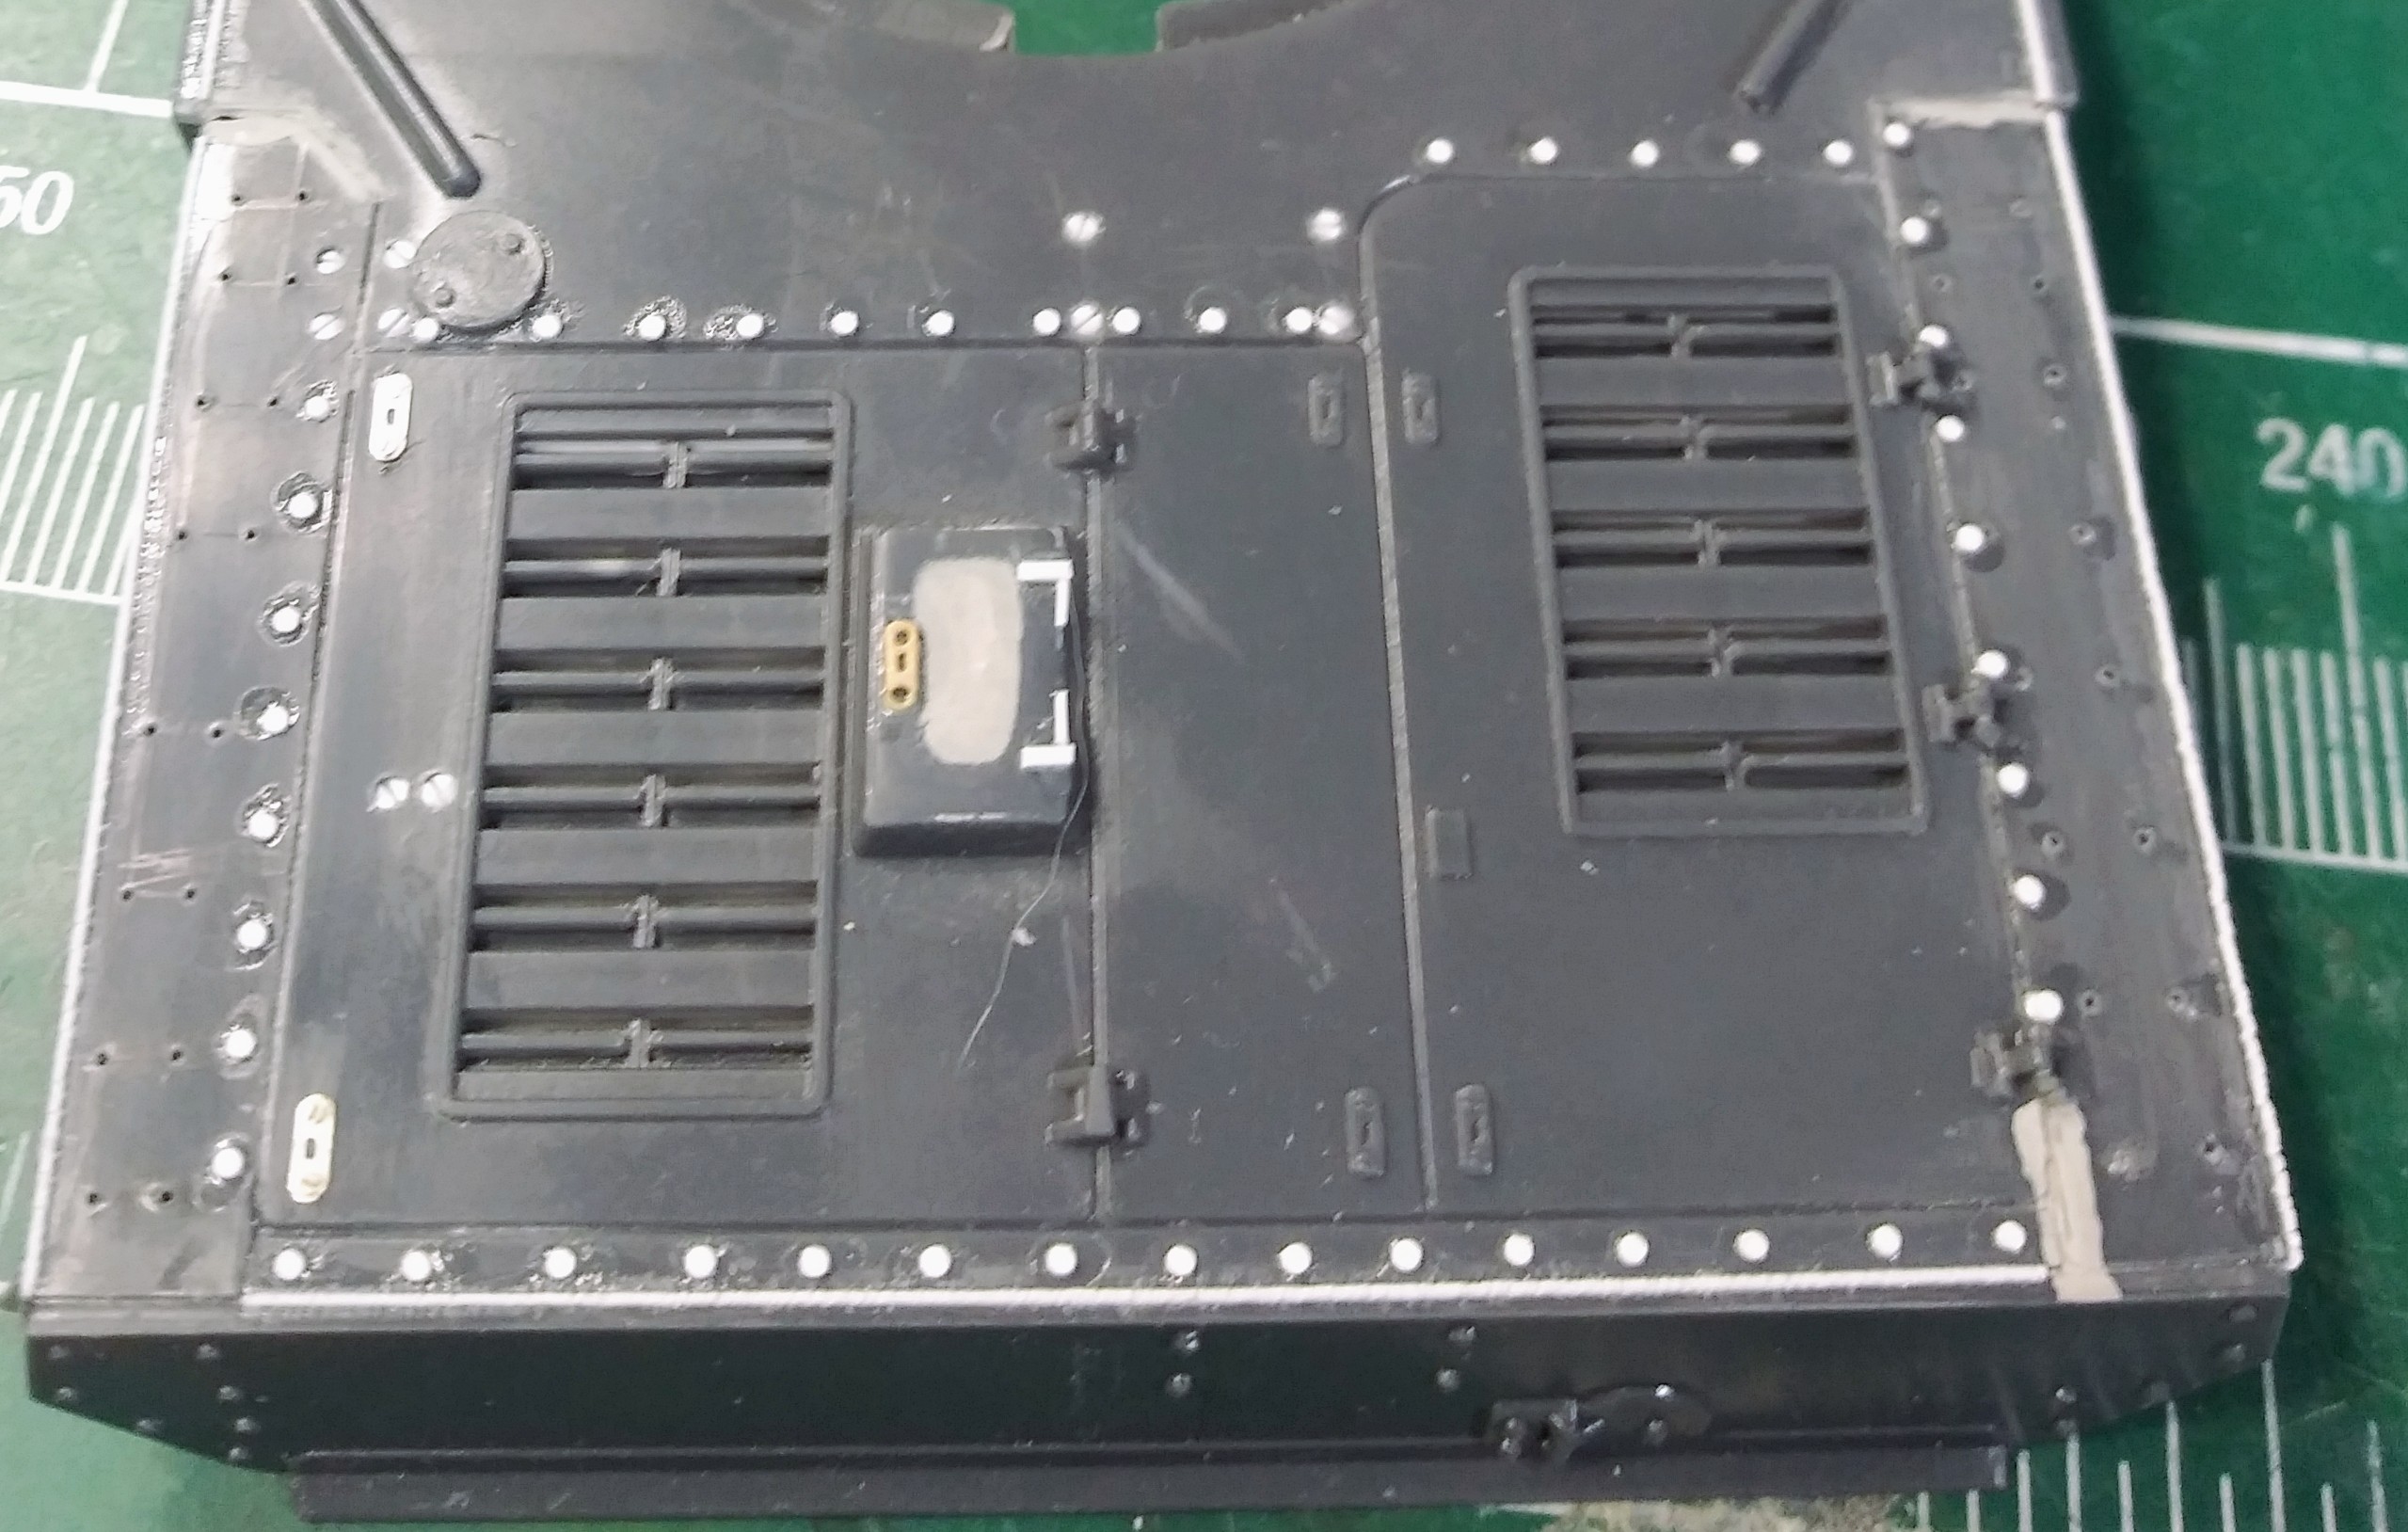
Decided to add the flat screw heads to the upper hull & turret but can’t use PE or other new aftermarket flat screw heads. Cut some .035 styrene rod and cut a notch in one end. Drilled out the screw hole…have about 40 more to do…also adding missing weld beads.
Above the bottom the old Waldon sub-minature punch & set worked great as a holder for cutting the notch with a new #11 Testors blade. The Testor blades have always seem to cut better and hold their edge very well than X-acto brand blades.
I hope to get a new phone tomorrow with a better camera:)
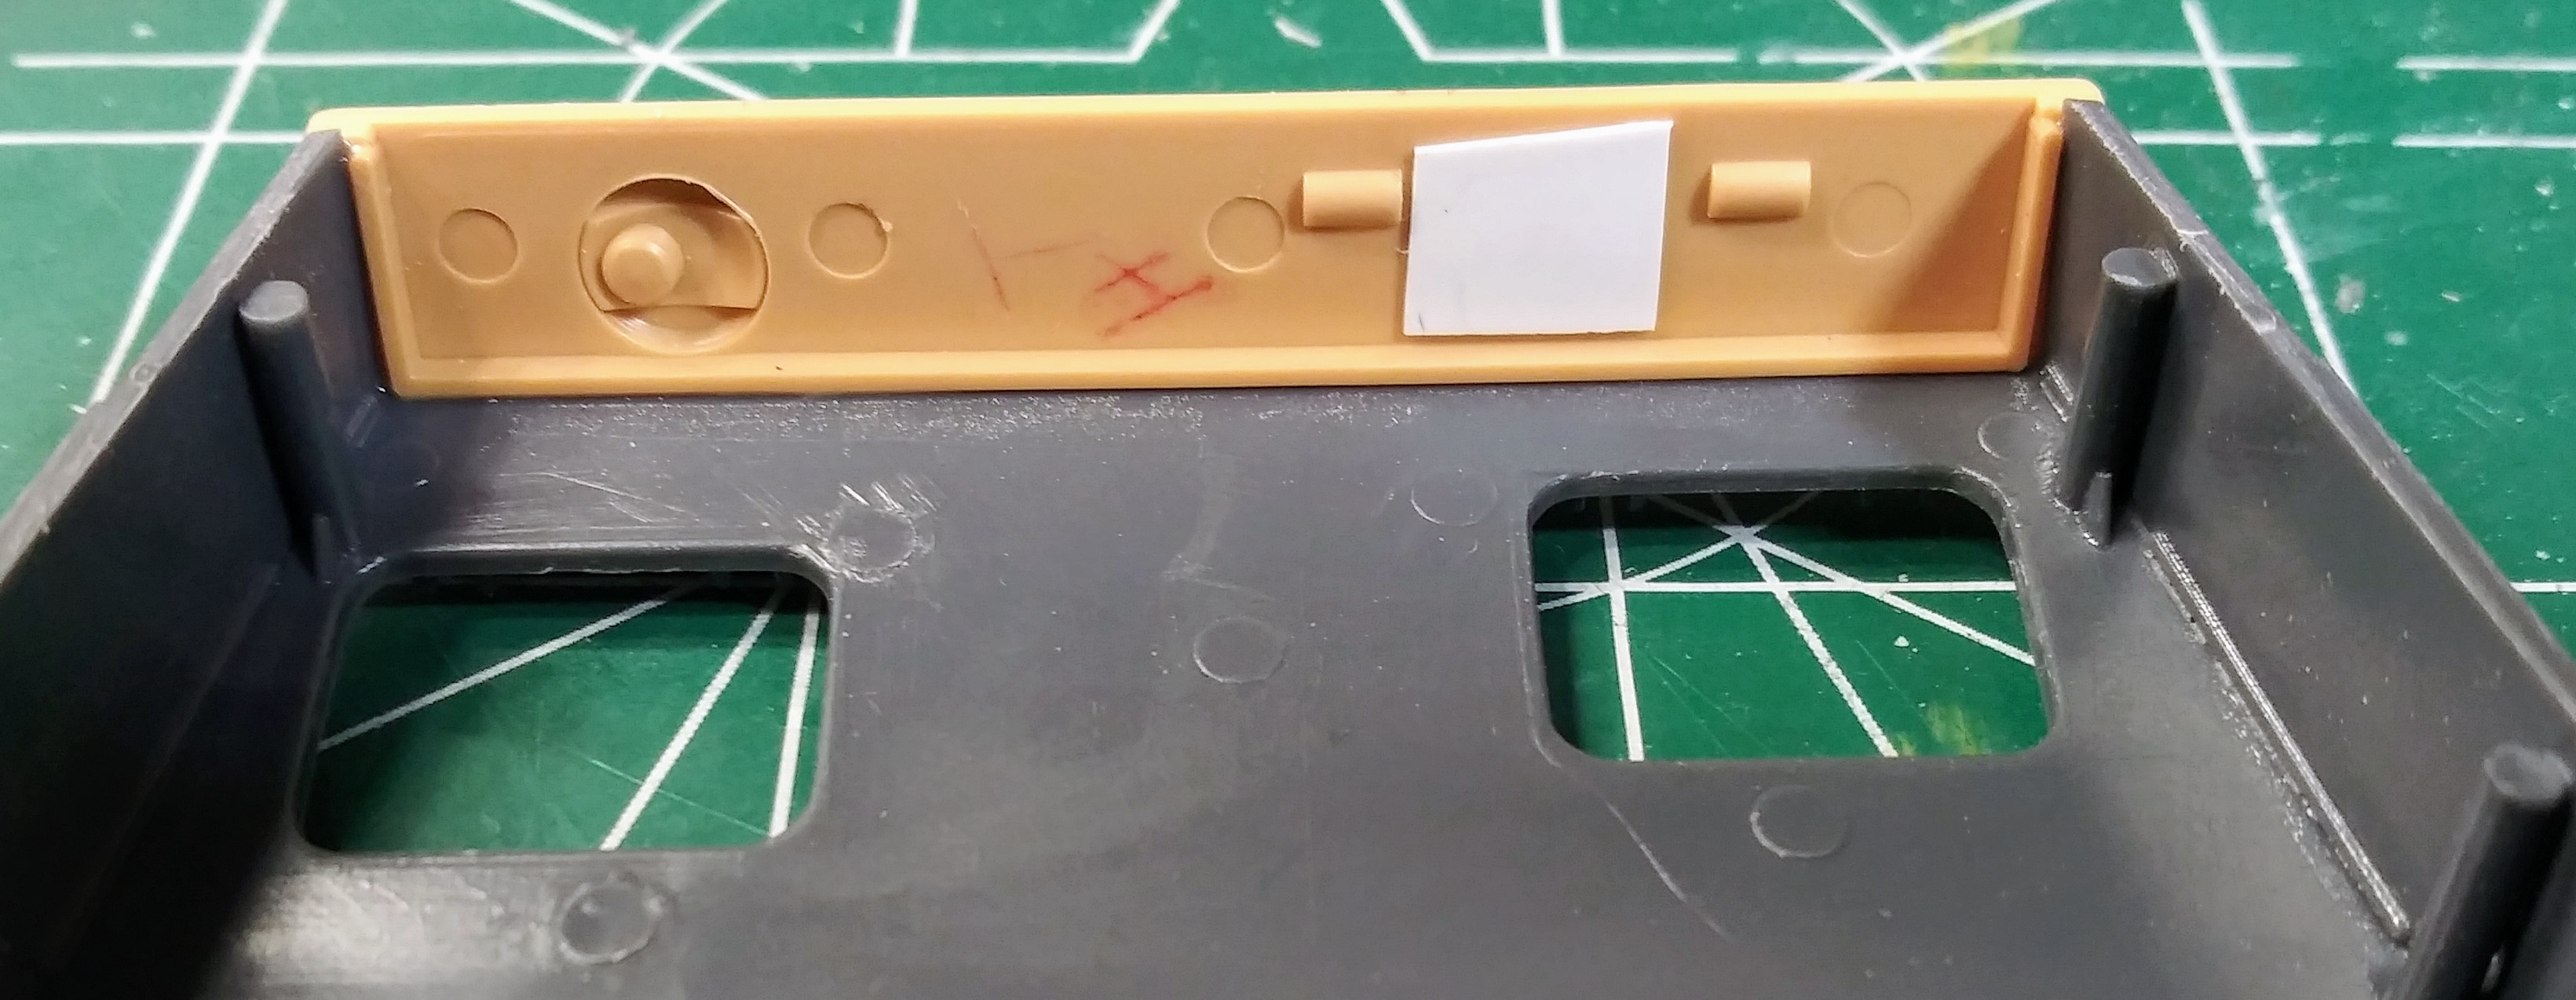
Weld seams textured, spare Dragon Imperial radio & driver hatches installed. No signal ports. Definitely committed to making a Pz IV G now. More fiddle bits to come.
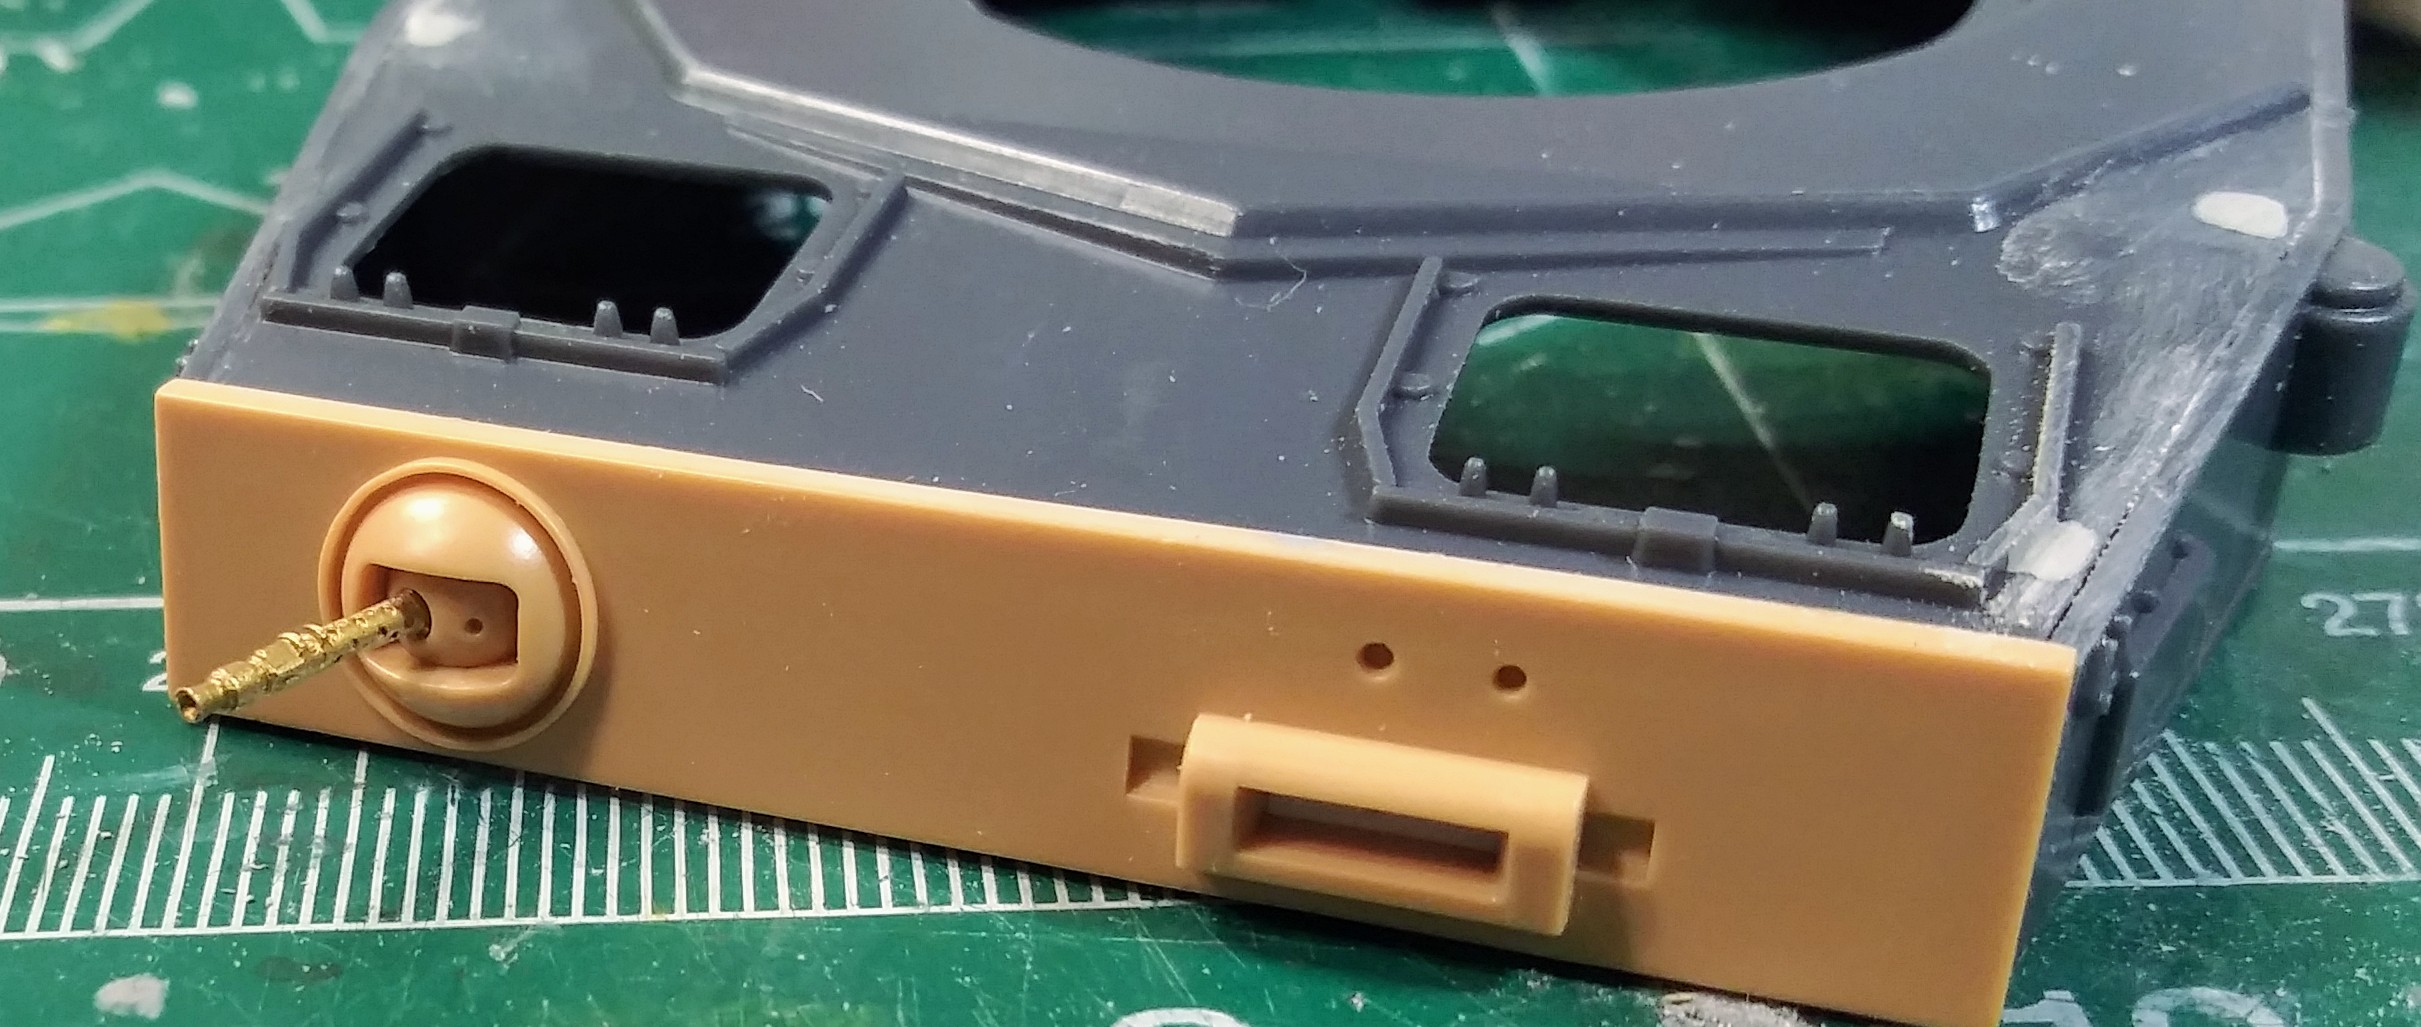
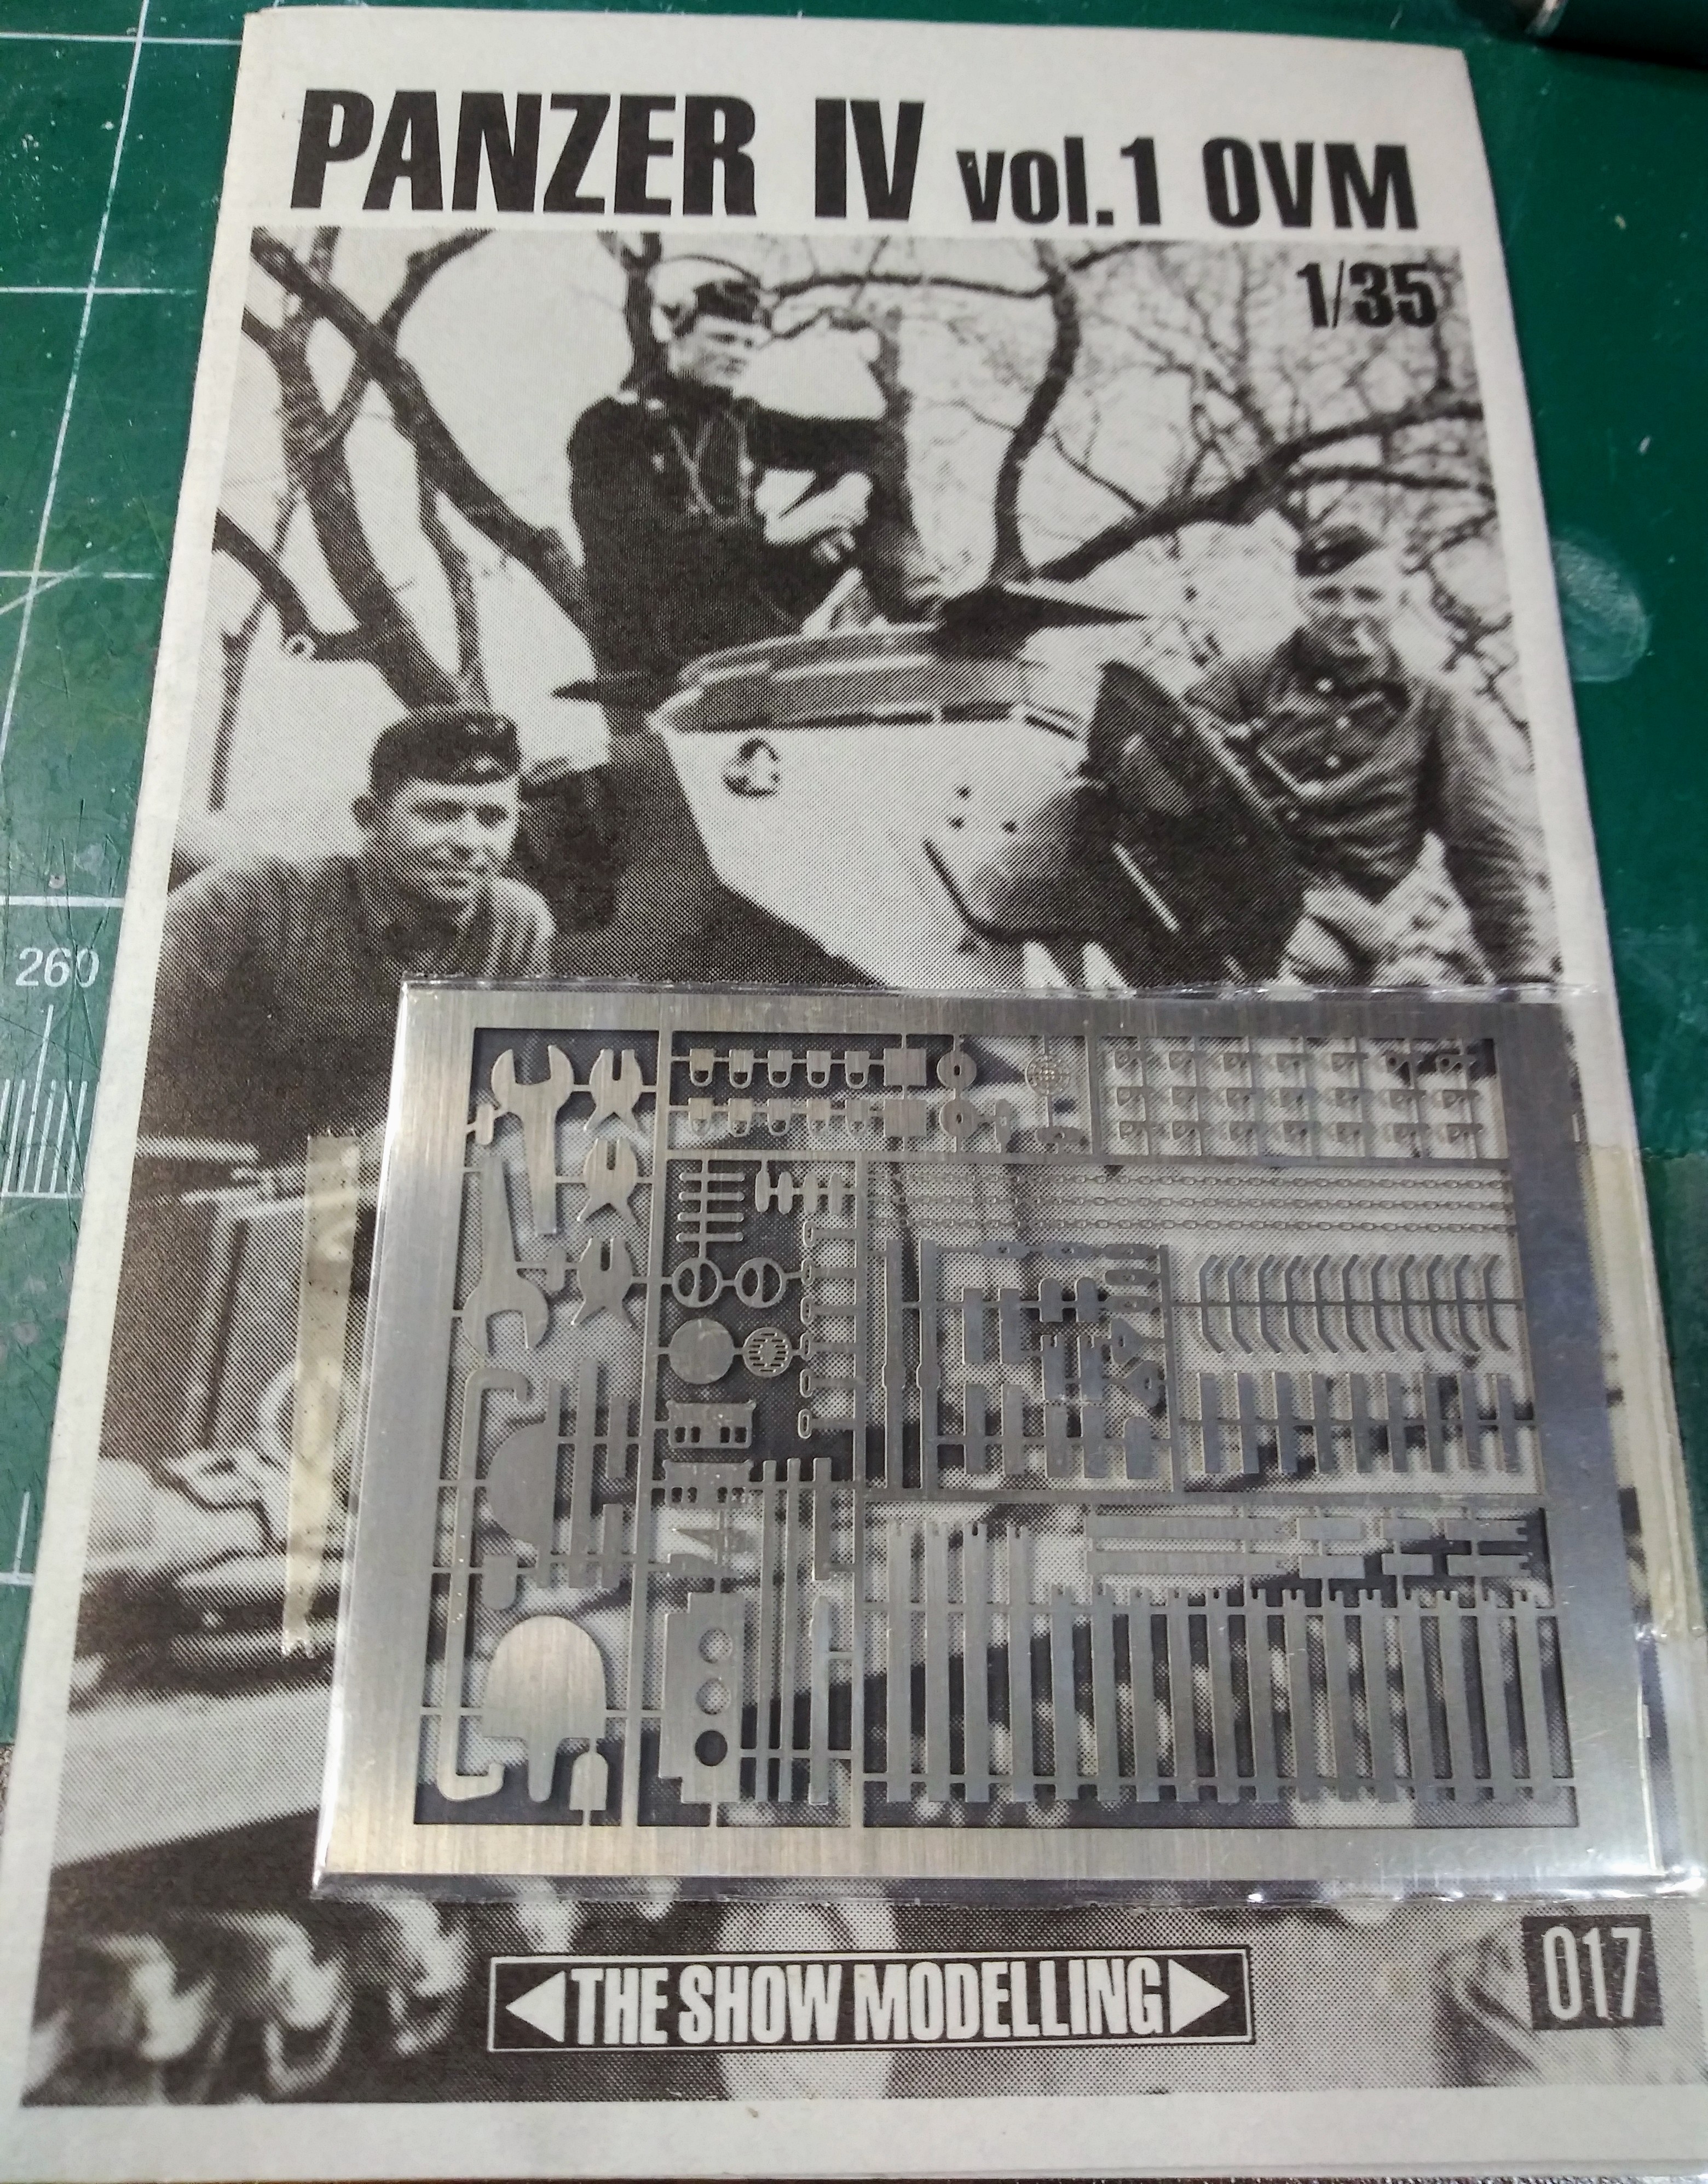
The driver side engine access cover is missing two unlock points for lack of a better term. I’d been dreading trying to address that since I noticed it a few weeks ago. Luckily for me Show Modeling had that detail on their set.

 Need to get the unfun stuff out of the early in the build while enthusiastic about the build.