These are a few test photos a yet to be named diorama I’m working on, It will probably be several weeks until it’s finished as I’m currently waiting for a MB figure kit to arrive, then assembled & painted and fit to the base.
Anyway, while I was waiting I thought I’d take a few photos. Let me know what you think of it so far…


16 Likes
Looks very interesting already, your figure painting looks very accomplished.
Smashing scene on the way…![]()
Watto.
3 Likes
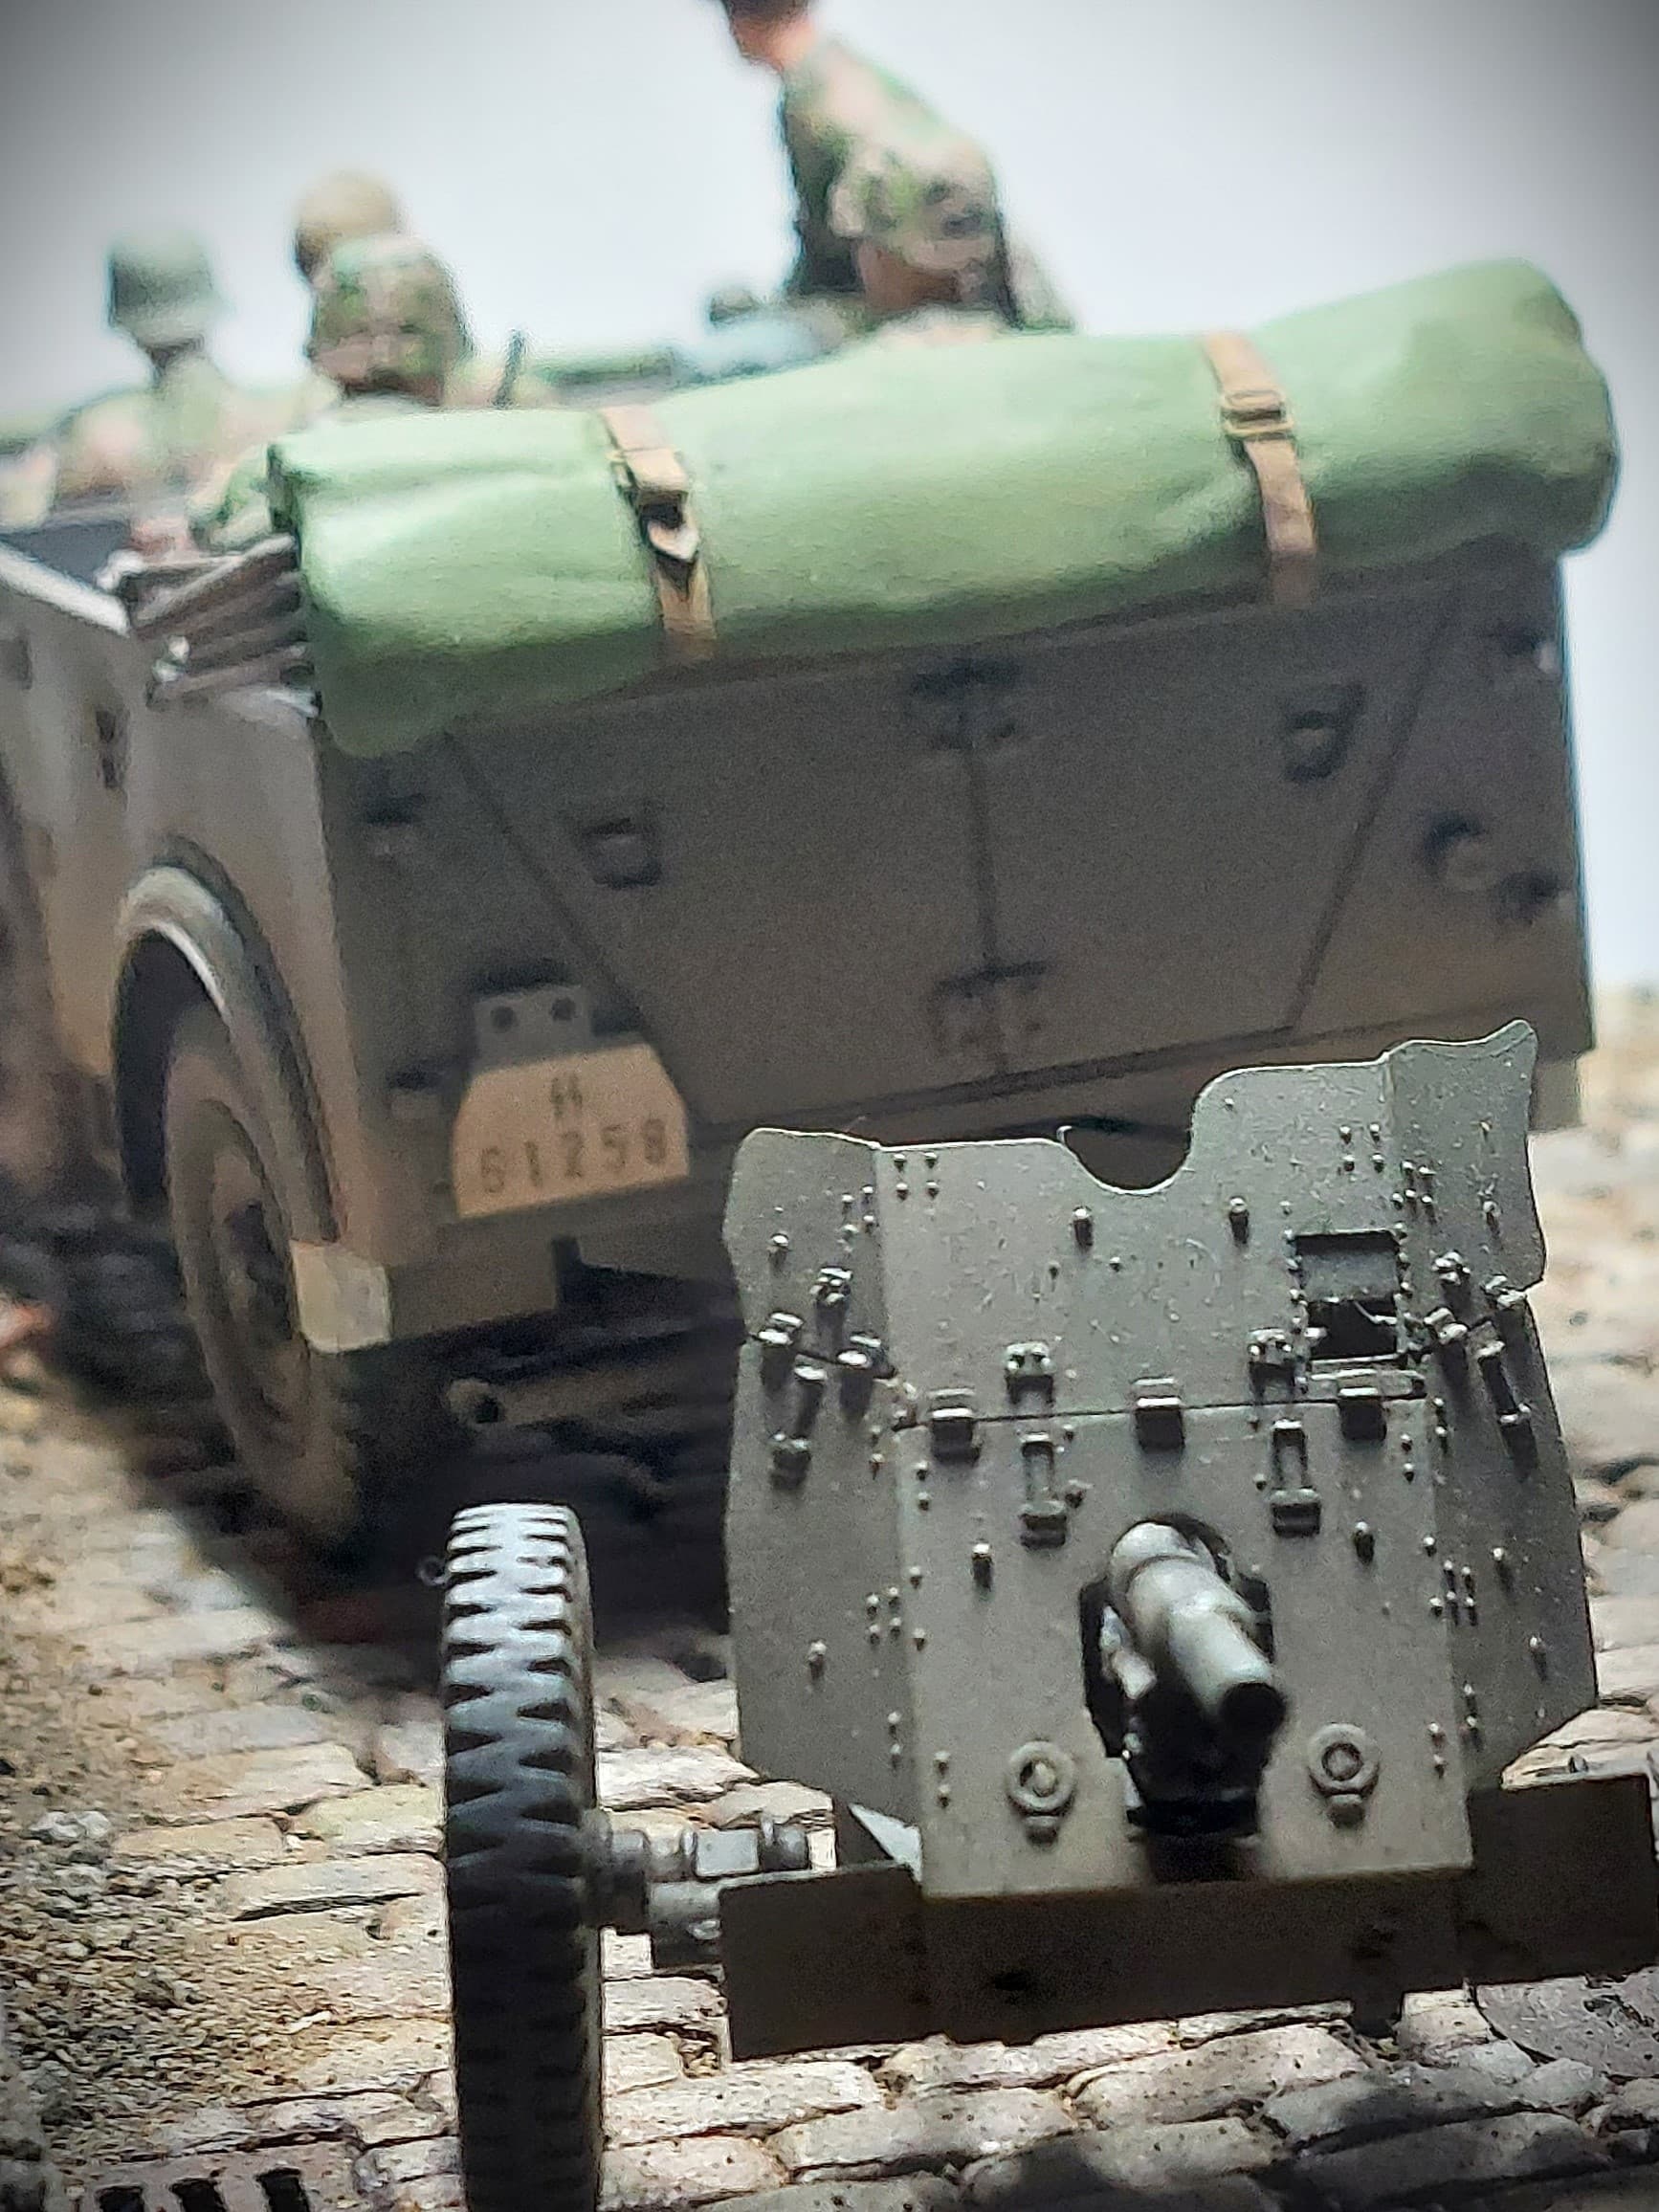
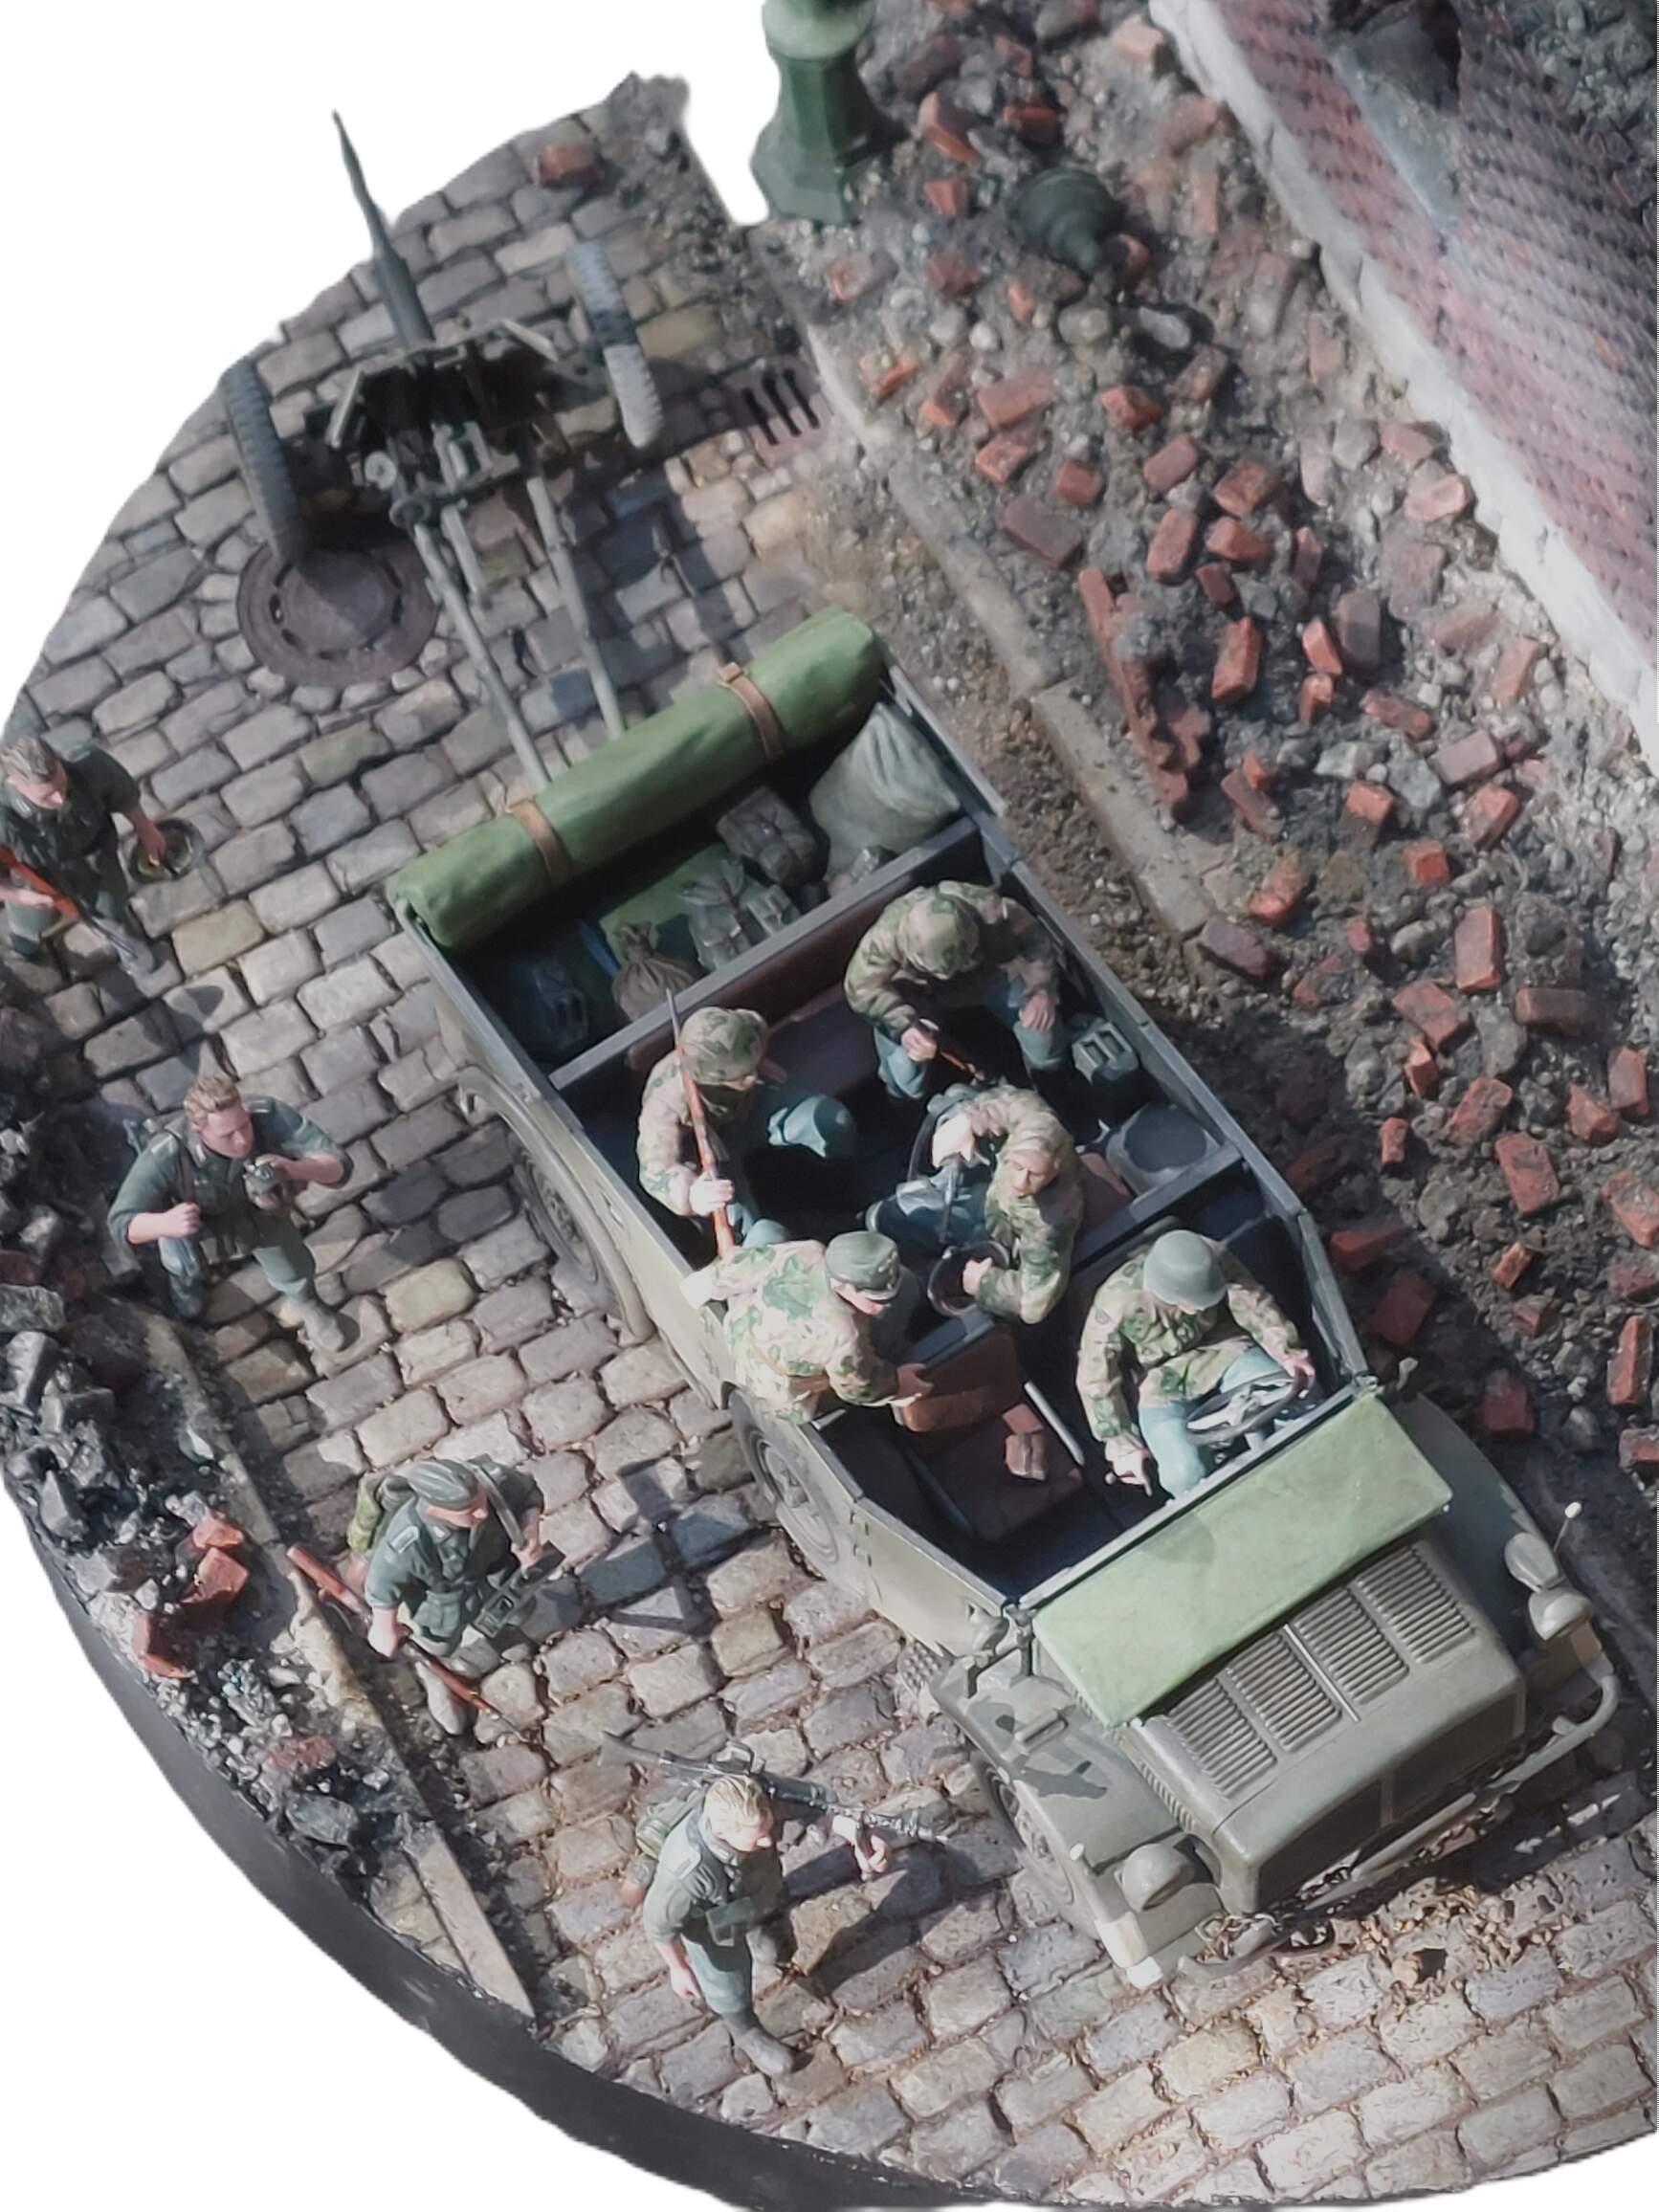
Finally finished this diorama.
Titled it: ‘Vorwärts nach vorne’ (Forward to the front)
1:35 scale
Tamiya # 35105 Horch Type 1a w/figures
Tamiya #35035 37cm anti-tank gun (Pak 35/36)
Dragon #6105 Wehrmacht Infantry (Barbarossa 1941)
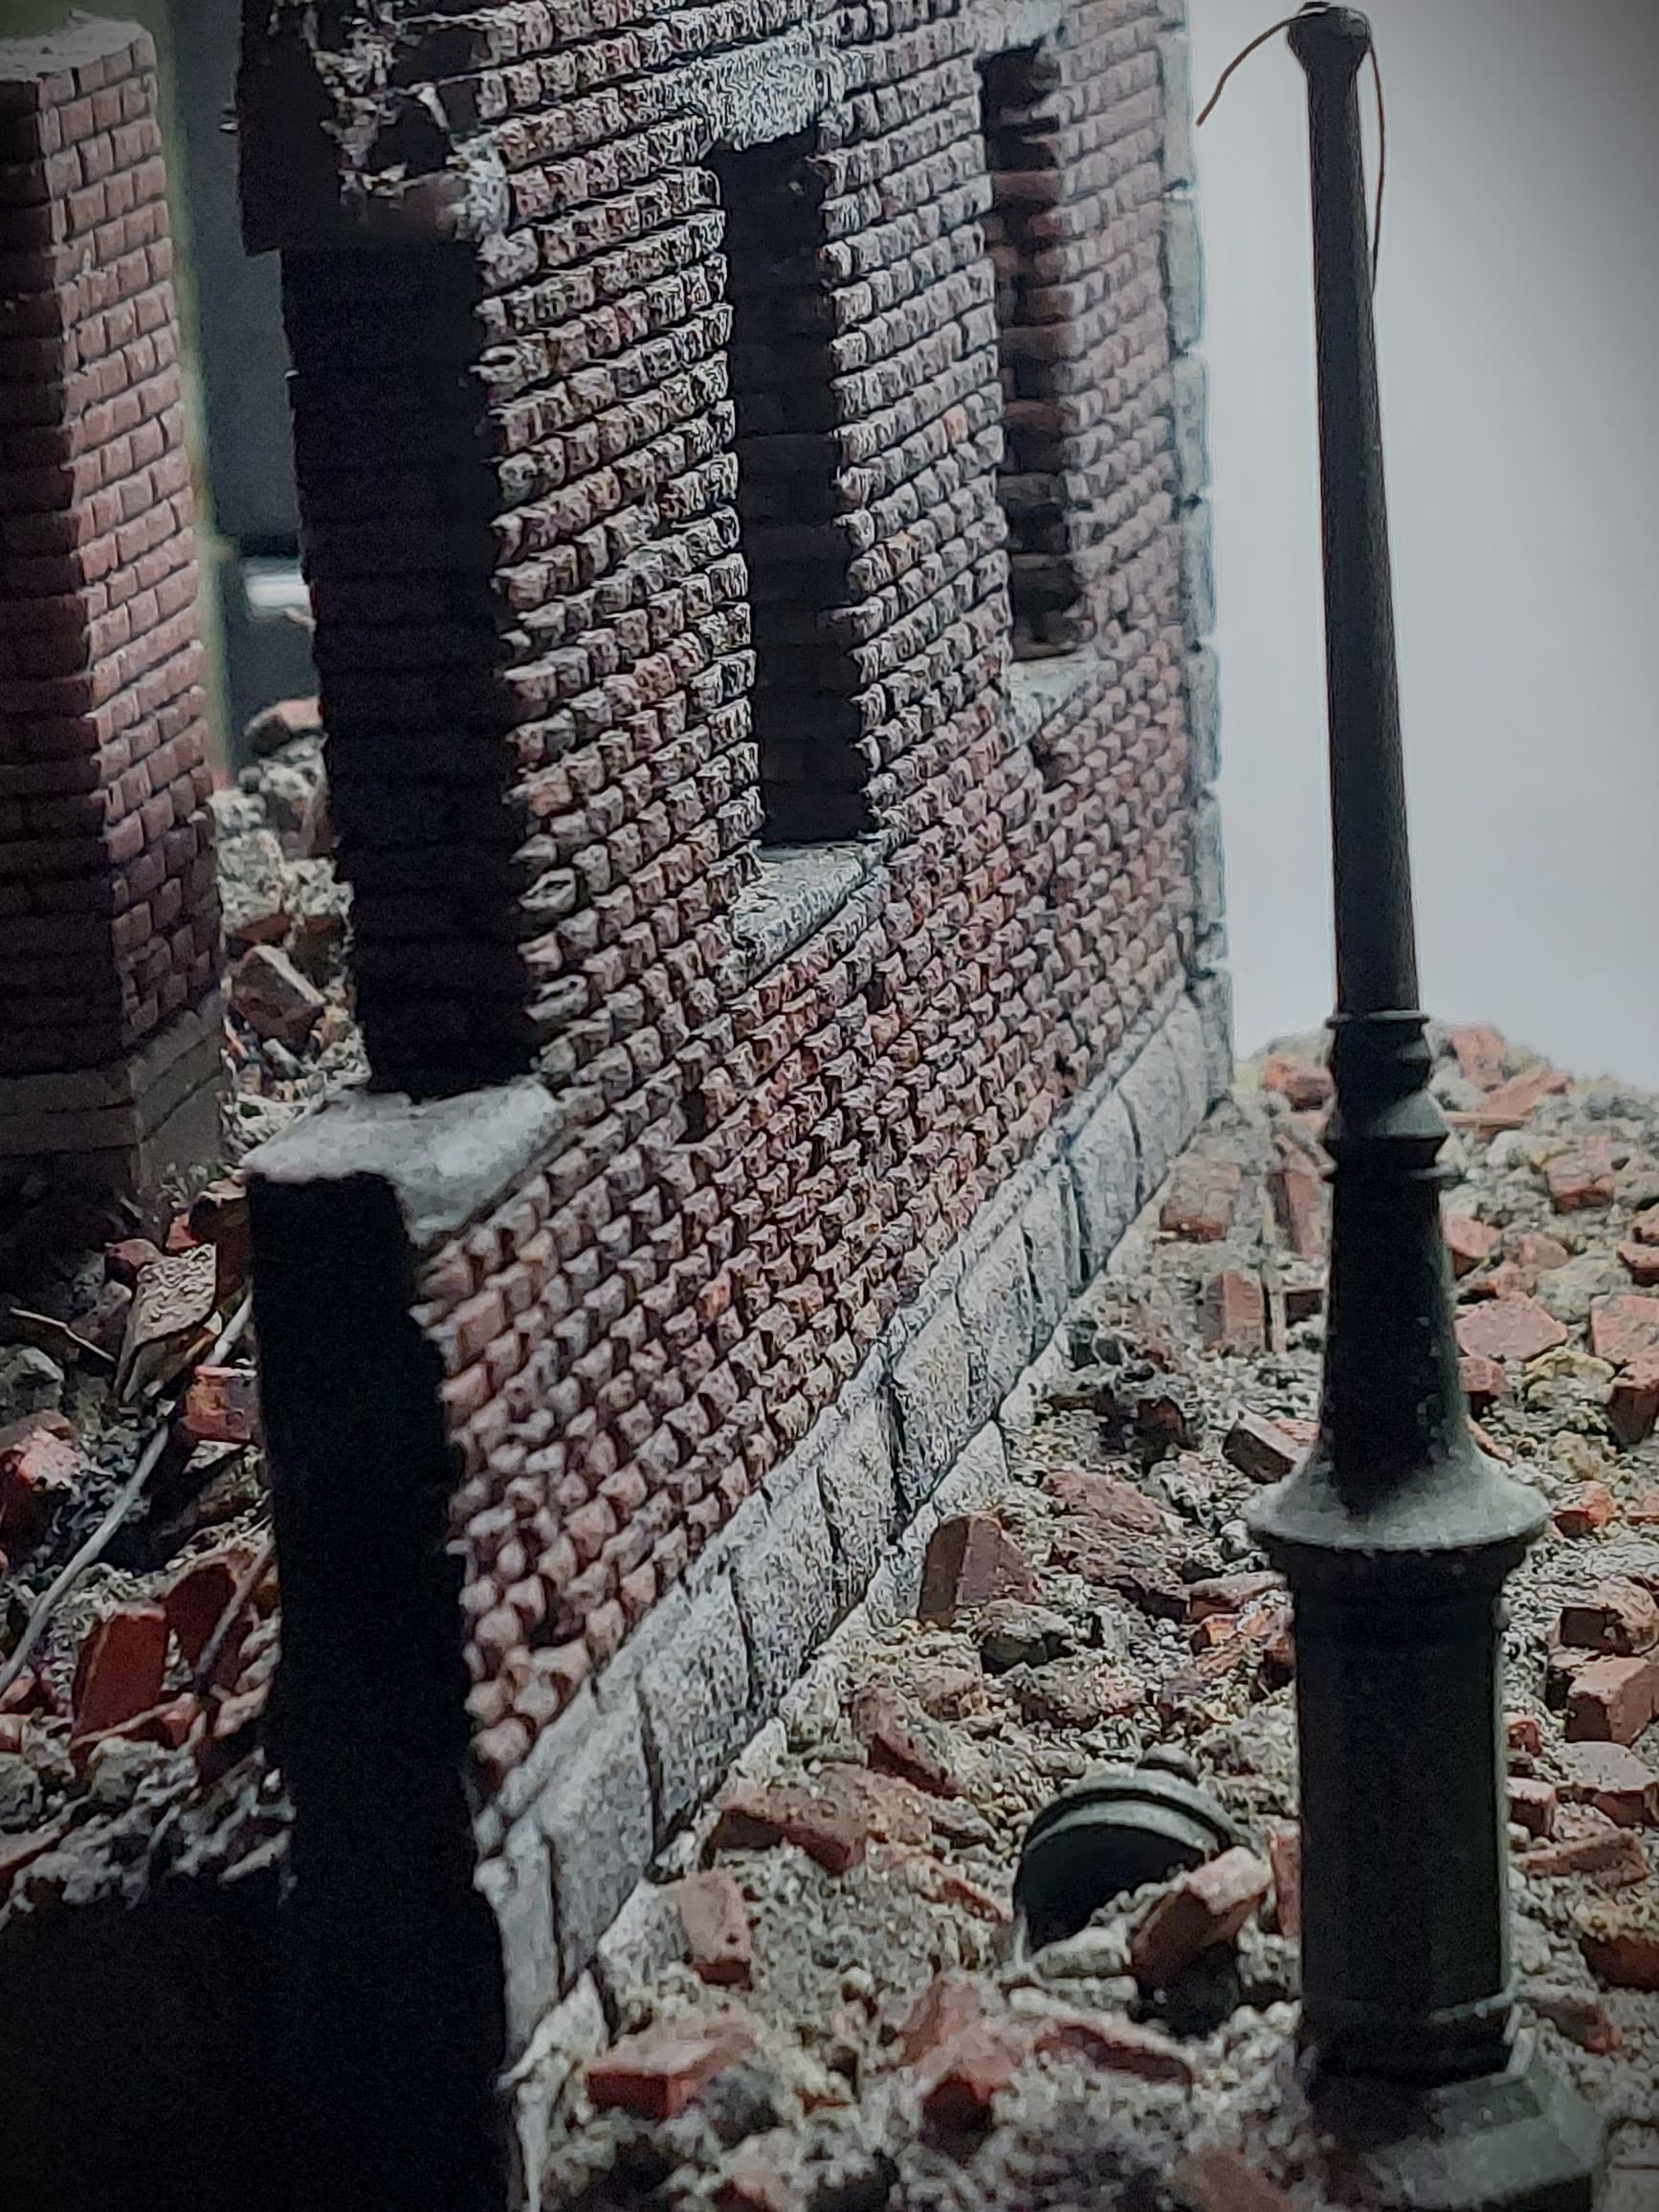
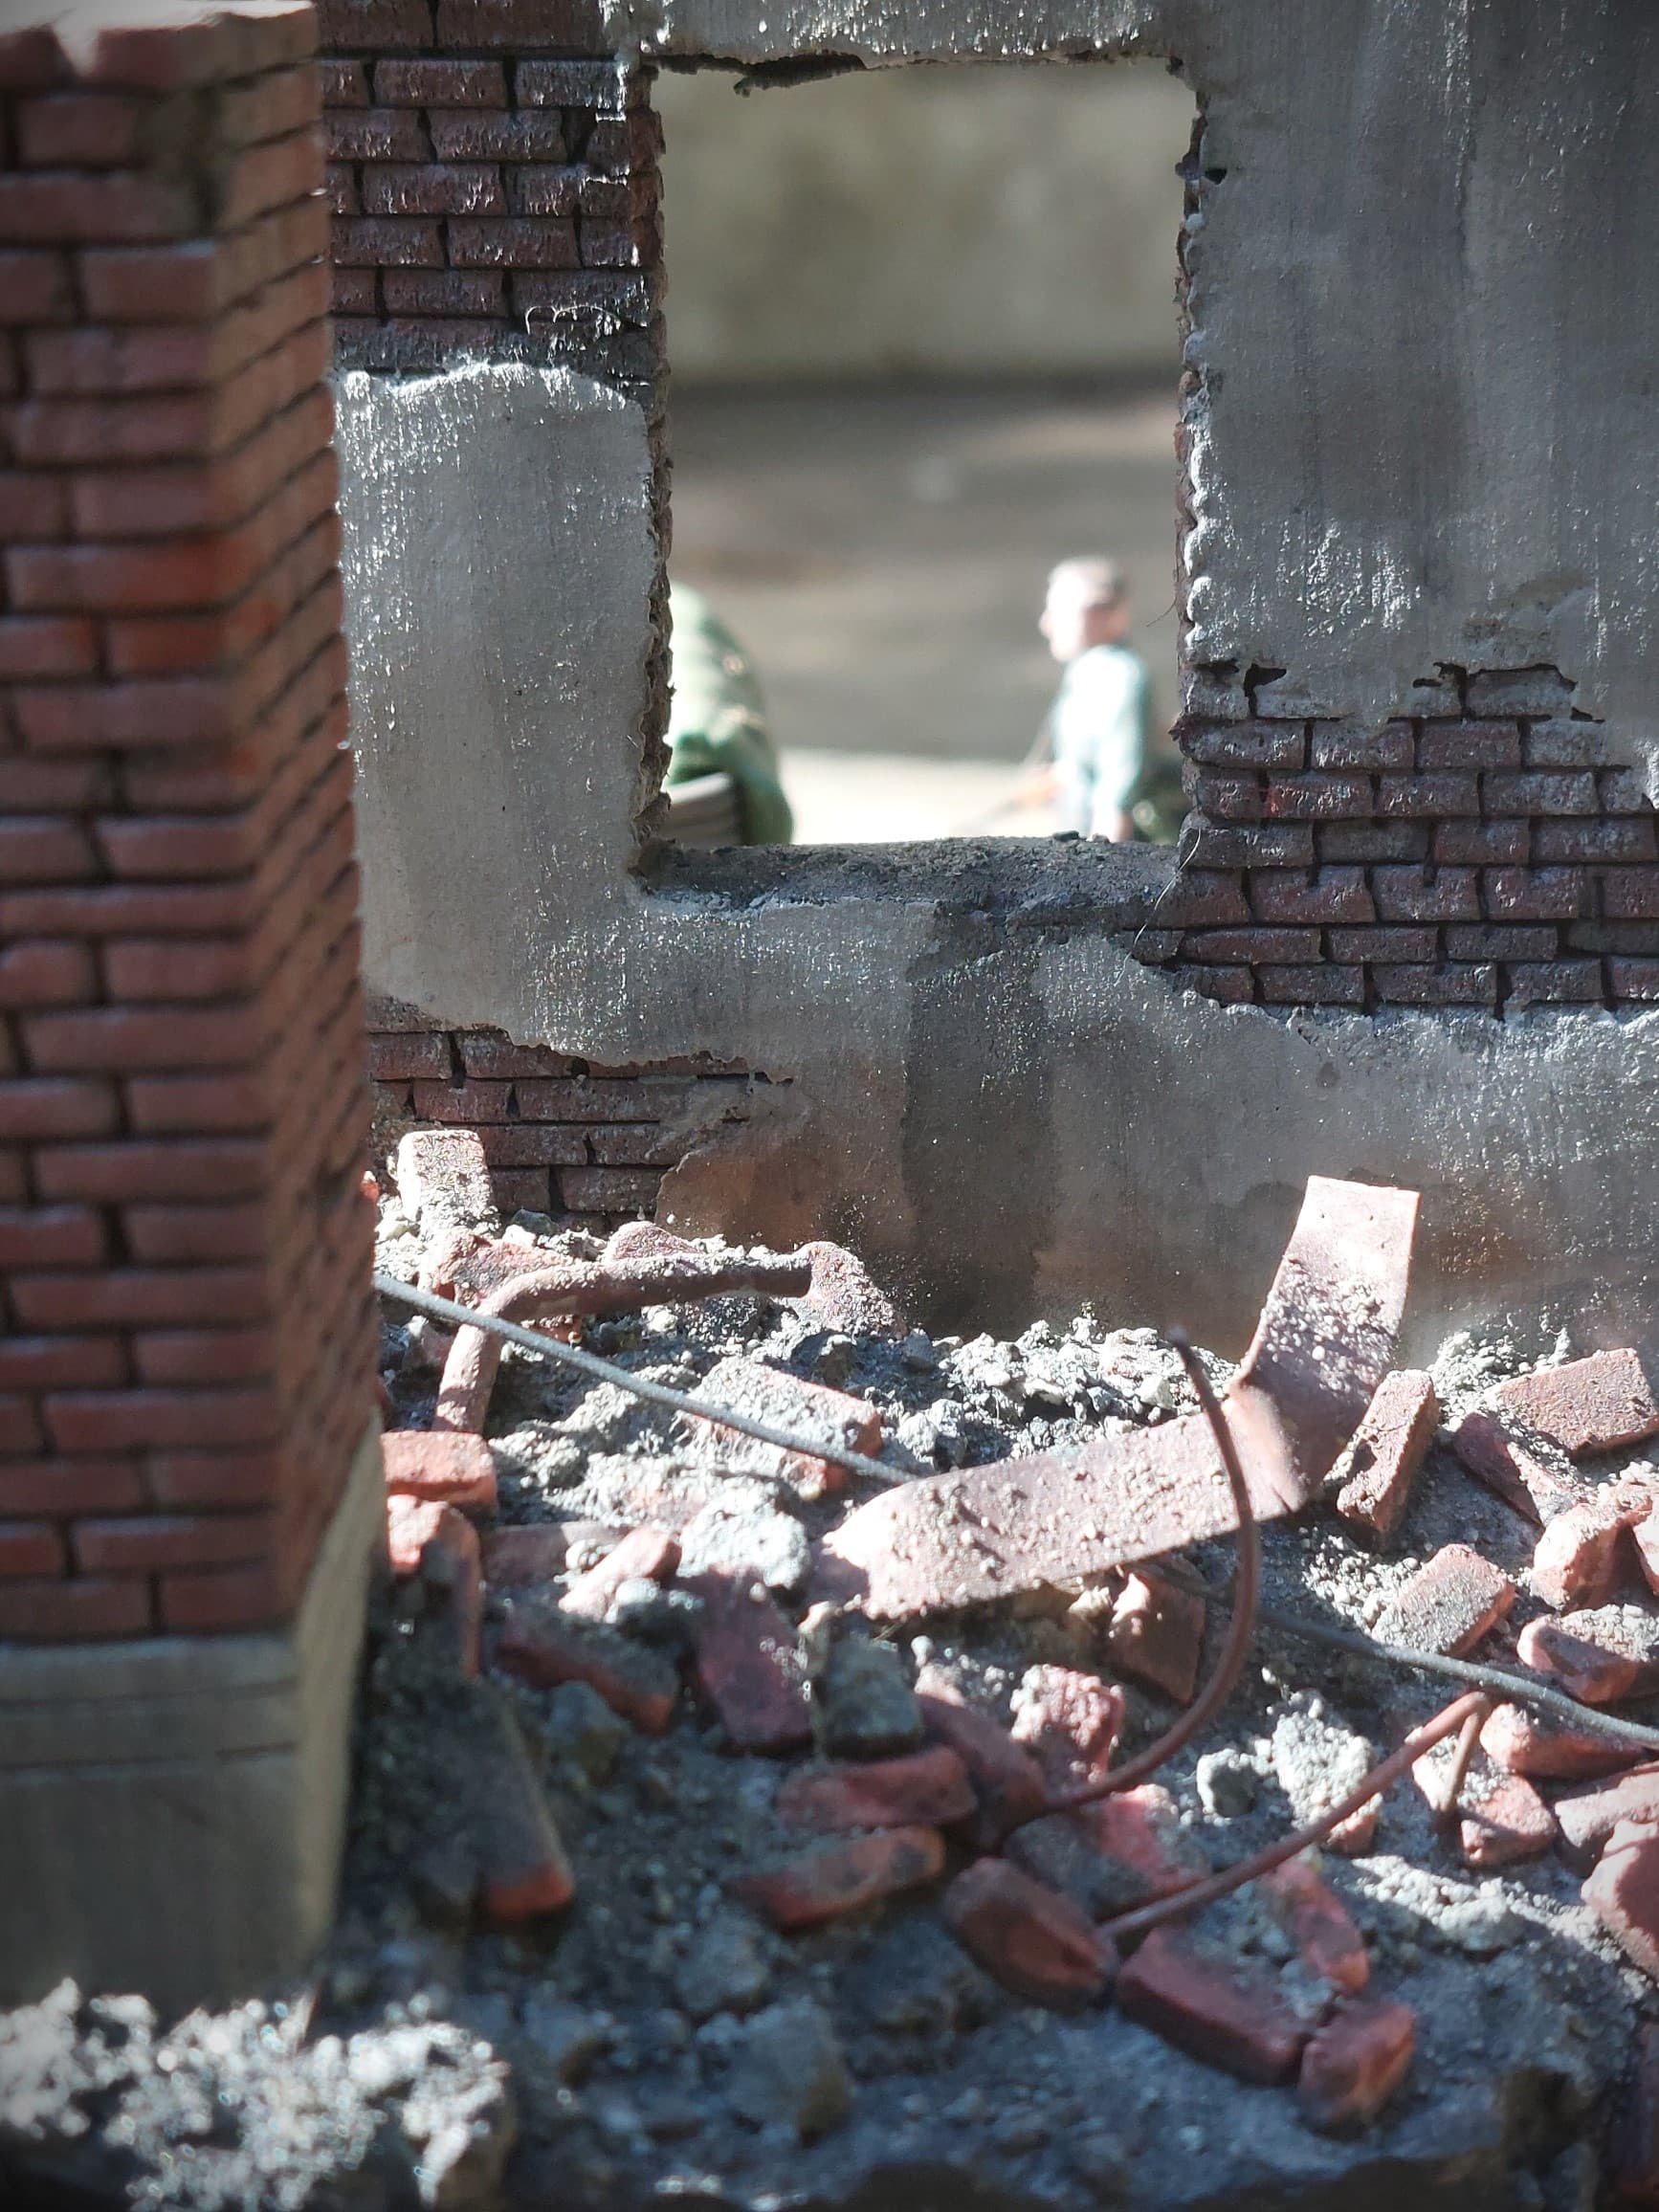
Base and building ruin is scratch built out of foamboard
Various debris from what was lying around.
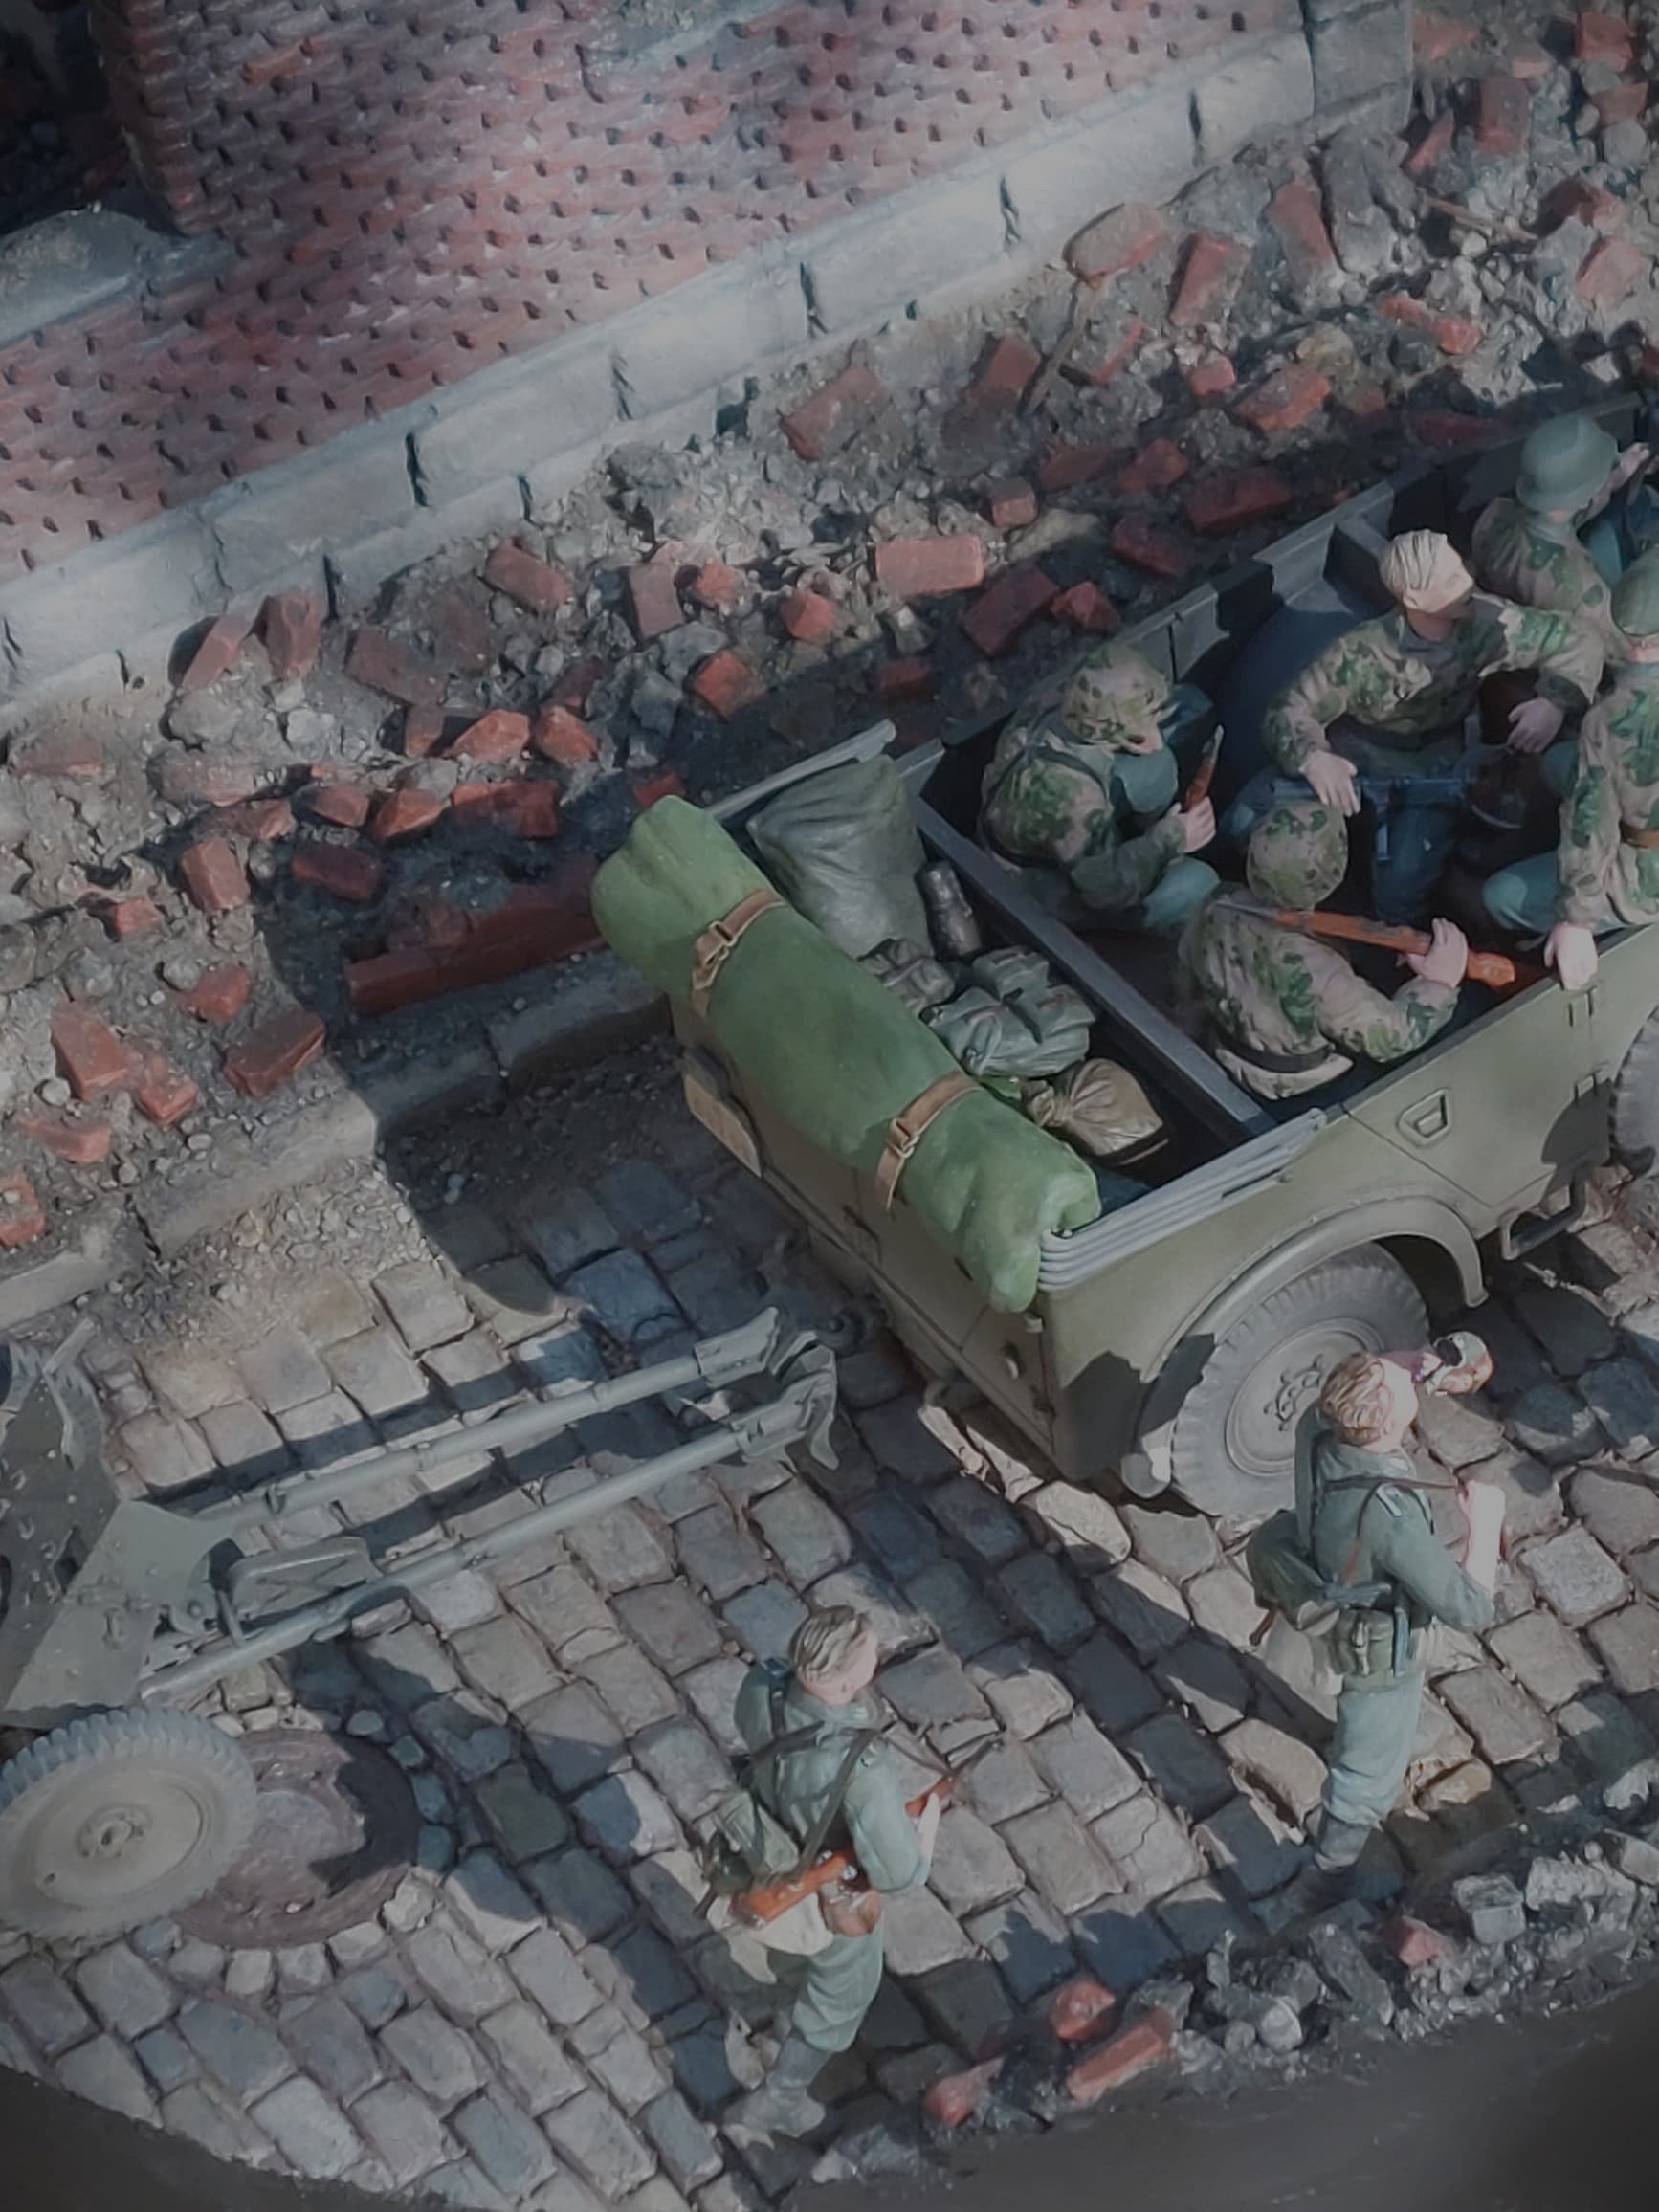
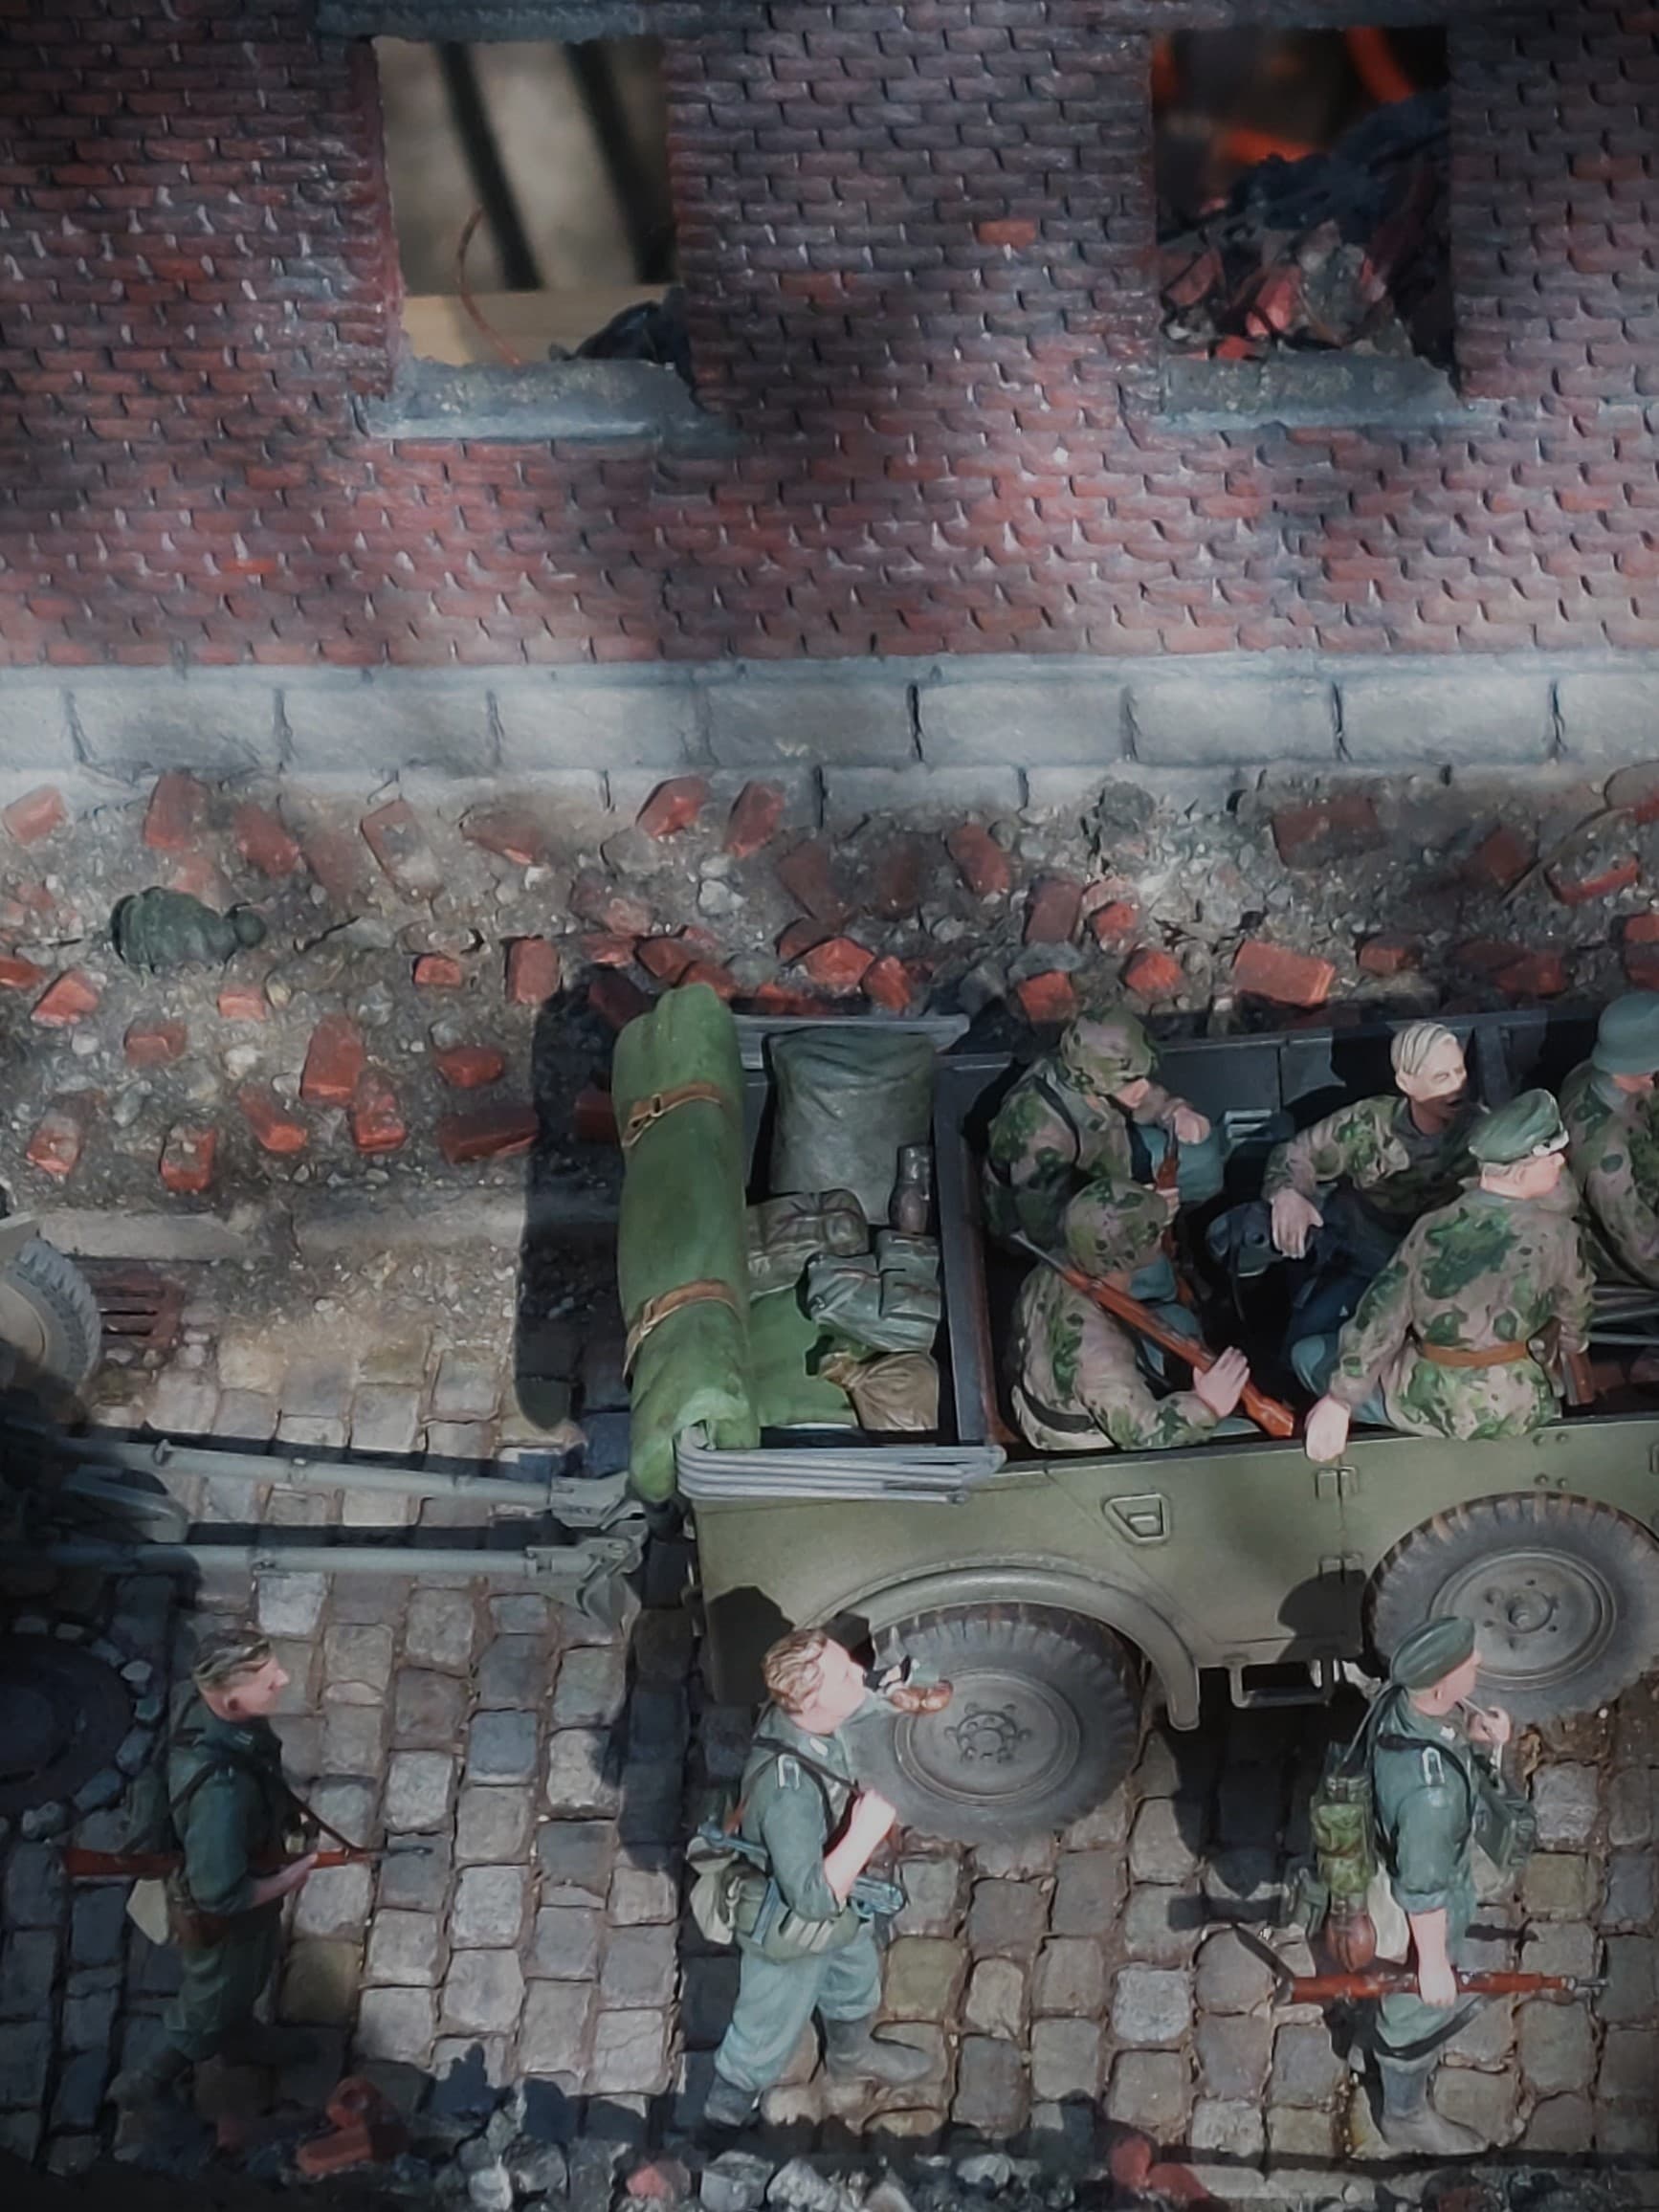
Diorama depicts an early war joint effort with both SS and Wehrmacht soldiers moving toward the front somewhere in the east.


10 Likes
Looks like outstanding detail
3 Likes
how did you do the buckles on the back of the vehicle?
2 Likes
The buckles were done with brass wire formed around various size drill bits. The straps are material (lead?) from wine bottle cork cover.
Cheers,
C.
1 Like
buckles look awsome , can you explain the “brass wire formed around various size drill bits” method a little more in detail?
1 Like
This thread flew under my radar - possibly for others too judging by the size of response, it deserves more. Anyhow I’ve only just noticed it - maybe the title needed to attract more specific attention even though I know it was filed correctly in Dioramas. Charles, everything looks well up to your usual high standards & there’s literally heaps of detail to explore. Bonus points for daylight photography and the photography itself - and monochromes of some of your final set of photos should look fantastic.
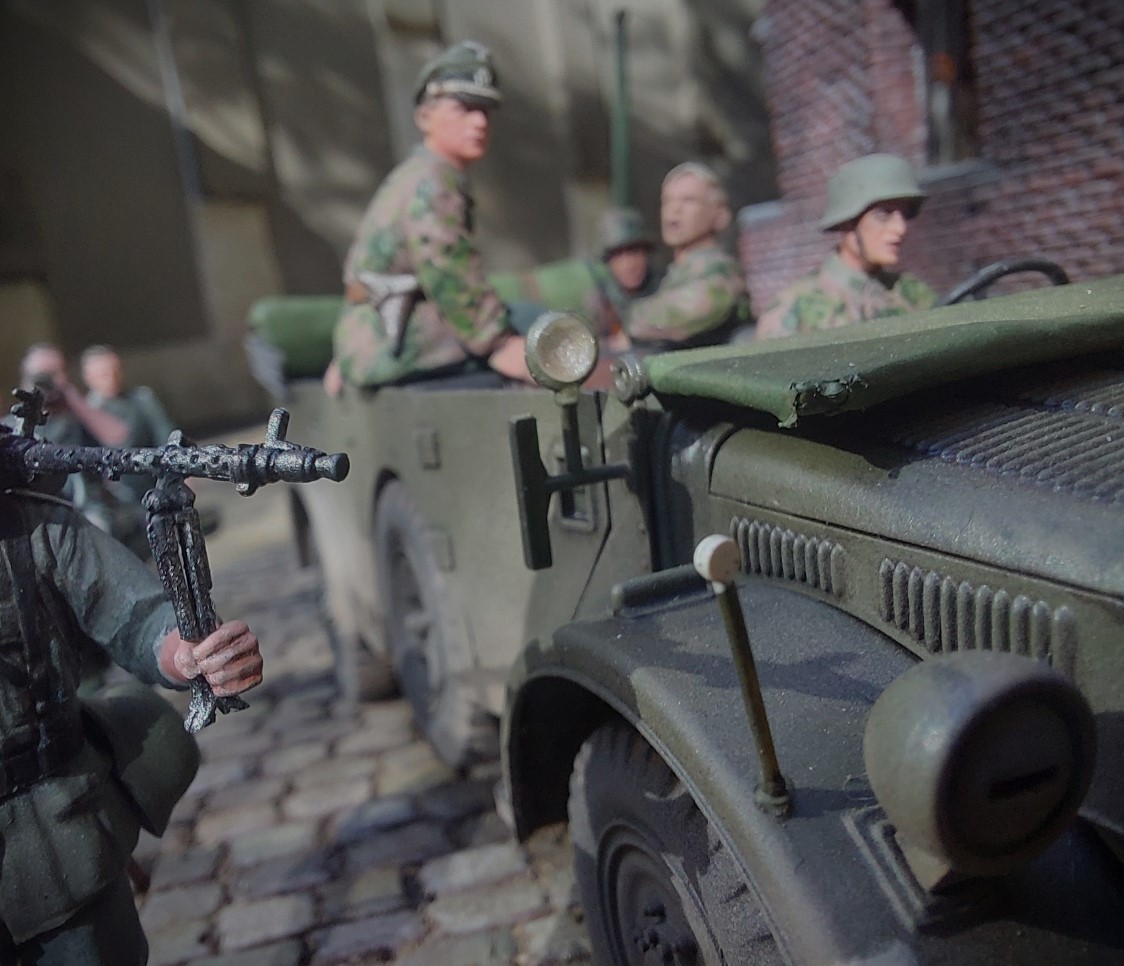
You asked what we thought so in addition to the above my issues are the Horch looks too clean as do the uniforms. And arguably the narrative’s vague; purely my personal view but it looks more like a tactical withdrawal, although granted that would look more likely if there were a few bloodstained bandages evident. But to me dioramas should ideally tell a story without the need for explanation (or even a title), and “Forward to the front” (maybe only to me) says more about what might happen rather than what has happened, and I’m suggesting the latter could have more scope for in-built narrative.
Please don’t get me wrong, what you’ve done is excellent and I wish more guys would emulate it.
2 Likes
I attempted to write an explanation but found it much easier to take a few photos showing how I did the strap buckles.
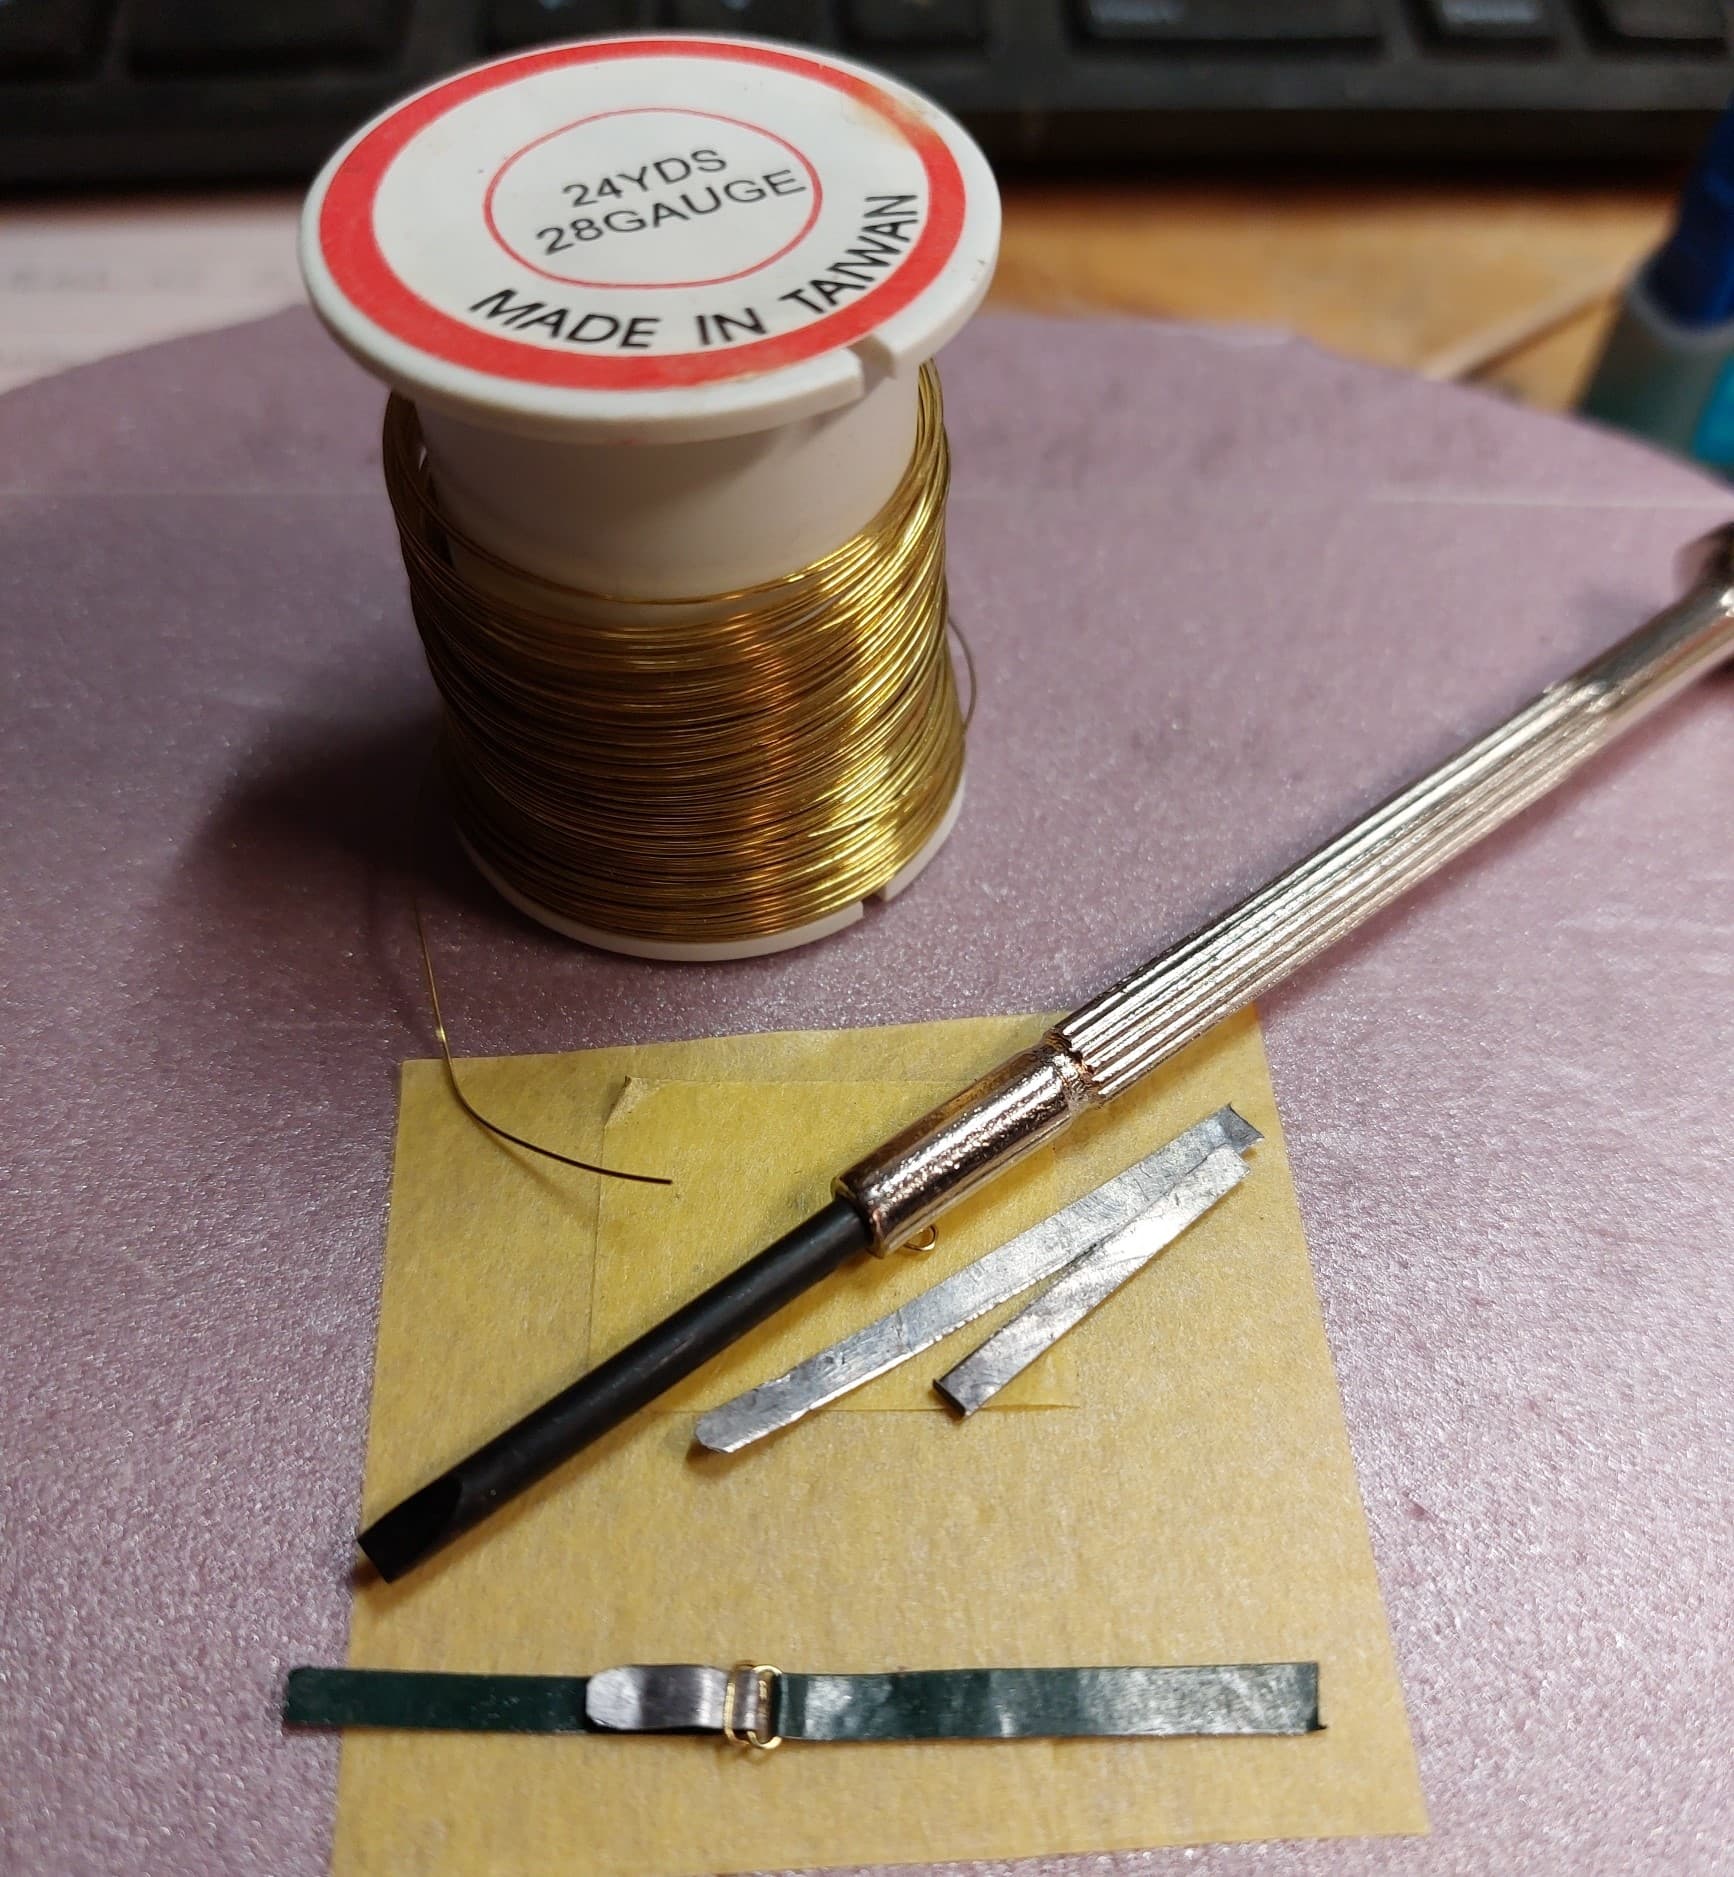
Photo #1 shows the materials & tools. I used a flat head jewelers screwdriver of the same width as the strap rather than using drill bits as I couldn’t find two small bits of the same diameter in my work room… With the drill bits, you would just put them into a piece of wood with the distance between them the same as the width of the strap, then twist the wire around them. With the flathead screwdriver, I twist the brass wire around the tip tight enough to bend it into the shape.
First, cut the lead material or whatever you are using for the straps.
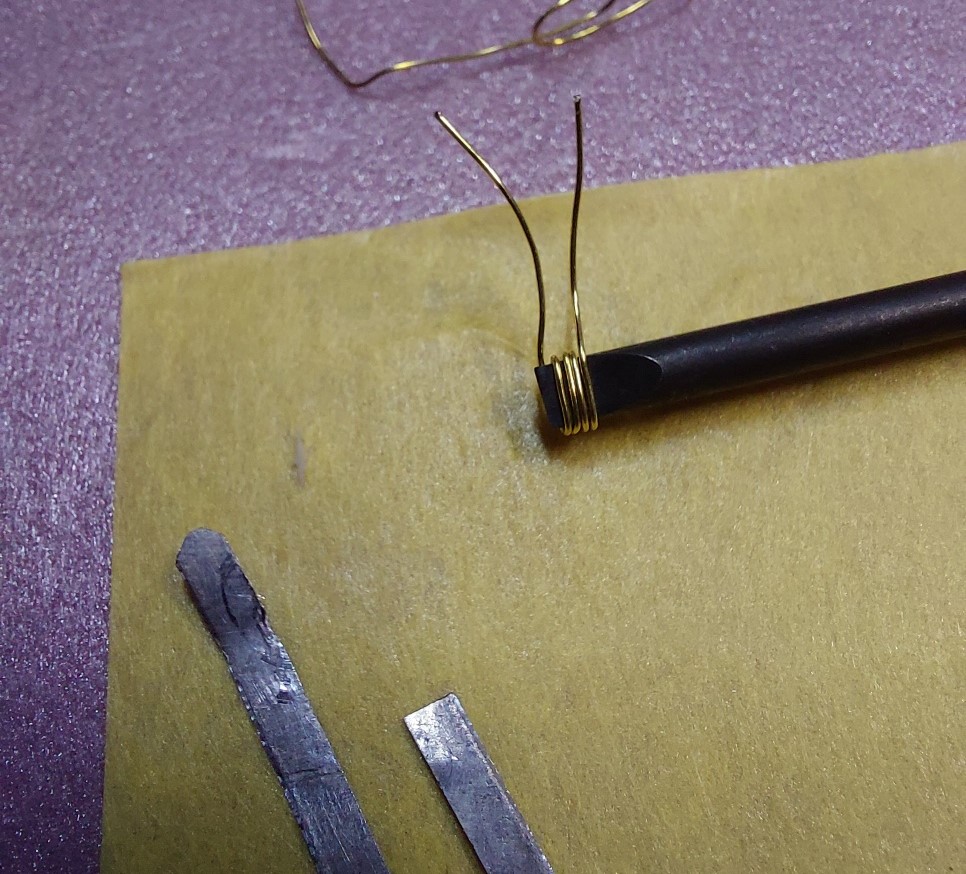
Picture #2- shows wrapping the brass wire. Pull it off the screwdriver and clip it in the center of one side

Photo #3 shows the brass buckle parts. Only two are needed per buckle but I usually cut several as they are easily lost. Slip one brass piece onto the strap, cut to the inside, and fold the strap down locking the buckle piece in place.

Photo #4- I usually secure this with a small amount of super glue.
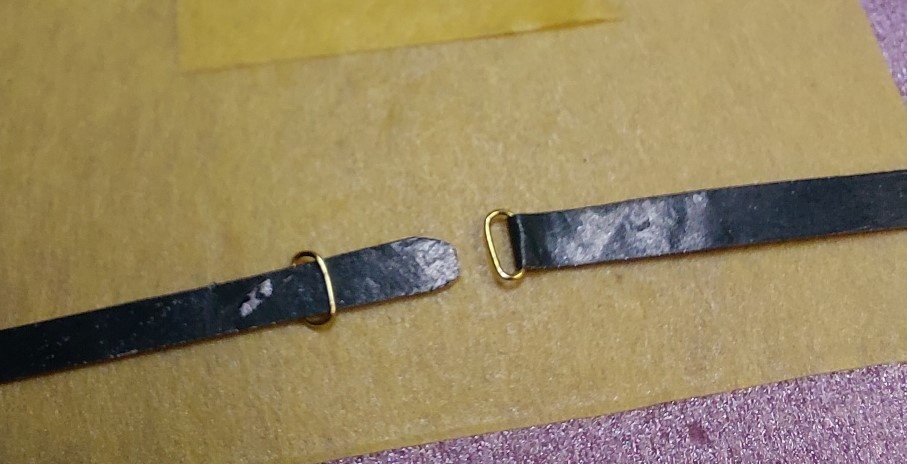
Photo #5 - Slip the brass buckle piece over the second piece of strap. Thread the second strap through the first buckle piece and fold it back. Thread it through the second brass buckle piece and slide that piece toward the first buckle piece. Again, I usually affix this with a drop of superglue on the back side
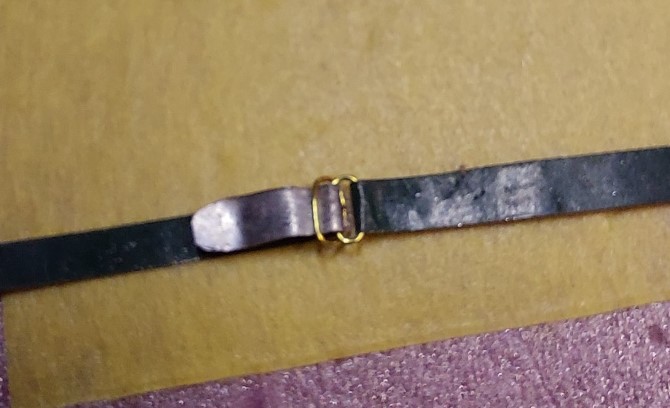
Photo #6 - Finished product ready for paint
11 Likes
@ Charles (creading).
Thank’s for the very informative SBS. ![]()
—mike
2 Likes
i could not have asked for a better tutorial on this …ty
3 Likes
Excellent tutorial. Outstanding results!
2 Likes