VPC the command version of the VBCI

Hi all

here is the most demanding project I will build this year. I have already built a VBCI with a nearly full scratch interior. So I needed, I just wanted in fact, the command version. The conversion by KMT is long out of production however I managed to grab one from a fellow modeler.

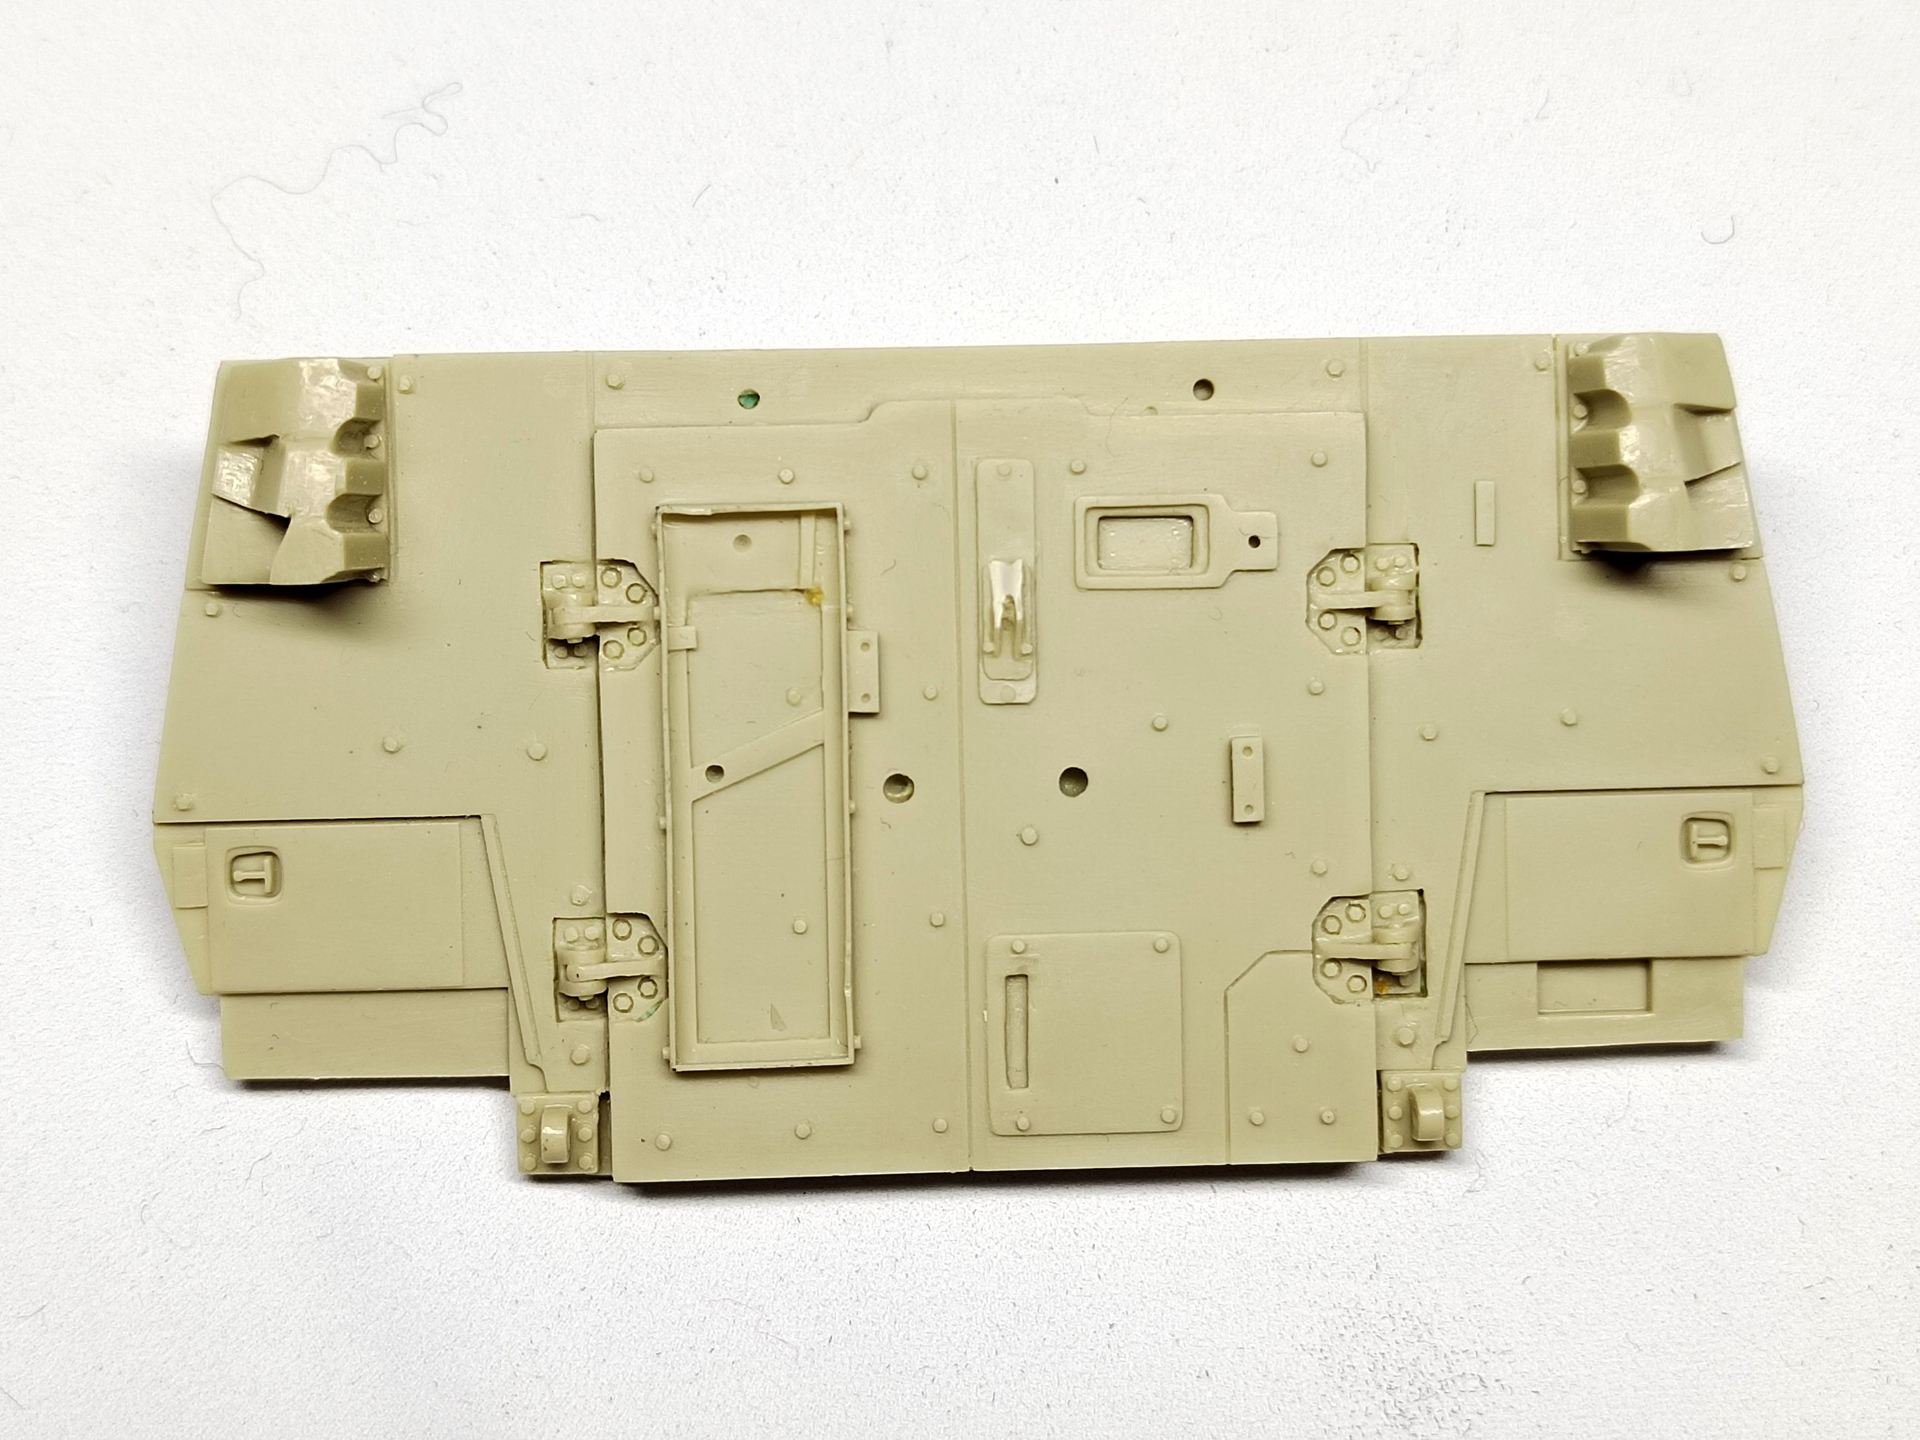
The original intent was to build it with the interior like the VBCI. Unfortunately the conversion is not designed to have the rear doors open and I don’t feel brave enough to open the resin rear plate. However I will show the maximum through the open roof hatches.

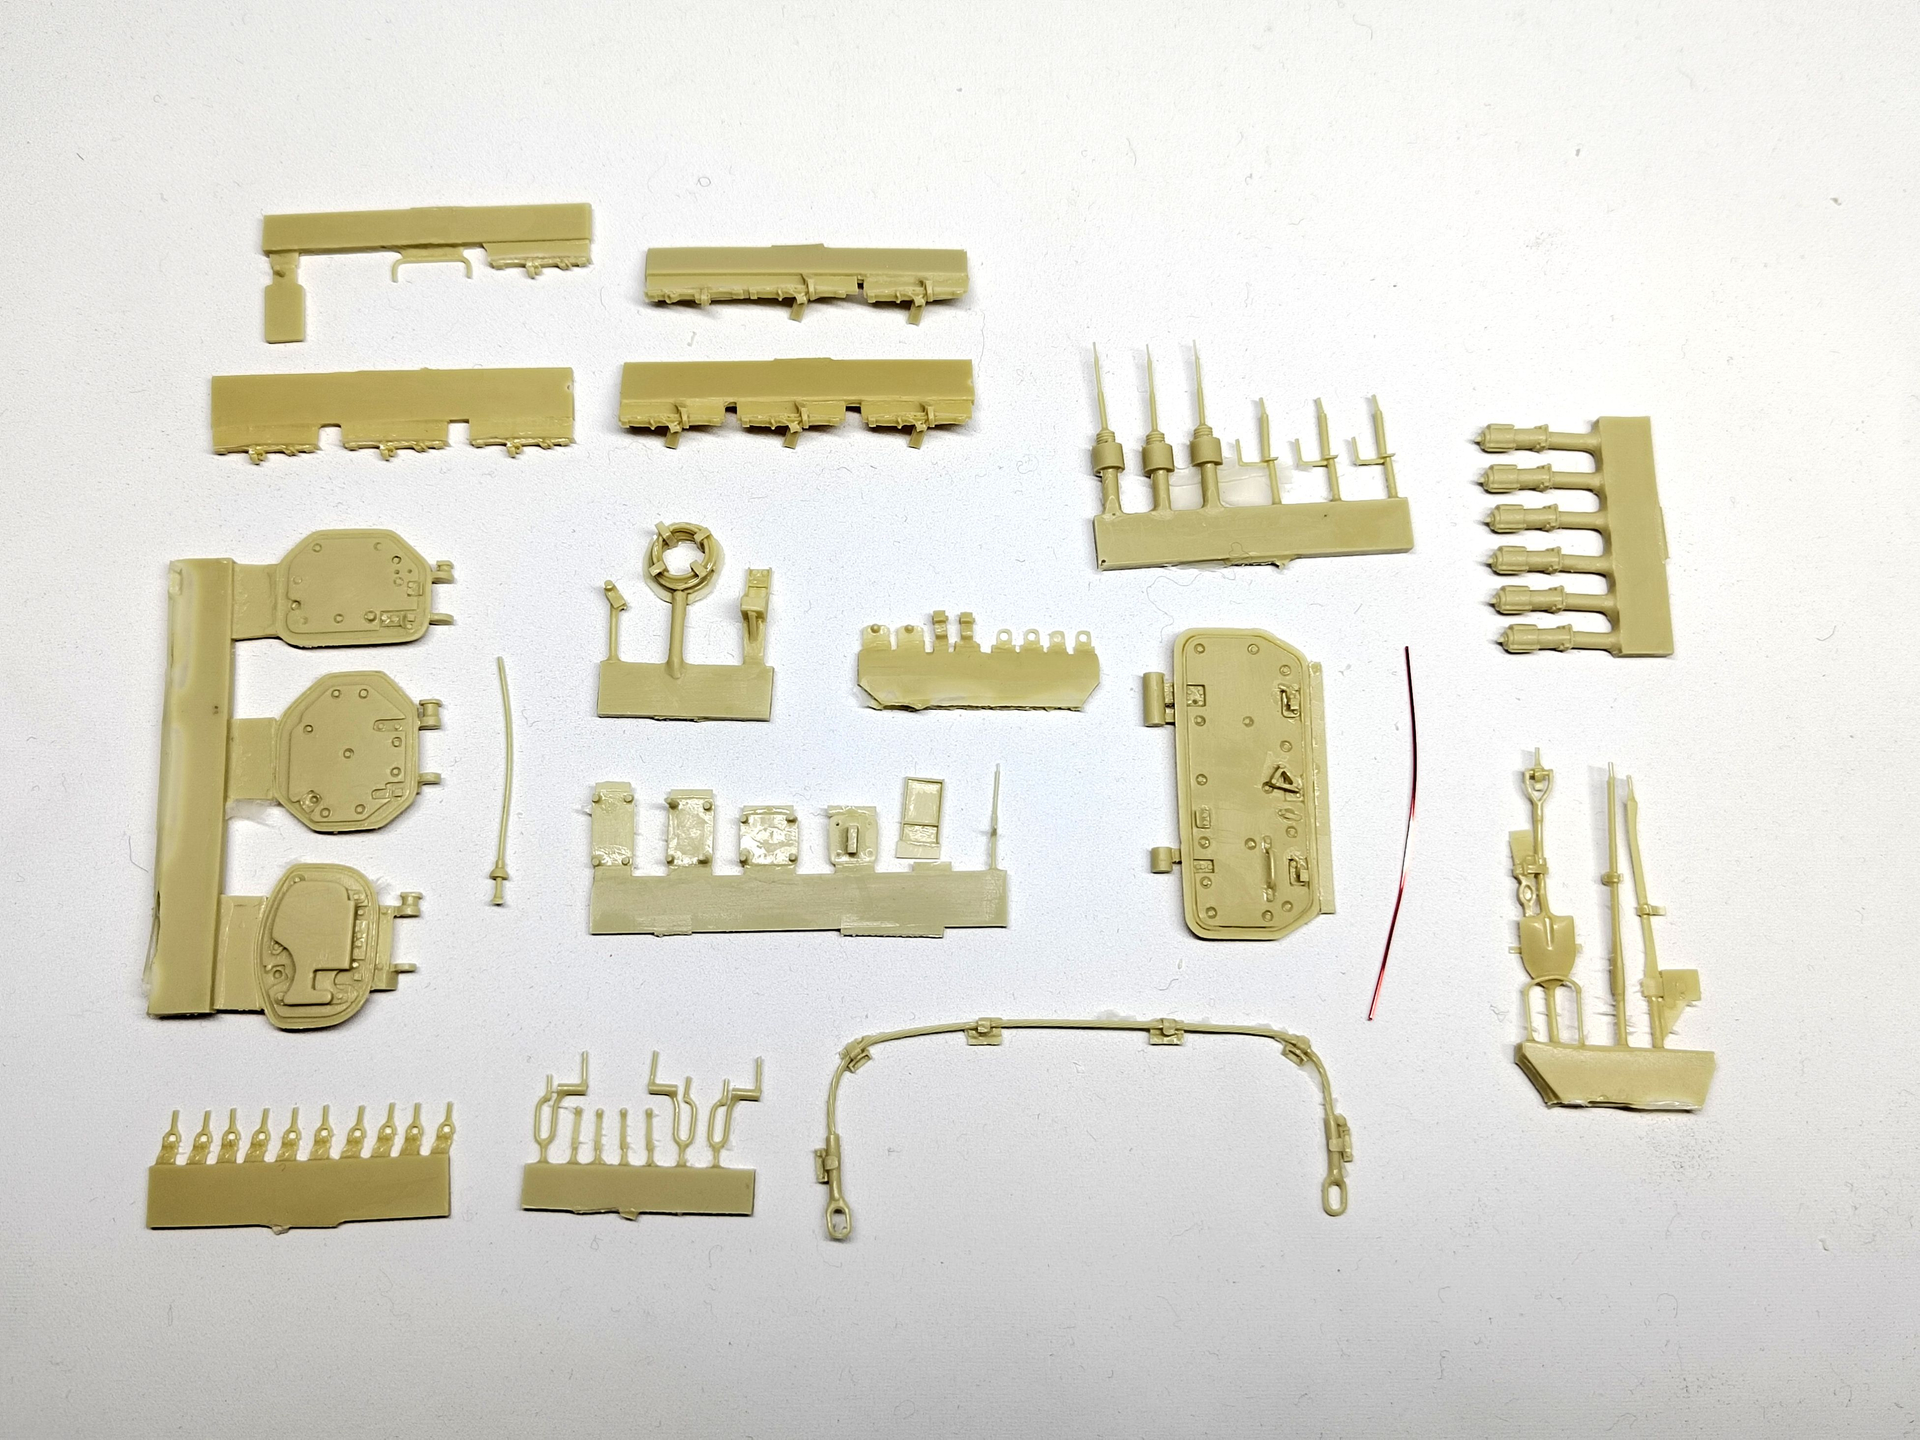
Here is what you get in the conversion set.

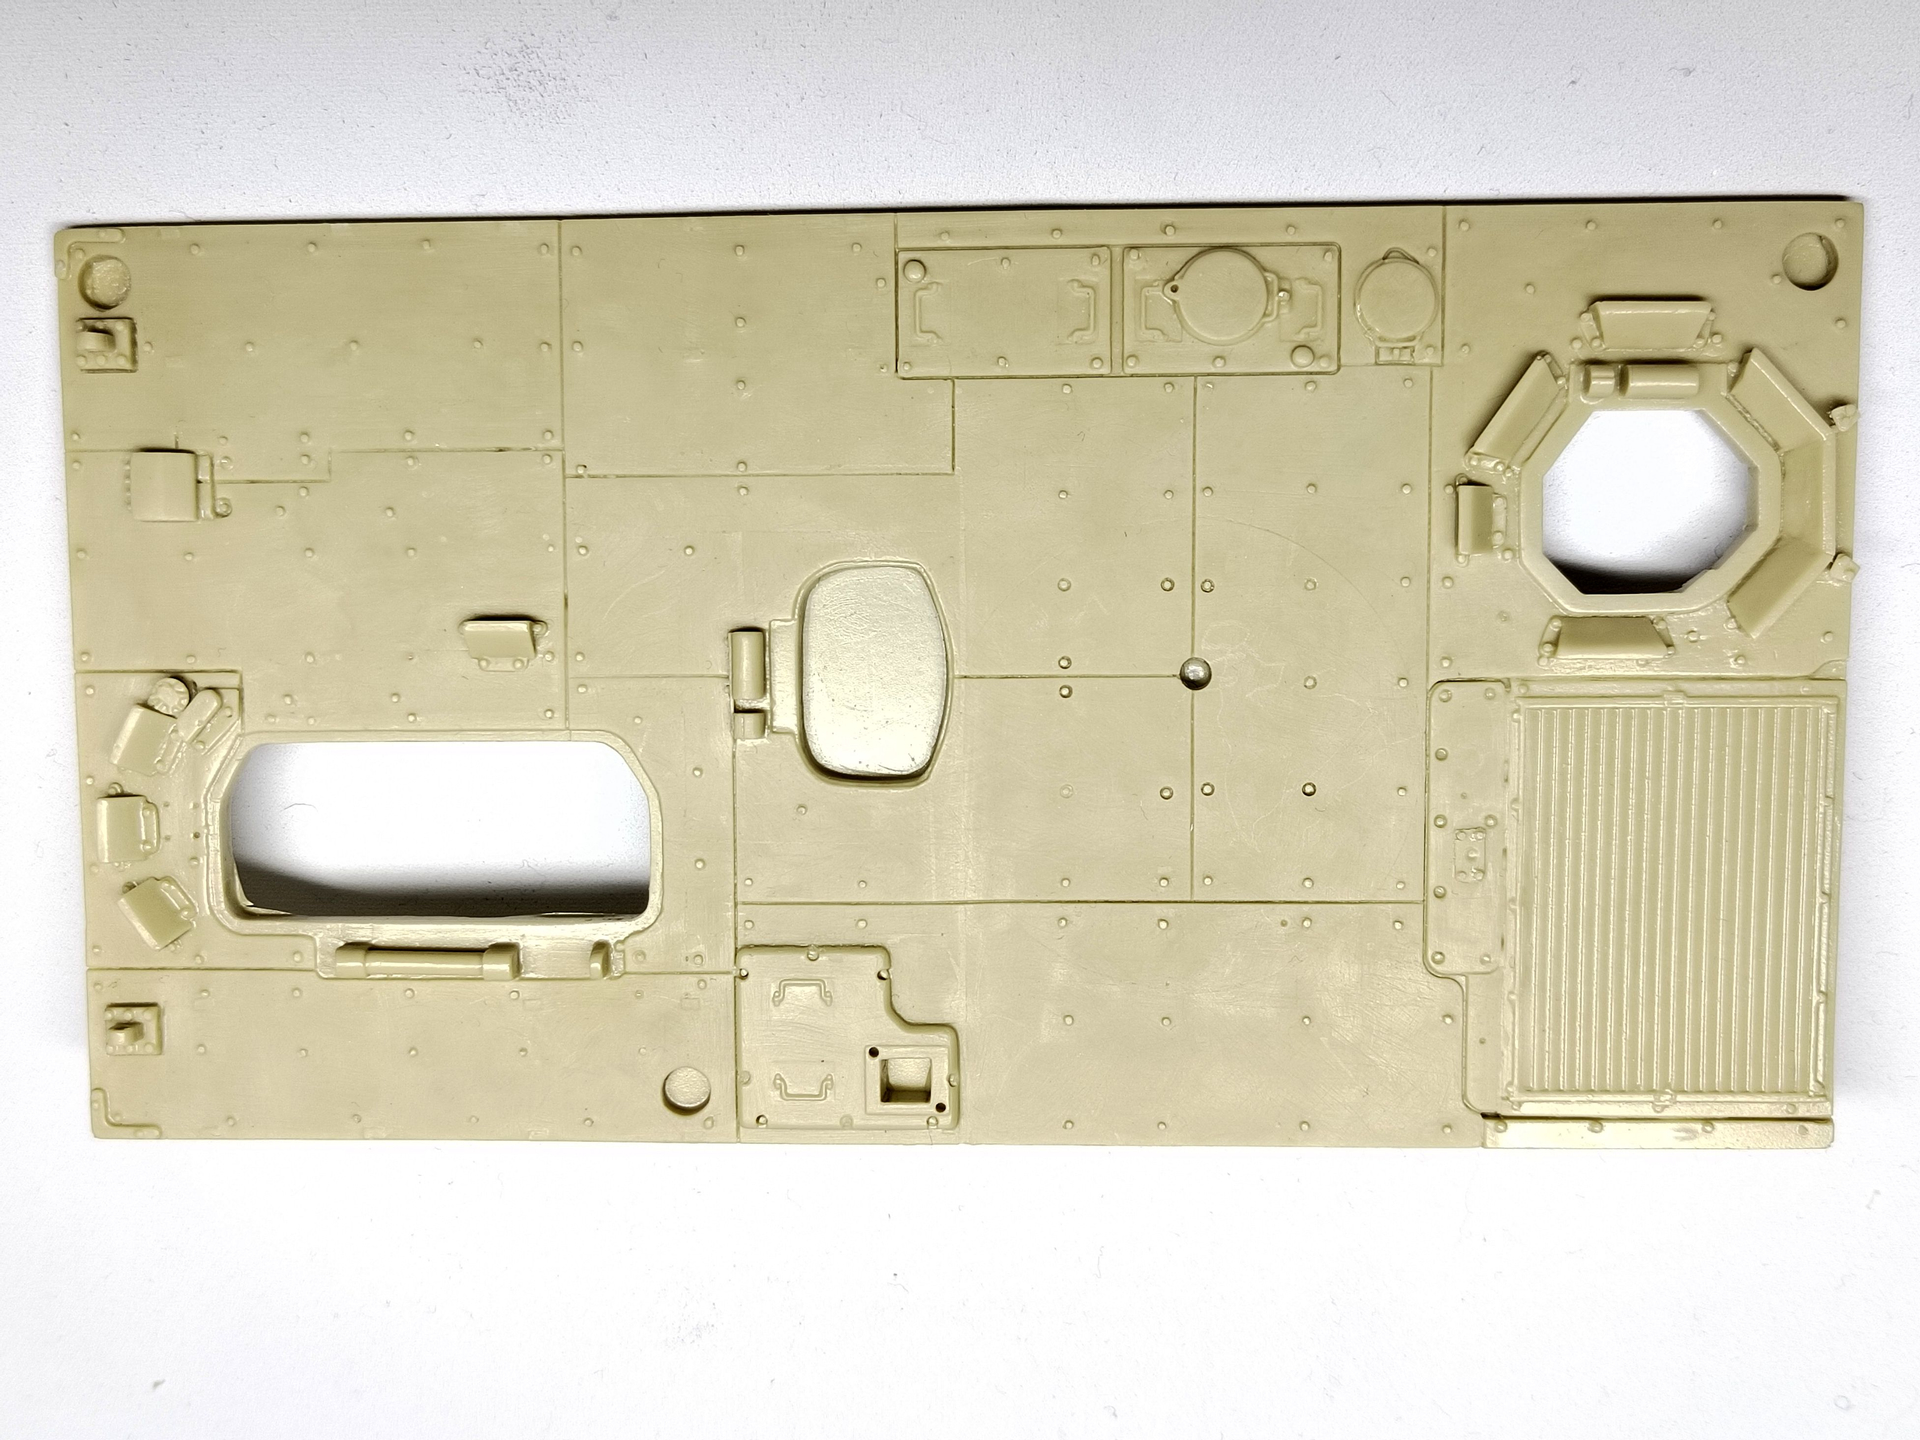
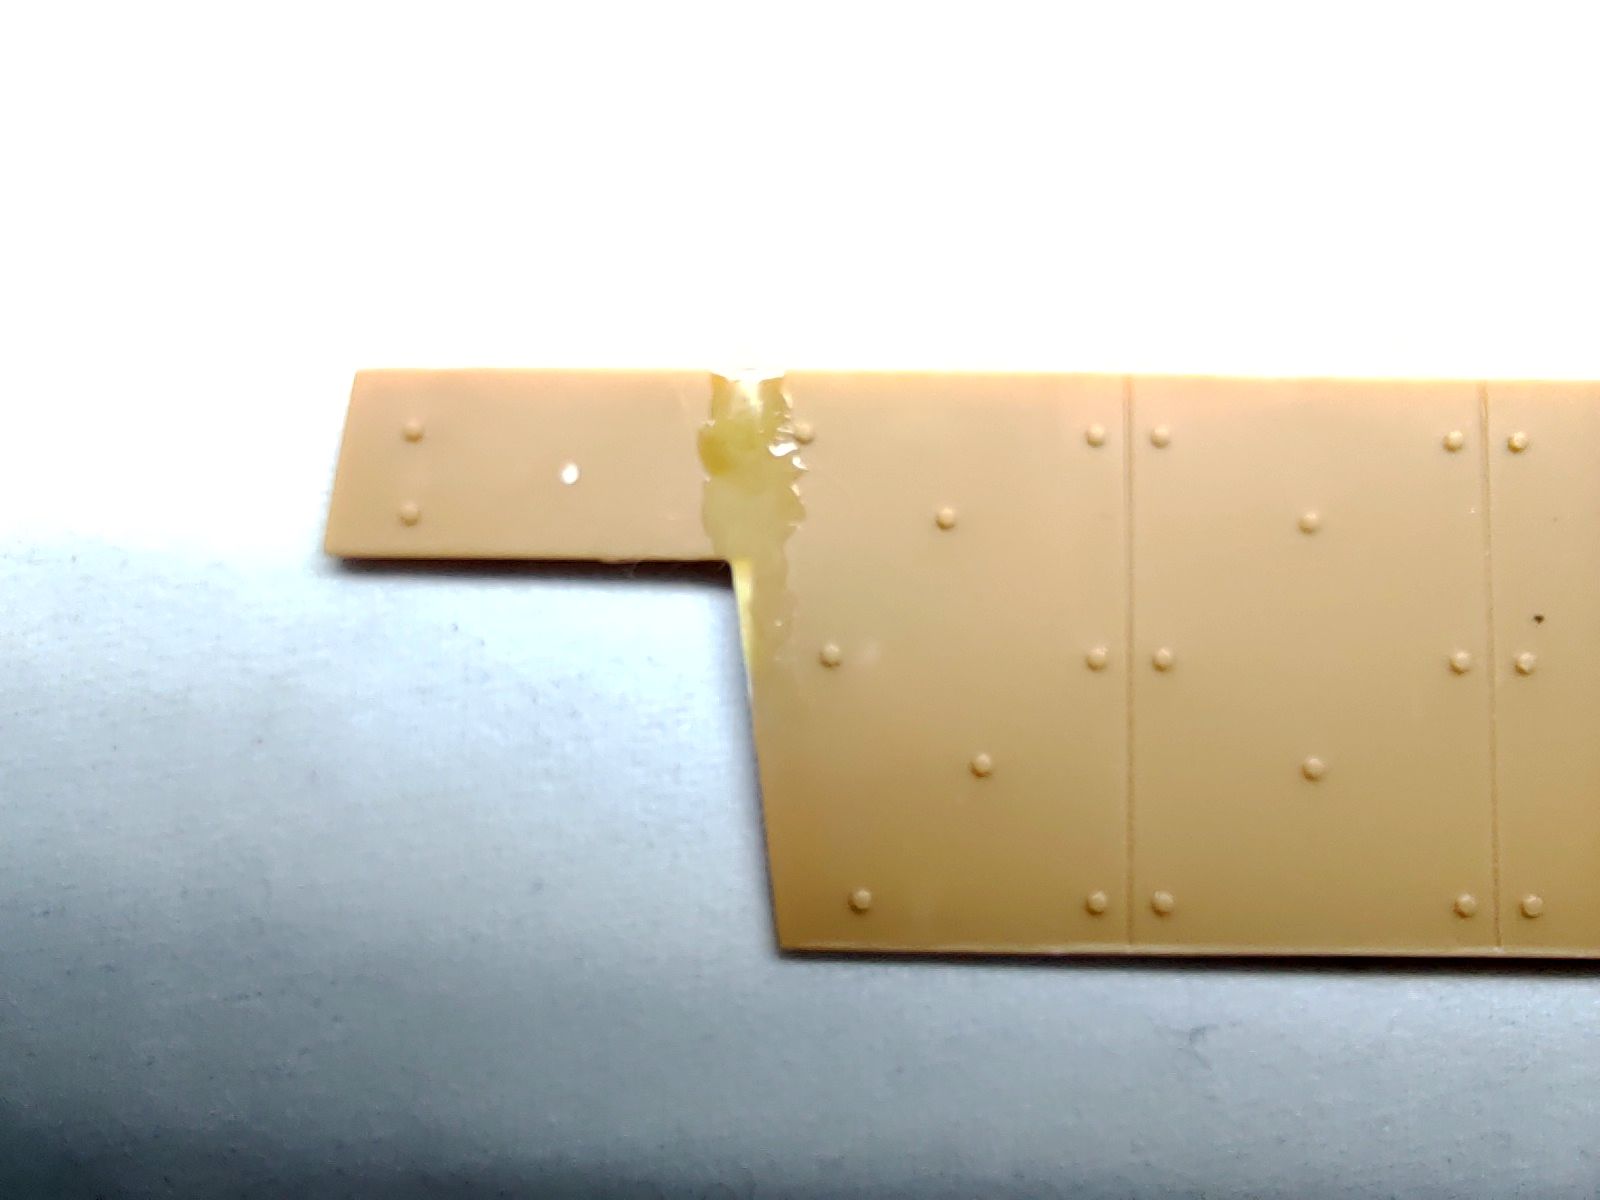
Before starting the build, I have to fix the main Heller flaws that is the front plate wrong design, some details omission and ill-represented shock absorbers sleeves.

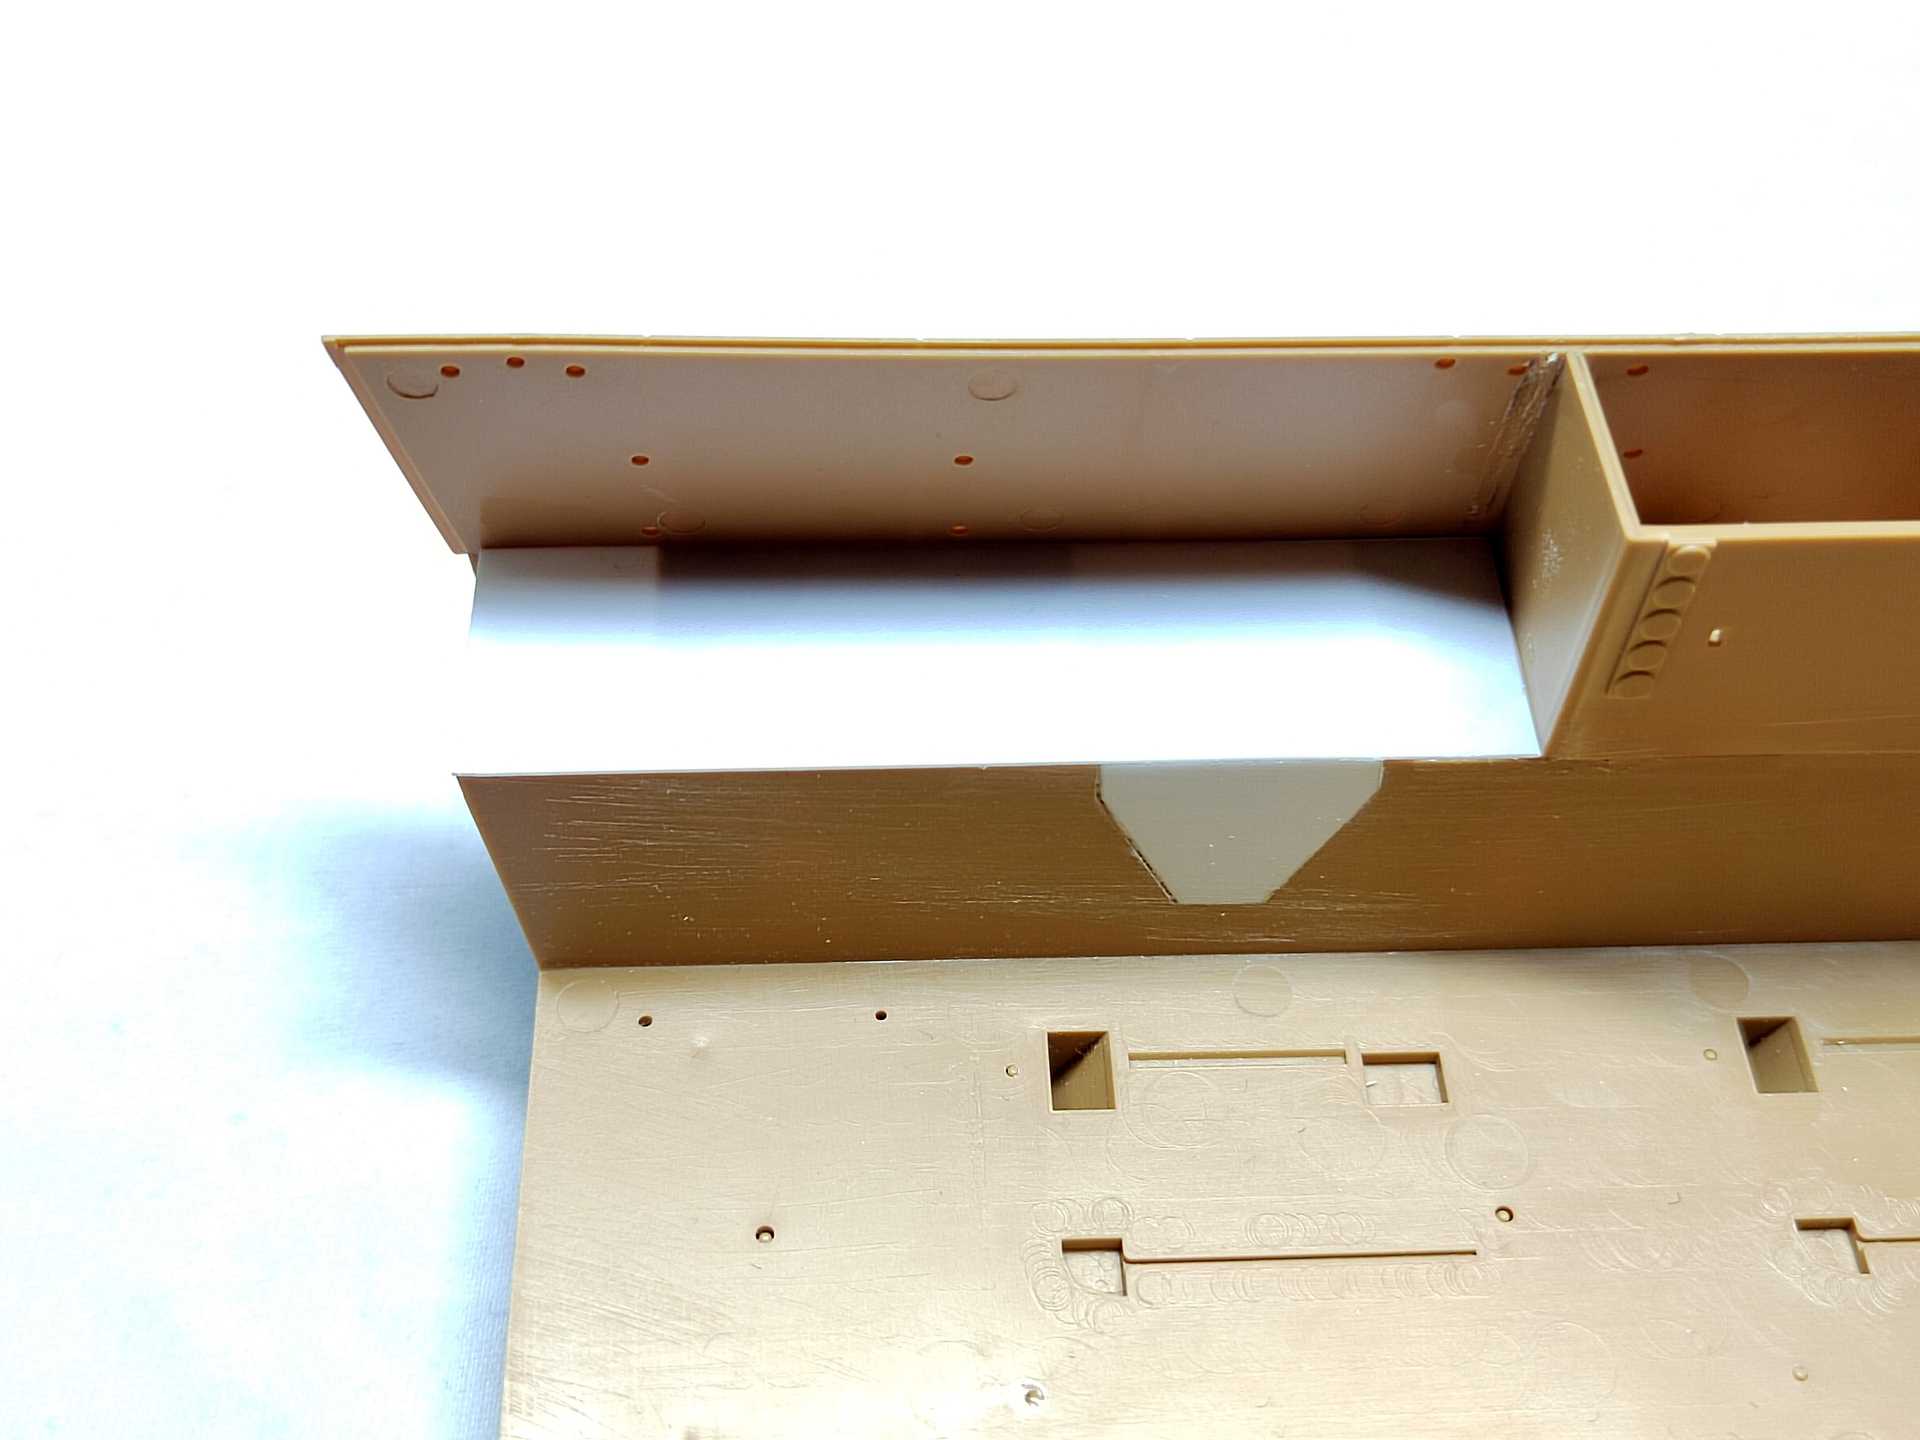
I started with the front by cutting the lower part. Heller represented it too thick which is a mistake. The part was thinned from inside.

The “wings” should not have a 90° angle. So I added a piece of styrene and created the correct oblique shape. The boltheads were moved to the exterior and the original panel line has been filled and a new one engraved at the right place.

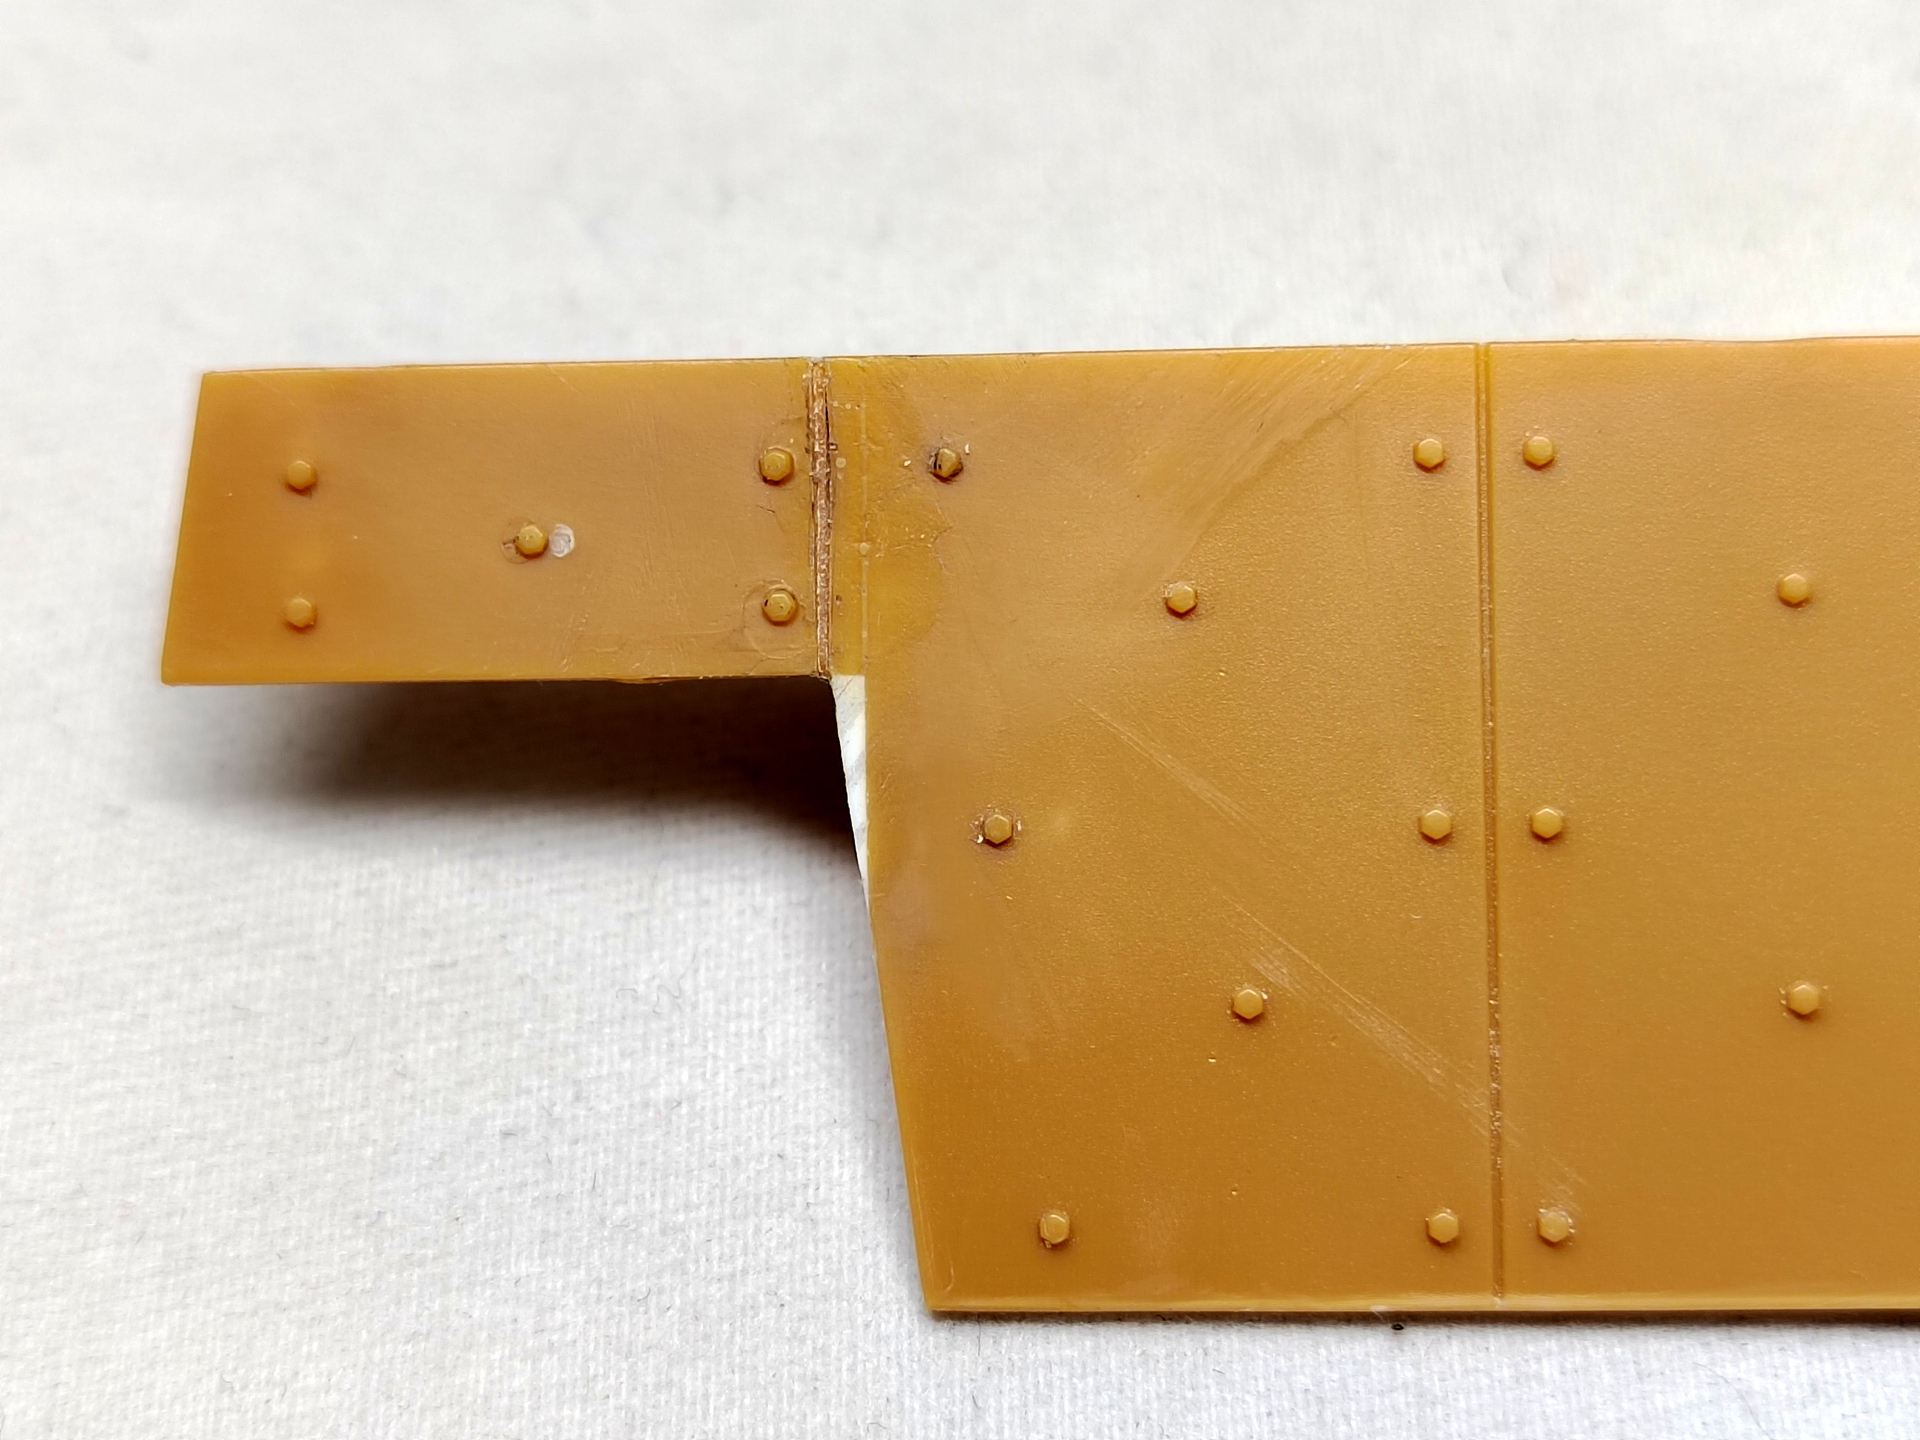
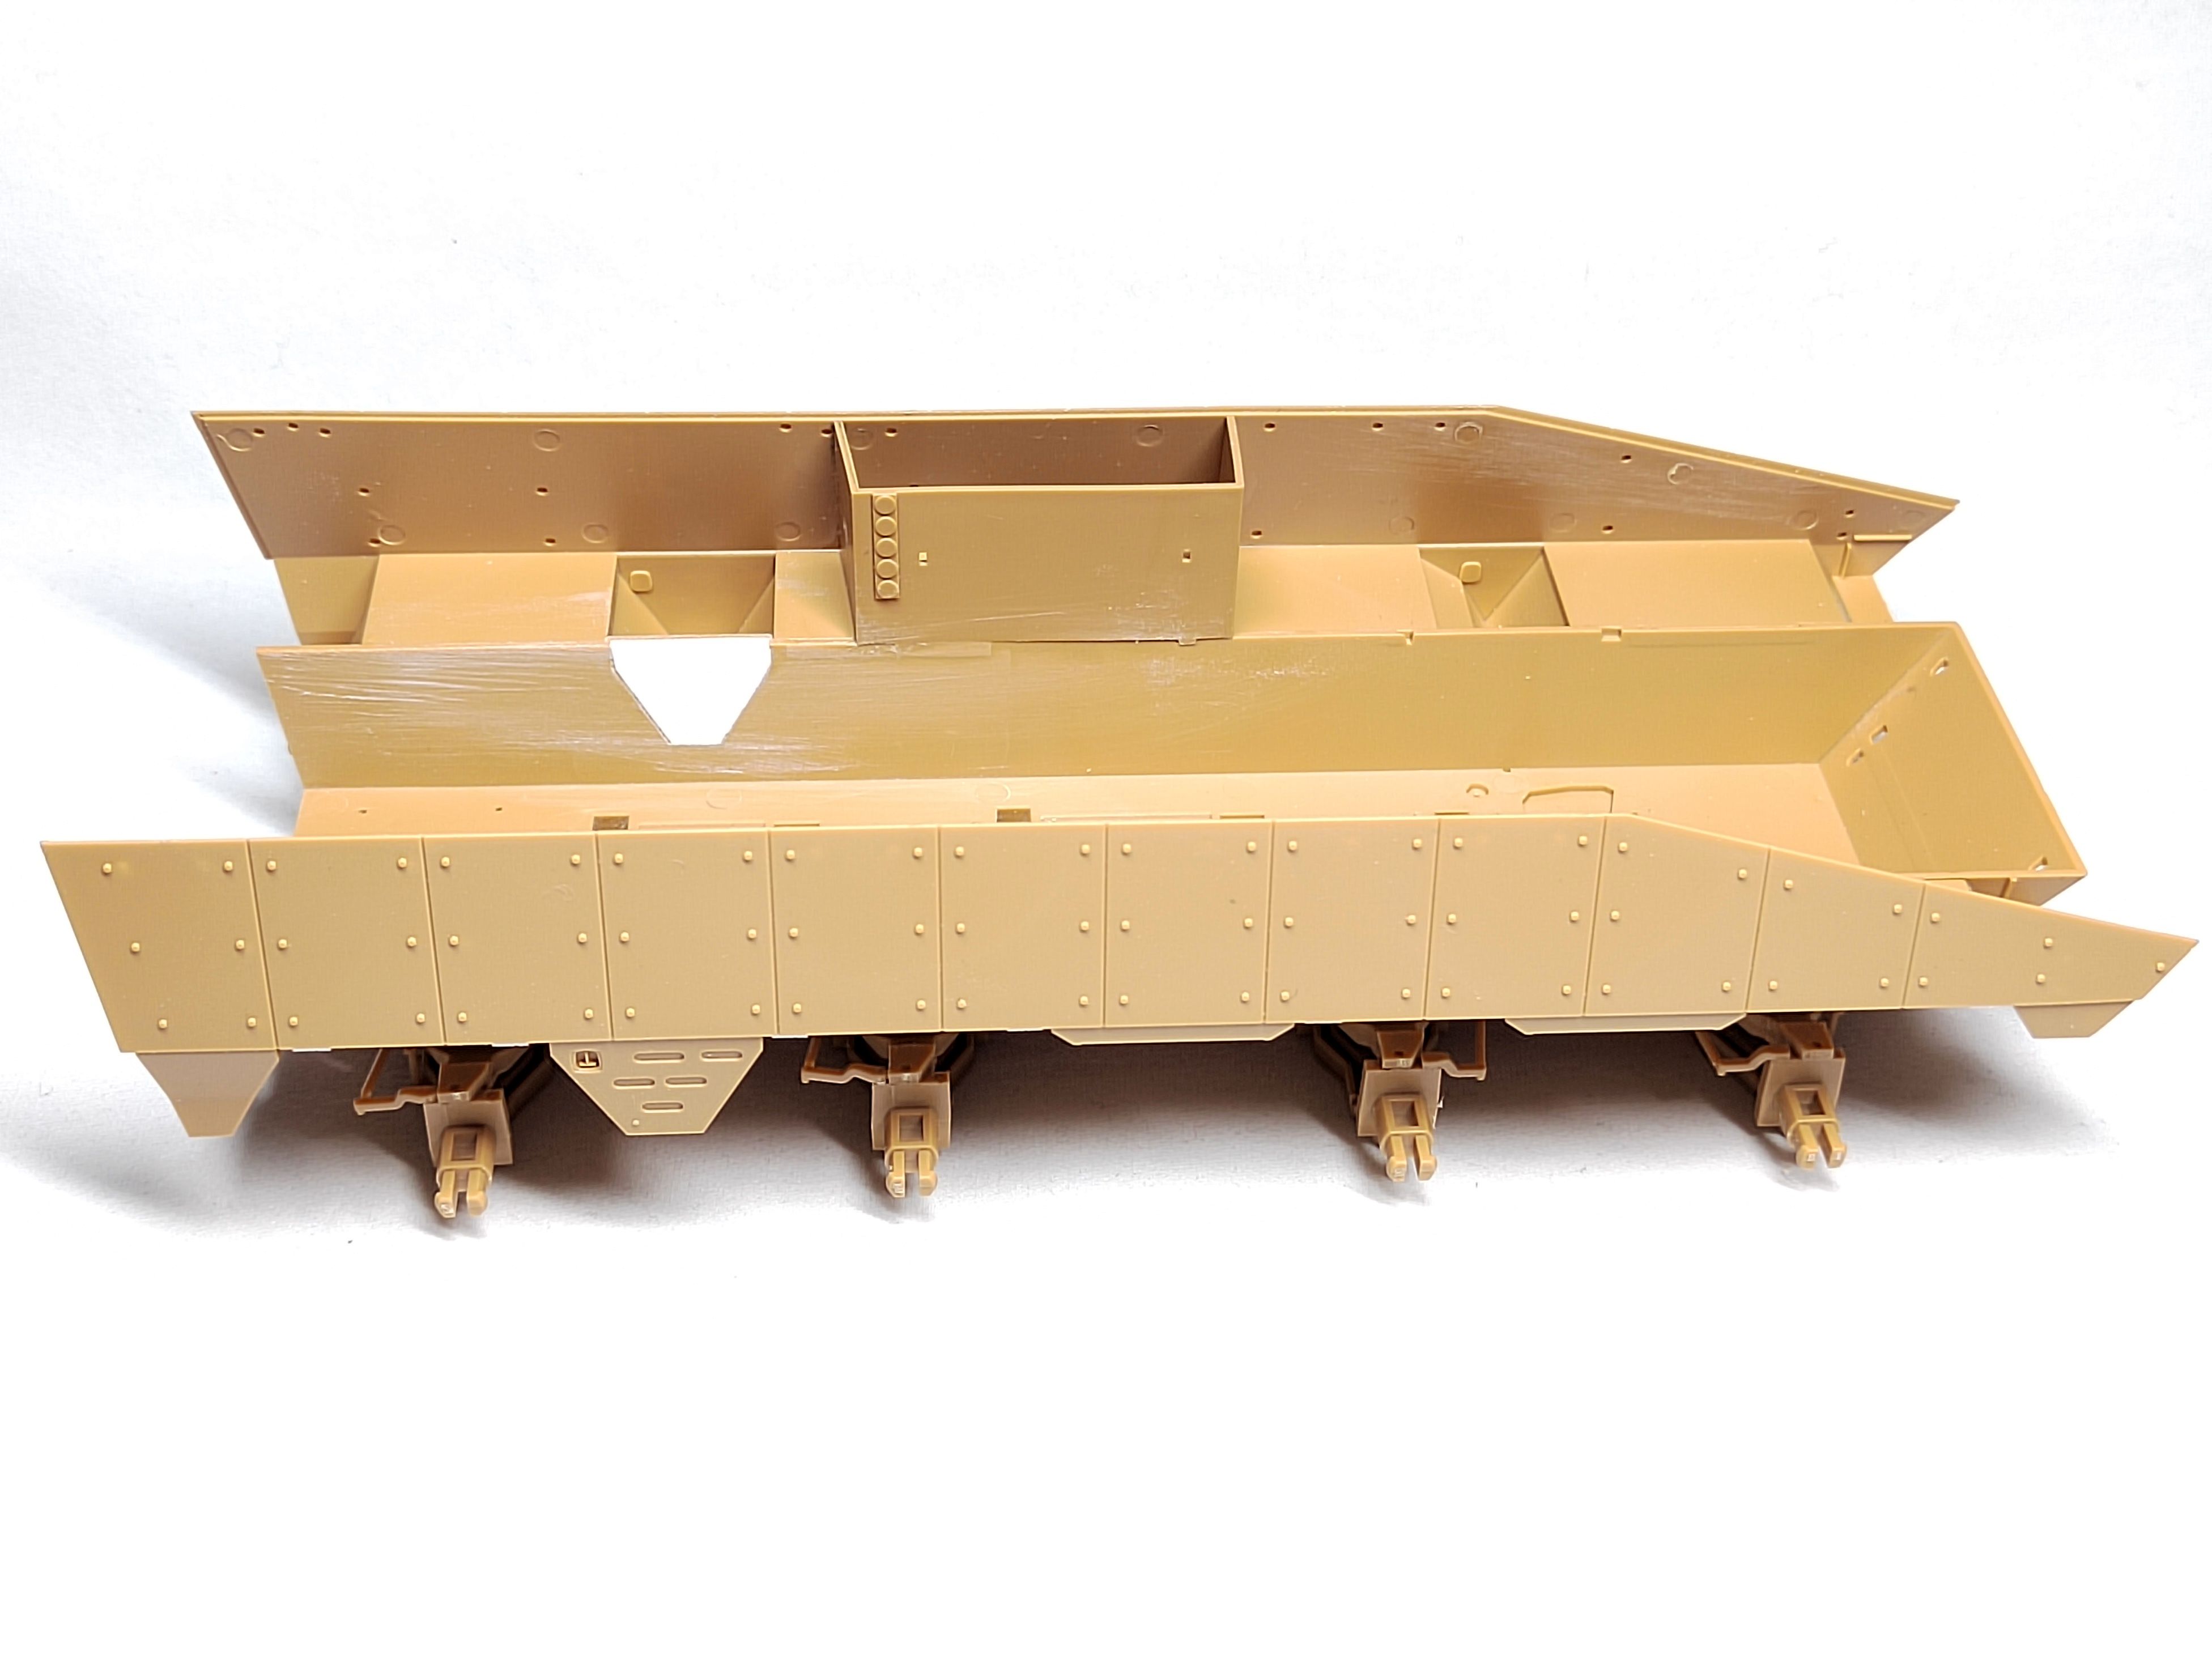
Heller omitted 12 bolted plates under the hull sides.

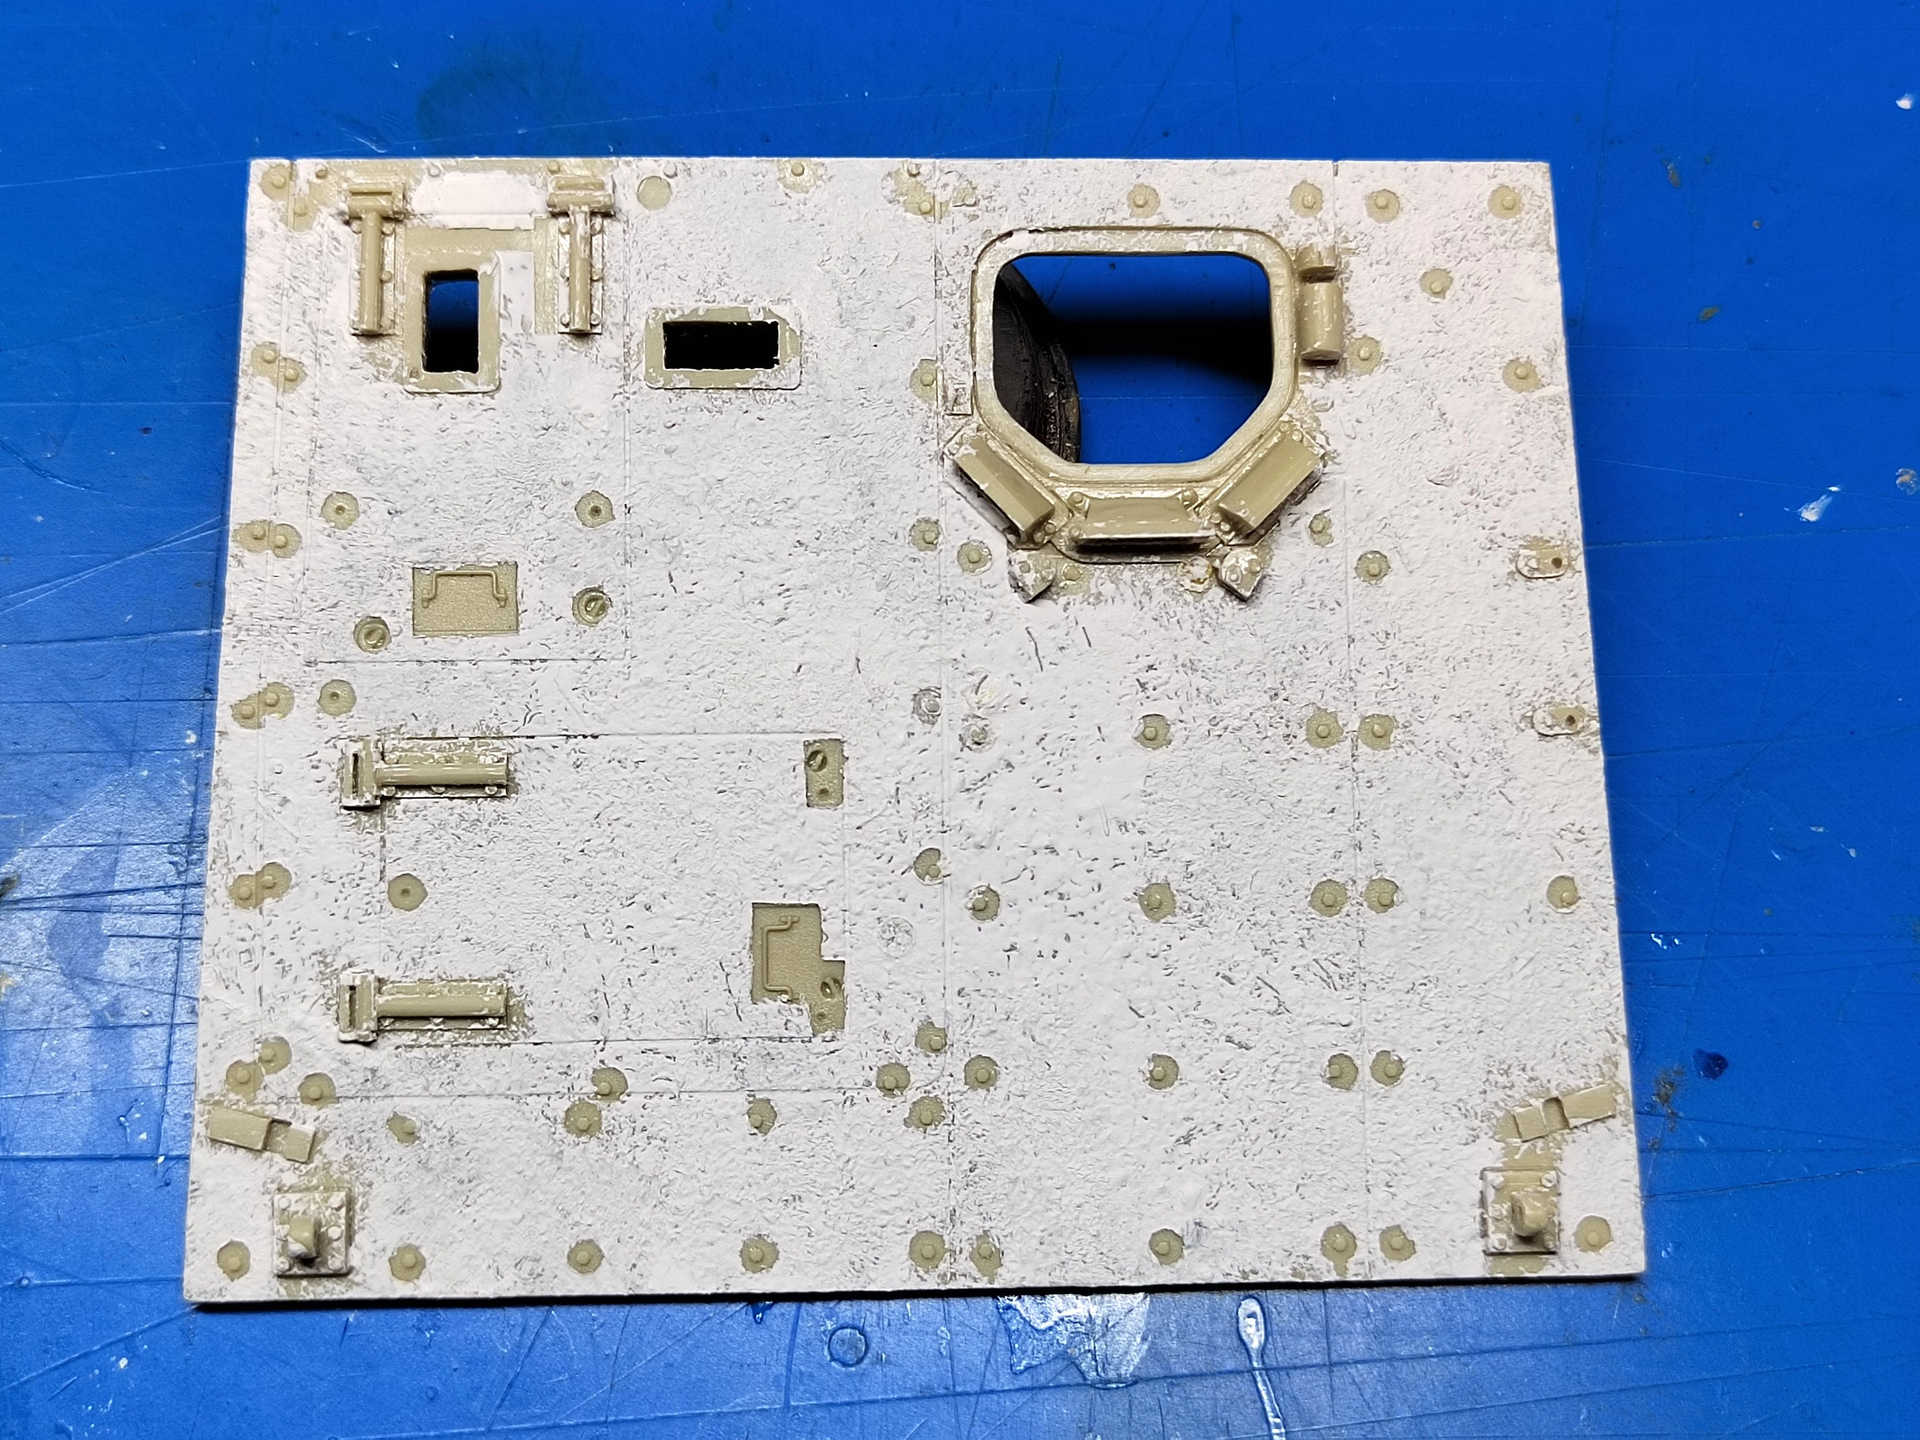
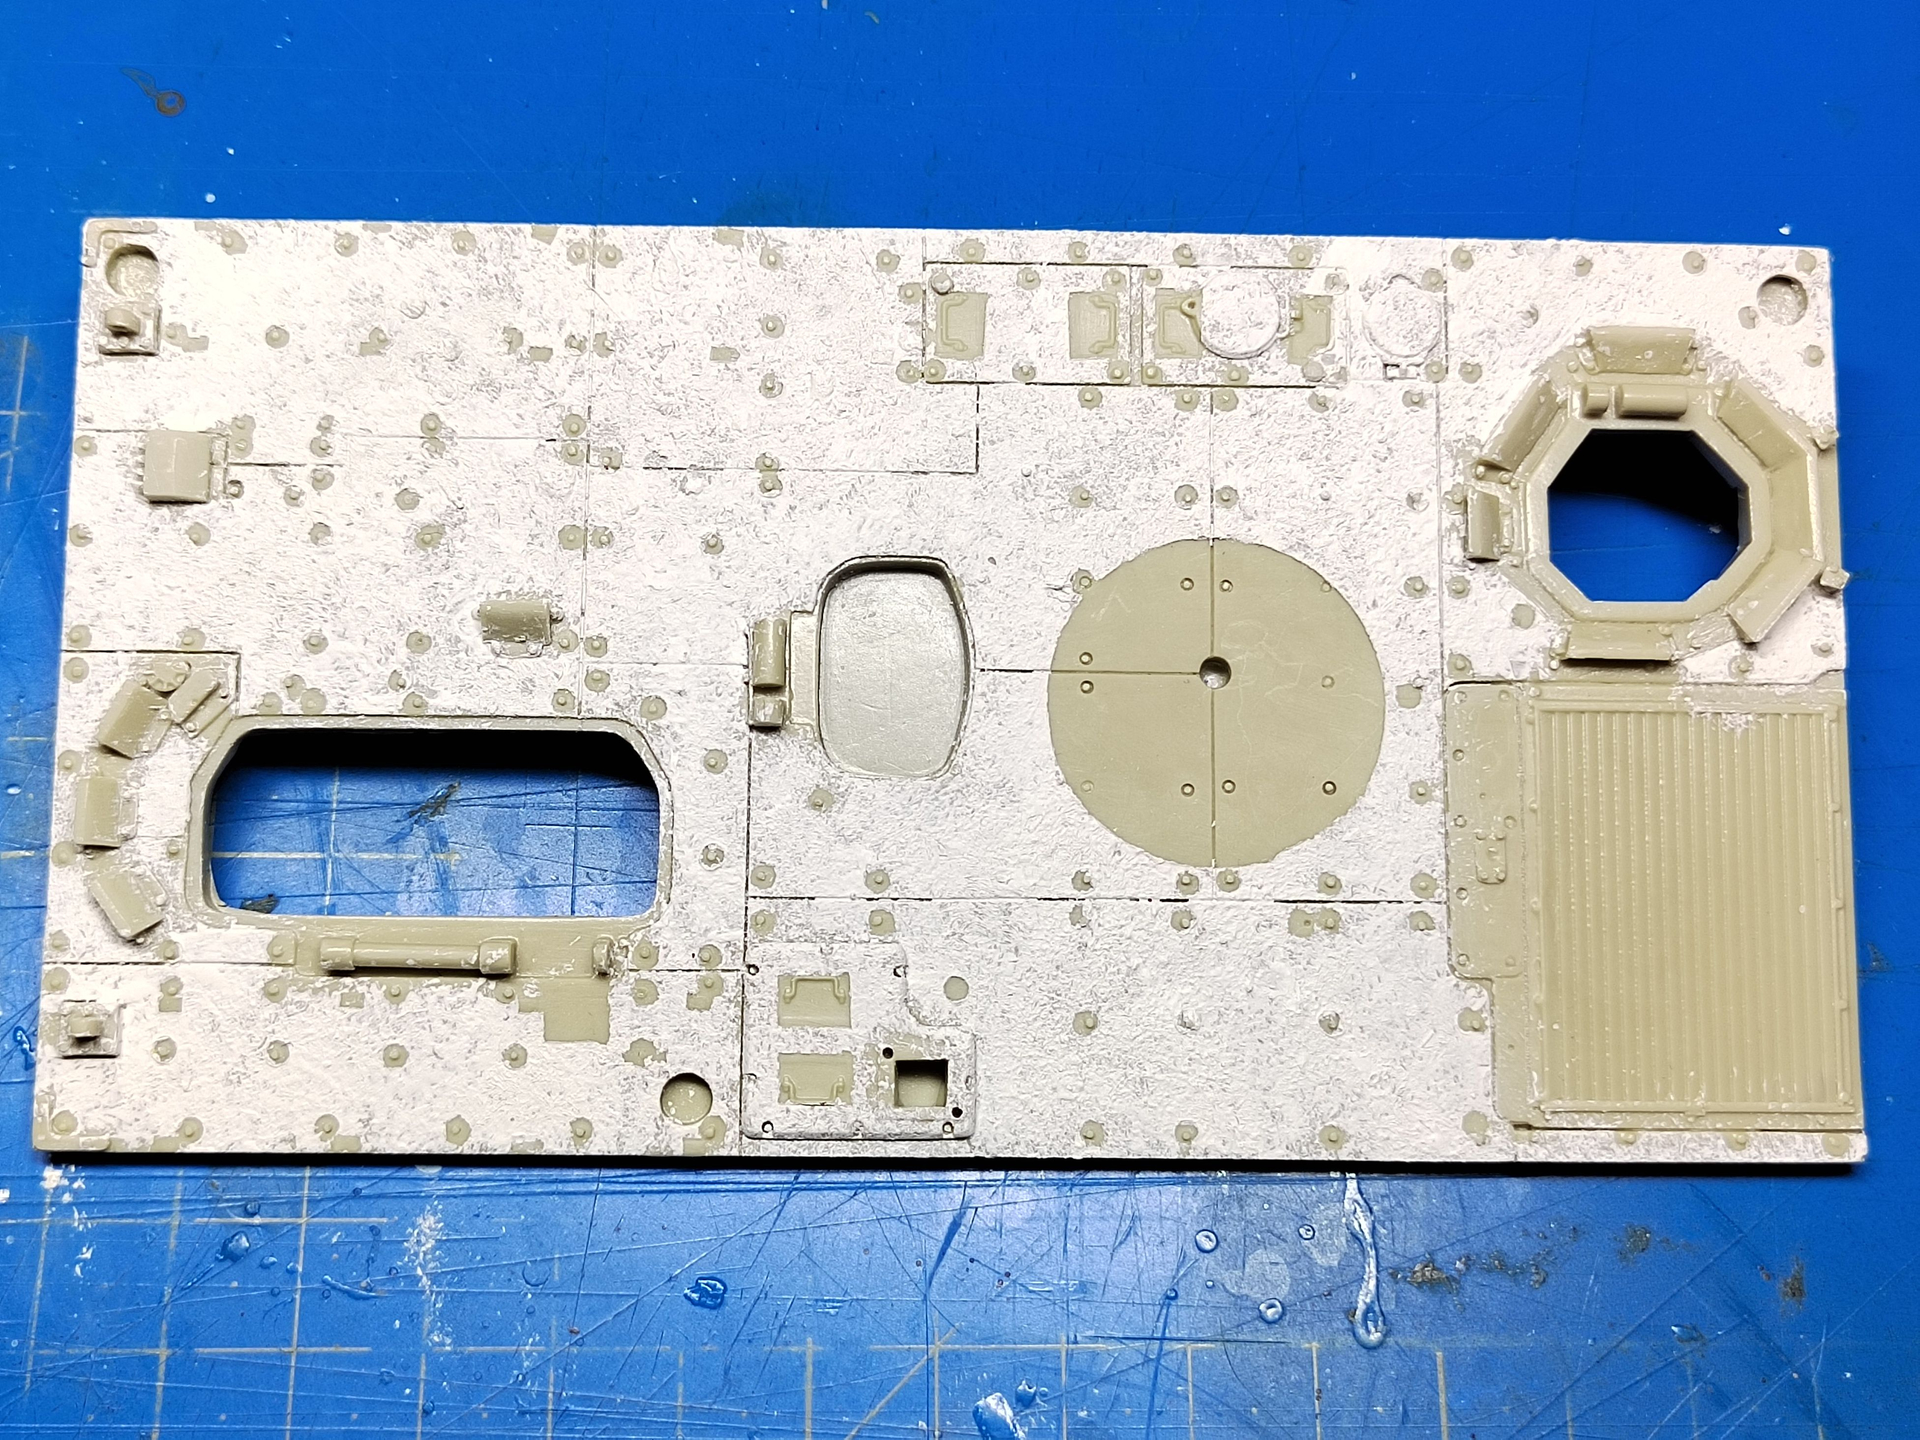
Then I prepared the KMT parts for the application of the antislip coating. The coating will be made from putty diluted with Tamiya extra thin glue and tapped with an old toothbrush.

Olivier

16 Likes

I’m waiting the rest of the build😘!!!

4 Likes

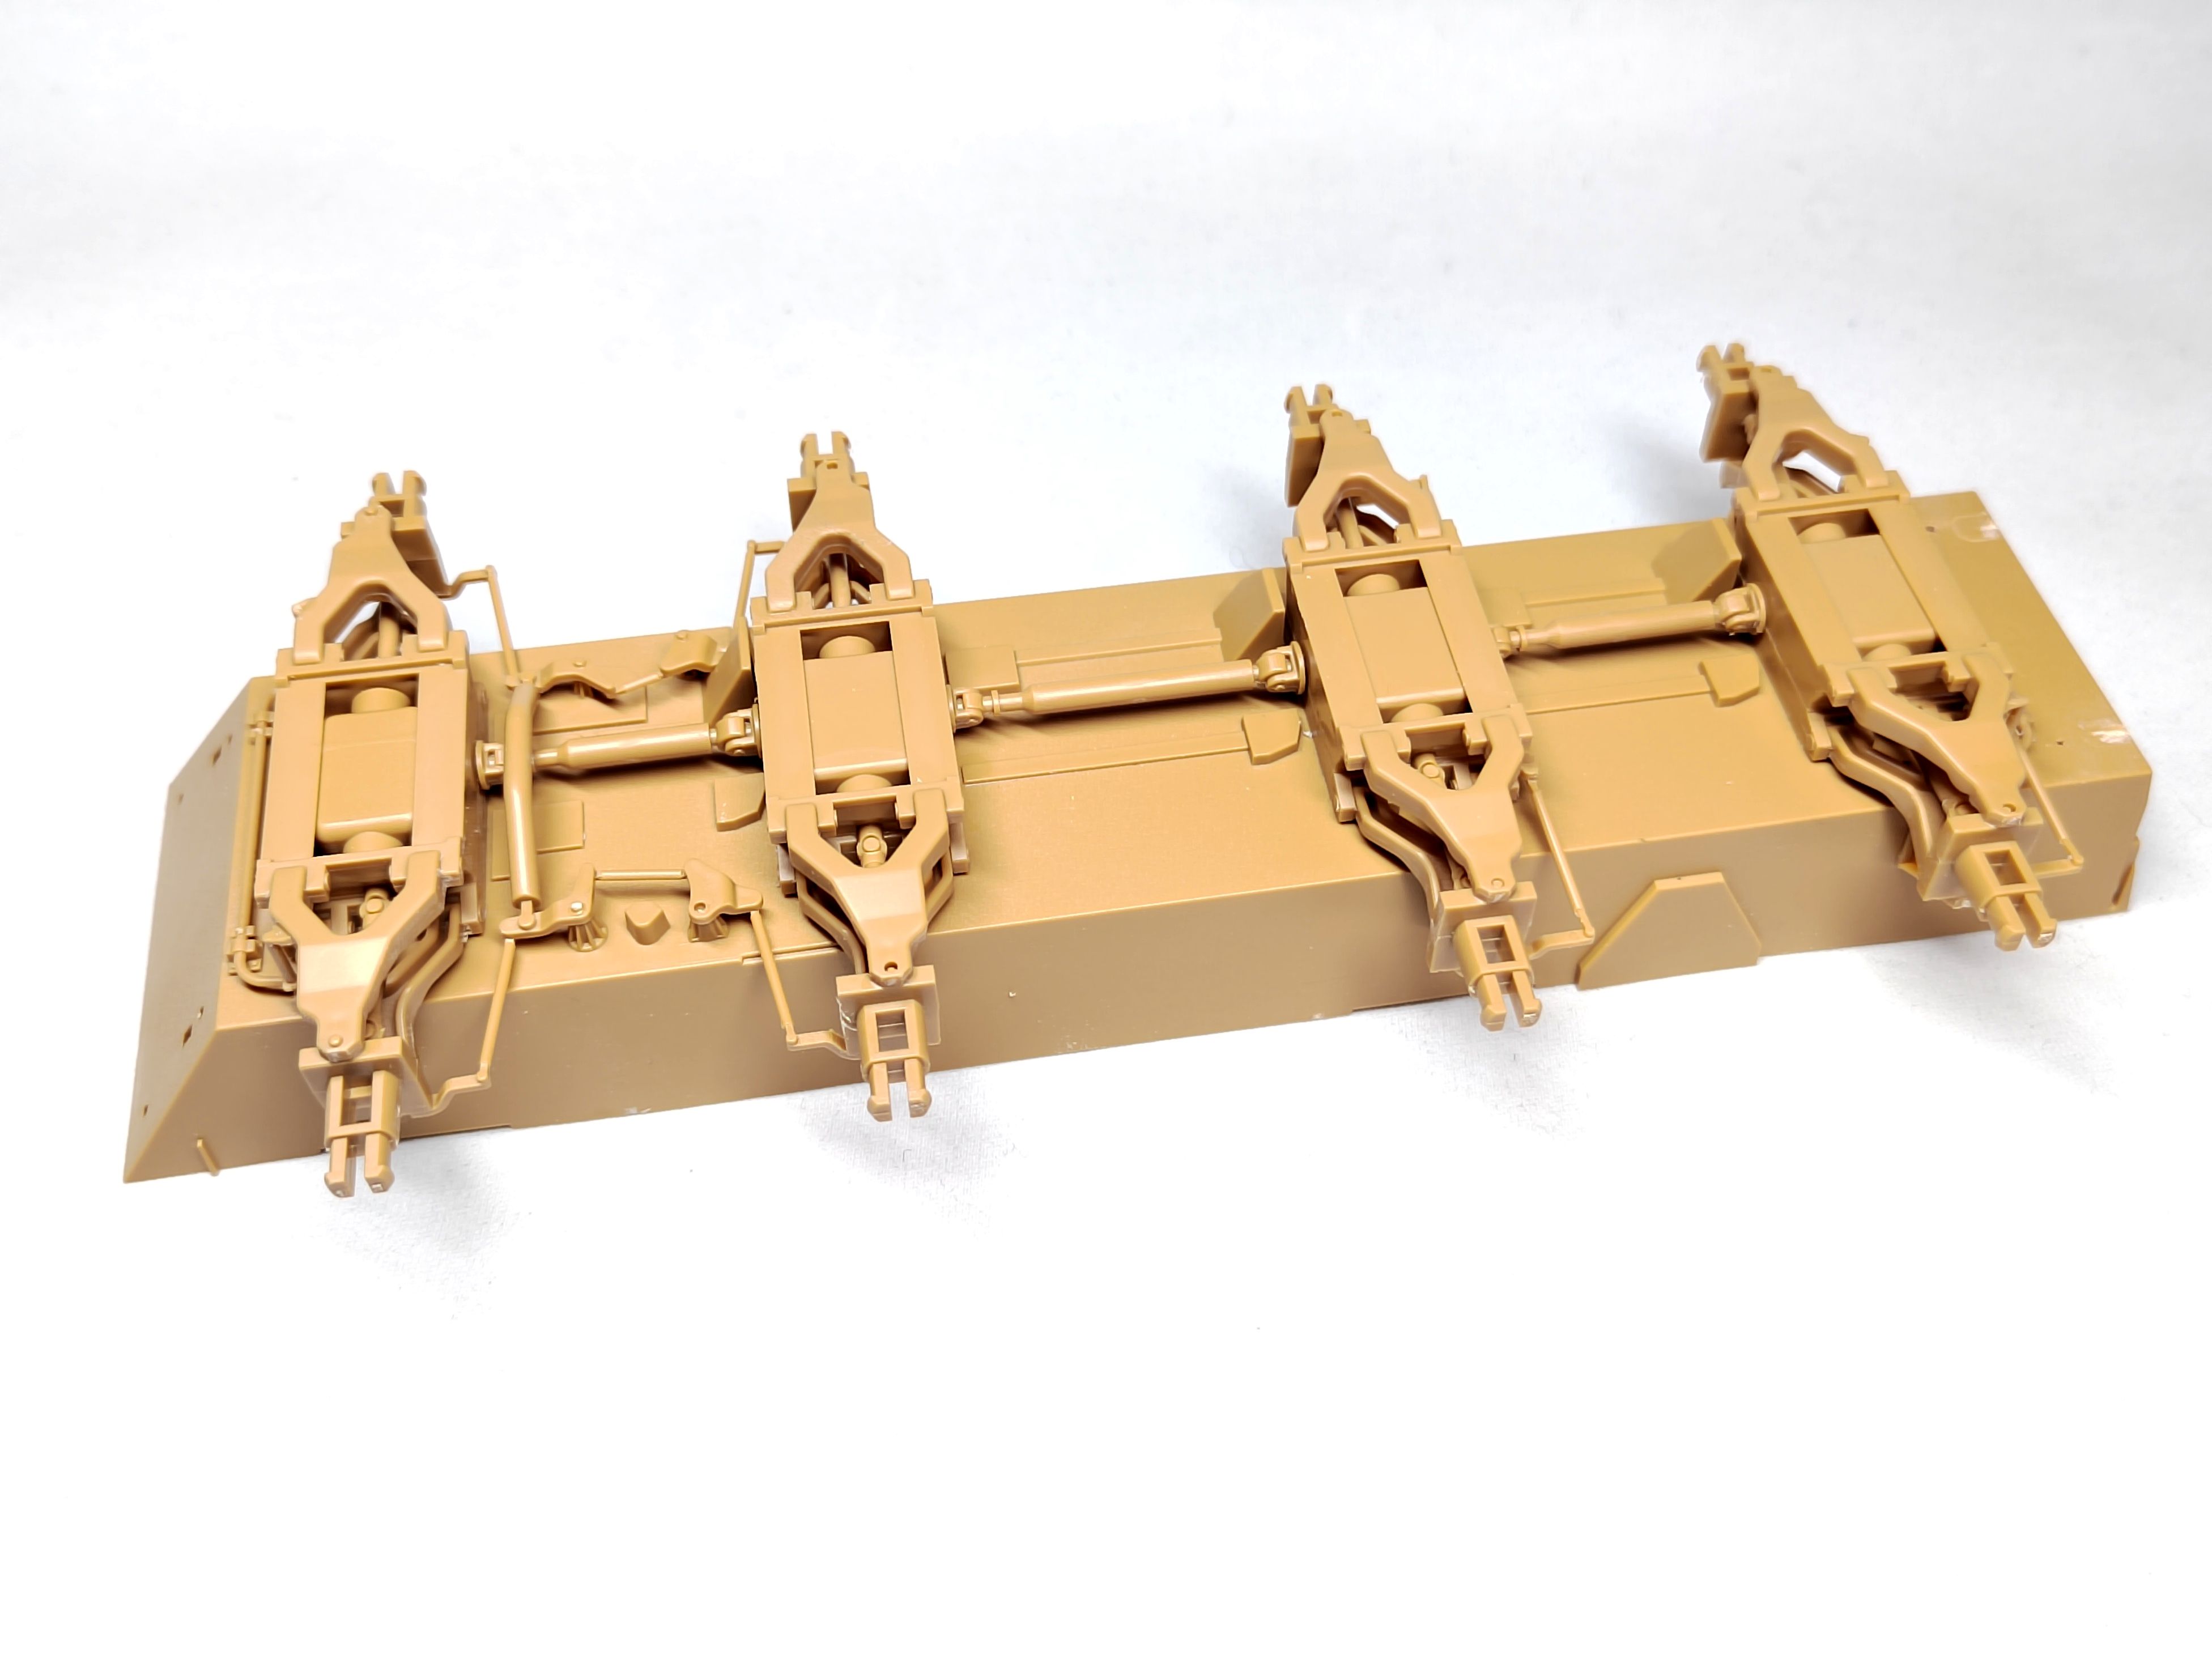
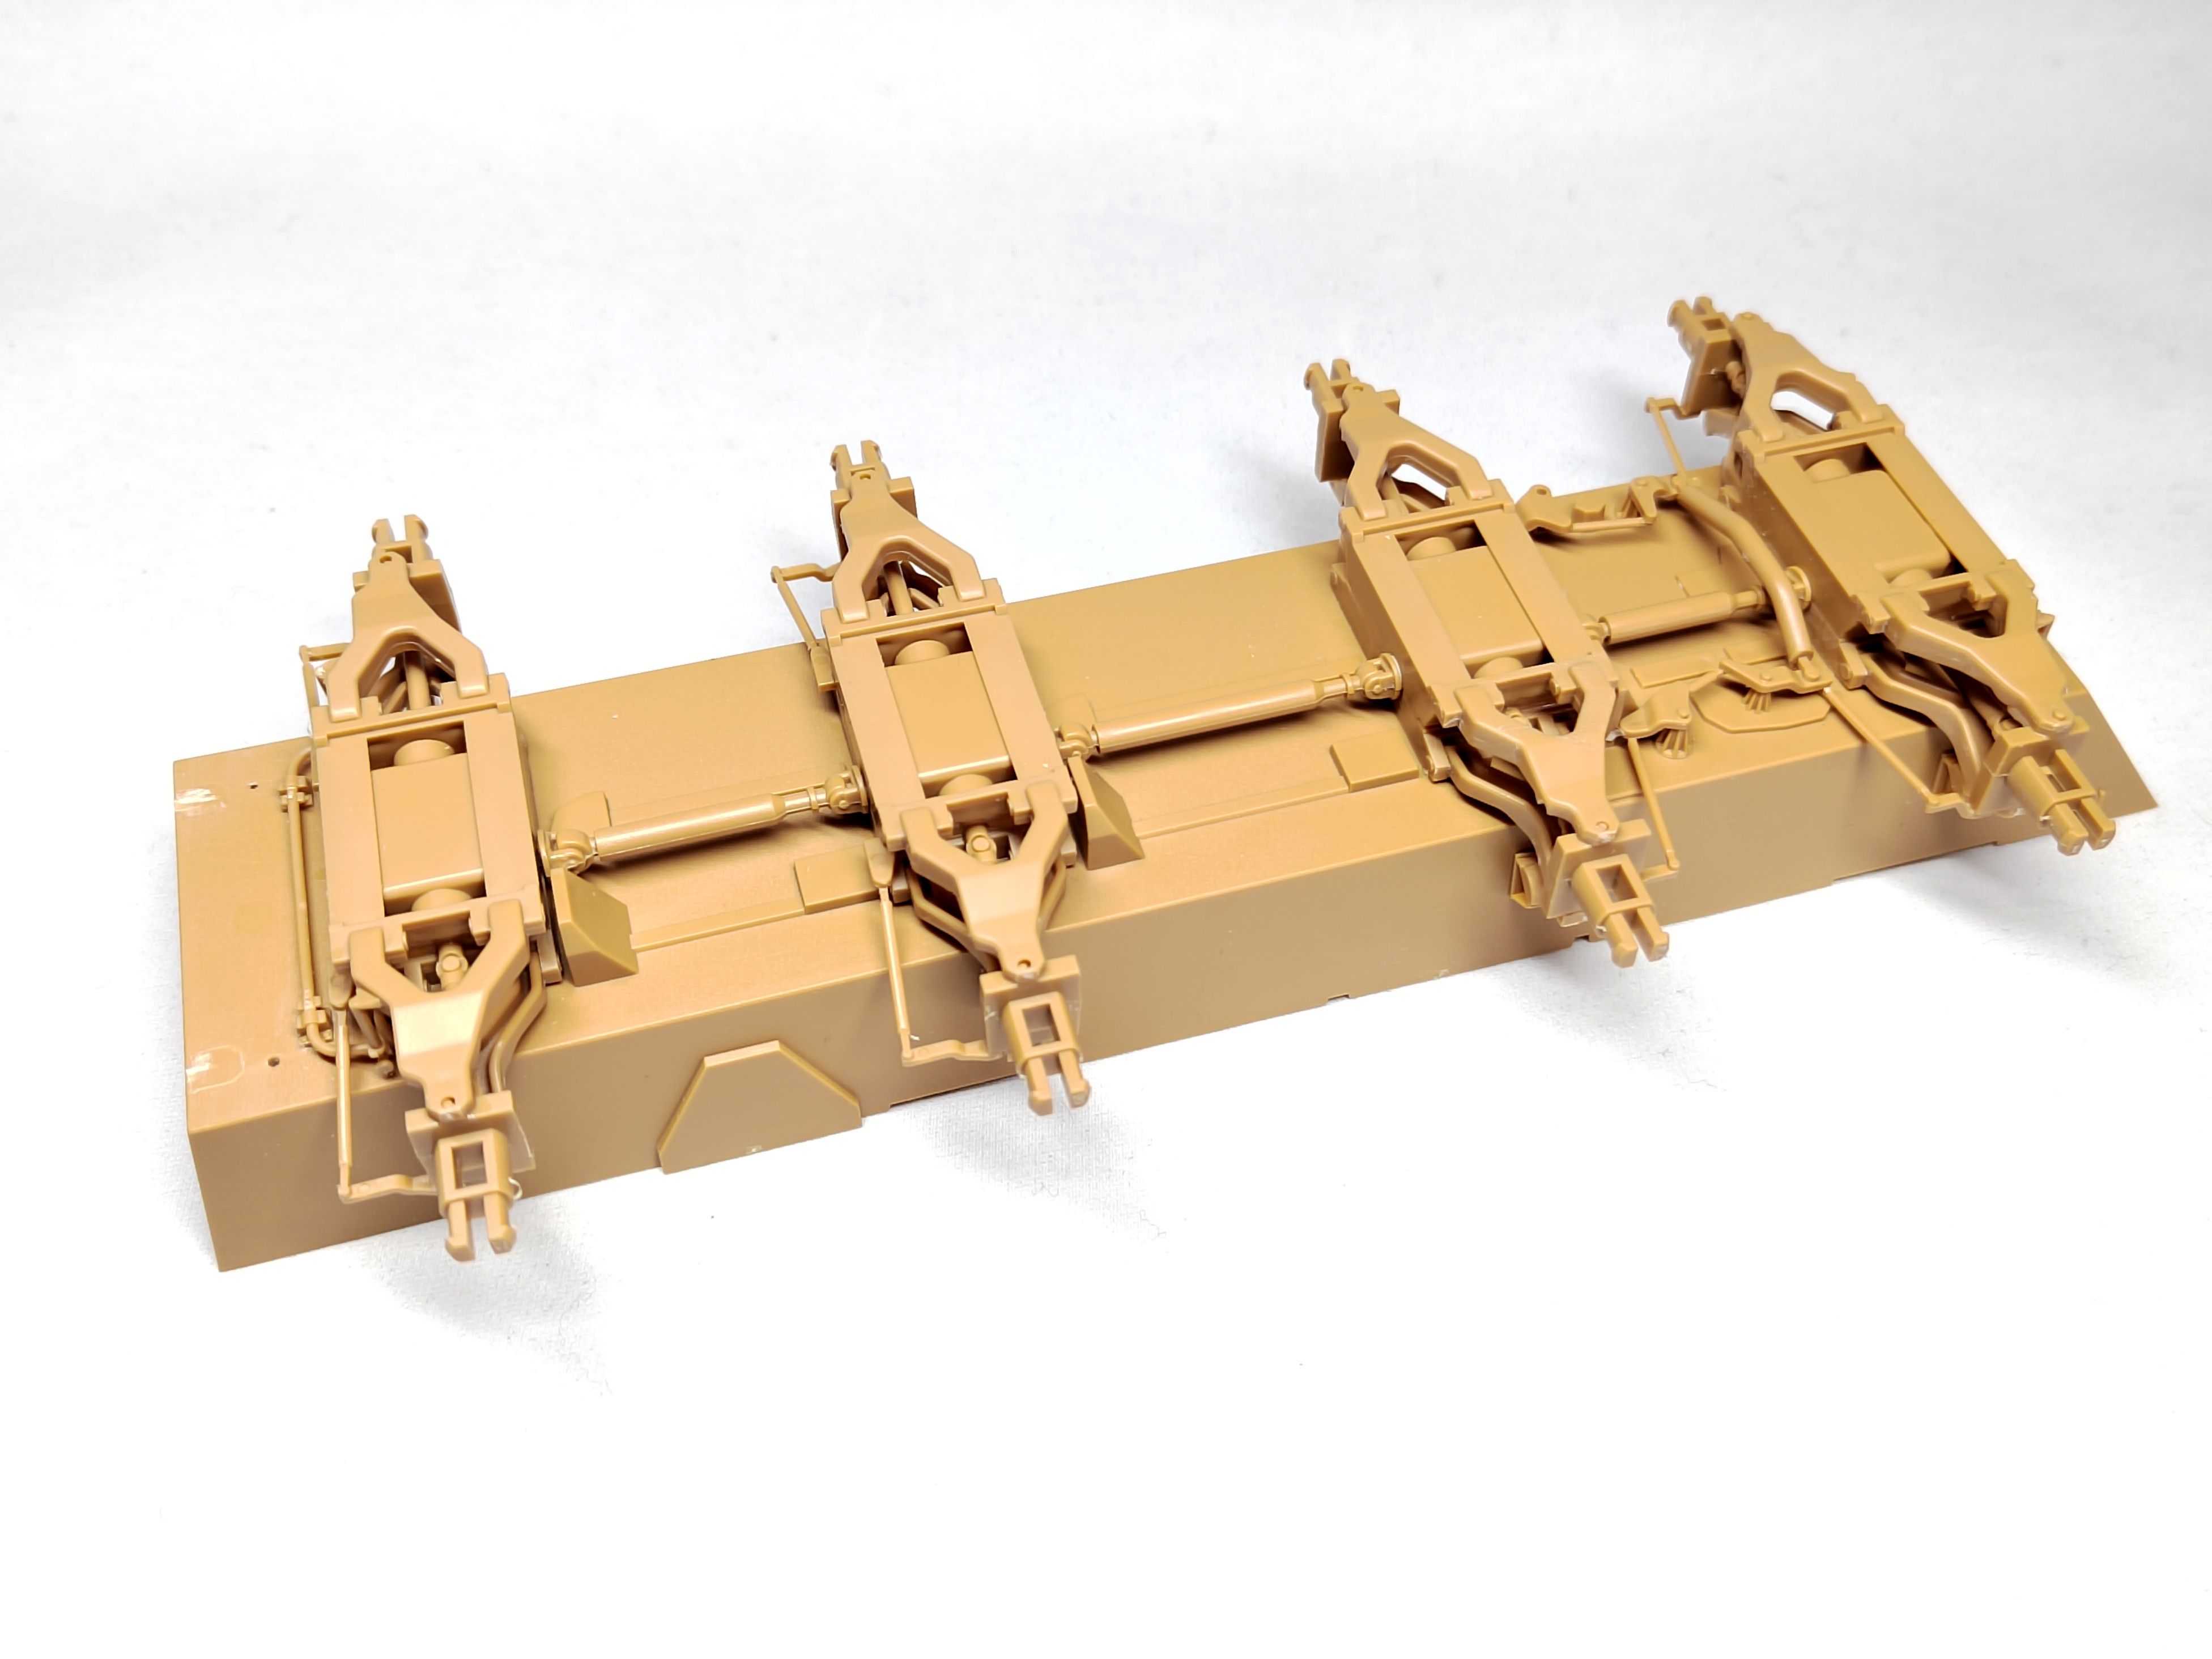
Rainy weather is your friend when you’re a modeler. So today I managed to assemble the transmission and the suspension.

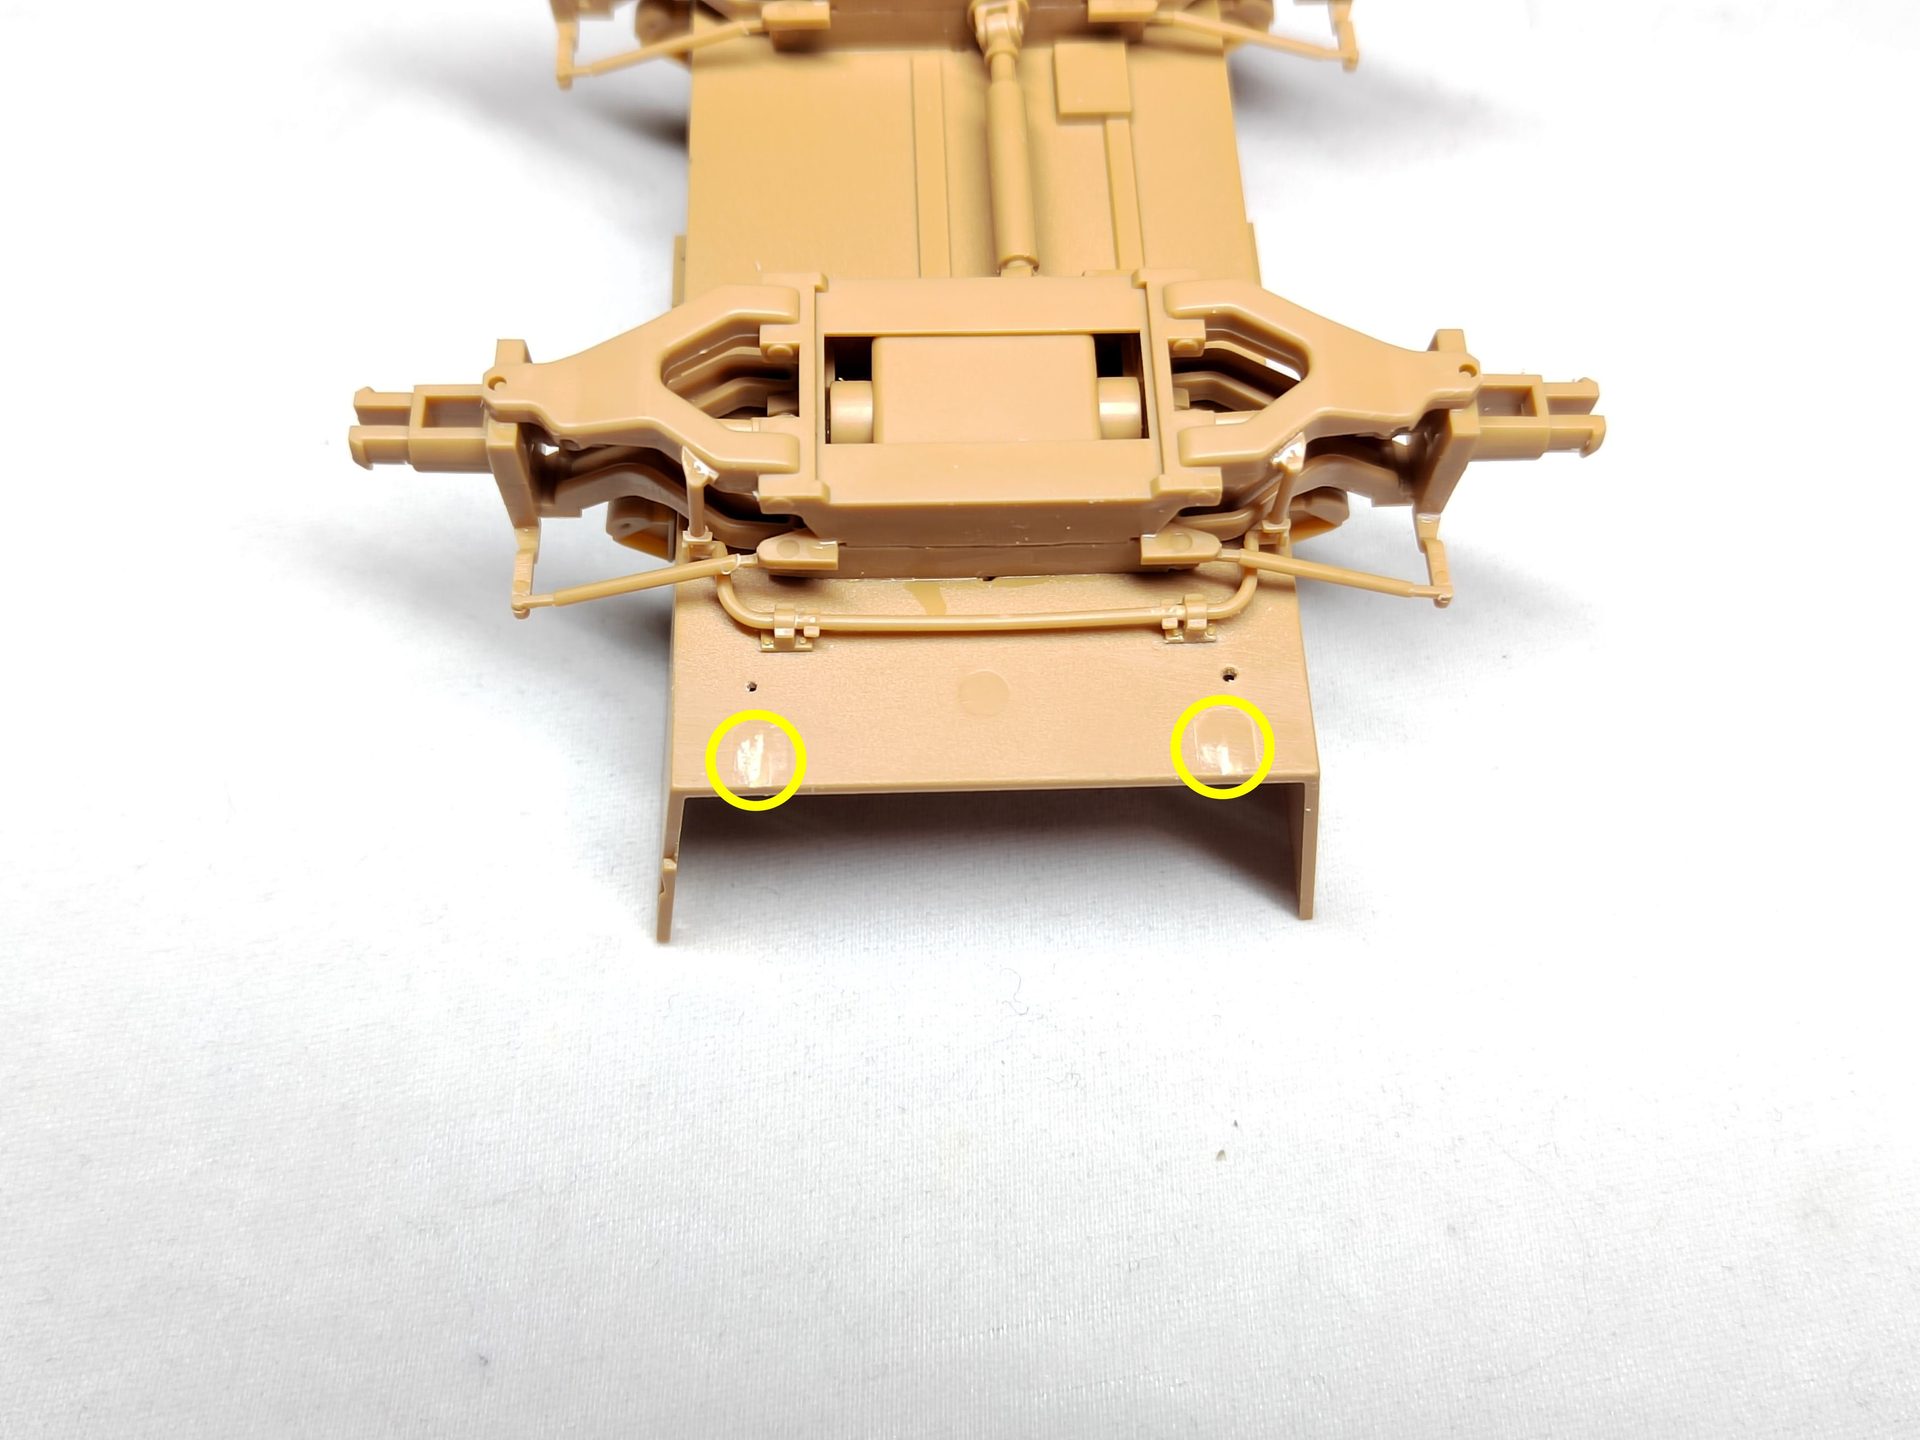
I also remove the ramp hinges under the hull since the VPC only have standard doors.

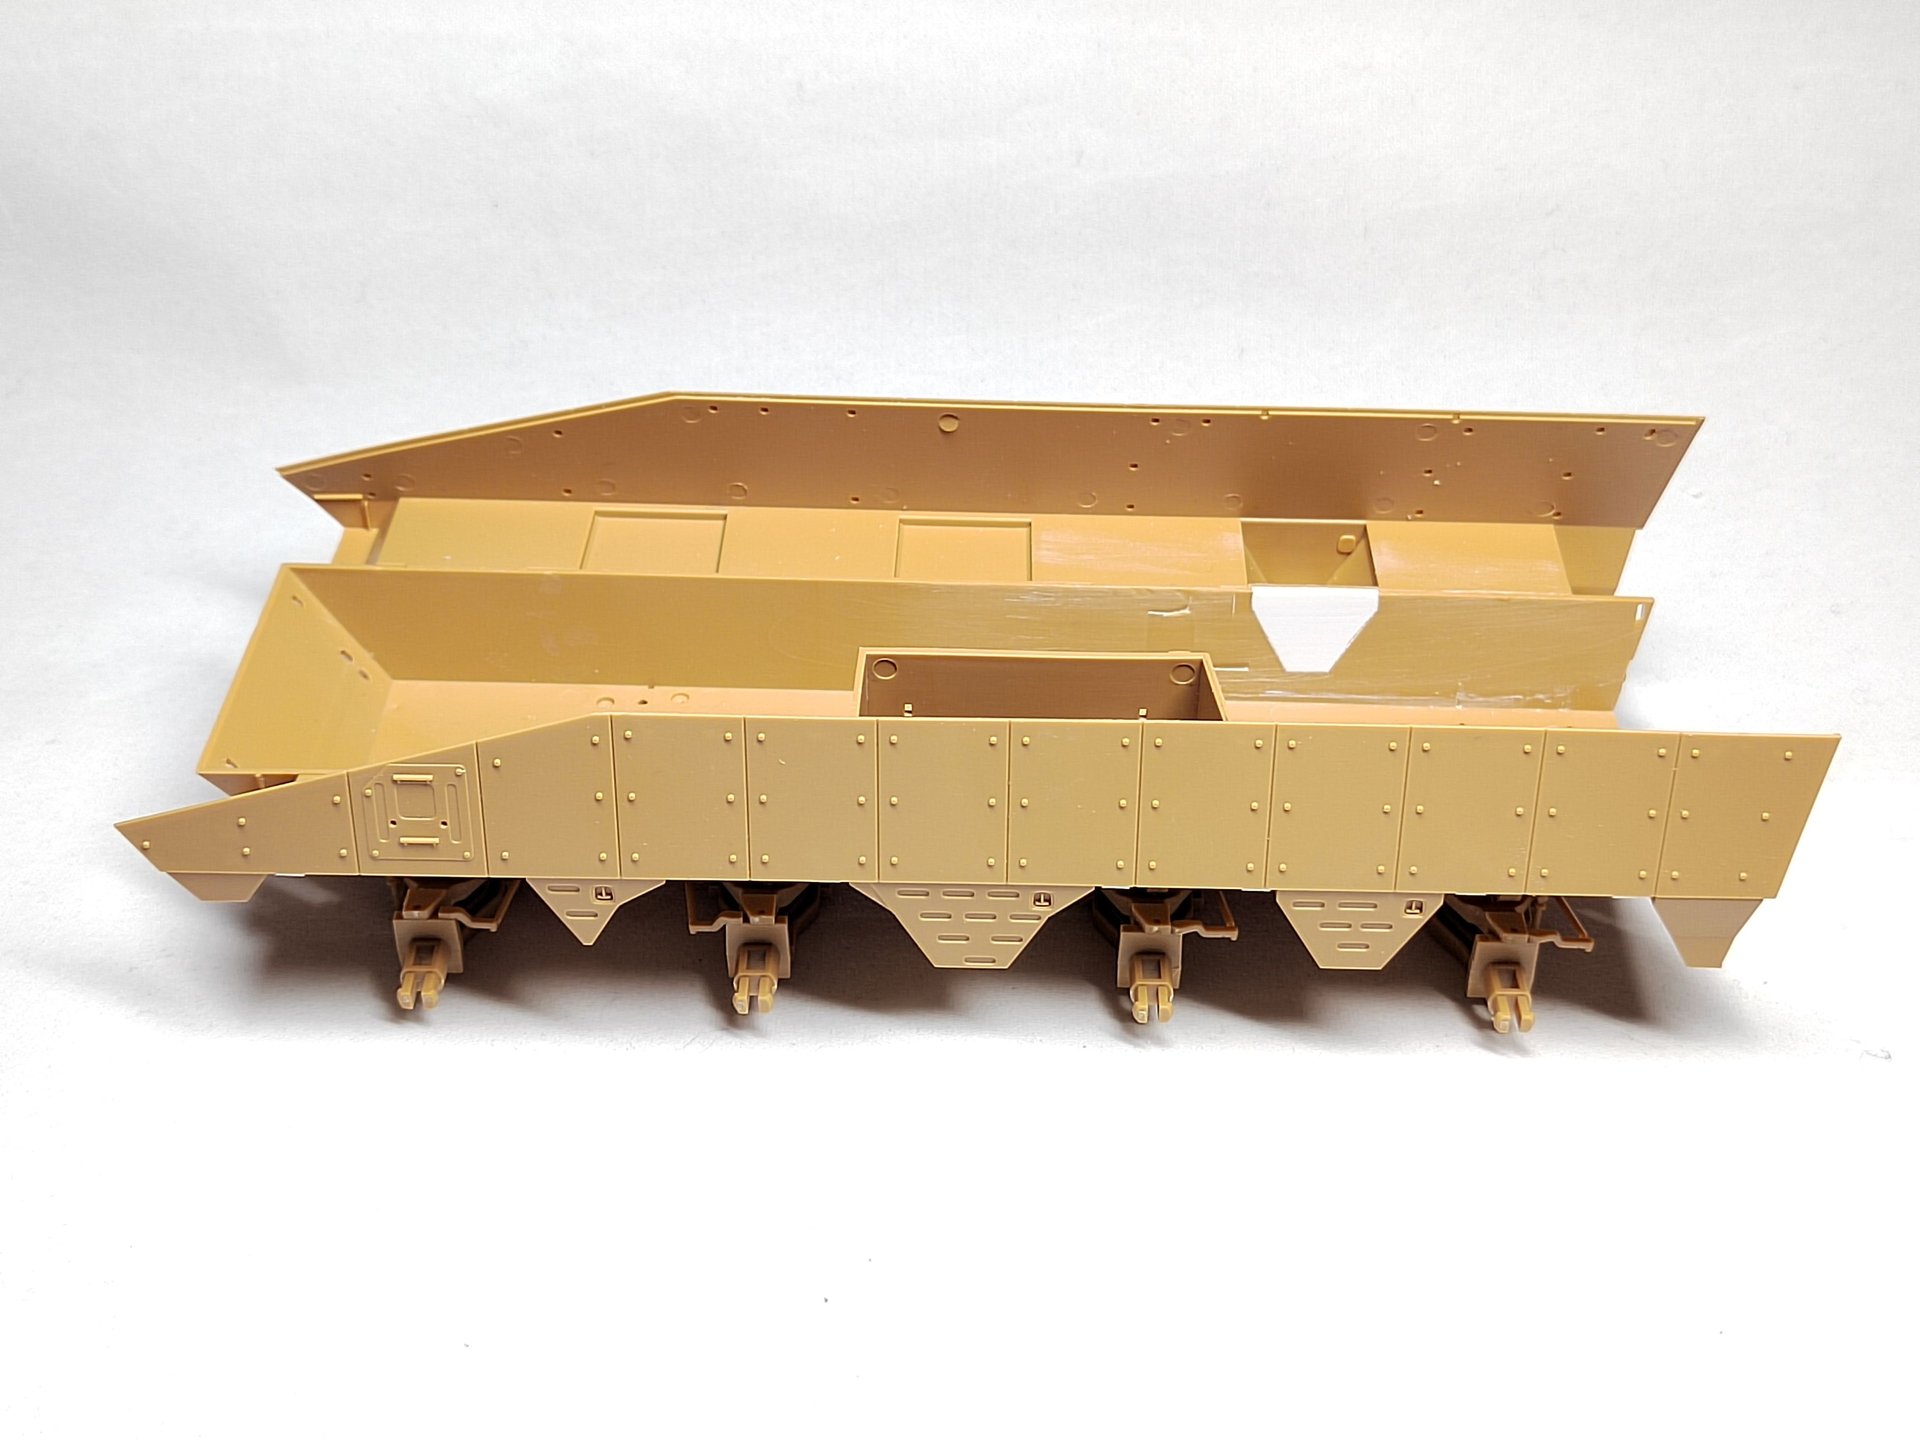
Then I glued the sides to the hull and began working on the inside. The RHS has some details molded on that must be deleted. And both sides have a recess to be filled.

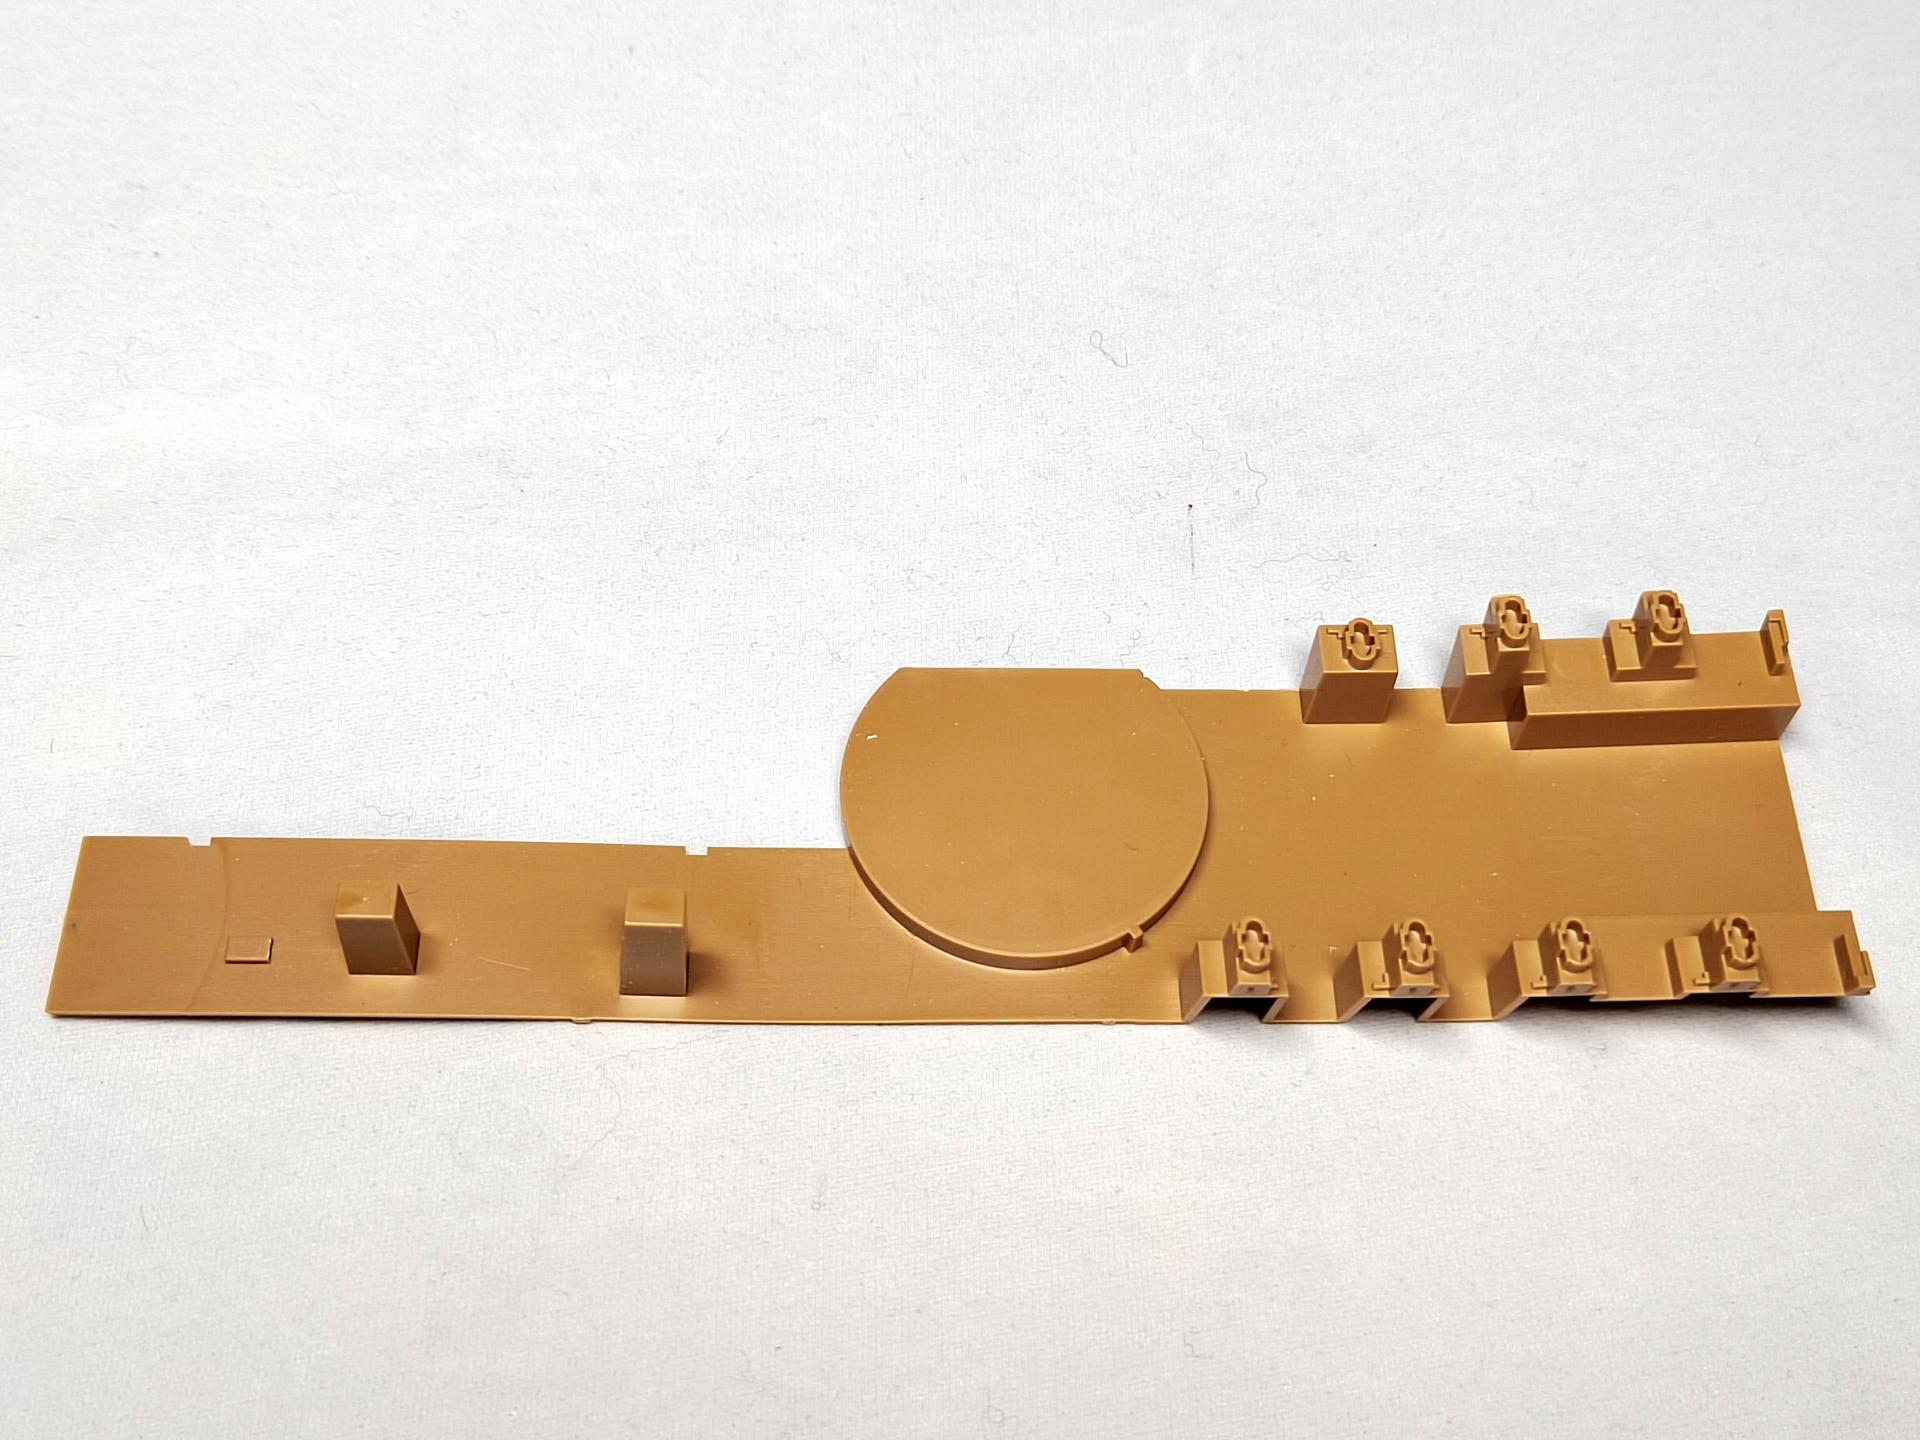
The holes on the horizontal parts will be filled with 0.25 mm styrene sheet.

The antislip coat has been applied. I’ll show pictures tomorrow.

Olivier

9 Likes

Nice progress Olivier, will be following along :+1:

4 Likes

Thank you Johnny for following the build.

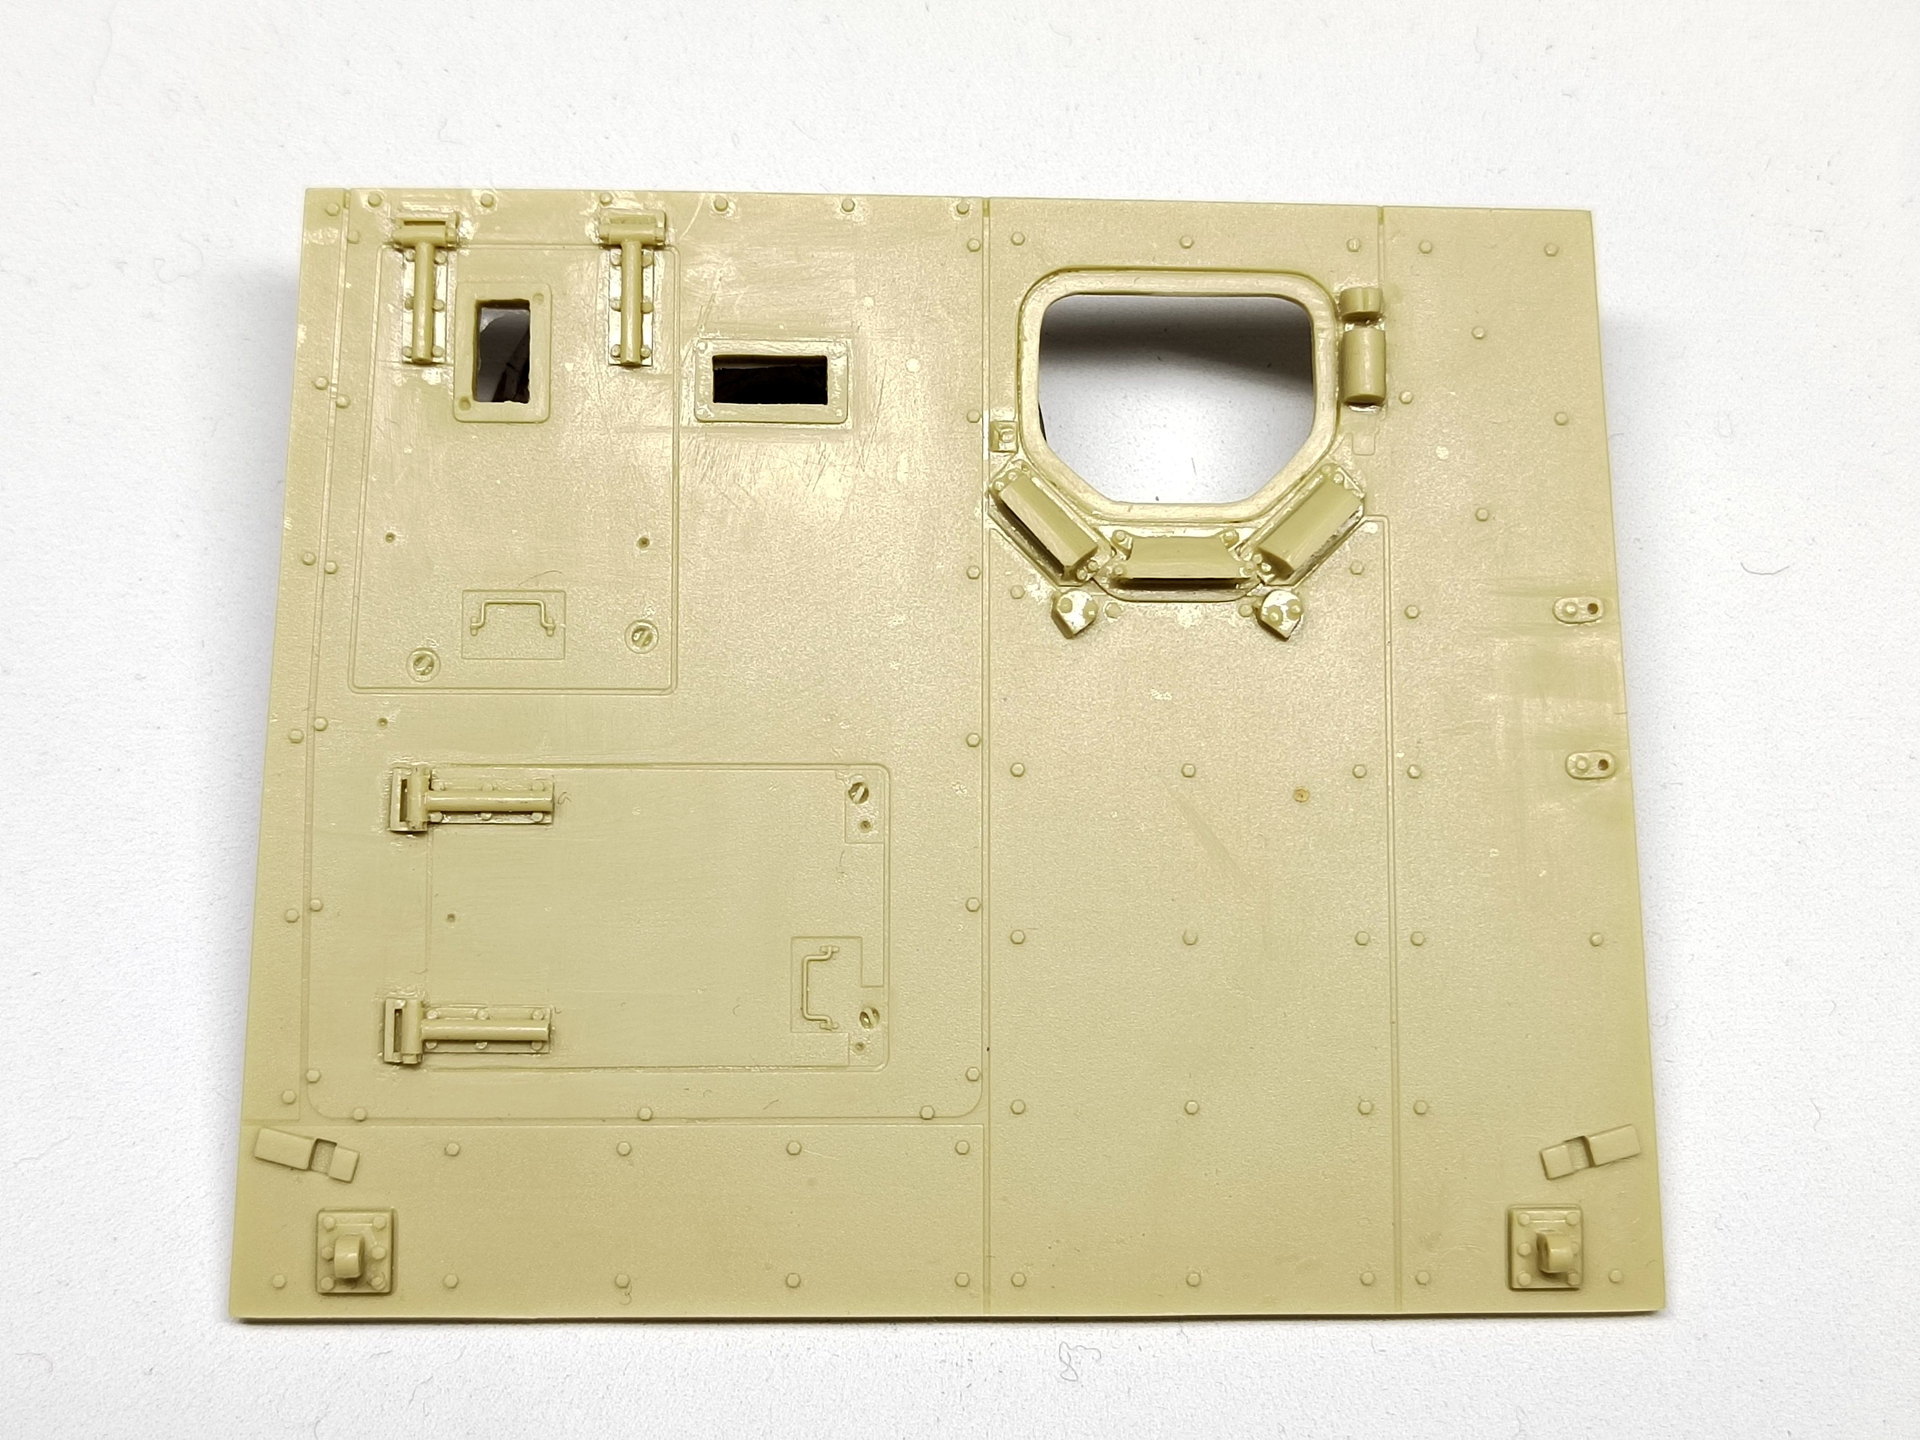
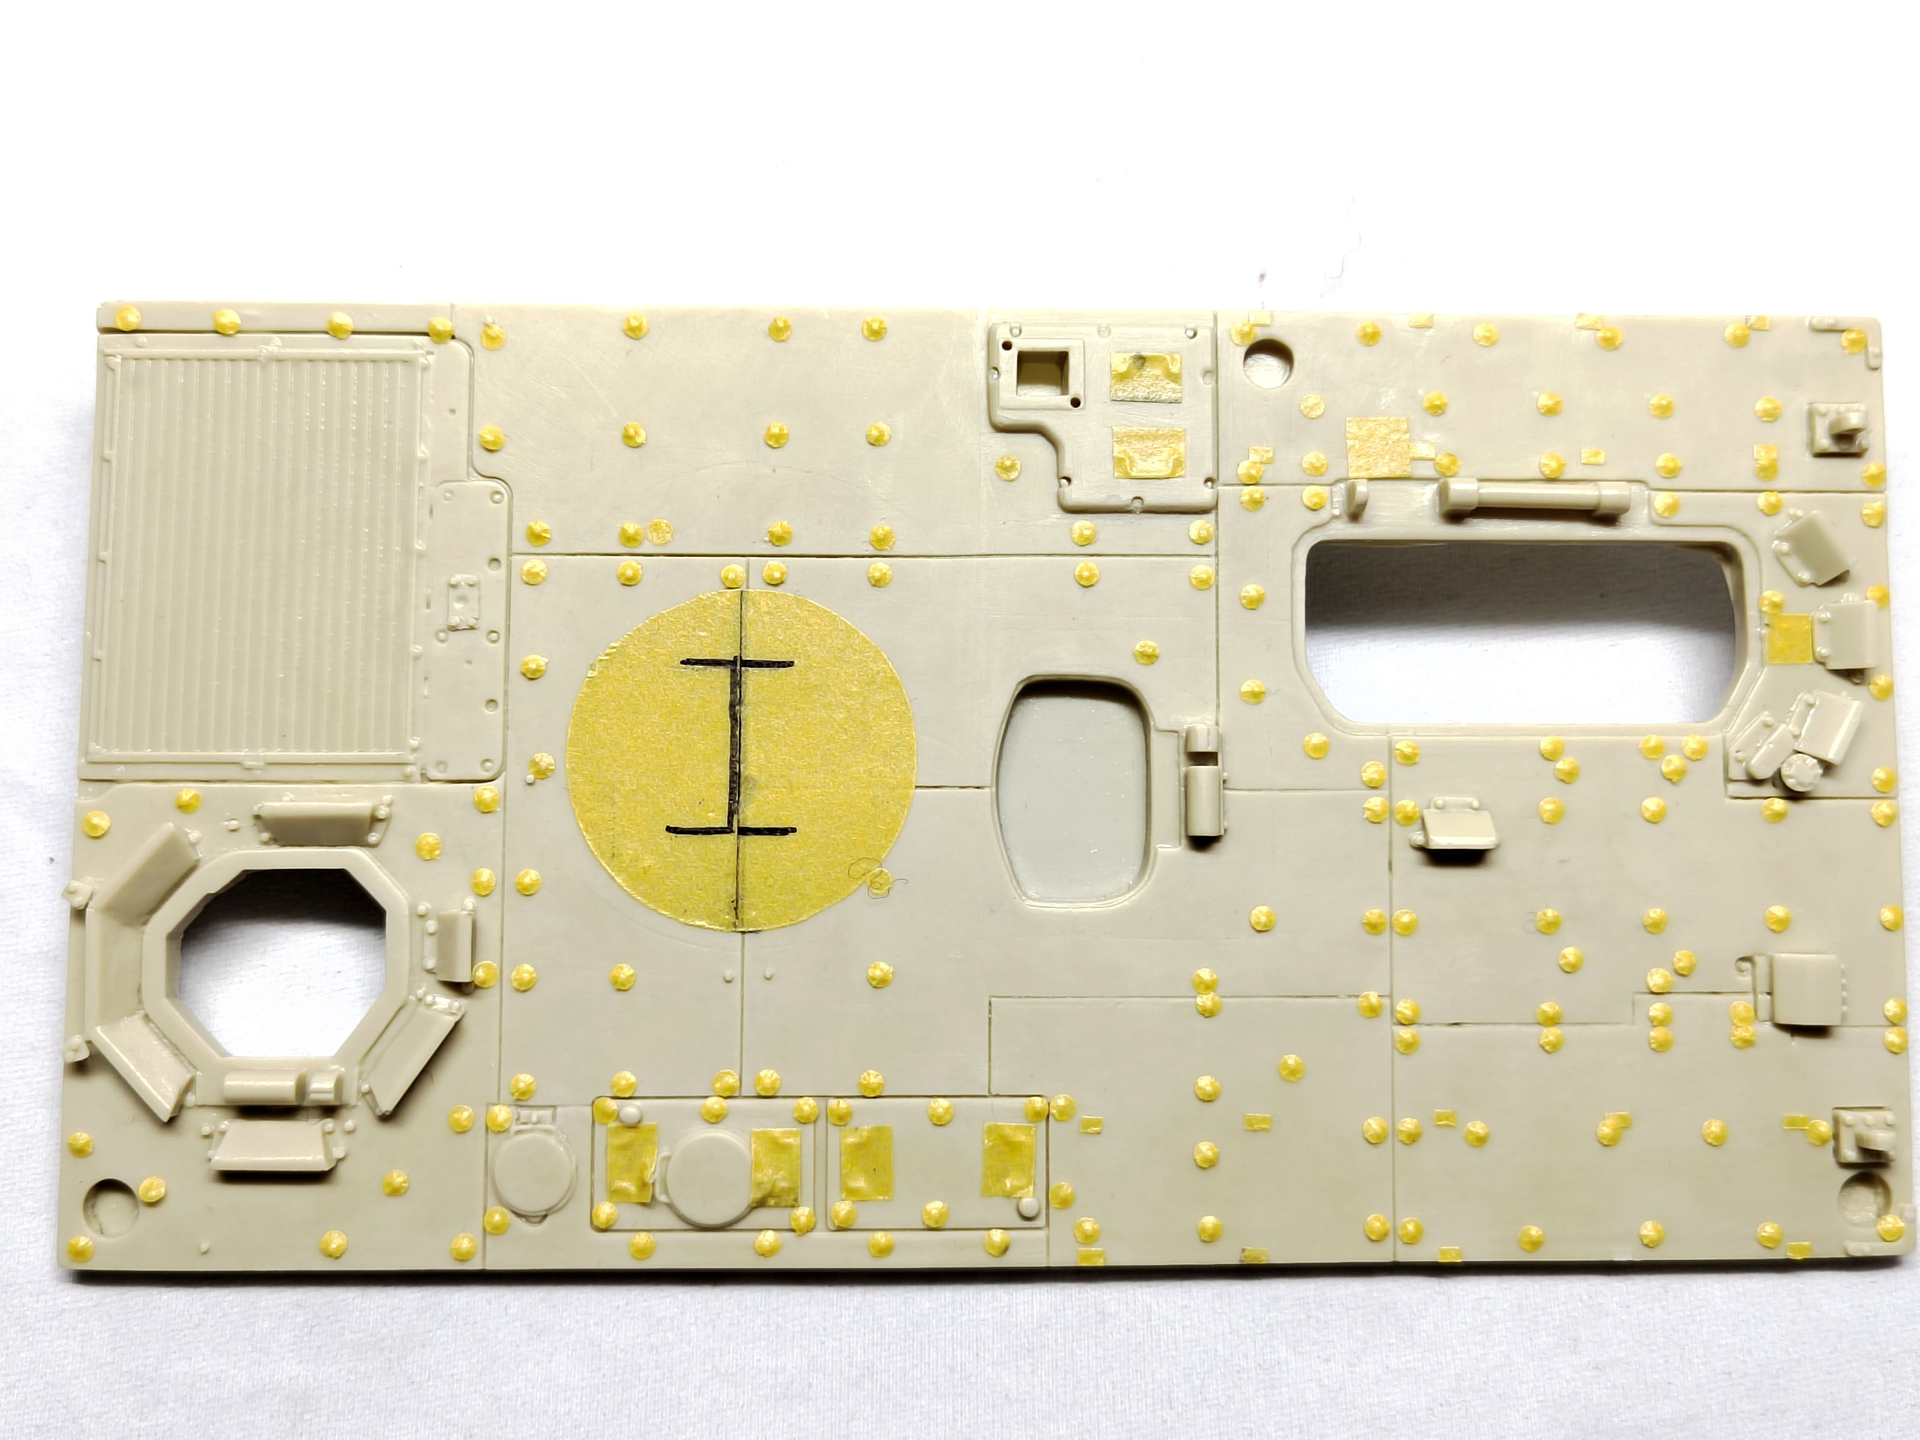
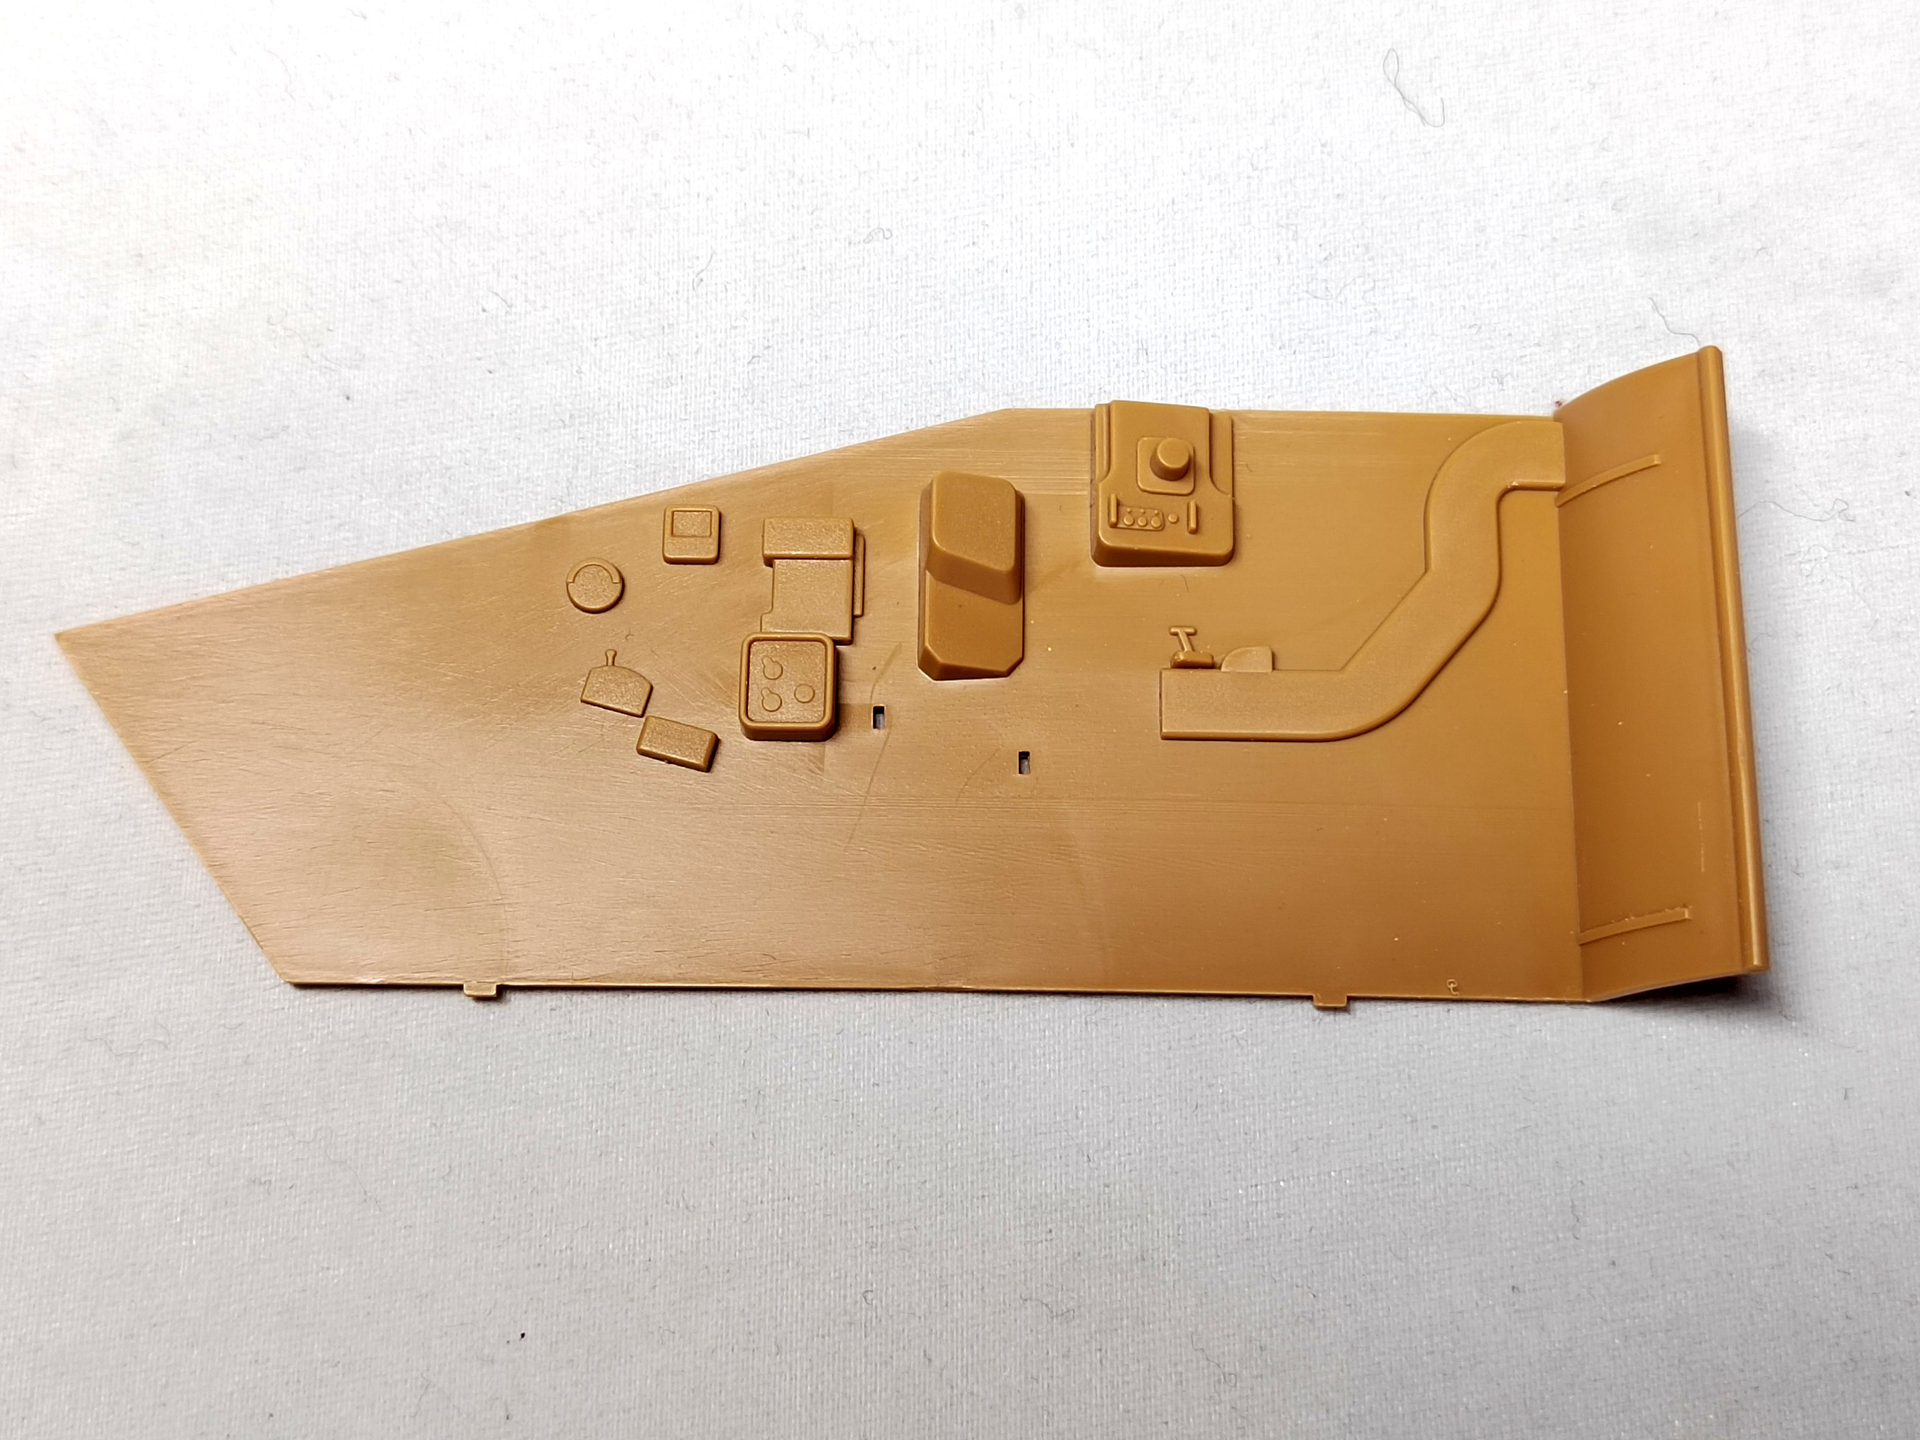
The preparation step for the interior is continuing. The engine wall which is wrong in the VBCI kit does not match the VPC variant. So I removed most of the details molded on. Nearly all the others will be modified. The turret wall needed to be removed too.

The vehicle floor is not correct either even for the VBCI. I cut it and only kept the front part because I wanted the notches to position the engine wall correctly. The fictitious seat supports are removed. The rear part is simply replaced by a large rectangle of plastic card.

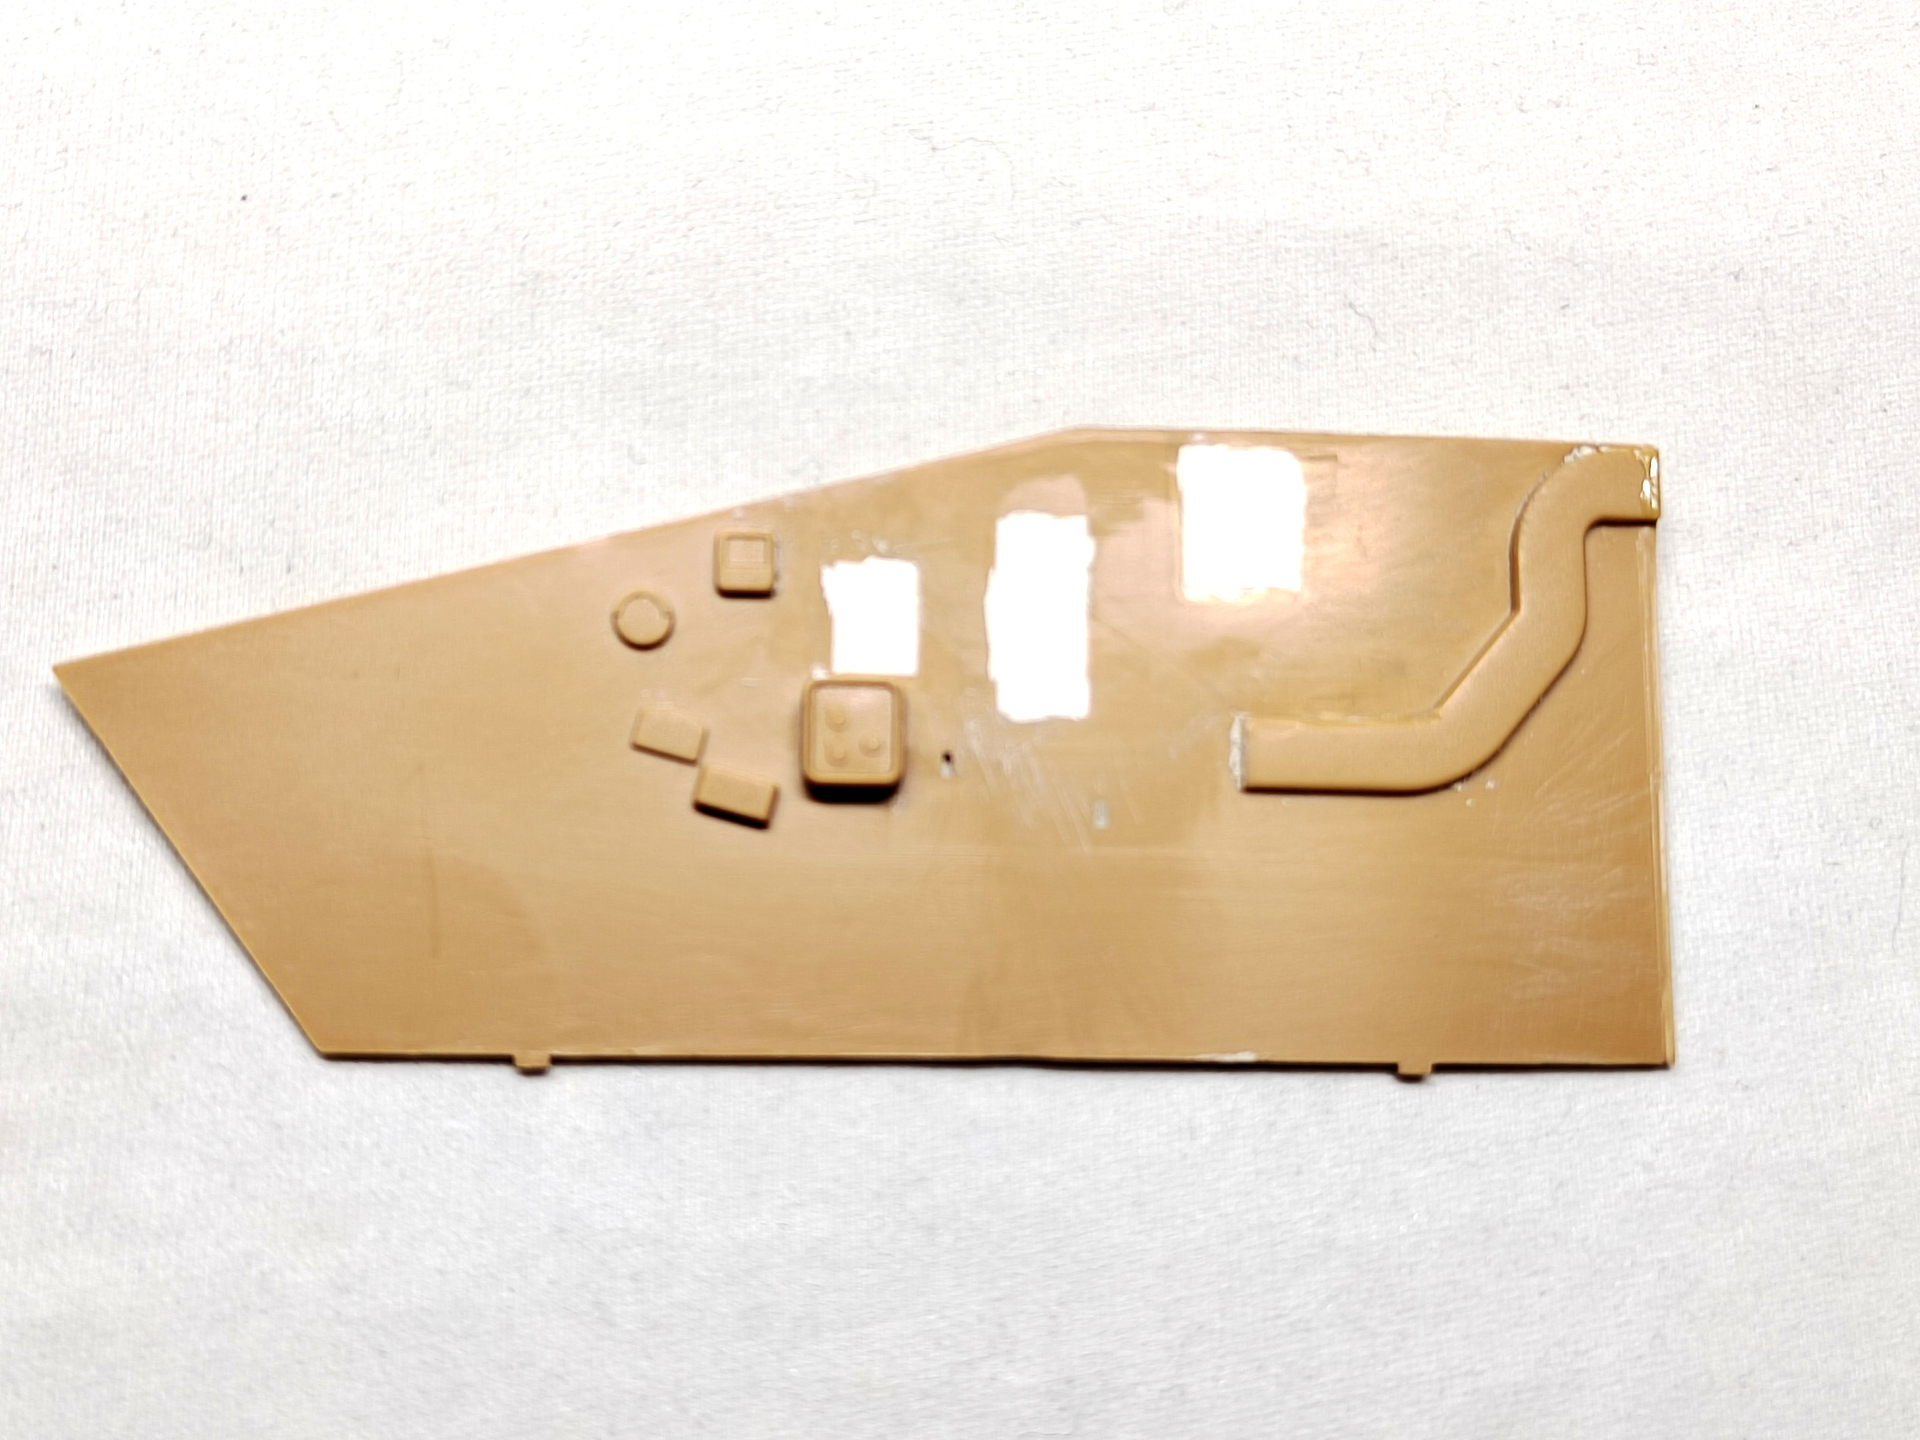
The holes in the sponsons have been filled with pieces of 0.25 mm plastic card.

And here are 2 pictures of the antislip. I’m not totally happy with it to be honest.

Olivier

8 Likes

Before starting the detailing of the interior, I had to tackle the shock absorbers. Heller molded them with a huge hole facing the hull sides. The four at the first front axle and the rear most axle really need to be fixed. Then the plastic covers need to have their smooth look removed.

Here is the result of a few minute work.

The shock absorbers are attached to the suspension. On the front view you can see some white plastic card hence the need to fill the holes.

Now it’s time to move on the interior!

Olivier

8 Likes

I began by what I think is the most difficult i.e. the commander and the drivers seats. Heller rendition is nothing close to the actual ones. You can use them only if you put crew figures seated.

So going the old way with styrene strips and rods and the most important the eyeball Mk1, here is what I finally made after two afternoons at the workbench. Not perfect but the seats will do the trick considering what you will see through the roof hatches.

On the first picture, the commander seat is on the left. It has a foot-rest unlike the driver one for obvious reasons. The three following pictures show the commander seat.

Olivier

10 Likes

Wow Olivier that’s some seriously excellent scratchbuilding! Those look outstanding!

3 Likes

Thank you Matthew, it’s a lesson of patience but with the right documentation you can reach a nice result.

Today I have started to tackle the engine wall. The first issue is that Heller molded the IFV variant while the Command variant is quite different at the commander station. The second issue is that Heller got nearly the whole thing wrong with wrong dimensions, wrong location and poor details.

Here is the molded part.

I cut off nearly all the molded details (and of course the turret wall) and filled the extinguishers positioning slots. Then I made new instruments, put them at the right place and glued the extinguishers at the right place as well. I still miss one control box and the gunner control screen which I don’t know how it is fixed to the engine wall (or the roof).

The whole thing will be painted before being glued to the hull floor.

Olivier

7 Likes

Excellent progress Olivier…. Detailing really takes it up a level :+1:

3 Likes

Thank you Johnny,

I’ve just completed the engine wall with the addition of the fire suppression control panel and the RWS monitor.

I have started to build the engine wall of the rear compartment. Will post pictures later on.

Olivier

6 Likes

Nice bit of detailing, will any of this remain visible?

2 Likes

This is the kind of modeling I enjoy watching.

3 Likes

Most of it, no!

And what I achieved since the last picture will be totally invisible. Should I attend a psychotherapist? :laughing:

Here are some pictures of the both engine walls. Theye are glued to the hull yet. I need to paint them beforehand.

Olivier

8 Likes

It is looking awesome. Great work.

I often think the same thing as I add interior details on my models. I do enjoy doing it, and we know it is there.

3 Likes

My wife once visited my bench and asked," Why do you spend so much effort on details nobody can see?" I thought for a moment and replied, “For the same reason that you women wear sexy lingerie under a business suit. I know it’s there and it makes me feel good!”

5 Likes

:grinning_face_with_smiling_eyes: :grinning_face_with_smiling_eyes: :rofl:

1 Like

The 4 rear compartment seats are redone. Heller got them very simplified and wrong. With plastic card I modified the backrest, added the stowage bag under the seat and made the fixings.

Olivier

6 Likes

Really amazing work Olivier, those changes just keep making it better and better :+1:

1 Like