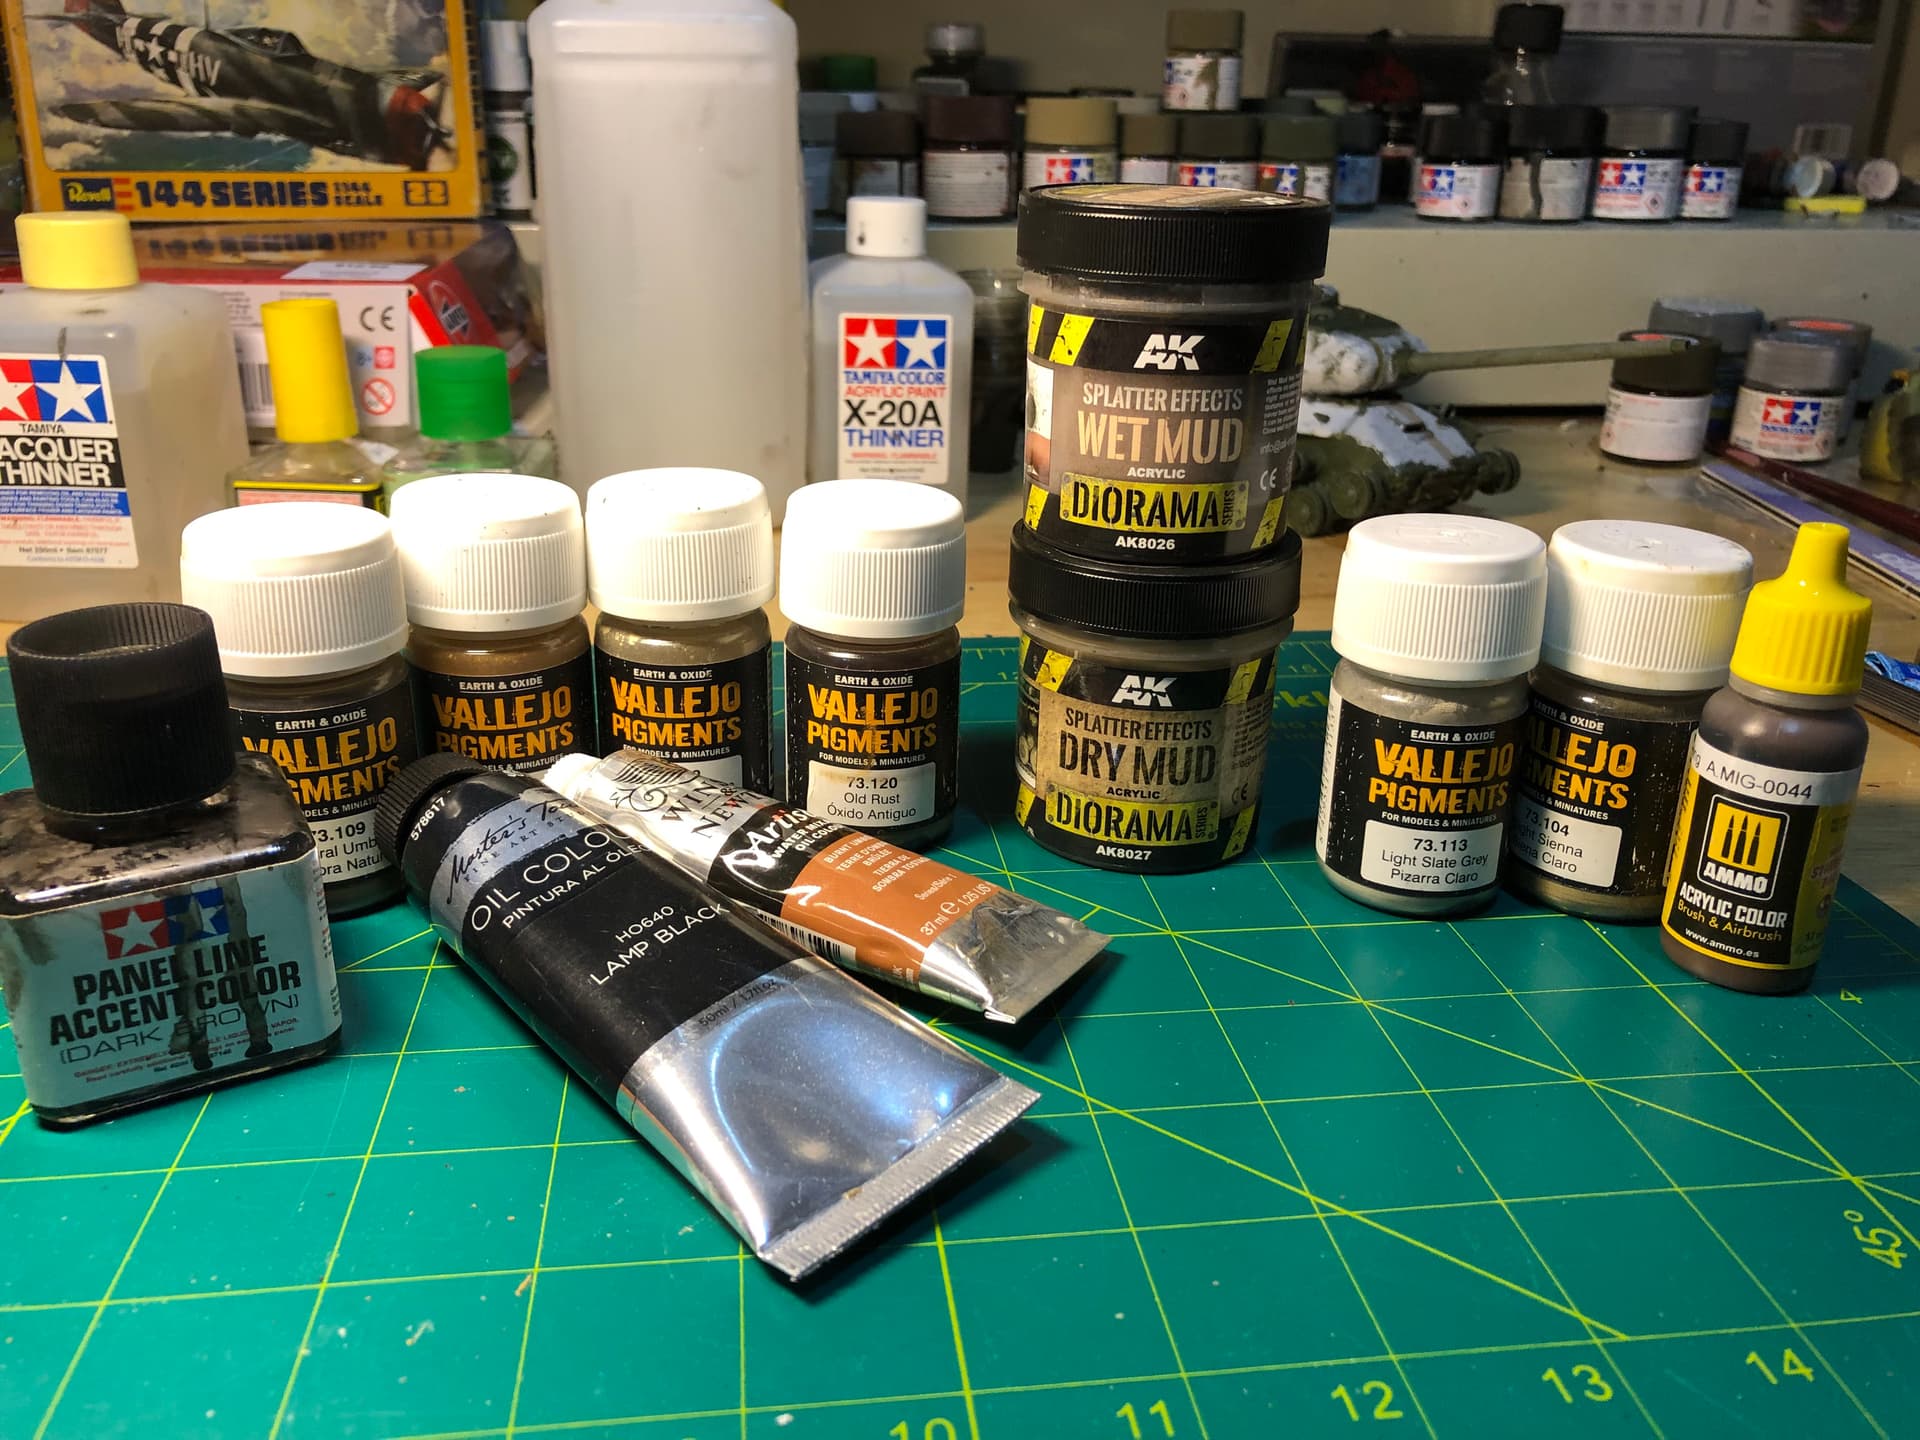
Lately I’ve been trying to build up my weathering/chipping arsenal, but I don’t really know what’s a necessity or just a gimmick. I have a few basic pigments, oils, and a Tamiya dark brown wash. If you have some chipping colors, washes or anything really that you swear by, I would love to know.
Hi Mitchell, looking at your collection, it could be exactly what I have on my bench other than the oil paints. I haven’t been brave enough to try those yet.
As far as weathering is concerned, I tend to get inspiration from videos etc but, every time I try a technique with a product, I learn some thing new about the way they act when used on different surfaces dependent on the type of paint or primer I have used. What I would say is, try lots of different products and techniques, be prepared to be both disappointed and delighted and practice, try new products, practice, experiment. I wish you many hours of successful weathering.
Although there are many options, you have a handy collection that should be enough. Personally I also like this range (used with brush & airbrush) in a couple of brown shades, but it may be similar to the Tamiya Panel Line you already have.
Well, it depends. I always use an airbrush, but there are guys out there who like spray cans. In my experience, spray cans, even the hobby ones, just put out too much paint (even clear) for model work. It’s the difference between a spray bottle and a fire hose. It just gets too thick of a paint layer on the model and you have no way to dial it down.
Now, for clear coat, let’s say you’ve done your gloss/decals/gloss and you’re ready for weathering. If you’re starting with washes, conventional wisdom says you put down a gloss coat so the washes flow freely. Then you put down a flat clear coat for your filters and dot filtering.
Personally, I cover my gloss/decals/gloss with a flat clear coat and do all my weathering from there. I use very thin oil washes thinned with Turpenoid, so I don’t get pooling or tide marks. Any that might show up can be scrubbed away with a wet brush. I might do 5 or 7 washes until I get the tone I want. Then I go on to filter specific areas and then dot filter the entire vehicle. This is all done with Winsor & Newton artist’s oil paint thinned with Turpeniod Blue Label thinner. I have several of the Ammo products and those are great but I use those more for specialty effects.
They’re not gimmicks: AK Interactive, MIG Ammo, Vallejo washes, etc. make some awesome weathering products that are worth the monetary investments.
For years, I’ve ignored my weathering paints and pigments and then after reading reviews and seeing veteran modelers use them, I decided to plunge in and invest. They are marvelous weathering products with enough materials to last for years.
The most helpful products for me were pigment fixer solution (so pigments won’t rub and blow off your model) and drybrushing paints in a bottle. My gosh, the drybrushing paint is a “miracle product”…the right consistency, lightness, thickness, and colors. No more adding white to base colors and then wiping the brush on a paper towel to get rid of most of the color. I still wipe on a paper towel with the drybrush paints, but at least it’s mixed to the proper light shades most of the time. Drybrushing paints saves time and money.
Buy drybrushes…Amazon sell them. Avoid the advice of using ratty brushes for drybrushing and invest in real drybrushes…soft and great for drybrush paints.
Then slowly build up your washes, pigments, and inks as you go along. The pigment binder is a “miracle product” itself. It makes the pigments dark when wet, but once dry, it changes to the exact pigment color.
Not really so much as “gimmicks,” but rather more like just conveniently pre-packaged and color selected / mixed “modeler’s branded” products.
Artist oil paint is artist oil paint… Dry artist pigments are dry artist pigments… Textured acrylic paste mediums are just that, and they can be colored with either dry pigments or any acrylic paint. The latest trend in “weathering pencils” ignores the fact that water-color pencils and makeup liner pencils have been around forever. Chalk pastels are nothing new, and modelers have been using them from the art supply store forever.
Paint thinners tinted with colored paint have been used as washes for longer than most of the folks here on the Kit Maker Forums have been alive. Shepperd Paine was writing “how to’s” on using commercial antiquing glazes for weathering back in the '70s. Metallic colored Carnuba waxes in small tubes have been sold since at least the early 1970s when I first discovered and used silver Rub 'n Buff to weather drive sprocket teeth and tracks, so AK’s new stuff is nothing really new.
My advice is to appreciate that techniques are NOT tied to proprietary products and can be imitated or replicated using “old school” materials just as well, although perhaps not quite as conveniently. If you’re on a budget or have limited access to vendors, then many of the proprietary weathering products might also save you some money and time in sourcing the artist material analogs.
However, you can mix up your own “Russian Mud” colored dry pigments from regular artist dry pigments, but buying a small pot of Mig’s “Russian Mud” is certainly cheaper than buying several larger bottles of various artist pigments and mixing up you own. On the other hand, if you do buy the artist dry pigments, you’ll have a supply that will last years while offering near infinite color-mixing possibilities.
So, remember that it’s really all about the techniques and not about which brand of stuff you use to achieve the effect.
Weathering, weathering effects for a model are 75% to 90% percent personal preference. Experiment and develop a process you like and pleases your eye.
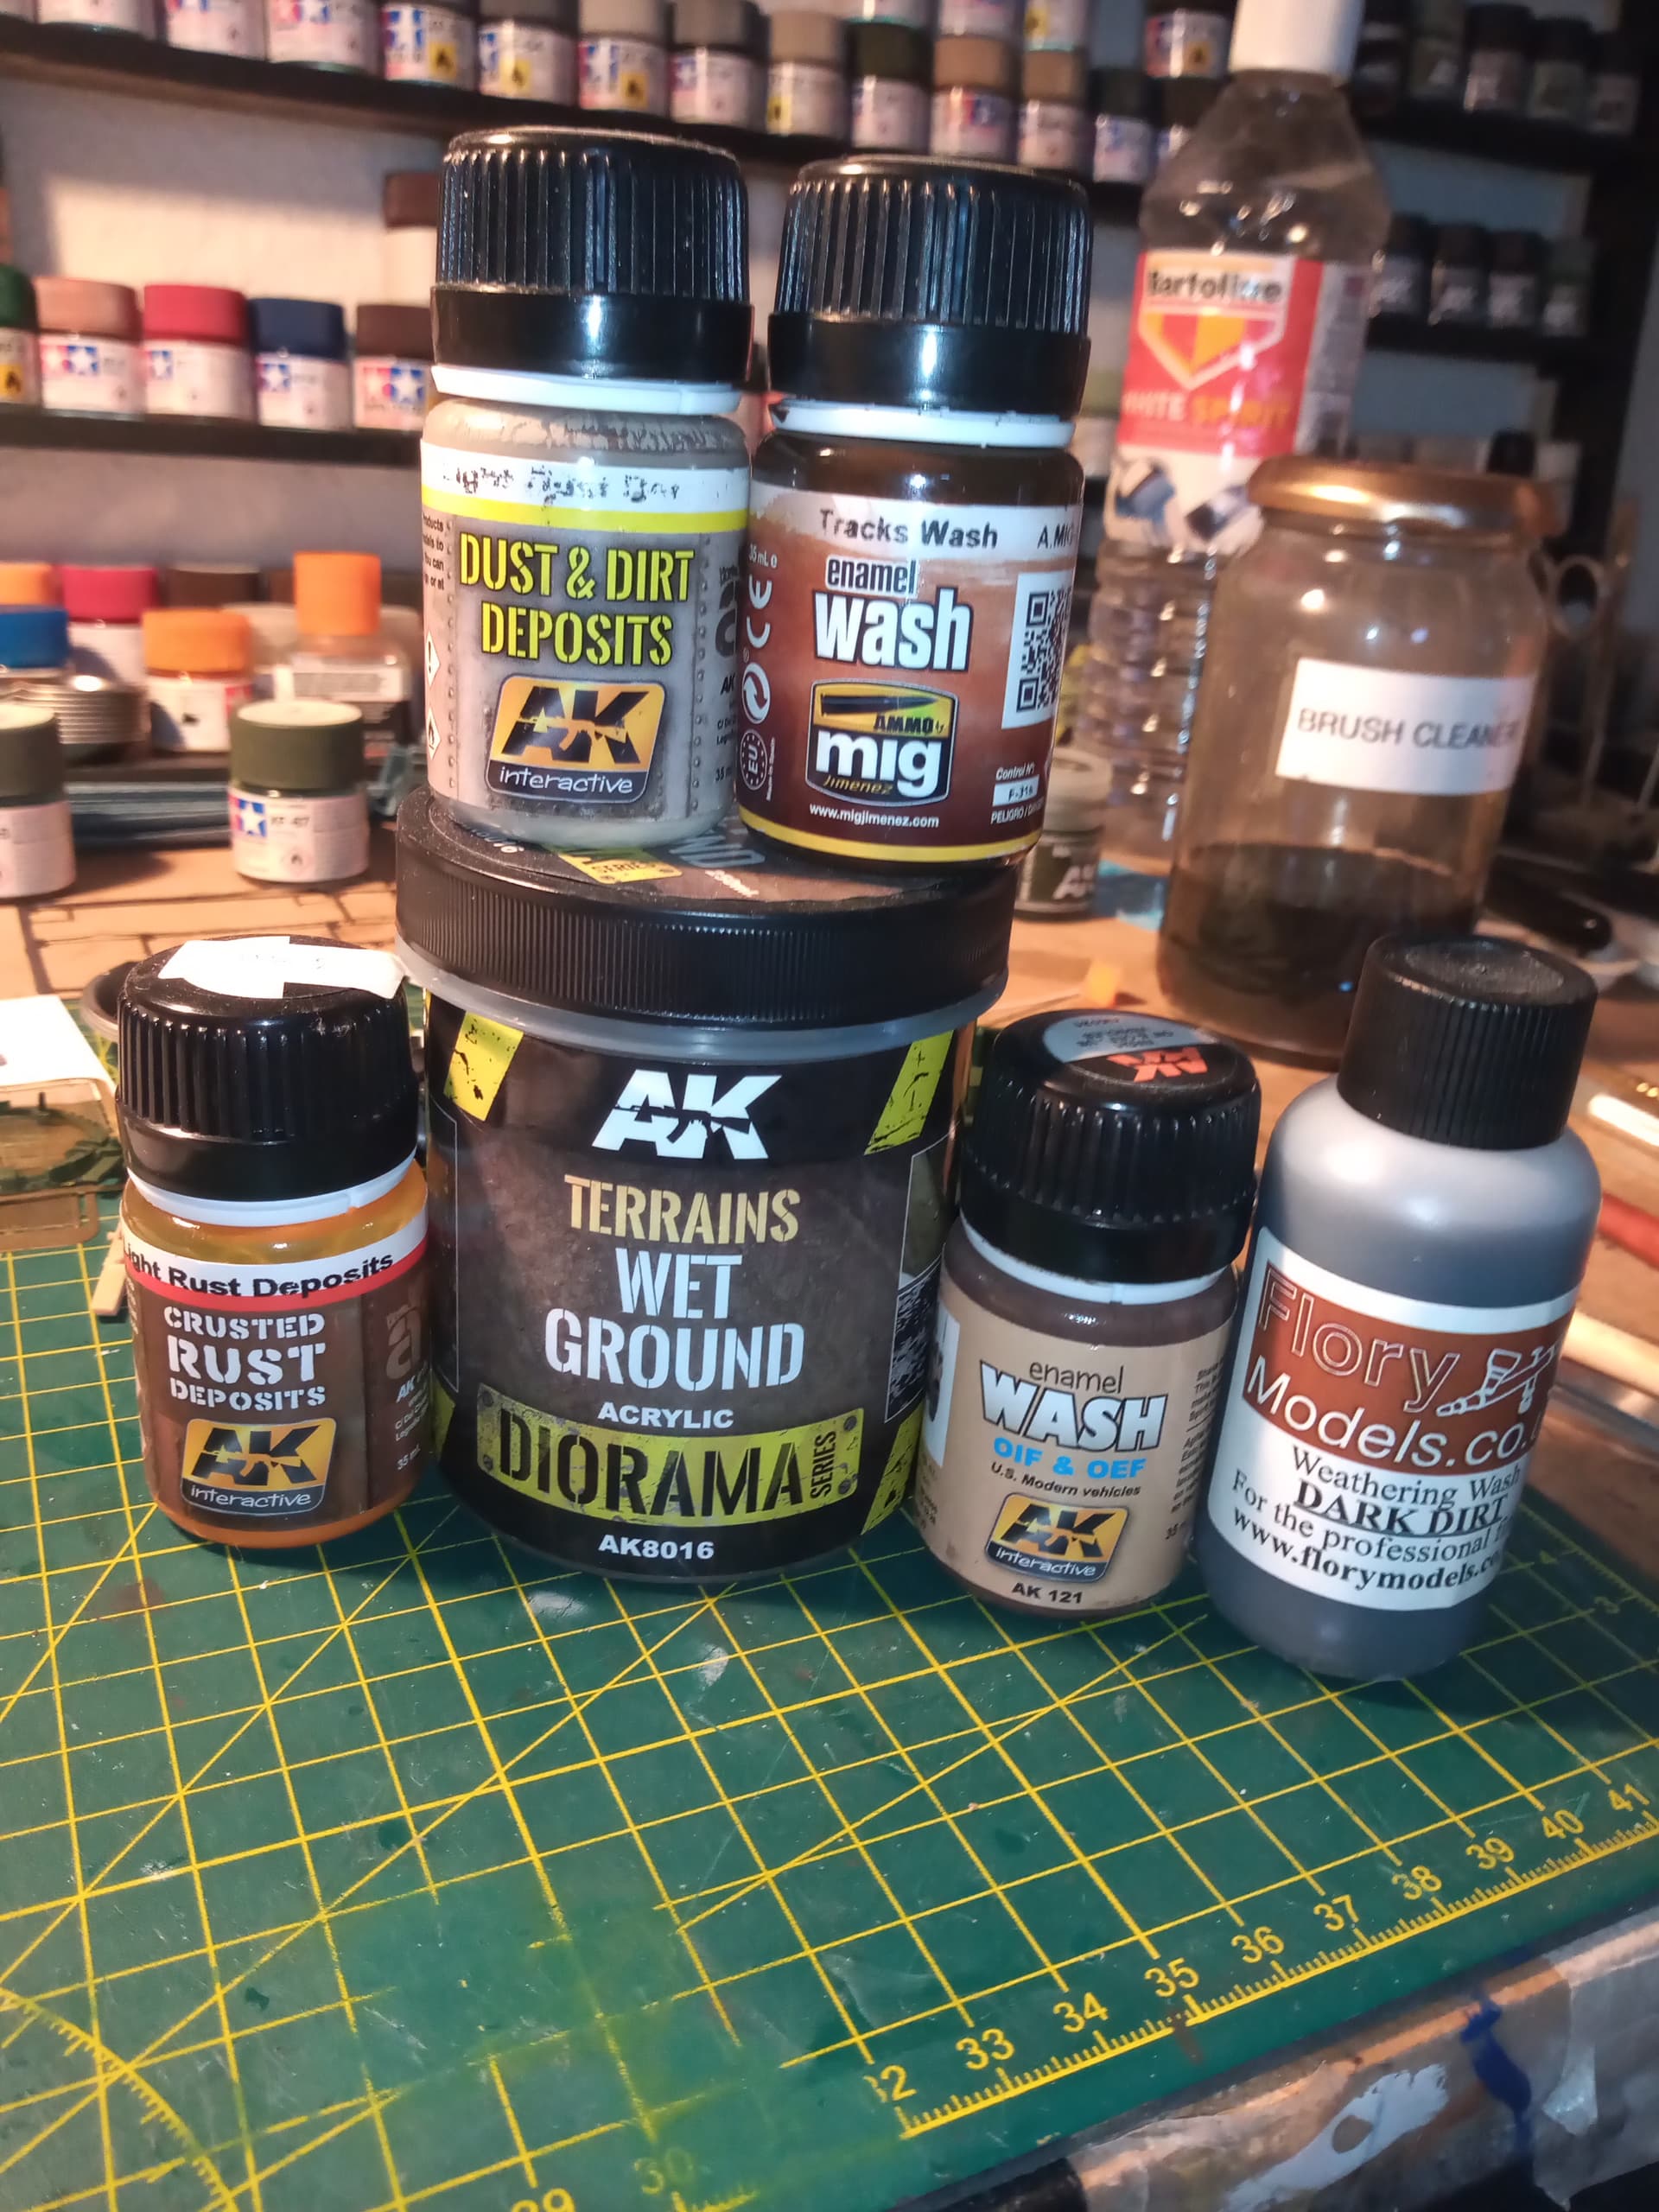
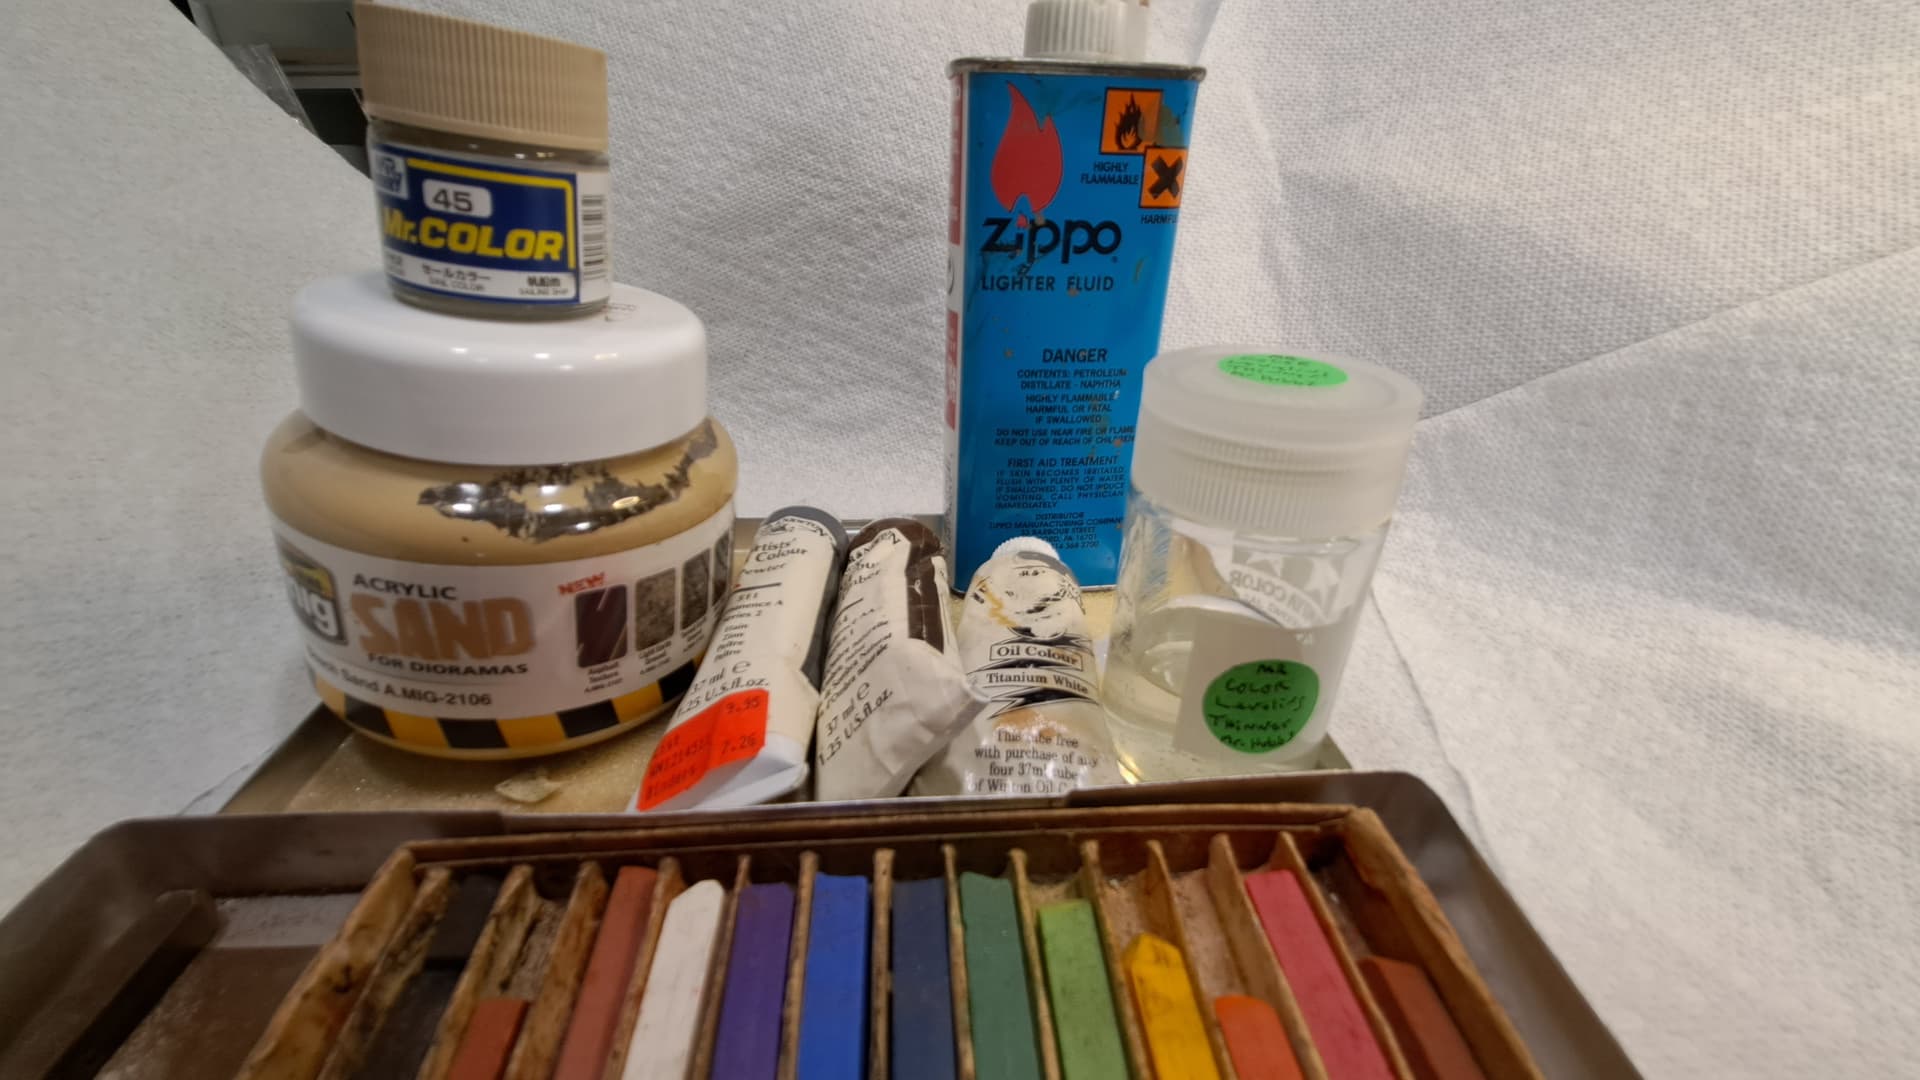
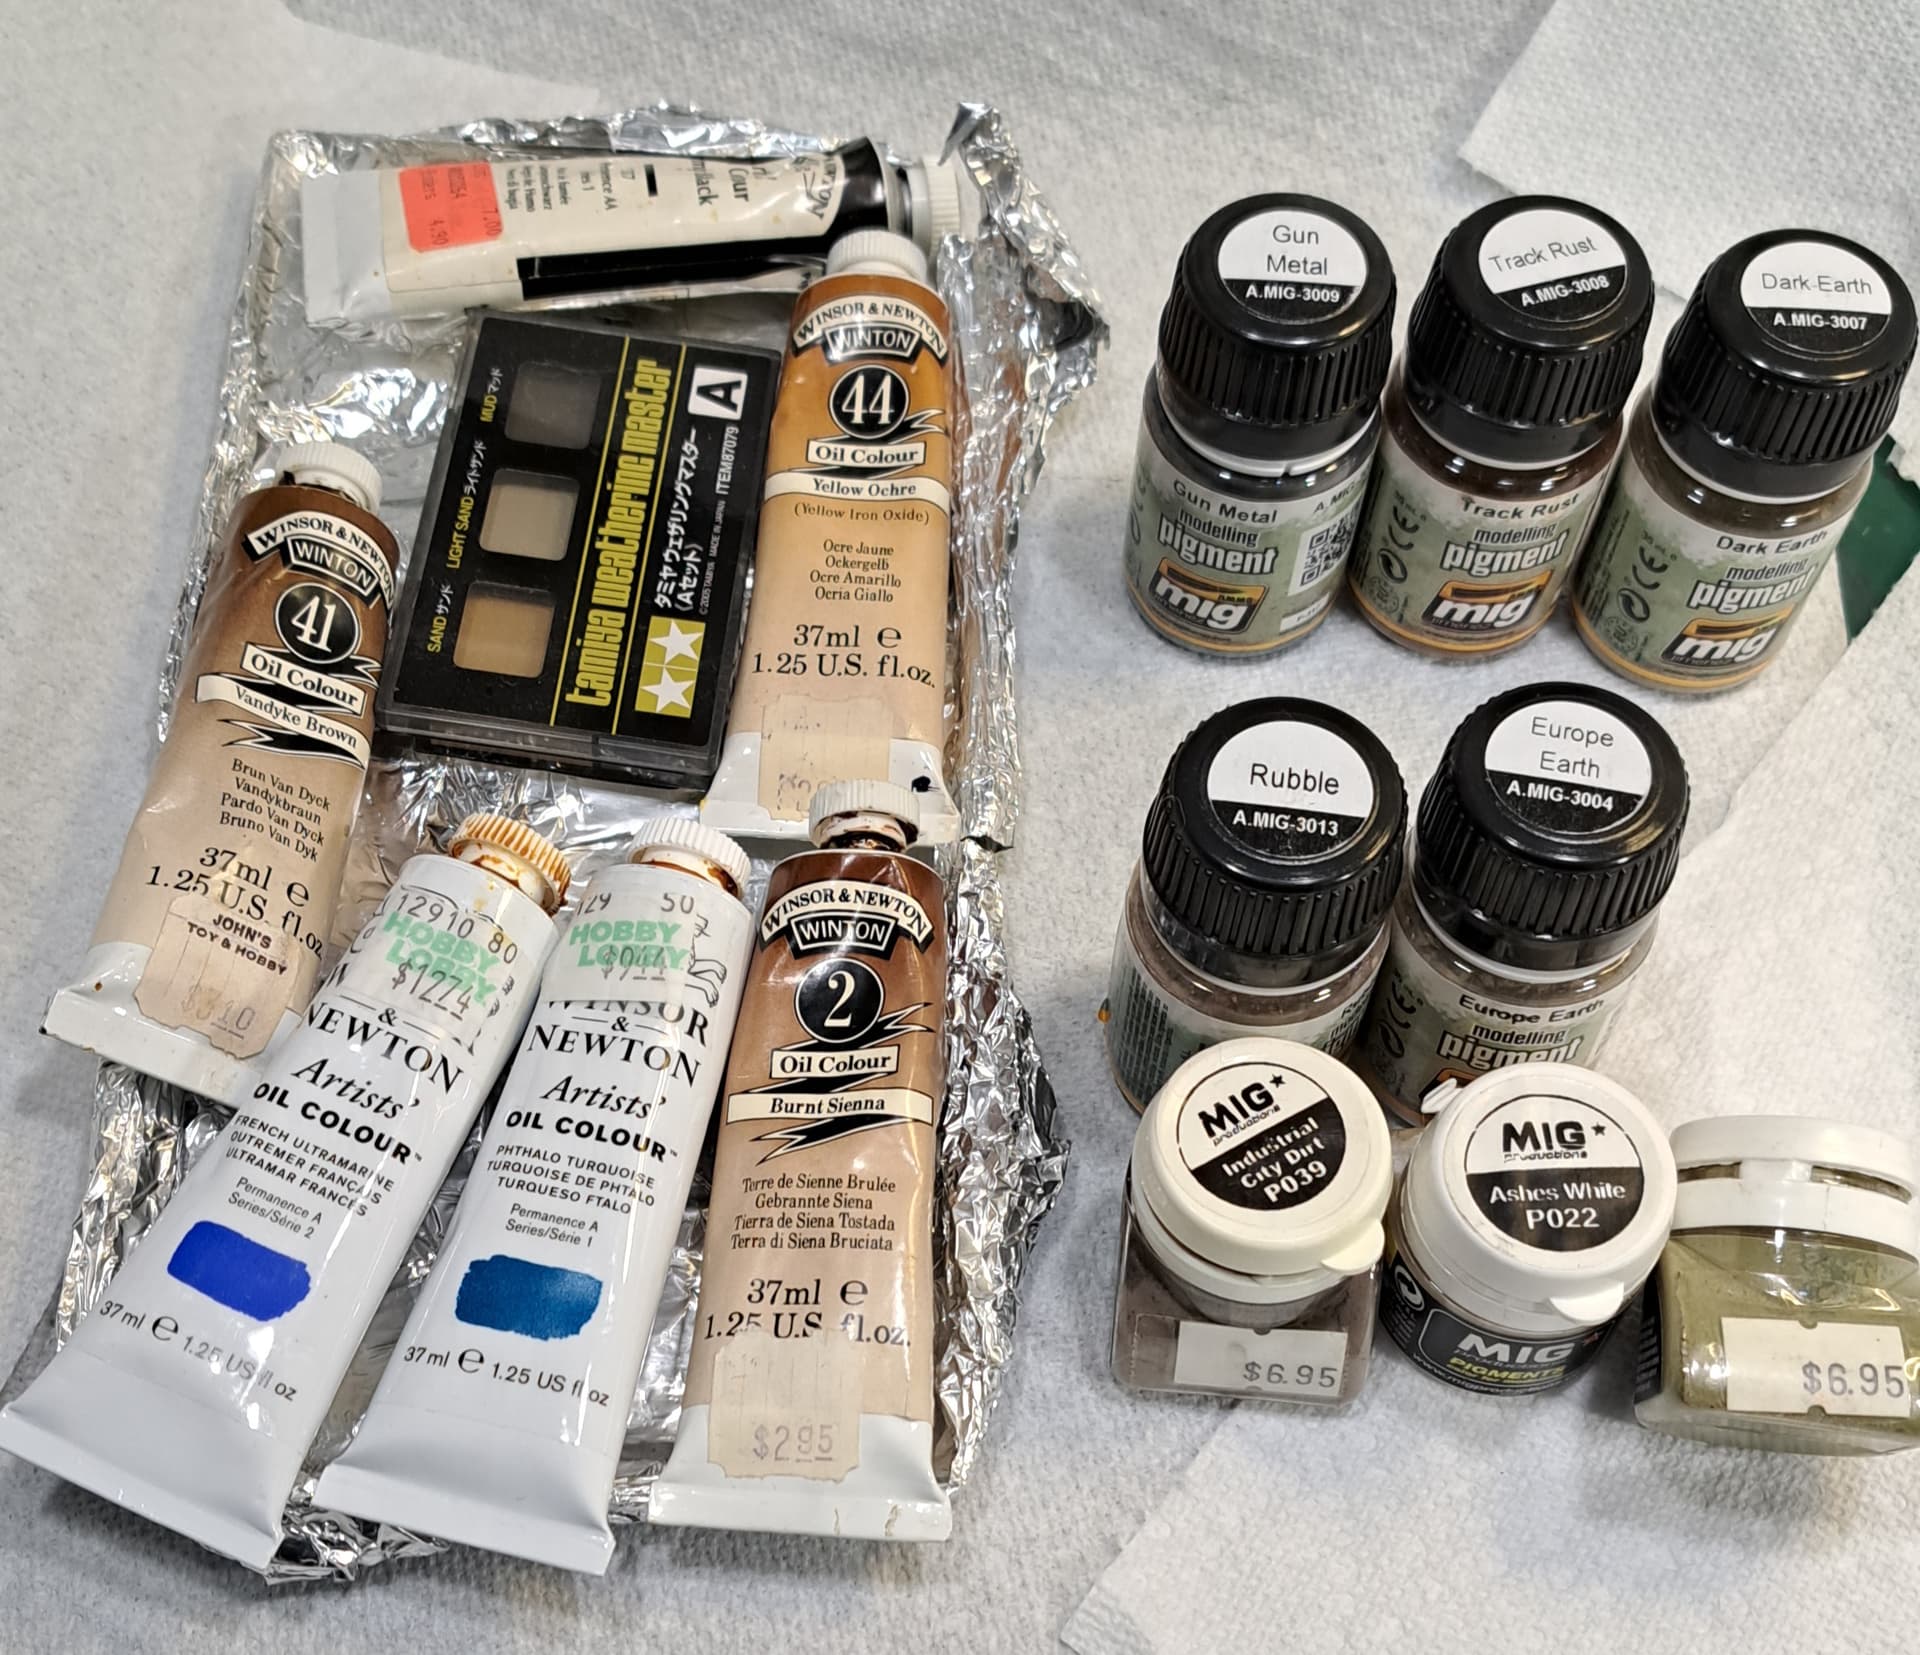
Here are 95% of the weathering products I use 95% of the time. Oil washes, oil paint & ground pastel chalk dust. I like mixing artist oils back into my enamel base colors, feels like more control. All based around what Shepherd Paine & Verliden were doing 40 to 50 years ago. One just mixes their own washes and pastels instead of purchasing a prepacked modeling product.
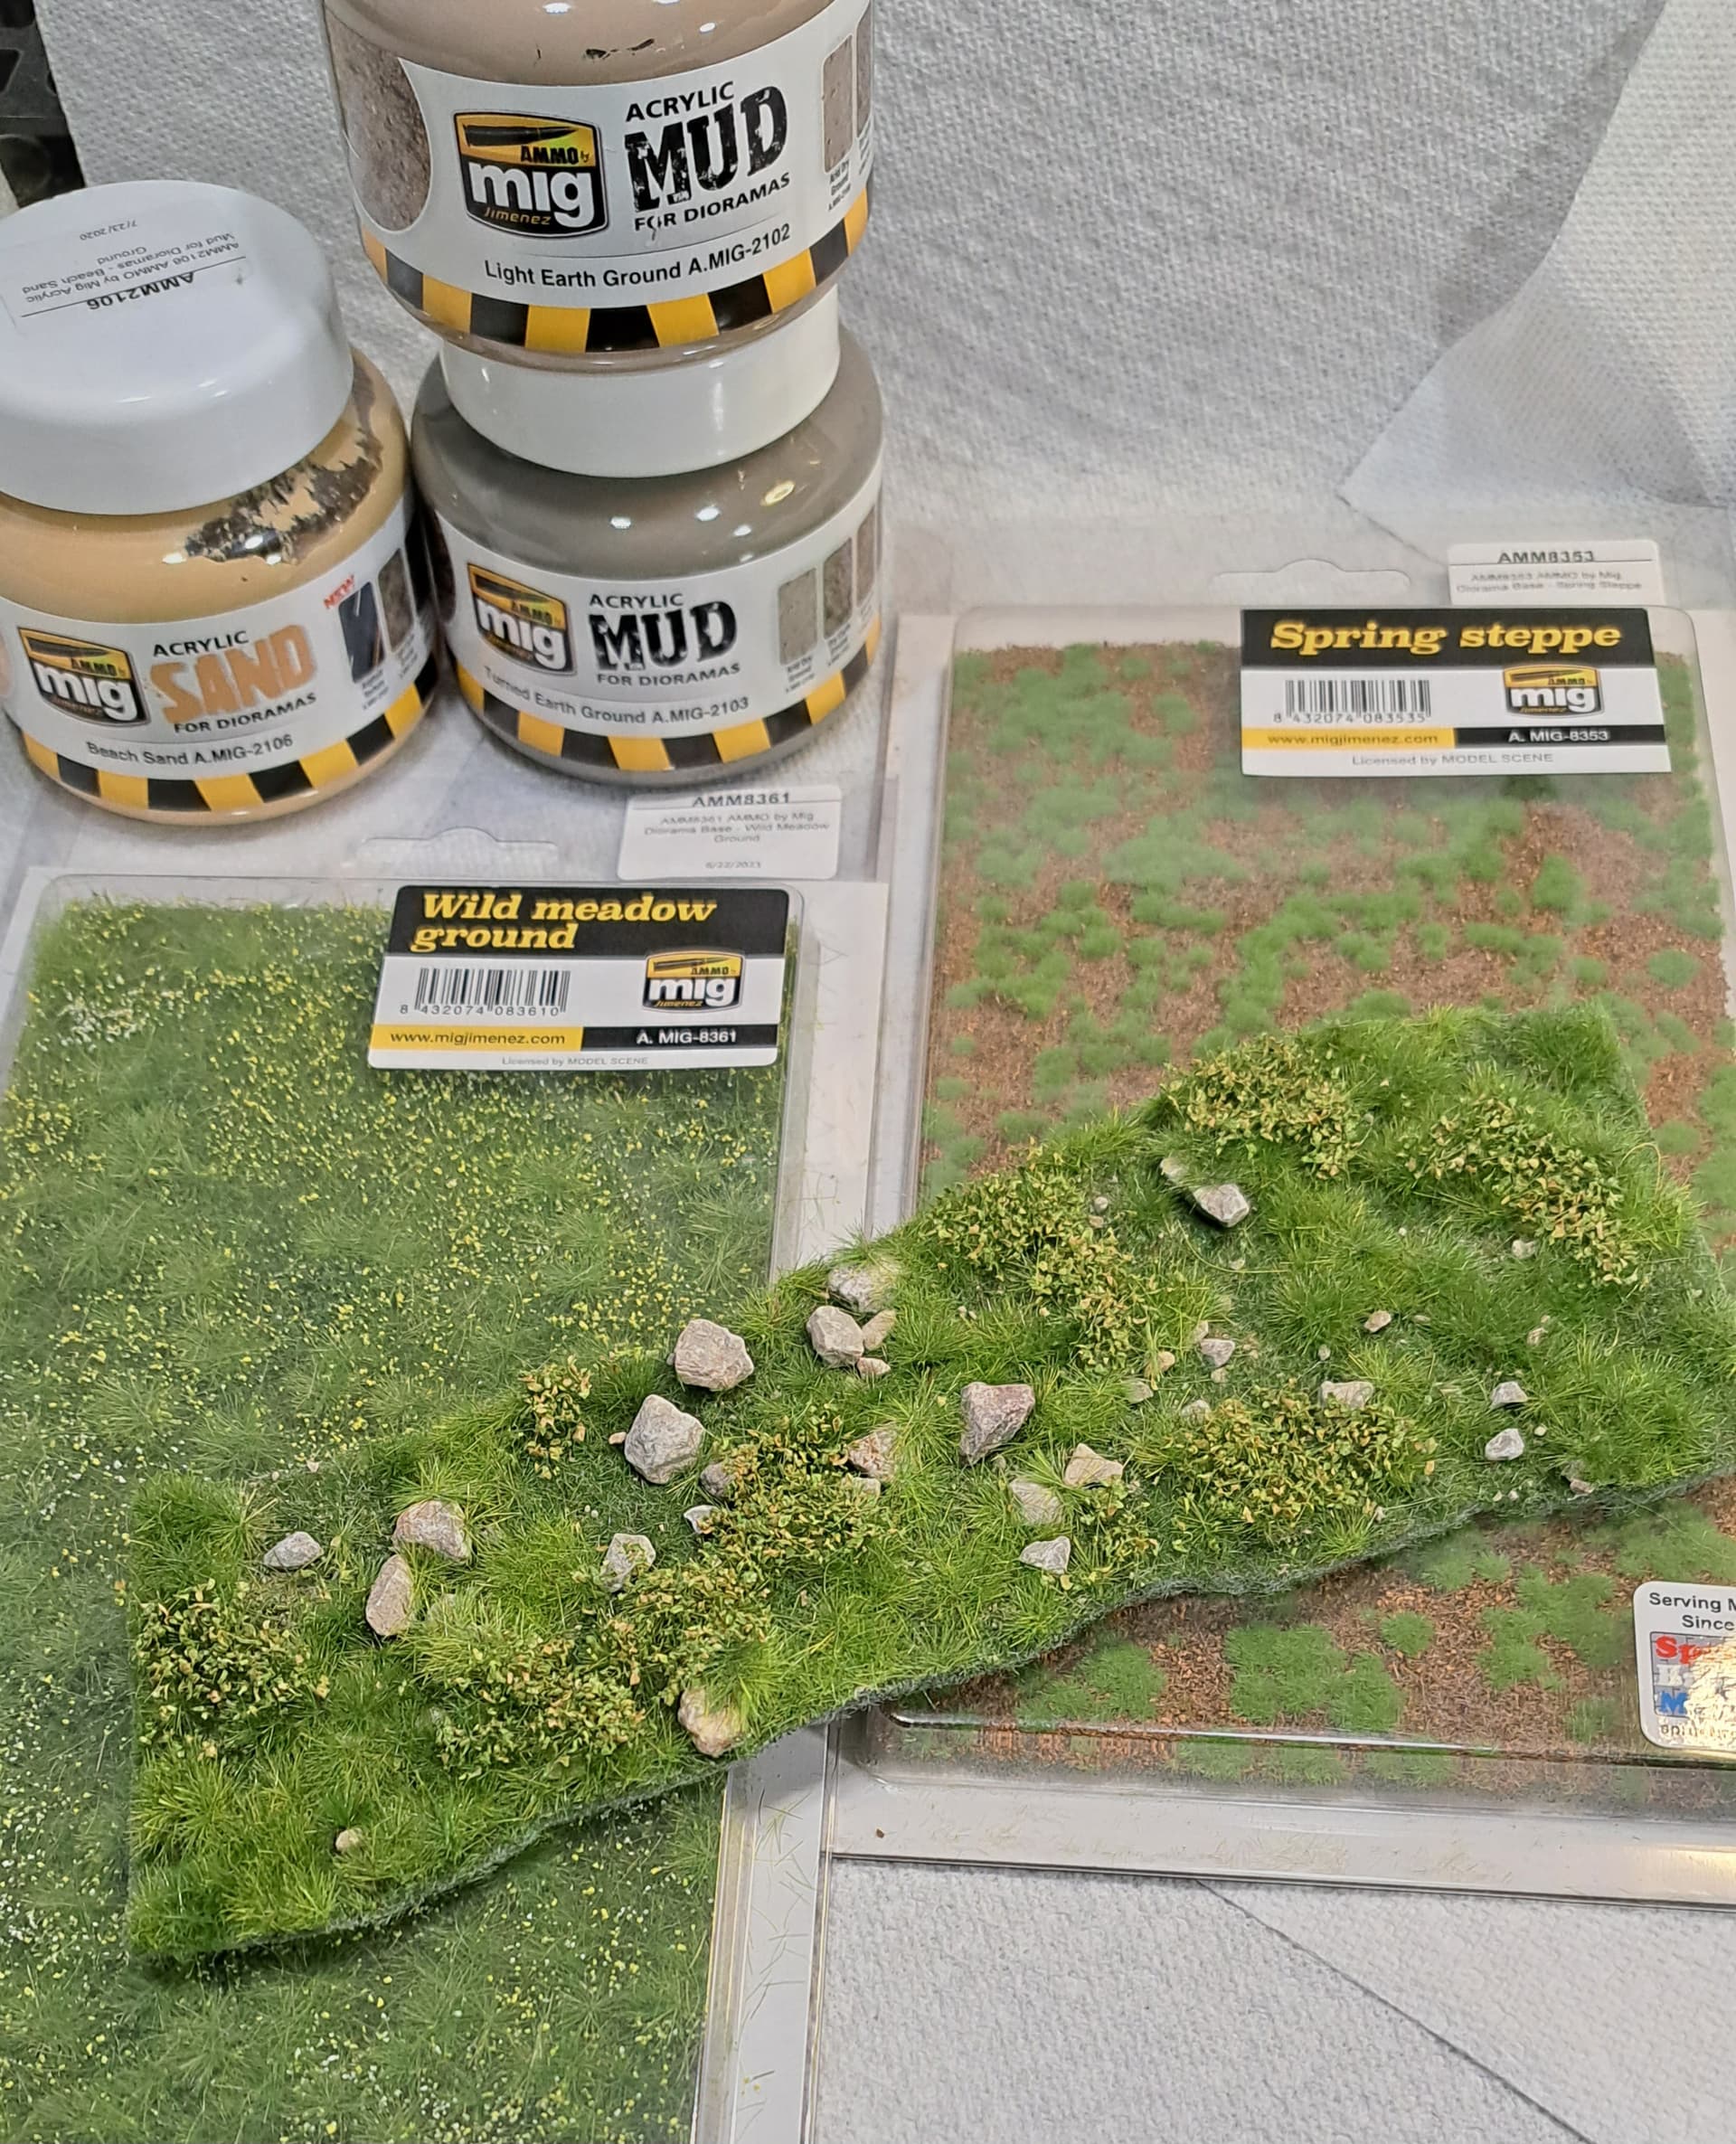
Only one aftermarket product, Mig’s Sand /Dirt because I’m too lazy and it’s messy to mix up dirt, sand, glue, arcylic paint, celu-clay & plaster.
Other stuff on the work bench that’s occasionally used more oils and some of Mig’s pigments. In my opinion using a pigment directly out of the bottle usually sucks because they look monotone. Mixing a couple of light tone pigs together helps make for better pastel BBQ.
Back in the 1980’s and 1990’s before Mig burst onto the scene, I’d say probably 85% of modelers I knew couldn’t mix a good wash. Mig’s products and others have greatly helped the community. Use what works for you and what’s fun to work with for weathering.
I love ye old oil paint wash thinned with Zippo (high grade Naptha) lighter fluid. Likewise, Floquil thinned with Zippo or Mr Color Leveling Thinner. Half the fun to me is mixing my own variety of washes for whatever I want to highlight.
@Armor_Buff@Trisaw@SdAufKla I wasn’t expecting a lot of input, so thanks for taking time to write these replies. I will DEFINETLY put these into use! I have been trying to find the “household” equivalates to a lot of the modeling product I see. But its really the techniques, so ill keep on experimenting!
johnny that flory wash do you use it over a gloss clear or after you flat coat? i build mostly aircraft and have only used it after i gloss coat.i would be concerned it would soak into the flat and not be able to wash/wipe it out of spots i don’t want it in. i also can’t find it here in the US. i have one black wash nearly empty.
Joe
Joe, I’ve only ordered once in November 2023 for six of the Flory washes. They shipped in a reasonable time. The order was correct, making a good first impression. They were the only US supplier I found.
Joe, sadly I am the worst offender when it comes to laying any form of coats down, be it gloss or varnish … times to short for me, so all washes go straight on the last coat of paint … never had an issue doing that way and for the Flory wash, I usually leave it on between 30 to 60 minutes and then do the clean up as per the advice in the links below.
There are various other YouTube links for Flory and how he applies them.