Westland LYNX - Airfix 1/48

Hi all.
I have just put an Airfix box of the Westland Lynx in 1/48 scale on my workbench.

I am interested in the version in service with the Royal Navy. Have any of you flown this helicopter in service? If so, it would be very helpful to have some nice interior photos if you have them.
In any case, I hope to show the beginnings of my work in progress soon.
Dan

3 Likes

Ok guys,
so partly by choice and partly by necessity (I haven’t found any interior detail sets for the Lynx available from my usual suppliers at the moment), I have gone with what the Airfix kit provides.
As for the cockpit, I have to say that the instrument panel decals are passable.
Here are a couple of photos of a real example:


Imgur
Imgur

and here is the representation on the model…


The only element not represented by decal but printed in the plastic is the left panel containing the smaller screen that I completed with several coats of Gunze Clear blue H-93 to give depth to the display.

The seat frames are quite faithful, unlike the seat belts which are printed terribly on the seat cushions and are really modest and very difficult to colour having a microscopic thickness.
The colouring instructions are wrong. For this aspect I followed the instructions of a Britmodeller.com user, presumably a user of this Royal Navy helicopter.
As for the rear section, in my opinion a fairly faithful representation of the benches and, all things considered, also of the sound-proofing cover that wraps around the entire rear section.
Here, however, I must point out an error consisting in the fact that in reality this cover “overlapped” almost everything, including the belt hooks. I mean this way…


The details provided by Airfix are incorrect, as they indicate the belts and their attachments on the outside of the cover and provide a representation of the belts themselves that, I would say, imaginative, as well as an incorrect indication of the color (black instead of a more correct orange).


Anyway, this is the entire cabin that will then be closed inside the fuselage.


Dan

7 Likes

Hi everyone,
I’m back with a few updates. I’ve missed a few installments of my WIP, so I’ll quickly go through the most significant steps of the build.
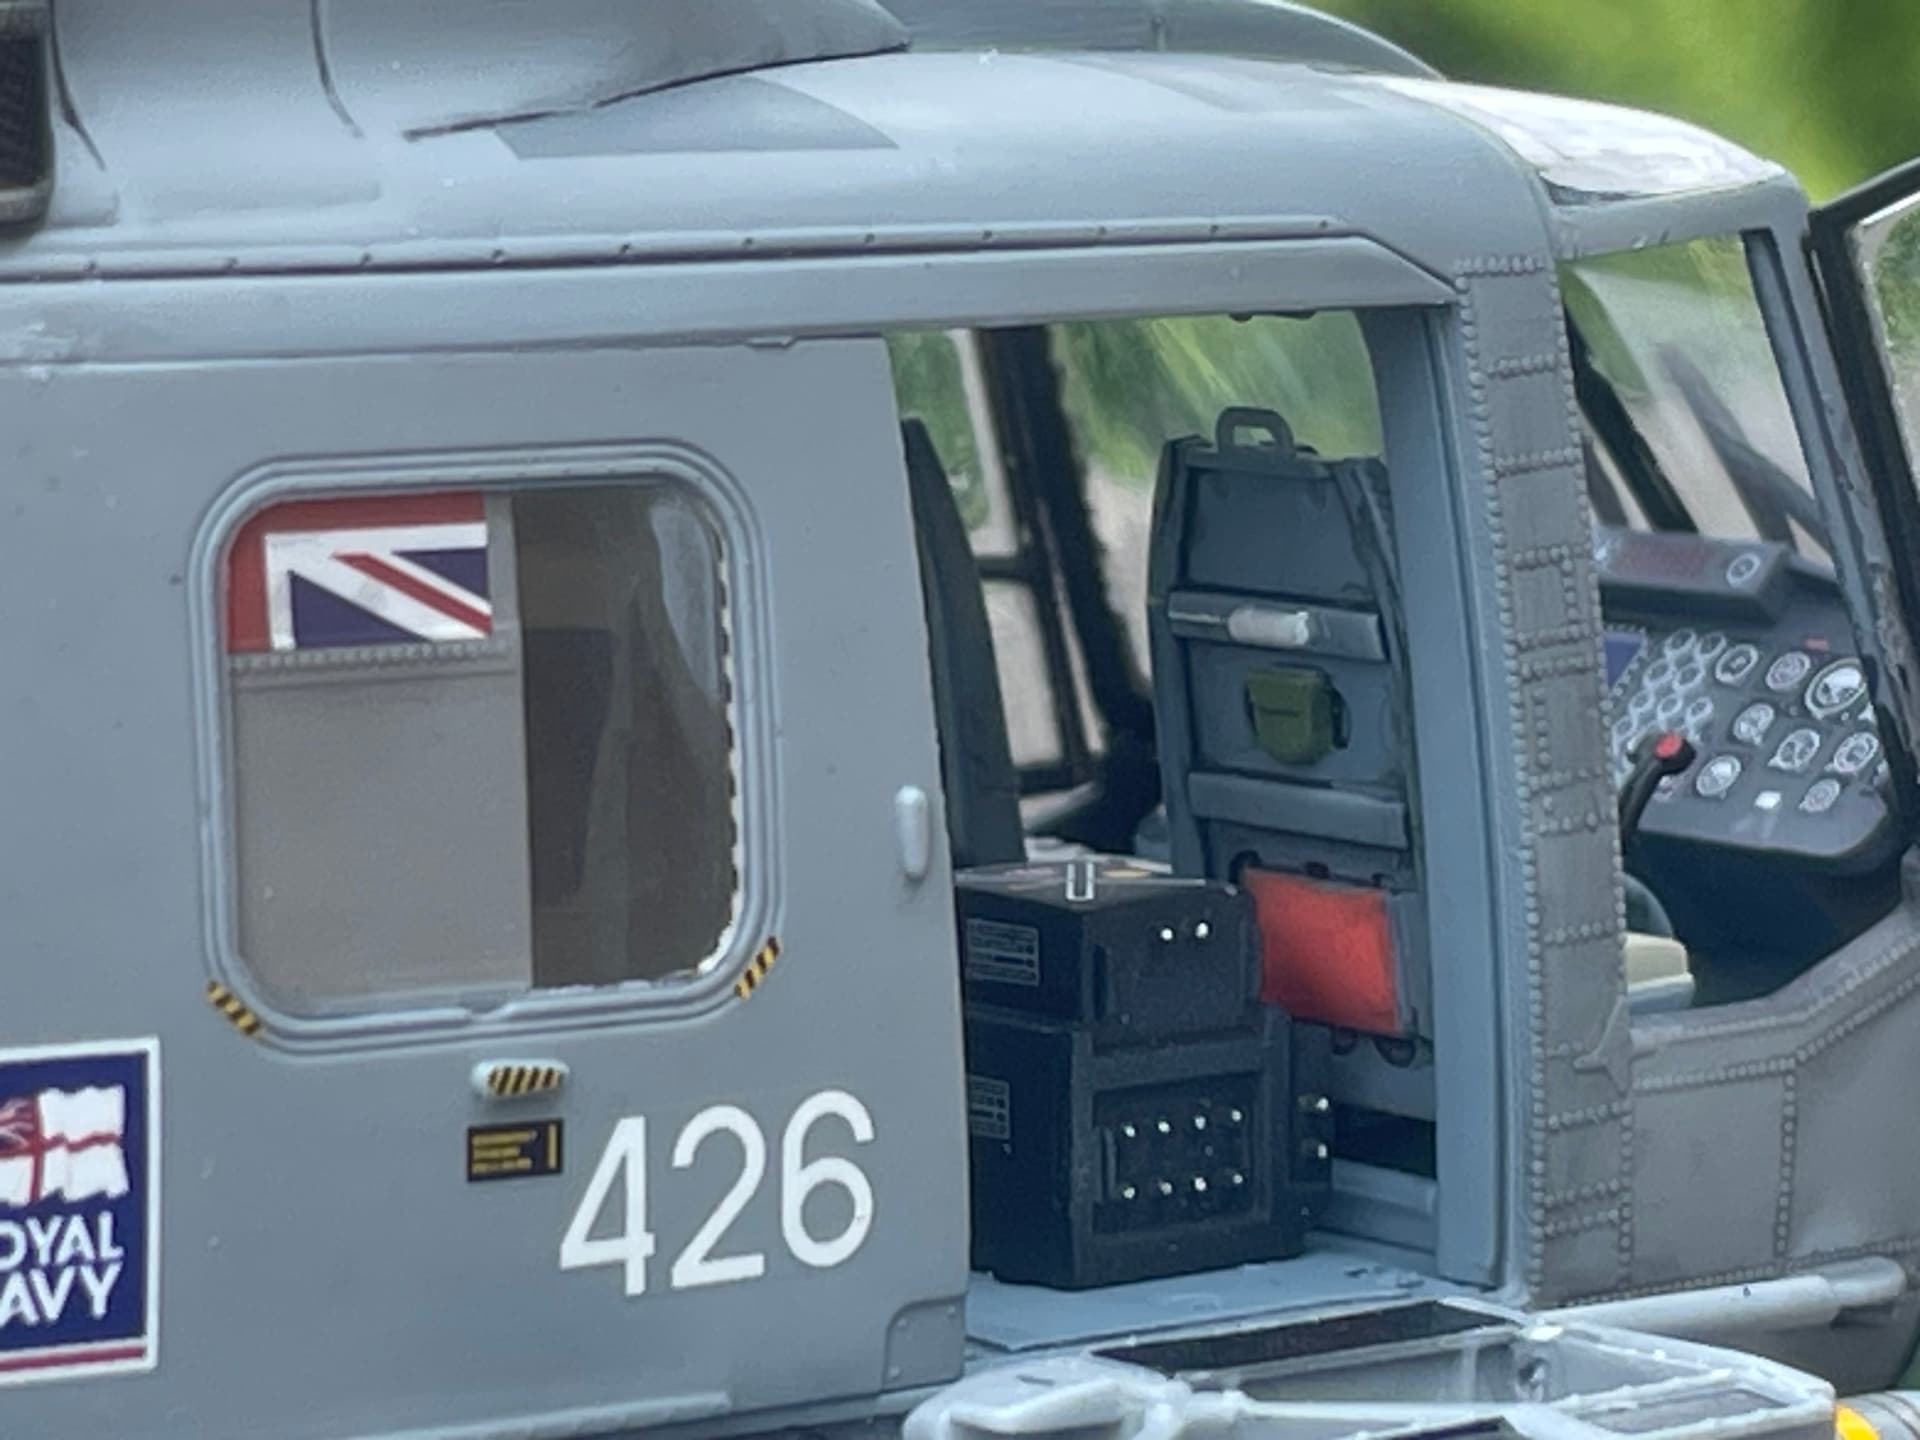
The fuselage halves are closed, incorporating the internal cell consisting of the cockpit and rear cabin. A lot of filing was done on the latter to ensure an acceptable seal, but some filler was needed at some joints.
Here’s what we achieved:


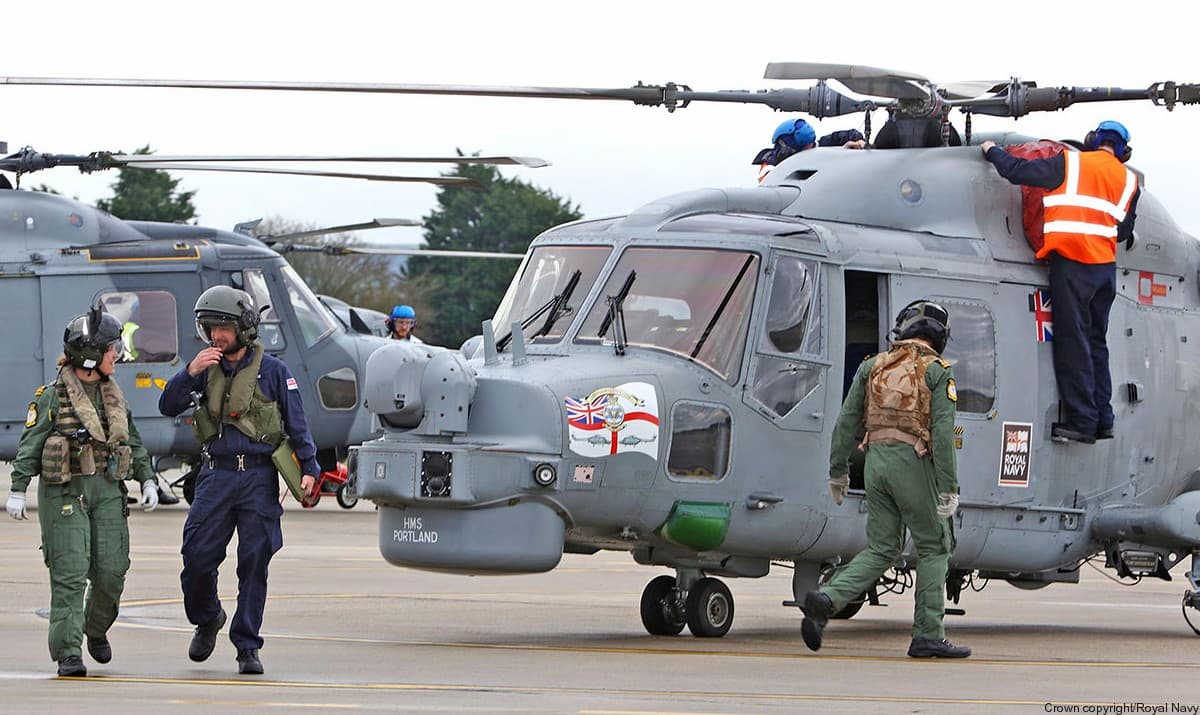
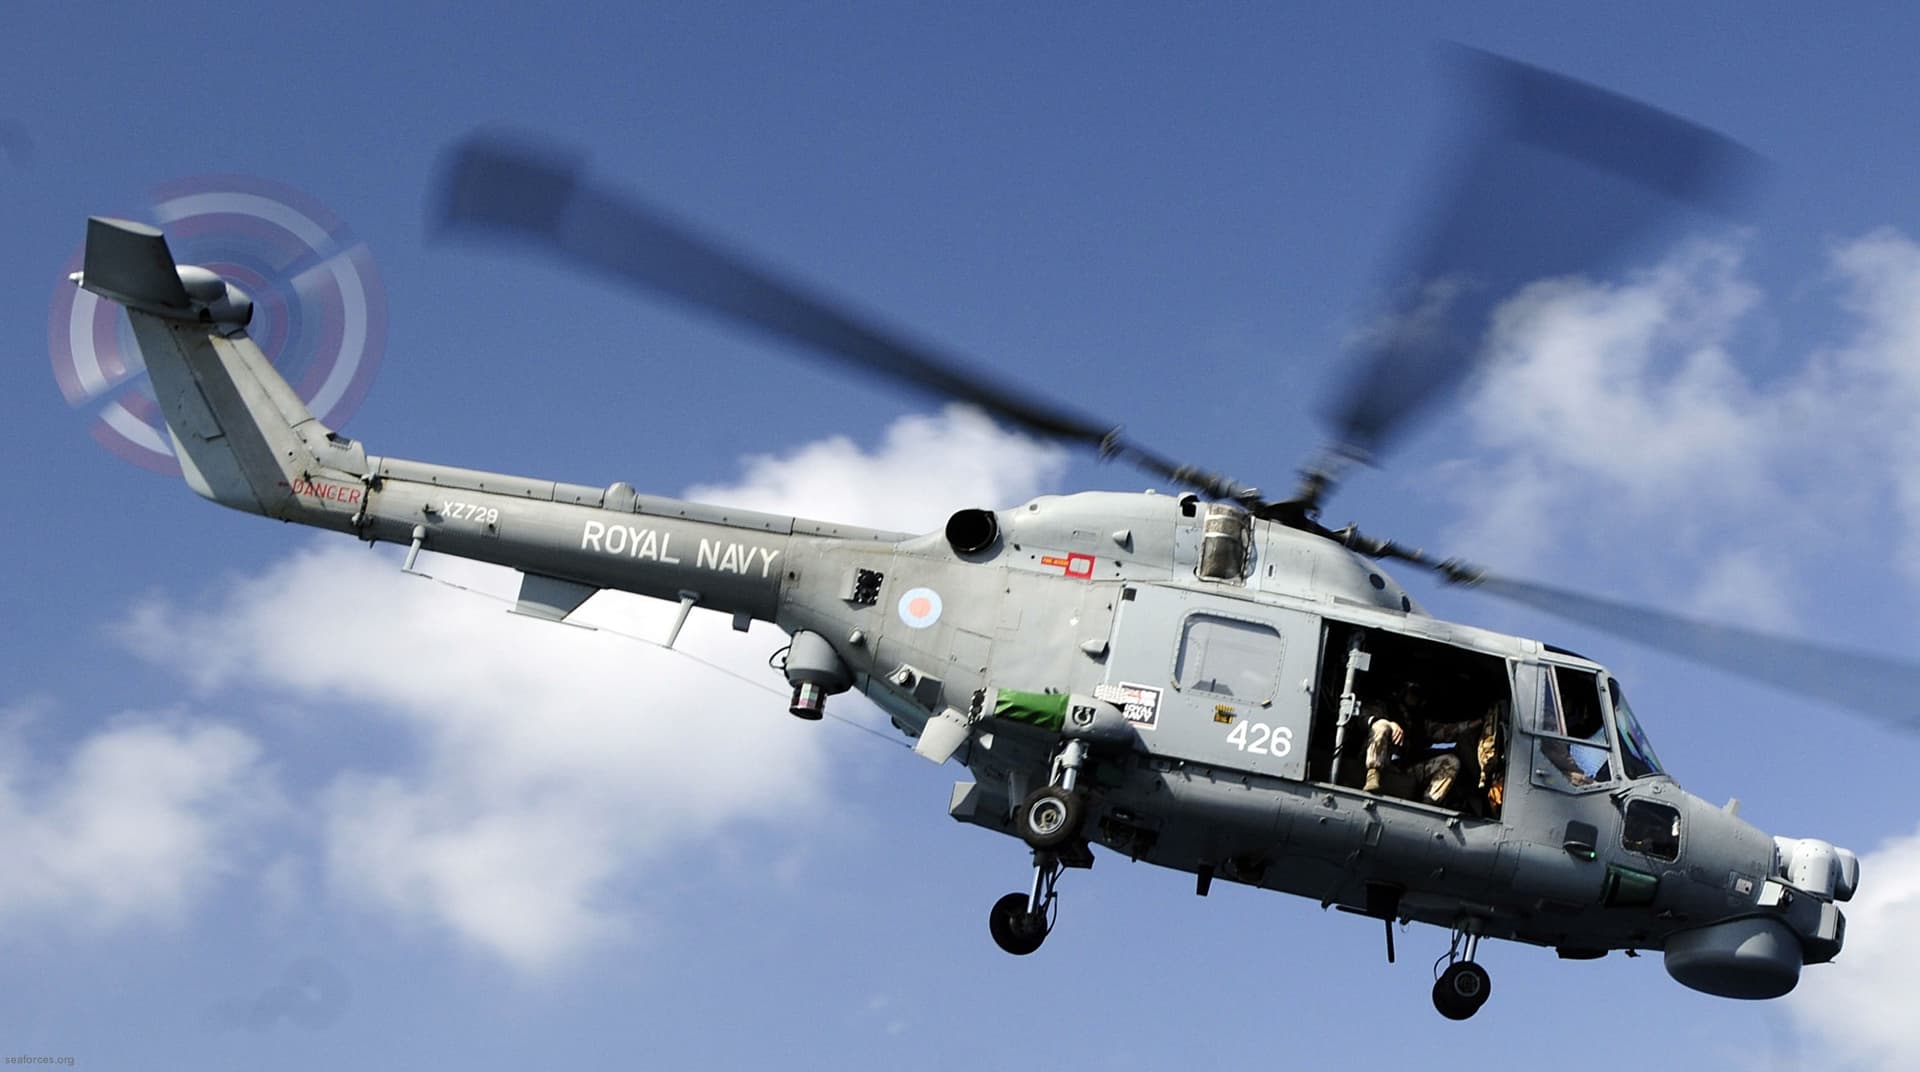
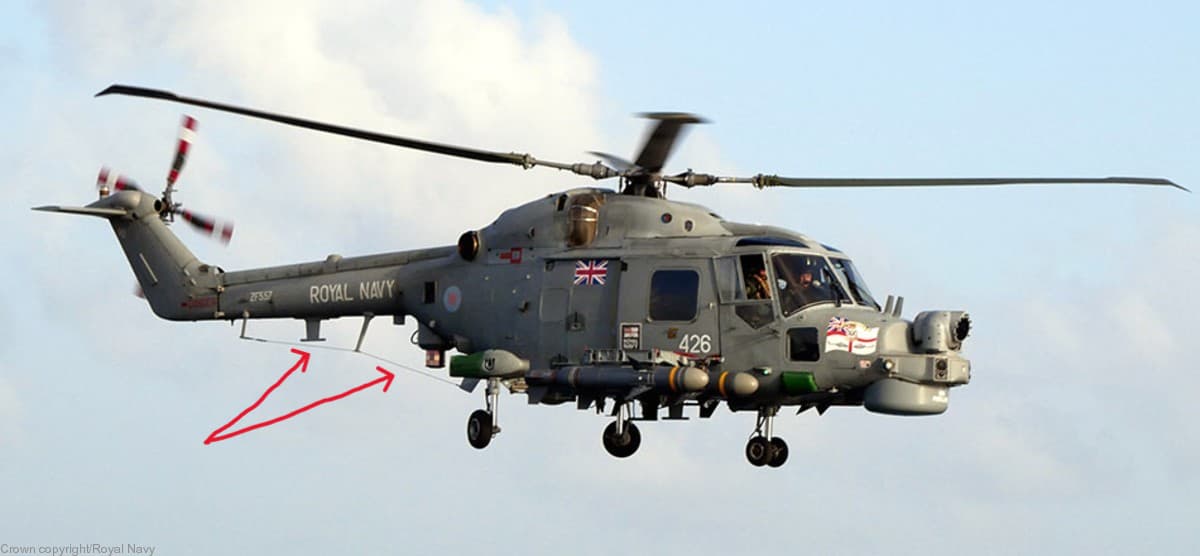
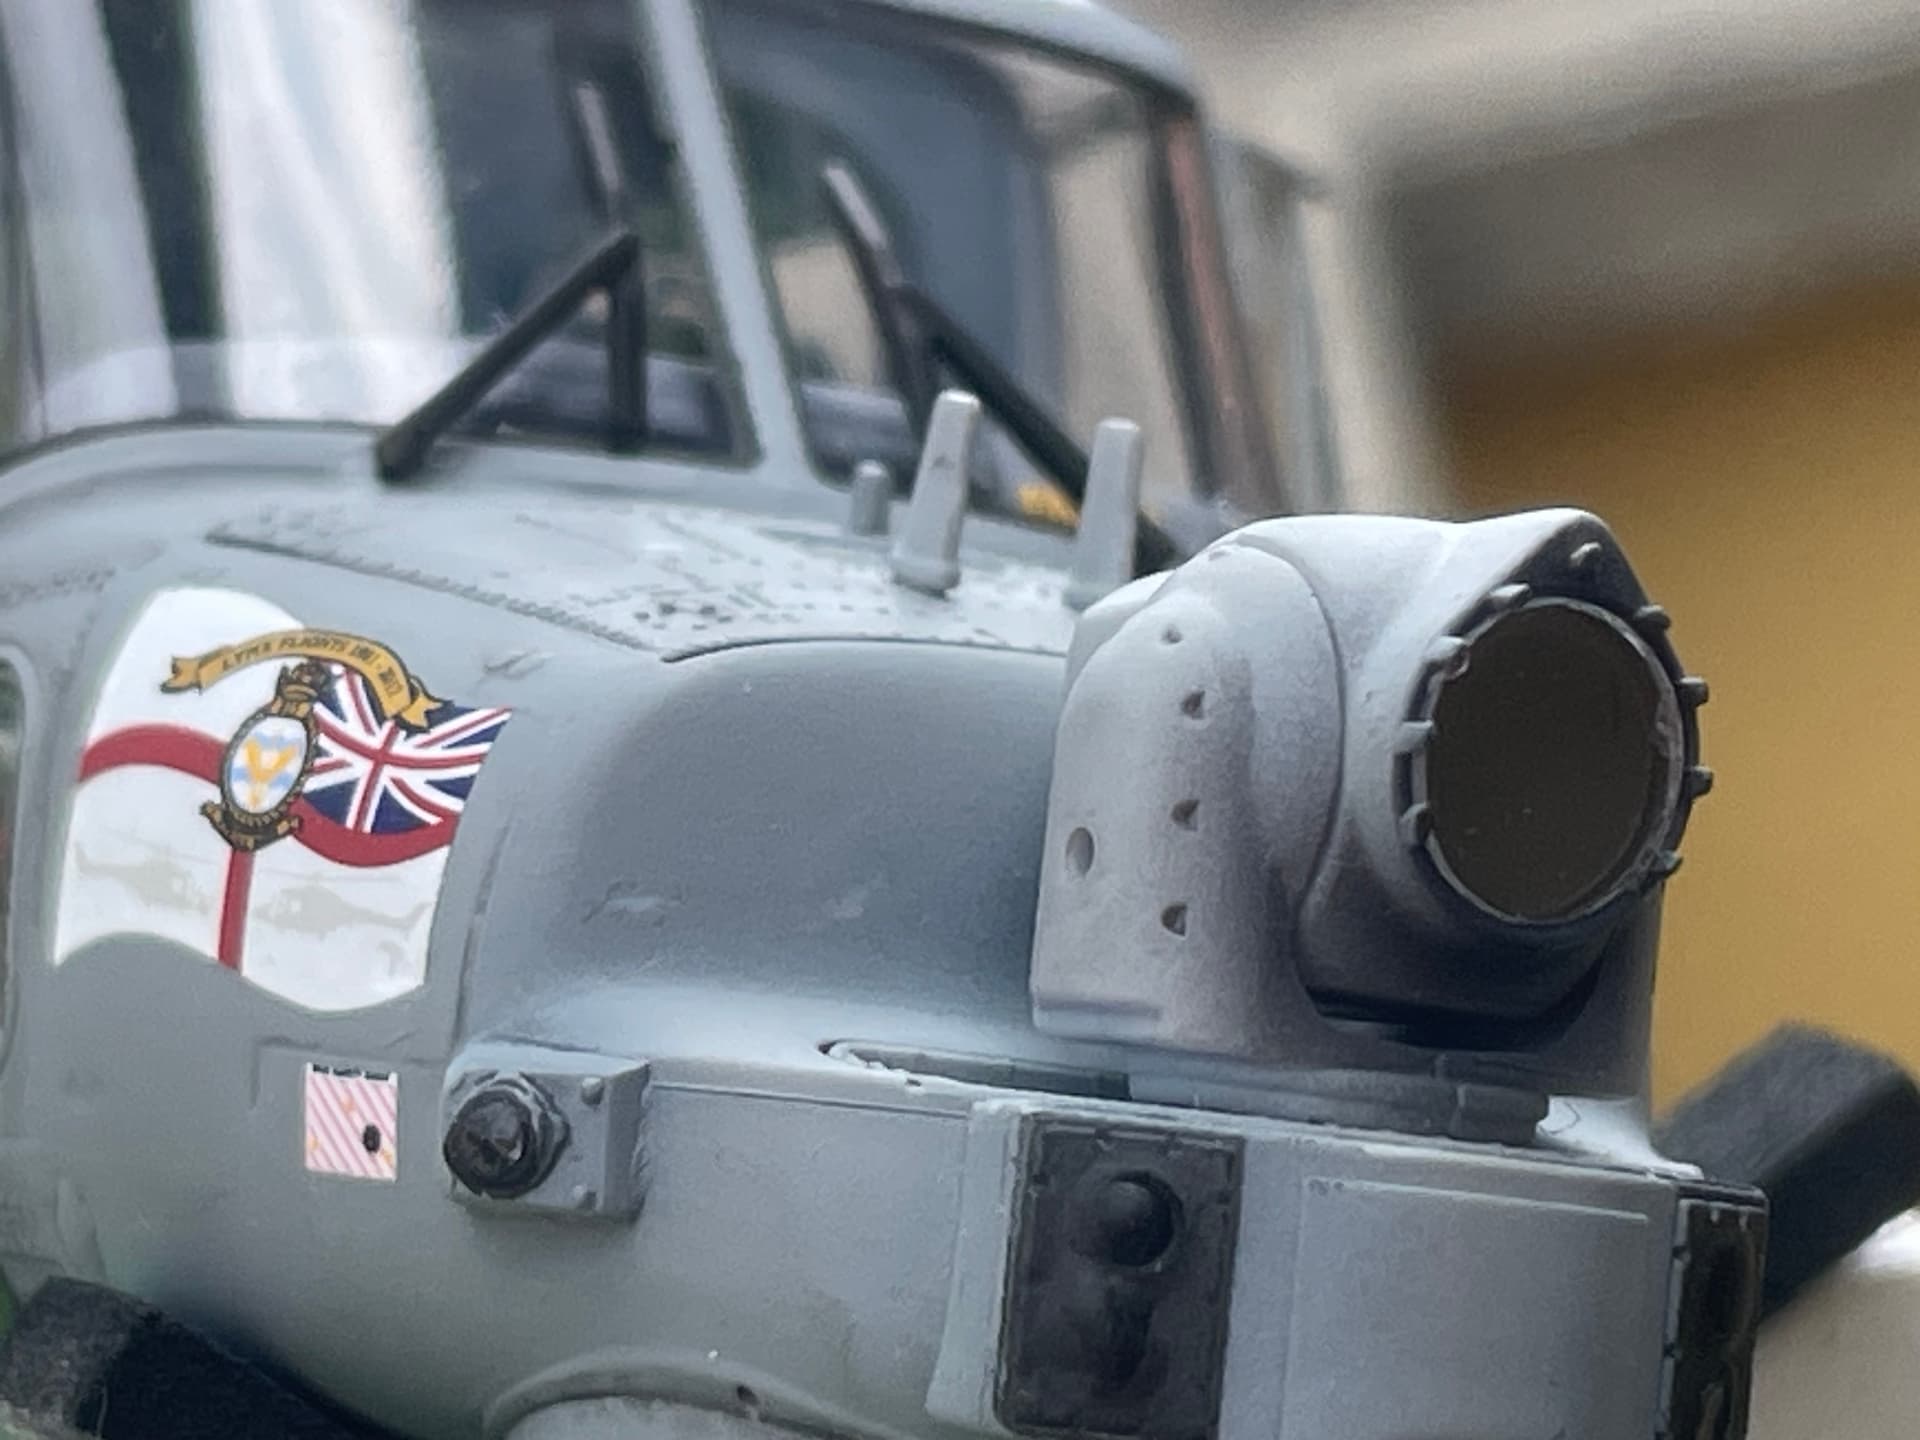
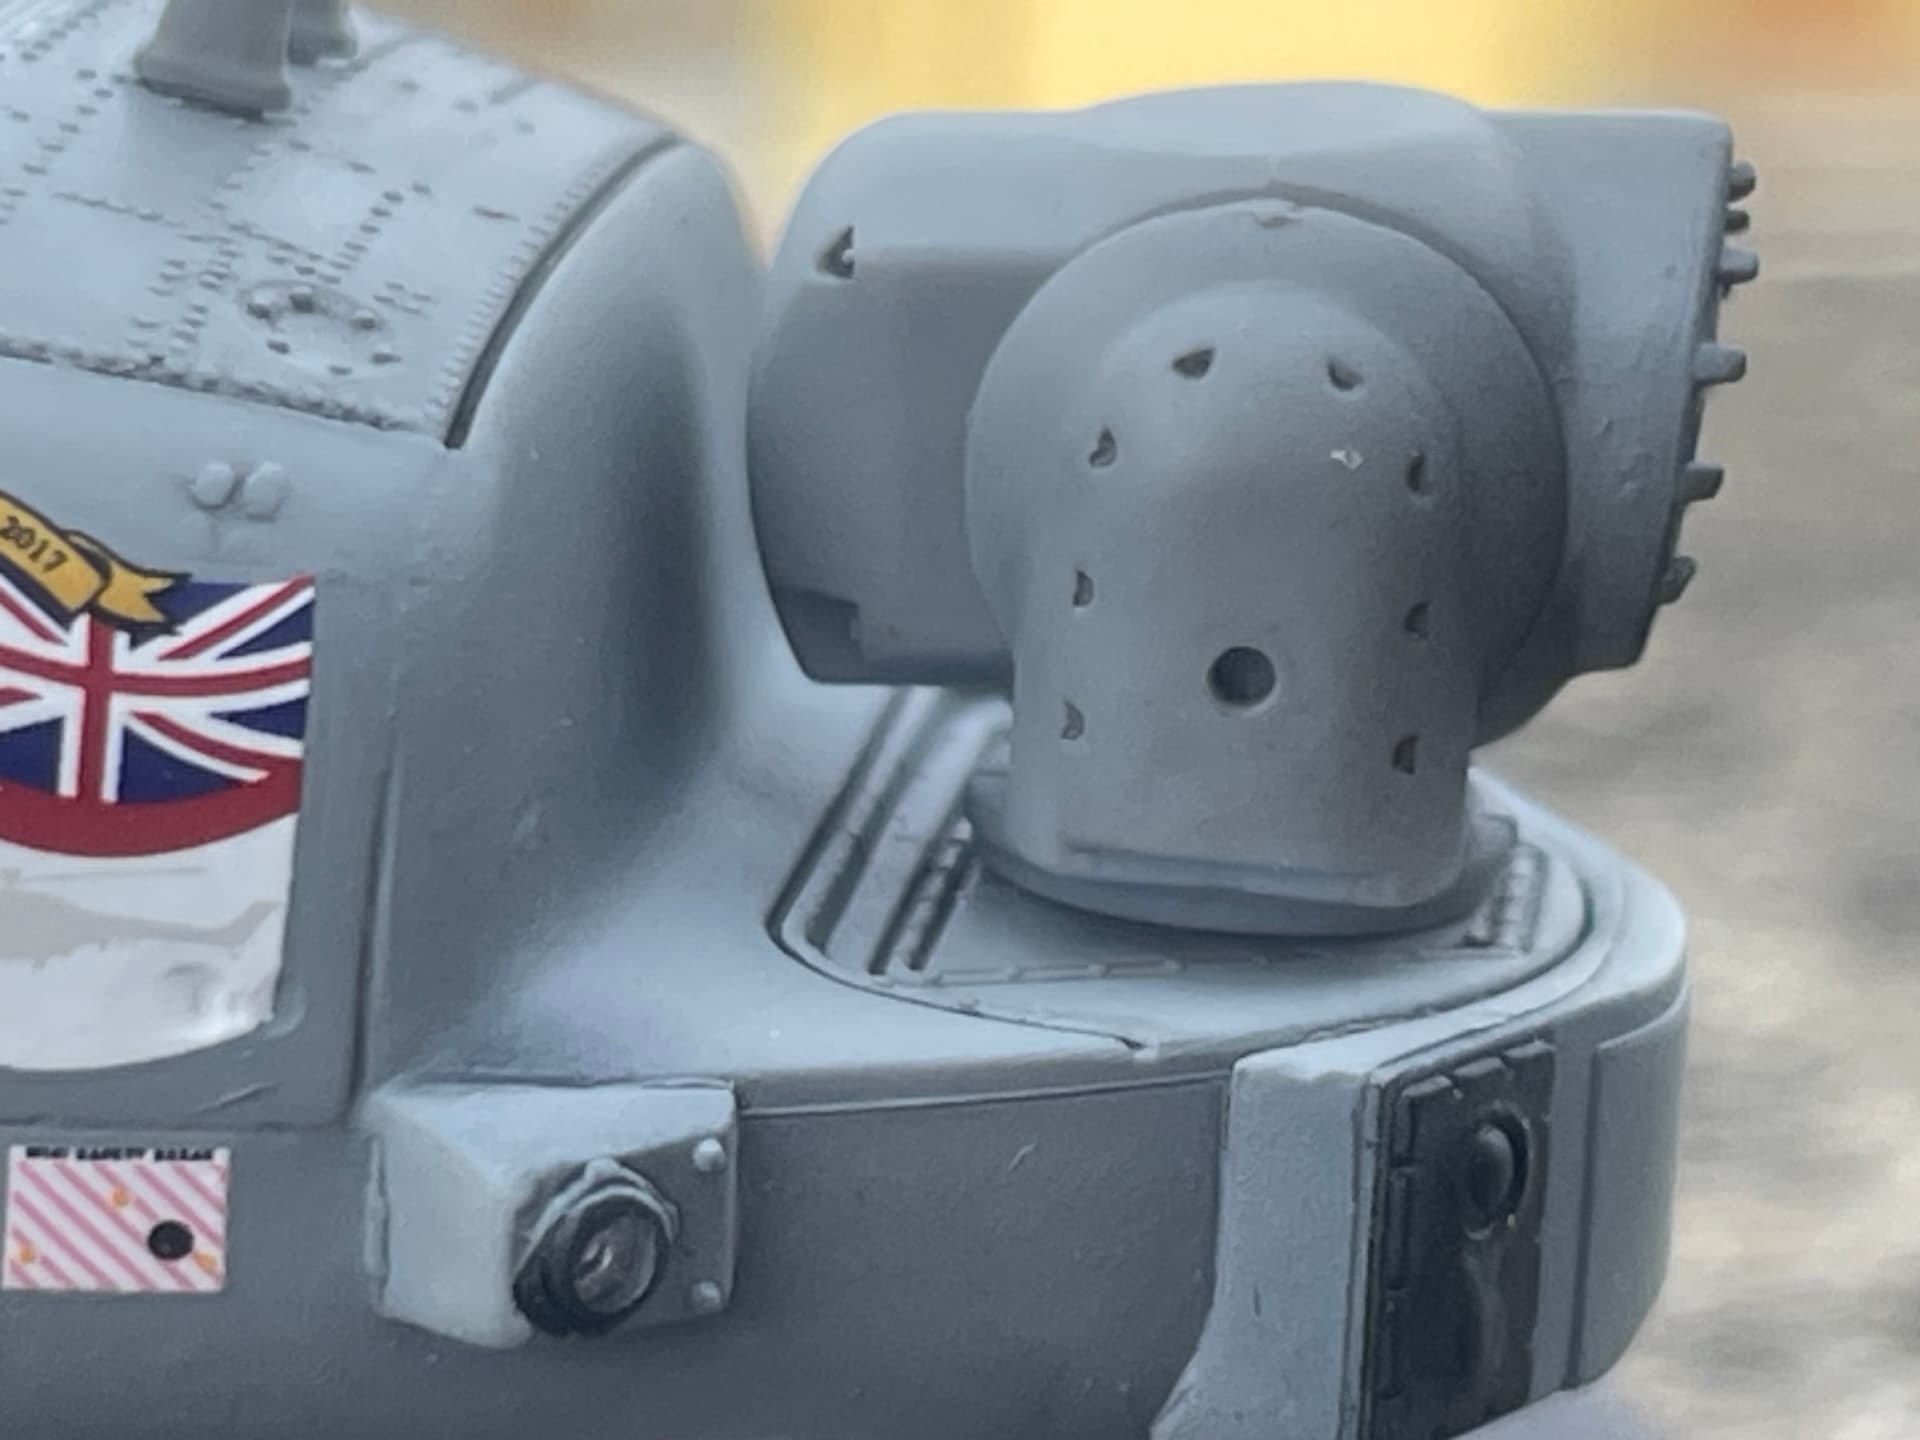
Before joining the tail section, I thought I’d somehow reproduce the rear rotor intake, which Airfix simply doesn’t show, but is actually covered by a mesh, like this:


Enlarging the photo allows you to better see the mesh.
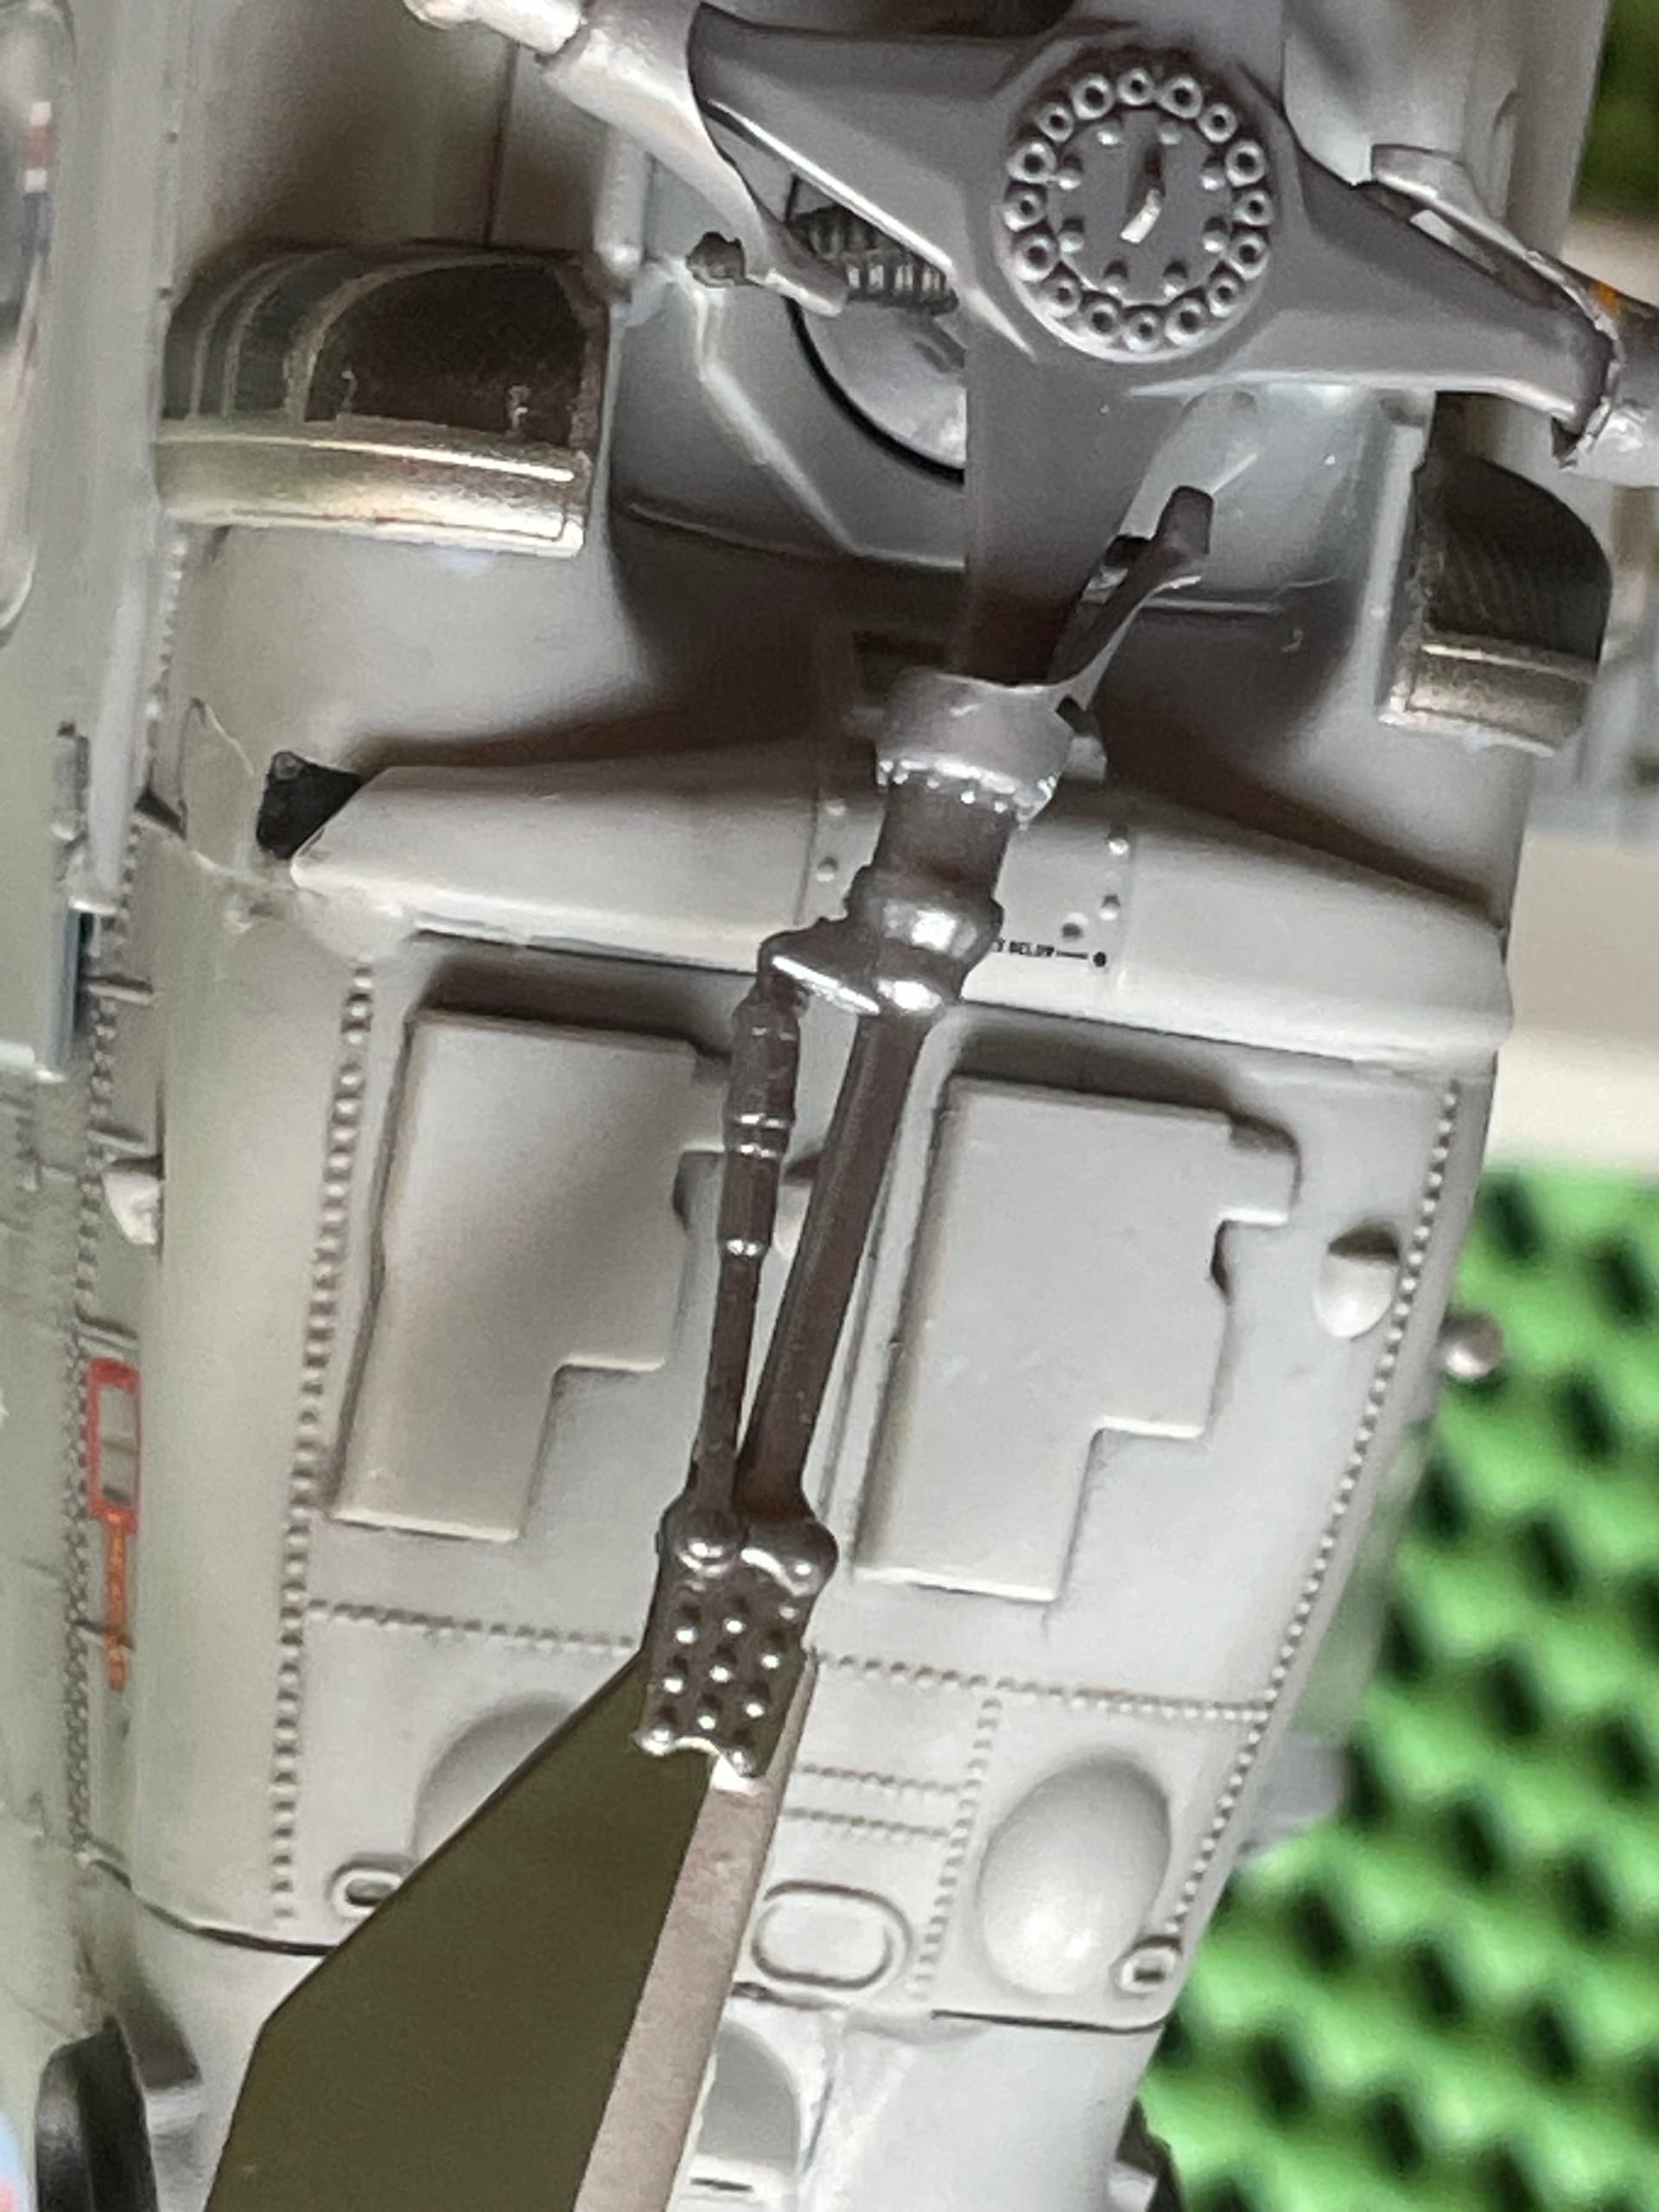
The first step was to score the plastic and create a suitably shaped opening; here we see the cut before finishing:

Then I applied a very thin piece of wire mesh. Like this:

Although the wire mesh is made with a very tight mesh, it still seems slightly out of scale for the 1/48 model.
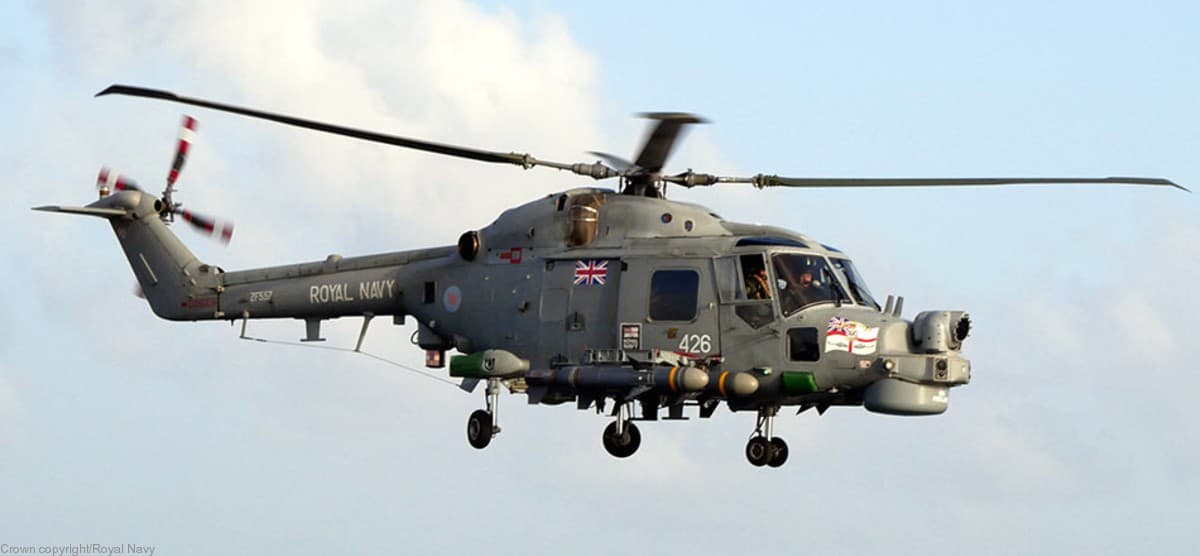
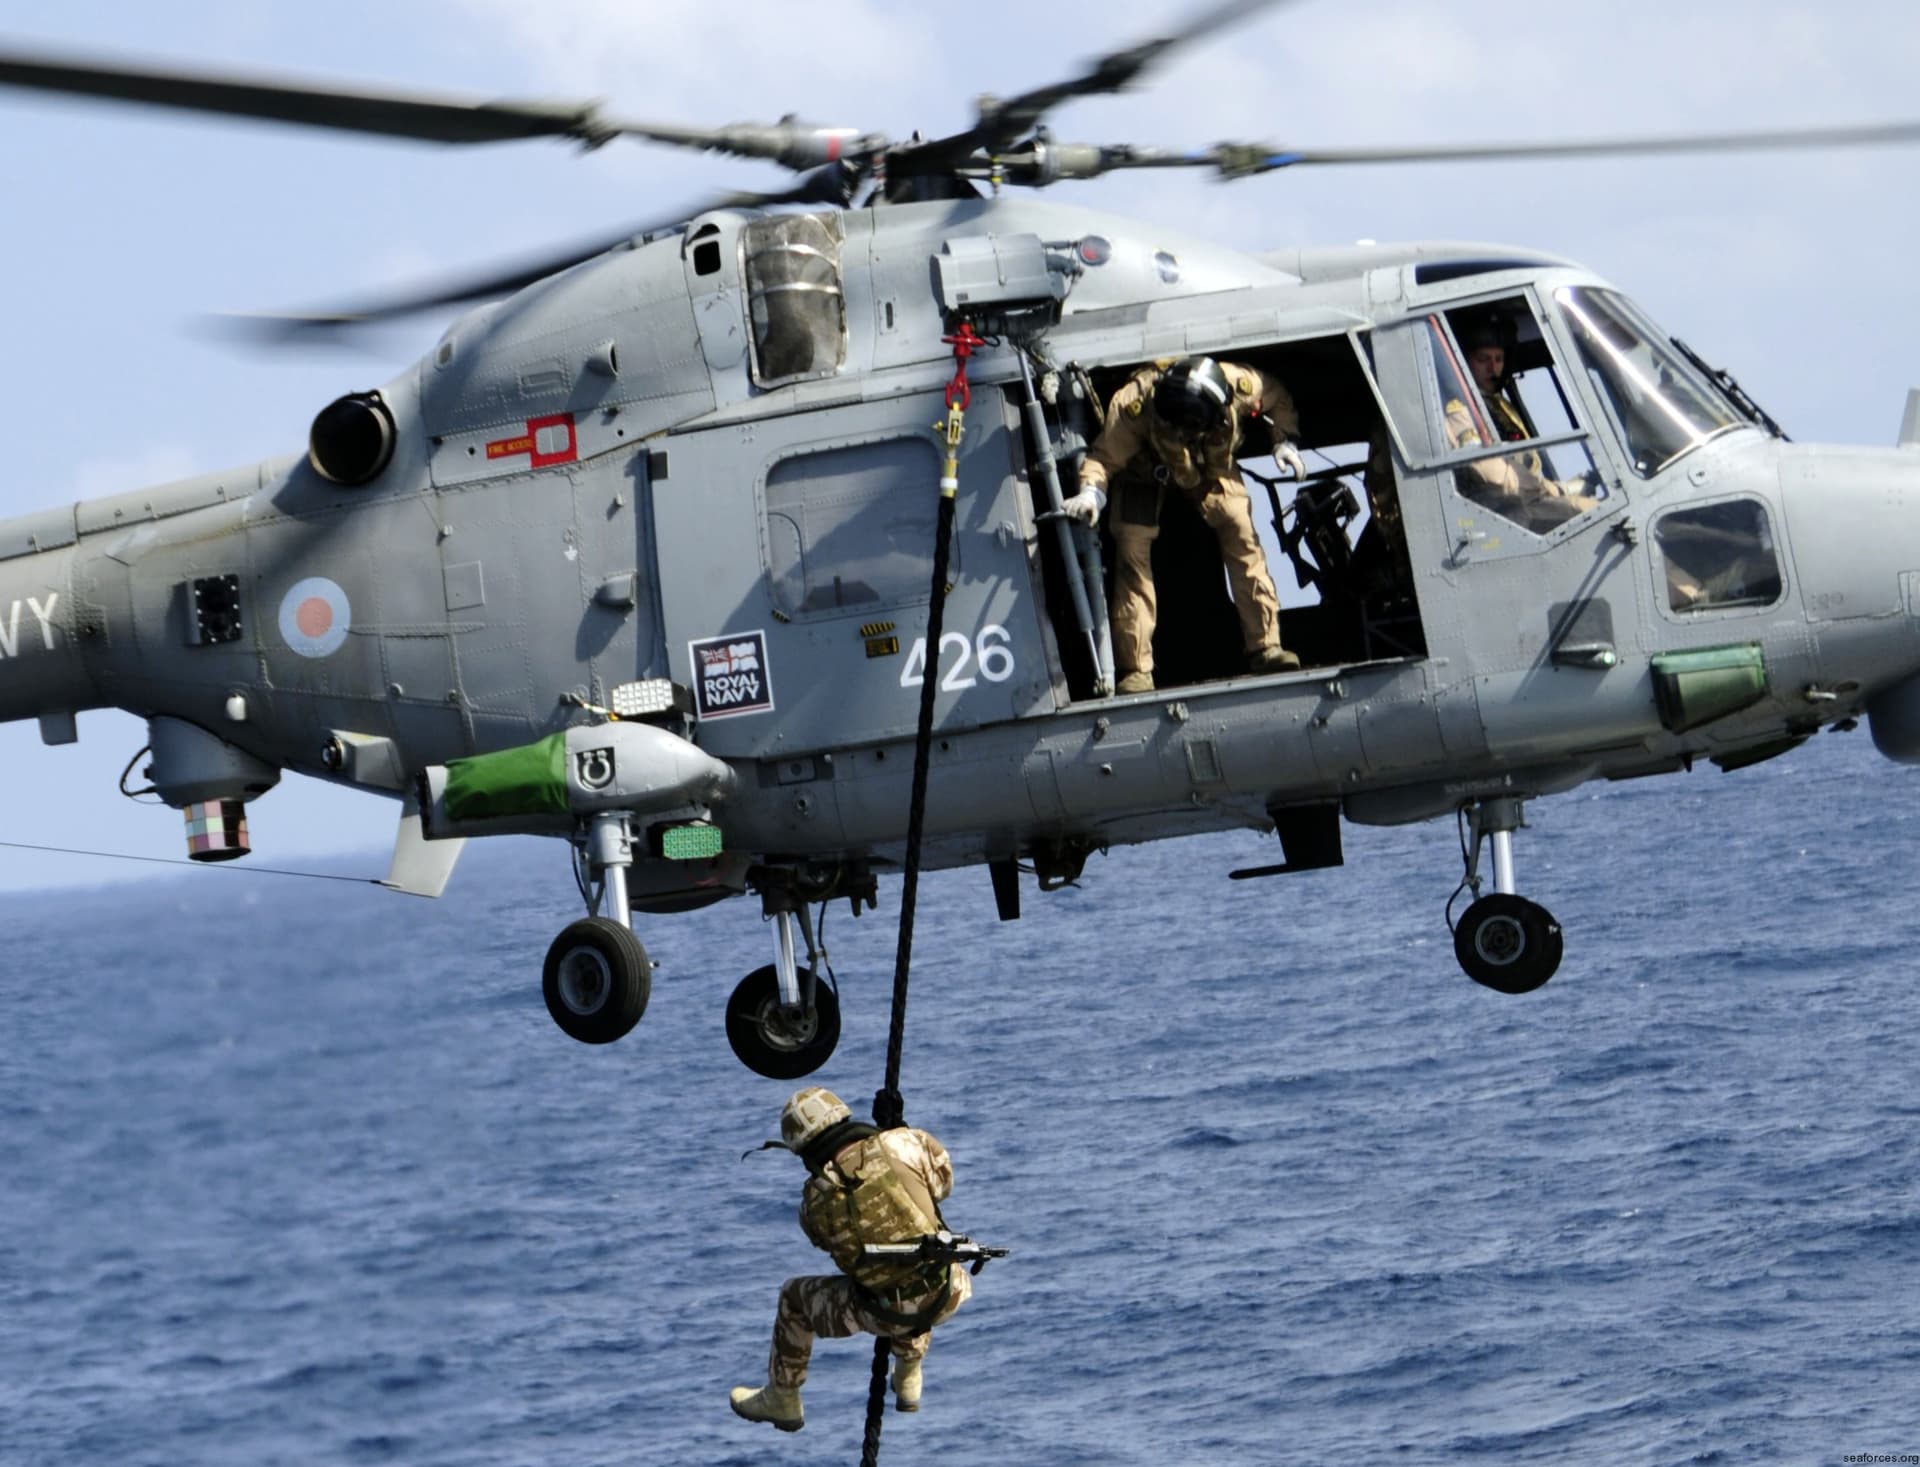
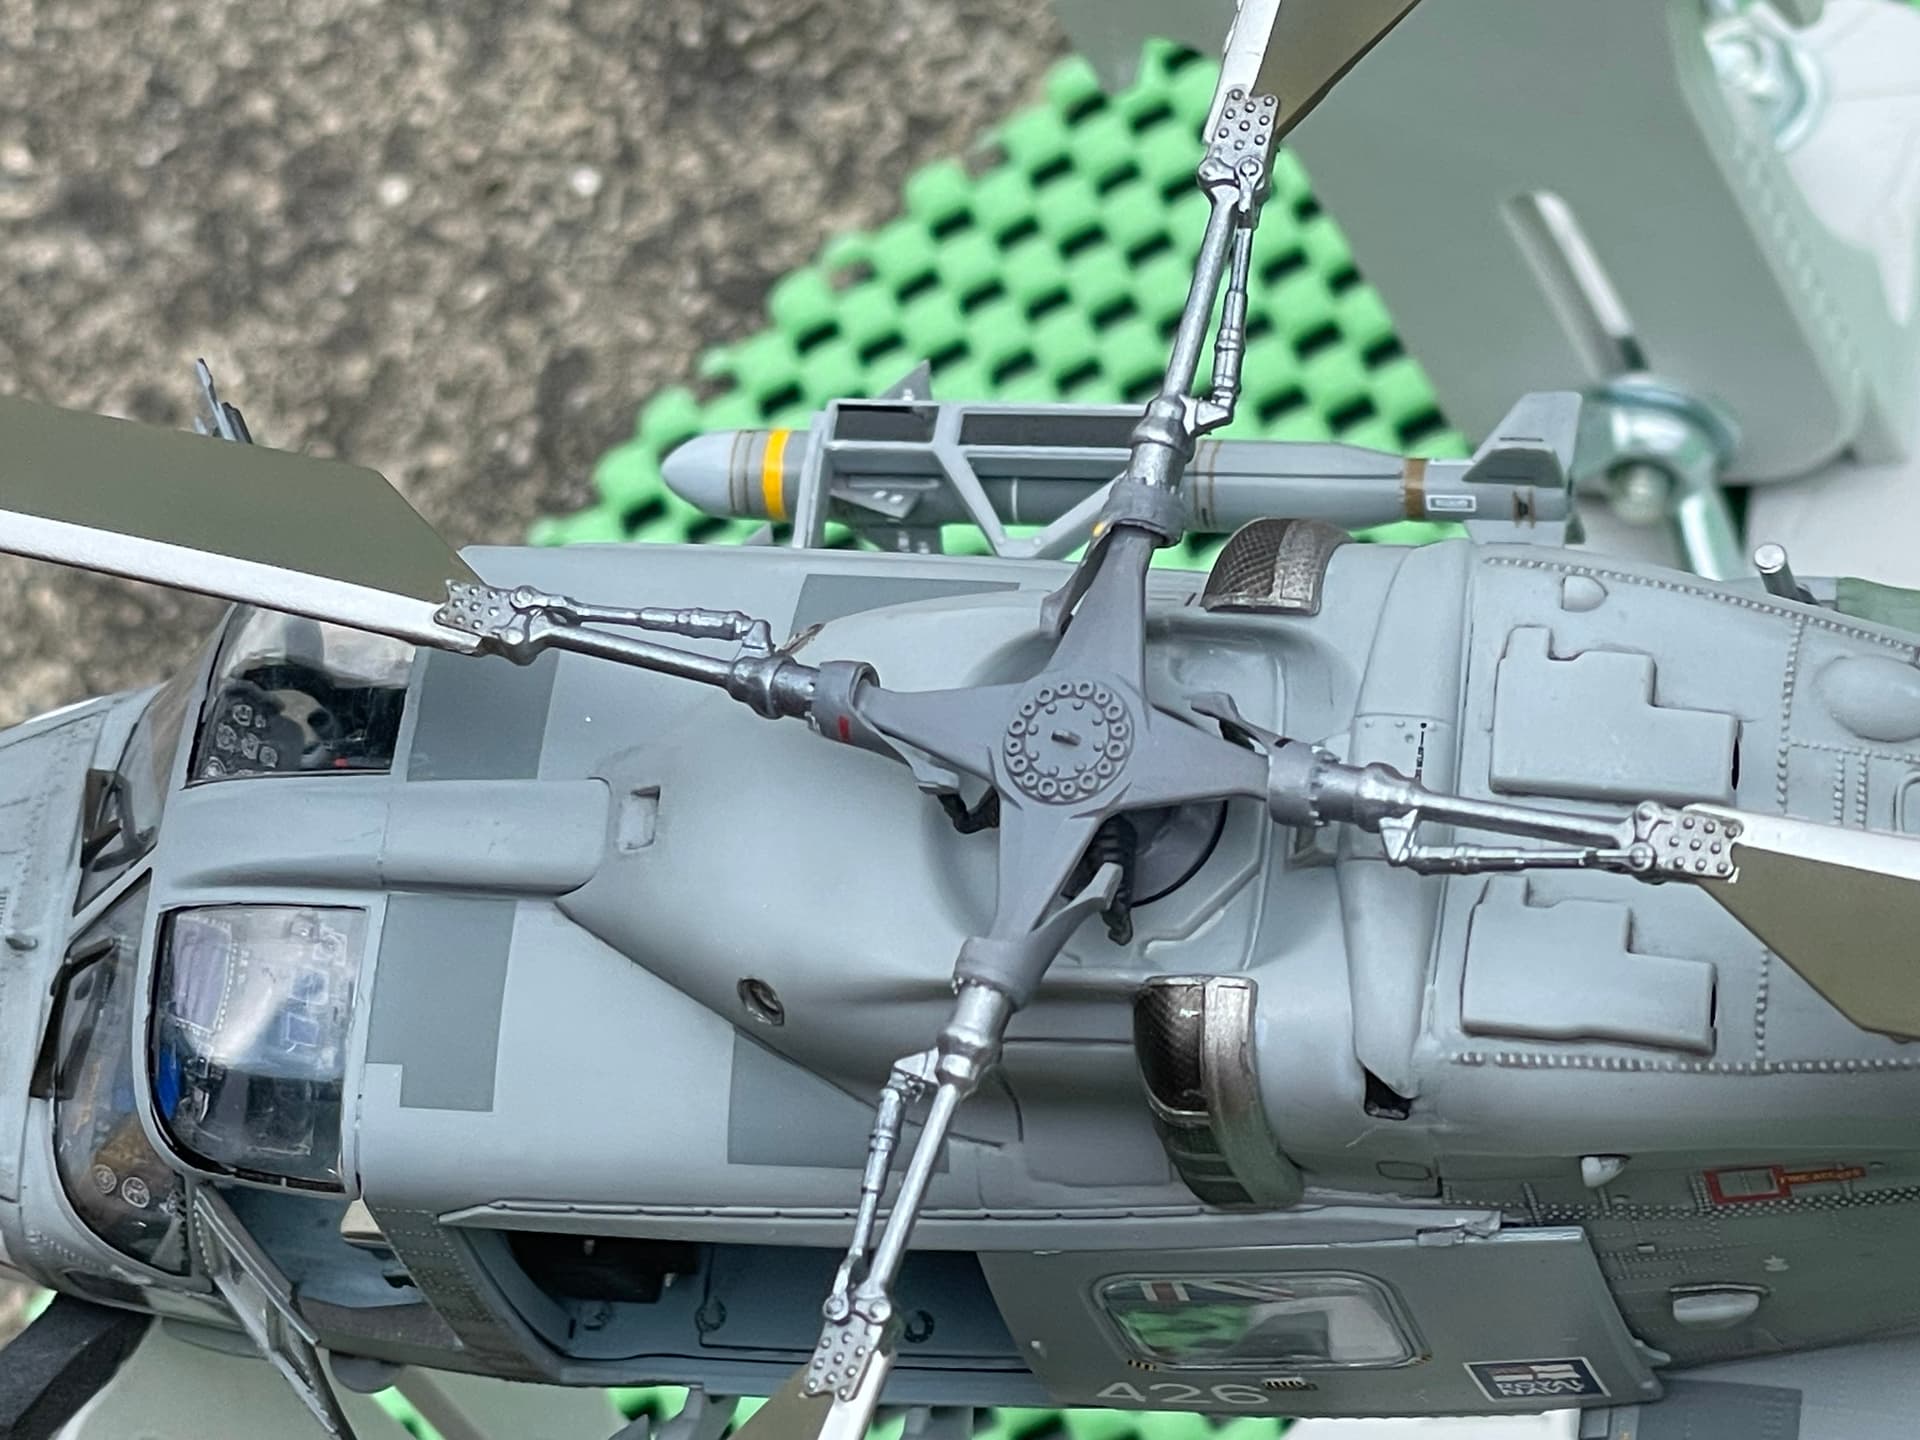
That’s why for the main rotor intakes, which in reality look like this:

I tried to come up with something different, rather than replacing the clear piece provided in the kit. I could have shaped the mesh simply by making a mold with the kit piece, but that wouldn’t have solved the out-of-scale problem. So I did this: first, I applied a uniform coat of metal to the clear pieces.


Then, to test the effect, I pressed a piece of mesh as tightly as possible and sprayed flat black through the mesh on a small section of the piece. This is to simulate that, unless you look closely at a real specimen, what you see underneath the mesh is indistinct and dark. This is what came out

The result seemed acceptable, so I repeated the process on the entire pieces, then masked off the sections where the mesh was to appear,


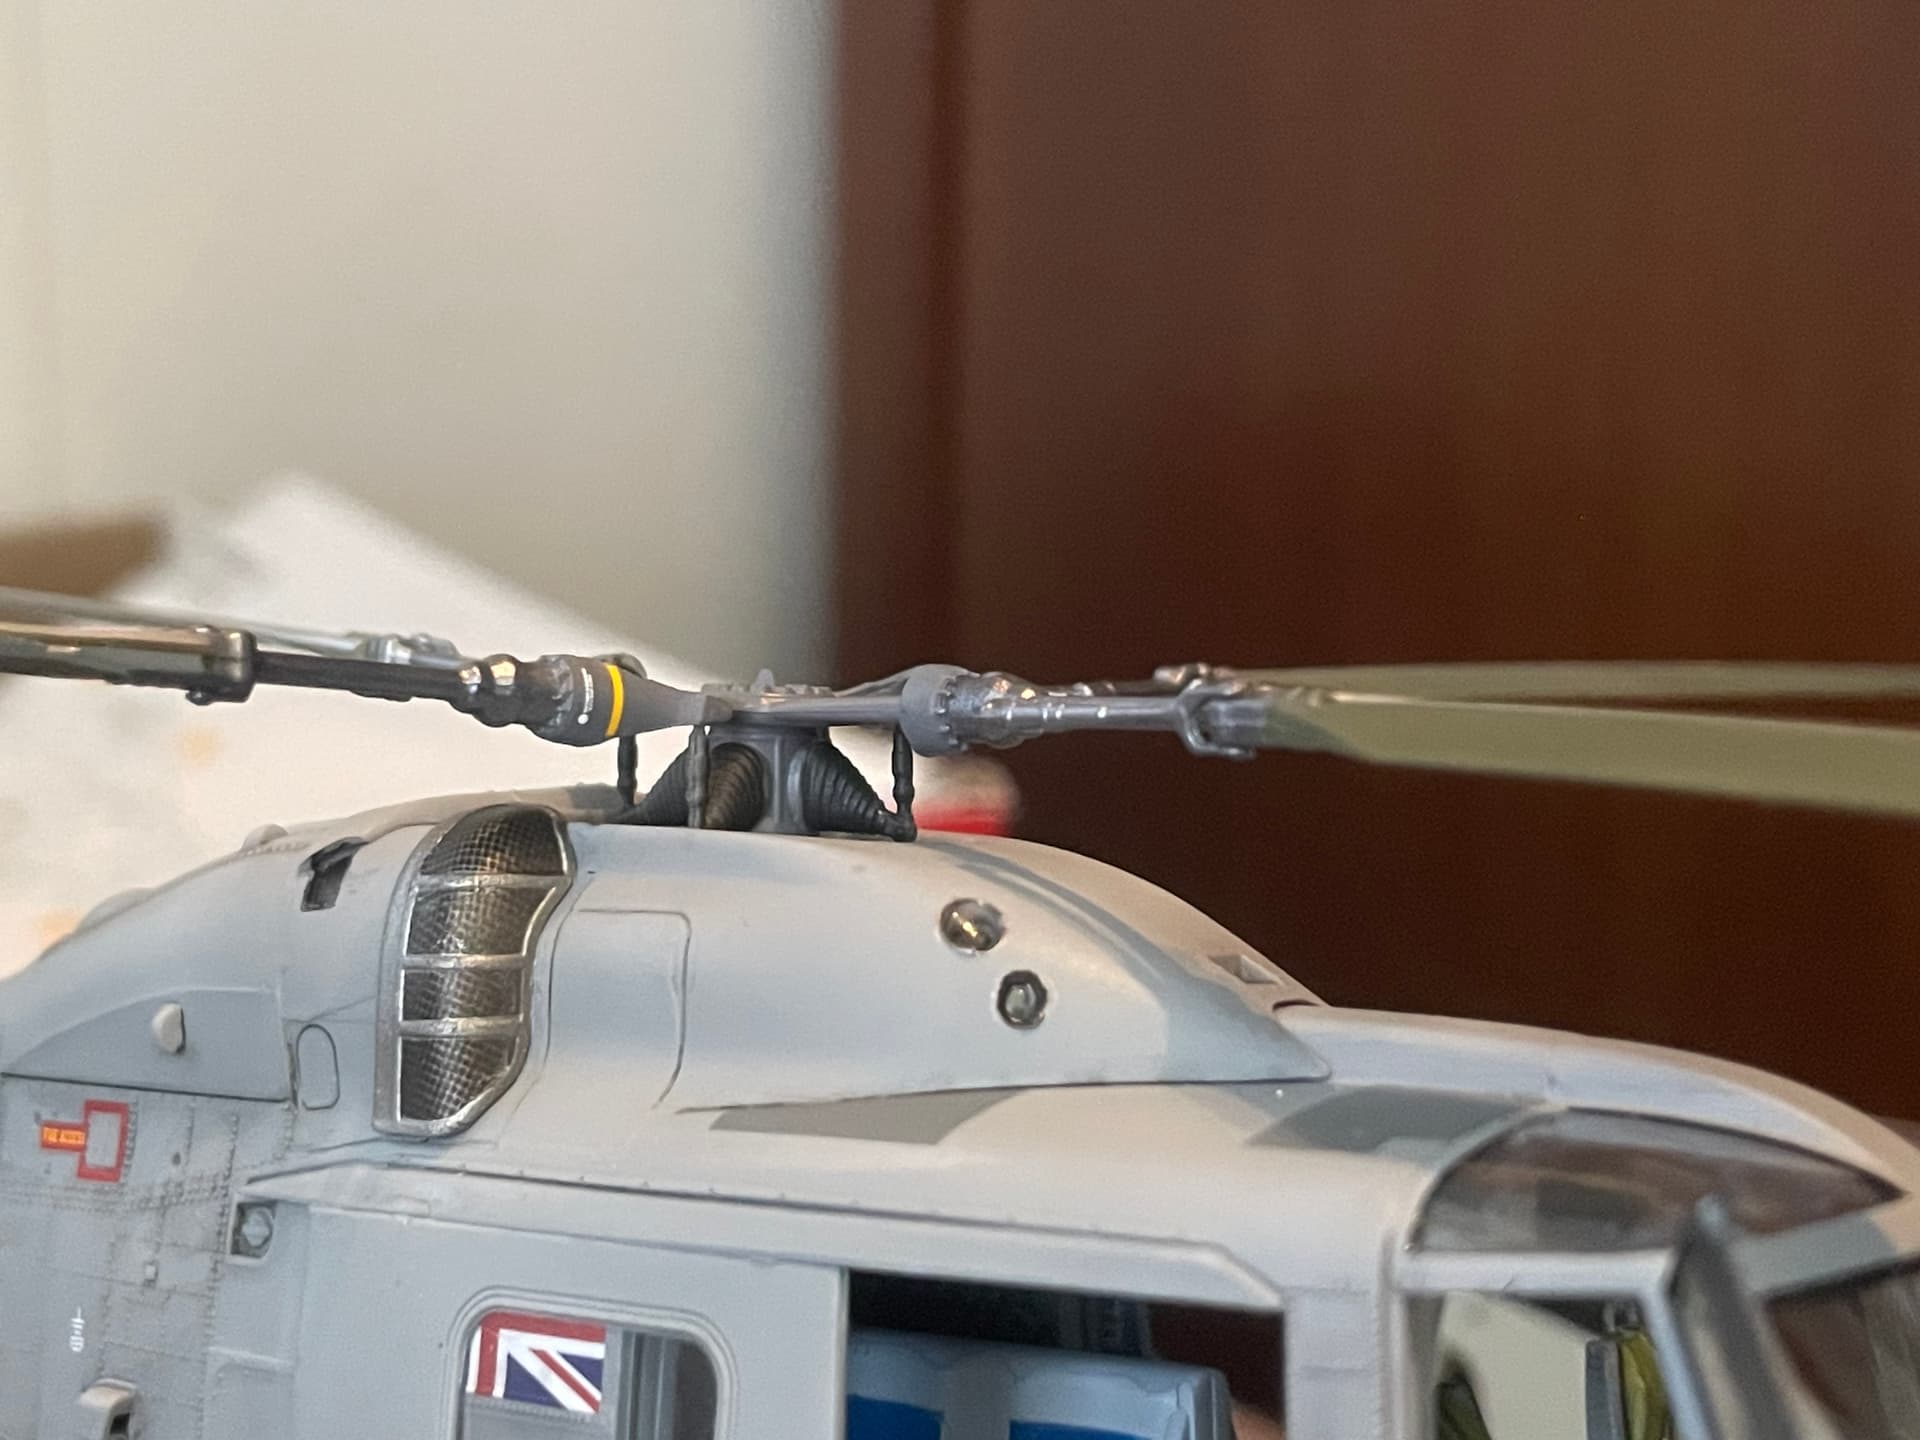
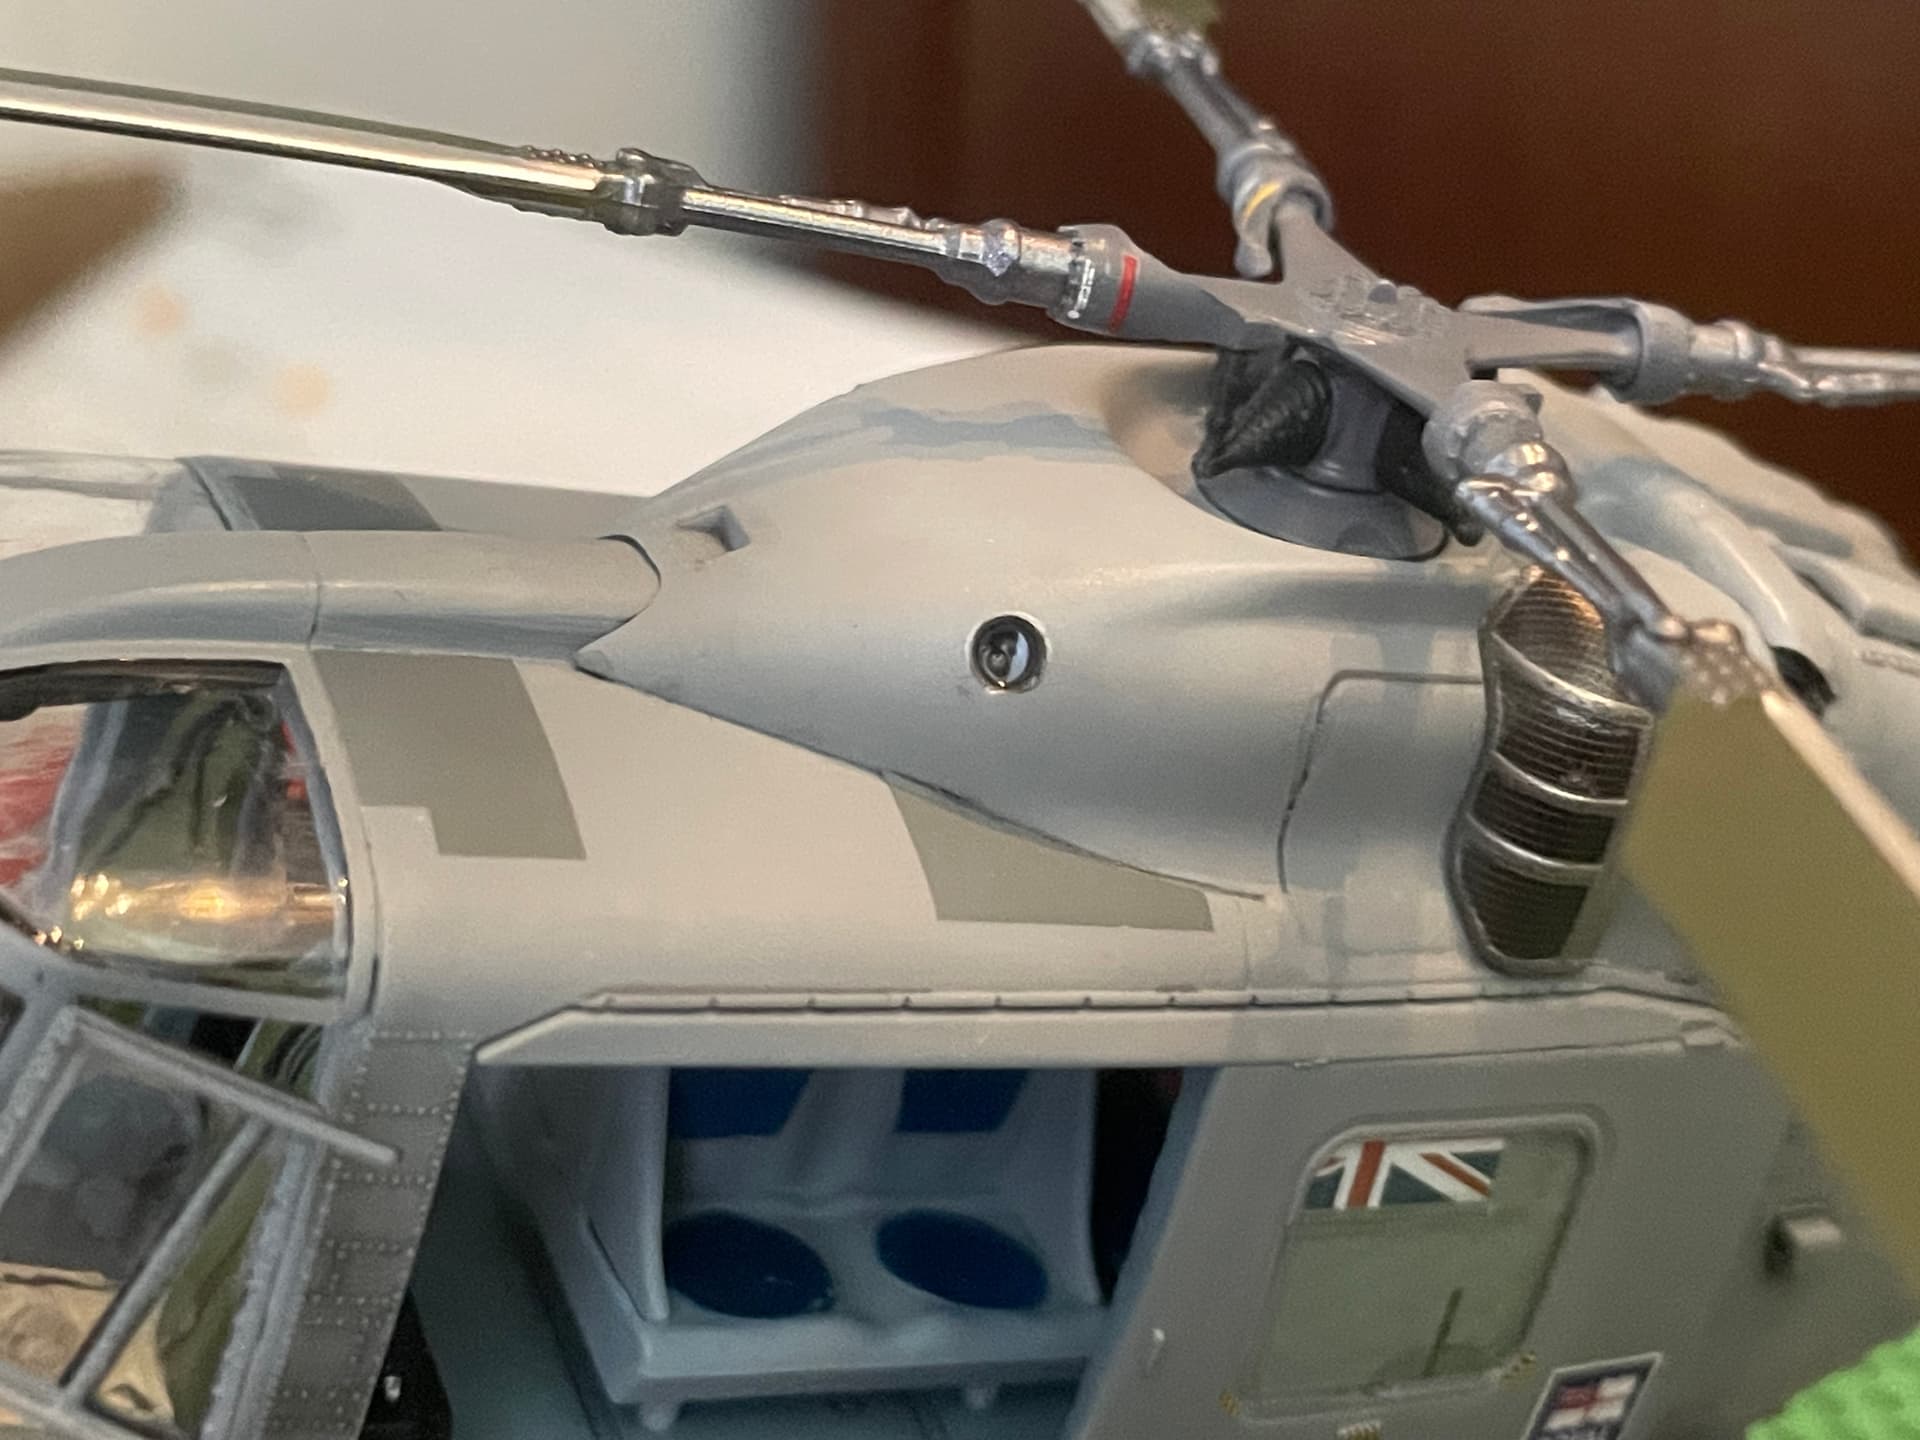
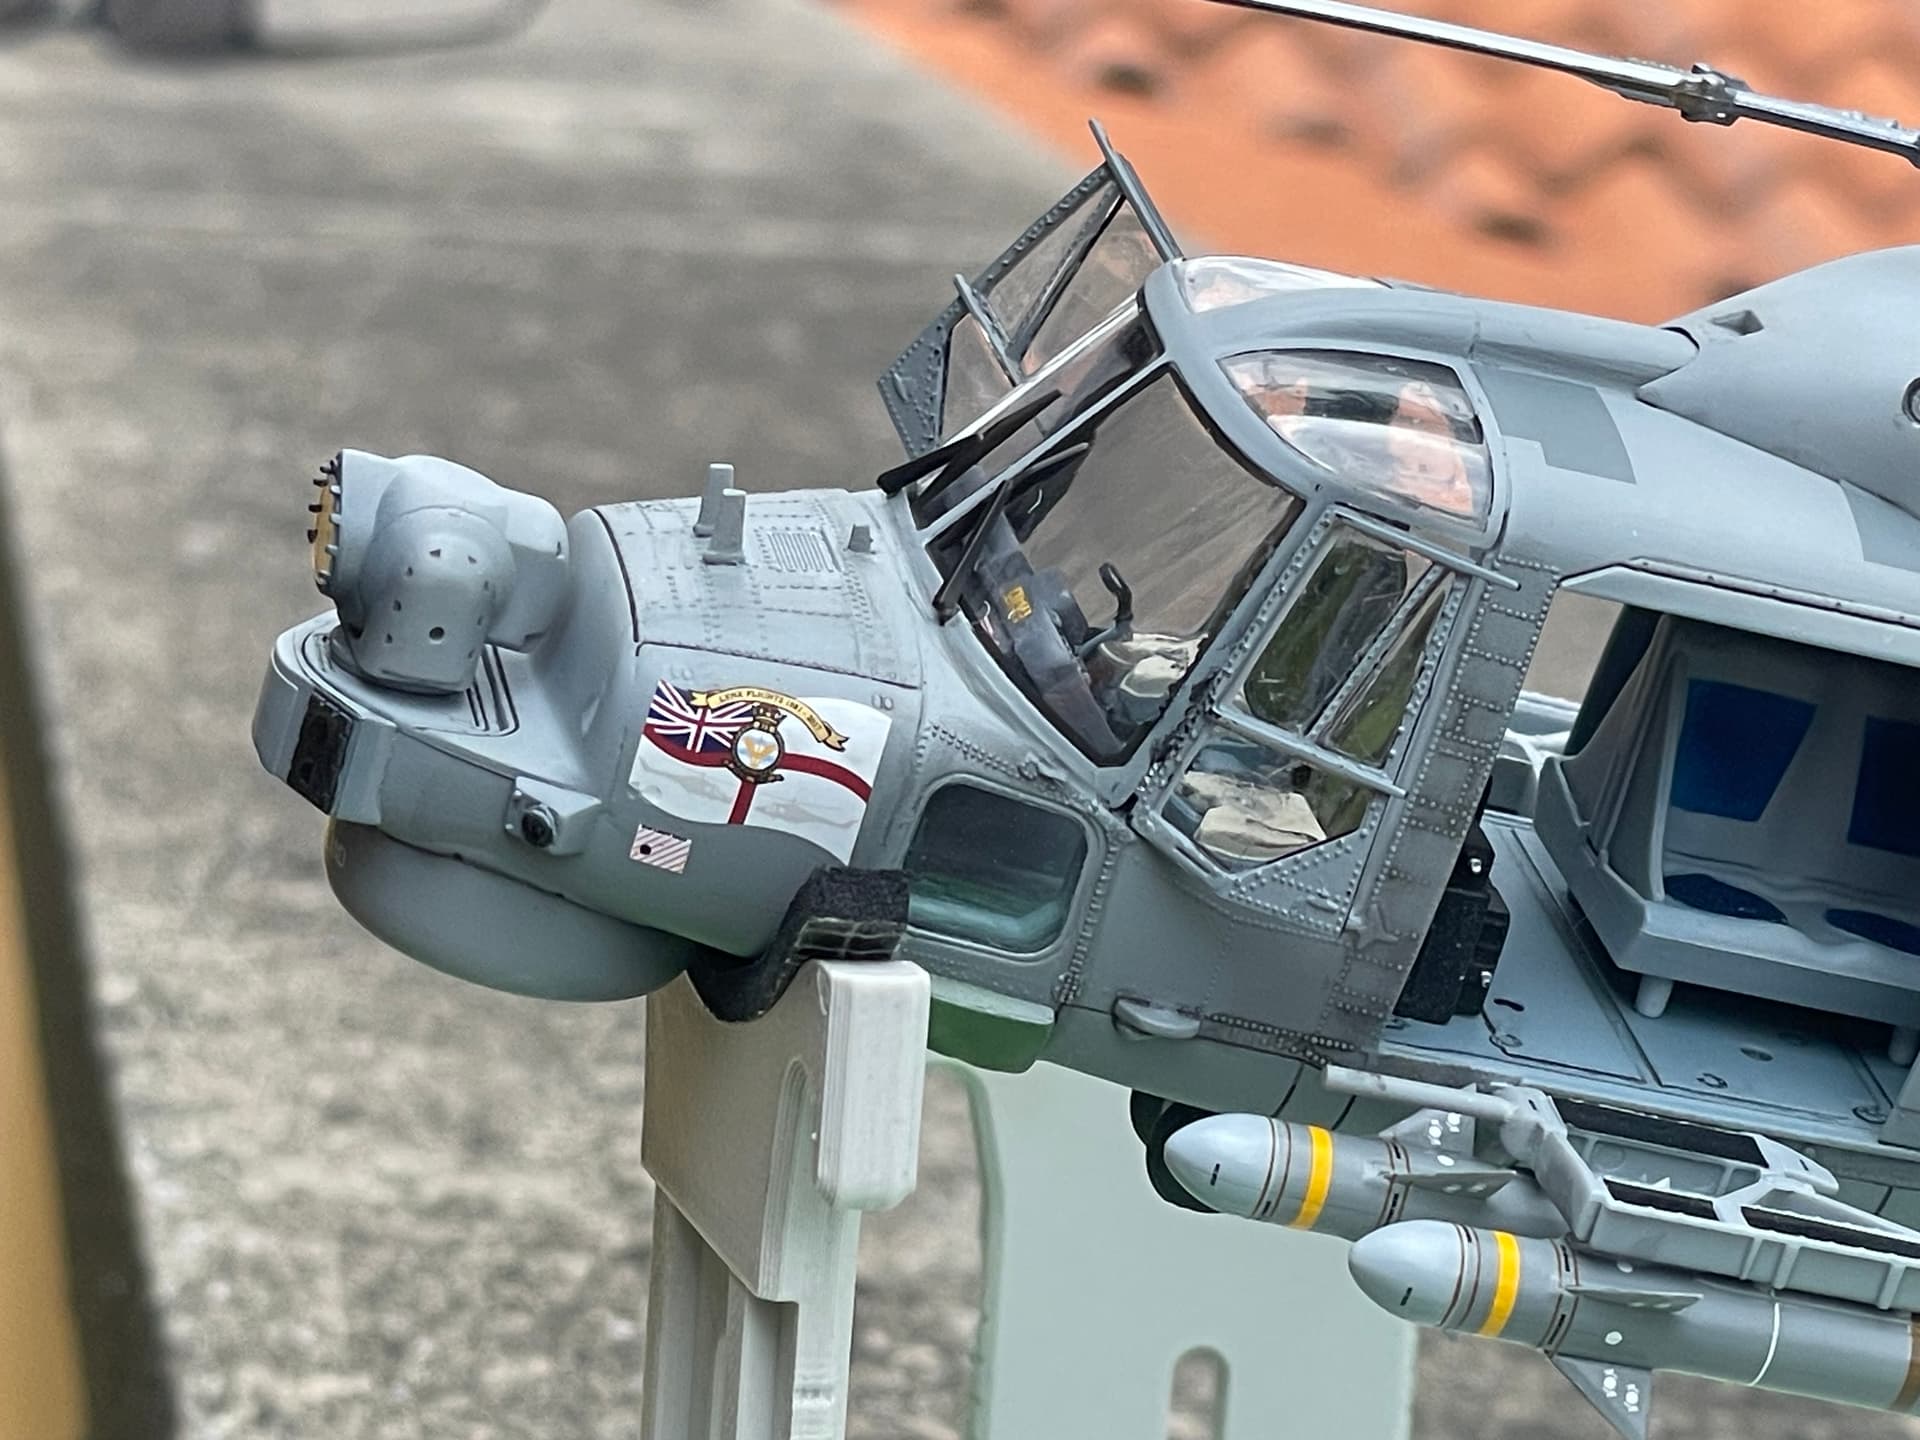
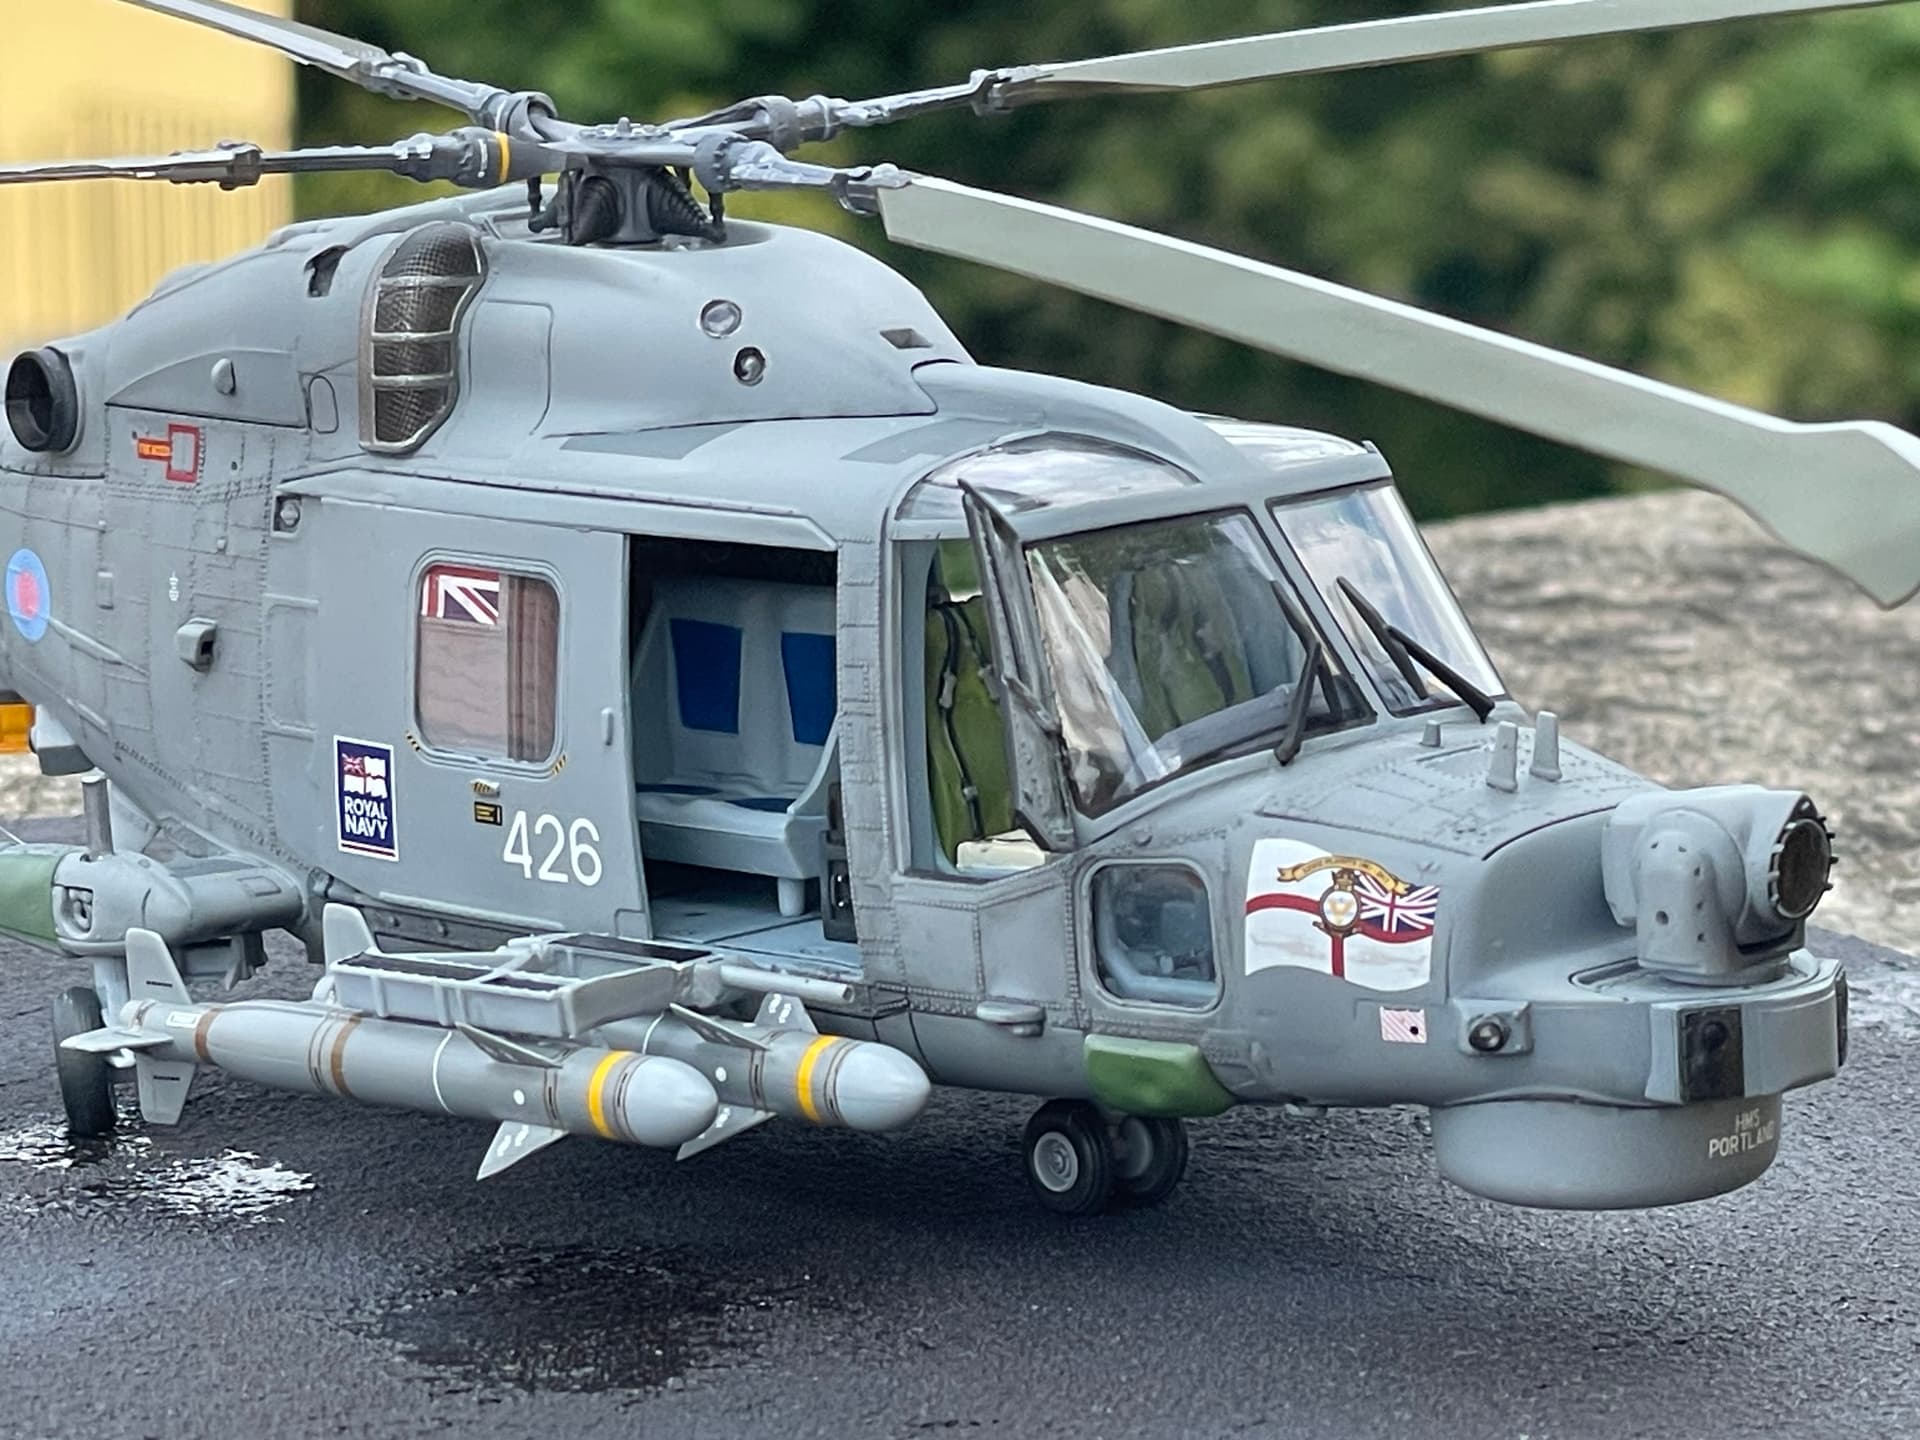
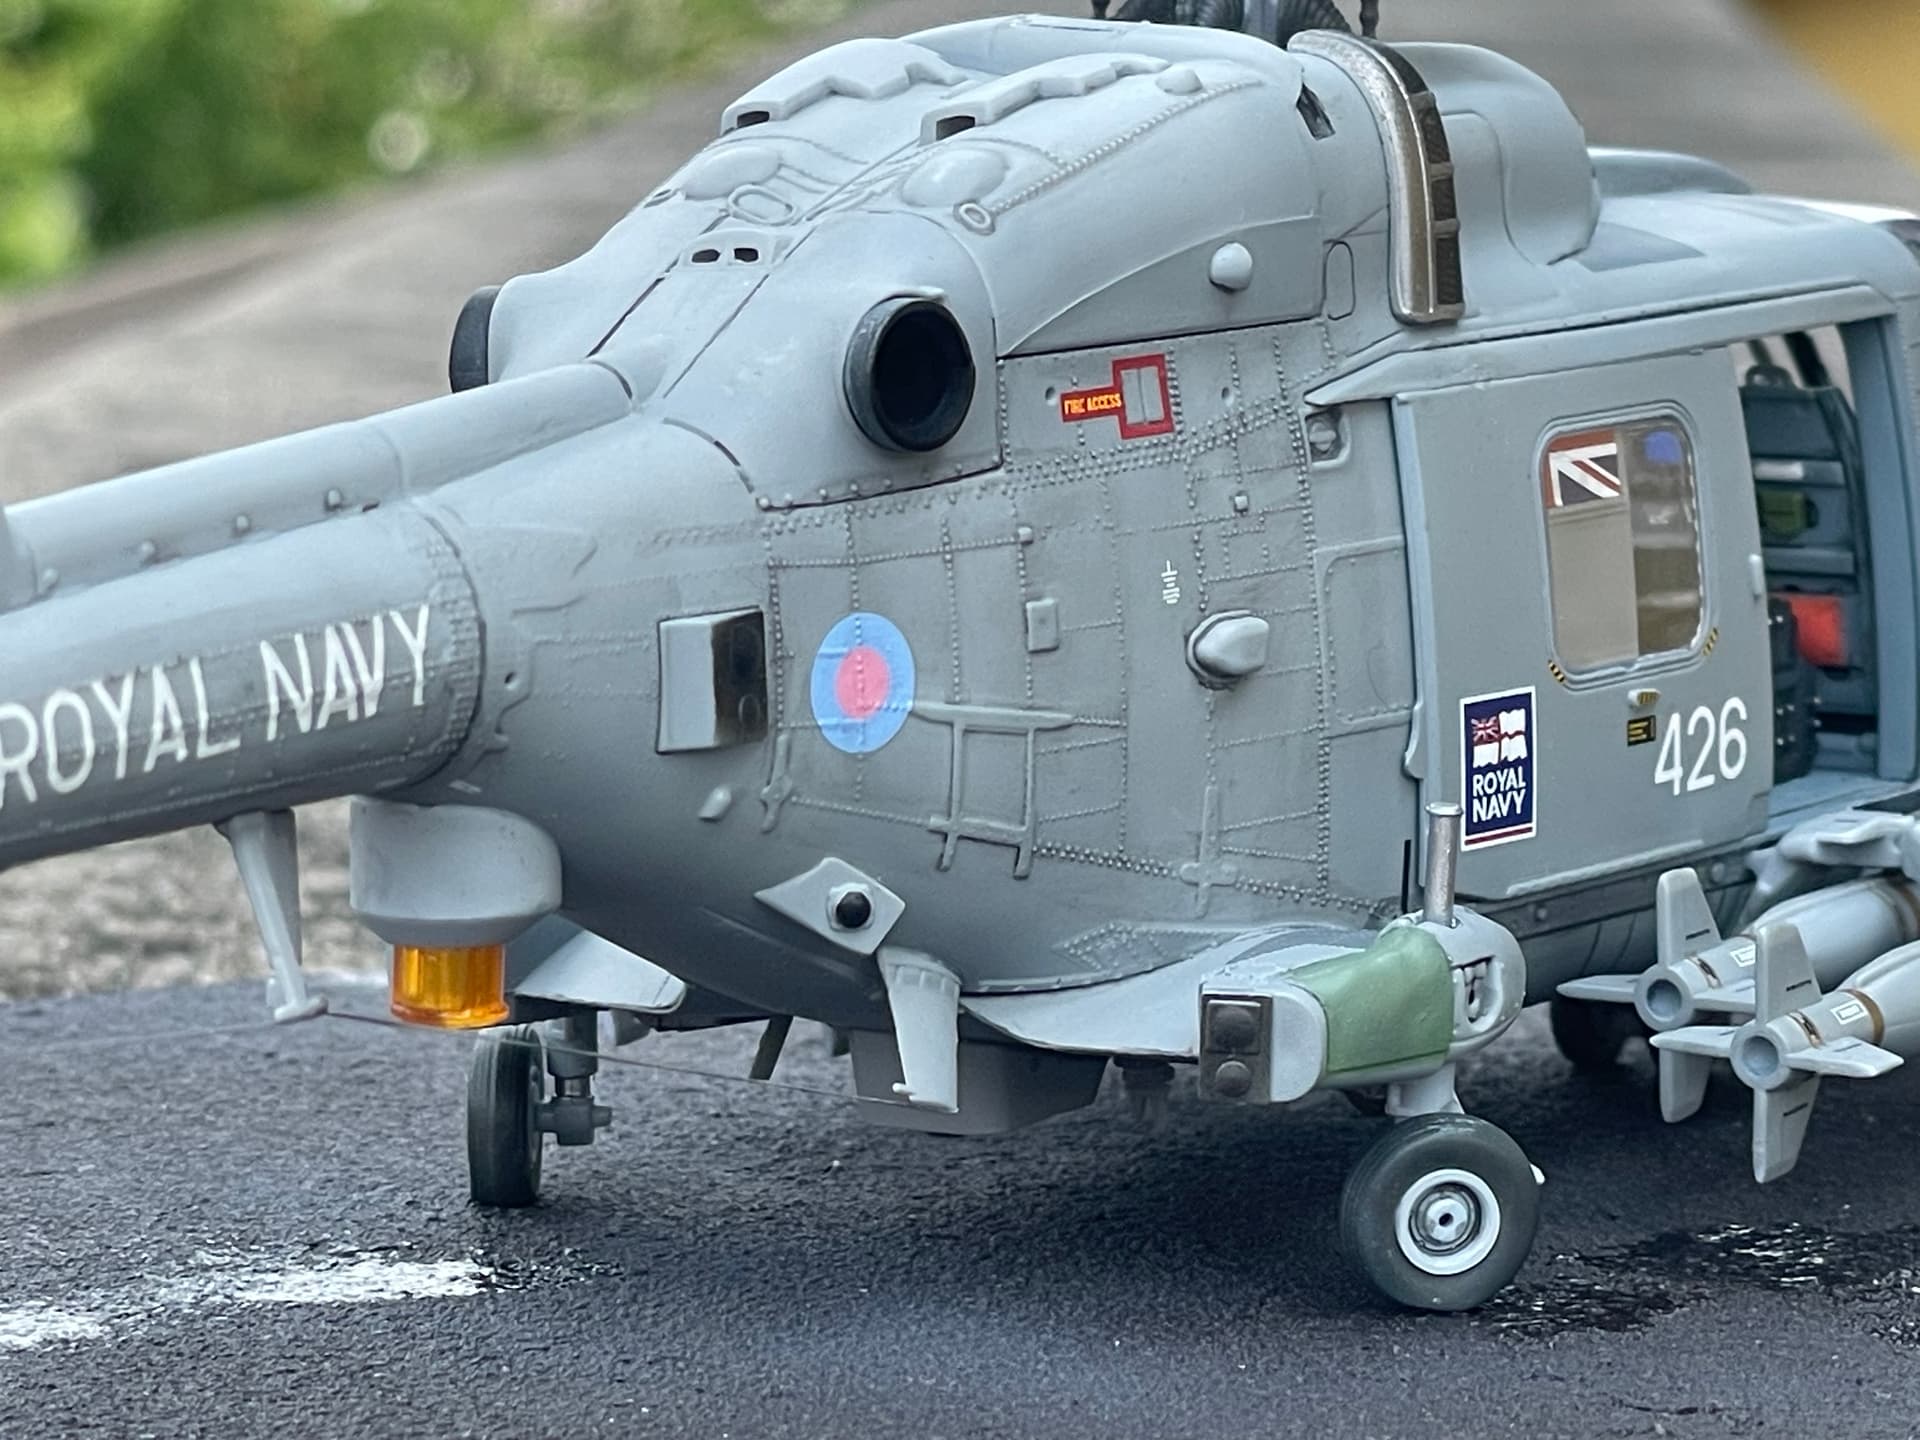
and finally applied another coat of metallic paint to the frame of the covers, ultimately achieving this:


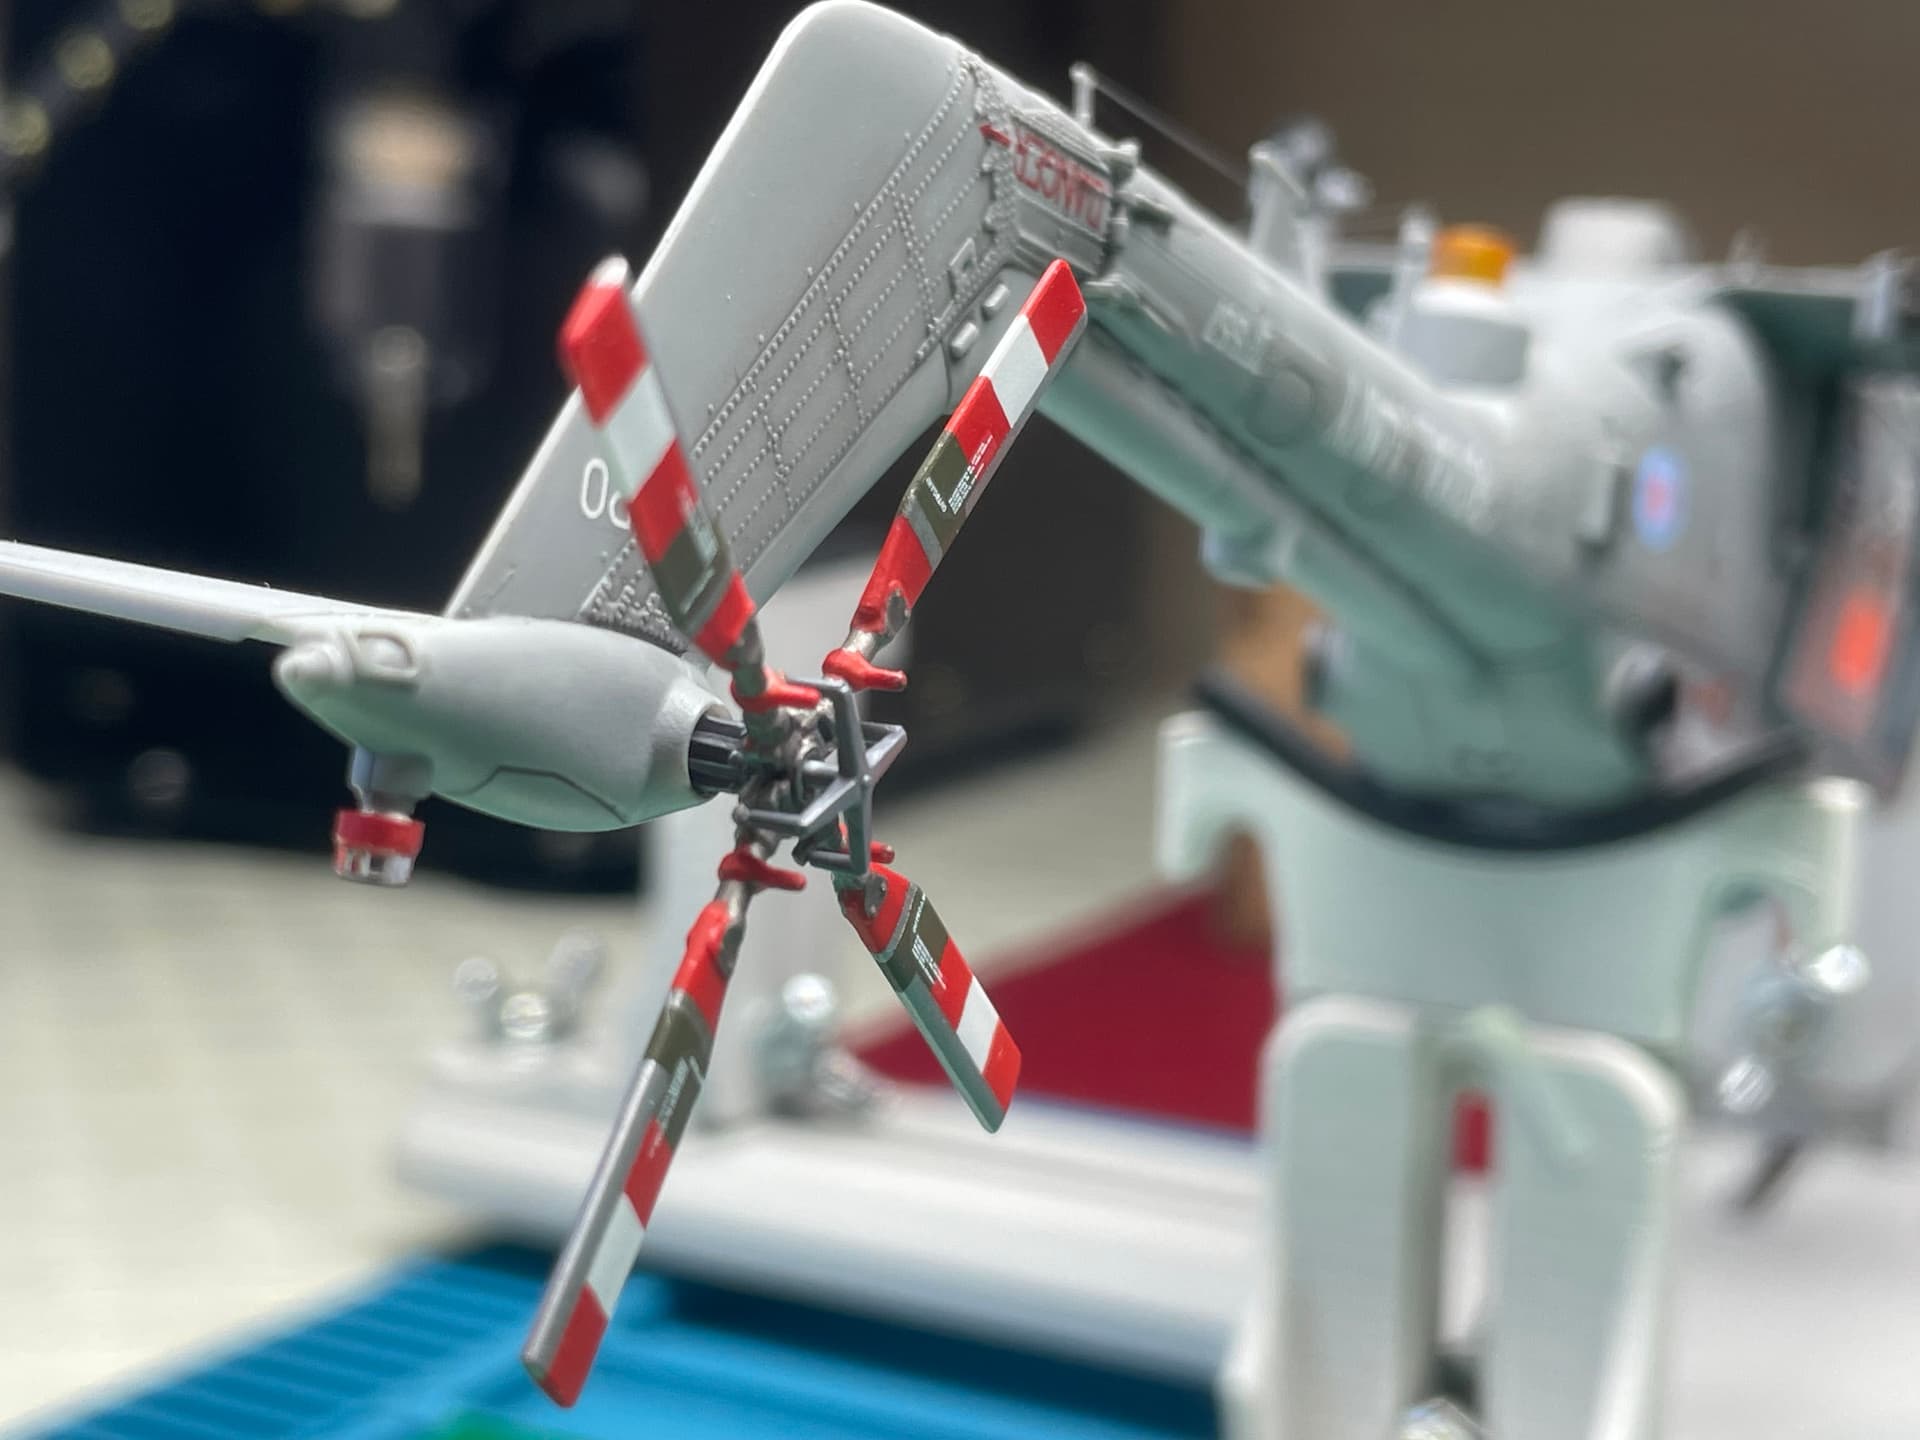
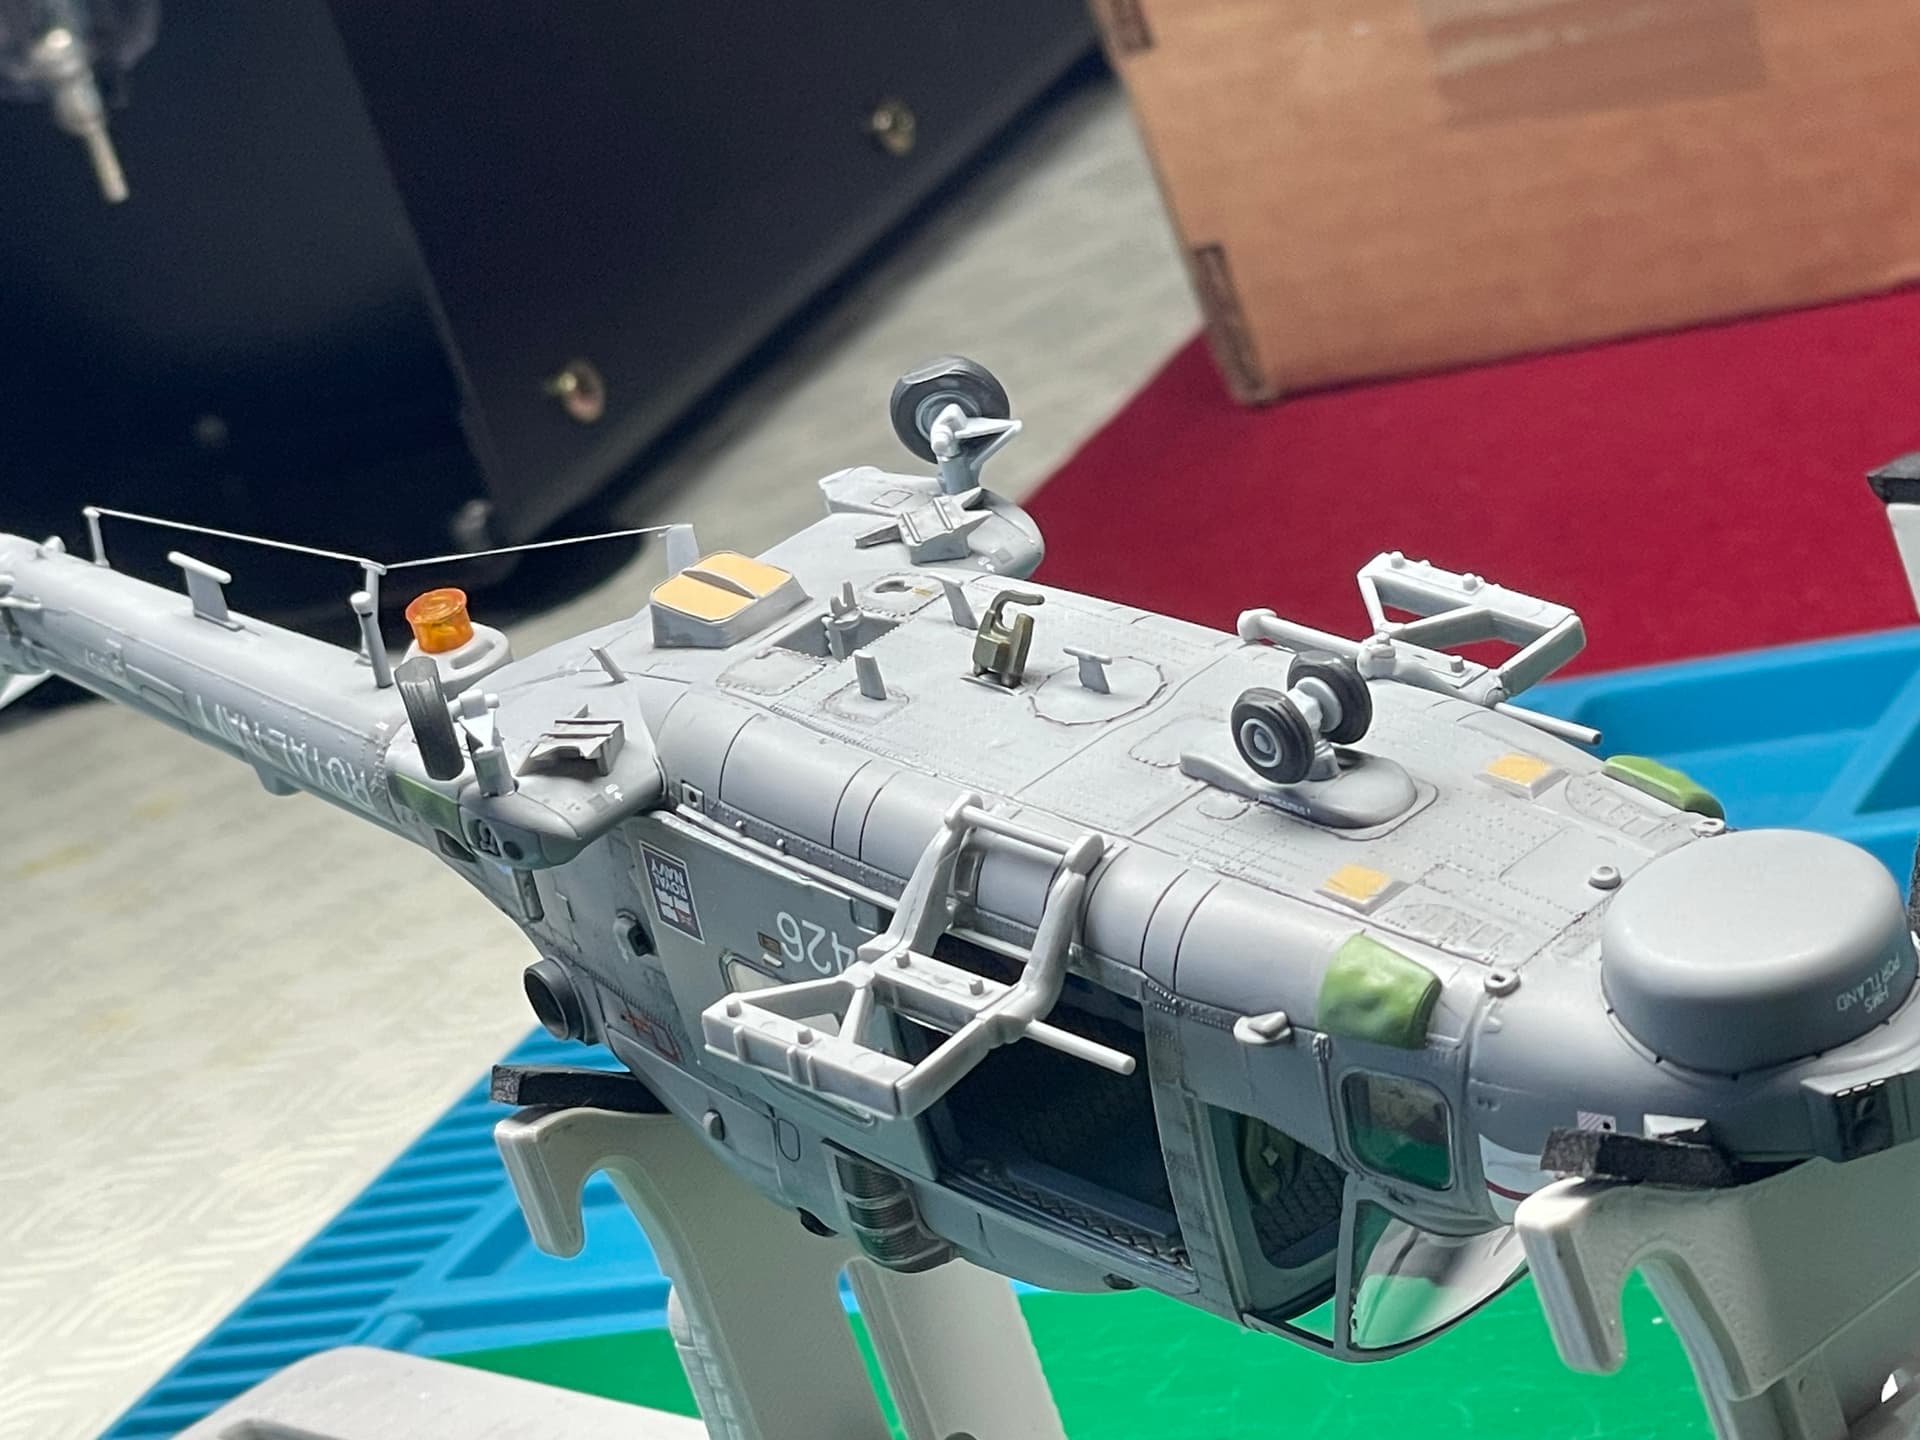
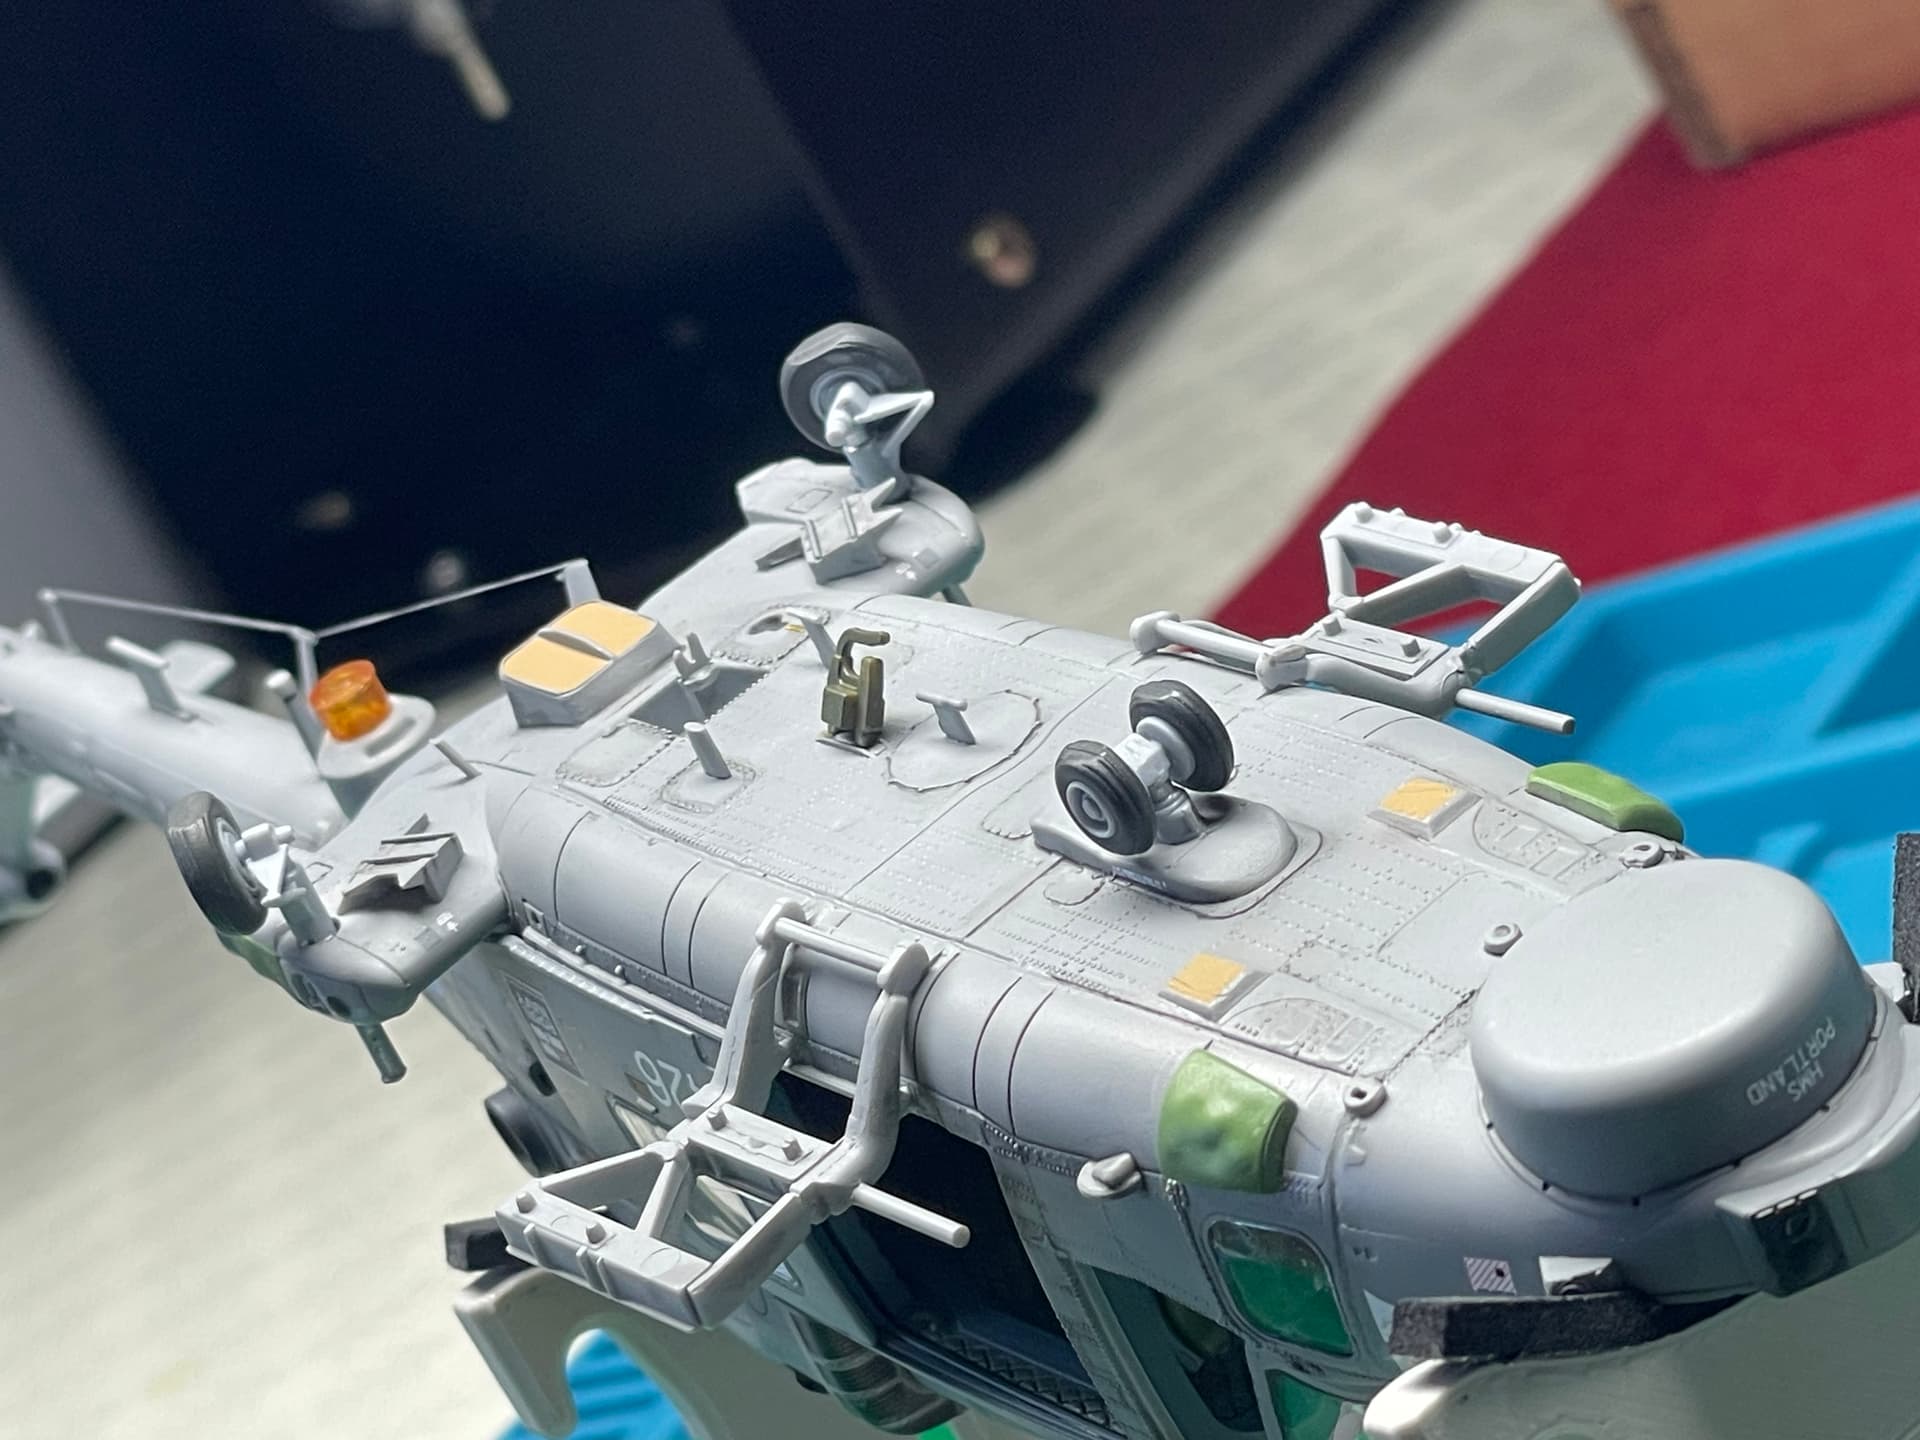
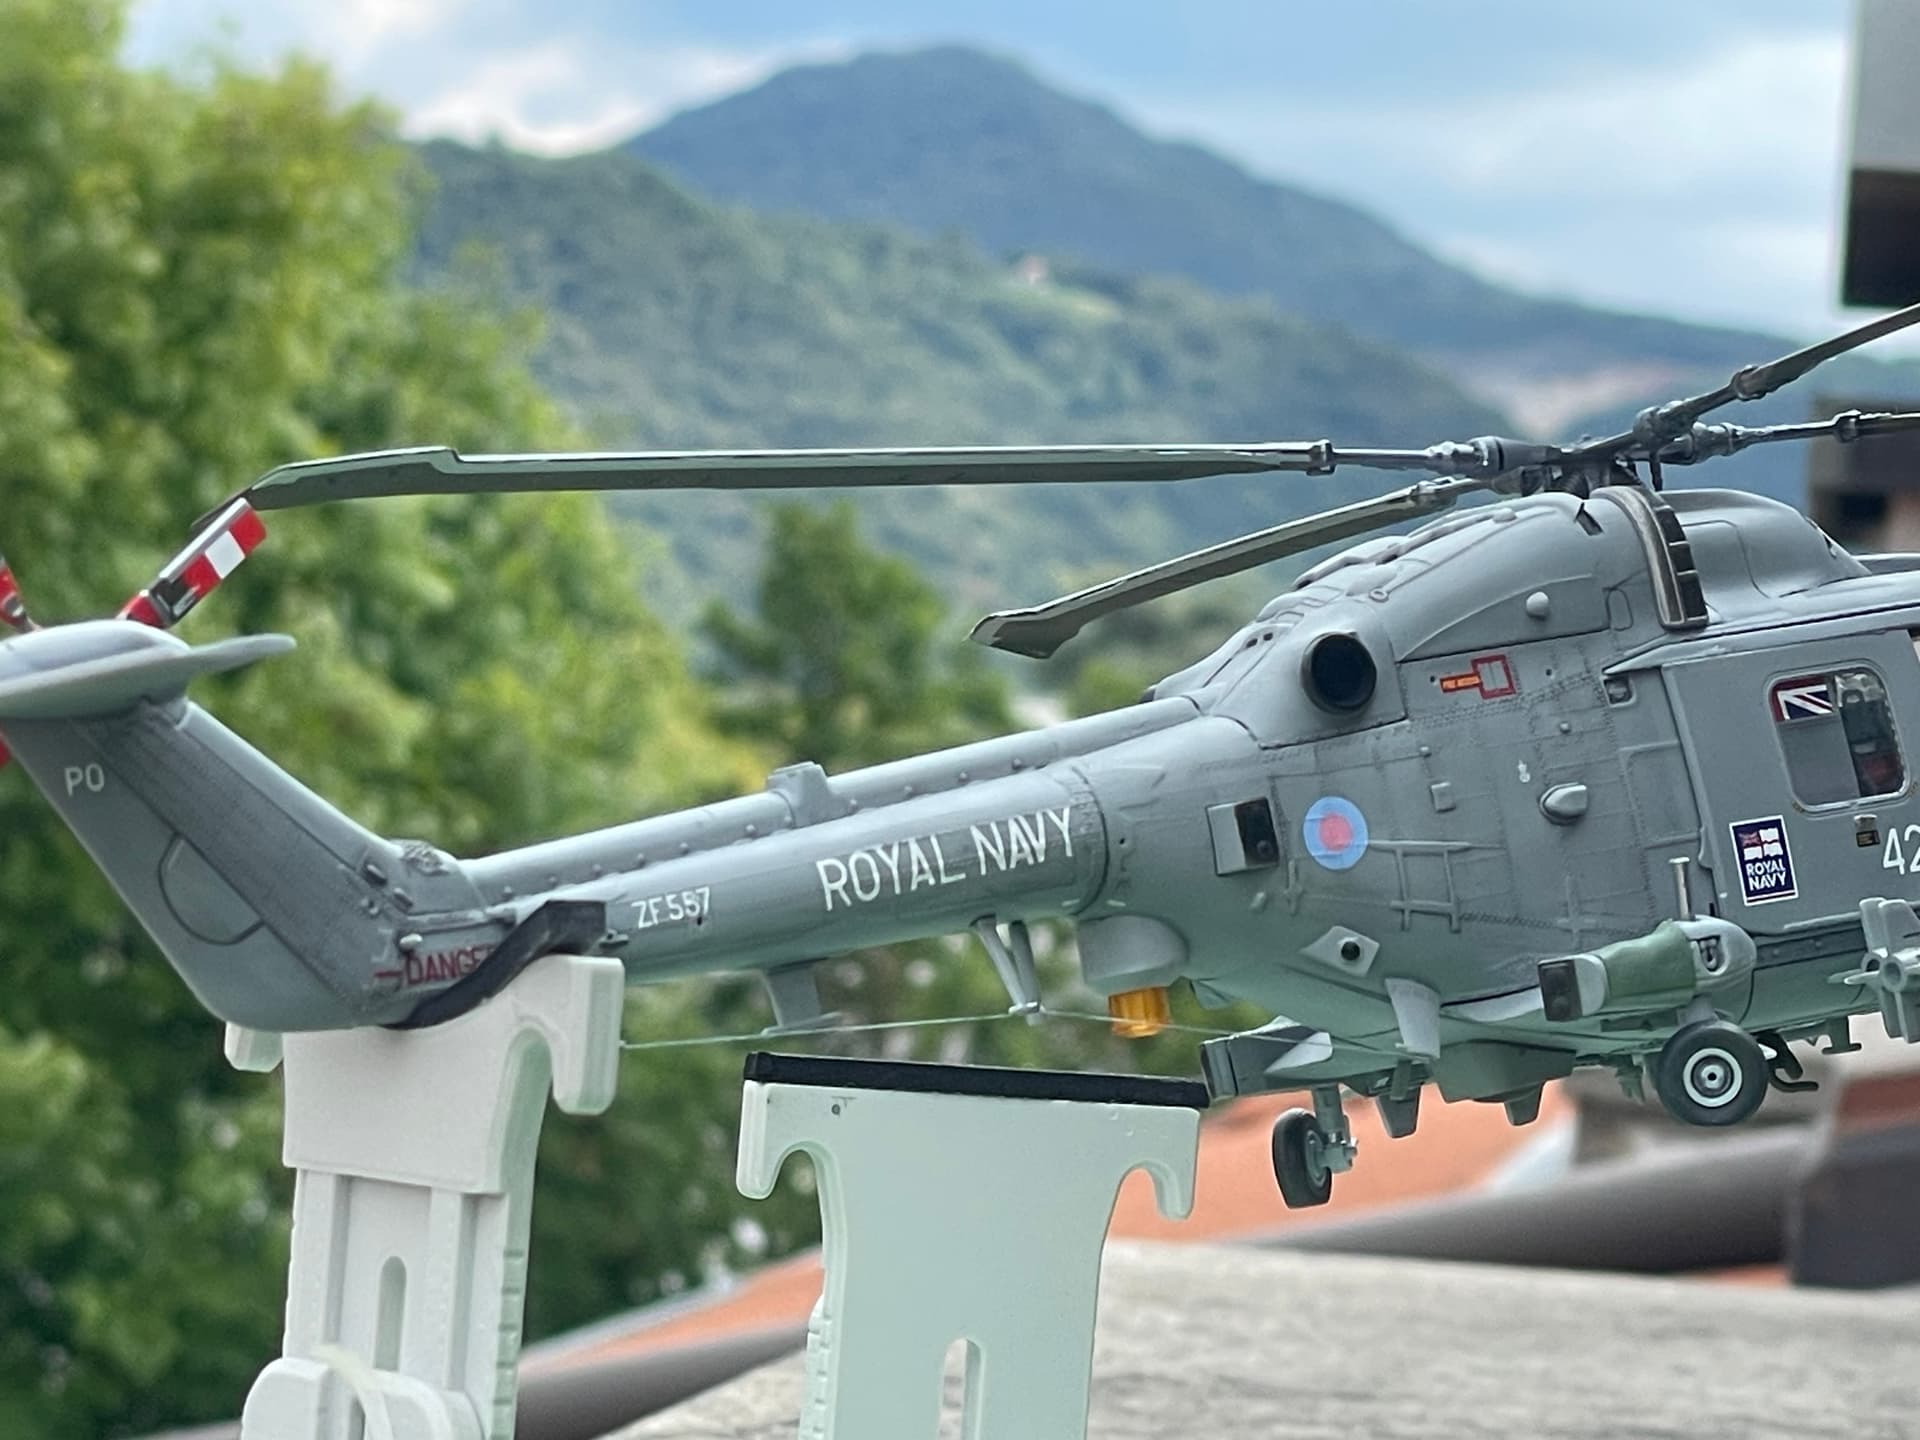
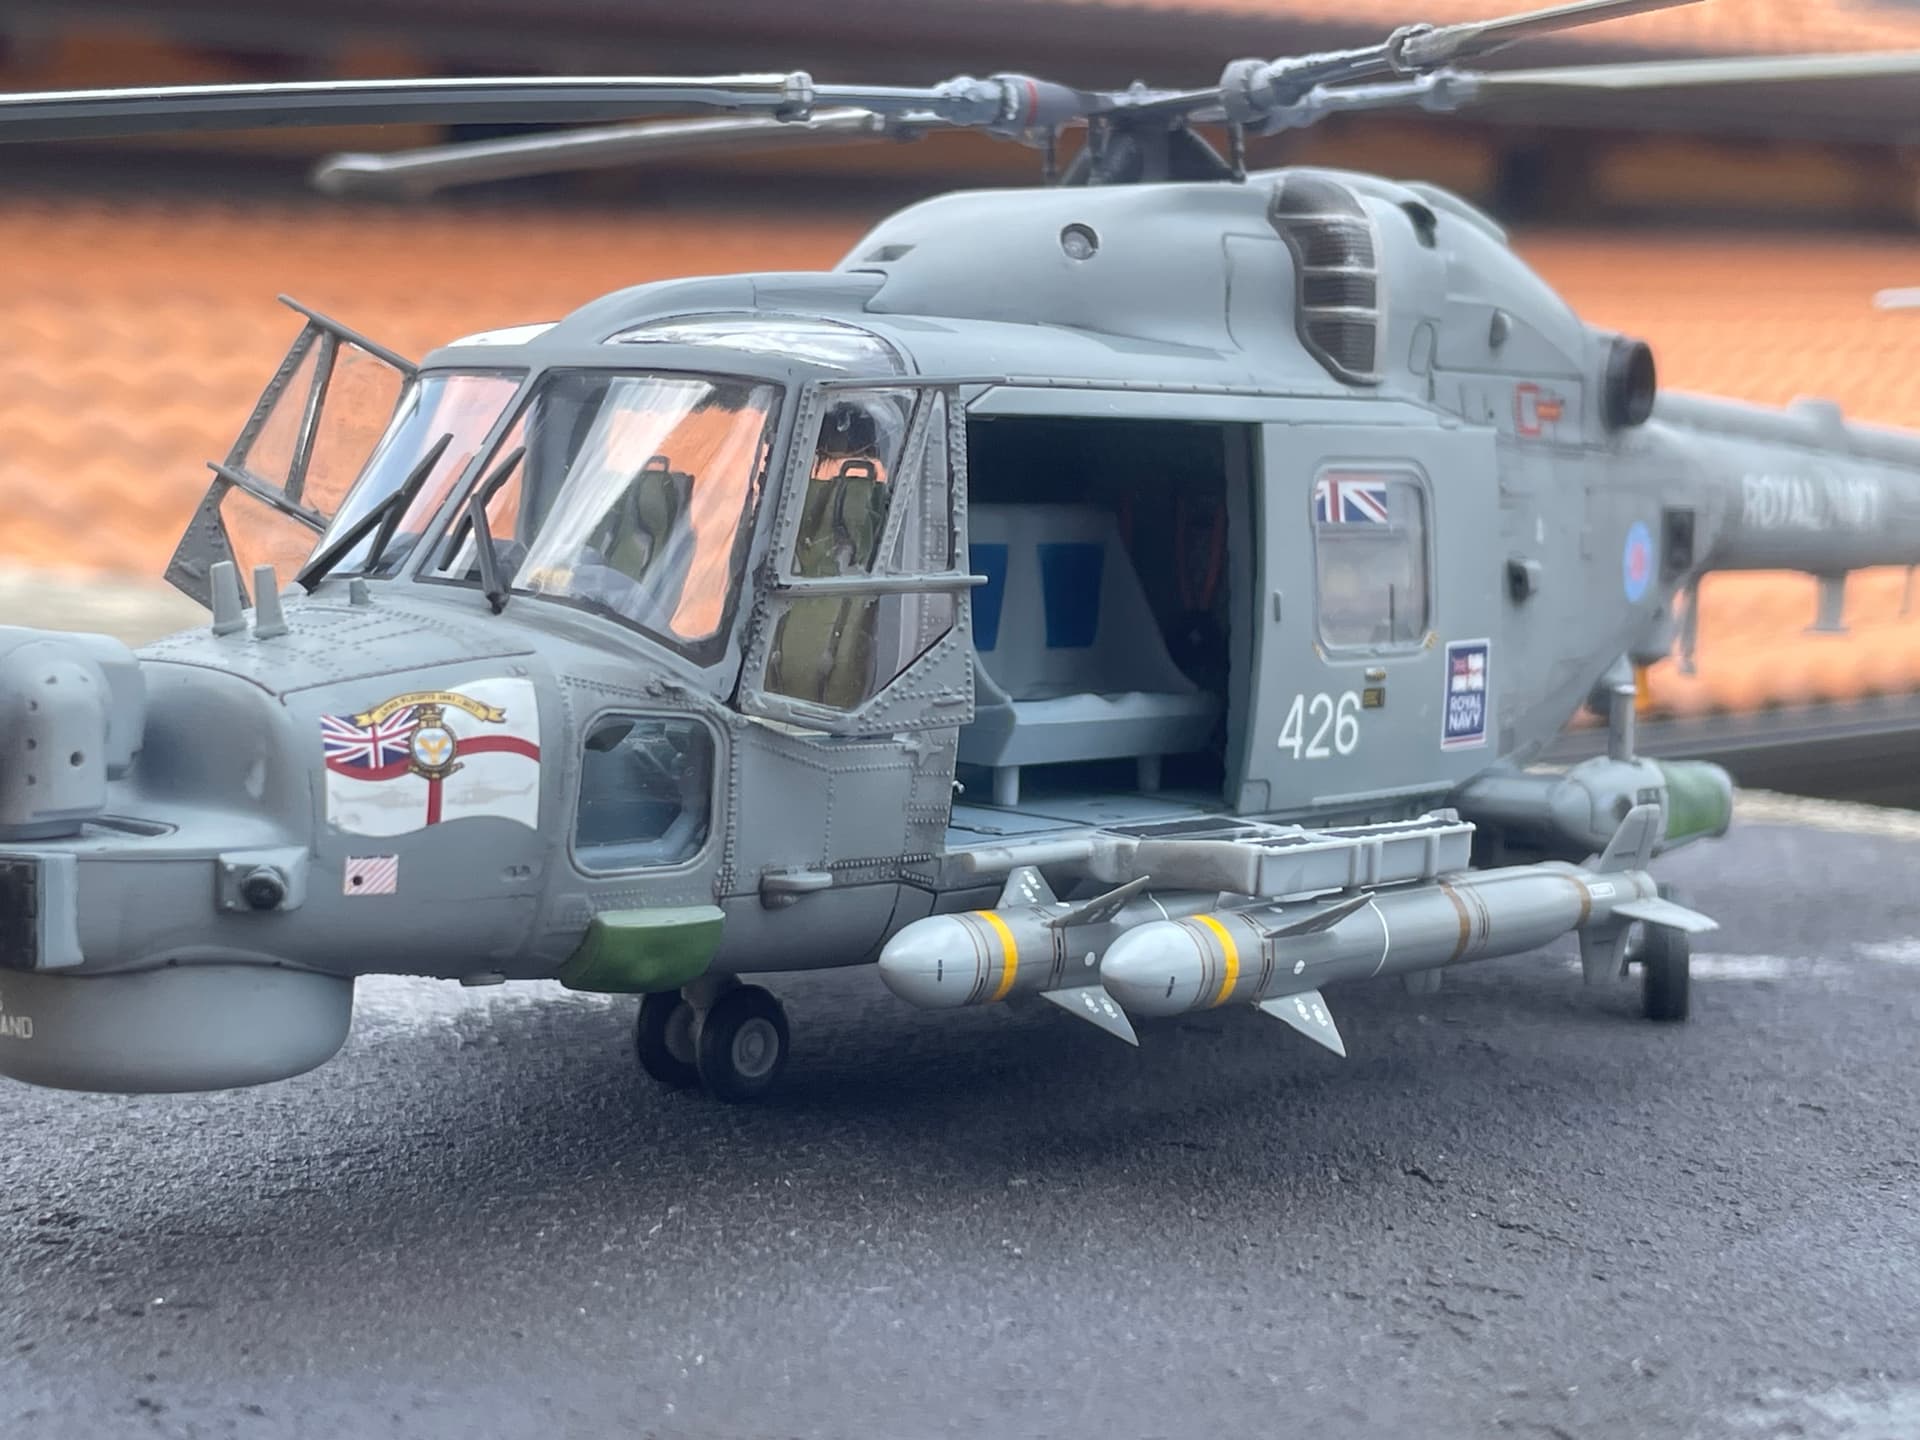
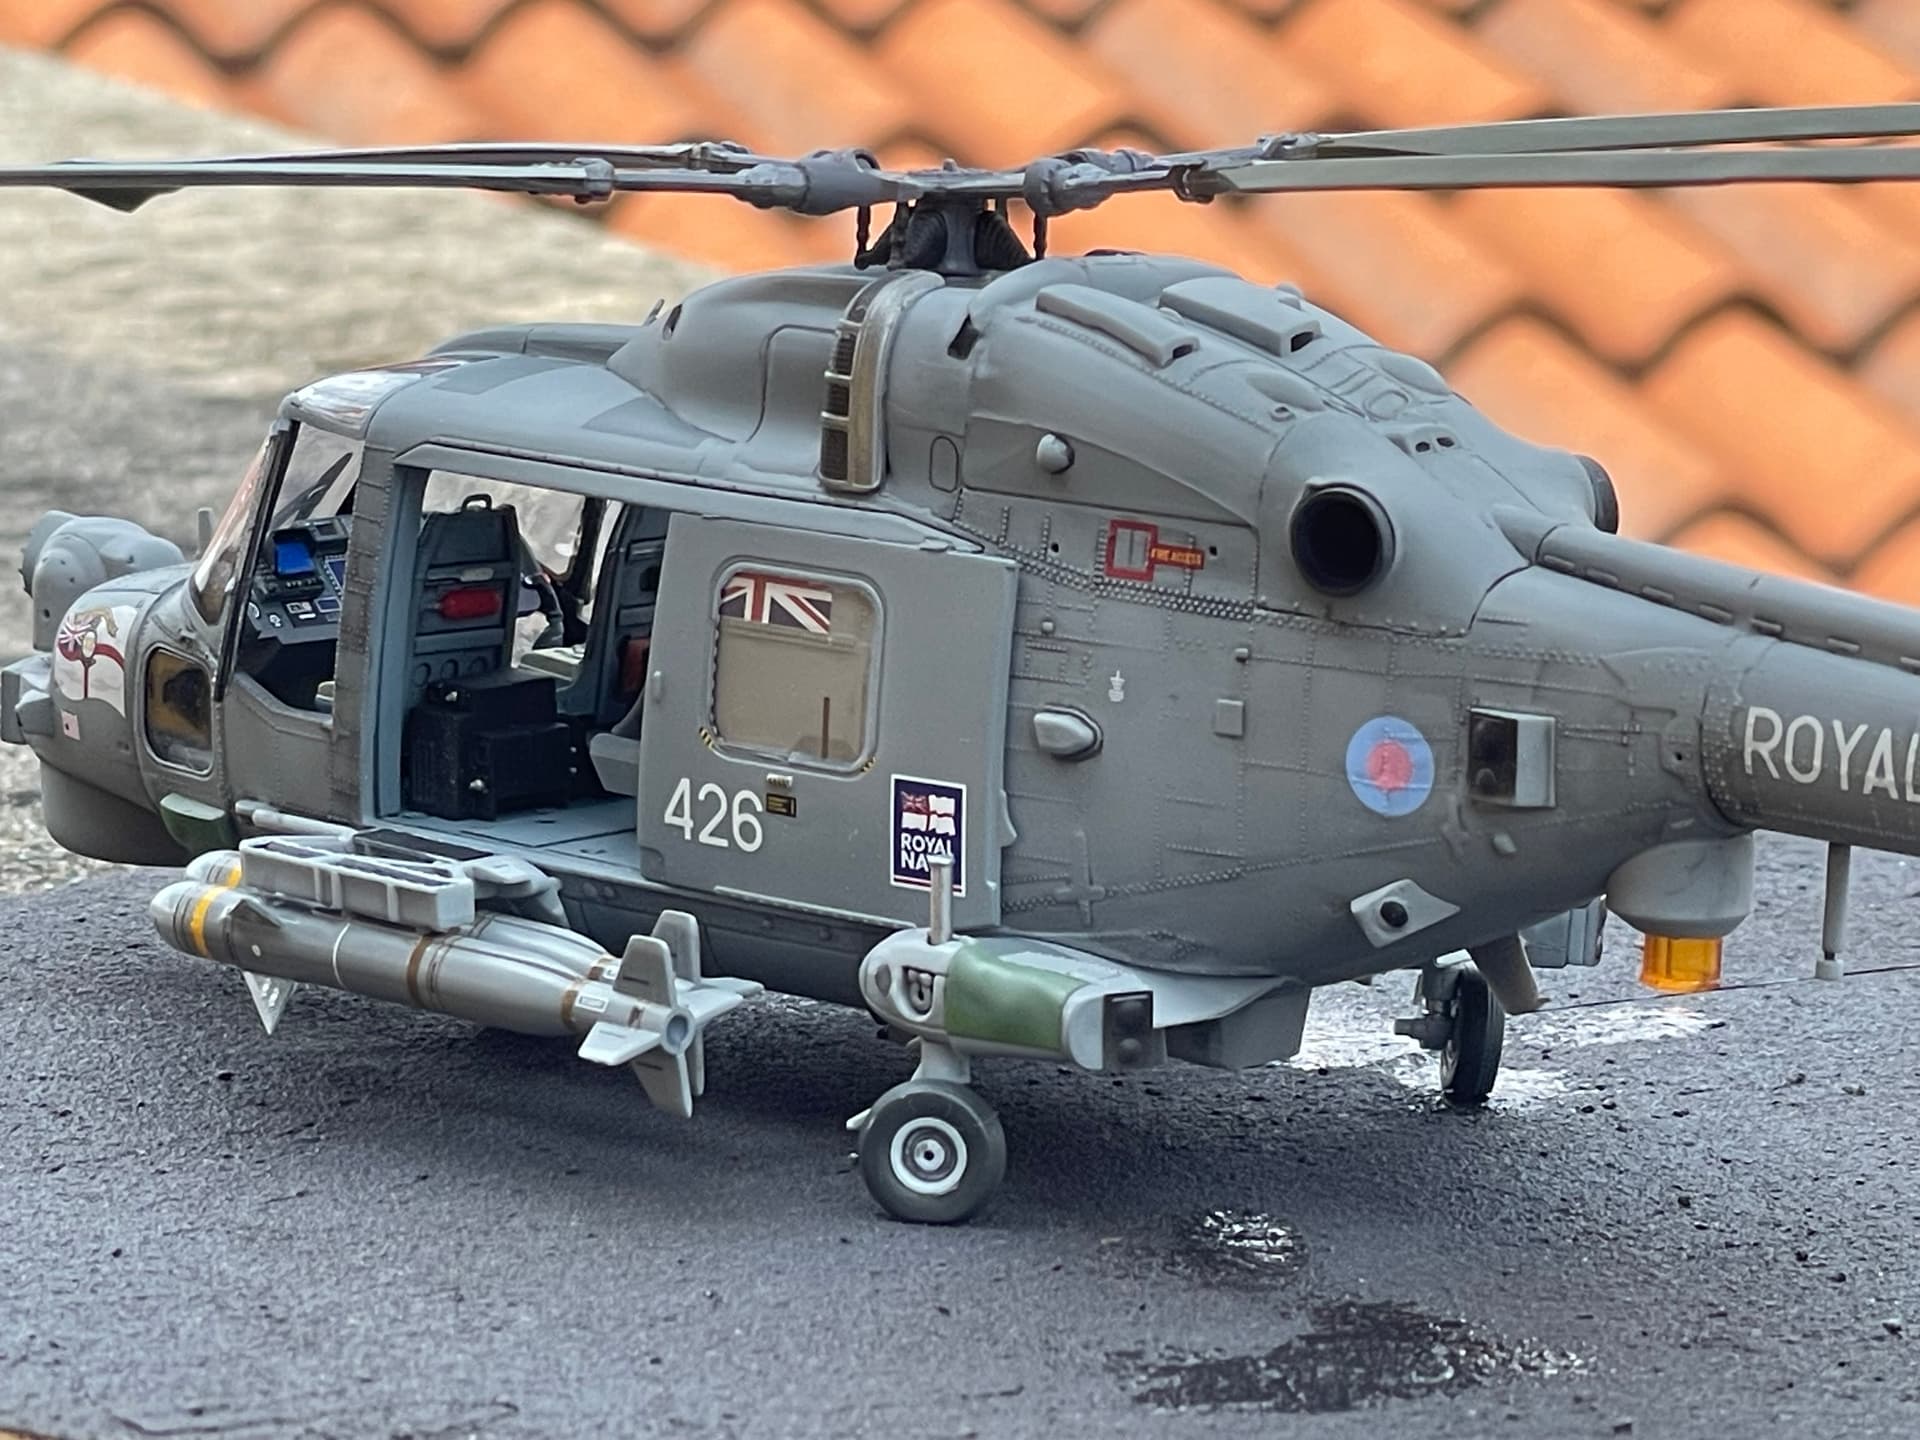
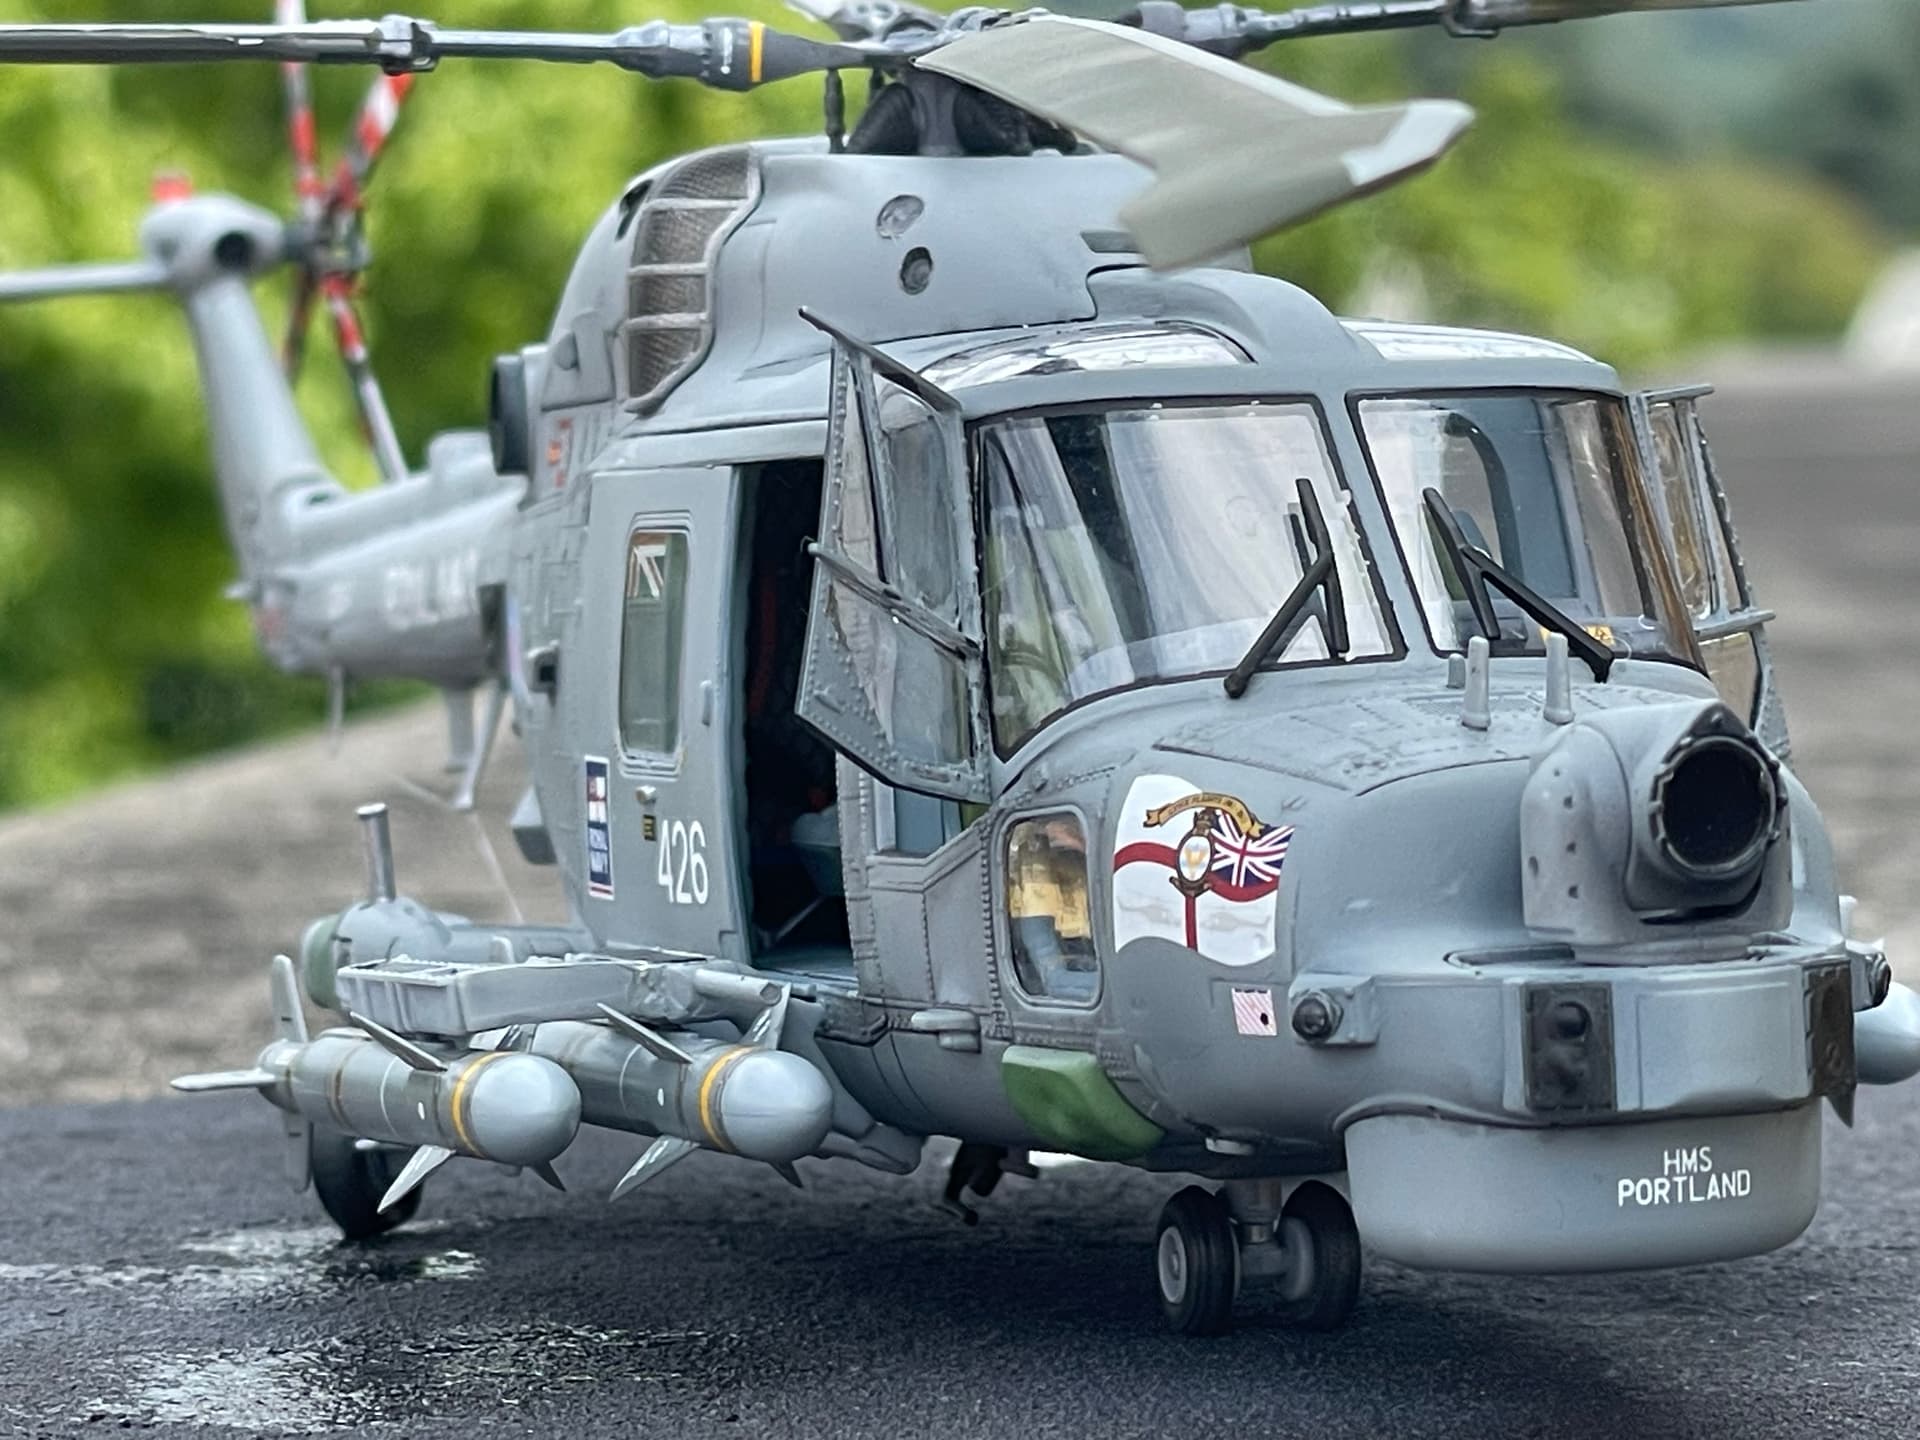
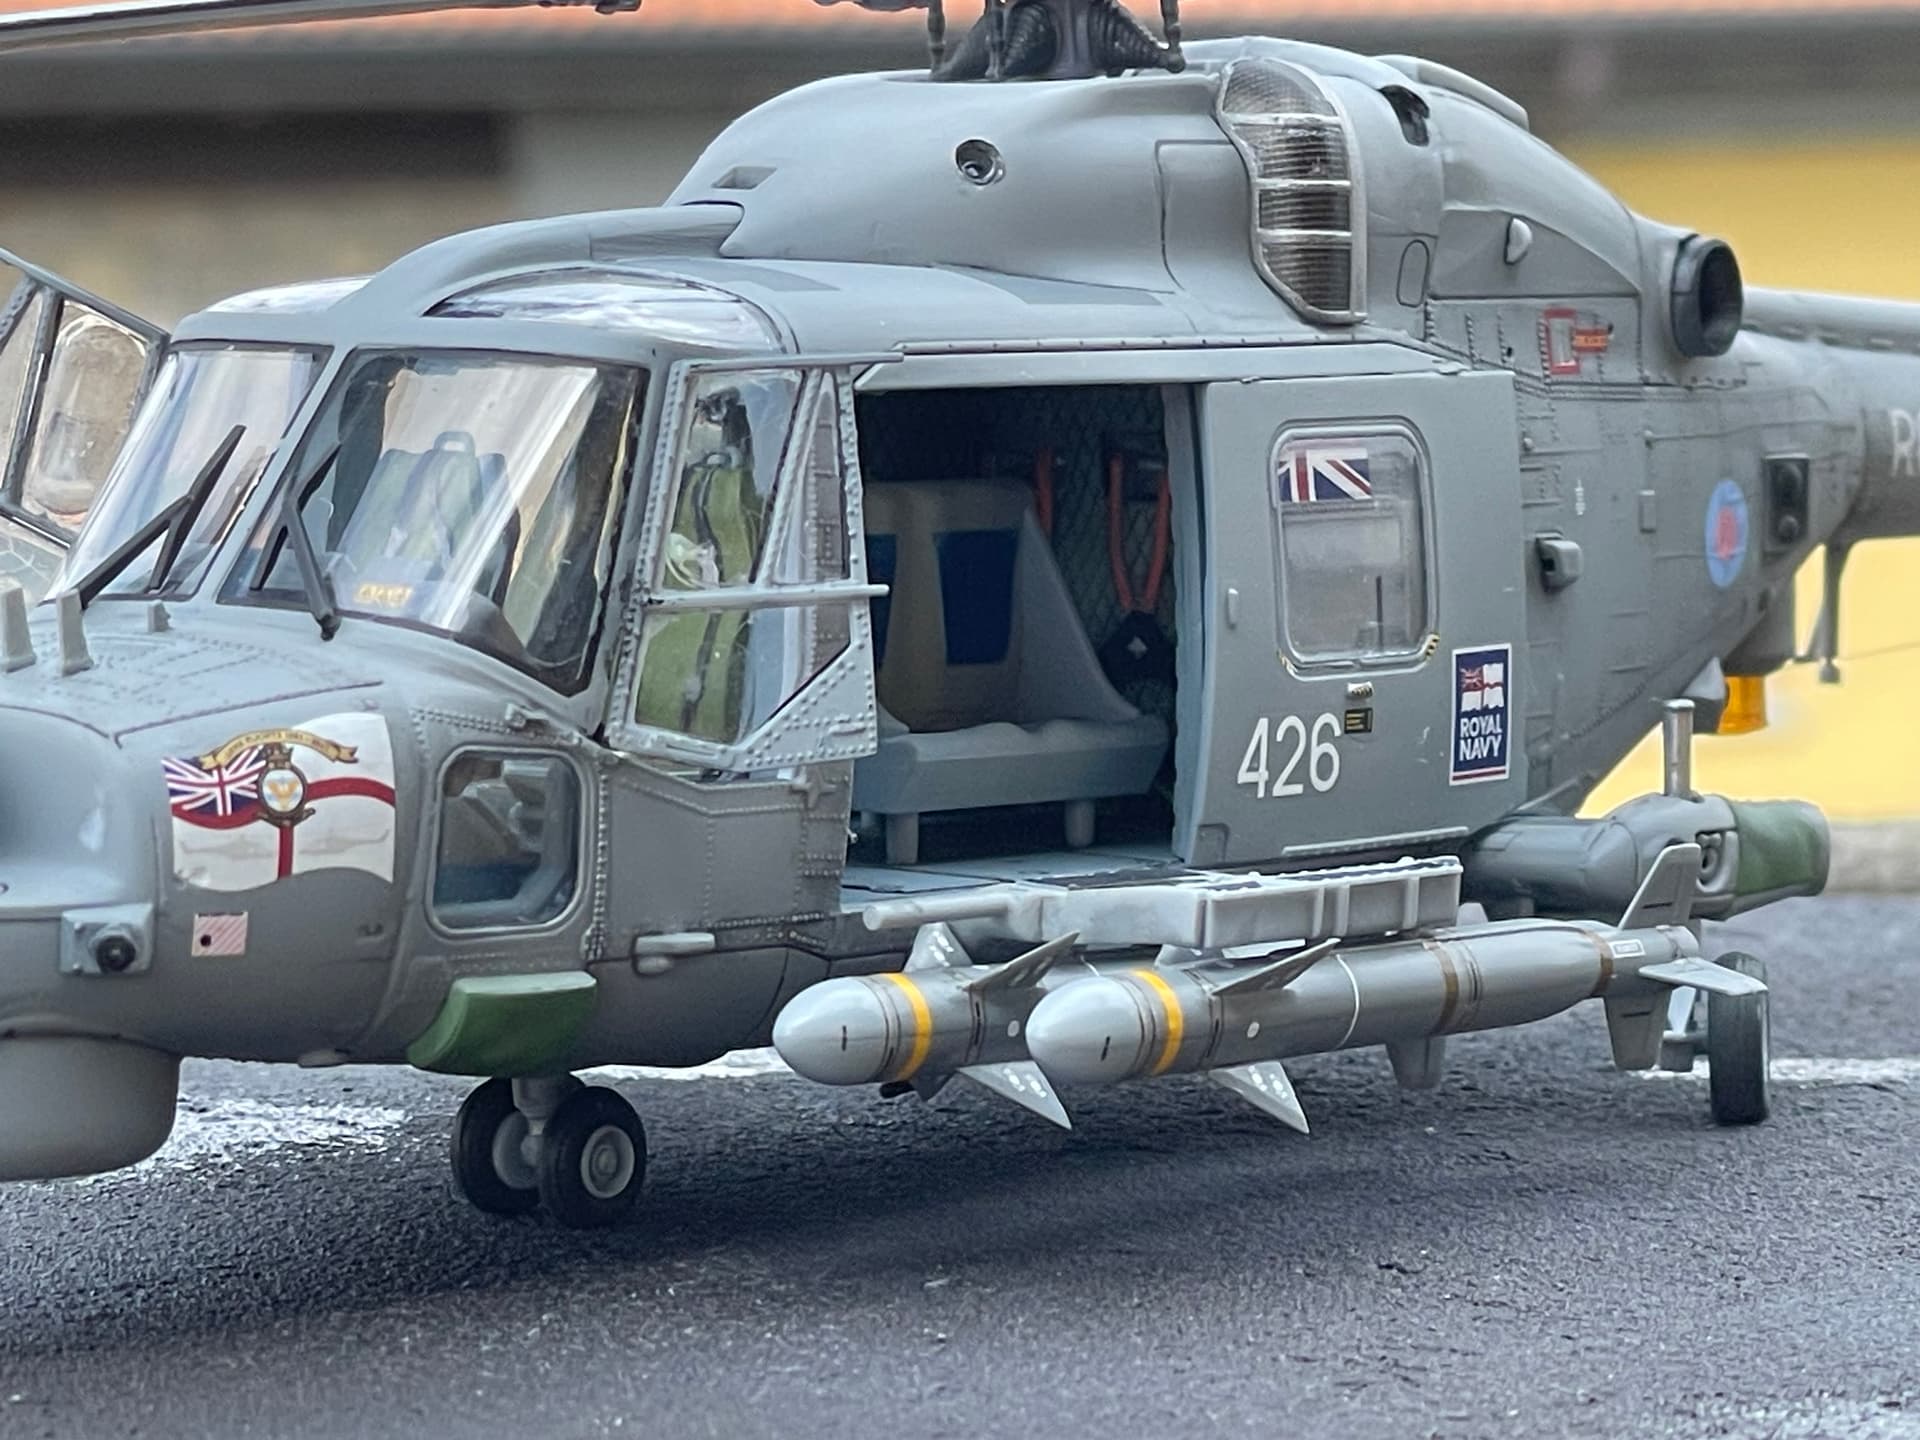
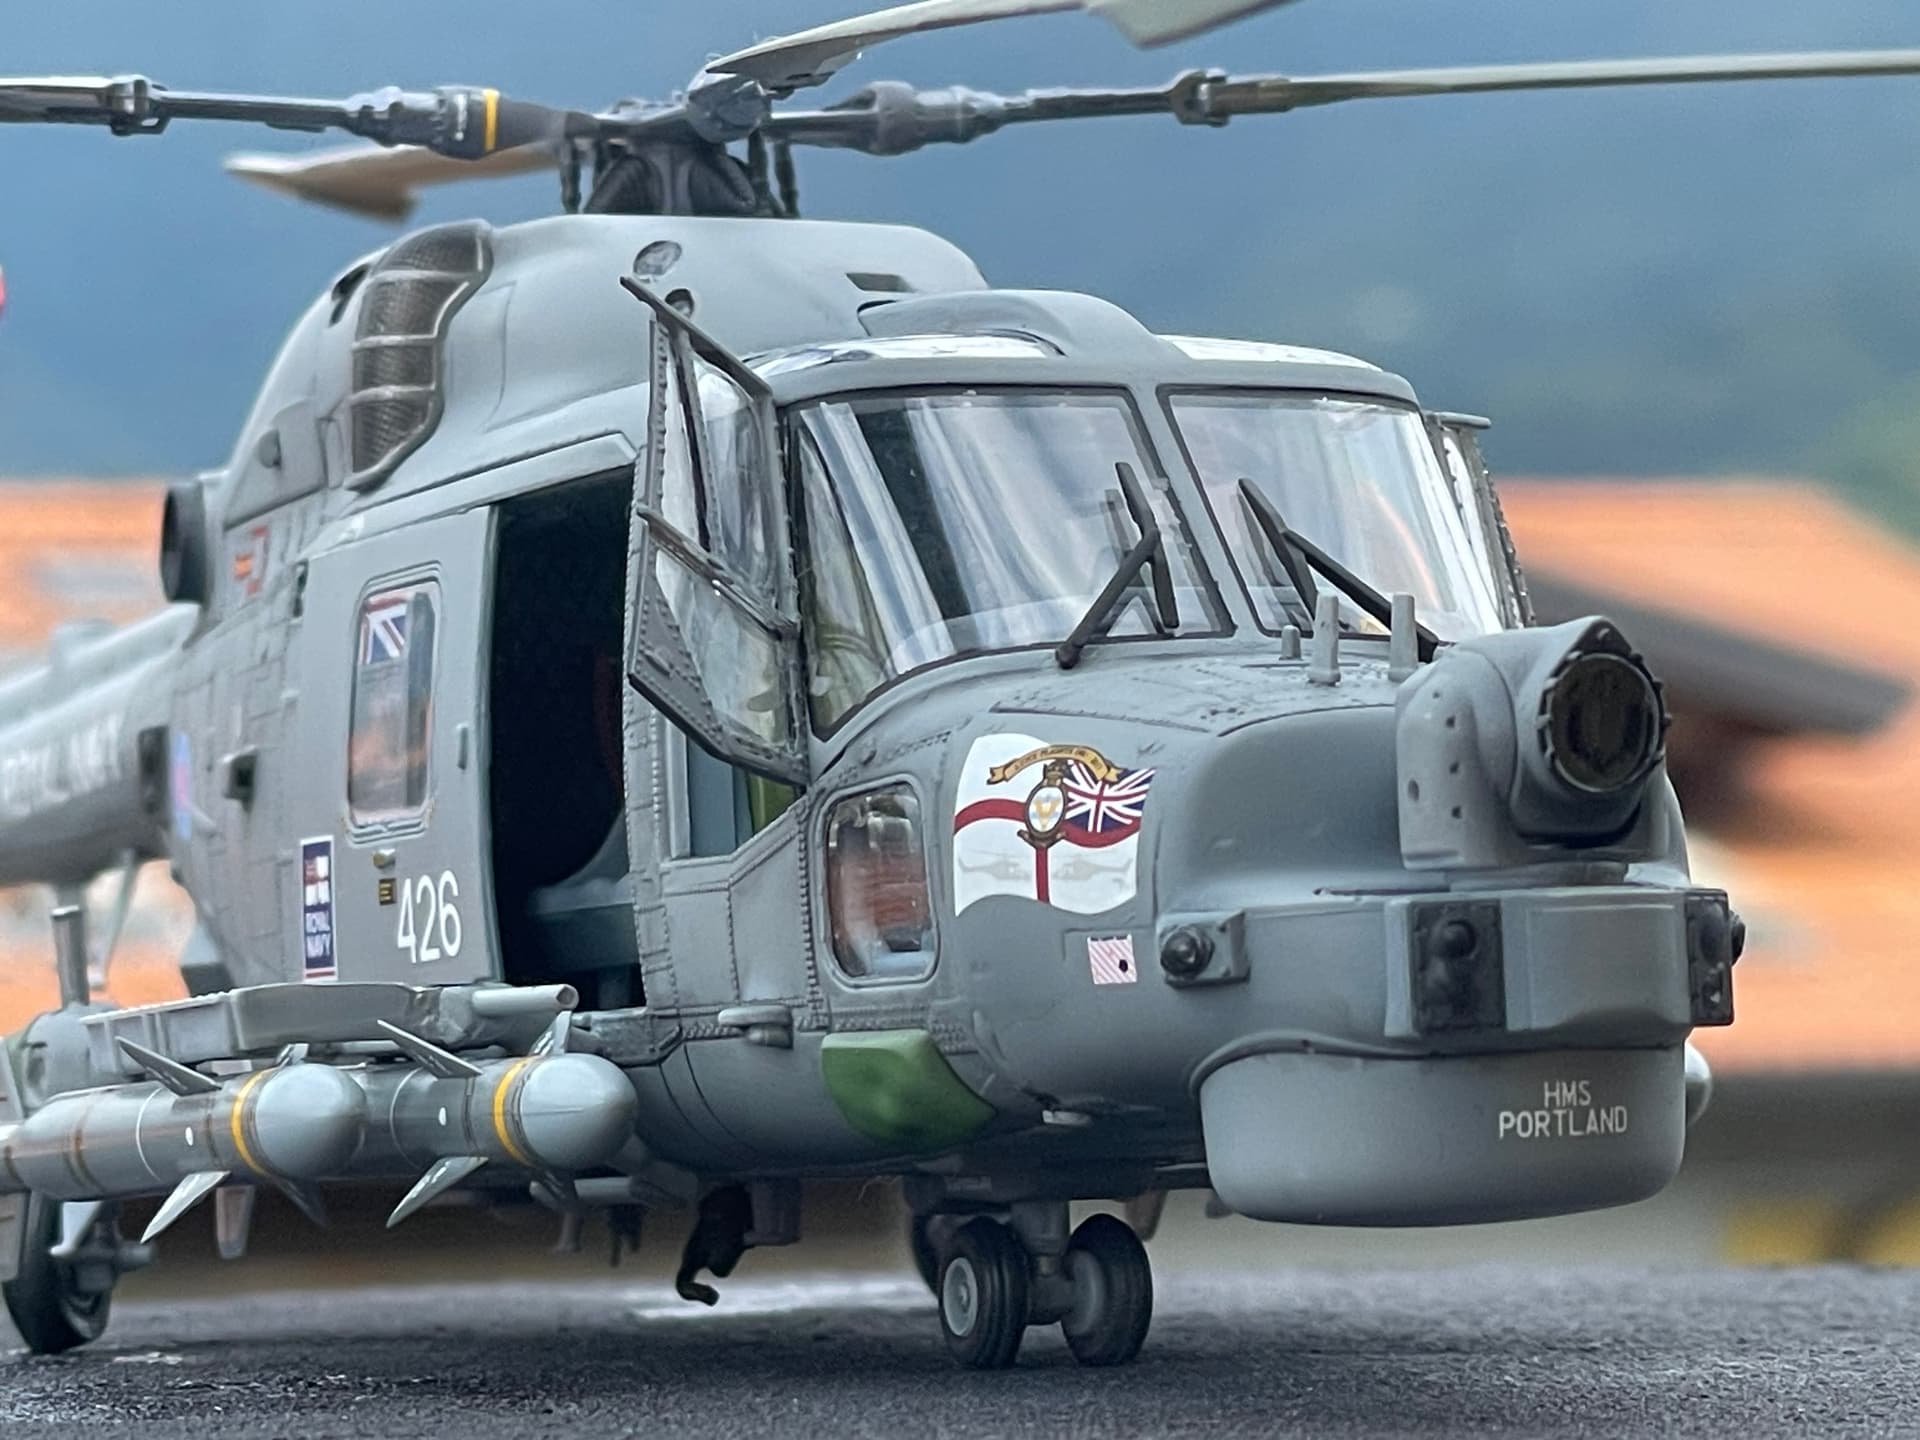
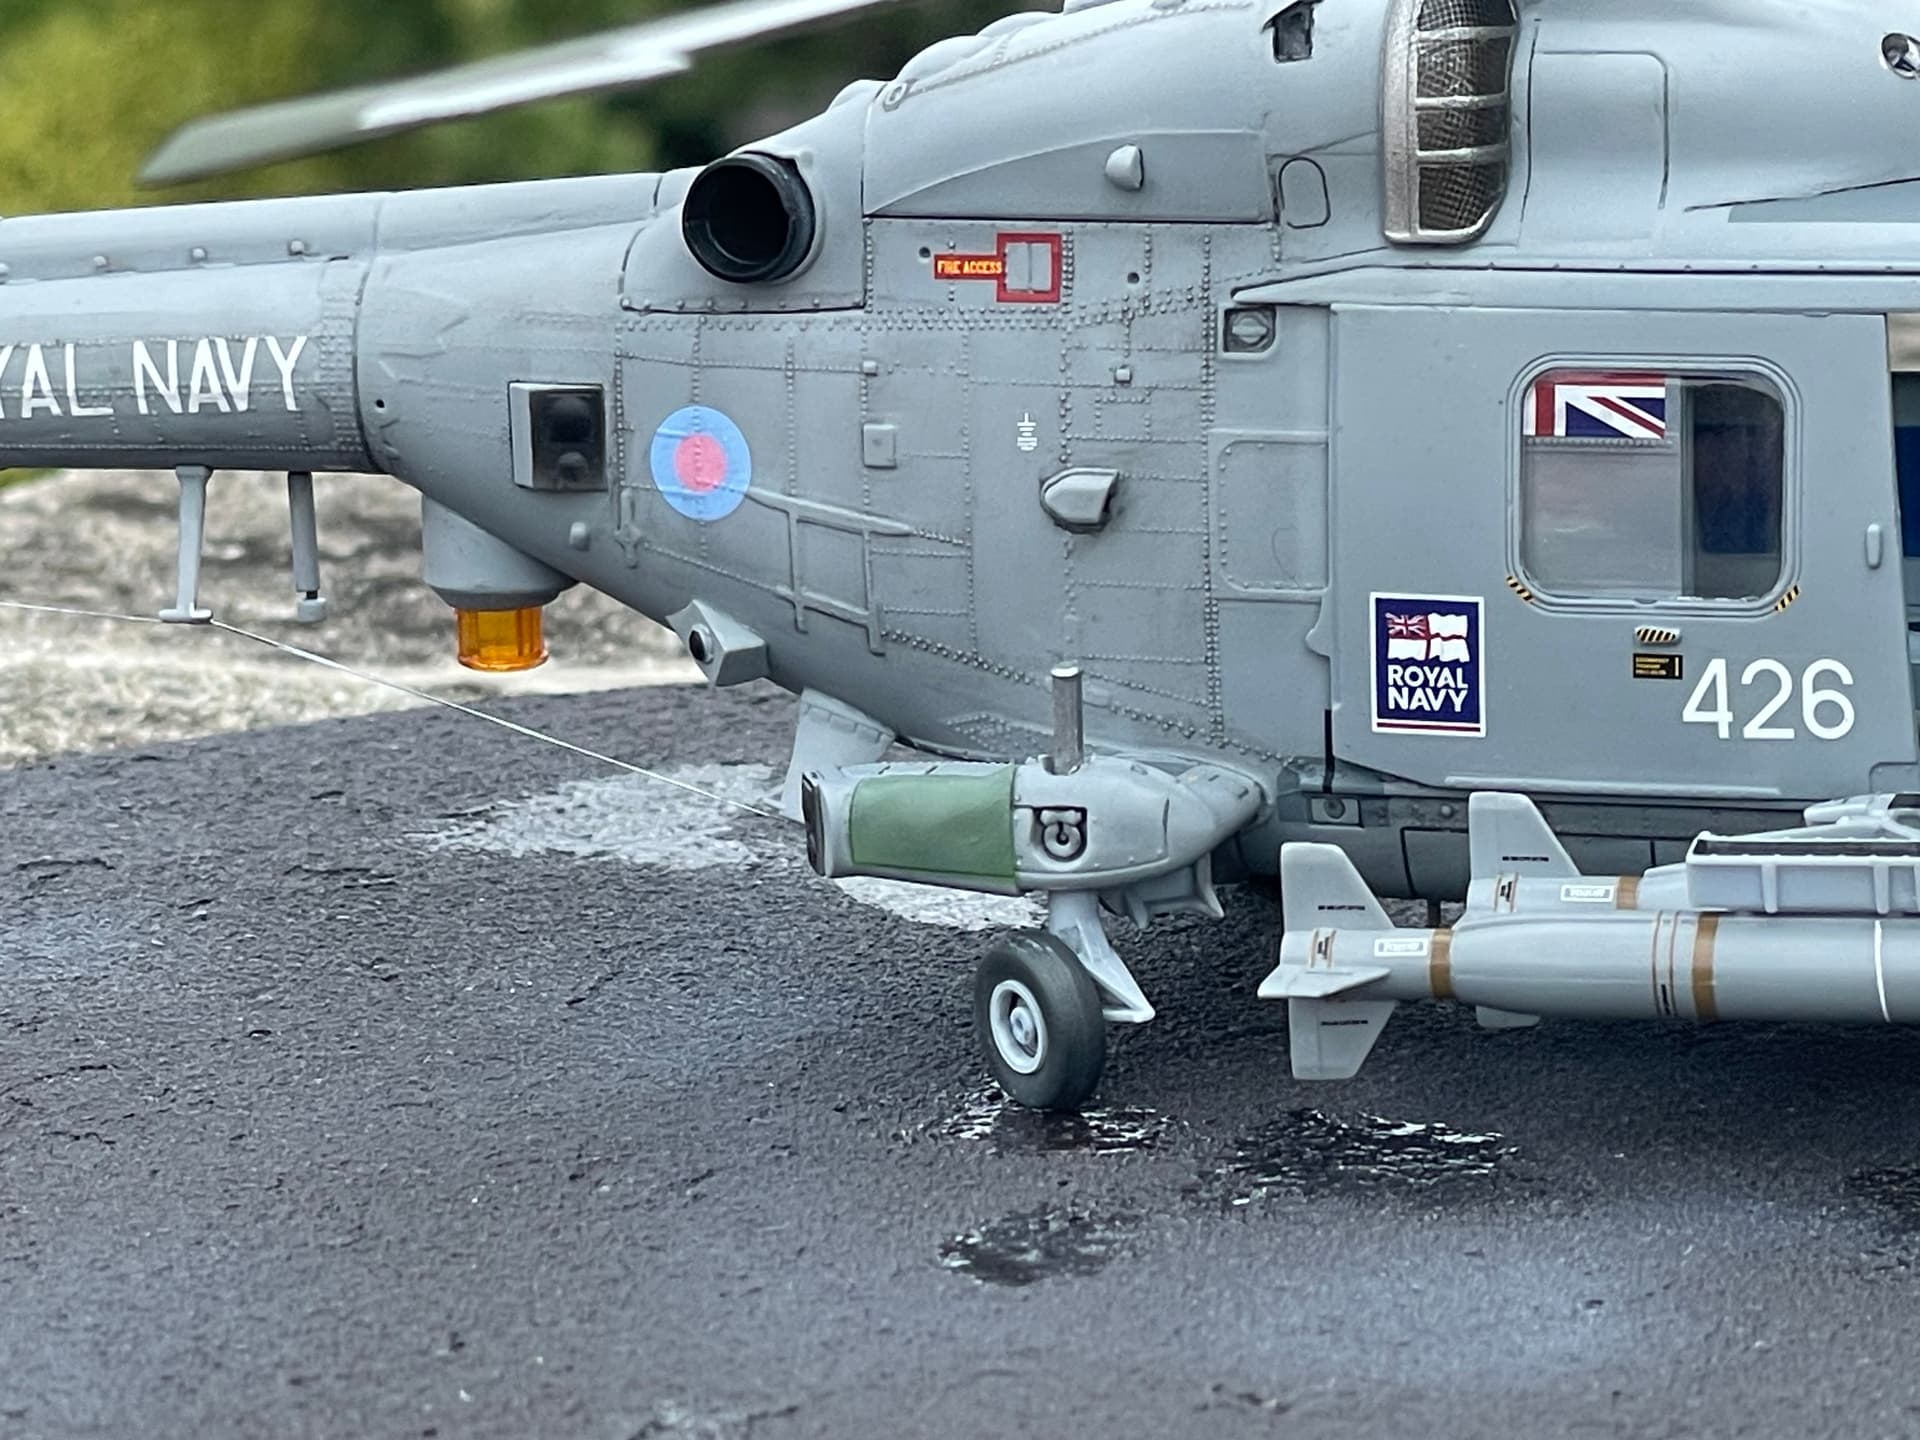
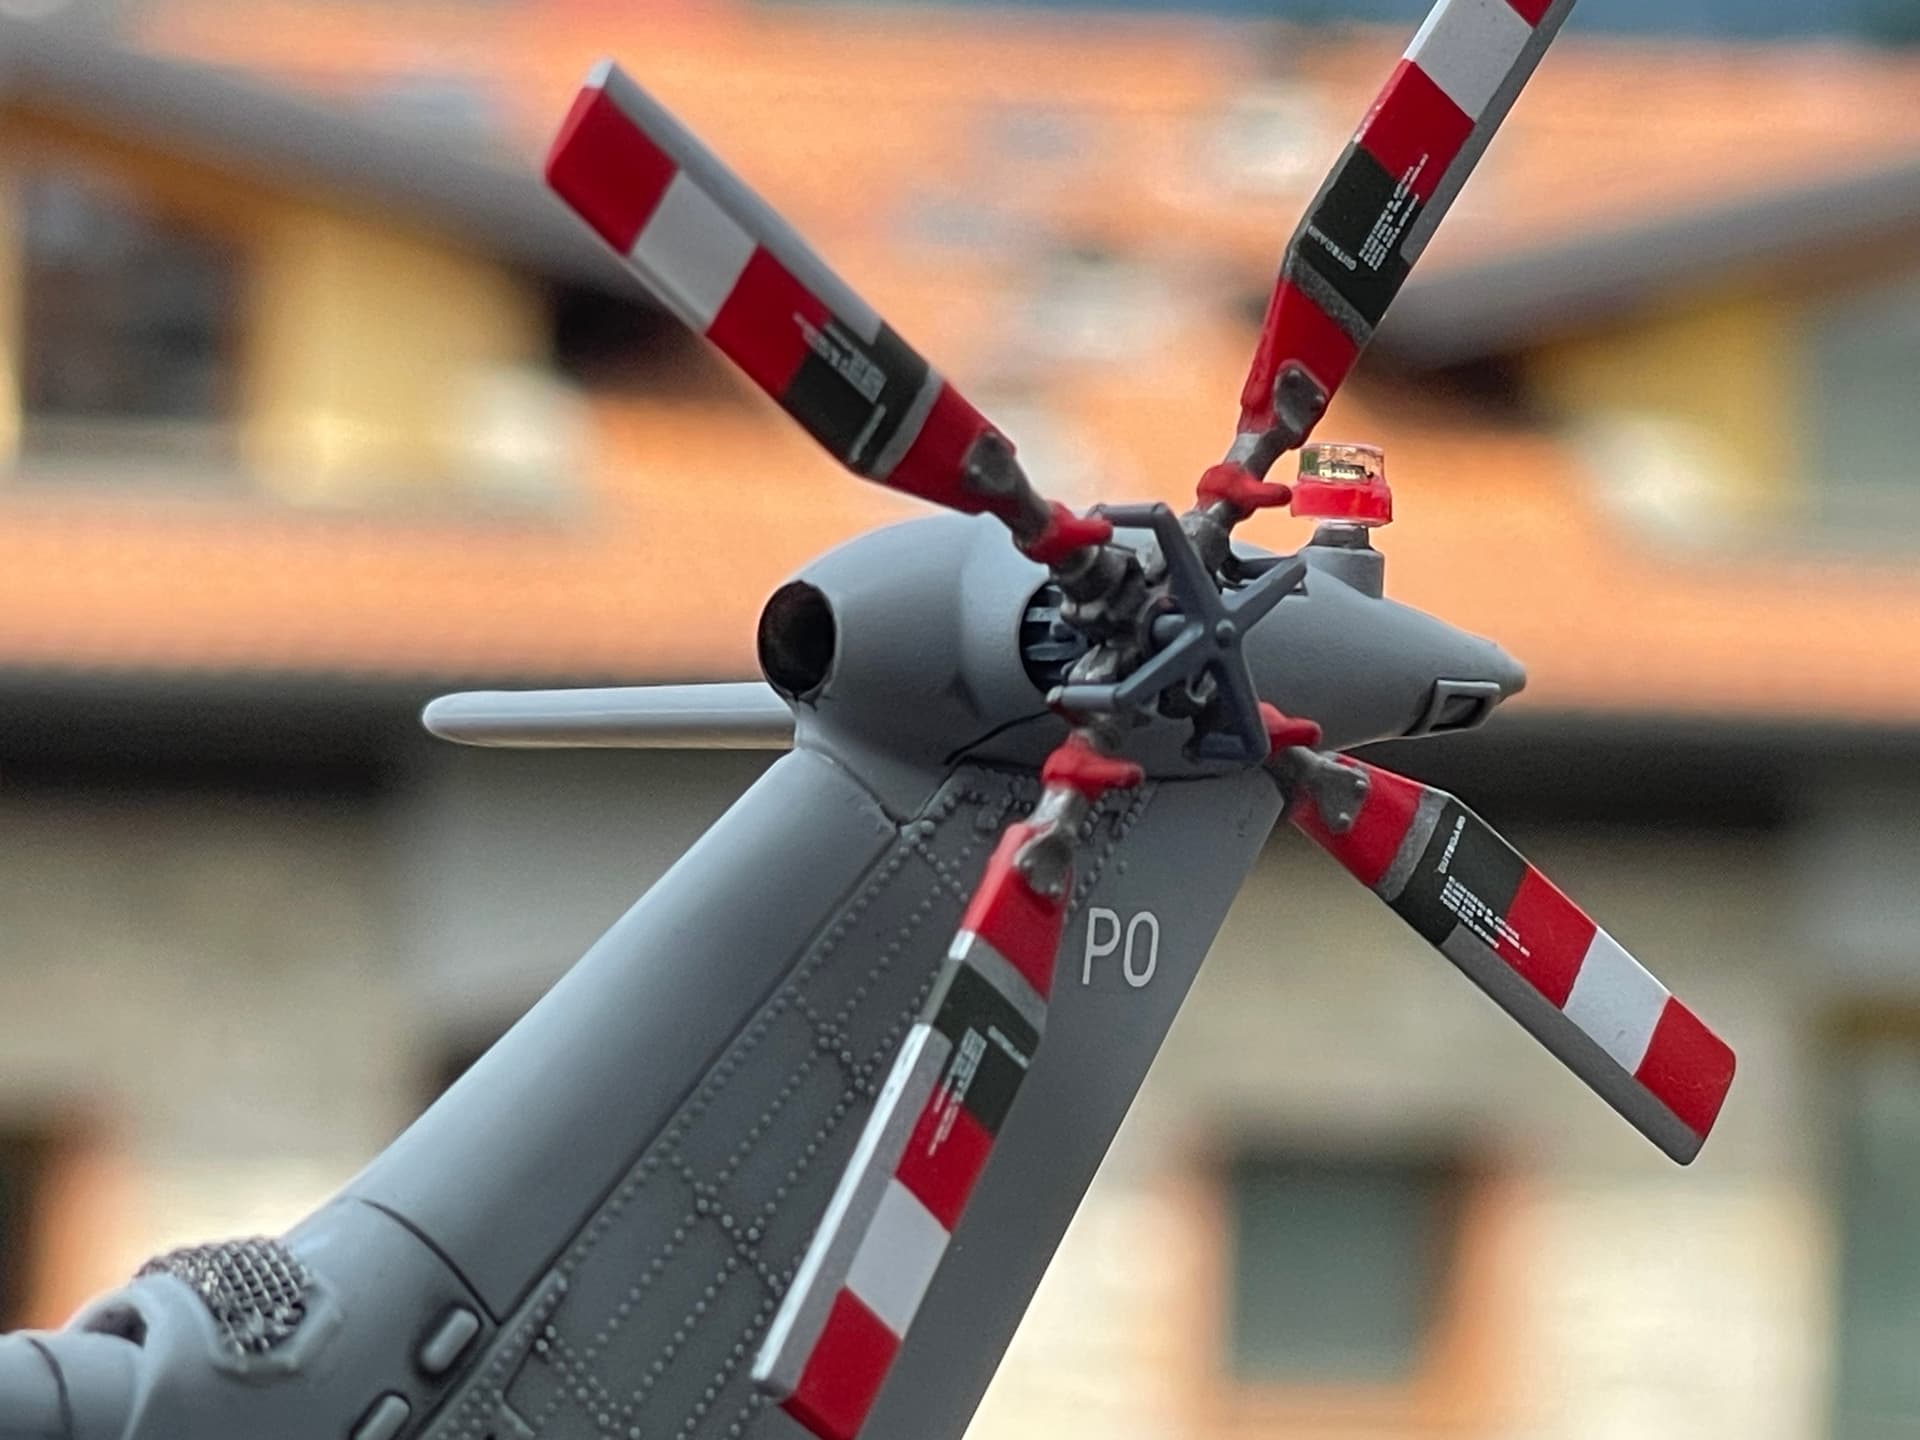
This is the current look of the model. There’s still a lot to do (including applying the vents I mentioned), but the Lynx is starting to become recognizable.


Until next time
Dan

9 Likes

Bello lavoro

1 Like

Thanks Pat

Missiles usually take a long and somewhat tedious time to complete. As I wrote in my post on the Su-35S Flanker (here.), in my experience, the time it took to complete the underwing loads on this aircraft was completely disproportionate to the time required for the entire build.
No exceptions for these Sea Skuas, although this time I used decals where for the Flanker I had painted everything.
Sea Skuas missiles is what the Lynx carries in its anti-surface warfare configuration, which I chose to represent from the three offered in the kit.
Here a few shots


Another step towards completing the model are the main rotor blades: they are quite accurate to the real thing. They represent the BERP (British Experimental Rotor Programme) variant and were adopted on the HAS 8 and later versions of the Lynx. They sport a tip shaped like this.

The rotor attachment mechanisms and actuators are also acceptably reproduced despite their small size in 1/48 scale. The real thing:

The corresponding kit parts:


That’s all for now.
Dan

7 Likes

Nice!
The Sea Skuas look great.

Thanks Stephen. :+1:

1 Like

looking great so far!!!

Thanks Phil :slightly_smiling_face:

You’re welcome.
The Lynx is my favourite helicopter so always good to see one done.

Yes, it’s a fascinating machine for me too, as is the Russian MIL-24 HIND, which I can hear rattling around in my closet. :grinning_face_with_smiling_eyes:
Thanks for your interest.
Dan

1 Like

Two machines that had a bit of a speed rivalry too.
The Army Lynx prototype took the helicopter speed record in the 70’s, which was then broken by a stripped down Hind, only to be retaken (and still held) by G-LYNX in '86.
I built the first record holder with the old Matchbox kit a couple of years ago.

Yes, that’s true. And that G-Lynx is now in some hangar at our Leonardo, as the current owner of Augusta-Westland.

Then you mention Matchbox and my memory goes back to my adolescence, to the first super-basic kits, along with the earlier Airfix ones, which sparked my passion for this hobby.
Thank you.
Dan

1 Like

Interesting. I thought G-LYNX was still in the collection of the Helicopter Museum in Weston-Super-Mare?

Will have to look at that.

Matchbox were what I cut my teeth on back in the early 90’s. Cheap and generally fit together better than the ancient Airfix kits they were still selling at the time.
They did some interesting stuff.

Just fetched it down and gave it a dust.

This was built from an original Matchbox boxing, so it still has the early 3 window cabin door. I believe Revell recut it to the single window on production Lynx when they took over the moulds. They’ve reissued it this year. Still good for an early Lynx and only way to get an Army Lynx in 1/72 currently. The old Airfix hasn’t been in the catalogue for a long time. The ZTS Plastyk offering is horrid. A crude clone of the Frog Lynx. I bought one a couple of months ago for 99p, just to get the TOW missiles from it!


The crew figures were Airfix, used those as the Matchbox figures had oxygen masks moulded to their faces!

1 Like

Looking at your (beautiful) model, I understand once again how this helicopter has been synonymous with flexibility for different roles and users.
Returning to the current kits, compared to the initial ones, yes, many improvements have been made, but even this (new) Airfix is certainly not without its flaws. Yes, I know, I’m boring, but I can’t help but say: Tamiya is, by far, another world! And I can’t understand why, given the modern technologies every brand can use these days.
But that’s another story and I’m getting off topic…
Cheers
Dan

2 Likes

Thanks dude.

Airfix are definitely better than they were.

Looking forward to seeing it finished up.

Hi everyone!
Here we are! The Lynx is finally ready to take its place in my display case. Just a few final thoughts on the quality of this kit: if I had to sum it up, I’d say it’s good—but not great. The fit and engineering could’ve used a bit more finesse, honestly IMHO. I found too many gaps to fill and, even though the panel joints of the real helicopter are quite visible, it is necessary to get your hands on some putty. That said, it’s still a fun build overall, and with a little patience, you can turn it into a pretty solid replica of the real thing.
But let’s cut to the chase, before diving into the build, here’s a peek at the real-life Lynx 426.


There are a few details that, in my opinion, are pretty important—but Airfix completely left them out of the kit. One example is the small windows located at the front of the upper “hump”—two on the right, one on the left. Airfix figured they could just stick on some black round decals instead…I’m refferring to these..

I drilled them out manually and added a thin layer of Micro Kristal Klear to simulate the glass. That did the trick…


Another good example is the cable running along the underside on the right side, connecting a few of the antennas (at least I assume they’re antennas). That one…

I added it using some black elastic thread, the kind usually used in ship models for rigging. Then I gave it a pass with an AK Dark Aluminium marker to get the right metallic look. And voilà…

As for the tail hook that the instructions say to stick under the rear fuselage—well, I haven’t seen it in any of the photos posted here. Not even in the one showing the helicopter landed on its ship, HMS Portland. So yeah, I’ve decided to leave it off.
After this introduction, here’s my finished 426. See it first on the stand I usually use during construction. Note that this time I used the decals from the box, while they were not used on the tail rotor which is entirely colored by me.


And now, to conclude this post, on the ground, almost ready for the mission, after a rainy night… :smiley:


That’all for now guys. The Tamiya Spit Mk. IX. It’s already wandering above my desk waiting for a clear field to land.
Any comments or constructive criticism are welcome.
Dan

5 Likes

It came out really well. Great job.