Something to look at. What do you think?
Operation Market Garden, was a failure, for numerous reasons, at several points in the chain of component battles. Perhaps, the last of which was when XXX Corps, failed to take advantage of the opening of the Nijmegen bridges to try a quick blitz up to Arnhem to rescue the battered remnants of the 1st Paras.
The 82nd, had finally crossed the Waal River and captured the needed bridges, providing the Irish Guards with the opportunity. But the commanders (XXX Corps, and Guards Division), decided that it was too late in the day, too dangerous, and that the troops were too tired for a late day and night attack.
Read ‘A Bridge Too Far’…
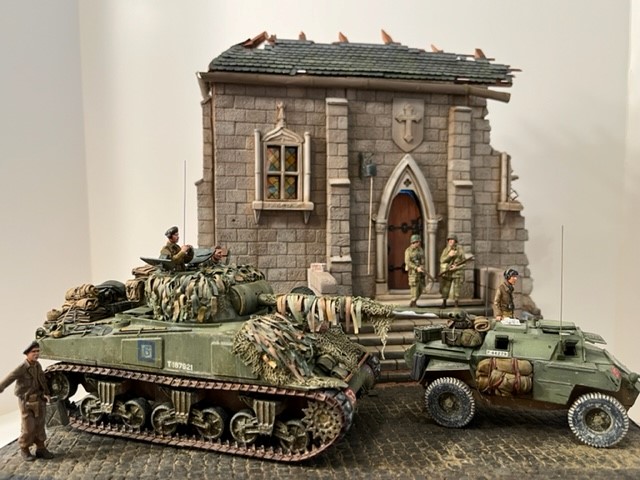
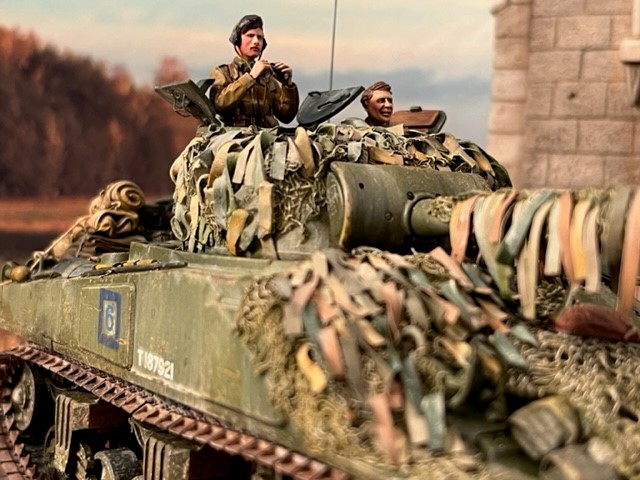
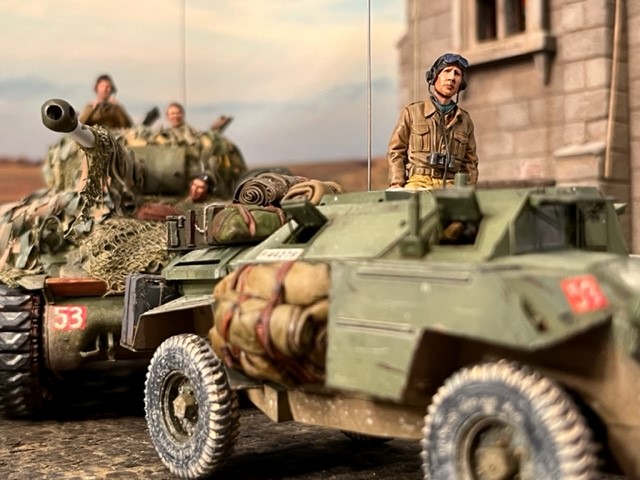
This Firefly Sherman is the Asuka kit, loaded with the Black Dog Hessian tape turret and stowage set. (I always wanted to try that camo technique.) The tape on the gun barrel and on the hull are just cut pieces of paper.

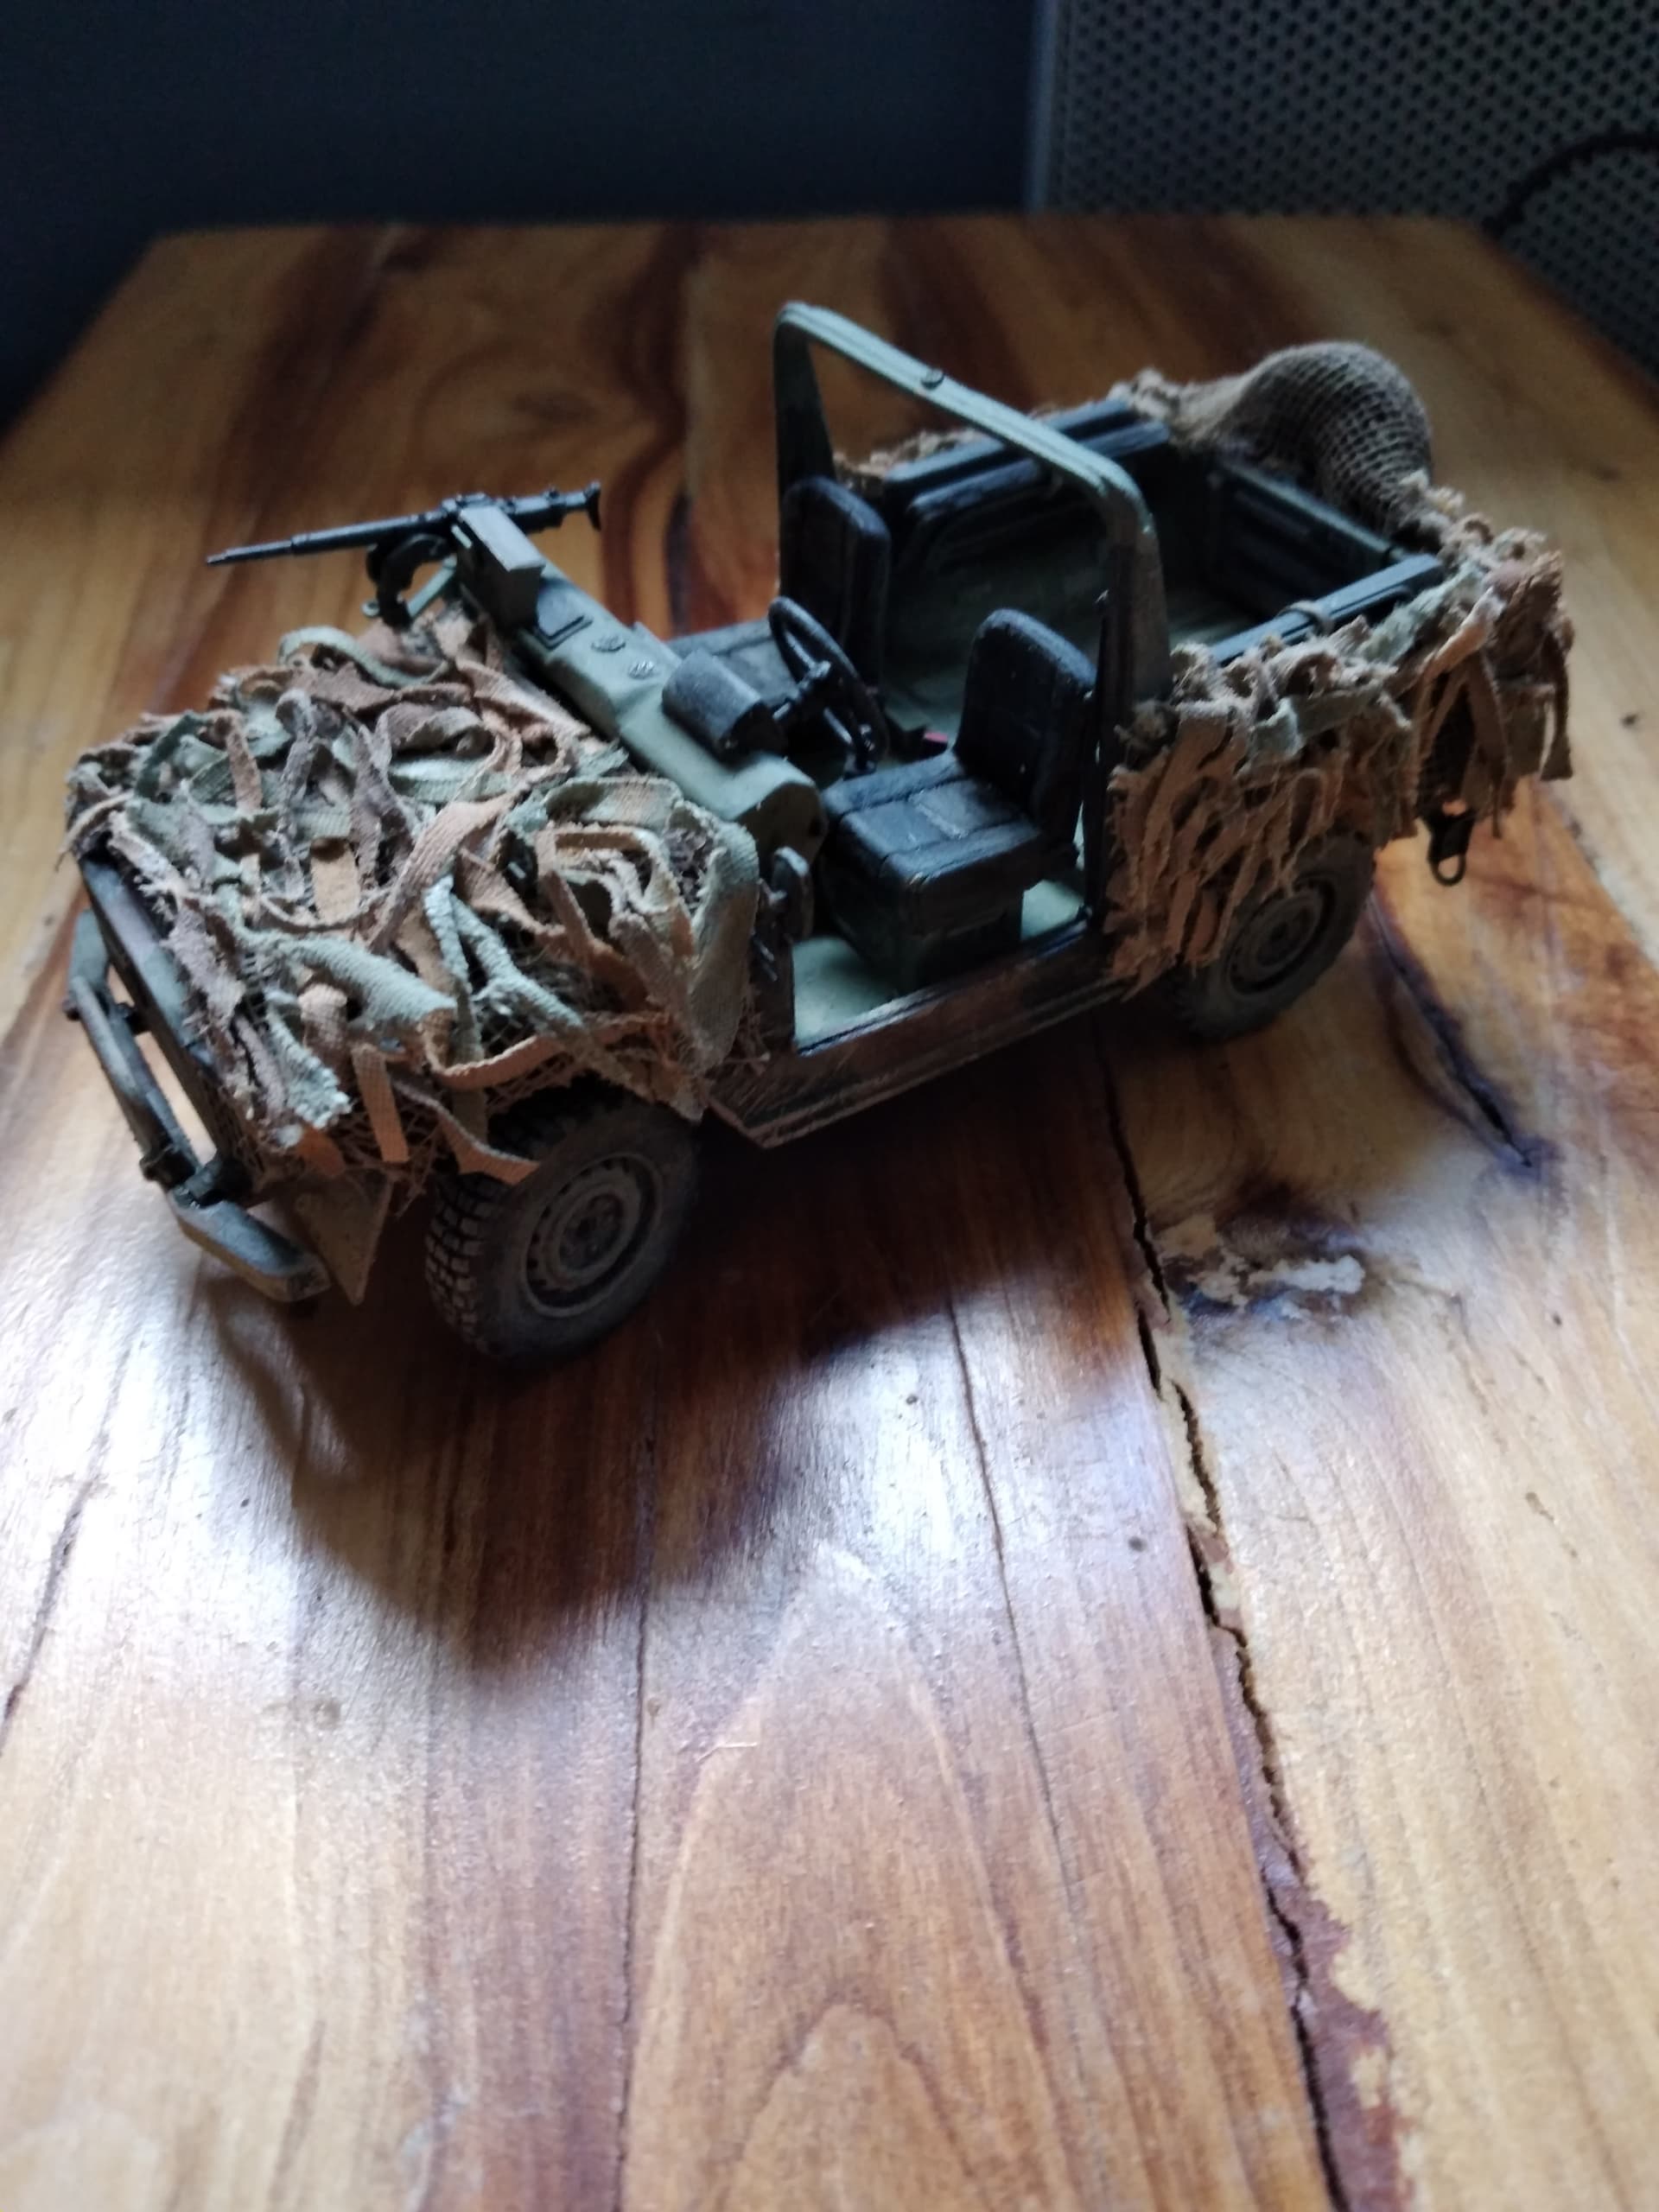
The Humber Scout Car is from Bronco, and its commander was included. The stowage is from Value Gear.
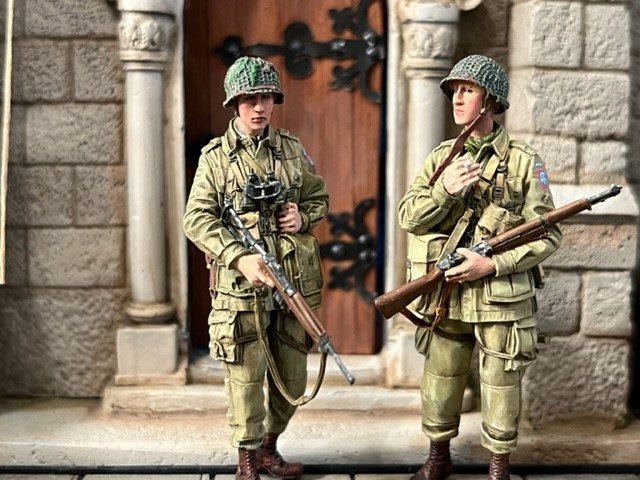
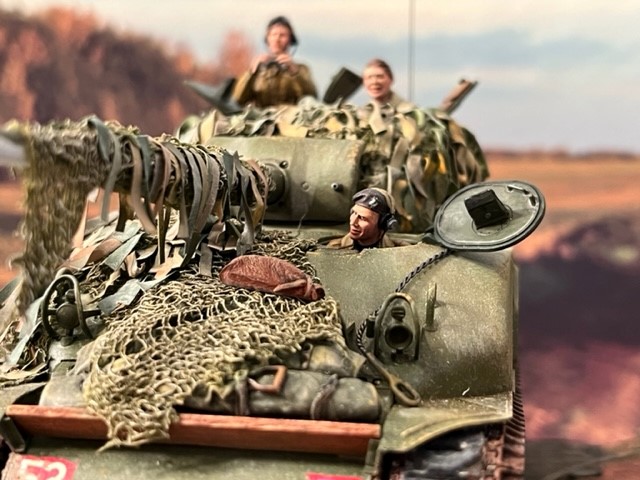
The Firefly commander is from Alpine, as are excellent the US Troopers. (Note: I’ve read that some of the paratroopers continued to wear their older jump uniforms during Market Garden, while most had converted to the 1943 model fatigues.)
I haven’t built much in the way of British armor, so I had a difficult time with the vehicle markings and the uniforms – a lot of research was required. I hope I have those aspects reasonably correct…

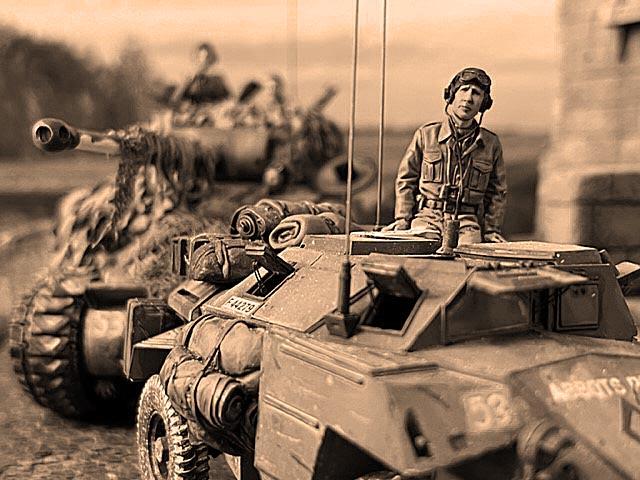
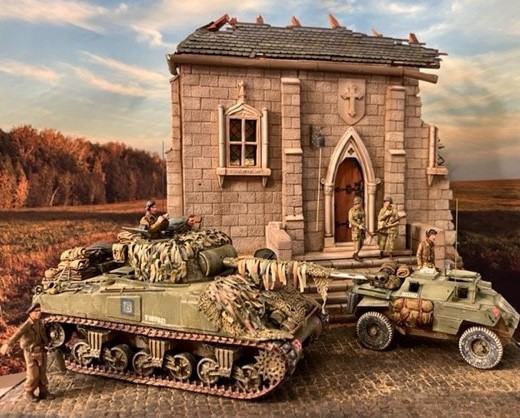
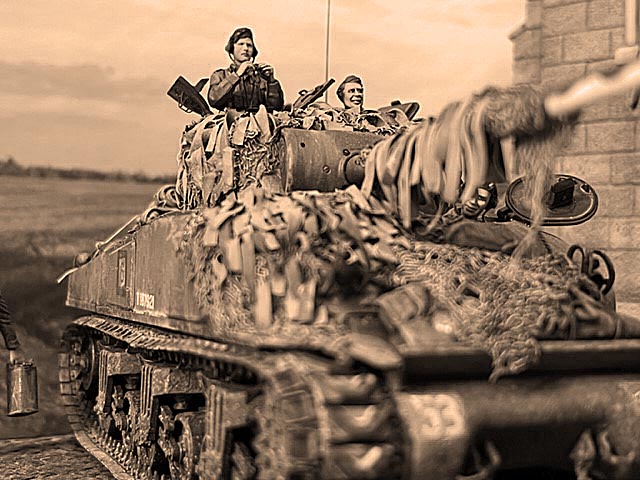
As always I enjoy shifting some photos to Black & White, to gauge how the diorama compares to actual period photos.
I tried a new approach to figure face painting on my last diorama (The End is in Sight) and it sems to be working. At least well enough for me.
It’s fairly easy, and those of you struggling with that aspect, might want to give it a try.
I mixed up a skin base coat from Tamiya Flesh. Out of the bottle, it’s too bright and yellow for me, so I toned it down adding some brown and a touch of blue. I purposely left it lighter than what I consider a normal (white male) skin tone, though.
After laying down a white (Tamiya) rattle-can primer I painted the head with my custom skin color.
Then I coated it with one or two layers of the Citadel red wash (‘Reikland Fleshshade’).
It works beautifully, to darken the base color, add a reddish tint and fill in the deeper (shadowed) areas of the face.
I then add, to the deepest areas of shadow and the cheeks where a beard would form, small amounts of the Citadel brown wash (‘Agrax Earthshade’).
At that point I wind up with a quite acceptable face. One could stop there.
I usually go back, though, and use AK or Vallejo skin tone colors to add highlights, where appropriate (nose, top of the cheeks, forehead, etc.)
I seldom do anything with the figure’s eyes, as in scale, a squinting soldier’s eyes are mere slits.
If I do feel the need, I drop in a touch of light tan (almost as a wash so it flows into the eye socket) for the whites of the eyes, and then place a dot for the iris, using a .005 tipped Micron ink pen – those things are perfect for truly tiny lines and dots.
Details:
The Sherman is the Asuka kit.
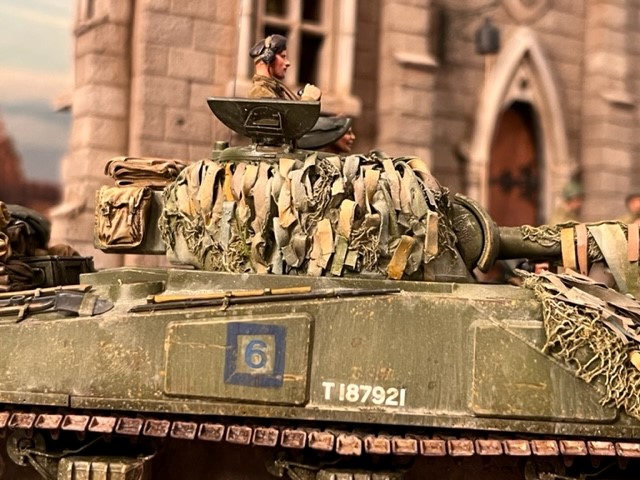
I added the Black Dog turret and stowage, as I really wanted to try that camo netting and Hessian tape look, common on many British tanks.
Black Dog’s barrel with camo, was broken and warped, so I used the kit’s barrel and added my own camo netting and tape. I also added it to the hull. It seemed to work out pretty well. Note that on a Firefly, the bow-gunner’s station was eliminated, so that hatch was only used to load the main-gun ammo stored there.
The Humber is from Bronco. (The kit’s instructions were terrible!)
The US Airborne troopers are from Alpine, as is the tank commander.
The other British crew figures are from MiniArt, with Hornet heads.
The monastery ruin is (I think) an old Verlinden plaster casting, pulled from my stash.
Feedback is always welcome… Ralph