Shocked some members of this site by showing them what I am building…
It is for The Winter Wonderland campaign
Shocked some members of this site by showing them what I am building…
It is for The Winter Wonderland campaign
The early stages of rust and weathering:
Next step will be to do some work on the engine, then more/different colors of rust on the chassis.
While the body for this is a 1953 Ford C-600, the engine is a small block Chevy, so some grimy orange color will be added here and there - I’m assuming this is a pre-smog engine - so not blue!
Nick
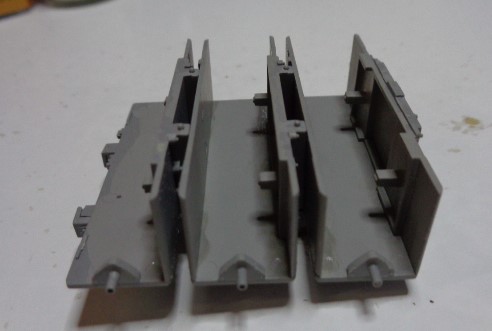
Working on the starboard missile bank of Sea Wolf.


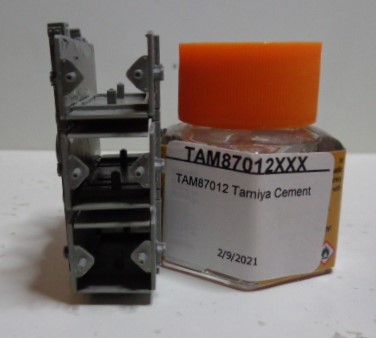
Things kept coming apart. I think it was because of getting to the last dregs of my bottle of Testors liquid cement. I decided to try switching to a new bottle of Tamiya cement and that did the trick.
Headers look good, too.
HI Gents,
Please see some final images of the Ford C-600:
Although it’s raining, I took this out from some pictures - very glamorous, lol -
As always, nearly impossible to see the engine, or interior - but, you can see some of the seats - they turned out surprisingly well ![]() and, the paint, why do I never have such a nice coat when painting an un-rusty F1 car??? Not a drop, run, speck, or fingerprint to be seen -
and, the paint, why do I never have such a nice coat when painting an un-rusty F1 car??? Not a drop, run, speck, or fingerprint to be seen - ![]() tho you can see some rain drops!
tho you can see some rain drops!
I tried a different approach for fading and rust. I have an unusually diluted bottle of Vallejo Model Air blue grey, which I dabbed over the light blue base coat. Then added the rust layer, which I mixed up with several colors. To apply, I used on brush to dab on the color here and there, and then came back with another smashed up, stiff bristle brush to get a convincing pattern -
While she’s an ugly ol’ dog, I like her!
Cheers, and happy model building -
Nick
@TeeAge and @Stickframe, two beautiful trucks gents. ![]()
![]()
@TeeAge… “Master Chef Extraordinaire” ![]()
@Stickframe… “Master Chief Welder” ![]()
You guys are killin’ it!
—mike
Interior madness. Dash is for a later model
MAN and doesn’t quite fit, but the waning light panel looks right.
Data plates are from spares and are probably upside down. Caution sticker (on left end of dash) is illegible and is supposed to be a warning about synthetic brake fluid.
Edited to add M1001 interior picture
That dash & those placards look great !
Al, the interior looks fantastic!
Wow!
Beautiful work on that dashboard and labelling Al.
Re-clocking sprocket teeth to make tracks fit better…
…part of sprocket re-clocked…
…hoped to get away re-clocking 8 teeth per side but looks like 12 will be the minimum…
…re-clocked ones identified with red…12 teeth re-clocked was too conservative. It required 14 and left a gap for adding an additional tooth!
…added extra tooth…
To fix this correctly with 20 teeth would require a trip down the rabbit ![]() hole.
hole.
Hope to duplicate the results three more times to wrap the suspension…
I hope the kit is more accurate than the artwork. Lol