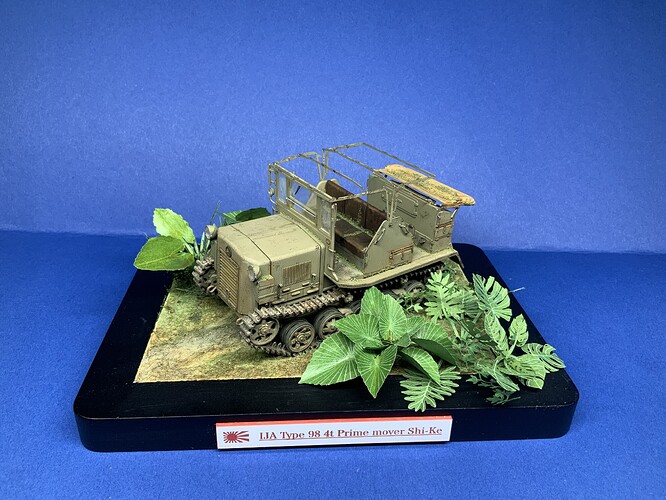
Into vegetation today (Model Scene). I had put it aside because I couldn’t handle the paper leaves properly. I strengthened them with some metal wire, that worked.
Used som Moss from Mig too
It’s a Pit-Road Prime Mover, abandoned.
That vegetation looks great! And the prime mover. Looks just right.
I can barely make figures that don’t look like lawn ornaments, let alone making plant life look realistic. Nice job.
Cobbled together a generator rack for the Radar Panzer with mitered corners and everything. How many previous attempts? I’m not telling.
Now I have to improve the kit supplied generator support frame…
The only course of action (in my opinion) would be to seal the vehicle’s metal surfaces to prevent further corrosion and leave it as-is. Is an important piece of Soviet-era military history and restoring it to working order would do more harm than good.
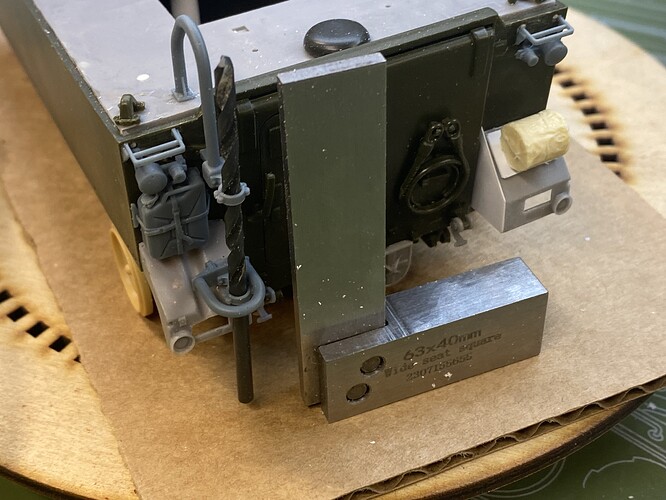
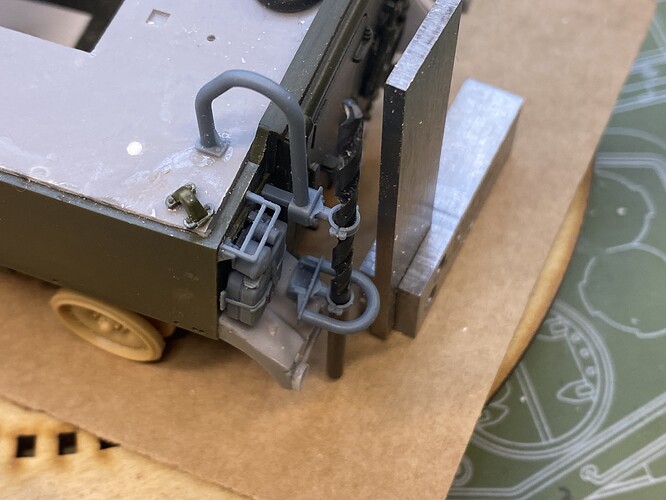
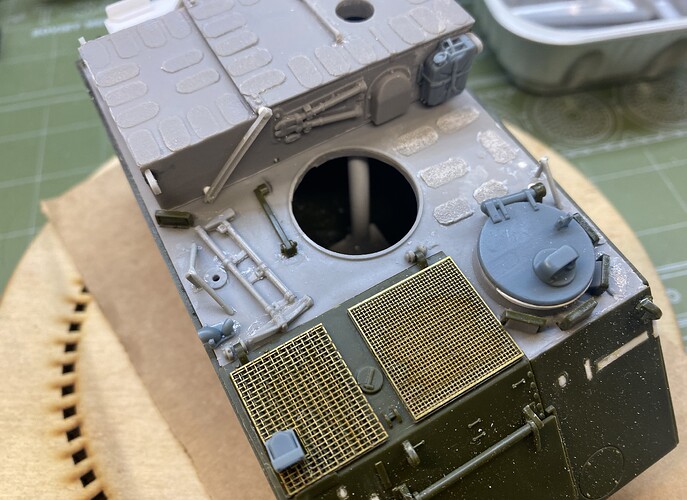
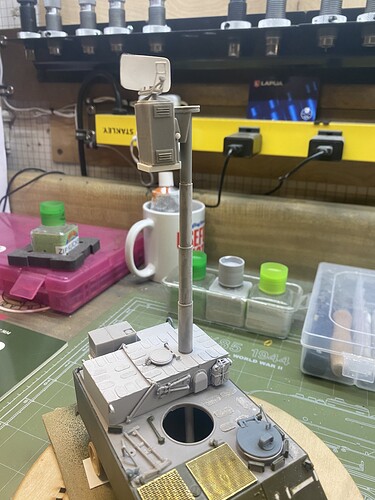
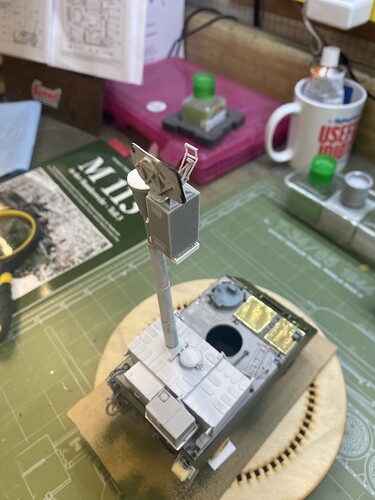
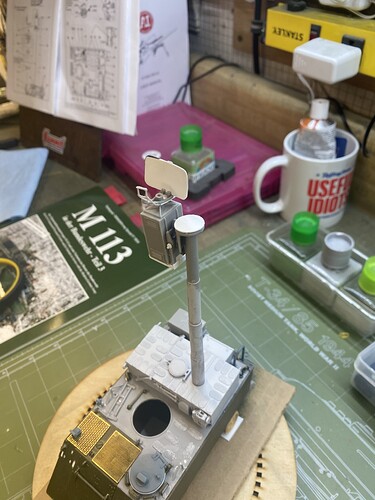
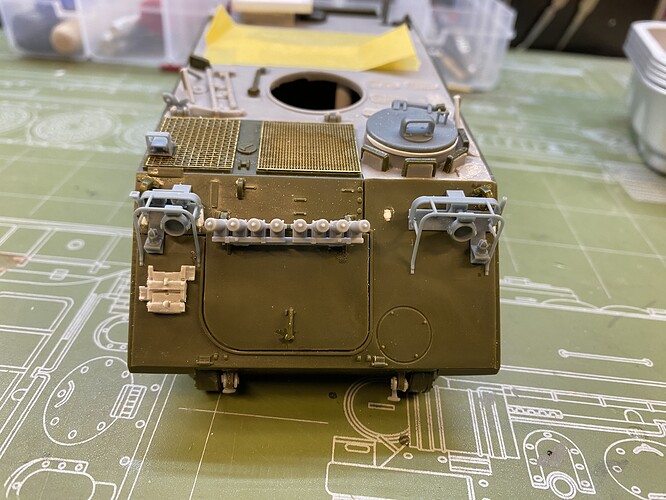
Added the printed frame mounts for the 6 meter telescoping antenna to the roof and fender.
This ate up a lot of time. I used a No37 drill bit (.104) to align the upper and lower mounts.
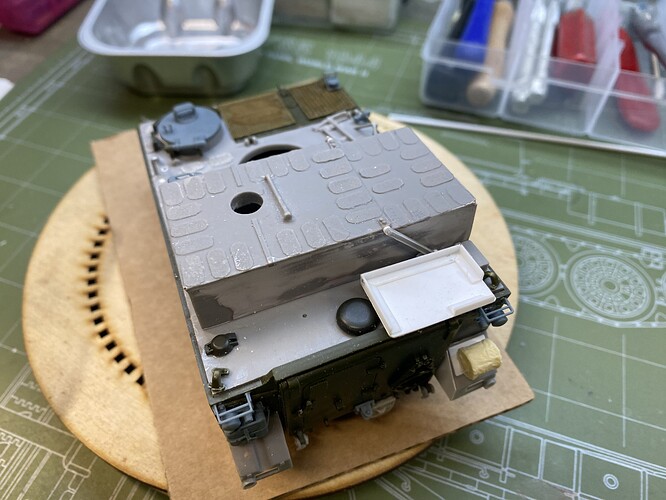
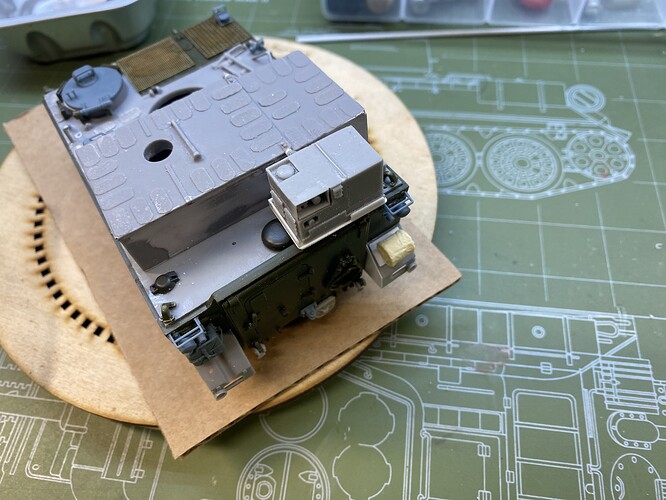
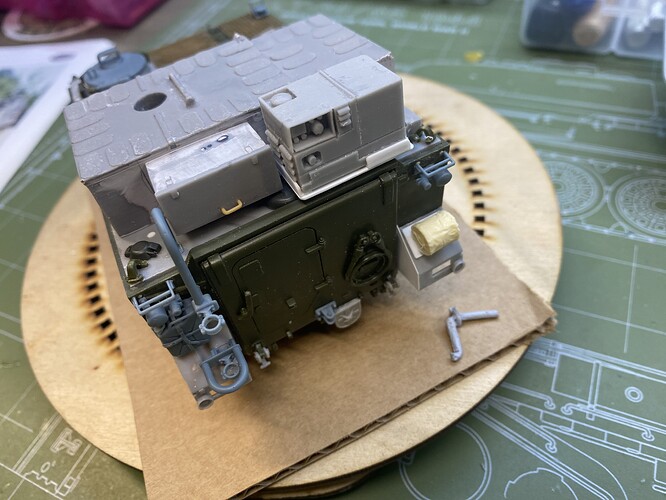
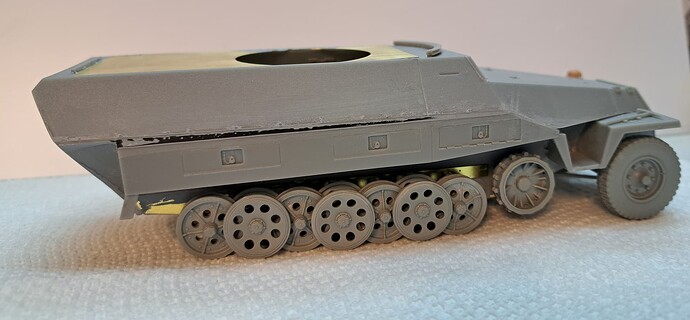
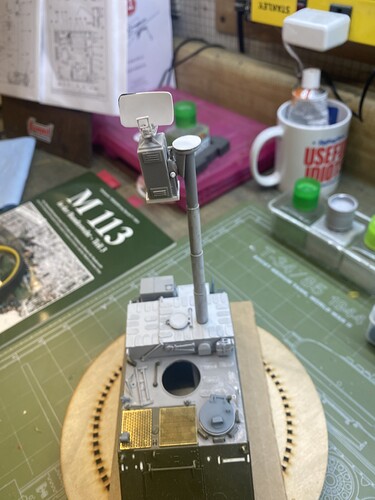
Repaired and added the awful resin storage box to the radar box. The ugly V shaped thing on the right is the exhaust outlet for the generator with lots of Mr Surfacer on it.
We’re due to get either a half inch or 27 feet of snow this evening, depending on what panicked news outlet you’re checking. Hard to believe because it’s 45F right now.
Edited to add:
Speaking of awful resin parts, I’ve had to use lots of scrap tubing and CA and accelerator to push and pull stuff straight.
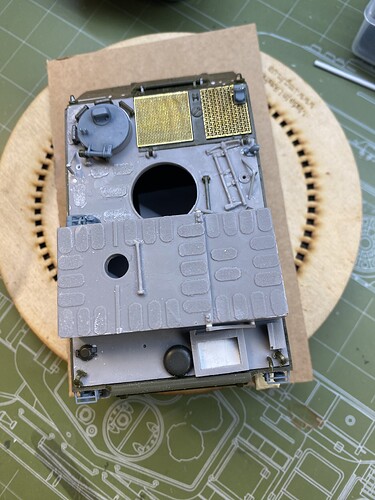
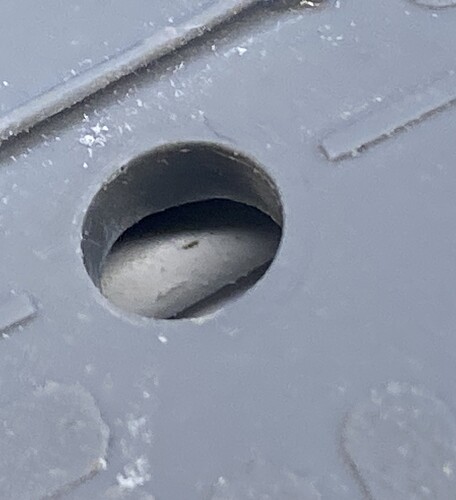
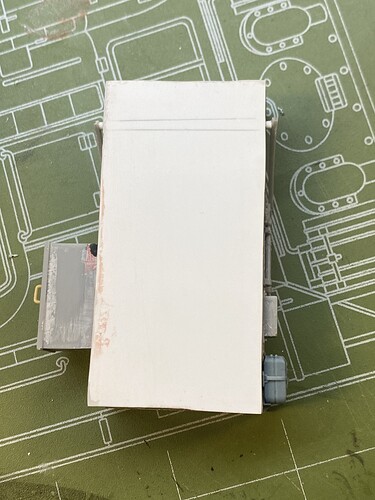
Radar box got three pieces of tubing to push the sides out and a sheet of .020 on the bottom to make it flat. Hard to see the tube thru the mast hole:
And the roof was badly warped in front of the hatch opening. Imagine walking around for a half an hour holding your M113 model between your thumb and forefinger until you’re sure the CA is dried……
Yep - The Weather Channel should be called The Doom Channel. Every time the wind blows harder than a canary fart it’s the end of the world…
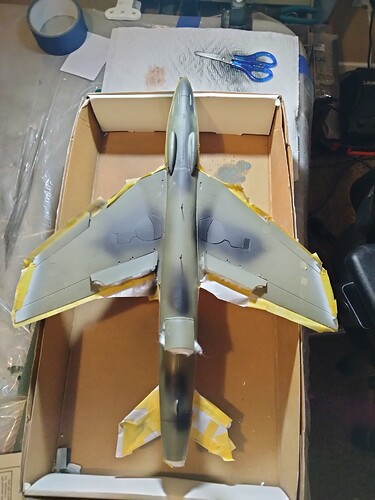
There’s been a set back on finishing this model. My attempt to paint the undercarriage went South on me. So I have to strip it off clean it up and start over. Something I’ve begun. But haven’t had time to complete, ( work schedule) Plus trying to get work done on the B-17g. But HOPEFULLY I can get that process done over the weekend. or sometime this coming week.
Great work, Al! ![]() That really looks like a lot of fiddly work.
That really looks like a lot of fiddly work.
Concerning the temperates, here in the Southwest we had 17°C (62°F) yesterday … ![]() Just to remember we have mid February and should have around -5°C and at least a bit of snow. But this winter we had only 2 or 3 days with snow and one morning I even had to shovel snow at my door
Just to remember we have mid February and should have around -5°C and at least a bit of snow. But this winter we had only 2 or 3 days with snow and one morning I even had to shovel snow at my door ![]() On the other hand we had some really cold days in December and January.
On the other hand we had some really cold days in December and January.
Okay, back to my new project … ![]()
The weather is a bit of an issue here too - rain forecast for the next few days, so no painting for this:
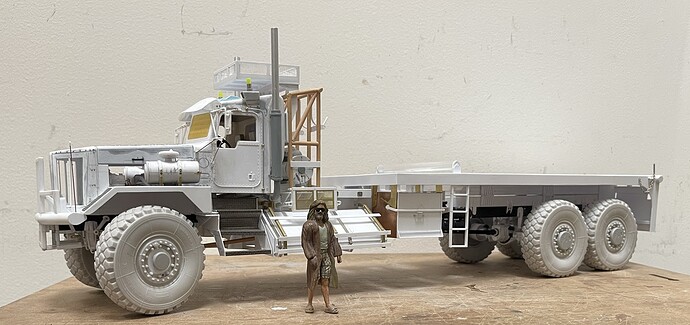
The unpainted construction is done, so this will get disassembled, painted up, and reassembled.
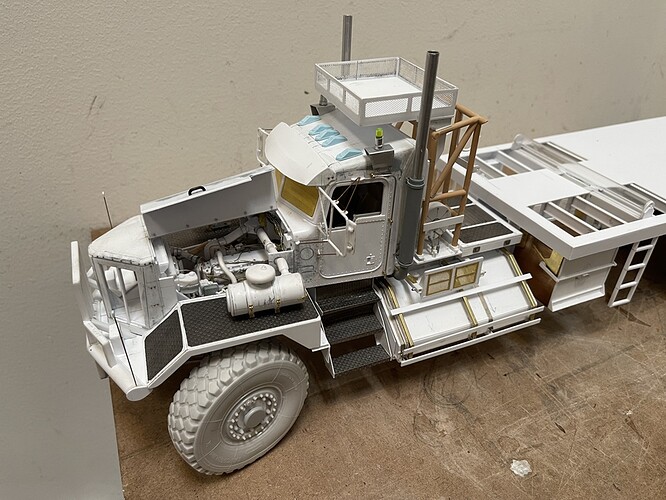
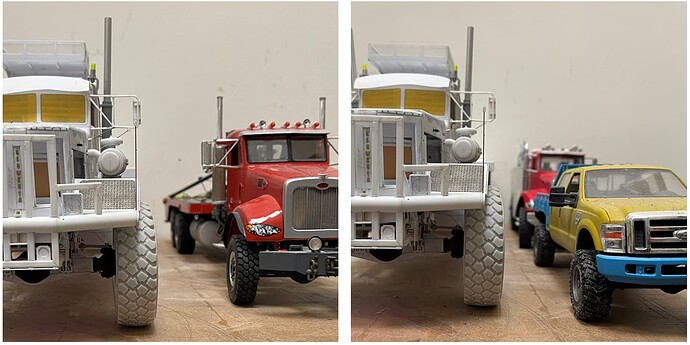
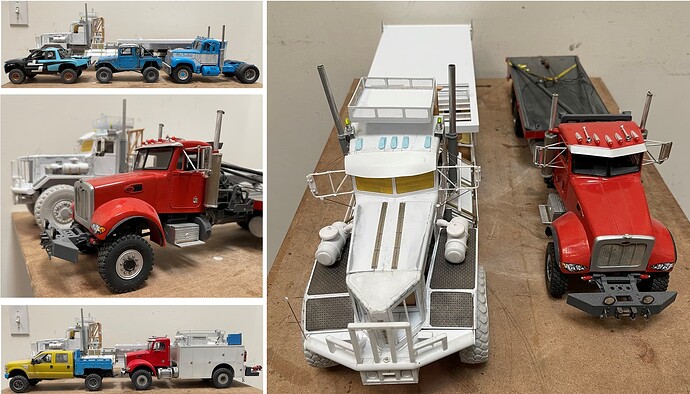
I included the Dude and comparison pictures to show how big this is. I’m not looking forward to painting, as the parts seem to have an unpleasant mix of big and parts that require some attention while handling. And, as is, it is heavy (for a model, that is). The resin tires/wheels weigh plenty, and even all the styrene.
OK, on to adding more tape and figuring out attachment points for clipping/clamping/hanging/balancing for paint!
Cheers
Nick
Holy smokes! Wow!

I feel for you Al, those tags get smaller with each build!
Great!
The Dudeness ![]()
I saw your struggles with that in your build thread Wade.
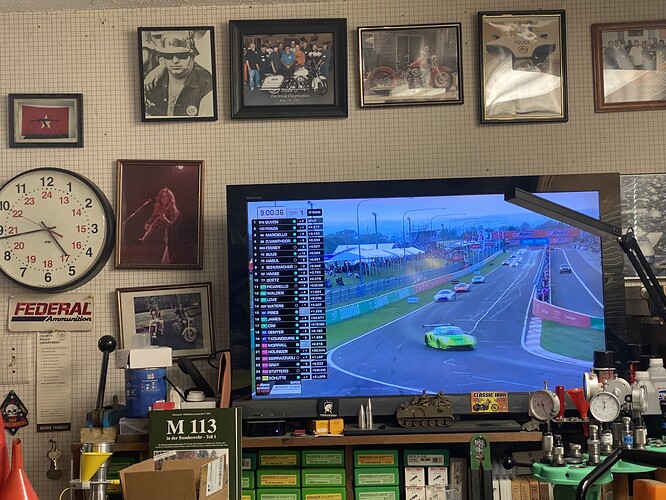
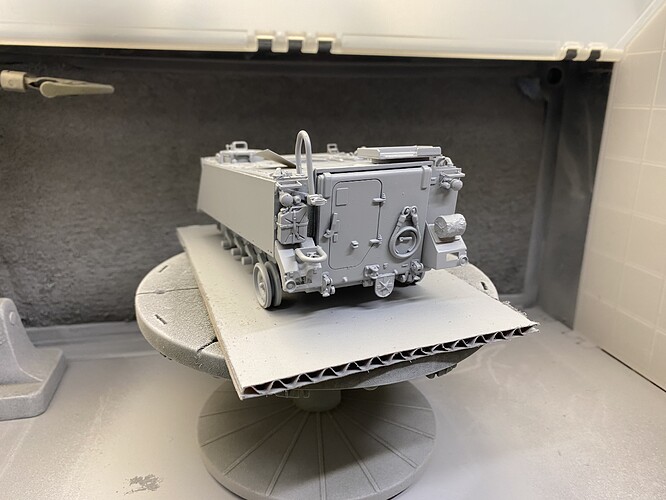
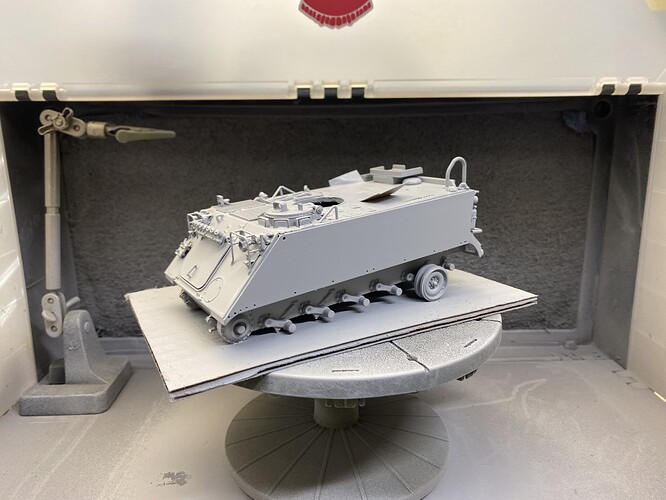
During qualifying for the 12 Hours of Bathurst last night, I got some primer on the radar box.
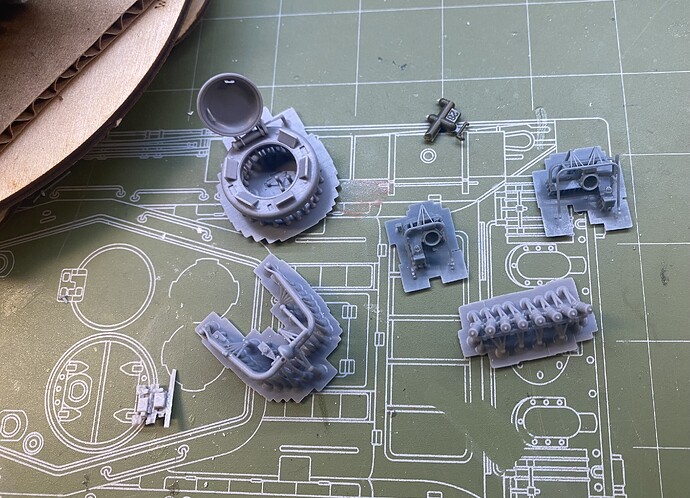
I also repaired what I could of the dreadful resin parts for the comically bad radar array and assembled them as best as I could.
At least it has the impression of a radar anyway. Lots of white plastic covering lots of bubbles and seams. This is in my top five of bad resin conversions. Don’t ask what the others were, I can’t remember at the moment.
The 12 Hours of Bathurst starts at 1300 eastern today, that’s 0500 Sunday for all our Australian brothers. I’ll be watching until the bitter end.
Next up:
![]()
![]()
![]() , Al, I turned those storage lockers into a real comedy of errors! Had to spray Windex on the mess so to speak and keep going. This one is definitely the test mule for the new Amazon airbrush kit!
, Al, I turned those storage lockers into a real comedy of errors! Had to spray Windex on the mess so to speak and keep going. This one is definitely the test mule for the new Amazon airbrush kit!
3 steps to go before my test pig ![]() gets some paint
gets some paint ![]()
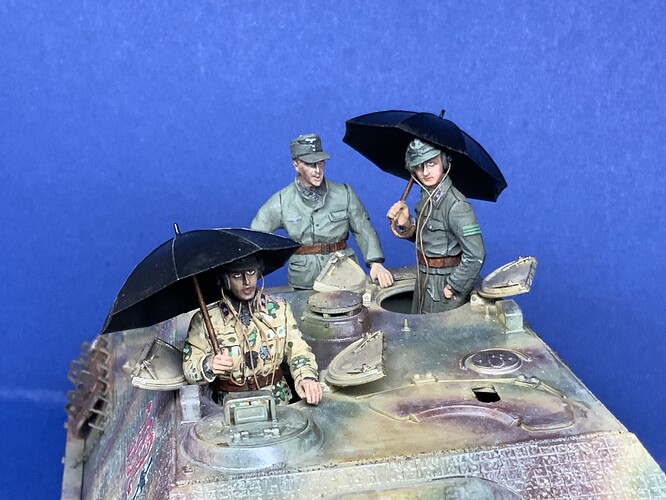
Love the umbrellas! And camo. And sleeve ranks.
The race is on….
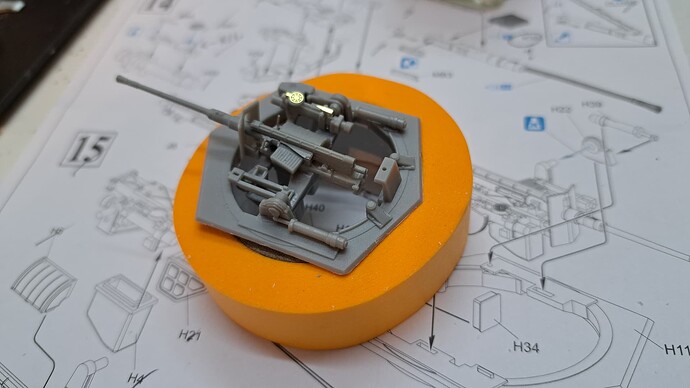
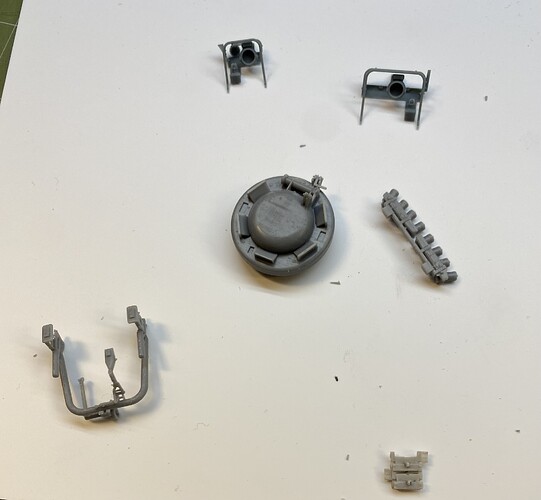
Printed parts and spare Diehl track links.
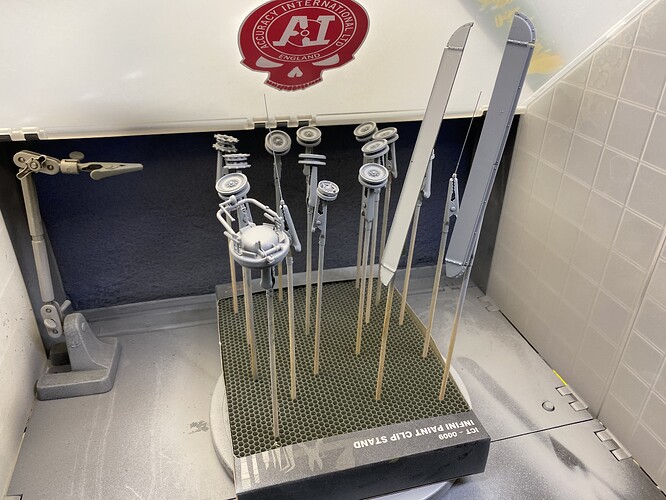
I really dig my new paint booth. The Wife is none the wiser upstairs while I spray nasty rattle can primer…I just leave it run. Because of the fan noise, she asked if I was using the burble machine (brass tumbler) downstairs.
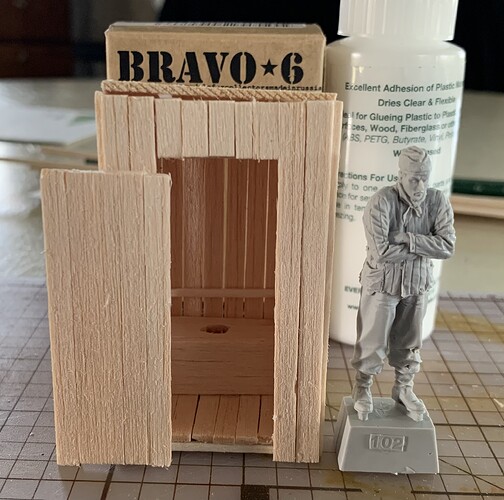
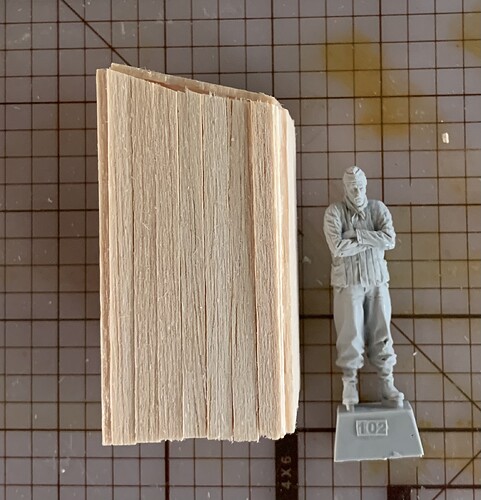
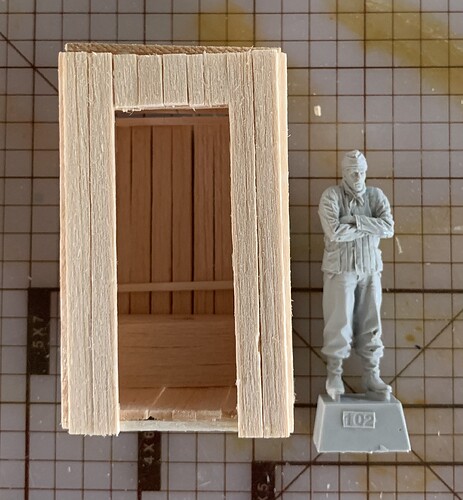
I saw some videos on building a few different scale outhouses and decided it give a go with some bass wood I picked up on clearance from Hobby Lobby.
Not great but it would mostly do the job if it was pressed into service though Pvt Hans thinks otherwise.
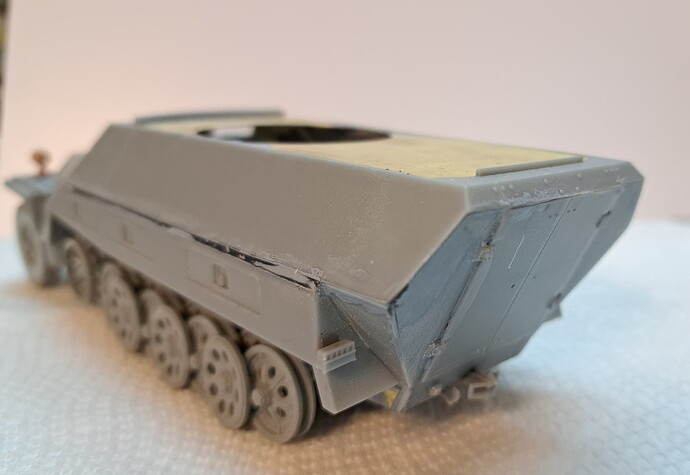
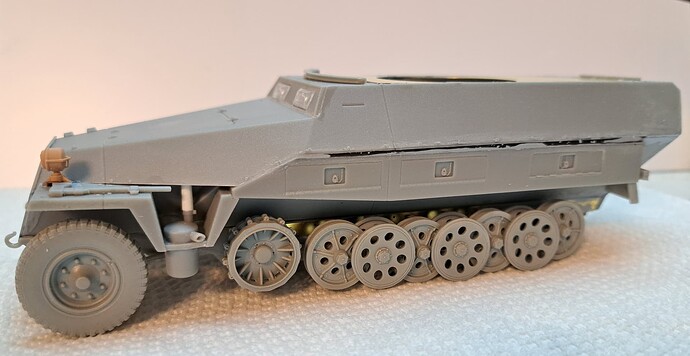
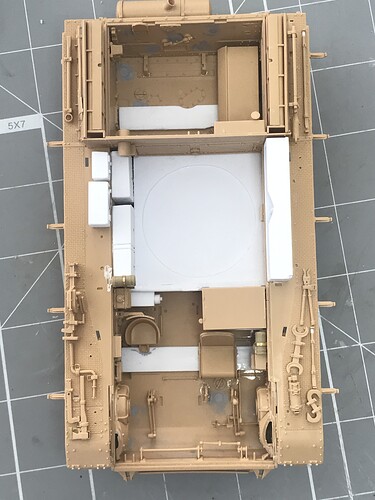
I’ve been working on this for a little while. My first go at modelling in 35 years. It’s a RFM Pz.Kpfw. Ausf H which I am converting into a Pz.Be.Wg. 268. I am ambitious for my first model back.
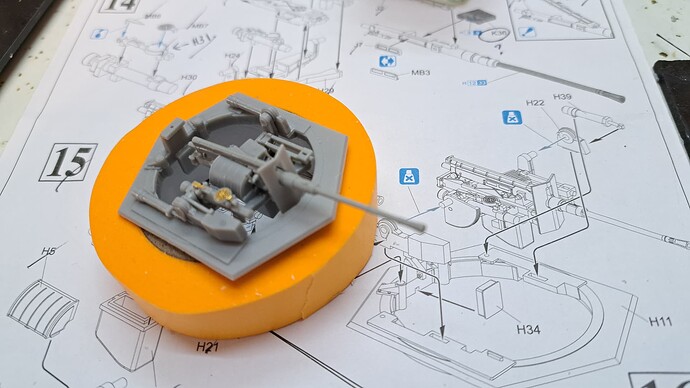
With extra interior parts with RFM I have also decided to do the interior, so I will pose it with hatches open. I’ve made a half-a**ed transmission/ radio to fill the gap to show something is there. I have also done some additional stuff in the turret too.
I am thoroughly enjoying scratch building which I had never done before. I am slowly learning I need proper tools for accurate work.
I have man-handled the model a bit too much and have broken some delicate pieces to my chagrin. Lessons learned.
Looks good from here. I totally agree, when you start scratch building, it can become addictive. I enjoy building interiors that are not present in a kit. Challenge is, once built, usually can’t see them since its all inside.
