I read a review like that also.
And it did influence me to not buy the Blitz kit i was looking at.
2 Likes
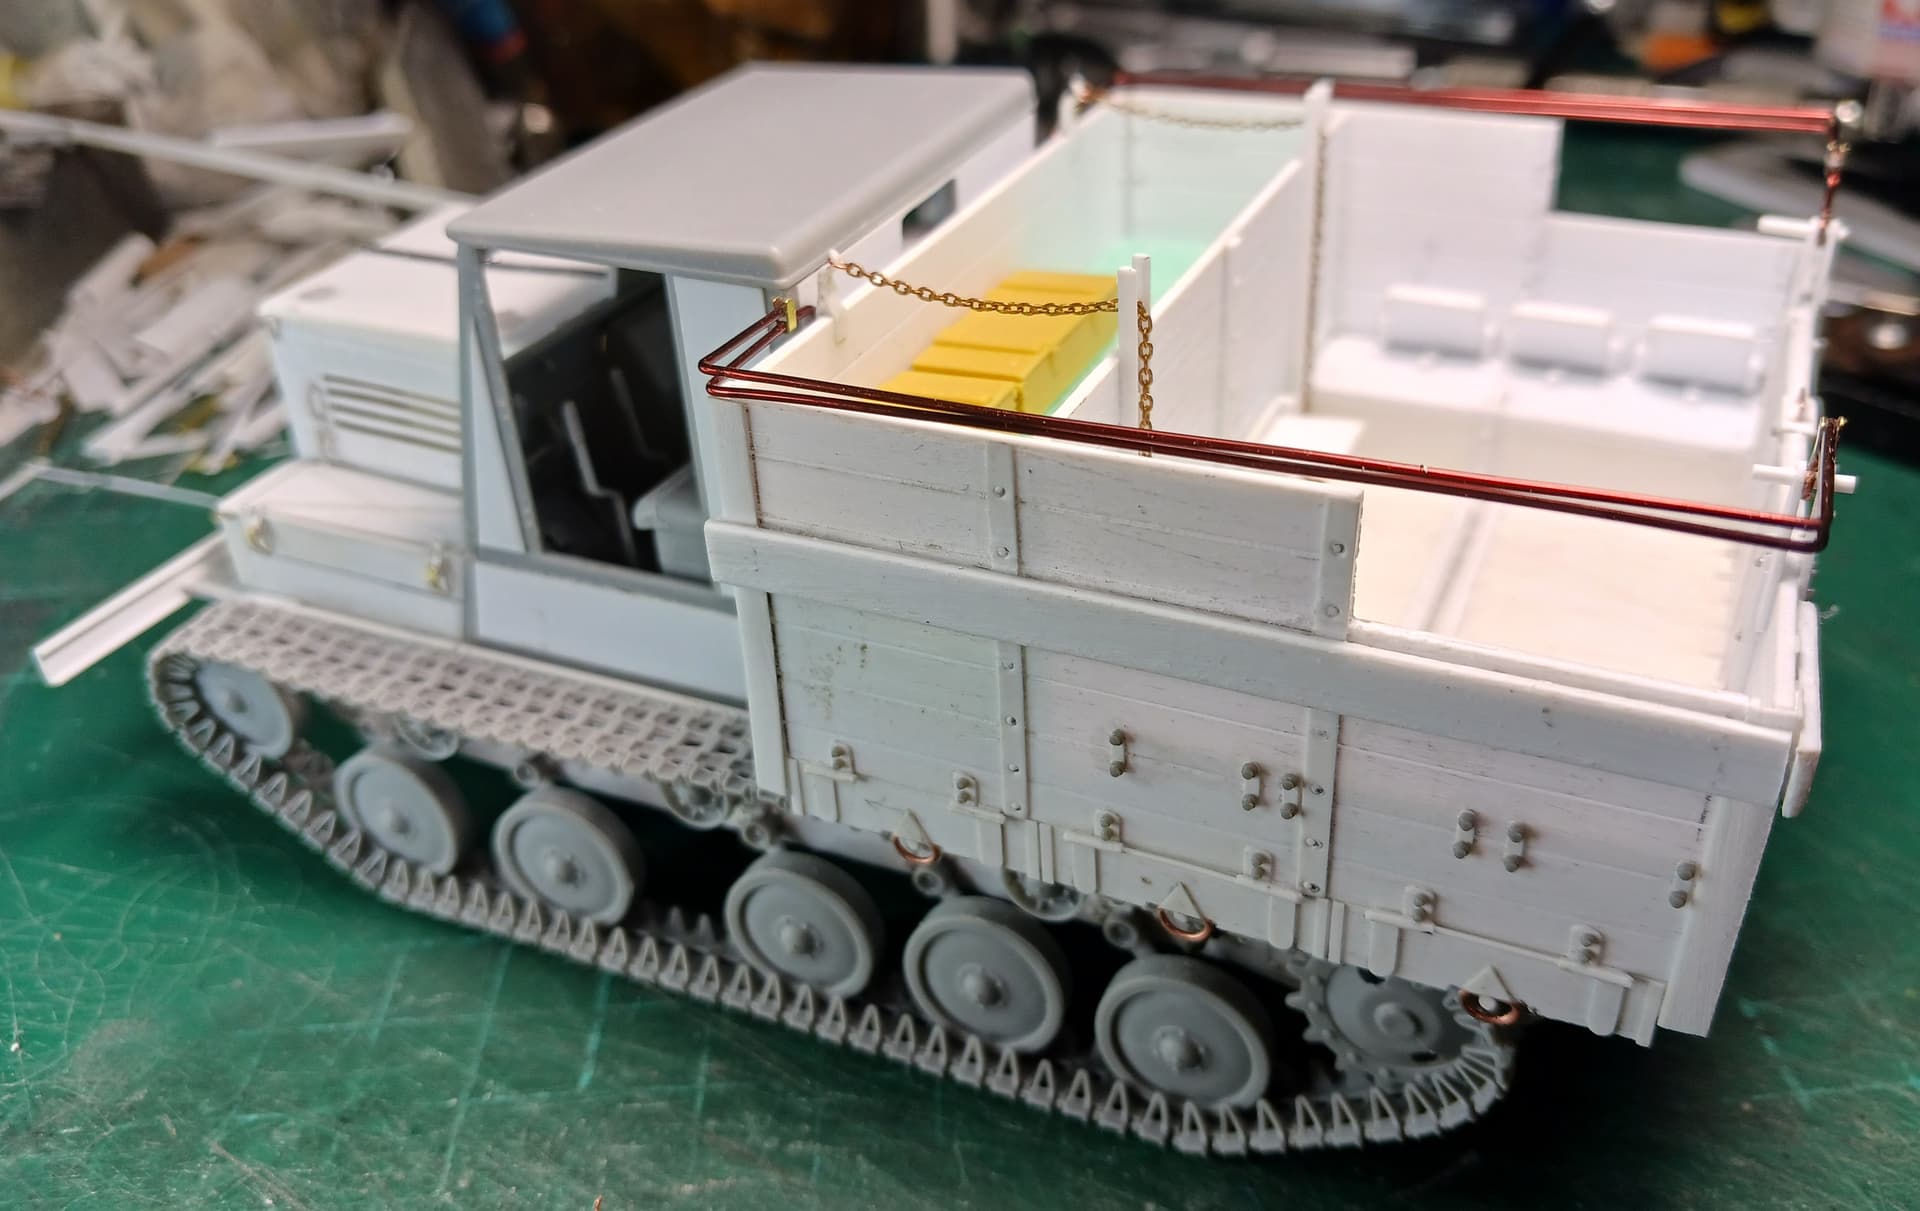
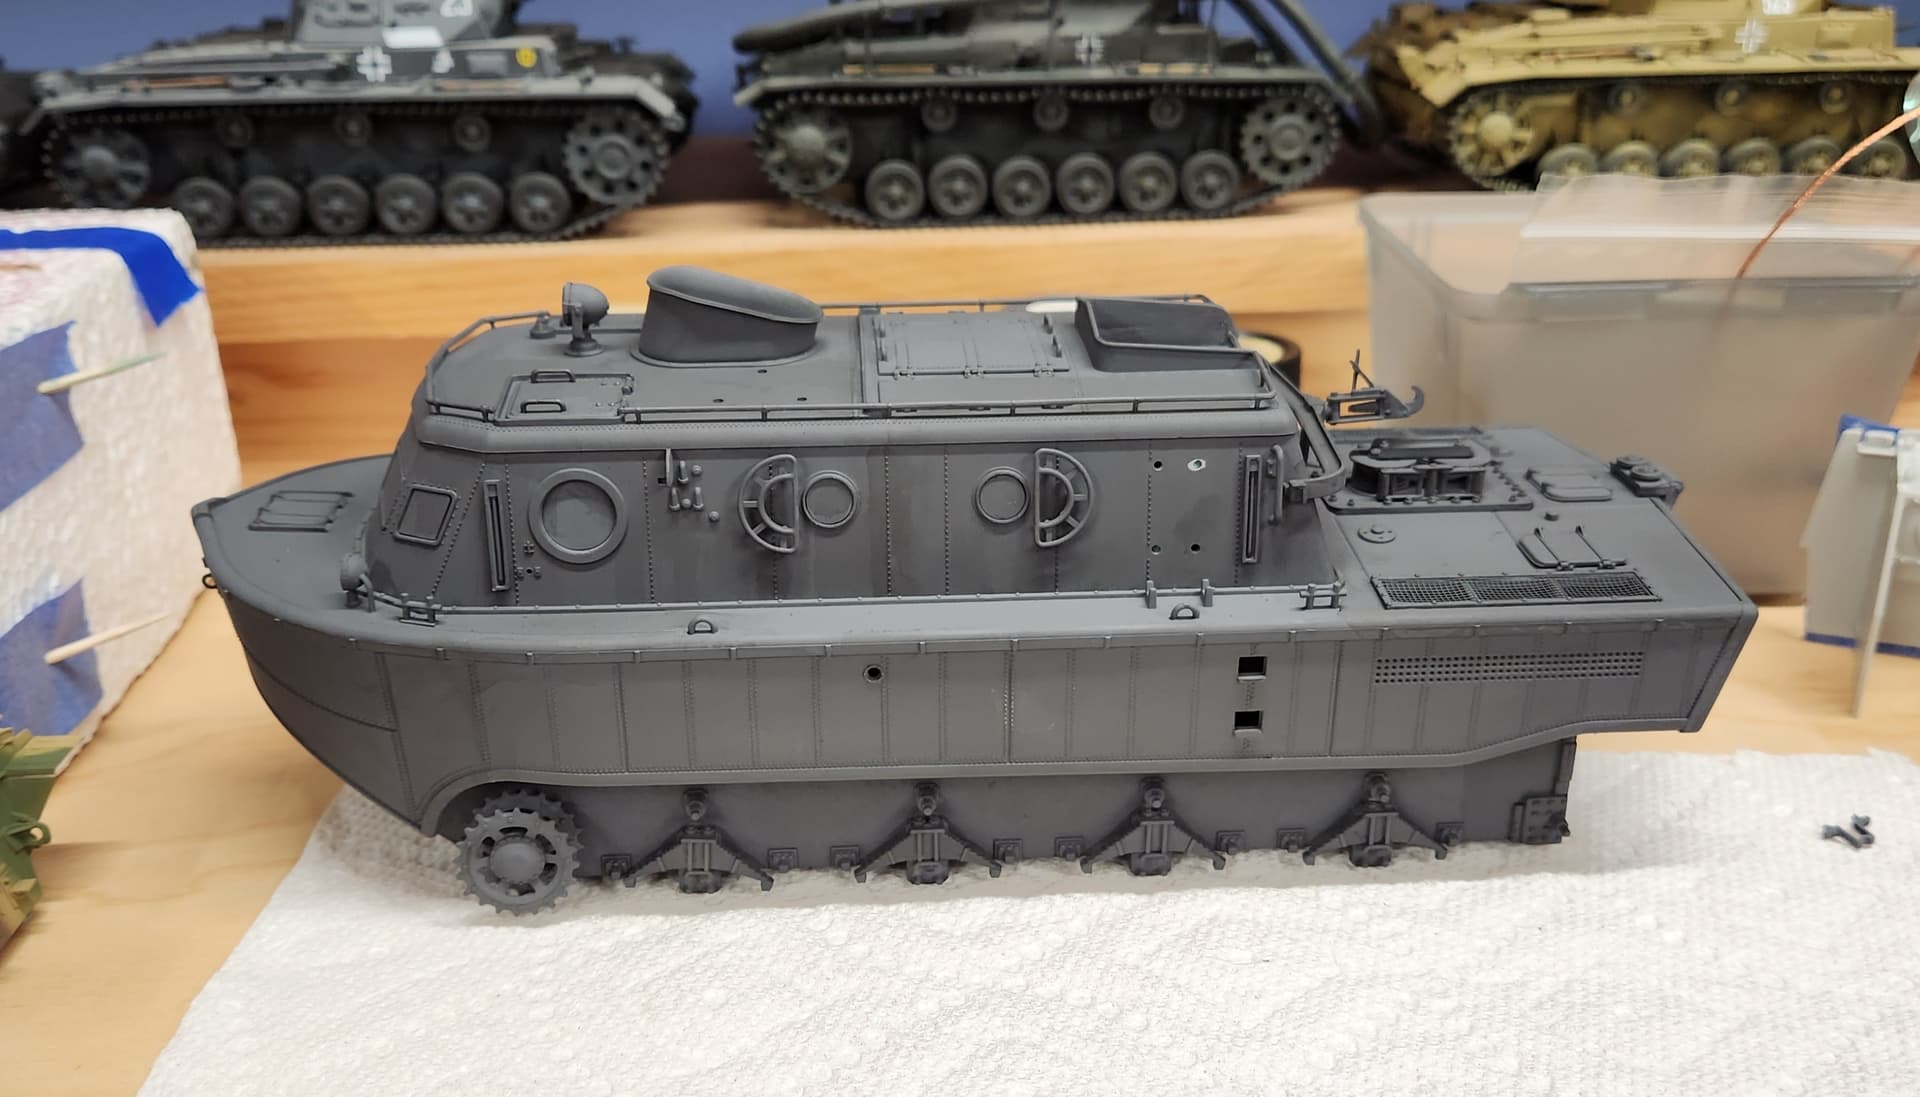
I’m making progress with the loadbed of my Tracked Light Artillery Tractor M-2:
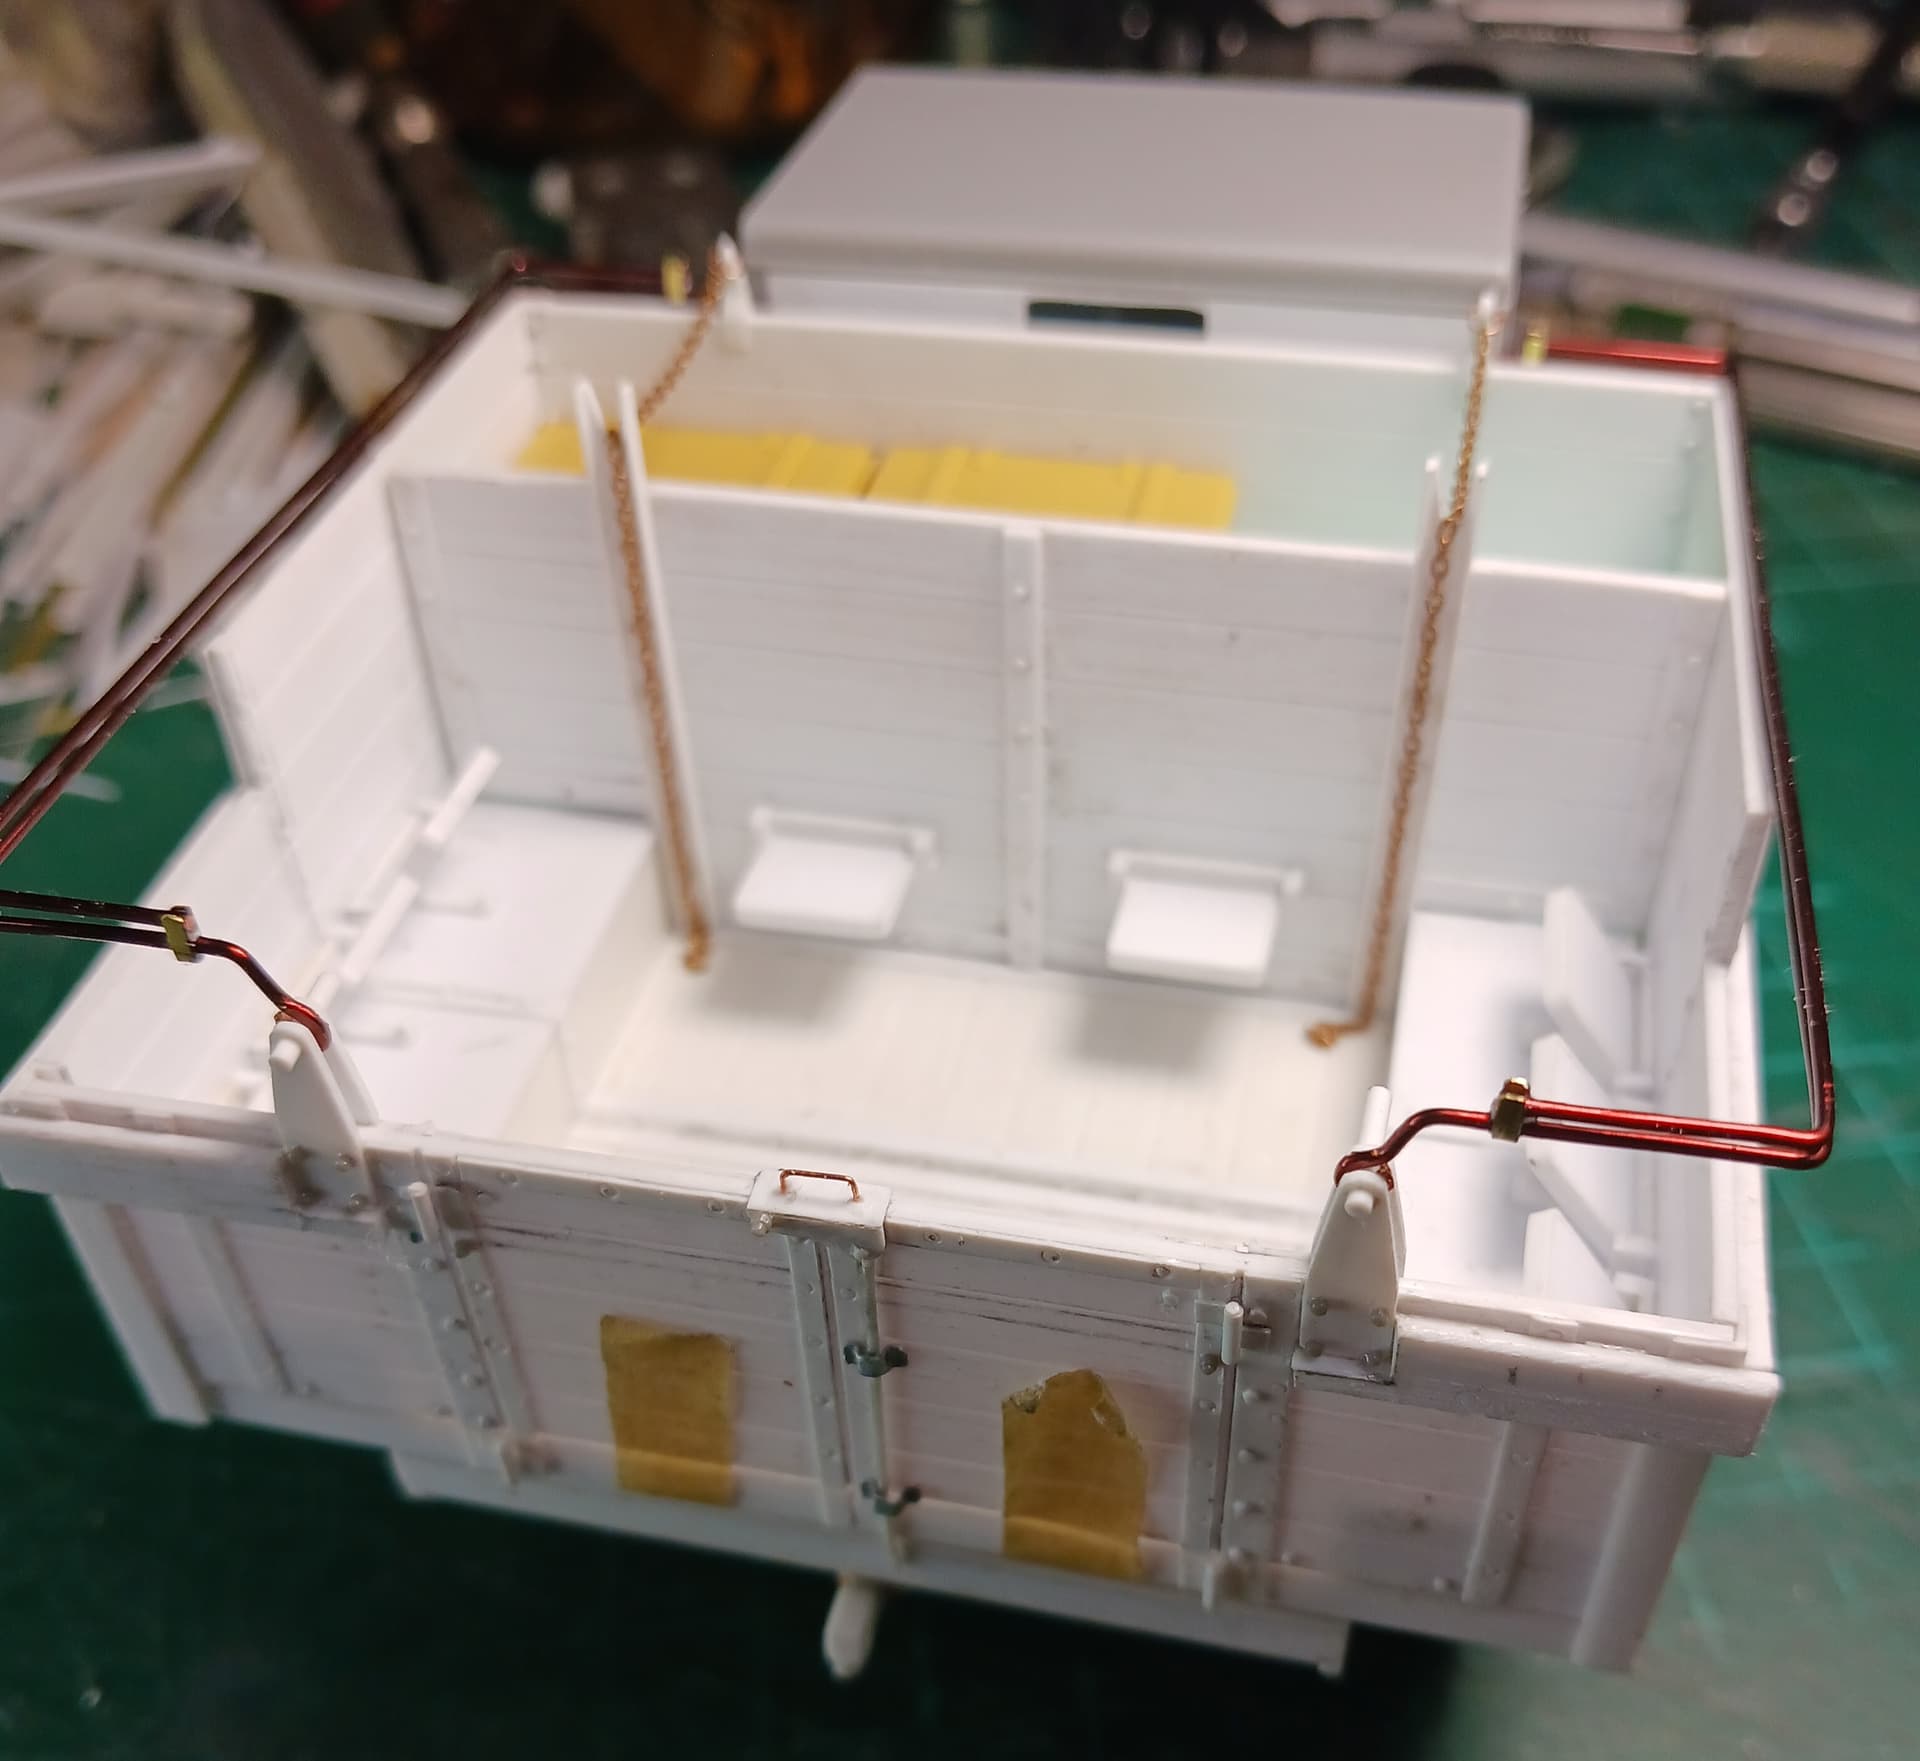
I use a 2 side view drawing and a bunch of pictures(contemporary low resolution ones and some I’ve taken years ago of the 4 vehicles preserved in various museums in Bulgaria)for this build, so every new picture I find usually means reworking features already built.
A never-ending story of going forward and reverse I seem to like too much ![]()
Cheers,
Angel
28 Likes
That looks superb Angel … nice crisp details and top quality !
5 Likes
Thanks John!
The M-2 has been on my to-build-list for 5 years.It could stay for 5 more there if I didn’t revive my 8 years old 3-K AAG scratchbuild.
I thought the M-2 will be an easy Ya-12 kit modification, but-as so often-it turned around the other way.
Anyway-glad you like it and thanks for the nice words!
Cheers,
Angel
5 Likes
Thanks but no, Arch. It’s a too big fish for now. Posting rate is also too high for me.
Together with the price ($199) is asking for probs back home ![]()
2 Likes
Great work as usual Angel. ![]()
![]()
4 Likes
Like Johnny said, superb detailing. Looking forward seeing more progress.
5 Likes
Magnificent!
A+++
3 Likes
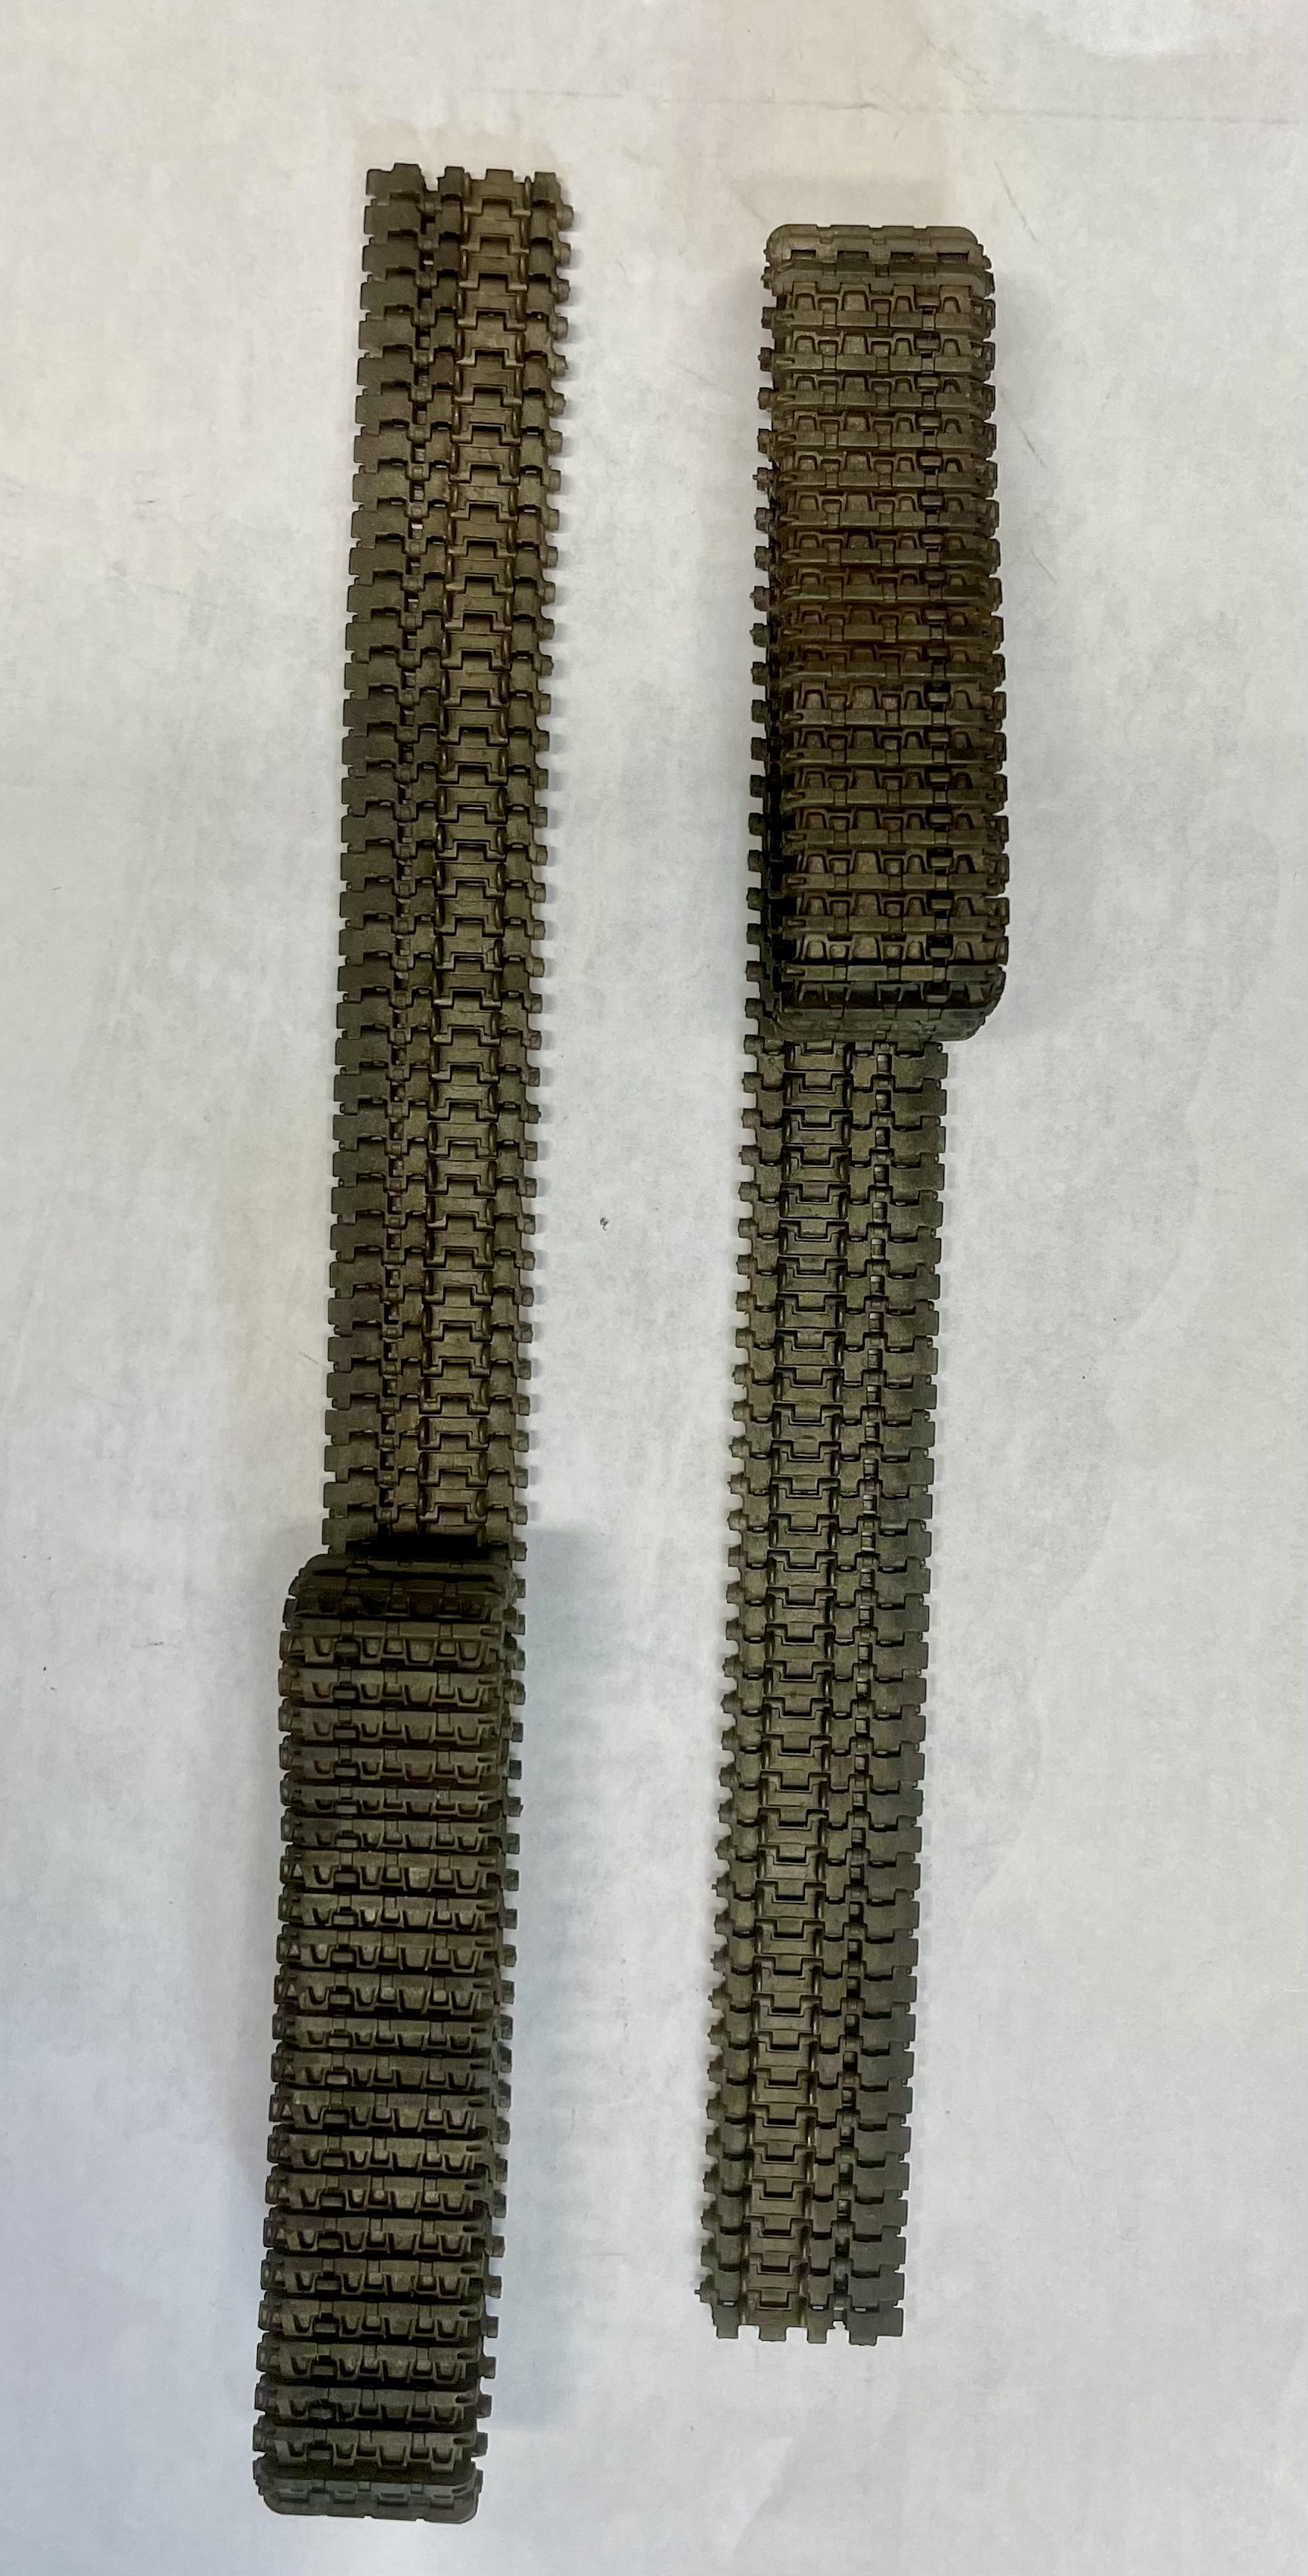
Marc, the tracks are looking sweet!
2 Likes
Thanks Wade.
Having workable tracks just makes the while process so much easier.
On glue type tracks i usally have 2 pieces per run, that ends up in 4 pieces during the paint process.
These are sweet!
5 Likes
link and length tracks are near impossible to assemble and leave your sanity intact.
4 Likes
Well a bit of time today so the old Italeri M163 which will be finished in Saudi markings got built except the lower track runs - link and length which personally I favour especially in 1/72, and the Academy M35. I have a second one with the Blackdog gun truck conversion so this was a good dry run finding the build sections to be cautious with.
Now to find a load for the back of the M35
10 Likes
Value Gear make some decent stowage. Not sure about 1/72 though.
2 Likes
@Denimo thanks I’ll take a look.
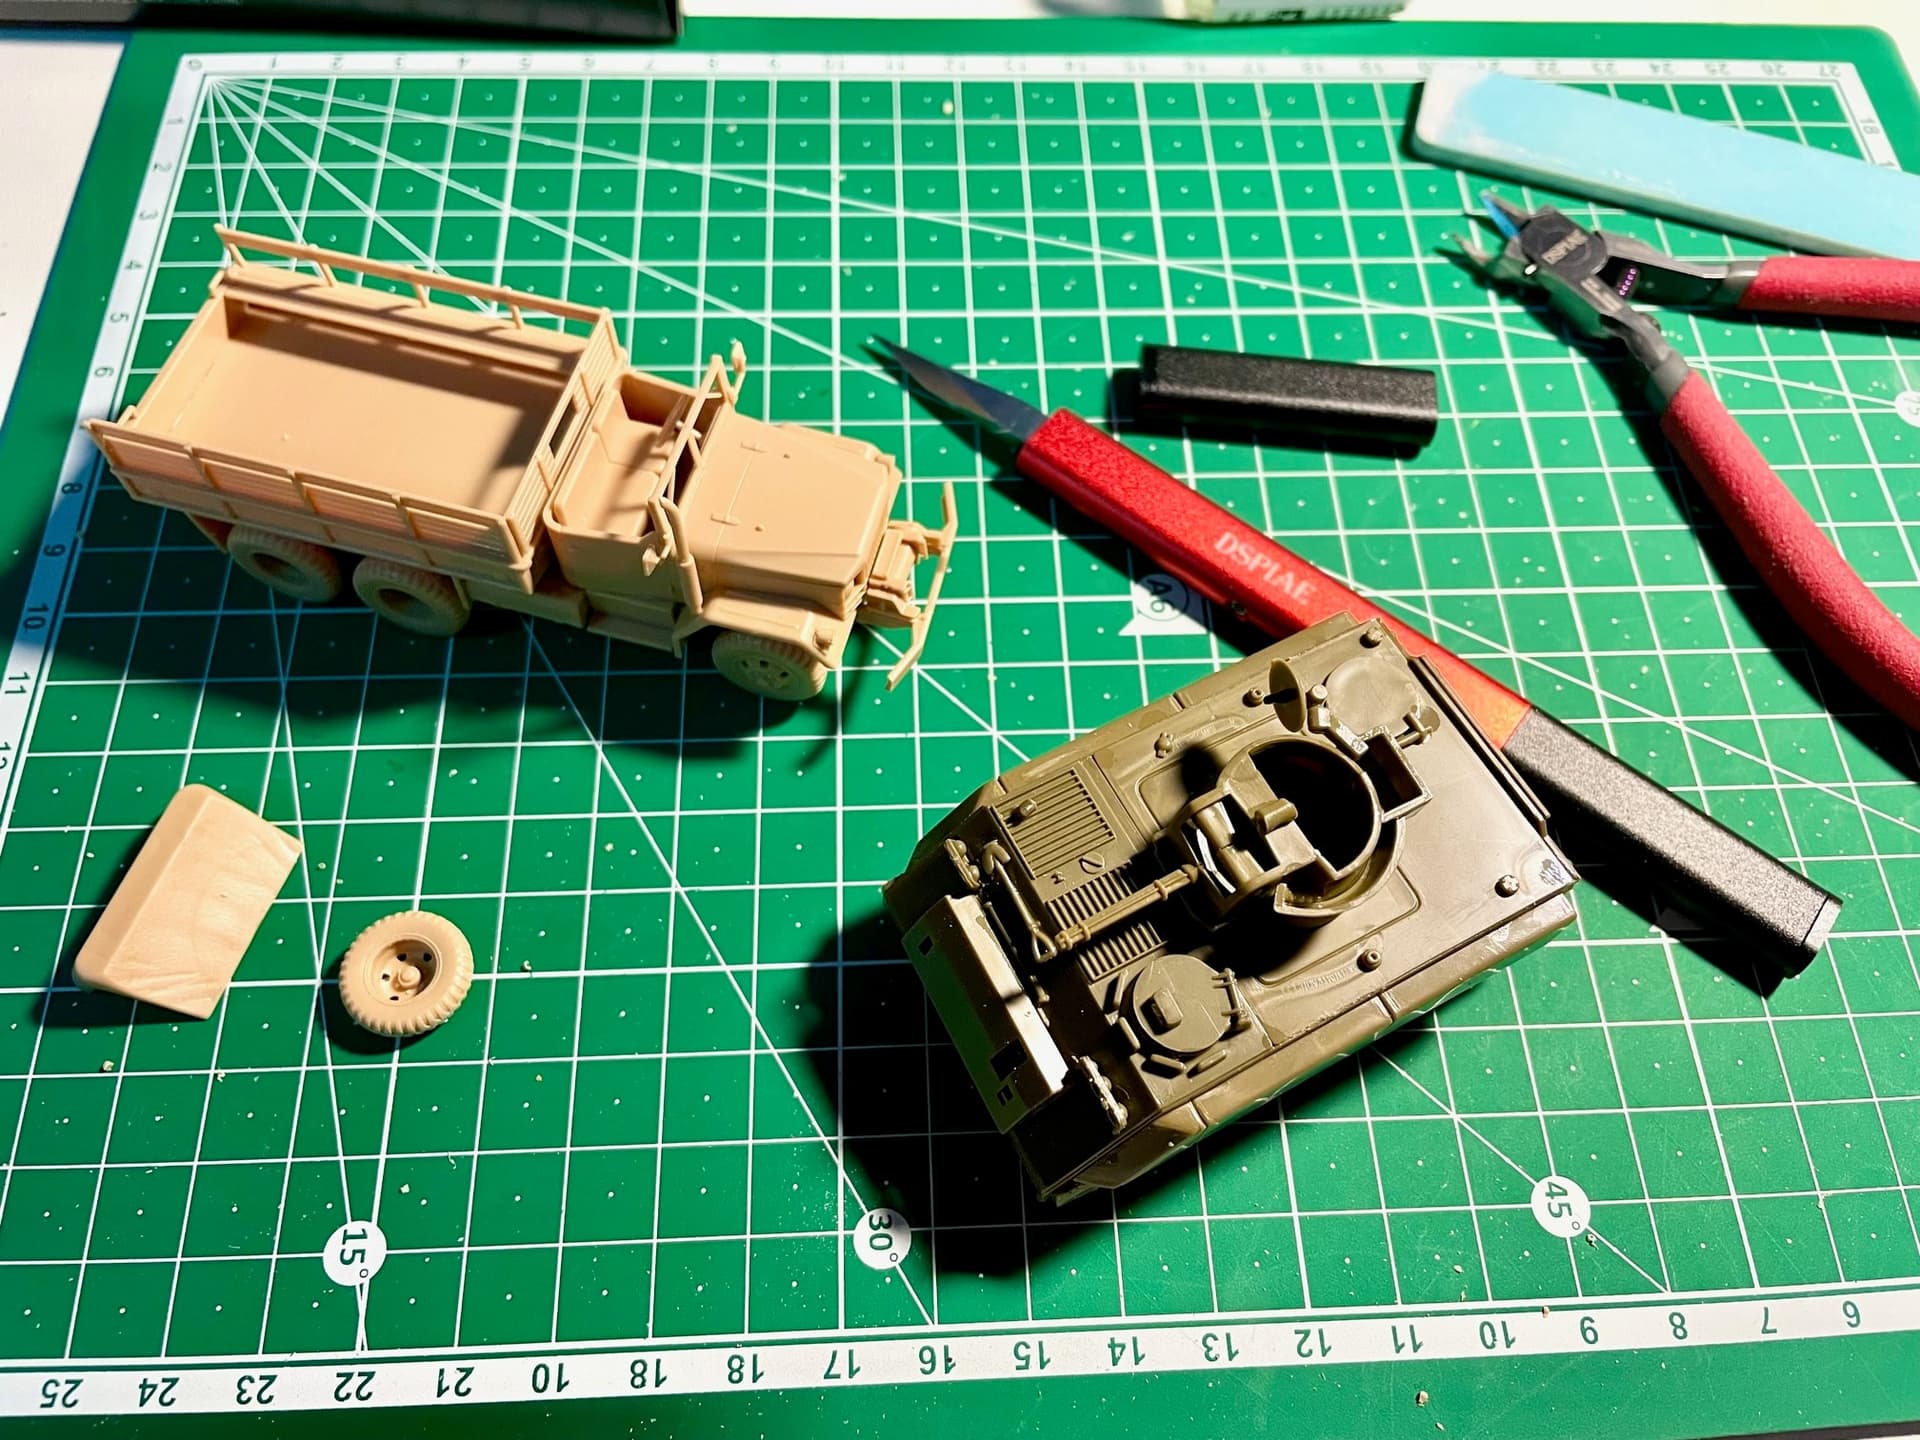
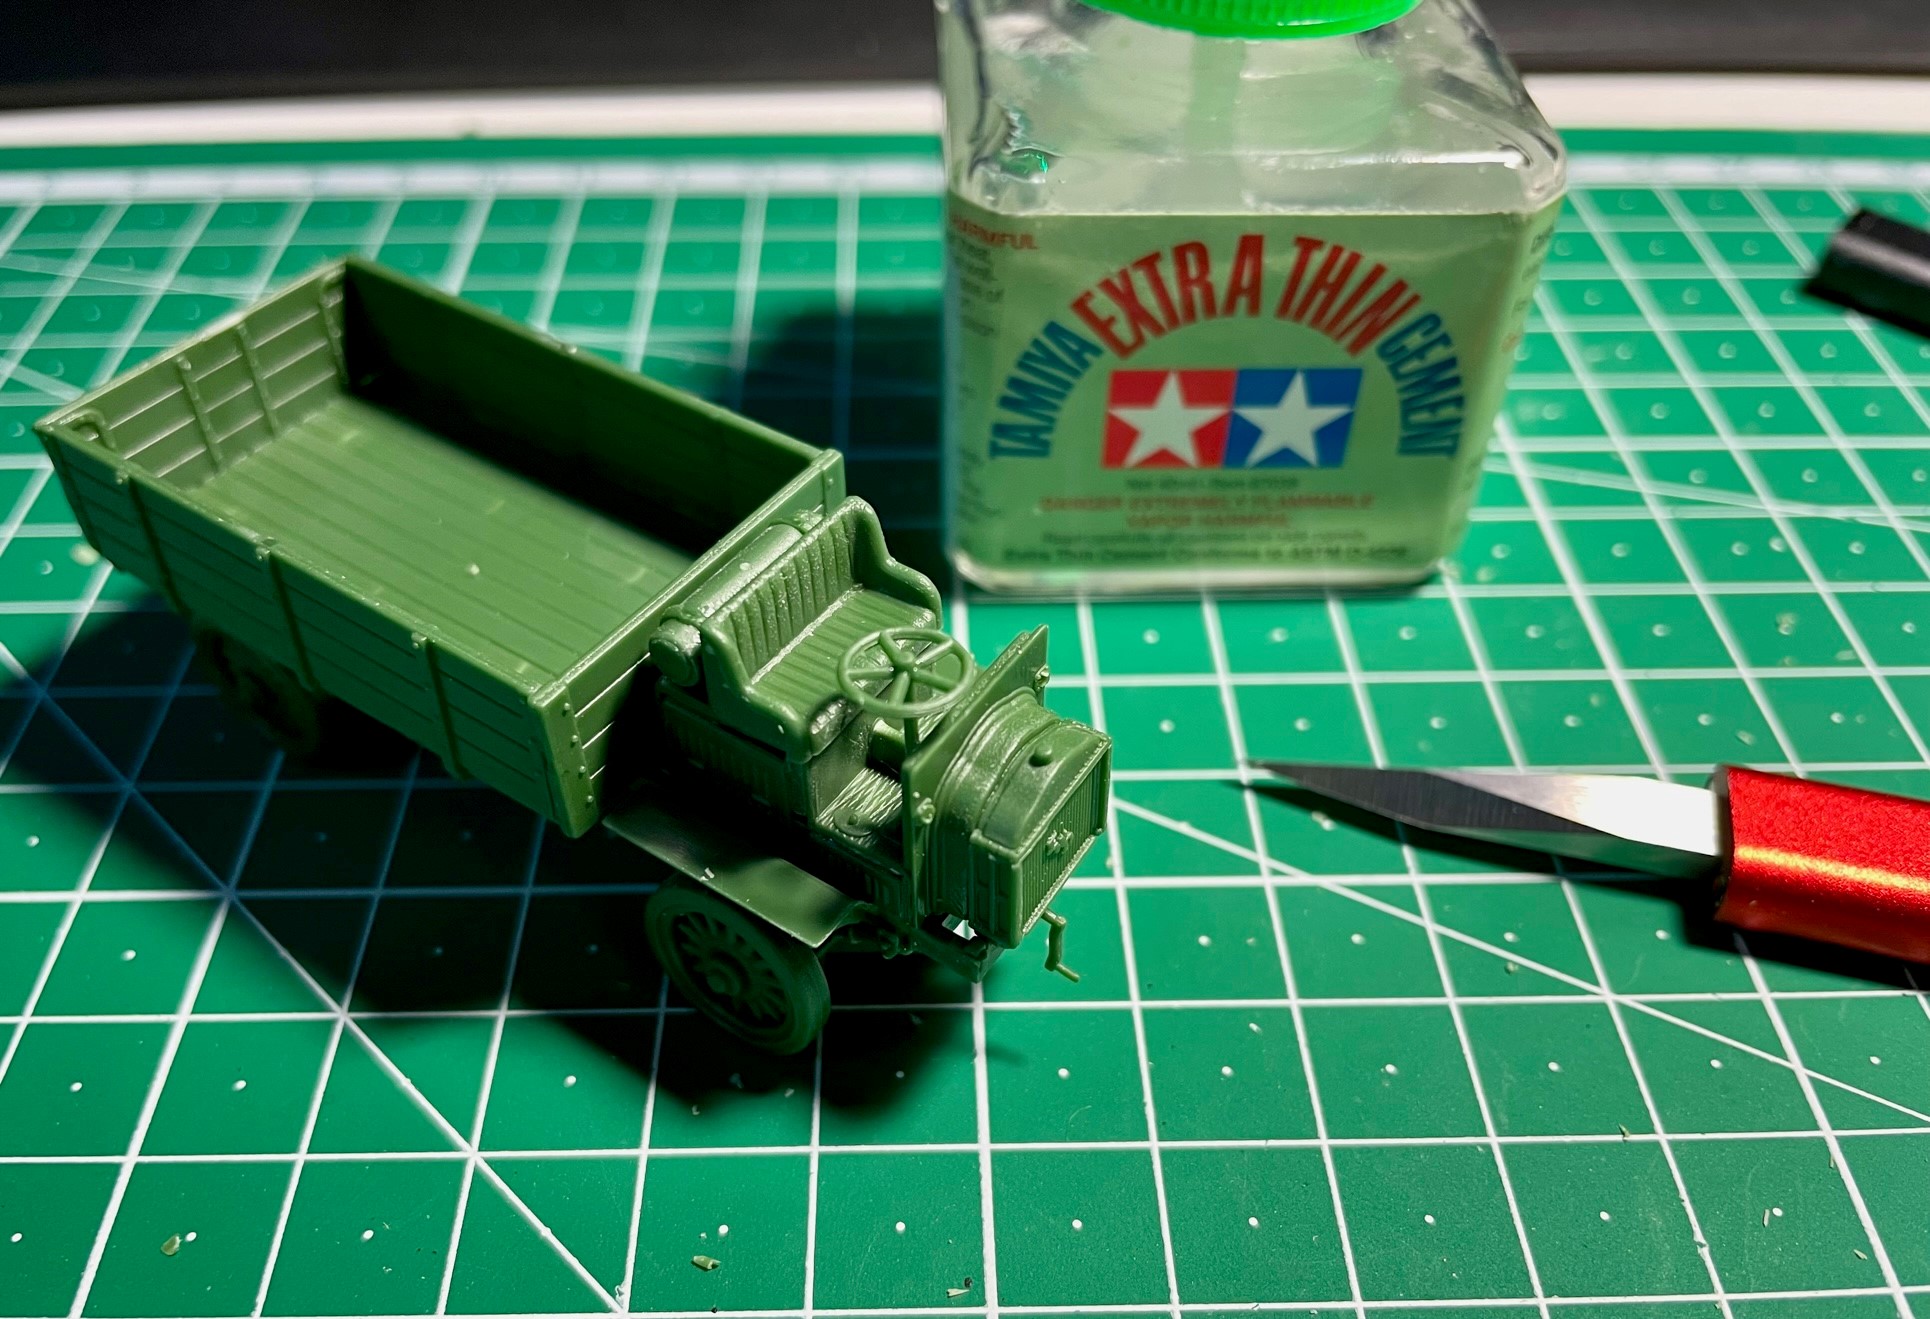
Well the Convoy campaign has started so this hit the bench.
Roden’s 1/72 FWD Model B 3-ton 1917 type
Still got some fiddly bits that need tweezers to apply, but I don’t have mine with me so more tonight.
Lots of flash clean up and butt joints.
8 Likes
How’s that DSPIAE craft knife?
1 Like
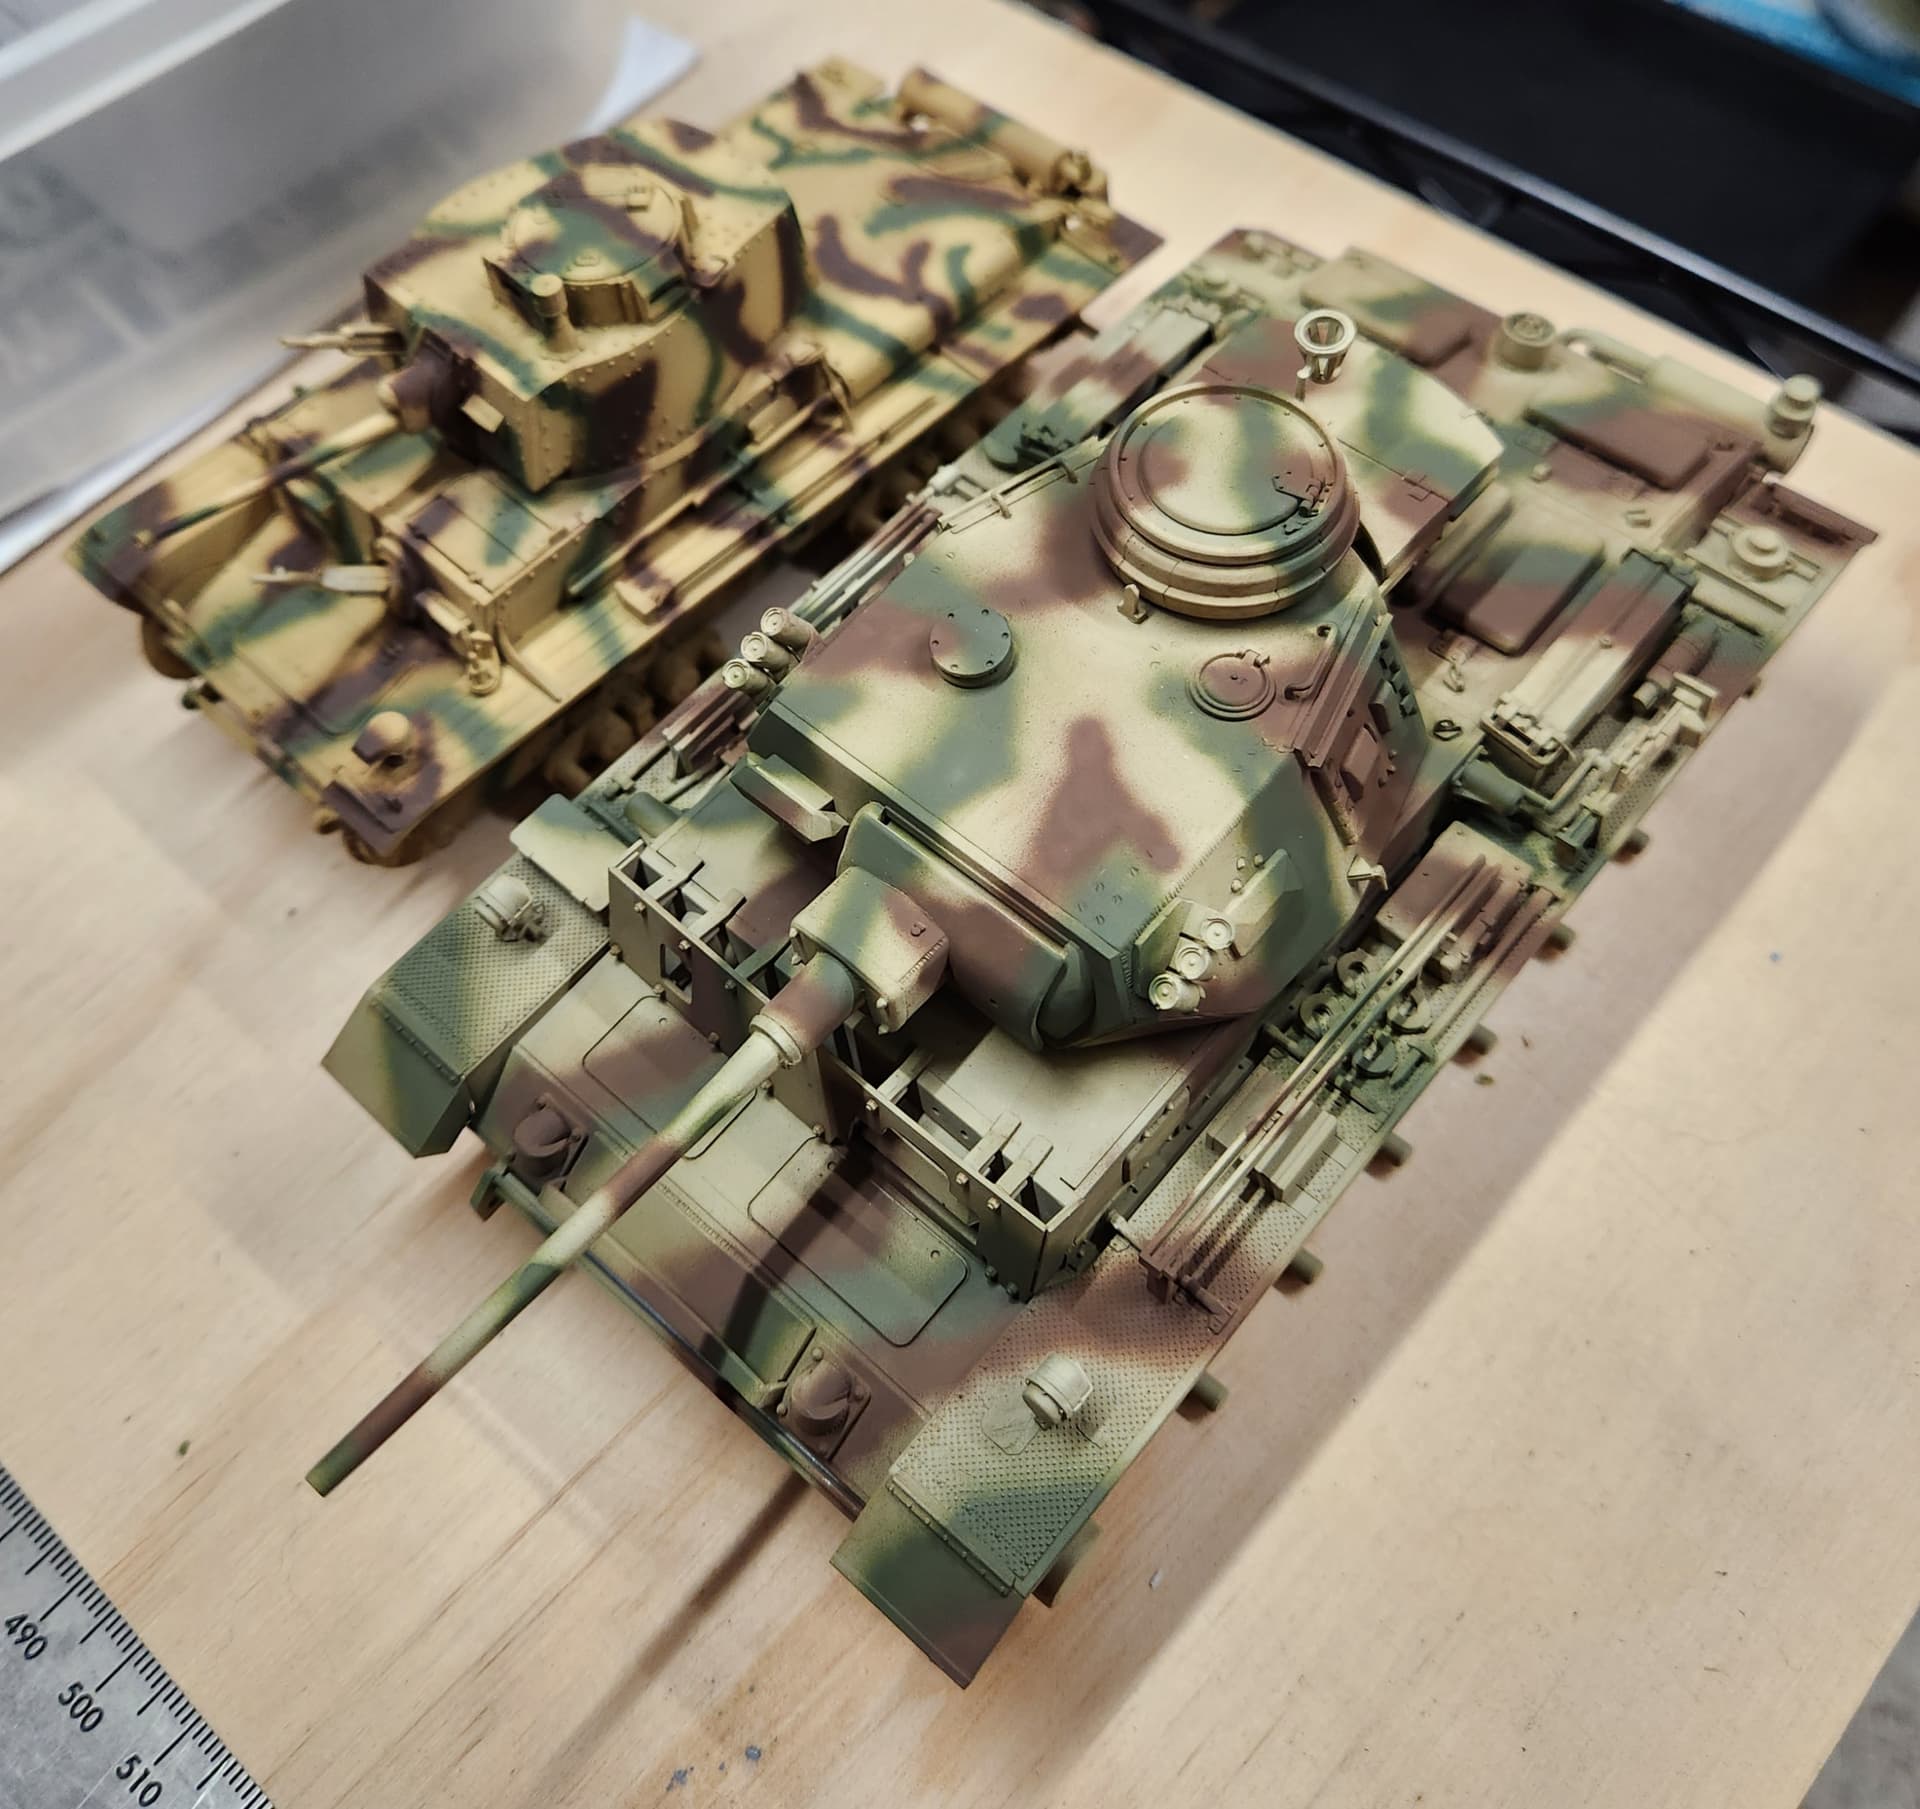
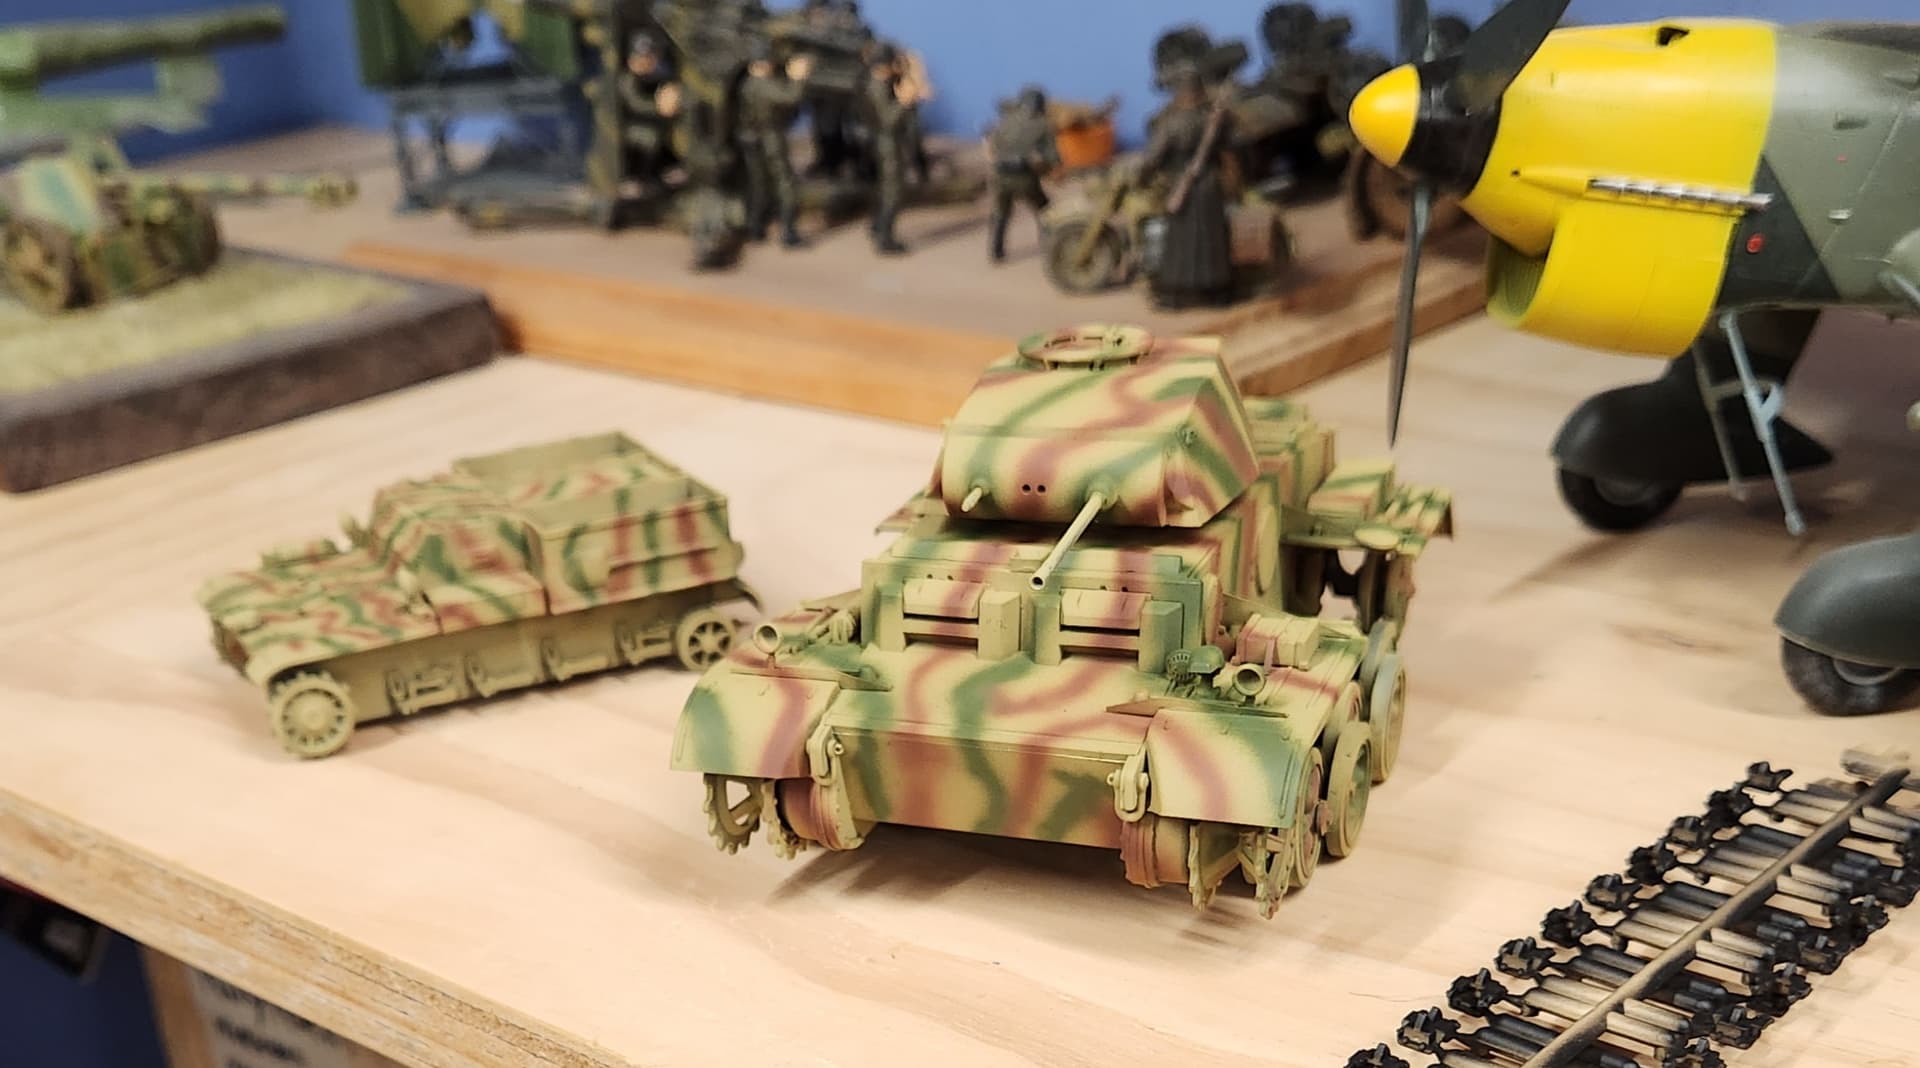
Over the course of yesterday and this afternoon I applied a light wash/filter on my current round of armor builds that had all camo applied minus touchups, which will come more towards the end when I start applying little bits and decals.
Lots of wheels:
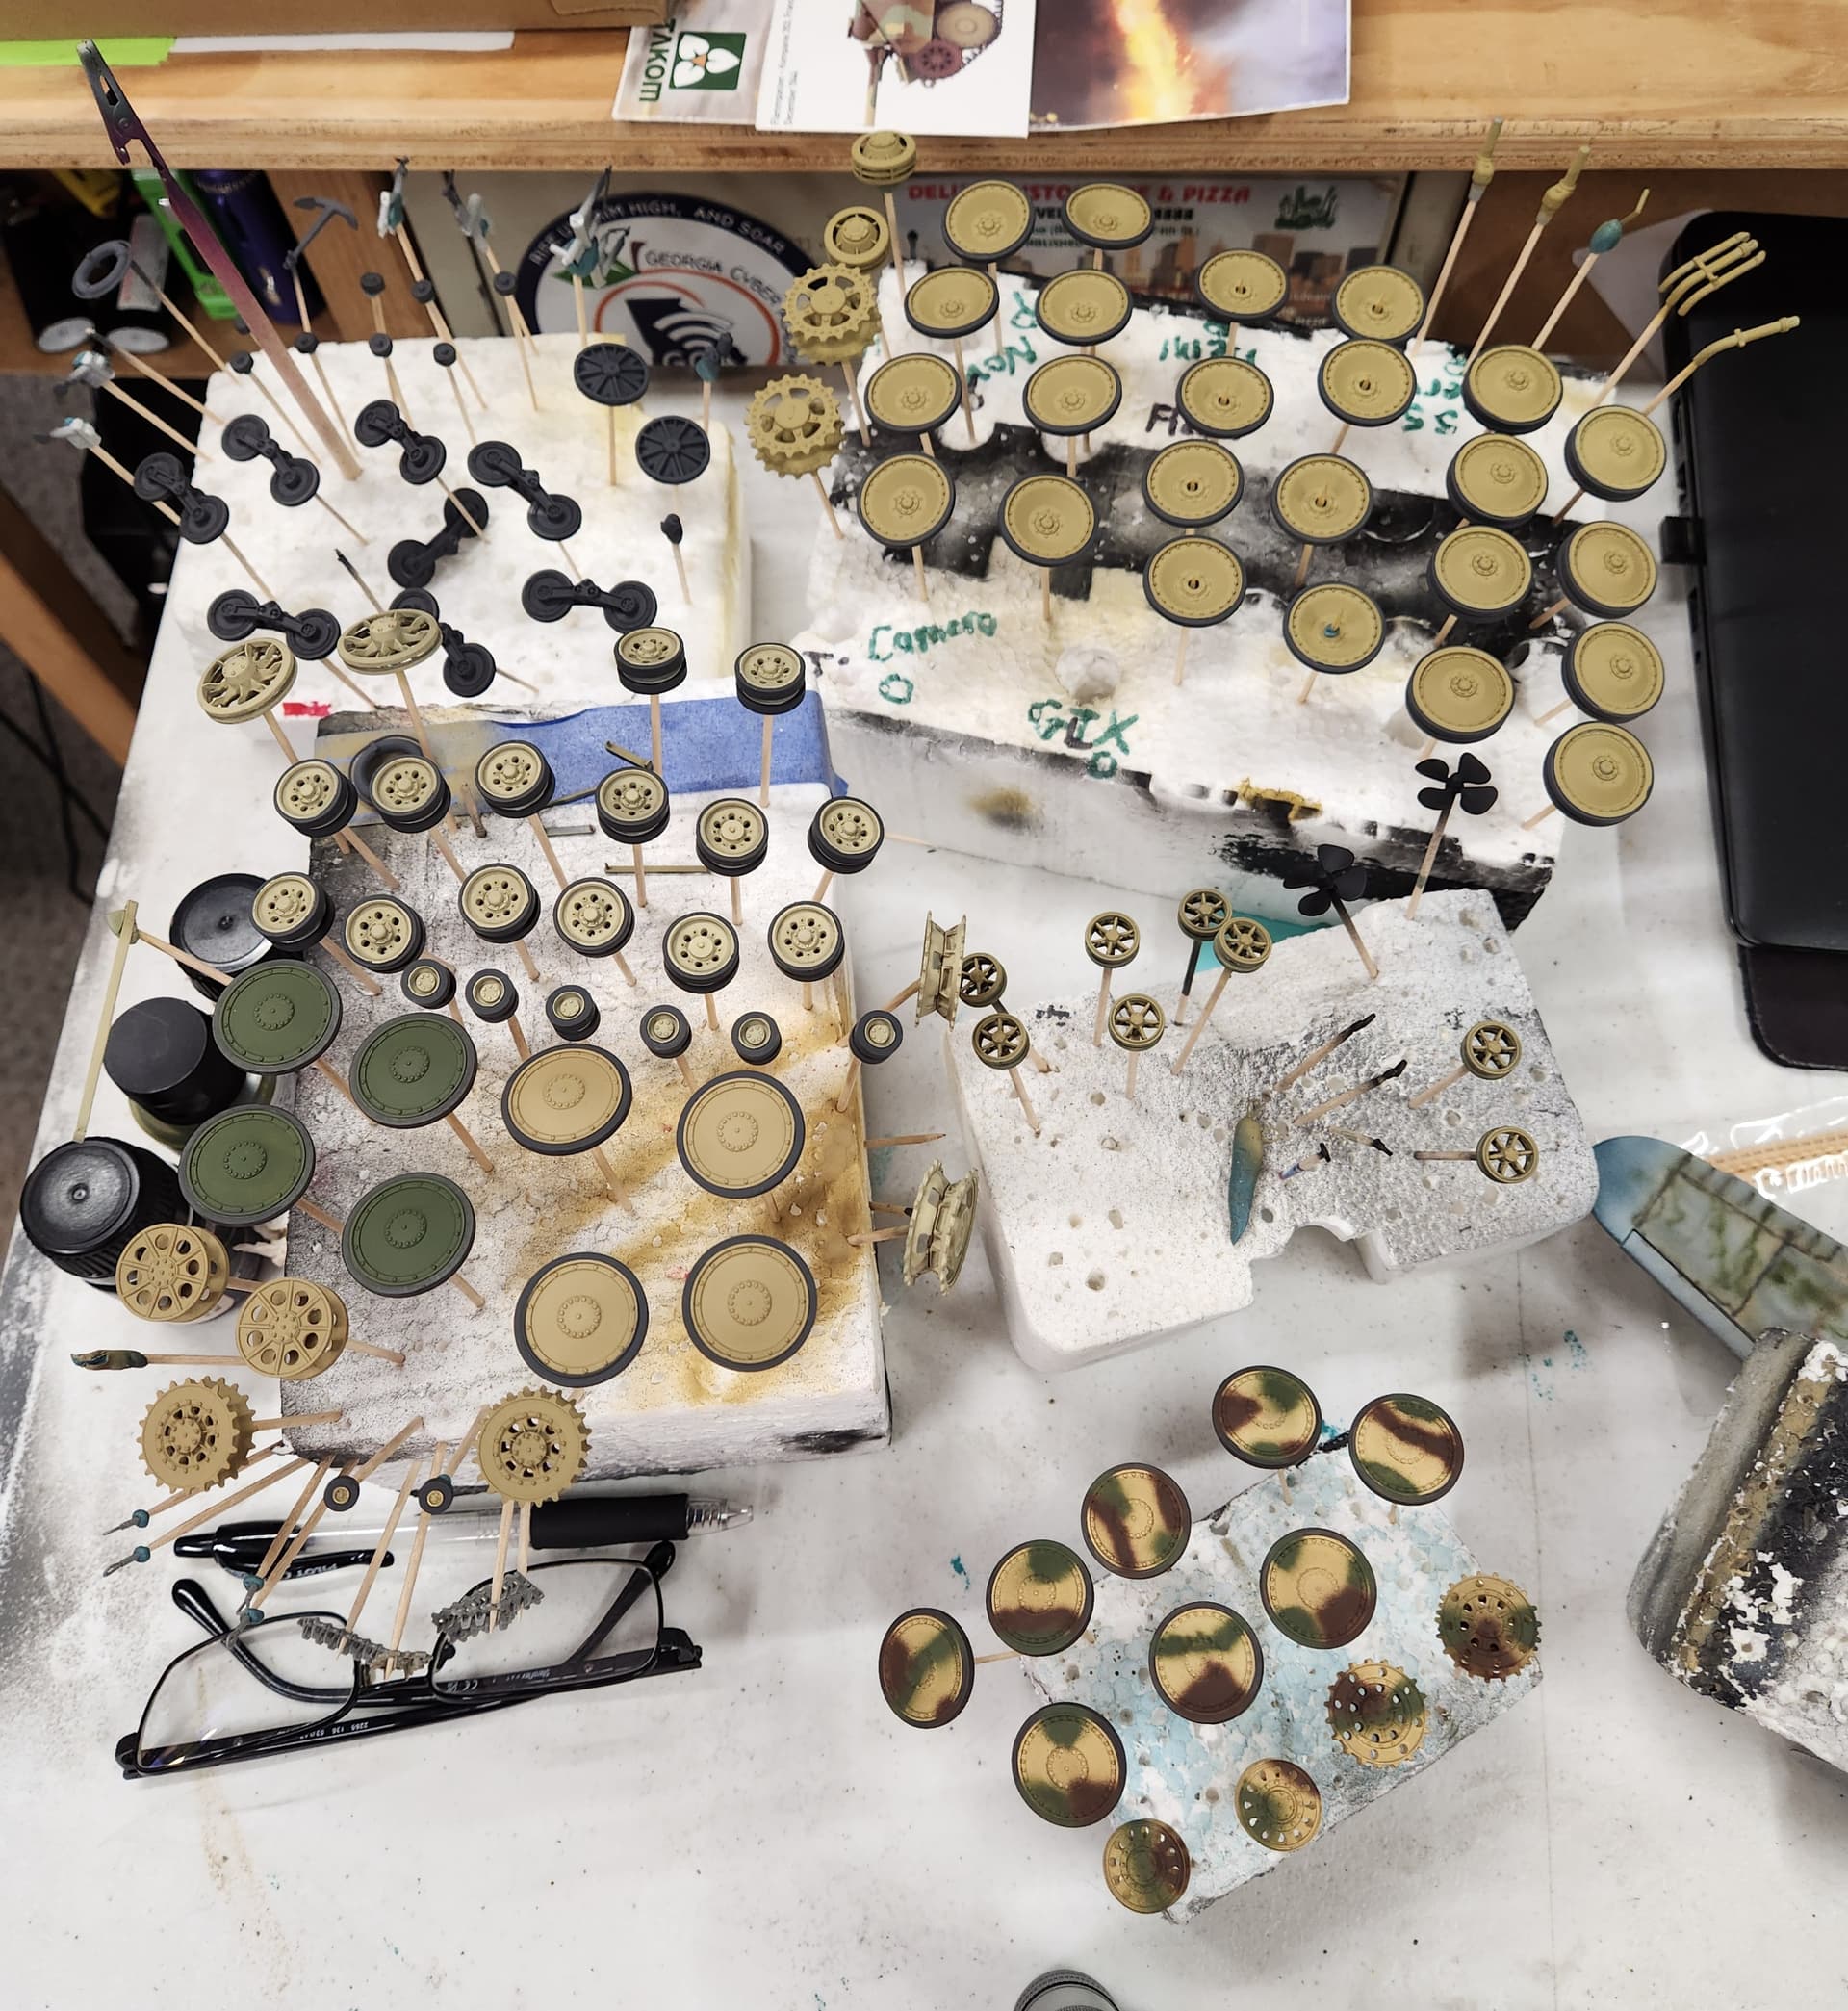
Trumpeter Pz 38(t) E/F and Dragon Pz.Kpfw III Ausf K 5.0cm Kwk 39 L/60
Takom Flammpanzer 38(t)
Hobby Boss L.W.S.
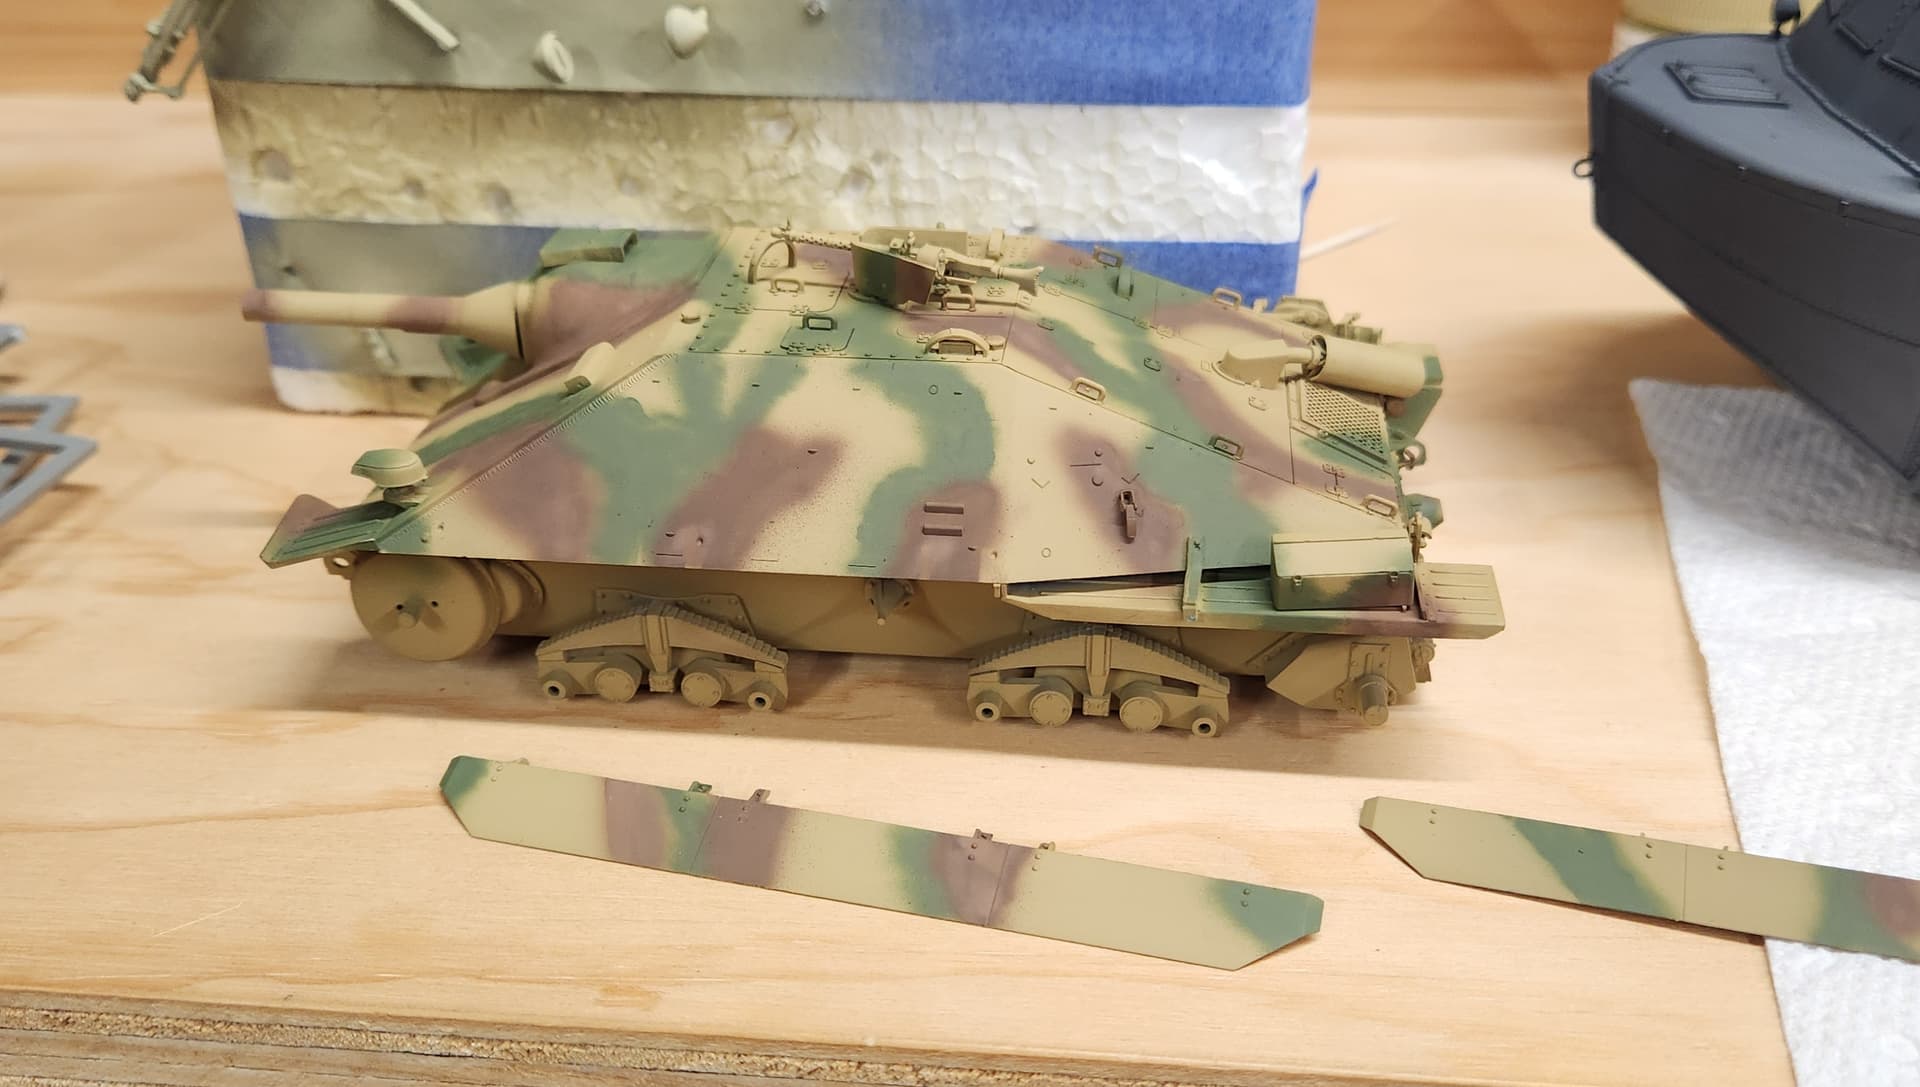
Takom Jagdpanther G1 early production

The skirts provided are not mirror images so one side has the plates arranged so the overlap creates a trap for branches and other obstruction to catch and dislodge the skirts. I’m going to see if I have spares that will fit or just show off her legs.
Das Werk Gepanzerter Munitionsschlepper VK3.02(?) and Hobby Boss Pz II Ausf J
Trumpeter Panzerträgerwagen (companion to the 38(t) above)
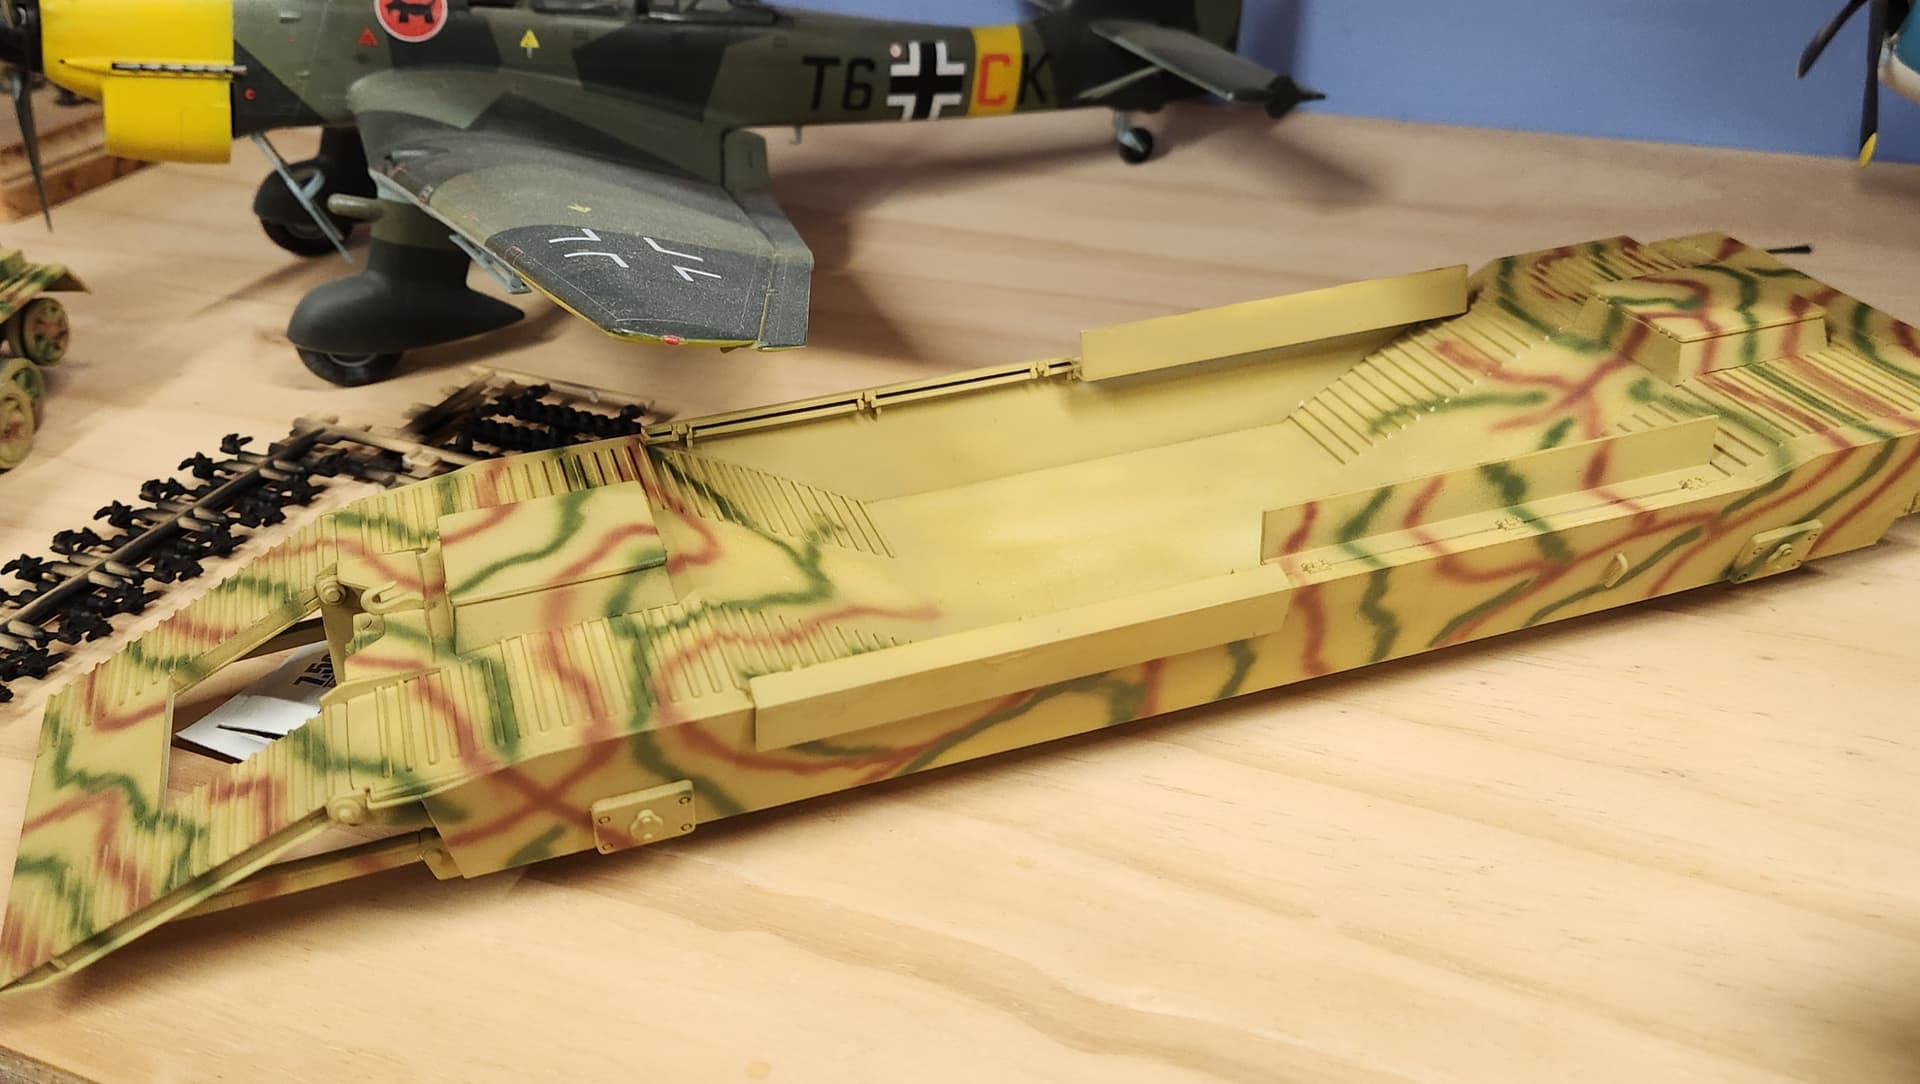
Now that everyone has their schemes filtered and toned down a notch my next steps are to attach the majority of subassemblies and have all tracks strung together and ready to go. Then paint all OVM gear and other detail like convoy lights, viewport lenses, etc. Decals next followed by a gloss coat over the decals/markings.
Then heavier washes and weathering affects to pop detail and give things a ‘used at least once in real combat’ look. I am making bases for some as well as a long run of track to put all my rail builds upon but the kits will be finished prior to that since it requires modifying part of a built-in bookcase.
And I am about 98% done with this other campaign entry:
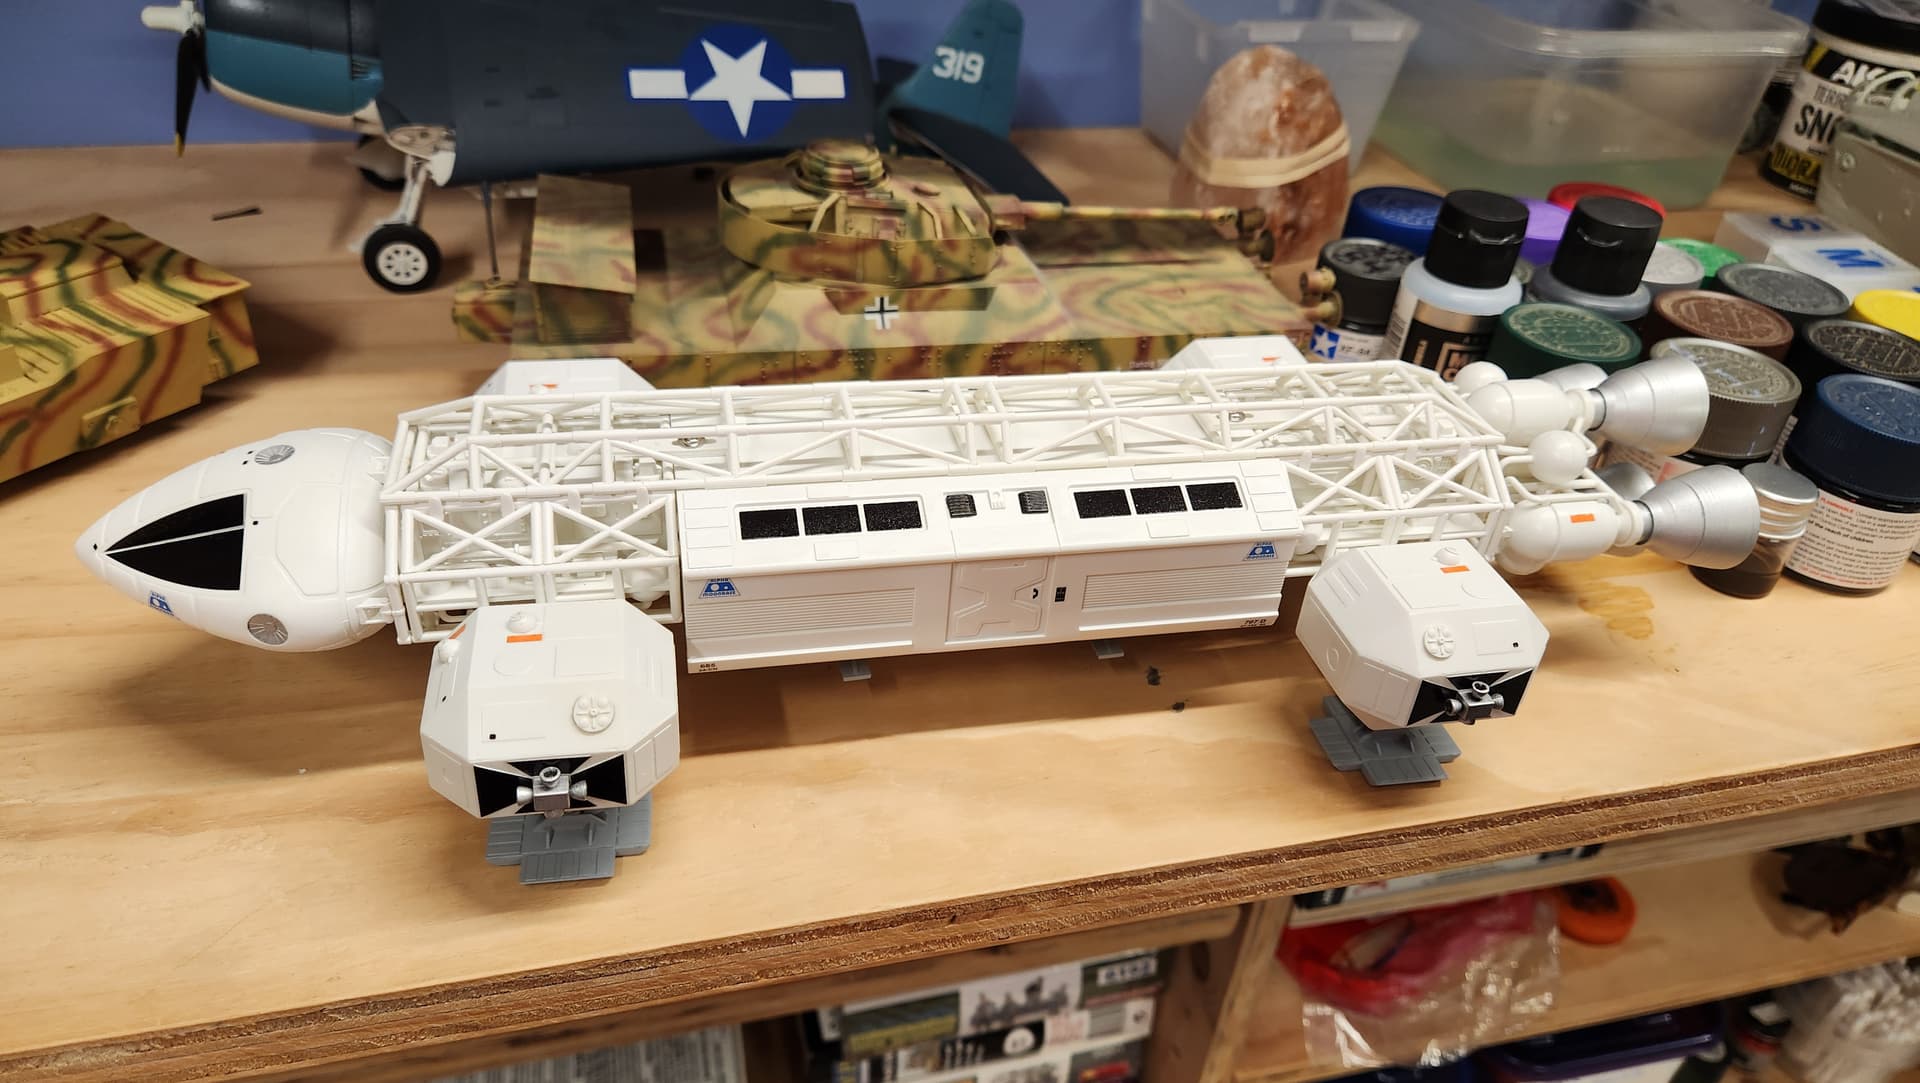
I didn’t have the mojo for the gray panel effects but I am considering using a light gray pigment in areas to represent lunar dust kicked up over it by the landing/maneuvering thrusters. This was definitely a different build experience than the one I built back when there was still a possibility the moon could meet it’s 1999 deadline.
The recent release with the lab module and spine thrusters has been added to my wife’s Amazon lists.
Anyway, that’s what I’ve been up to and if it must be known I am looking at a Special Hobby Yak-3 in 1/32 that I assembled the first step of the year it came out. Needs to be finished, you know.
20 Likes
Glad it went well, looks great. I’m going to do stars spray painted. I have a craft cutter and tested vinyl masks and the test was good. So there’s hope for me! Mine will be easy, you’ve got the double thing. You did a great job.
3 Likes
You could try 3D printing or sculpting from epoxy putty. Night Shift has some videos where he shows how to sculpt sandbags and tarps from the stuff. If you have some 1/72 scale stowage, you could also make casts from those.
4 Likes
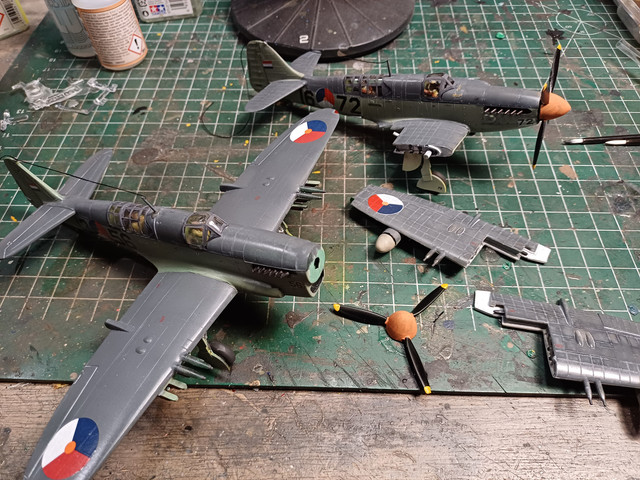
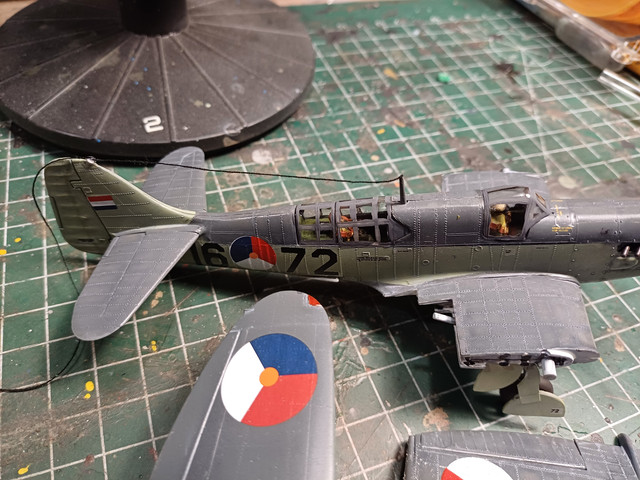
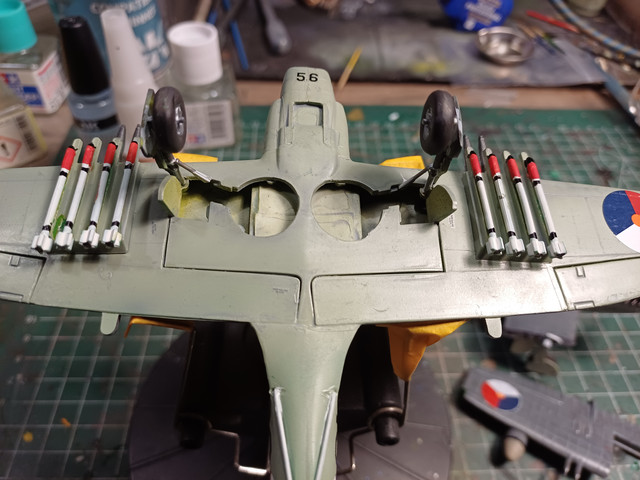
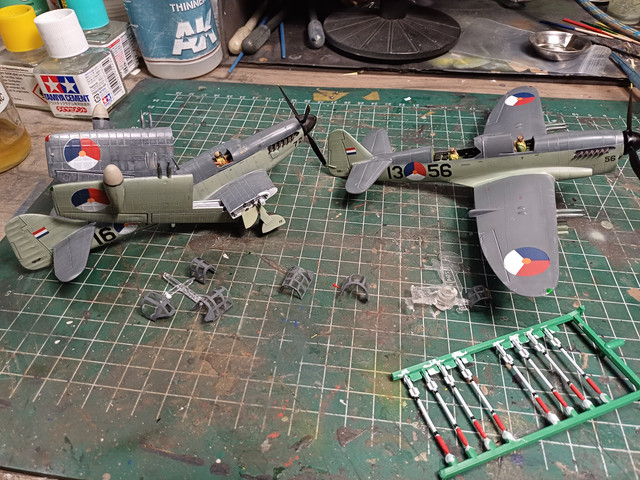
Bit of work on some of my planes…

14 Likes