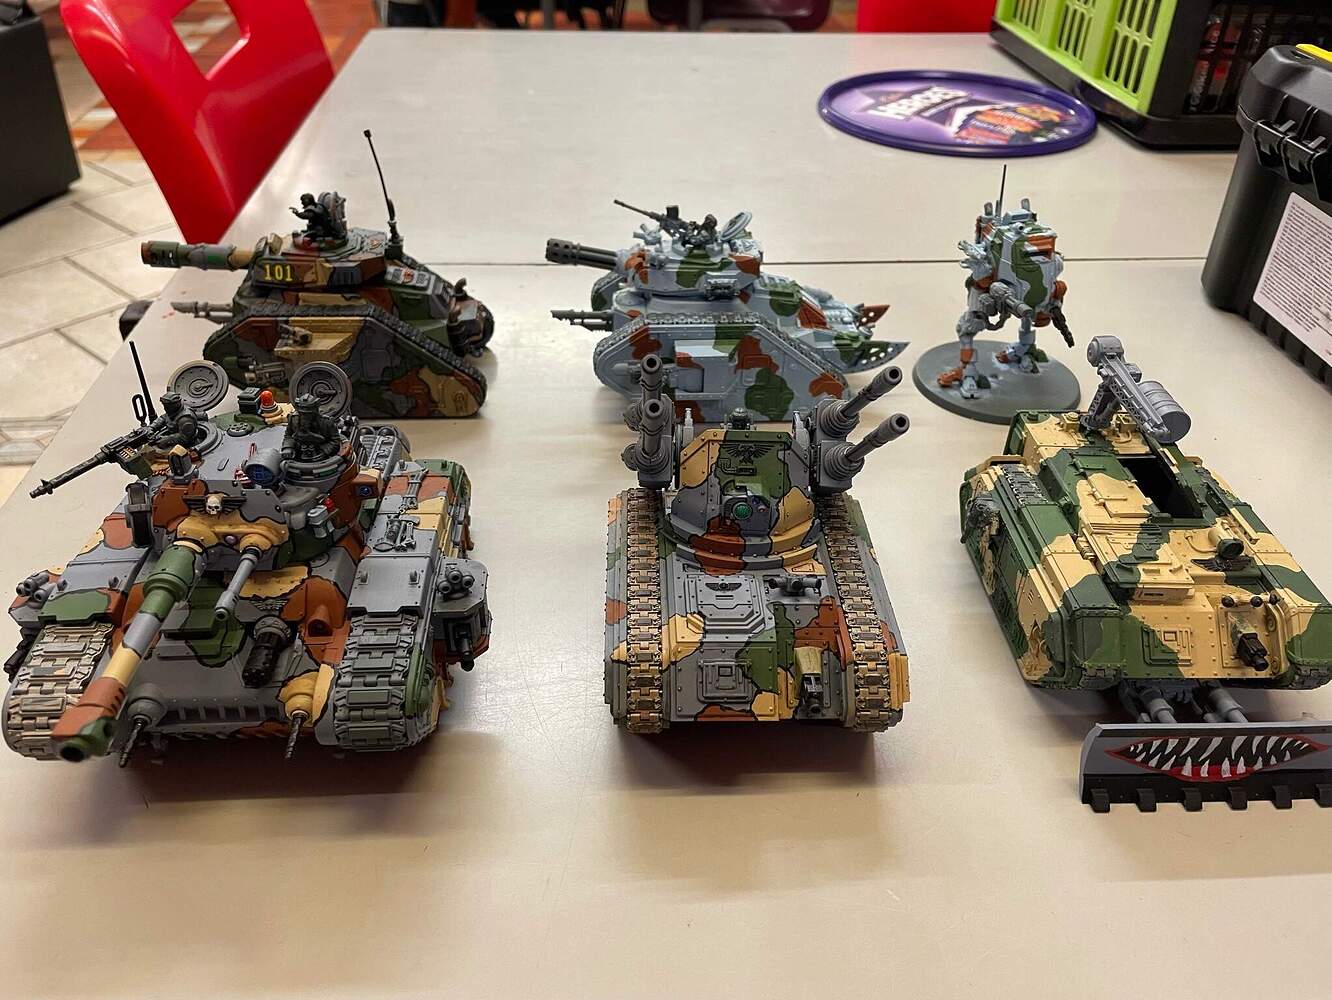
Couple of photos of my DKoK armour in various stages of paint, taken beginning of last year, unfortunately they are still at that same stage. ![]()
All hand painted, no airbrush used.
Couple of photos of my DKoK armour in various stages of paint, taken beginning of last year, unfortunately they are still at that same stage. ![]()
All hand painted, no airbrush used.
Wow, They are very nice!
Thanks for sharing
Gotta back to the bench,an unseasonable 49 degrees down there has discouraged me a bit,I do have a heater,but still.There will be a warm up this week,into the 40’s will be 55 or so down there.
Georgia’s lucky snow hit made it too cold to work, plus I picked up a sinus infection that has given me a headache right between the eyes.
But I did manage to get all the parts clipped for my Convoy 2 entry on Friday.
Up near Asheville,we missed the really bad snow,only 1.5" but its been a bitter cold week.
Do feel better
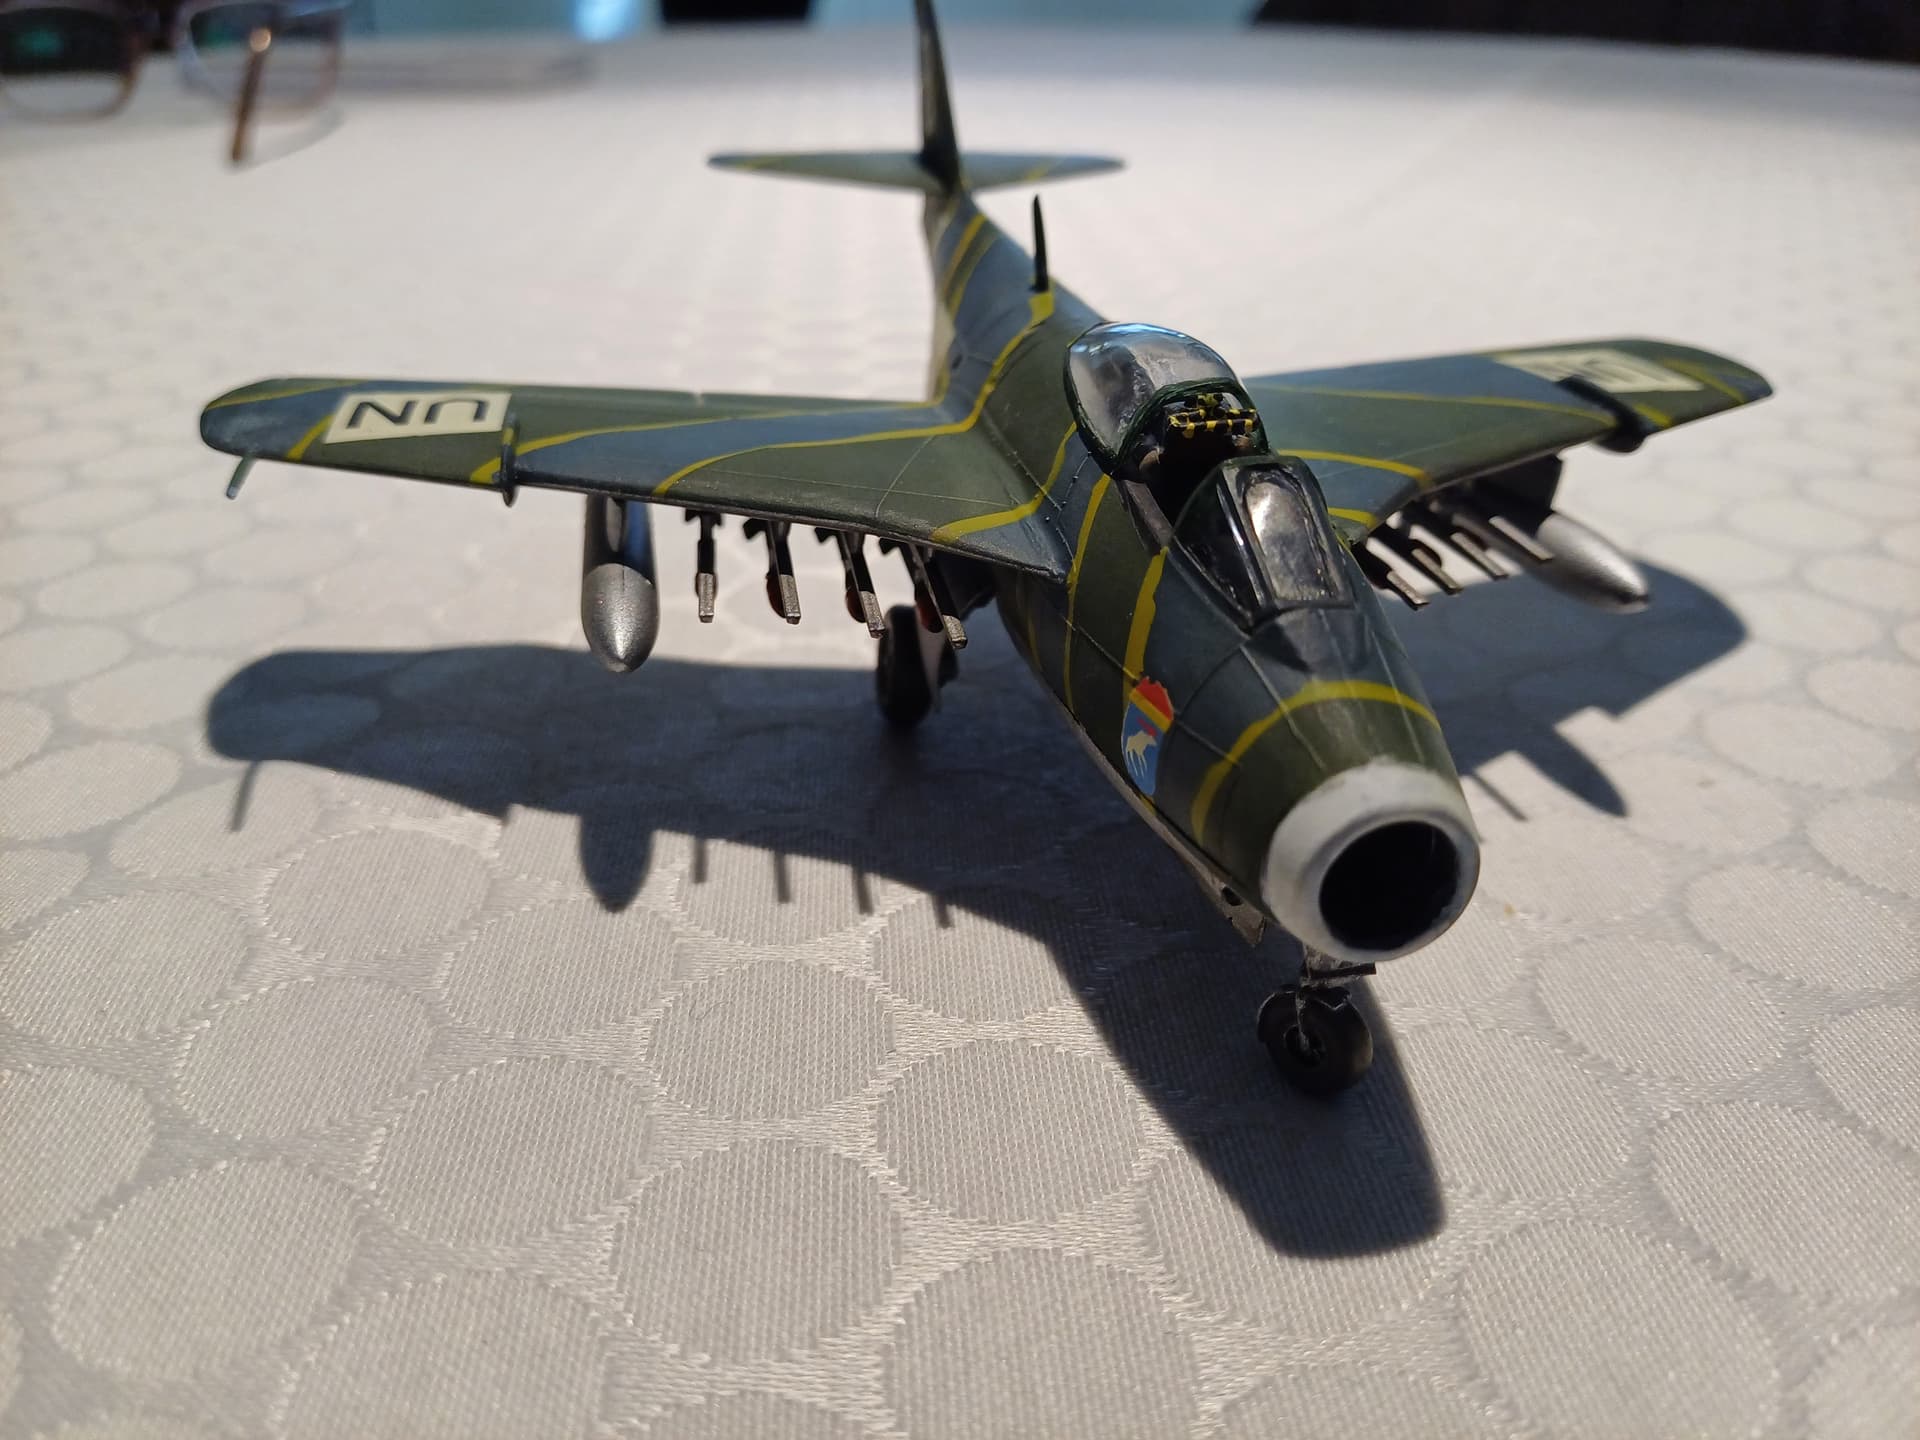
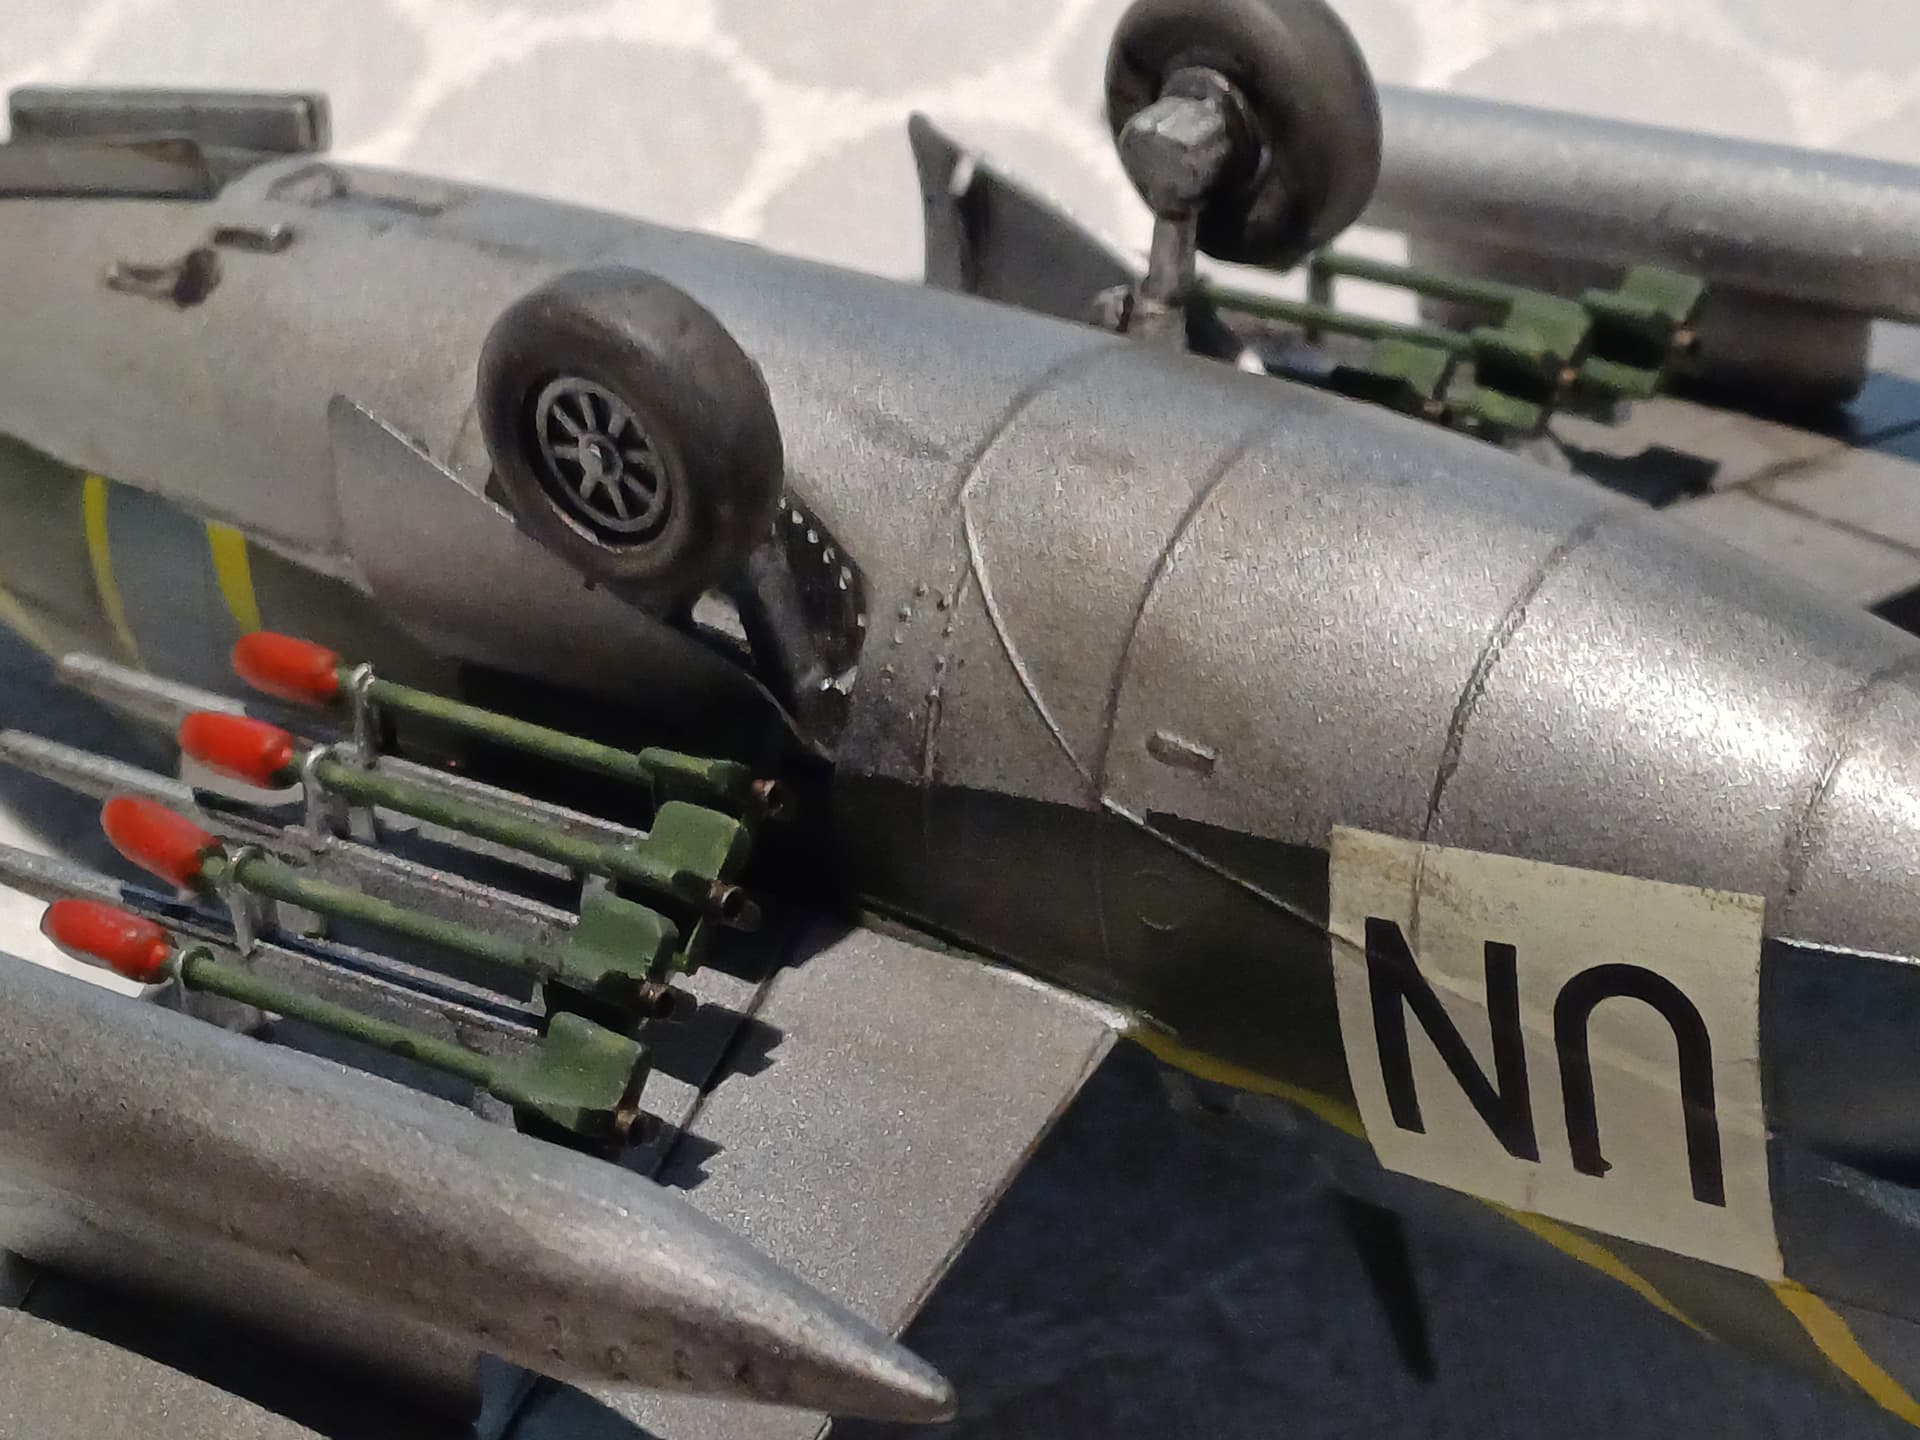
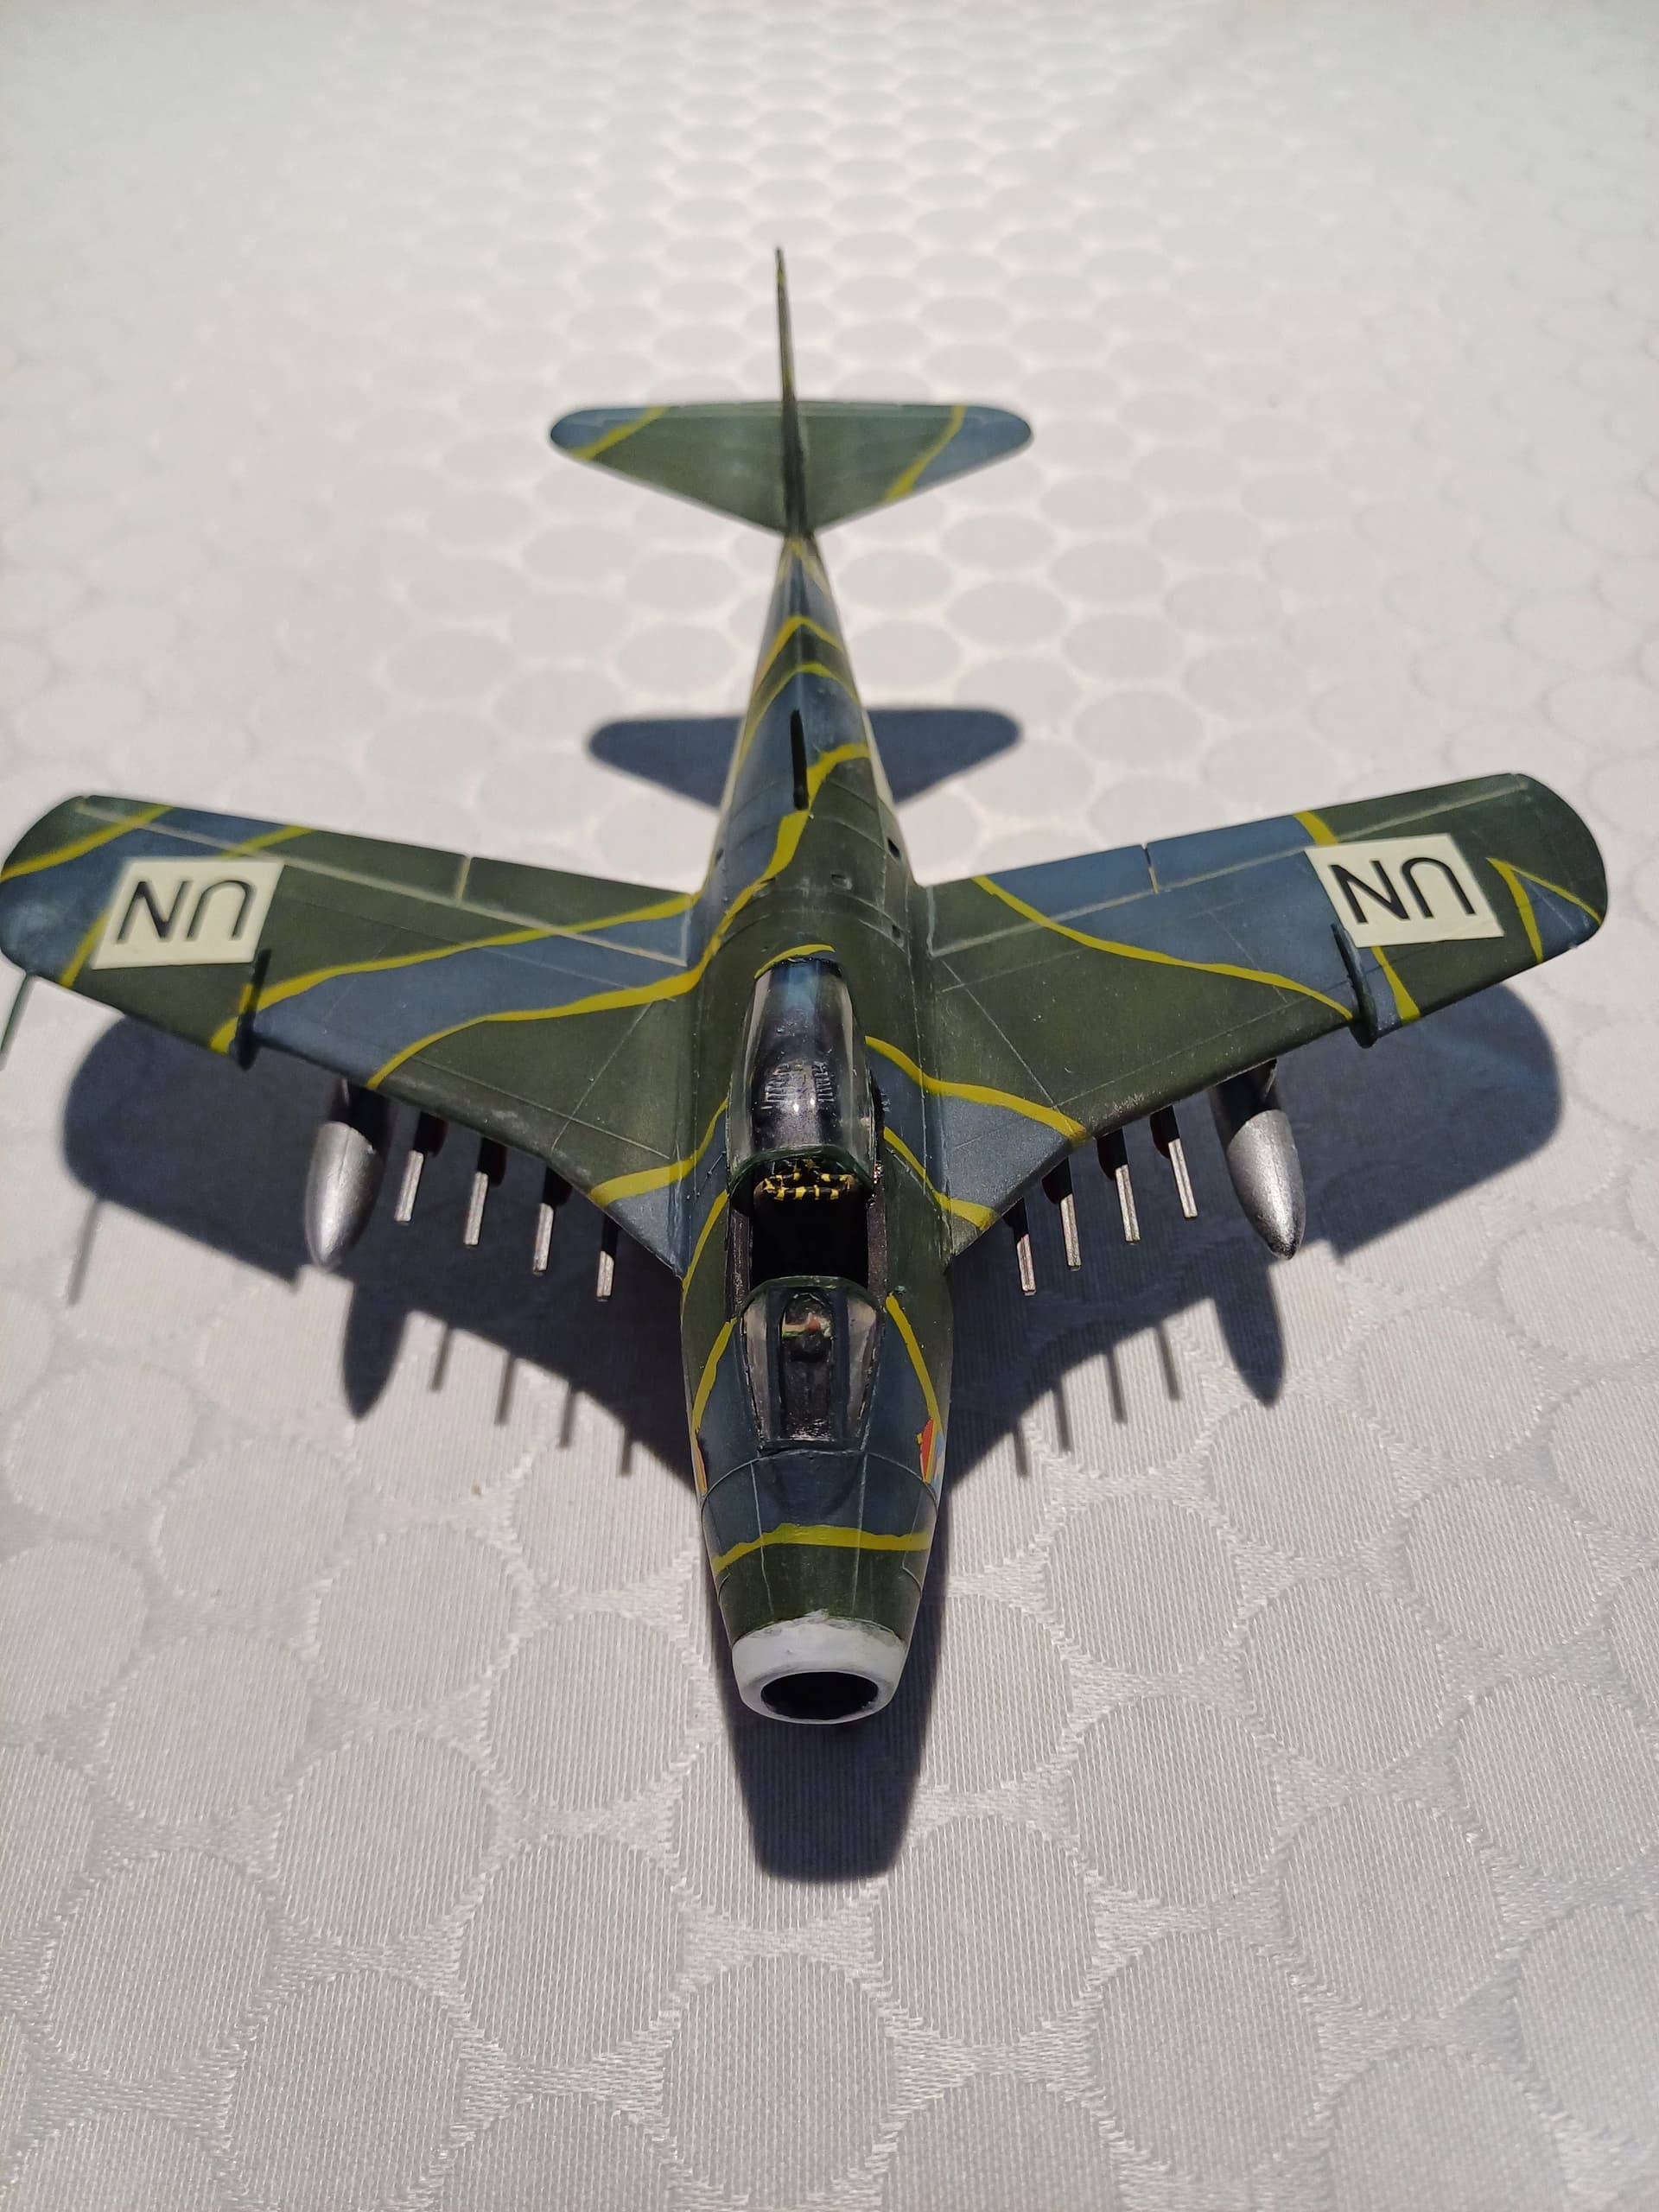
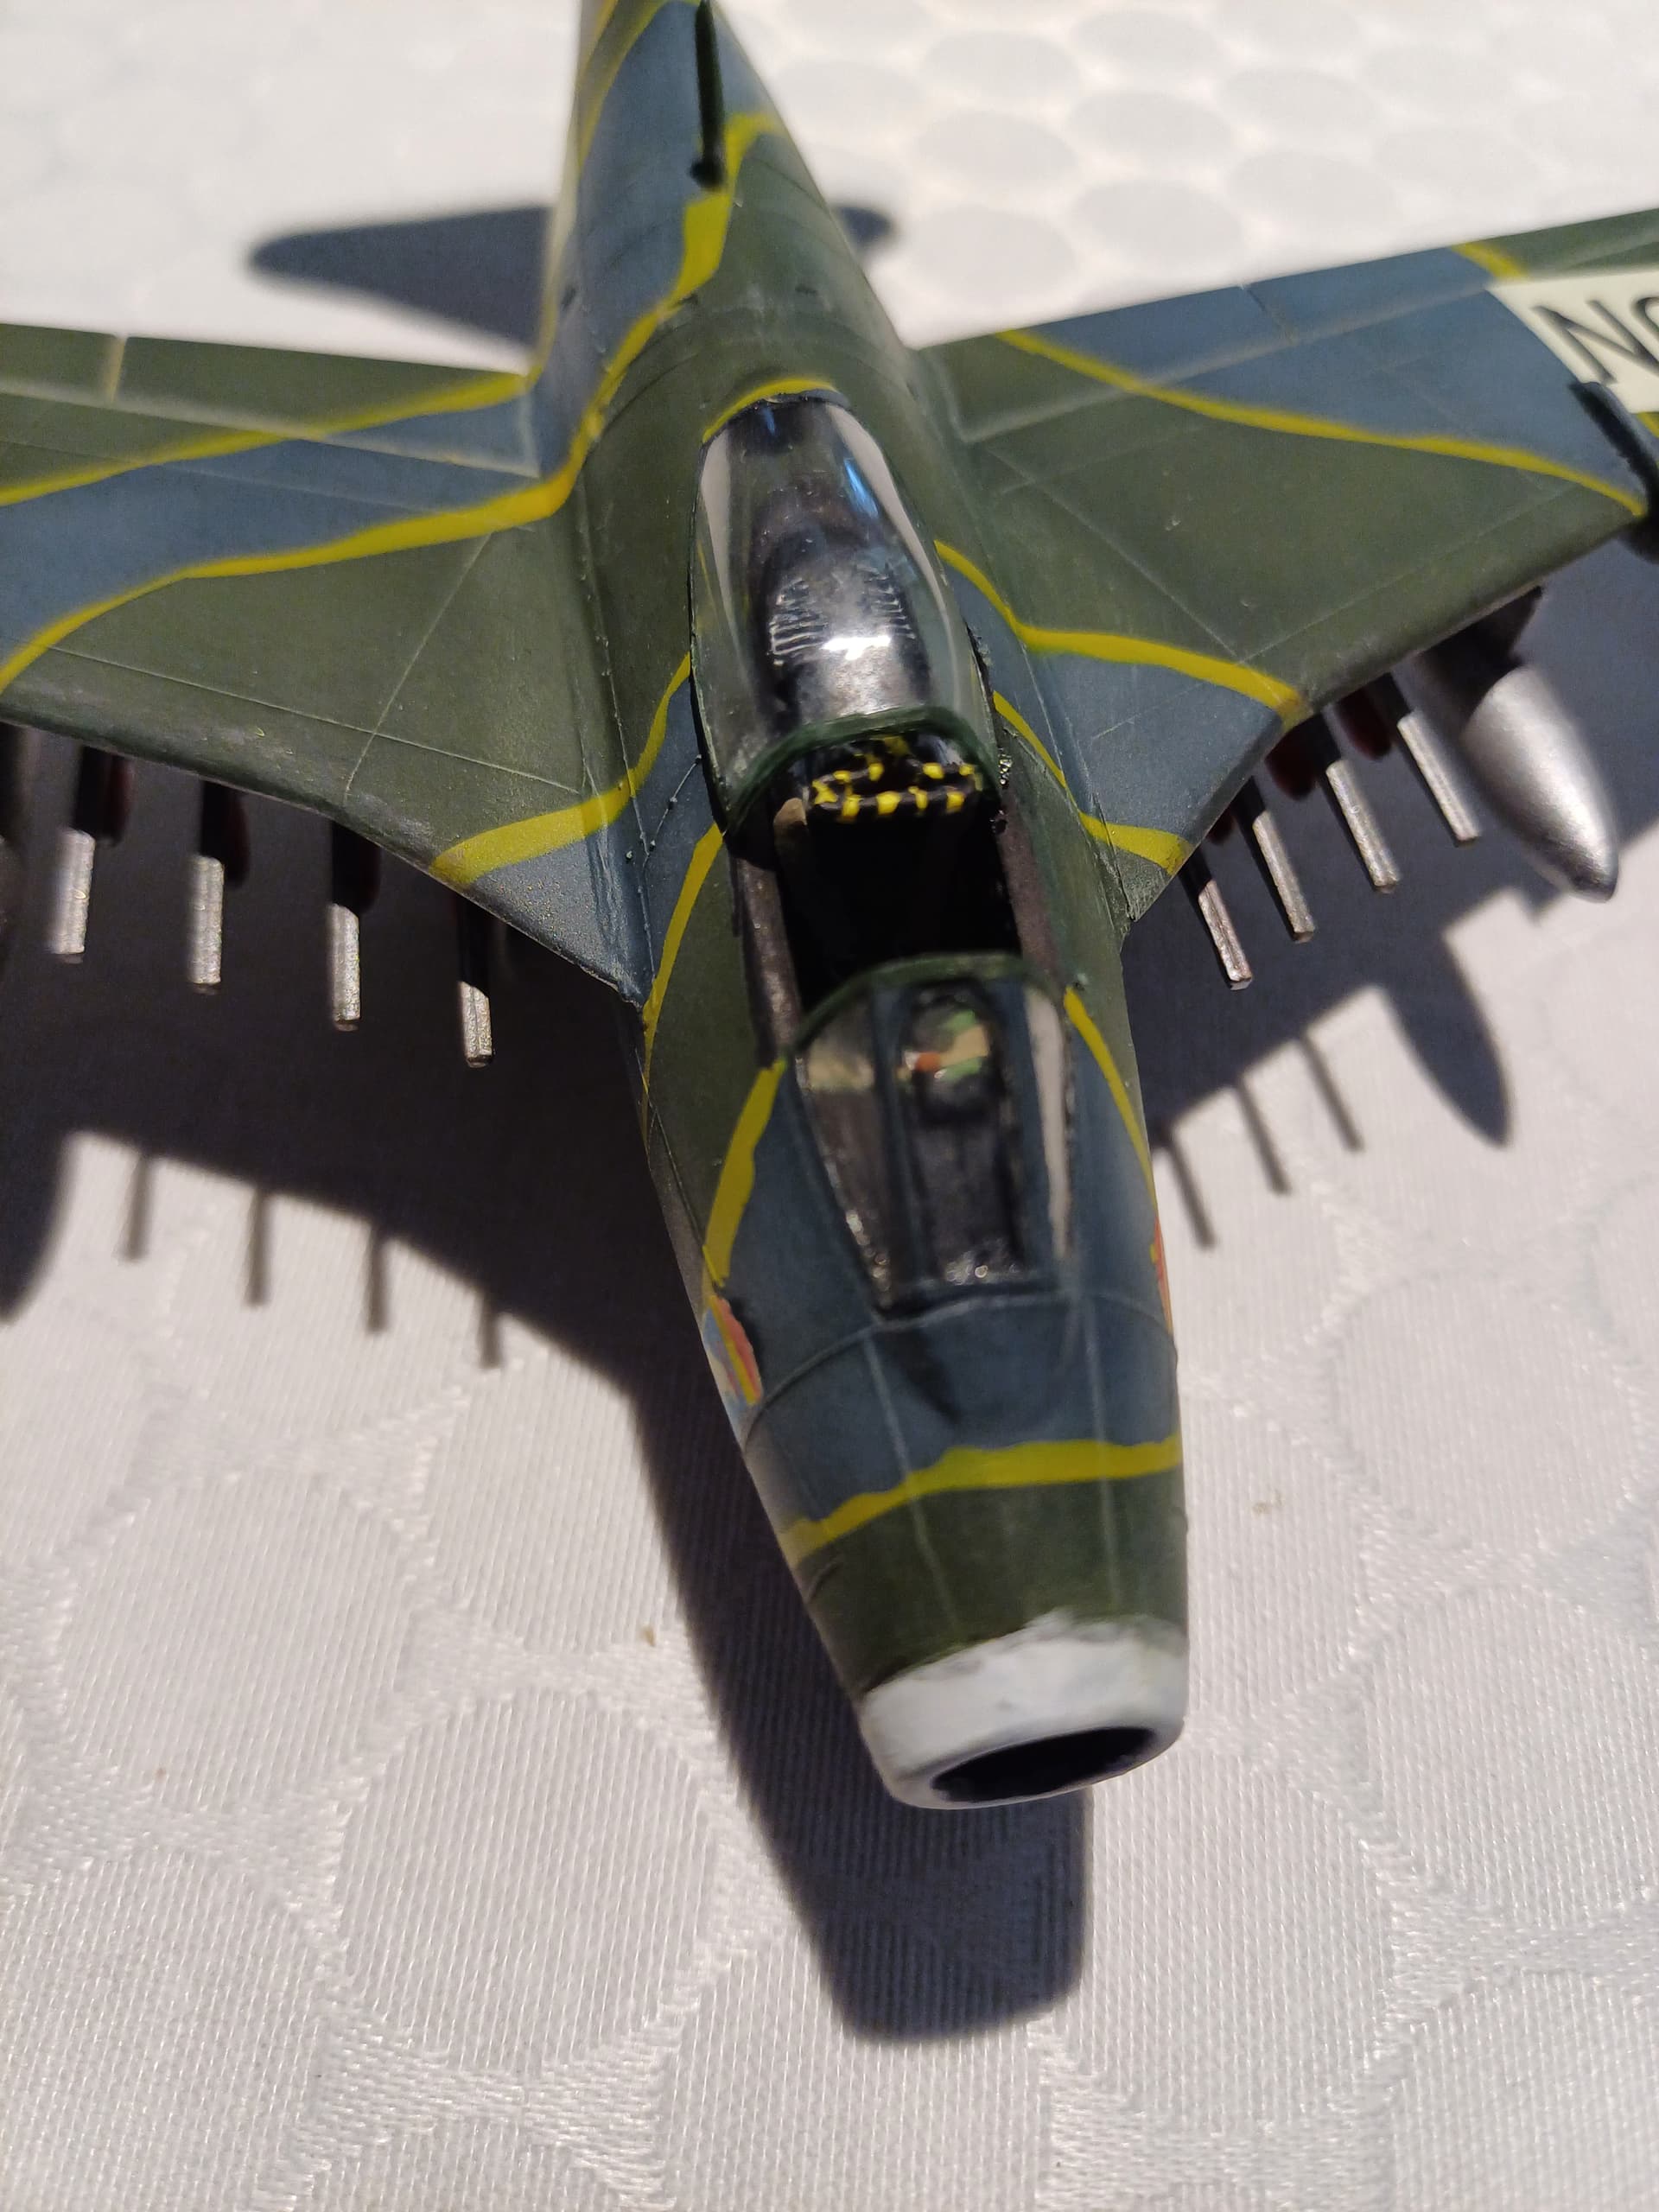
Had an accident…
Managed to get it repaired, and as the front wheel had also broken off, I turned that the right way round, I had it on backwards… also decided not to mount it straight but slightly turned…
As most of the panellines are raised, I used the drybrush to give them some highlights. Used a light grey on the top surface and a dark metal on the bottom, which gave it a slight wheathered look as well.
Amazing save and repair!
A+++
Thanks !
Wade,
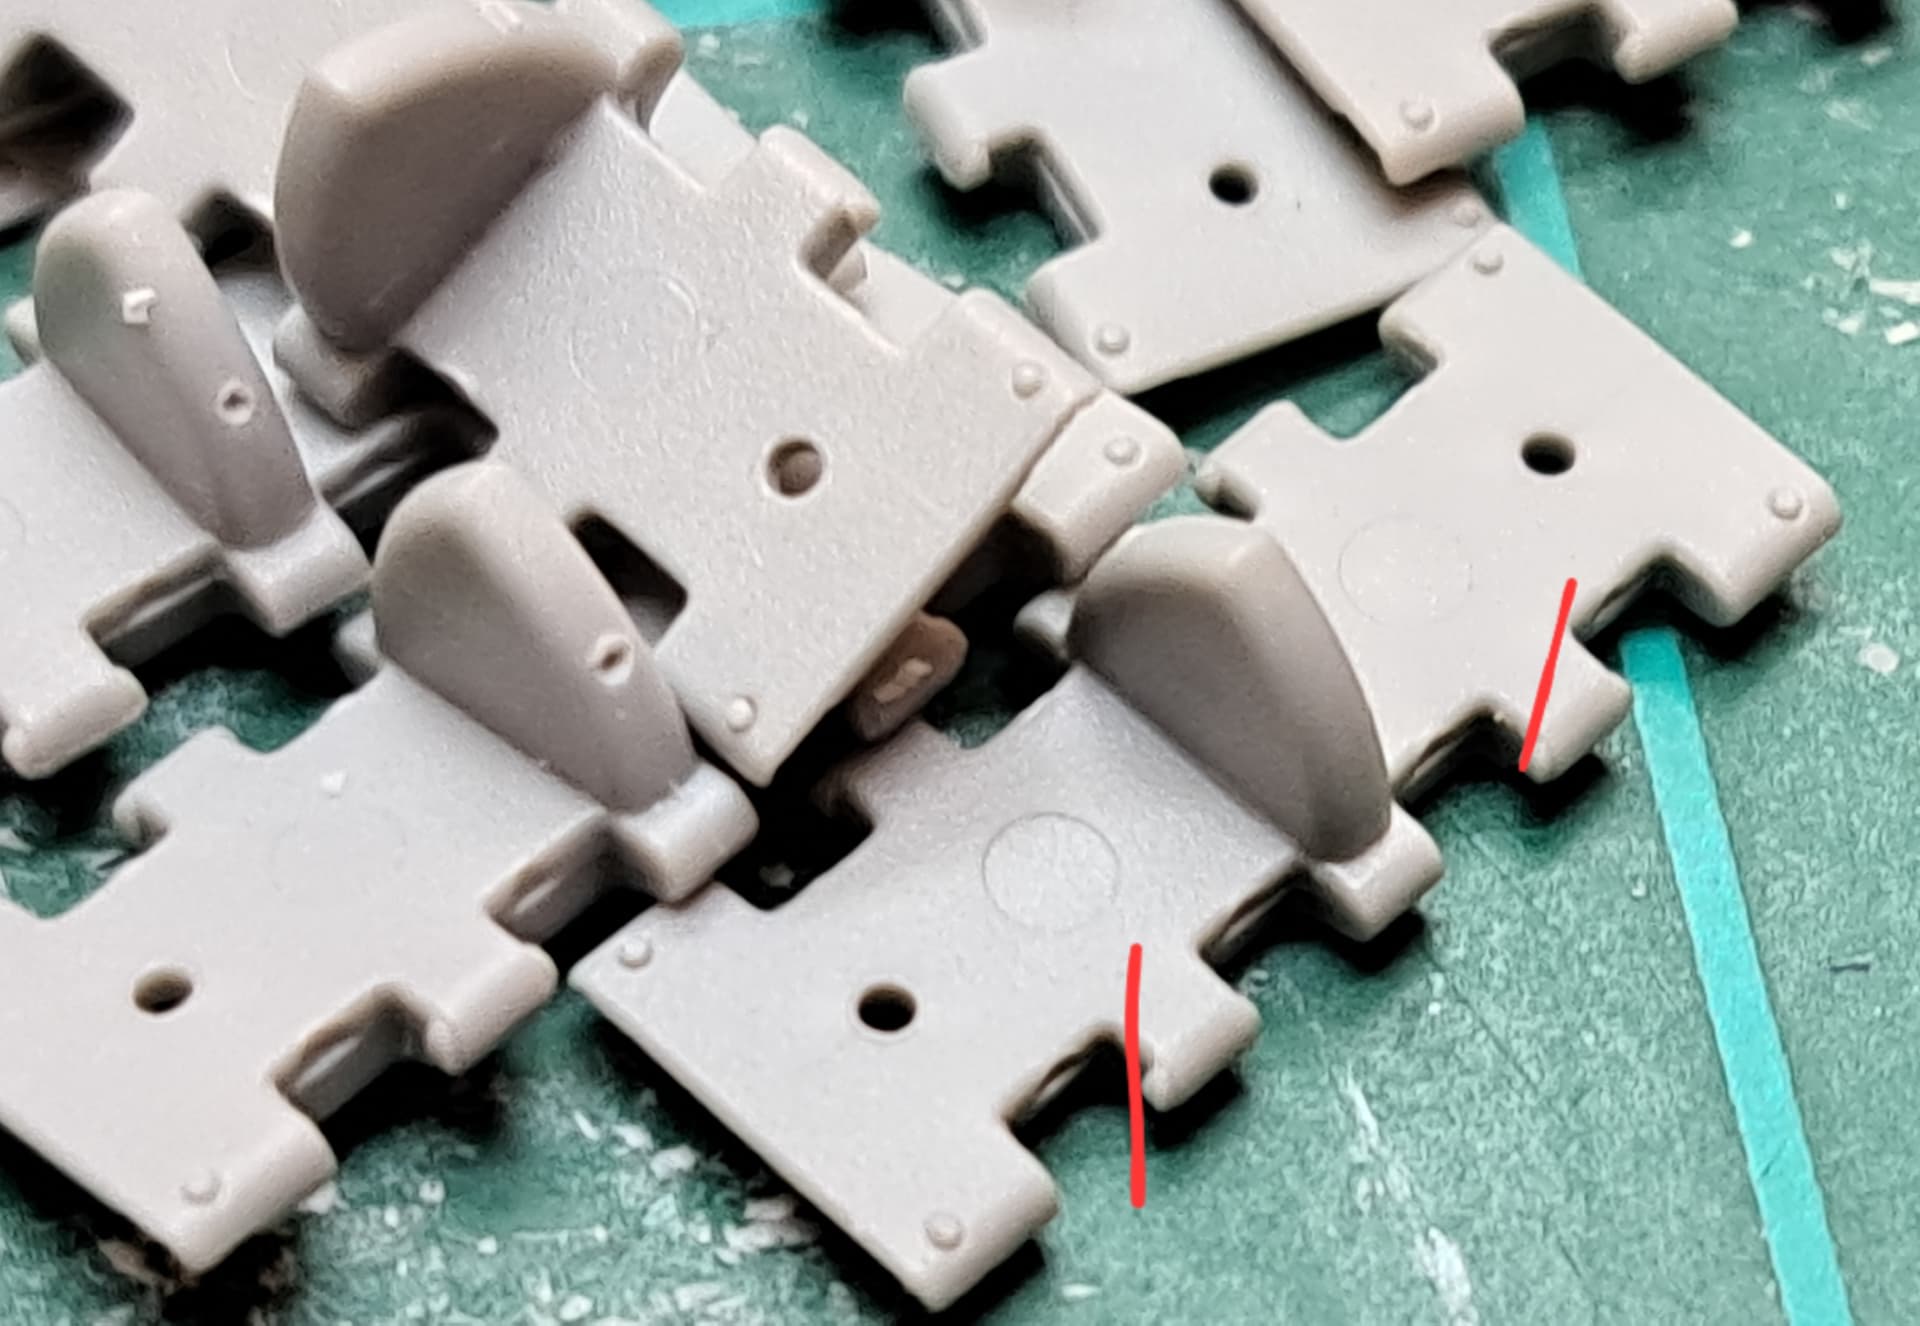
Did you sand the punch marks out or cut a disc to fill it in?
Randy, the punch marks were very shallow or slightly raised. I scraped the punch marks level with a #15 scapel blade in a #2 X-acto hobby knife handle. The blades won’t fit most #1 handles.
The part of the blade where the arrow points, in my experience is ideal for obliterating shallow or slightly raised punch marks. I could clean ~2 or 3 track links (4 to 6 punch marks) a minute.
That bit of plastic fuzz was a natty looking recessed punch mark.
The best scapel blades are Made in Germany ![]() or Made in Great Britain
or Made in Great Britain ![]()
They are equally excellent and superior to the rest of them. Discussed with my doctor once and he said the crappy blades from elsewhere work but incisions require longer to heal because the blades aren’t as sharp, dull quickly and they are just overall low quality.
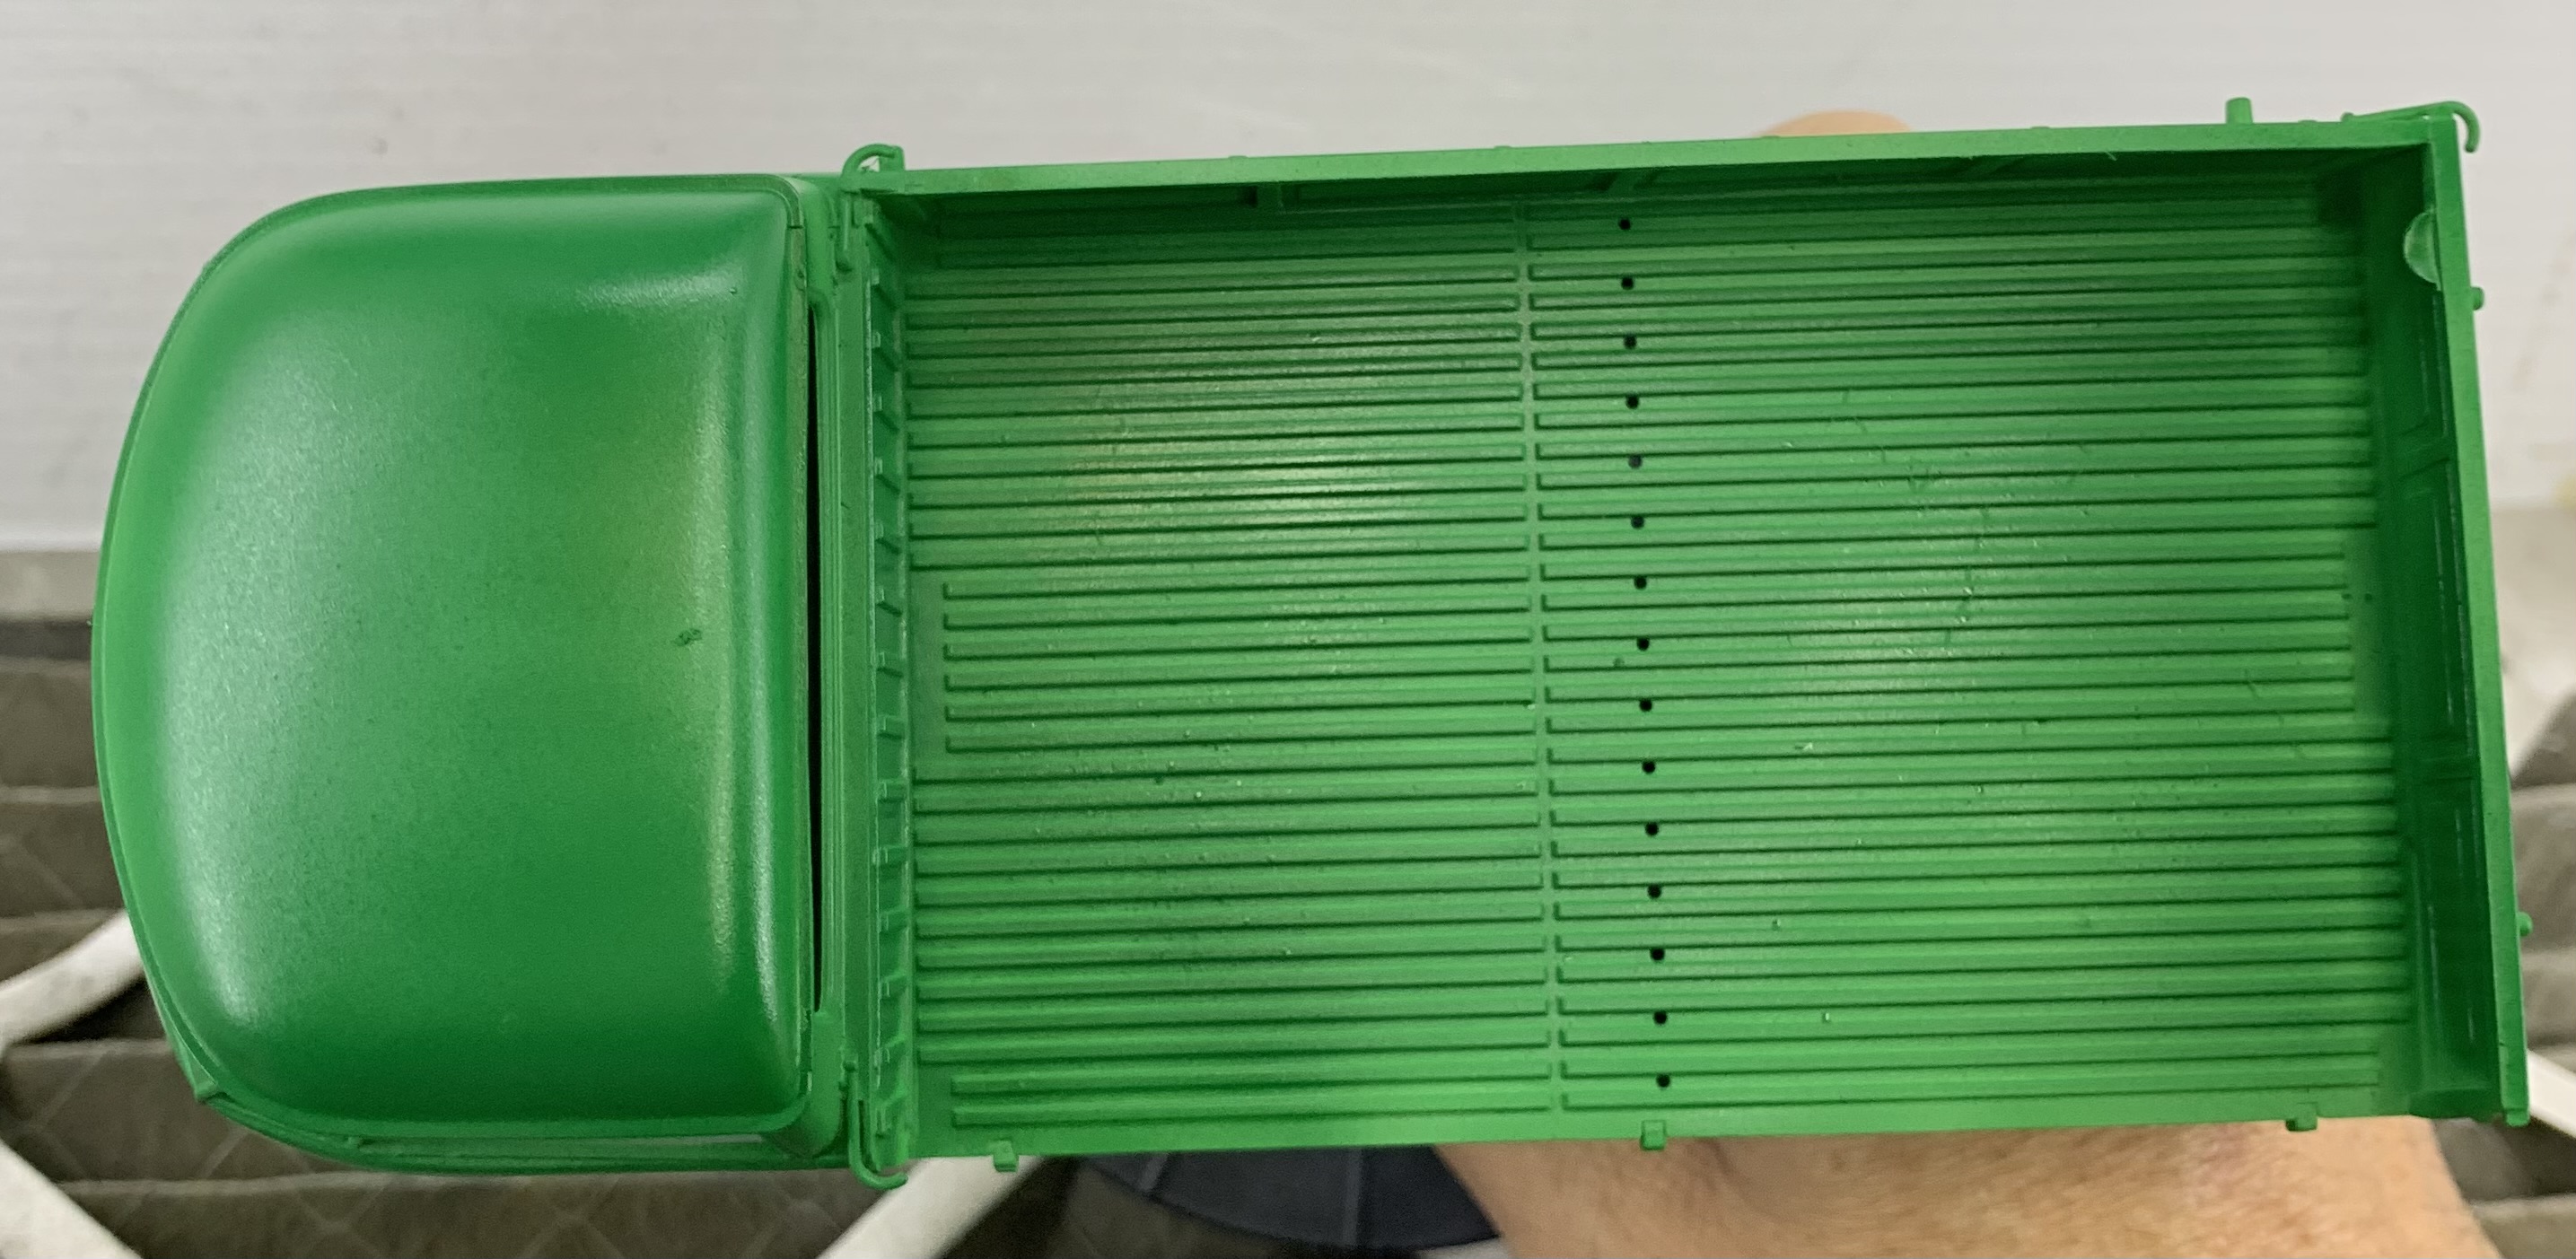
Still messing around with this truck.
Not happy with the paint coverage. Might work for armor or aircraft but not autos in my opinion.
Painting cars is a very tricky thing. I myself have several car kits in reserve, waiting for me to learn how to paint them. If you succeed, please tell us.
You really have to wet sand each coat down to get that smooth automobile finish.
We generally don’t do that with tanks or planes.
Yea- exactly- one of the keys for car modelling is the sanding process. This thread from Britmodeller is a handy guide to the process.
Usually 1/24 car kits are better designed to allow for the sanding process- the body shell is usually one large part- not always the case with a 1/35 kit of an car or van.
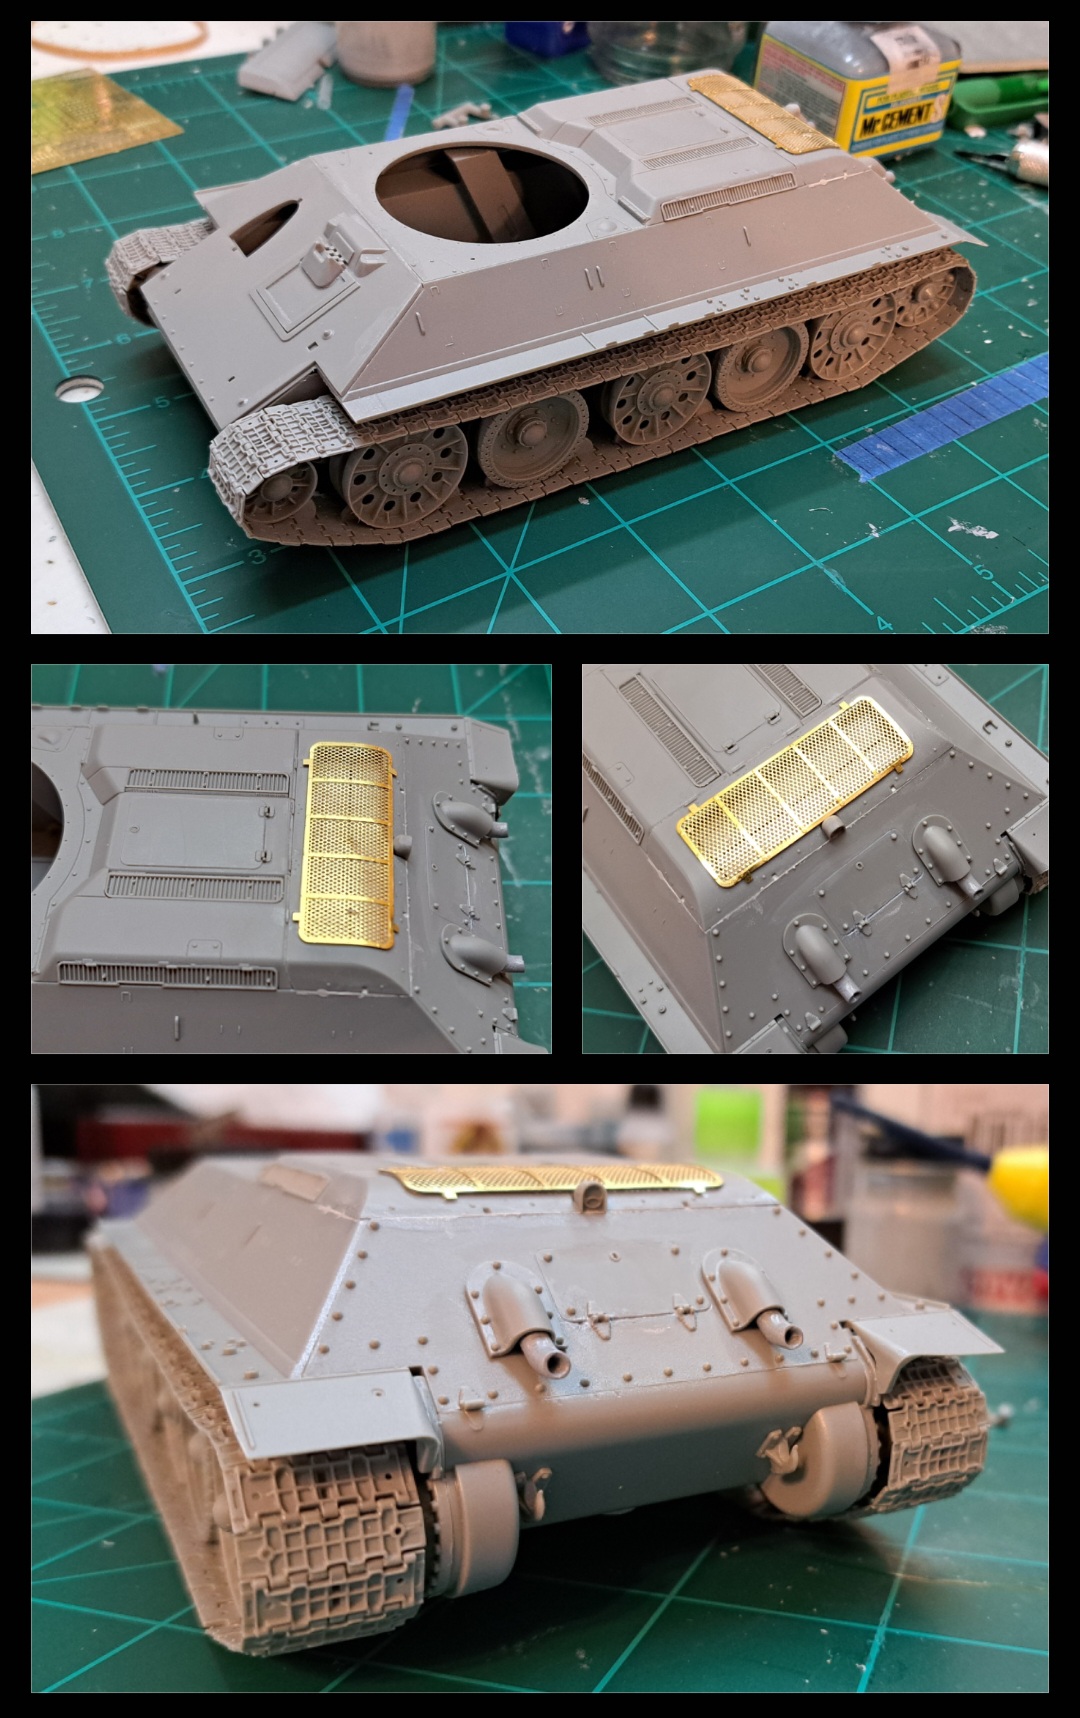
It’s like Dragon forgot to put their typical bad instruction sheet in the kit!
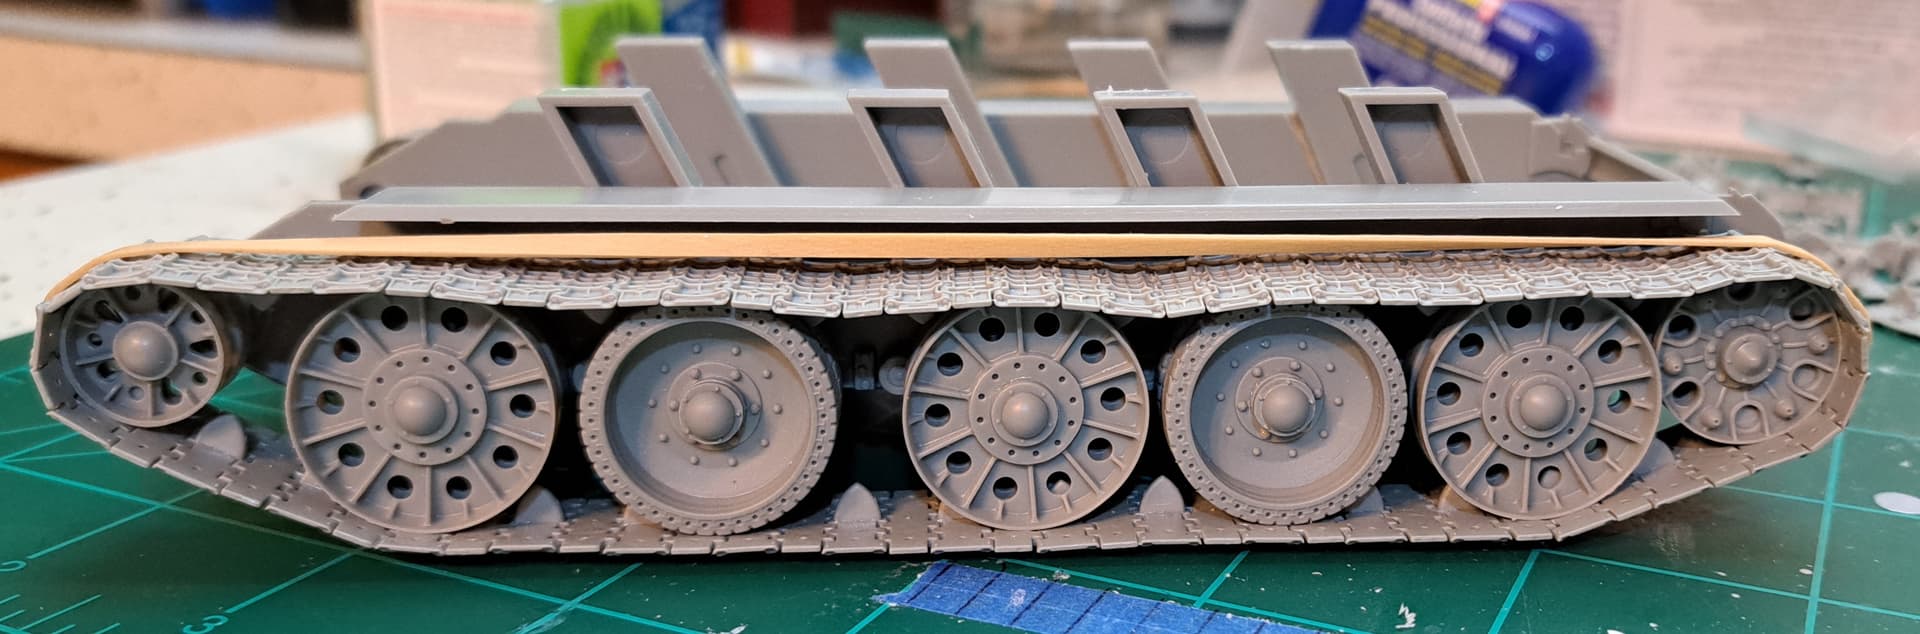
The Dragon T-34/76 STZ 1941 kit is well on the way to becoming my favorite Dragon kit ever. It’s been Tamiya/Ryefield like so far. Have enyoyed the build which is very rare in general and never happens with Dragon kits.
That might be the issue but what it feels like there is something with the paint that was off. I am used to using Tamiya XF and not X paints that I mixed, it’s like the pigmentation was not consistent when spraying. Maybe my ratio of MLT and X mix was off. I haven’t had the same issue with XF and MLT that I recall.
Thanks for the the thread I’ve book marked it. I have a couple of cars to do and that will come in handy ![]()