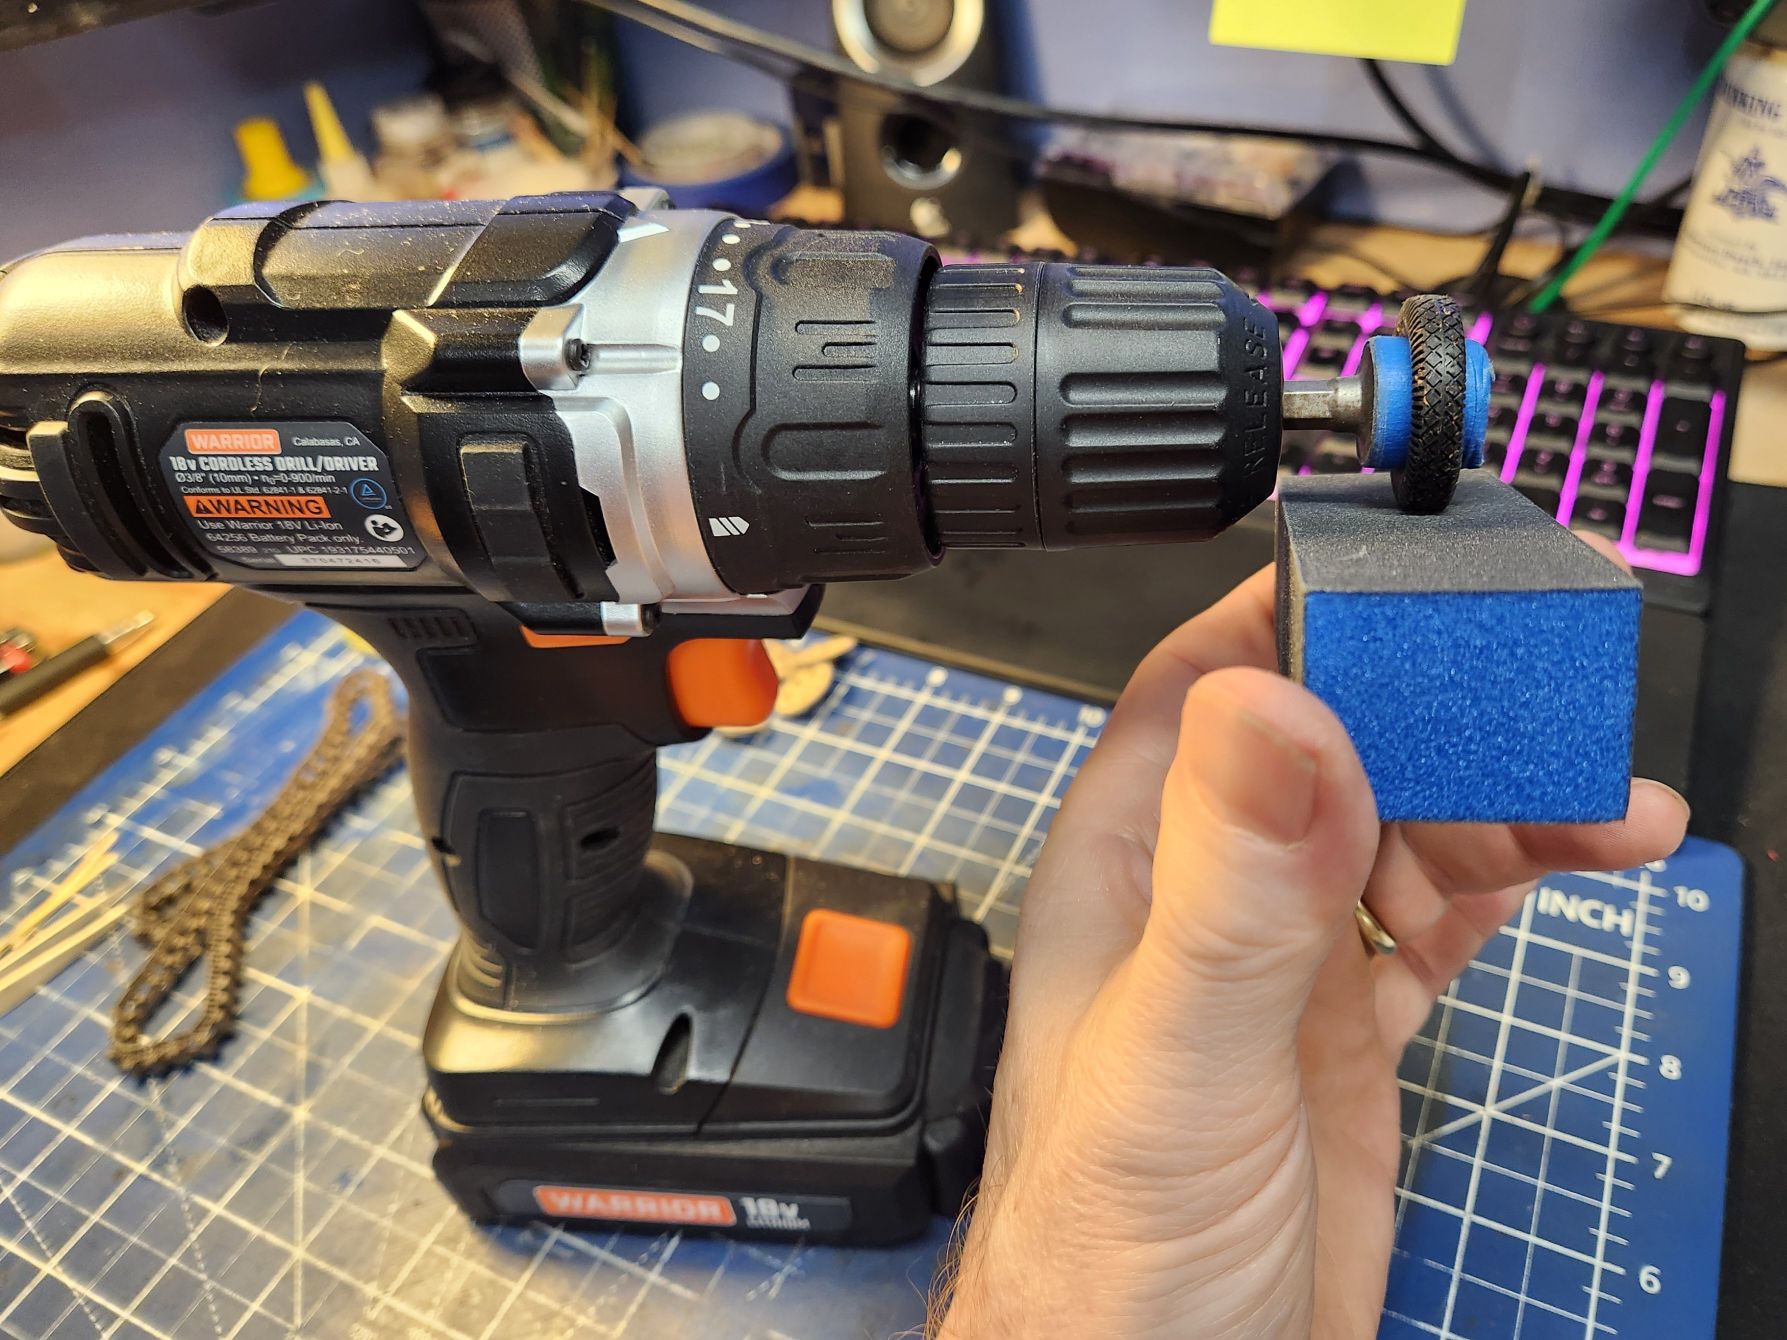
If you have a drill or access to a rotary tool and can attach a bit that is large enough to insert into the tire firmly enough that it does not rotate on the bit, you can operate the drill with the tire spinning and press sandpaper against that and let it go until the ridge disappears. Just don’t press too hard and grind the tire away. I usually attach some 180 grit to a board and spin the tires against that.
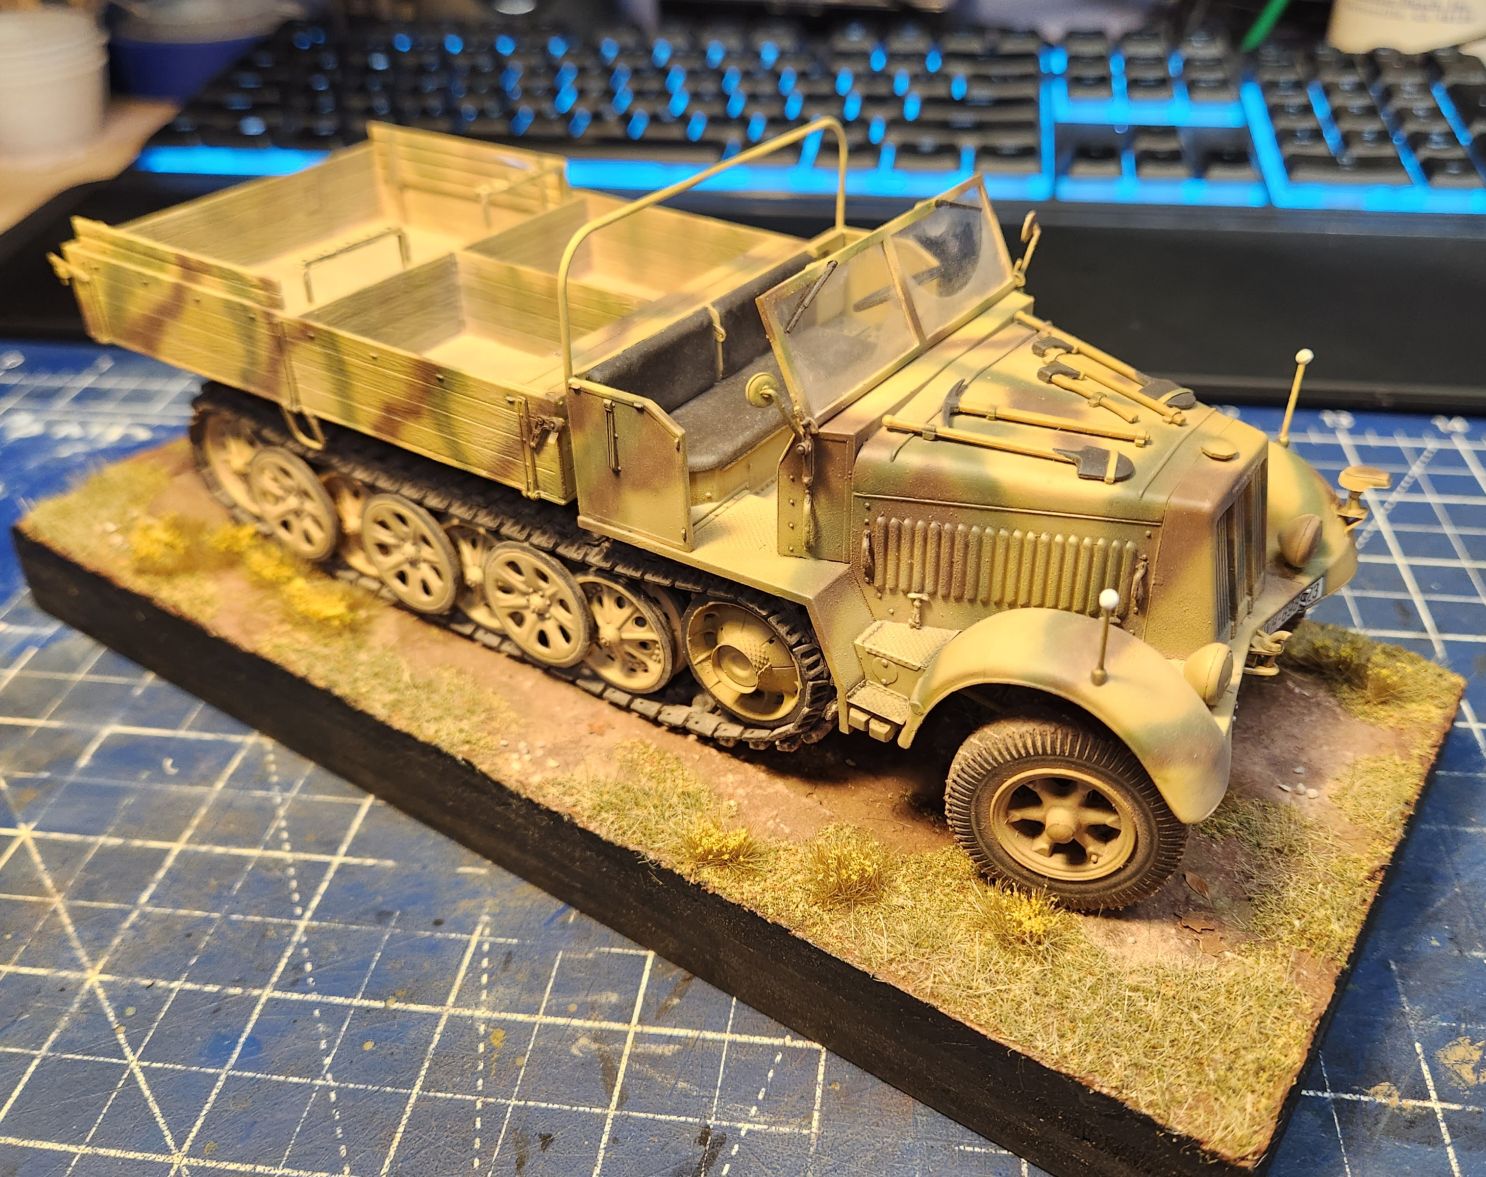
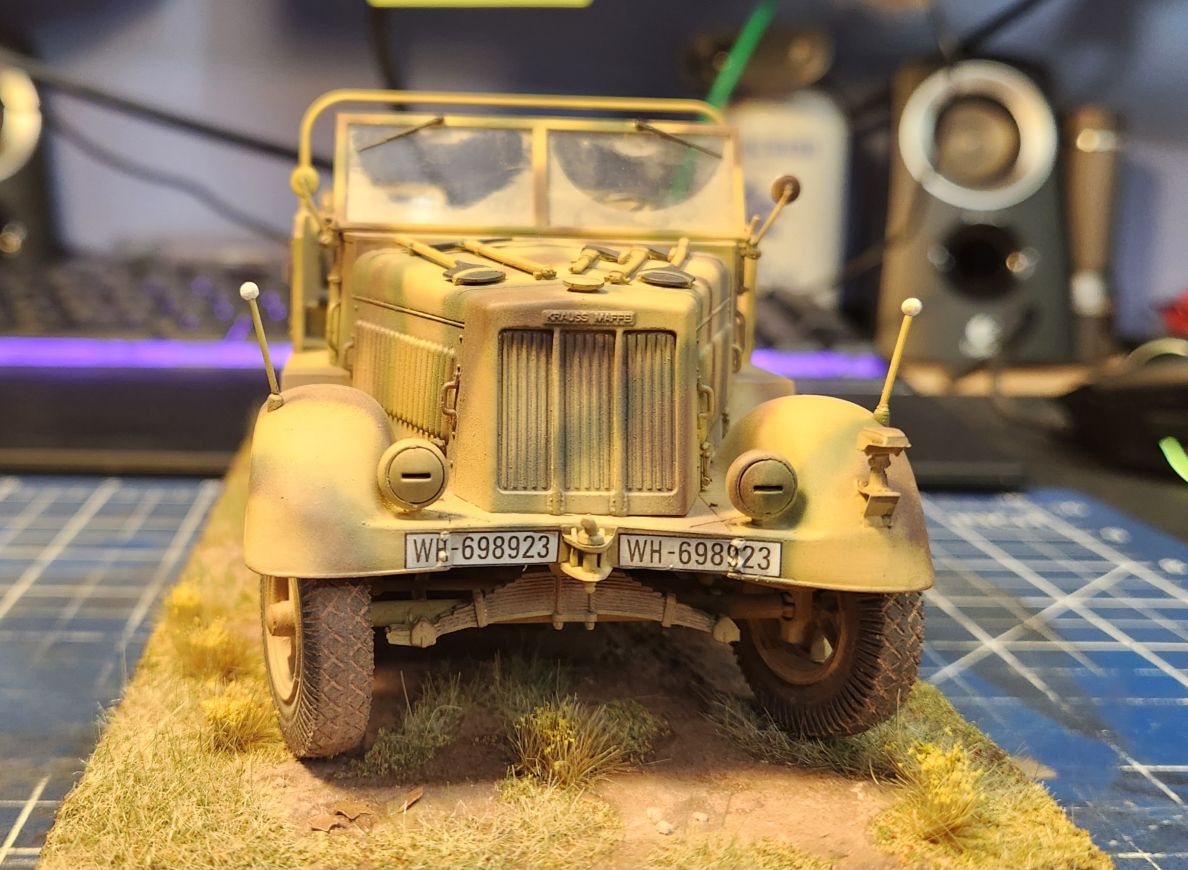
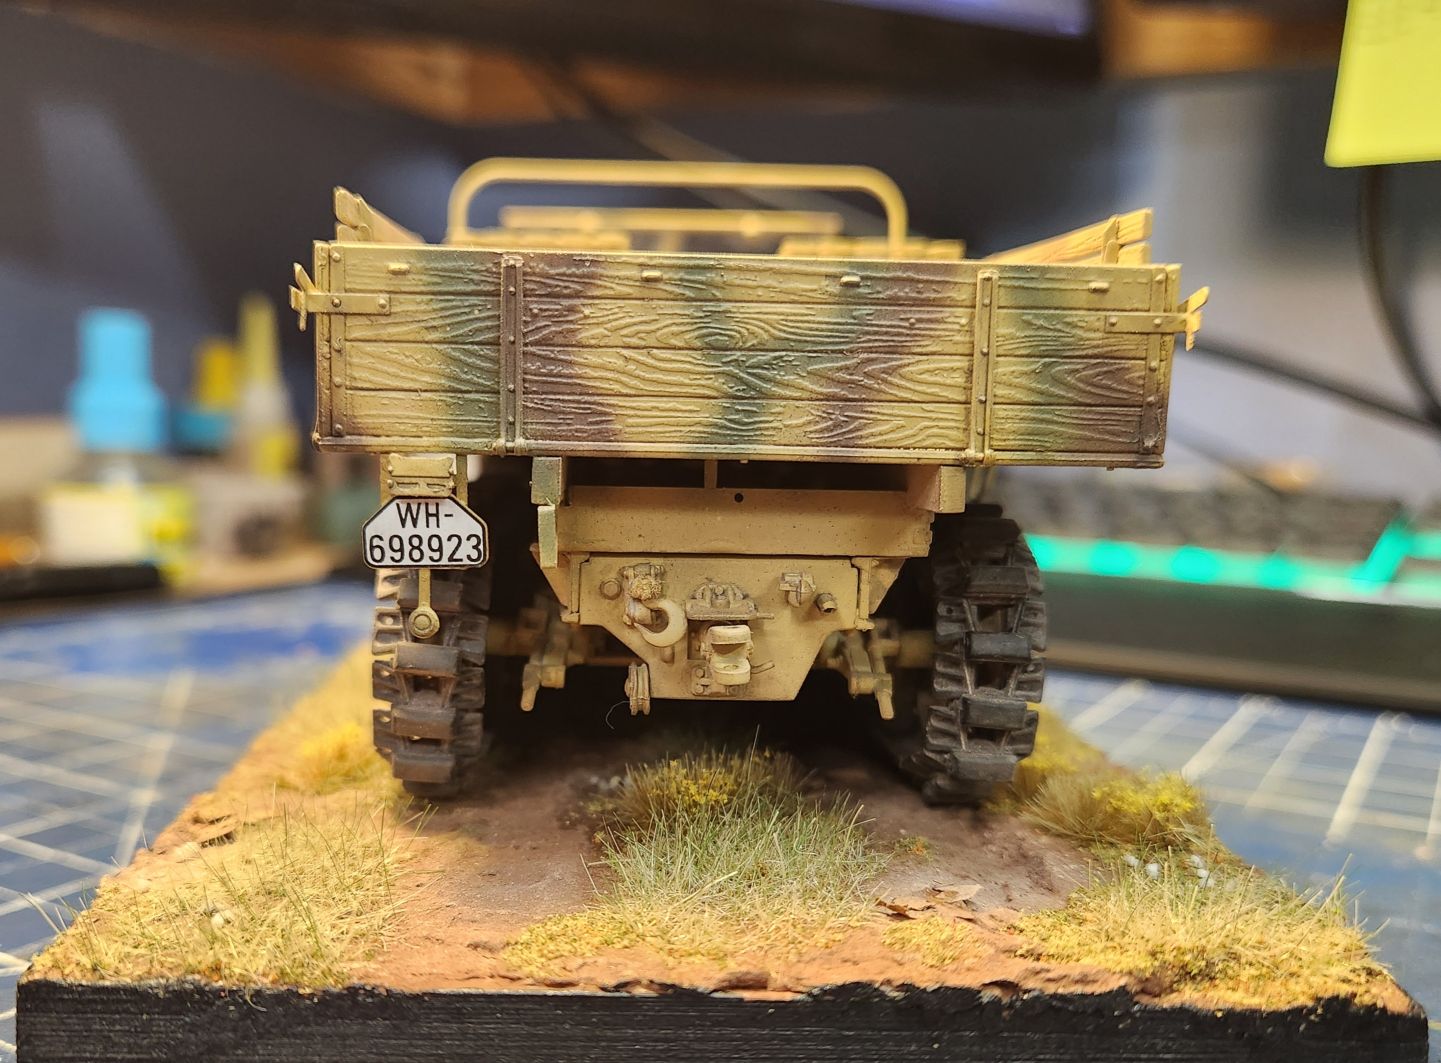
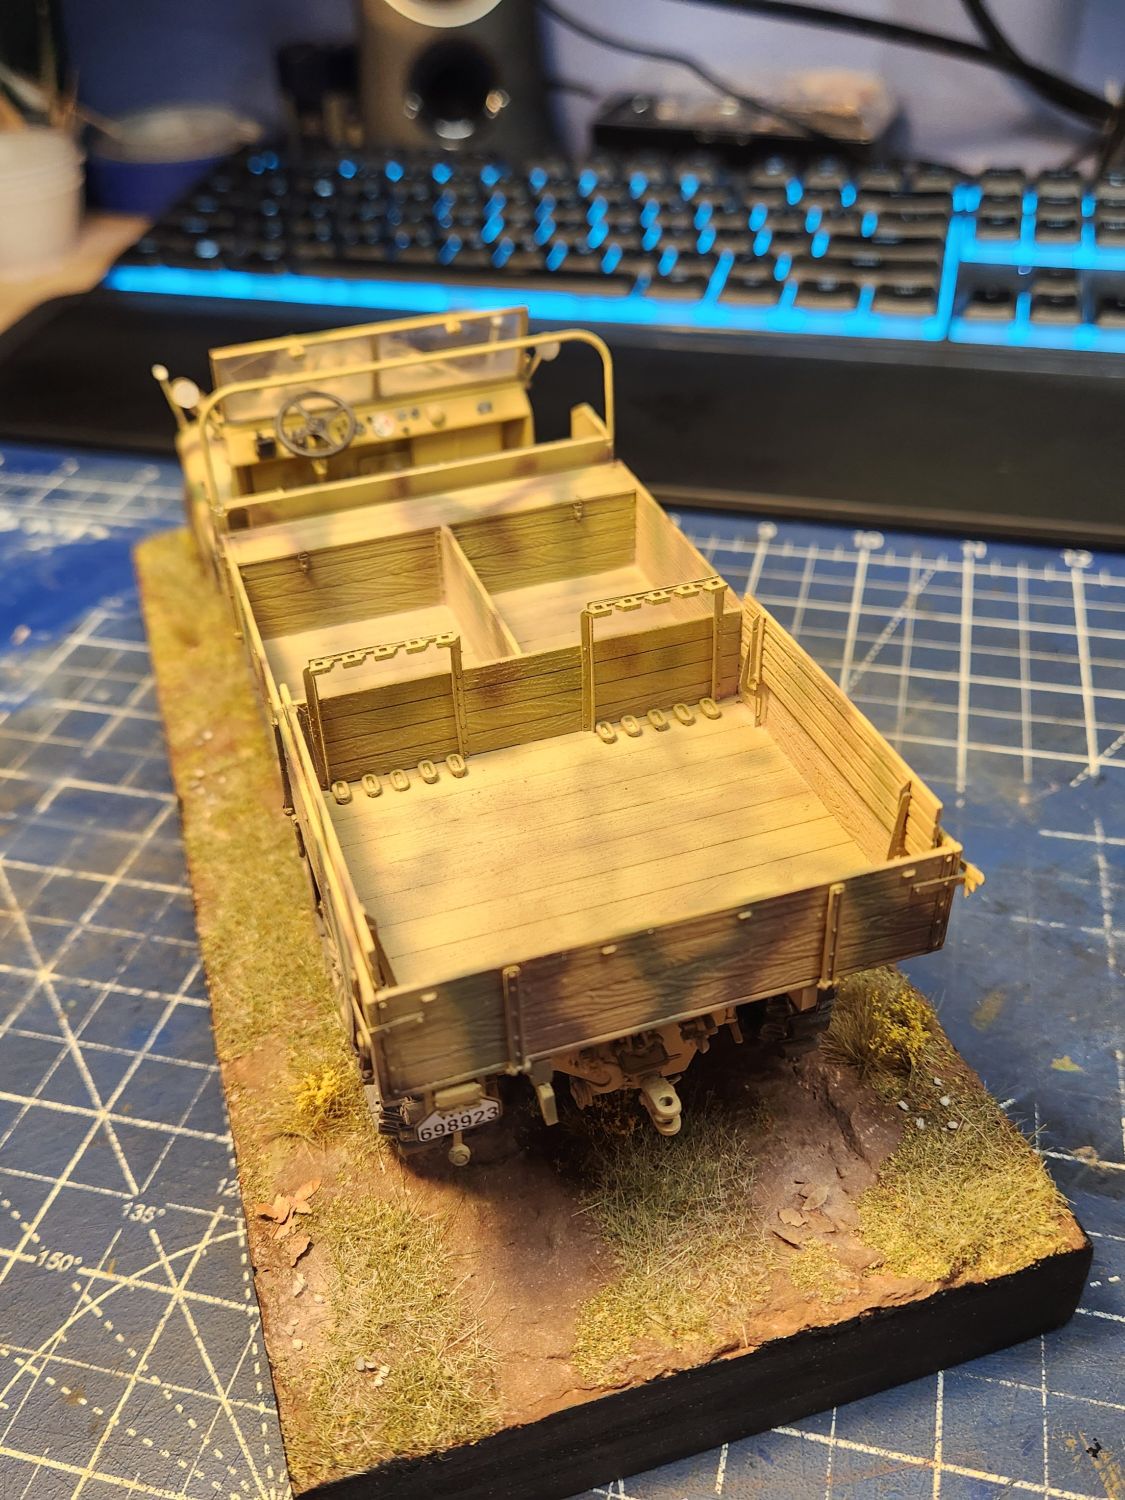
Speaking of tires, here is my Trumpeter 01507 Sd.Kfz 7 late version that is essentially done. The only thing I have left is to blend the vehicle and the base a bit more and add some cargo. I have some fuel drums ready and a load of jerry cans that need paint and weathering. Also working on a solution for the cab and cargo covers.
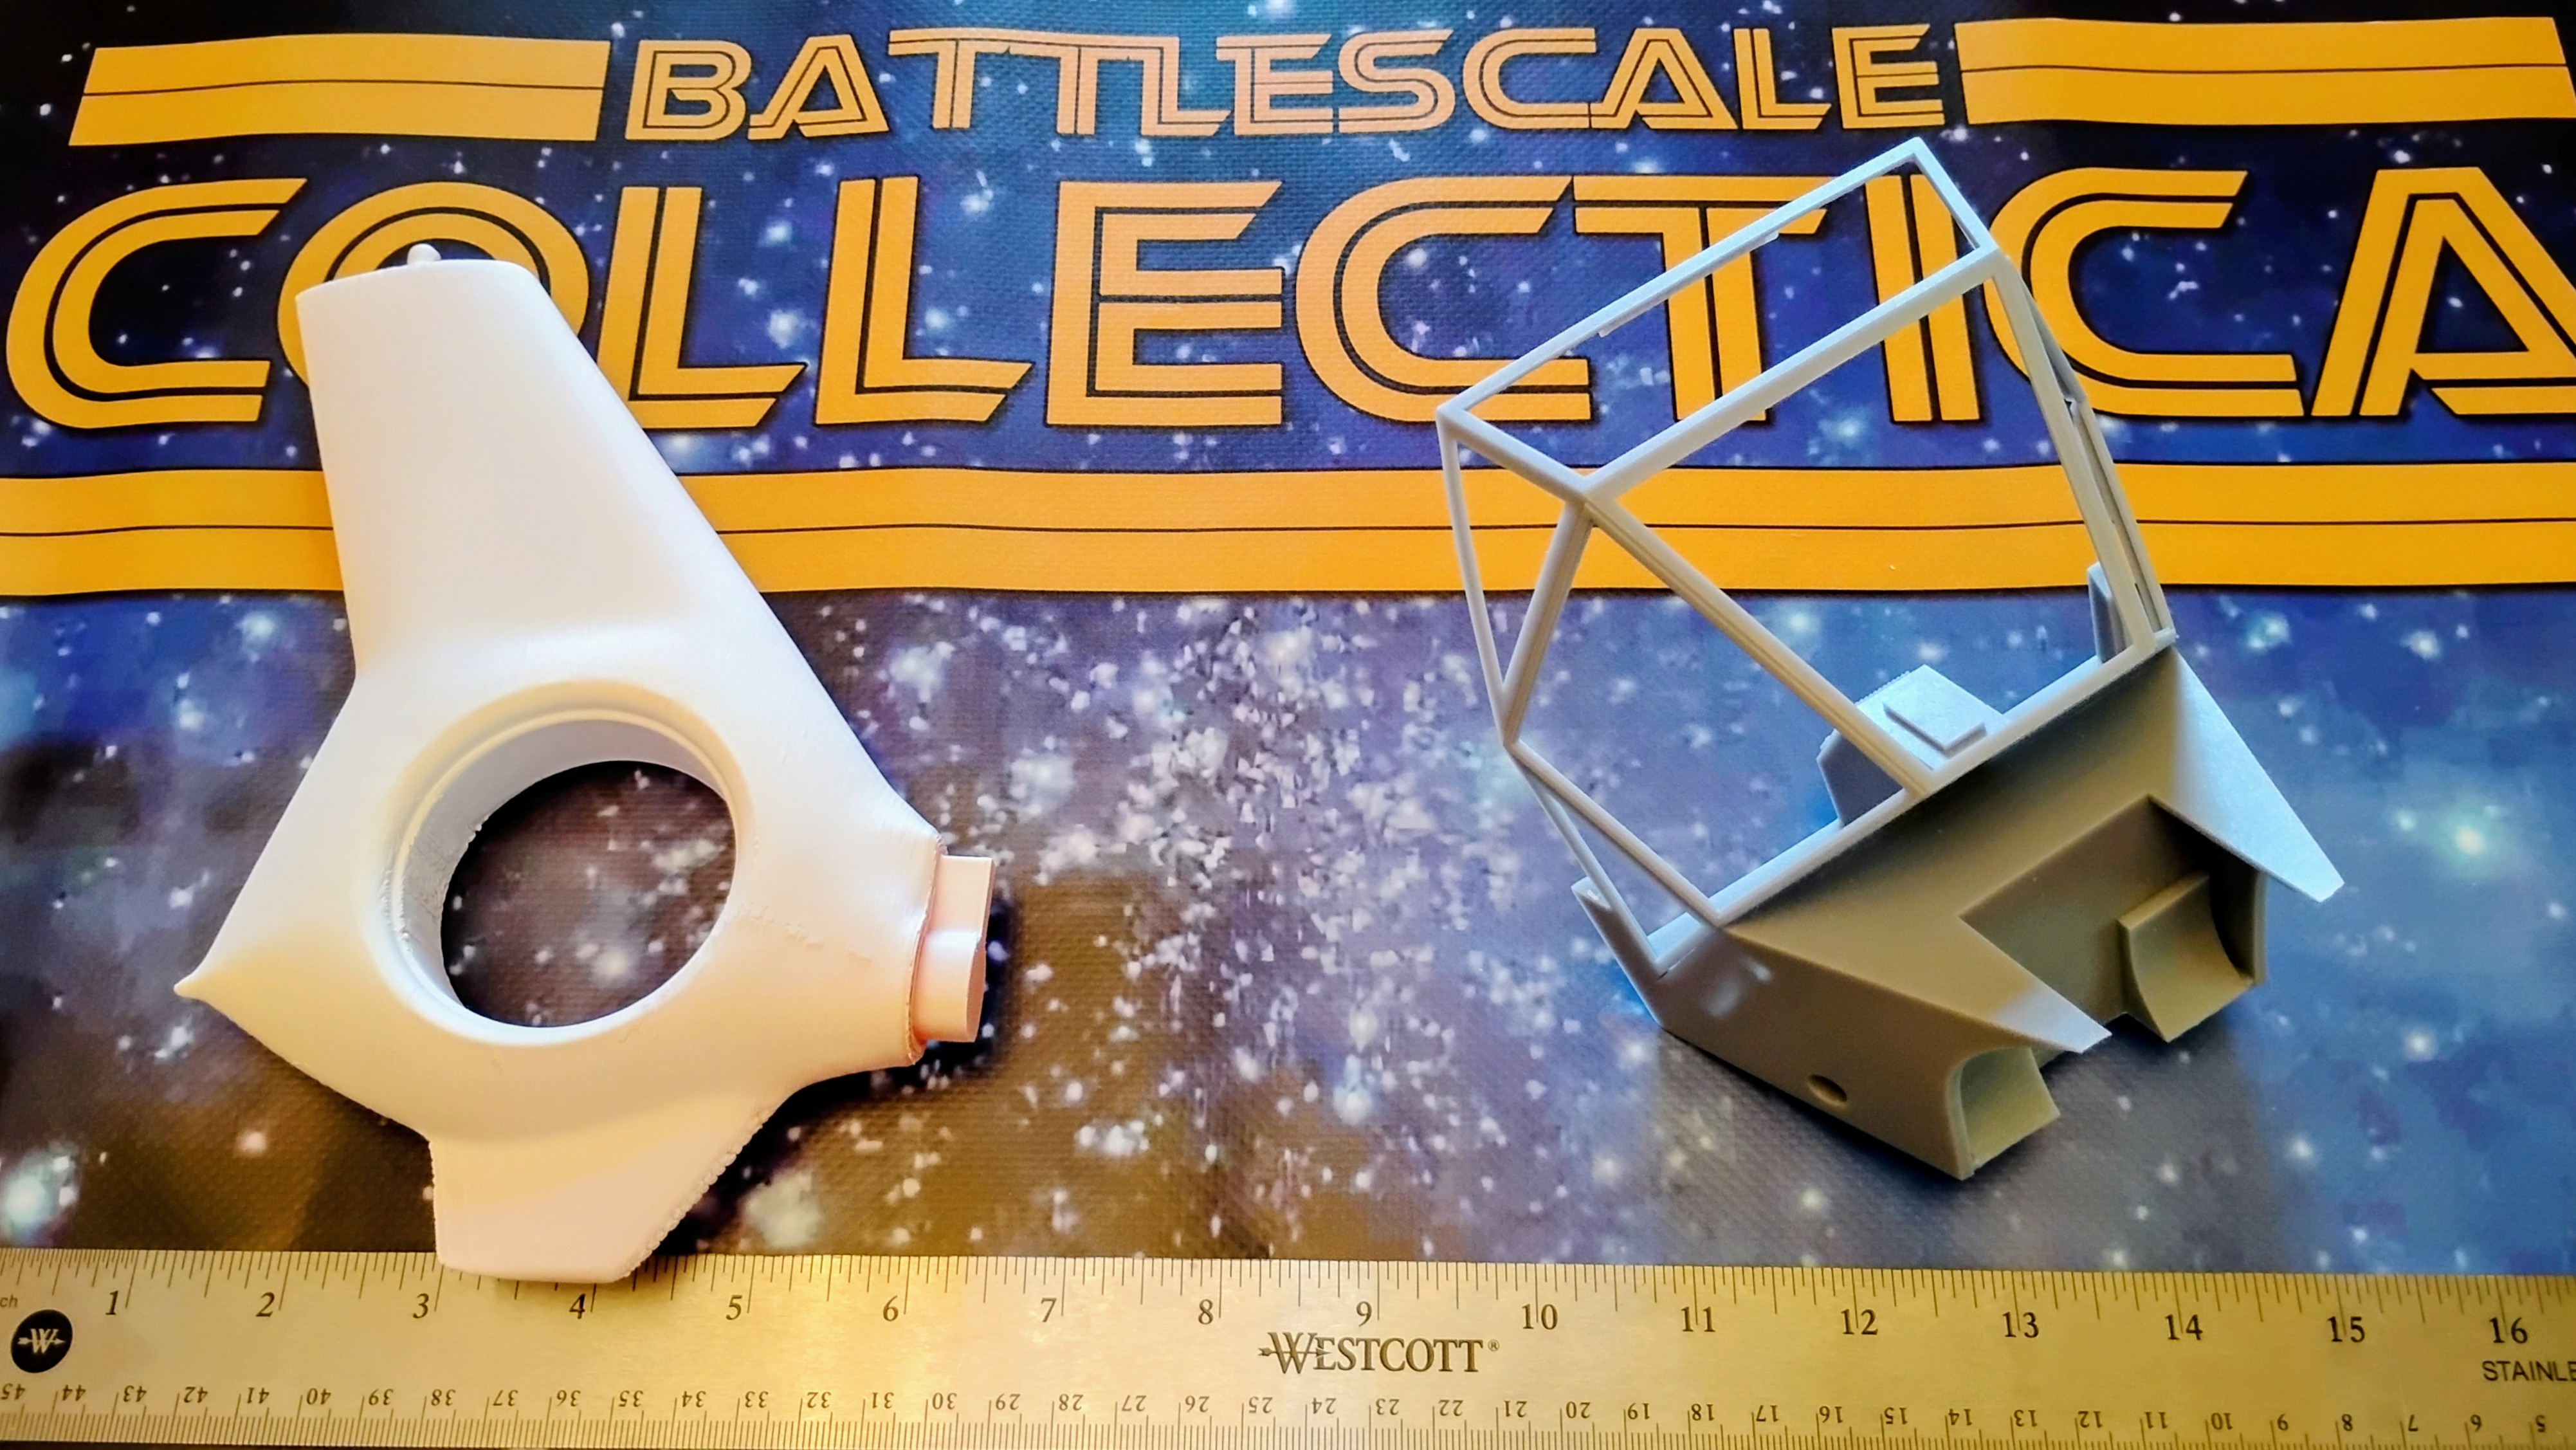
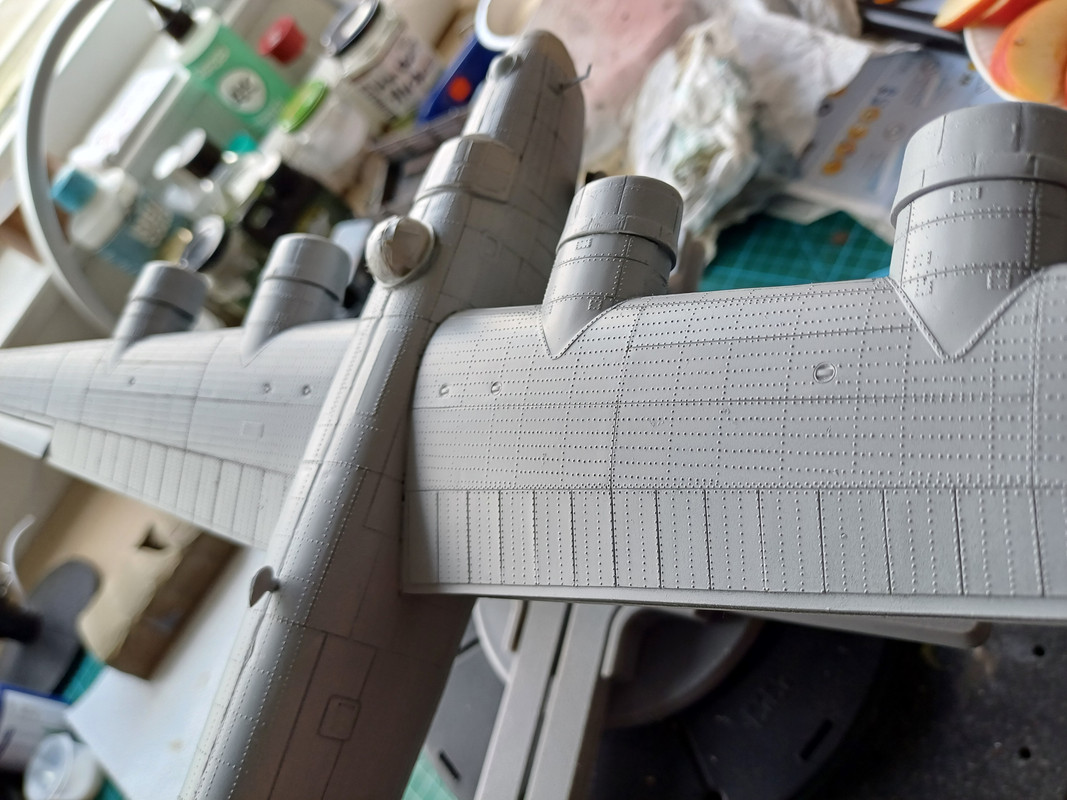
My test printed tail fin & canopy for the 1/10 scale Blue Thunder helicopter. It’s going to be a mix of PLA & resin as some parts just won’t print in FDM.
The fuselage will be tricky because due to size I’ll be printing in plastic.
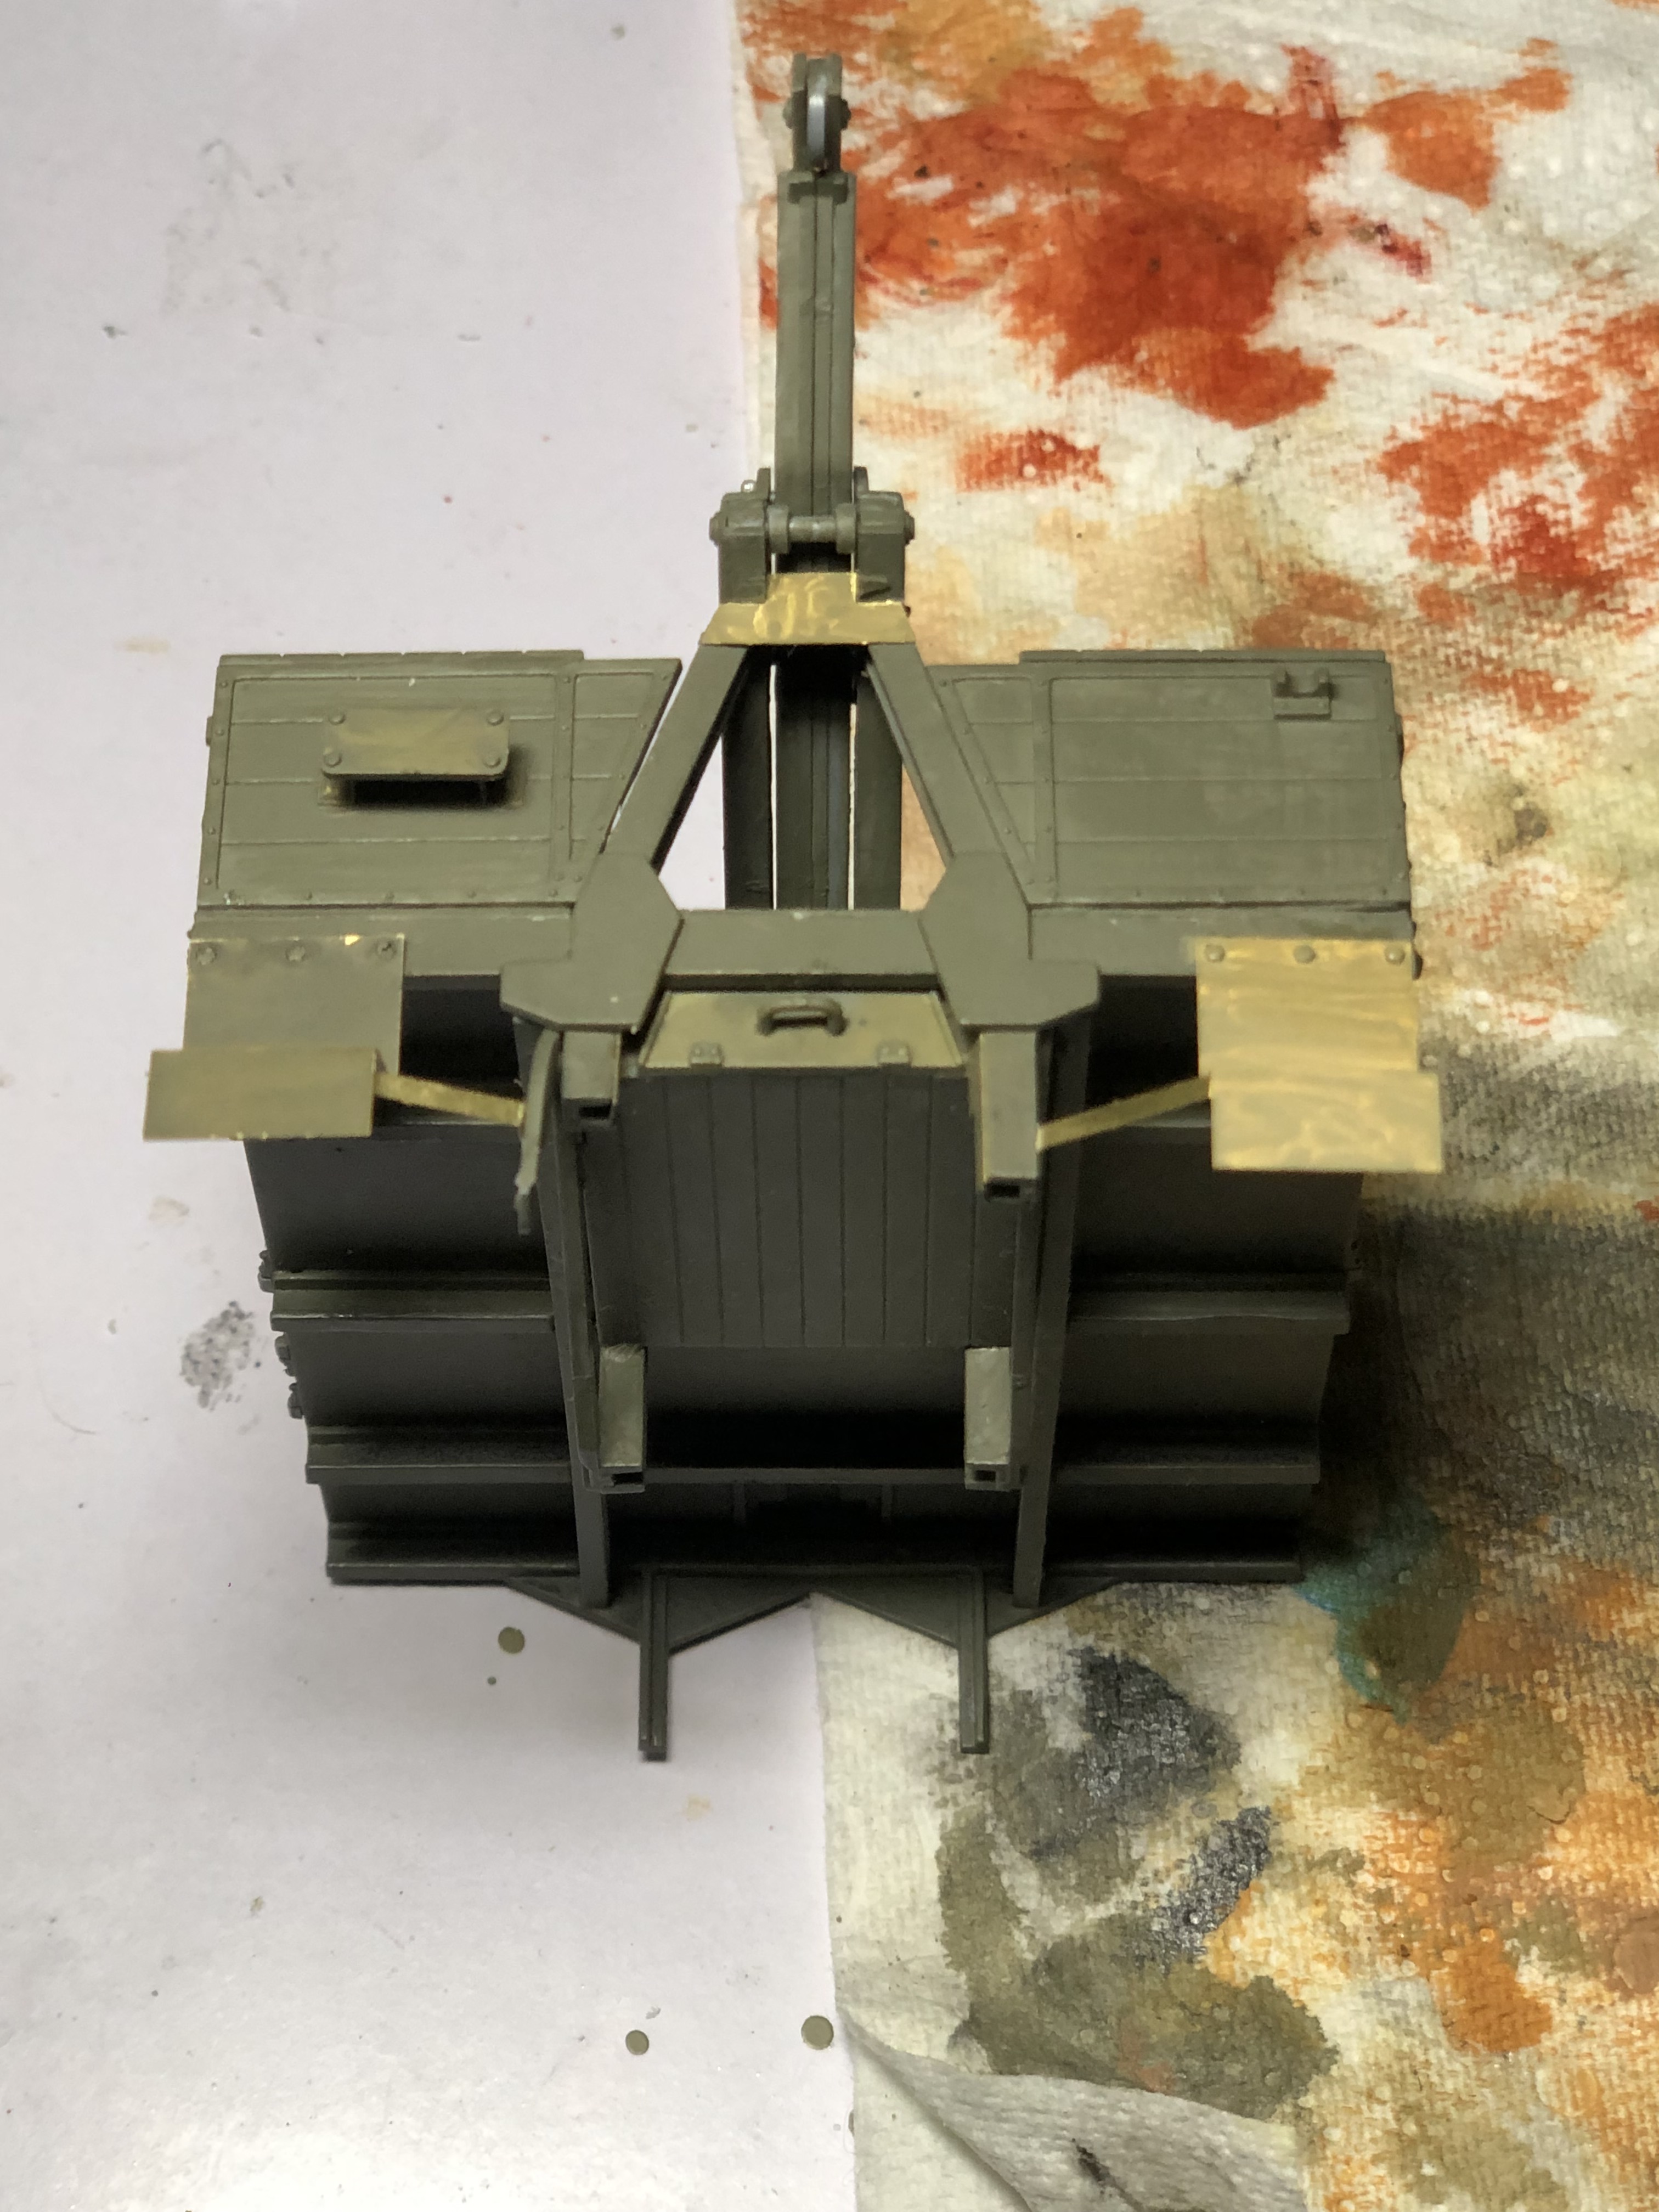
Not been doing much modelling last couple of weeks due to glorious clear blue skies and 18 degrees centigrade. T- shirts on and not coming in until late. Tonight the midges chased me in so I glued two small and fragile pieces of PE to the rear mud guards and that’s it for now.
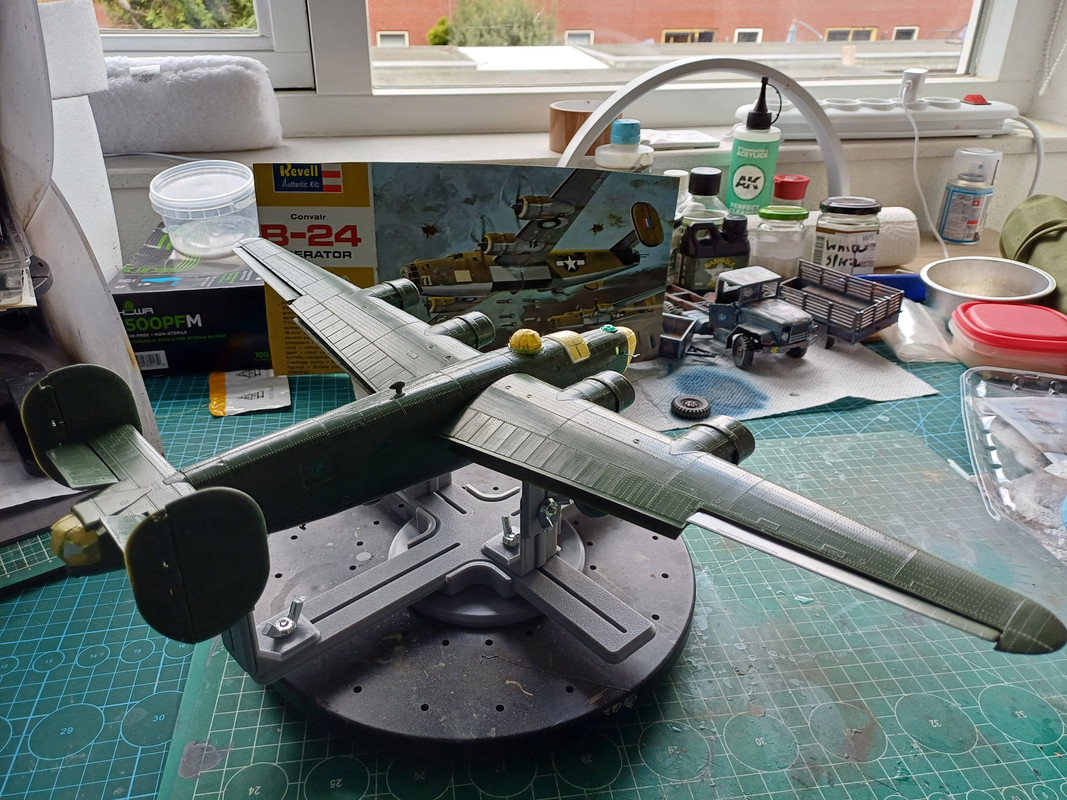
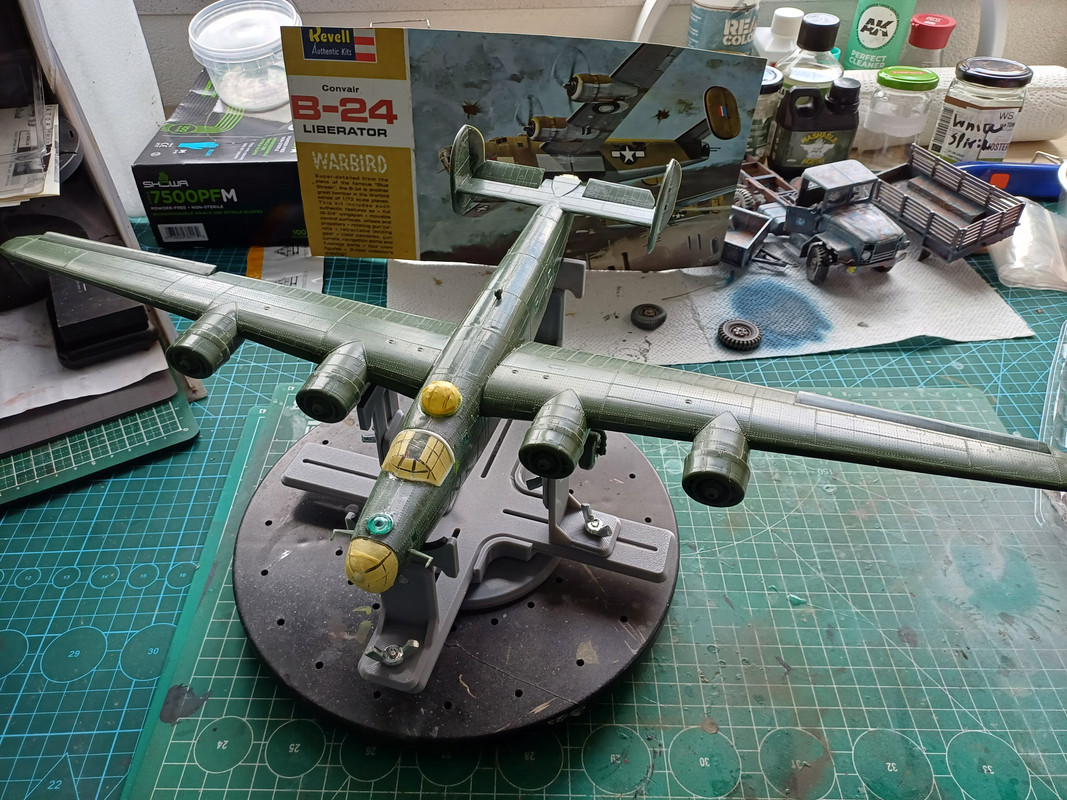
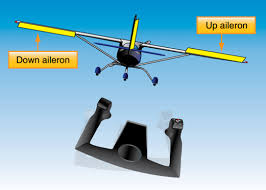
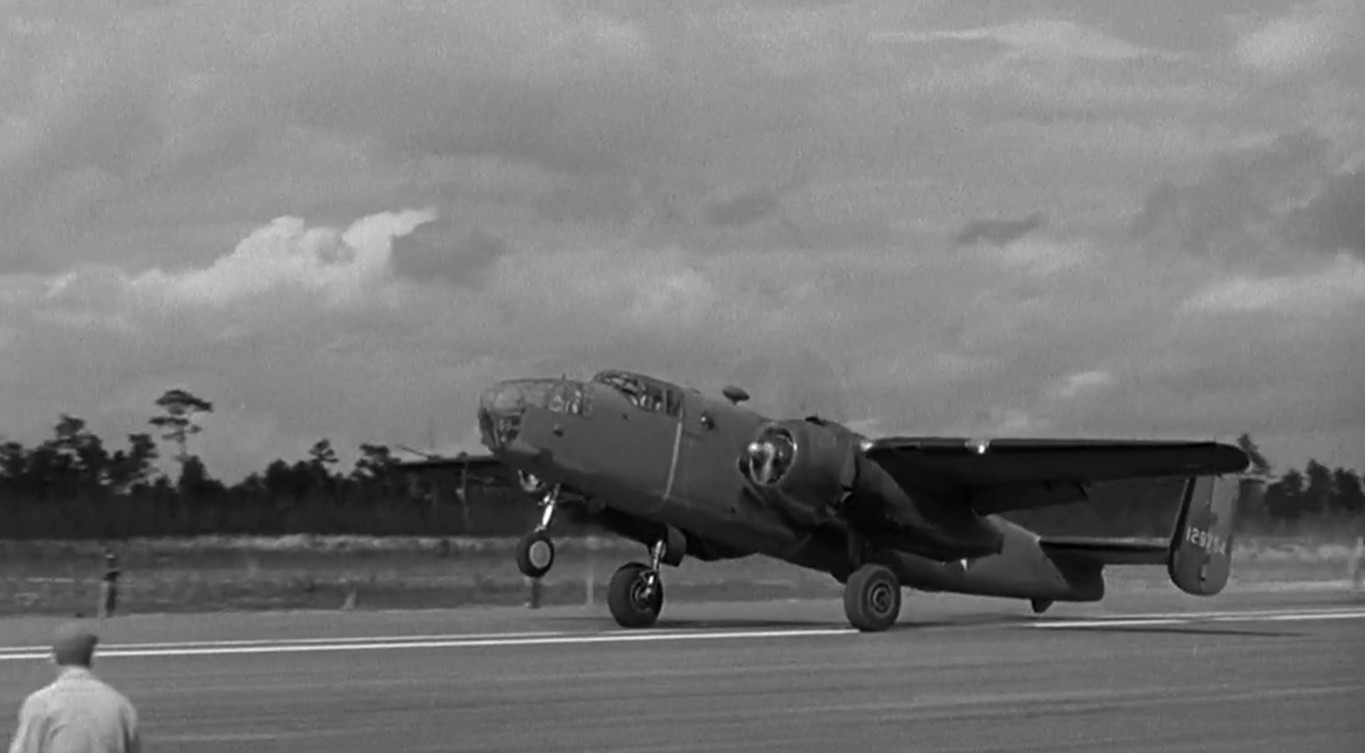
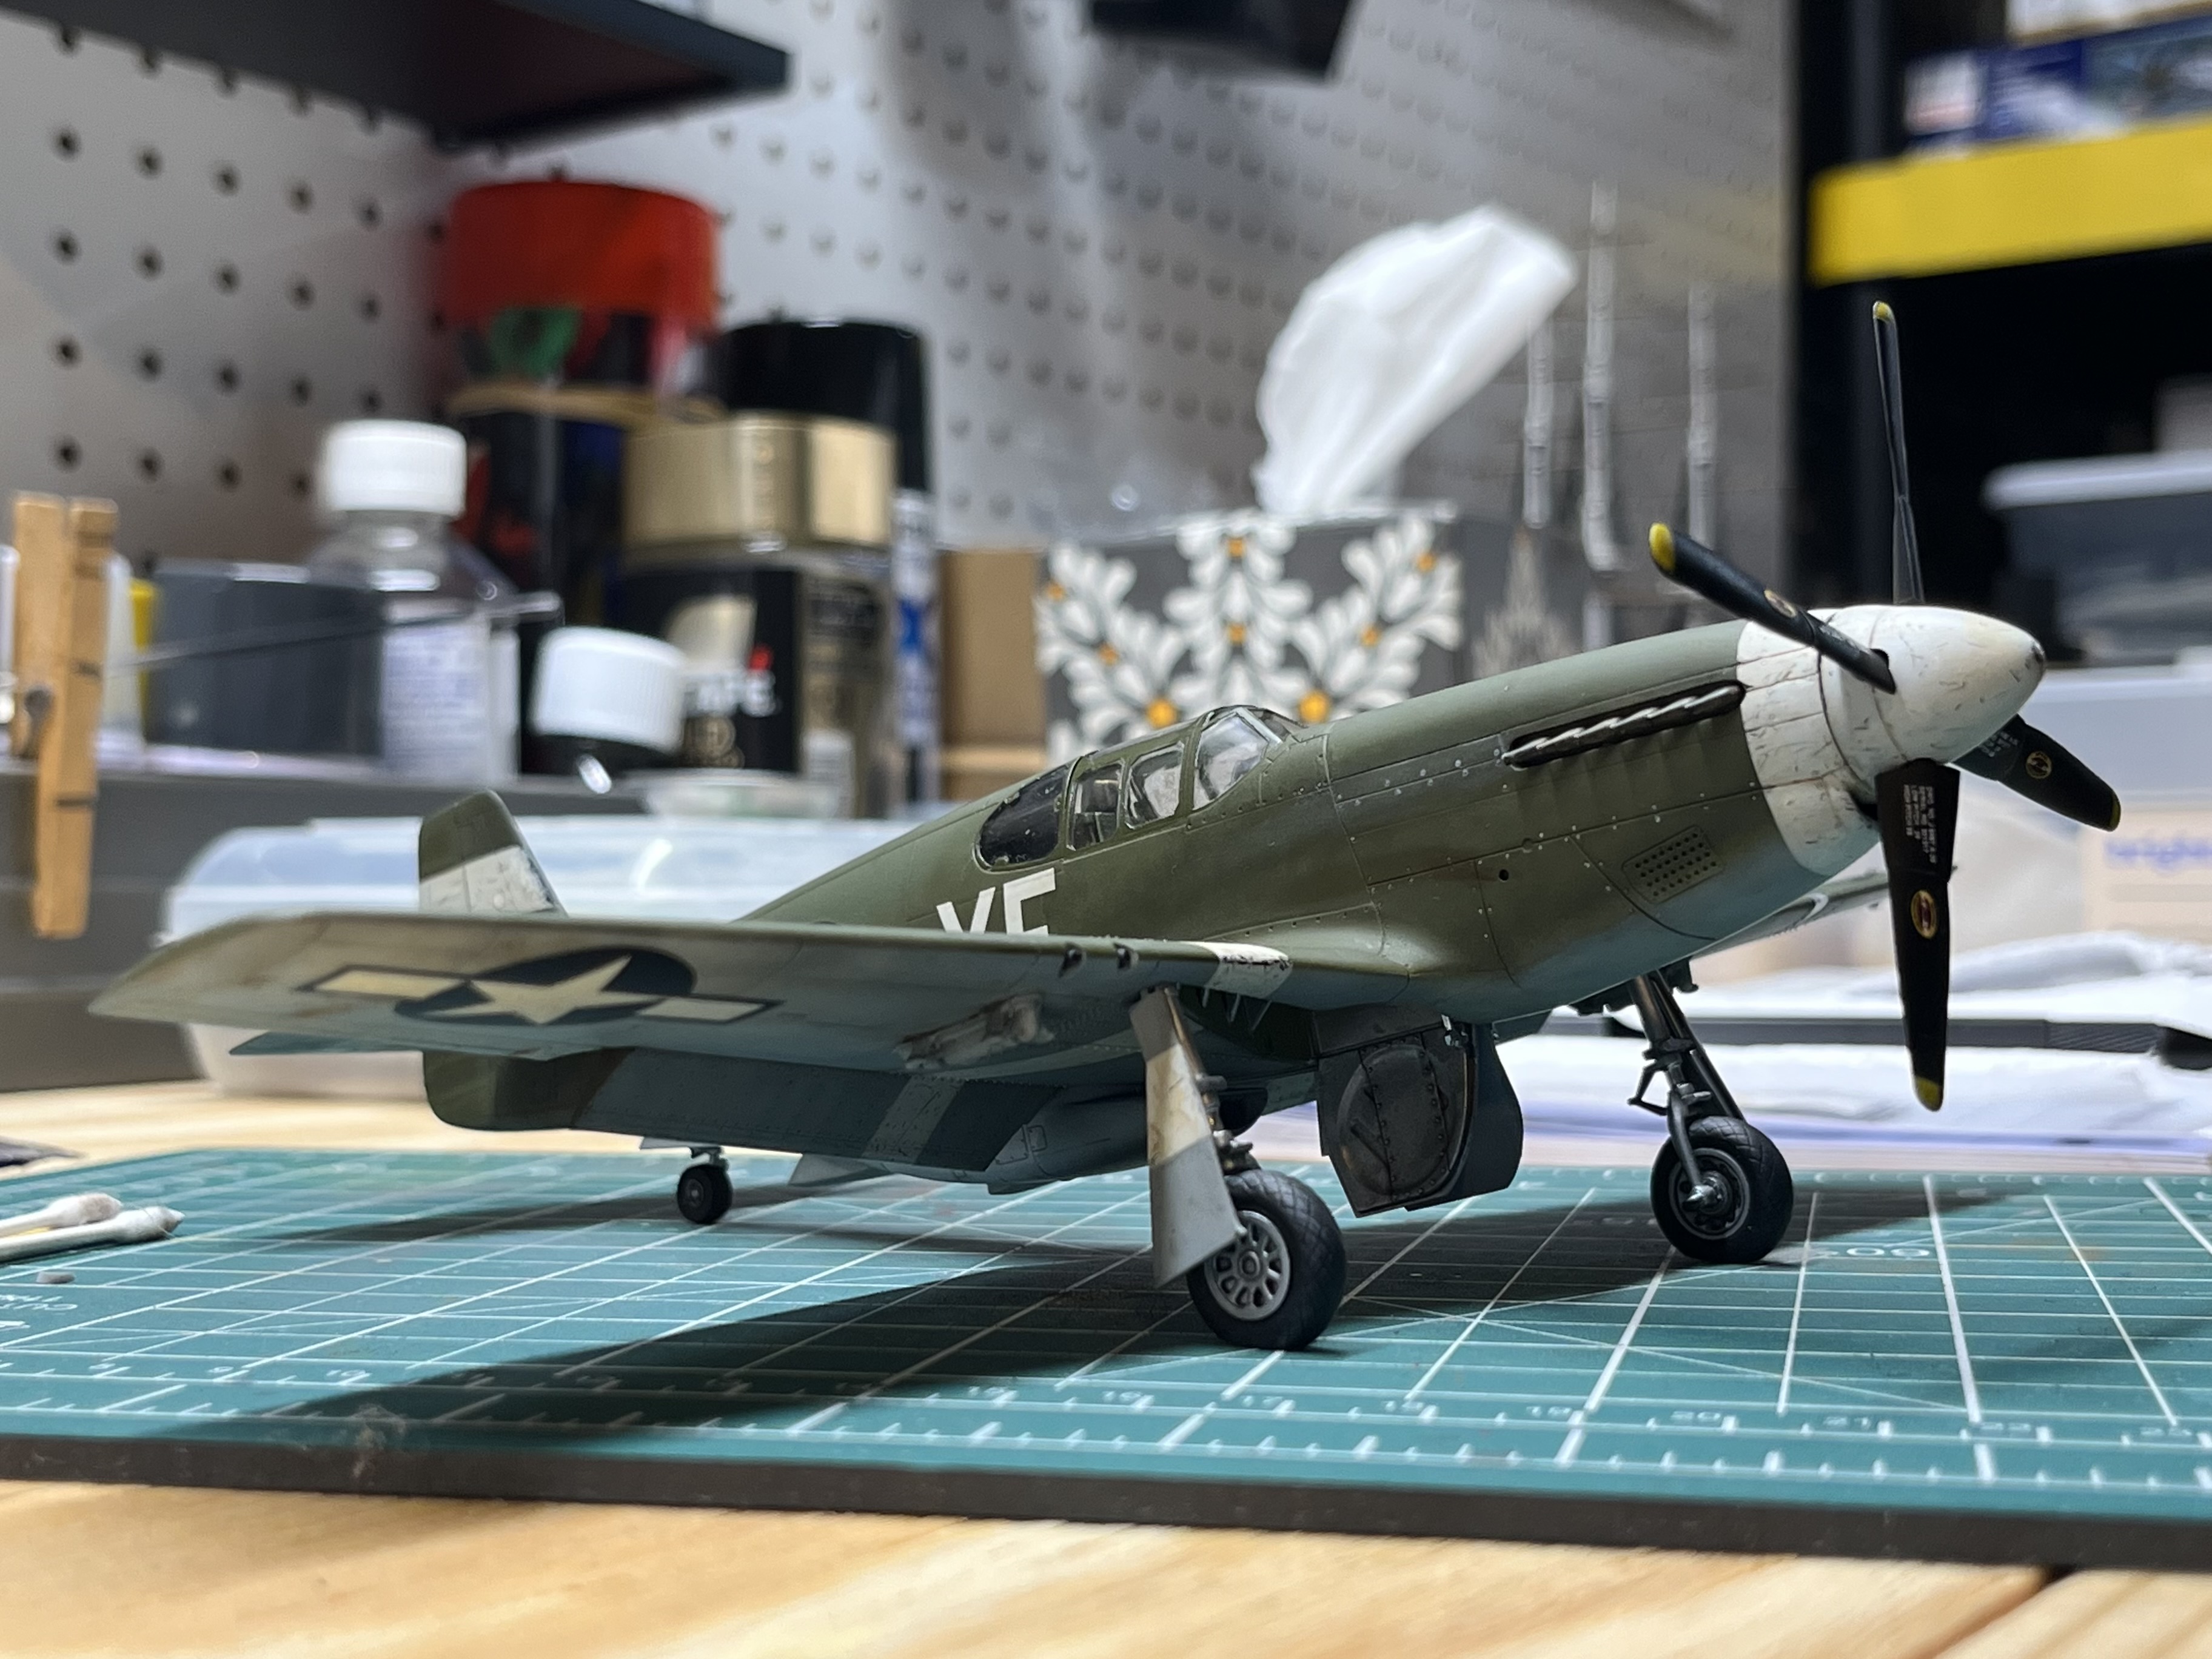
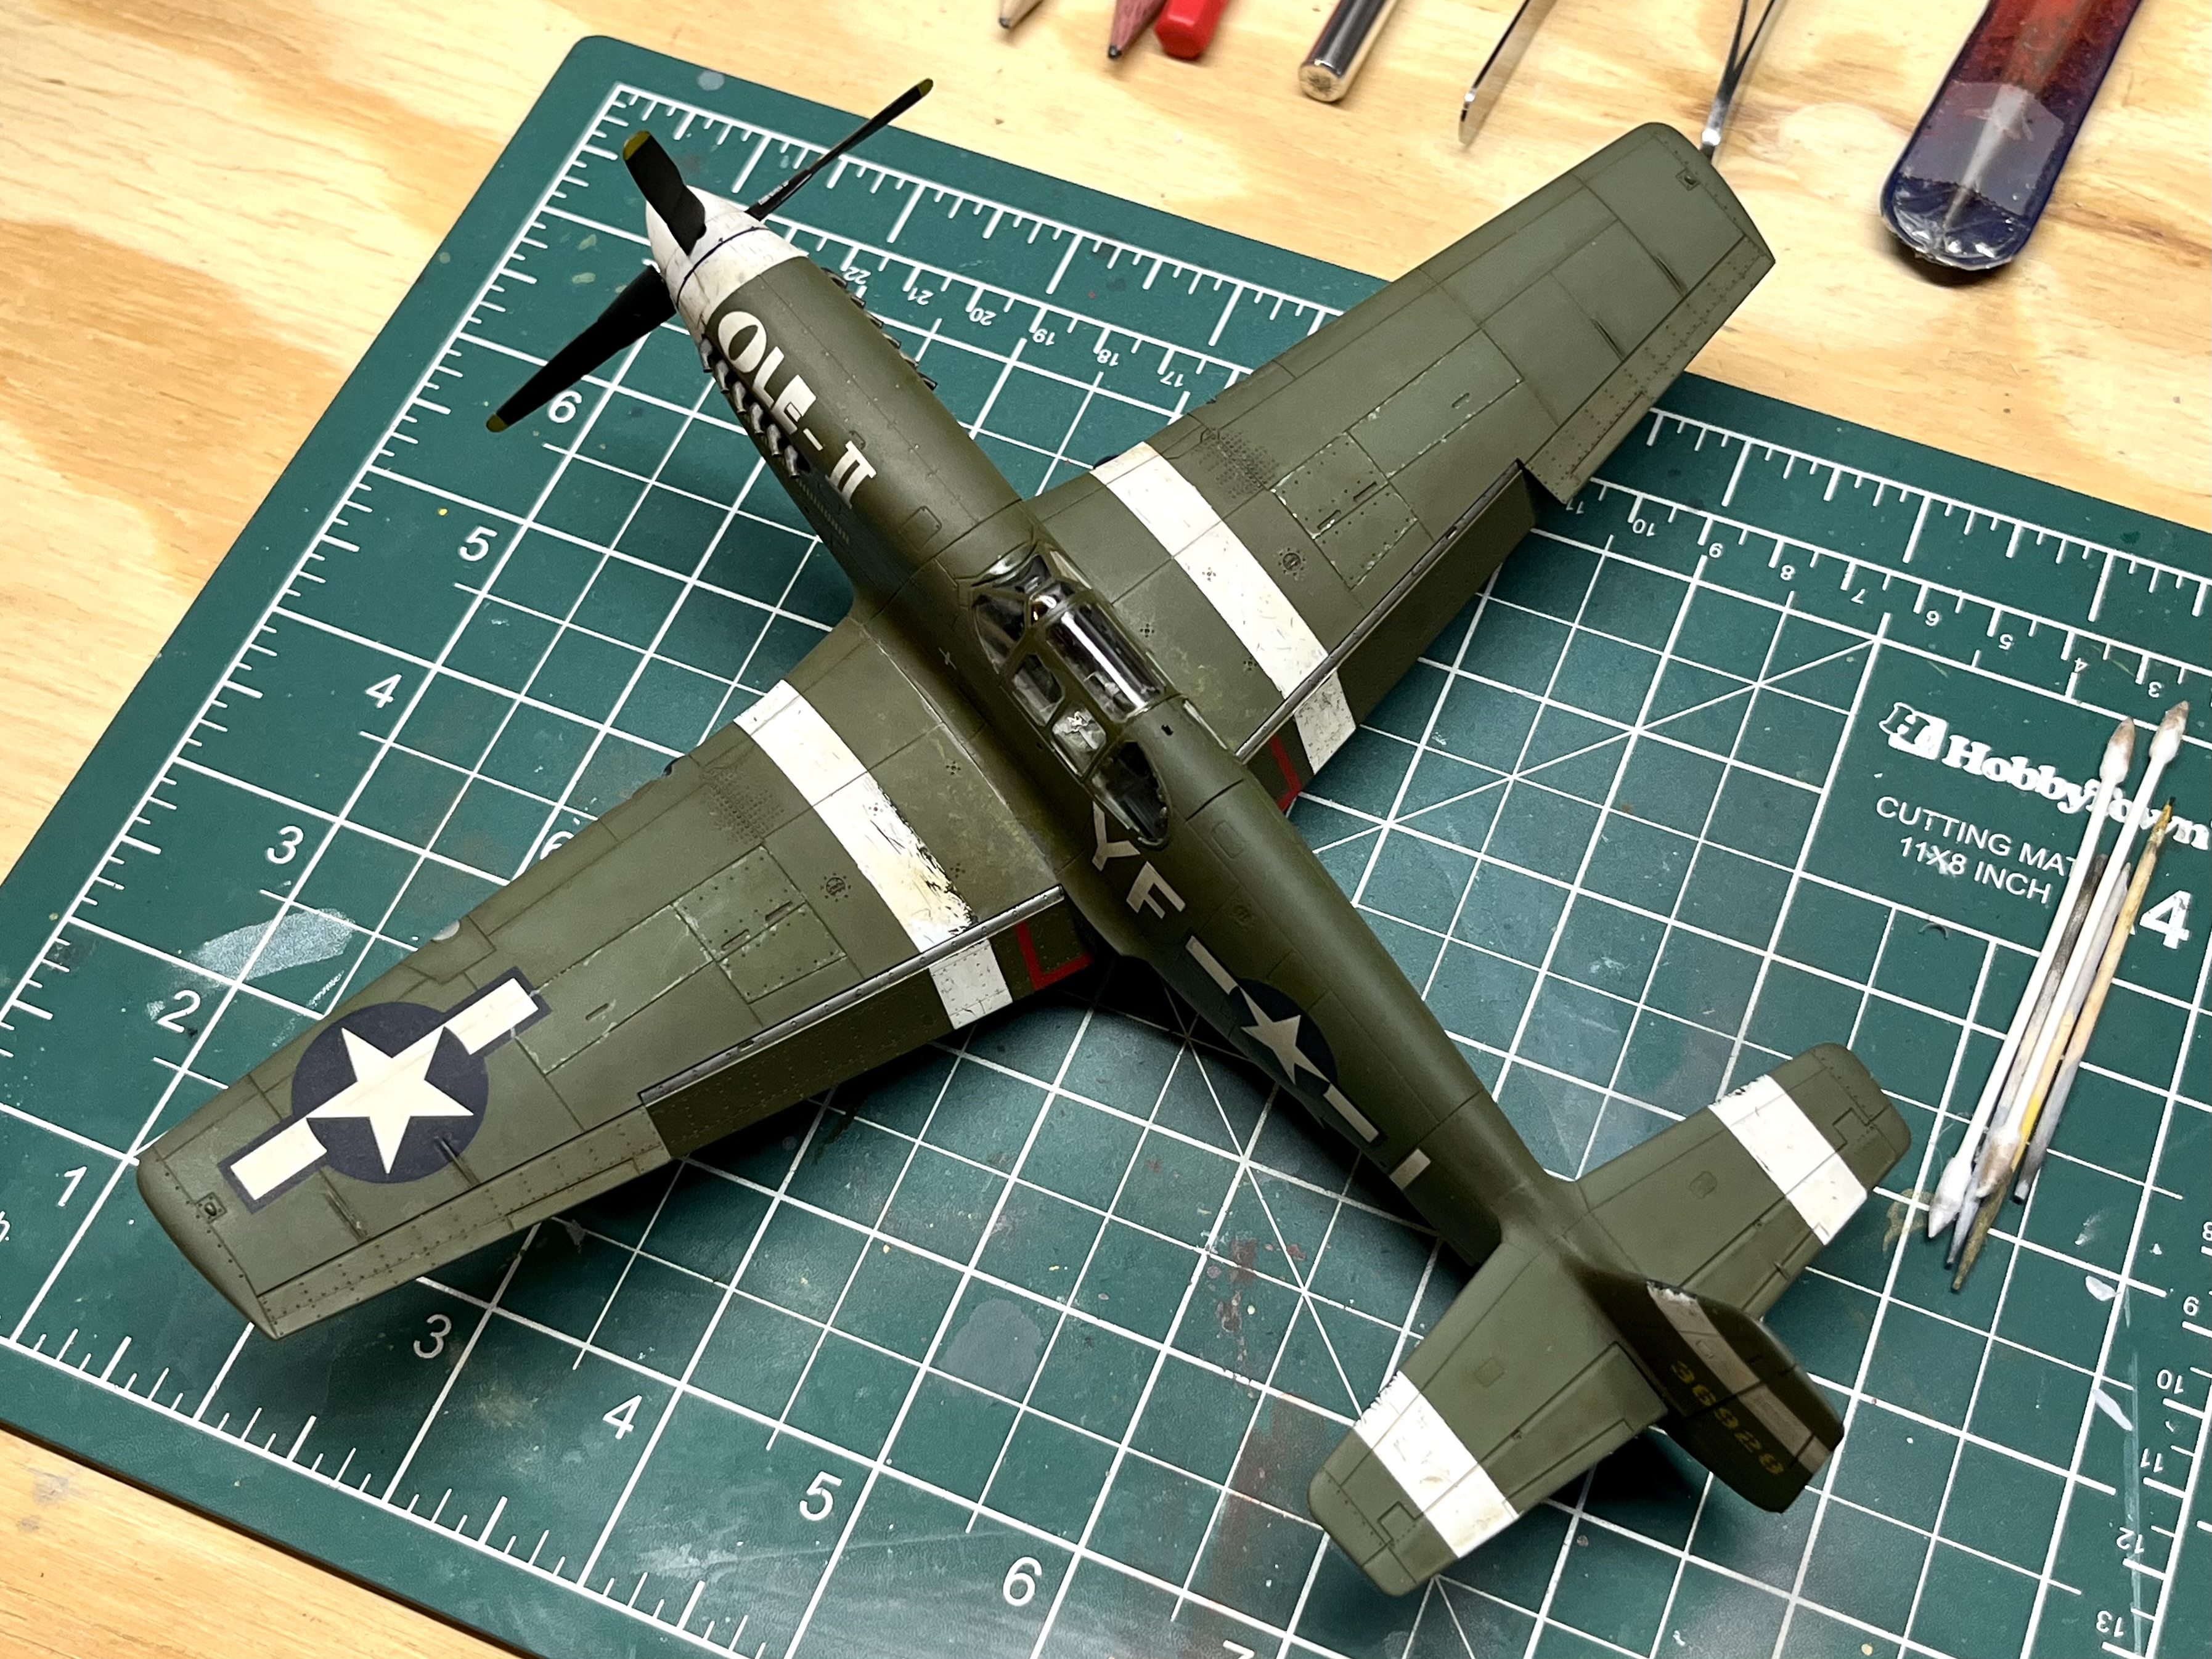
Looking good! As Spitfire commented, I too was worried only because from one of the photos, I got the false impression that both ailerons were displaced in the same direction up. Normally they are opposed in order to control roll, but I read your photo wrong. This is always a panic moment on my builds as I have to slowly think through -stick to starboard- so starboard aileron up - port aileron down- and plane rolls clockwise to starboard. This is much more critical while sitting in the left seat looking out either window while wiggling the joy stick! LOL Thumb up look for aileron on that side of the high wing Cessna C152 right?
Stuart explained it. To my eyes it looked like both ailerons were deflected up. In a left bank, the right aileron should be deflected down.
And re: the elevators (all control surfaces, really), they deflect less than you think when the plane is at speed. Doesn’t take much. Even on landing I doubt it would get that far up.
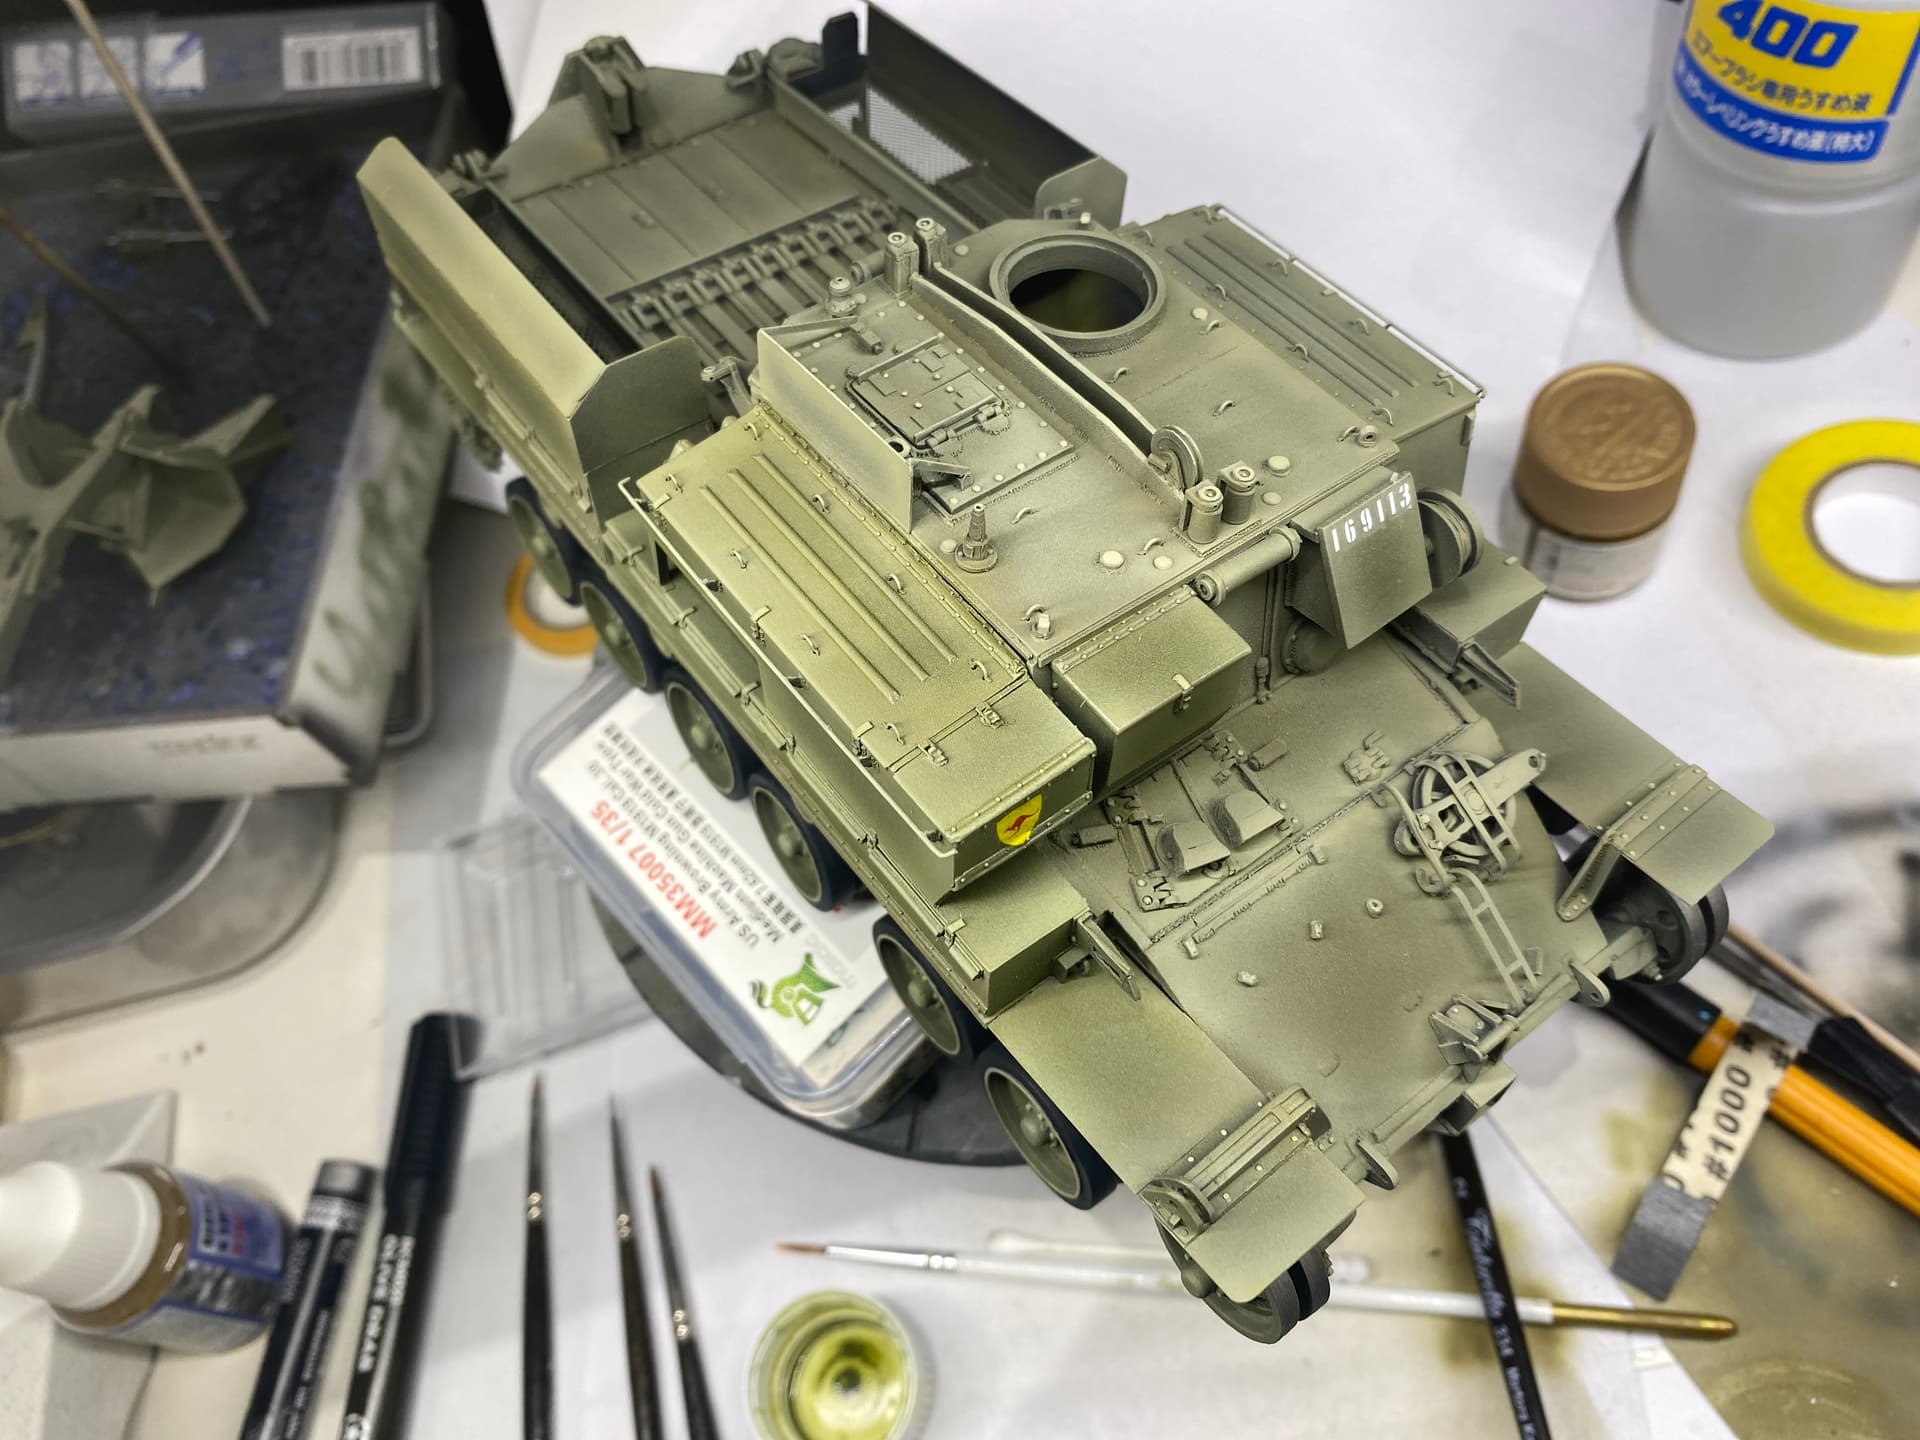
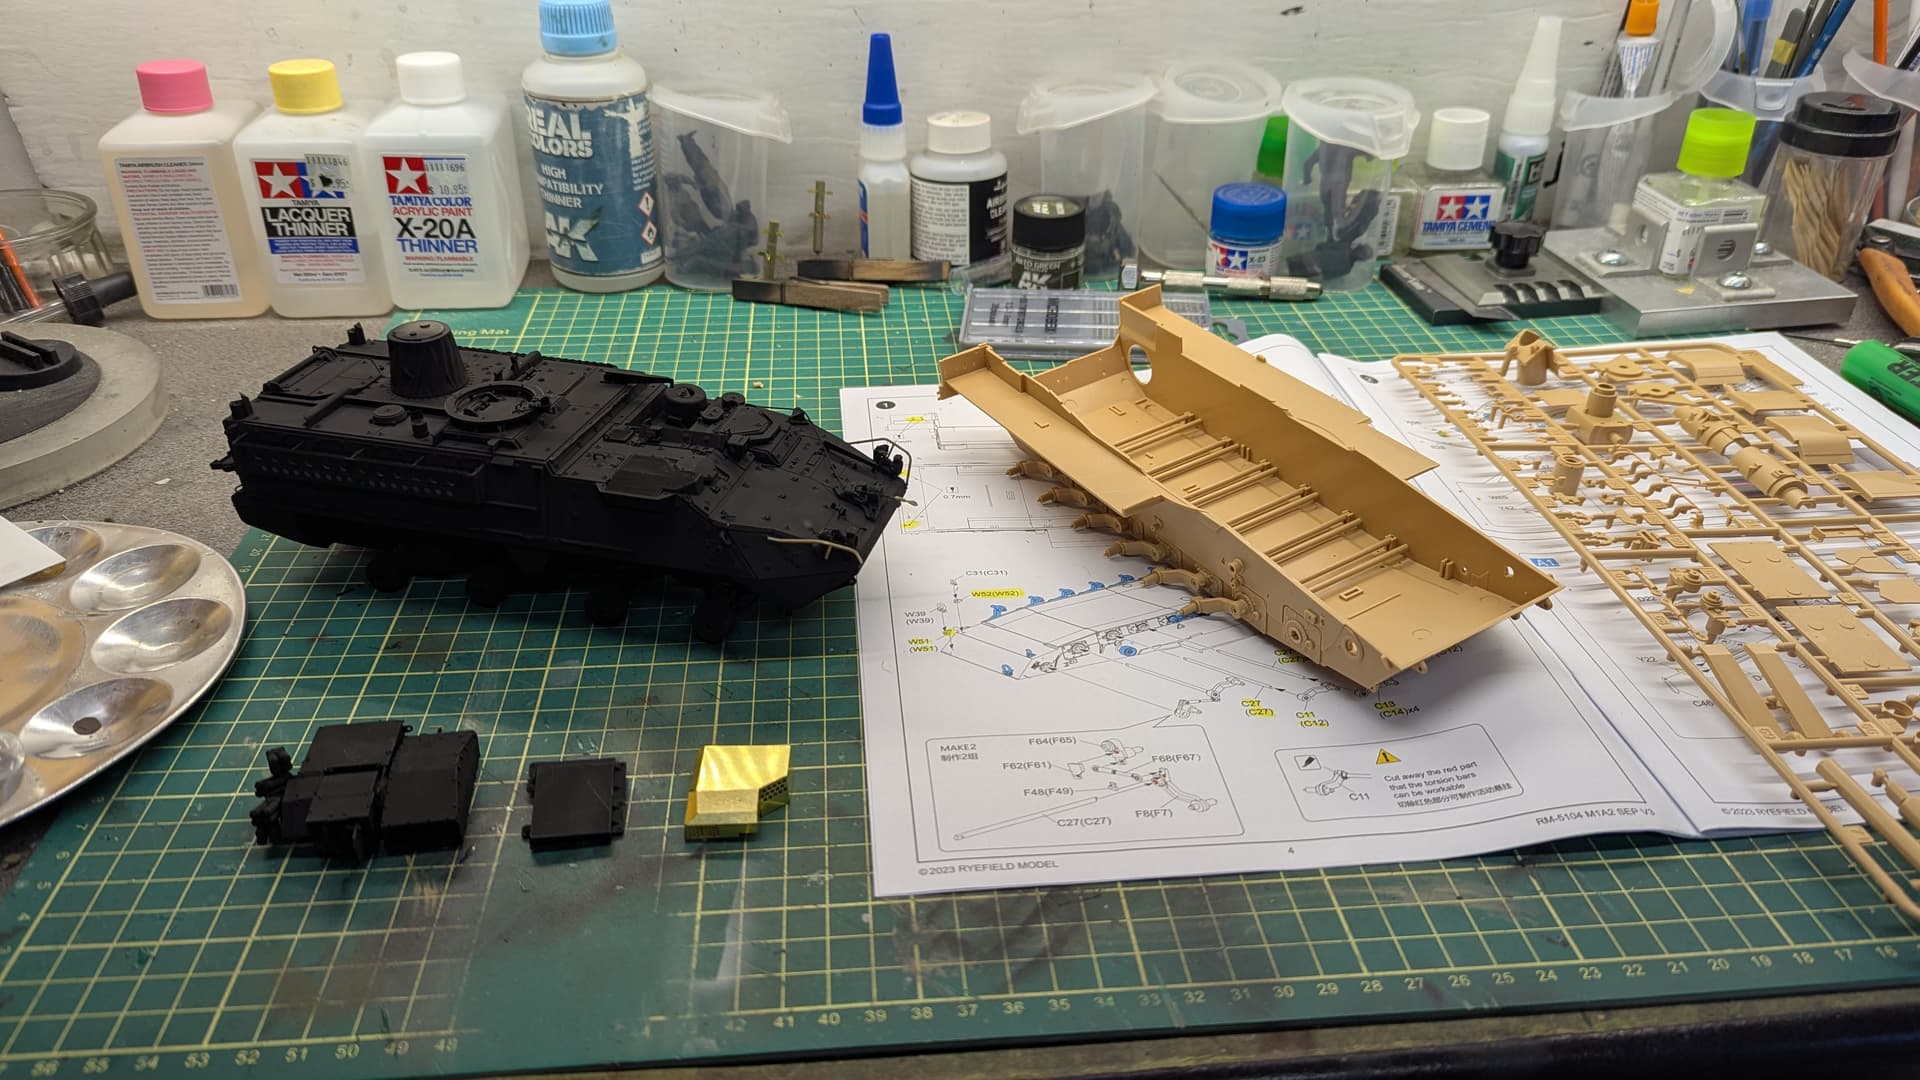
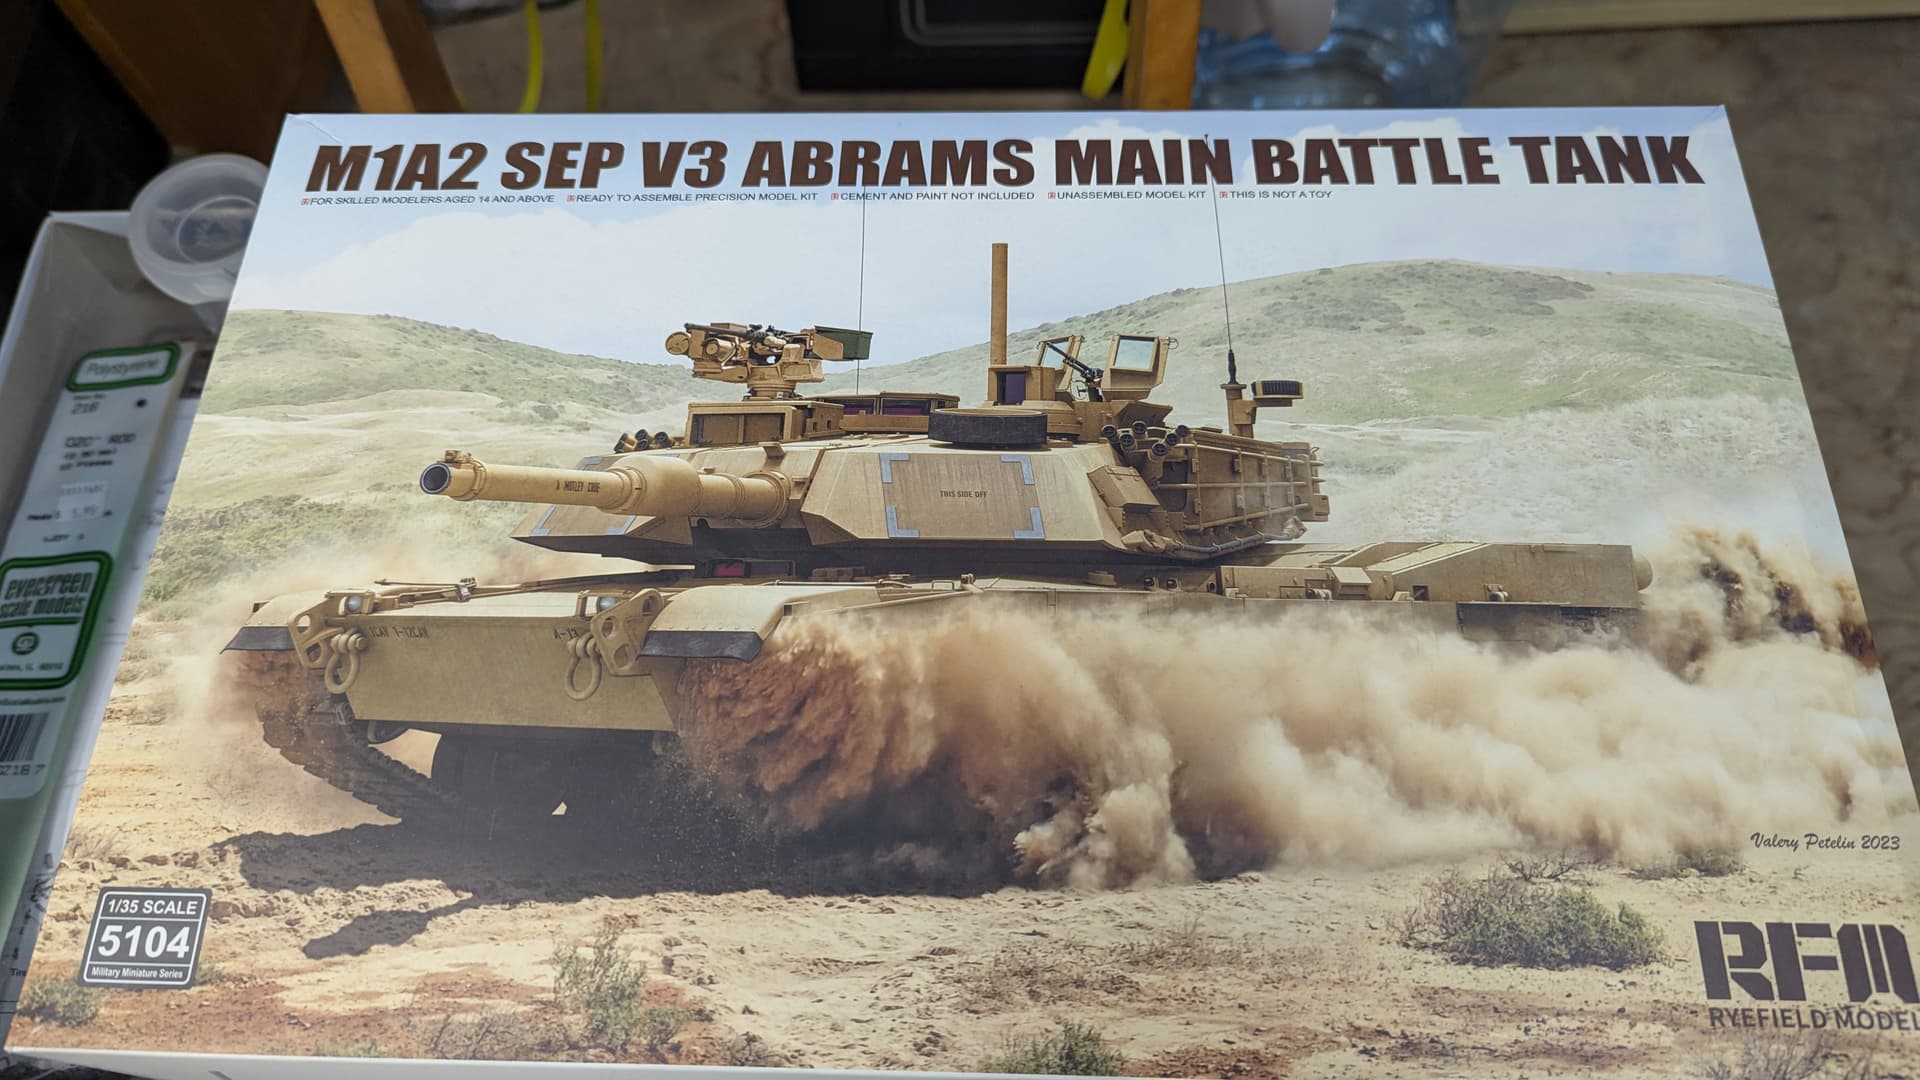
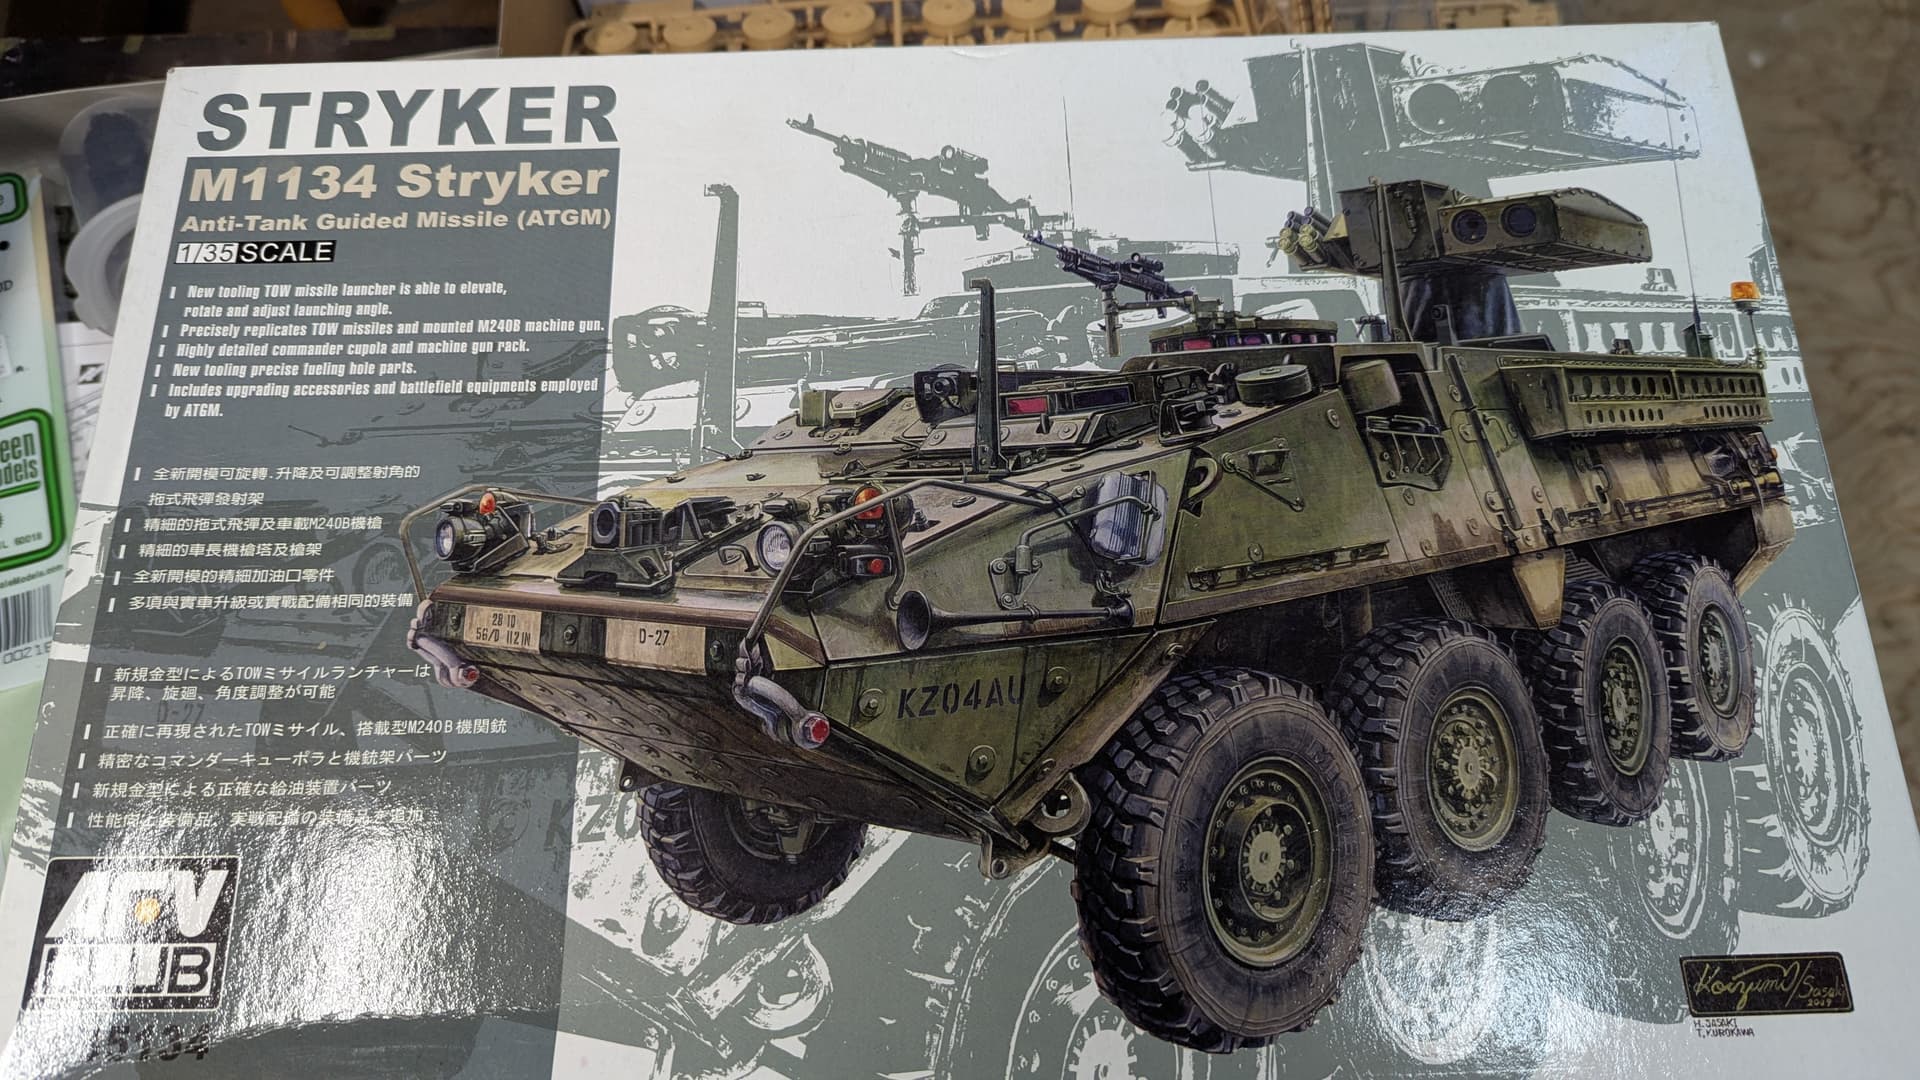
I started assembling an RFM M1A2 SEP V3. I intend to install the Trophy system. Then I started painting an AFV Club M1134 Stryker TOW. I just finished a Trumpeter MT LB for the Soviet campaign.