Thanks John!
1 Like
What did you do in your modeling workshop today?
(yesterday actually)
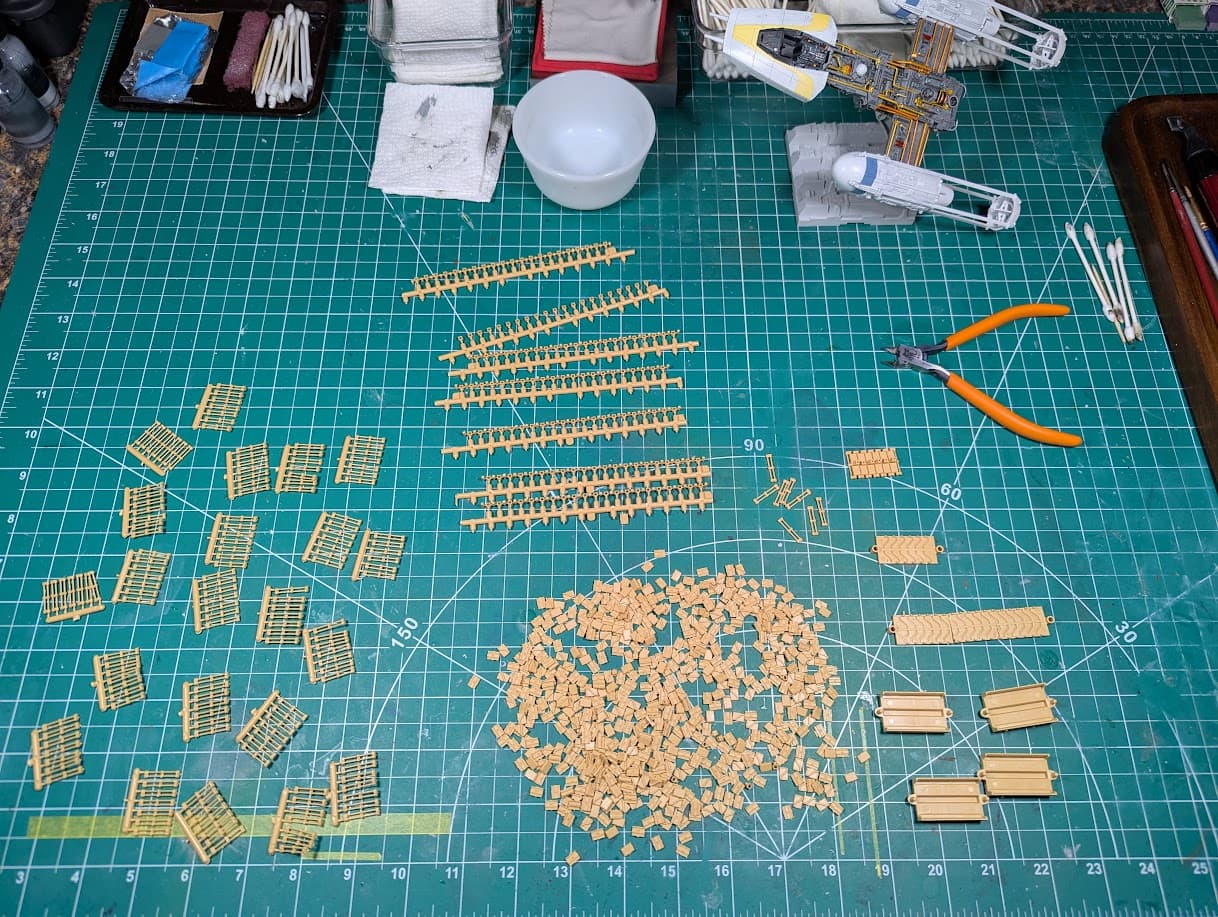
I questioned my logic behind wanting workable tracks on my Easy-8.
10 Likes
It’s a question I’ve asked myself a couple of times. TBH I’m happy enough with AFV Club-style a/m tracks.
To be fair, less than 30% of my builds are on tracks anyway (and 2 of those are sitting on transport trailers) 

4 Likes
Hello again!
A little more from the LambrettaWerks…
With what I have available on my paint shelf, all my in-house mix tests were fails. So, it was back to searching the web where I found a really close color match from Vallejo. Here’s the reference image again for comparison.
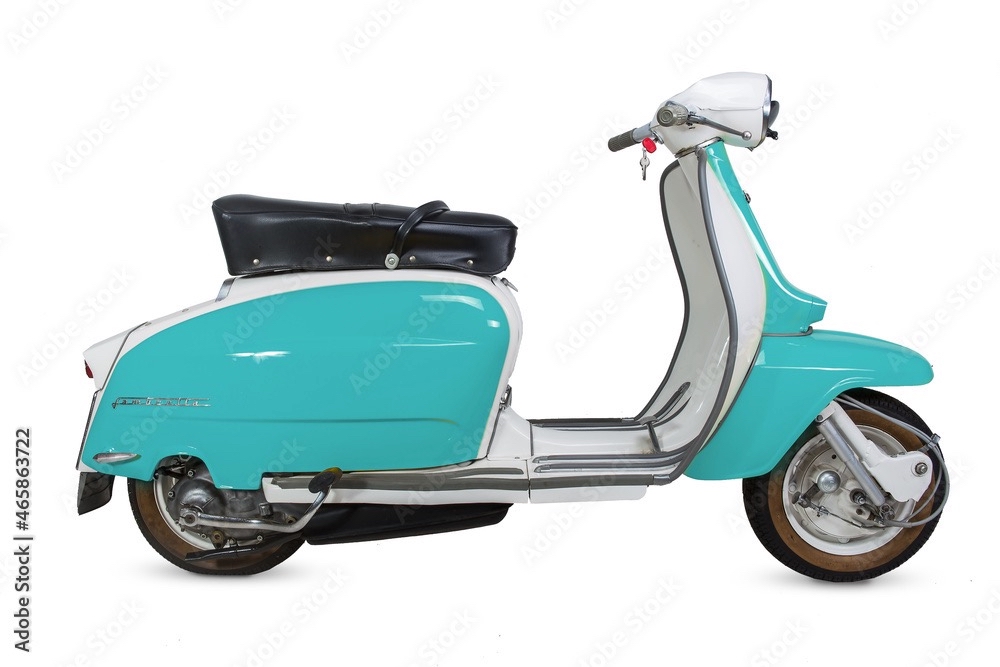

• Vallejo Blue Green (70.808)
Well, I am out of Vallejo White (70.951) and I could always add this, and that, and more, which would of course add more value to shipping — good intensions already racing well past $50 USD — Just can’t stomach the thought of waiting for another package delivery while my ideas are fresh. 
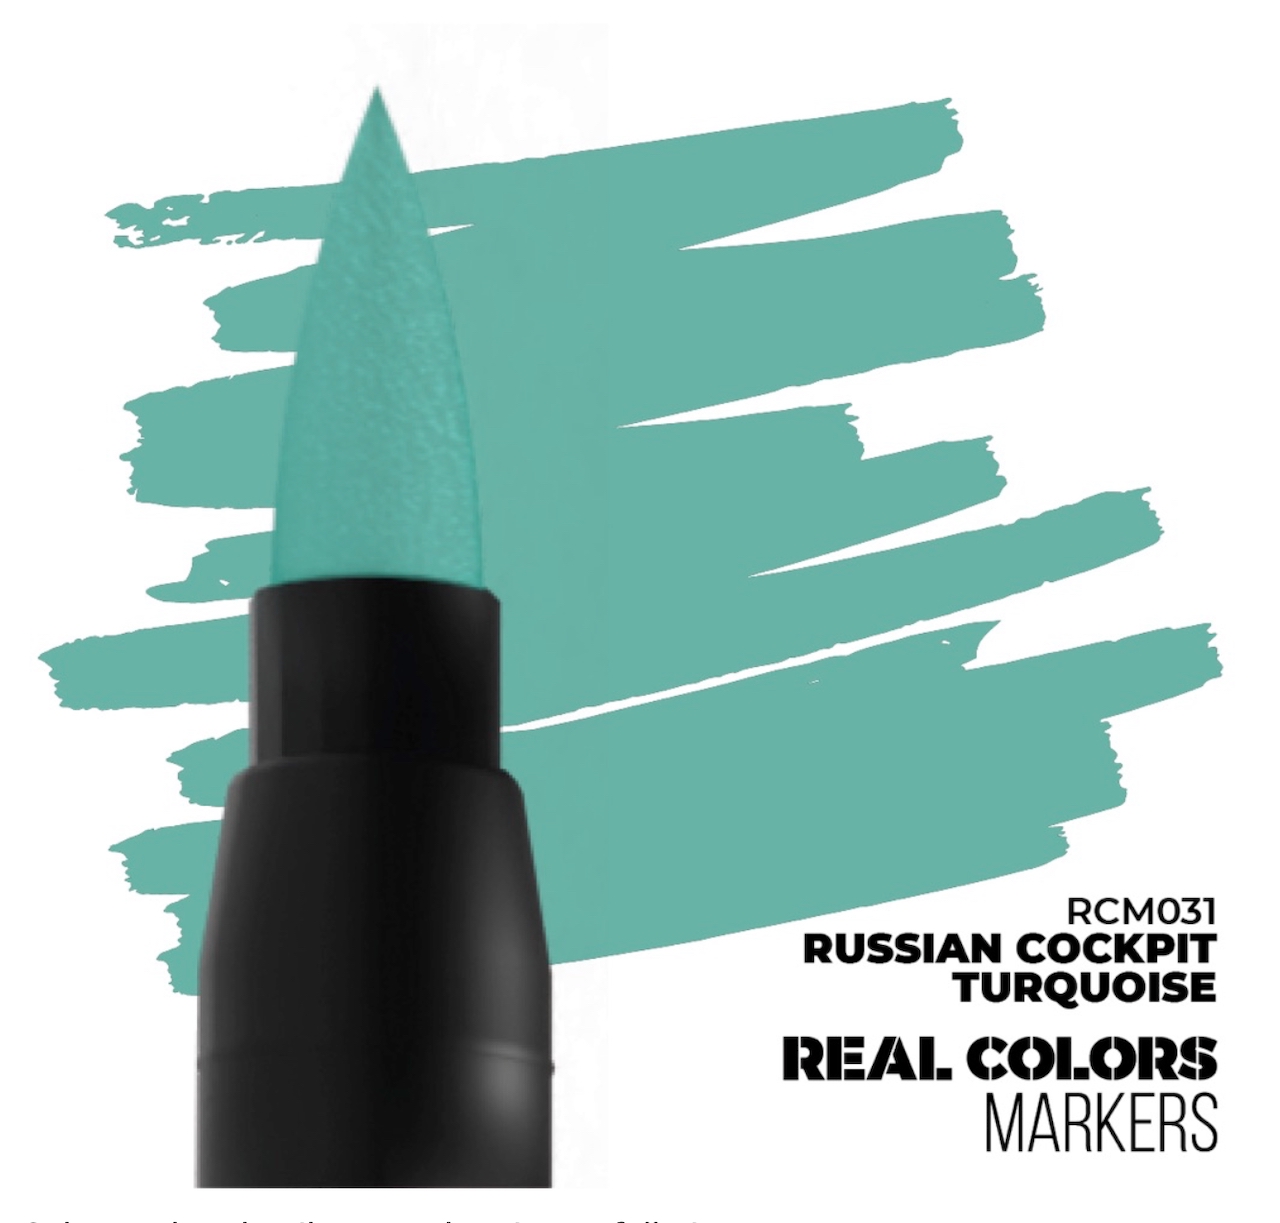
Wait! I’ve got a whole box 'o AK Real Colors Markers on the shelf. I wonder? 
EUREKA!
• Tamiya (87177) Masking Tape for Curves (2mm)
• Mr (GSI B502) Top Coat Semi-Gloss Spray… a mist just to seal the tape edge
• Real Colors Markers Russian Cockpit Turquoise (RCM031)
All images for reference only. No affiliation with manufacturers or vendors.
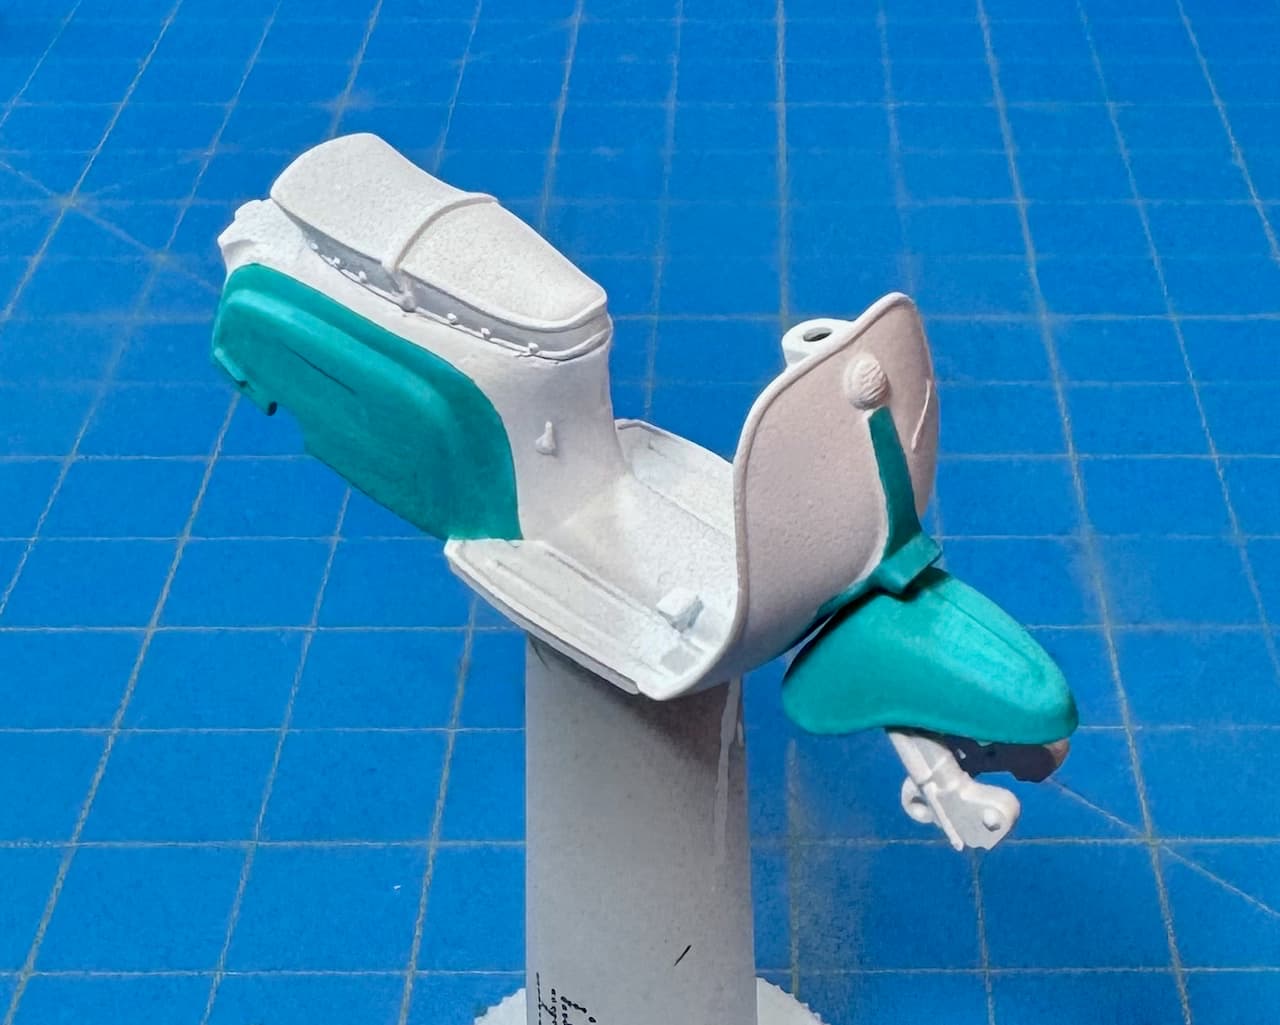
Here you go… one side of the Lambretta two-tone. There was just a little bleed, but after some touch-up, I think I can live with it. … Hopefully, it’ll all smooth-out after final clear coat.
To be continued. …
—mike
18 Likes
Will it go ring-ding - ding while belching
blue smoke ? 
3 Likes
It was the decal paper, realised it was about 5 years old and as you said, had gone off. The new sheet released OK but settling the decal on the textured sidewall was a challenge.
Dull cote and then sort the bumper code on the M125 tomorrow.
3 Likes
Noice recovery and looking great Mike. 
2 Likes
Nice touchups, can’t even tell where the blood was.
2 Likes
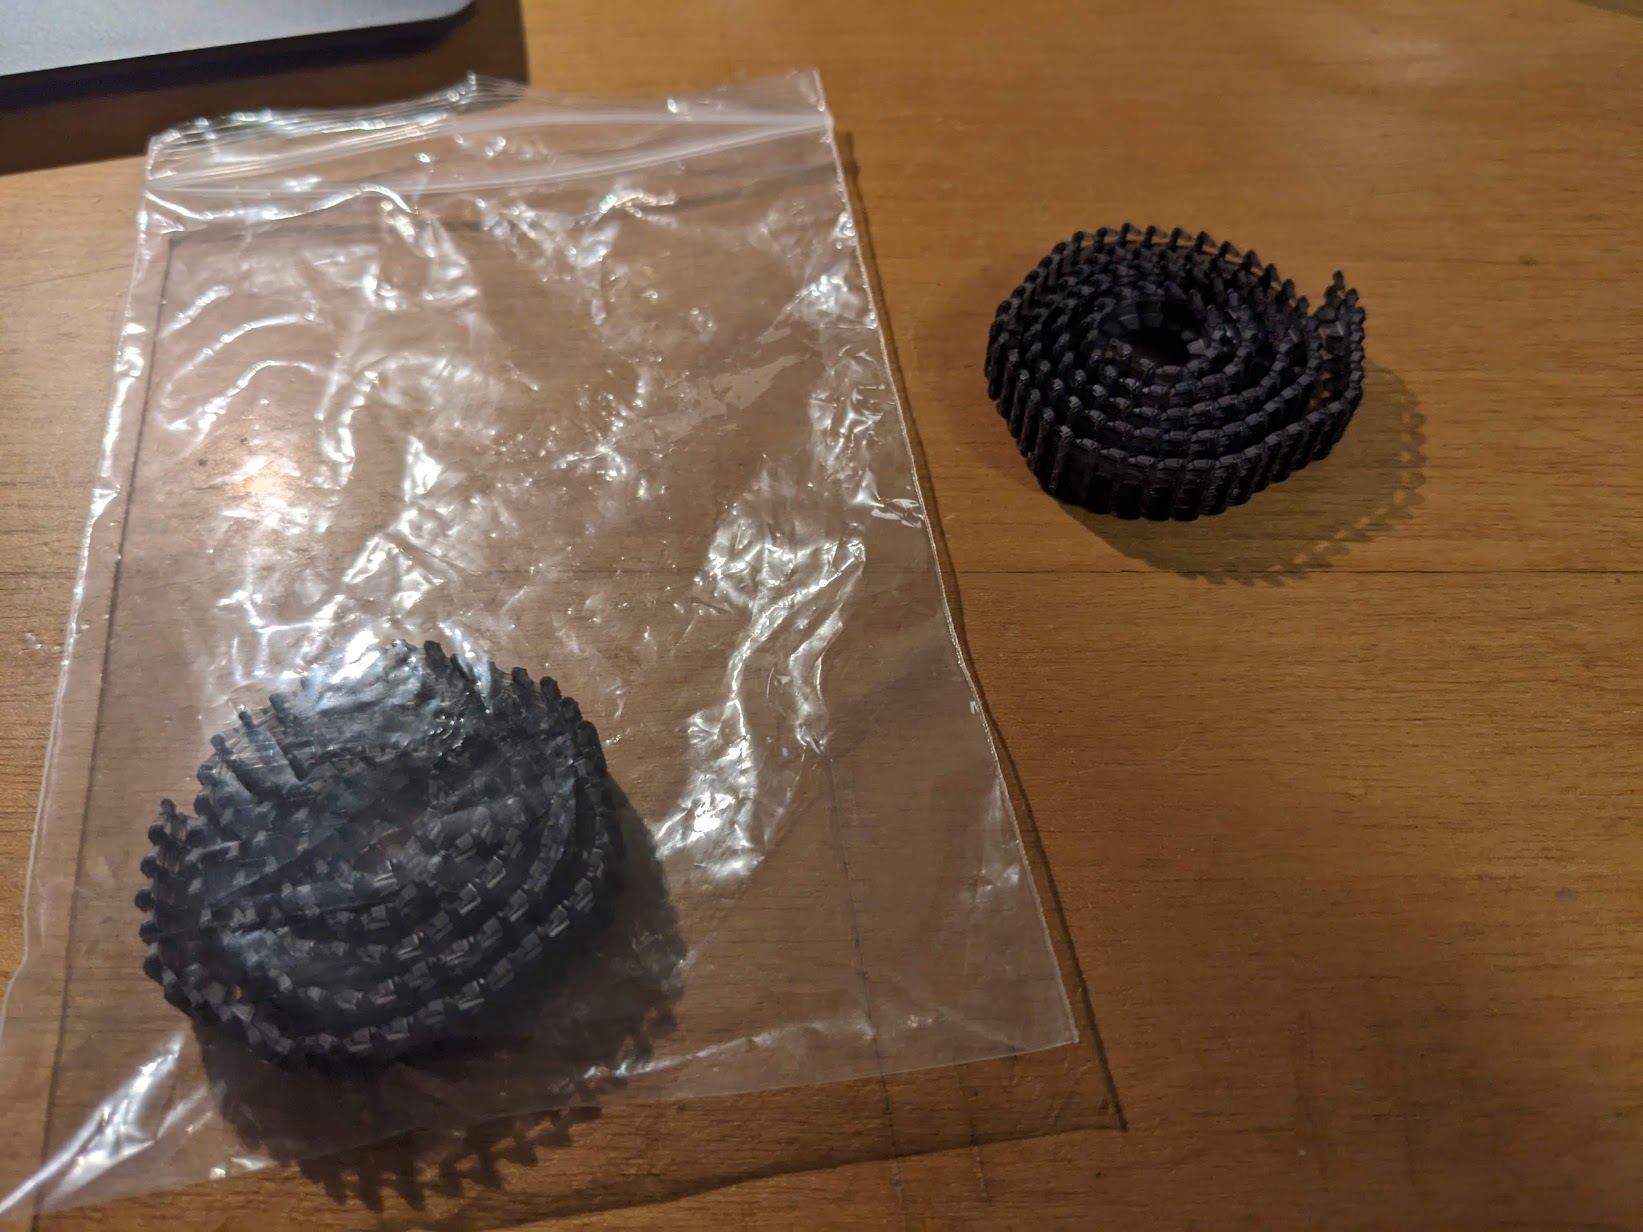
Finally got to work on these tracks… So much better than link and length! They can be a little finnicky, but once I got it, it went smoothly. I’ll work on fitting the tracks, spare tracks, and positioning the figures next time.
8 Likes
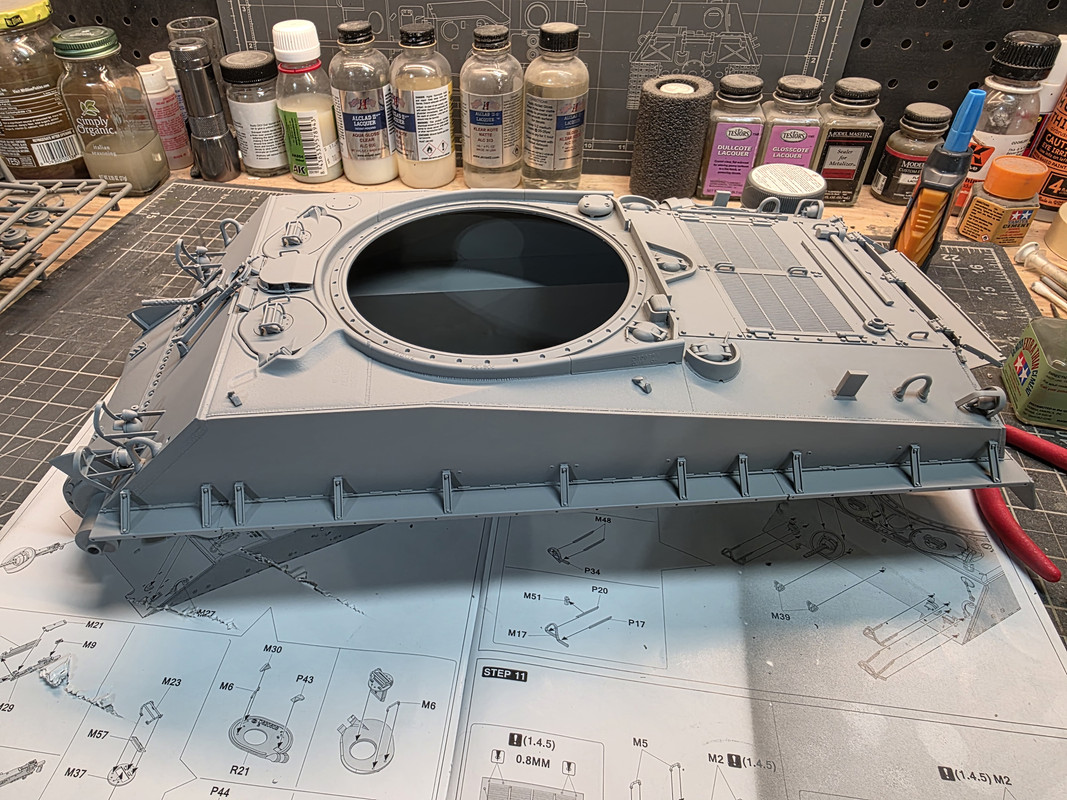
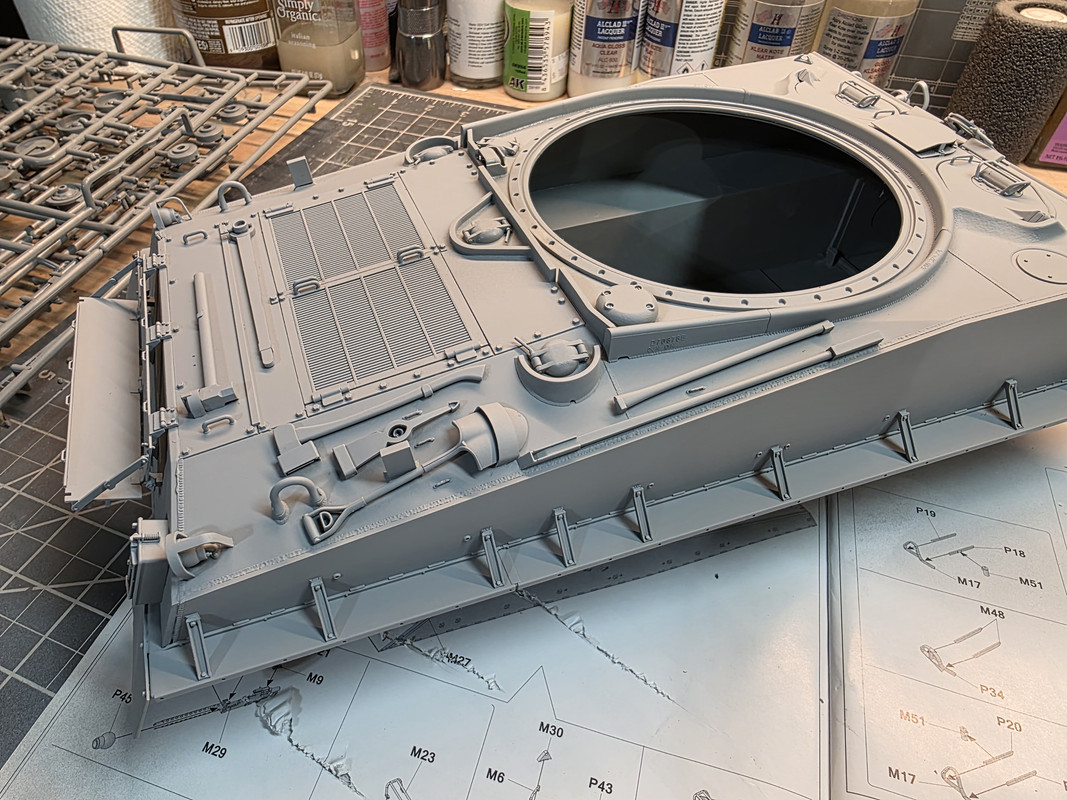
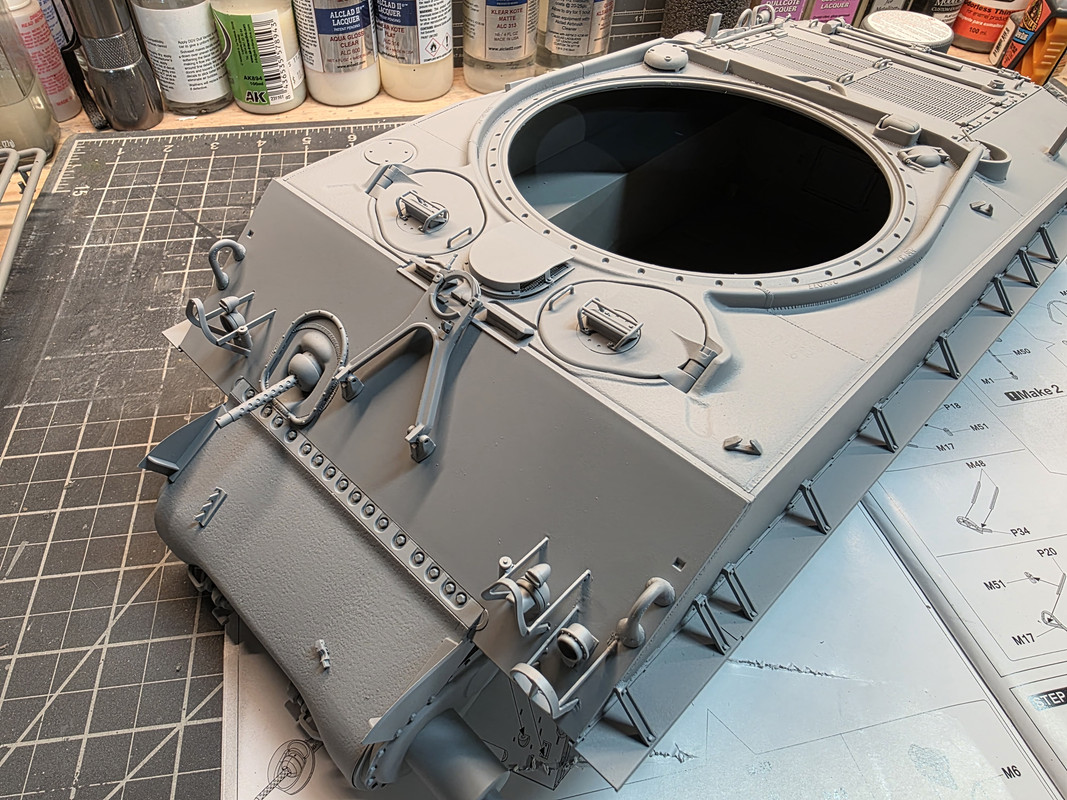
Working away on the Big Sherman,will start the turret next.
14 Likes
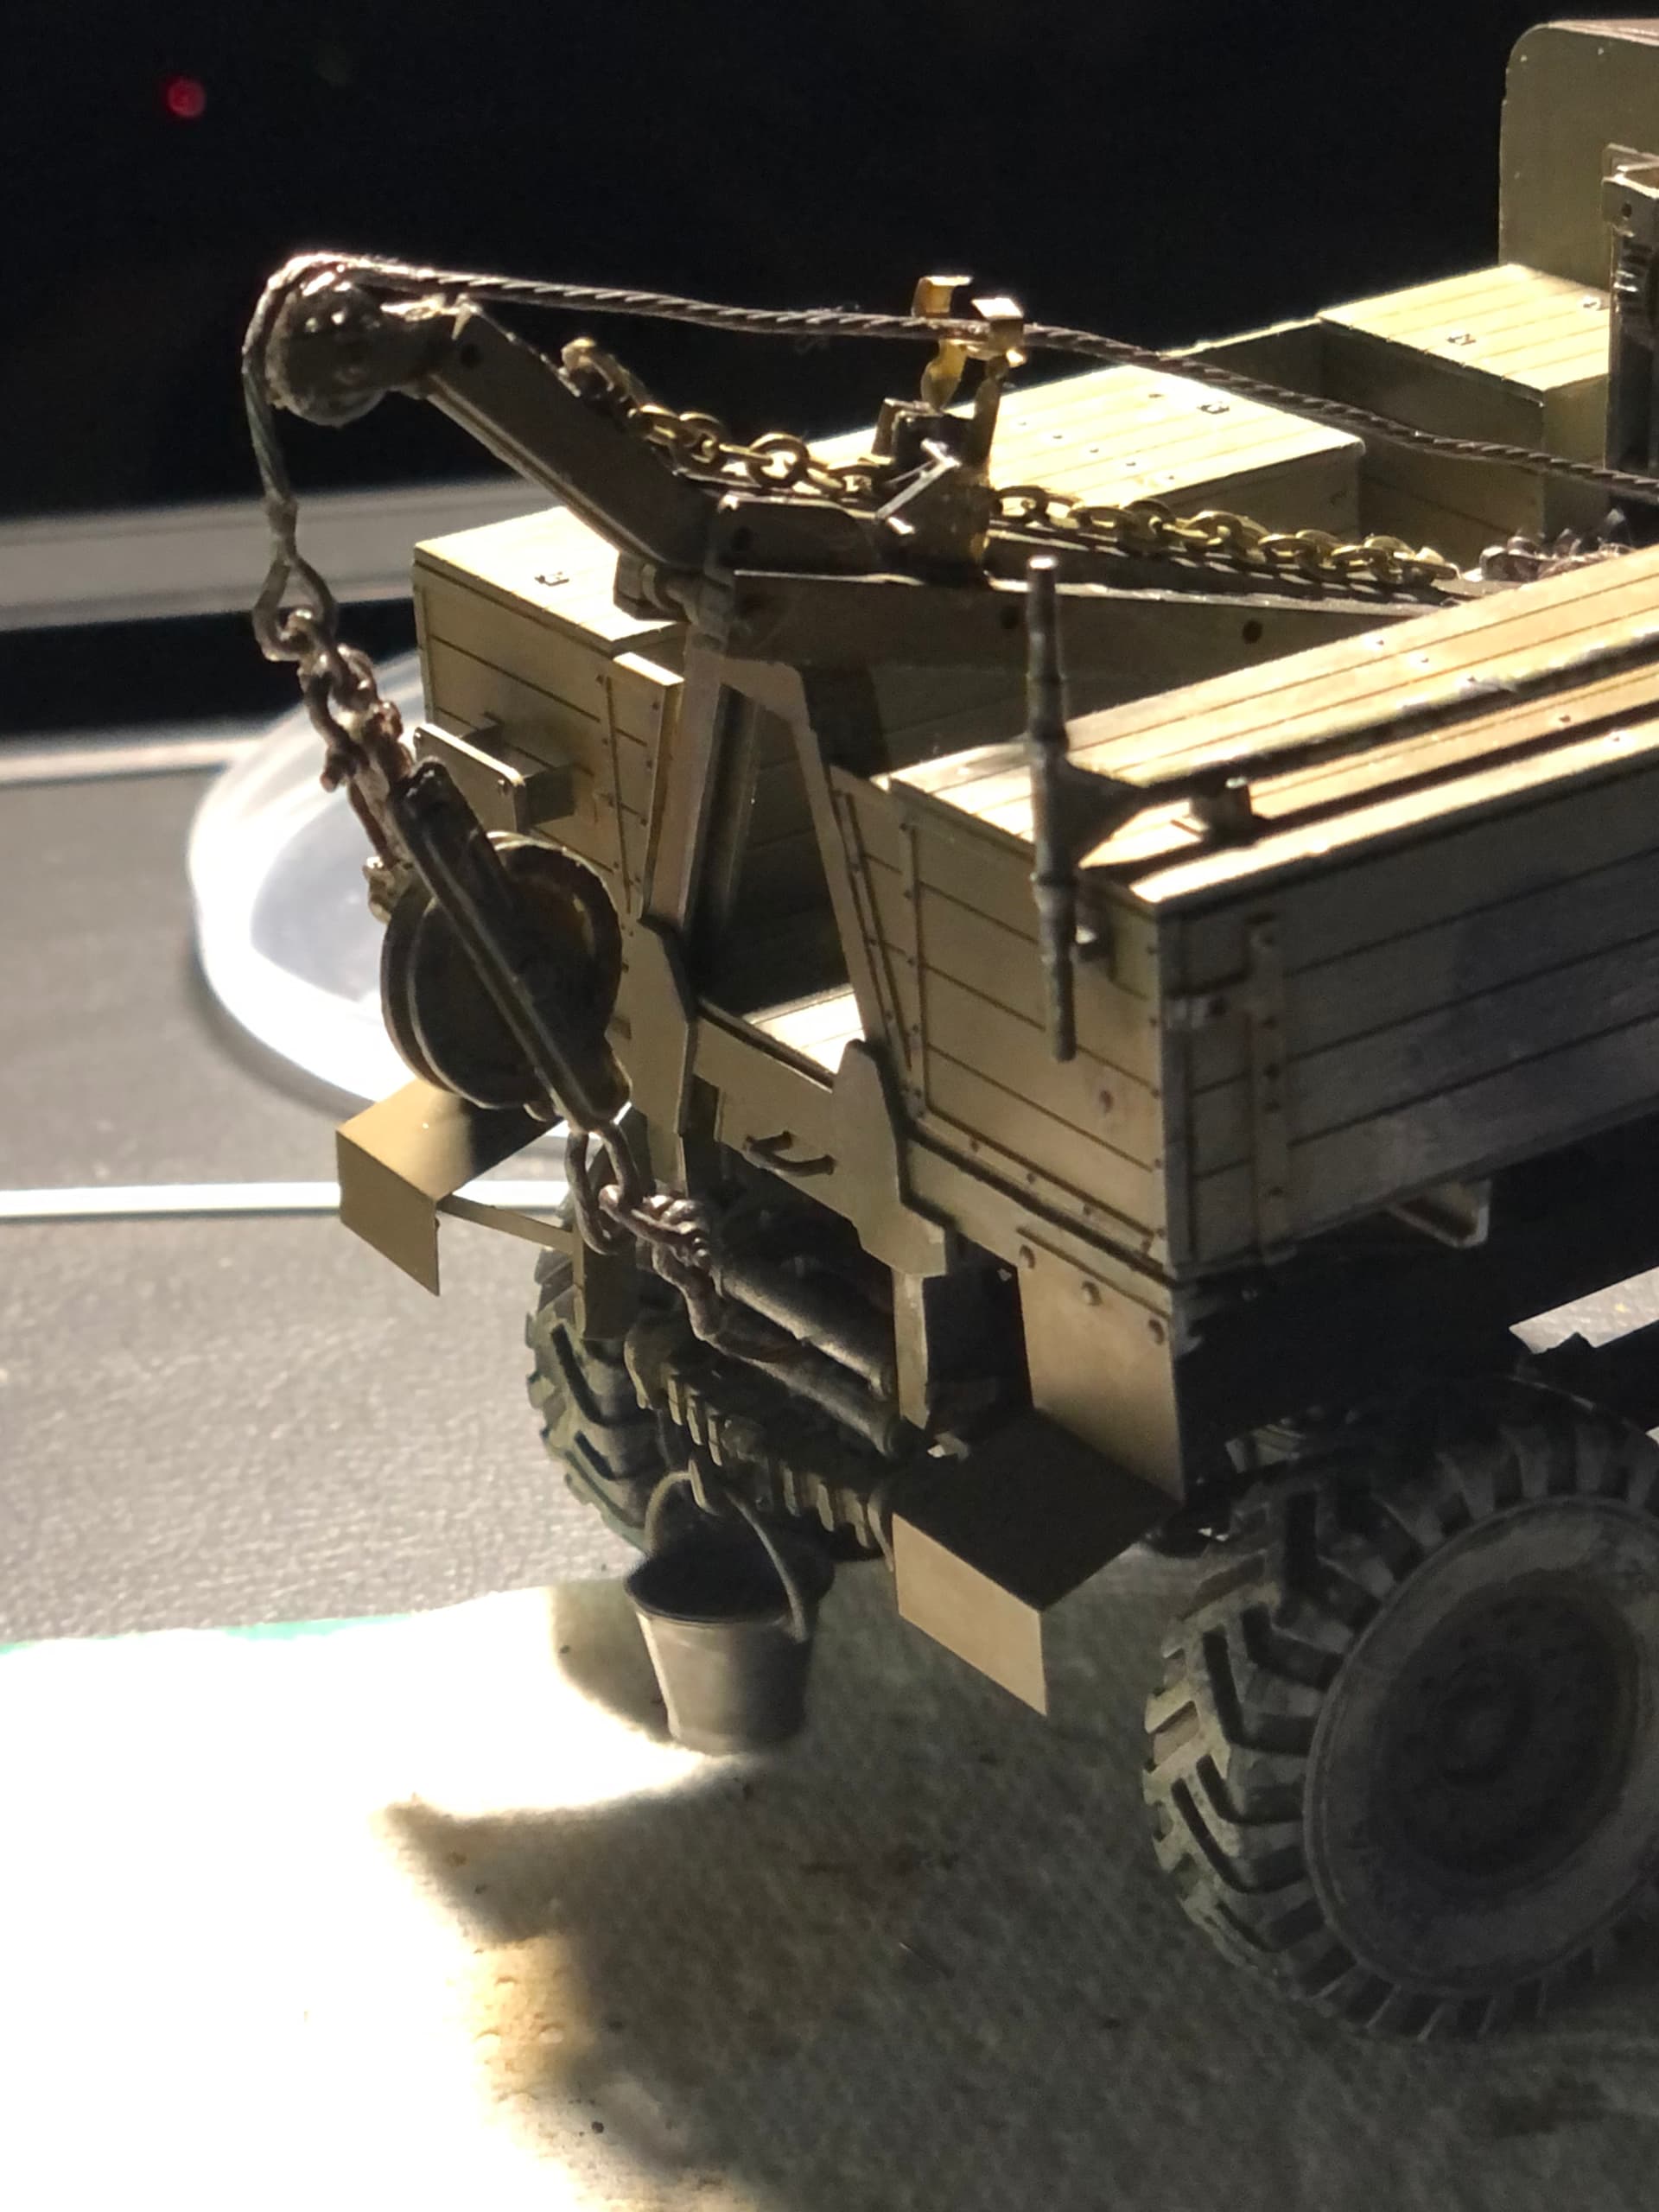

Spent hours today completing the crane some first ever scratch building using the frame for the PE chuffed with the results. Handles and other delicate parts then decals.
20 Likes
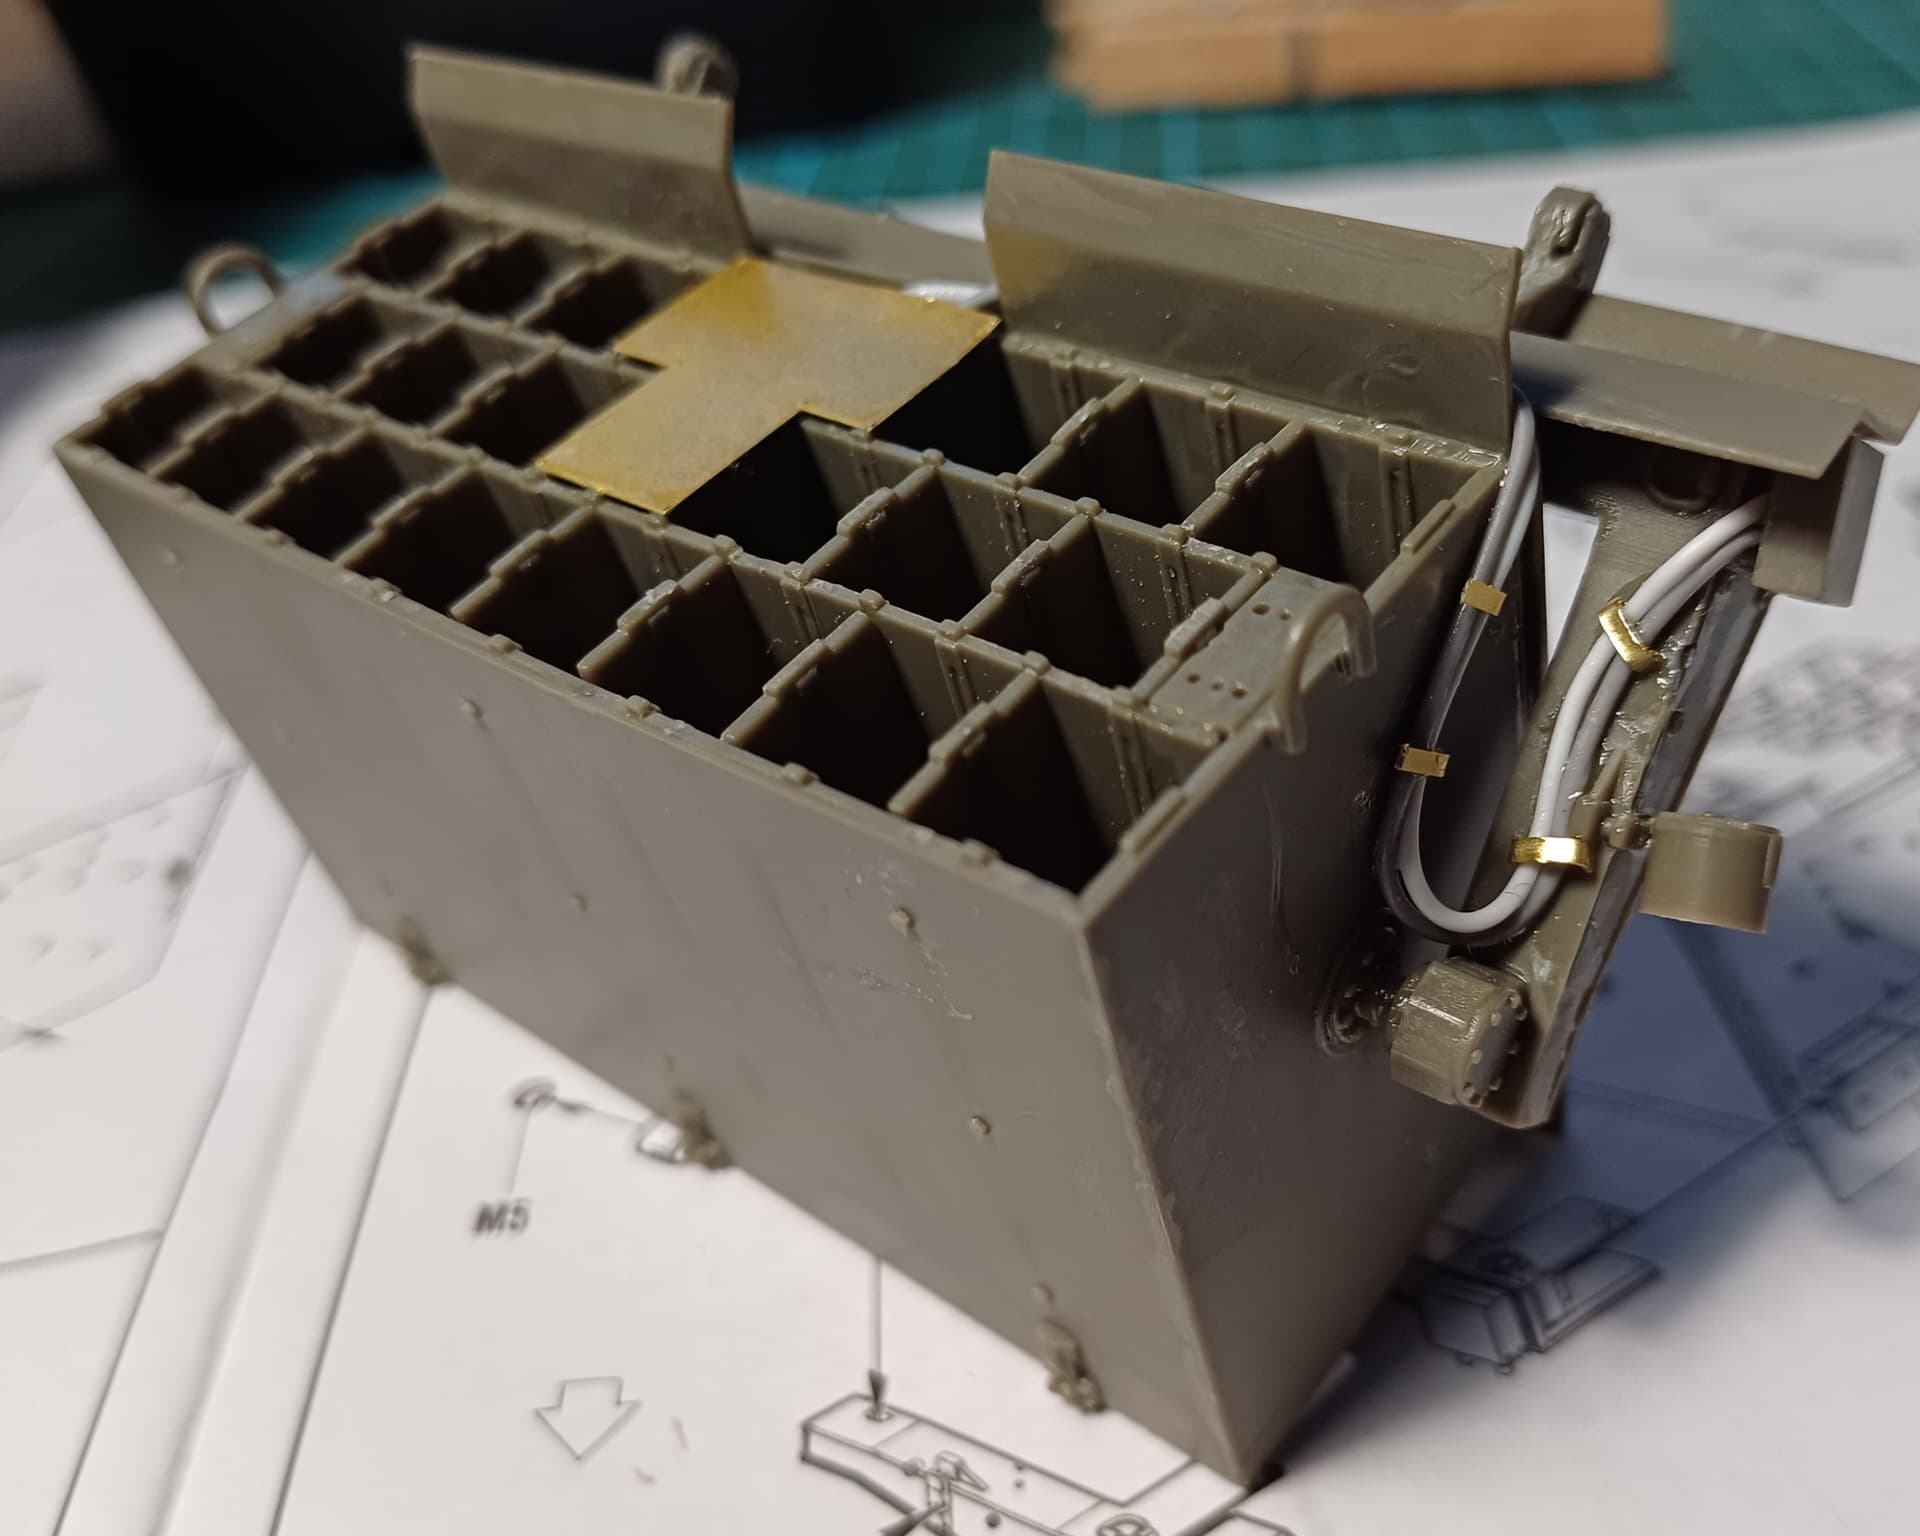
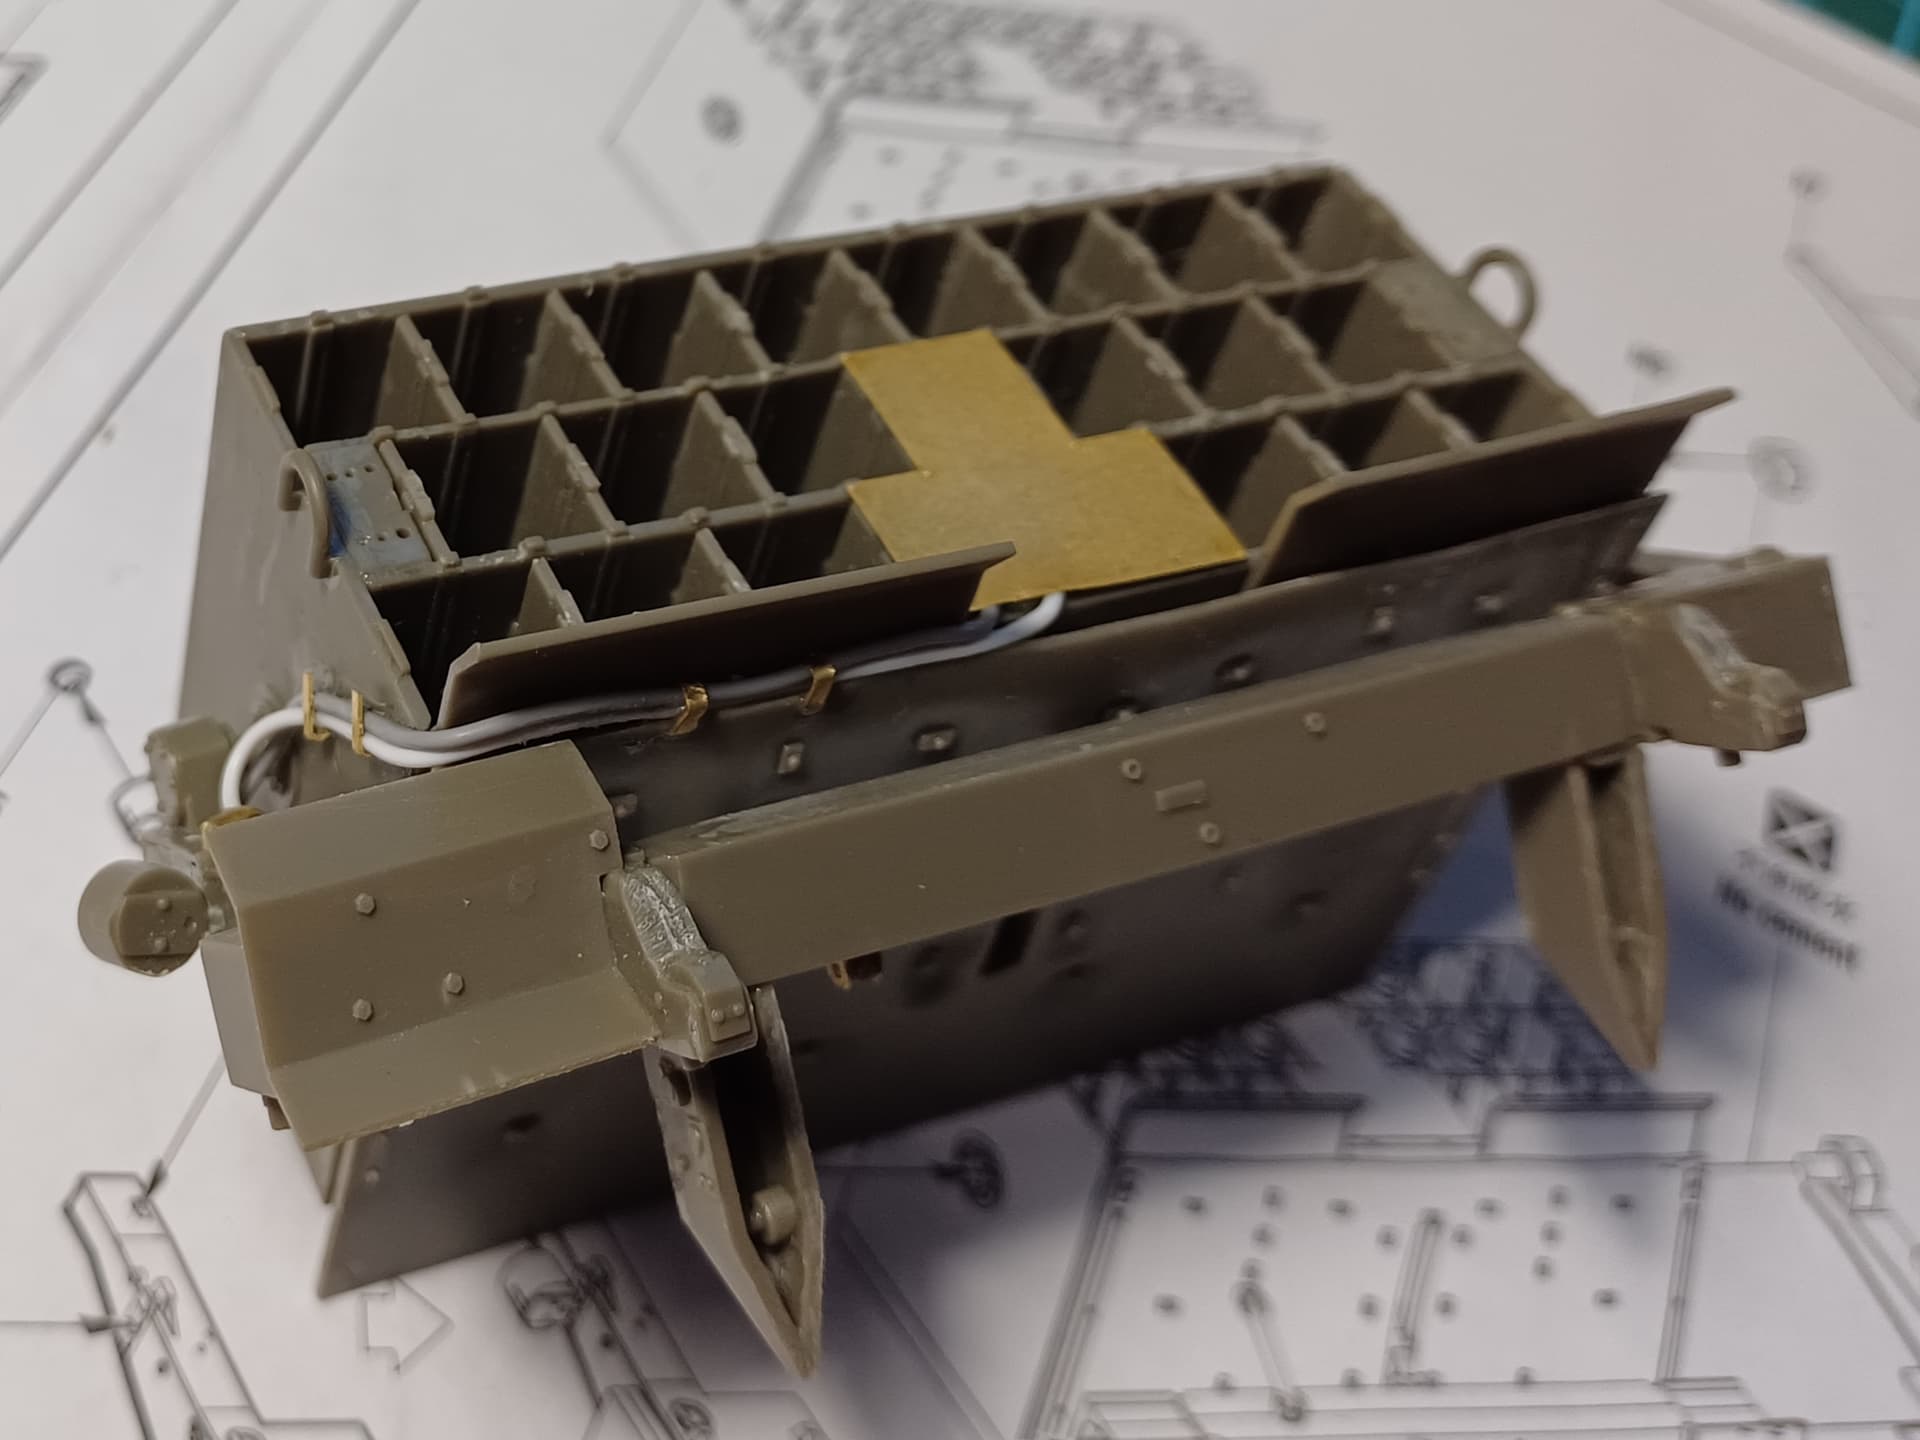
Dry fitting session…
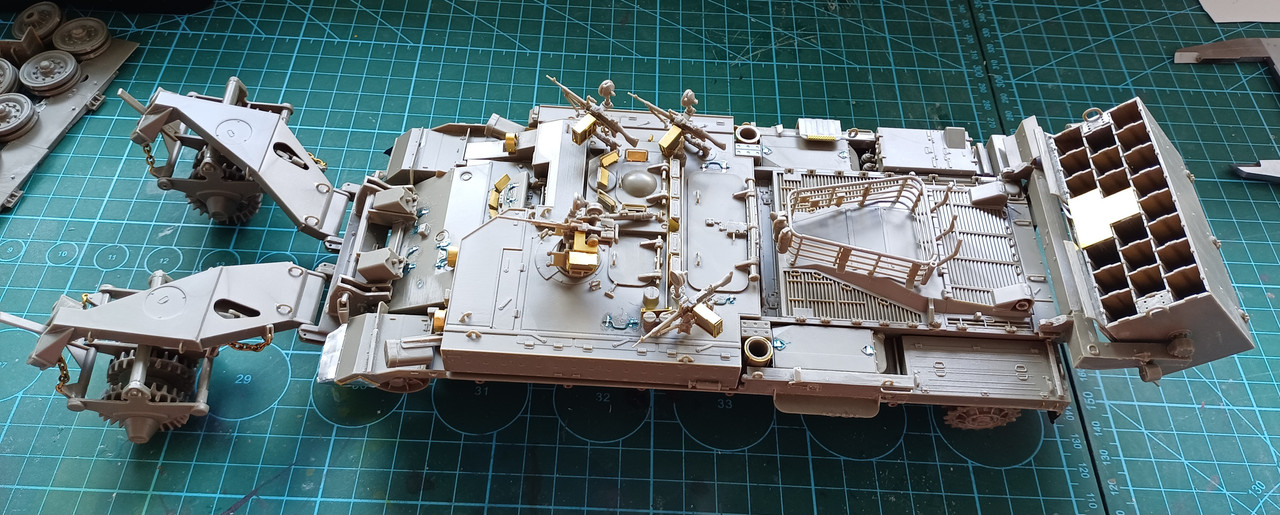
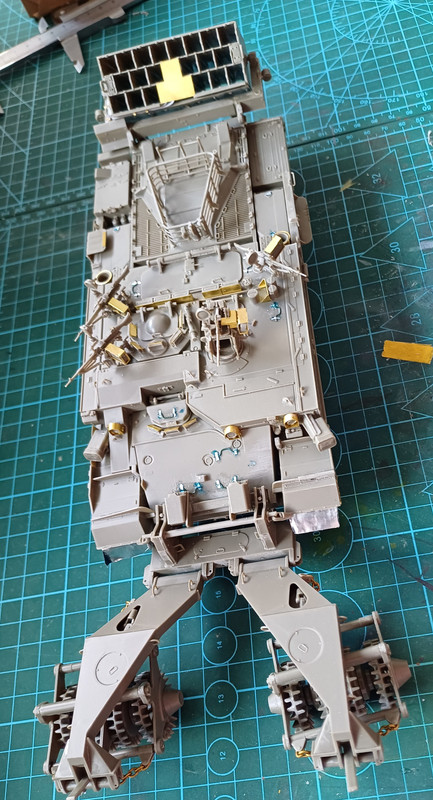
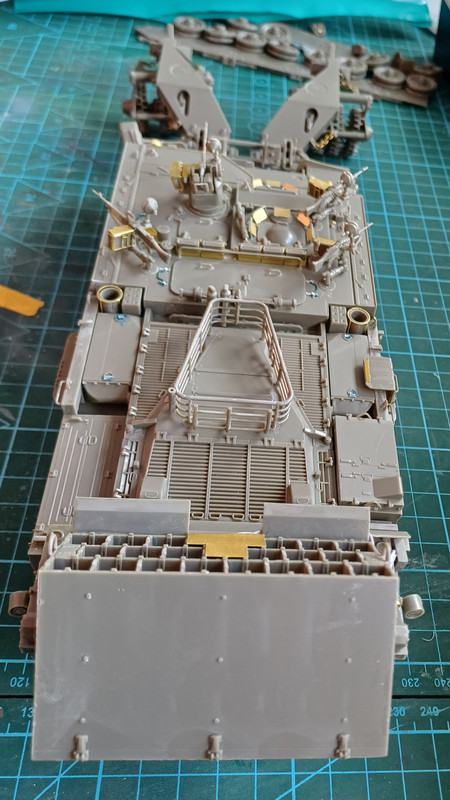
The hull was 2mm wider than the opening in the topstructure, had to make that wider, but otherwise…
15 Likes
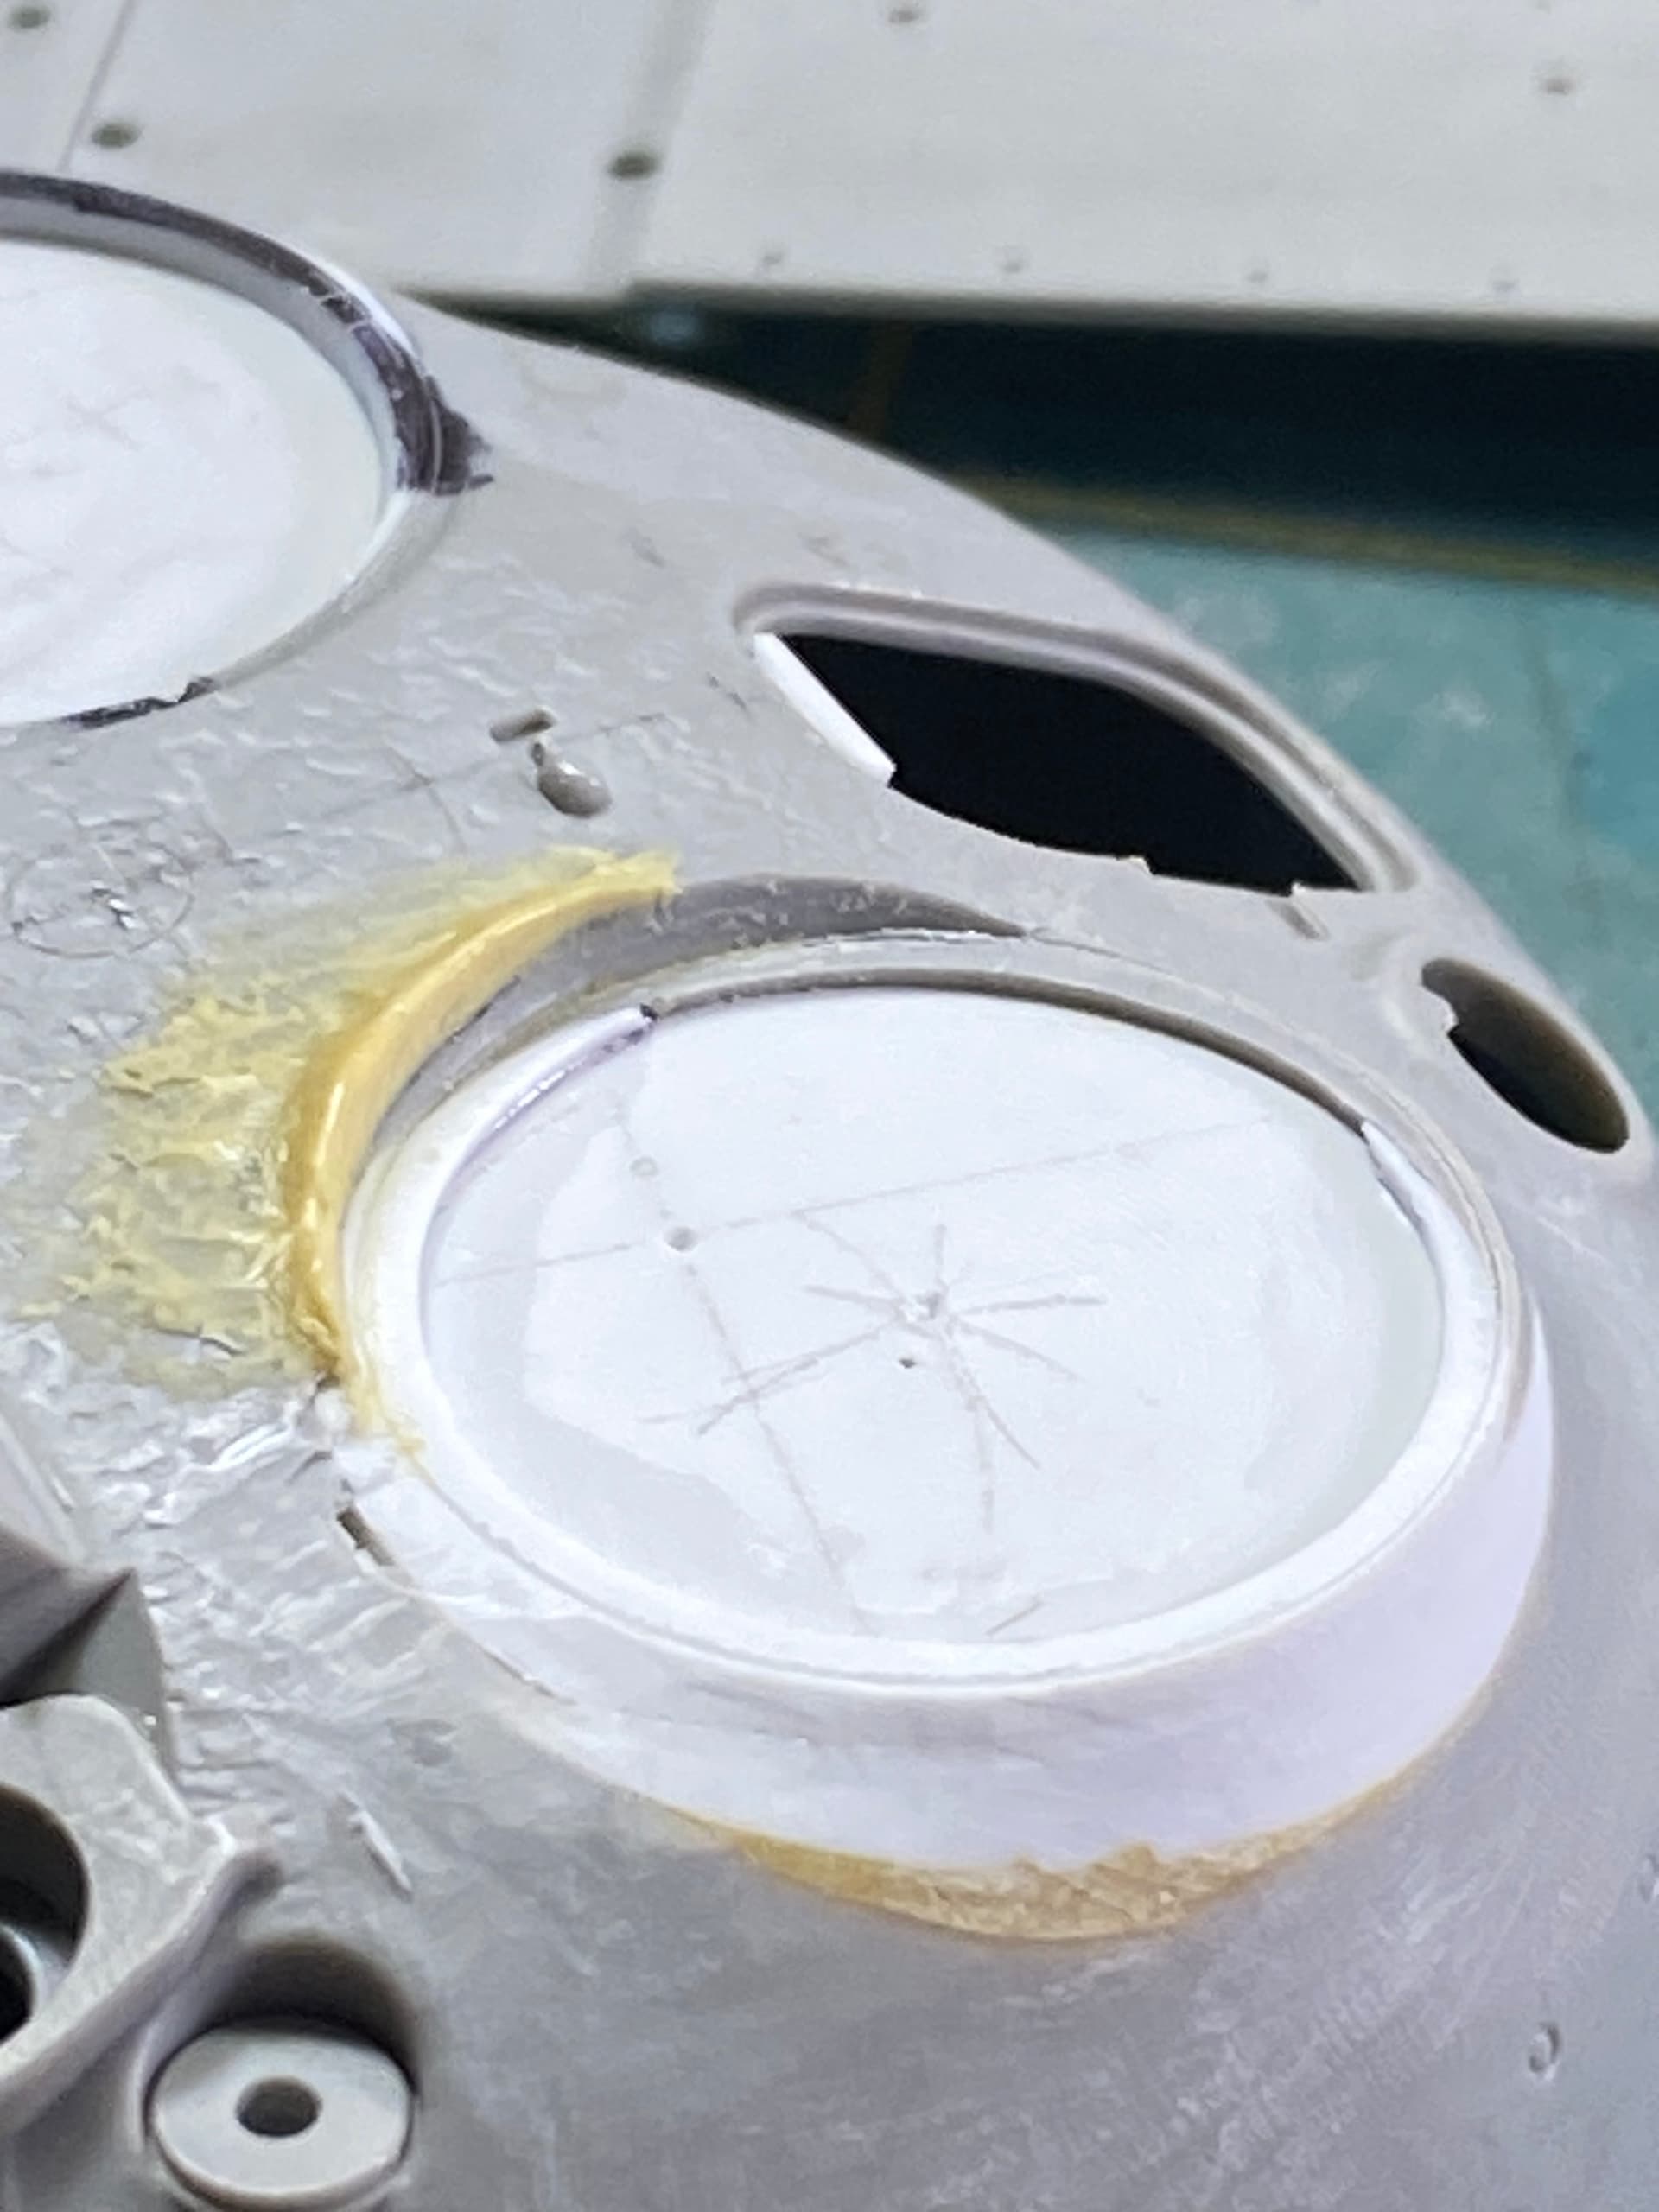
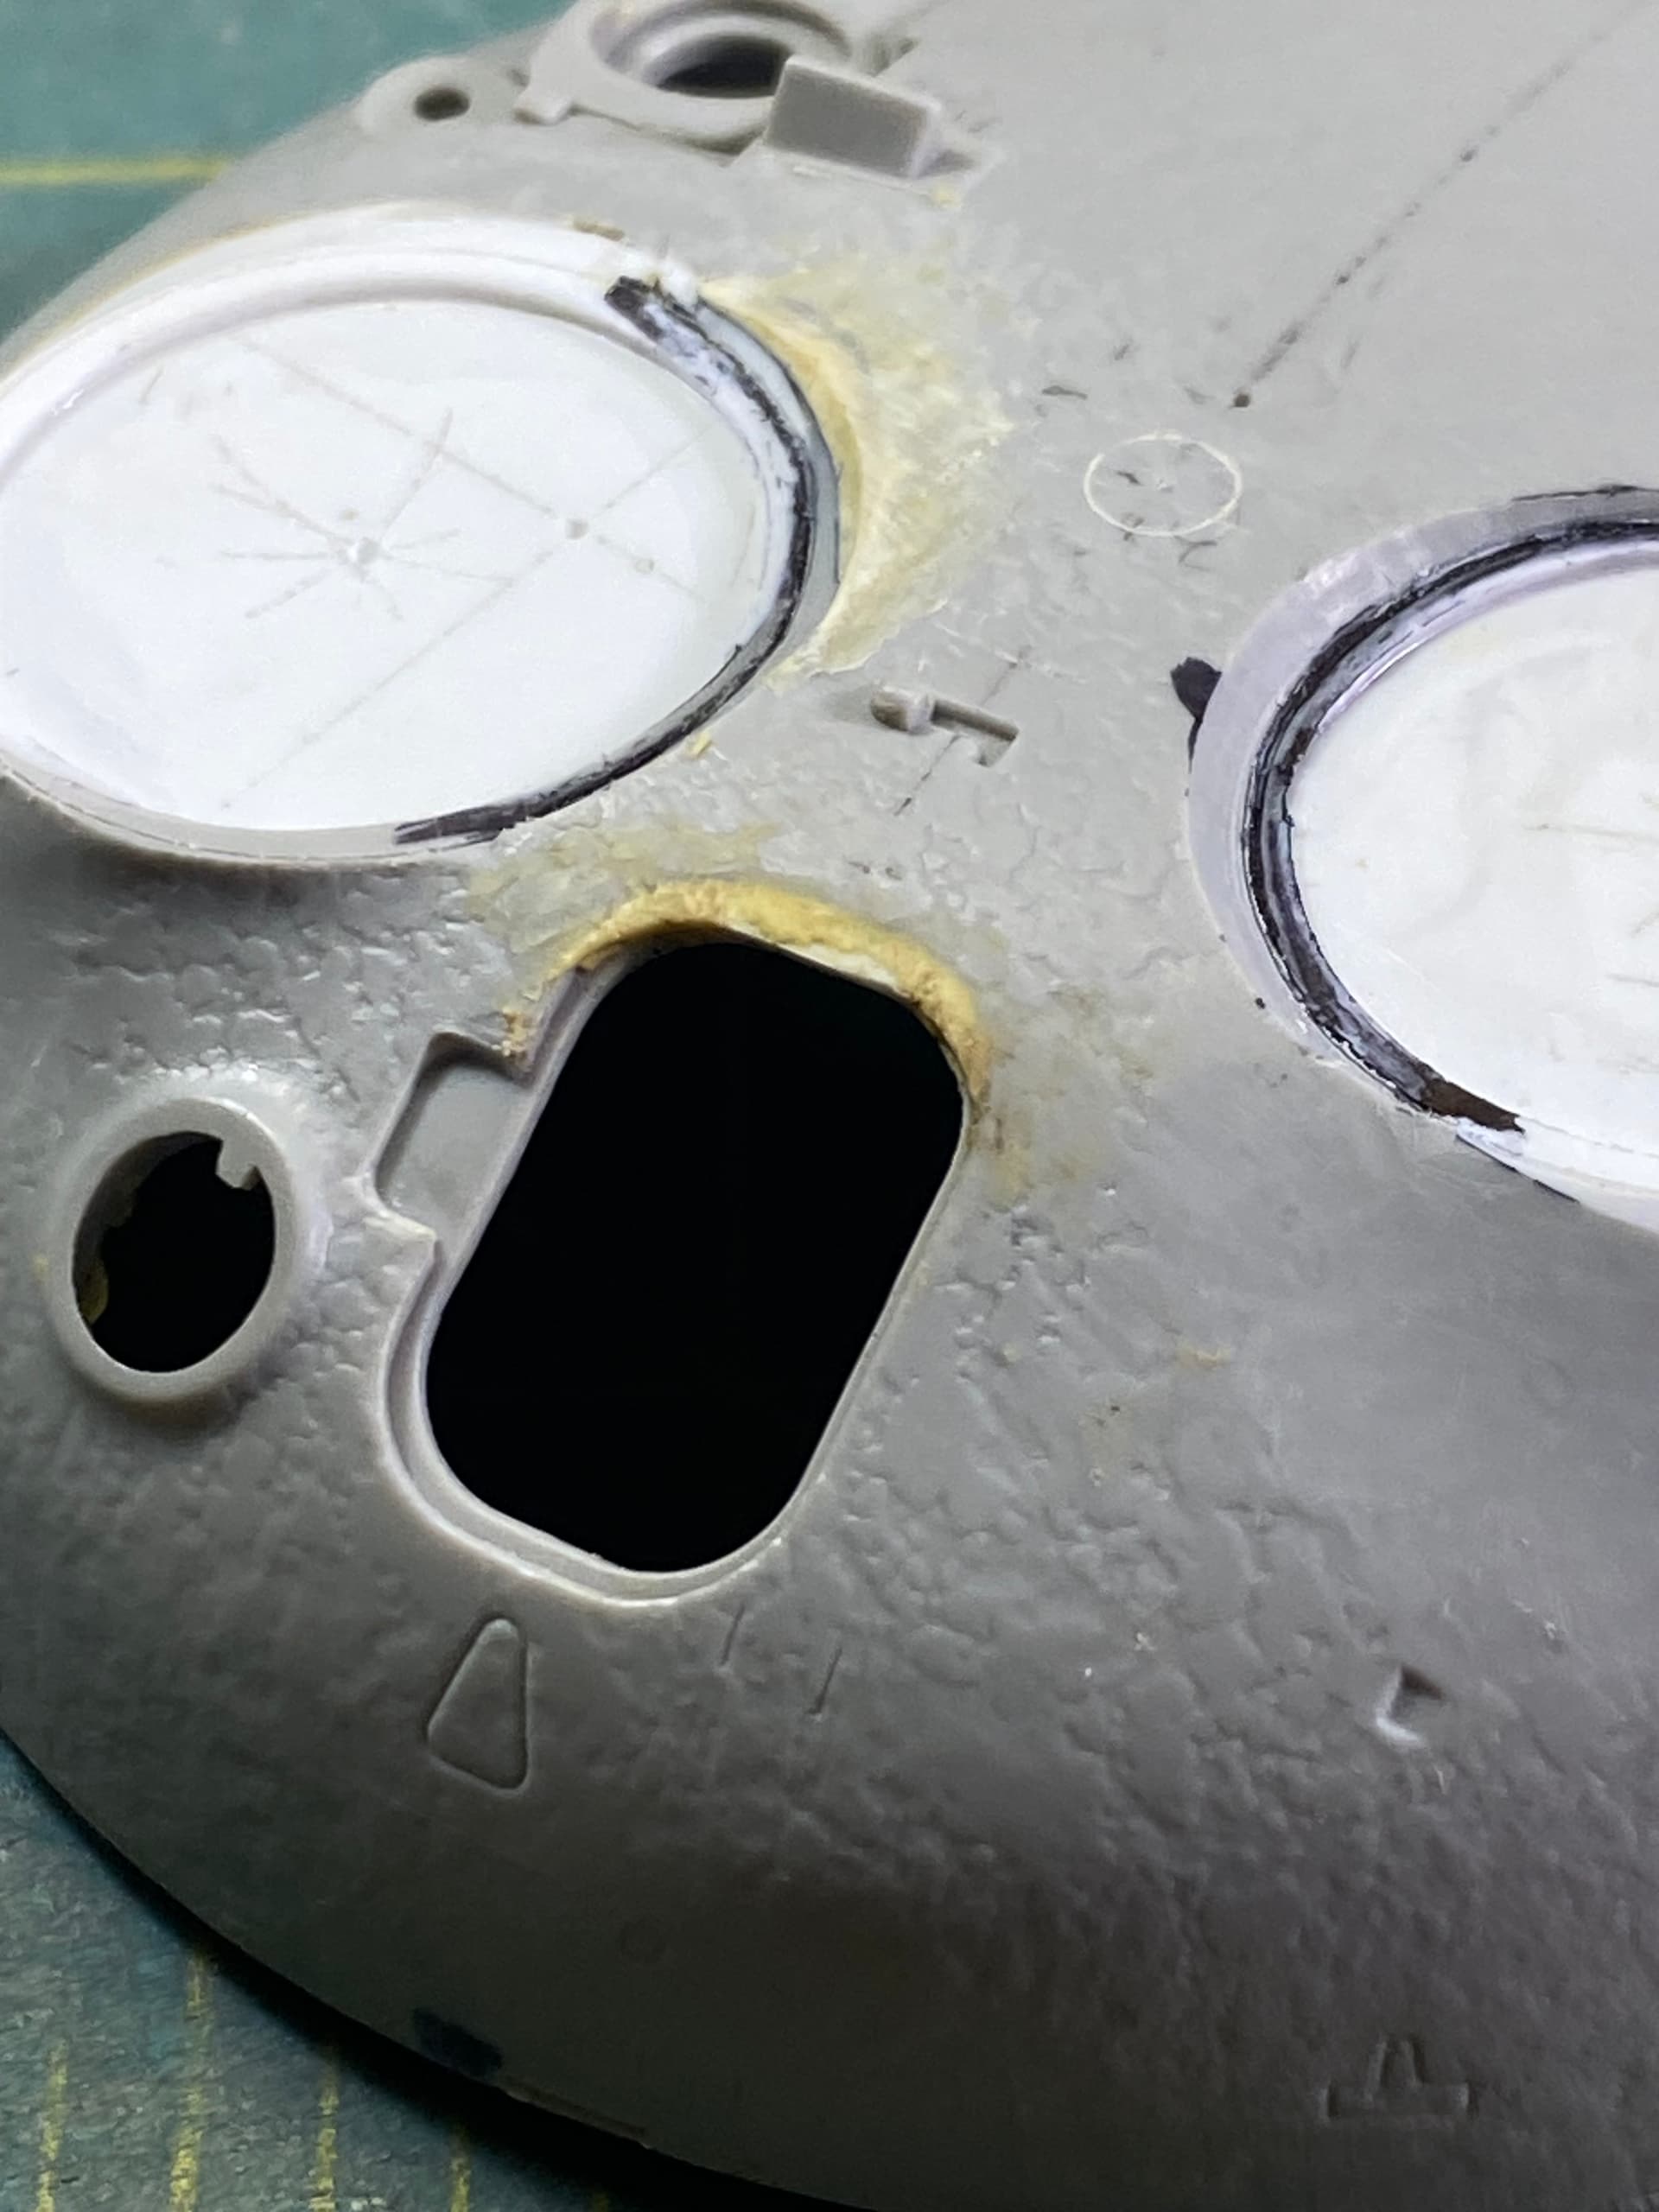
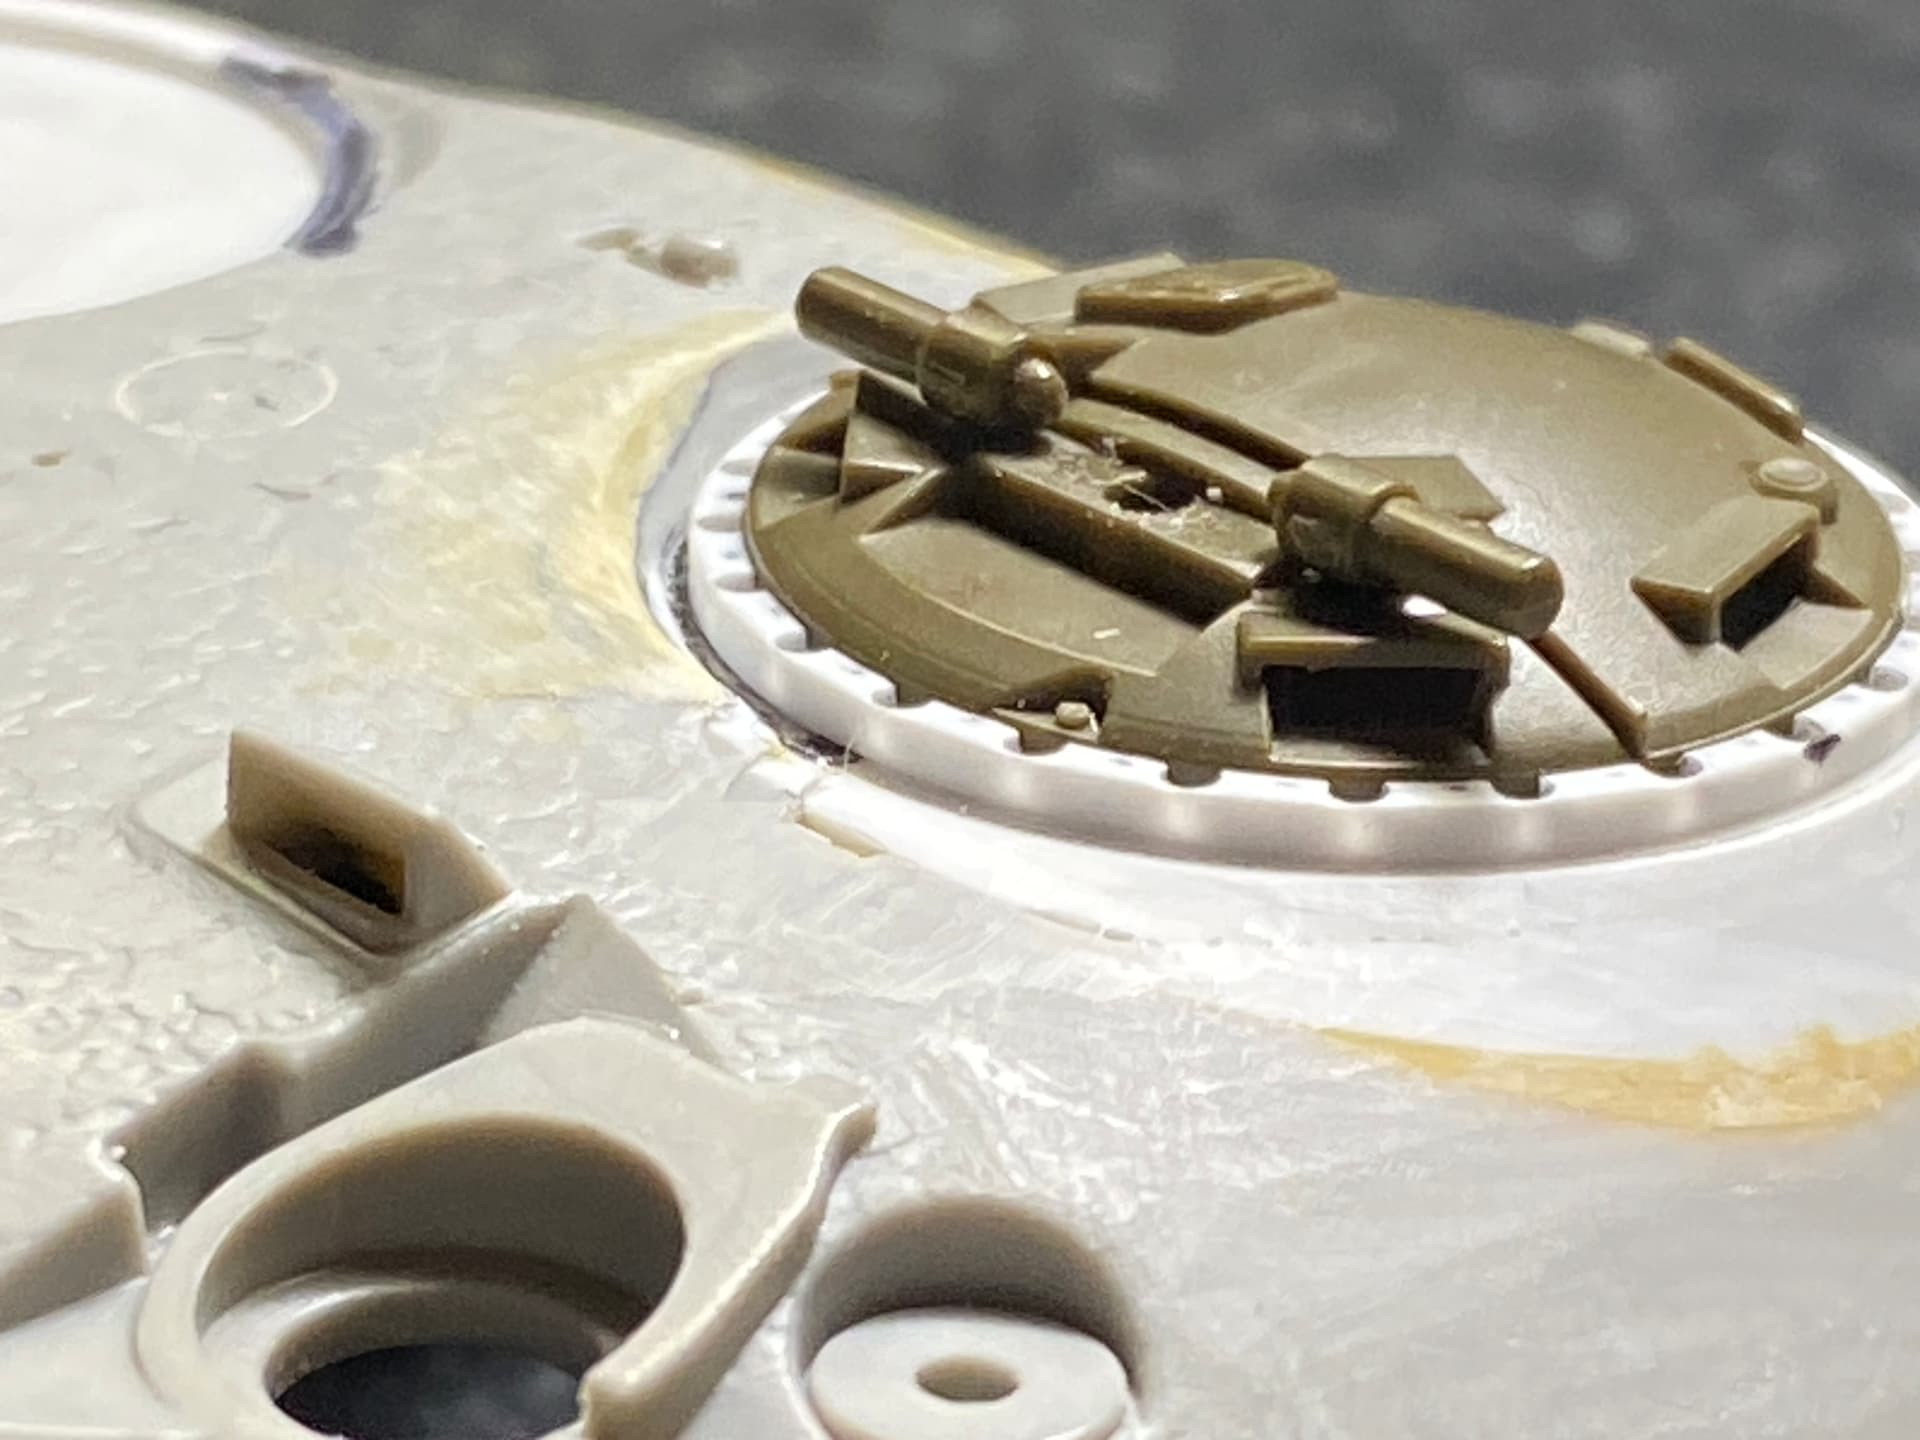
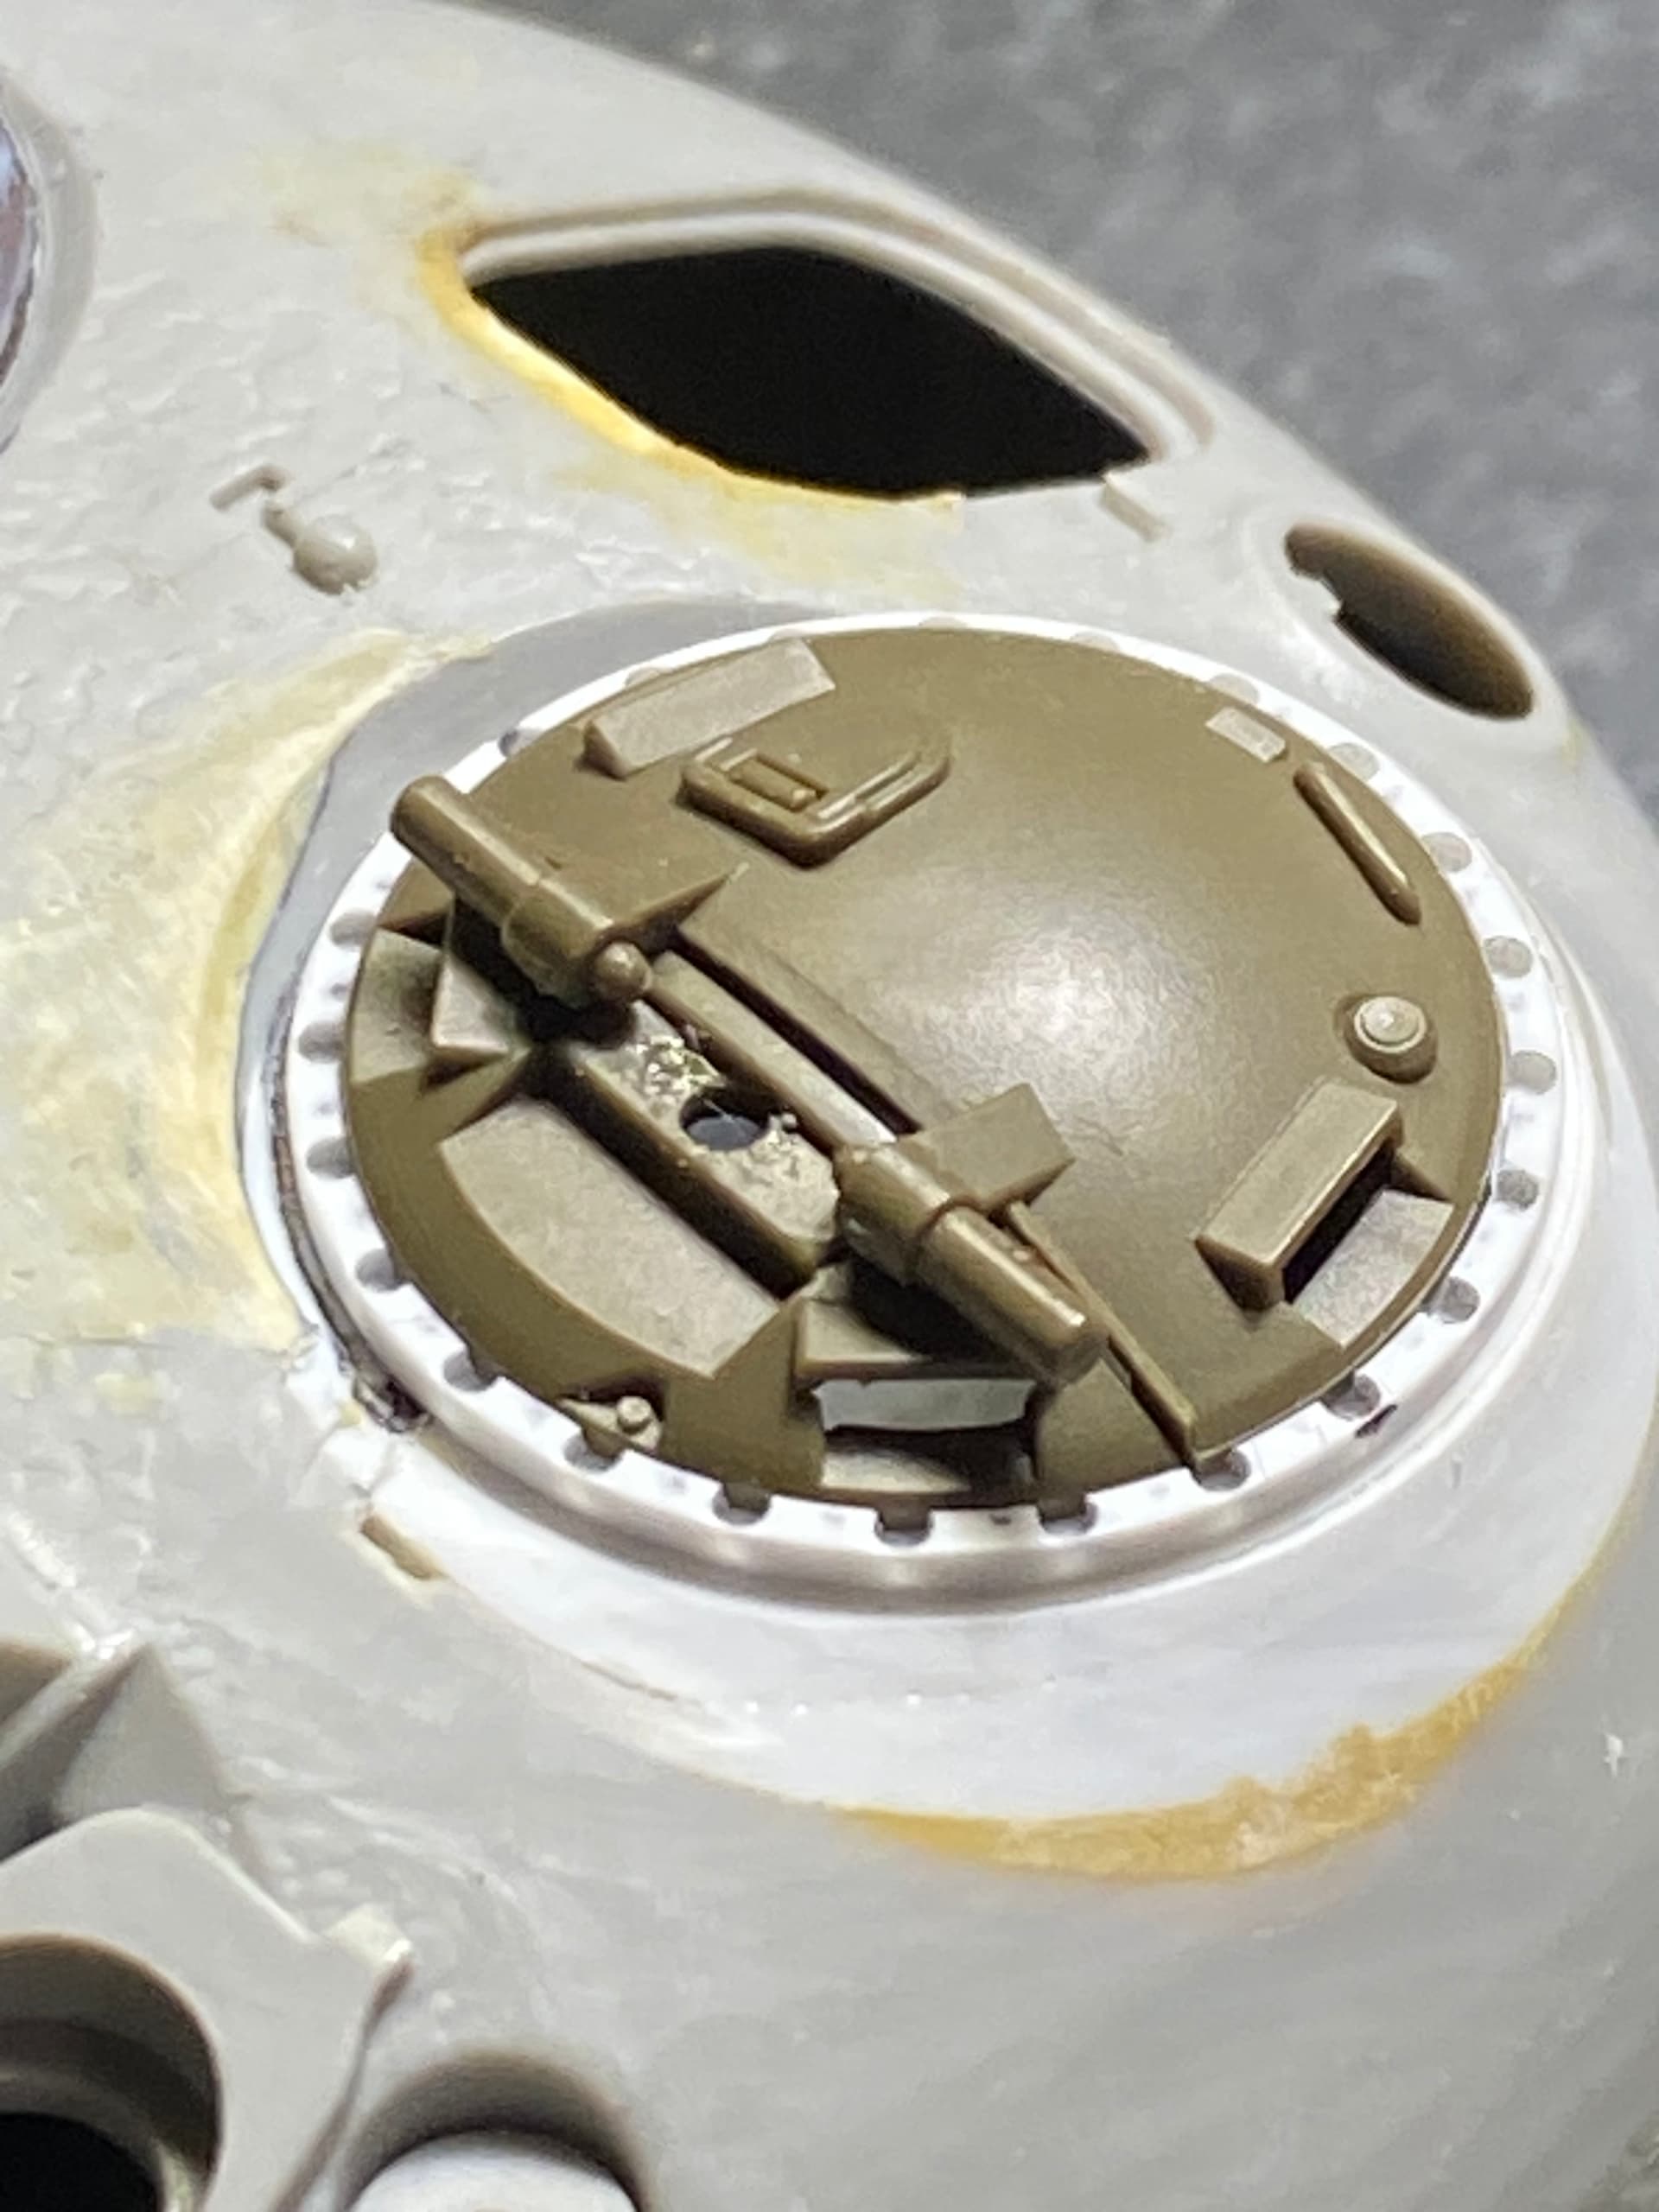
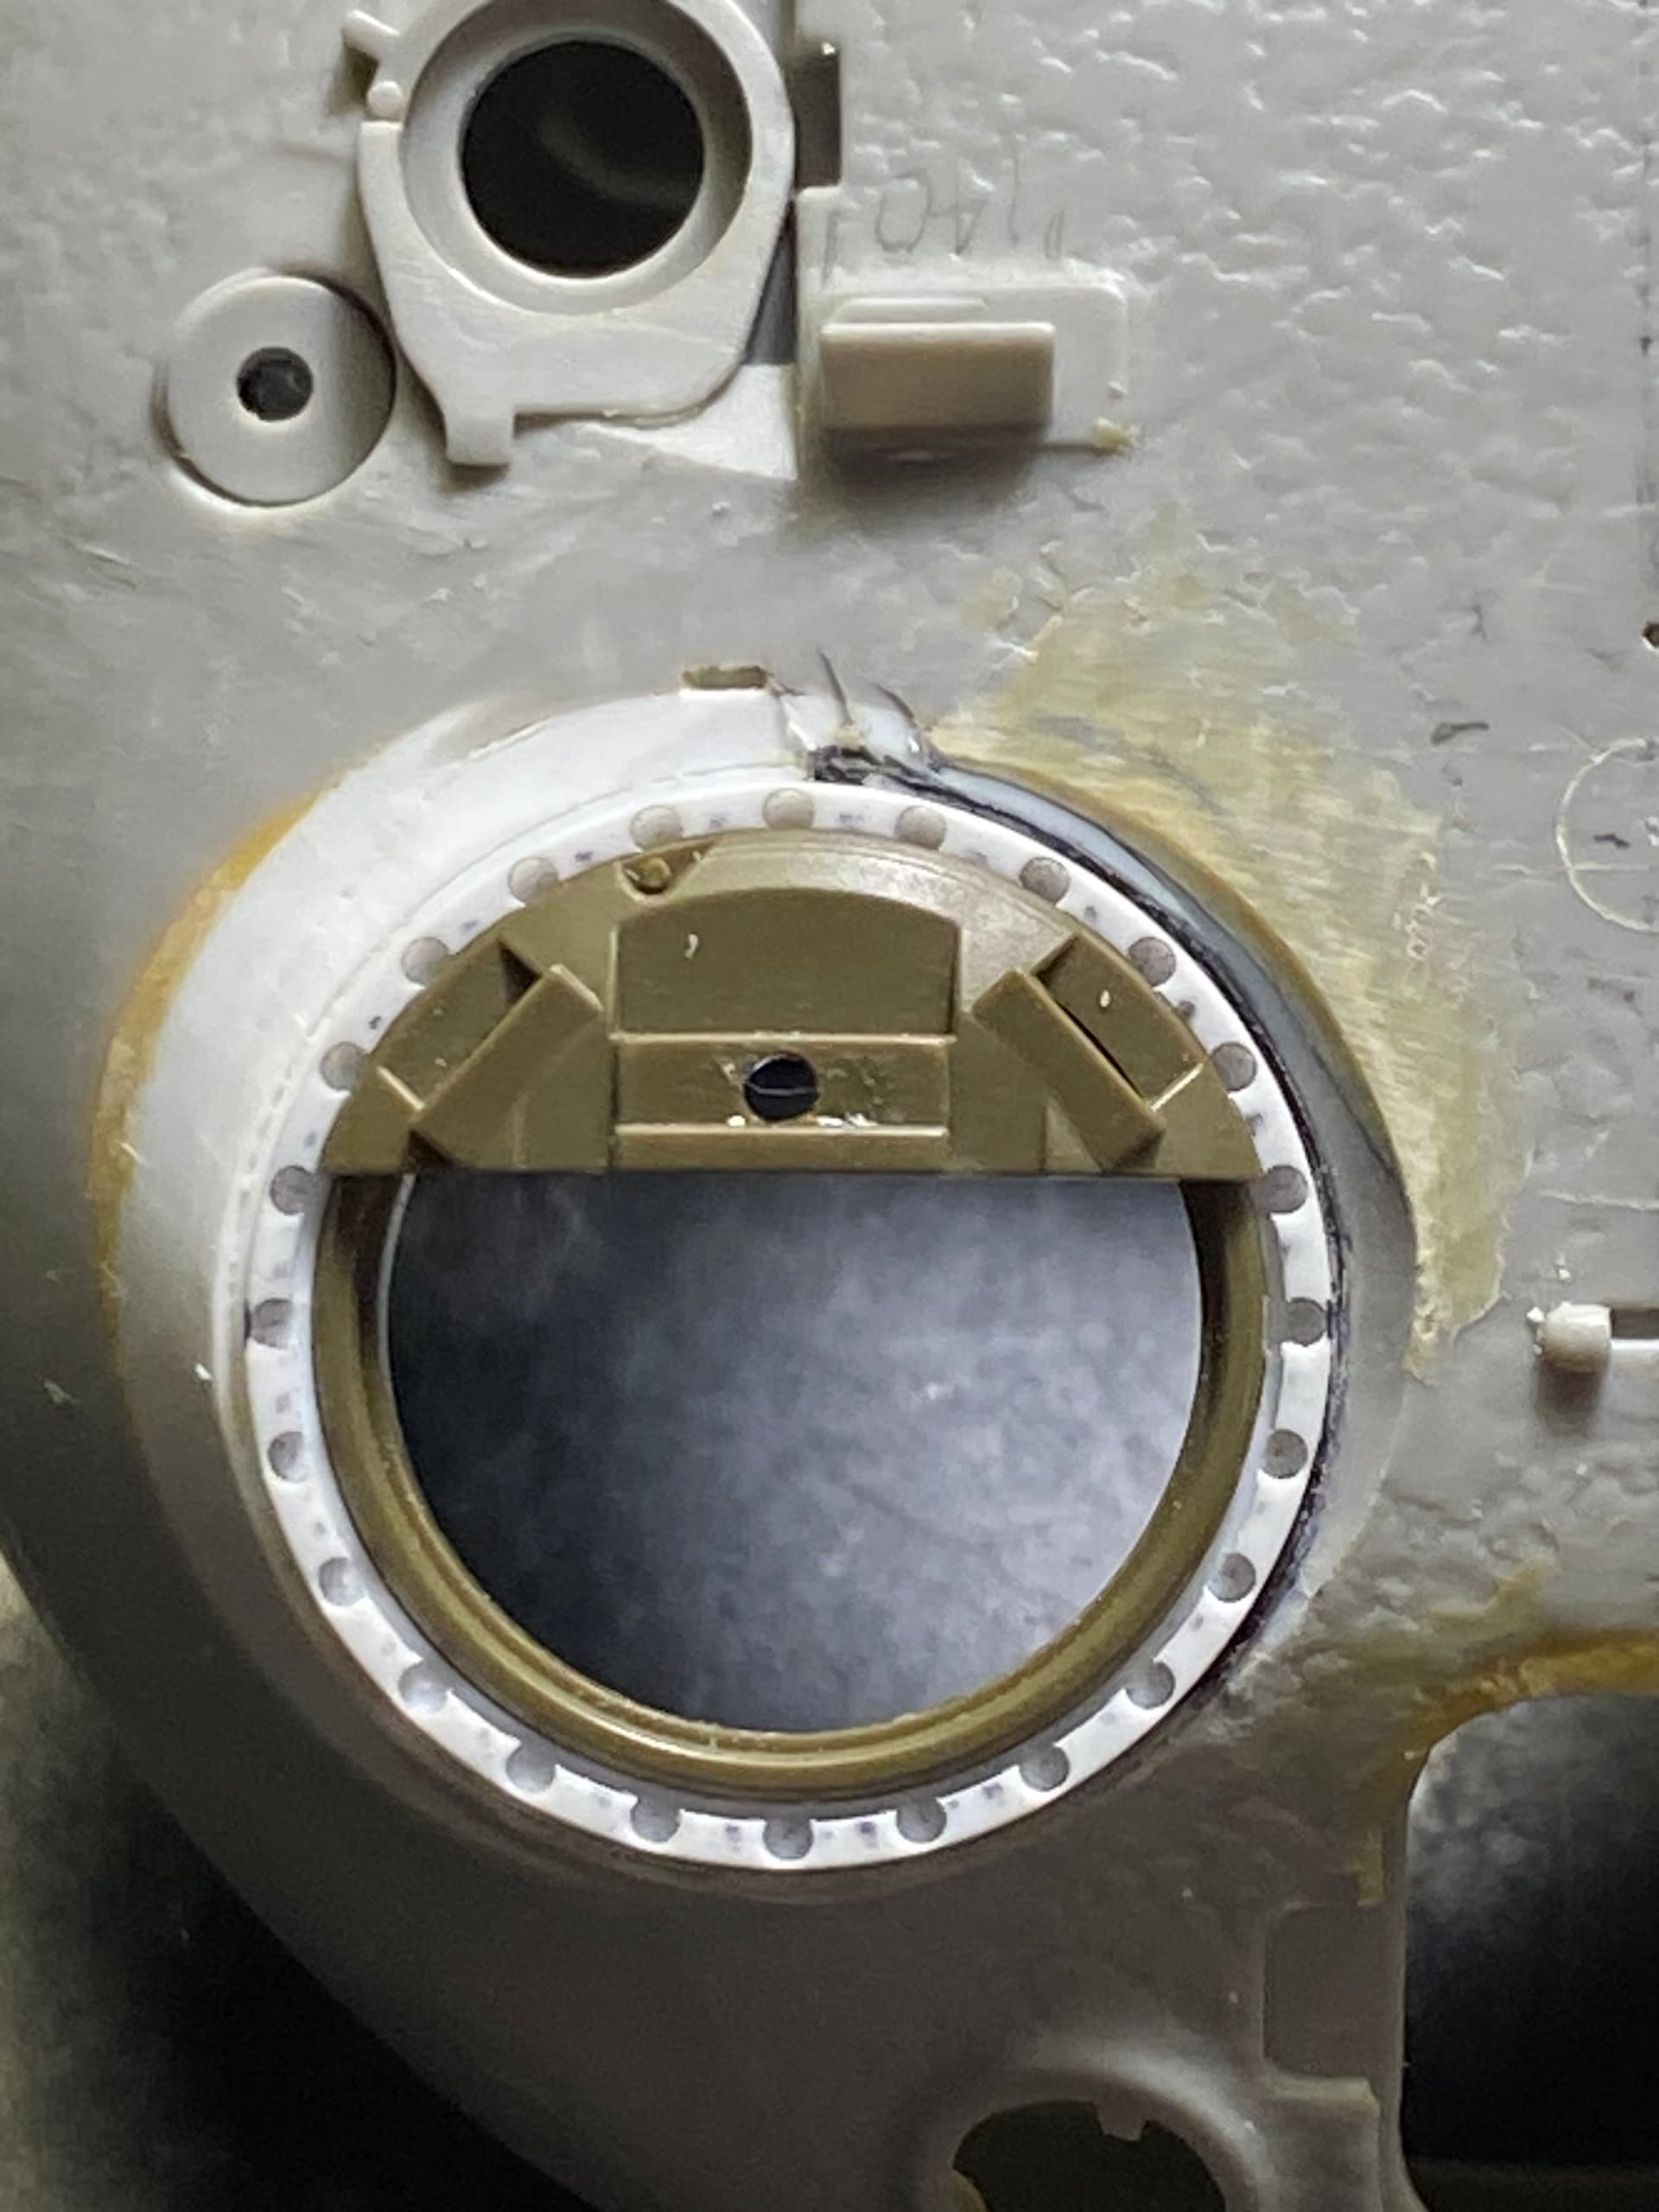
Very nice work Sean. They look excellent.
4 Likes
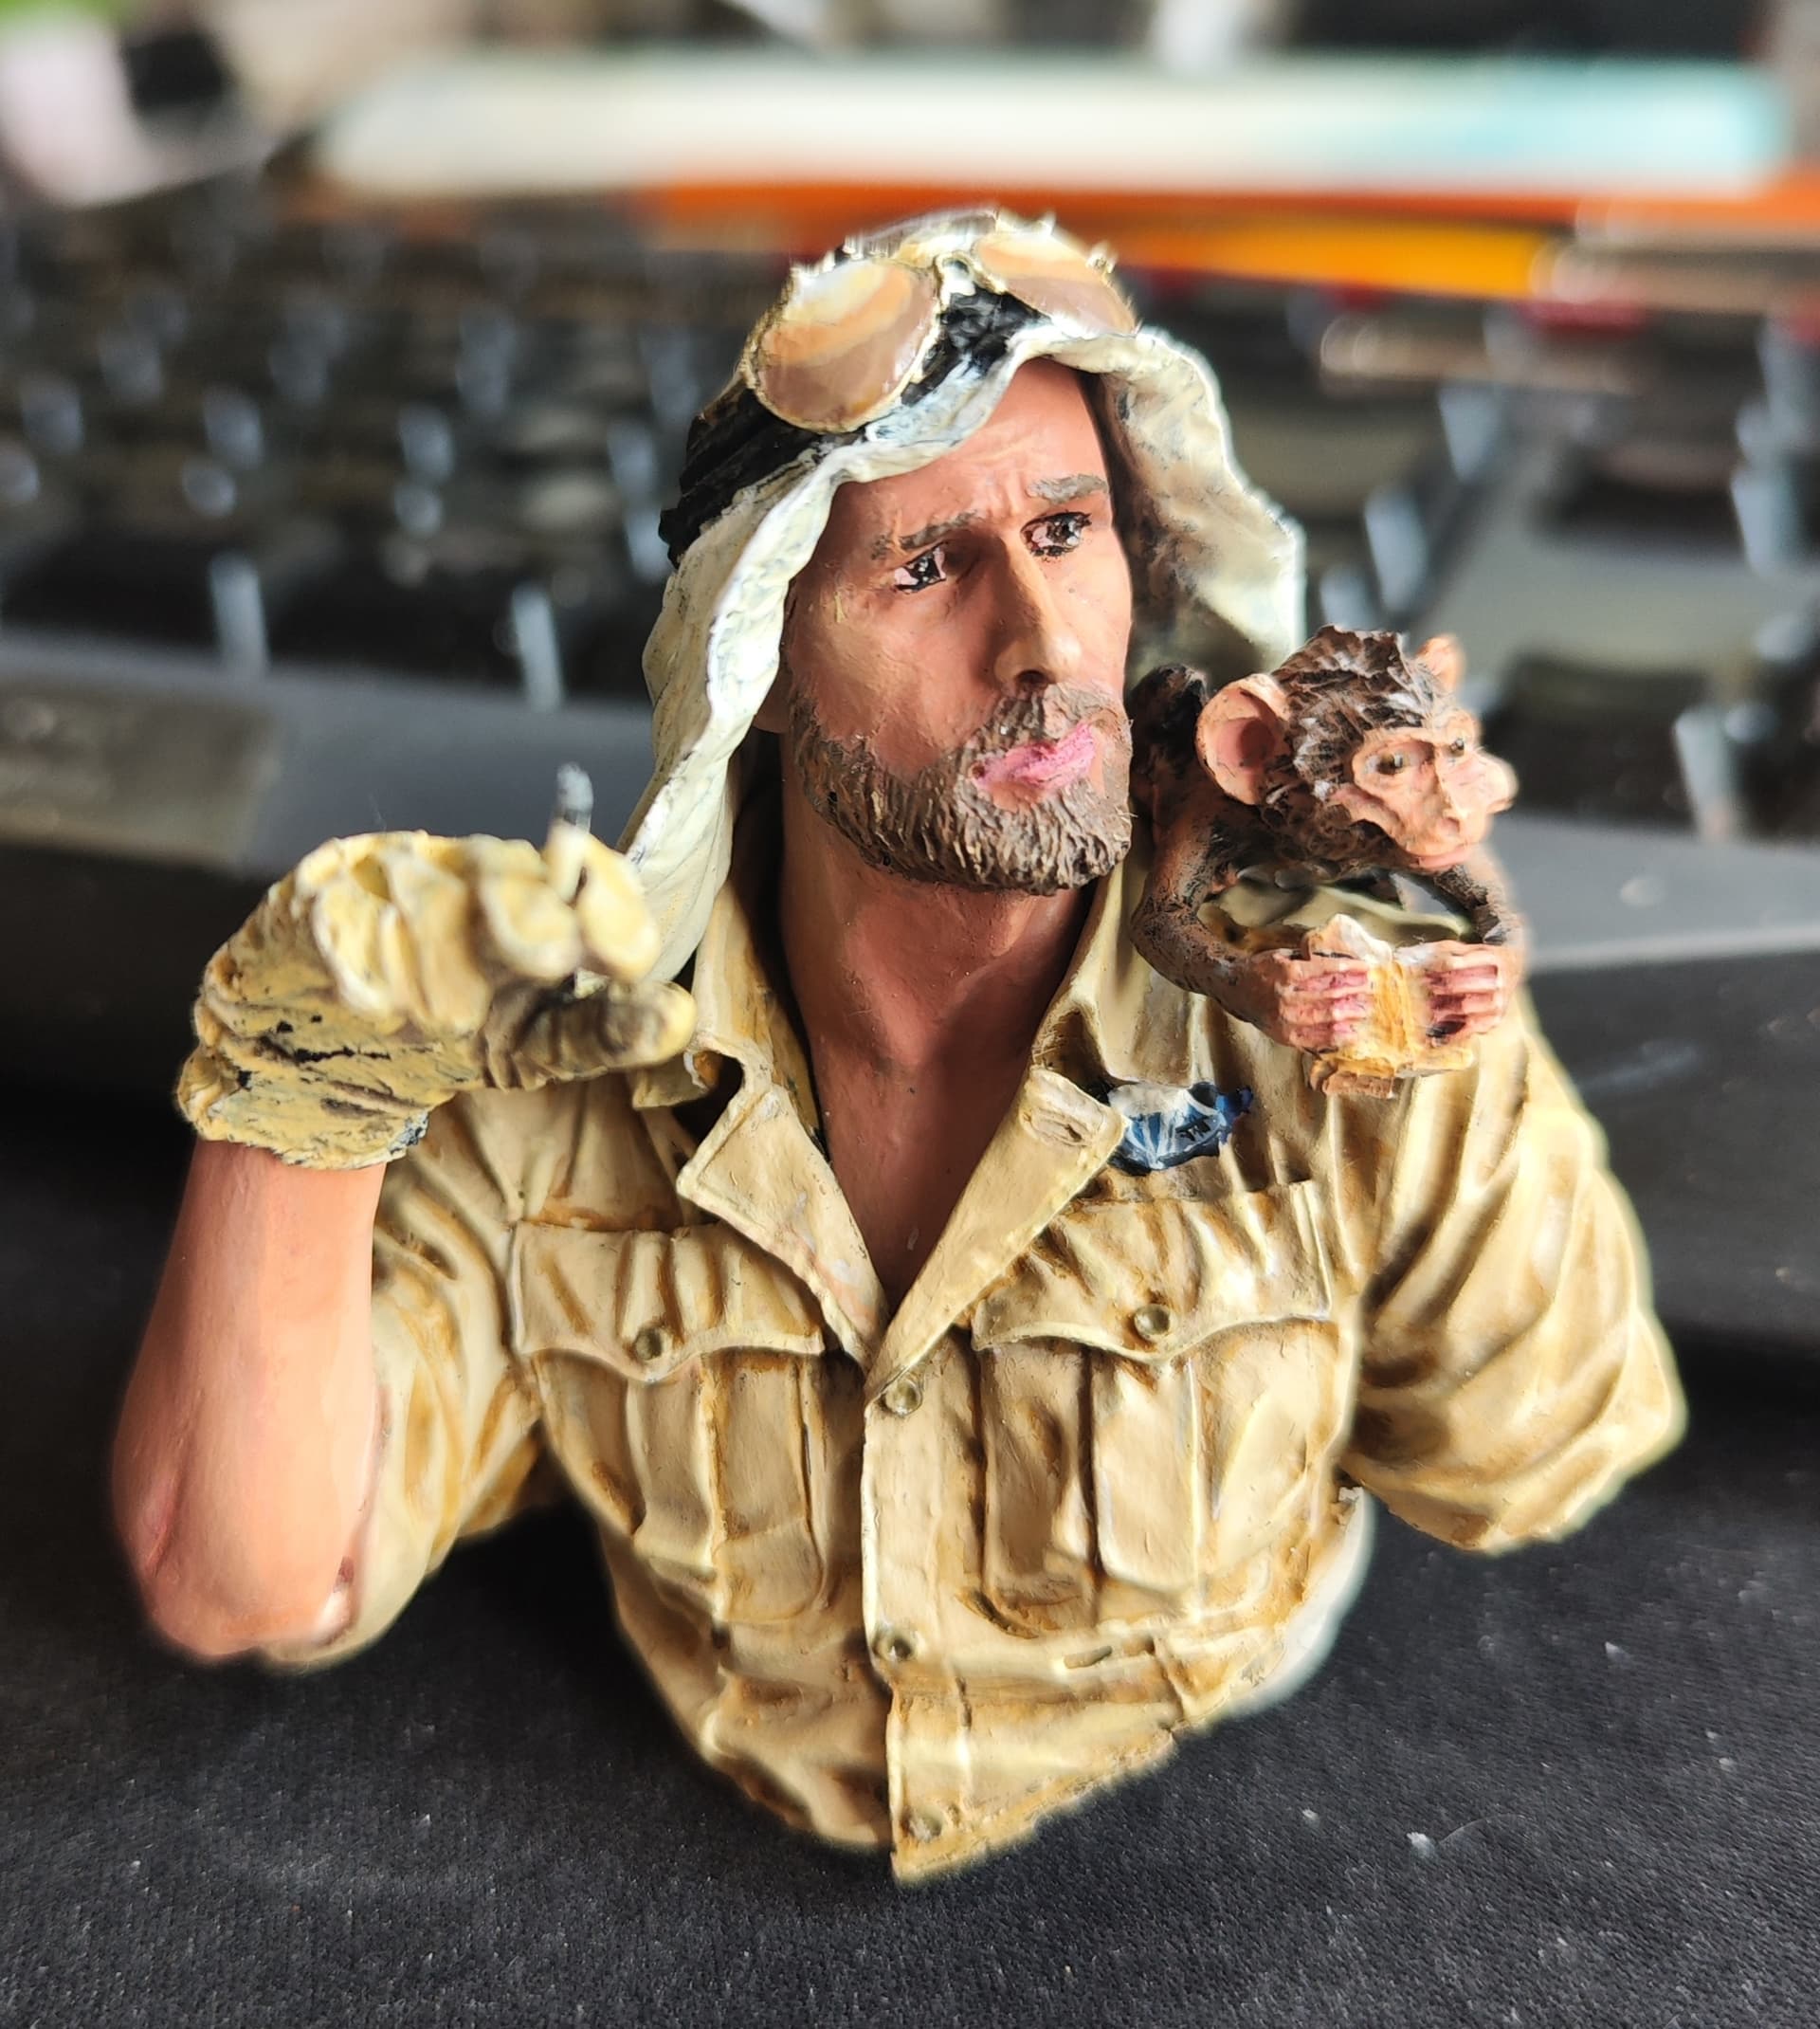
I finished the bust. Now for the accompanying gun and searching for a affordable and sizable plinth.
18 Likes
Nicely done Erwin- you have got that tanned skin tone just right- and the fur on the monkey looks great too. I also like the way you have done the goggles showing the light reflected in it- an awesome addition to the paintwork.
I find for Young Miniatures busts that a 5x5x5cm square plinth is usually a decent size- or something close to that.
2 Likes
Thank you very much for the kind words Karl! I added a scar to his brow and one to his forearm, to give him a more rugged look…
I do have a 5x5 cm plinth, but find it too small for this bust, as the gun is a .50 cal, which protrudes quite a lot on the front side. I am therefore looking for something either rectangular (5x7 cm) or square (7x7 cm)
3 Likes
Ah yeah- in that case it would need to be bigger as you said.
1 Like