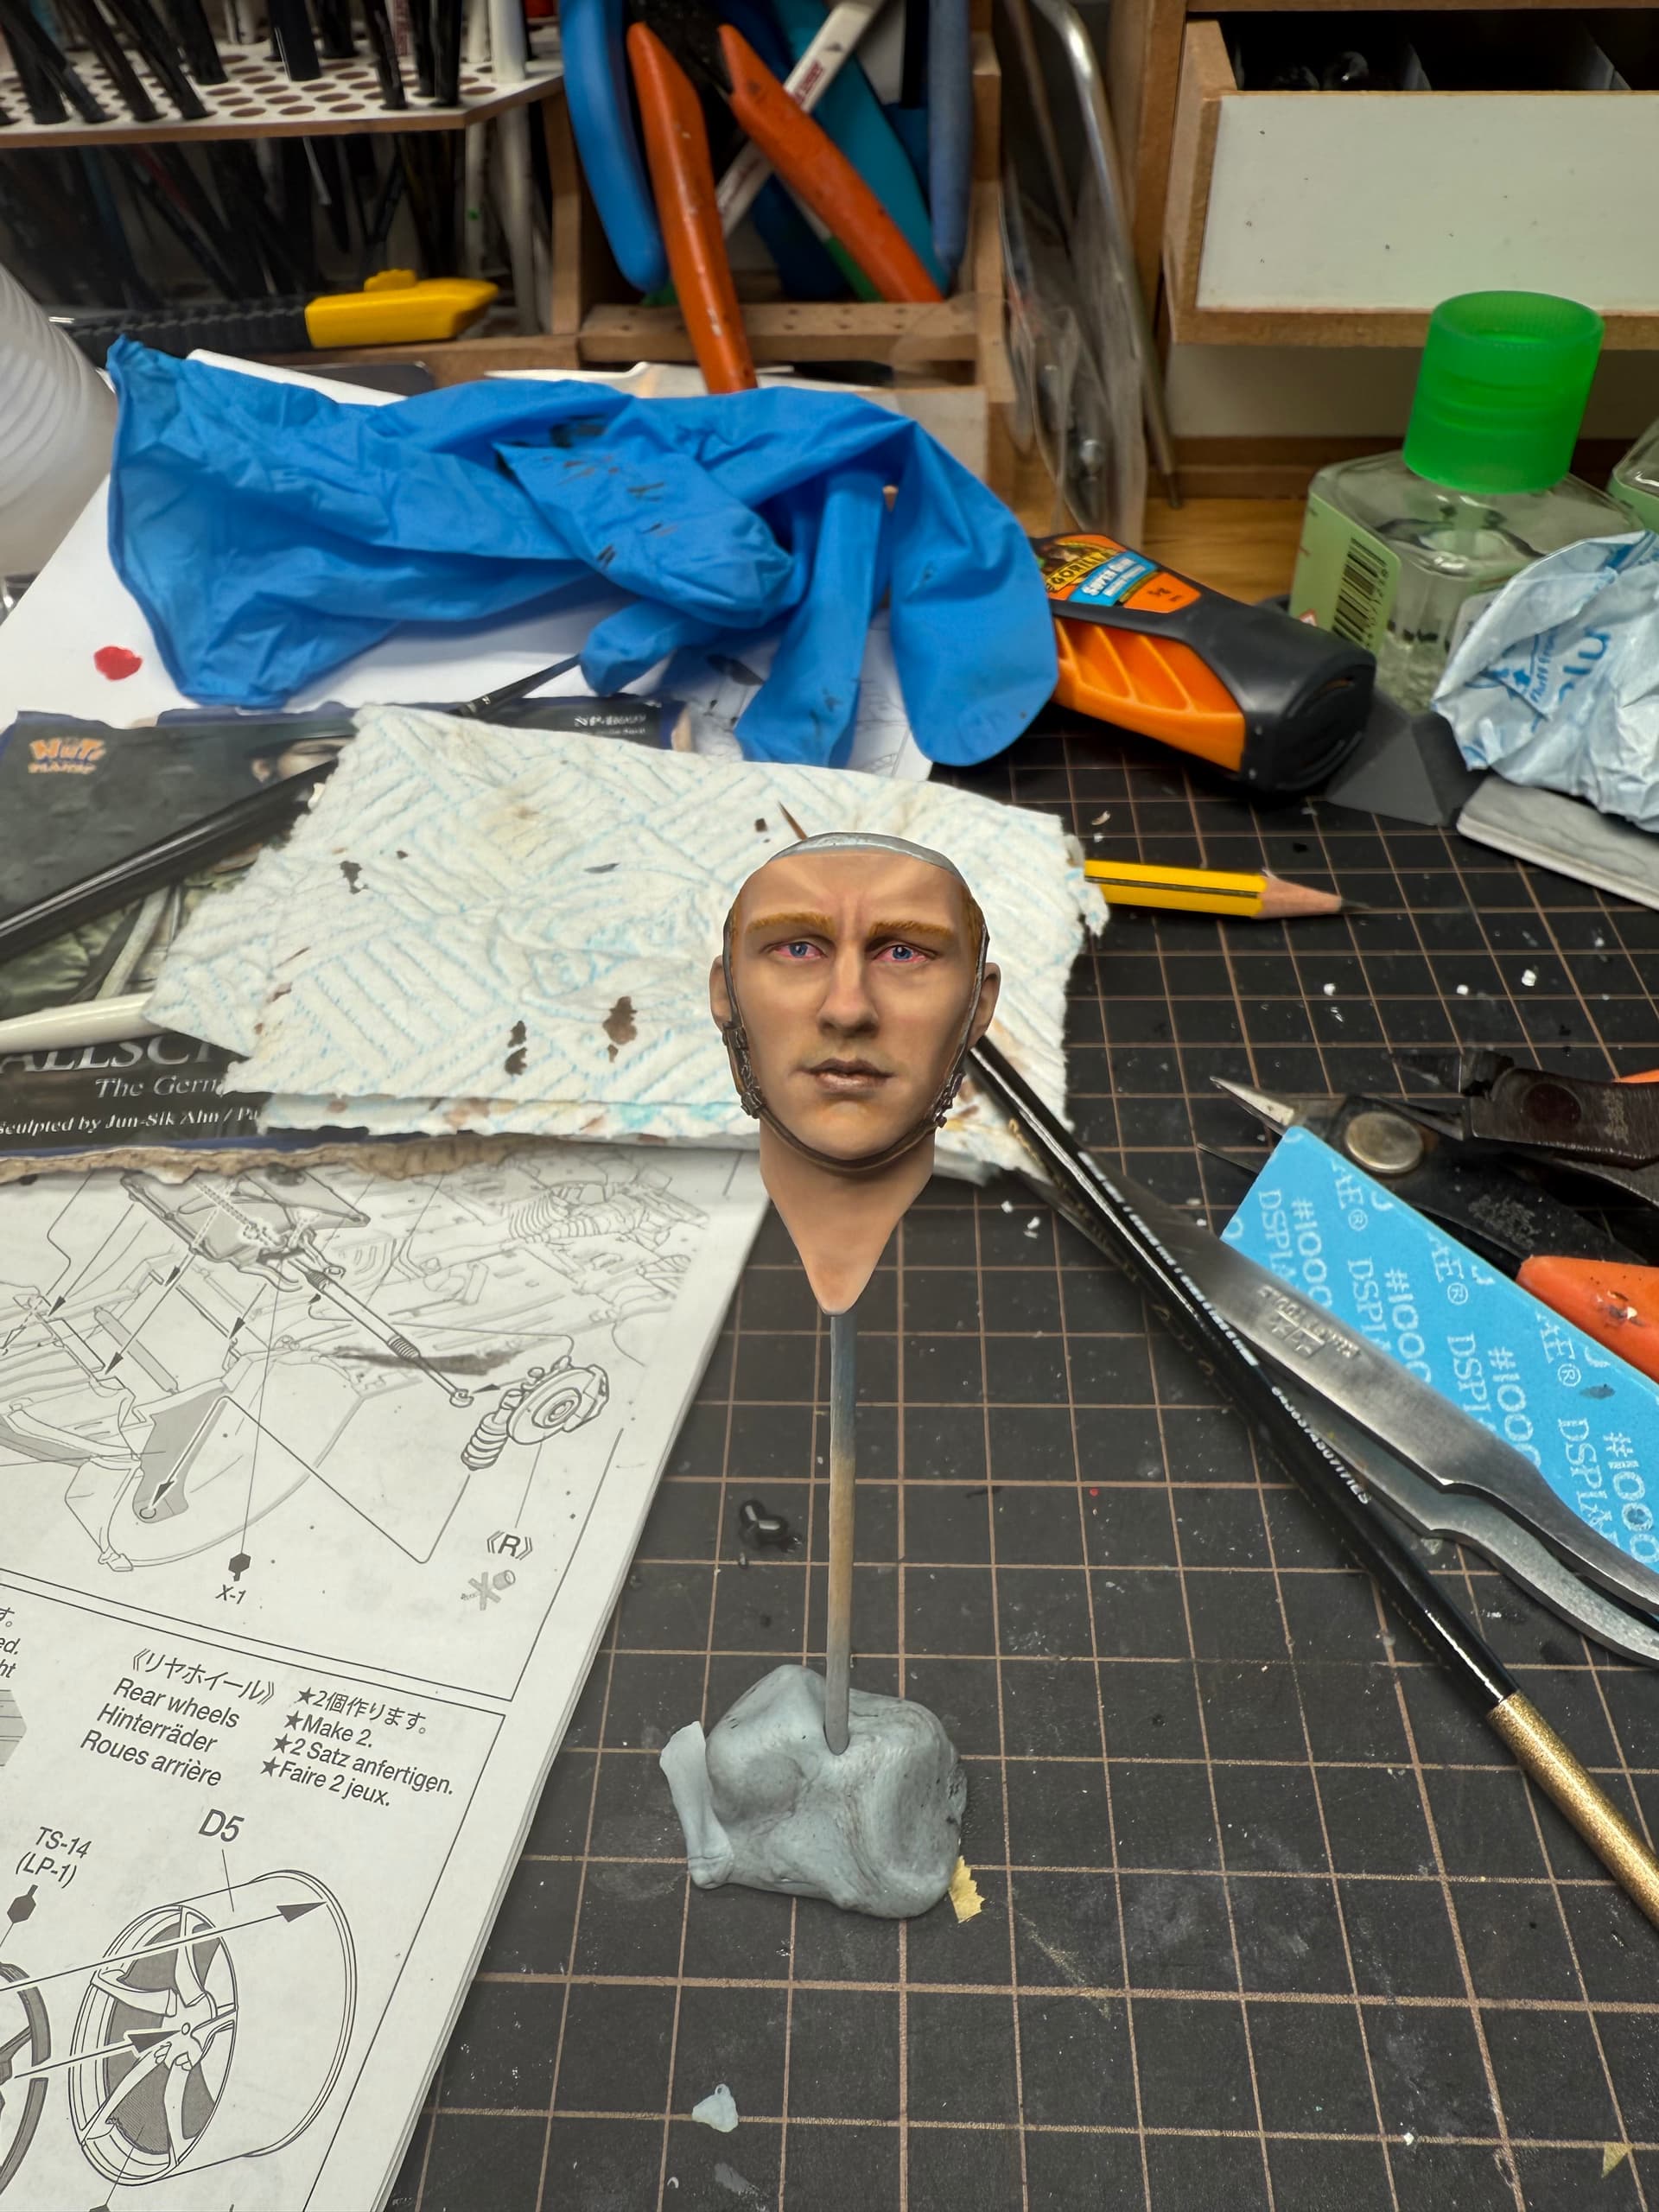
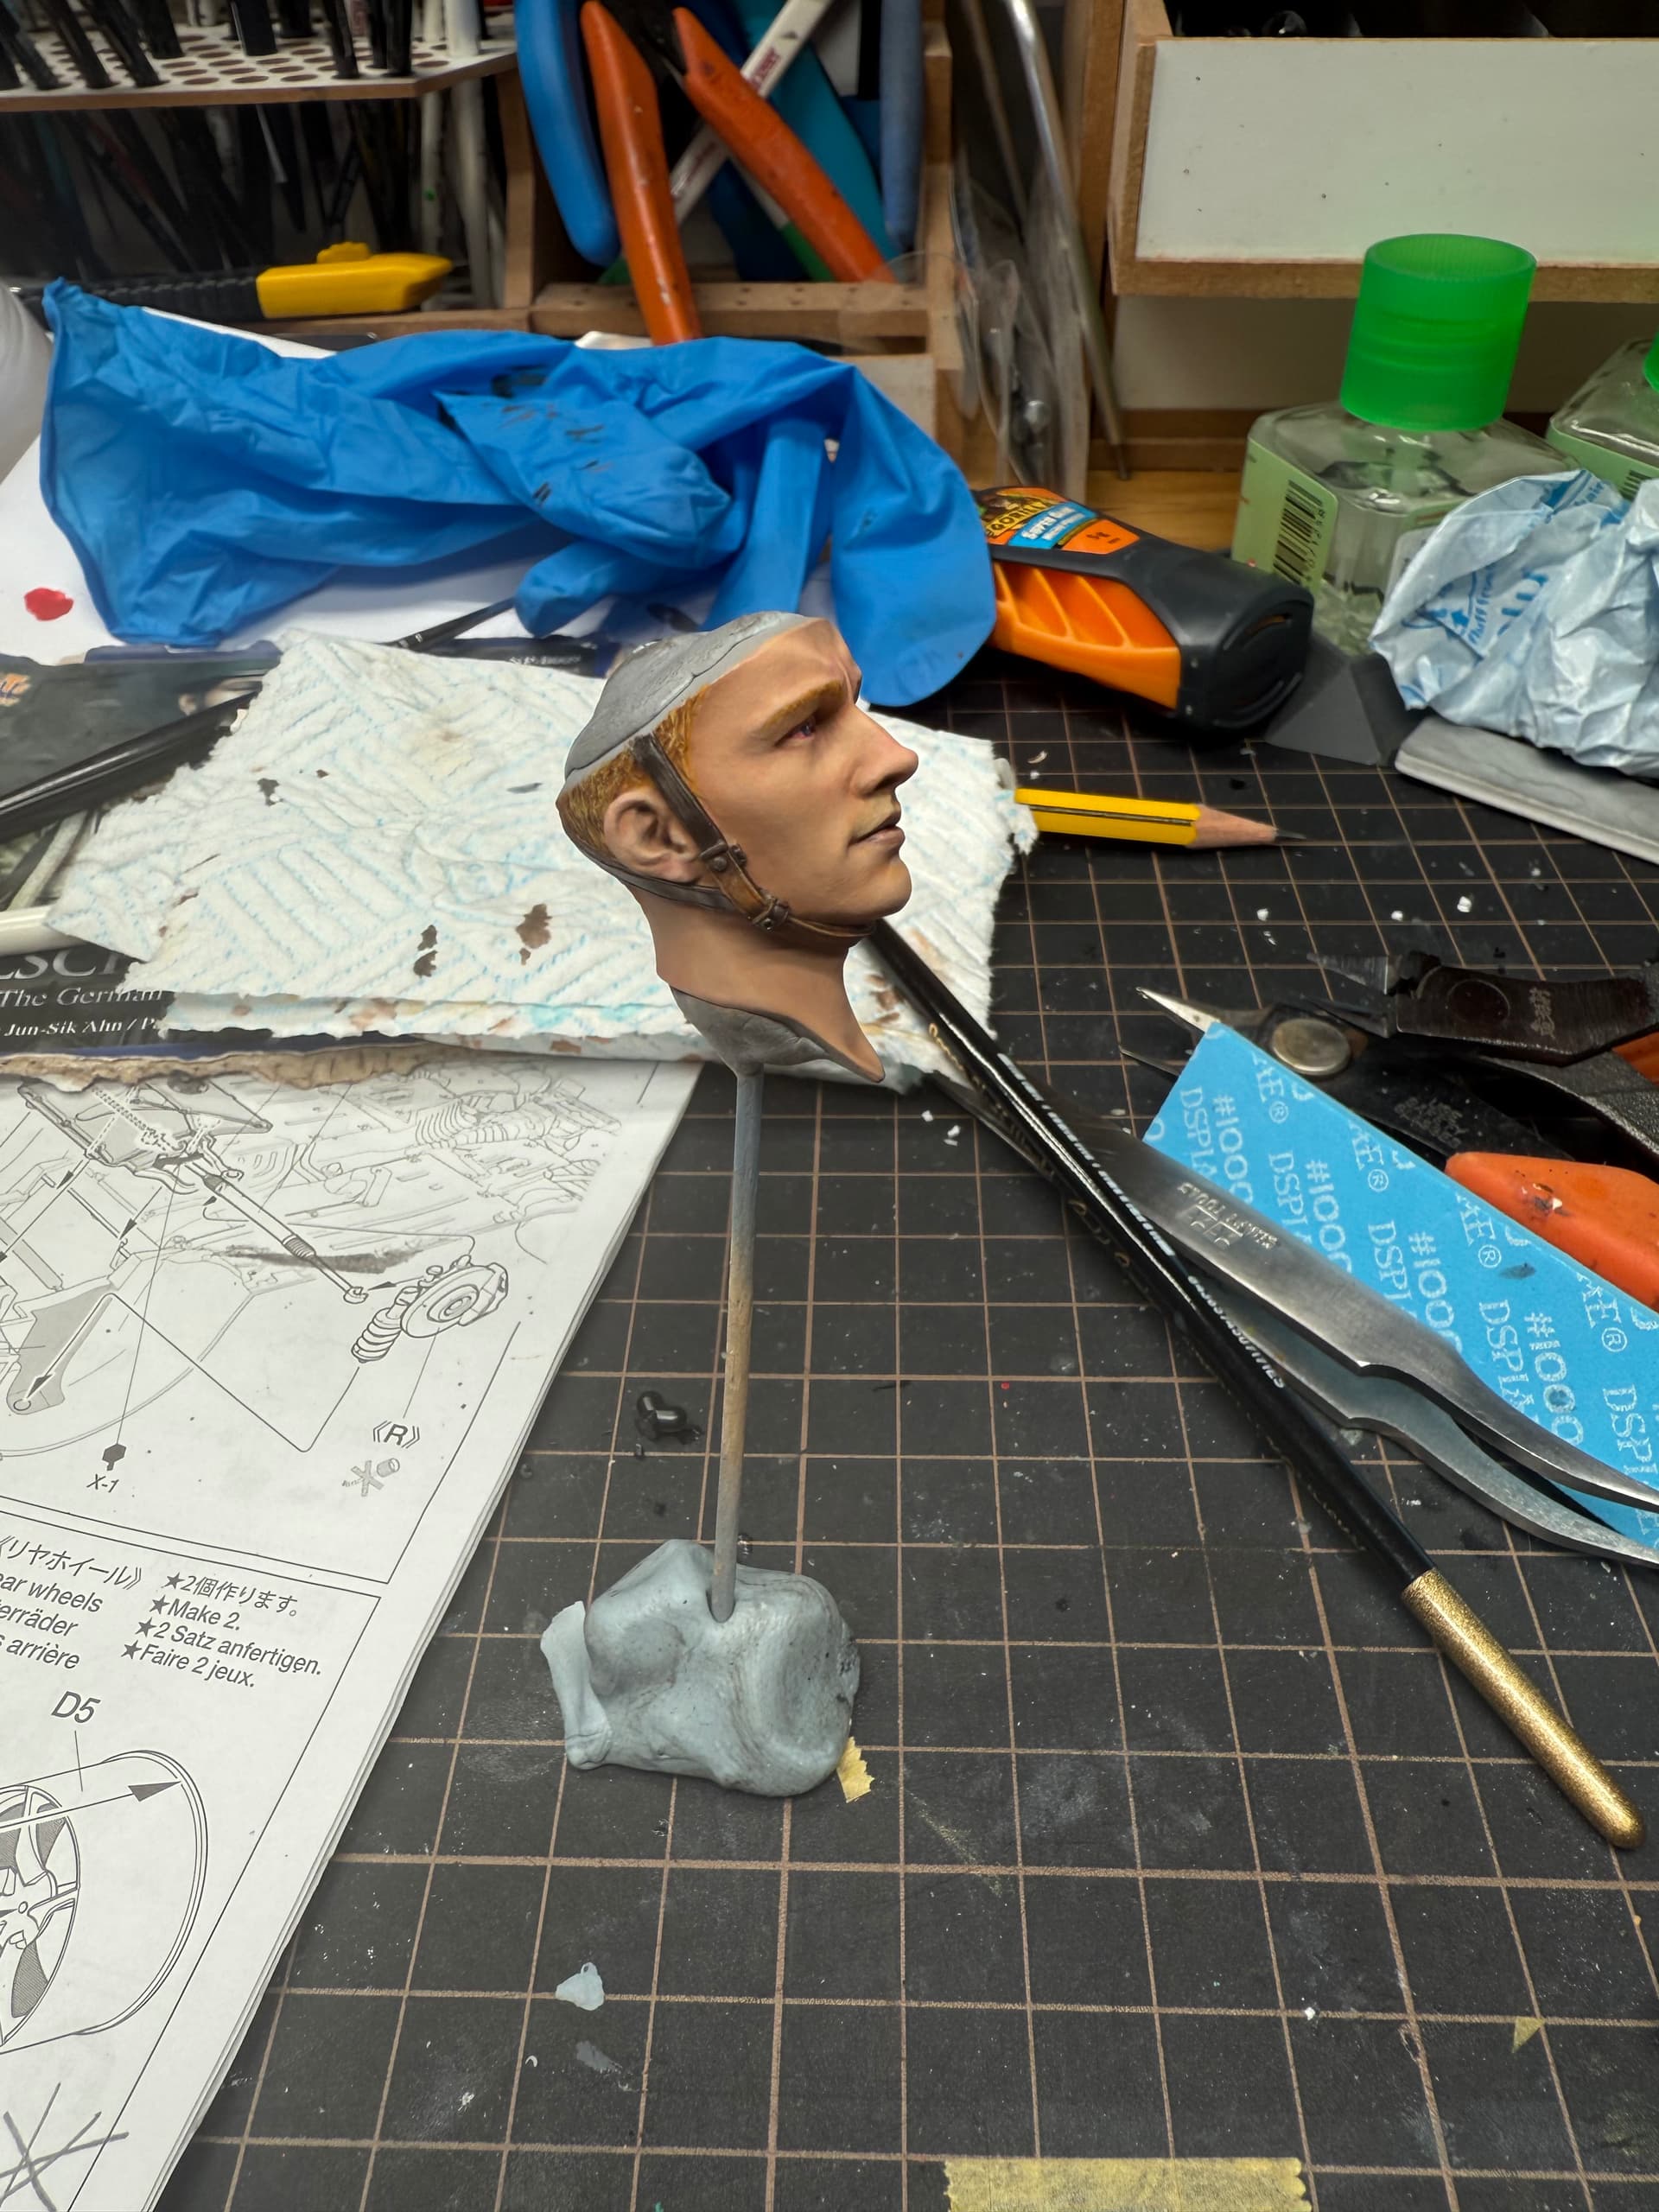
It was painted using glazes for the skin- this is a bit time consuming but produces a youthful appearance which I felt suited the head sculpt.
The chin-strap appears two different colors because when it is fastened through the buckle on the left side the back of the strap is exposed and, unlike the dark outer face of the leather, the lighter backing material on the inside is exposed.
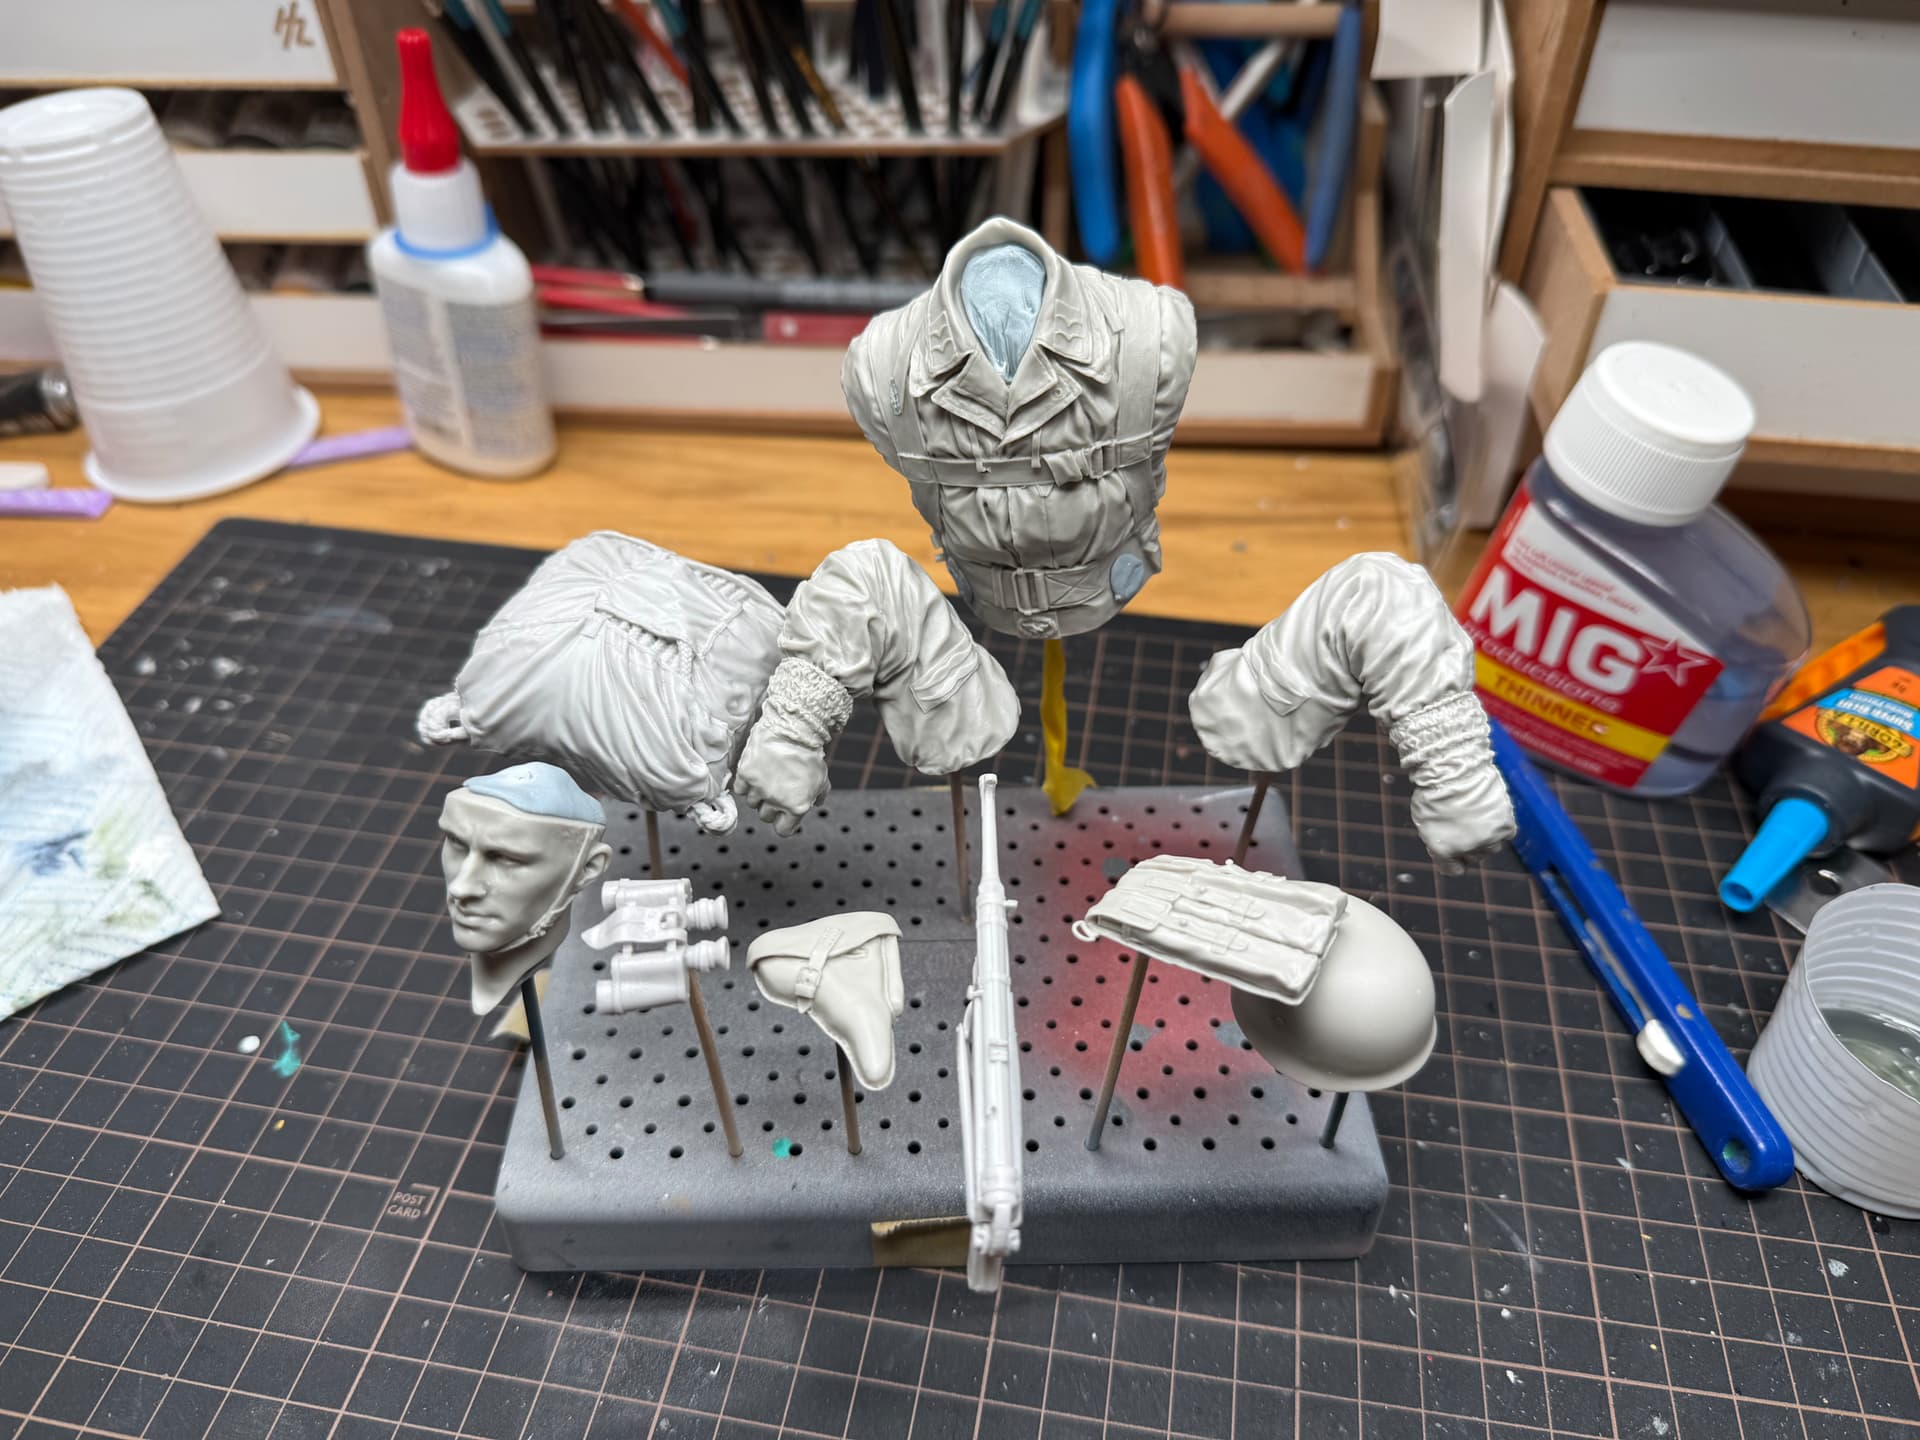
Fun fact; the German paratrooper jumped head first from the ‘plane because his ‘chute was attached by a single strap to his back. He had no control lines to steer the ‘chute with. He was armed only with a pistol and a knife when he jumped, having to locate his rifle and other gear from a seperately-dropped canister.
After the invasion of Crete, the surviving members of the the Luftwaffe’s Fallschirmjaeger were re-roled as Infantry.
Yes I have an Osprey book on the Fallschirmjager and the jump method is one of the illustrations. It is quite odd looking. The actual pose of the bust is, I think, taken from one of the illustrations in the book.
@Barney Well Steve I was hoping he wouldn’t look quite that youthful ! I was going for a sort of early 20s look.
@keavdog Thanks for the kind words John. I don’t use any special tools- brush, Reaper minis flesh trio paints and a wet palette is about the height of it. The glazing technique is the difficult bit. The absolute best explanation I’ve seen is this one from Tangible Day. Also this article from Figure Mentors which goes into detail about how to use it for skin.
late but when I see your jagdpanther, I feel I could go further iwth my stug E100 weathering , I plan to get the das werk jagdpanther for my birthday btw, I already got their panther to do .
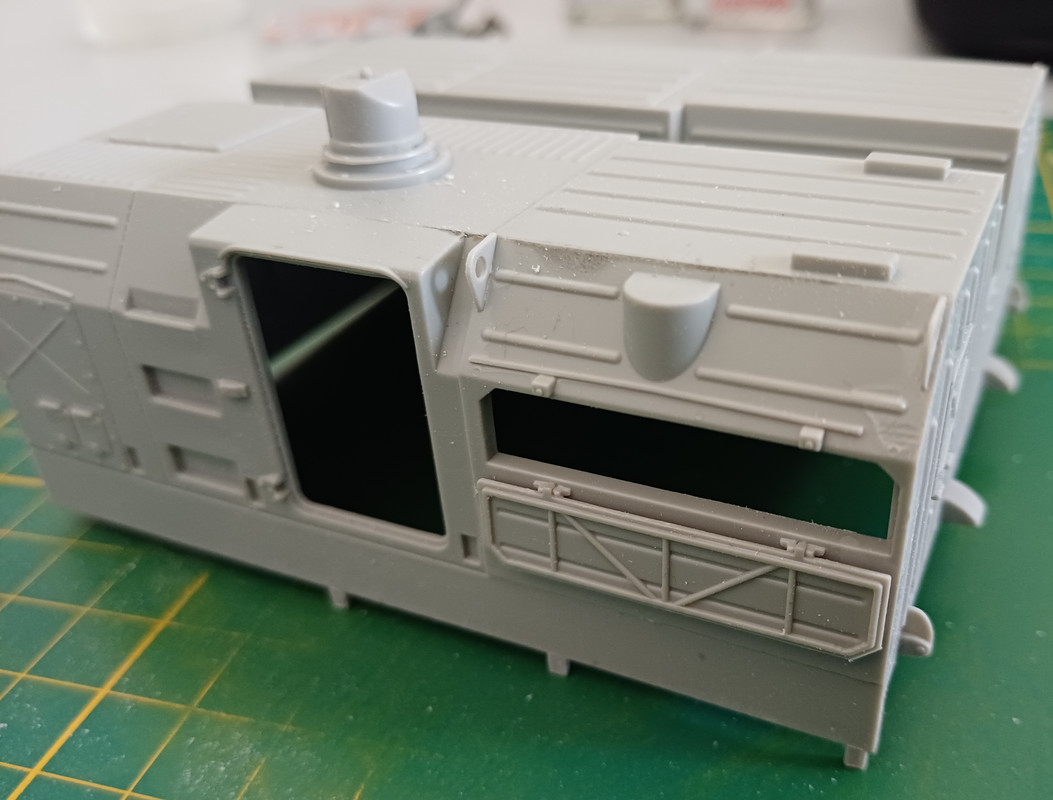
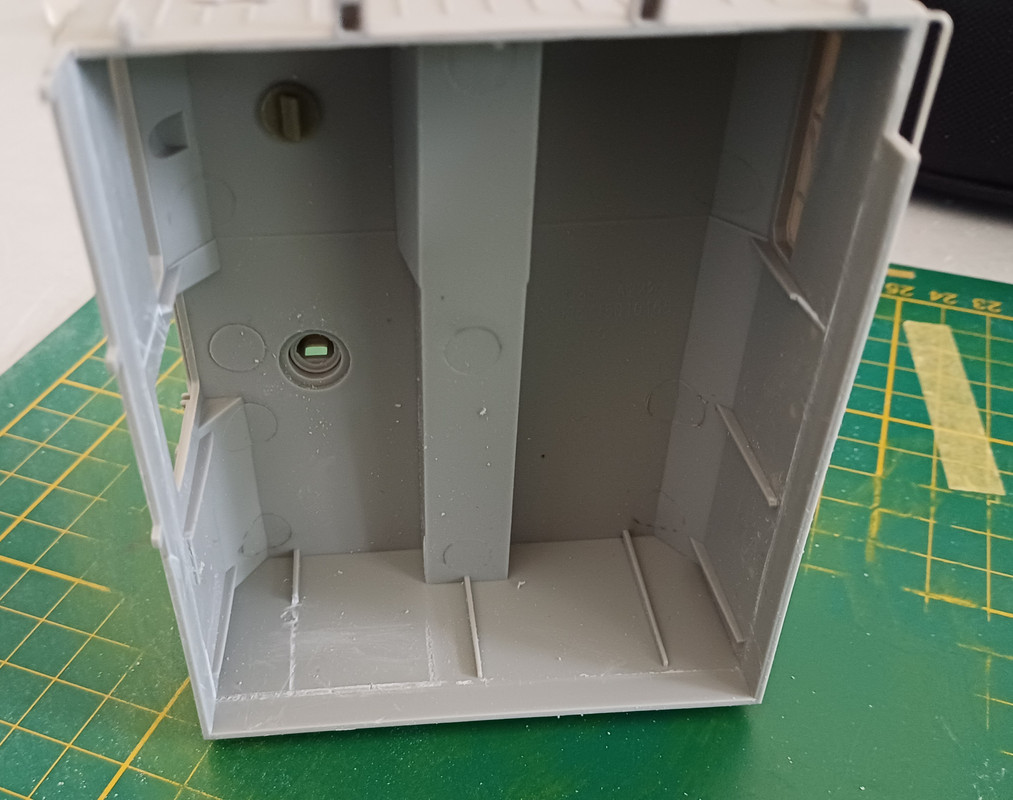
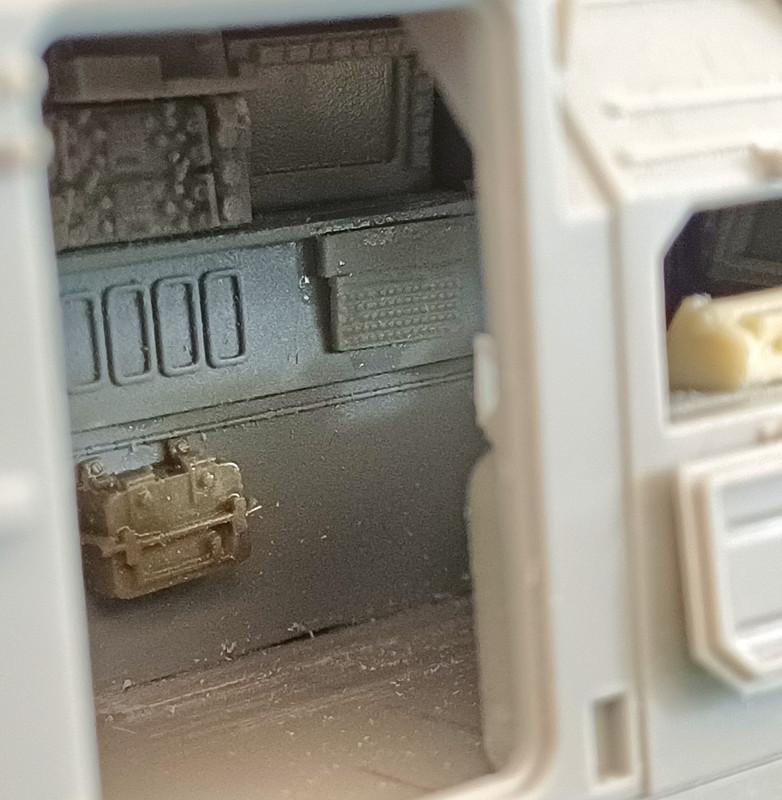
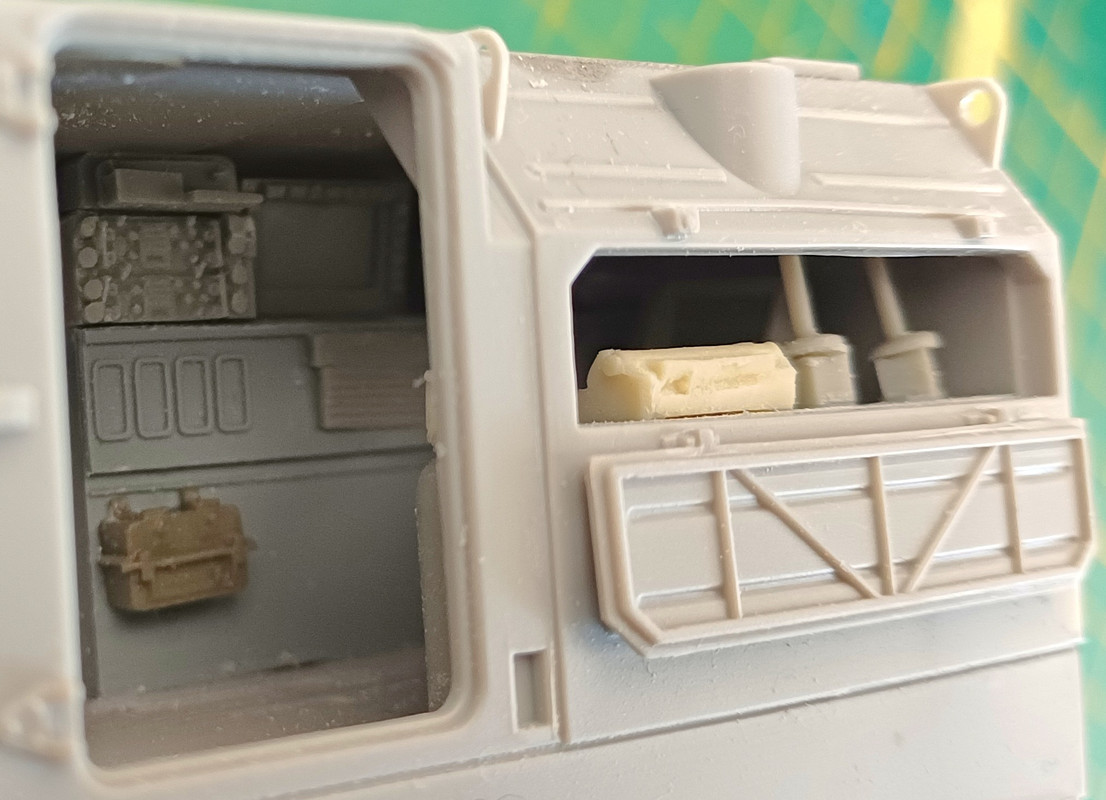
After all the work getting the interior together, the driver’s seat popped off while I was trying to fit the roof on. After trying to coax it back into place, I said “Screw it”, and glued the driver’s hatch shut.
Thanks, @BattleScaleCollectic! I’ve taken a pretty linear approach on this project rather than jumping around a bit more, which is what I usually do - maybe I should take this approach more often! Sadly, no, I likely wont
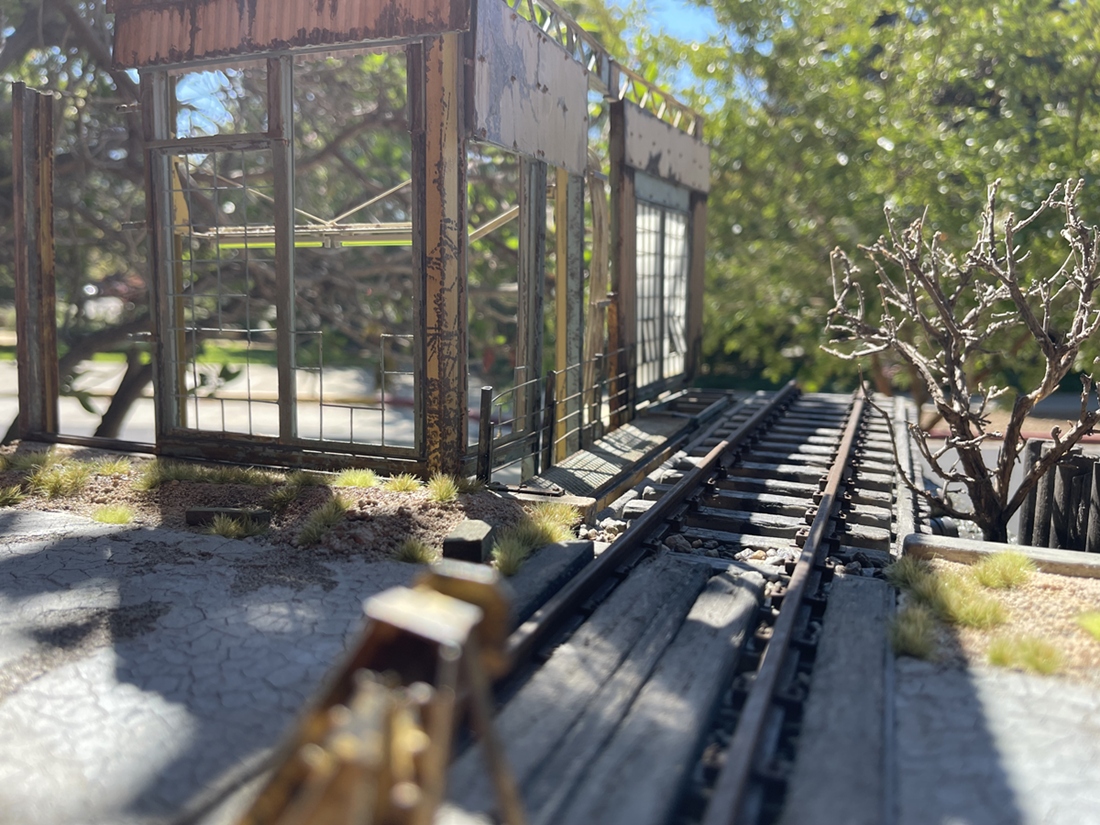
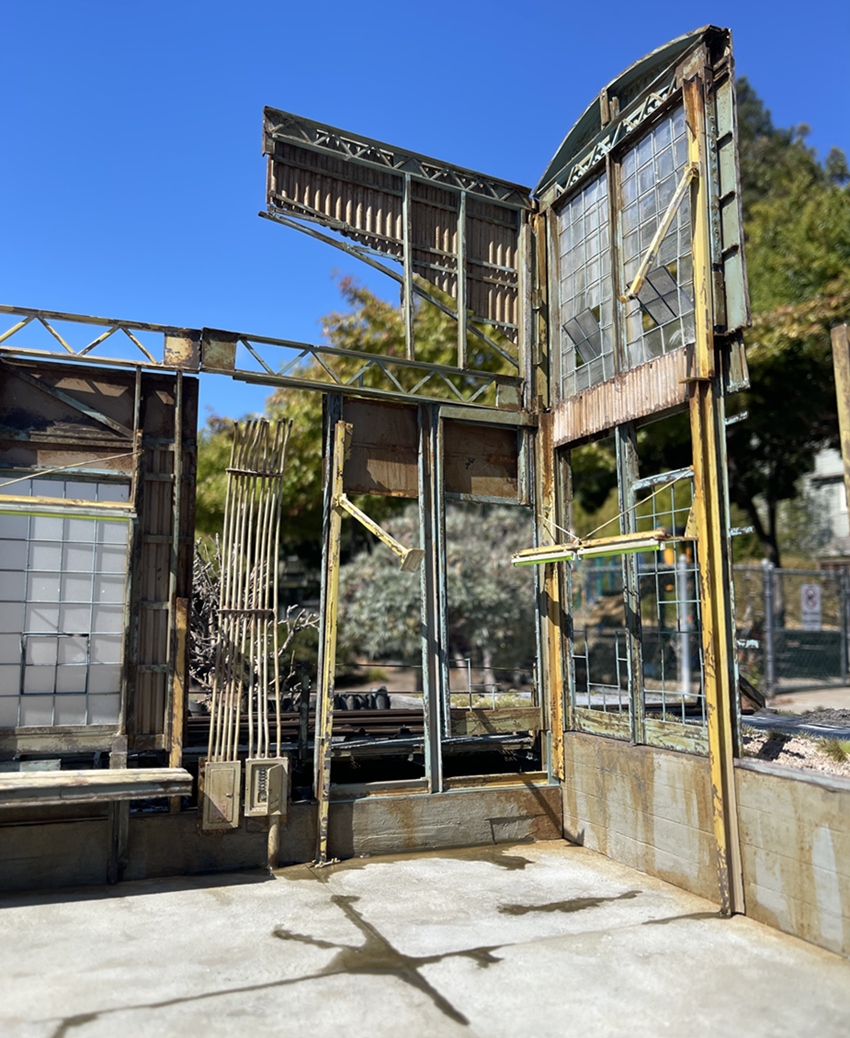
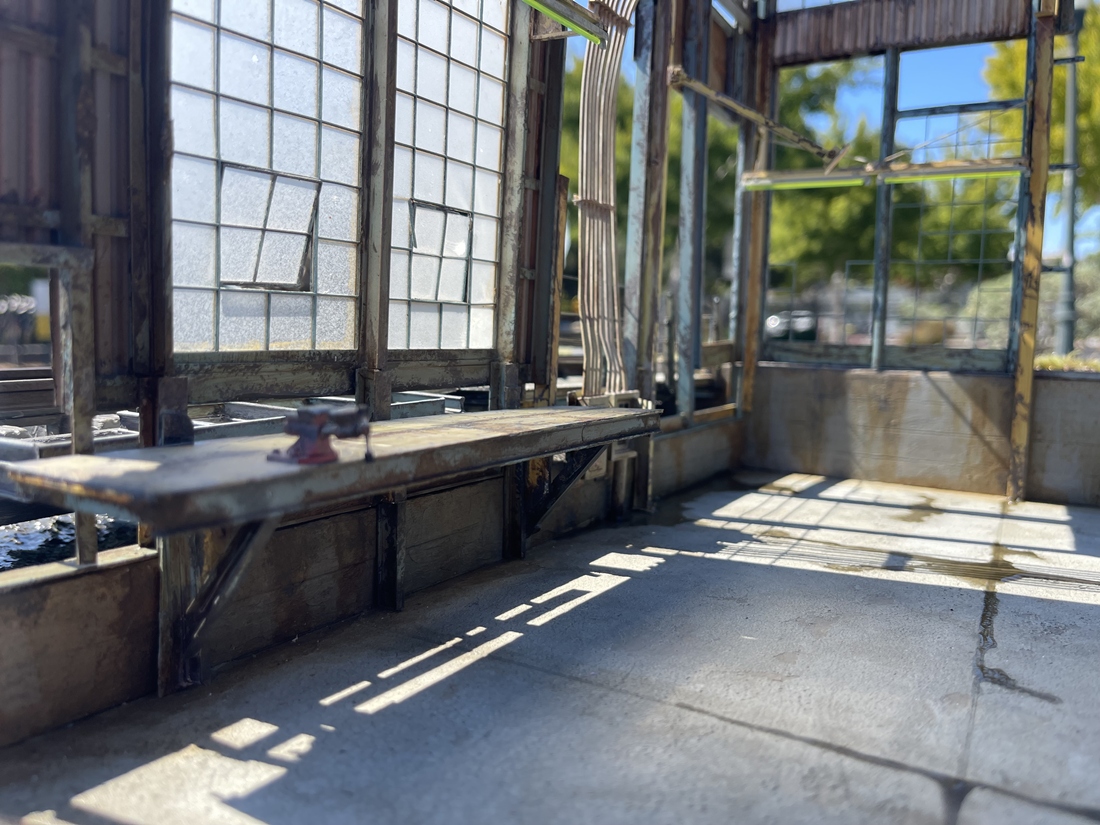
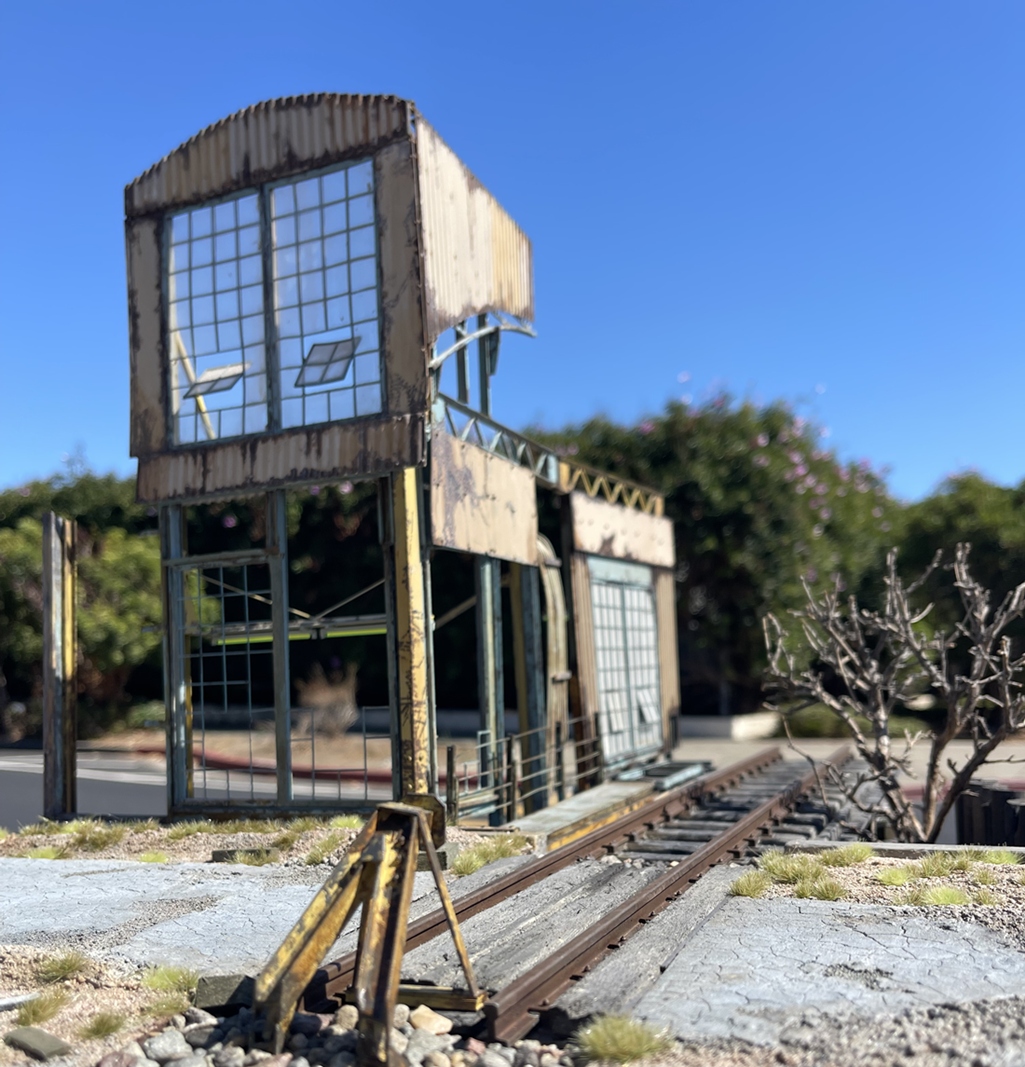
But, continuing in a linear way, I’ve started work on the abandoned building:
So now you can see what I do with old projects part them out and repurpose what I can or throw them out Even the rail stop is made from old parts from the same building now being cut up and rebuilt to make a new building!
The donor project for the wall parts might have been the first project I posted on Armorama, back in 2012! The yeas (and me) have not been kind to it! Figures, vehicles, tools, and now walls being reused! Happily I’m not that sentimental about most projects - when done, well, they’re done.
This has a way to go. It won’t become a complete building, but it will get more than this!
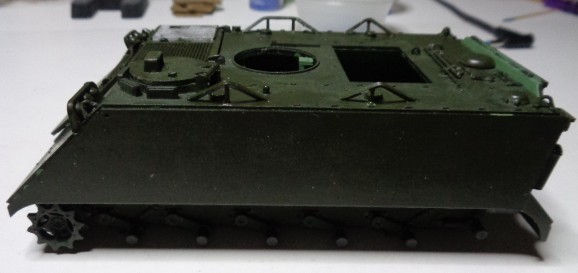
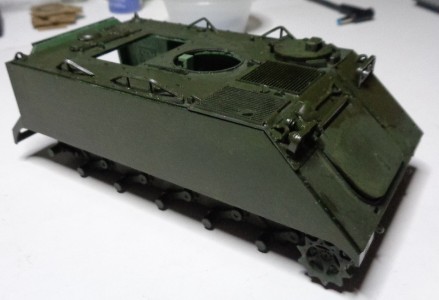
Not a lot really but some Mr Hobby black Surfacer primer hit the Tamiya Type 61. For a kit tooled in 1970 it’s not bad a few areas simplified but with no AM available I’ve gone for an out of the box build.