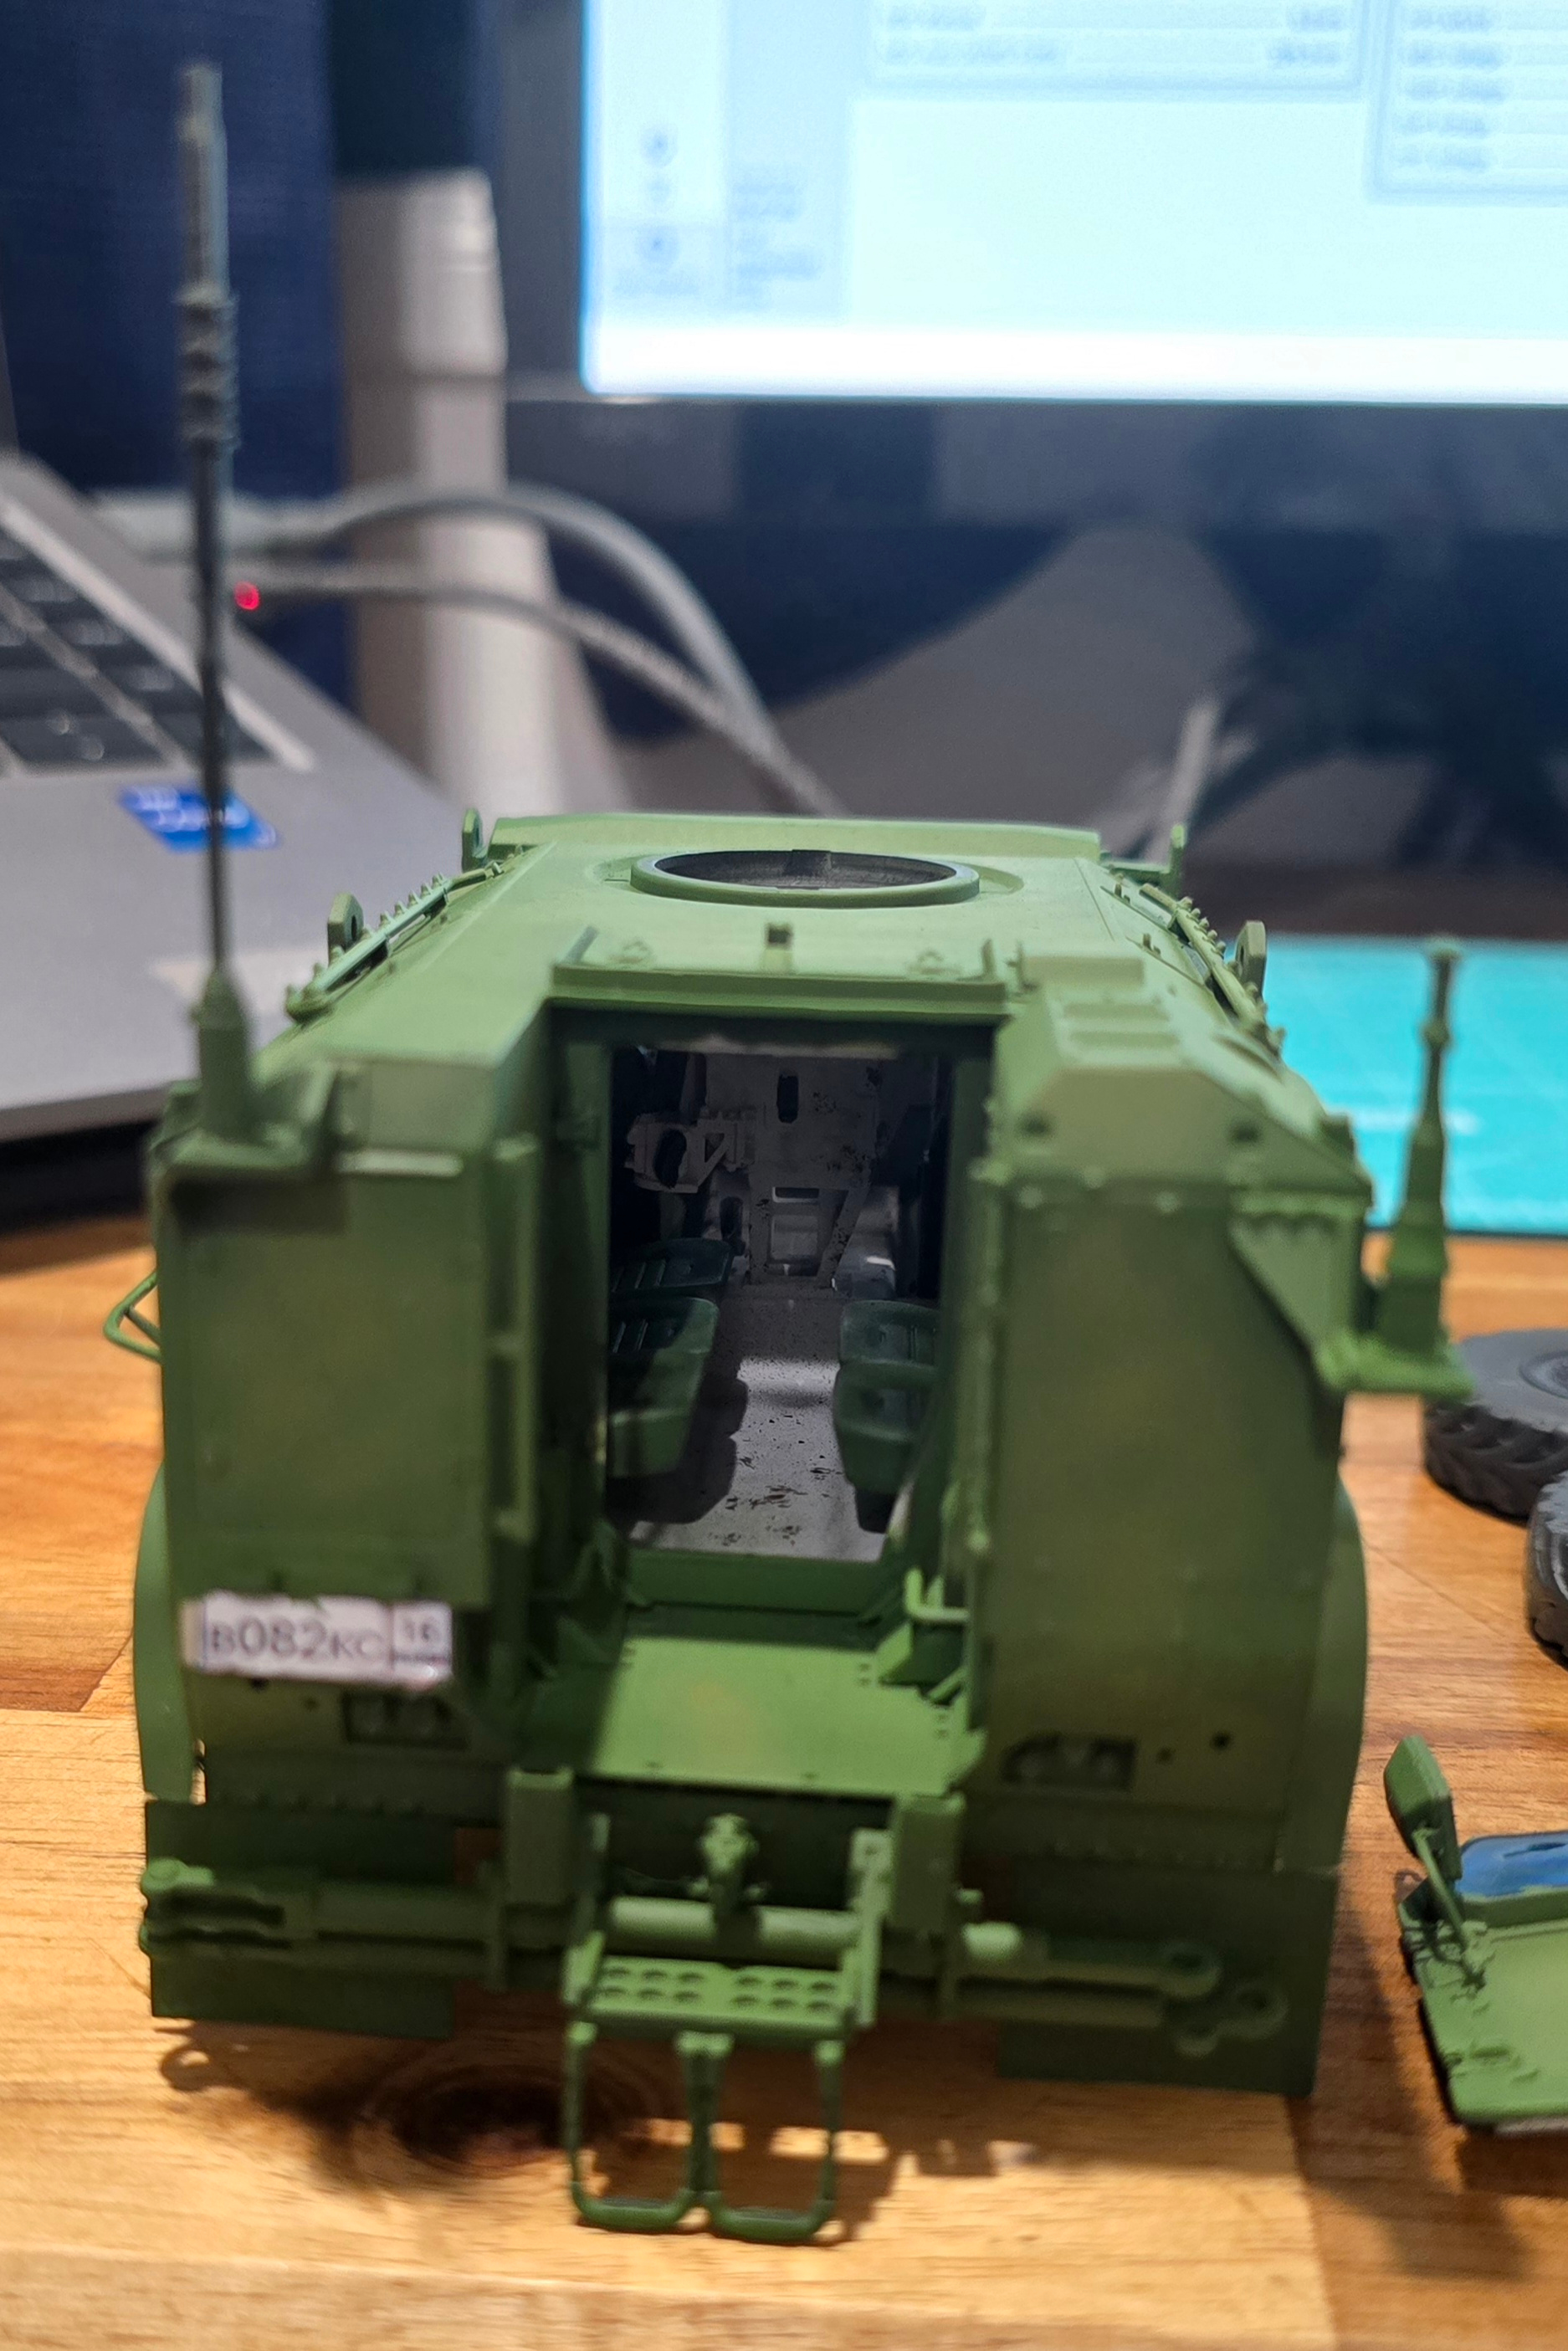
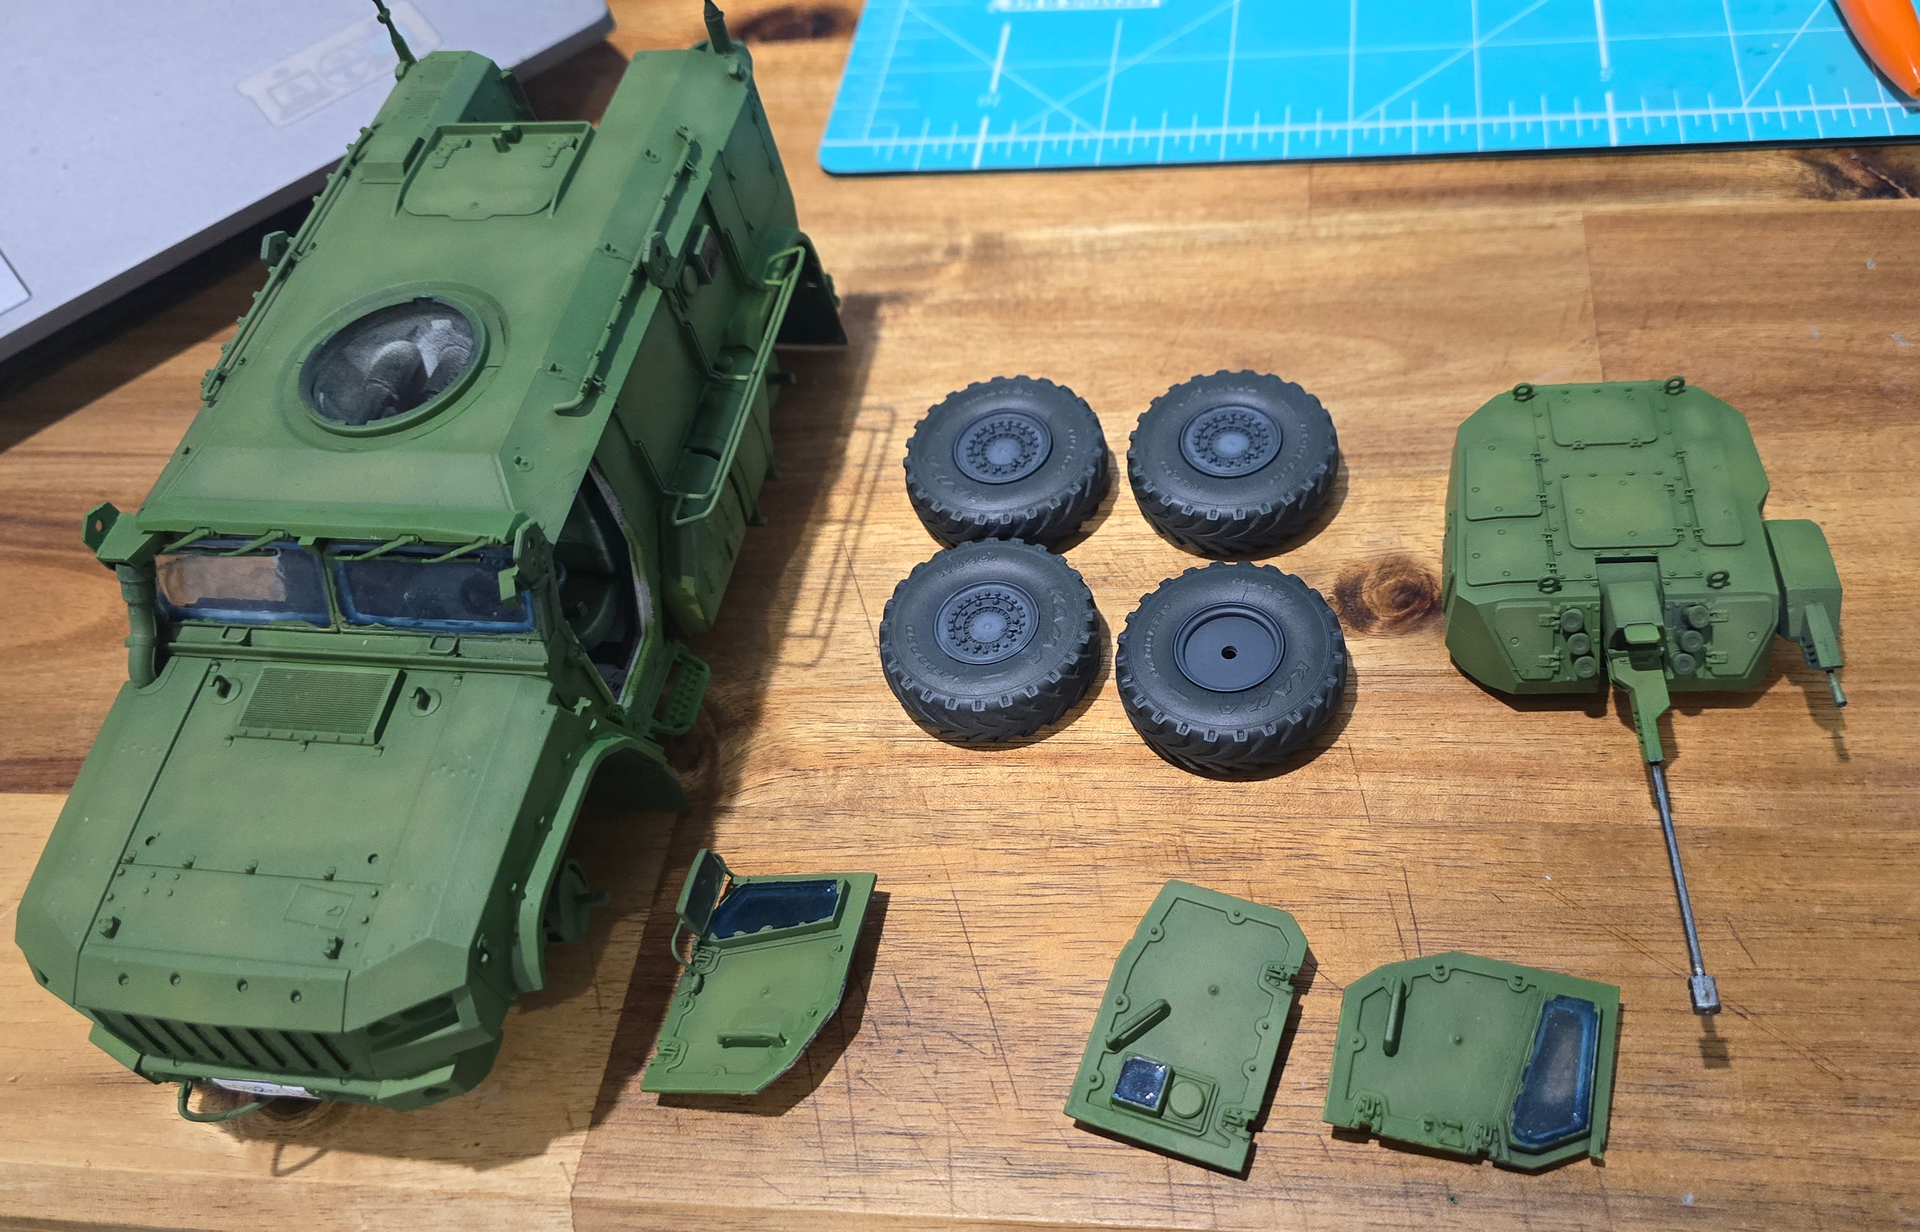
Basevoated and highlighted the Typhoon VDV for the Tough Mudder campaign

18 Likes
Assembling the tracks are always pain in the ass and time wasting.

First, line up the shoes.
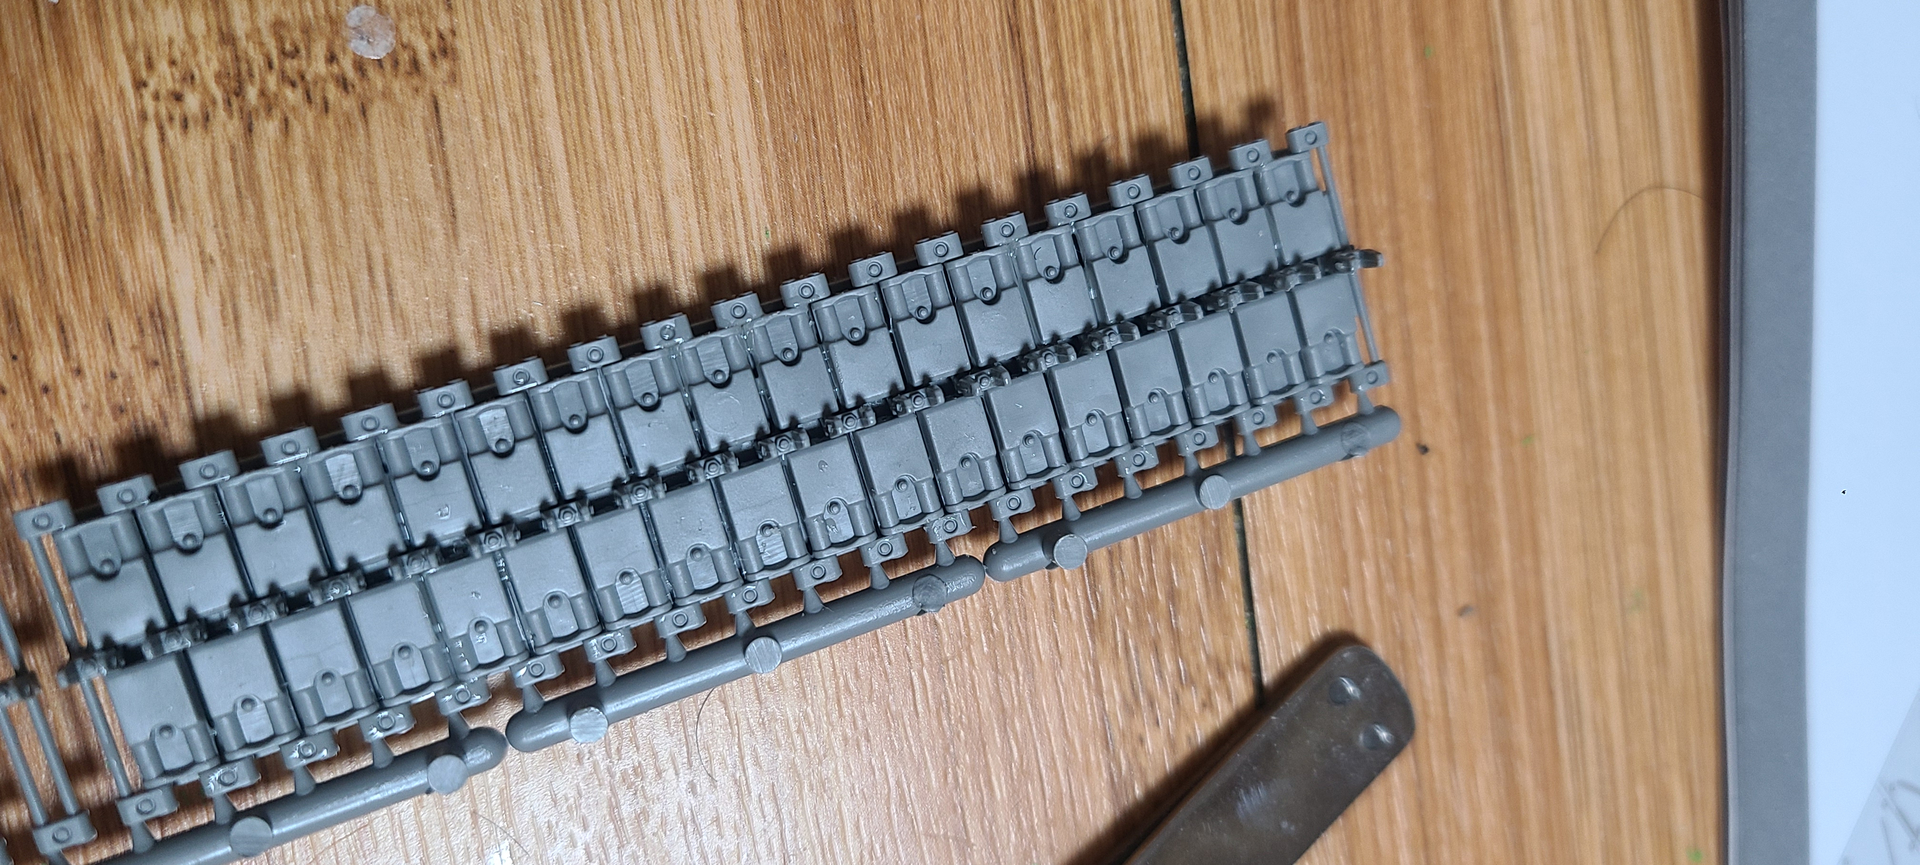
And glue together with other stuff. It’s not that hard but it is time consuming.
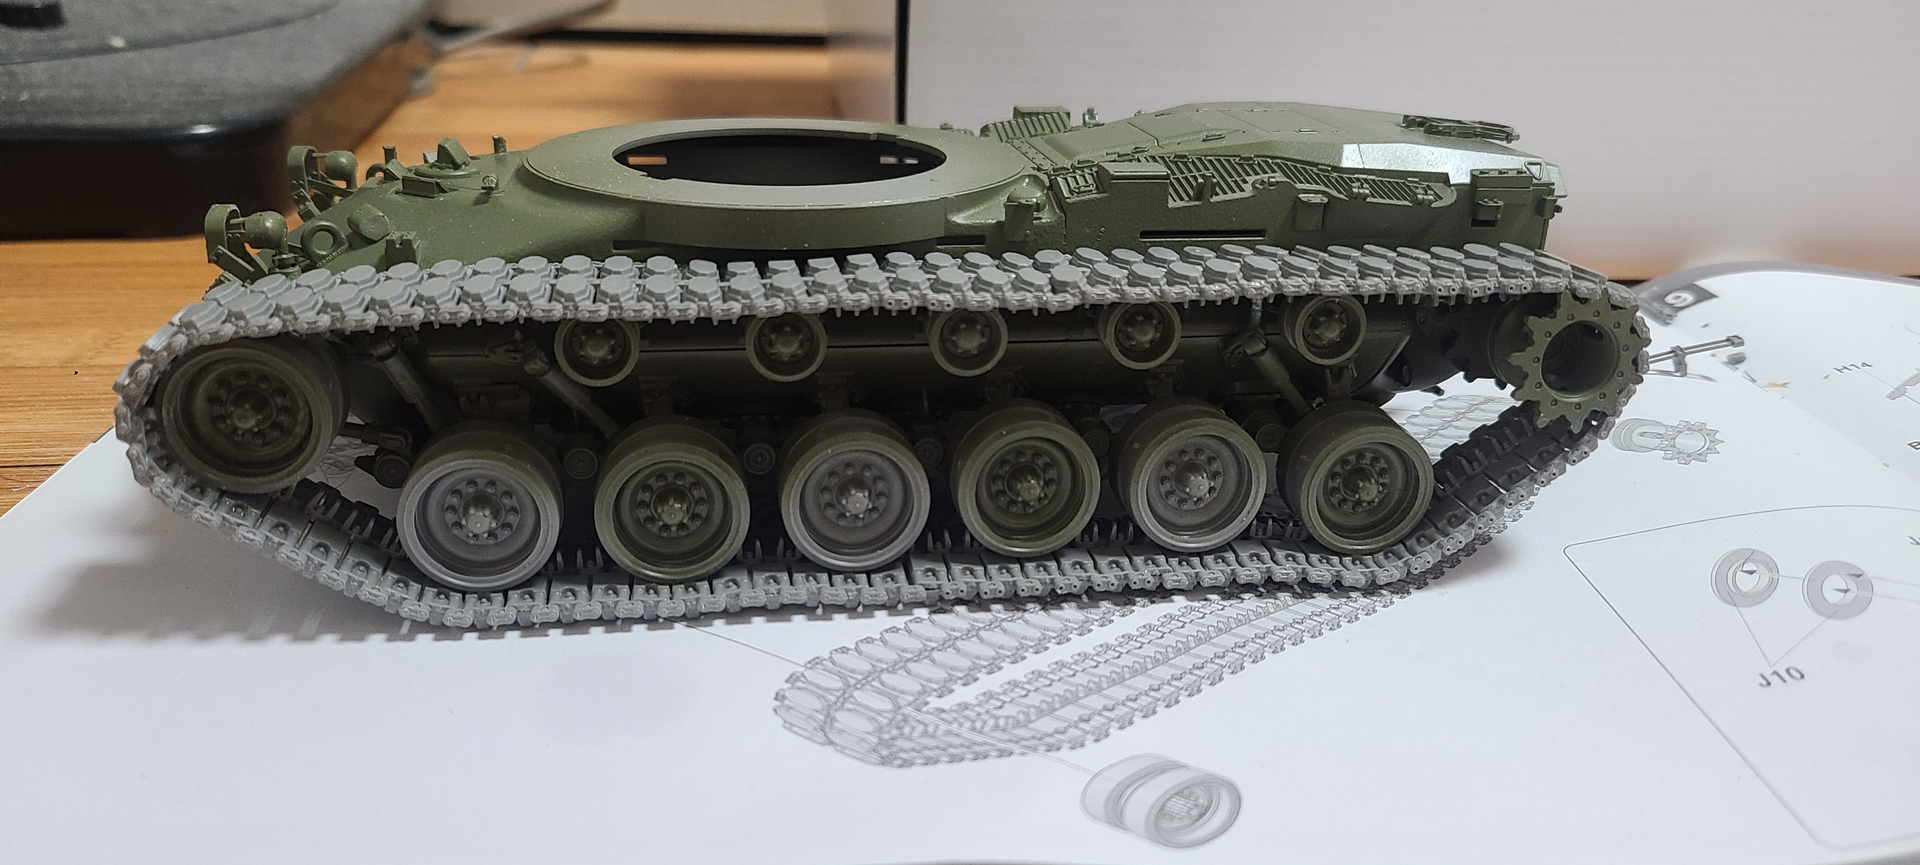
Completed left side of the tank. It took me about 6 hours I think.
14 Likes


I finished building the load for the roof of the Opel Blitz KOM:
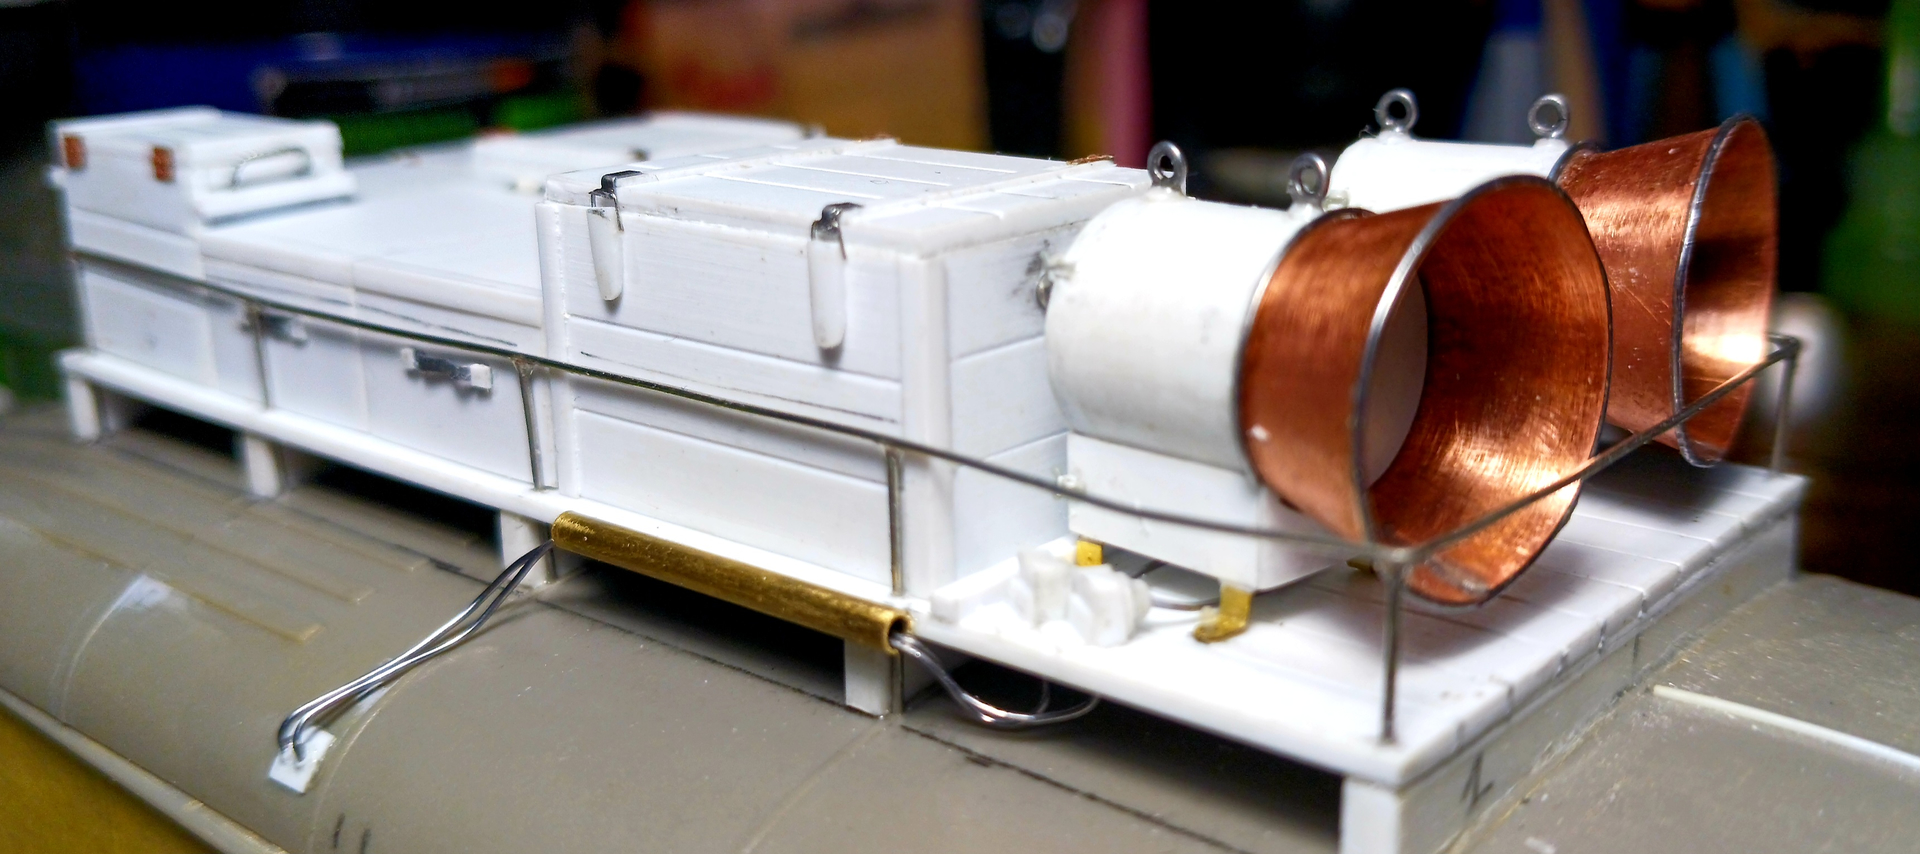
Various crates, both Kurztrichter and their power lines and sockets.
A testfit:

I’ve got several Opel Blitz PE set leftovers to detail the exterior of the KOM.
And I feel like building the interior of the Lautschprechwagen too…
Cheers,
Angel
19 Likes
Looks exceptionally good, Angel! 
–––––––––––––––––––––––––––––––––––––––––––––––––––––––––––––
I’ve been toiling-away with aftermarket parts repair and clean-up.
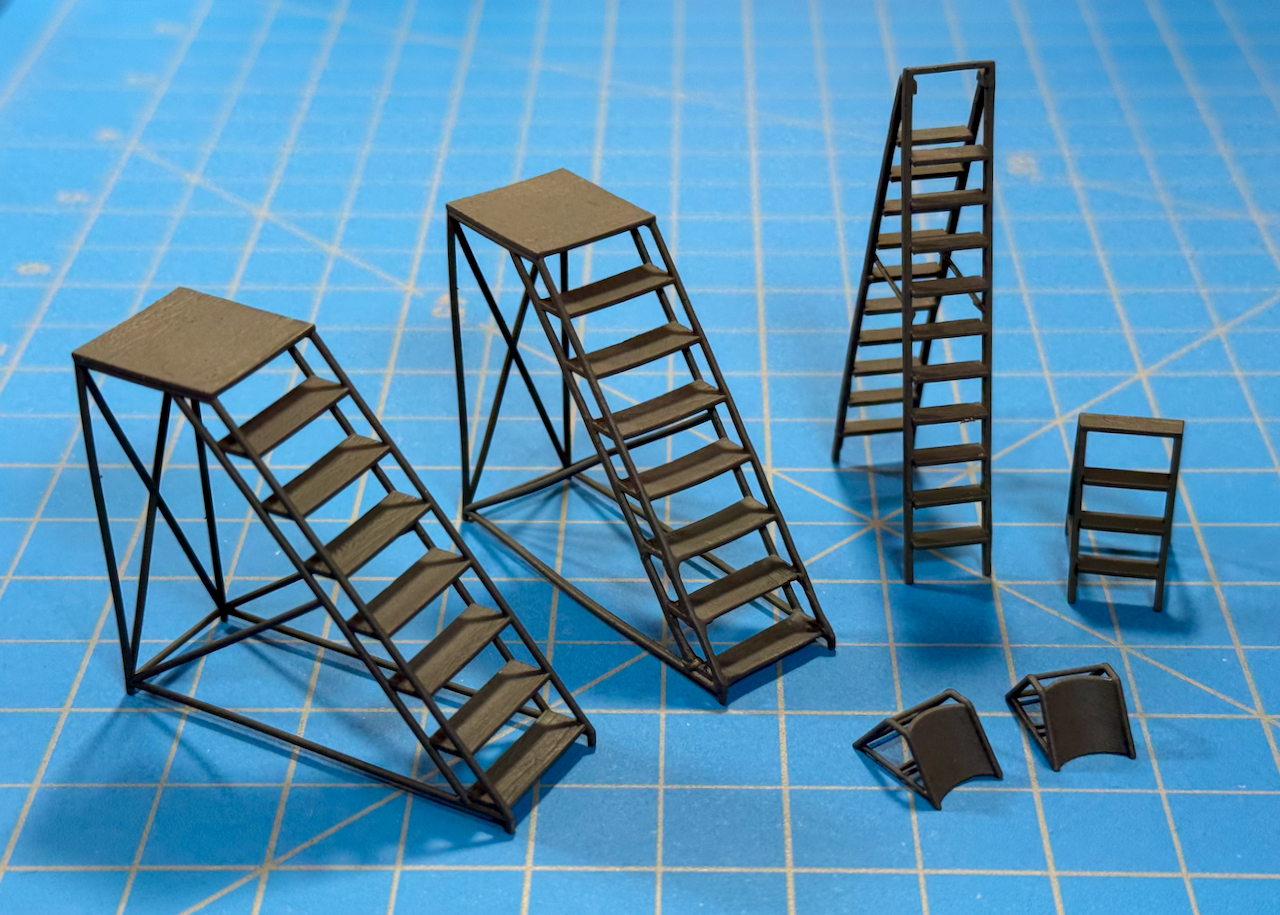
77Propeller 1/48 Ladders and Wheel Chocks
Primed… some repair/clean-up still pending.

• Tamiya (87064) Fine Grey Surface Primer (L)
CMK 1/48 Elektrischer Generator 8kw fr Flak Sw-36 mit Sd.Ah.51
The generator. … Still need to attach the PE grill, an access panel, and eventually an exiting power cord.
.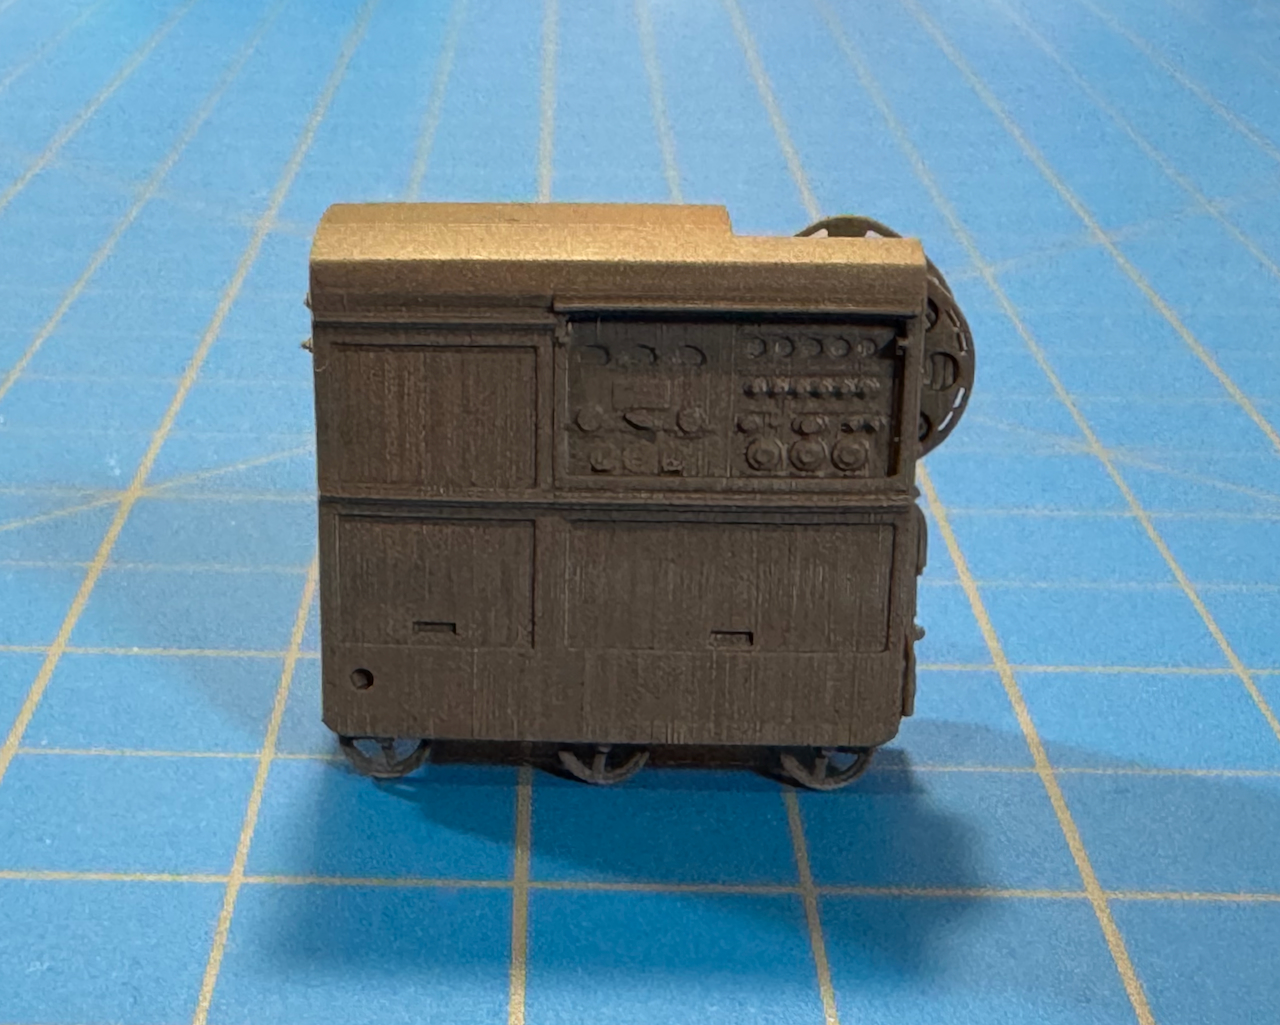
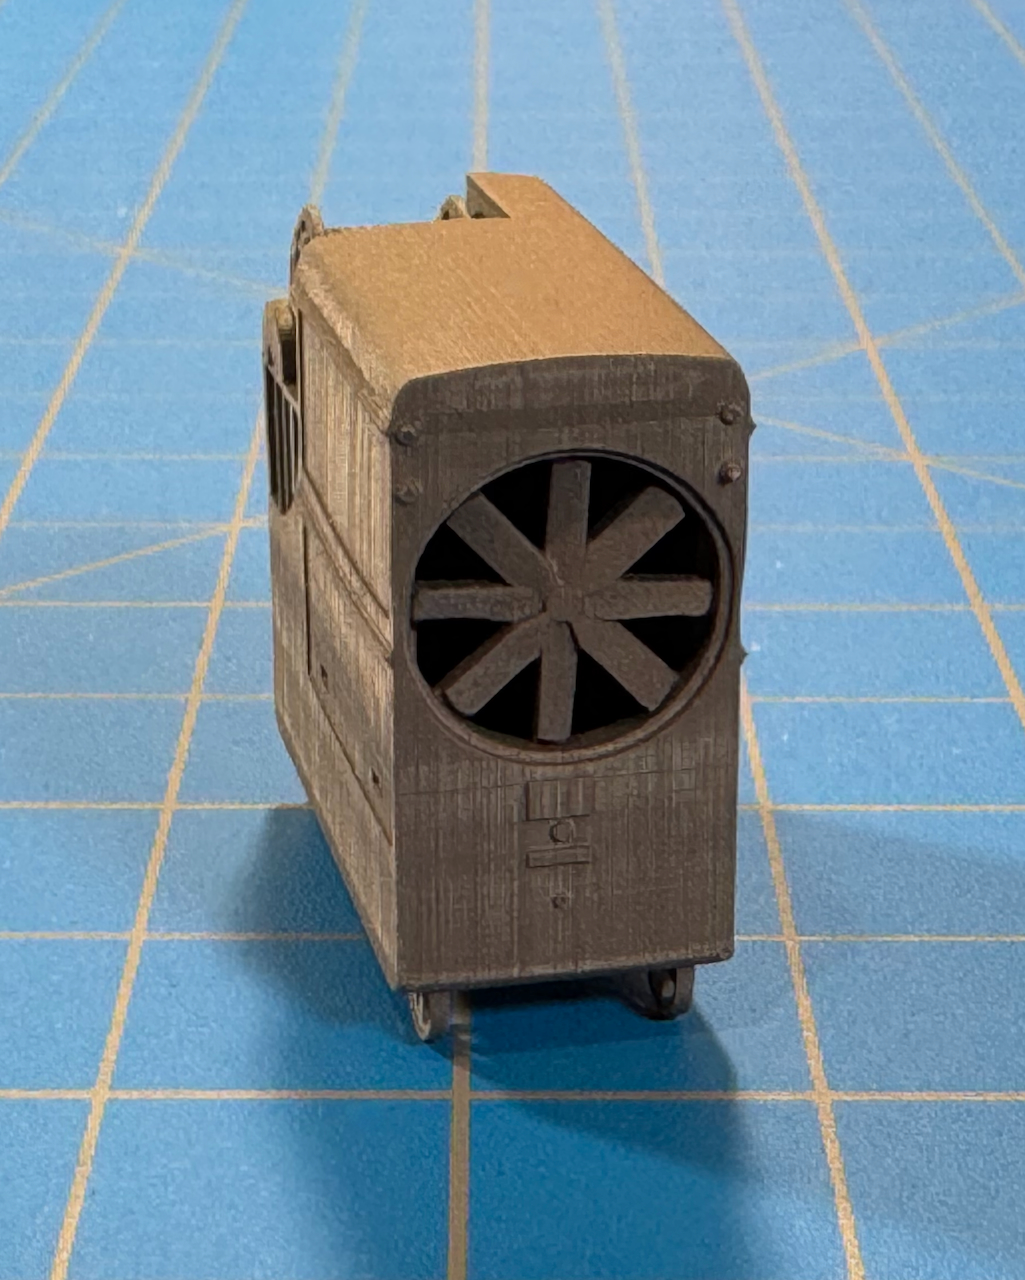
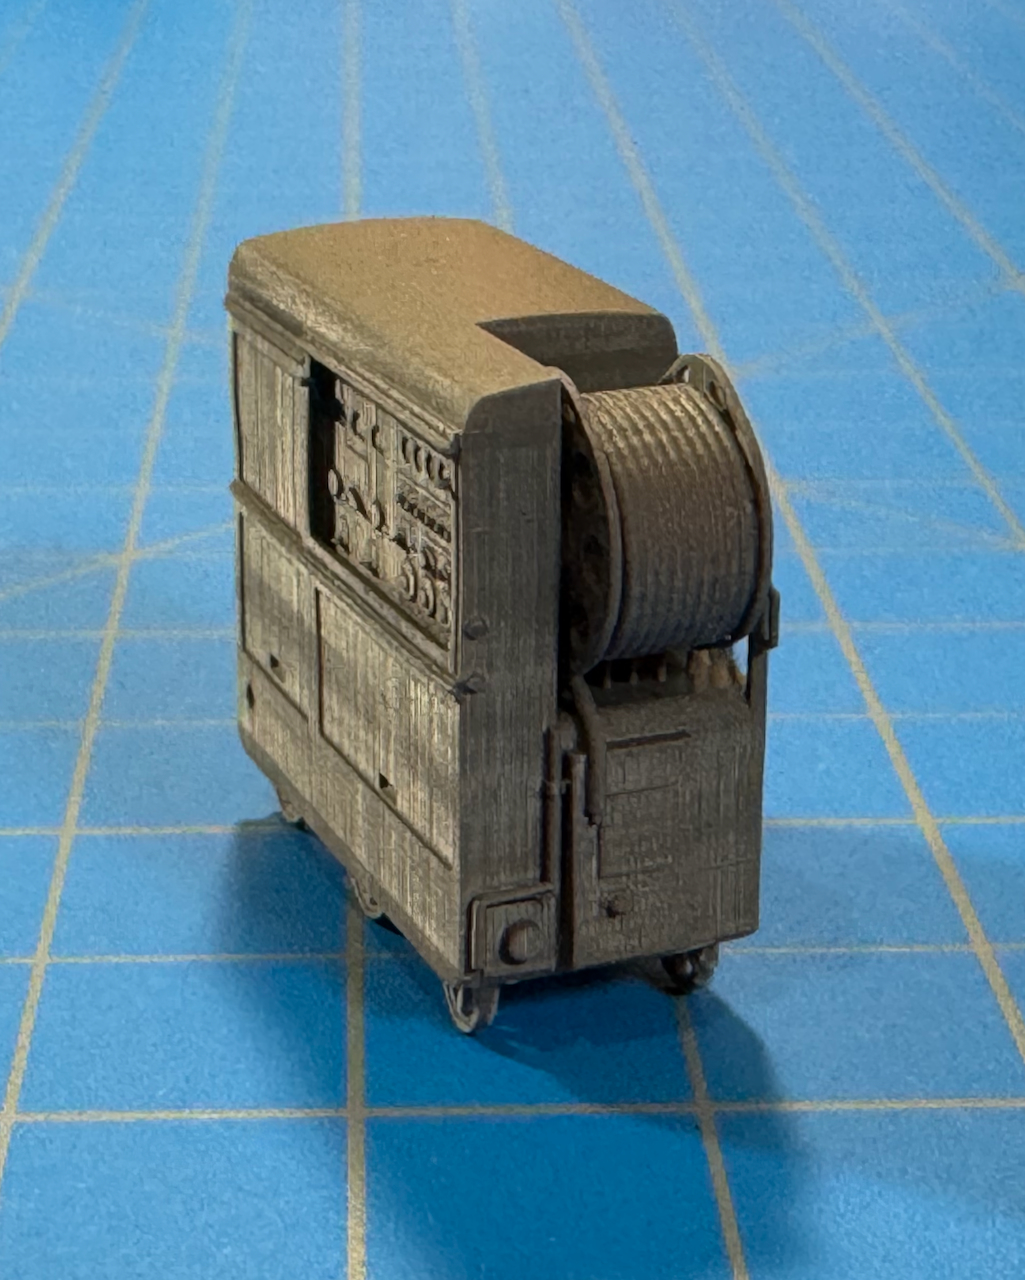
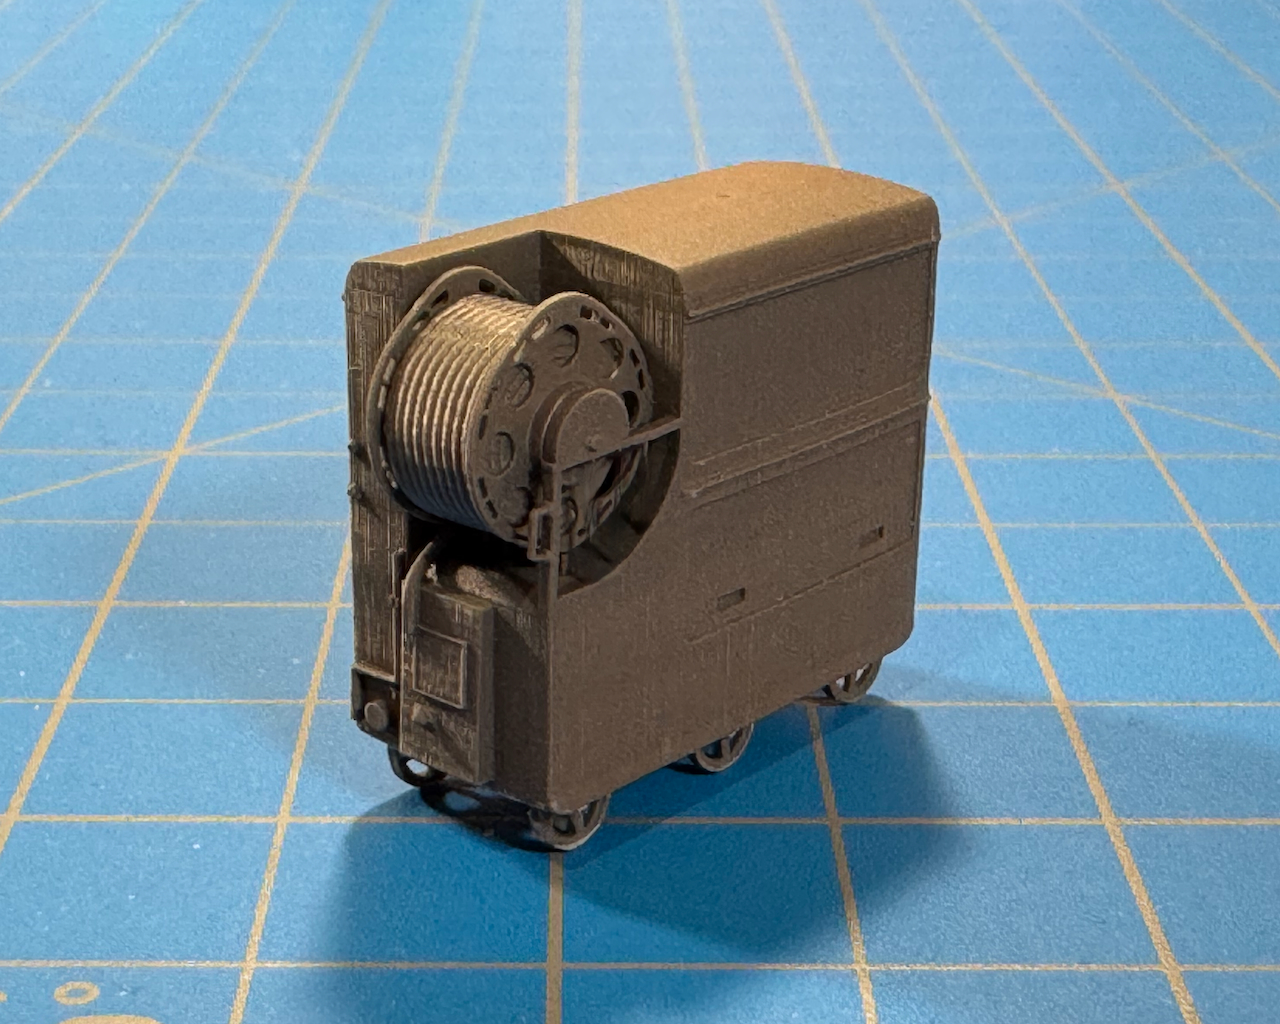
The trailer. … Nice 3D printing on this part.
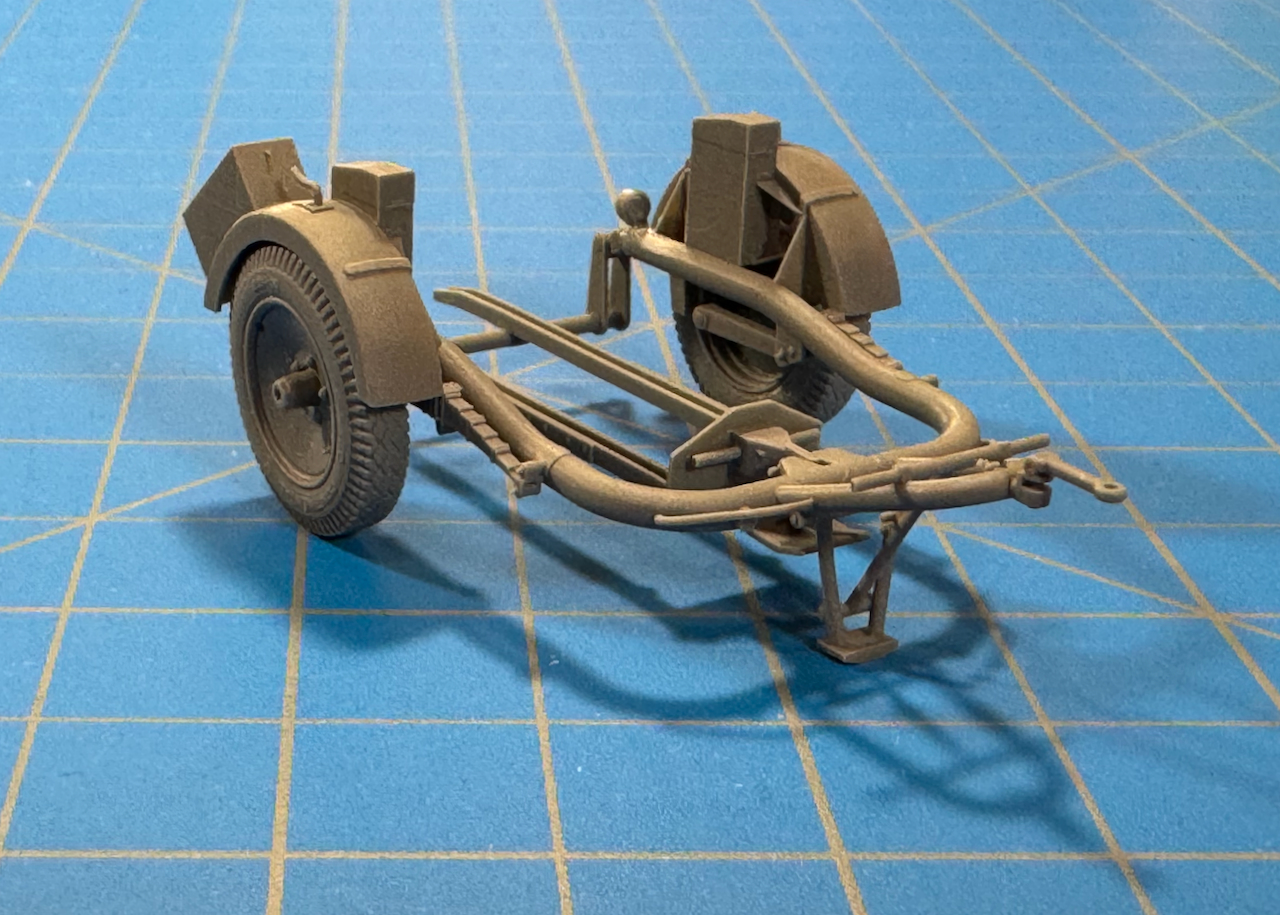


Here’s the generator and trailer combination.
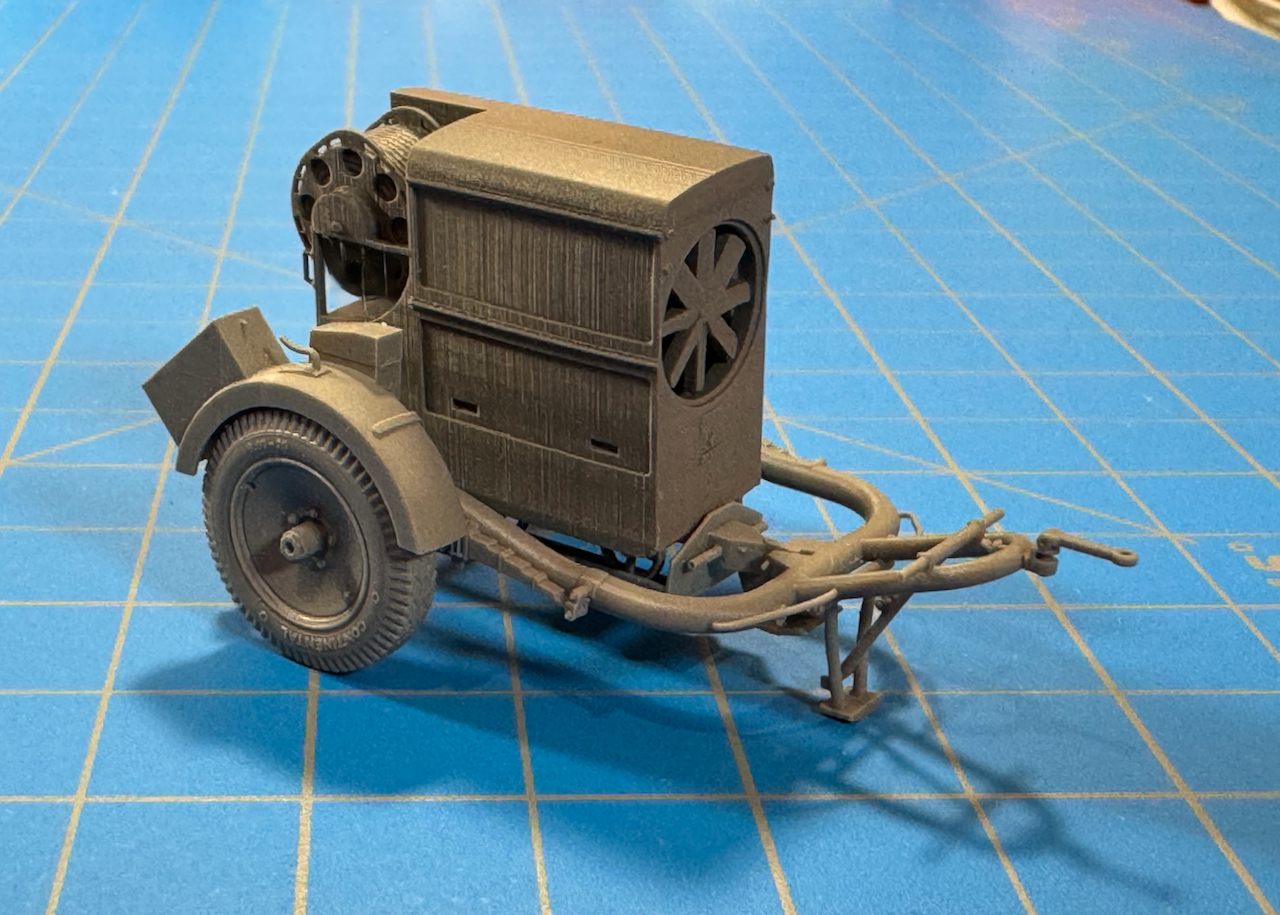
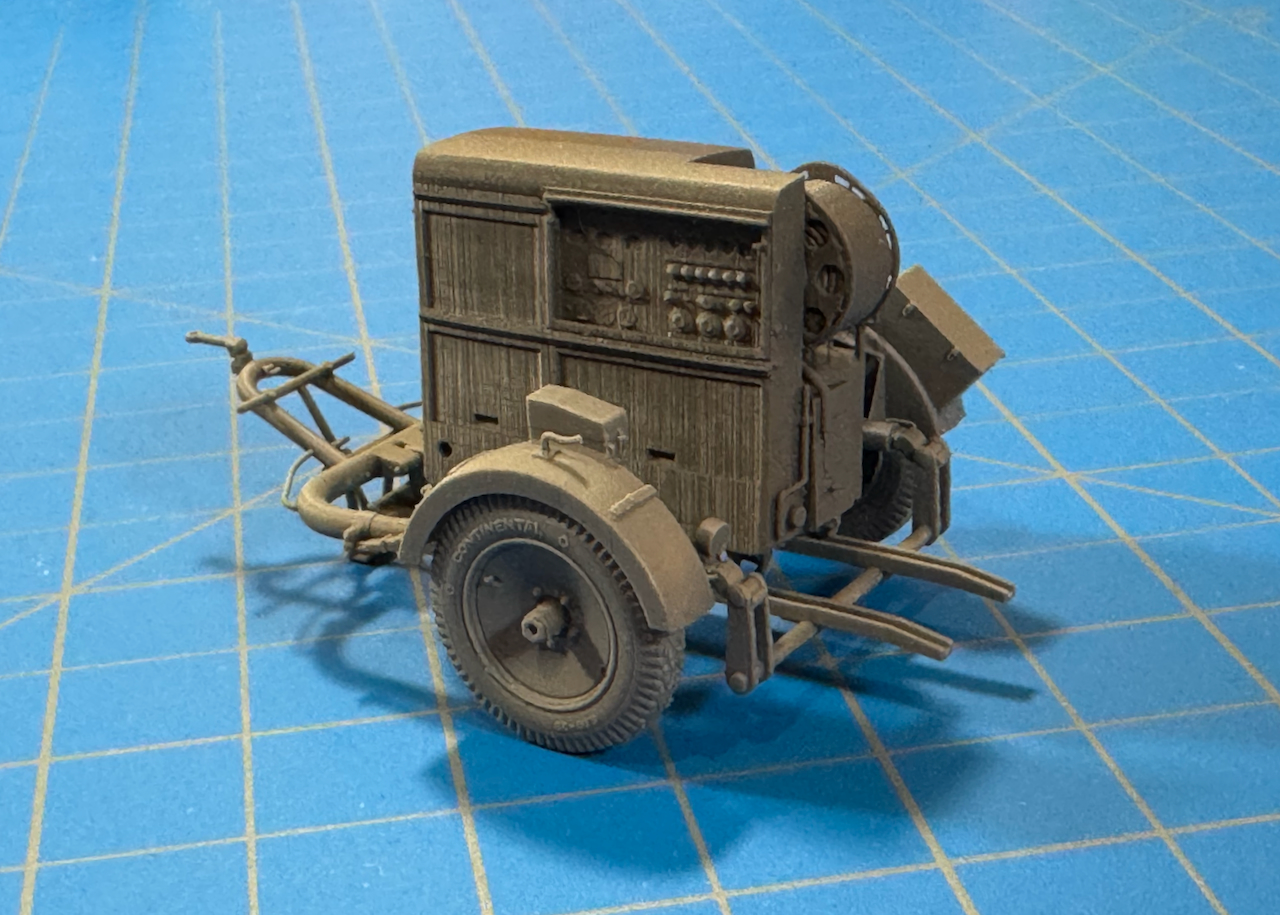
Thanks for having a look!
—mike 
17 Likes
Great work Mike!
I’ve scratchbuilt the generator for the 60 cm Fl. Scheinwerfer couple of years ago and used the same trailer to carry it.
But CMK did a mistake with their rendering of Sd.Ah.51, I’m affraid- the put the boxes for the 2.0 cm. Flak ammo on the backs of both fenders…
These were not required for a Sd.Ah. 51 carrying neither the Flakscheinwerfer, nor its generator thus they were omitted.
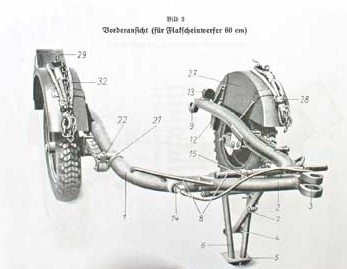
I hope it is an easy fix…
Cheers,
Angel
3 Likes
Thanks Angel,
I seem to recall that. However, I’m not doing any scratch-correcting — just cleaning-up the 3D resin print in preparation for paint.
Eventually, it’ll be added to a diorama as a background piece. These are more like what I had in mind, but I decided to give the CMK kit a shot.
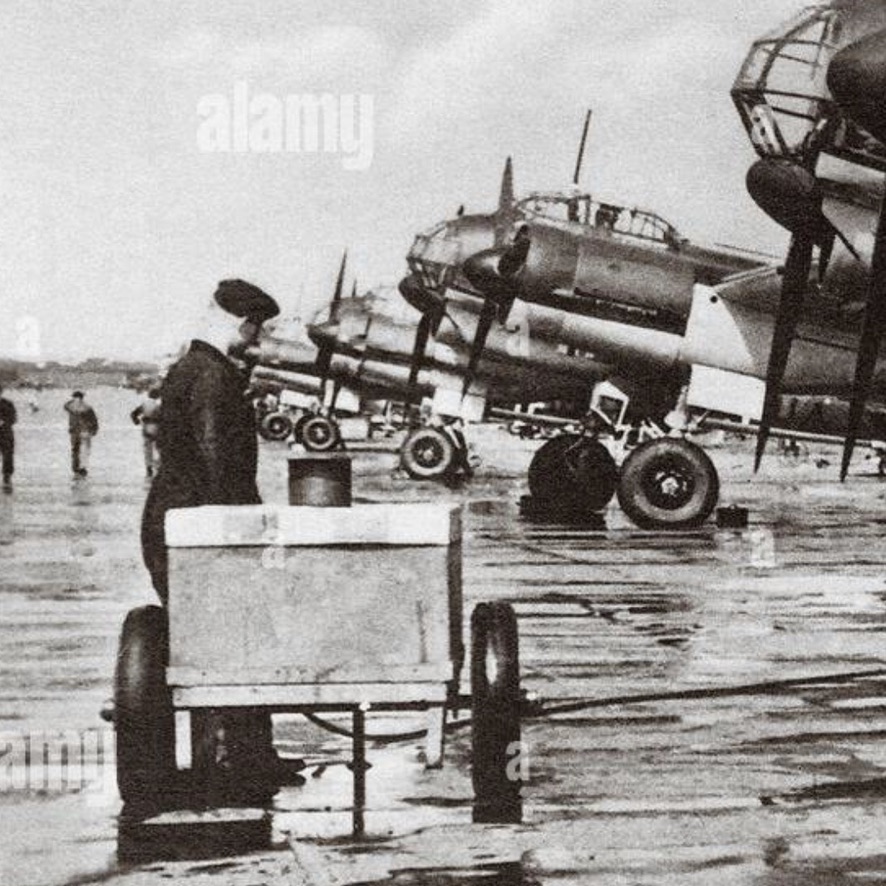

—mike
7 Likes
Built a few modern German soldiers painted in field grey with flick paint camo. I’m pleased with the outcome. Still got to dullcote the rifles I added some tall grass to the bases.
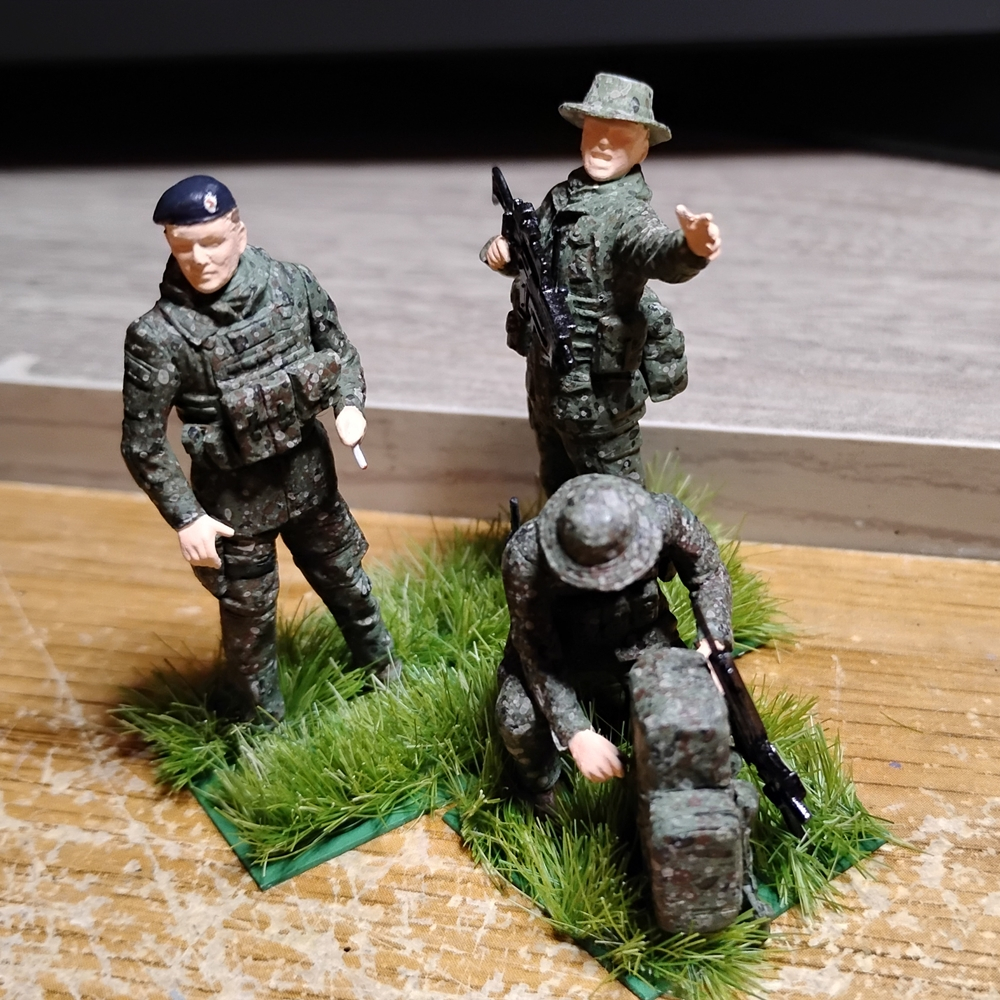
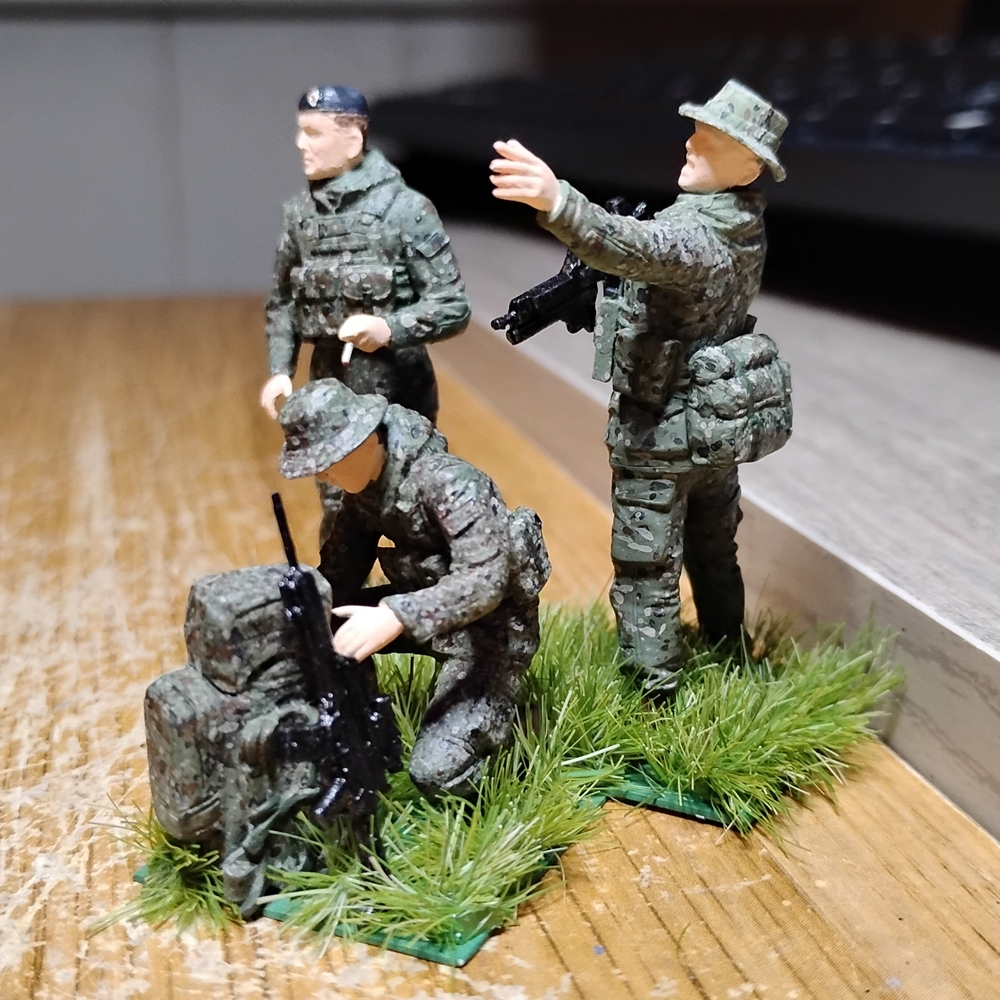
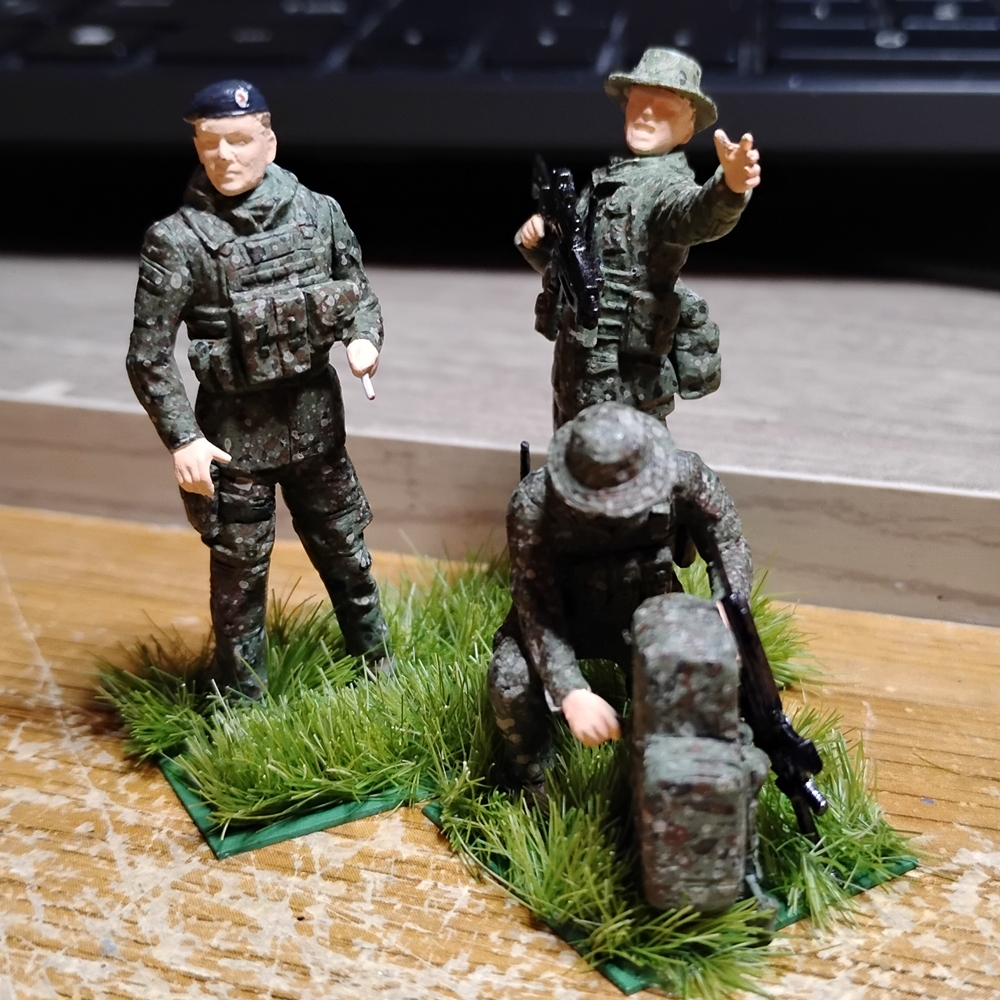
16 Likes
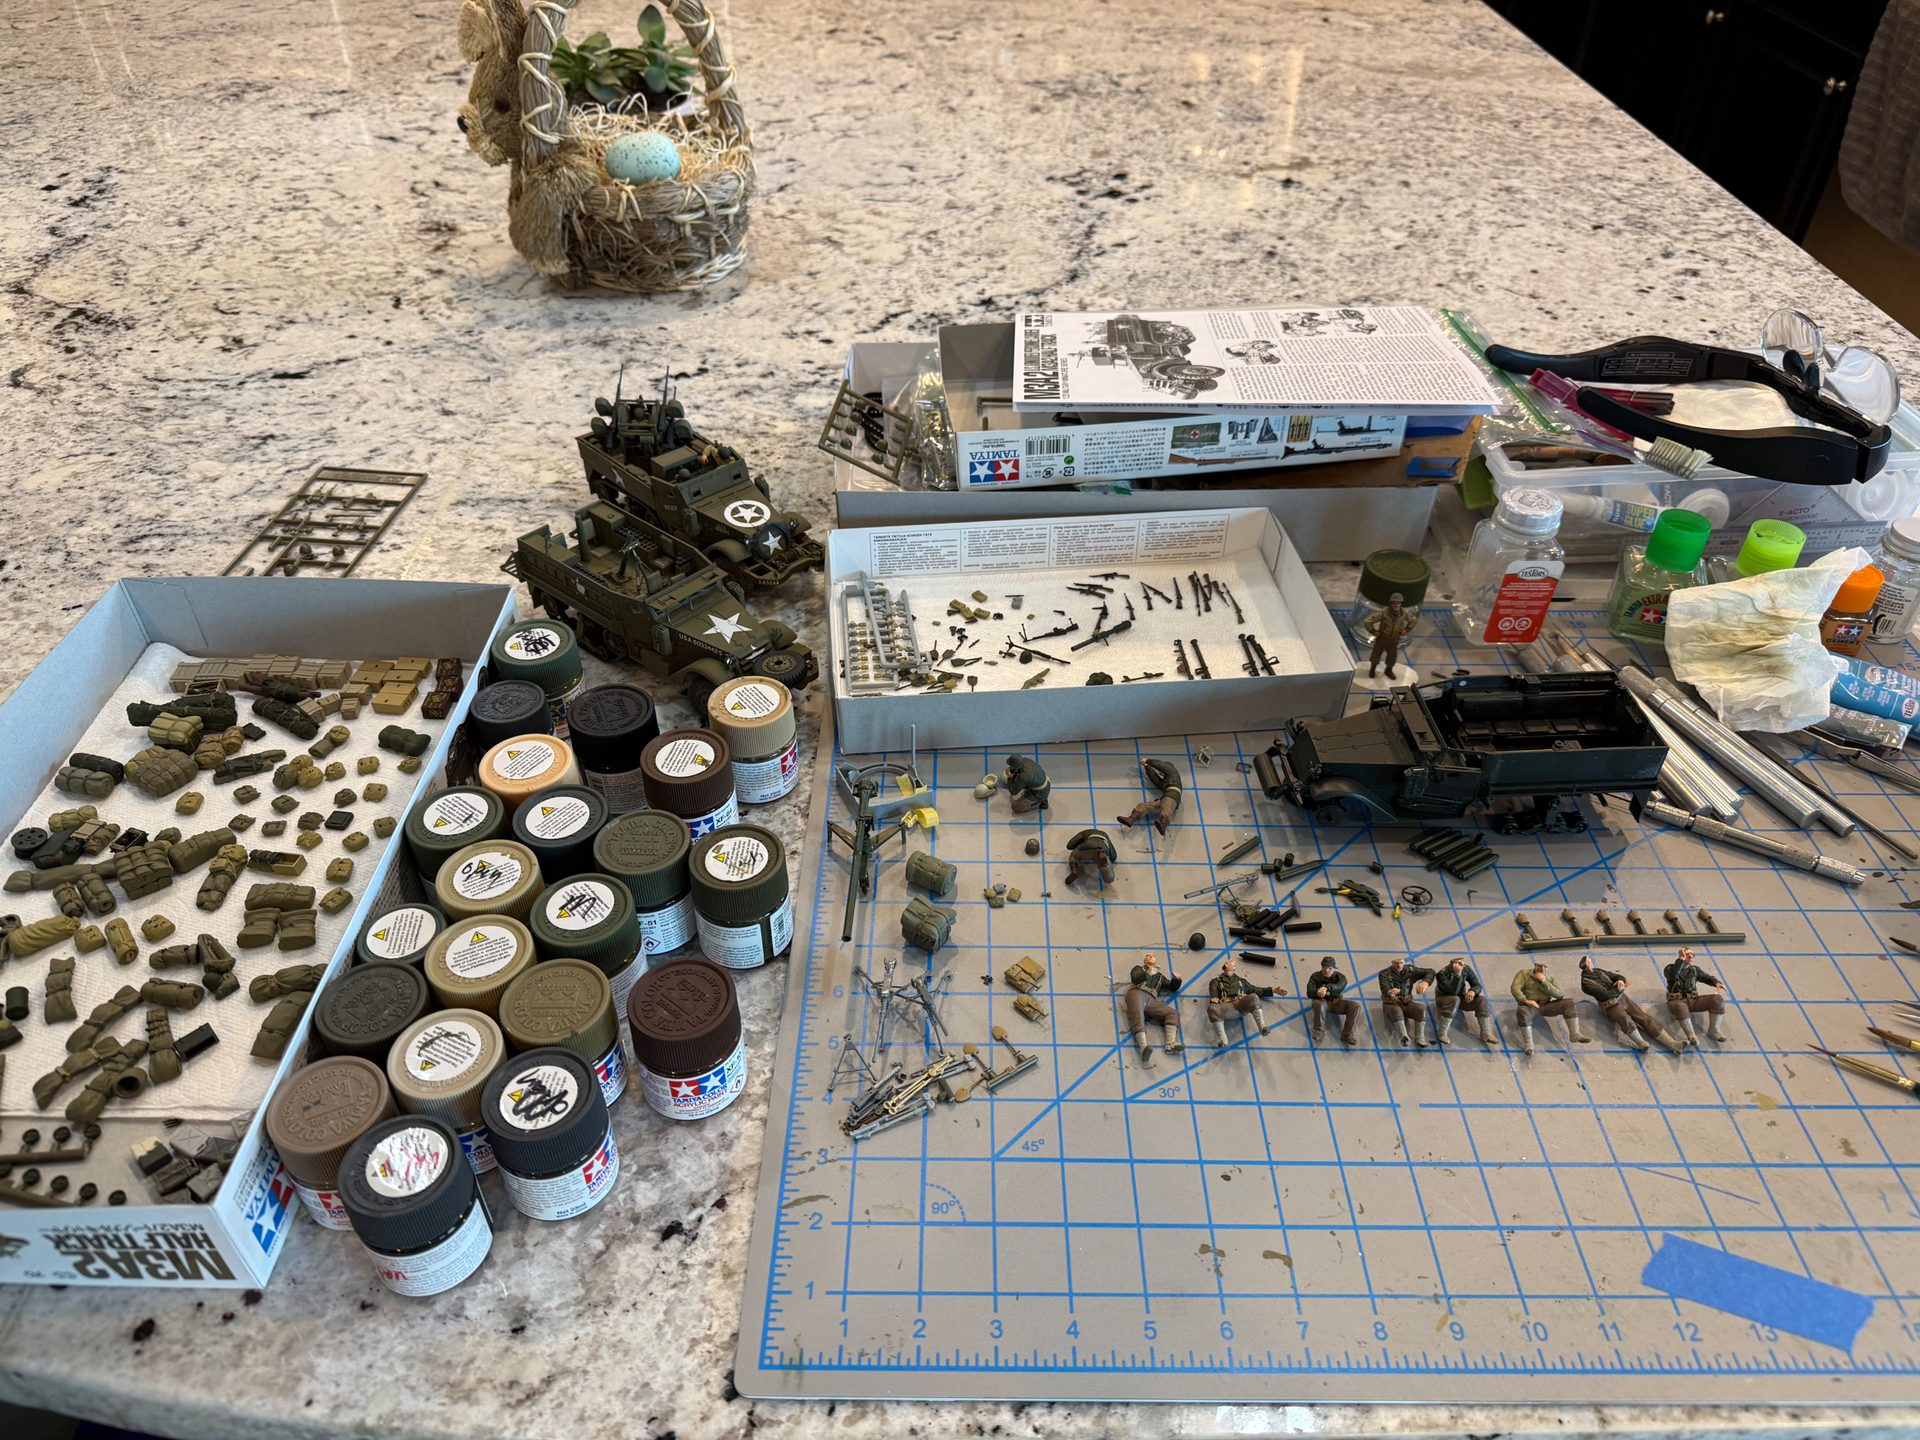
Lots of projects going on right now, currently trying to finish up my Tamiya half-track trio.
I suck at figures, and old figures really suck, so doing the hard part now.
11 Likes
Resin… ugh!
Endless repair and clean-up on two of the parts.
• Vallejo Black Grey (71.055)
––––––––––––––––––––––––––––––––––––––––––––––––––––––––––––
Lots of time lost. Lots of tiny connection blips had to be scraped and sanded before paint.
Scratch-built door braces and grab-handles. Then, everything went into the spray booth… and came out looking like this.

I’m not bothering with the cord reel warpage — decided to live with it.
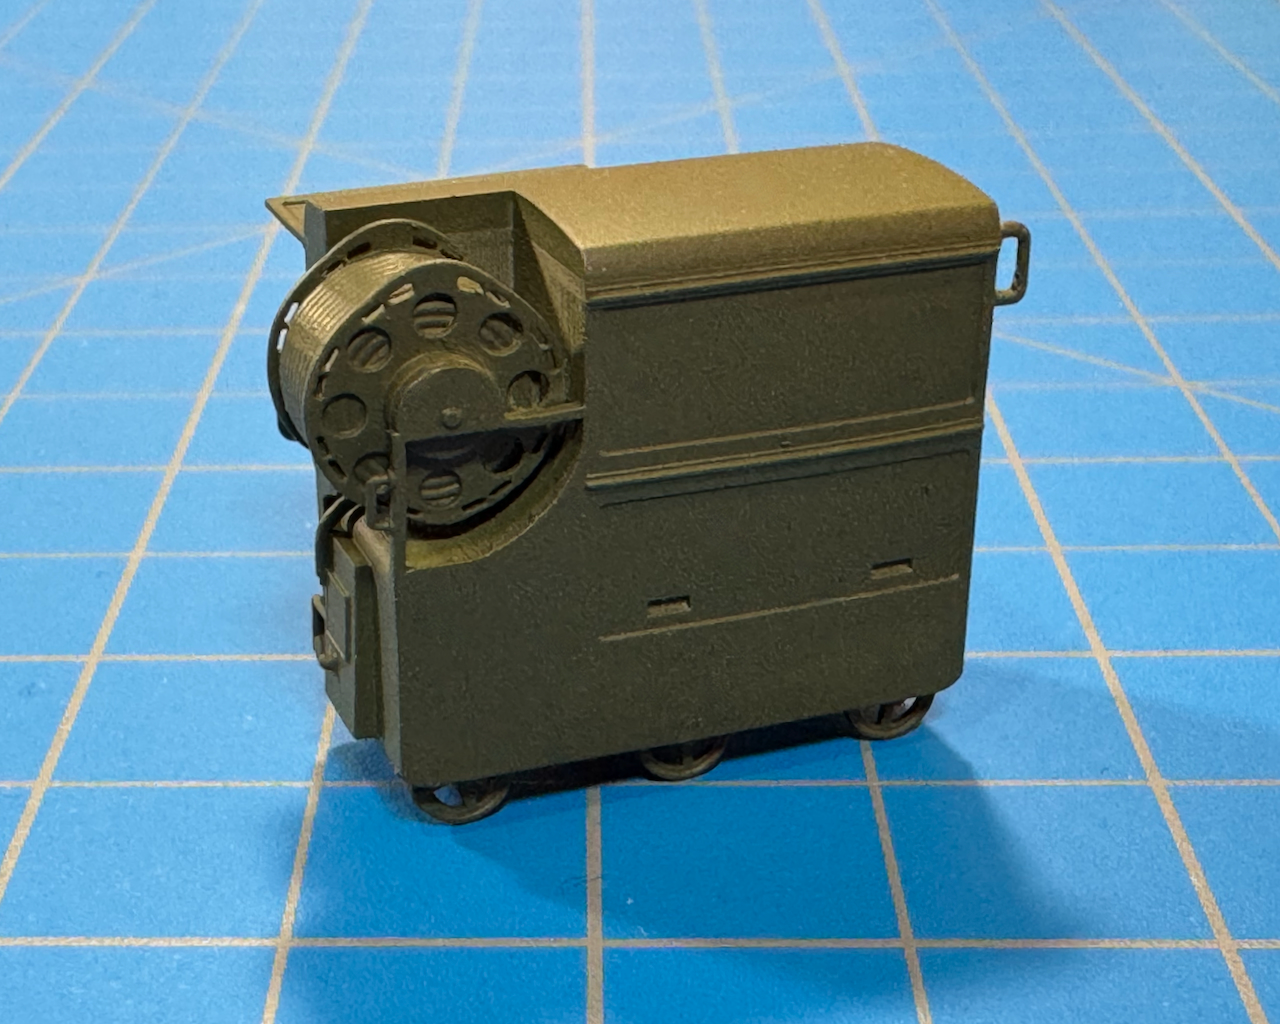
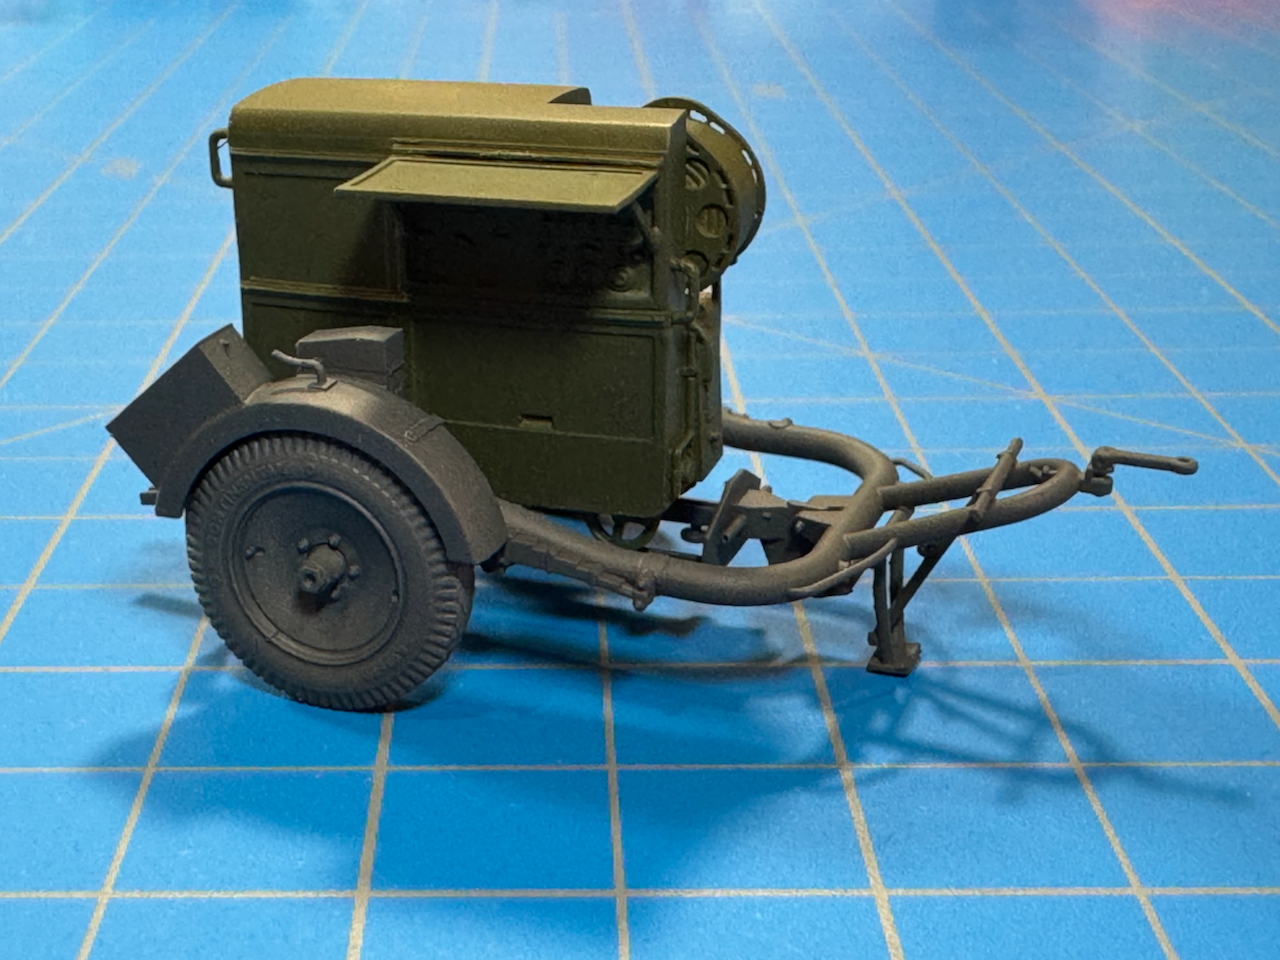
I went with green for the generator in order to give a bit of color separation from the trailer.
Generator
• Vallejo Russian Green (71.017)
Trailer
• Vallejo Black Grey (71.055)
Still ahead… tire and cord reel detail painting.
Thanks for having a look!
—mike
18 Likes
What a beauty!!!
1 Like
Some progress on my Propaganda Blitz KOM build:
Got the desk of the announcer ready, it has the Neumann “bottle” condenser mike, a red lamp and a control speaker, all scratchbuilt.
Further-I built the amplifier pack: a set of 3 Telefunken Ela V 45 units and the condenser mike preamplifier:
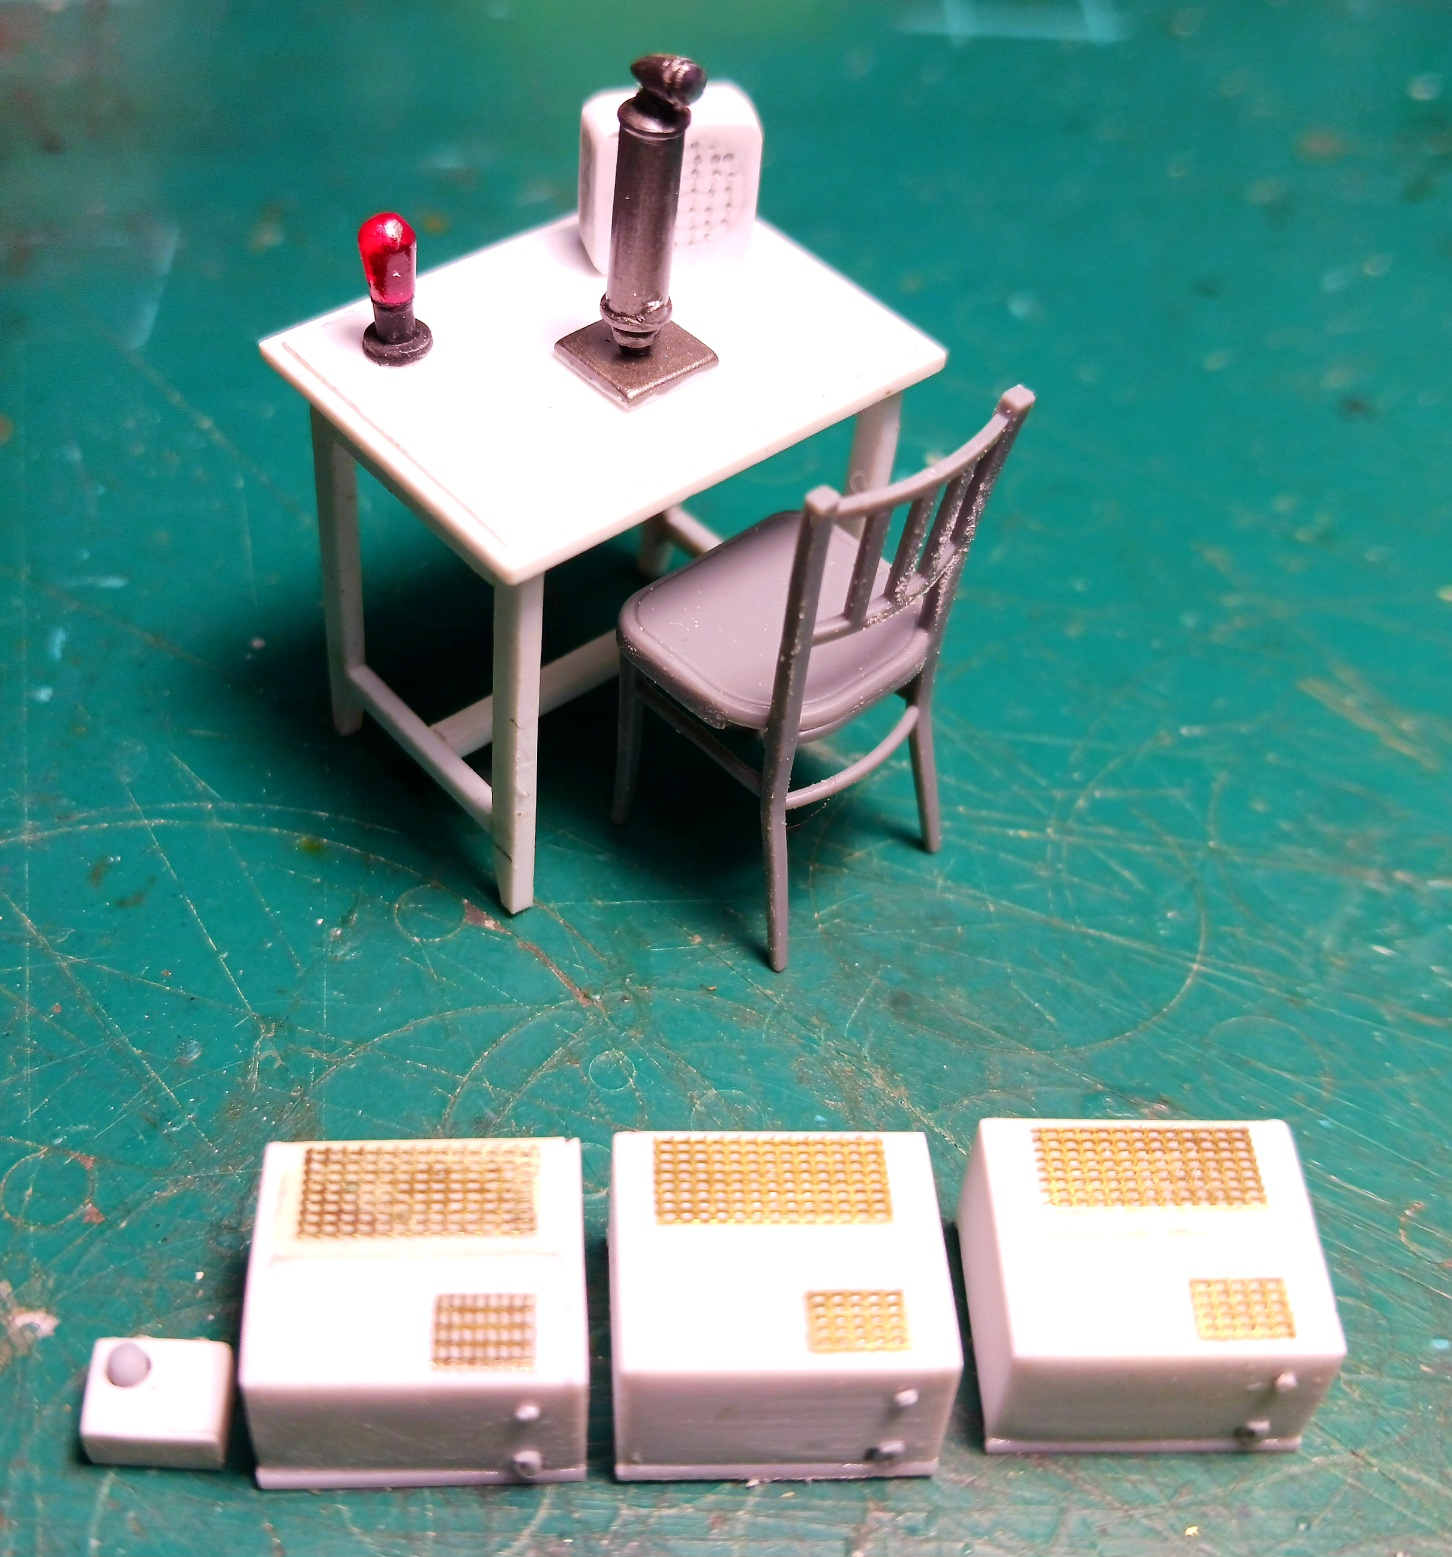
The chair comes from MiniArts Office Furniture set.
I am expecting delivery of a Riich Models GG400 generator set and will build the power pack once it arrives(generator, jerrycans, Ladekasten for battery charging, Netzanschlussgeraet).All these will sit on a rack at the rear of the KOM.
I am having extreme modelling fun with all these tiny features!
Cheers,
Angel
22 Likes
I was about to start serious work on the rear end of this truck but realized I had a few other problems to address, mostly small but noticeable:
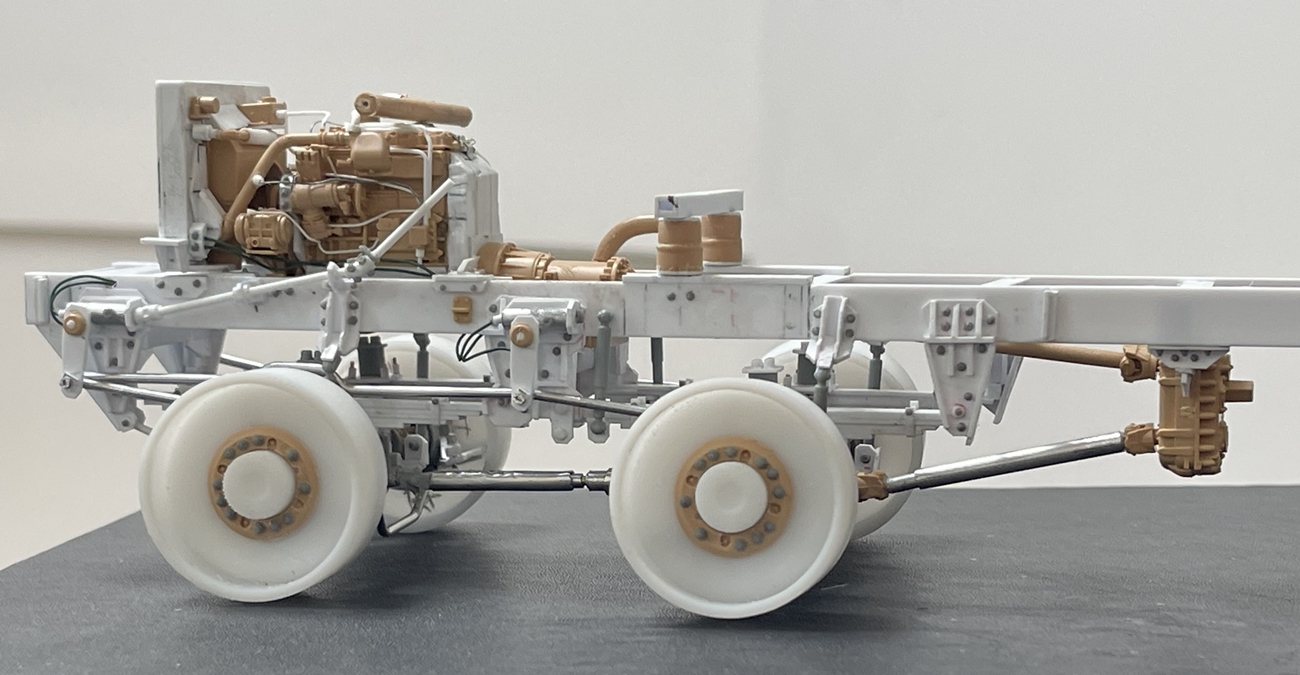
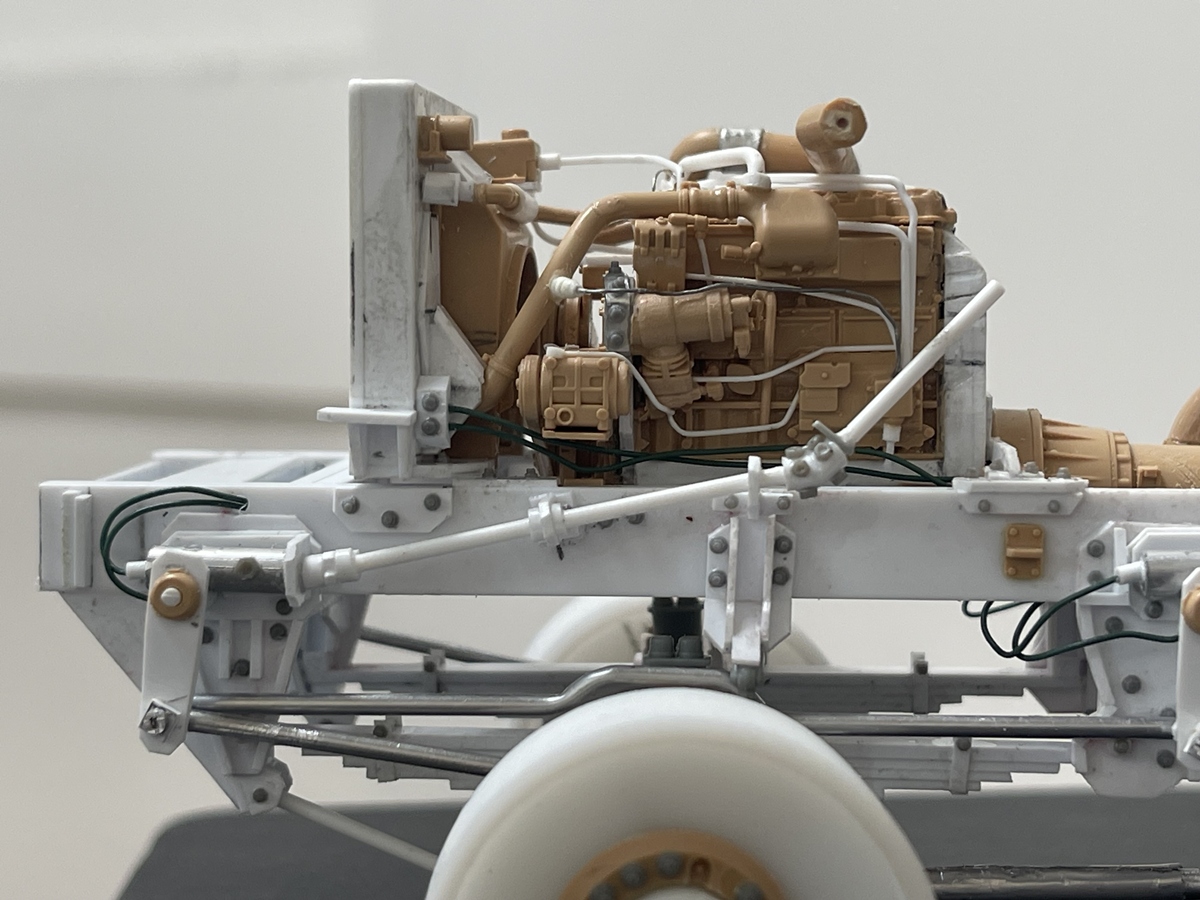


I added sensors, wires, and several other bits to the engine, including the cross over air intake (the ‘T” shaped tubing atop the turbo charger). I also lowered the transfer case and made up some brackets. - while it was already sitting fairly low, the angle of the front driveline was way too steep. I also made the driveshaft between the axles more substantial - it was looking way too thin before. I guess some of the good news is you probably can’t clearly see what was added to the engine, which might mean that the amount of added parts are beginning to visually merge, so getting closer to the actual ISX-15.
And a few views with the cab atop:

Above, you can see the air intake crossover, which spans left to right under the hood. Big air filters will be added to the outside of the body.
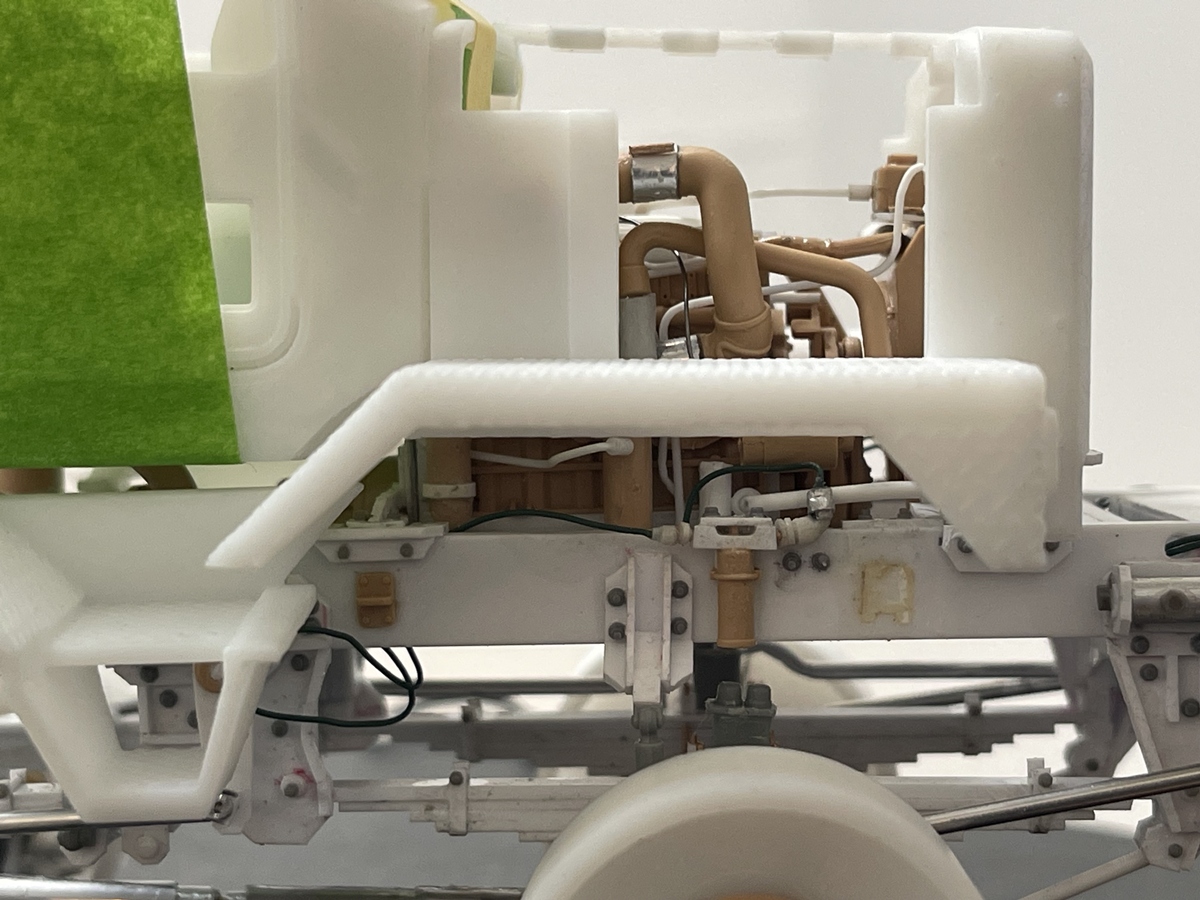
This is kind of a bummer - the exhaust sensors can’t be seen, but some other parts are still evident.
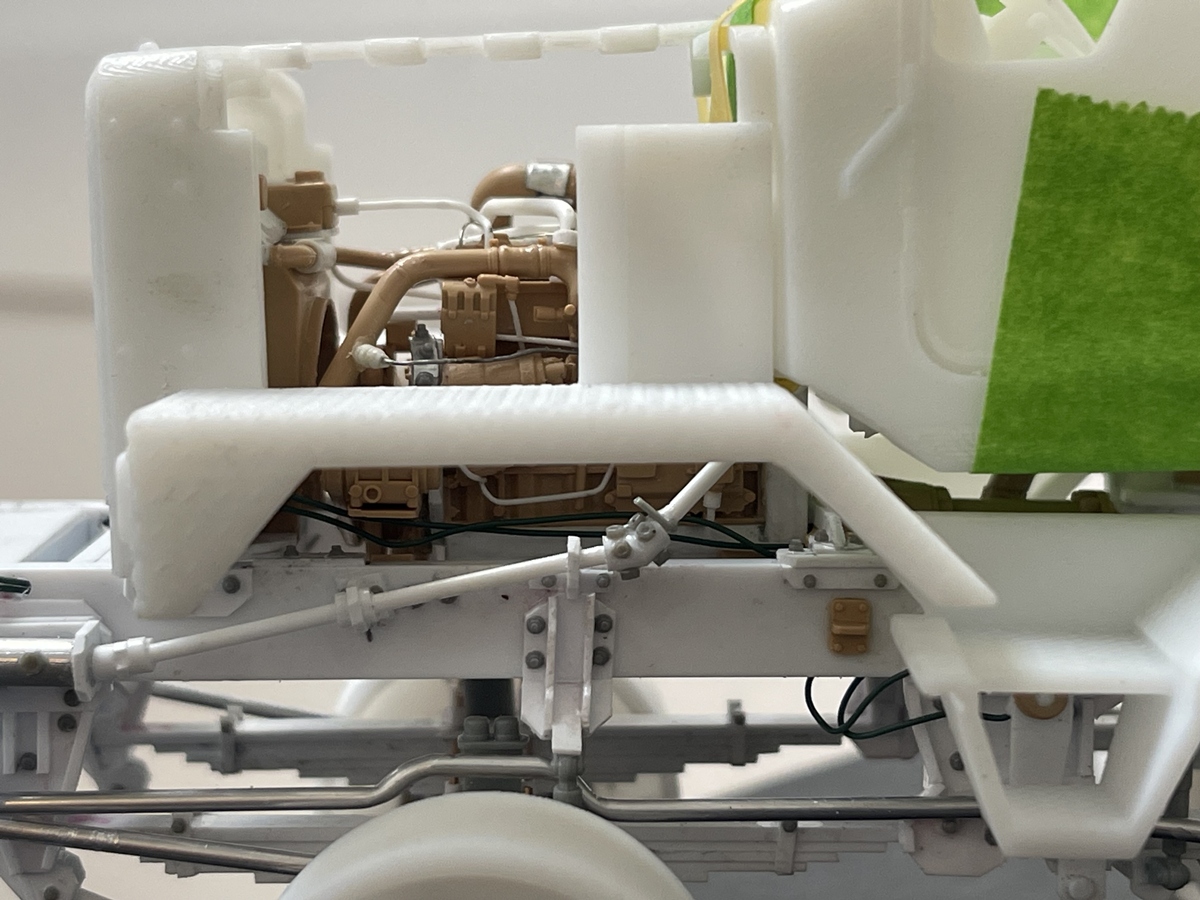
Same over here - just like a real vehicle, you just can’t see it all!
I’ll add more bolts to the frame rails, but this part of the build is getting close to being done -
Cheers
Nick 
27 Likes
Thanks Bert. Praise indeed coming from a builder like you.
2 Likes

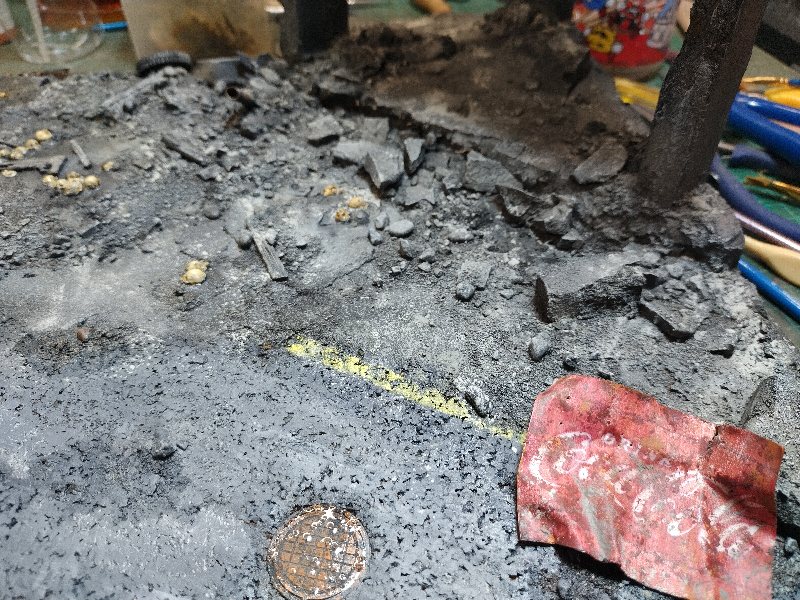


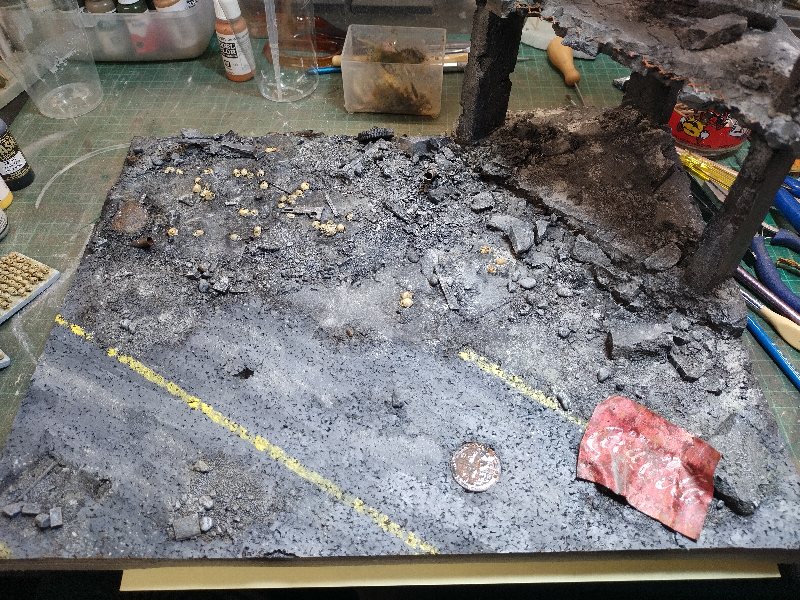
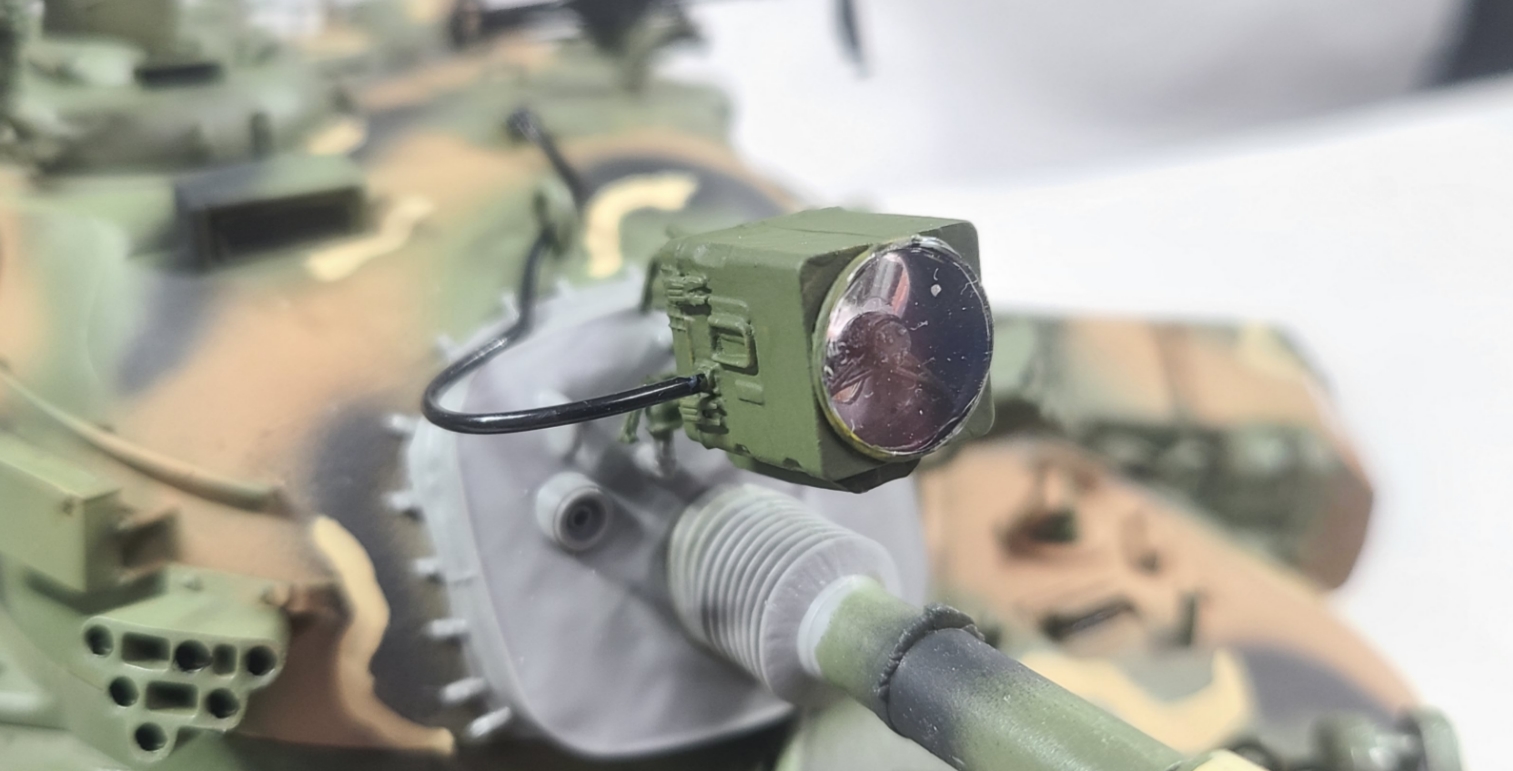
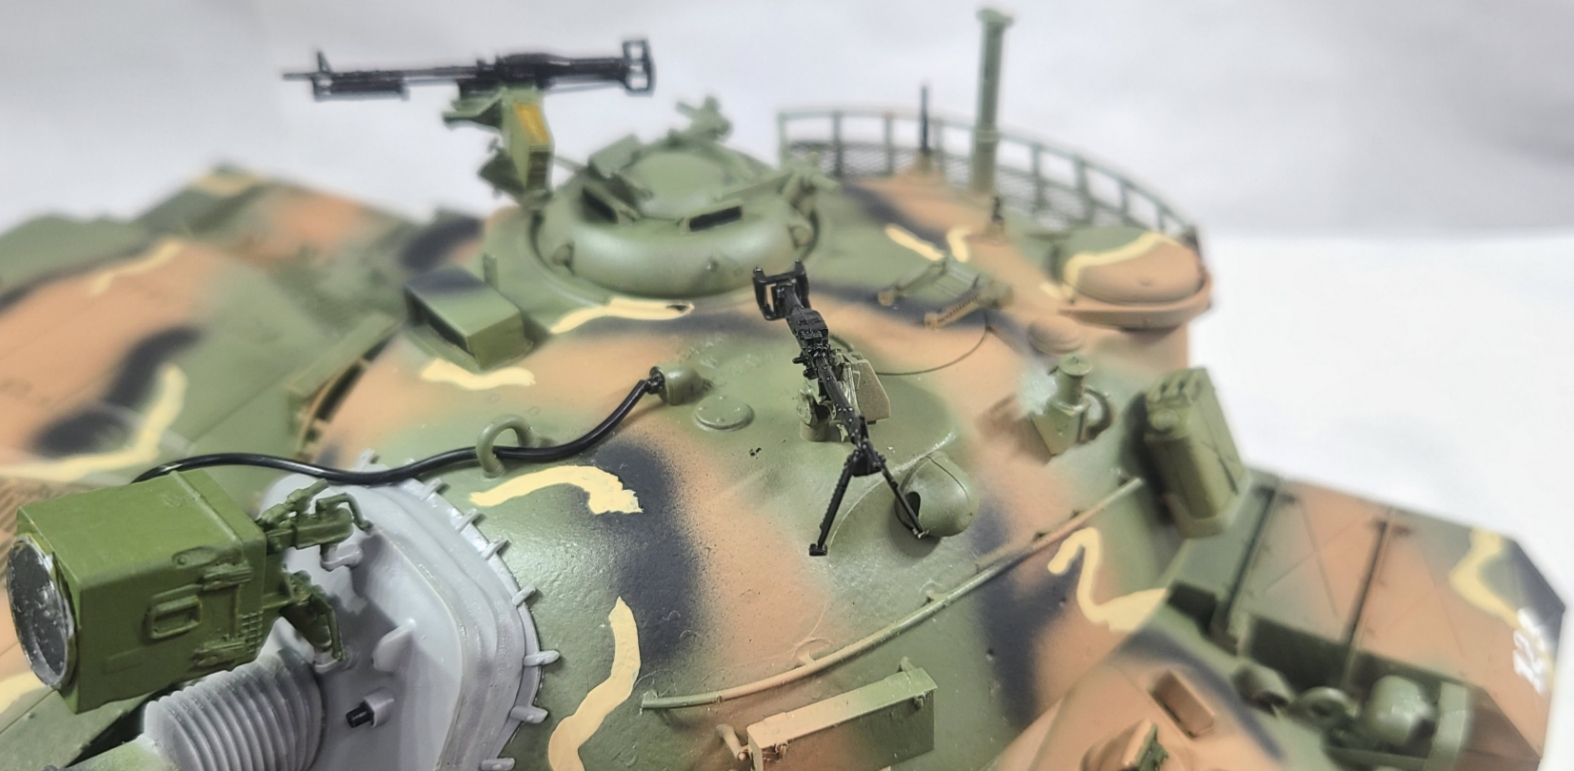
I completed South Korean army’s M48A5KW. The kit I used a TAKOM M48A5.
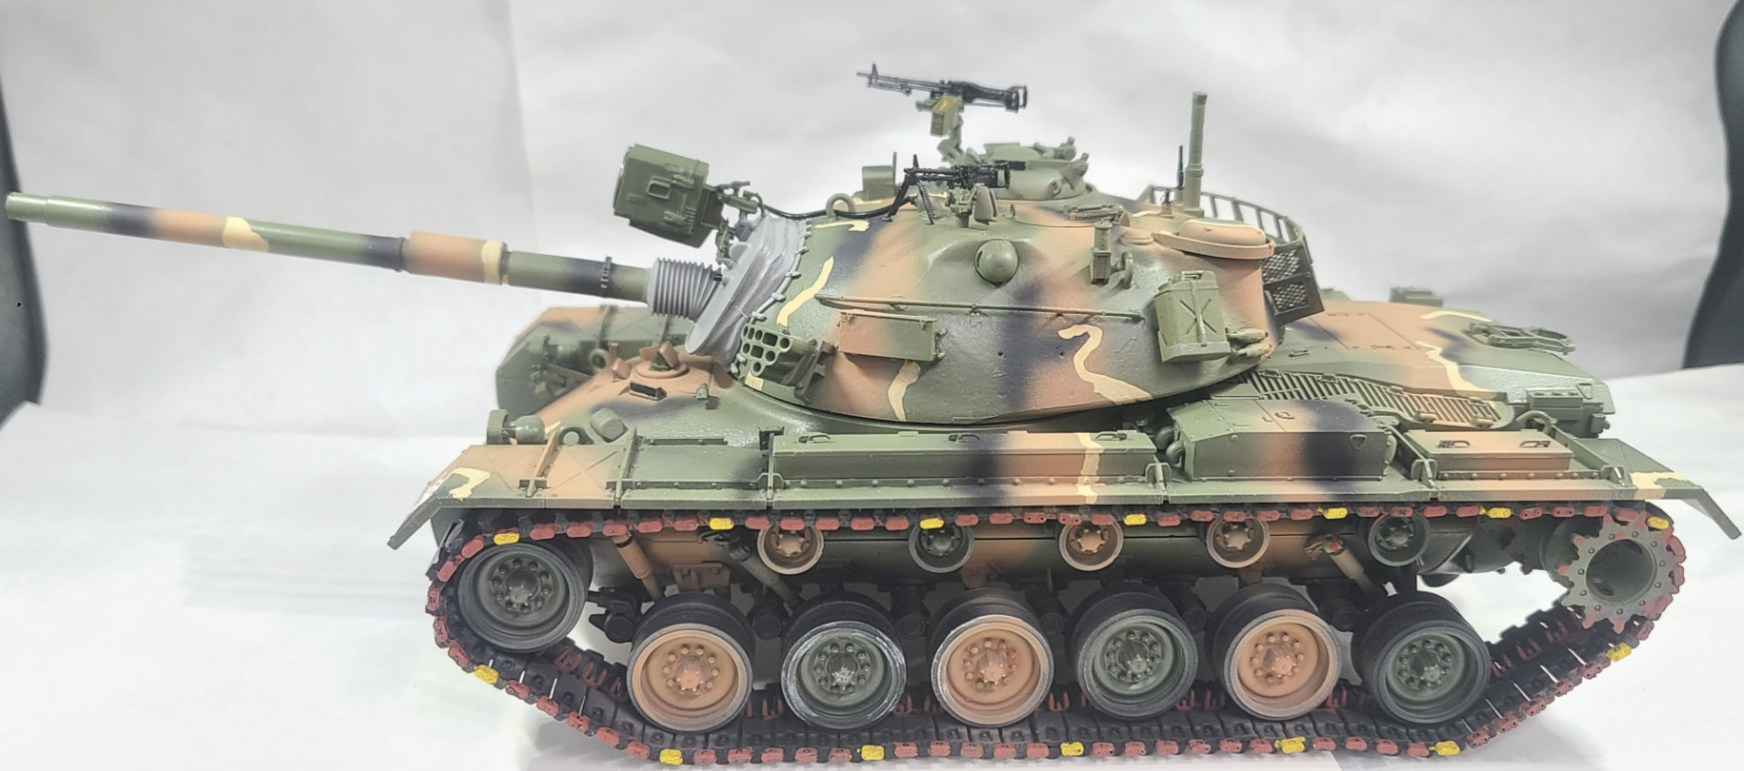
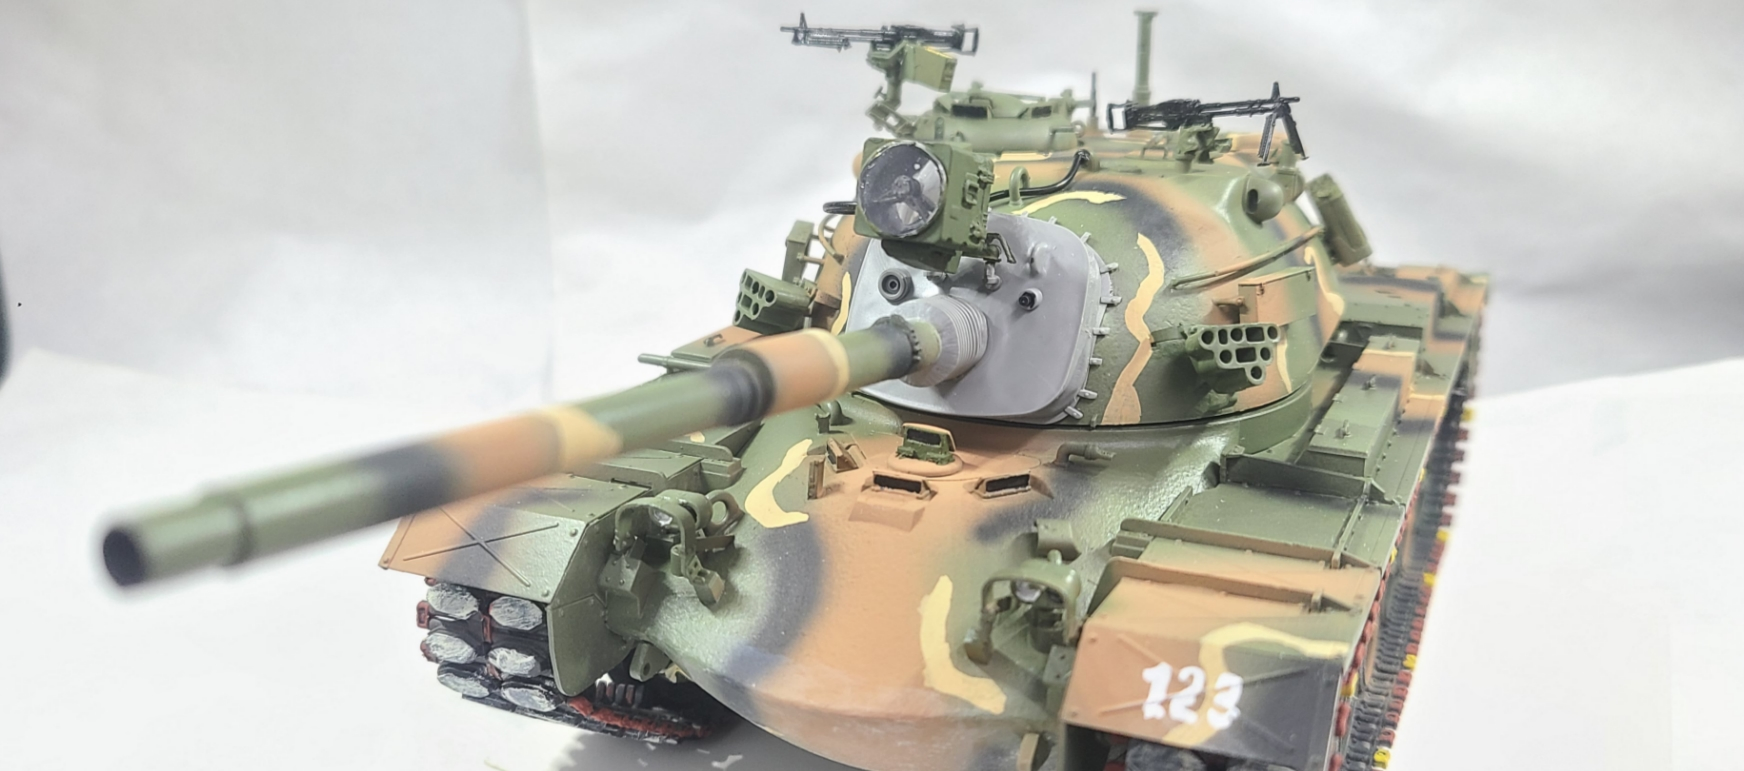
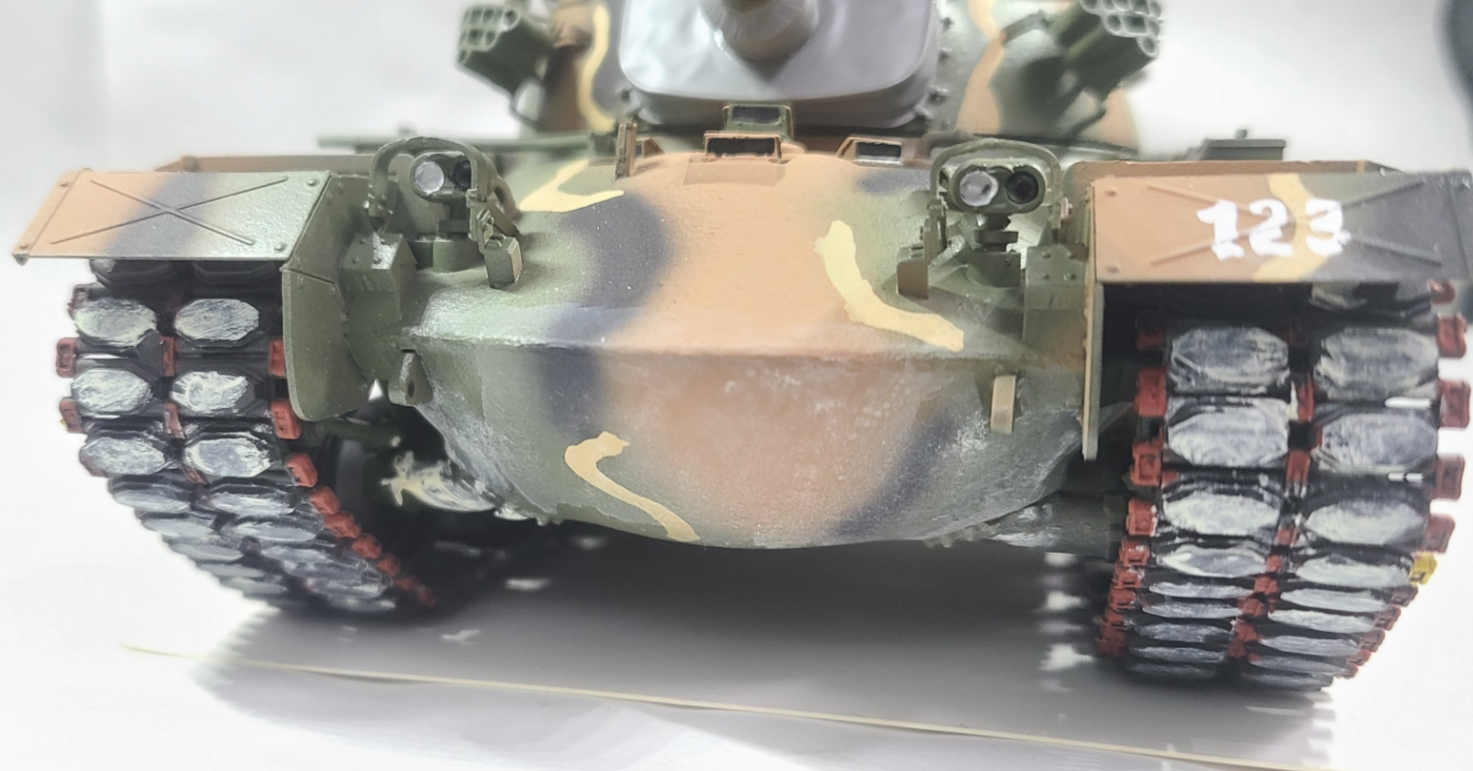
I tried adding rust effects to the track links, but the effect doesn’t really match. anyway it is done.

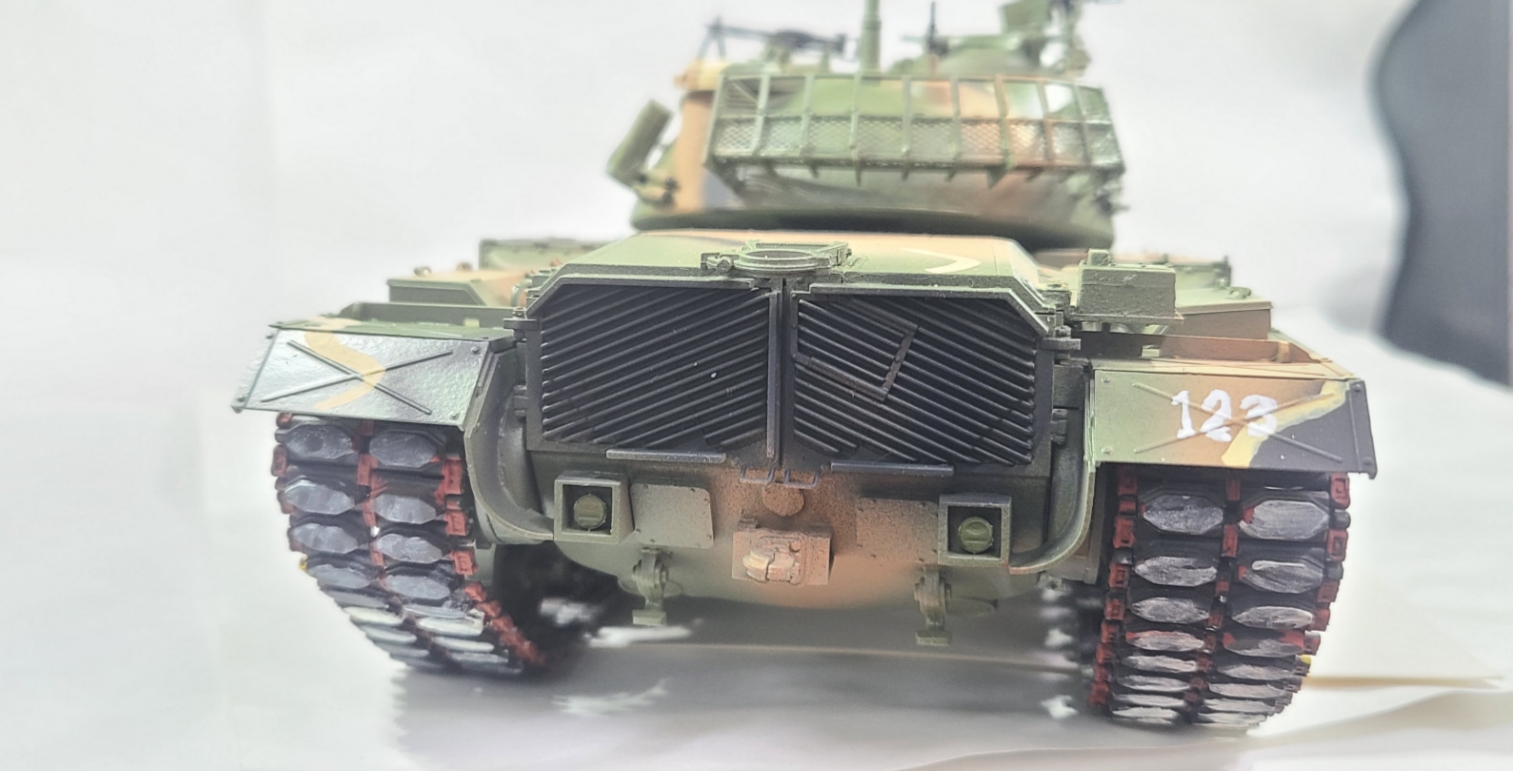
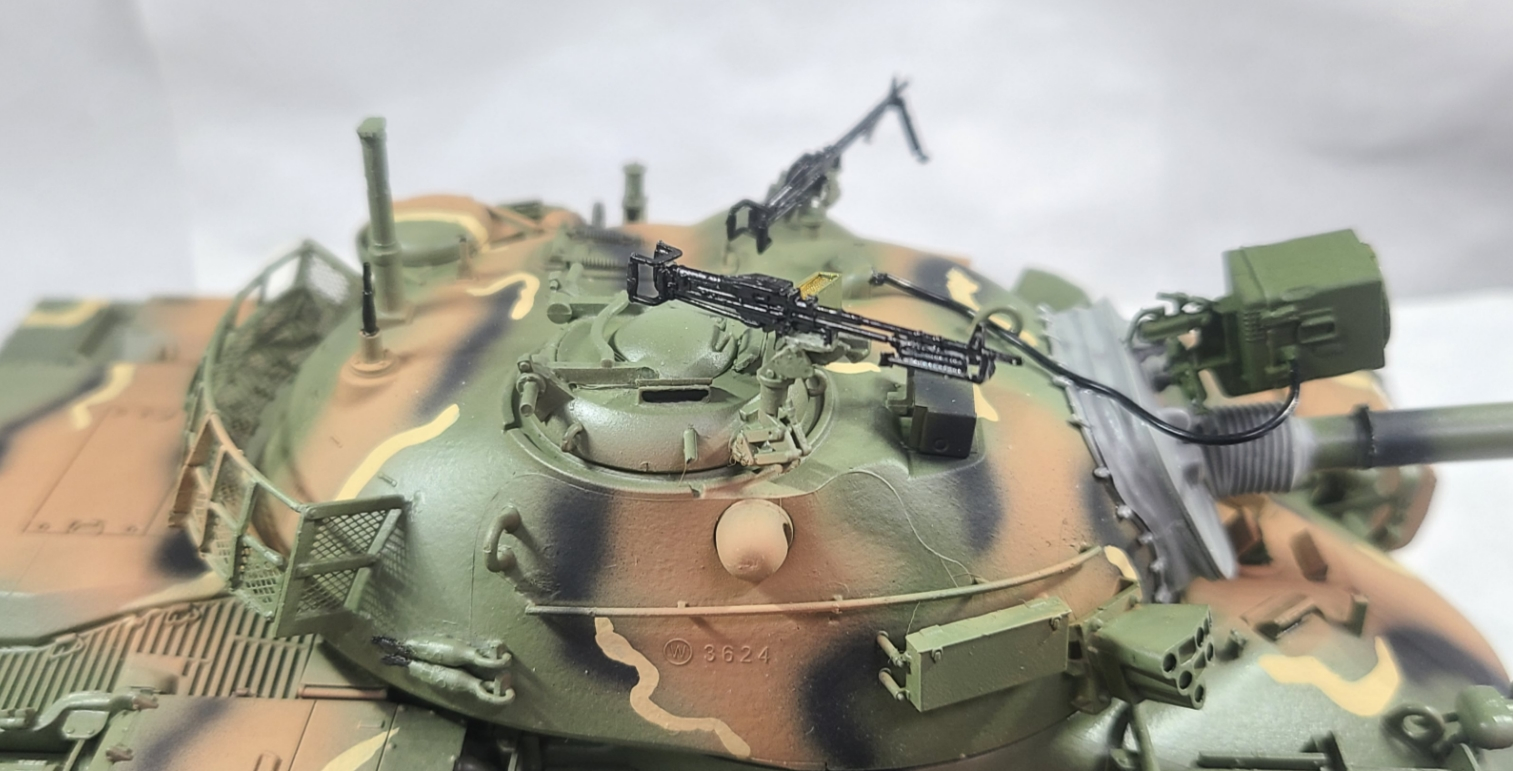

24 Likes
I think the camo and the kit itself look really good, nice work. Are the yellow and tan ends of the track links supposed to be part of the camo? Seemed an odd use of it to me.
3 Likes
Your M48 looks really sharp! Now I gotta ask as to why the yellow on some track link end connectors? The only time I ever saw such things was when individual track links went bad and needed to be replaced. We would mark the unserviceable track links with yellow spray paint.
3 Likes