I think the engine would have been taken out, at minimum fluids drained. Things that could easily be removed and reused would have come off; tools, smoke grenades (launcher racks possibly left), lights, ice cleats and spare tracks etc. The good thing is this is your project and you can make it day 5 or day 1500 on the range.
1 Like
Words to live by! ![]()
Good luck with it - I’d possibly build it with the engine deck off for maintenance - that way you only need to make new edges from sheet. There are engine bays out there to drop in…
1 Like
Rye Field has a Leopard 2 power pack coming out at the same time as a Leopard 2A6 with full interior and engine - I ordered a pack off EBay already.
1 Like
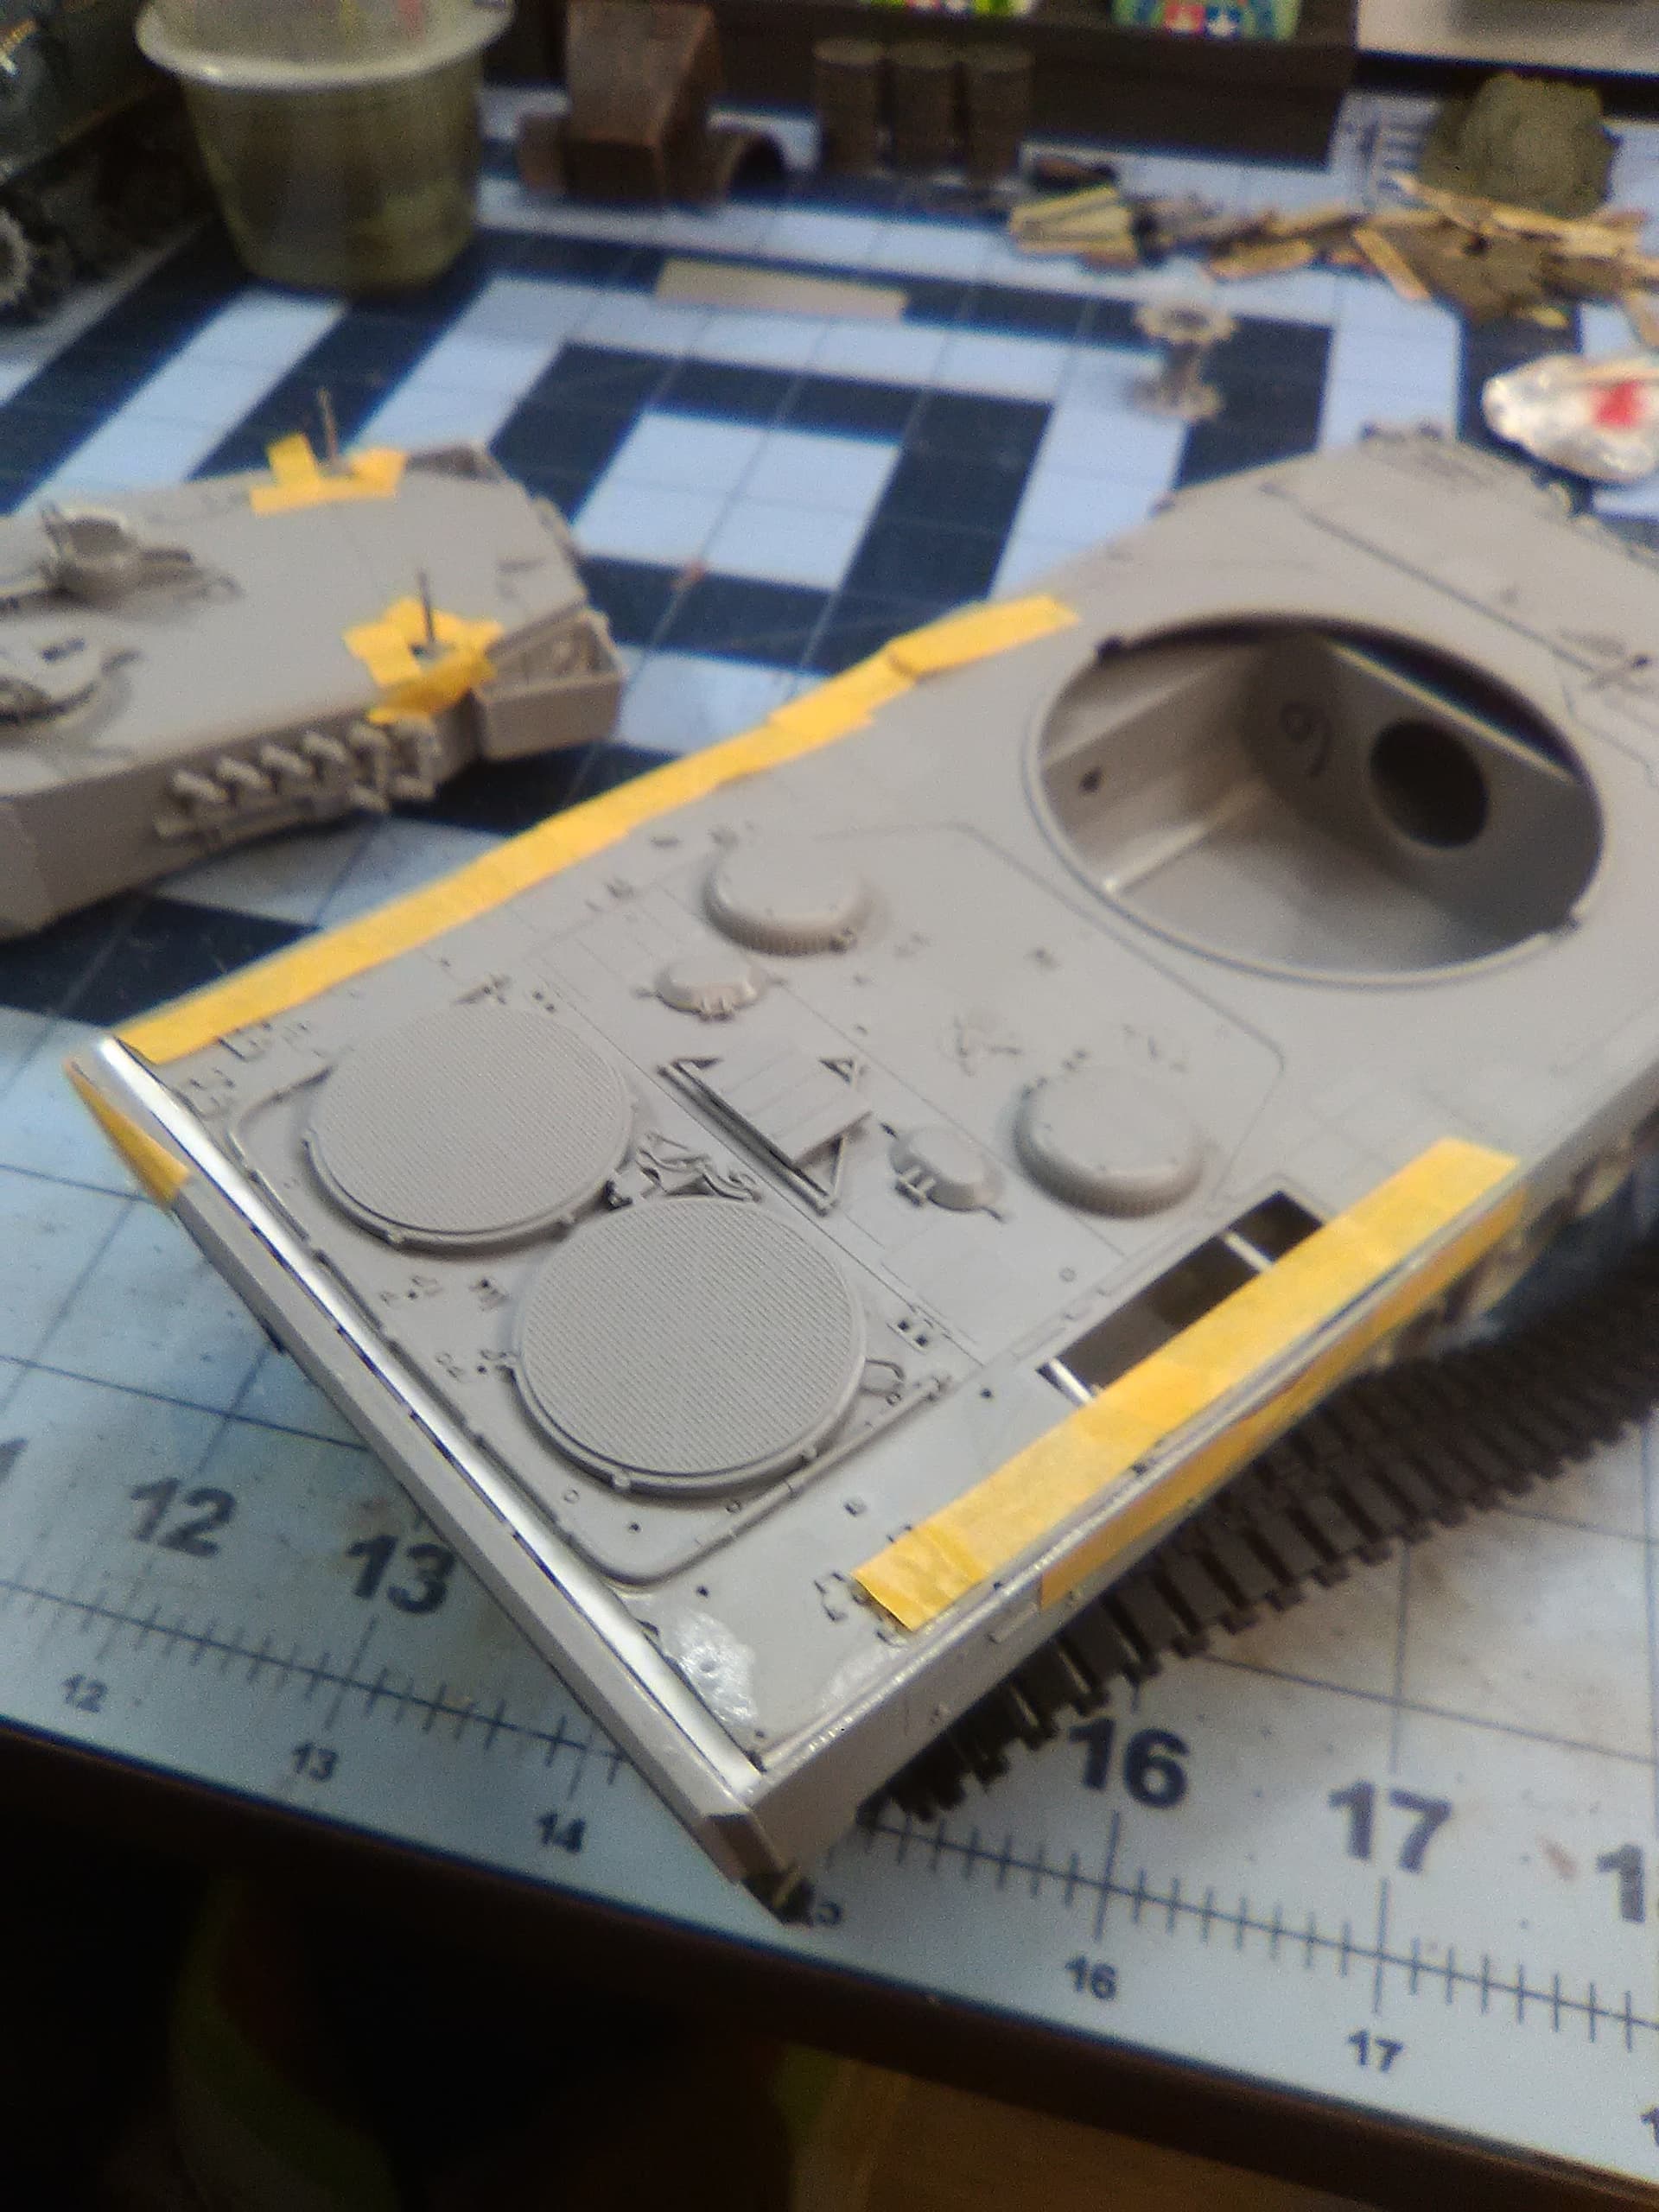
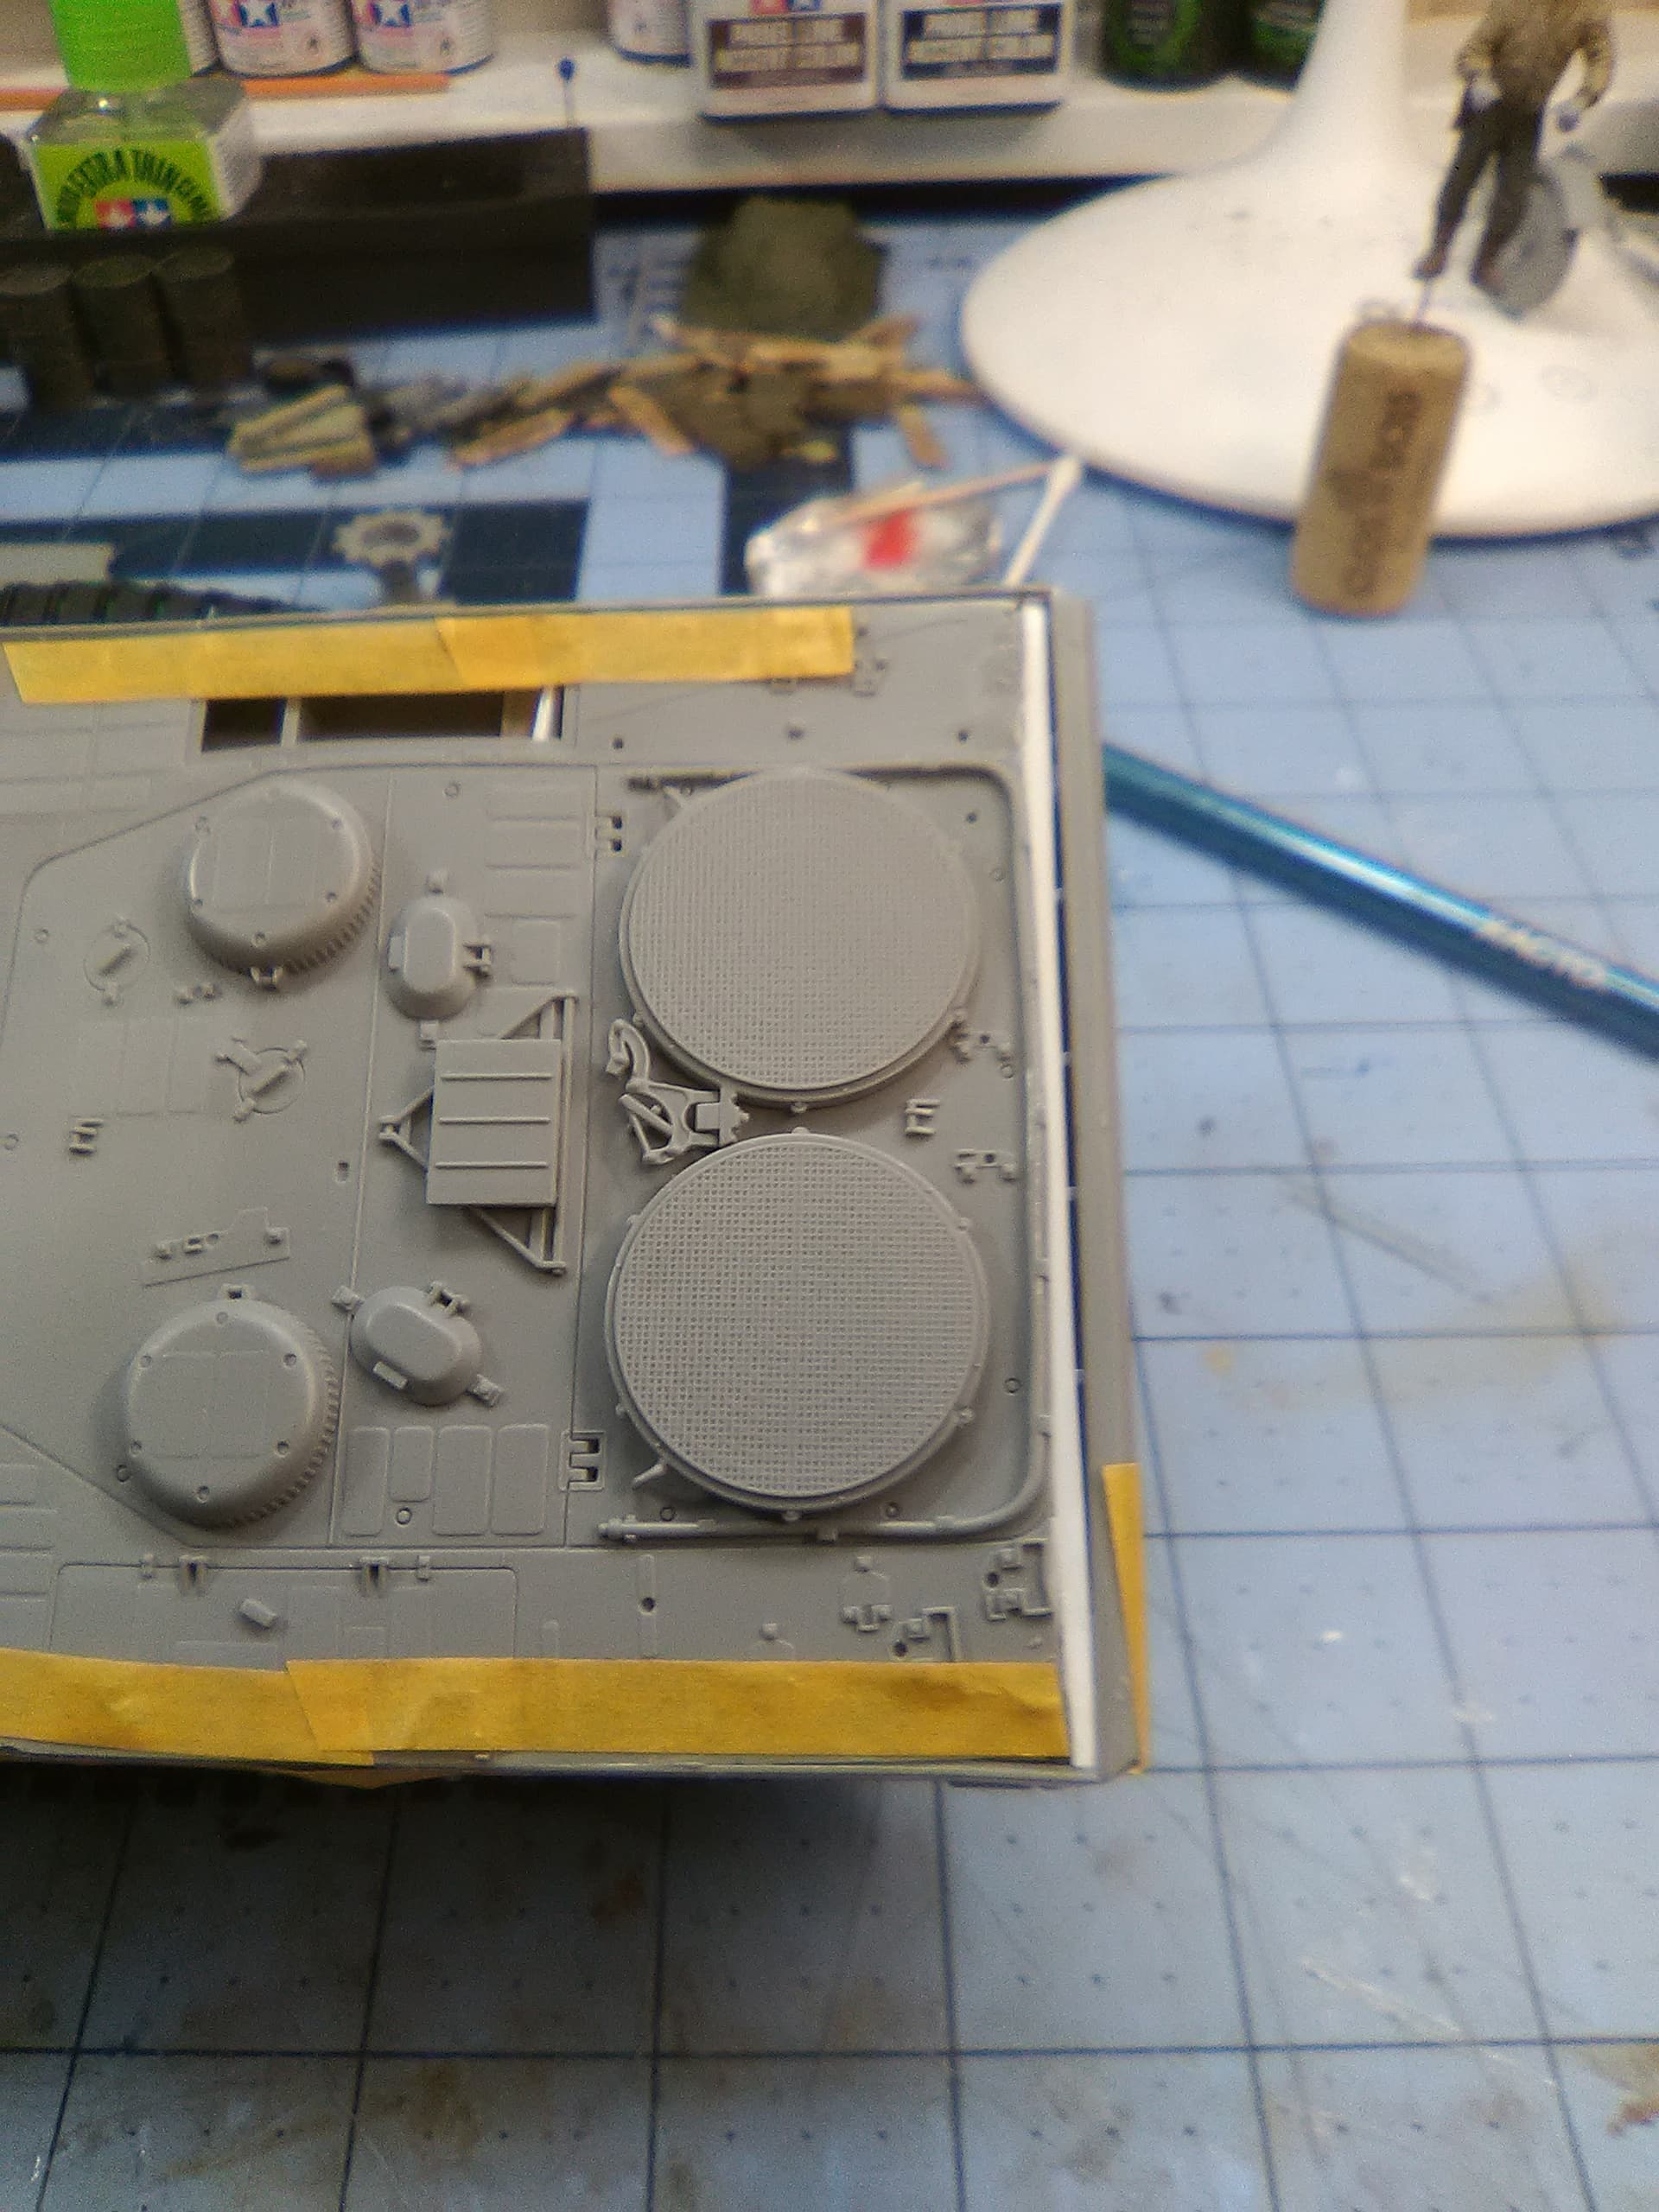
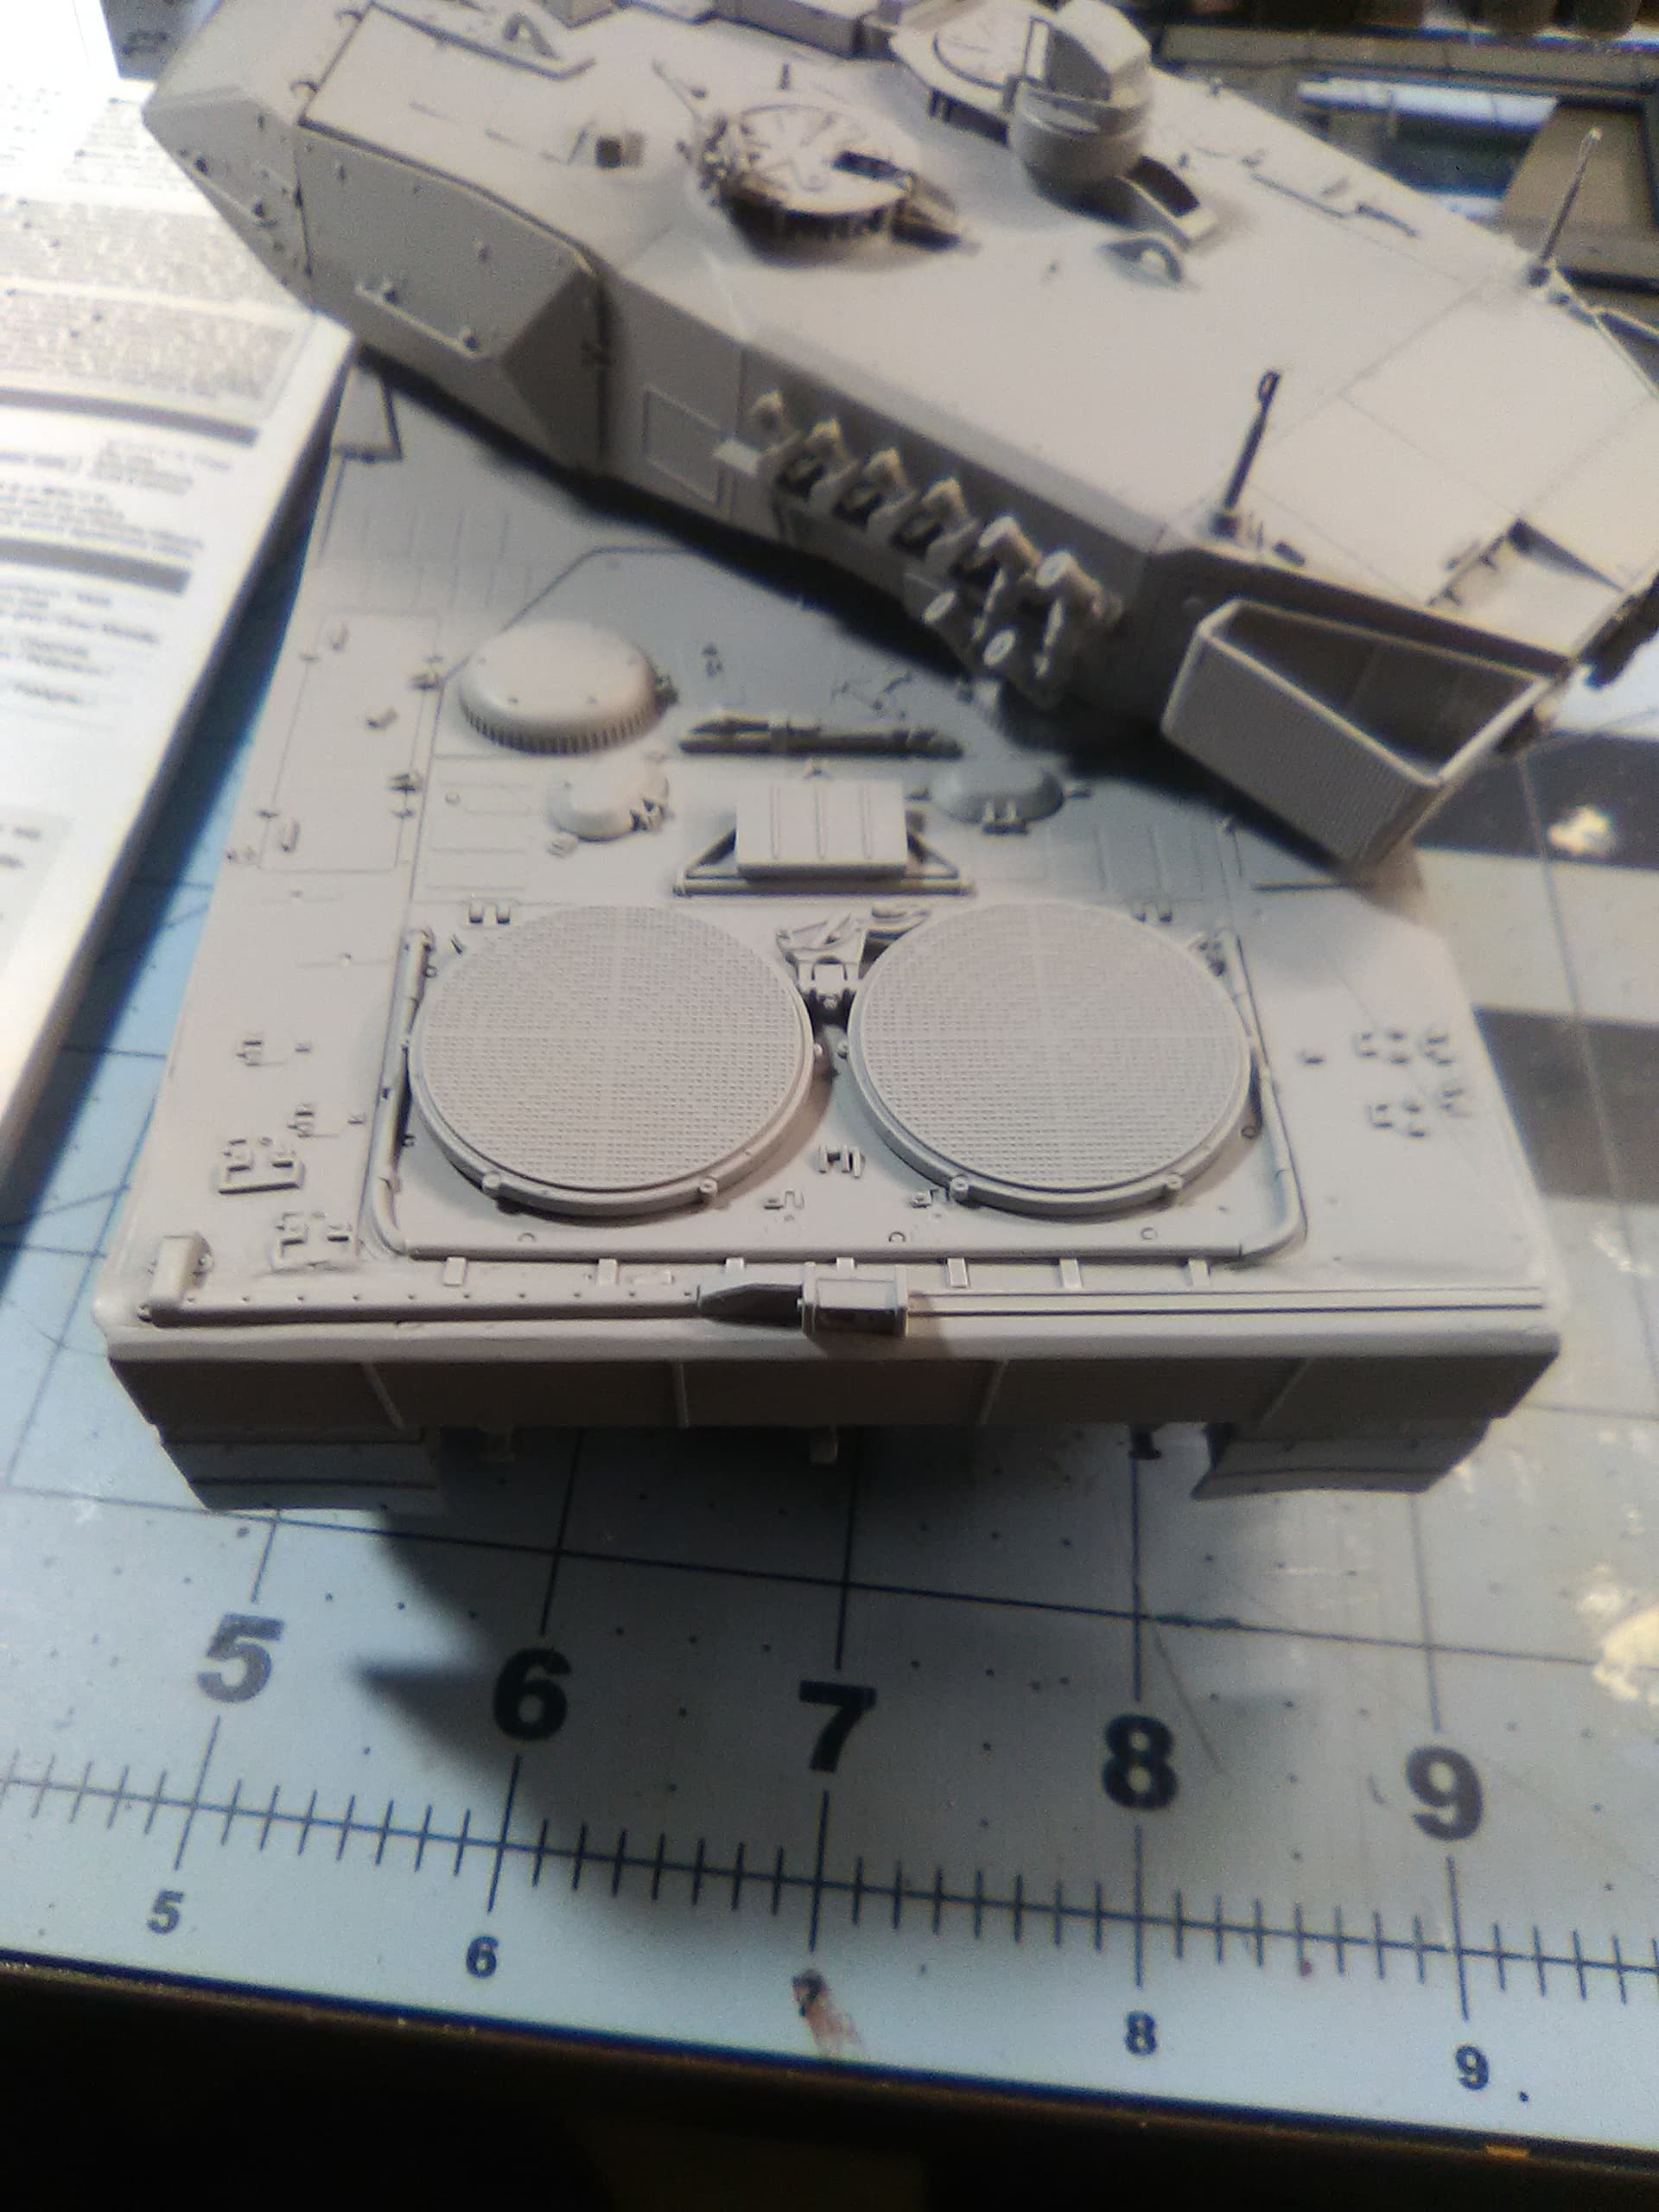
Quick update, with a generous use of styrene, ample helpings of extra thin and lots of clamping I managed to get to this stage. I won’t be able to get to the original contours obviously but to untrained eye I think it’s gonna salvage out all right. I’m going to lay in more styrene in the gap at the back of the deck, that’s the worse area before I do some putty or sprueglue work.
Overall pretty pleased at how I managed so far. Btw take a pass on Revell armor even on a lark. I’ve never seen a kit go from wonderful details to blah, good fit to WTF is this?!? Sprue gates thick enough I could have recycled them into a 1/350 Bismarck kit. Off register with God awful seams but in the end it’s sharpened my chops as far as prep and assembly (aside from my own complications I introduced addressing their lack of quality control).
Won’t guarantee it won’t still end up being a range candidate as suggested, we’ll see how this final stage goes!
4 Likes
Camo netting to cover it?
1 Like
Still undecided but certainly an option. I’ll make a decision based on how well the gaps go. Might do a range/rusted wreck piece and play w the hairspray technique and have some fun w heavy weathering. If it looks passable then I got some cheese cloth that I can use to make a passable camo net roll. One thing it’s not gonna get is any aftermarket stuff cause frankly I just don’t love this kit to put another cent towards it outside of paint. I could have trashed it but I’ll pay myself on the back for pushing ahead and seeing what I could do with it.
2 Likes
Paint mule to try out painting techniques on?
2 Likes
Nice save there Chris, you actually got it pretty passable. Keep on plugging at it and just throw a camo net over the rear. Kudos for not binning it.
1 Like

Hi!
Revell Germany has a very good parts replacement service. They even sell parts in case if you need them for scratch building. If you like I will call/contact them if they would replace this part. Is the picture taken before or after you boilt it? Well, give me a note if Ishould call them in your behalf. The are only 10km away from my location. I would need the exact part number out of the assembly instructions.
Andreas
Andreas,
Thanks for your very generous offer to assist. I’ve actually pounded it into submission and have filled the gap and it’s looking pretty good. I’ve filled w sprue glue so now I just need to sand, blend and clean it up, add misc bits left from the kit and add from styrene any details I lost in this area. I’ll keep your offer inmind though if I run into that in the future.
Danke,
Chris
you´re welcome, Chris. I hope it will come out to your satisfaction!
[Processing: 16693211761711125570799.jpg
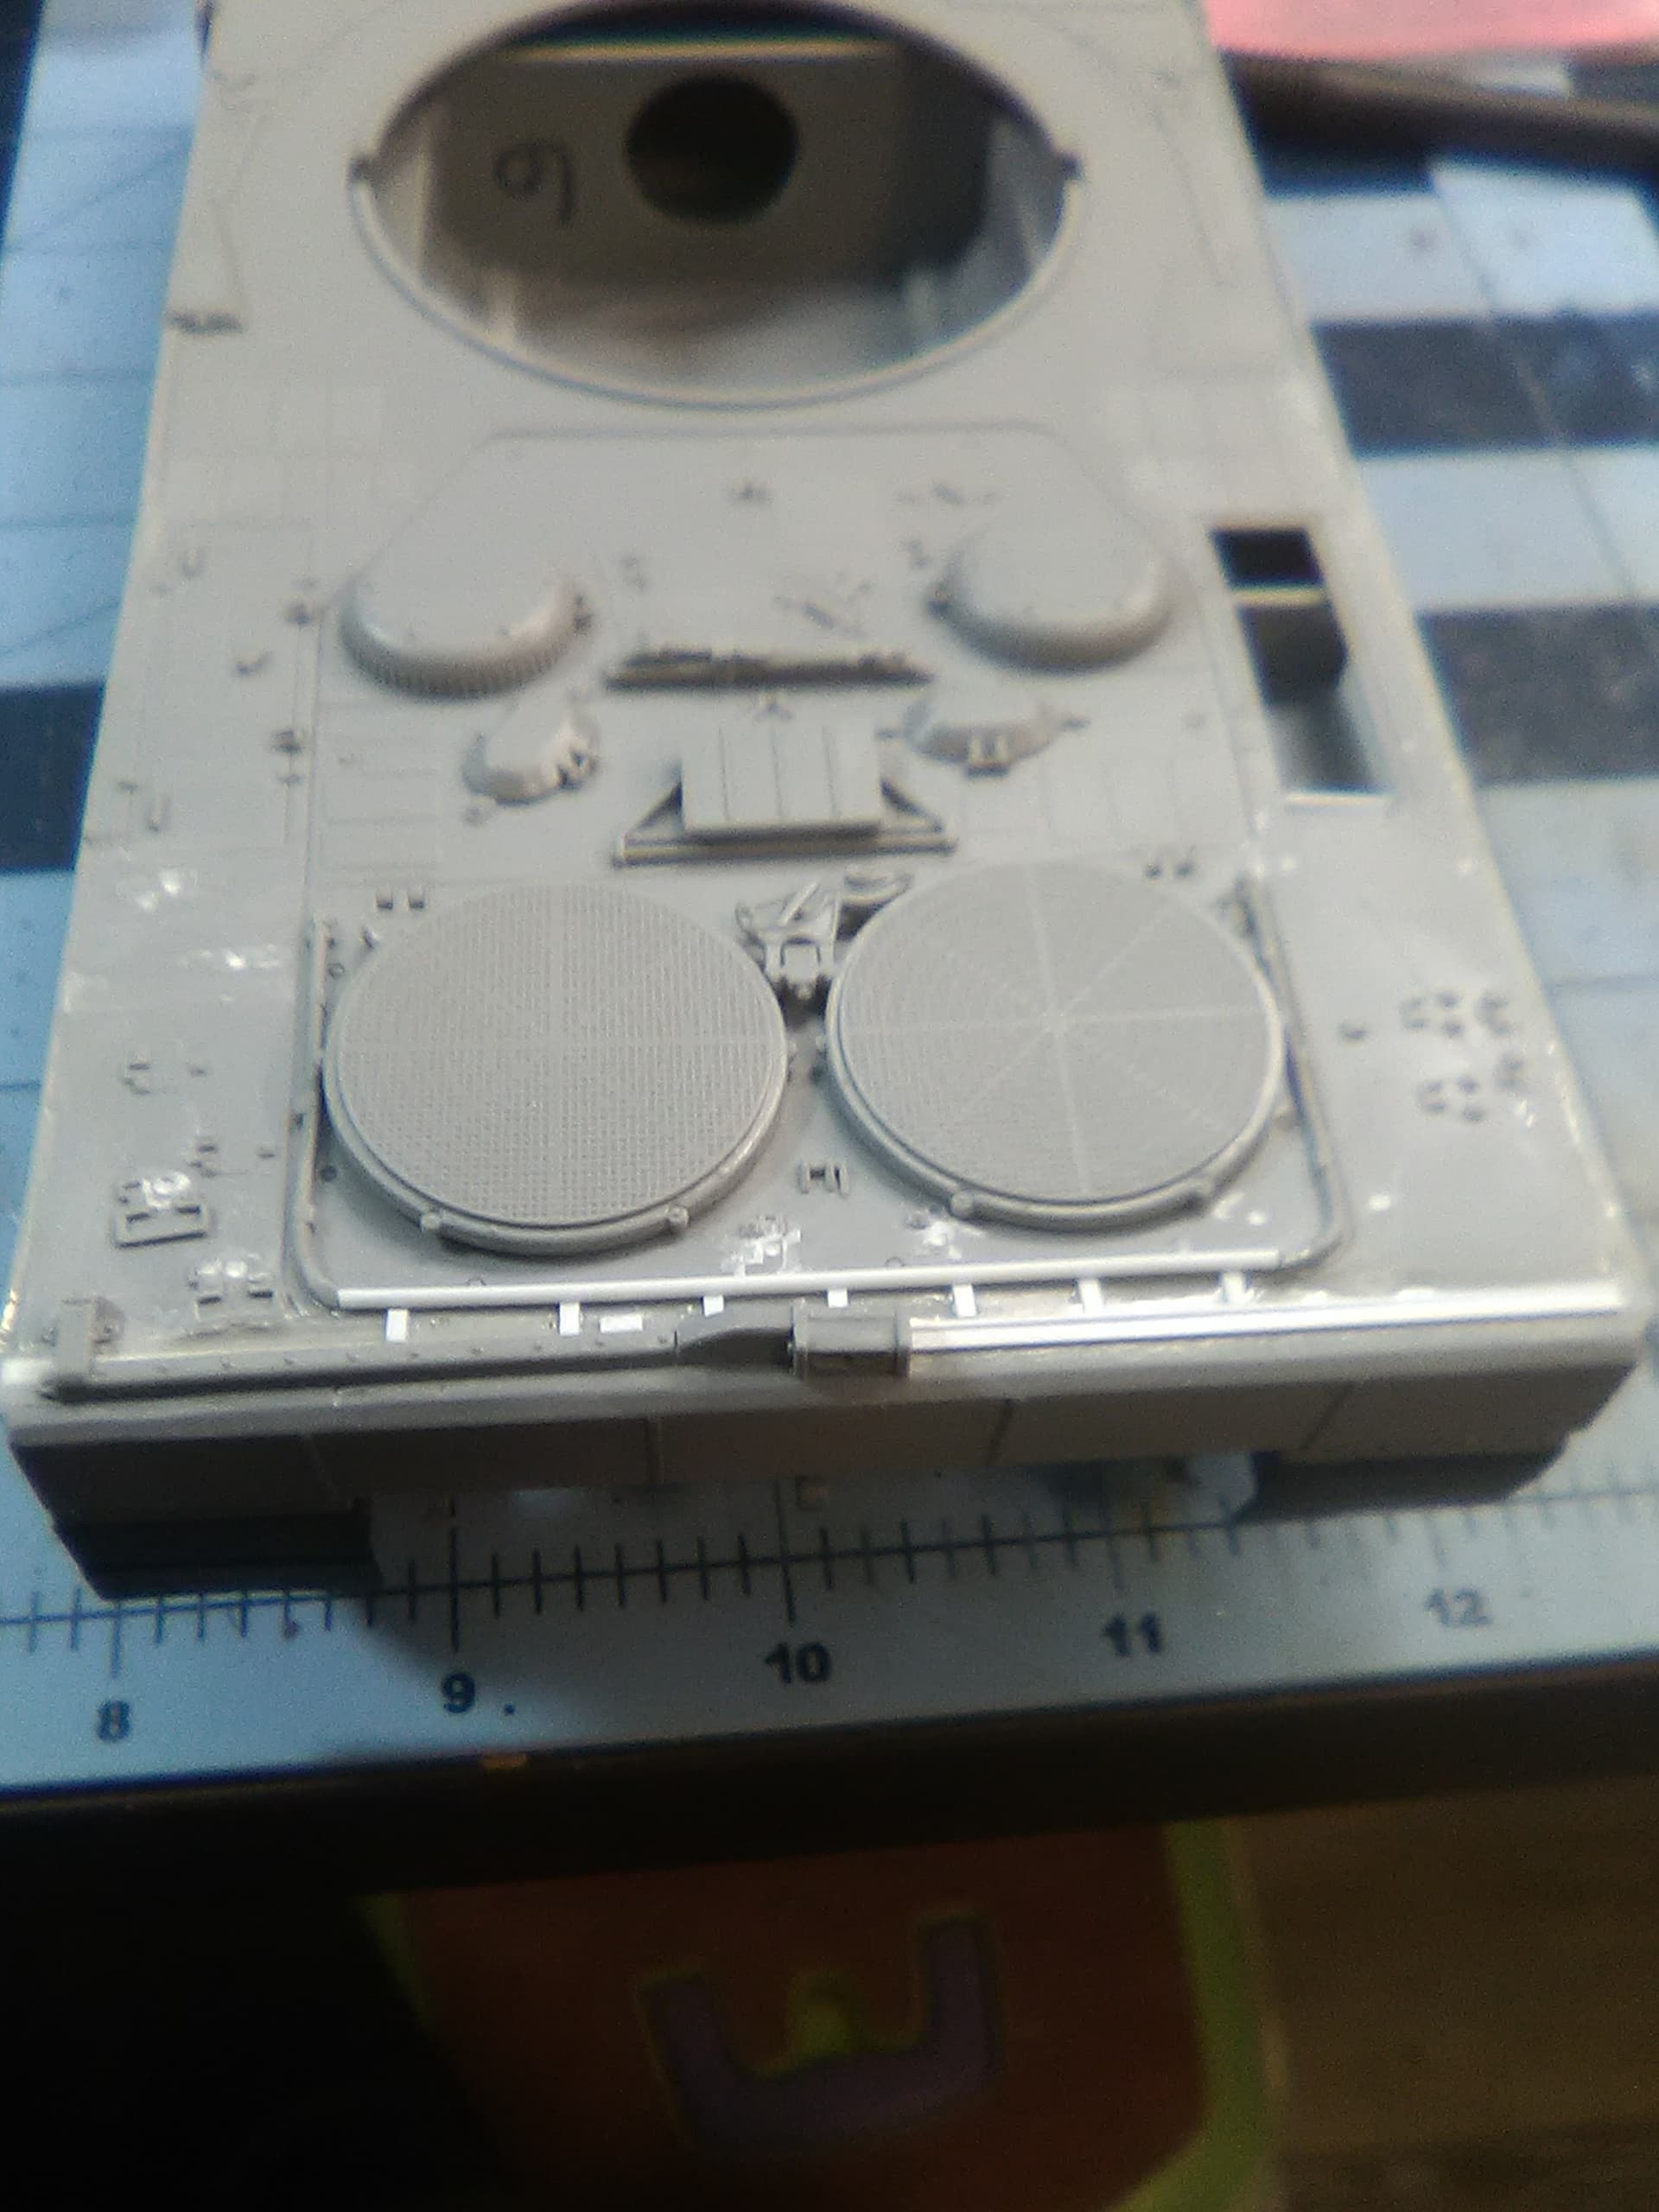
Well I think for where it was at that this was a pretty solid recovery. As I addressed the tail end I did discover the middle section still as a twist that will make the turret sit whonky so my plan is to do a 2 color primer mix, hairspray, camo, chipping and heavy weathering and go for an ‘abandoned’ look. I got an early Tiger 1 I’m itching to do w a winter white wash over Panzergrau so might as well try the hairspray again. Did it once and liked the results so let’s knock the dust off the technique.
7 Likes
If you cut lengths of sprue or Styrene section to the right length and glue them vertically to the floor, in side the hull opening, you can then place something heavy on the hull roof to push it down flat and glue the hull top to them. This will correct the twist in the upper hull and fix the sit of the turret.
2 Likes
Nice recovery. Looks good. ![]()
![]()
1 Like
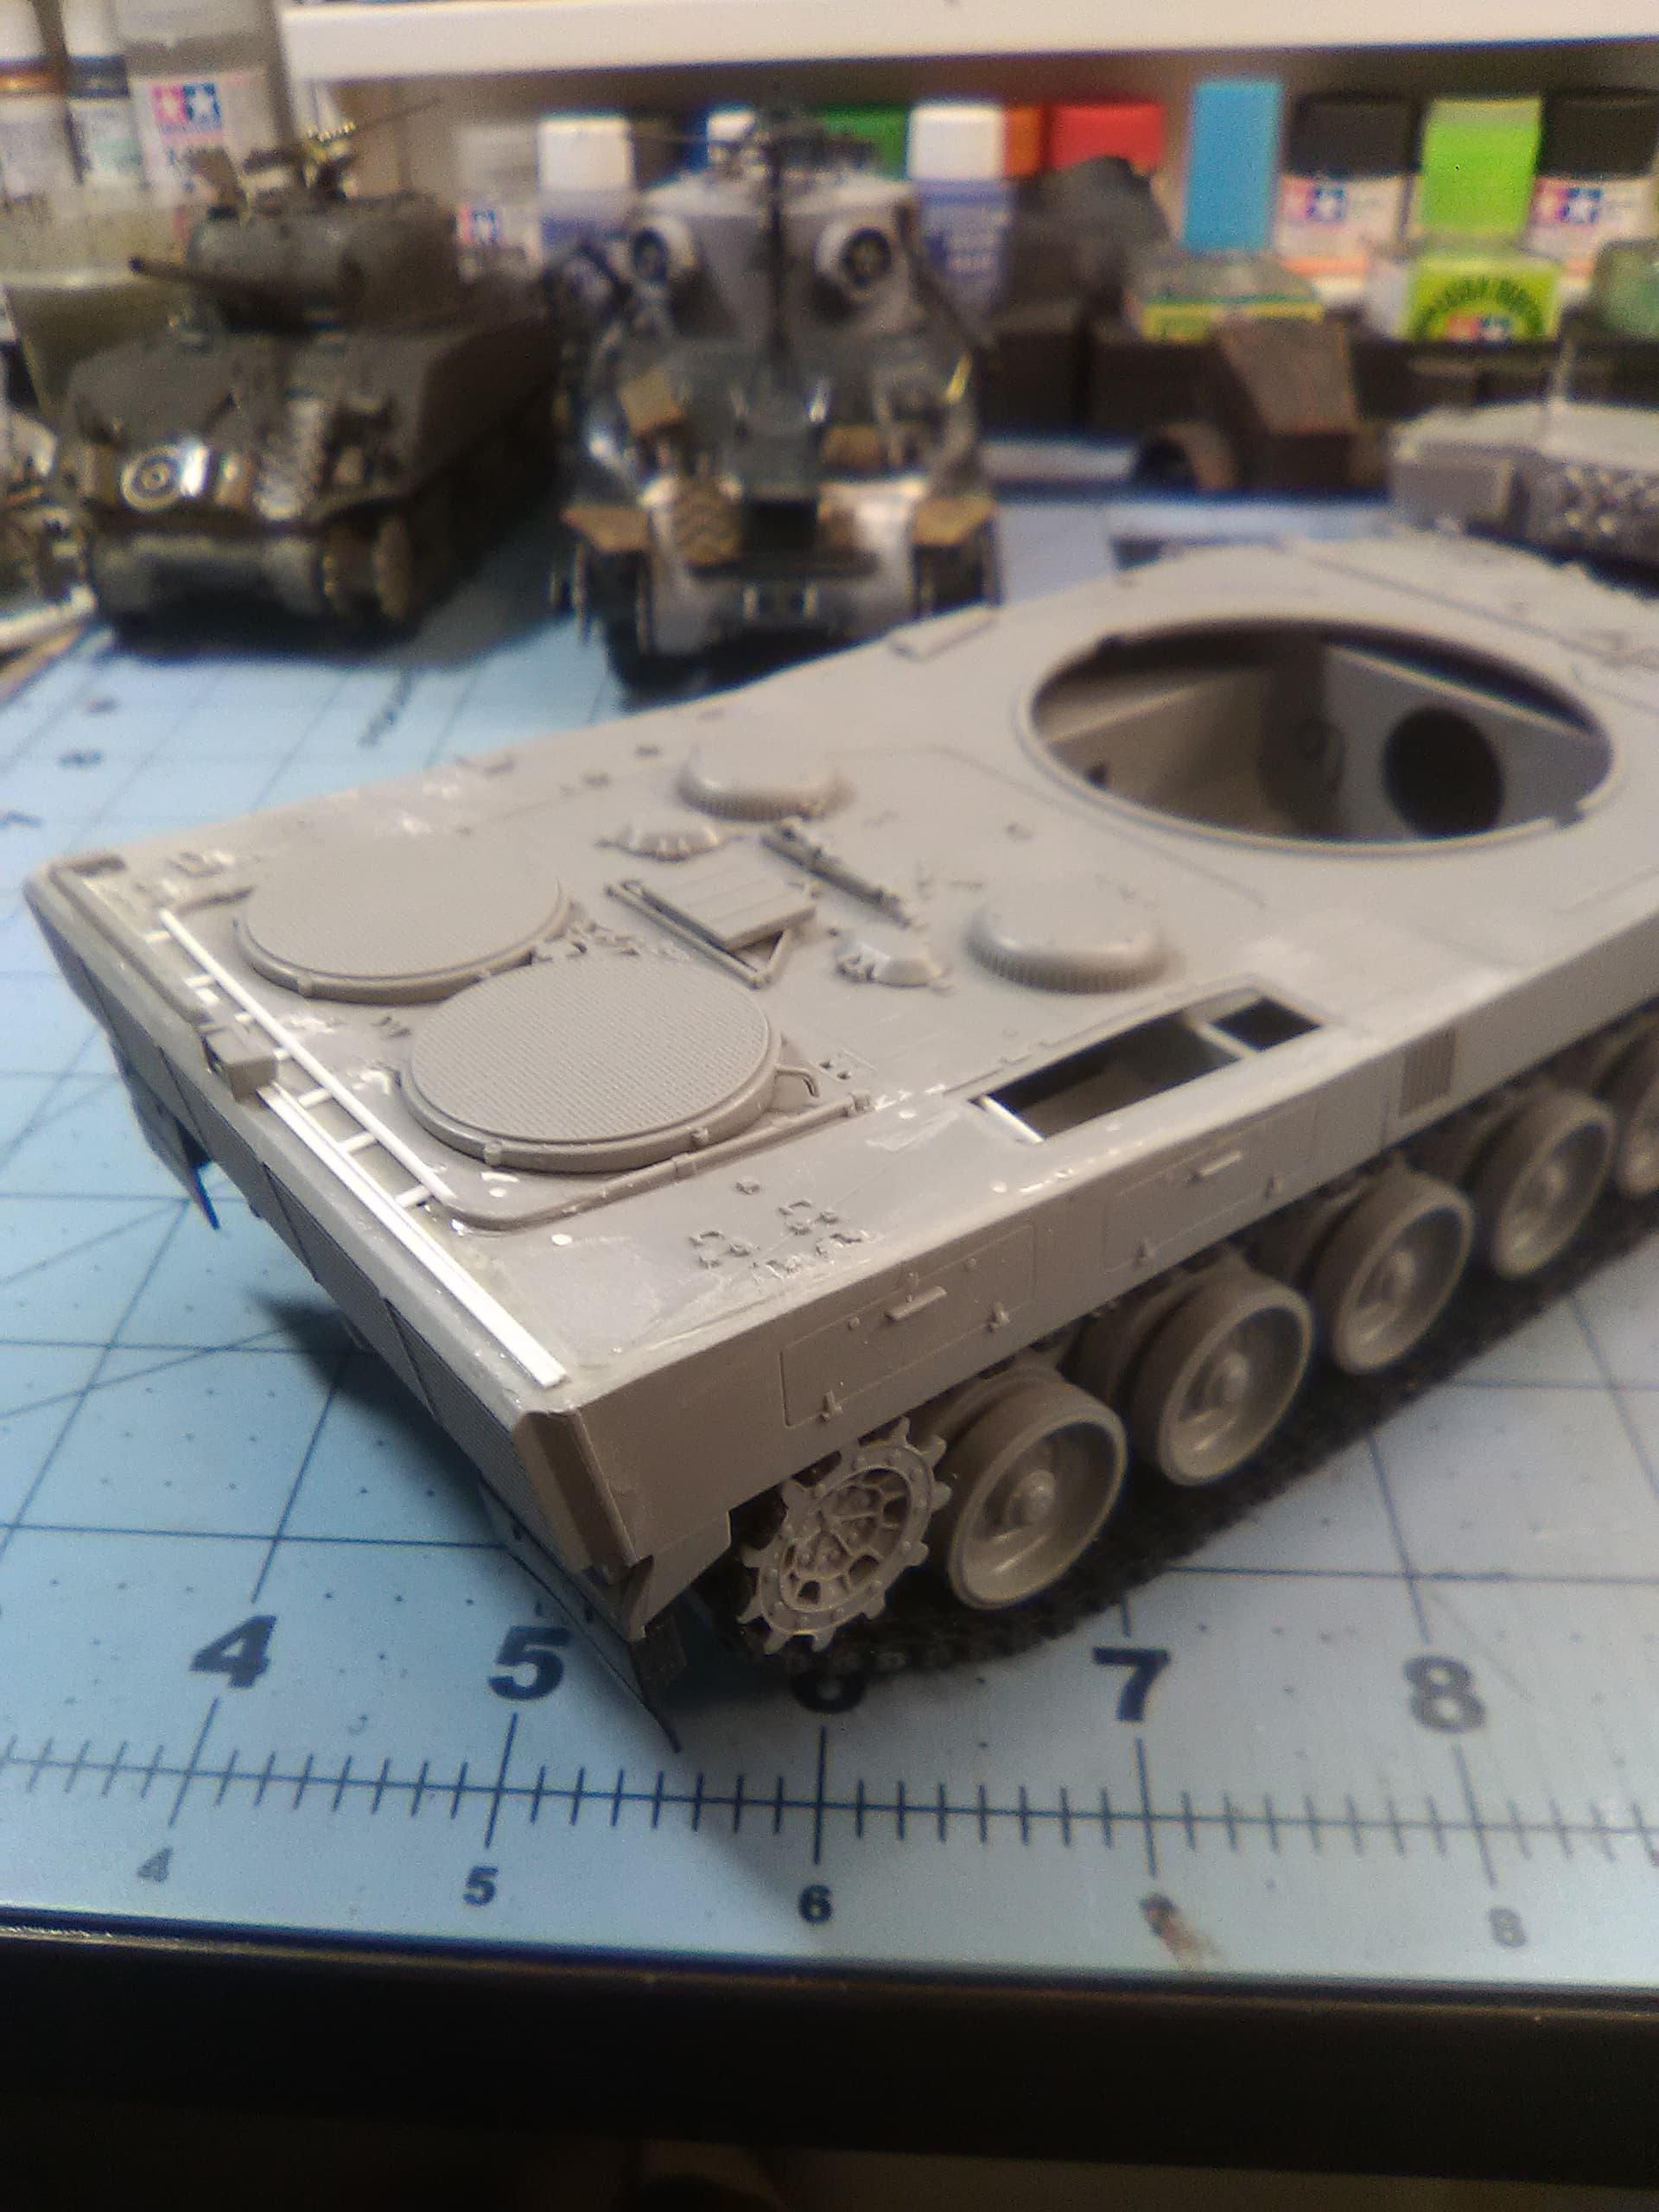
Thanks for the encouragement and hints everyone. Final result after Evergreen strips, sprue glue and some putty. The right rear still had slight bow to it that resulted in a little profile loss in the end and looks a little ‘soft’ but still in my eyes is very passable. Even a few years ago I’d have tossed it after salvaging what was worth while so I’m pretty content with my work fixing it. Confidence booster and all. Thanks to all again for hints, feedback, suggest and encouragement. once again the trademark of this forum and a testament to you guys!
So now inline at the paint depot which is getting backed up but I’ve been on a building binge lately having finished this, an M4 that was on hiatus until my skills caught up with my vision and an Italeri M32 that wasn’t that much fun at times to push thru. Do believe it’s headed for an abandoned and heavily faded 3 tone camo job, I can kind of picture it so now time to pull it off.
10 Likes
Phenomenal recovery, man! That looks great!
1 Like
You are a better modeler than I am dude - I’d have binned it. Fair play, you’ve done an incredible job rescuing that.
1 Like
The sign of the man is how he faces adversity and moves forward regardless. Your perseverance paid off and you should be proud of not quiting.
2 Likes