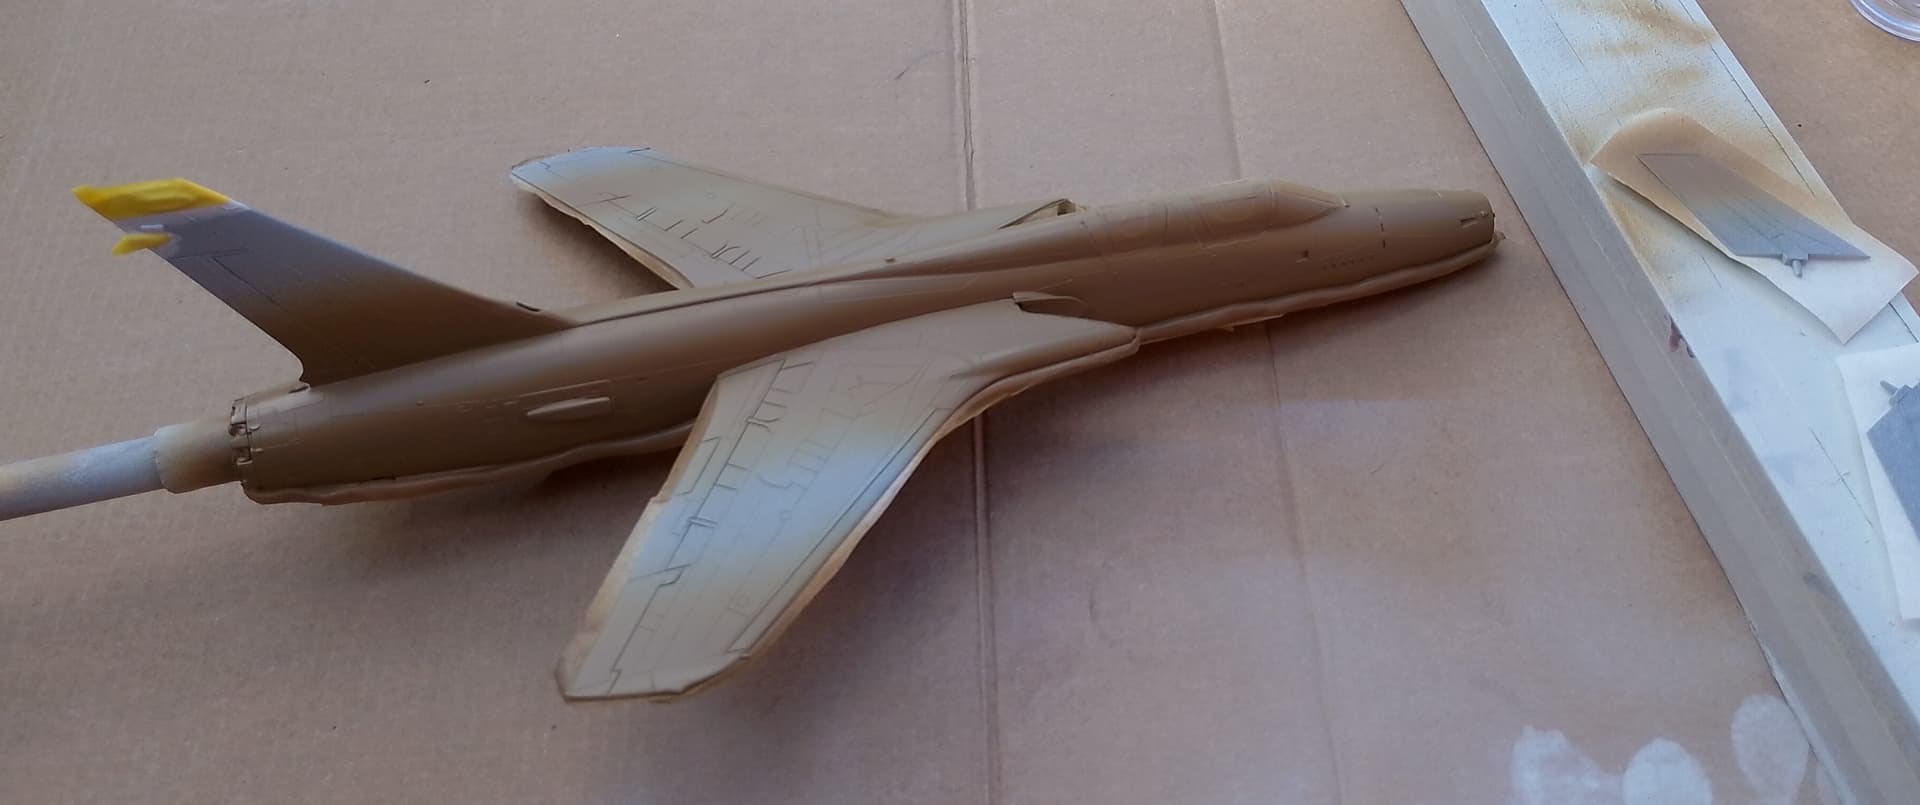
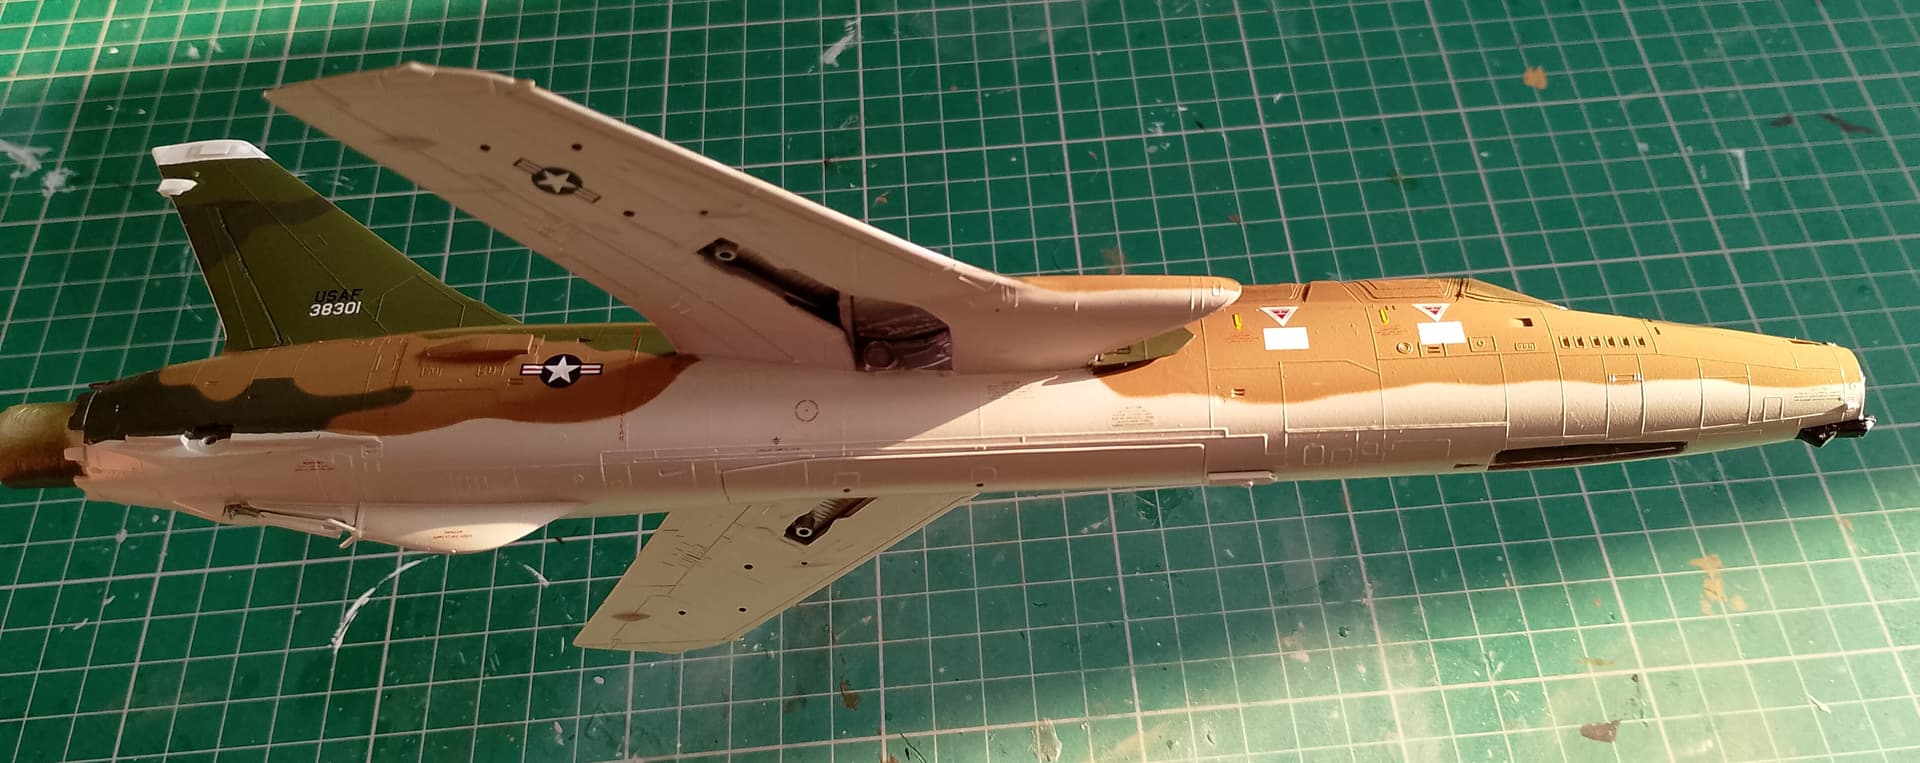
Got the undersides sprayed today. Stepped outside of my comfort zone and instead of using my usual Vallejo, I used Gunze H311 USAF Grey. Needed quite a bit of thinning and several light coats to build up colour. Cleaning was also a pain. A bottle of methylated spirits seemed to be the only thing I had that worked. Considering how much the thinner was, I was reluctant to waste that. Good thing I’m only spraying through a cheapo airbrush.
Anyhow, looked good once dry. I’ve got the other three cammo colours from Gunze’s range so I’ll see how I get on with those.
It’s good to finally get some colour down and the finish seems a lot closer.
5 Likes
Looking good Stephen!
Bought the colors for mine today. Slooooowly getting closer…… 
1 Like
Thanks. Looking forward to seeing your build.
1 Like
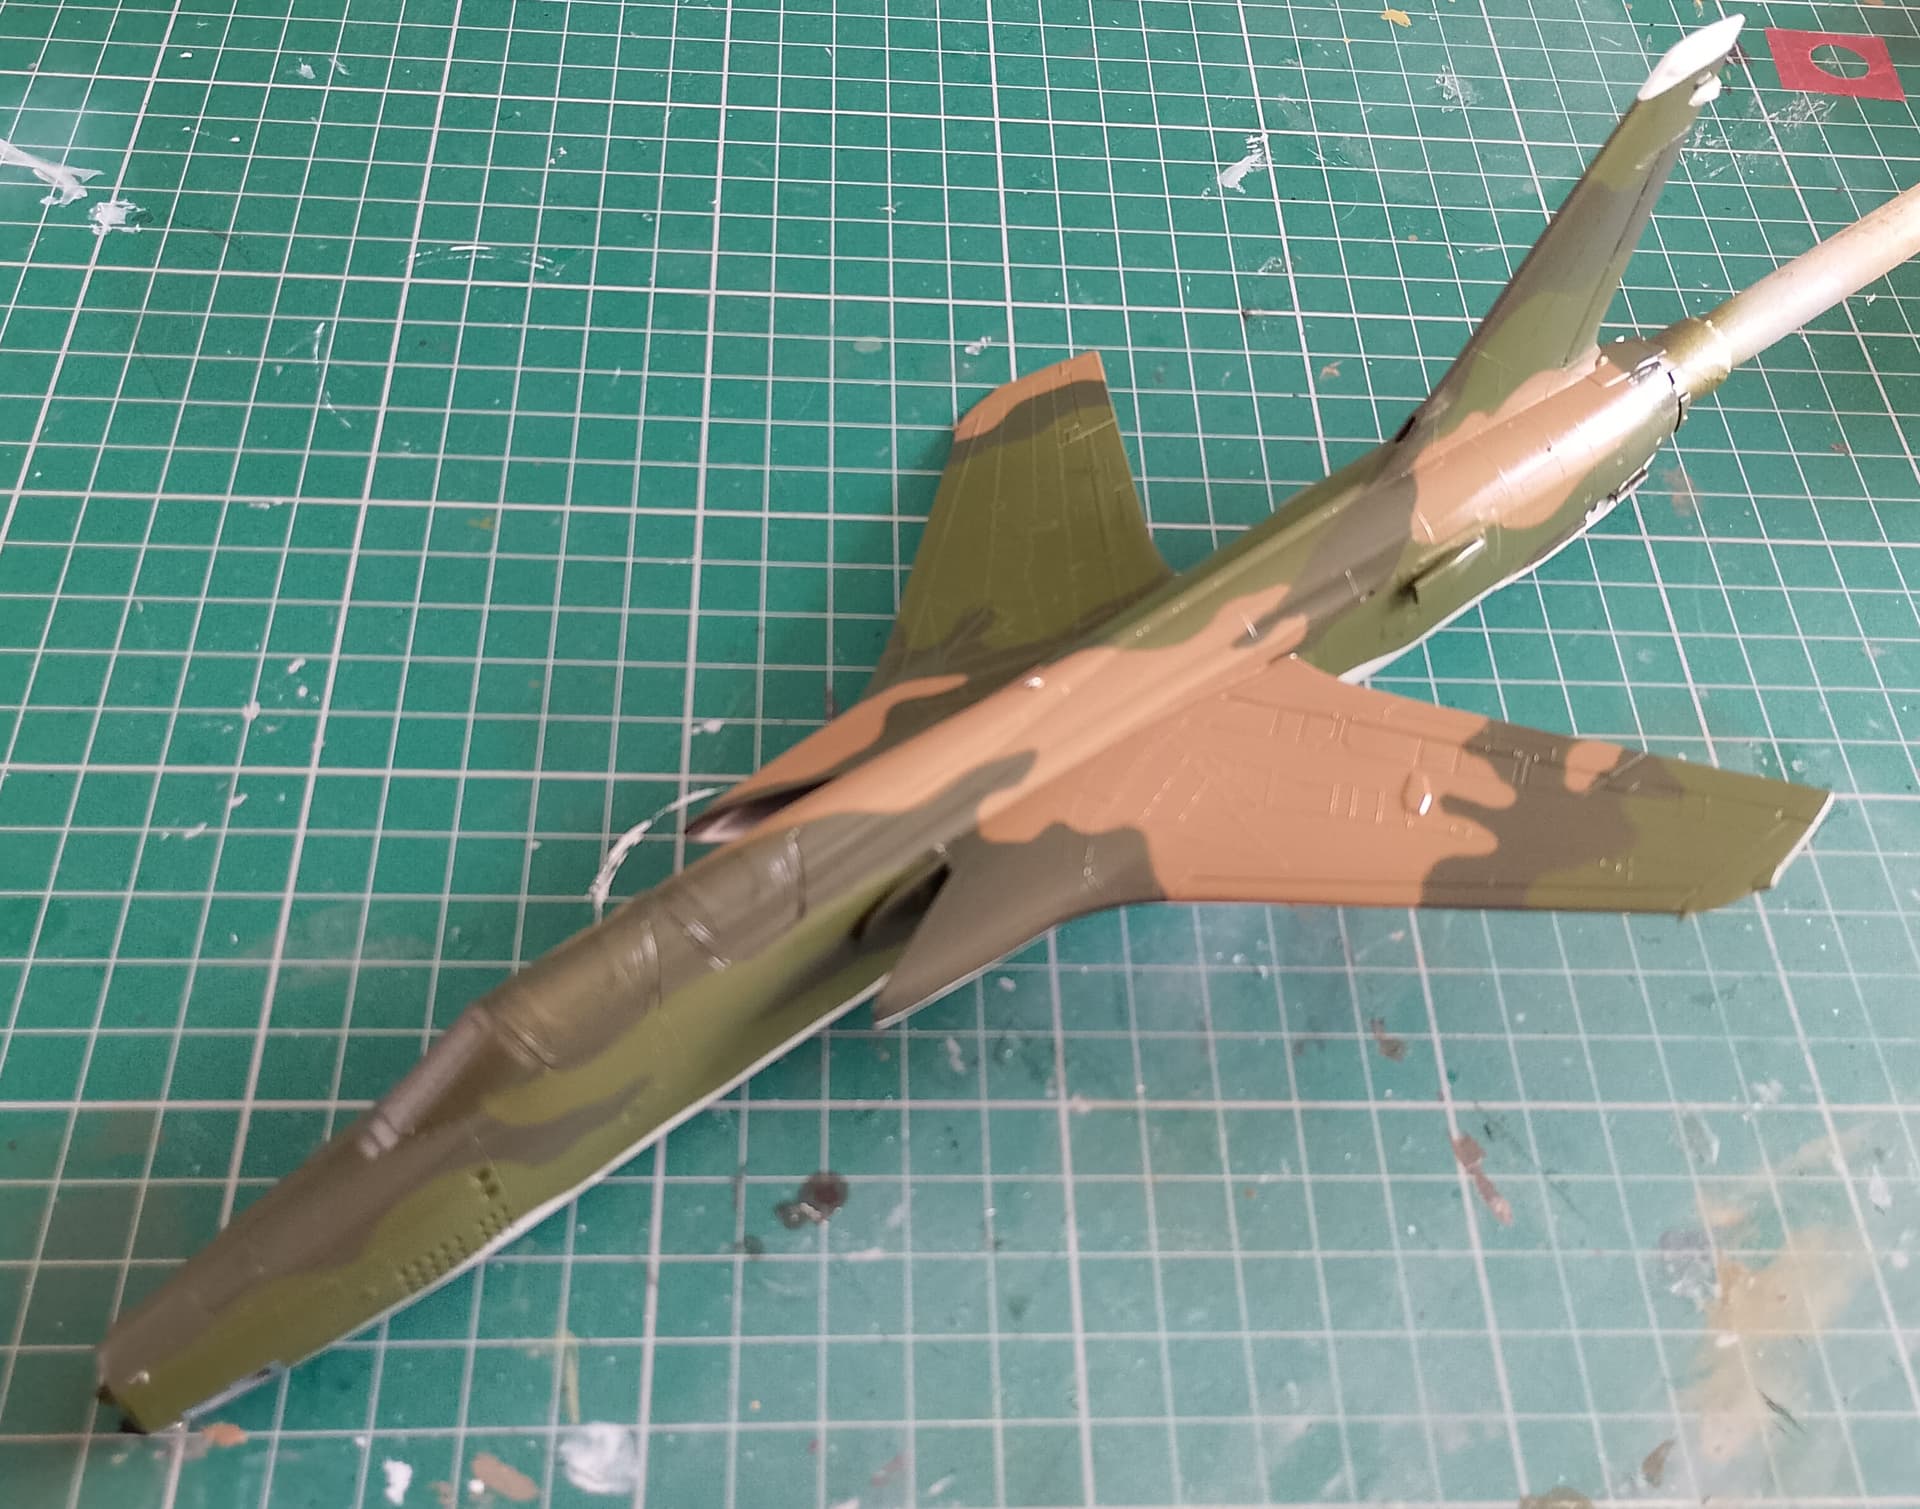
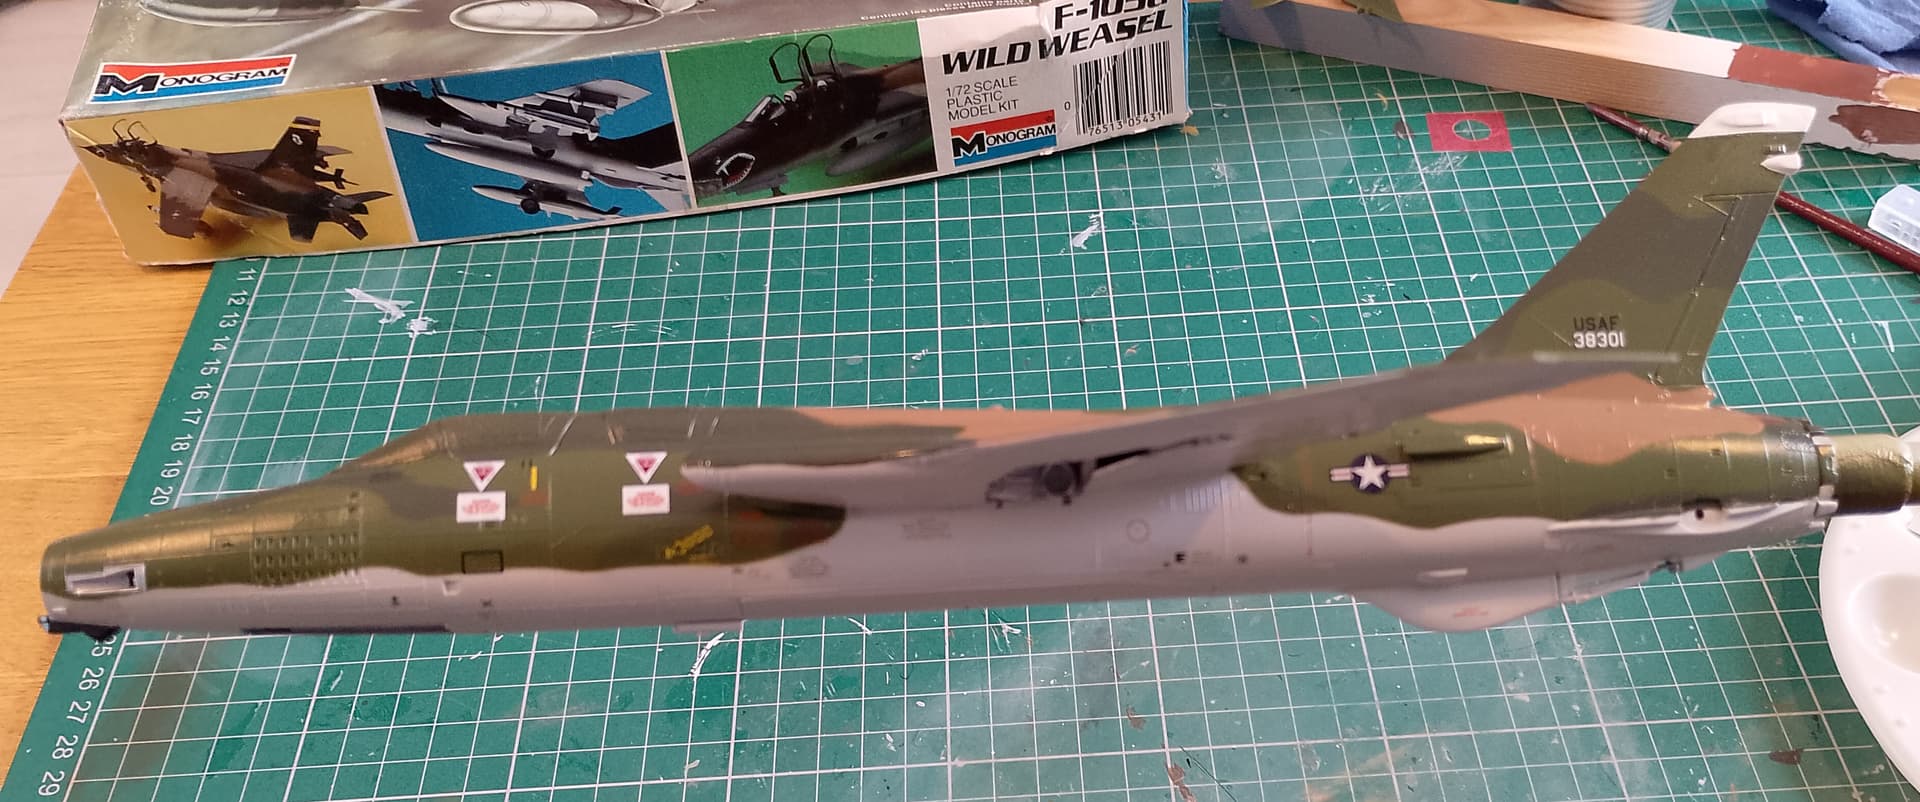
Got the tan painted today. Again I used Gunze’s USAF FS30219 (H310 in their range). This time though, I thinned it with their Aqueous Thinner rather than the dark blue bottle Mr Thinner. This seemed to work a lot better and was easier to clean up. The other thinner seemed to not want to play ball with water, making it gum up. Would have liked to try the Levelling Thinner, but LHS didn’t have any and they’re not sure when they’ll get it back. Probably stuck on a container ship trying to get around Africa without being looted.
Anyway, happy with how it looks. I’ll leave it overnight to thoroughly dry and then start getting the green down tomorrow.
5 Likes
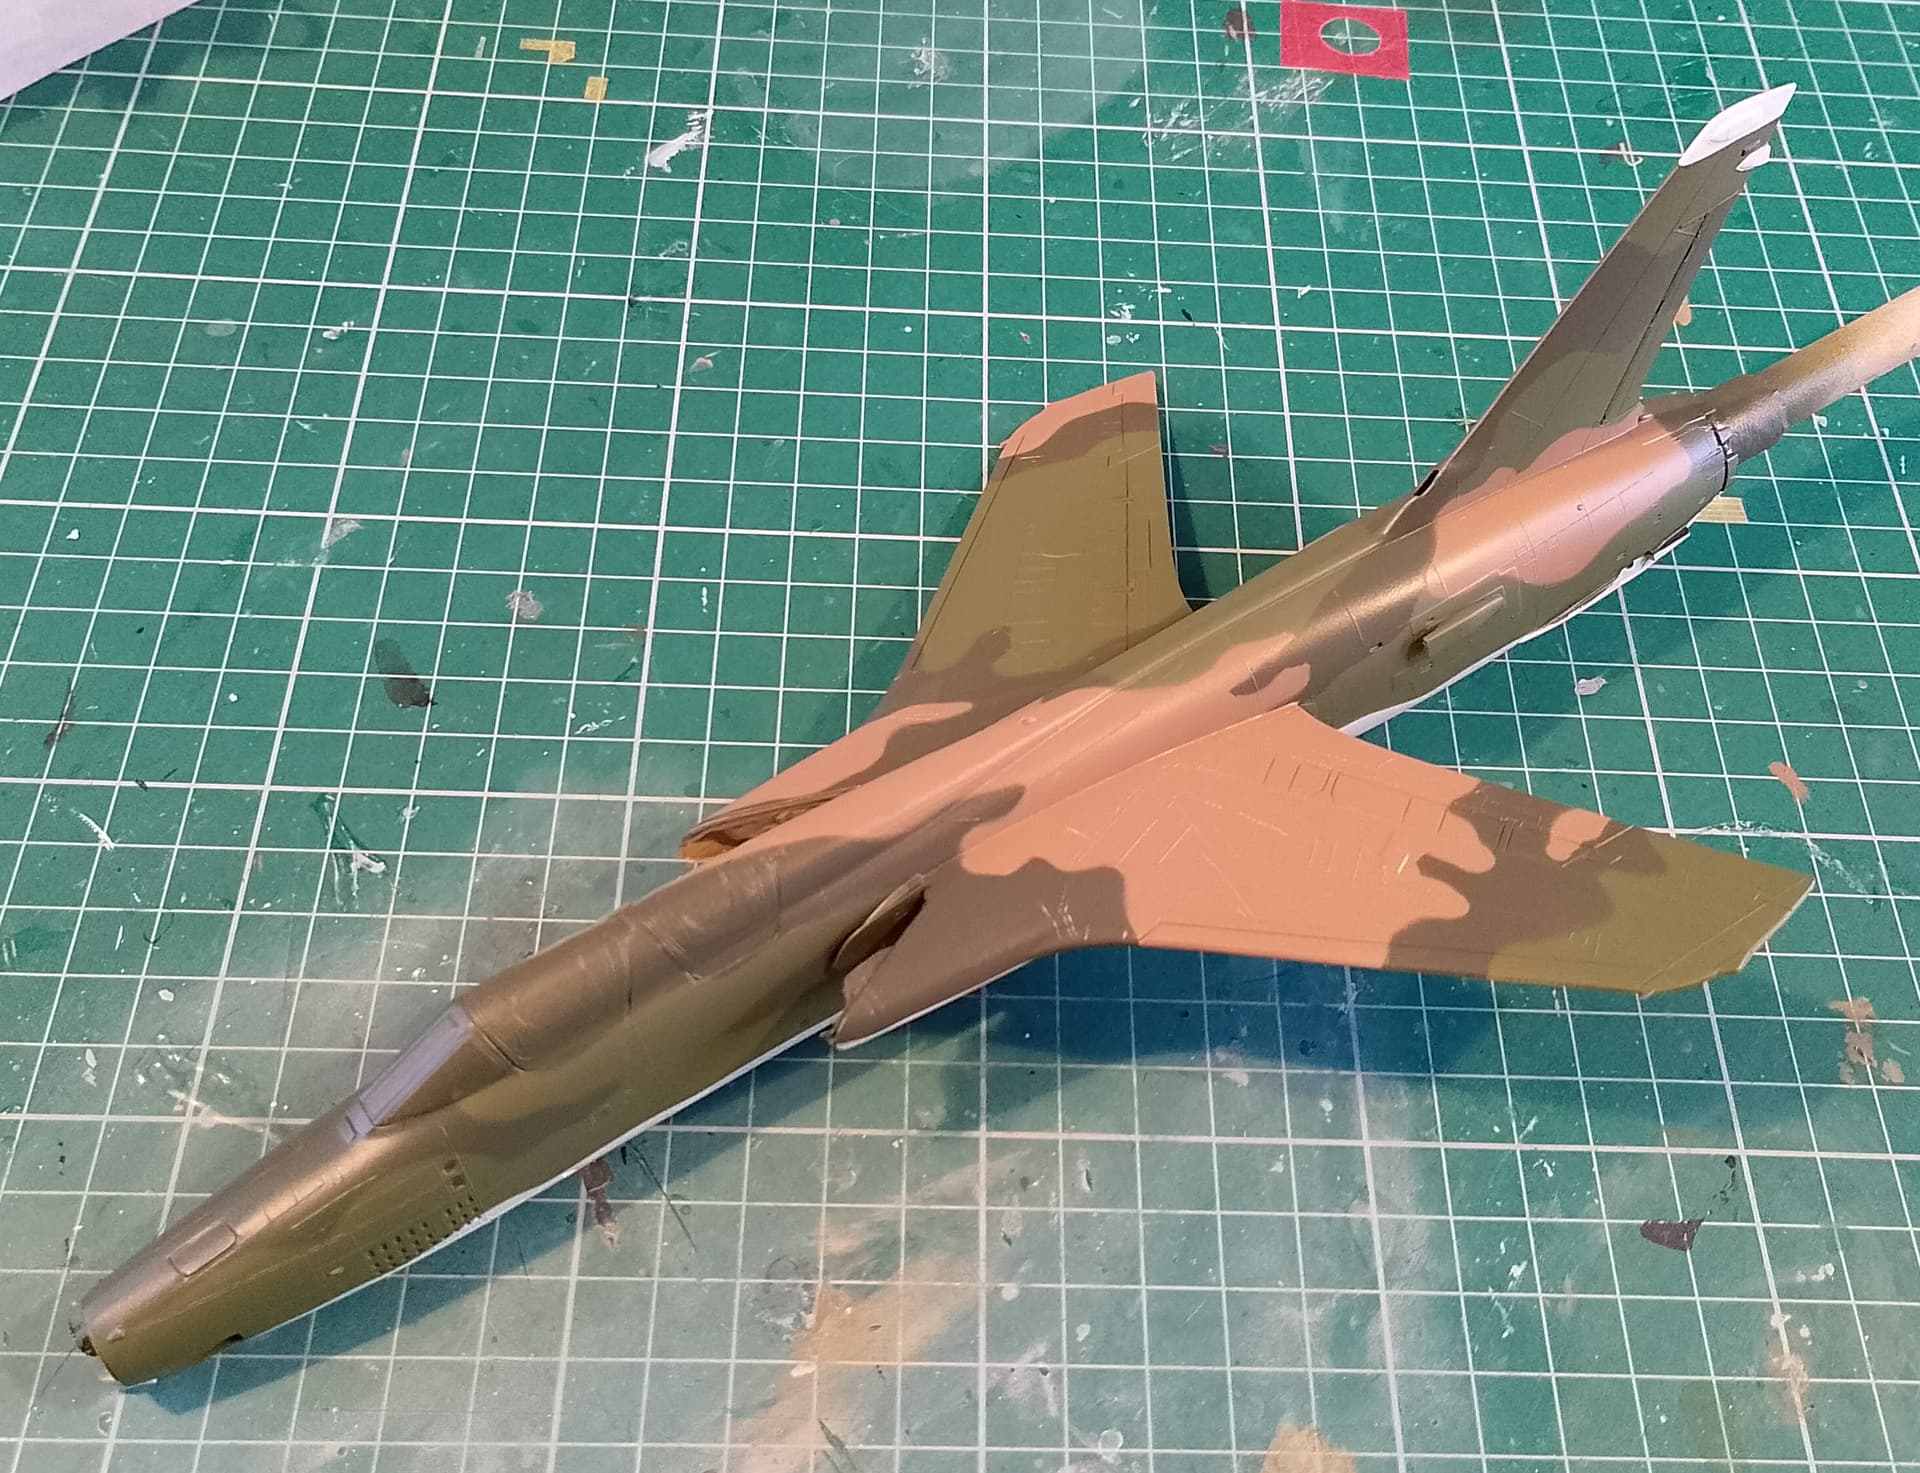
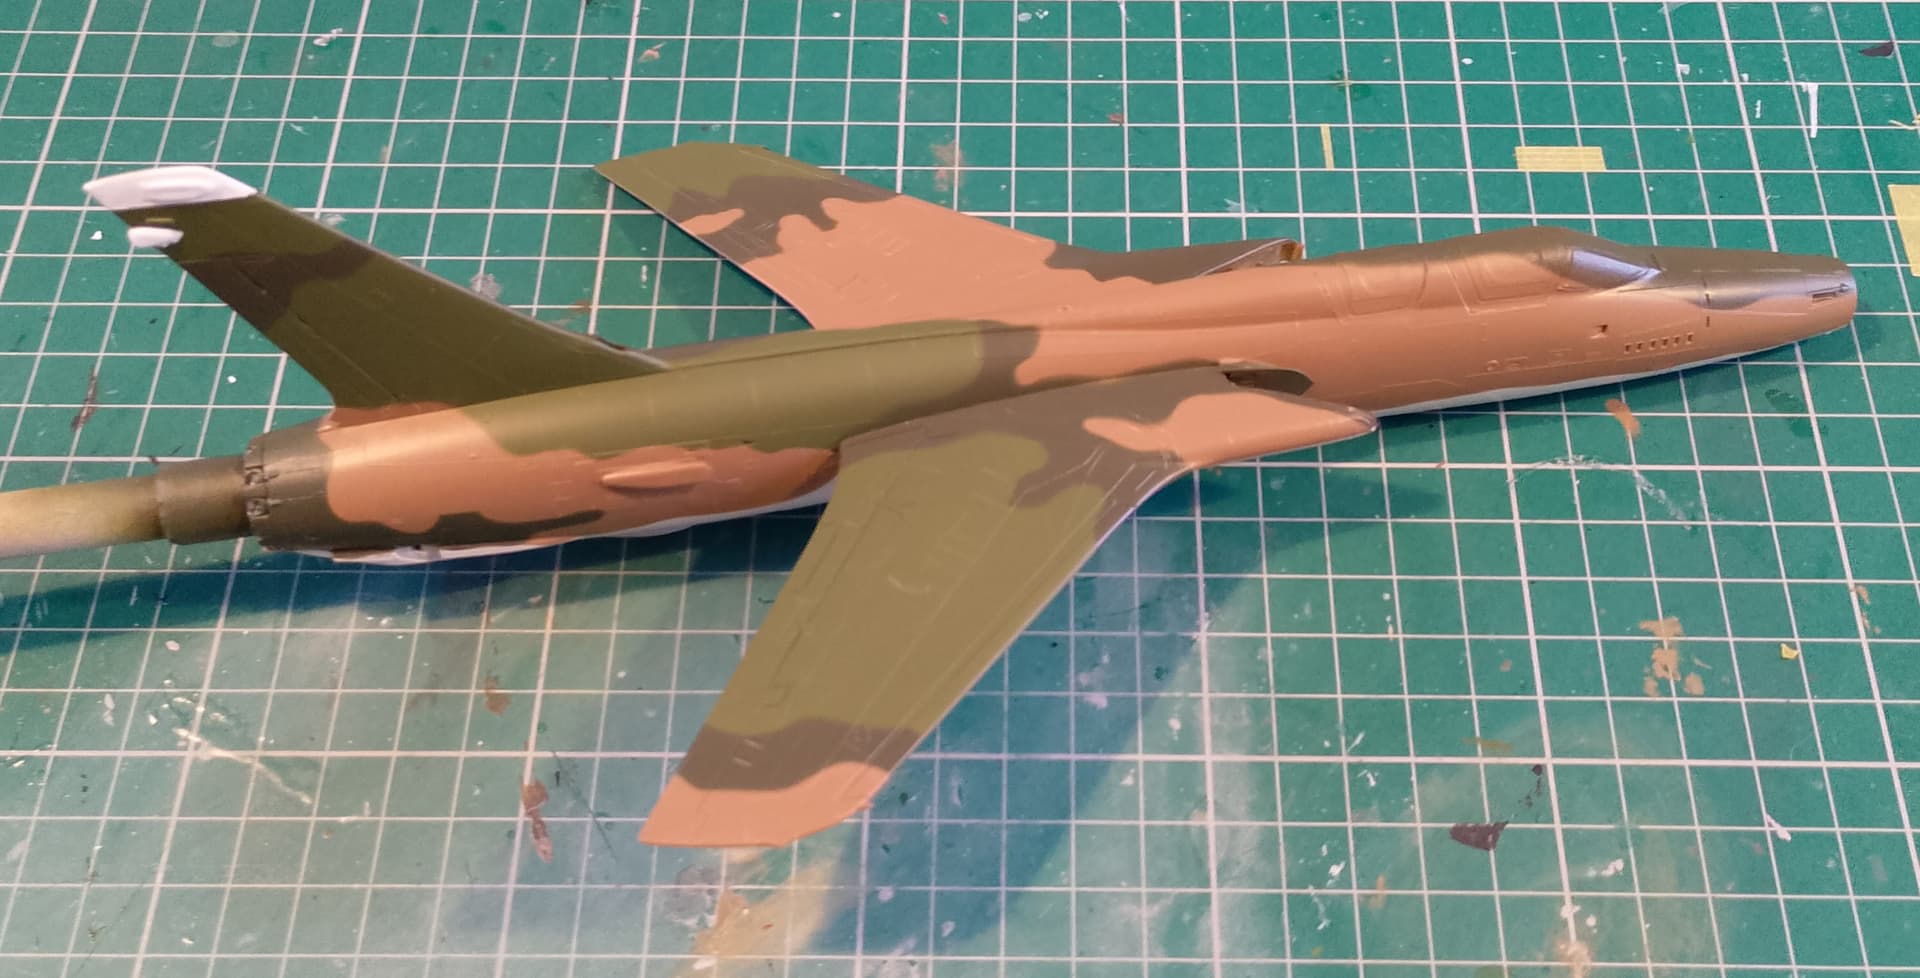
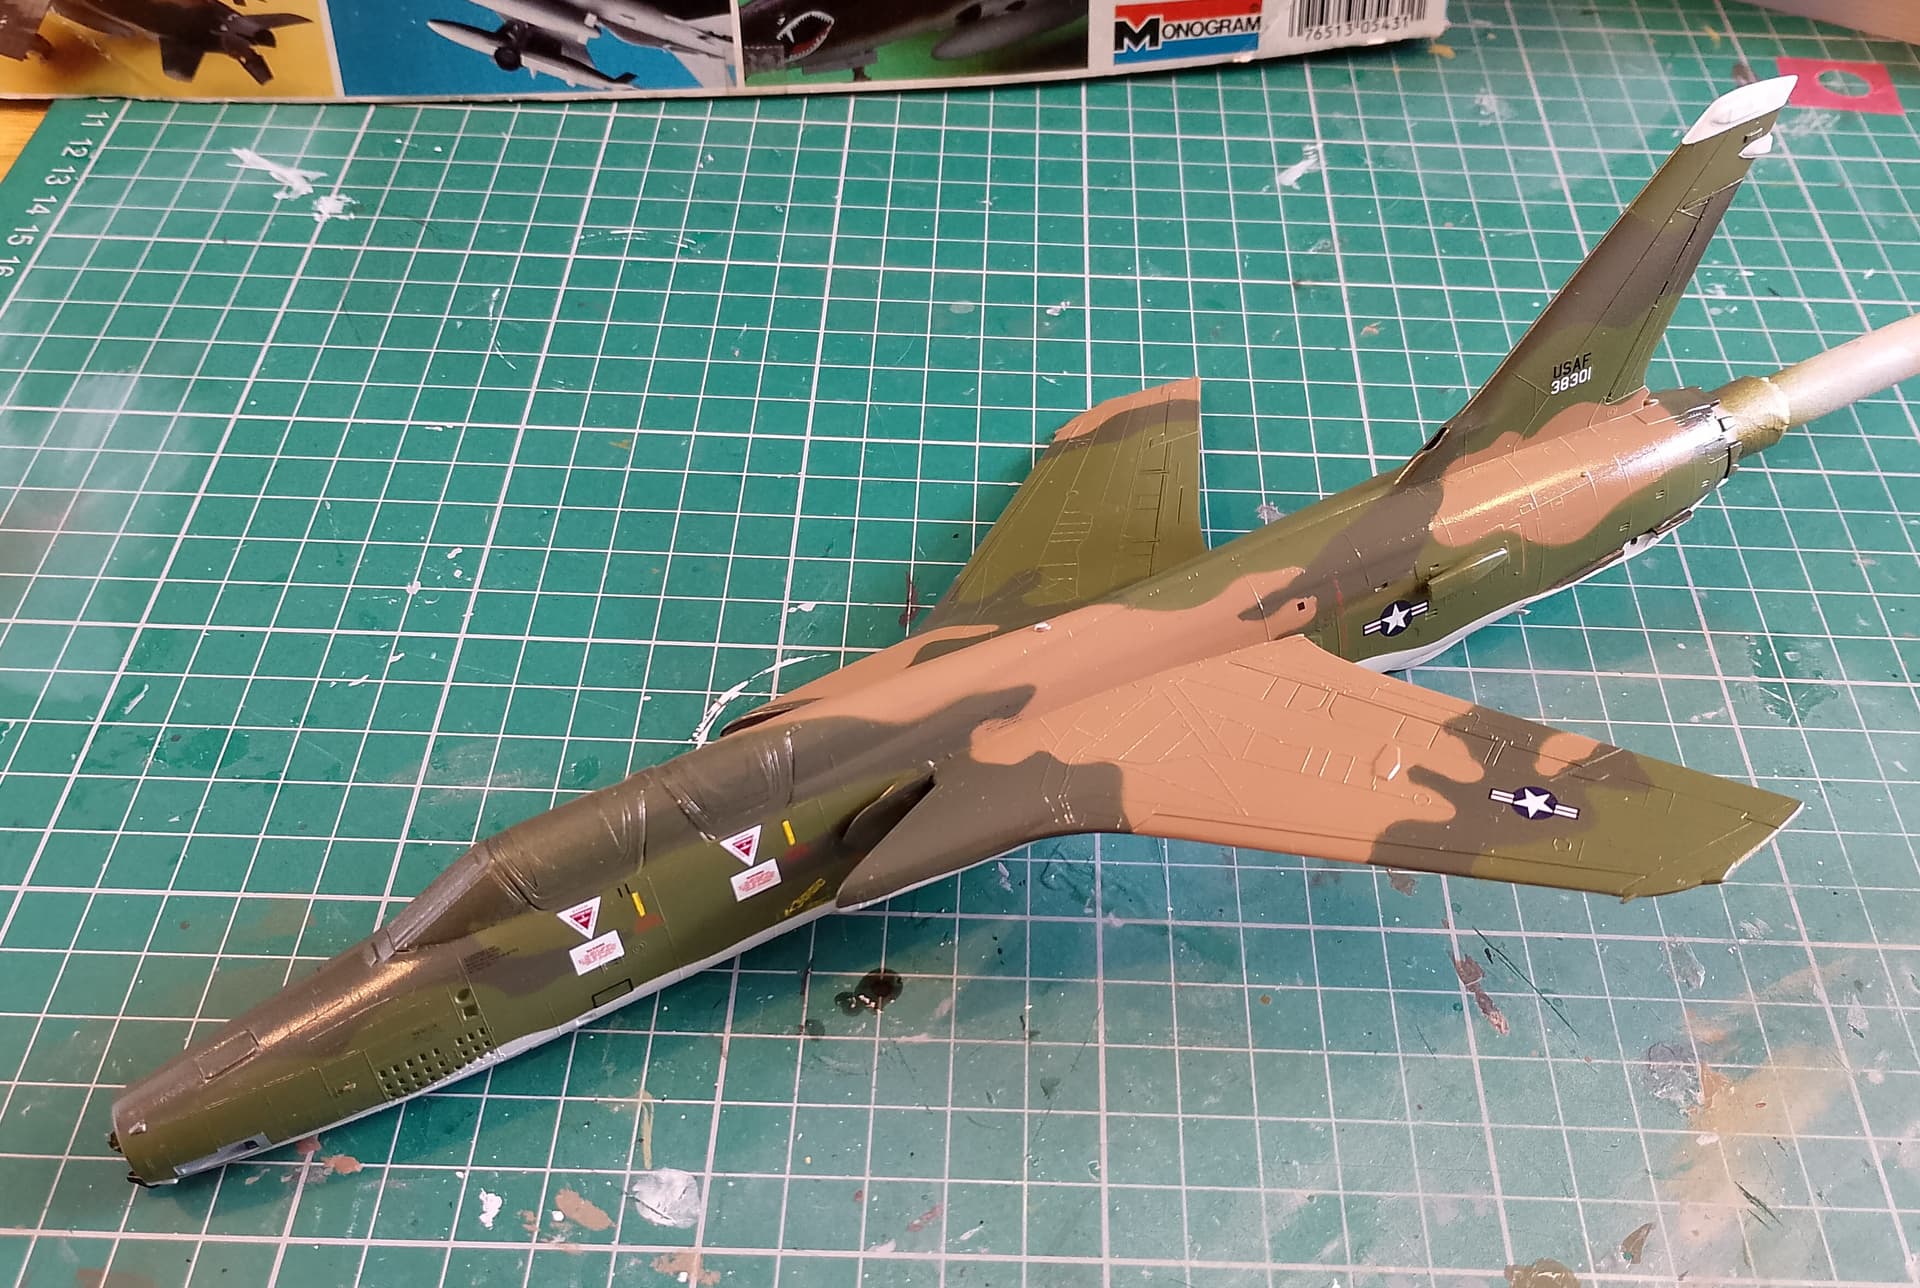
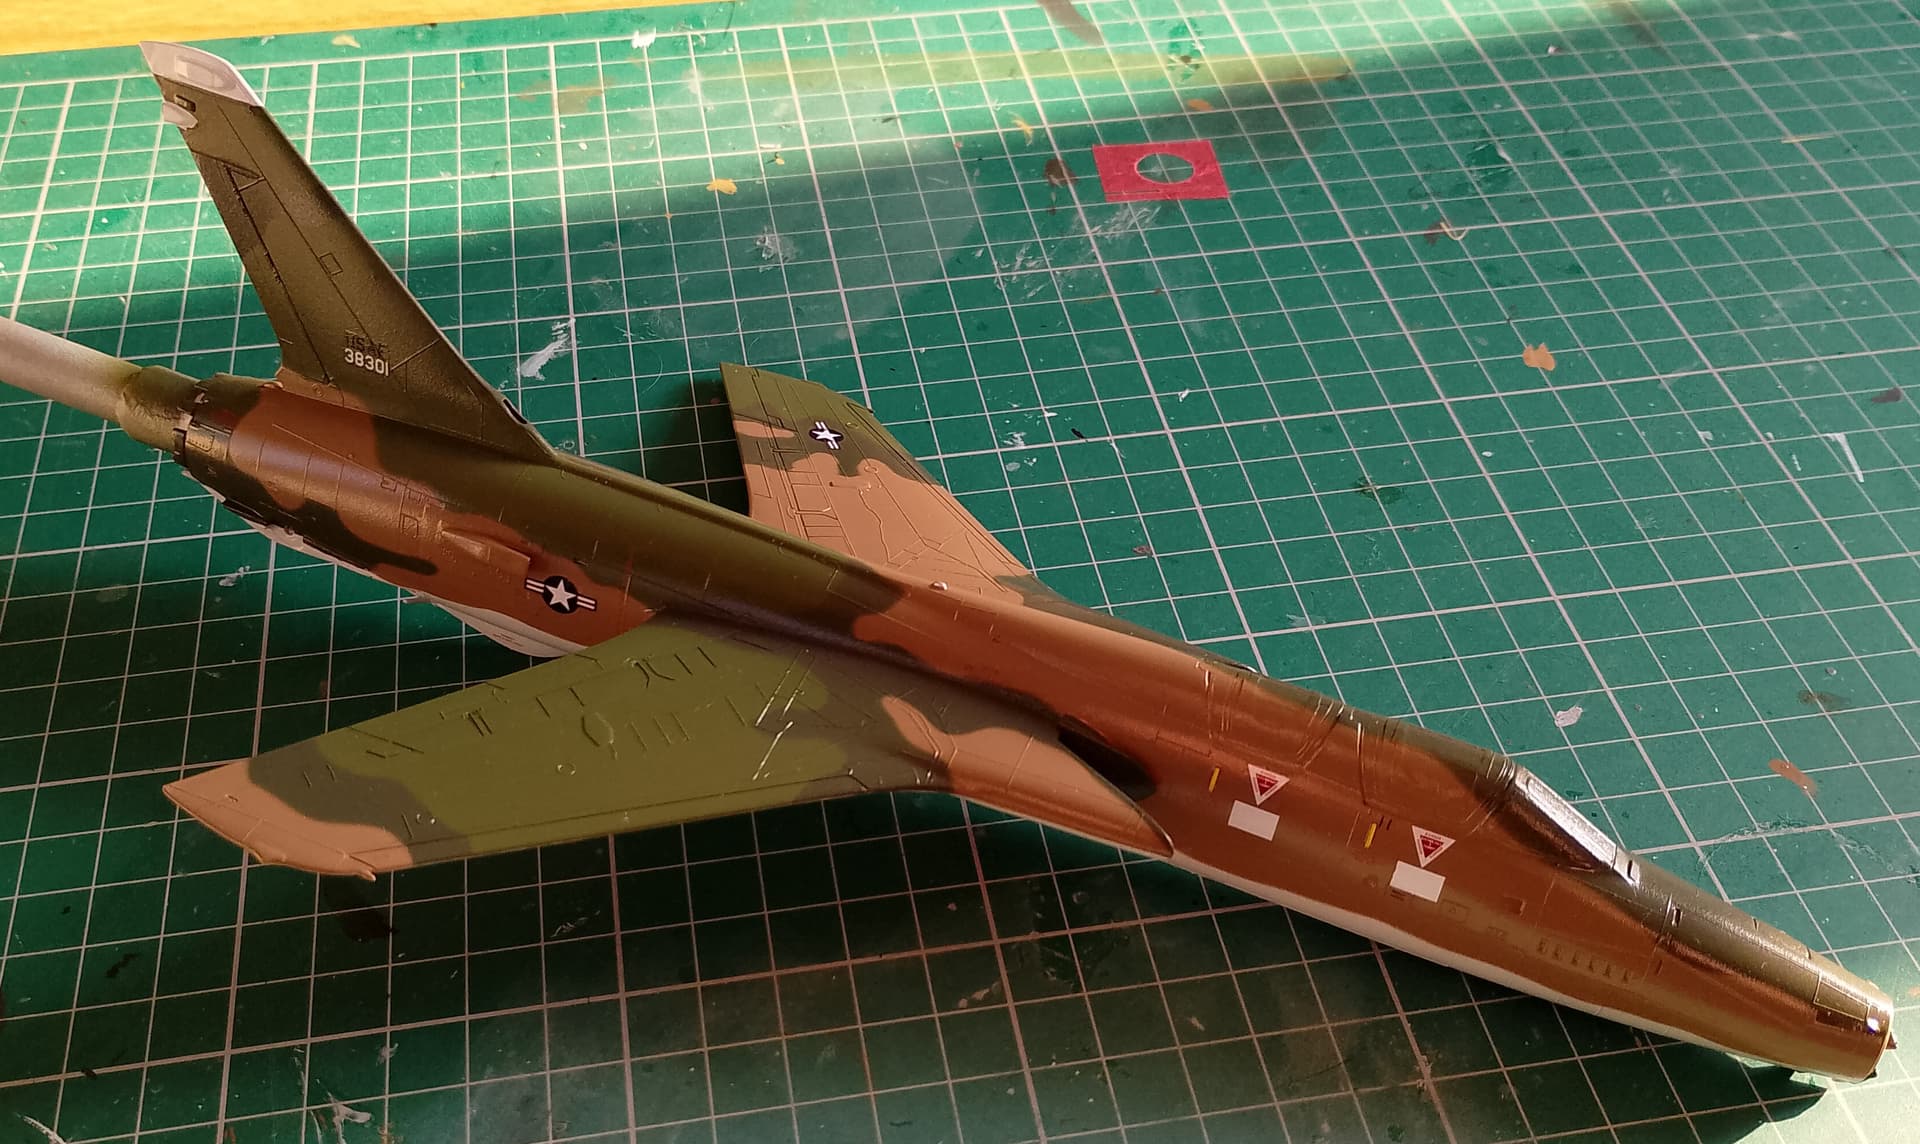
And that’s the painting finished up today.
Couple of spots to touch up, but happy with how it turned out.
12 Likes
You should be proud of that. Looks great.
I should have followed your lead and left the nose cone off. One more thing to mask as it is.
1 Like
Thanks. She’s a little factory fresh, but some weathering pigments at the end should help tone it down a little.
Yes leaving the cone off will help with painting that piece. Also gives me a bit of extra space if I need to add a little more weight up front.
1 Like
I’ll be following along to see how you do the fading.
1 Like
Very nice balanced cam scheme with good clear lines … Nice
1 Like
Thanks. It was the trusty white tac sausage method of masking. Time consuming but works.
Just the ordnance and landing gear to paint up and then it’s time for those decals.
1 Like
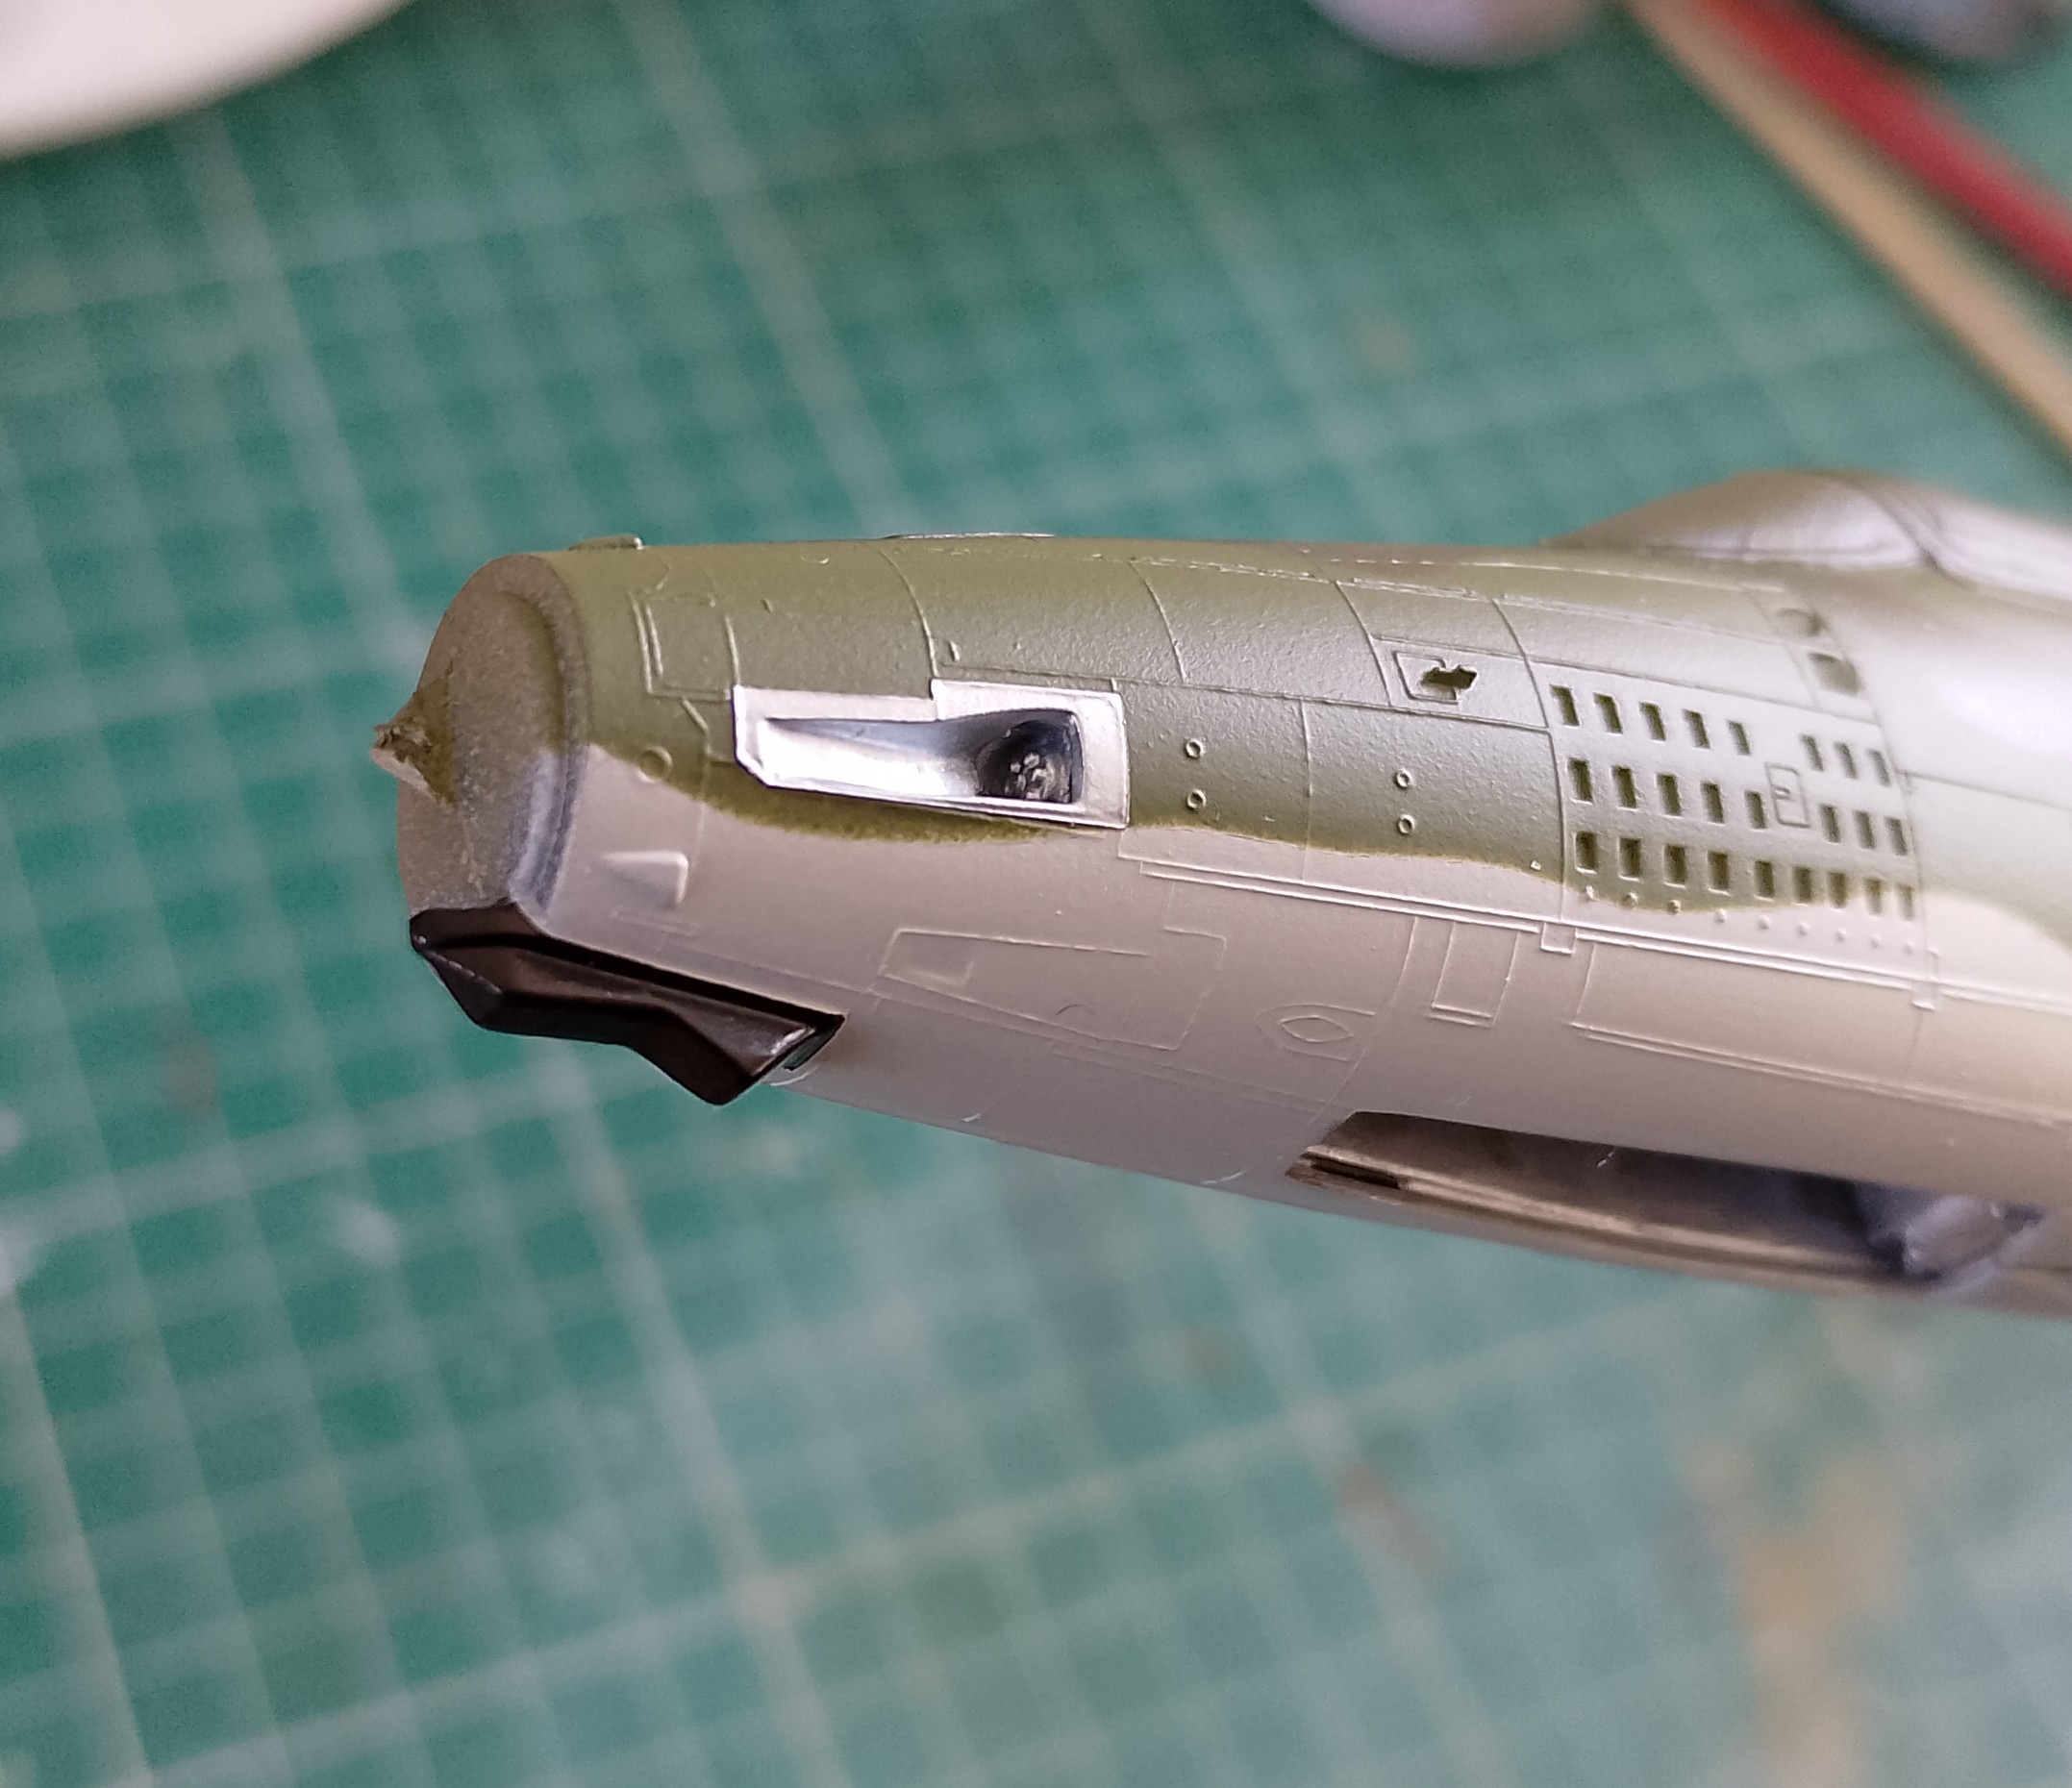
Spent sometime this weekend with those little jobs. Almost forgot to do the cannon port and strike camera in my eagerness to gloss it for decals, so masked and painted those.
Happy with how those turned out. Neat and no paint bleed for once!
7 Likes
Final touch ups done and glossed. Now for the fun part. Decals!
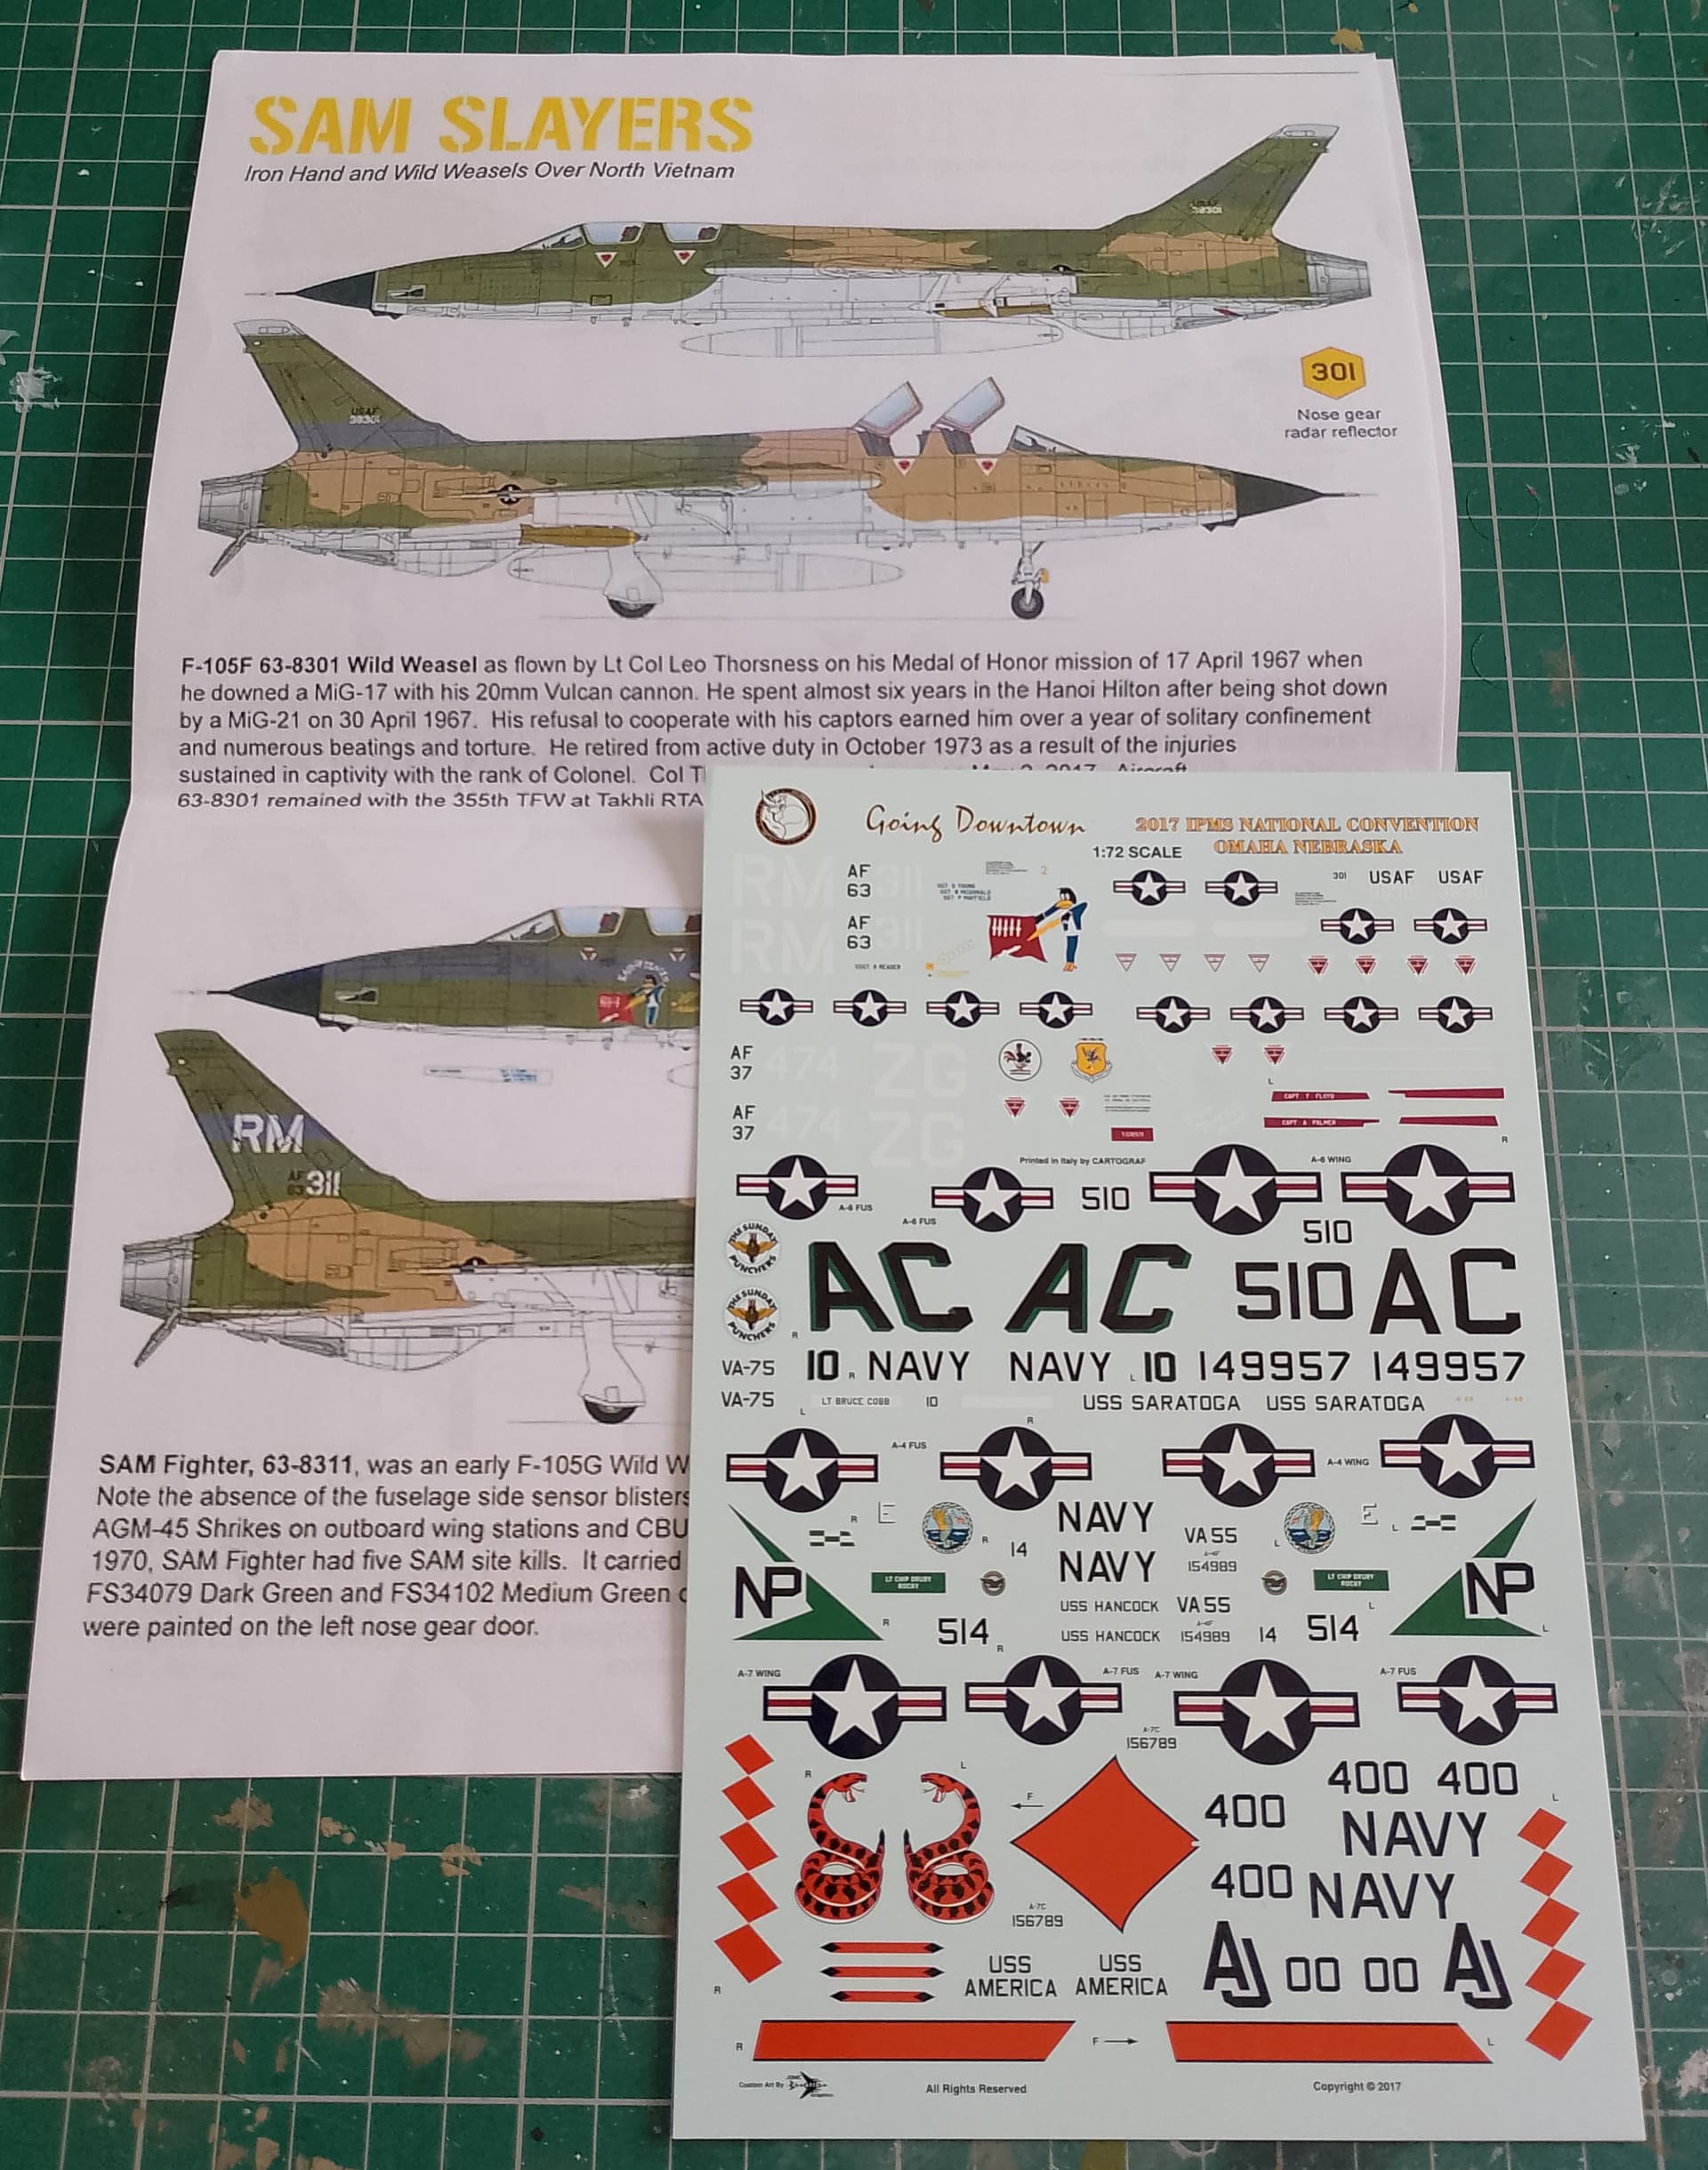
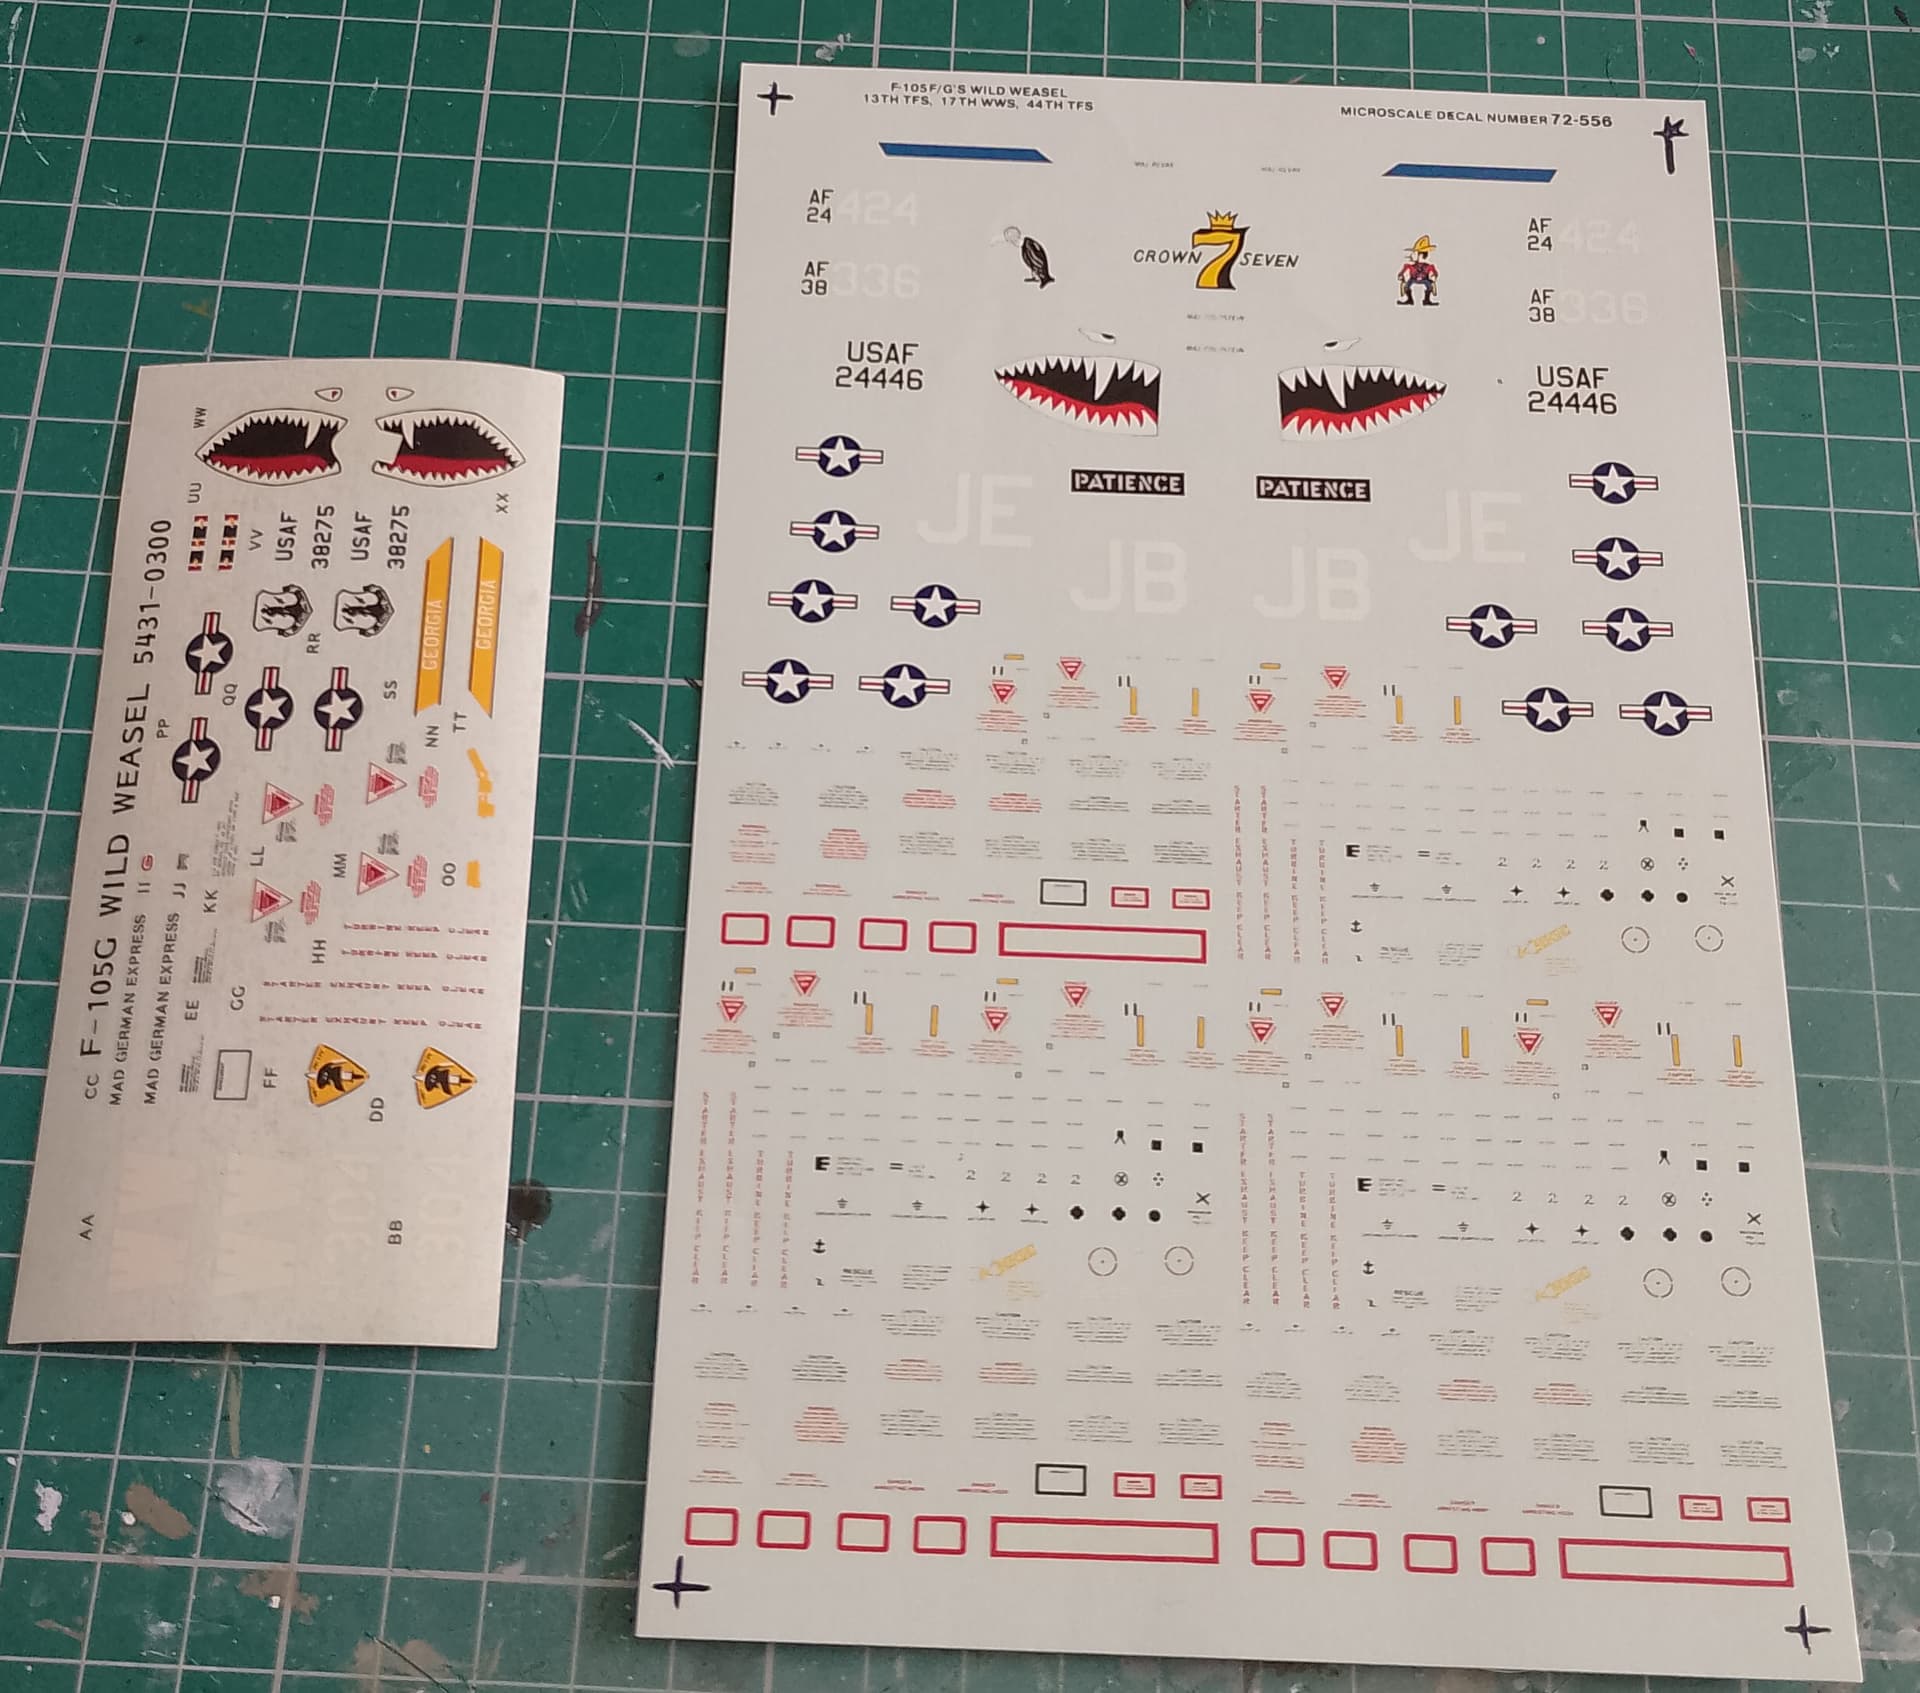
Using the SAM Slayers sheet in combination with stencils from an old Superscale sheet.
Will need to add a few elements like white rectangular backing to the stencils below the ejection triangle. But easy to do.
6 Likes
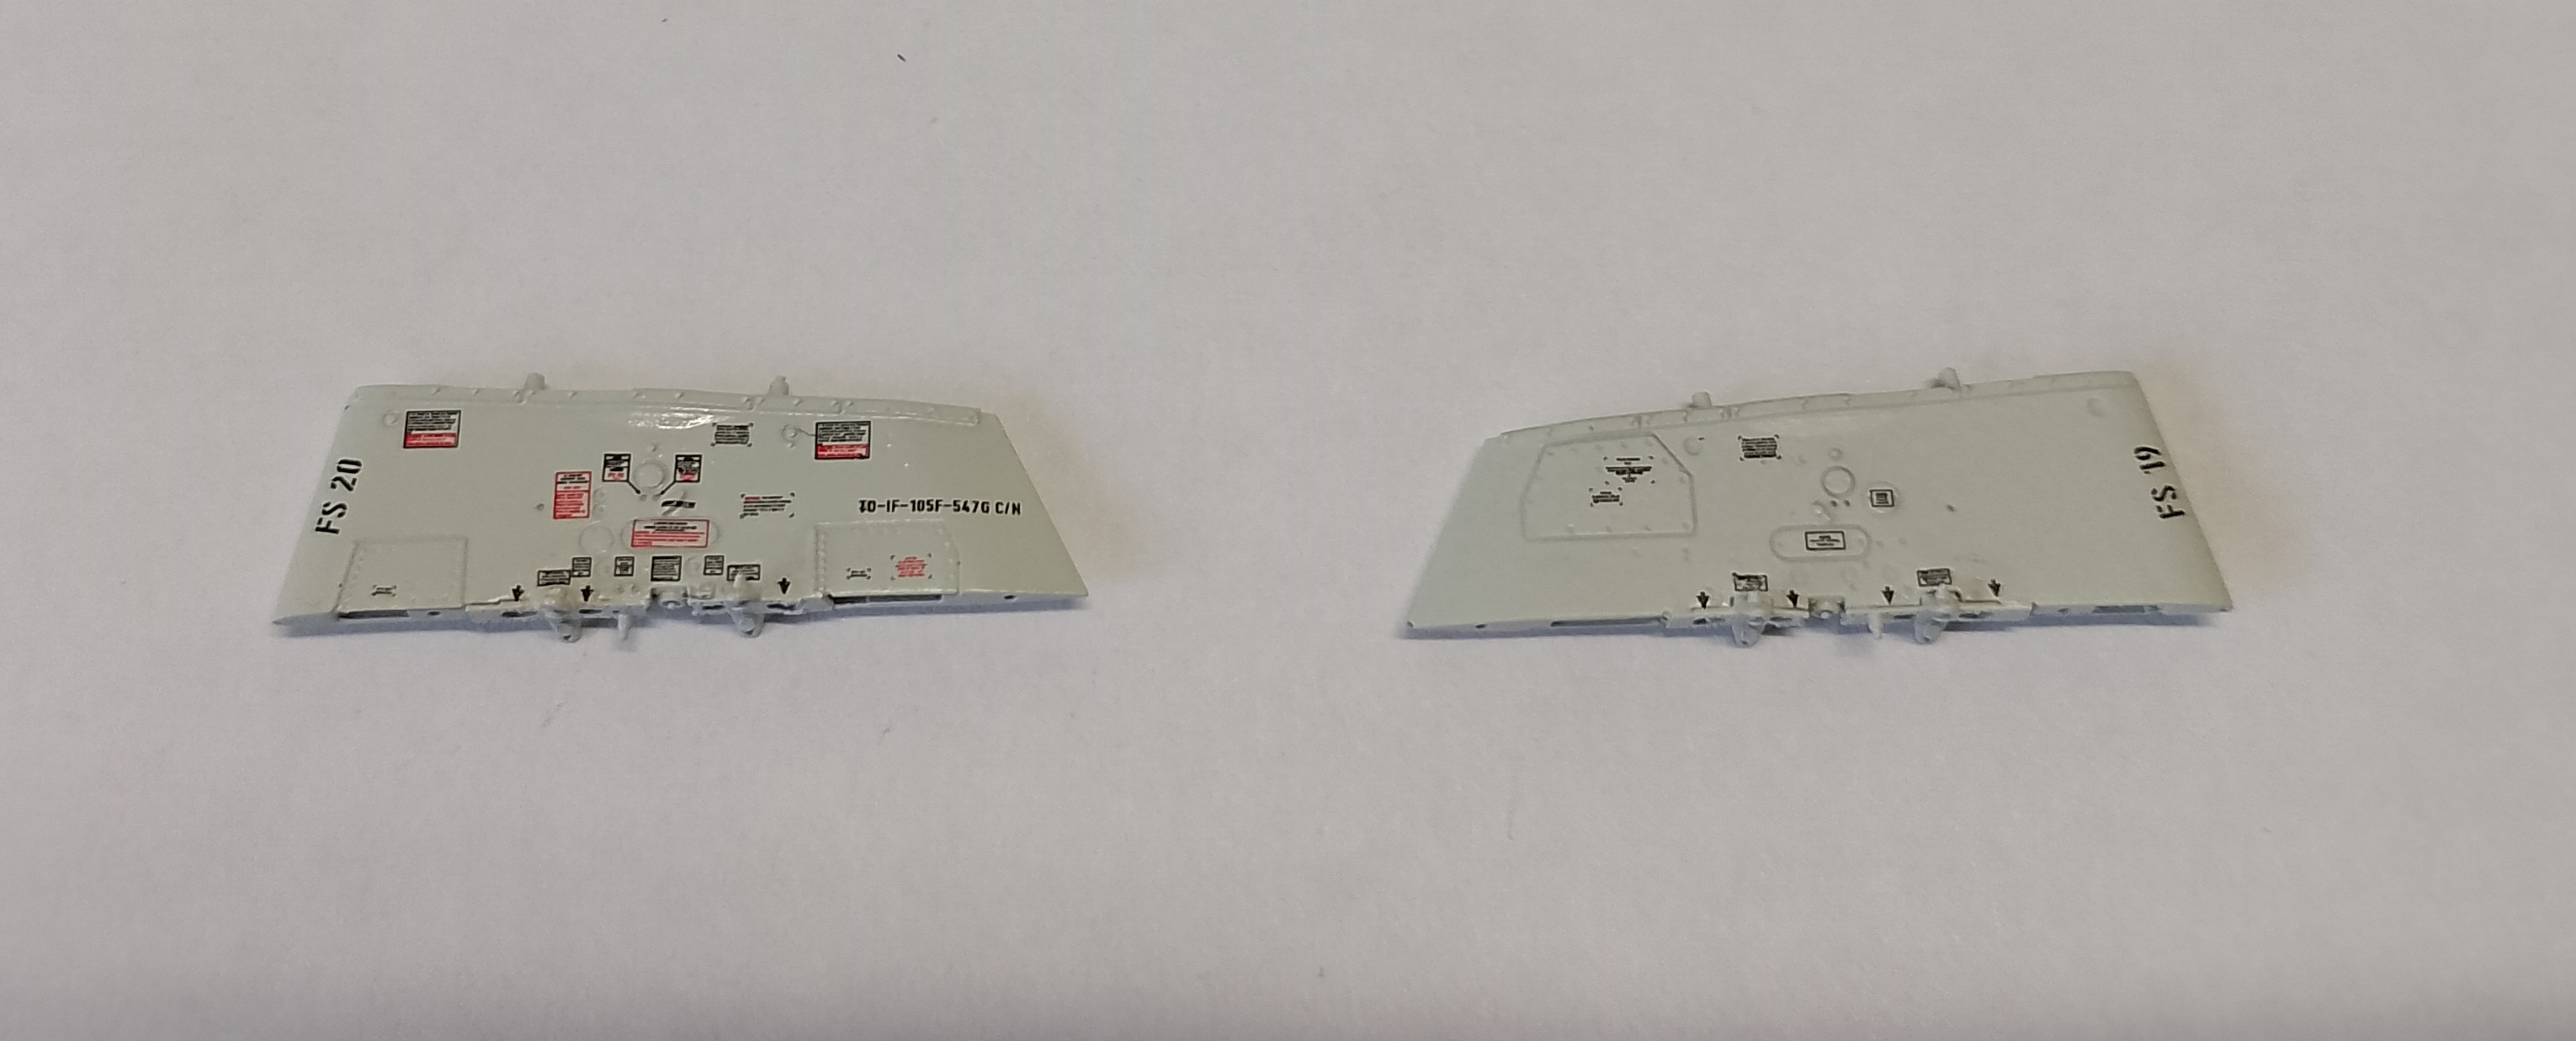
Left hand side done.
All were behaving themselves and went down perfectly.
3 Likes
Right hand side about 90% done today. Still a few small stencils to add.
7 Likes
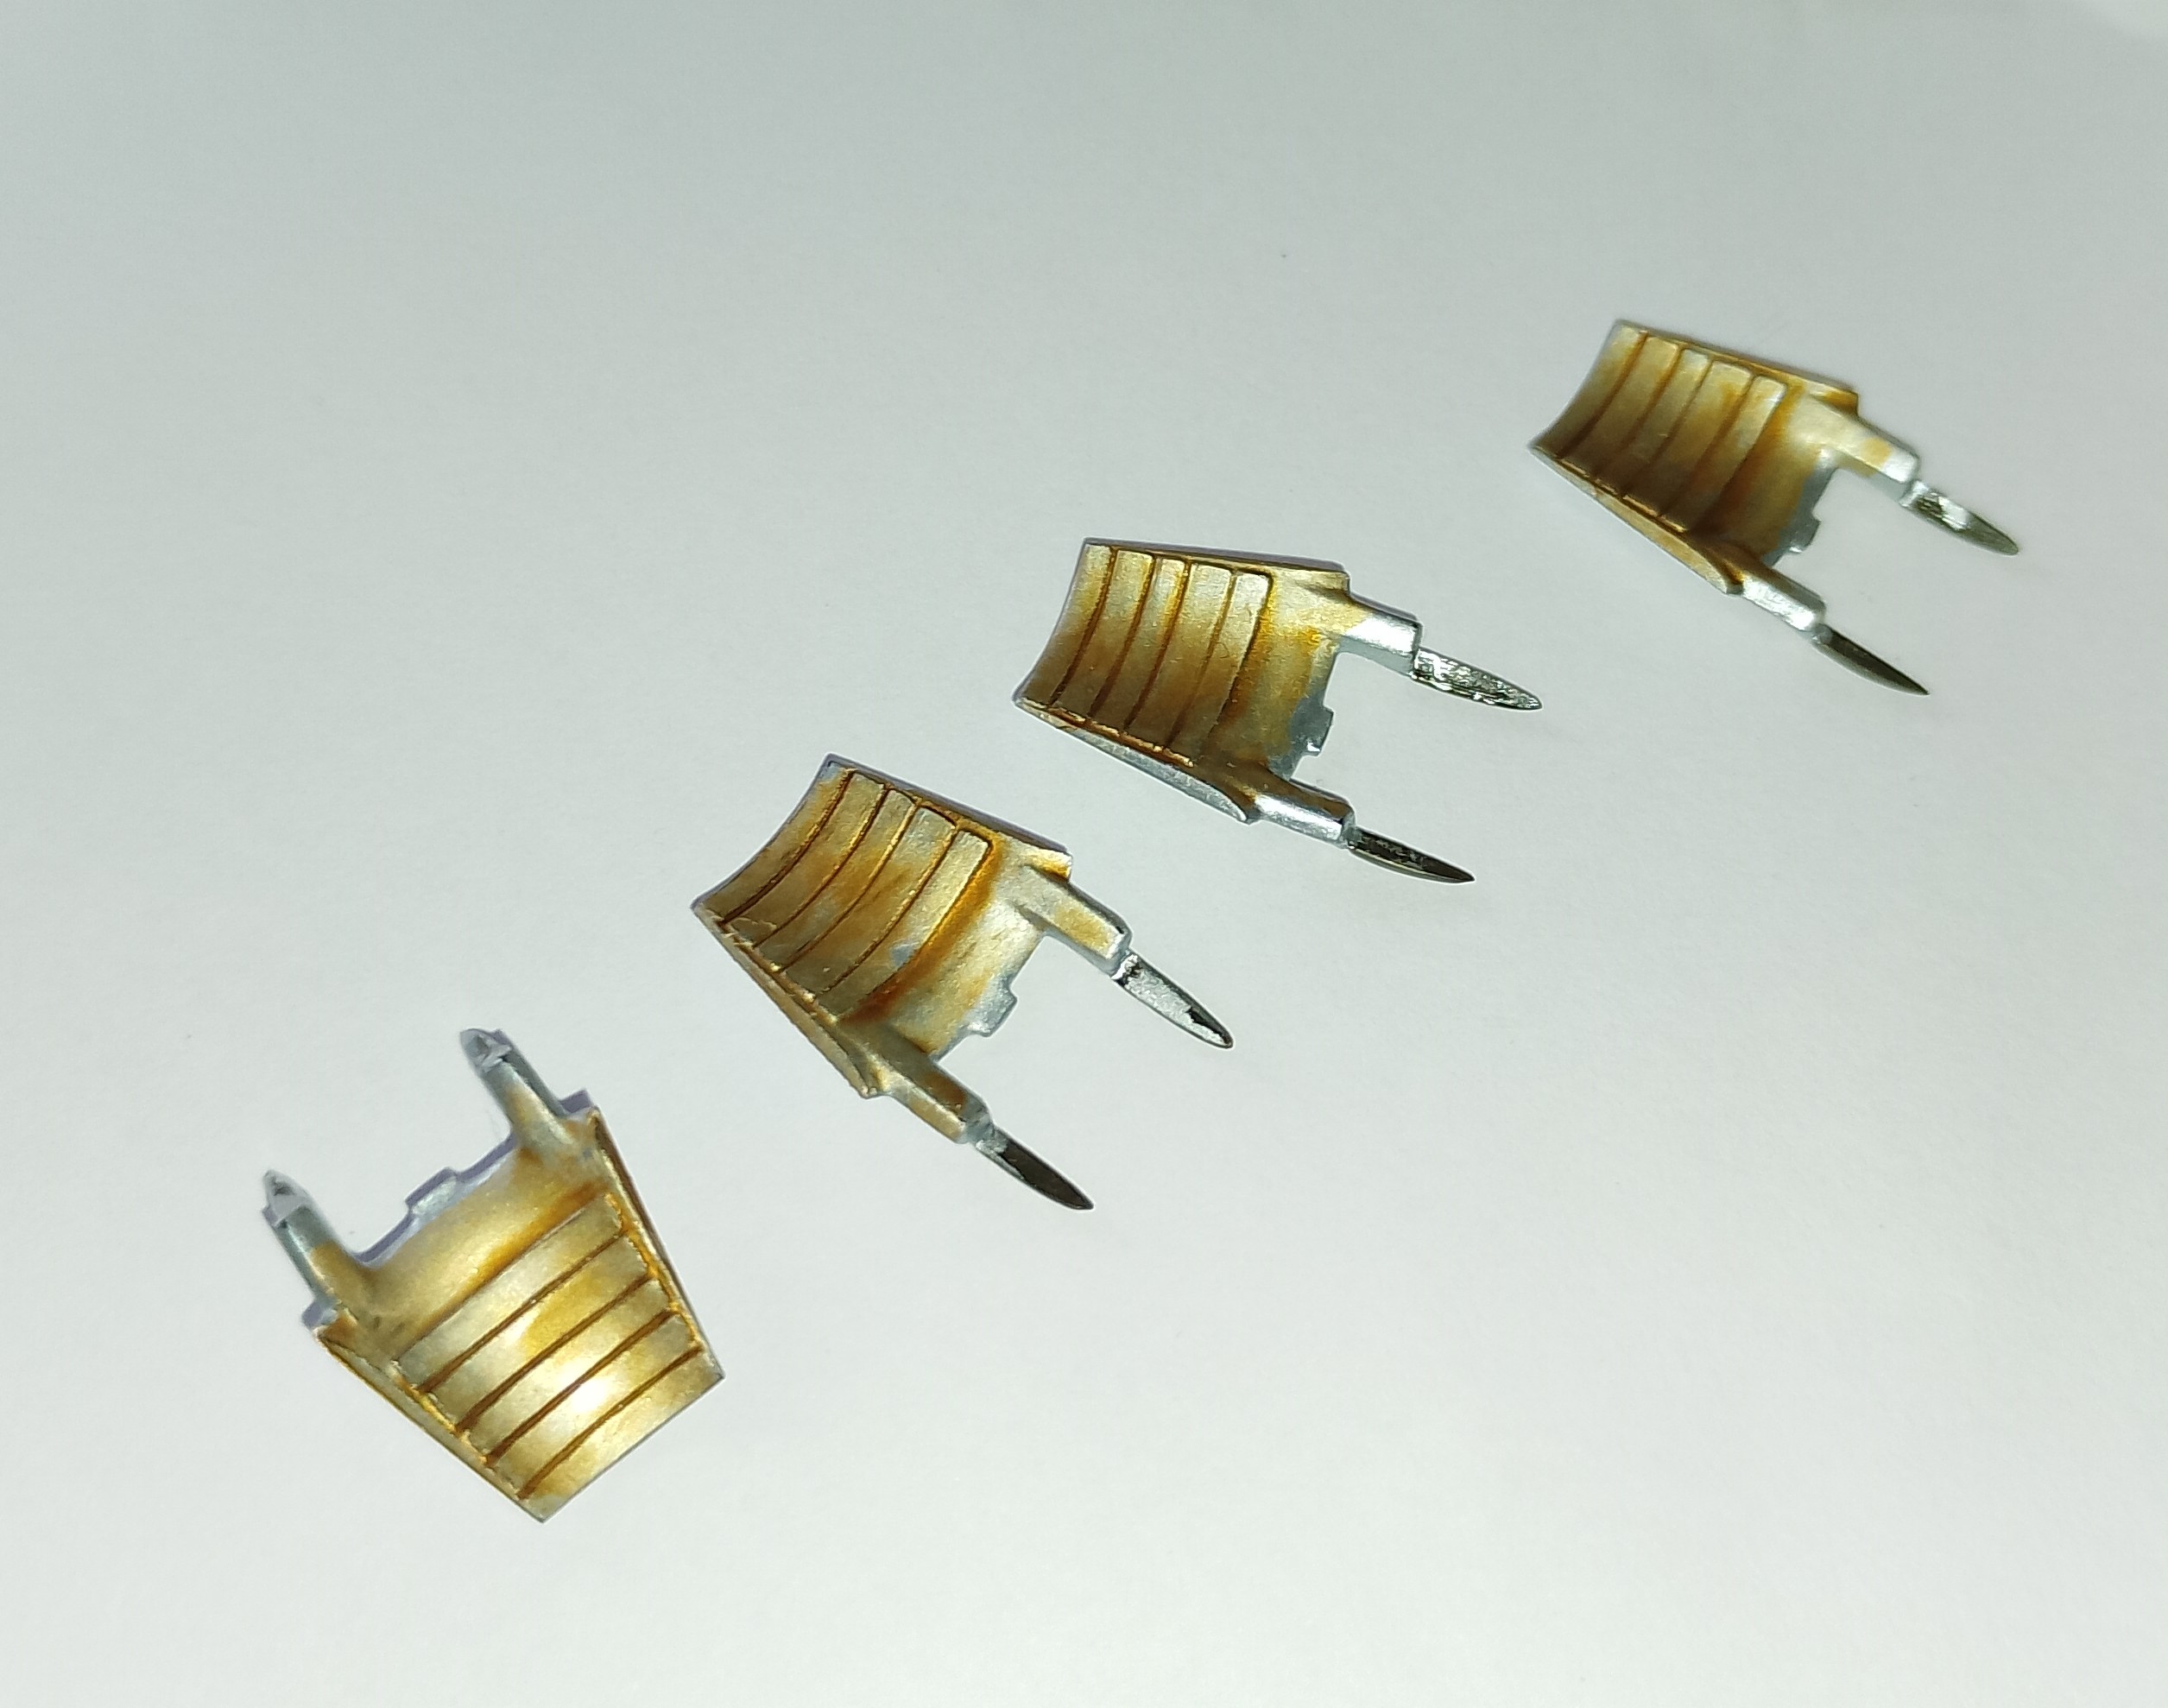
First step on weathering the afterburner petals. Gave them a wash with Games Workshop’s sepia wash. I’ll follow this up with their Nuln Oil wash. Should look like dirty, sooty, scorched metal when it’s dry. That’s the plan anyway.
Will the exterior side a similar treatment, but with a little bit less of the Nuln Oil.
3 Likes
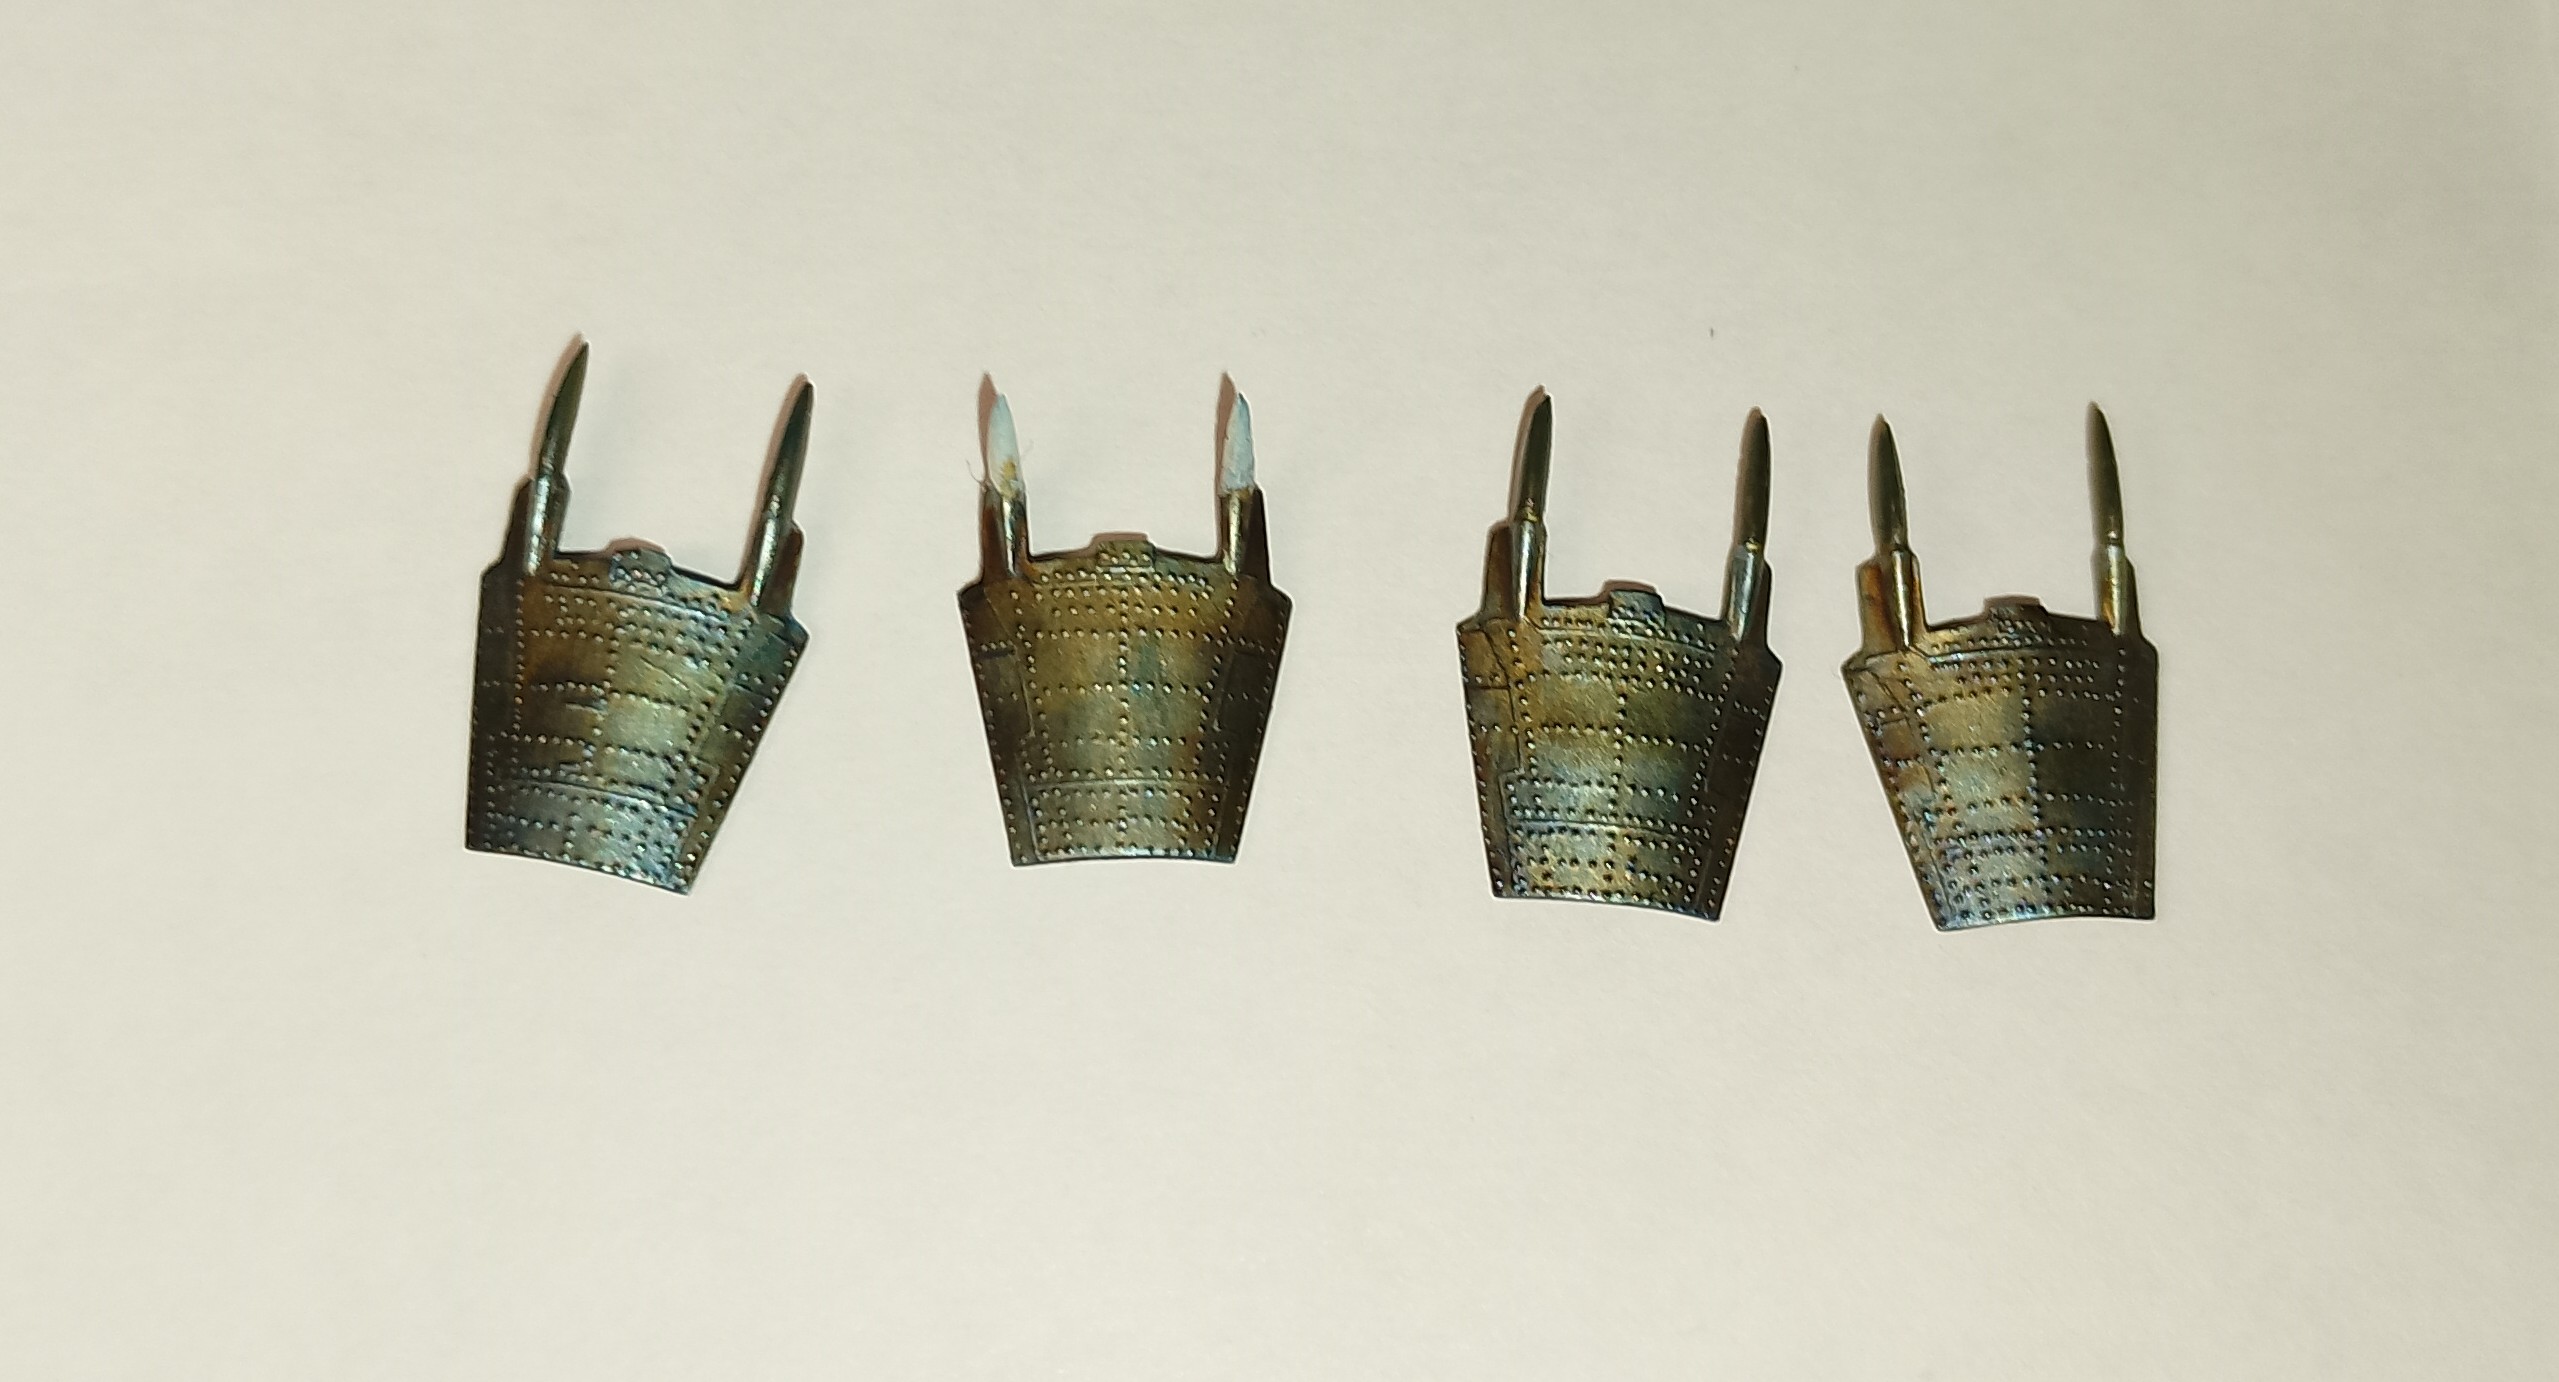
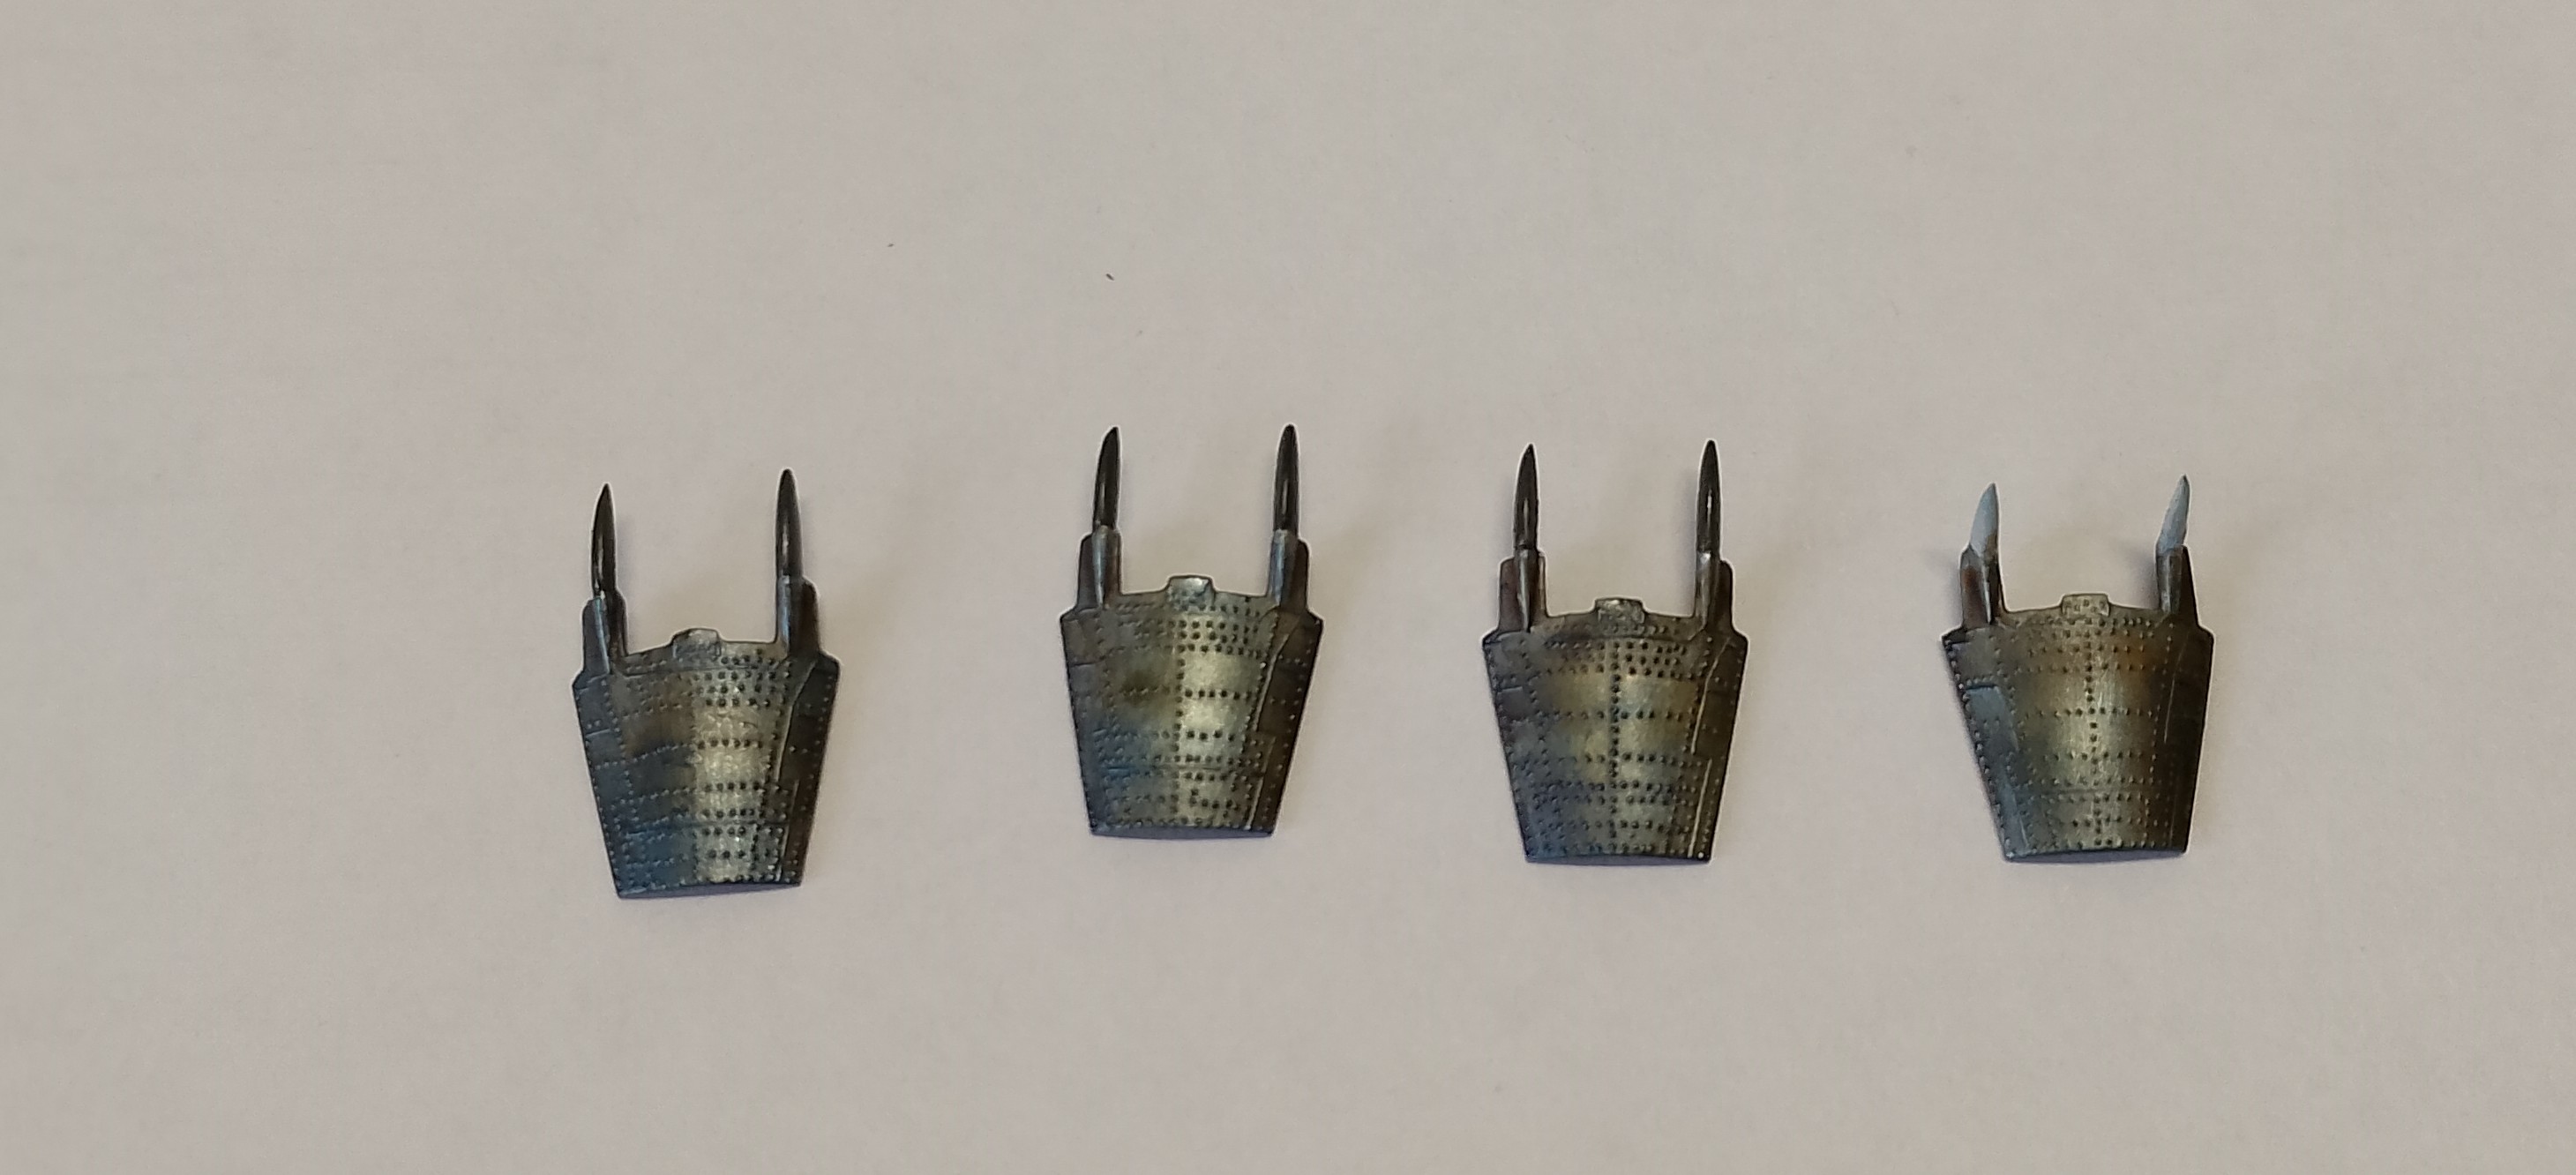
Finished up the afterburner petals. After giving them a black was, I still thought they needed a something else. So, cracked out the Tamiya weathering compounds (those ones in the little cases that look like eye shadow), and gave each a rub down with the metallic blue blue by black soot. They look suitably like an old dirty Cold War jet engine now!
And finished up the wheels. I used the supplied wheel hub masks from the canopy set and they gave me a nice sharp edge between the tyres and hubs. A little wash should bring out the details better.
4 Likes
Not much progress over the last few days as we’ve been pretty busy with family and friends. But got the afterburner petals finished up and decals applied to the stores pylons.
Like the inner surfaces, I gave each a wash with the Games workshop sepia and Nuln Oil, followed by rub over with Tamiya’s metallic blue compound. It’s subtle, but the blue does look quite convincing when it catches the light.
The decals came with the Resikit pylons. Very small and time consuming but worth it. They provide spares for some, so I’ll have a few to help make the kits outboard Shrike pylons look a bit more convincing.
3 Likes