D,
The tires/wheels really came out looking like dirt worn shoes. The Farm Hack at this point looks as I would expect it to. Honestly, I’d be somewhat leery to keep on weathering it, as why mess with perfection?
joel
2 Likes
Looks seriously good D.
Love working with oil’s. You have all the time in the world to manipulate and remove(remove completely, if need be)
An easy oil’s technic I often use on armor, is flicking highly diluted oil paint onto the model. I mix sepia, with a touch of black and dilute it, quite heavily, with white spirit. Use a stiff brush and a toothpick to flick droplets, onto the model(Flick it on a tissue paper first). I do this both pre- and post dusting.
1 Like
Looking forward at adding some items to the interior of the Farm Hack. I’ve got a spare Jerry Can (from the Fire Jeep kit) as well as resin oil can, axe and shot gun. Still undecided on the seat colour, somebody suggested a dark brown vinyl look, another suggested a khaki finish. I’m thinking about experimenting with some old used Tea Bag material glued to the seats and torn up a bit for effect as well.
The windscreen frame hasn’t had any oils applied yet, it’s just fitted loosely here to get a feel for the overall image.
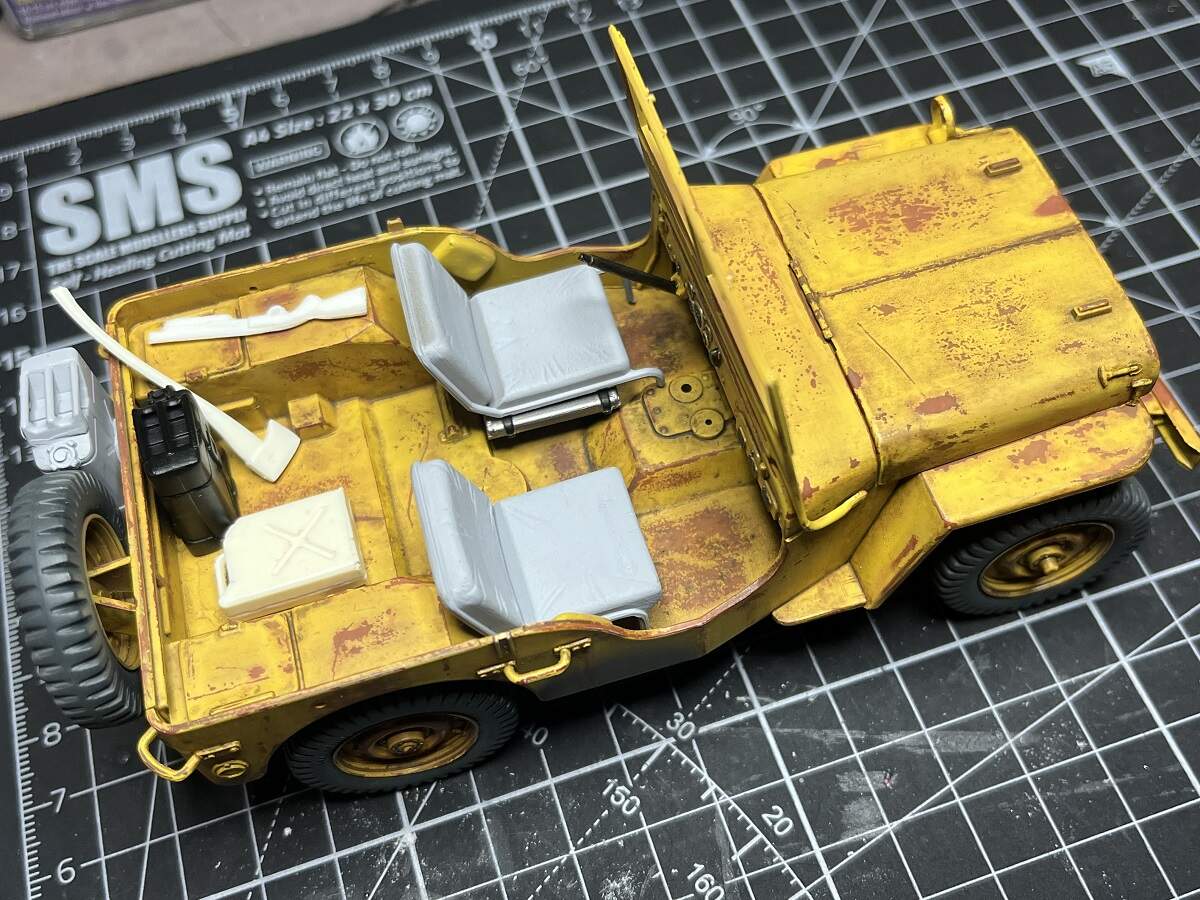
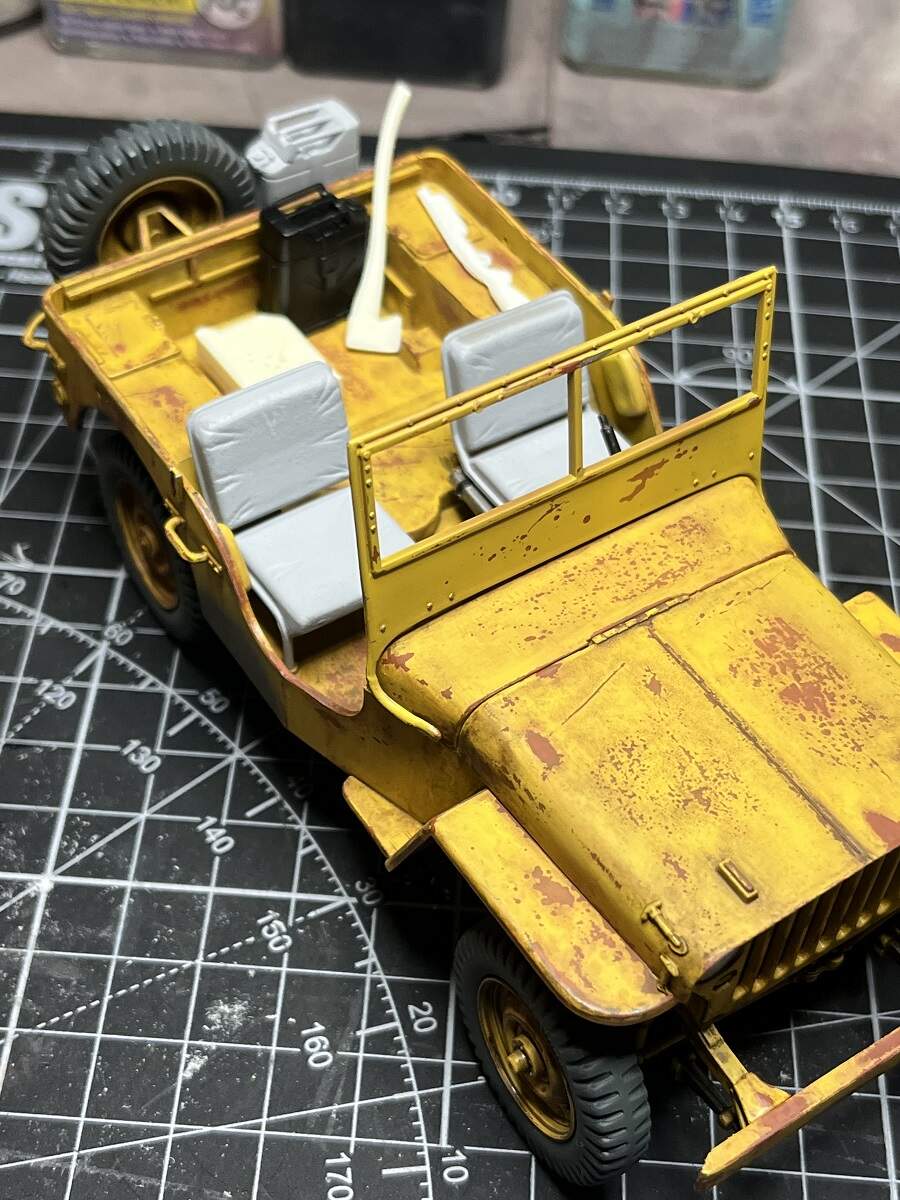
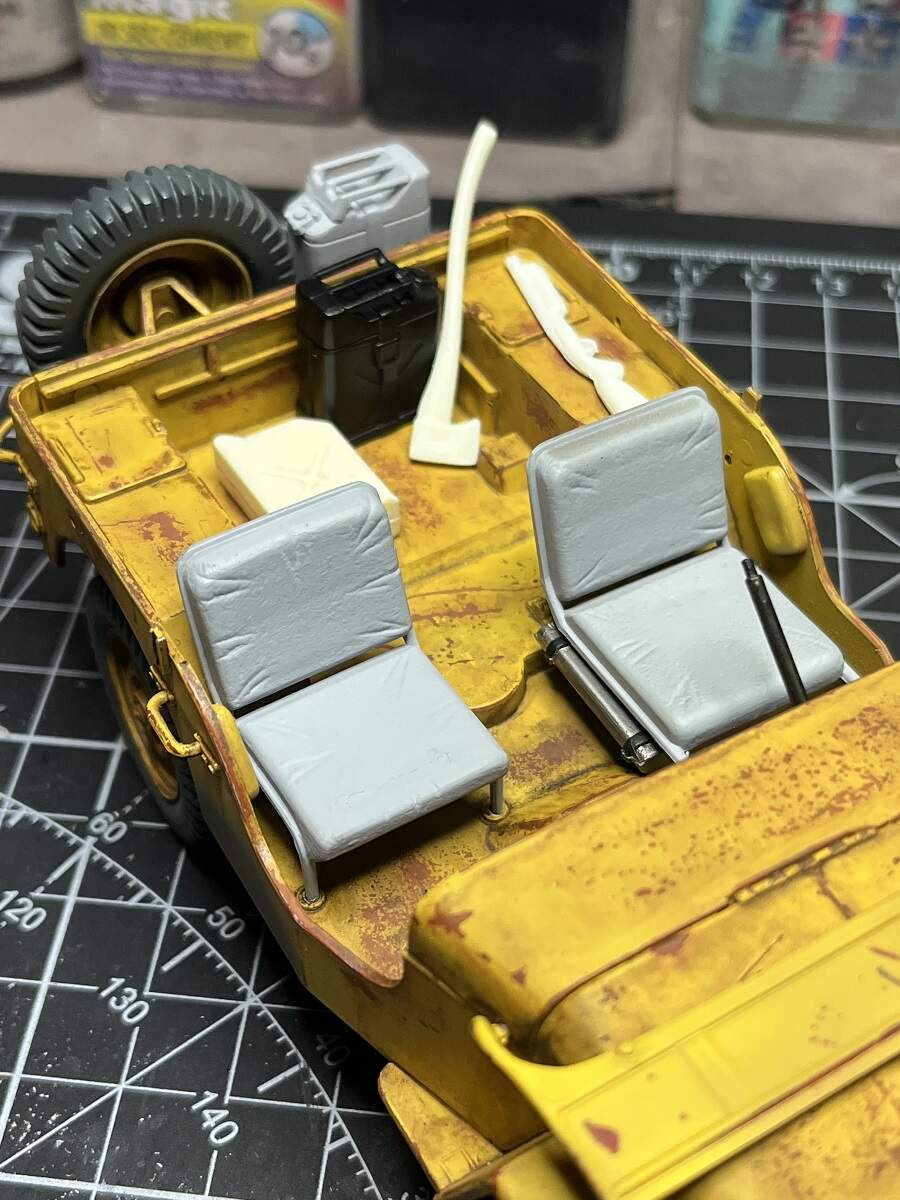
Cheers, D
9 Likes
D
The old farm hack is really starting to come together now. For the seats, your idea of a used tea bag really sounds like a novel idea, and they do have a really worn look to them once dried out. You just might be on to a completely new direction for us to follow.
joel
Once again coming late to the party here but yes underfloor hat channels would not be a contrasting color to the body tub itself. Honestly if this is to represent a surplus US Army WWII Jeep in post-war service under body and wheel welds would still be OD with only yellow paint over spray showing here and there.
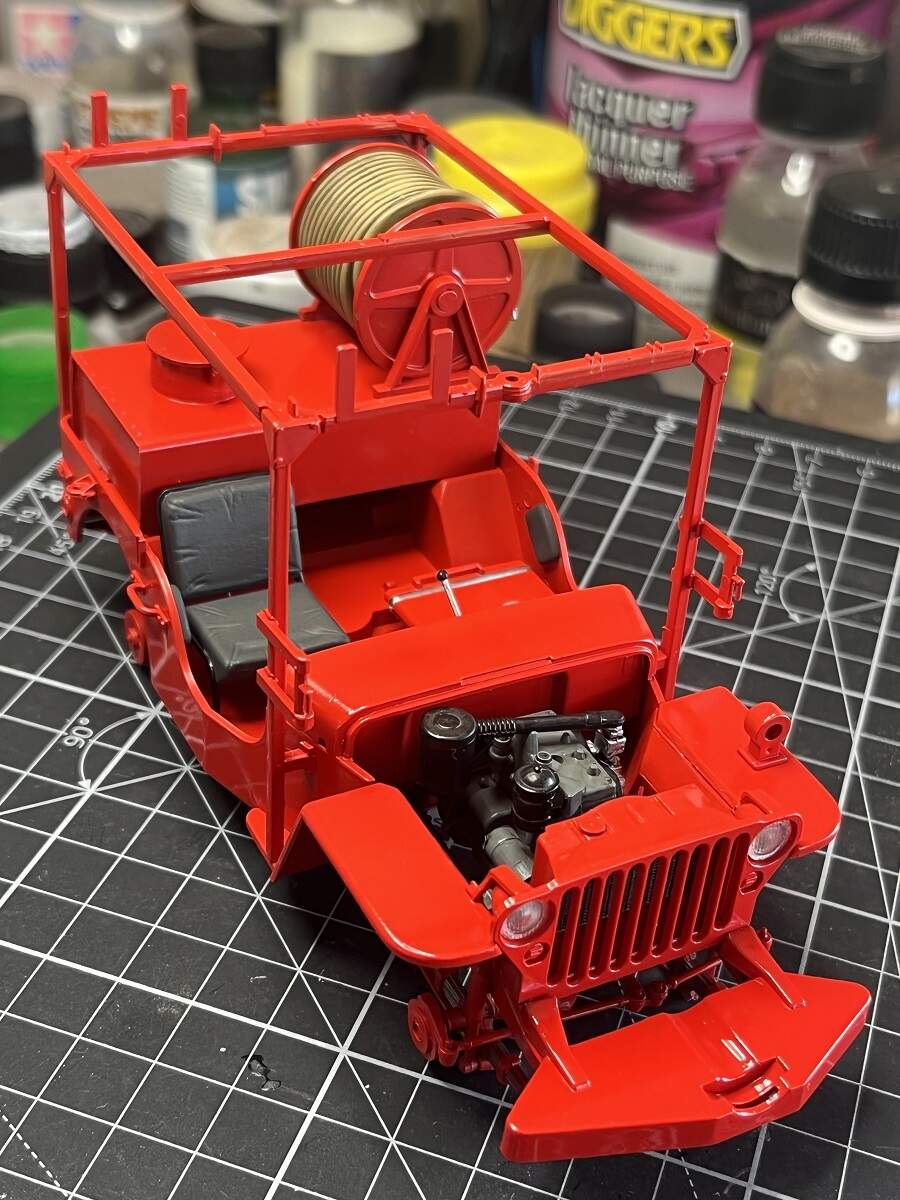
Fire truck would no doubt be a much more cleanly painted rebuild just as shown here.
Side “crash pads” would usually be same color as seat coverings but again the REAL seats are a bit easier to remove than the crash pads so I can see the pads getting a quick spray of the main body color.
This may be common knowledge but the hat channels of WWII Jeeps actually had a 3/4 x 1 inch wood lath inside them for extra strength which is a primary reason these channels rusted out so quickly post-war as the wood retained moisture.
2 Likes
Looking great Damian. If you’re going to carry a shotgun then you’re going to need a rack or some clips to stow it. Probably the same for the axe.
cheers
Michael
1 Like
Truly excellent build mate, & thanks for the belly-laugh about tea-bagging - suggest “infusion-receptacle” is on safer ground. But yes, great idea. ![]()
![]()
1 Like
@165thspc, thanks for checking in Michael!
I will be hand-painting the side crash-pads to match the seats once I make up my mind on the colour and texture. I did this with the Fire Jeep and very happy with the results there.
@cosimodo, cheers mate! I’m in 2 minds about the shotgun, not sure that a farmer would be carrying a pump-action around. Much more likely a double-barrel side-by-side or under-over. I have a couple of axes and shovels now and will be searching images to see if I can find some racking ideas.
@Joel_W, I remember reading about the used teabag material on a forum somewhere a while back, so I can’t claim the idea as my own unfortunately! I will prime up a plastic spoon and play with some colour and weathering ideas before I commit to the seats themselves.
Cheers, D
6 Likes
I like that these seats have at least some detail given to the cloth covering. I will usually rough sand these surfaces to give even more texture then spray with an appropriate flat sand color followed by shaders and then a final matte clear spray (can held at a distance to create a very dry spray for a rough surface) to give even more texture to the finished seat.
Aussie not making any sort of criticism of your work here as i think these Jeeps are coming out wonderfully. I am just sharing my perdonal process.
1 Like
All good Michael, critique away as much as you like! I’m always looking to improve my processes and learn more about the subject matter from those who have more knowledge. I really appreciate you taking the time to check out my work and give feedback.
I’m working on a plan to use white glue to stick the teabag material down, then lightly cut, tear and lift it in a few spots while it’s still wet. Once it’s cured I will paint it (maybe khaki or dark brown) and then pick out the torn areas with a Buff colour to show the seat pad stuffing.
Cheers, D
3 Likes
Let the tea-bagging begin ! ![]()
Fairly self-explanatory set of images, I left it to cure for about an hour before I trimmed around the frame, it was still a bit damp and lifted away a little bit so next time I will leave it a couple of hours and check.
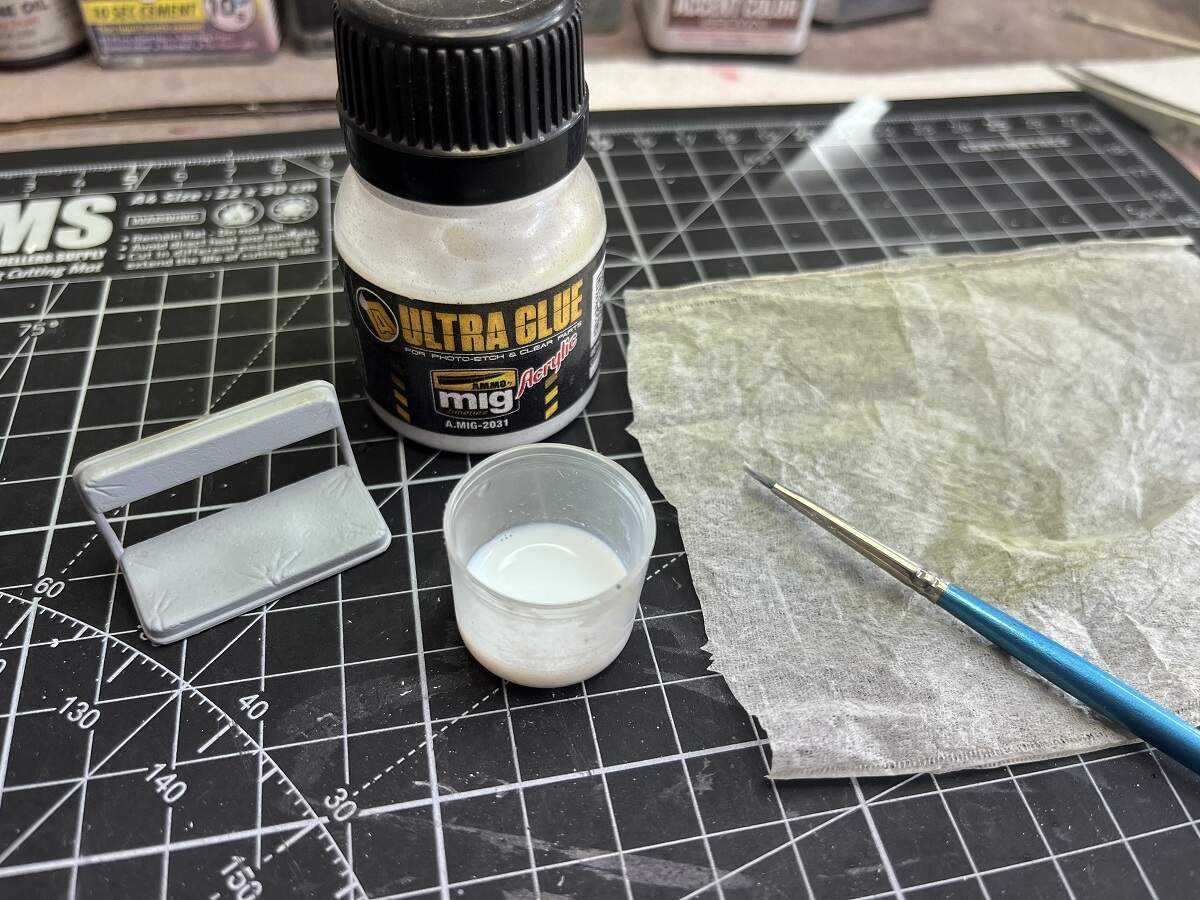
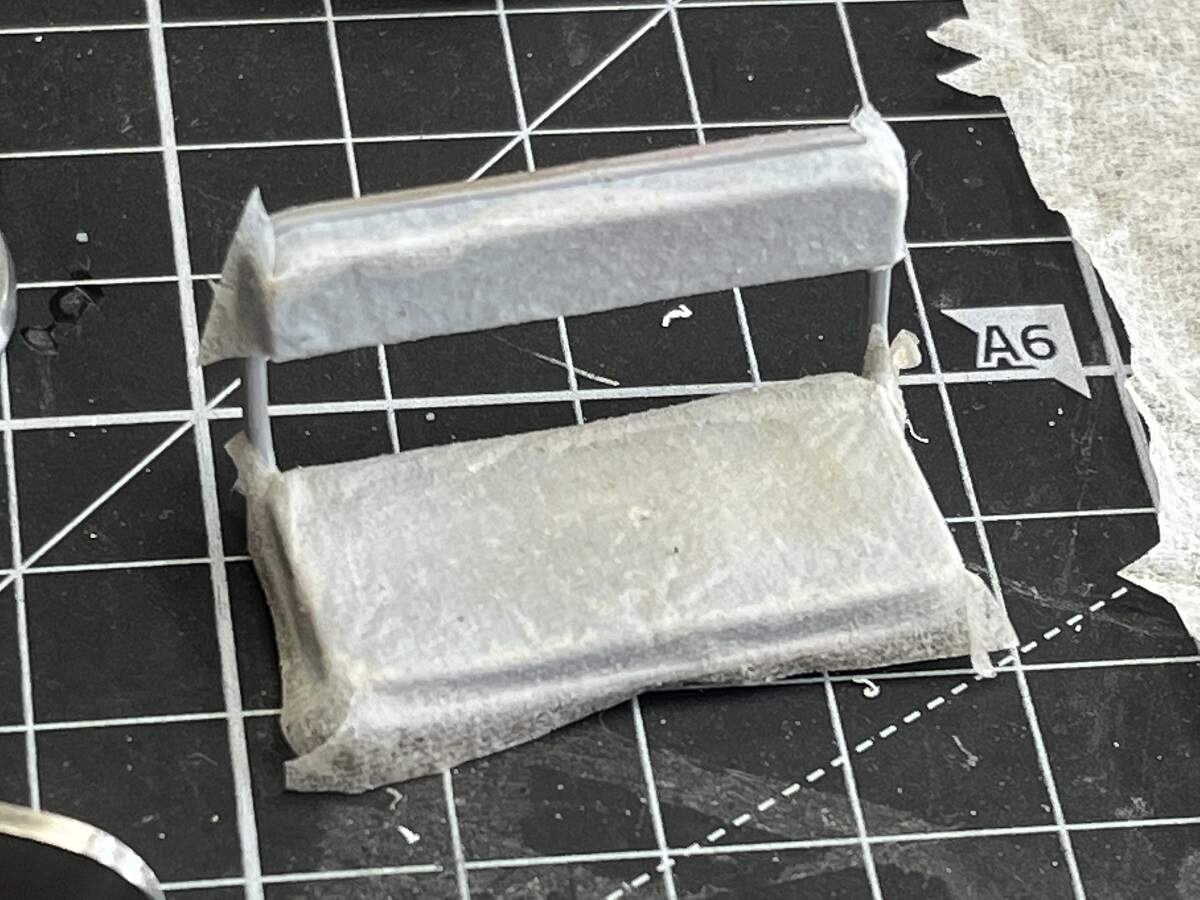
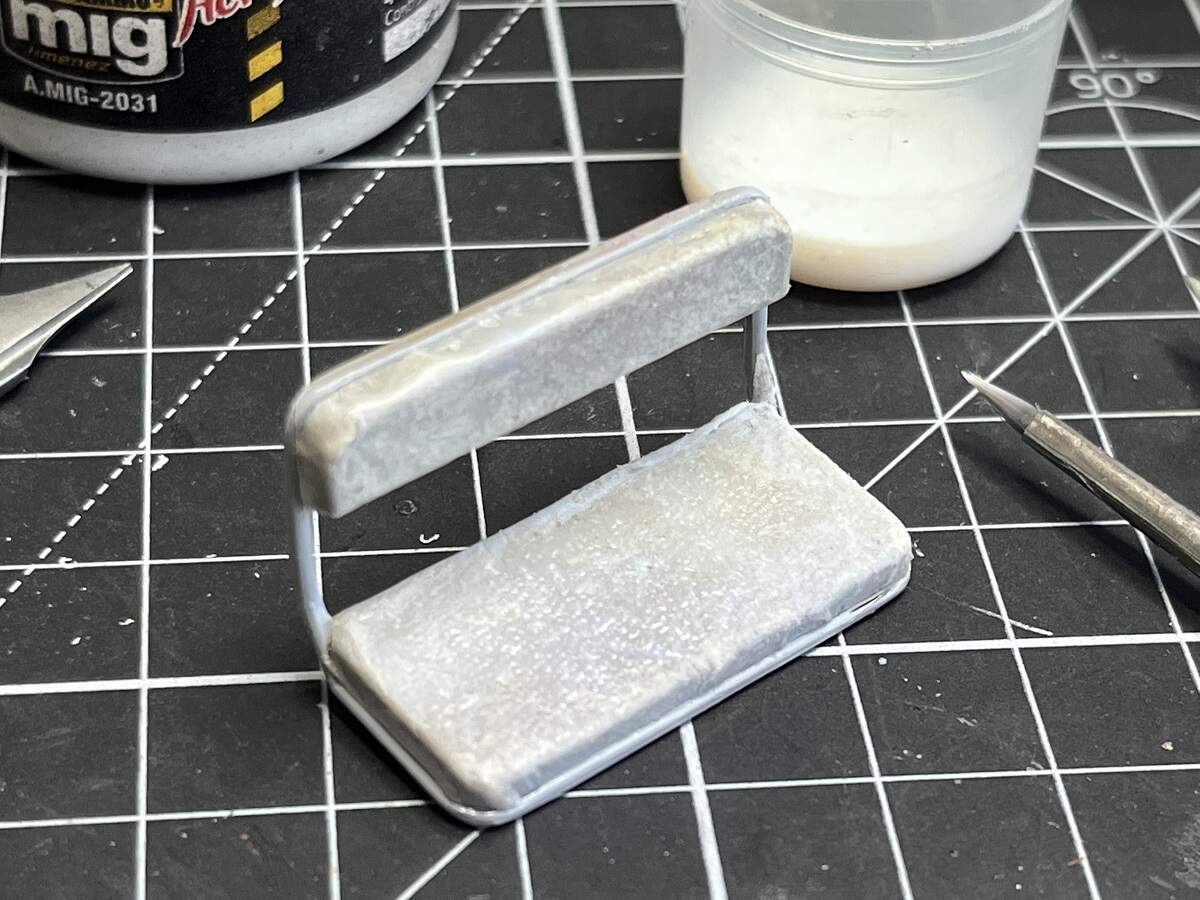
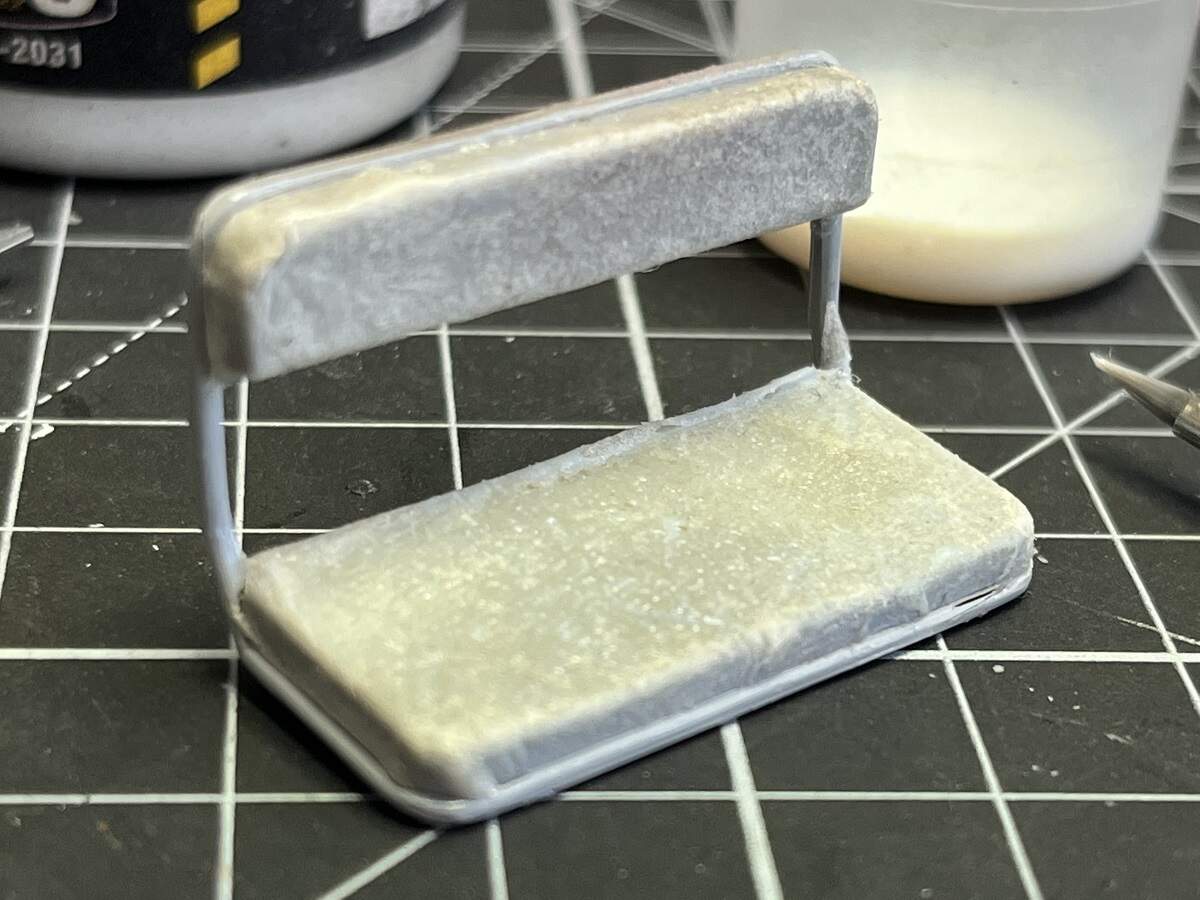
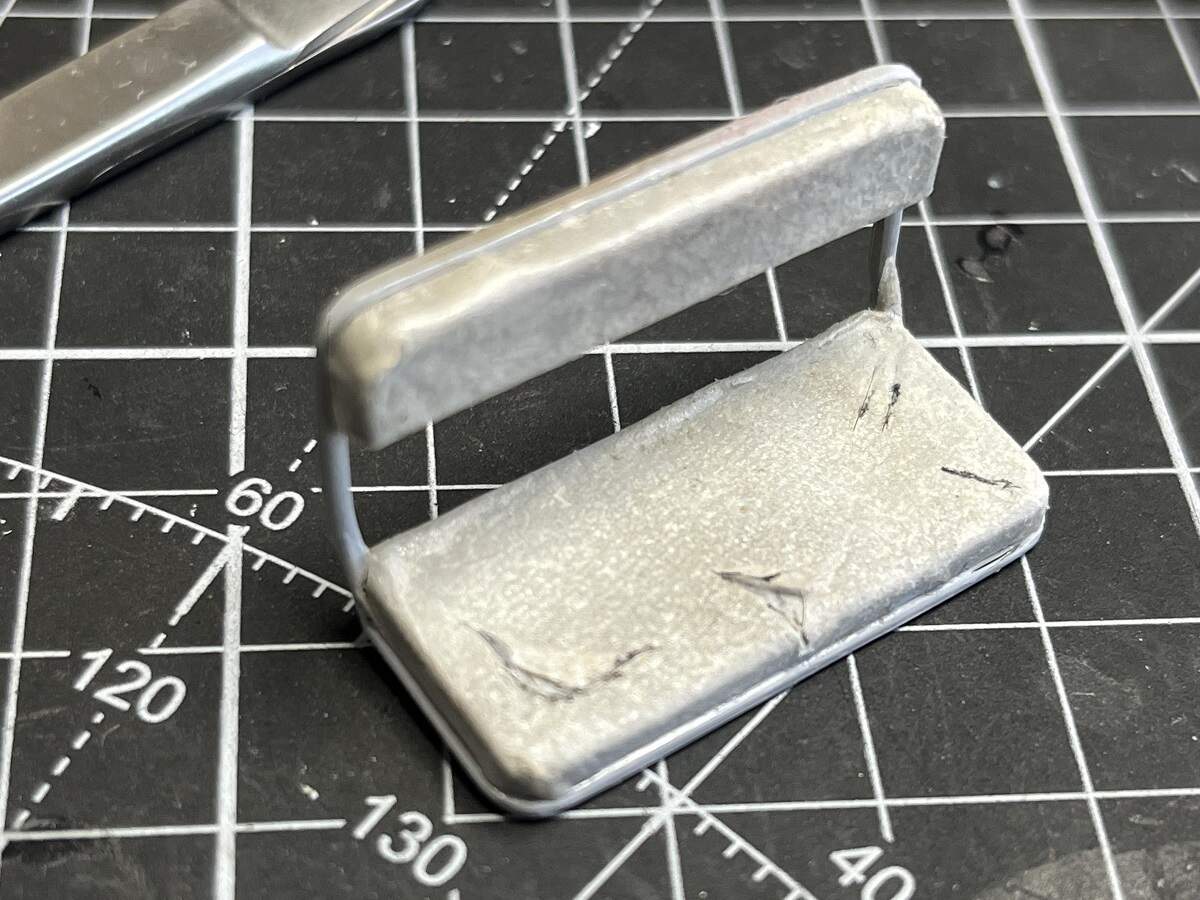
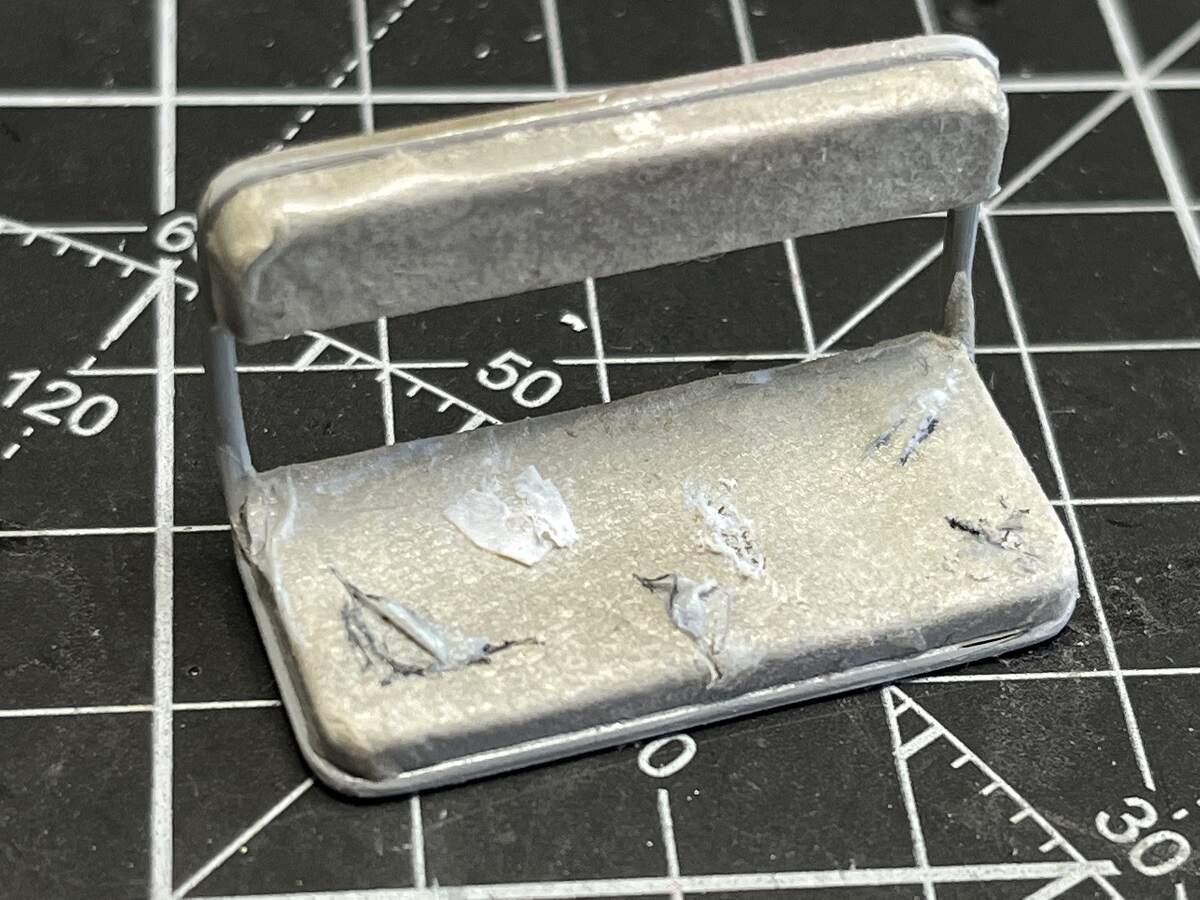
Damage was created using a scalpel to cut and scrape the bag material off the primed surface.
For the tea afficionados, Twinings of London “Pure Green Tea” donated the material (after having been used of course), and I will save the used leaves and dry them out for organic material on future diorama bases.
A couple of days to fully cure then I will start to play with the paint.
Cheers, D
10 Likes
D,
Just having my morning coffee, and checking out the goings on at the site. Your Tea Bag experiment looks outstanding, and I’m sure that it’s a technique that we can all use to help make those kit plastic seats look more like the real deal.
joel
1 Like
Well done D - anxious to see it in paint.
Clever use, of an old bag ![]() Will be interesting to see it with paint and all.
Will be interesting to see it with paint and all.
Eons ago I used masking tape(cheap stuff, for wall painting). It has a textures surface, that resembles cracked leather. Used it for a worn down, rusty Duesenberg. Turned out quite nice.
1 Like
Well here we are a couple of weeks later and I’ve been tinkering with a few projects, including this one.
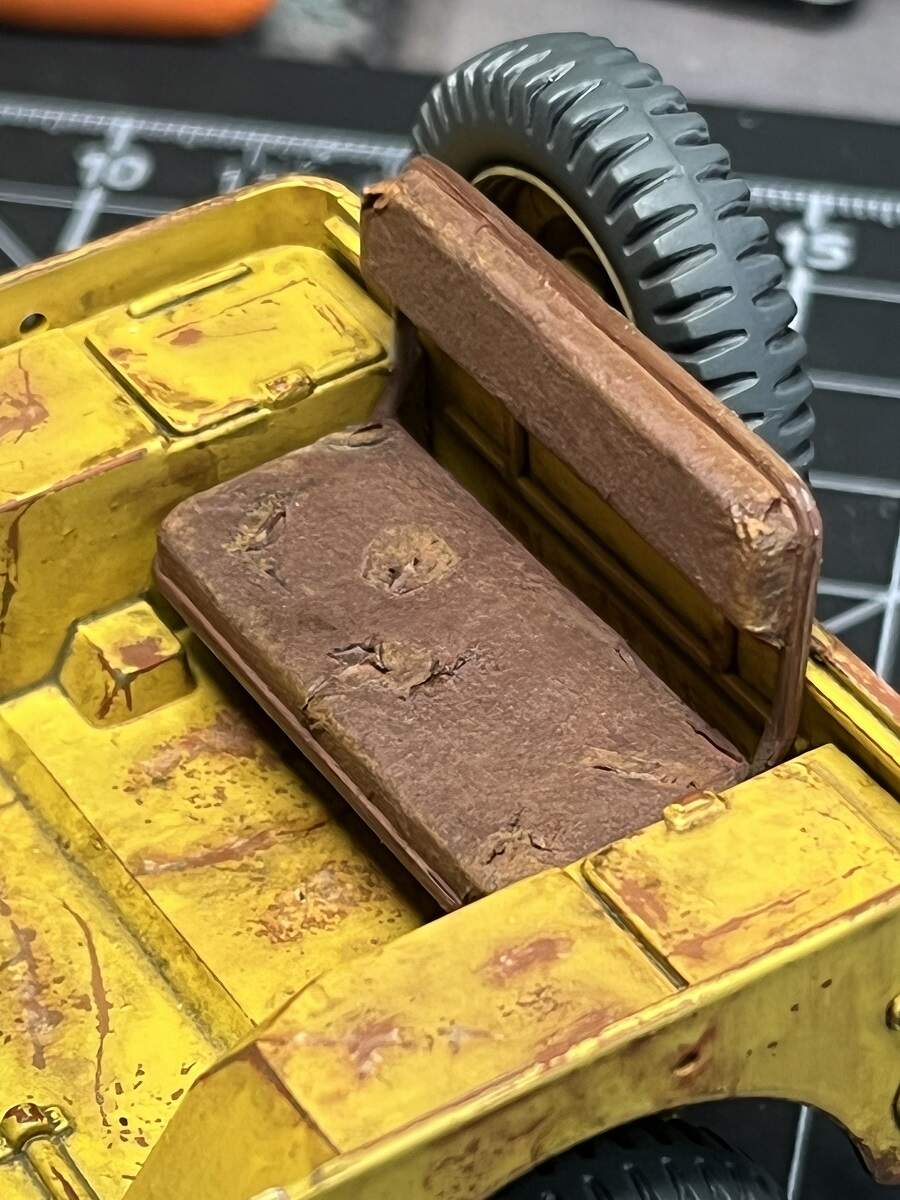
I shot the seat with a light coat of Tamiya Acrylic XF-10 Flat Brown for a faded leather look, gave it a brushed coat of Alclad Aqua Gloss for a bit of sheen, then dabbed some Ochre oils on the torn areas to hopefully get a bit of a seat stuffing look.
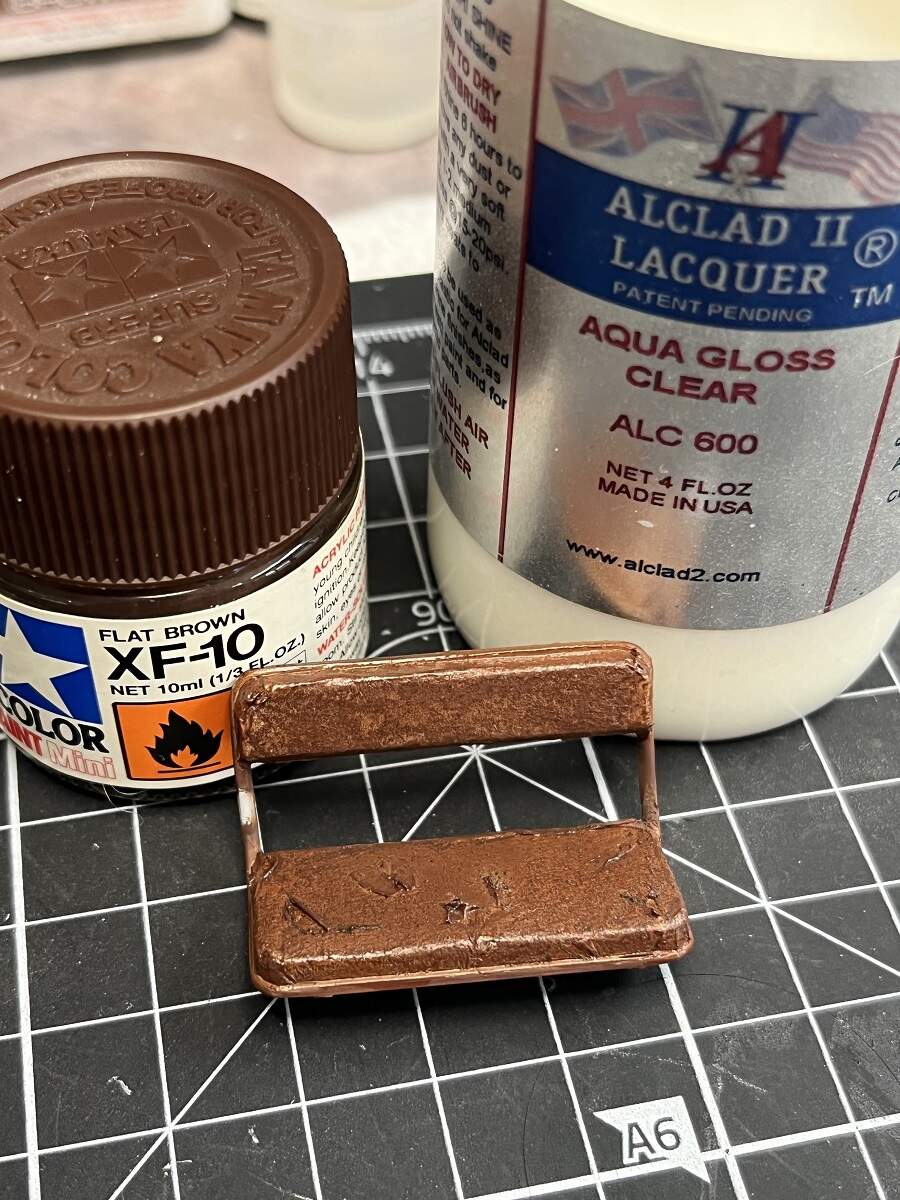
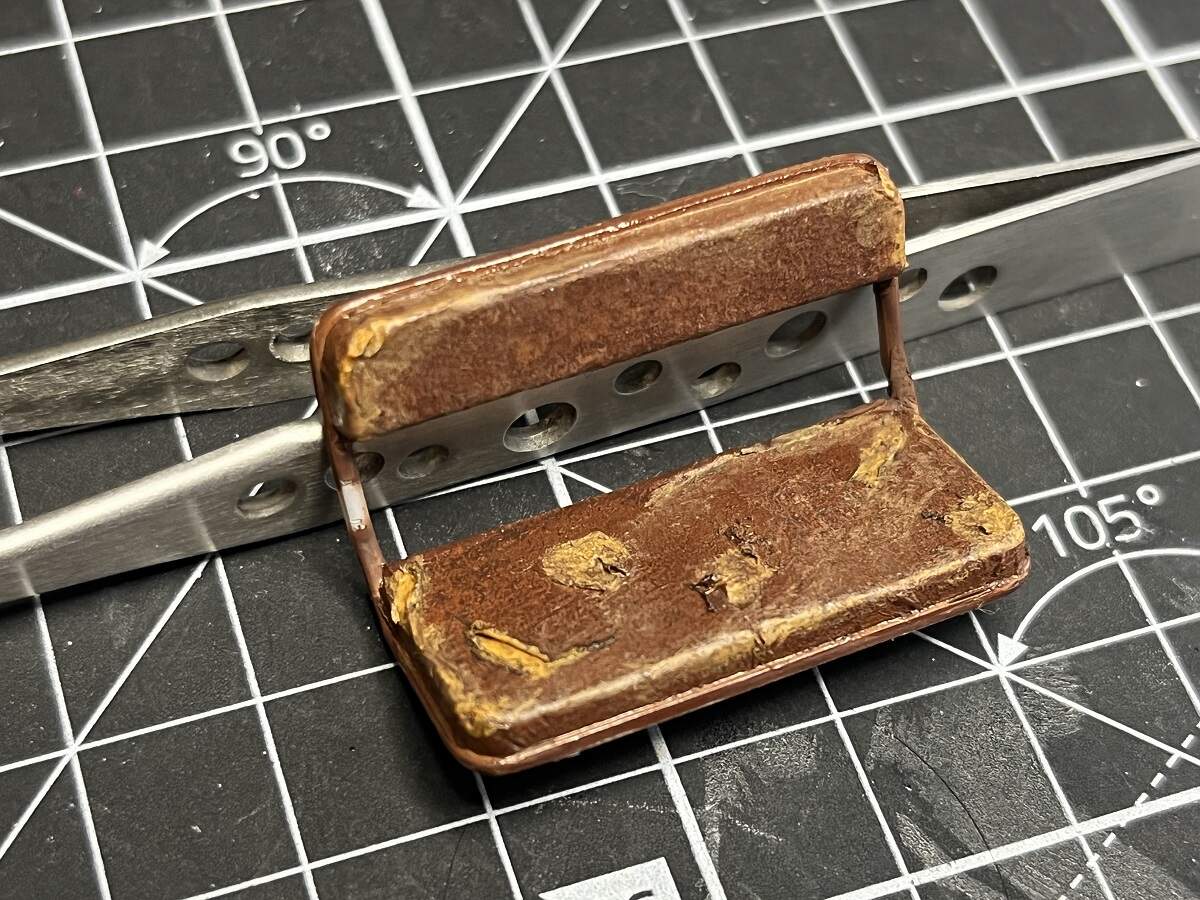
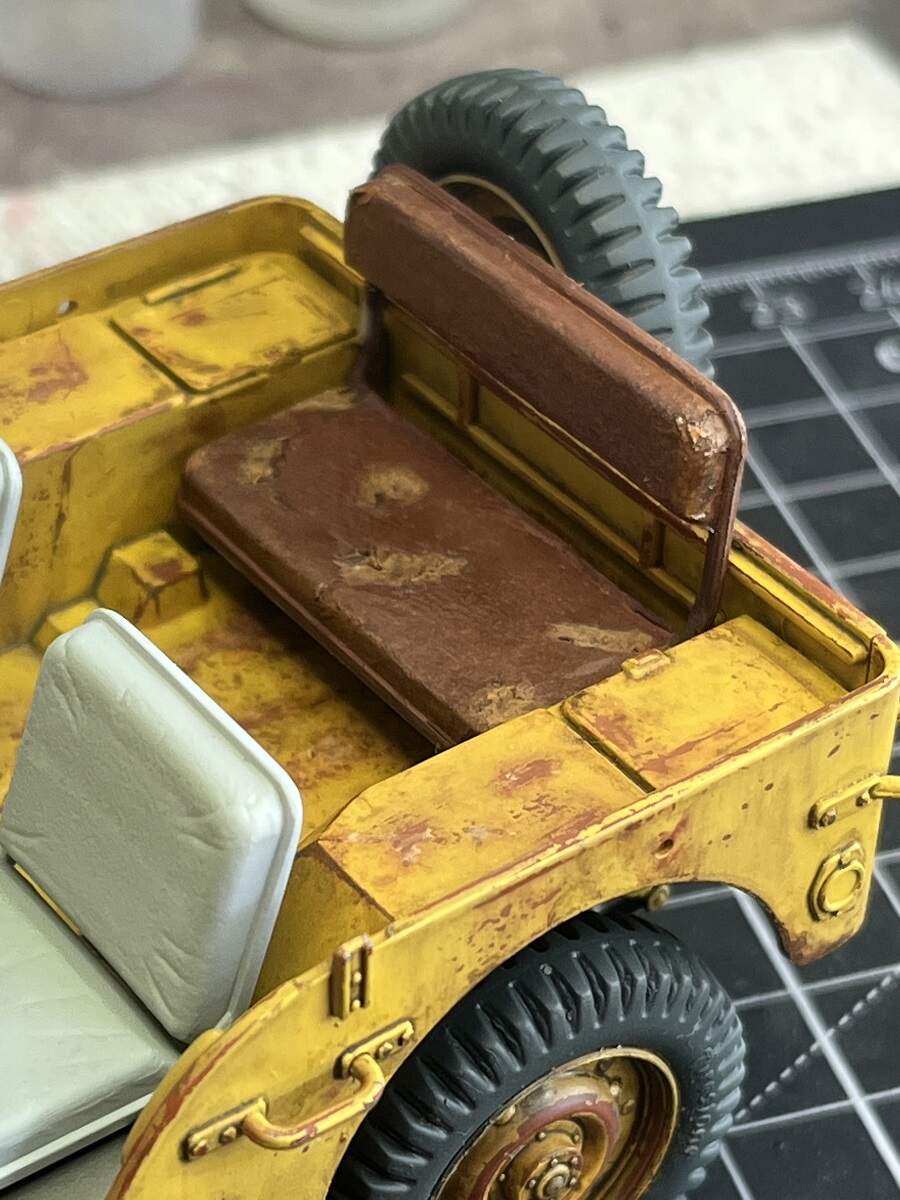
I wasn’t overly happy with the Ochre tone, so I brushed on a couple of thin coats of Vallejo Red Leather and Saddle brown acrylic to blend things together. I will try another couple of colours to get the padding a bit brighter, but in the meantime here is the seat in place to see how the colours work.

I’m still not planning to actually fit the rear seat, but who know, it might grow on me if I get it right! I’m still thinkin about what colour to do the seat frame. Possibly gloss black with some dry-brushed silver to represent chipped paint on the corners and wear spots.
As always, please throw in any suggestions or critique.
Cheers, D
6 Likes
D,
I really like how your Tea bag “leather seats” look. As for the color, it’s darn close and with some weathering that will tone it down, you should be right there. Glossy Black worn frames would be perfect for contrast, yet fit the build perfectly.
joel
1 Like
The seat looks great as is, the tone’s just right i.e. doesn’t contrast or “jump out” of its surroundings. Maybe very subtle darker dry-brushed pastel patches where bums’n’backs would go? Tricky though, so easy to over-do it…I dunno, maybe do the frames & see what it looks like then. ![]()
1 Like
Tea bag, very resourceful material. Looks perfect seat covers
1 Like
Looks like the rats have been at it in storage - very effective!
cheers
Michael
1 Like
Thanks for the feedback guys, very much appreciated especially when I’m experimenting with something new like this!
I gave the damaged spots on the seat a light wash with a paler shade of brown, then gave the whole thing a coat of Aqua Gloss for a bit of a sheen, and I think it’s almost there. I will paint the frames and seat back in a gloss black to start with, then do some damage and dirt.
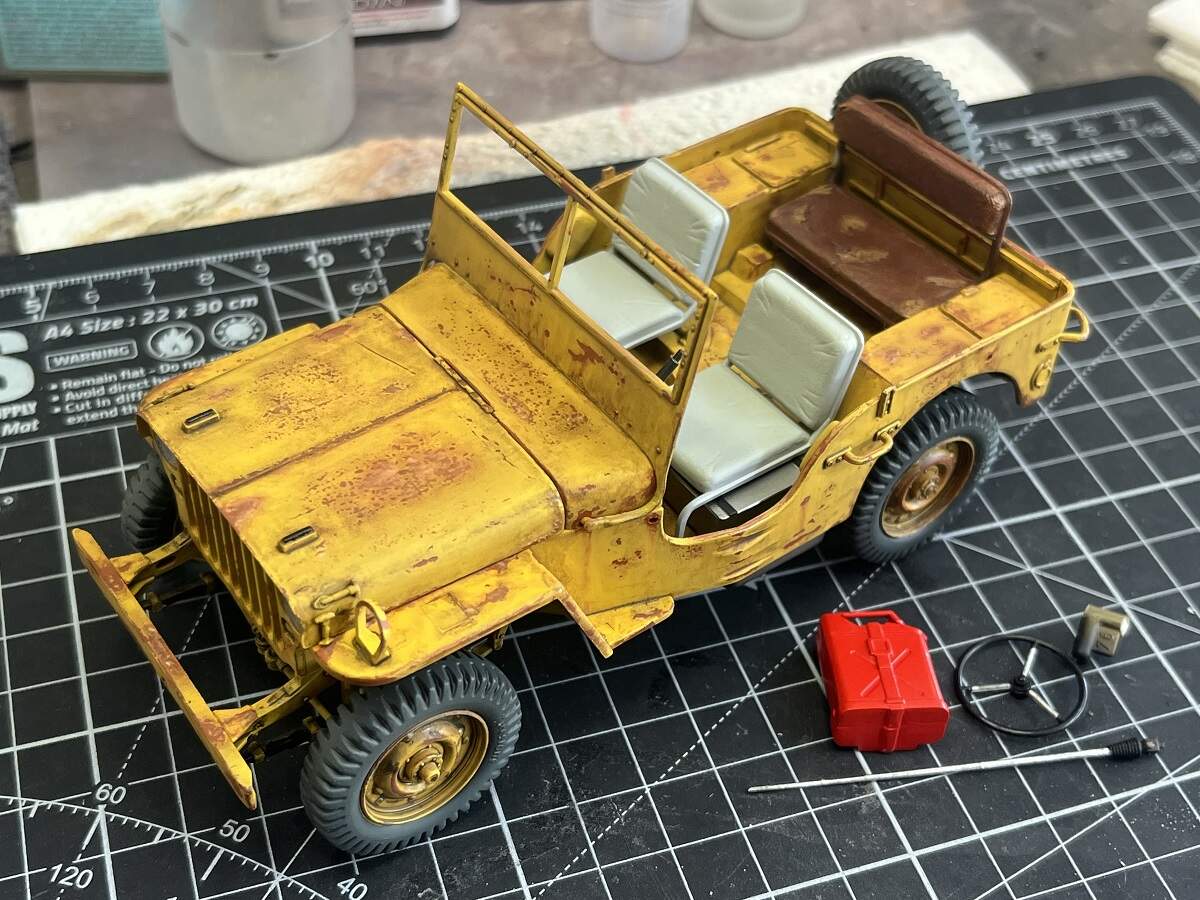
I’m also at a crossroads with the back of the Jeep now. I’m not happy with how any of the accessories look when they are in place, but the seat really sit nicely. I’m thinking I might fit the rear seat and maybe an oil can or two between it and the front seats. The Jerry can got a shot of red to really set it off and will get detail painted next, and the antenna and steering wheel are pretty much ready to install.
Slow progress, but I’m really enjoying the project and it’s a good thing to have sitting beside me to spend a few minutes on between sessions on the other projects.
Cheers, D
7 Likes