That is why it is ok to use an other build that gets finished in a winter-way.
“Going” button added to top post.
2 Likes
thank you!
1 Like
I’ll jump in. Why not. At least it’ll get me started.
1 Like
Bought this today at the LHS because I liked the poses and planned to use it in a winter diorama for this campaign.
Now I’m realizing these are summer uniforms.
![]()


Welcome aboard!
Nice choice.
We’re live!!!
But still in the staging area?!?
1 Like
OK Ron fixed it. The campaign is now live.
1 Like
Thanks!!
Shouldn’t the campaigns go live on the appropriate date by themselves?
1 Like
Nope, they need to get their own topic created and then have the whole thread from the staging area moved into the empty new thread. It’s involved. That’s why I have a special job here. BUT there’s nothing to alert me to a campaign start date so someone has to tell me or I have to catch it in the staging area.
You can’t have campaigns that automatically start, because there are campaigns that are proposed, don’t gain any traction, and die a quiet death.
4 Likes
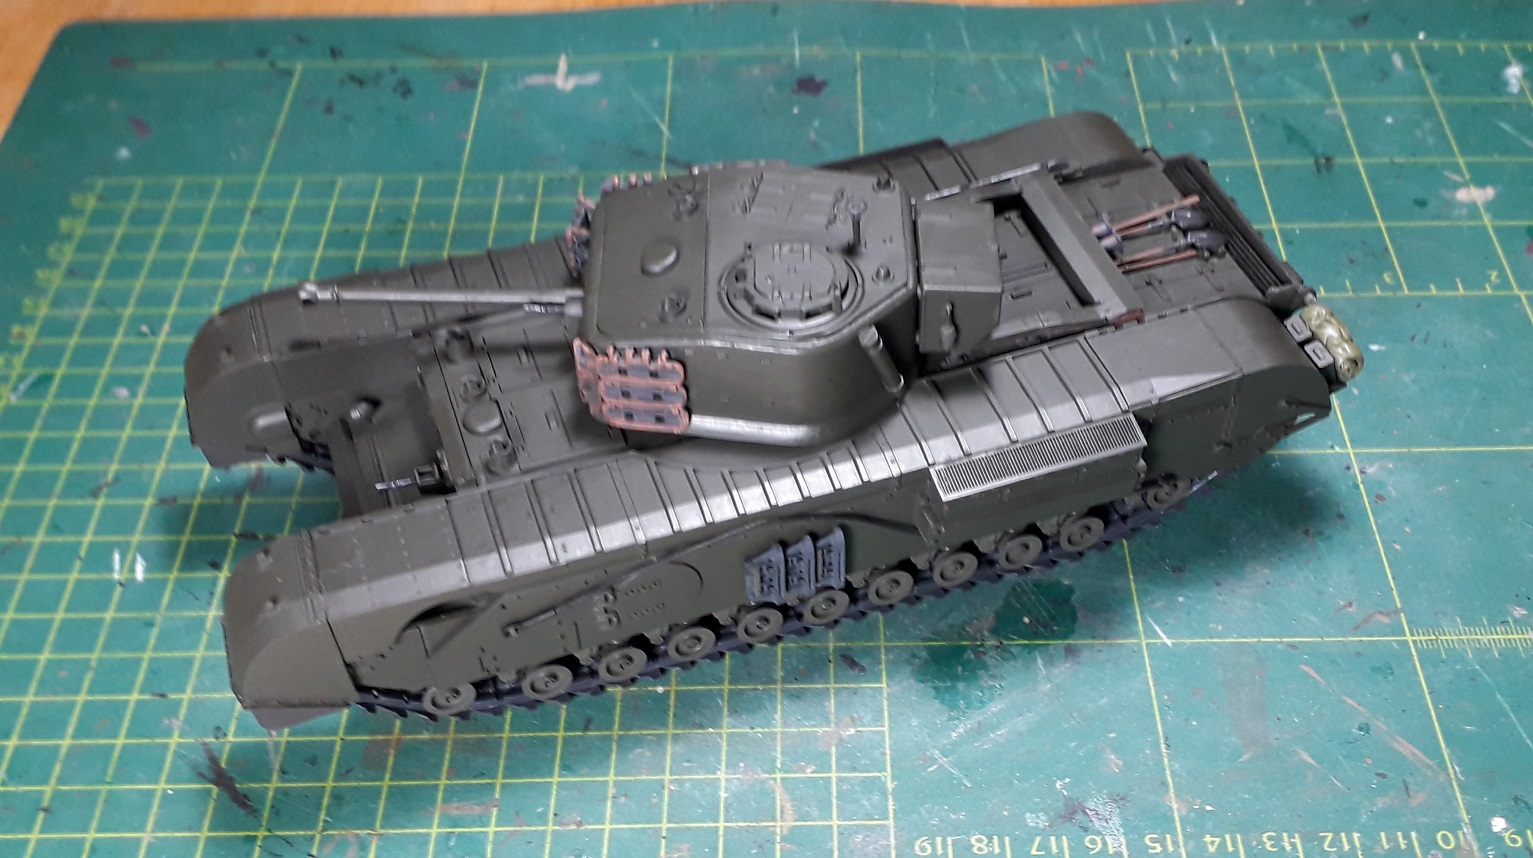
Let me kick this off by showing what I’ll be working with:
A semi-built Tamiya Churchill Mk.VII; wheels & hull are assembled, turret was too, sort off.
What I did so far was to close the hatches and make new towing cables.

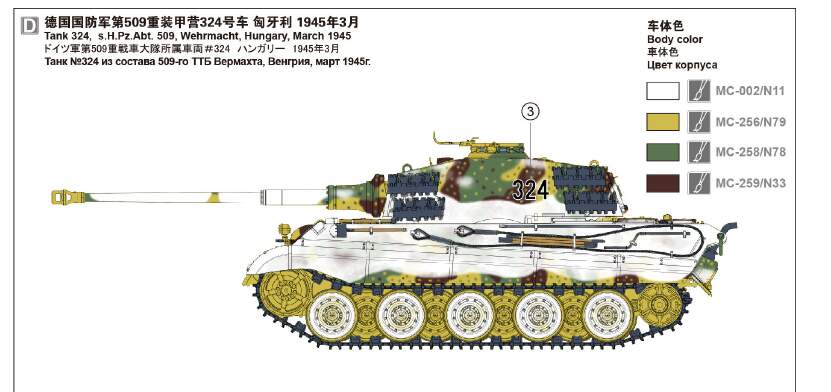
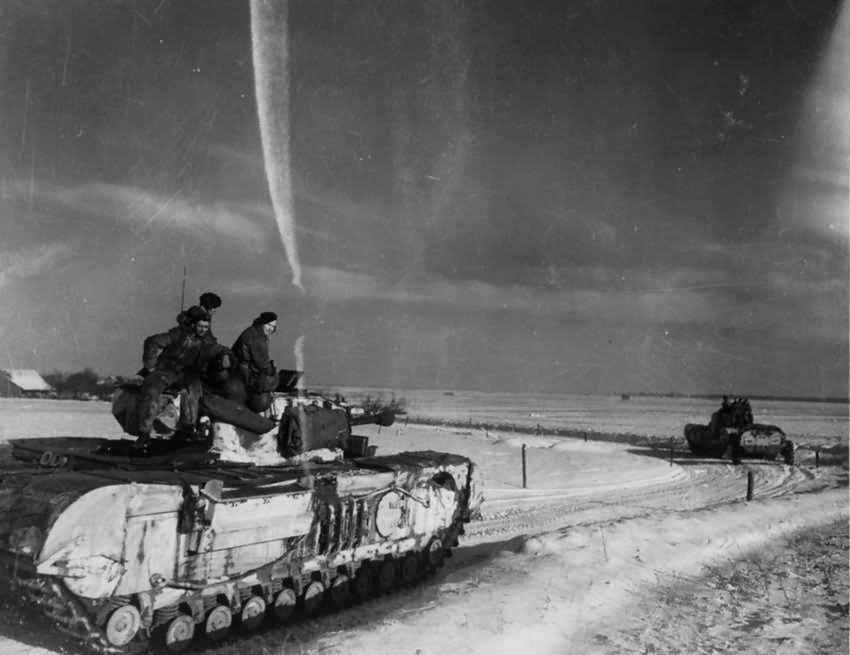
The endgoal is a Churchill like this.
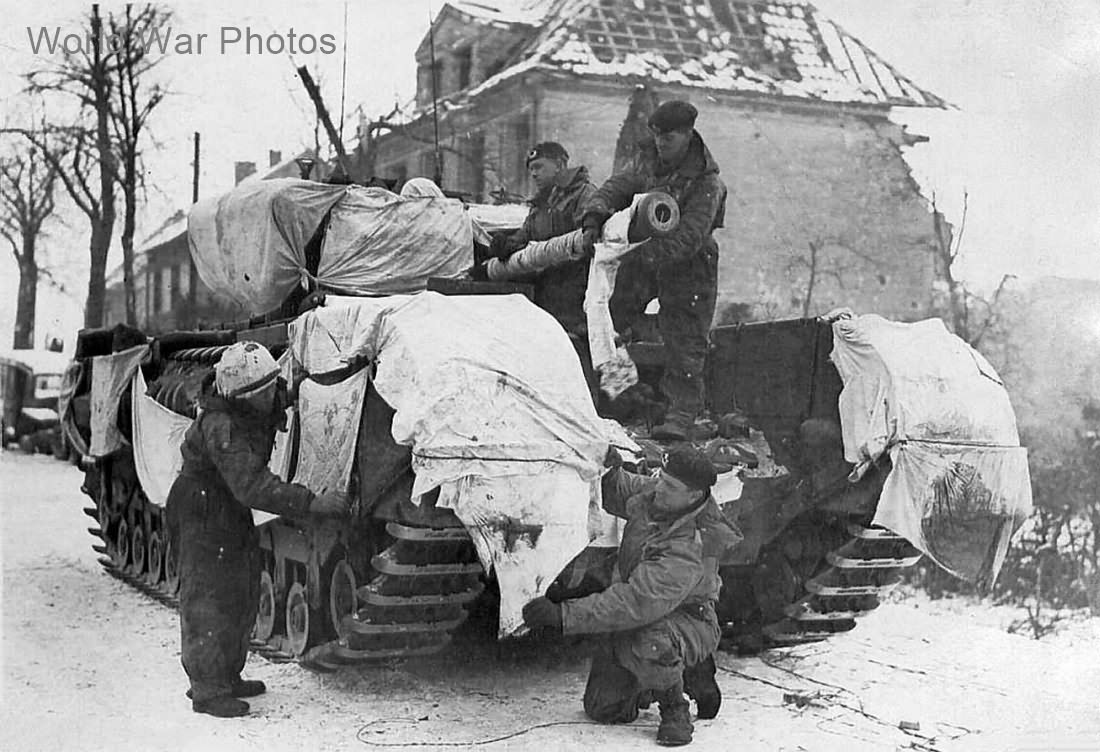
Another image has it situated at Lindern, Northern Germany, but I think it is incorrect.
The only occassion Americans and British/Commonwealth would have met up there would have been april 1945.
Where those allies would have met and operated in close proximity and in the correct timeframe is the Geilenkirchen area, winter 1945.
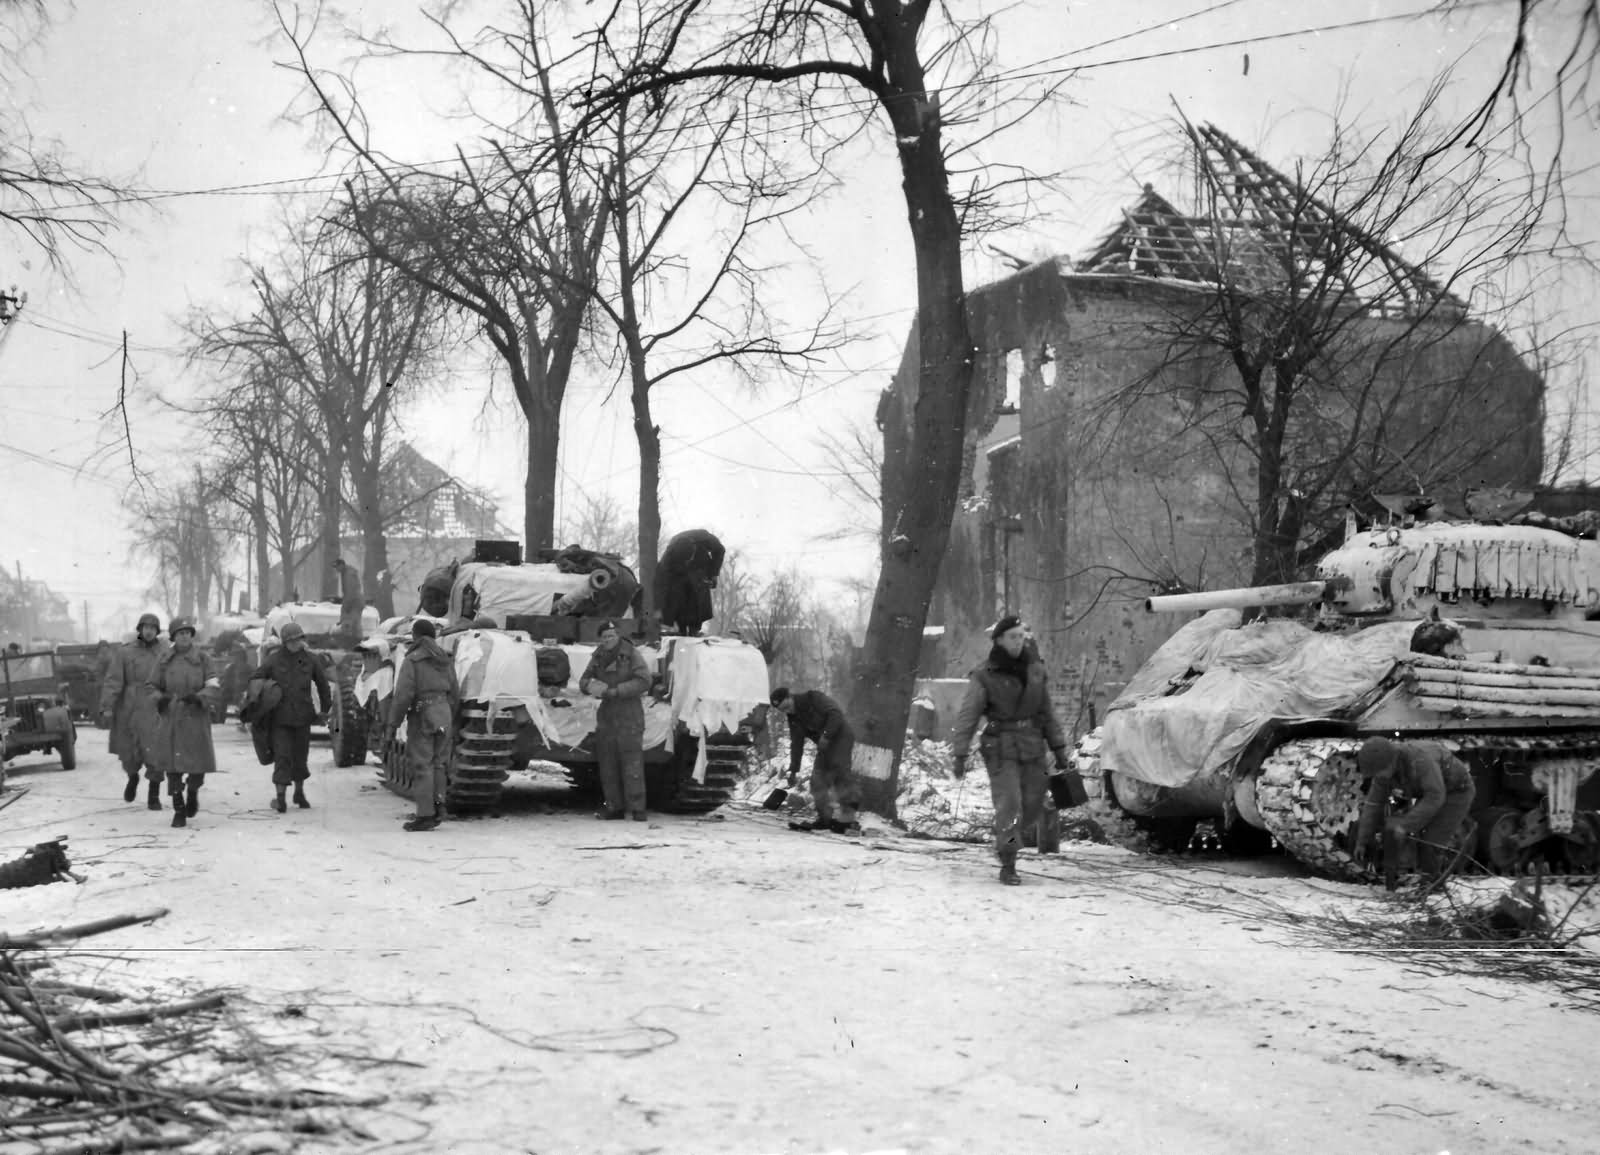
Like tgis one at Birgden-Waldenrath
9 Likes
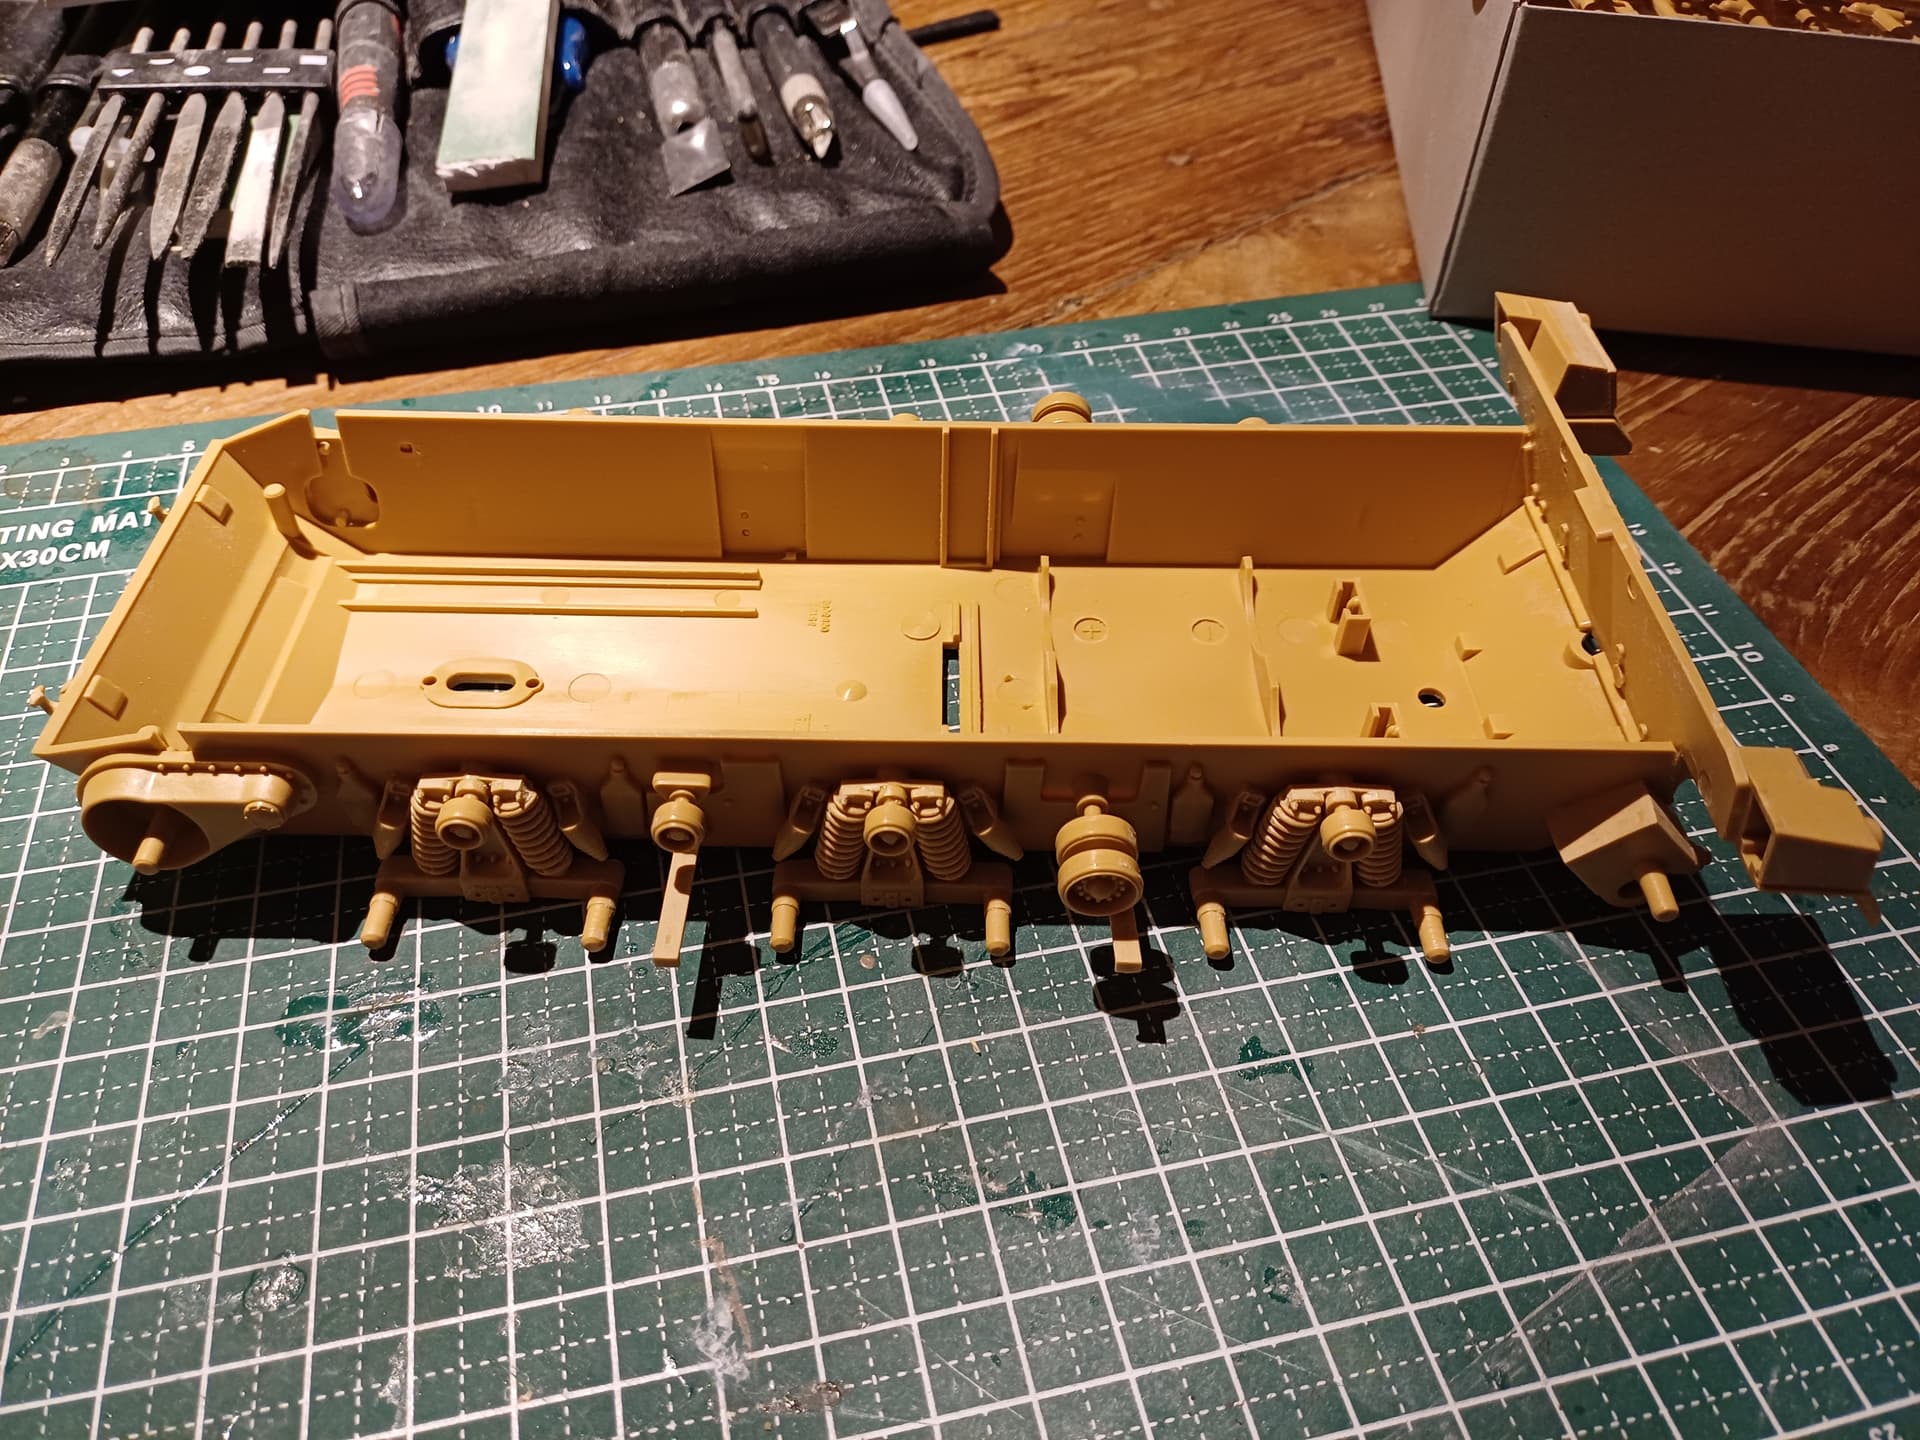
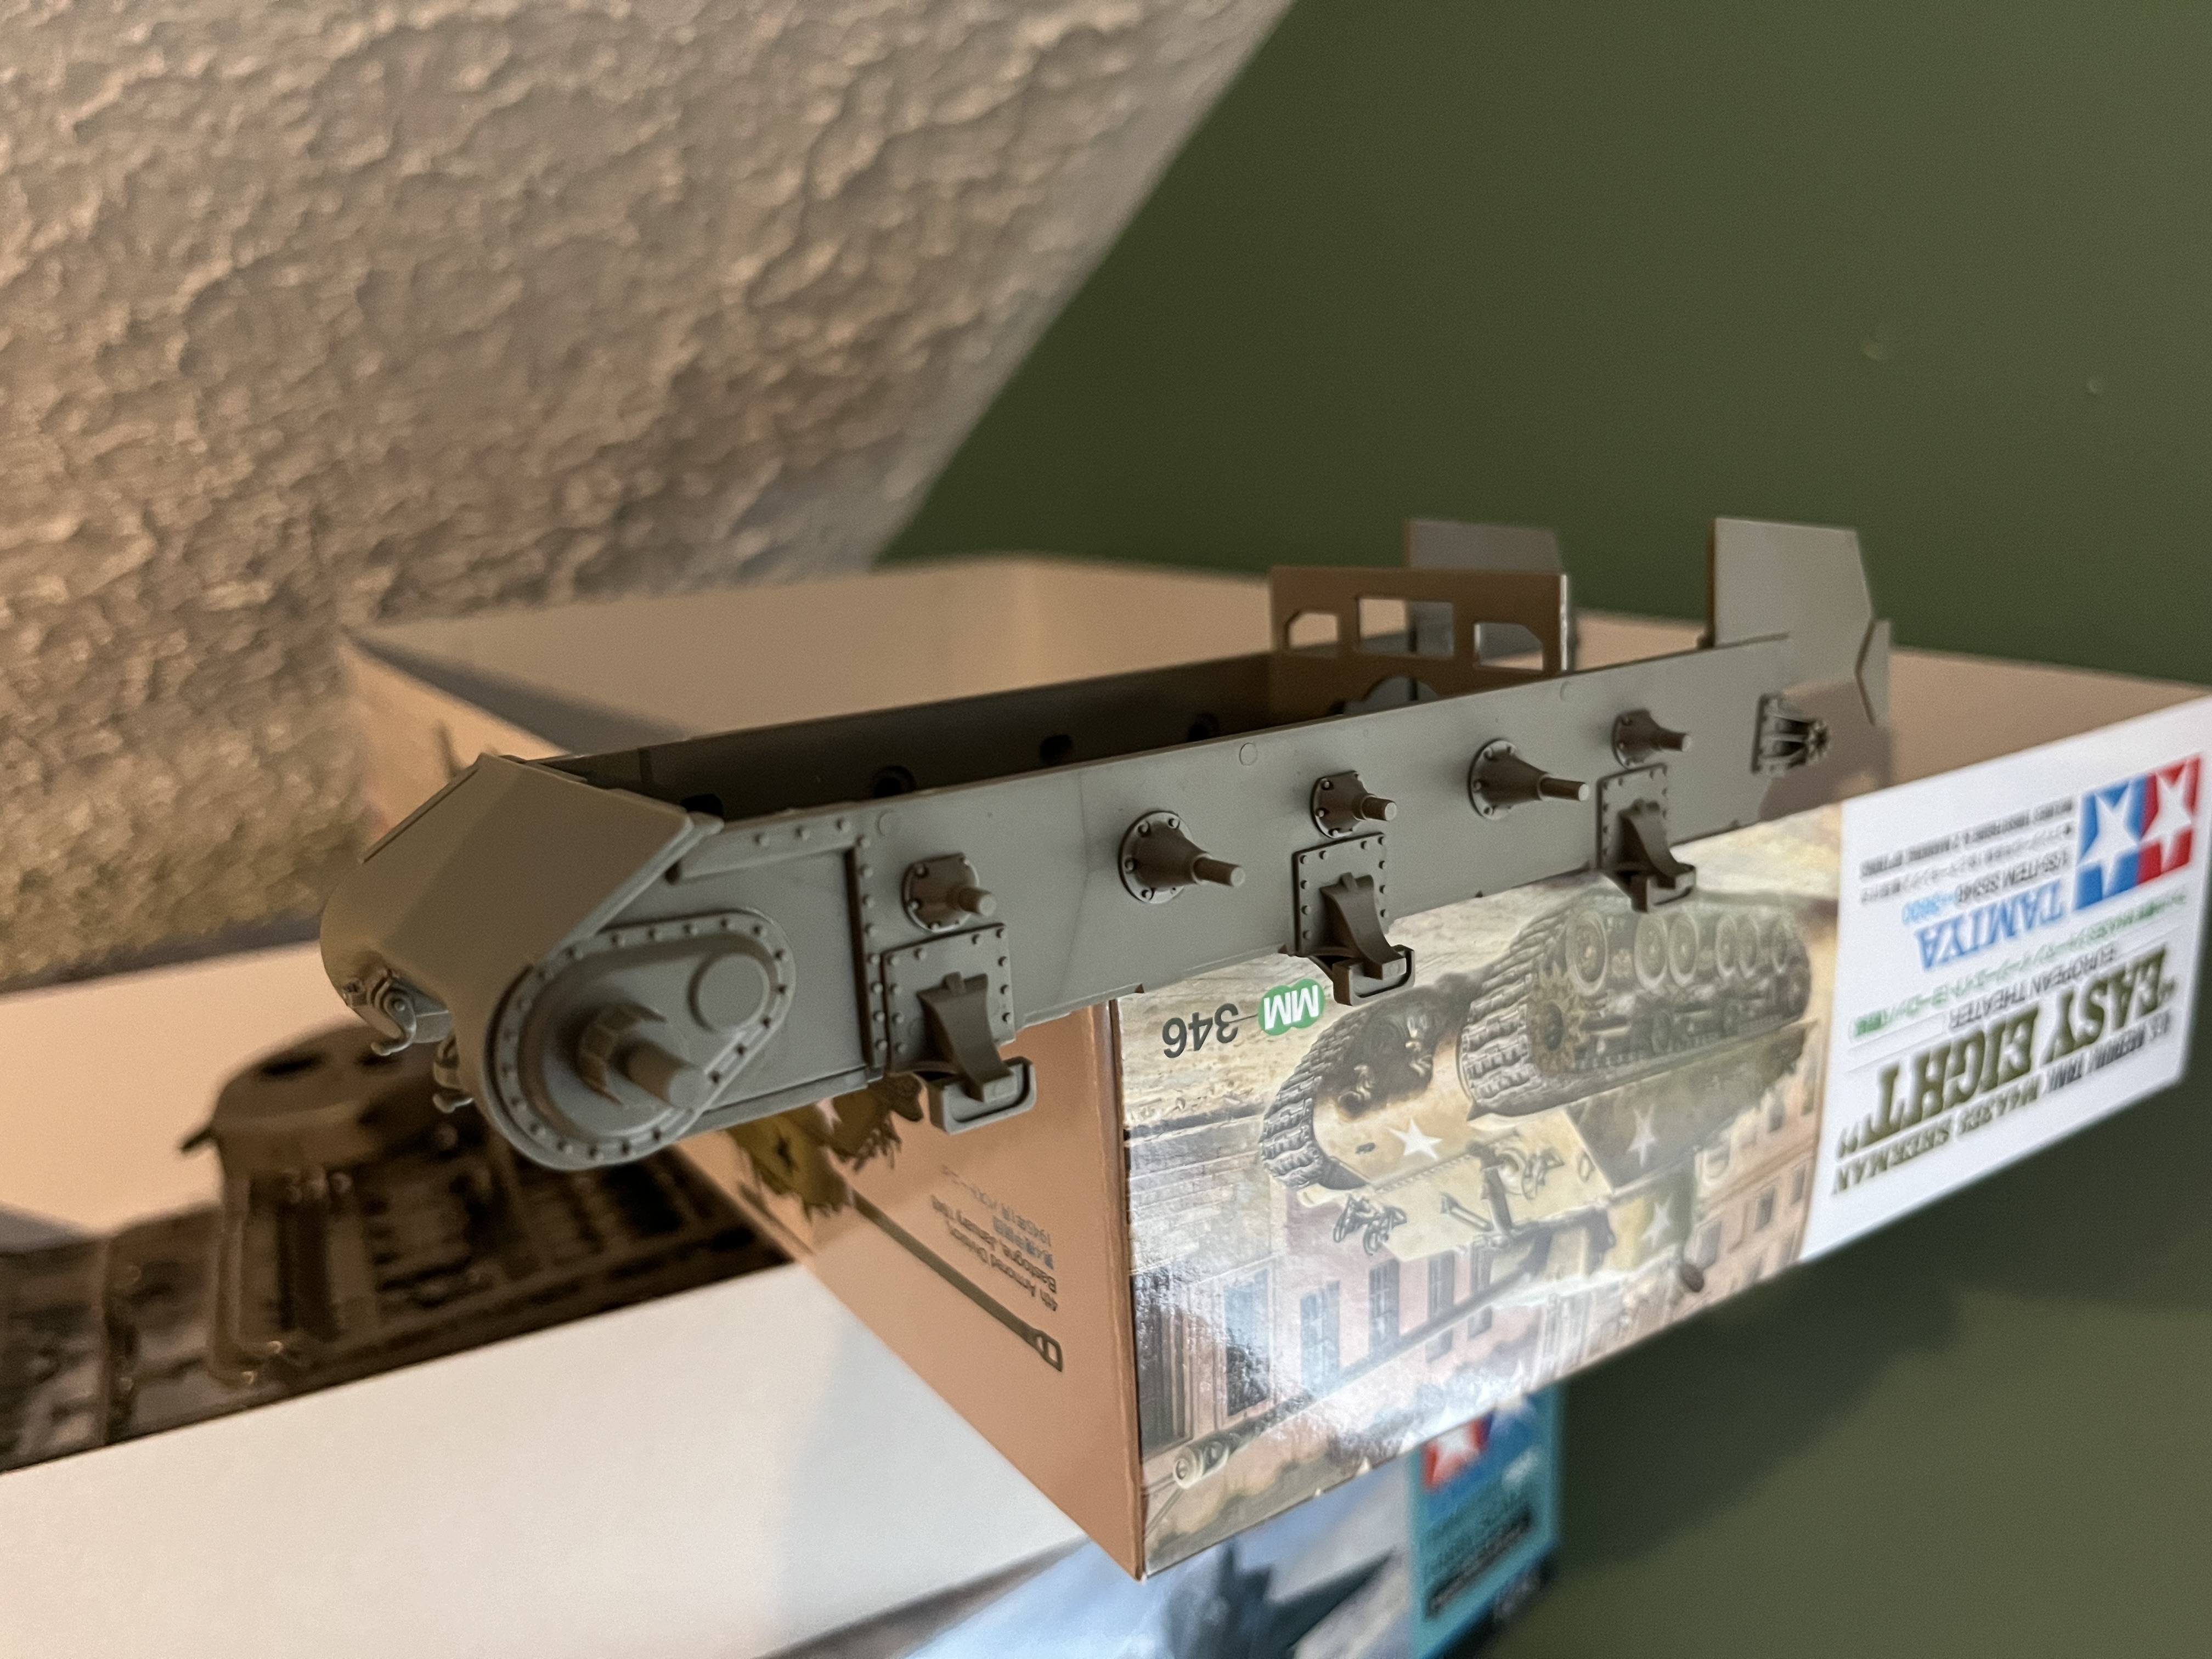
Starting from zero ![]() see how far we can get…
see how far we can get…

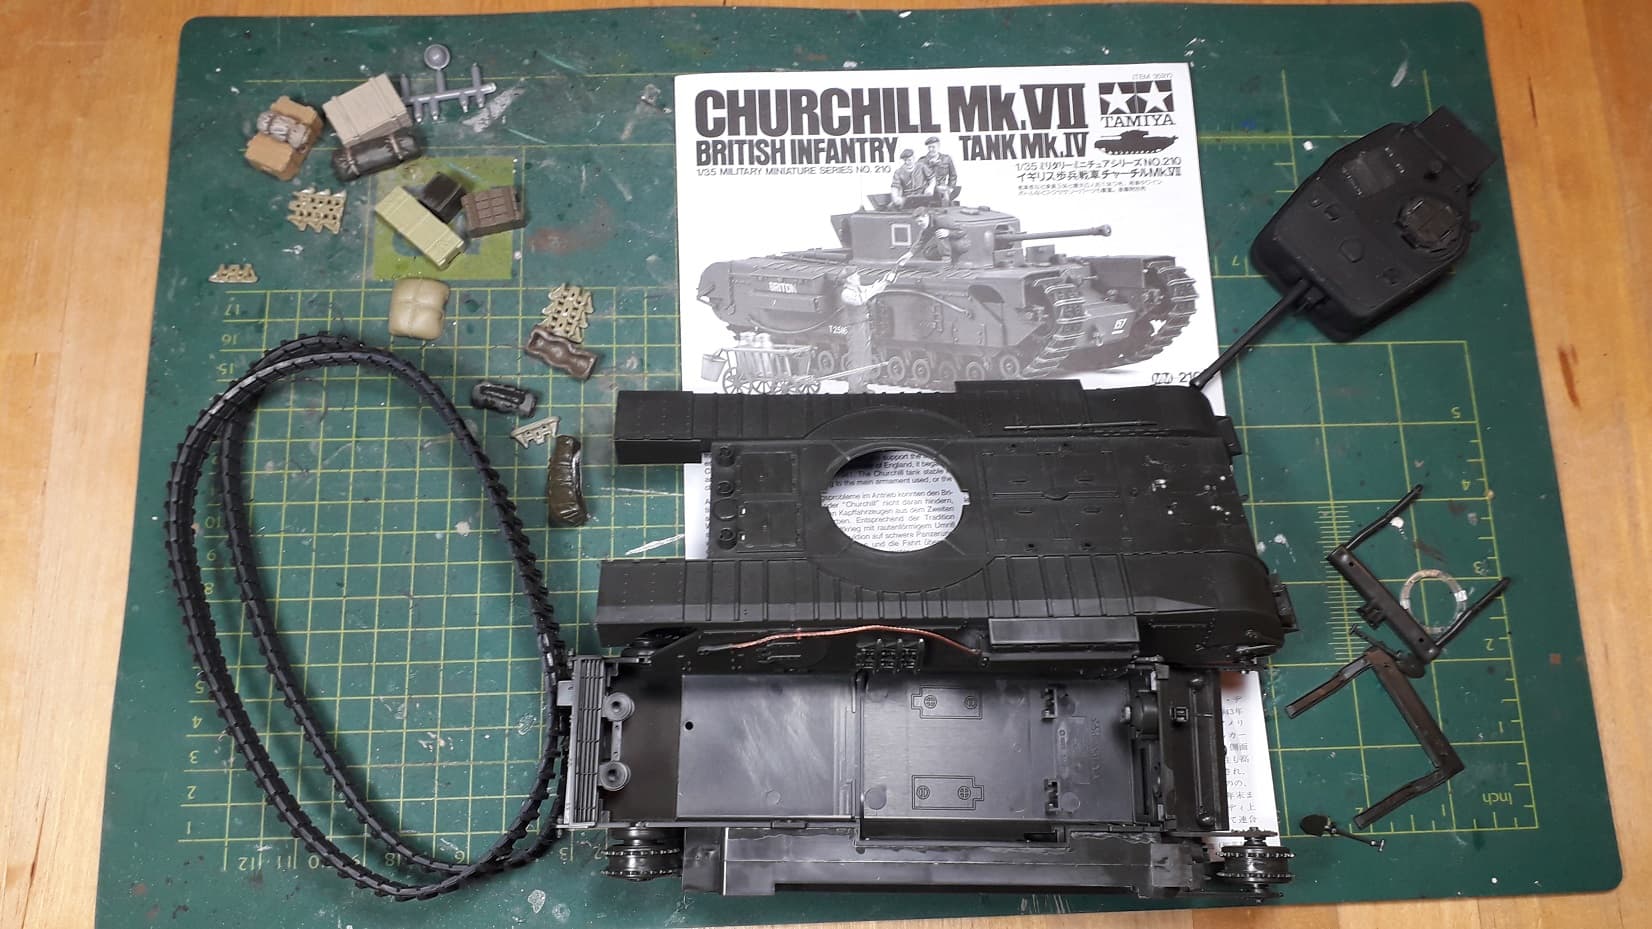
I have found this in the box…
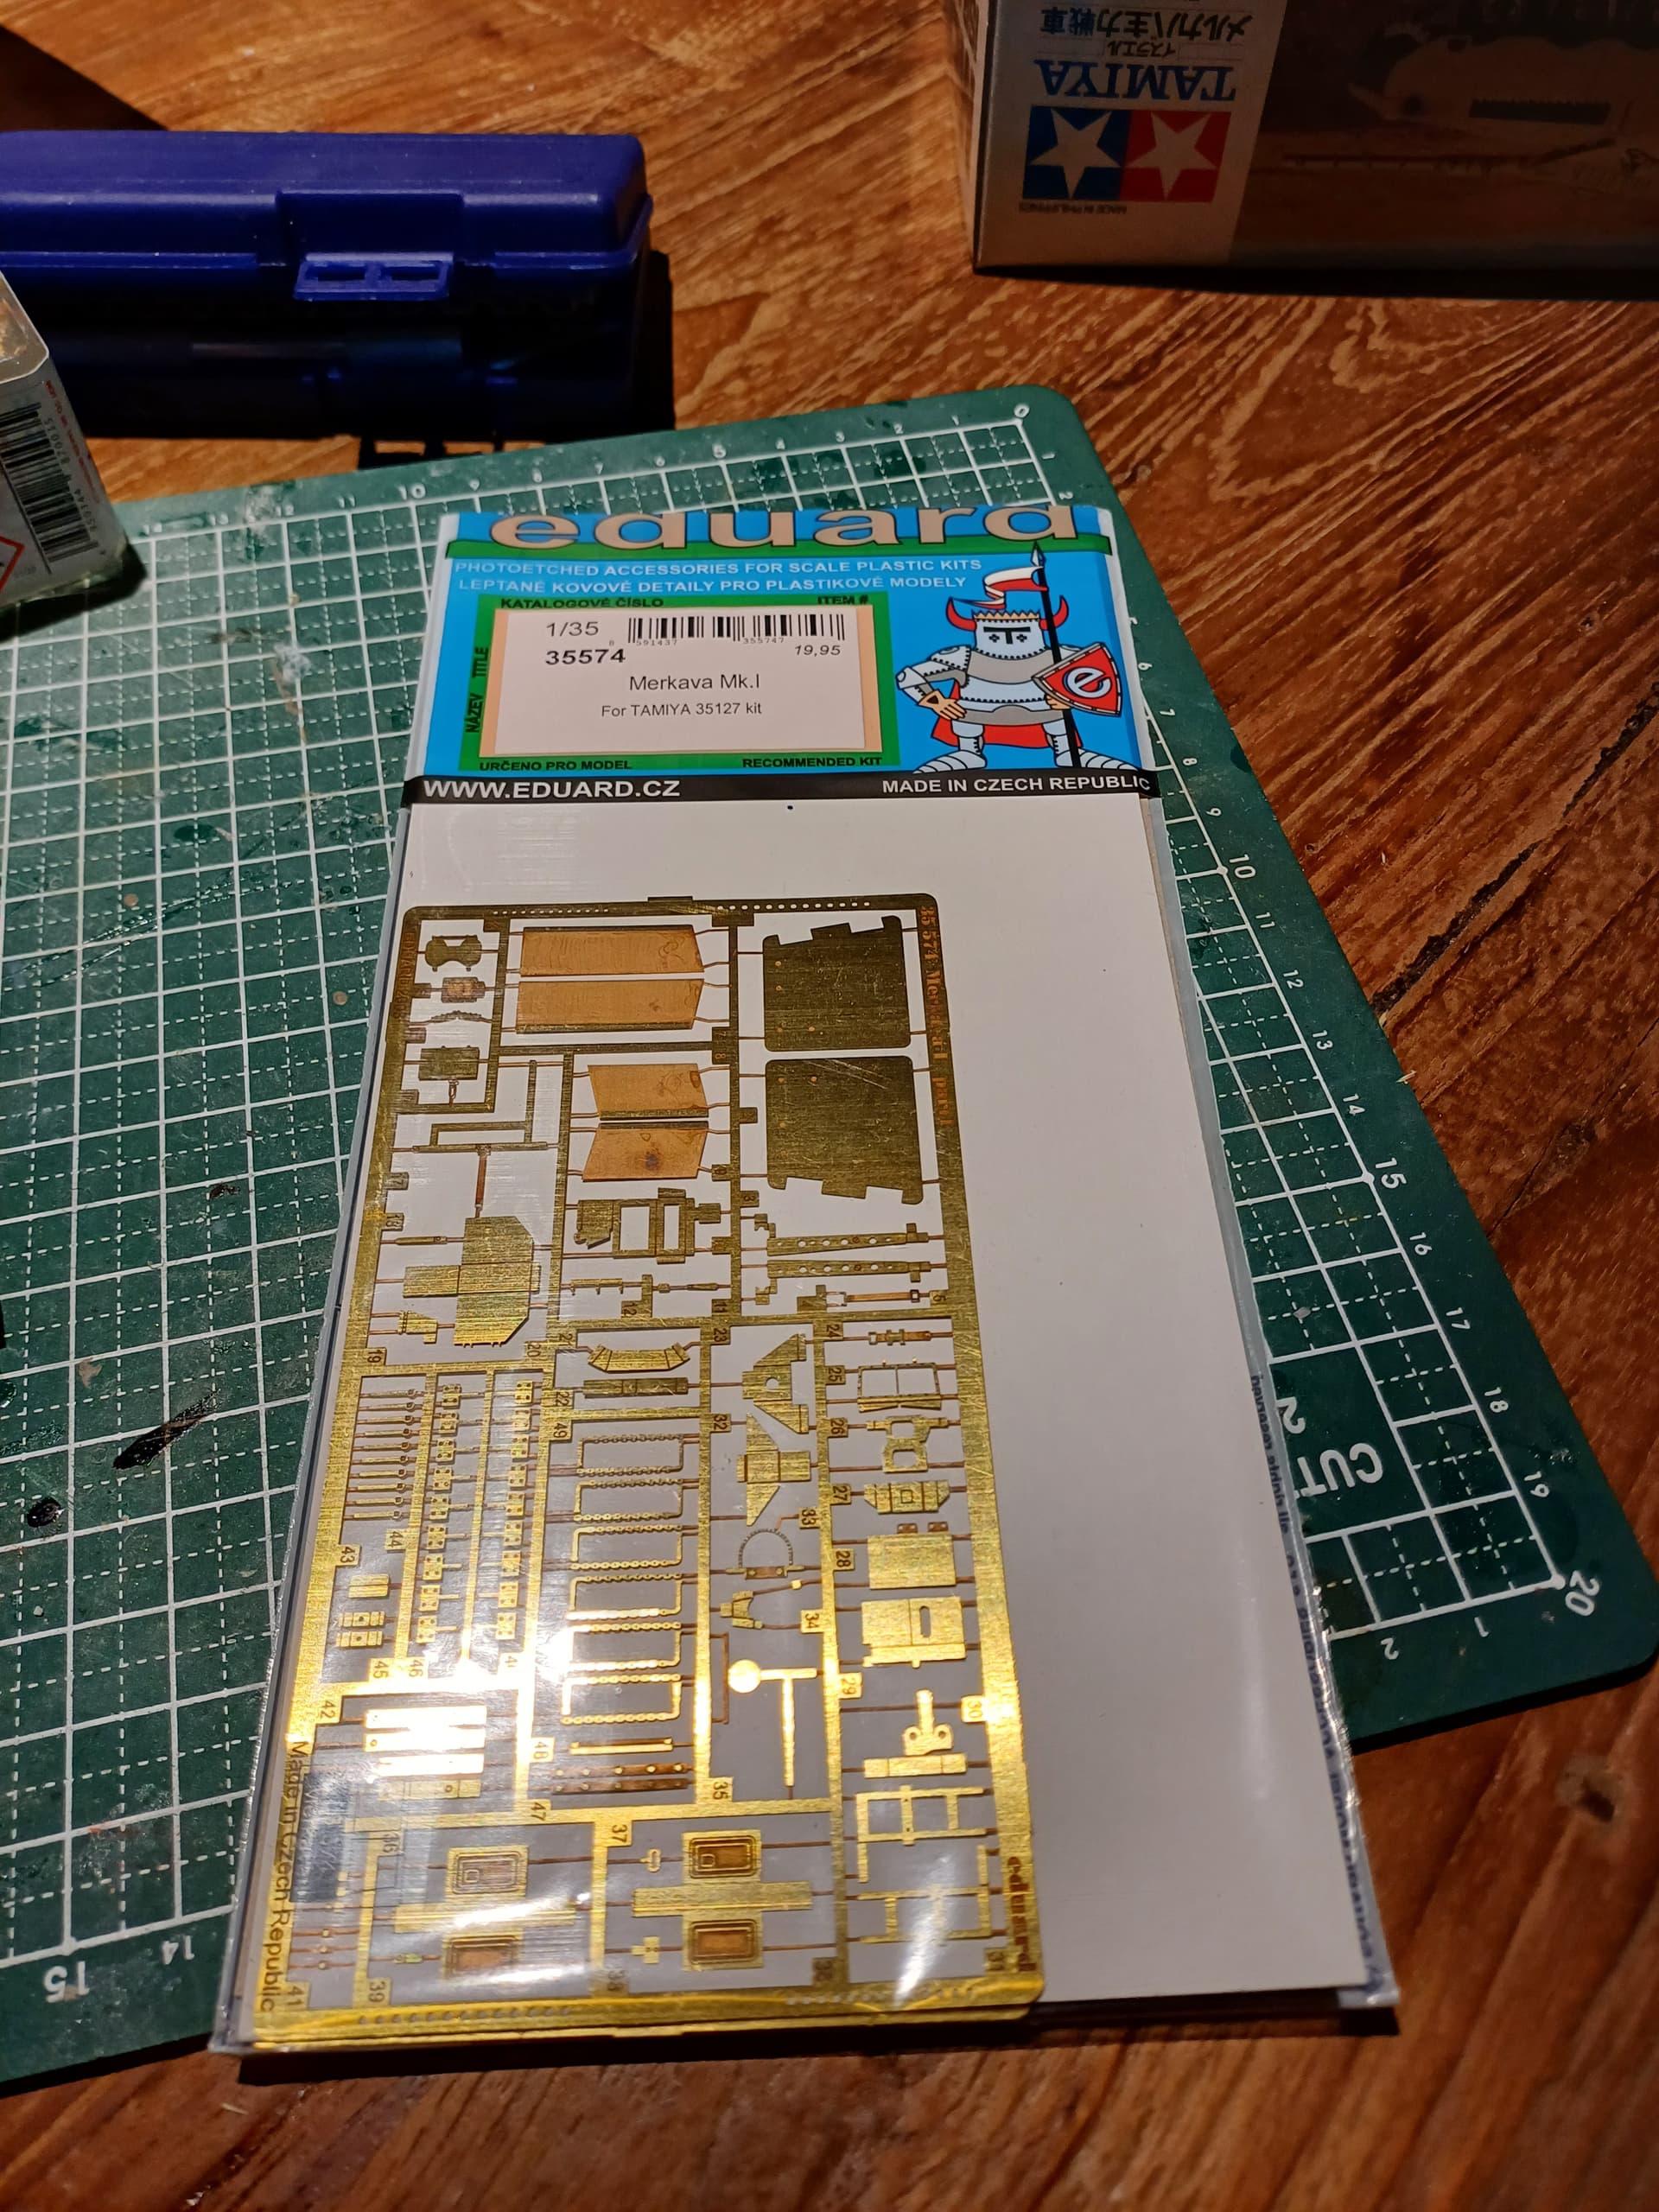
nice thing about buying something second hand ![]()
8 Likes
Hi Everyone,
Interesting things being proposed here! I very much enjoyed the Summer Nestagia campaign, and I believe that this one will prove to be equally fun. There seems to be a lot of tracked things on the bench, however, I’m going to give a bird the winter white wash for the first time. This should be interesting!
So, I’d pretty much made my mind up on what to build some time back, the how to white wash is still going through a planning stage. Never the less, one needs a bird to white wash. So with phone camera in hand I began on December first.
My choice is ICM’s 1/48 Polykarpov I-16. Faily low parts count, looks interesting and is a historically important aircraft. So it ticks off quite a few boxes that inspire me.
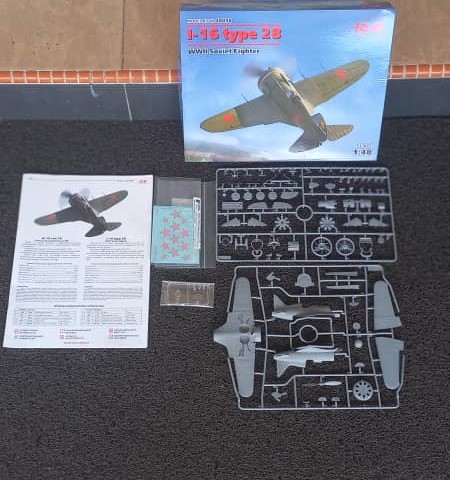
Dealing with some end of the year doldrums, I figured why not do a test fit. This was pretty revealing. There will be a pretty large gap at the wing roots, and no real way to get around it. Otherwise it appears to be a pretty nice fitting kit!

This will be my first ICM kit to build, this kits molds were made in 2016, with new parts added to do the Type 28 in 2017. So, for me, a new kit! Another thing I did notice during the test fit was that on the wing the alignment pin and hole were off on the starboard wing. Here, the pin is a bit long, and the mating hole is a bit narrow.
This was easily taken care of by opening the hole using a drill bit, and the pin was sanded down a bit.

Subsequent test fitting found that the once worked on, the wing mates perfectly. Since I’d been working on the wings I figured why not see how glue interacted with the plastic. I went ahead and mated the wing lowers and uppers together, intentionally leaving off the ailerons as I felt they’d really get in the way. Now I’m wondering if this was a goof, we’ll see.
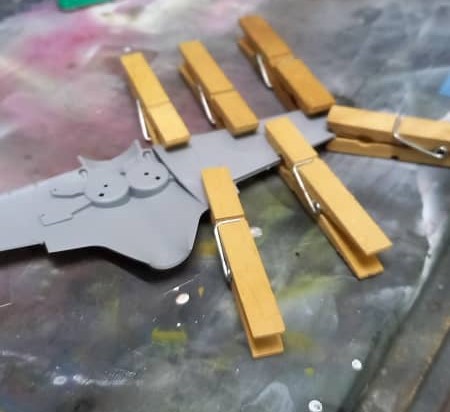
The plastic, while seeming a bit soft reacted very nicely with Mr. Cement SP (think Tamiya thin). After it was set, all that was needed was a light sanding and left no gaps or seams. So far, I’m liking this kit and things are going quite fast.
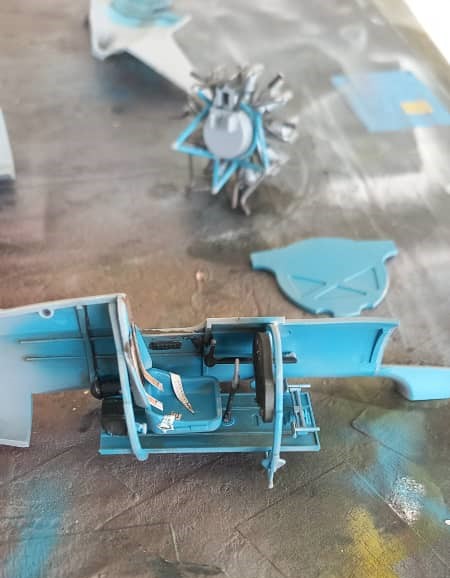
With my interest piqued, I dove right in, pretty much following the instructions. While researching, it seems that interior blue would be considered an appropriate color, given the state of affairs at the time in the USSR. This was a good thing, as I have a nice color on hand, and it can be toned down once a wash is added. I also tried something a little different for me, building up much of the interior and not painting till near the end. The reason I chose to do this, is I’ve seen a few modelers do this, and it looks like a time saver. Plus there is no scraping paint off of tiny parts and risking damage.
Anyway, after building up the interior I gave it a coat of Mr. Color 392 interior color (Soviet) and followed with a brown wash (Tamiya panel liner). I also picked out the various panels in black along with the throttle control. I think it turned out ok. The instrument panel is a bit of a let down, with no instruments, it’s just the face with the instruments done as round pegs that fit into the face. I painted the panel NATO black and did the instruments in gloss black on the back of the clear part. Given that the instrument panel is located so far up in the fuselage one will be pressed to see it once all is closed up. The kit also lacks seat belts, so I took a set from a photocopy of PE belts glued to aluminum foil and put them in. These will need a bit of trimming, but overall should look the part.

The kit engine is done very well, however as with most of the interior on this kit, once in it won’t be seen. ICM has done a great job if the modeler chooses to open things up and show off some of the engine area. I typically don’t, so my primary focus was to align the exhaust pipes as best as possible. I did drill out the ends to make them look pipe like, and then loosely attached them to the engine with a spot of glue. The reason for this is the locations are a bit nebulous in the instructions, a weak point, but once in they can be adjusted to fit into the exhaust ports of the fuselage. I gave the engine a rudimentary paint job as very little will be seen.
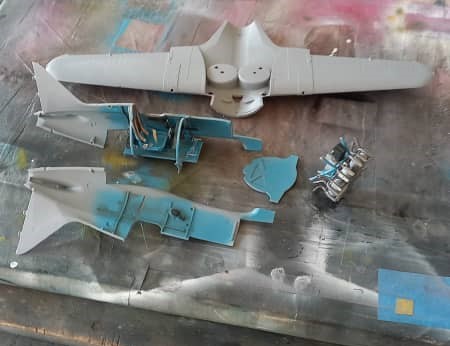
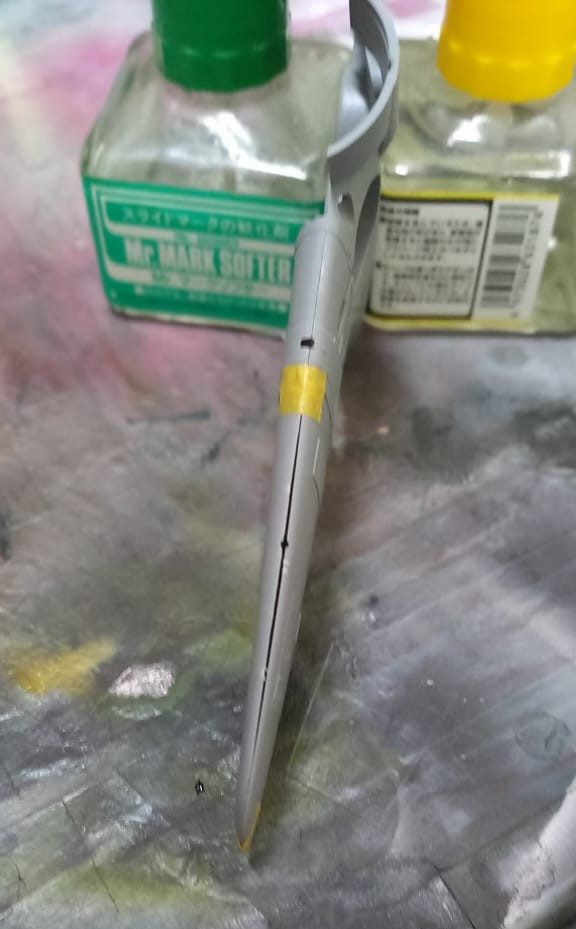
I then closed up the fuselage, taking a care to mate the front and leave a spacer on the rudder area as the control surfaces are posable, I wanted to avoid unwanted glue on them. The rudder was popped into place and then the fuselage was mated to the wings. As expected there is a sizable gap at the wing root/fuselage, but nothing that a little filler and sanding won’t take care of.
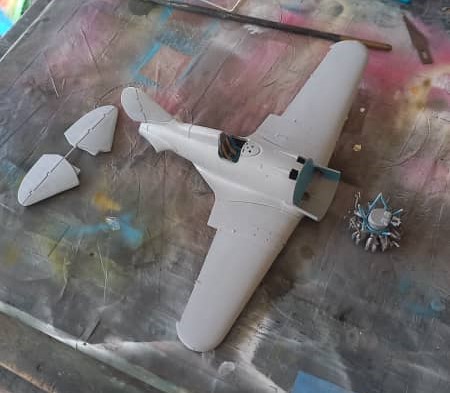
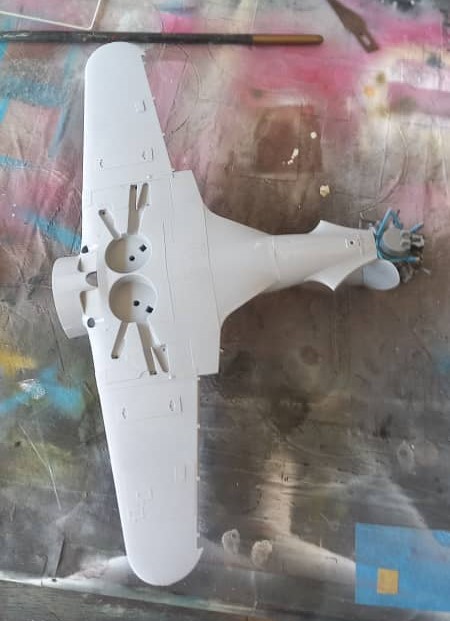
So far, I’m pleased at how this kit goes together. This is the progress of just three days of construction at about four hours per session. This also gave me a nice boost in motivation, so it’s time to wrap up my SPAD XIII for the great war campaign. I’m pretty sure after my next session I’ll have an airframe ready for some painting!
Till next time, be safe, wash your hands and have fun!
7 Likes
Welcome aboard!
Your project looks good so far.
2 Likes
As my kit is a Tamiya, it goes together nicely… it’s the PE that costs a lot of time…

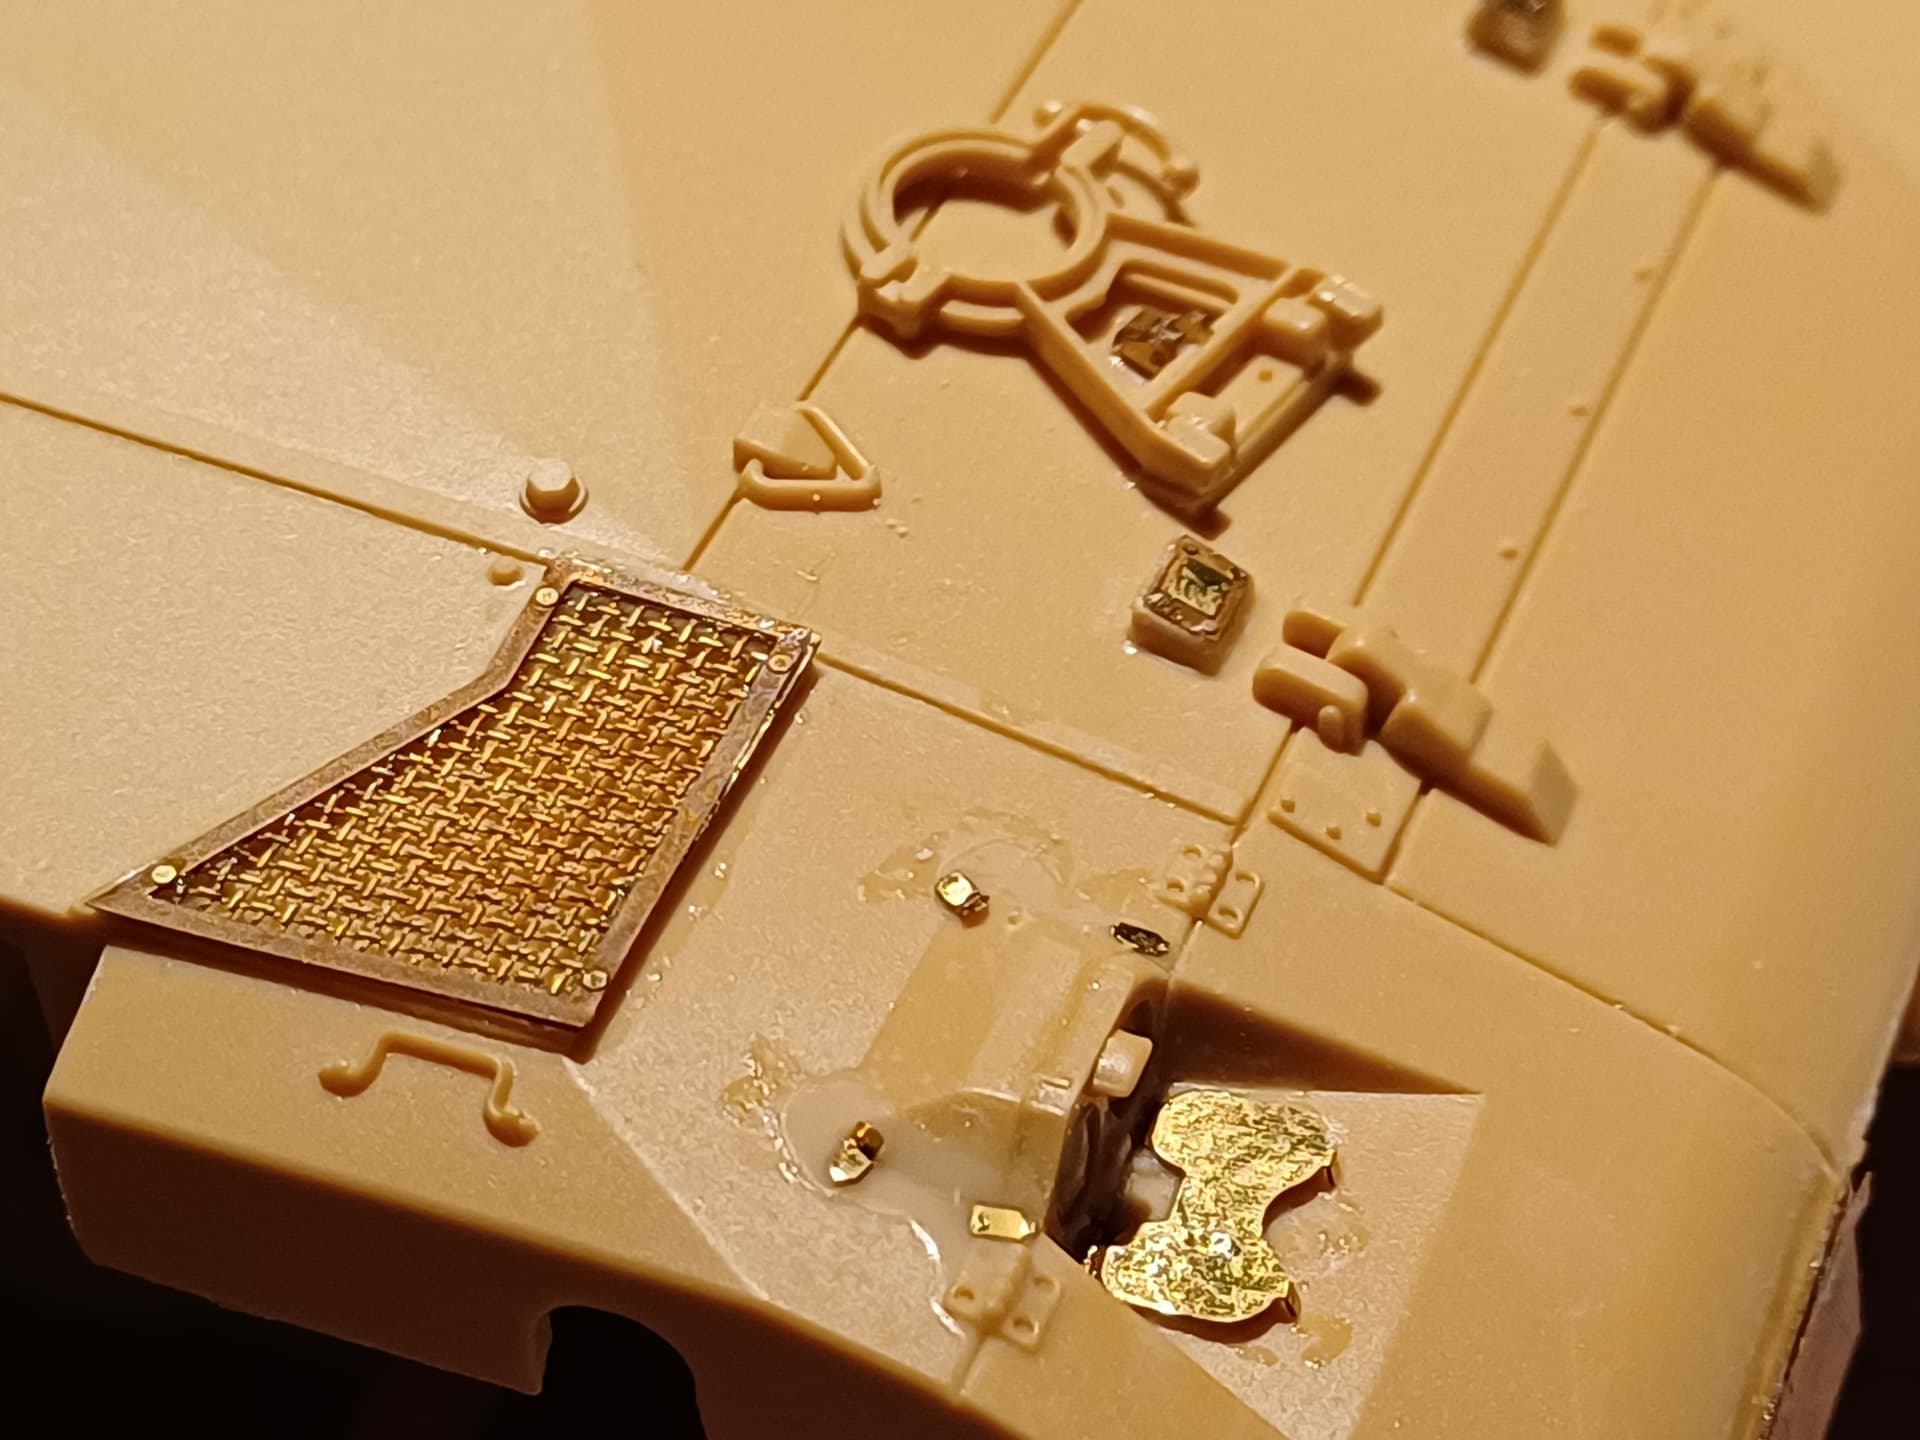

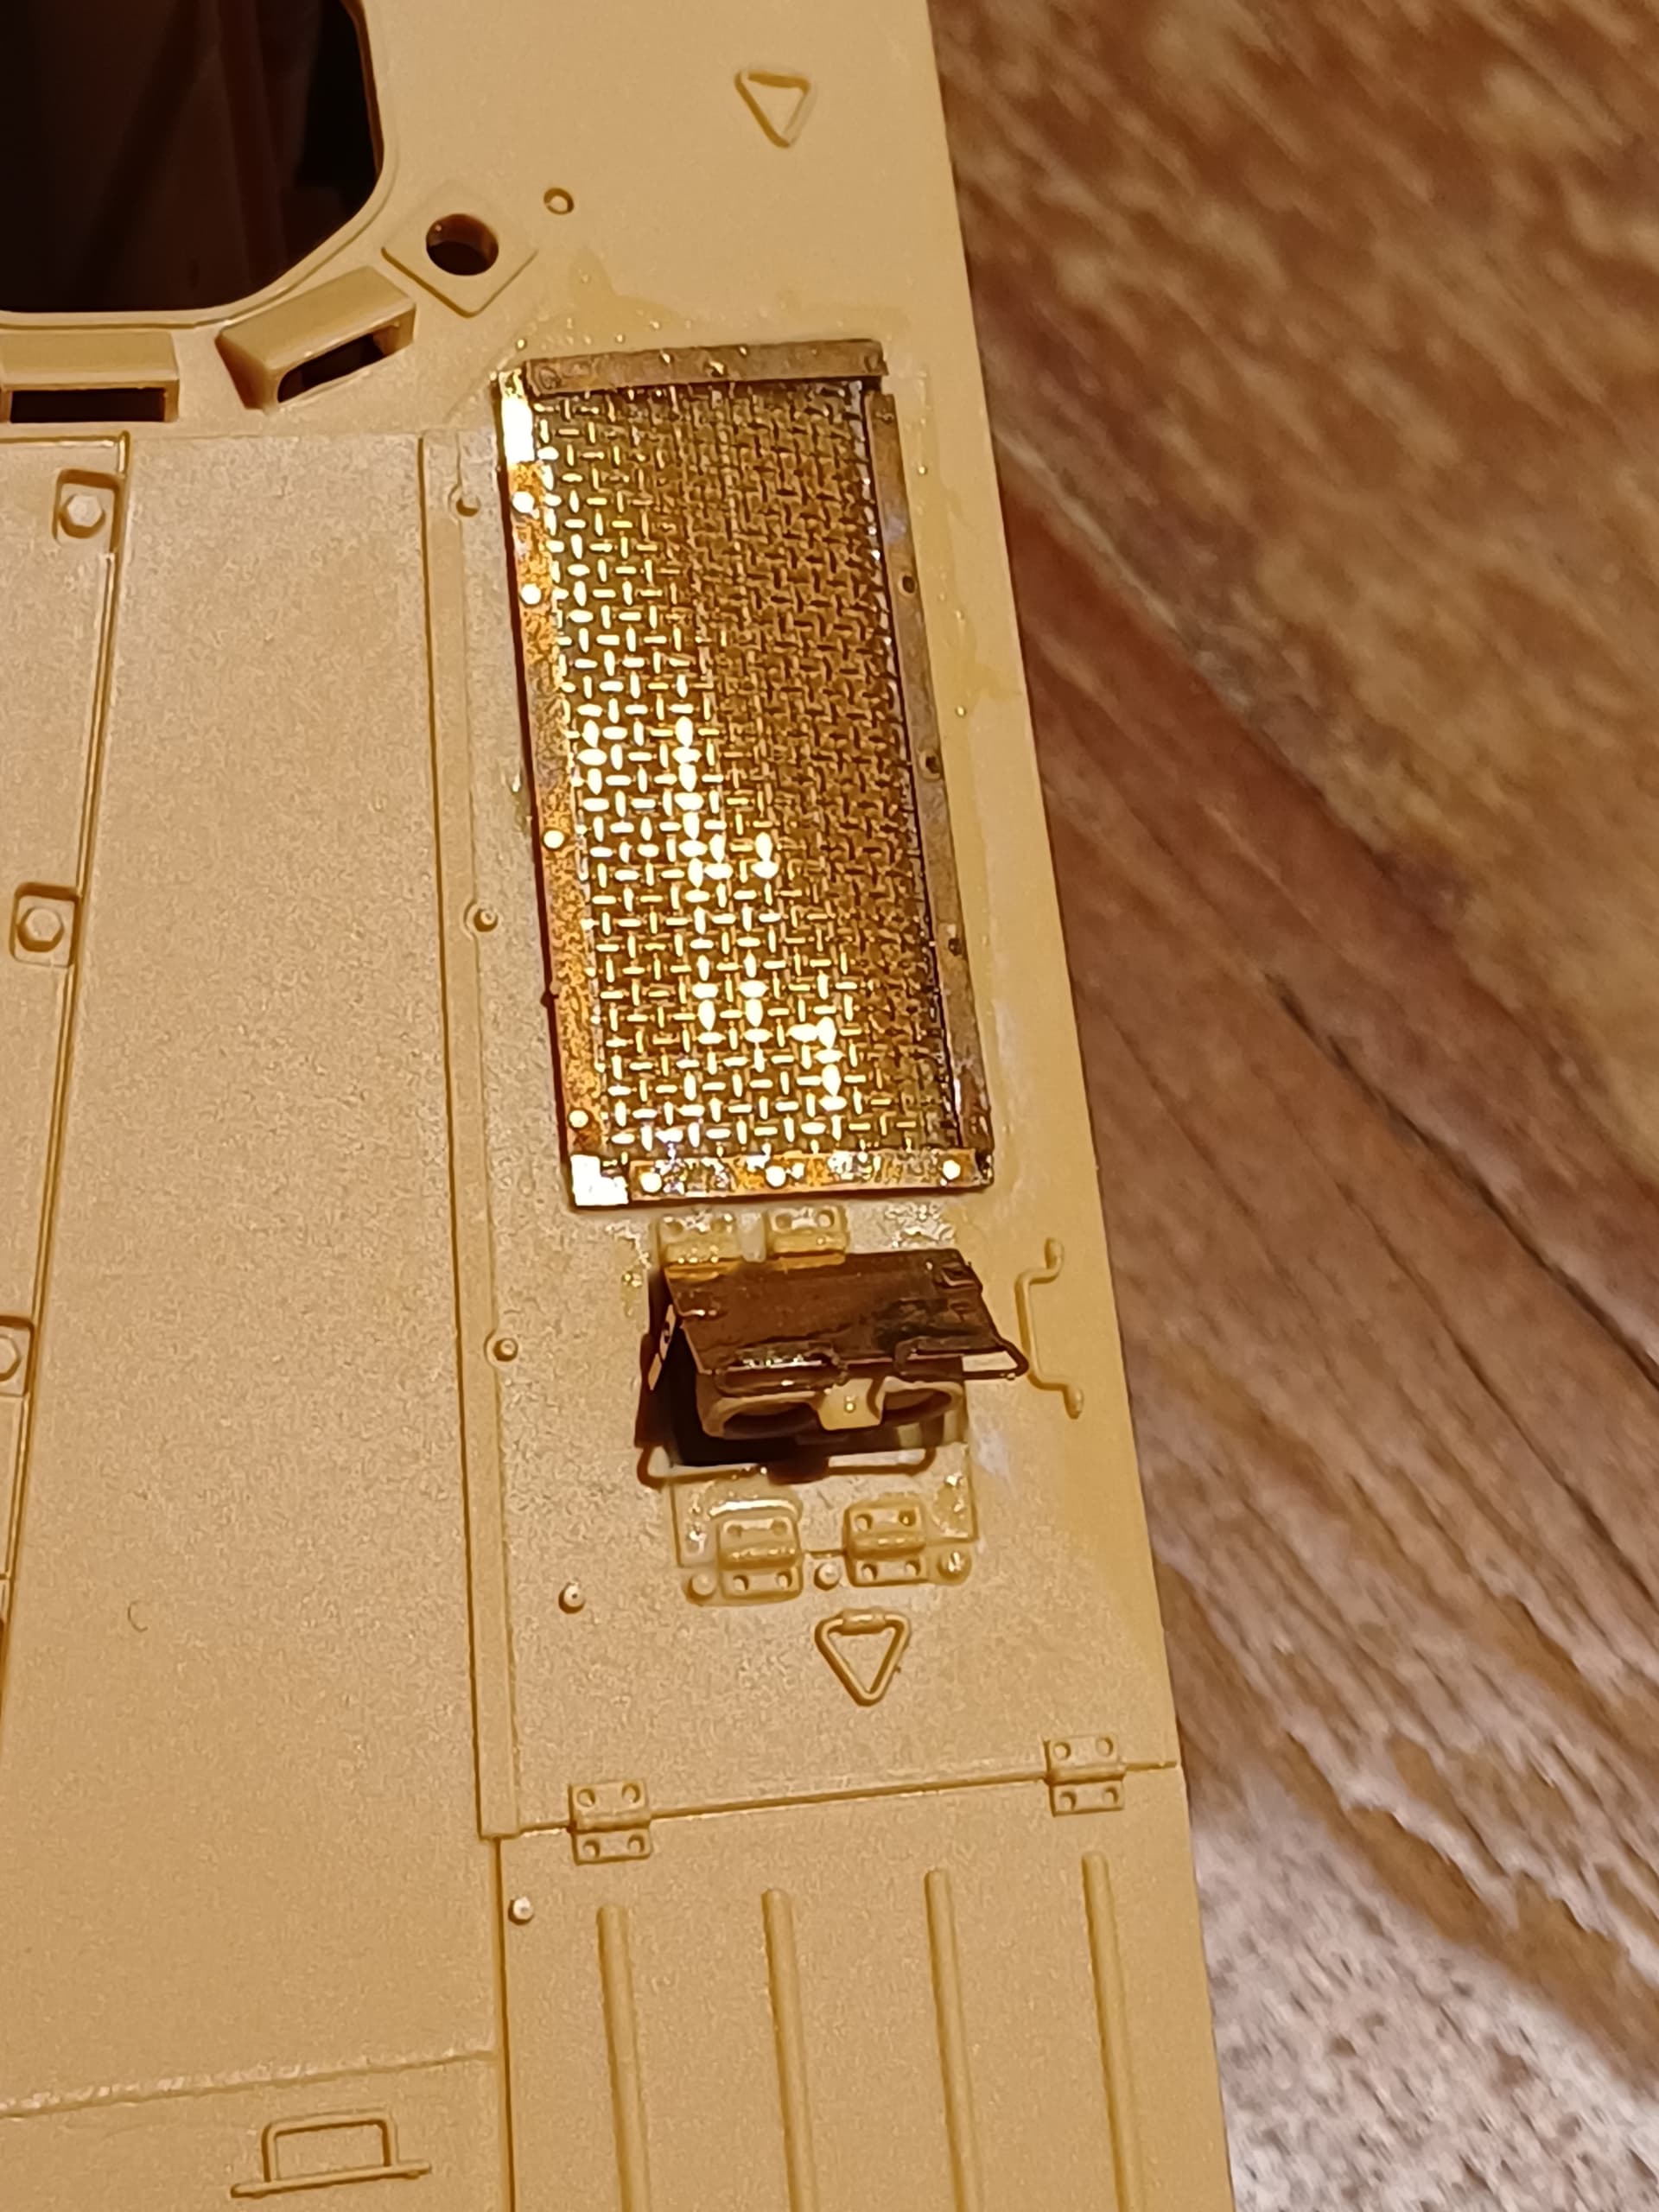
And as I am doing this and am expecting snow… I think why am I doing this? ![]()
6 Likes
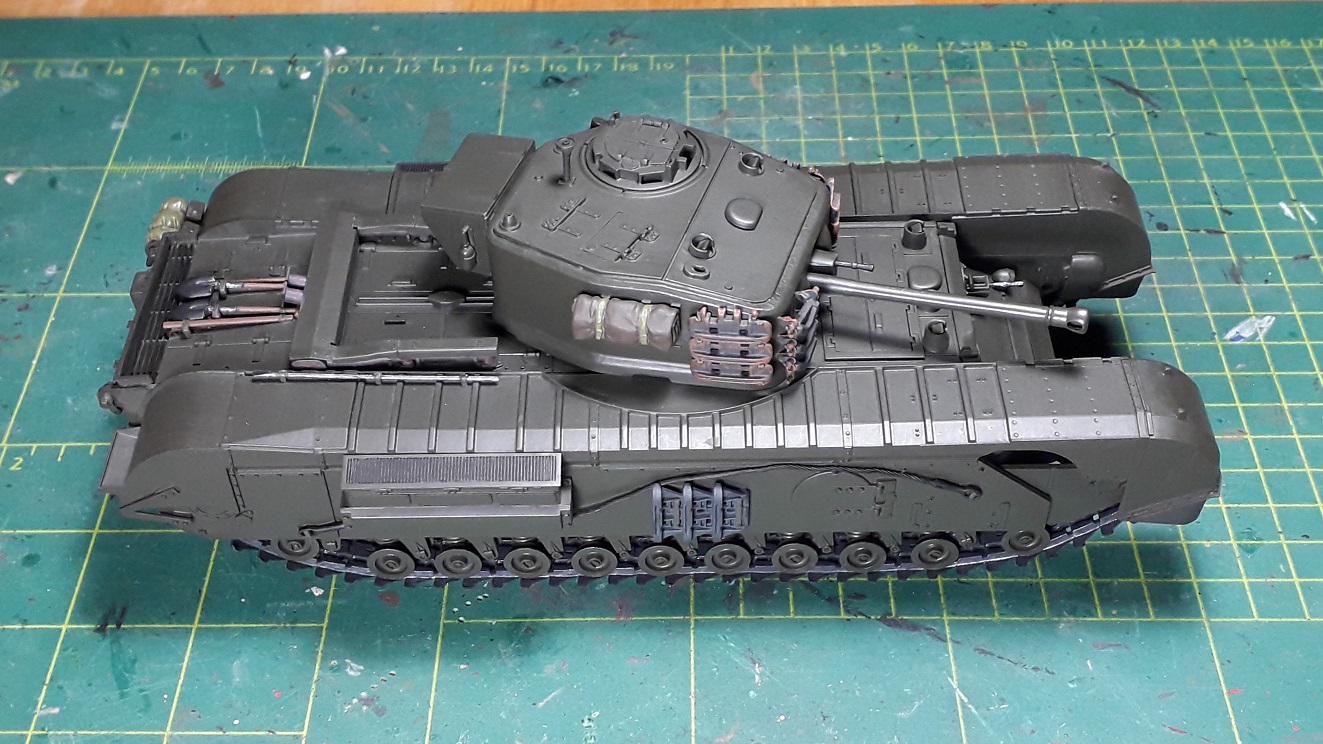
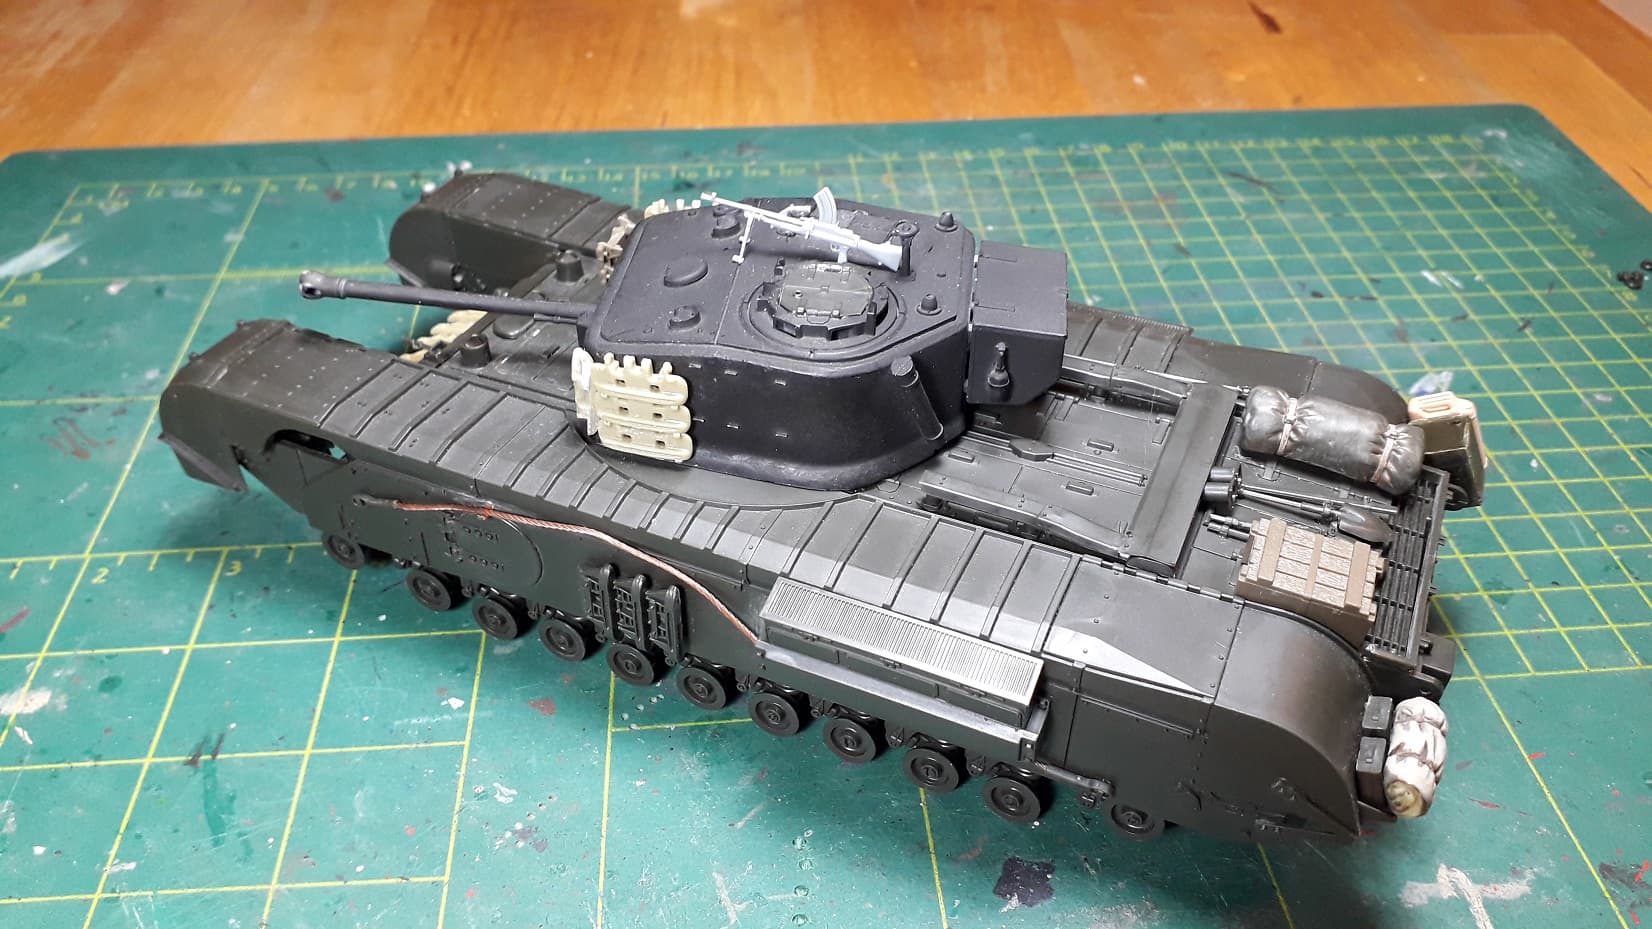
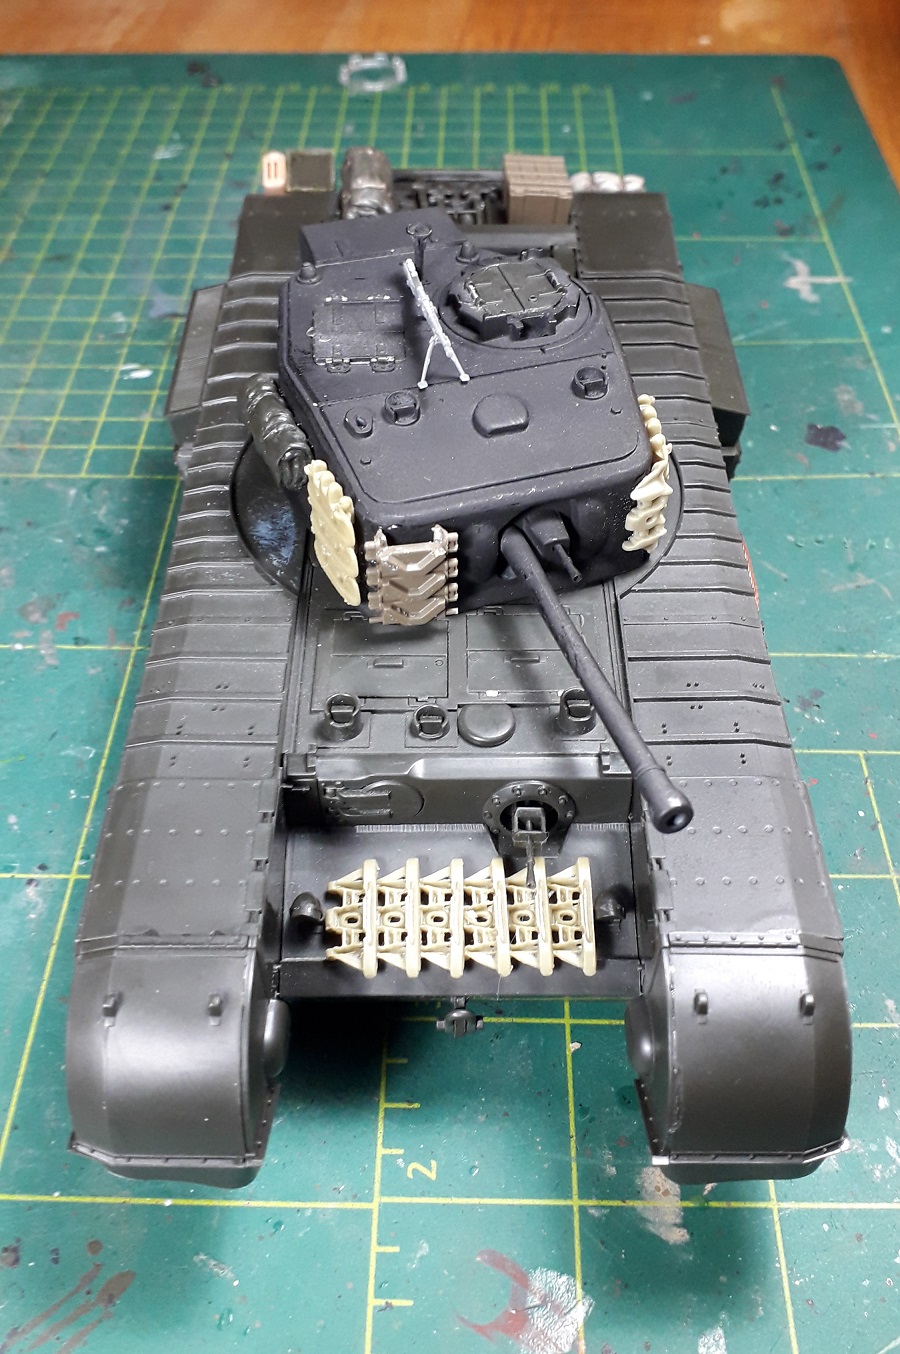
Buildwise this is done and it is a very simple construction, really.
I added a few sparetracks as extra armour, since it was a common feature on Churchills, and much of those will be (partially) hidden by white sheets. They are just there for the shape. I also added a few stowage items, just to make it all more lively.
Now paint…

8 Likes