This will be my first complete build since getting back into the hobby recently. Hope you all enjoy it. I’m posting here mostly for your advice and criticism along the way. I’ve built some aircraft in the past, but was mostly an armor guy before.
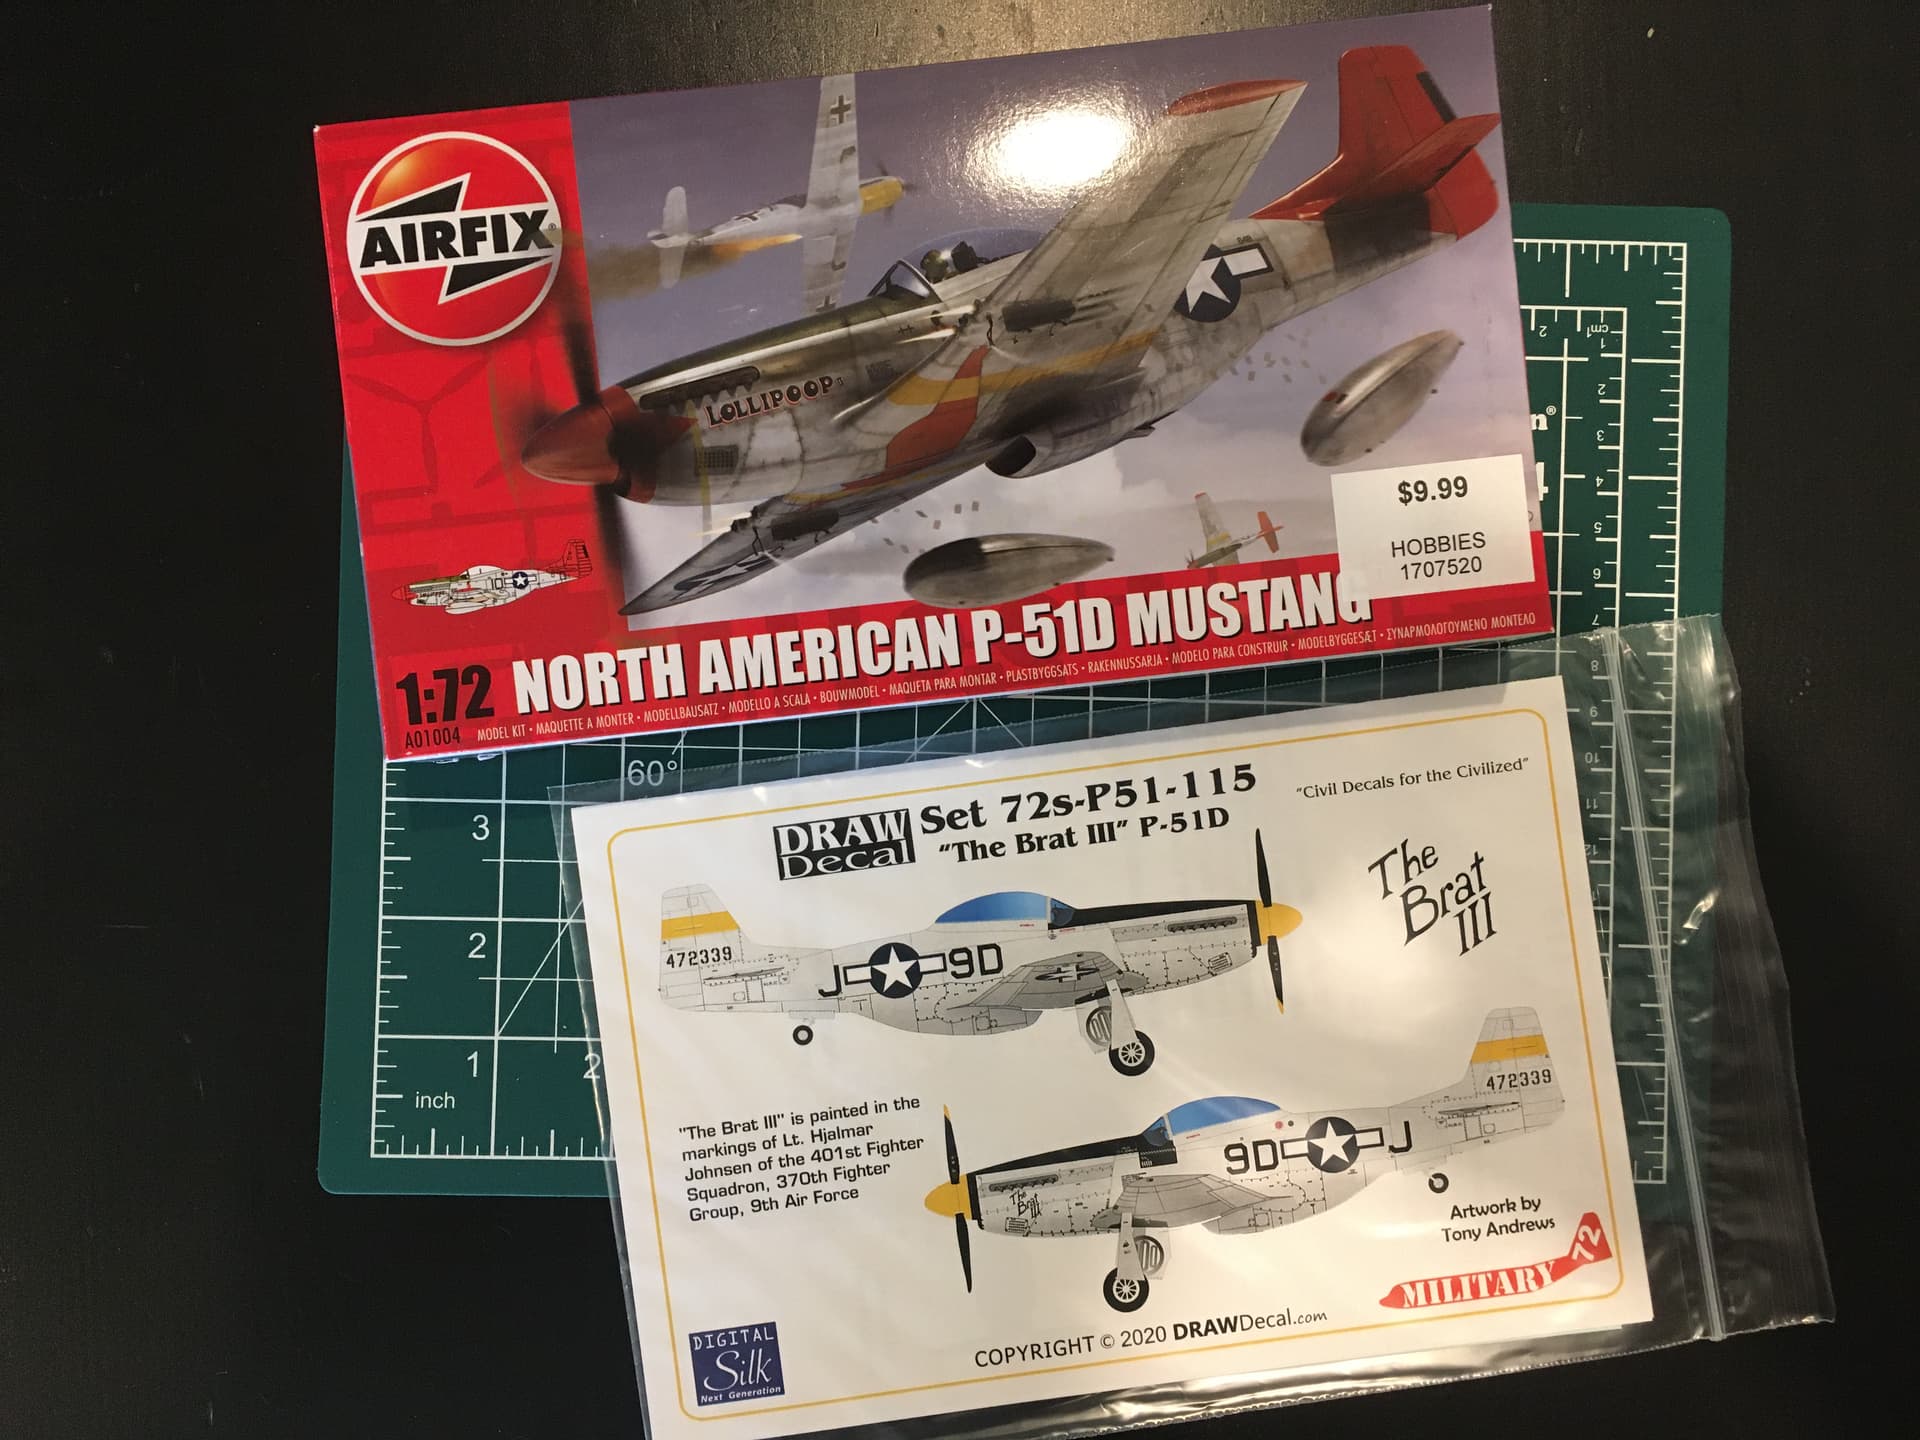
I’ll be doing this kit as The Brat III. This is my favorite flying Mustang out there, partly because it is a simple but aesthetically pleasing paint scheme and partly because it is one of the few surviving, flying P-51s that saw combat and still wears its wartime colors. That’s unusual for a warbird. The Brat III is currently owned and operated by the Cavanaugh Flight Museum in Texas.
Other than the Draw Decals set, this will be out-of-the box. I do not have an airbrush, but will figure out an NMF process when I get there. For now, the plan is to build a wartime rendition of the aircraft, with light wear.
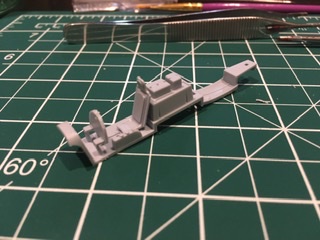
Got the cockpit assembled and managed to break the control stick cutting it off the sprue with my new sprue cutters. Oops. Guess this will be a closed canopy build.
I’m building that same model as we speak. I too broke the control stick, as did my son a few weeks back when he built his. I ended up able to glue it back together with some extra thin glue and it came out great.
More progress today. Made a new control stick out of stretched sprue; it’s not perfect but will look the part through the closed canopy.
(Had a lot of trouble stretching pieces of Airfix sprue. Revell went just fine…)
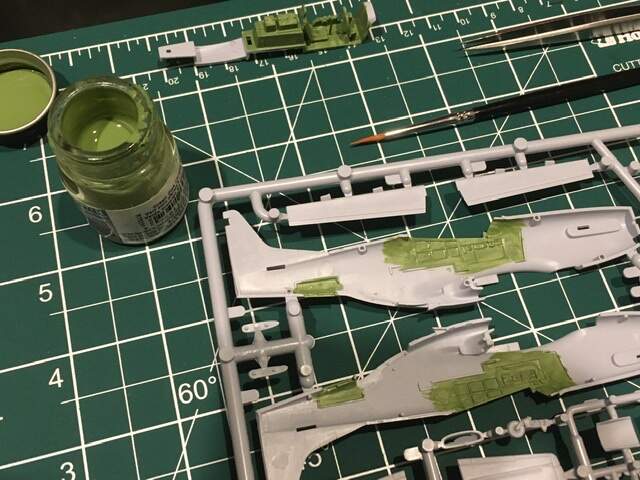
Now on to painting (and wishing I had an airbrush to do those nice neat cockpits I see here). Apparently I forgot how to brush paint—it’s splotchy. Using MM acrylic.
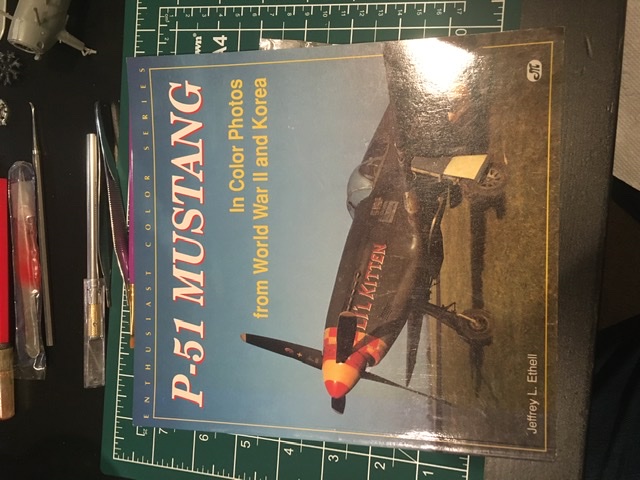
This is just the first coat and a bit of a “primer” coat. Will be looking at reference photos for the final colors.
May briefly shift focus to final painting on the Revell PT-17 Stearman sitting on the bench, but still hope to make progress here.
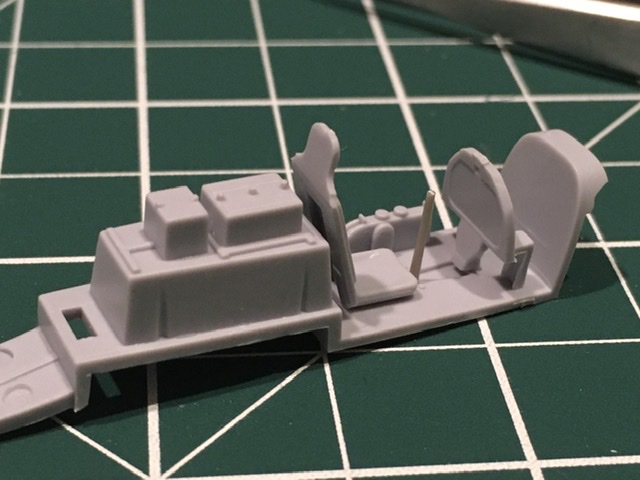
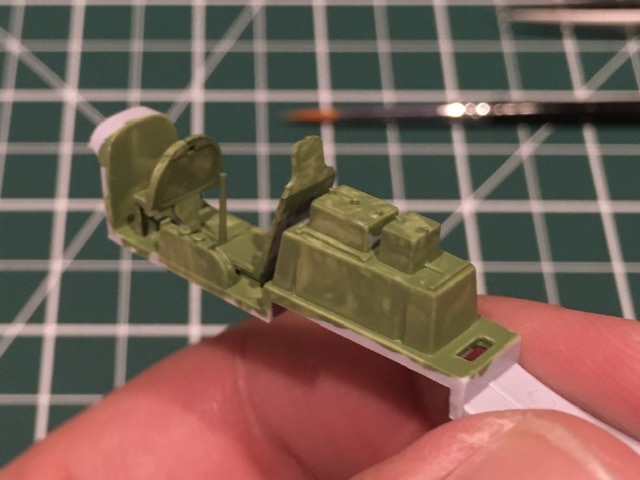
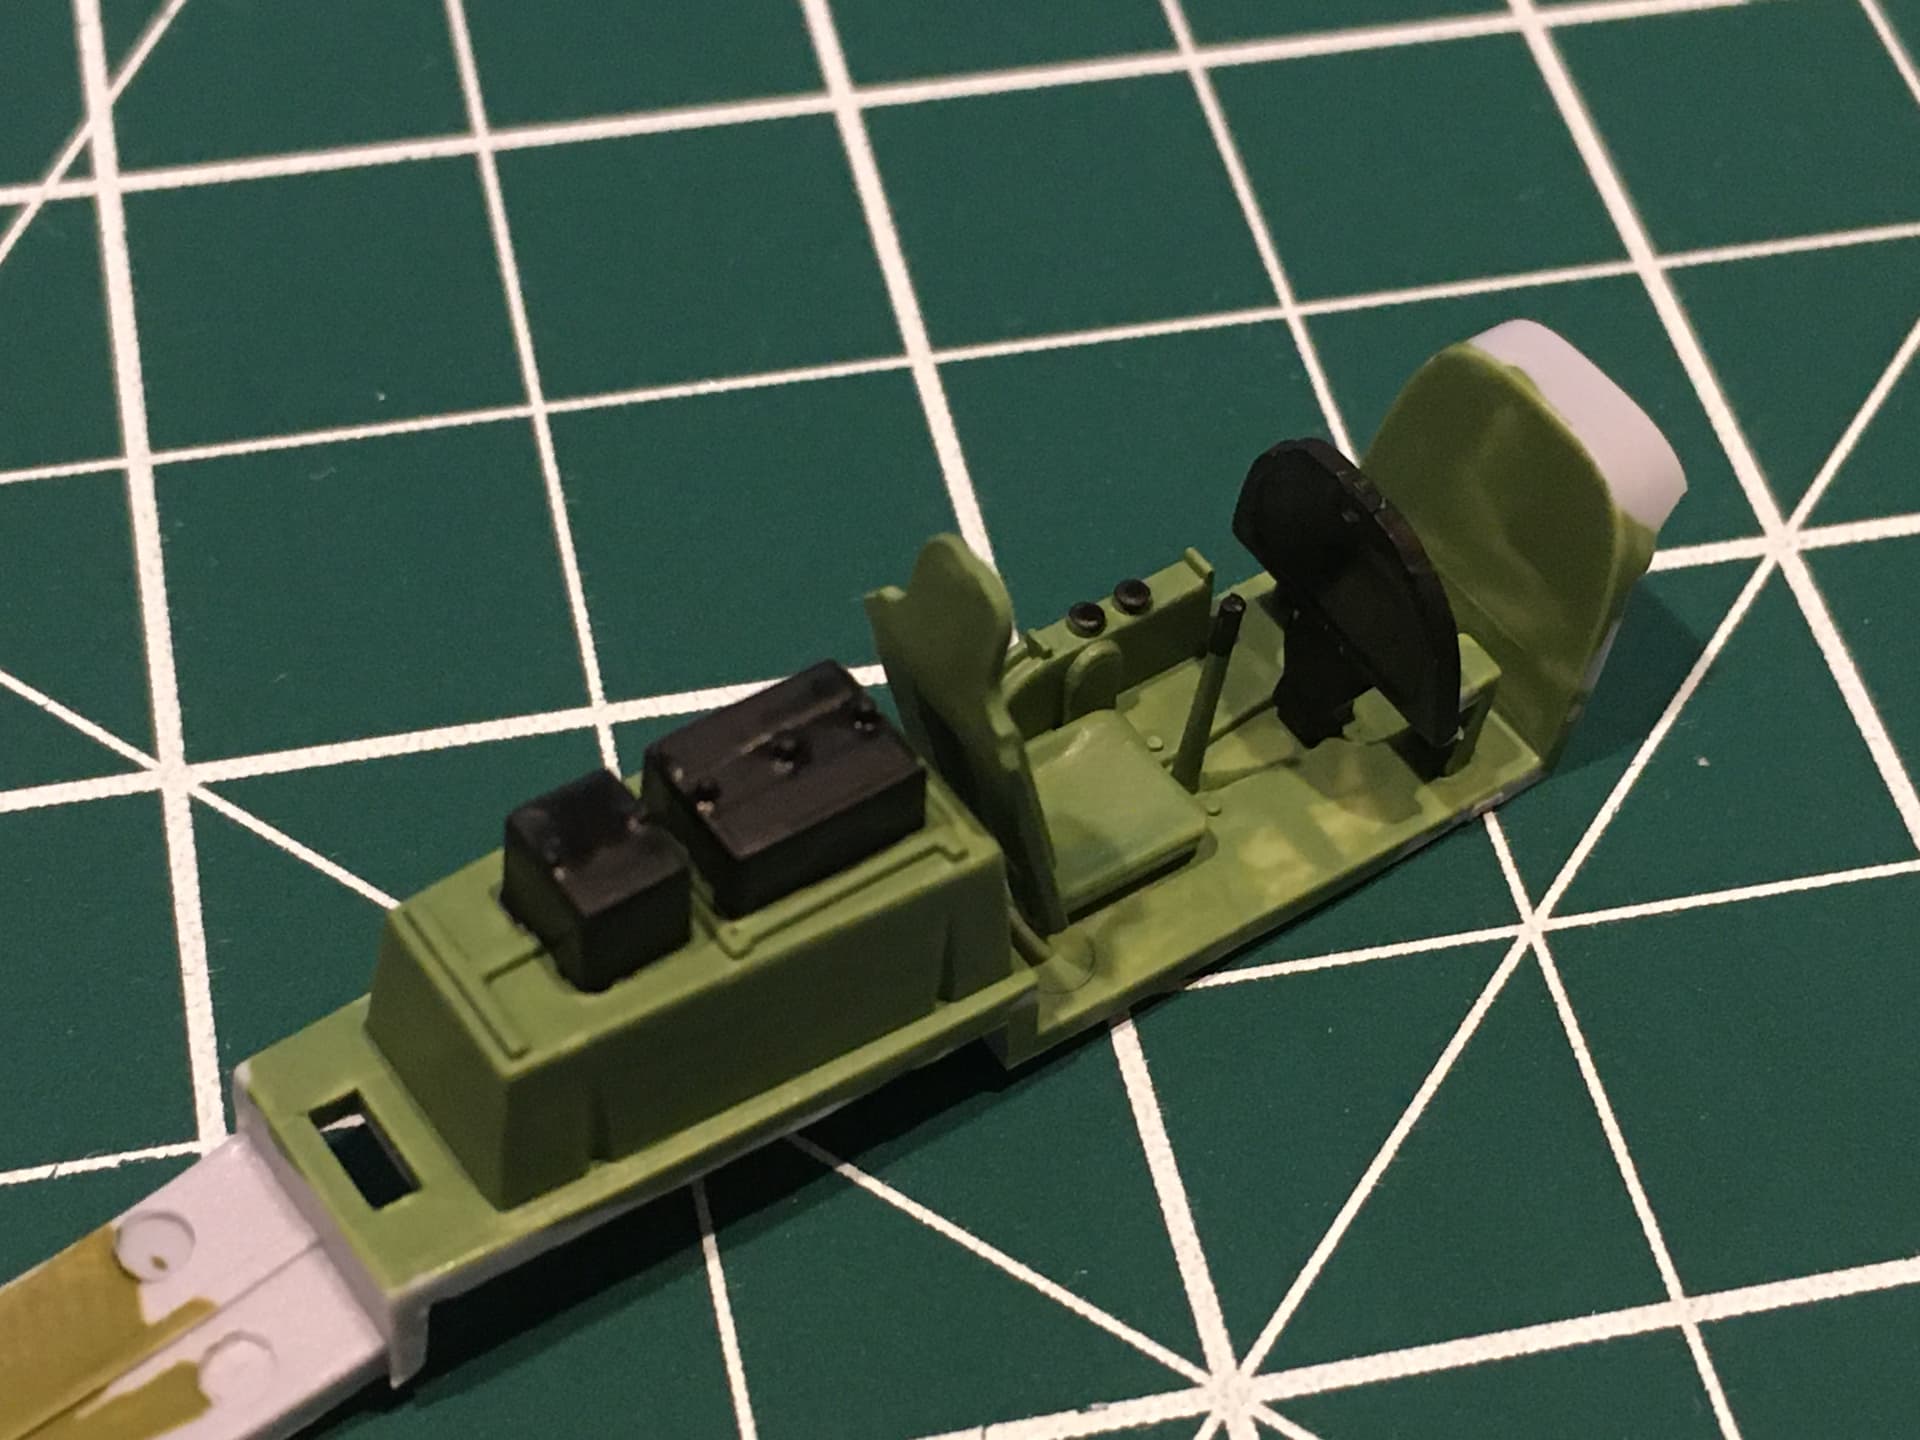
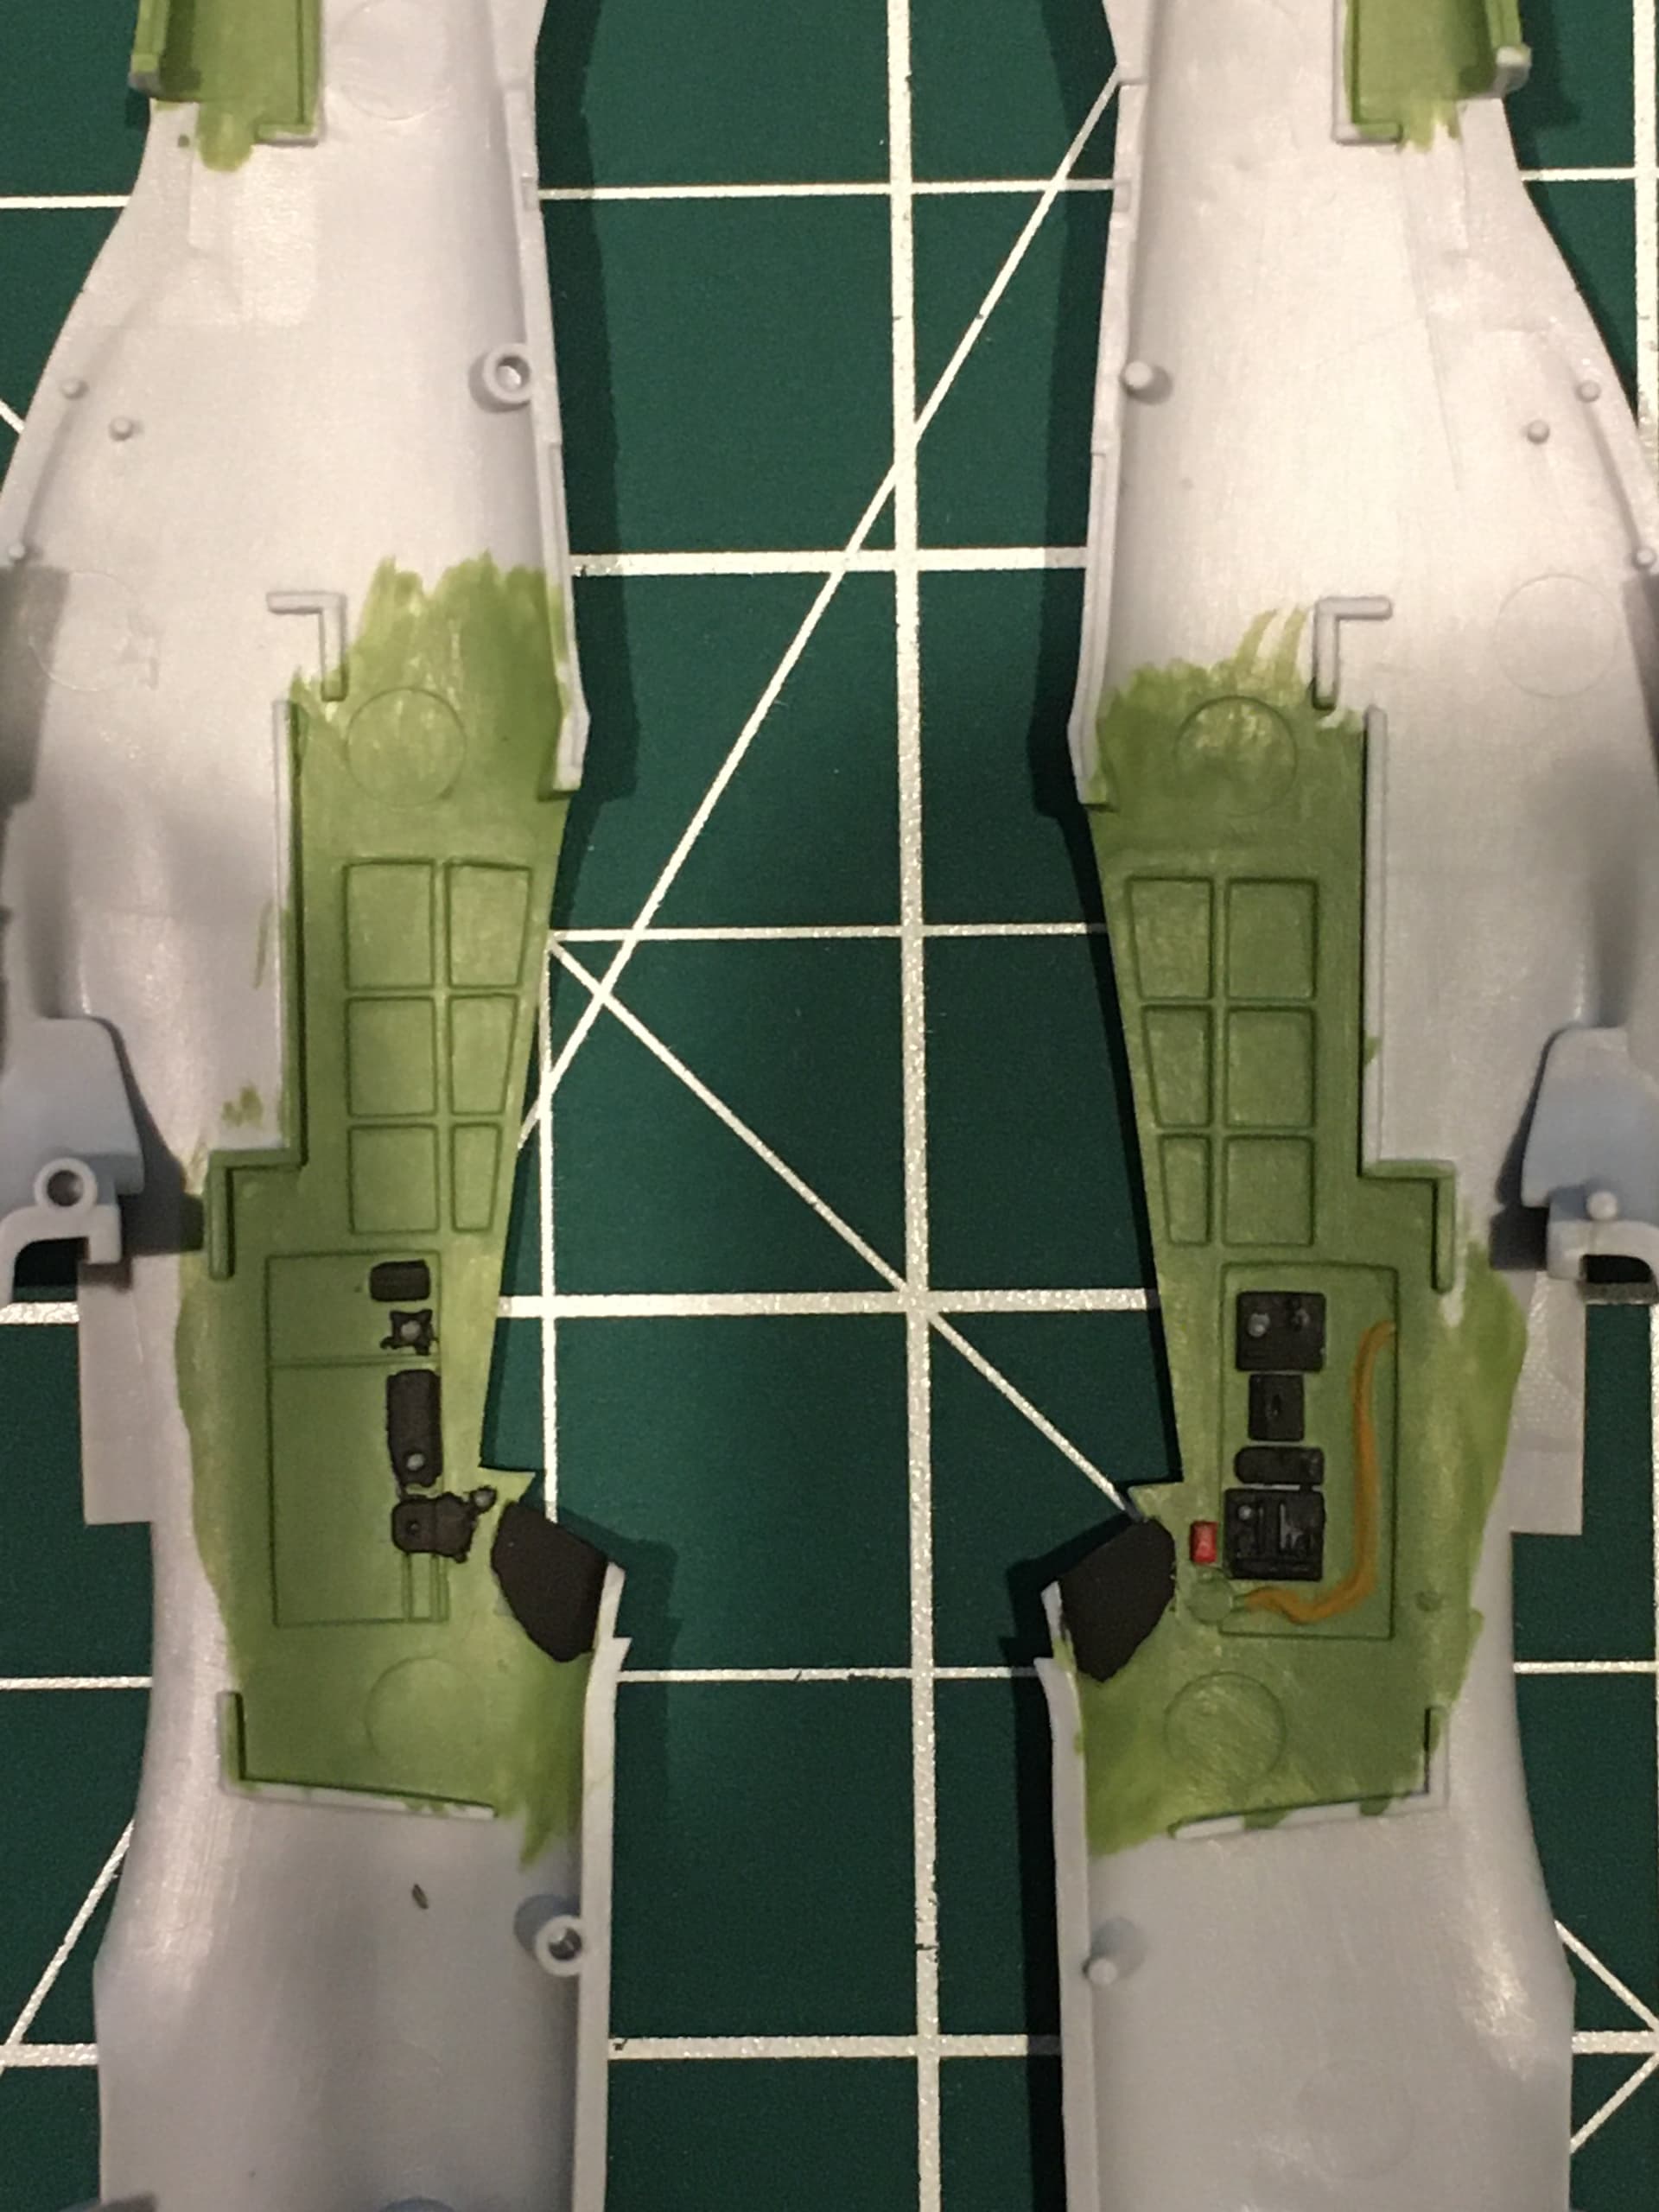
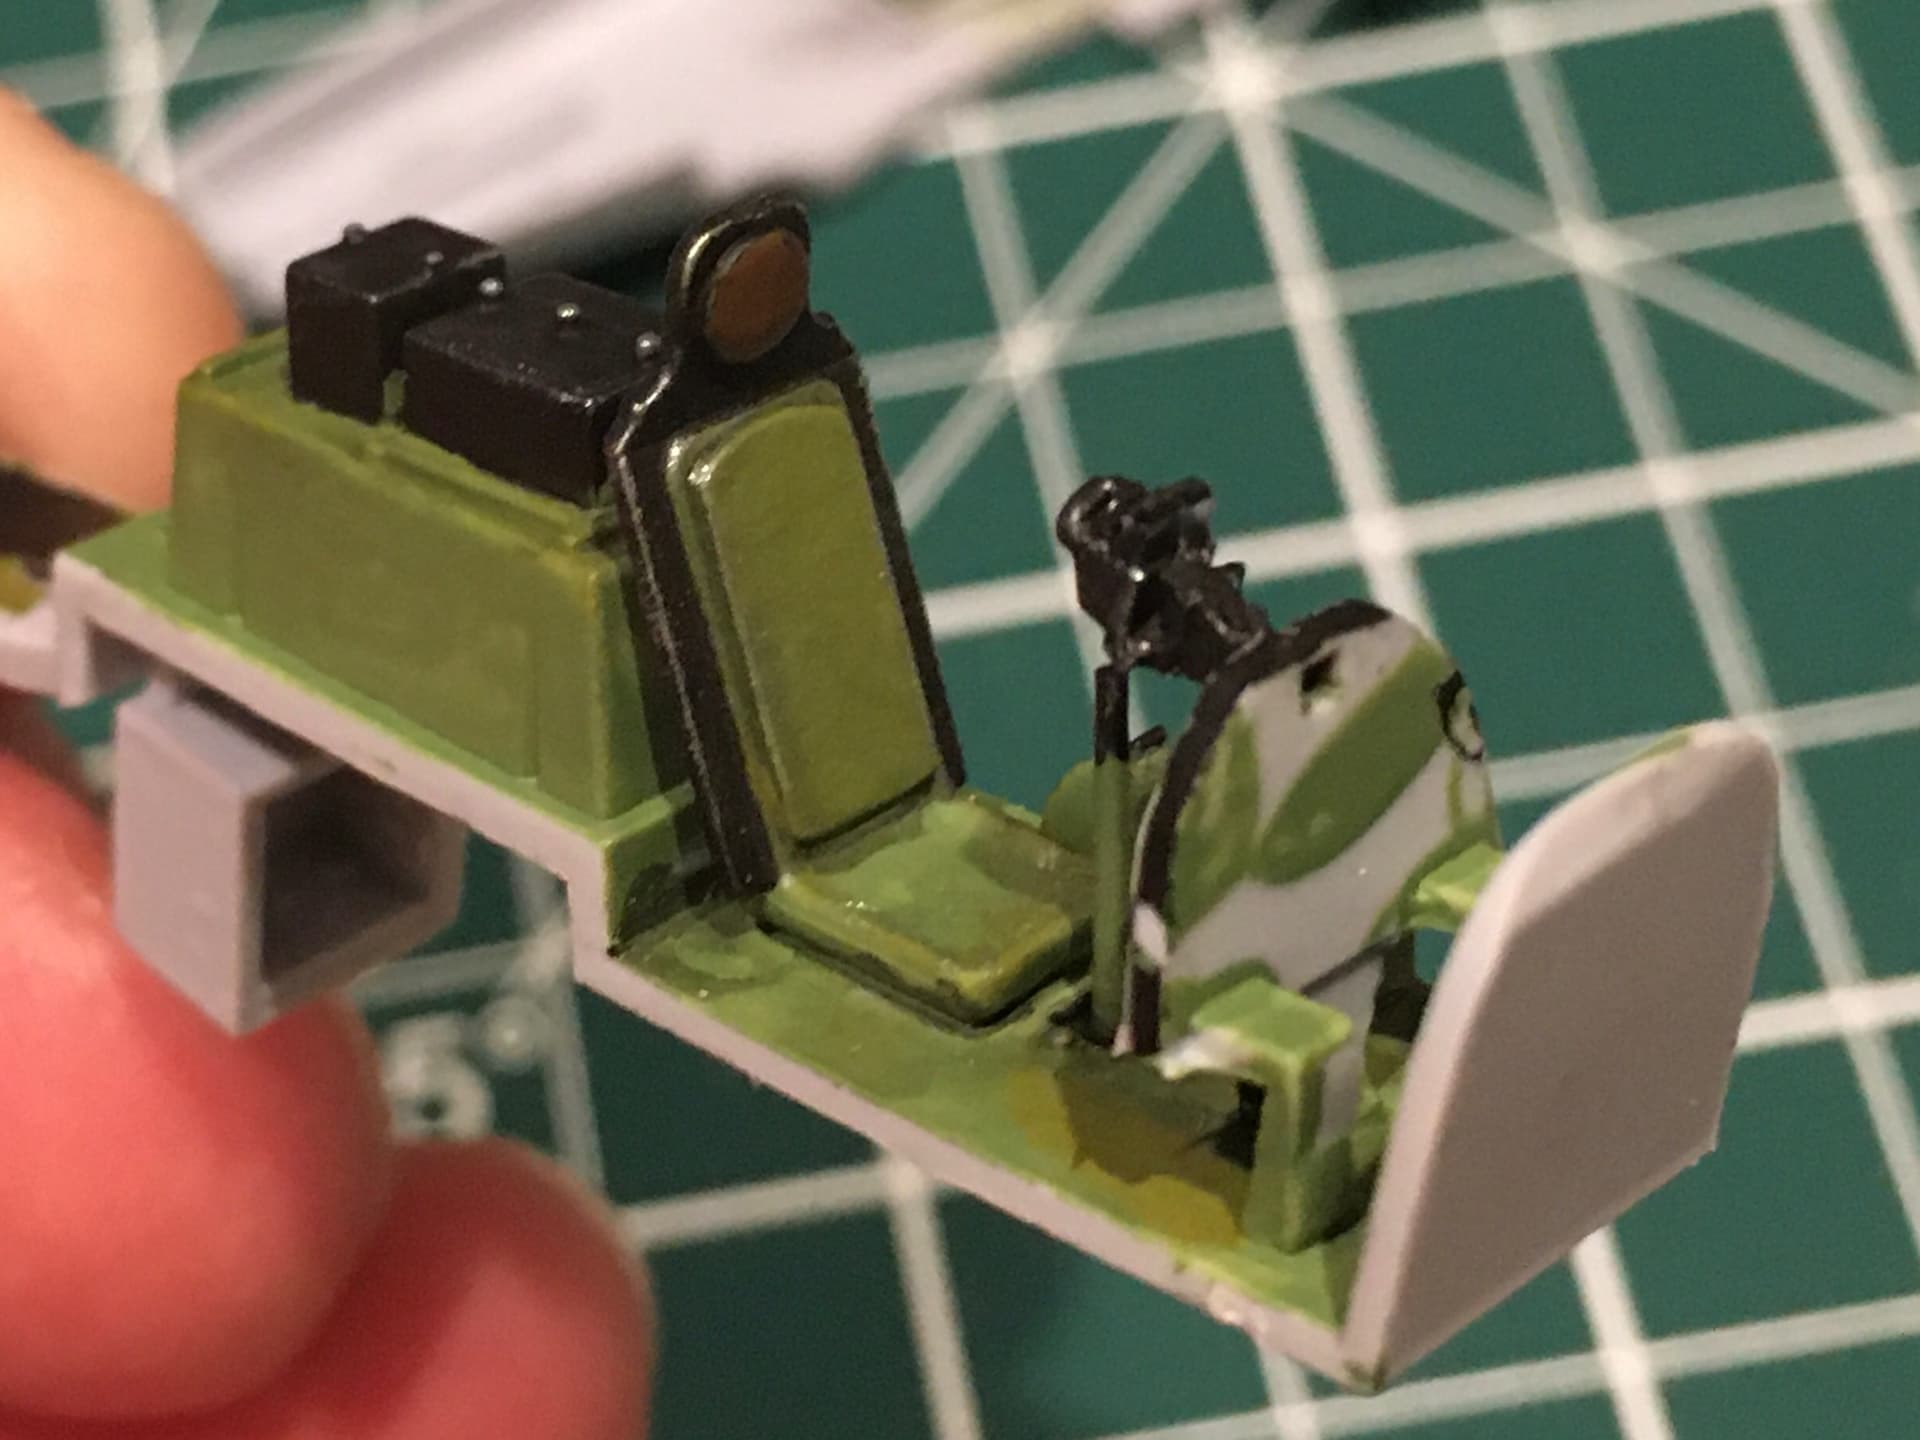
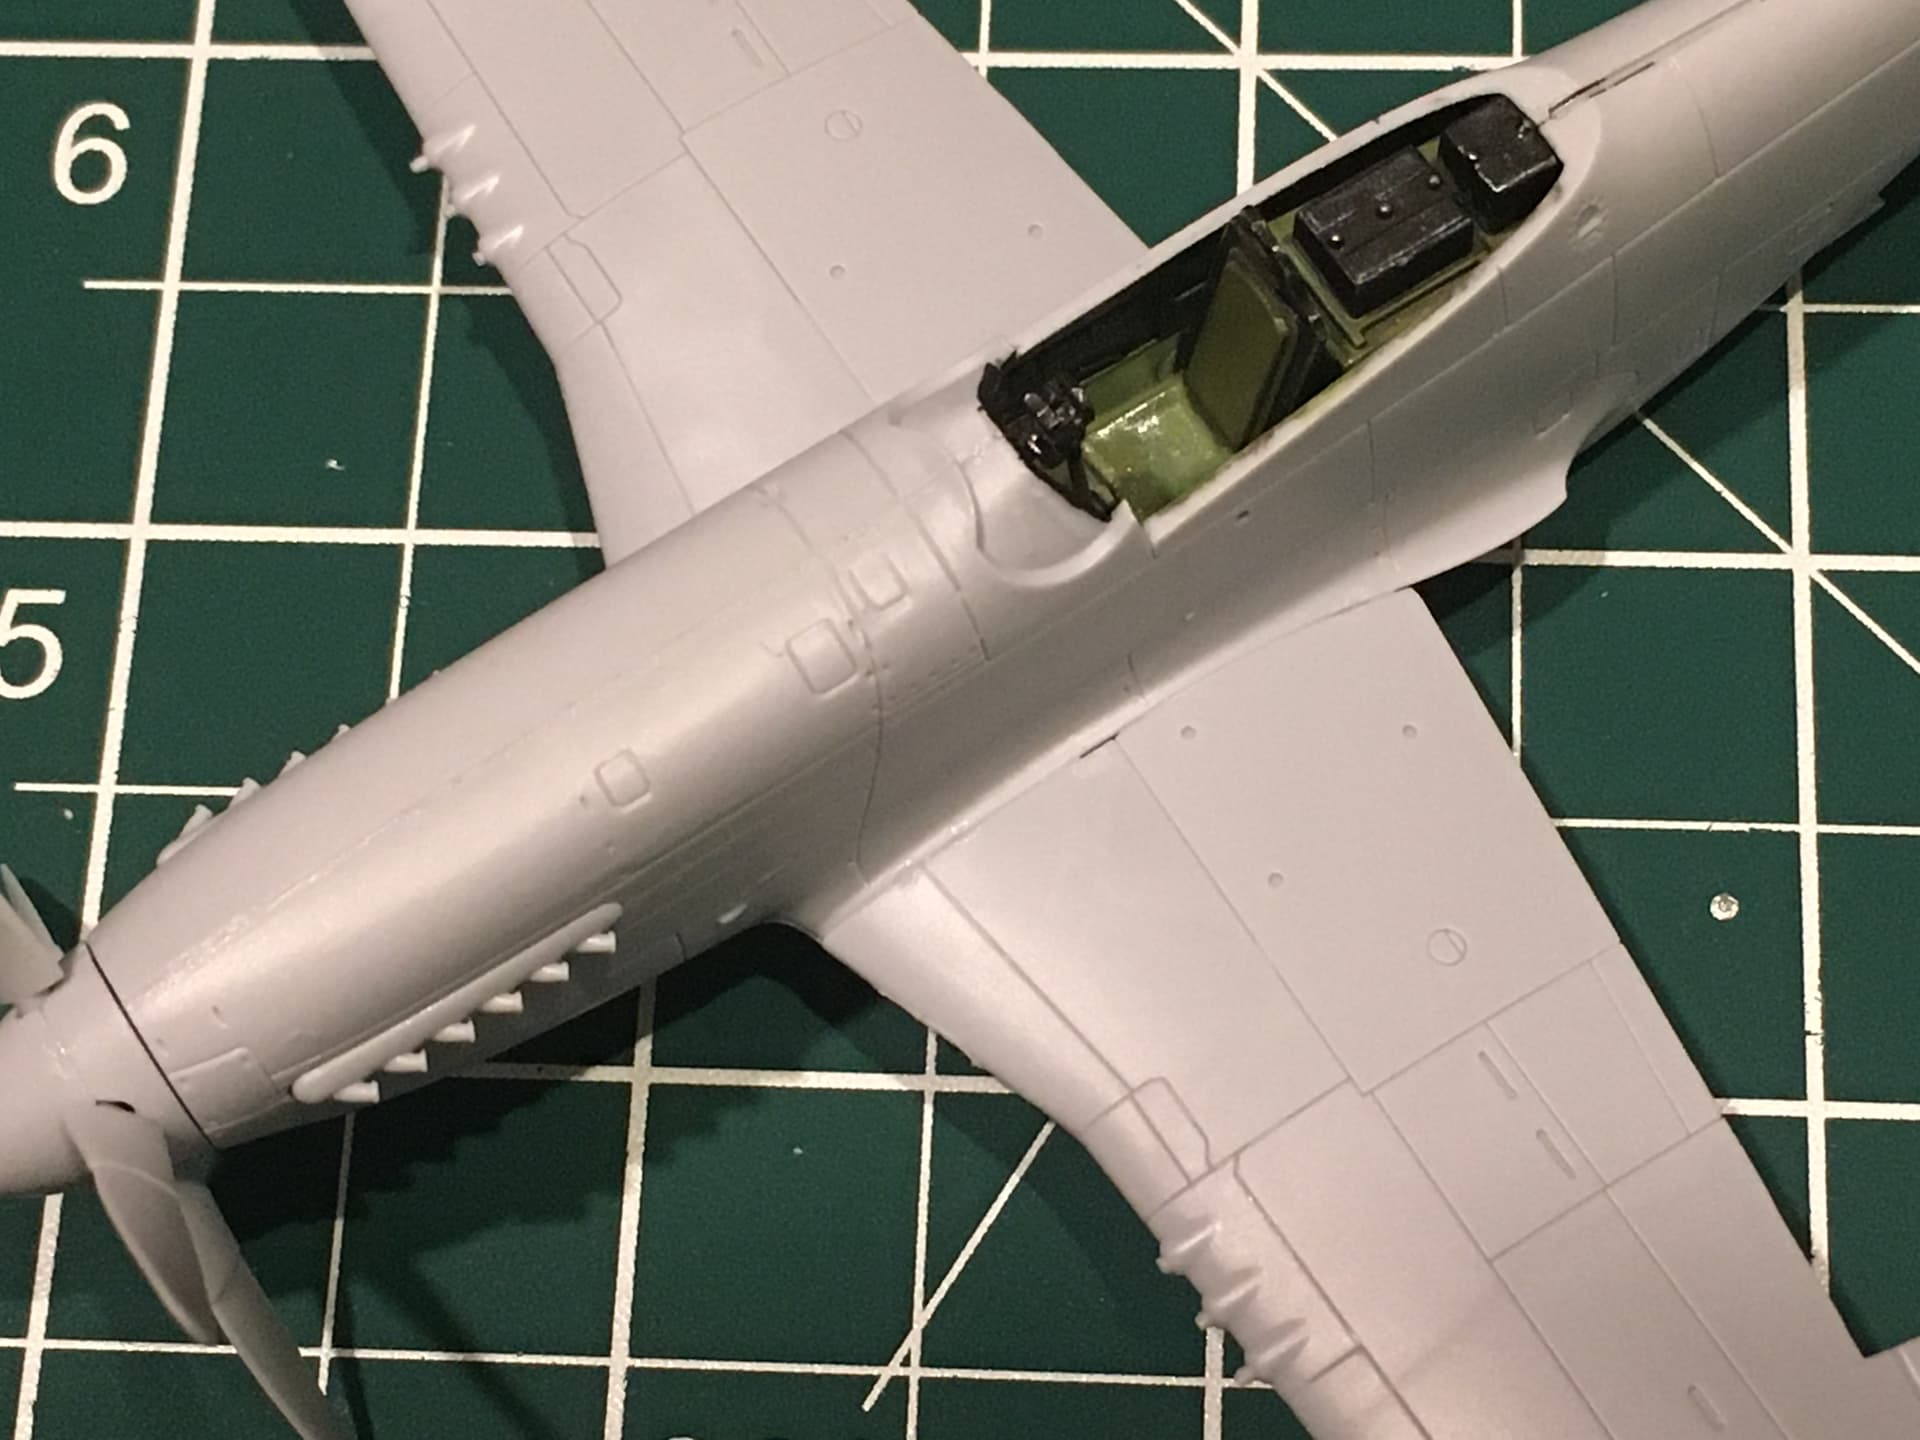
Base painting of the cockpit is done, minus the gunsight. It doesn’t hold a candle to the work on this site, but I’m fairly happy with it for now. Never seriously worked at this scale before. It’s small! Most will be invisible anyway…
Washes, highlights, and some chipping next before closing it all up. Played around some with using Vallejo flow improver in lieu of thinner to get around the splotchy coverage from before; seemed to help but still a lot to learn.
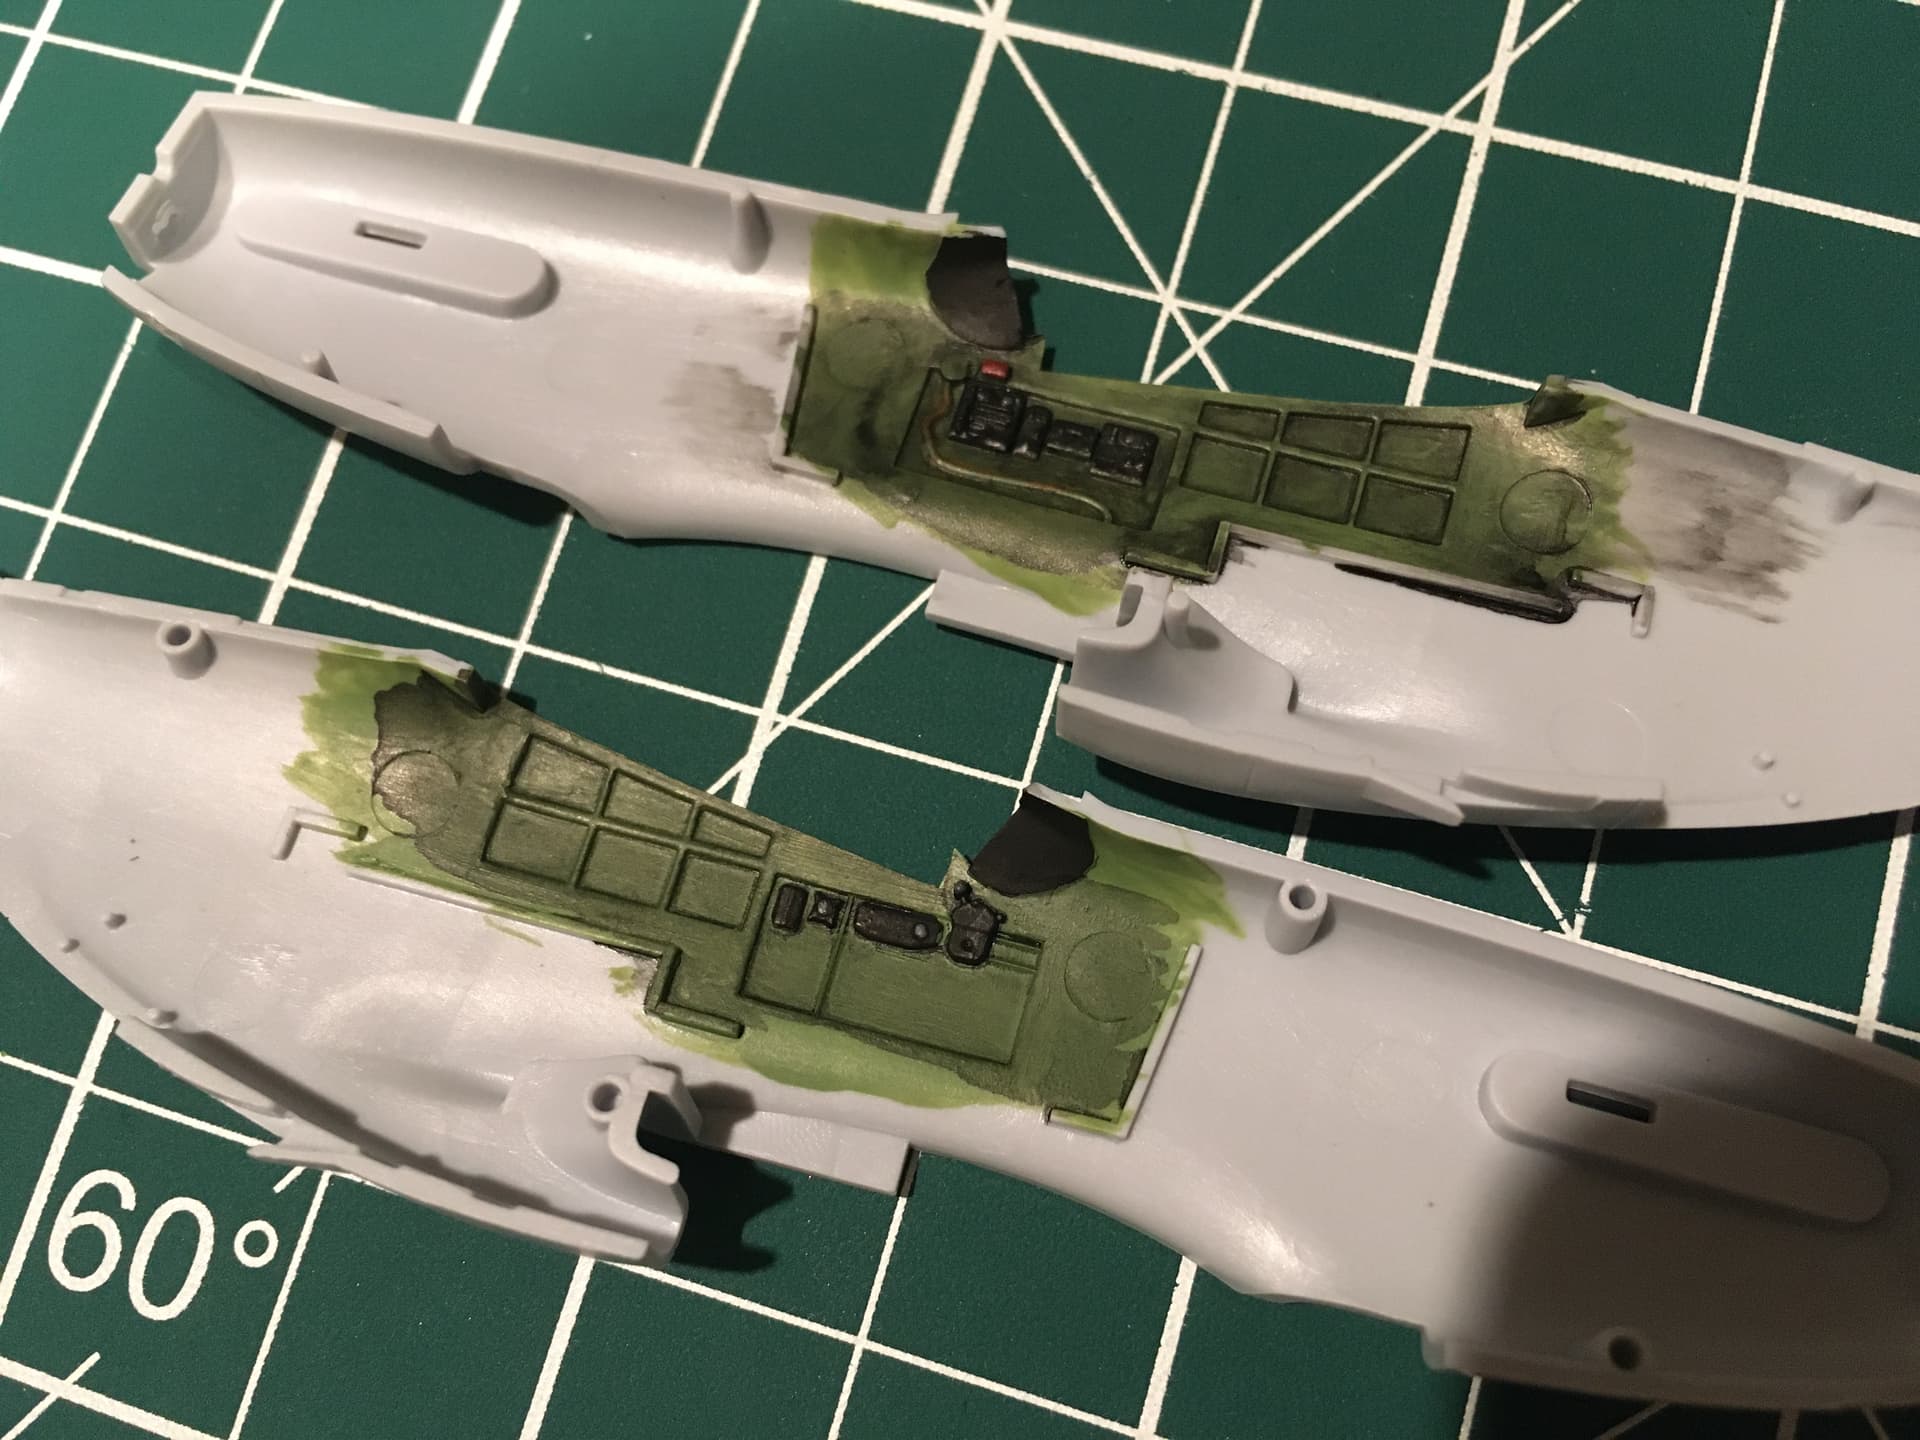
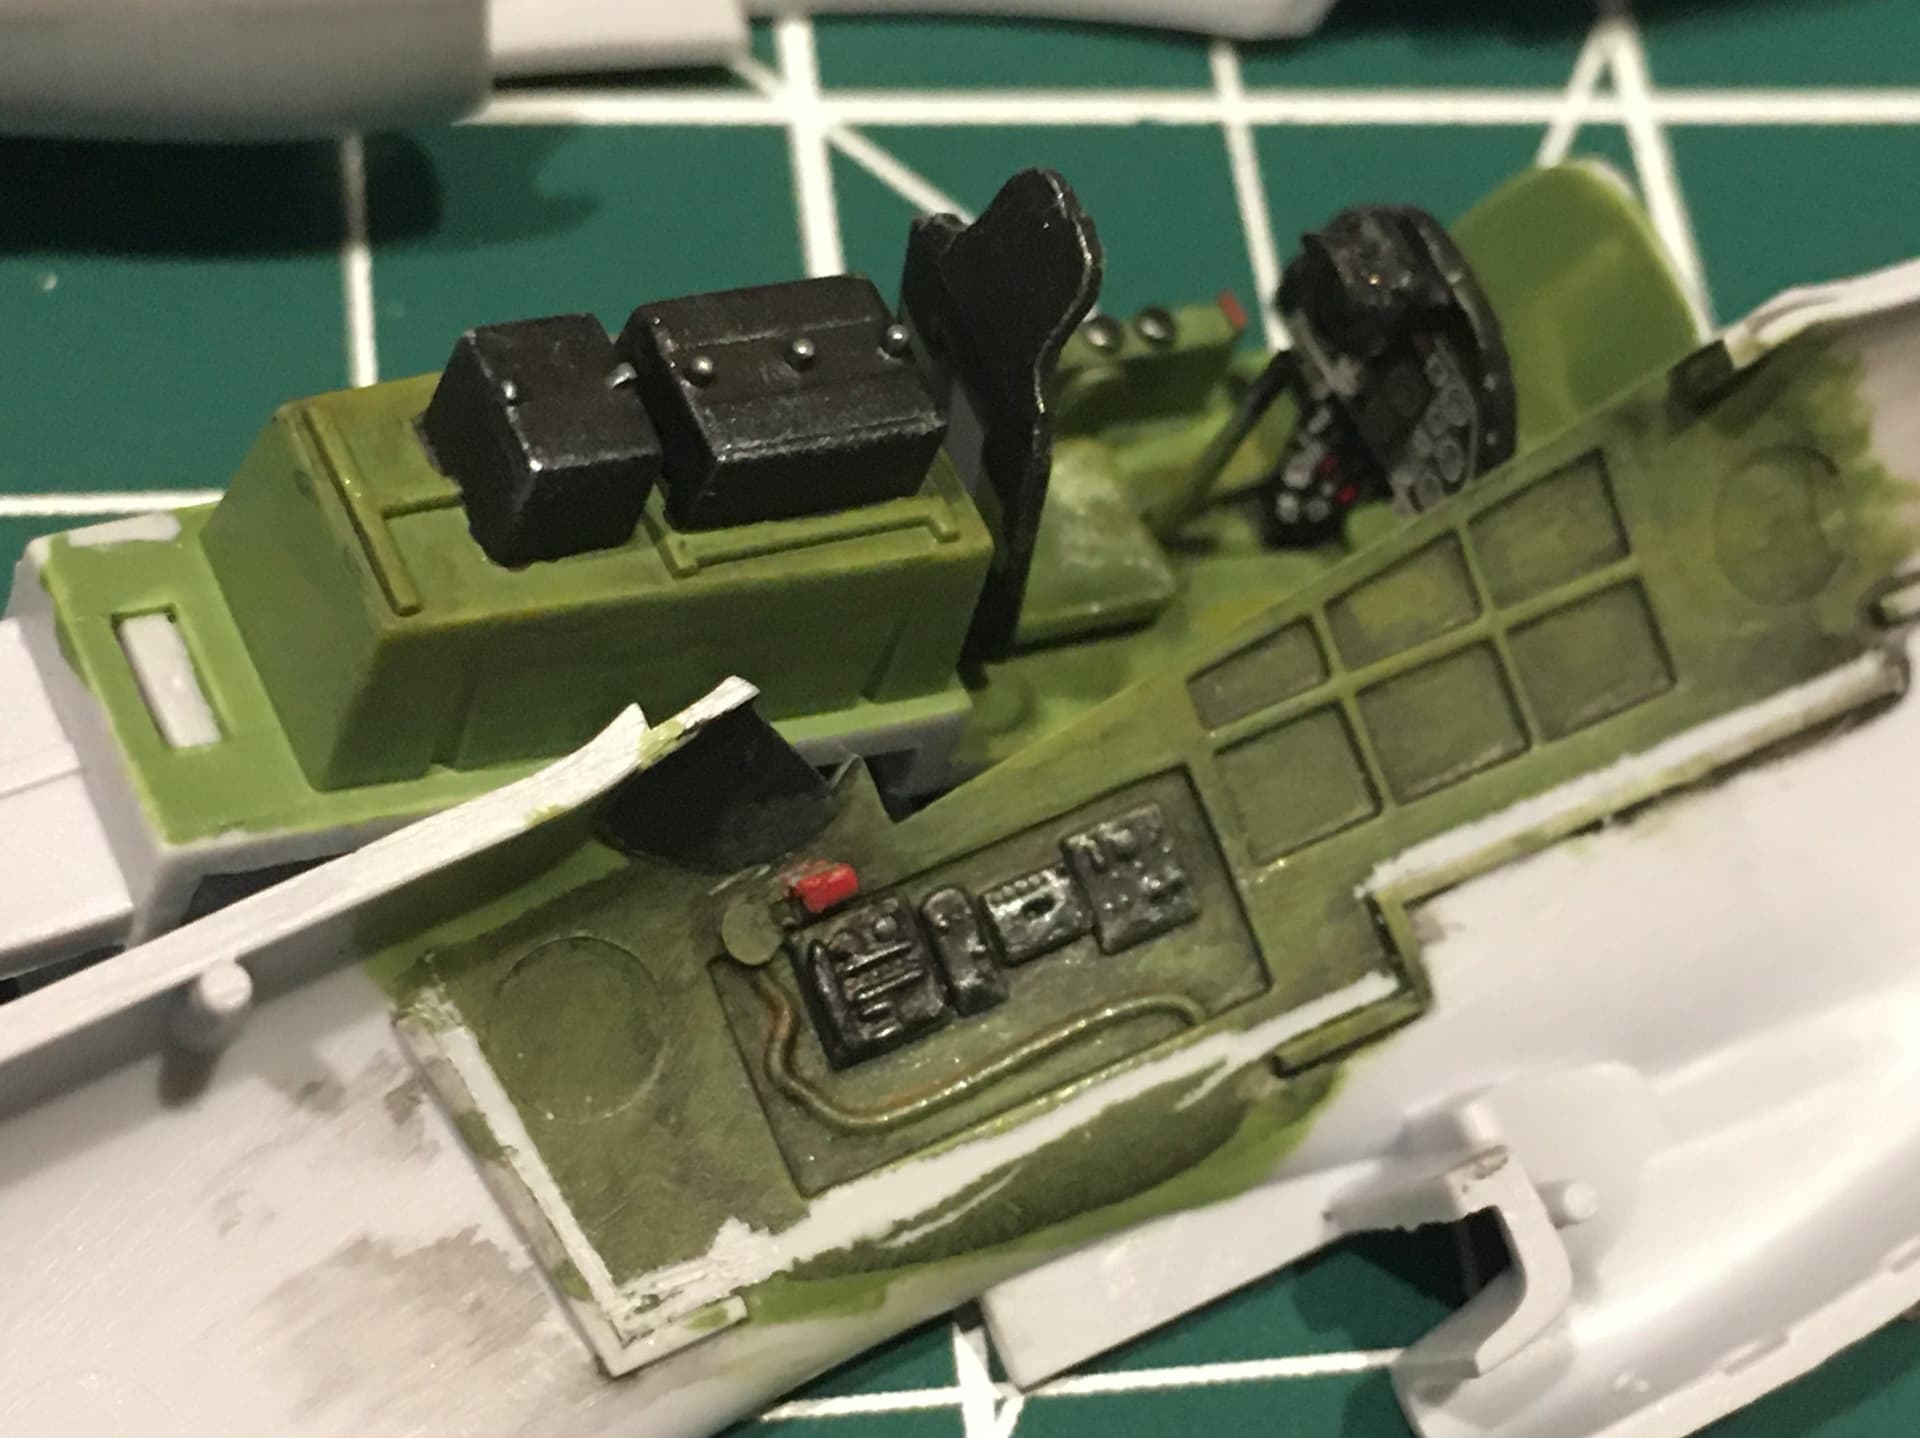
Okay what am I doing wrong here? Applied a Vallejo dark grey wash and it looks you see below.
Tried using a dry cotton swab while still wet to wipe off the excess, and it just takes it all off. Waited for it to dry and now it won’t come off without taking my underlying base paint with it.
Washes have always been my bugabooo…figured a pre-made one would solve that. What am I doing wrong?
Googled and apparently acrylic washes stain the undercoat if not topcoated first. Go figure. And Vallejo washes are prone to tide marks. And I should have been wetting the surface first. Oh well, you live and learn.
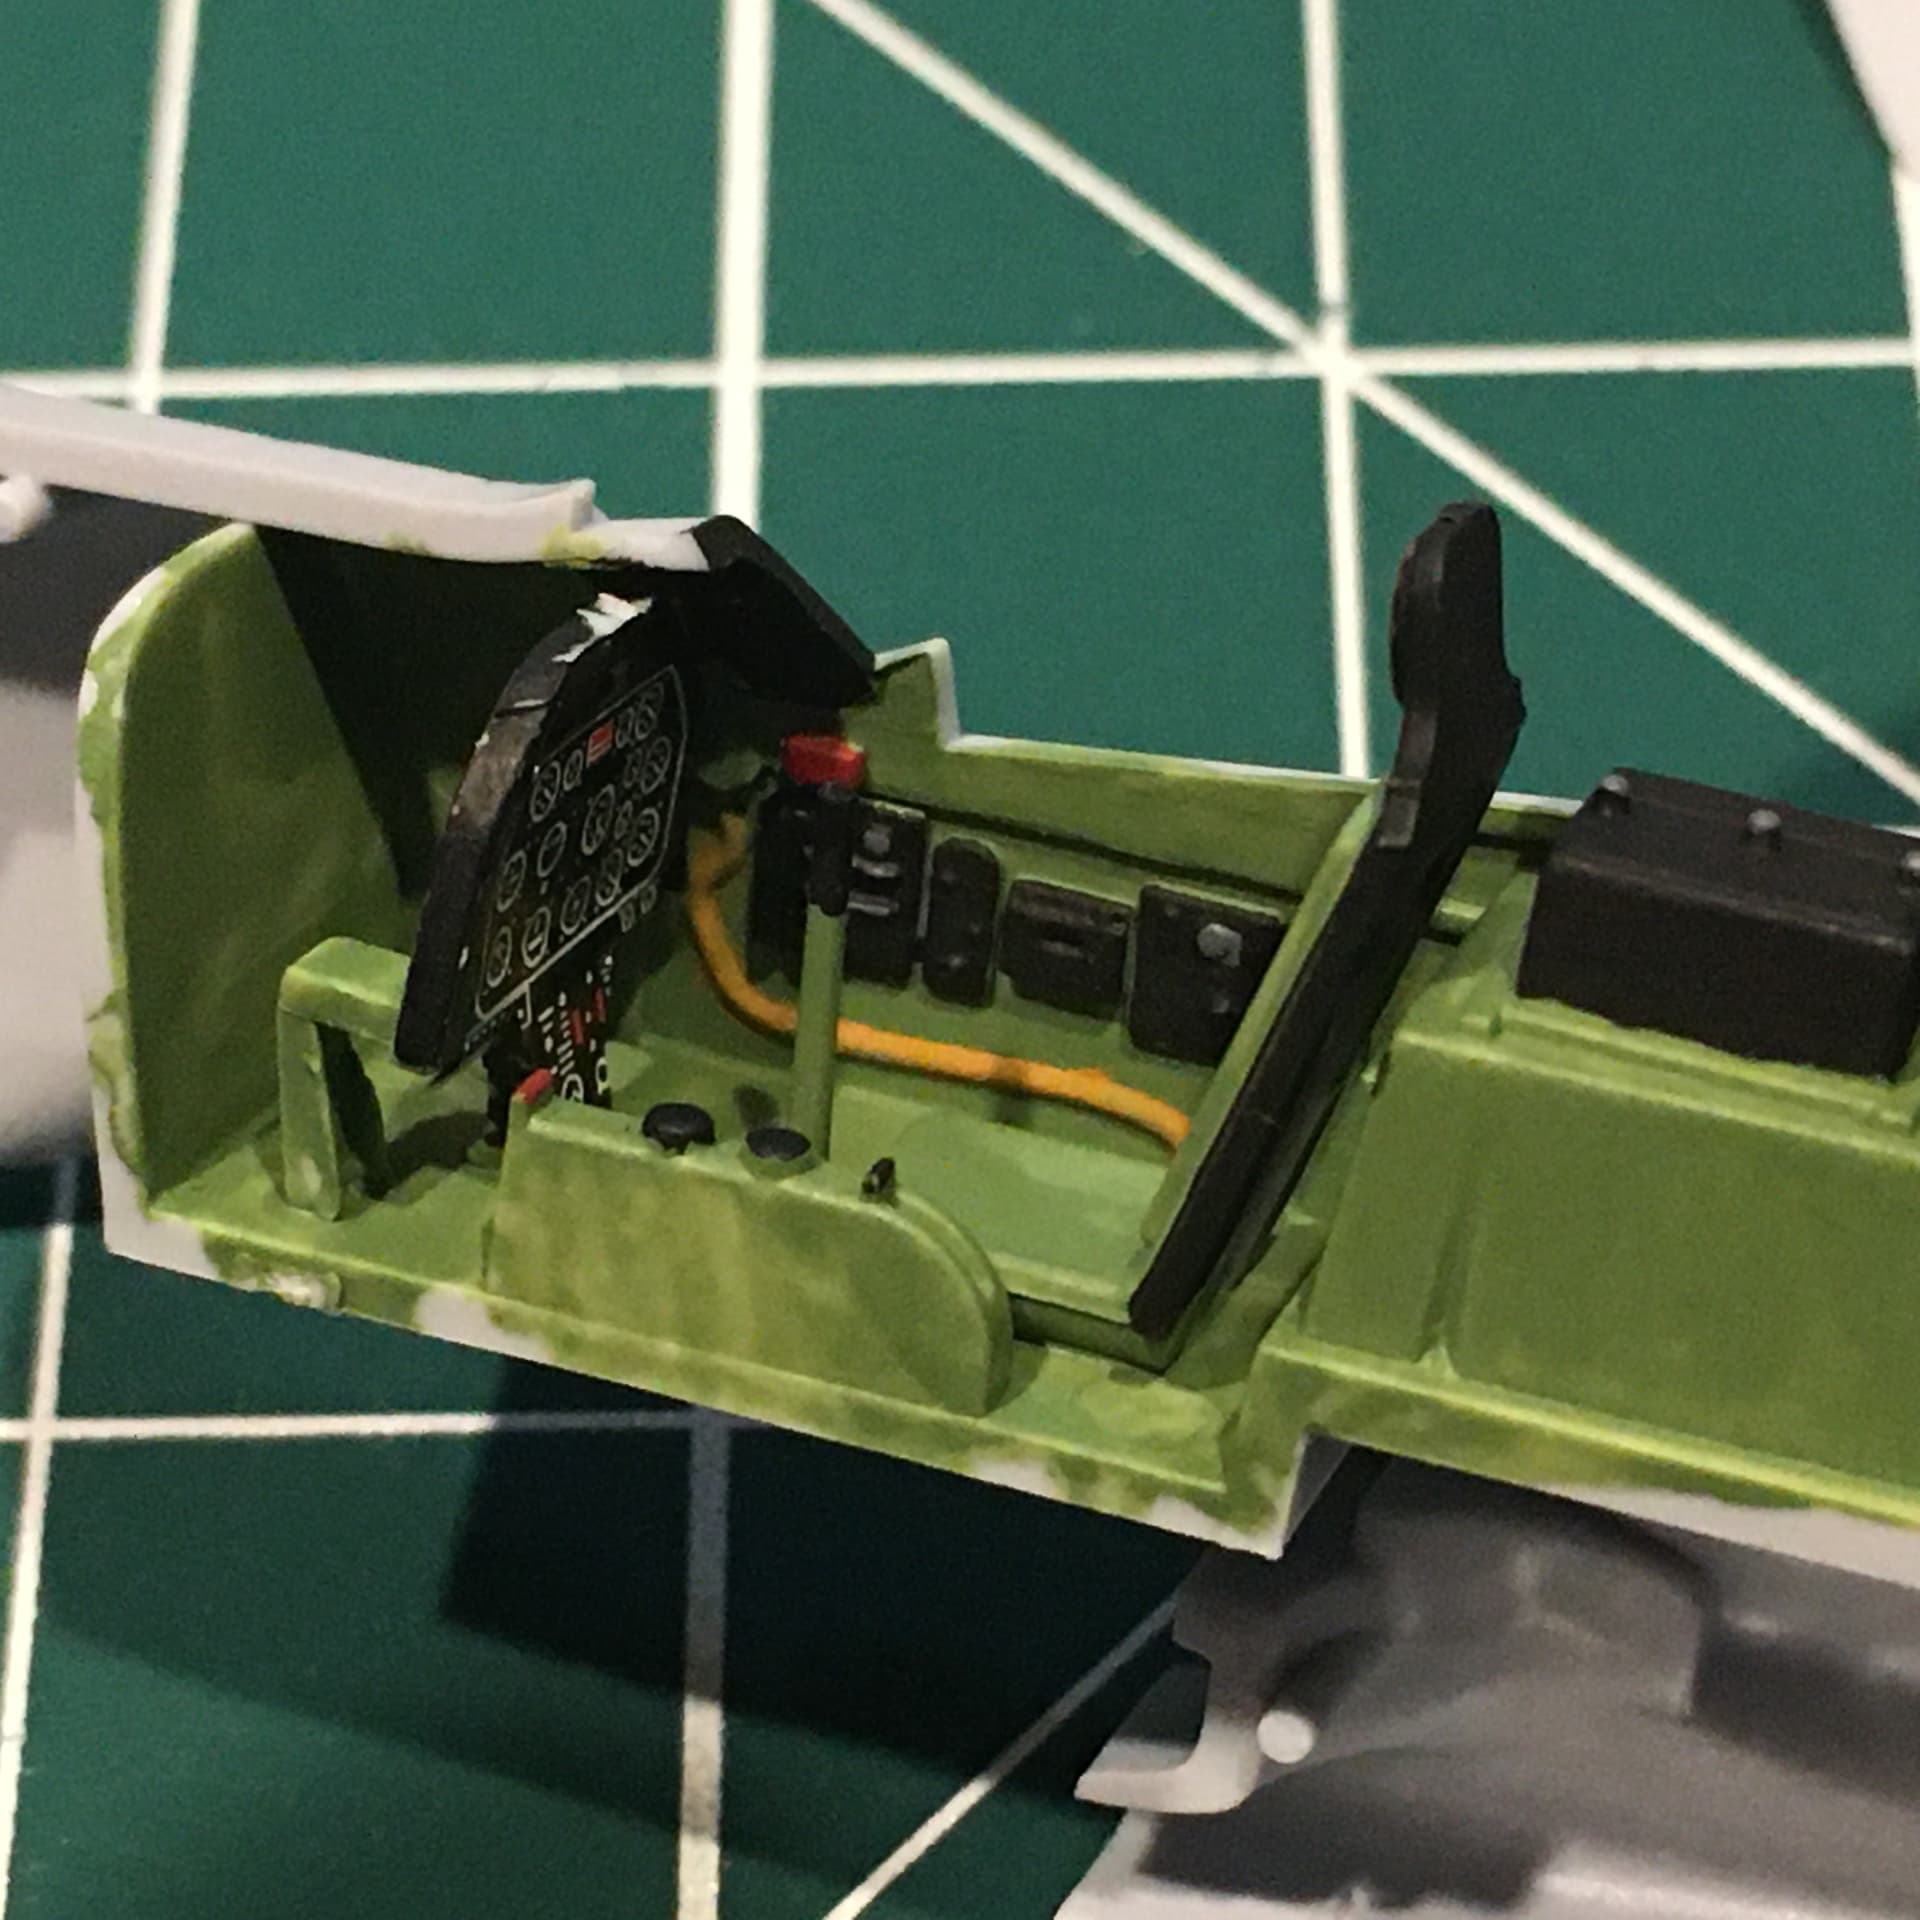
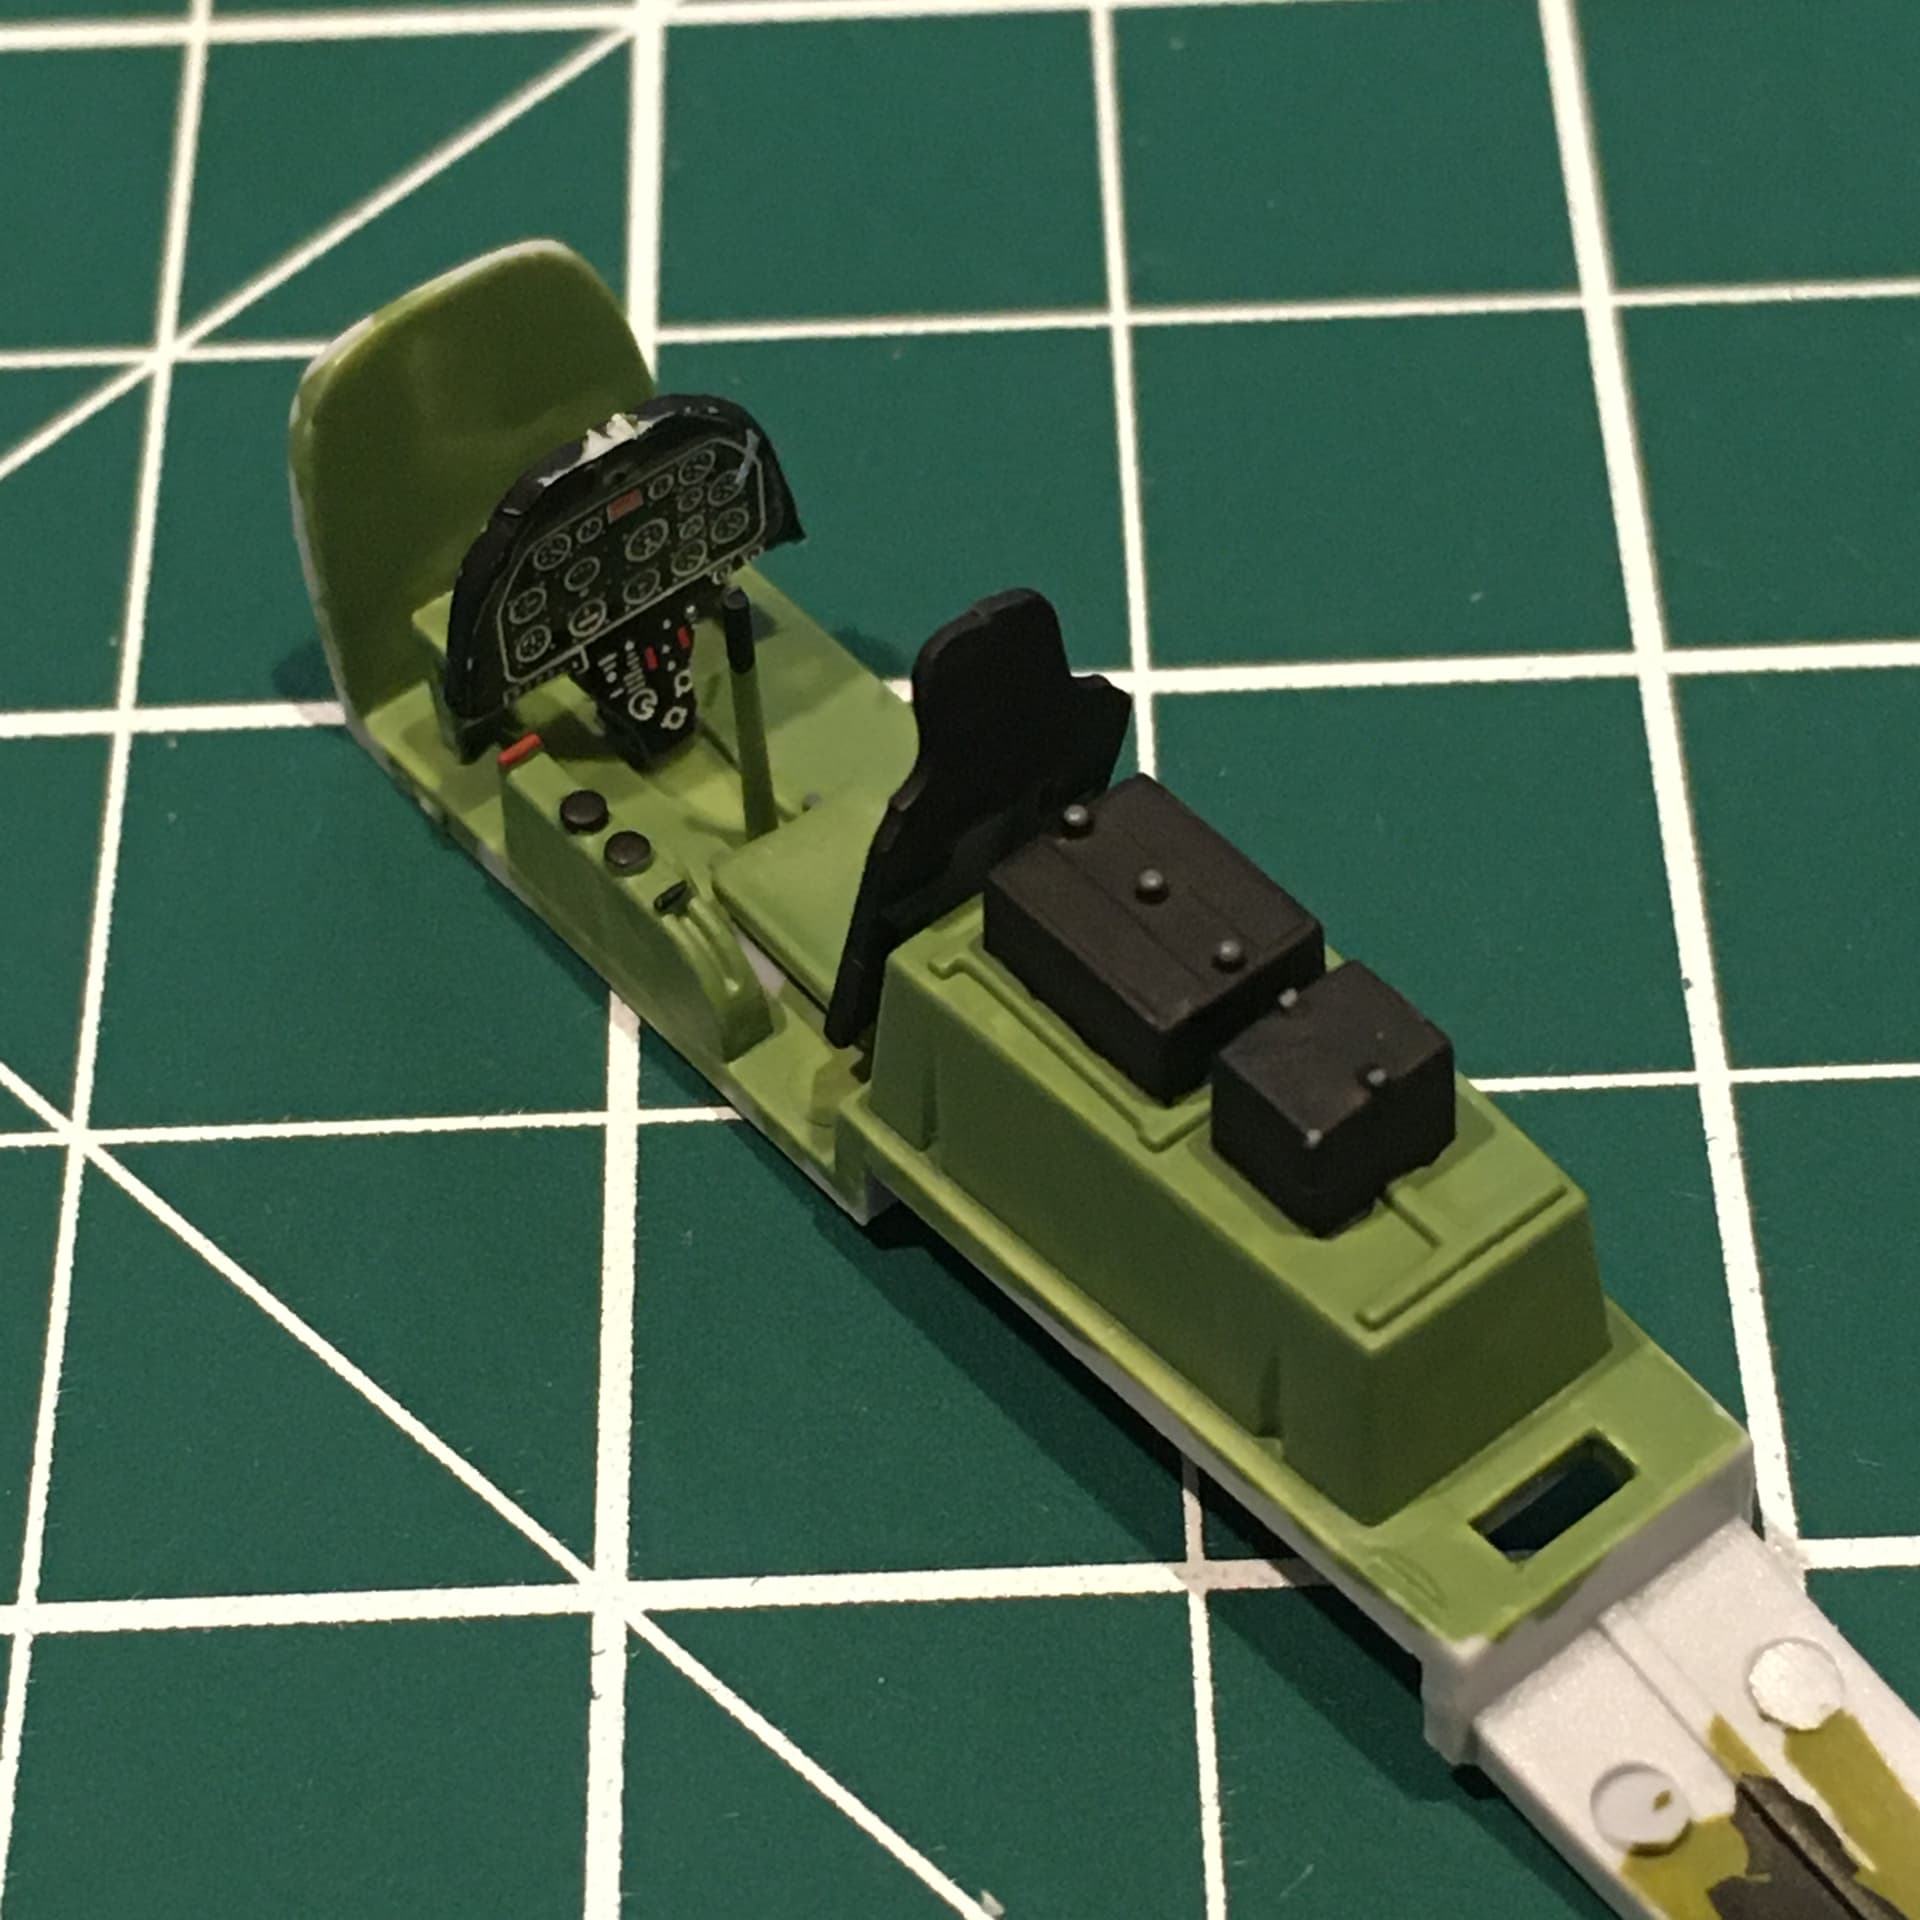
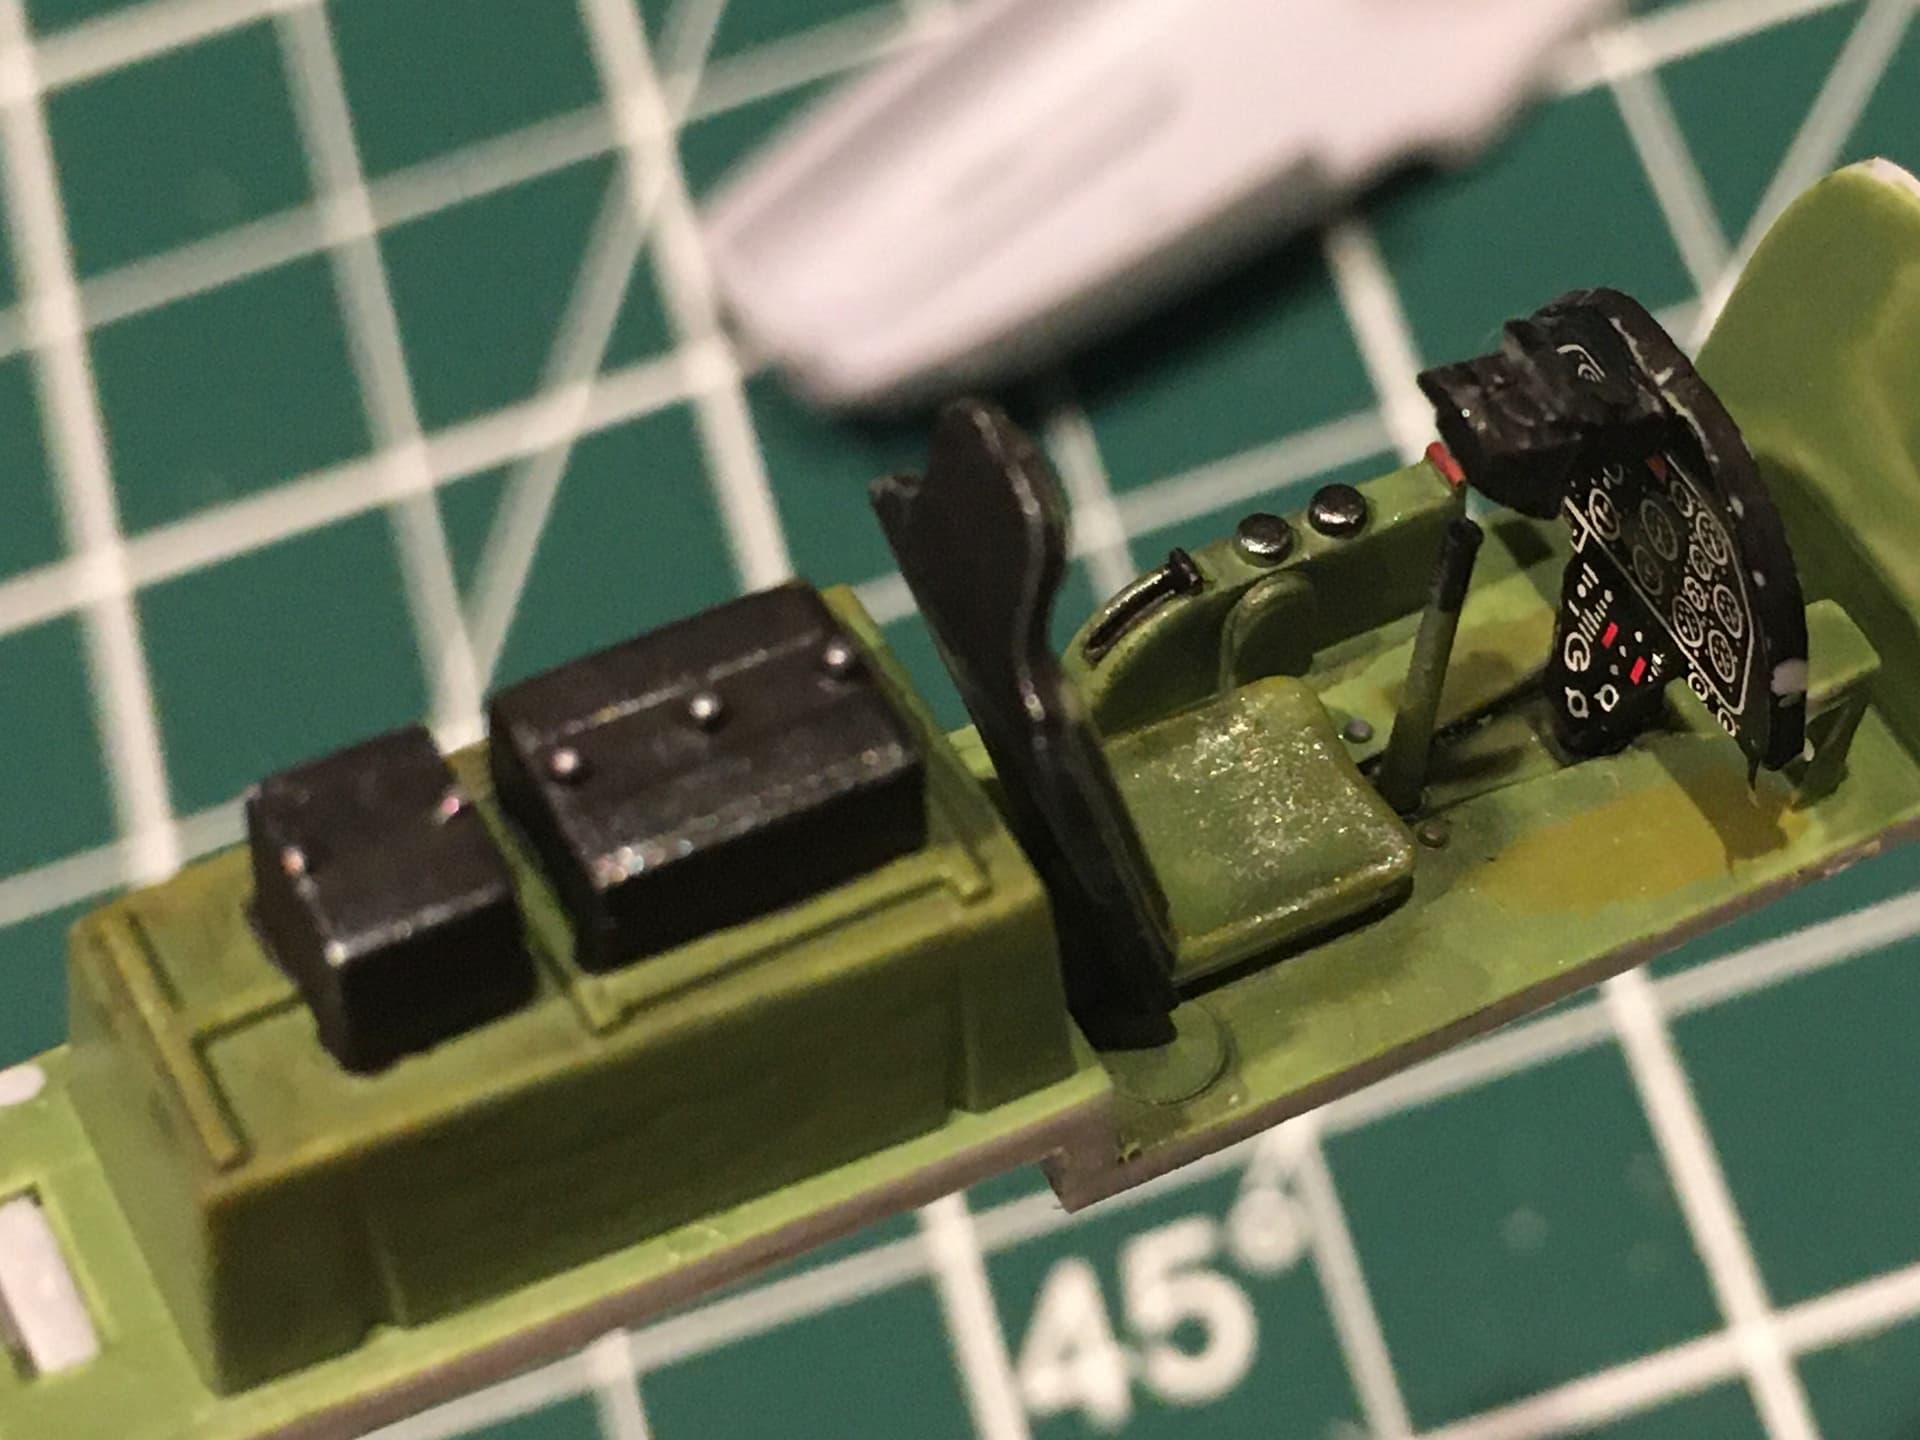
I think I saved it with some drybrushing with the Model Master Zinc Chromate base coat and highlights with Vallejo green yellow. Also drybrushed silver over the black parts and used the sponge method to do chipping in the seat. It’s a little 1990s Verlinden in the high-contrast finish and heavy drybrushing, but I kinda like it. Learned some new stuff.
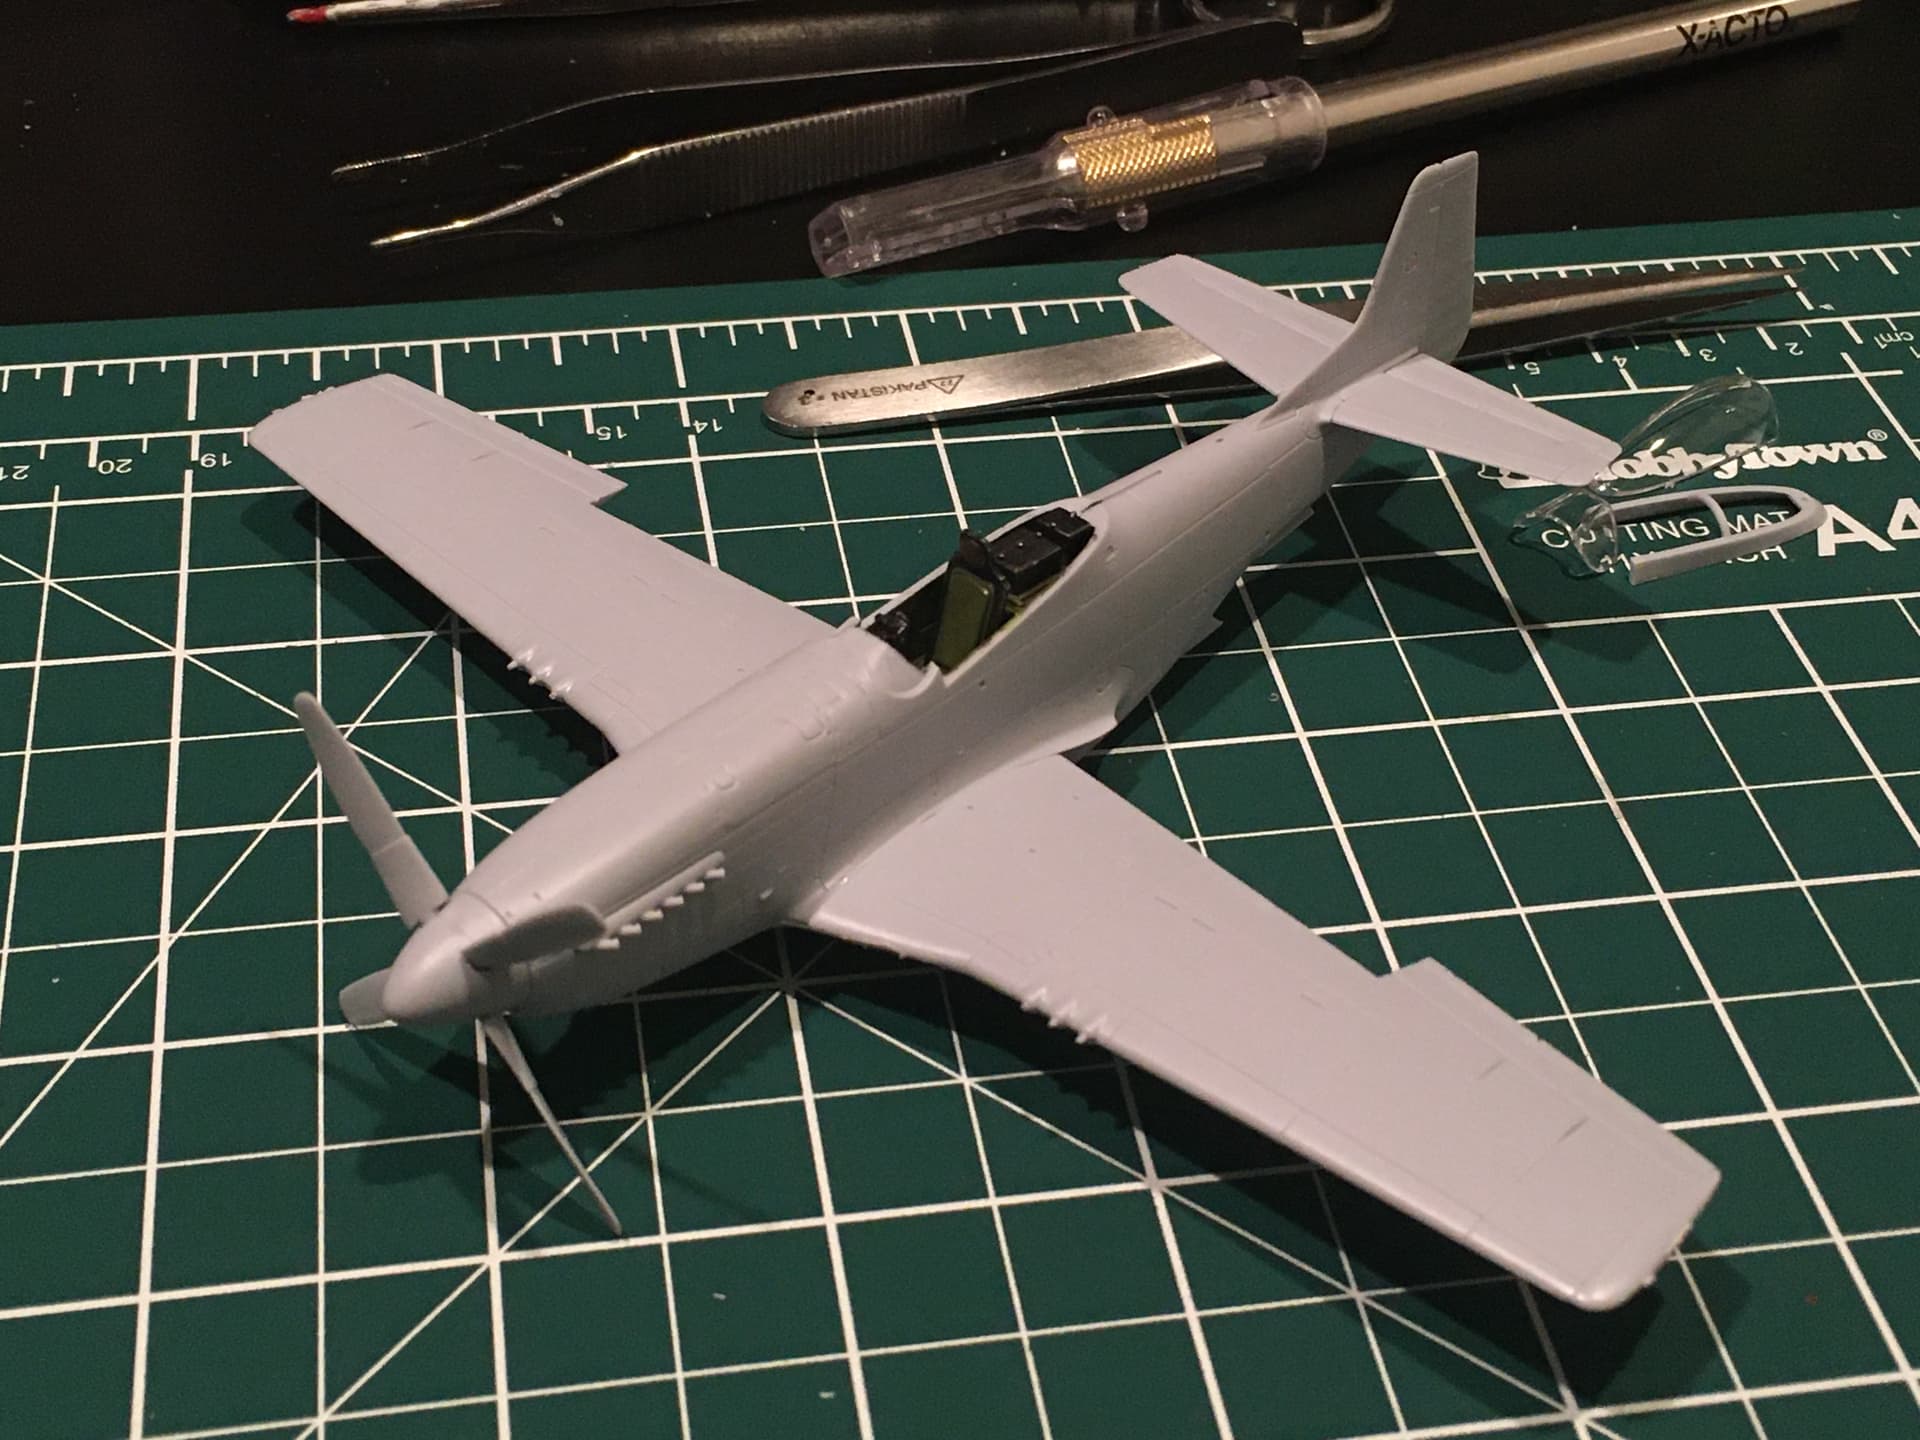
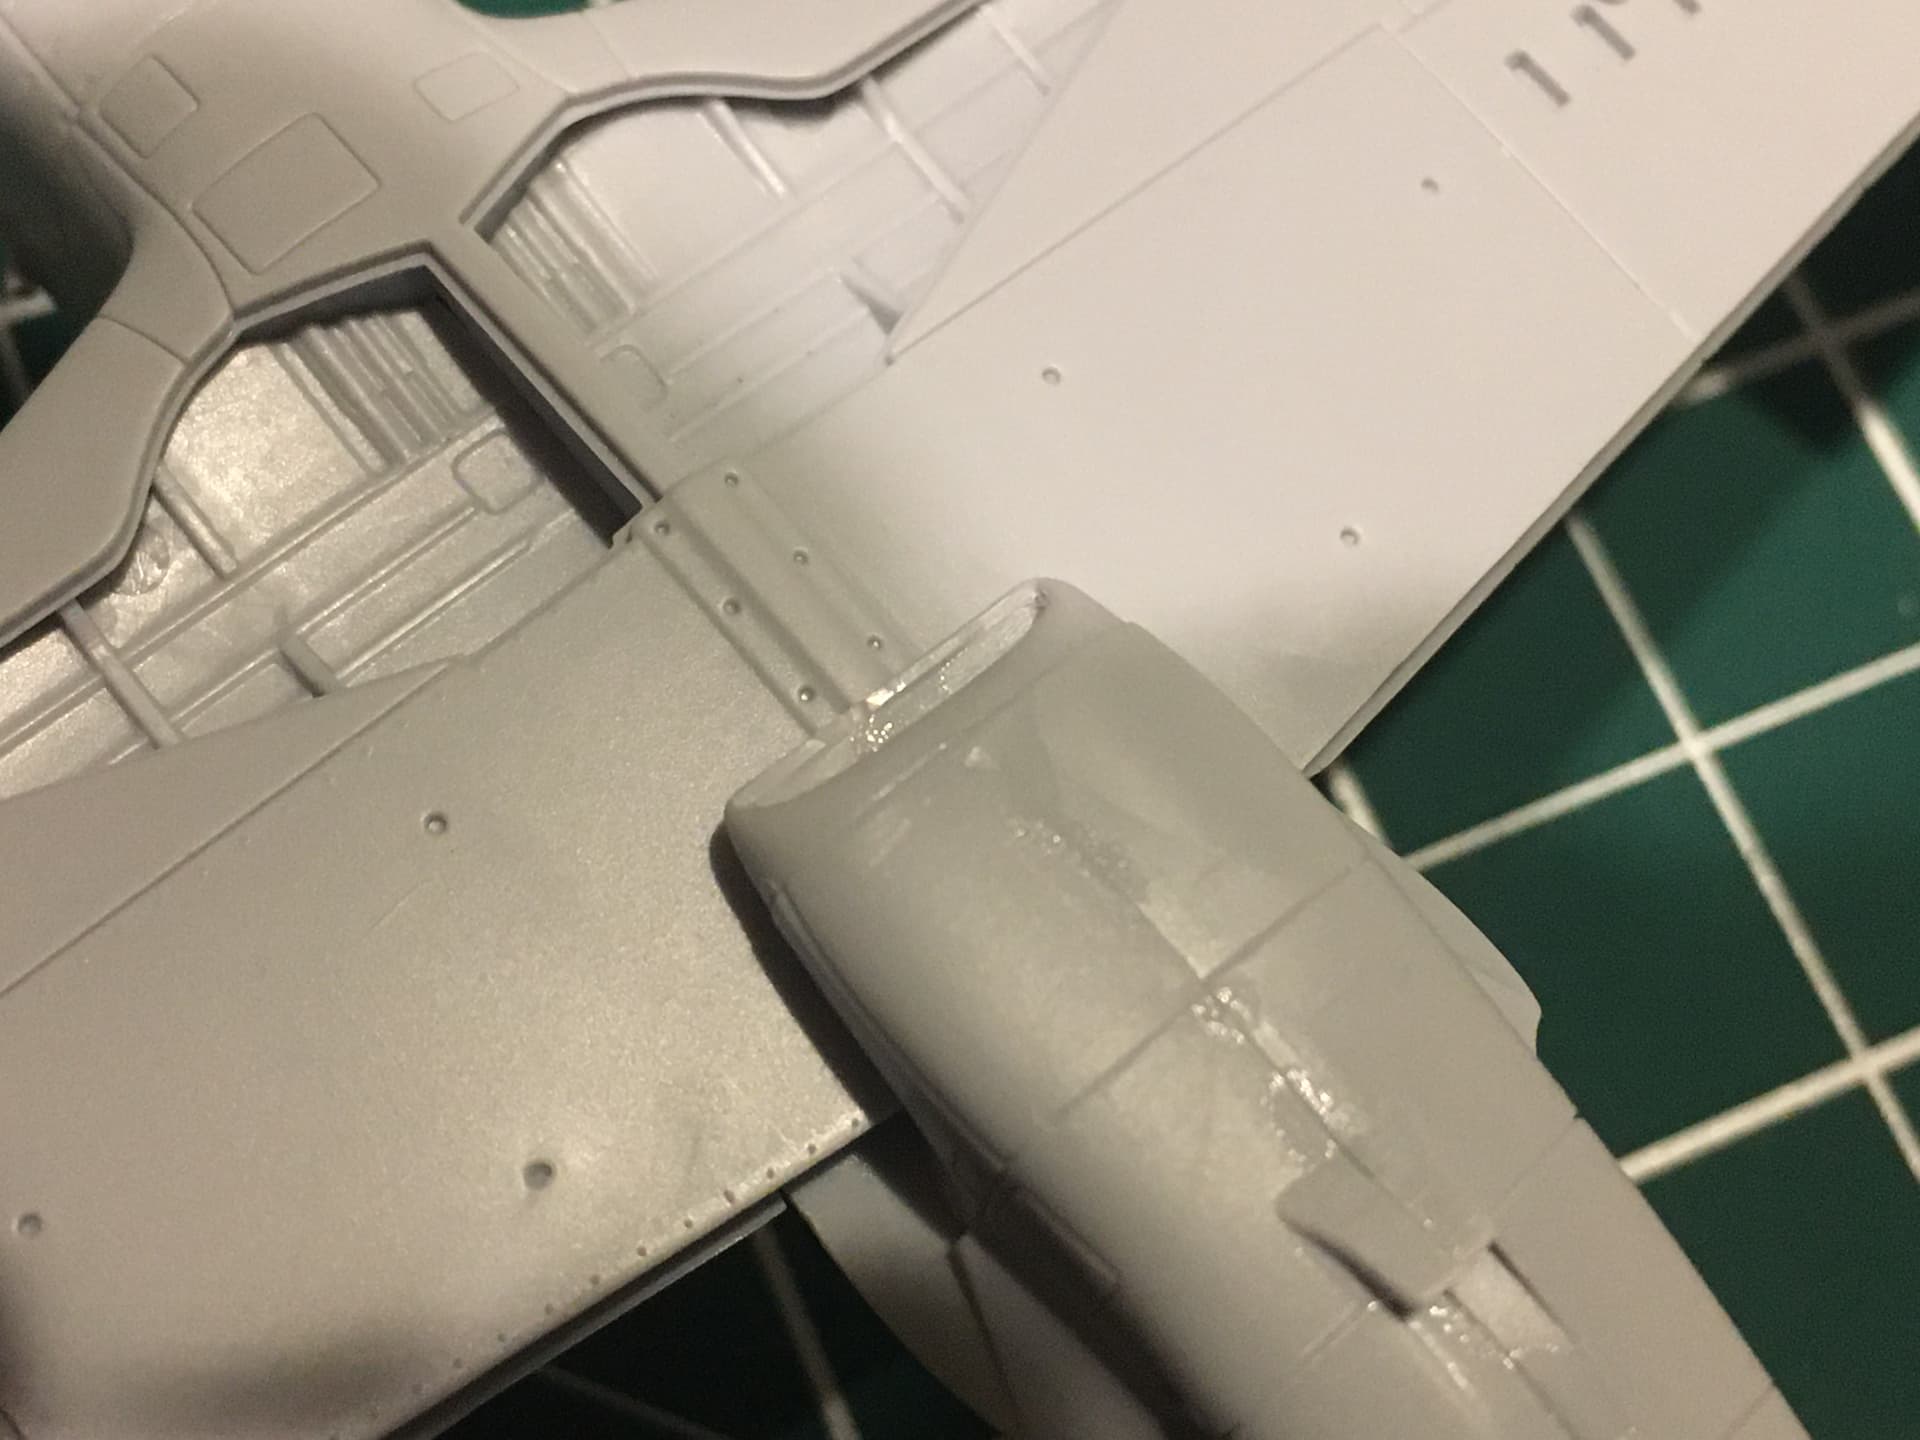
Now prepping to glue the fuselage halves together…
That cockpit is really starting to look good. A shame not to do seatbelt. A little masking tape would do fine. As for MM paint, it’s been one of my favorites for decades. I’ve never thinned it with anything more than water of windshield washer fluid. I just make sure I stir all the pigment in with a toothpick.
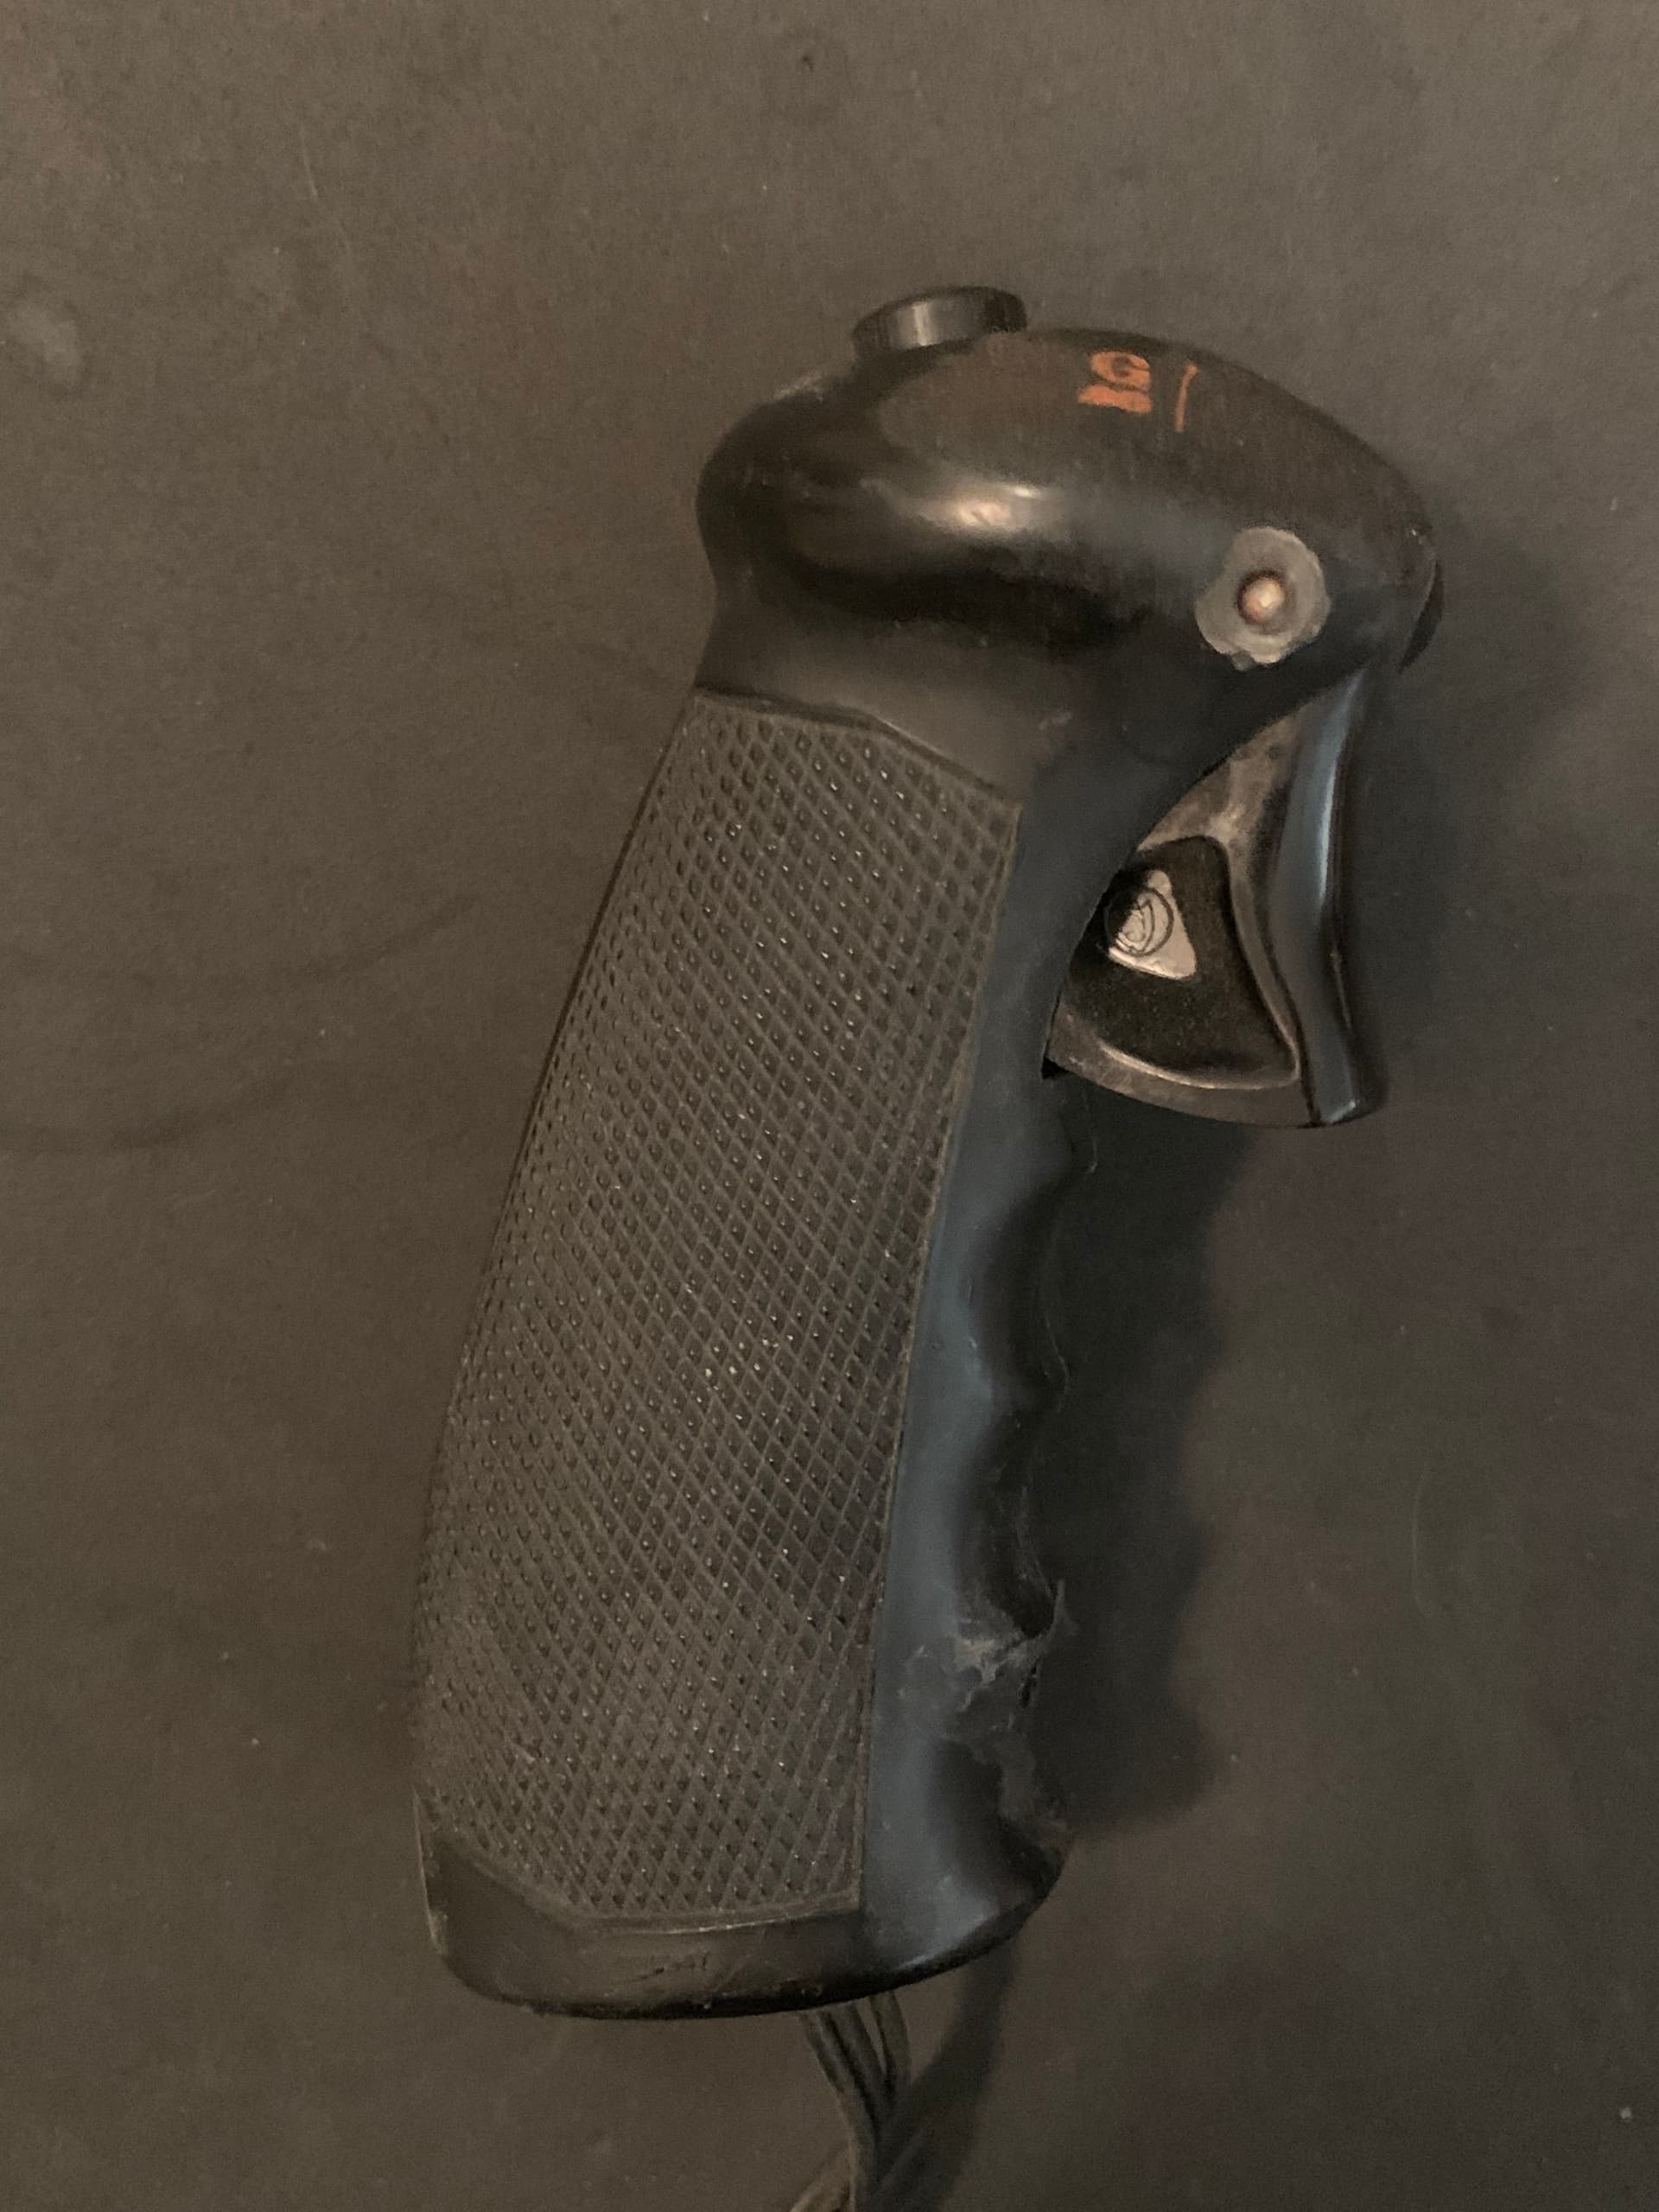
Good save on that joystick. Here’s a close up shot of the P-51 pilot’s grip I own:
FWIW - I never had any luck with acrylic washes .
My go to method is acrylic or lacquer paint and oil washes from artist’s tube colors / mineral spirits.
HTH -
Richard
On aircraft interiors no - base colors in acrylic, darker oil wash then dry brush lightened base color - flat coat if needed. Testor’s Dullcoat still the best but no longer available sadly - I bought all my local hobby shop could get . Mig acrylic flat coat is dead flat but turns glossy in a year or so . Very unhappy about that .
On exterior work I don’t do washes / panel accents until decals are done and overcoated .
Cheers- RT