Great thread & variations of examples Mike! Question – when you use “real wood” do you have a specific go-to? Years ago I tried a bunch of different laminates which (even after sanding back) didn’t accept paint too well, so I went back to balsa. Its absorbency’s ideal yet can still be moderated with washes of thin PVA to fix a layer prior to darkening/lightening over-washes…
For plastic I think my technique’s similar to yours – white matte (enamel) base, trailed/random artists’ acrylic woody-colours scrubbed back when half dry with damp brush, dark pin wash to settle in joints, randomised scrubbed dry pastels for weathering…
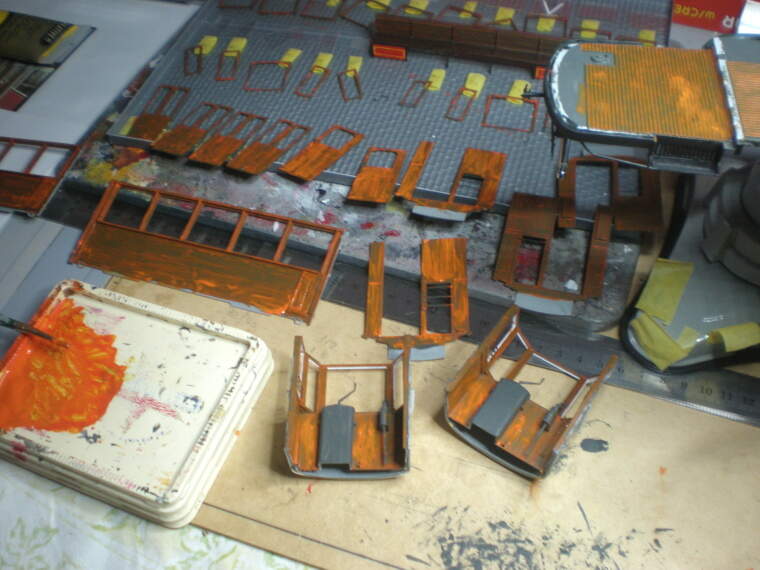
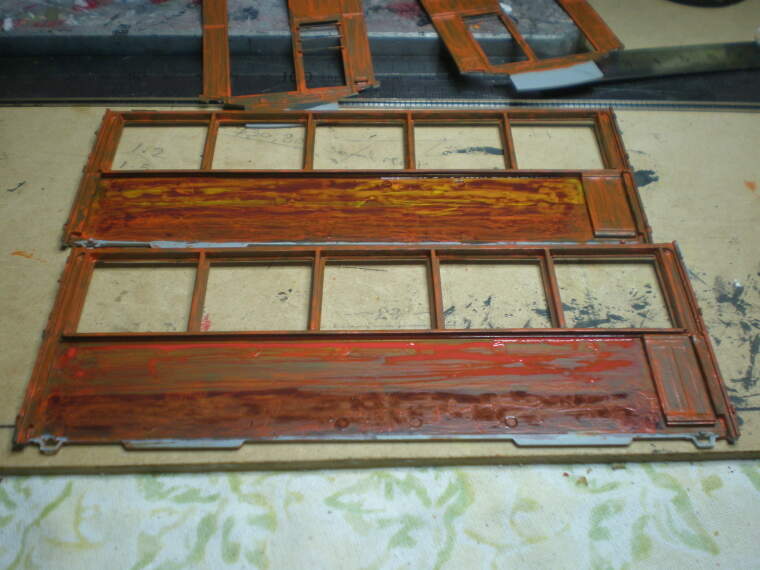
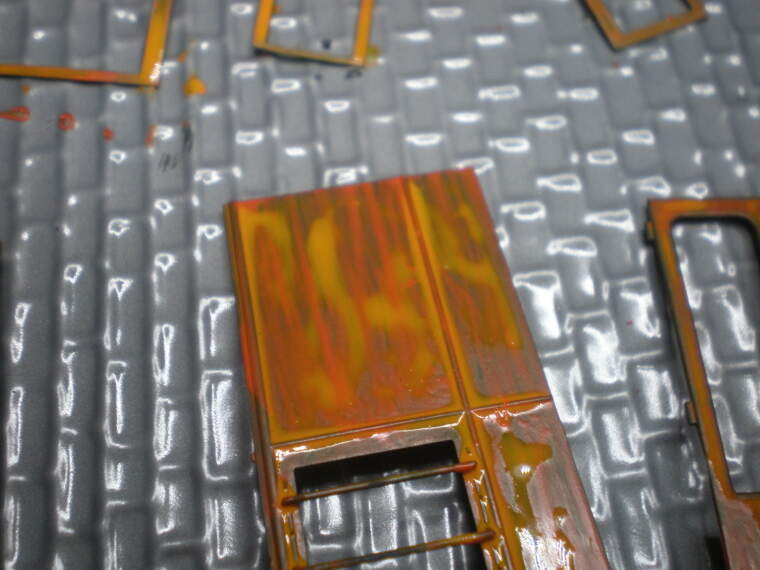
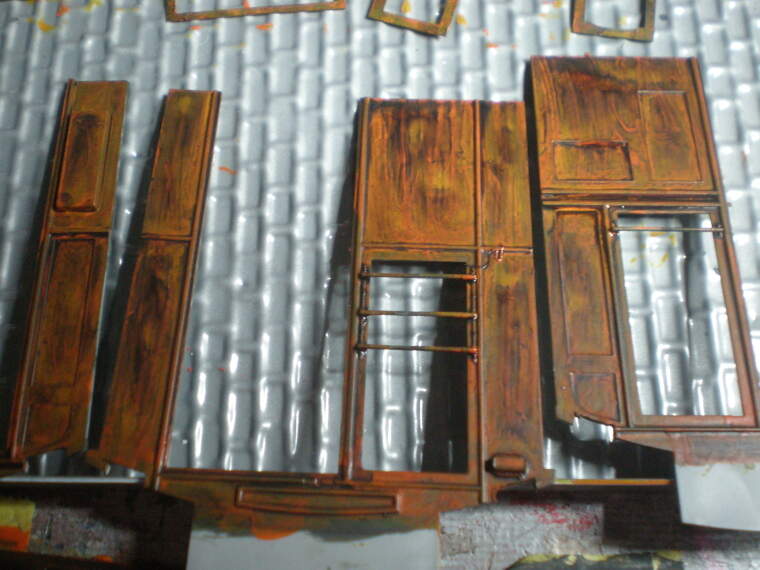
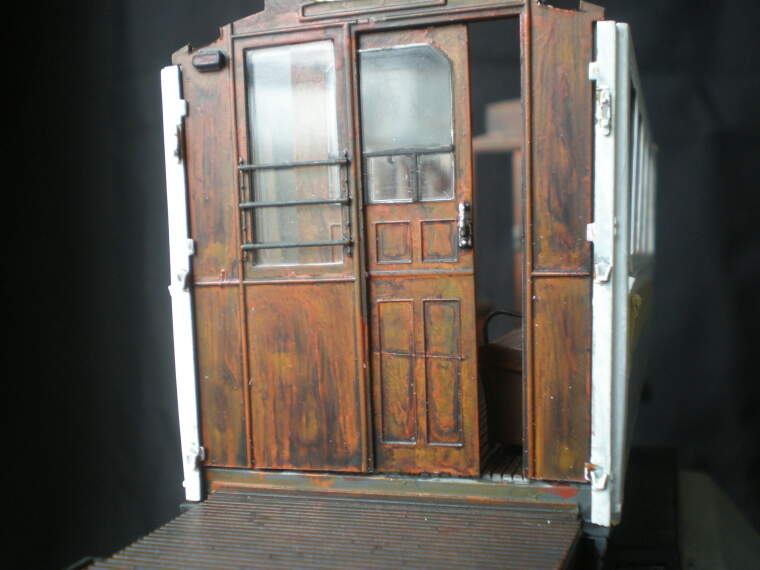
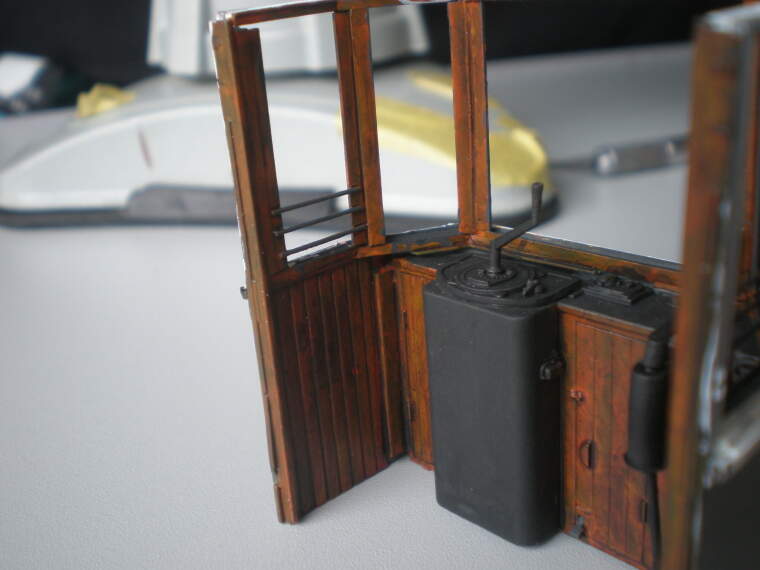
Maybe not quite the subject but related, here’s one way of doing polished woods for train/tram interiors again using cheap artists’ acrylics on plastic. Streaked bright red/orange/yellow over a dark grey base, modified with dilute black washes…

3 Likes
In the old days I used to use balsa like you because of it’s absorbency. And often used the black transparent stain (dirty thinner) from the bottom of my brush wash-out bottle as a weathering stain.
I re-decked some HO flatcars by first removing the cast on plastic “wood” deck. Then, taking 1/16" balsa sticks, I took a razor blade and chopped these sticks lengthwise giving me one “distressed” side and one smooth side. I glued these onto the flatcar frame giving me a brand new deck, rough on top and smooth on the bottom. I used the black thinner stain to give the whole thing a very very dirty, heavily used appearance.
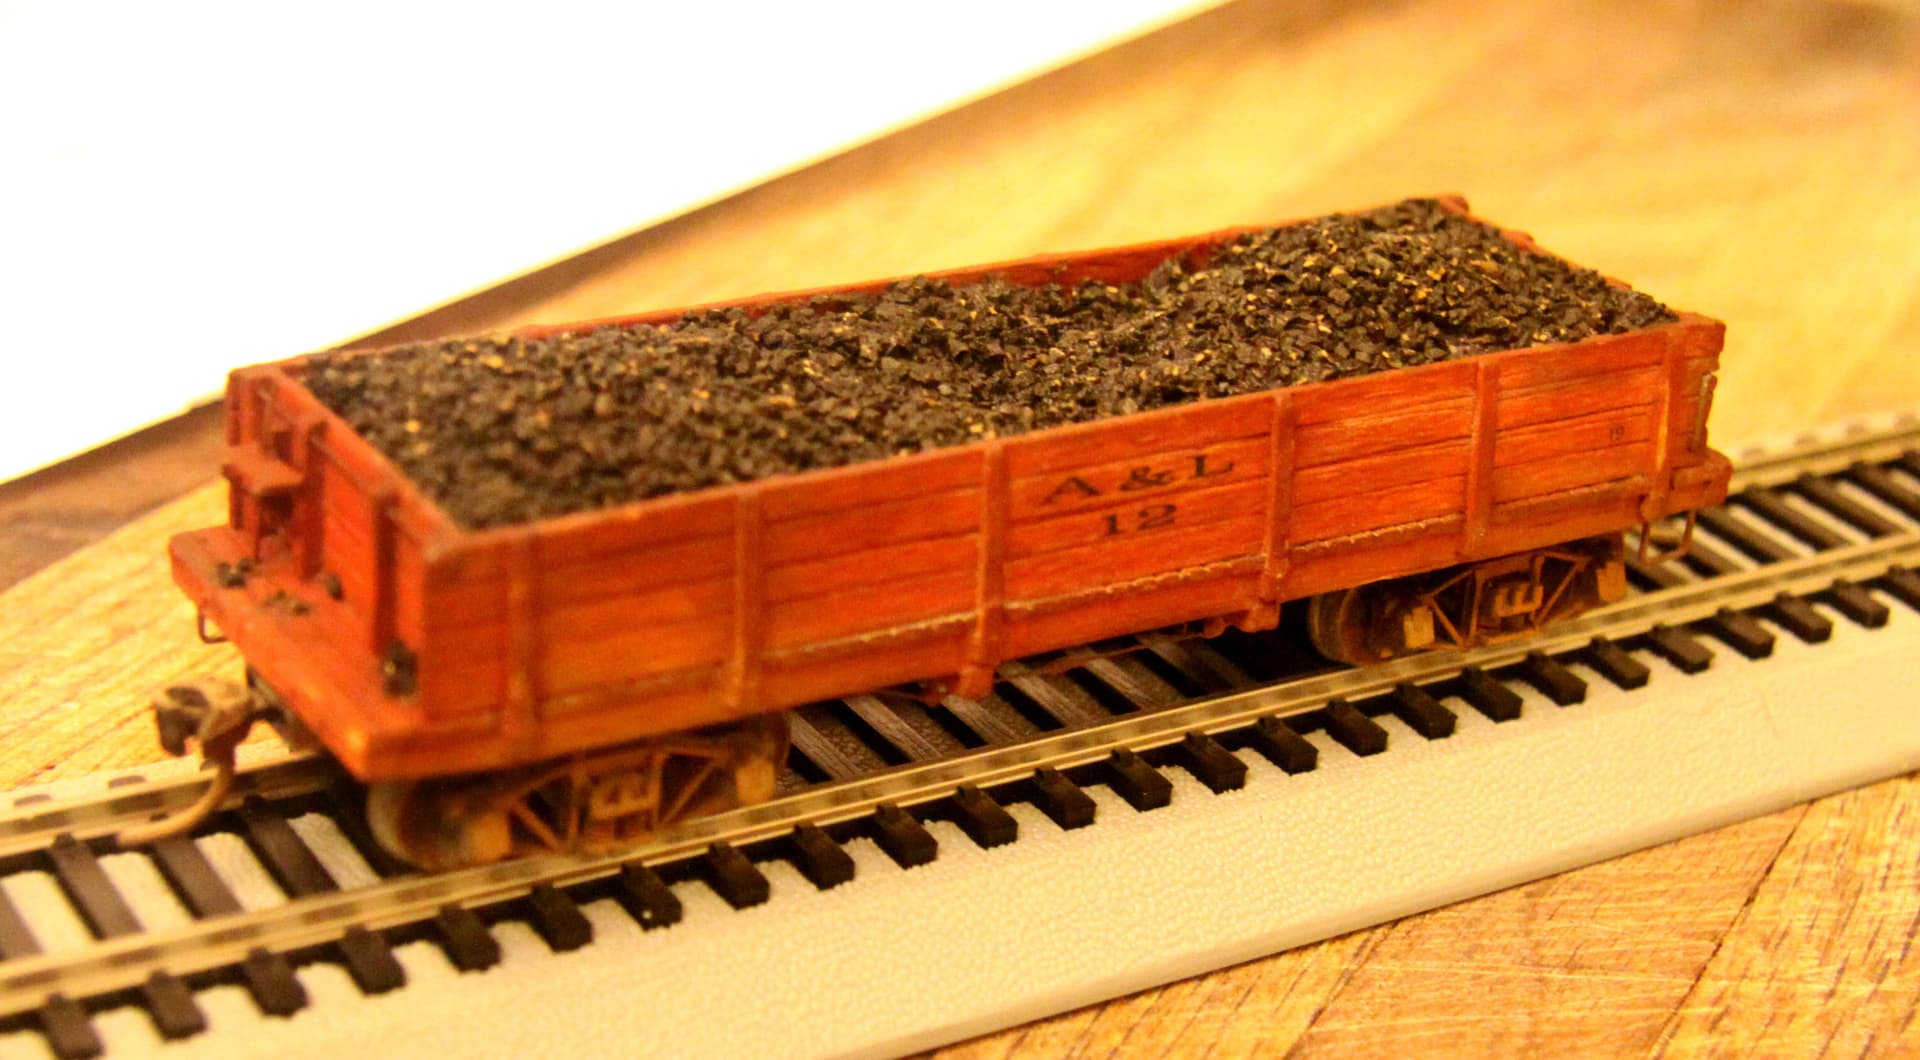
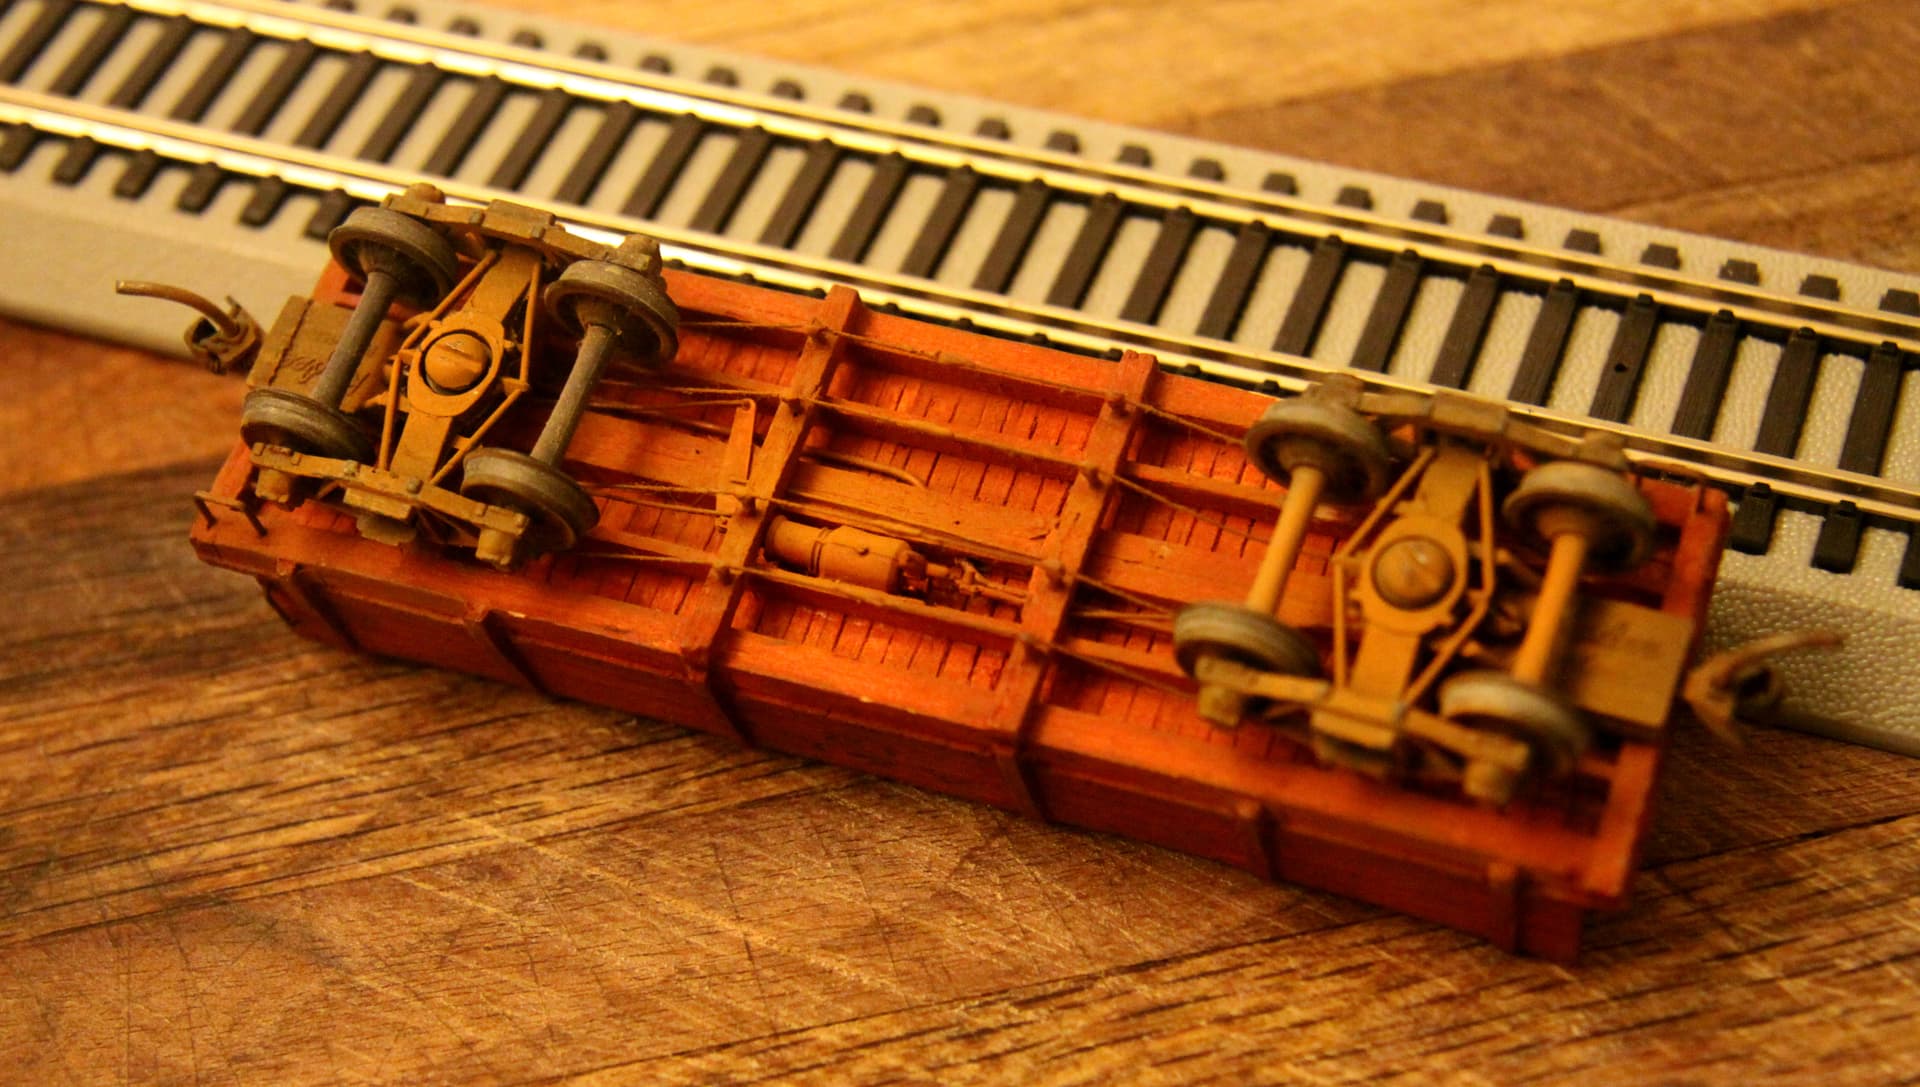
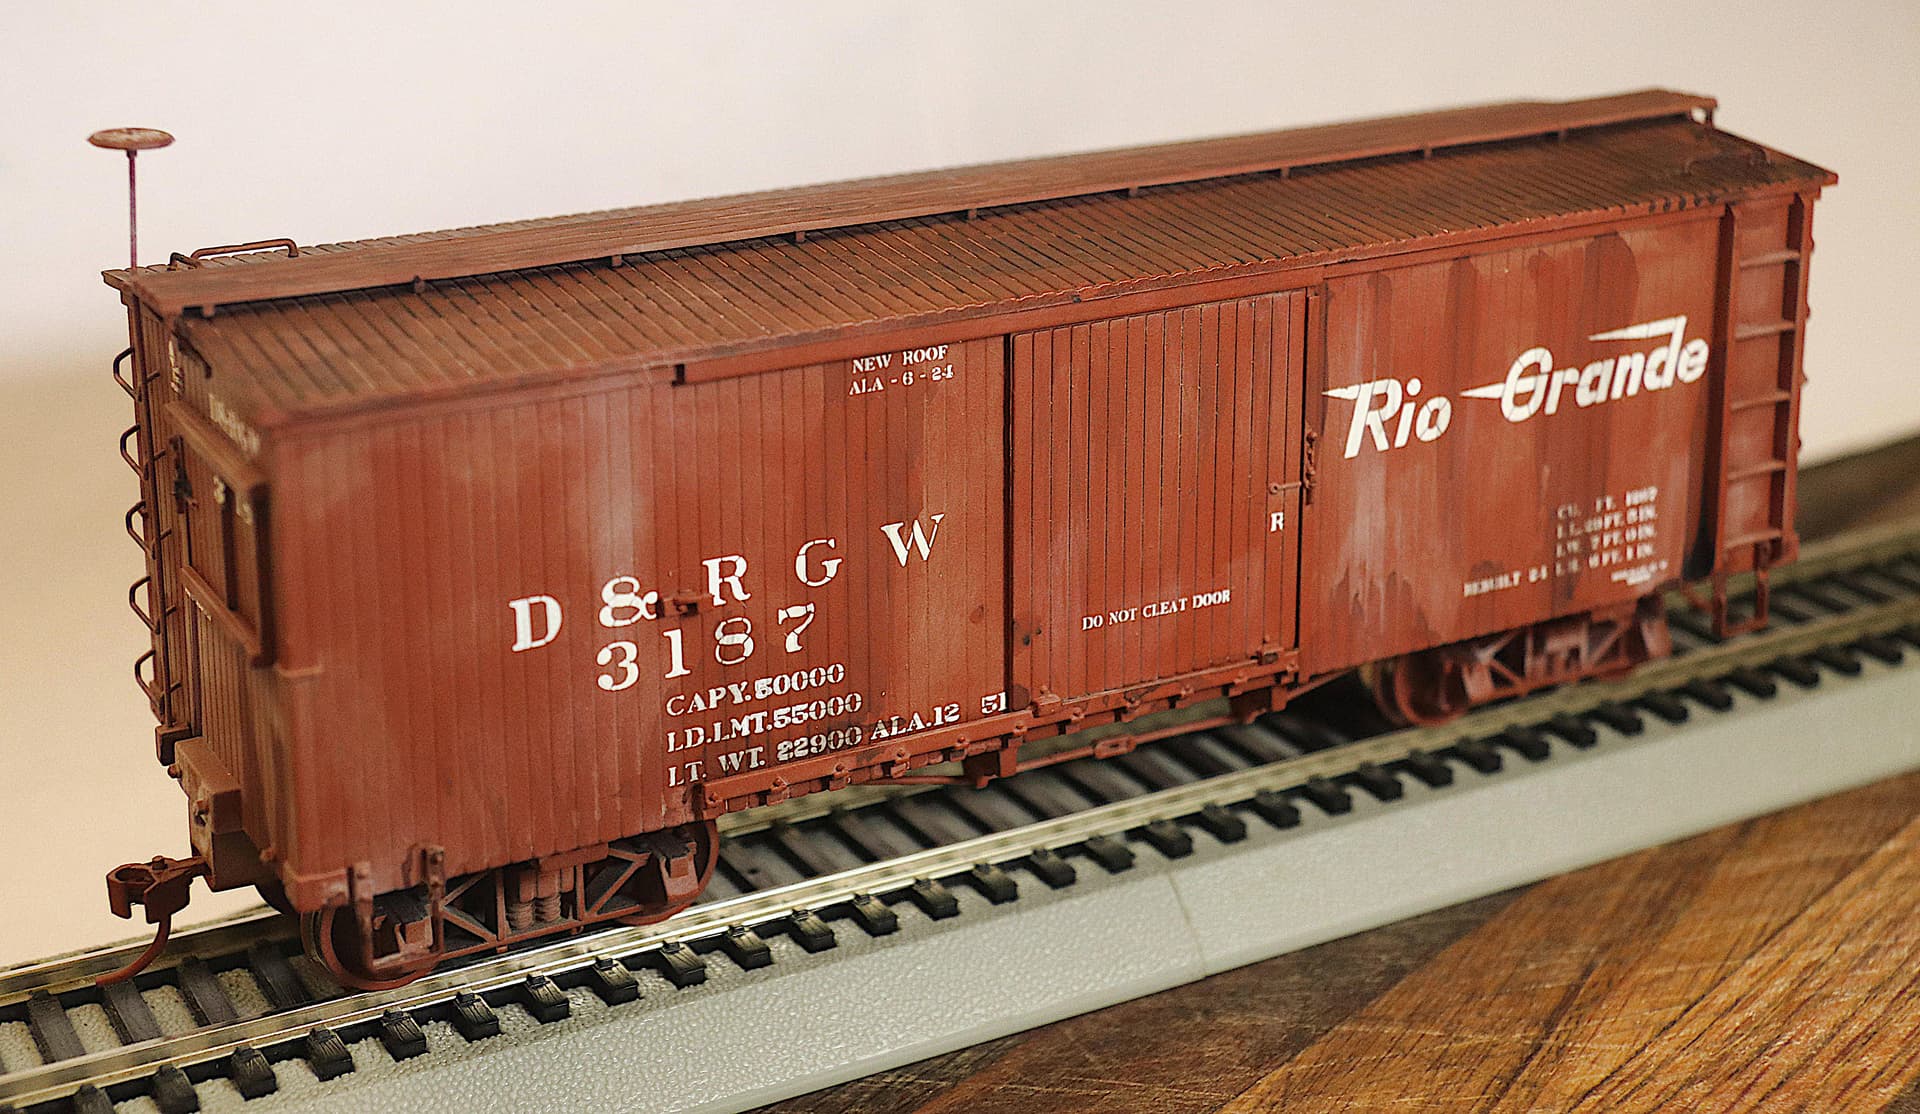
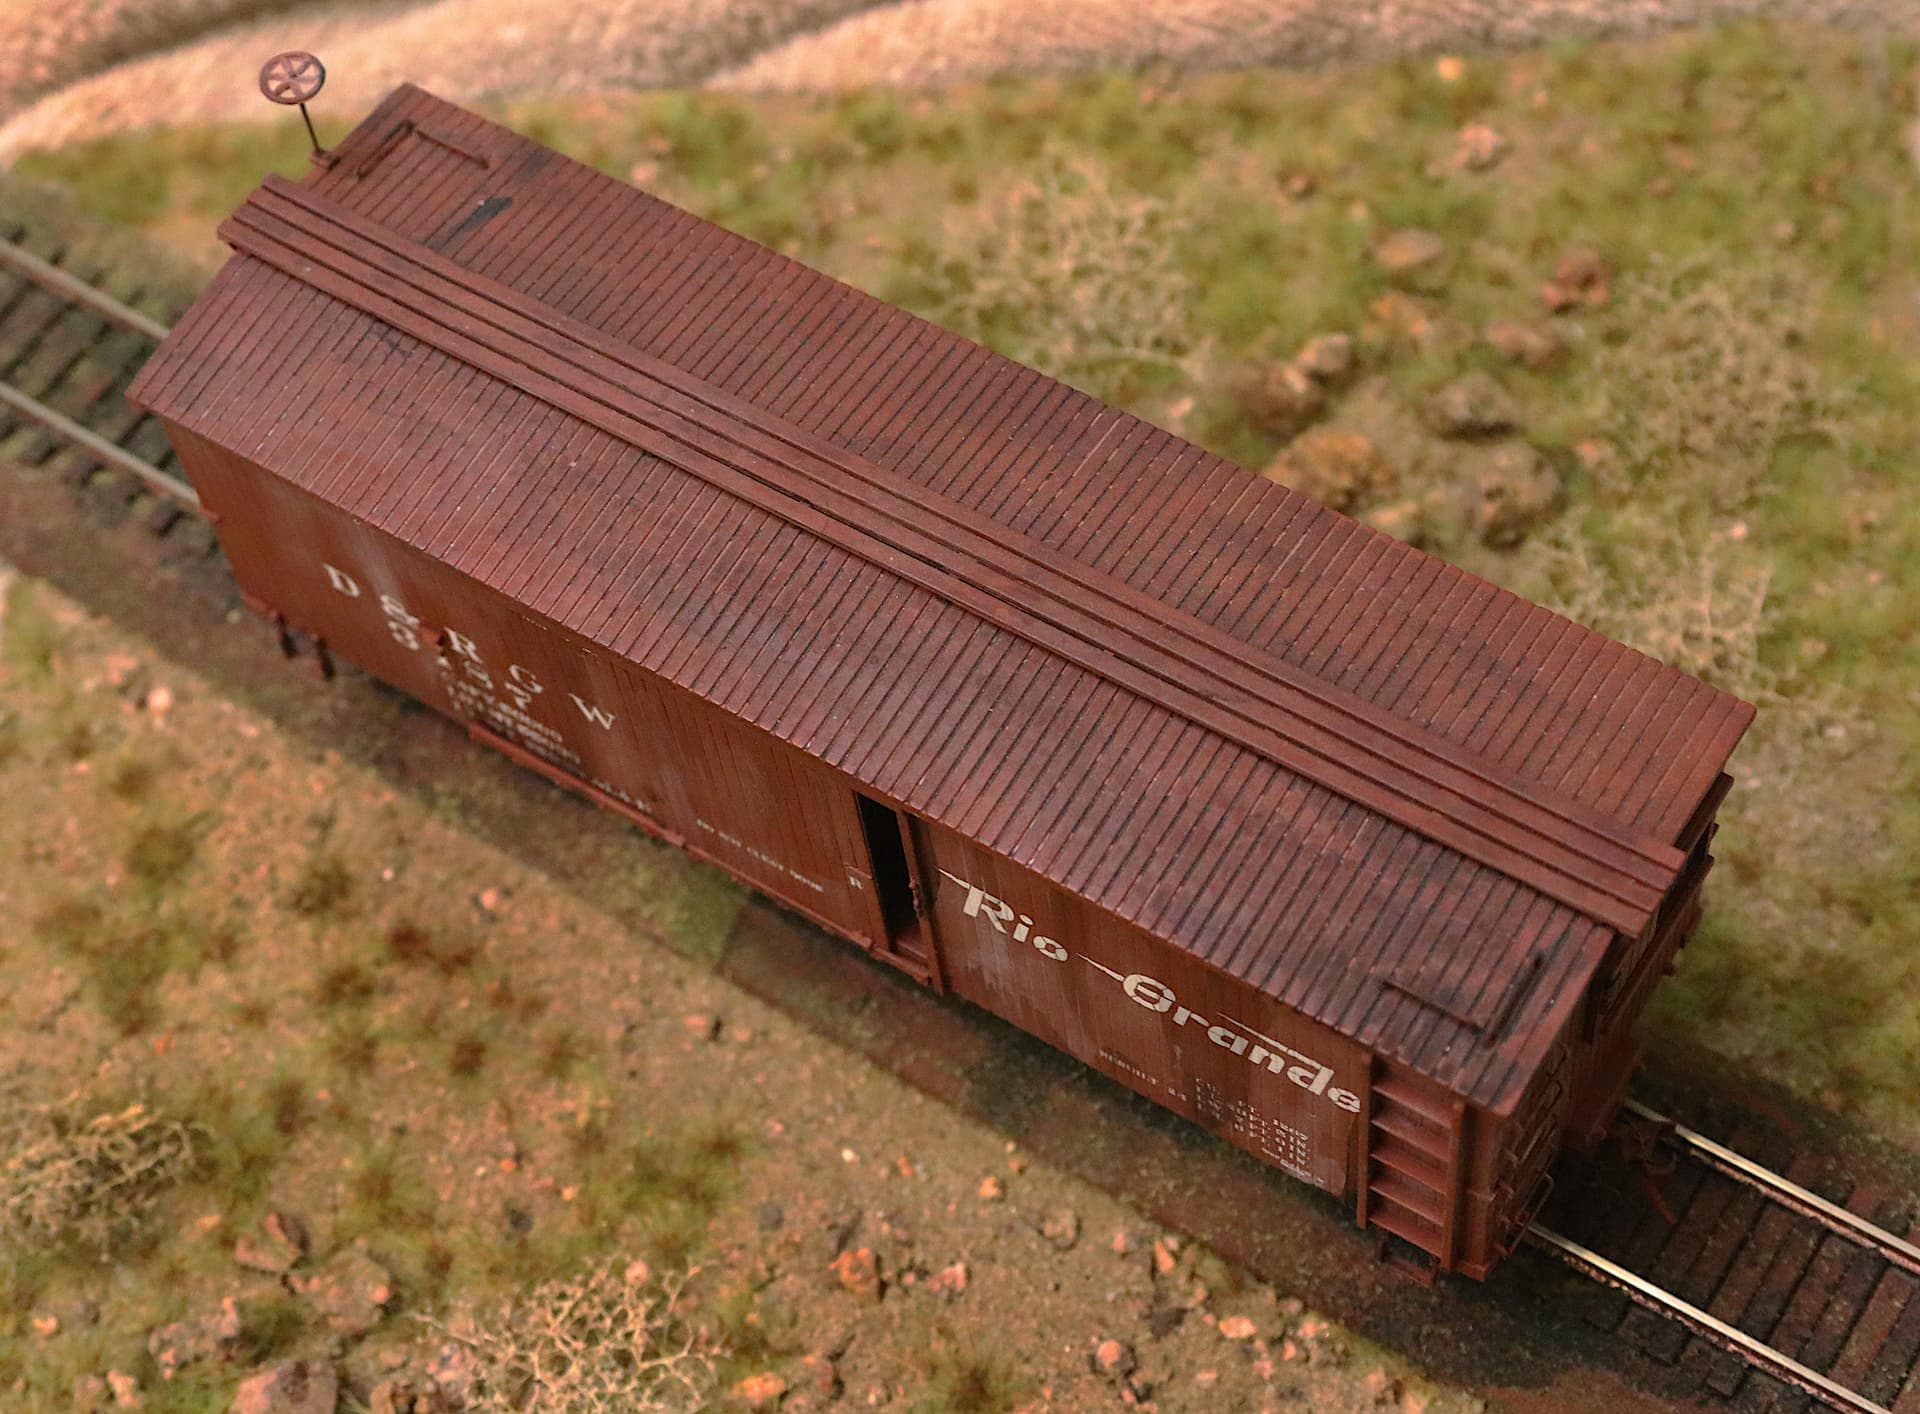
Other than that I have used milled scribed wood siding to build railroad cars usually using diluted paint (diluted with CLEAN thinner) to paint them for a realistic look, as in this weathered red gondola seen below…
This is, so far, the only photos I have found left from that era.
Scratch built HO gondola using scale lumber and greatly thinned red paint.
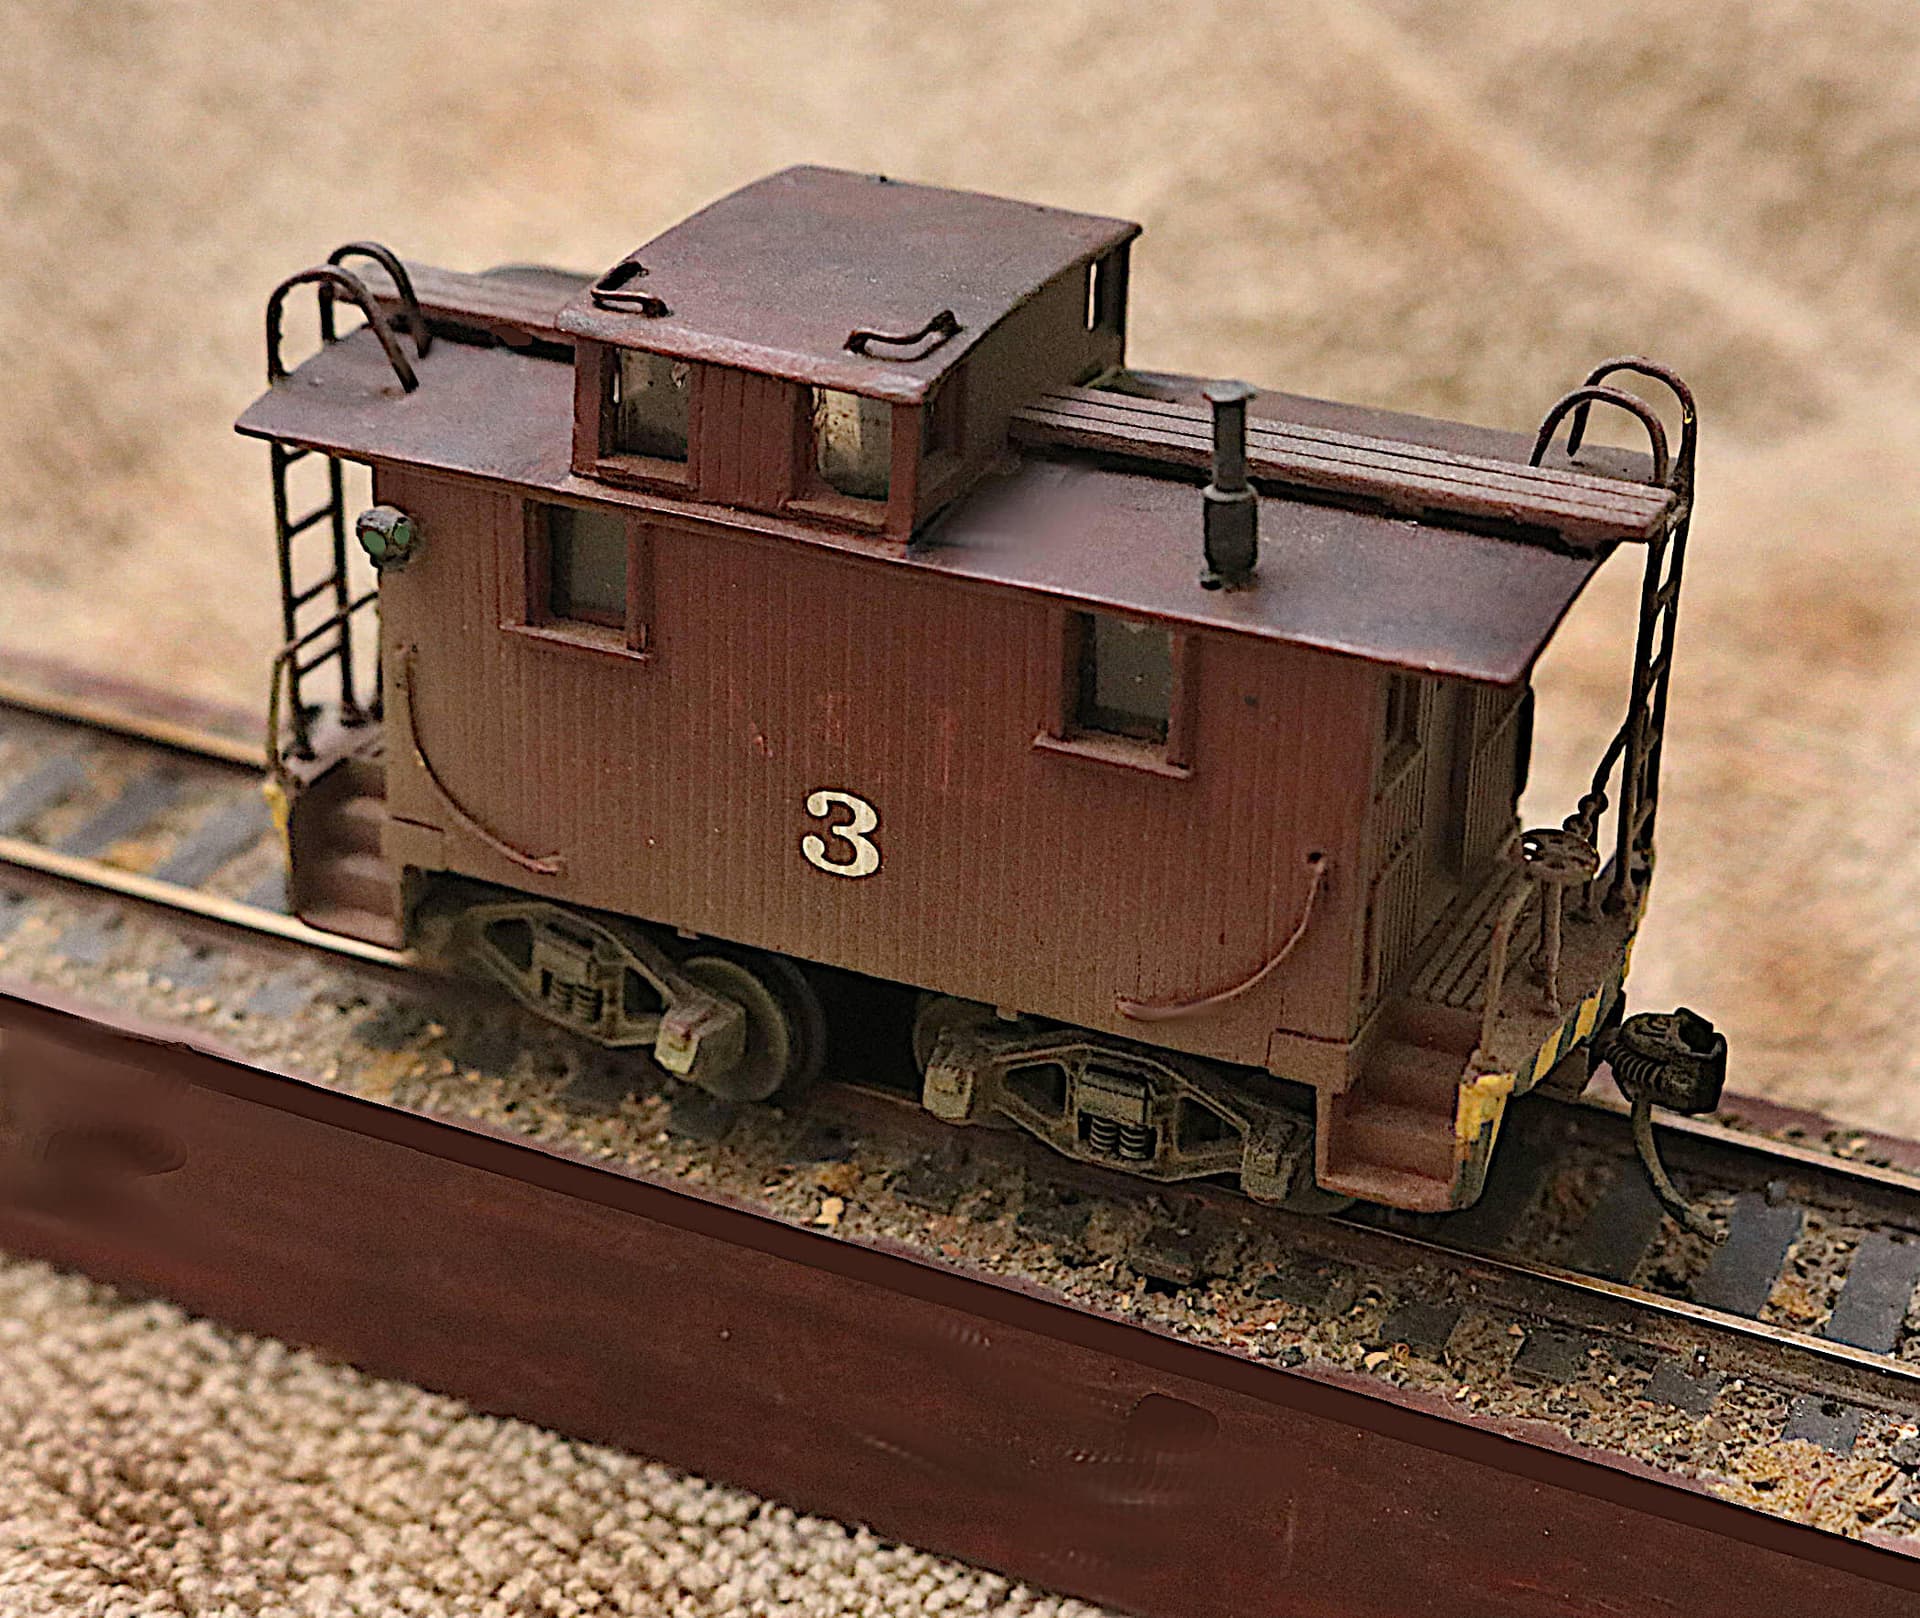
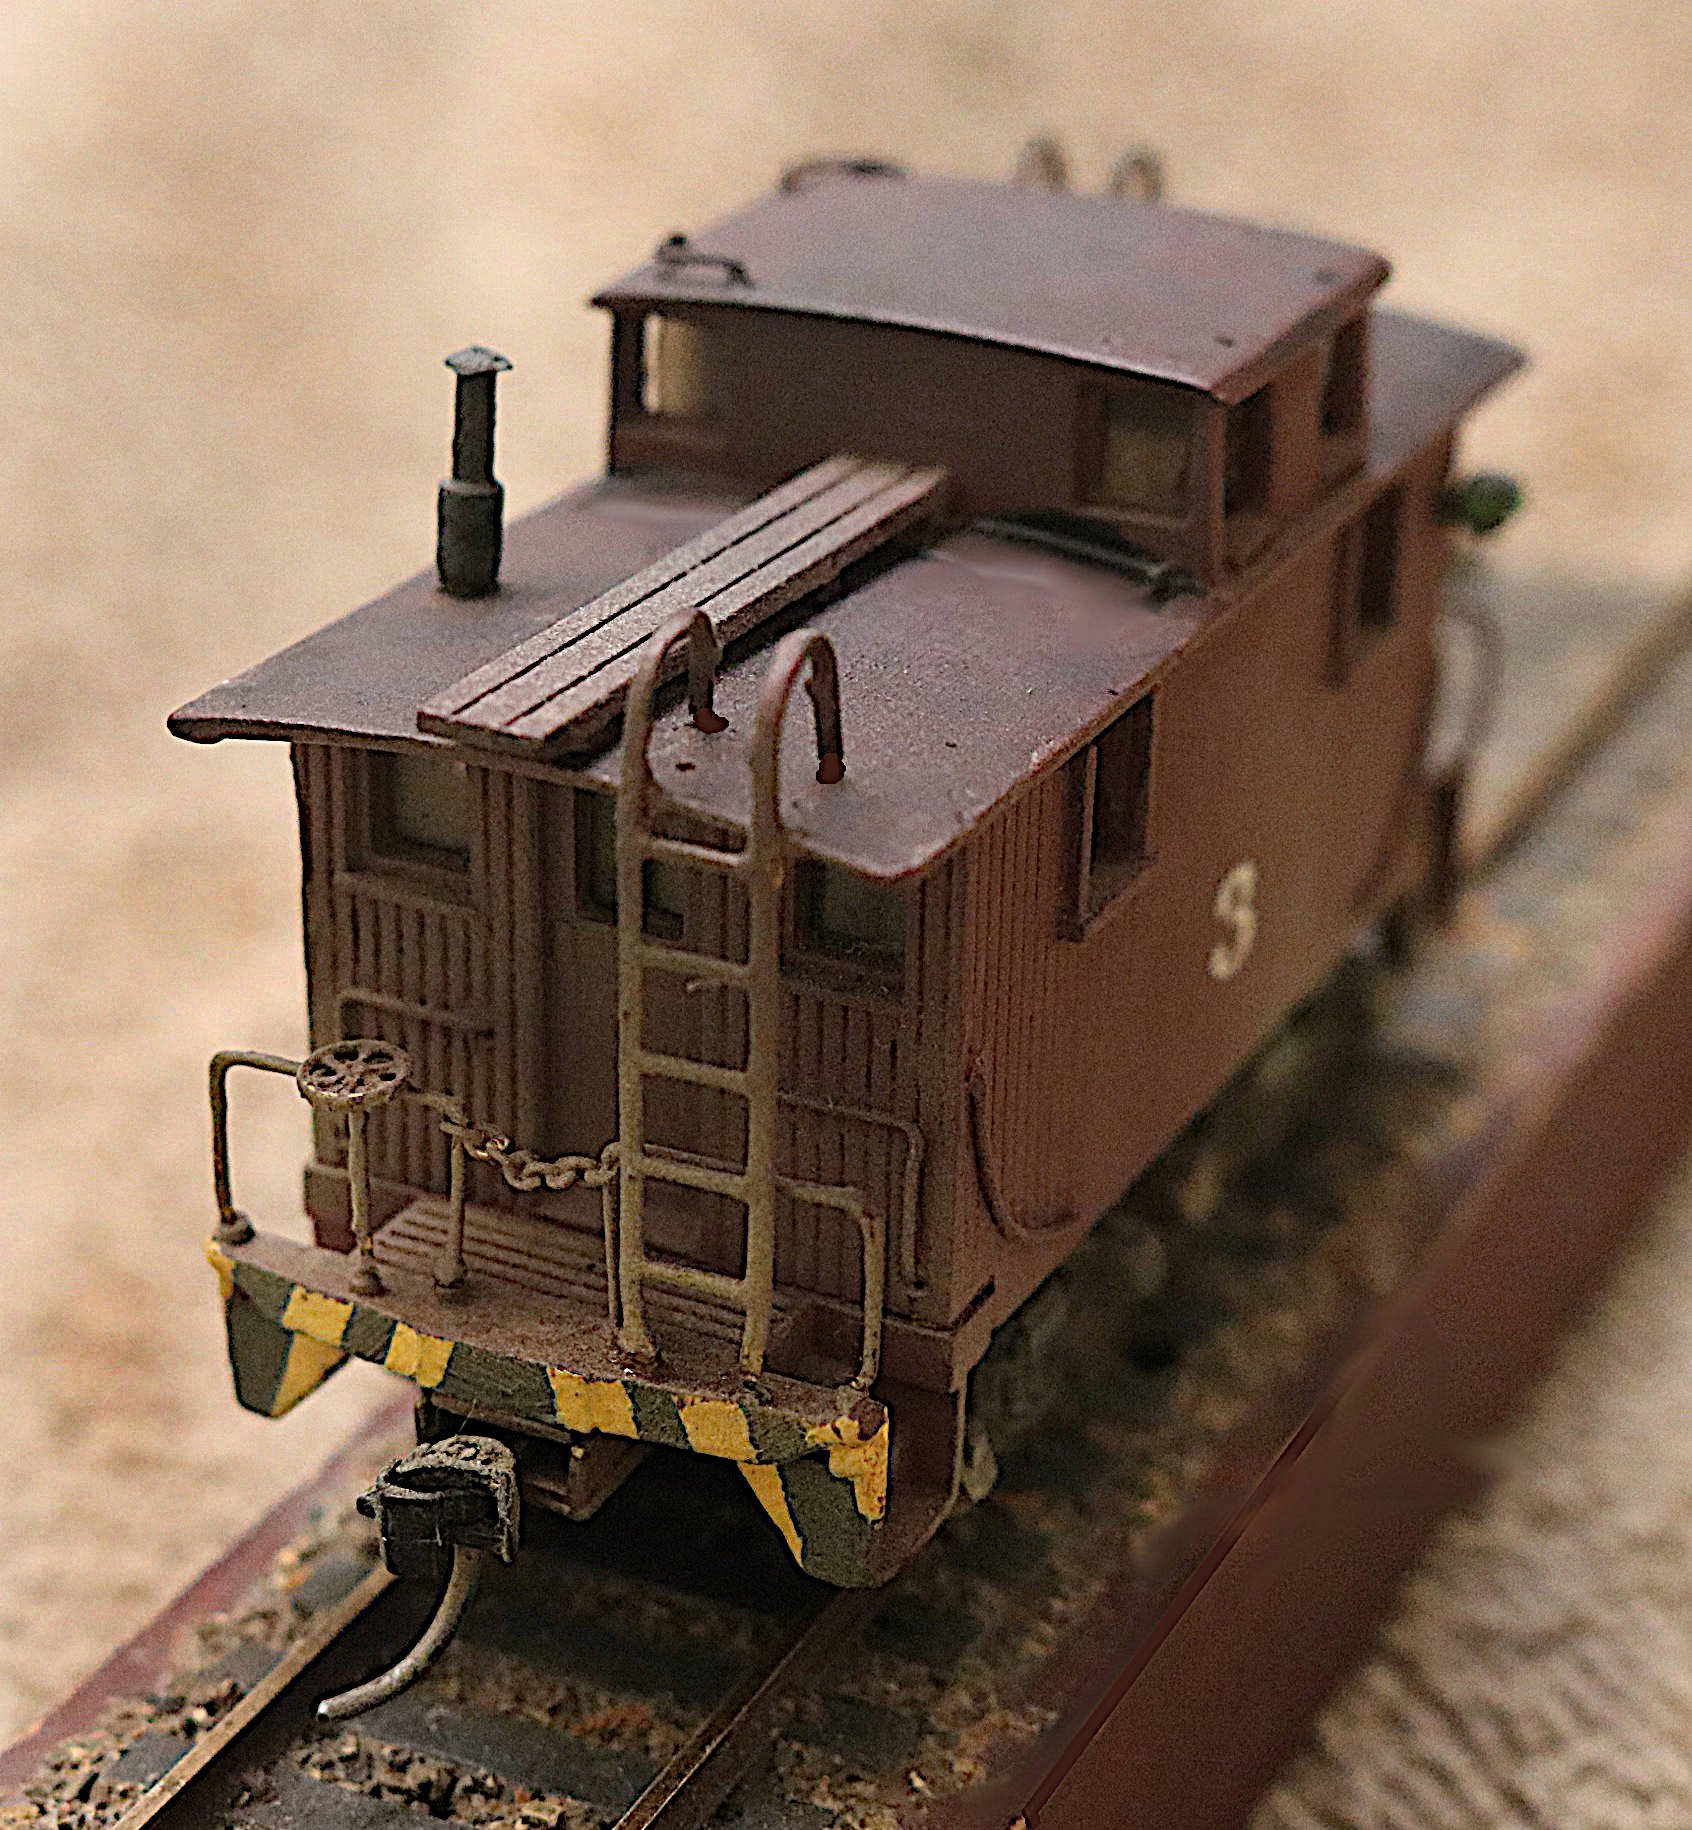
Kit-bashed plastic 4-axle HO caboose built from a 2-axle Bobber.
4 Likes
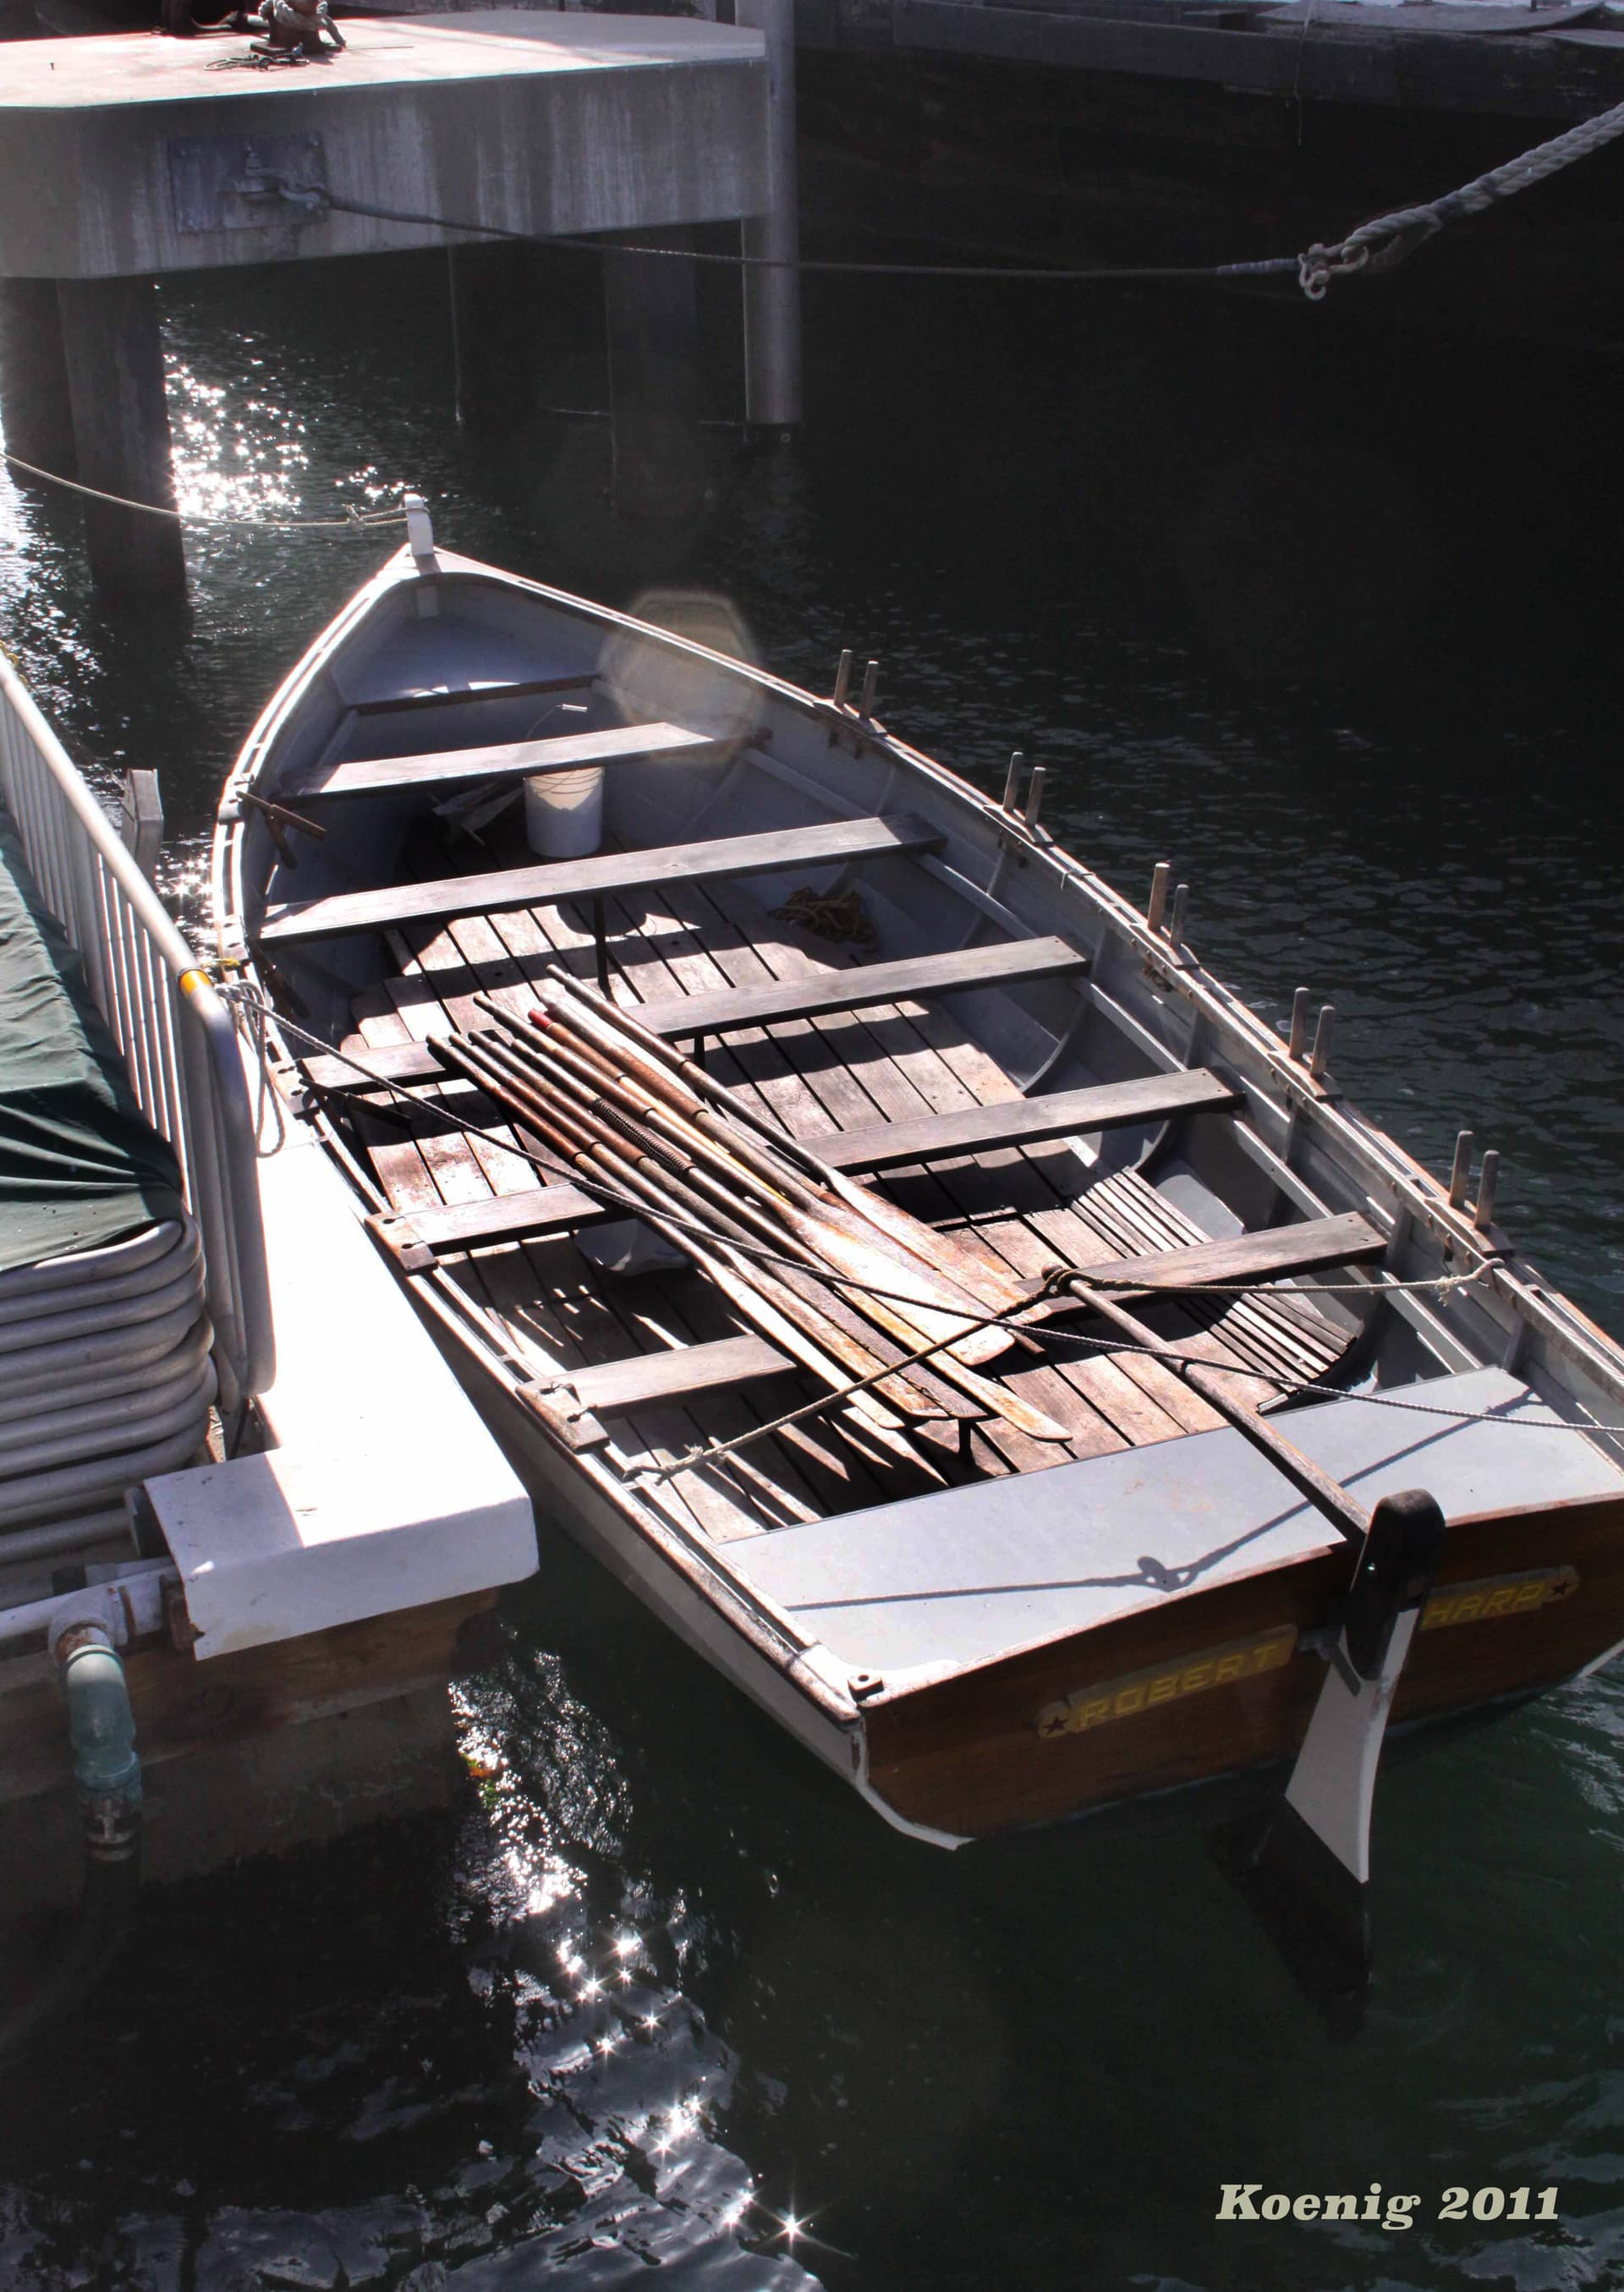
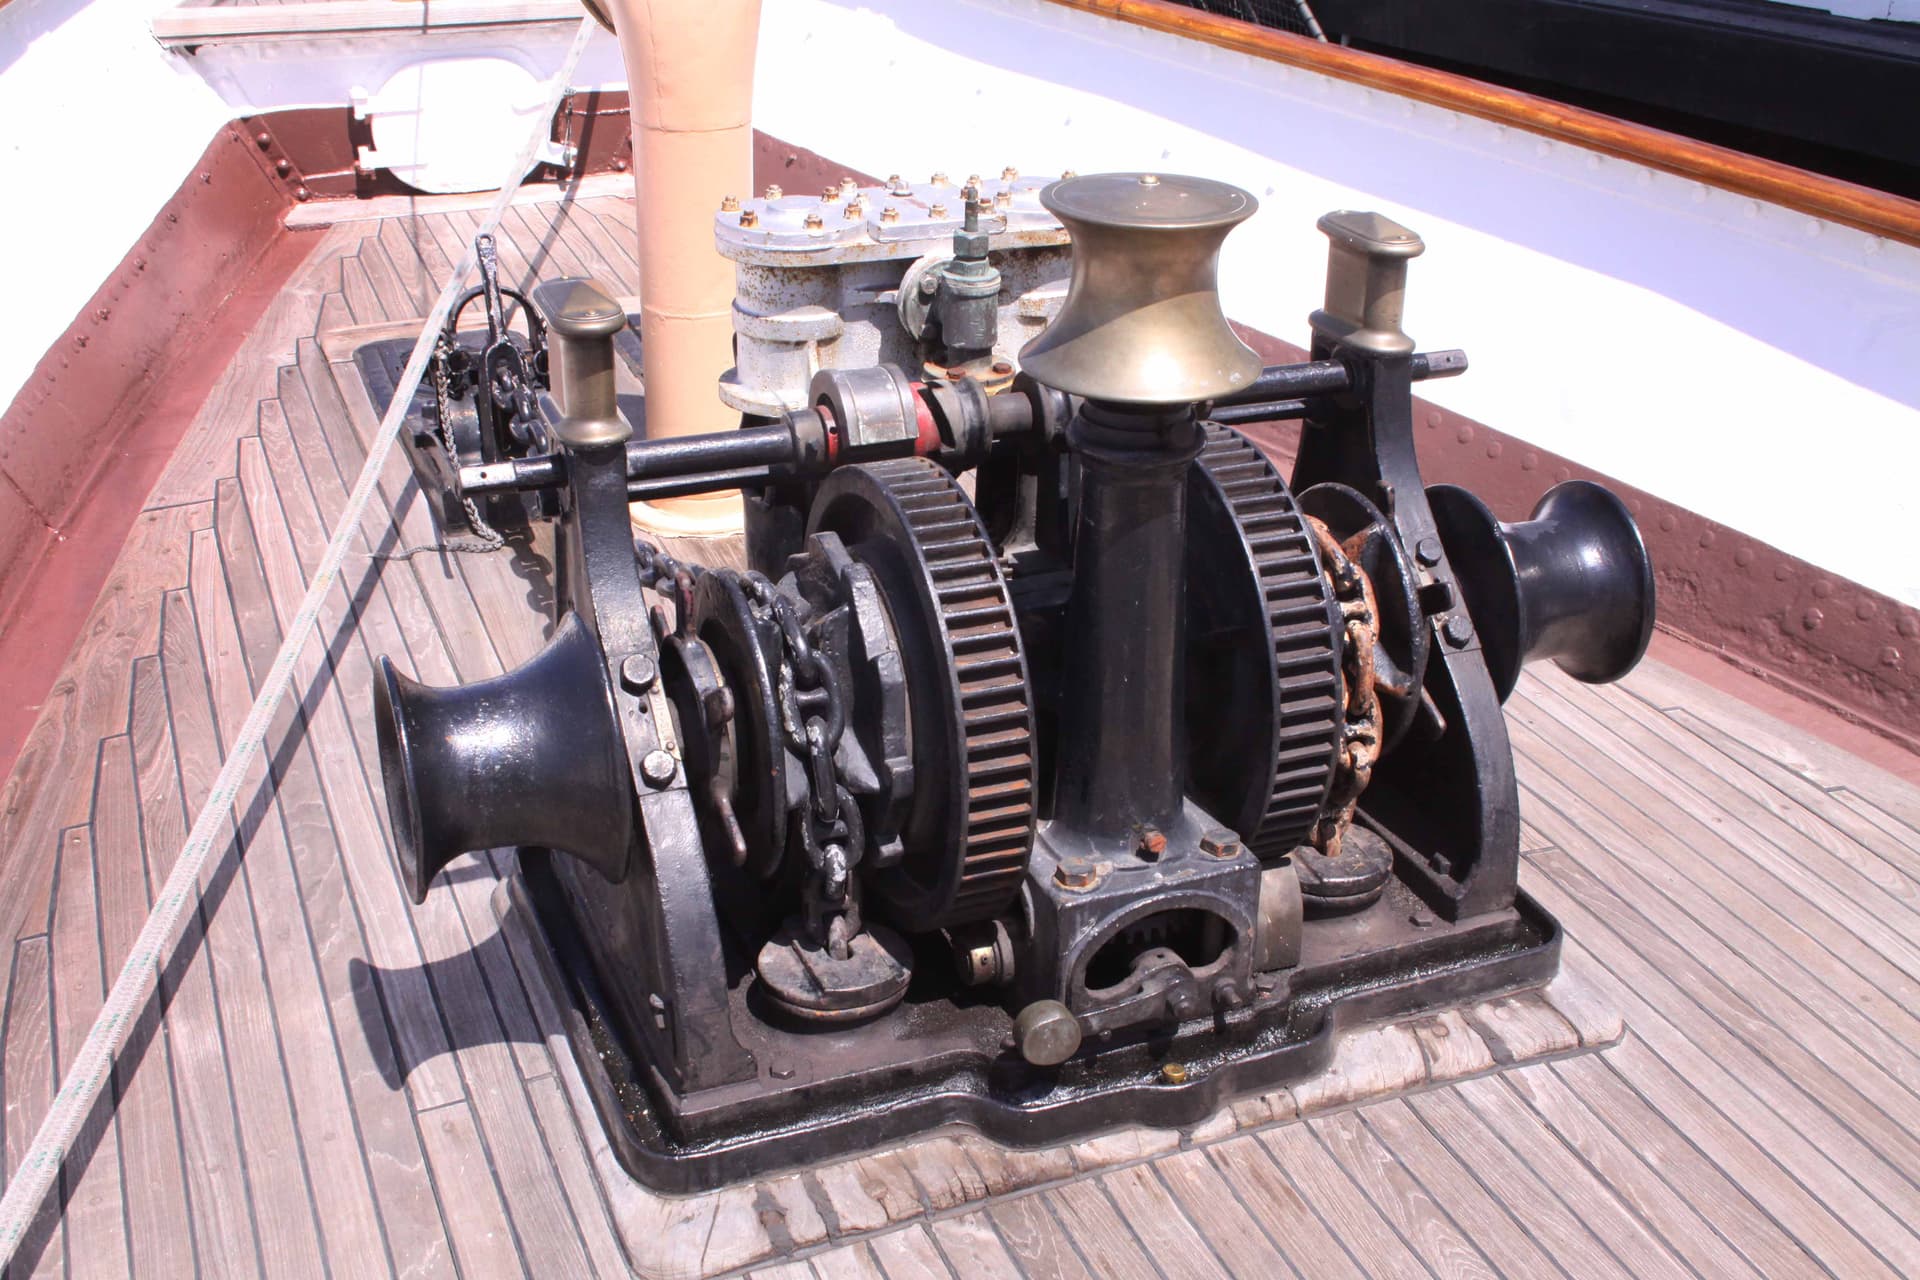
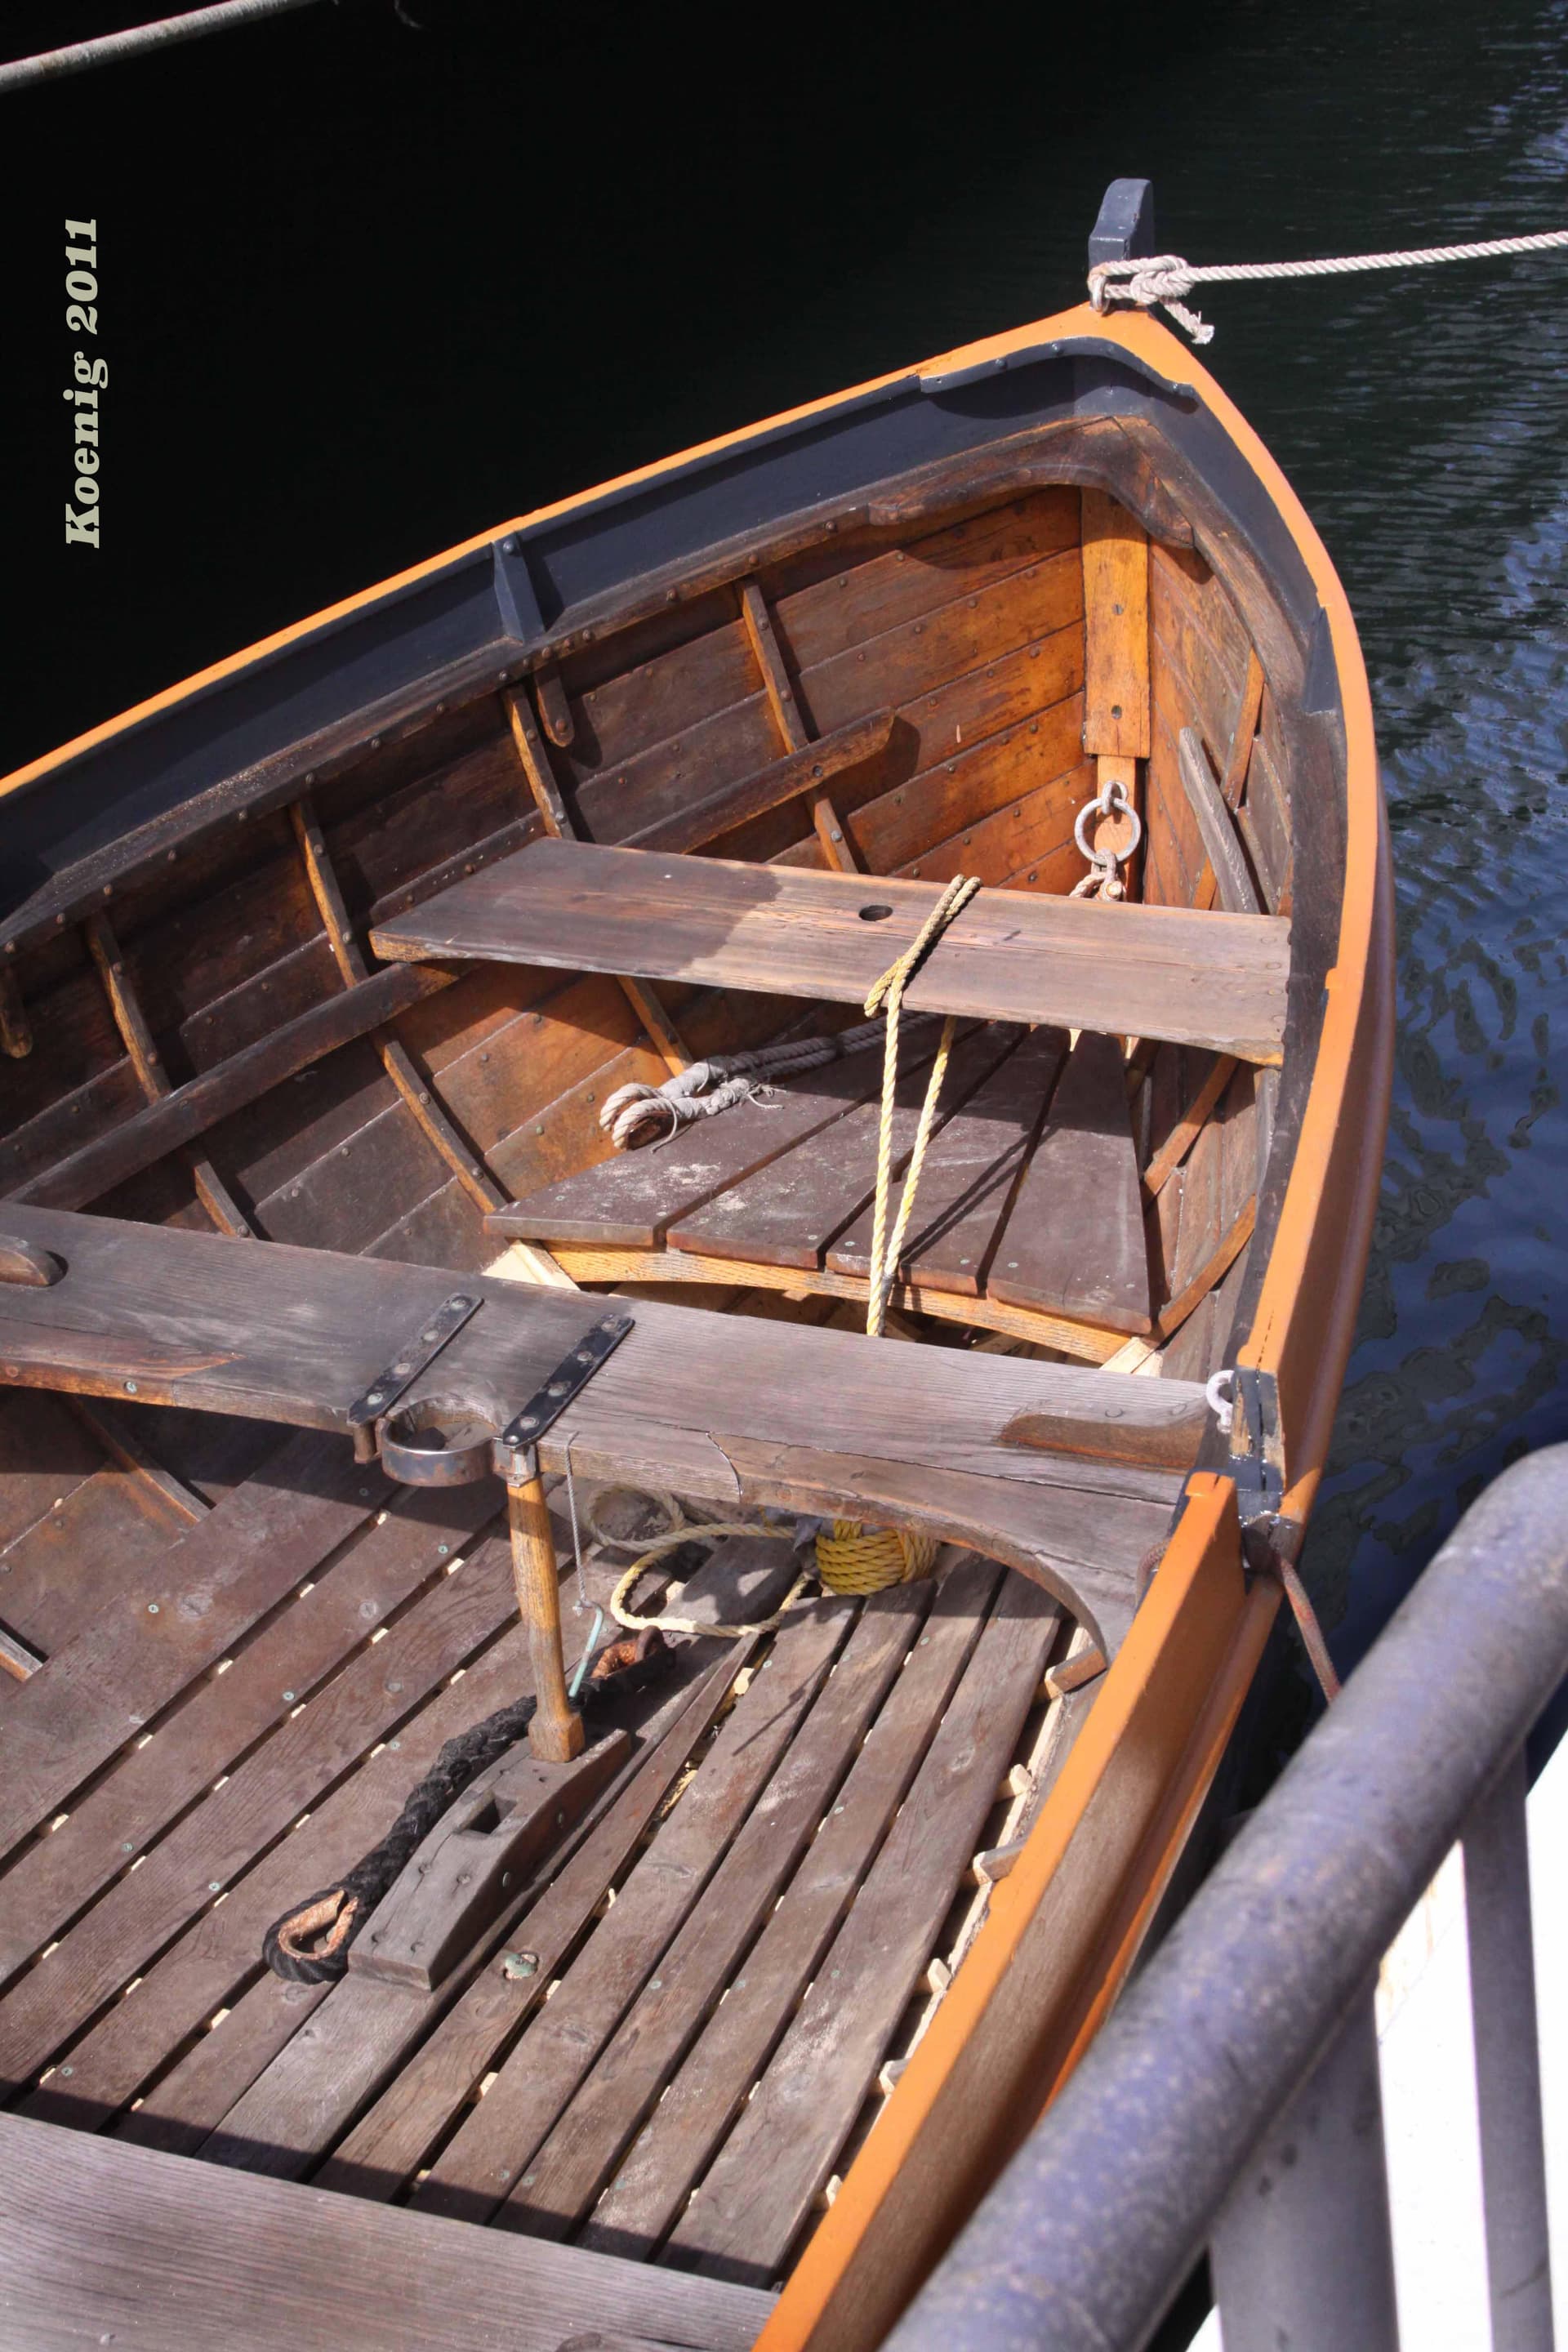
Some weathered wood reference and some impressive ship’s carpentry from the San Diego Maritime Museum.
4 Likes
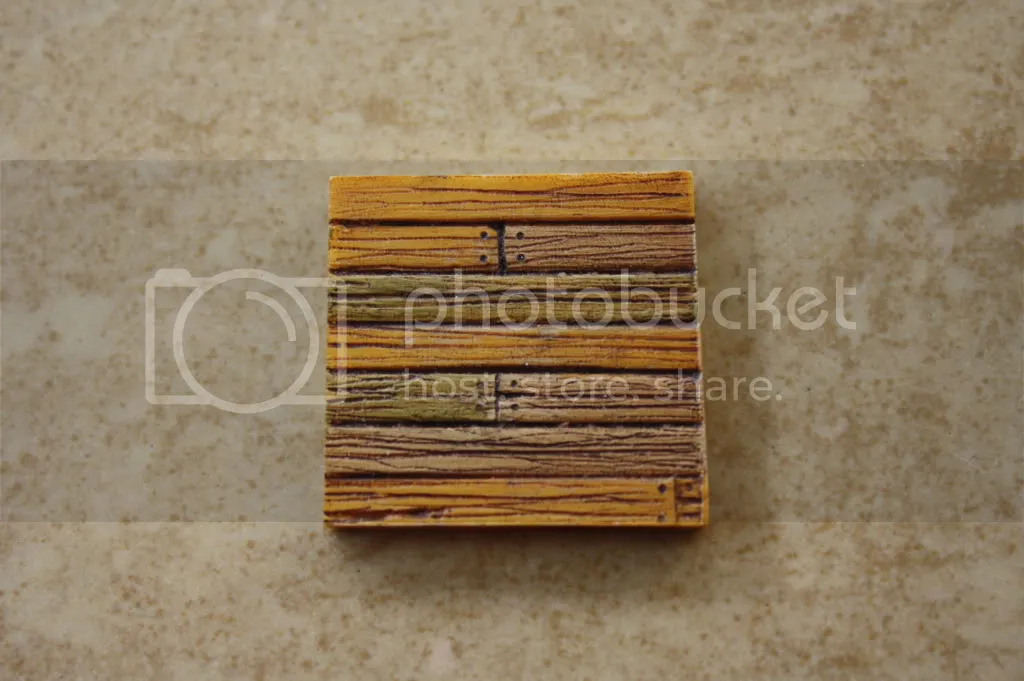
I like have used Ken Abrams technique.
The wood demo starts at 5:19 and resumes at 11:10.
My attempt a long time ago.
2 Likes
As to the Ken Abrams video he is fairly much doing the same thing, perhaps in a different order.
He lays down a buff undercoat. He modulates that undercoat by using several shades of buff. (That is a trick I will be adding to my tool quiver from now on!) Then he lays a thick coating of stain over all that, then proceeds to wipe it off, then modulating both the base coat and the stain.
One comment I might make is that in using the water based stains over the buff enamels I see the affect produced immediately. I can wipe it off if it appears too heavy or add more if desired for a deeper tone. Also multiple coats are possible with the water based product to produce an even stronger affect.
I would have to say that my process of water based stains over enamel based paint, (or over thoroughly dried acrylics,) might end up being more controllable and you see the results immediately so you can determine if you are getting the affect you are looking for.
2 Likes
Not a bad idea to try, something to add to the toolbox of techniques. I don’t think I went that heavy with the oil as Ken did. I used Vallejo Ochre, MM Skin tone tint base - light and MM Wood mix and then MM wood with Burnt Umber oil.
That second photo, the one of your work, is not posting. At least not on my computer.
I would like to see it!
Stranger, here is my club’s forum post. Should be able to see it unless photobucket is being a pill.
https://www.ipmseaglesquadron.org/ES-Forums/index.php/topic,707.msg3312.html#msg3312
Photo still not coming through on this end but if we are talking that small block of planked wood then very well done!
Yes, that was my test piece for his technique. Nothing else but that one photo. I still have that piece somewhere, just not sure where.
Thanks.
Sorry that last was posted to the wrong thread - senior moment~*@=!??
2 Likes
It is odd but your photo comes thru on my phone but not on my computer at home???
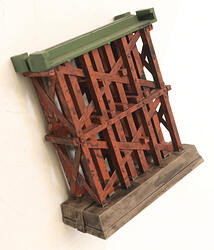
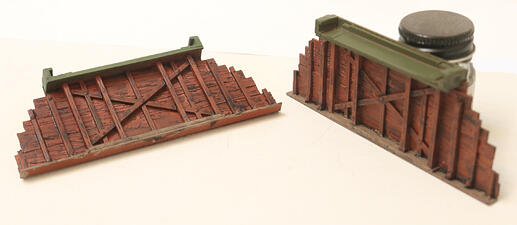
Not Decking but Wood None the Less:
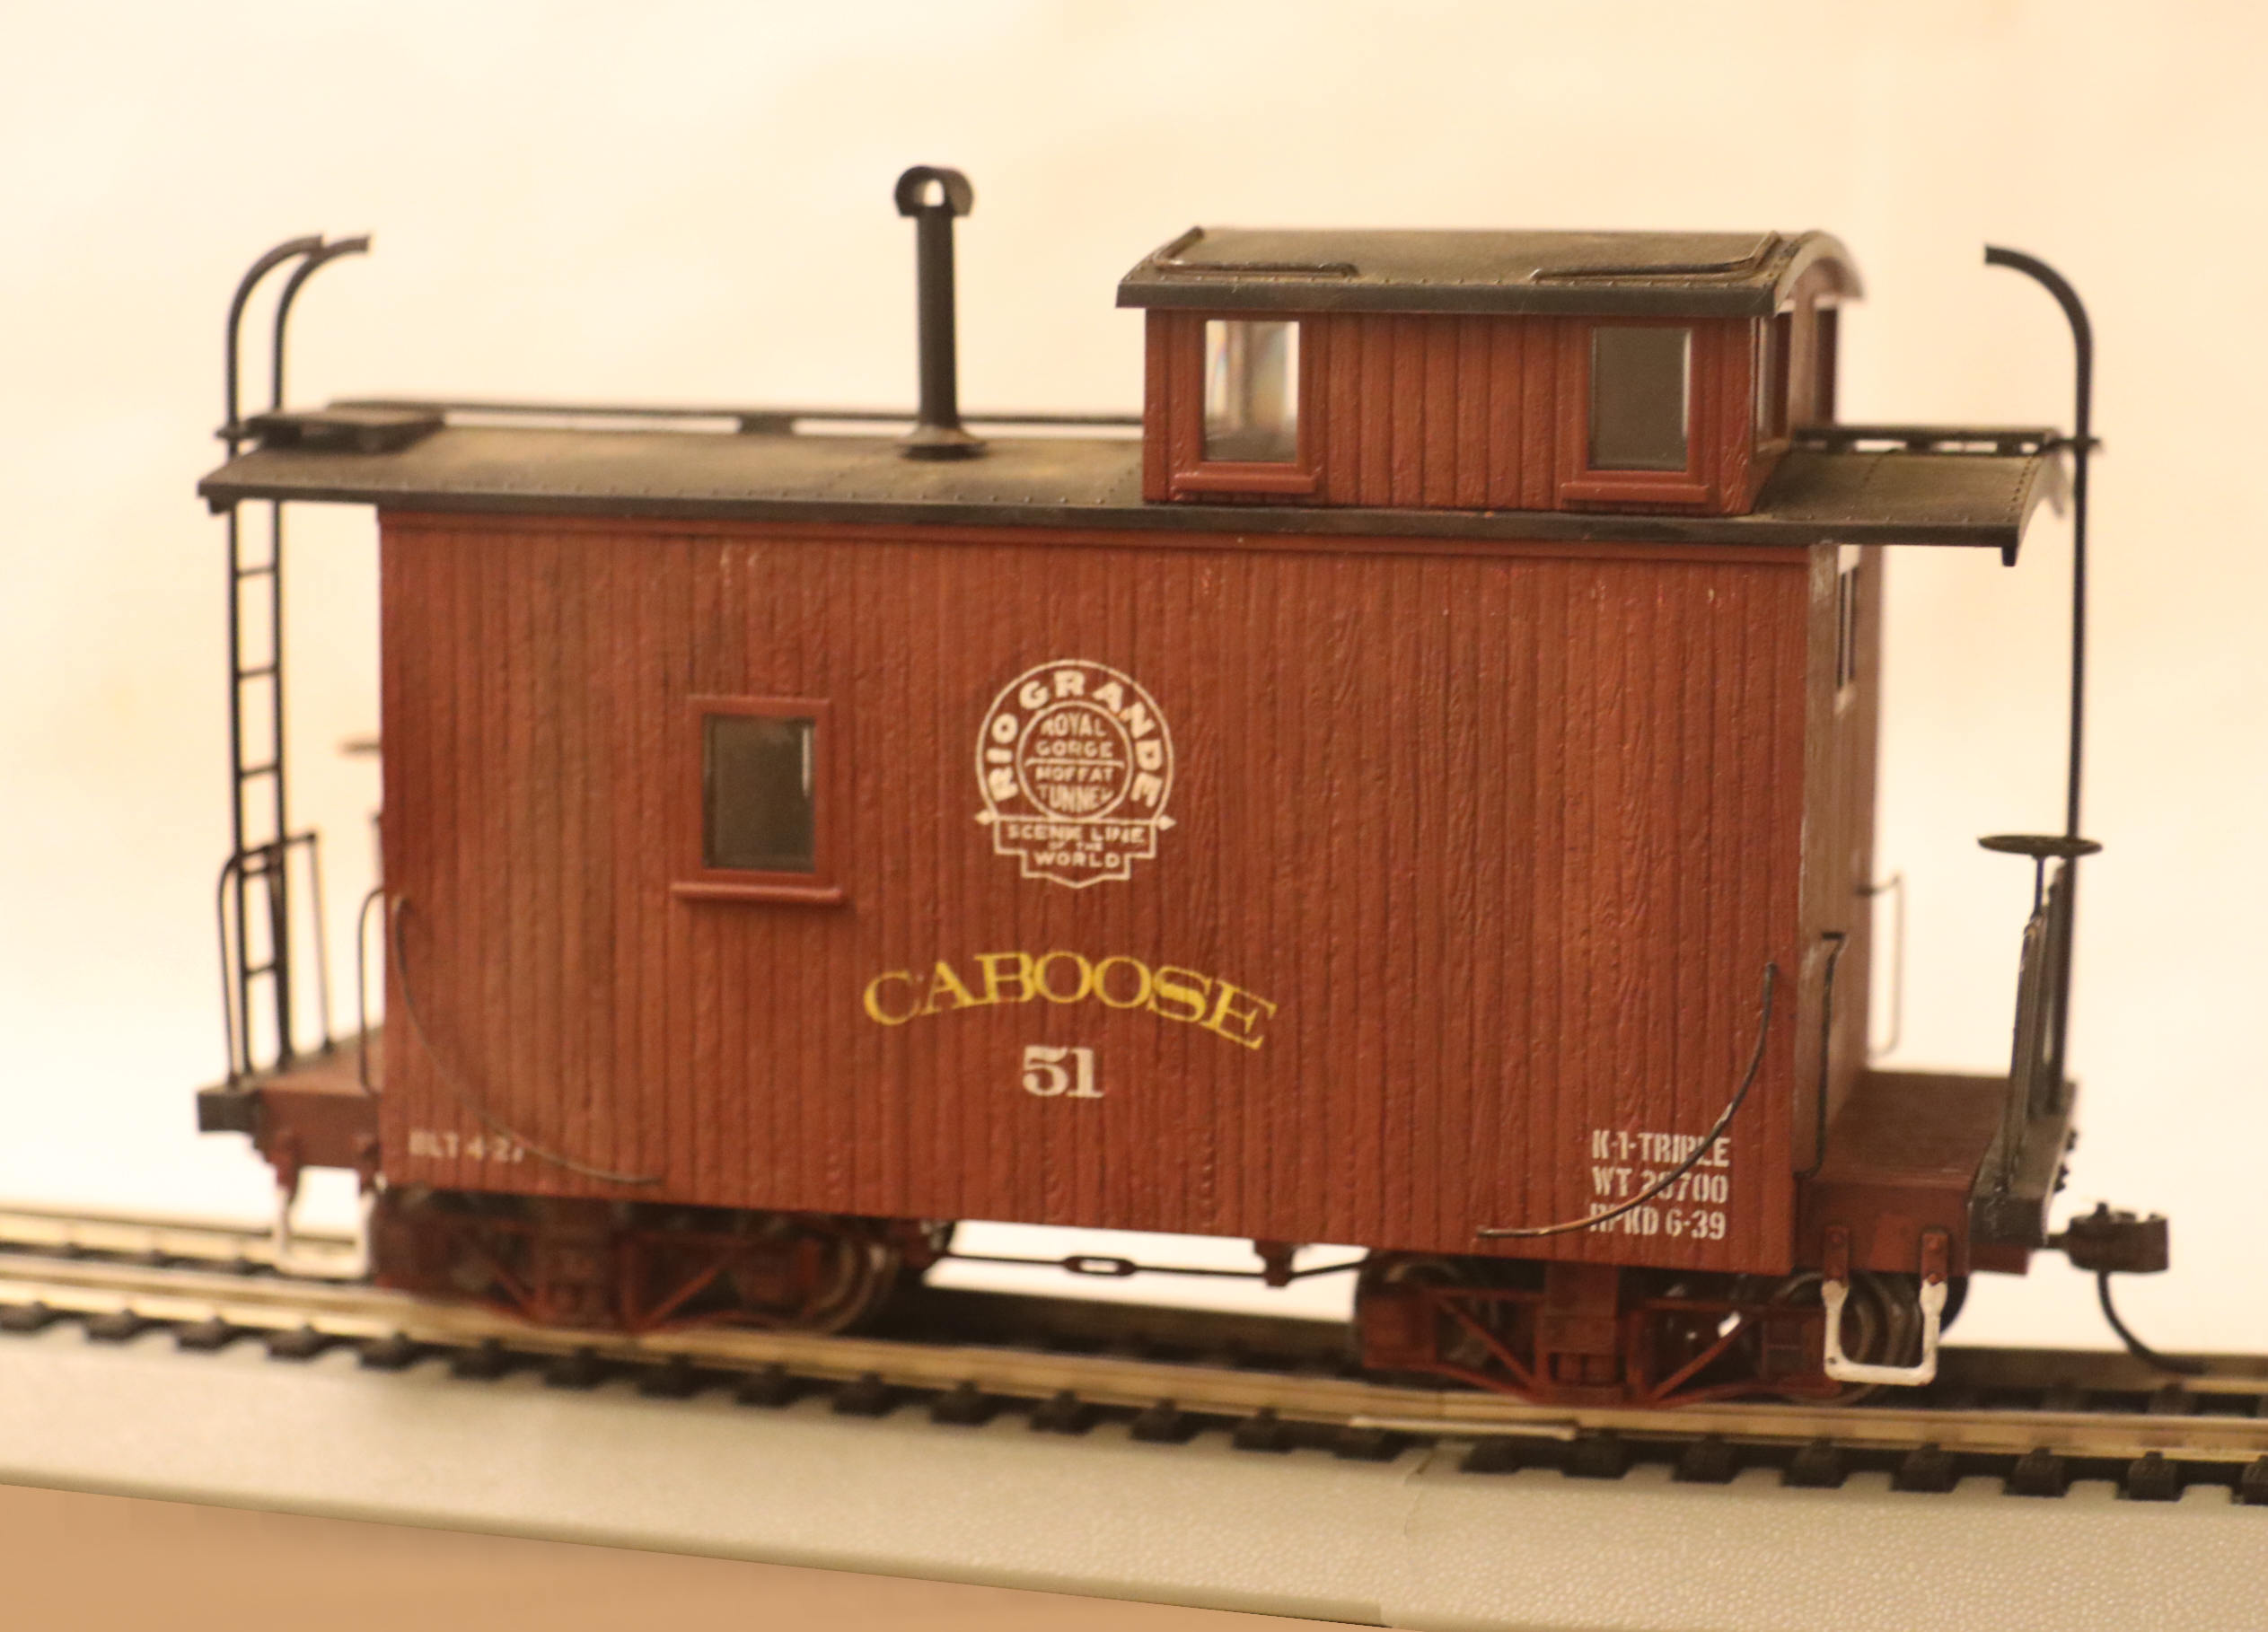
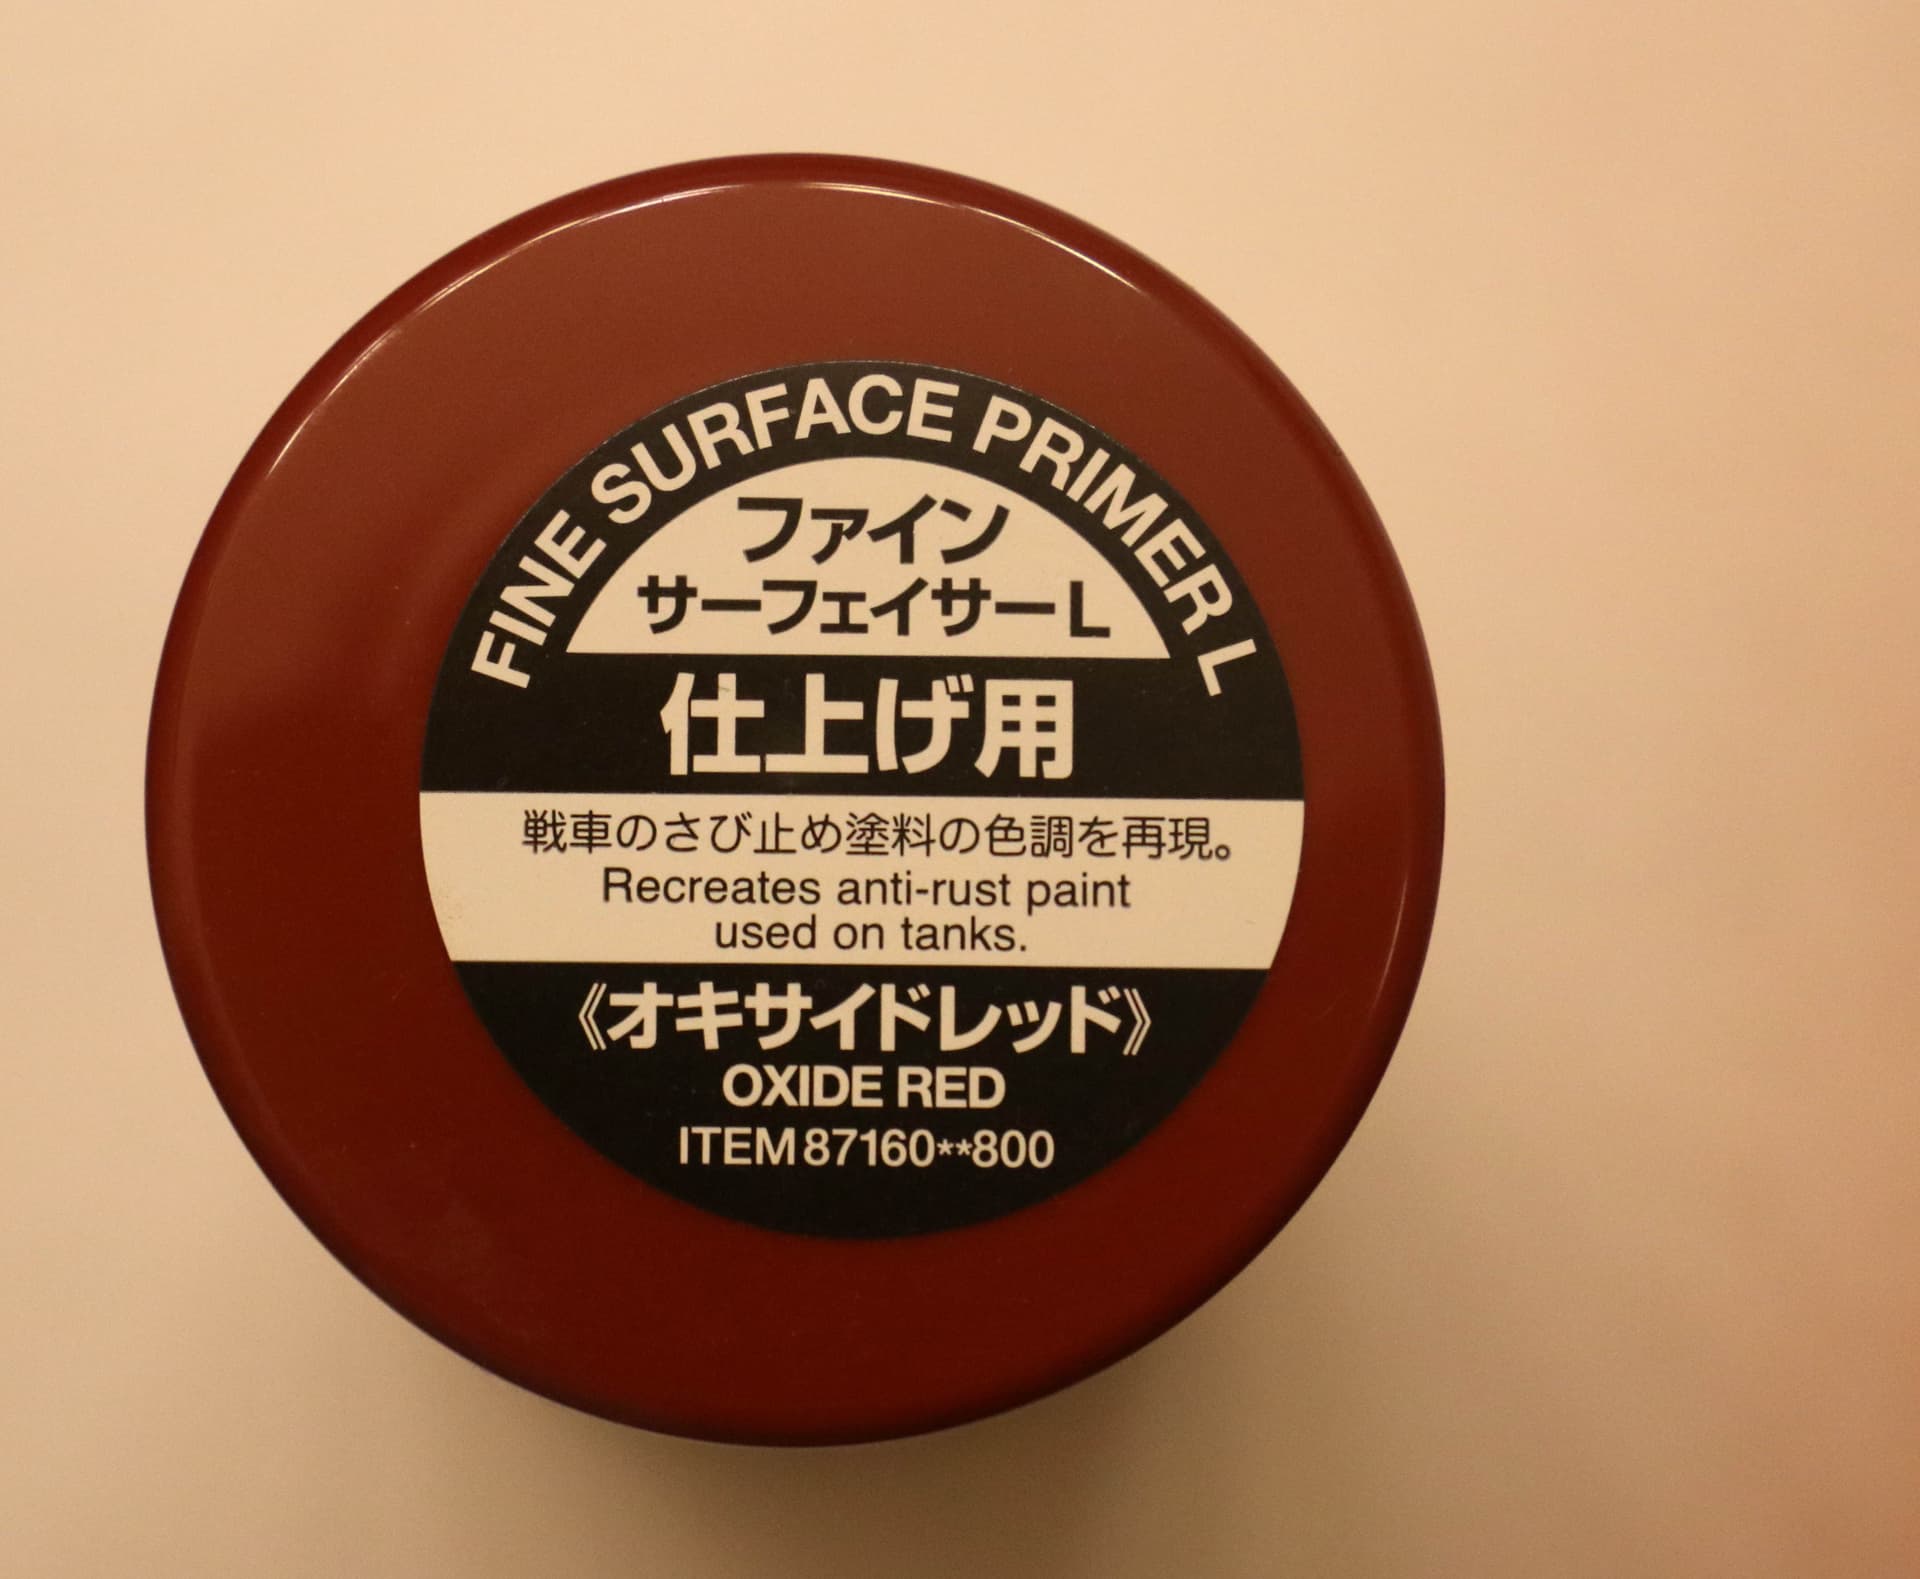
Some stock Atlas Bridge Piers again with added distressed plastic Evergreen “wood”. First given a base coat of Tamiya’s new “Red Oxide” military primer. (Rattle Can) Than gone over with a heavy layer on the “Nuln Oil” (Black) Transparent Shader from Citadel.
Wooden Bridge Piers and Abutments.
1 Like
Tim; to your specific question about using wood laminates: I shy away from using such simply because they are laminates. Which means to one degree of another they are impregnated with glue which will therefore not be as absorbent to my paints and stains as the base material itself.
When using real wood to represent wood I have always stayed with either balsa or bass wood, just as you say, “for it’s absorbency.”
Even to the example of the red gondola seen above: I had to use thinned paint rather than stain because the white glue I was using to build the car did not accept stain to the same degree as the wood and any remaining glue residue stood out like a sore thumb!
1 Like
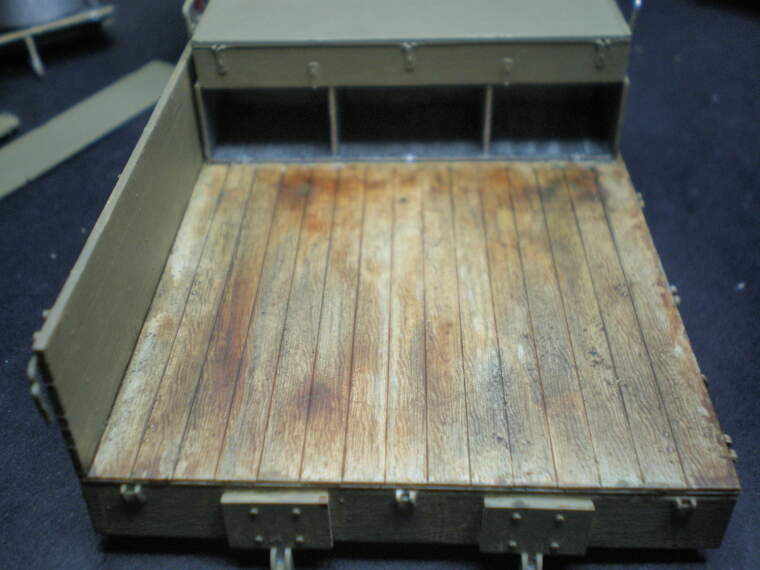
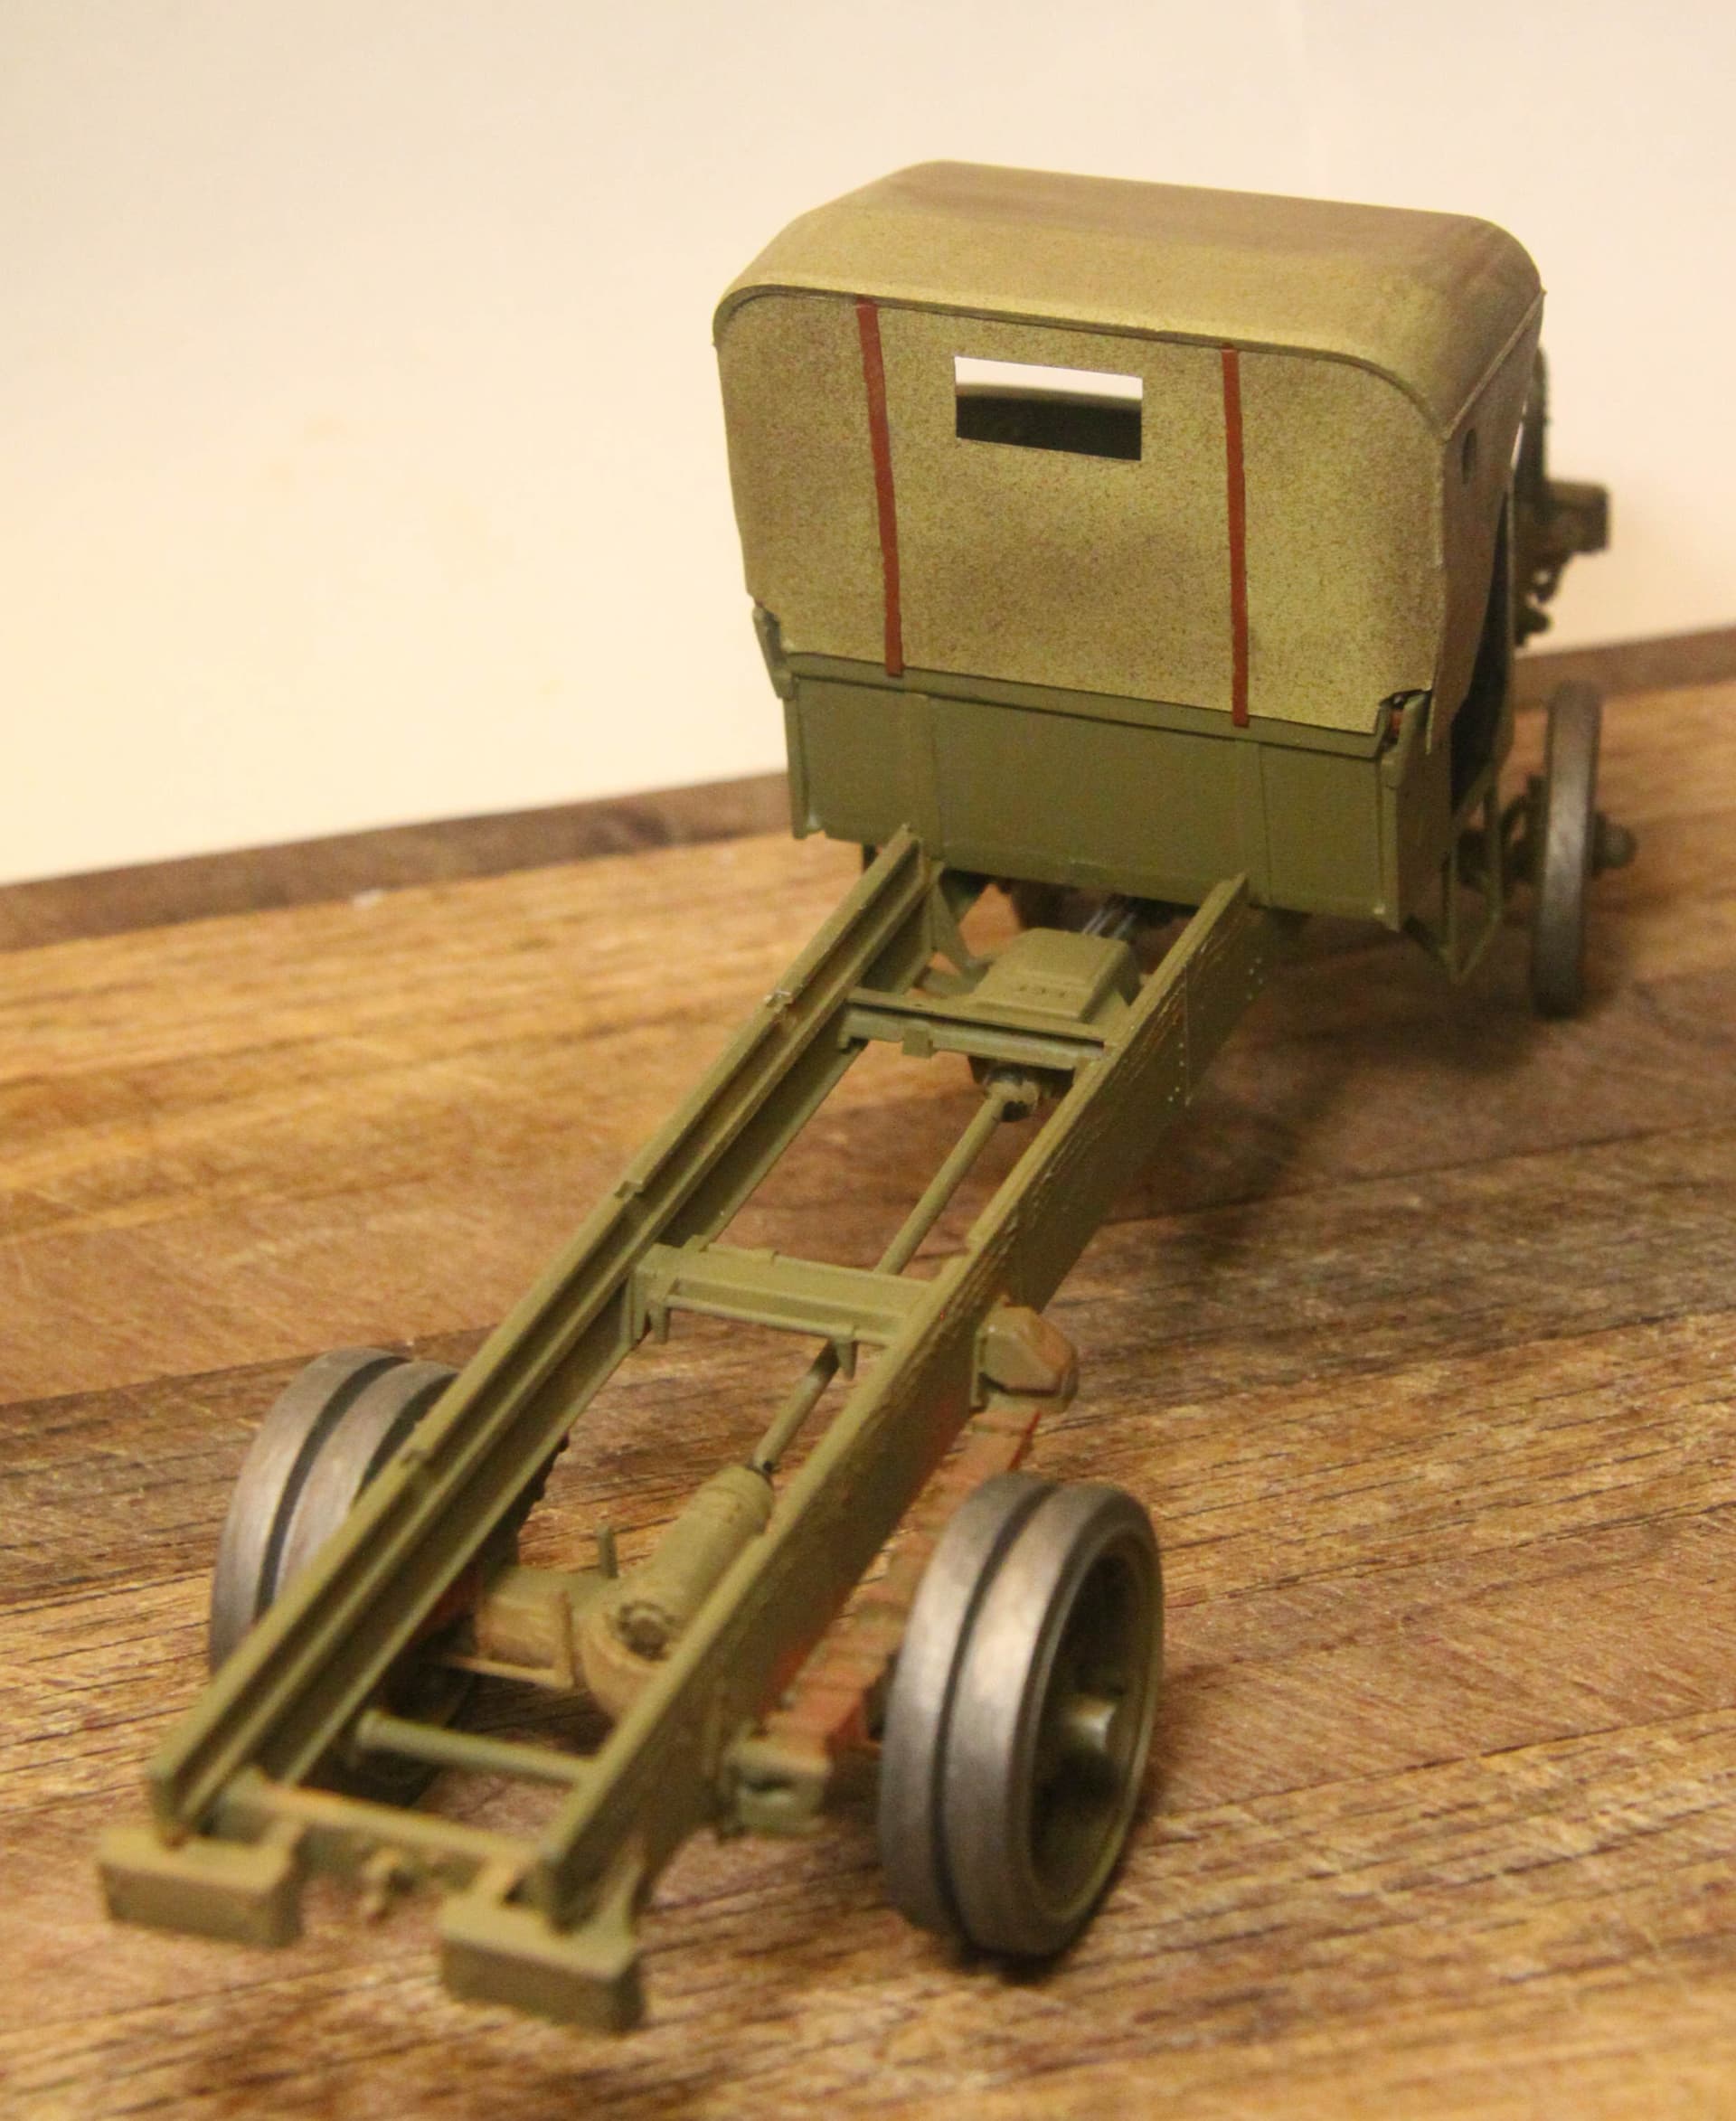
One more example of wood decking:
A partly finished Dragon Wagon Trailer with wood deck and accessories. This was an early attempt starting with a buff colored base coat and then followed by coats of highly diluted brown and highly diluted red paint, used just like stains over the buff.
While I like this affect I think it is just a little too neat. Looks more like a restored Museum Display rather than a vehicle under use in the field.
That’s cause you haven’t smeared it with mud yet!
Yes, I am now trying to decide if I “wanna get a littl’ mud on the tires.”
This time not wood decking but siding:
In both these cases seen above this was a base coat of Tamiya’s new Red Oxide Primer, decals applied, a modulated wash of transparent black (Citadel - Nuln Oil) and then soft oil pastels (pigments) for weathering.
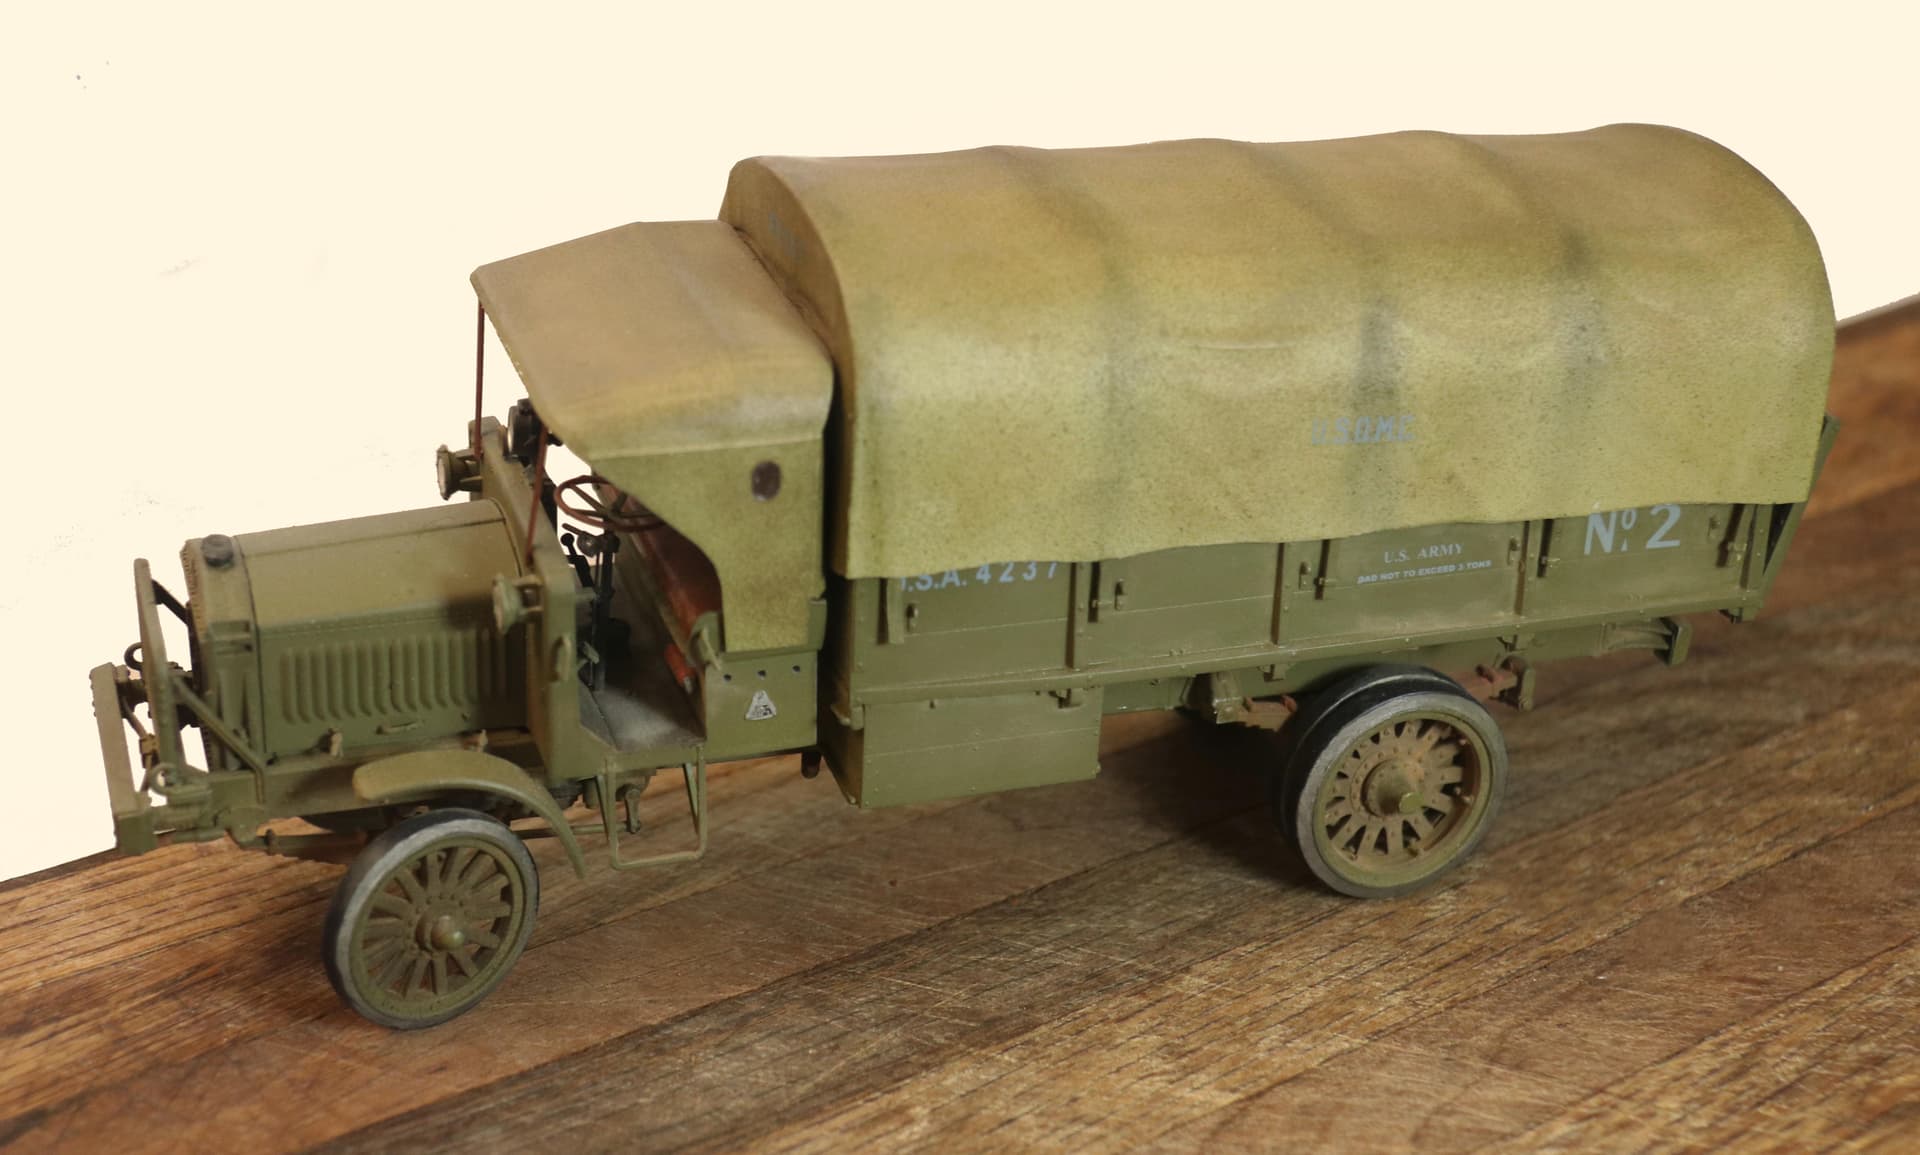
and More Canvas . . . .*
Also added underside detail to the cab cloth top:
Back wall of cab cloth top is shown on the box art but is missing from the kit.
3 Likes
Just giving this topic a BUMP UP!