Wood Decking; Using paints, washes and pastels

Been having some pleasing results of late using paint, transparent washes and soft oil pastels to create the look of wood decking. I wanted to share this in hopes it might be of some value to others.

My work centers primarily around wood decking seen in various military recovery vehicles, cargo trucks, railroad flat cars and miscellaneous other subjects mostly in the Armor category.

I will start first with a recent build of mine; the Sd. Ah.115 recovery trailer from das Werk.


Here is a link to a S-B-S build review of my Sd. Ah. 115 elsewhere on this site:

7 Likes

I started with an overall basic coating of German Gray plus an application of a transparent gray Shader. Then progressed to hand painting the parts representing wood in a buff tan color. You can use any shade here from off-white to a deep tan to produce varying results, model to model so the affect doesn’t always look the same.


Far Left: German gray paint + black wash.
. . . Center: Add buff tan paint with single coat of red/brown Shader.
. . . . . . Far Right: Add multiple coats of red/brown transparent wash.

In Process:


Top view:

The Underside:

Loading:


Sidebar:
Late in construction I thought perhaps I had over done the dark wood more than a bit as seen in the photo just below:

So I used my Soft Oil Pastels in both buff and dark yellow to lighten things up a bit.


Other “wood” parts on the trailer’s upper deck received the same treatment to various degrees:

5 Likes

Really NICE WORK. Thank you for sharing

1 Like

Just how light can you go on that base color, undercoat???

How about pure white?


To create what are intended to be freshly cut chocks of wood for blocking a vehicle being loaded on a railroad flatcar I started with a 1/4" square piece of long Evergreen plastic stock. First I drug a course saw blade along its’ length to create the woodgrain. Then I used the same saw to cut the pieces to length and at a 45 degree angle. Finally I applied a single coat of the red/brown wash directly to the now distressed white plastic to simulate recently cut, fresh lumber.


(Modeling Note: ~ Those halftrack road wheels have had the transparent black wash treatment as well.)


An Example: of large chock blocking for railroad transport of military equipment. Almost every US Army Tech Manual contains a small section in the back as to how a particular piece of equipment should be blocked and tied down for rail shipment. These massive blocks are literally nailed or spiked into the wood deck of the railcar itself.

4 Likes

Now for a US Recovery & Transport Vehicle:
20 ton Low-Boy Equipment Transport Trailer

I probably again went a bit too dark on this one. I started with a base coat (brushed on) of Testor’s rust colored paint for the wood. I then went over that with the black transparent black wash, brushed on.

And once again my Pastels came to the rescue. Lightening the shade and adding a great bit of variation to the wood surfaces.

Top View:

Bottom View:

Finished:


Either White or Corbitt Tractor, 20 ton Trailer and Caterpillar D7 Dozer.
(Both White and Corbitt built the exact same vehicle for the Army)

3 Likes

SOME few Famo Halftracks had wood decking in the load box:
And of course I just had to add it!
(As well as adding the winch access hatch. Missing from the Tamiya model.)

187a2ec08dd0278dc8bf638b466a09670a3deccc_2_224x375
(That ladder stowed on the right side of the loadbox has had the transparent Sepia Stain treatment over white plastic.
~ As has the extension ladder, seen in the righthand photo, built for an entirely different project.)

Used here was more of the distressed Evergreen planking with a light buff base coat and then multiple coats of both a little red/brown and then mostly black transparent washes.

(Modeling Note: On the Famo spare tire the center spoked structure should be missing as shown here. That spoked structure is part of the wheel hub and NOT part of the wheel rim. To this day many modern heavy duty trucks use this same hub, rim and wheel system.)

3 Likes

There are many brands of transparent washes and shaders on the market.
My personal favorites are these two water based products from Citadel:

a395c20723fd078ce21d4a79ec662f8be34dfd8a_2_377x375

To find these products you may have to go to the “Warhammer, Rusty Scabbard, Dragon Fire” type hobby stores but I promise you your trip will be well worth it! :dragon:

These two shades Nuln Oil (Black) and Seraphim Sepia (Red/Brown) from Citadel, will get you through 98% of your wood decking challenges. (As seen in the examples above.)


As to my Oil Pastels: I purchased this Grumbacher set sometime around 1975 and except for replacing a few key colors this set has lasted me all this time.
(It would not last this long if used for artistic drawing but for shading and modulation of colors it will last practically forever!)

3 Likes

*Railroad Flatcars, Now There’s Decking for you!

I just never cared for the one piece molded wood decking that came with all those Dragon and Trumpeter German RR Flatcars. I HAD to replace it!


End of track loading ramp built from a derelict 2-axle flat car with one bogie removed.

First a Decking In Process Photo, and then an Underside View:
(Before I dirtied it all up!)

*

As you might imagine, I again used my saw trick to destress A WHOLE BUNCH of Evergreen plastic by adding woodgrain. I then divided the lot into 3 batches. One got Red/Brown stain. One got black stain and the last got a bit of both.
Once dry I mixed up all three batches in a shoebox and then started decking my flatcar and the loading ramp. (Not caring what shade of plank might come out of the box next.) It may look here just a bit zebra striped, but I like it. I considered going back over the finished decking with more stain to tie everything more visually together but for now here is how it stands.


Here below is another painted and stained RR car underfloor I am working on for a Steam Locomotive Tender in 1/35th:

4 Likes

And Railroad Ties: (Sleepers)
~ Gonna Need a Lot of Those!


First a base coat of mud brown paint and then the black (Nuln Oil)
Trumpeter trackage seen above and Dragon track and roadbed shown below, (with ballast added!)

4 Likes

Thanks for the examples and step by steps. Looks realistic to me and more importantly, to scale :+1:t3:

side note, I thought you were going to stop posting your ‘wood pics’ on social media :laughing:

1 Like

Deleted by Author

Something simple here:
Weathered wooden catwalks on some popular plastic model railroad bridges:

(Some brushed on buff colored base paint. Then both the red/brown and black Shaders.)

2 Likes

And of course the process works great for all those wood handled Pioneer Tools!


Modeling Tip: The center of the Mattock tool blade on this Tamiya Pioneer Tool Set has been drilled out to add greater detail and depth to this small item.

3 Likes

Some additional Railroad Cars (in this case in G Scale):

This one particular post sort of blurs the lines between building realistic wood decking/siding and weathering. Sorry about dat!

Again the Black and Sepia Shaders over a Buff Colored base paint were used throughout for these logging flatcars.

1c4c0037e4d330e6e16593008a2070942d5904c7_2_690x472
I really wanted to add wood grain to the decks of these four log cars but the side posts were molded as one solid piece with the deck and I did not think I could do a proper job with my saw blade.)

9da98ac191880e74aa1c1b9c29281518a7356463_2_690x460

6fa522d1b141893afc20228fa9b84b3ebe91f2d6_2_690x383

69887f6d662a800220a37e0e3216a4efa0e14024_2_364x500

Using the red/brown shaders plus the pastels to produce an extreme weathering affect while first coating the already lettered plastic car with a matte clear varnish sprayed on very dry, creating a rough surface for the water based stains to adhere to.
9a5d13c960c8a869a7c9a9c0335d918d0ccb3b05_2_517x279

0aad054a1592d5b602f70aa6d3cde007194ca4a6_2_517x307

7a6b783708d598c85f6ab20d6bb924ea151757f5_2_477x375

6 Likes

Some very nice results there on the various finished bits. I liked the freshly cut wood chocks. I suppose you could also use wooden lolly pop sticks, cut how you wanted but with the same washes you used to give you varying colour tones and wood ages ?

1 Like

I started in the hobby trying to use only real actual wood to represent wood on a scale model. Over the years I have moved my thinking more in this direction. That is; to be using stained and distressed plastic to represent wood.

In some cases (with the smaller scale models) the grain of real wood may actually be too large to look correct. (Or too small to be seen.) Also the plastic shapes bond better with solvents to the plastic model than does real wood, This forms a stronger union and I will say I am very pleased here with the overall visual end results.

Funny story: Back in my real wood modeling days my favorite (and only) transparent shader was the left over dirty, almost black, paint thinner in the bottom of my brush wash-out bottle.

As to using lolly-pop sticks, I say use whatever works for you but I would at least substitute scale cut lumber available at most all hobbyshops rather than salvaged scraps, unless you happen to have a modeler’s small table saw to rip these sticks down to scale dimensions.

2 Likes

Here is a close up of the “distressed wood grain” affect using the dragged saw blade technique. Not perfect but it adds the needed visual note to tell the viewer “this is wood”. Even painted a matching color to the rest of the steel bed it will still “look different”. Just as it would in real life. The difference will be even more apparent once some weathering “dust” is added to both surfaces.


I am in the process of modifying a HEMTT into a dump bed variant.


Here below is an example of the plastic “wood”, board-on-board construction of the rear load body of this converted Steyr, compared this to the smooth “steel” construction of the forward cab - but still all painted the same color.


And again here; you want to round off the sharp edges of those plastic “boards” so the separation lines between each board are more visible at these small scales.

3 Likes

Another hint/suggestion: Whether building your deck in wood or plastic I suggest you round the upper corners of your “planks.” If you do not, the very perfectly cut, precise “square” shapes will no longer look like individual planks but begin to took like one solid surface, defeating the entire modeling effort.

< Take the edge off.
When using real wood just dragging some corse sandpaper along the length of the stick will knock off these perfect corners. For working in plastic drag you hobby knife at a 45° angle along the long edge to achieve the same effect.

Further: I suggest you might just want to leave a tiny air gap between the planks when assembling your decking so that the viewer might actually see some daylight through the small cracks and be further impressed with your individual “board on board” construction technique.


Below is an example of a load deck where I DID NOT ROUND THE CORNERS of the planks and as you can see the boards begin to look like one solid surface rather than individual pieces.

The effect seen here and above might actually be more realistic but I feel, as modelers, we sometimes need to enhance the very small details in order that the viewer might know they are there at all.

4 Likes

These photos show the advantages of both the edge rounding and of leaving gaps between boards on this scratch built Bussing-Nag loadbox.

32884Crop


Some slight see through affect between the boards is always a nice touch.
As can be seen here on the vehicle tailgate.

Modeling Hint: Rivets punched into Evergreen “C” channel by hand using a compass point.

5 Likes

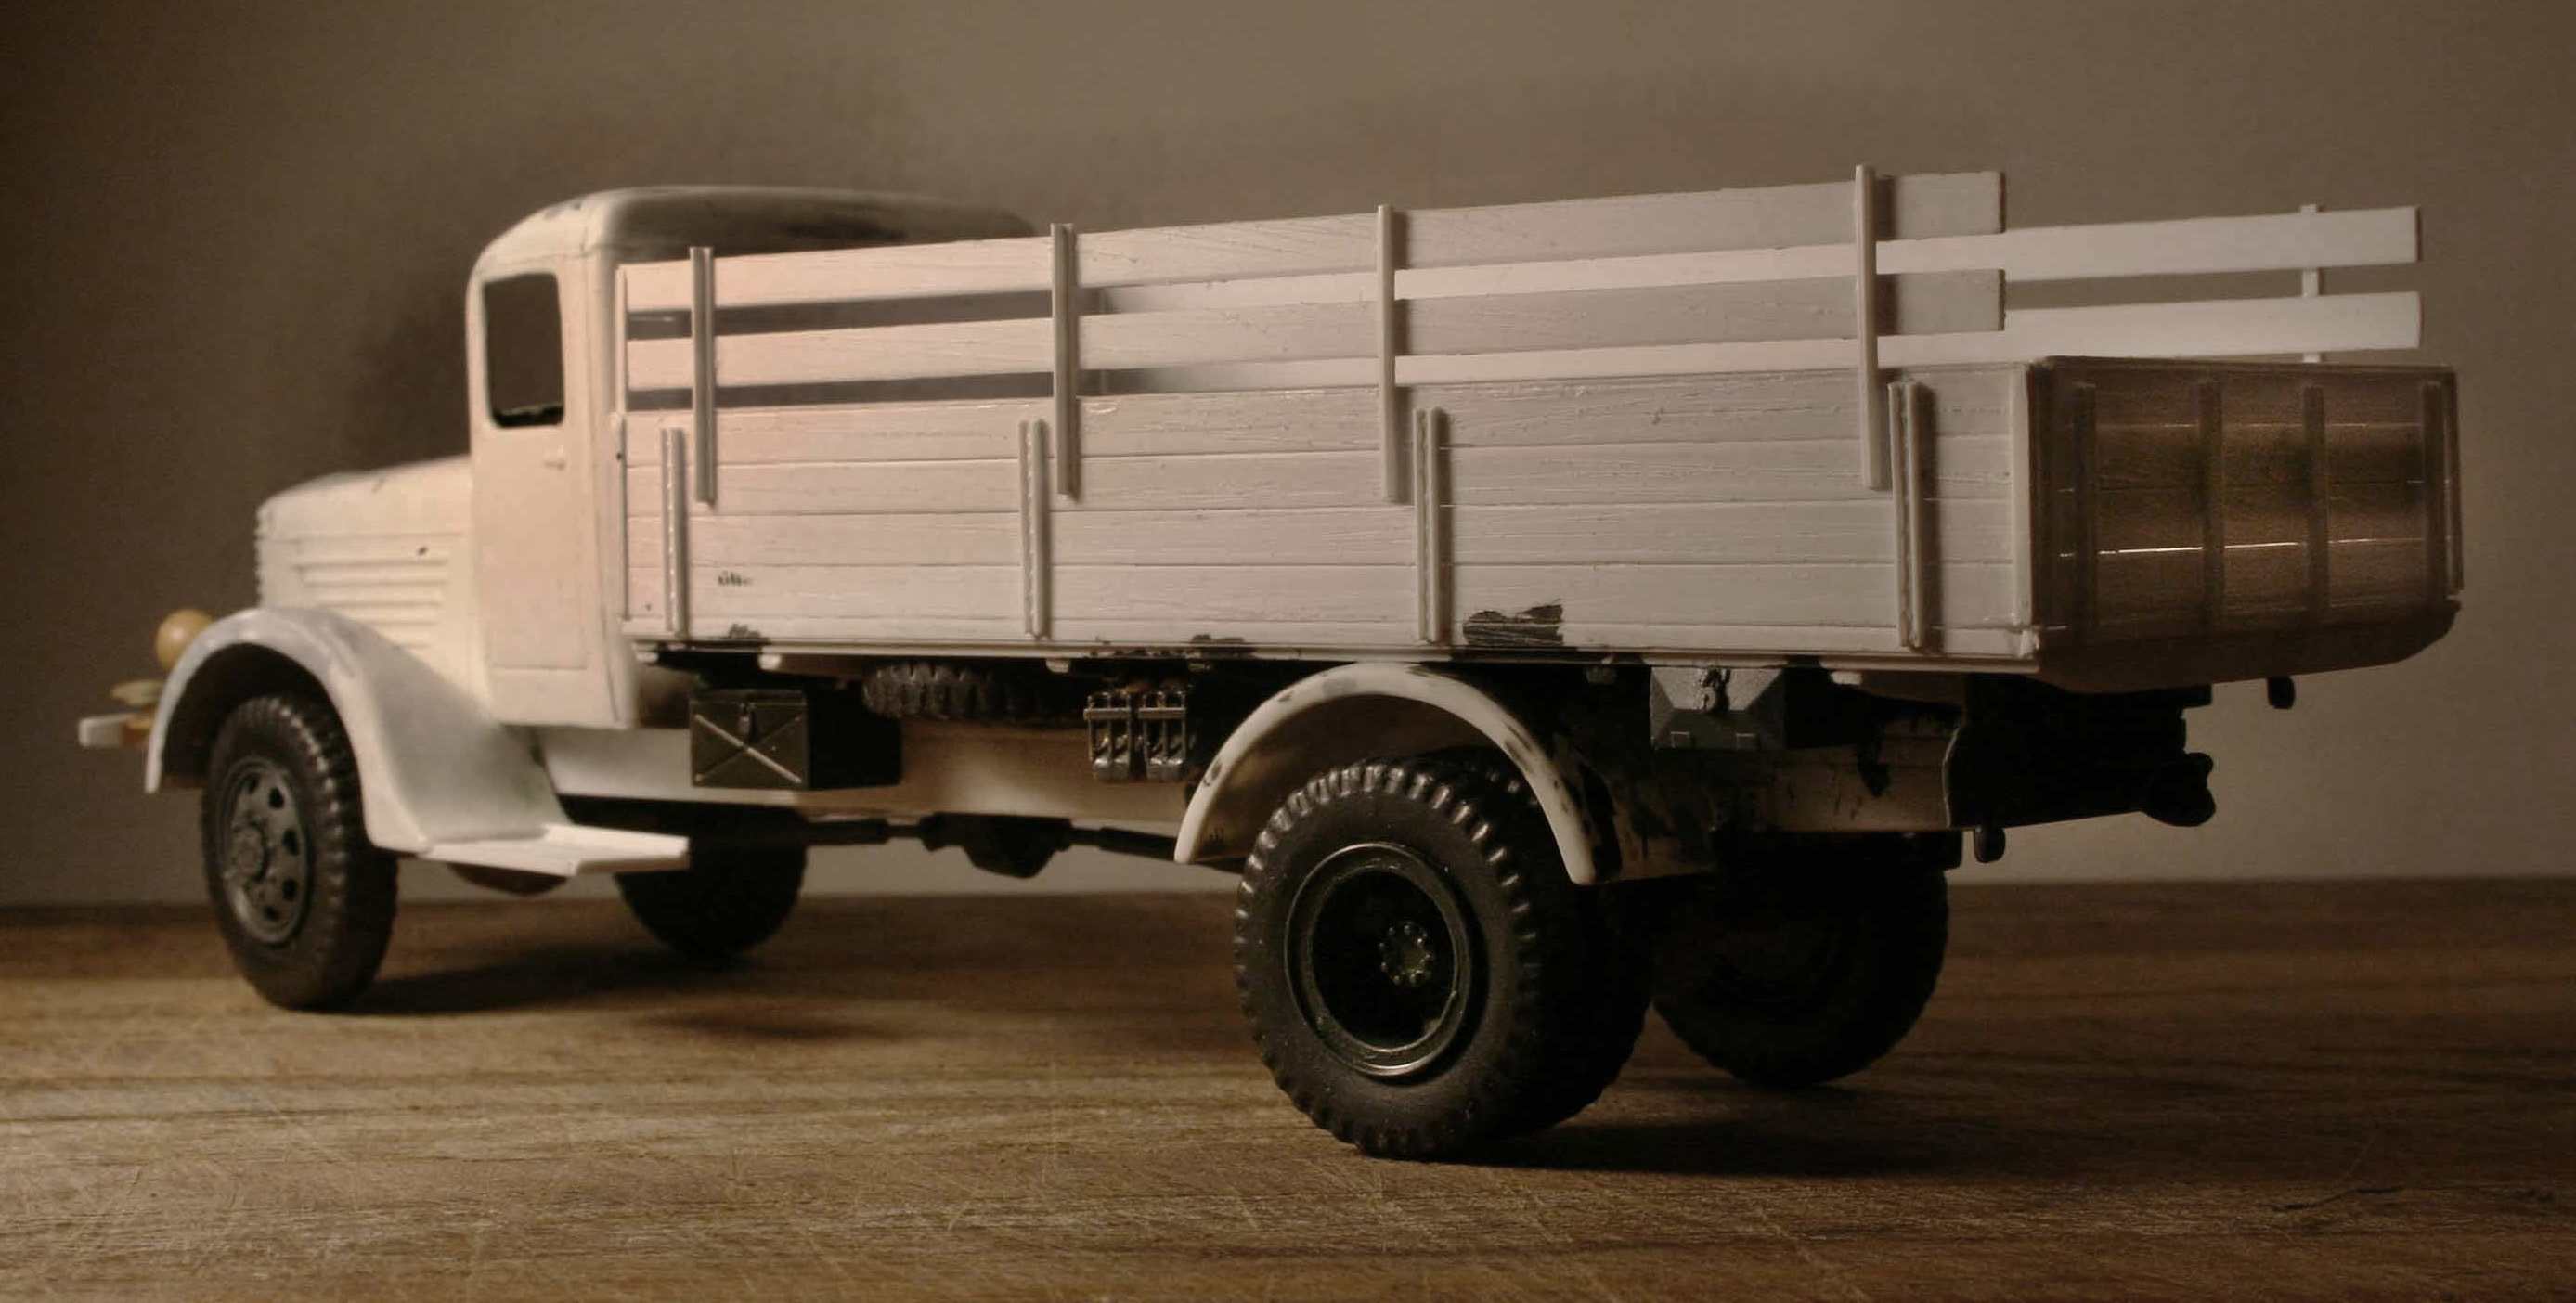
Using water based stains and shaders over bare plastic, gloss enamel or oil paints:

Often the smooth glossy surfaces of the bare plastic or the enamel or oil based paints don’t allow the water based stains to properly adhere. The water based products will pool and dry in a blotchy patten.
- not good!

The solution to this is before applying the water based stains, first spray your model with a very dry coating of matte varnish. The rough “tooth” of the matte clear gives the stain (and the Pastels) something to hunker down into and to stay where you want them!

My easy and convenient go-to product for this is “Tamiya’s TS-80 Matte Clear” (rattle can). No muss, no fuss, quick drying and no air brush clean up afterwards. My opinion ~ this is the best matte clear model product in the industry!

Also by “putting it on very dry,” I mean to hold the can well away from the work and let the droplets fall almost dry onto your model work. This will create that very rough, almost microscopic. “tooth” to the surface that I spoke of earlier, and also produce what you may find to be the flatest, mattest, non-reflective surface you may have ever experienced.

p.s. With matte colors one can still put them on too heavy, thereby causing the matte varnish to flow out smoothly to form a semi reflective mirror-like surface.
Especially regarding work with WWII model armor this is *NOT what you are looking for.

(Now if you are doing later Cold War armor this semi-matte surface may be just the thing you are looking for!)

e90f05e739470c5d65ad9ff68abf5148544937bd_2_345x230 3388167Crop

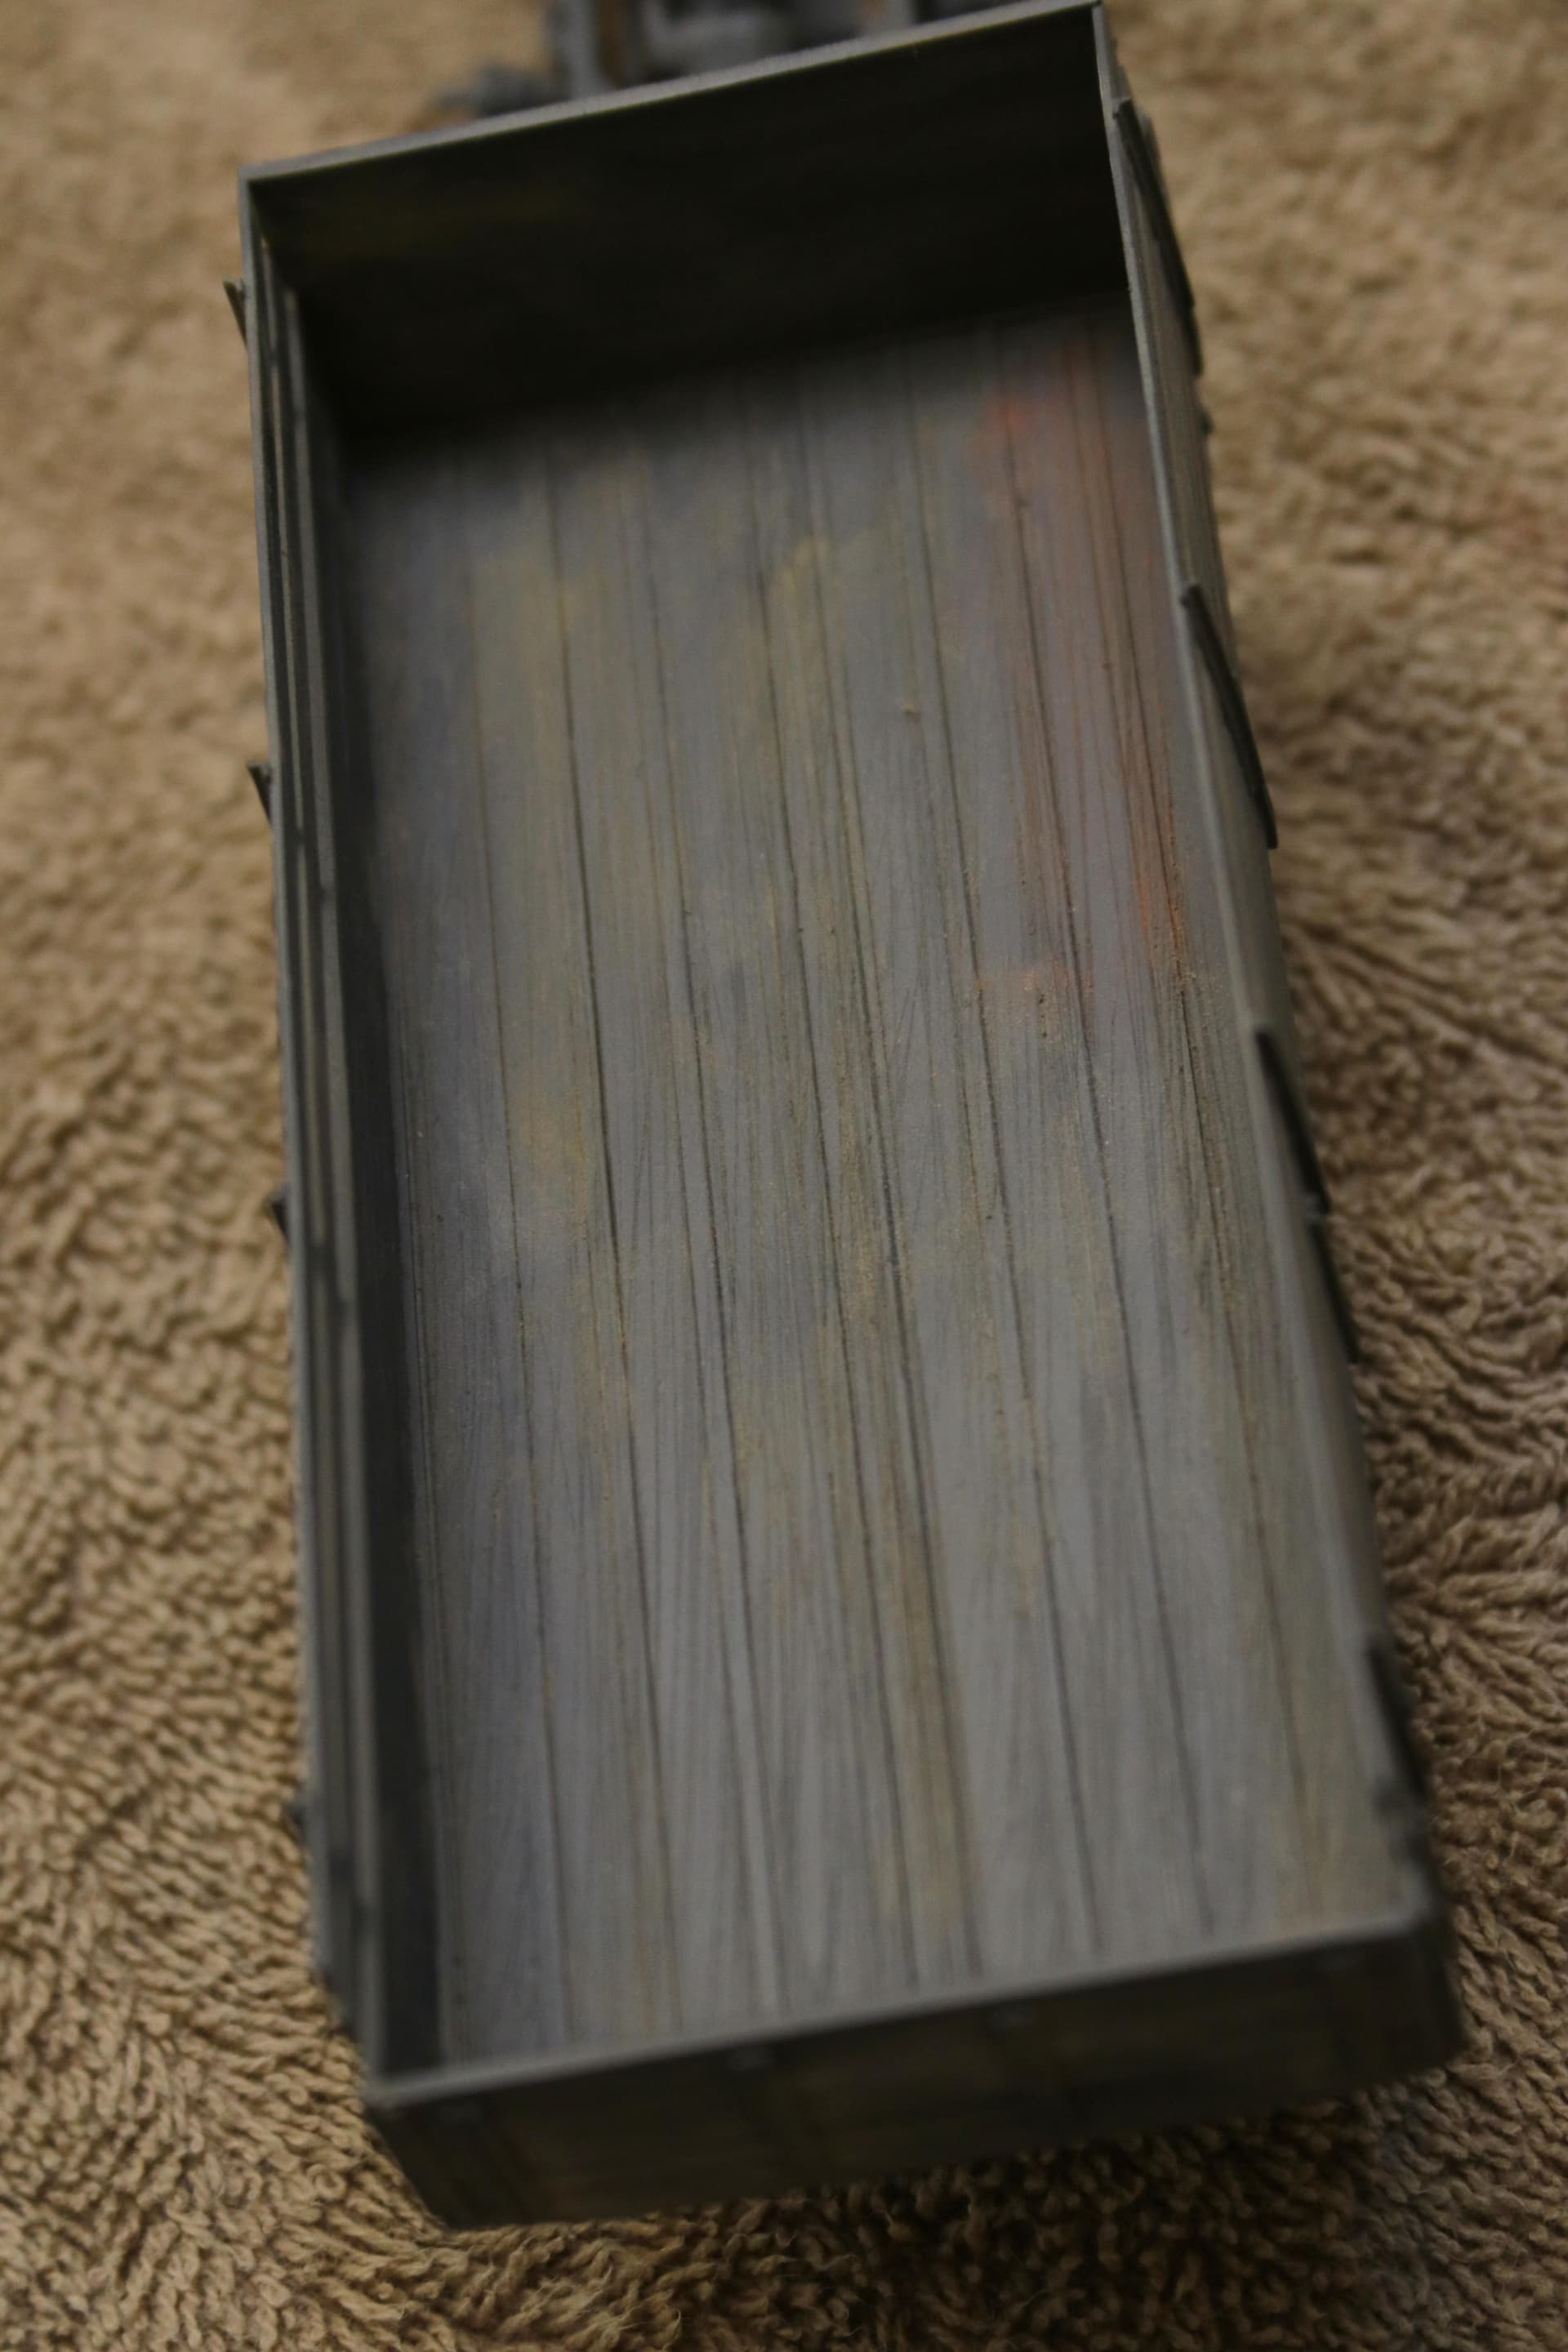
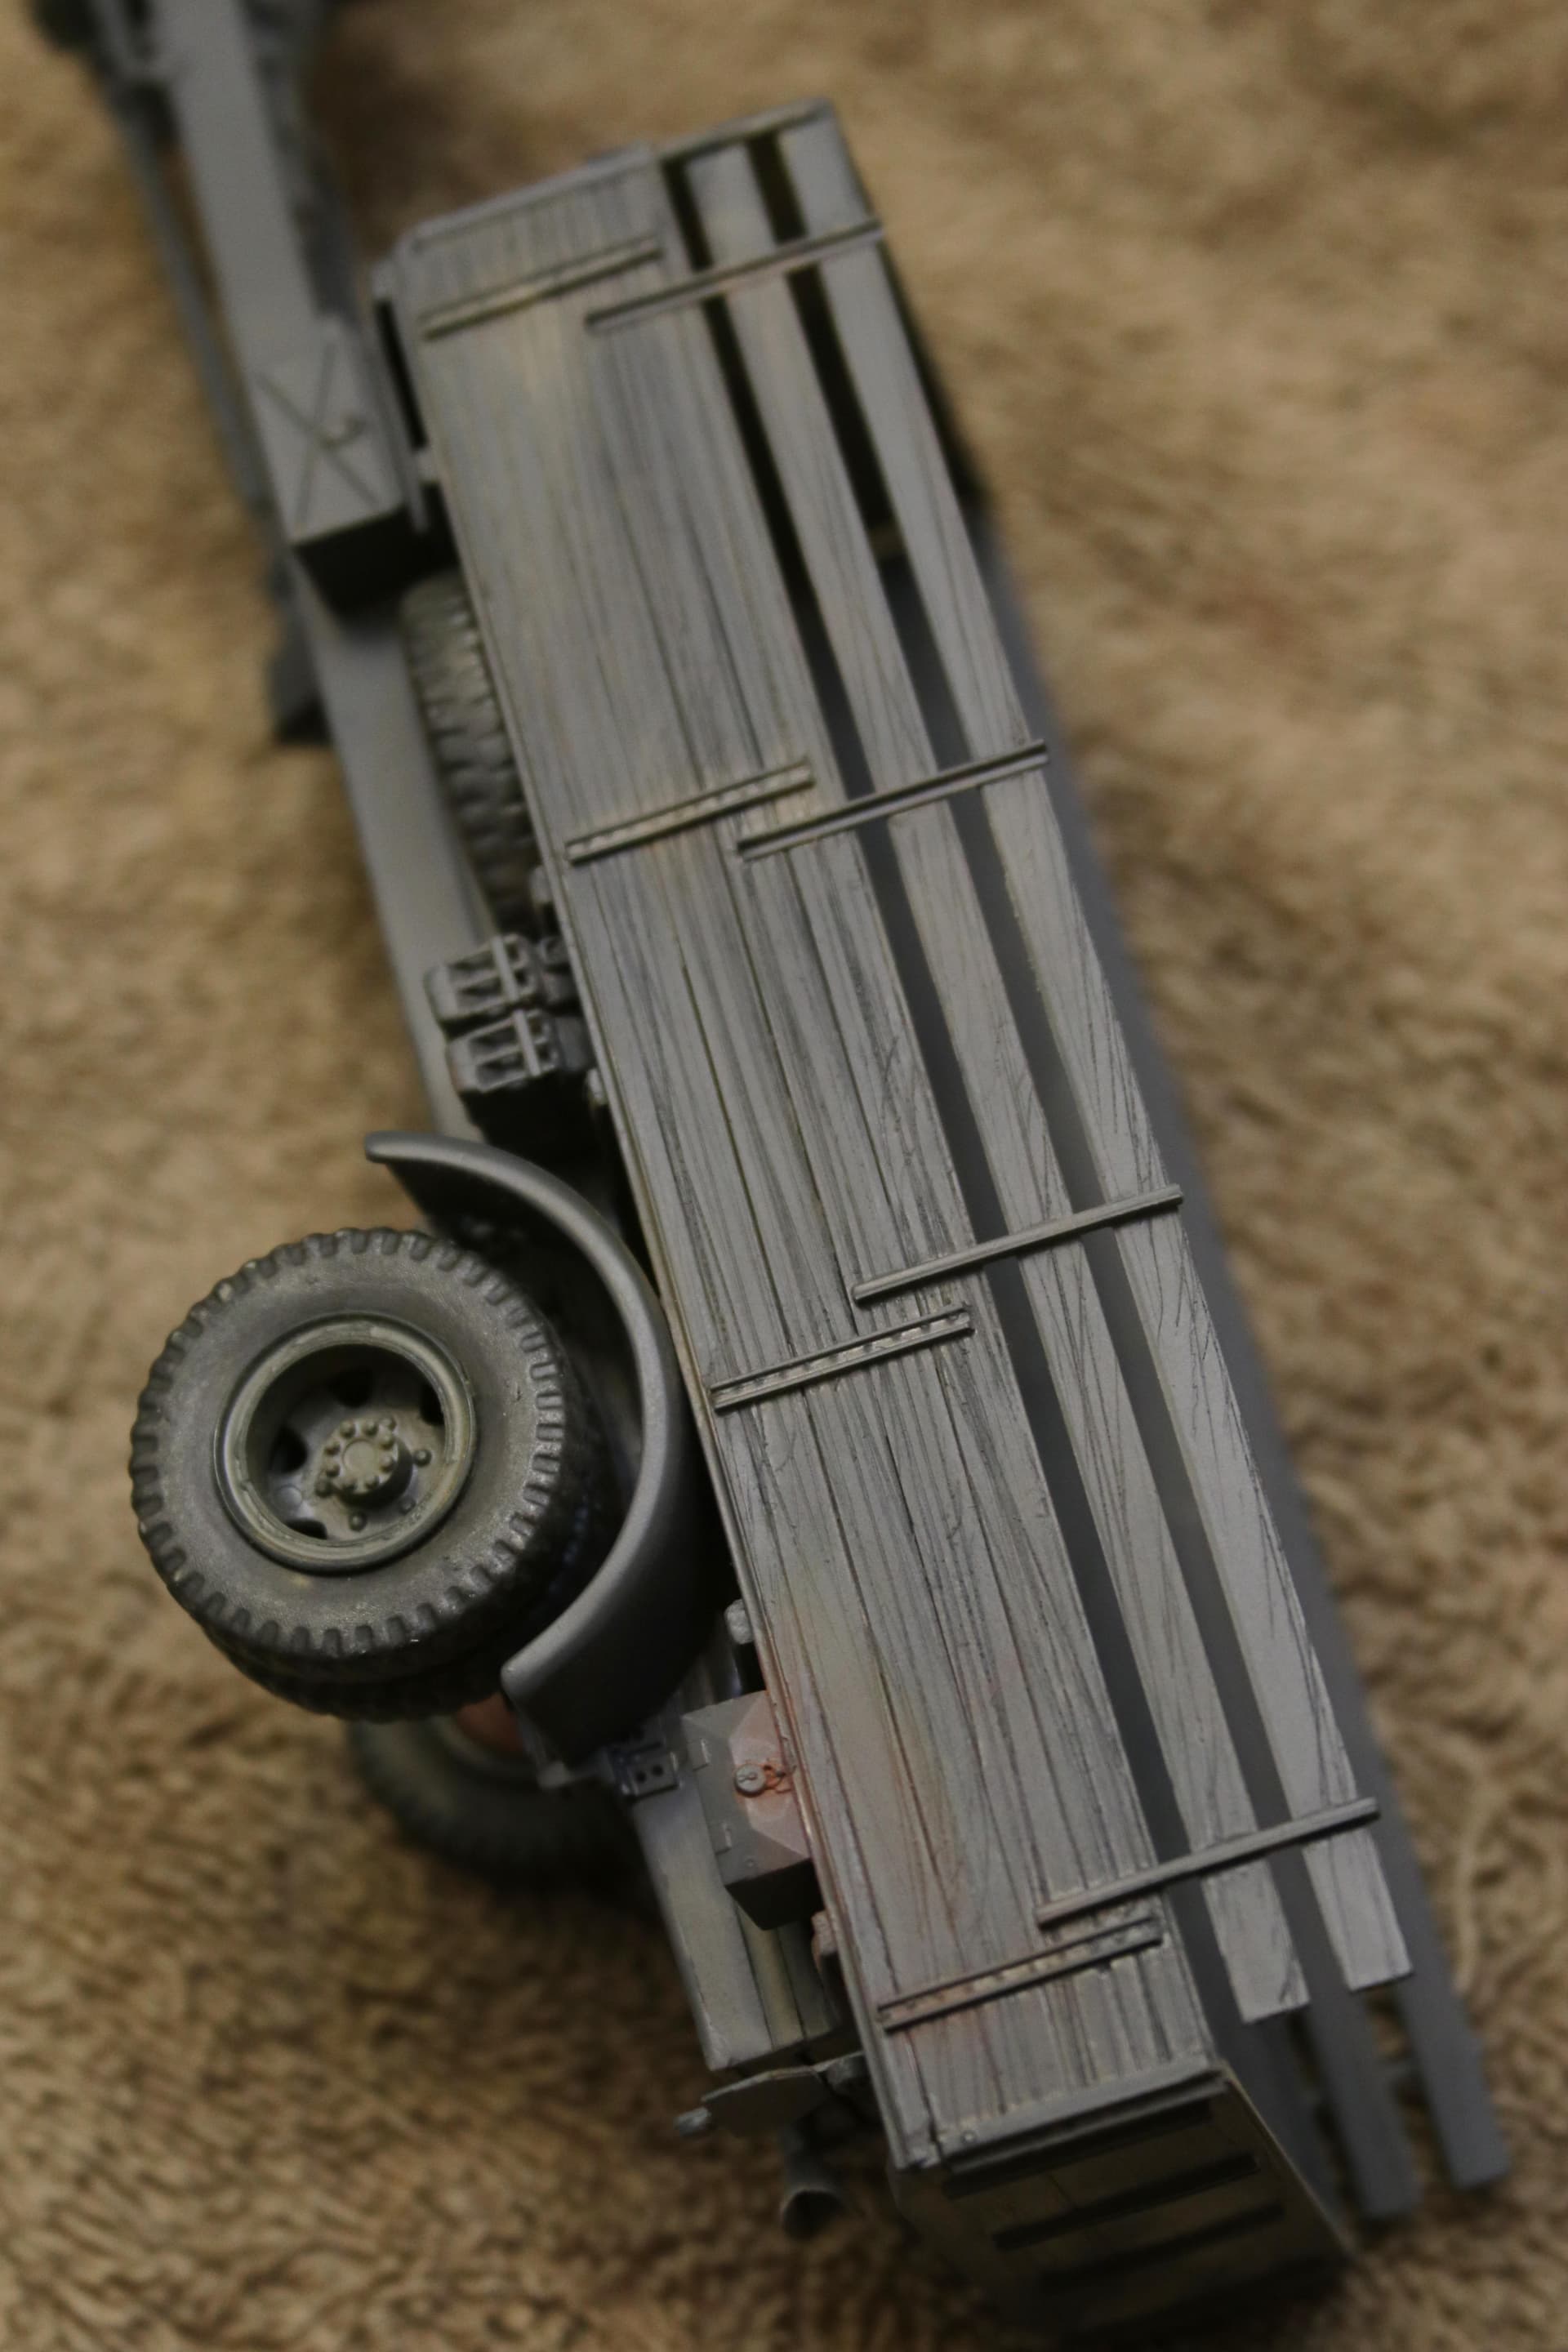
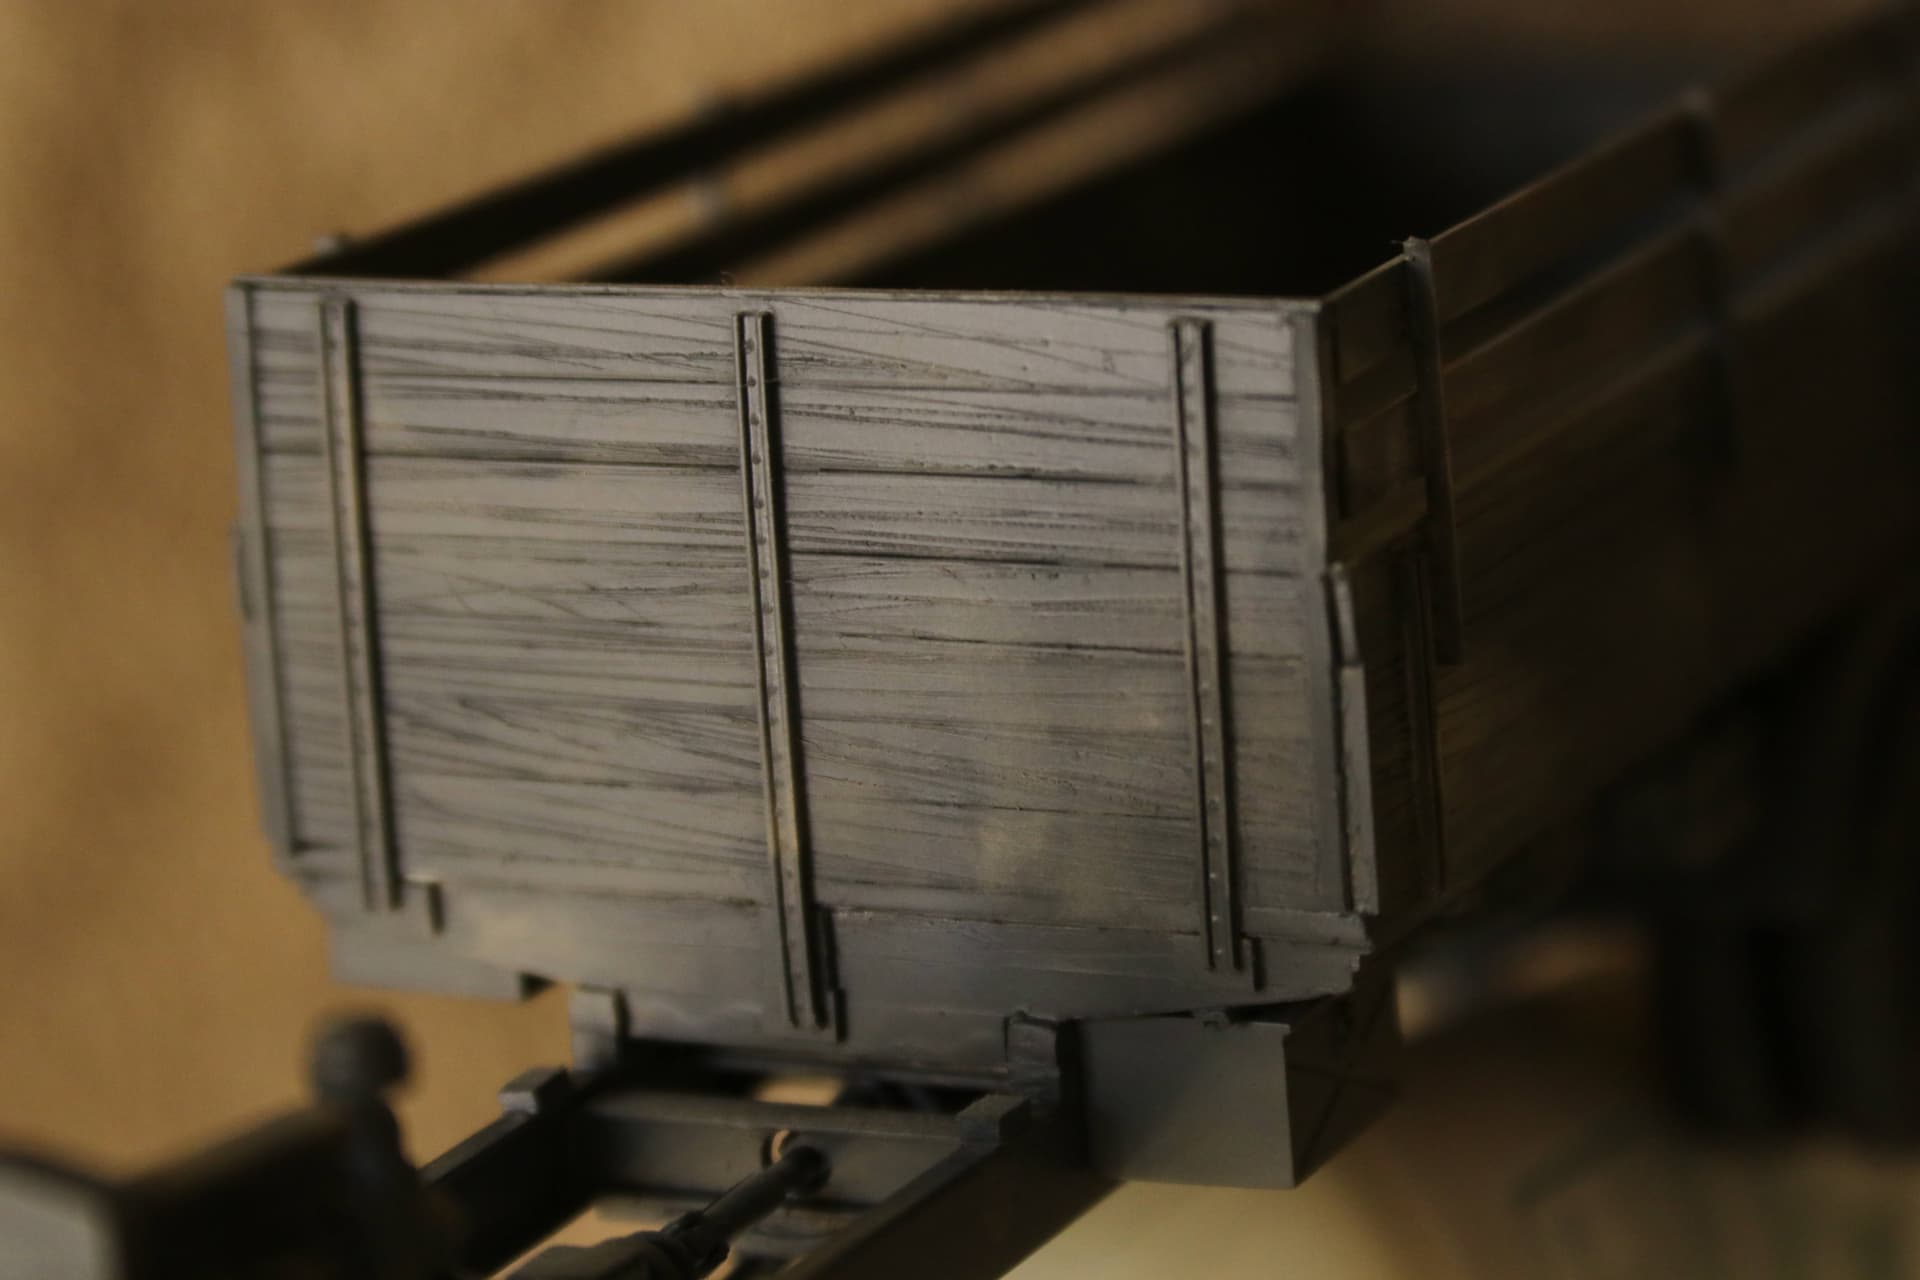
p.s. Matte clear varnish over everything except the windows - then apply shaders and pastels.

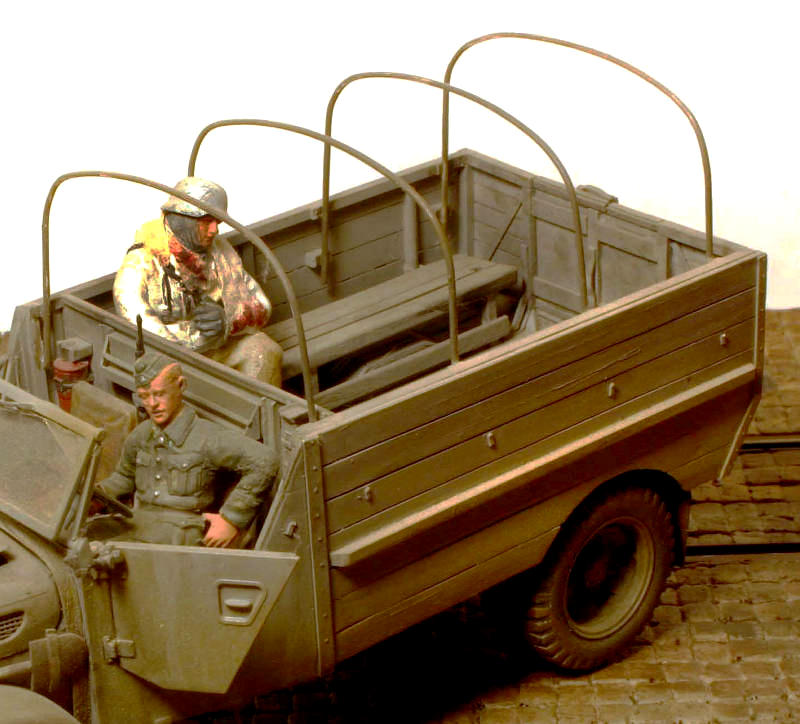
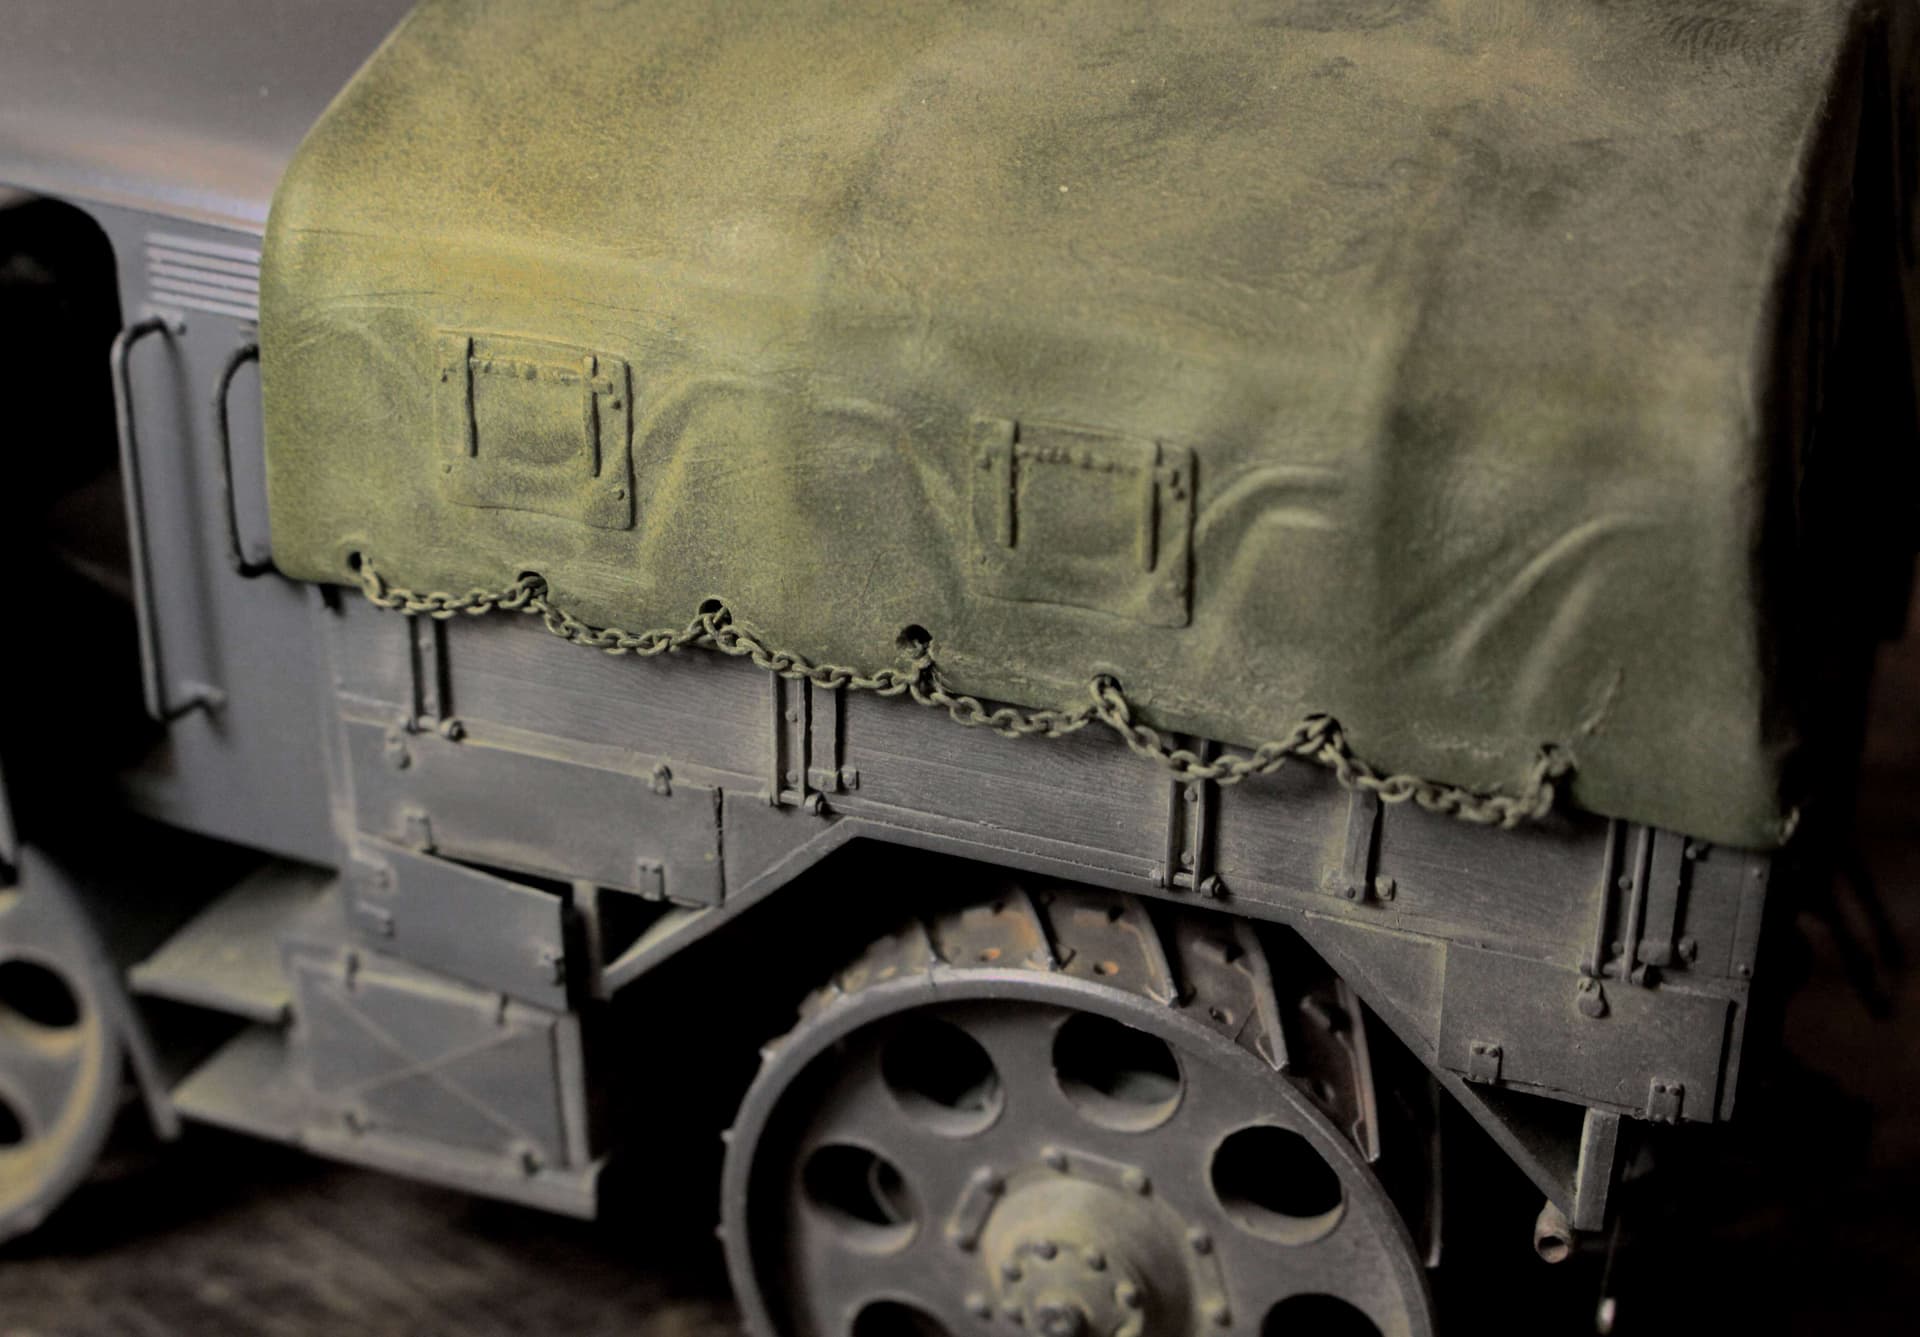
p.p.s. Pastels are also great for bringing color modulation to canvas of all types!


SIDEBAR: - (In other words; OFF TOPIC)


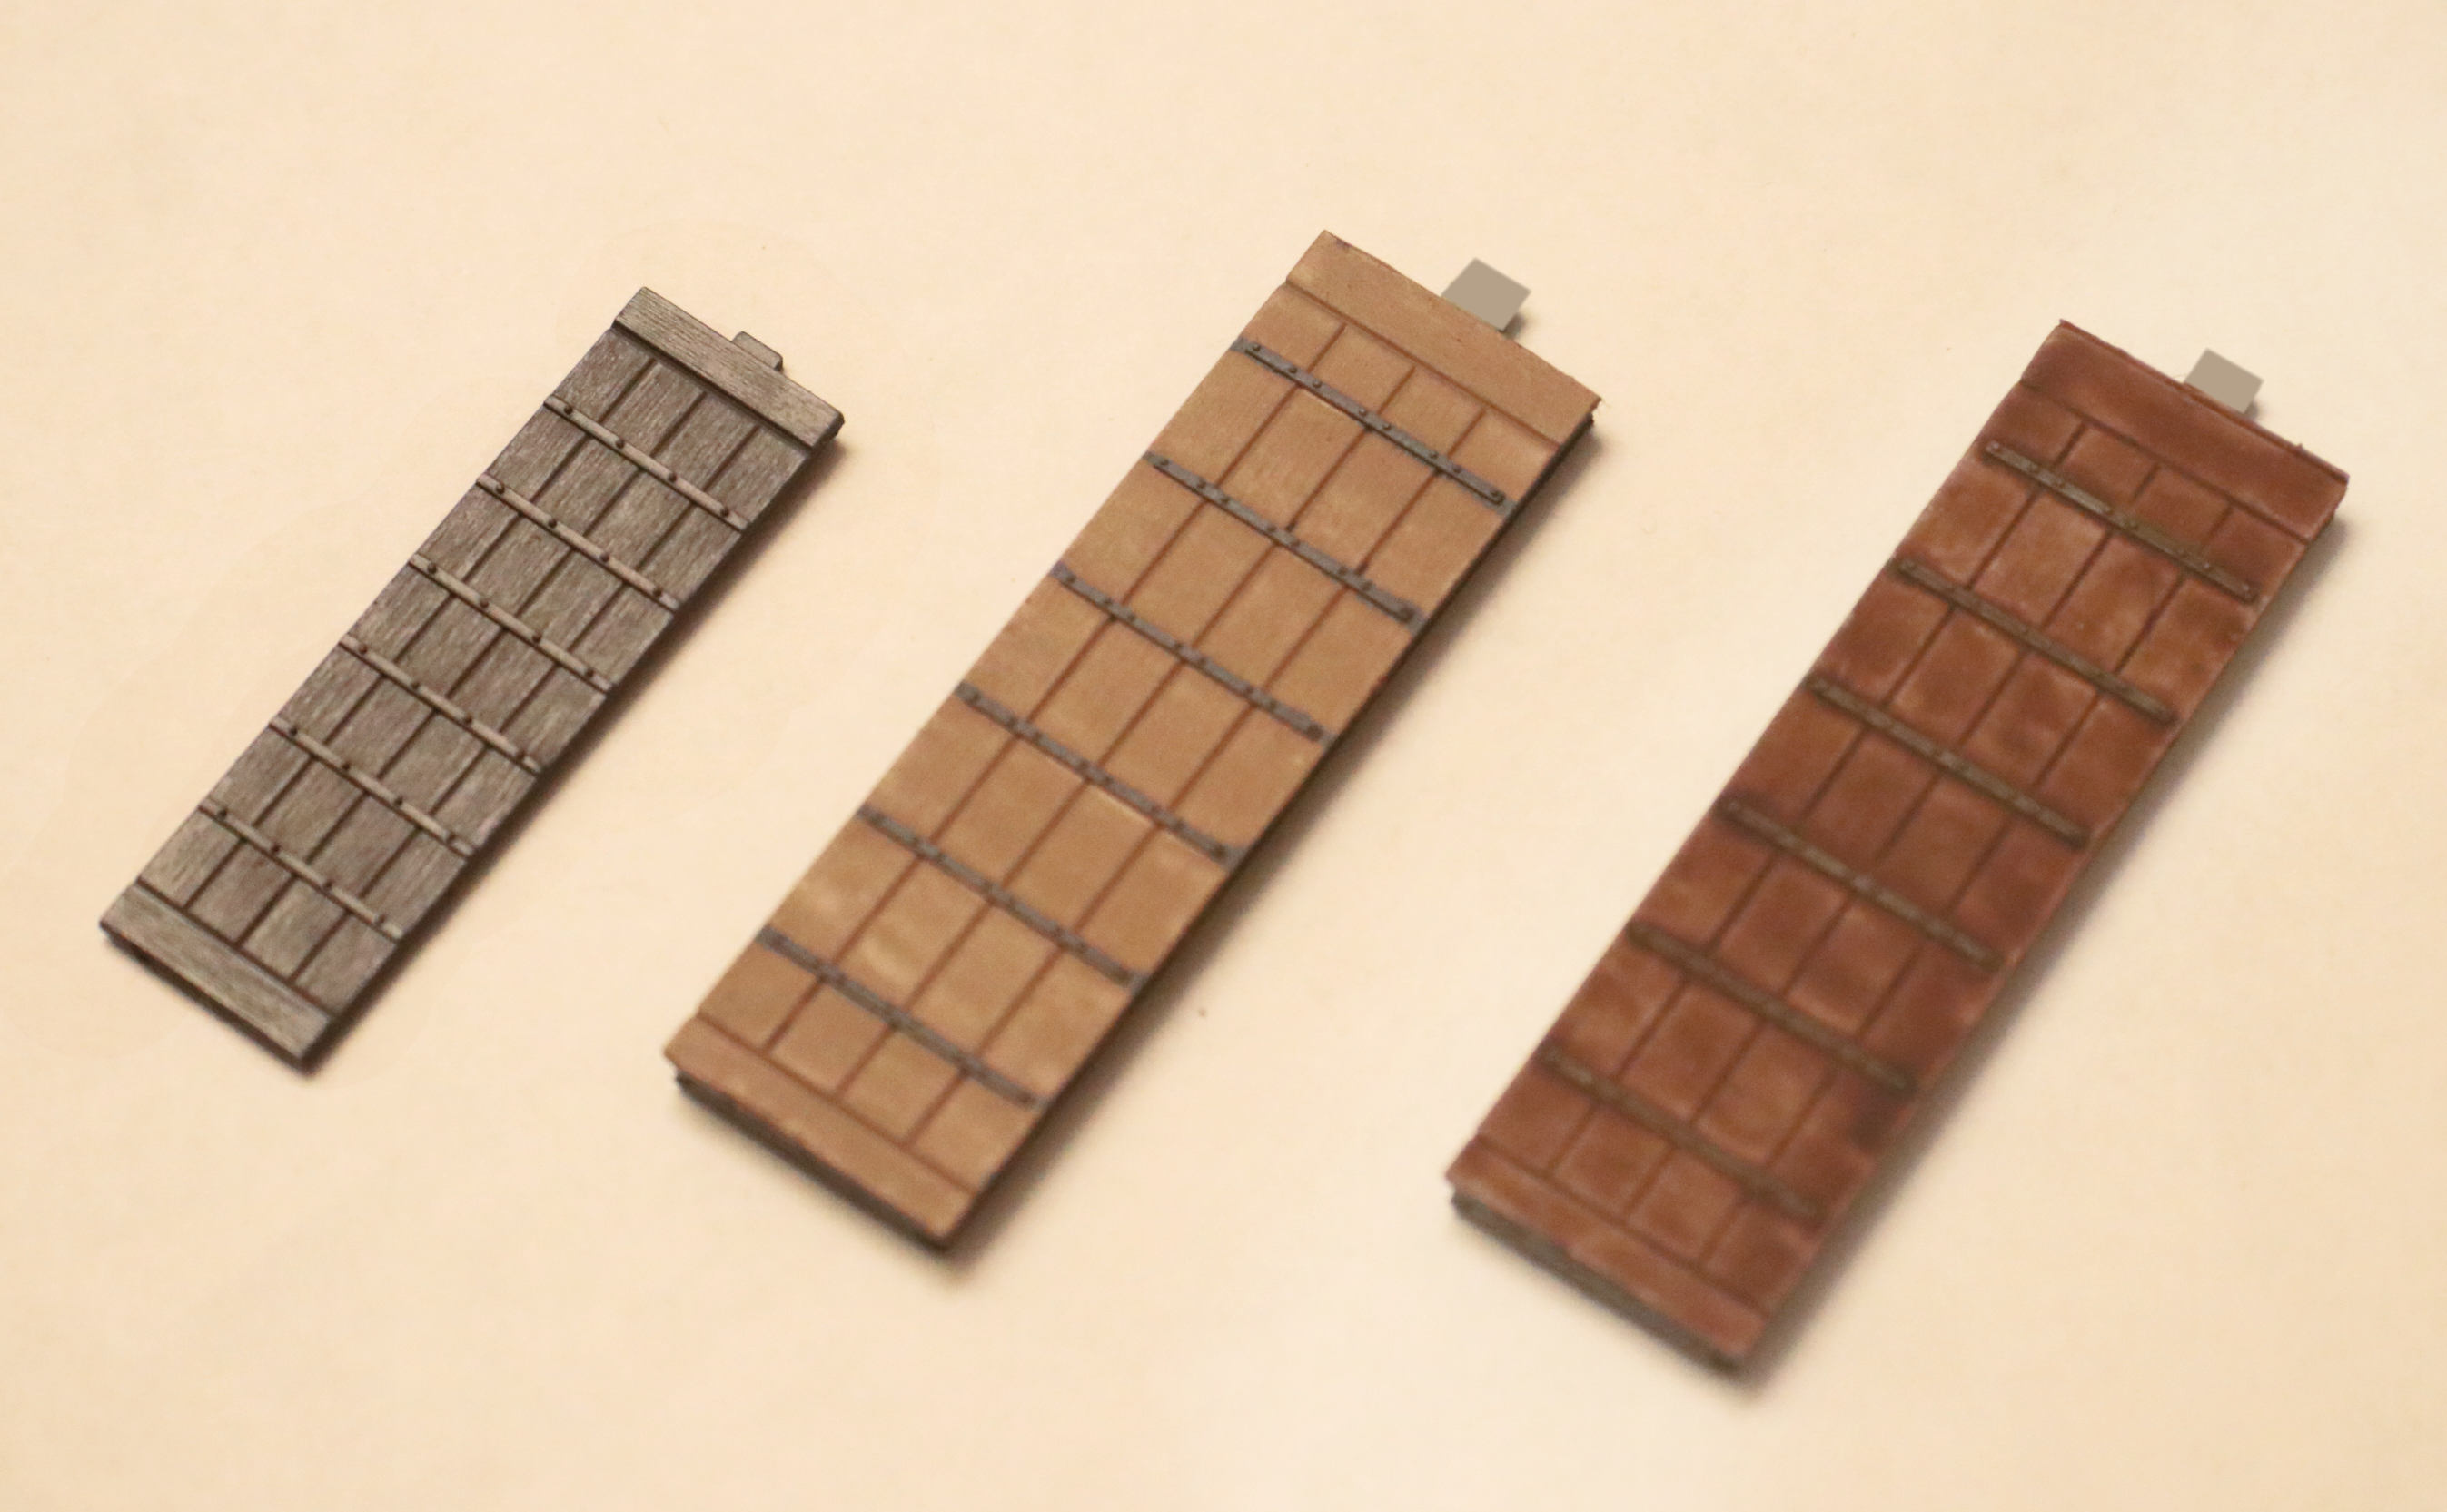
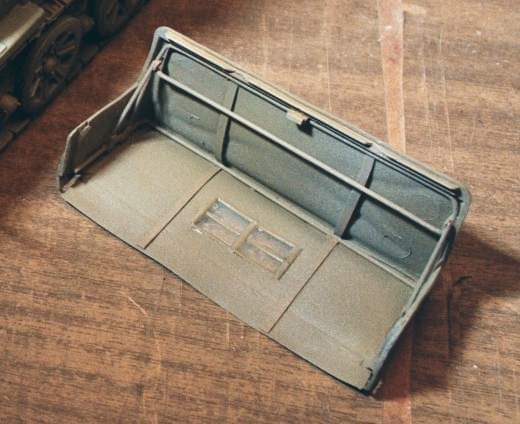
. . . Canvas, Canvas, Canvas:

Pastels over a base coat of matte paint are GREAT for this!

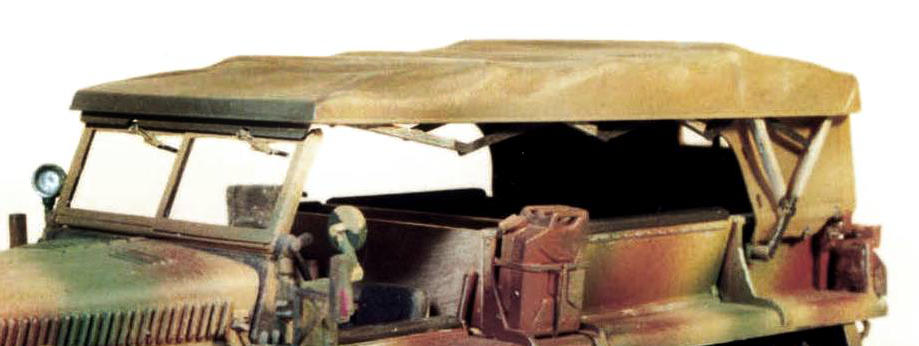
and Even More Canvas . . . :

.

2ed7bfc30daf9b9f53a4dbecc8b4095d8d077655_2_517x338

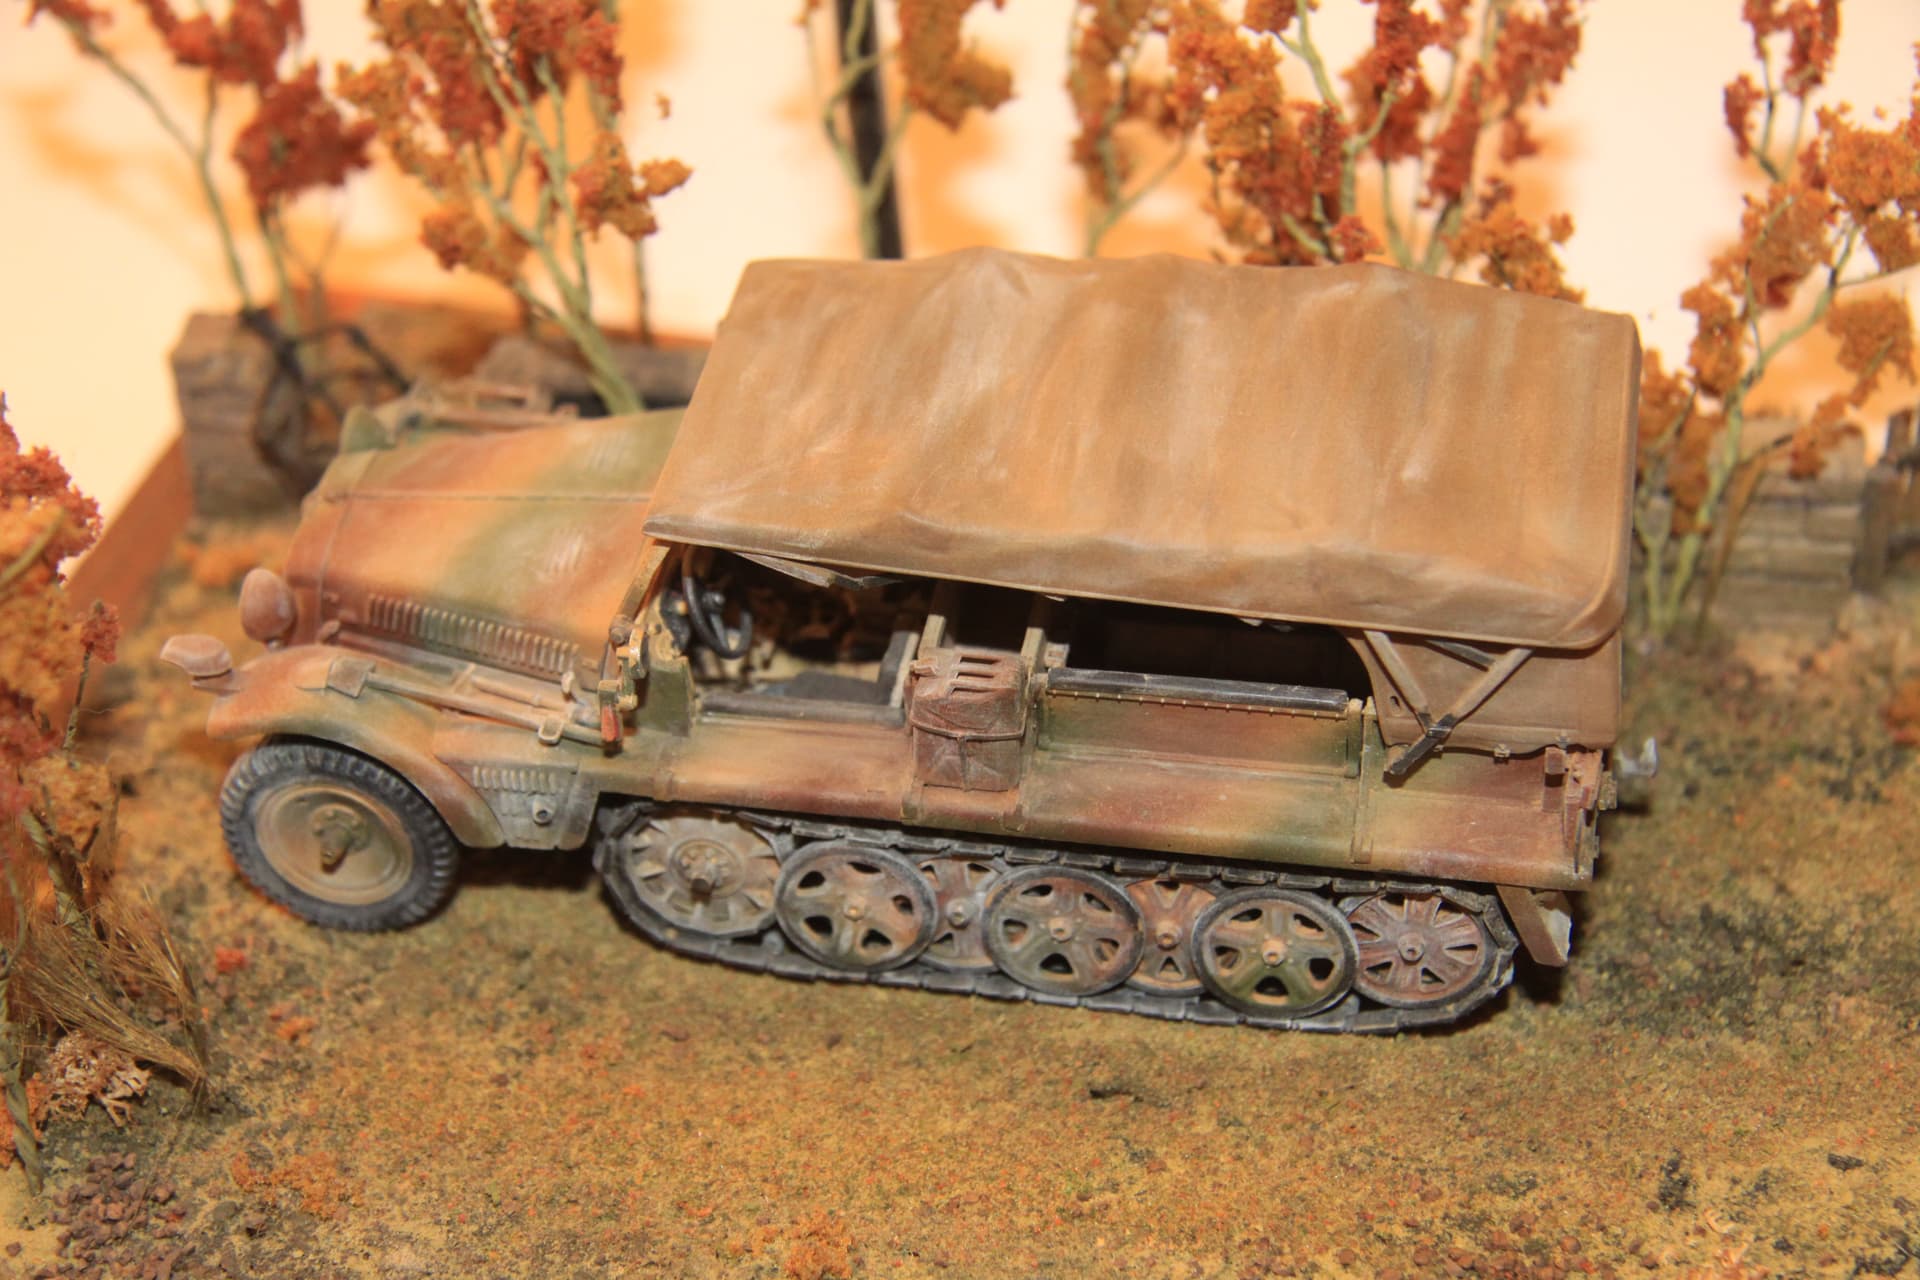
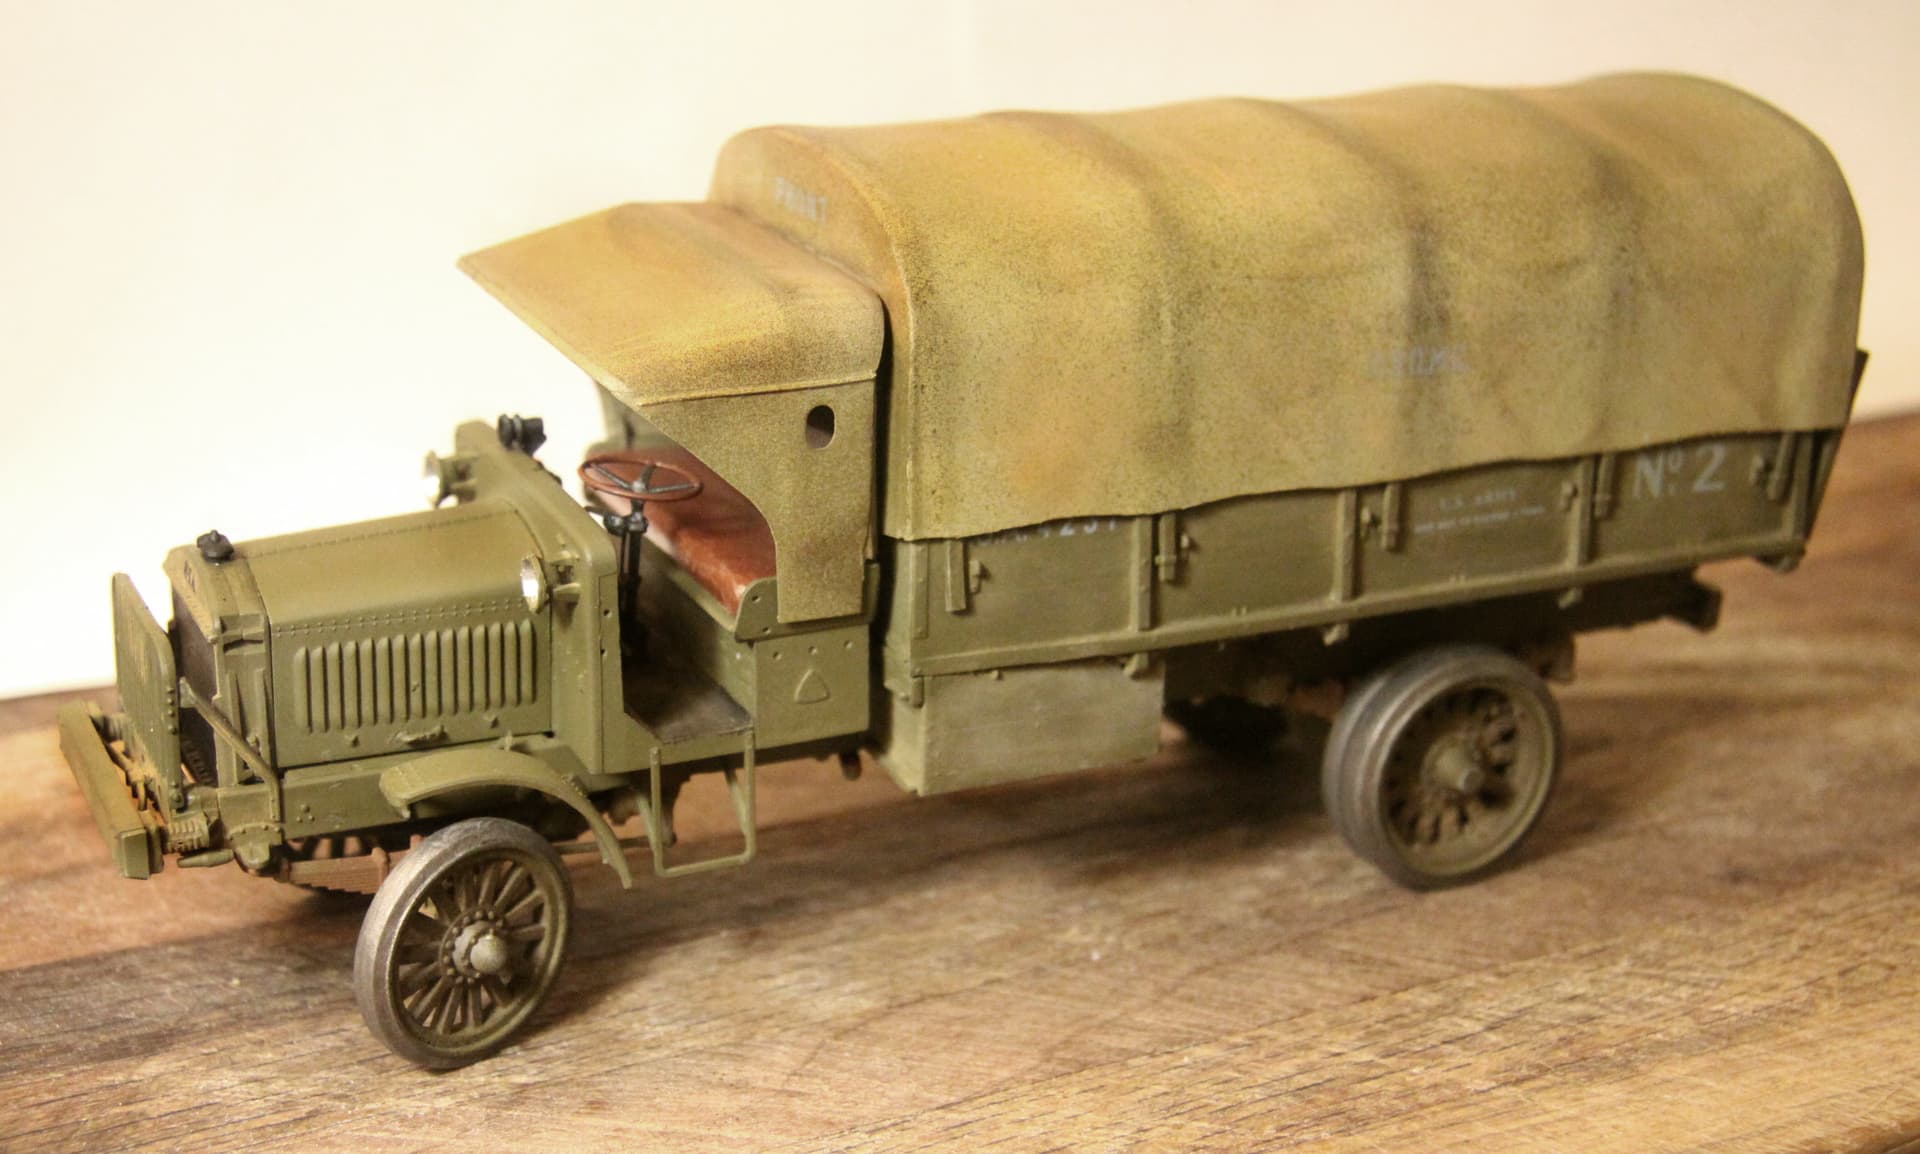
F.Y.I. ~ For most canvas I use a base coat of Buff, but for the Skoda RSO I used a Medium Green over-sprayed with a Dark Gray and for the WWI Liberty Truck I actually used German Dark Yellow as my base. Once this has thoroughly dried then ALWAYS a very dry over spray of matte clear to give the pastels something to adhere to.


I also detail the undersides of my canvas tops but that is another subject entirely!

198471406_10159079628108956_7394145860263368143_n
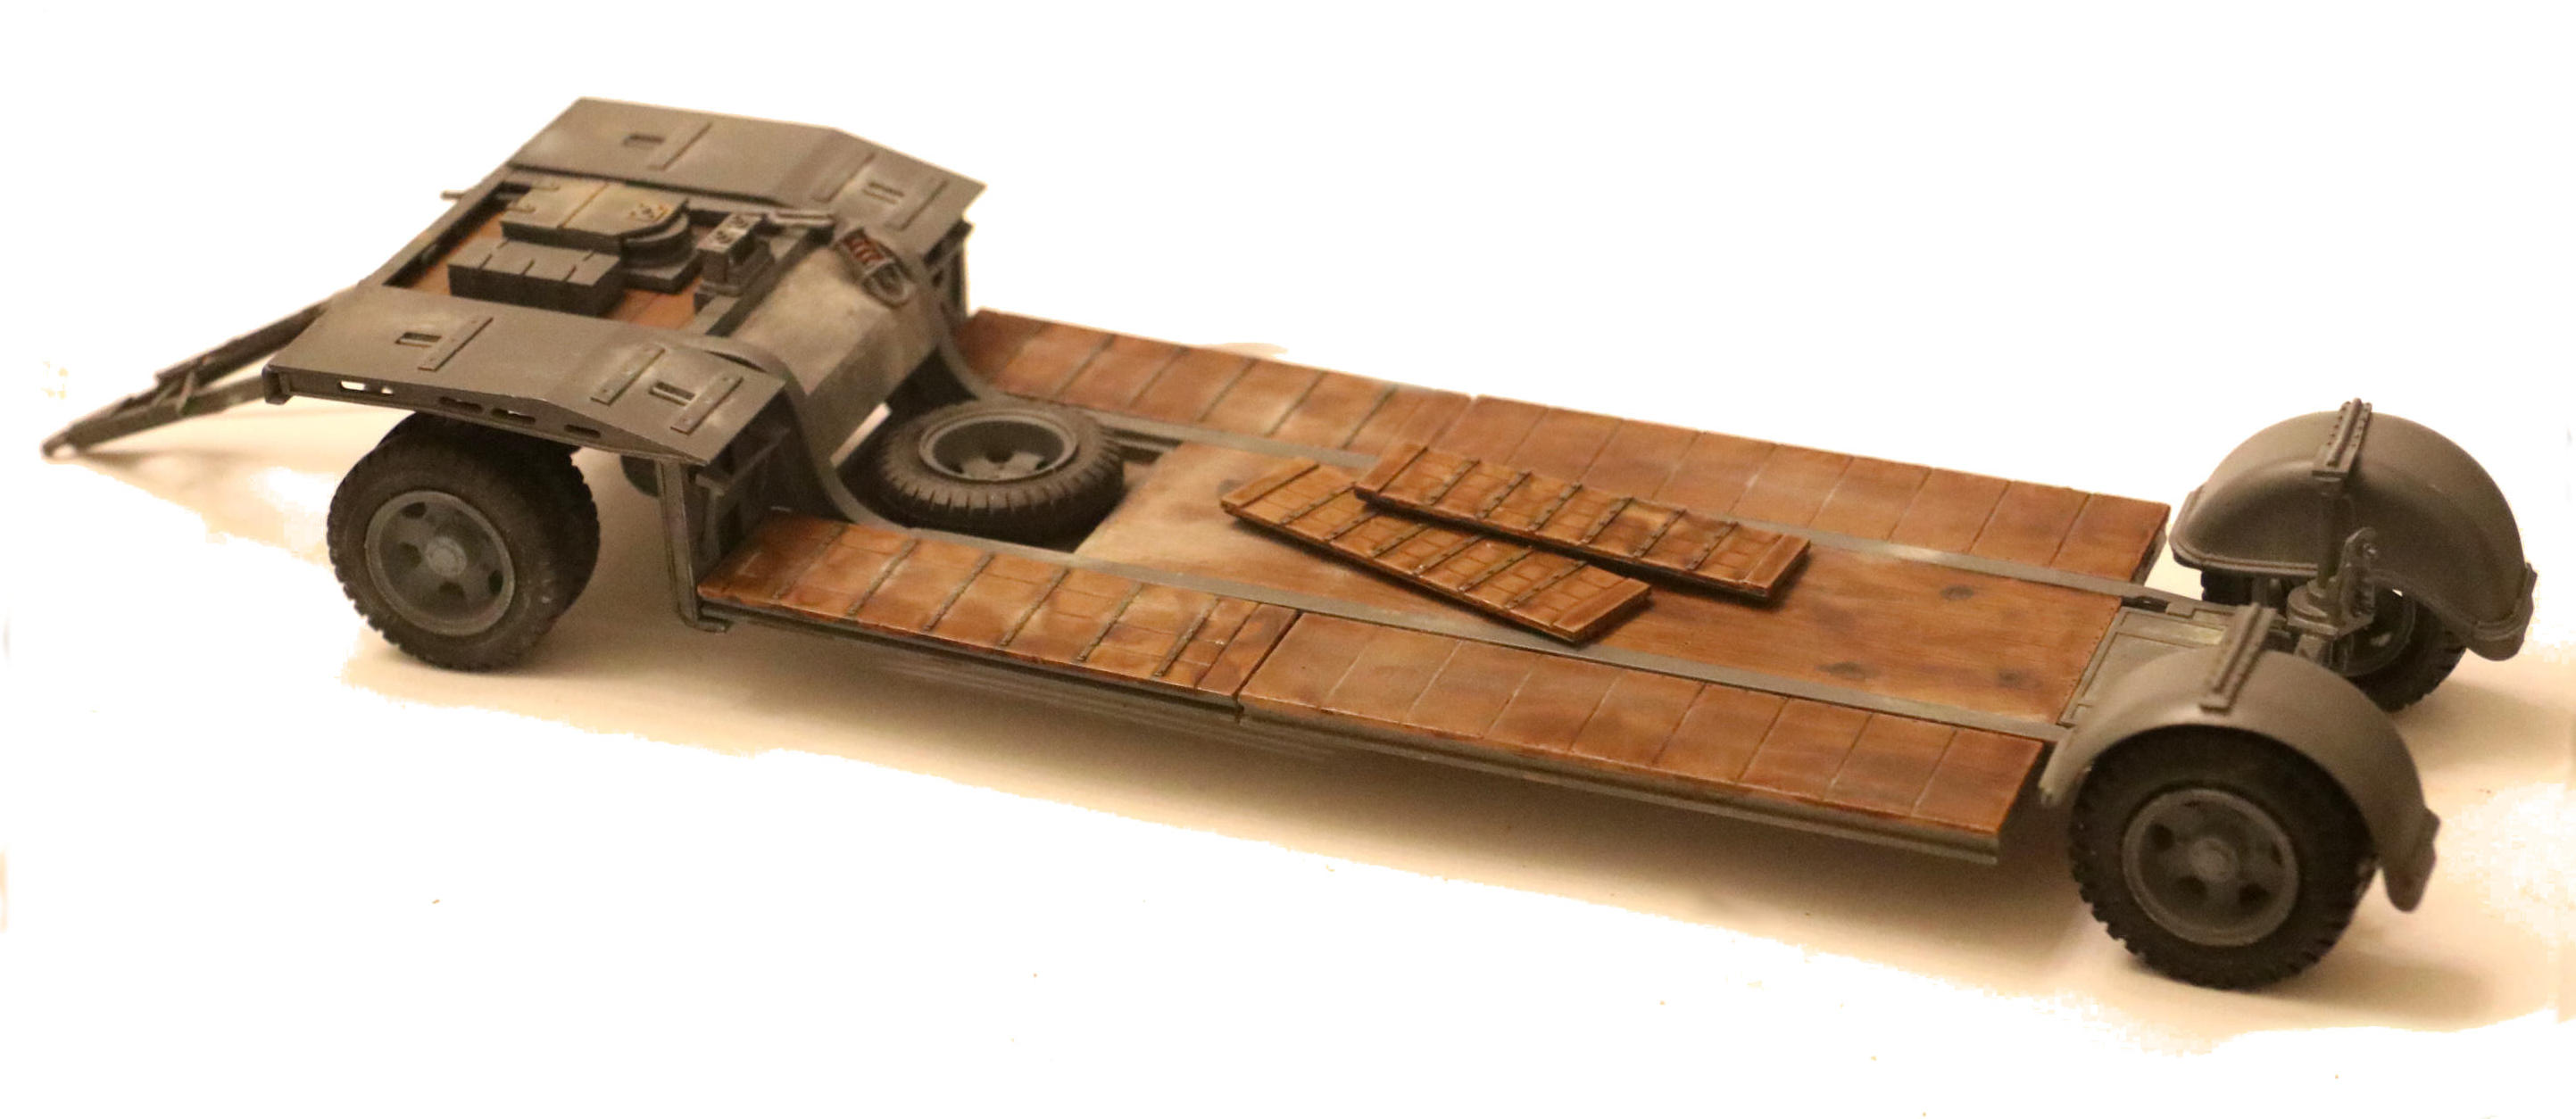
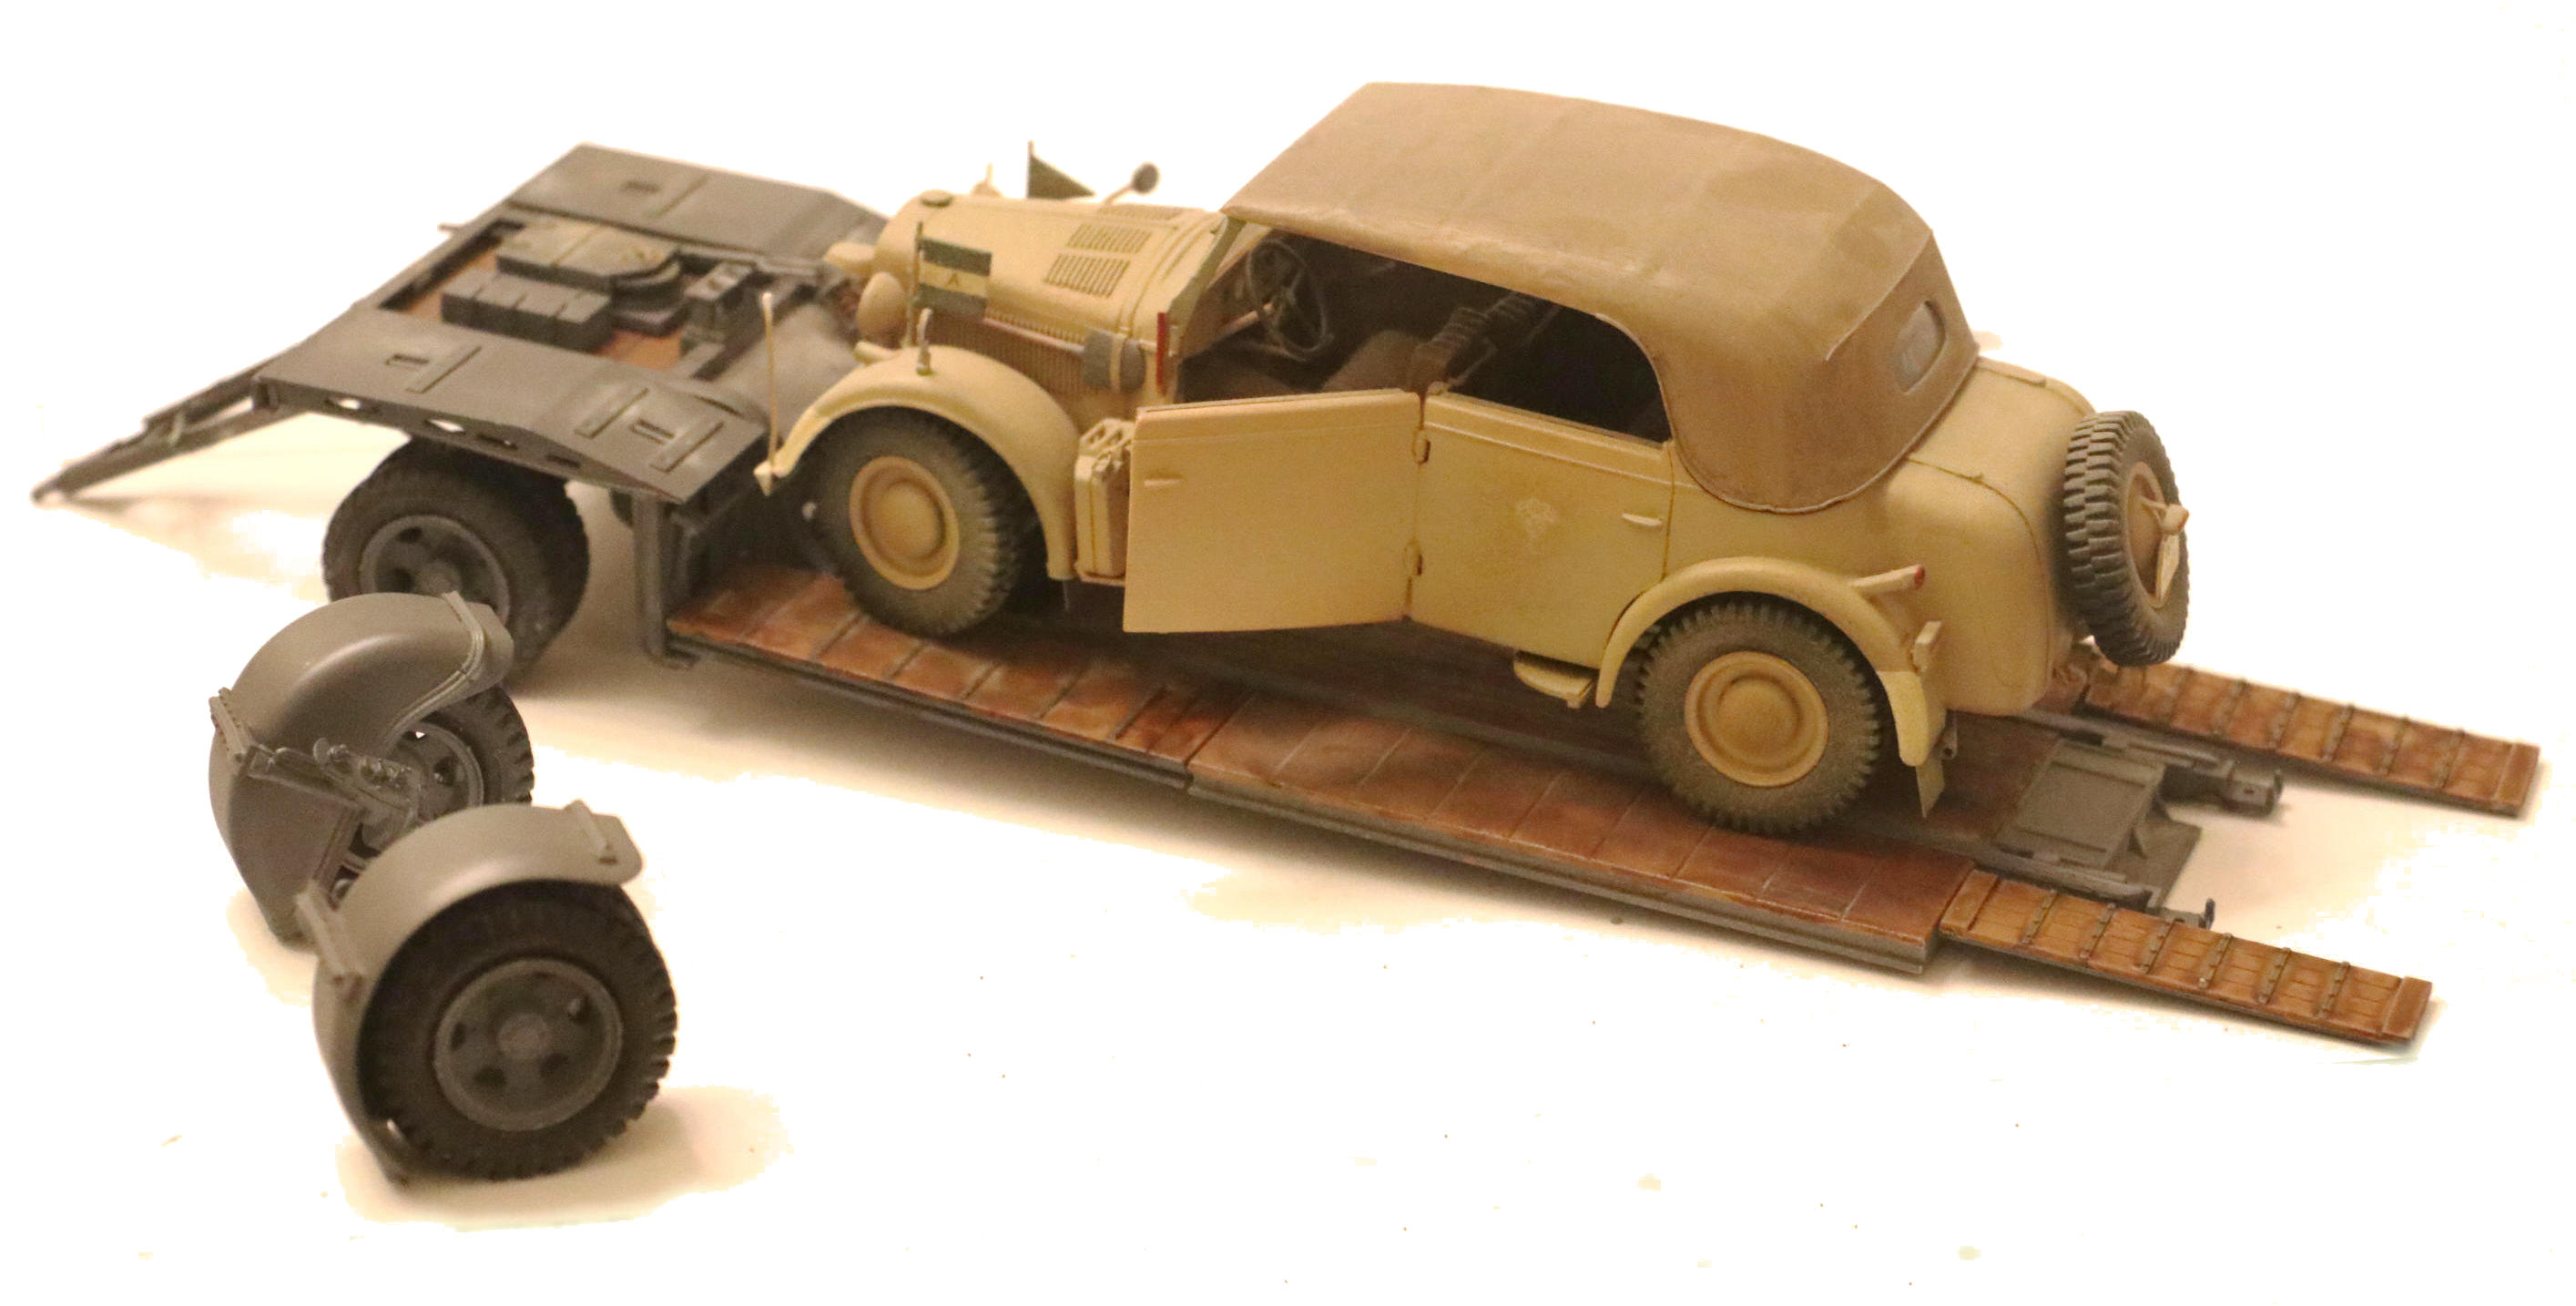
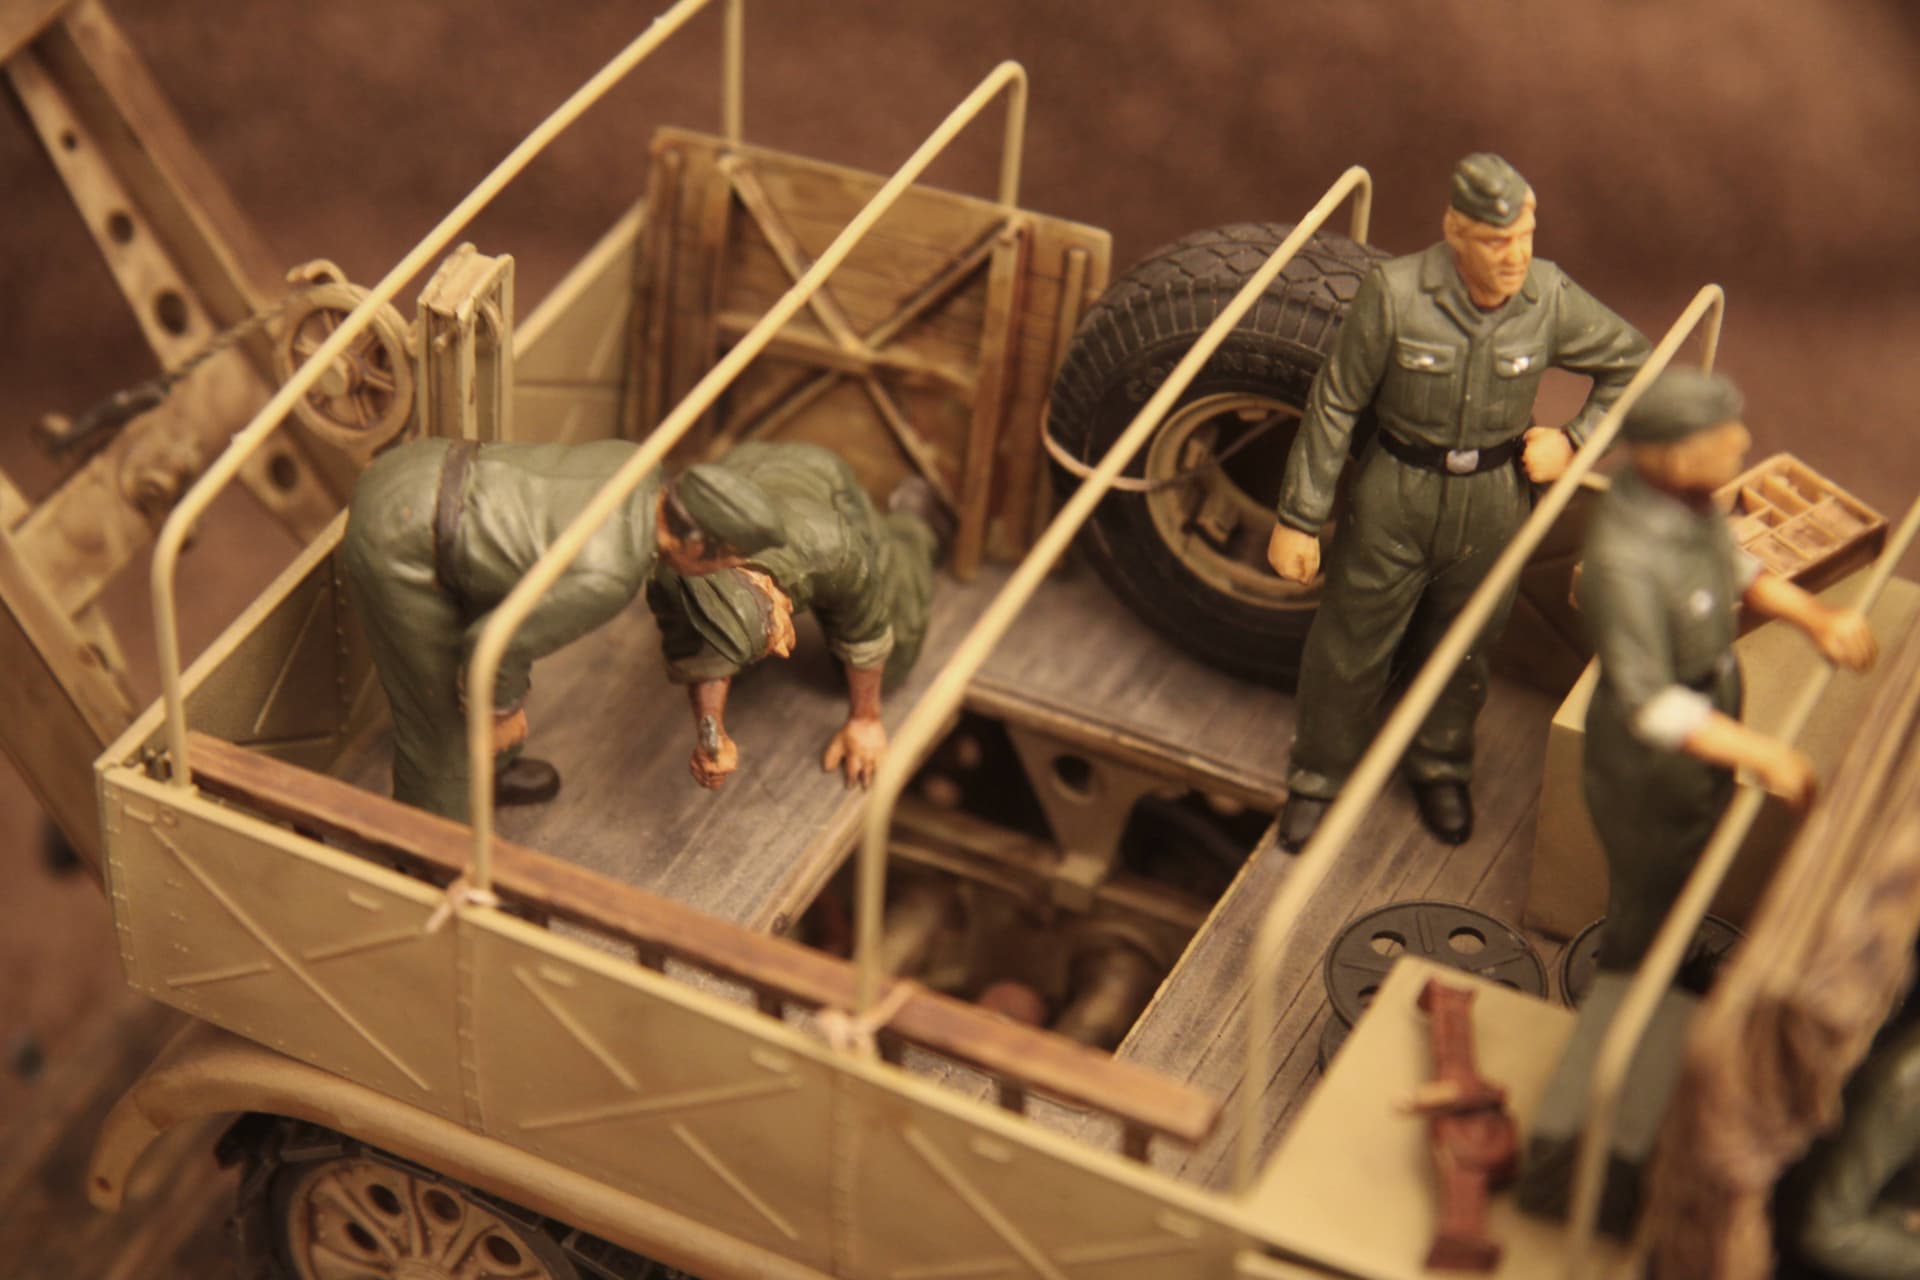
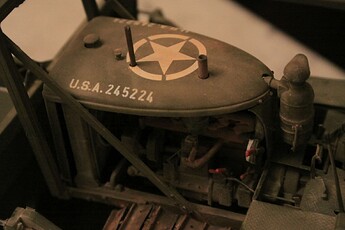
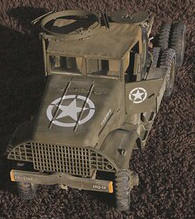
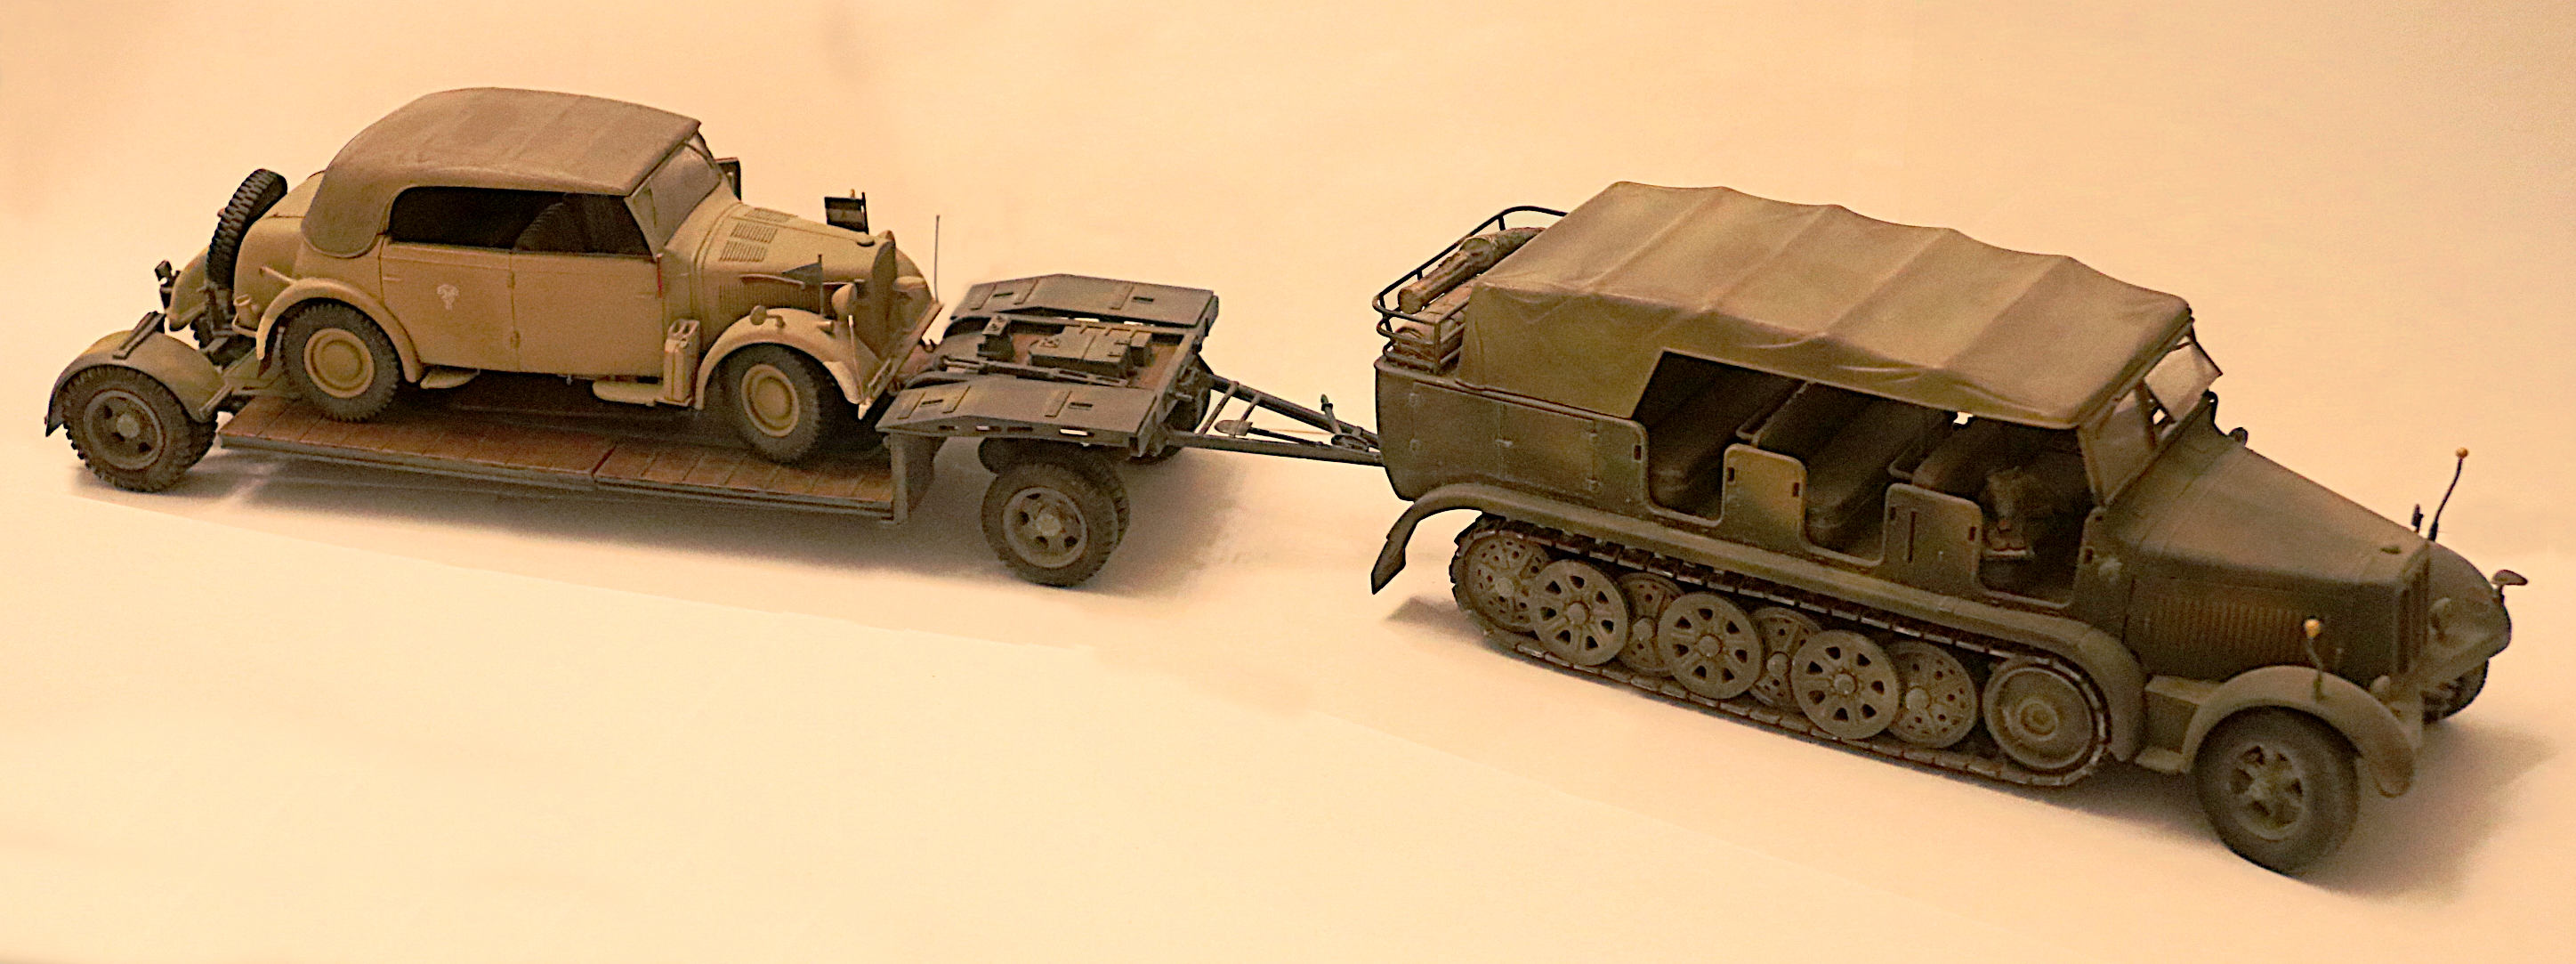
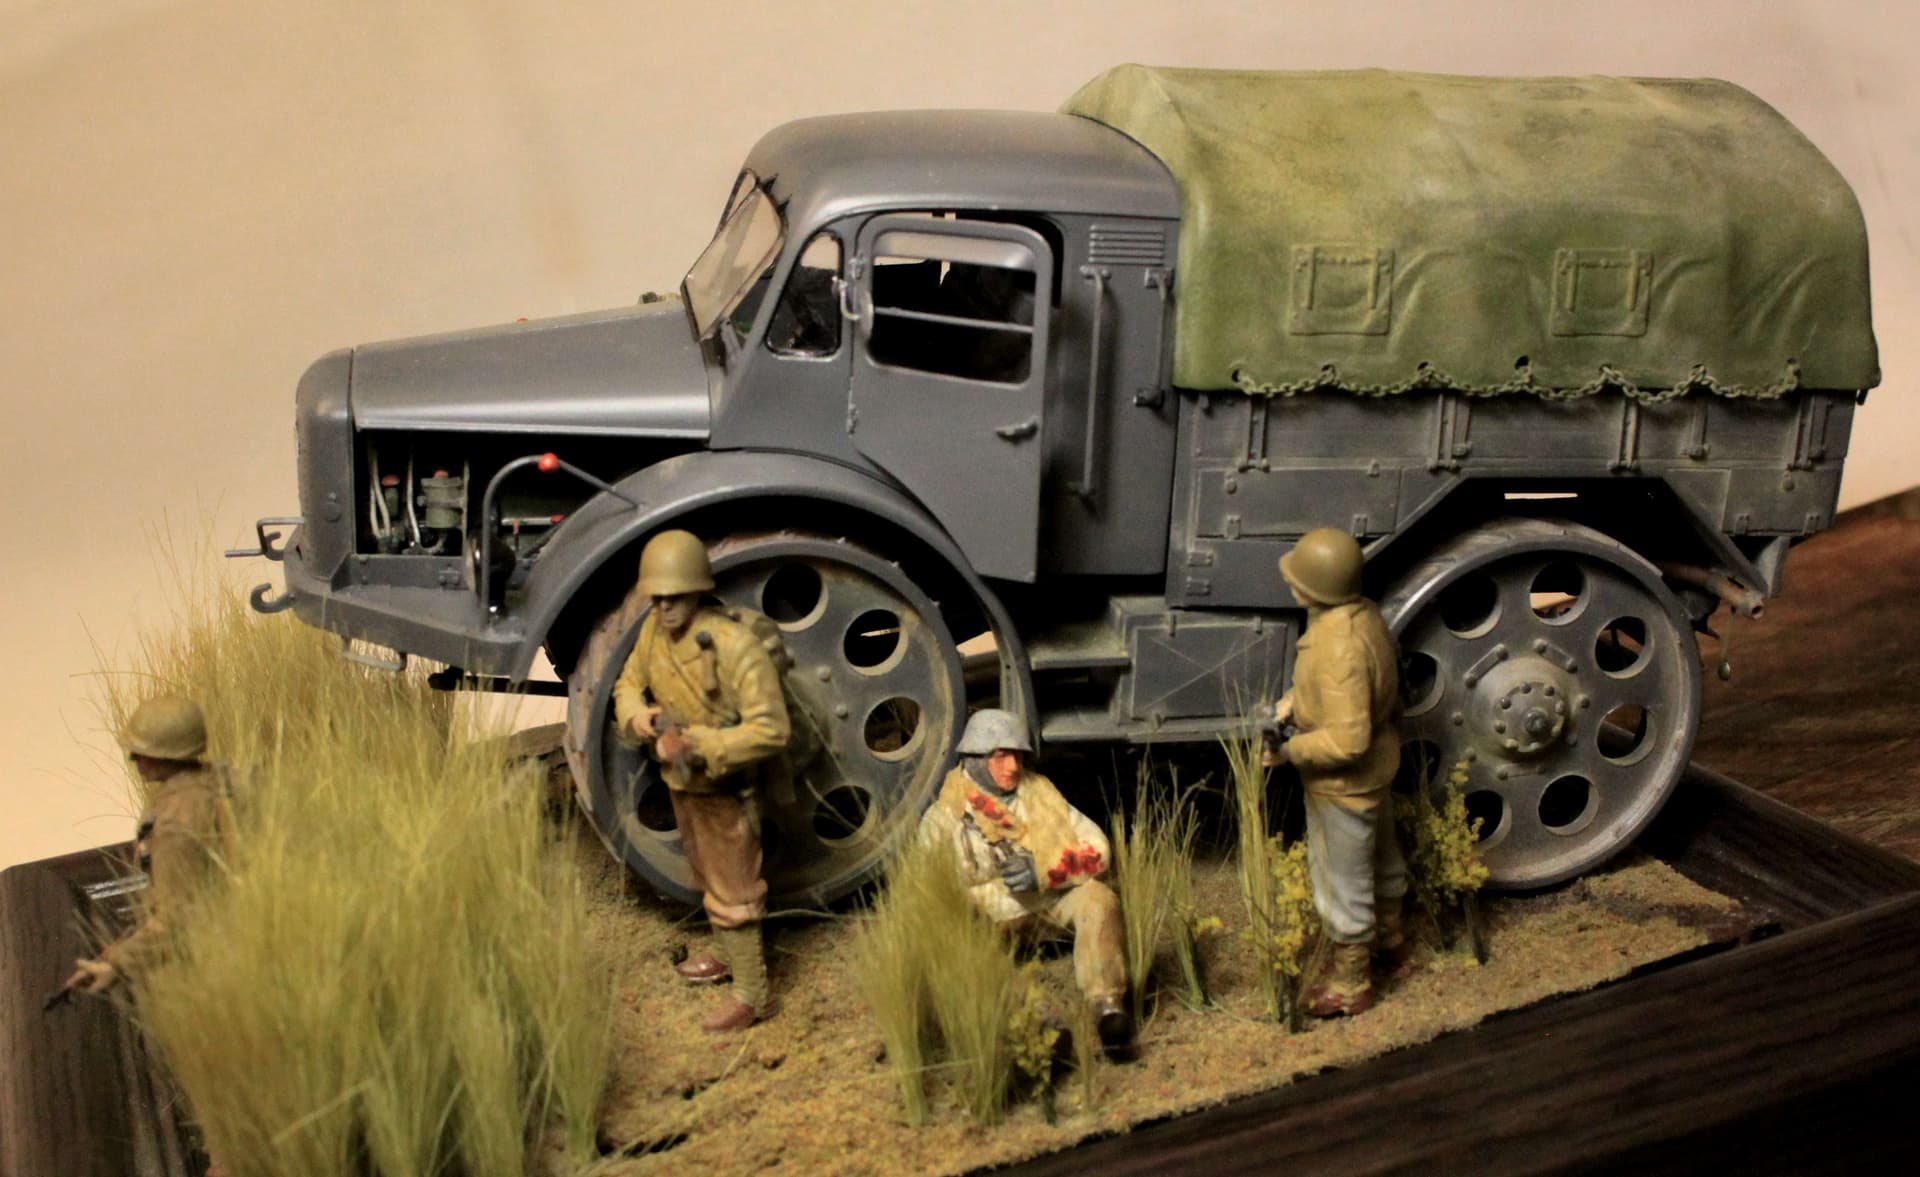
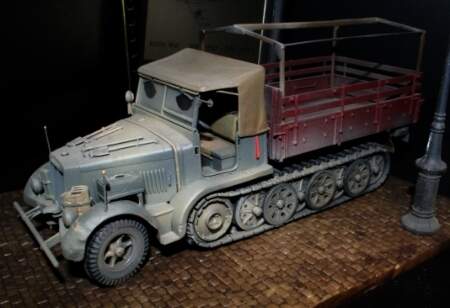
Sd. Kfz.10 Demag 1 ton . . . . . . . . . . . . . Sd. Kfz 7 MWS

. . . and the Demag once again. (Note scissors supports for the roof ribs.)
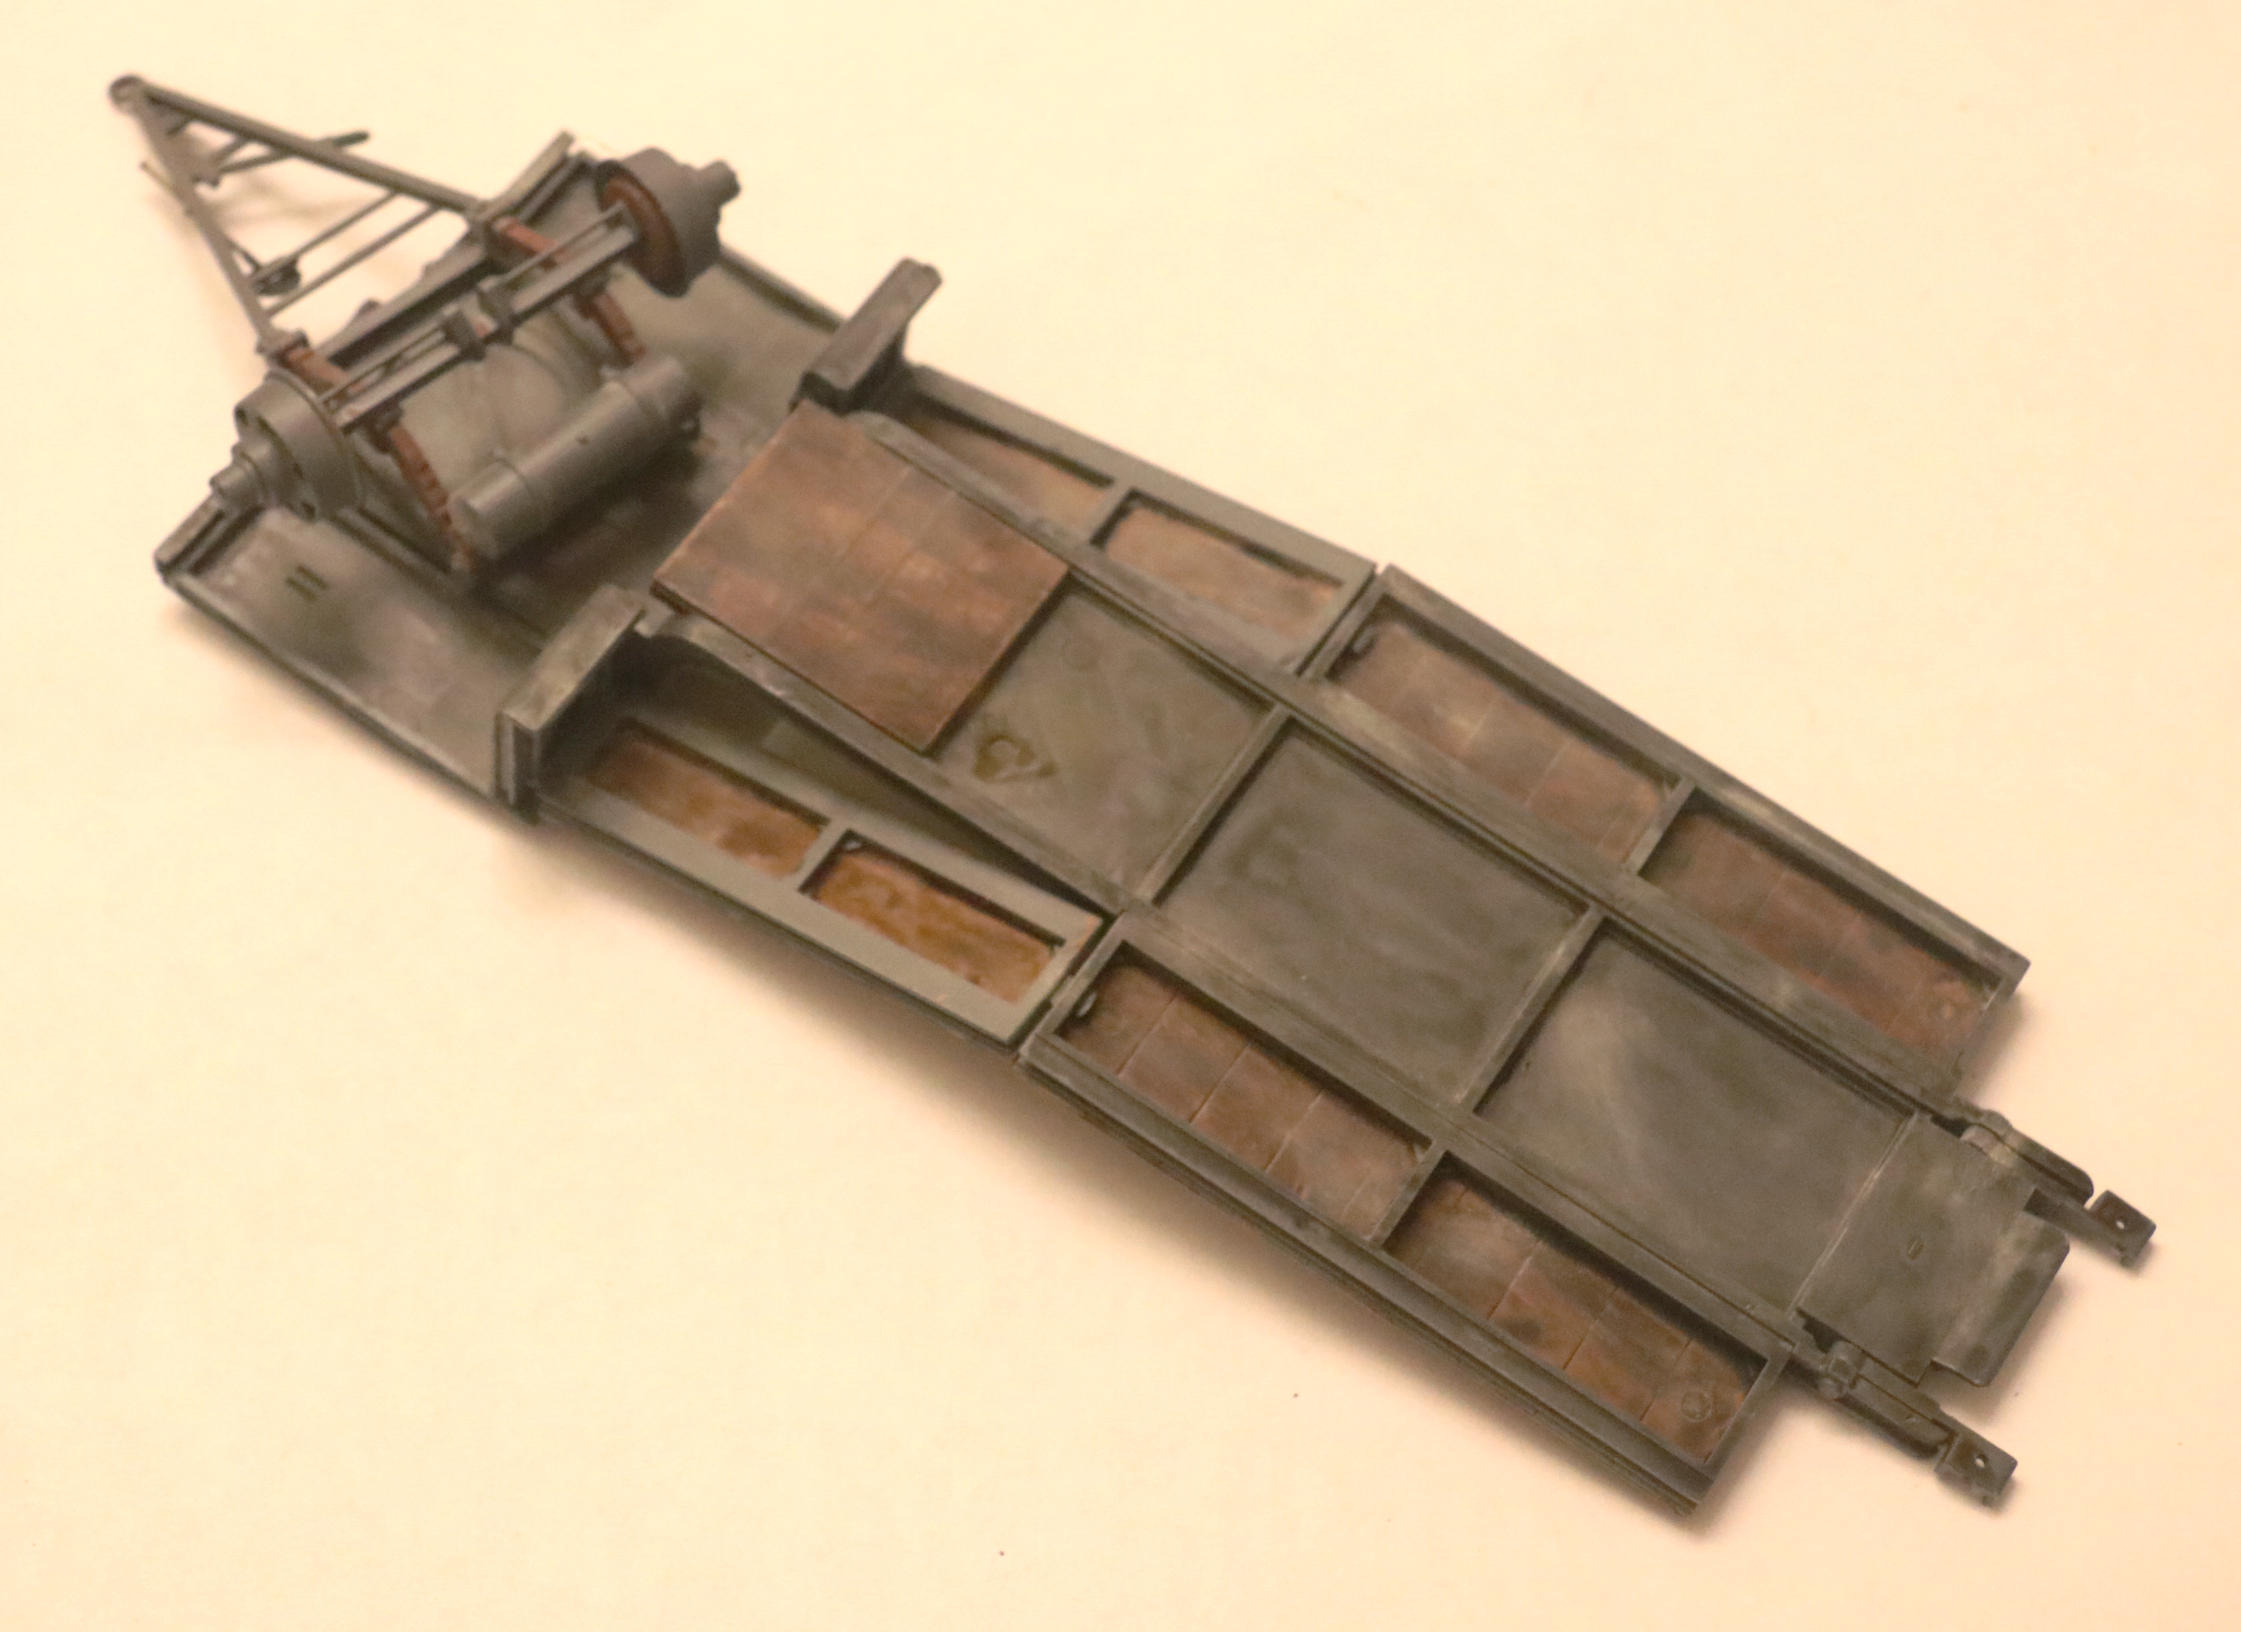
101_0160_zpsuyzbmxac
My Sd. Kfz. 7 MWS - Sort of a kit-bash with just a bit of “Paper Panzer” design thrown in. It started life as a Tamiya Flakvierling with then a slightly enlarged load box added from an Italeri Maultier

4 Likes