Thanks for the clearer images!
1 Like
Here’s an update!
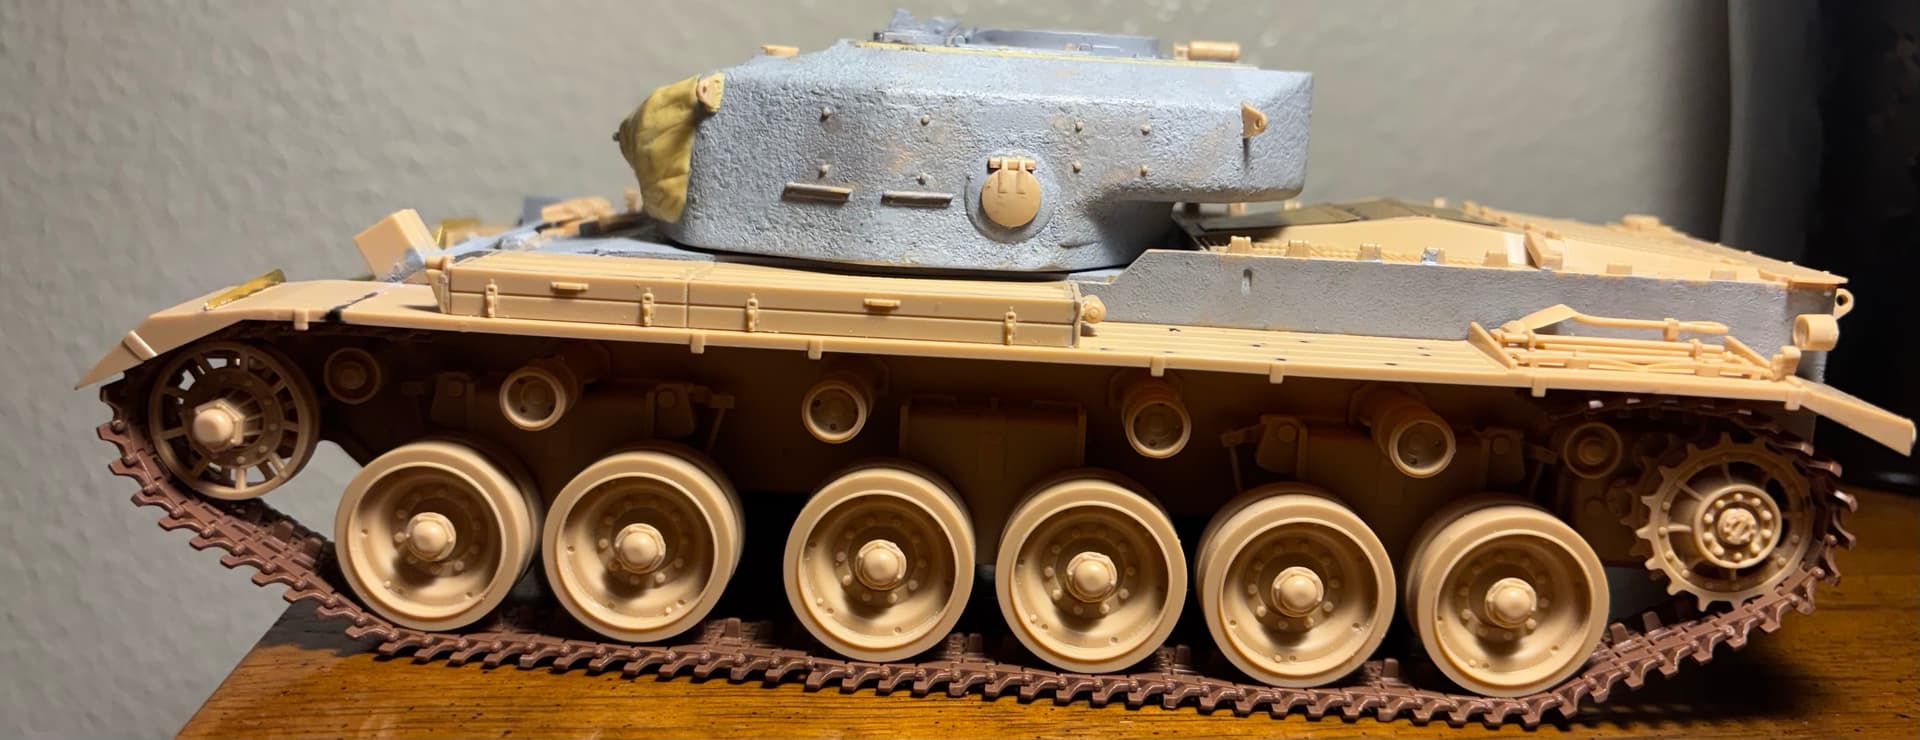
I’ve been working on the Sho’t Kal a ton, I’ve almost gotten the hull down! I’m just waiting for packages since I honestly lost a ton of parts because I got this kit before I moved this year. I’ll still be able to finish this and get it all done though. I’m planning to finish the ZiL by about this Friday or so, and then I’ll just focus on painting and diorama making next week! I’m personally pretty happy with the way it’s turned out, since I always thought that resurrecting this kit might be impossible.
Here’s some photos:

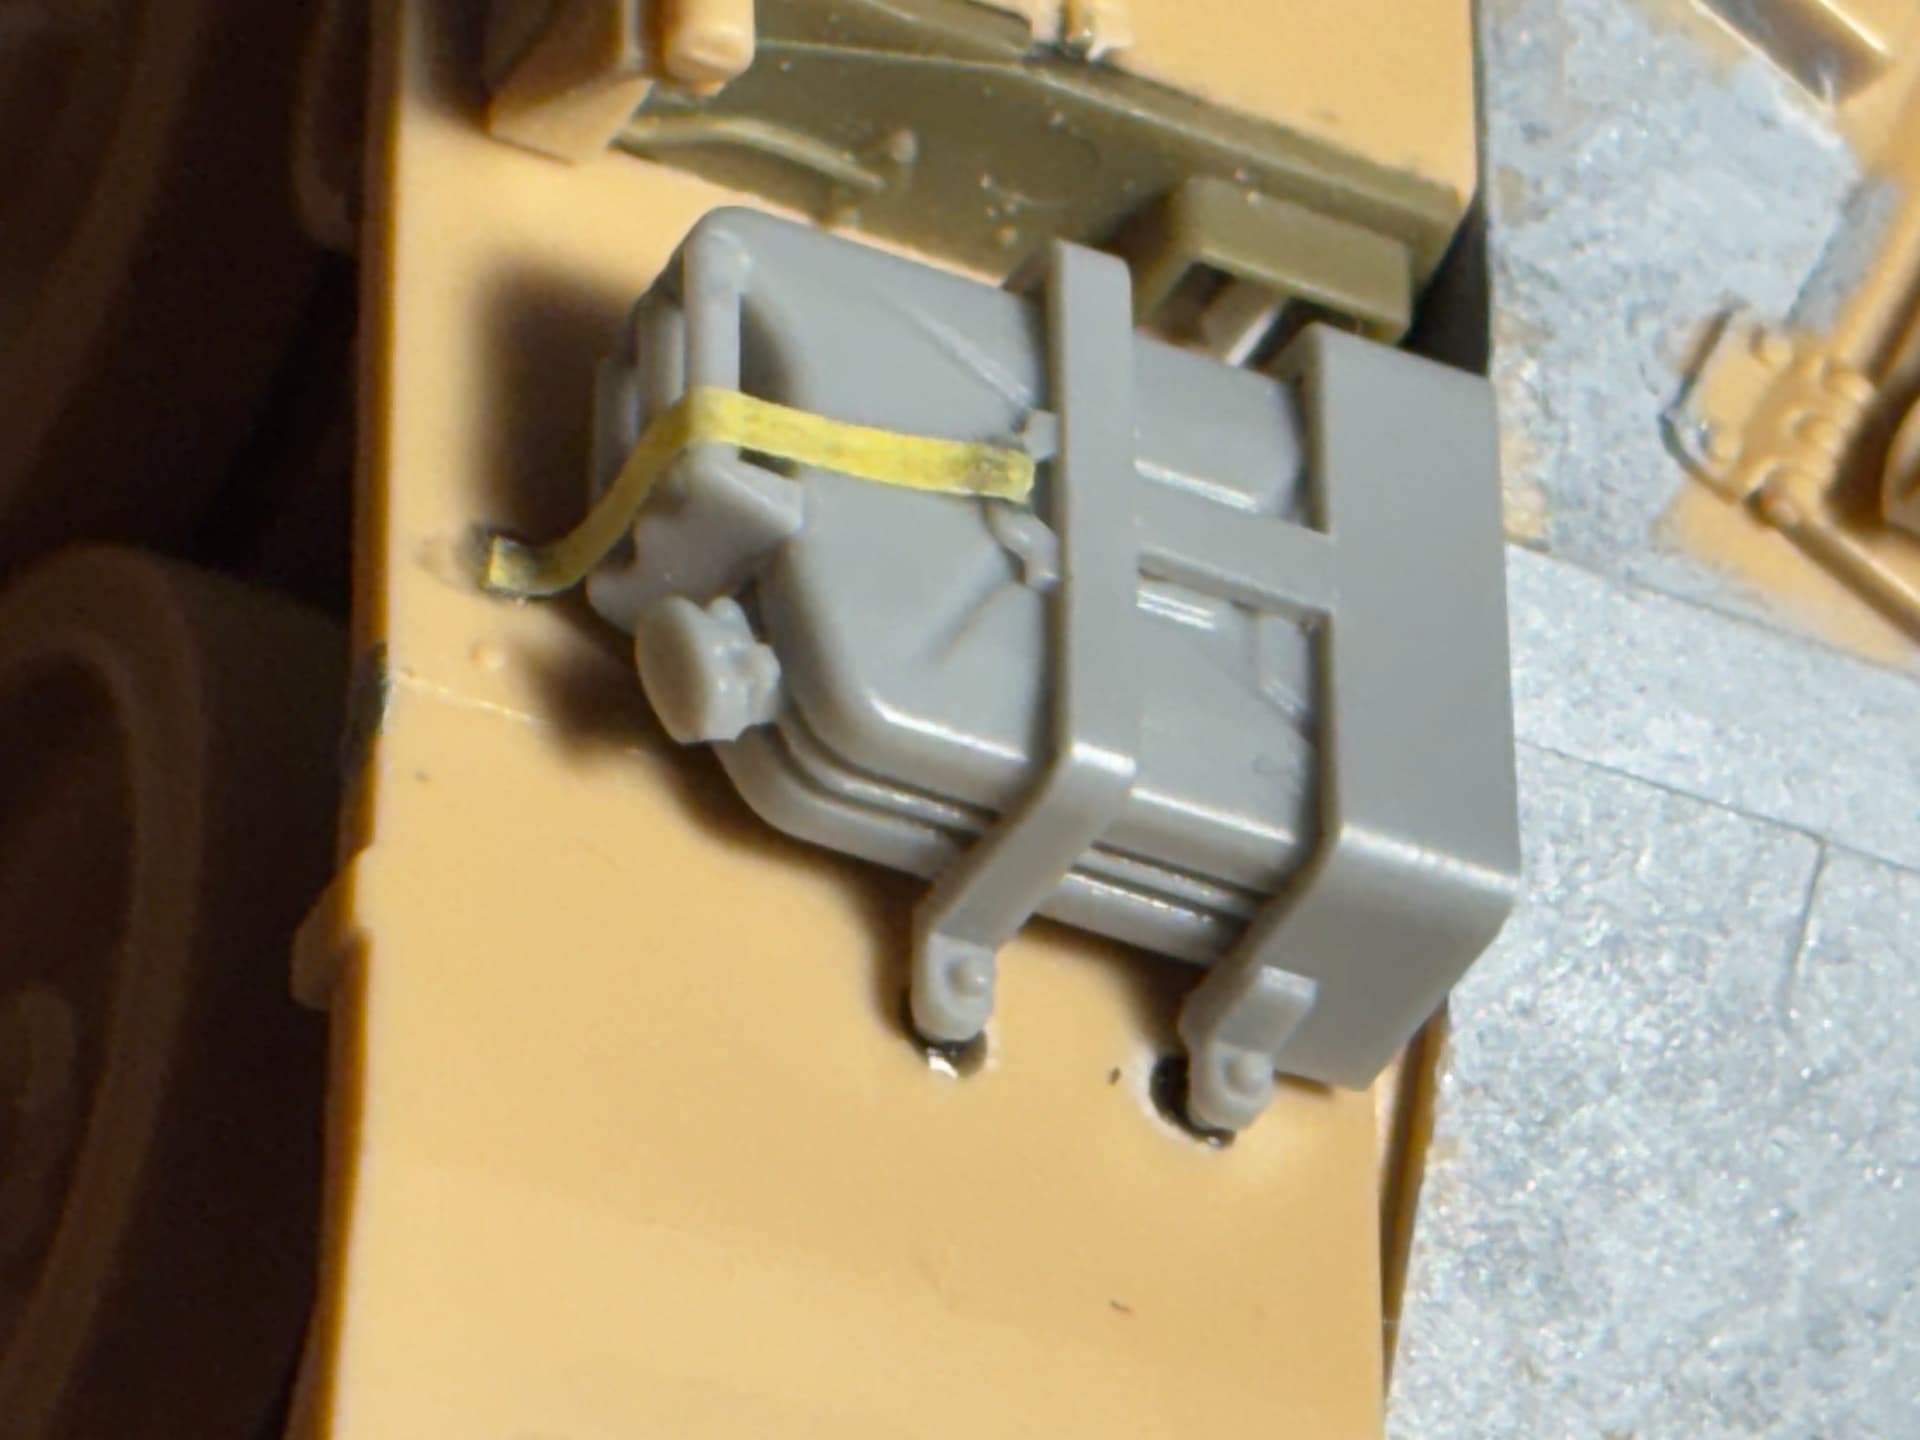
I put on this IDF Jerry can from the AK IDF accessories set on the left fender, there’s normally an IDF water can there but the kit part has these two huge indentations on the side of them; and I have a photo of a YKW Sho’t Kal with a gas can on it, so I just decided to go with that.
Also this kit has a bunch of inaccuracies for a YKW Sho’t Kal Alef, but I noticed a couple that I don’t remember anybody else mentioning.
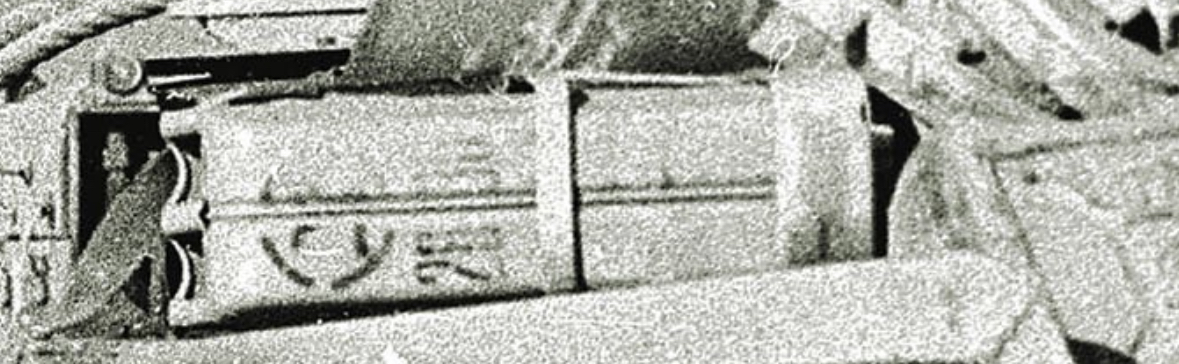
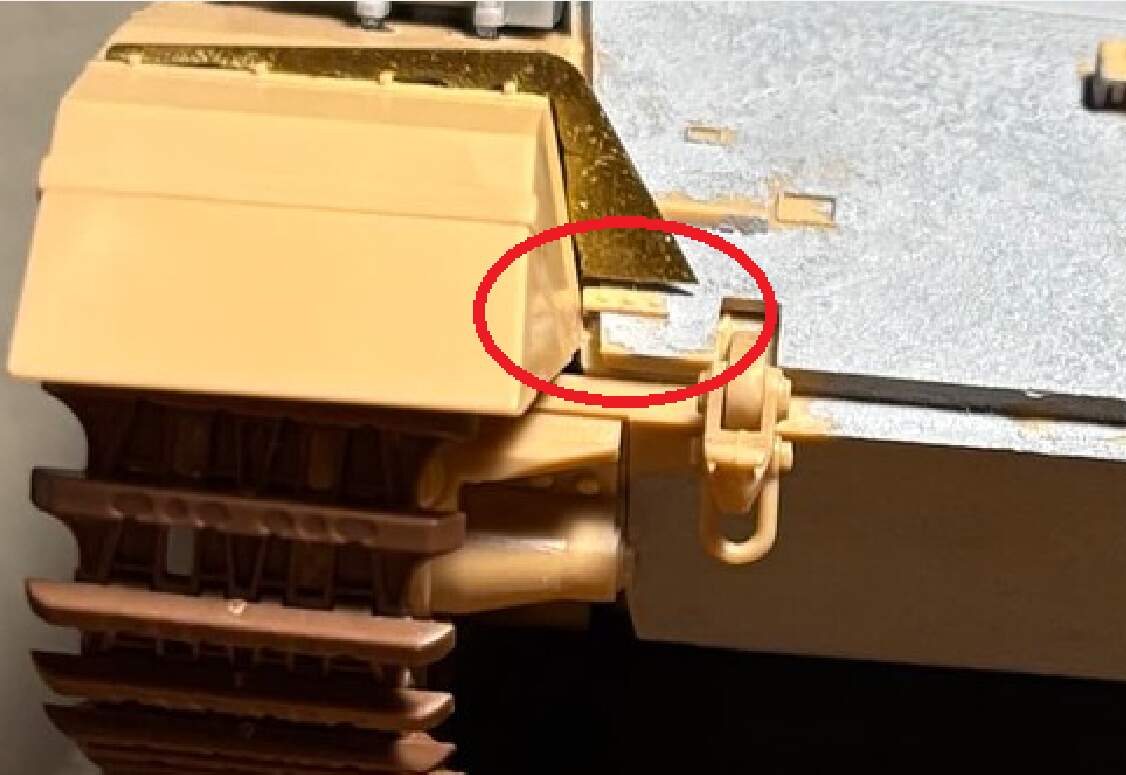
I realized this while looking at a photo of a mount for one of those folded stretchers that the idf just loves putting everywhere (since I lost the stretcher and was planning to make my own mount for one), and I realized that the back towing hook/loop that the kit includes isn’t present on any YKW Sho’t Kal Alef. I’m 99% sure that this tow hook/loop only started appearing on the Sho’t Kal Gimel, it could’ve started appearing on the Sho’t Kal Bet but with the amount of reference photos it has (barely any) I couldn’t really tell.
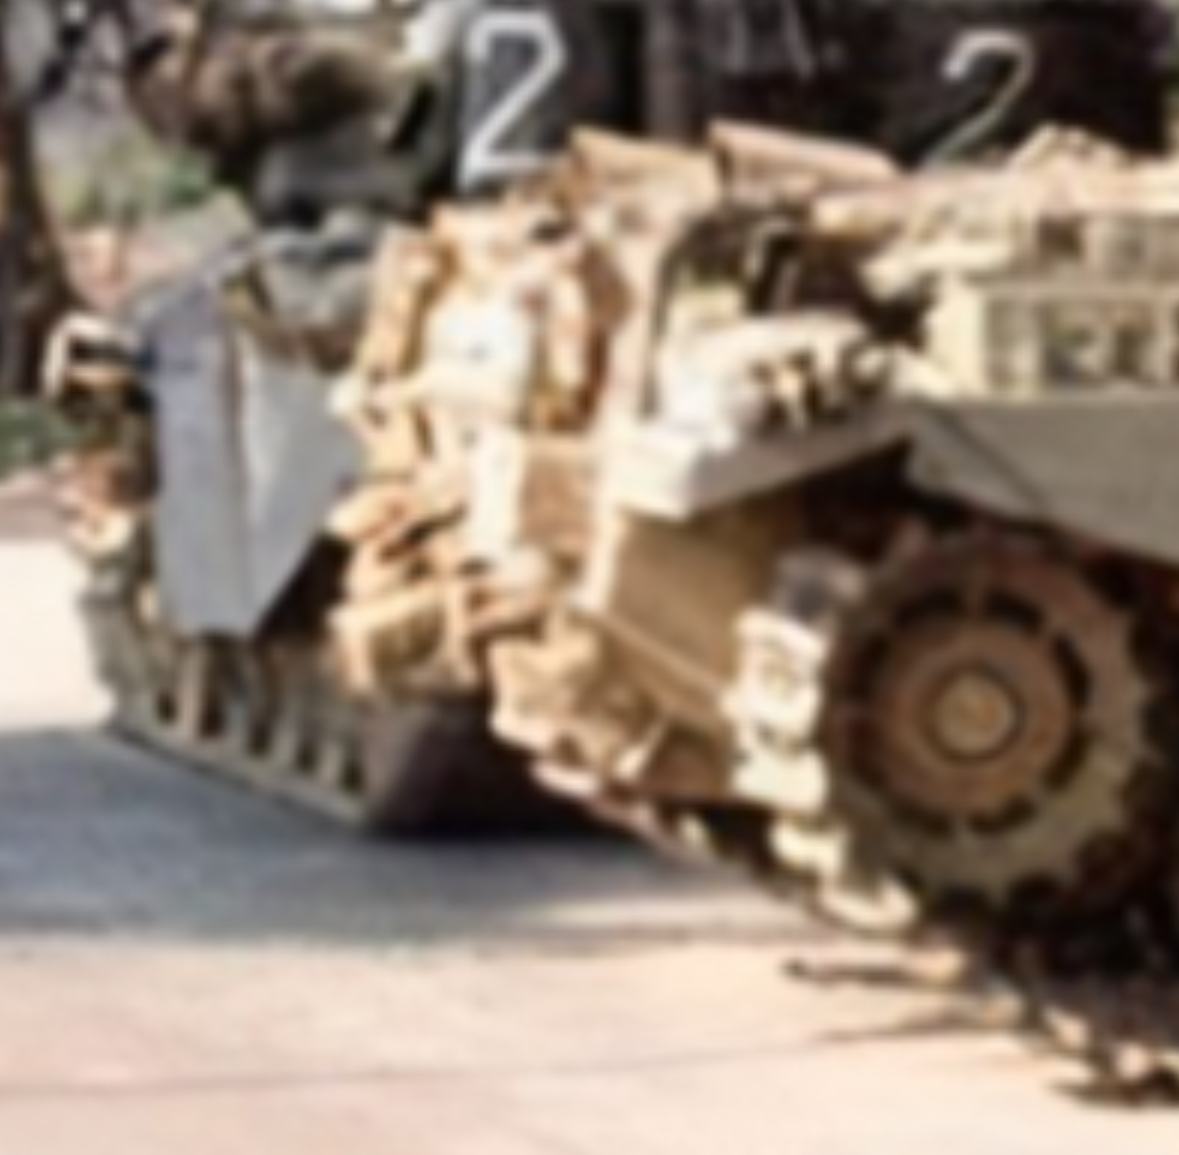
(Here it is on some Sho’t Kal Gimels though)
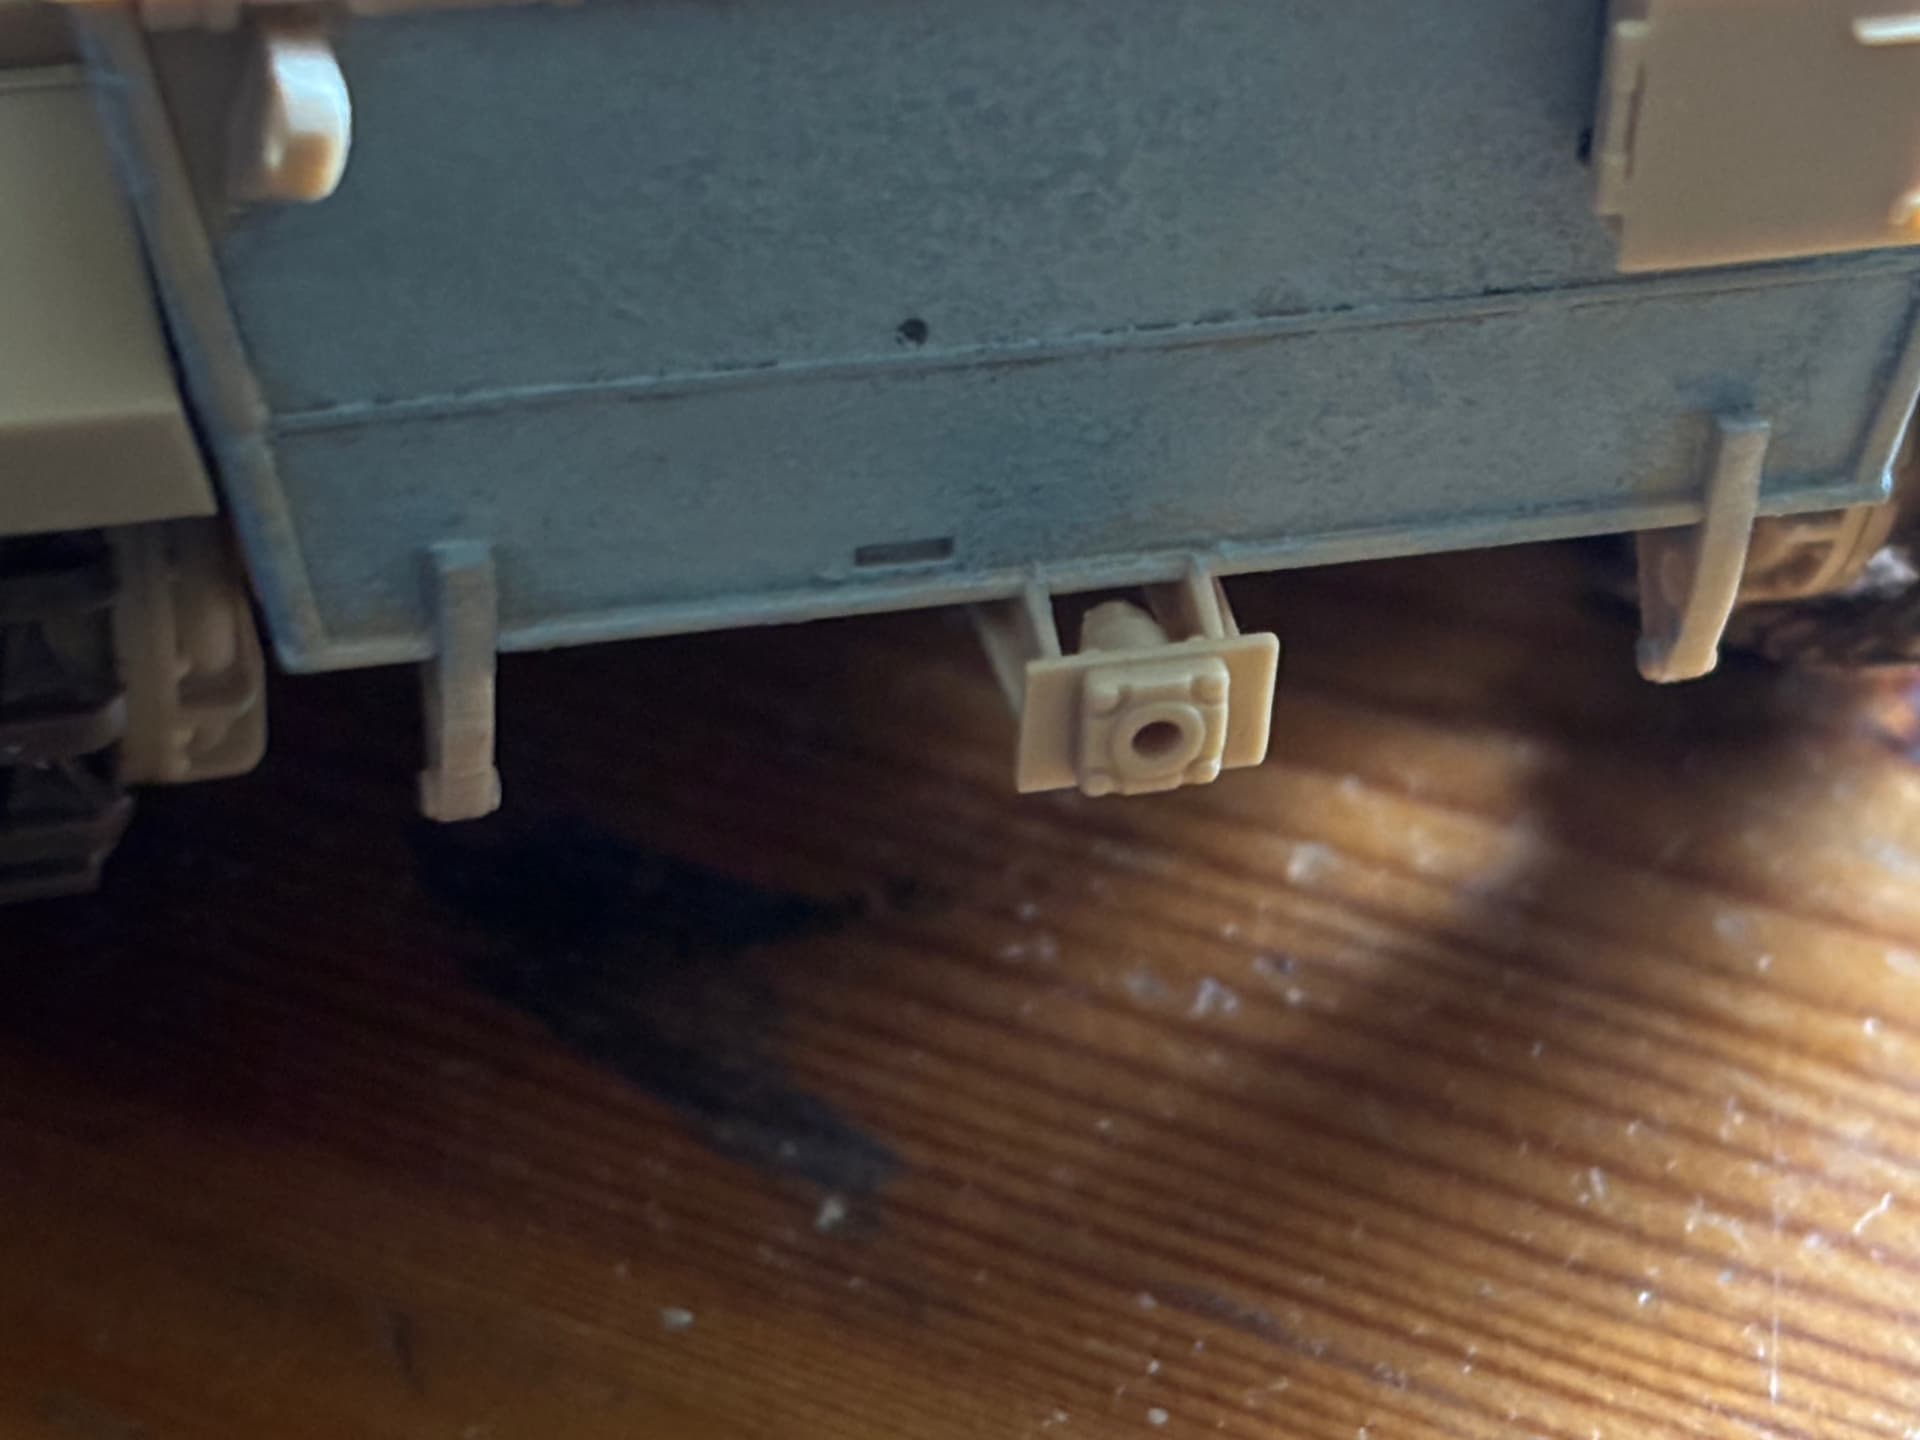
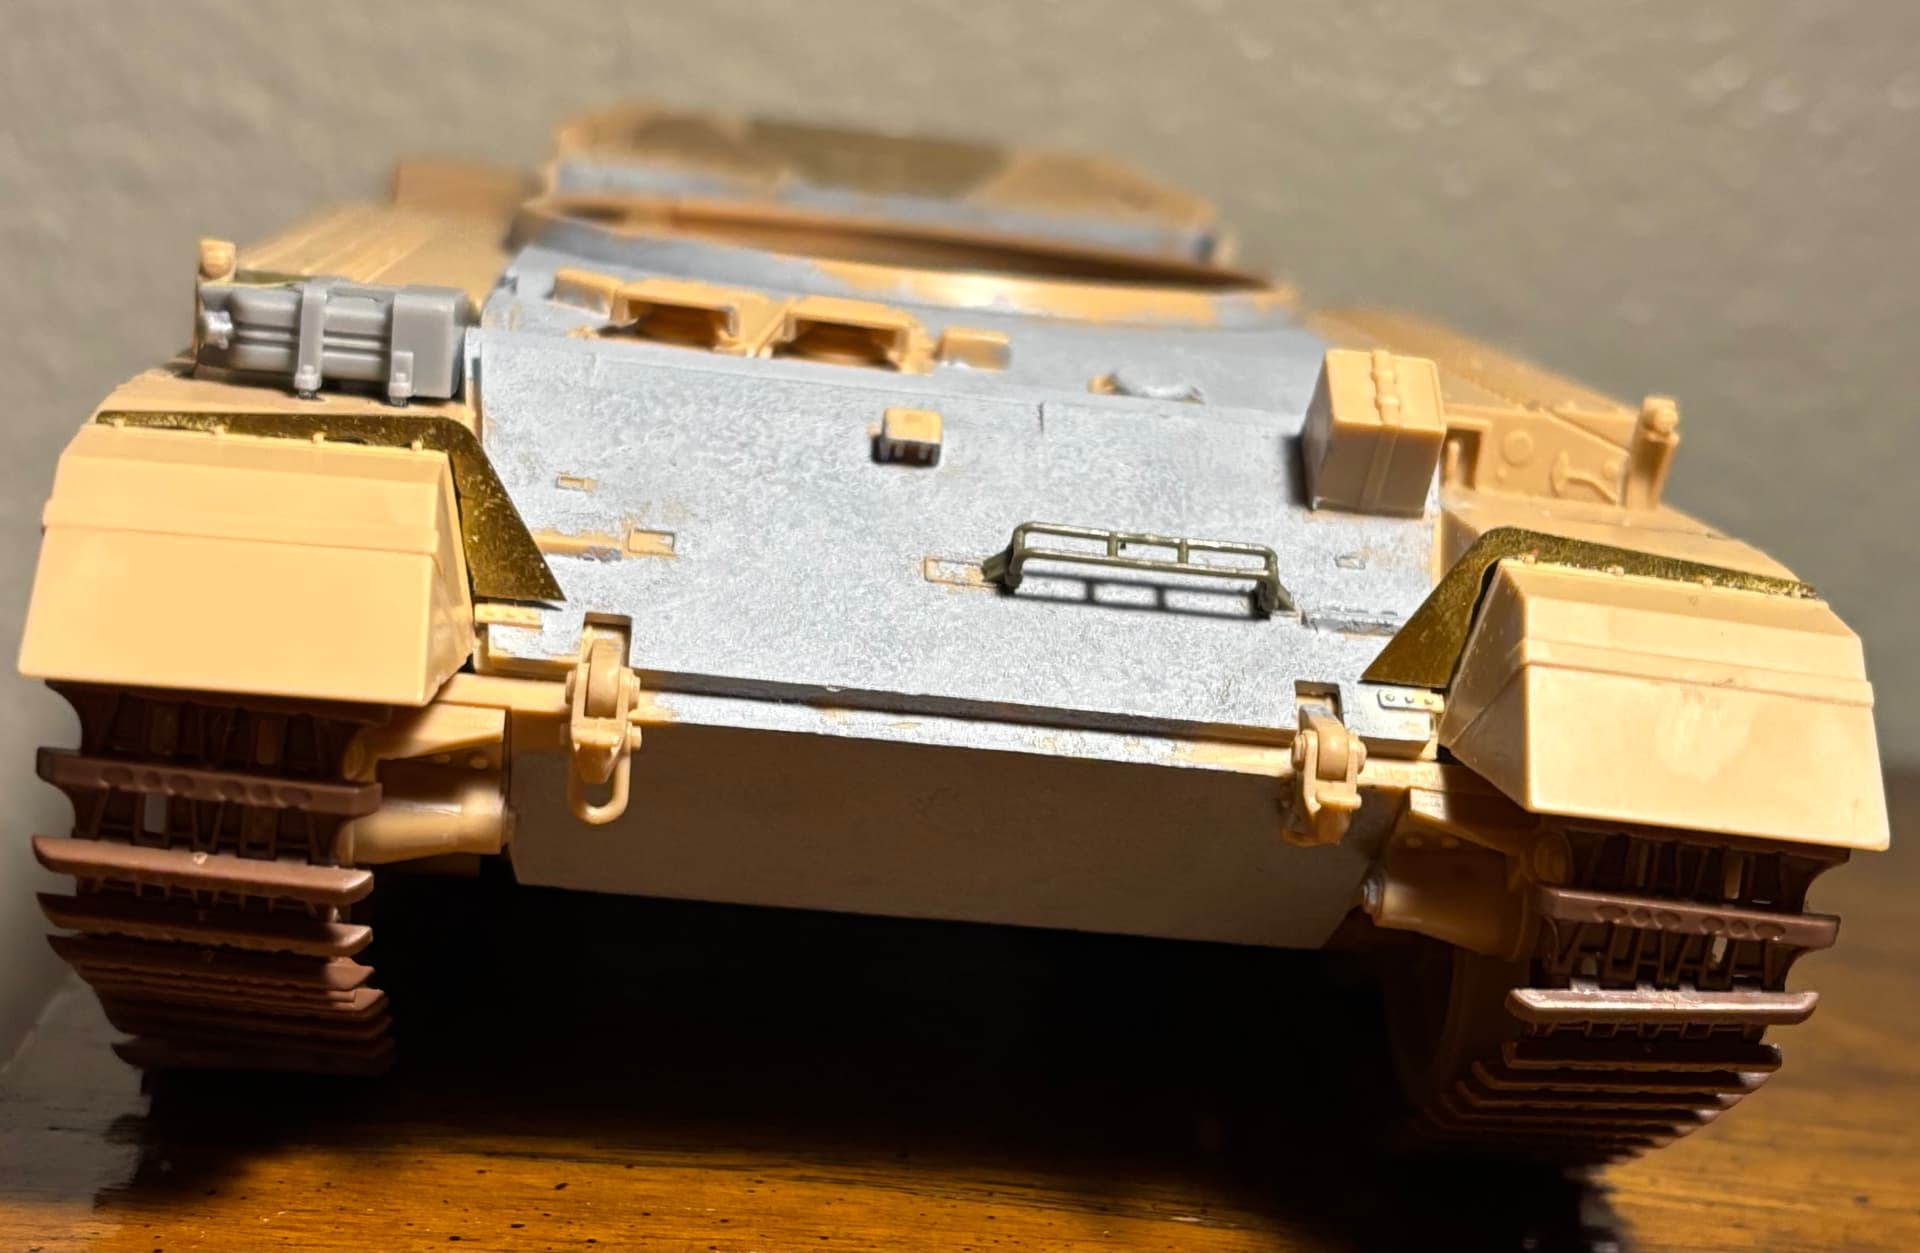
But anyways, I removed this part with single bladed sprue cutters (which are SO good if you don’t have one just get it already, you get instant clean cuts with them), and I reapplied the rolled steel texture onto the area and it’s like it wasn’t even there in the first place:
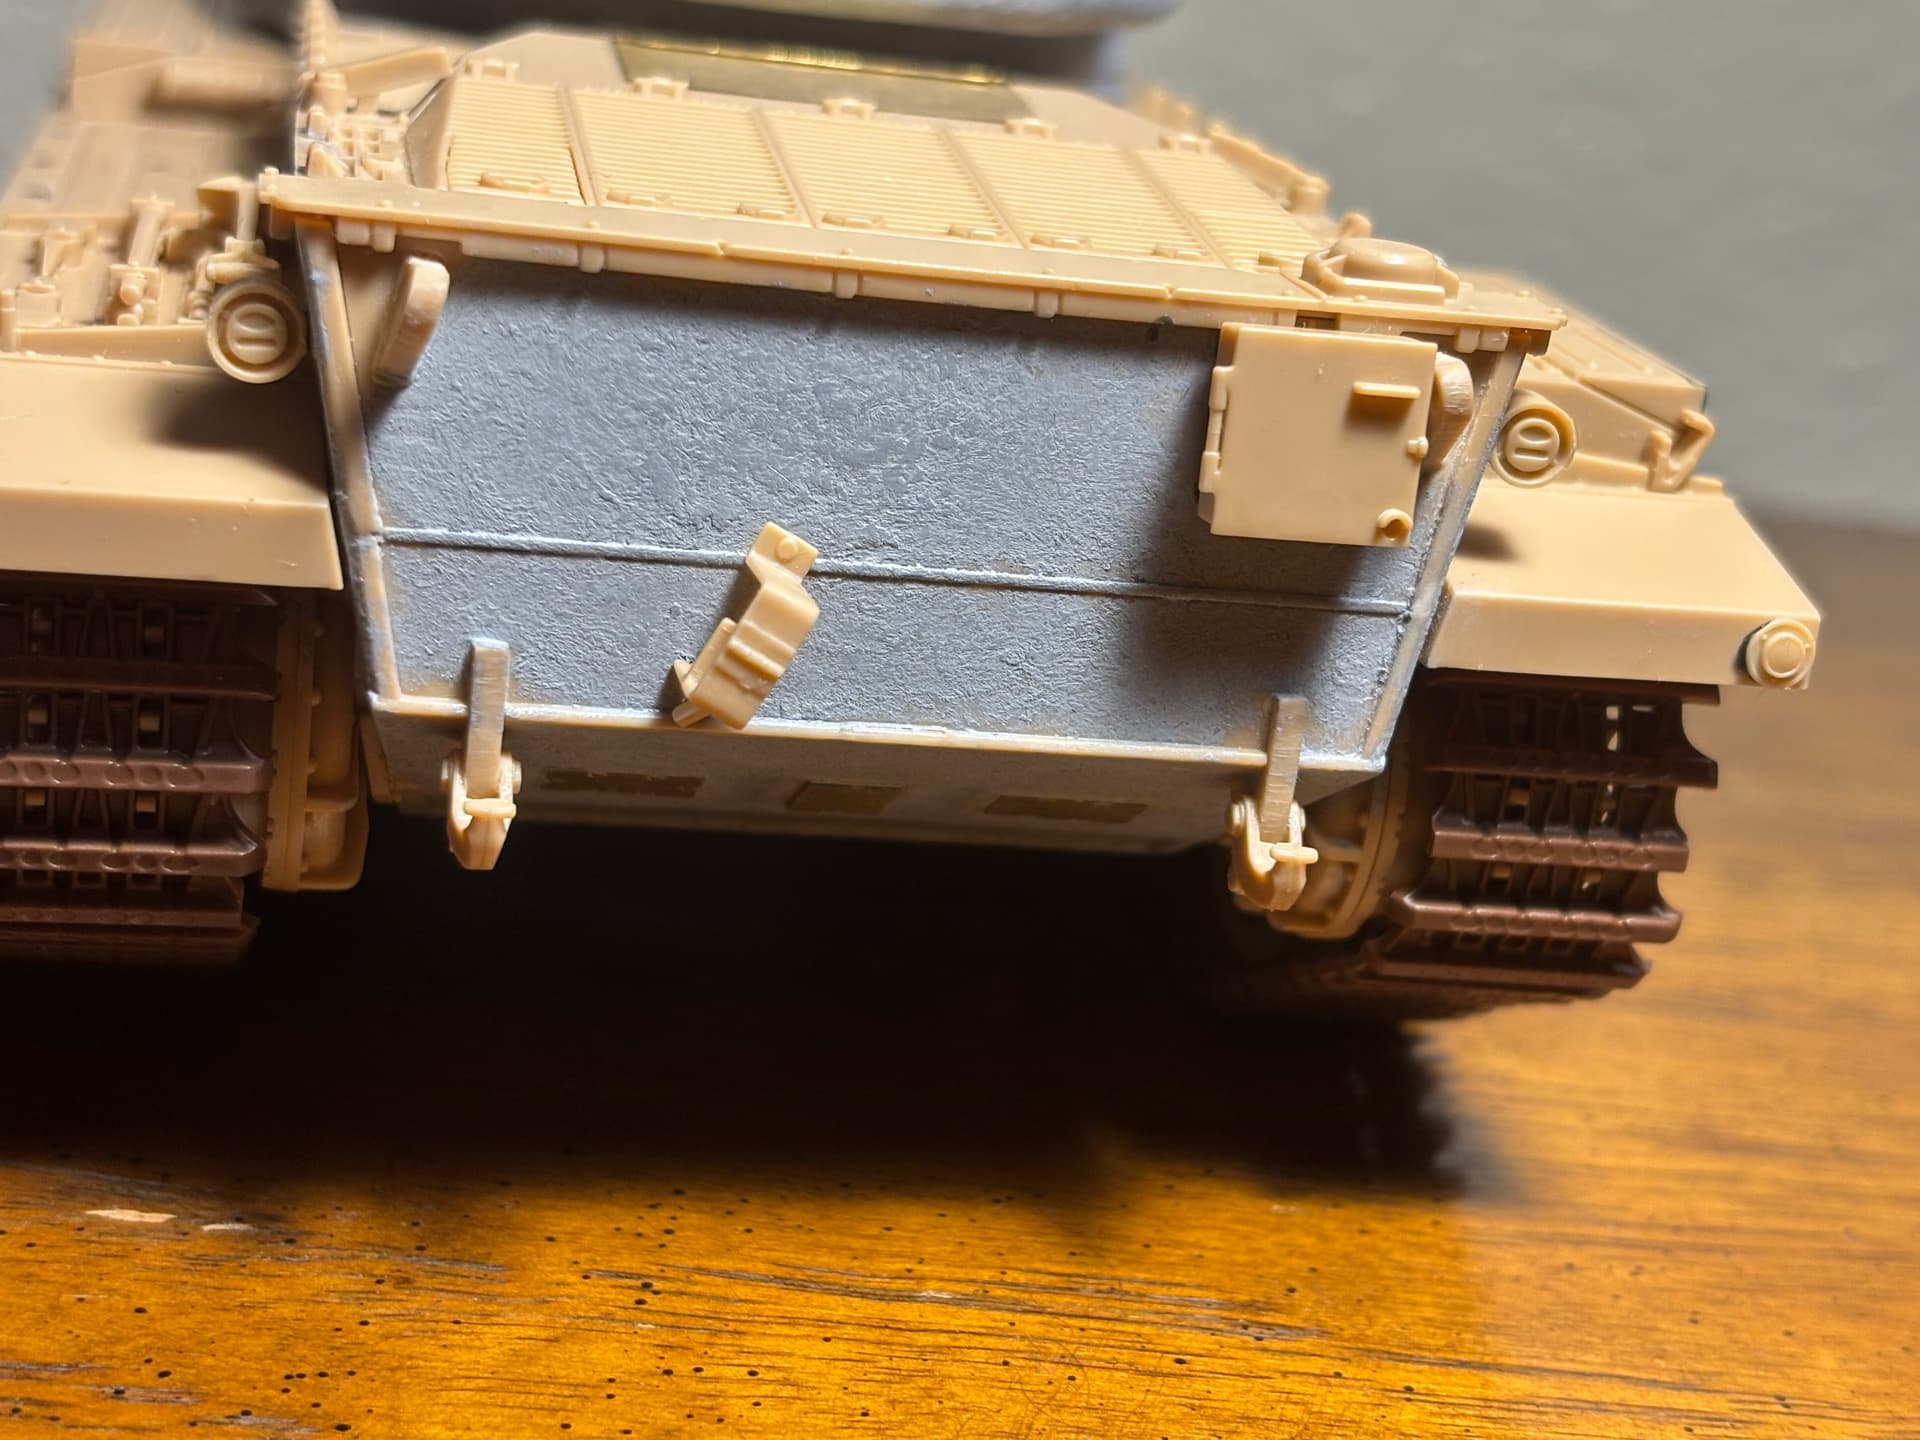
(It requires some filling but make sure to put on the tow cable holding bracket on the back at an angle, the one on my kit might be a bit too angled but the kit tells you to put it on completely straight which isn’t accurate)
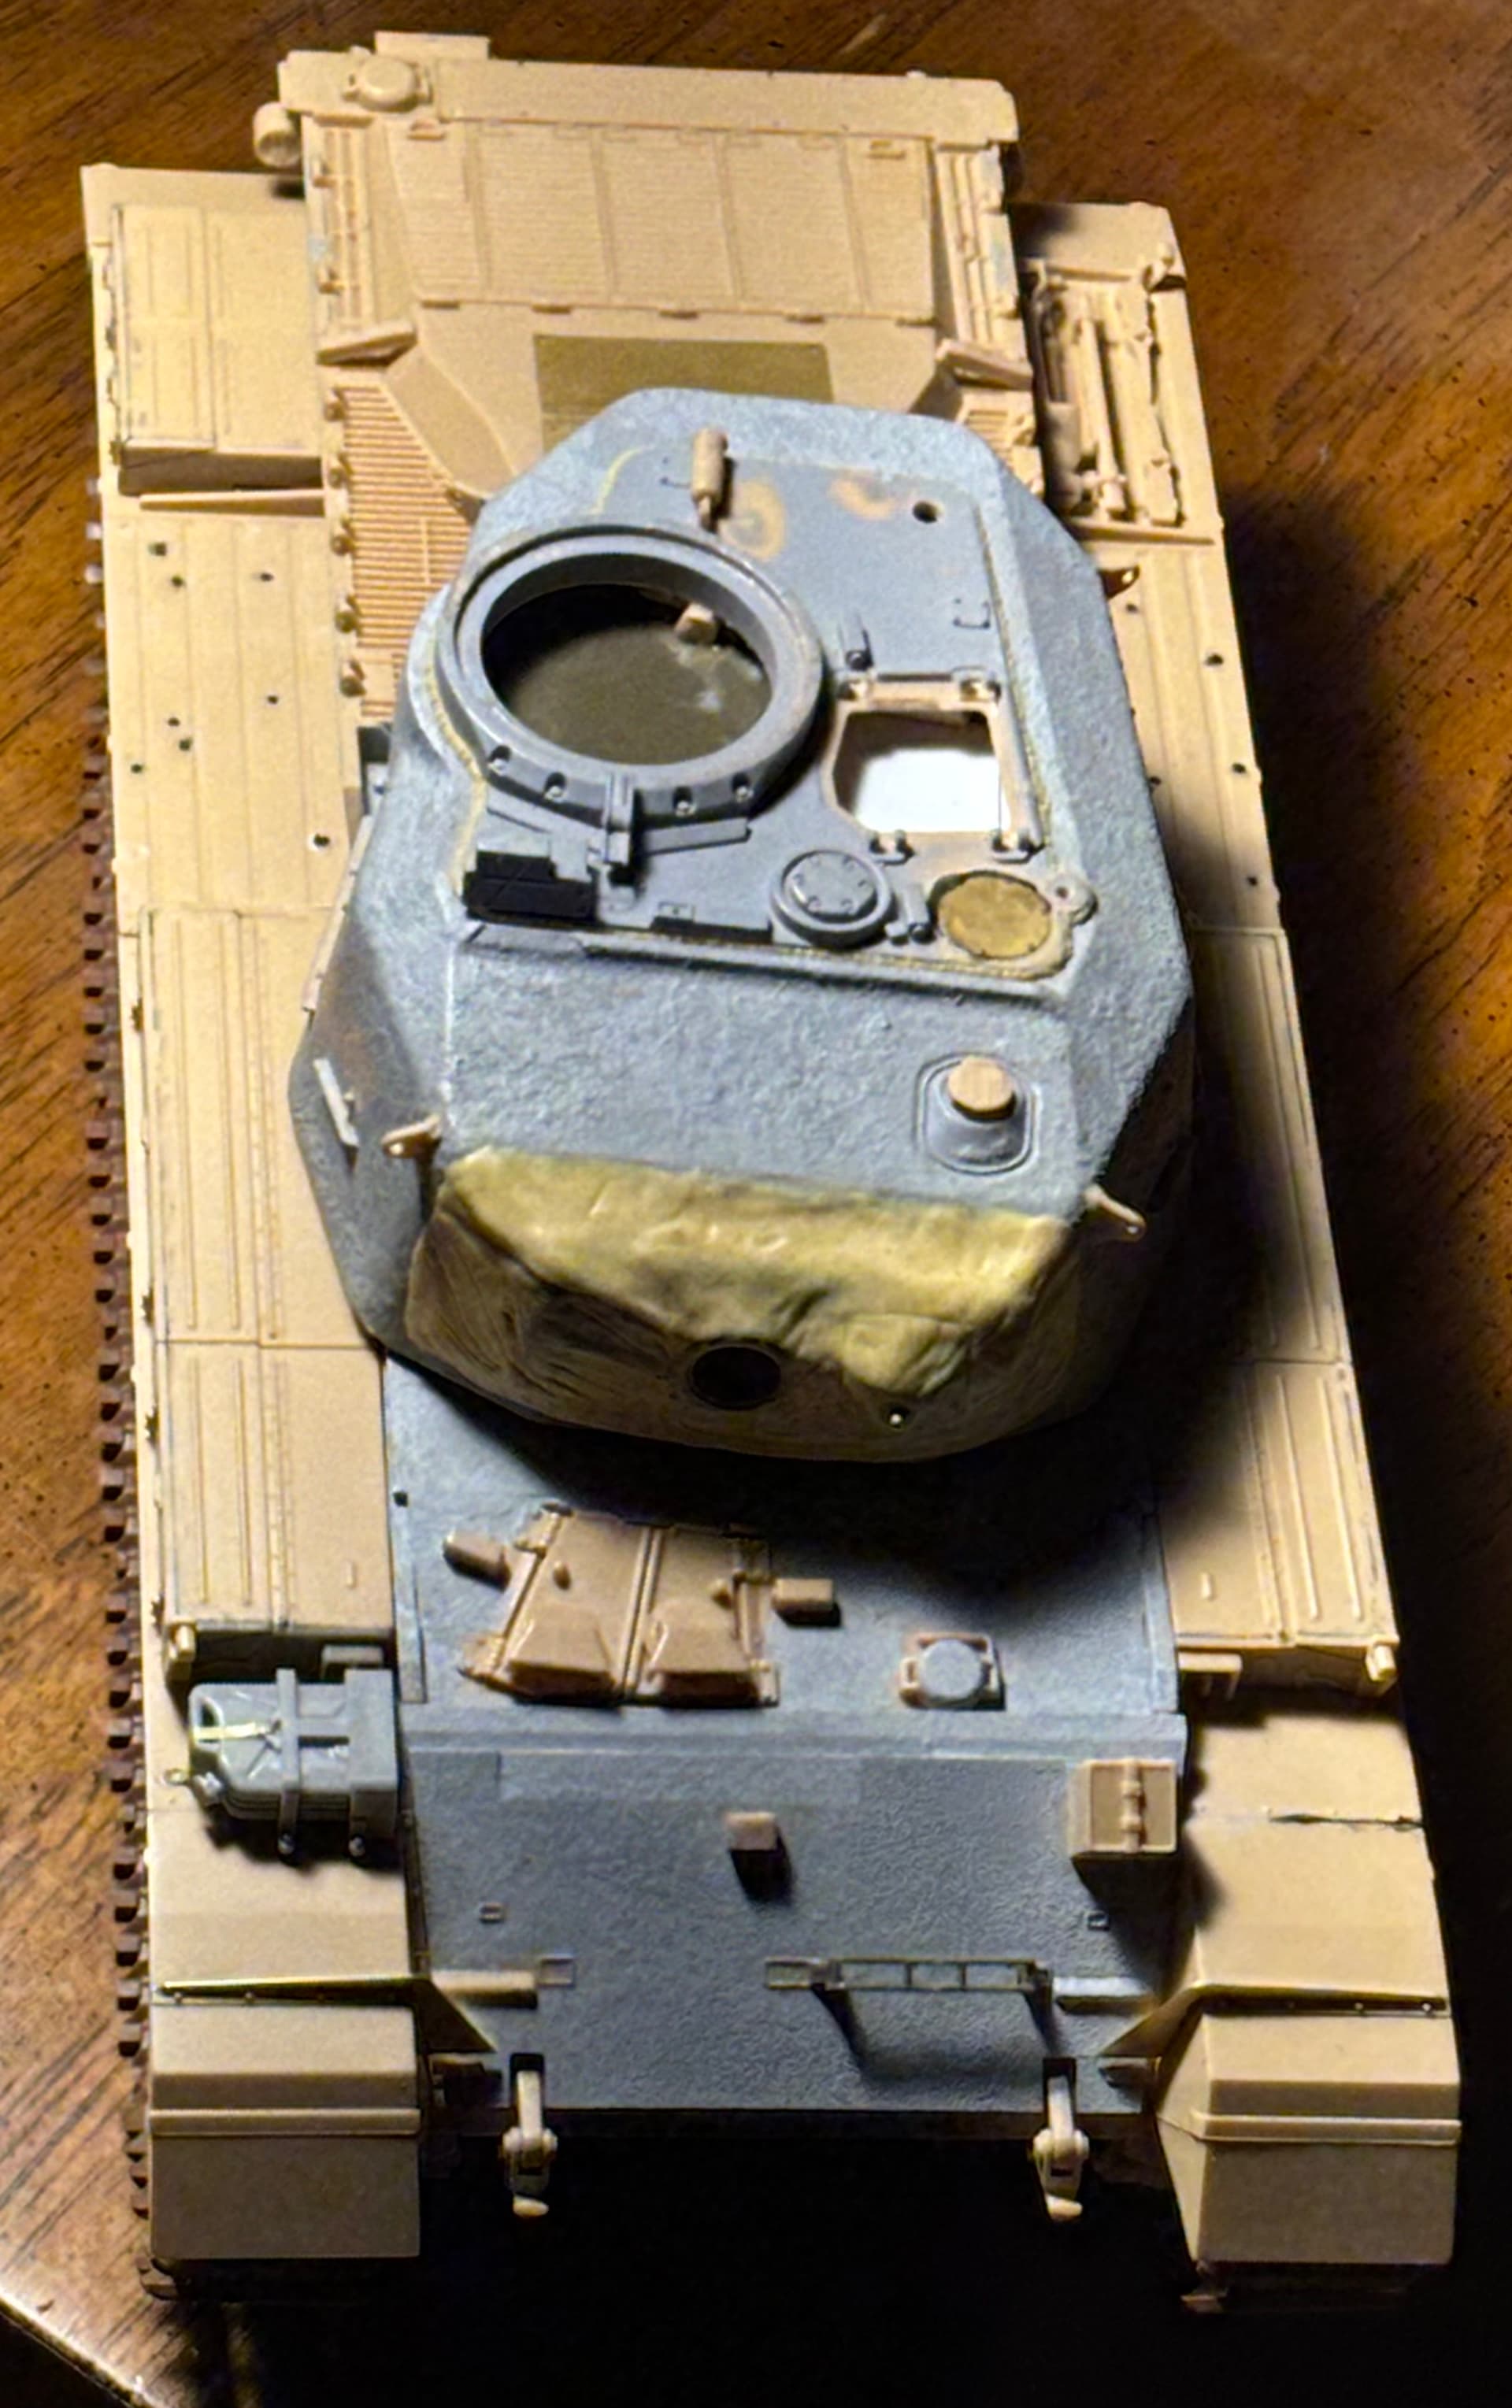
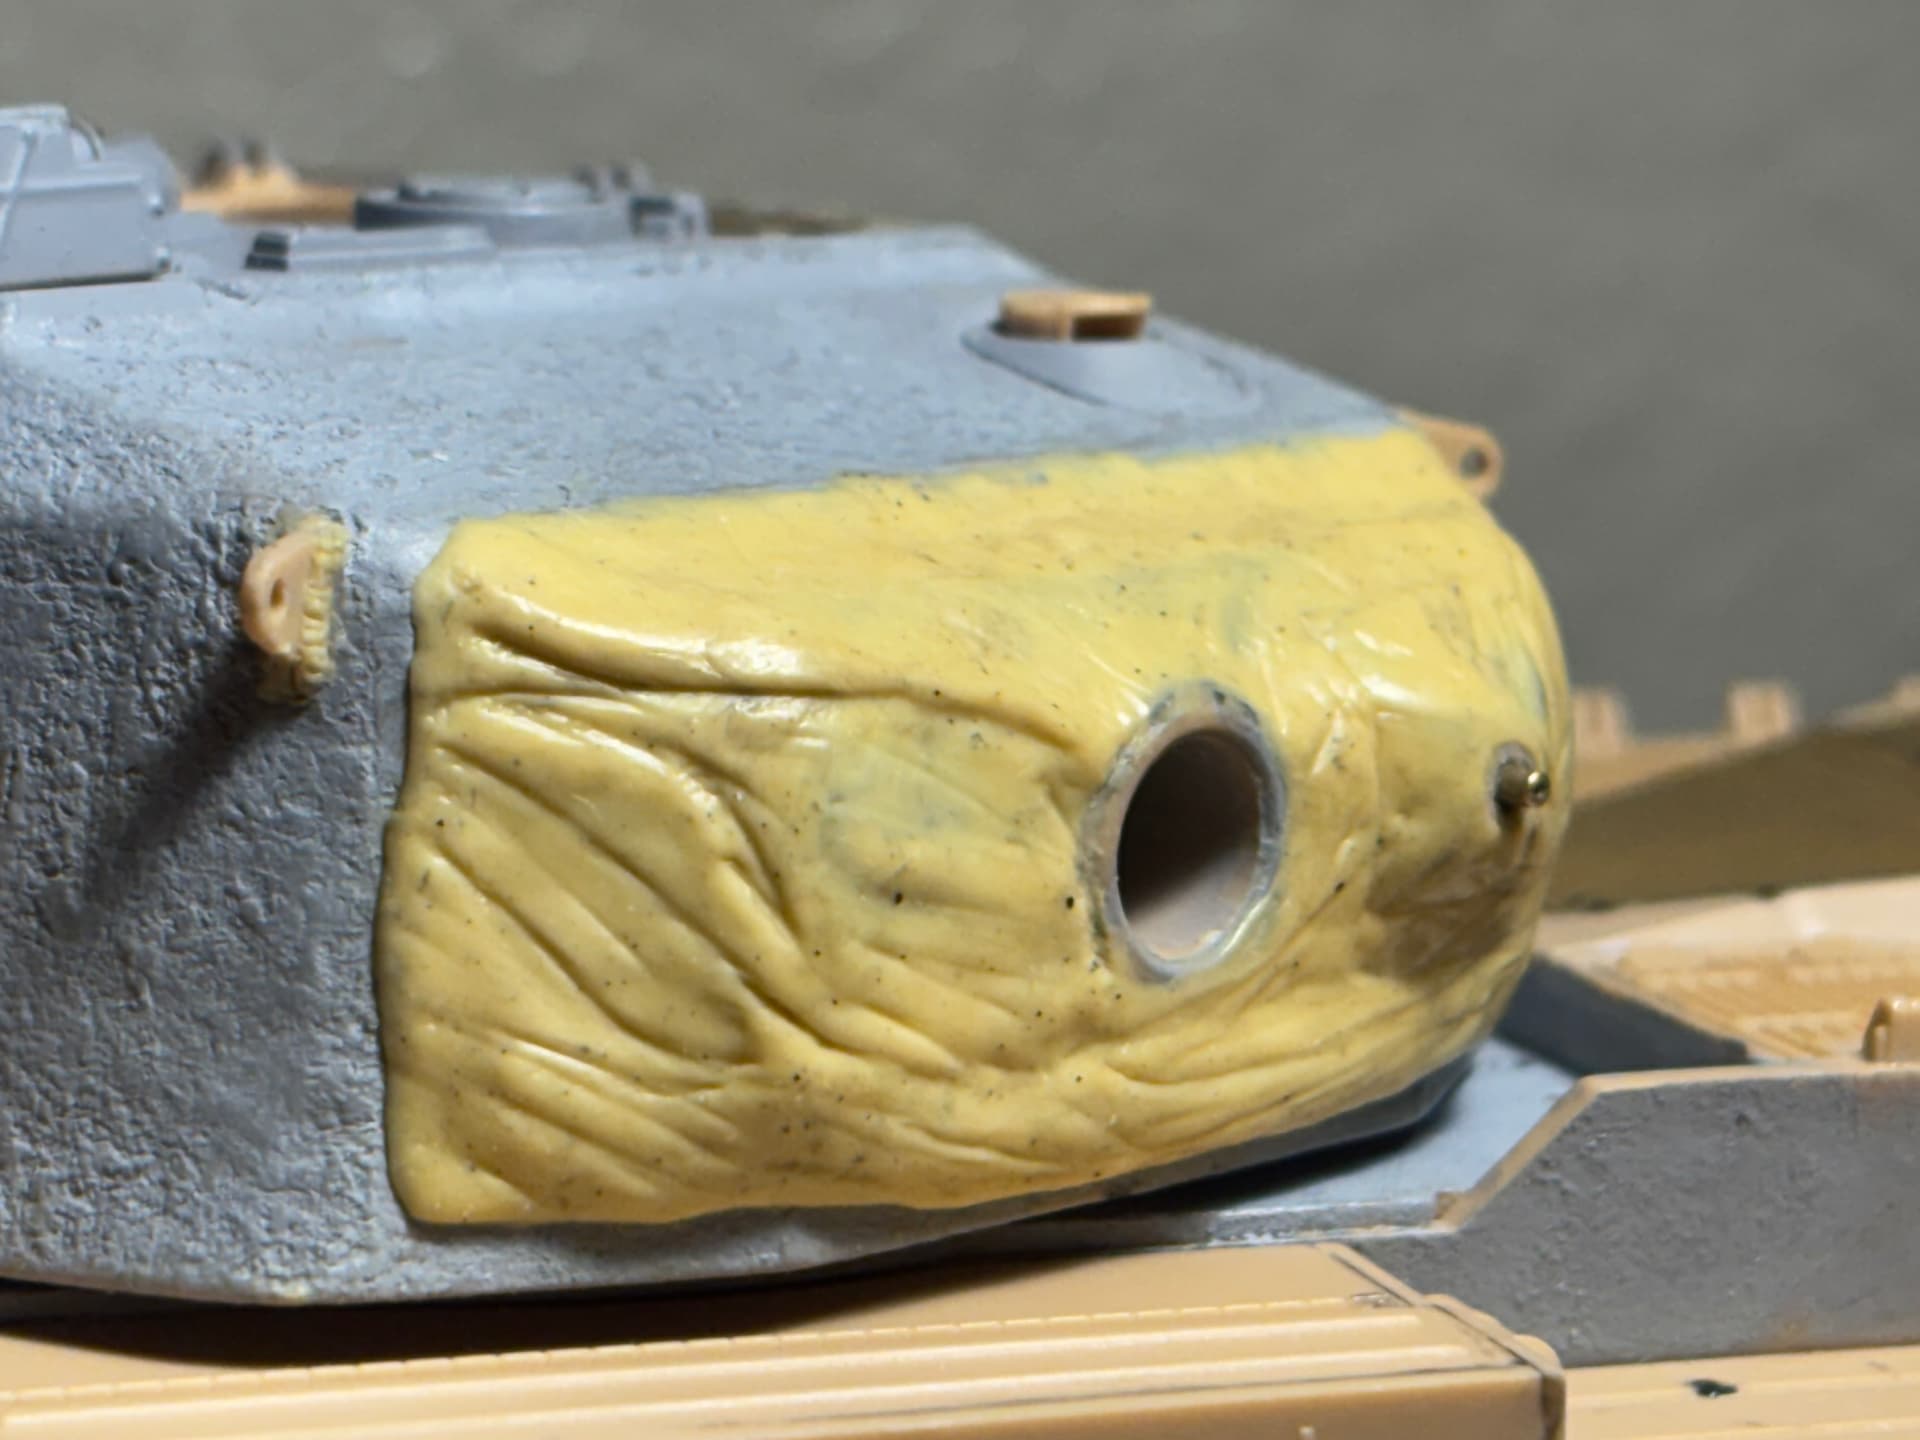
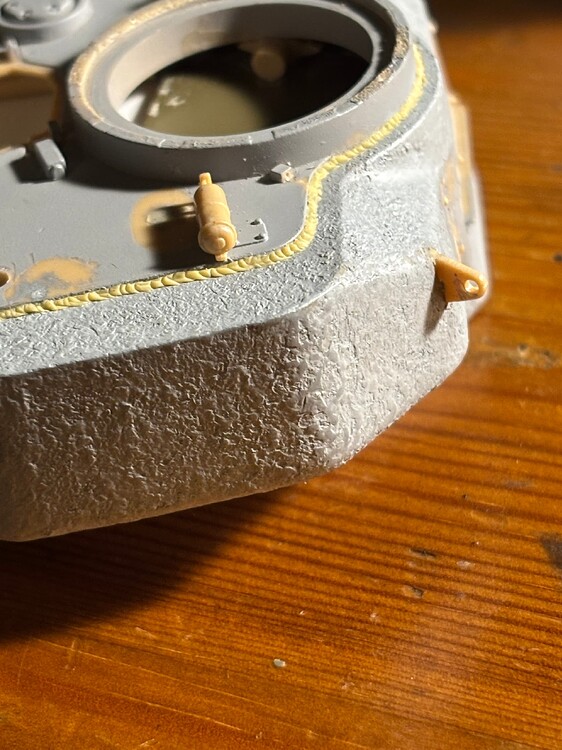
But I got the mantlet cover mostly done yesterday with Tamiya epoxy putty, I feel pretty nice about it but something’s off to me. (I think I gotta add more material on the bottom, it might not be tall enough)
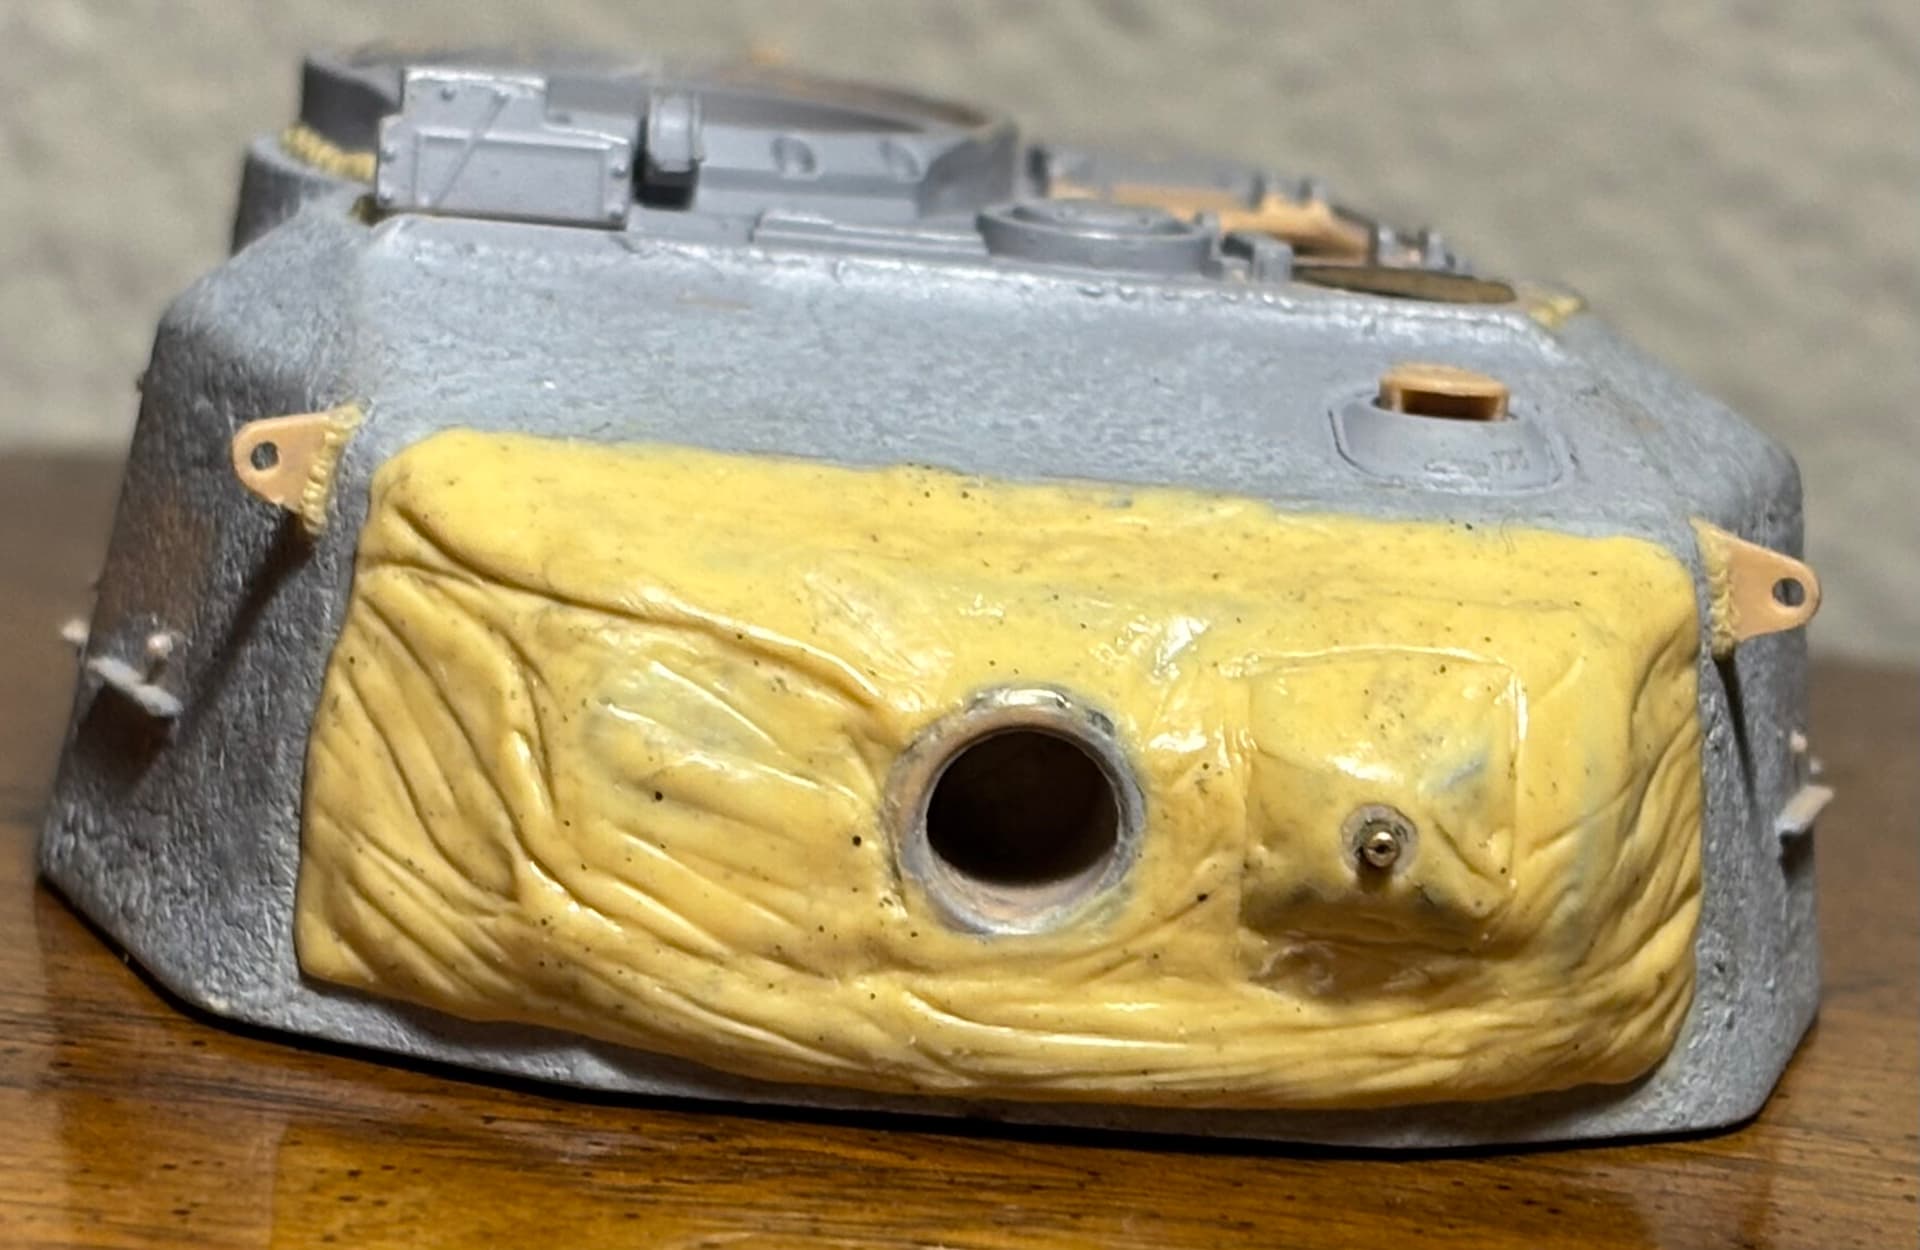

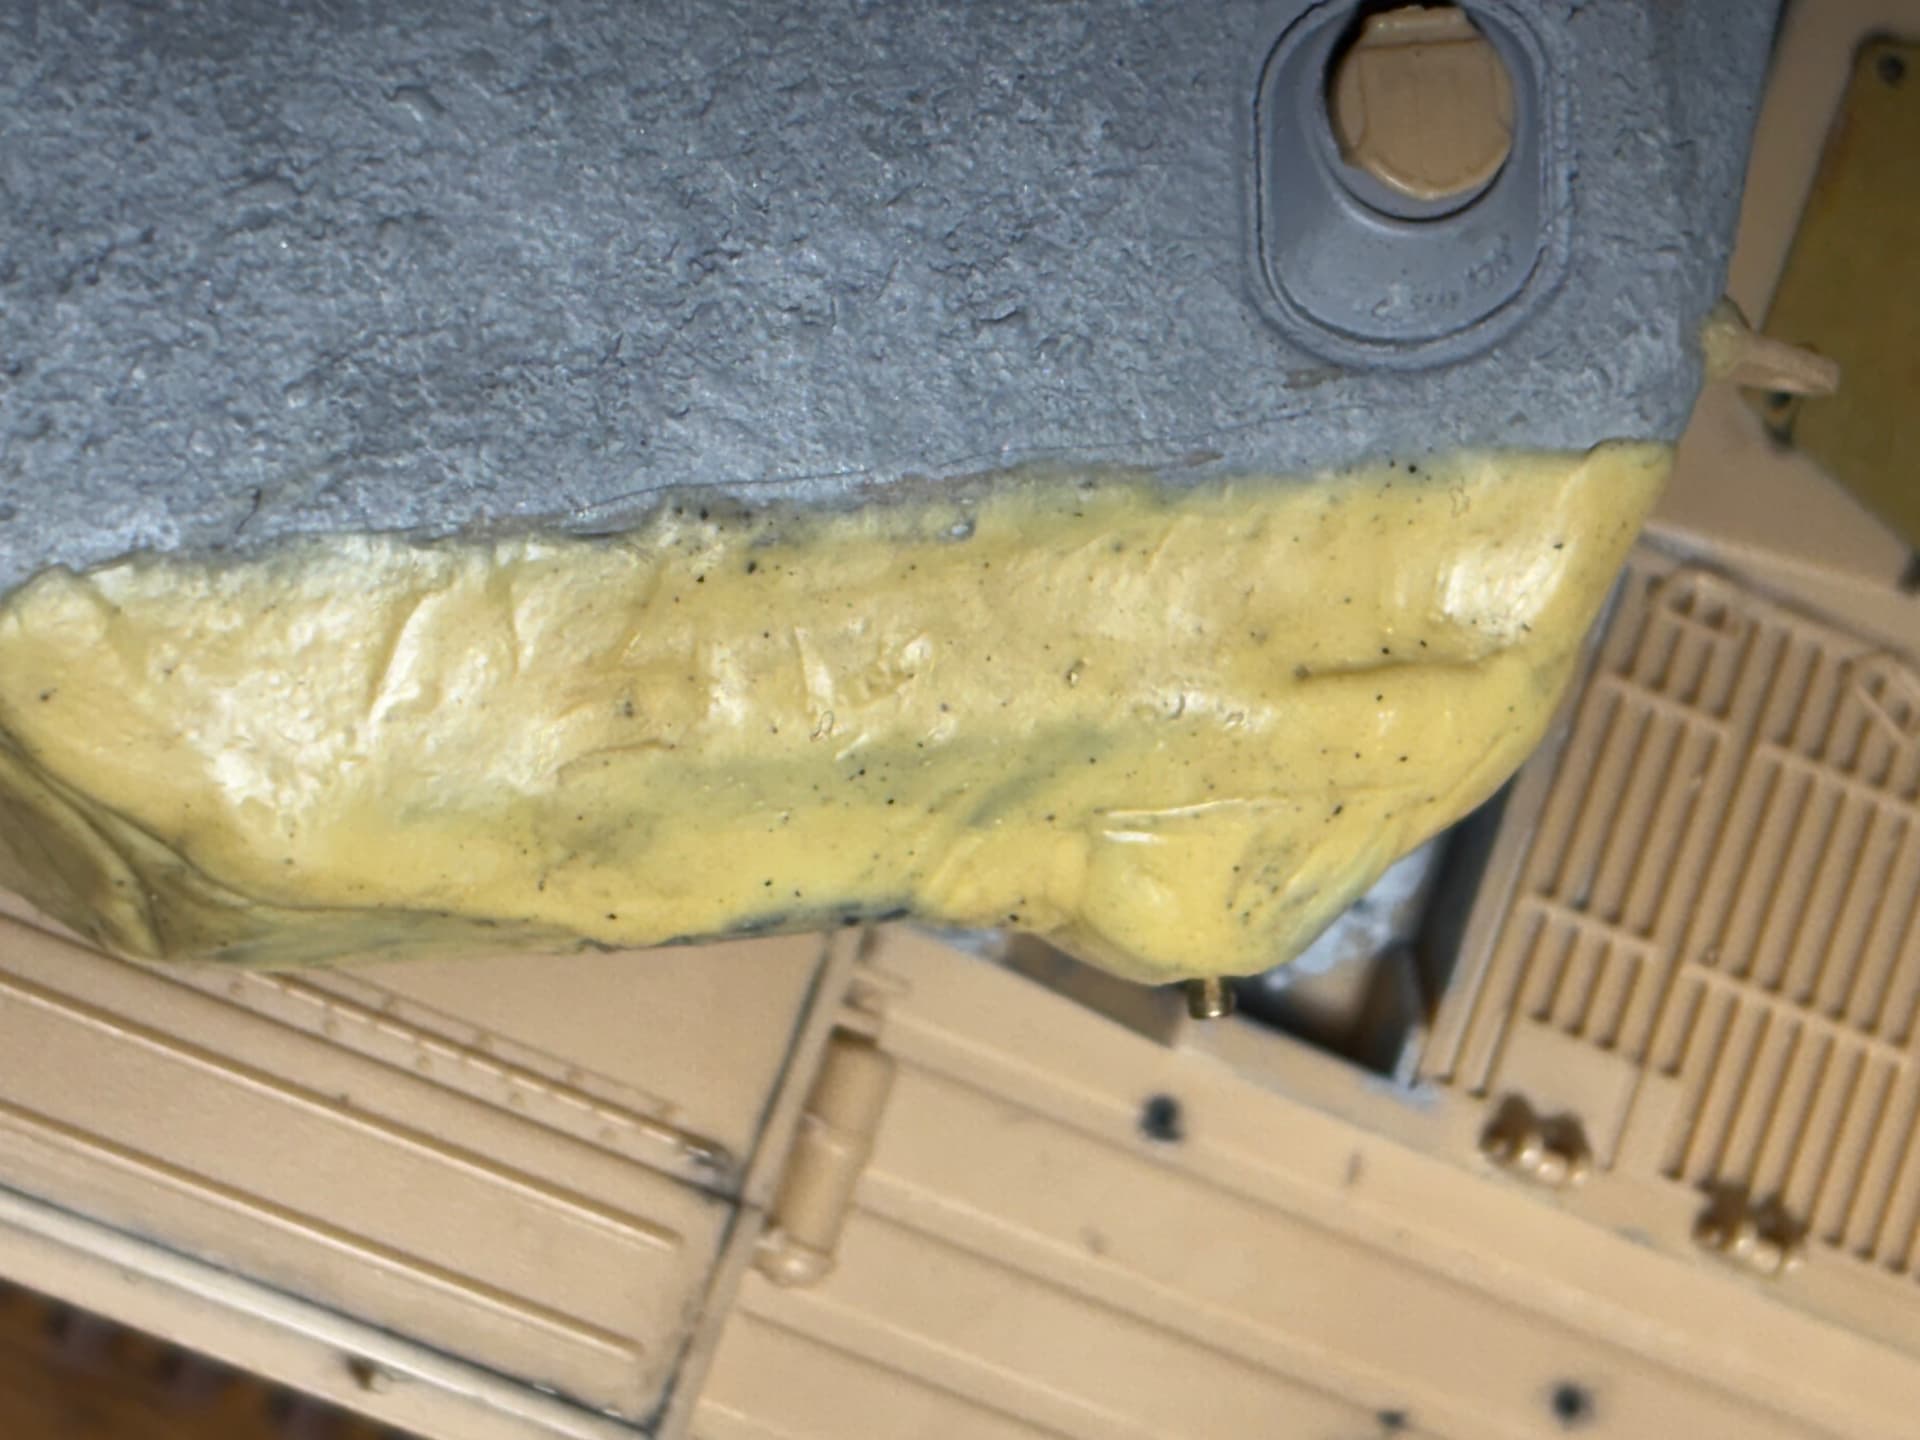
(Also ignore the black specks, I used gloves that had dried primer on them)
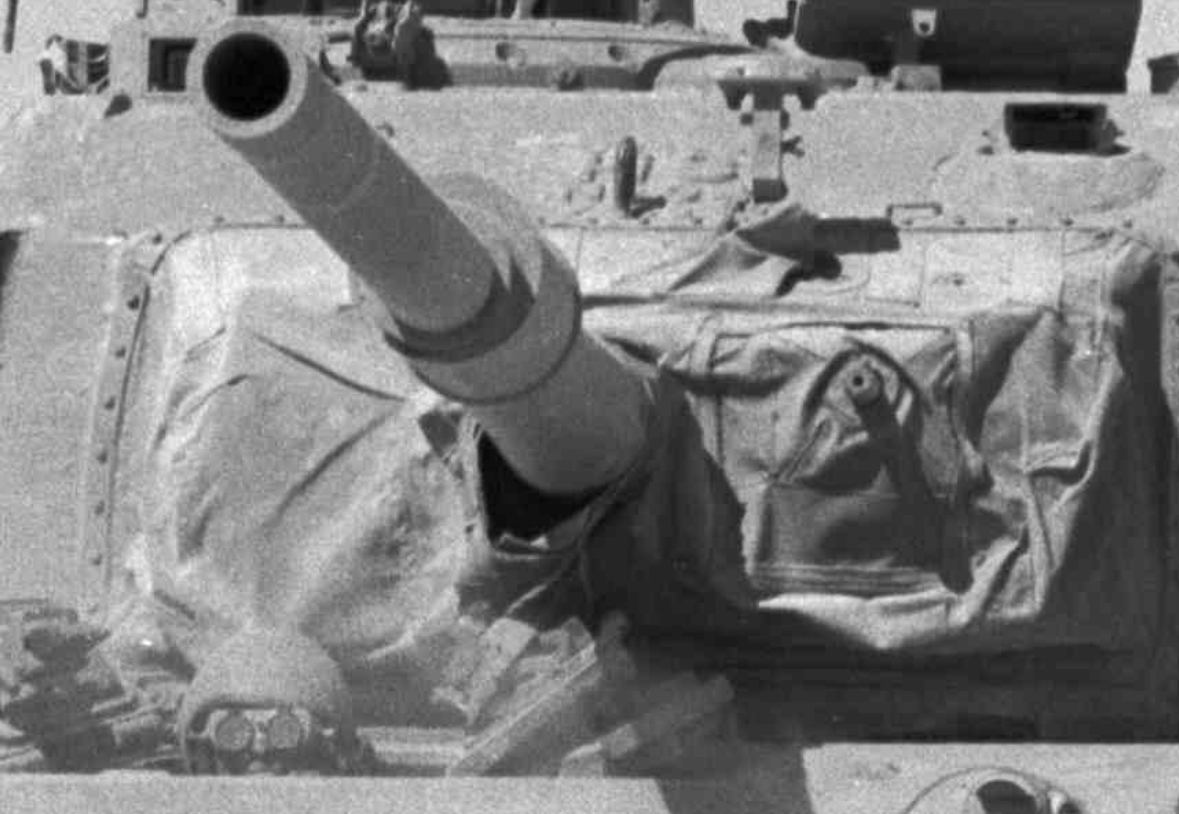
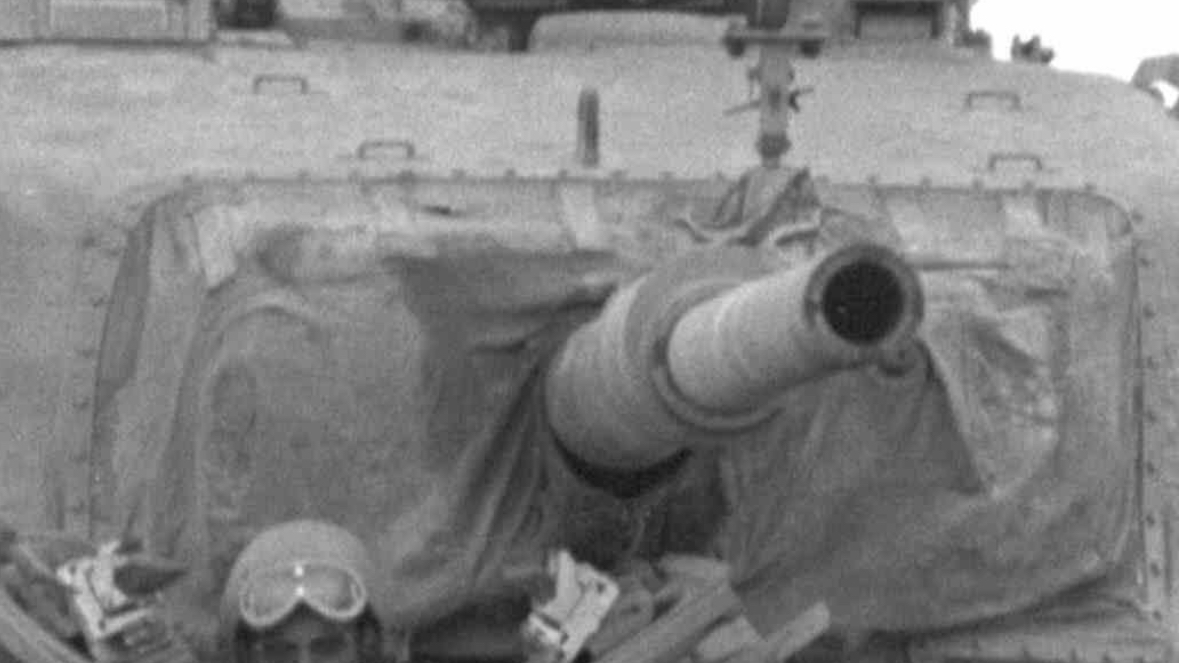
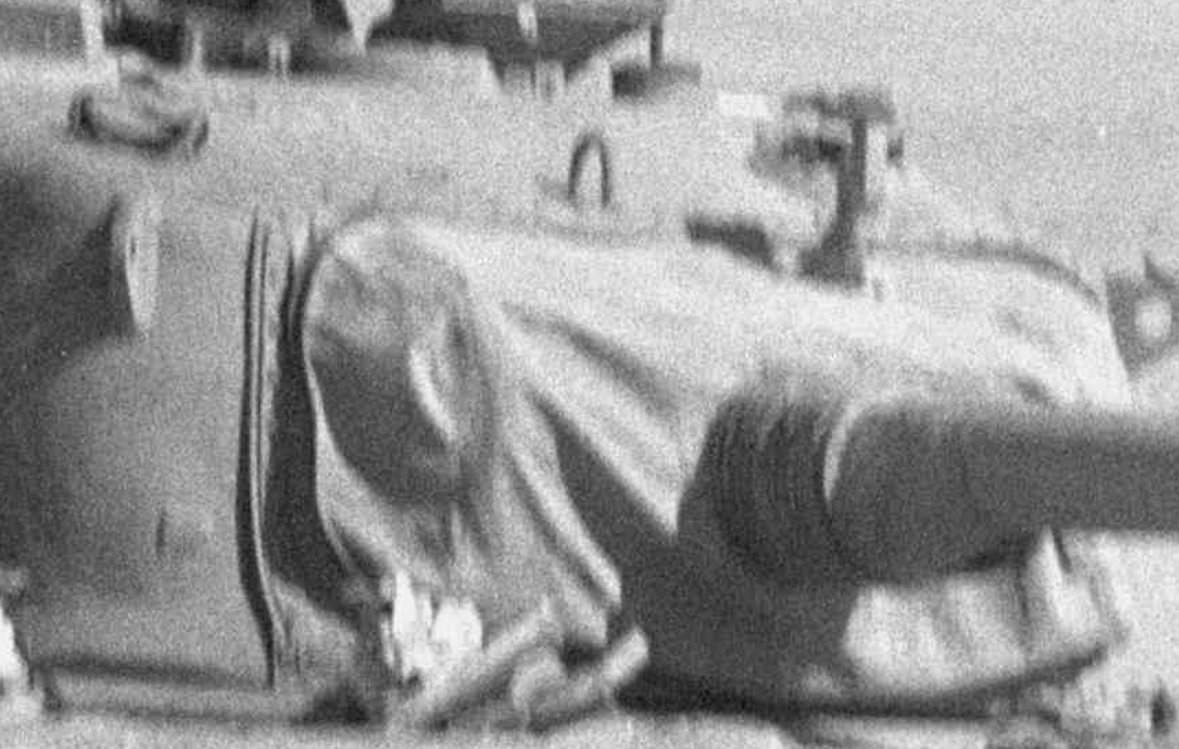
I feel pretty nice about my mantlet cover but compared to the real thing something just feels off, I forgot to put it there beforehand, but I’ll still add the headlamp/50 cal mount to the mantlet.
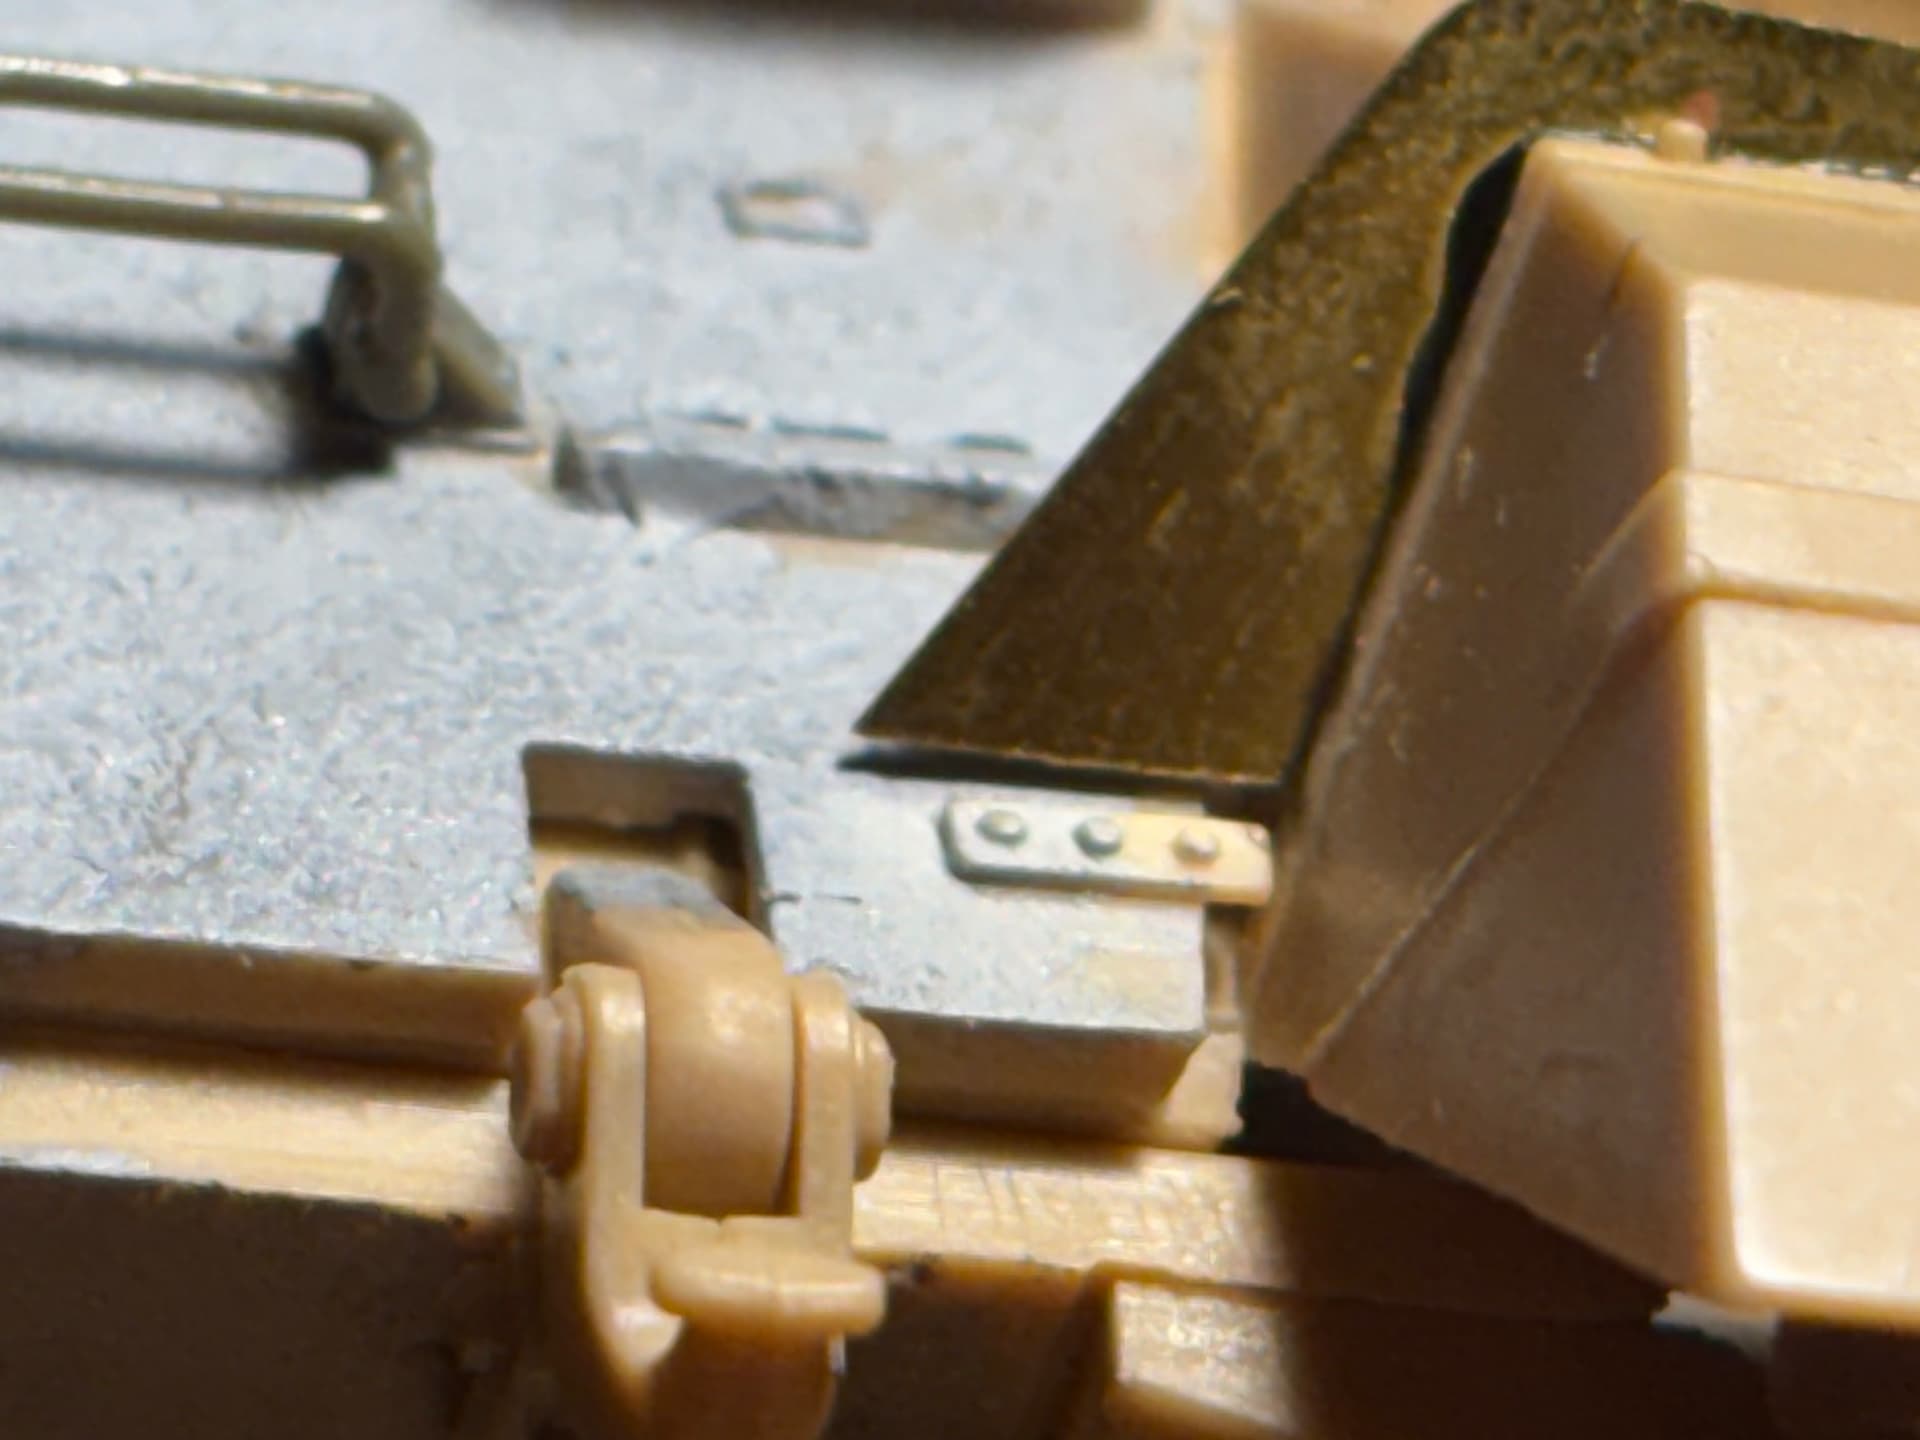
Also finally I lost a couple of PE parts but at least I’ve got an AFV club centurion kit to steal parts off of, but they still dont 100% fit. I’m sure none of you noticed this until I mentioned it but these PE parts have fit problems, but I don’t know how to fix this or if I really have the time to fix this ![]()

Thanks a ton for reading! I’m feeling way more confident about my progress on this, I’m planning to try out hairspray chipping on both the Sho’t Kal and ZiL to save time though.
Take care and happy building!
5 Likes
Mantlet cover looks great. ![]()
2 Likes
Nice progress. Maybe you can add the mantlet cover stiffeners from strips of masking tape. That’s what I do and I’m quite happy with the appearance. And retention strips made from .010x .040 strips, and bolt heads.
On those PE gaps, oddly enough I started working up a photo before I even scrolled down far enough to see your photos. Definitely poor engineering there - not your fault in the least.
You could try sliding a chisel bladed underneath the glacis armor to loosen it, and raise it until it meets those PE pieces. It’ll leave a gap, but you can add welds beads all the way around, which you’d have had to do in any case.
If that doesn’t work, my second option would be to slice off those mounts with the three bolts. Then slide an oversized piece of styrene underneath the gaps to fill them. After that briefly sets, again with your trusty chisel blade, slice straight down on top of those pieces, using the PE parts as a guide. The excess should fall right off, leaving you with a tiny sliver that would have been nearly impossible to stick in there any other way. After that, replace the mounts with strips and bolt heads. The entire thing should be invisible once painted.
3 Likes
Thanks for the response! I think I’ll remake the bolted mount for the PE parts, and I’ll definitely add the rim to the mantlet!
1 Like
Hi everyone!
I’ve been nonstop working on this project for the past week, and I decided to take a break from it since I won’t be able to get this done before this Saturday (the day the IPMS show I planned to make this for happens). I’m honestly SO glad that I’m gonna postpone this, it’s felt more like a chore than a fun project and I’ll have more time to do whatever I want with it! I’ll probably take a bit of a break, but I’ll 100% post a more in depth update post on this soon.
Thanks for reading and I hope you’ve all been doing well!
5 Likes
Could it be that the crinkles on the real thing are sharper, more well defined and not so many?
Those PE brackets/supports: Could you make adjusted copies from thin plasticard?
Ordinary copier/printer paper soaked with CA-glue would work. Cut first and adjust the fit and then soak with CA.
2 Likes
I thought the crinkles might’ve been too numerous too, I think I’ll consider going over them a bit. I’ll look at those PE fender supports and see what I’ll do about them though. Thanks for all the suggestions!
1 Like
Hi everyone!
So I went to that IPMS show I was planning to make this project for, and I got this in the mail to add to this diorama too!
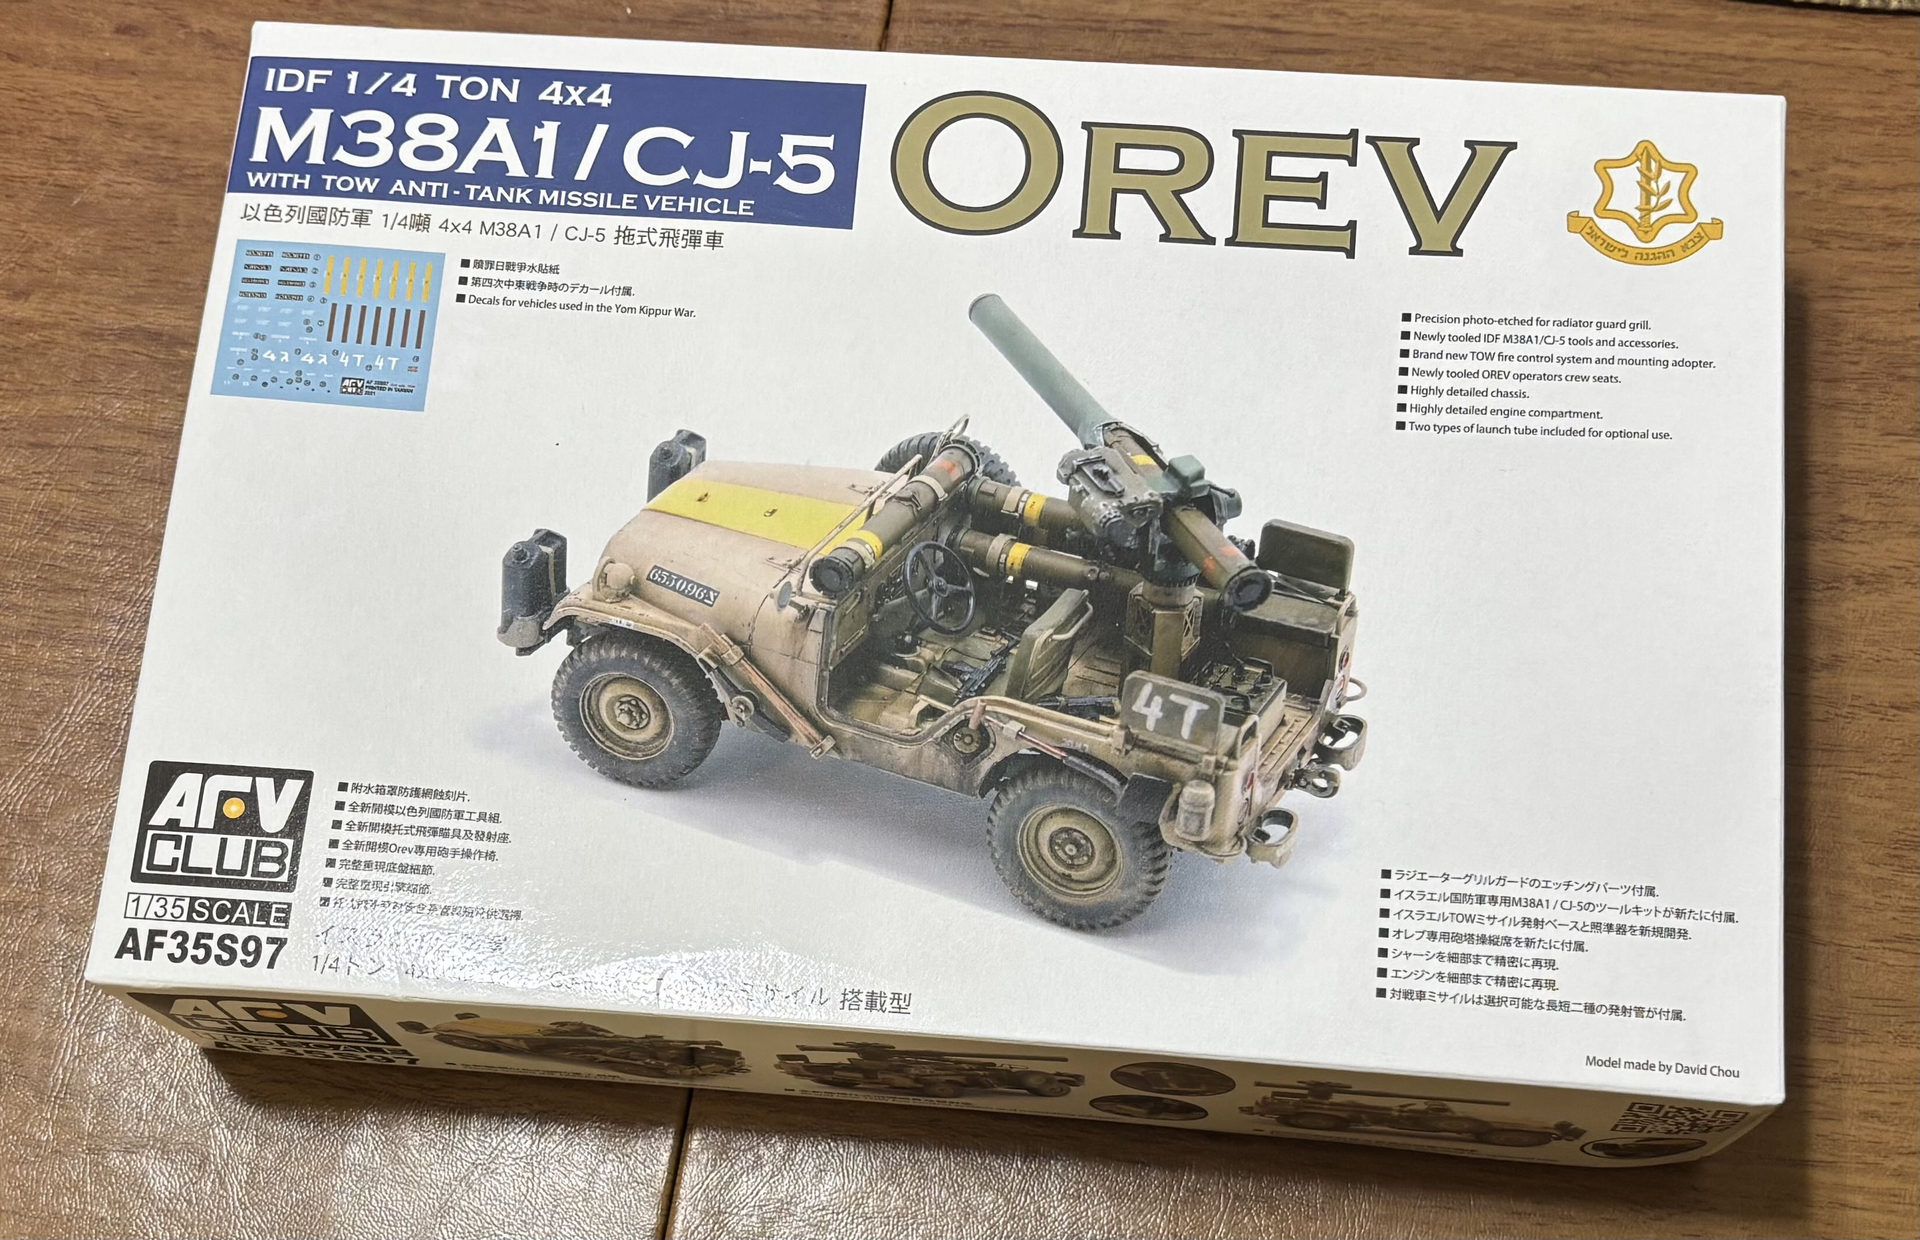
I’ll have this at the distant front of the Sho’t Kal; from what I know these TOW jeeps passed through the Suez Canal into Egypt, and were in action in the very late stages of the YKW so I think it’ll be appropriate for the time frame of my diorama.
I also got this figure set from the IPMS show along with a ton of other things:

These figures aren’t 100% accurate for YKW TOW jeep crewmen but the Israelis did use the same uniforms later in the war, so I’ll use the same bodies but I’ll get replacement heads for them. I’ll still need a driver figure though, so if anybody has any recommendations for jeep driver figures (ideally M38 jeep drivers) which are wearing only basic military fatigues to use I’d really appreciate it!
But finally I’ve been working on the TOW jeep and I’ll post again soon to keep you all updated, and I’ll share more about the IPMS show too.
2 Likes

Thank you! I’ll look into my options on how I’ll get this, thanks a ton for pointing it out!
1 Like
Hi everyone!
Not necessarily an update post, but I just felt the need to correct some previous statements I made!
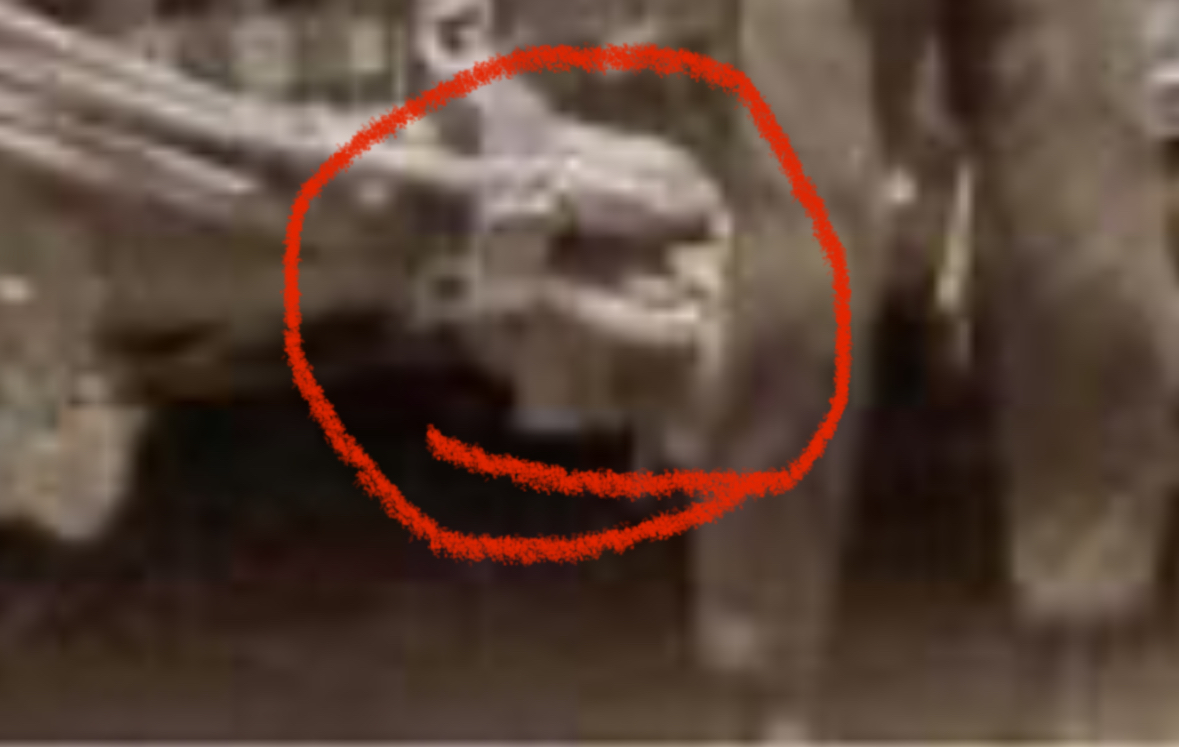
So first of all, I said how this area (shown above) had an antenna mount (shown below) which was inaccurate to an YKW Sho’t Kal Alef, I just wanted to clear up that I was 100% WRONG - PLEASE IGNORE THAT STATEMENT. From what I’ve seen, this antenna mount was present, however the presence of an antenna there (From what I know) wasn’t common.

But most importantly, now that I’ve actually built the Amusing Hobby Sho’t Kal Alef, I have a lot to say about it. So first of all, I’d 100% recommend getting the AFV Club offering of this kit over AM’s offering. I’ll provide a list of reasons why below.
- So first off, The AH kit is quite literally just their gimel kit with the ERA removed, with no new parts for an accurate Alef (I couldn’t find a better quality image but the CAD photo below literally has parts oriented as if they were on a Gimel, such as the water can on the back fender, the extra track links, the tow hook on the bottom rear, the vertically attached tow cable holders, completely incorrect tow cable fender hooks and incorrect gun travel lock. On the turret it has the non era appropriate loader MG, flat out incorrect M1919 bracing mount (the part which makes contact with the M1919 directly) and ammo box, incorrect UZI mounts, ammo boxes on the turret roof, water can on the turret basket, and most importantly the later American made type of IR light & mount.)

- The AH kit is just a copy of a late 2000s AFV club tooling which AM released in 2020, with less detail. For example: the turret roof plate doesn’t have a weld bead around it, which the AFV club kit includes (It’s small and still worth replacing if you’d like, but it’s still there), the side turret bins are missing these line details which are both present in the instructions (shown below) and the AFV club kit, but for some reason are absent from the kit.

- And speaking about the turret bins, the latches are less detailed; AH either remade the bins sloppily or just modified them, the AM side turret bins are shorter and less detailed than their AFV club counterparts, and from what I can tell (the AFV club version) are much more accurate.
- The decal options in the AM kit are extremely lacking.

- On my later production copy (which excludes the resin parts), the gun barrel pieces were really lacking, they didn’t align well and had this muzzle reference triangle piece(?) which isn’t accurate to YKW era Alefs.
- The roadwheels are missing a rim detail and I’ve heard that the tracks are too narrow
(From what I can currently remember these are all of the issues)
I know that the AFV club kit has vinyl tracks, vinyl wheel parts, and a fabric net for the turret basket mesh, but I honestly think that the accuracy of the AFV offering, even with the need to replace these elements is much more worth it than it’s AH counterpart.
Also finally I apologize if this post makes any modellers who own the AH kit sad or upset, I honestly feel the same way about this kit. I was really excited to make a Sho’t Kal Alef with this AH offering, but knowing all its flaws is just a genuine let down. If you’re already invested in this kit I’d still recommend building it, this hobby is meant to be fun and getting kits built and out of the stash never hurts. ![]()
Also, If you’re somehow in the position of having a donor AFV centurion kit, along with a spare L sprue from the AFV club Sho’t Kal Alef kit, you could 100% make this kit work.
Thanks a lot for reading, I’ll be sure to give actual updates soon! ![]()
2 Likes
That sure is a departure from the other reviews offered here. Thanks for sharing.
3 Likes
Thanks for the review!
The AH kit has been in my stash for almost two years
and I probably have AFV-Club parts to fix it with unless I use
the chassis for some conversion set.
2 Likes
Oh wow, that is a thorough review! Thank you so much for the information! D:
Damn, that’s really awful, I didn’t even know/realize how lackluster this kit is…
Well, I think I will be getting the AFV Club kit, then. My Sho’t Kal Alef deserves only the absolute best, and that’s what it’s gonna get
What to do with the Amusing Hobby kit, though…
Ah well.
Once again, thank you so much for the enlightenment, Horrigon!
3 Likes
Thanks for the thorough review, very informative. The choice for me was already made when I bought the AFV Club kit years ago, thanks again!
2 Likes
Thanks for all the replies everyone!
@Uncle-Heavy I hope you’ll be able to fix up the kit, best of luck ![]()
@swagster2000 I really get you, you could use the AH kit to make a practice Sho’t Kal Alef, or even a Sho’t Kal Bet! Before I fully built my kit up I suspected It’d be a good candidate for a Bet, they were used in operation Litani in 1978. You’ve just gotta follow references though, but information on the Bet is basically non existent. (I really hope more info on it can be discovered soon!)
@metalhead85 You’re very lucky! ![]()
But next post will be about the Alef I made, and I’ll point out the fixes I made to the kit. ![]()
Thank you all for reading! (Also happy late Thanksgiving if you celebrated, If not I hope you had a good day yesterday!)
3 Likes