I’ve been reading here and have noticed builders having problems with creating zimirett, such as what putty to use and how to tool it.I was taught many years ago by a master.he said to simply use wall patching sparkle for the paste and search the walthers train site fo h.o. corrugated back then they had metal and now mostly styrene or wood maybe brass.I don’t build ww2 anymore,but his method was awesome just use a knife to flake battle damage,and thr best part,while your learning ways with this, if you make a mistake just wash it off with water, oh and only work a couple of inches at a time.
There’s definitely a lot of ways to do Zimmerit. I discovered a version of the spackle paste trick back in 1988 that was one of my first Zimmerit’s.
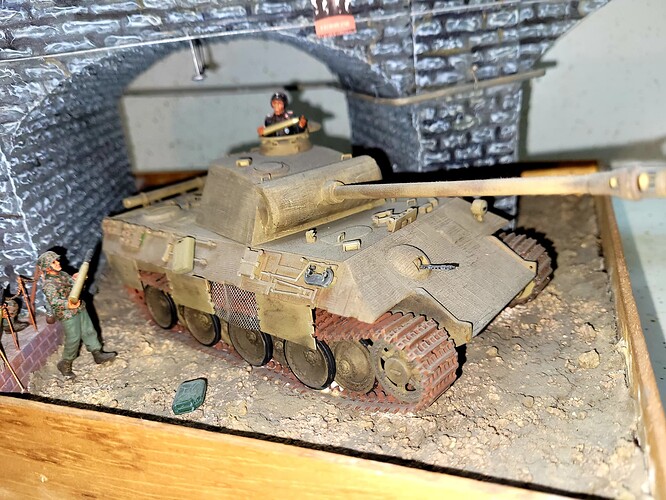
Like you said, its a good and straightforward method. Definitely helped me gain confidence. My Tamiya Panther A from 1988 with spackle Zimmerit. The spackle past works well!
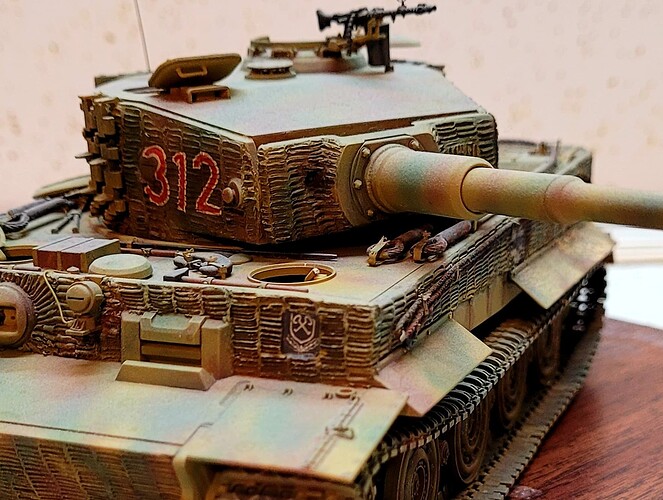
Milliput works well too. Takes longer and is needs more fiddle time. Allows lotsxof control texturing with a small screw driver. Superfine Milliput works better than the plumber Milliput I used here in this 1995 Tamiya Tiger 1
Milliput feels the most honest method as its very easy to customize but itsxvery time consuming in my experience. Pet favorite method ![]()
While a little annoying to cut out Cavalier or ATAK resin Zimmerit sheets work great once fitted. Only a bit cookie cutter. It’s one of my favorite methods now days. Best bang for the time involved imo.
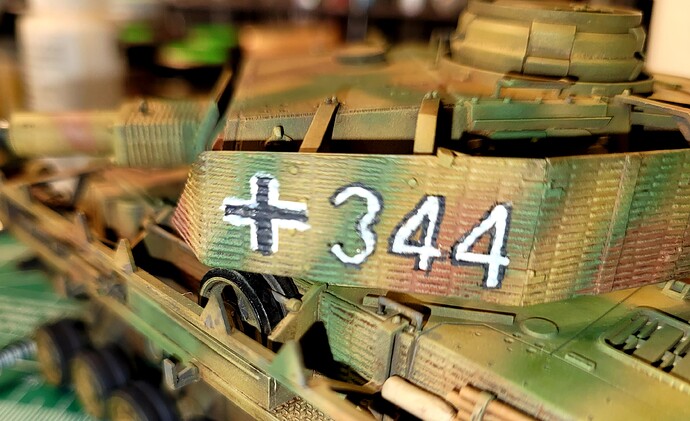
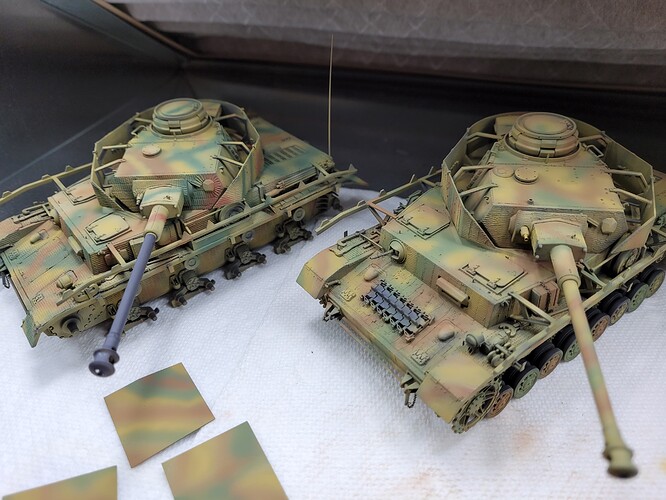
For kicks against my better judgment did Tamiya sticker Zimmerit on this 2020 Tamiya Pz IV build. My least favorite method but workable. Best lets get a result and get it done now method.
Close up of the sticker Zimmerit
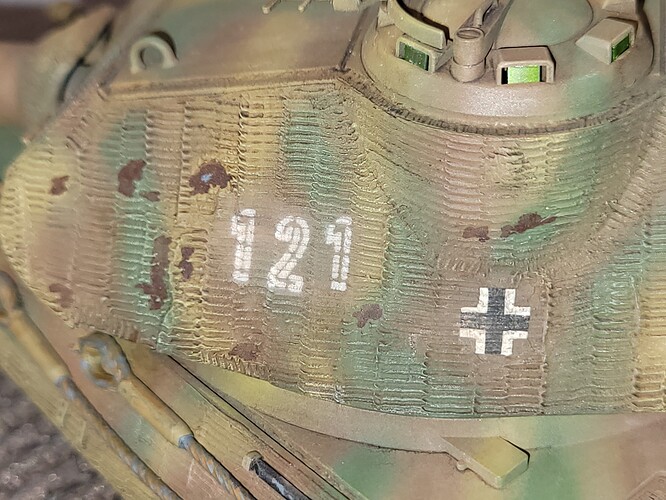
Pz IV J on right has Testor’s Liquid Cement & Stucco Putty Zimmerit. The putty thins out like paint and is applied accordingly. Tamiya Zimmerit tool used to texture. Time consuming as one works small areas but gives a very thin Zimmerit.
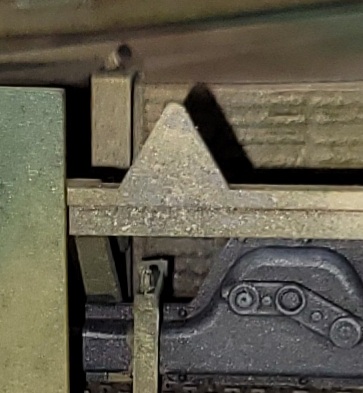
Testors thinned Stucco Zimmerit up close before weathering.
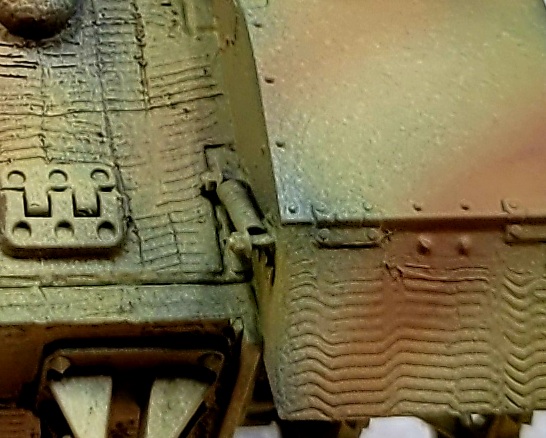
I too use spackle but thin it ever so slightly with latex wall paint. I’ve found this gives it some flex so that it doesn’t chip off as easily
I find the ATAK zimmerit to be exceptionally good. To ‘cut out’ the panels, turn the sheet over resting it on a rough grade sandpaper so it doesn’t move then sand the back (which is normally shiny’, down and you’ll find the panel and any associated holes in it, cut themselves out leaving you with a correctly shaped section with a matt rear which adheres far better. I also recommend using ‘No more Nails’ adhesive to apply.
Awesome input, my “Yoda” master jedi used “green stuff”, the old formula.
It might, MIGHT also depend on what pattern you are creating. For the “waffle” pattern, you gotta go with the spackle.
Exactly my experience, except for using Ultraglue to fix it to the model.
No more nails is a little like a gel form of pva which has a 5 min drying time. Spread it very thinly on rear of piece to be attached, manouvre it exactly into place and apply light pressure all over. Any excess which emerges can be gently wiped away with a piece of damp kitchen roll etc - perfect.
That close up pic looks real good .
