Zvezda 1/35 3624 KV-1 mod 1940

Hello! Before I begin, I apologize for the poor English of Google Translate; I swear mine is much worse!
This week I started building a Zvezda KV-1, and since I previously searched for reviews and building articles and didn’t find many, I thought I’d share this one with you. I hope to finish it this week.
The intention is to provide tools of choice and some advice to modelers, like me, who are looking for information on this product (and, incidentally, on any tools or accessories used in the build). The build, mostly if not entirely, will be OOB. I’m not skilled enough for much more than that, unfortunately!
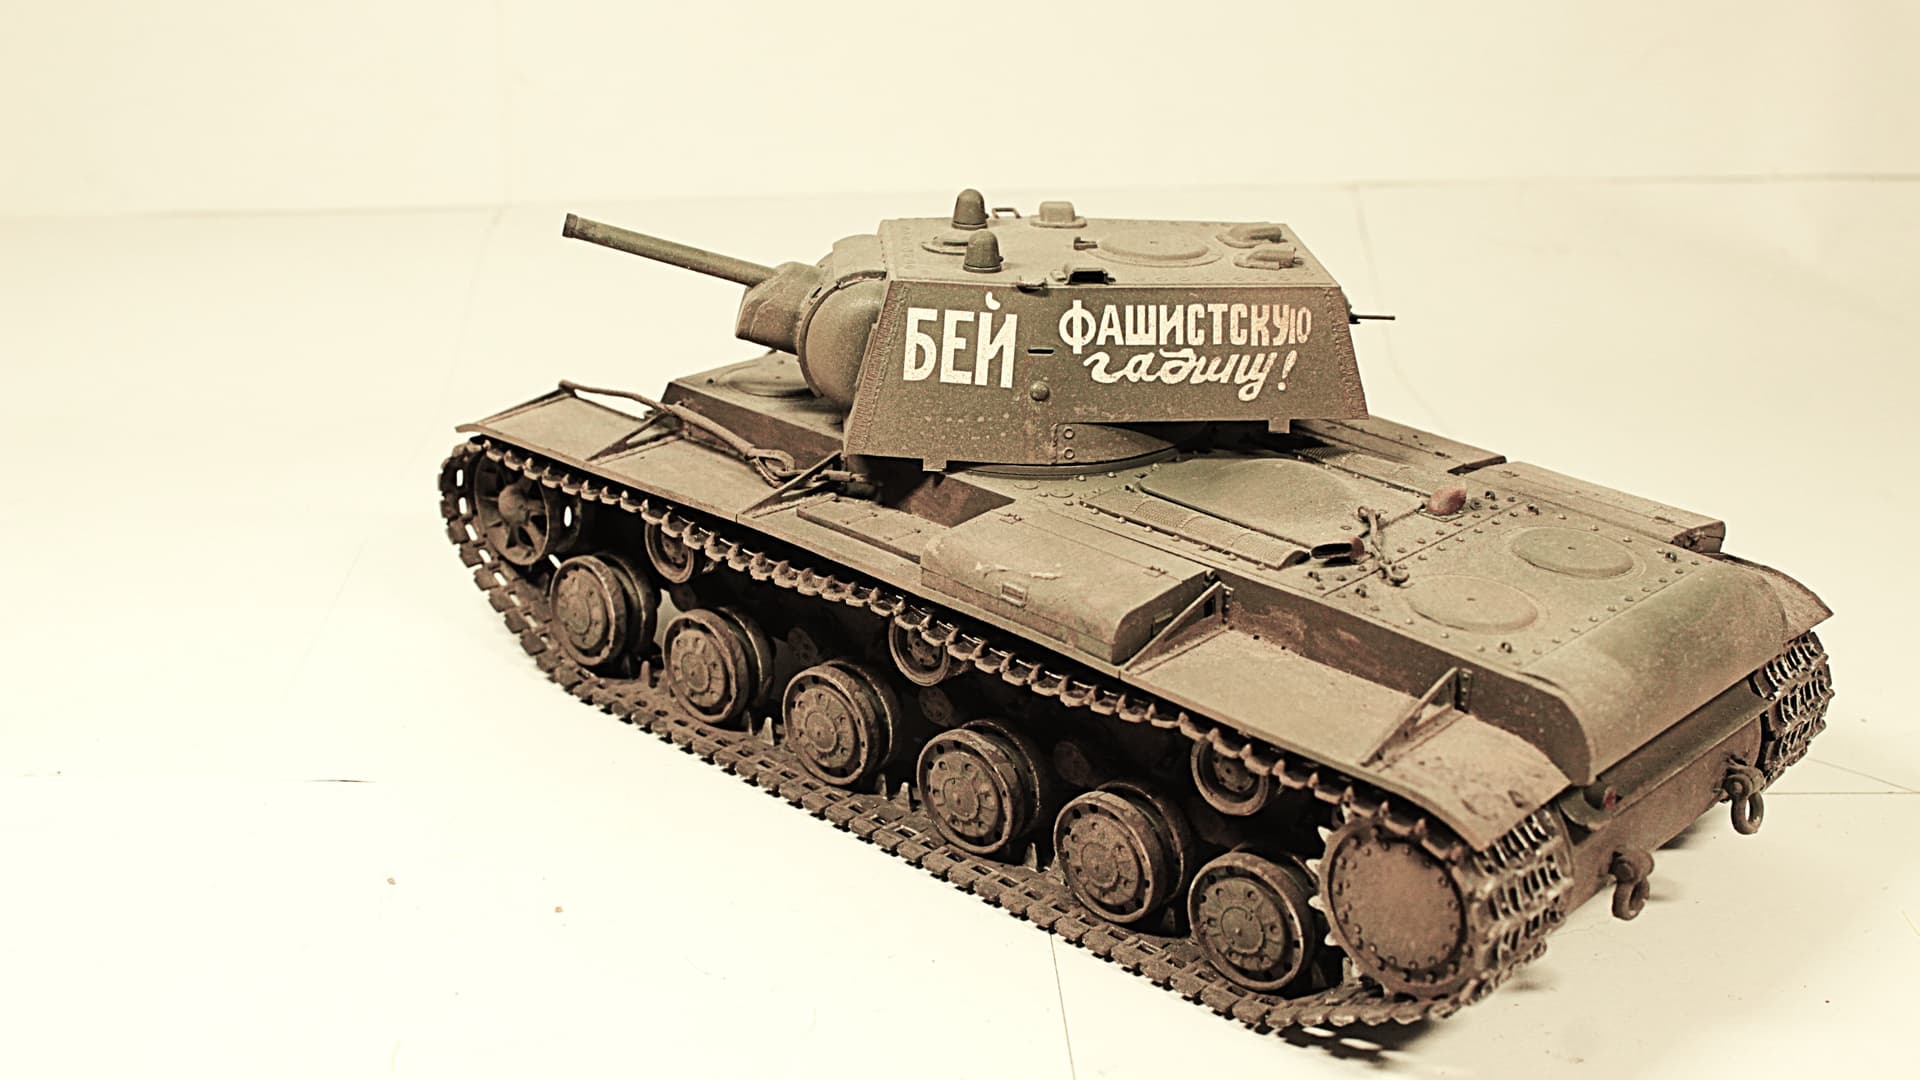
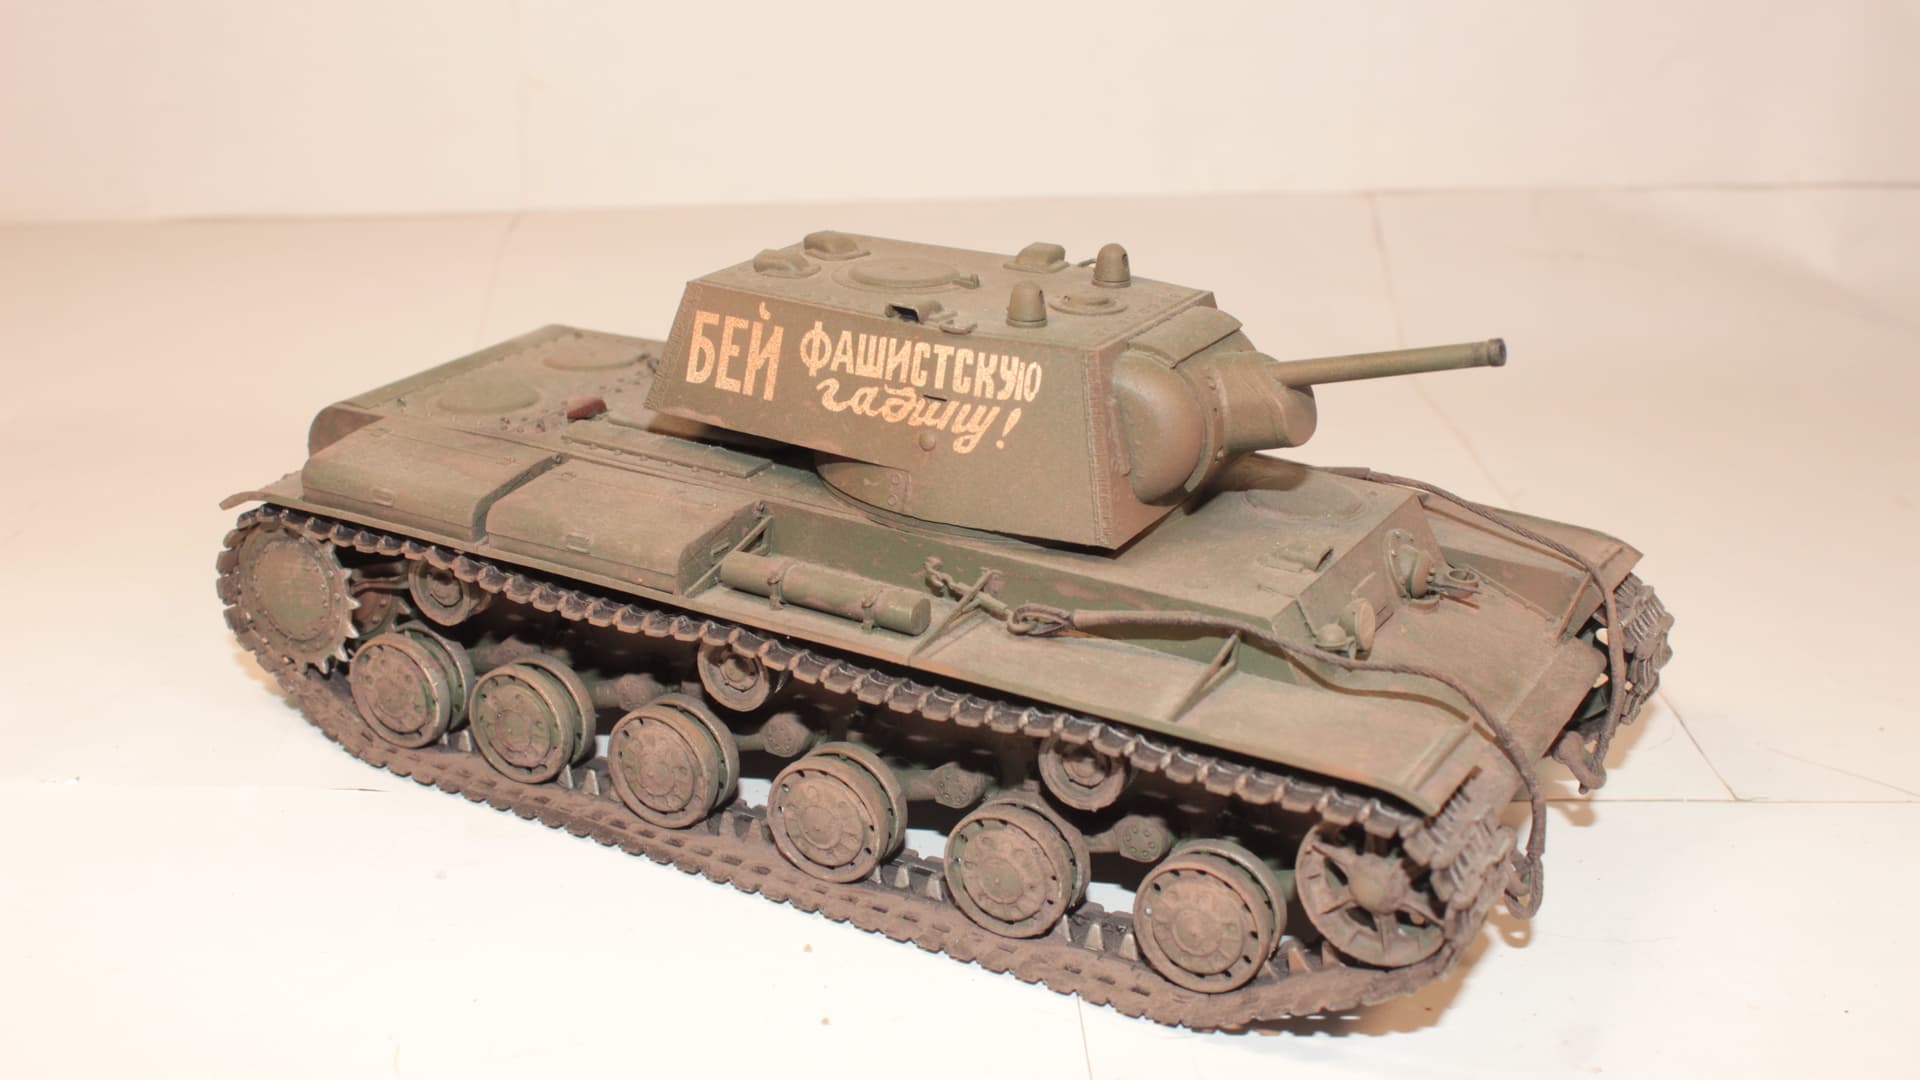
This is the kit.


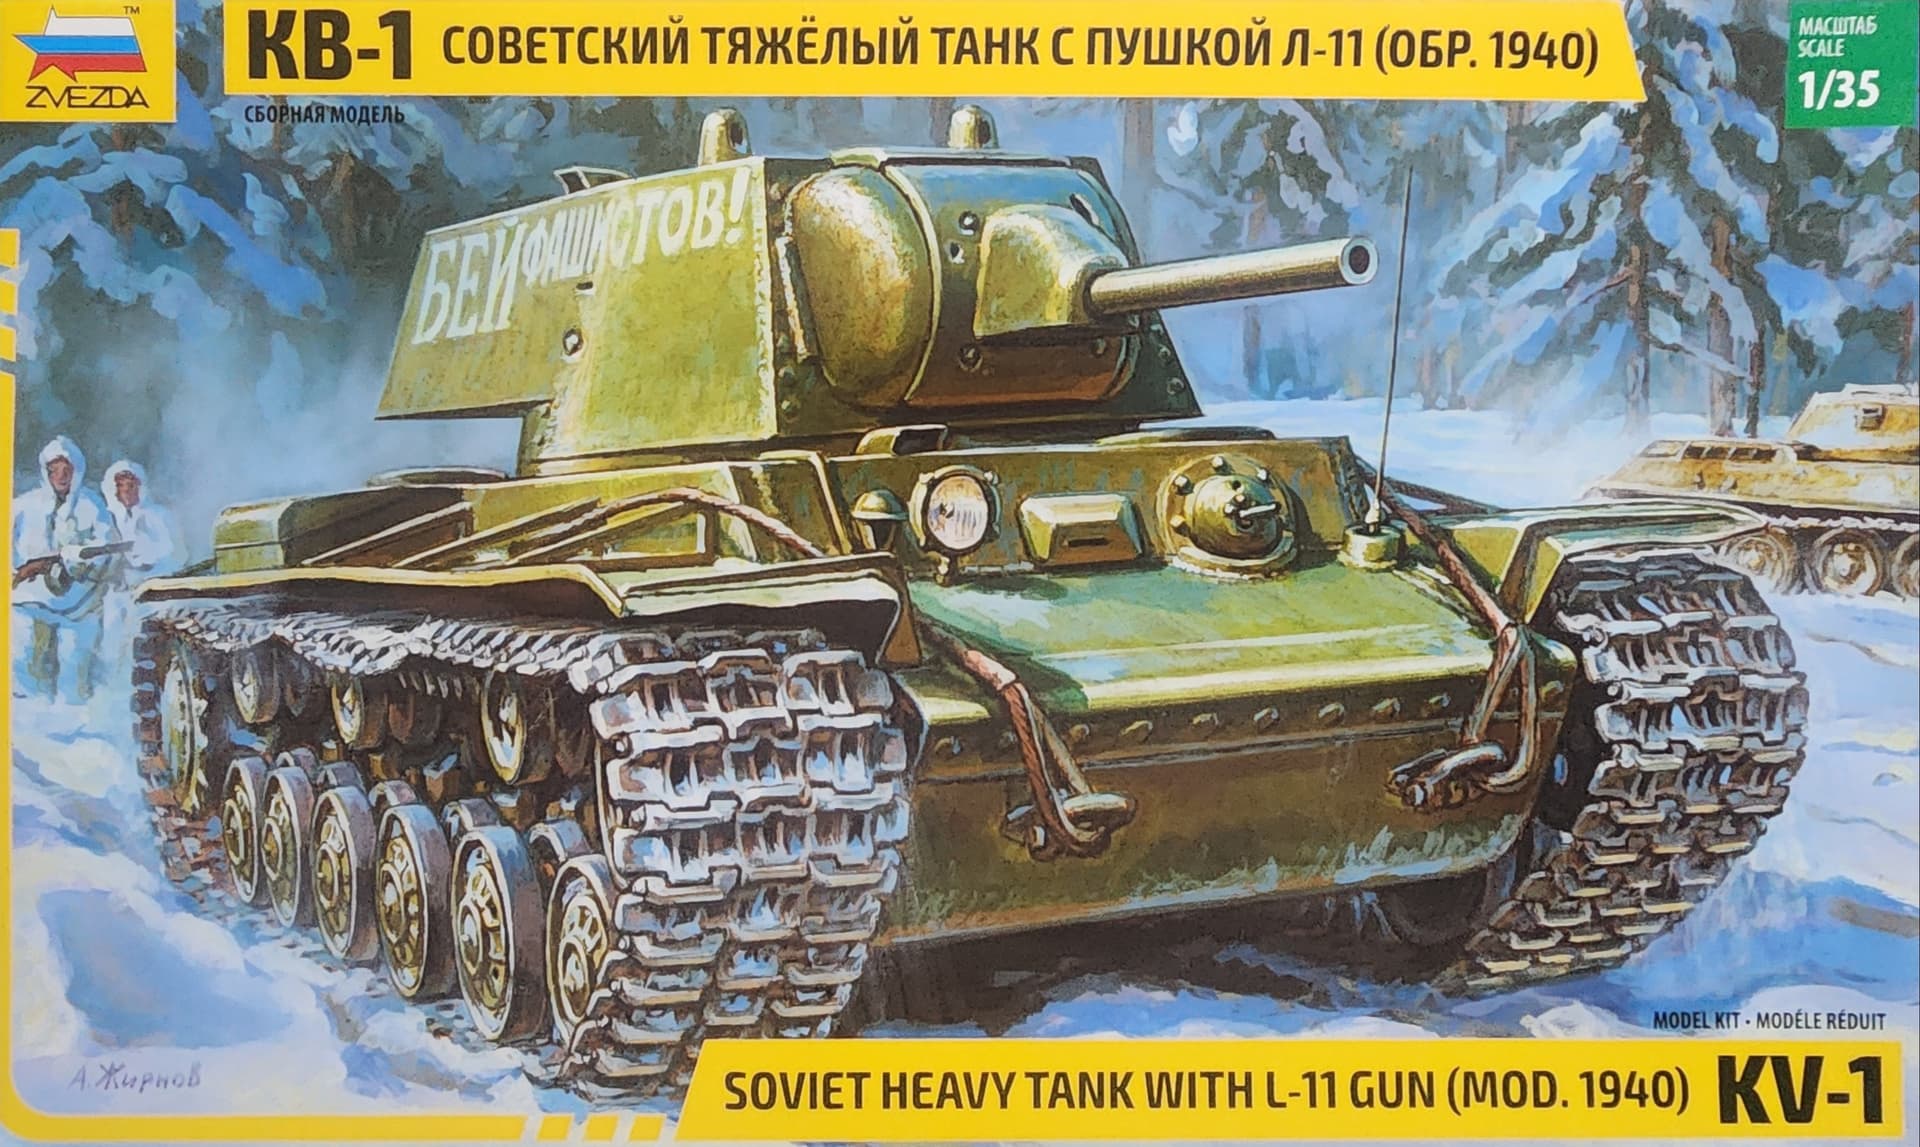
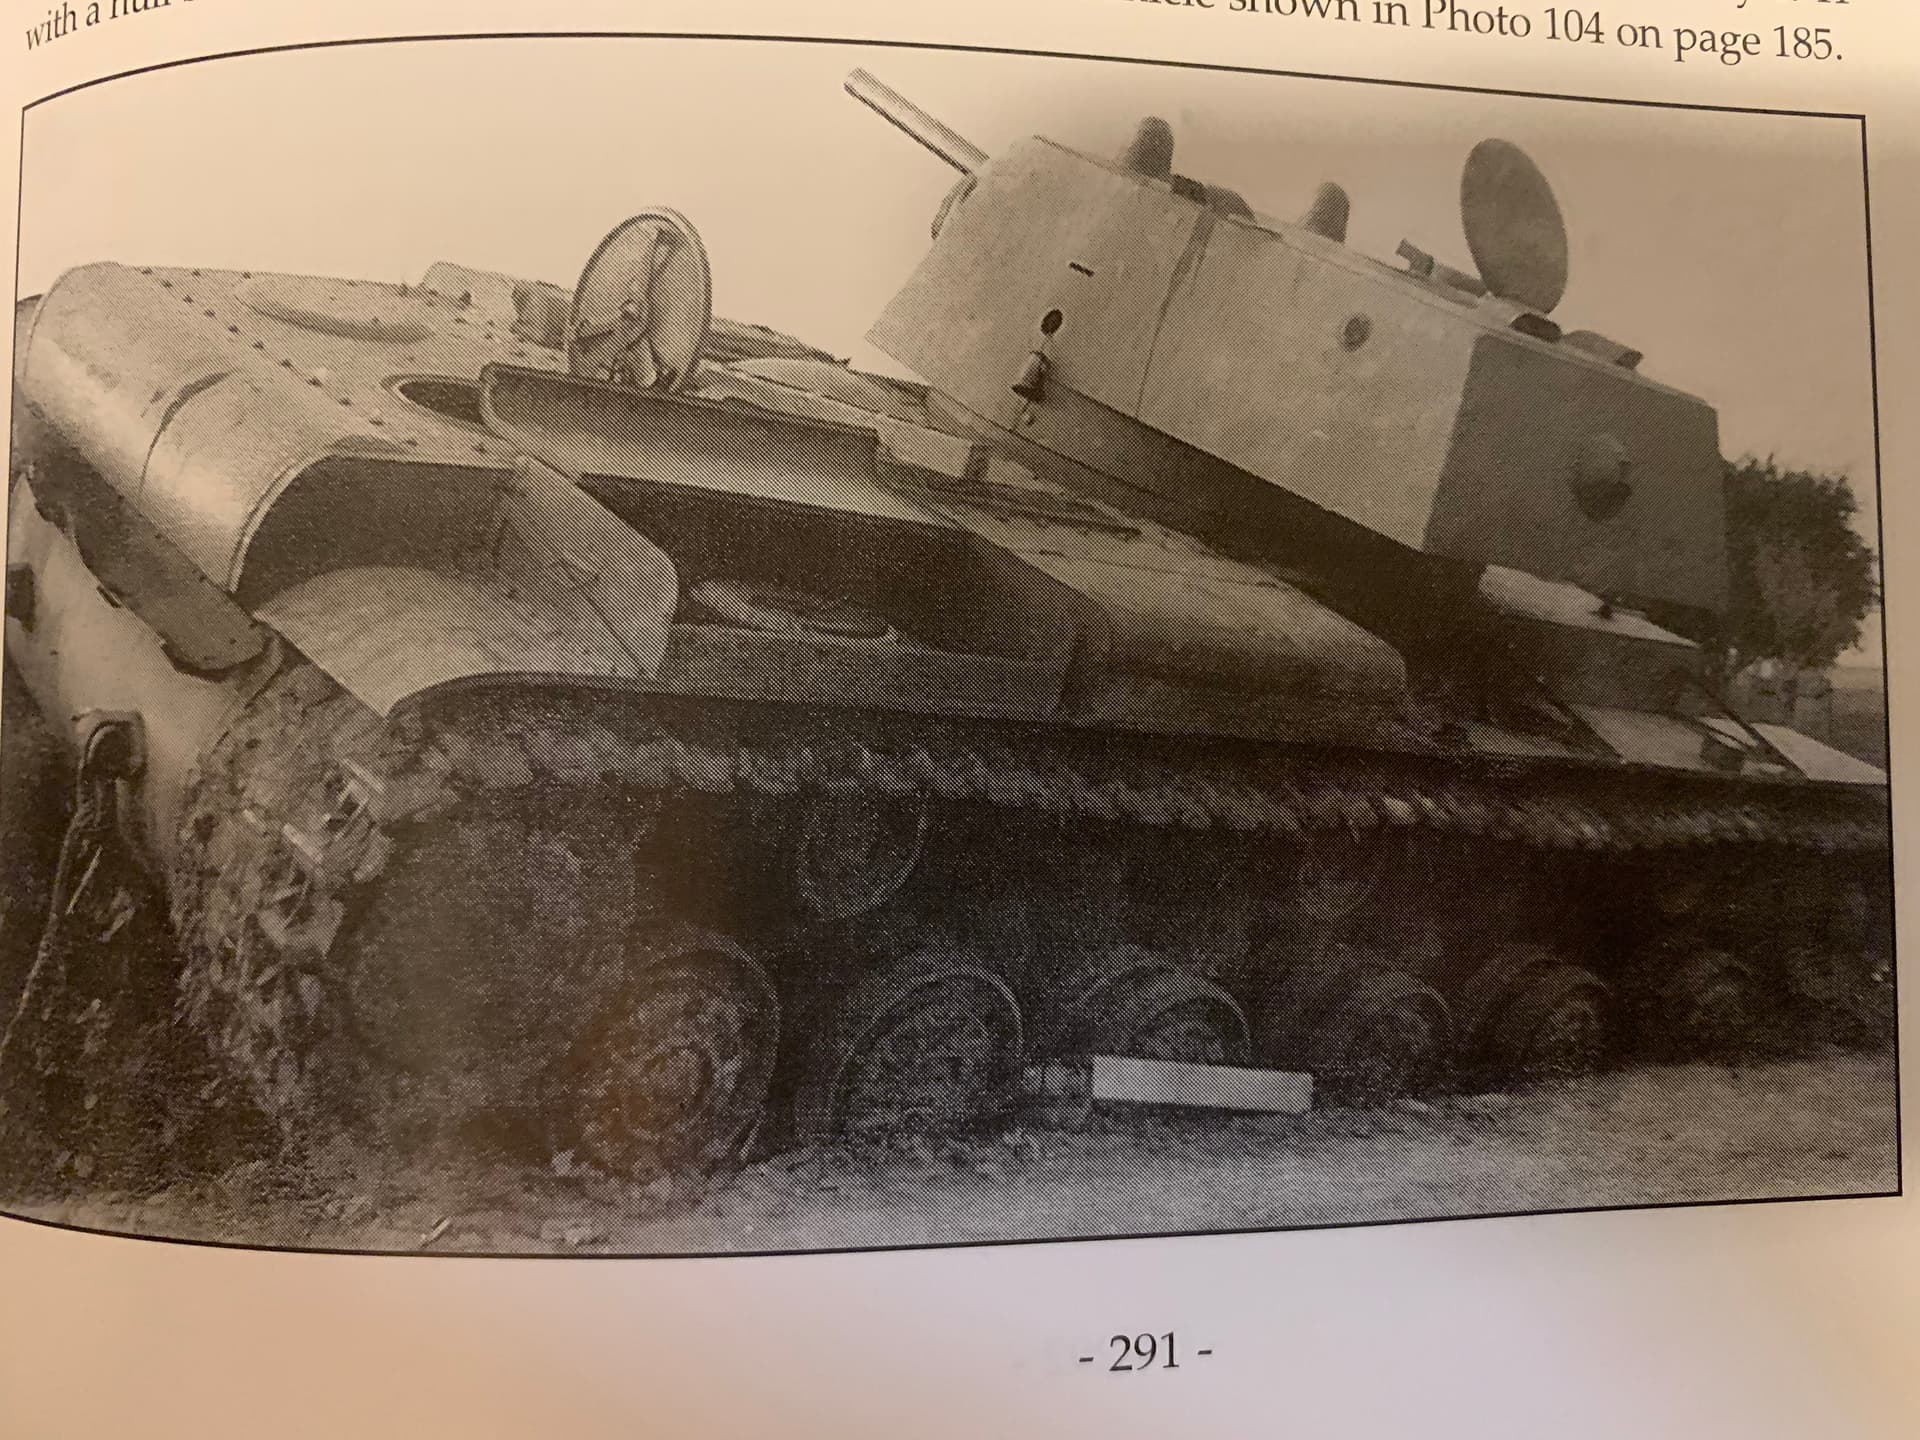
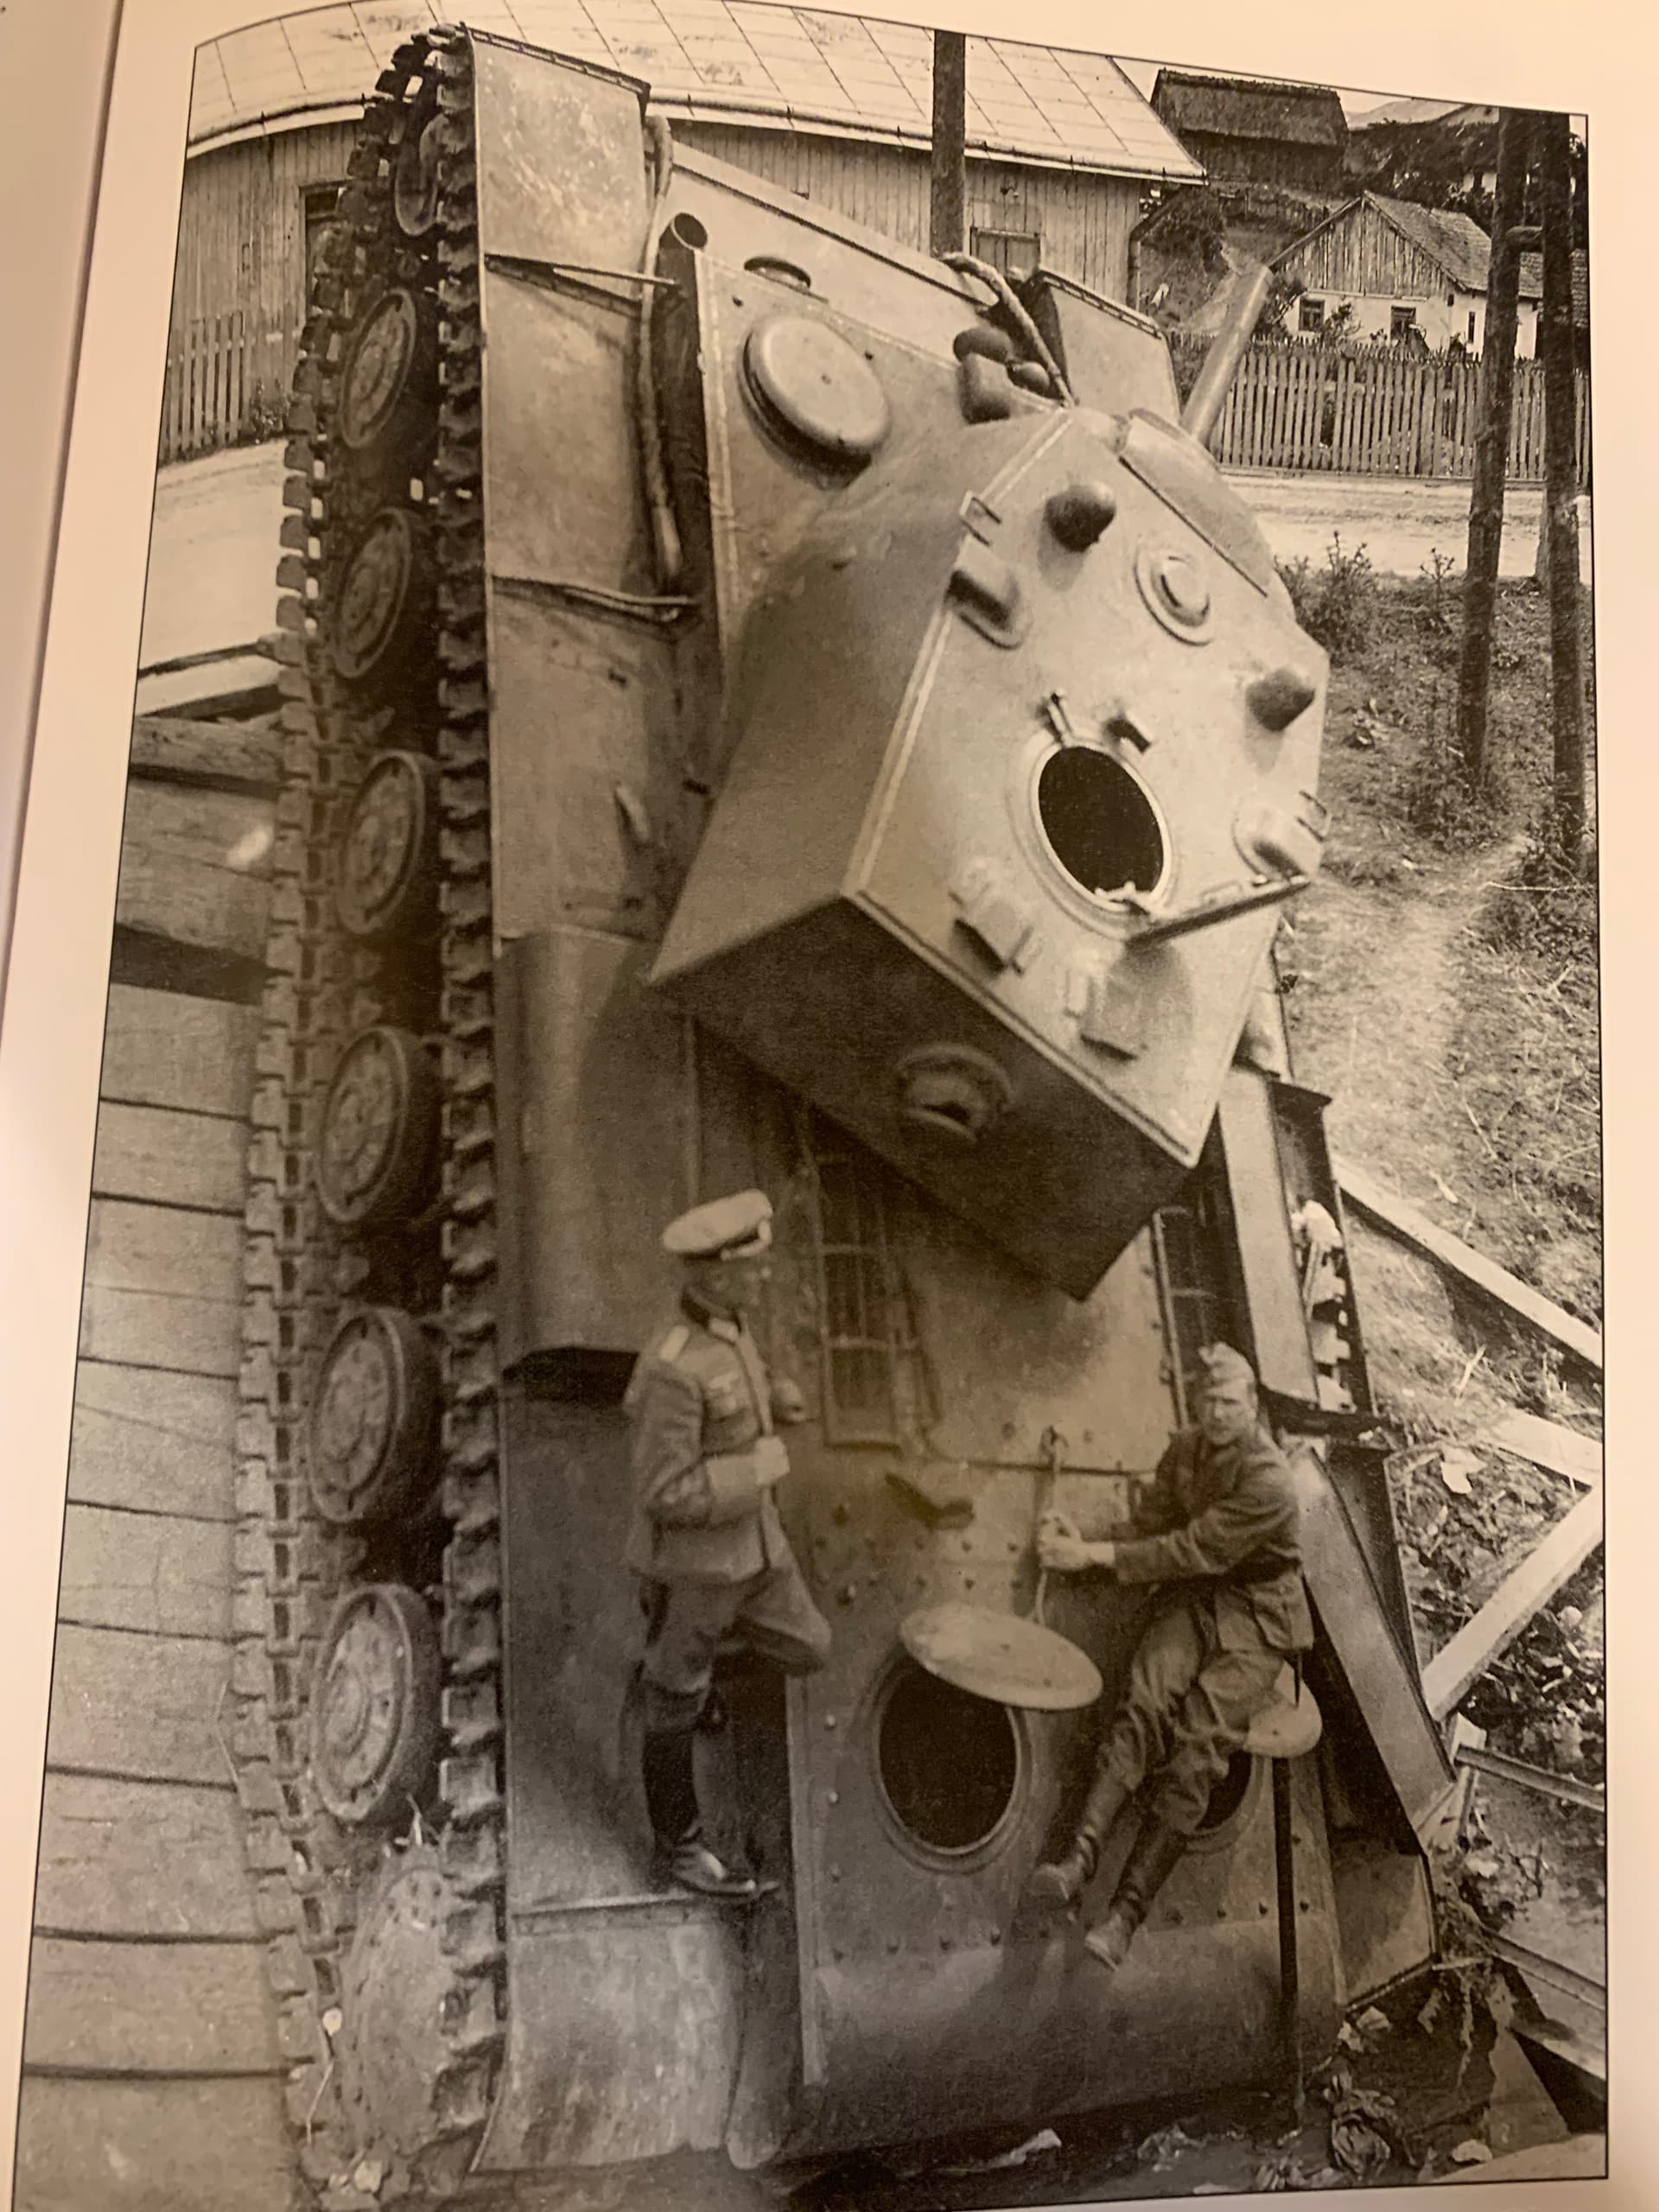
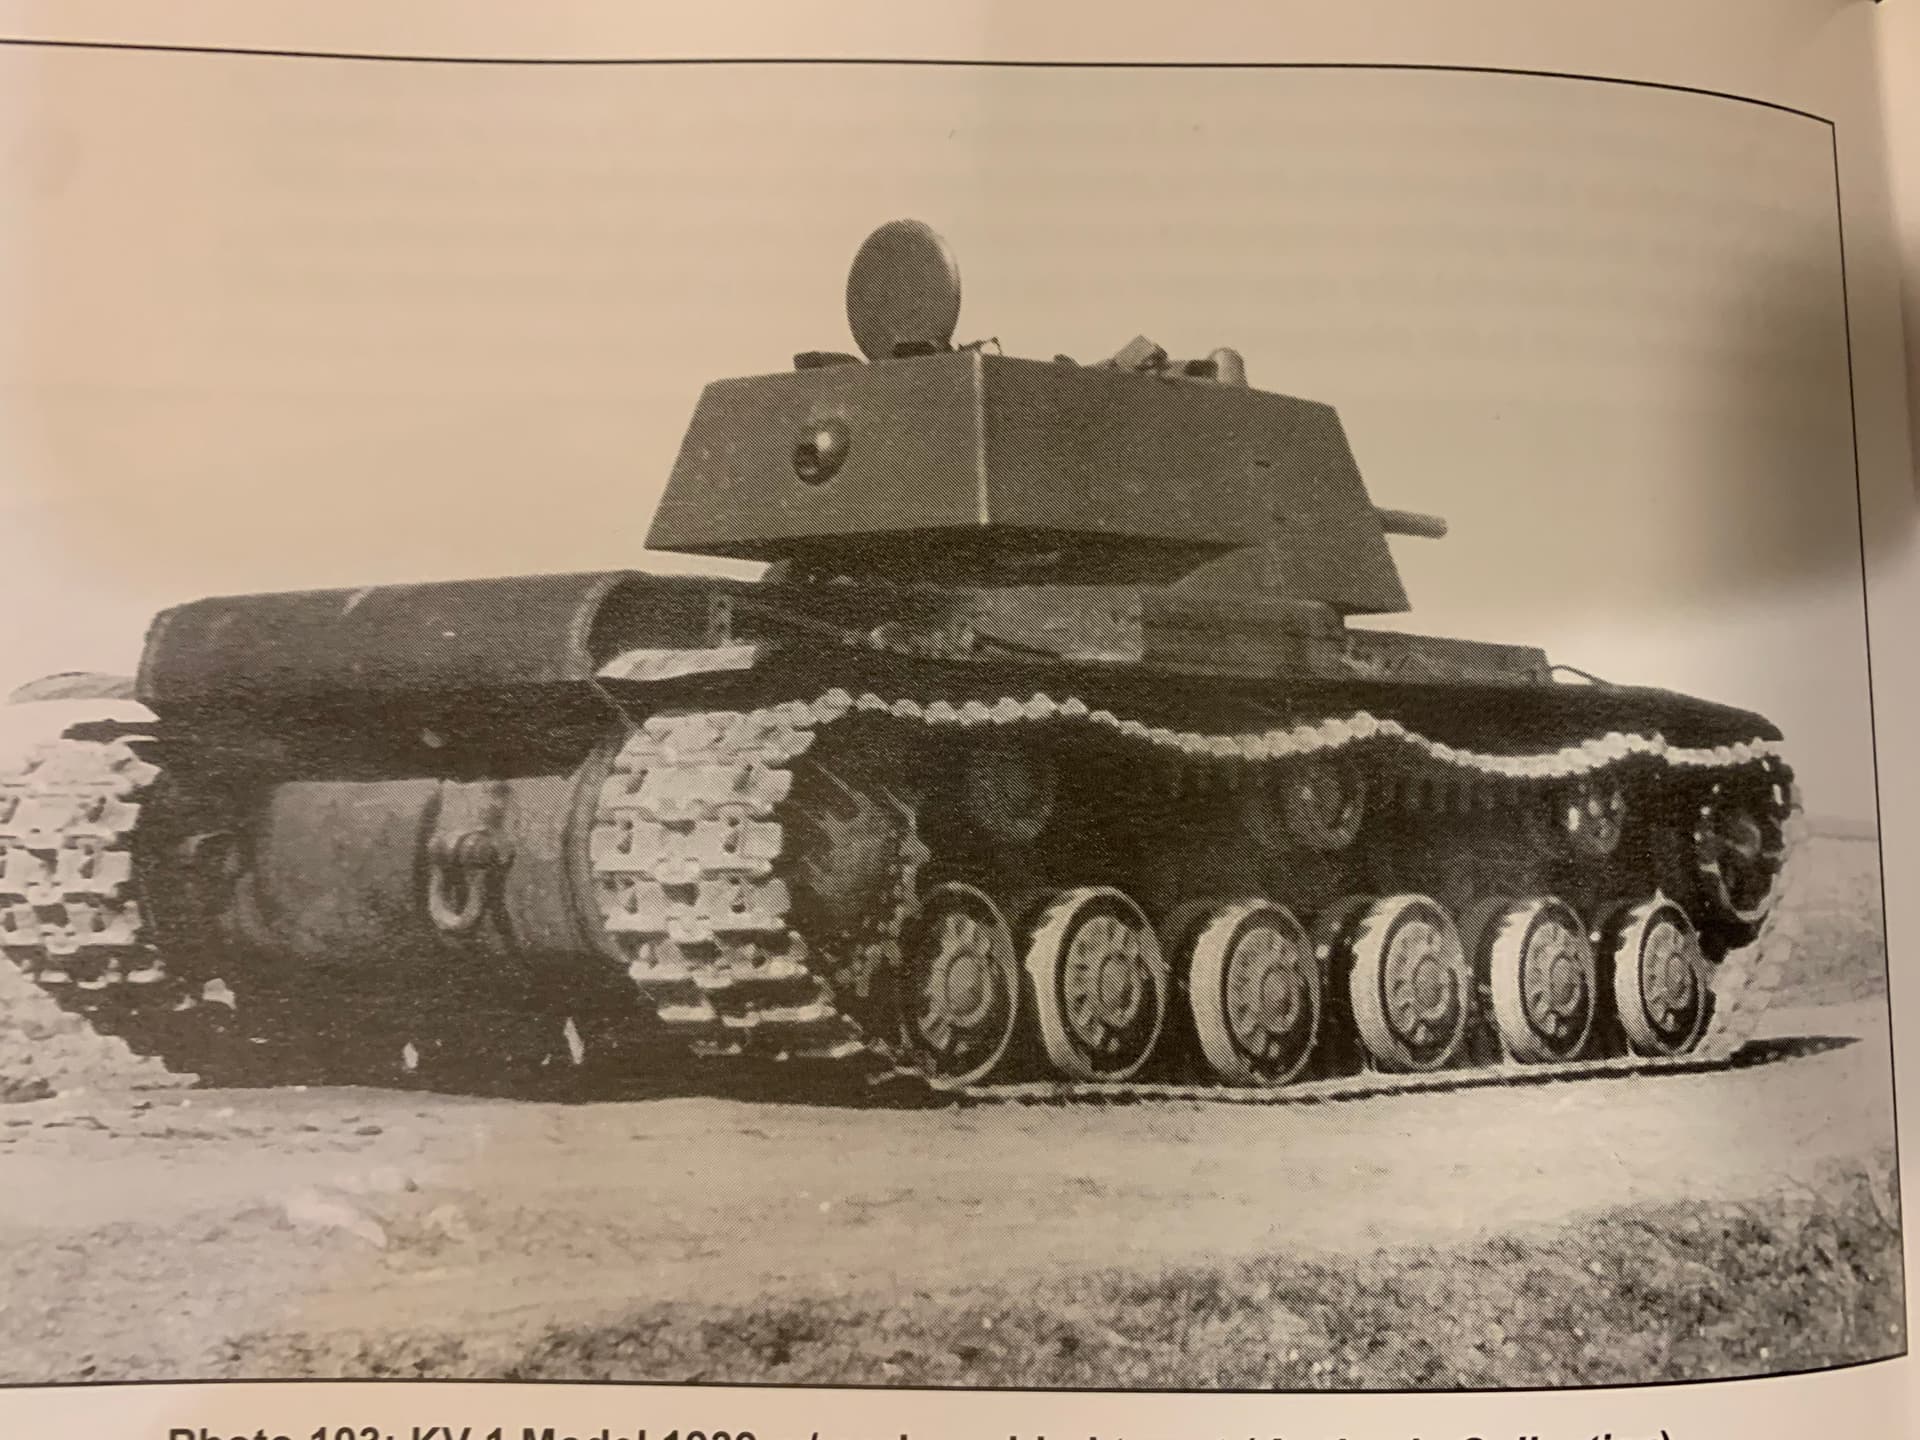
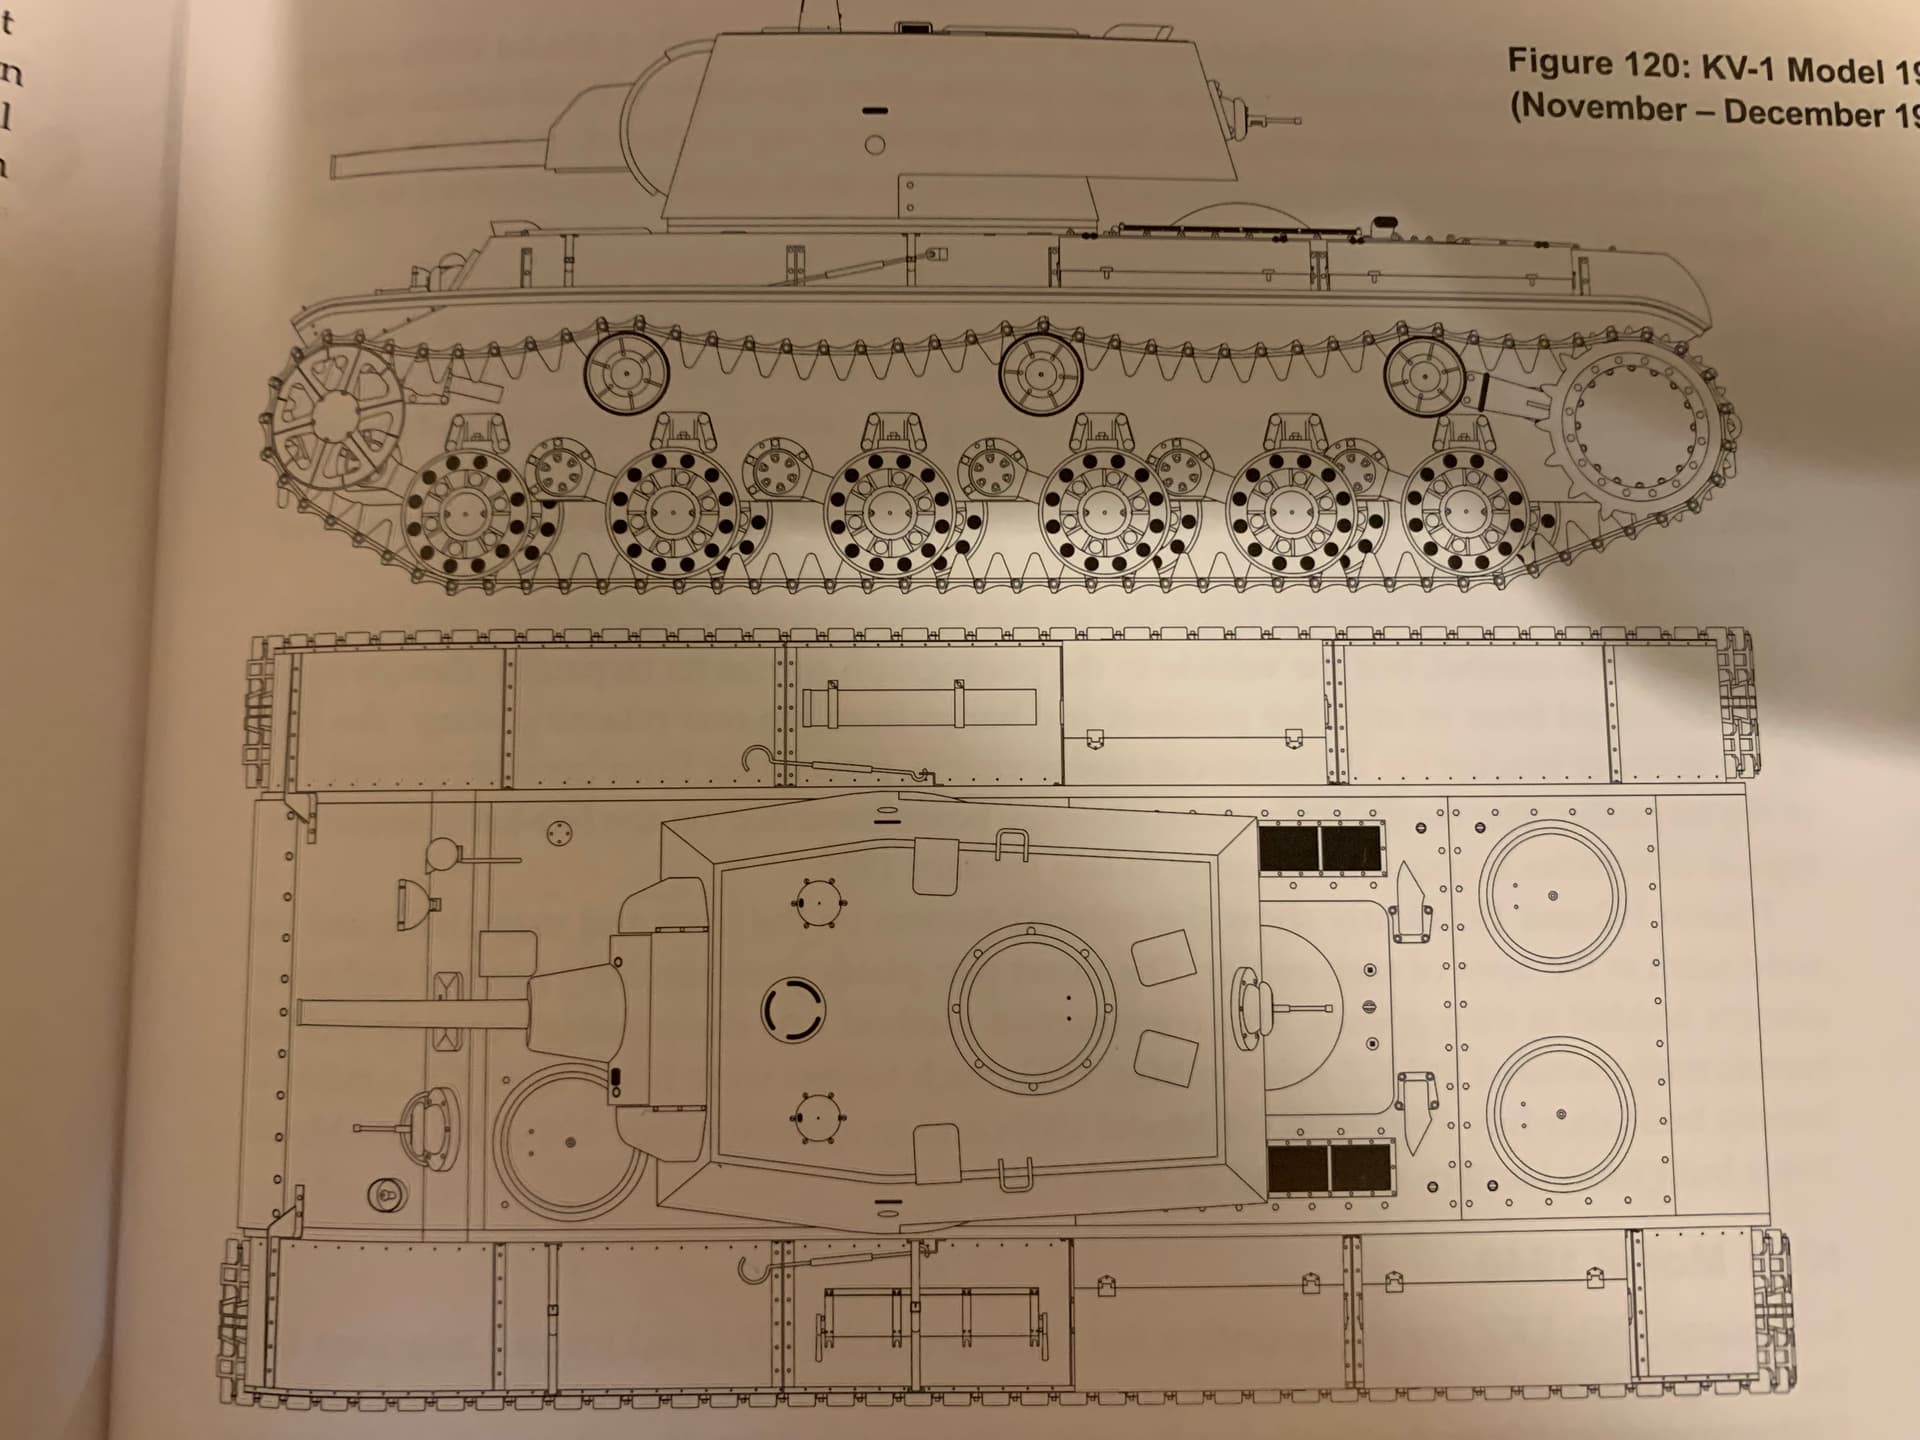
The Zvezda model is a variant I haven’t seen before from major brands. It’s identified by an early model, which, given the differences in the designation, could be a late 1939 or an early 1940 with a 1939 turret. I need to study this a bit.

The kit comes in the typical and very secure Zvezda box, a rigid box with a front closure and a top cover. For me, it’s a nice gesture from this brand to use this type of box in our days when we buy so much online and with shipments that sometimes even cross continents!

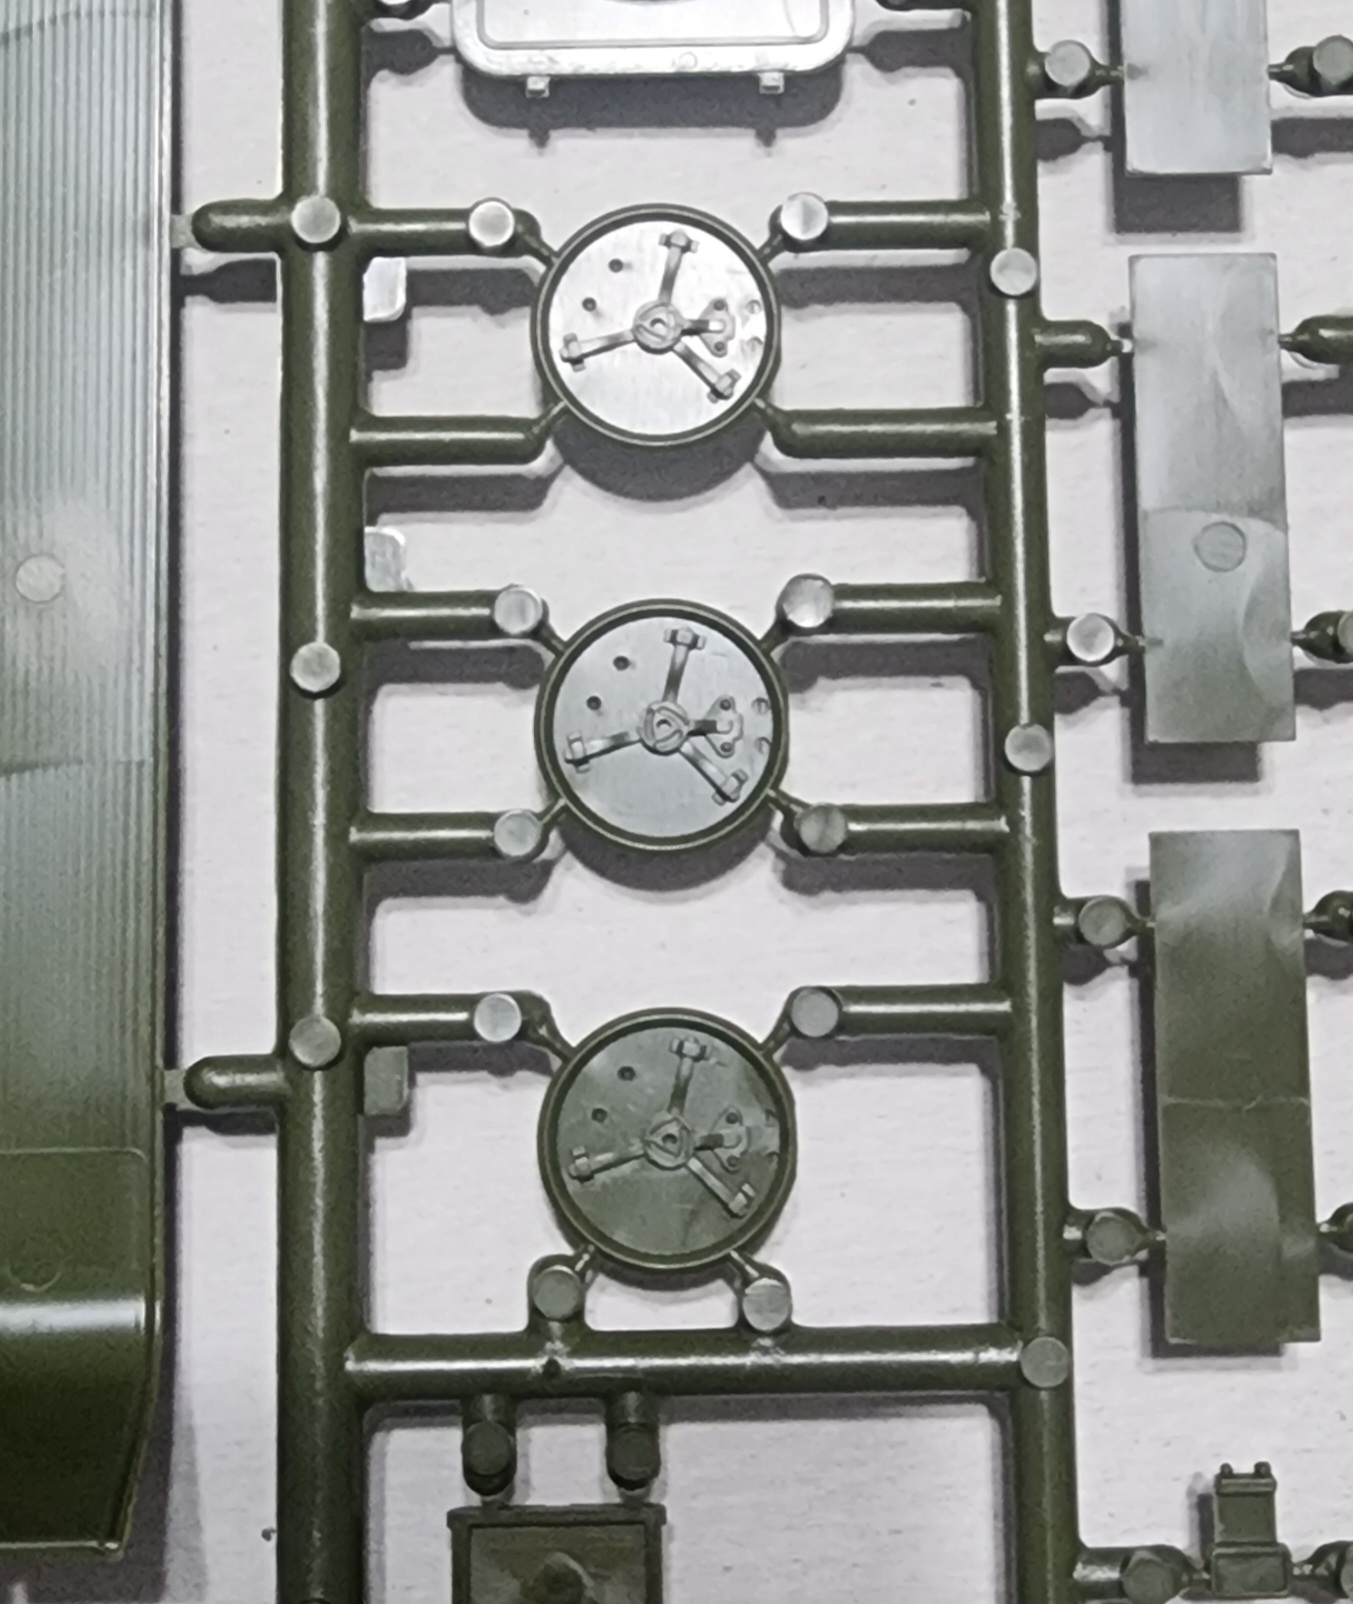
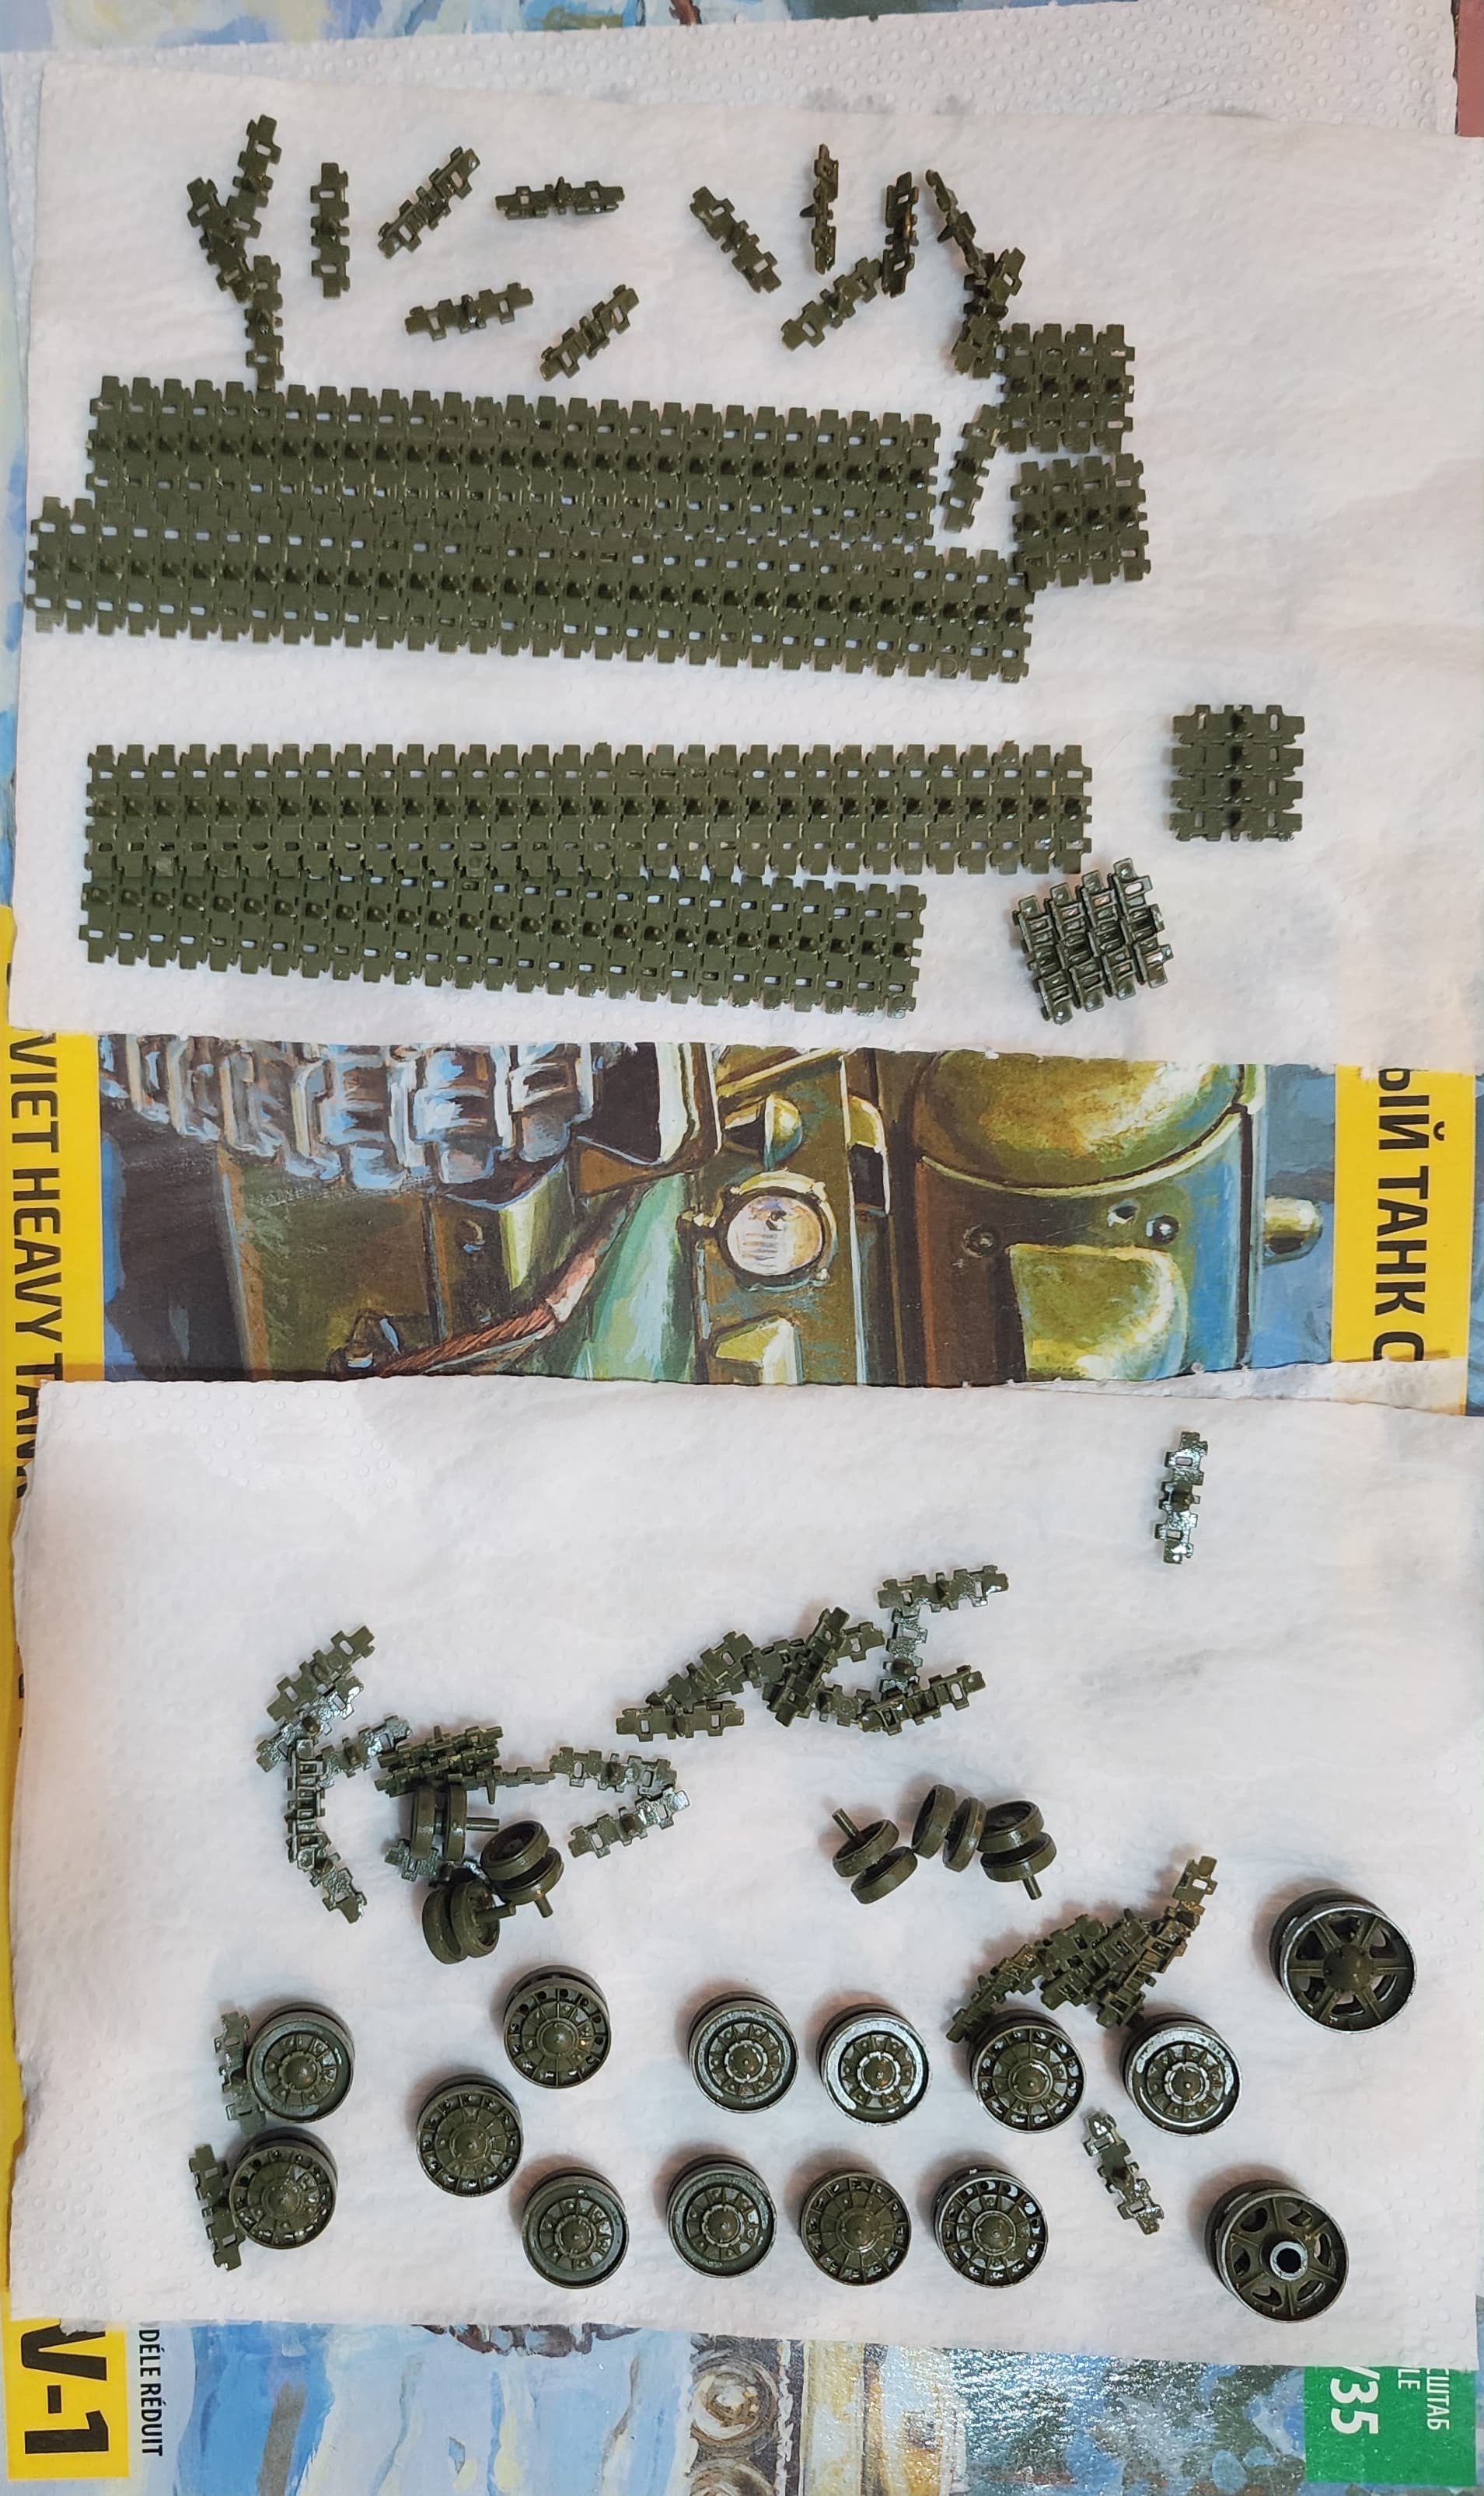
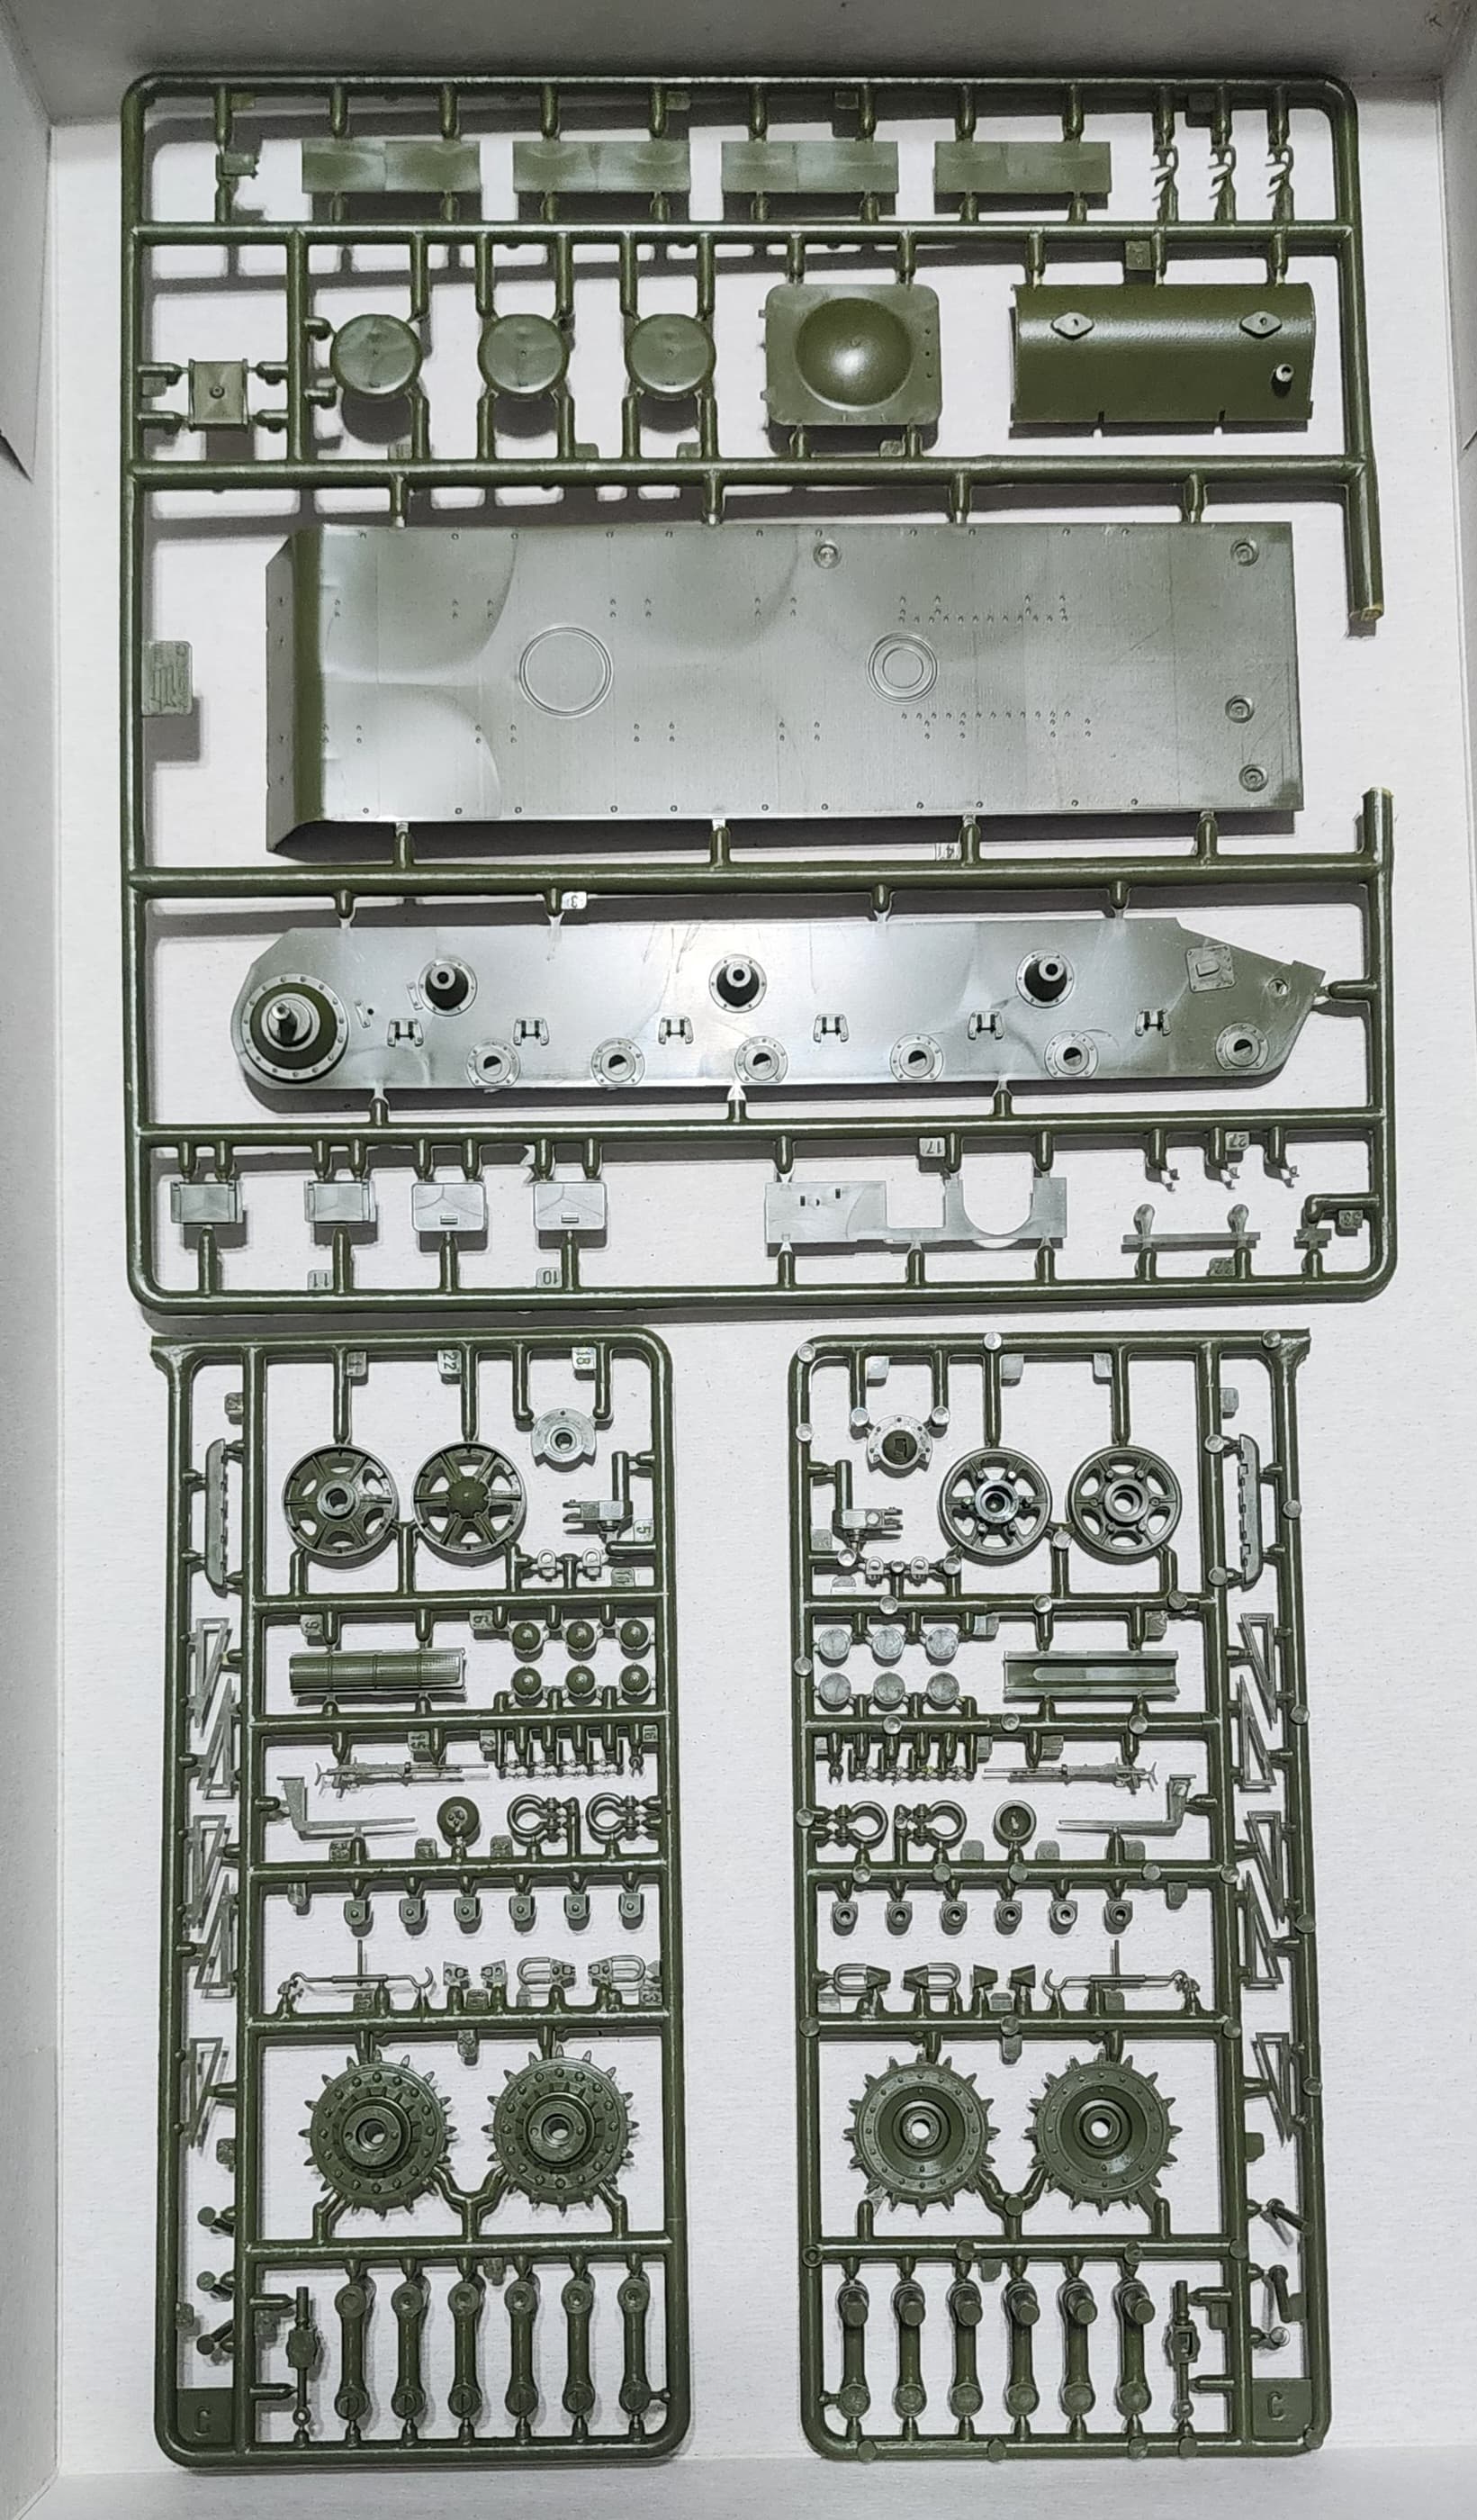
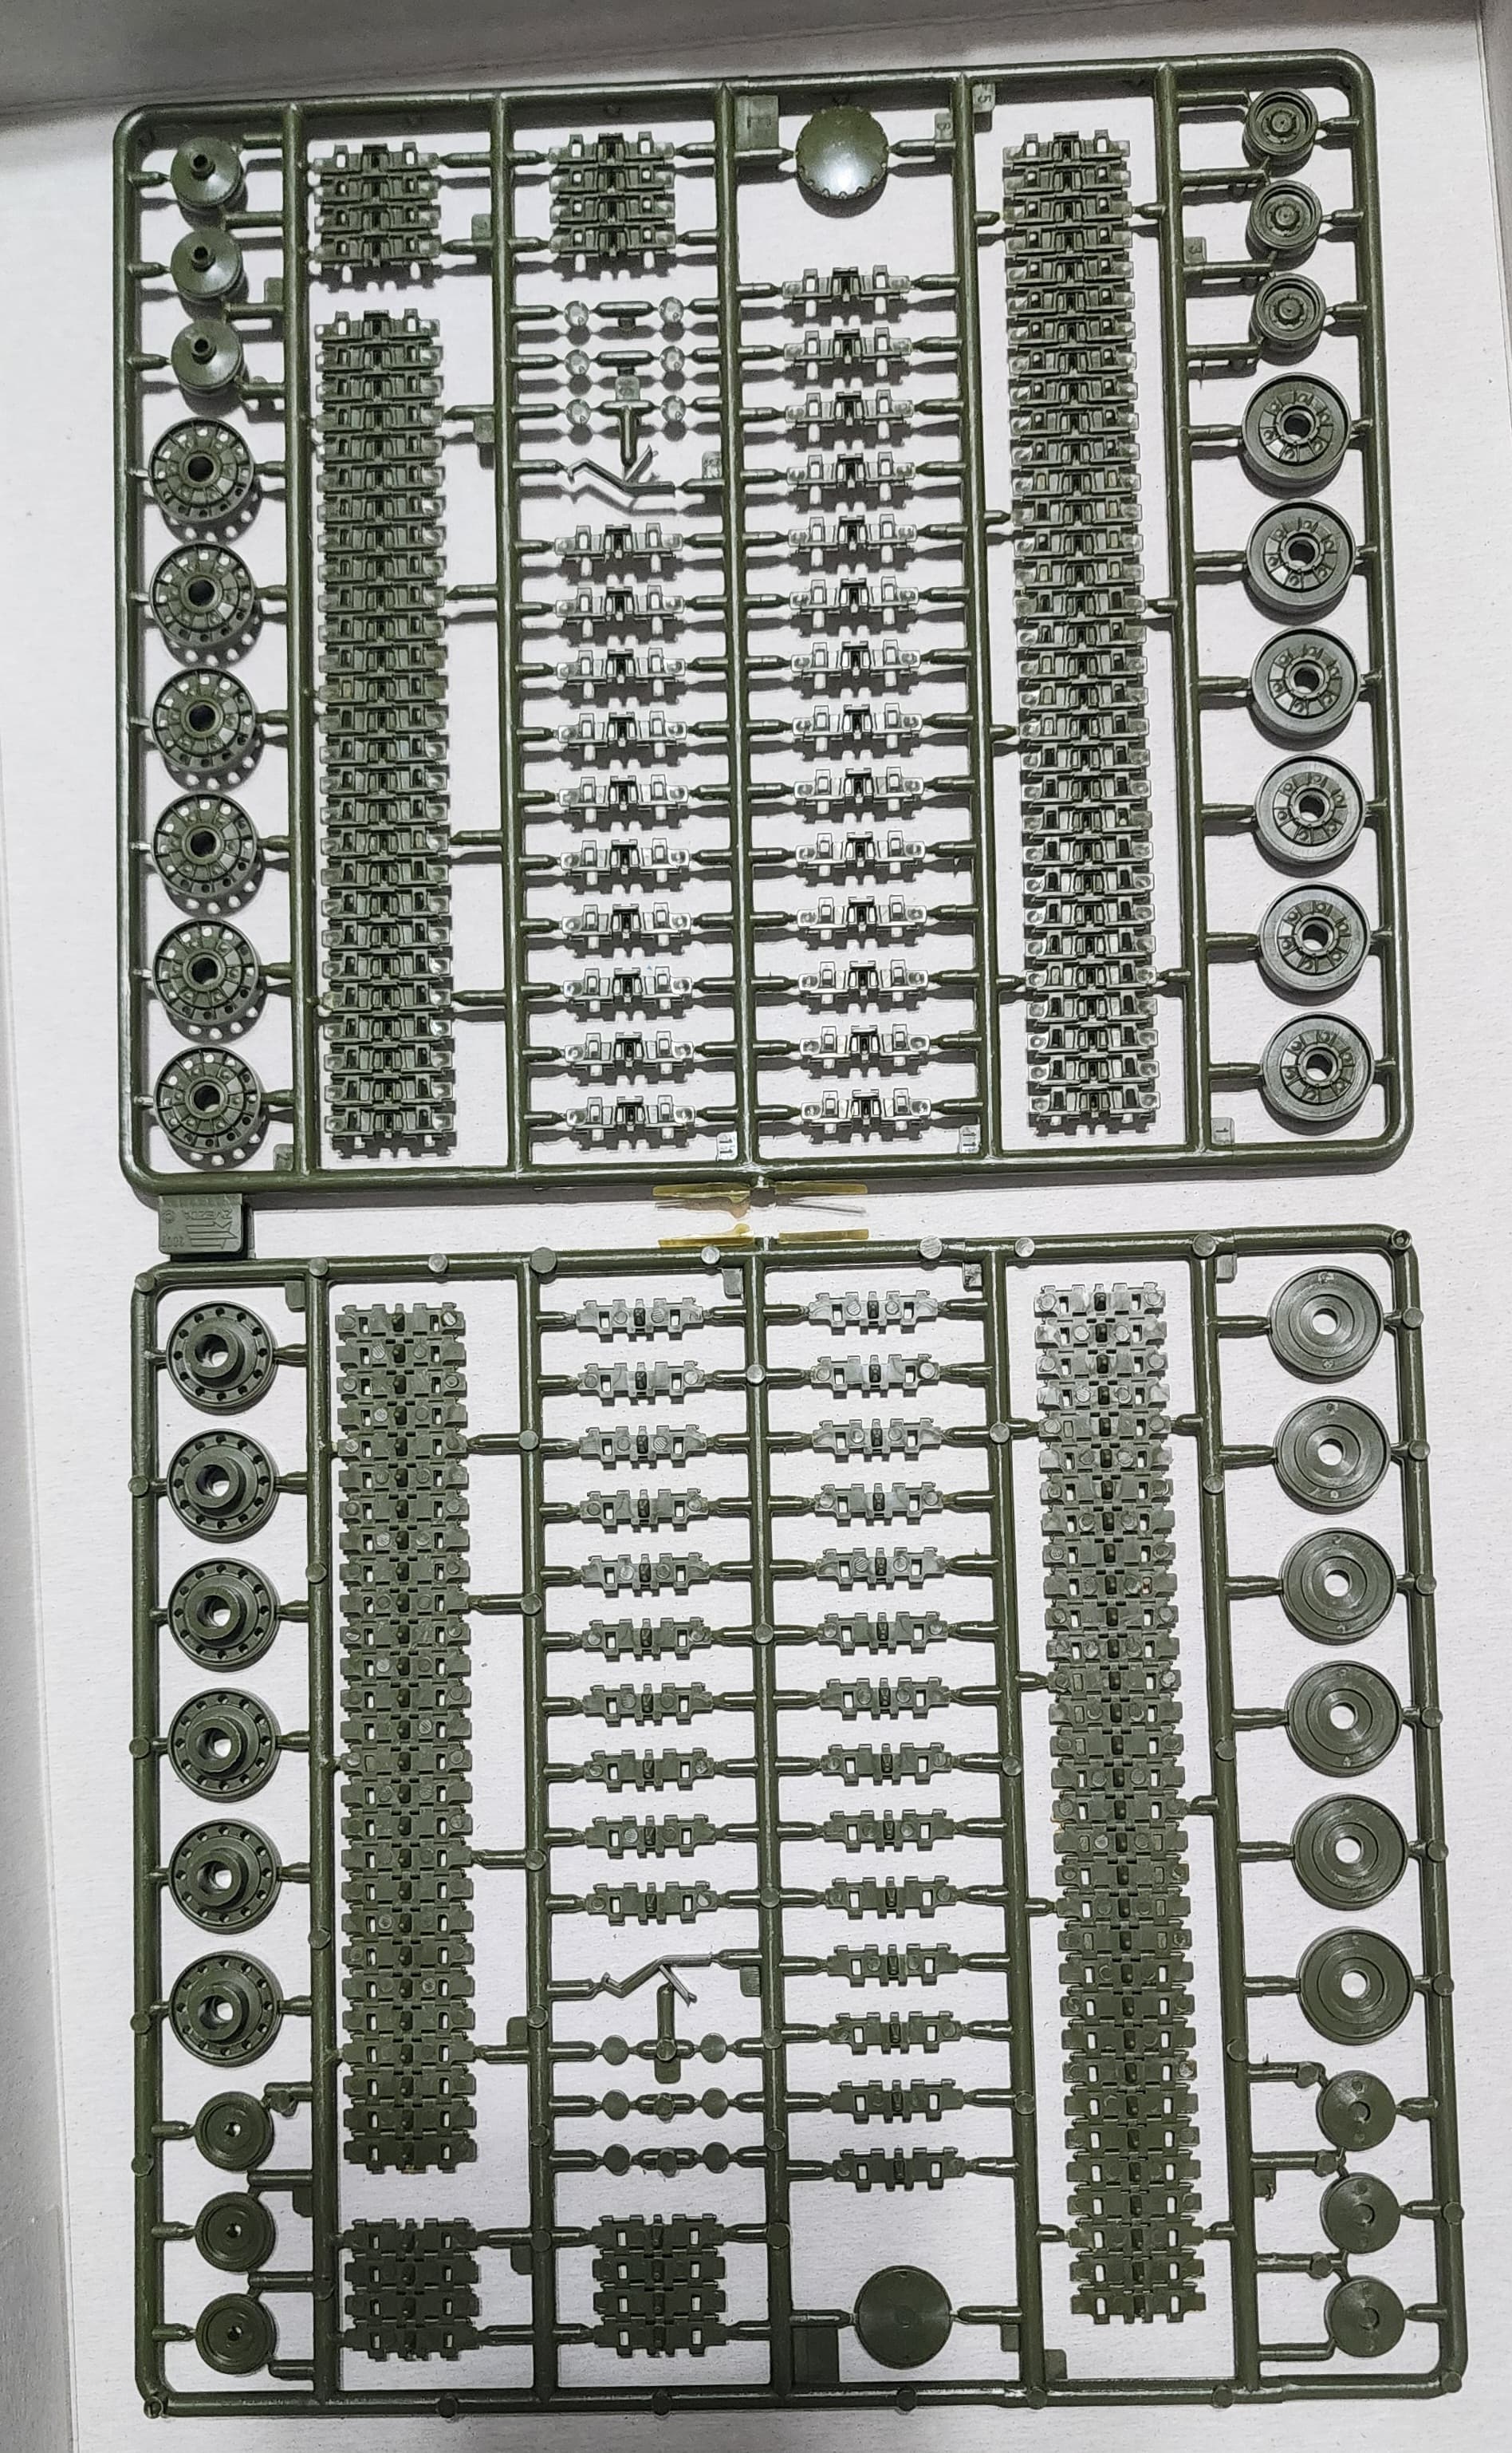
. Unfortunately, the tracks have a lot of ejection marks, and wheels have a central burr.
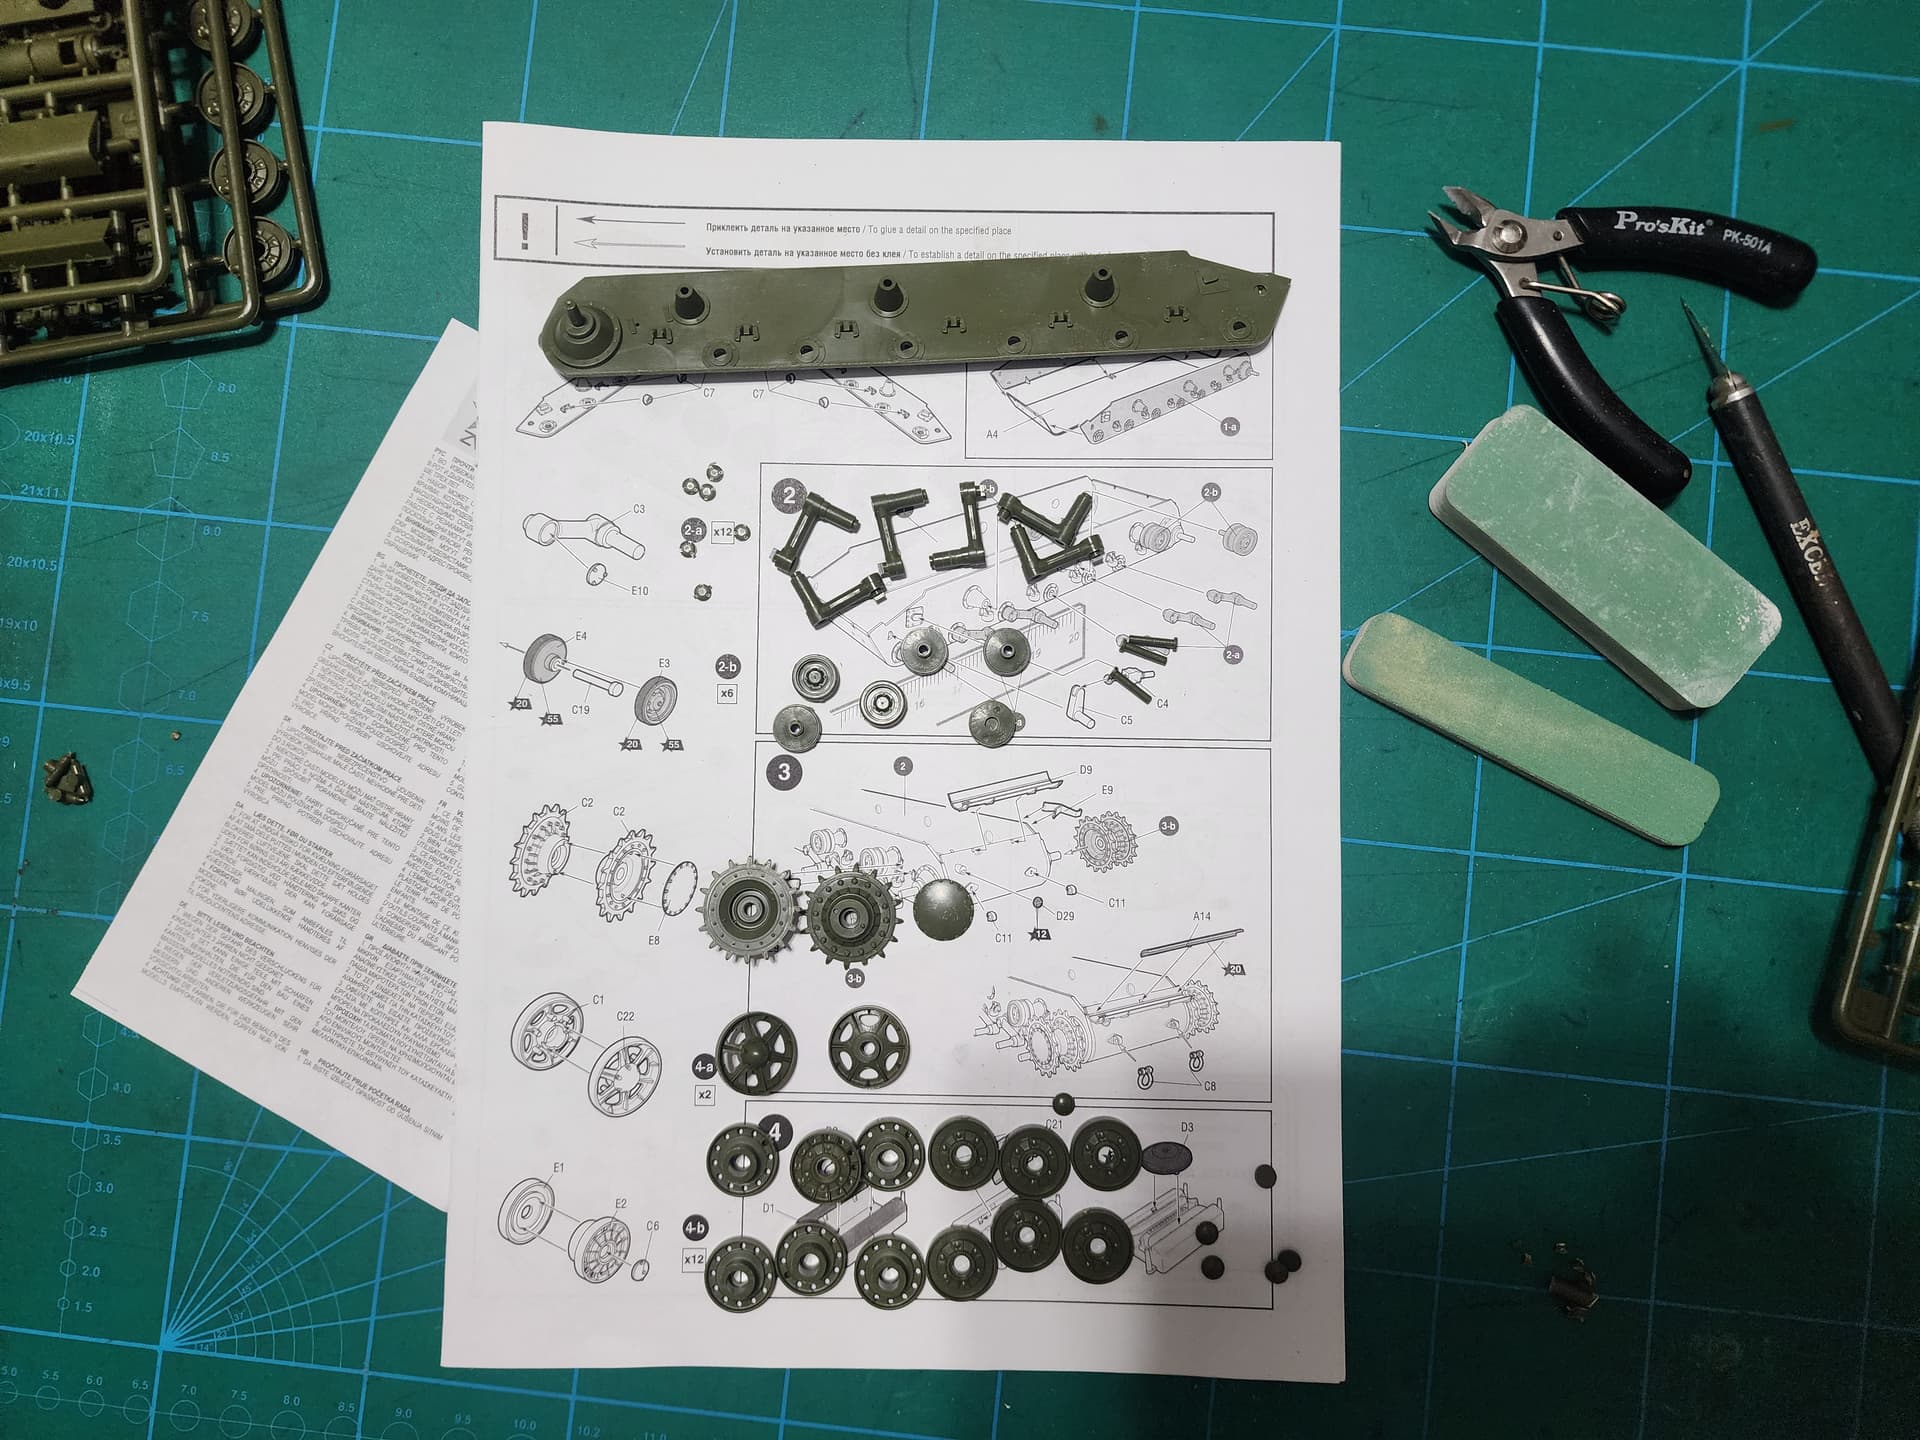
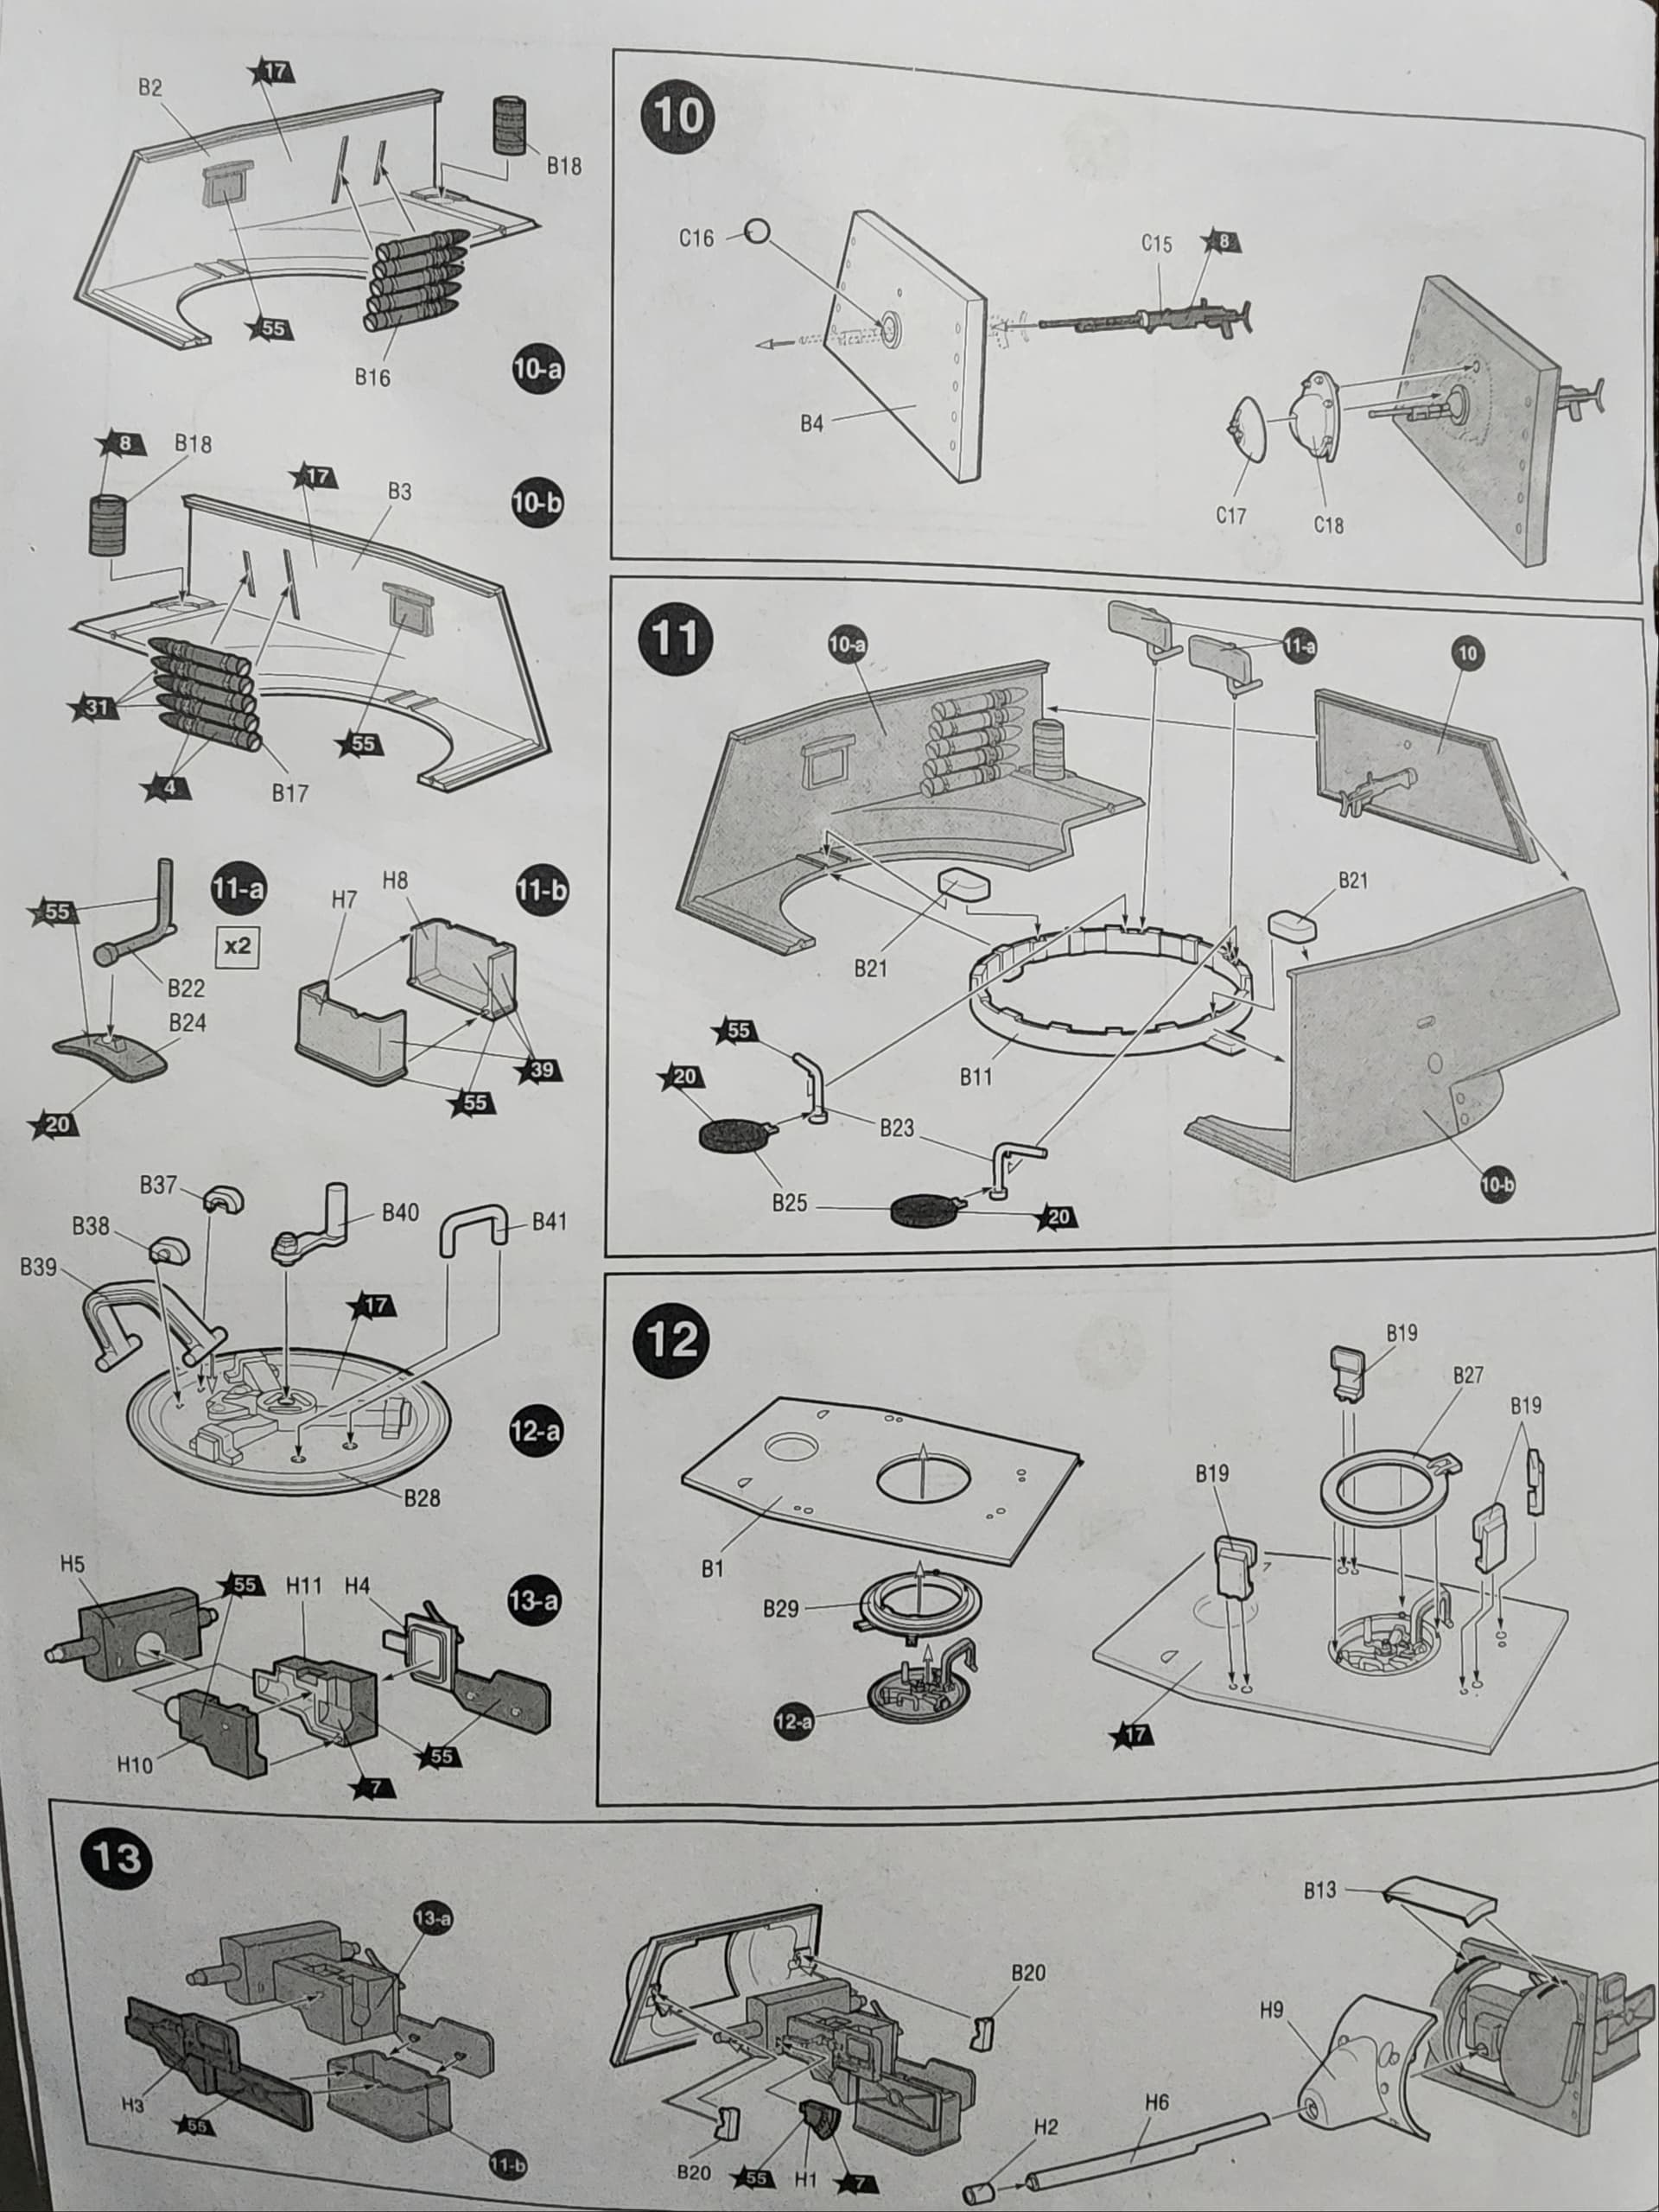
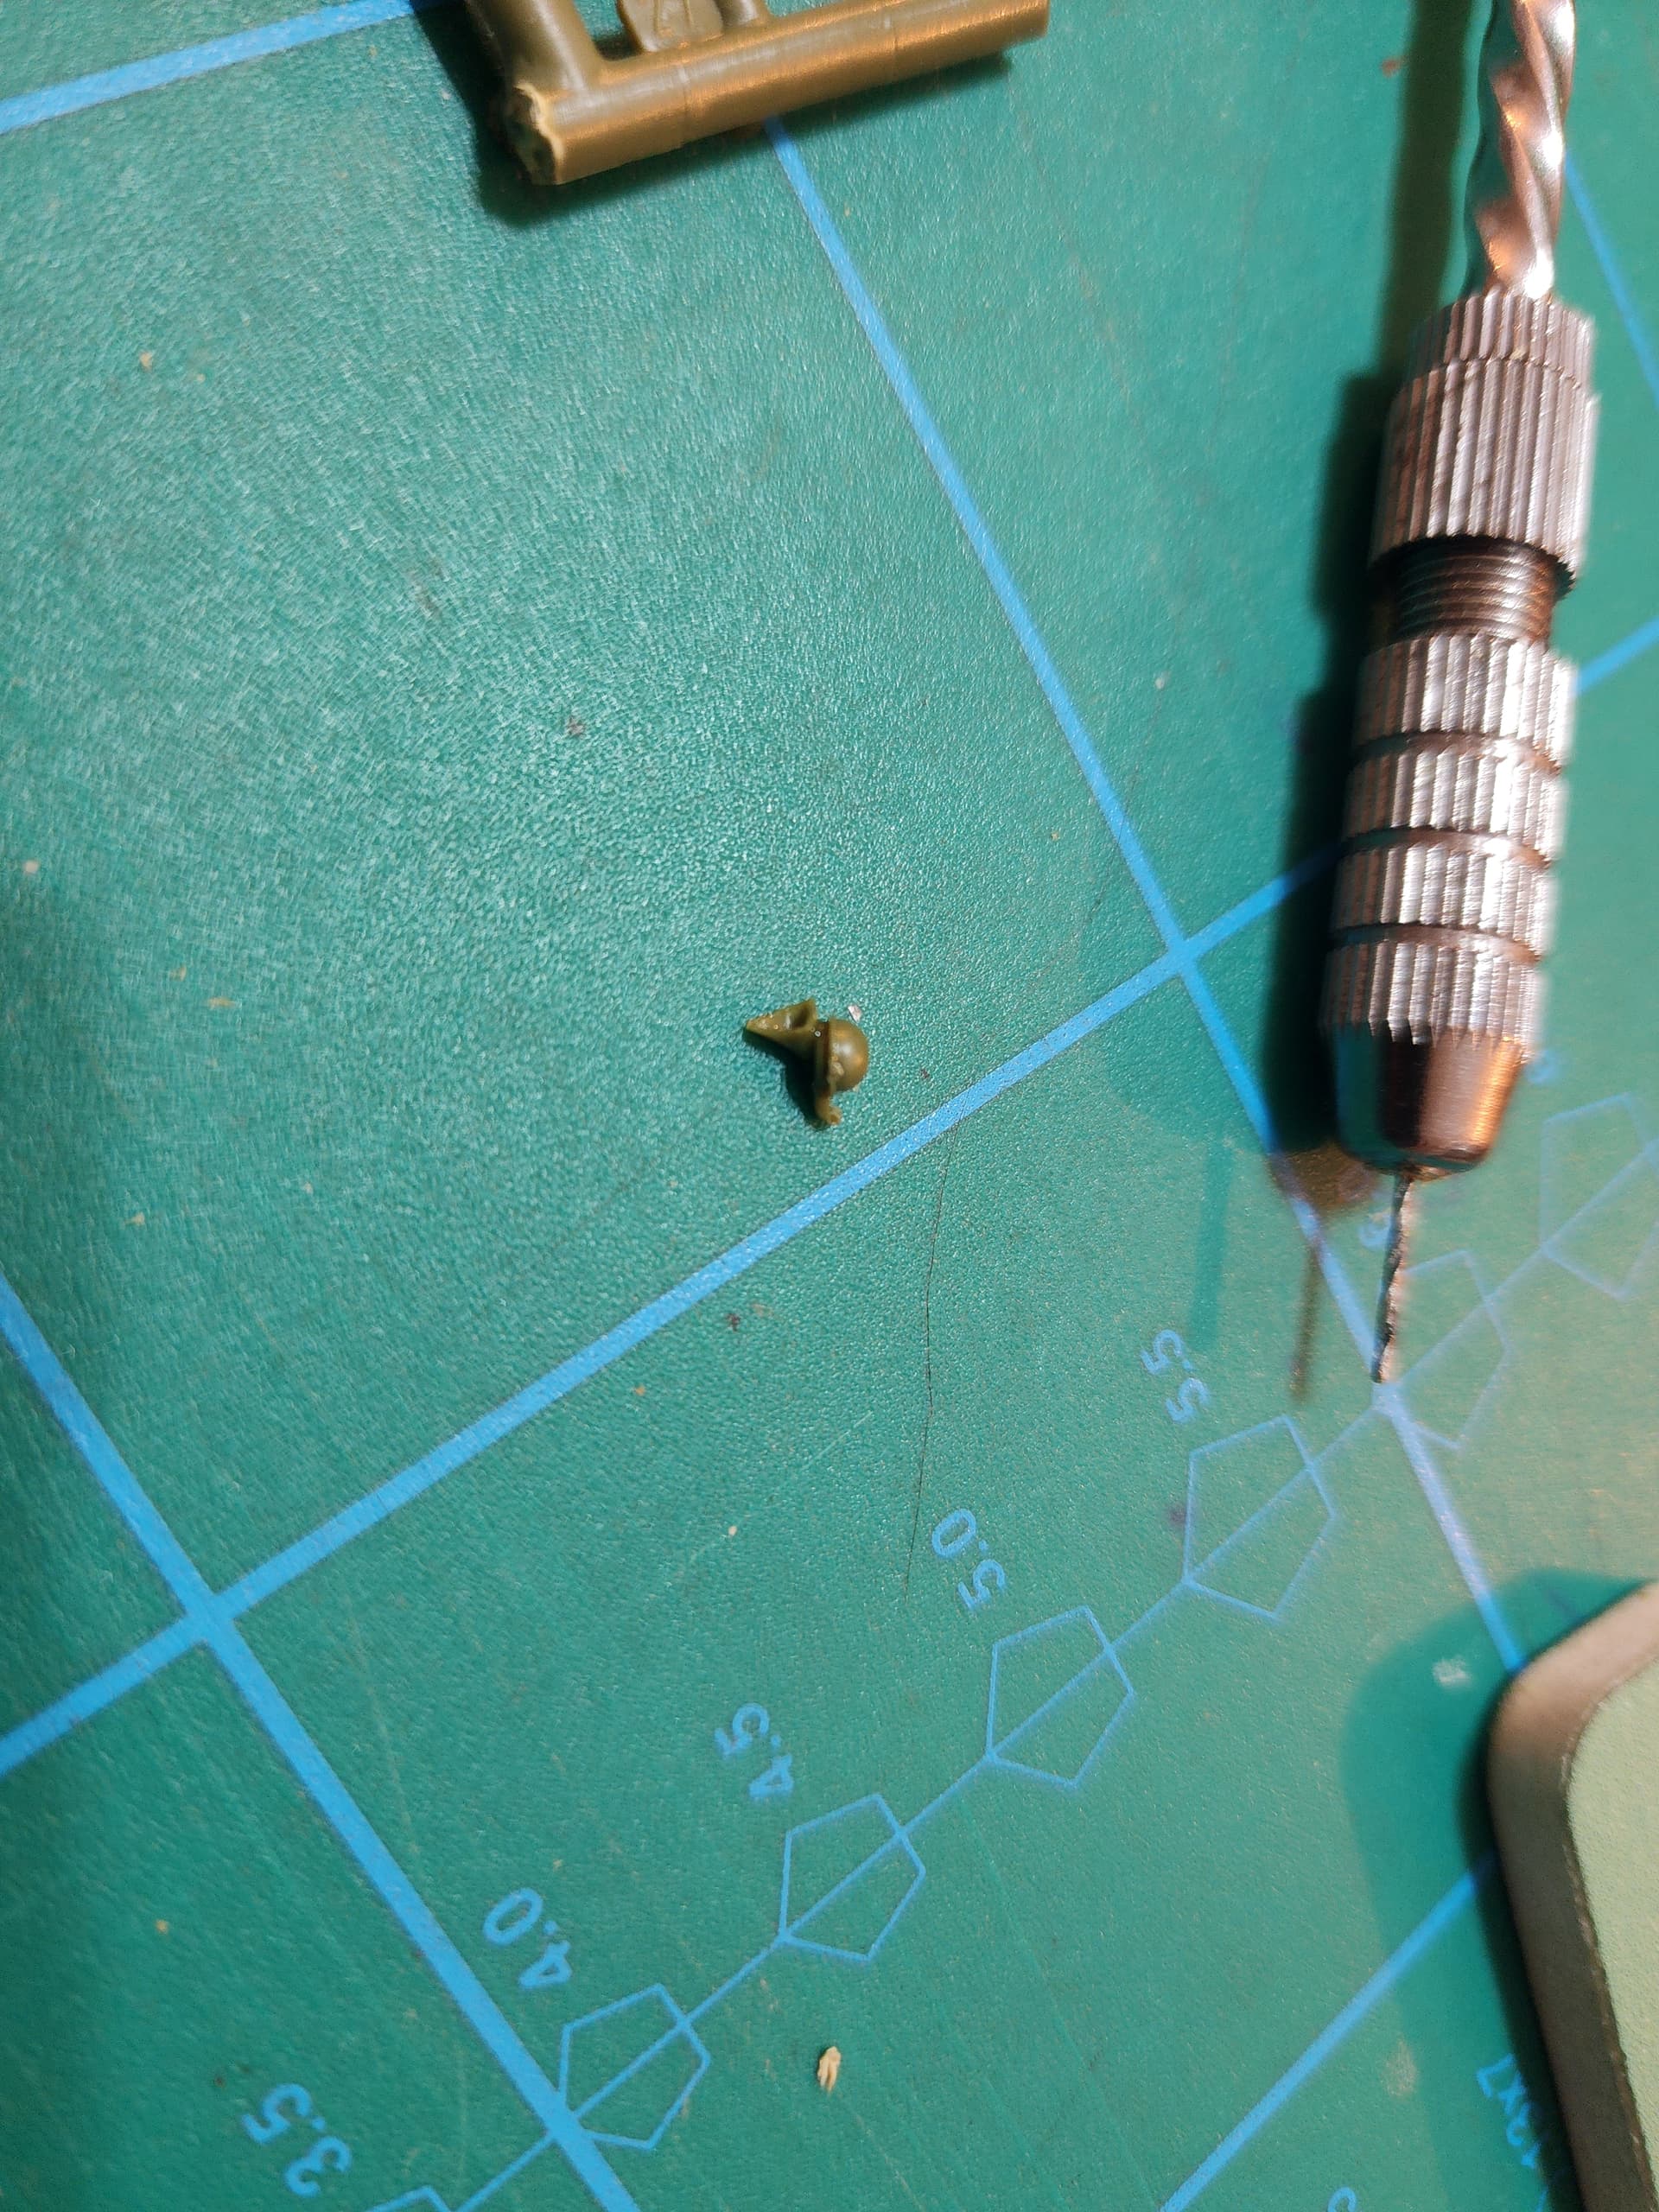
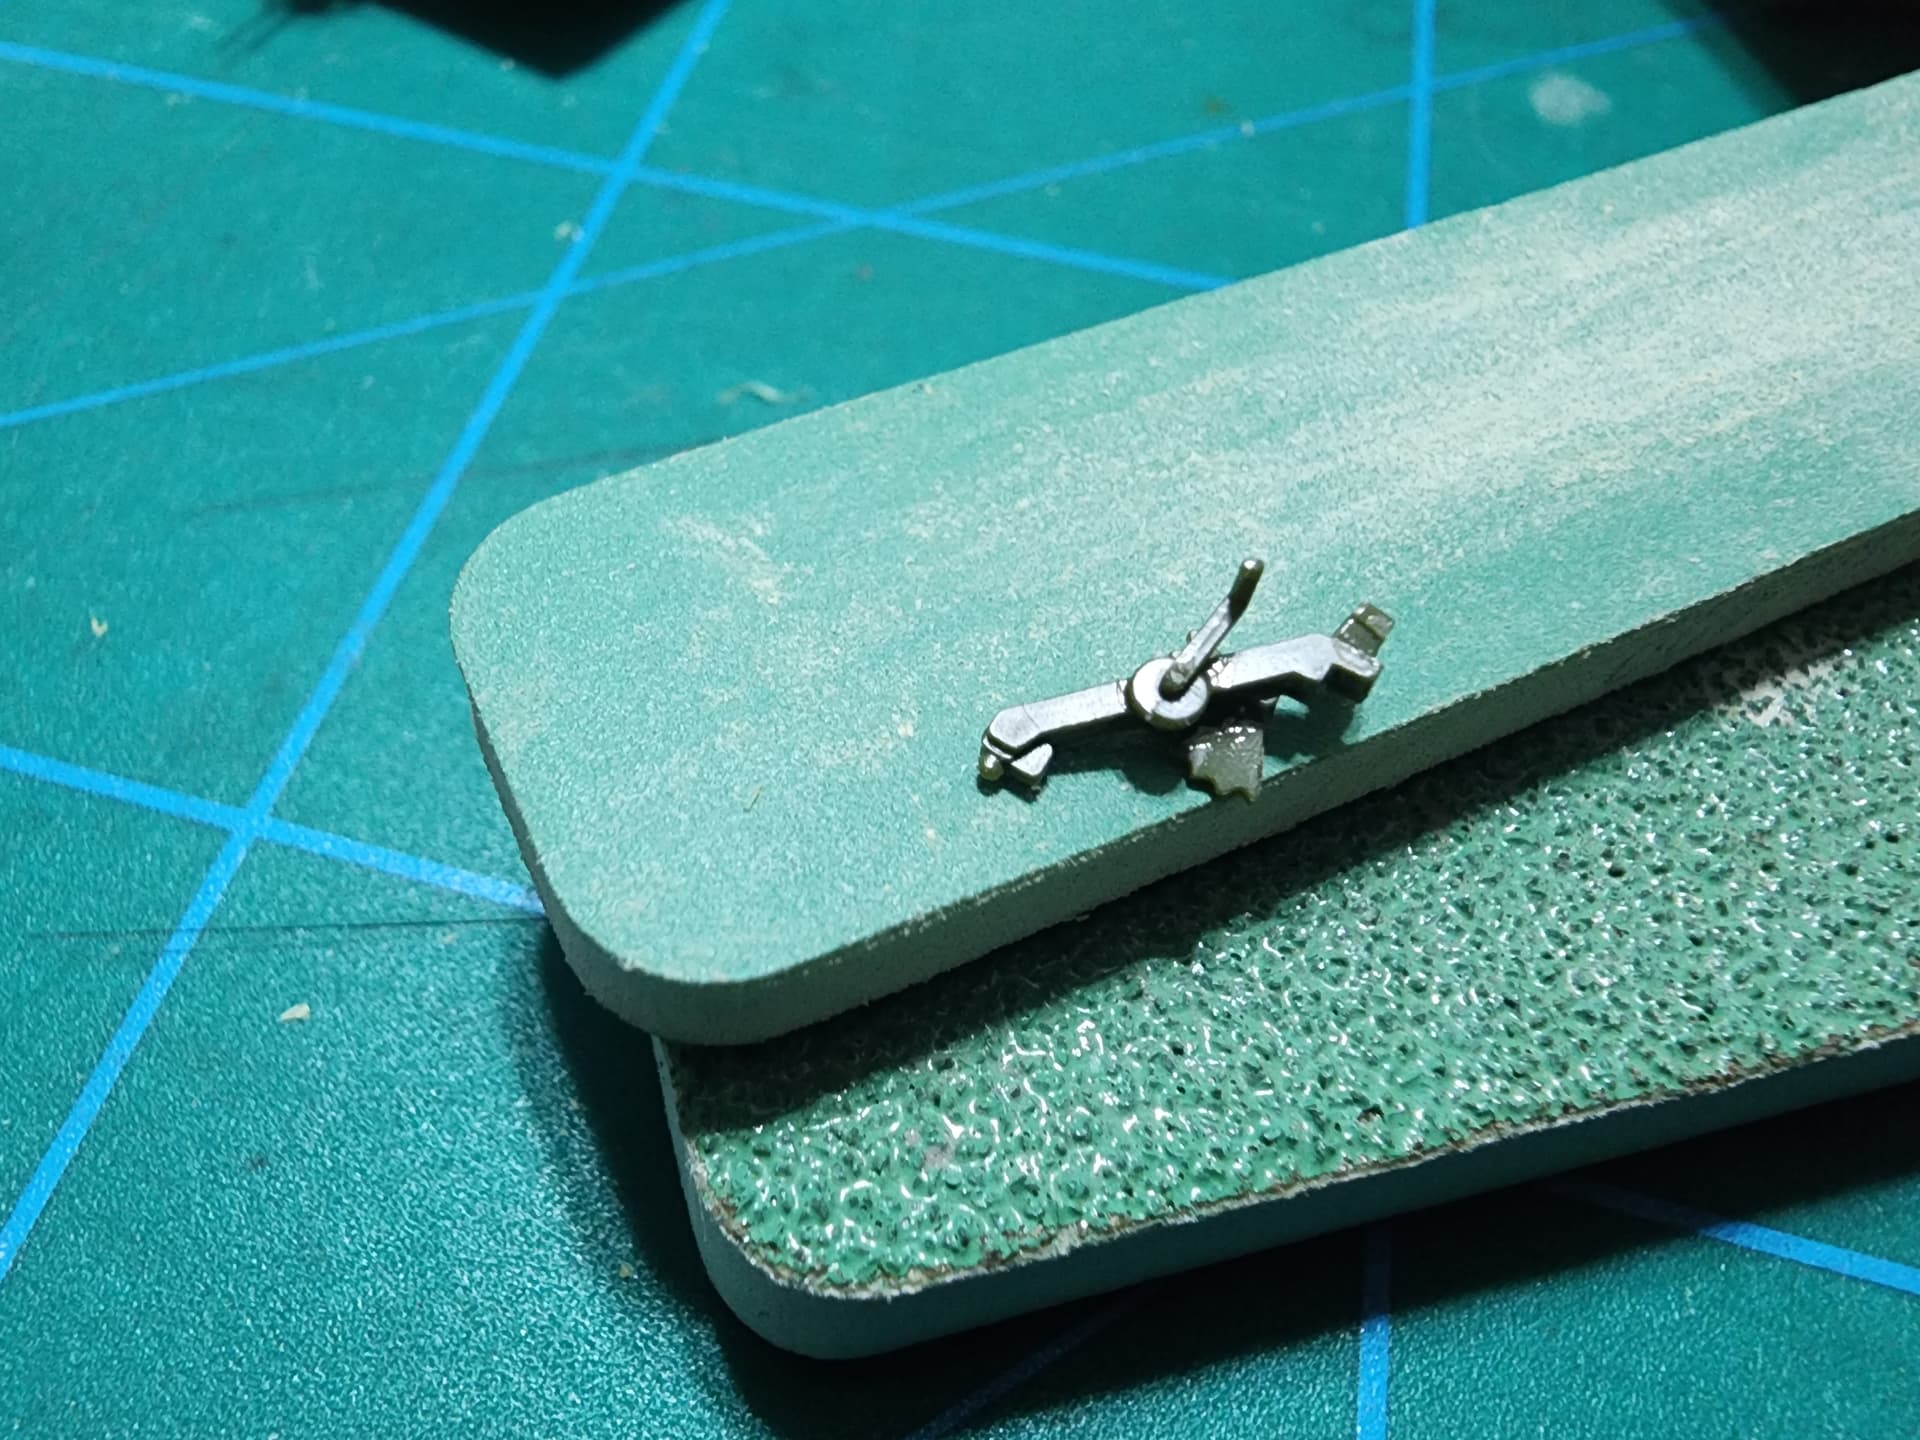
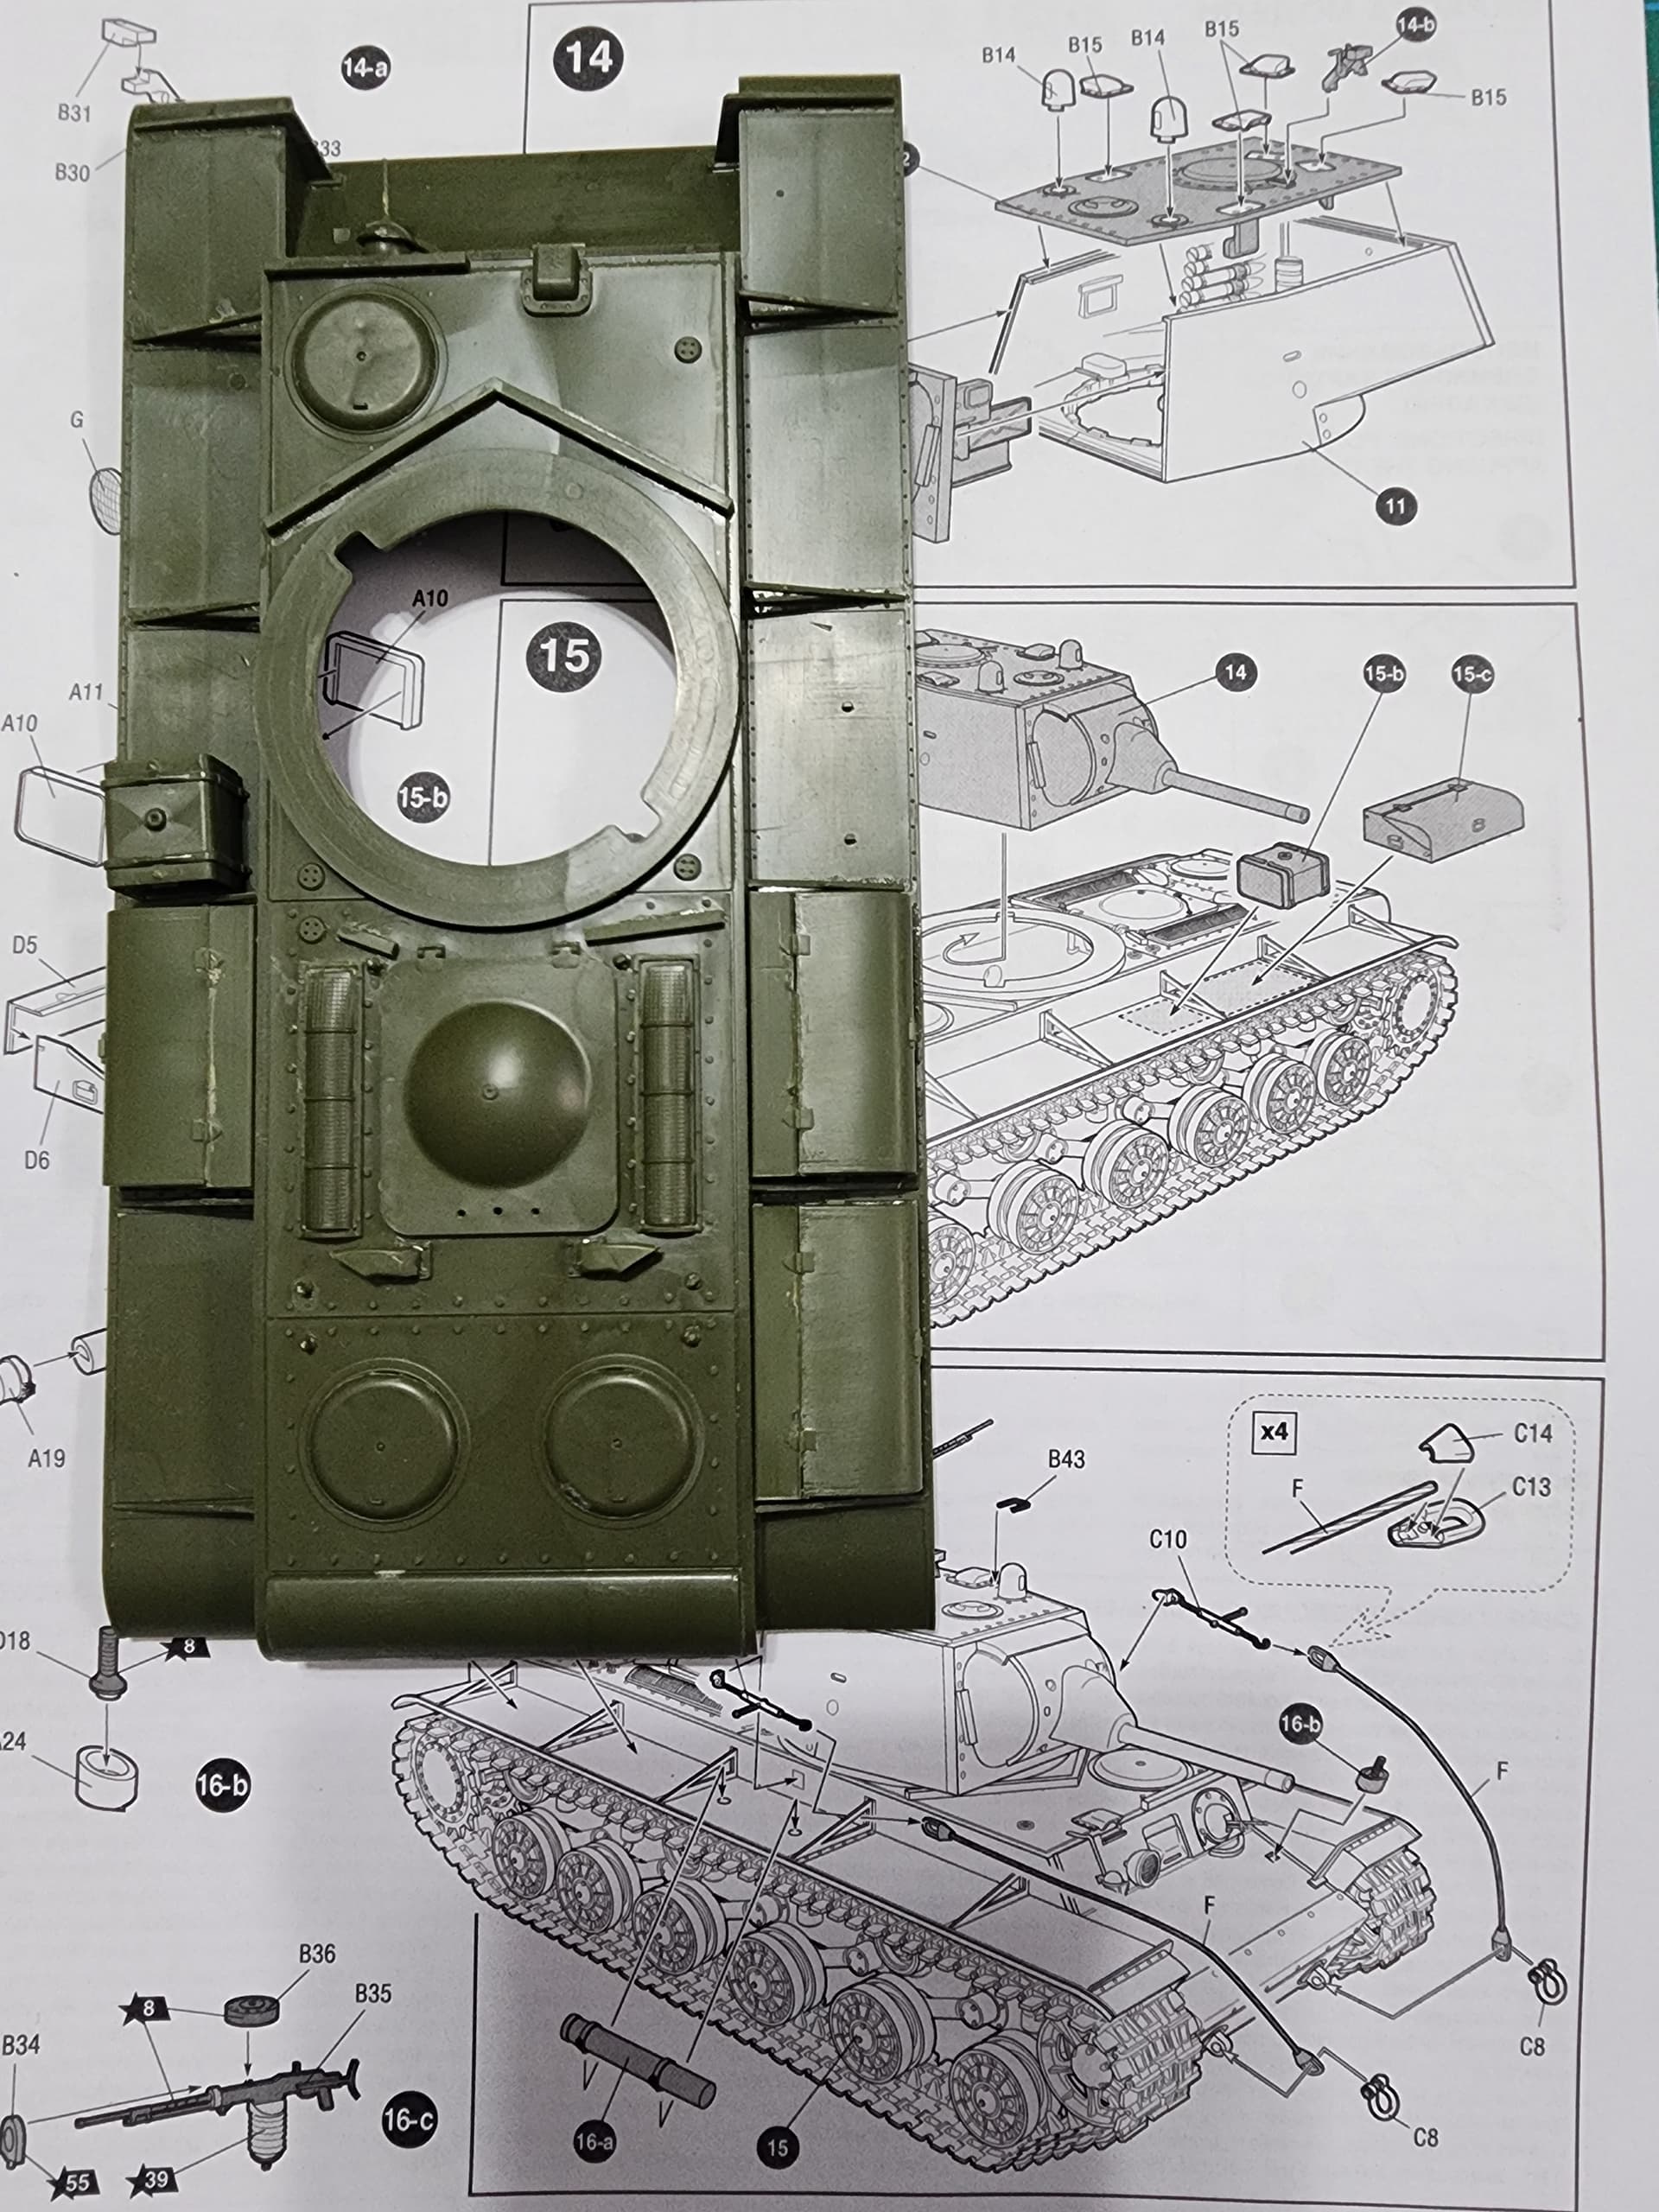
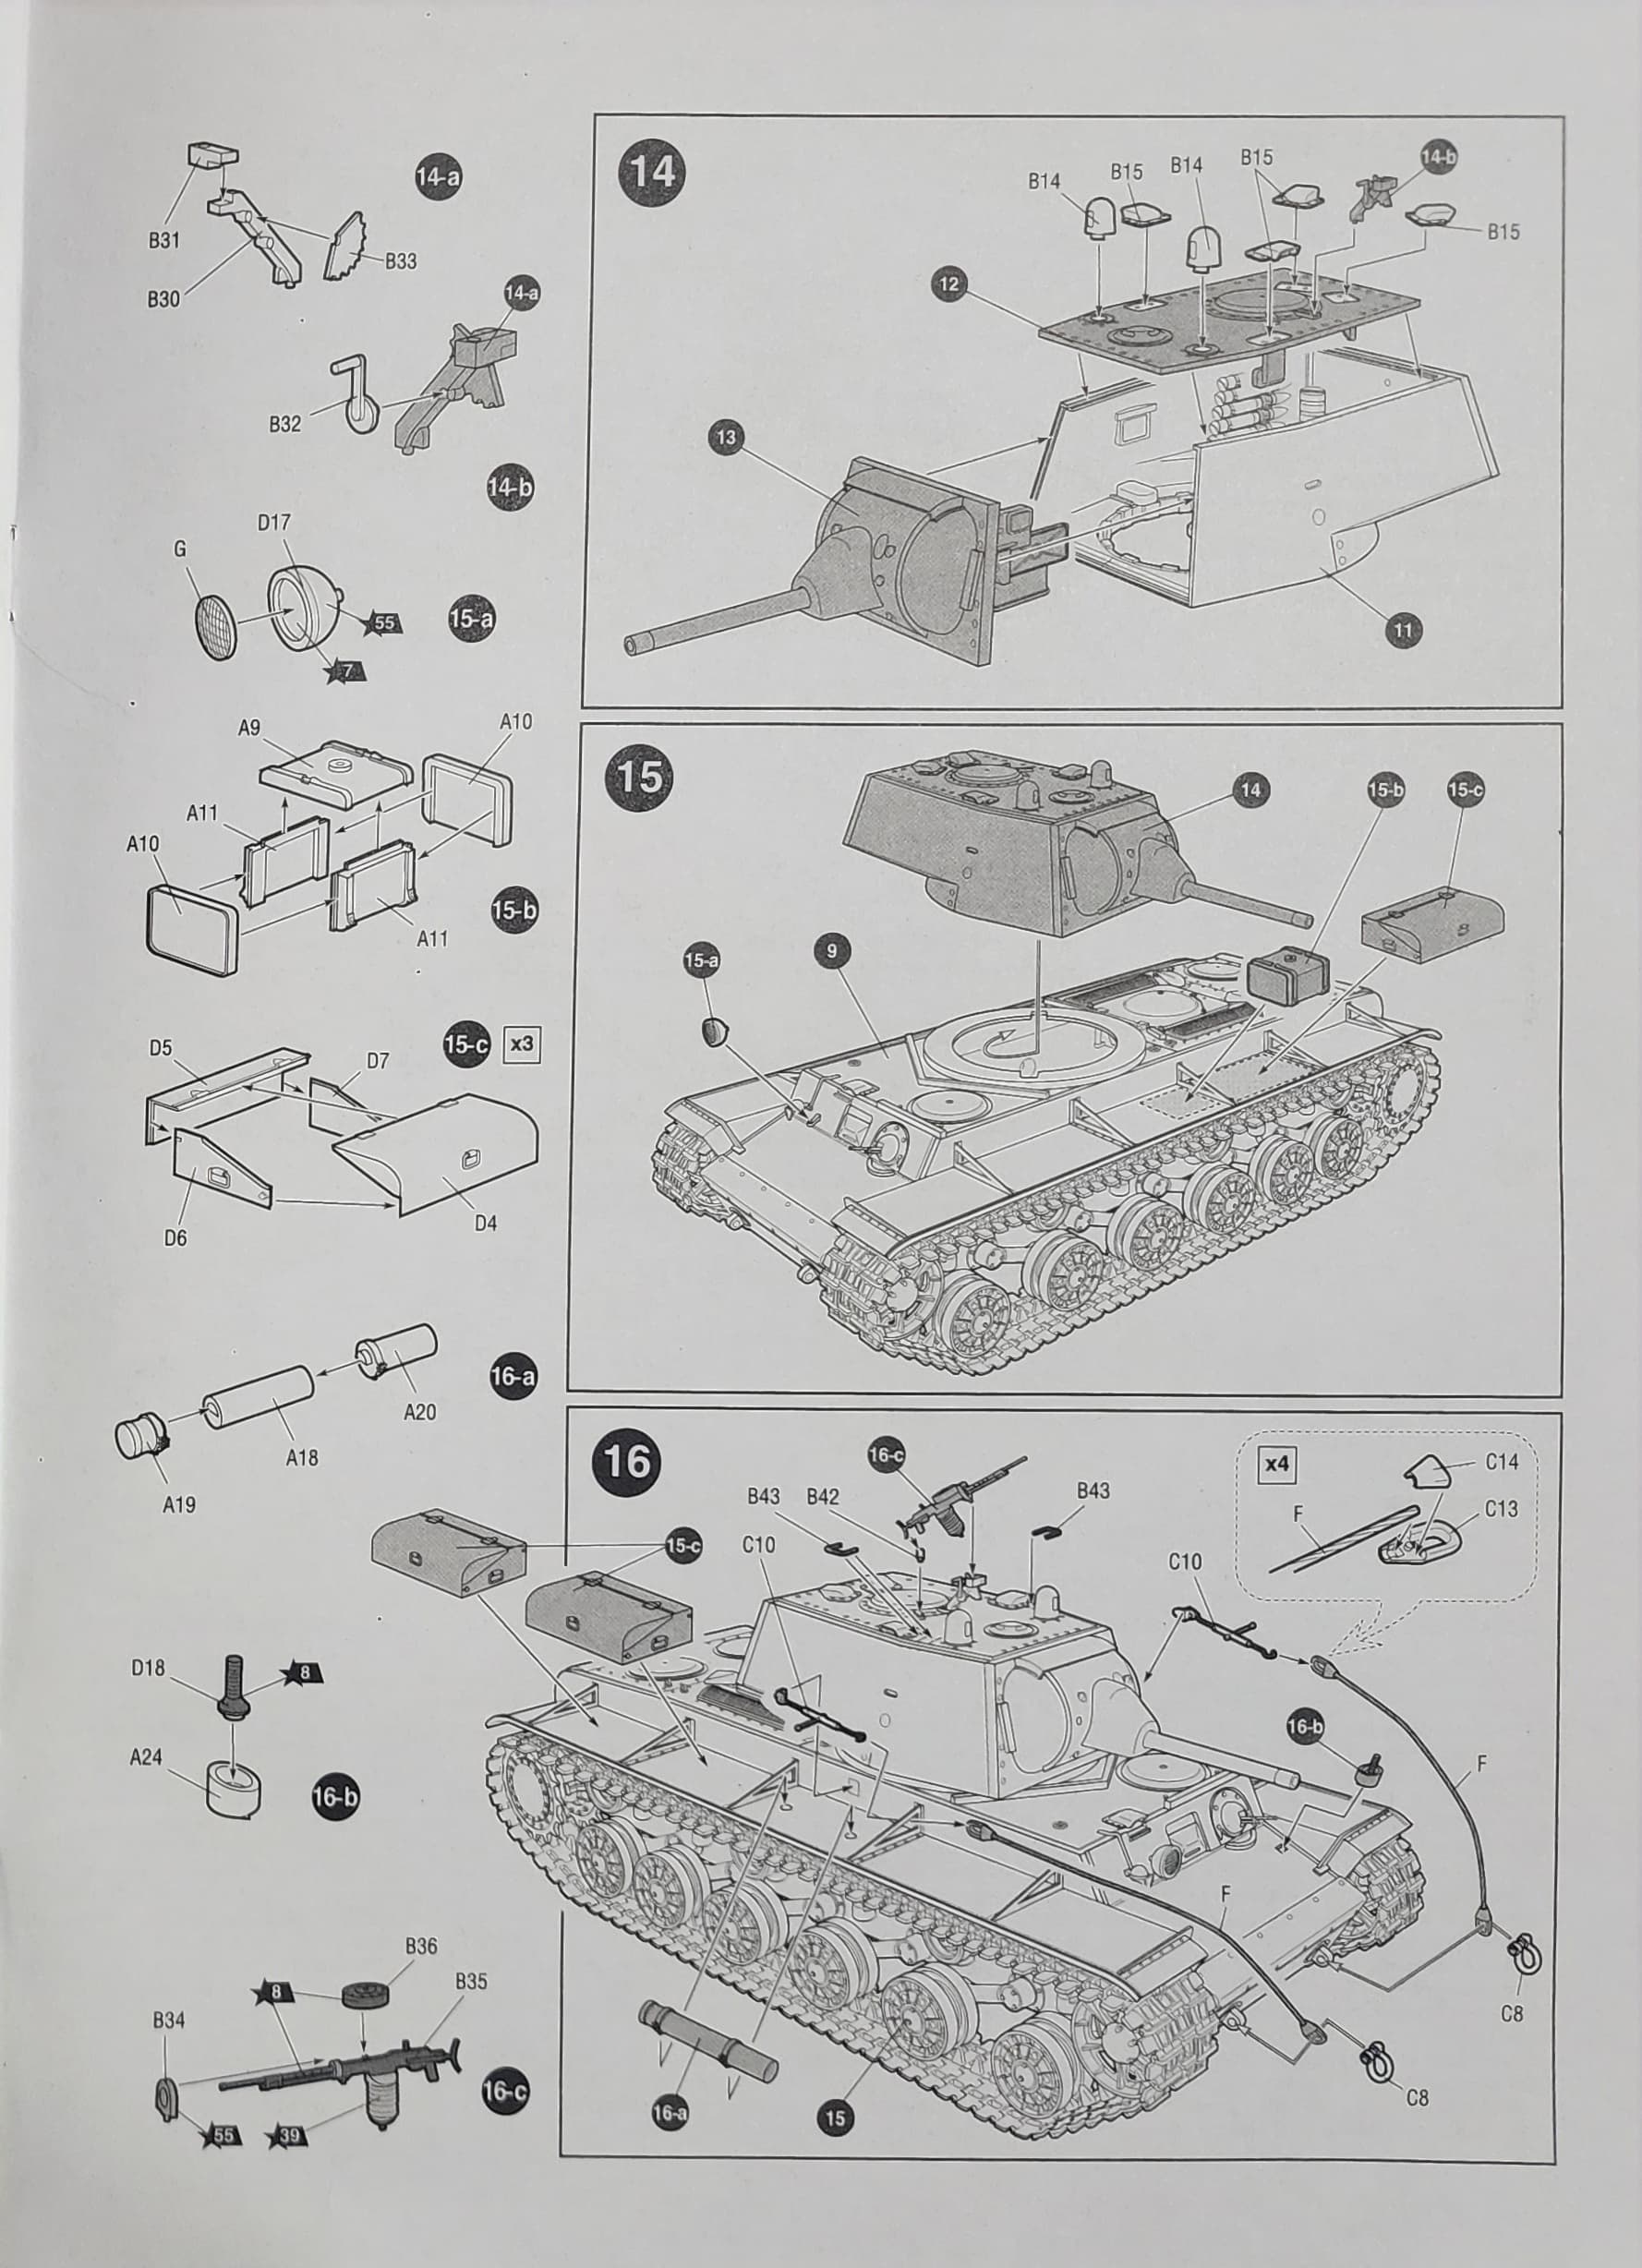
Although it doesn’t have a huge number of parts, I see a large number of tiny parts. Analyzing the instructions, they correspond to the interior or the hatch operating mechanisms. We’ll look at this aspect during assembly, but in general, I’m going to skip assembling the interior.


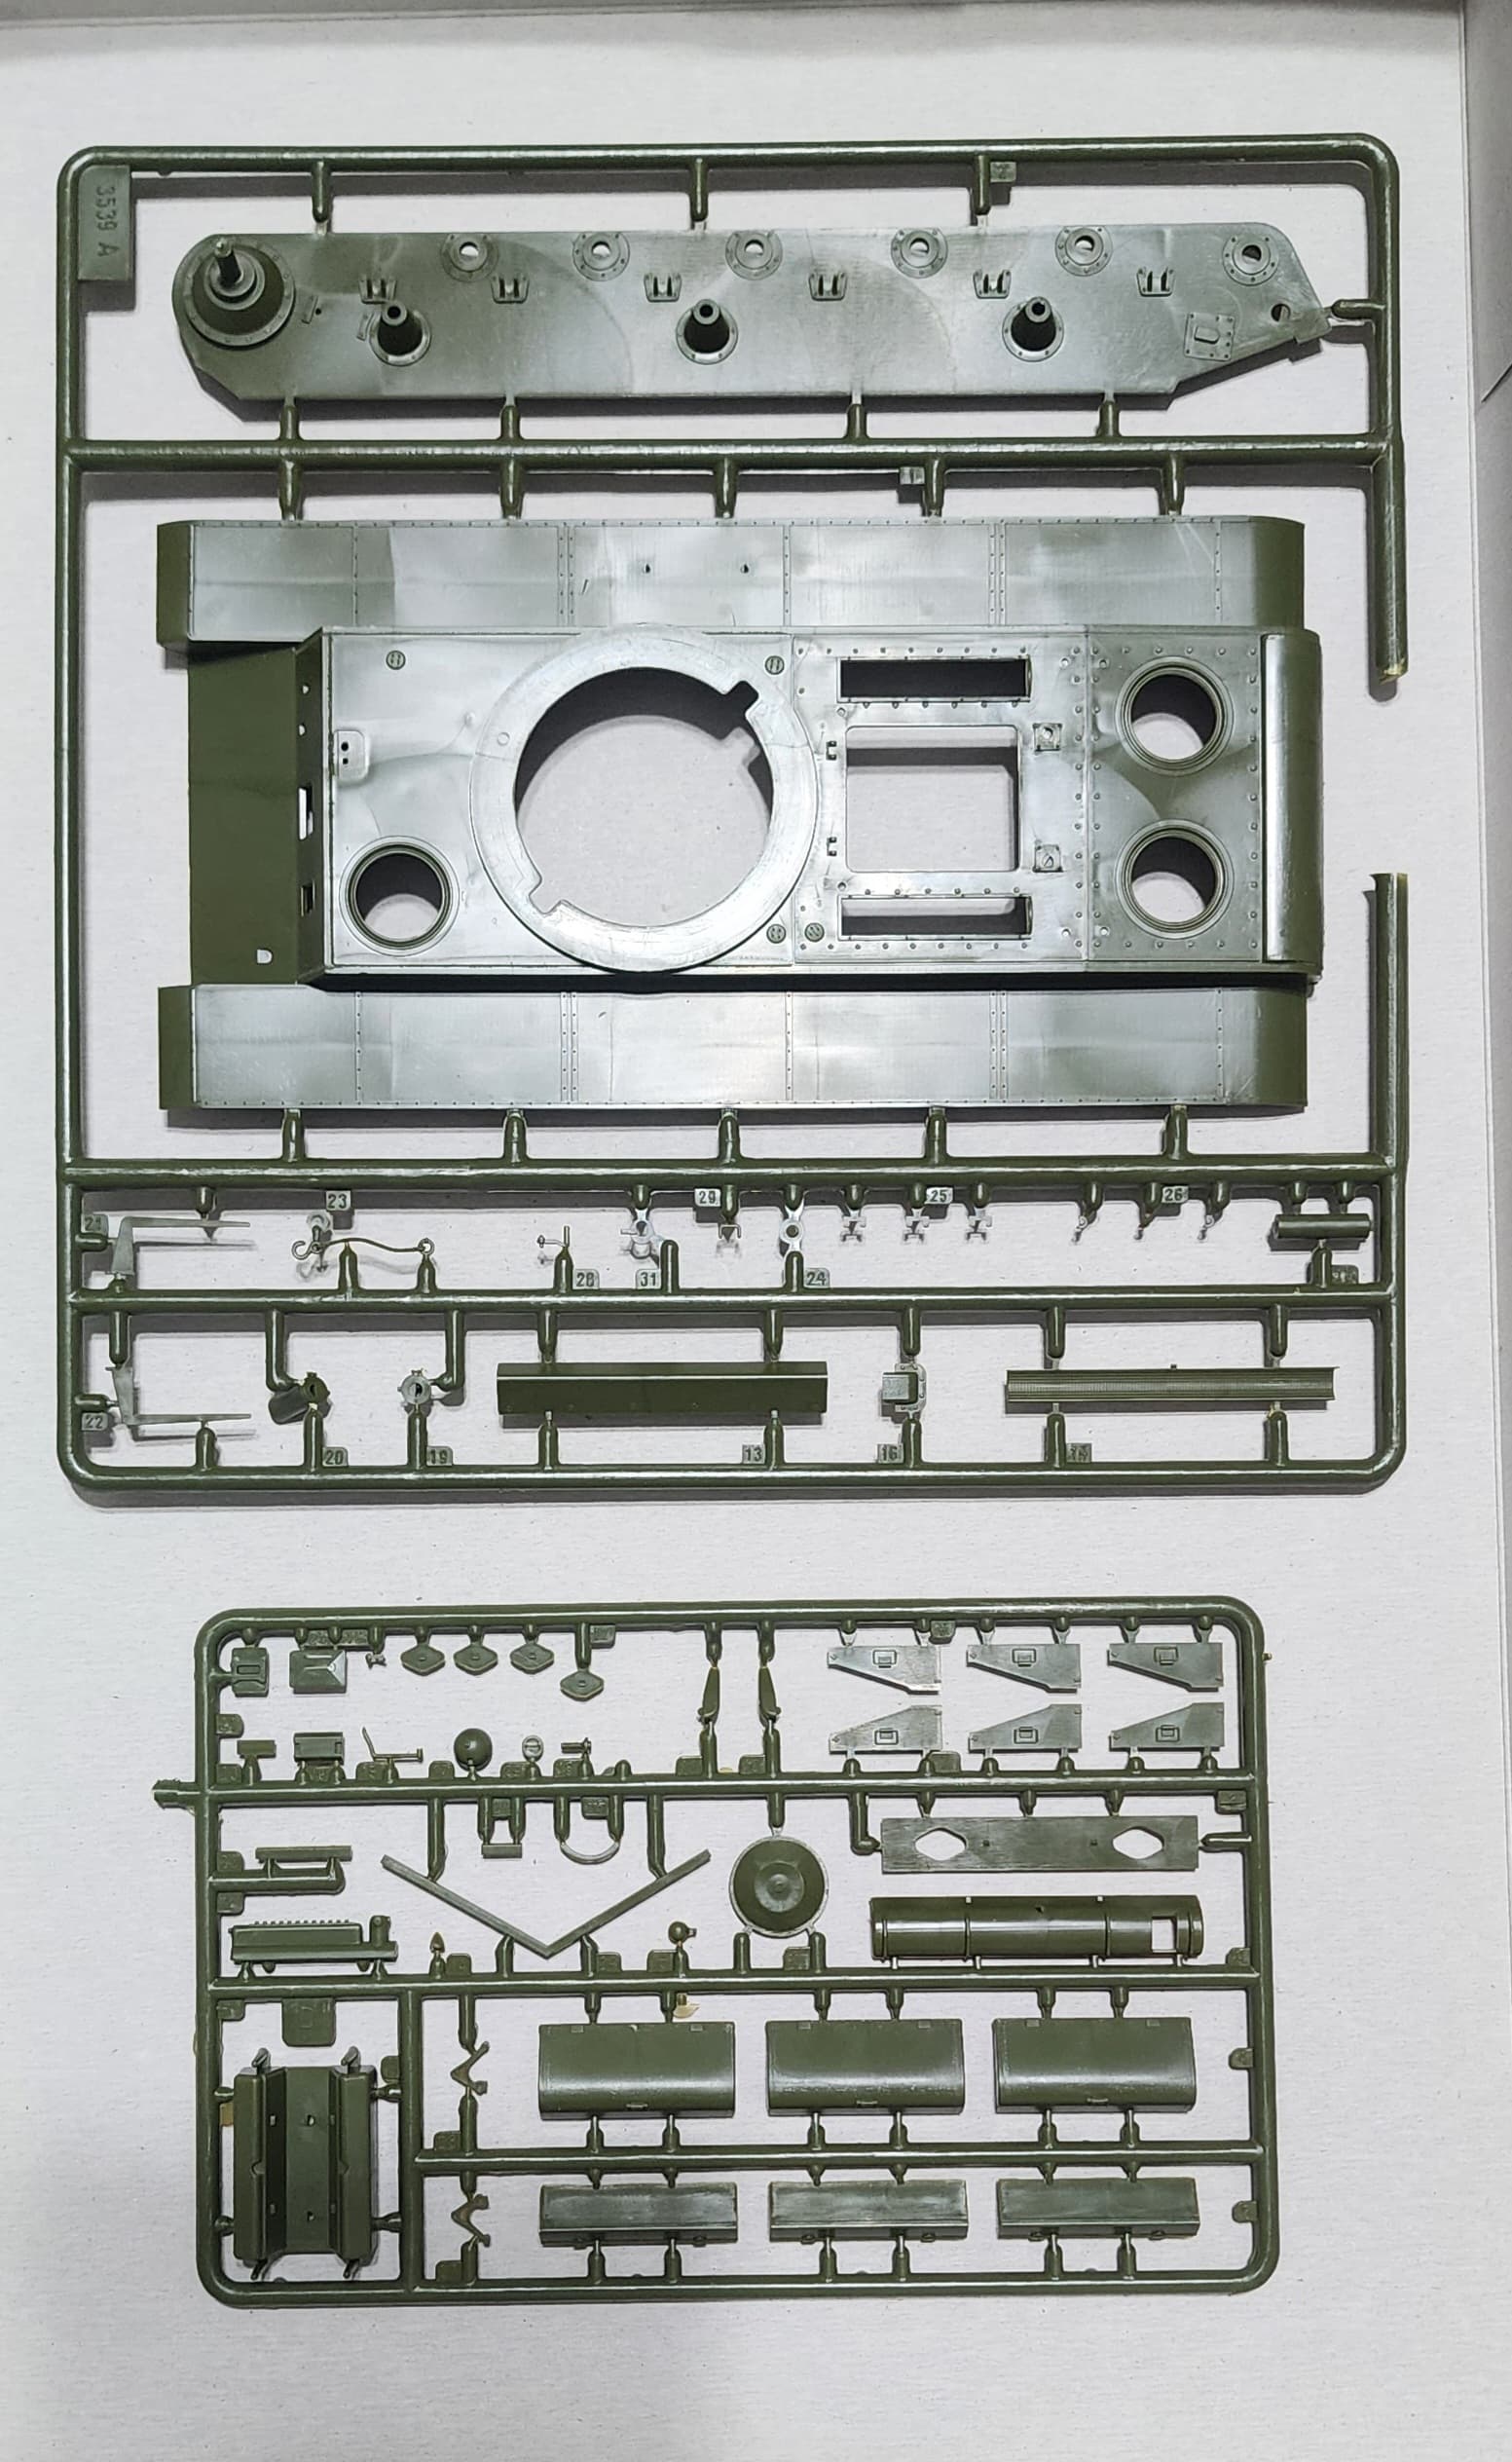
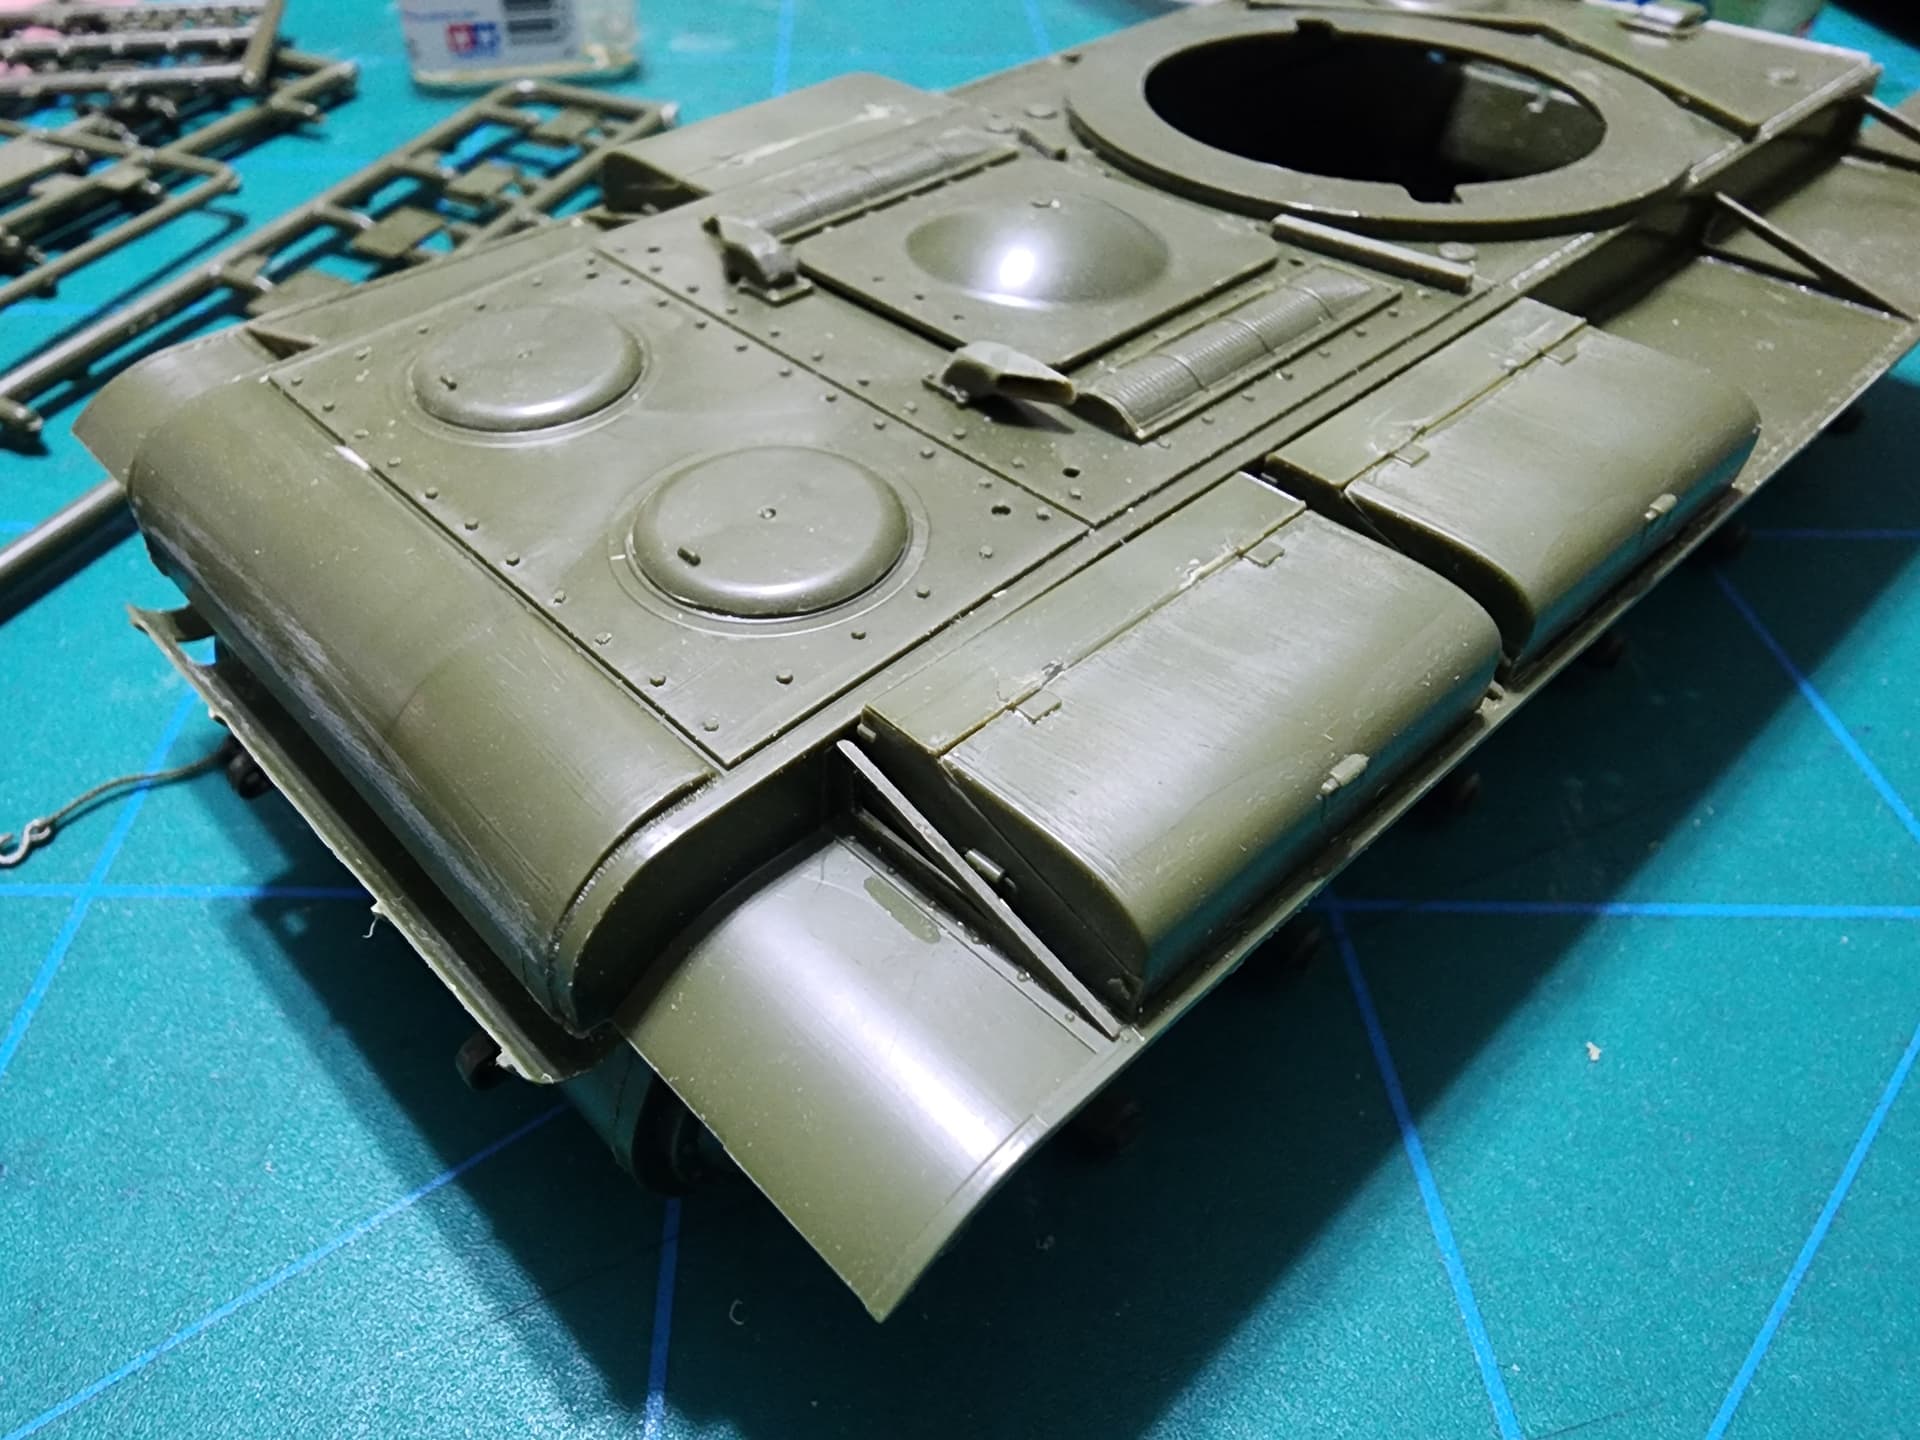
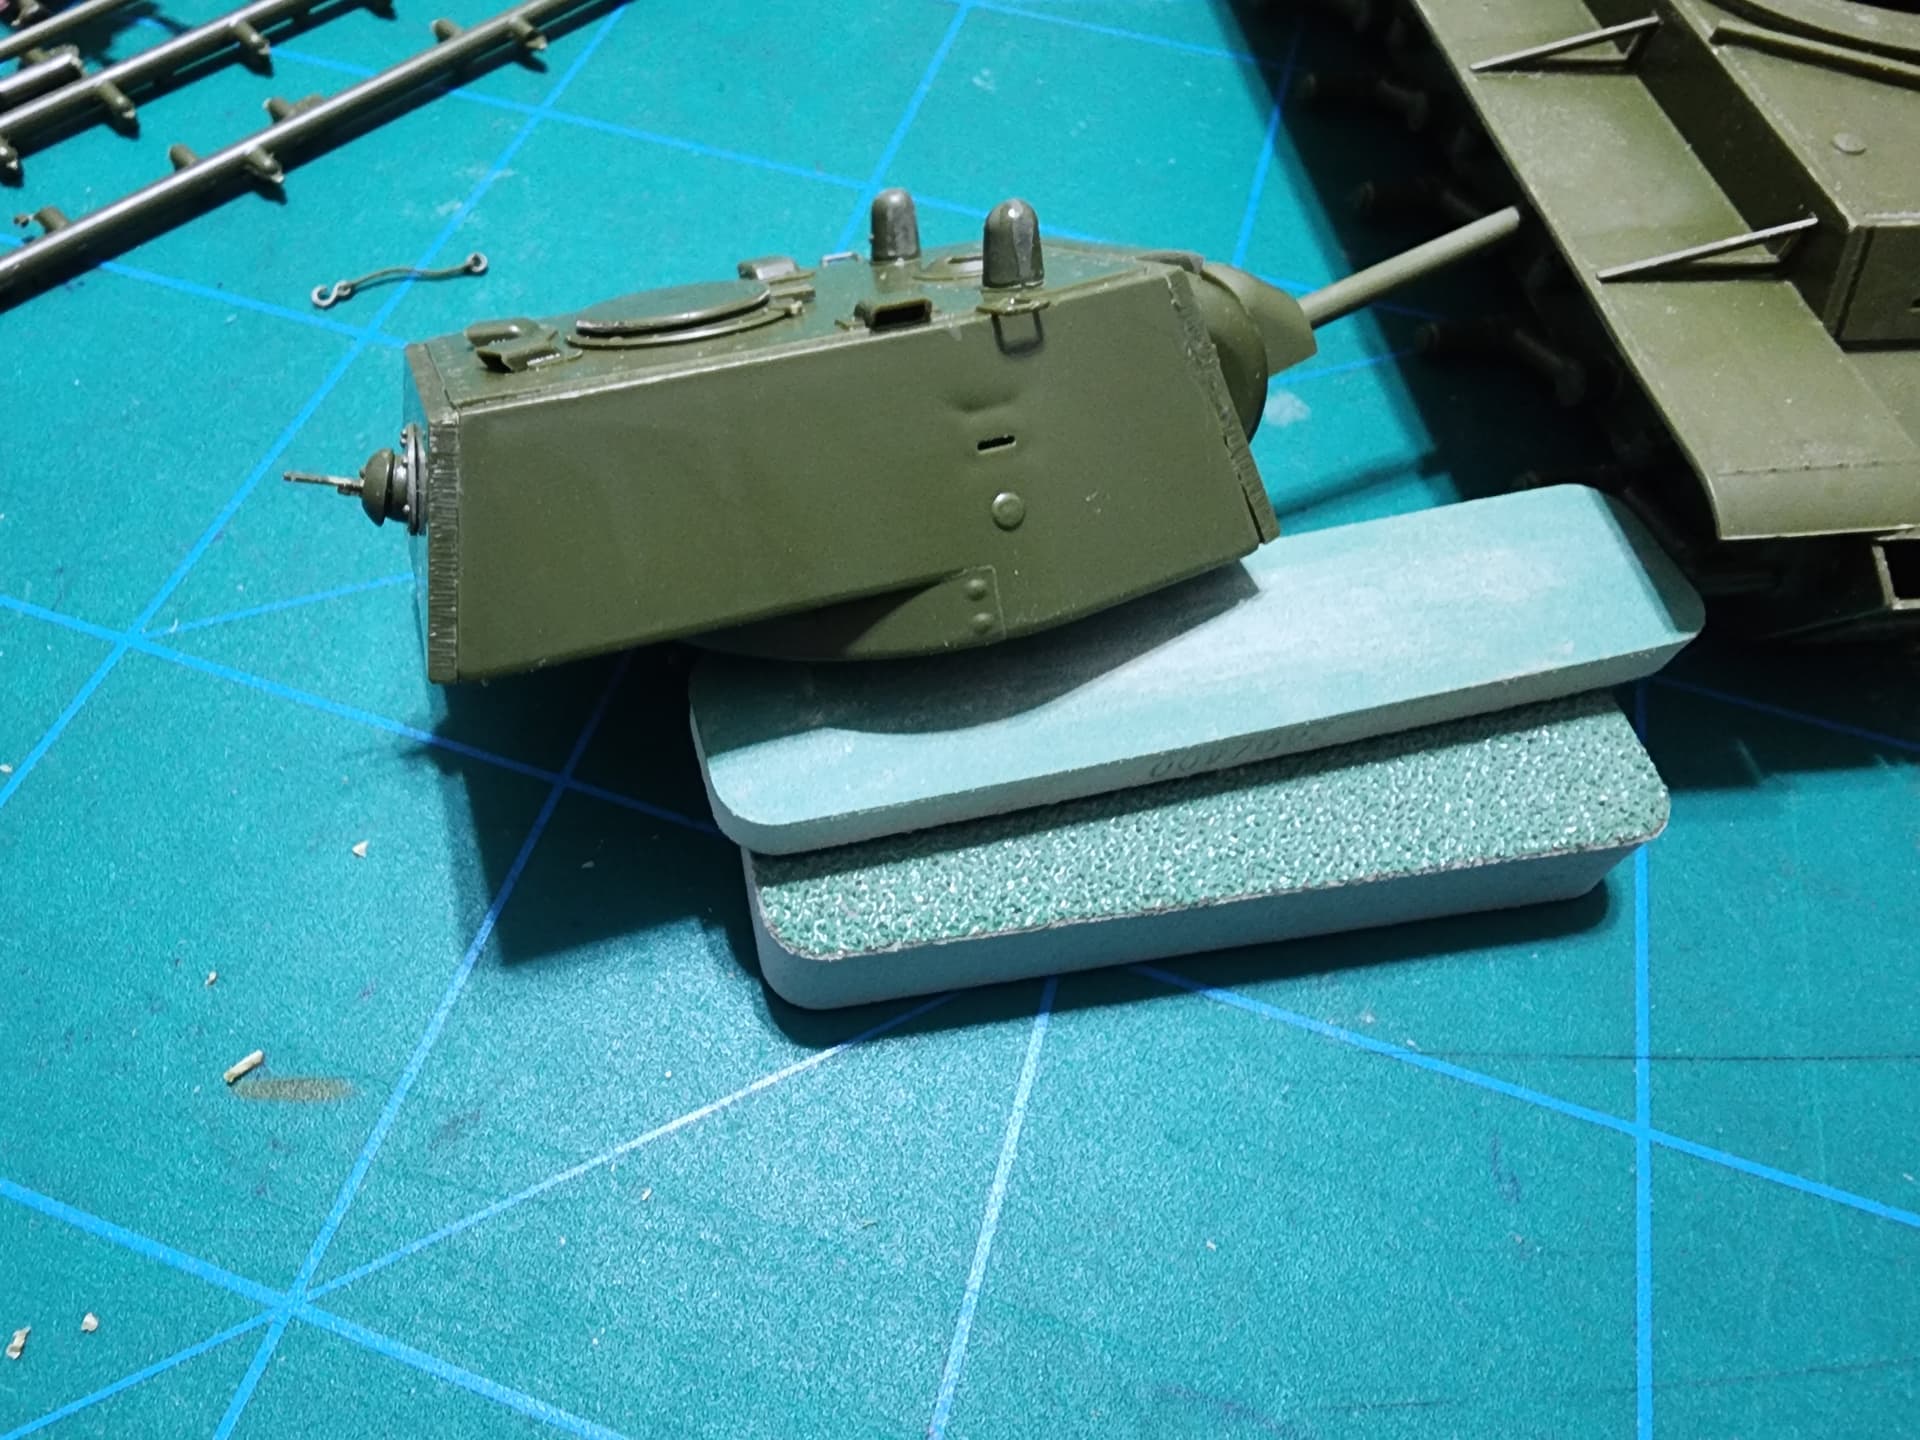
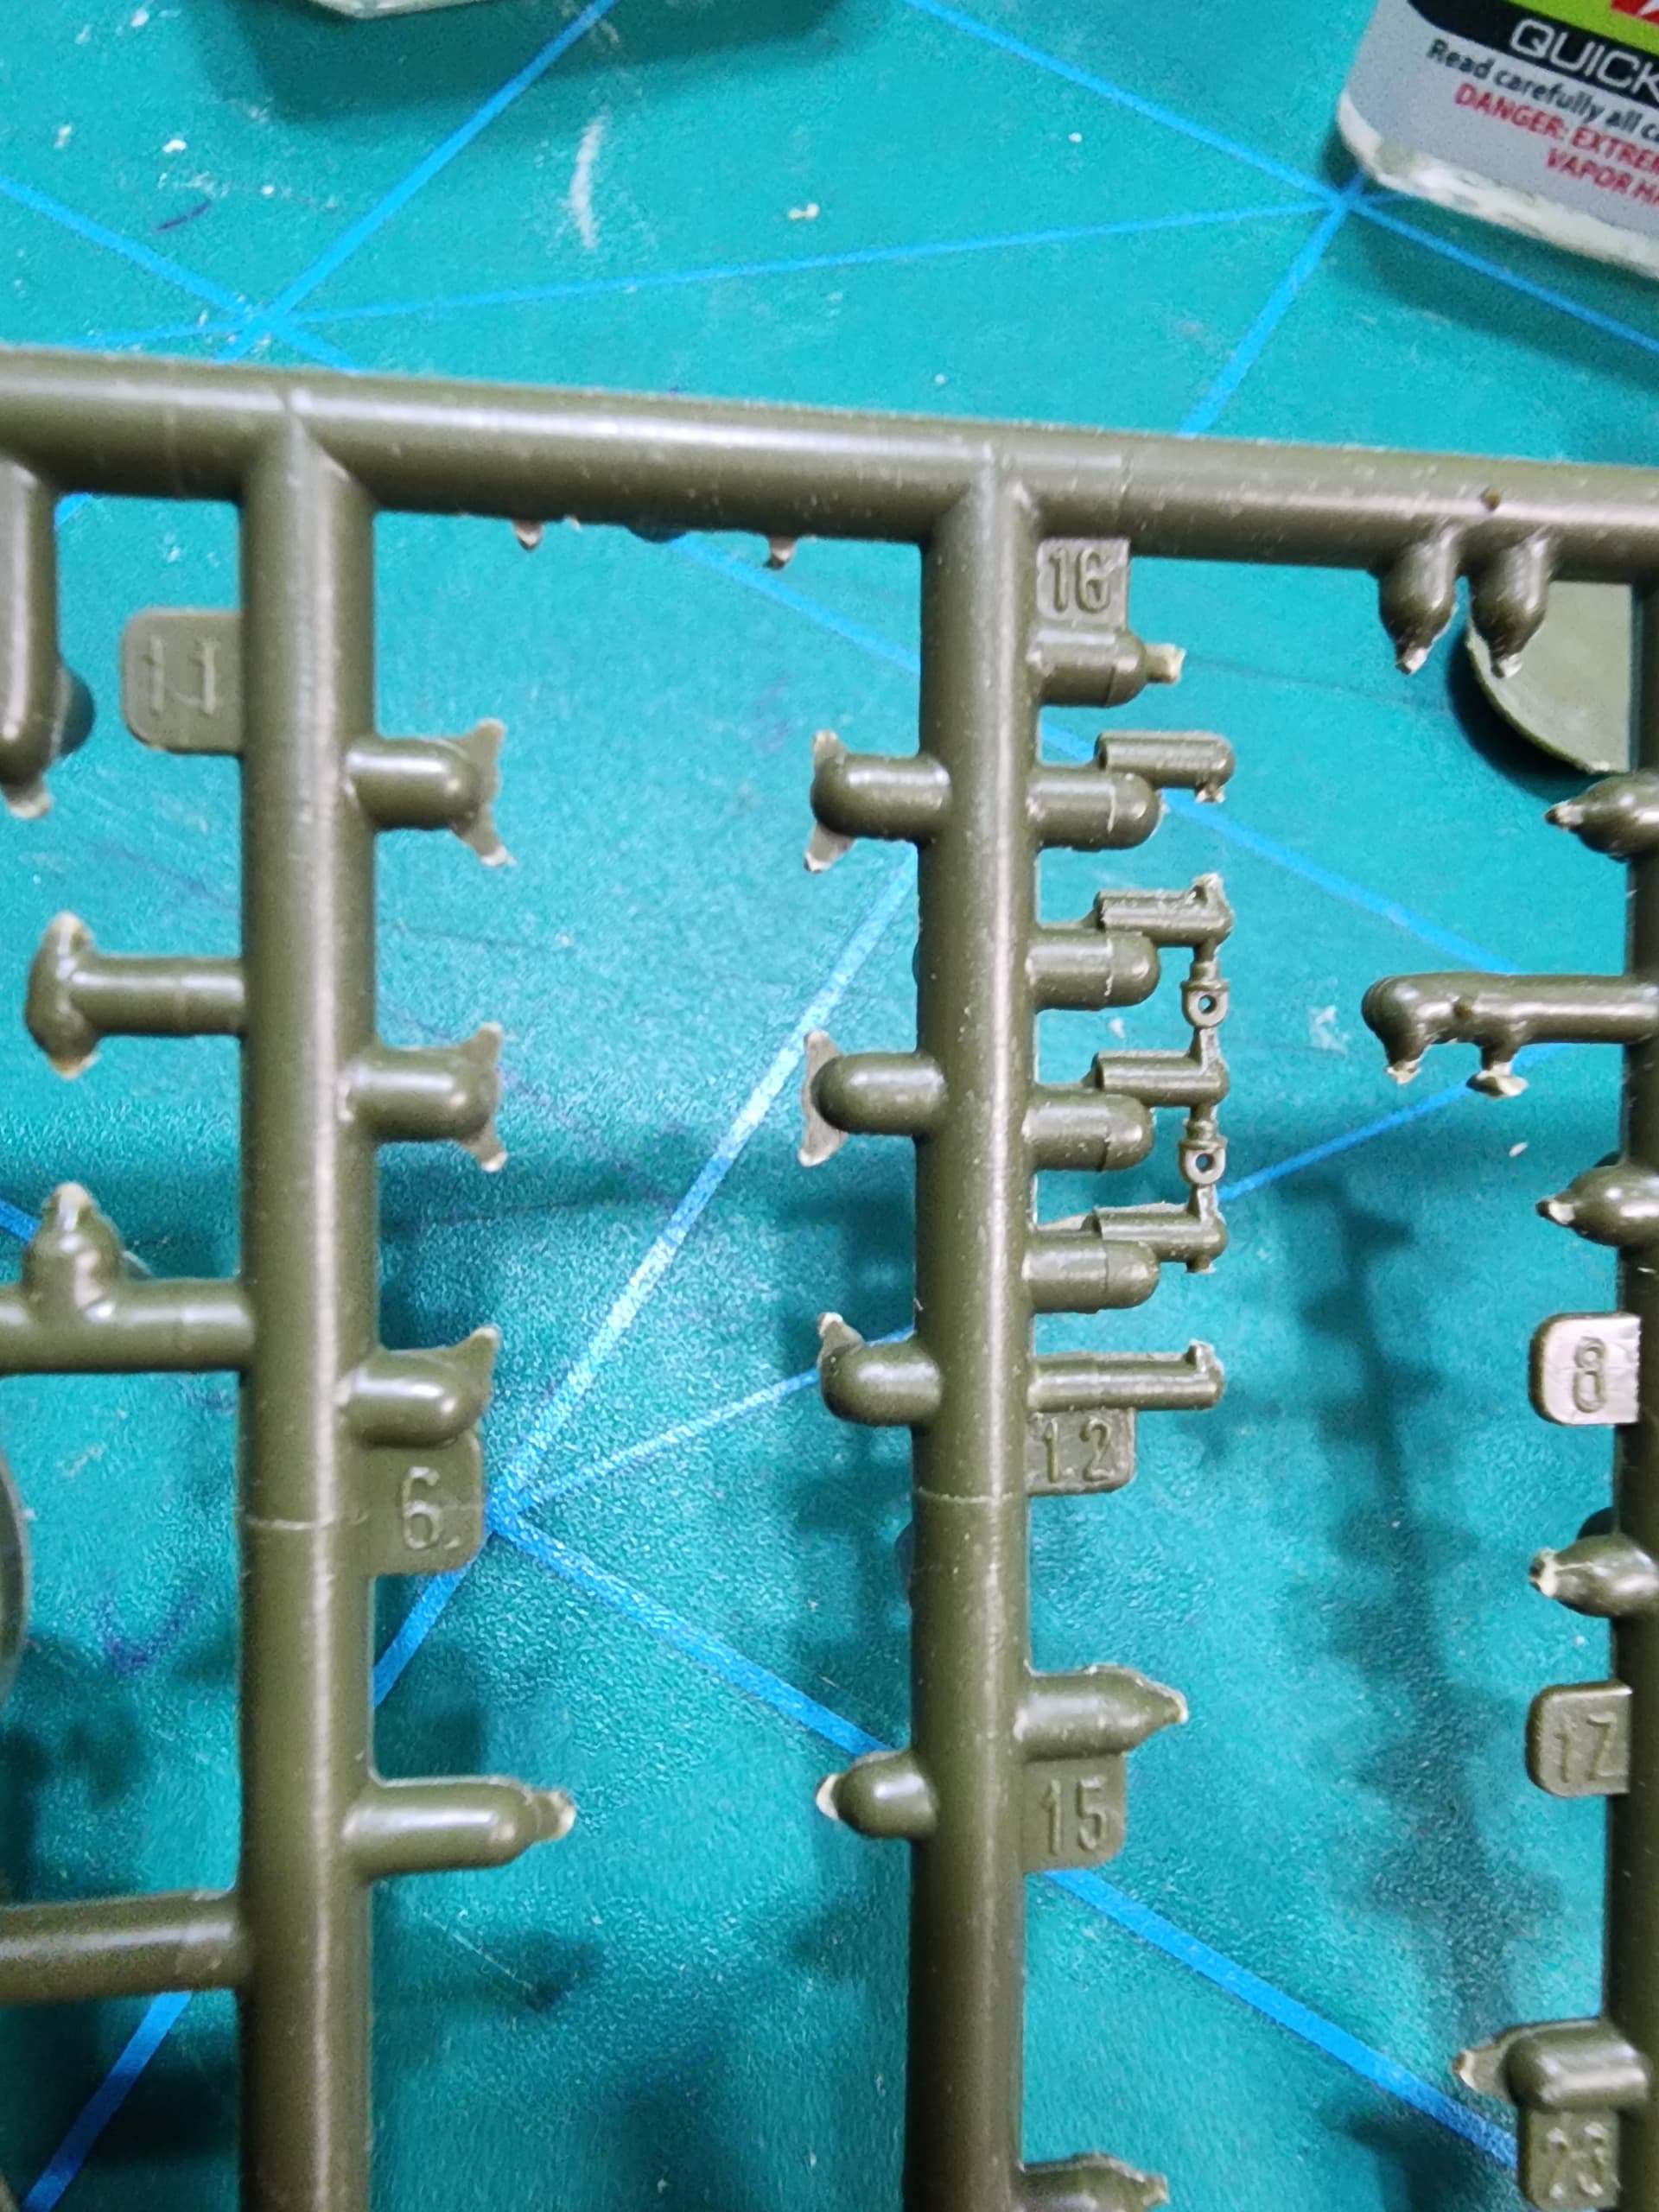
The parts look very well molded; most of them have no marks or burrs. The turret has some interior details that can help when a hatch is left open. The covers for these are detailed on the inside.
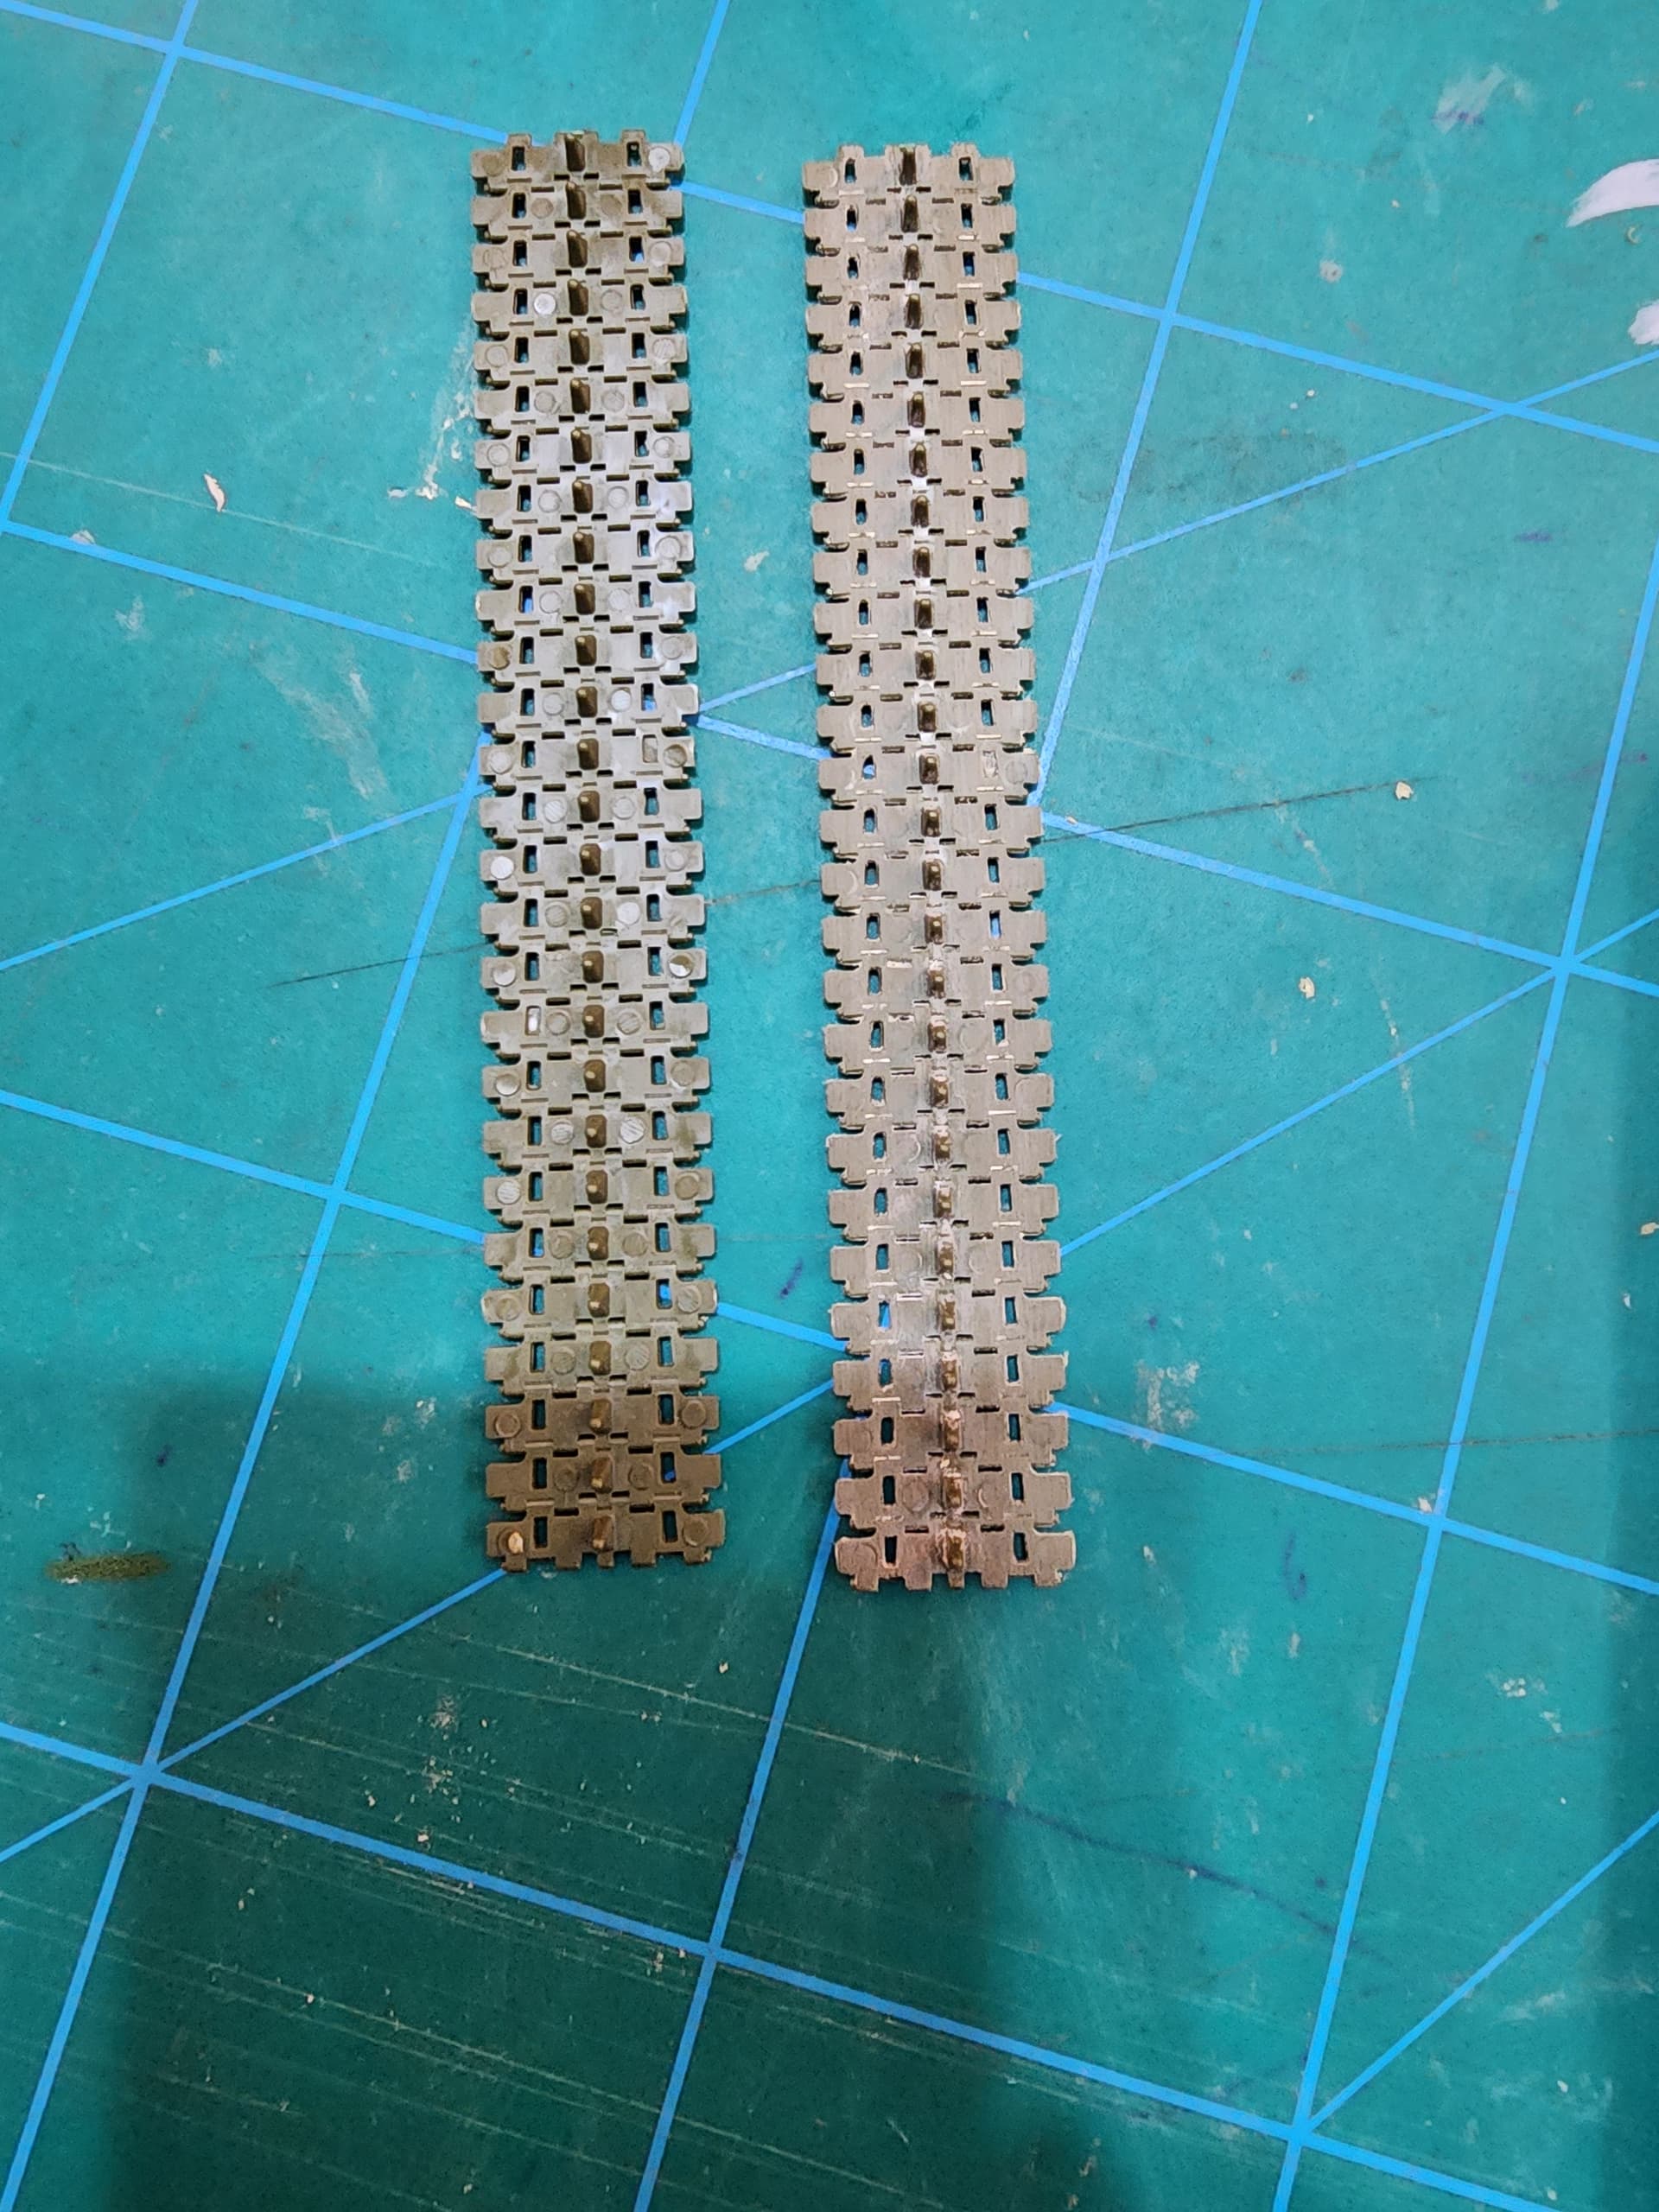
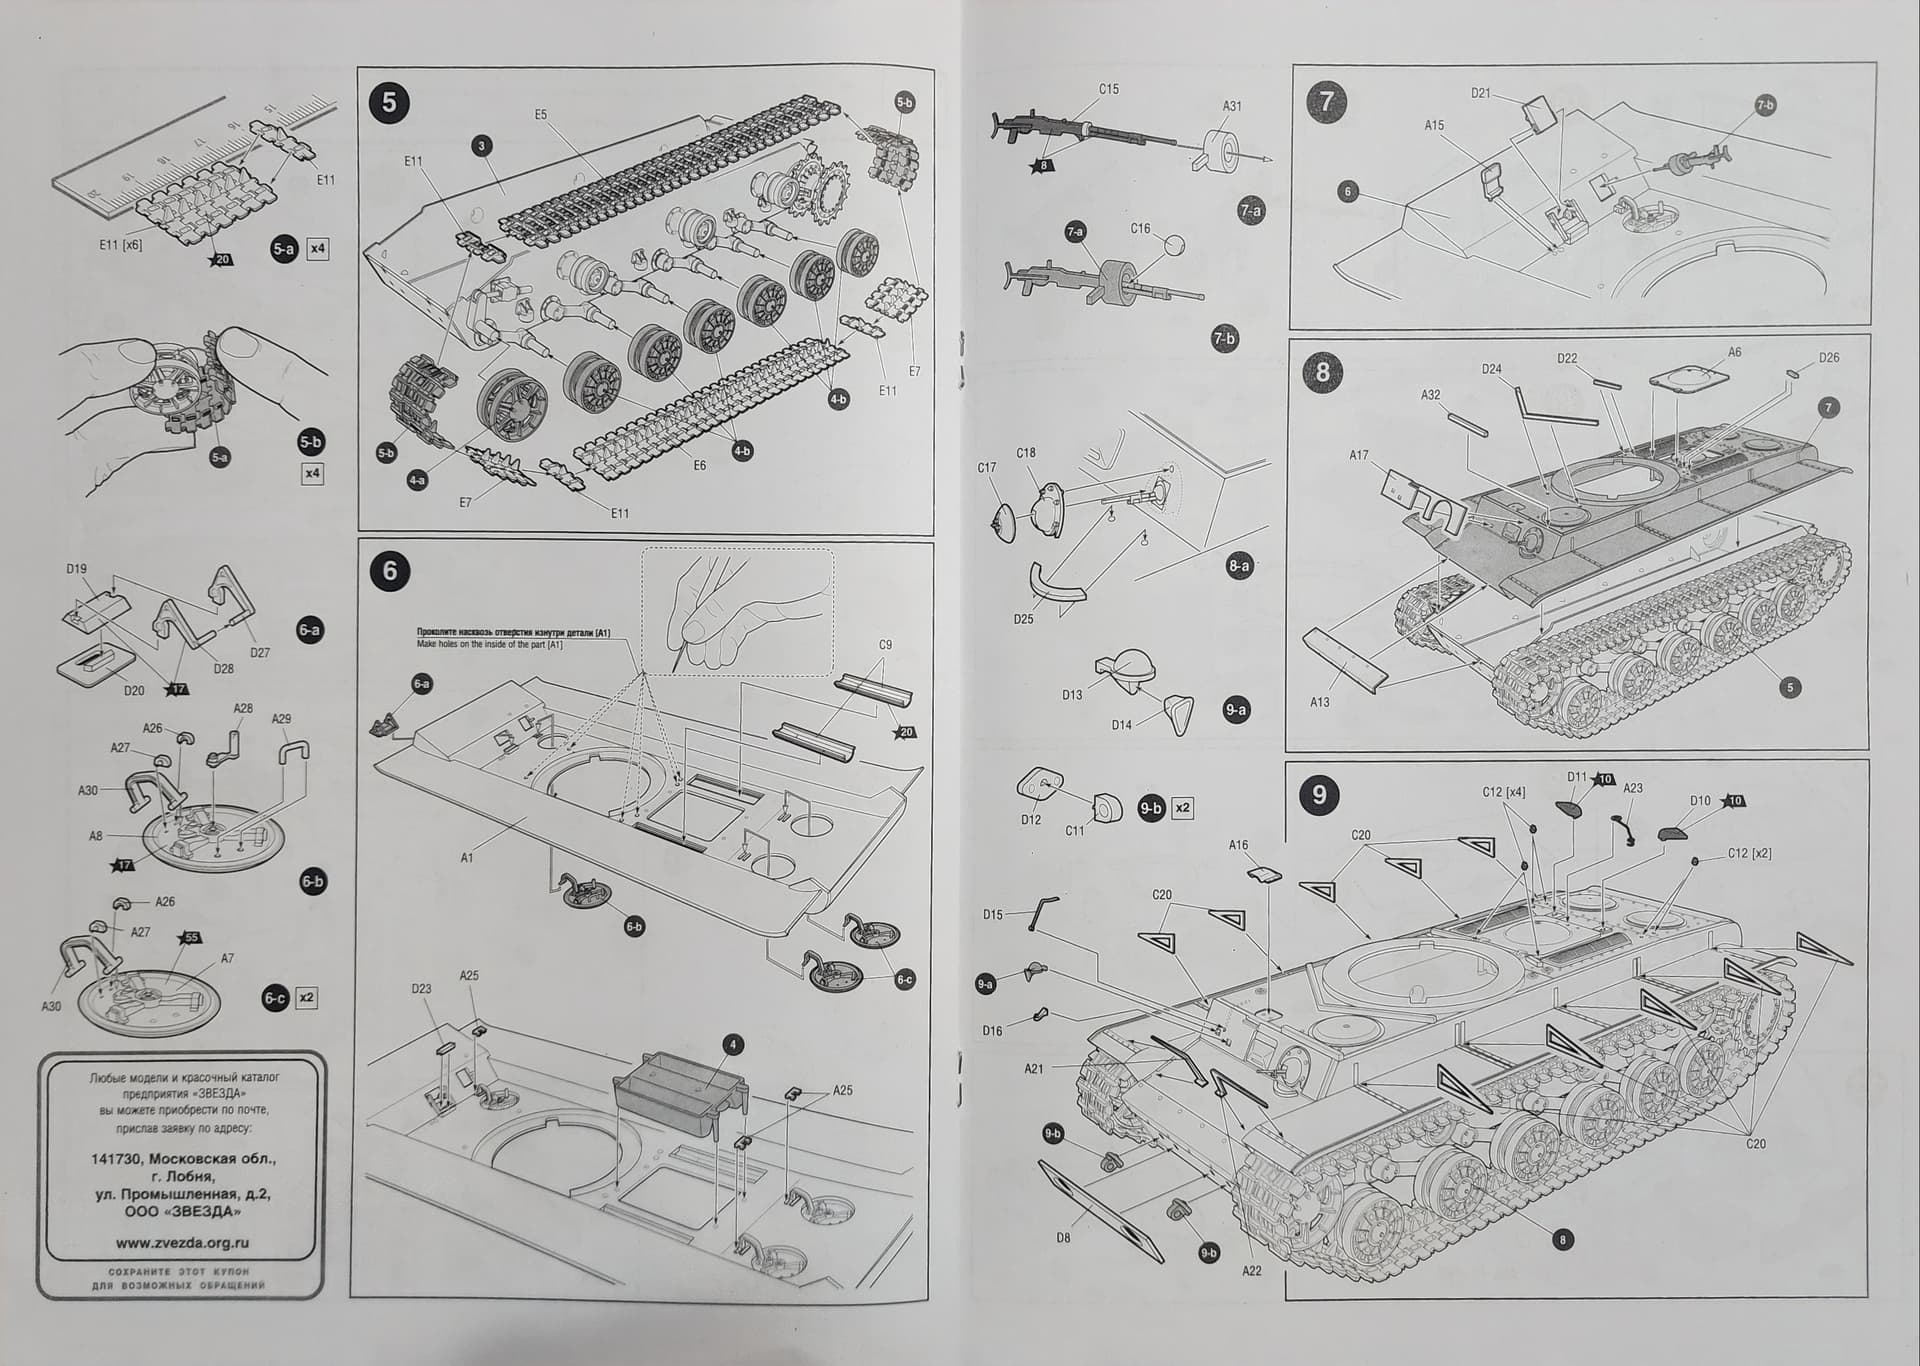
The tracks are link and length. Some don’t like them, but if they cover the wheels well, they seem like an acceptable and quick solution, but here they don’t allow for the sag between the rollers. The tracks appear well detailed. The sprue for them and the wheels comes double. They have ejector pin marks on the inside, but I think a quick sanding will suffice.
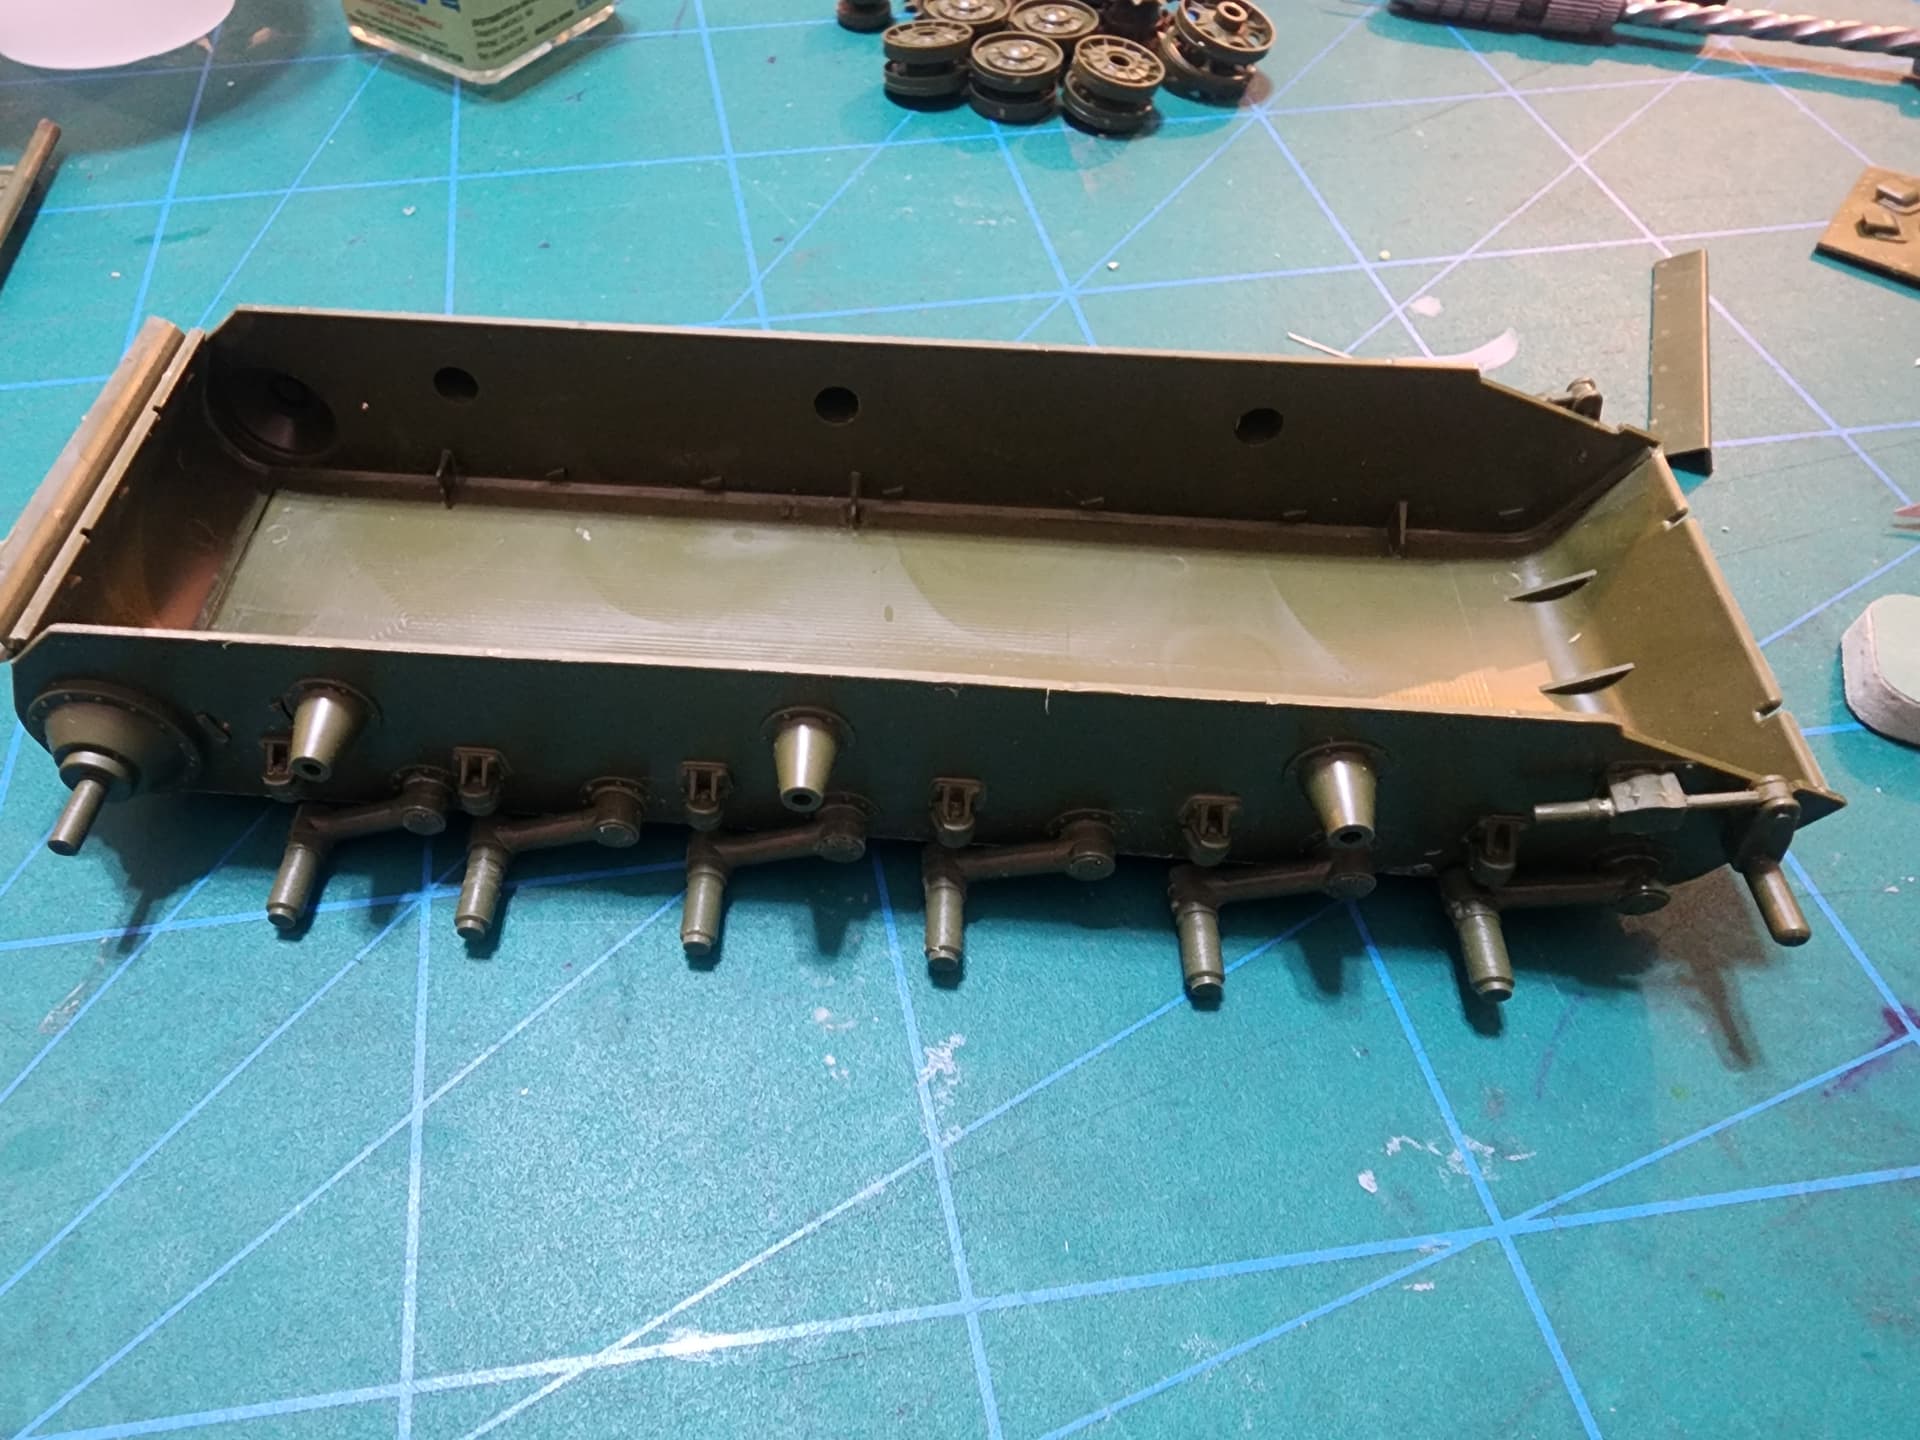
The hull in parts surely saves a lot of molds, but it’s a part that can be complex. I’ll go into more detail later. As a spoiler, it was easier and better than I expected.
I’ll review it a bit, but so far the only thing that seems a bit questionable is the plastic being so smooth… but I don’t know what type of steel was used.
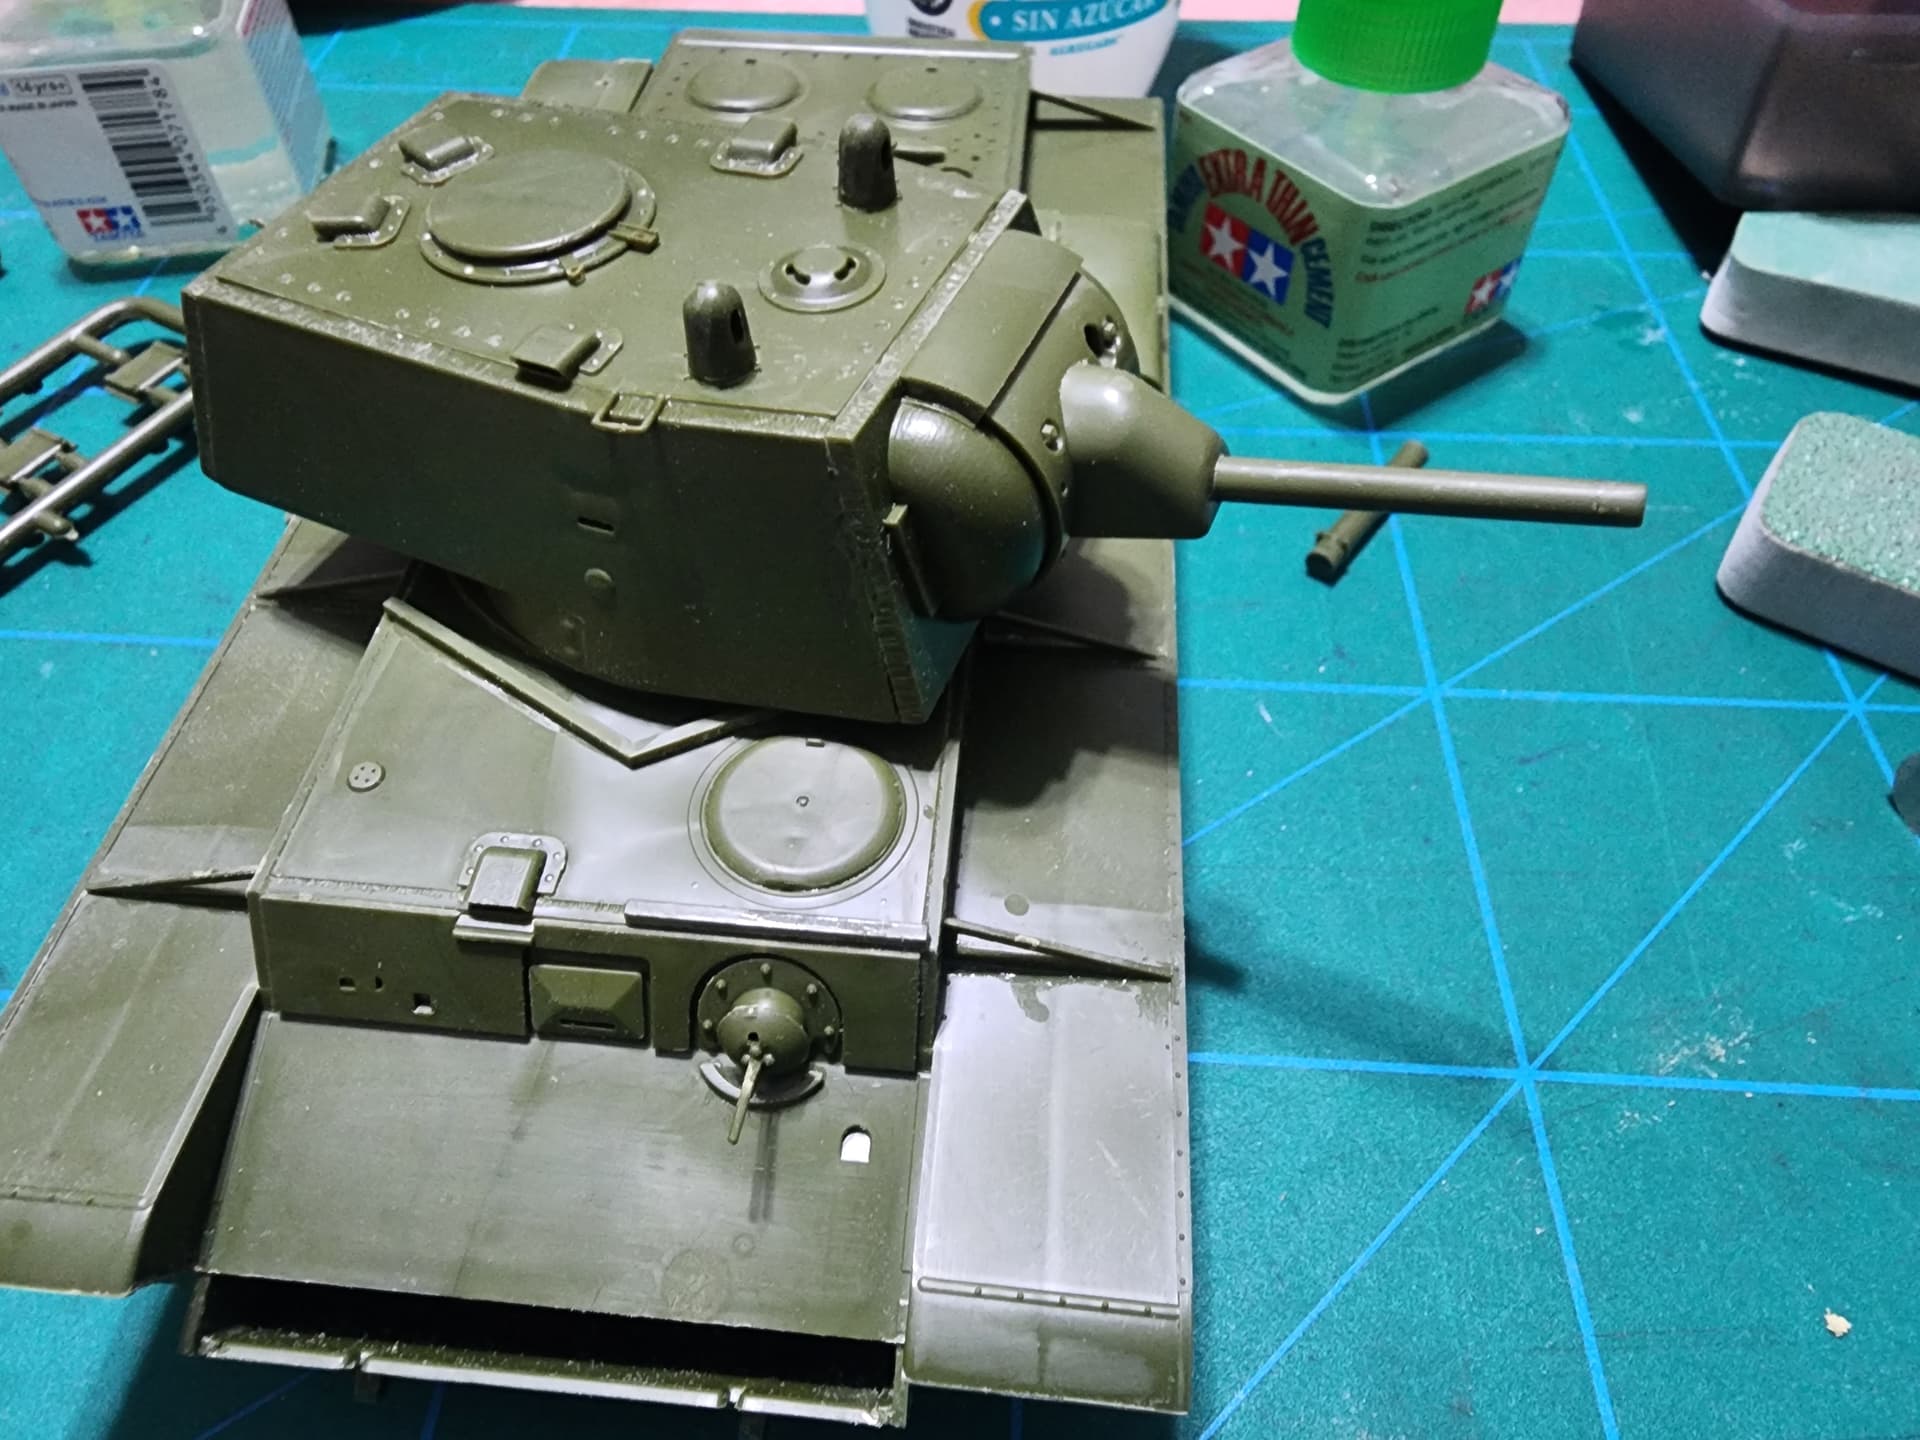
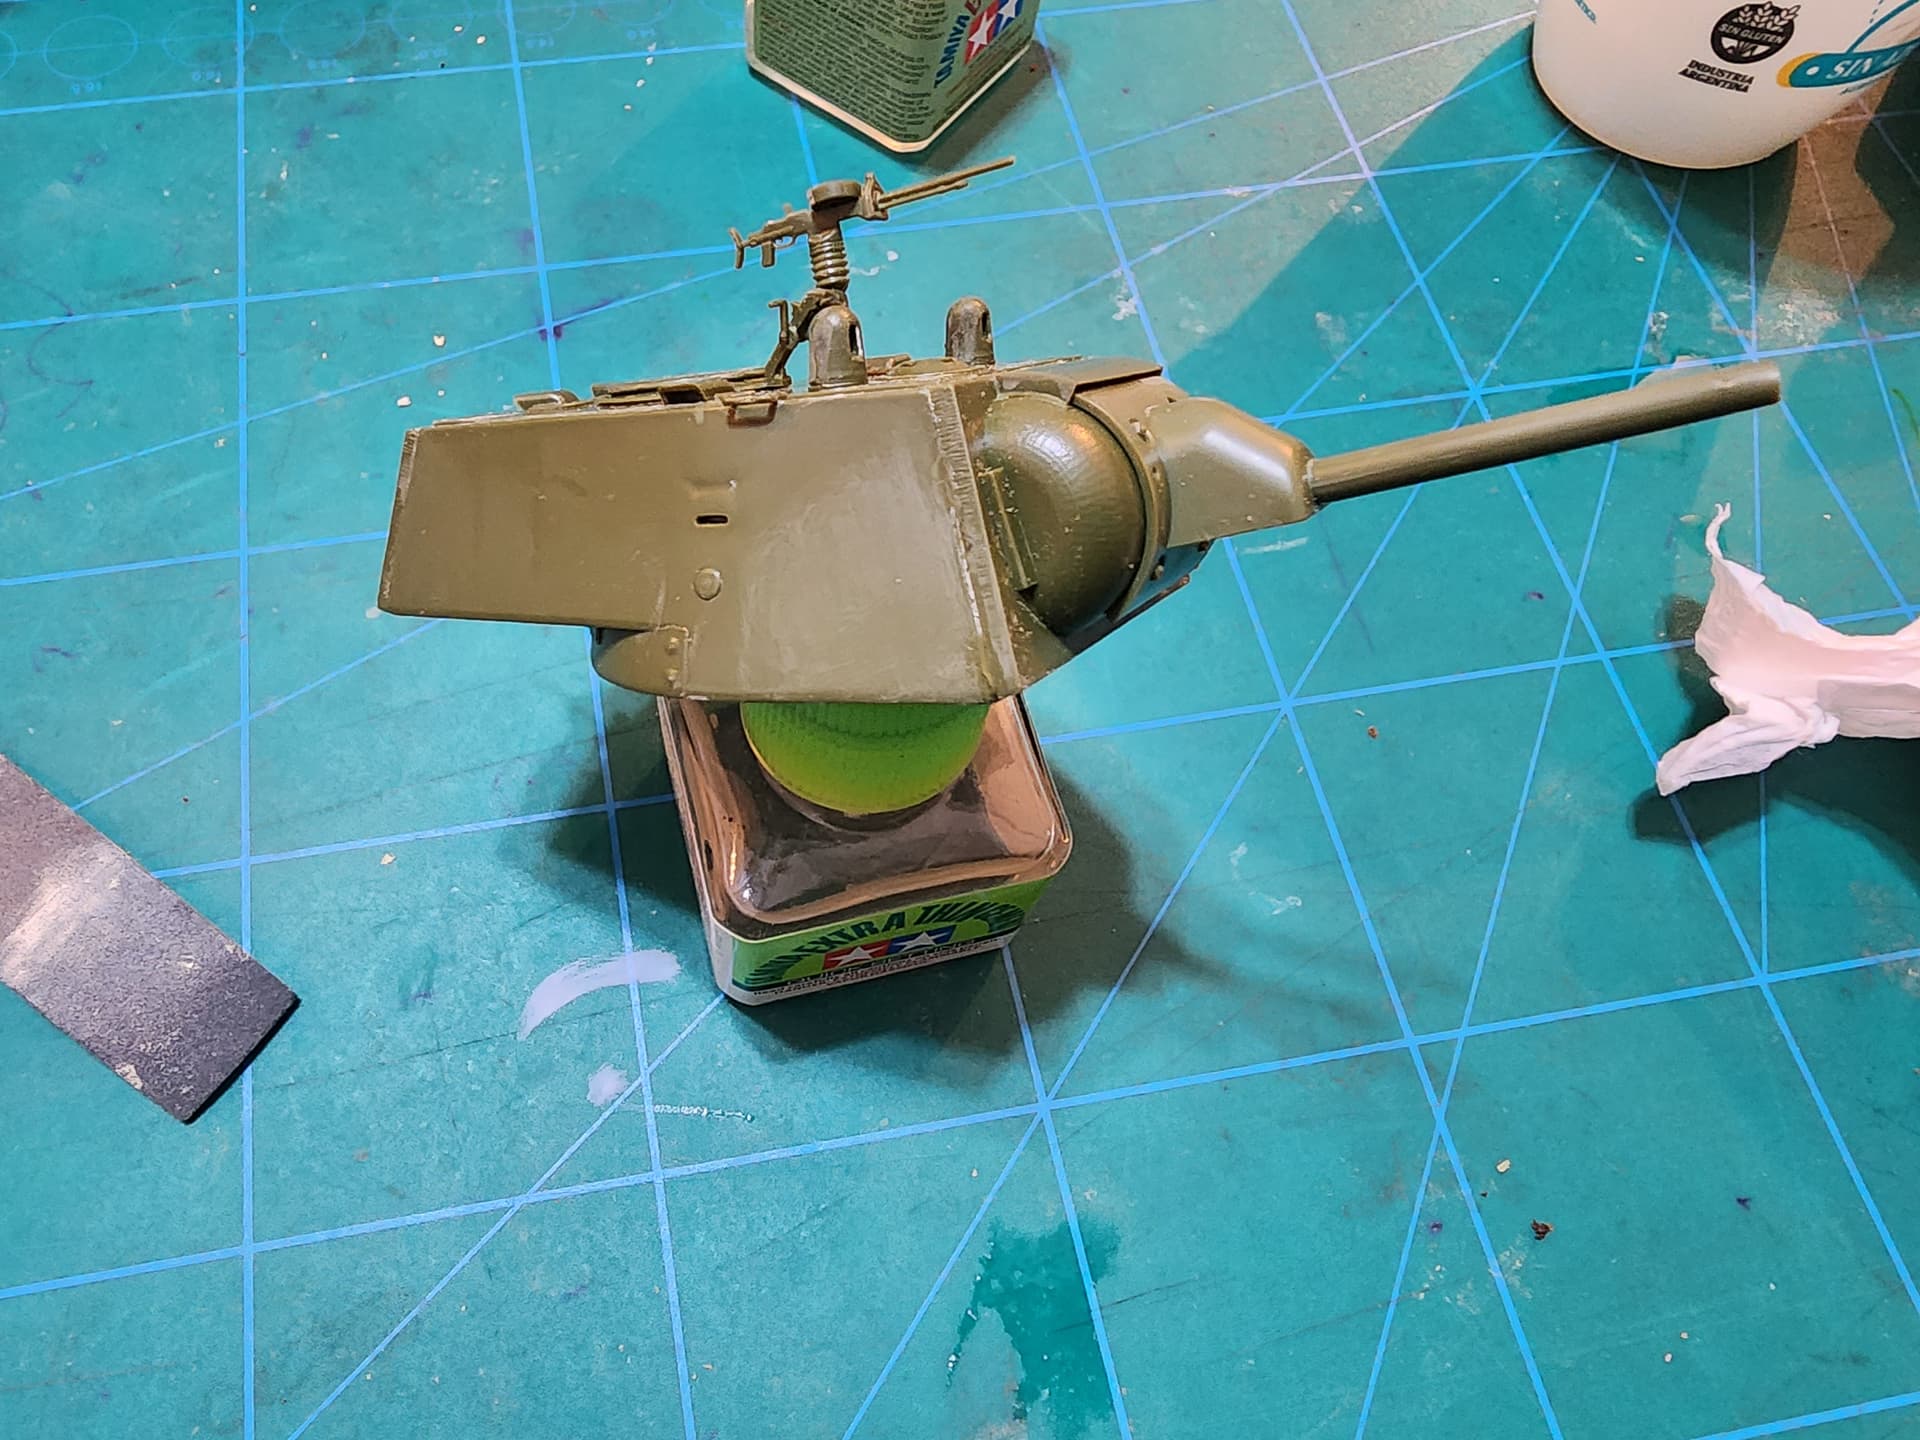
The turret also comes in parts; we’ll see how it goes together. Interior details for the gun, ammunition, hatch, and other parts.

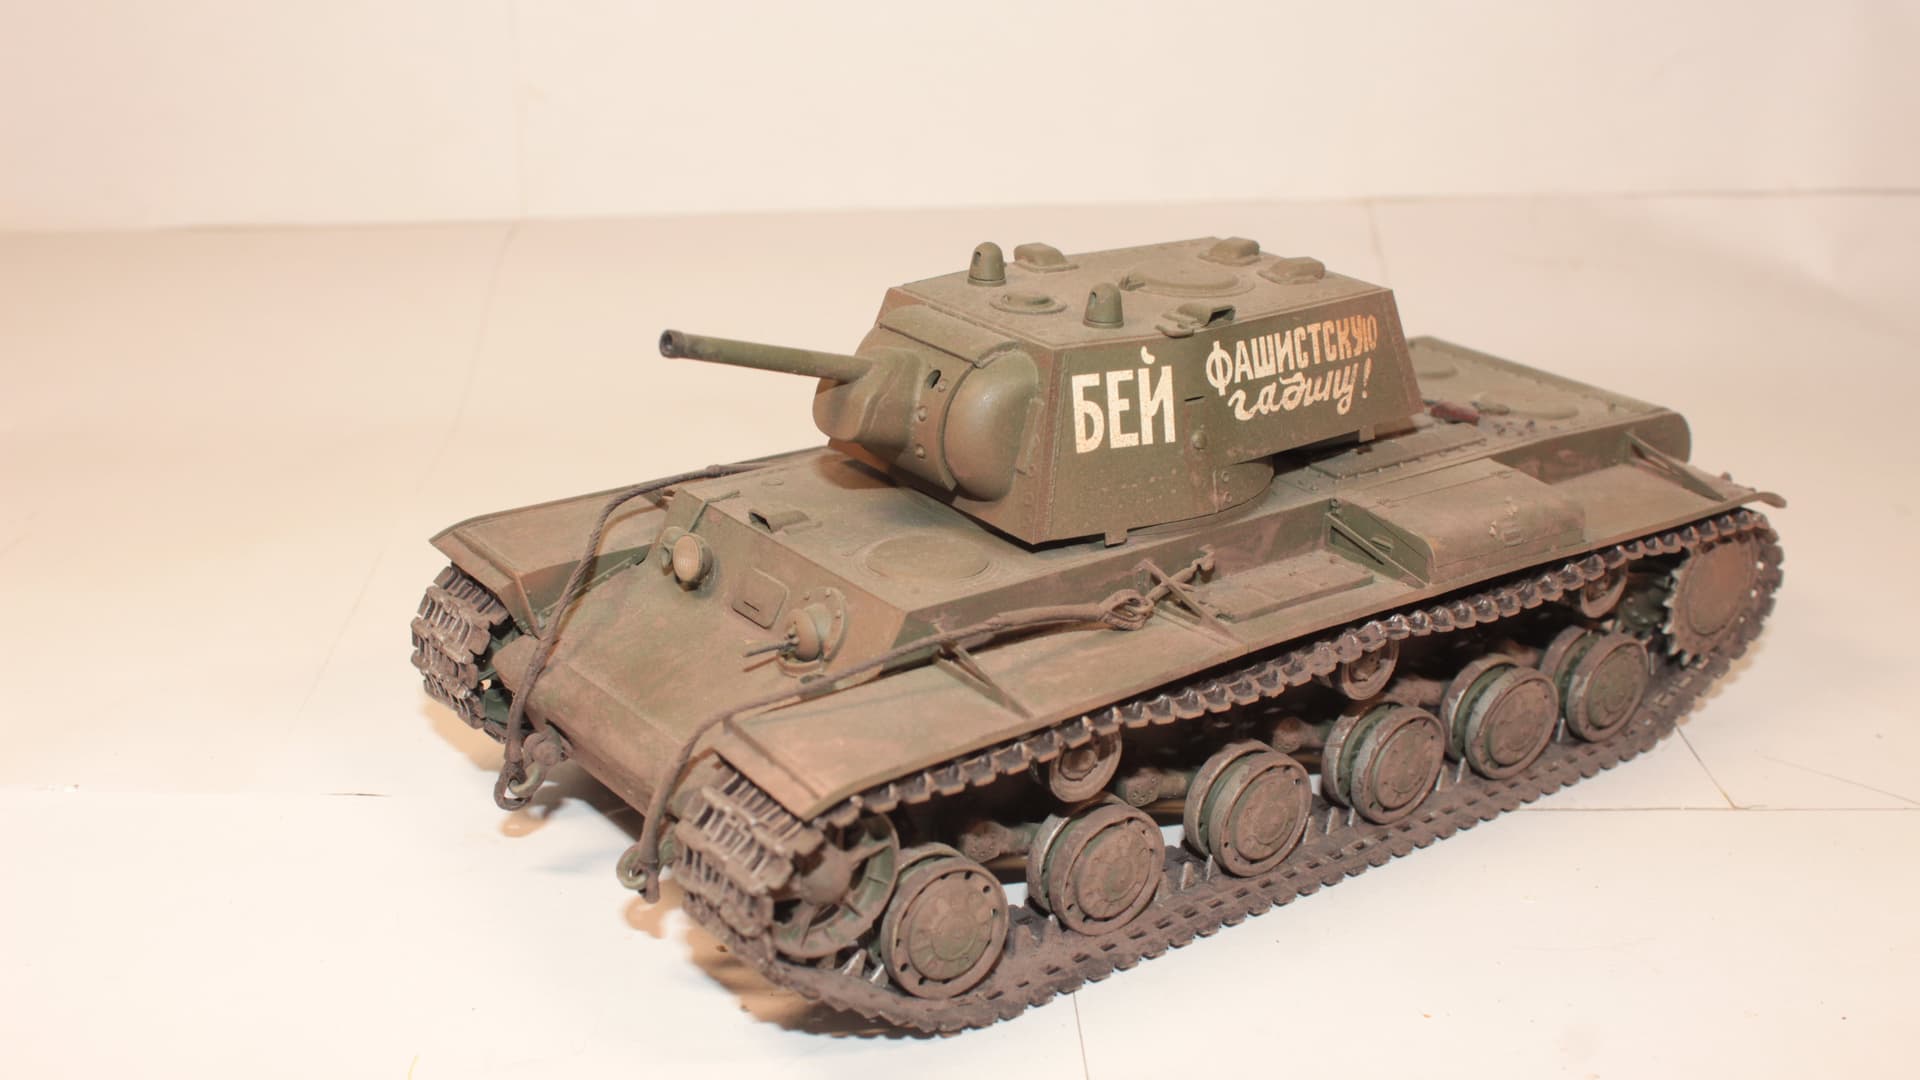
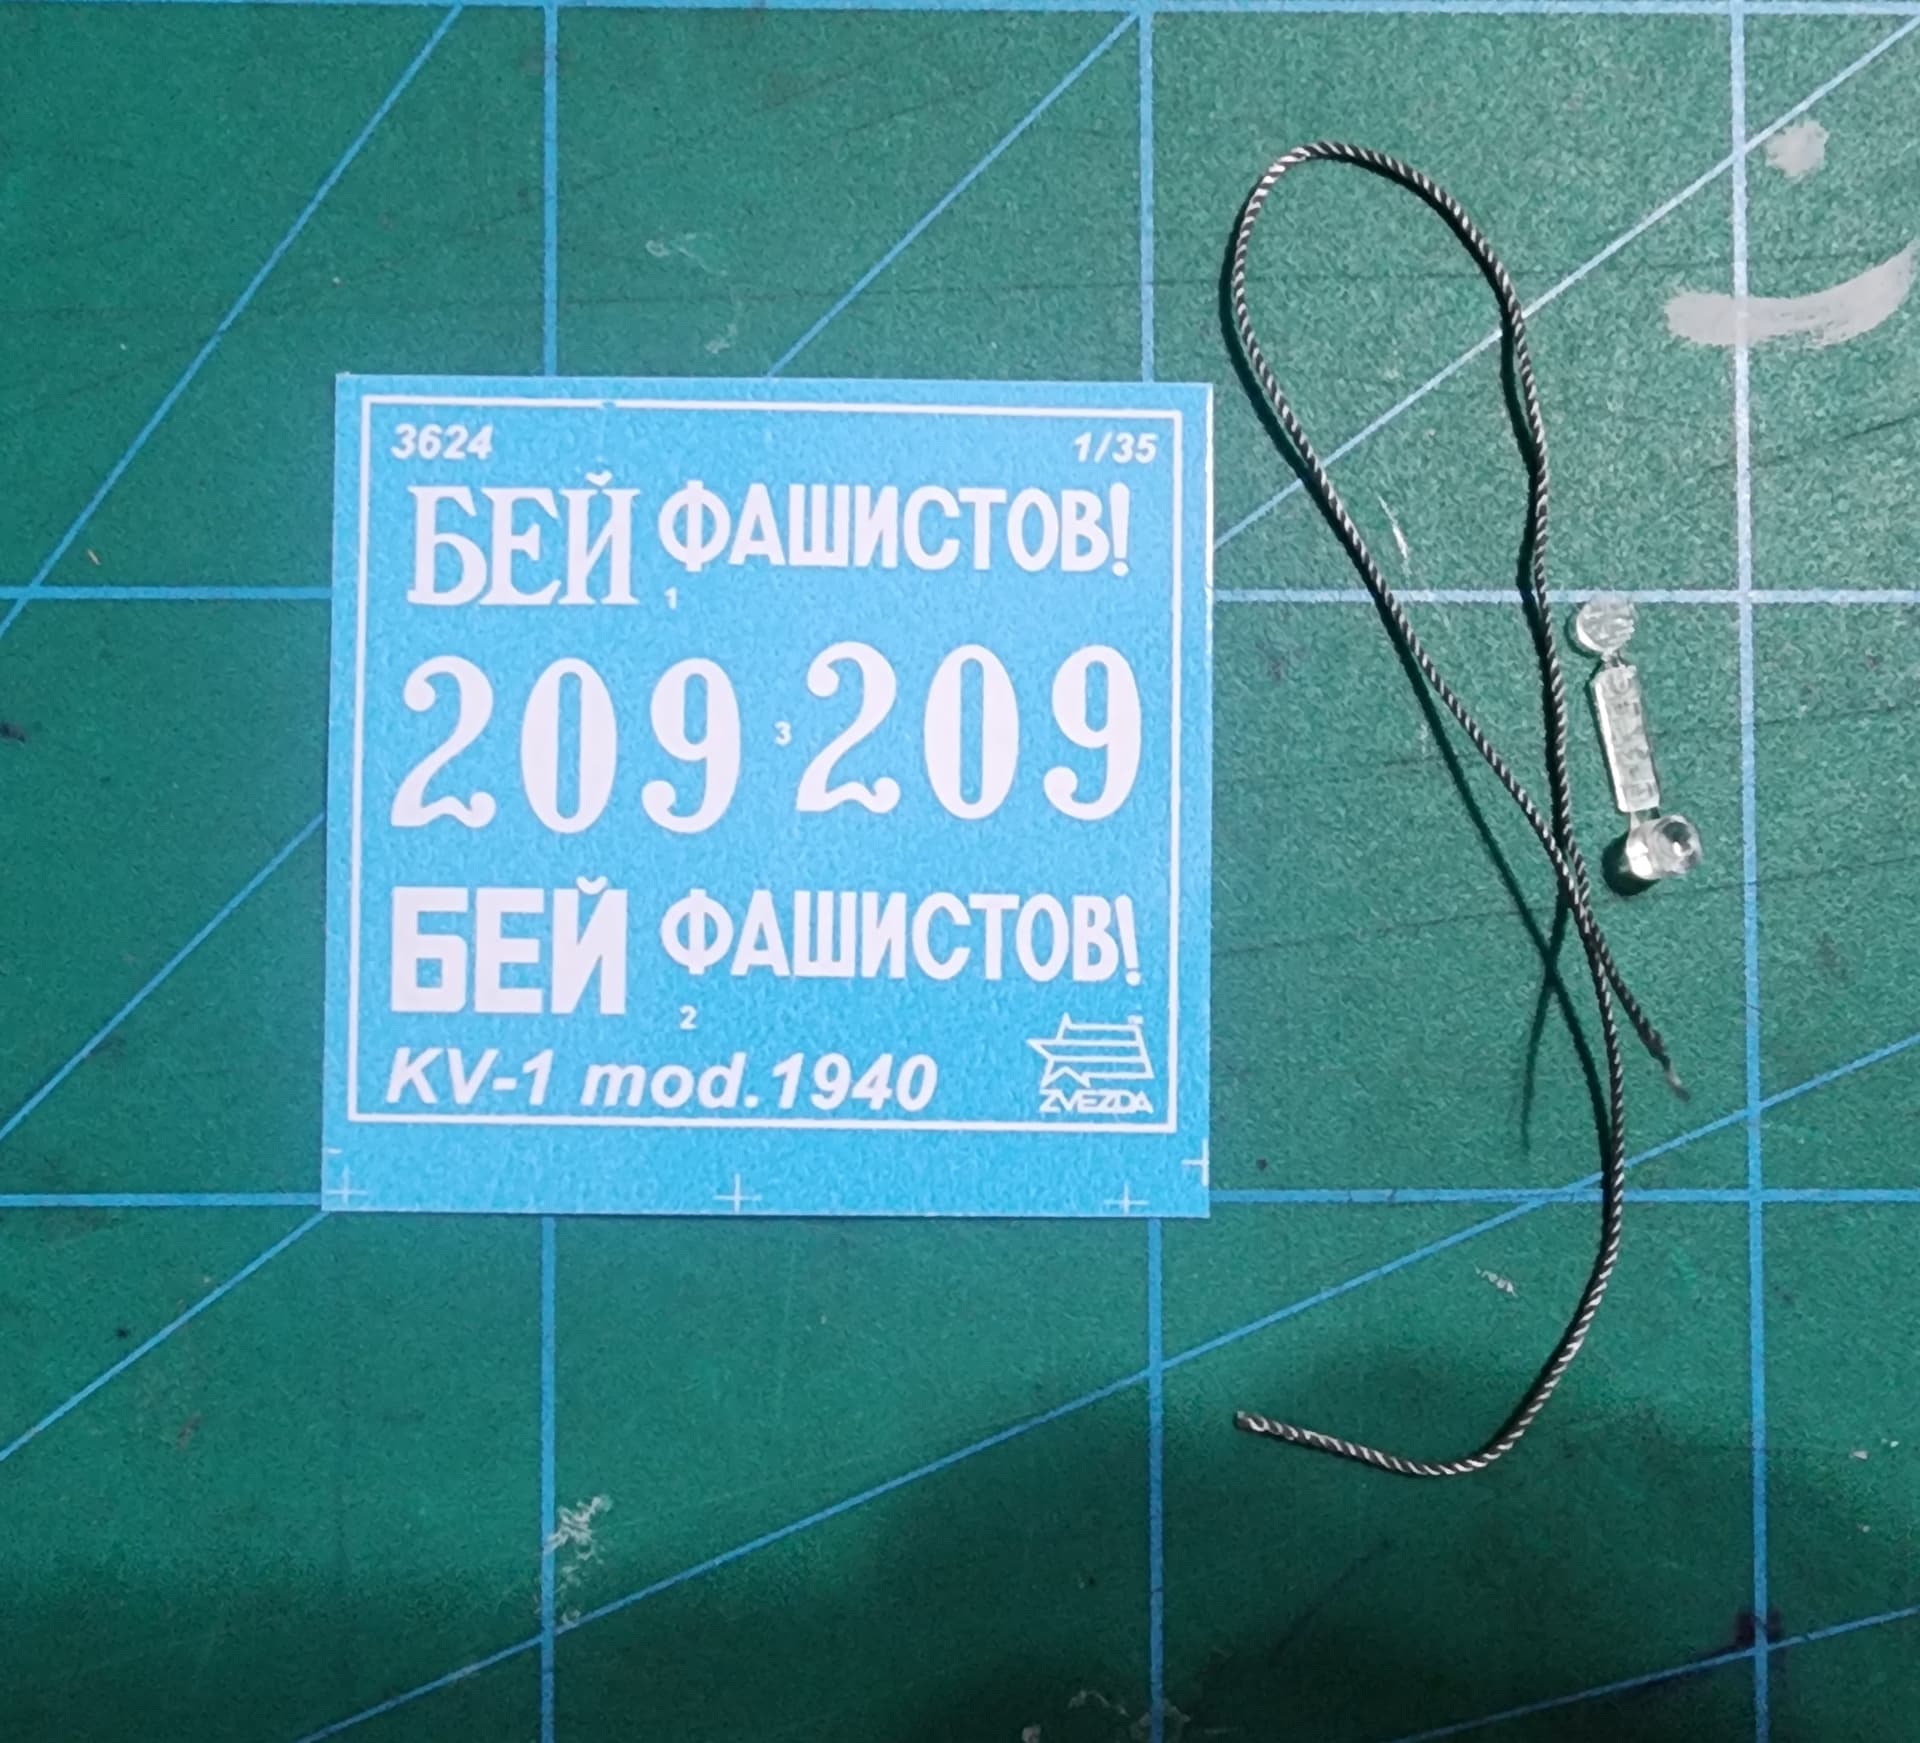
Two decoration options included.

The decals look great, sleek and with good saturation. Lenses for the headlamp and sight. Following the current trend, braided wire is used to simulate the cable. Do you like it or is it useful?

.

8 Likes

I started assembling as per the instructions. I had my doubts about assembling the hull, especially because it lacks reinforcement pieces and brackets, but the truth is that everything fits together very well, as it has a groove along the entire edge. I used Tamiya Extra Thin Glue for general gluing, and Vallejo and DSPIAE wet-based sponge sandpaper in various grits for cleaning. Modeling pliers similar to Ustar cut very well.


The hatches can all be assembled open and have full detail on their inner side. In my case, I chose to close them due to the type of construction. Here you can see the detail on the interior. Handles, hinges, etc., need to be added. There is also a reproduction of a part of the engine, but to save time, I chose not to include it.The exhausts come hollowed out and look very thin! The side boxes need a bit of work. There are 4 parts in total each and although most of them look pretty good, you have to pay attention to them.


Note: Check carefully in the subsequent steps which holes need to be drilled; there are several and not all are marked in the instructions, such as the one for the machine gun cover.

The turret has quite a bit of detail inside. I’m going to opt for a closed-back version, as it’s a quick build. There are a significant number of very small parts for hinges; if you’re not very experienced, I’d recommend assembling the turret only from the outside.


The main turret breakdown is similar to the new Tamiya kit and fits very well overall, so that gap in the front is all my fault!

7 Likes

A clarification here. After starting it, I reviewed a publication of Tankograd and there are a couple of parts that don’t fit an early model. The armor plate added to the front corresponds to a late 1940 model, which I don’t believe had this gun and mantlet assembly, as the gun was changed between versions.

5 Likes

Thank you! The translation was fine.

3 Likes

This reminds me of the Trumpeter version.However, the Trumpeter did not have a turret interior, and did have sagged link and length track


7 Likes

Great work with this KV @TankCarlN3w ! The Trumpeter kit is good, so it is recommended to use because it seems to me to be a simple, comfortable kit, without complications and with the option of the track that for those who receive it it can be wasted and it is easy to clean and burn. And as you can see, well armed it is a fine kit!

In the case of Zvezda’s kit, I do not believe that it is appropriate for beginners, it is safe to arm, but you must be very careful about the final parts and there are very few errors in the instructions, which are not very good, but which may not be twisted.

In these photos, from those angles to raise the tap will move, the horn, which comes in 2 parts, and the machine gun holder, which includes 7 parts and an error in the assembly drawing. In favor of Zvezda, in general all parts are very well molded and fitted very well


The tracks and wheels were completely sanded in about three hours. The Vallejo sandpaper was a great help, as it’s stiffer than most of the sponge sandpapers I’ve seen. The Zvezda plastic sands well.


In this photo you can see the detail before and after sanding. I didn’t leave them mirror-polished either; they’ll be sanded accordingly later.

After about 4 days (about 12 hours total), I finished assembling the turret’s exterior, the lower and upper hull, and prepared the tracks and wheels. How do you do the track section? Lay it out, secure it together with the wheels, and paint all outside, or do you paint each element separately? I can’t decide which method is best. What do you think?

The instructions say to glue the oil or fuel tank to the left fender. I didn’t find many photos of them being mounted, so I’m not sure if I should put it there. I think it’ll stay outside… or on the floor with a jerry can next to it.

2 Likes

Hello, Nice work and translation.

The kit box says it is a tank that represents a KV-1 from 1940 and the recuporator cover (over the gun on the front) for the L-11 gun does not have the conical headed bolt, so it would be a tank built from Sept-Dec 1940. These would be pre-war vehicles and so would most likely mount all the fuel and oil tanks UNLESS you prefer to show this vehicle after the invasion of the Soviet Union, in which case you can do as you please.

Please keep up the good work.

3 Likes

Same here thanks for the build .

2 Likes

Looks pretty good. You did a good job on the weathering.
PS- I wouldn’t pay over $50 CAD for a Trumpeter kit.
They are good kits..pretty simple. Zvezda are getting better also.

3 Likes

@JacquesD thanks for the tip. I knew these models pre-date Barbarossa, but I didn’t have that information about the fuel/oil tanks; the photos I have are from after the invasion. If anyone has photos of these tanks before the invasion or in their early stages and could share them, that would be great!

1 Like

Good job, nice kit and review. Thanks for sharing it.

2 Likes

Here are 5 pictures that should apply to what you want. 3 are from during the war, captured by the Germans. 1 is from pre-war, the Soviets did not take a lot of pictures of their equipment, and one is the line drawings of the KV-1 m40. Taken from Neil Stokes book: KV - Technical History and Variants for illustrative use only.

3 Likes