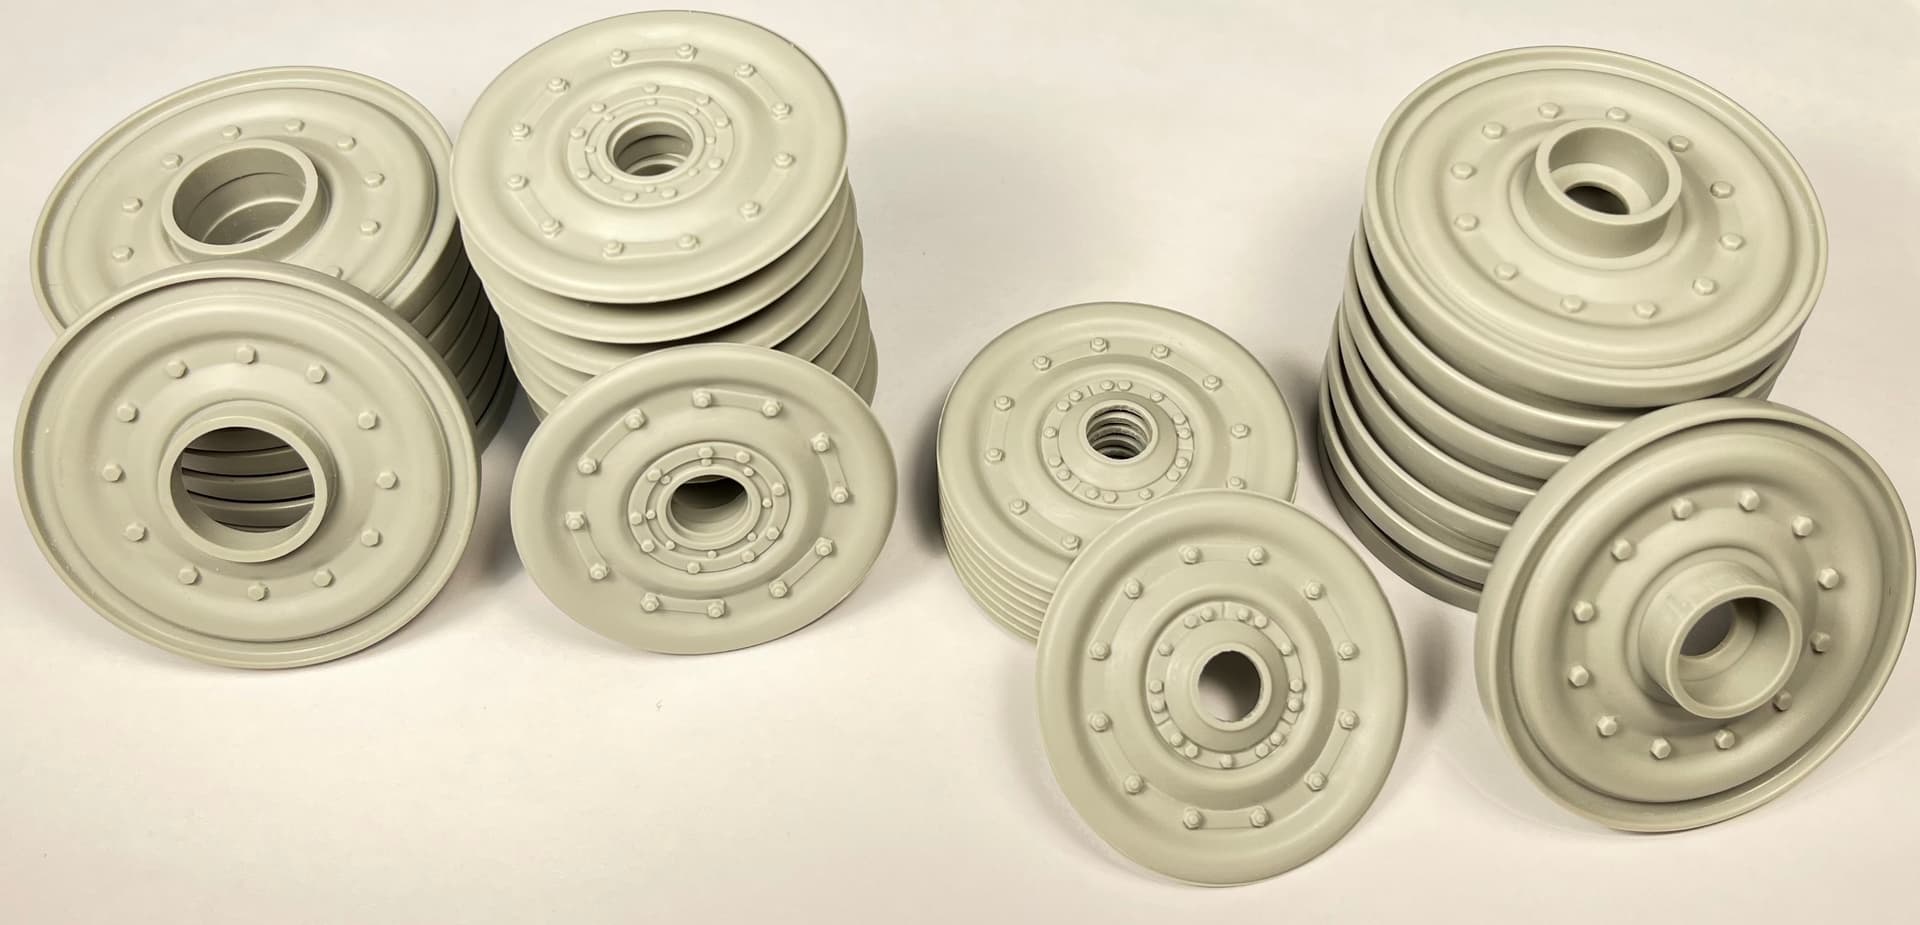
Hi all! Work in progress, here’s what’s been done so far:
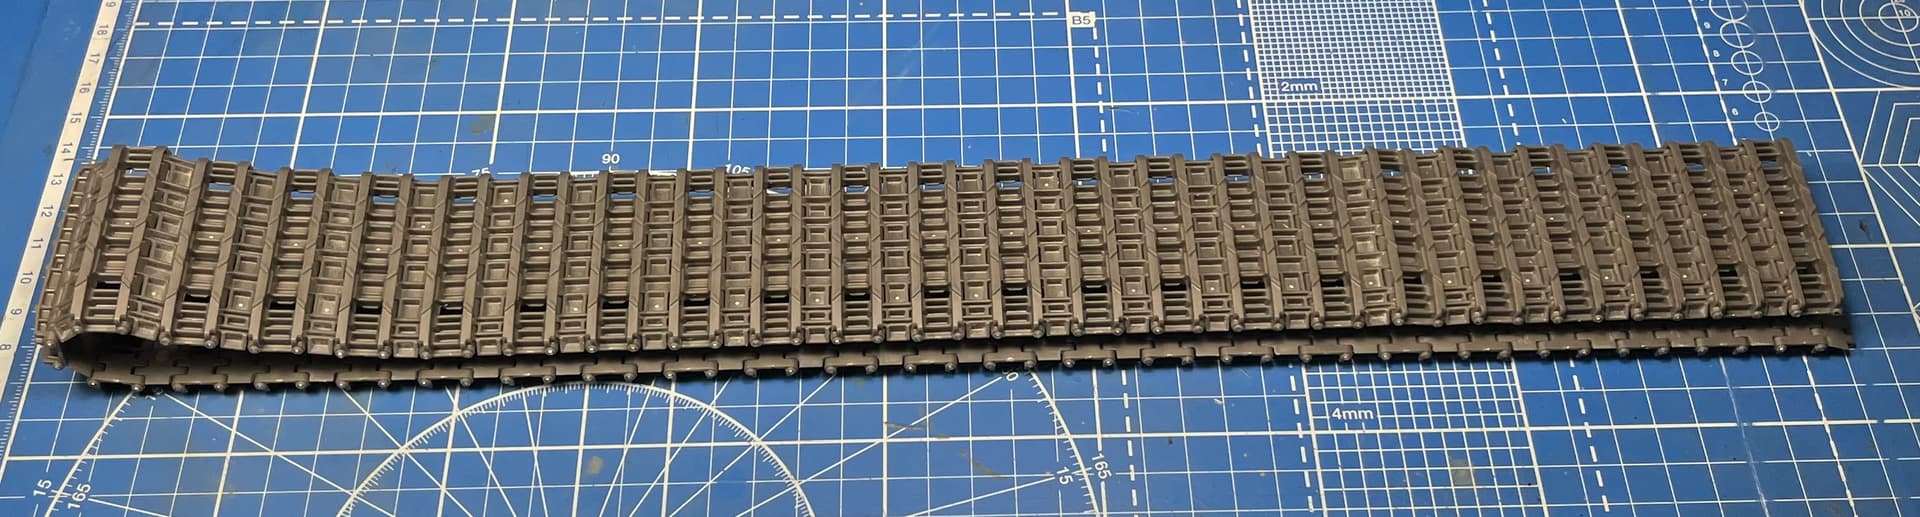
- tracks
- wheels
- welded seams around the torsion bars
Work continues!
You can support me by joining a group on the vk.com social network and a couple of cents for rivets
hug!
Hi all! Work in progress, here’s what’s been done so far:
Work continues!
You can support me by joining a group on the vk.com social network and a couple of cents for rivets
hug!
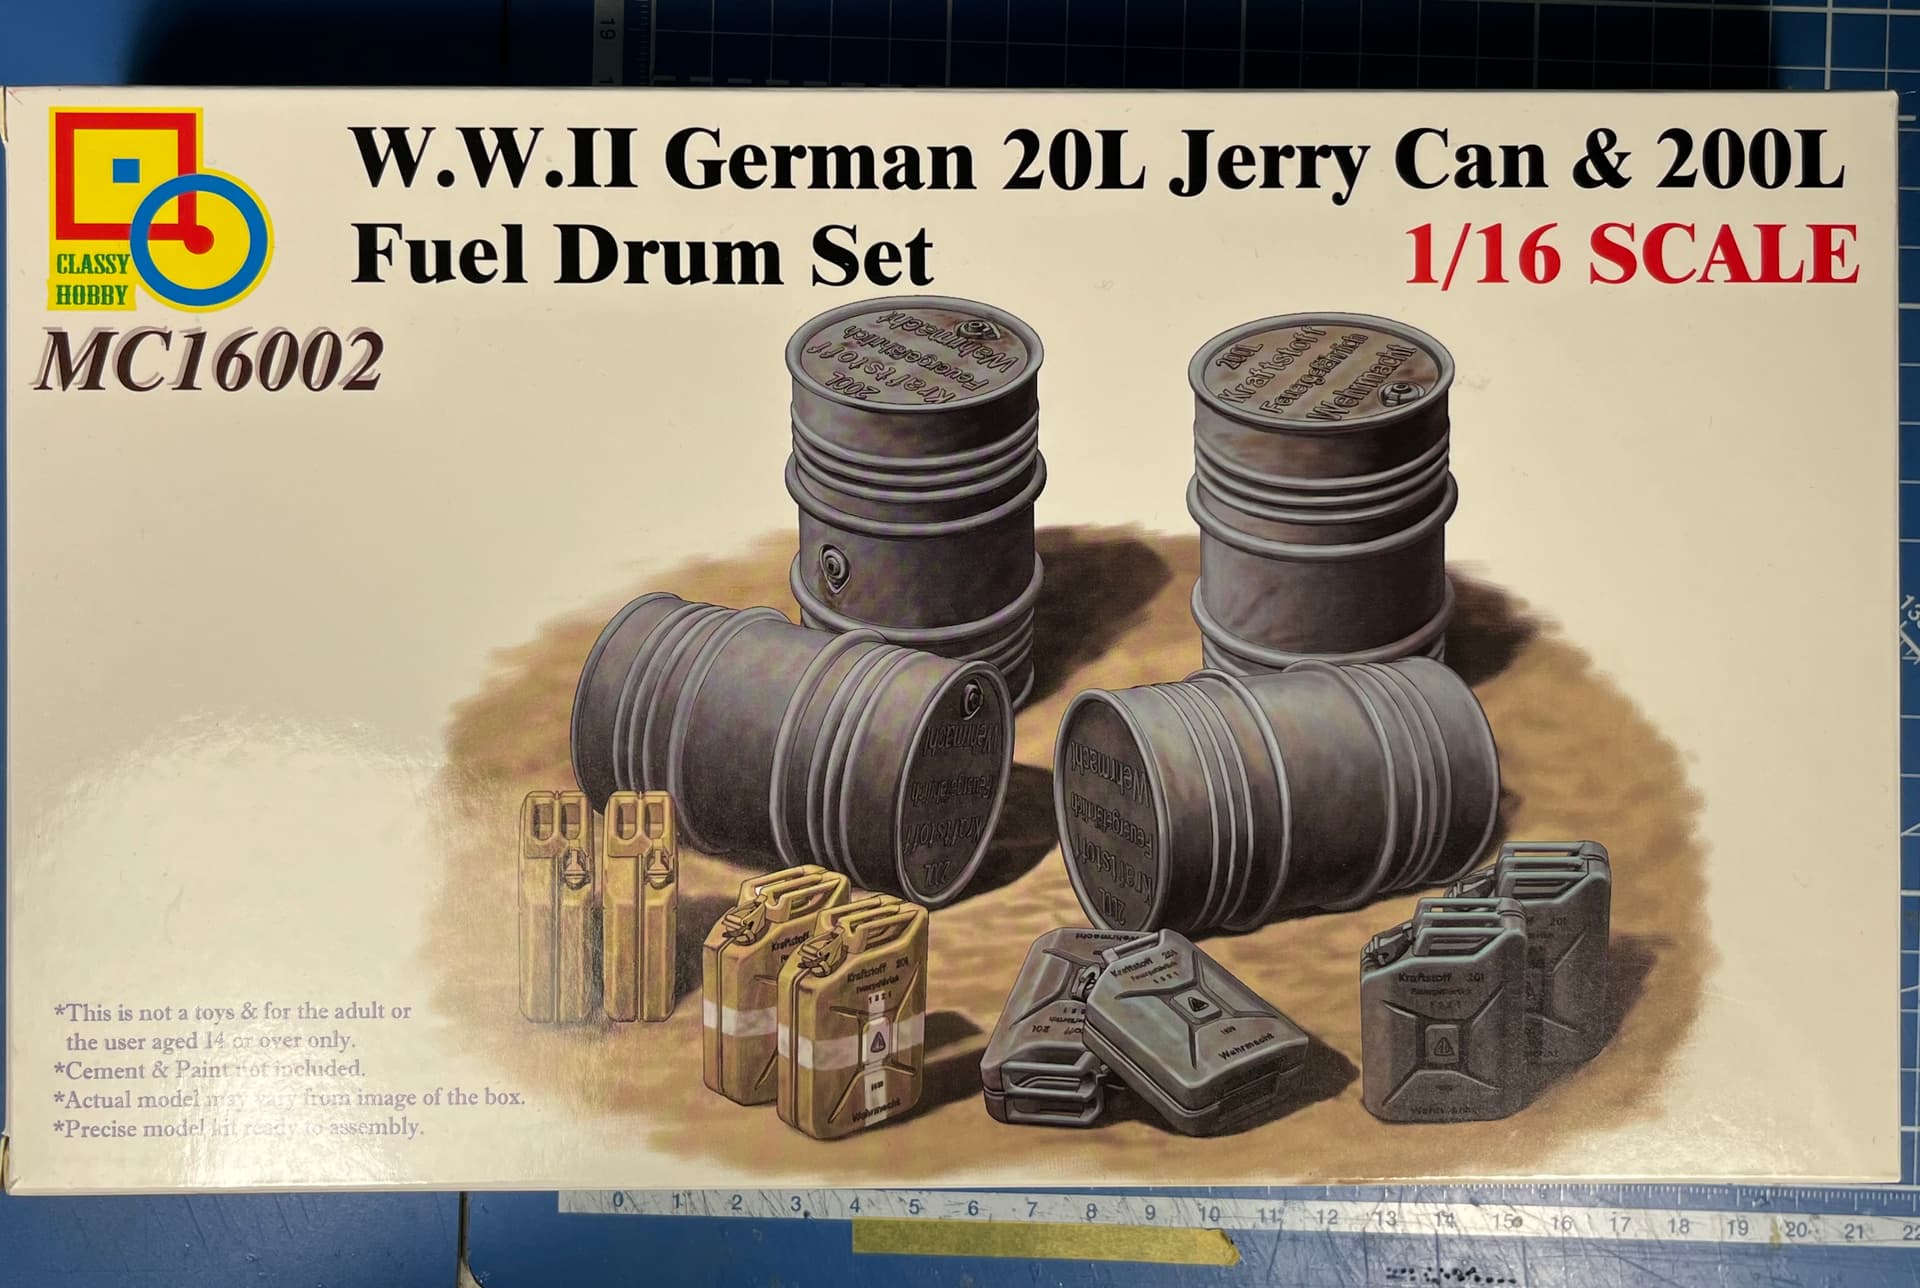
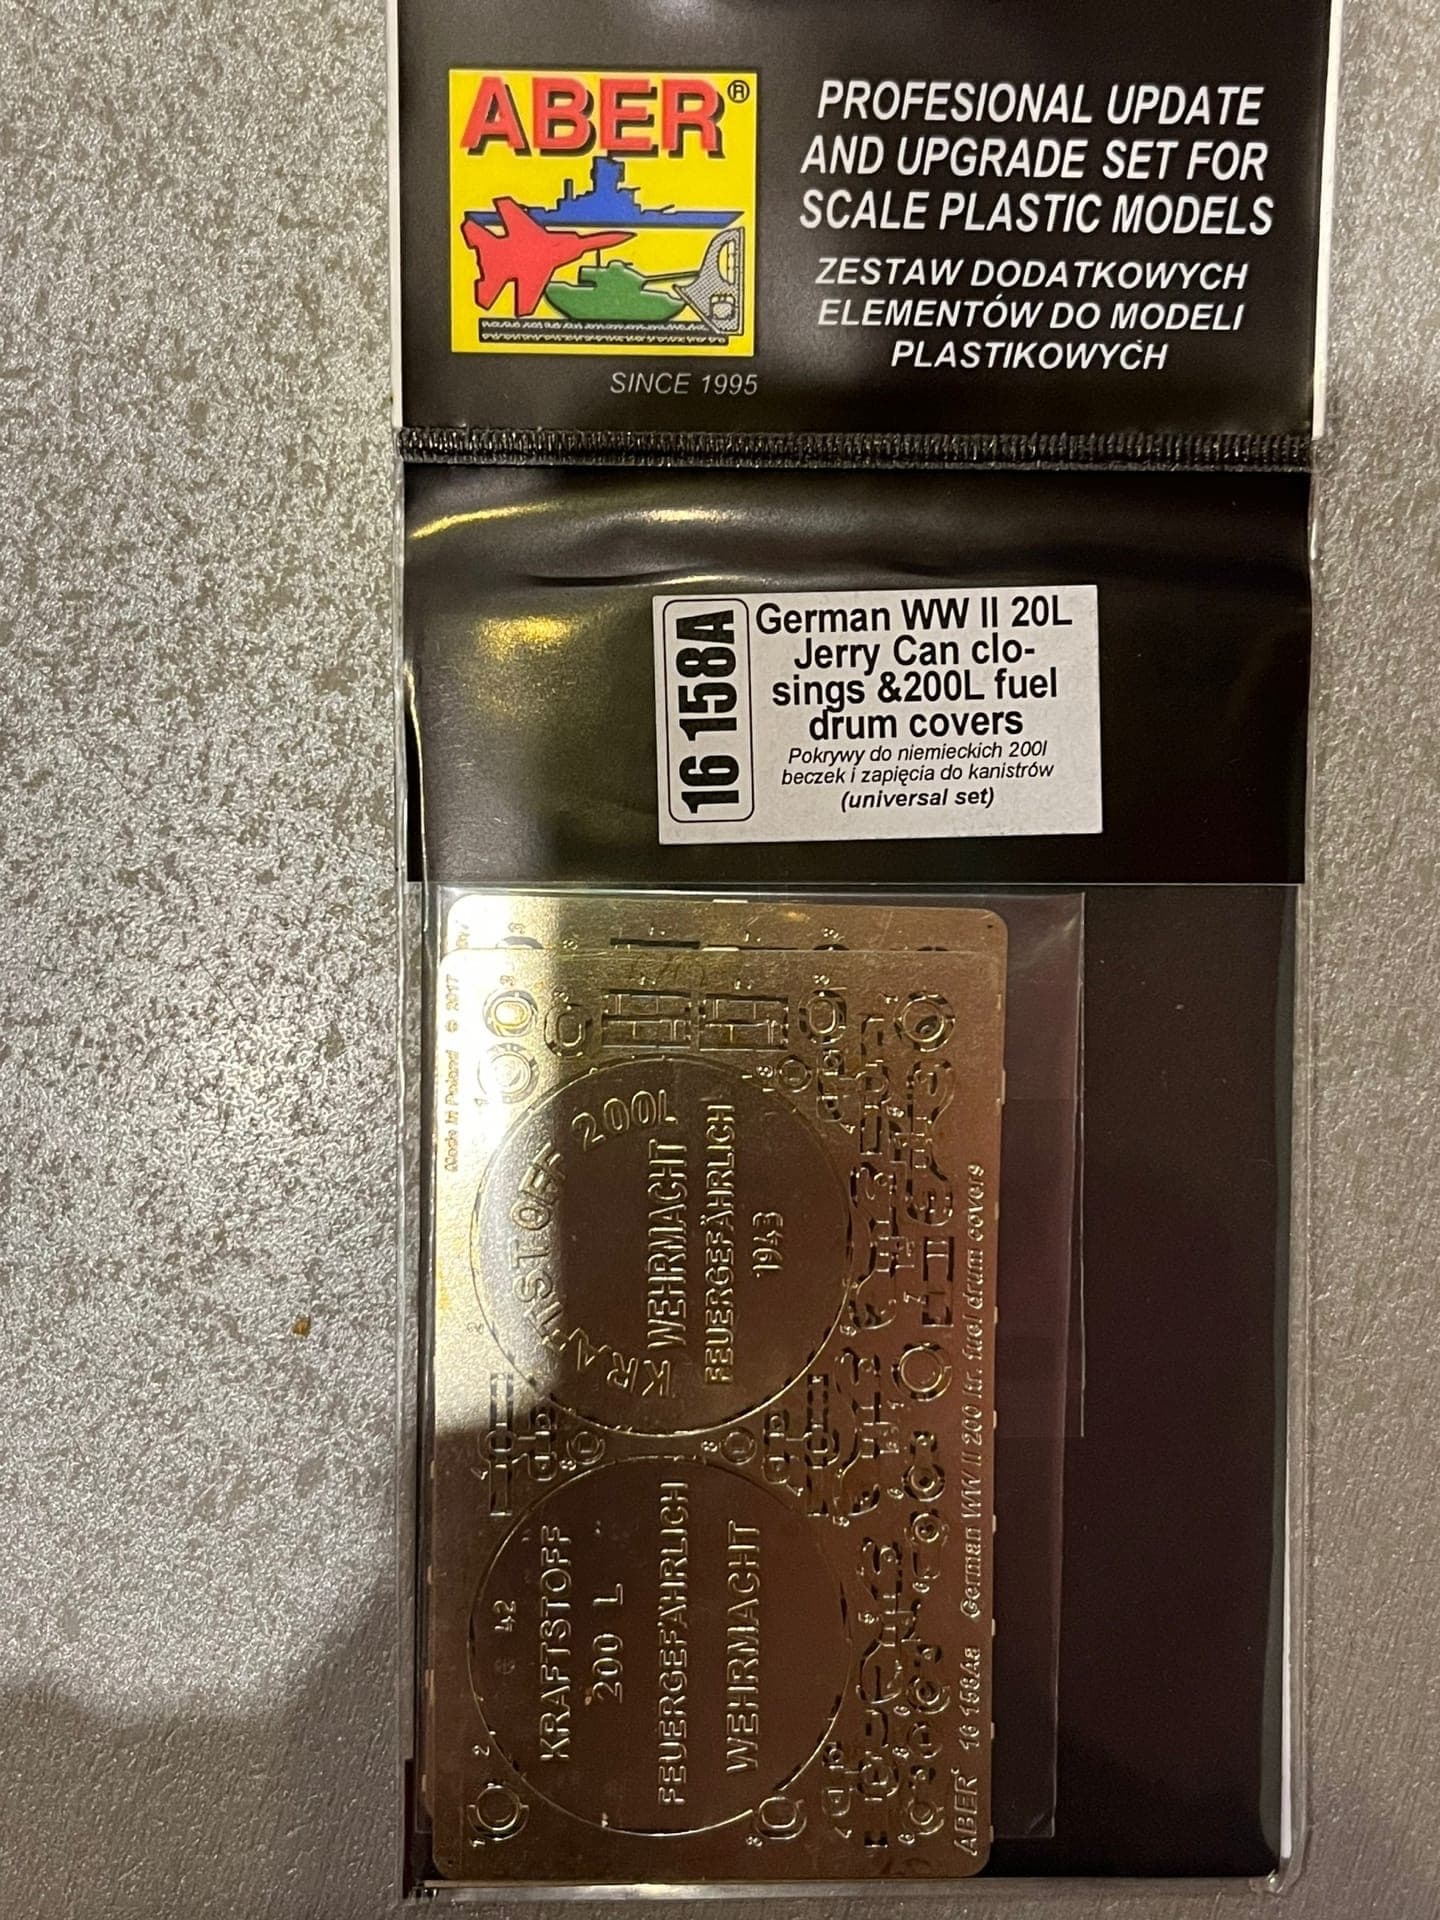
I also bought barrels and canisters. (Classy Hobby CH16002) photo-etching for them is on the way (from ABER)
about welds. they are very clearly visible in the photographs and I considered it necessary to reproduce them
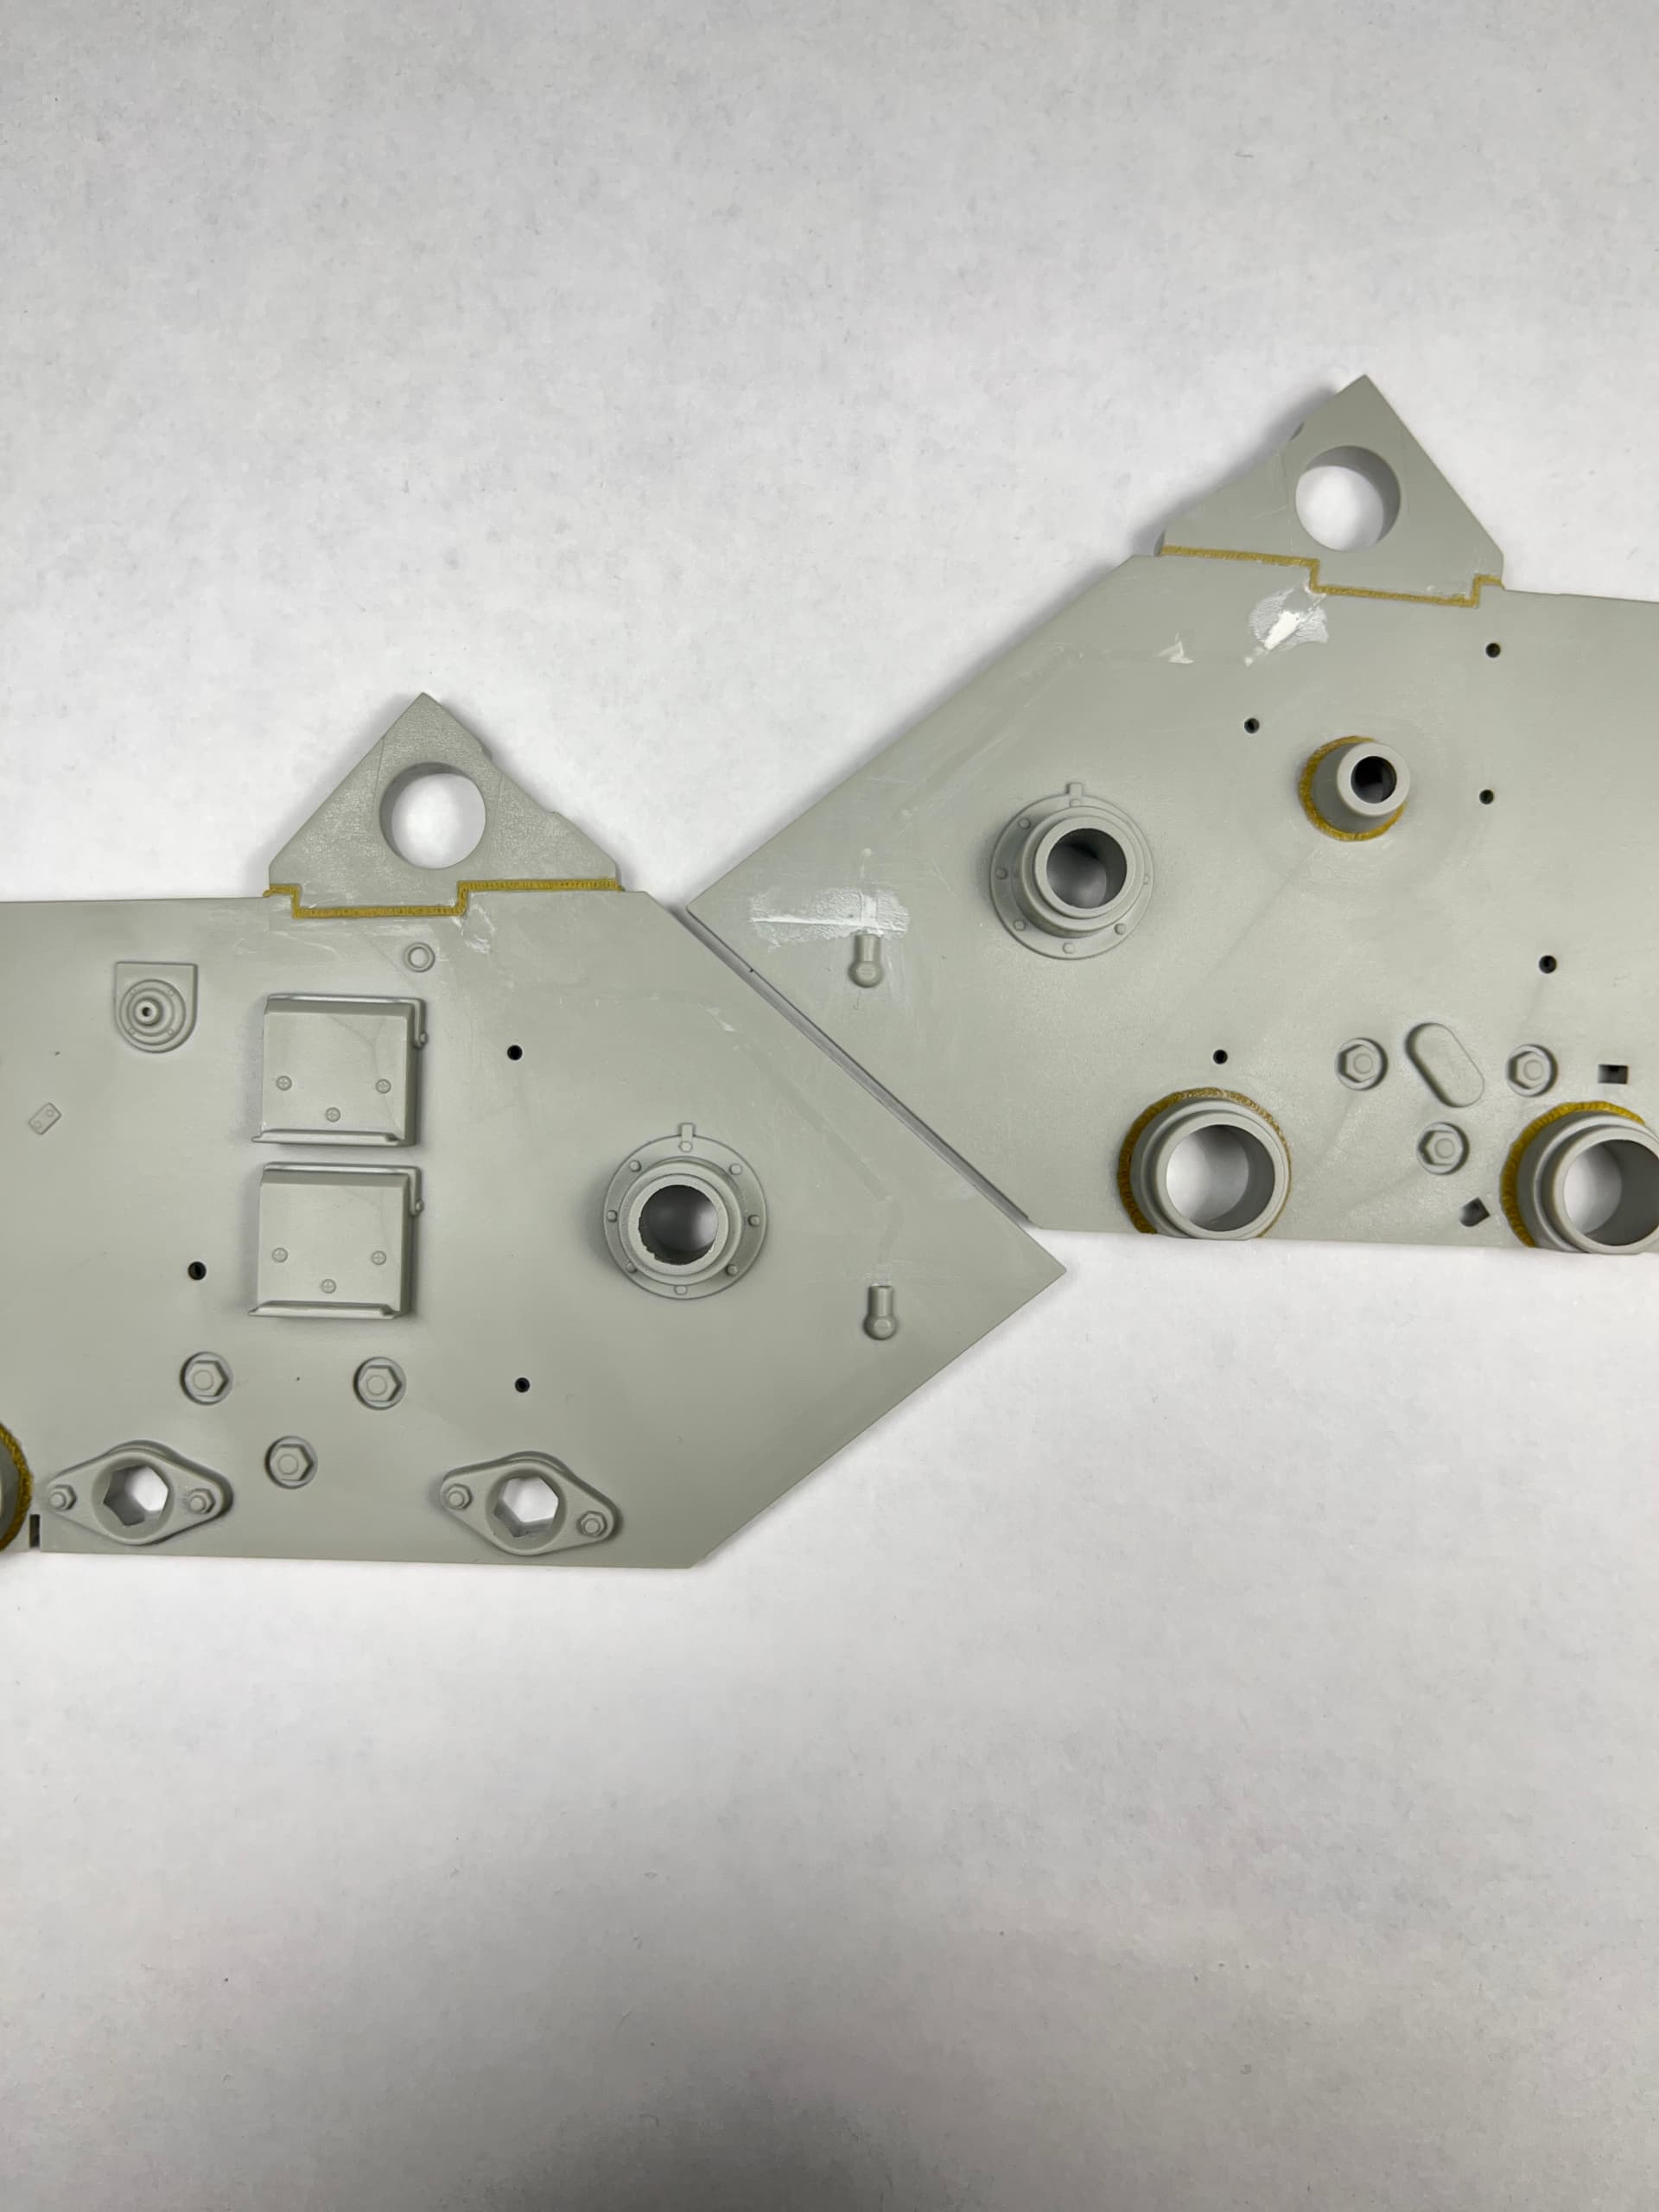
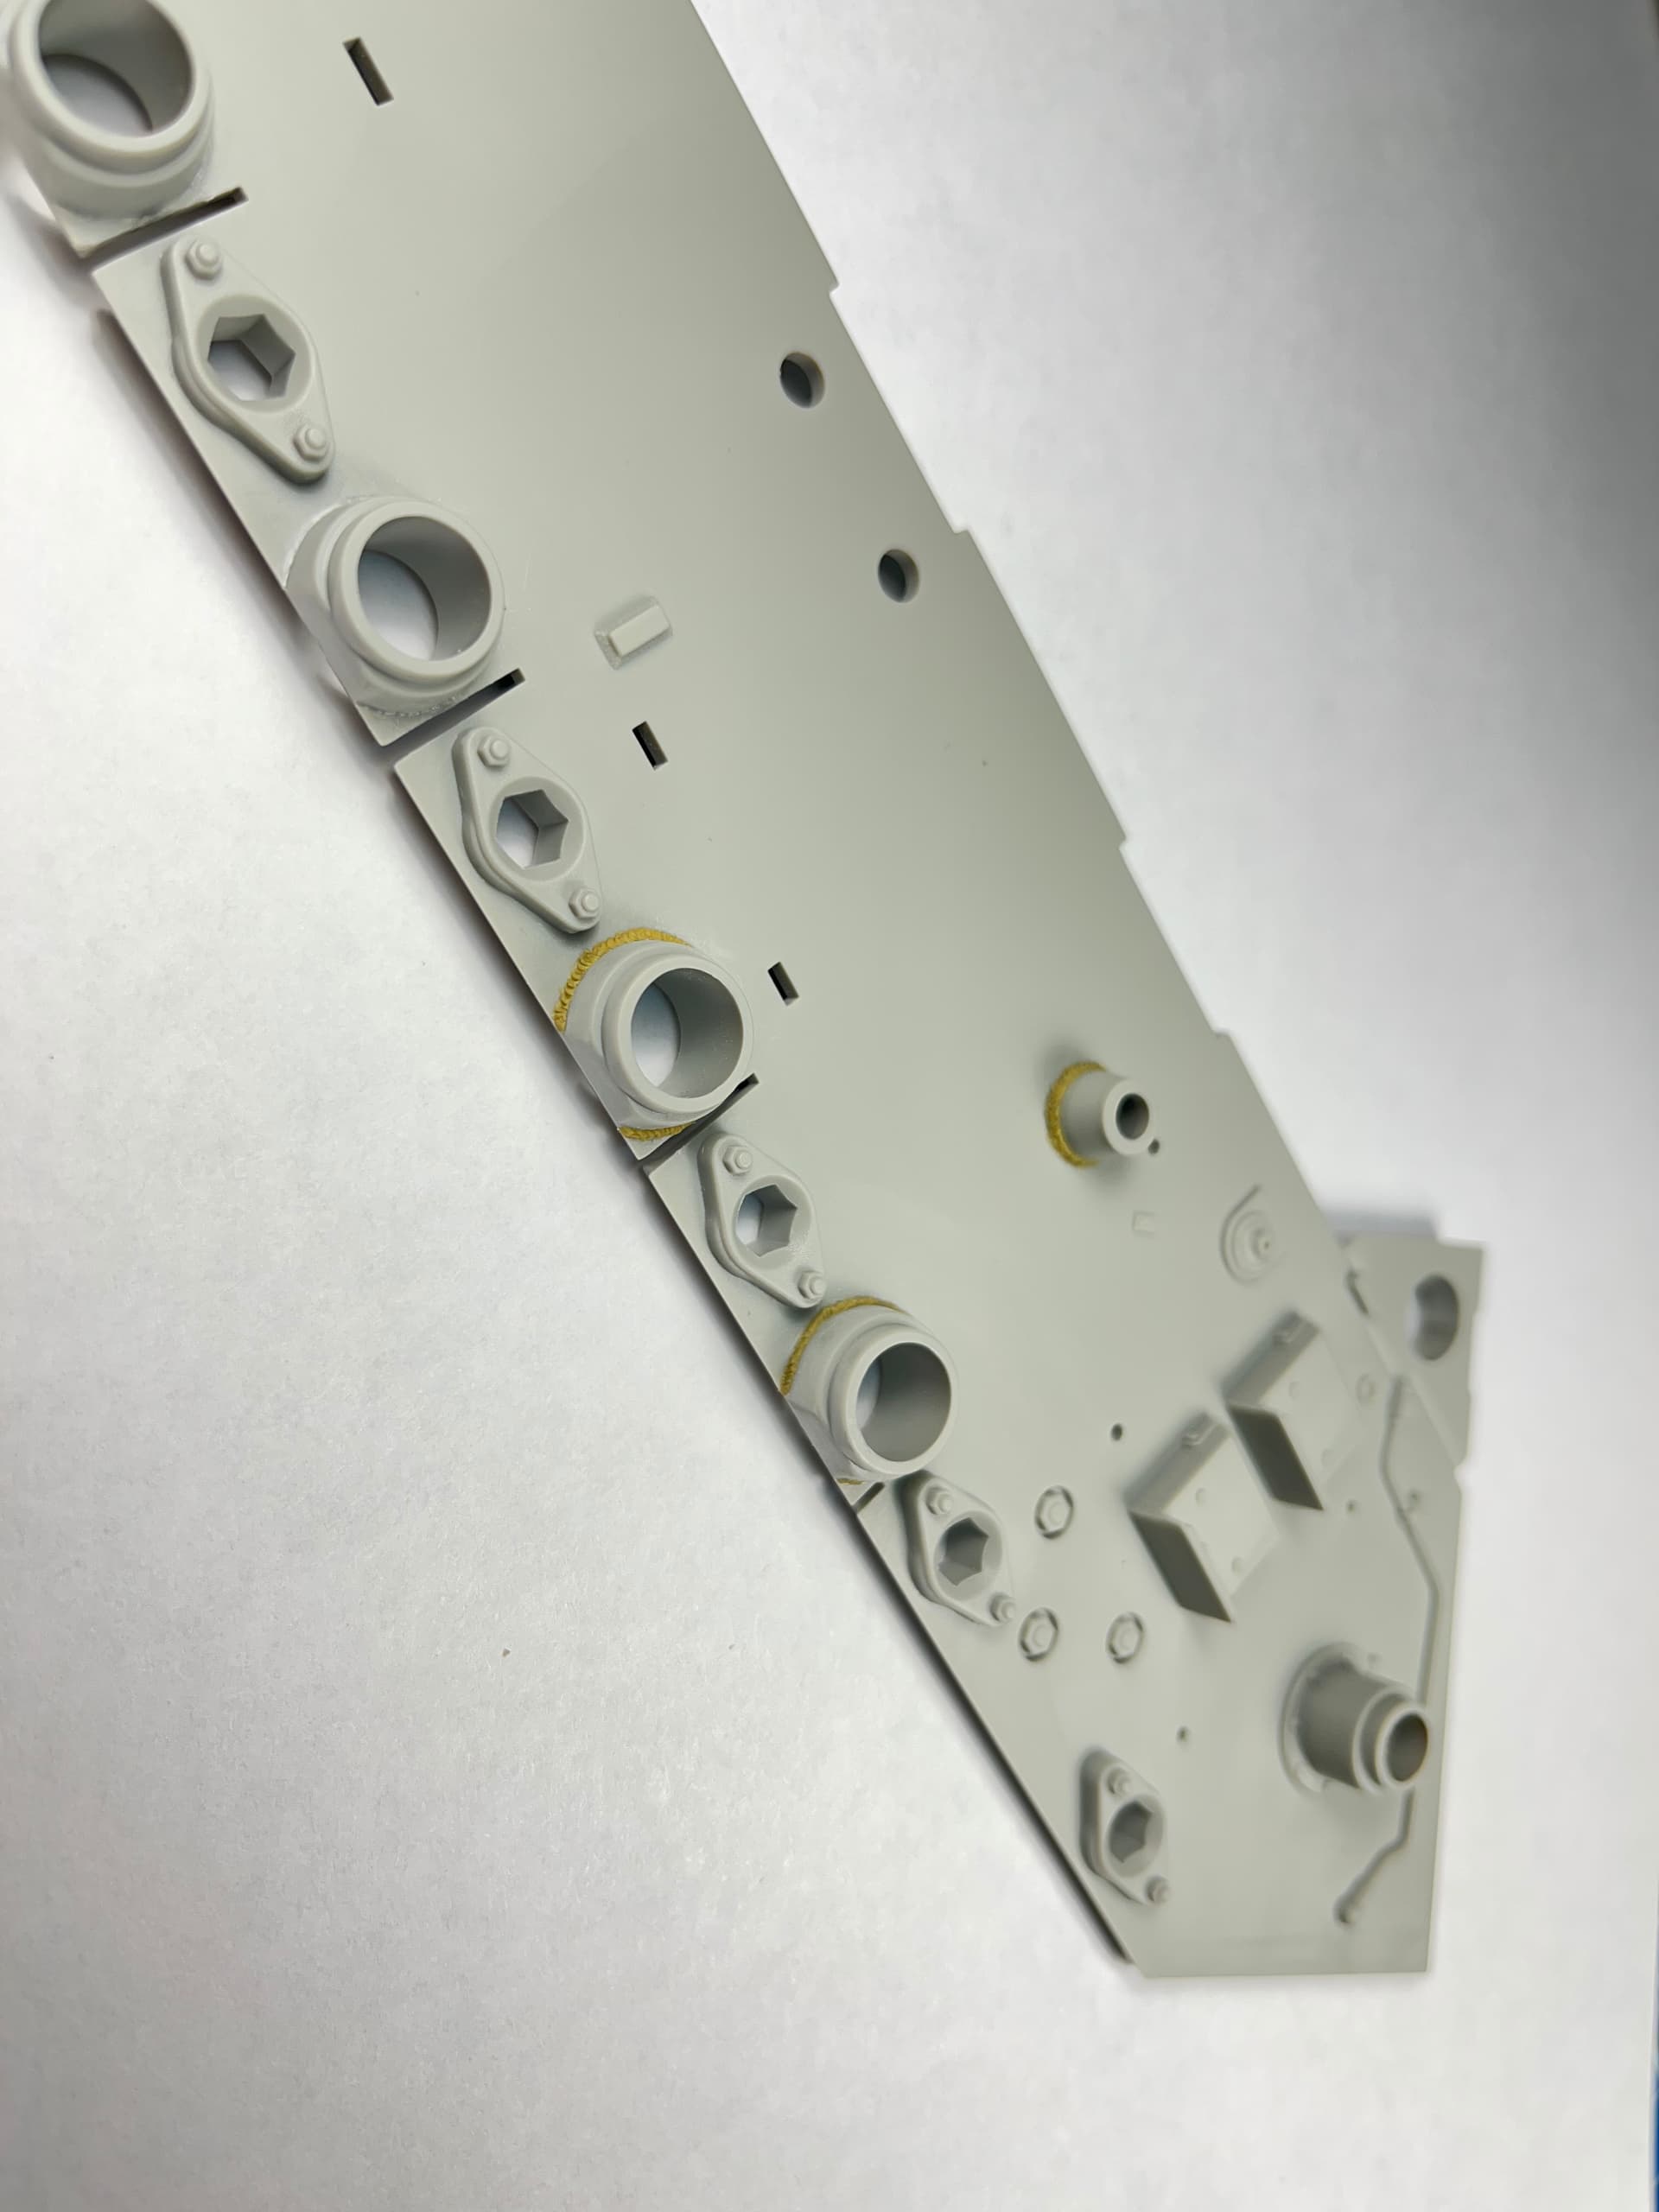
Hi all! what to say:
Prepared suspension arms for installation and painting. The sanding took two days.
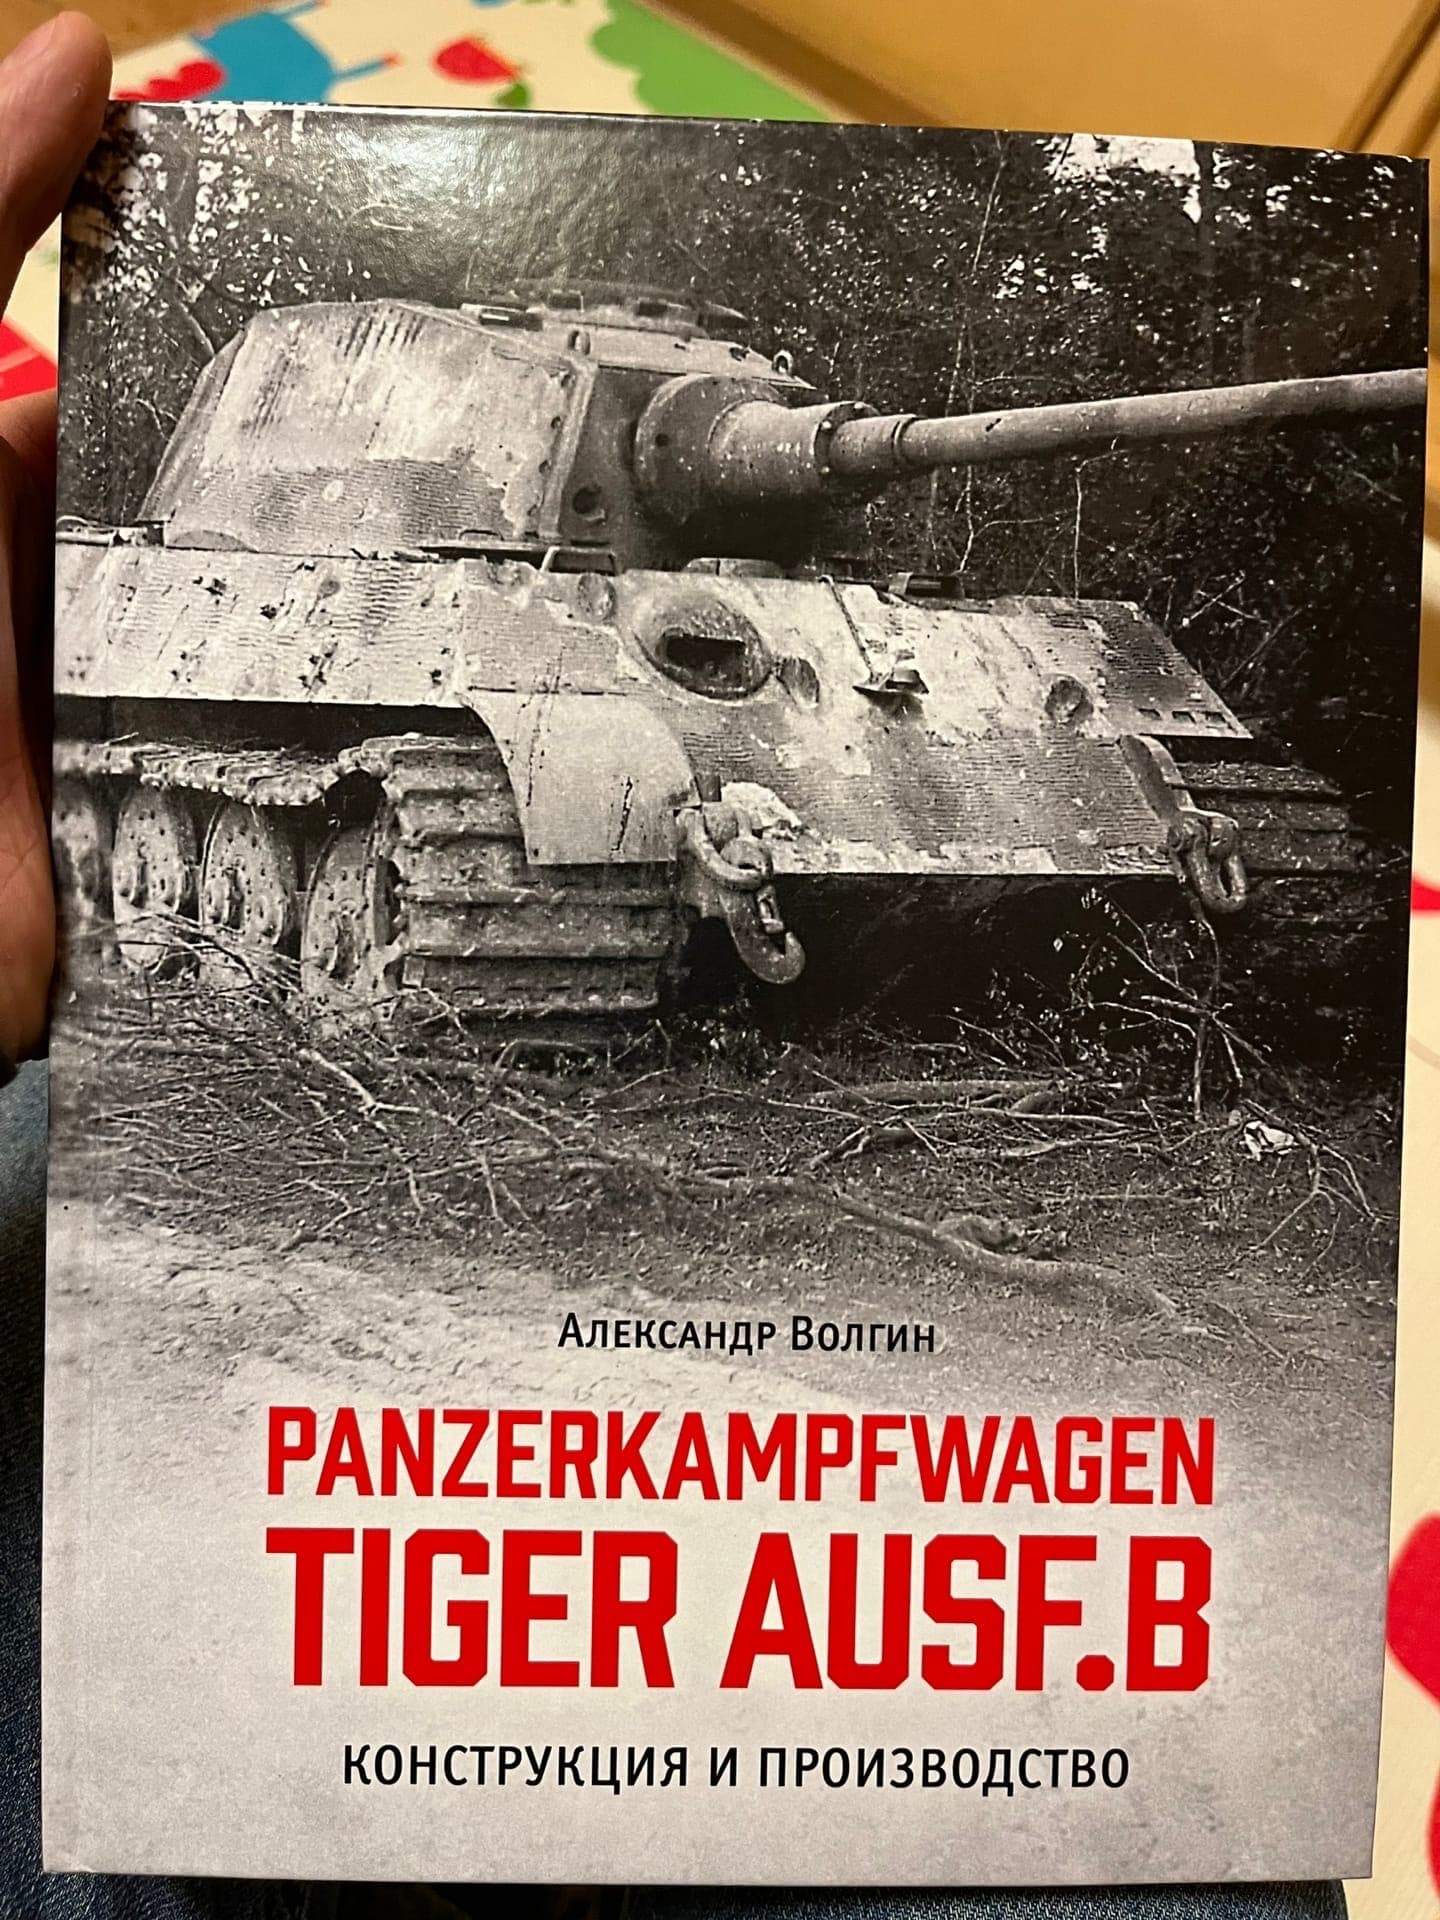
I bought a book by A. Volgin “Panzerkampfwagen Tiger ausf. B”, well, I also stocked up on photo-etched details: locks for canister necks, molding numbers. They will need a lot.
thnx! ![]()
Following with much interest.
@steel_tiger1 nice thank you! ![]()
Good time!
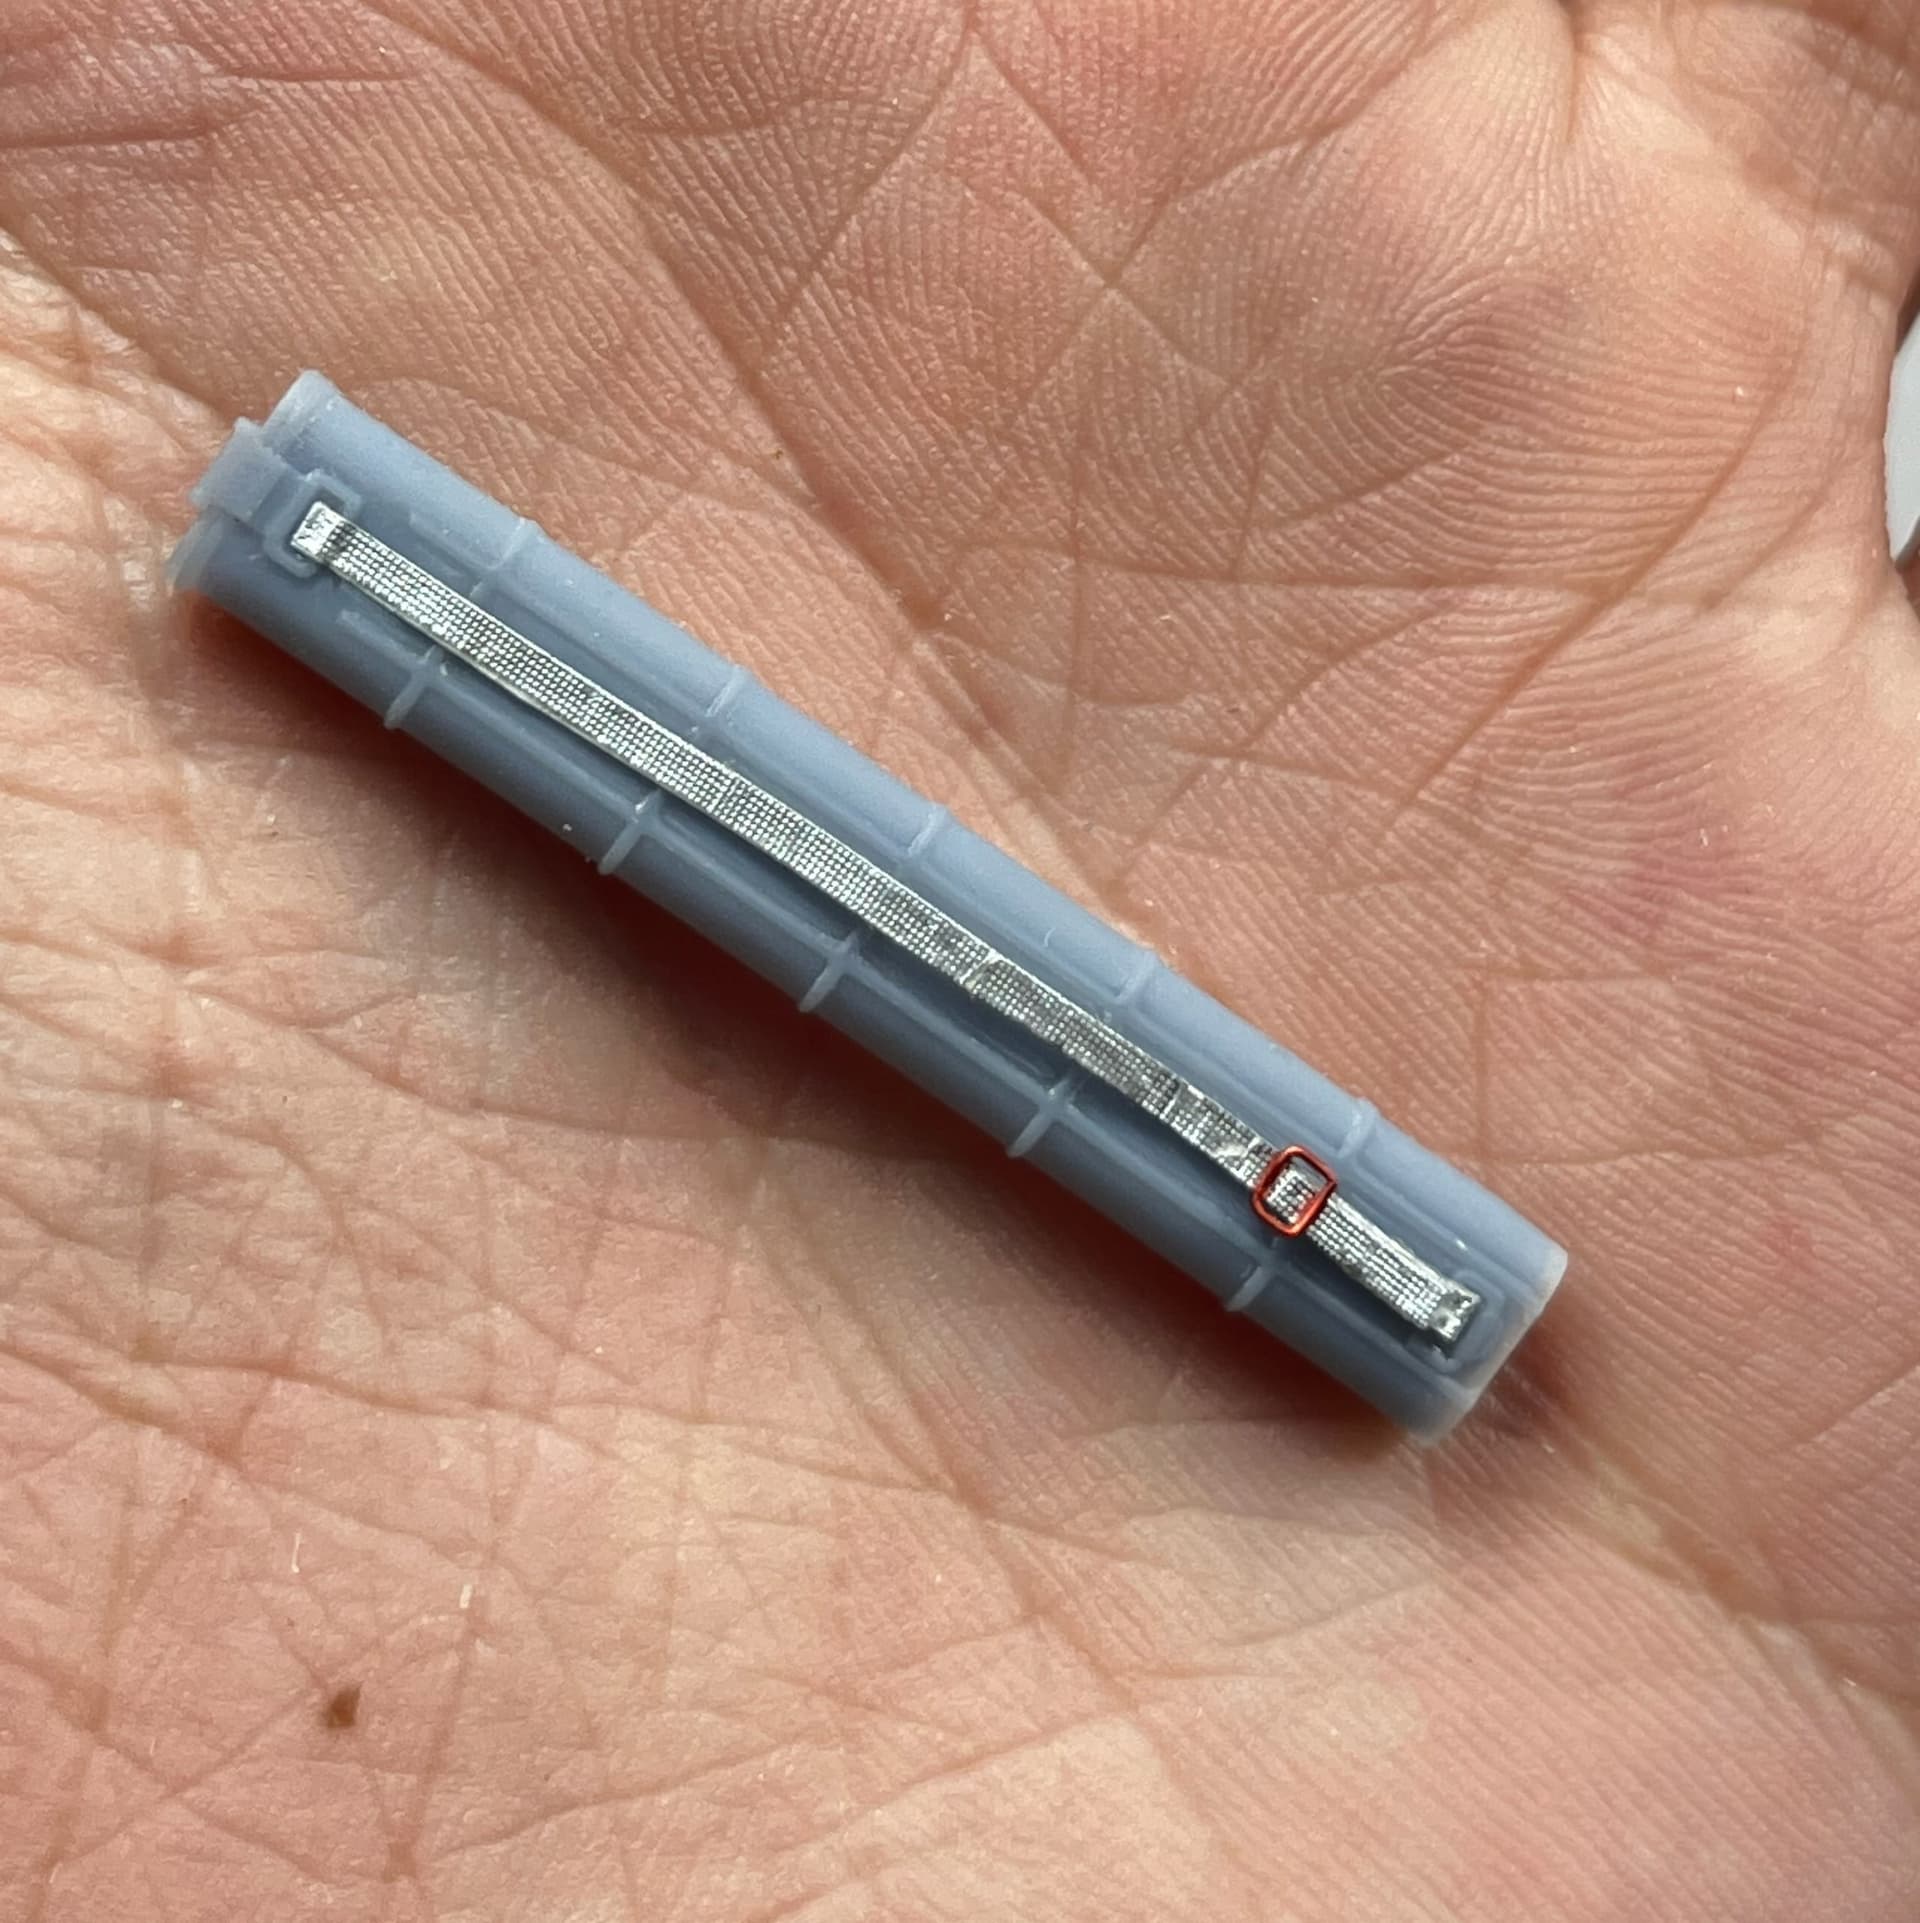
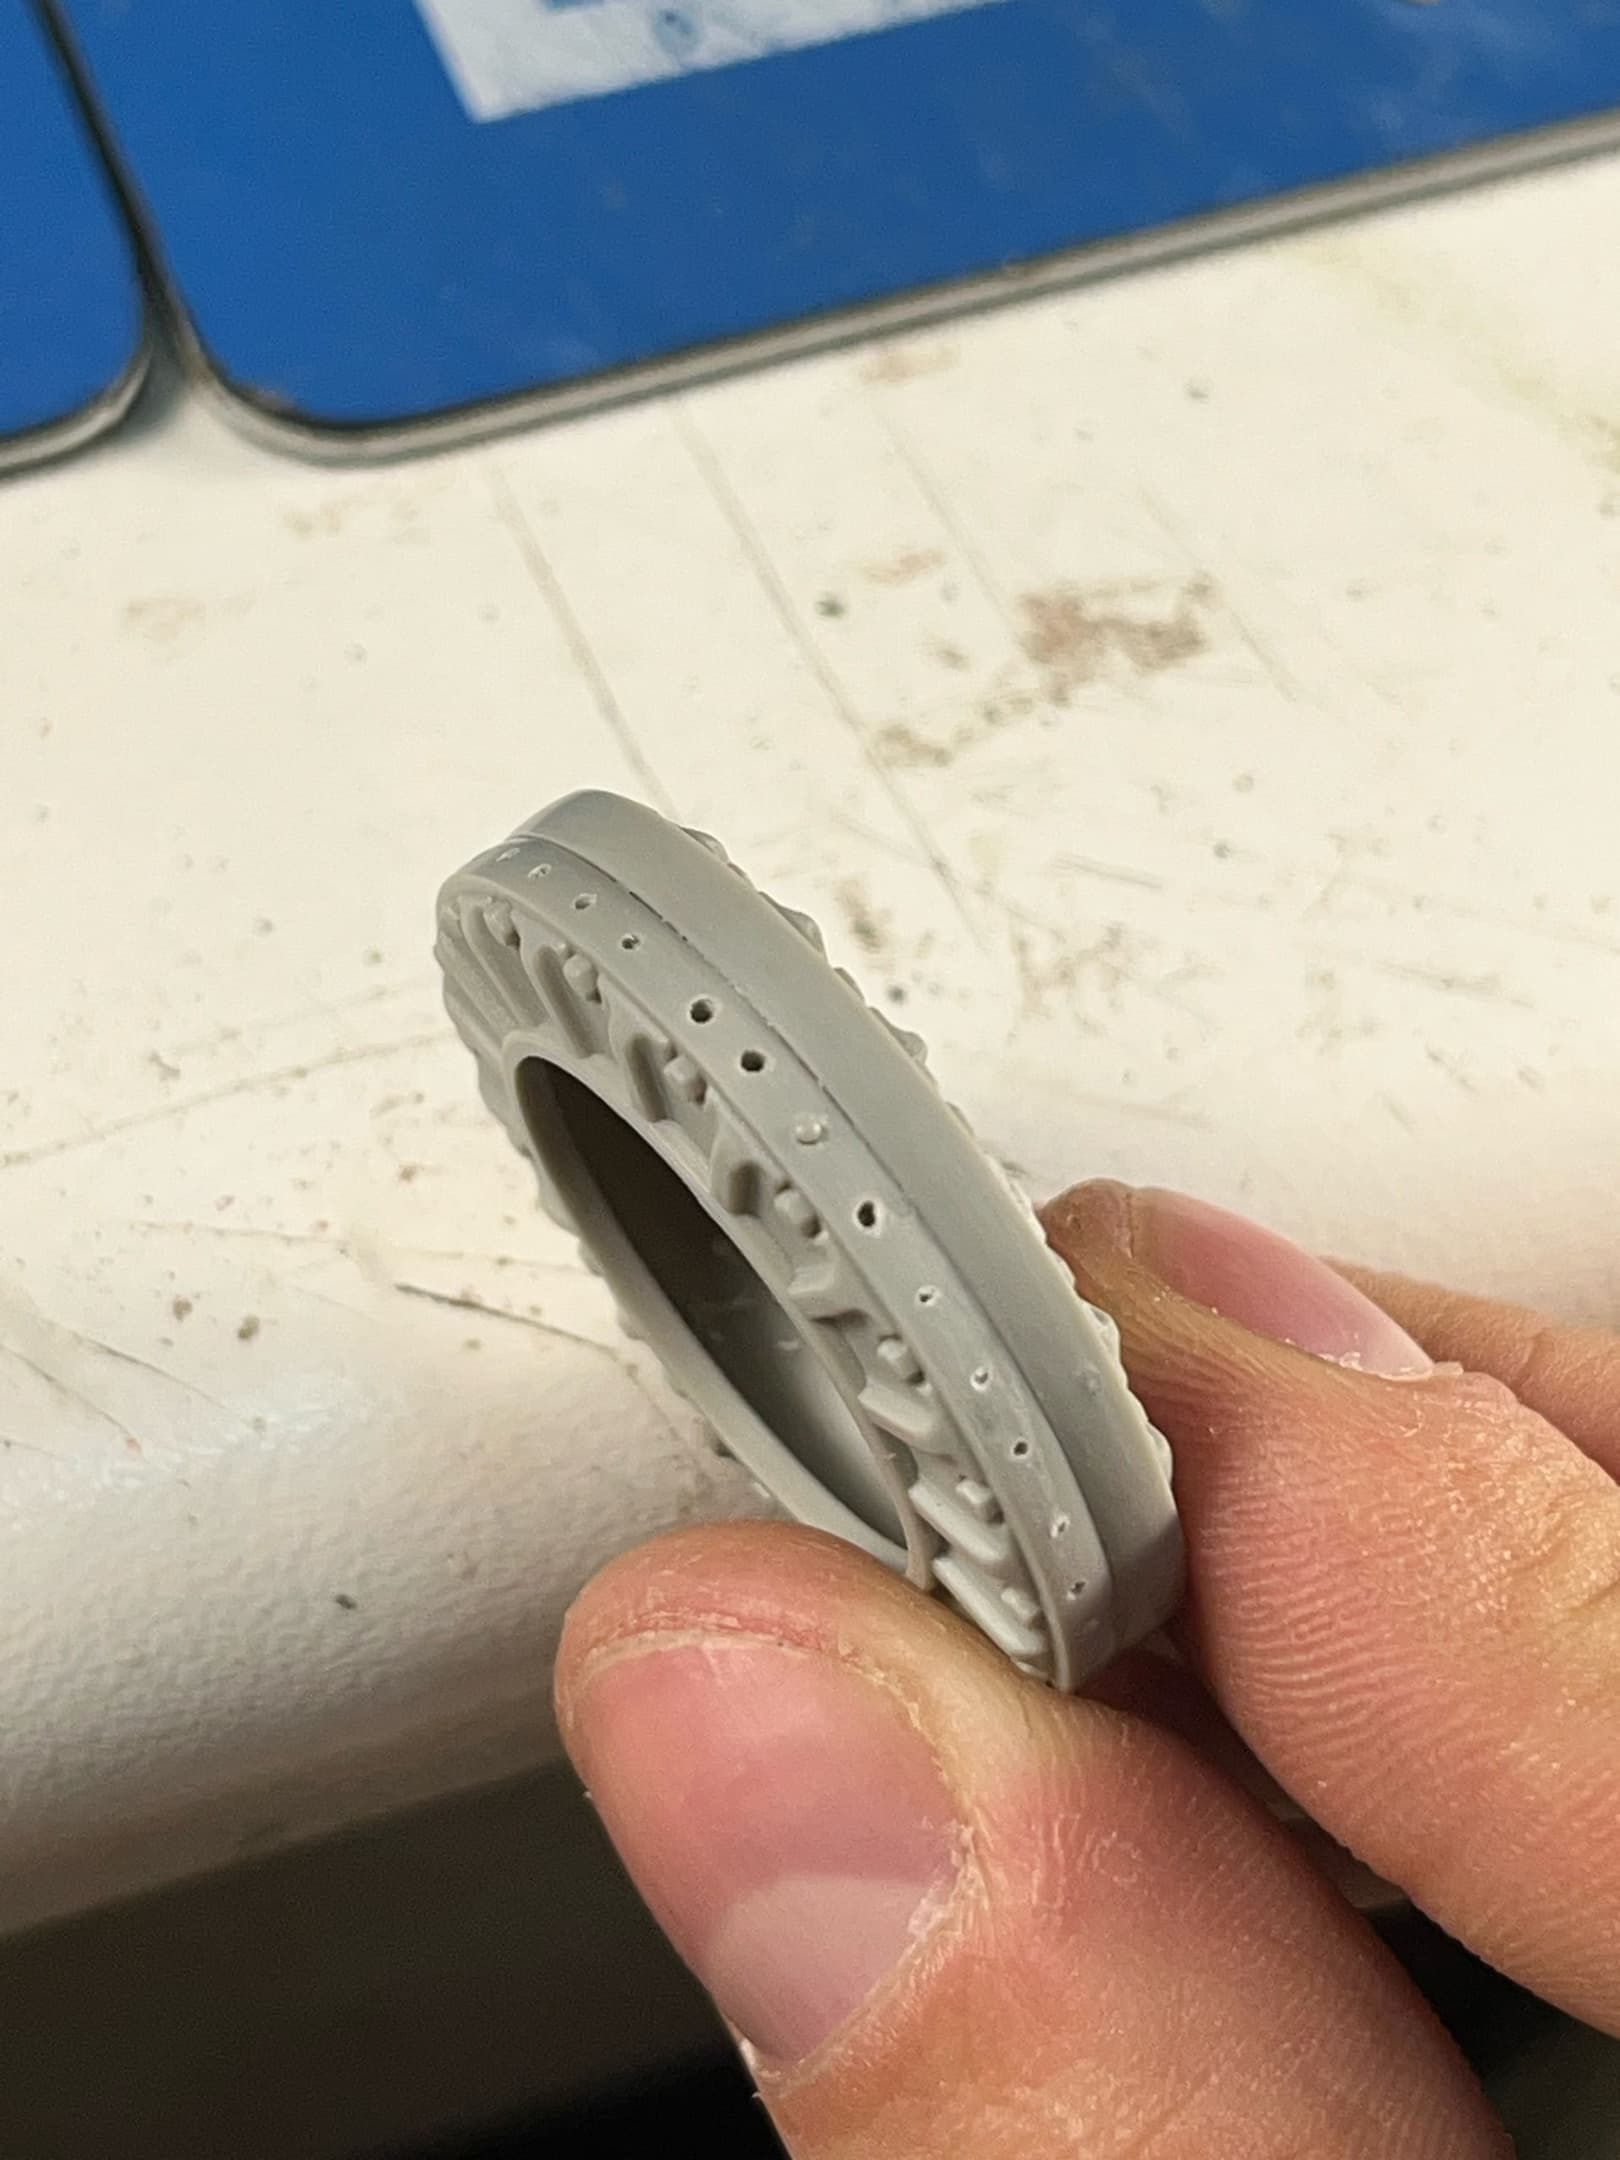
I tried to make a belt for Laufbehälter 34, I will redo it, the experiment was unsuccessful. I will create two loops for the belt and make a new buckle with a crossbar. I liked the texture of the foil, very reminiscent of the original belt (from a pack of cigarettes, smoking is harmful to your health, remember this).
The Laufbehälter 34 itself is 3D printed in 4K quality. There were stripes, I walked with an abrasive with a grain size of 800, and washed off the dust with alcohol. There are two more such pencil cases left in reserve, I am in thought: 1) try again on the same pencil case; 2) make a new belt on another pencil case; 3) do not make a belt at all, but I really want to)))
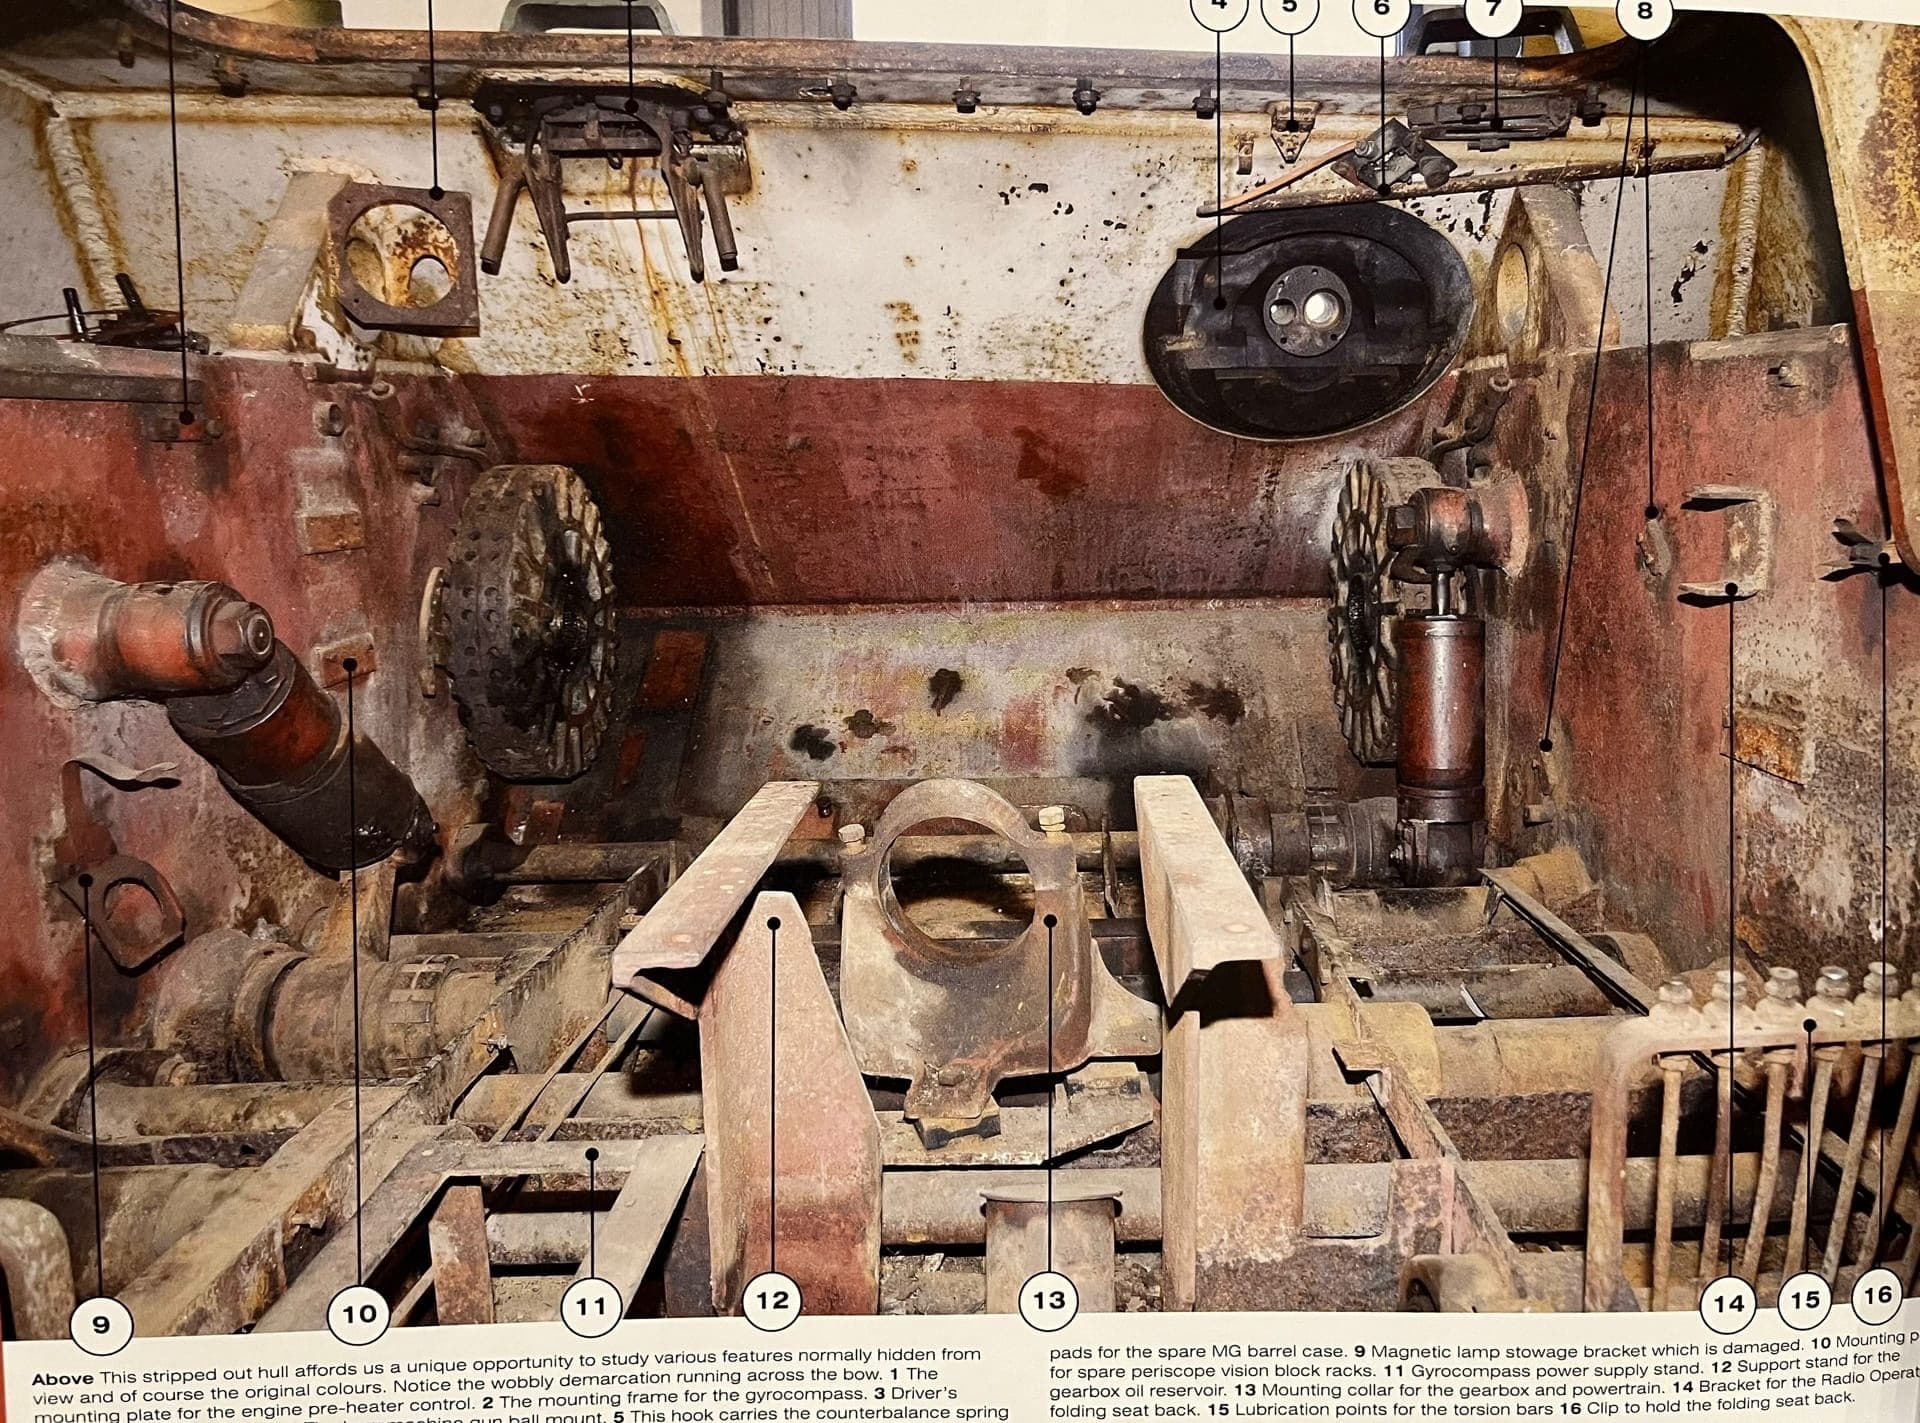
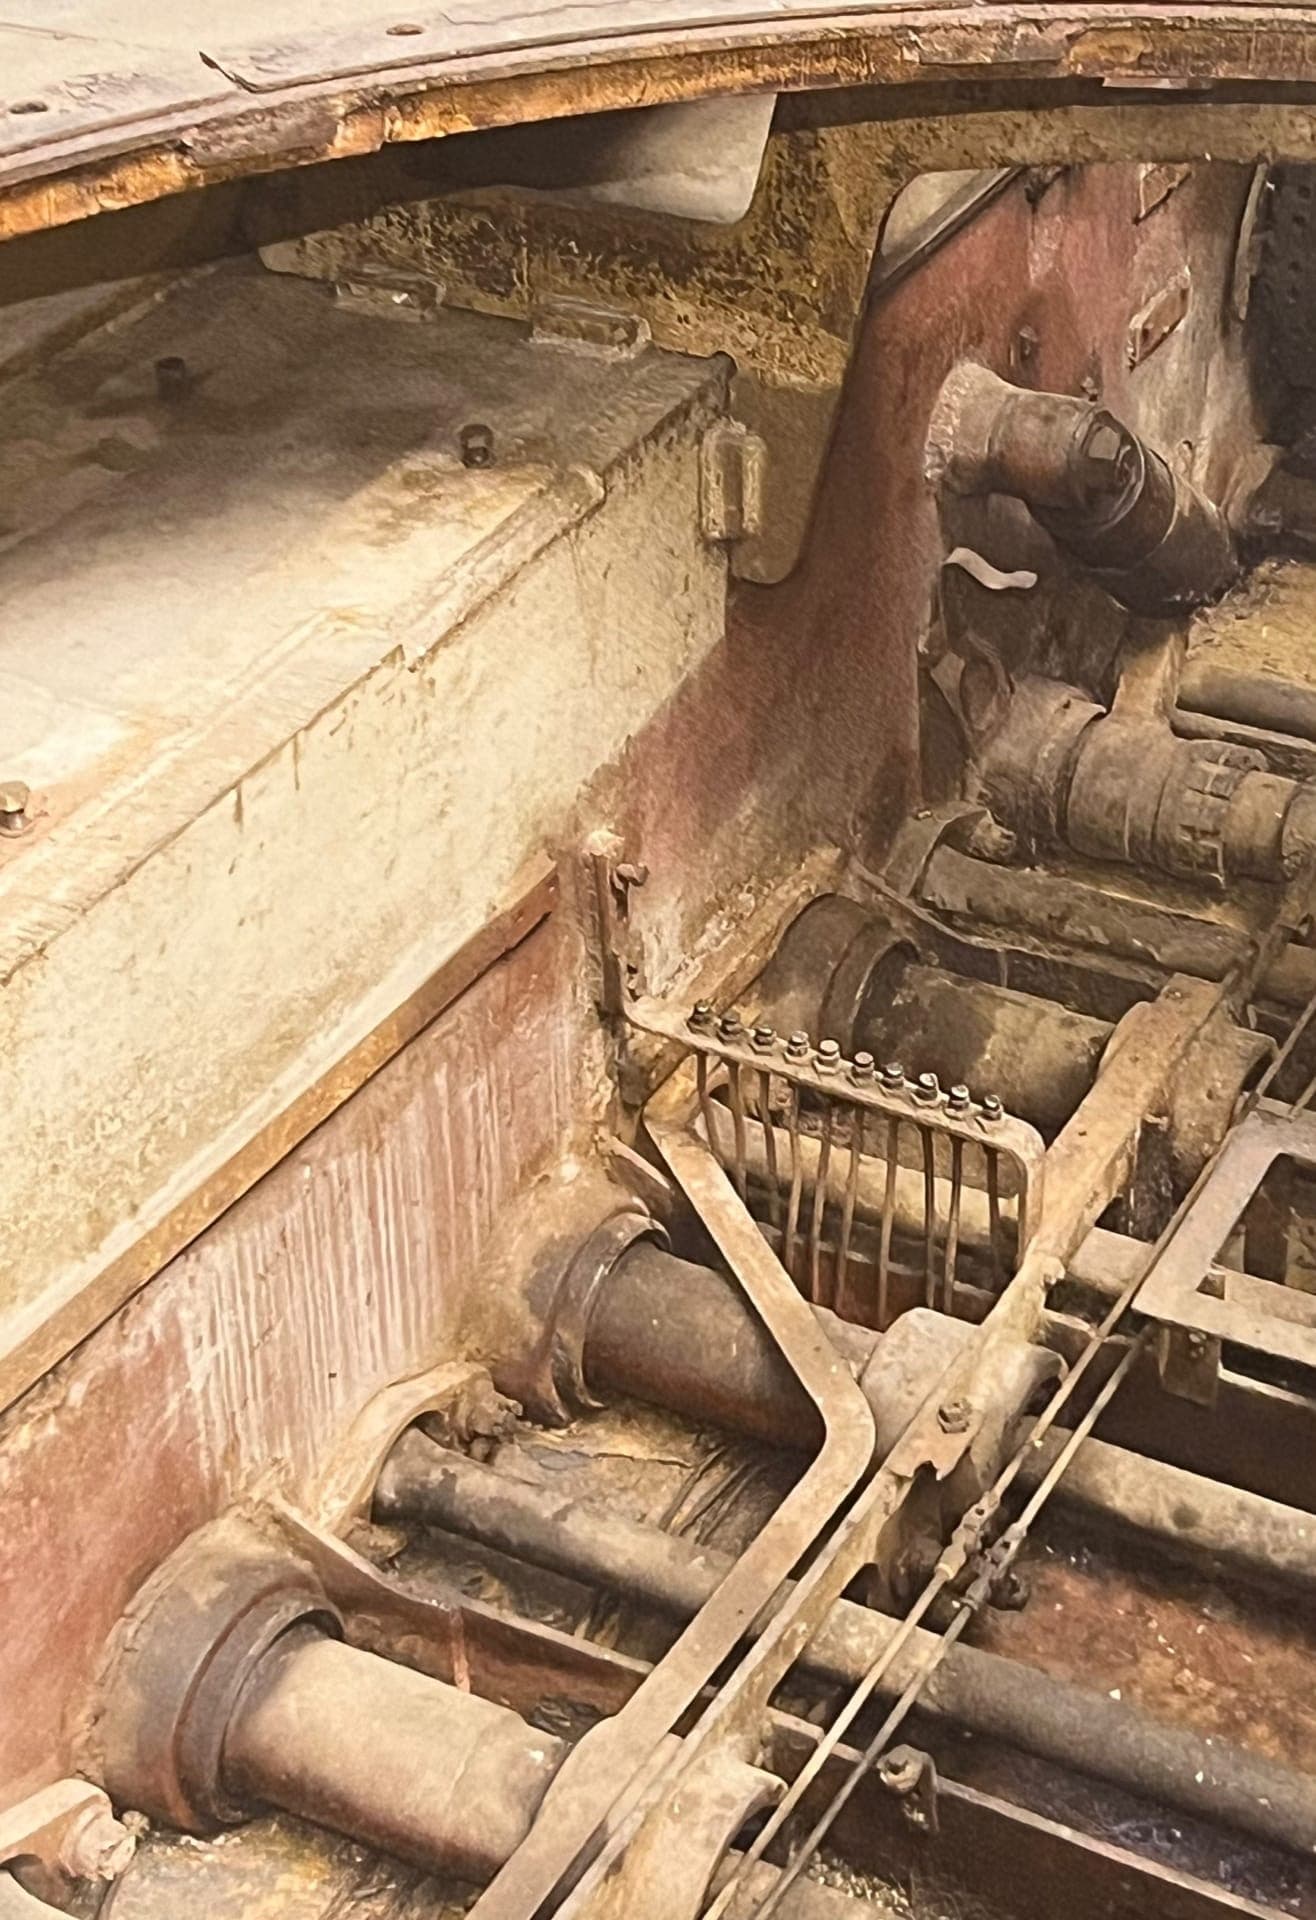
Original walkaround:
Good day!
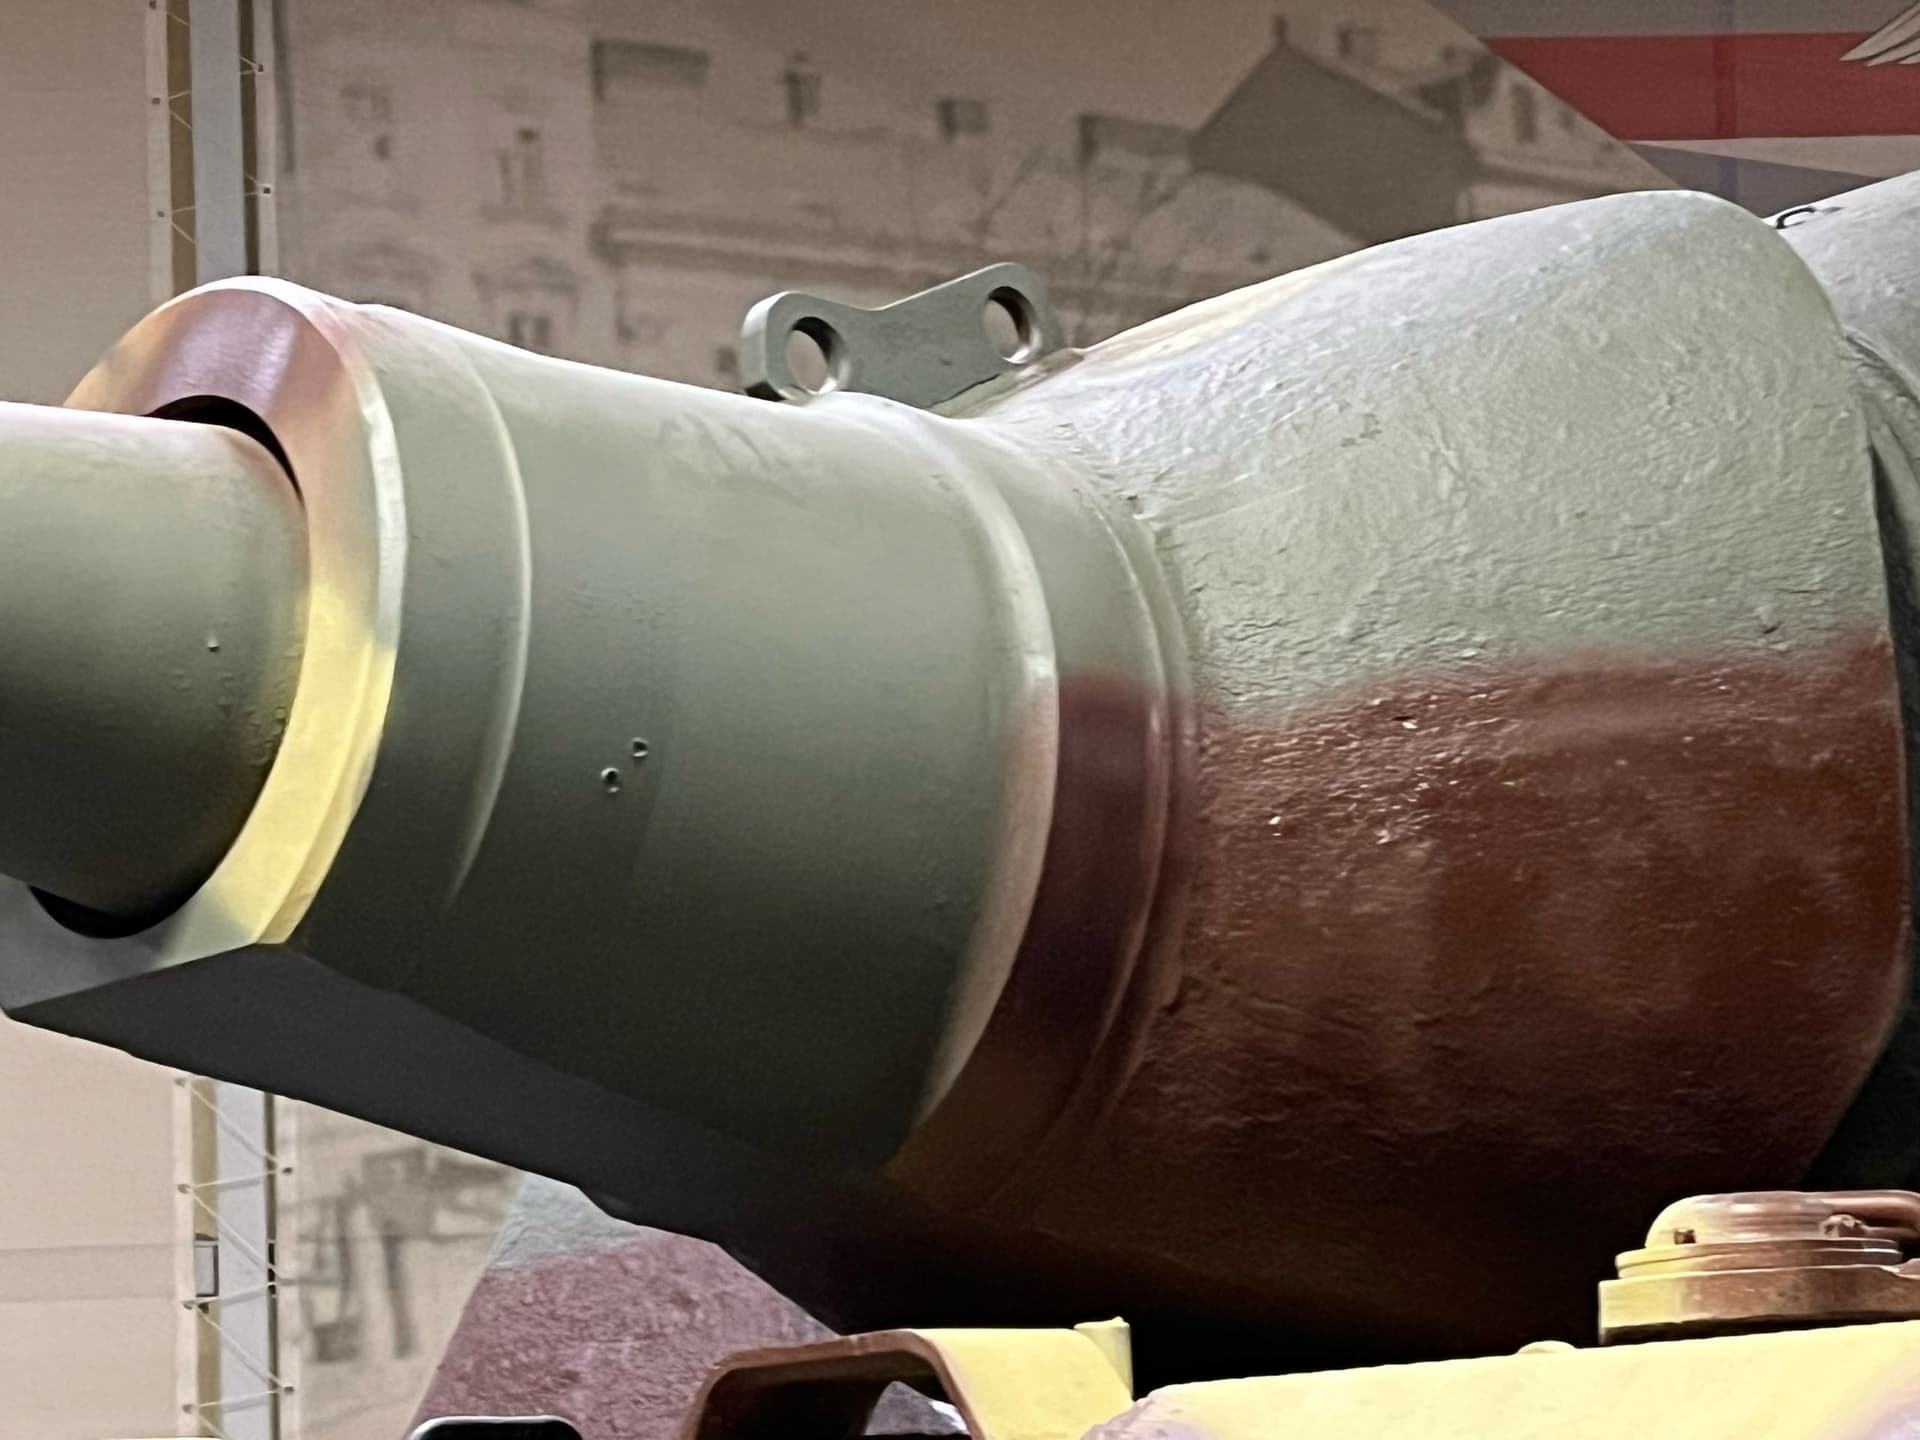
I visited the Patriot park in Kubinka (Moscow region) during the week
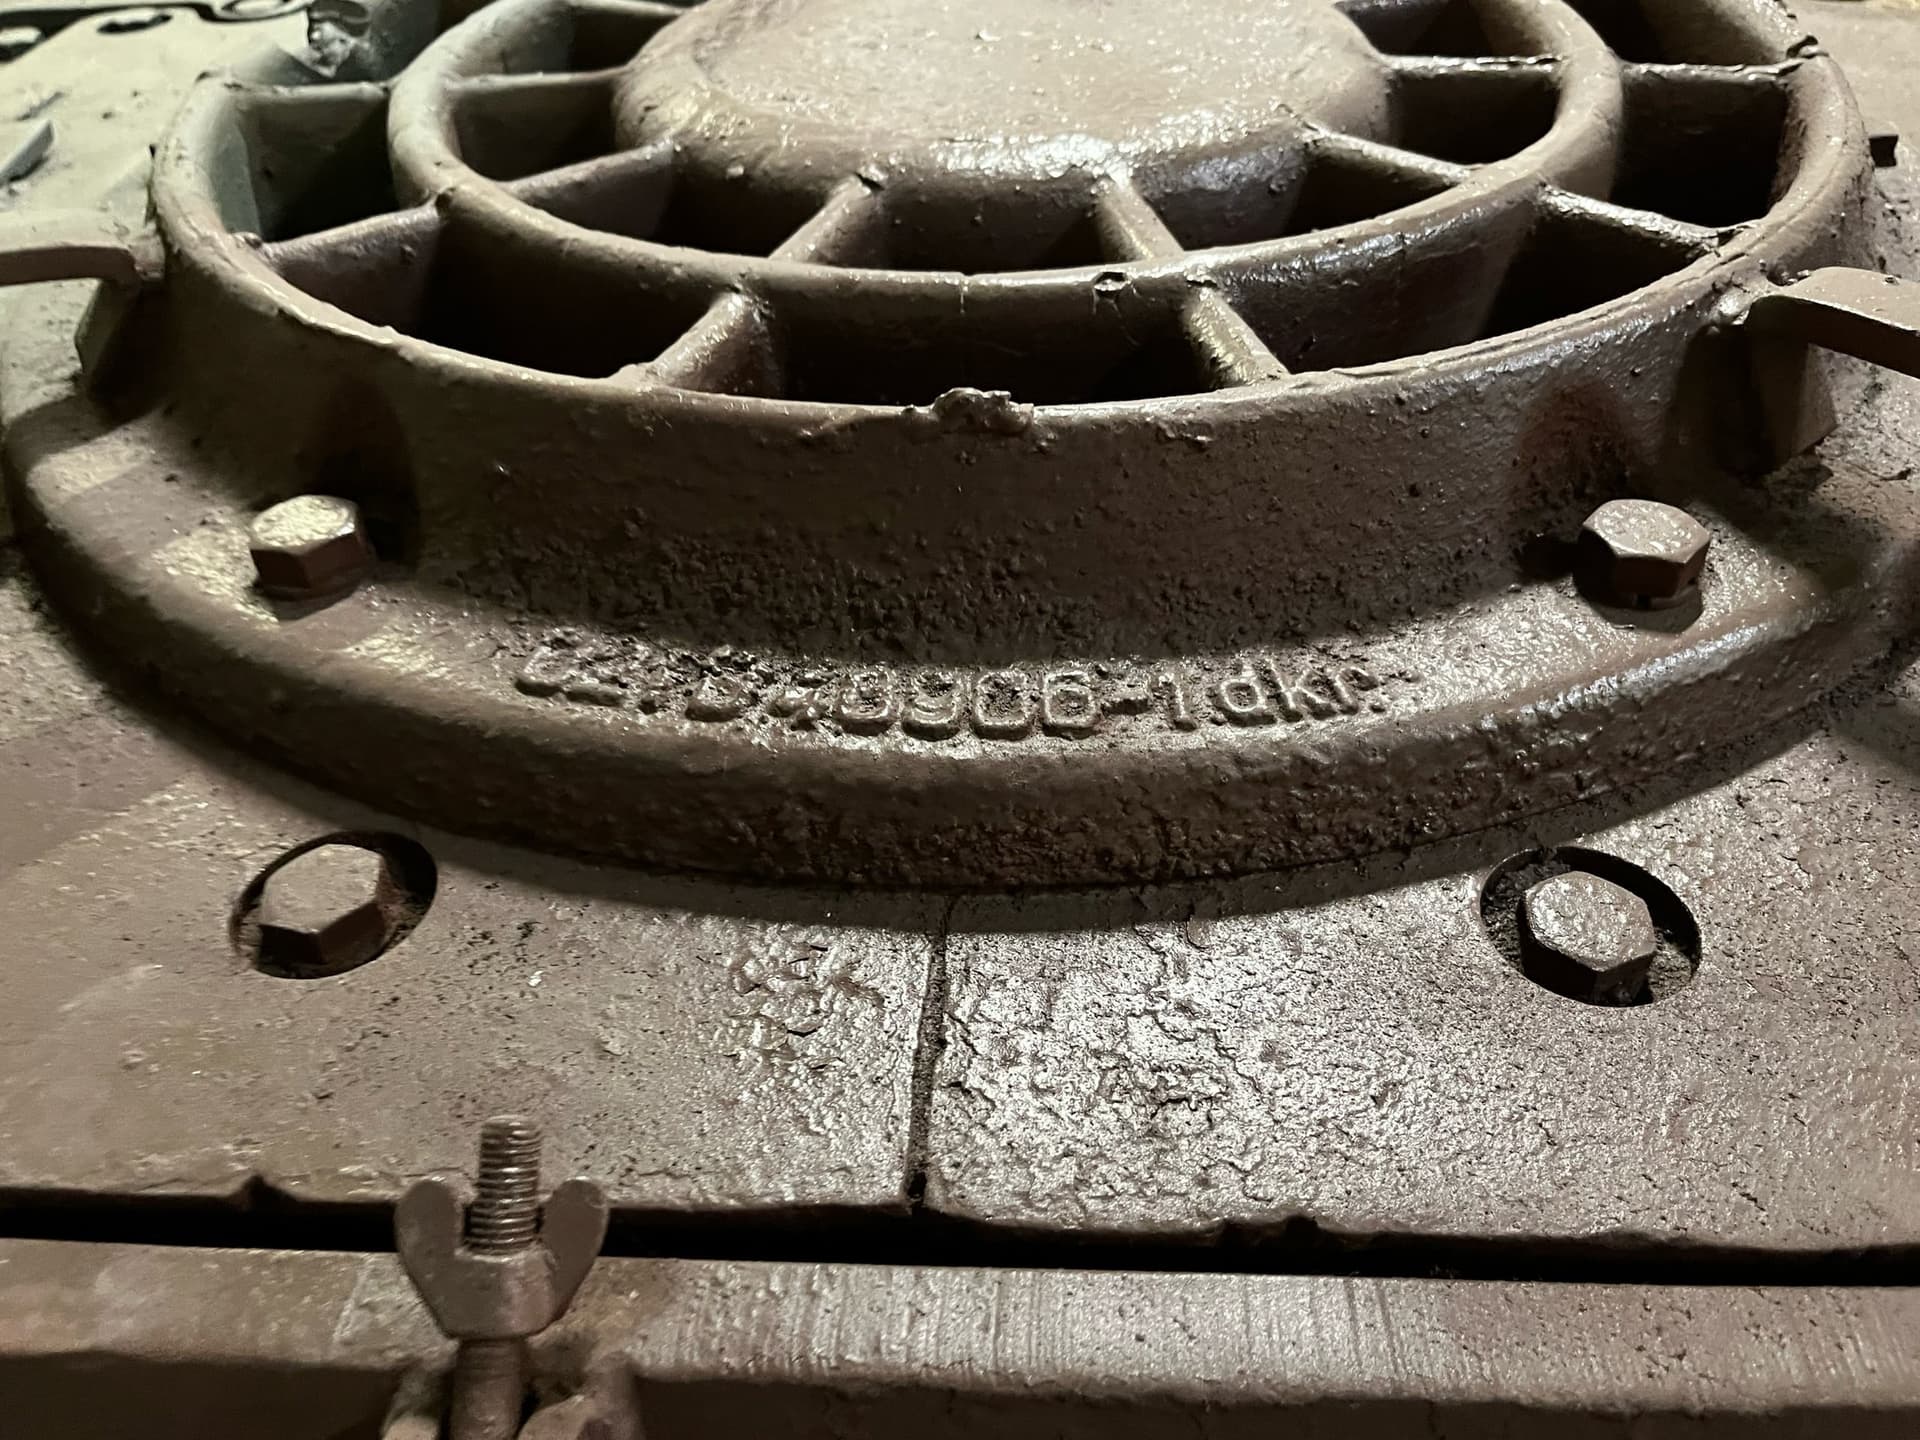
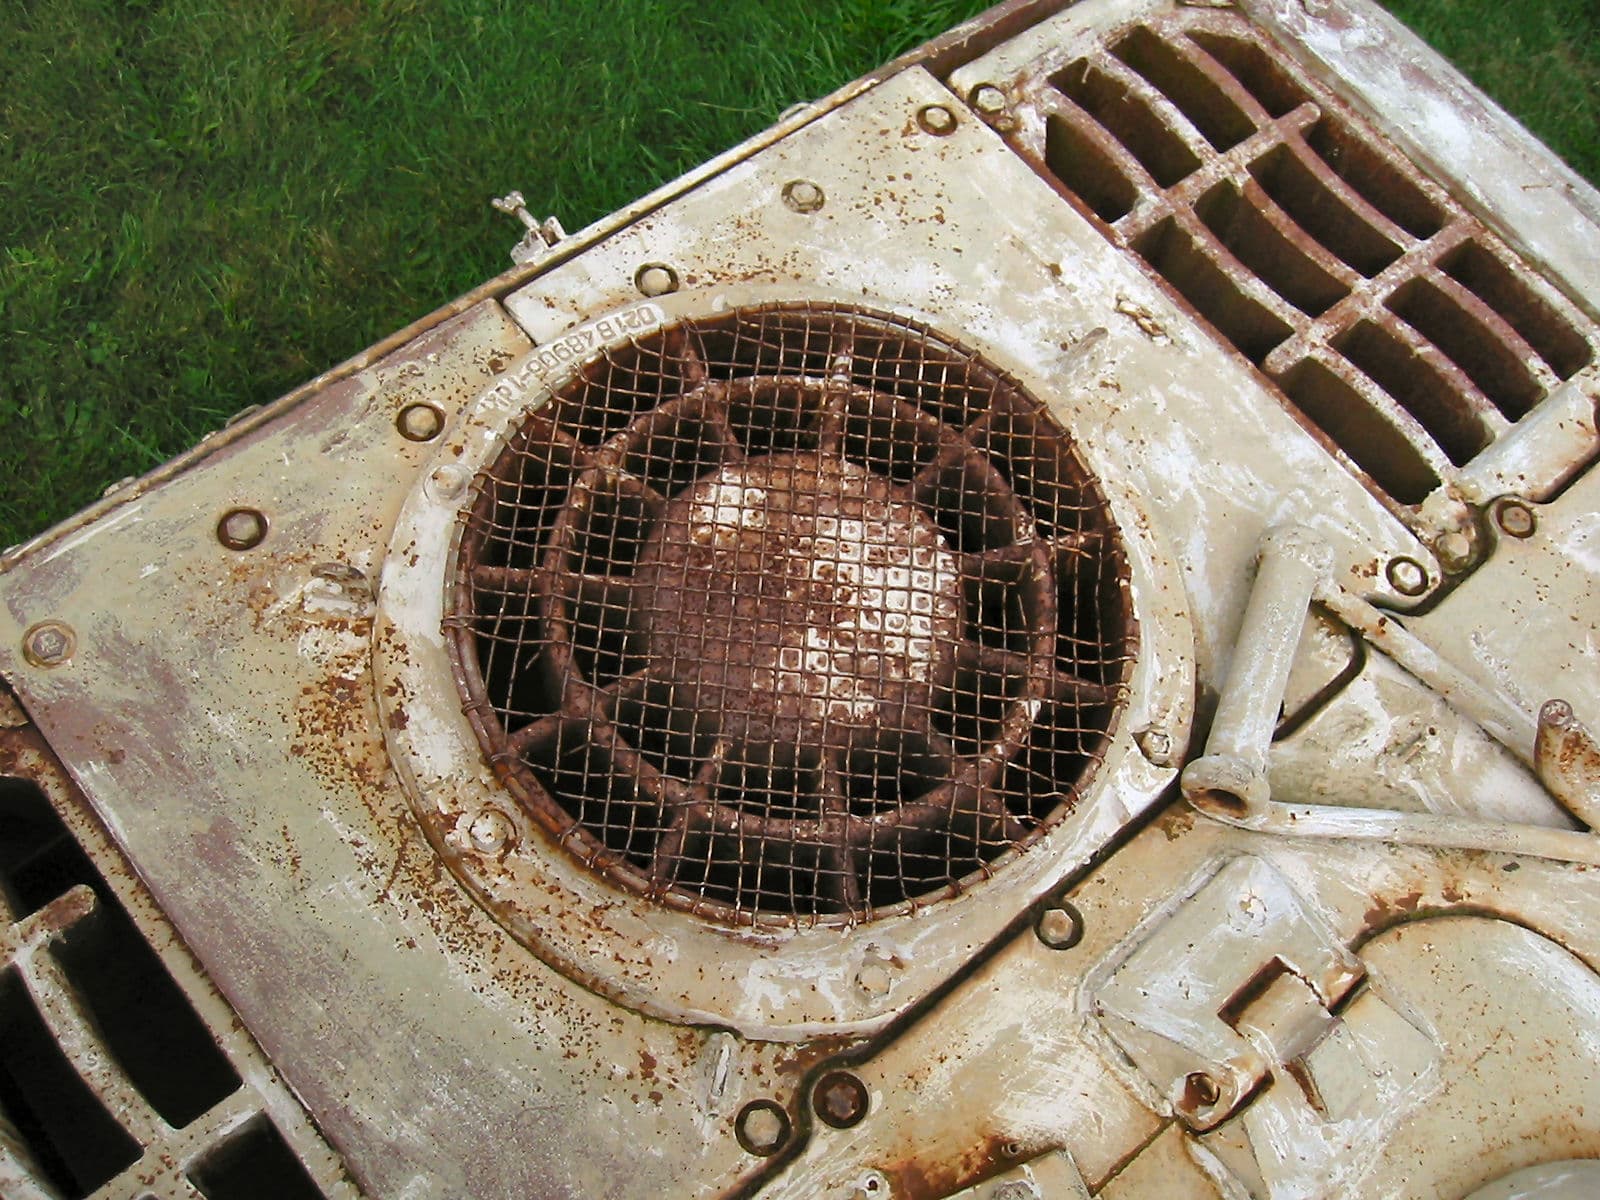
I took a couple of photos of the Jagdtiger. In particular, I was interested in casting numbers on the armor of the radiator grilles and casting numbers on the hub bushings.
I am aware that this is a late car (305083), and the project is to build an earlier model (305020).
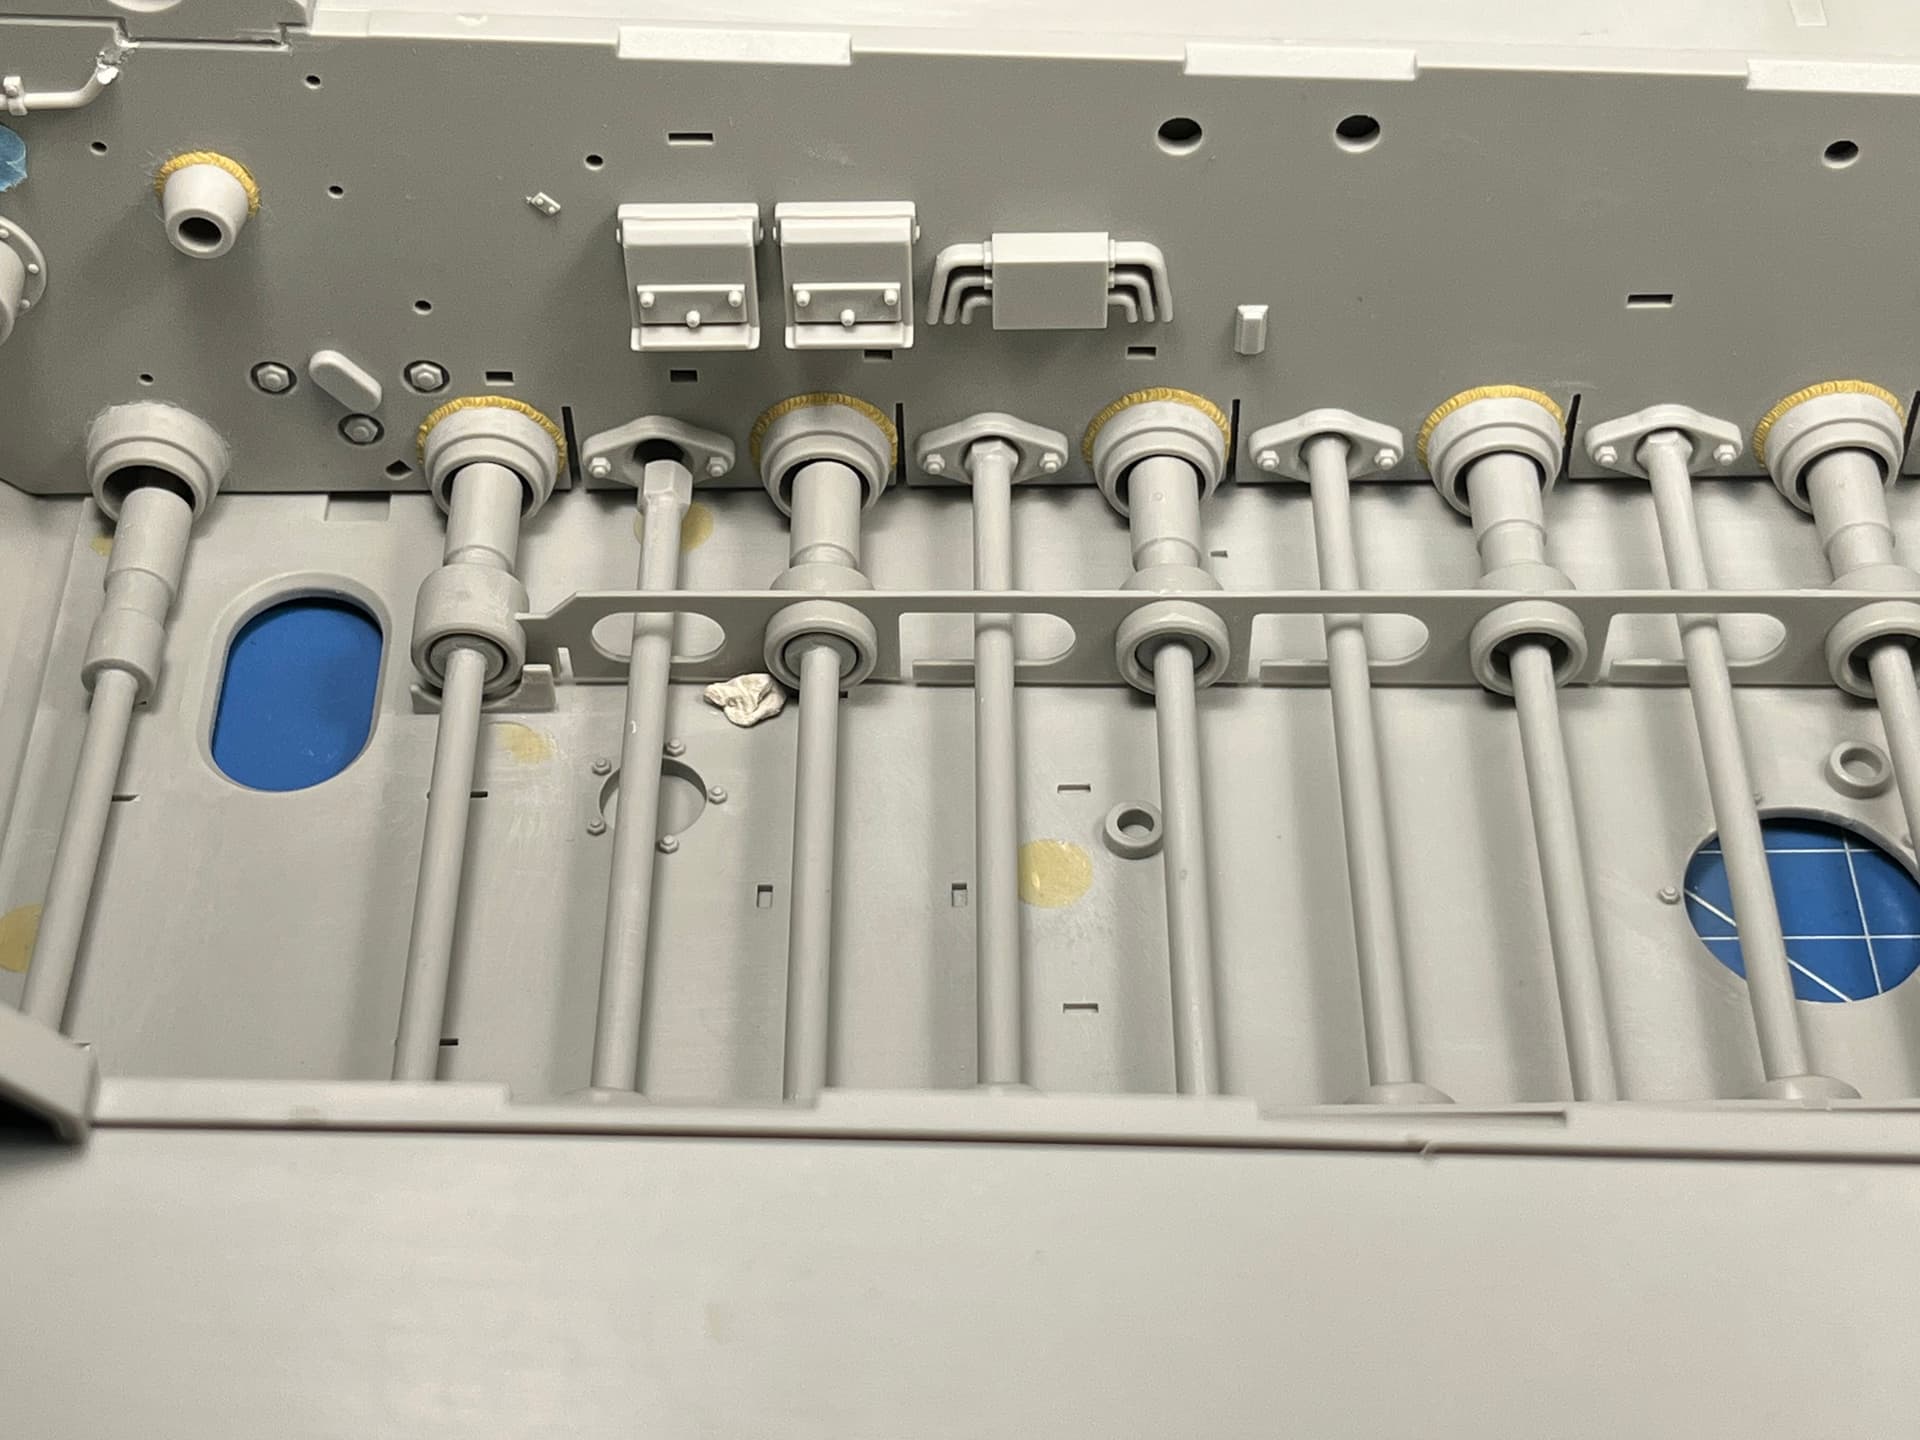
Hi all!
I’m sorry that I haven’t had any news on the construction of the Panzerjager Tiger ausf.B for a long time.
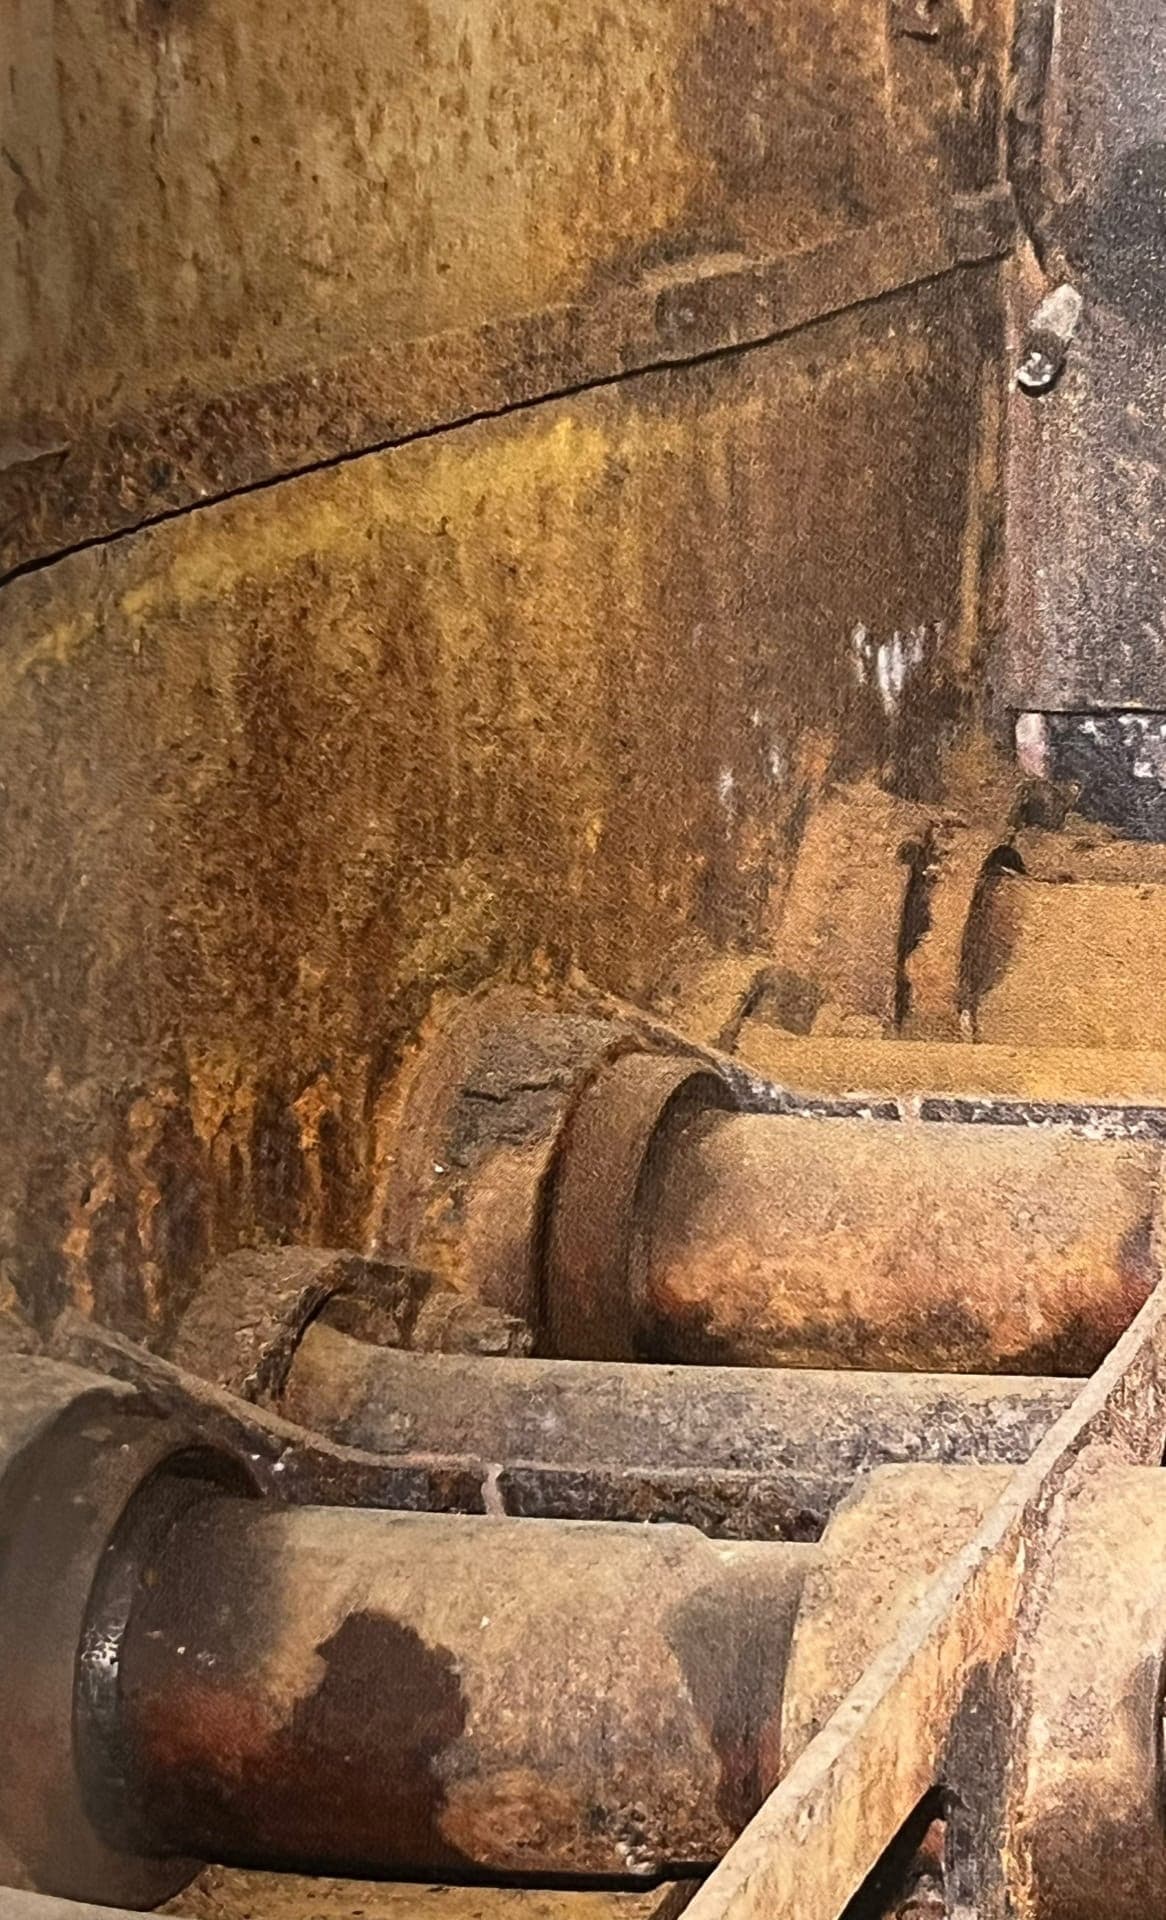
Took out the triplex shelves and the electrical junction box (they were very terrible). The nuance lies in the fact that after cutting off these elements, gaping through holes in the form of two squares and a rectangle remain in the board. Closed up with 2mm Tamiya polystyrene sheet. Next, puttying and sanding.
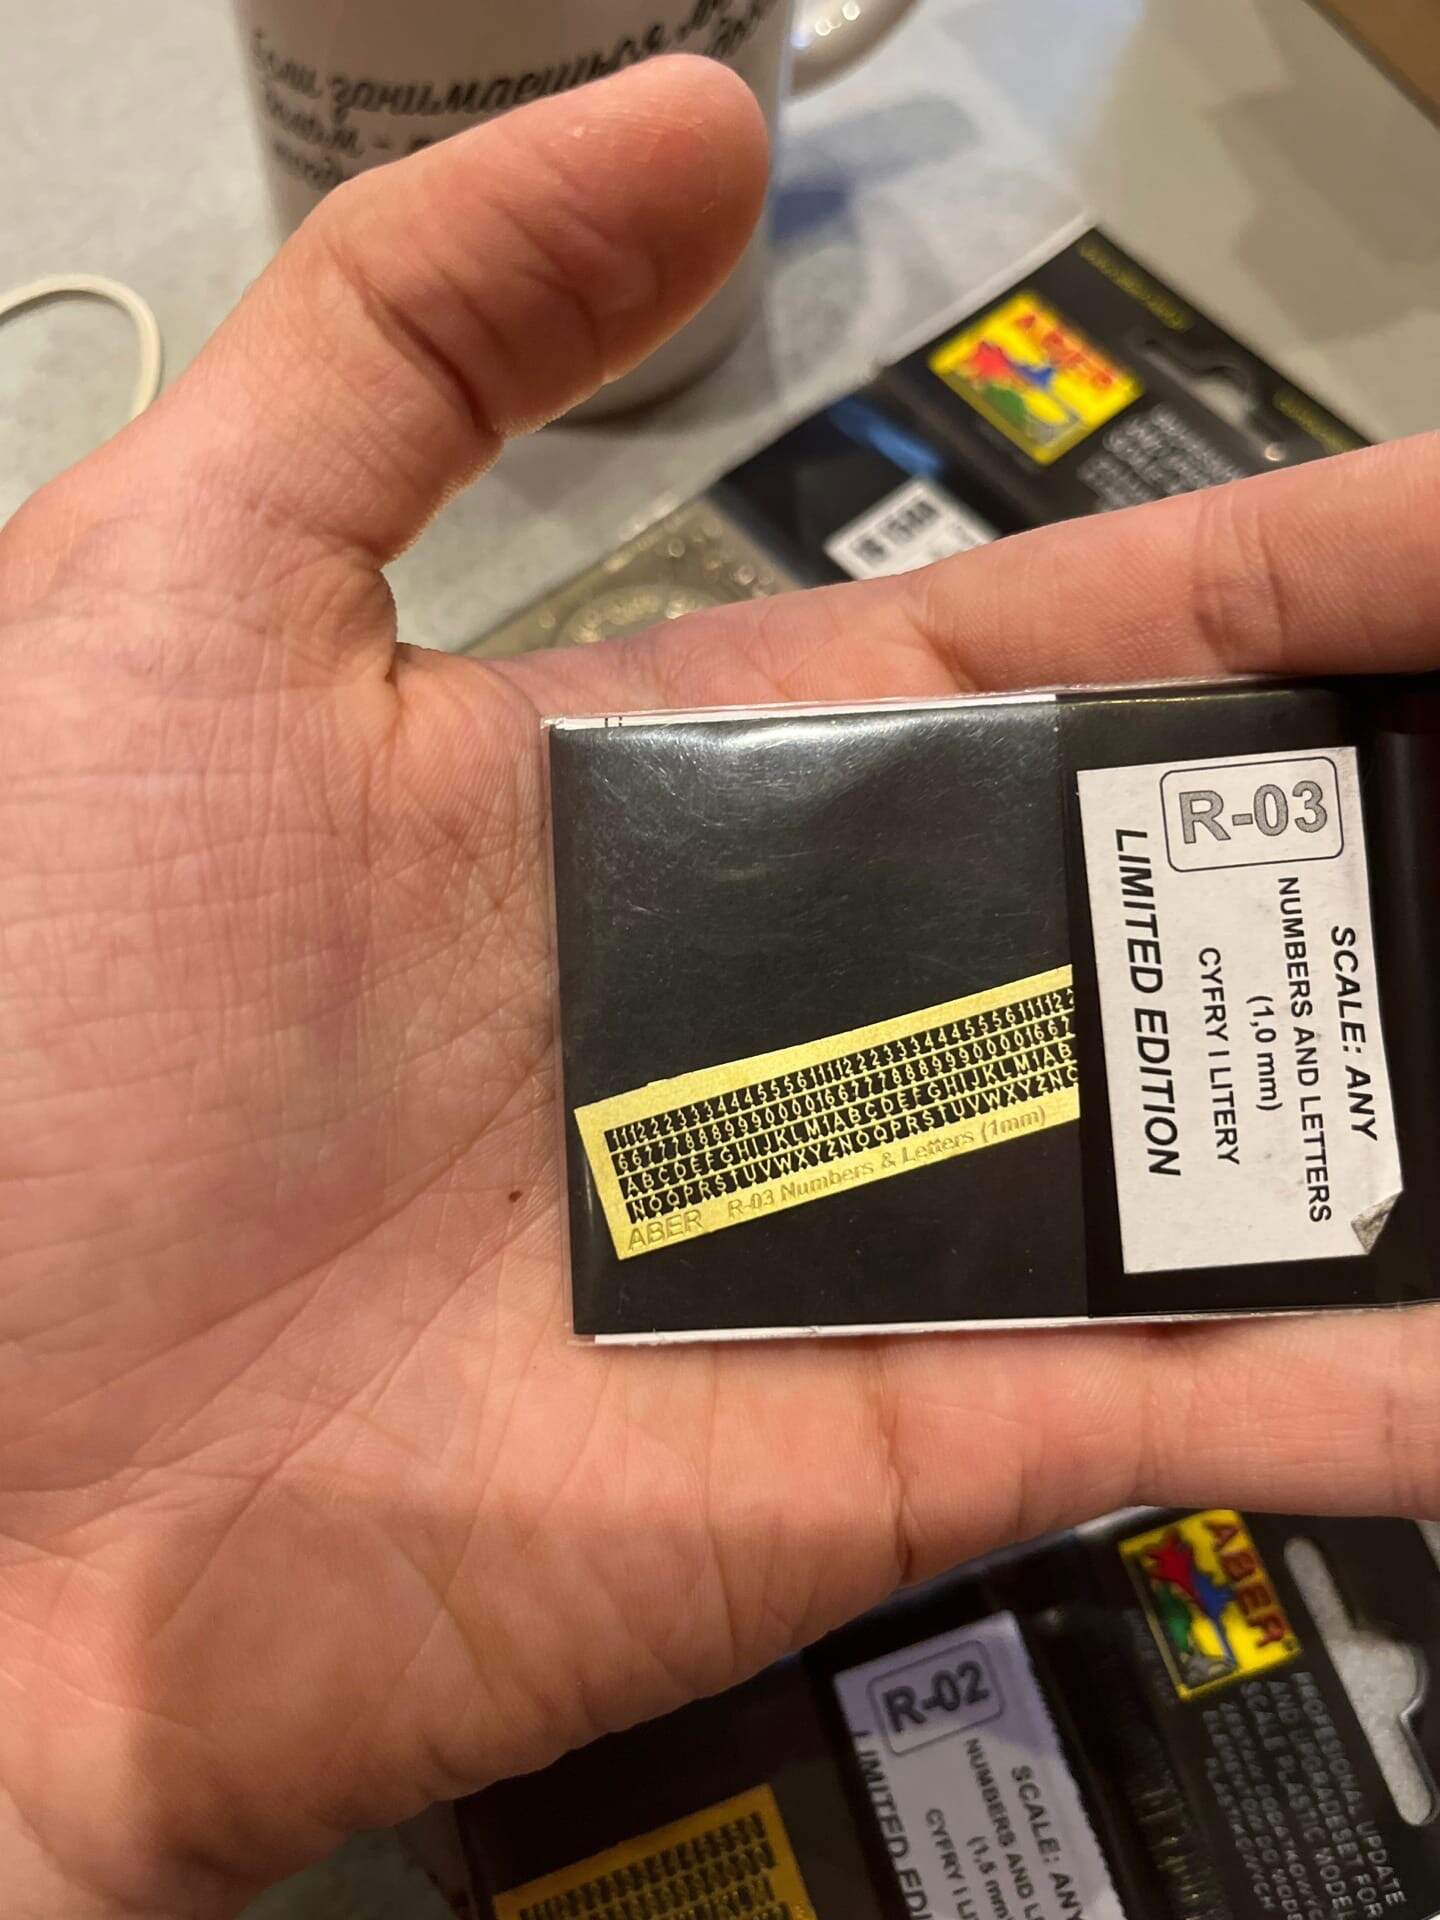
I found the injection numbers I’m interested in on the armours of air intakes (fans) from the car that was taken as a prototype. In the future, I’m thinking about the methods of implementation. Of the options so far, photo etching from ABER (1.0 mm), but there are only capital letters. I will welcome your suggestions and ideas.
3D printing maybe? Not just the numbers, but the whole intake. Or Archer do a range if you can find them. They are closing down and not taking any more orders so it might have to be E-Bay or Amazon.
Hello! Greetings! all in 3D is not a good idea in my opinion. a friend of course has an 8k printer, but for the sake of symbols, I don’t know … I doubt it …
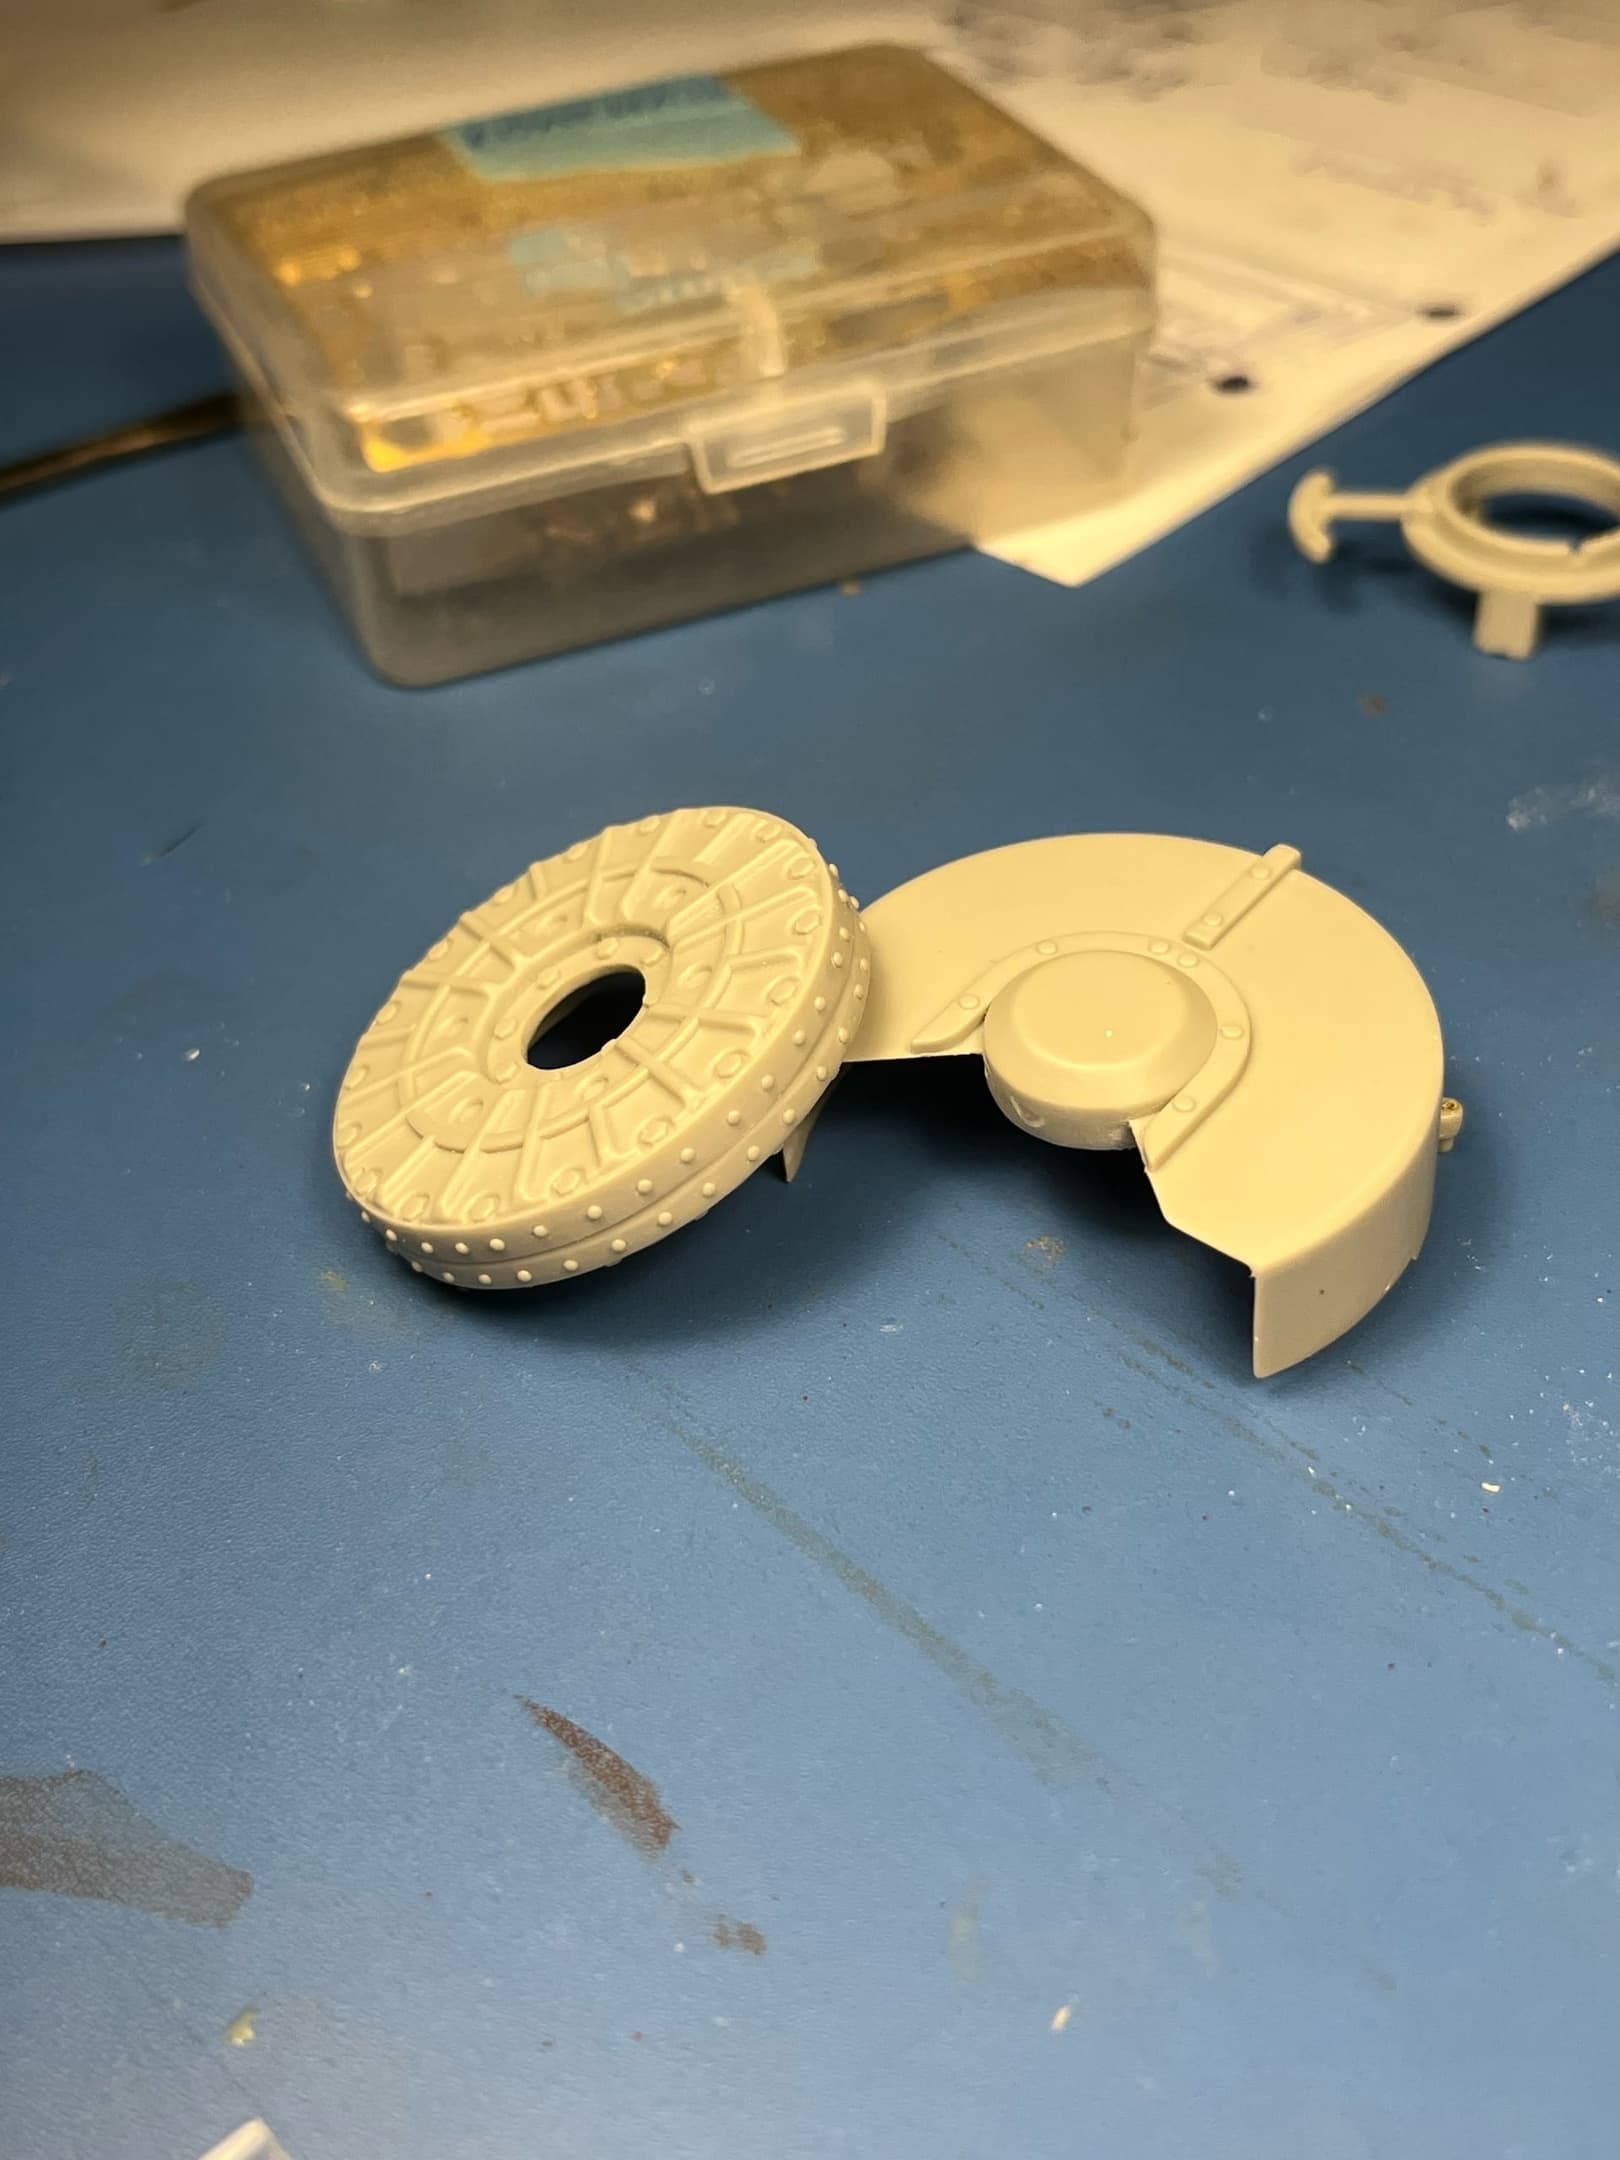
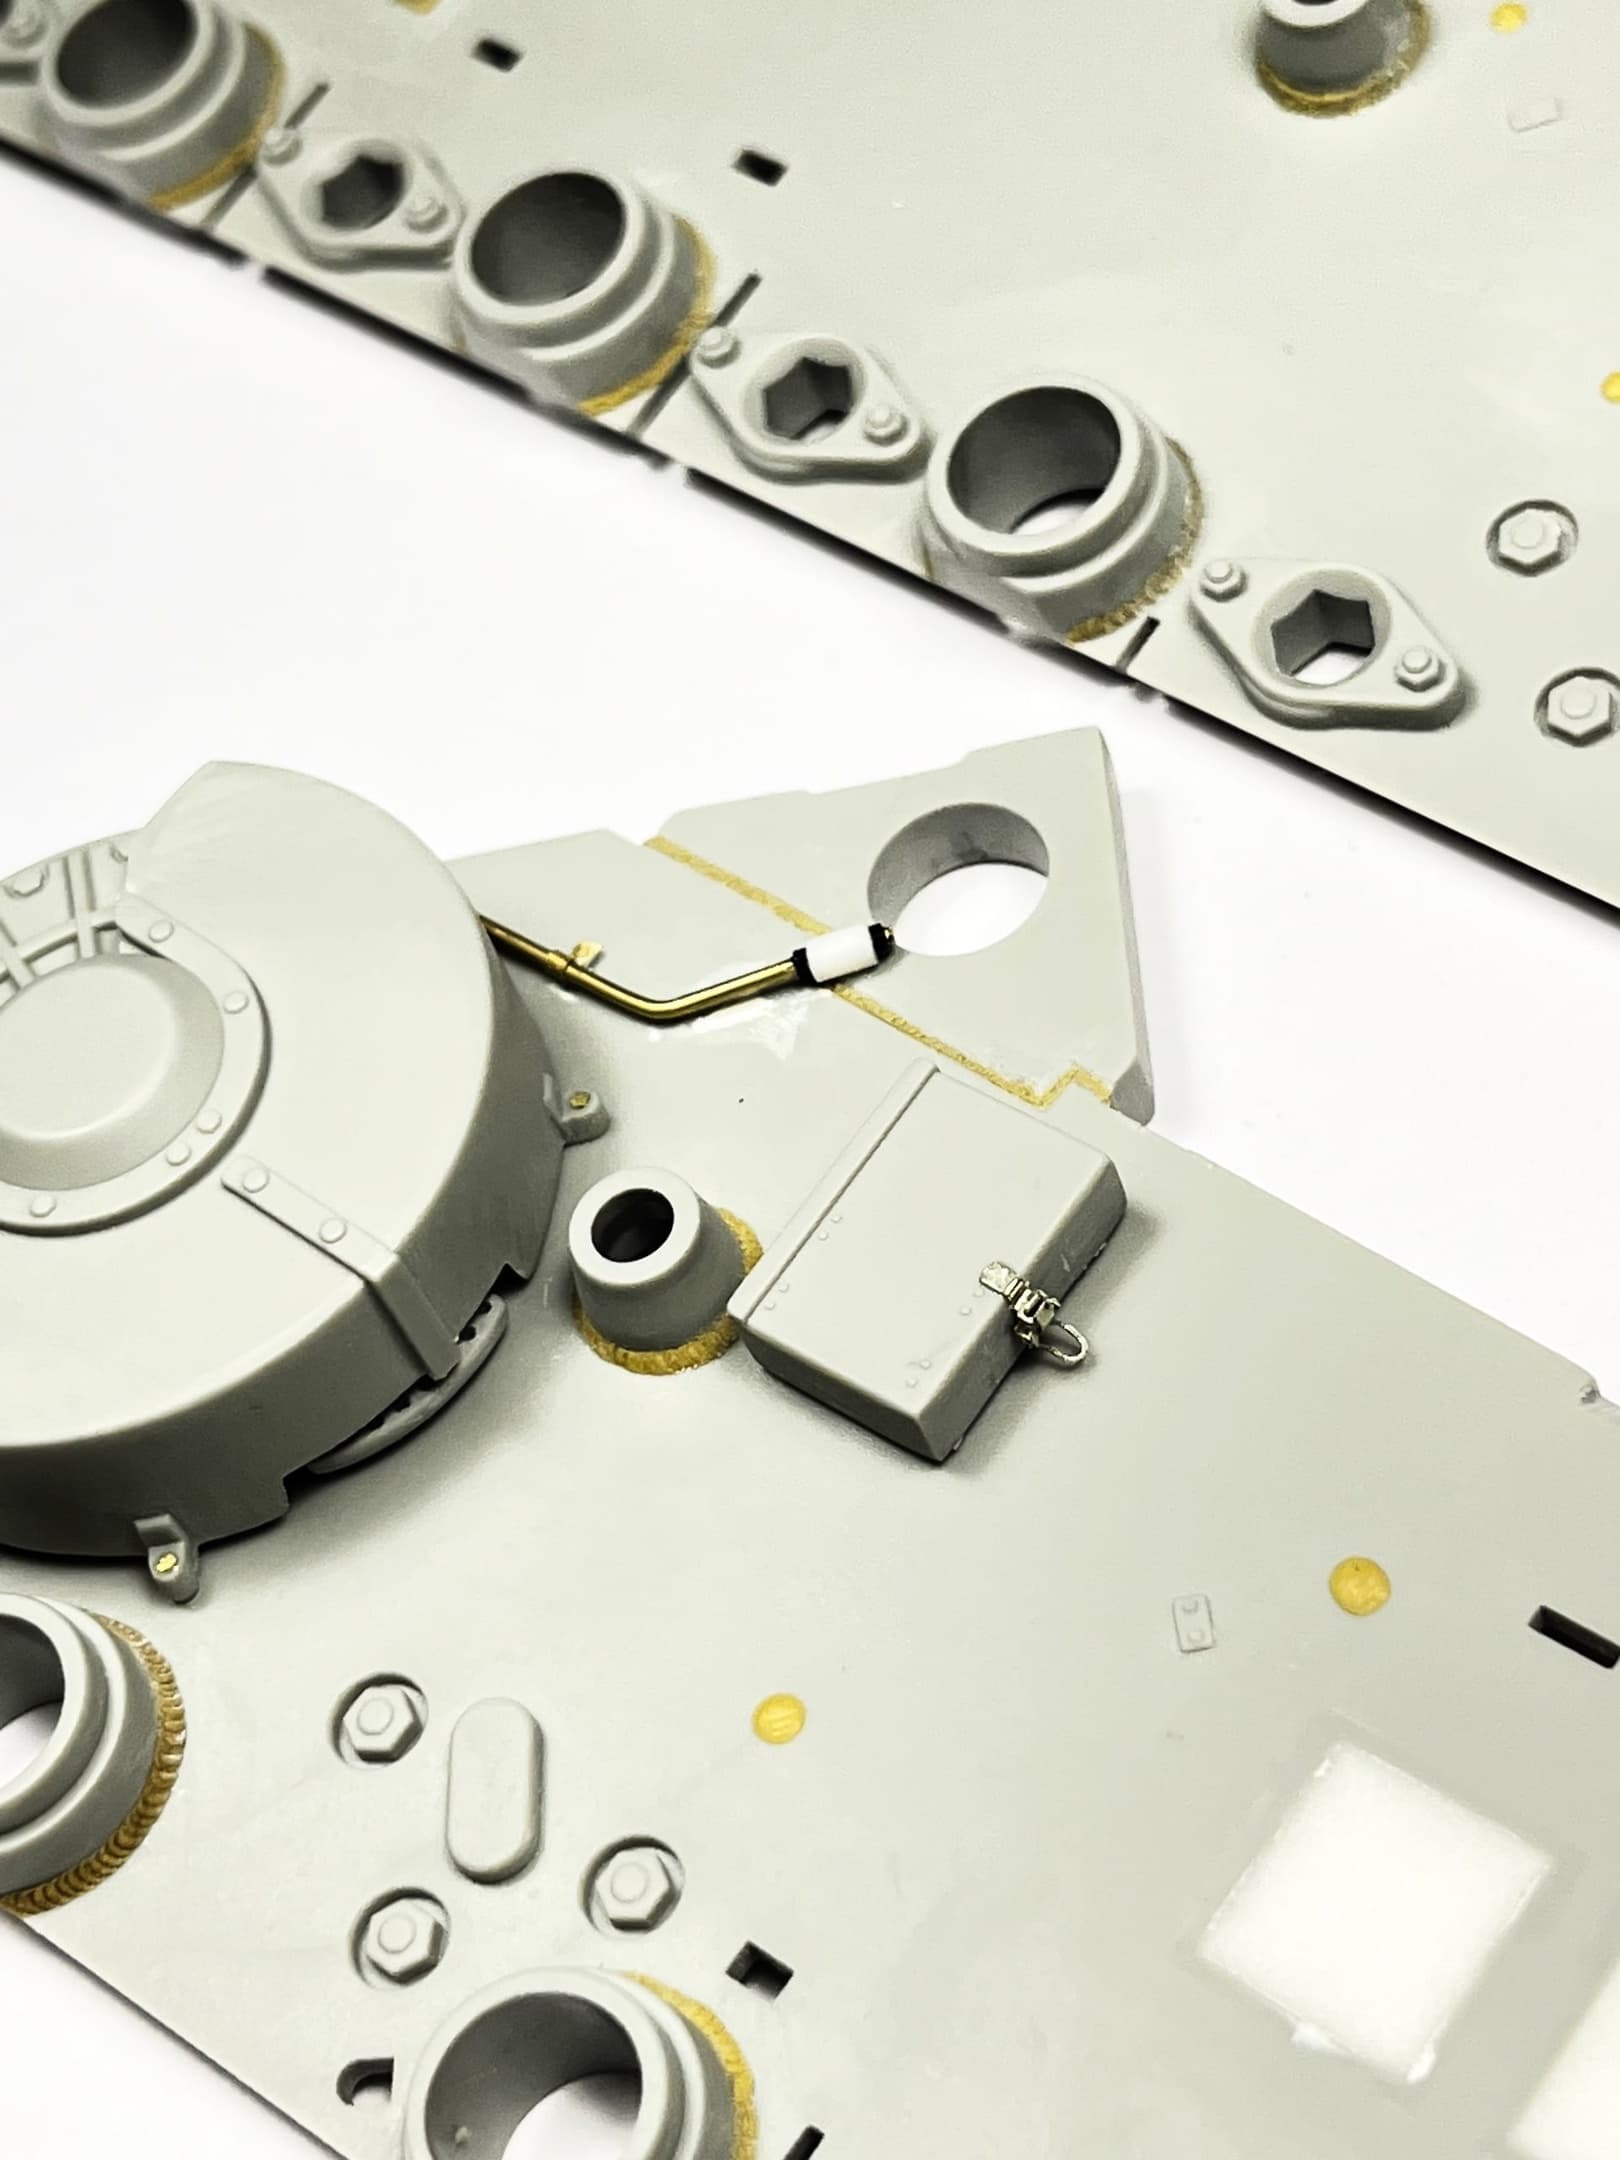
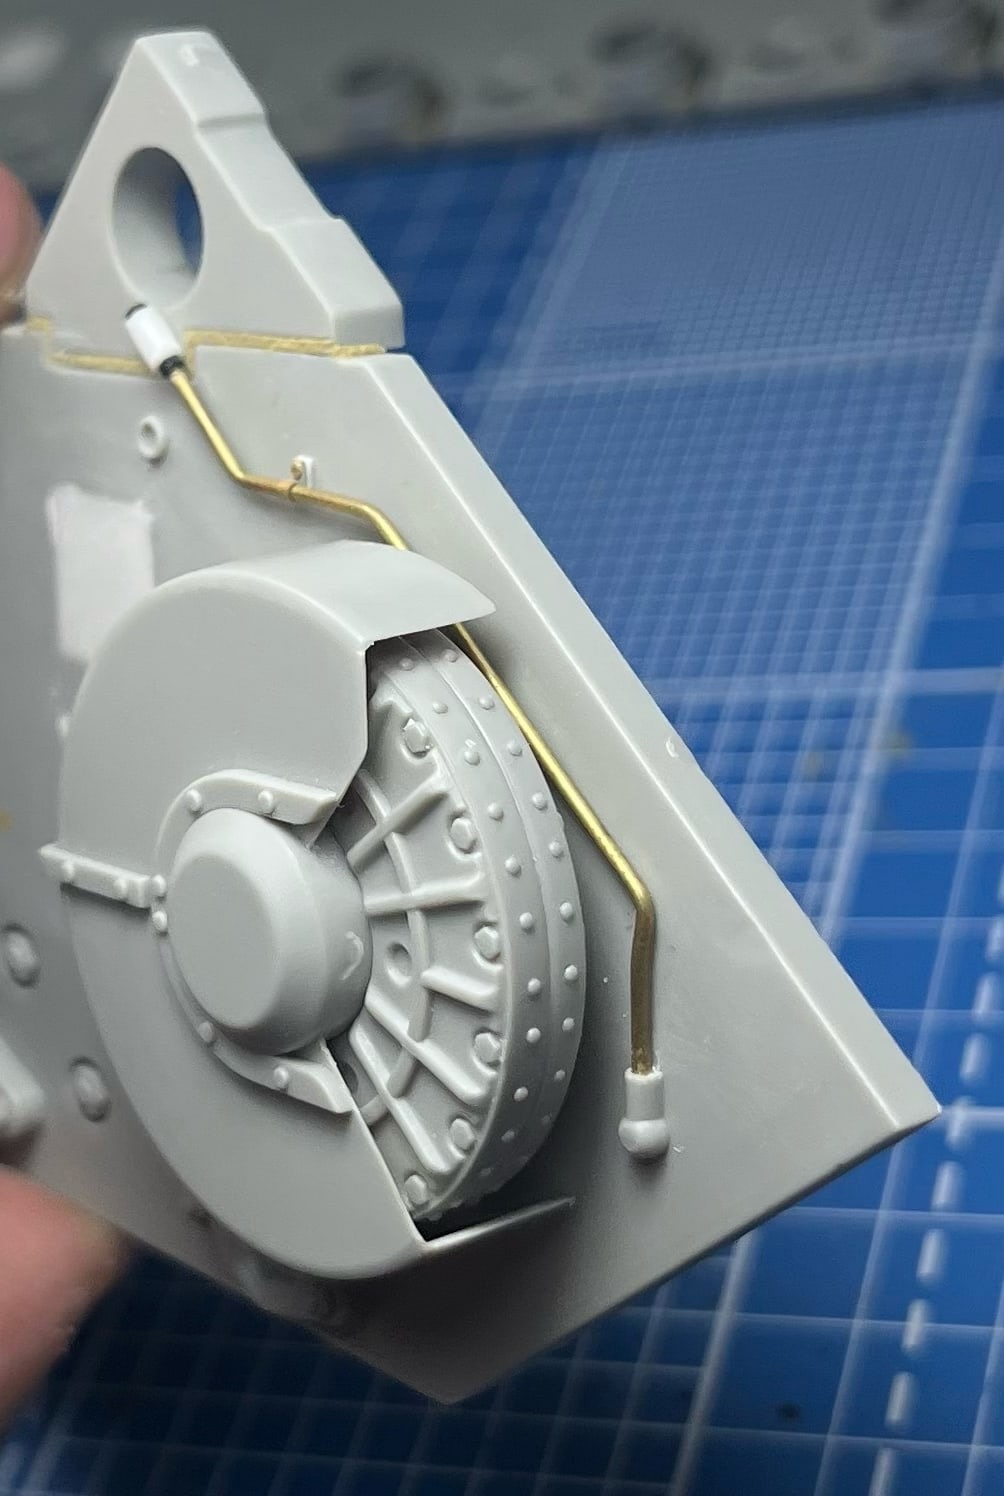
Hi all!
I continue to work on the interior of the Panzerjager Tiger ausf. b.
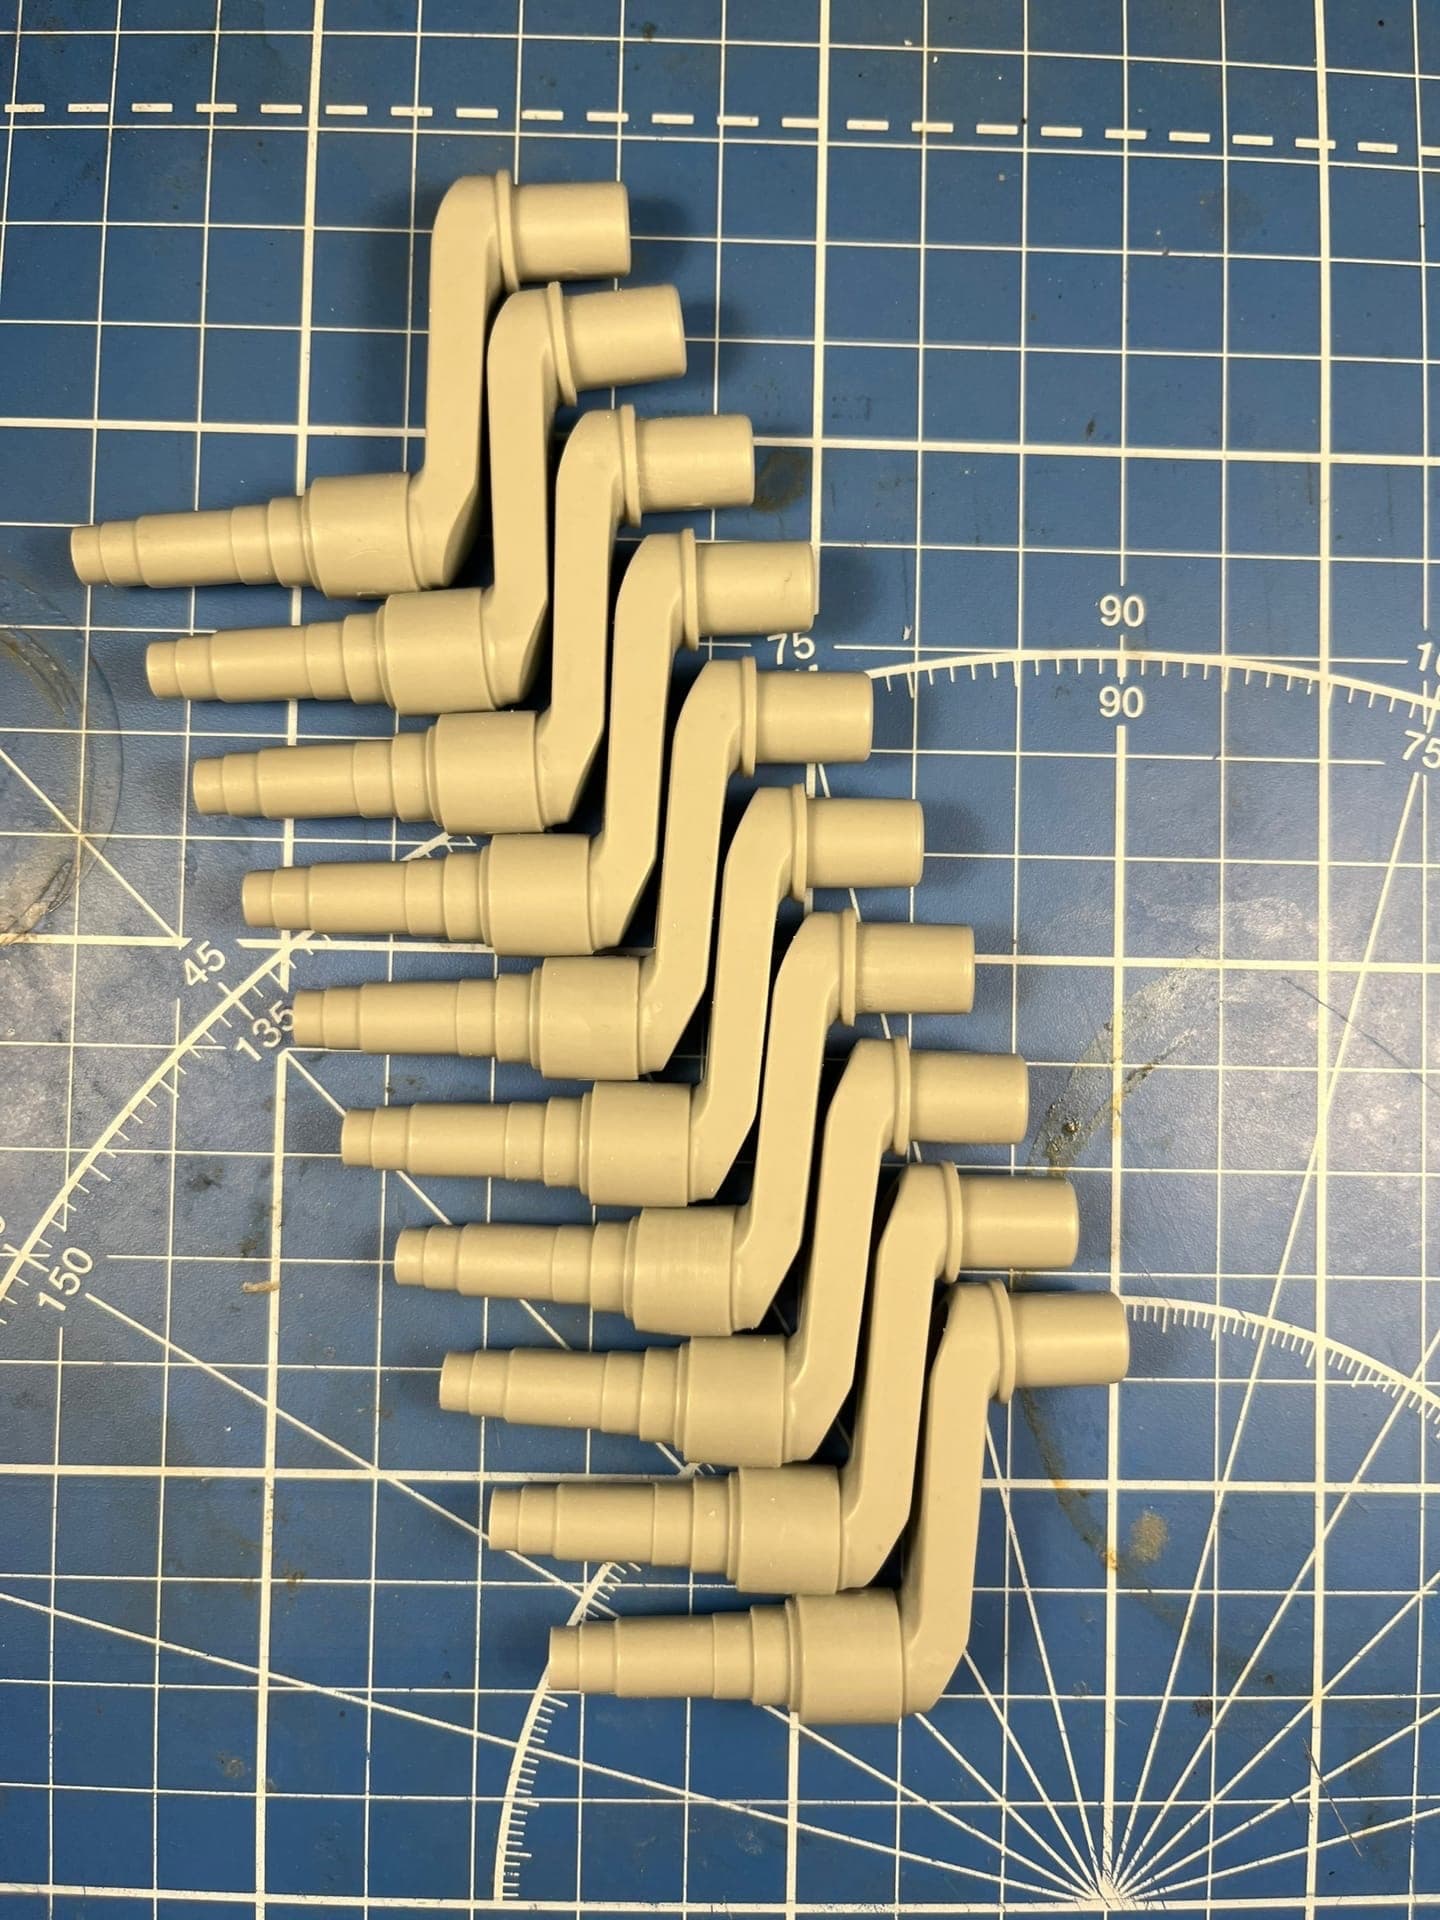
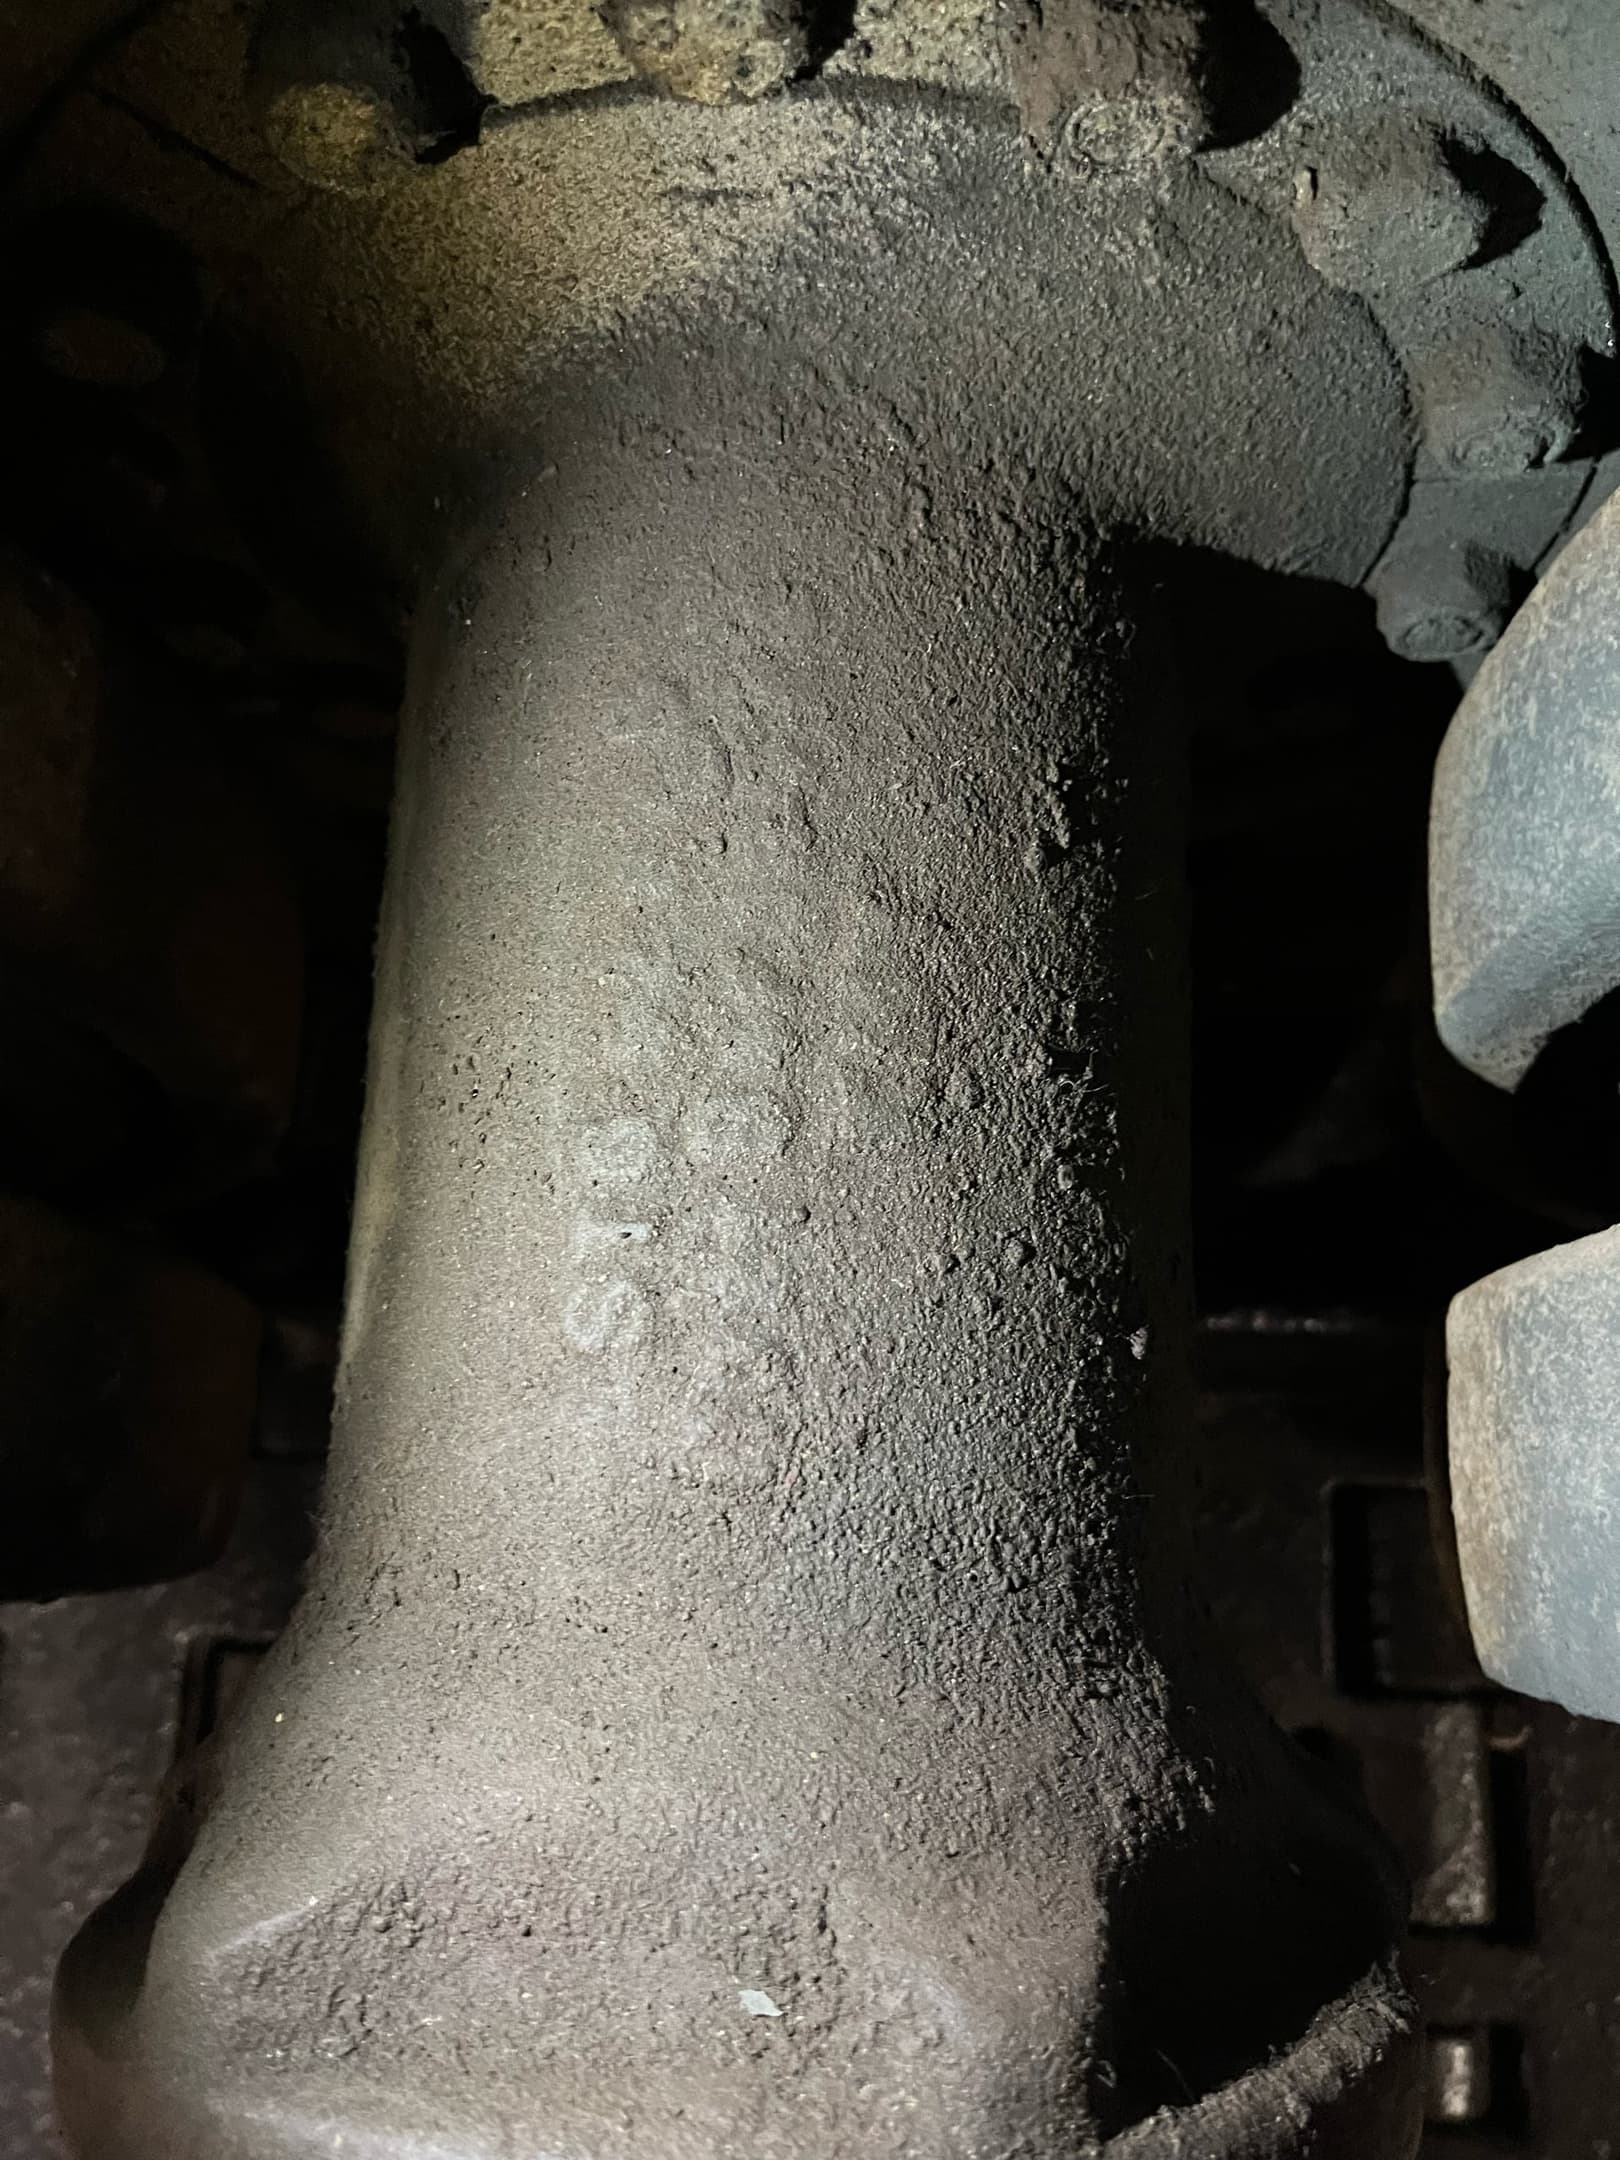
I am working on finishing the brakes - the stock bolts on the edges have been removed, 72 holes have been made, 72 bolts have been installed. Waiting for a set of bolts on the second same brake.
Replaced plastic pipes (one per side) with brass pipes. Nuts were made, holes for the “pencil case” for the MG barrel were sealed. A normal pencil case made by 3D printing will be installed.
A lock is installed on the box, the box itself is not glued.
To be continued…
Hi all! Trumpeter hasn’t had Jagdtiger progress updates for a thousand years. Finished the left brake disc. By analogy with the right brake disc, the following was done:
So far, I will try to get more active in the assembly, since there is still a lot of work to be done, and I myself am still marking time with individual interior components from the control department.
Always happy! =)
Very nice ![]()
thnx! =)