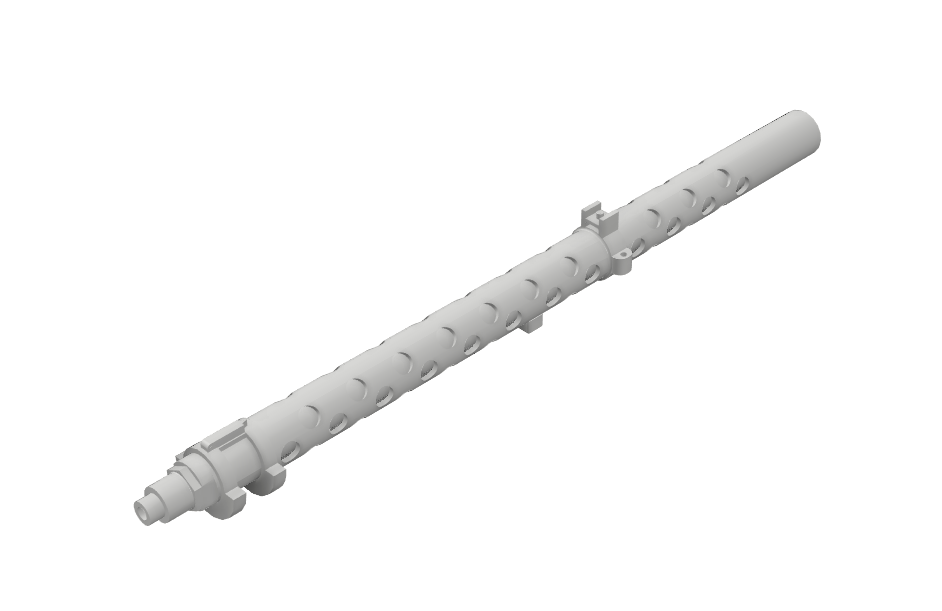
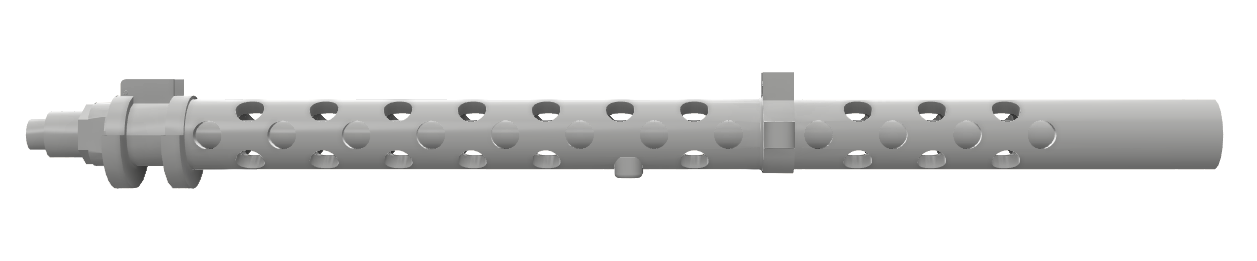
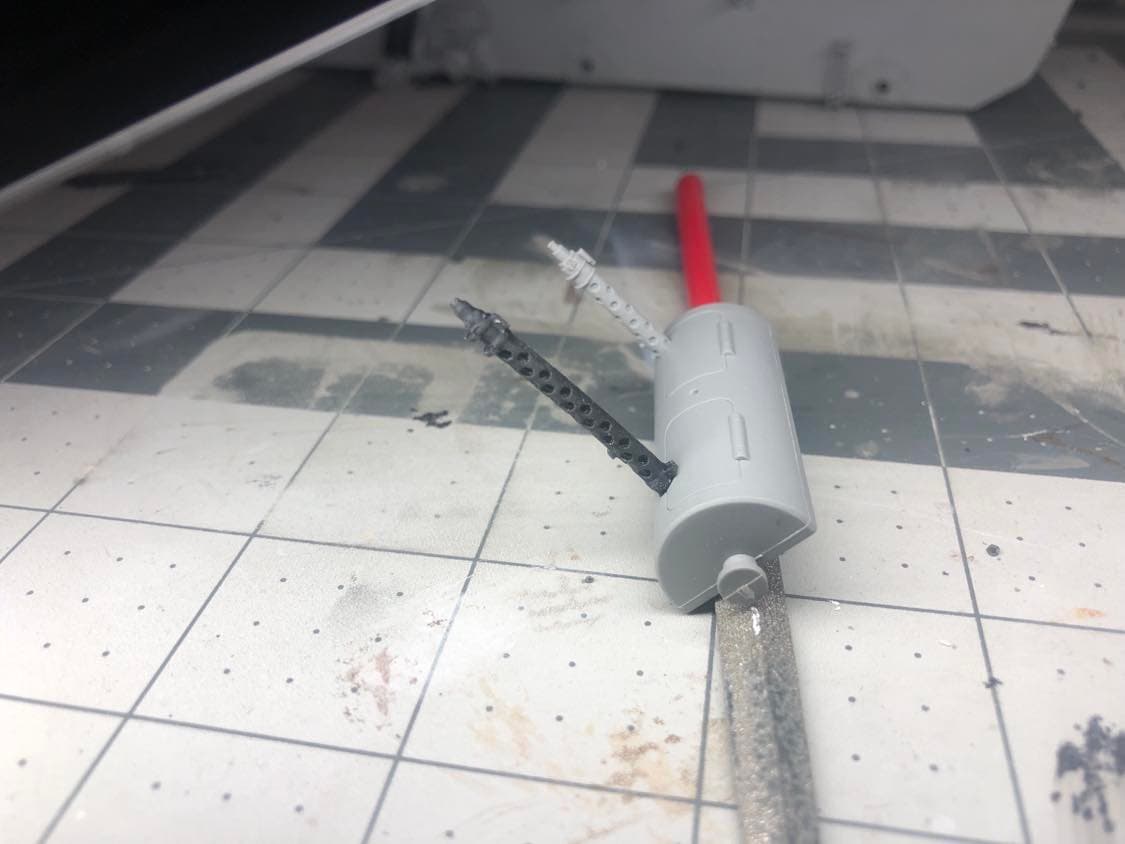
For the price, it is what it is I guess. I am currently working on a upgraded MG13 barrel for the Ausf A… one you can actually see light through instead of just dimples in the plastic… lol
My disappointment lies in the fact that at 1/35, we get complete breechblocks and in most cases, they’ll never be seen. They could at least cast a couple MG butt ends.
Excellent! I wonder how yours will compare to the Aber MG13’s that I bought for the Pz.1 Ausf.B
On another note, the only part of the kit IMHO that must be replaced is the grossly out of proportion antenna. I am using the Aber 1.4M Stabantenne No.16159 for this. This part has a really nice taper that would be difficult to replicate any other way. I’m going to have to get out my super-cheaters (5.0 reading glasses) to assemble the tiny wingnut that holds the antenna clamp together.
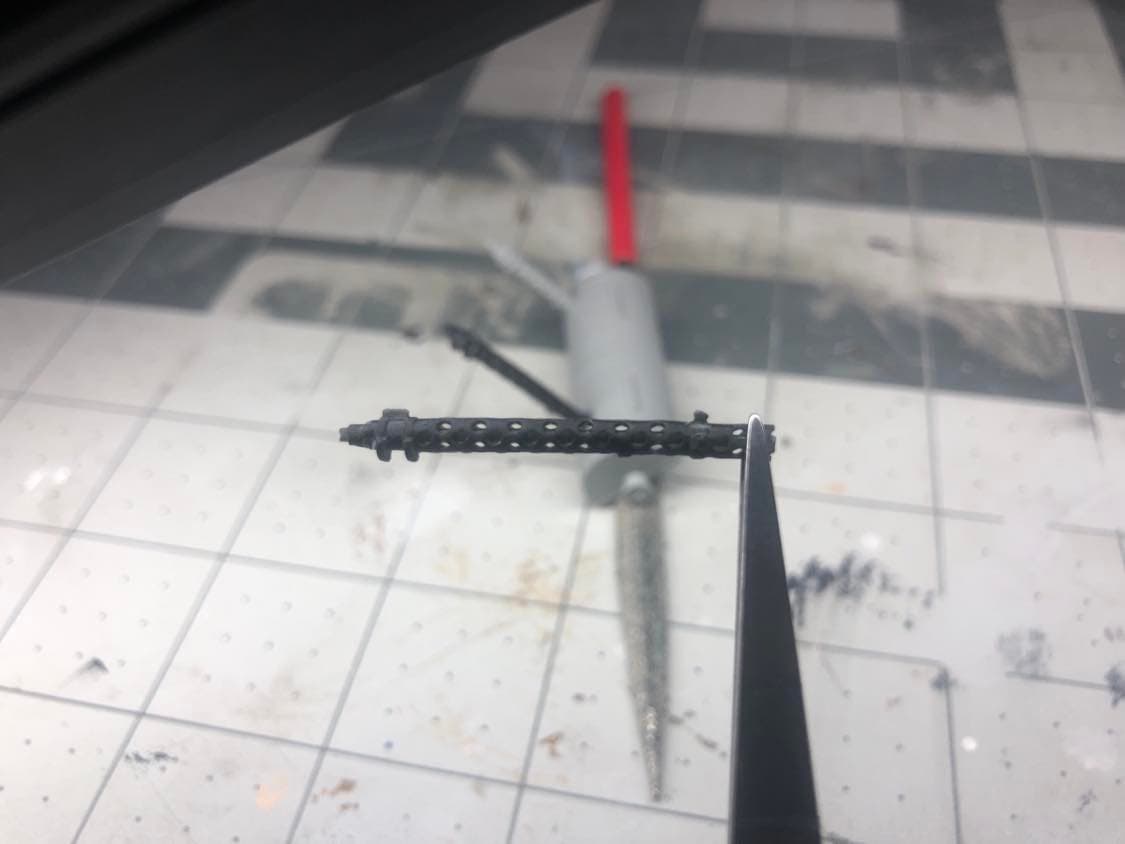
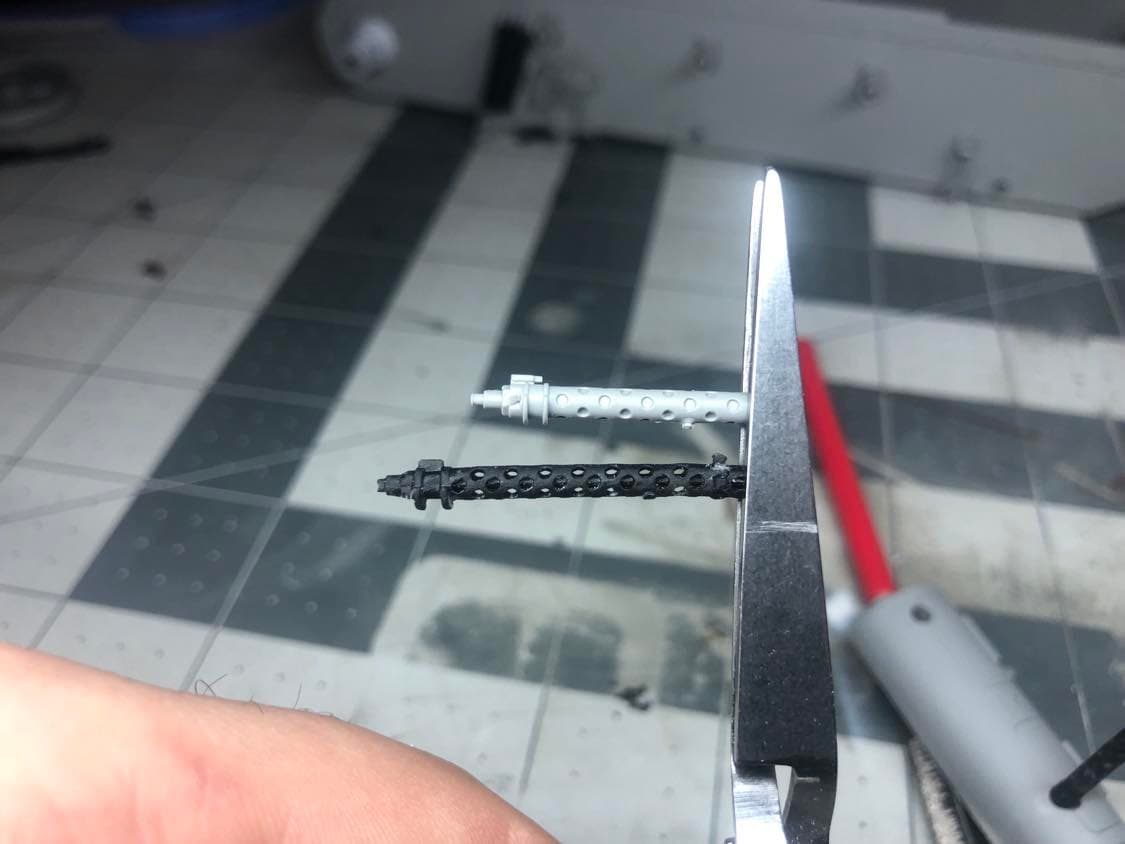
Made some more changes to the MG-13 barrels after watching some videos with the real thing. Not much detail is noticeable on the print, because it is so small.
Probabling going to assemble the turret, next while I wait for my tamiya epoxy putty to come in the mail (day 34 waiting…). Want to detail the weldbeads on the lower hull before I attach the upper.
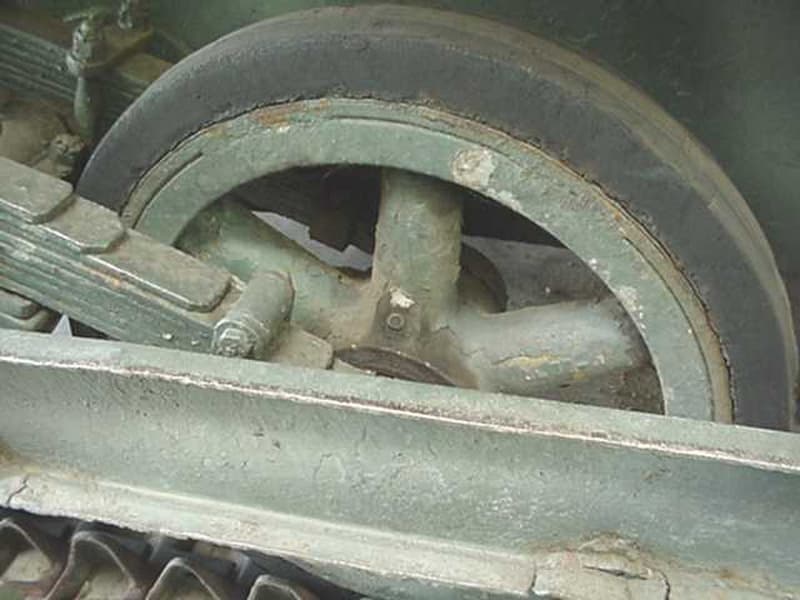
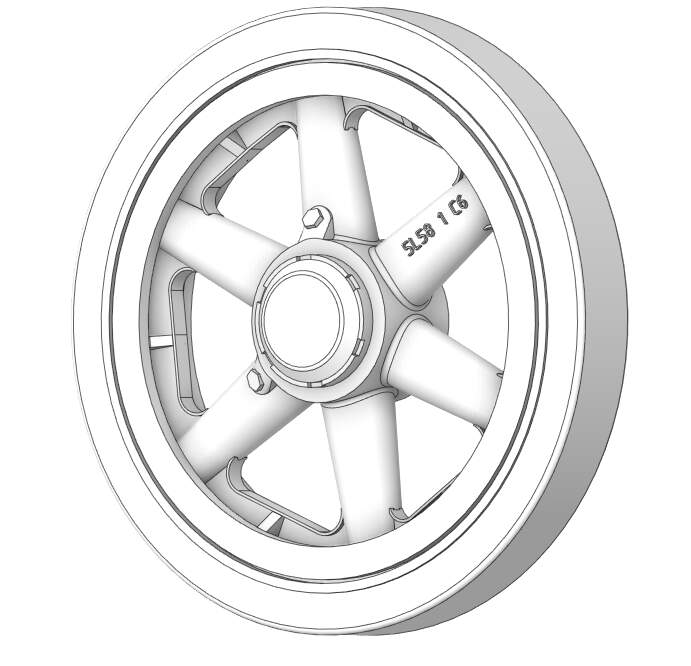
I thinkTakom is using the reinforced ribbing on all wheels when it belongs only on the front axle normally. Munster and Arsenalen are both displaying a Panzer I Ausf. A with all reinforced wheels like in the Takom kit. The Panzer I Ausf. A in the Littlefield Collection (now at the American Heritage Museum fully restored) is also using some random reinforced/ribbed wheels as well on the second and third axle too.
I don’t know if this is because the museums/collections can only source those as original, or if it was common for crews to swap because the non-reinforced wheels didn’t hold up well in certain environments?
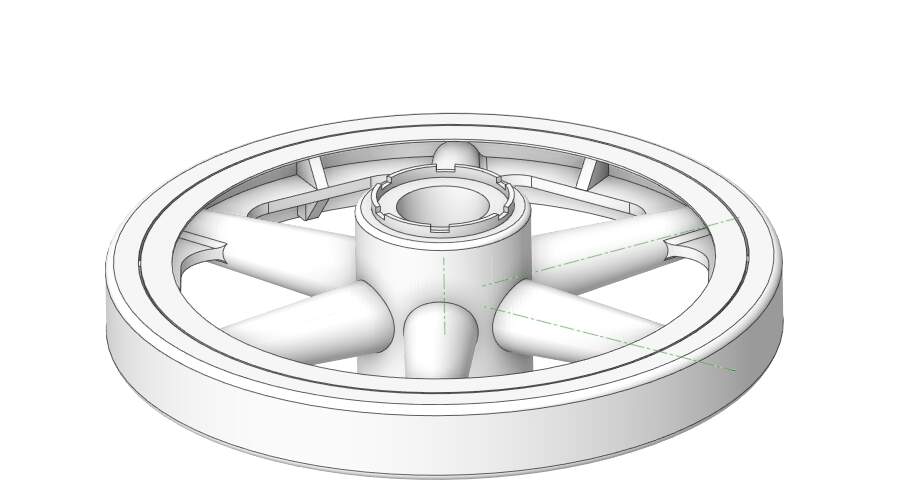
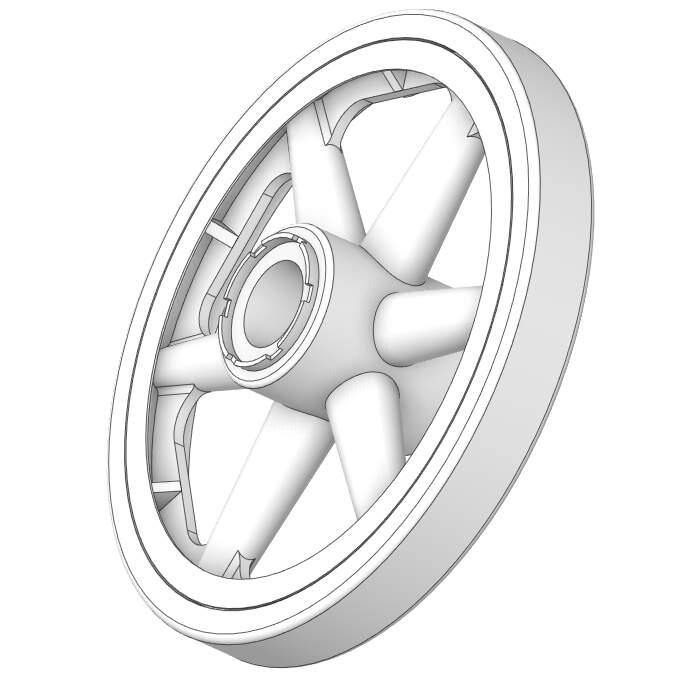
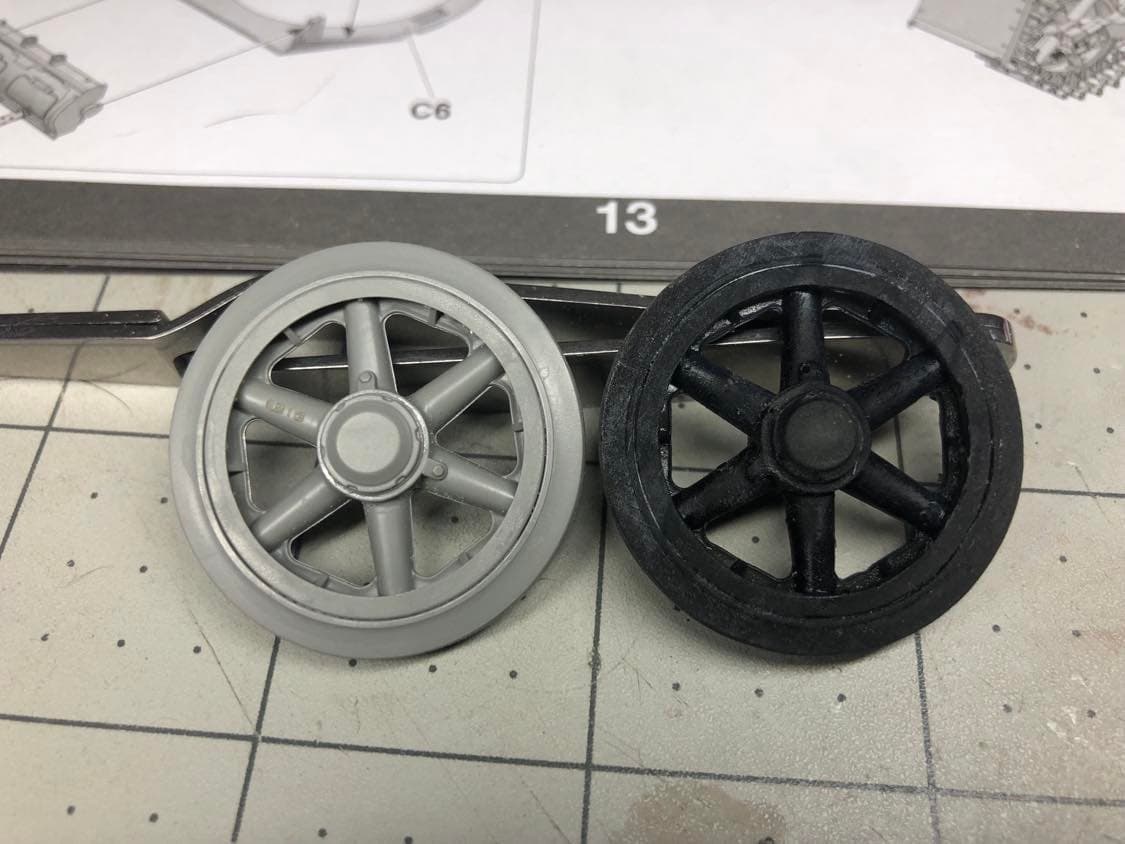
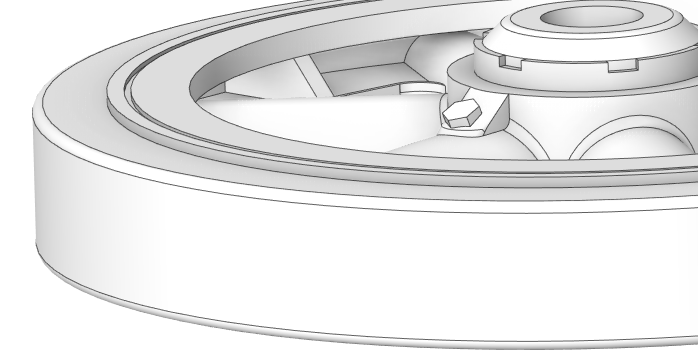
I see it now. They should look like this (below) and not have the rounded or beveled edge. I might try and give it a crack, see what I can come up with.
They look fantastic! I’ll be using the file when I build the Ausf. B… it took forever to file away the ribbing on the original kit parts for my Breda build.