I think it looks good on its own merits, freaking awesome first time out. ![]()
![]()
Are you kidding? “Build a square” is the the ancient penultimate scratchbuilding test. It’s like the walking on rice paper from the movie “Kung Fu”. It sounds so simple but it is very hard to do correctly! Your biscuit tin looks outstanding. Great job.
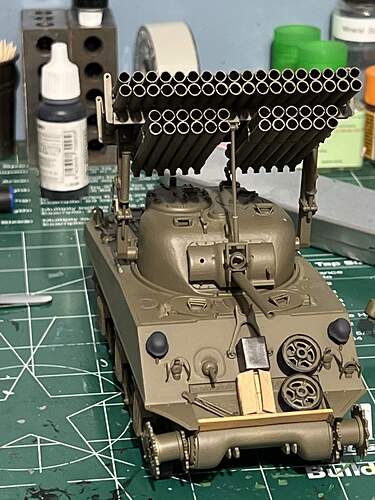
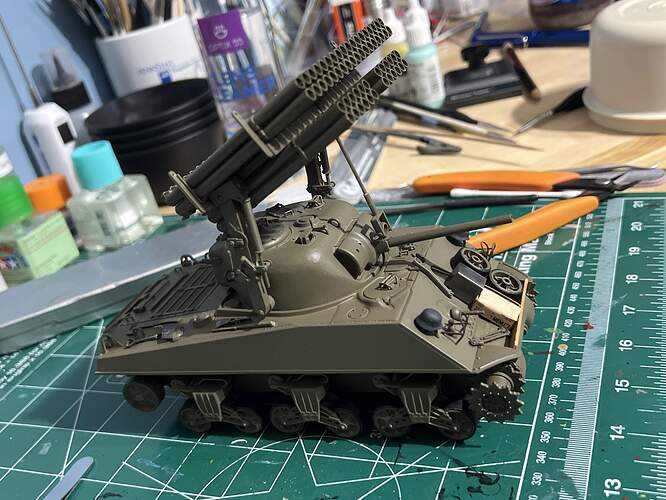
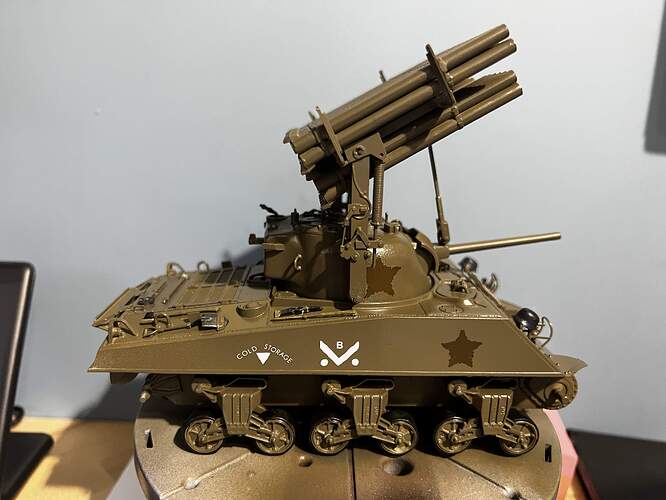
Progress is slow going, but work continues on the Sherman Calliope.
All pieces are painted and attached (expect for tracks). Next step is decals, then weathering.
I’m going to attempt to use the rubber band tracks that came with the kit, if only to see what I can do with them.
Looking mighty fine. And a very nice first square build … I think anyone who built something that turned out like that would be more than happy … Great work ![]()
Left side drive wheel looks odd in first picture but otherwise an interesting looking build.
Good eye on the drive wheel.
It’s not glued on yet, since I wanted to be able to remove it if needed when I install the tracks. I’ll secure it properly when the time comes.
FWIW, several years ago I purchased quite a few “Biscuit Tins” in various states of damage, from pristine to crushed. These are resin and were sold as a set on eBay–maybe 20-25 total. Sorry I can’t provide any further info, but I do like your scratch built version.
So very true. And…
Thank you for that flashback down memory lane Grasshopper. Back in the 80’s I worked nights for a period, which is rarely fun, but a local station was rerunning Kung-Fu around the time I would arrive home… good times.
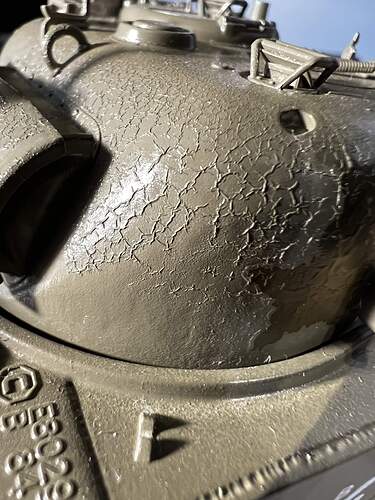
Another issue. As I went back to work on this today I noticed there is serious paint “crackling” but only on one part of the turret. Sadly, it’s pretty visible.
What might have caused this and is there anything I can do to remedy it?
#11 may be a handle from the track change tool. Look at your close up of that tool (the photo with the red rag and black Columbia bag. The handle is at 6 o’clock and is definitely attached to the track changer.
I guy the crew shoved it in behind the wood plank to keep the track changer from falling off the tank.
This sort of crackle finish can be caused by one of two things:
- The paint layer you just applied (including clear) was not compatible with the underlying paint layer.
- The underlying paint layer was not fully cured before you applied the latest paint layer.
I really hate to say it but this condition is broad enough to eliminate sanding down and spot airbrushing. This is a strip it down to bare plastic and re-shoot situation. Sorry.
Yeah, it looks like one of your paint layers is deeply unhappy with the others. What was your sequence, and what paints (brands and types eg “Tamiya acrylic” did you use for each step?
But if it was the paint, wouldn’t this effect occur on several places? Assuming the painting of the entire vehicle was done in the same session?
It could have been the paint that shot out of the airbrush in that one area. It could have been contaminated plastic in that one area. It could have been how that one area dried. There are many variables now that I think on it but the most likely is paint layer interaction.
@JohnnyO If it was with acrylics 70% alcohol will take it away to reshoot.


