Is that the painful voice of experience I hear? ![]()
And then step on it when you stood up? ![]()
Ken
Been there… done that…
Now I have aprons with velcro’ed bottom edge, & the matching on the bottom of my workbenches…
Just remember to detatch before standing up!
Well that’s one way to launch those parts with gusto! ![]()
If I tried that, I can guarantee I would take the whole bench with me lol …
Johnnych01
If I tried that, I can guarantee I would take the whole bench with me lol …
Only Once! ![]()
![]()
I am SO glad that I’m not the only one this has happened to!
I think that will be a big club Matt lol
Maybe a british POL can could substitute for the biscut tin? Looks of a similar size, a bit of scratching could subtitute the top handle and cap with that pop top fairly easily ![]()
Great start.
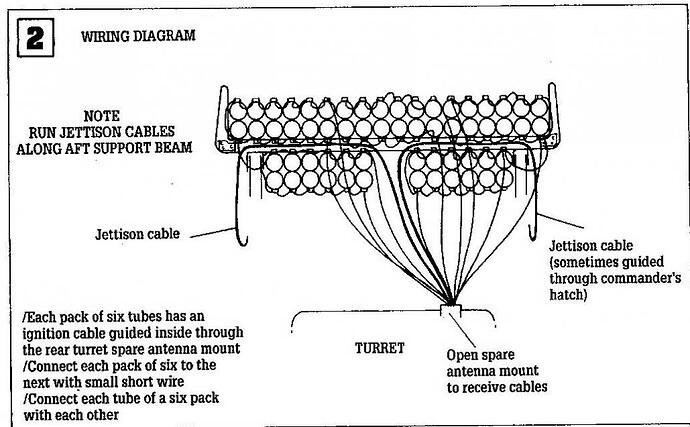
I think I have a drawing of how it’s wired if you are interested I will search my files.
Cheers,
Ralph
I am interested too!
Yes, please!
Absolutely. Not sure what level of detail I’m taking this to yet, but I’d love the reference.
Everyone that asked for it. I finely found it. It’s from a chap that kit bashed and scratch built it.
I can not remember is name and I have all the photos from his excellent build.
Cheers,
Ralph
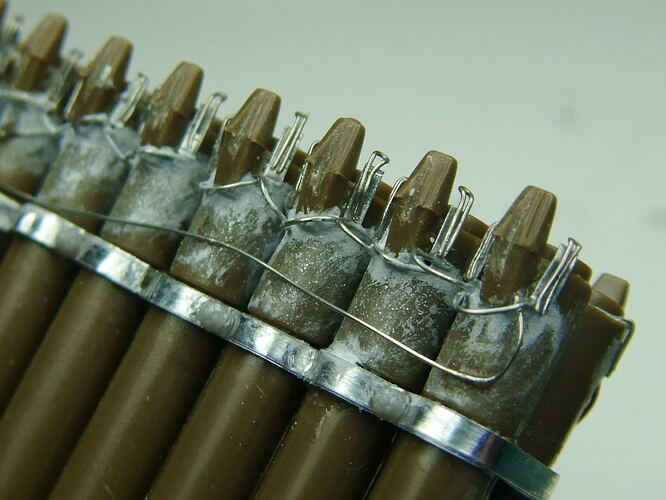
Awesome Ralph, thanks for sharing. What wire did you use to make it look in scale?
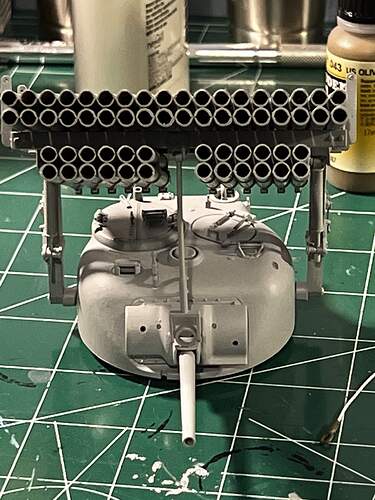
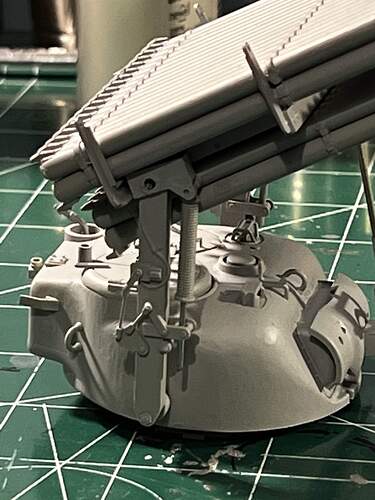
I was a little annoyed when this dropped and shattered about 2 weeks back, and I haven’t touched it since.
But I had some time today and I figured I should see about salvaging it. I ended up replacing a bunch of the broken dowels with paper clip, and I think it worked out.
I’ll be more careful when I go to reprime it.
Glad to see you’re back at it.
I think that only happens when there is a cat or dogs tail involved also.
Nice save!
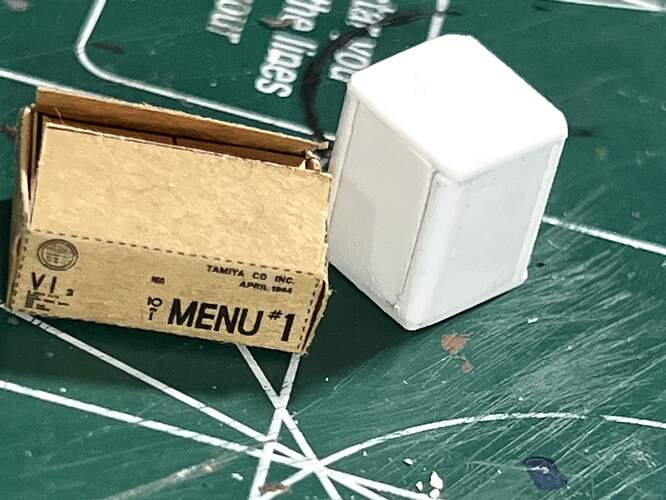
So, I never found a good “biscuit tin” so I took a hand at scratch building one. This may not seem very impressive to many of you, but im pretty proud of it, since I’ve never tried this type of scratch building.
I built it out of sheet styrene and some quarter round pieces of Evergreen. Once all the glue is dry, I will add some putty to reduce the obviousness of the seams.
Here it’s pictured with a Tamiya ration cardboard box.
