Greetings all!
Today was cross-shipping day at work, and cross-shipping day means I get Tamiya kits at scandalously-low prices. Today’s haul was their 2006 Char B1 bis in 1:35 scale.

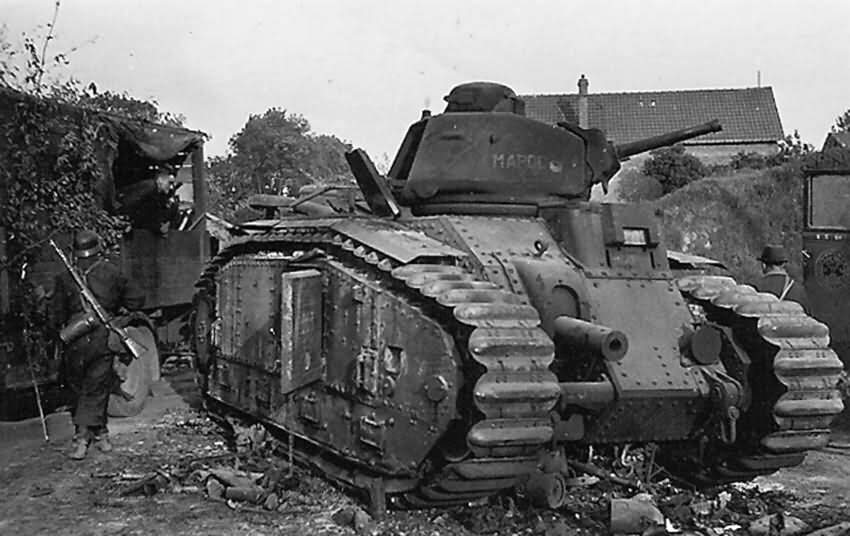
As a modeller, I have some areas of interest; Canadian and British tanks, Japanese everything, and French tanks from the 1940’s. There is hardly a tank more representative of the good, the bad, and the ugly regarding the French tank arsenal than the Char B1. From Wikipedia:
The Char B1 bis was an upgraded variant with thicker armour at 60 mm maximum (55 mm at the sides) and an APX4 turret with a longer-barrelled (L/32) 47 mm SA 35 gun, to give the tank a real anti-tank capacity. It was the main production type: from 8 April 1937 until June 1940 369 units were delivered out of a total order for 1144, with series numbers 201 to 569. Before the war, production was slow: only 129 had been delivered on 1 September 1939. The monthly delivery was still not more than fifteen in December; it peaked in March 1940 with 45.
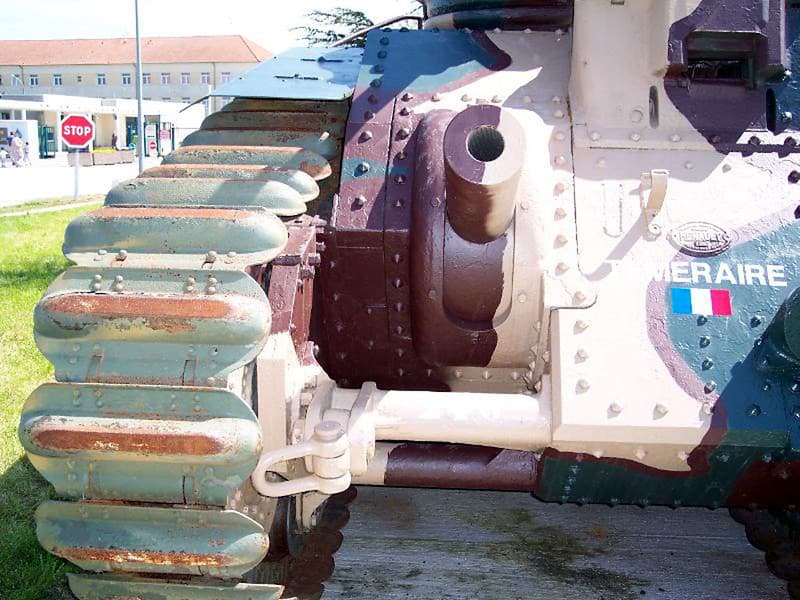
The Char B1 bis had a top speed of 25 km/h (16 mph) provided by a 307 bhp (229 kW) petrol engine. The first batch of 35 Char B1 bis used the original engine but from 1938 to May 1940 they were slowly re-equipped. Its weight was about 31.5 tonnes. The operational range was about 180 km (110 mi) which was similar to other tanks of the period. At 20 km/h (12 mph) the three fuel tanks (total capacity of 400 l (88 imp gal)) would be exhausted in six hours. To improve matters, at first, trailers with an 800-litre auxiliary fuel tank were towed but this practice was soon abandoned. Instead Char B1 units included a large number of fuel trucks and TRC Lorraine 37 L armoured tracked refuelling vehicles specially designed to quickly refuel them. The last tanks to be produced in June had an extra internal 170 l (37 imp gal) fuel tank. To cool the more powerful engine the Char B1 bis had the air intake on the left side enlarged. It is often claimed[citation needed] this formed a weak spot in the armour, based on a single incident on 16 May near Stonne where two German 37 mm PAK guns claimed to have knocked out three Char B1s by firing at the intakes at close range. The air intake was a 6-inch (150 mm) thick assembly of horizontal slits alternately angled upwards and downwards between 28 mm thick armour plates, and as such intended to be no more vulnerable than the normal 55 mm side plates.
Over the production run the type was slowly improved. Tanks number 306 to 340 carried 62 47-mm rounds (and the old complement of 4,800 machine gun rounds); later tanks 72 and 5,250. However the B1 bis had fewer 75 mm rounds compared to the earlier B1 : 74 instead of eighty, normally only seven of which were APHE ammunition. Early in 1940 another change was made when the ER53 radio was replaced by the ER51 which allowed spoken wireless communication. The company and battalion command tanks also had an ER55 for communication with higher command. The crews of the 1re DCR kept their old sets however, preferring them because the human voice was drowned by engine noise.

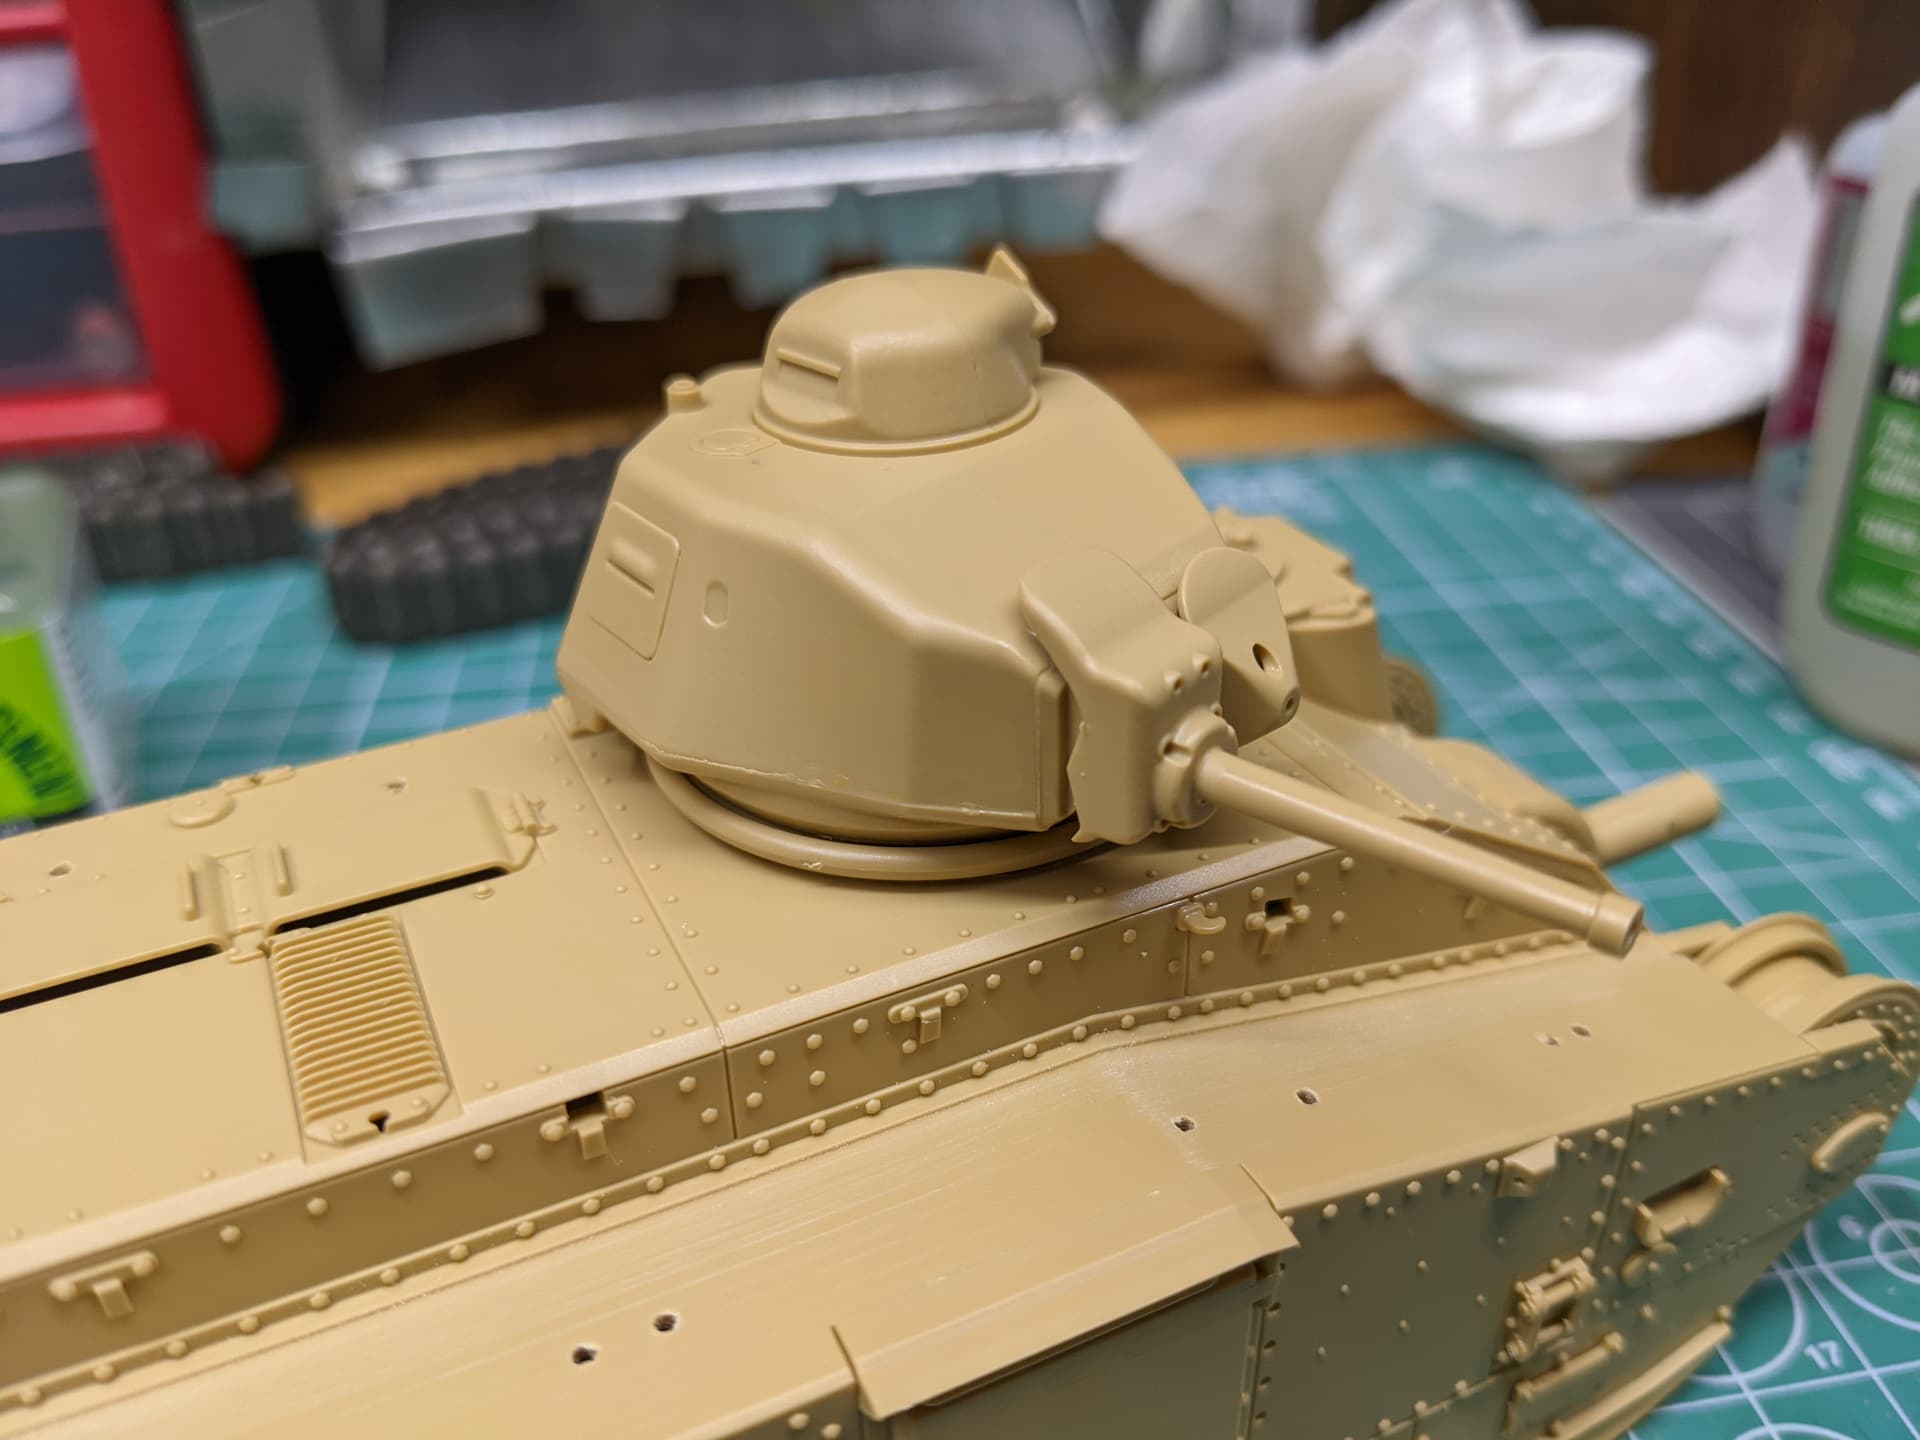
Which I think sums the situation up quite nicely. This was a tank that was quite promising on the hard factors - good armour protection, an ostensibly powerful armament (75mm APHE would have gone over quite well in 1940 I imagine), and such features as a radio. Yet considering the soft factors - the quality of the radio, the compliment of ammunition, and the fact that each member of the crew had to focus their attention on multiple tasks, not just gunning, driving, or commanding, perhaps it was not as good as it first seems. Also, I recall the Tall Tank Man ™ mentioning that the APX-4 turret on the B1 bis was quite demanding to produce, resulting in at least a couple hulls being shipped sans turret. Making a StuG-francaise, if you will.
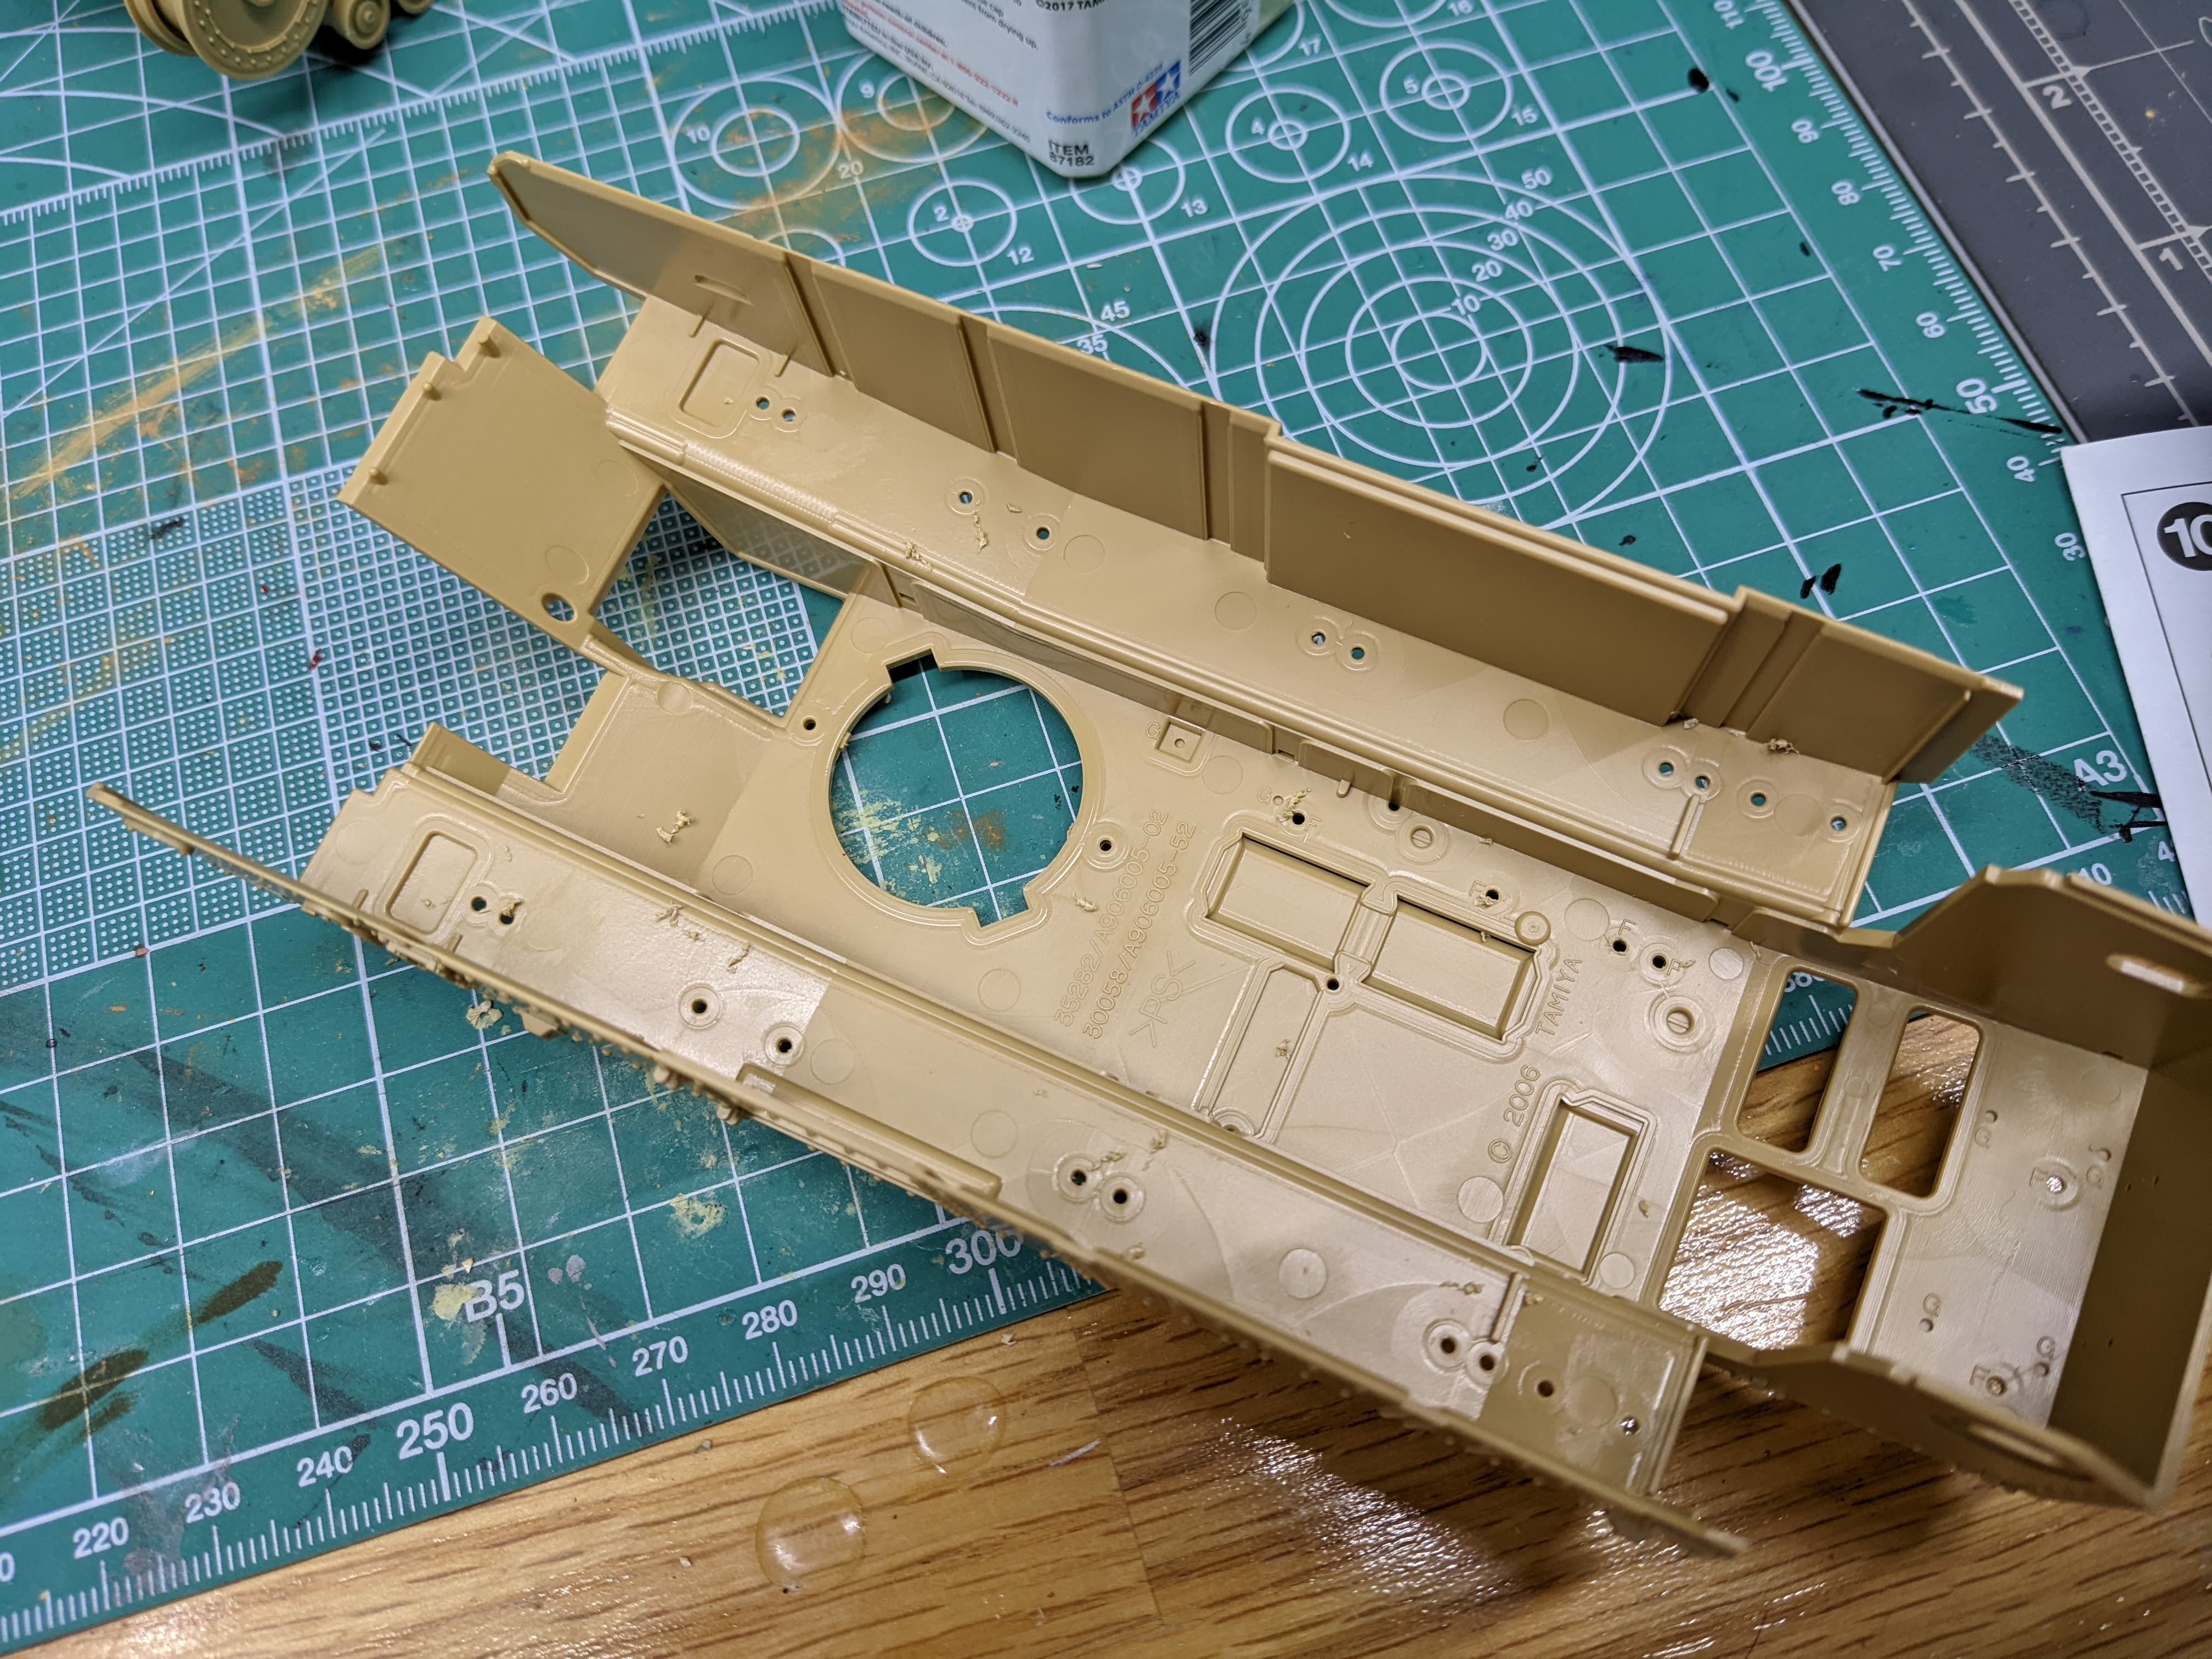
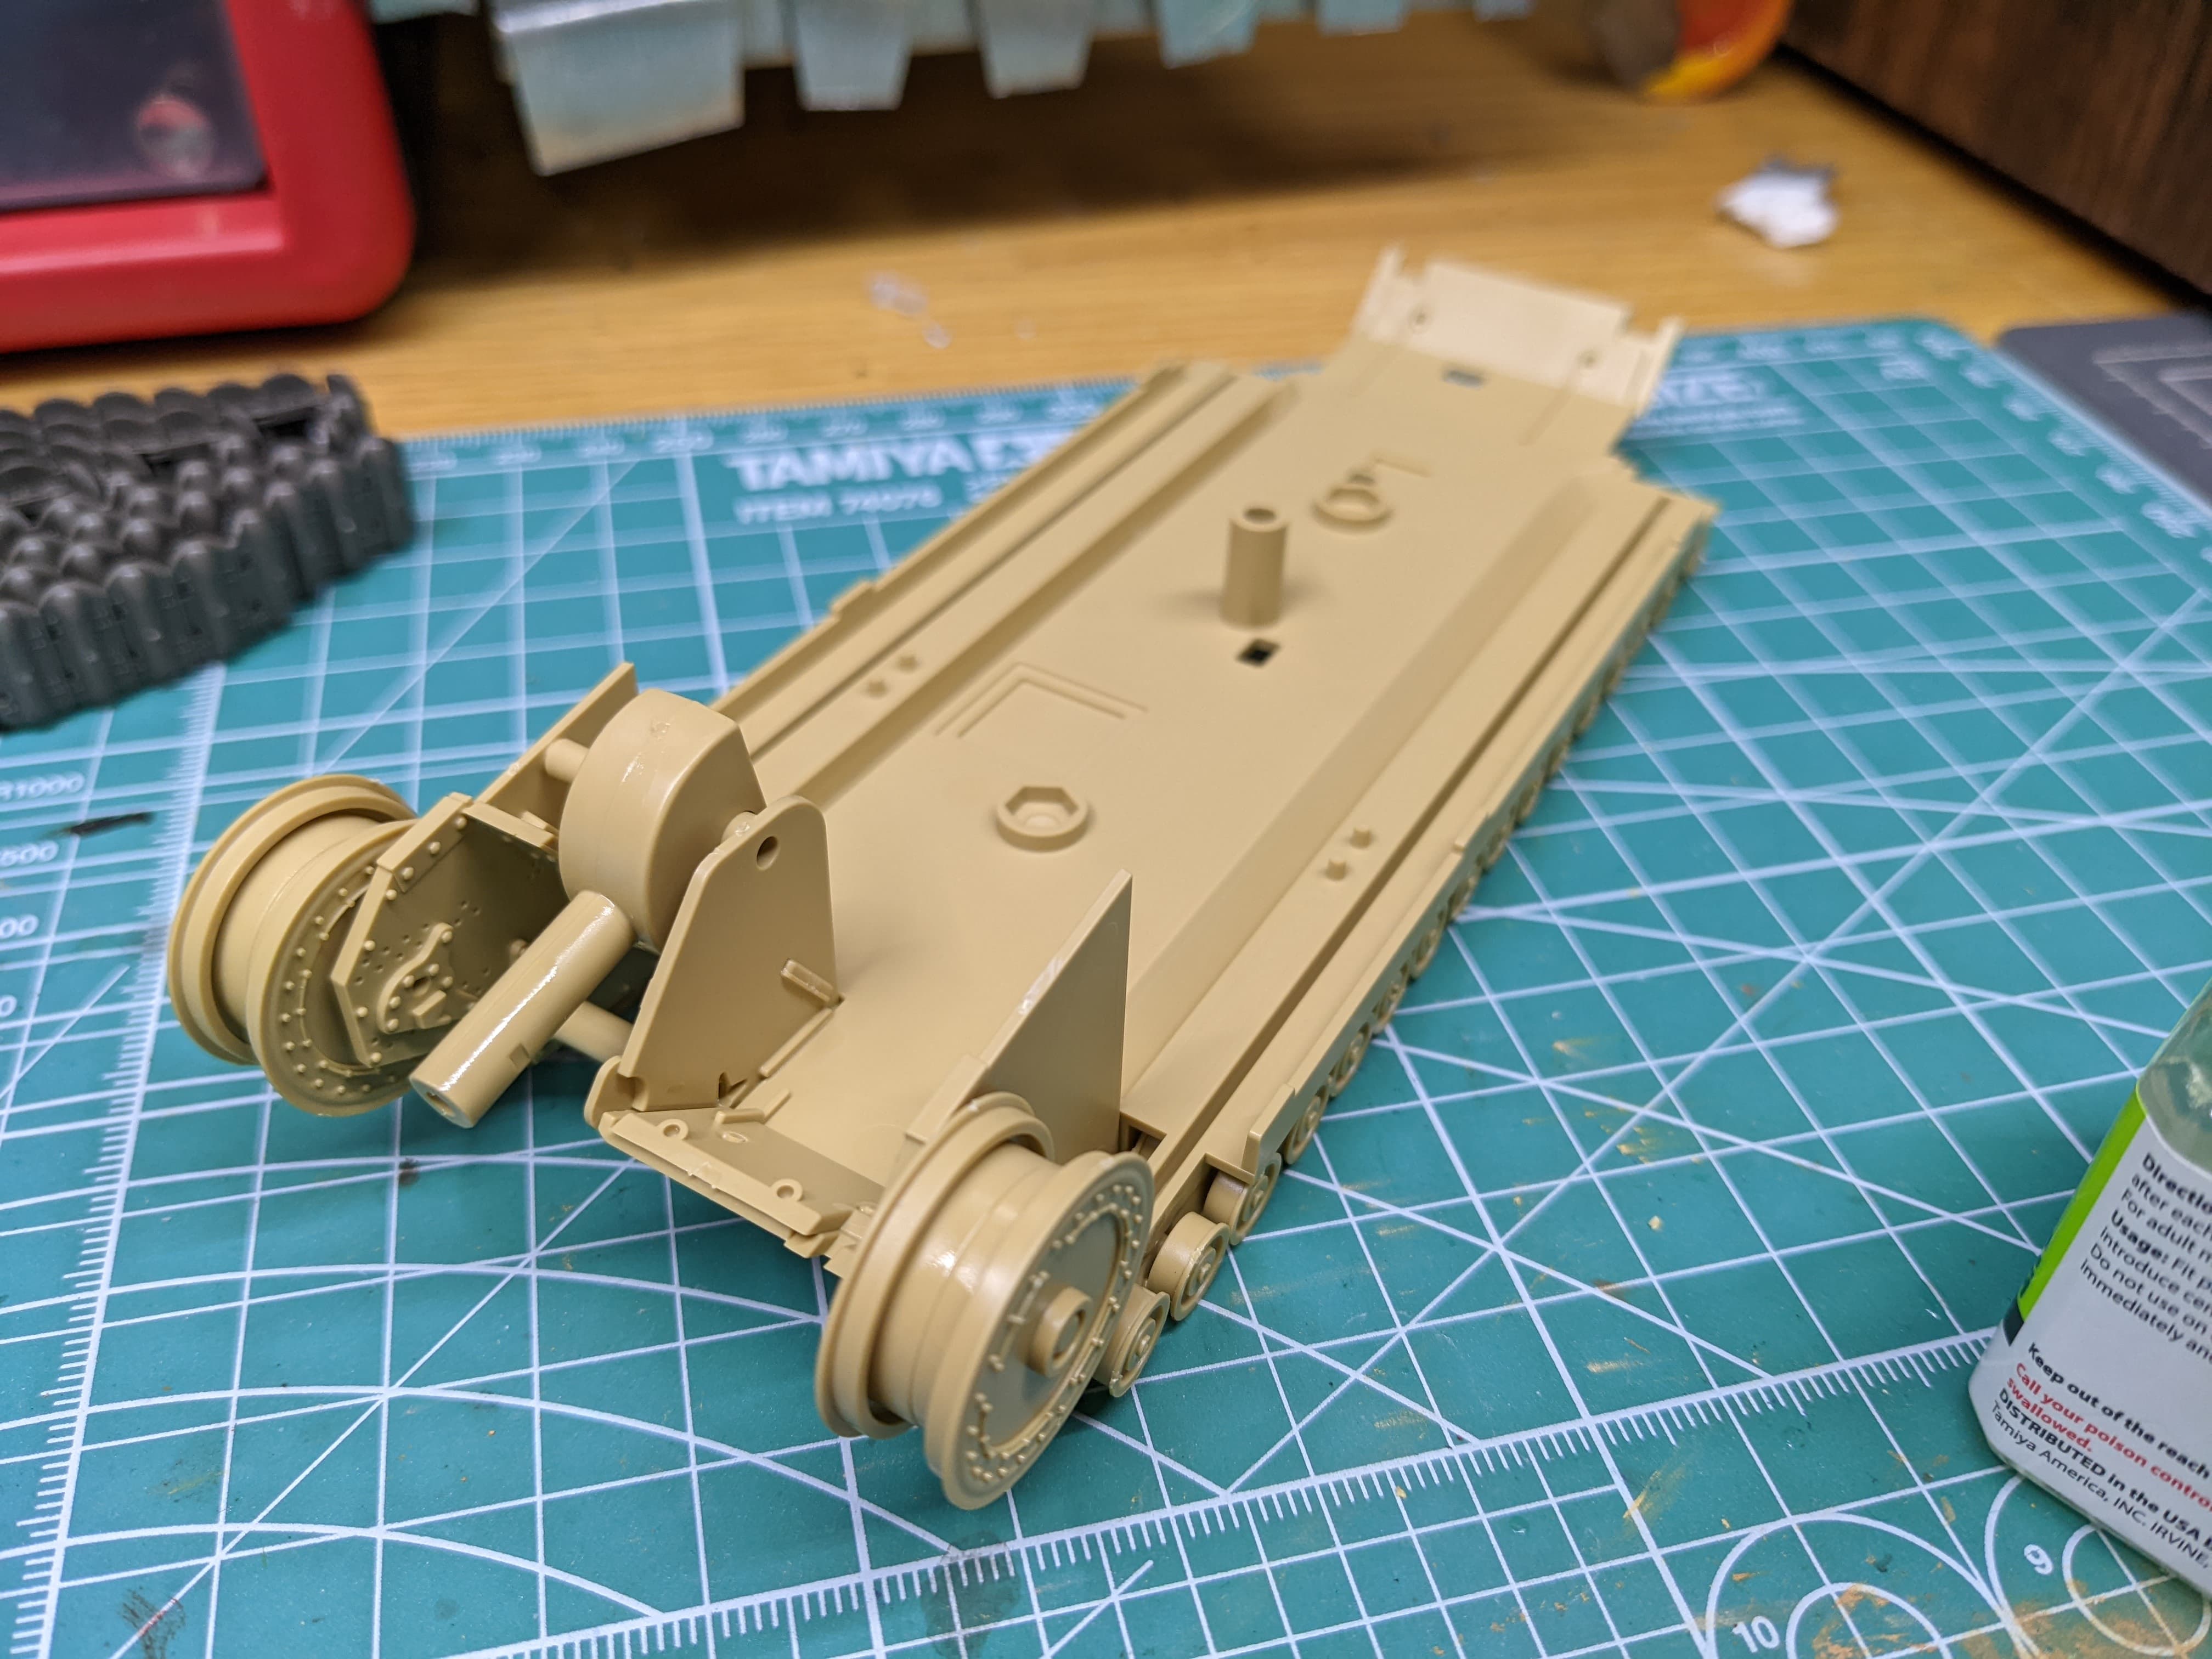
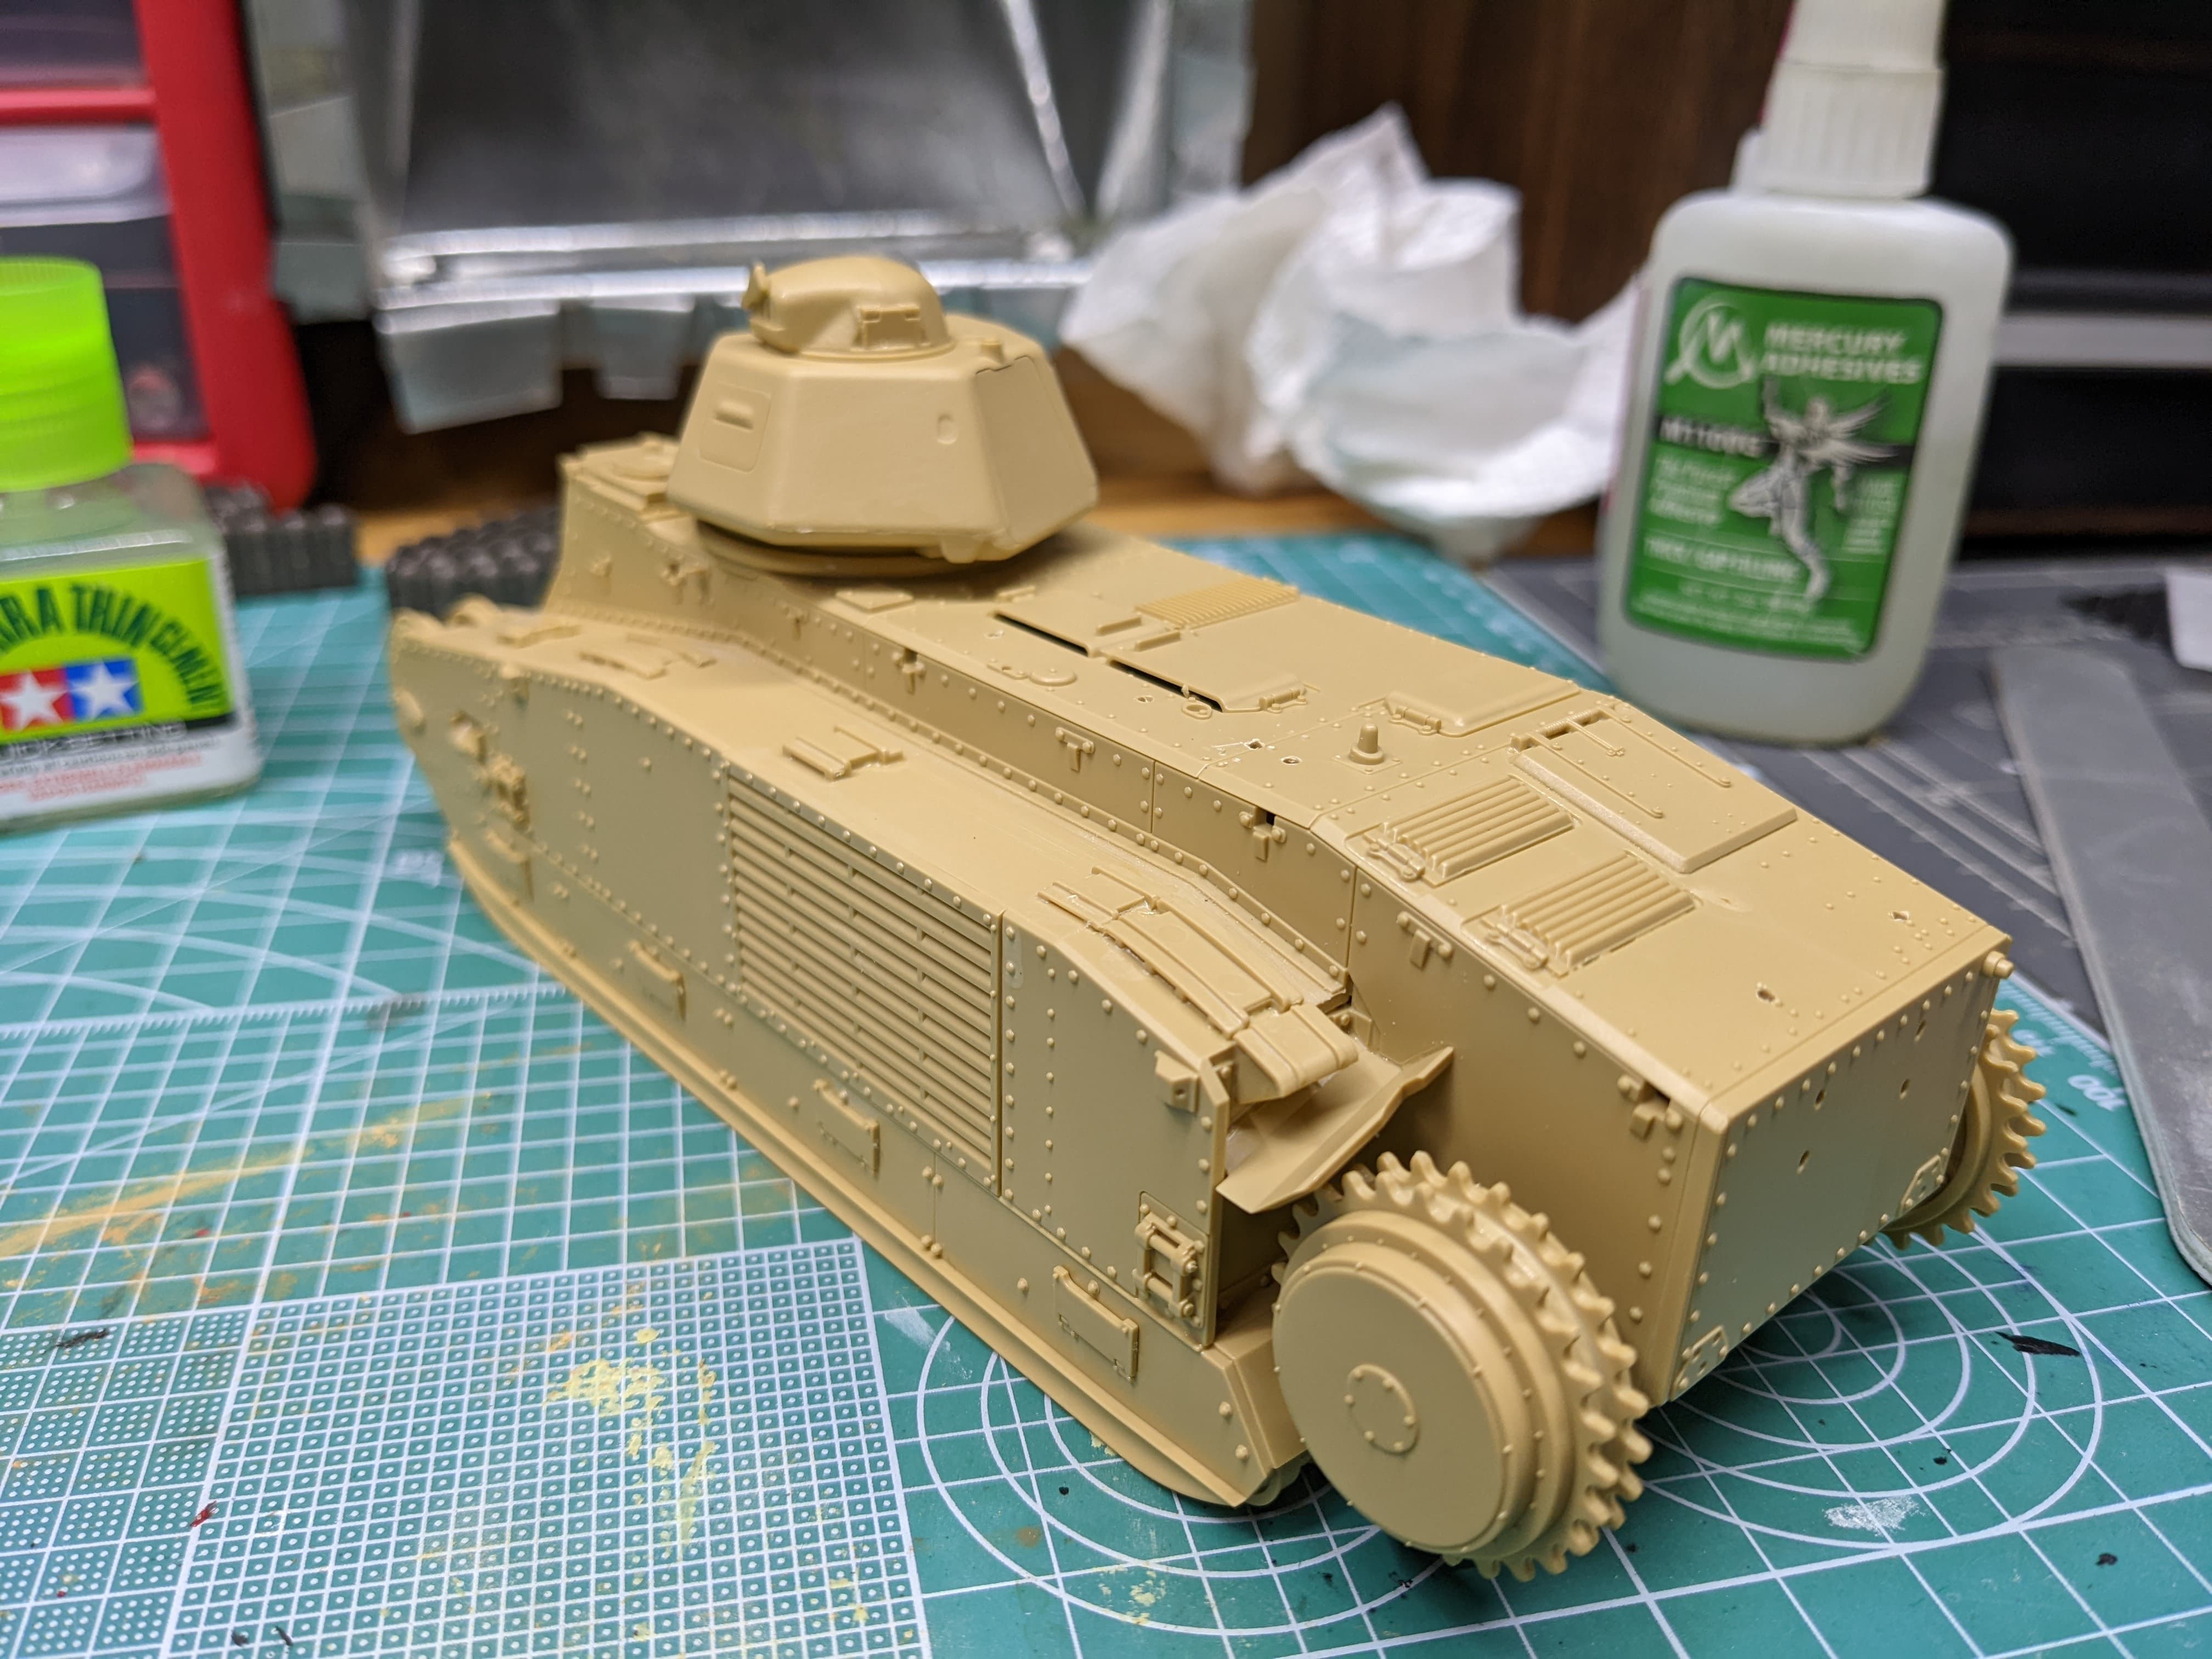
Now. To the kit - finally. So my plan here is to build the kit basically entirely OOB.
“But Dennis” you may ask, “you stingy, overly-frugal penny-pincher you, why will such a nice kit be built OOB? This kit is crying out for Fruilmodel tracks, or metal barrels, or photoetch?” Well, two things:
-
I can’t afford nice things. (ˢᵒ ʷʰʸ ᵃᵐ ᴵ ᵃᵈᵈᶦᶜᵗᵉᵈ ᵗᵒ ᵀᵃᵐᶦʸᵃ ᵏᶦᵗˢˀ).
-

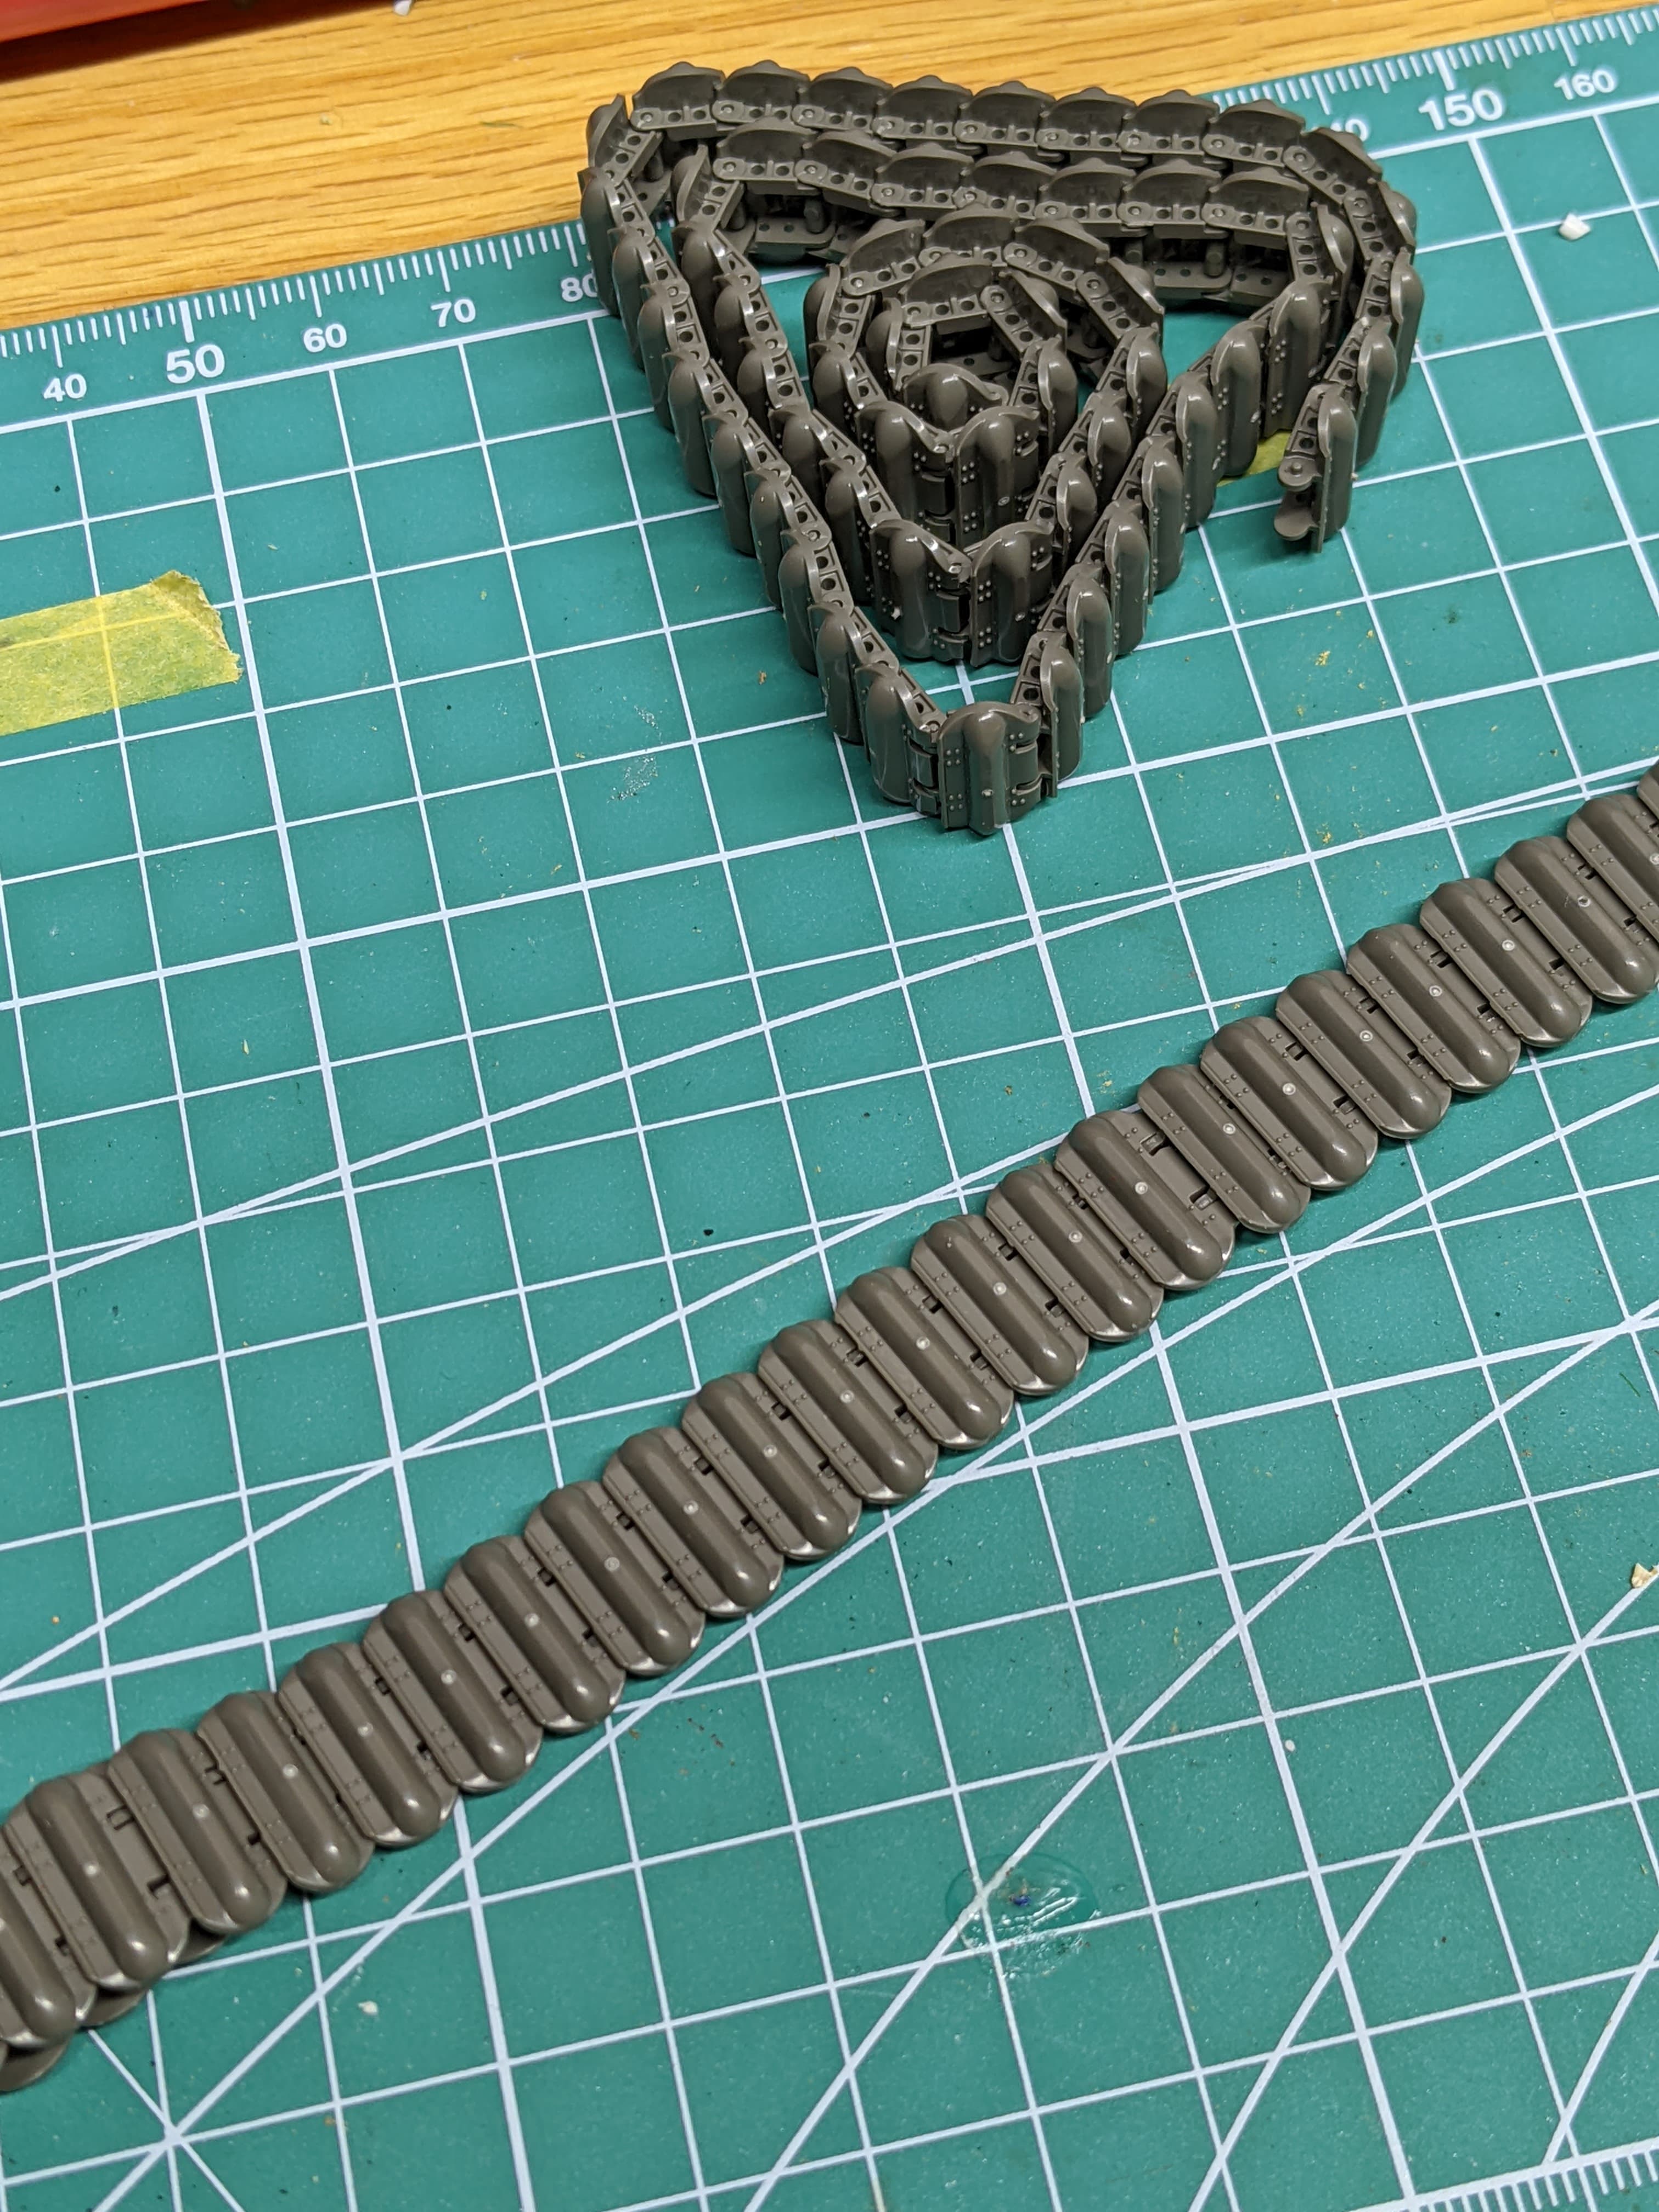
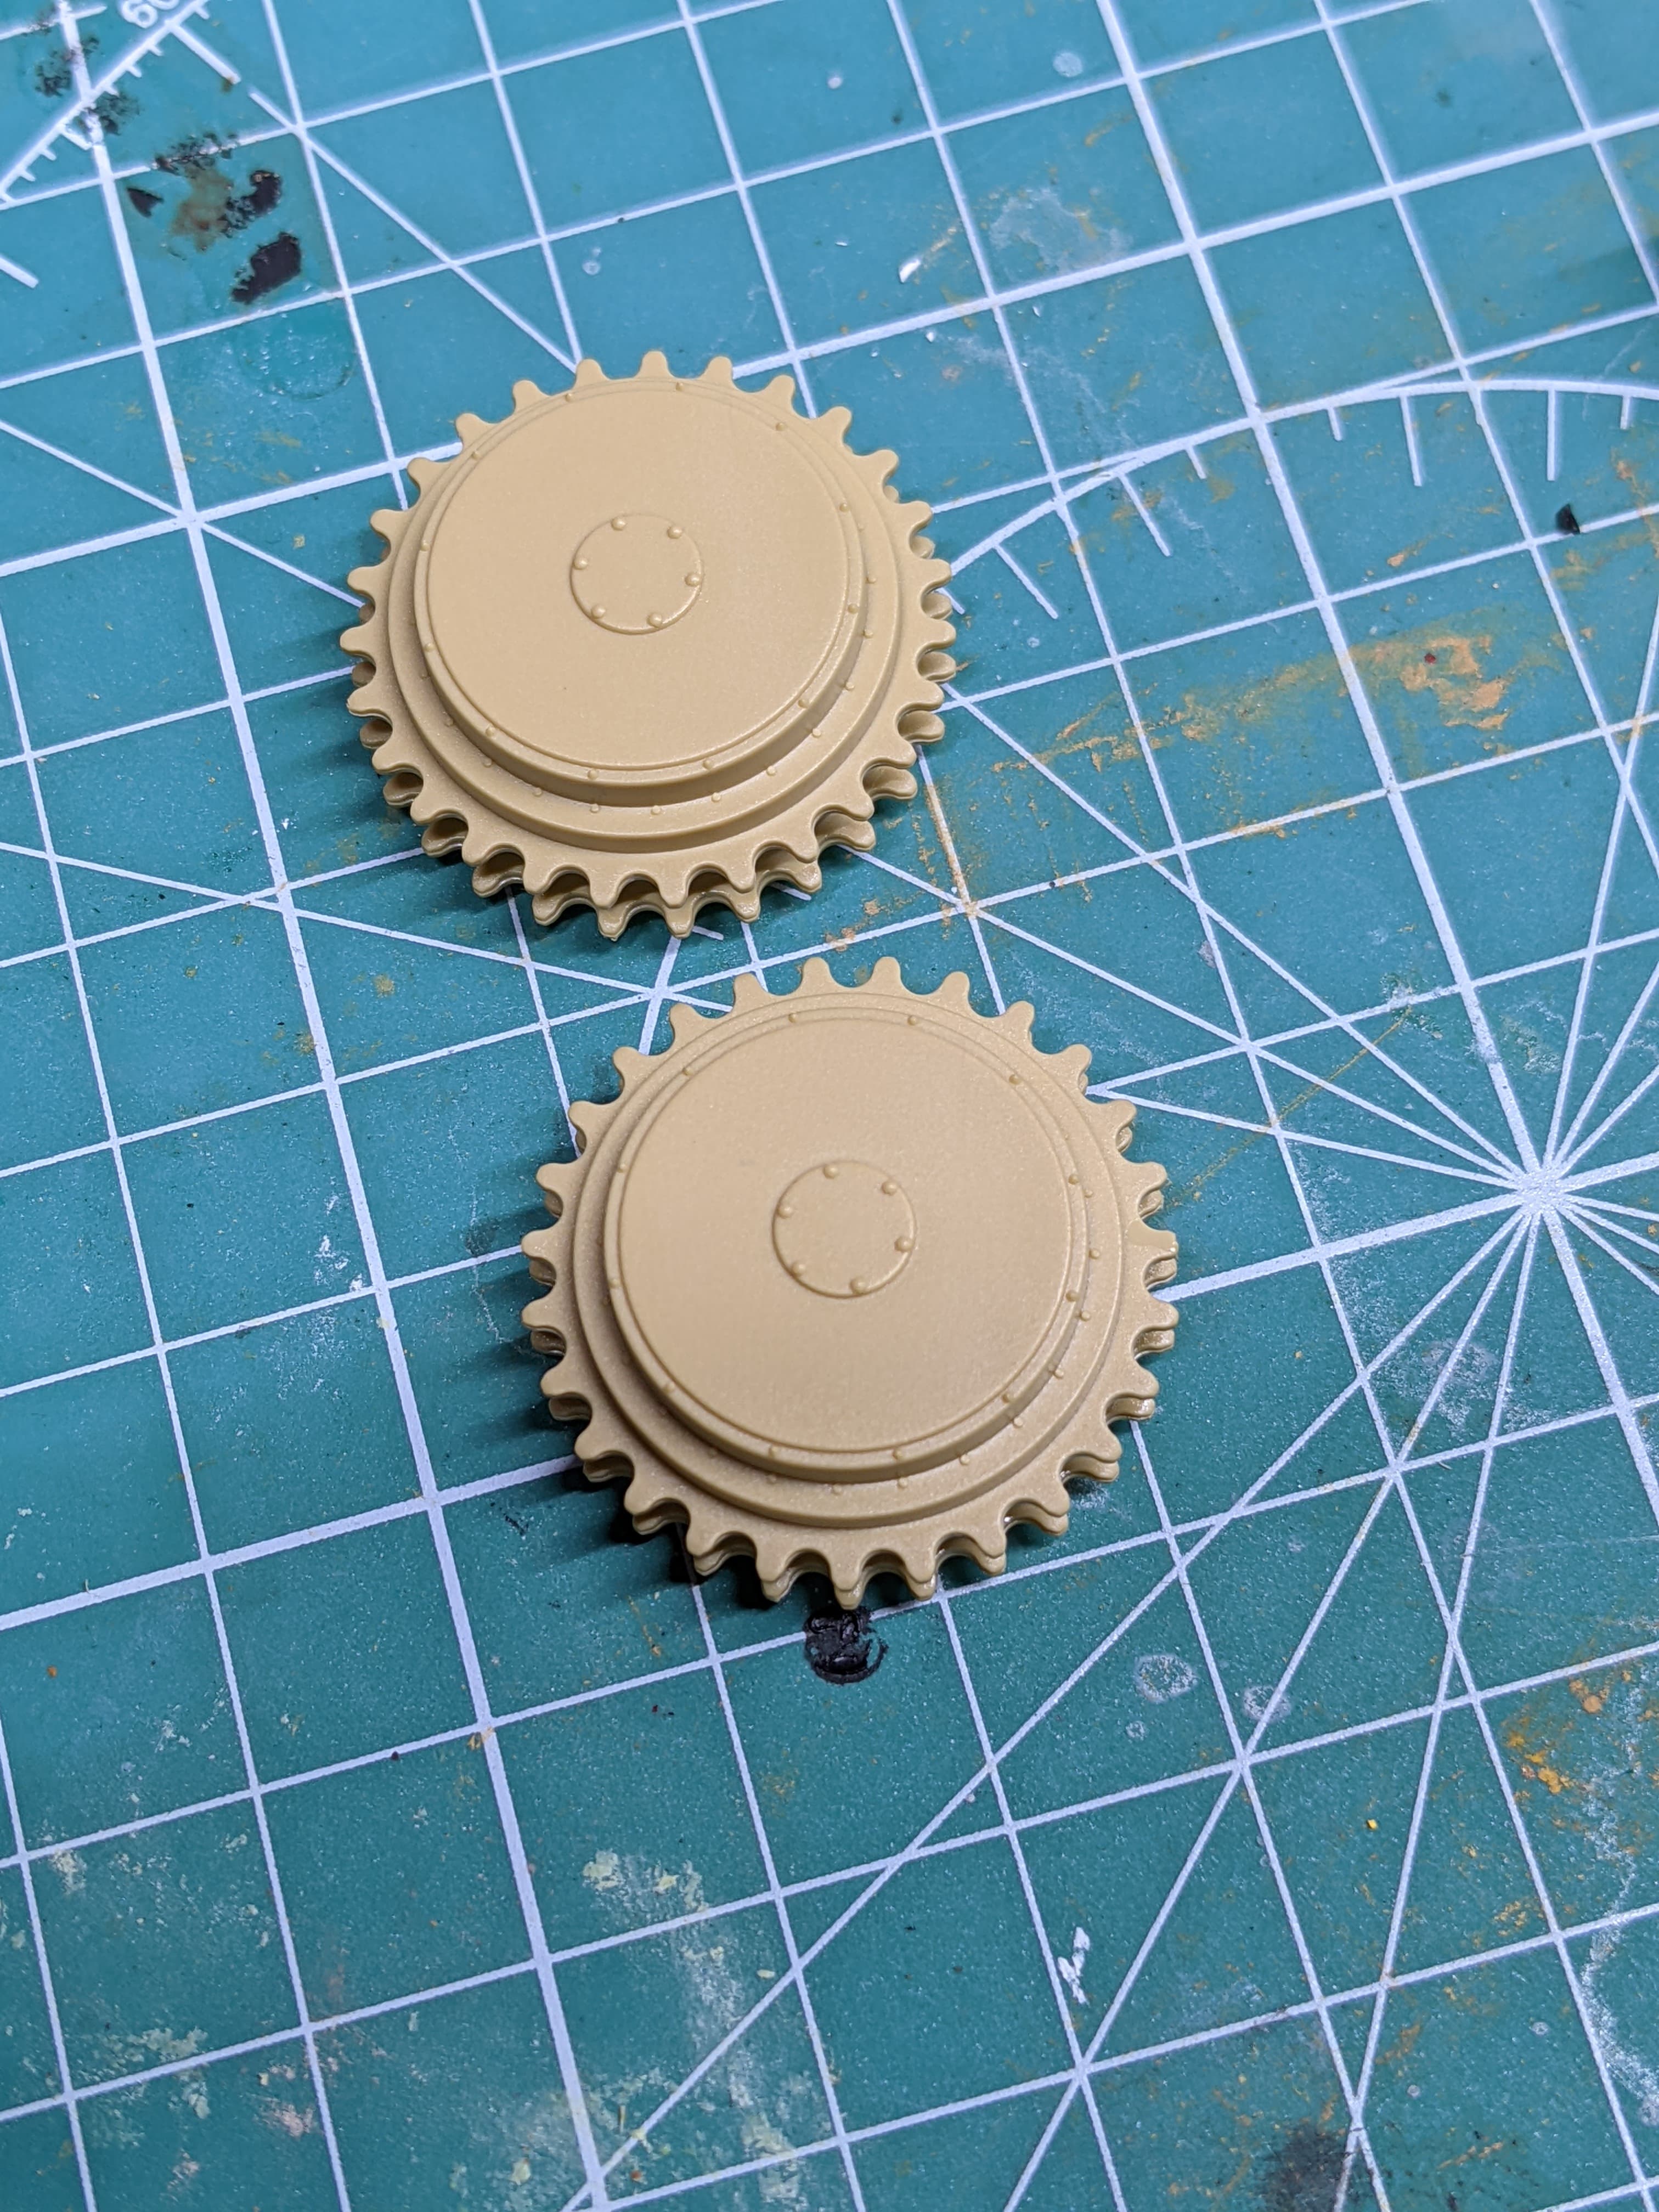
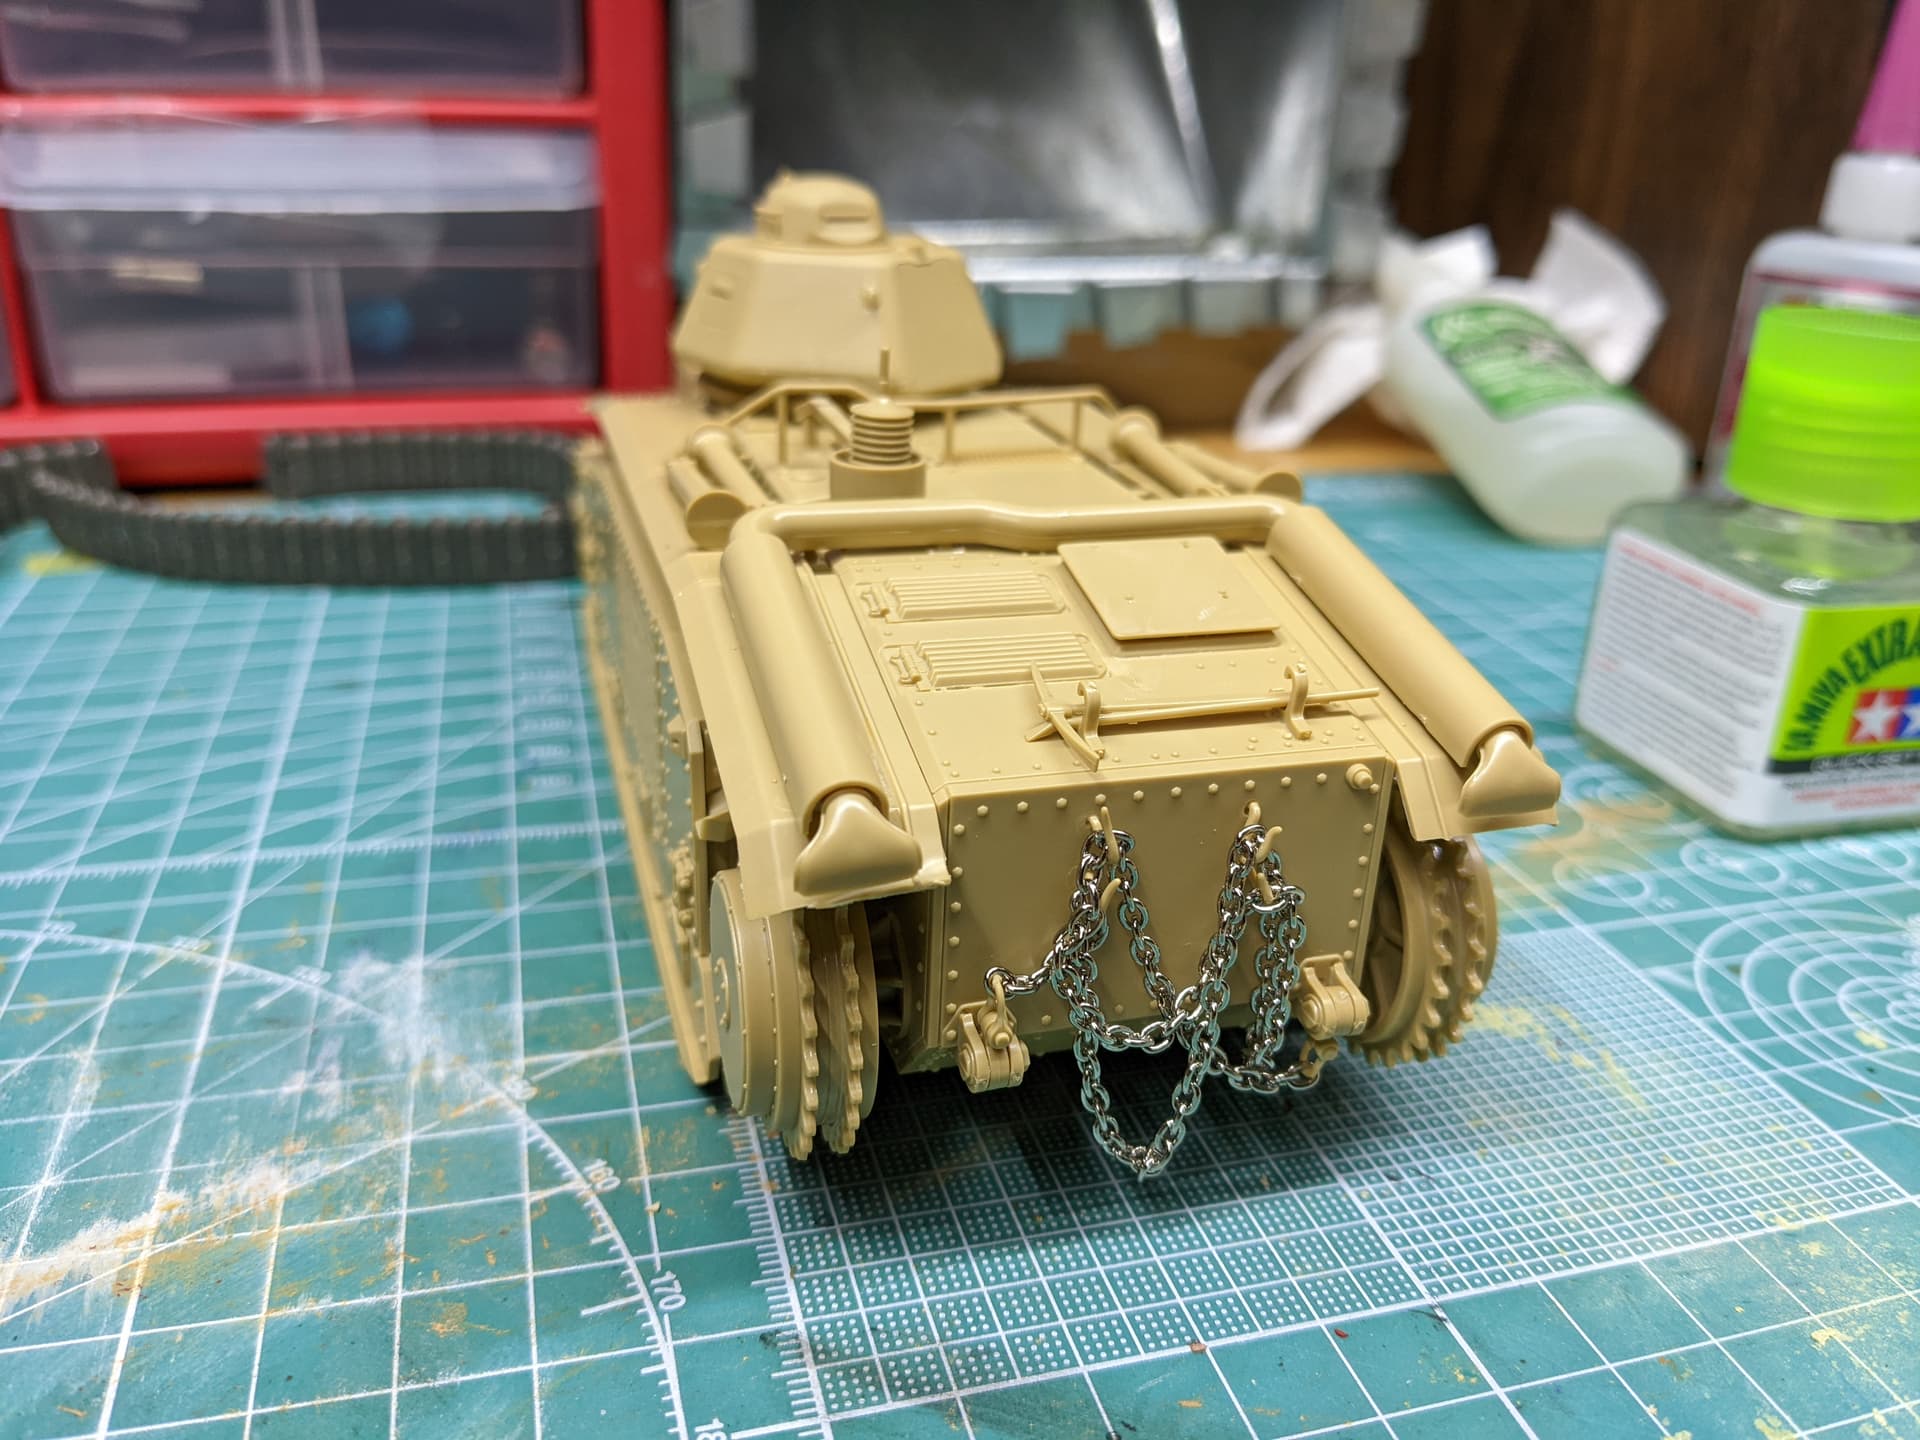
This kit initially caught my attention because it is one of the few Tamiya kits that has workable tracks included. From what I’ve heard, these just click together, and considering how awfully corroded the tracks of these tanks got, I think these will be a nice base for some rust tones.
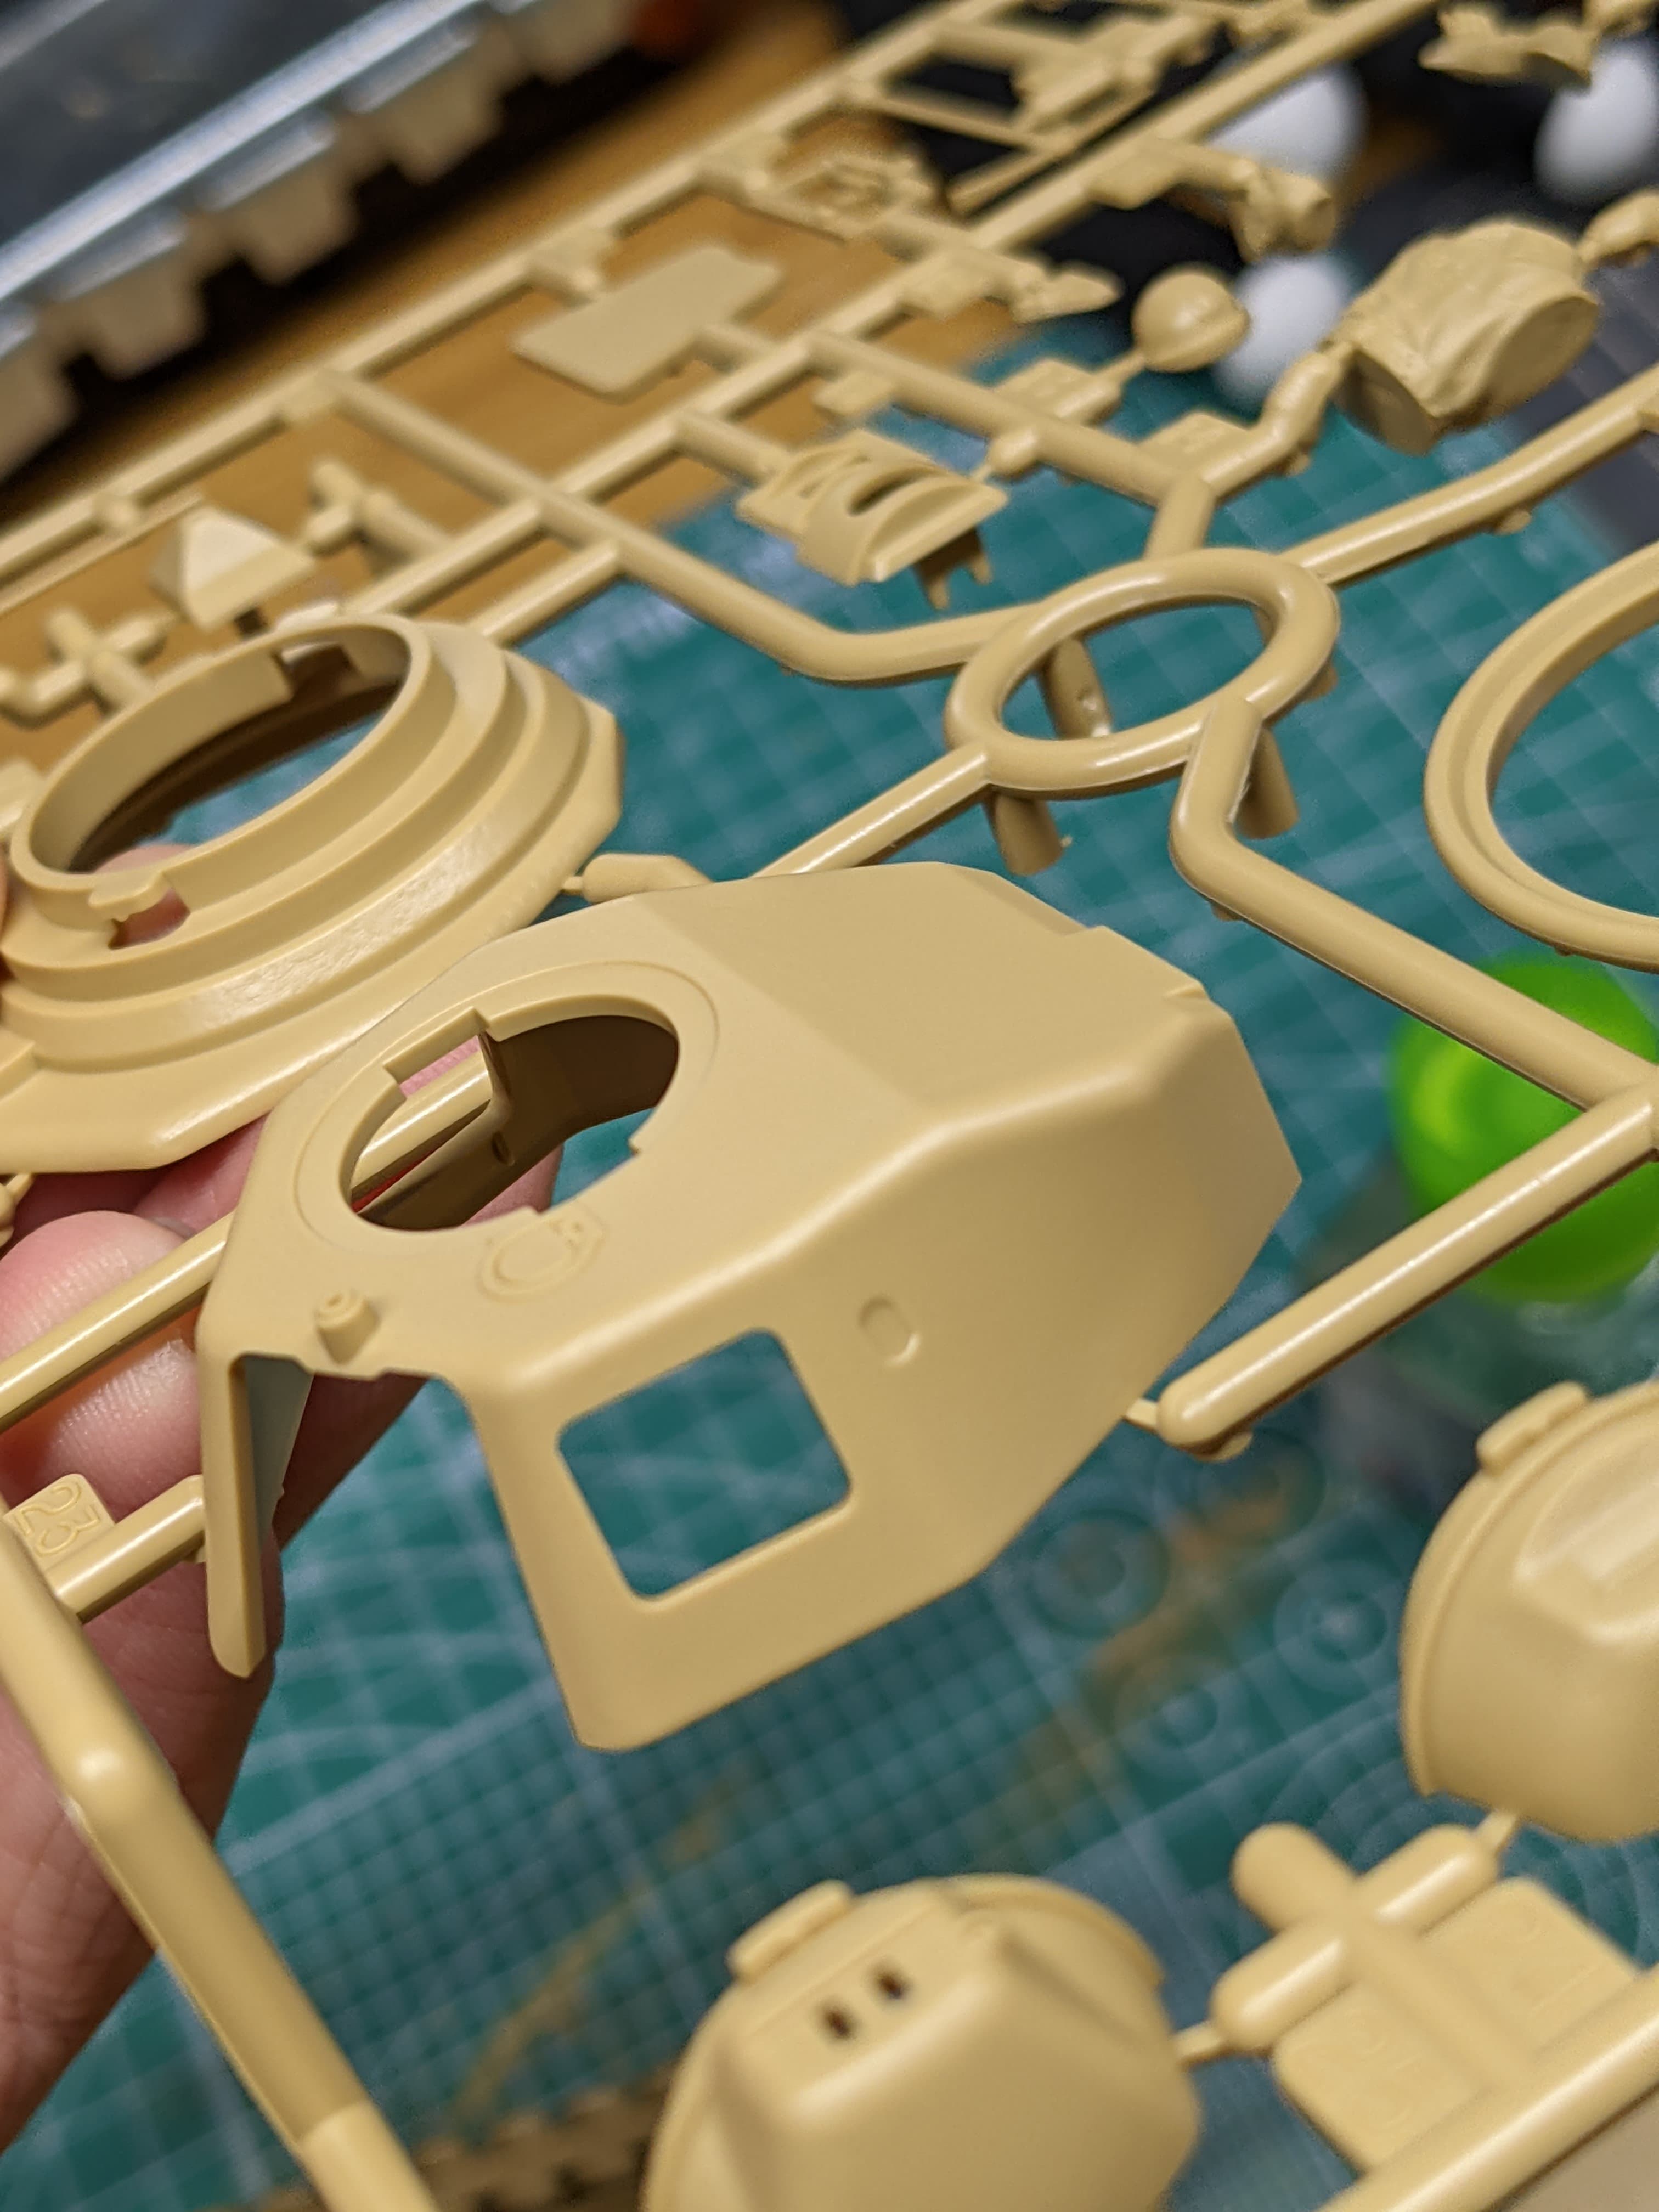
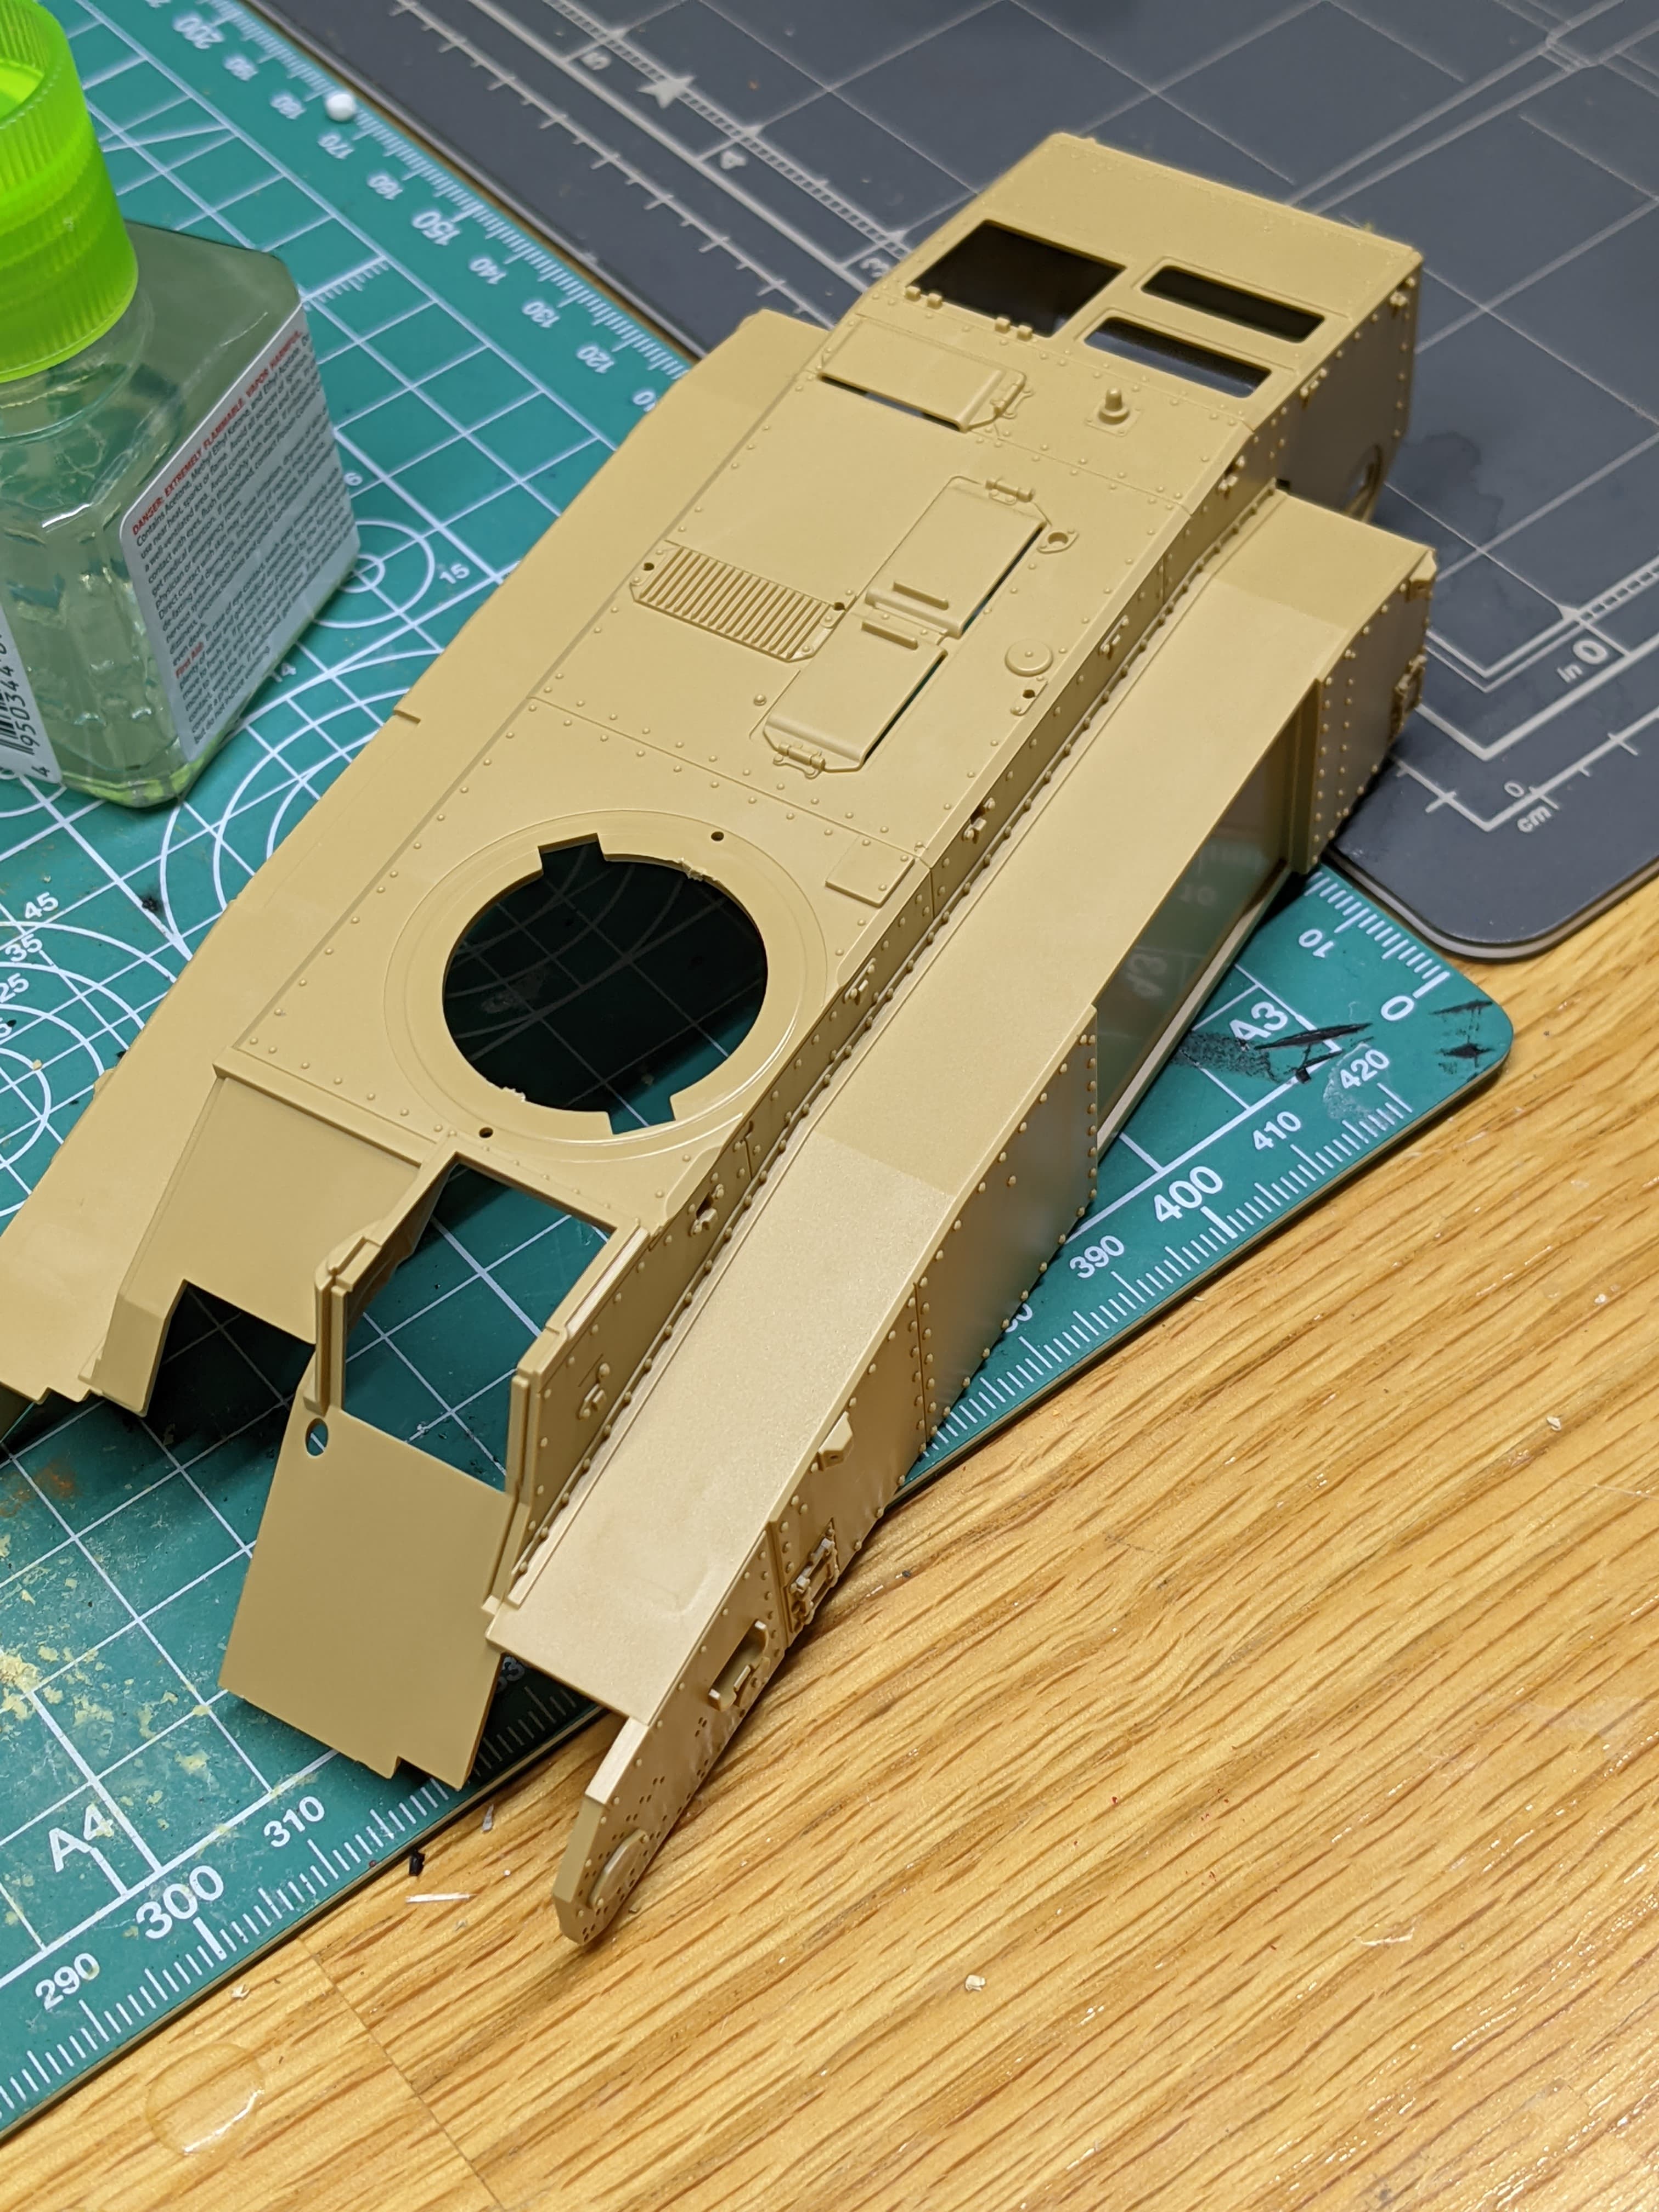
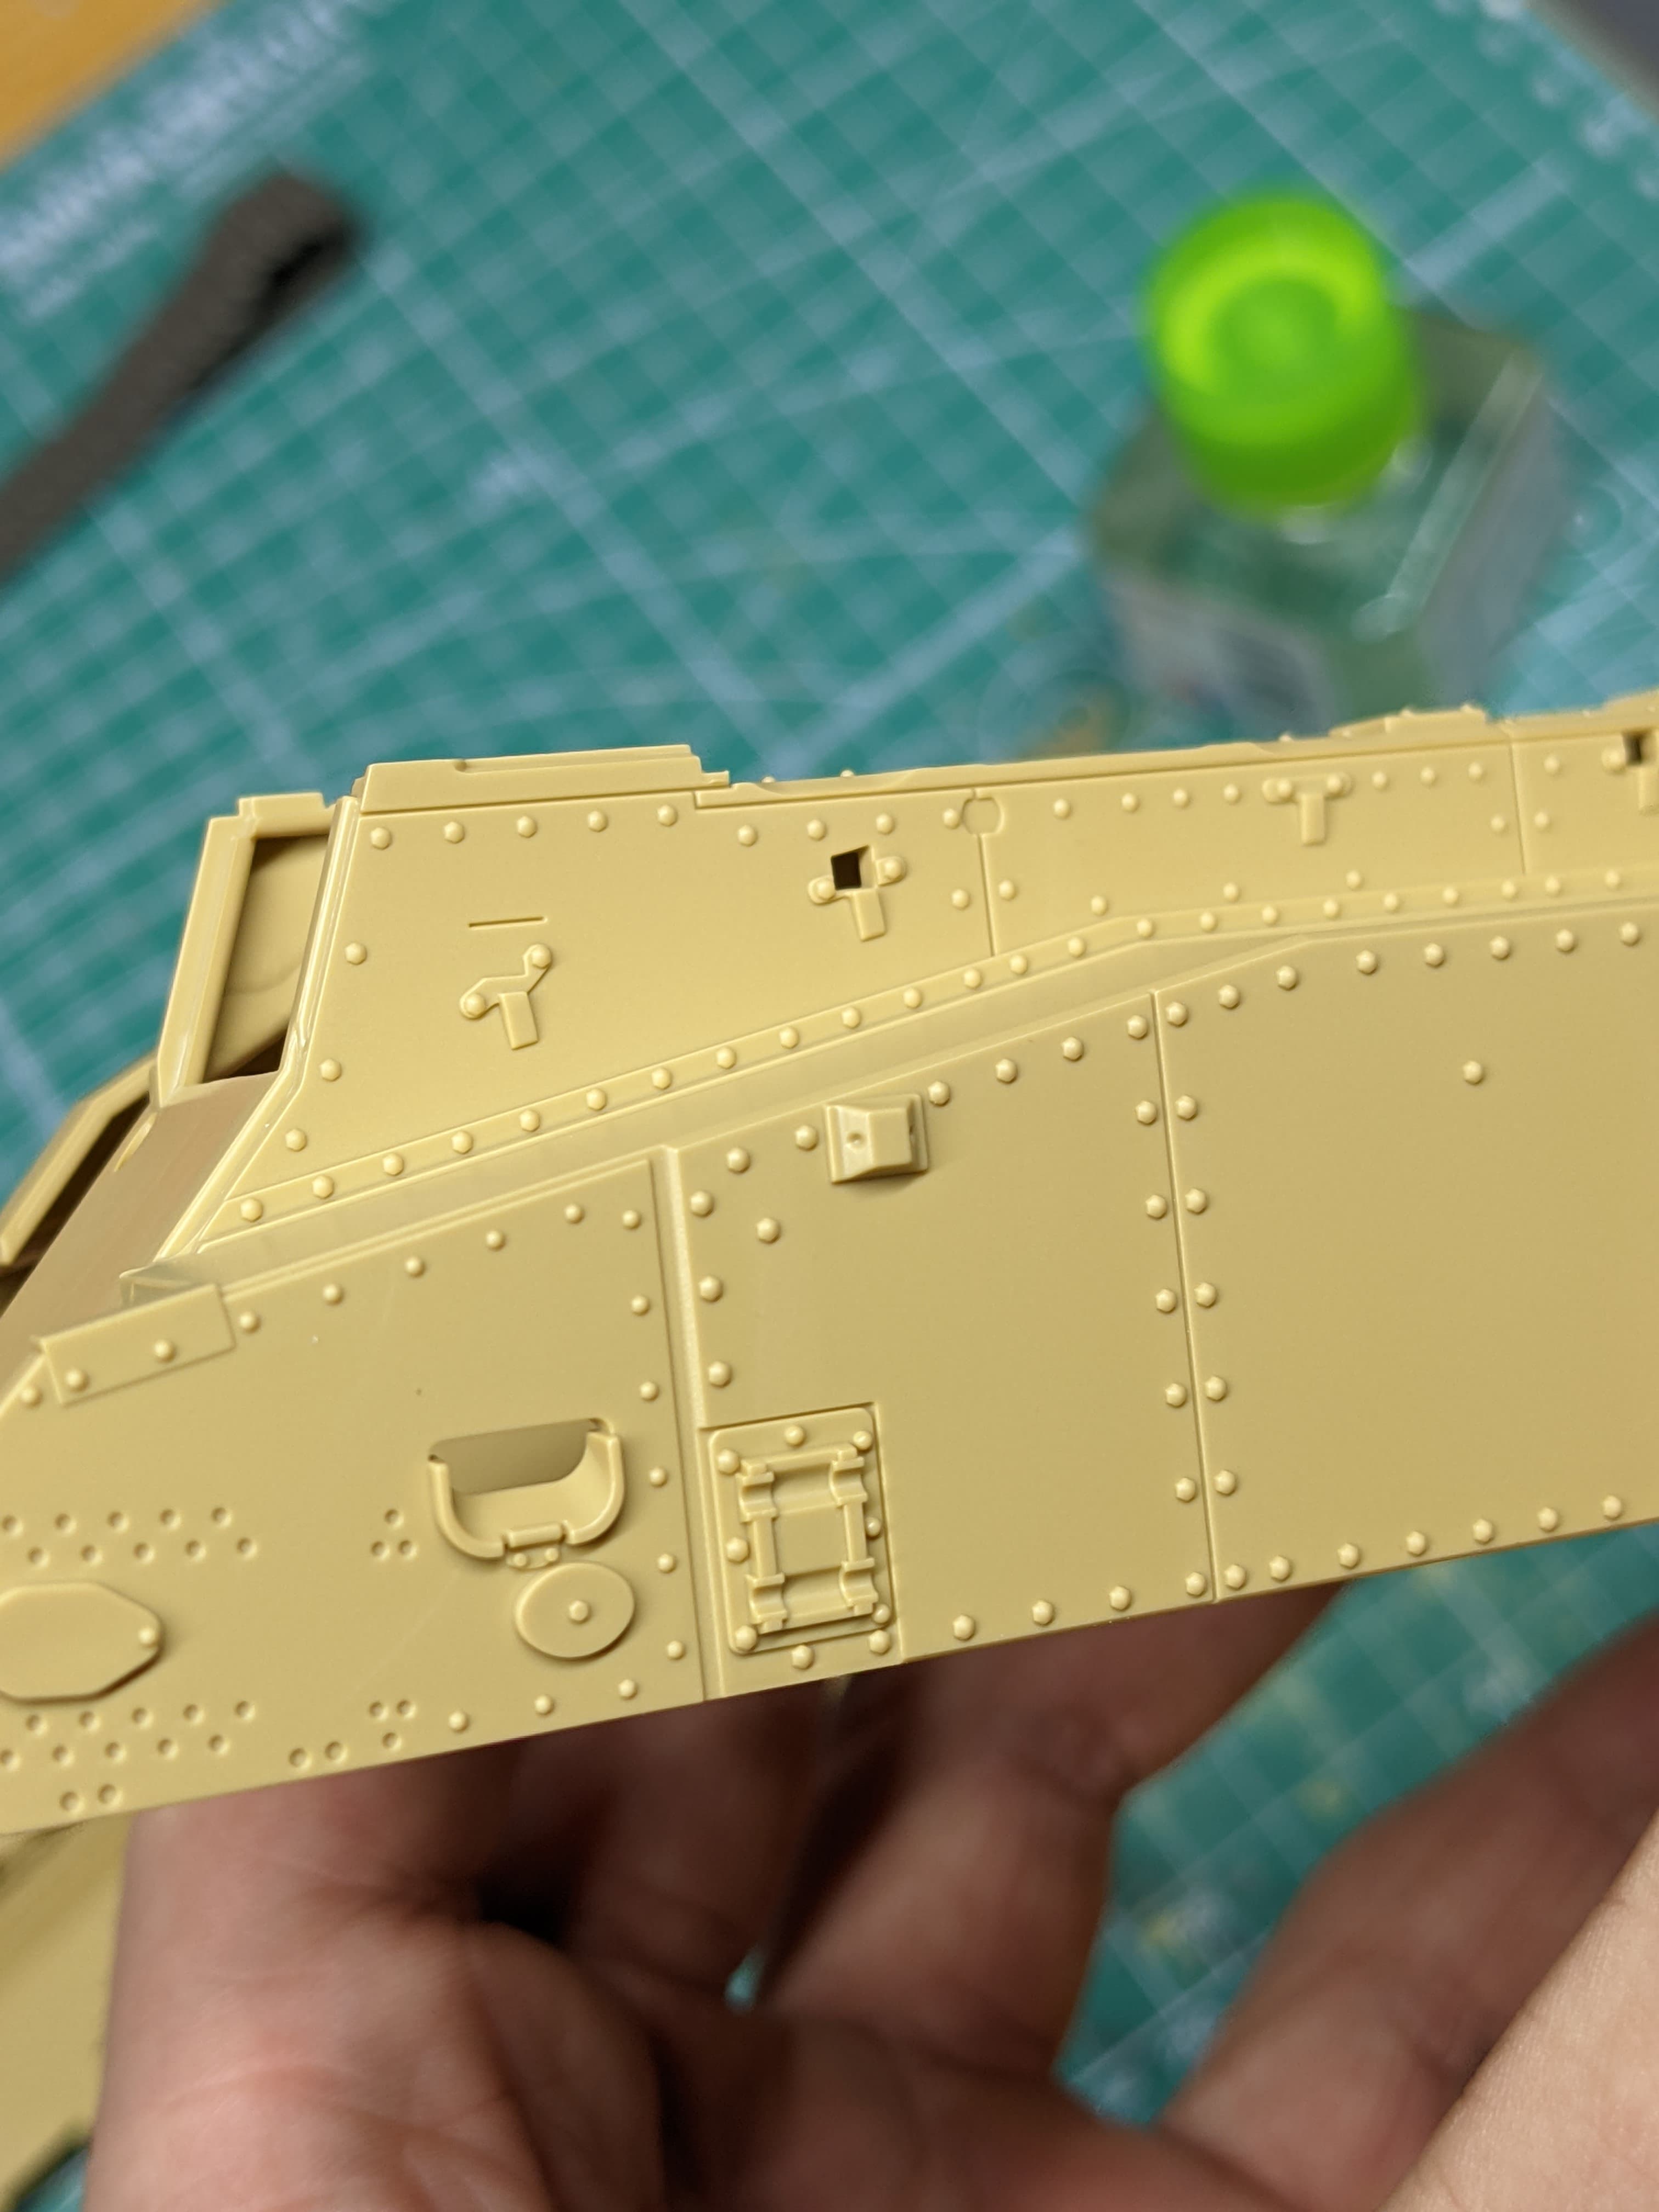
Anyways, in the morning I’m going to post some pictures of the sprues and moulded-on detail, as well as the tracks.
I already have a paint scheme selected for this tank:
Voila! It’s an armoured forest!
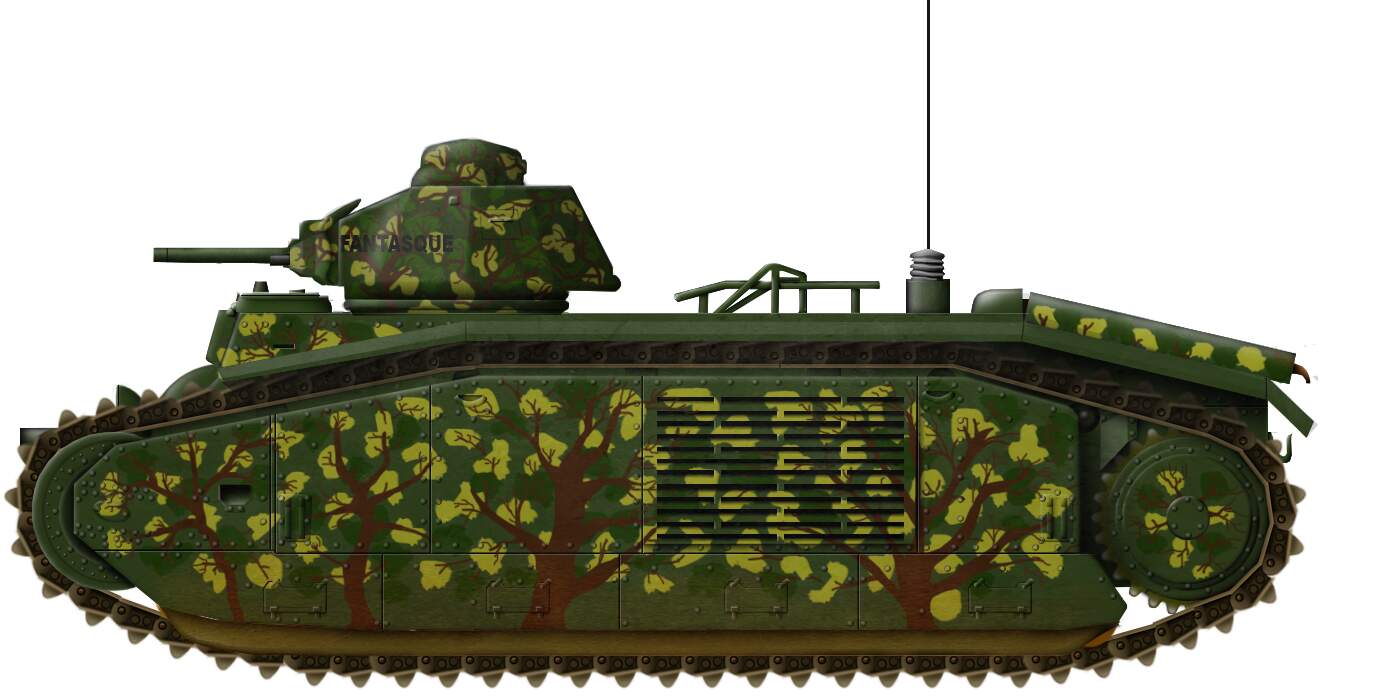
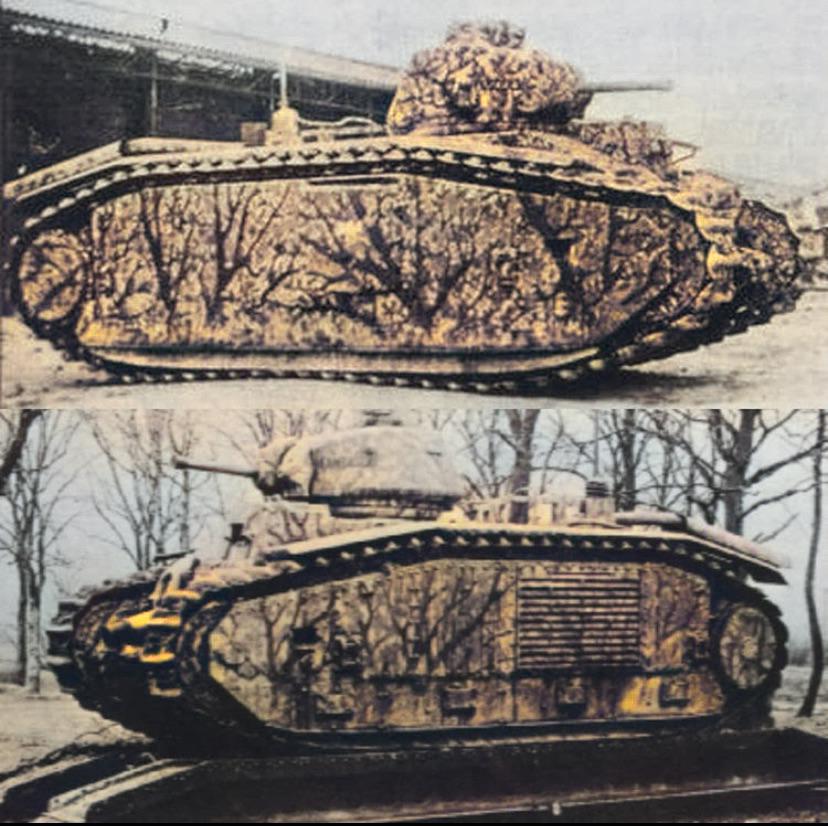
This is the tank “Fantasque”, which was used by the Versailles Tank School in 1939, and which also saw combat in 1940. It had this intricate, highly-artistic camouflage applied experimentally. Now, this is pure conjecture on my part, but considering that last year Canadian Leopard tanks wore similar camouflage
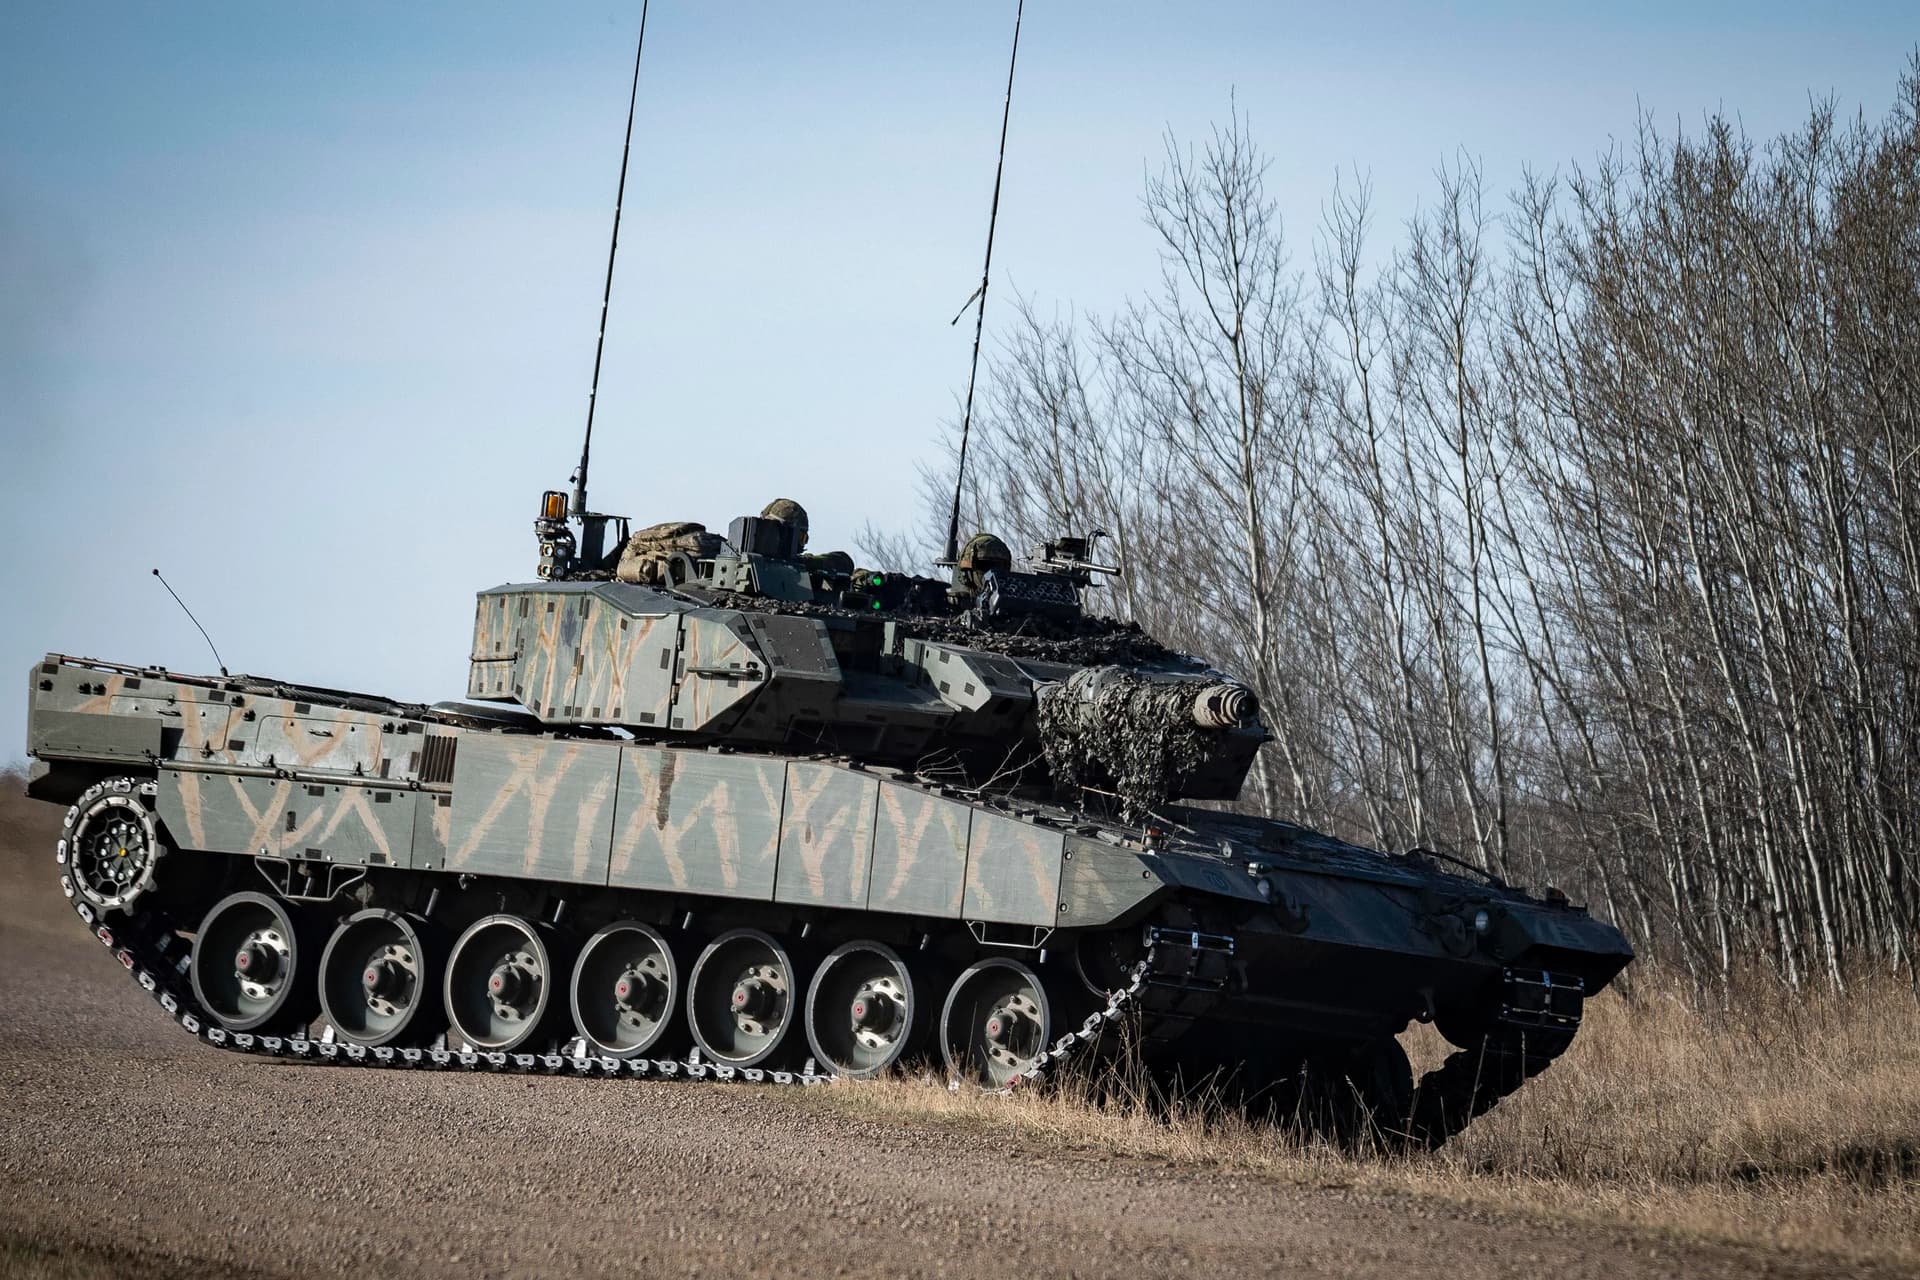
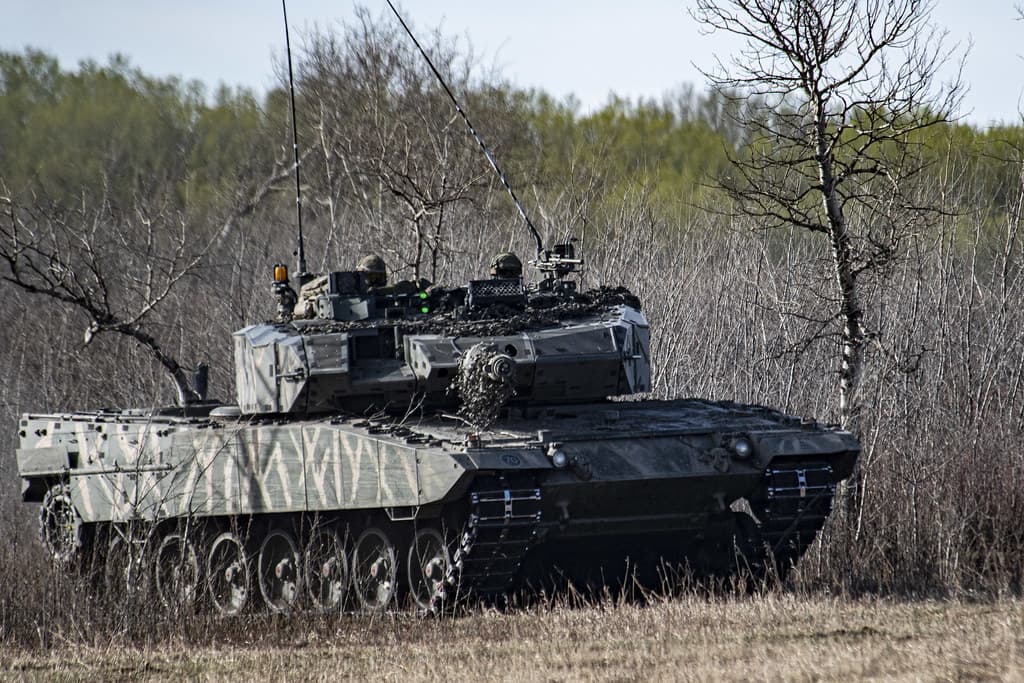
The idea generally seems to be that by using a hyperlocal camouflage pattern that’s well suited to the surrounding environment, one can make a tank that can blend in incredibly well.
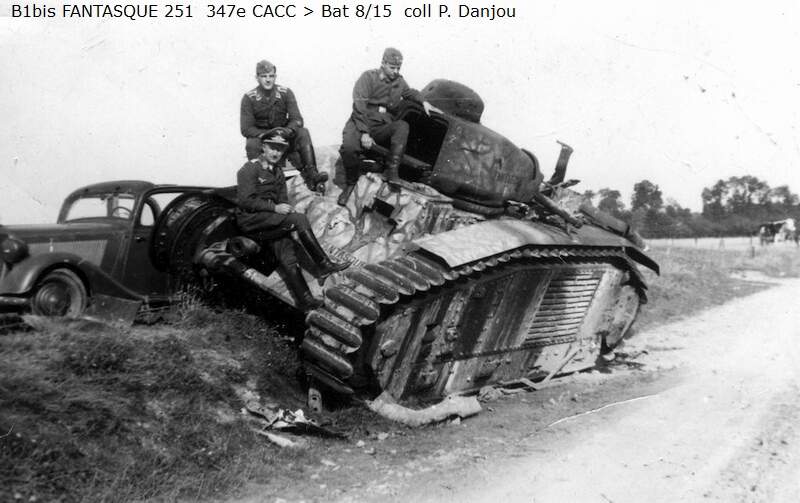
Of course, it didn’t work out too well in the end…
So yeah! I just now realized that I wrote a wall of text ![]()
I can’t wait to get started on this project, and thanks to anybody who follows along!
Regards,
Dennis