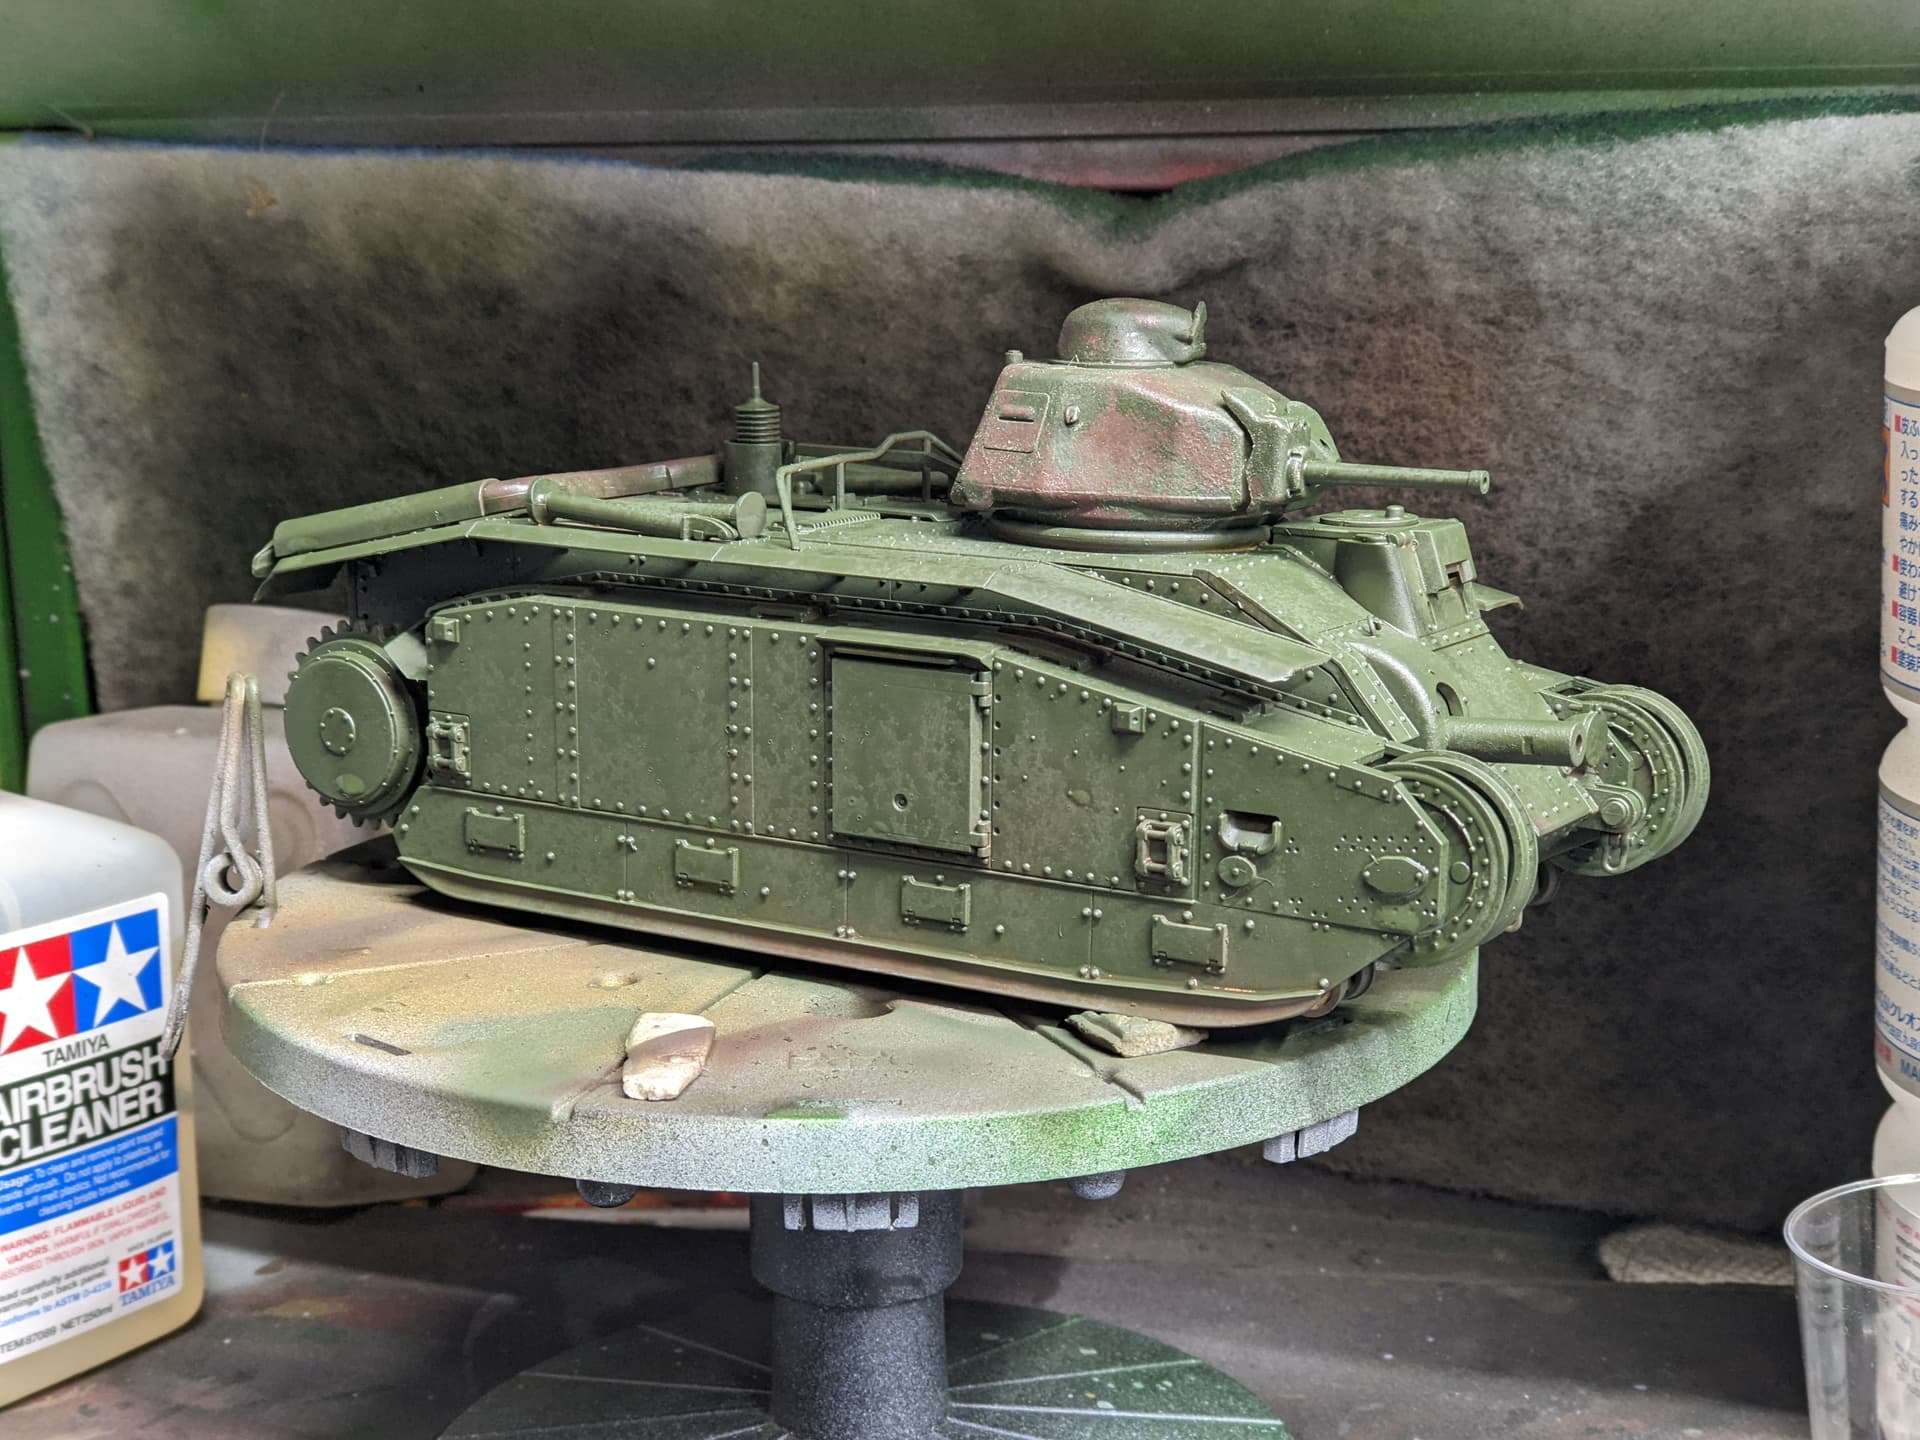
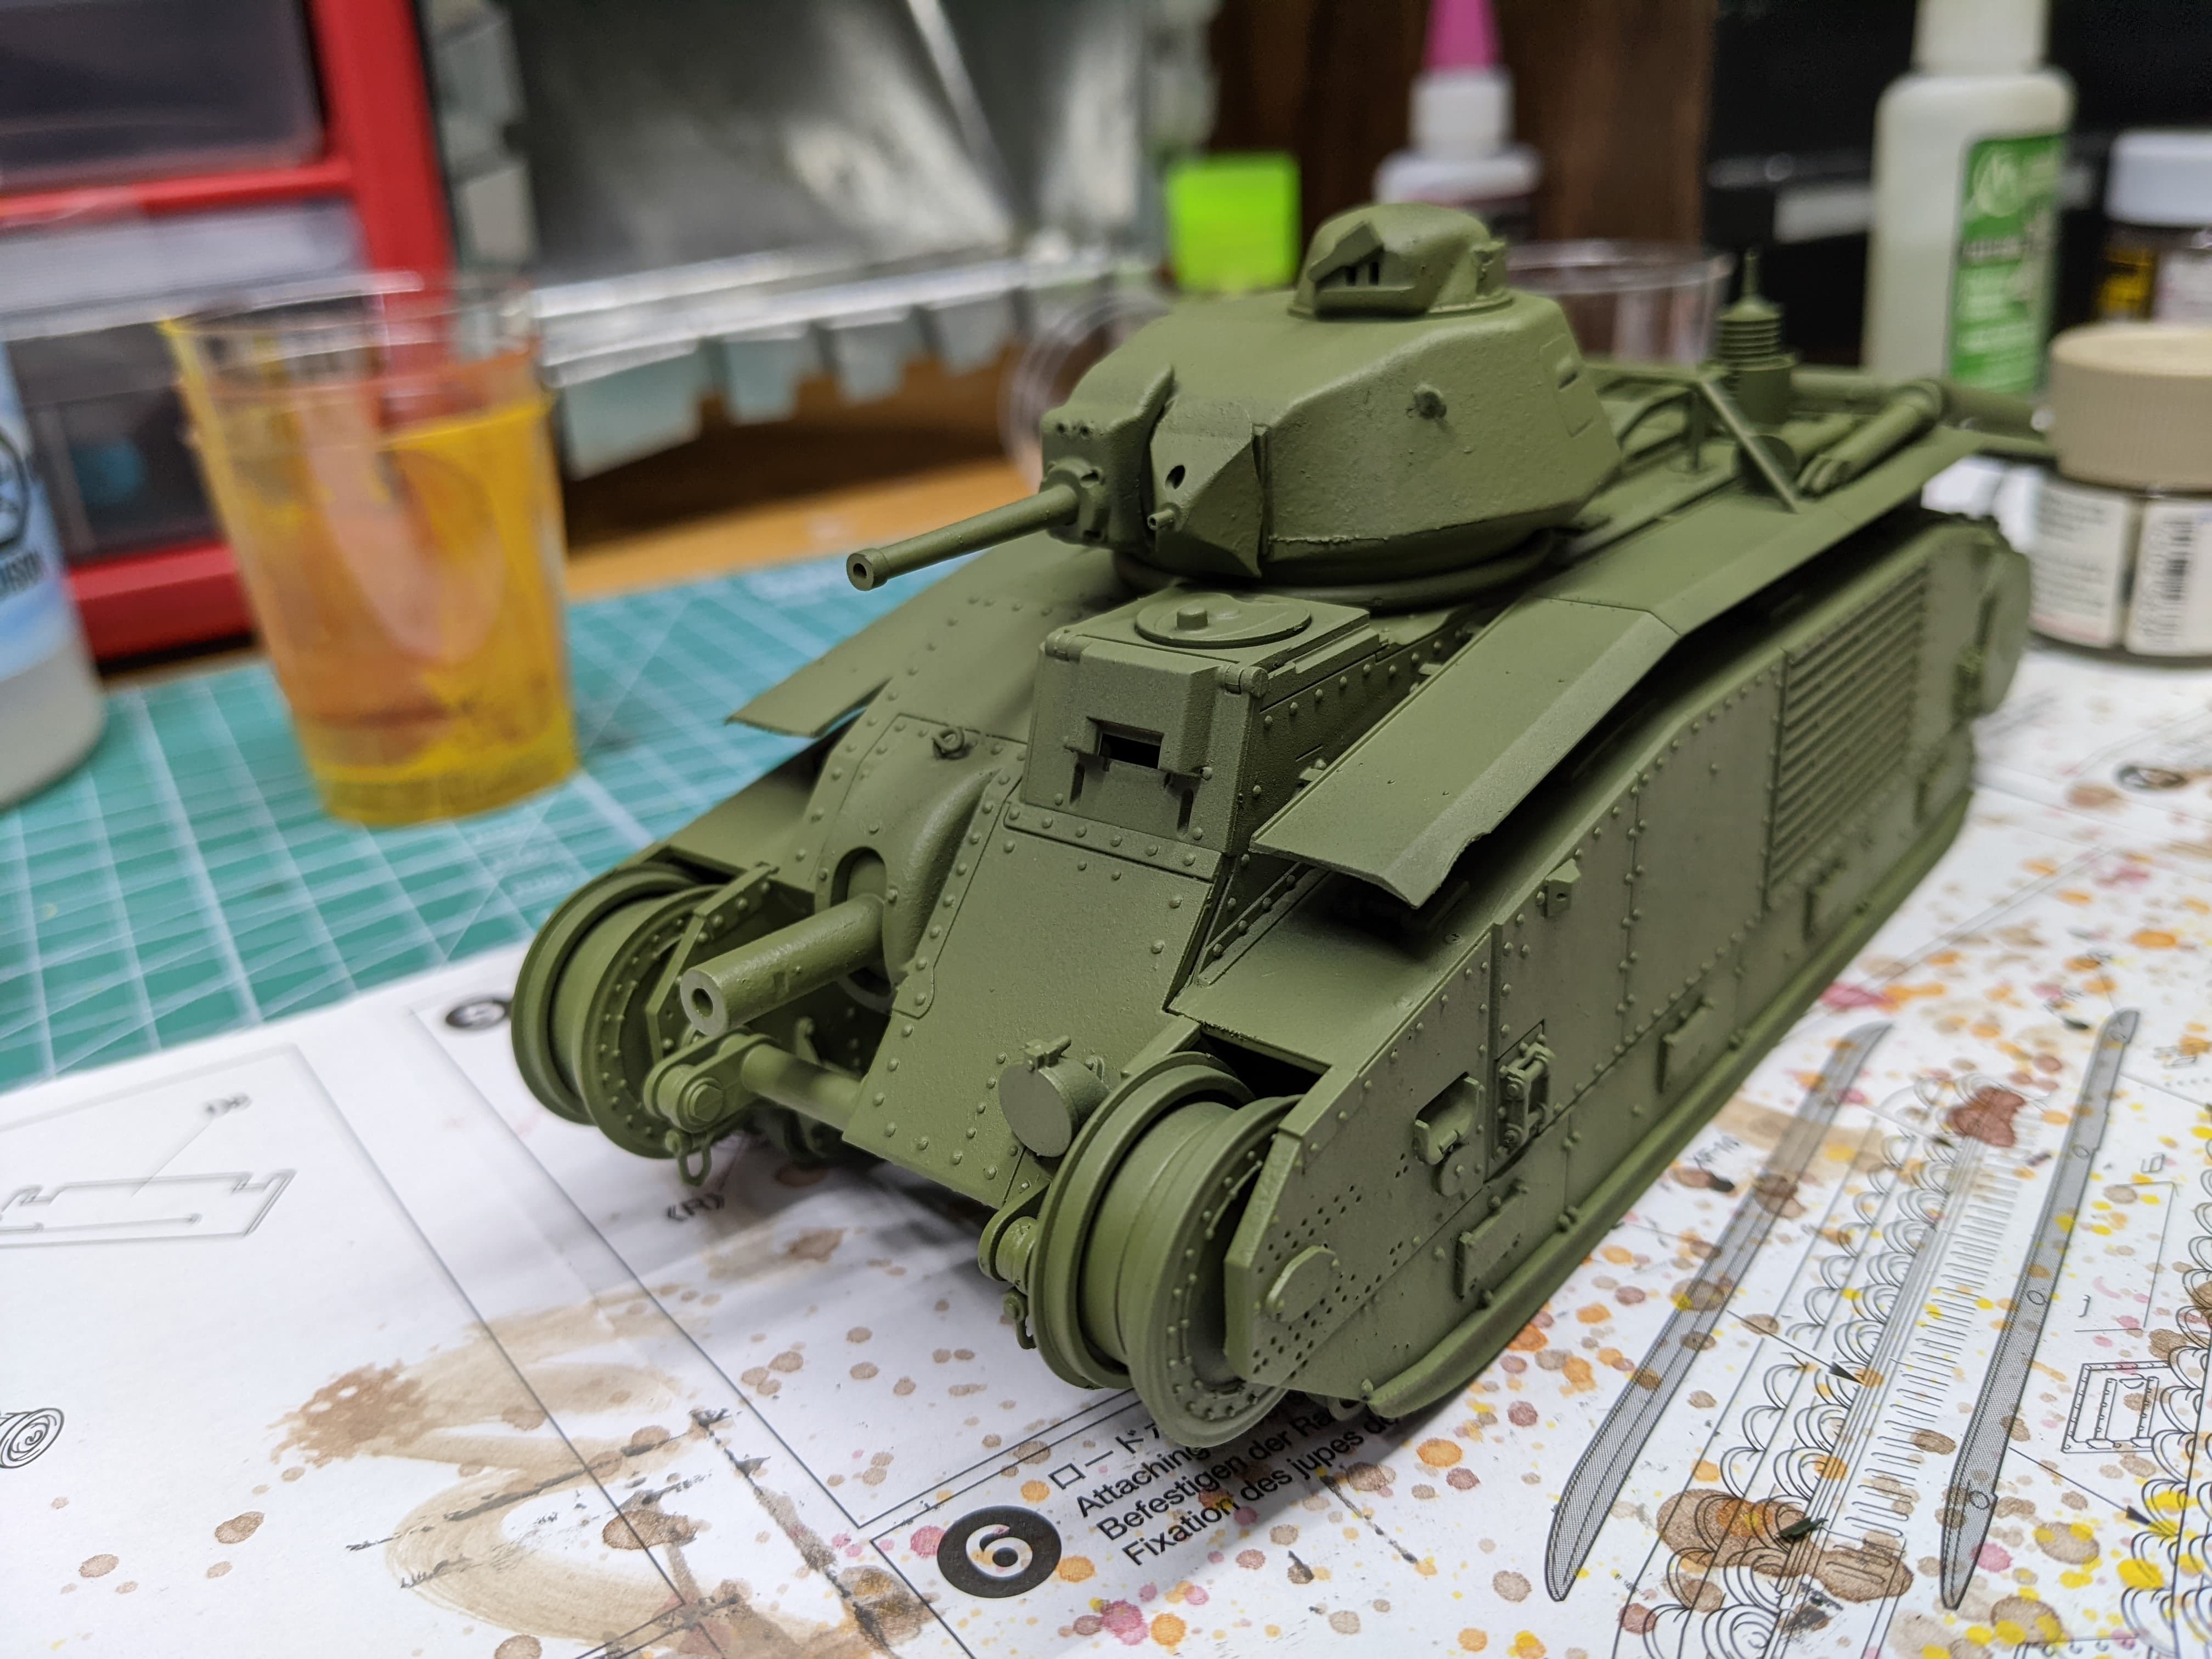
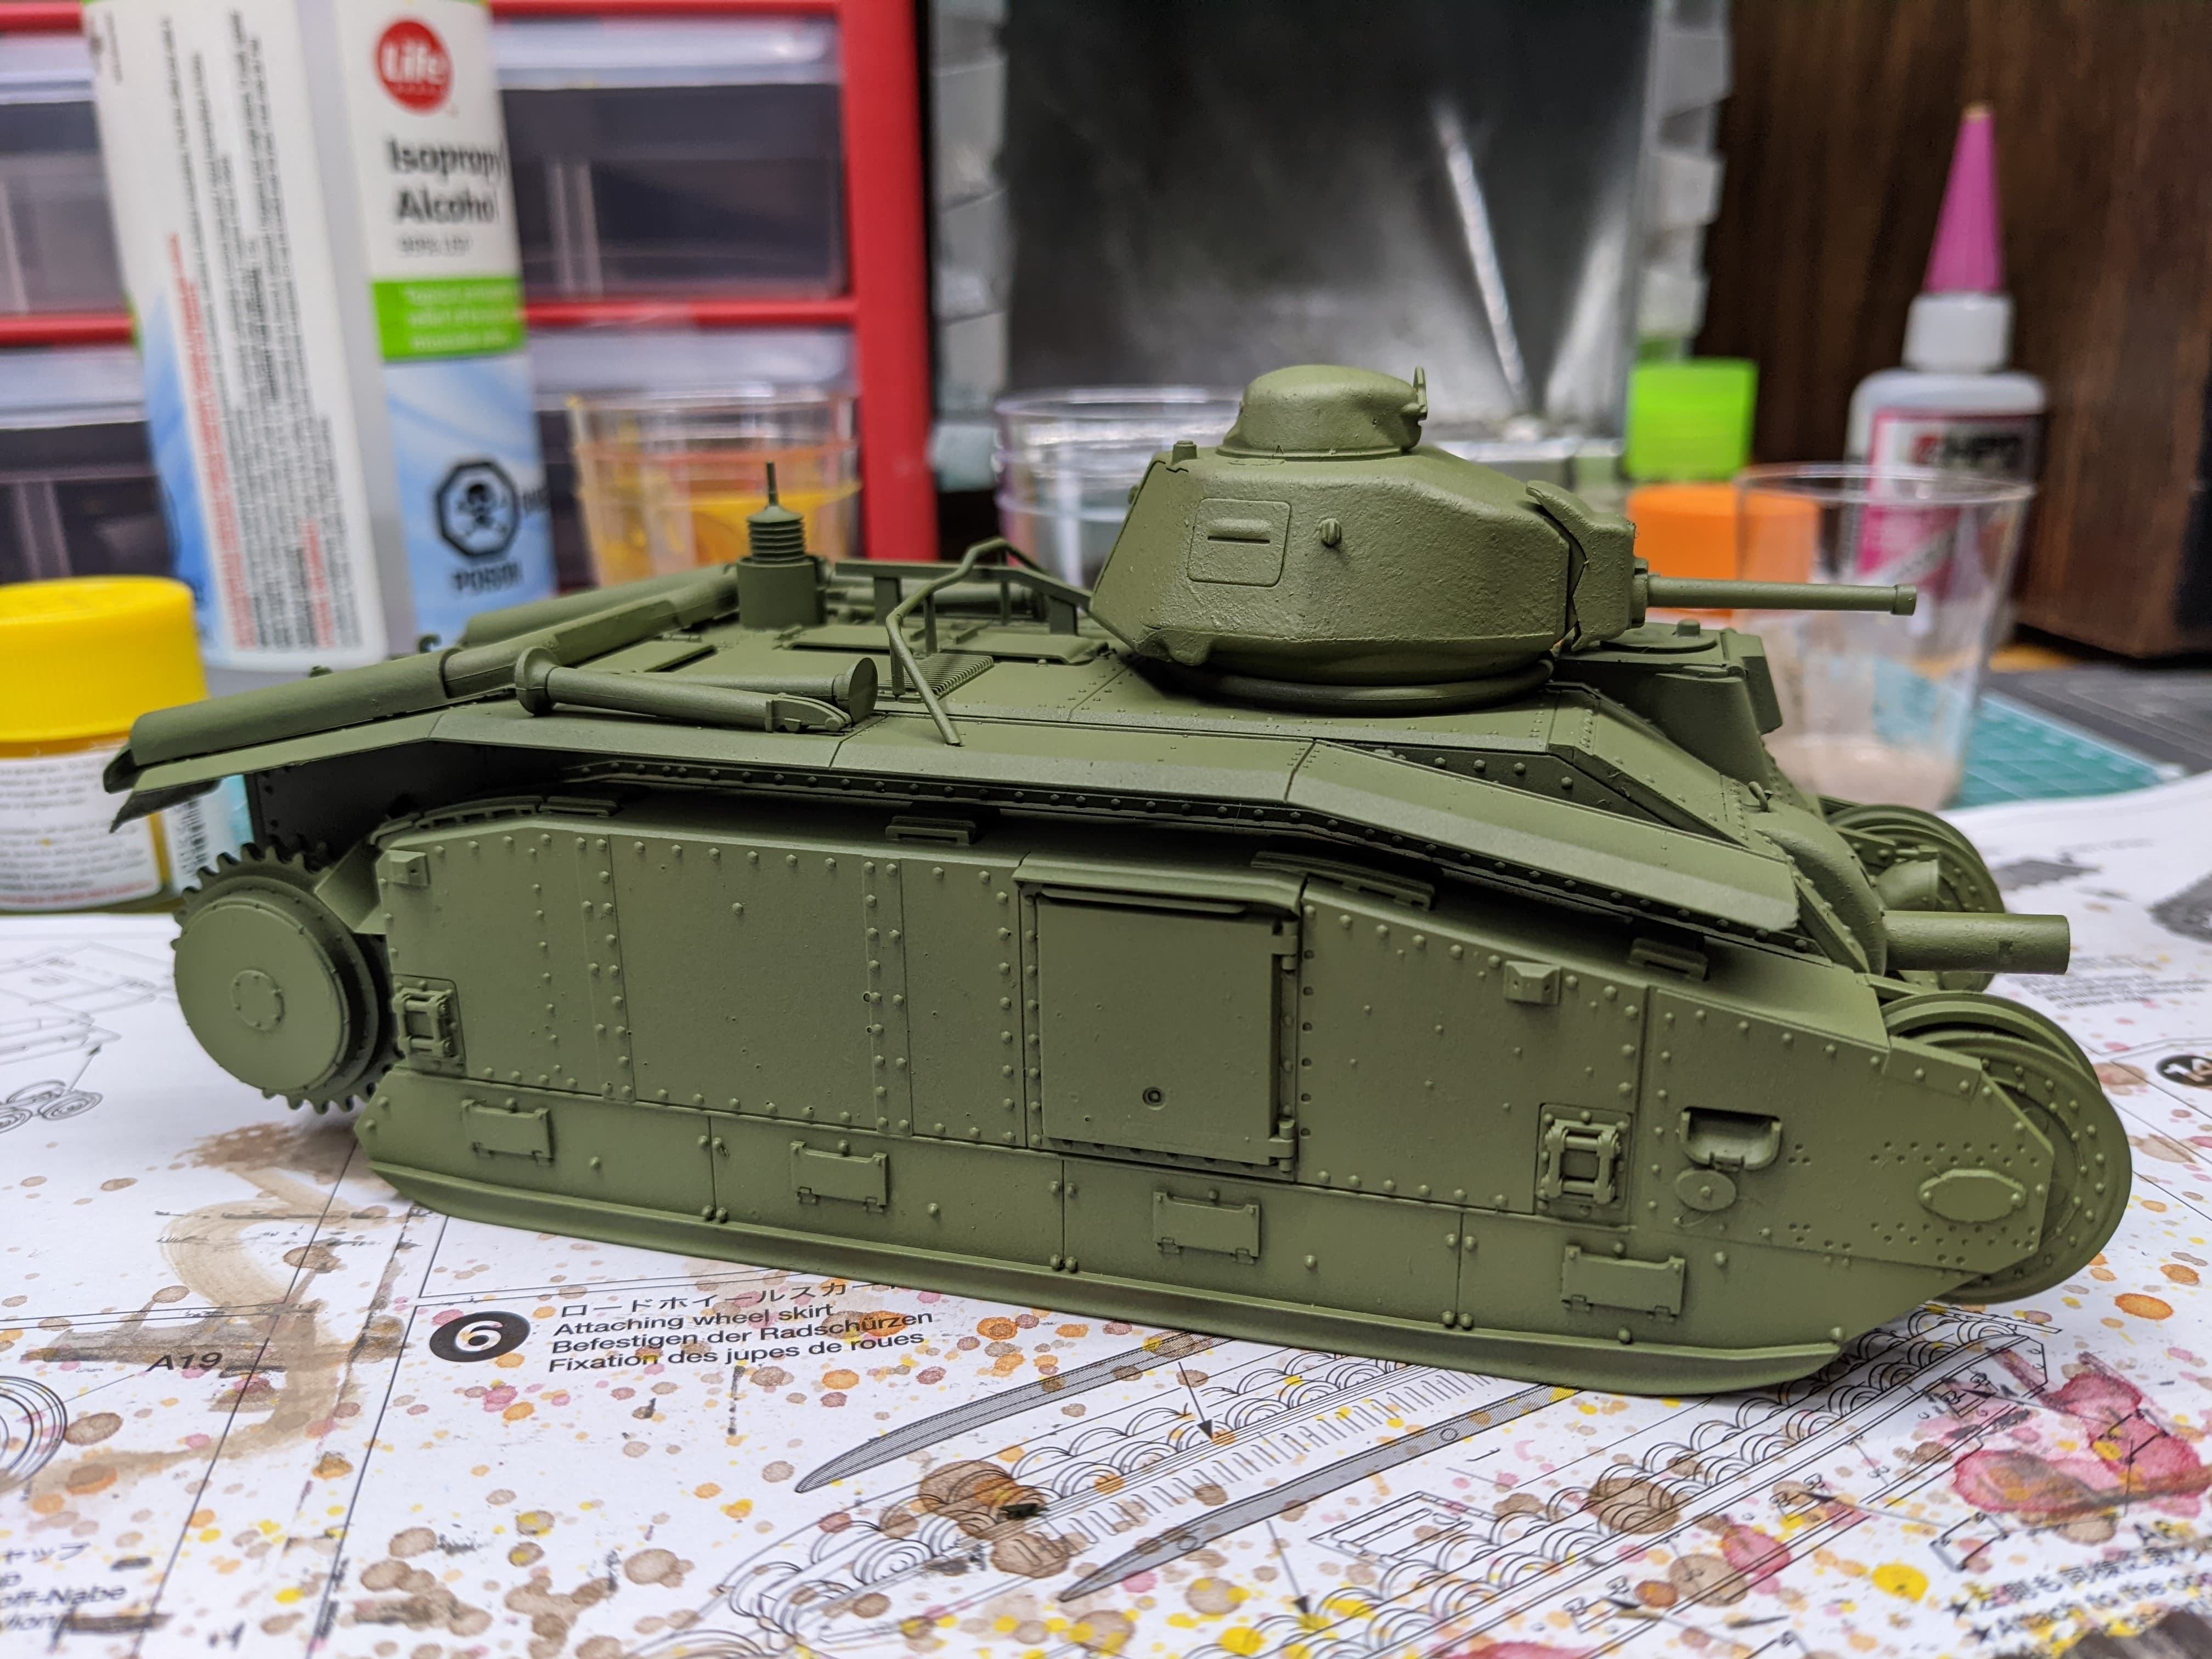
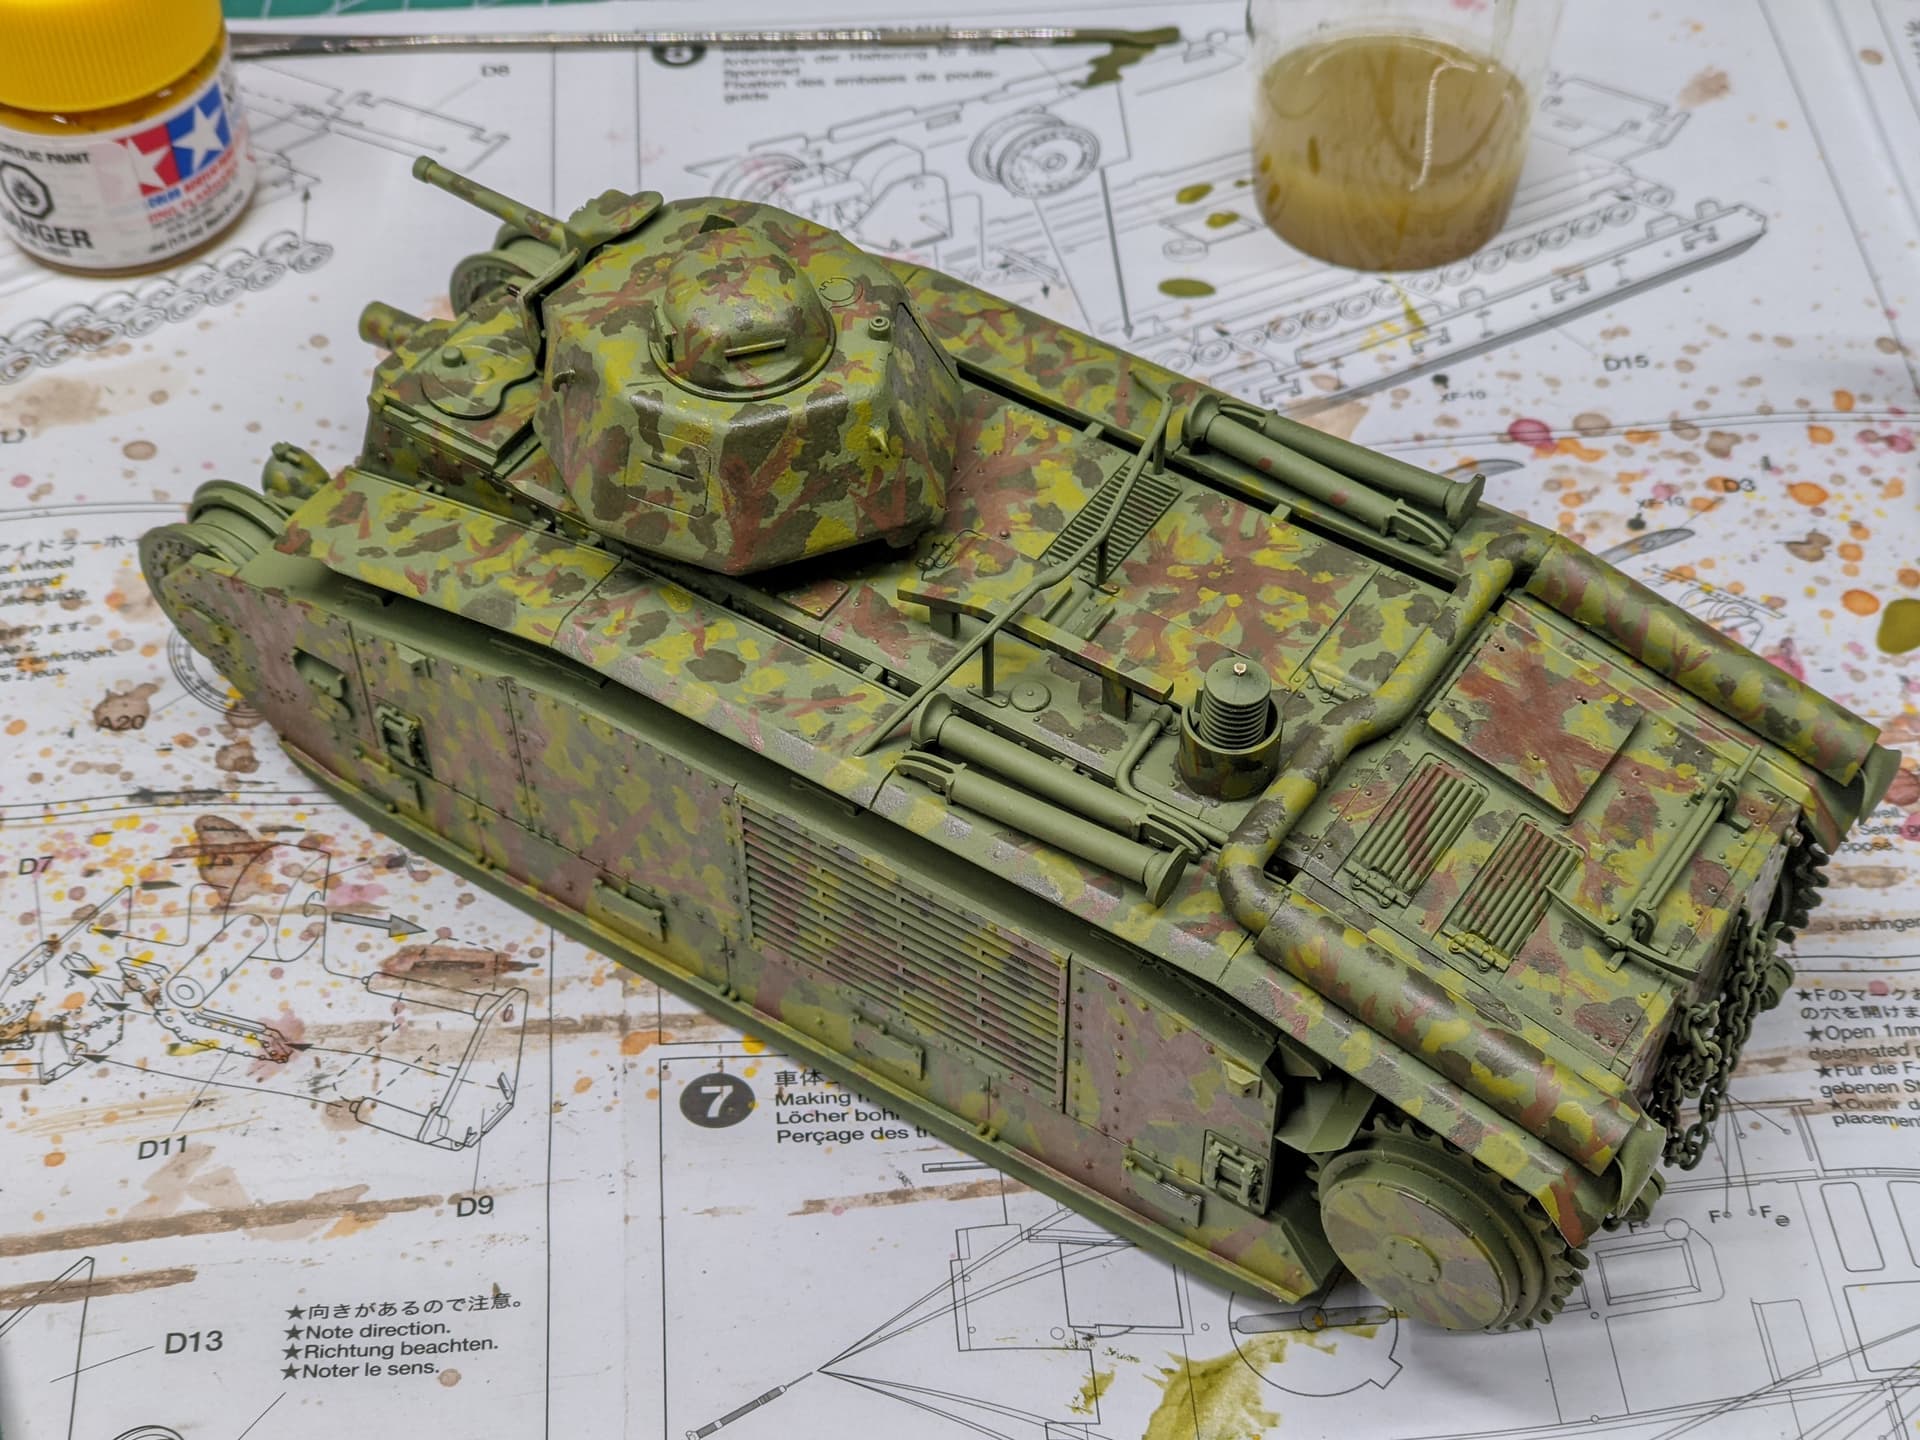
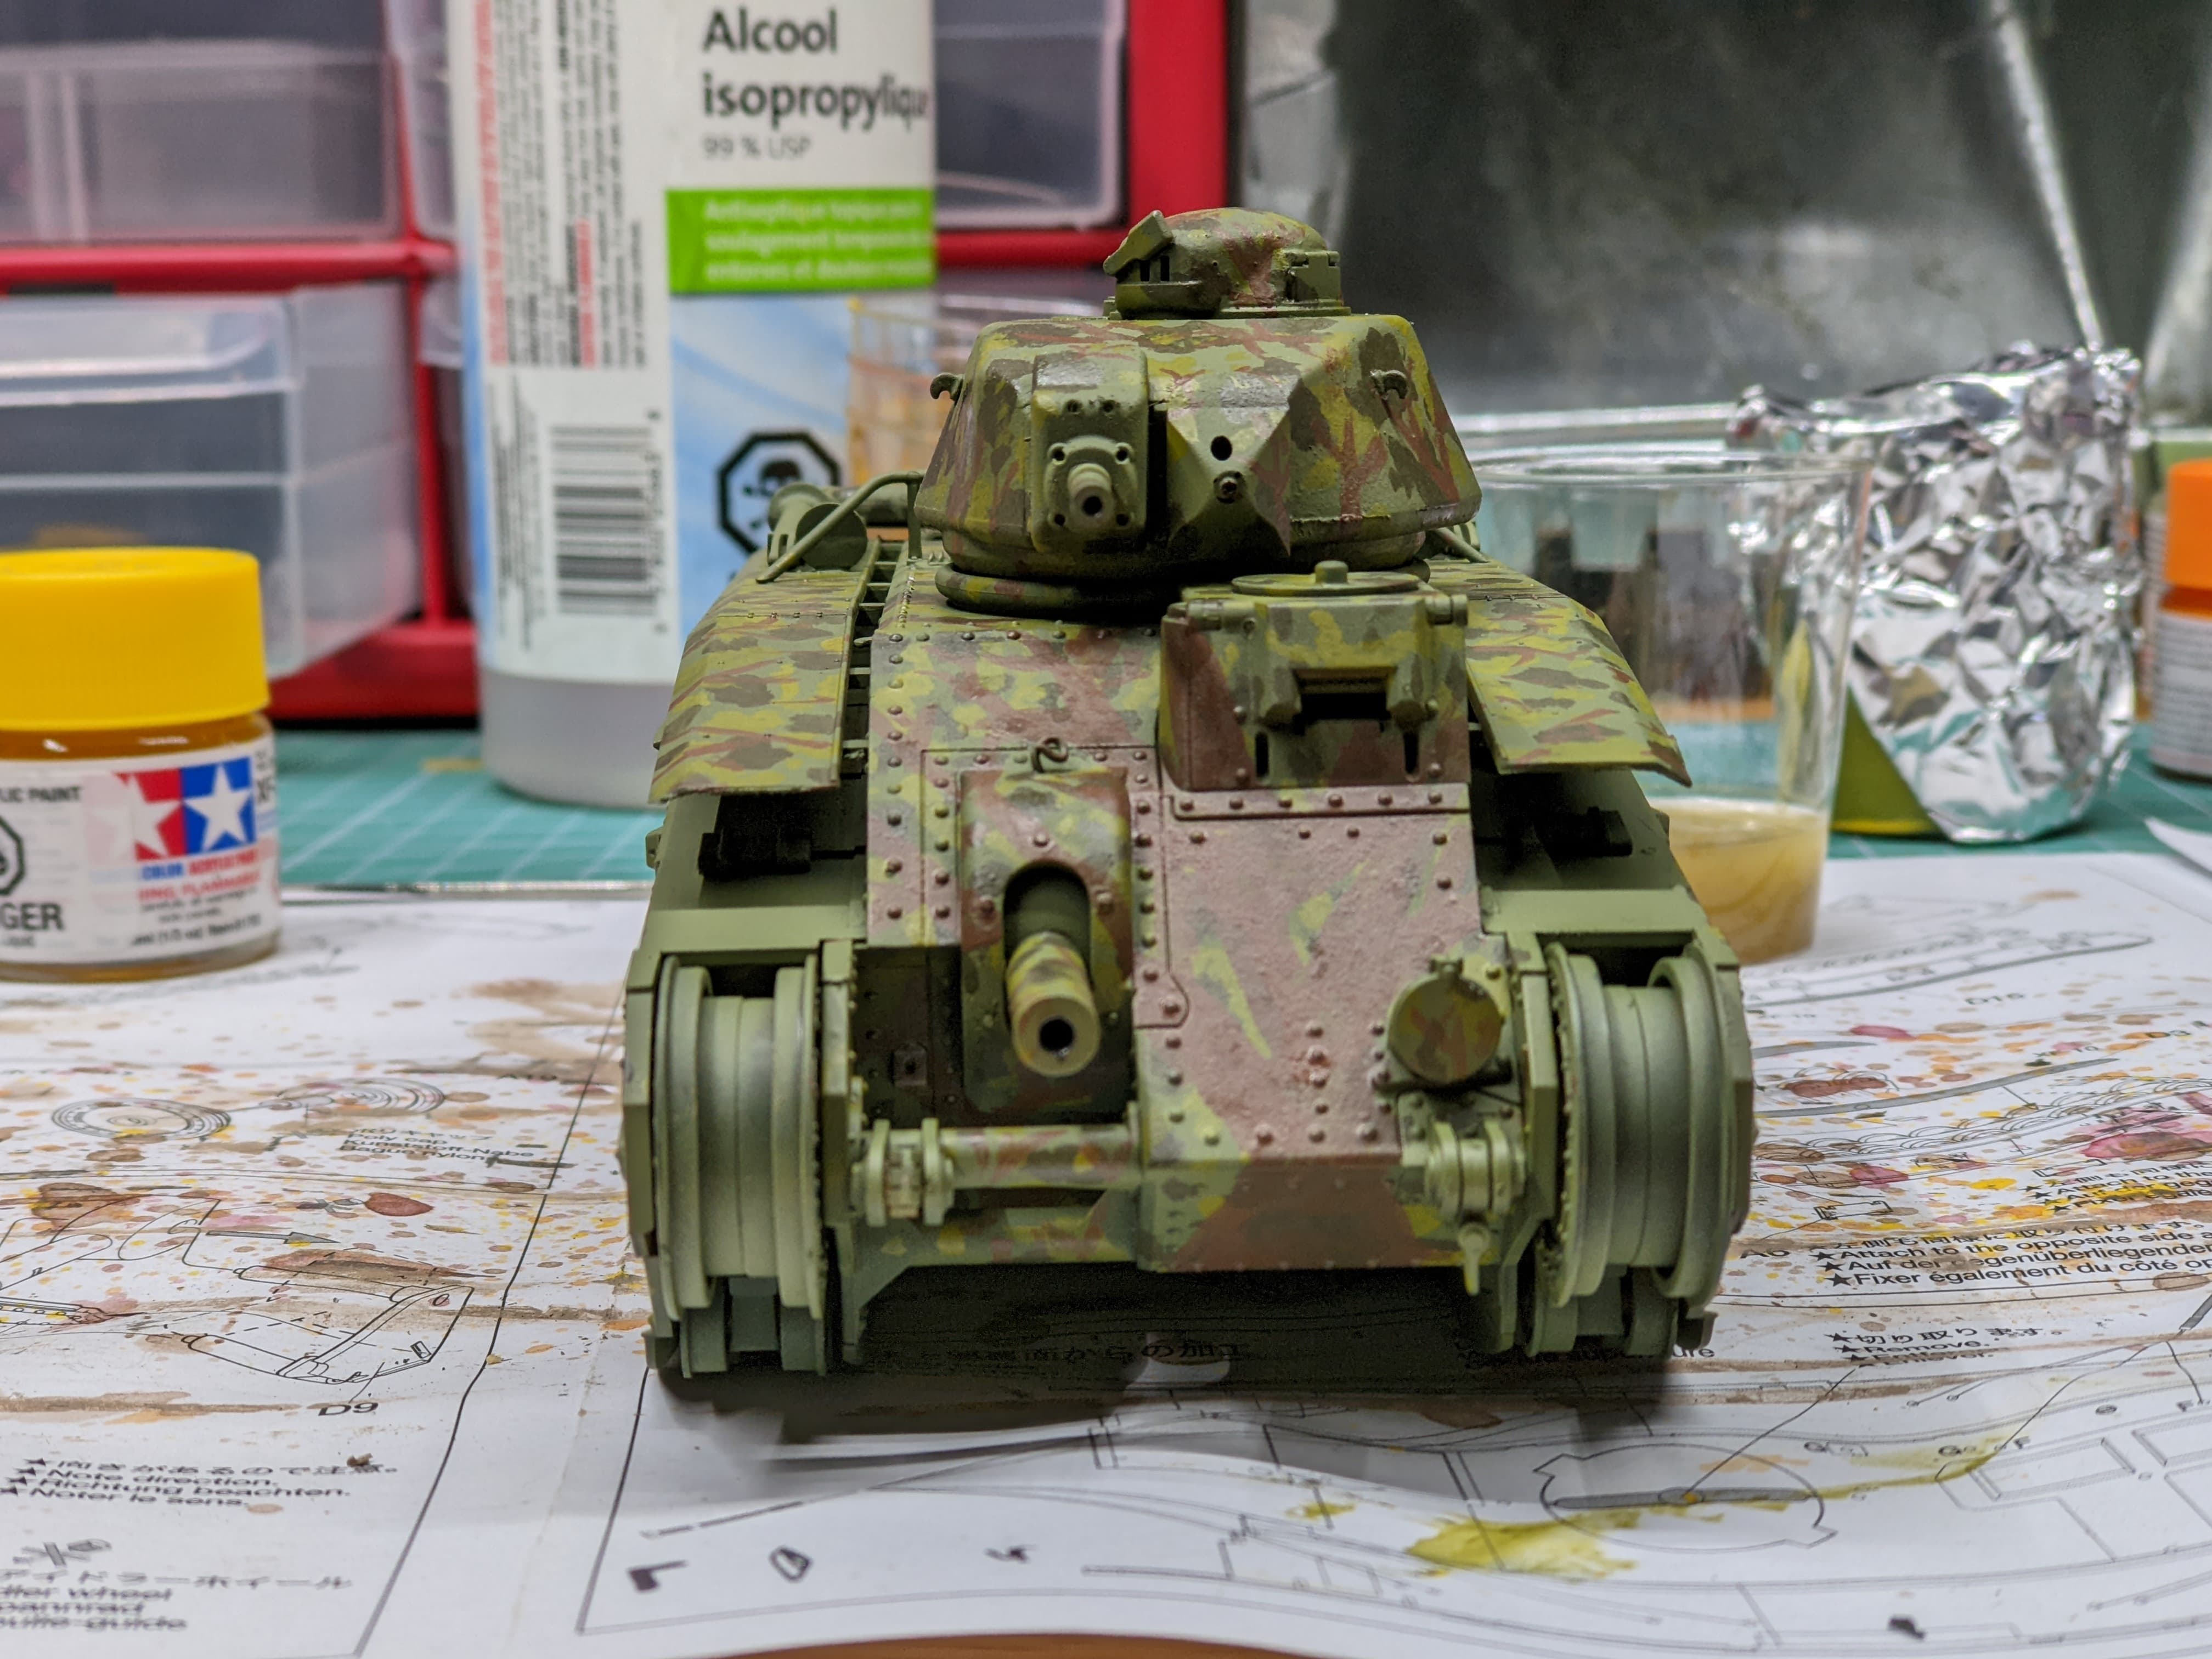
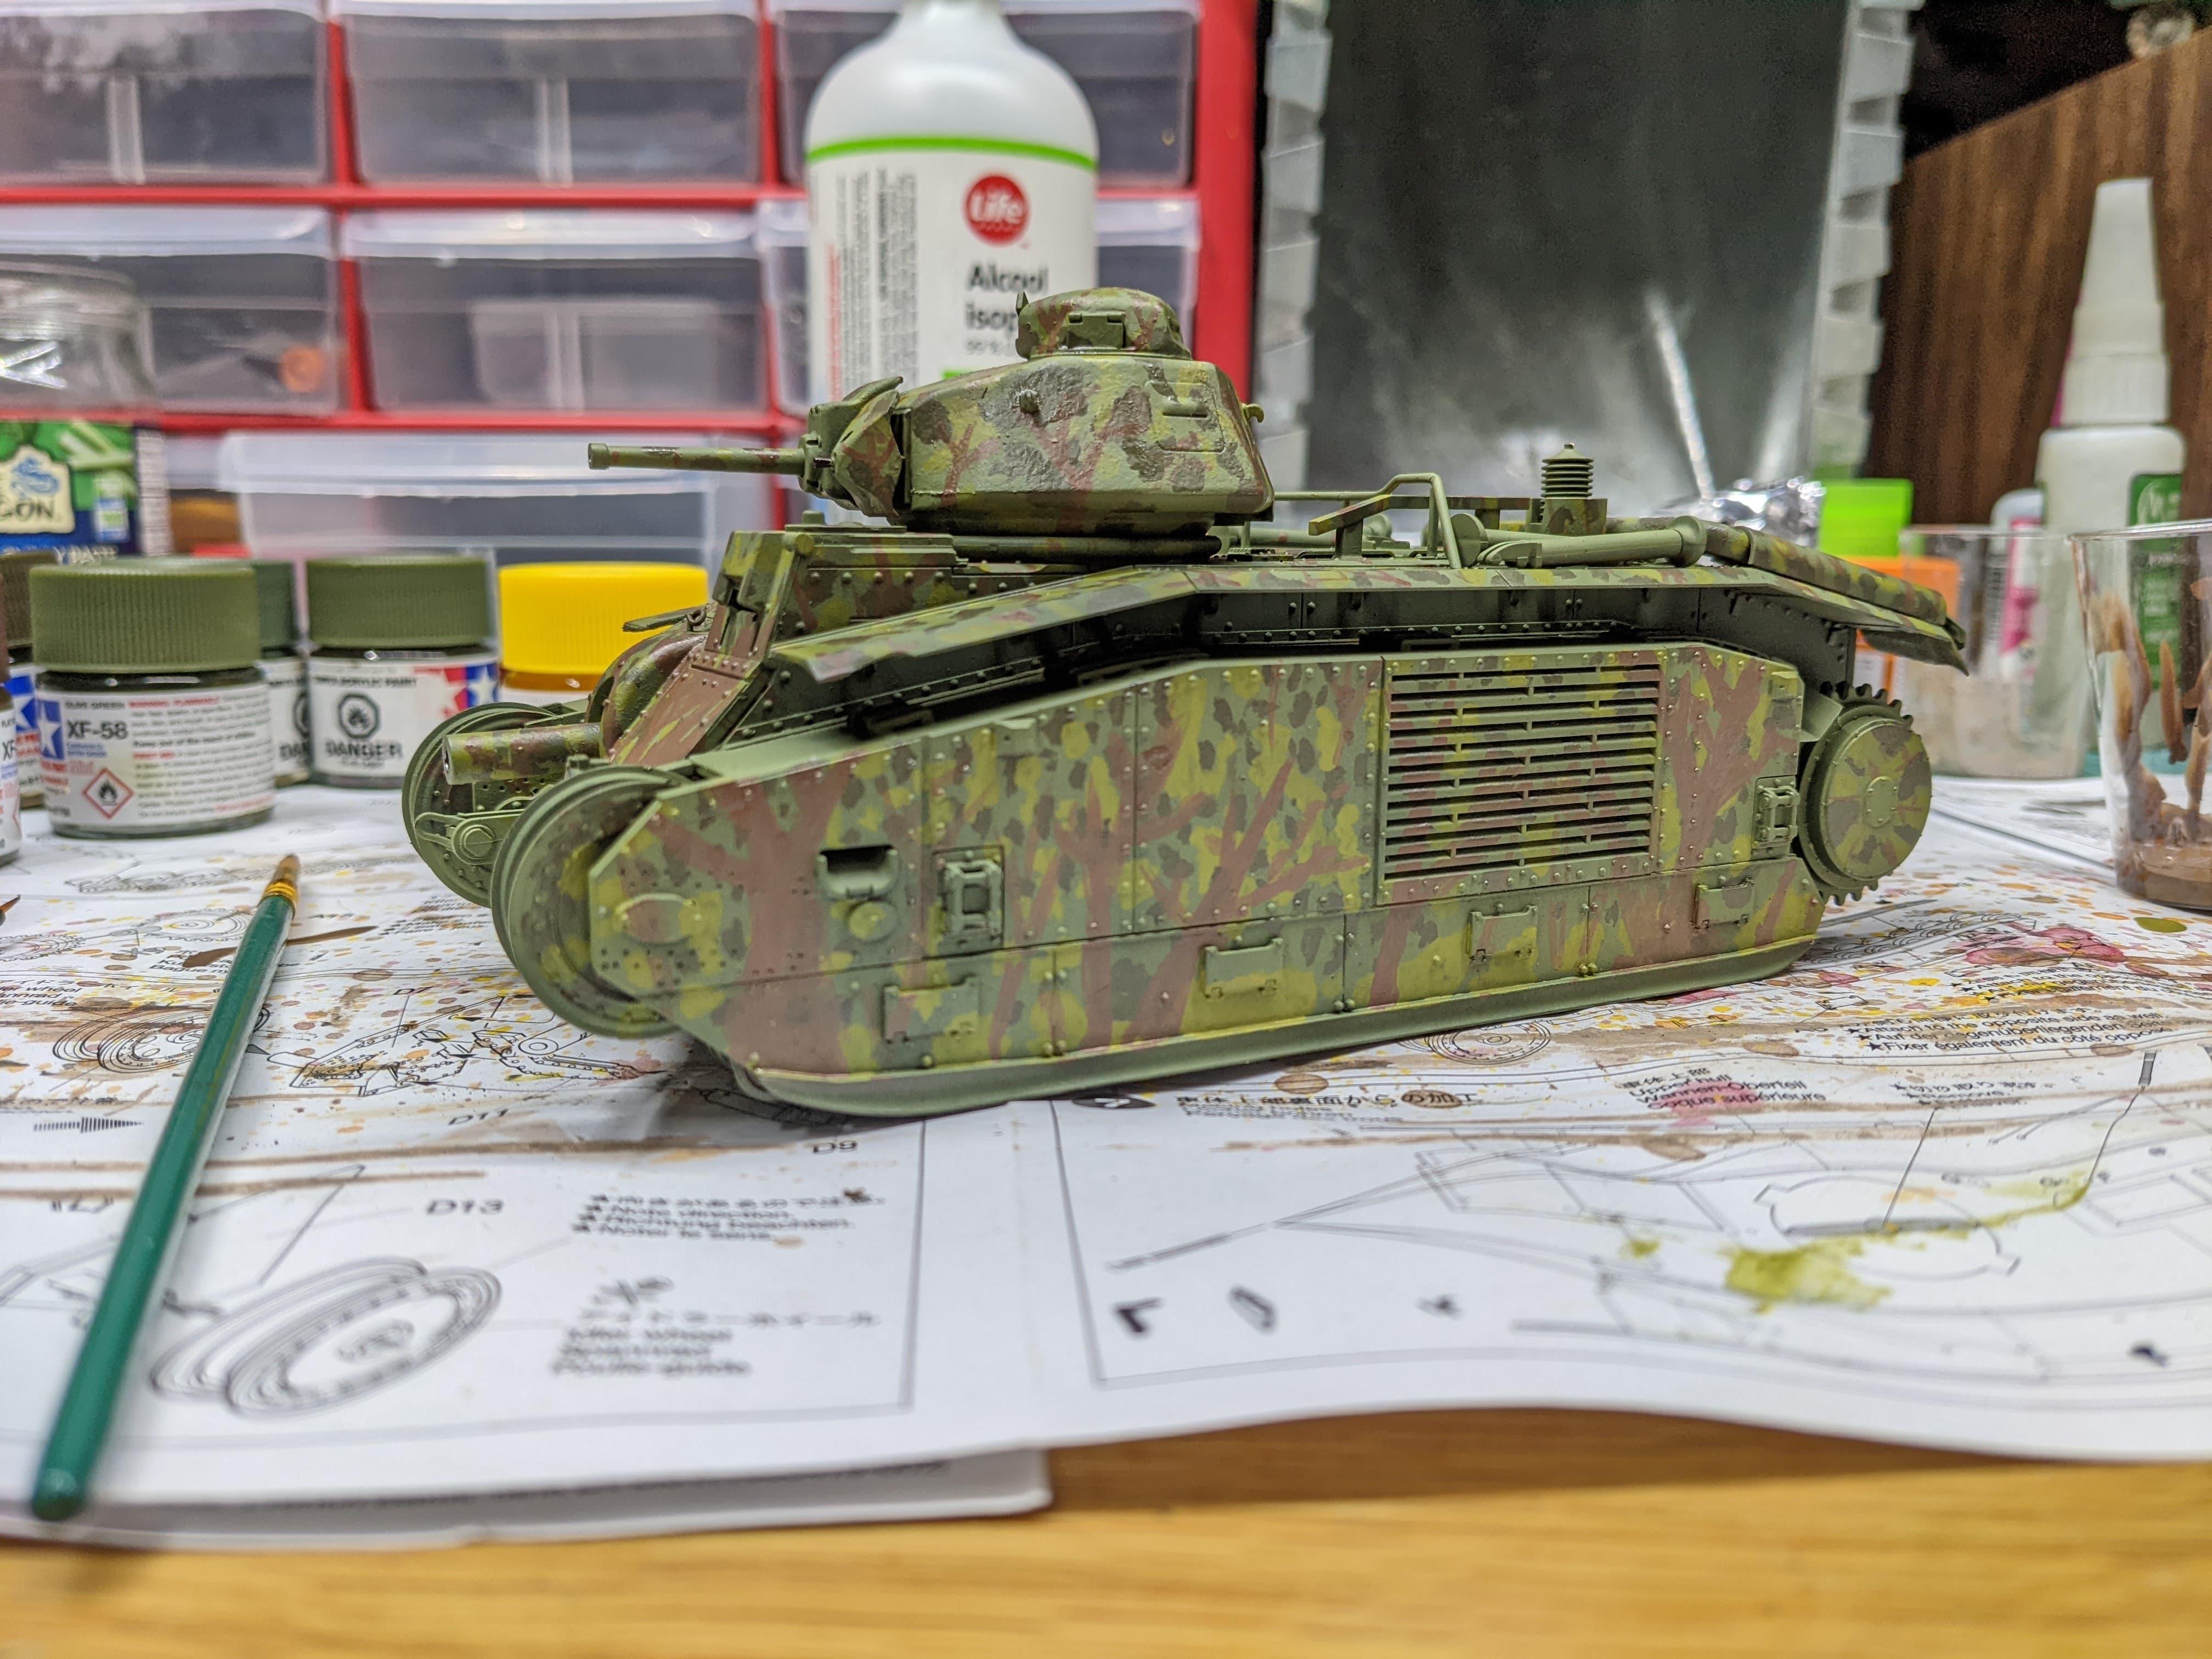
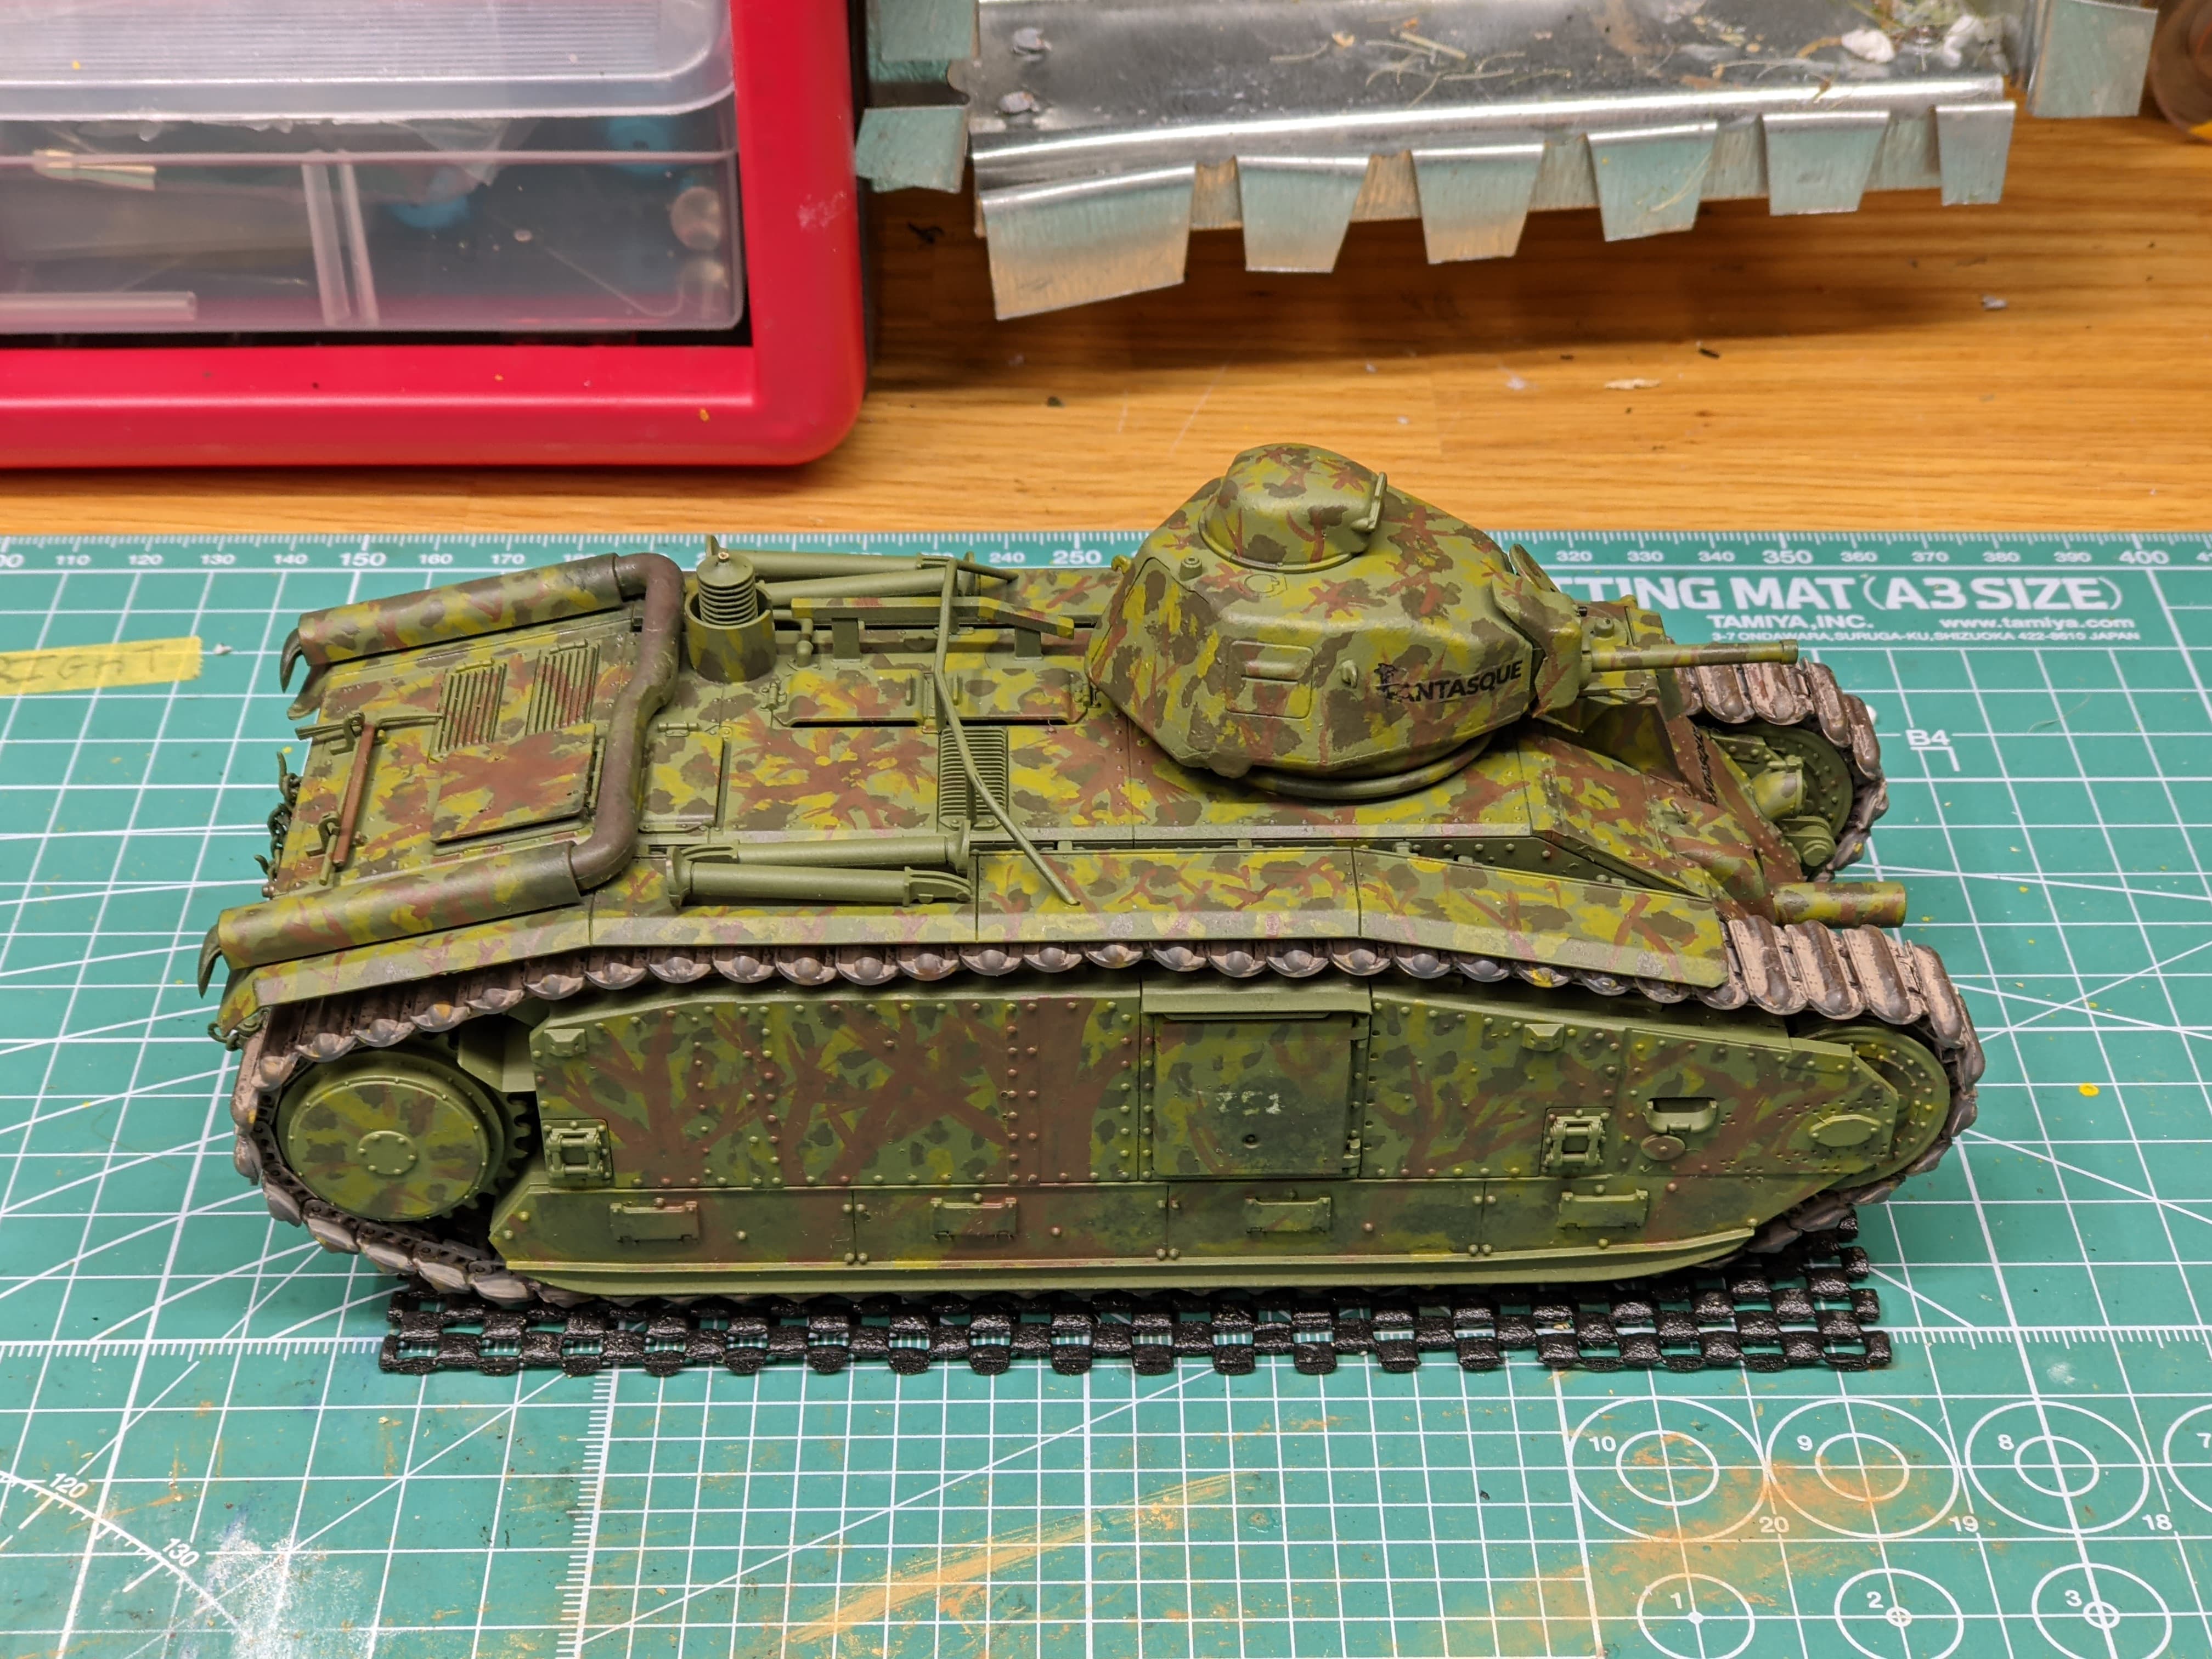
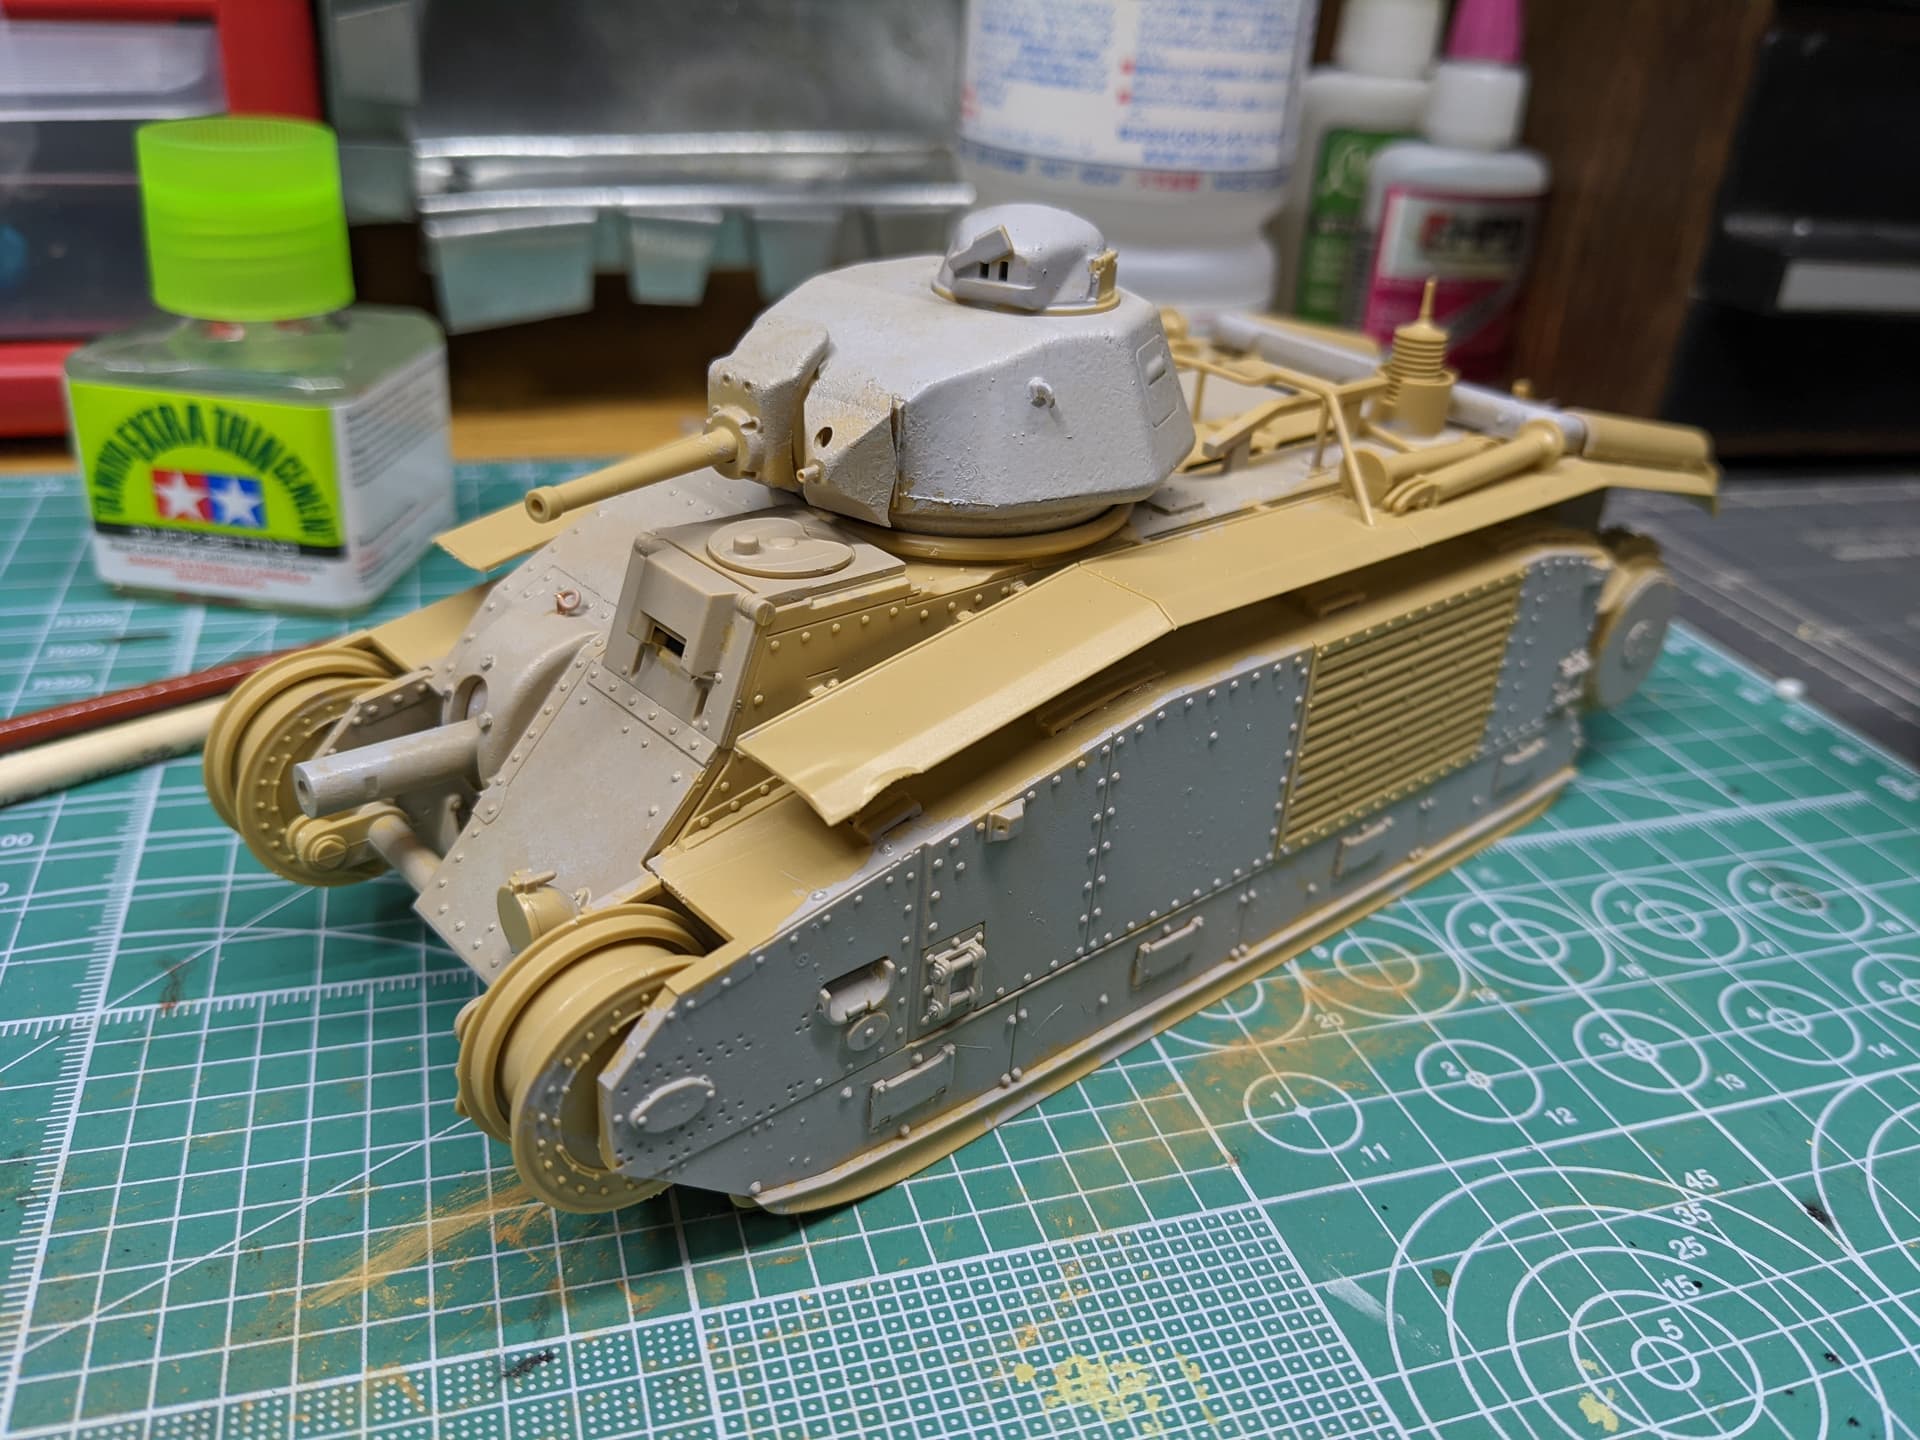
Lots of work got done tonight (always does on Fridays before heading to the store). I primarily occupied myself with basecoat painting for the tank, as well as working on the tracks. First, I primed everything with Mr. Mahogany Surfacer, and then overcoated with Vallejo chipping medium. My plan for the paint job is to distribute chipping medium liberally between colours, which not only makes chipping parts like the exhaust easy, but I’ve also found that the medium gives paint the sort of texture which one finds on B1s, even those which are well-maintained. Then, I sprayed Tamiya olive green.
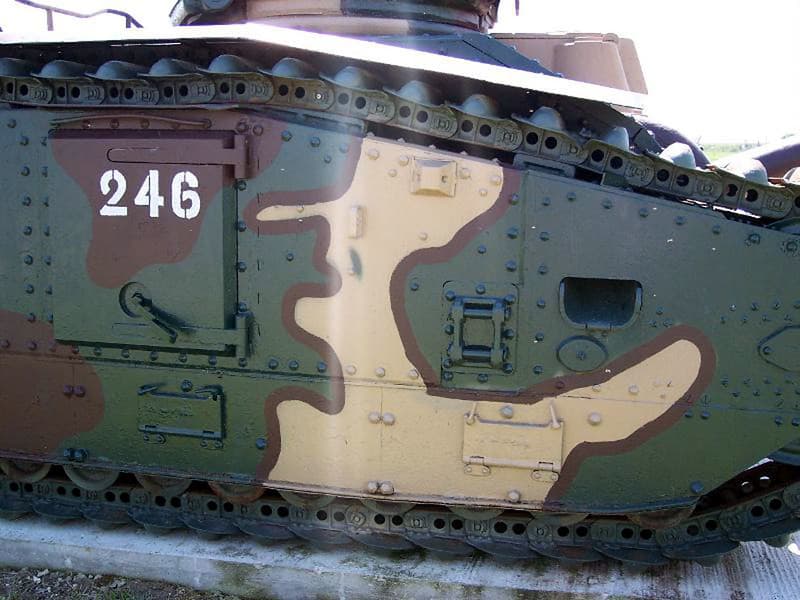
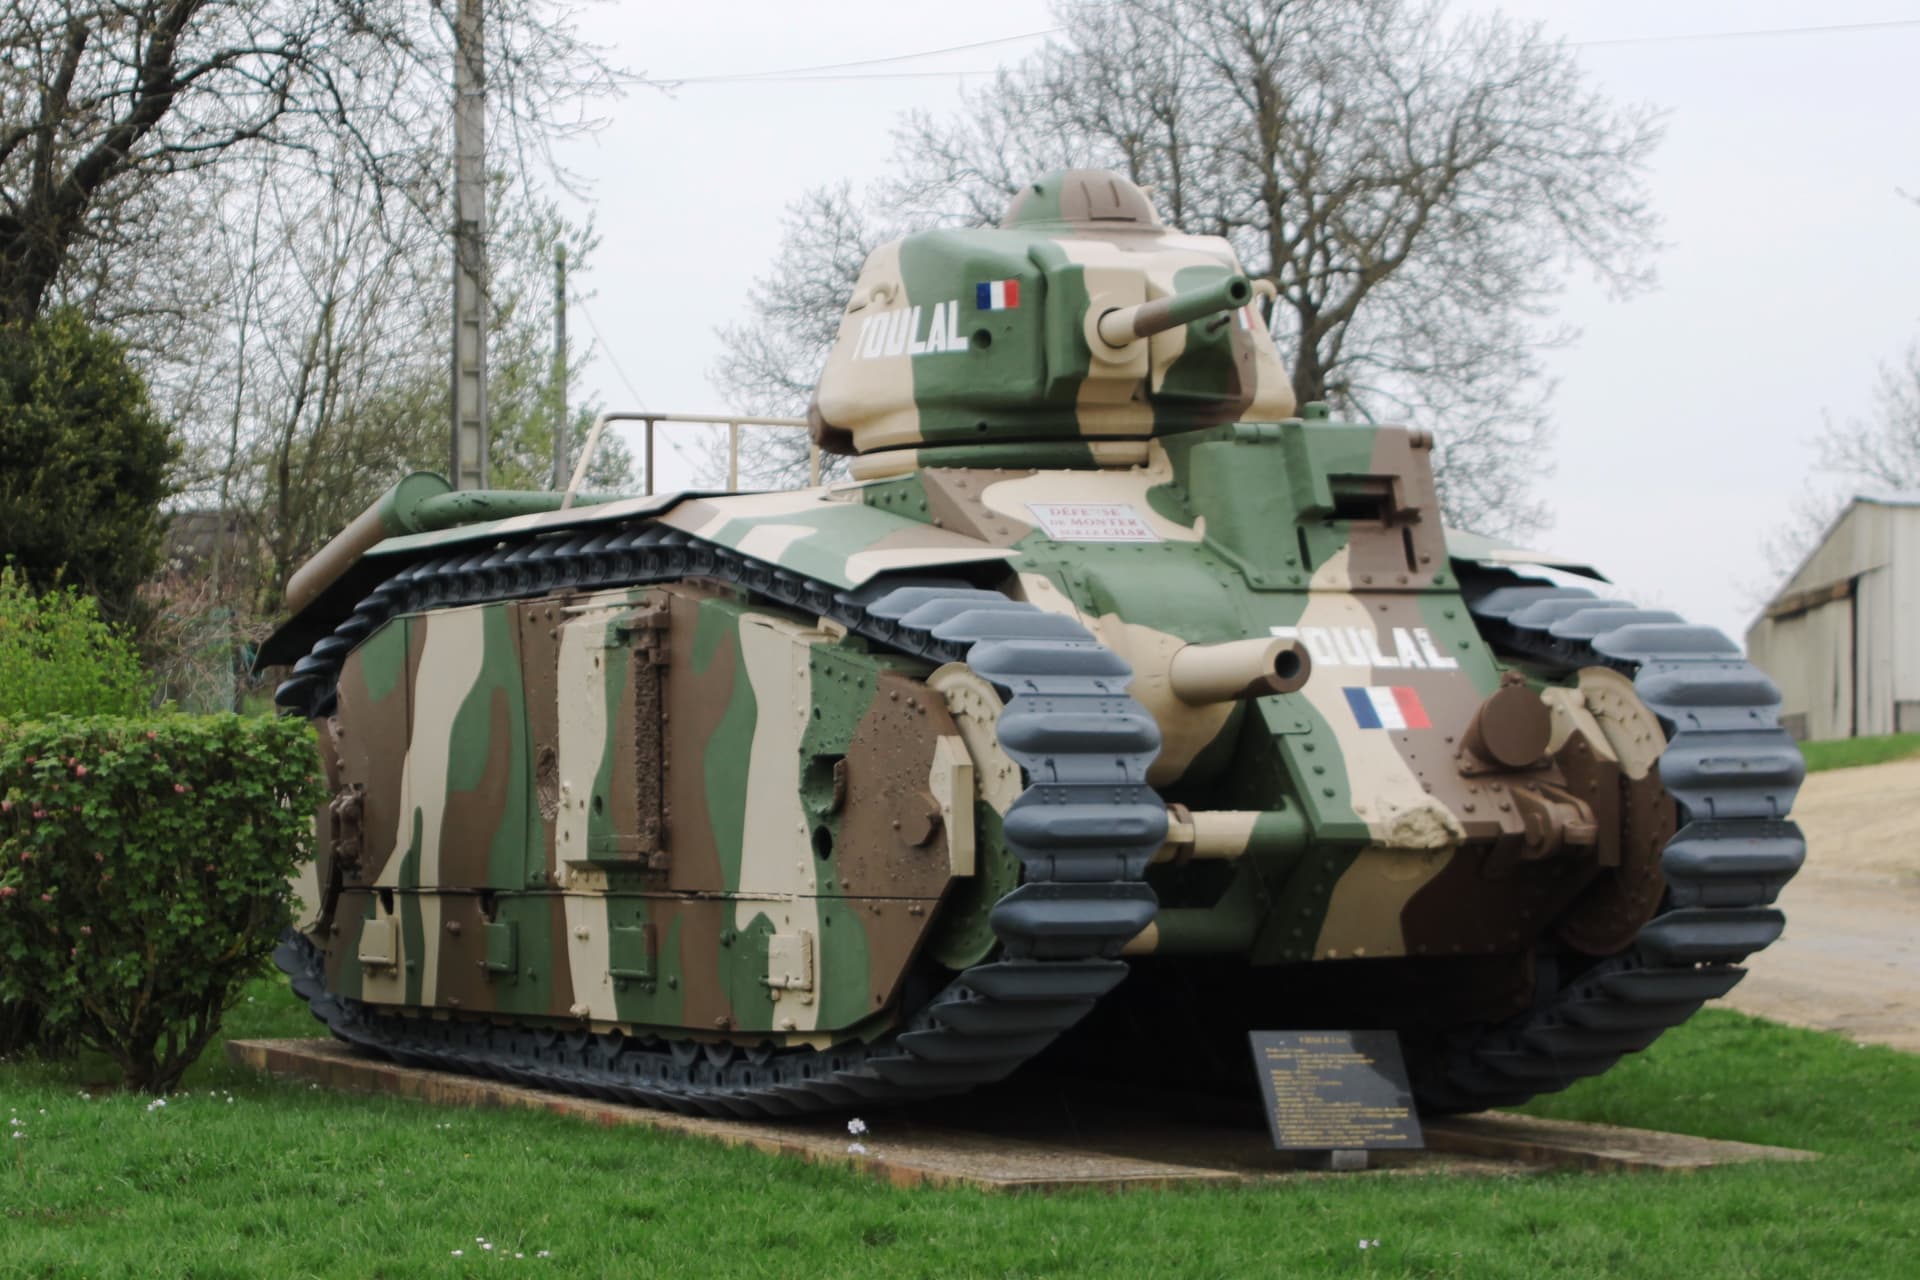
Problem was, I found this drawing on the internet which conflicts with the paint scheme I found on tank encyclopedia:
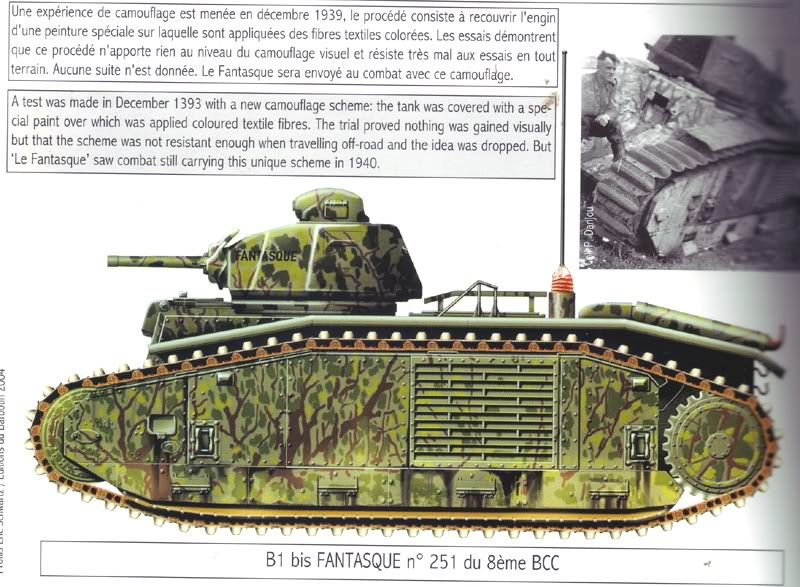
Note how the green basecoat in this drawing is much lighter. Given the photos available and their basic colorizations, I made the decision to use this image I found as my guideline going forward, and not the profile from TE. With that in mind, I put the chipping medium to good use and rubbed quite a bit of the olive green off, though much was left on because if anything, it will make what chips I add to the final product that much more varied.
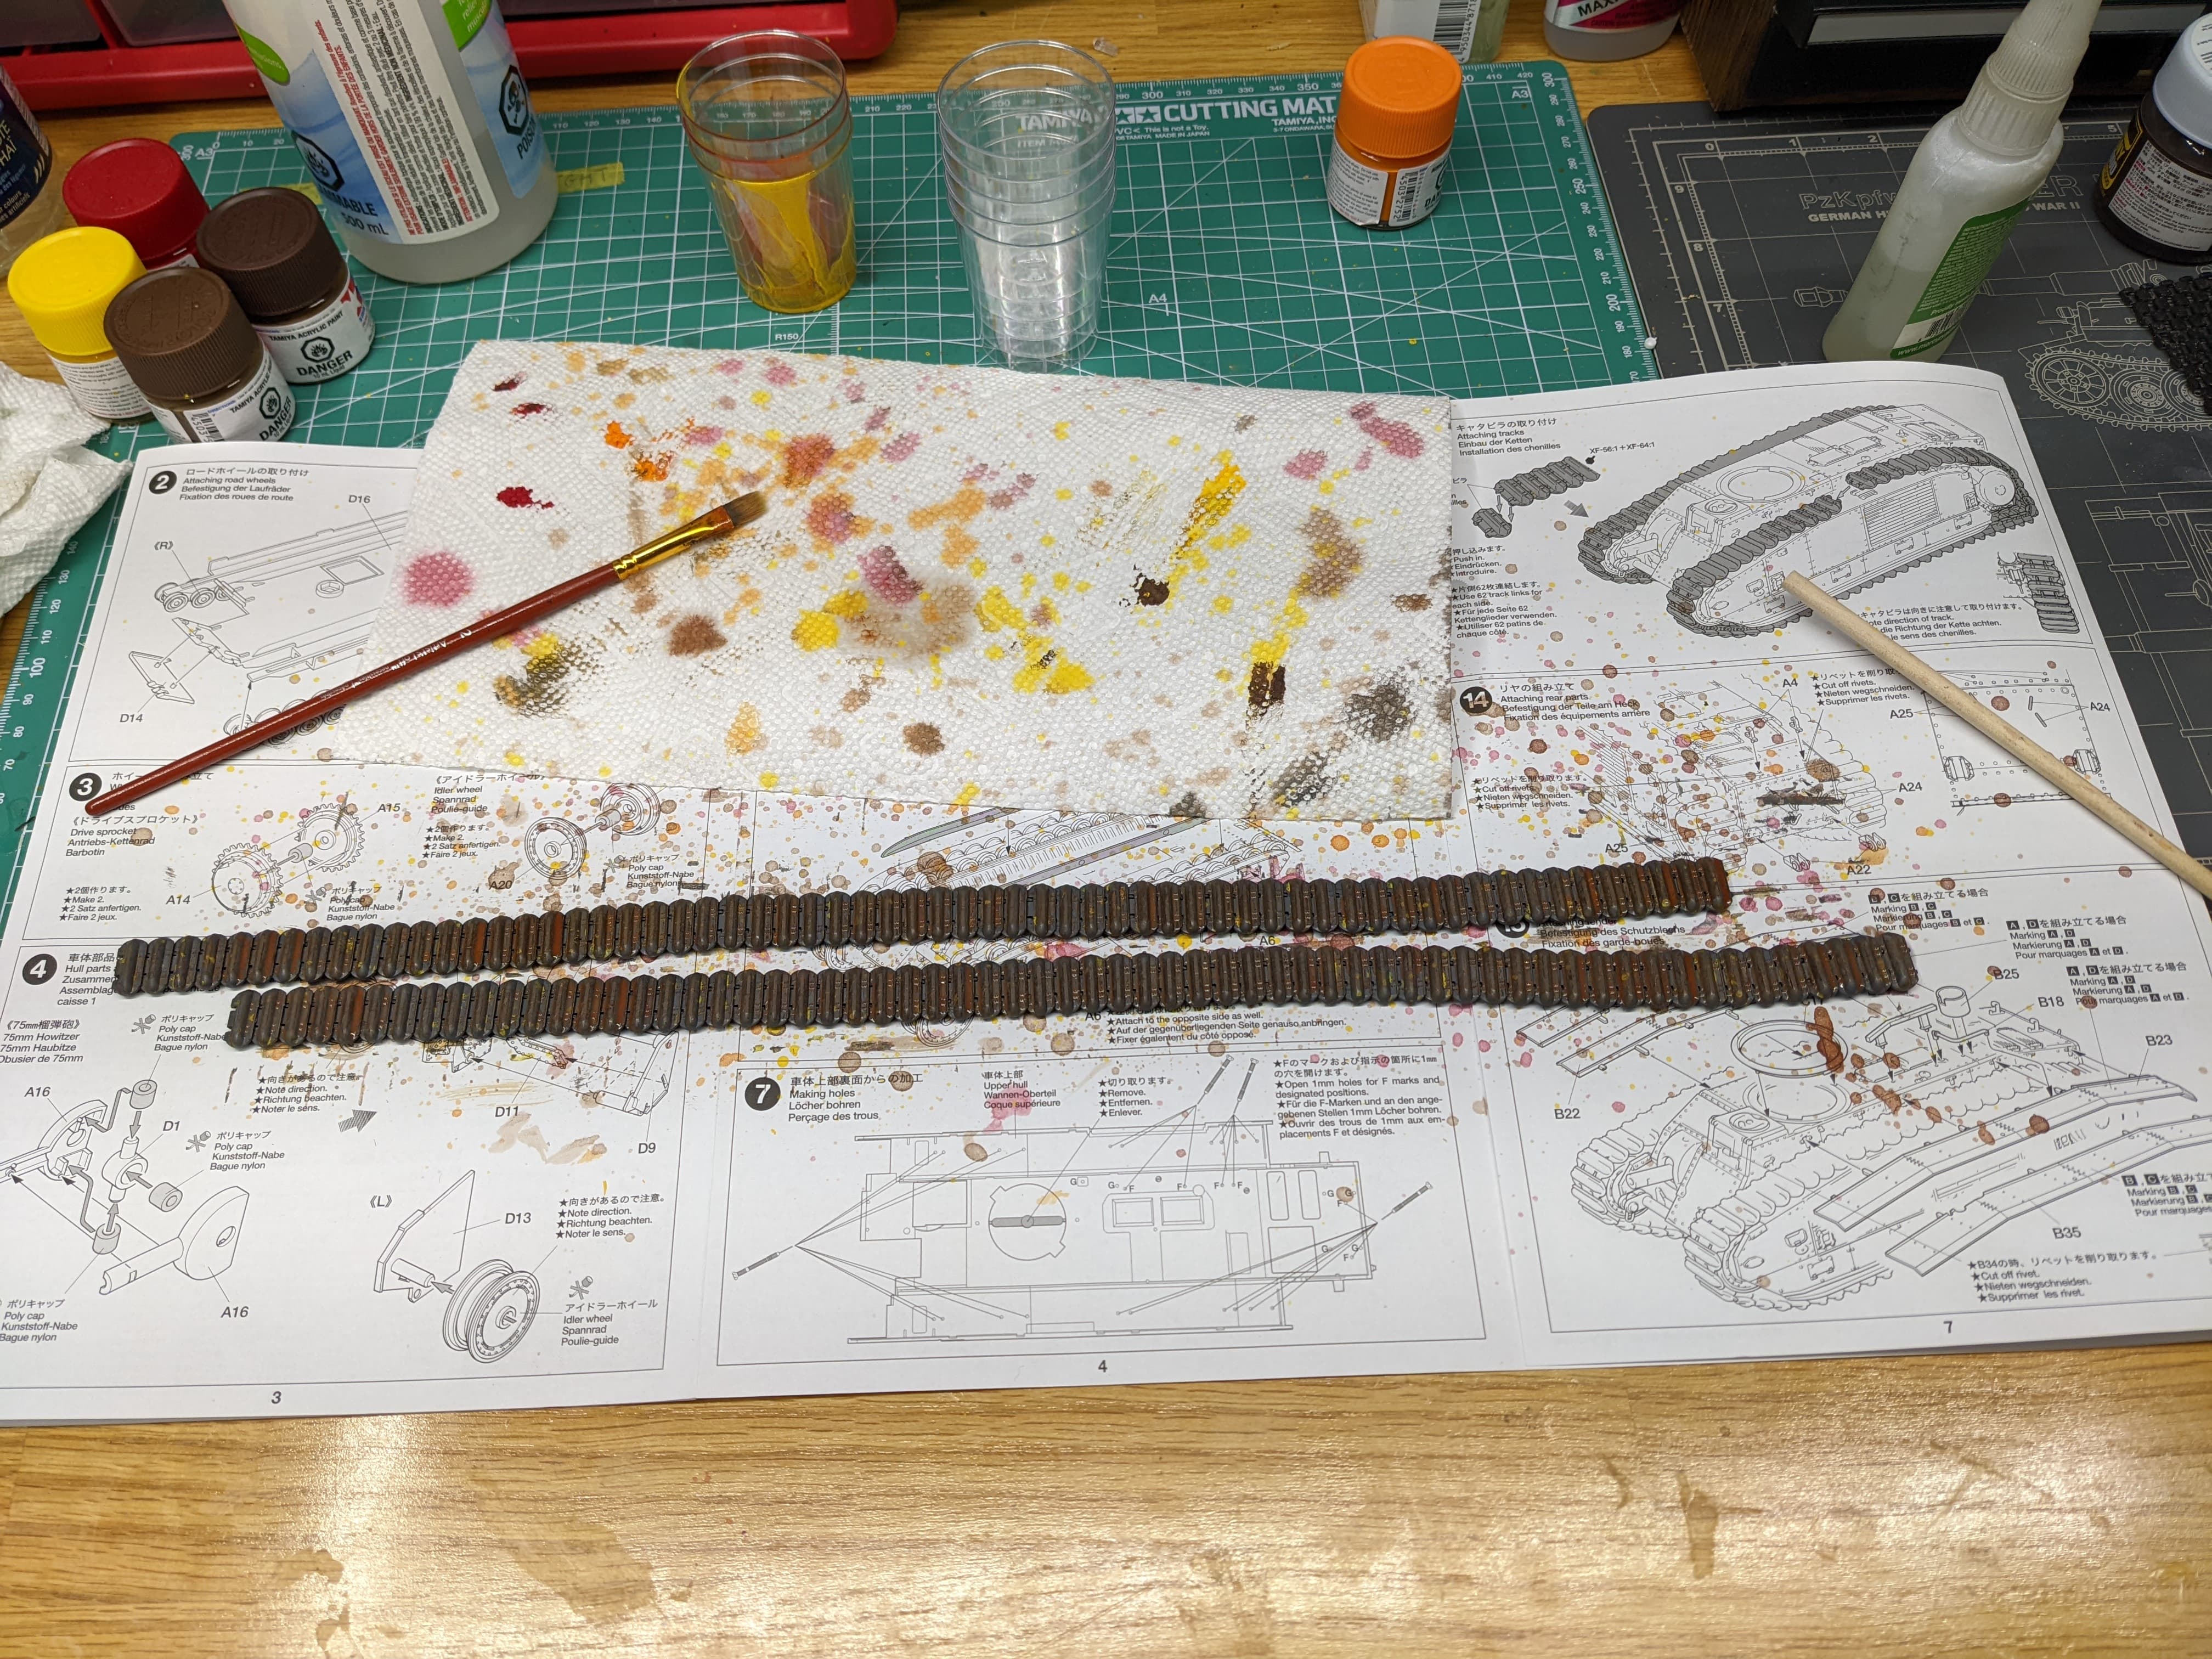
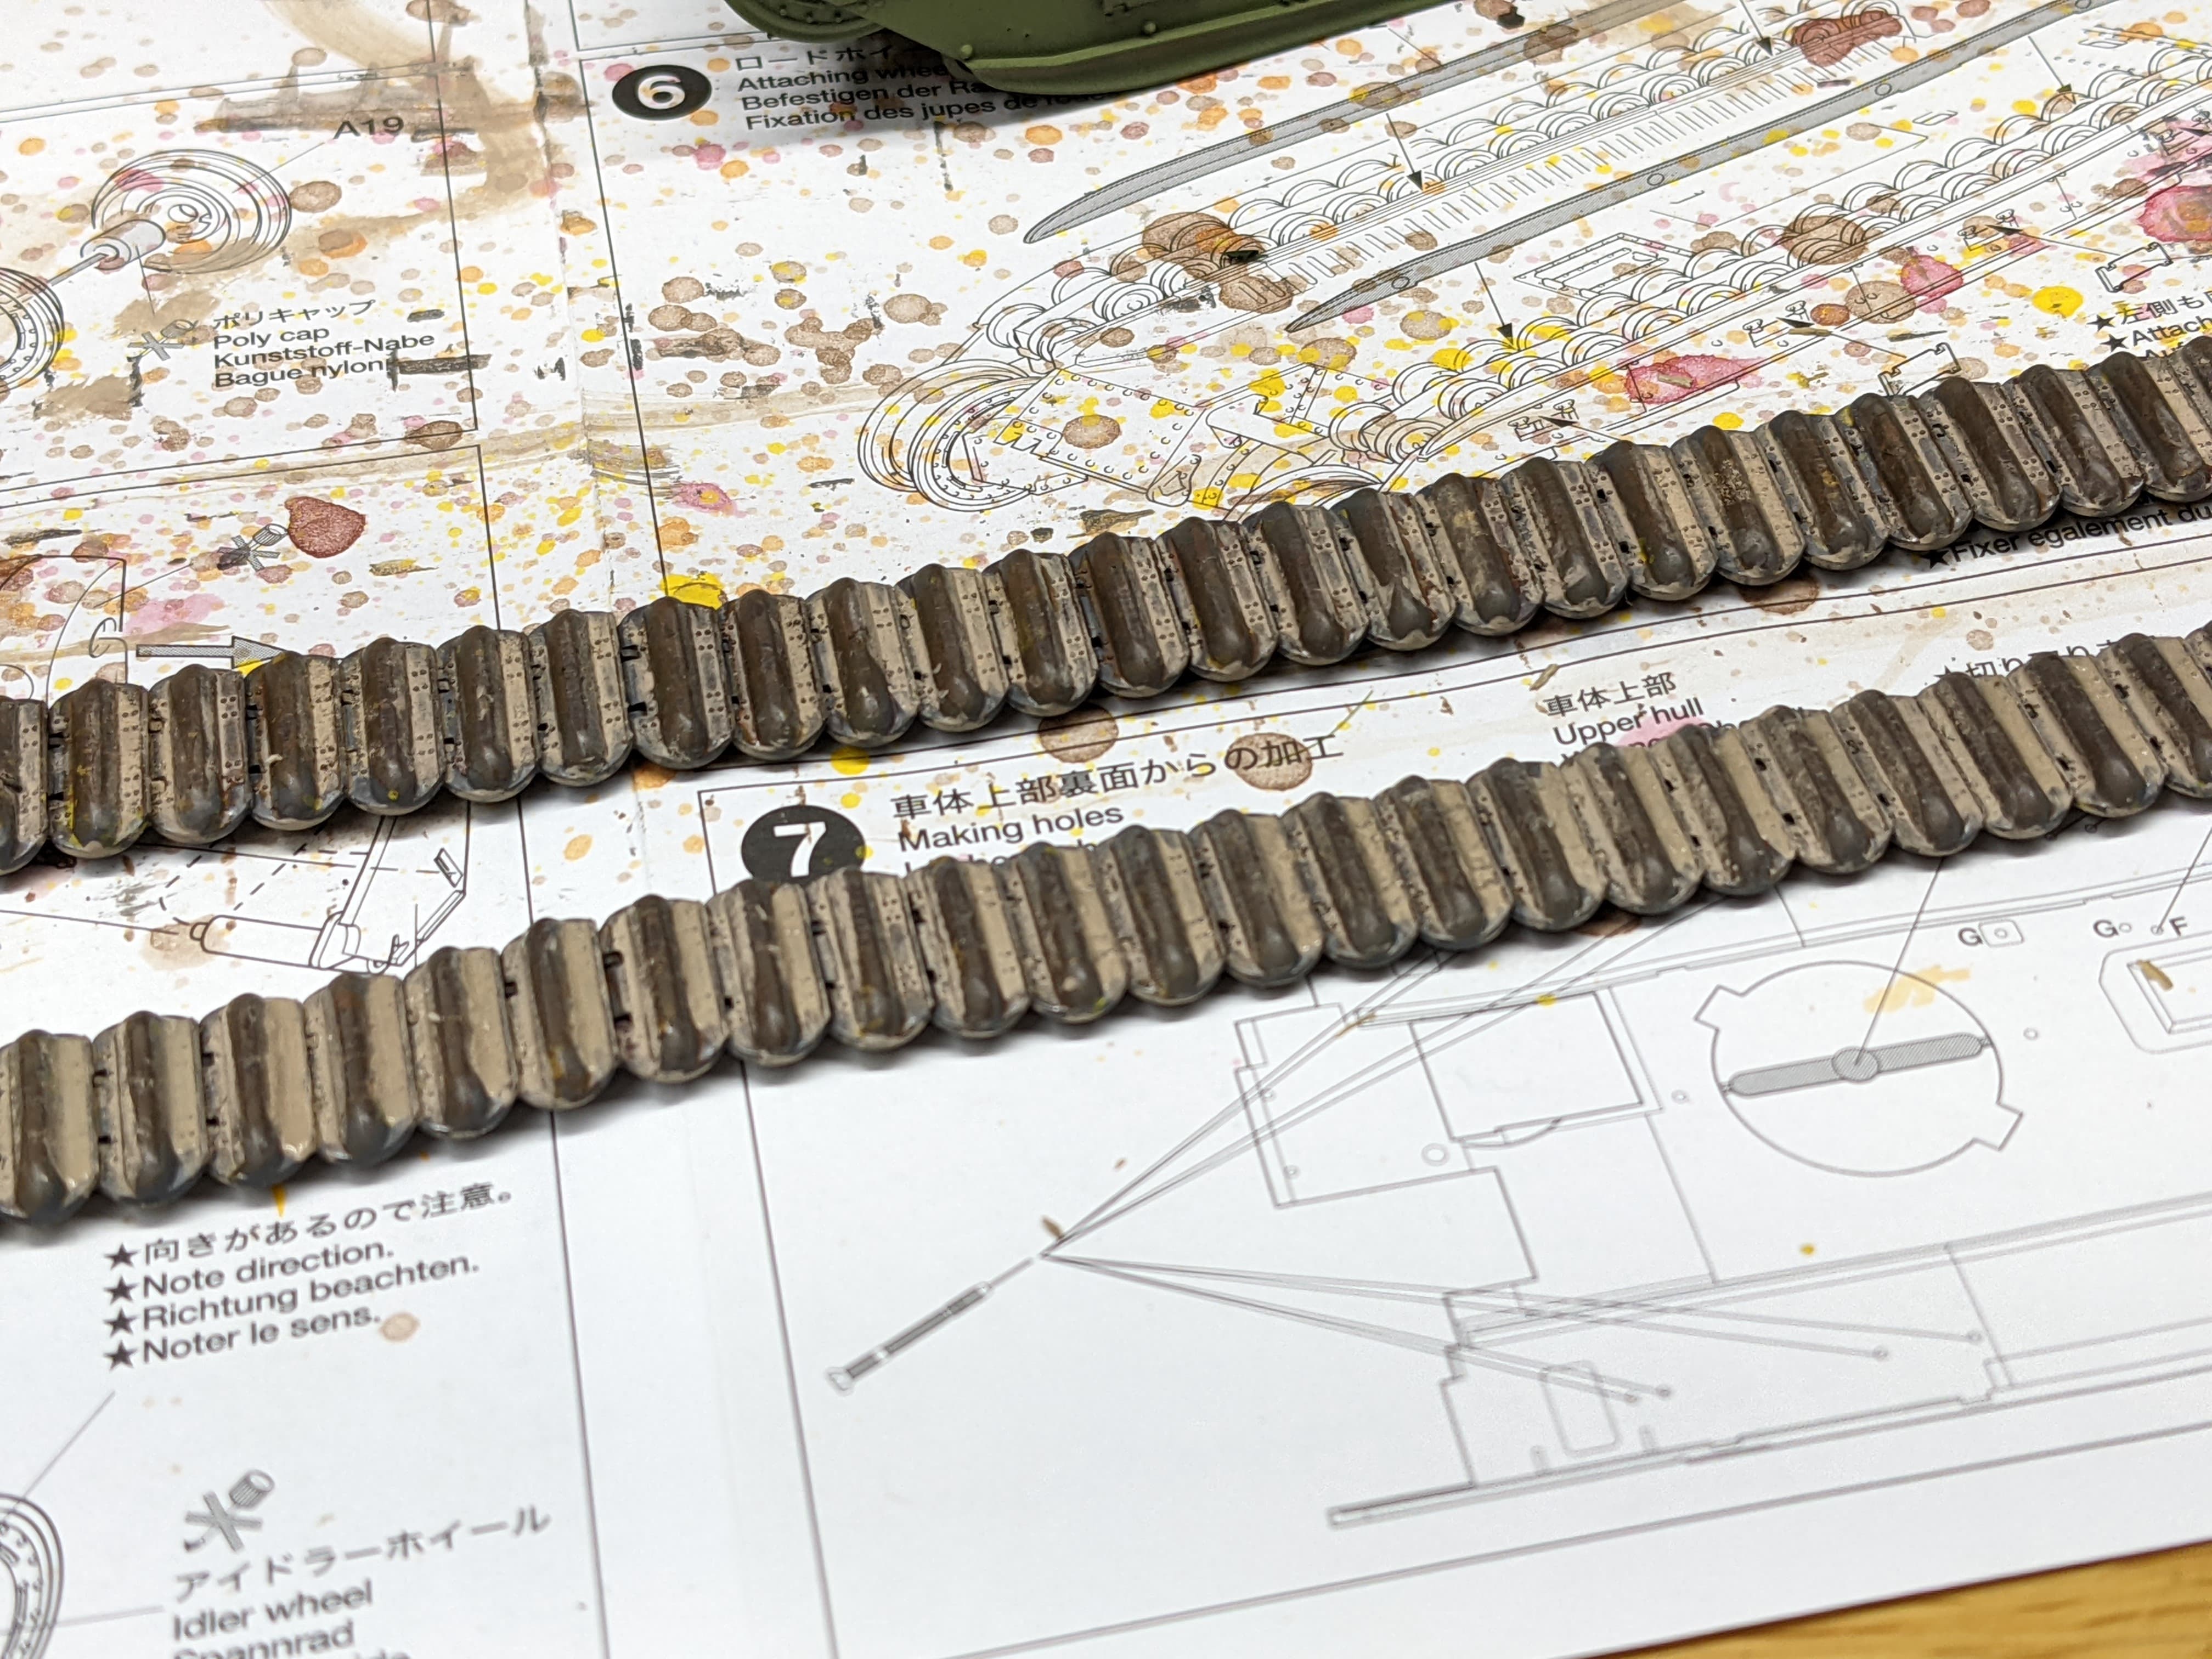
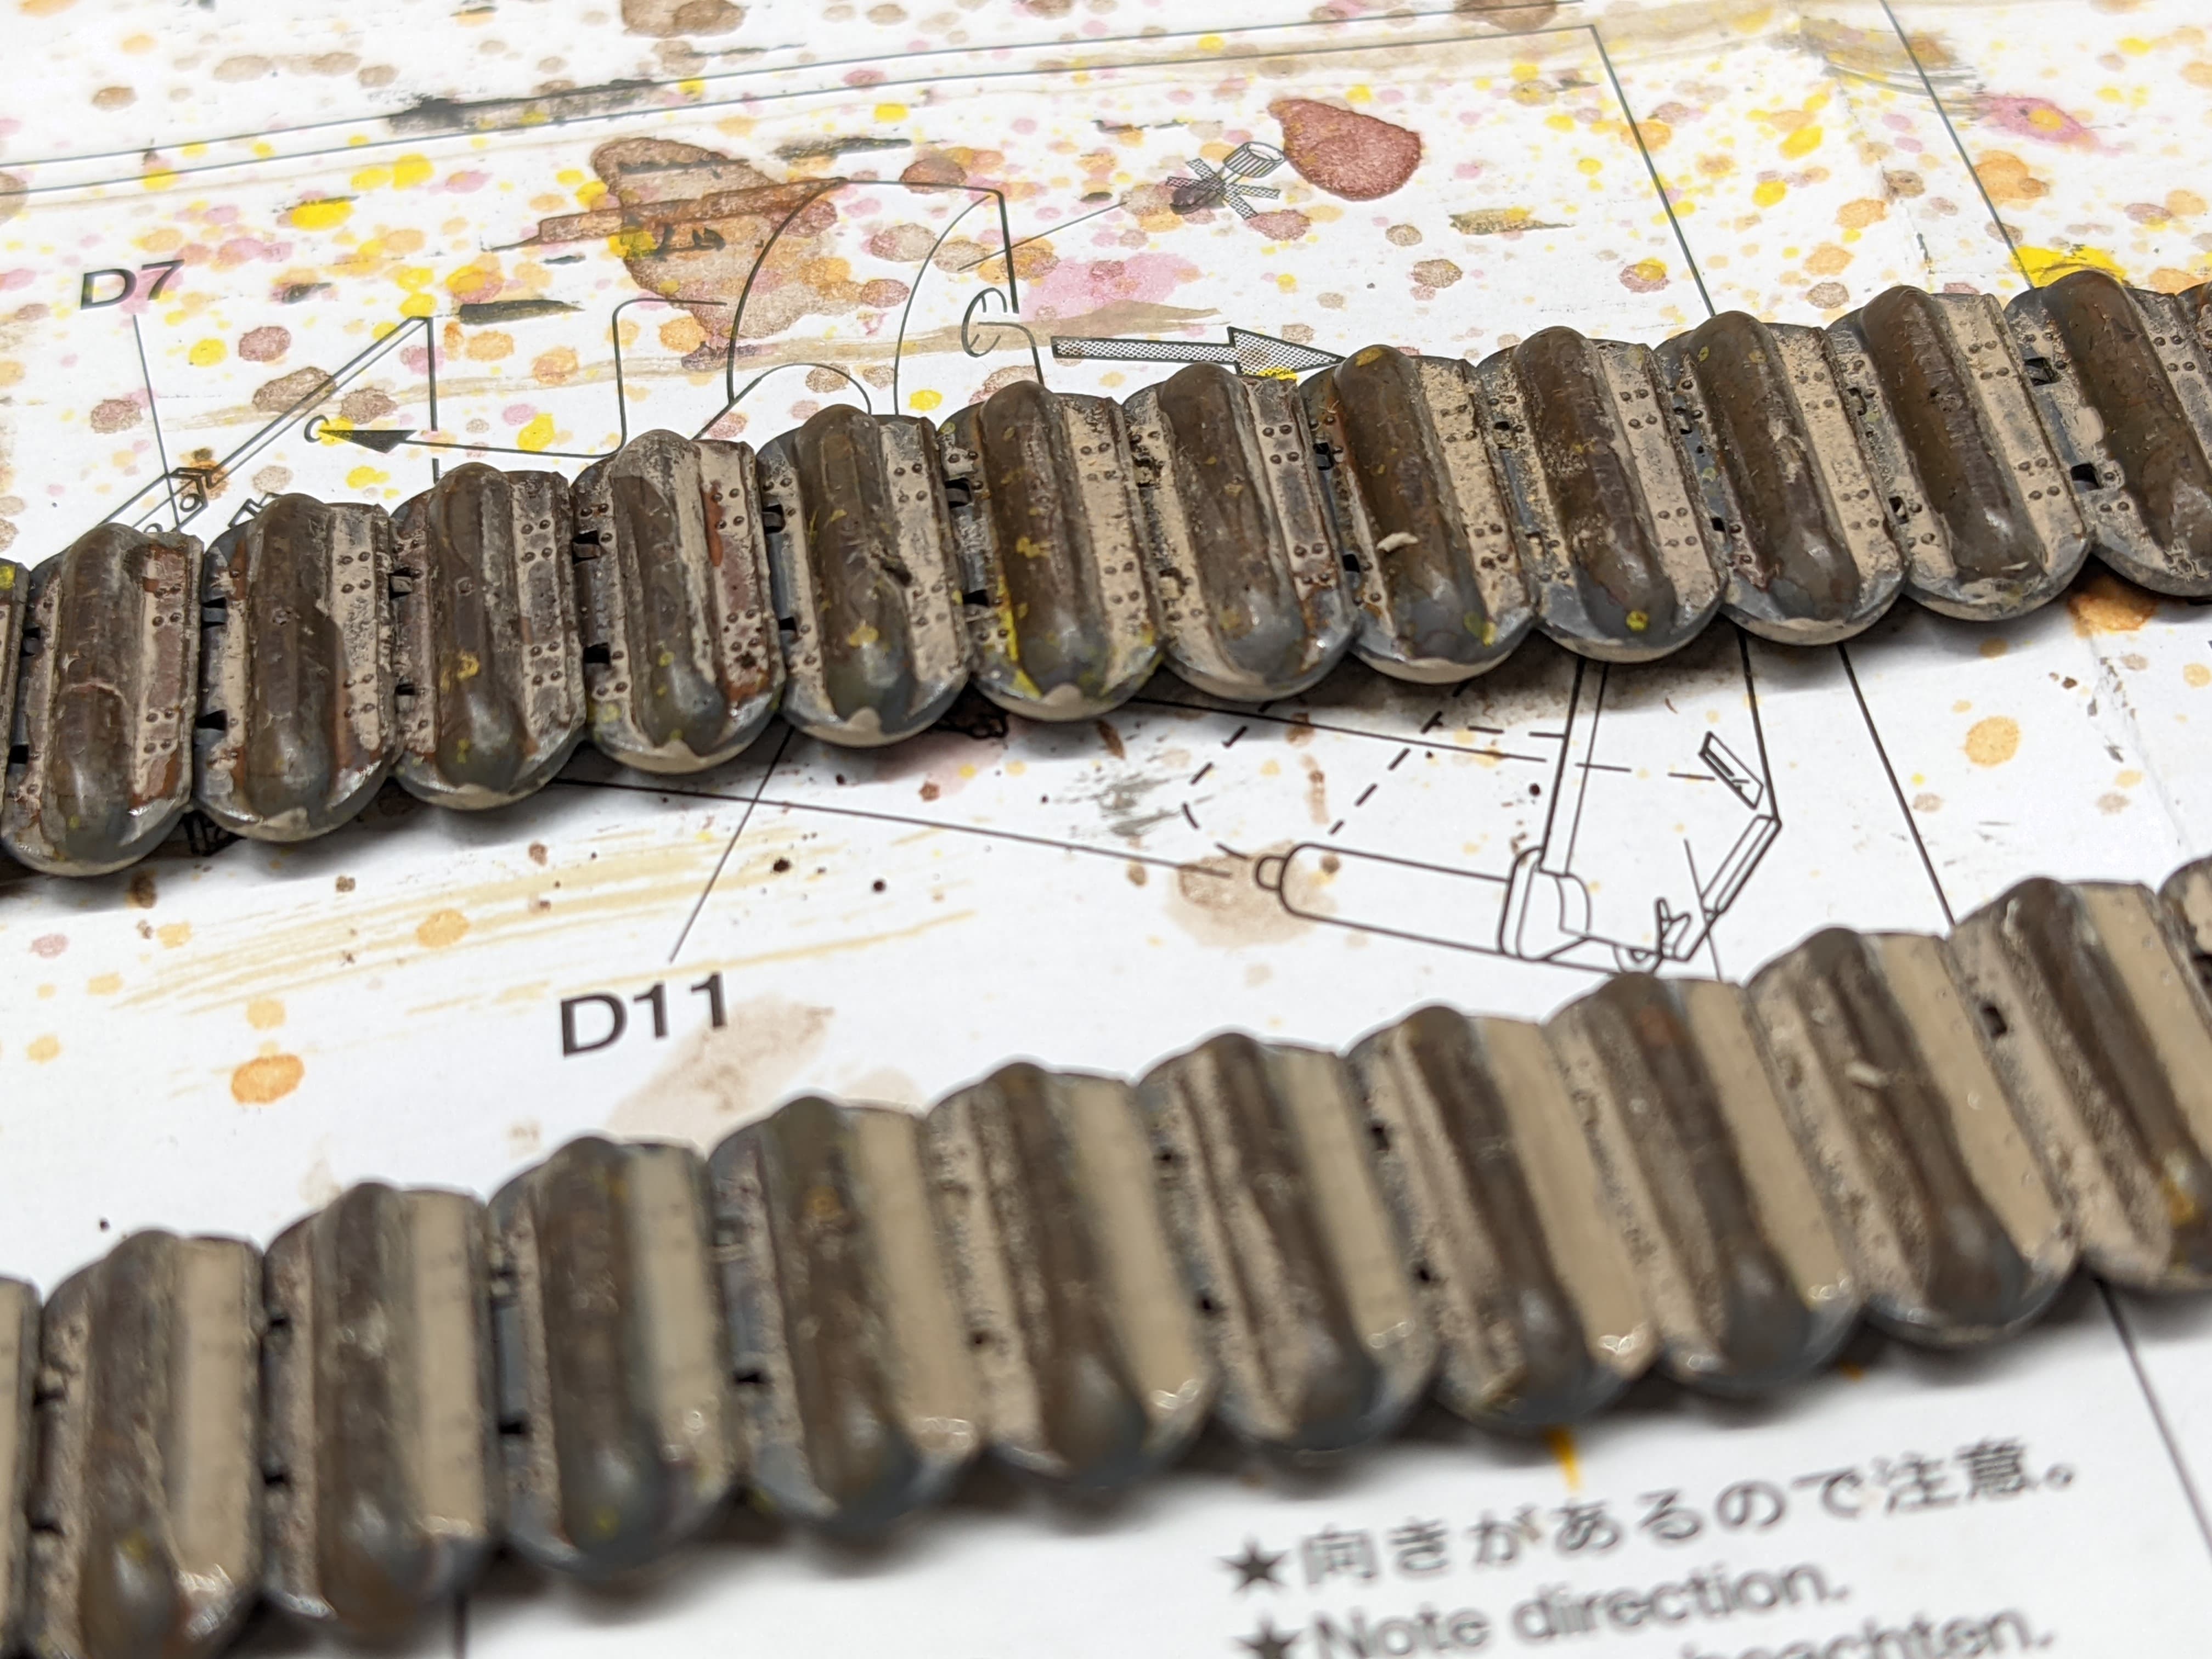
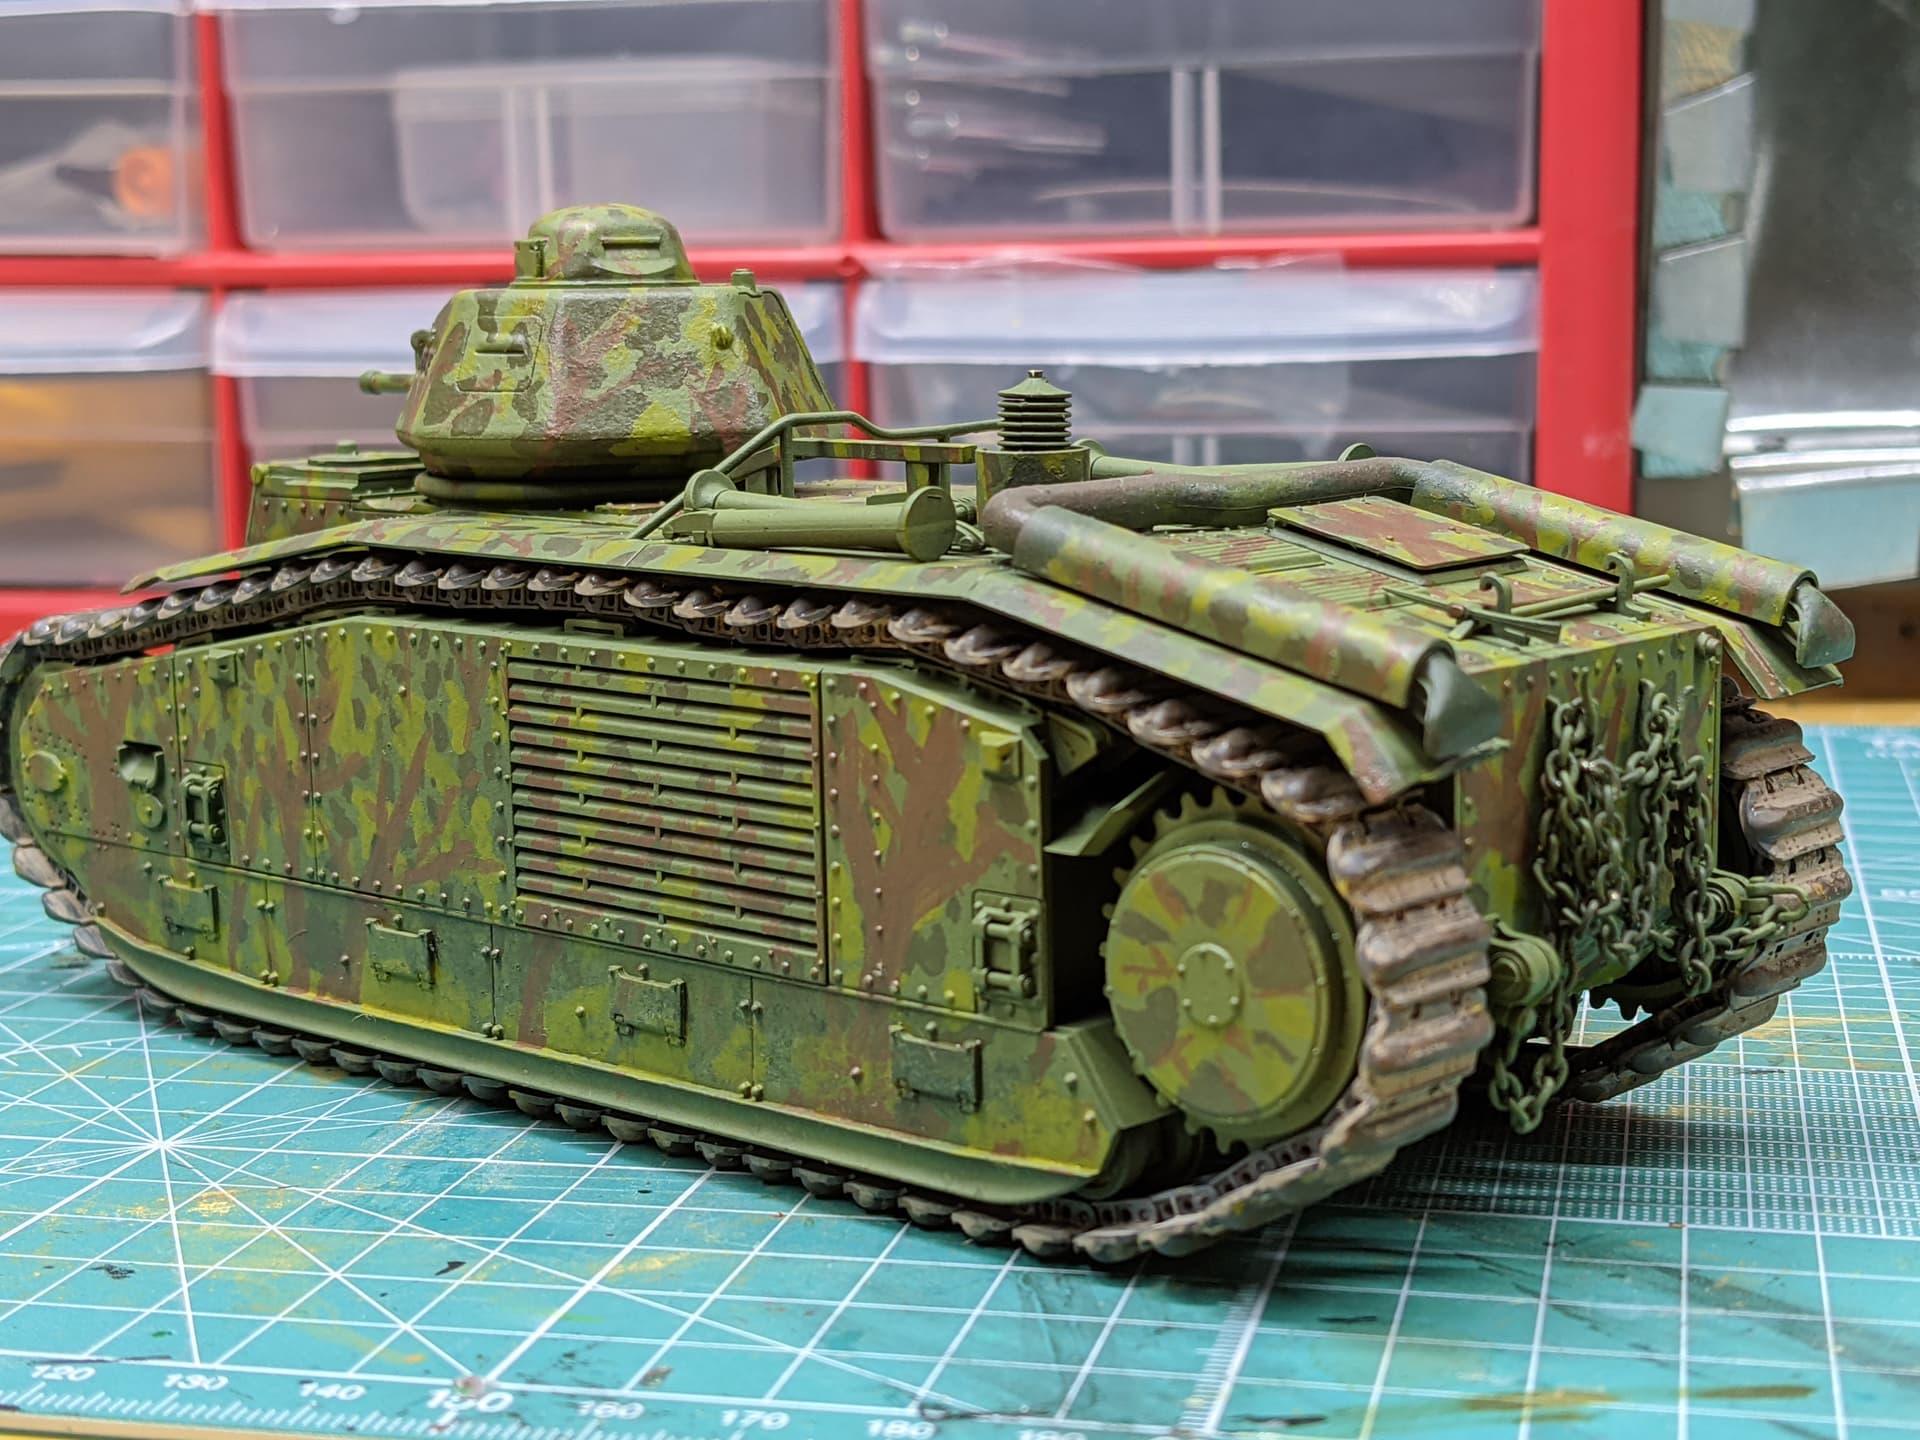
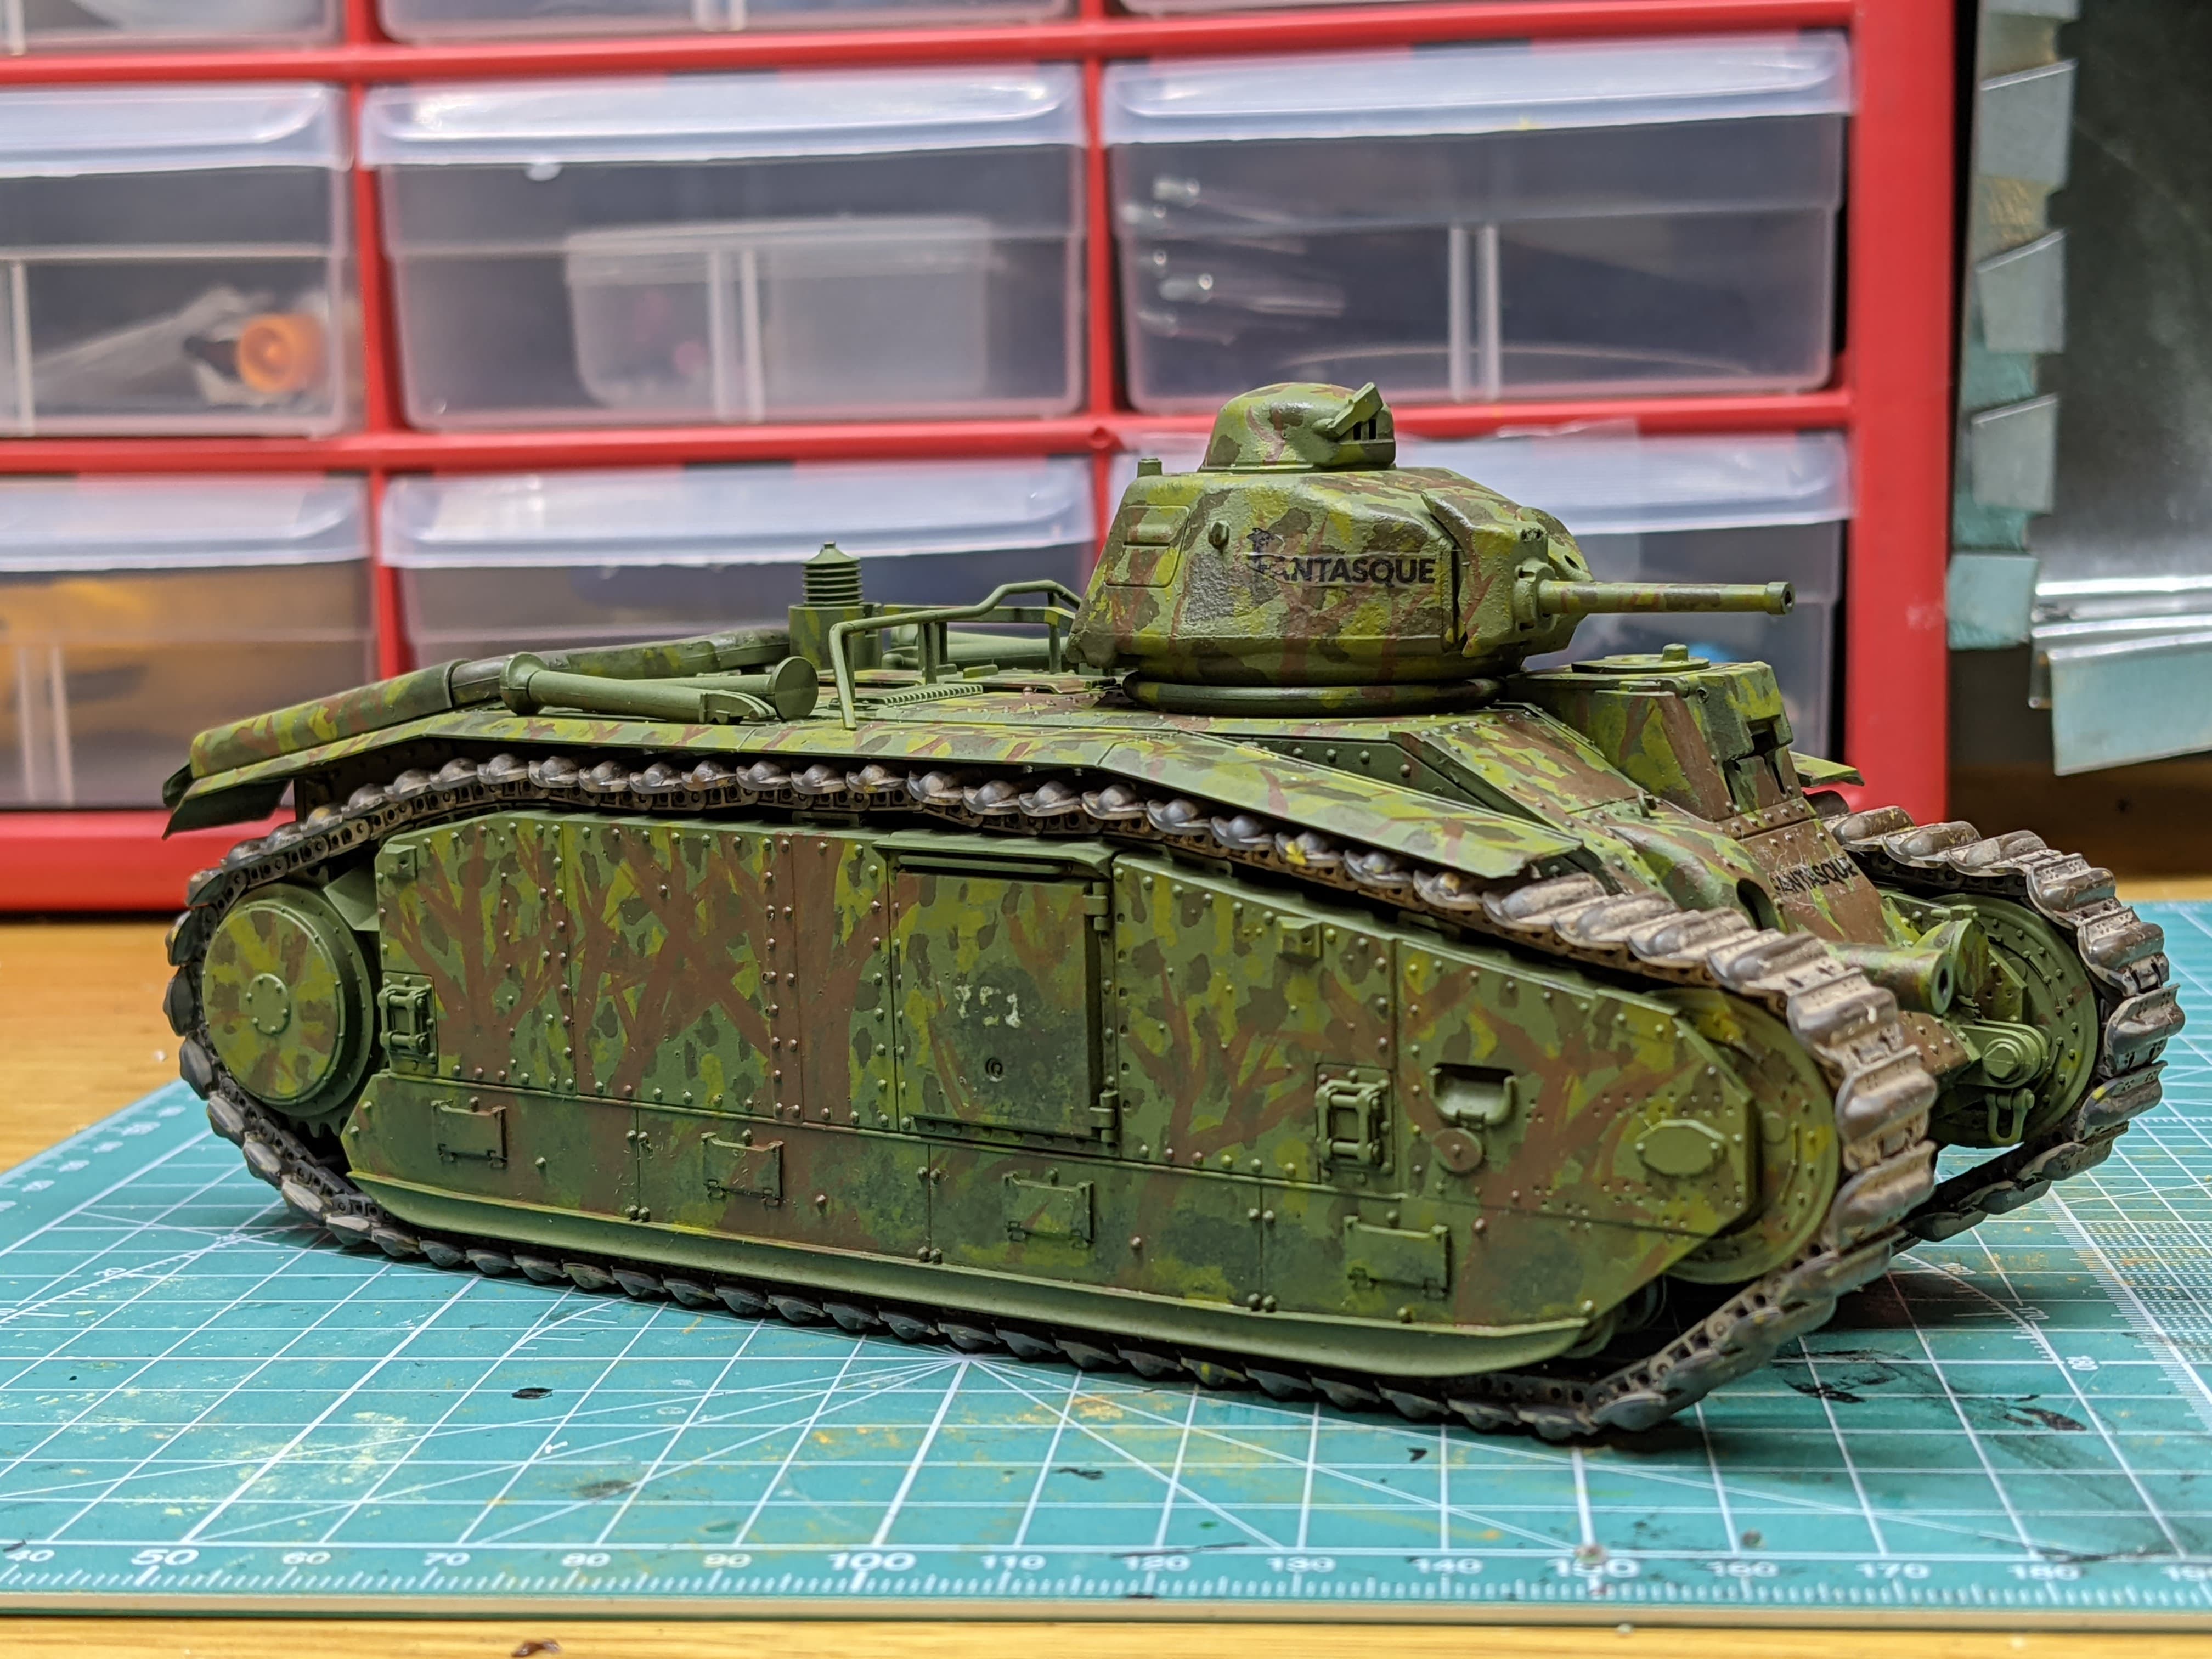
Next, the tracks. I painted these with a custom mix of IJN Grey and flat black acrylics (also from Tamiya, and also overtop some chipping medium.) We had a good discussion about how the tracks should look, but after doing a bit of thinking, I decided to add rust effects by splattering heavily-thinned acrylics over the tracks. My rationale is that 1) the tracks on B1s seem to corrode fairly easily, and Fantasque (the tank I’m representing) was in service in 1939, so it wasn’t exactly fresh out of the factory, and 2) most of the rust was going to be covered in mud anyhow, so now was a good time to try this new technique. My technique is basically a riff on Uncle Nightshift’s way of adding rust with acrylics.
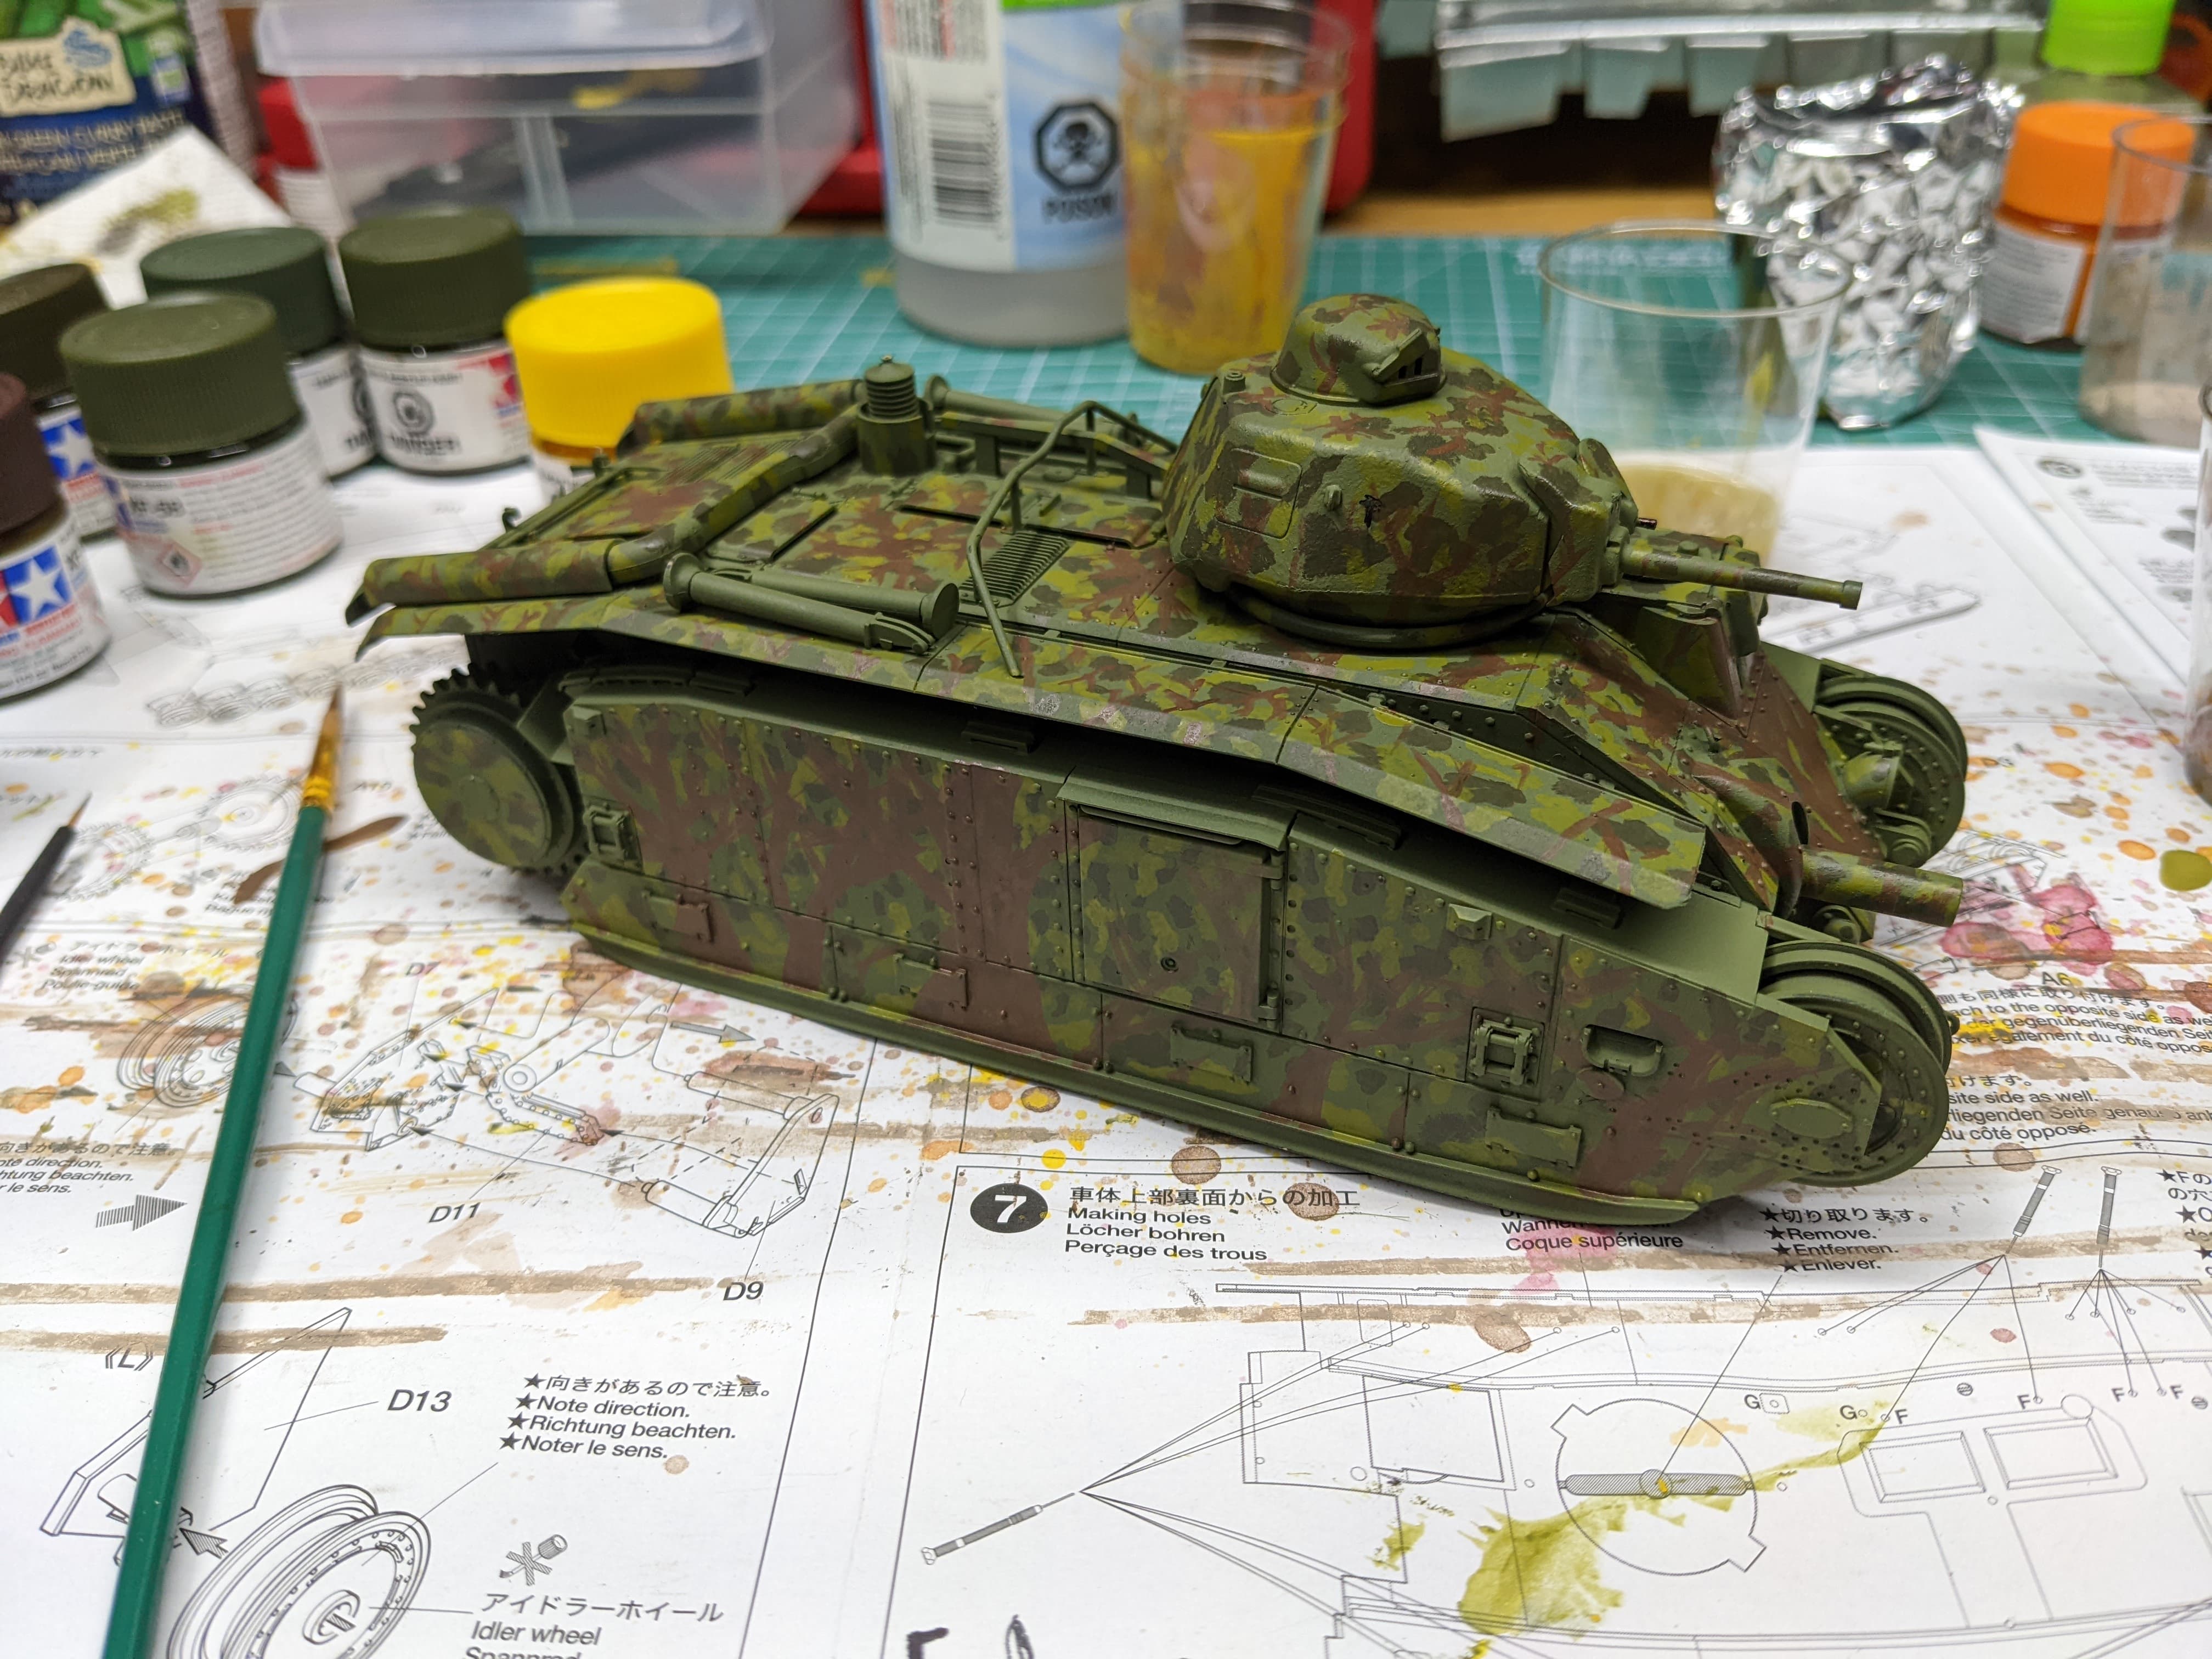
While I was waiting for the rust to dry, I mixed up some buff and NATO Green and airbrushed the tank once more. I’m much happier with this base colour, and with weathering and filters, it should work just fine.
The night finished with me mixing up some AK pigment with resin, water, and IPA and distributing it liberally over the tracks.
And that’s it! Soon I’ll be busy handpainting a forest 
Take care,
Dennis

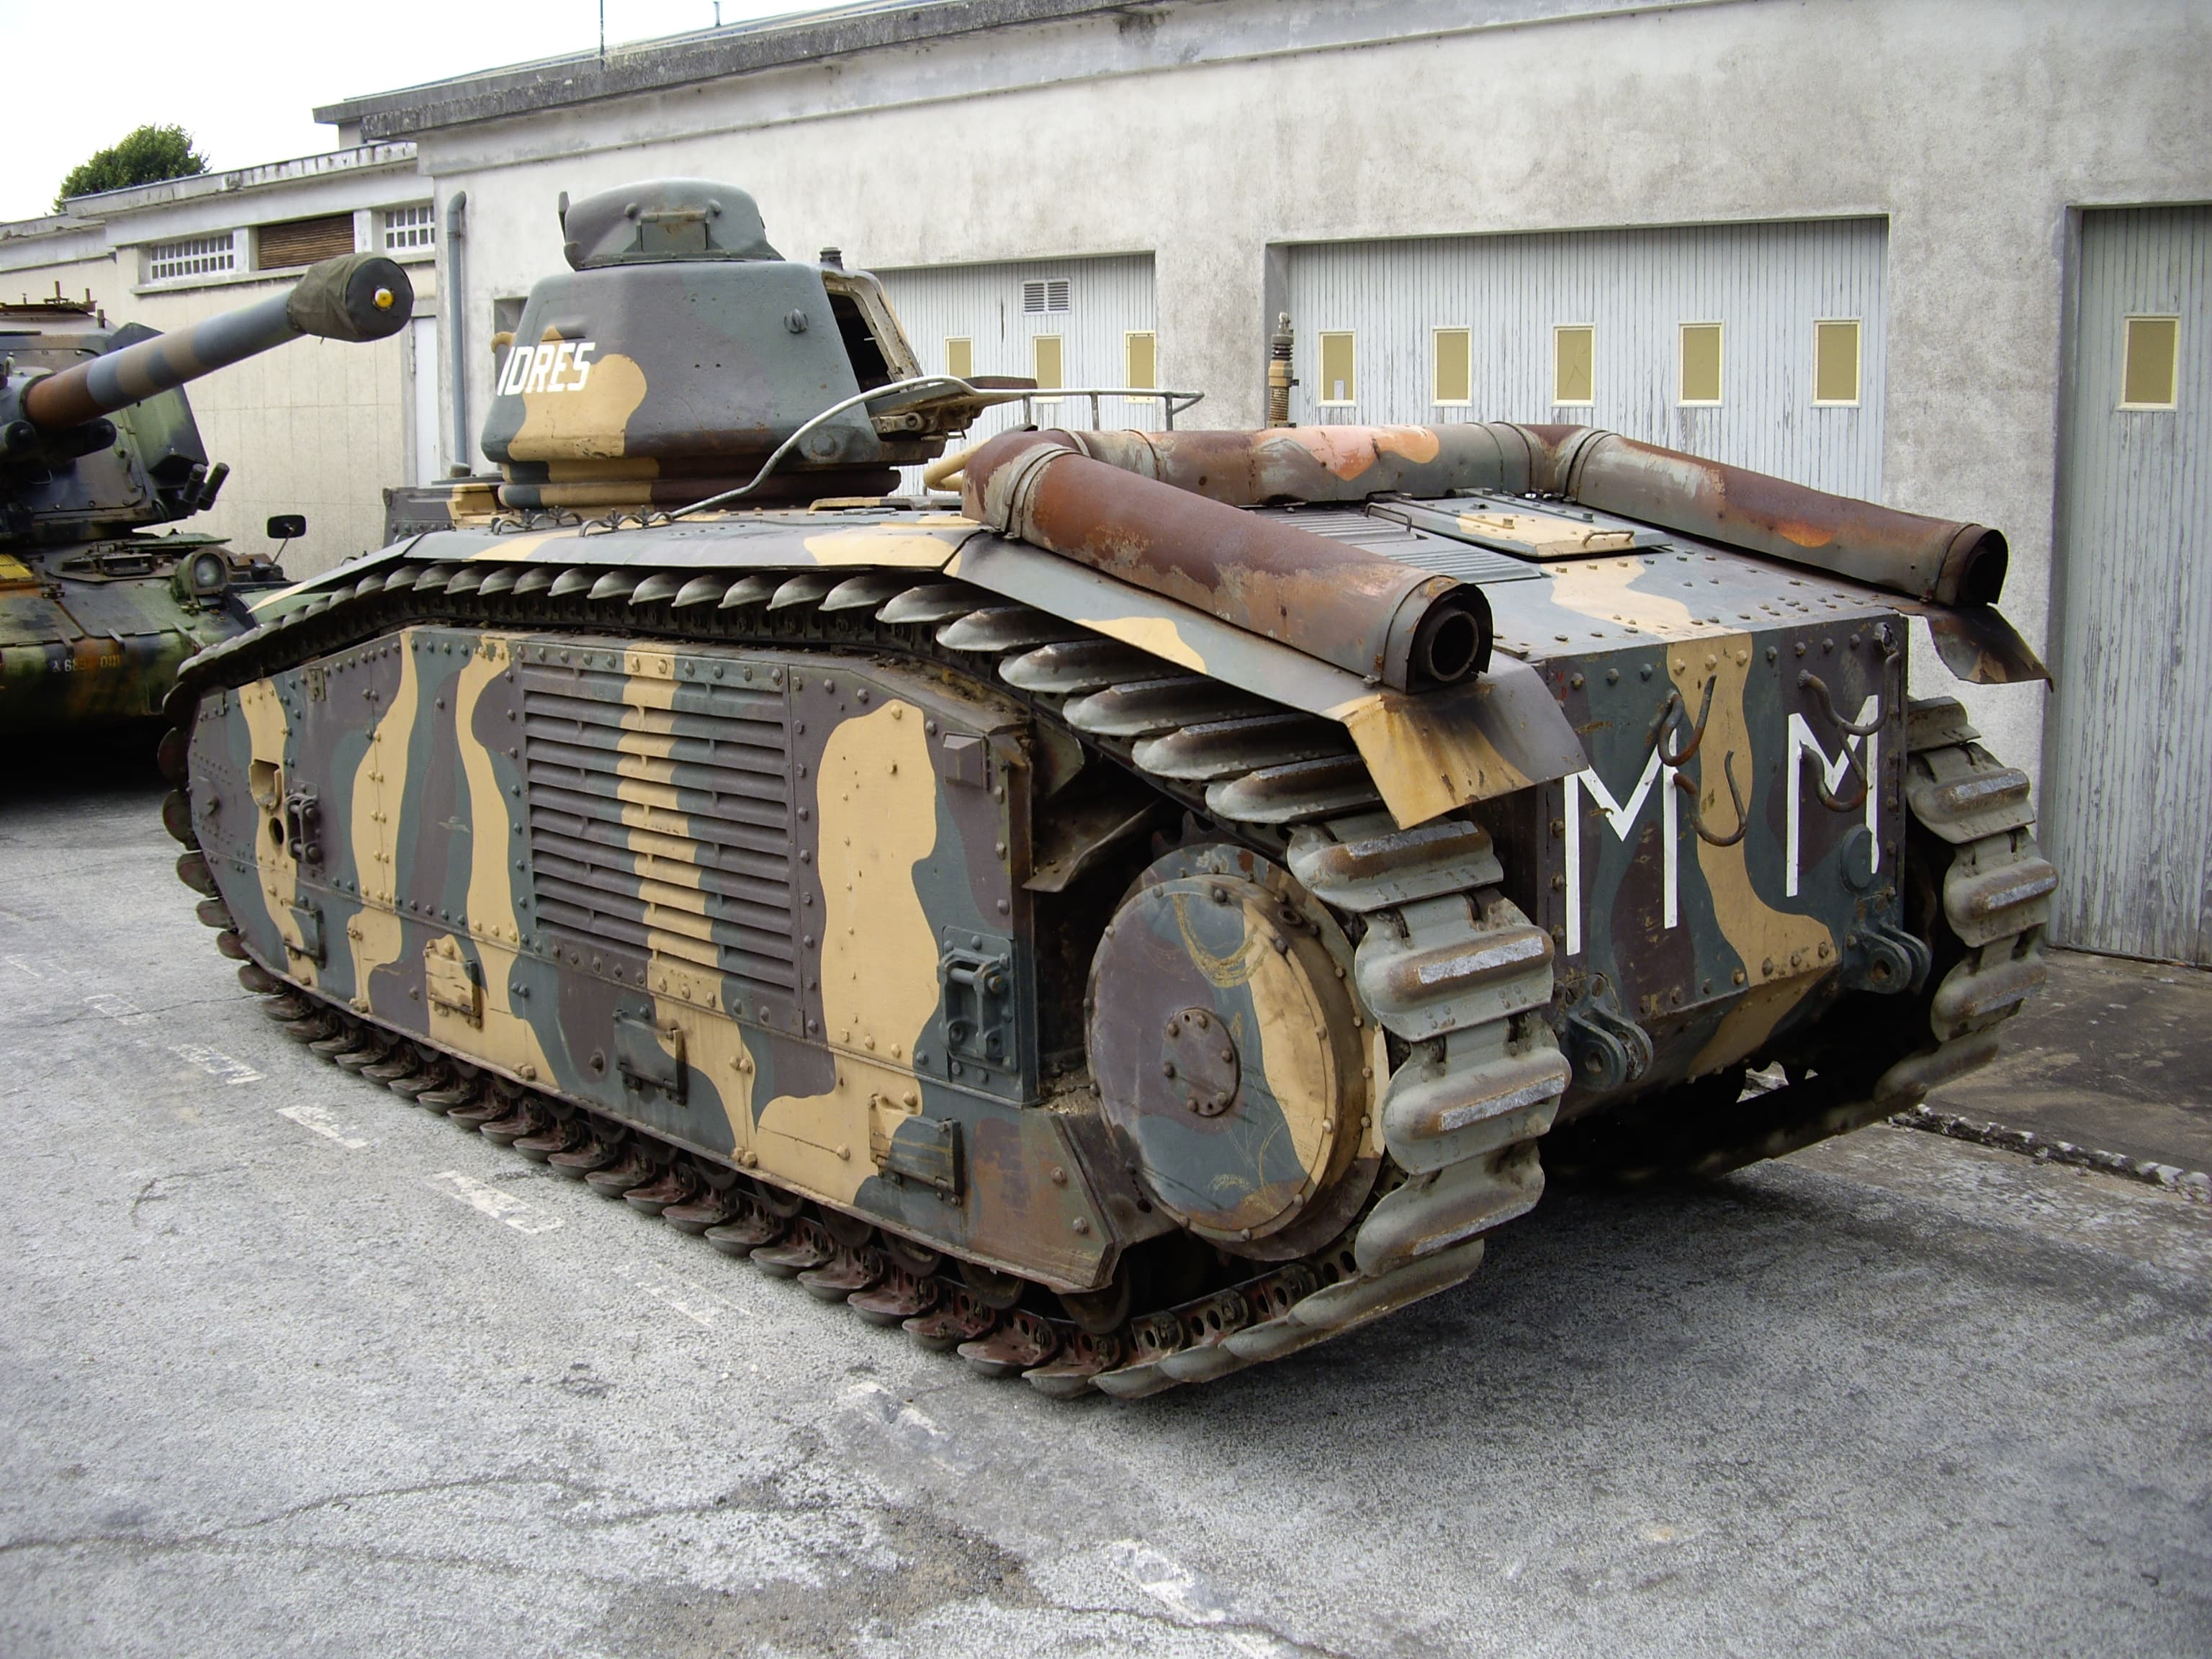

 To each their own. I didn’t notice that, only reading the articles. I mean looking at the tracks.