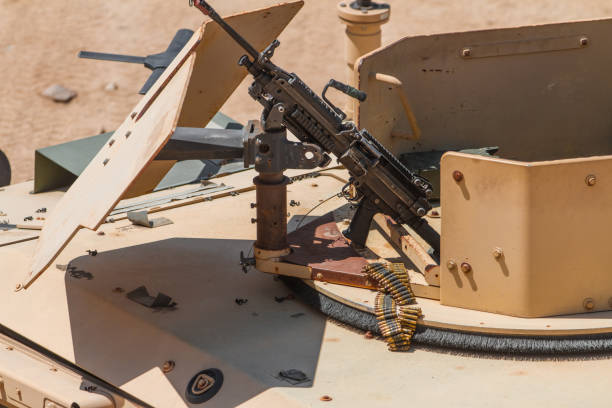
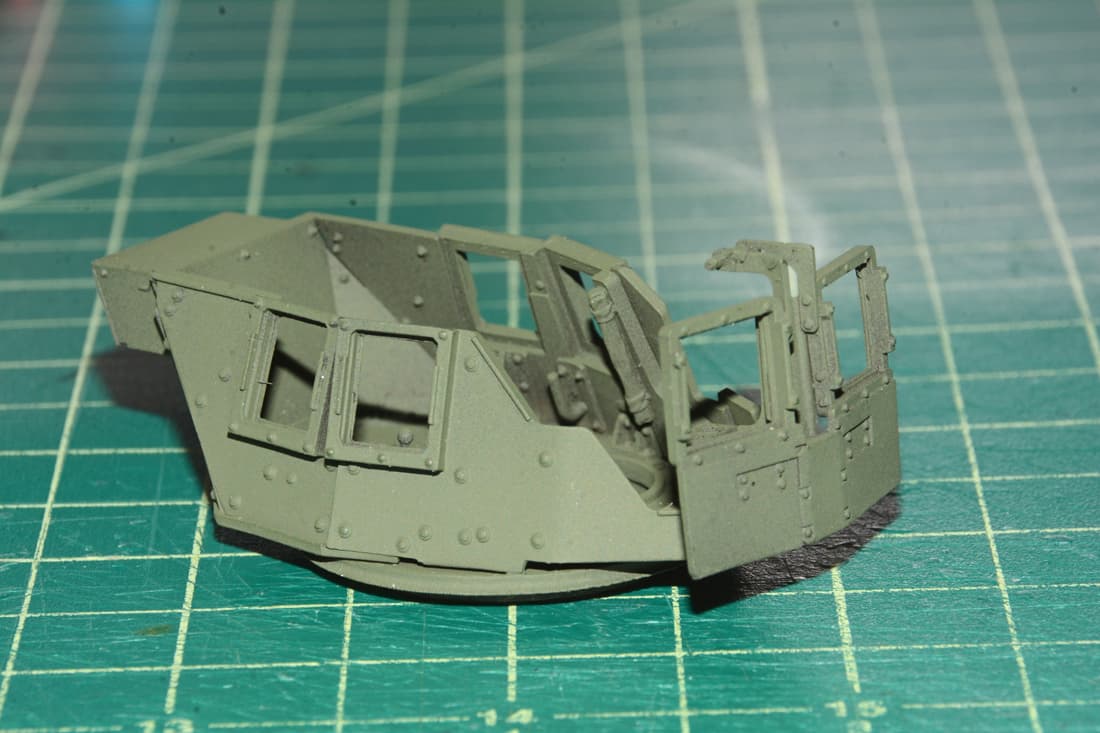
And while the shape looks similar to the standard shield, it seems bigger and folded with different angle.
3 Likes
@twong - if you need help…
2 Likes
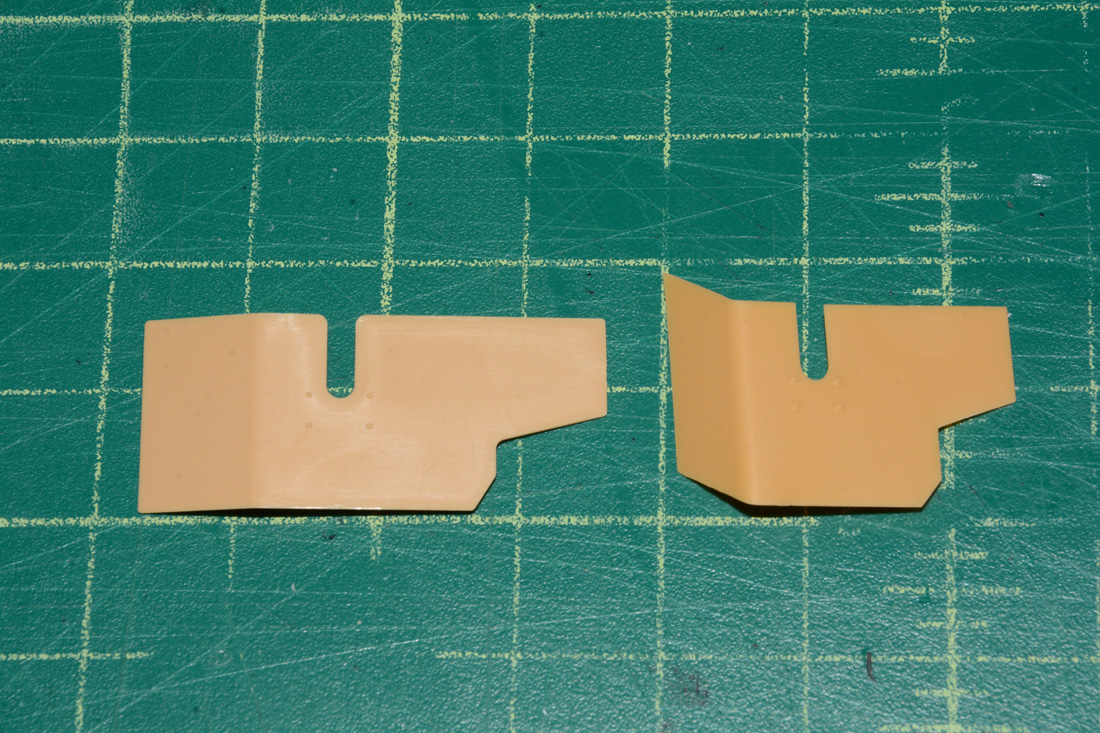
The Academy M113A3 kit has a bigger shield but the shape is a little off. Here you can see the Academy shield on the left and the Bronco shield on the right.
Thanks for the link. I will check it out.
Yes I know this horrible shield from Academy. I believe the same is provided in their m1025 kit. It is just good for trash.
1 Like
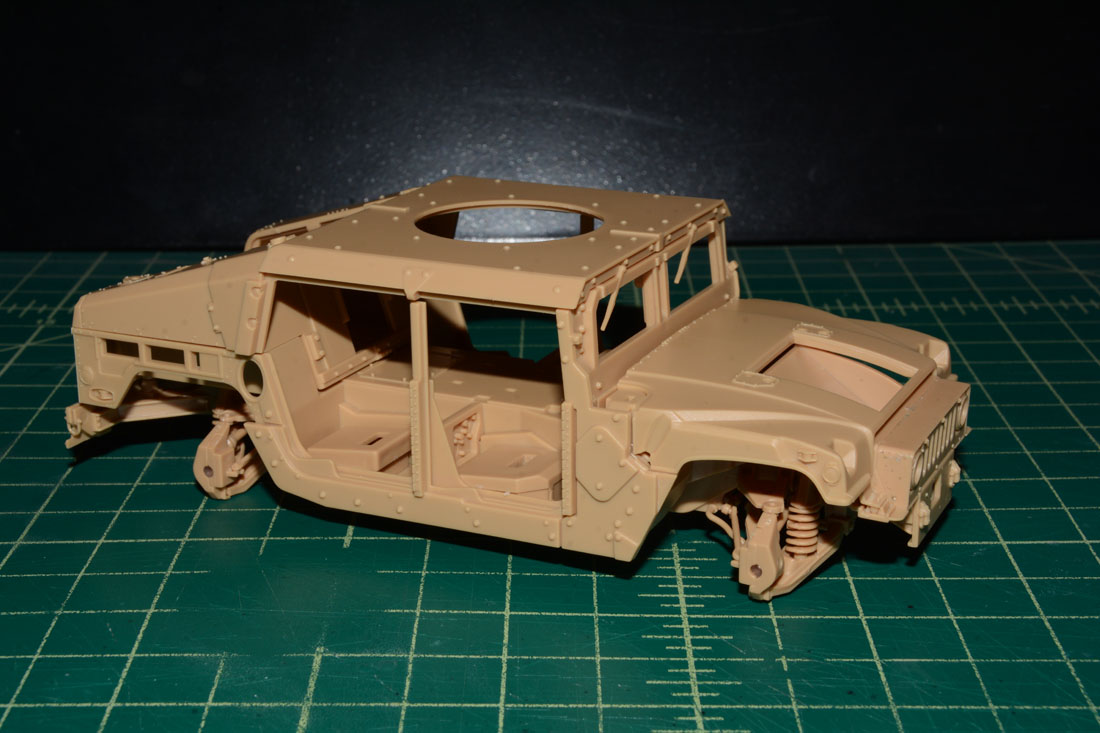
In the M1151, a lot of things need to be reworked/supplemented to get closer to the original vehicle.
Looking great.
@Terminator, I will use the original shield from the M1151 kit.
@Makinen, Thanks for the heads up. I am one of those “good enough” people. I build mostly OOB except for a few aftermarket add on parts. Your HMMWV builds are all terrific and inspiring.
@mech, Thank you!
1 Like
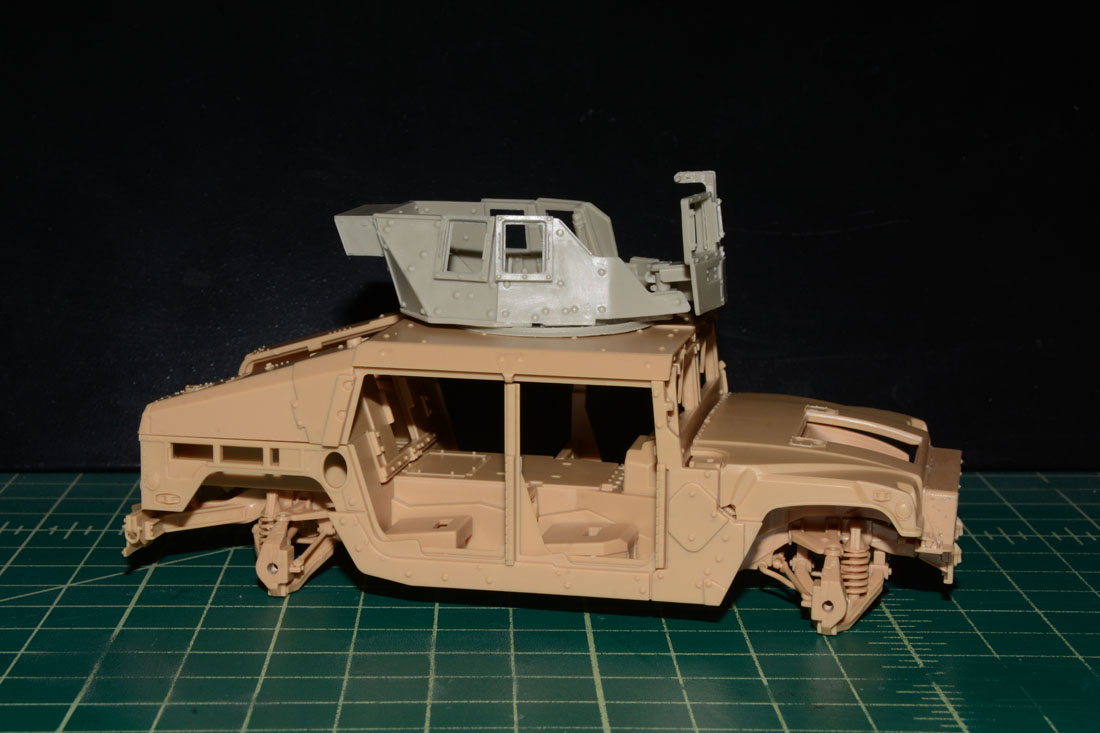
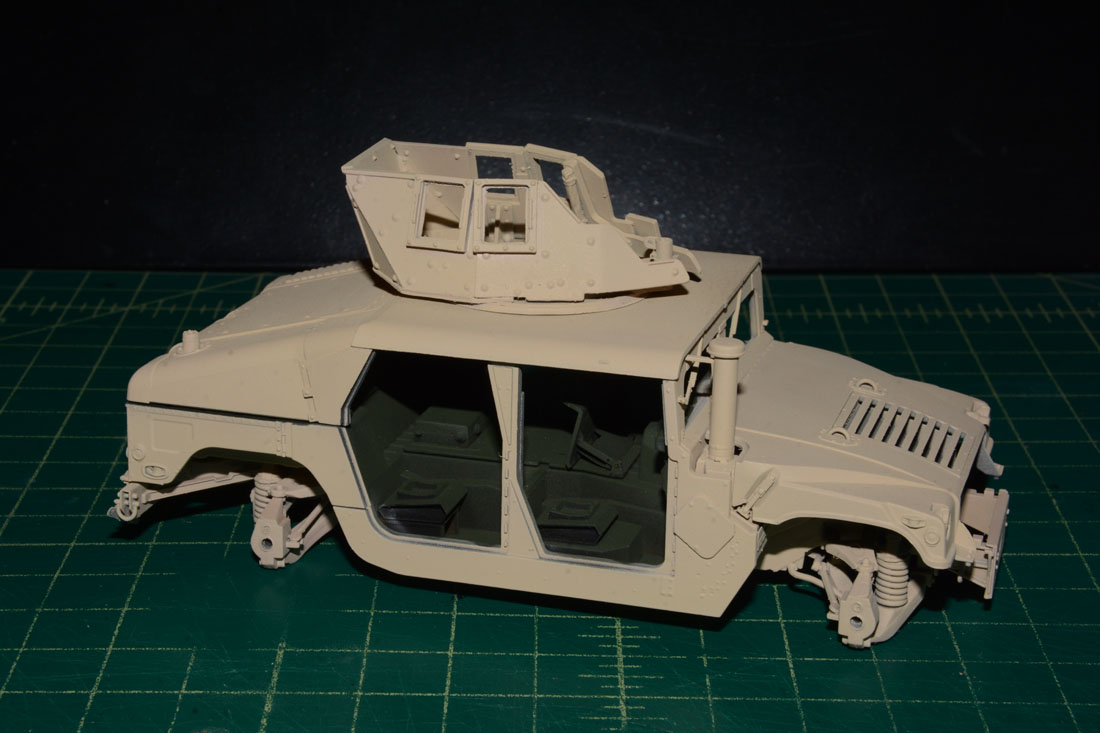
Test fitting the parts together. The roof has a nice tight fit. Also test fitting the LR MCTAGS turret. The Academy turret ring is larger than the one on the Bronco M1114 so I didn’t have to trim it out to fit the MCTAGS turret. The Academy turret ring is slightly too big though so the MCTAGS turret is loose.

3 Likes
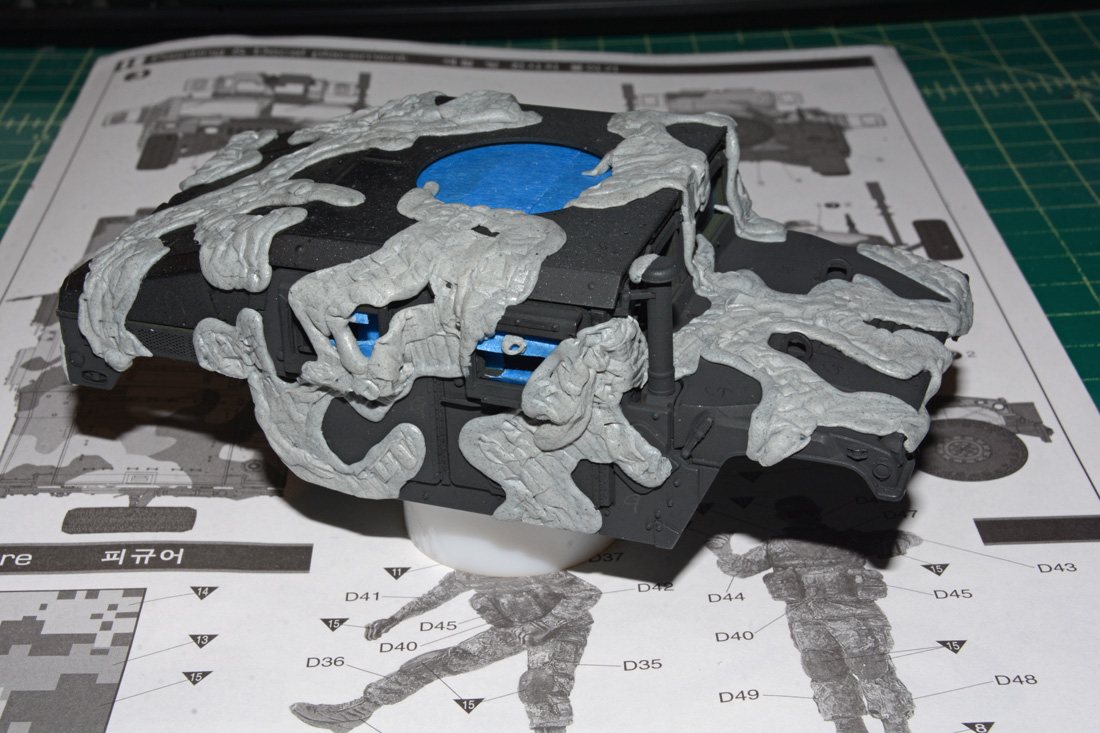
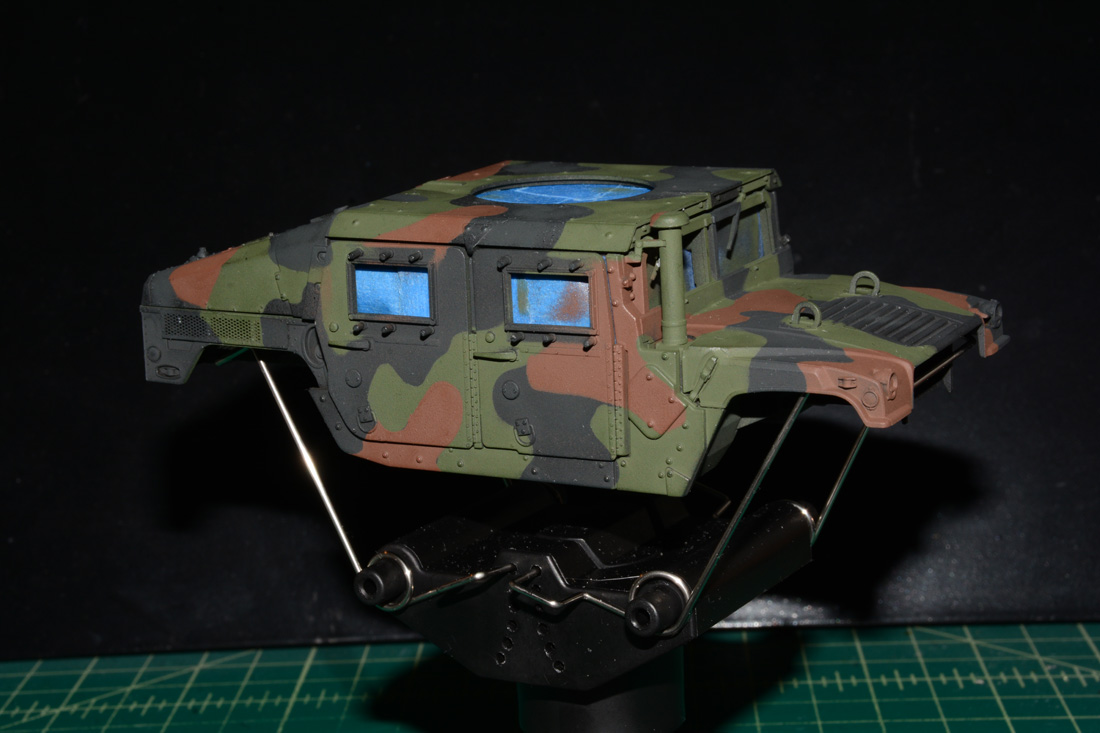
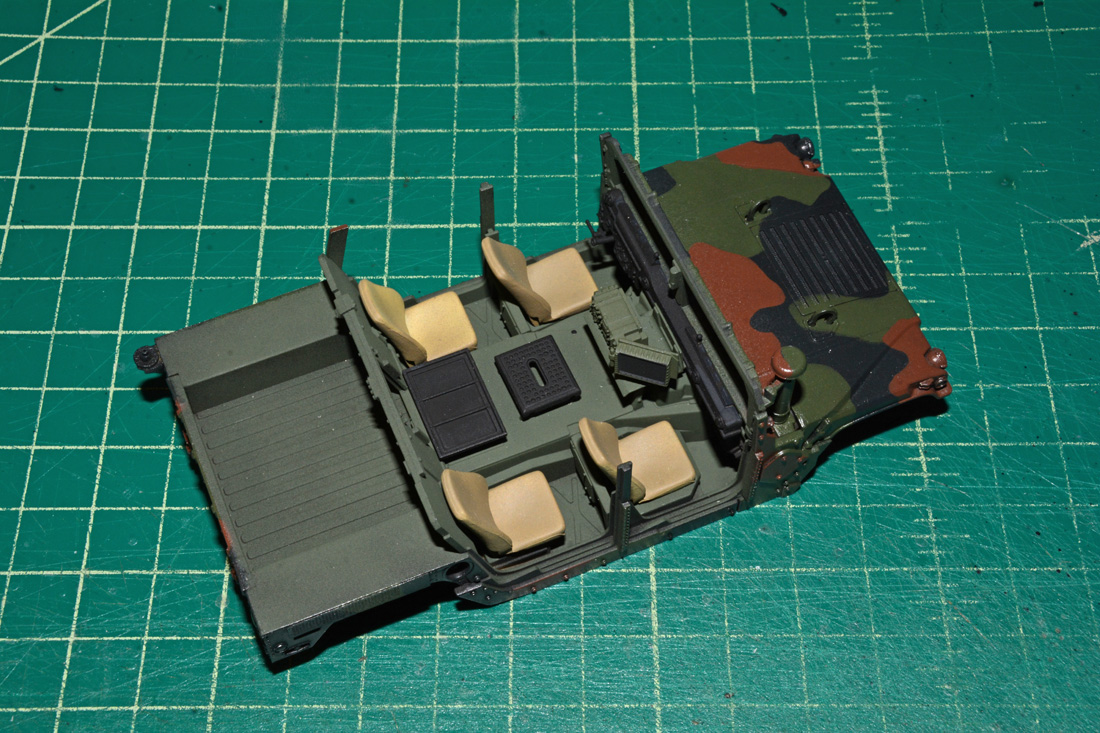
Got the Academy M1151 primed and then covered in Tamiya NATO black. Also got the interior and LR MCTAGS turret painted in Tamiya NATO green.
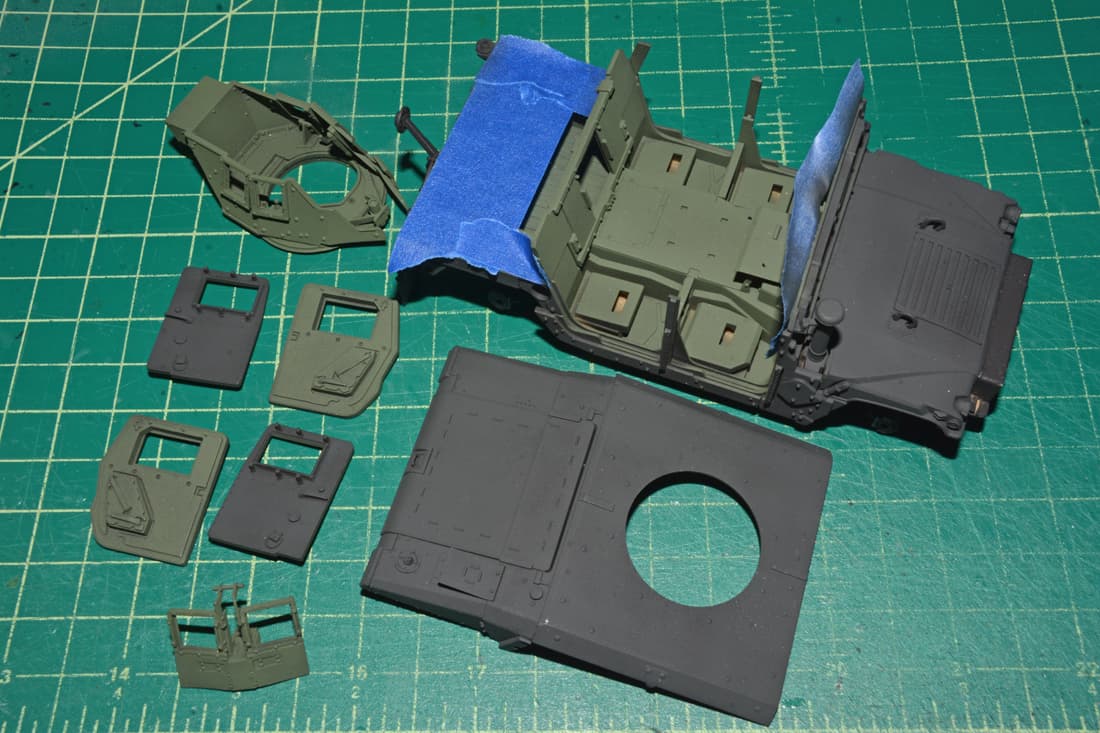
Masked off for the NATO green next.
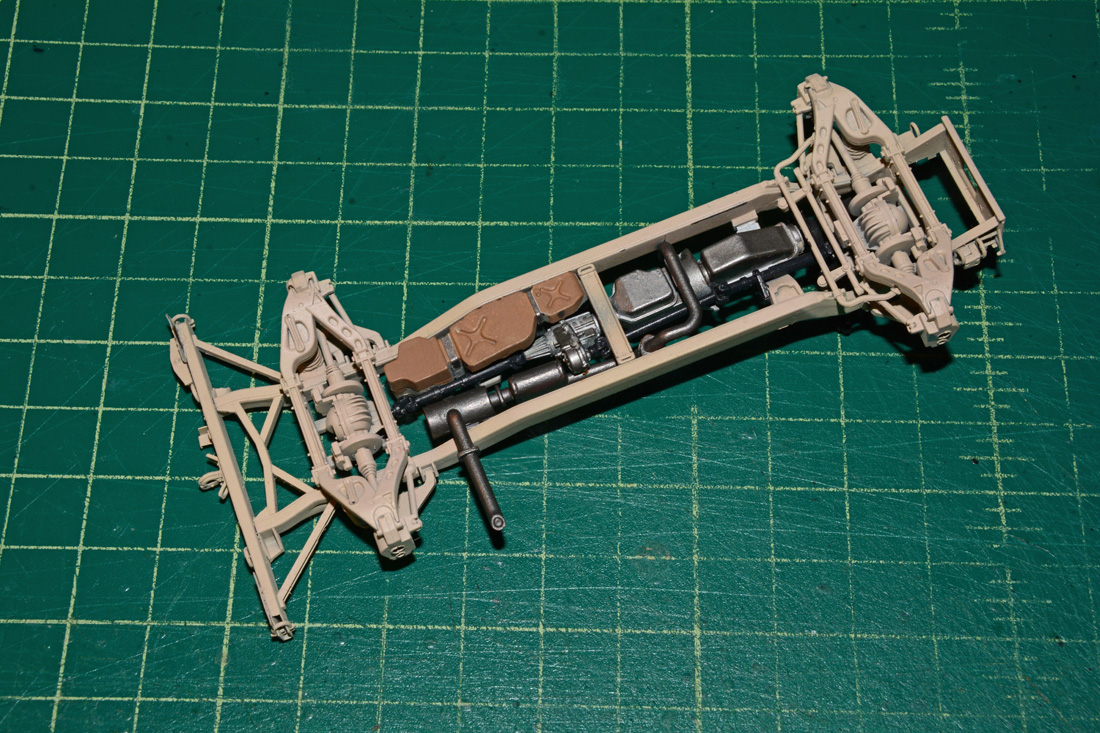
On the Bronco M1114, I got the wheels and tires painted. I used Tamiya rubber black on the tires and the sand I think was AK OEF and OIF sand. I have check as I have around six different sands but pretty sure it was the AK brand.

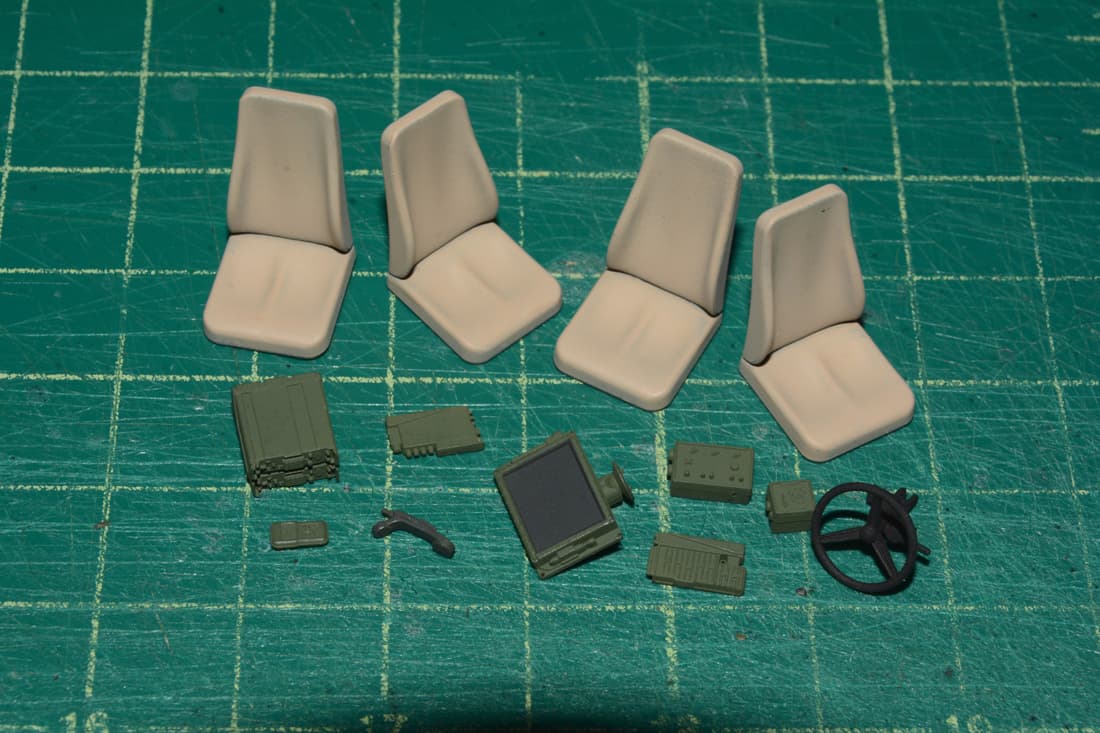
Also got some of the interior parts painted. I ran out of Khaki so I used a darker sand for the seats which is still too light but not too bad compared to the real seat color.

2 Likes
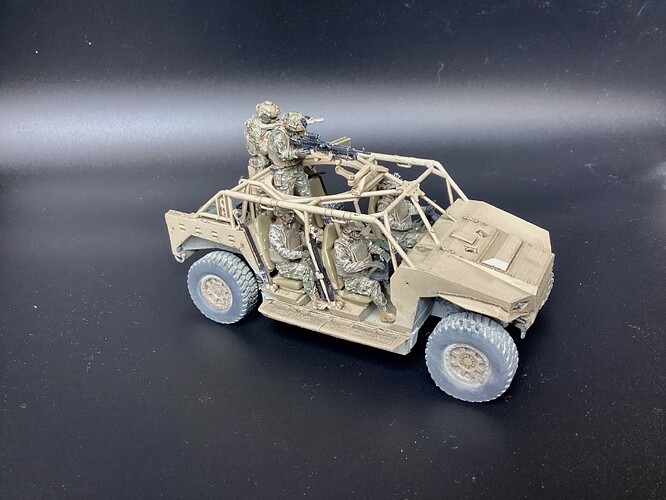
Got the M1114 painted along with the MCTAGS turret. The roof is not glued on yet.
Also got the M1151 painted using Tamiya NATO colors.
9 Likes
Not a HMMWV but will show it here anyway. I got this 3D printed 1/35 Polaris Dagor off Ebay from a French seller sometime back in 2024.
The kit came printed as one piece. The 3D printed stems were already removed but they were stuck all over the kit.
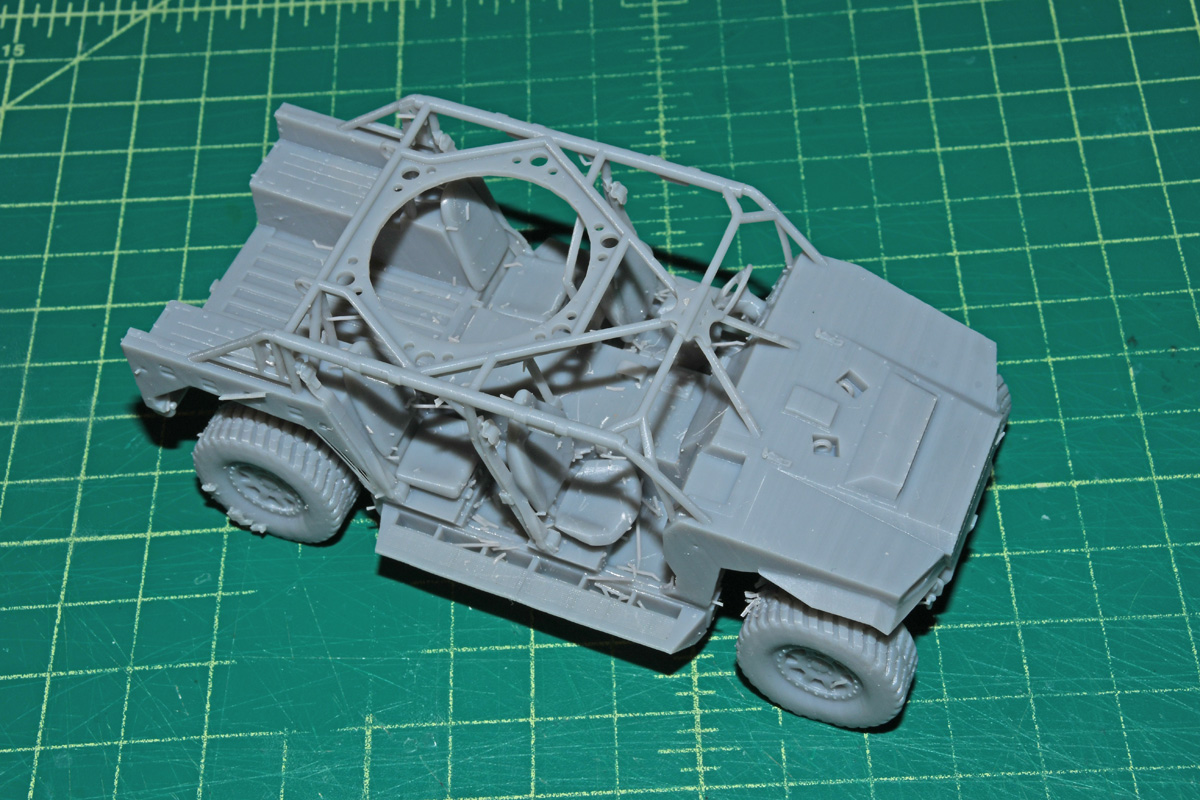
Some of the kit came damaged. Both sides of the fenders didn’t fully print or were damaged when the seller removed the stems. The coil springs for the suspension were also damaged. They are actually worse than they look in the photos. All the scratches and scrapes are from the seller when he tried removed the stems. I am still trying to remove all them as they are really stuck on. They are extremely difficult to remove without damaging the kit. I contacted the seller but got no reply.

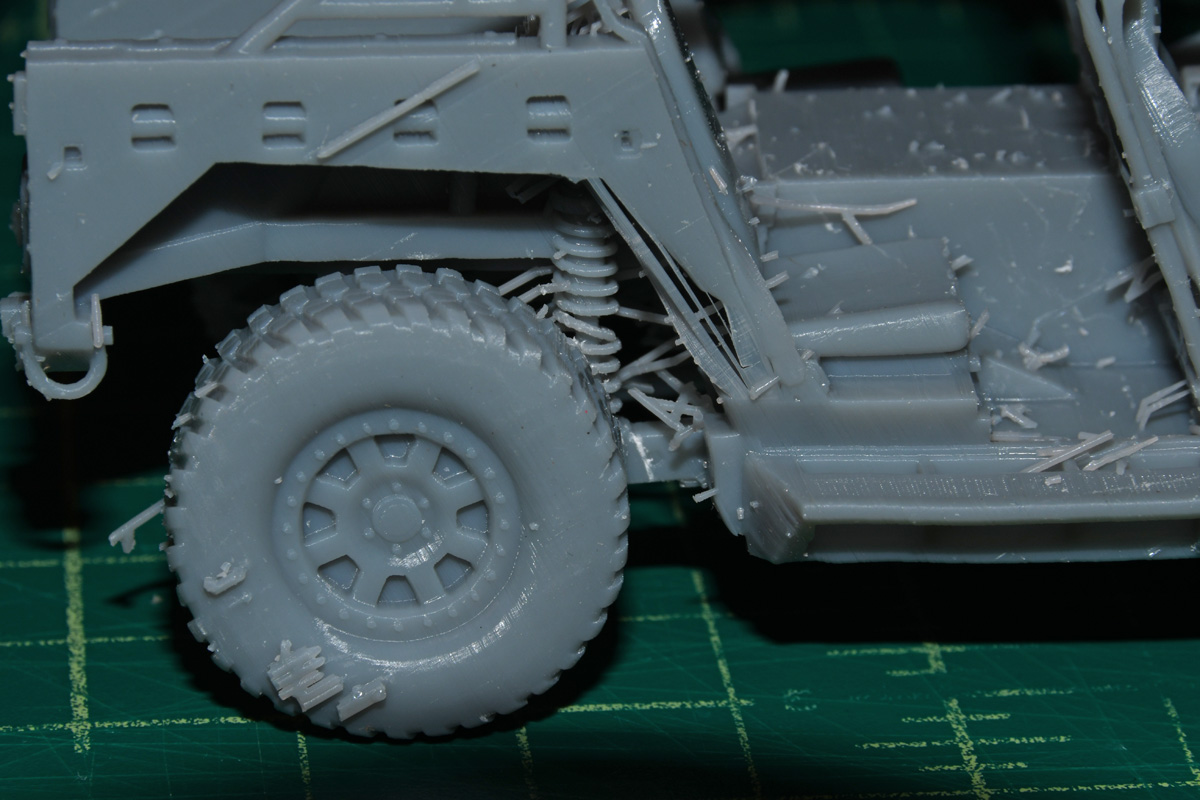
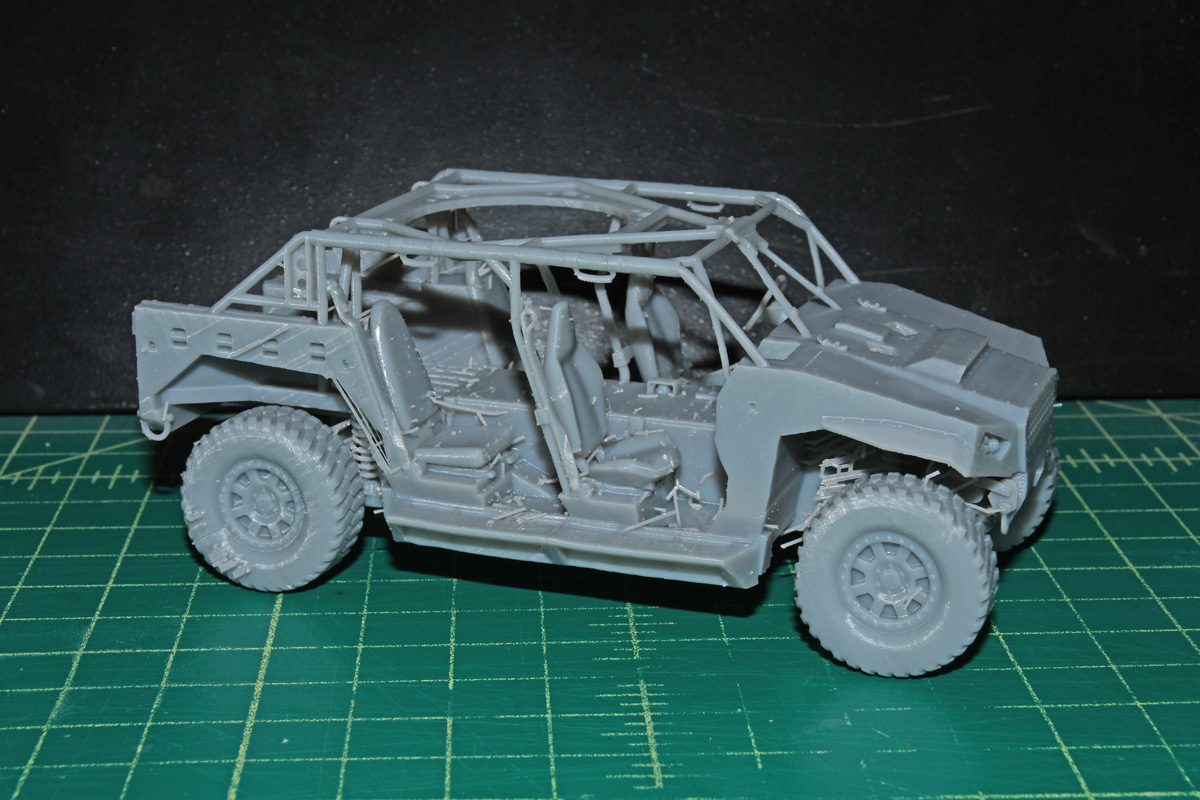
It is roughly the same size as a HMMWV. Here it is next to a Tamiya M1025.
7 Likes
![]()
![]()
In comparison with other brands who make very good 3d printed kits, this model is a shame.
2 Likes
Indeed you was very lucky.
If the brand is called “The forge Model”, it is also present on “Etsy”, so the “modeller” is probably Chinese, not French !
and if you look at customer reviews they are always positive.
That’s not inspire confidence at all.
2 Likes
@Terminator, it is a shame it arrived damaged. The seller is The Forge Model. The shipping label on my package was from France.
Here is the seller.
@Makinen, great job on your Polaris.
1 Like
6 Likes
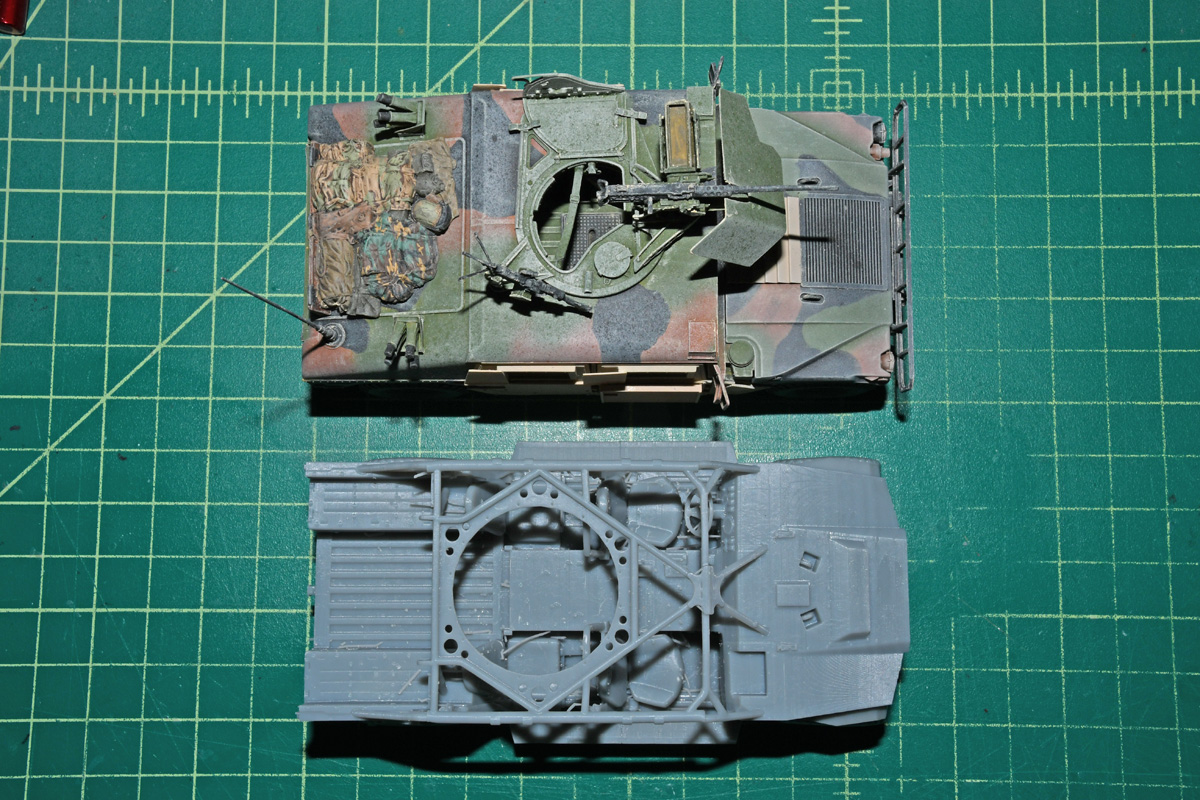
Finishing up the Bronco M1114 exterior and interior. I didn’t do every color on the frame/chassis as you won’t see it. Got some over spray on the top of the dash that needs touching up.

Also did the same with the Academy M1151.

2 Likes
Thanks! The instructions said buff but the buff I have looked too yellowish so I switched it to tan. They are all glued in already so can’t repaint them now.
1 Like