Yup, the HB tracks are an anomaly and don’t seem to fit any sprocket. I am not sure what they were made for.
They seem to be too wide for any sprocket. I do have the Hobby Boss AAVP7A1 RAM/RS kit but still sealed but I am guessing they only fit their own sprockets.
1 Like
For the M3A2 ODS, I cut the 3D printed sprockets in half and fit a 1mm thick sheet in between. Still needs cleanup but the Hobby Boss tracks now fit. I had to lightly file the inside of the holes at the end of the tracks to fit properly.

5 Likes
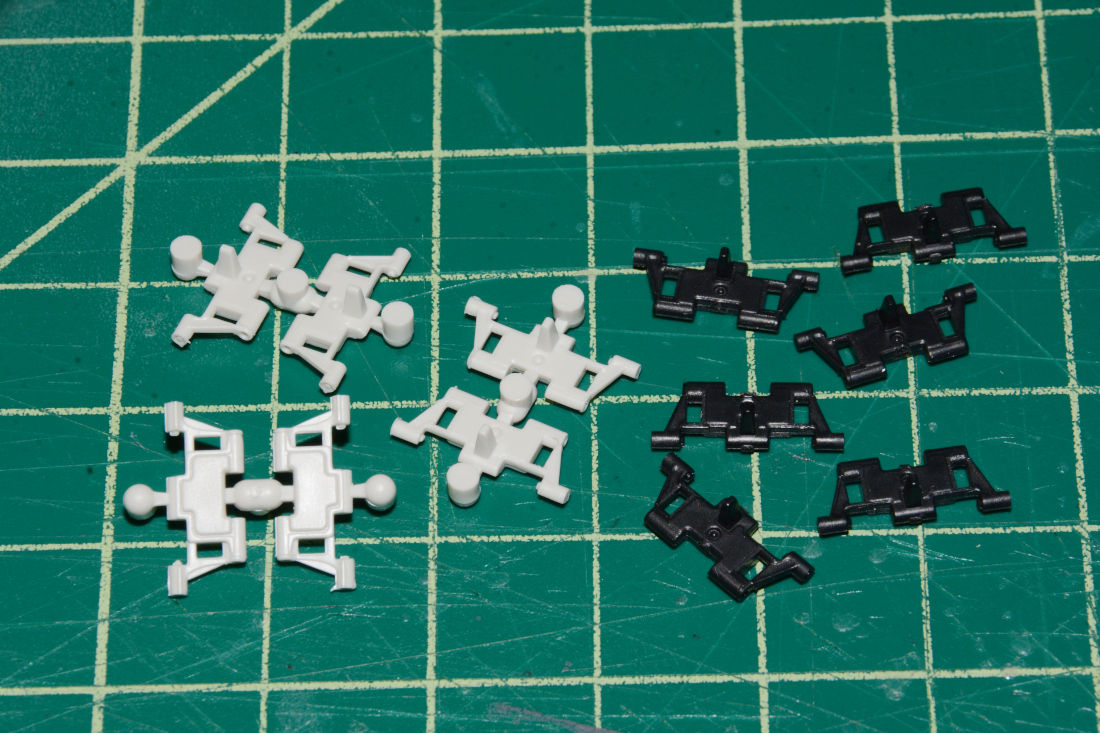
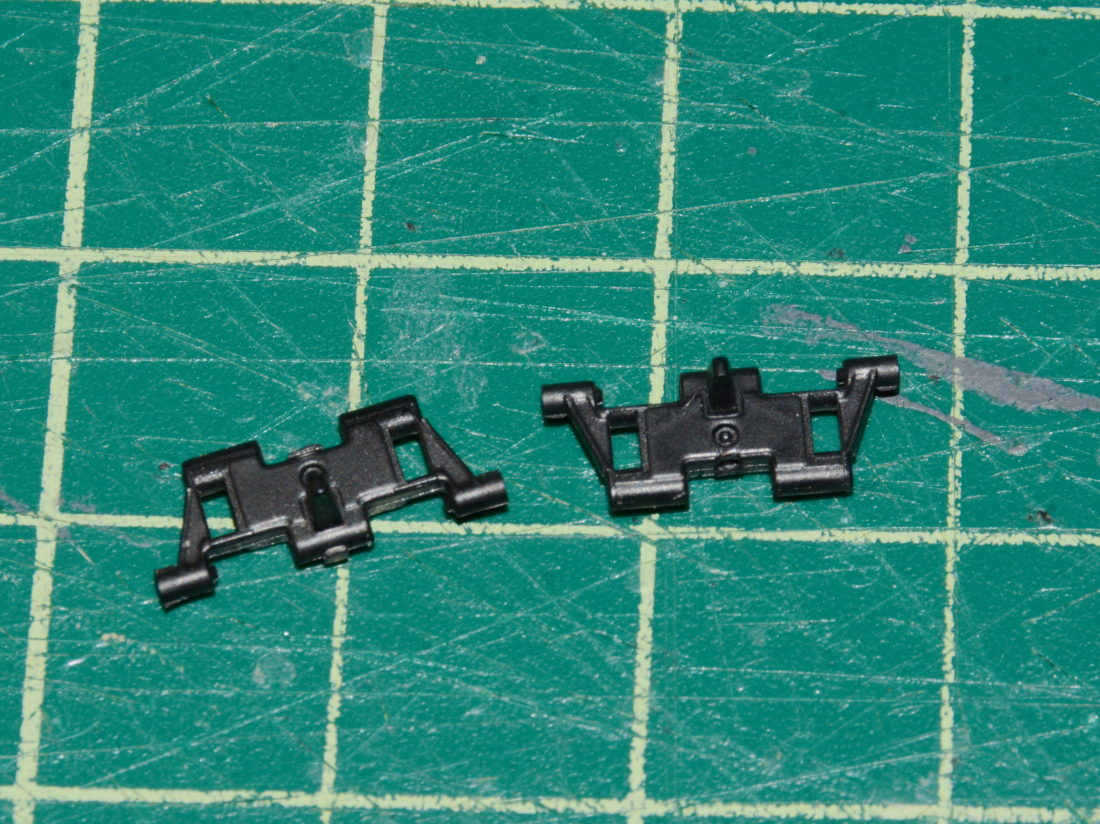
Two sets of Meng M3A3 tracks. One set is gray and one set is black. Both ordered from Meng customer service a few years ago.

The gray set has the nubs connected that you need to cut off. The black set came with the nubs already cut off but you still need to clean them up.
3 Likes
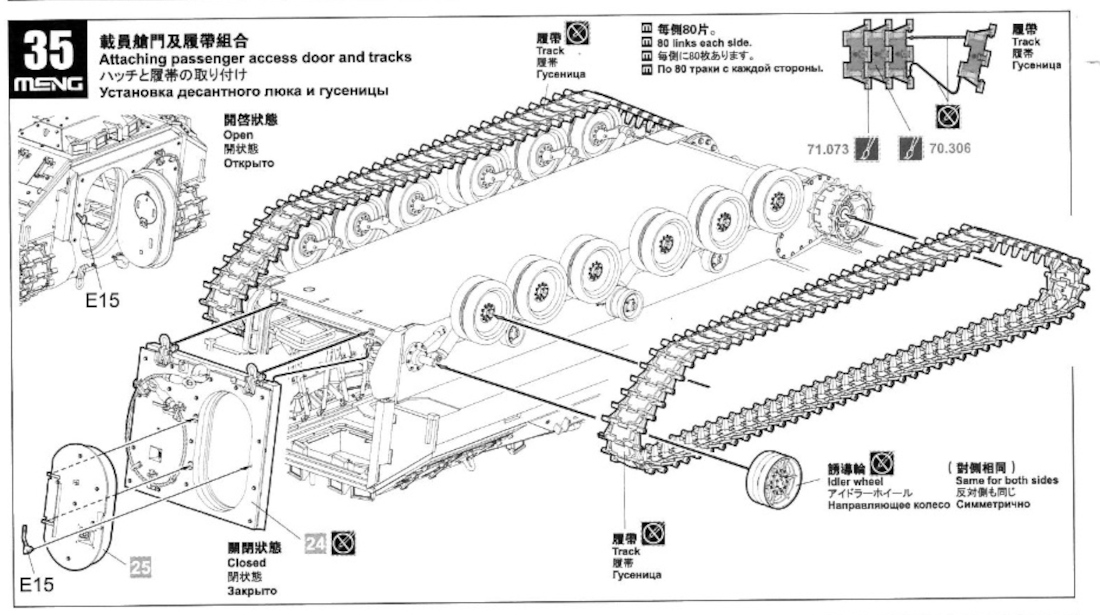
As for the Meng tracks, Meng says 80 links per side as shown in their M2A3 instructions. I counted the Tamiya M2A2 ODS rubber band track links and Tamiya has 84 links per side. Meng gives enough spare links so you will have enough for 84 links per side if necessary if fitting them to the Tamiya kit.
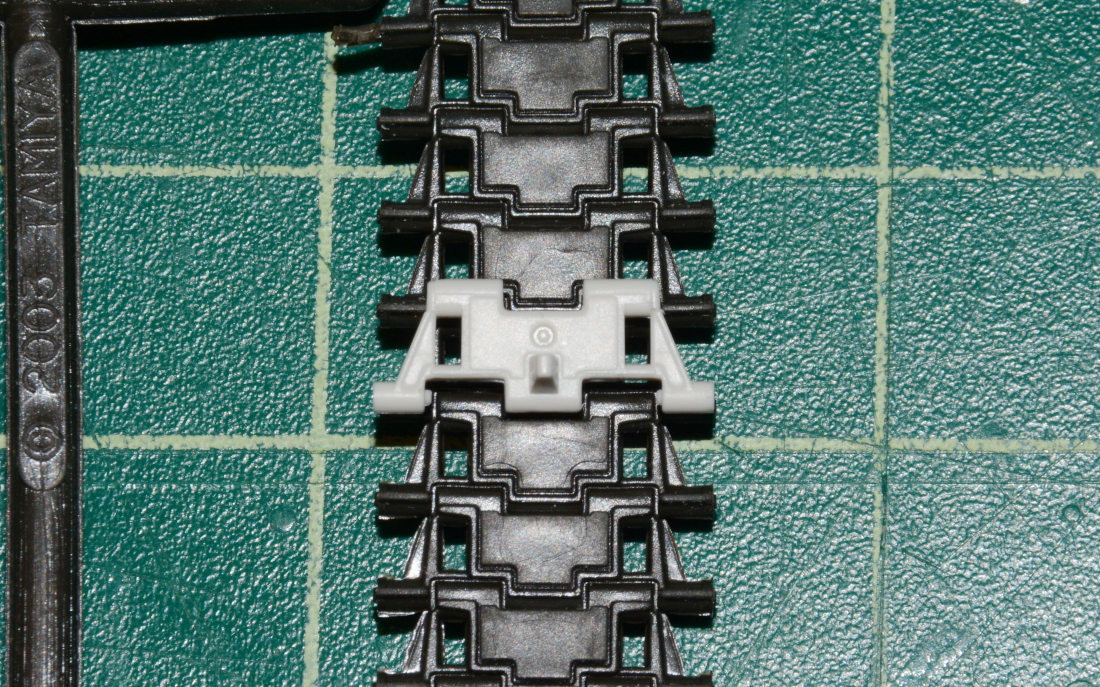
The Tamiya rubber band tracks aren’t really that bad compared to the Meng tracks. The Meng tracks do have a little more detail but overall, the Tamiya rubber band tracks are still very nicely done. Below, you can see the Meng track link on the right and the Tamiya rubber band tracks on the left. The second photo shows that the Meng link sizes up almost perfectly with the Tamiya link.

I am not at the stage of fitting the tracks yet to the Tamiya kit but I did get one set of Meng tracks assembled last night. I did the 80 links per side as Meng recommended but also did the extra four per side separately in case they are needed. The Meng tracks went together with a little effort but for the most part, they went together smoothly compared to the Hobby Boss tracks.

4 Likes
Welcome to Track City, your one stop track supply warehouse.
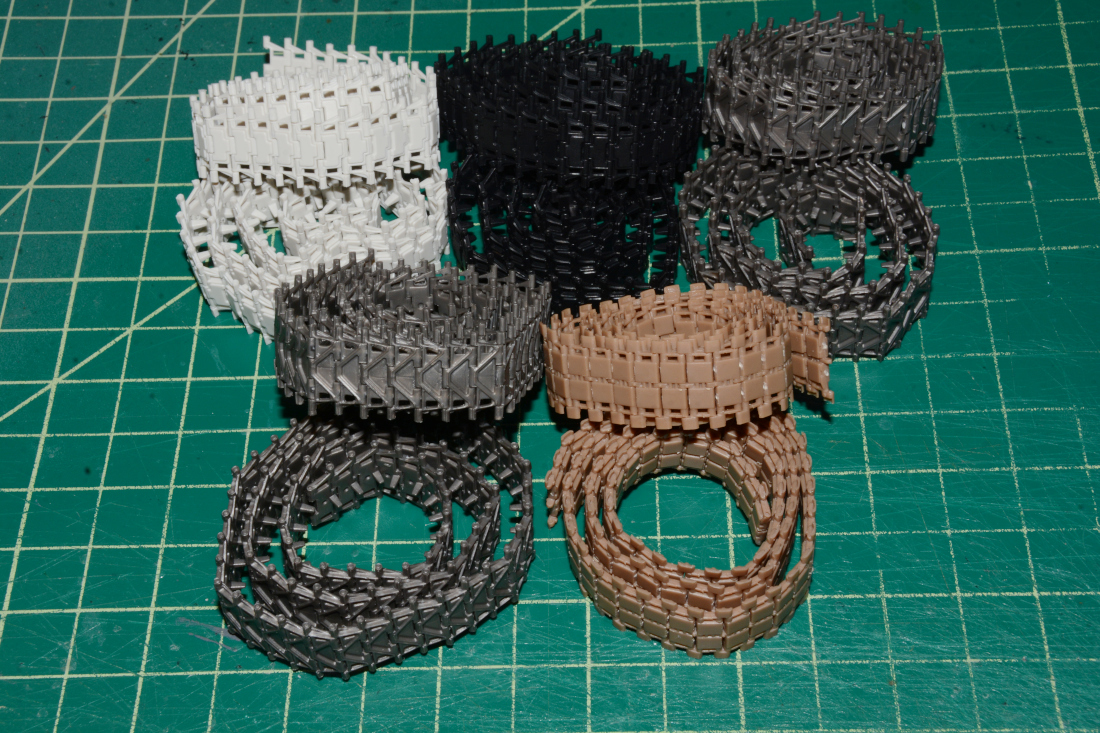
Back row, left to right, Meng, Meng then Hobby Boss. Front row left to right, Hobby Boss then Trumpeter. I still need to add the track pads to the two Hobby Boss sets and the center guides to the Trumpeter set. Taking a break for now. I spent three days working on just tracks and my fingers are numb. The light gray Meng tracks are very fragile. Once assembled, if you just look at them, they fall apart.
7 Likes
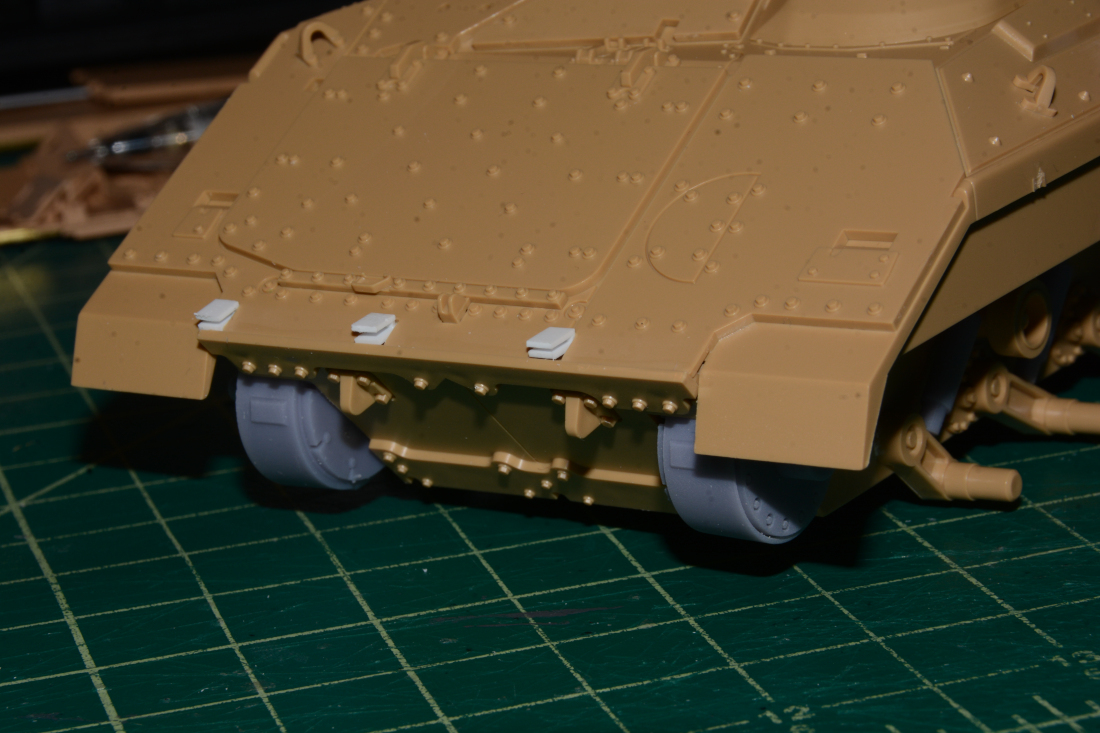
Just scratch built the swim barrier hinges. They are not the greatest but will work good enough for me.
4 Likes
You did not get them in the set you bought from me?
2 Likes
Also, do not forget to put a hole in each of the lower front shackle points.
2 Likes
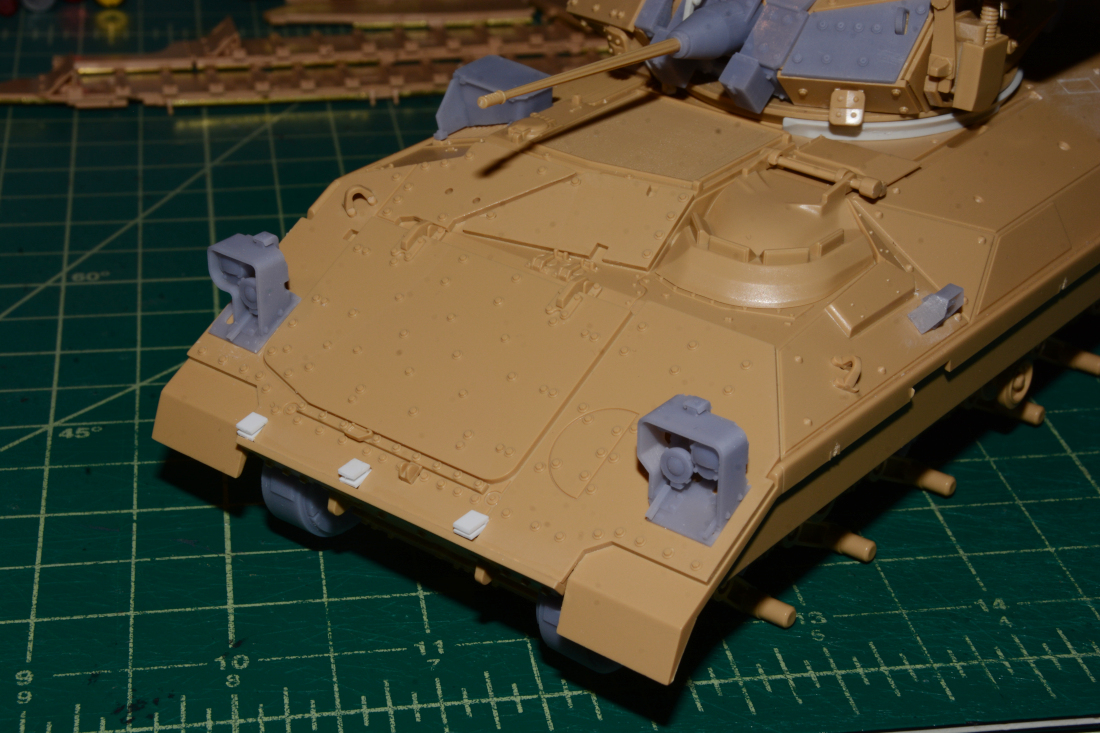
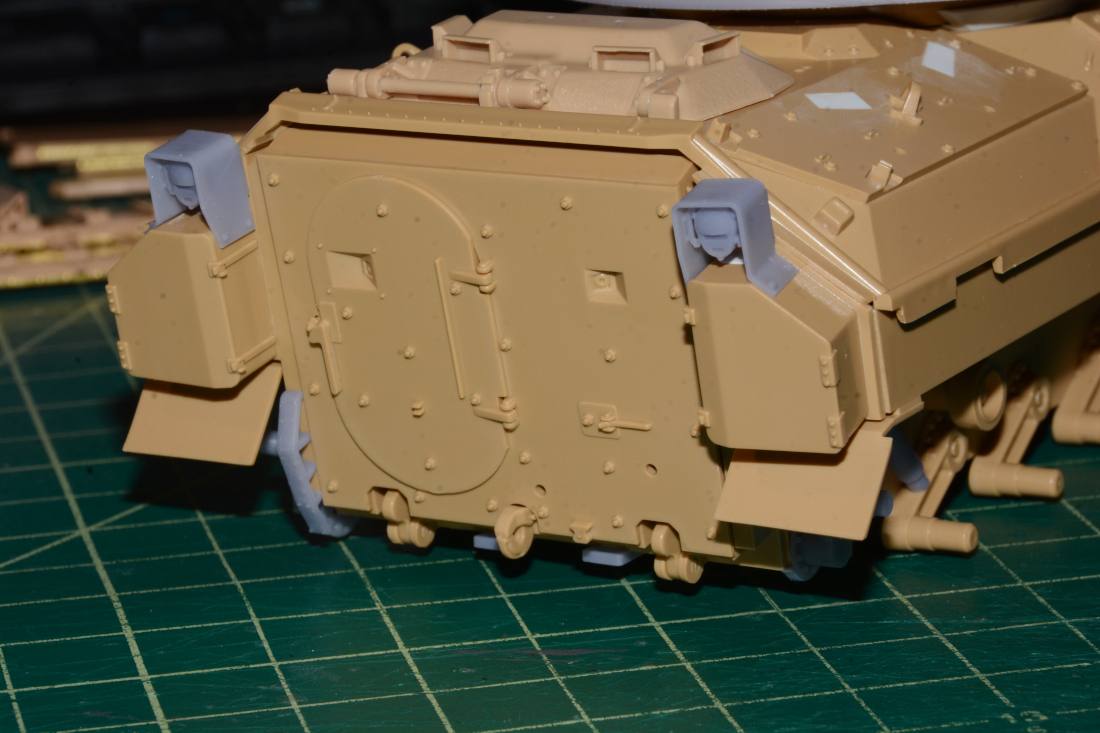
@JacquesD I got the headlights, tail lights, exhaust, vent on the left side, the two towing parts under the hull and a part I don’t know the name of. It is on the left side of the rear ramp. Thanks and greatly appreciated! The hinges were not in the set. The scratch built ones are good enough. Thanks for reminding me about the holes in the tow points for the shackles. I have some RFM and Meng shackles that should fit over the tow points without drilling them out, I hope. I attached the exhaust a few weeks ago but I just attached the headlights, tail lights, vent on the left side and the two towing parts under the hull today.
6 Likes
You should have more parts then that. Drivers Thermal Viewer, Drivers new Hatch hinge, the front filler pieces for the wading gear, the hull lift hooks (small) and the footmans loops (Two types). Let me know if you have those parts or not; I will check my prints and my files. I can’t screw things up like that.
3 Likes
Yes, thanks, I got all those parts you mentioned except the hinges for the wading gear. I just haven’t attached all the other parts yet. Some parts I don’t need for this specific build. This one will be an M3A2 ODS from OIF, 2003. It will also have the MCD but still waiting on those parts. This is the specific M3A2 I am building.

Here’s where I am as of now with the build showing a lot of your 3D printed parts already attached.
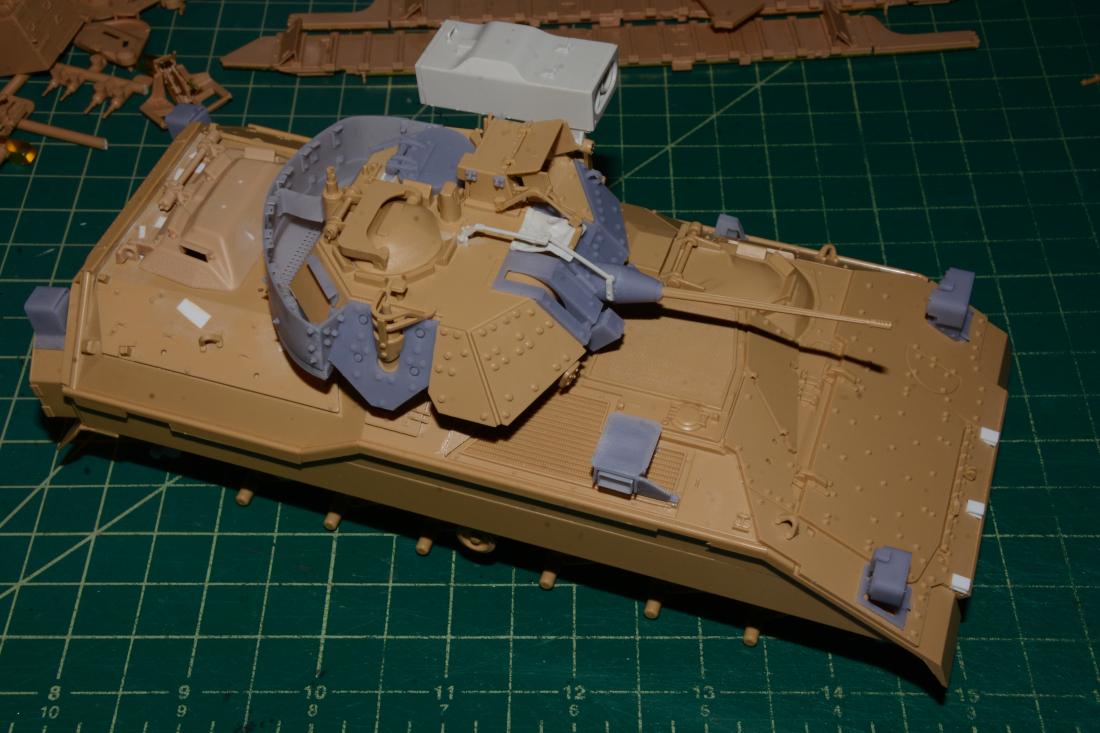
5 Likes
Glad it was almost all there. I checked my files, all good, so it must have been missed for yours. I see you scratchbuilt the sight arm, it looks good. It is going to be a HUGE pain to do for the M2A0…
3 Likes
But many of us are still waiting for that OG set.
2 Likes
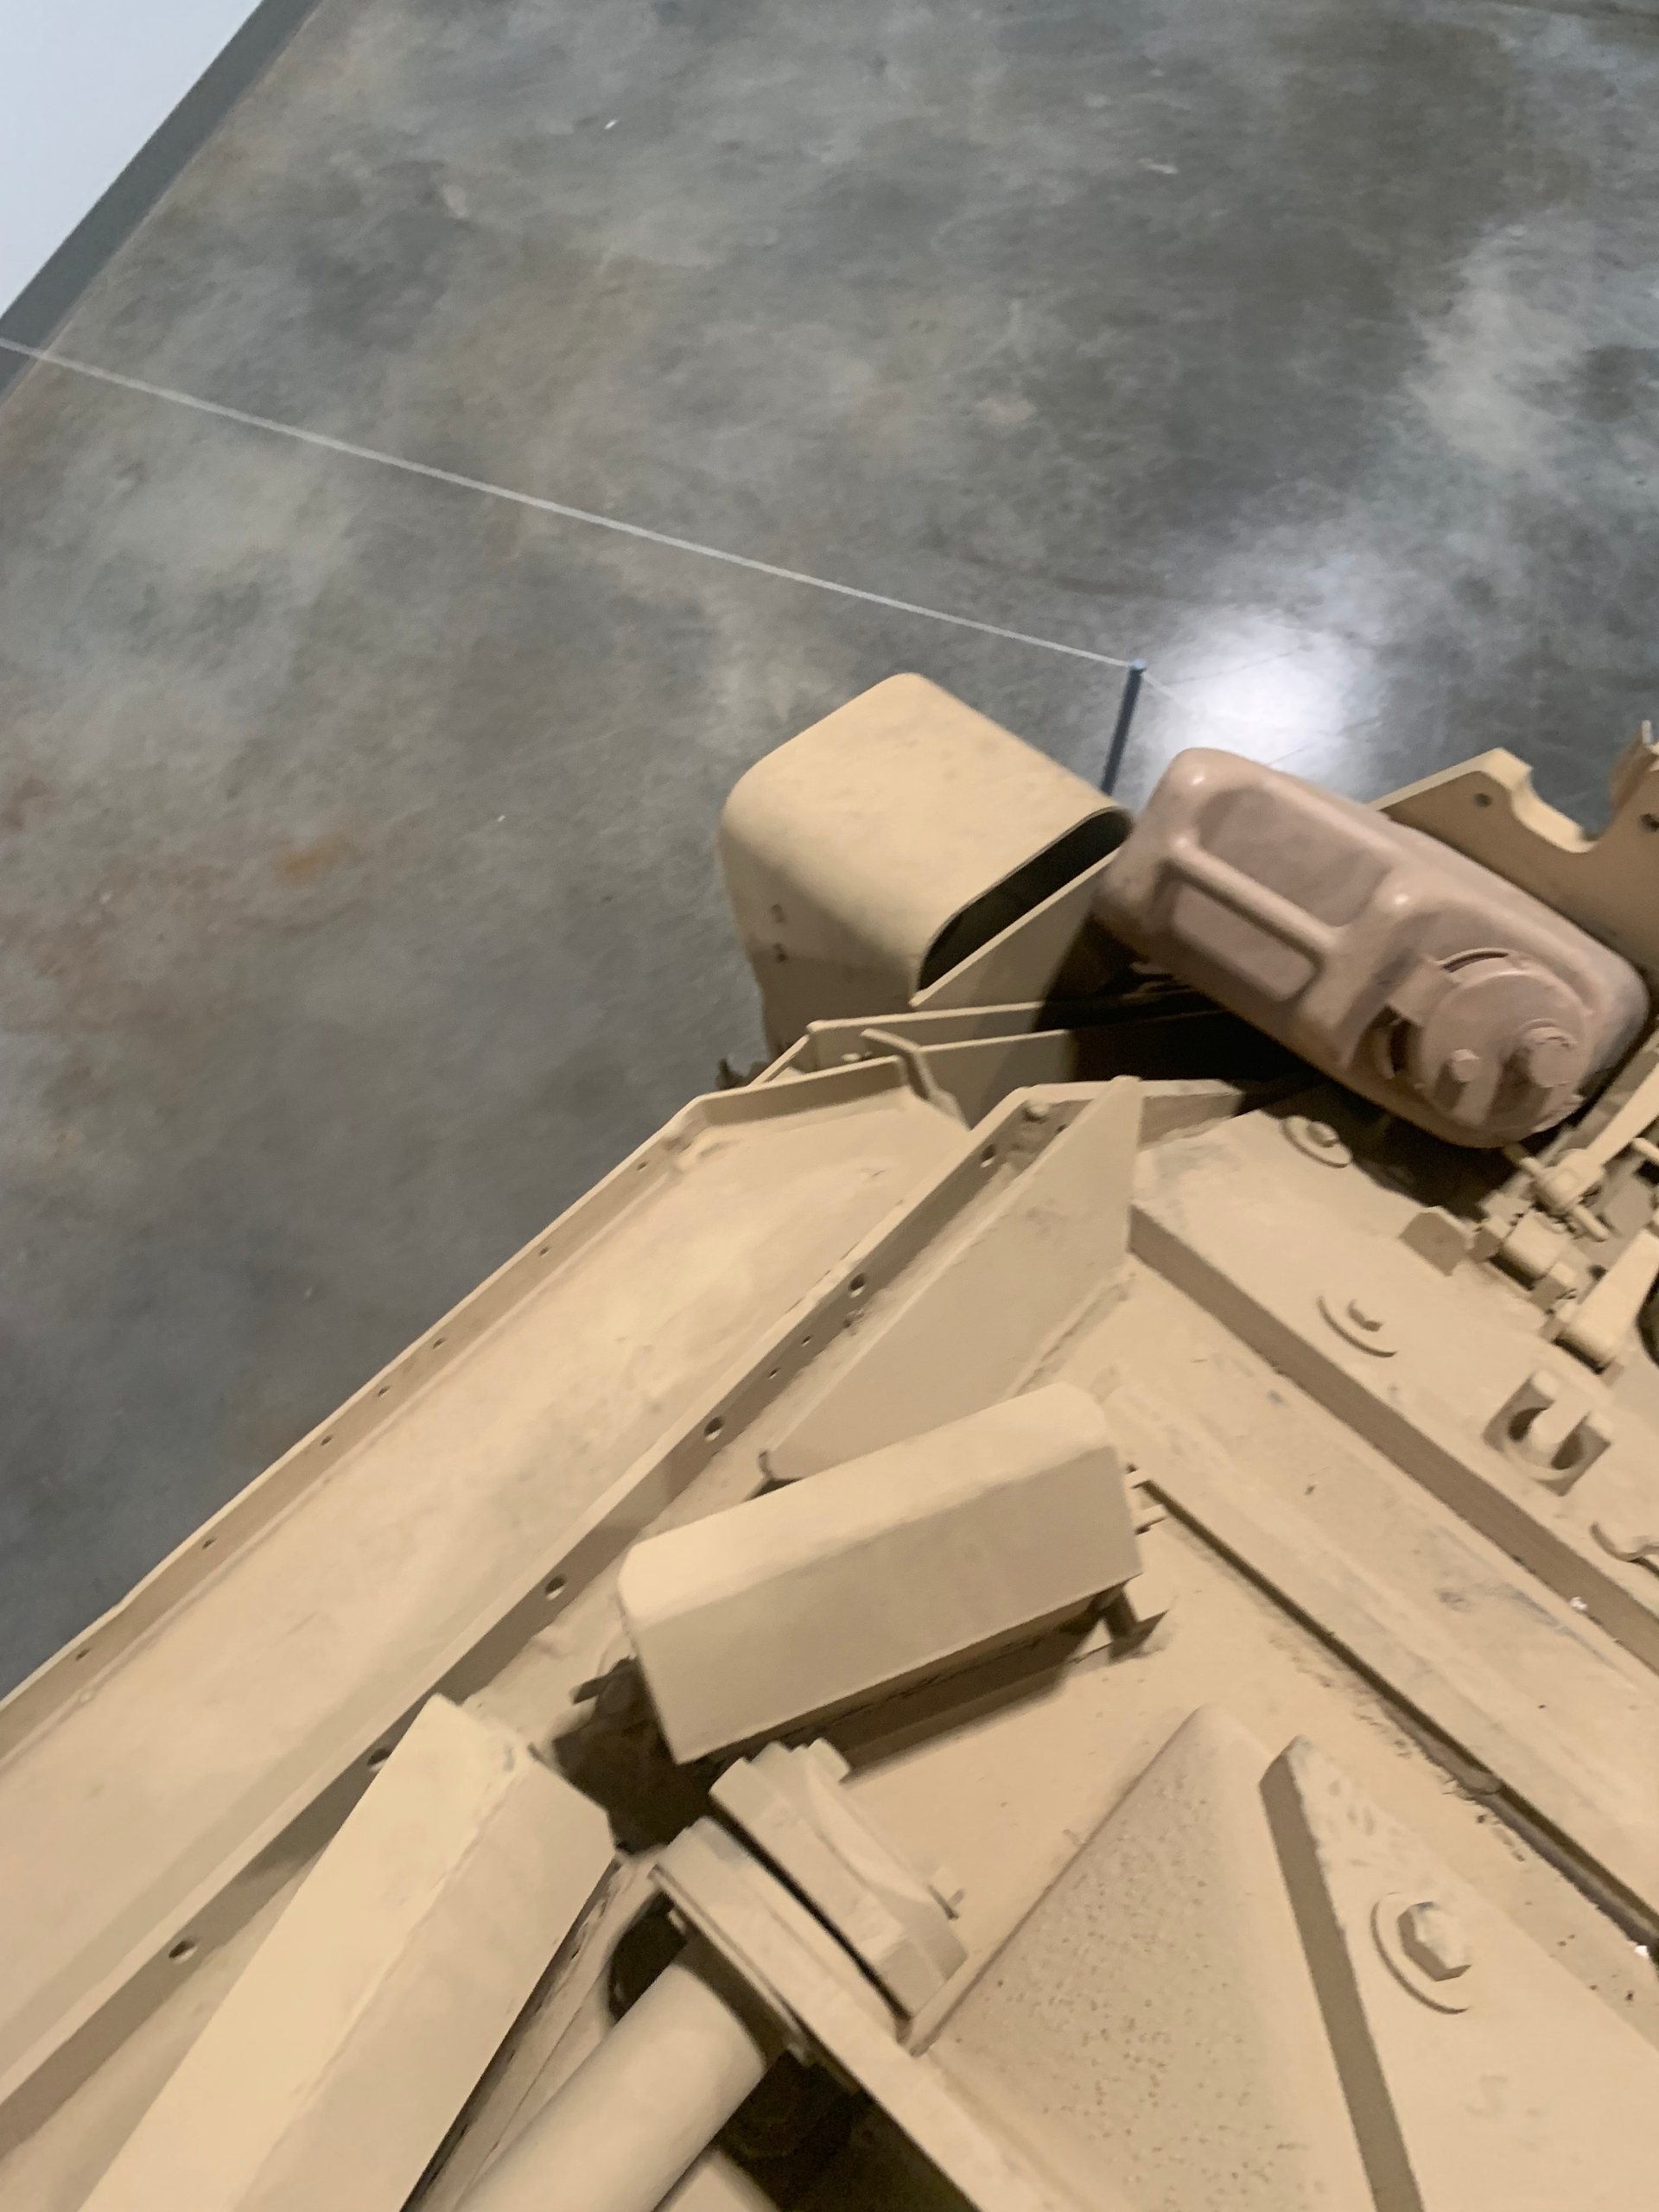
@JacquesD, the sight arm is from Meng. I added quite a few parts from them as well as yours. I got them from their customer service.
@18bravo, do you mean the areas I pointed out need to be removed? Those are molded to the Tamiya hull. Not sure I can sand/file them off now with most of the parts already on. That will be a big undertaking. I will need to find references for that area if I do decide to tackle it.

1 Like
I’ll send you some photos. I had ehte same problem when I first removed that piece - I had to do it afterwards. It foes well with a narrow chisel blade.
2 Likes
Thanks! I started to remove some of it. I am still working on it so it looks rough right now. Will try to clean it up later. I used a chisel to cut away the wading gear parts on the sloped area. The top area I am leaving as is. I don’t think I will be able to scratch build the empty tray.


1 Like
I just used Evergreen. The tough part is drilling all of those holes centered and spaced correctly. Might be a good candidate for 3D.
2 Likes
I do have thin plastic strips but yes, as you said, drilling all those holes and keeping them all aligned. Also trying to keep the plastic strips from expanding when drilling. If I was to do it, I would draw a center line across the plastic strip to help keep the holes aligned but that doesn’t always work the way you want it to.
1 Like