I don’t know anything about about any of the different Bradley versions and any help is greatly appreciated.
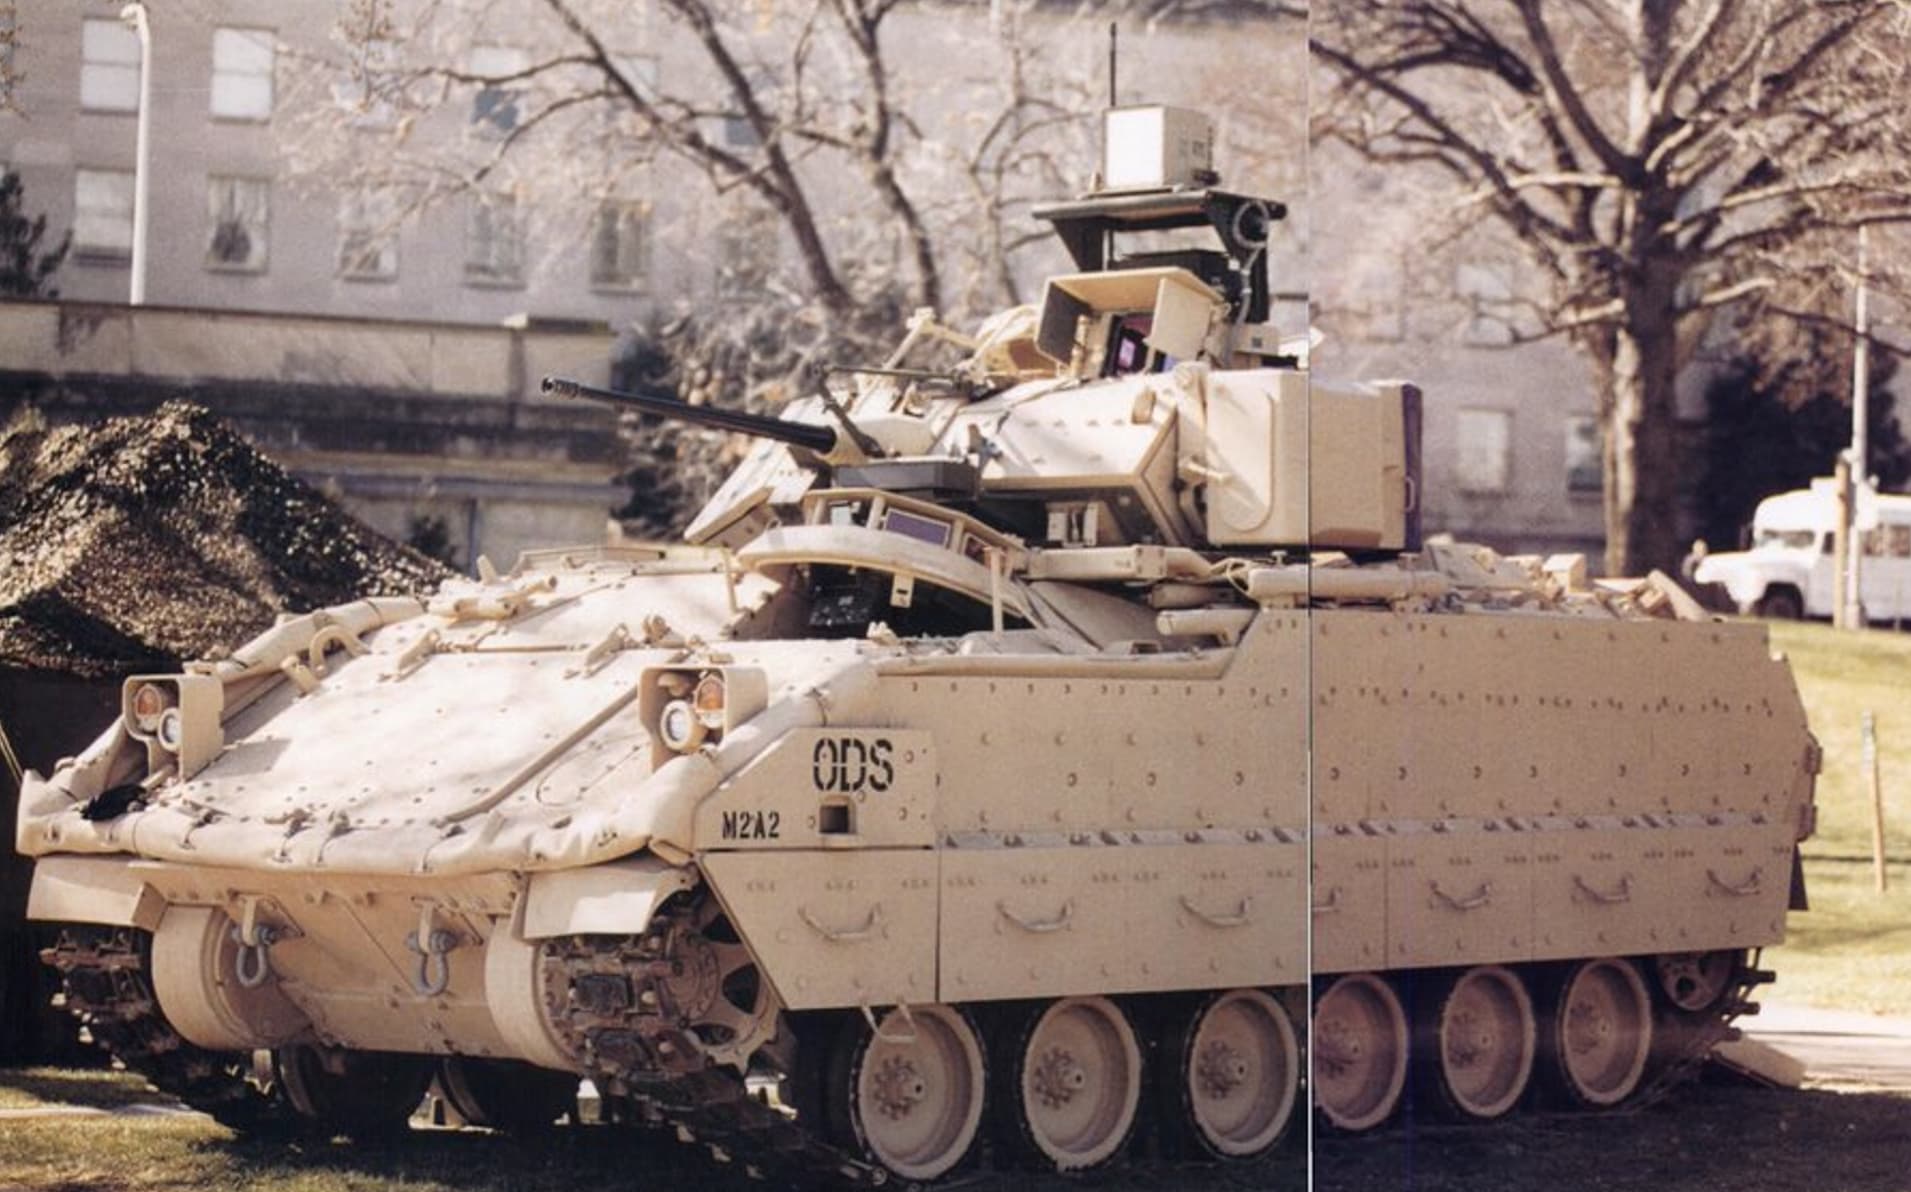
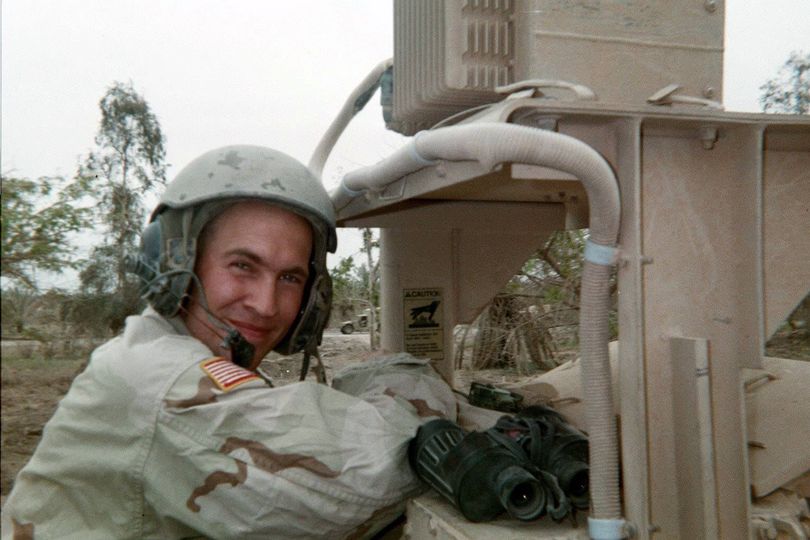
If I wanted to make an M3A2 in Iraq as shown in the image below, would the Meng M3A3 work? Also, are there any decals for this vehicle or similar? I would prefer to do it in the NATO camo with the sand ERA blocks as in the image.
Also, would the Tamiya M2A2 ODS kit work for this specific Bradley? I noticed this one has the older style tracks and the MCD. I have the Hobby Boss tracks and the MCD from a Tamiya M1A1/A2 kit. I would need the mount for the MCD. Does anyone make the mount in either resin, PE or 3D print? Any decals for this specific vehicle?
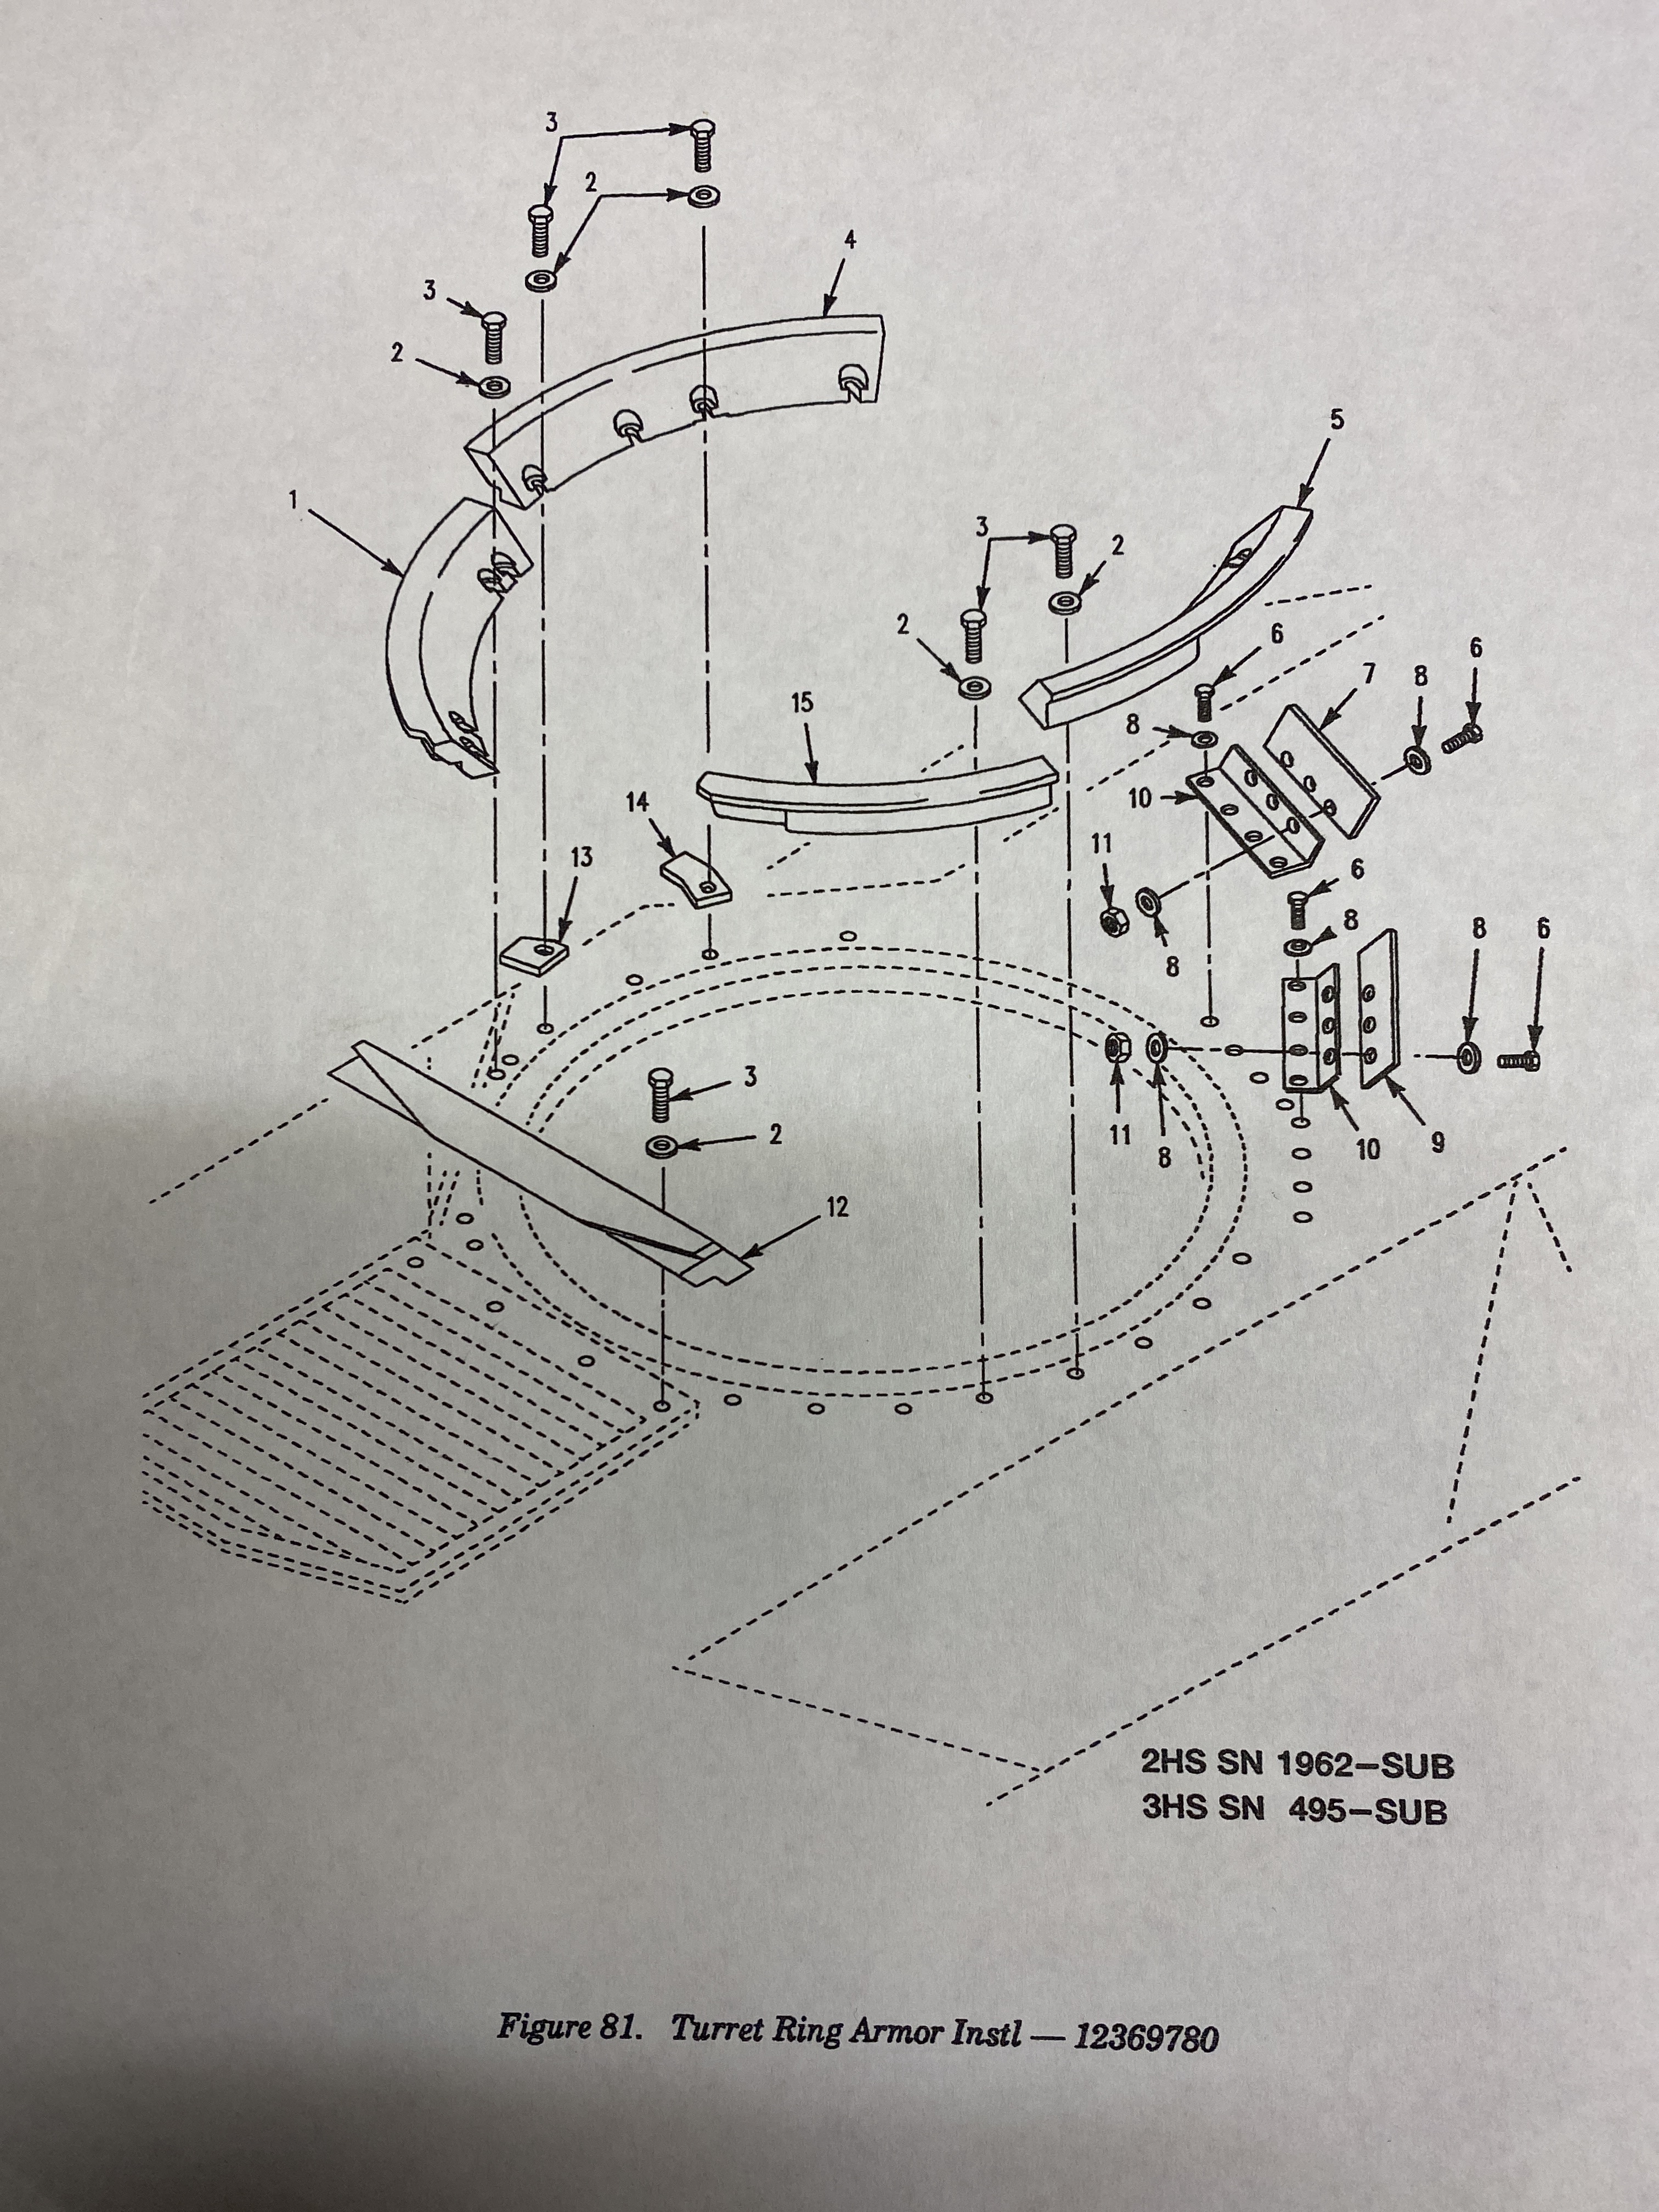
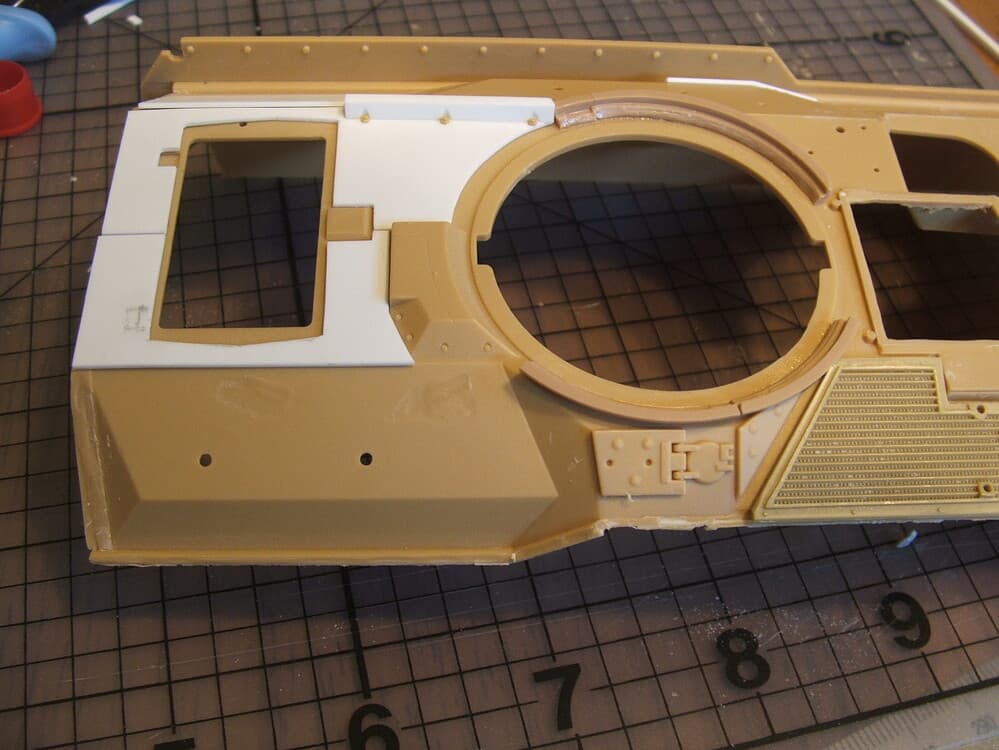
Yes, the Meng M3A3 kit will work for the M3A2. You’ll need it to get the M3 specific hatch unless you want to scratch one. The link below shows one I did. Not difficult, but why bother when you can just one from a kit now? You’ll obviously need to leave off certain parts, such as the IBAS and the DEV units, but also add others- In spite of what some folks have said it needs the shot trap armor, which is easily made from the base of an extra turret. I’ll even send you one for free. And while I am not going to offer so sell you my walk around from Iraq, I will send you photos of the shot trap area - better than what you’ll find from most photos on the net. You can replace the dog house with one from an old M2 kit.
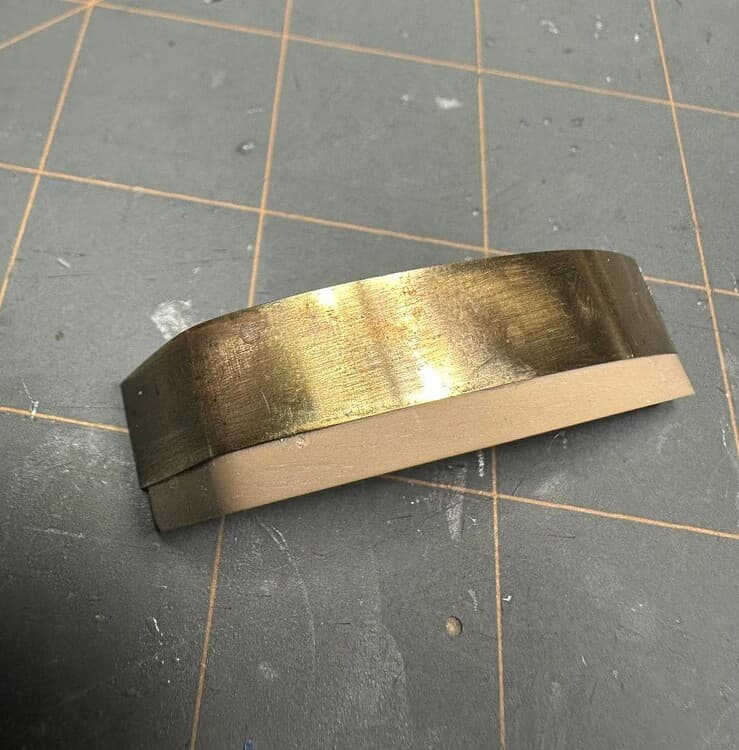
As for the M2A2 ODS, yes, you can use the Tamiya kit, I would recommend the 3D printed update set by Jacques Duquette. I am building that exact vehicle because I found the MCD interesting. I know of no Bradley mount for it, but it’s easy enought to scratch build. For the base, I used brass shim rolled around a rod on one end.
I’m using the Meng kit, by the way - there are just too many things you have to fix on the Tamiya kit to get it where I want it, and while the Tamiya kit (or Academy) works, for me the Meng kit was the better option.
This talks about some of the things I did, and the reasons for my choice:
I already have the Tamiya M2A2 ODS kit but waiting on the Meng M3A3 kit. I will definitely bookmark your progress to check out for when I start mine.
Not being familiar with the Bradley, is the IBAS and DEV unit the rotating imager on the right side of the turret?
Do you happen to have any close up images of how the shot trap armor is made from the extra turret base. Also, any close ups of the MCD mount? I have a couple more images showing the MCD but none showing how the mount is actually attached to the turret.
The IBAS is the dog house in front of the commander’s station. It needs to be replaced. The DEV is the little multi-faceted unit on the glacis. The rotating imager is the laser range finder. Leave it off.
I do have close ups of how I did the shot trap armor - you just cut it up into appropriately sized arcs. I do not have any close ups of the mount. I think I have one or two that may be better - it mounts on either side of the doghouse using bolt holes from the existing lifting eyes.
For the M3A2, you will also have to extend the turret stowage basket to its full length across the back where the CITV is removed. There are also a few other changes.
You can check out this thread to see how RonW did it using the Kinetic M3A3.
If, as you say, scratch building isn’t your forte, contact Jacques about that basket.
One thing that is easier than extending the whole thing in plastic as RonW did - use brass shim instead. You get the added benefit of having it much closer to scale thickness. You’ll still need to extend the lower portion, but you don’t have to worry about gettng the thickness correct - just throw in some storage.
Hi there,
Does anyone have the dimensions of the MCD? If so, could you share them with me?
I’m planning to design the Bradley’s mount for this system for 3D resin printing as I’m planning to build a 3-7Cav Bradley from OIF. I could share the files or printed objects on request.
As for the decals, I don’t know of any specific set for this vehicle, but you could use Echelon D356021 (OIF numbers part 1) for the /91, but you’ll have to modify the number 1 a bit as 3-7Cav uses slightly different numbers than the rest of the 3 ID. The ^ chevron with the single square dot should be fairly straightforward.
Do you know what is on the TOW louncher?
I am sure you want the measurements of the actual MCD but I have the Meng, Tamiya and Dragon MCD parts. All three are slightly different sizes and I have no idea which one is the correct size but I can measure all three of the kit parts if you would like. The three different kit MCD base plates are also different sizes.
Hello Lukas. I’m in for a mount! I believe what’s on the launcher is “Your Mother” which is particularly insulting in some parts of the US - especially if you’re shooting them as you say it.
Übrigens - Ick schick dir deine Bilder später - bin gerade aufgestanden.
Thank you so much! @18bravo These pictures are great, they will be very useful in the future.
@Seanmcandrews Thank you for providing these documents, it is definitely the AN/VLQ-6 that was used. I will design the MCD and Munt to these dimensions.
@twong Could you send me the dimensions of the Dragon and Meng parts so that I can adapt the mount for them as well.
I still have some other parts to design, but I should be able to start designing soon. I will inform you about the progress.
Edit: I’m looking for other detailed pictures of the MCD (on Abrams and Bradleys) and the mount. I’d especially like to see pictures from the left side.